So I want to upgrade my PC, and go back to standard components like ITX and desktop CPU. But my budget is limited too. And I have a tinkering urge right now.
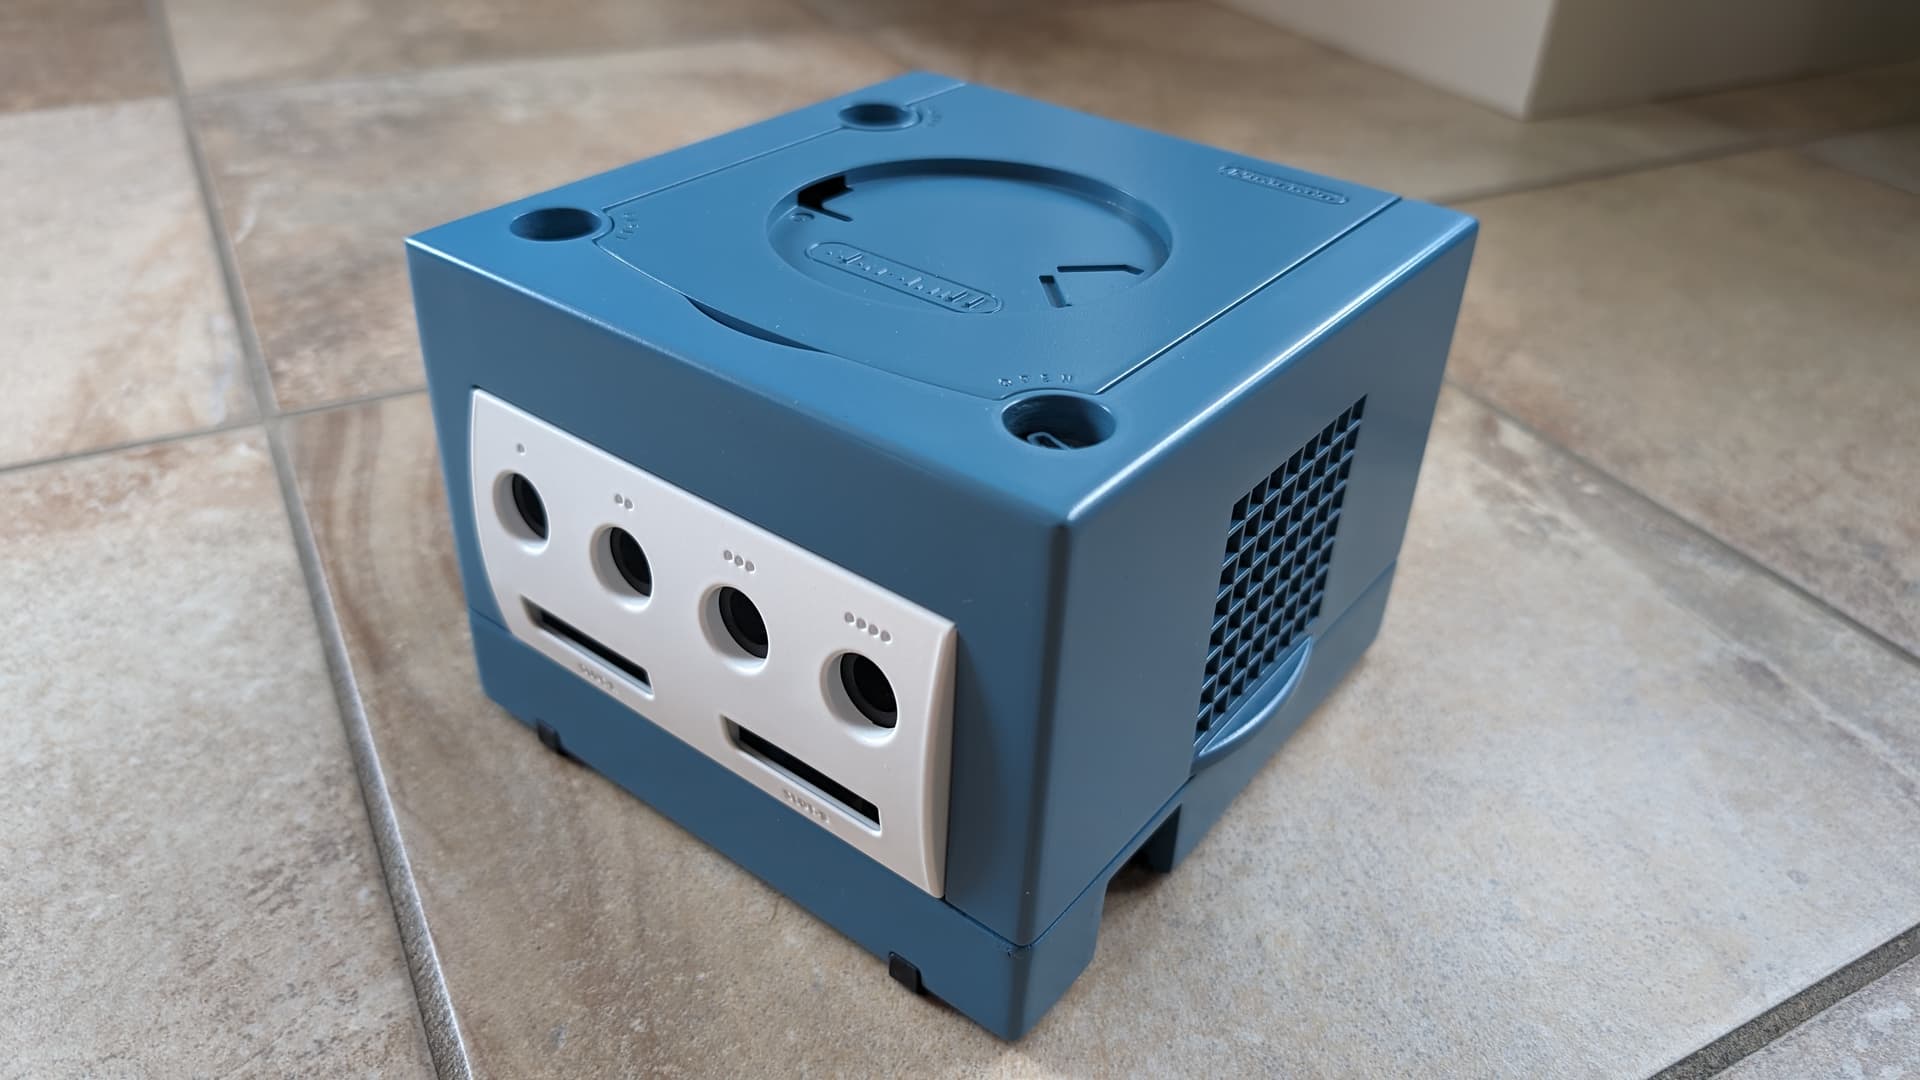
So I intend to put back my actual computer components that are actually housed in a 3D printed case, back in a Gamecube shell, and to sell it the PC that way to finance a next PC.
So this project is really a comeback to the sources to my initial コンパ (Compa) build, to build again a GameCube PC with a GPU, but now with the all the learning I acquired during my last two Gamecube PC builds, especially the last one, and of my 3D printed build. Improvements will include:
3D printed fan holder
Acrylic floor to hold the GPU in place
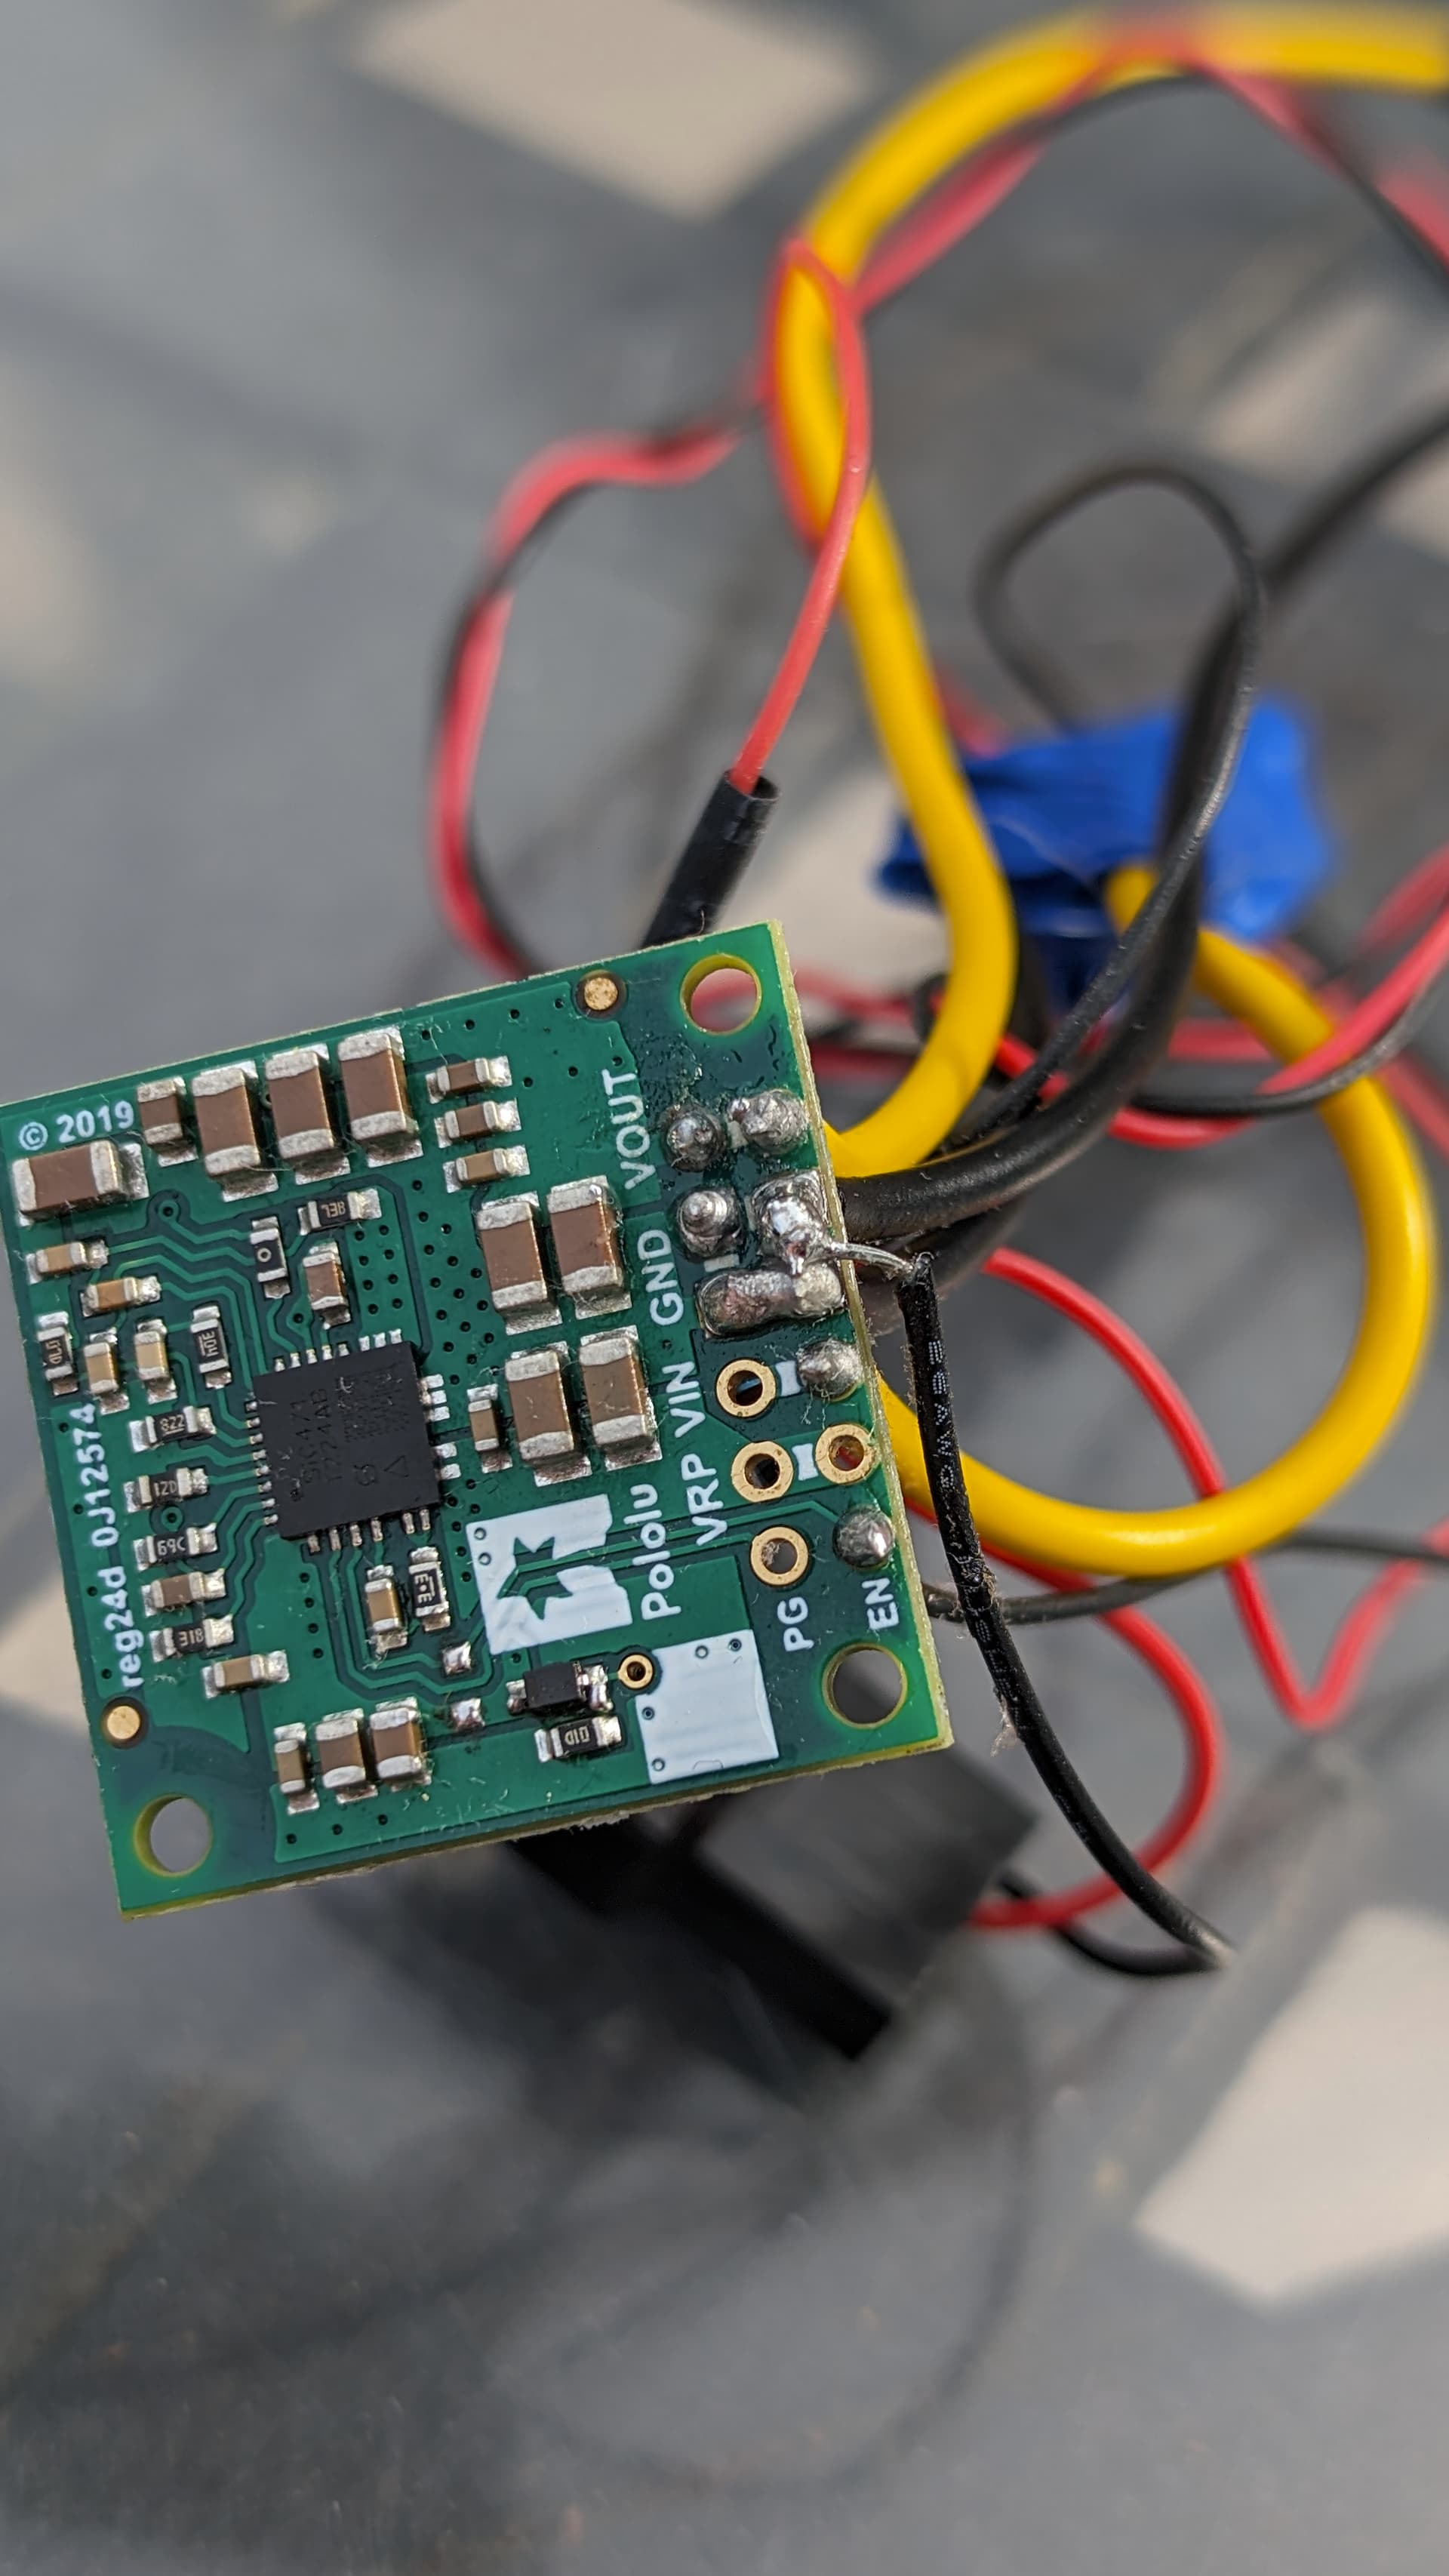
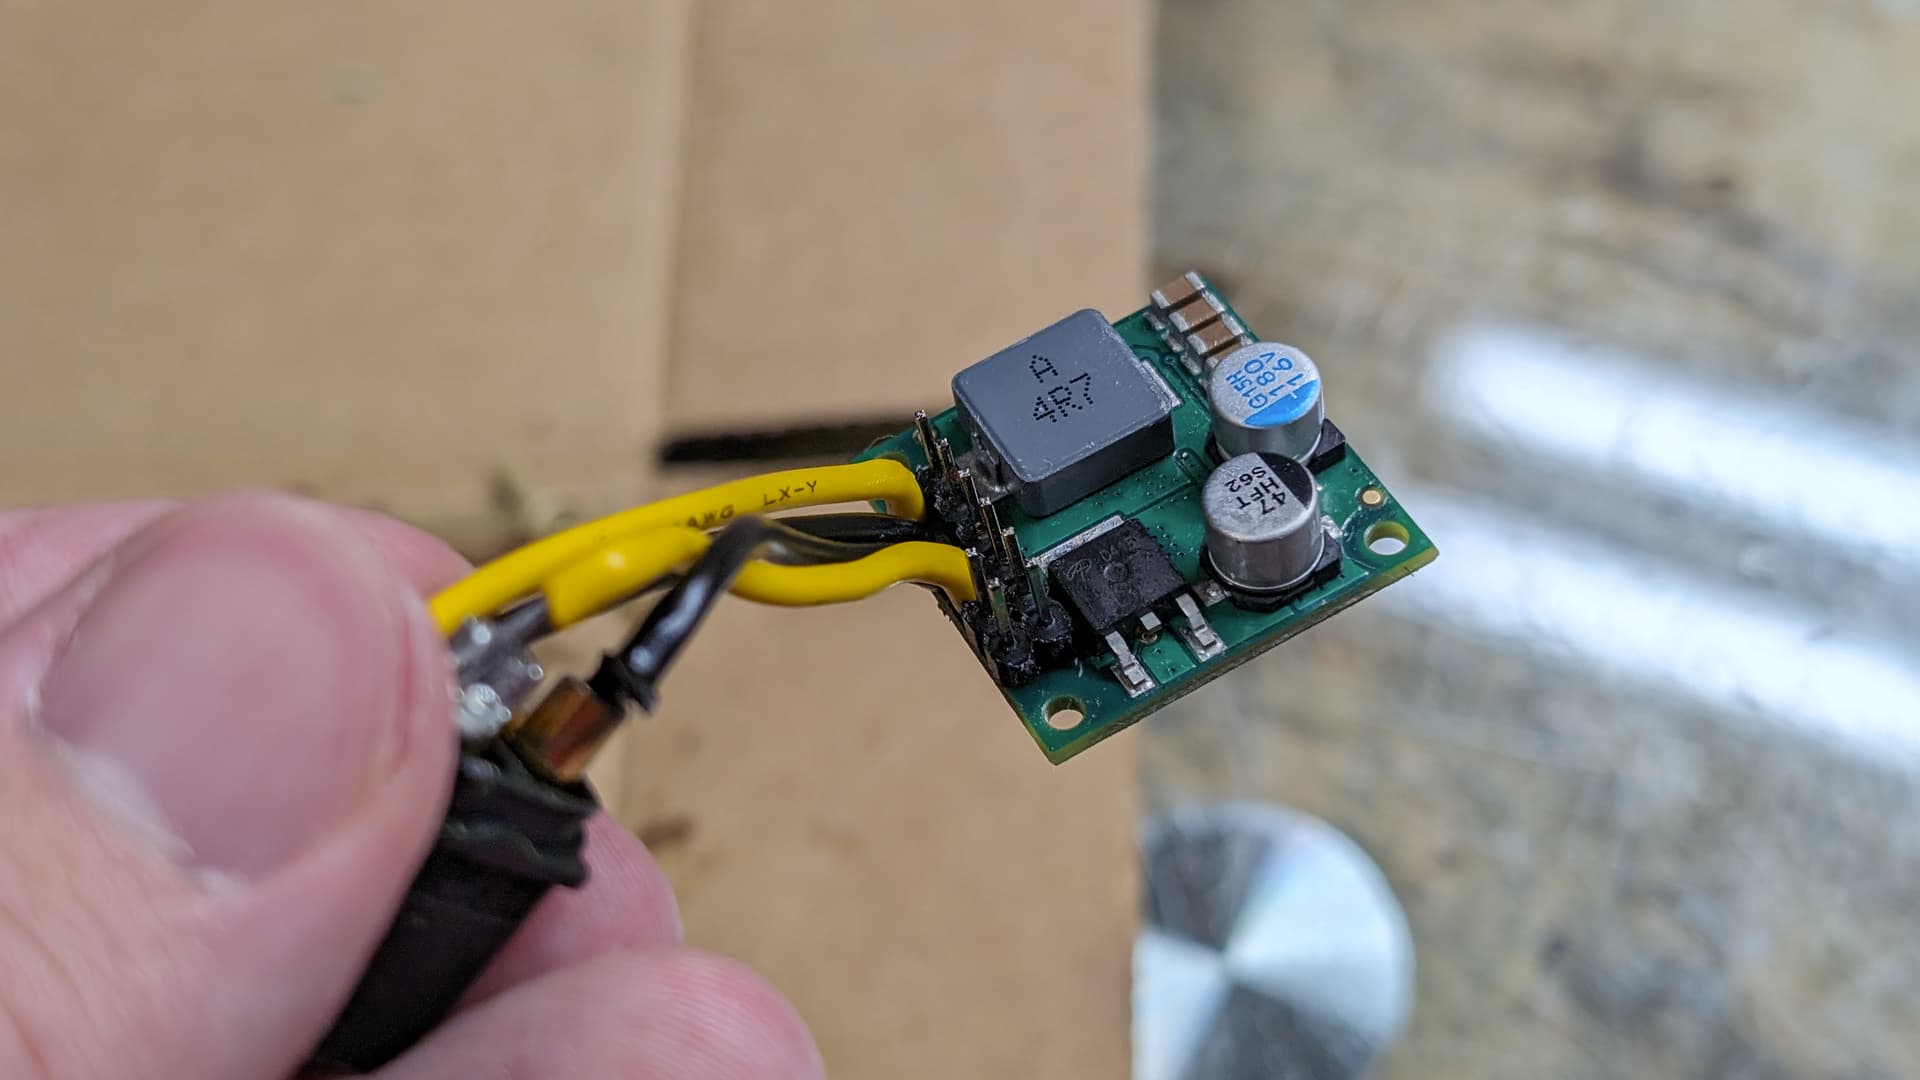
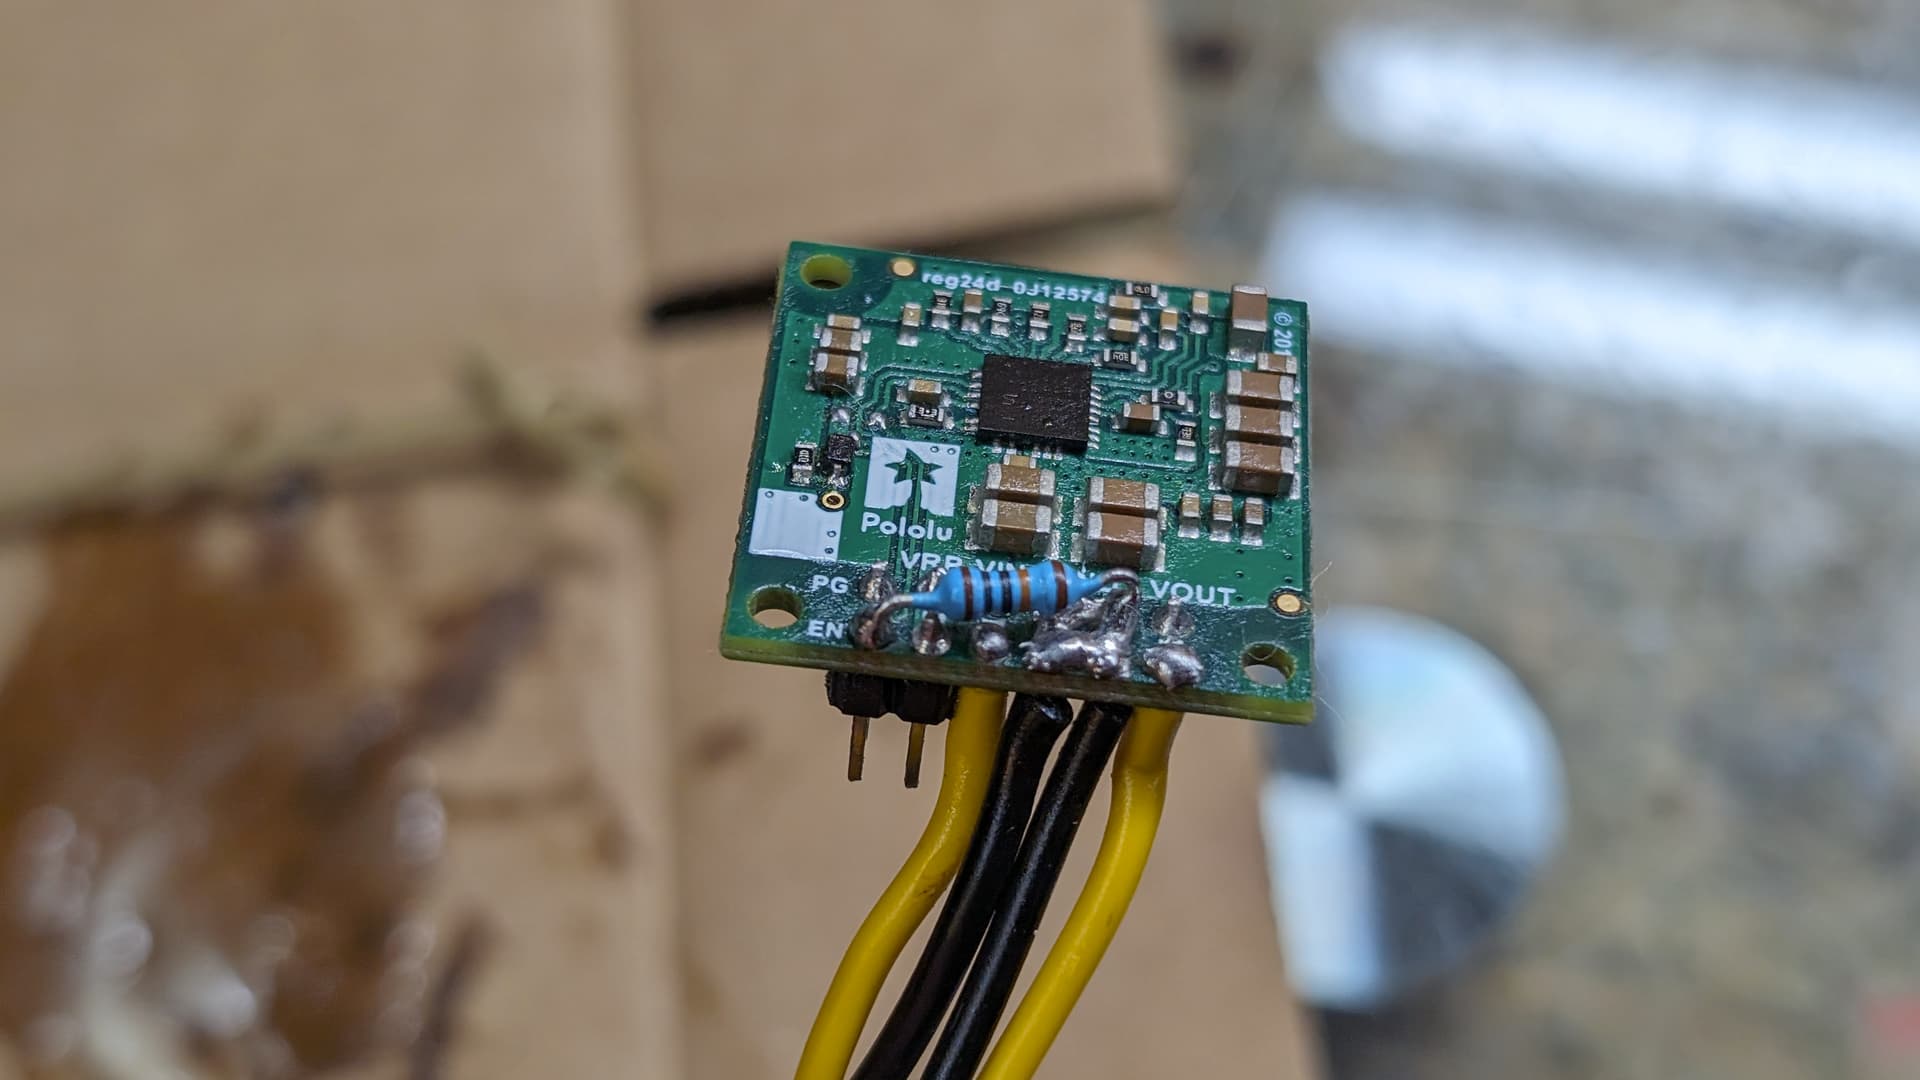
Use of 19v power bricks, and of a 19 to 12v converter to sync and power the GPU
The use of the Noctua NA-FC1 to control the case fan(s?)
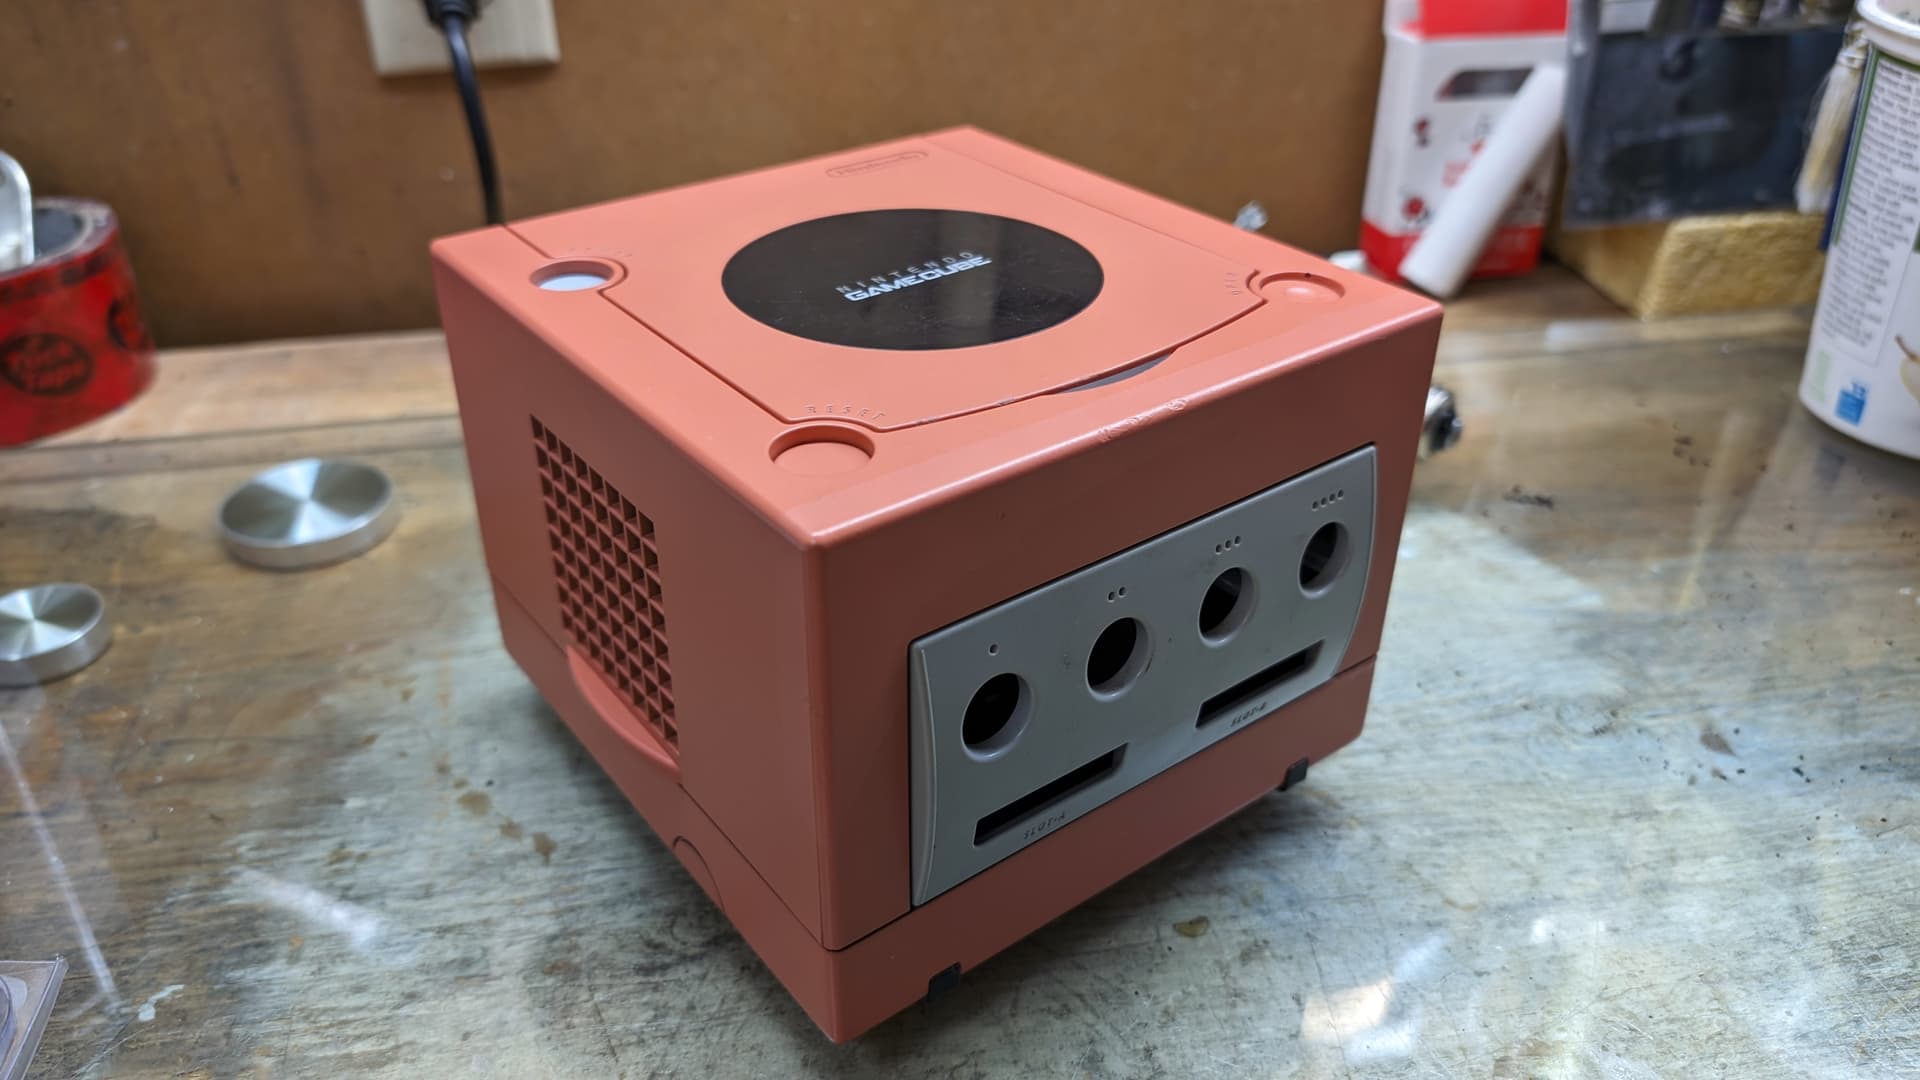
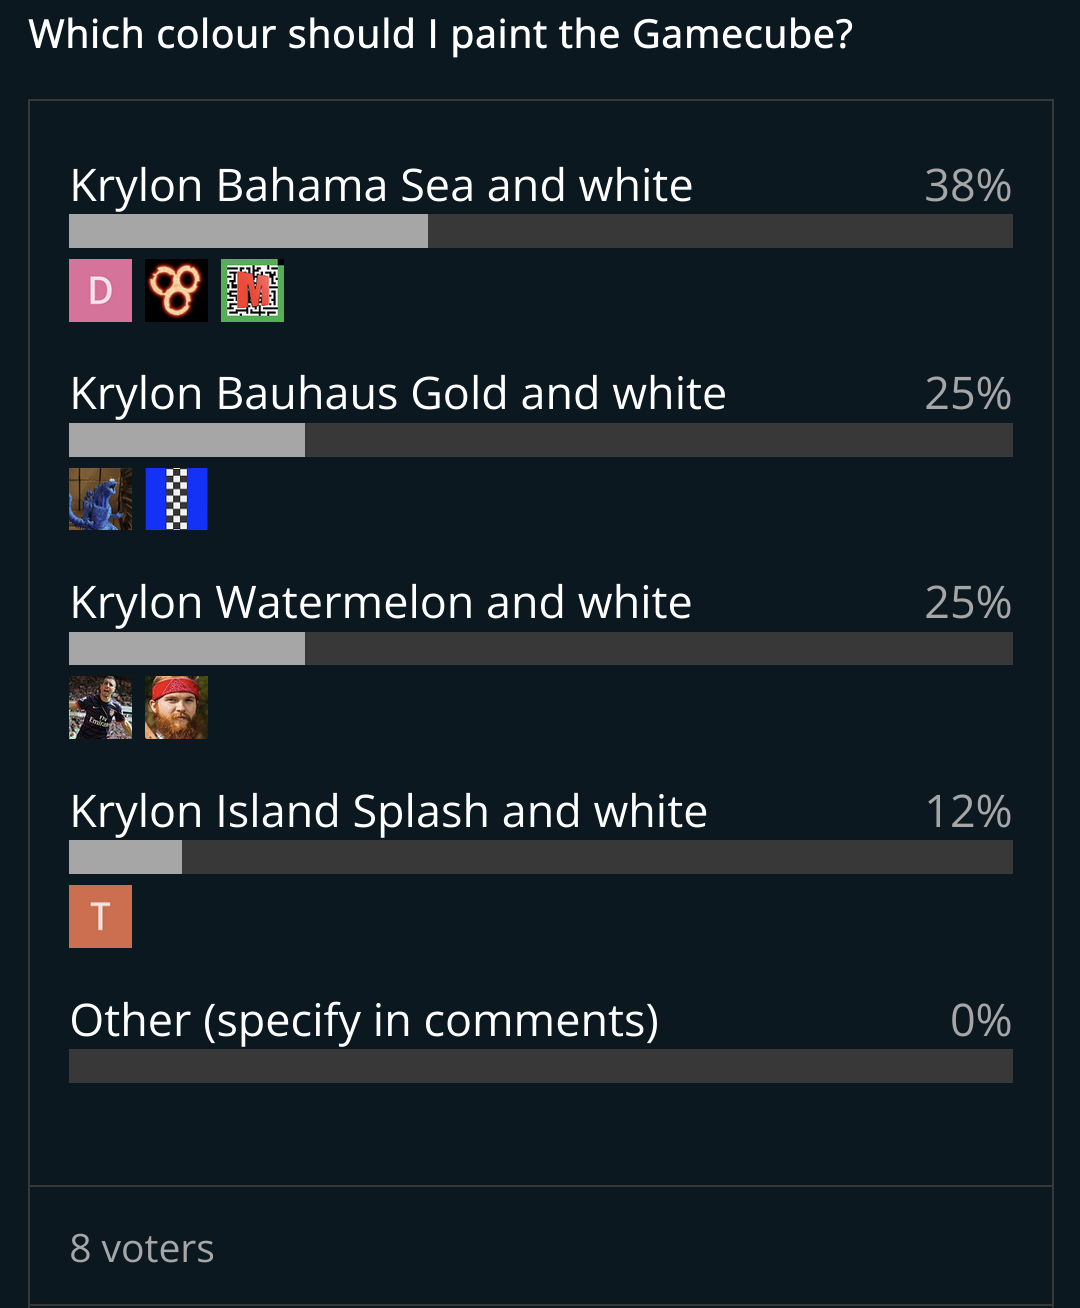
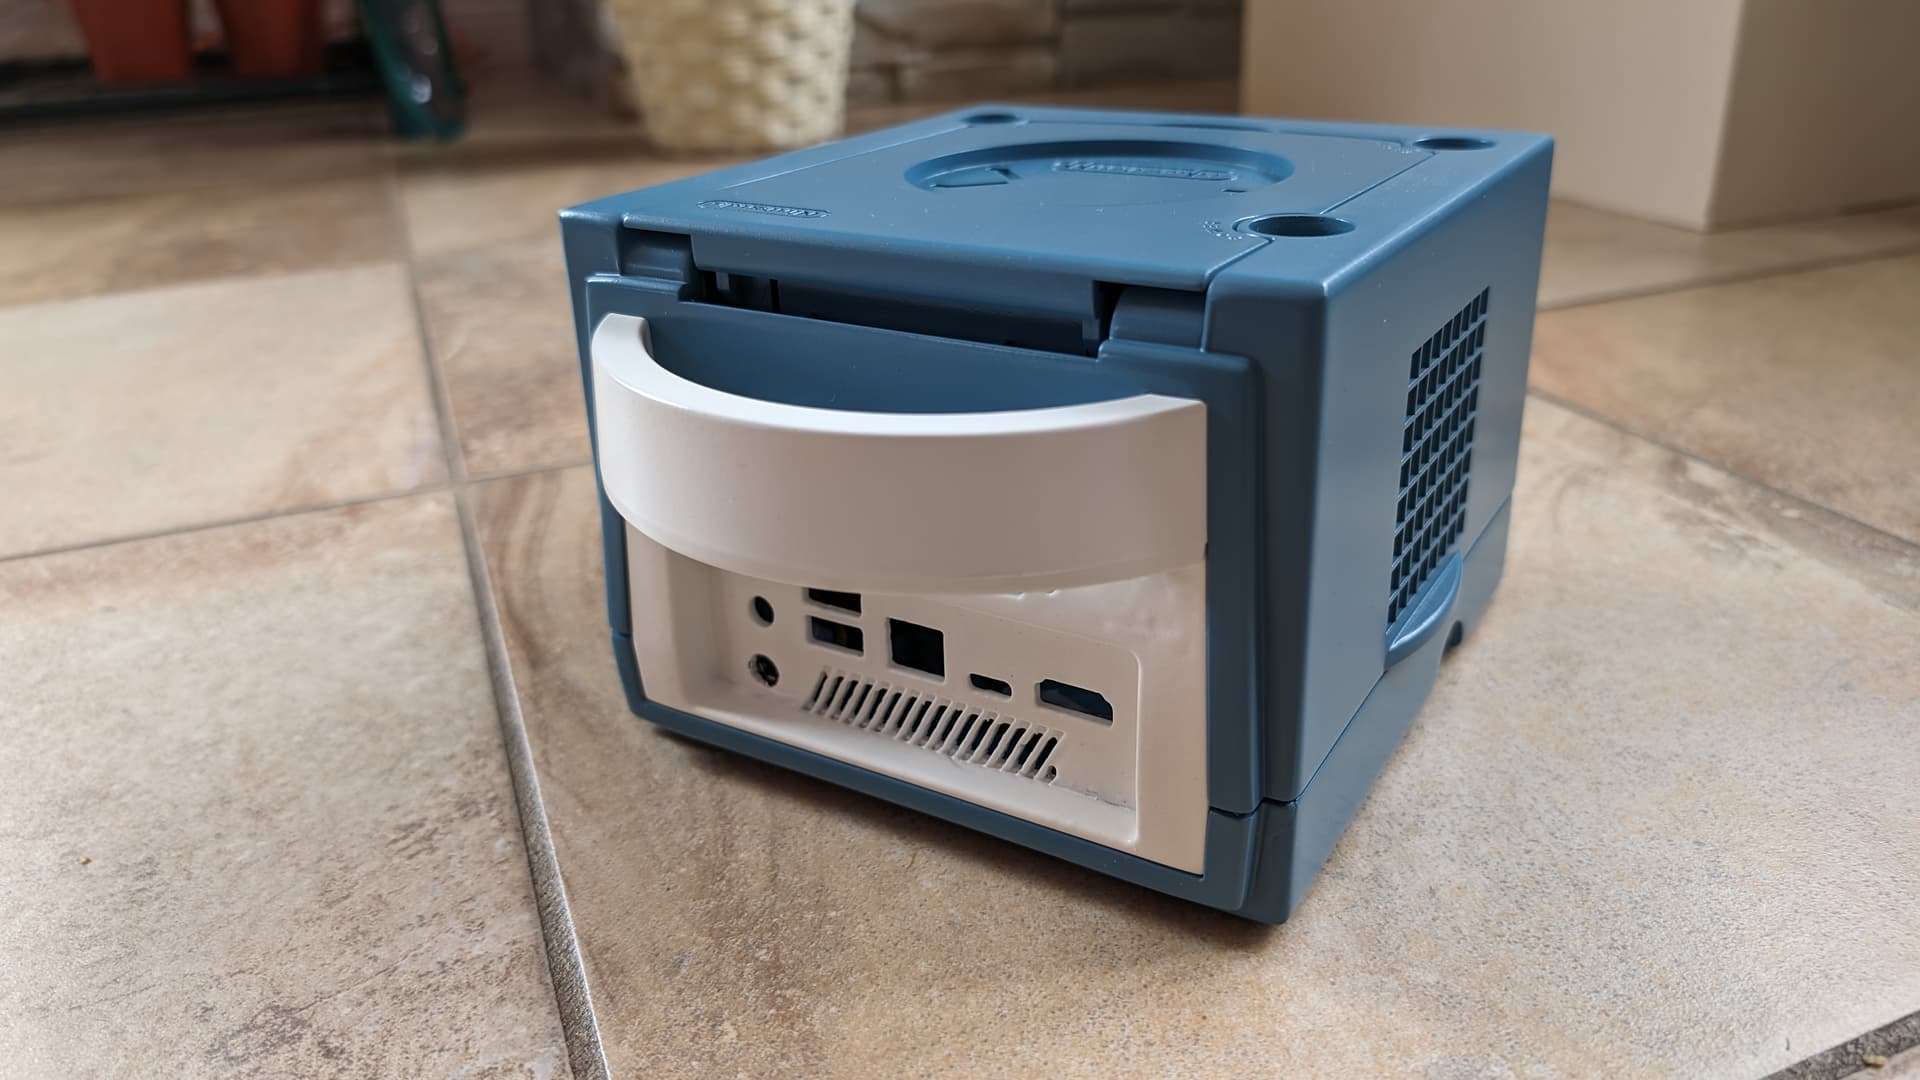
Also, I will change the colour of the Gamecube PC, as anyway I need to repaint it. I dunno if I will do it orange to be close to the Spice Orange of the Gamecube, or just paint it black. To be determined. Maybe I could paint it another colour, especially if there is already an interested buyer for it lol.
So follow me in that trip down memory lane as I rebuild the original Gamecube PC in a better way.
If it’s not too late, I’d skip Samsung QVO, it’s meh at best. My old EVO 850 is much faster and I hear people raving about Crucial MX500.
Both EVO and MX500 have DRAM cache, QVO does not and it’s QLC flash.
I’m just repurposing my current components, so the QVO is just the one I have right now. It was by far the cheapest the cheapest 2TB SSD I could get back then, so I was ready to deal with the downside of the QVOs
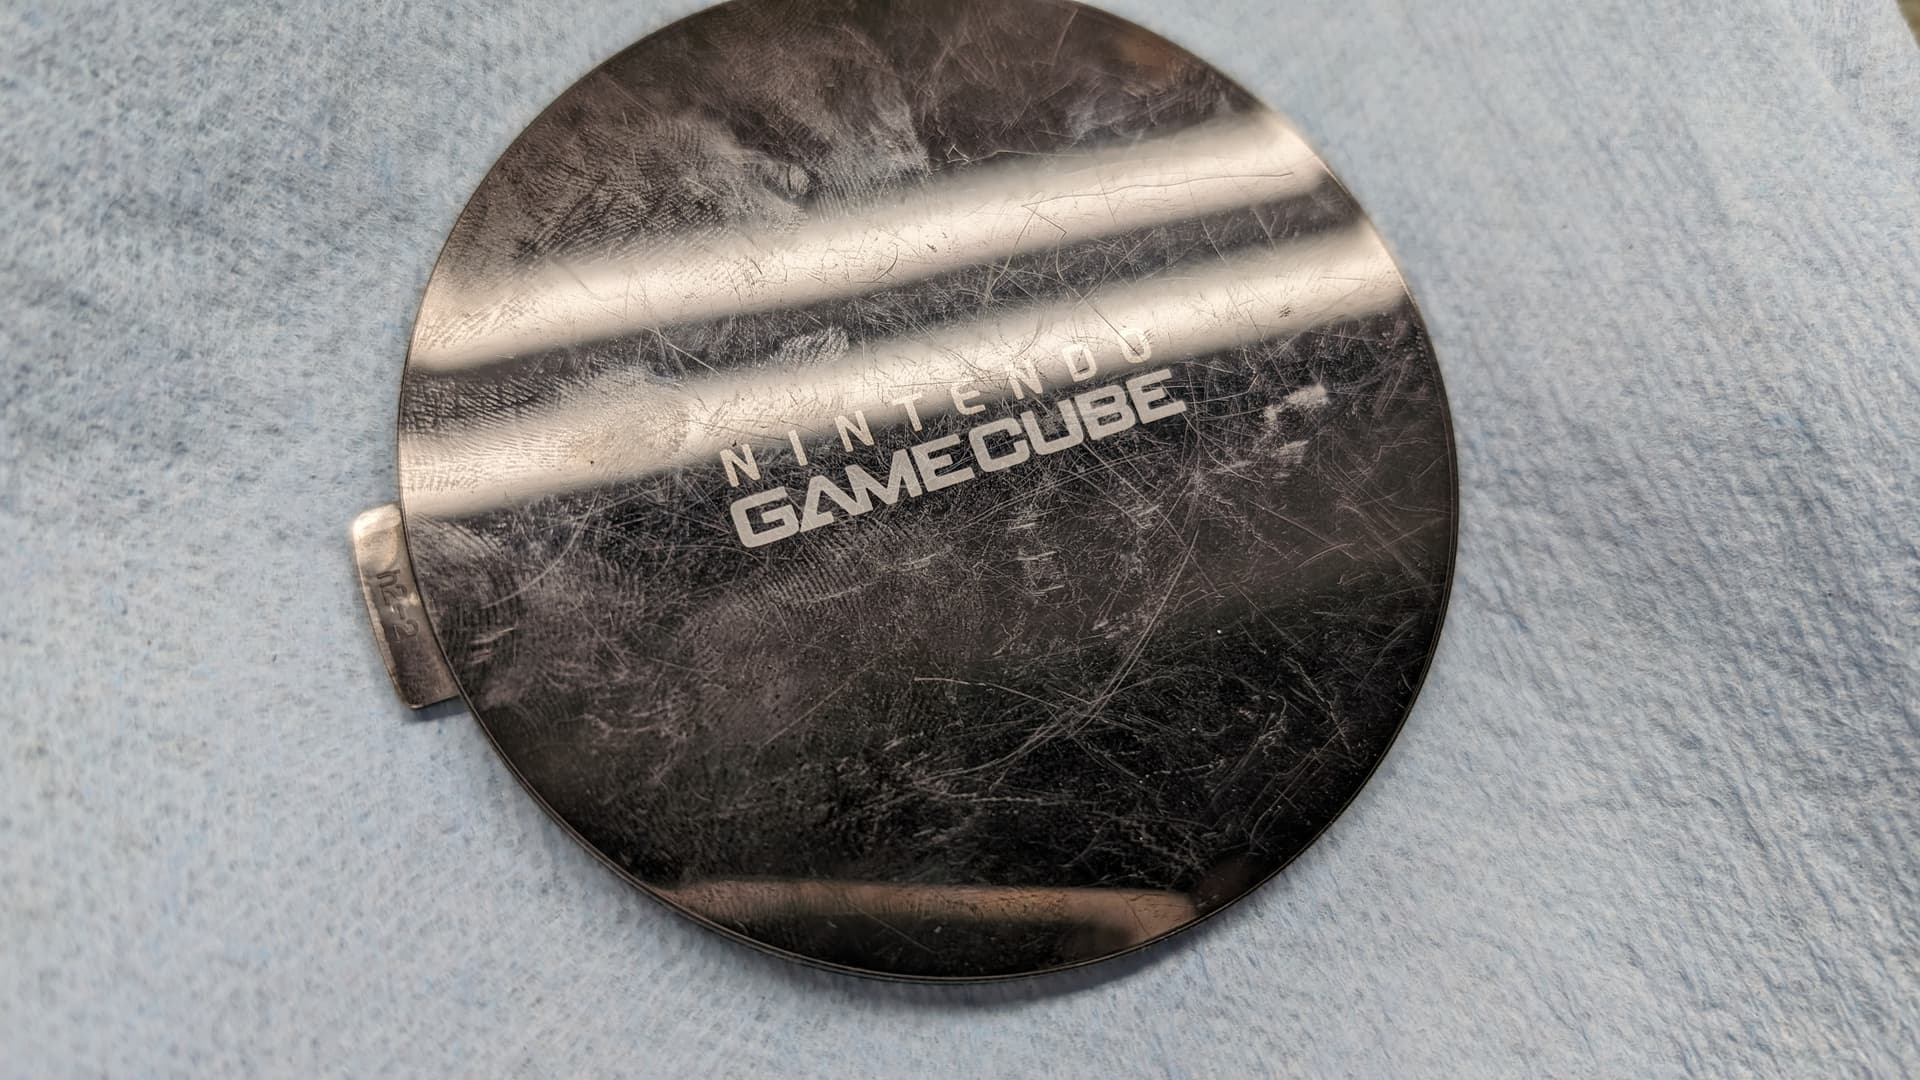
And the front piece is yellowed more than I would like (it’s the front from another Gamecube commission that I swapped). After a short retrobright test, I decided I will just paint it white. So I will do a two-tone Gamecube build like this, would be pretty. I will do a poll to have your opinion about which colour to choose.
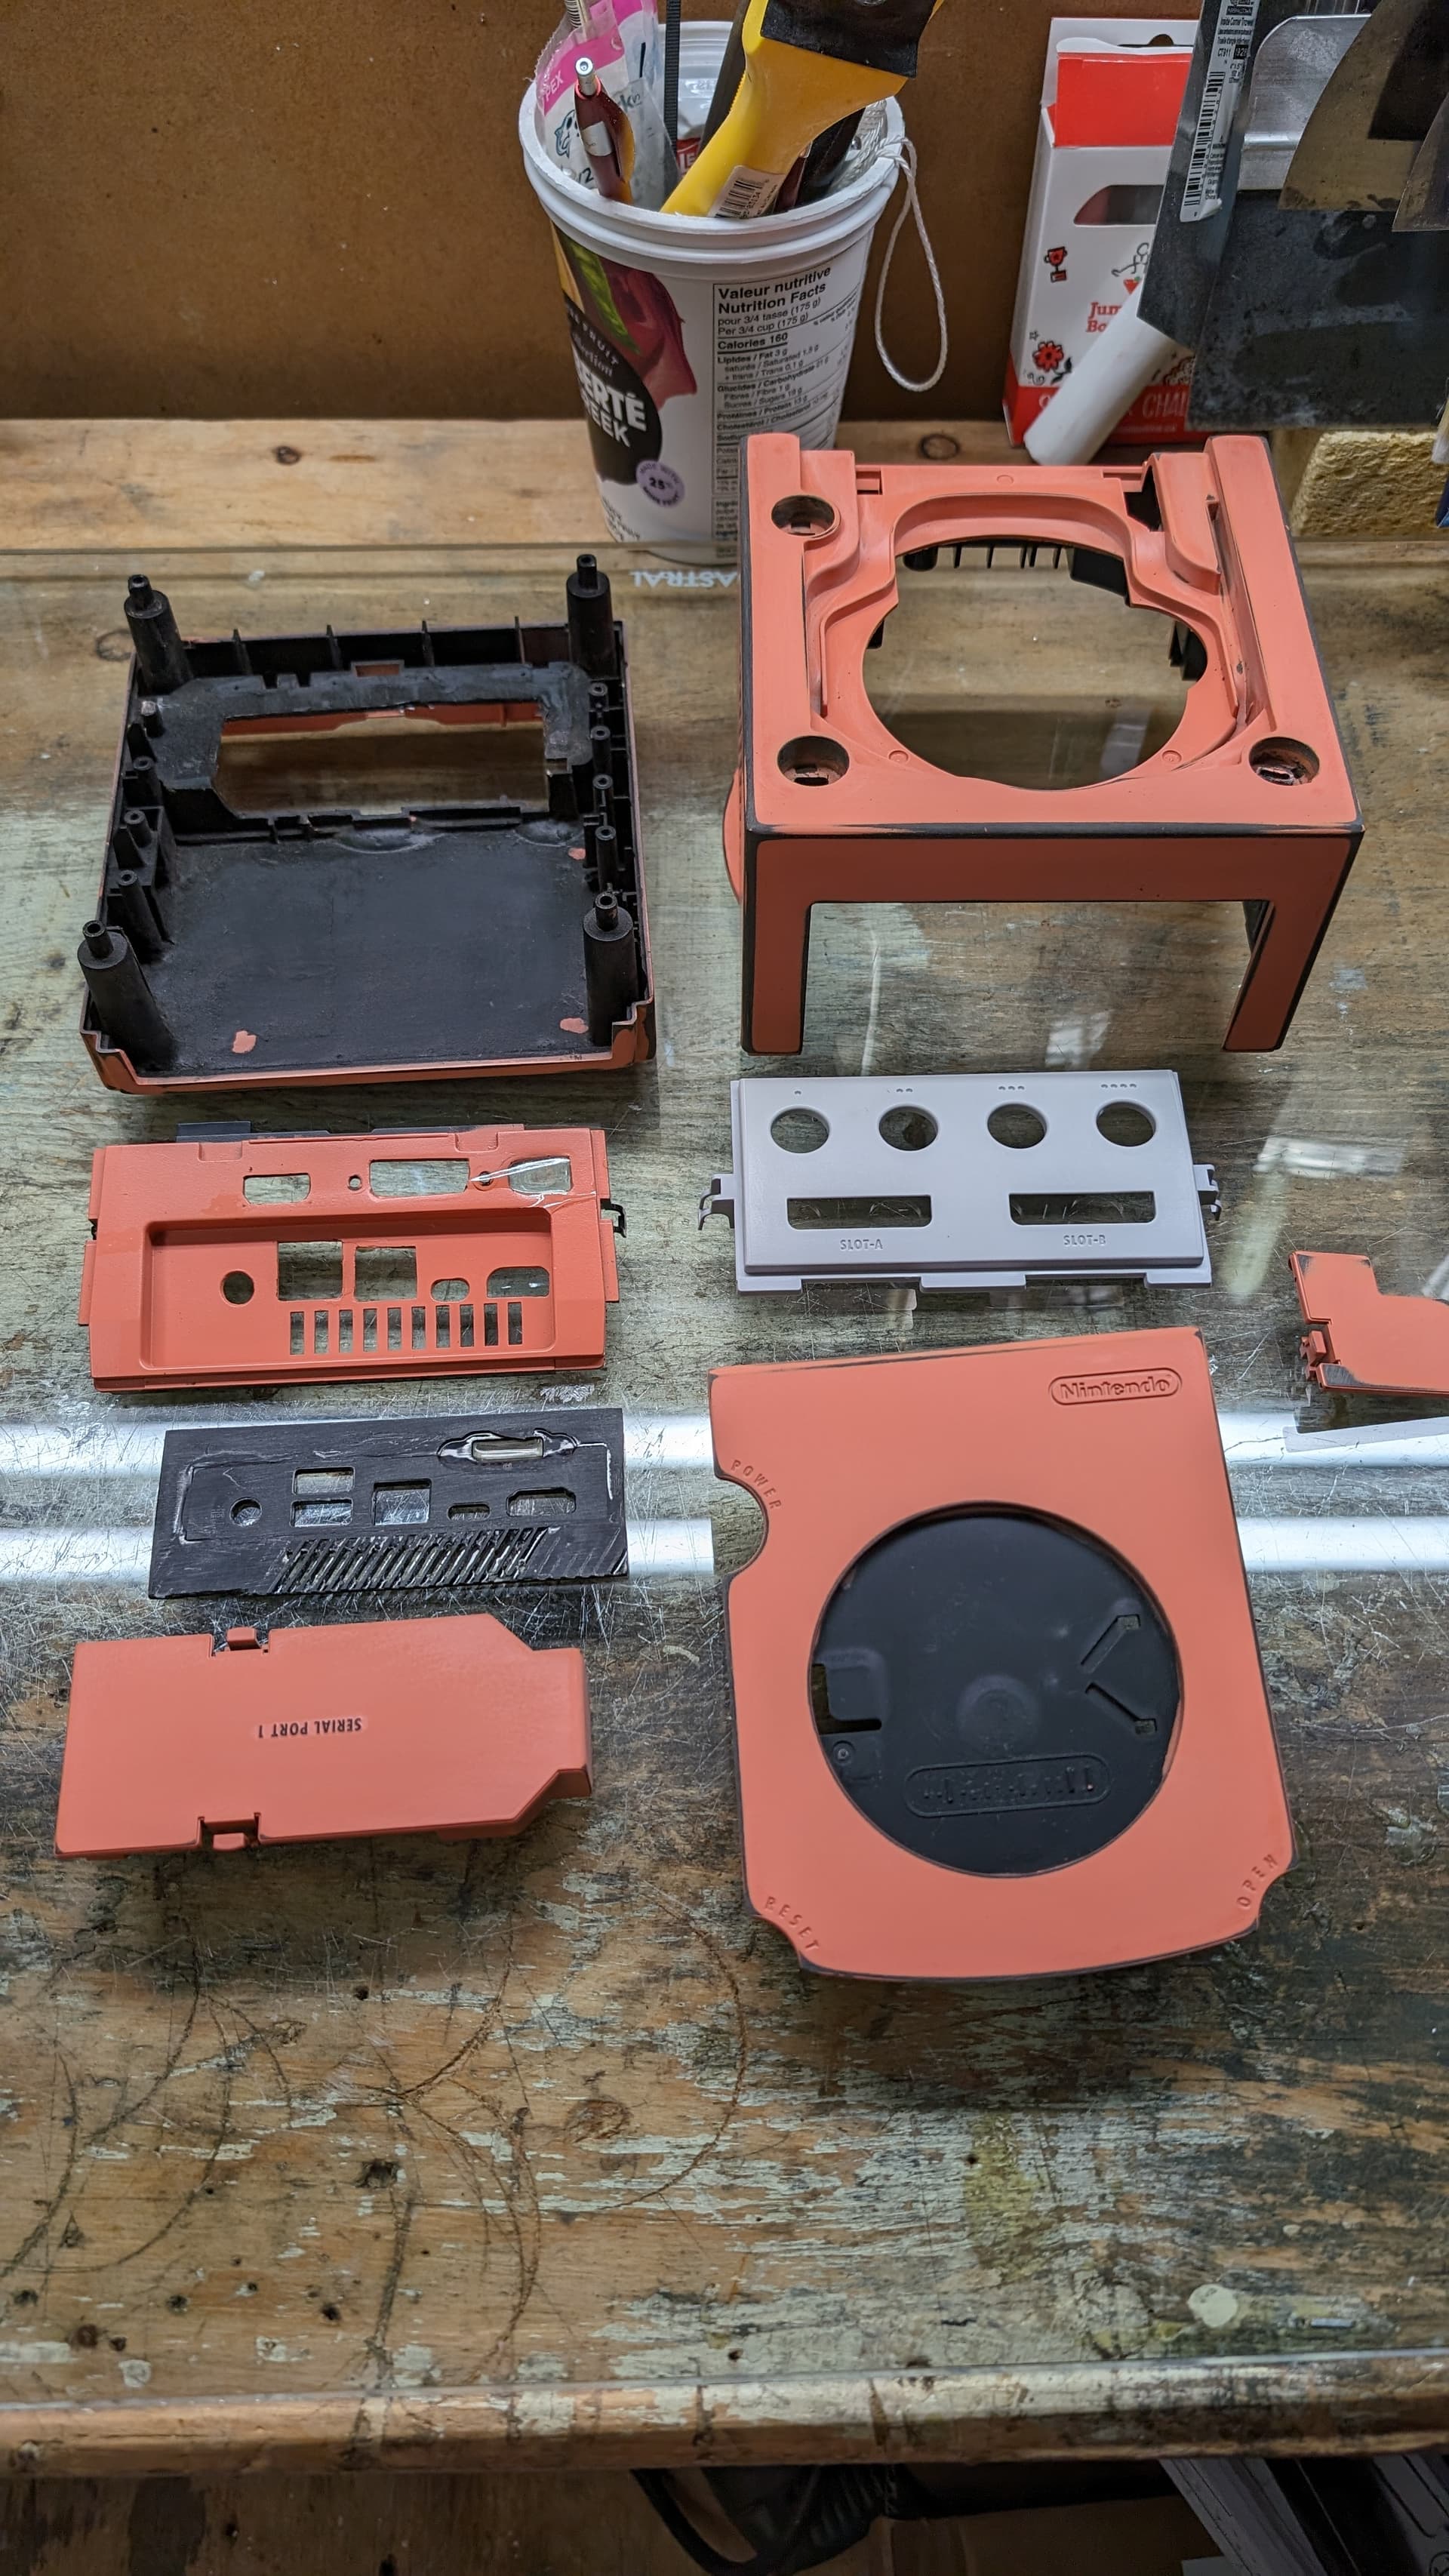
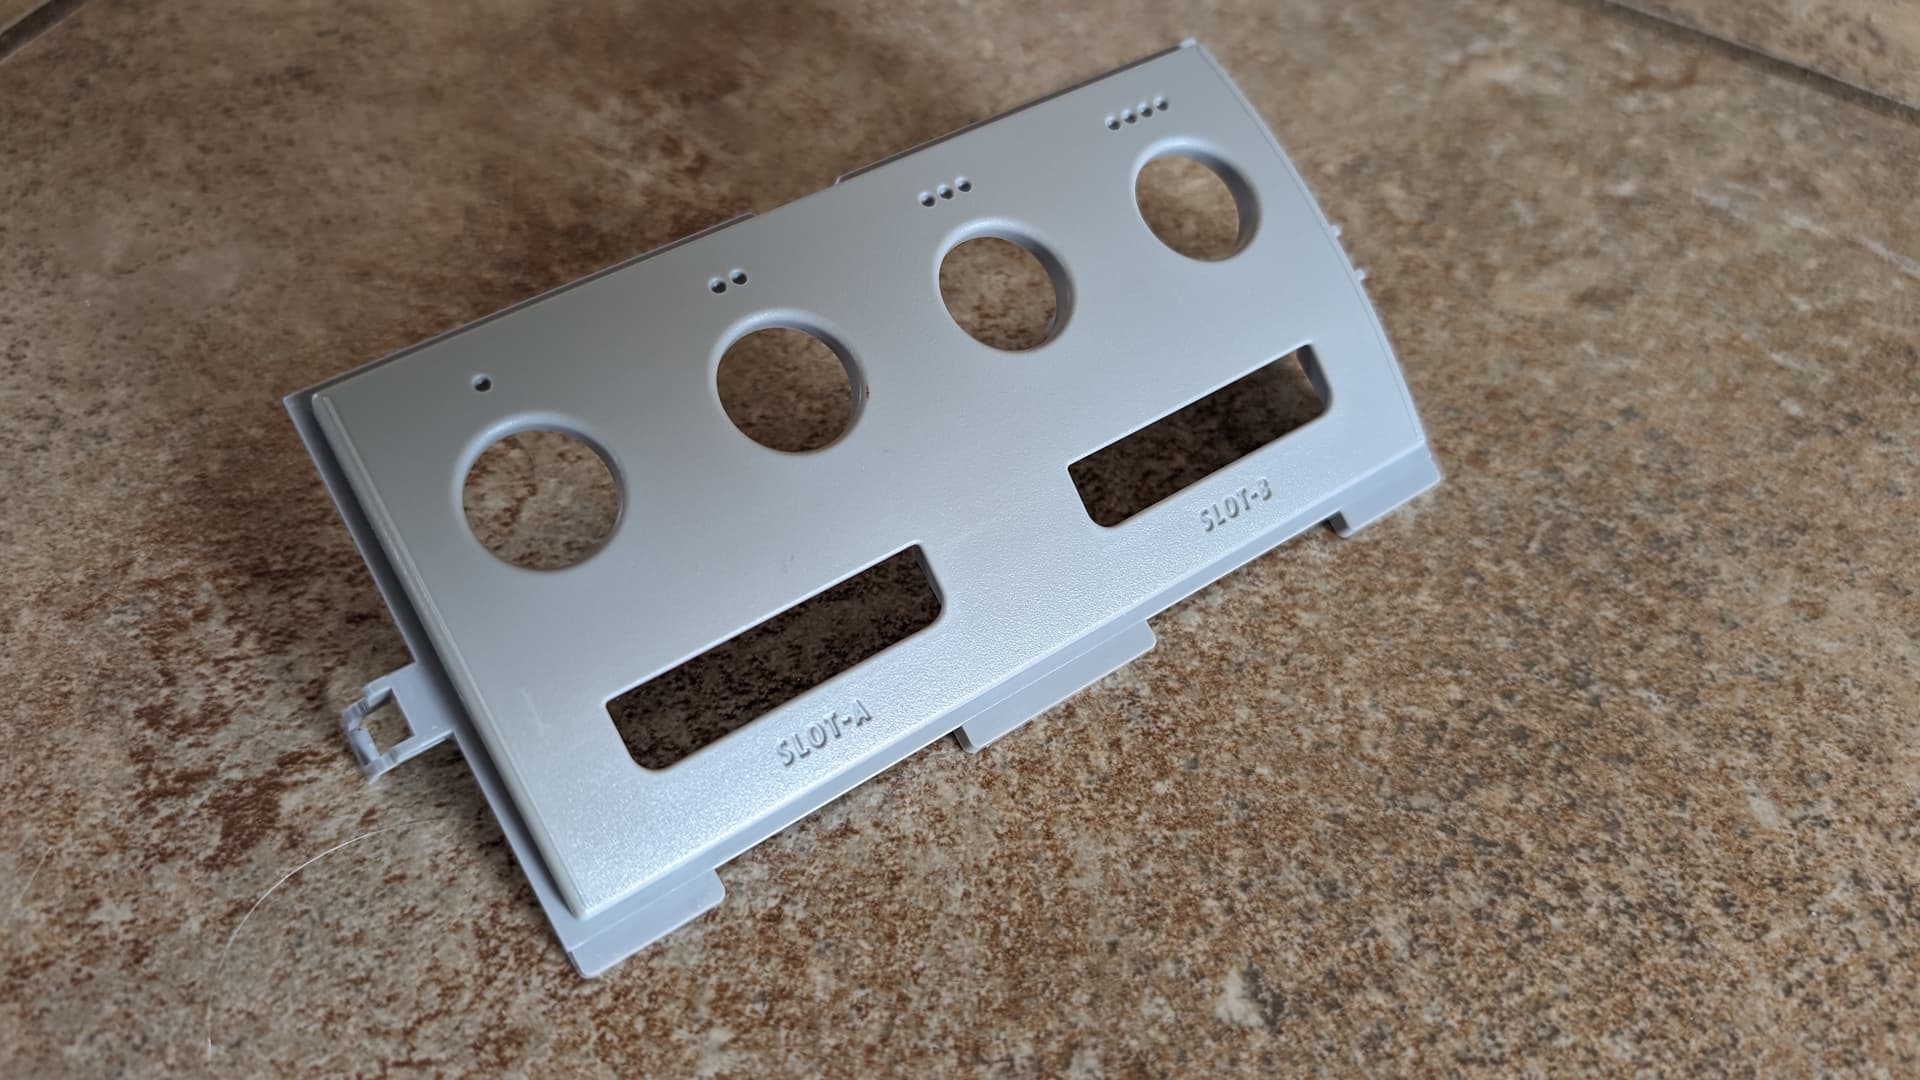
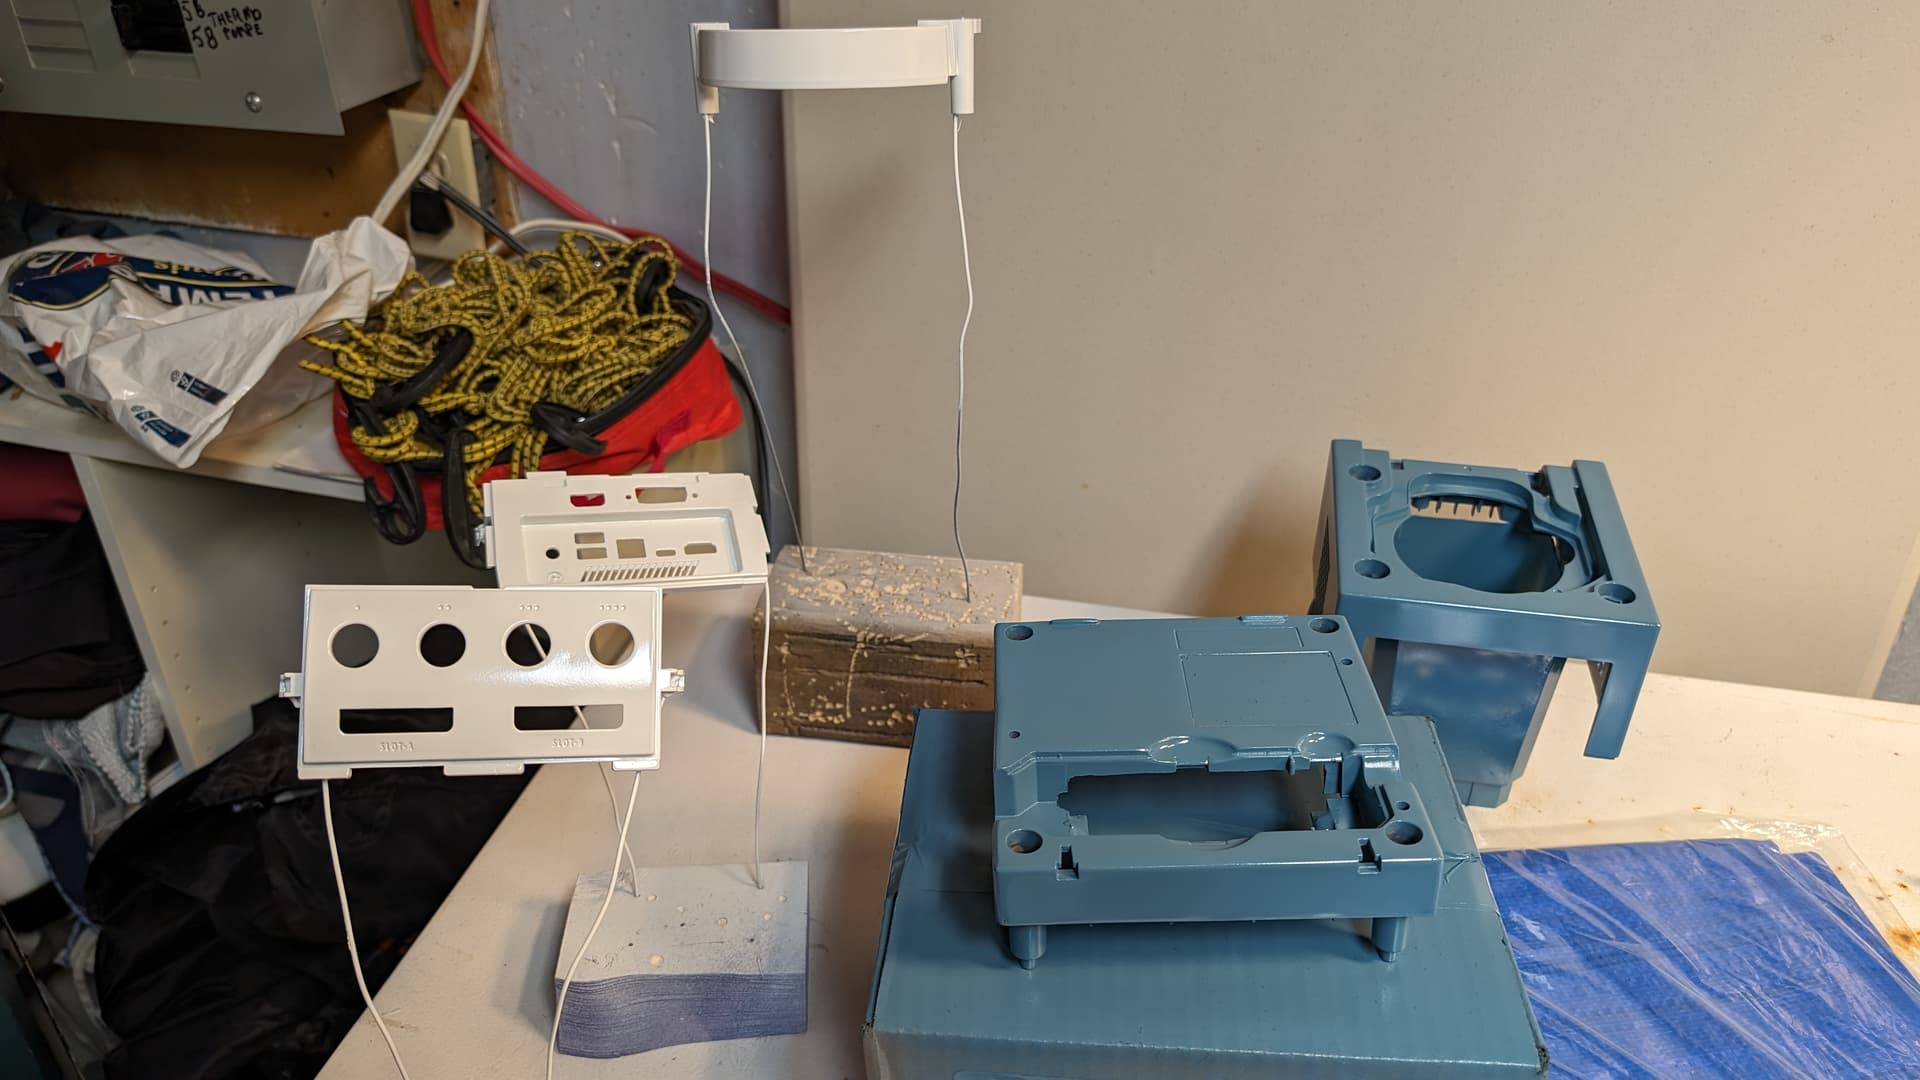
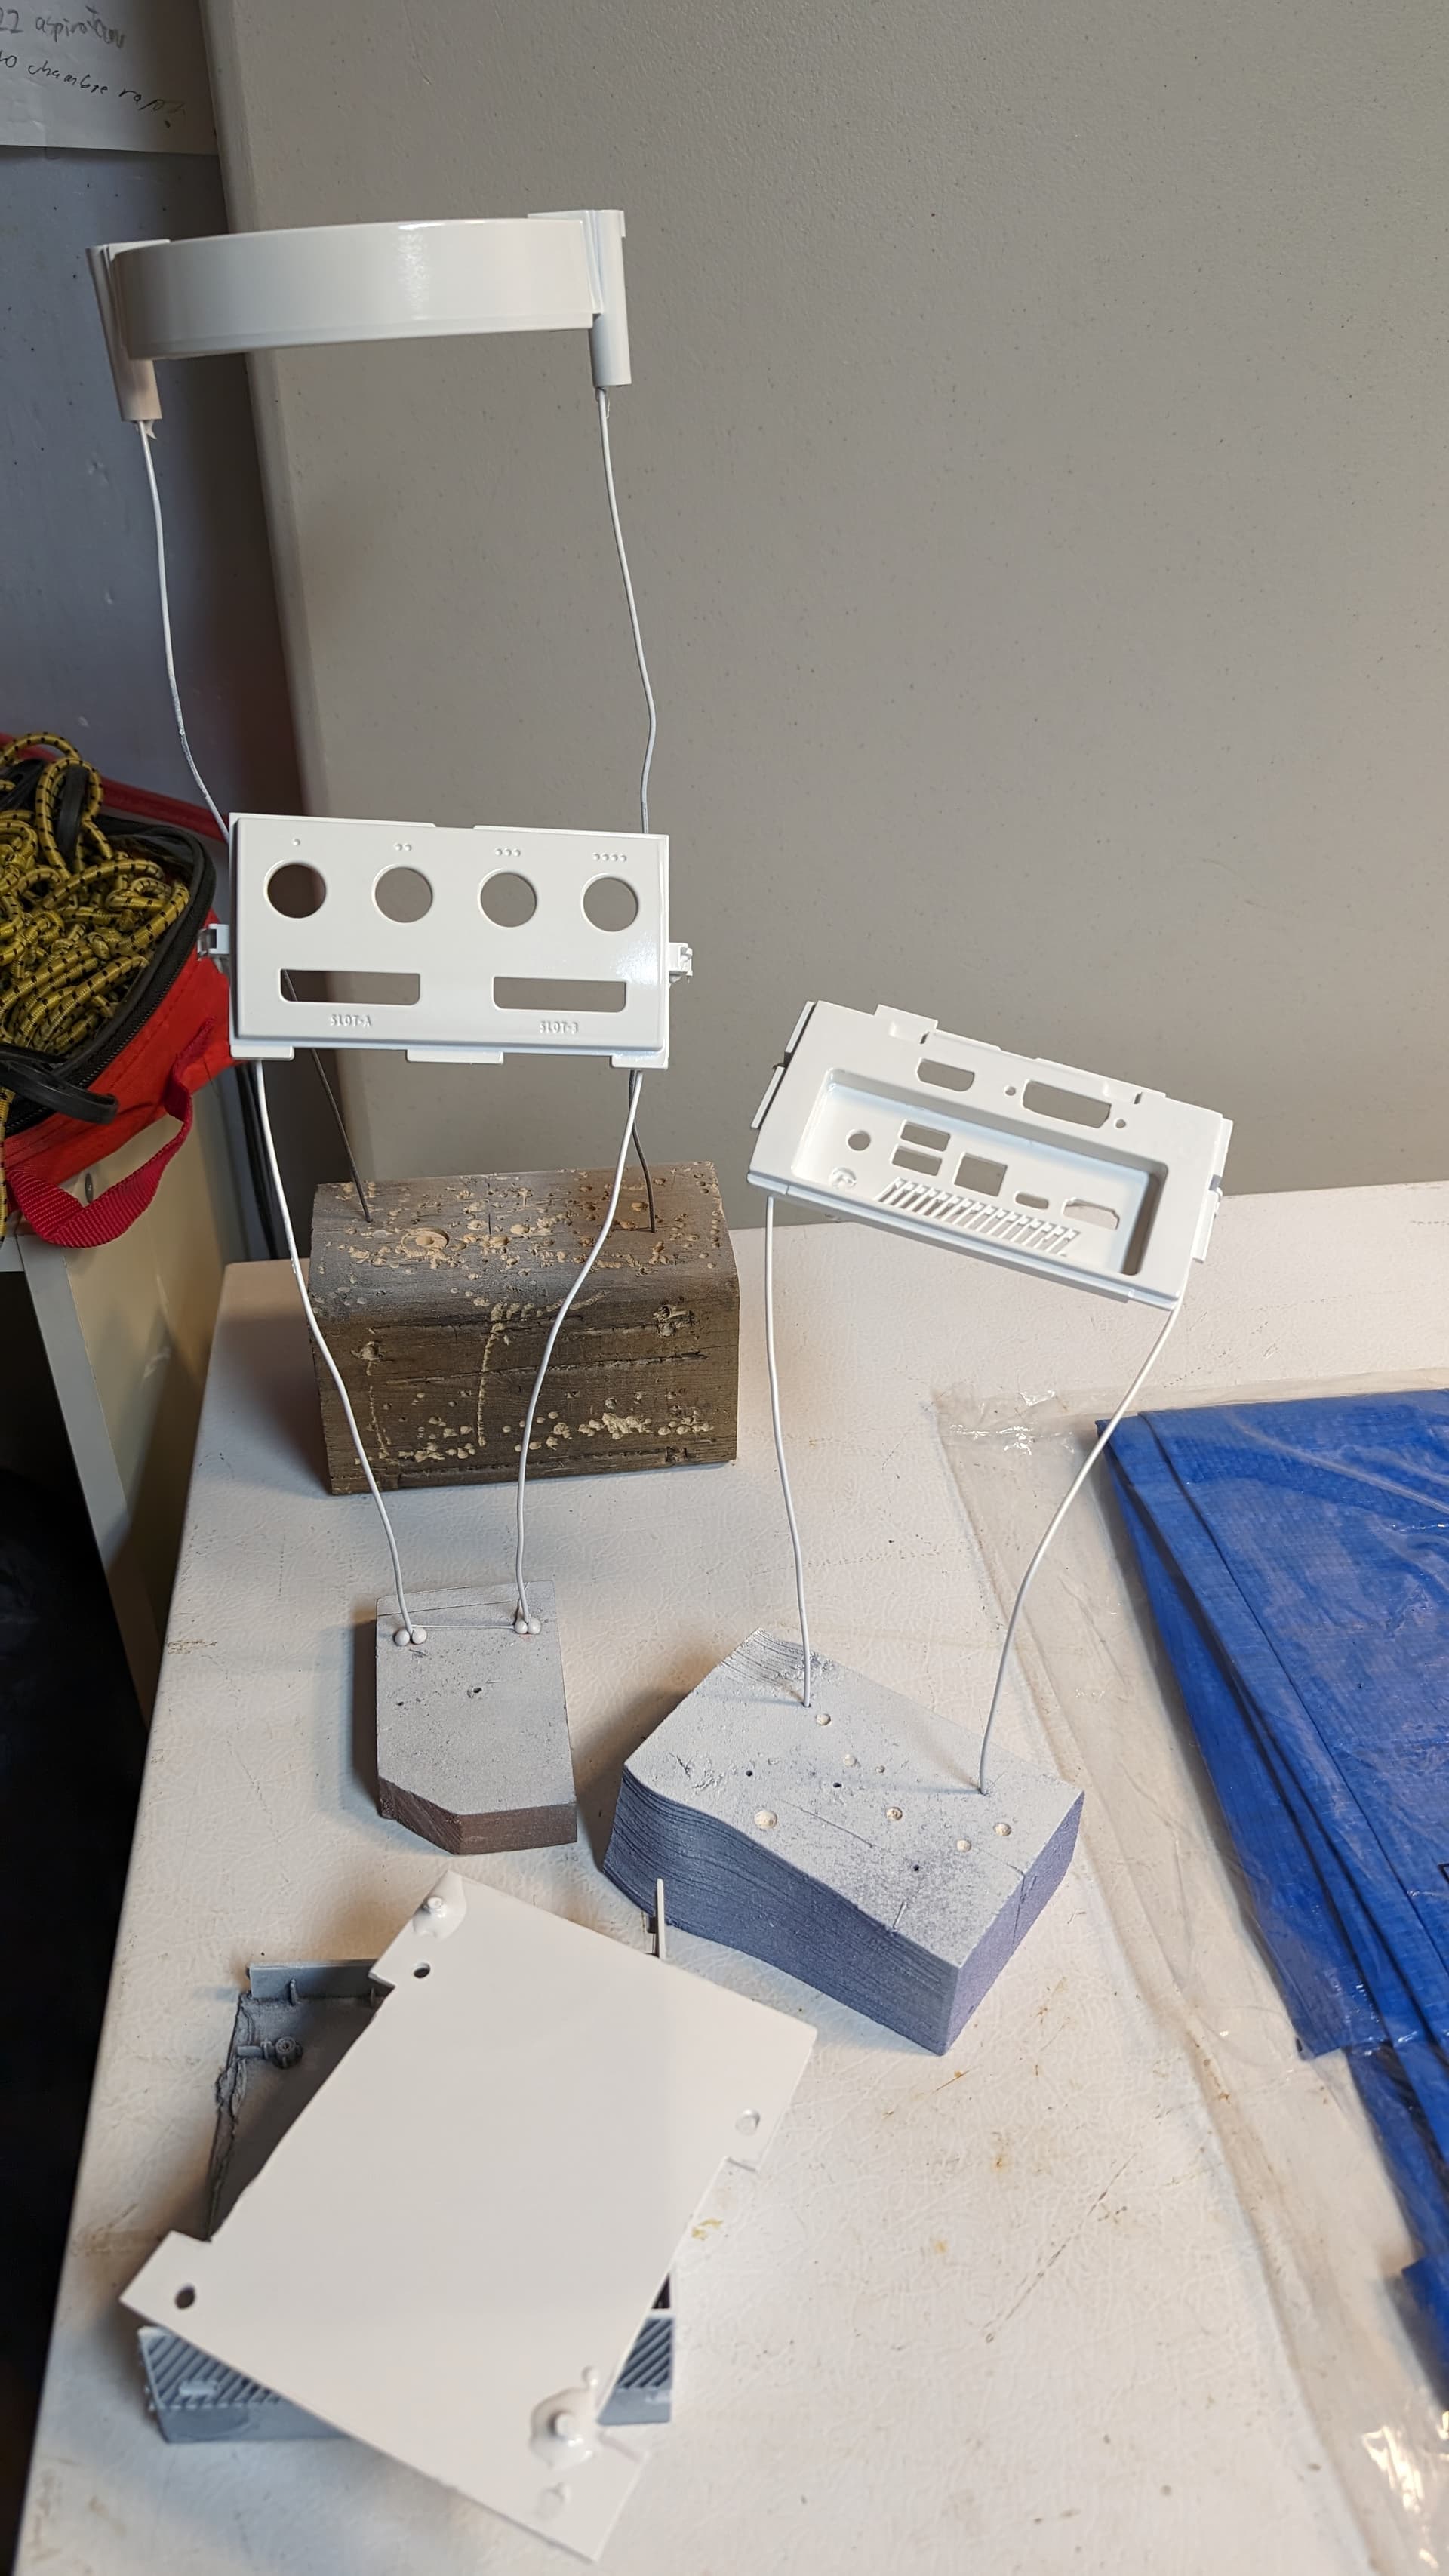
I have some pieces missing, like the memory cover and the eject button that is broken, but there is 3D models of those so I will print them out. This is all the pieces I plan to print for this build:
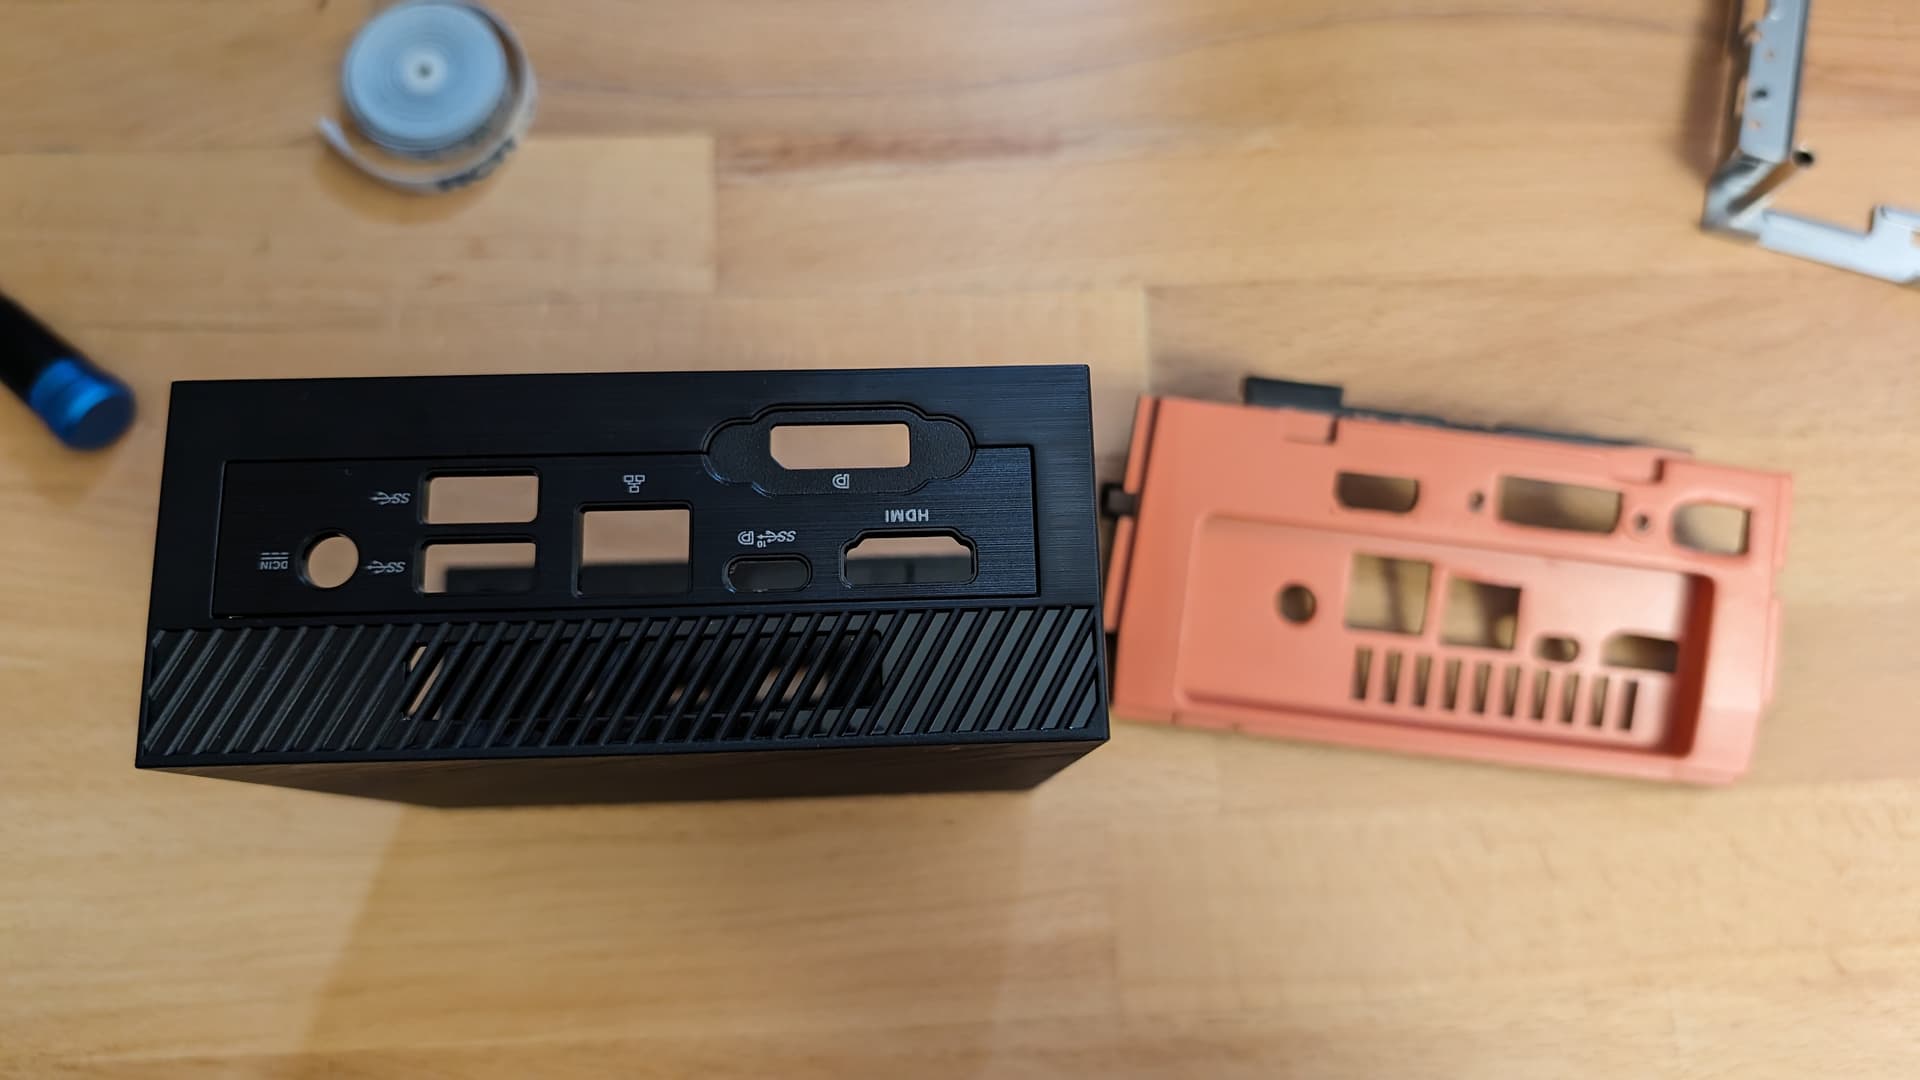
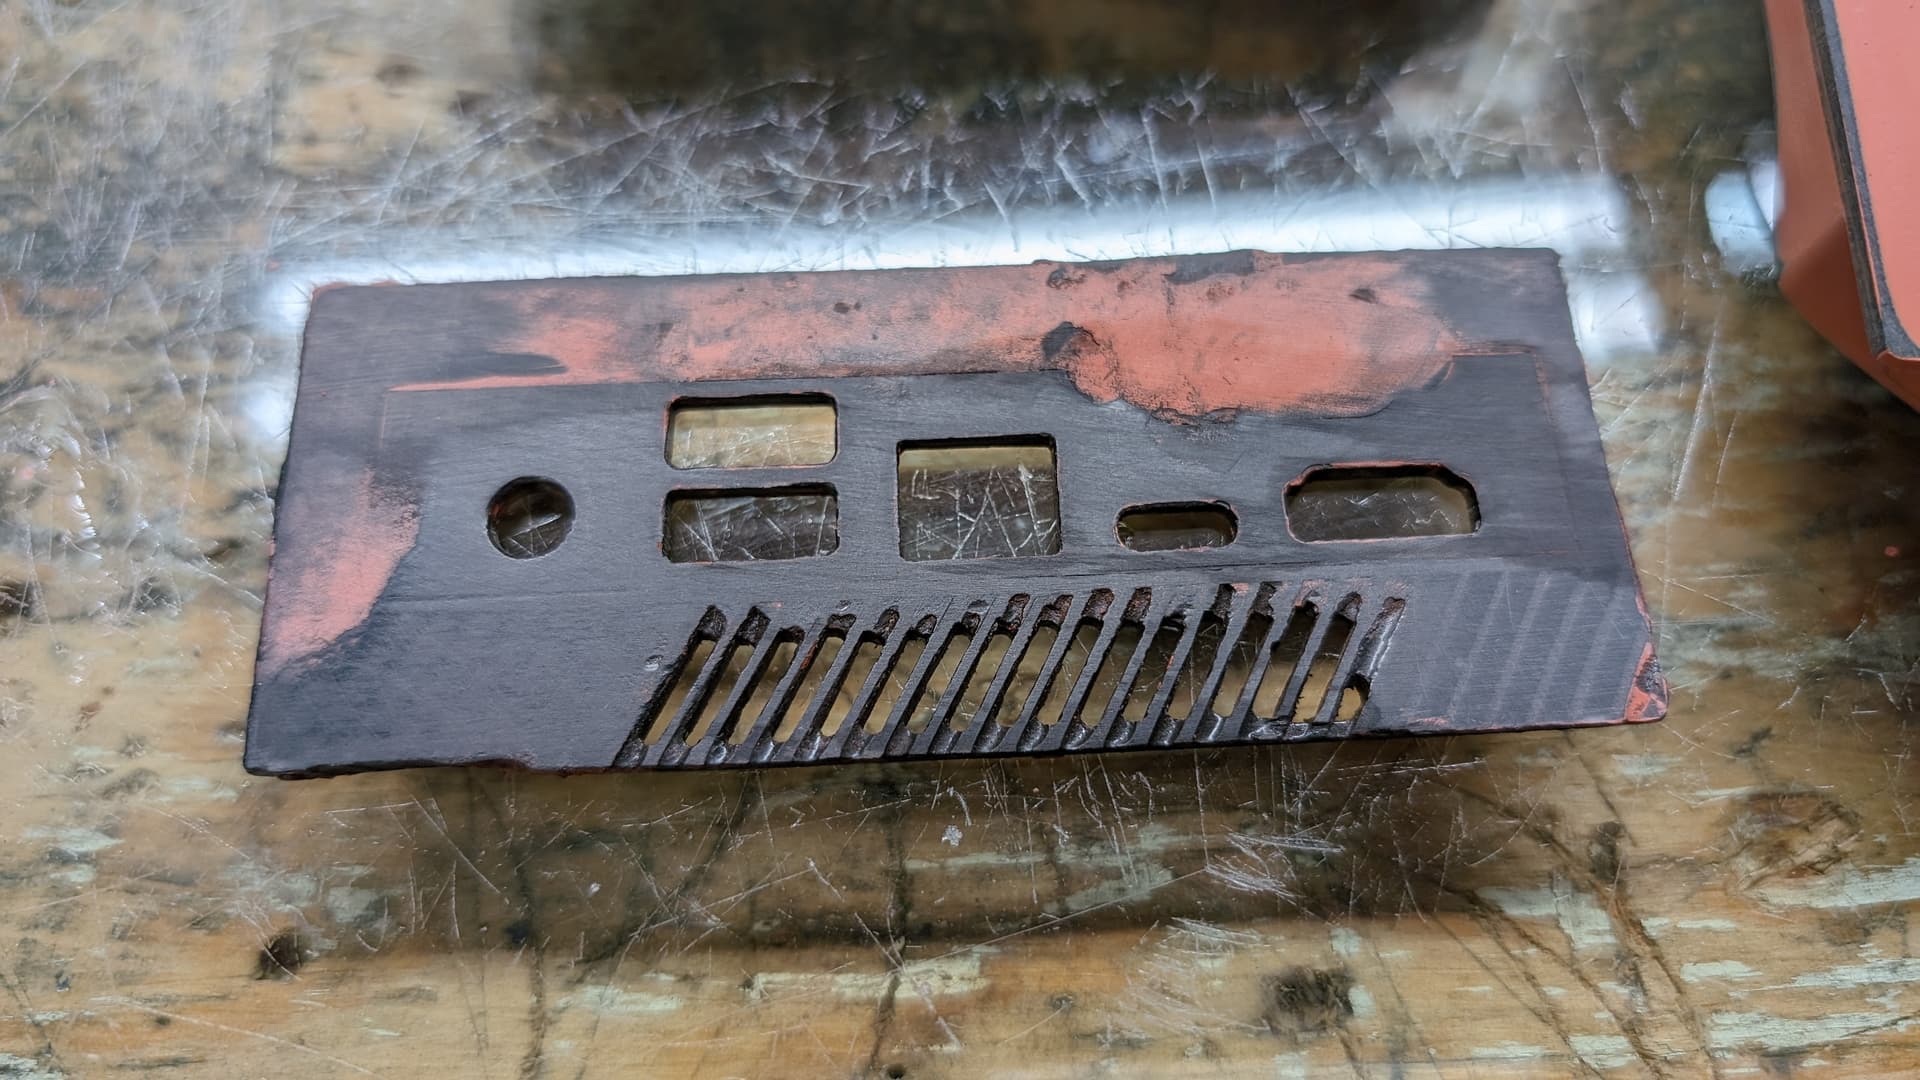
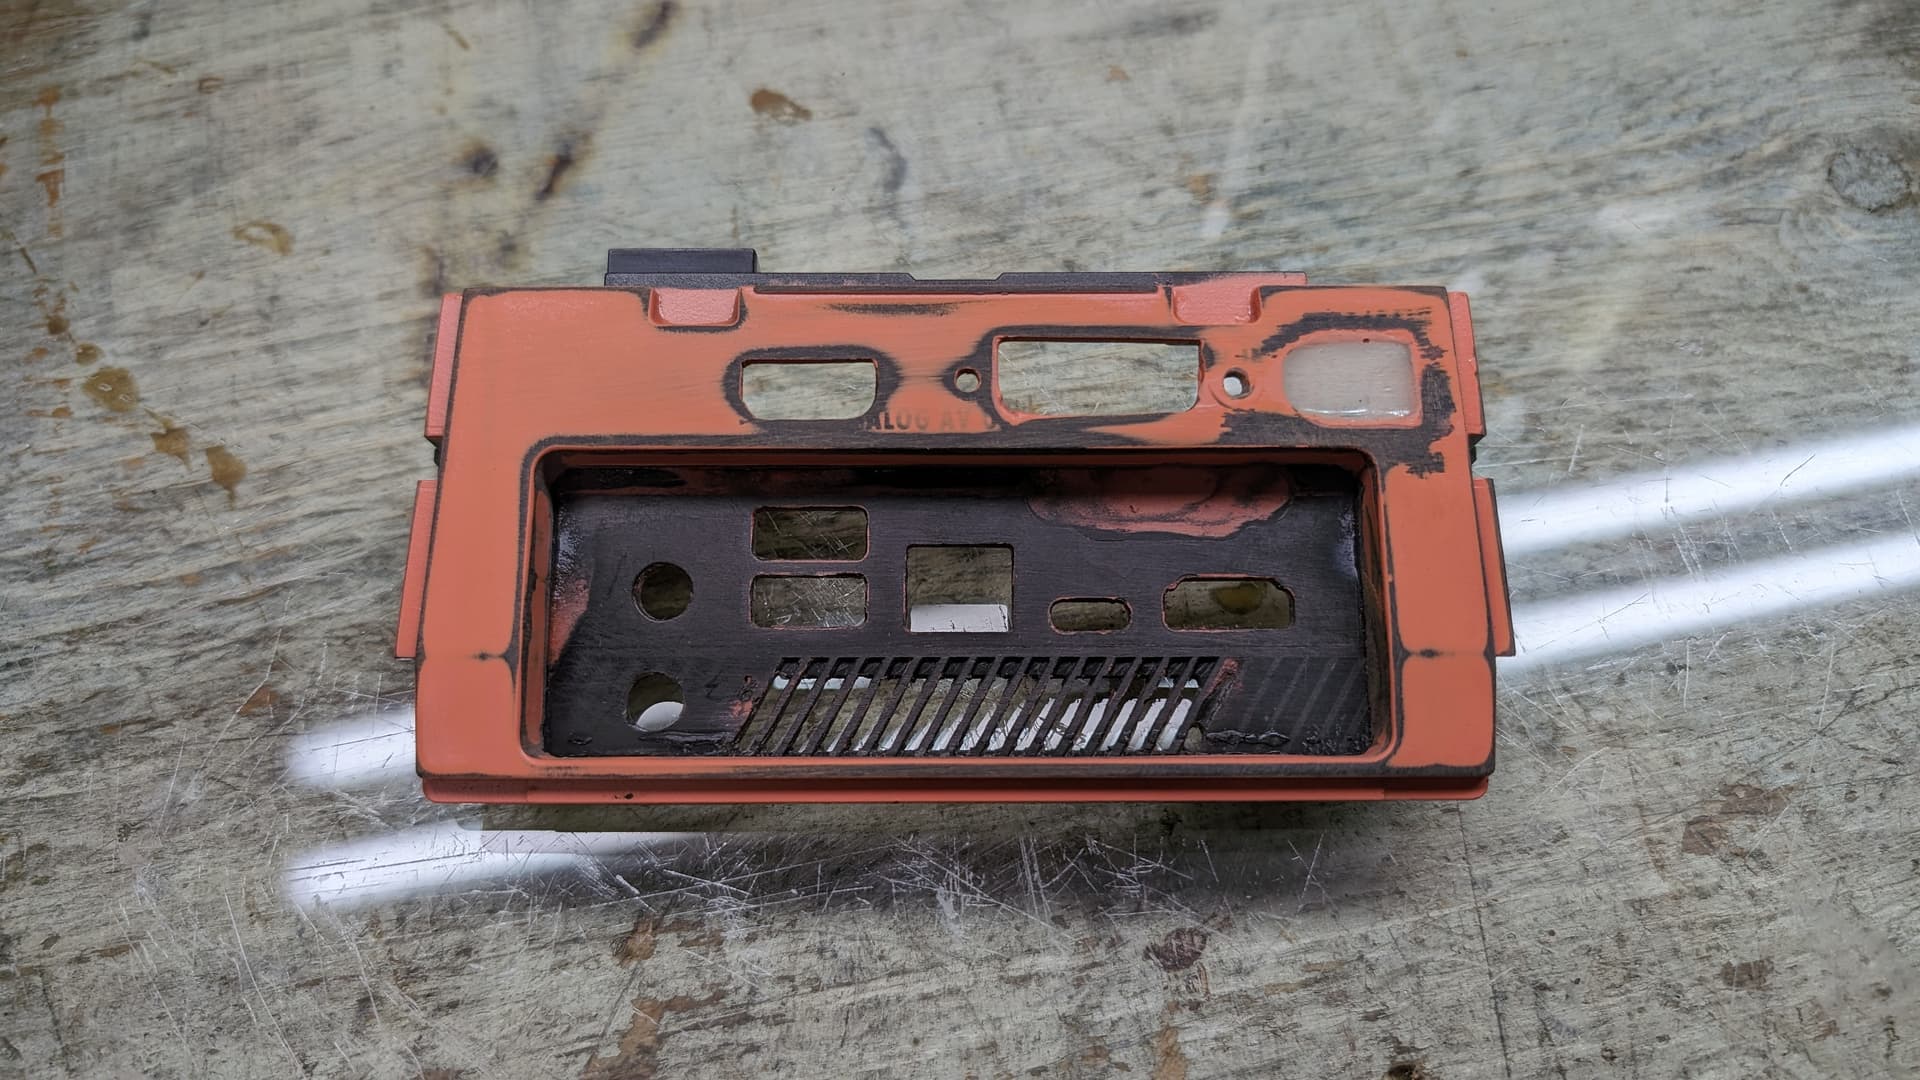
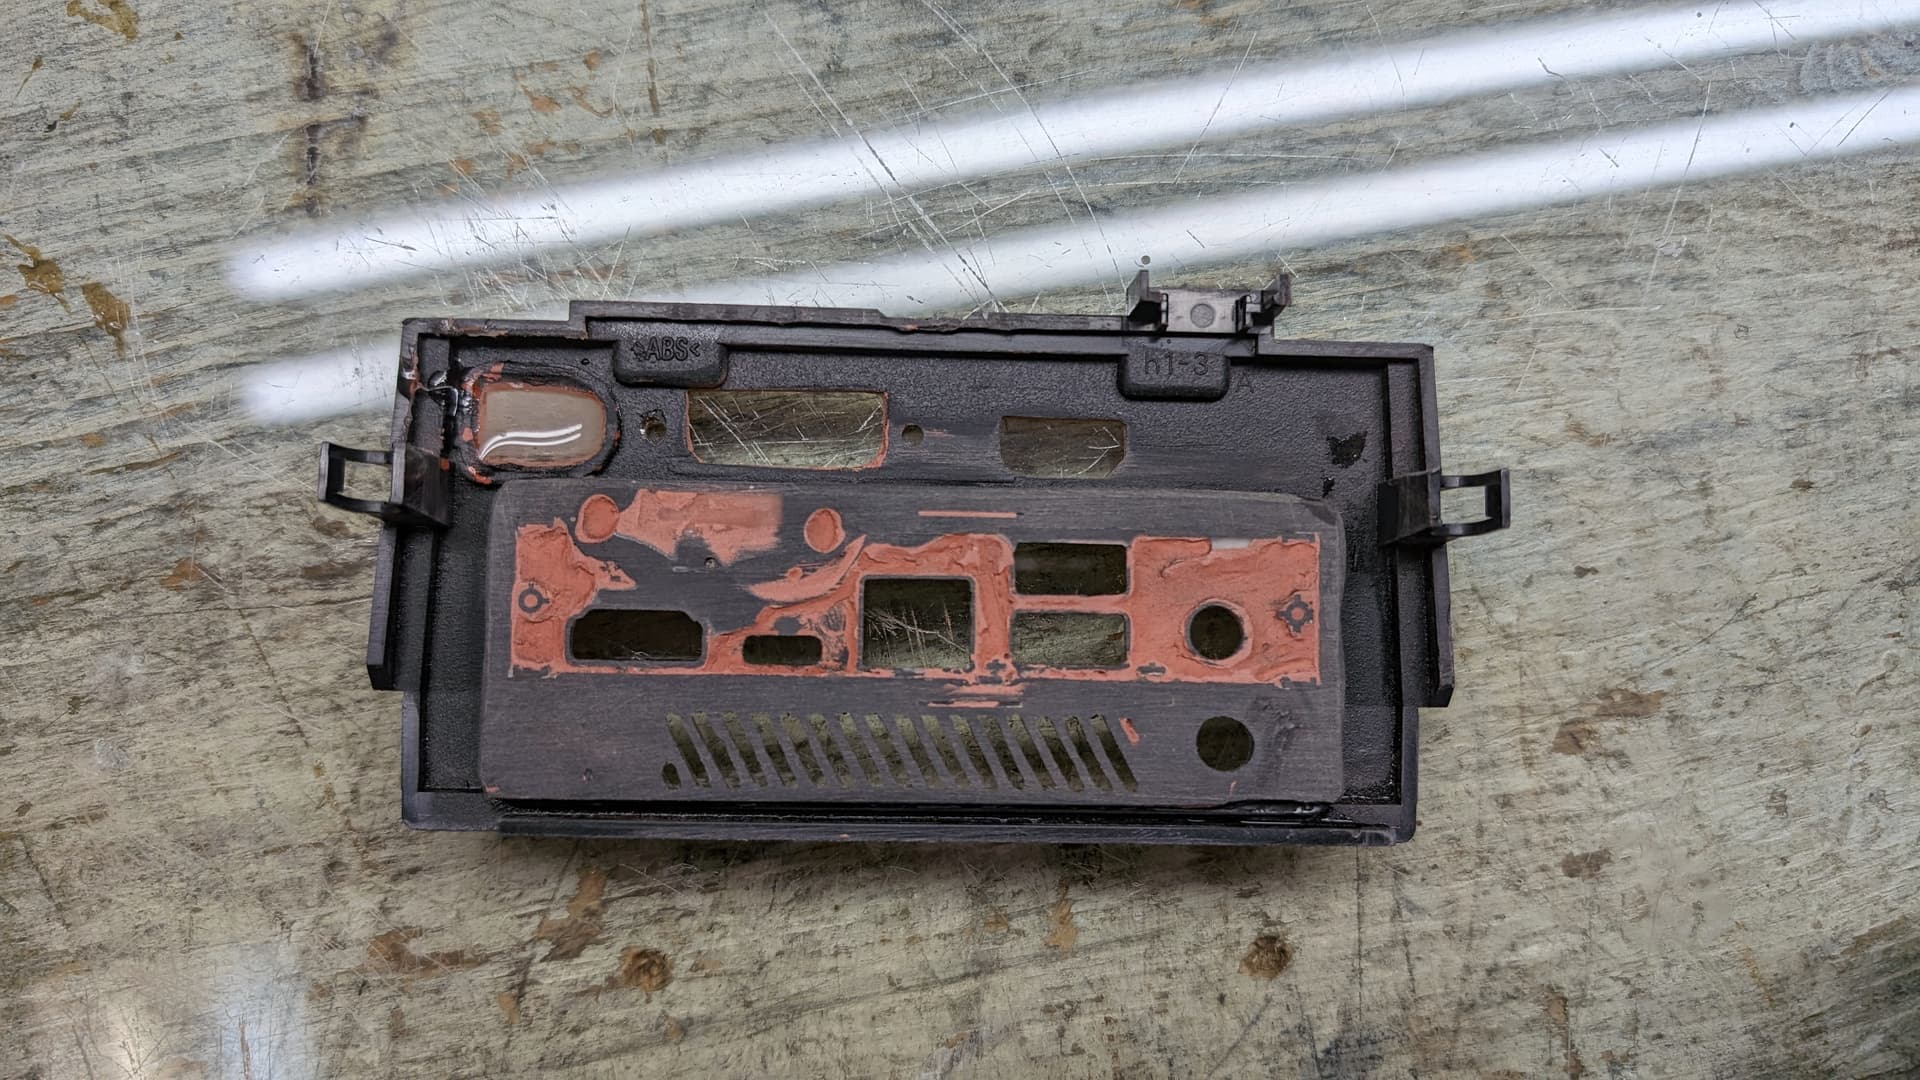
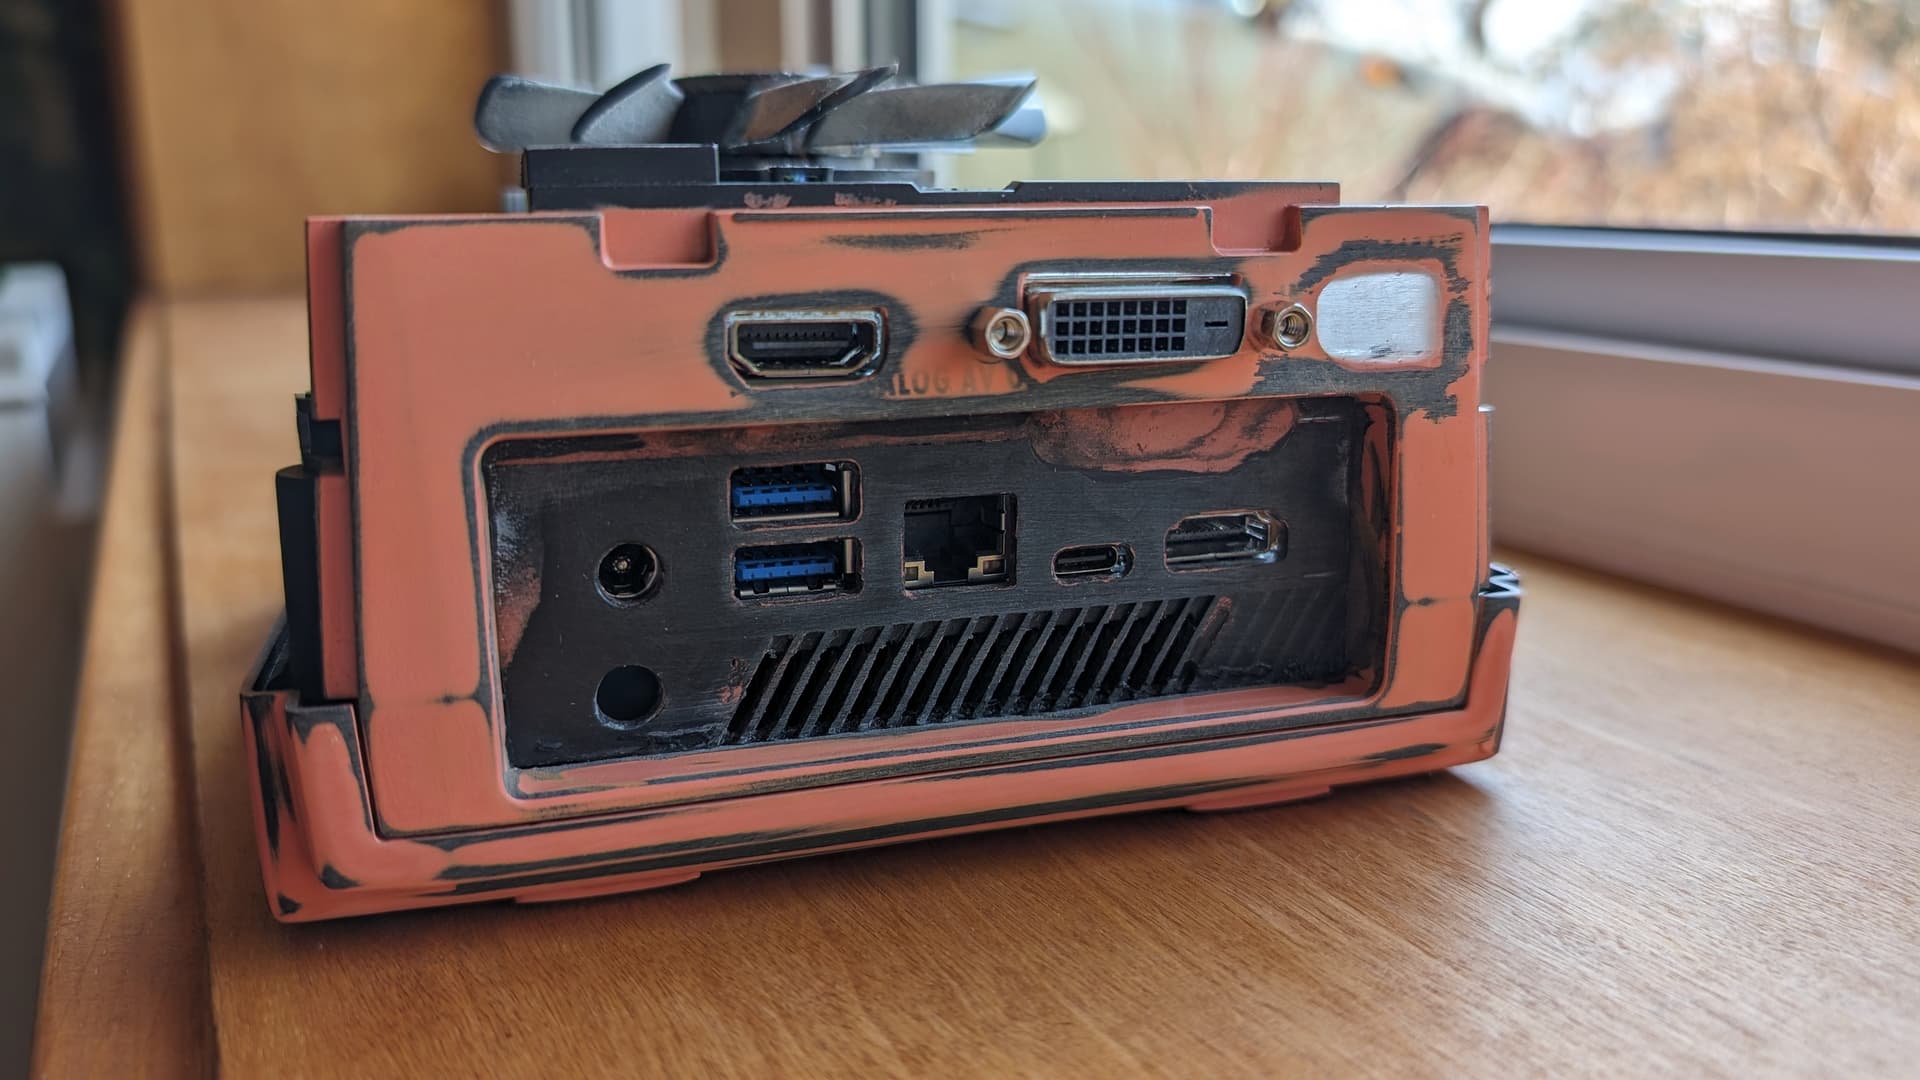
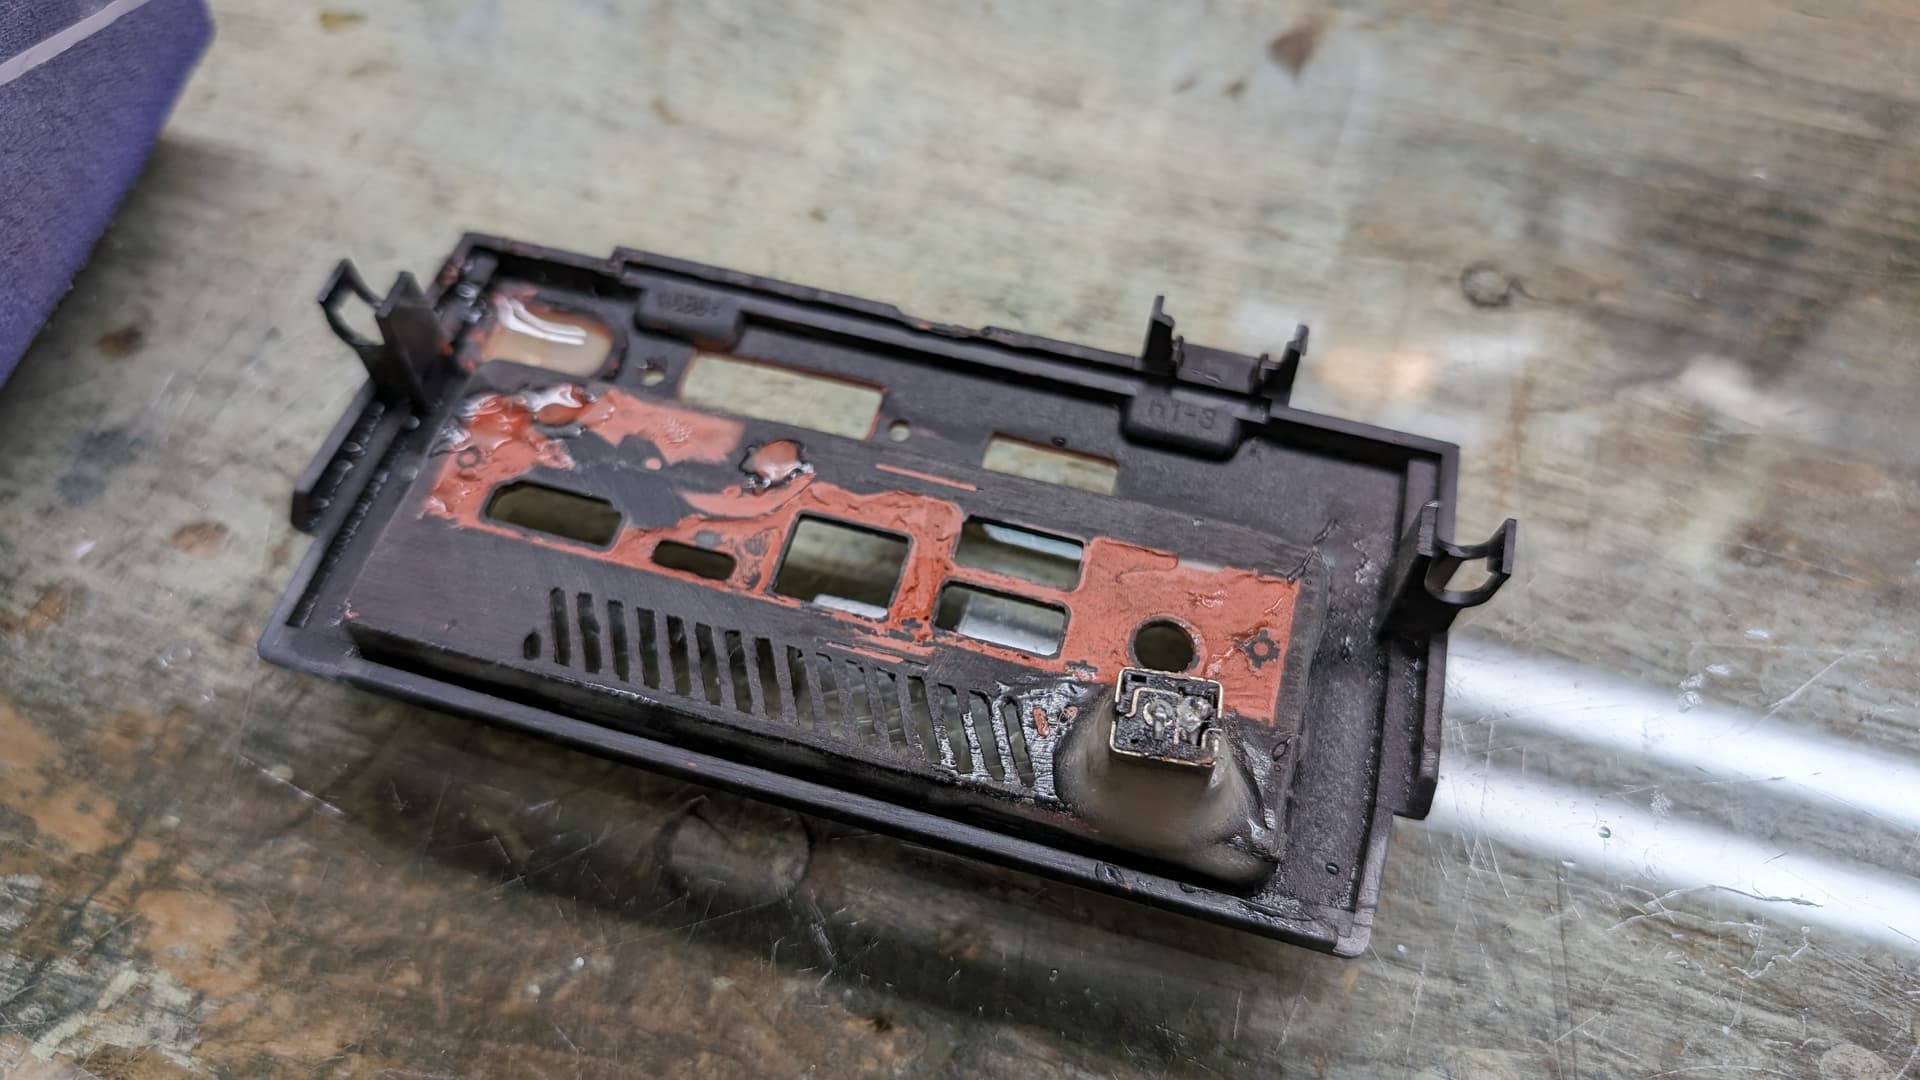
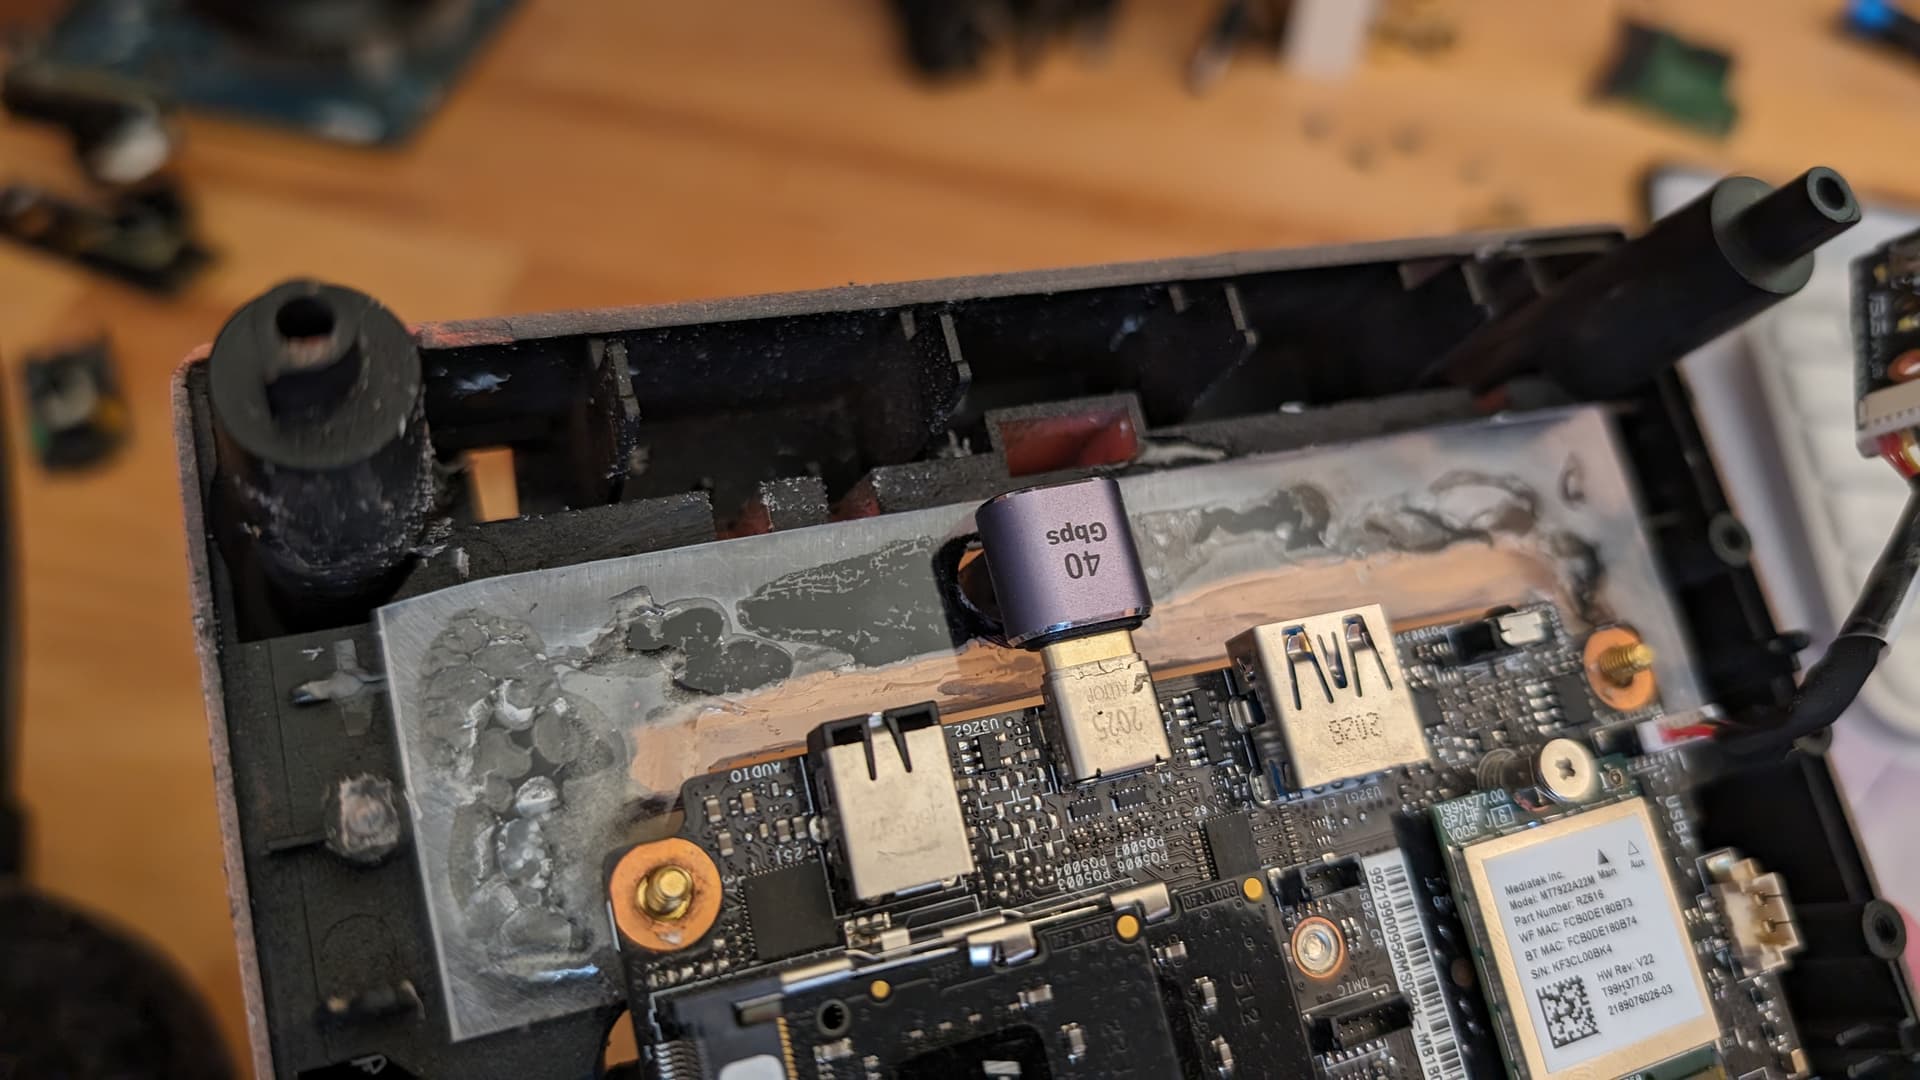
Also, I decided I would redo the back IO so I can recenter it a bit. Even when it would not need to be done, right now you cannot plus an hmdi cable in the PN50 because it enters in conflict with the wall. And as I don’t intend now to sell the PN50 by itself, I’m using its back IO to have something clean. No more need to carve it by myself, now I have already all the right cutout made for me. Did some potty and painting to the piece to make it look flatter. After I will remove the current Gamecube back IO, and just glue that one into place
I just need to determine where I want to put the power plug for the GPU. I’m hesitating between the original power plus location, and below the PN50, but I think I will do the latter as I intend anyway to have the 19 to 12V converter on the floor below the mobo.
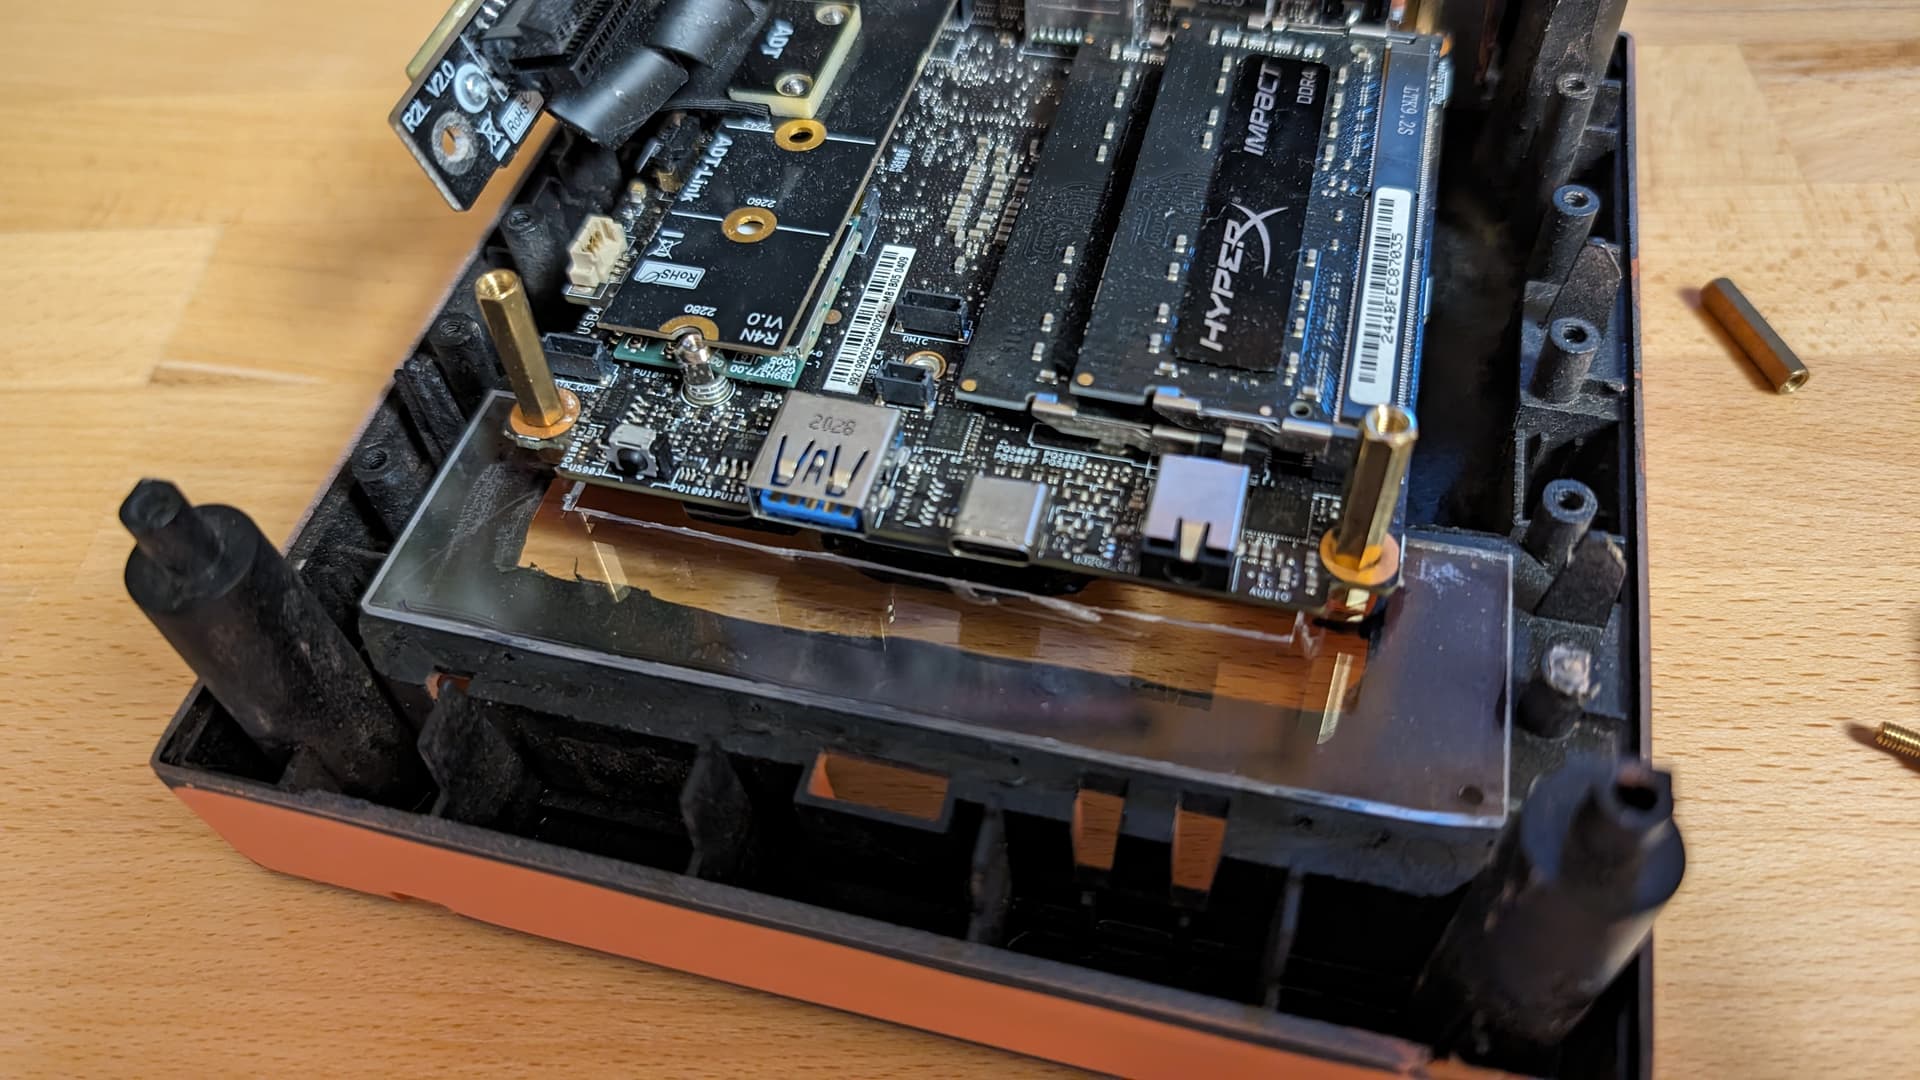
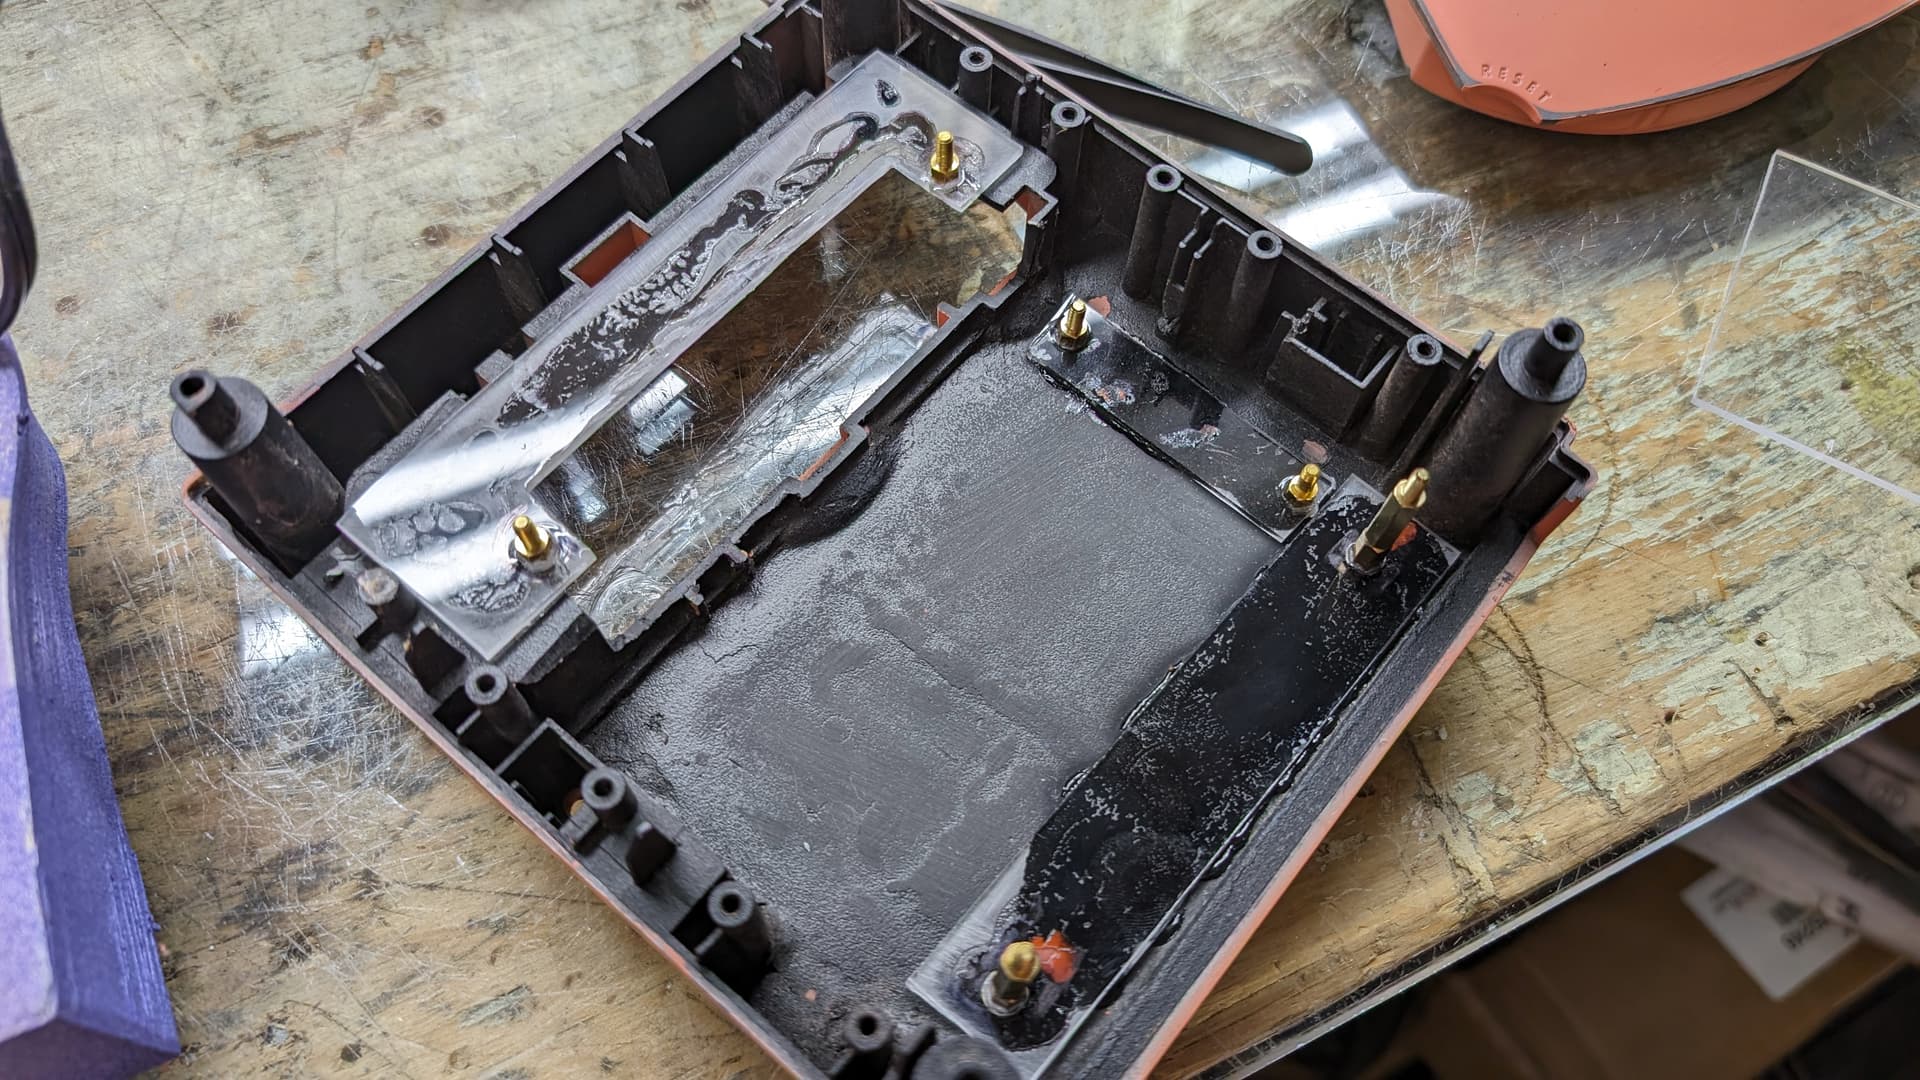
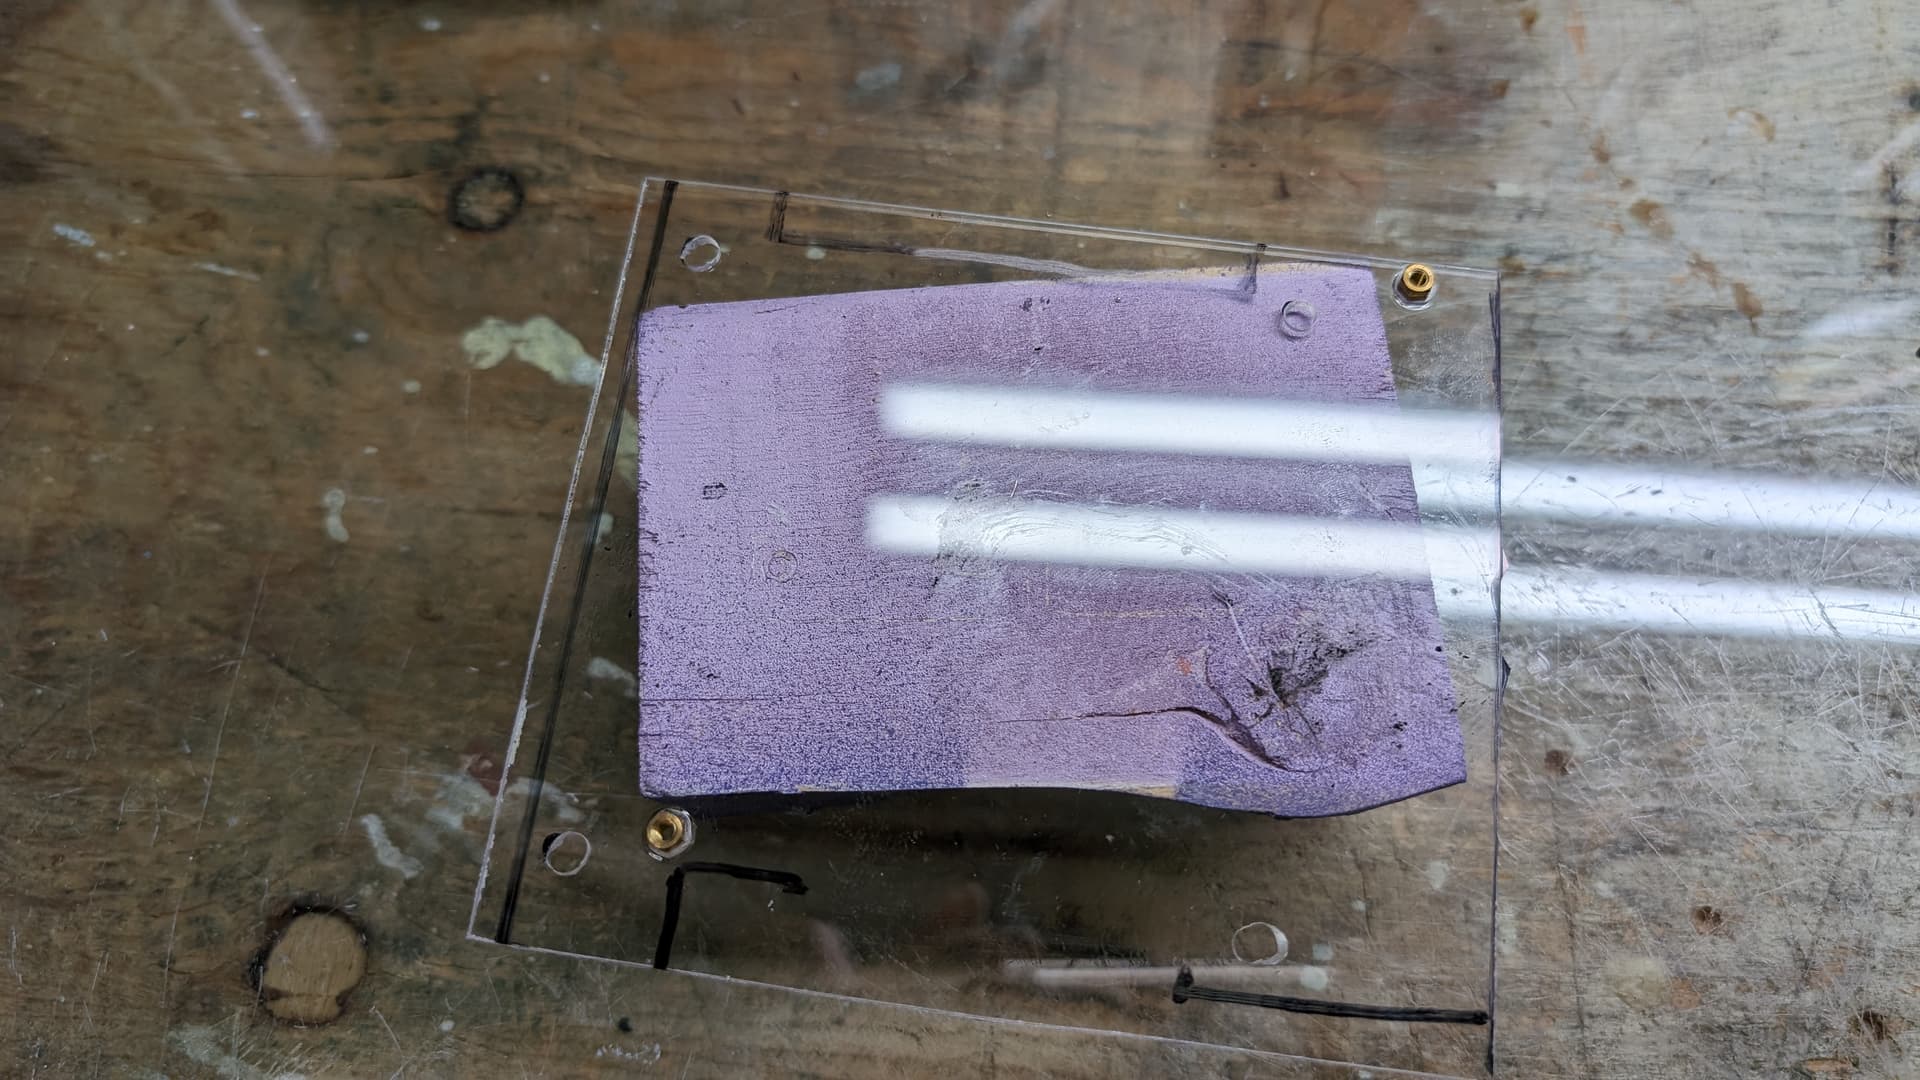
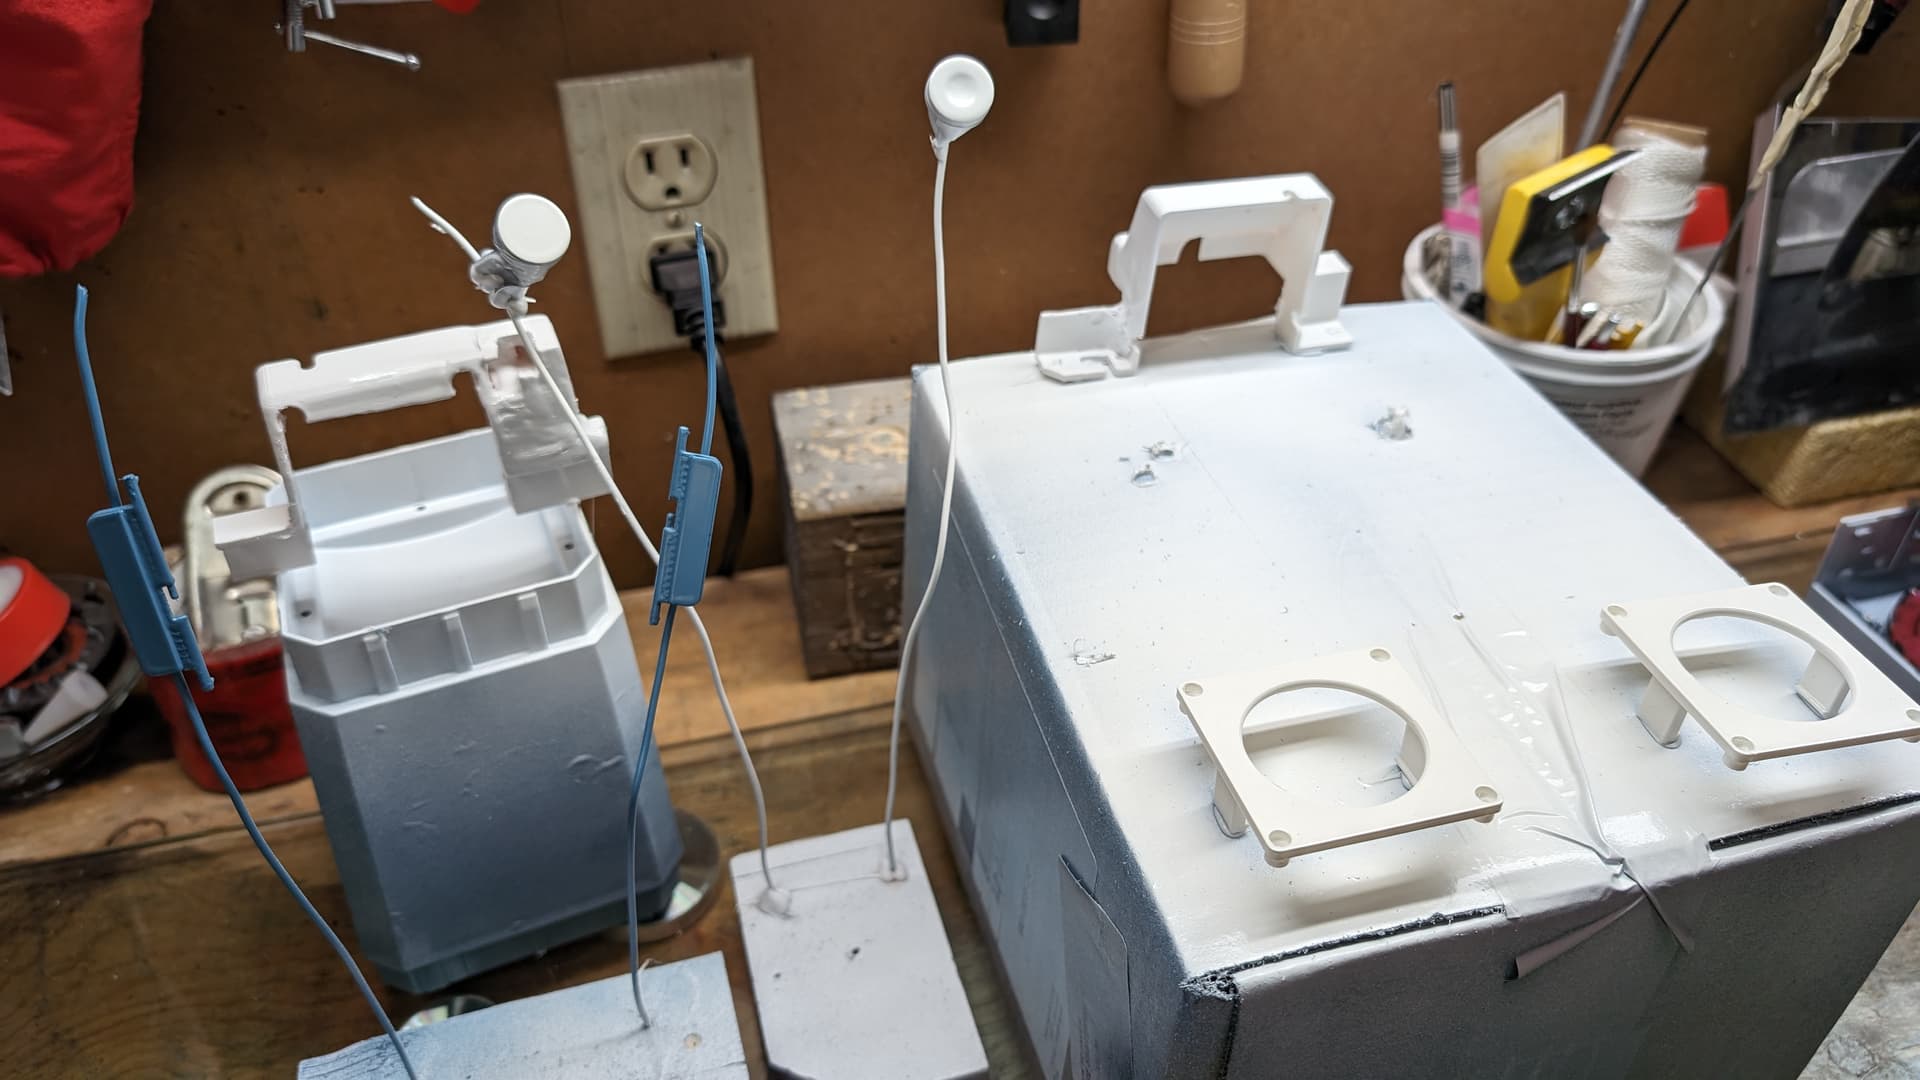
And I had a new idea for the build: all the supports that are on the floor of the Gamecube will be heat pressed in acrylic pressed. This way I hope everything is more solid, with more surface contact for the glue, and more material around the standoff (will add some epoxy glue later). There is just the standoffs in the front I need to lower so the mobo is leveled, but aside of that everything is well aligned.
I opted in to have the mobo centered this time around, as there is enough space beneath it to fit the 19 to 12v converter. And I will drill an hole for its power jack underneath the one of the mobo. It makes sense for the wire runs to have them as simple as it can get.
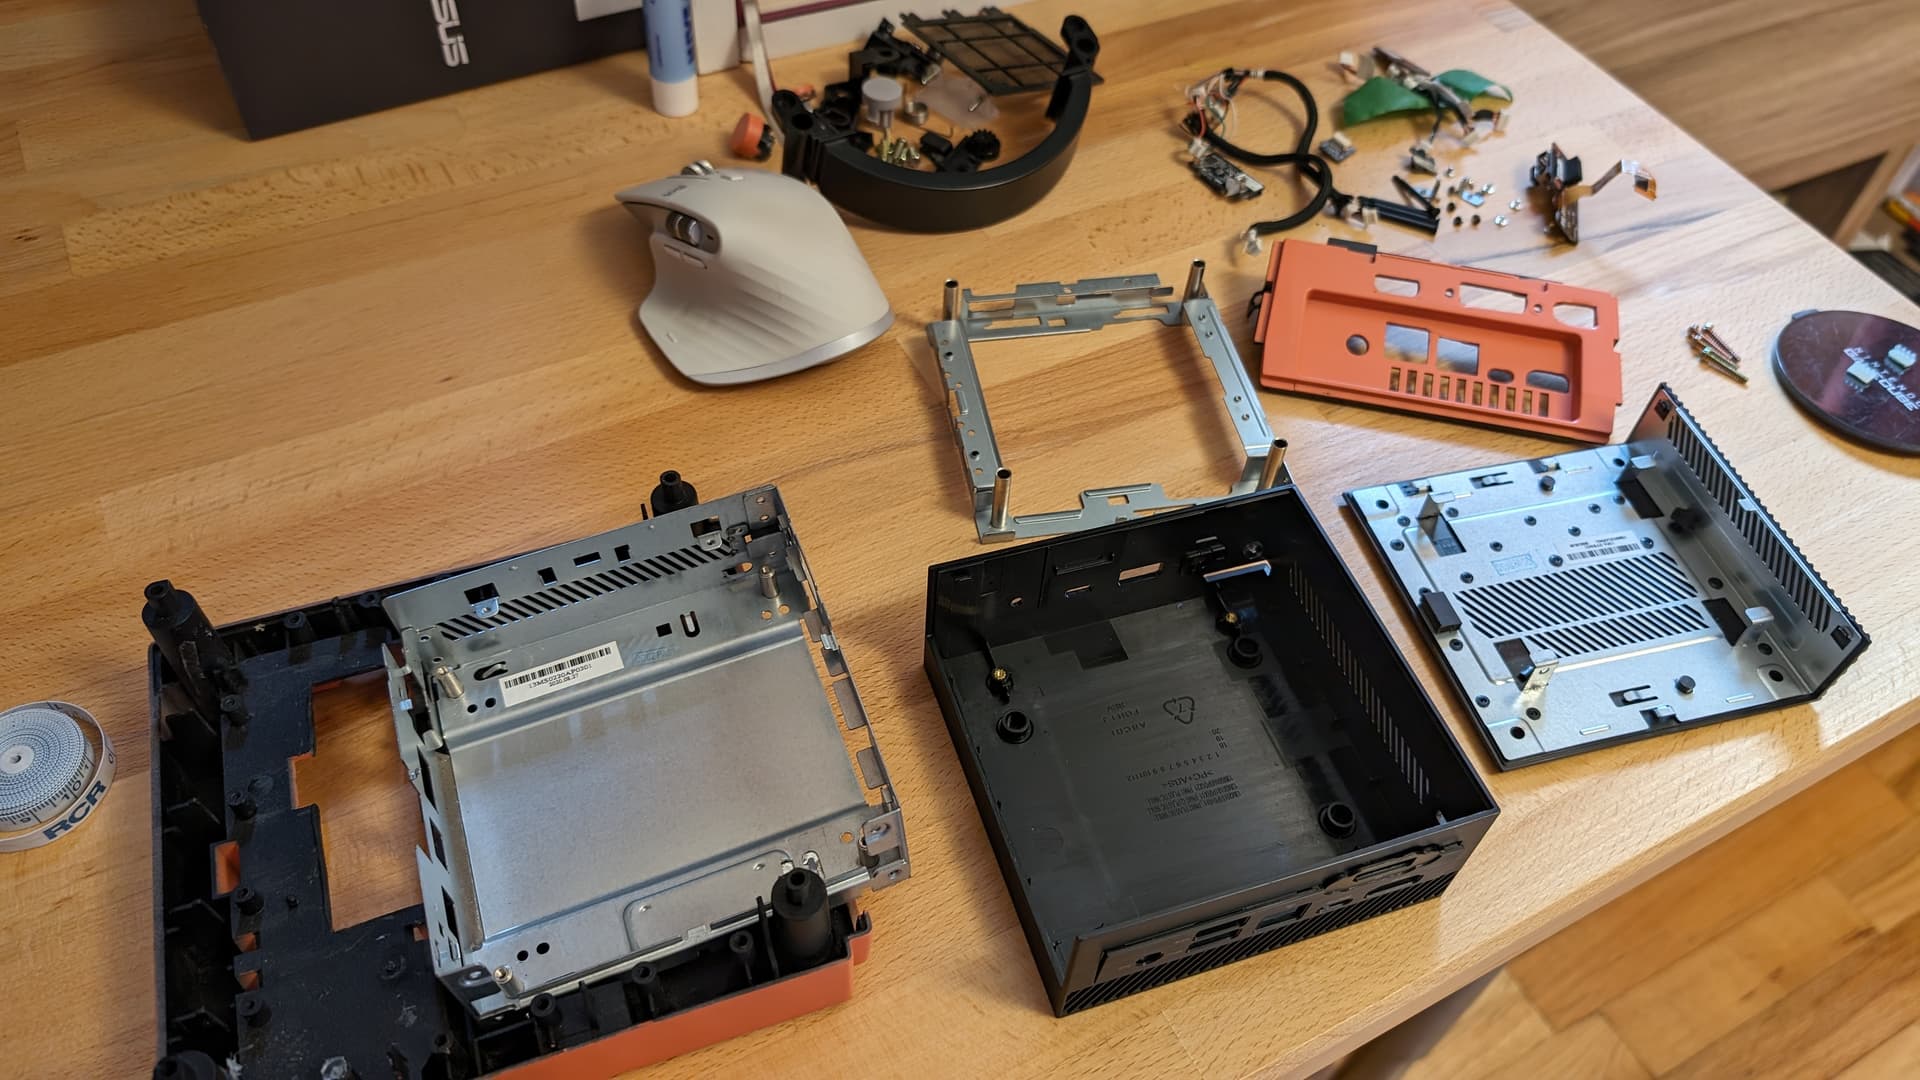
But for the moment, reassemble my PC without the GPU to stop for tonight and relax a bit.
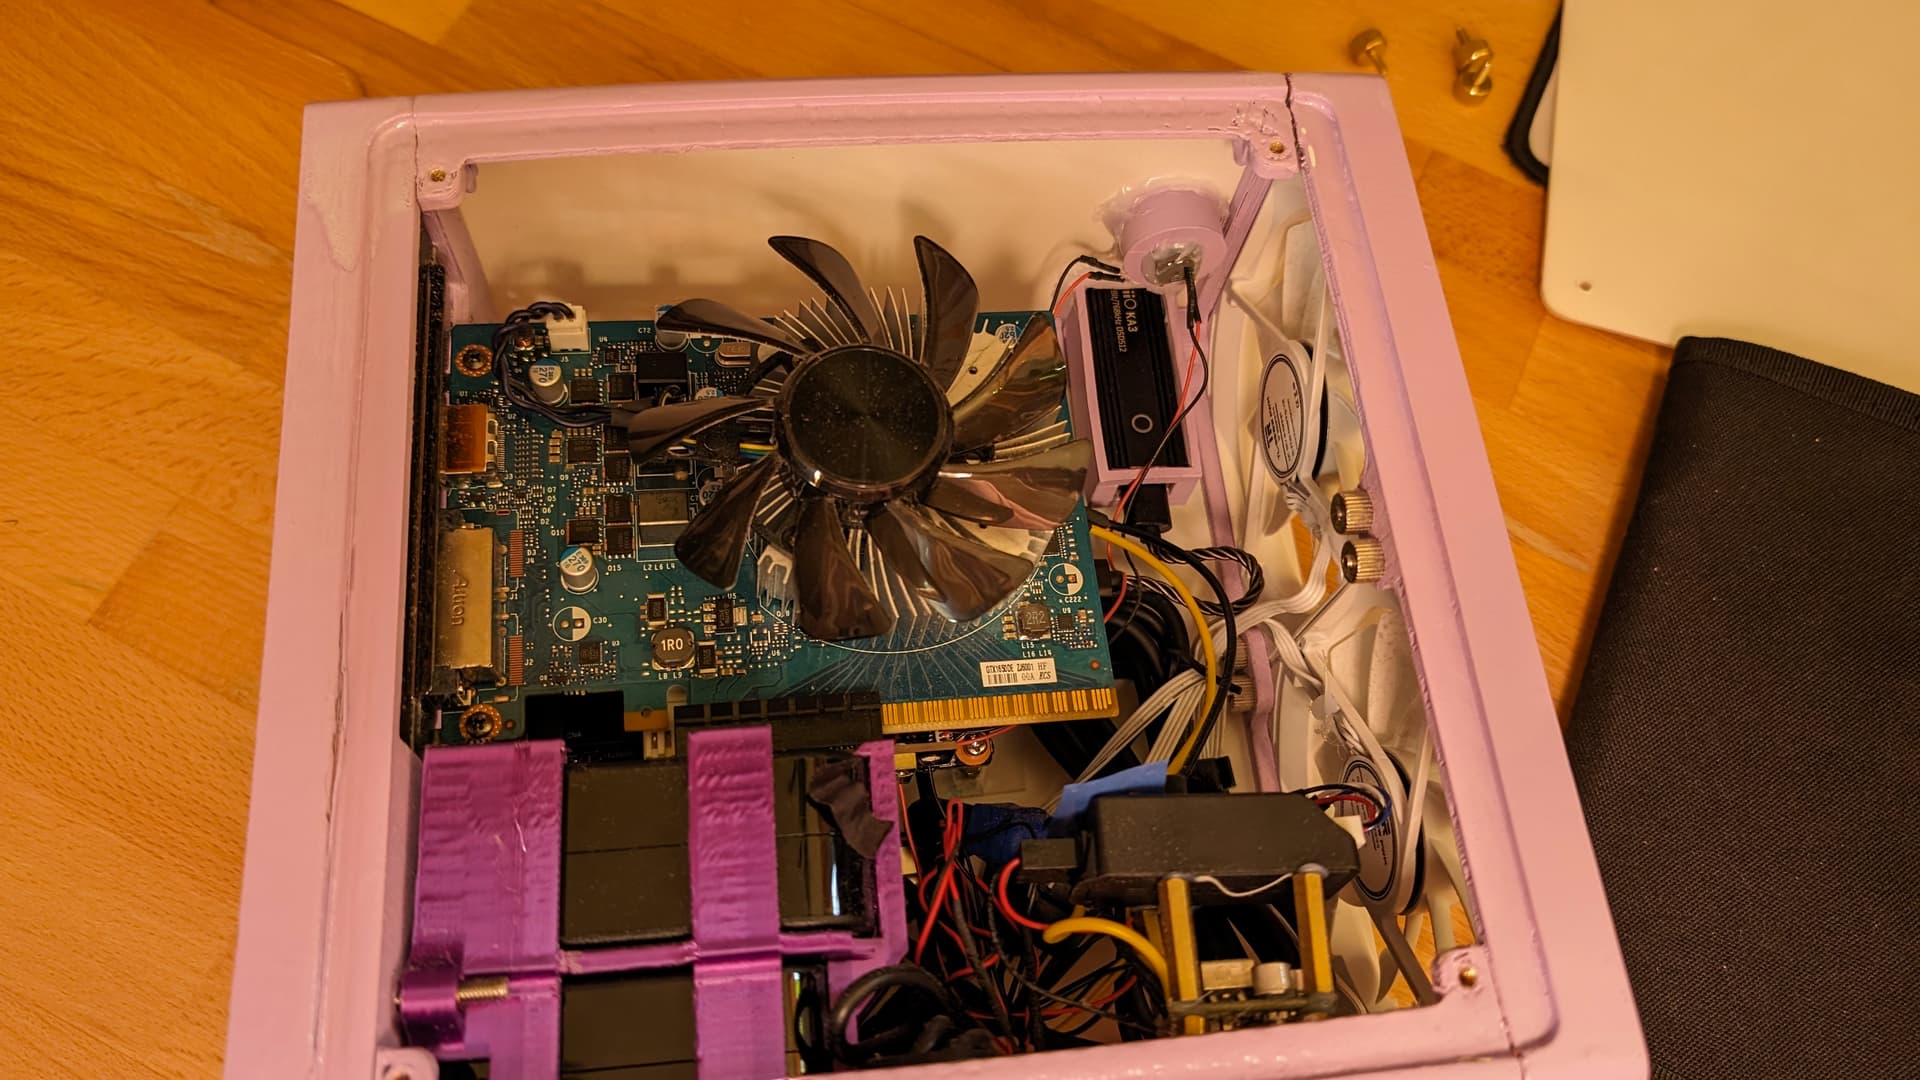
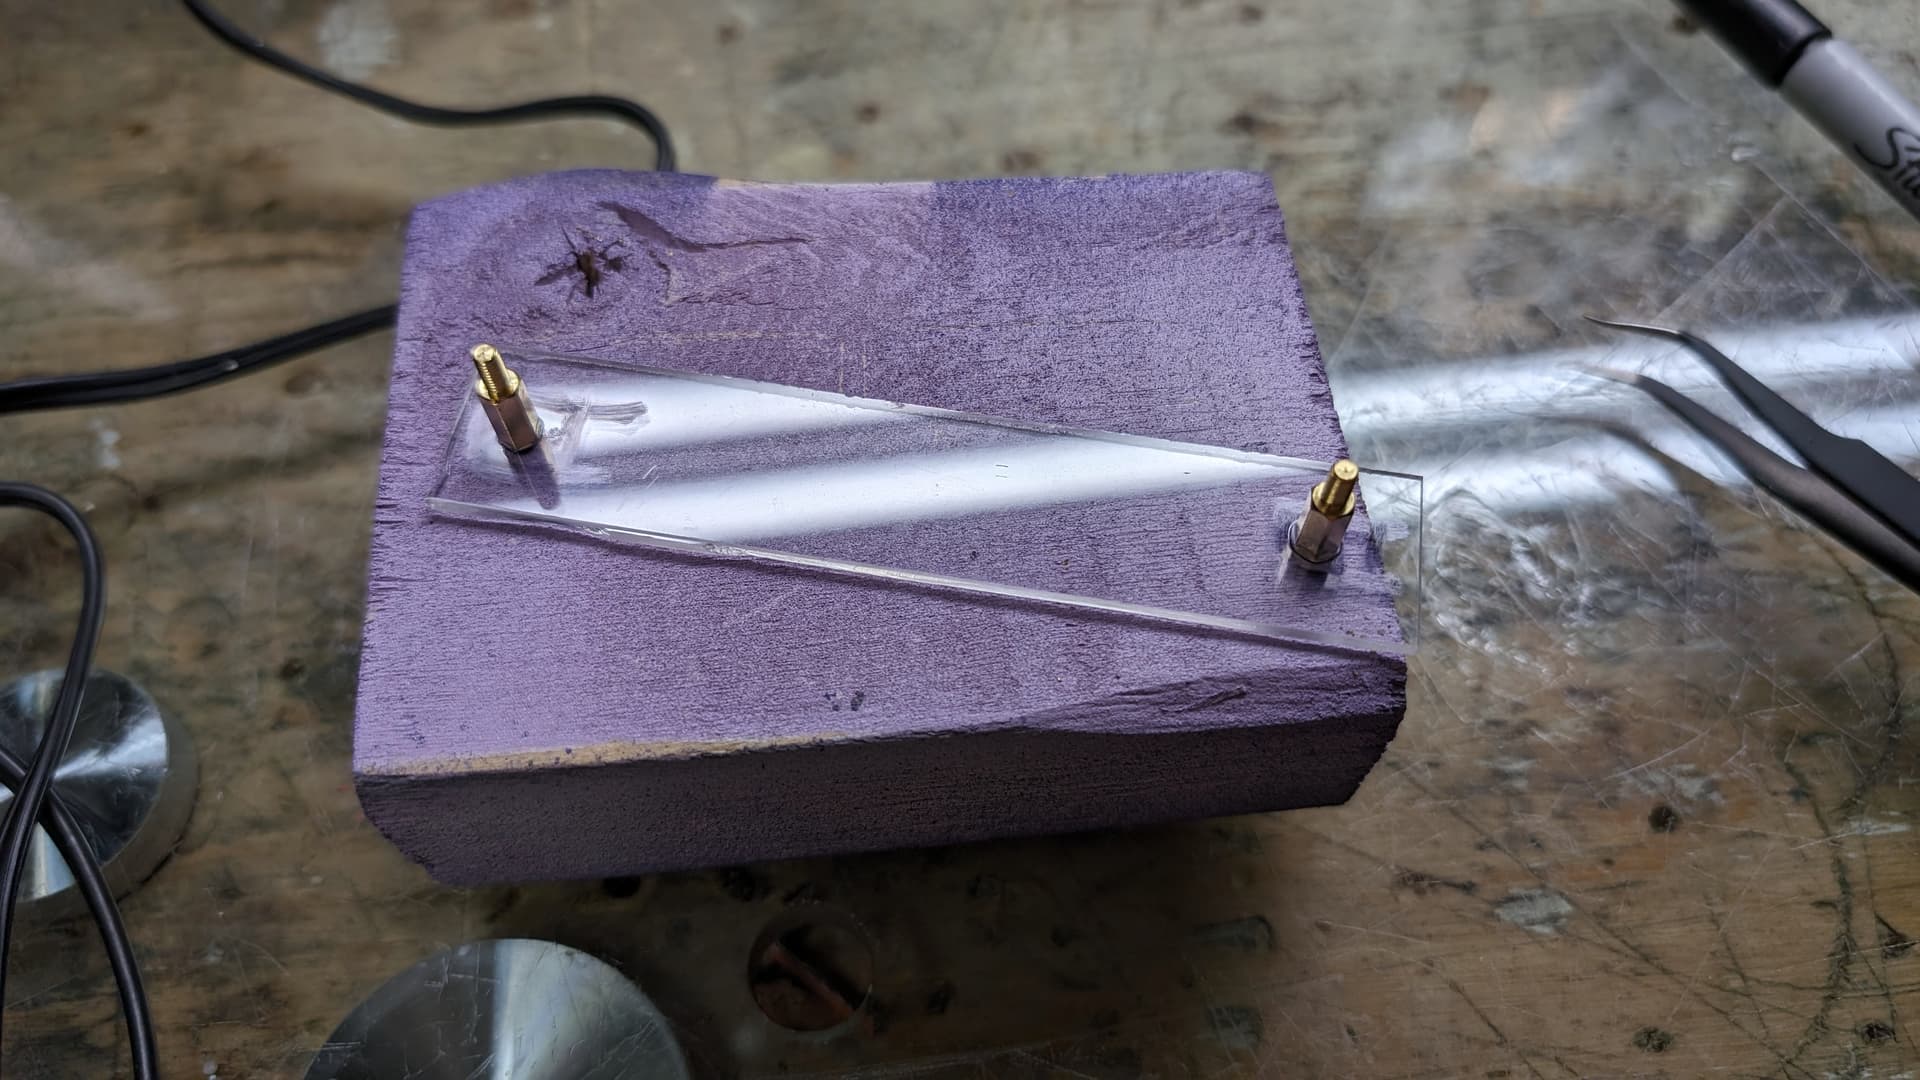
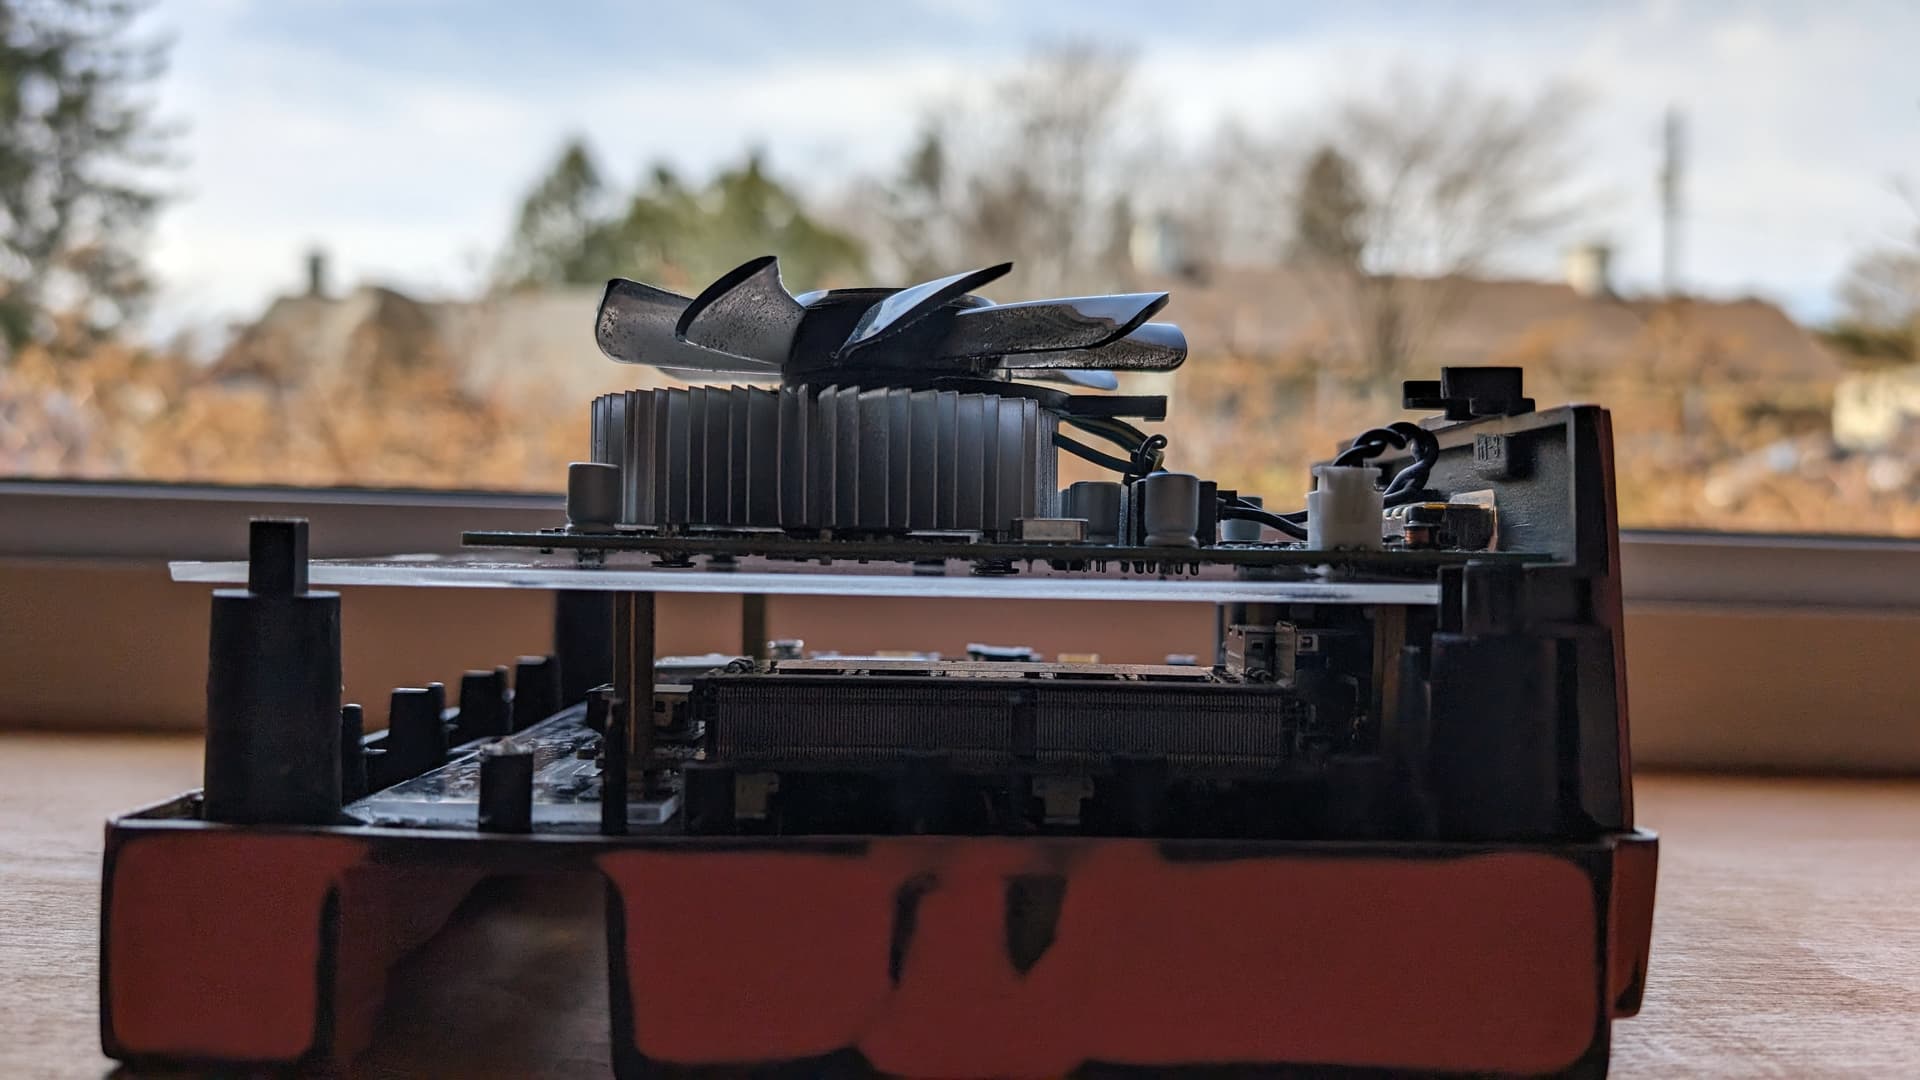
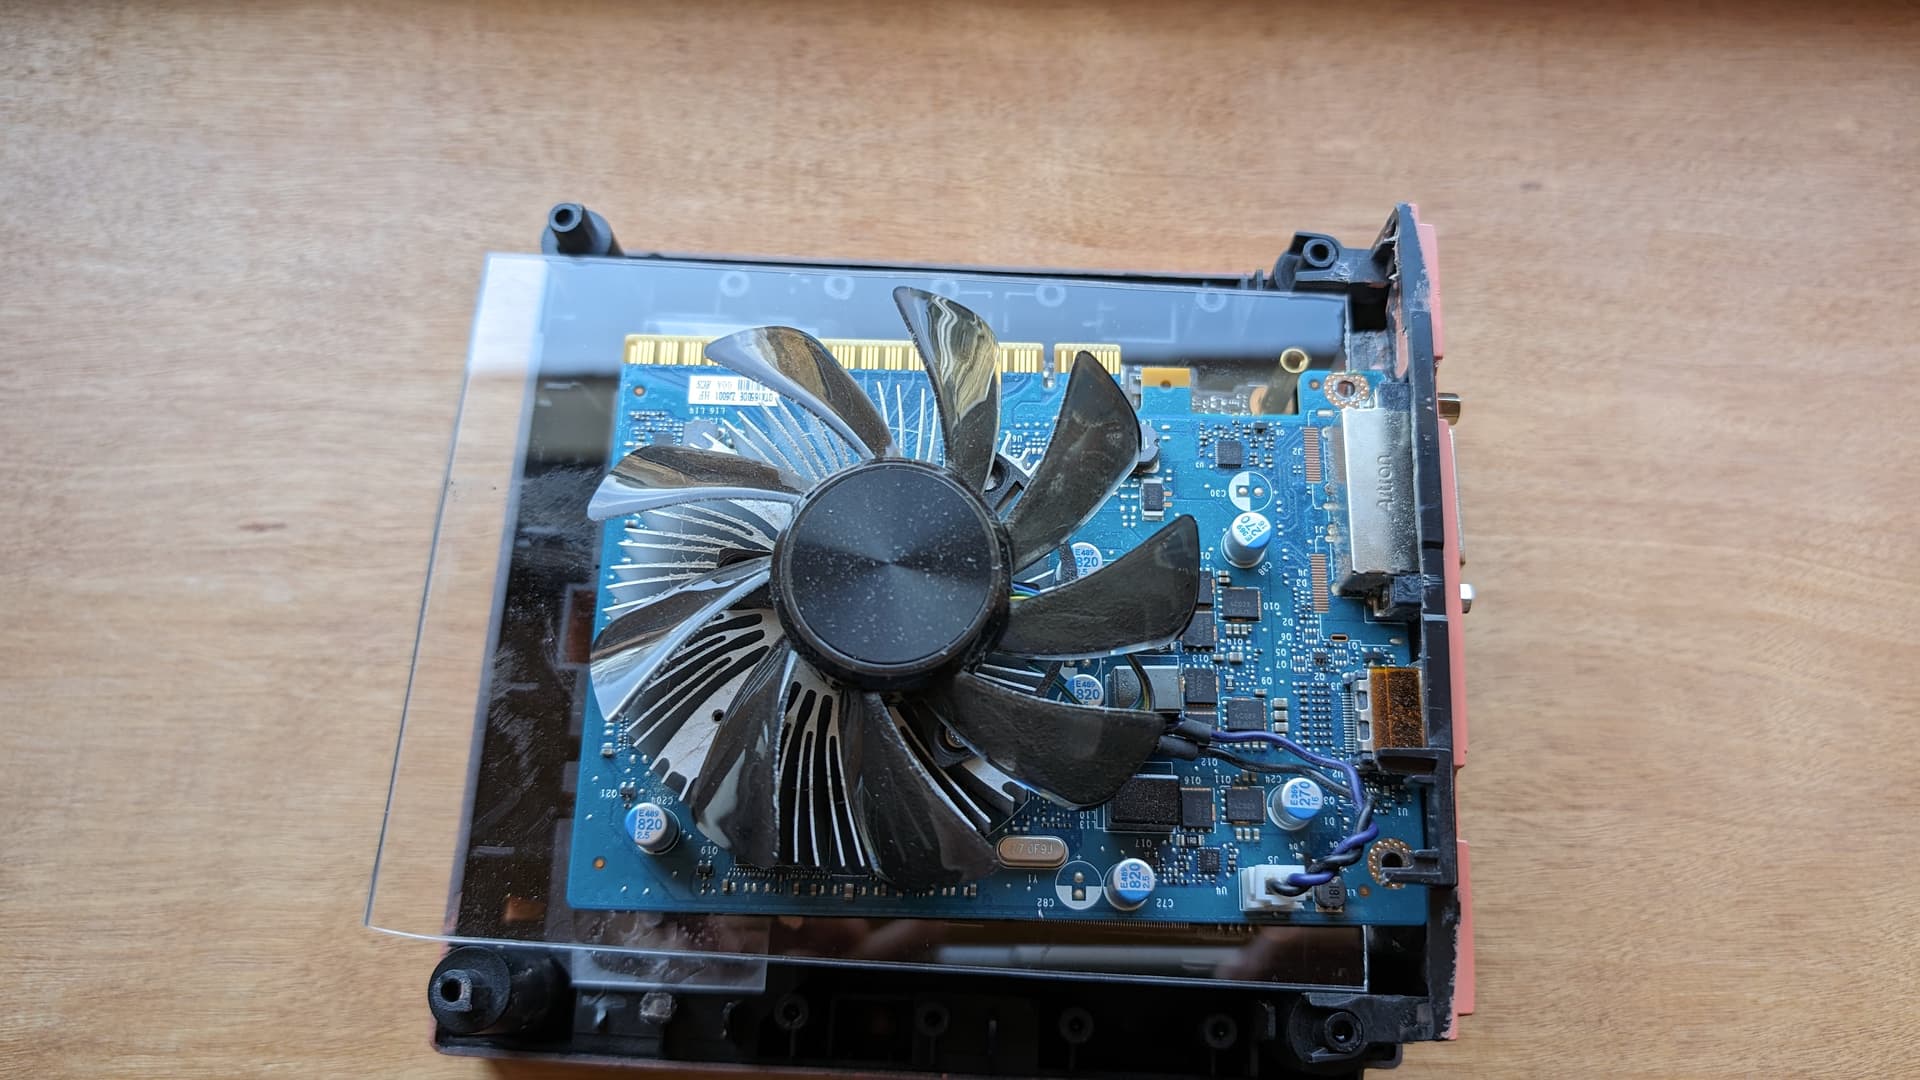
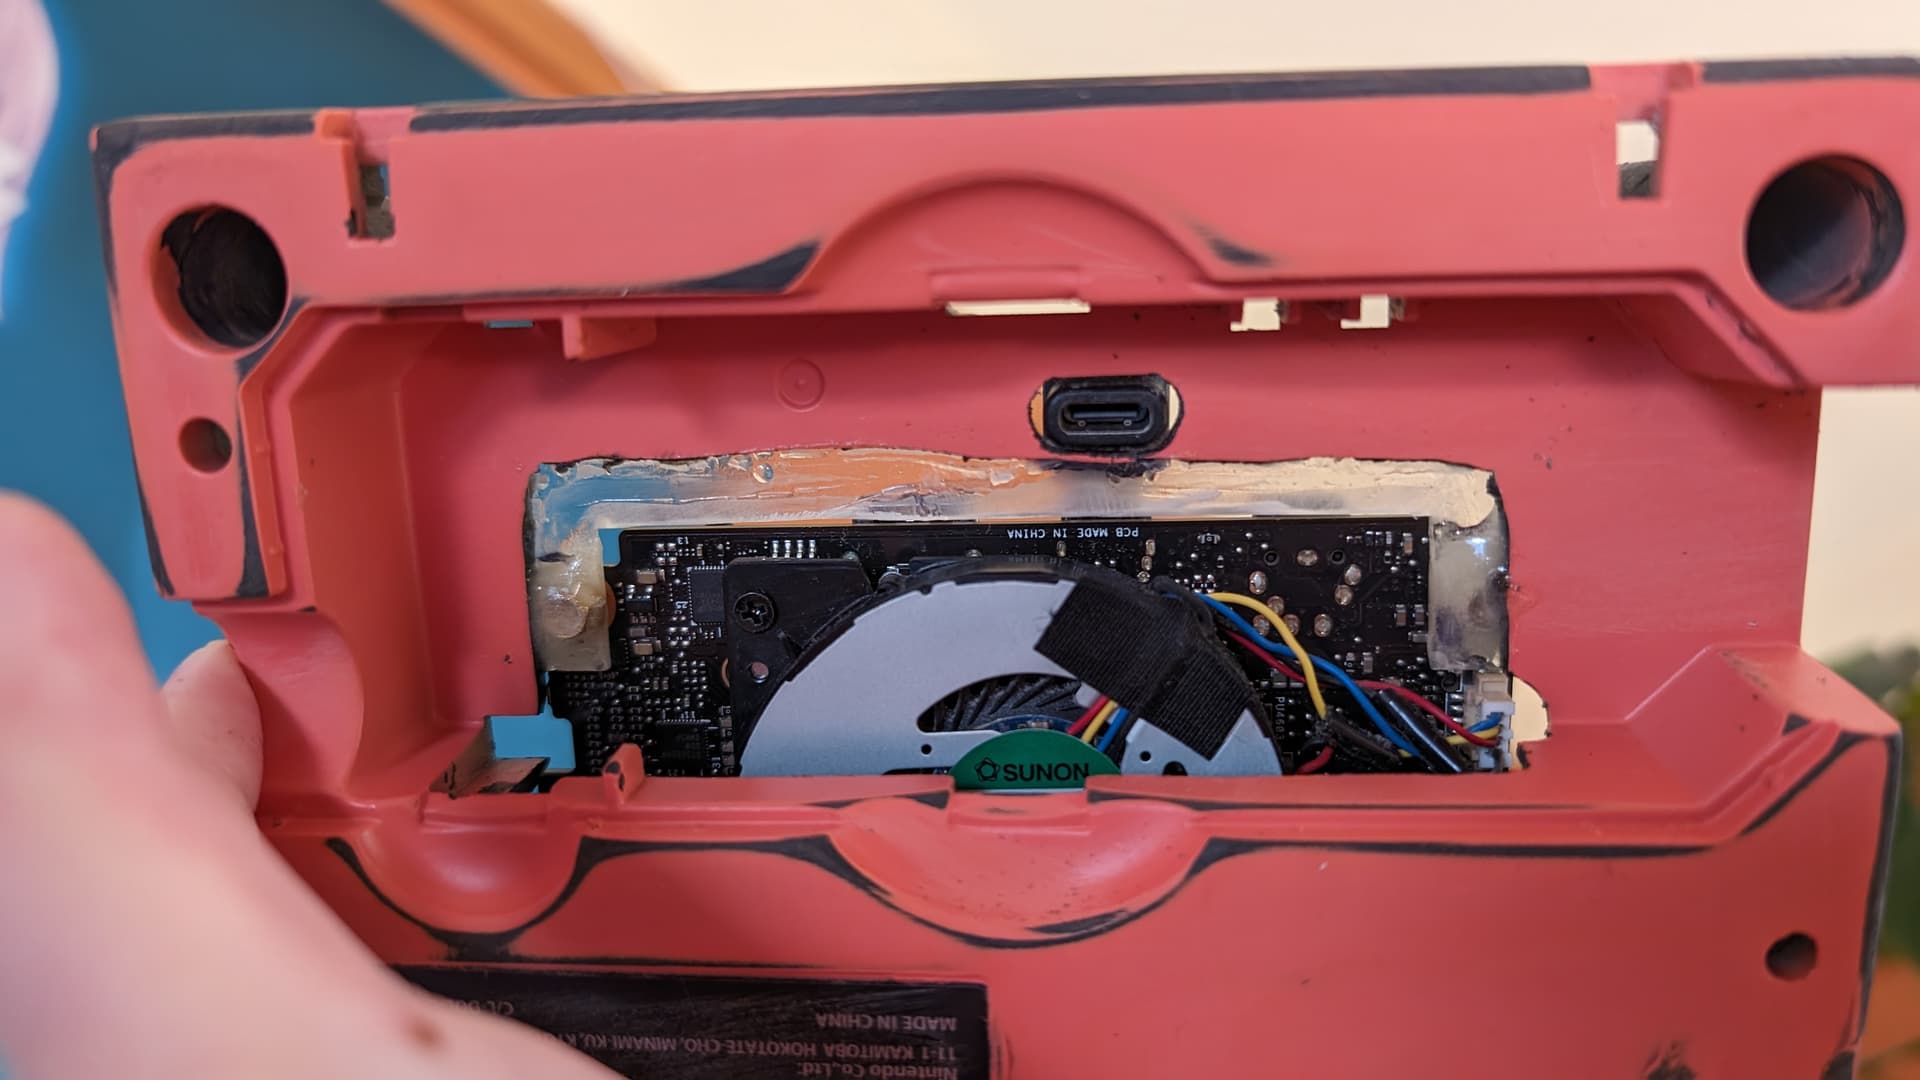
And the GPU fits really well. With an acrylic sheet on top of standoffs, the GPU is already at the right level and rest well on the acrylic sheet. So I will just need to find a way to lock in place the GPU, aside of the DVI port screws. I am thinking maybe of having something like tool-less nvme locks. So the they can be twisted and the GPU removed if needed. I will see what I can figure out.
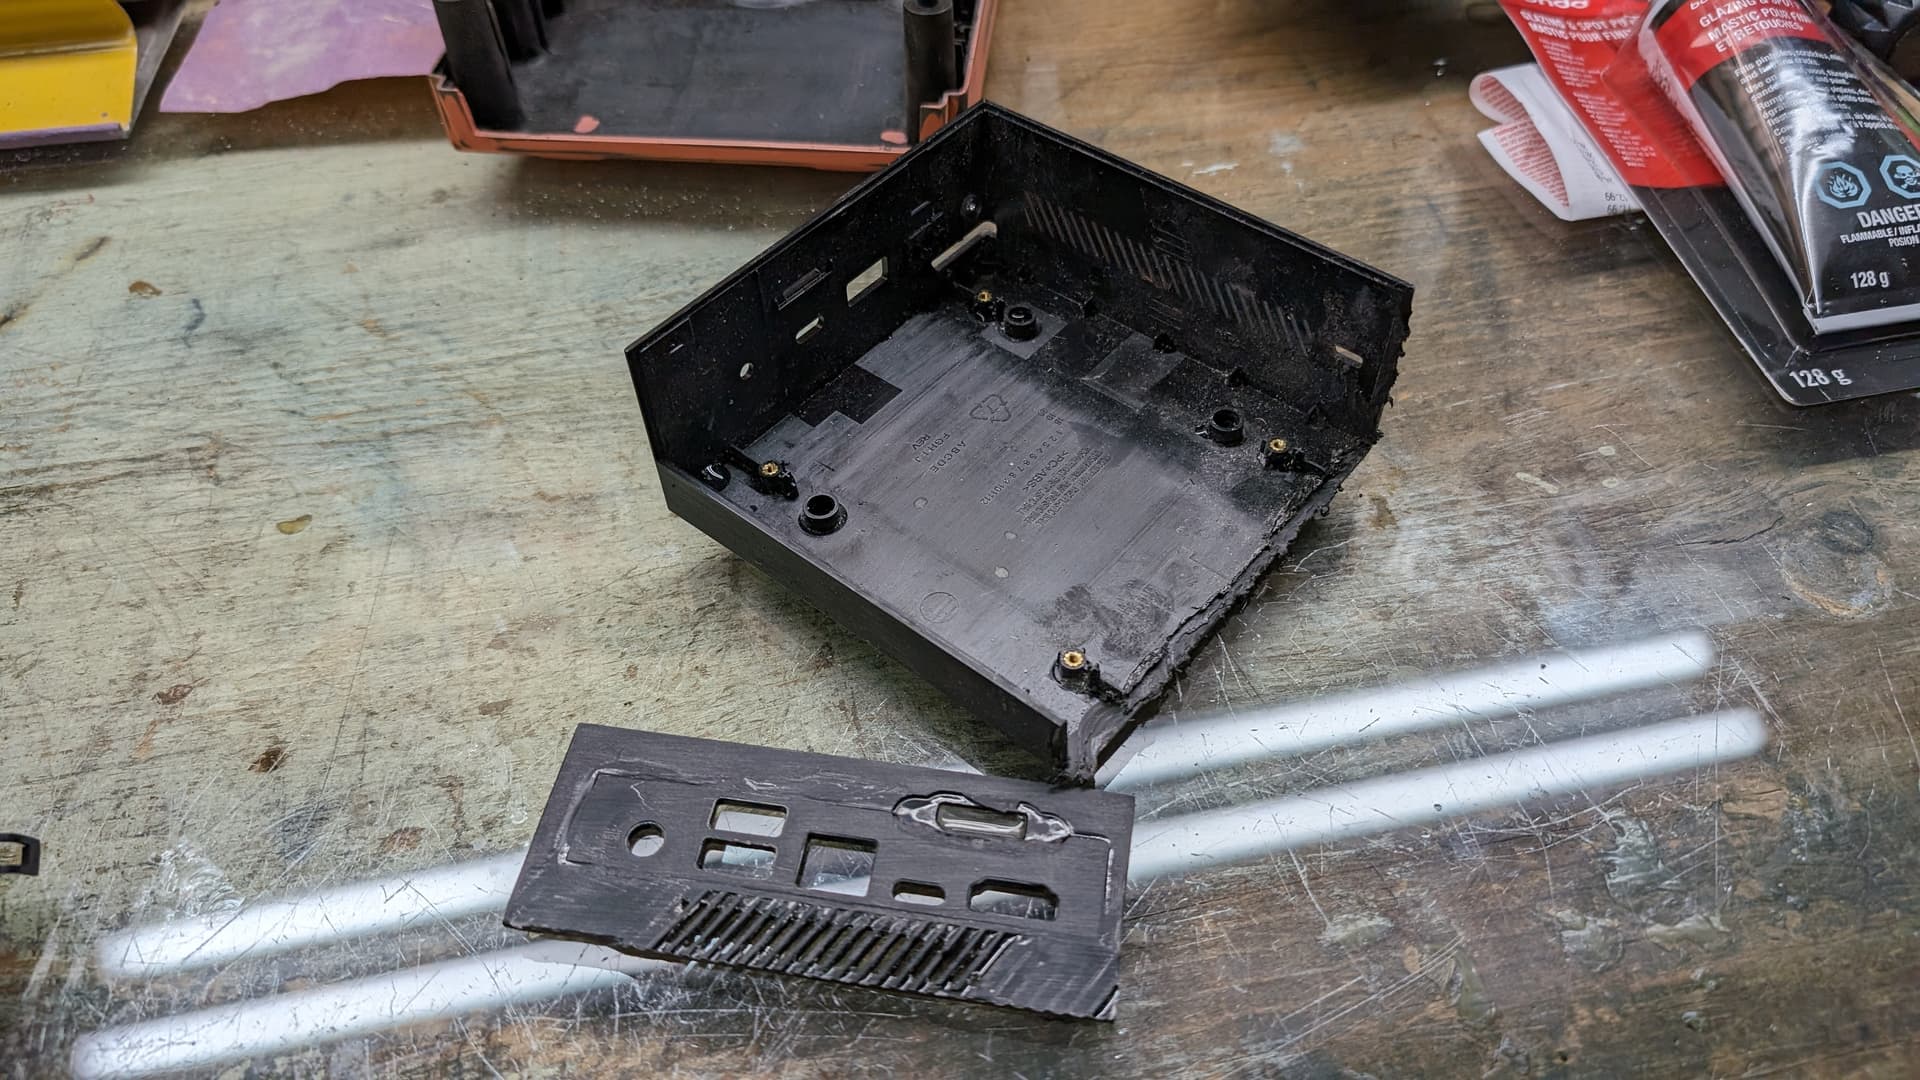
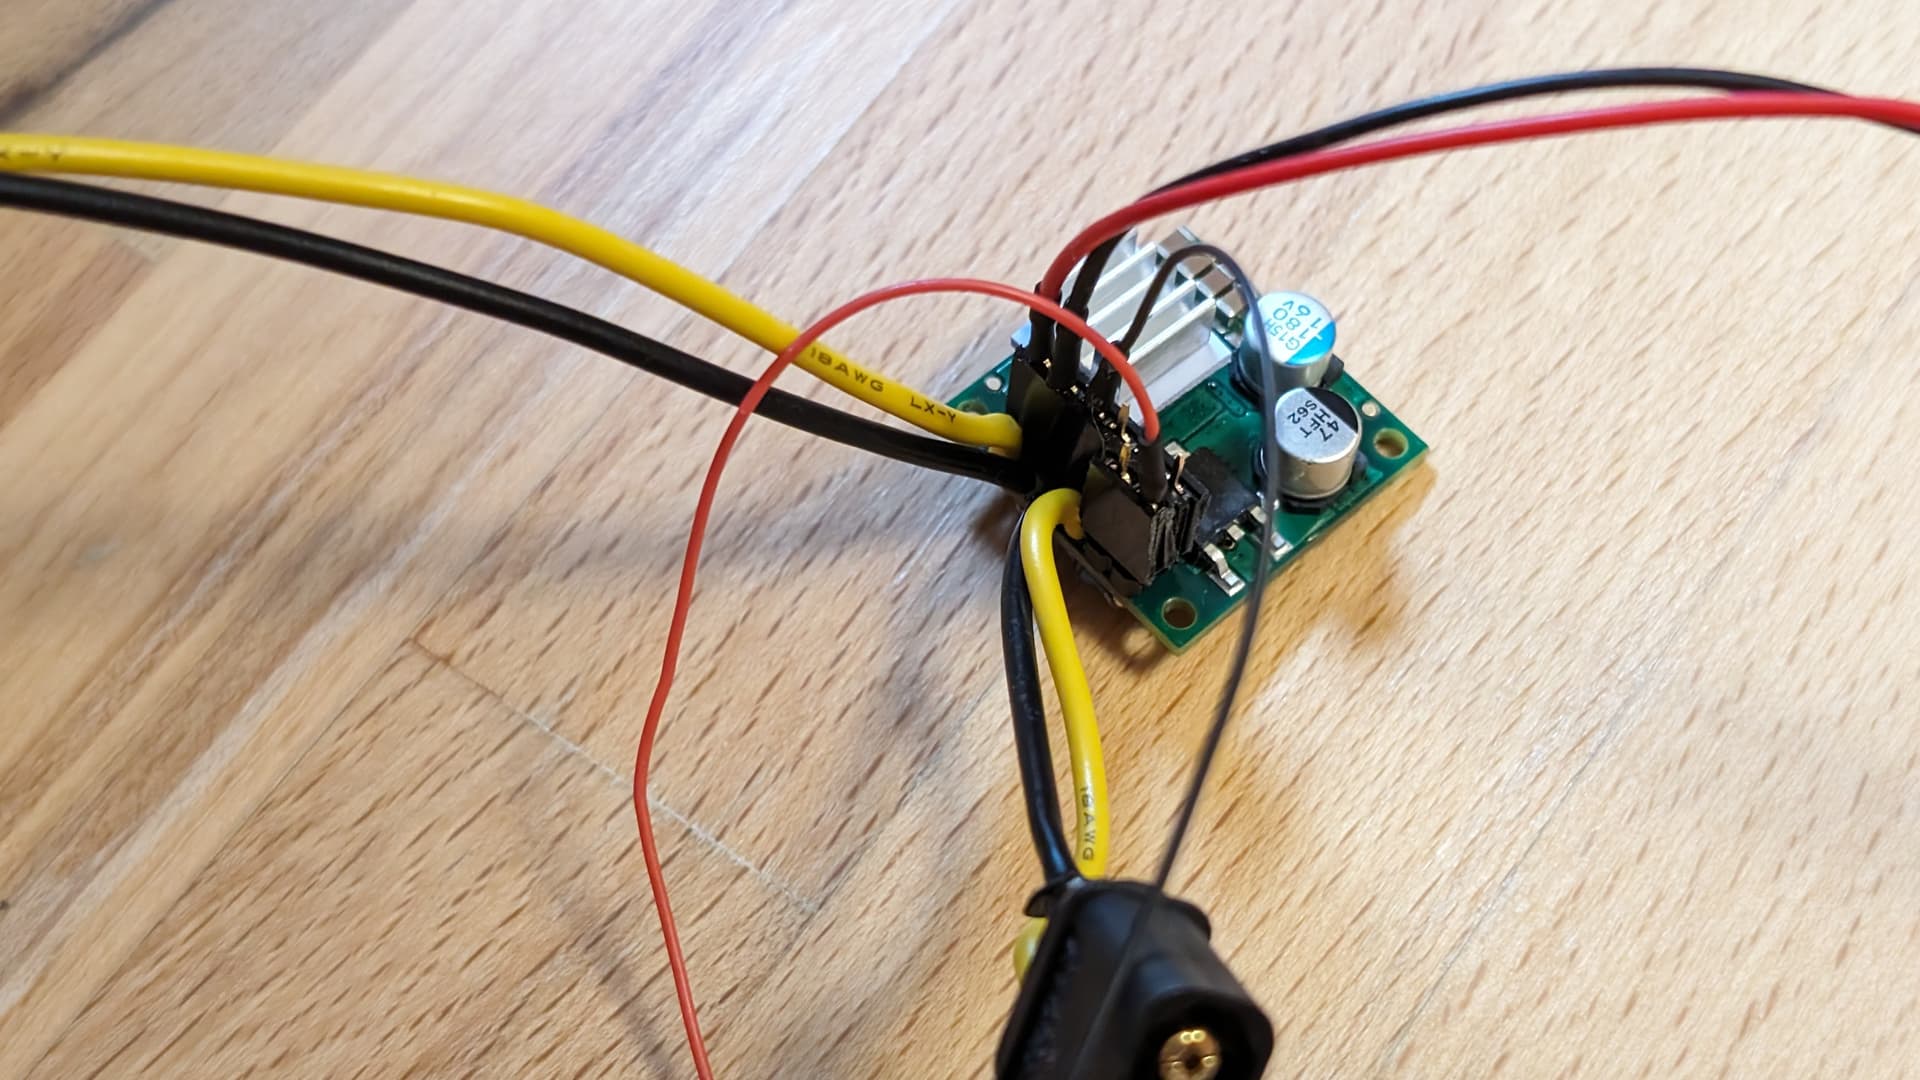
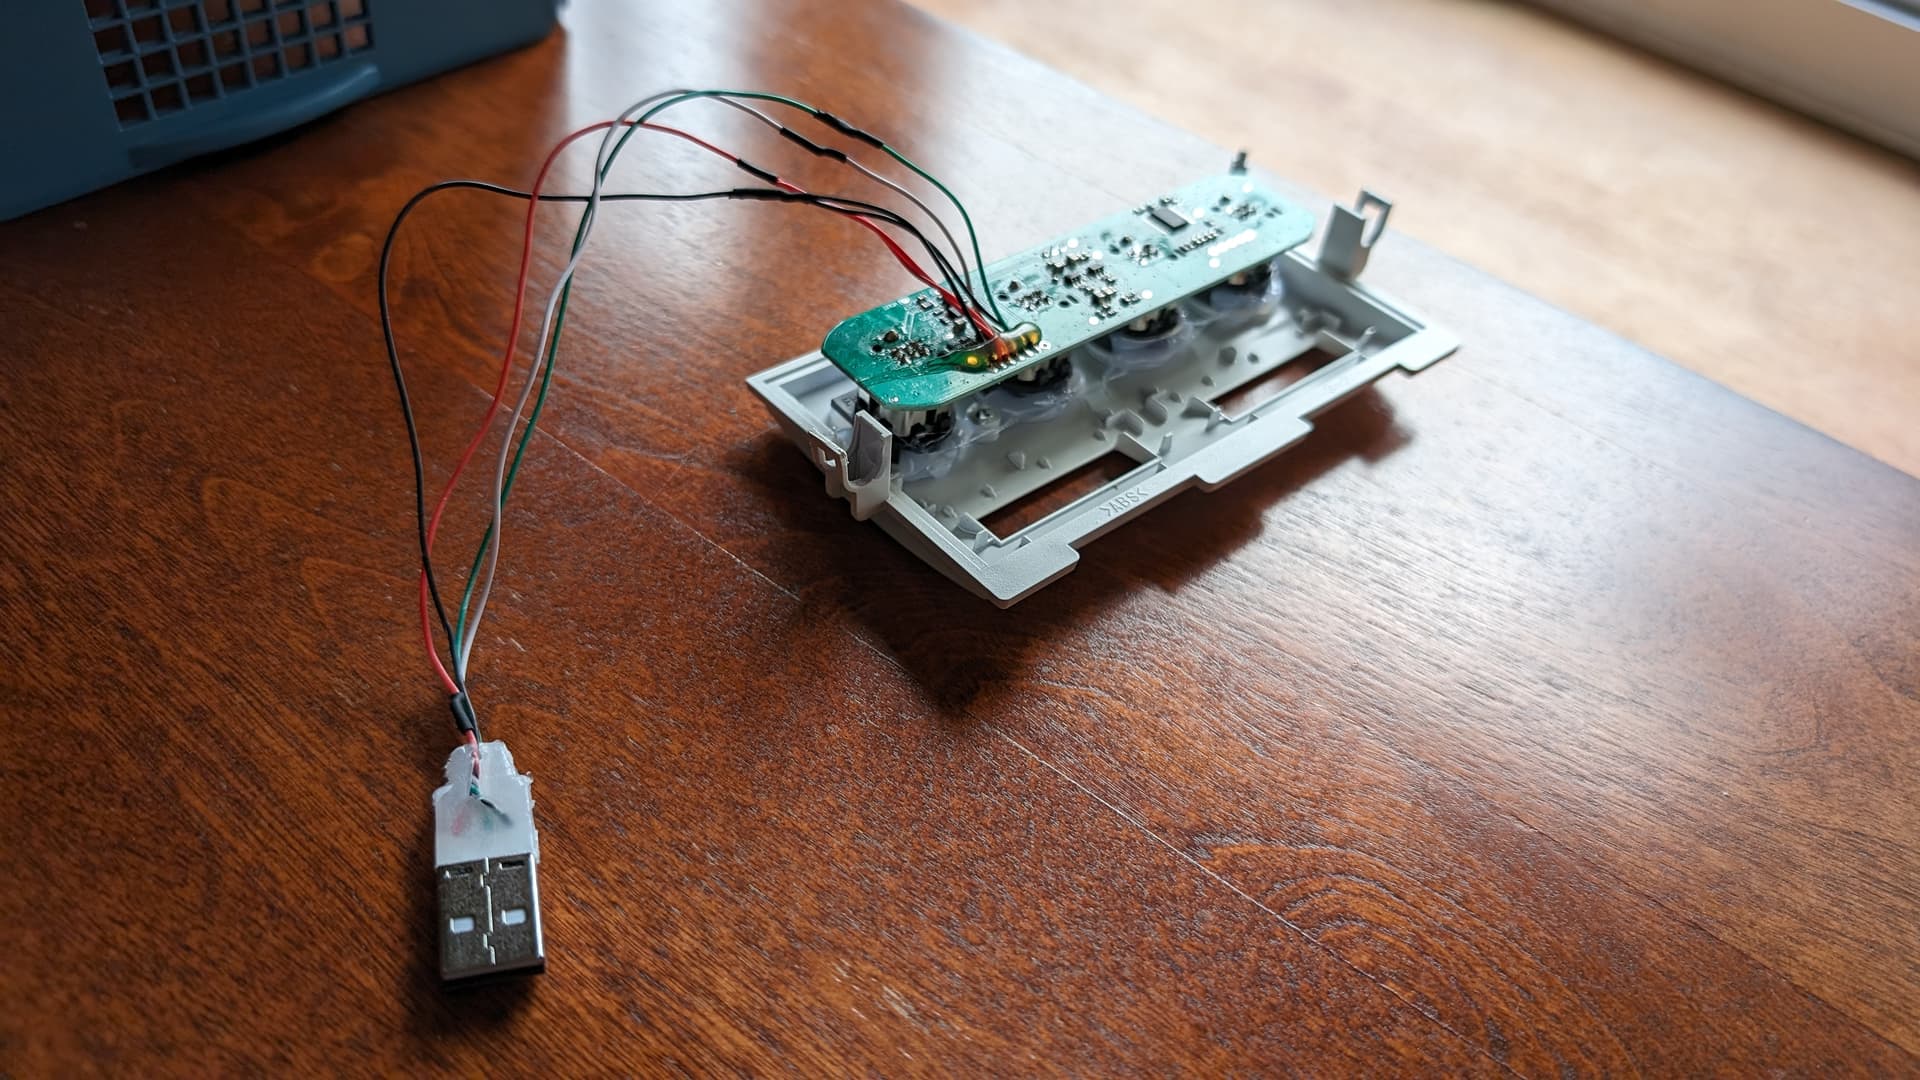
Then I unsoldered the cables from the 19 to 12v converter. I should have done that from the beginning, but I installed header pins, so the sync cables, and the power cables for the fans can be easily unsoldered. Will be much cleaner like that.
Also, not shown, but I installed plugs on the power input side, as the barrel jack will be epoxied to the back IO. So it can only be disconnected if the back IO needed to be removed, without having to remove the converter too.
More progress. But after the progress will be more slow.
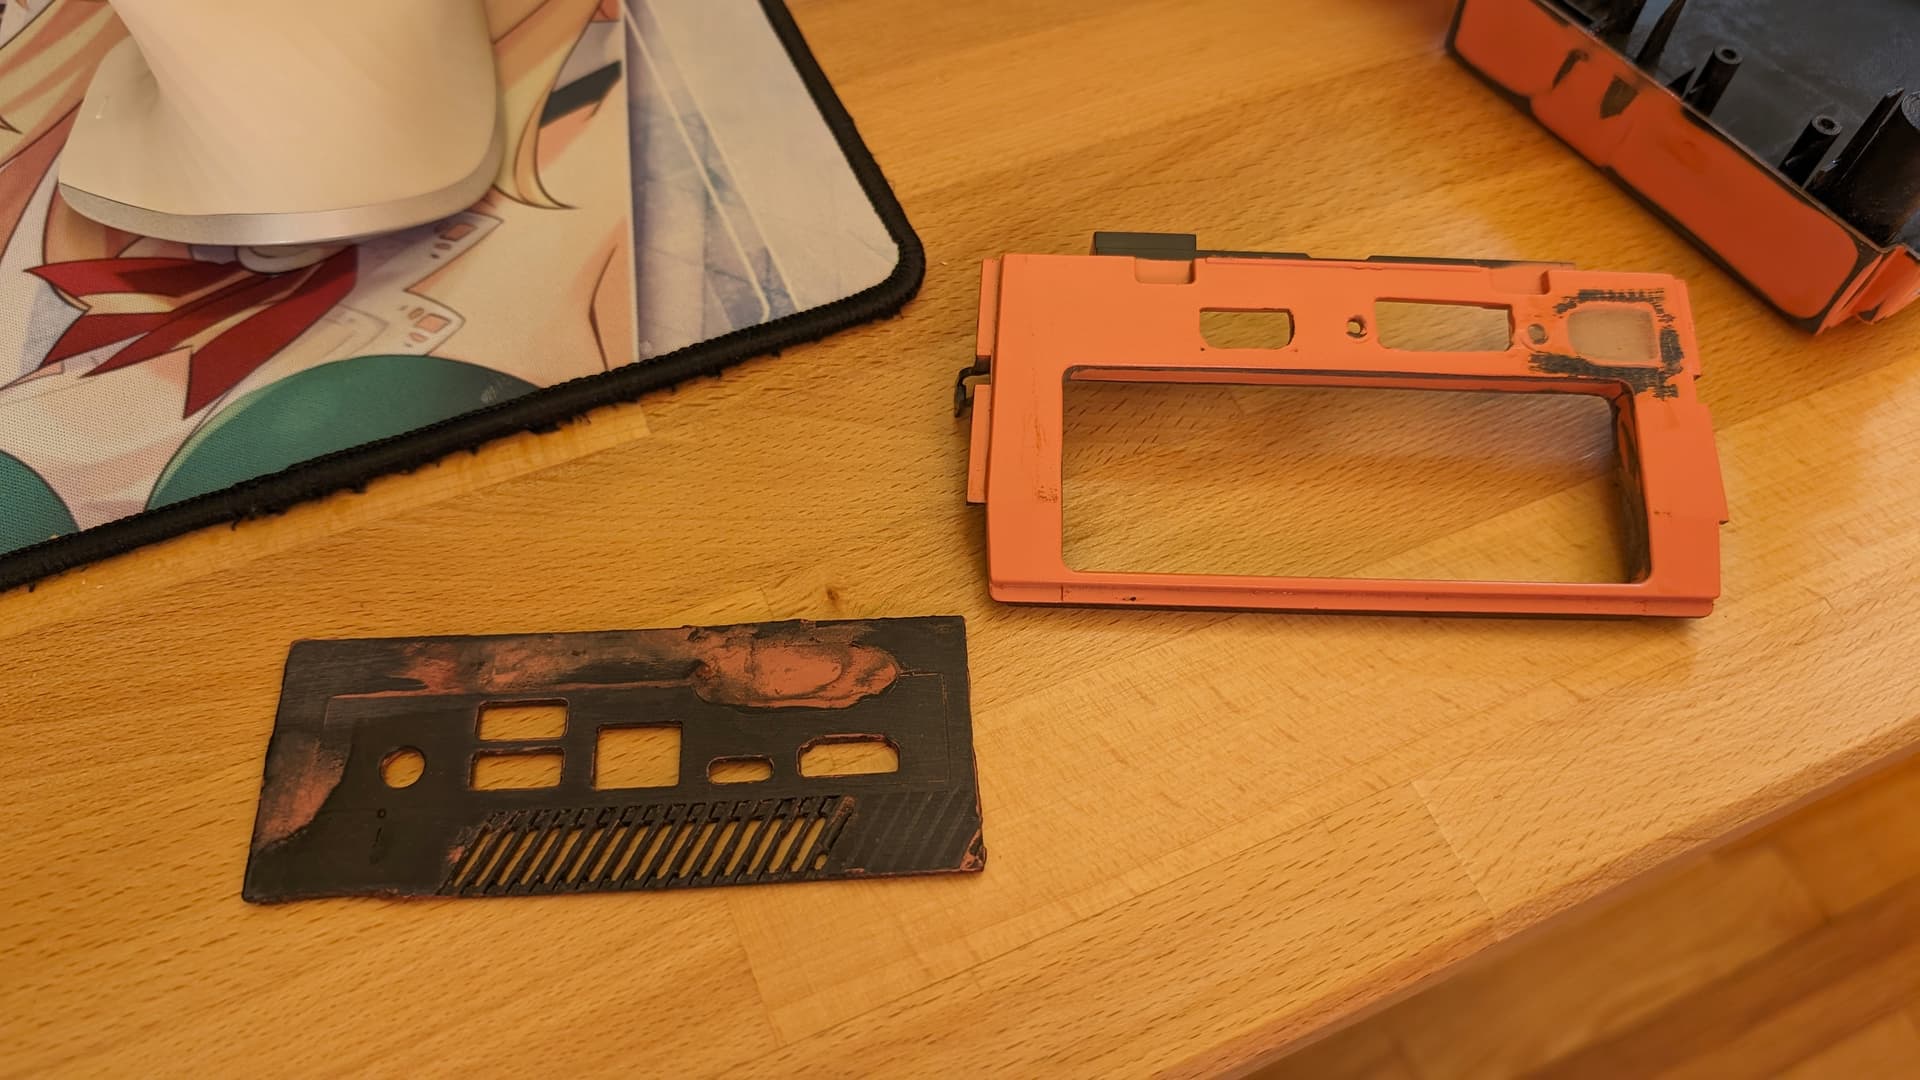
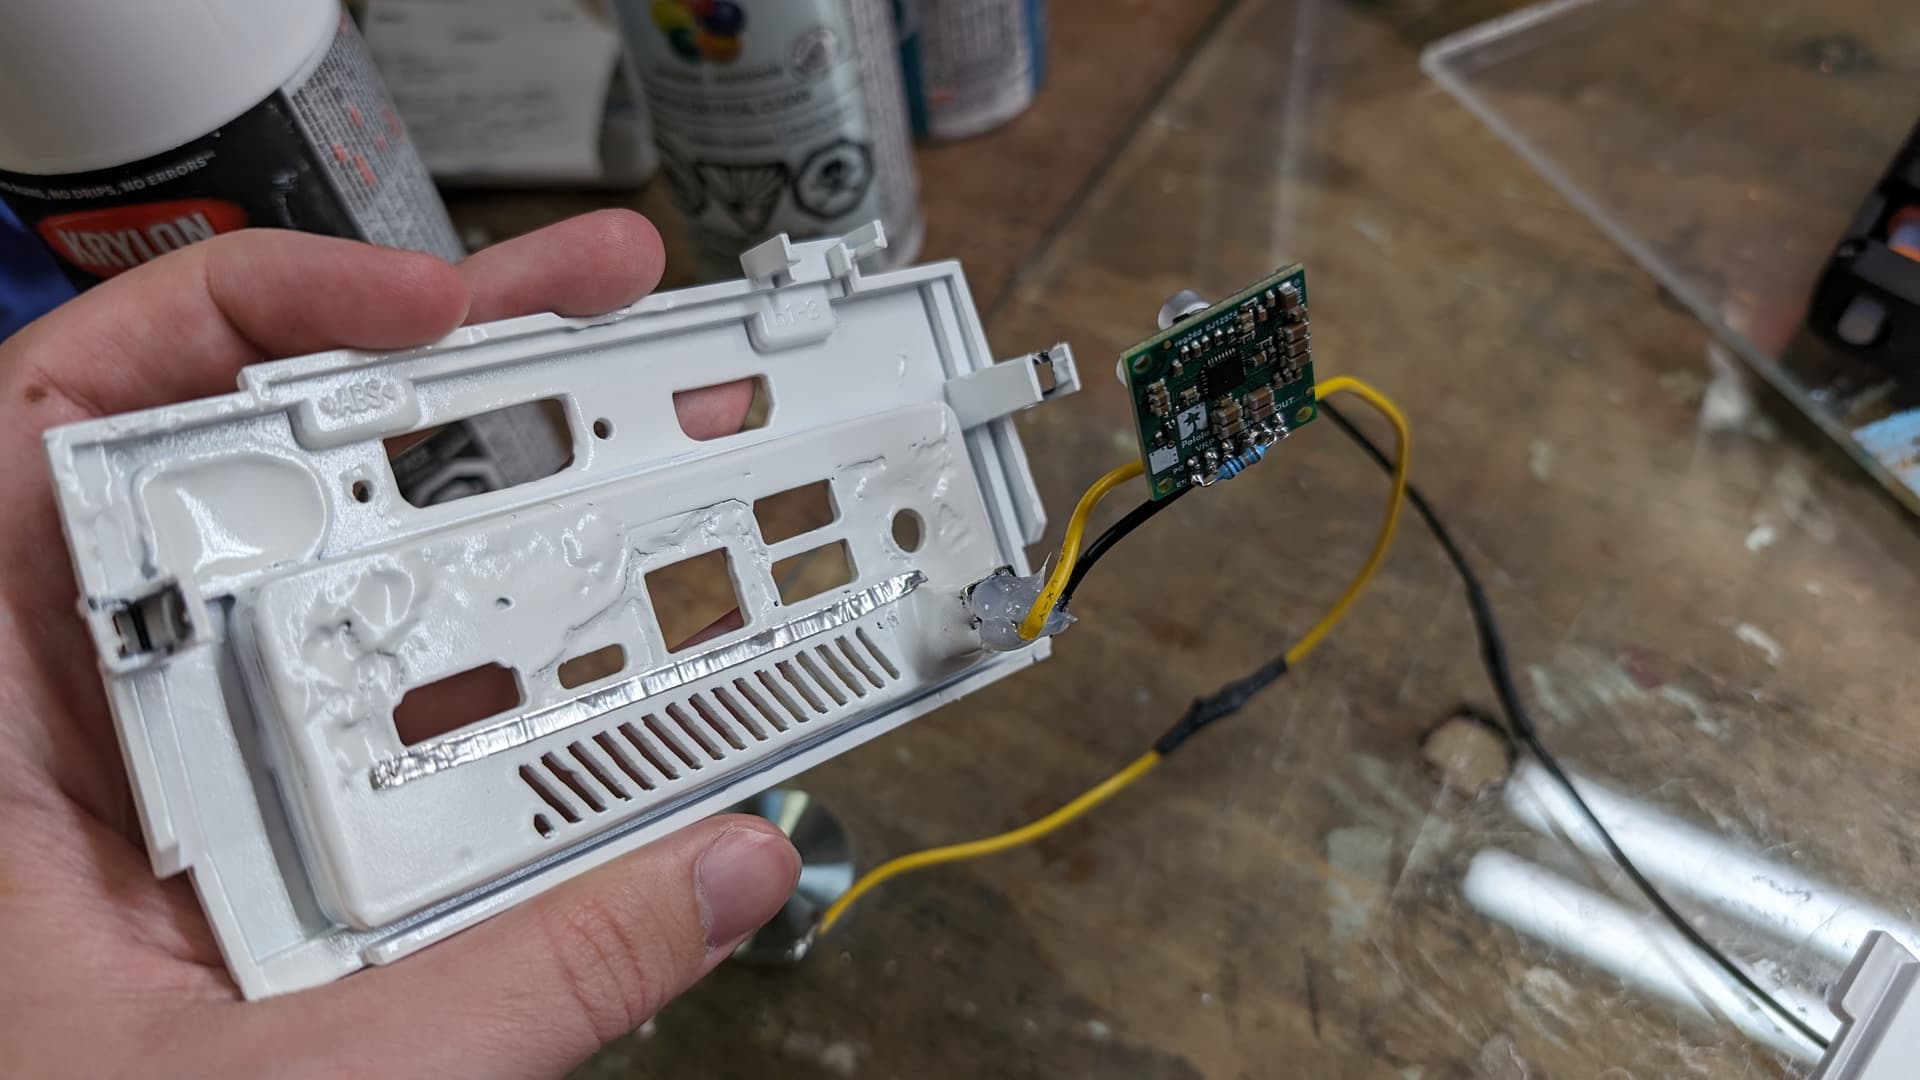
So first, at the end, my idea to have a connectir to easily detach the converter from the back IO will not work because the space I’m dealing with is too limiting for that. So the converter will be attached to the back IO after I will have painted the later.
Otherwise, now the power jack for the converter is epoxied well to the back IO. It fits well below the mobo.
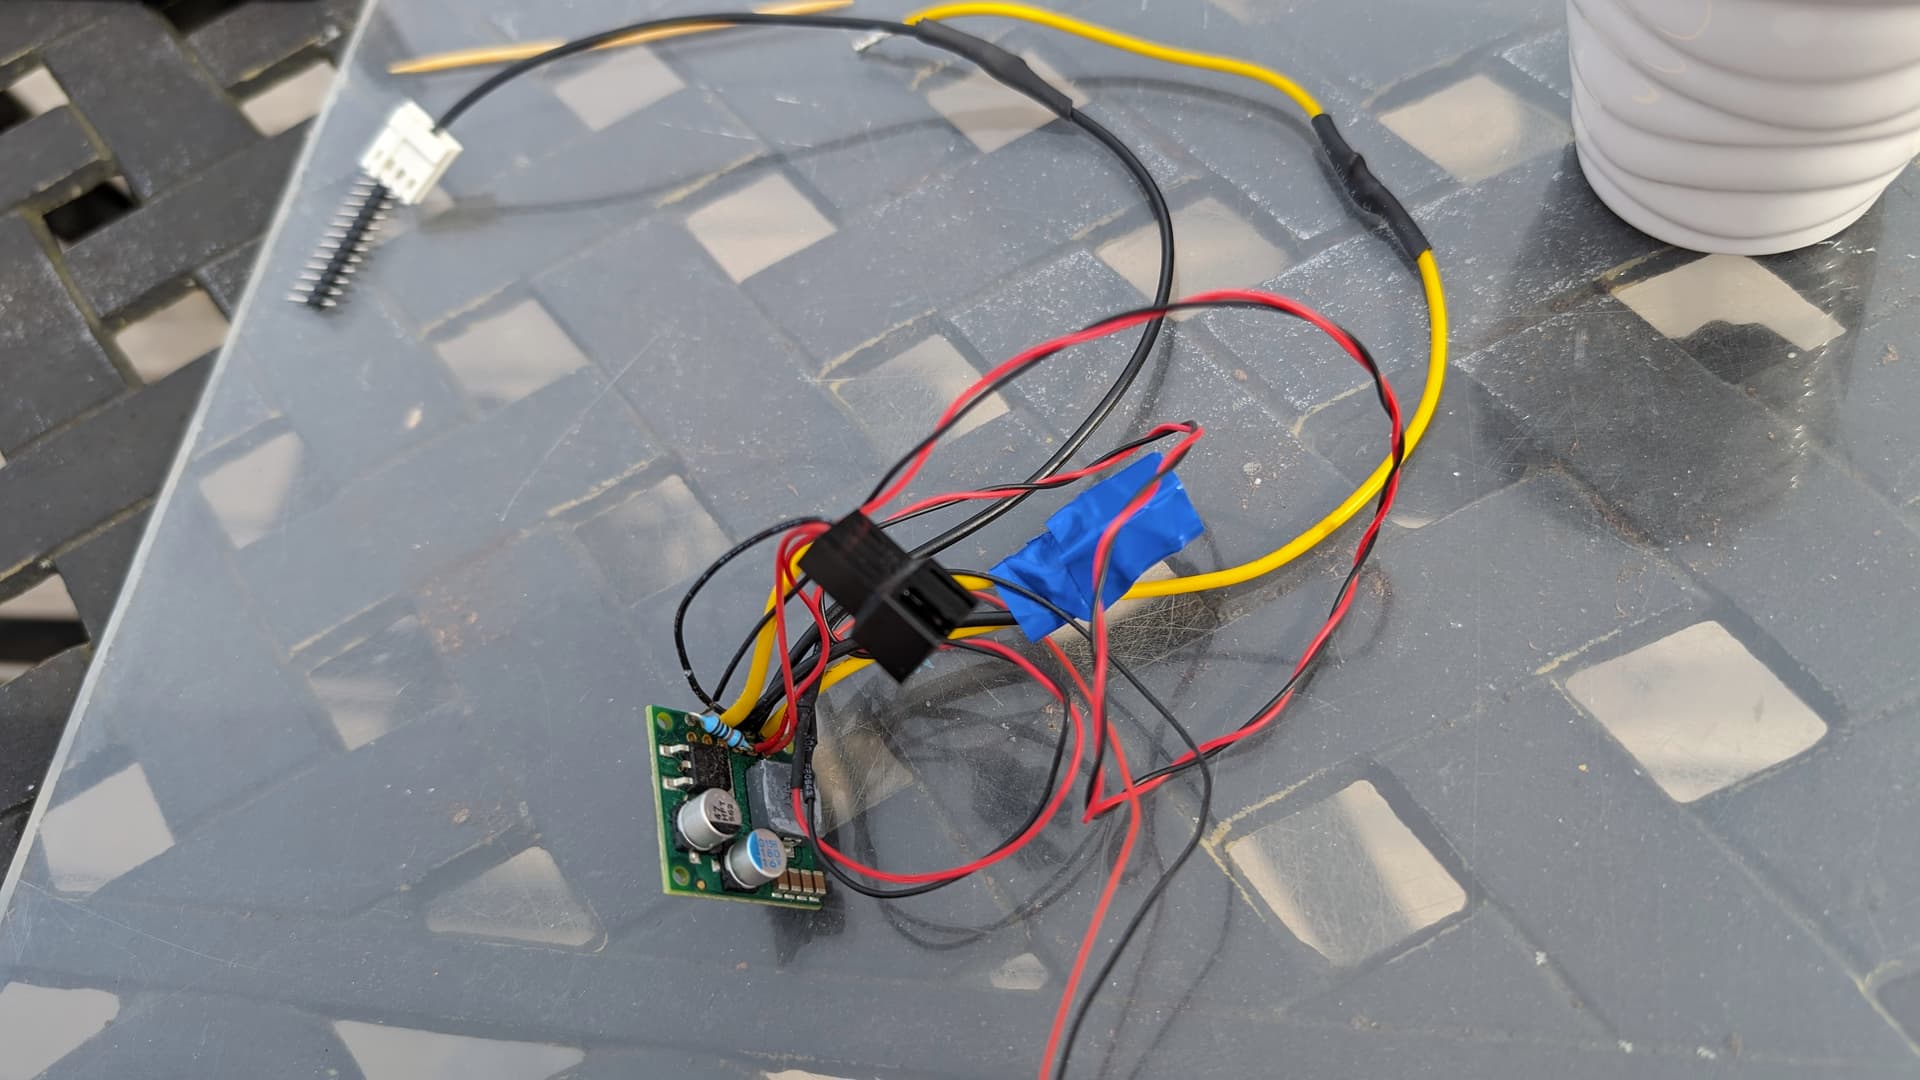
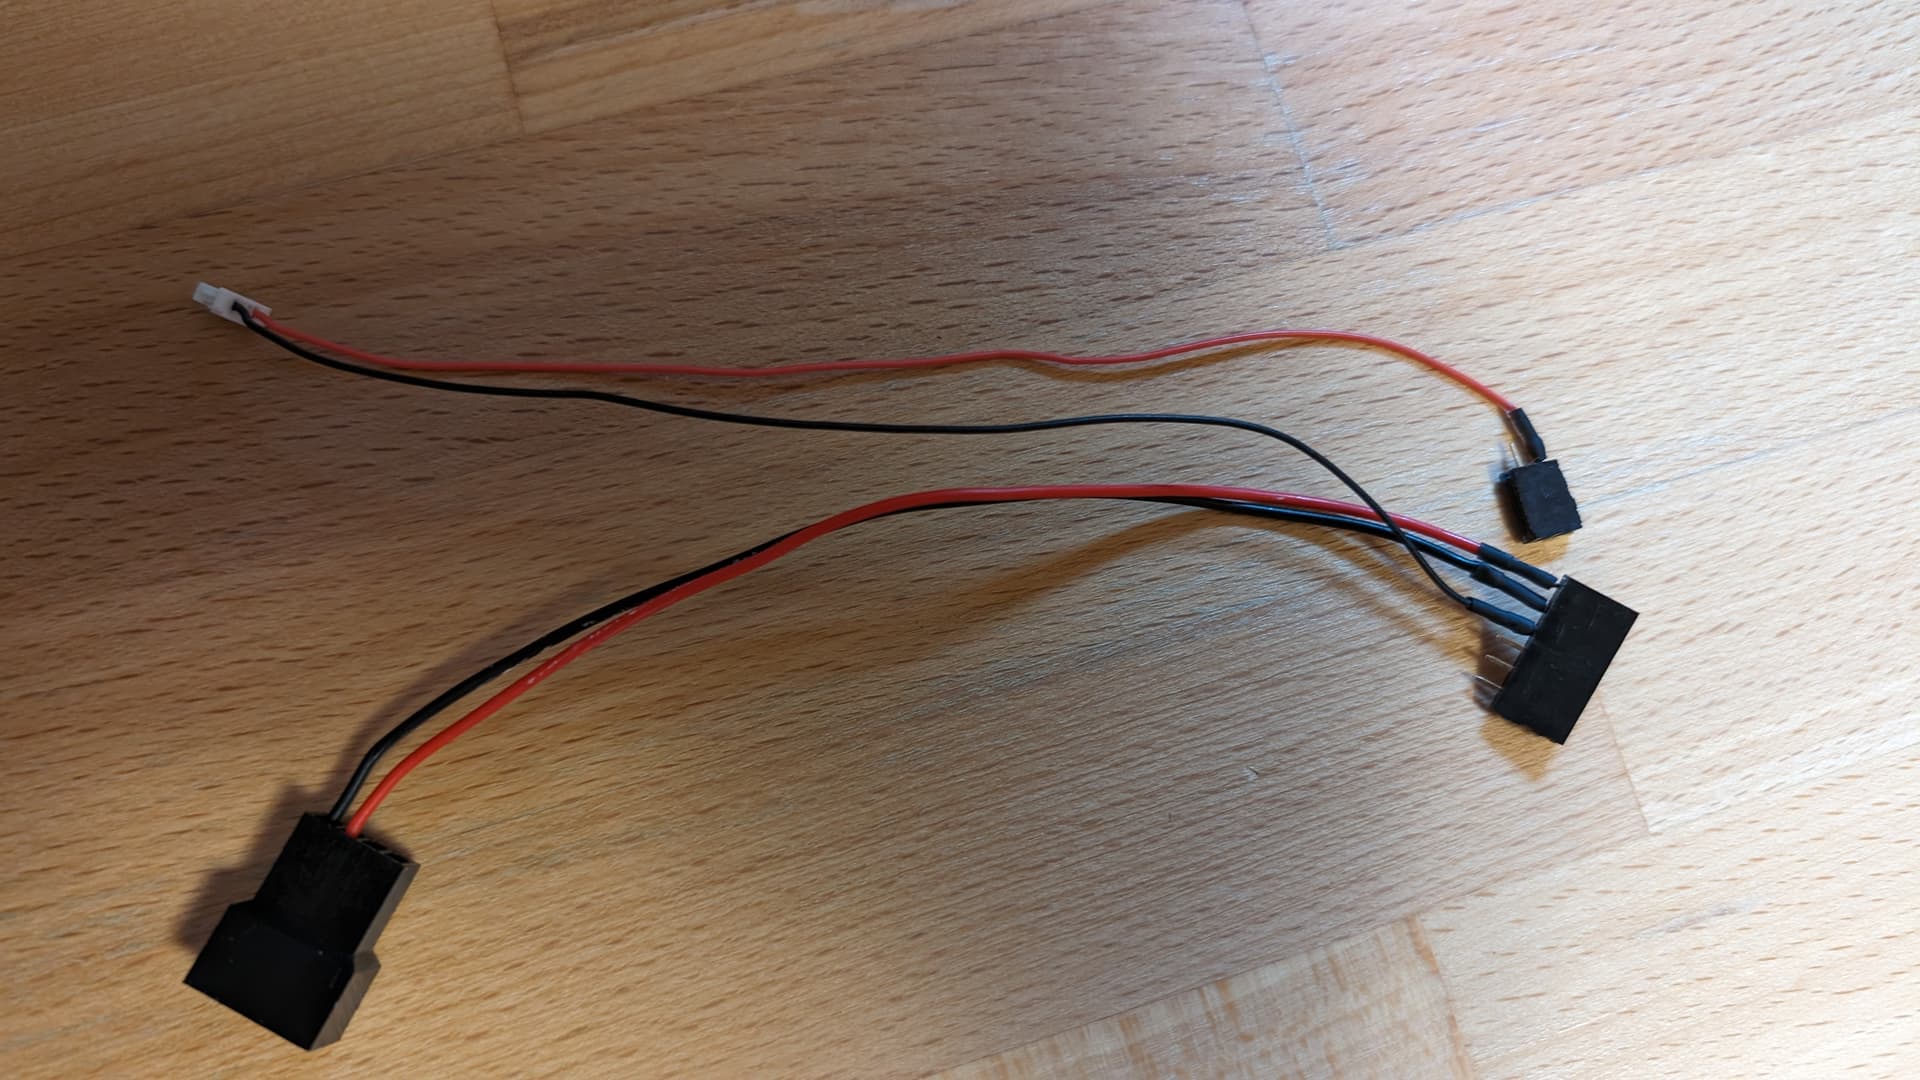
And I finished doing the detachable cables for the power to the fans, and the sync. Just two big connectors to make it easier to deal with, and kind of make it keyed in the event a future buyer disconnect it at some point for whatever reasons.
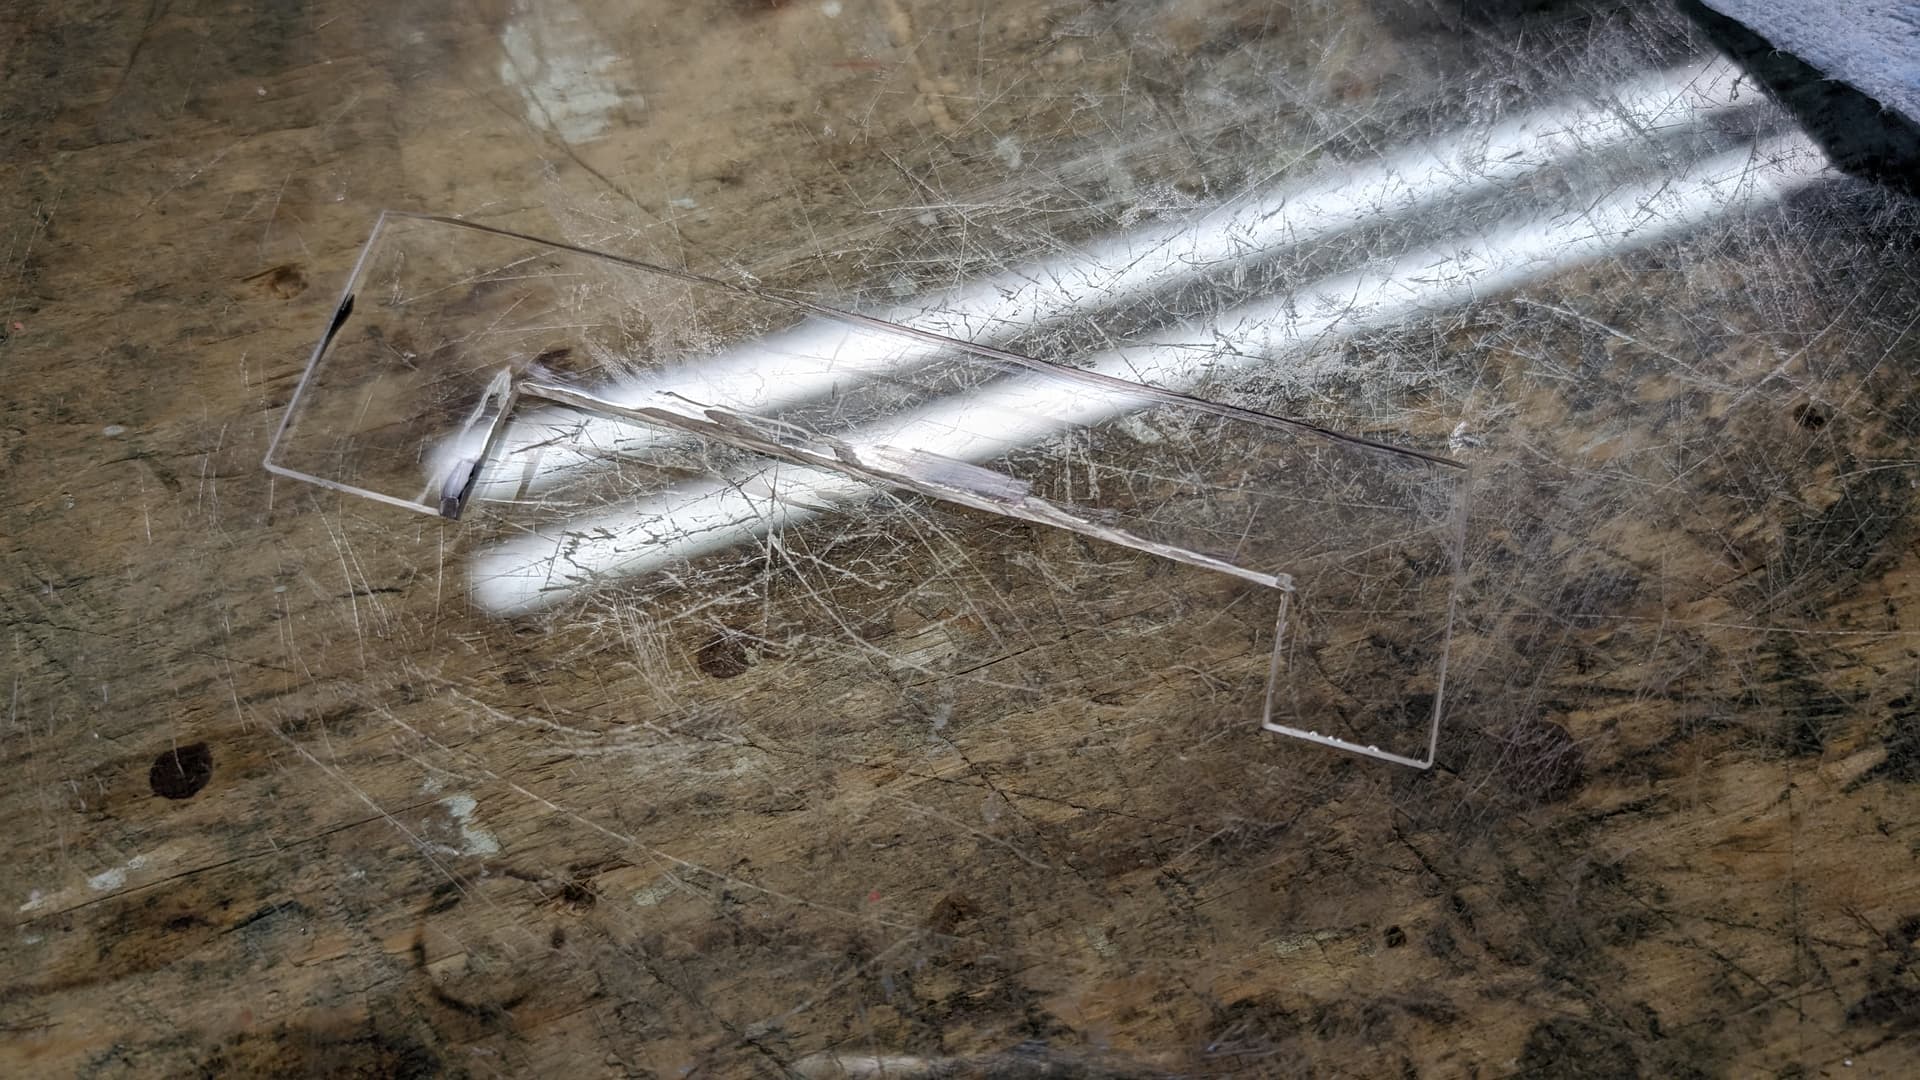
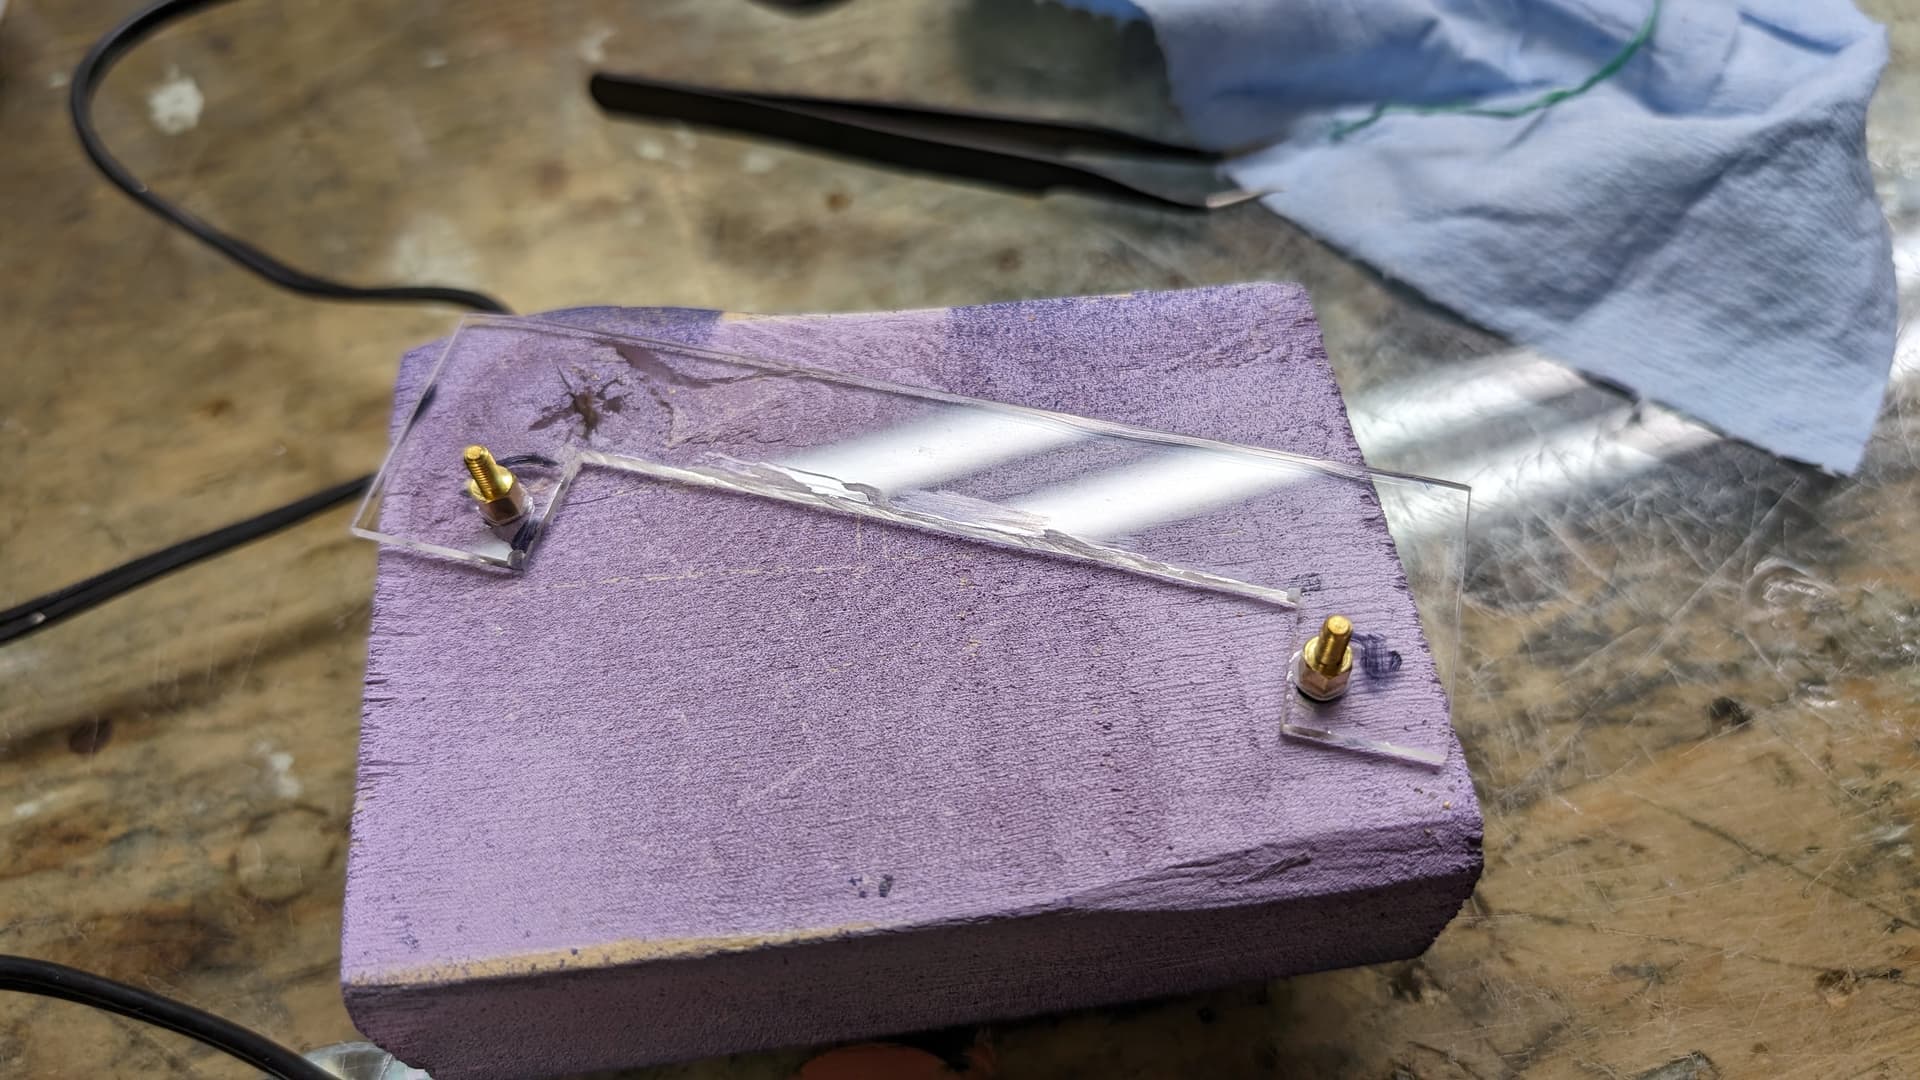
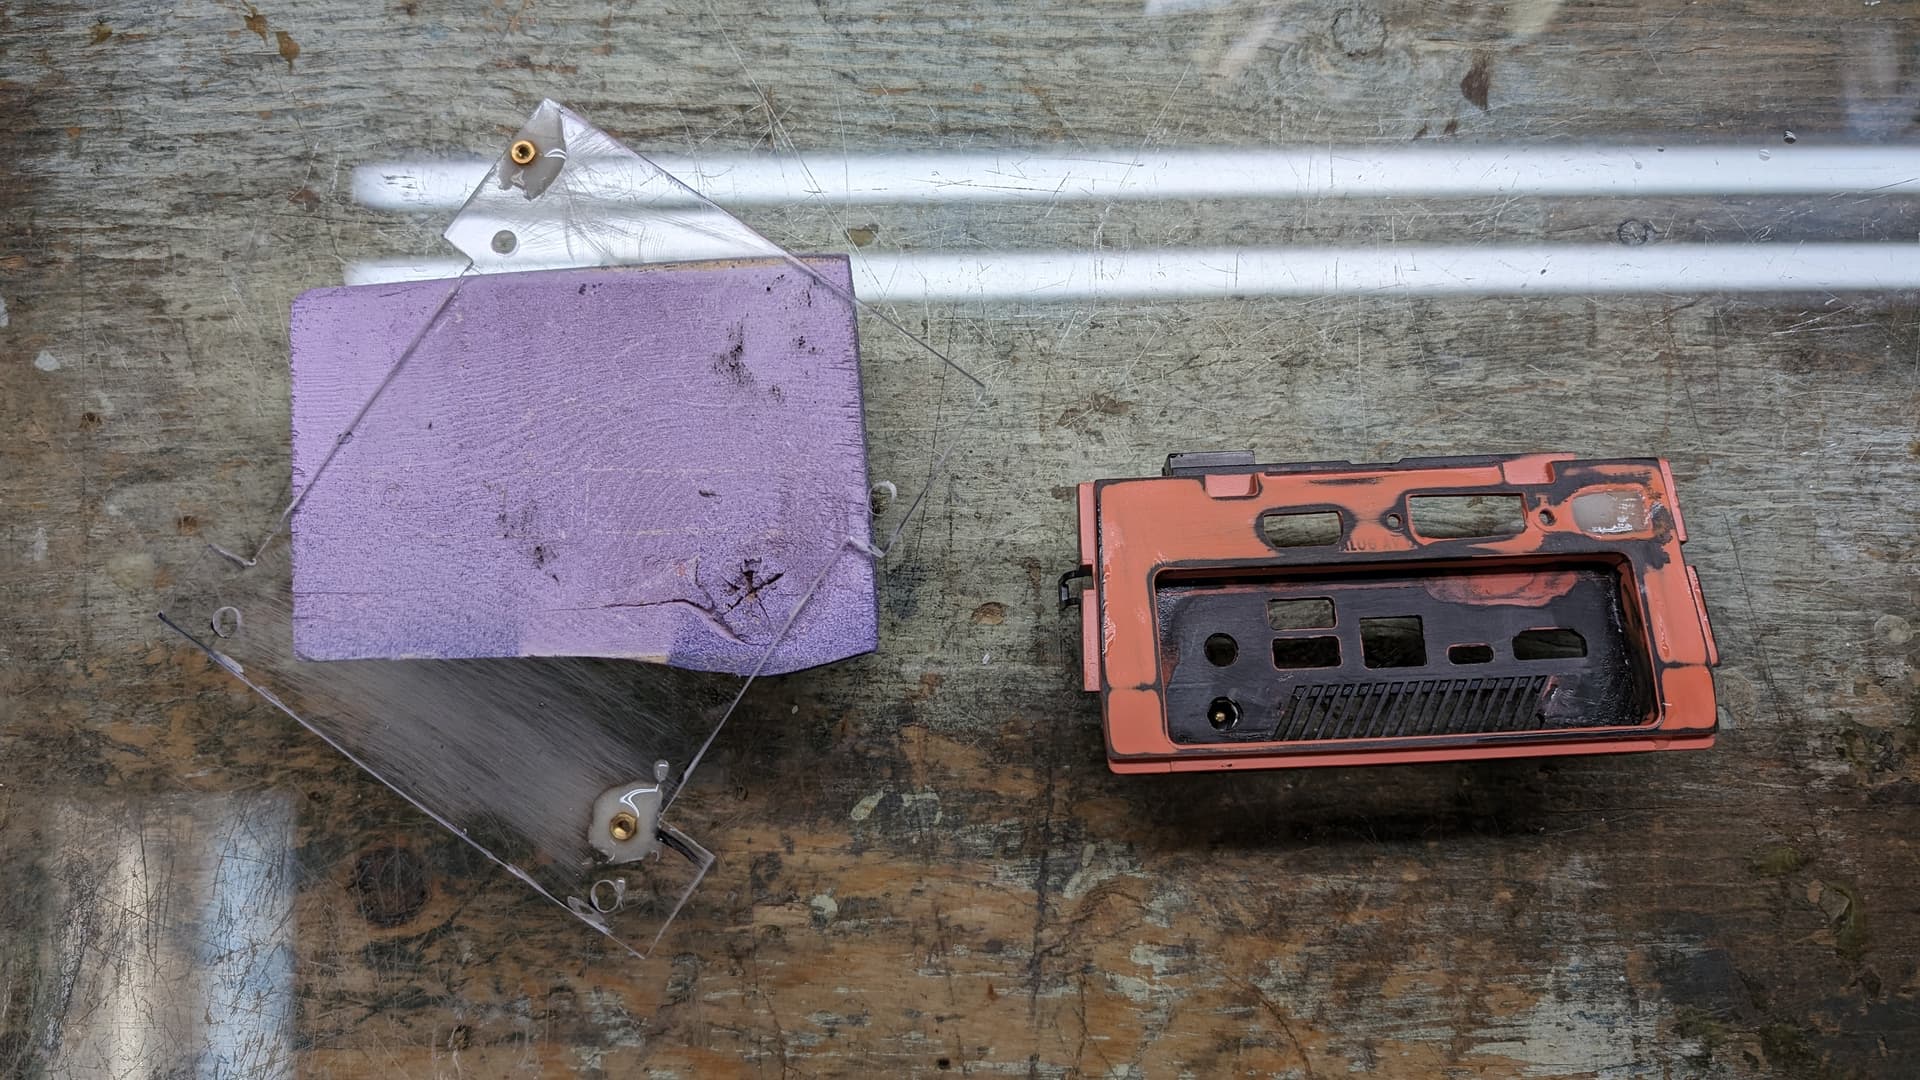
And I finished cutting in the acrylic floor for the GPU. Also I found an easy solution for the locks. I just mounted two standoffs in the acrylic and epoxied, and I will just need to screw in two small acrylic pieces to hold the GPU securely in place
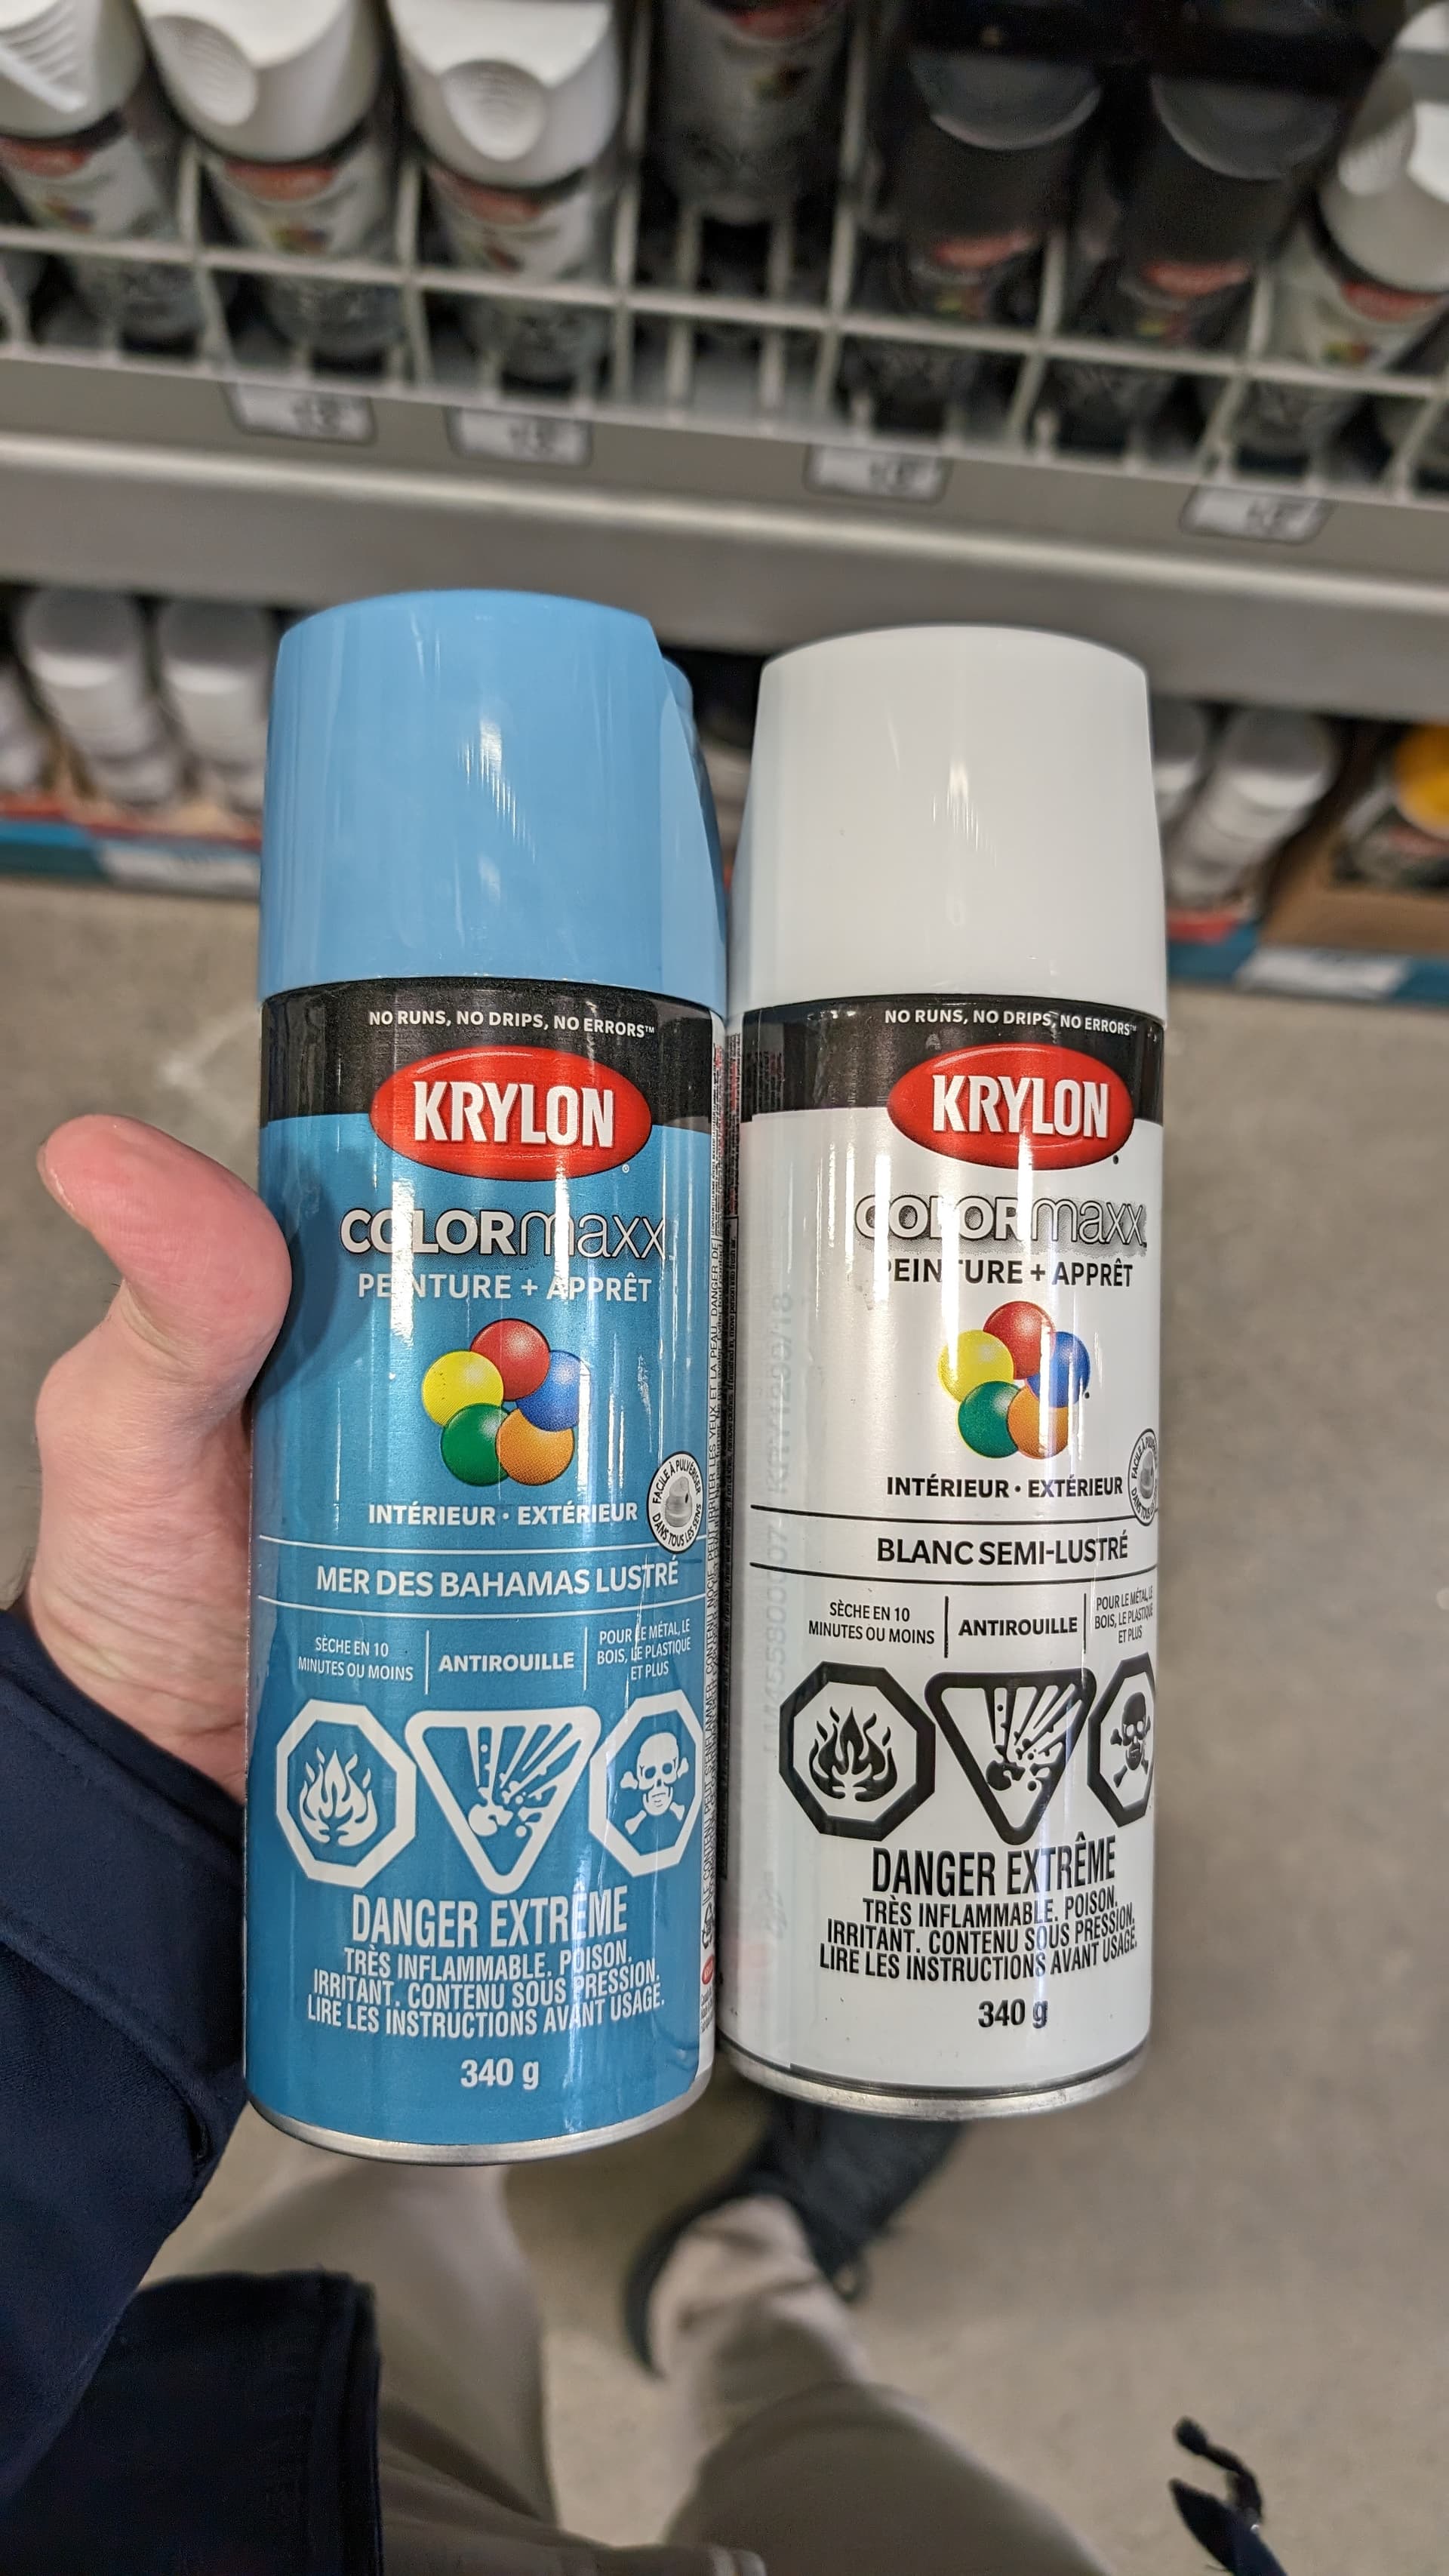
And for the colour, following the results of the poll. I bought Bahama Sea! I was afraid it might be too green at first, but seeing it in person, it’s a good combo with the with, I’m happy with your choice lol. I hope I will be able to begin to paint during the week. I will take my time this time around and not rushed it lol
Otherwise the paint is looking really nice! I’m wainting my two days before applying other layers or manipulate the pieces. Also I will be painting the inside for the most clean look.
My MBA is sucking up my time I hope I will be able to advance during the long weekend, especially since I go get my 3D printed pieces tomorrow.
But aside of that. The paint is done and fully set. I really dig the colour combo. There would be only the reset and eject button that I might piant over too if I see the 3D printed white is too different, and the memory slot covers that I’m gonna paint bahama sea.
And the power for the GPU has also been soldered, but I have not tested if everything was still working But now I’ve transfered to my temporary setup with the Ryzen 7600, so the PN50 is fully available without any limits now
I am going the lazy / unskilled route and ordered a Gamecube conversion kit from “Retromoder” on Etsy - might not look as nice as yours because the lower part of the GC shell is a 3D-printed replacement.
I’m using a supershort GTX 1650 that was a Dell OEM. Like it doesn’t have even a PCIe lock, because otherwise it would be too long to fit inside (well too long if you want to fit a Gamecube adapter too).
So I got my 3D printed pieces, but forgot to take a picture of them
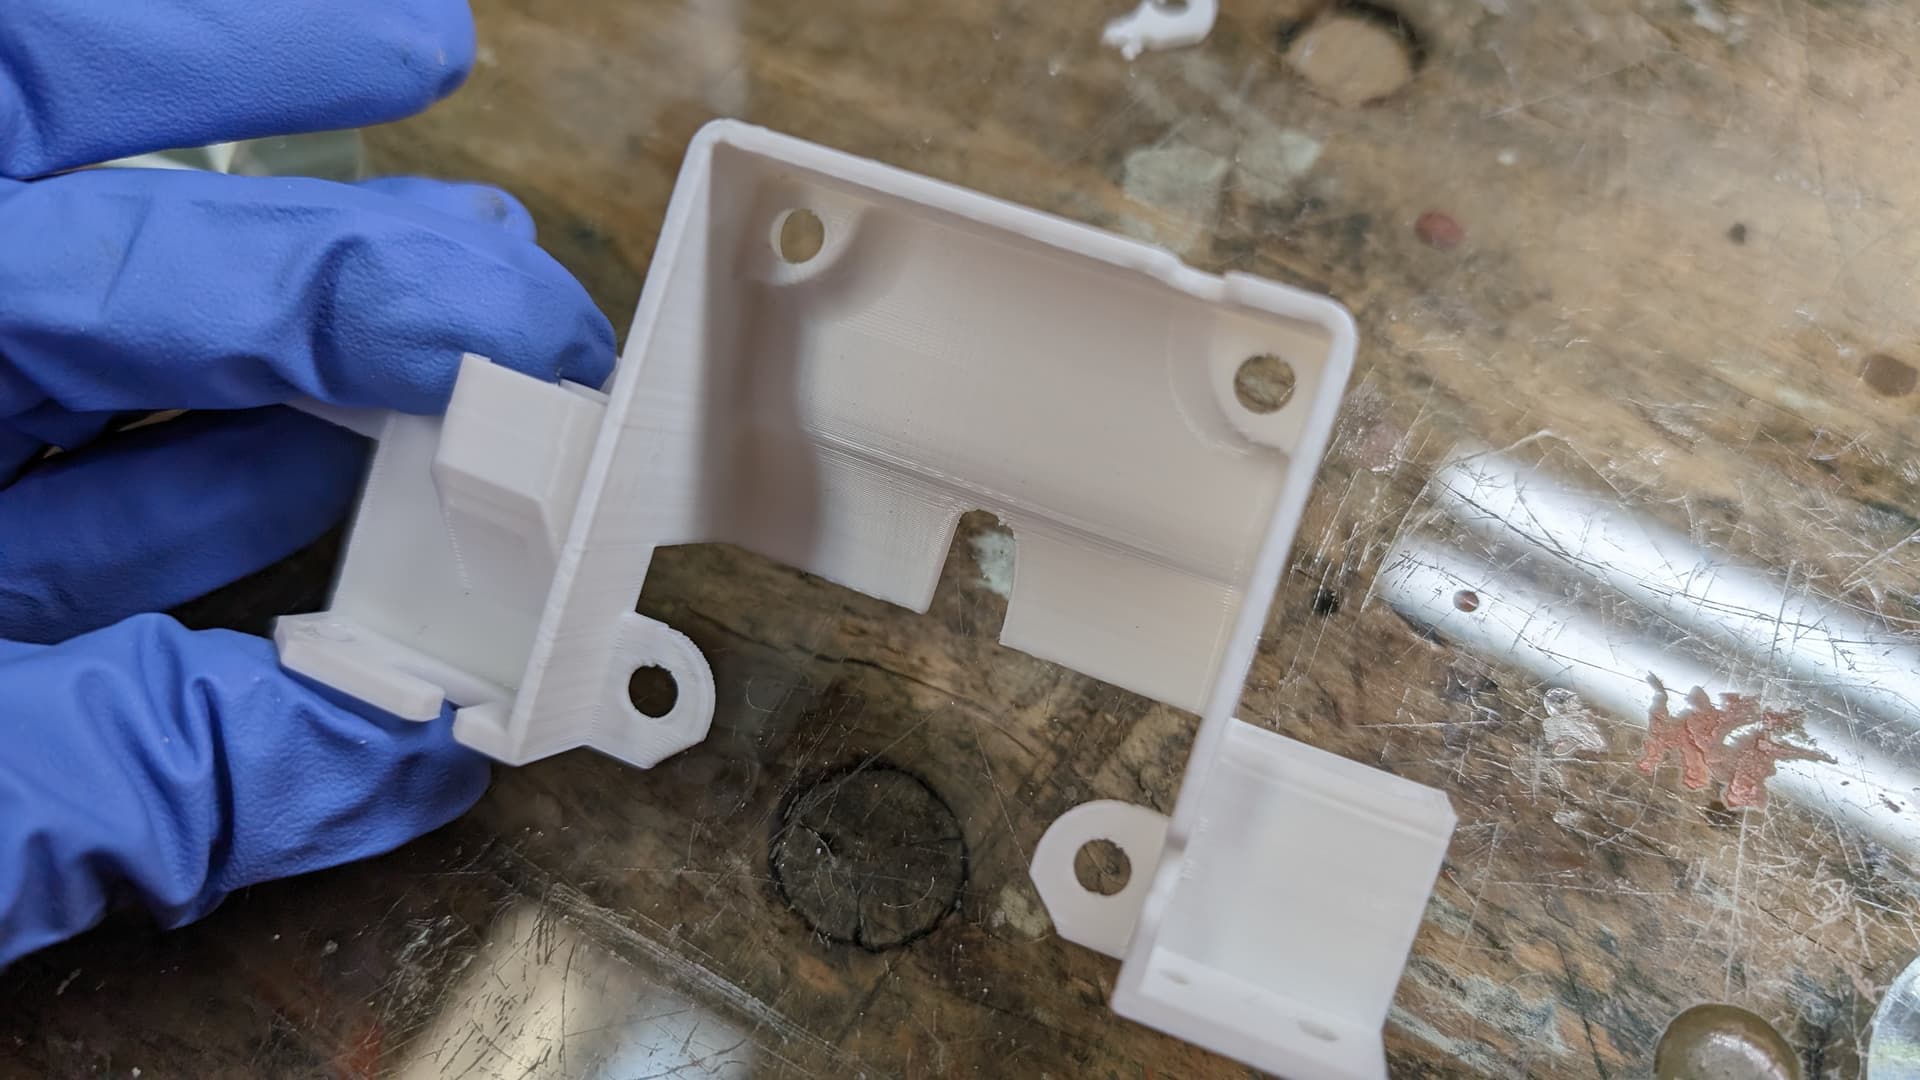
That’s because I modified the fan mount to fit on their respective sides, and to have a place to mount the power button. Next time I would need to learn to 3D model myself. In part because the fan mount I’ve got were modifies to fit a new 50mm fan, so they don’t have the pillar to acrew in the 40mm fan adapter plates So everything while be hot glued At least it will help reduce fan vibration noise lol
In part. I had polishing compound with small polishing wheels in my dremel kit I used first. Then I used Silvo several times with some elbow grease, to finish off with a little of car wax lol