So, in the perspective that I would be more nomad in a near to medium future, I bought a Surface Pro 9 in the intent to be my sole computing device. However, having used it, and thought about it, I’m finally cancelling this project. (so I’m selling it if you’re interested lol)
eGPUs are expensive, even if I go with a DIY solution. Plus at the end, with how it seems finicky with thunderbolt, I ultimately preferred my current setup. However, my Gamecube would not be a great fit to lug around, and the big 230W 12V power brick is annoying.
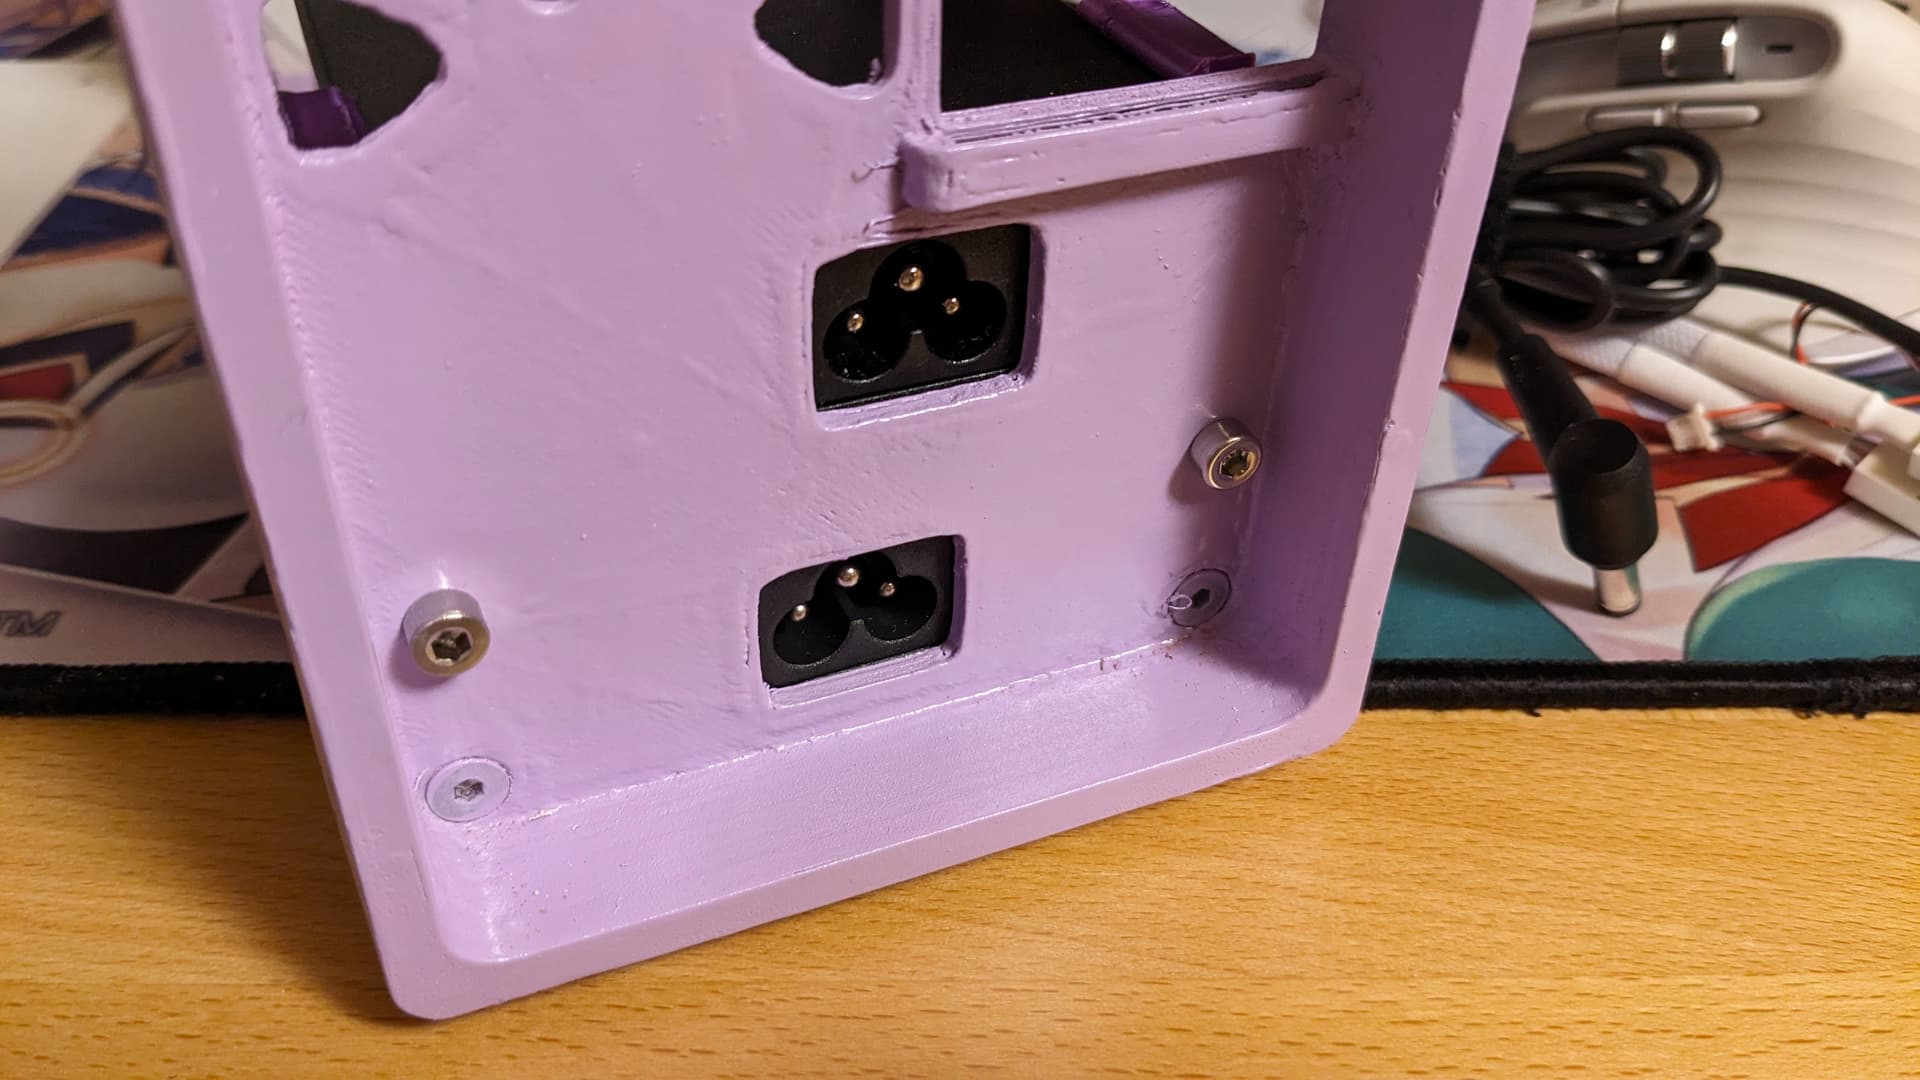
So I want to do a new build to consolidate my stuff and make it more luggable. But I want to spent as little money as possible. Hence I will reusing the same components than my Gamecube build. And I will be using 19V power bricks. I have already the one that was included with my minipc, and I will buy a similar 90W to power the GPU. And I will get a board to convert the 19V to 12V.
This time the built is inspired by Purple Heart in her 4 Goddesses Online form.
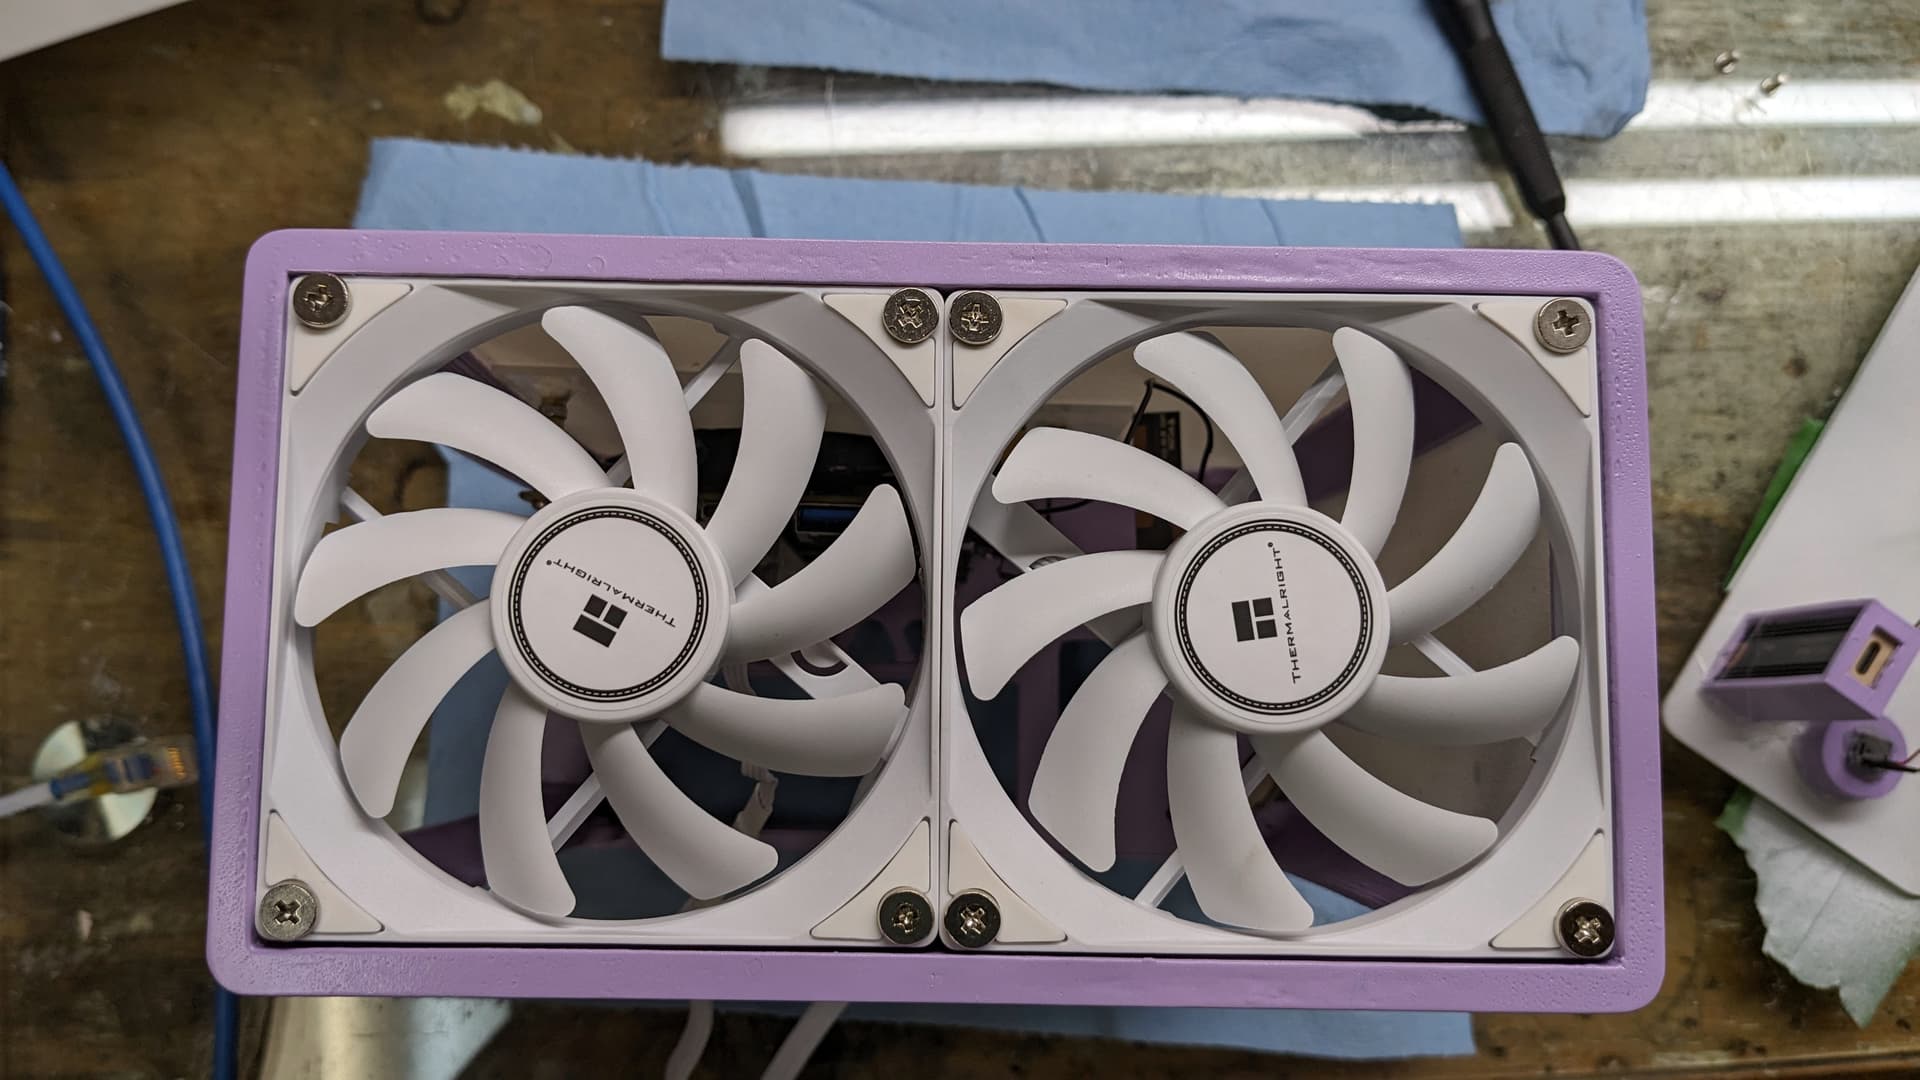
The build be also inspired by NFC’s recent 3D printed case, so pretty. The skeleton while be printed in a shinny purple, the acrylic plates in white, with a oak front to have similar colours to the goddess. And everything will be cool by two 92mm Noctua fan.
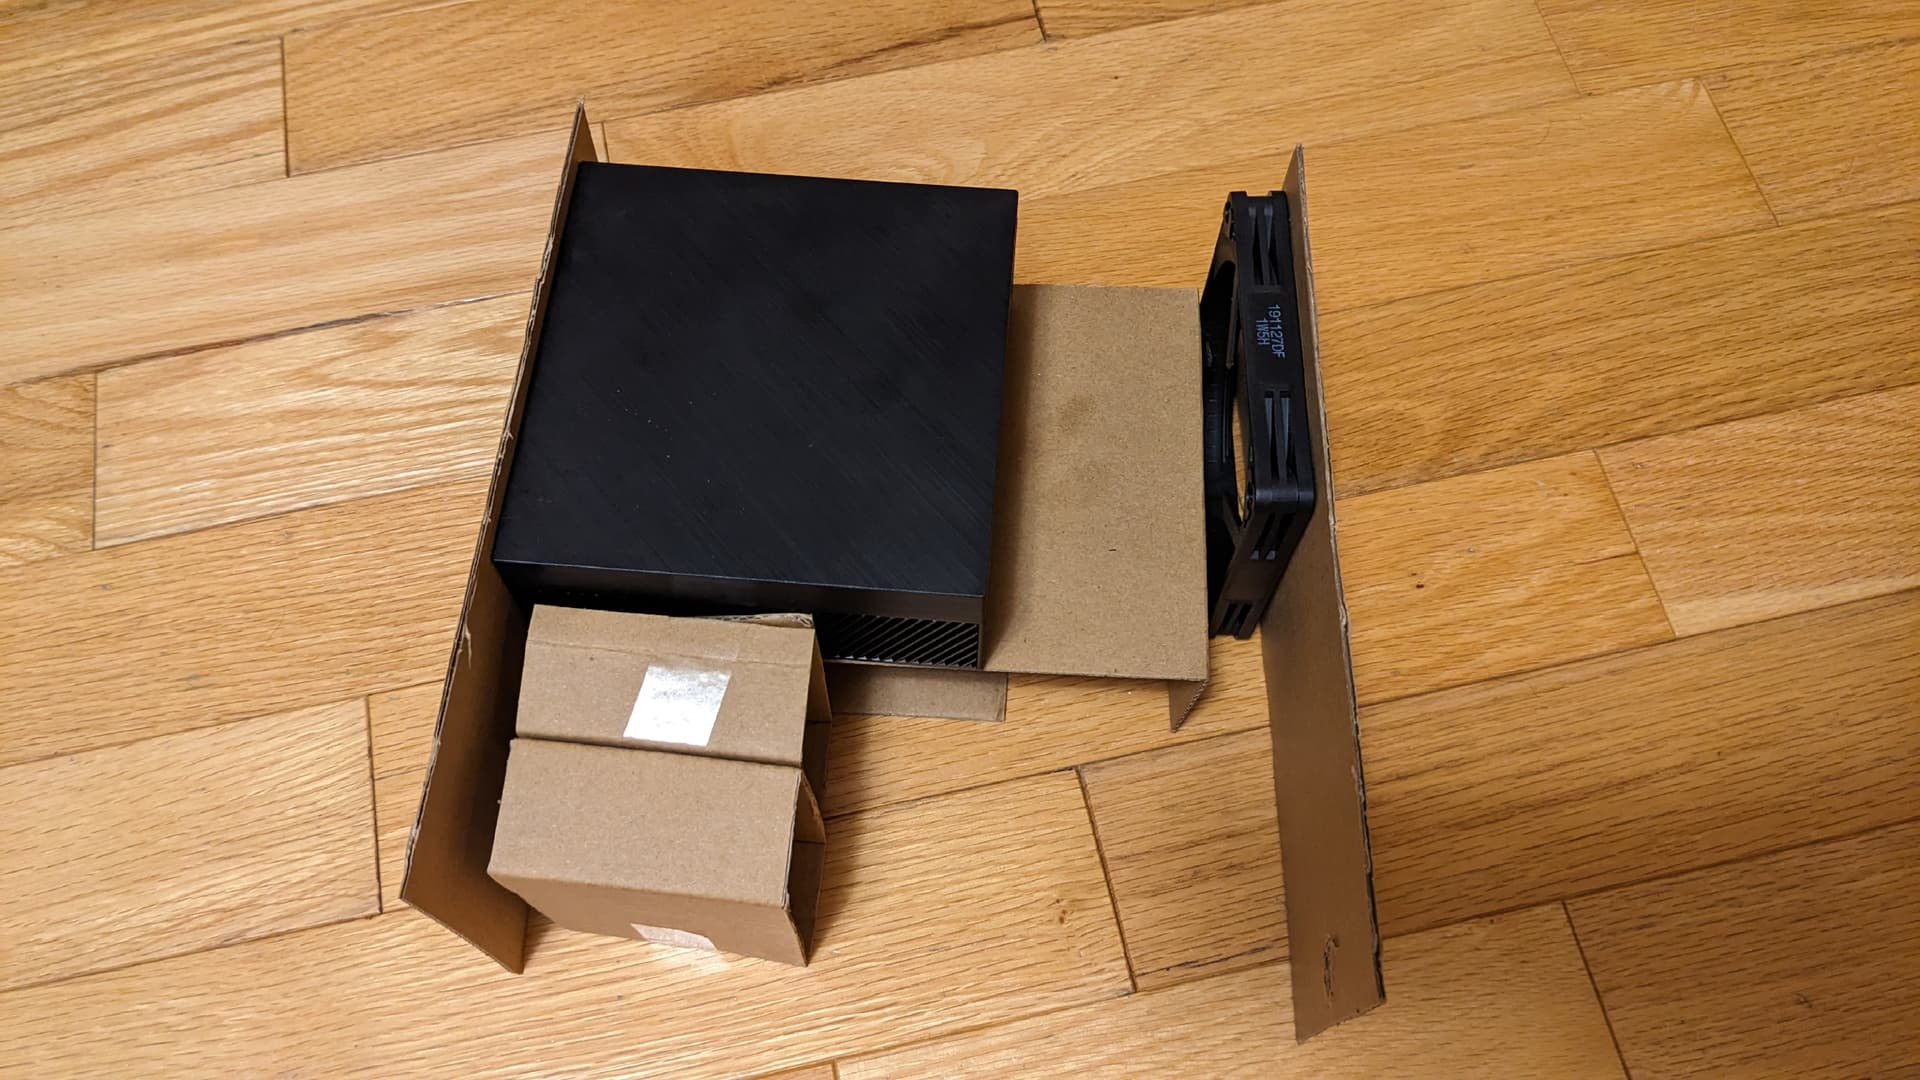
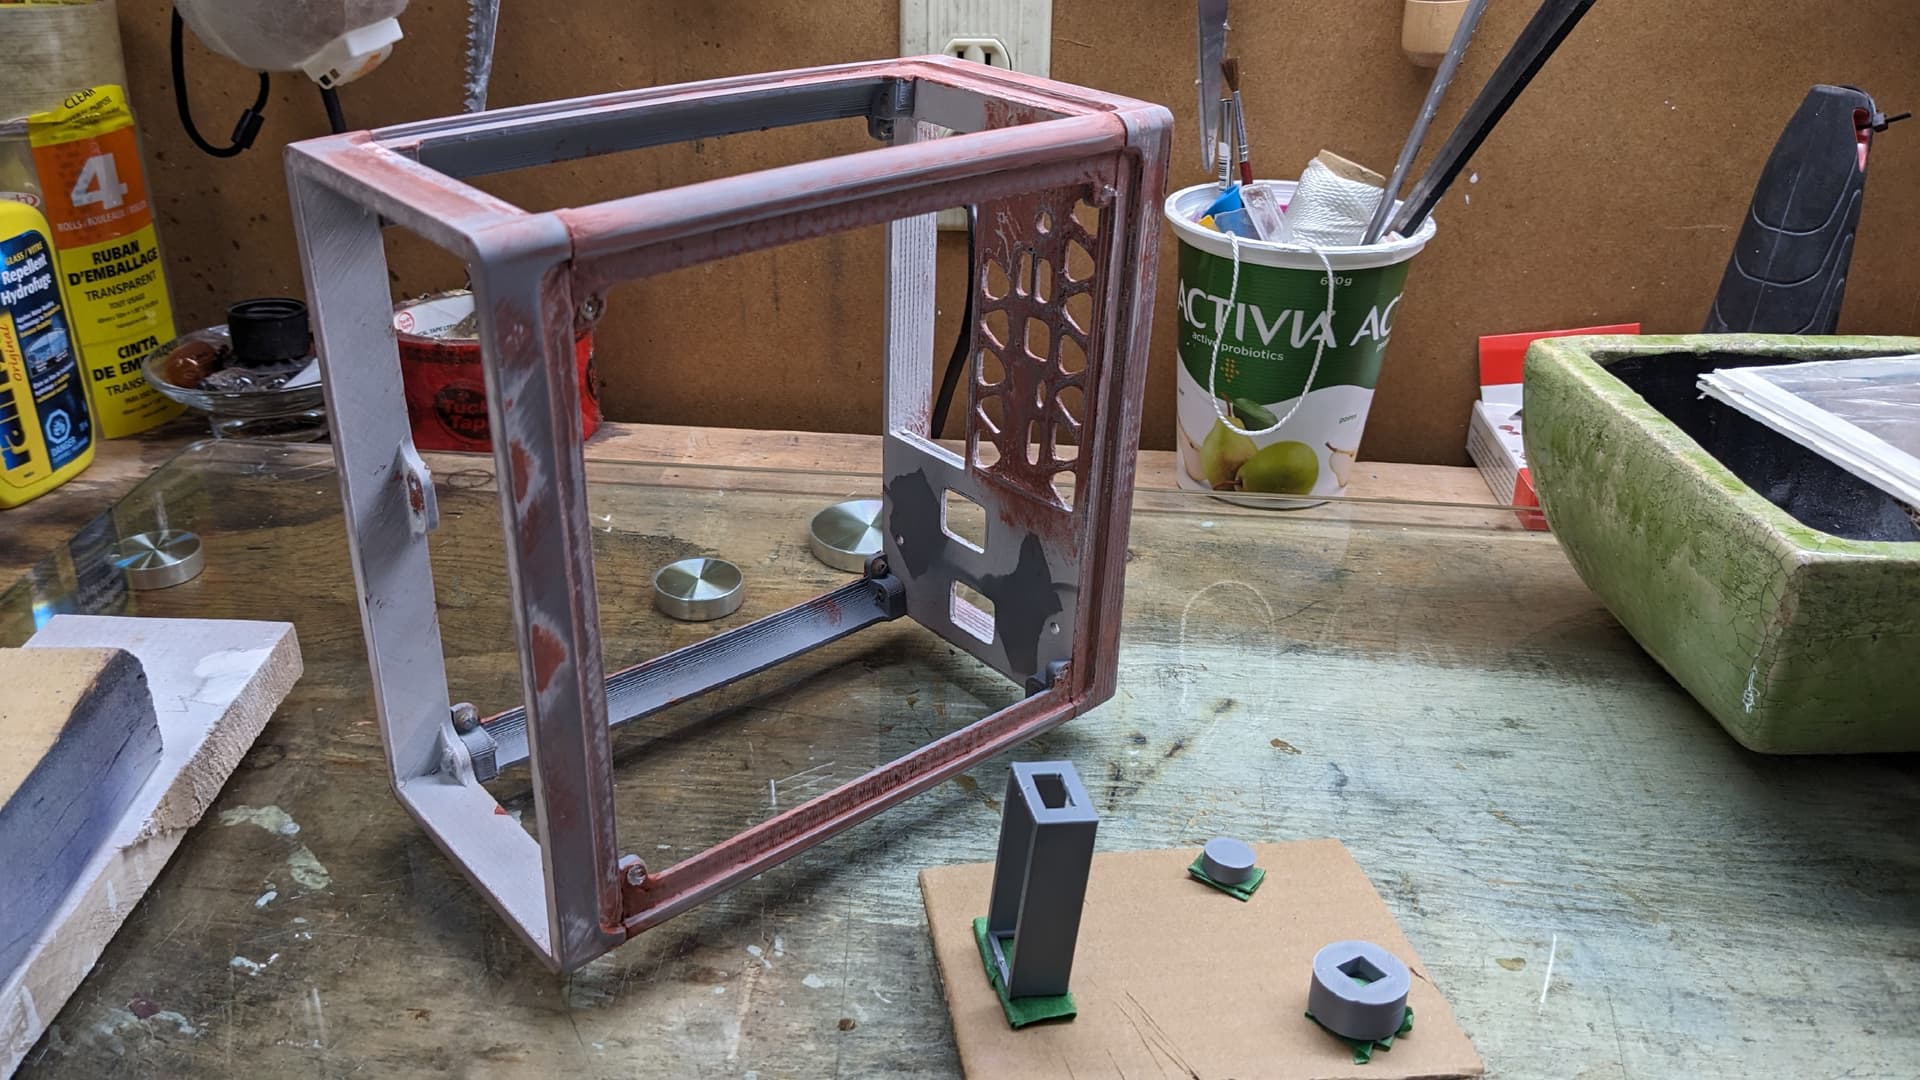
Here’s a simple cardboard mockup that give you a rough idea of the layout.
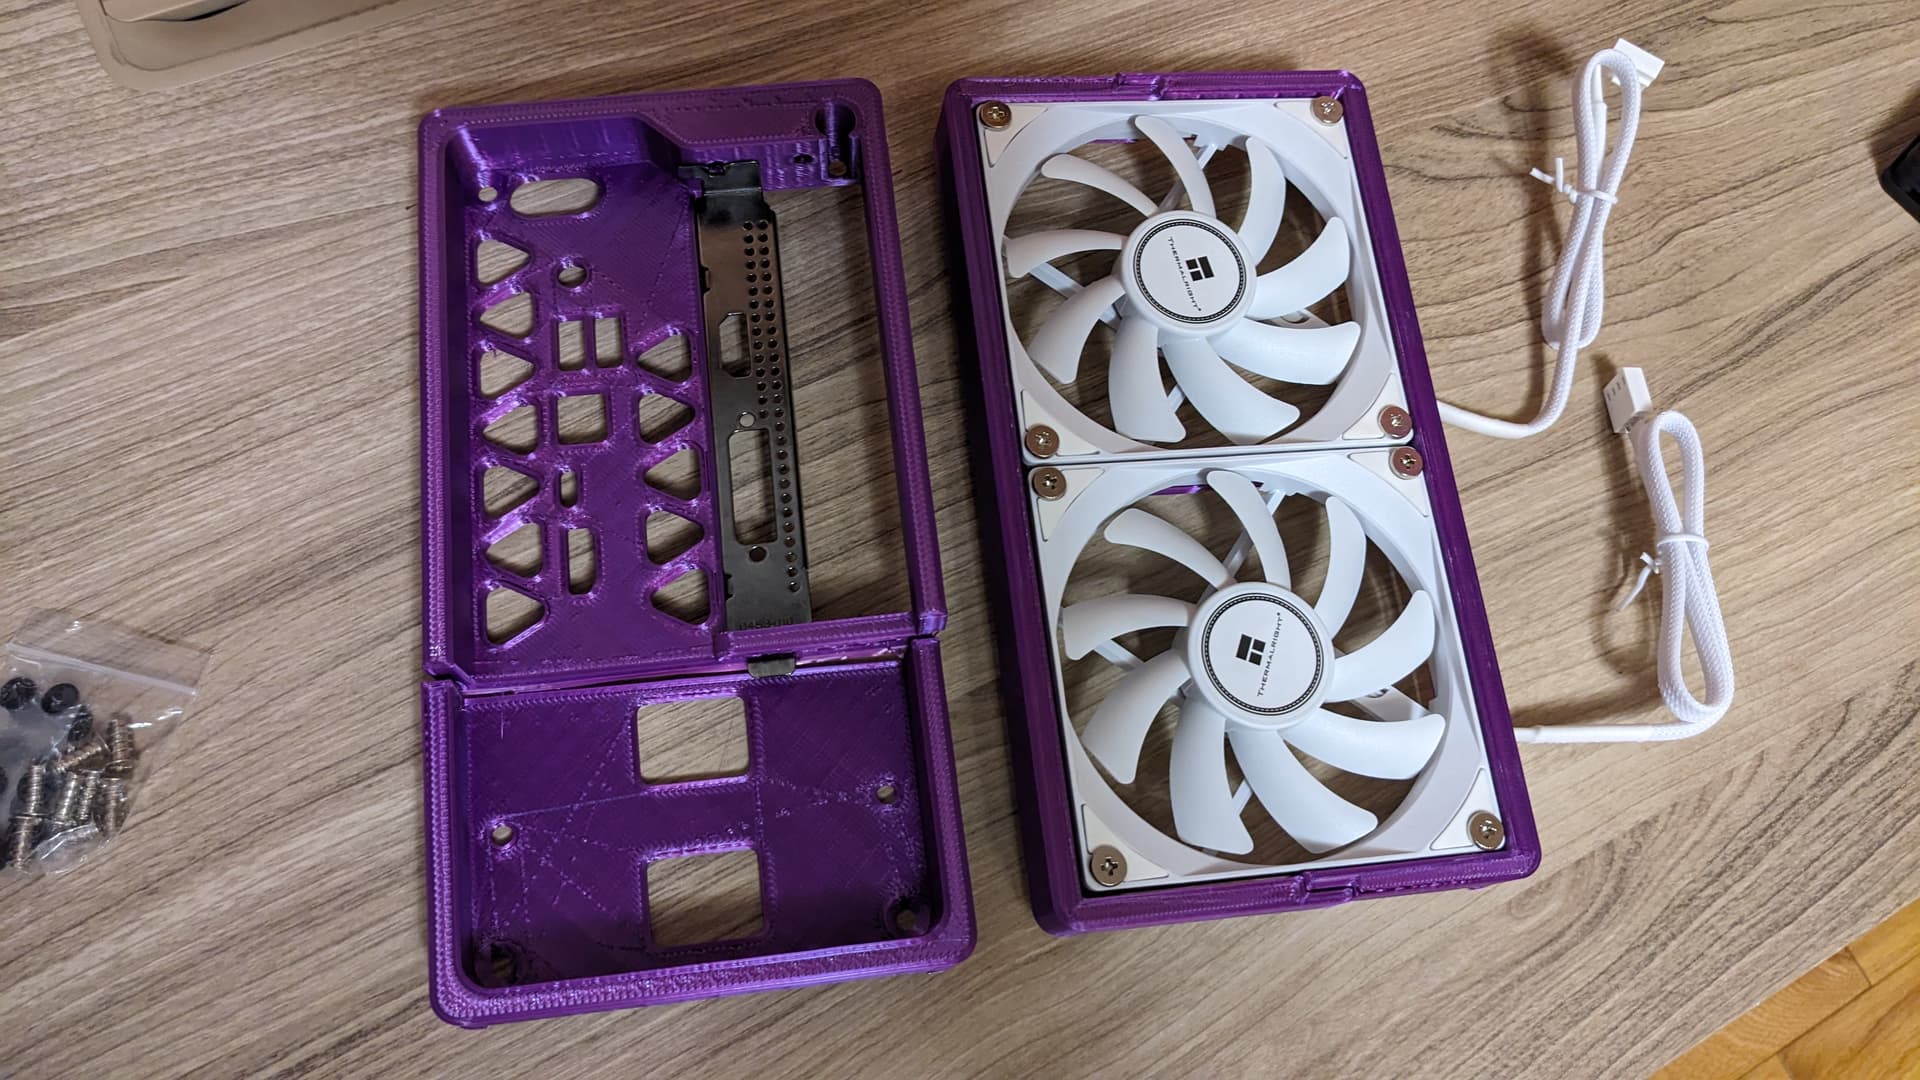
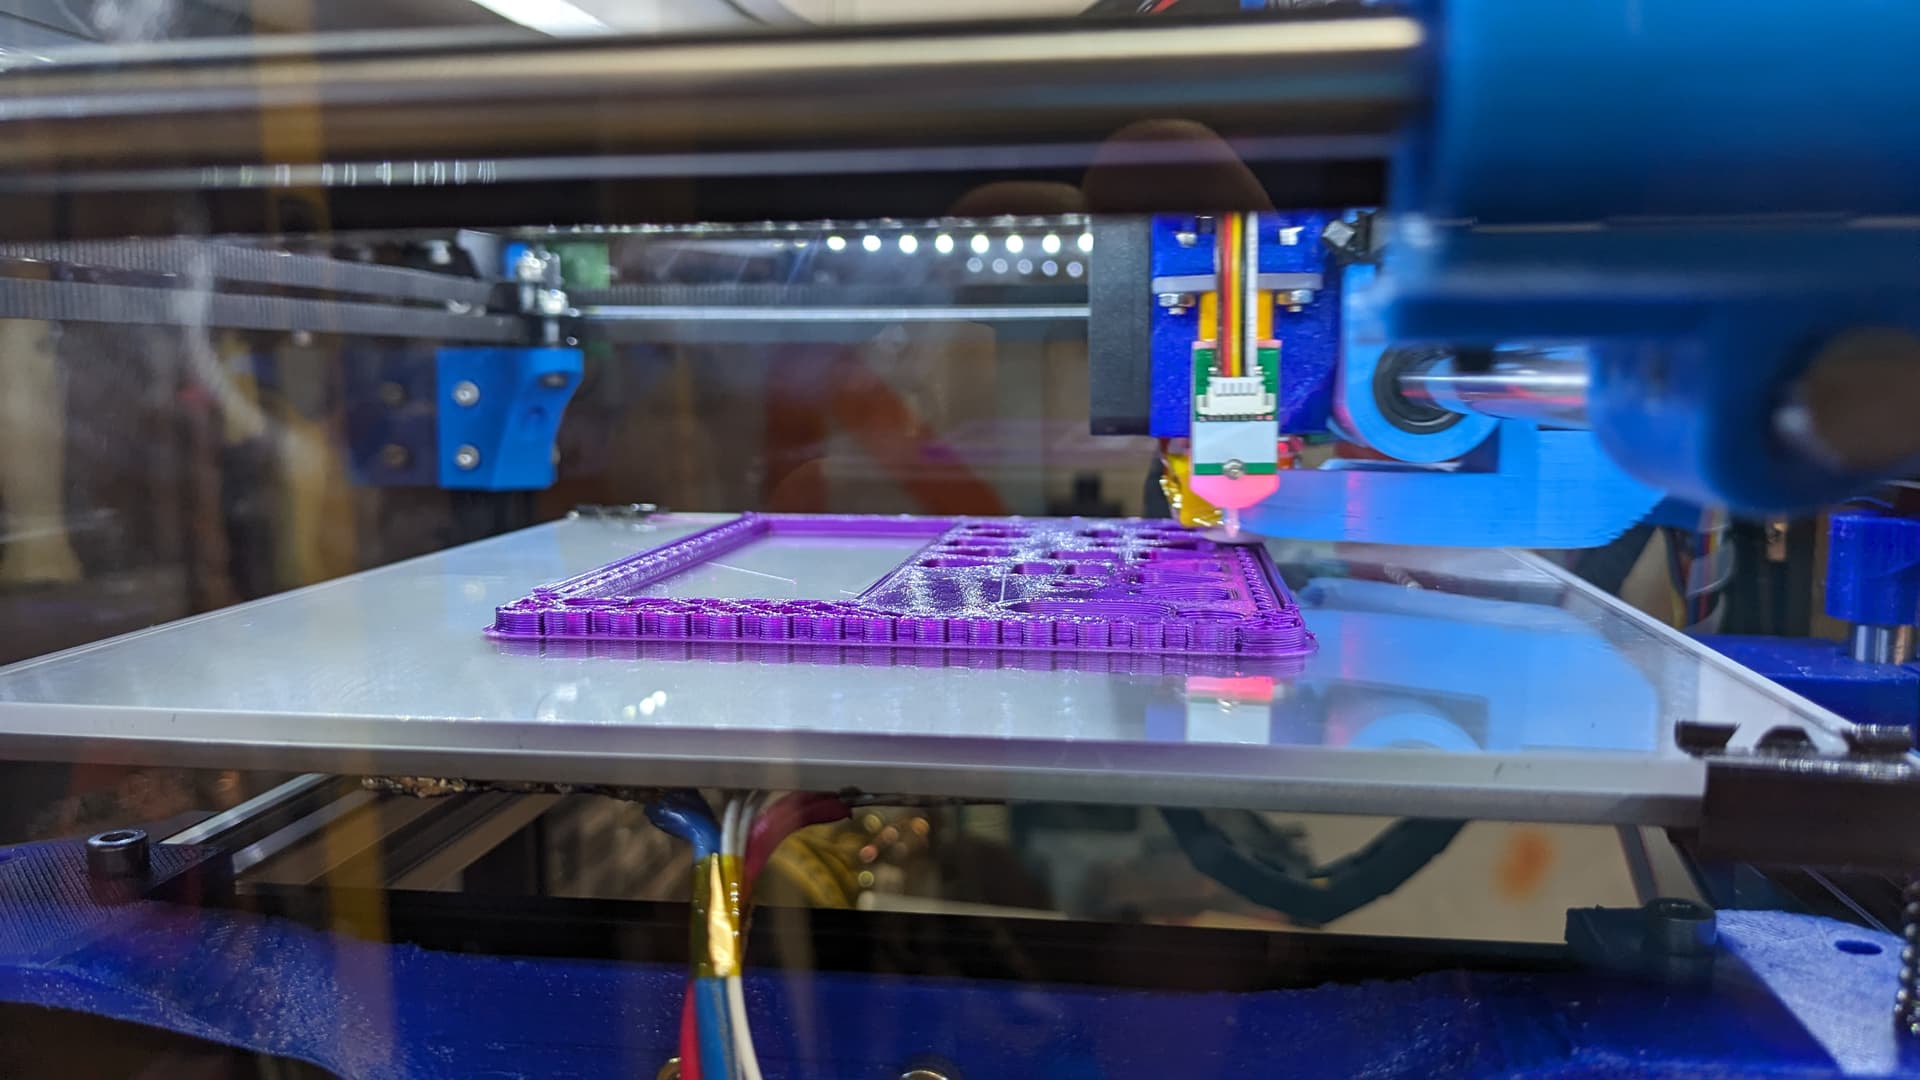
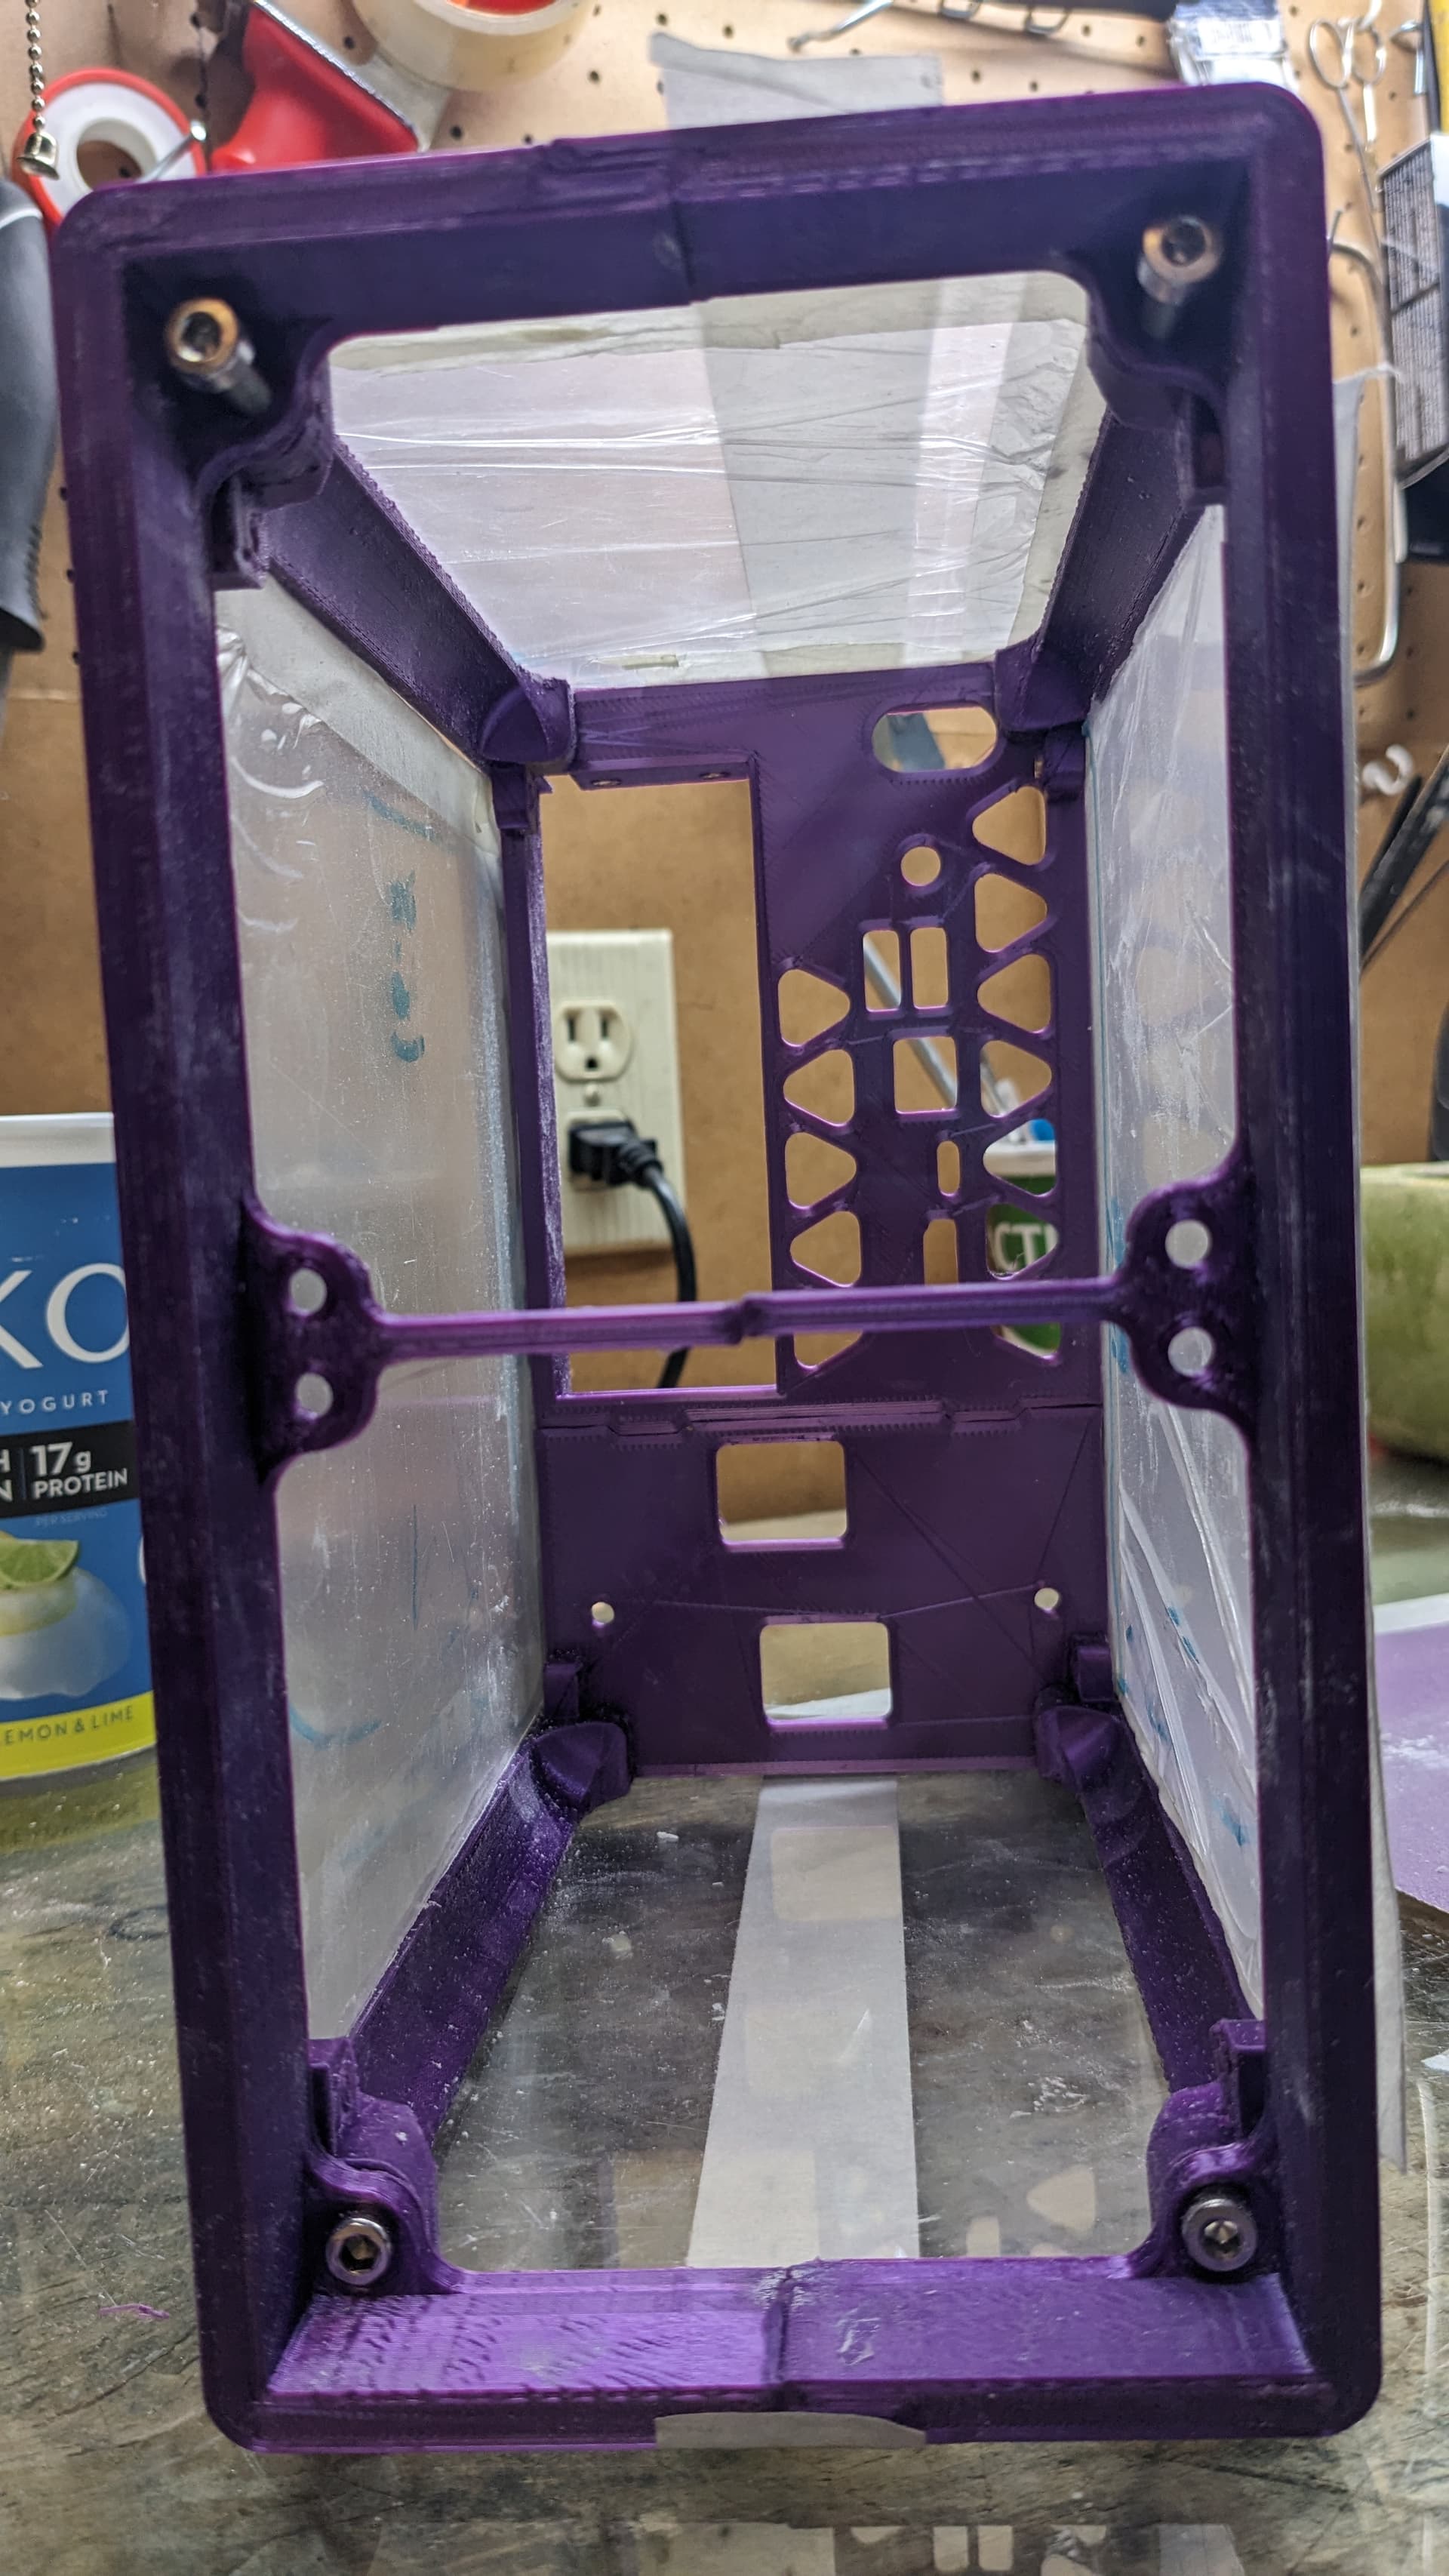
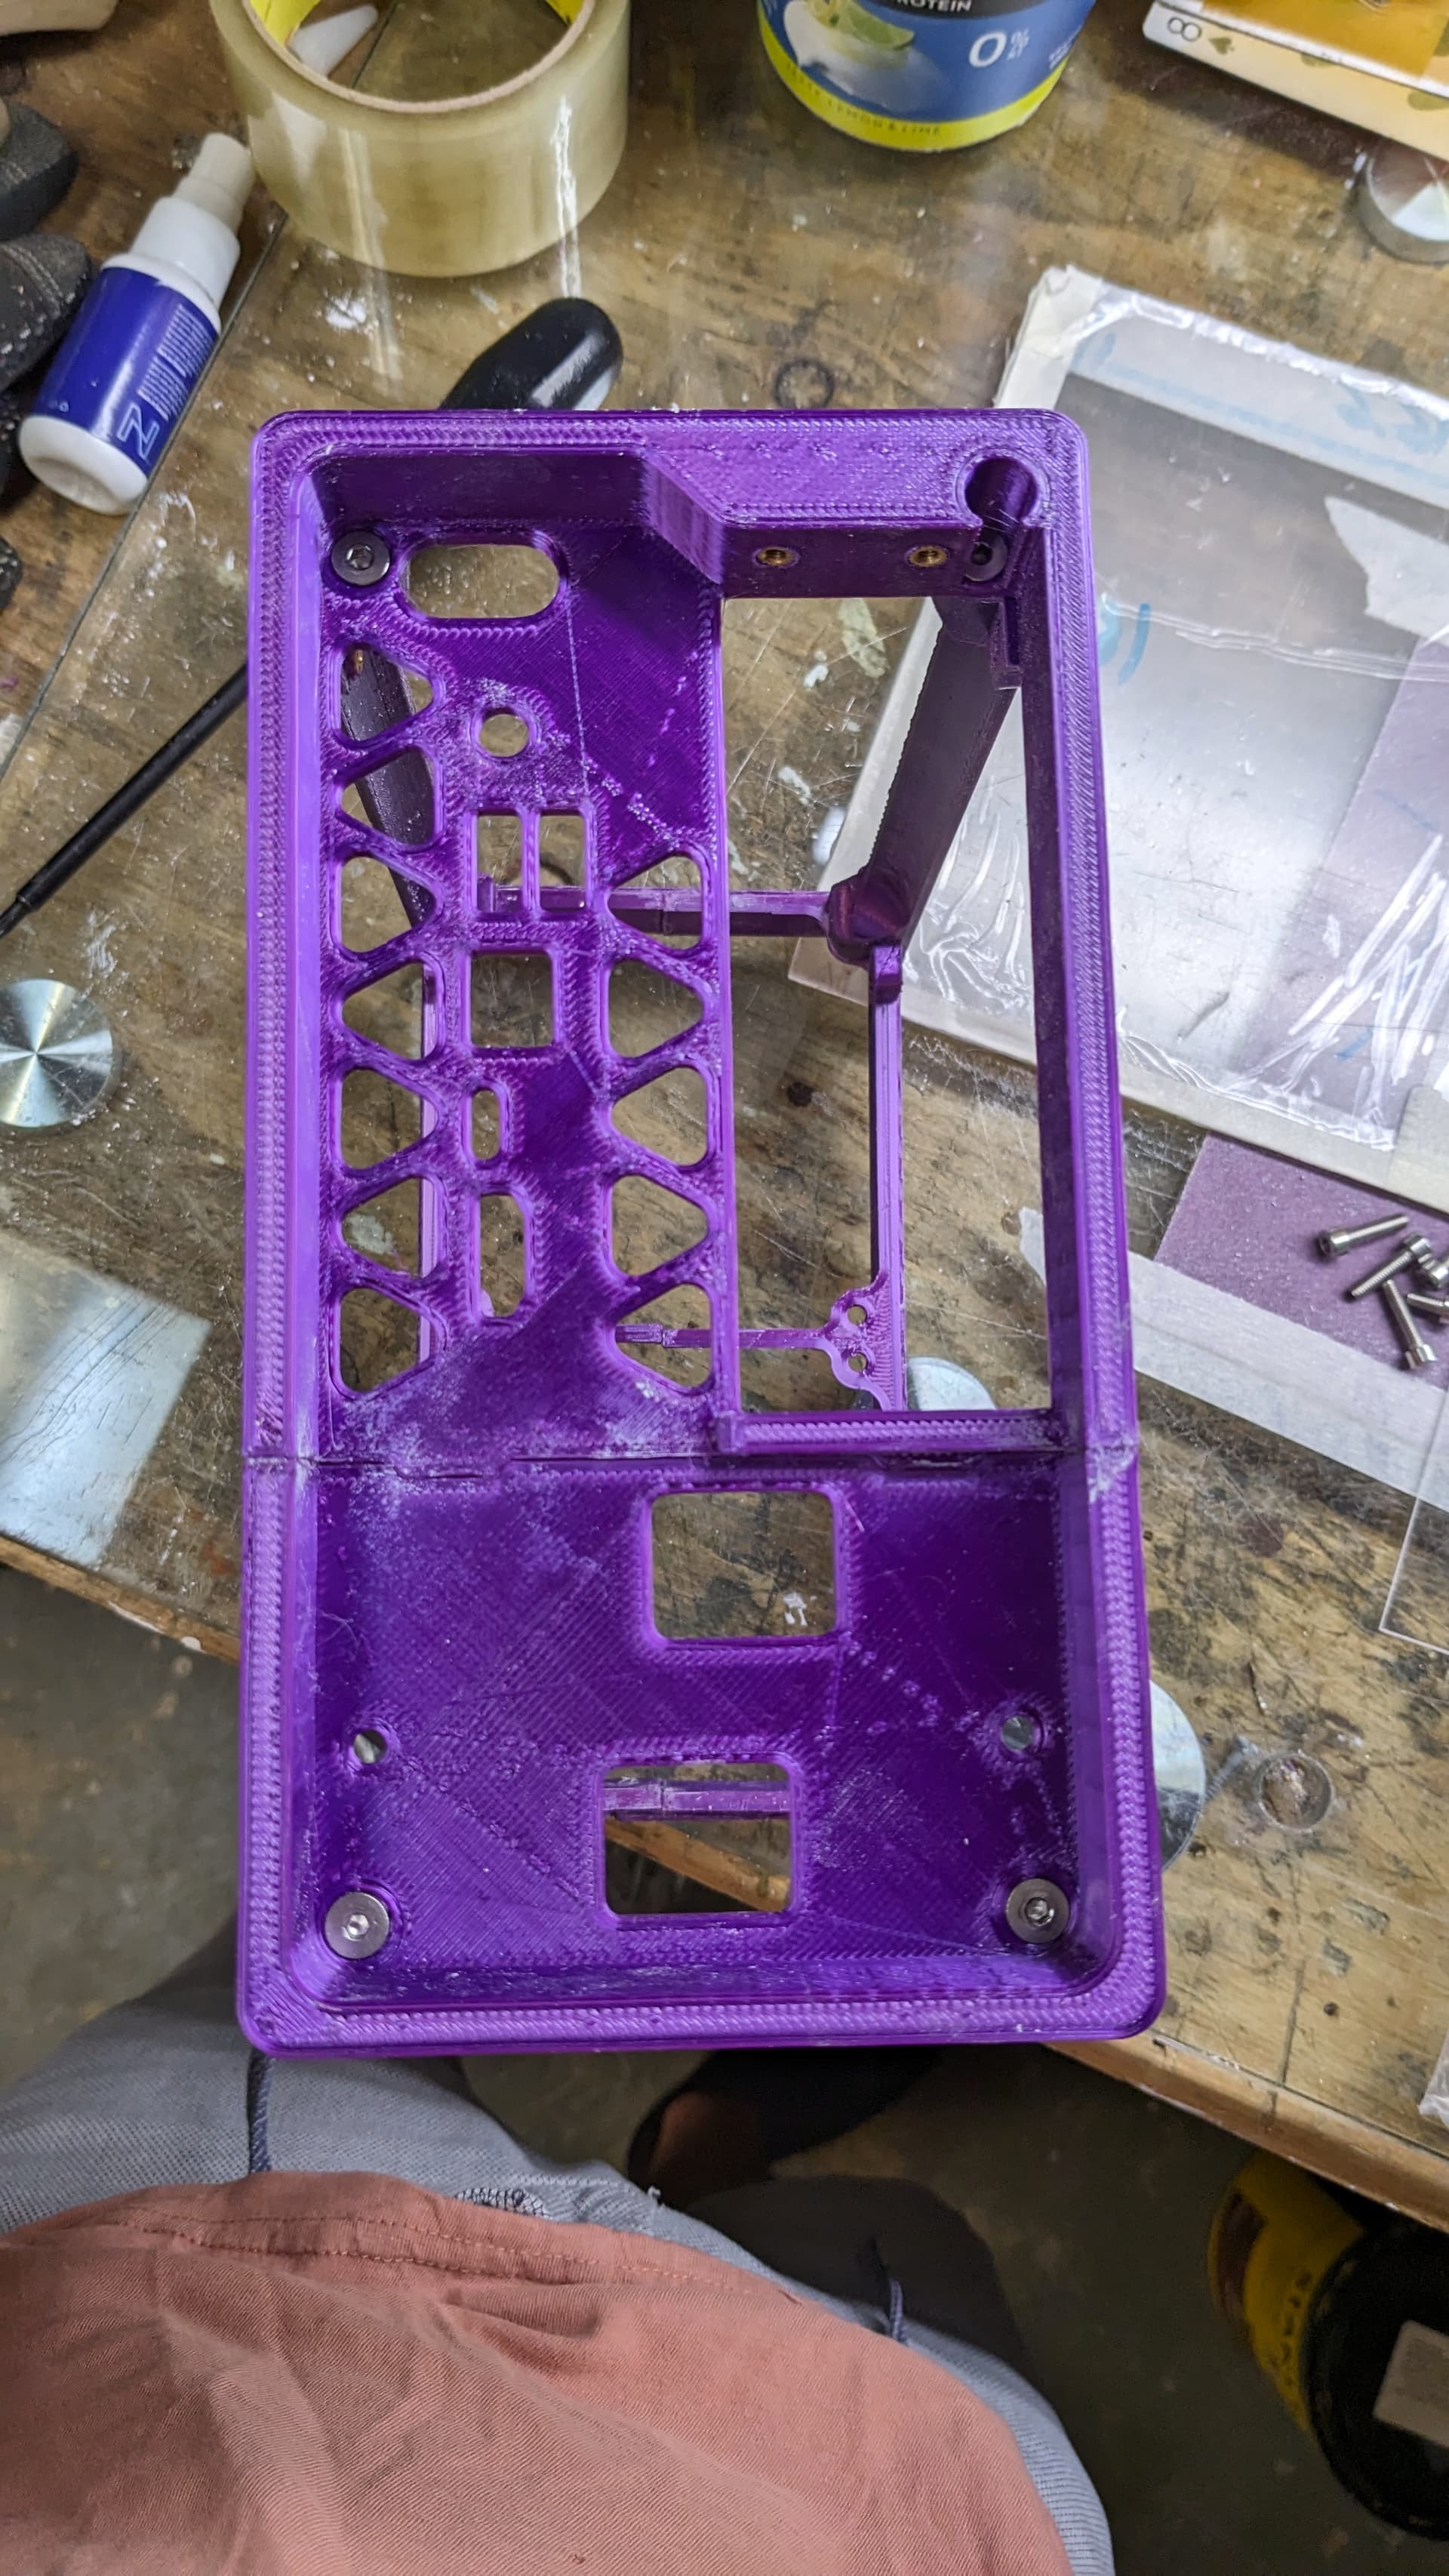
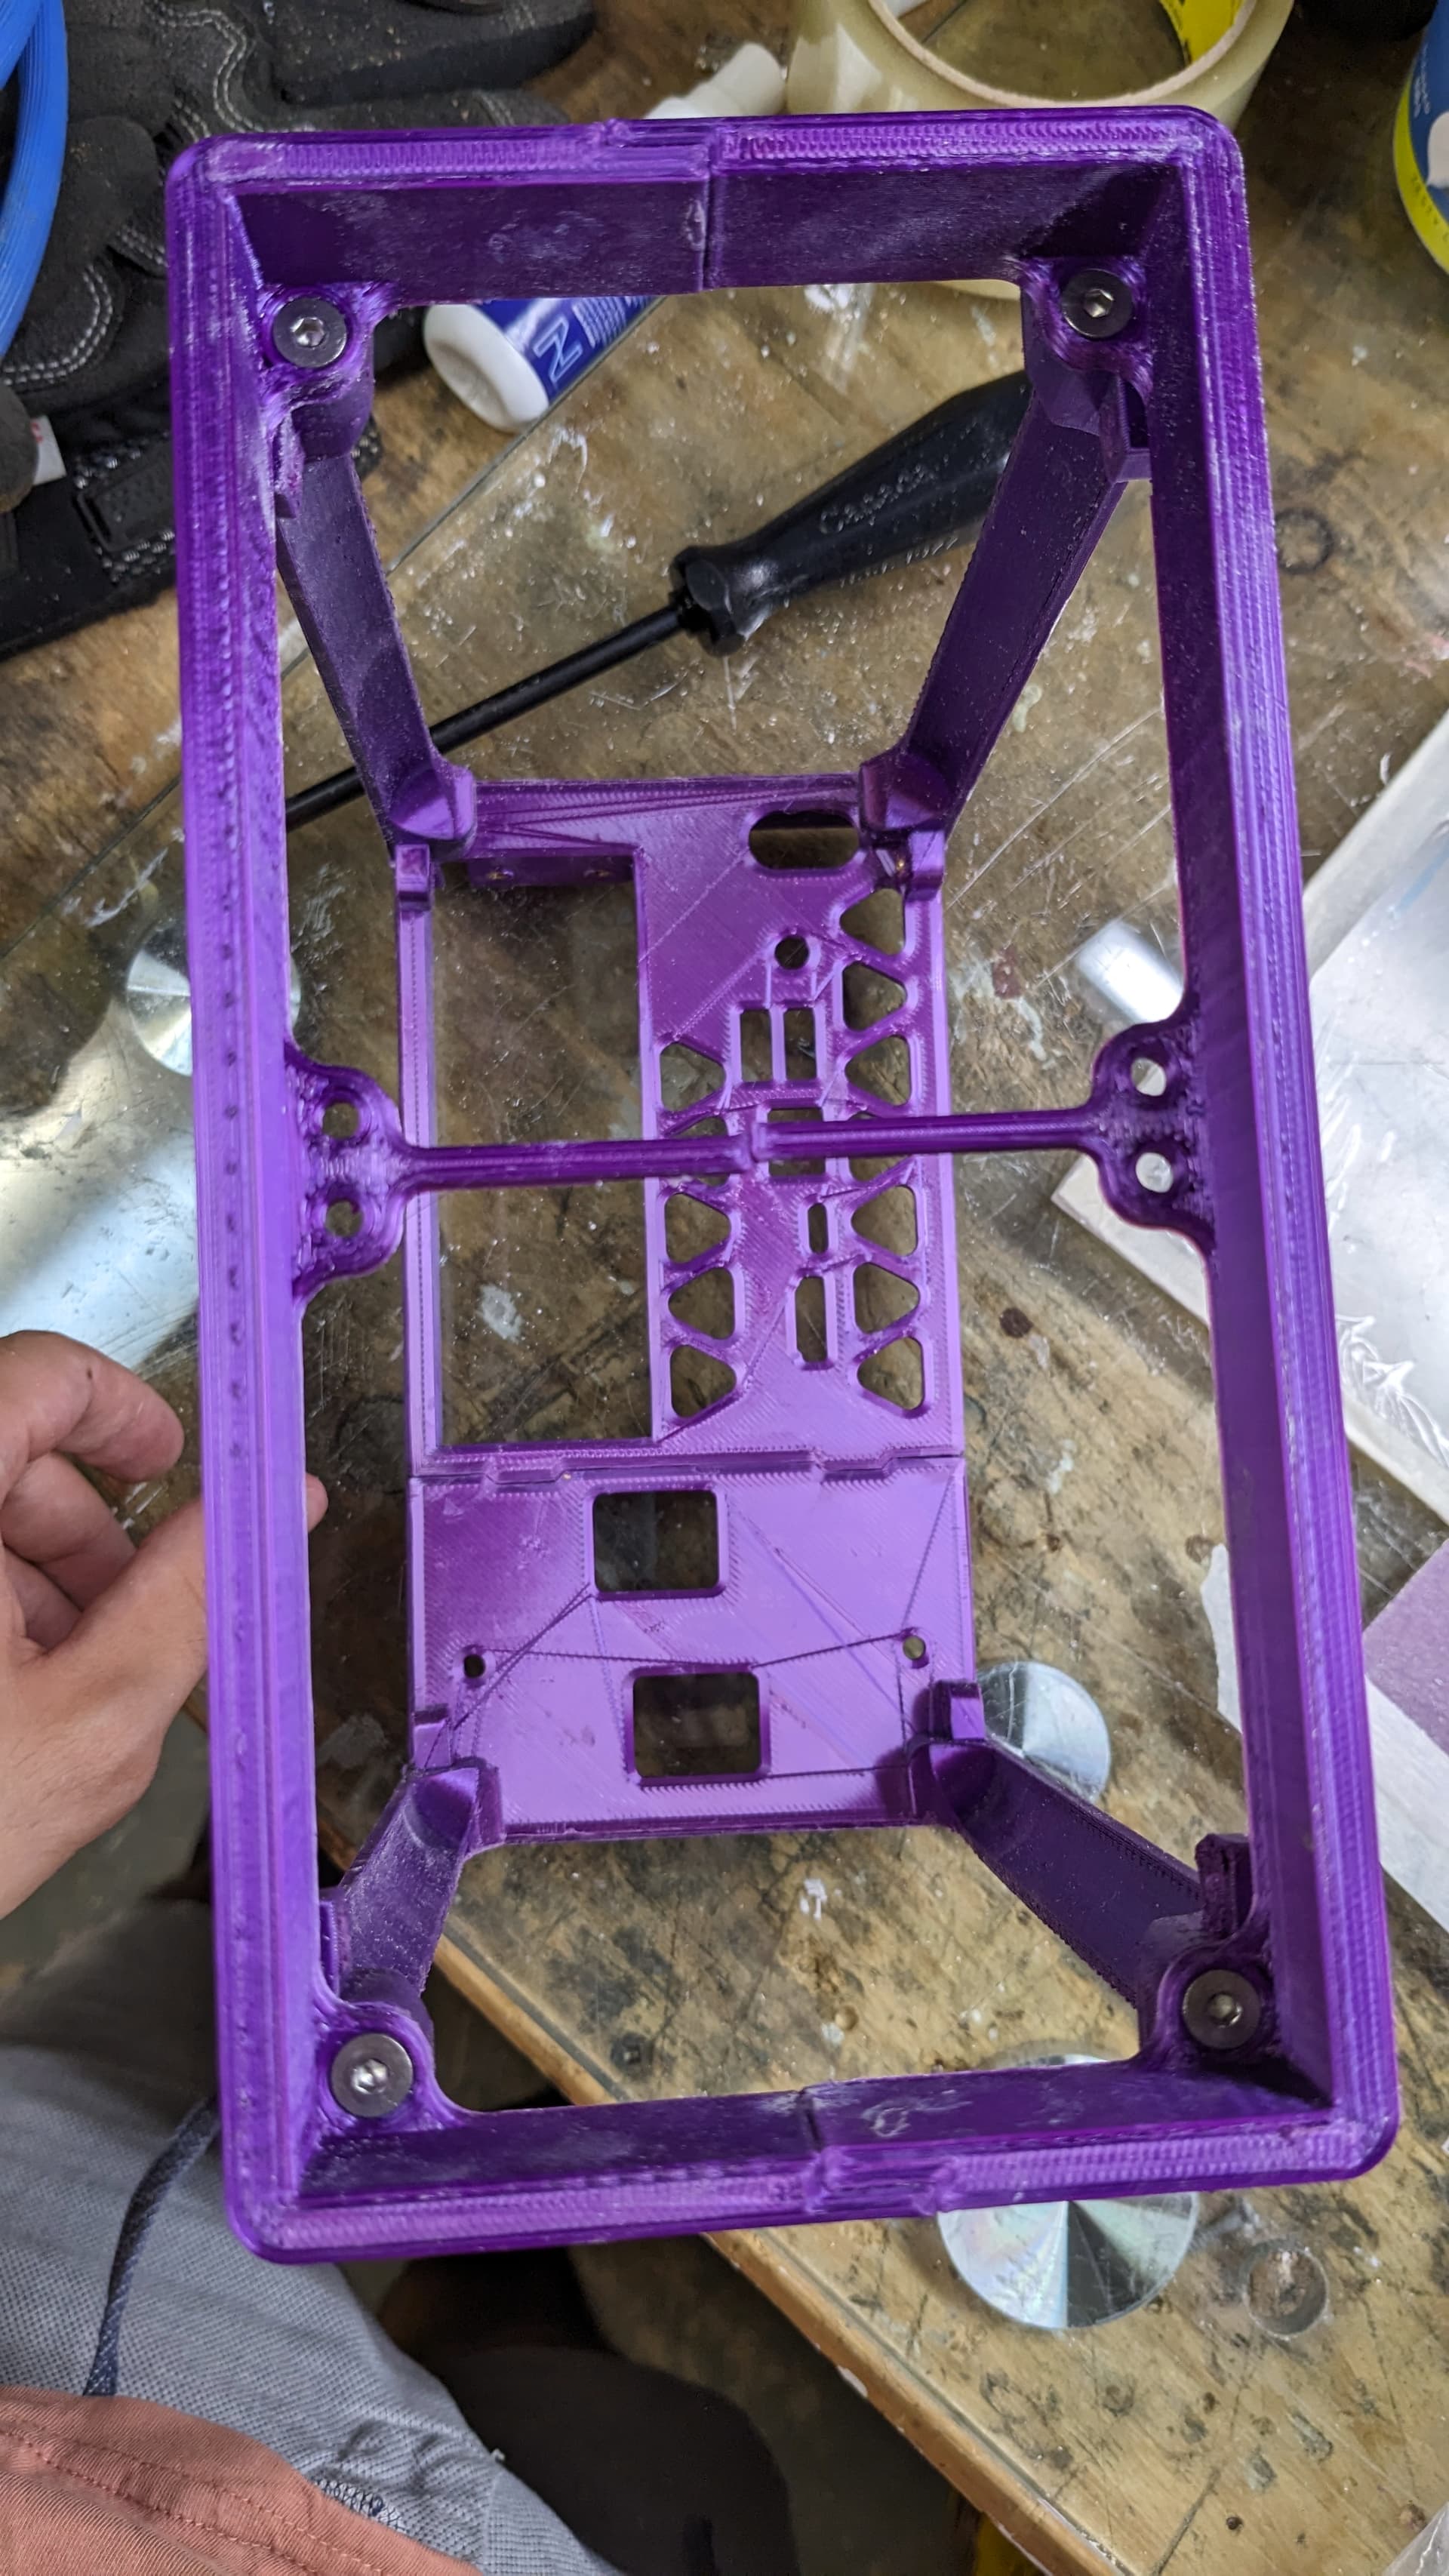
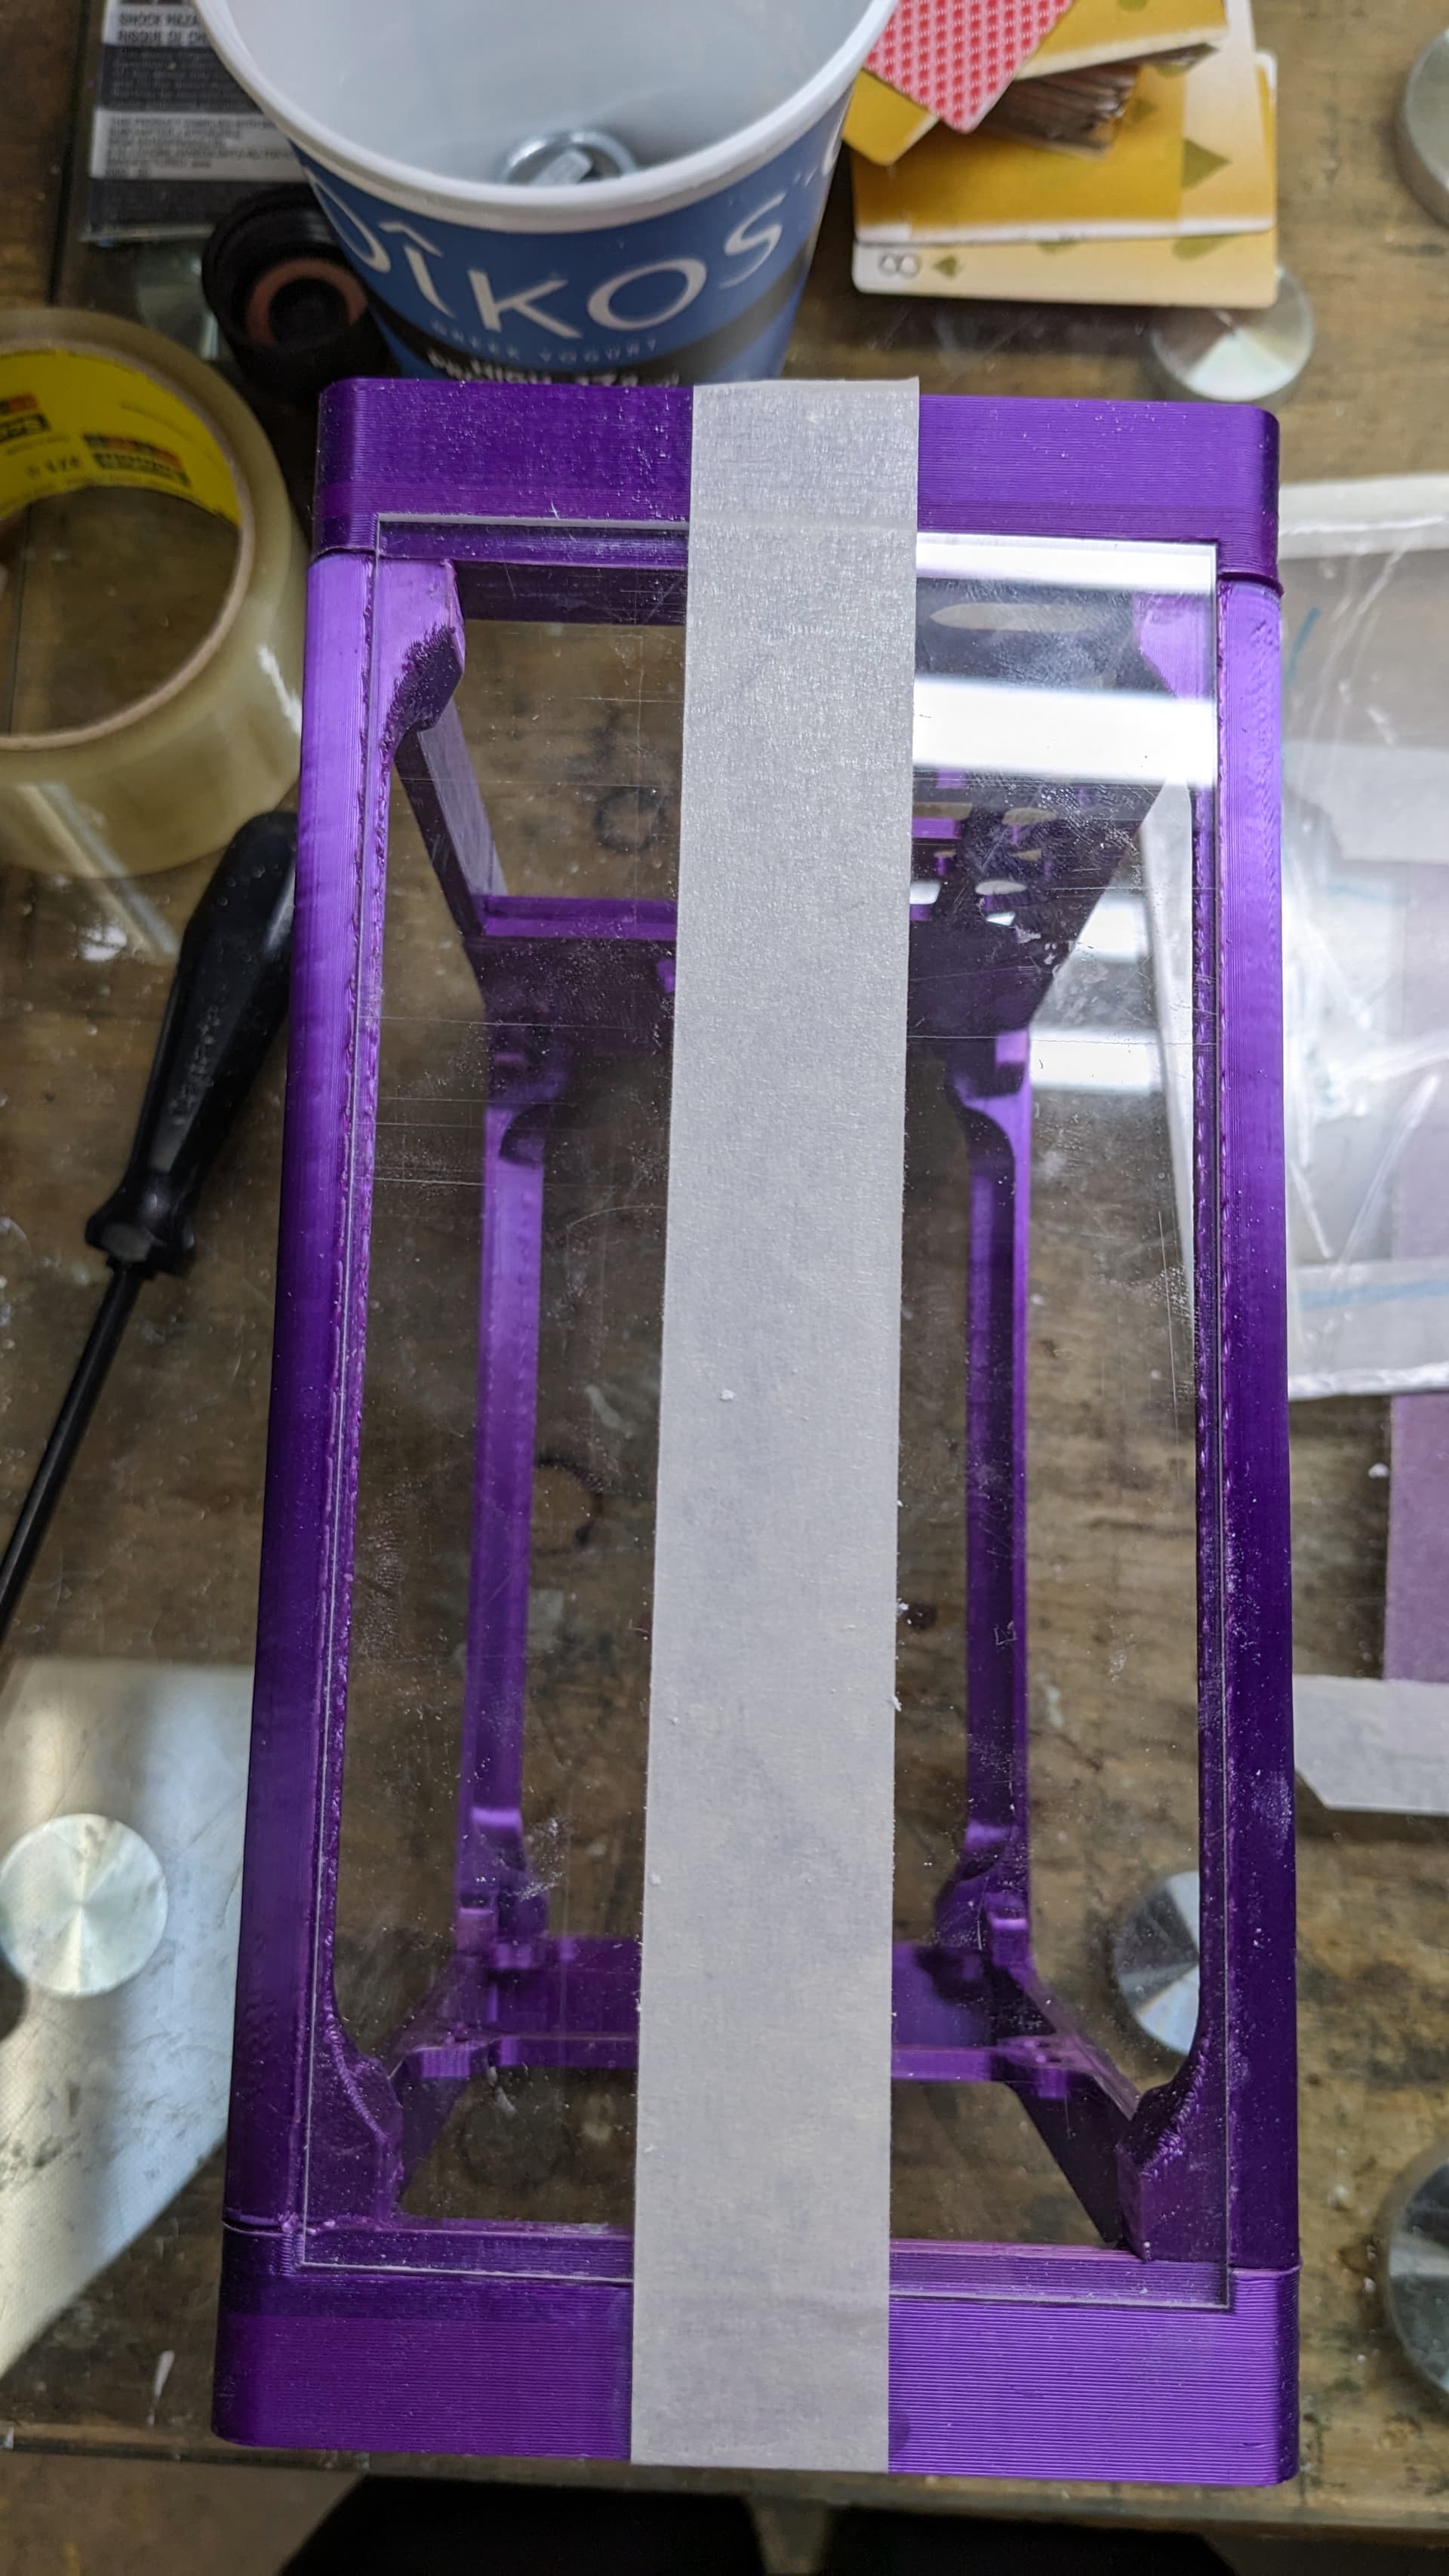
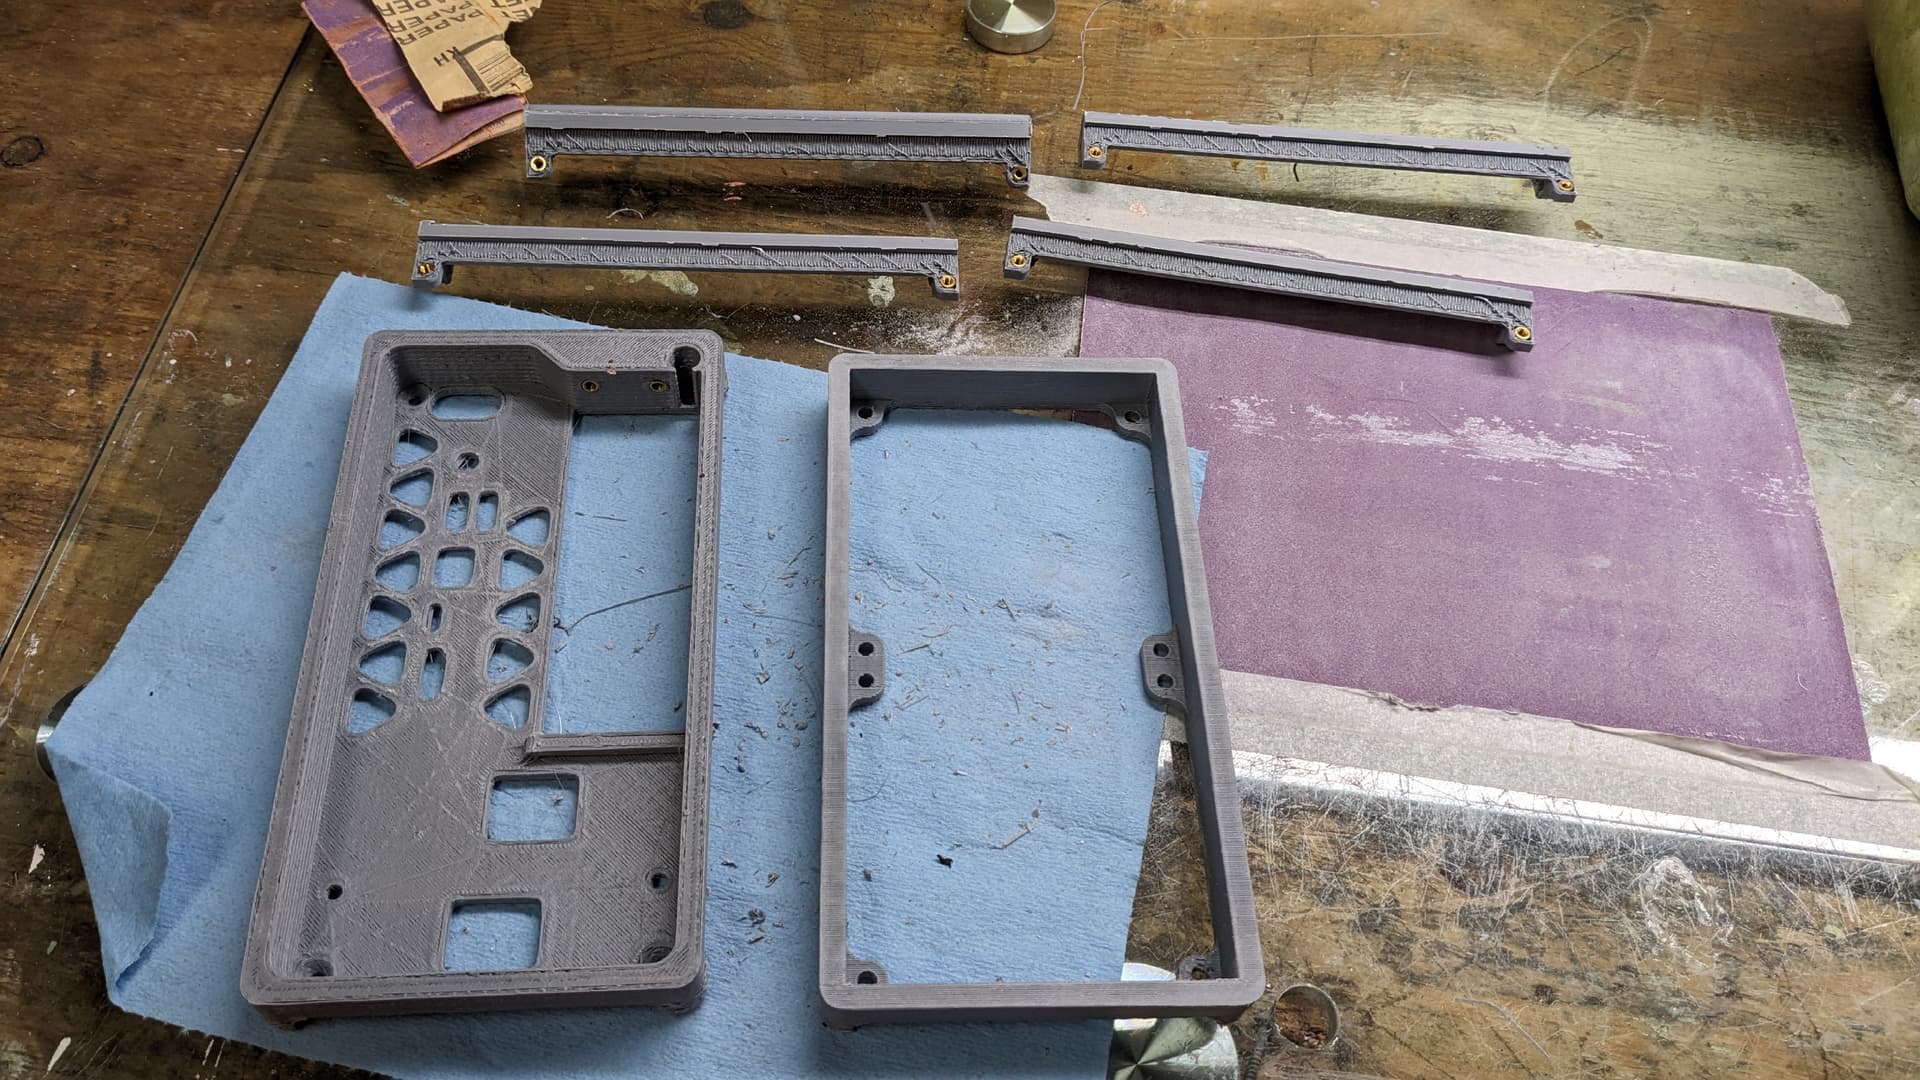
My brother finished modeling the case (because I’m not able to 3D model lol, just to conceptualize) and now printing. Here’s the front and back pieces. Still, there is some printing issues, so some part might get printed again. But it’s taking shape!
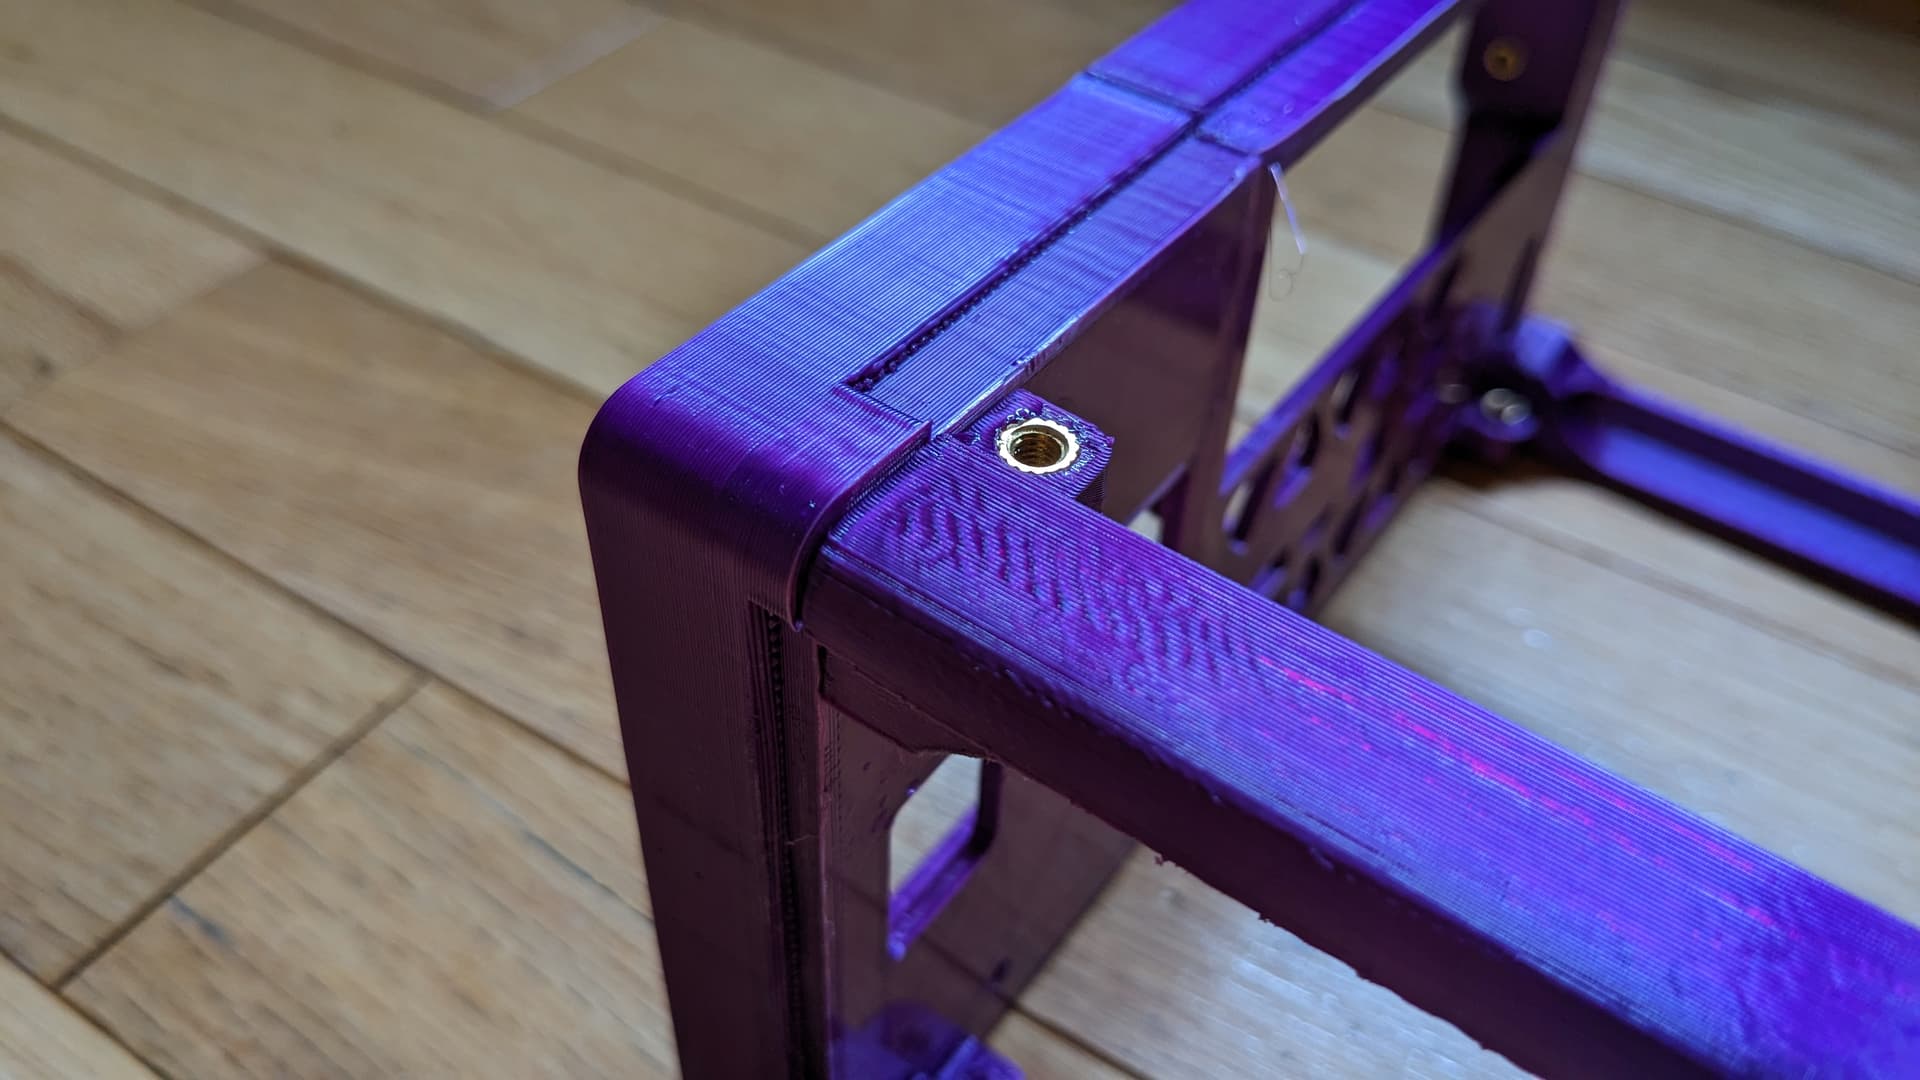
More details on the design when everything will be printed. Finally it follows less closely NFC’s model, in part as it will use brass insert instead of screwing in the plastic.
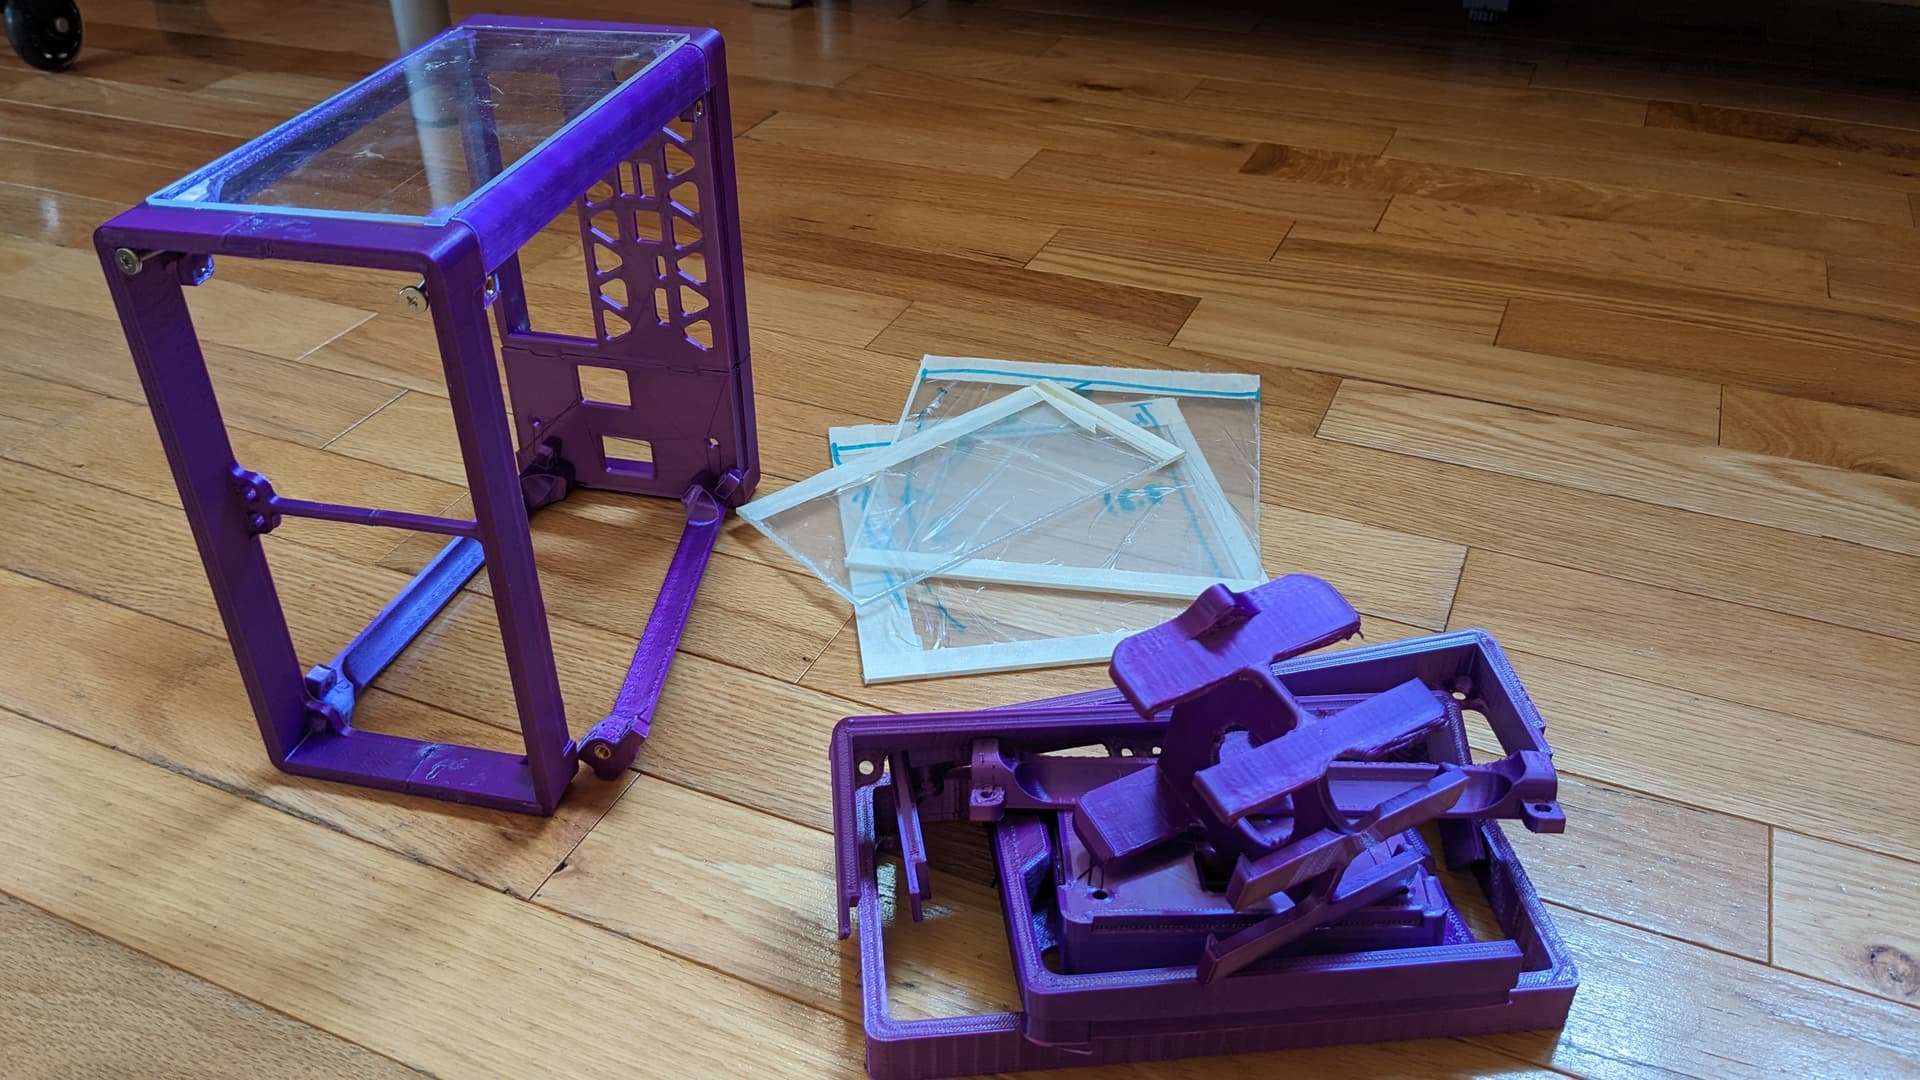
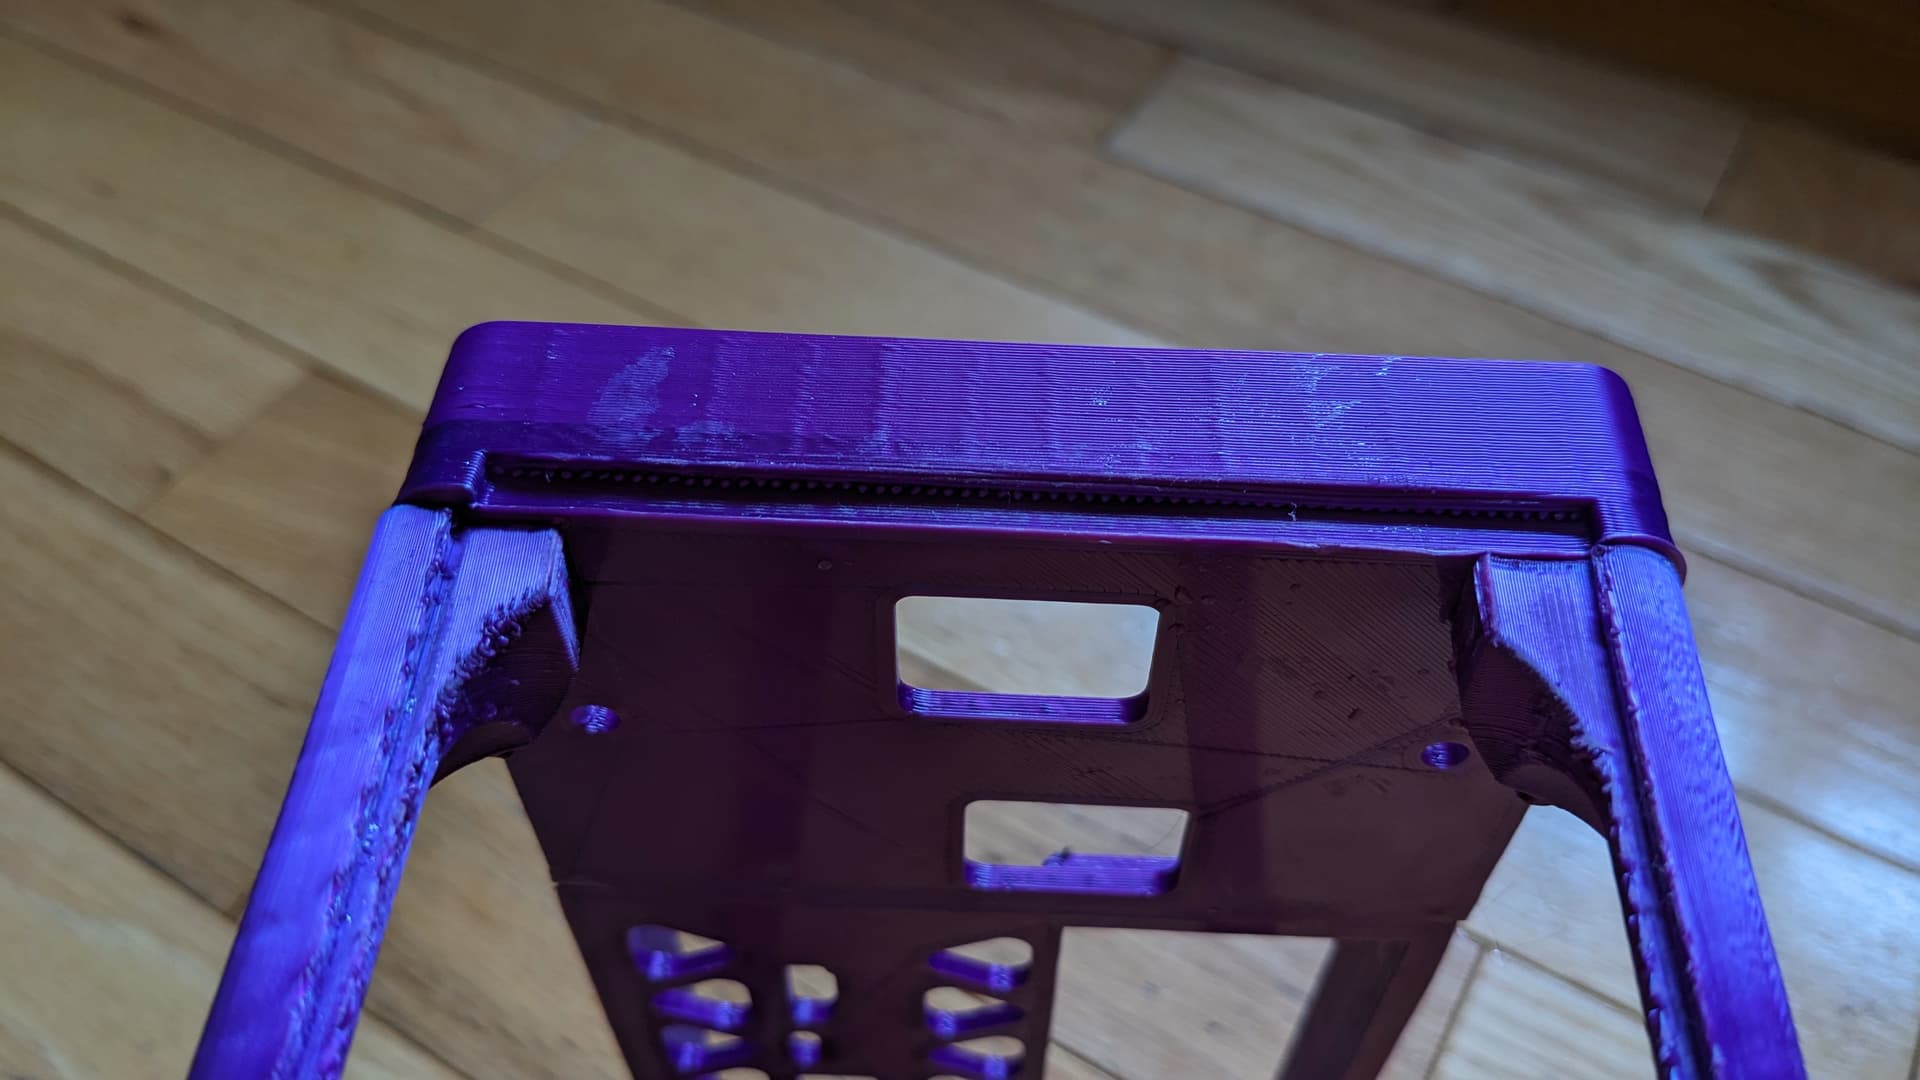
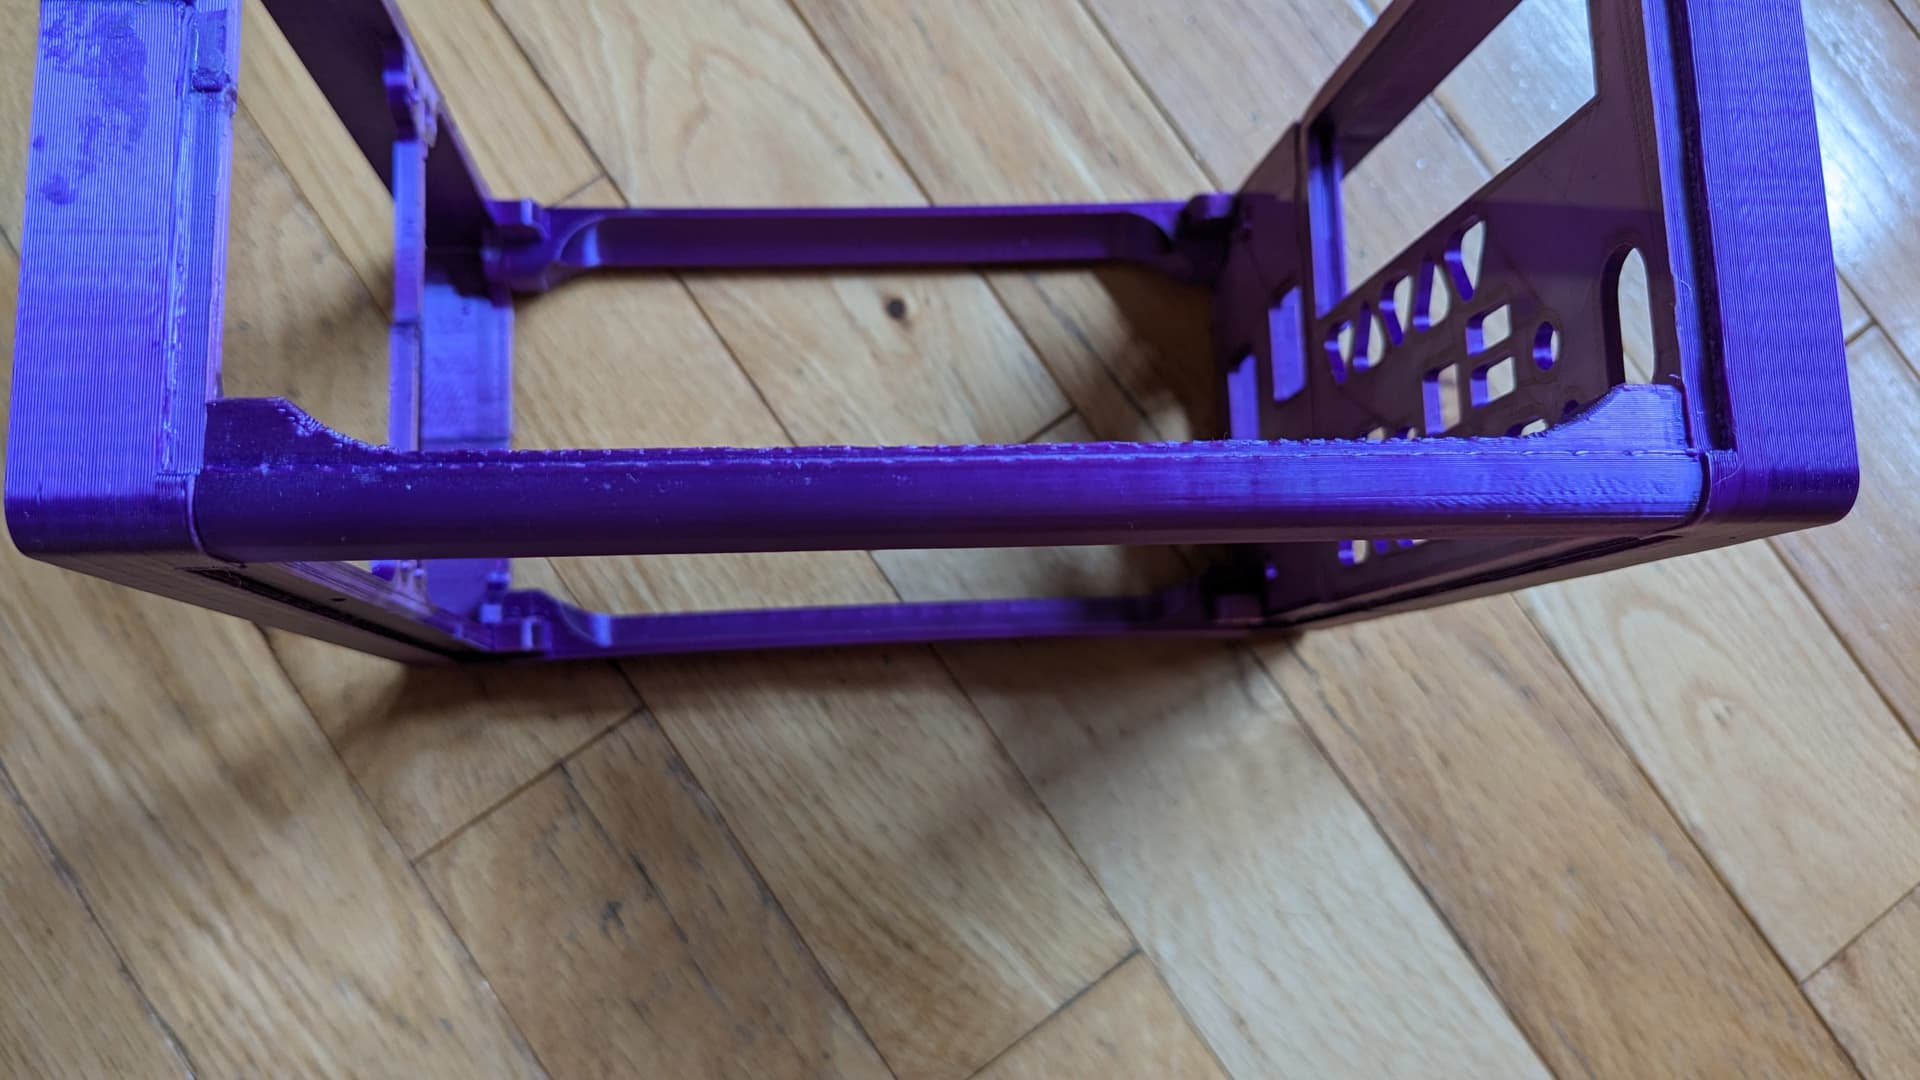
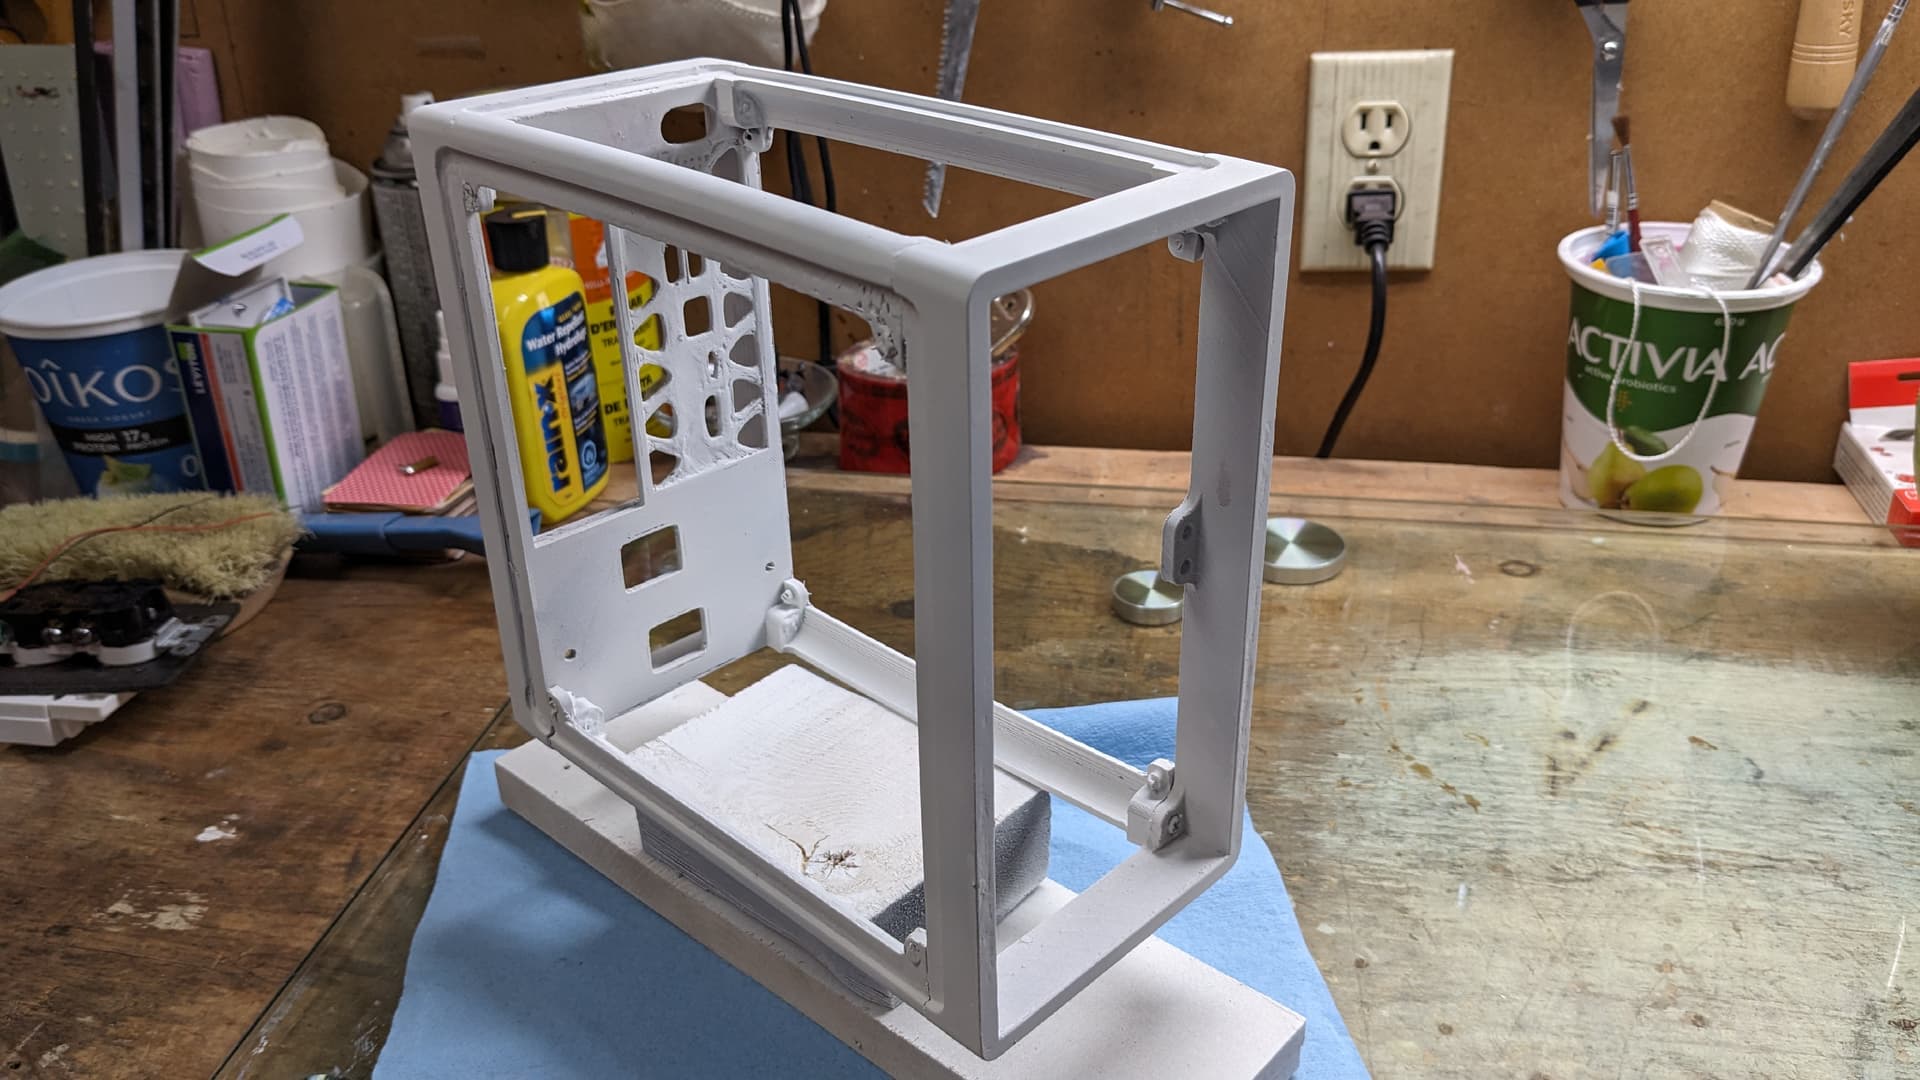
Printing is going better after some fixes. But need to reprint some parts, like the front, because I changed some stuff to the design so that the side acrylic panels overlap it.
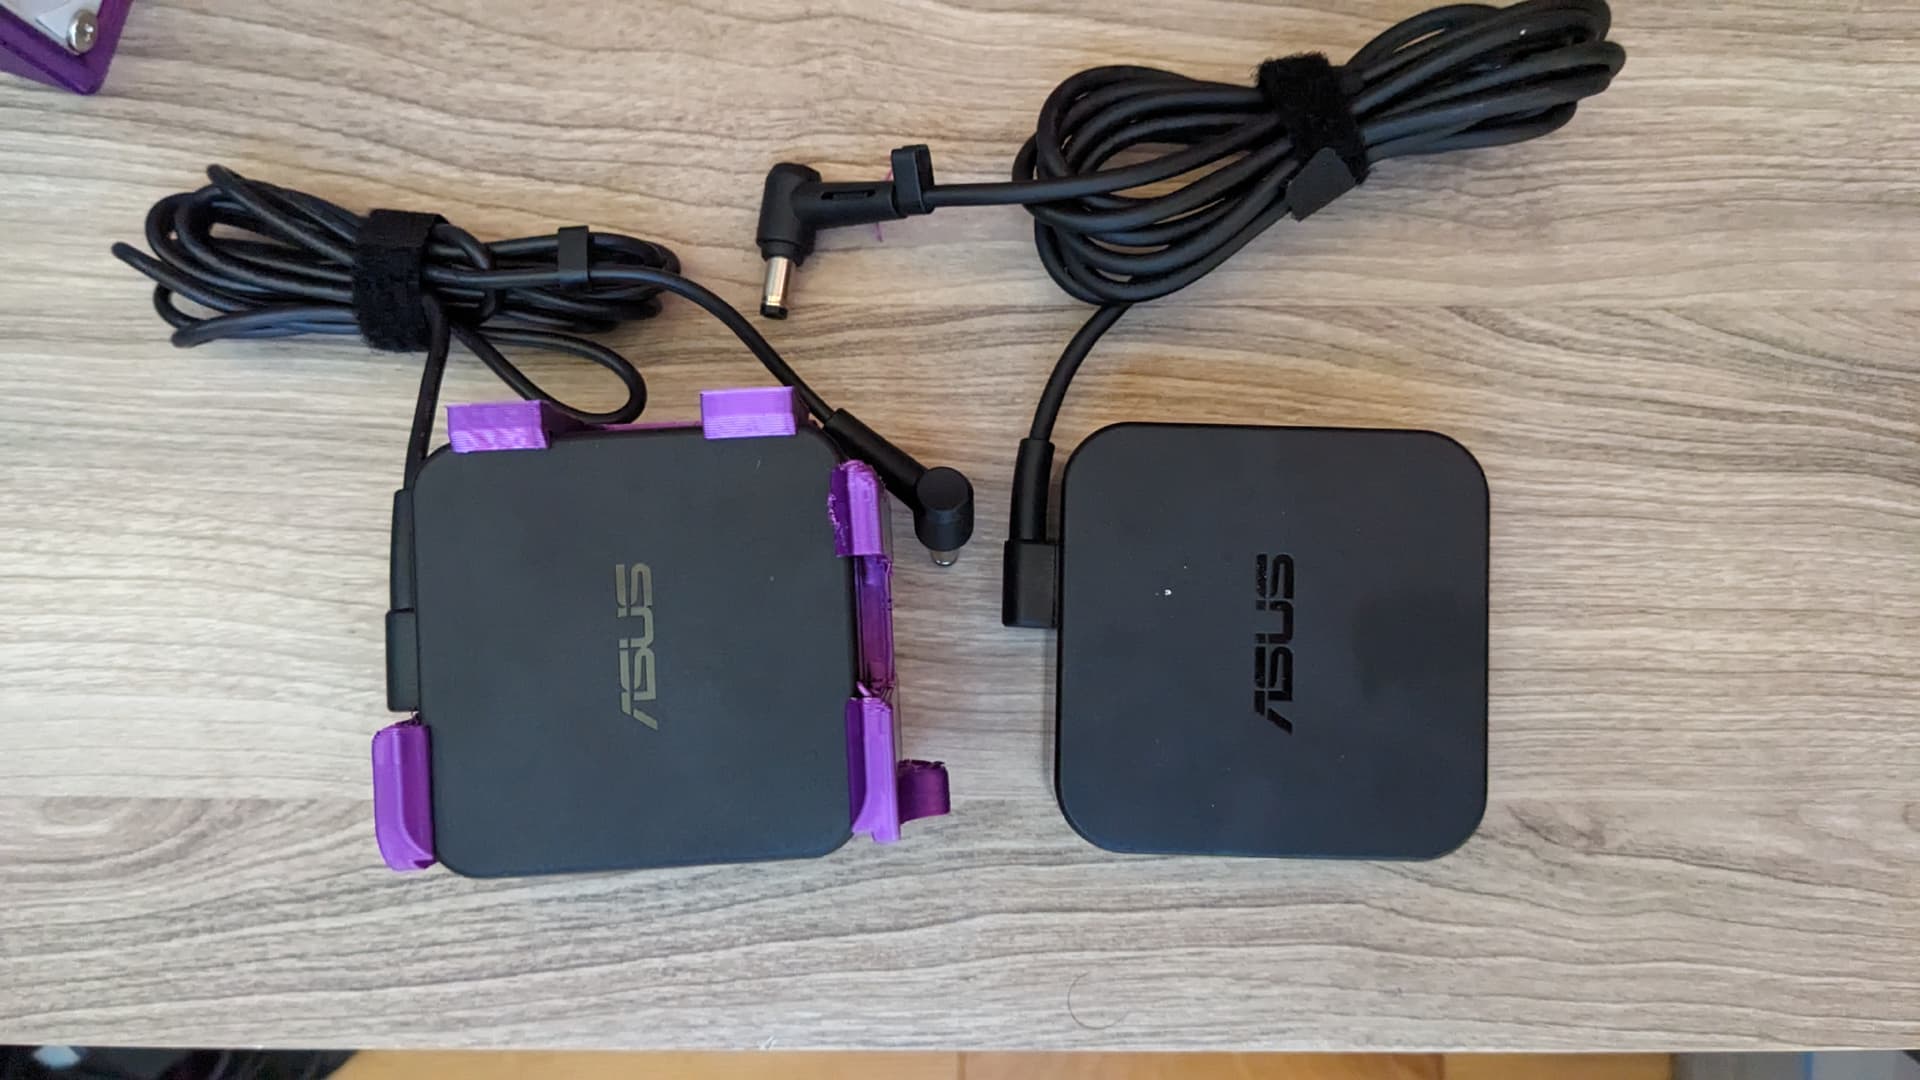
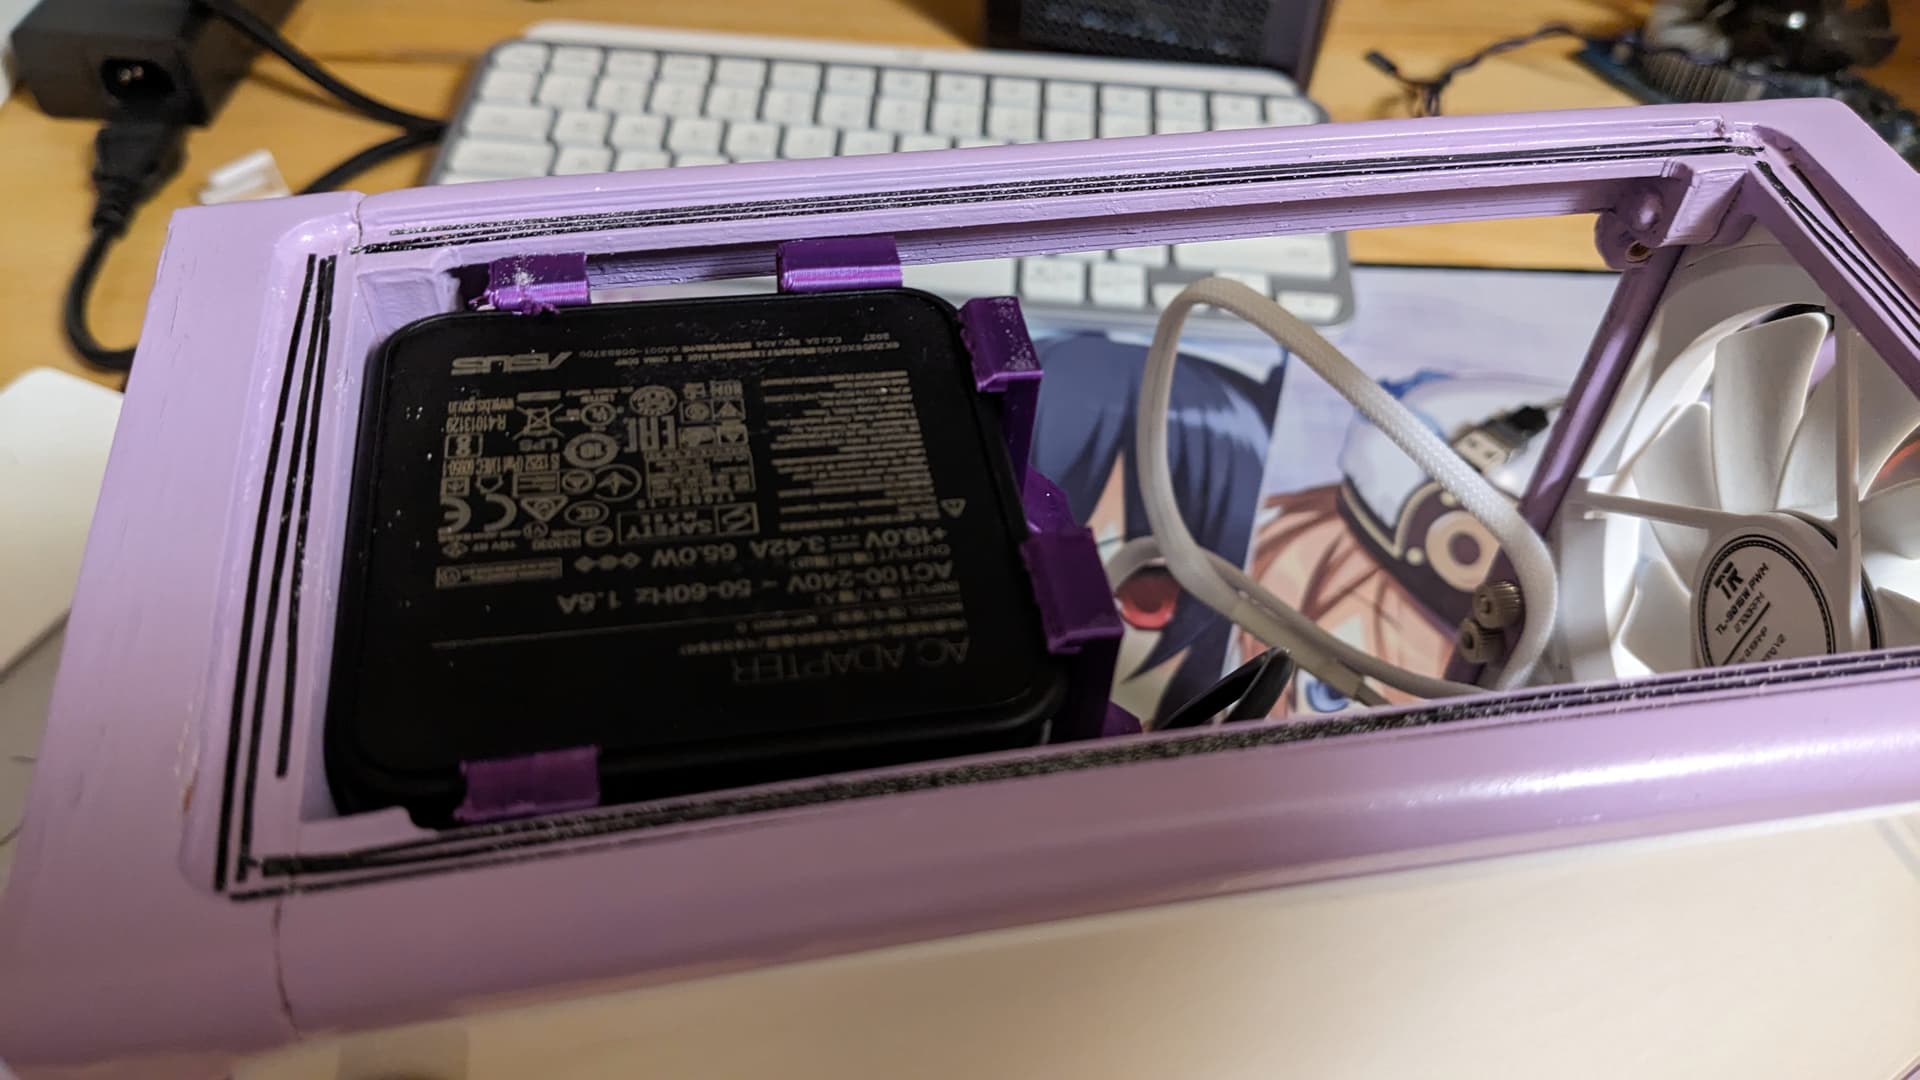
Also, I received the 90W power adapter. Looking the same, I assumed it was the same size than the 65W, but it’s like 25% bigger lol. Need to redo and reprint that charger holder (and the back panel too as the plug of that charger is not centered too )
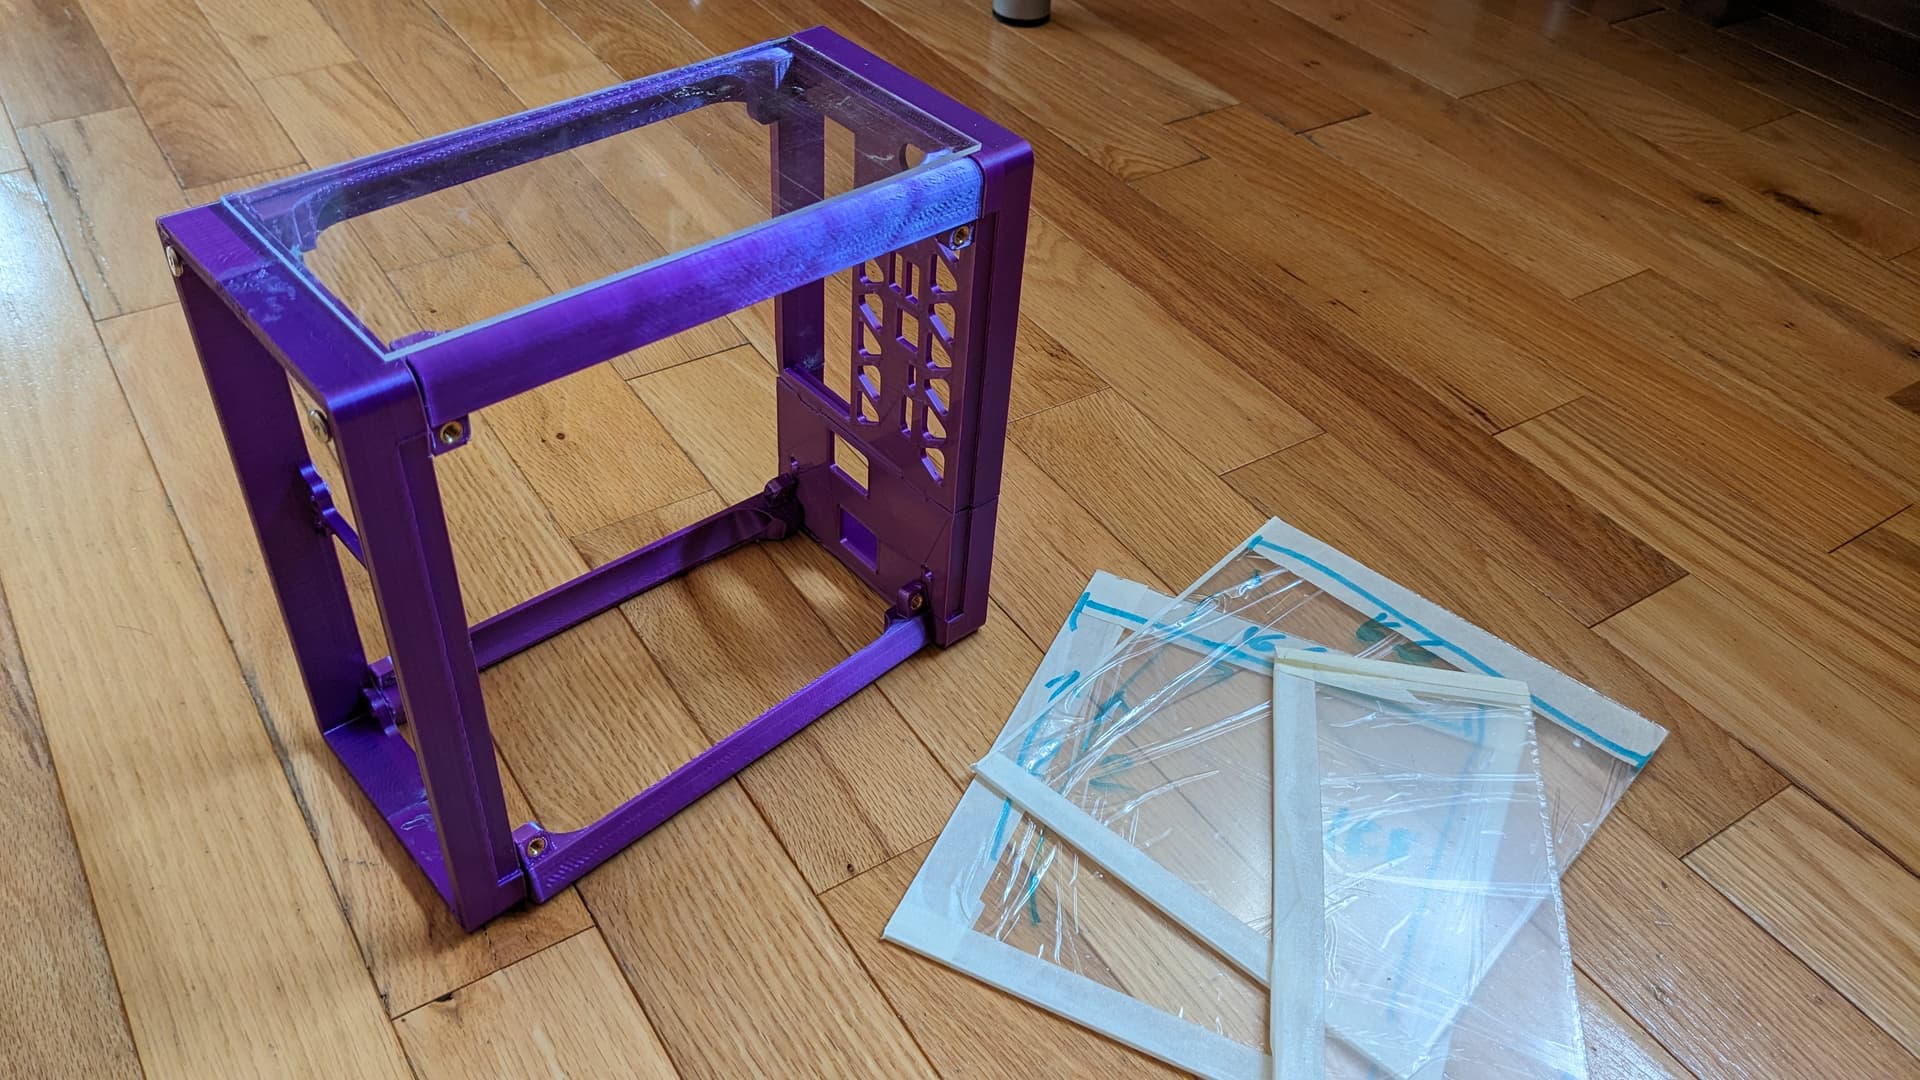
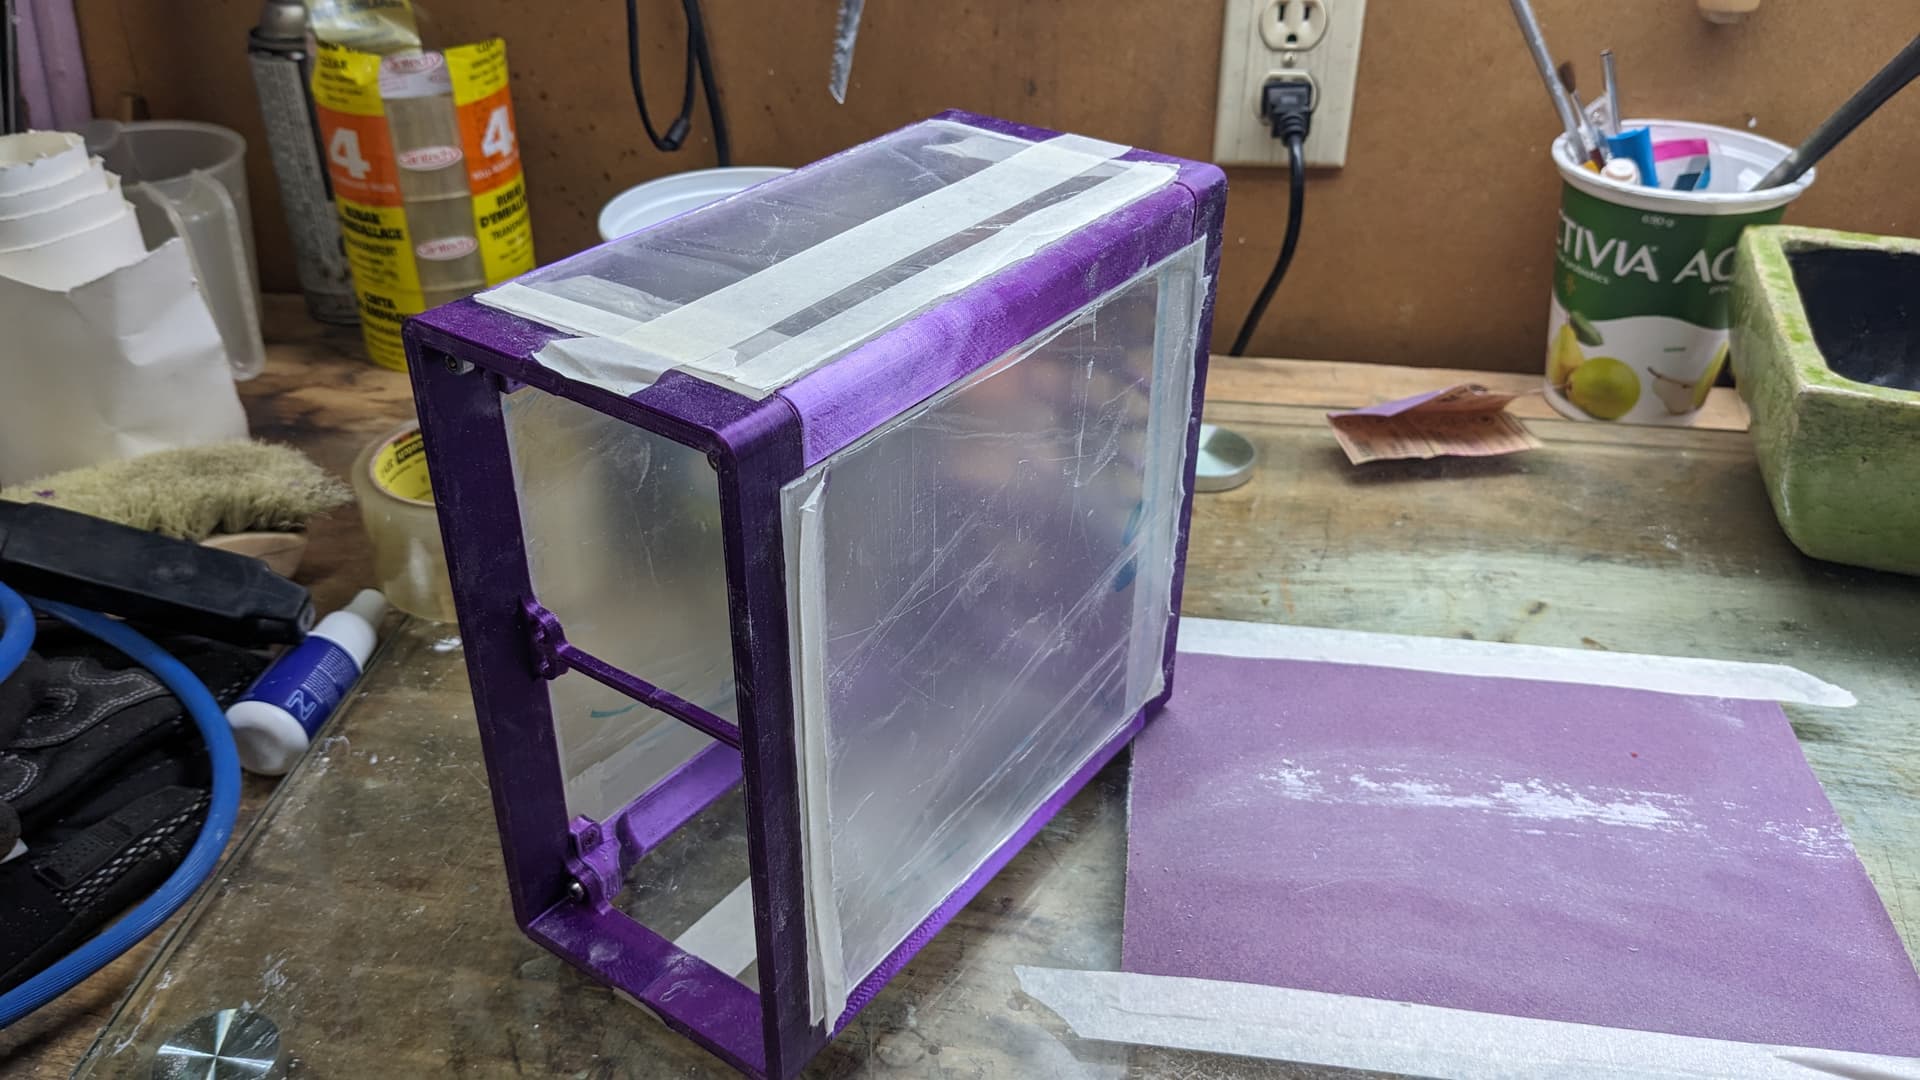
Most pieces are pretty all printed, aside three small ones inside. Also I cut the side acrylic pieces. Printing with an esilk pla is more challenging than with regular PLA, we pretty much printed the case twice lol.
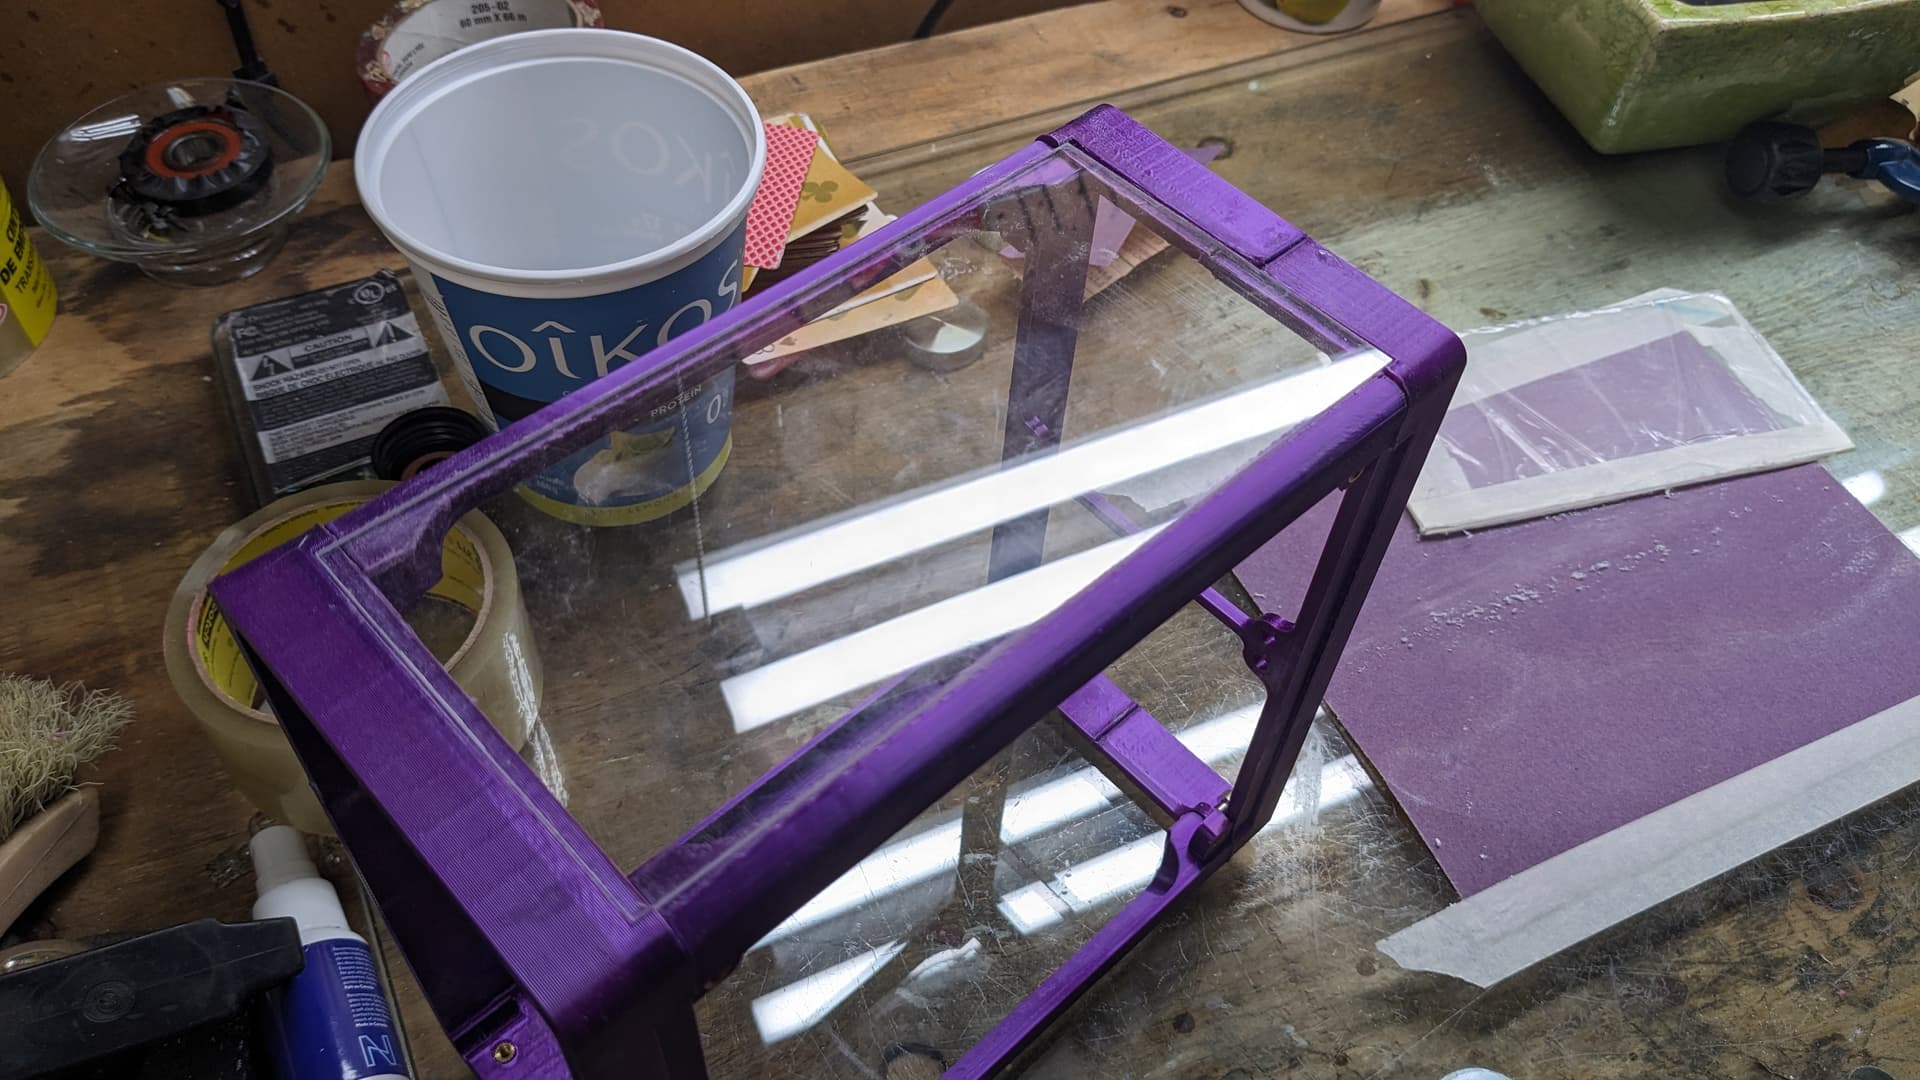
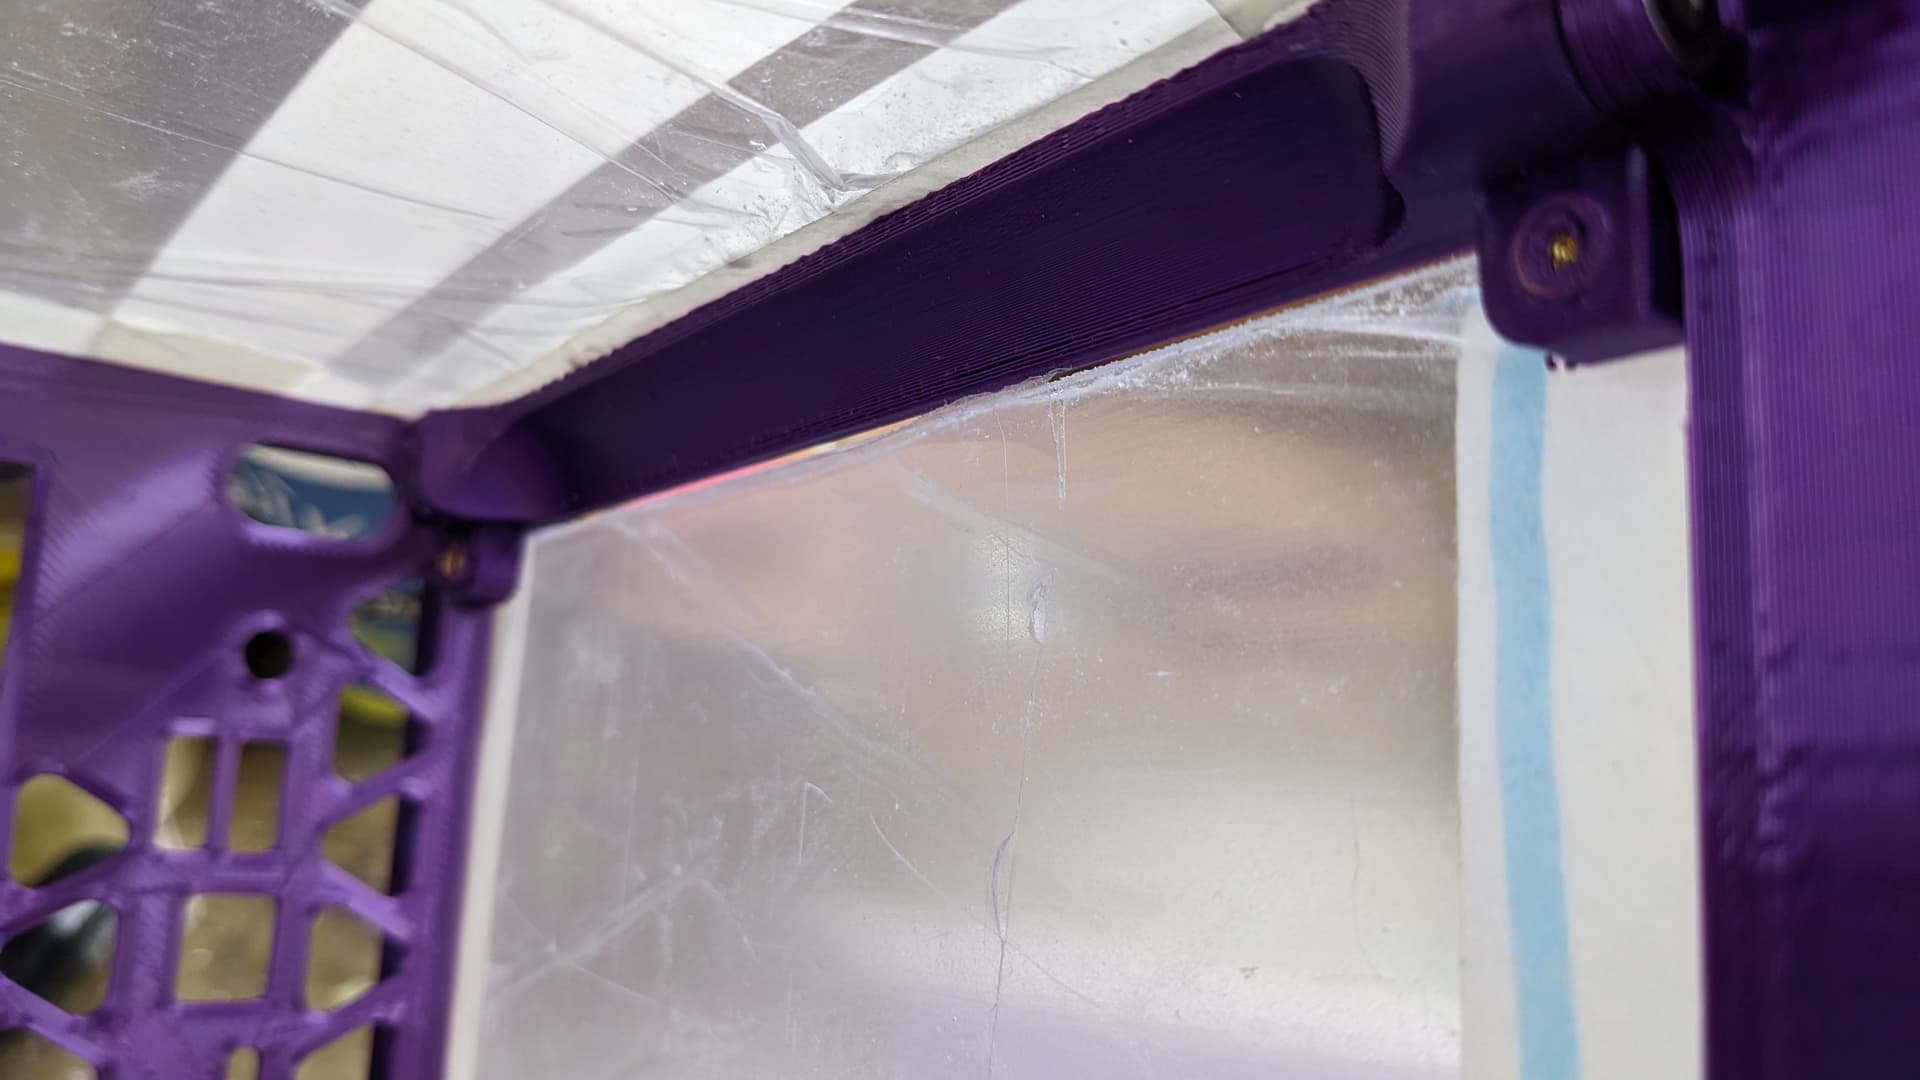
Also, I don’t have right hardware right now, so I need to wait for the right screws. So in the meantime I test fitted with other screws just to have an idea and sand down the acrylic pieces to the right size. Although looking at that, there is still some imperfections in the overall finish of the 3D printed pieces and how they fit togheter. Will wait to get the right screws for the definitive fit, but I think I will do some body work with potty and by painting over everything (but then it defeats the purpose of having printed in that colour, and could have instead printed in normal PLA to have a better result )
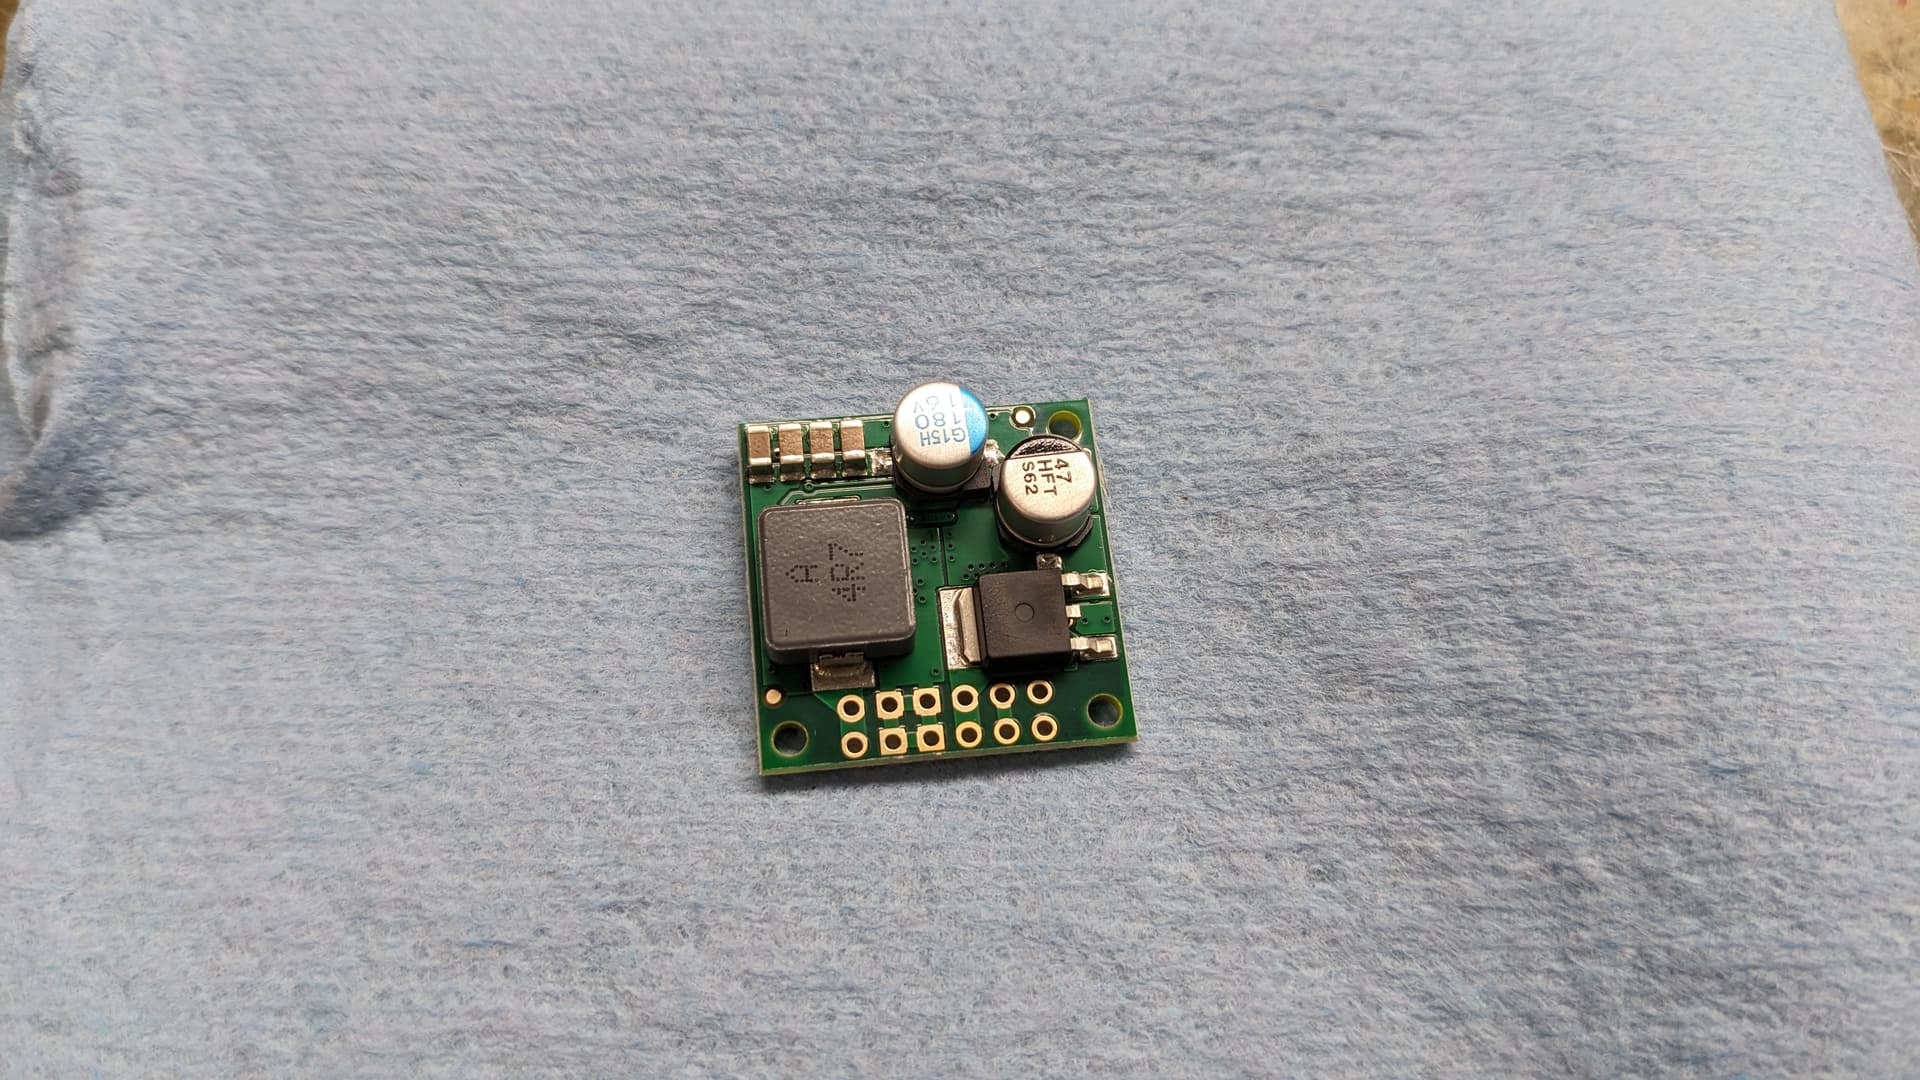
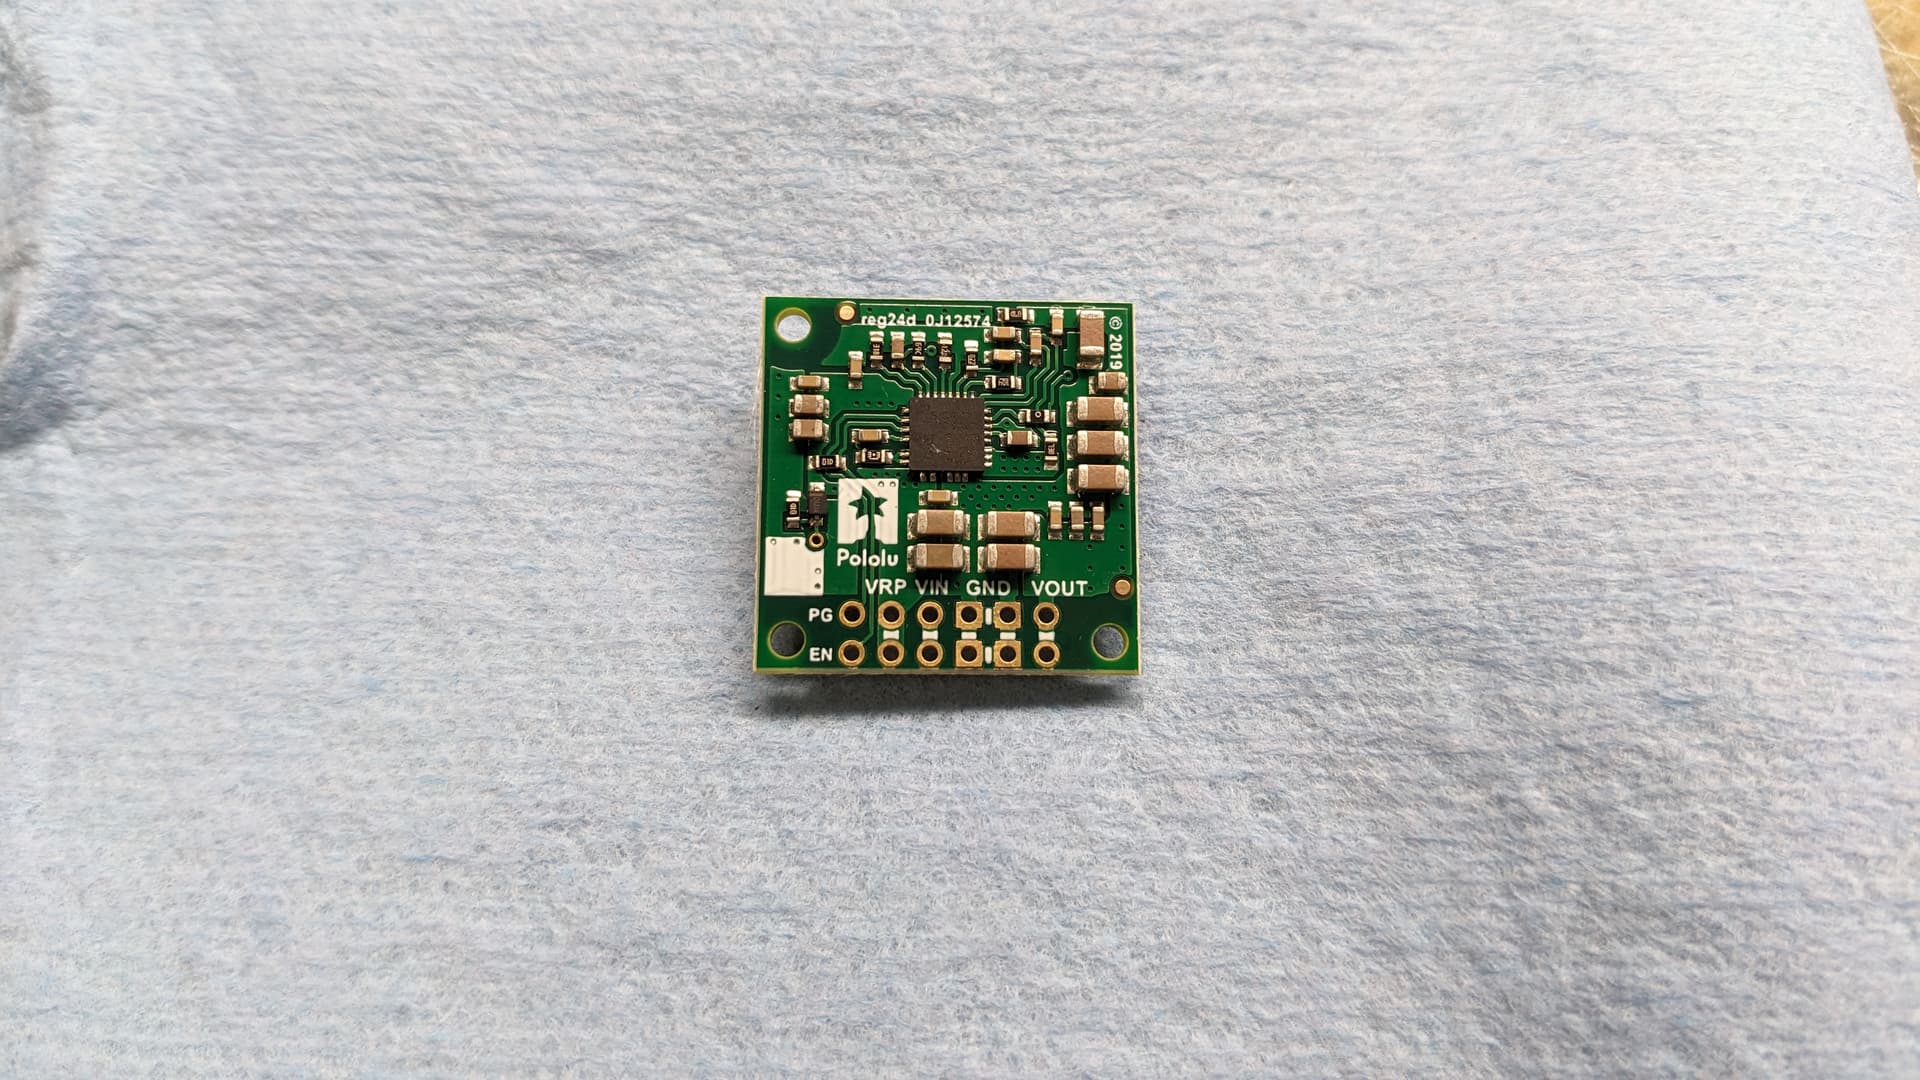
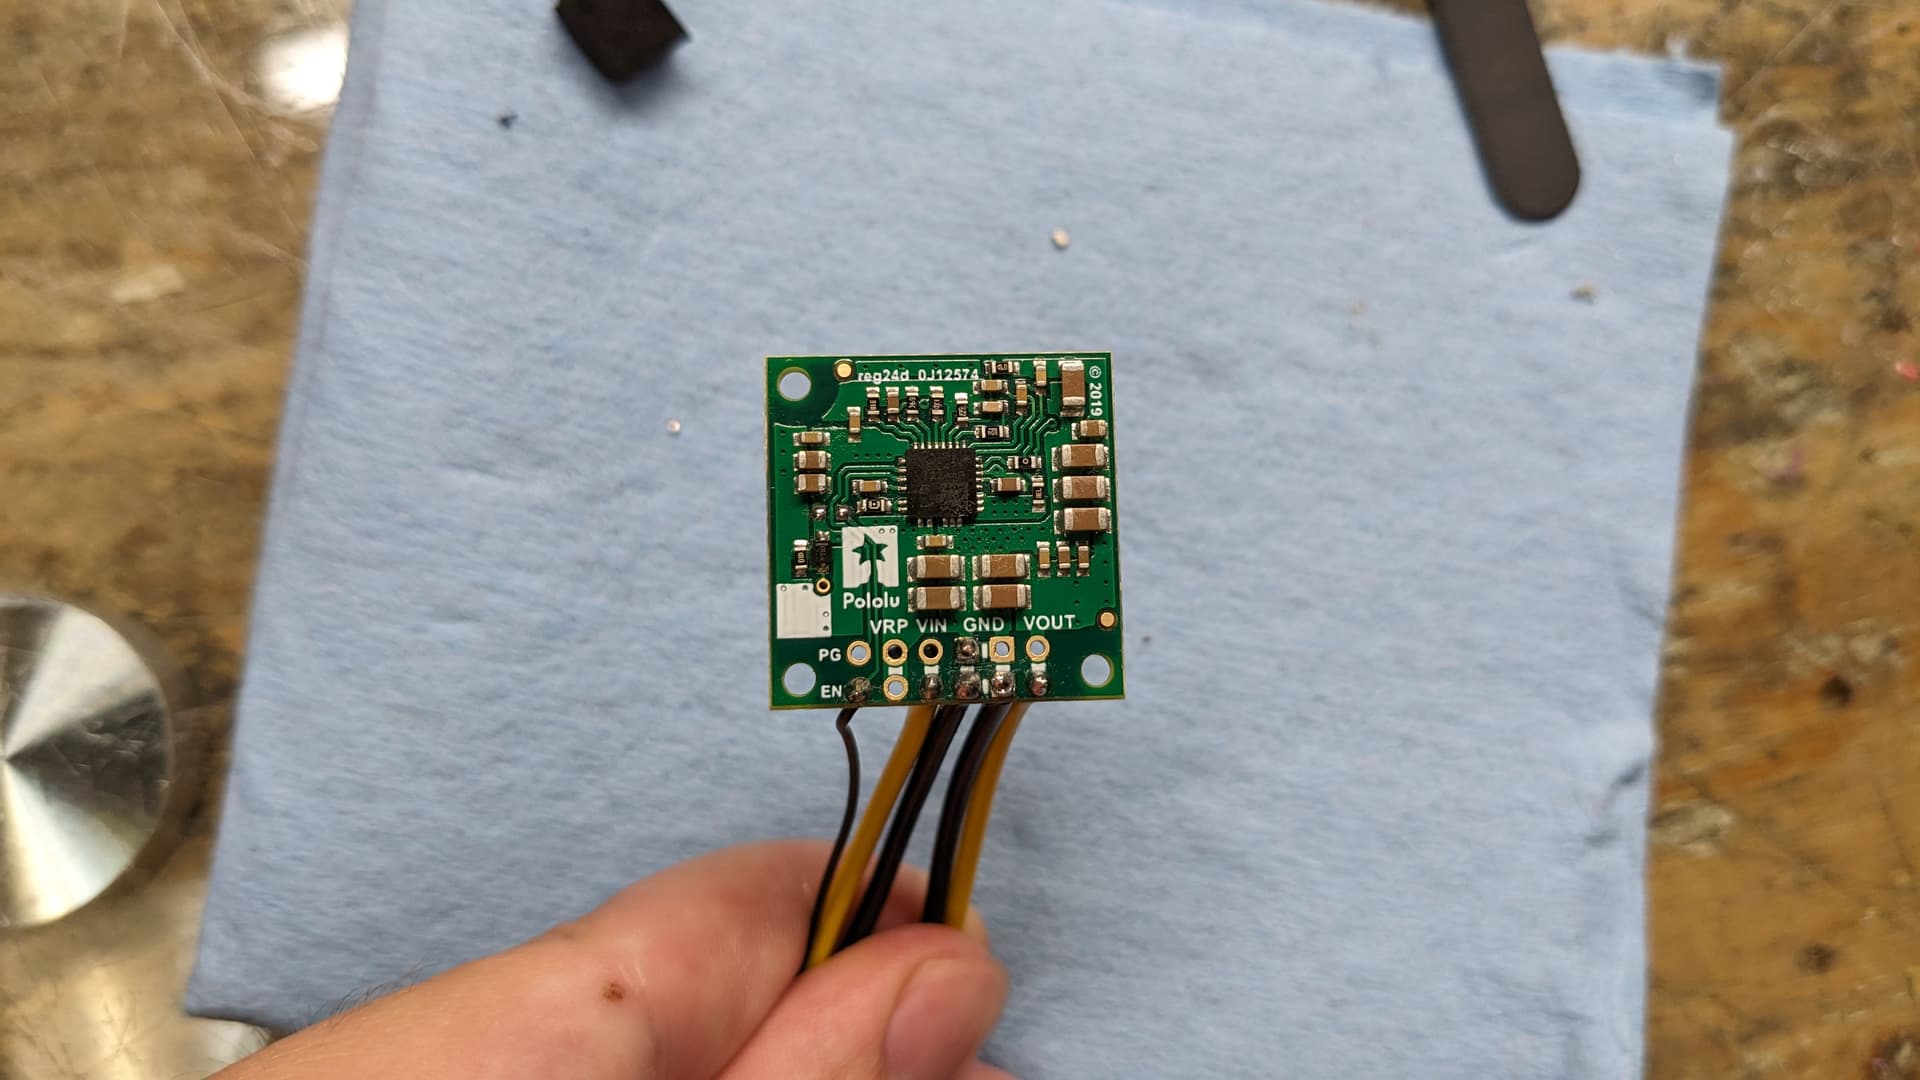
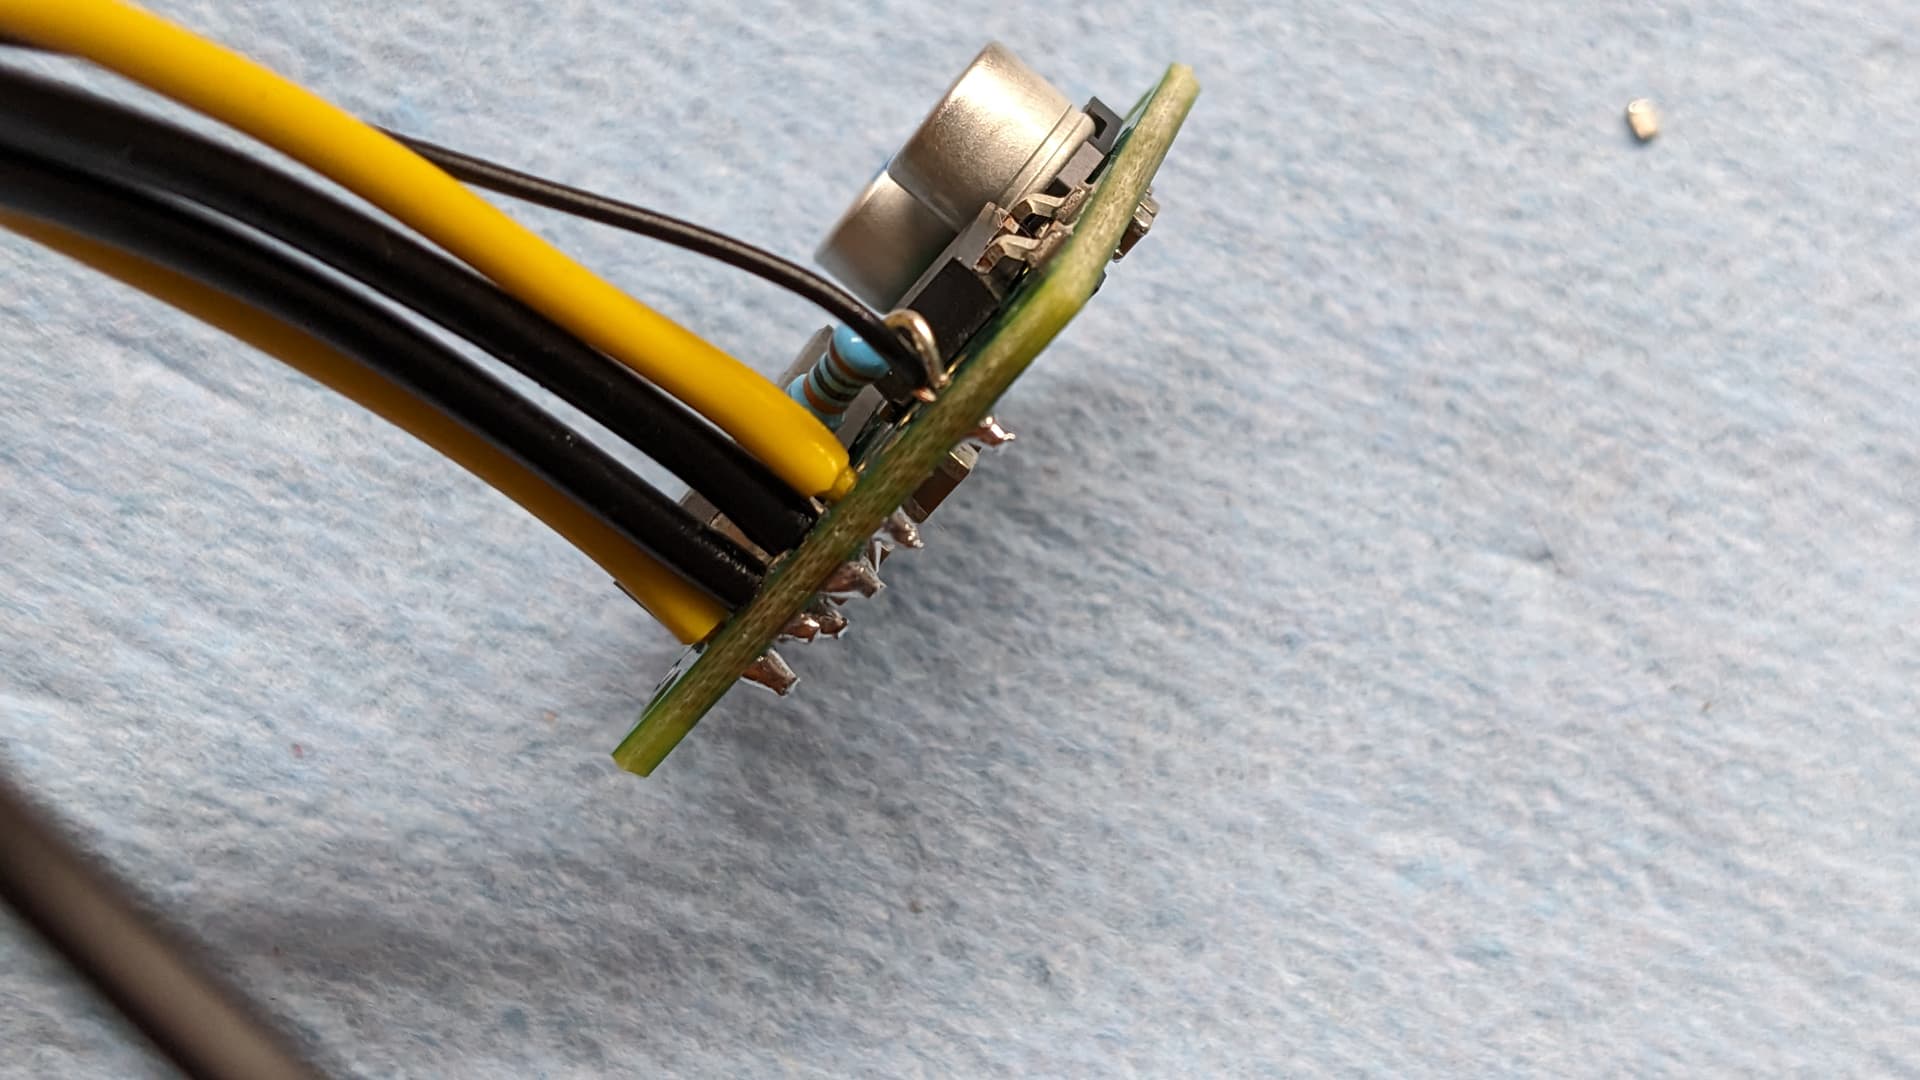
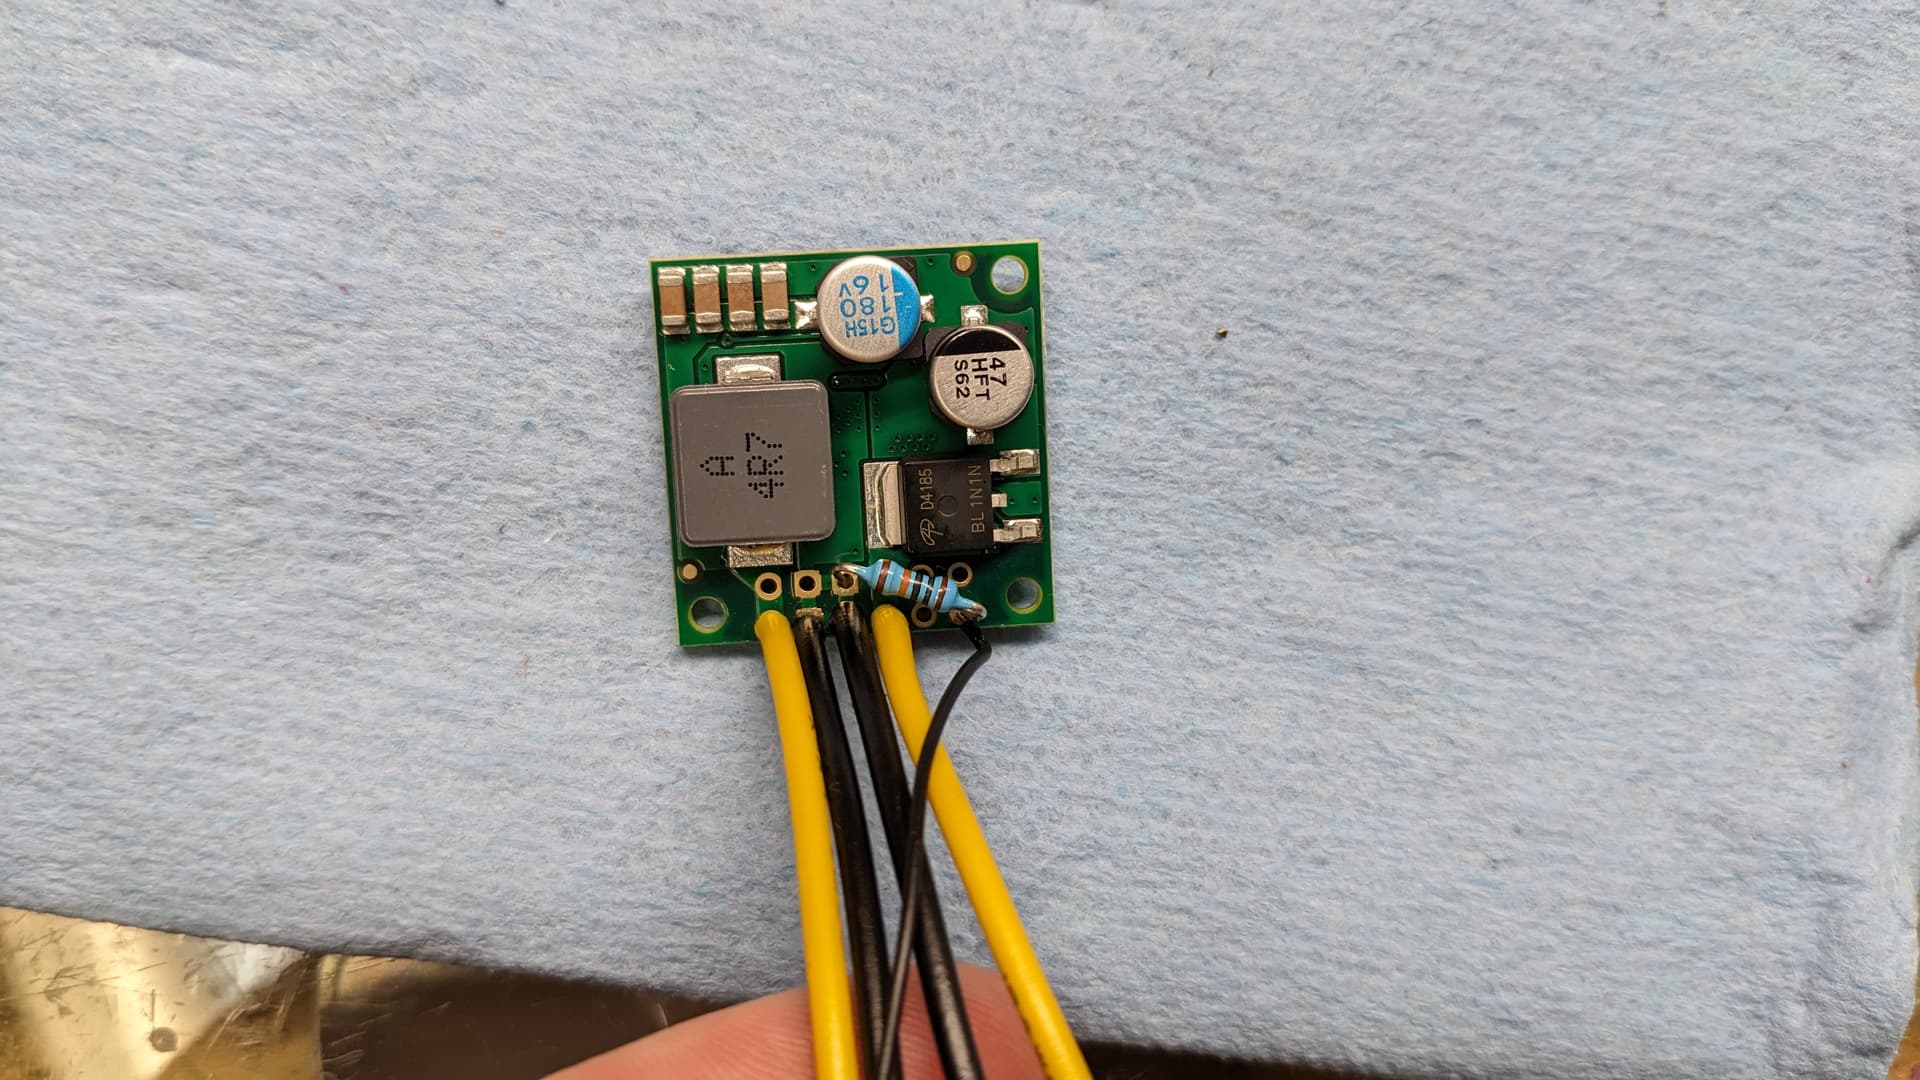
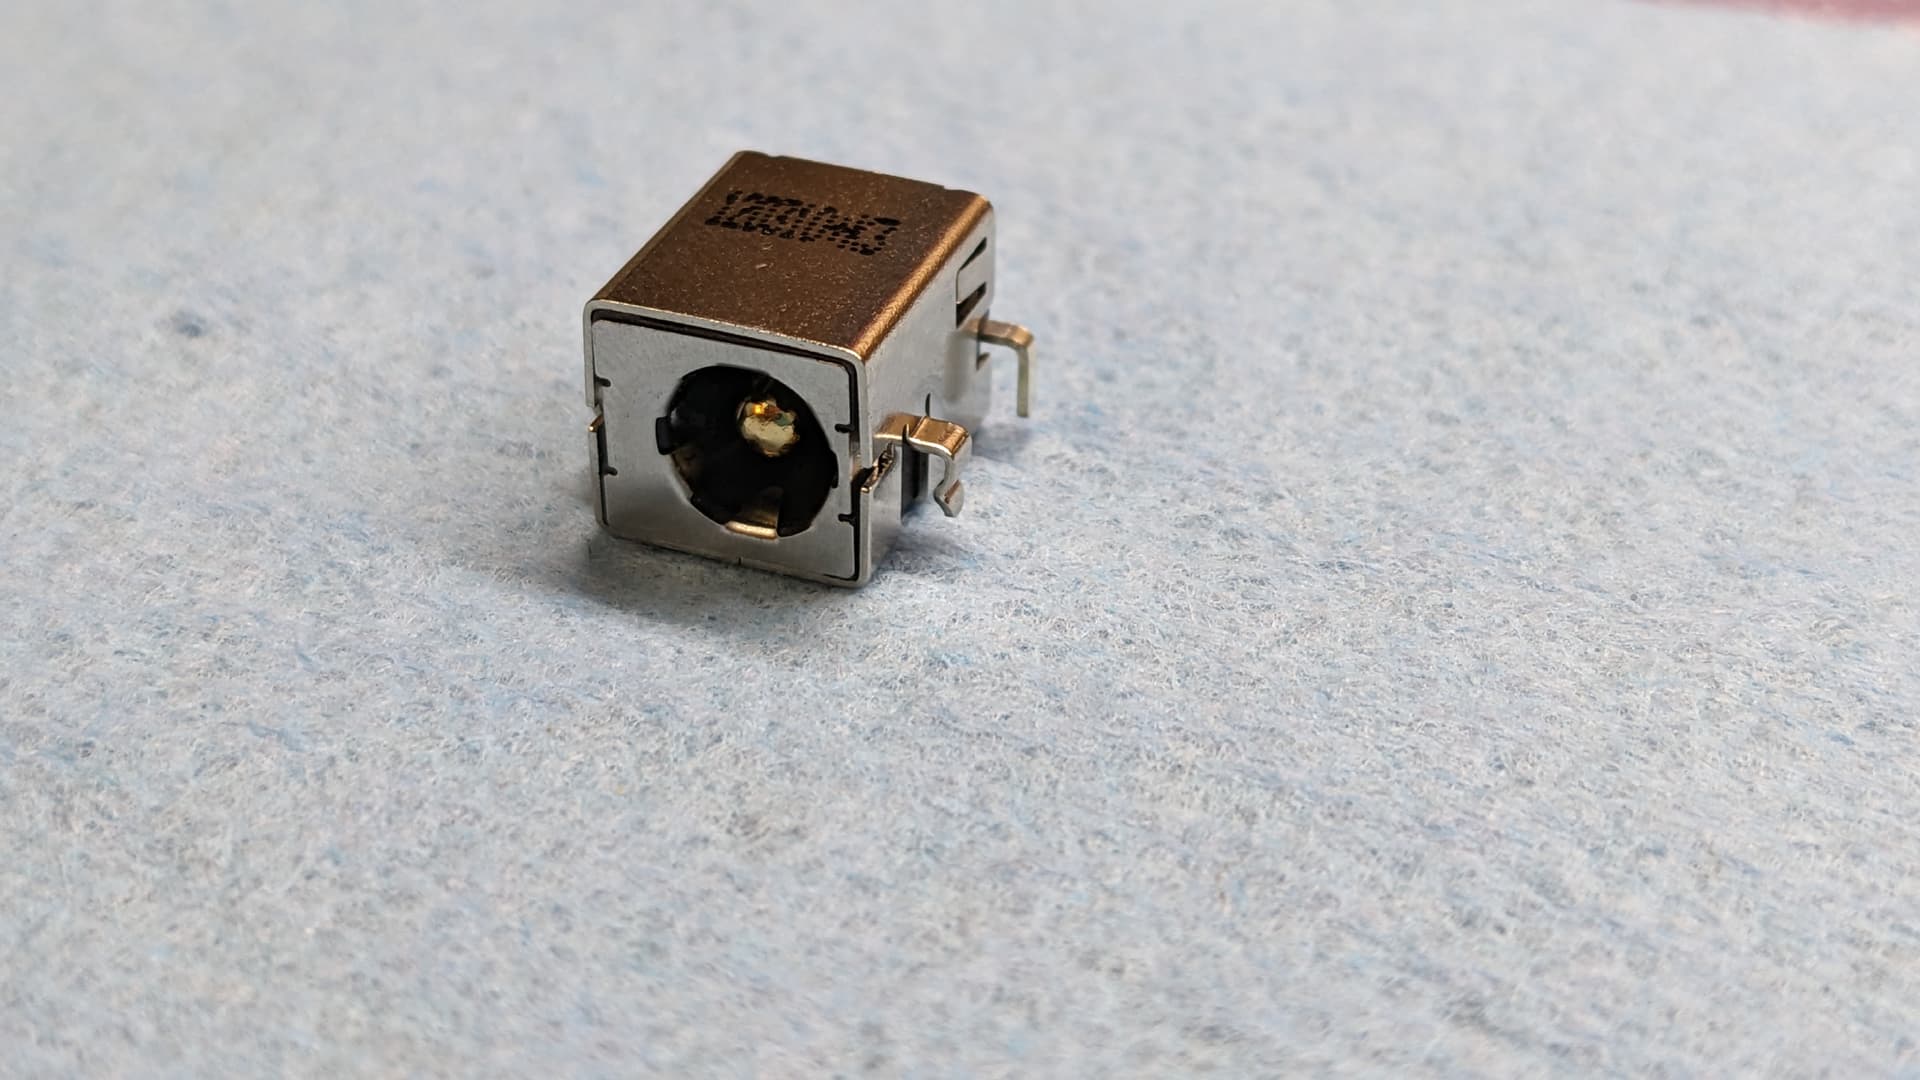
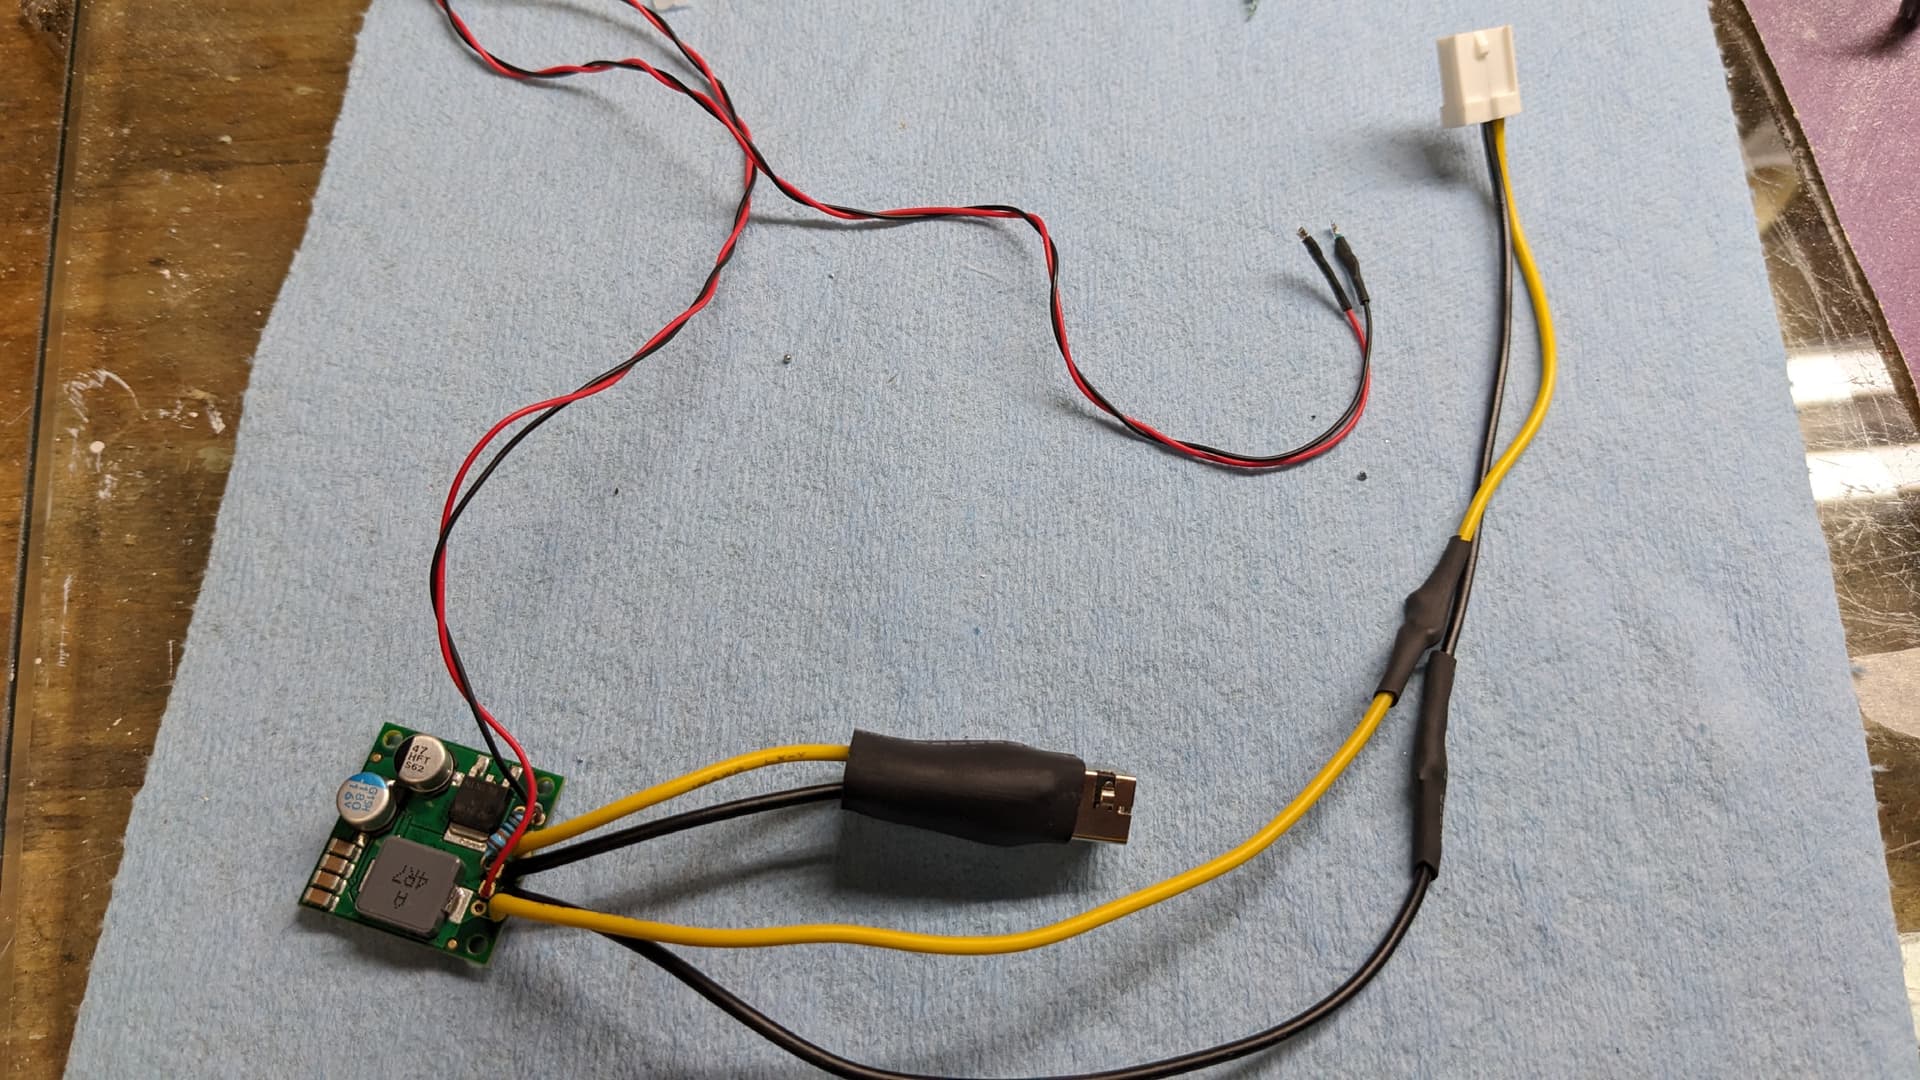
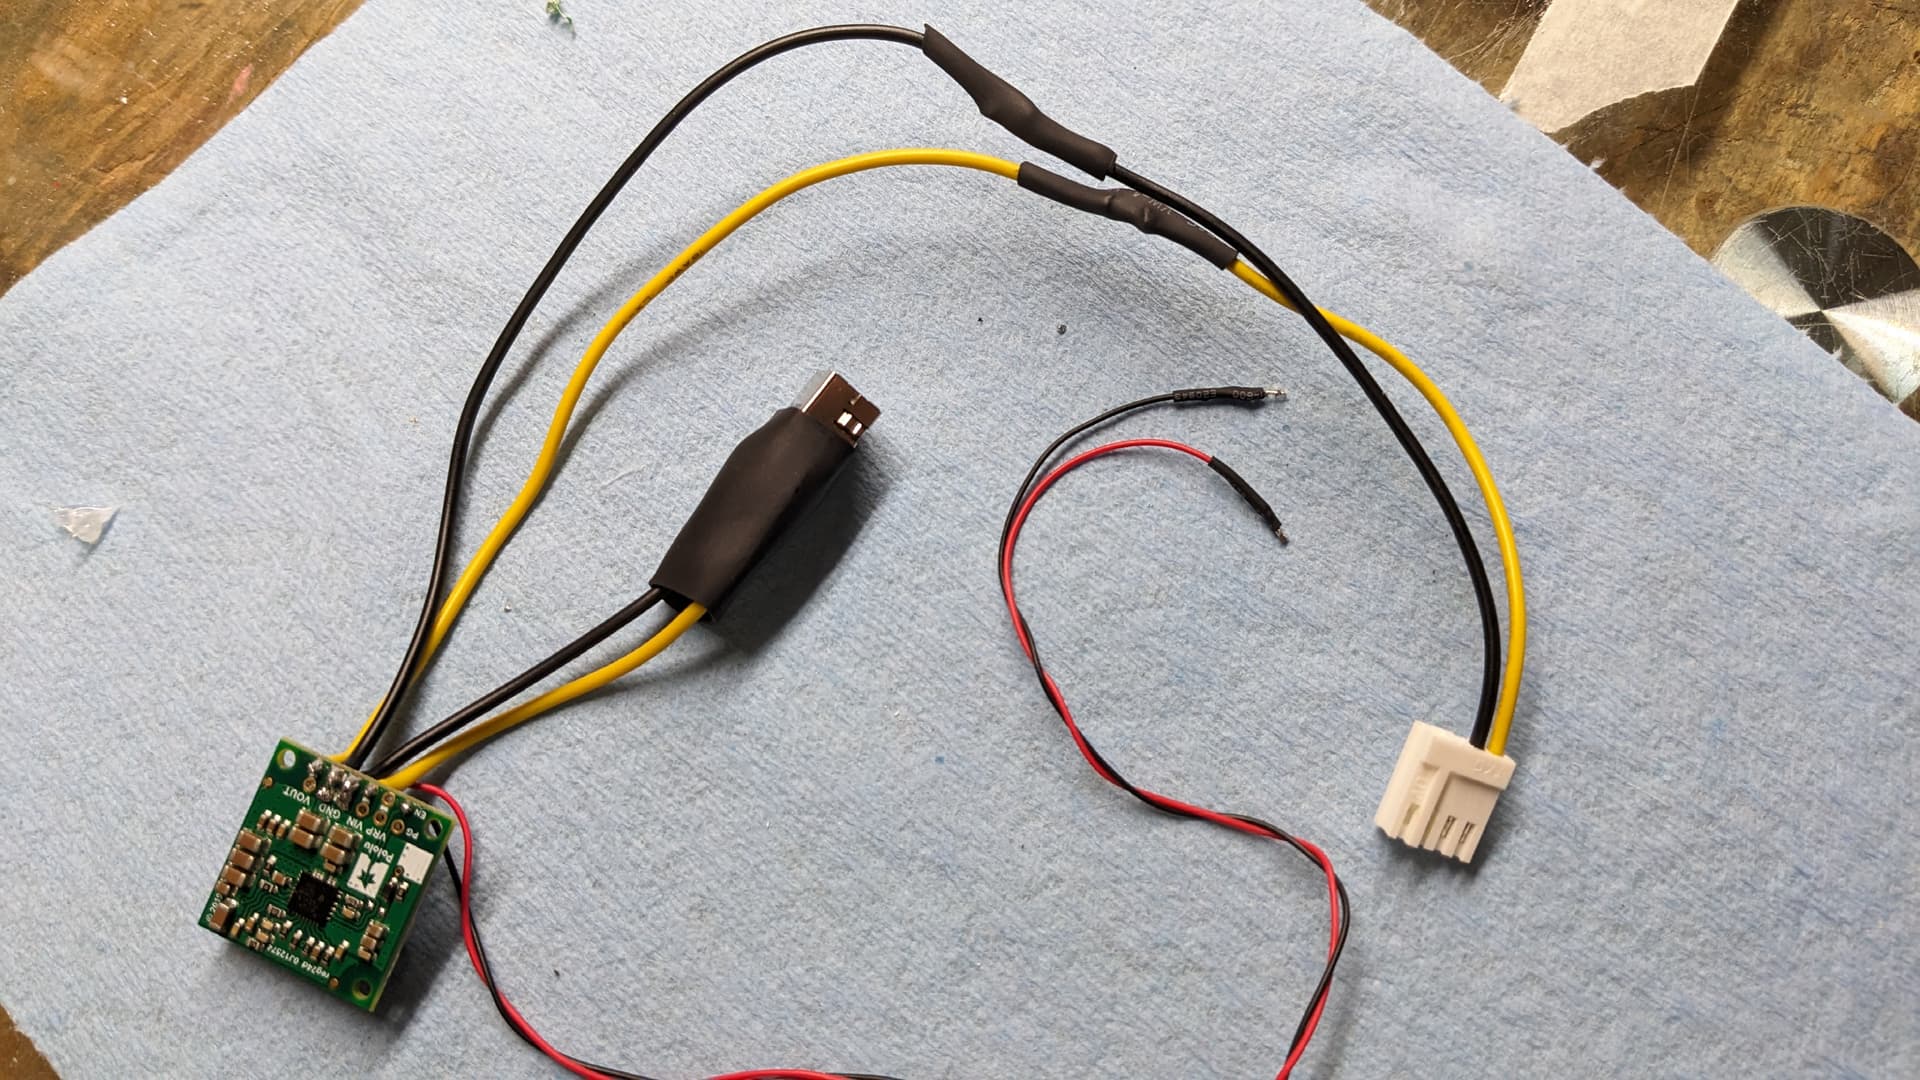
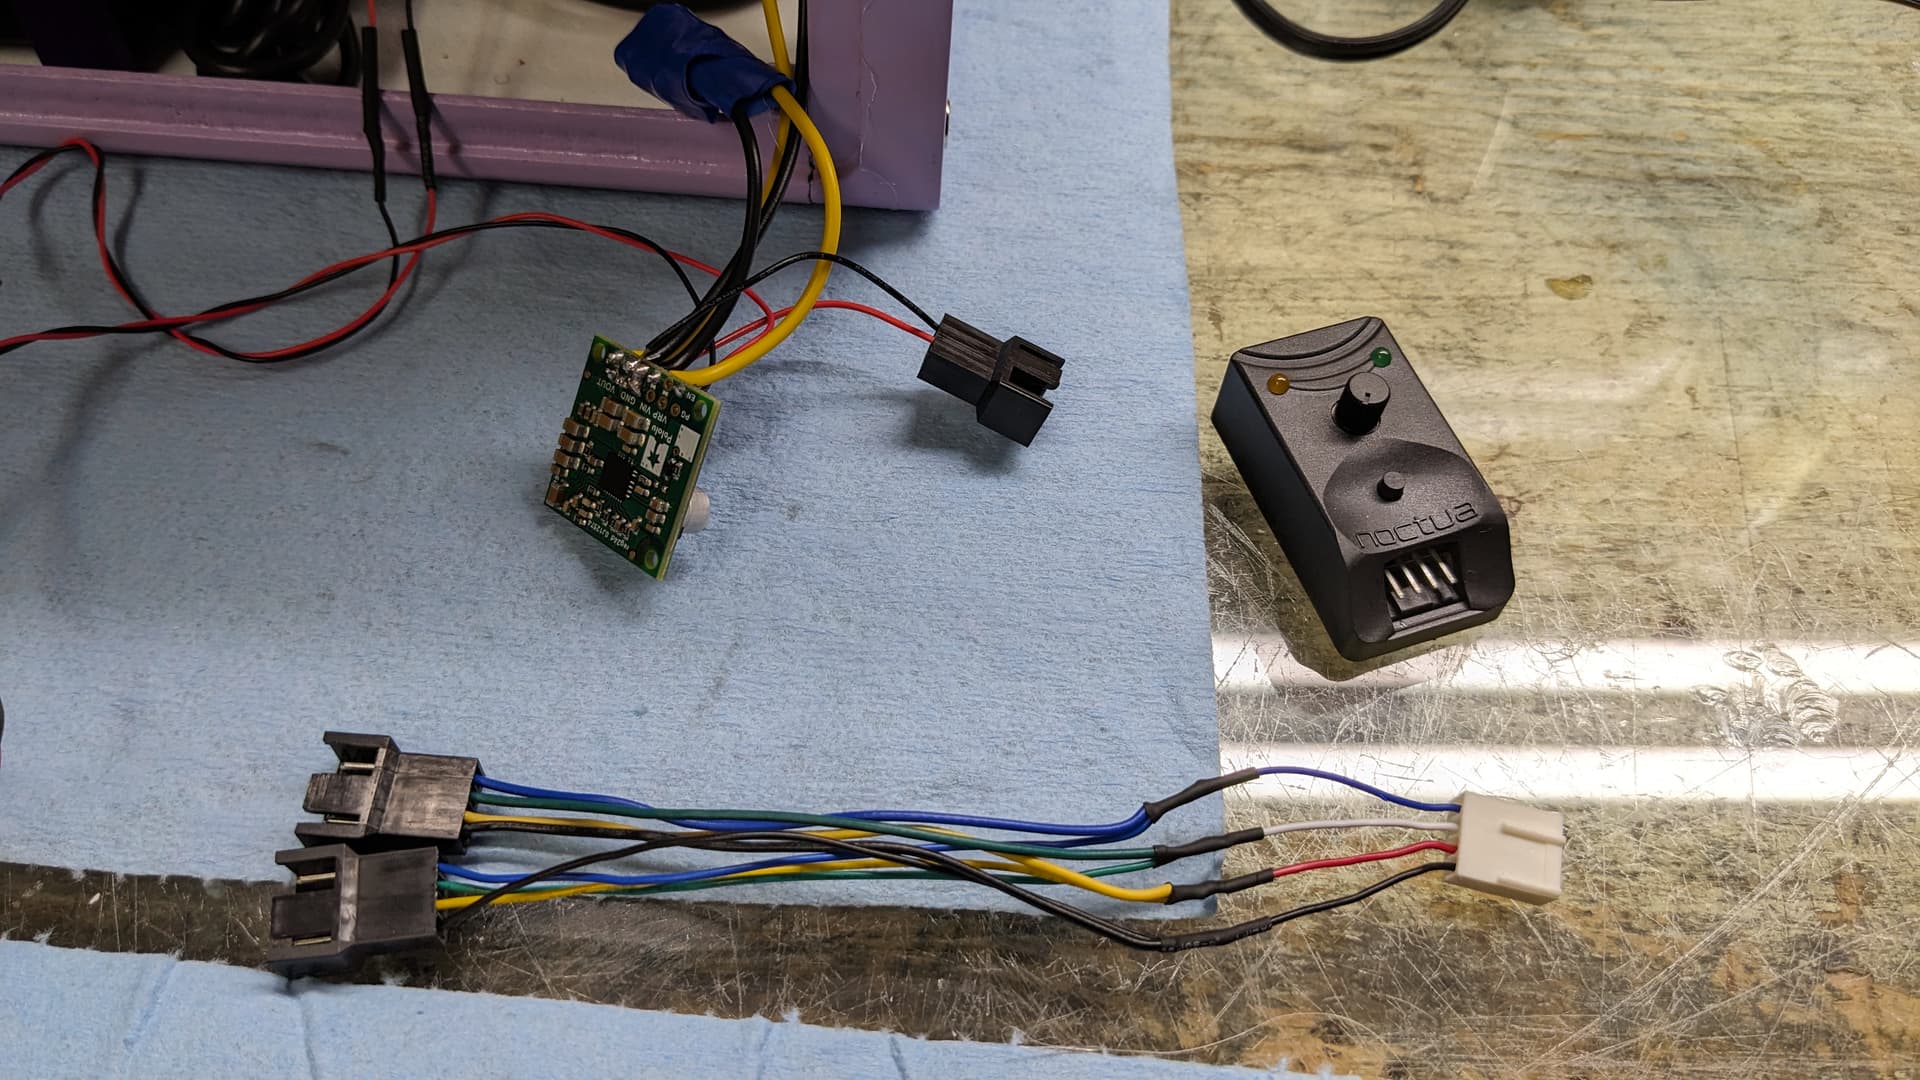
Also, following the indication on the pololu forum, I modded the step-down regulator (D36V50F12) to be able to use it to sync power too to the GPU instead of having to rely on the GxR-DIY on top of that I’m actually using in the Gamecube. The EN is now technically in pull-up, with the 3.3V that the miniPC will provide to let the wattage flow to the GPU. I just add not tested it yet, as I don’t want to cut the wire of the power adapter and solder it directly. So I don’t know if the mod was successful or not. Waiting to receive the DC power jack.
So now I’m thinking what to do. I first was thinking about doing body work to make everything have a nice fit and finish and paint over. That way i would not waste all that plastic too. But now I’m thinking maybe a reprint. Notice that the side acrylic panels can bend too because there is no lip there like we’ve done for the top and bottom panels. So might redo that and simplify the geometry so there is less curves inside to lead to a better print. Would go for a run-of-the-mill PLA too
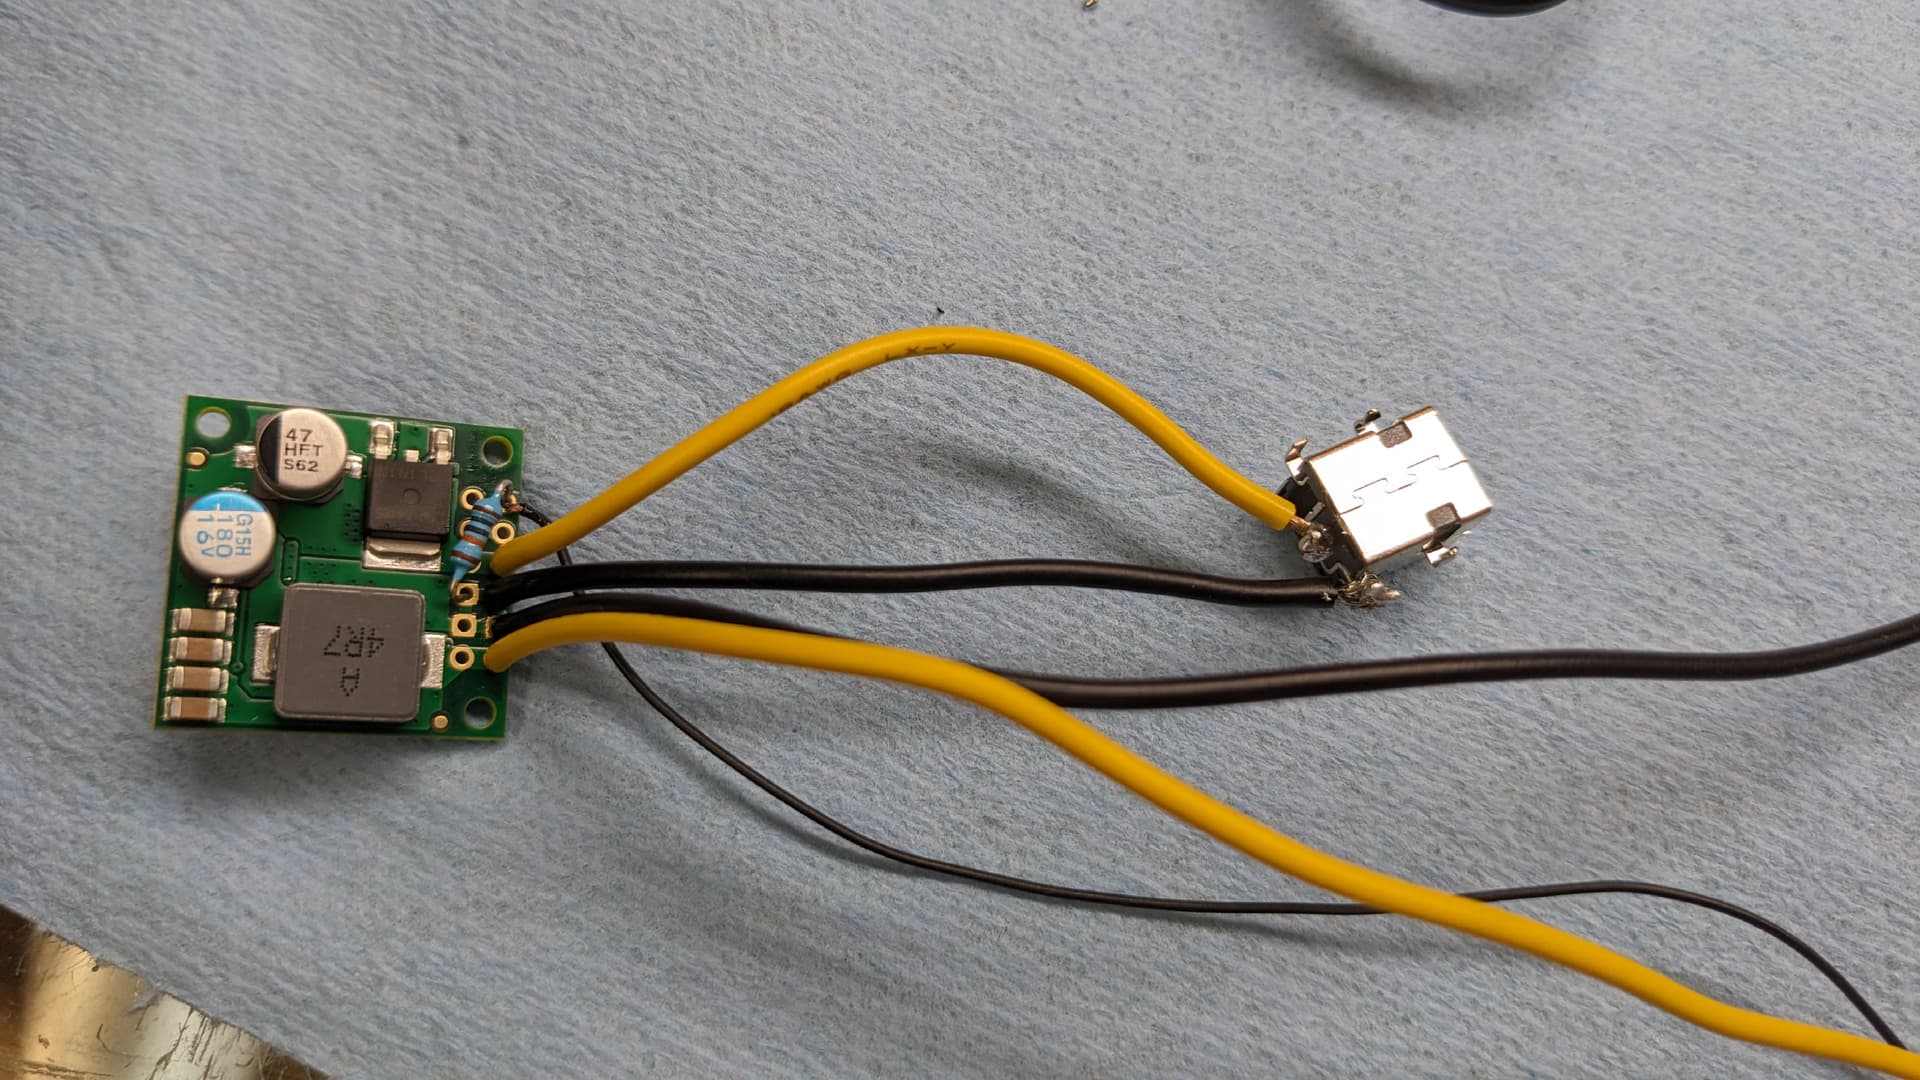
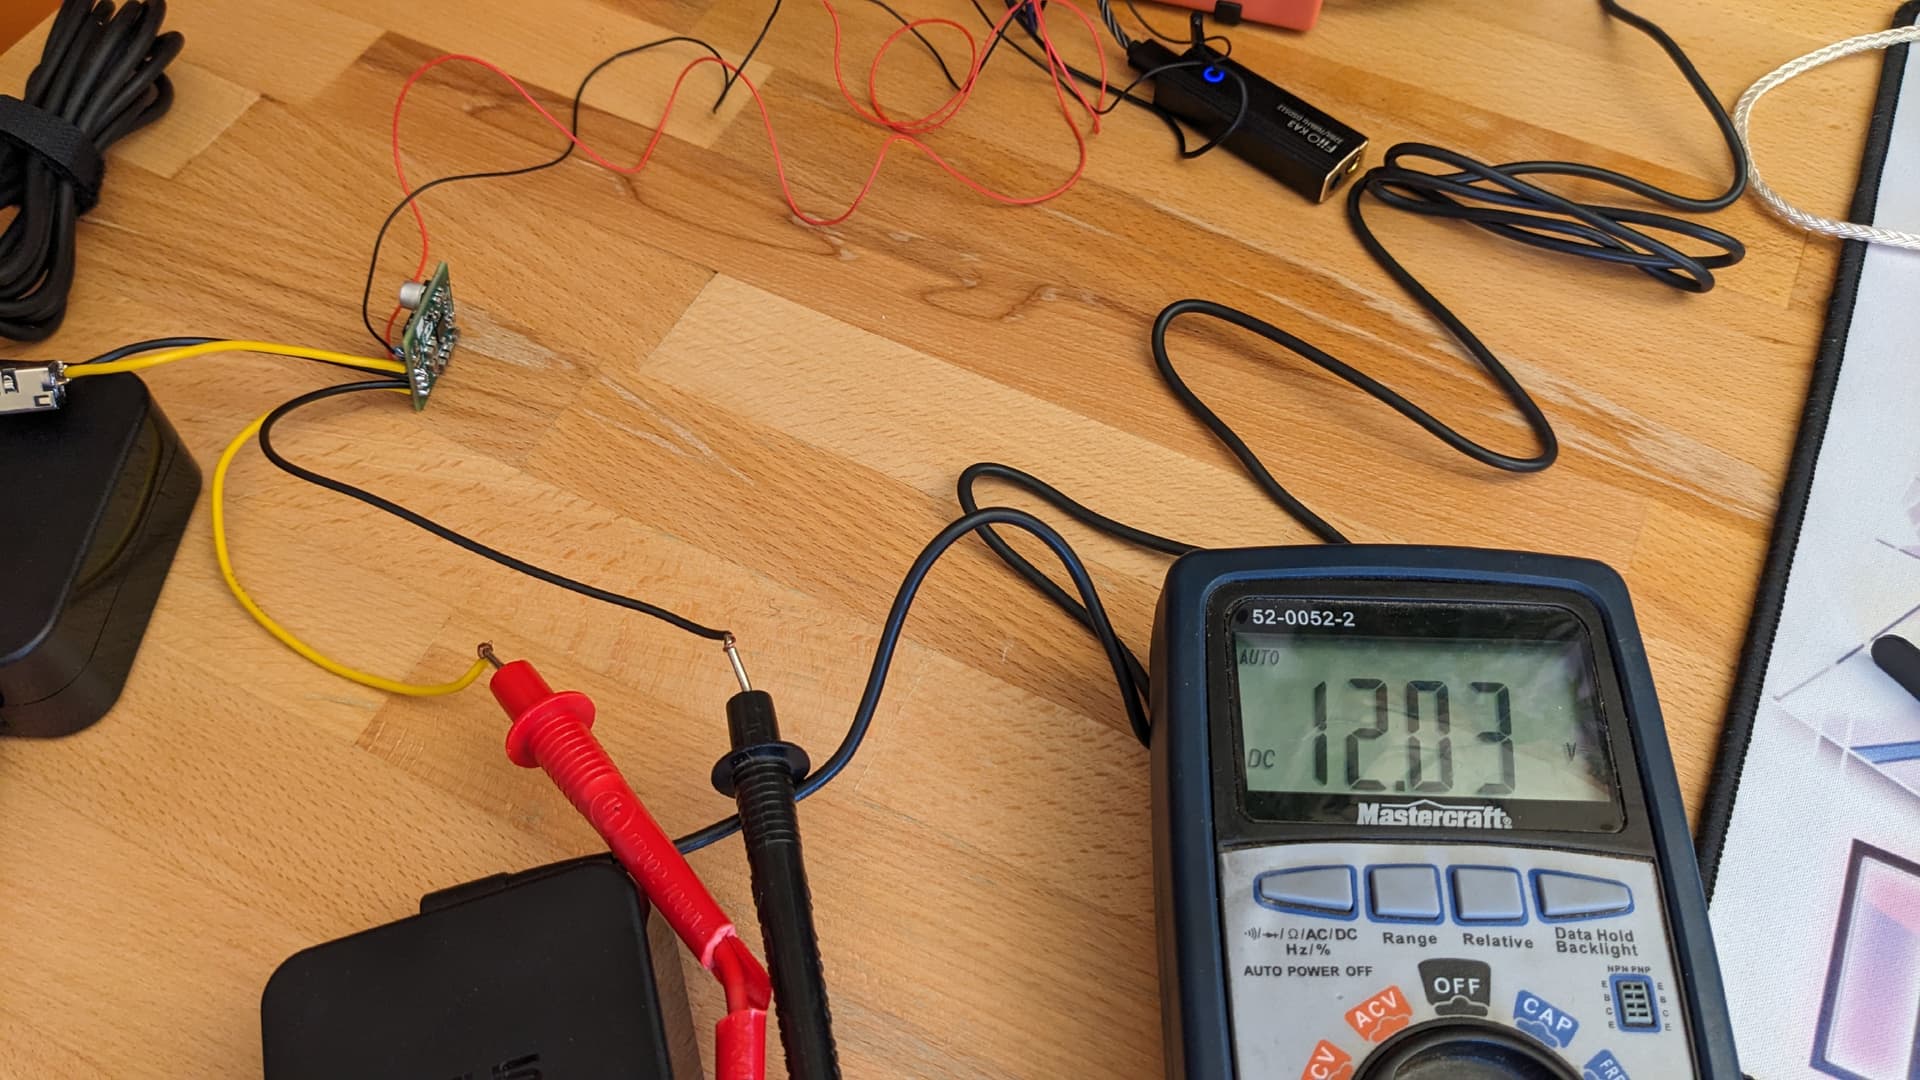
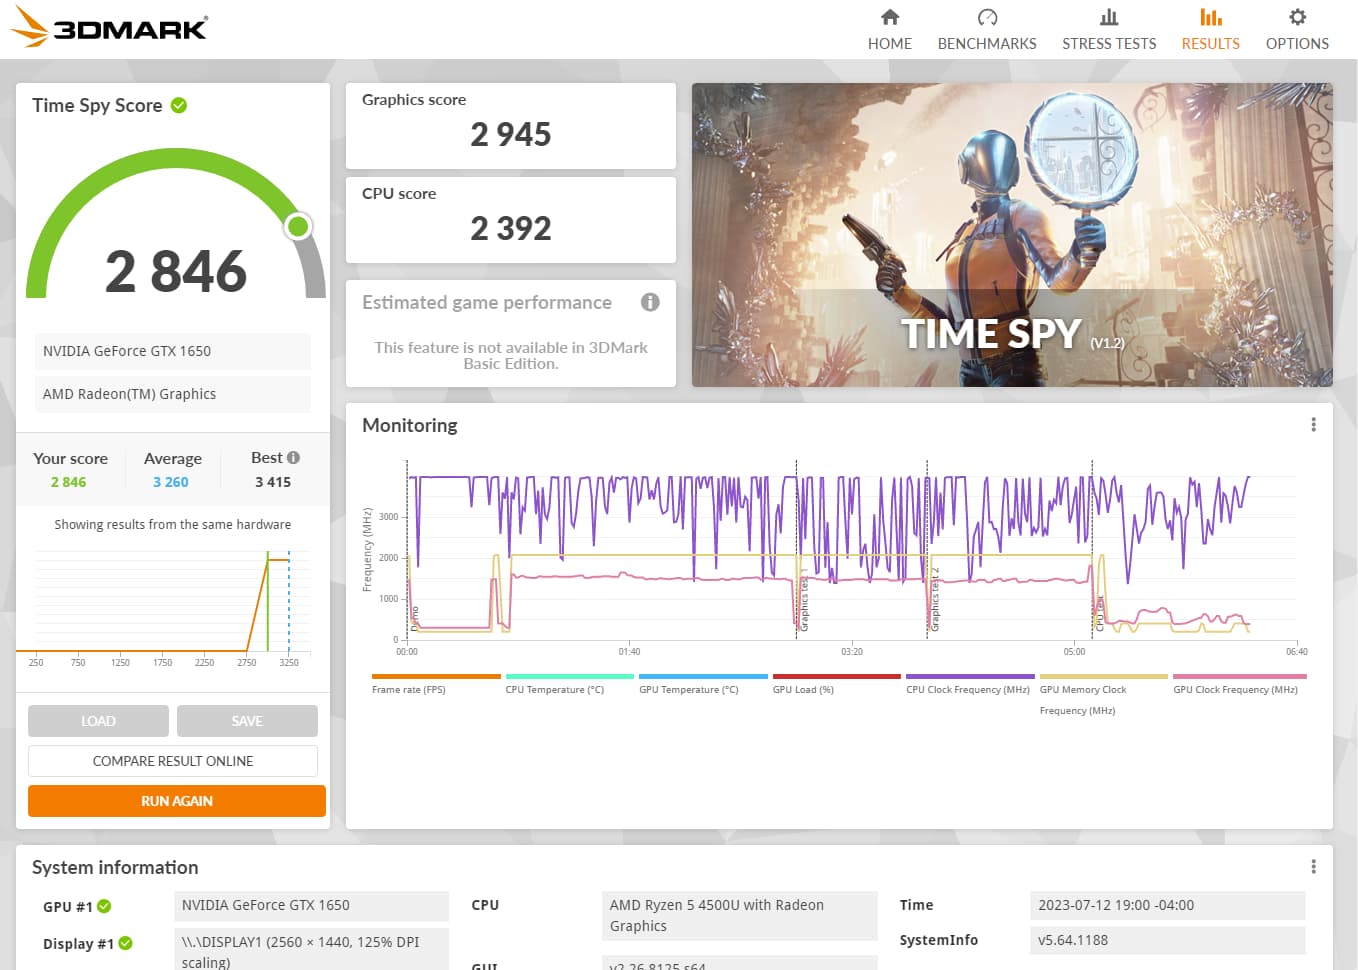
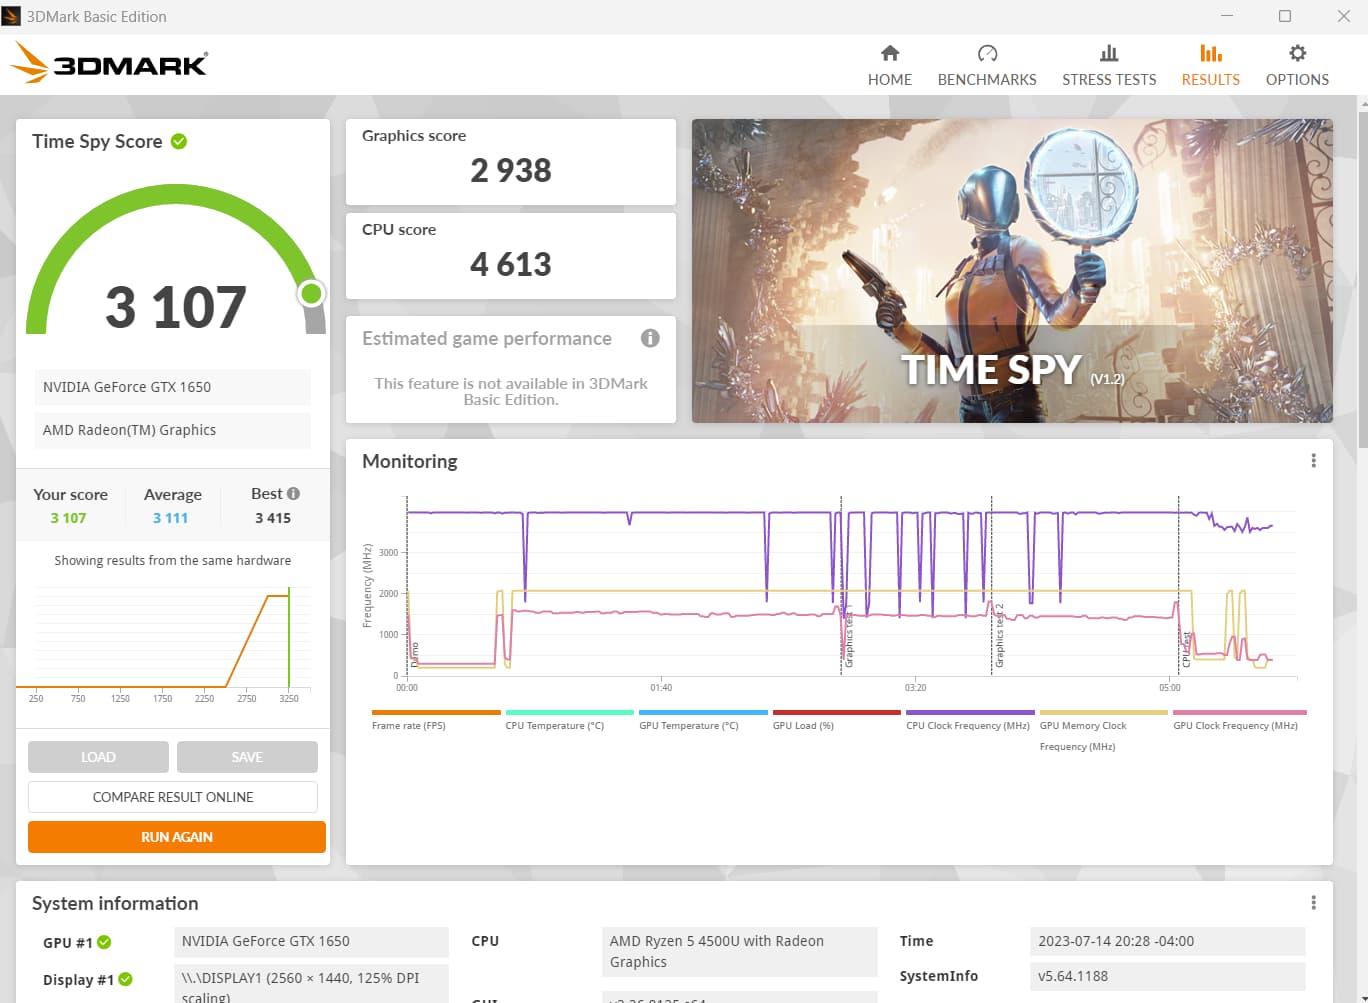
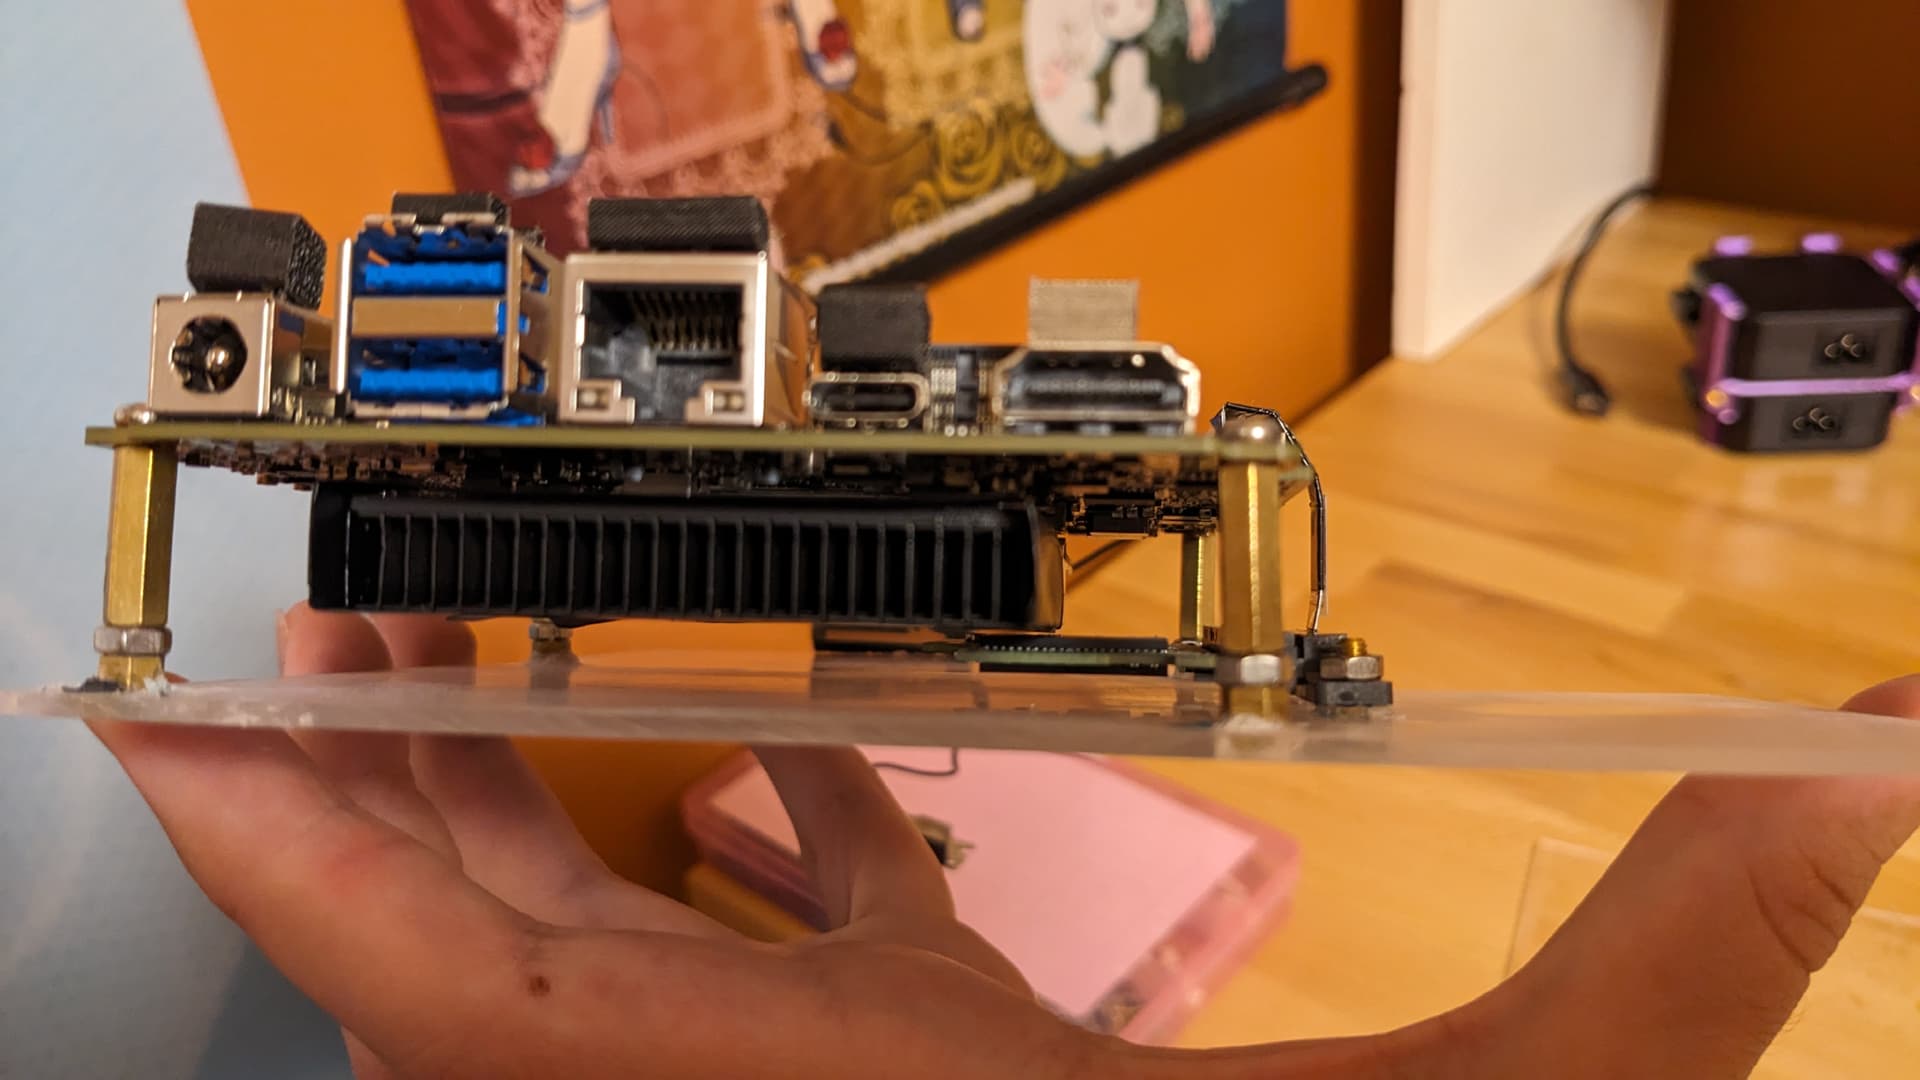
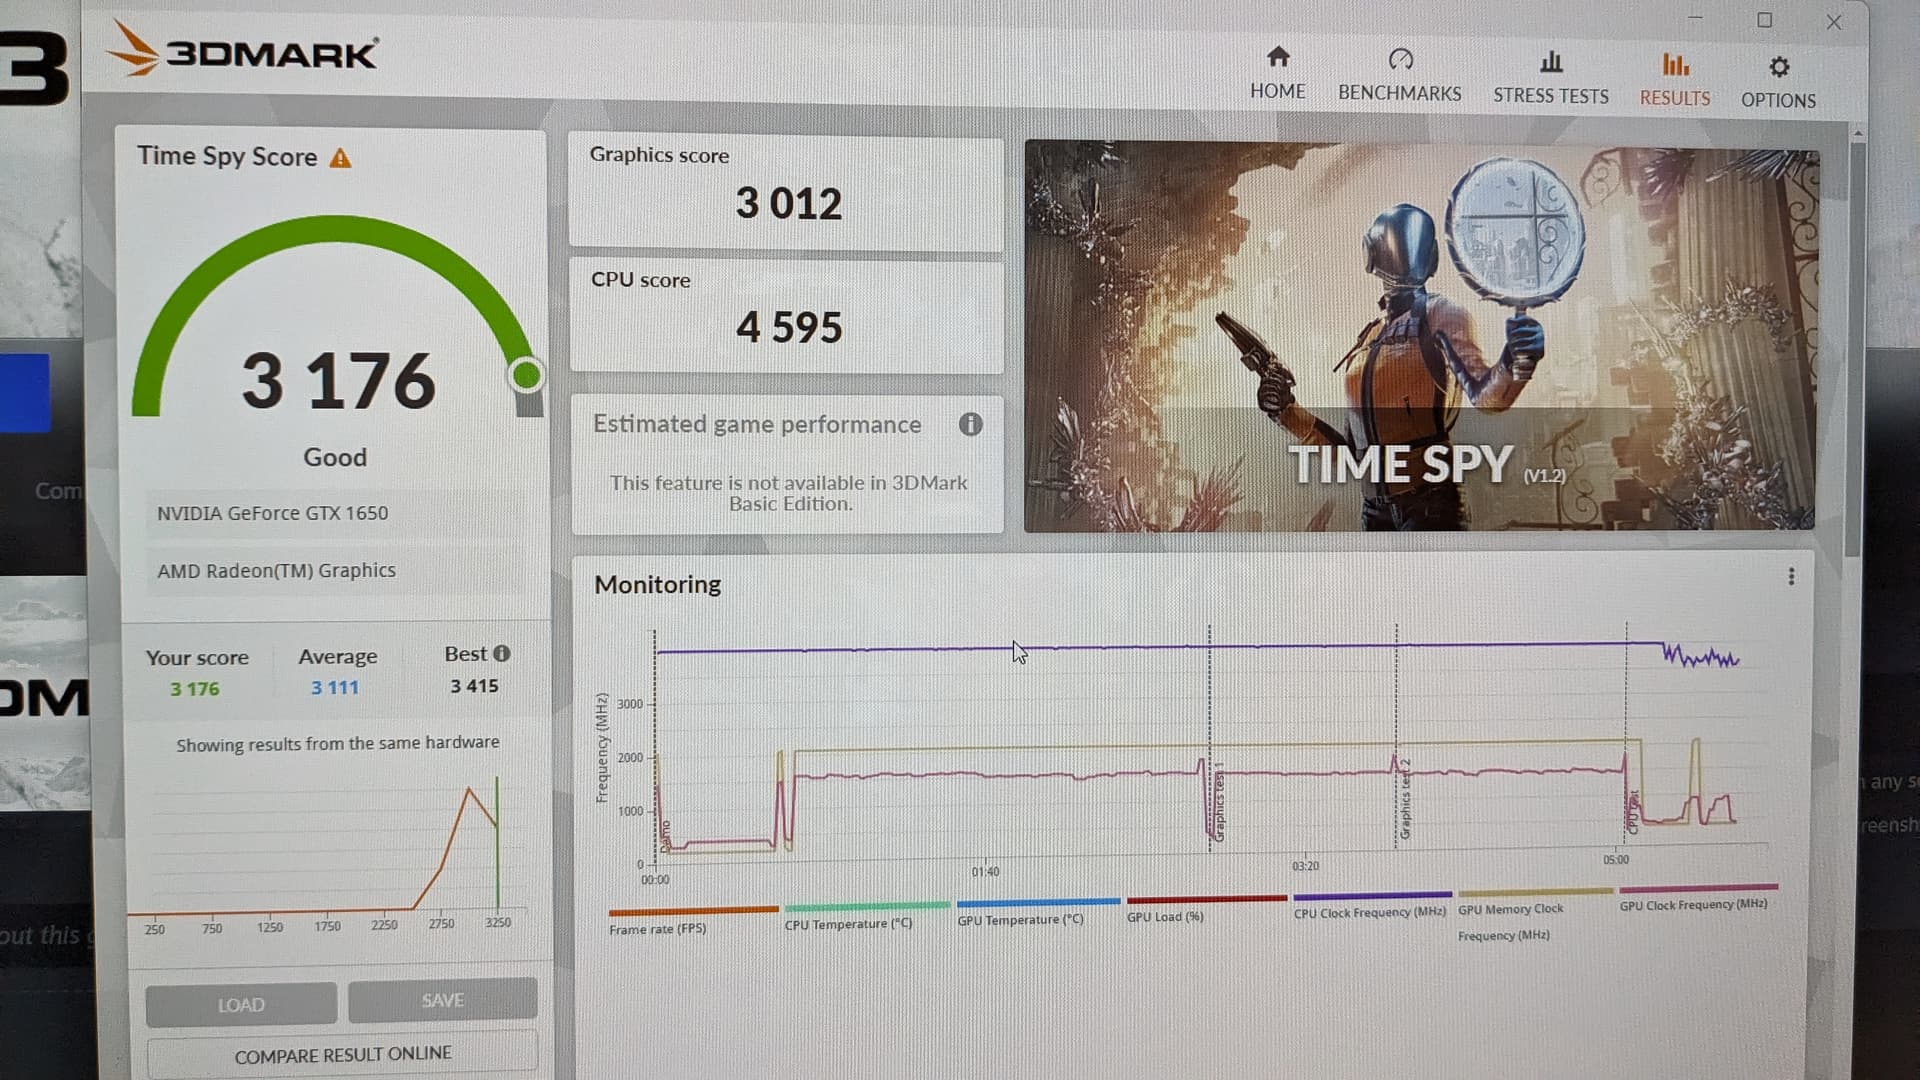
It runs!!! It’s working!!! The GPU is being powered by a 19V power adapter!!! Fuck yeah!!! (I litterally screamed when I saw the display turning on lol)
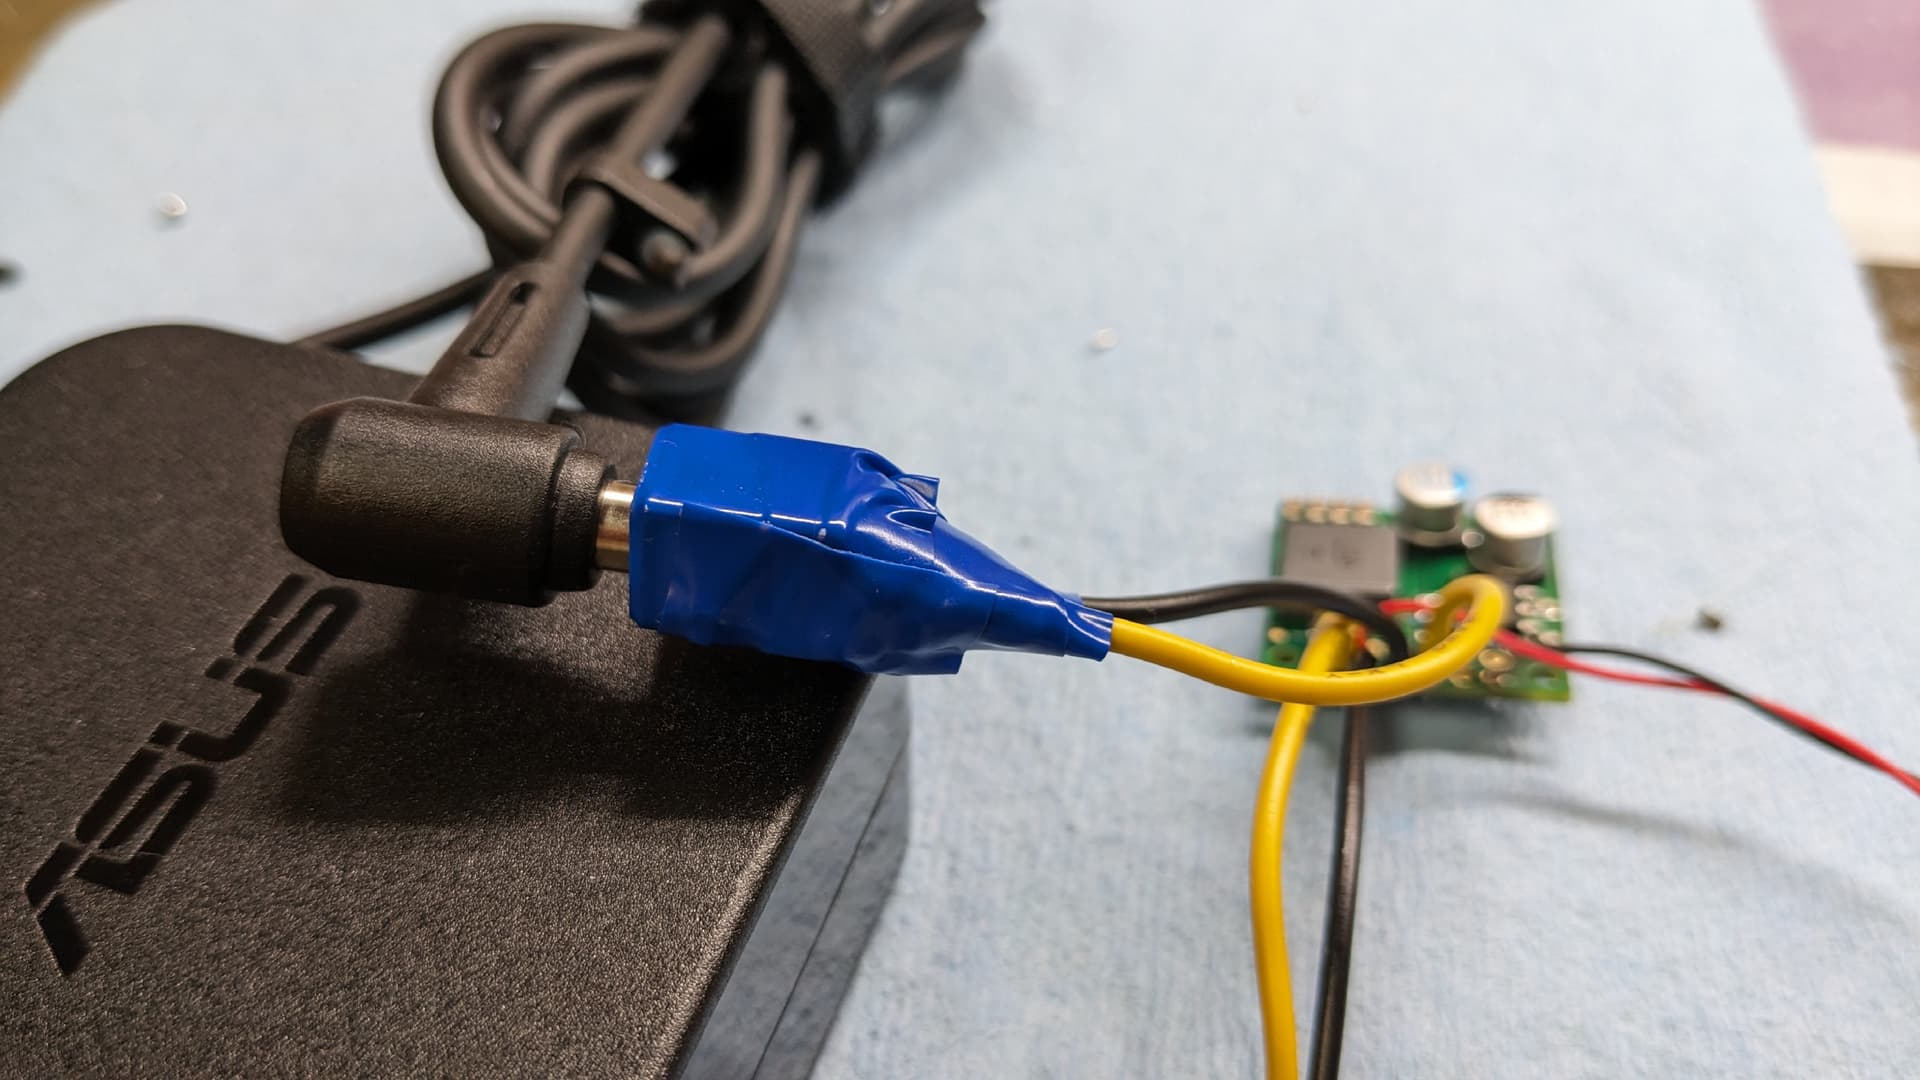
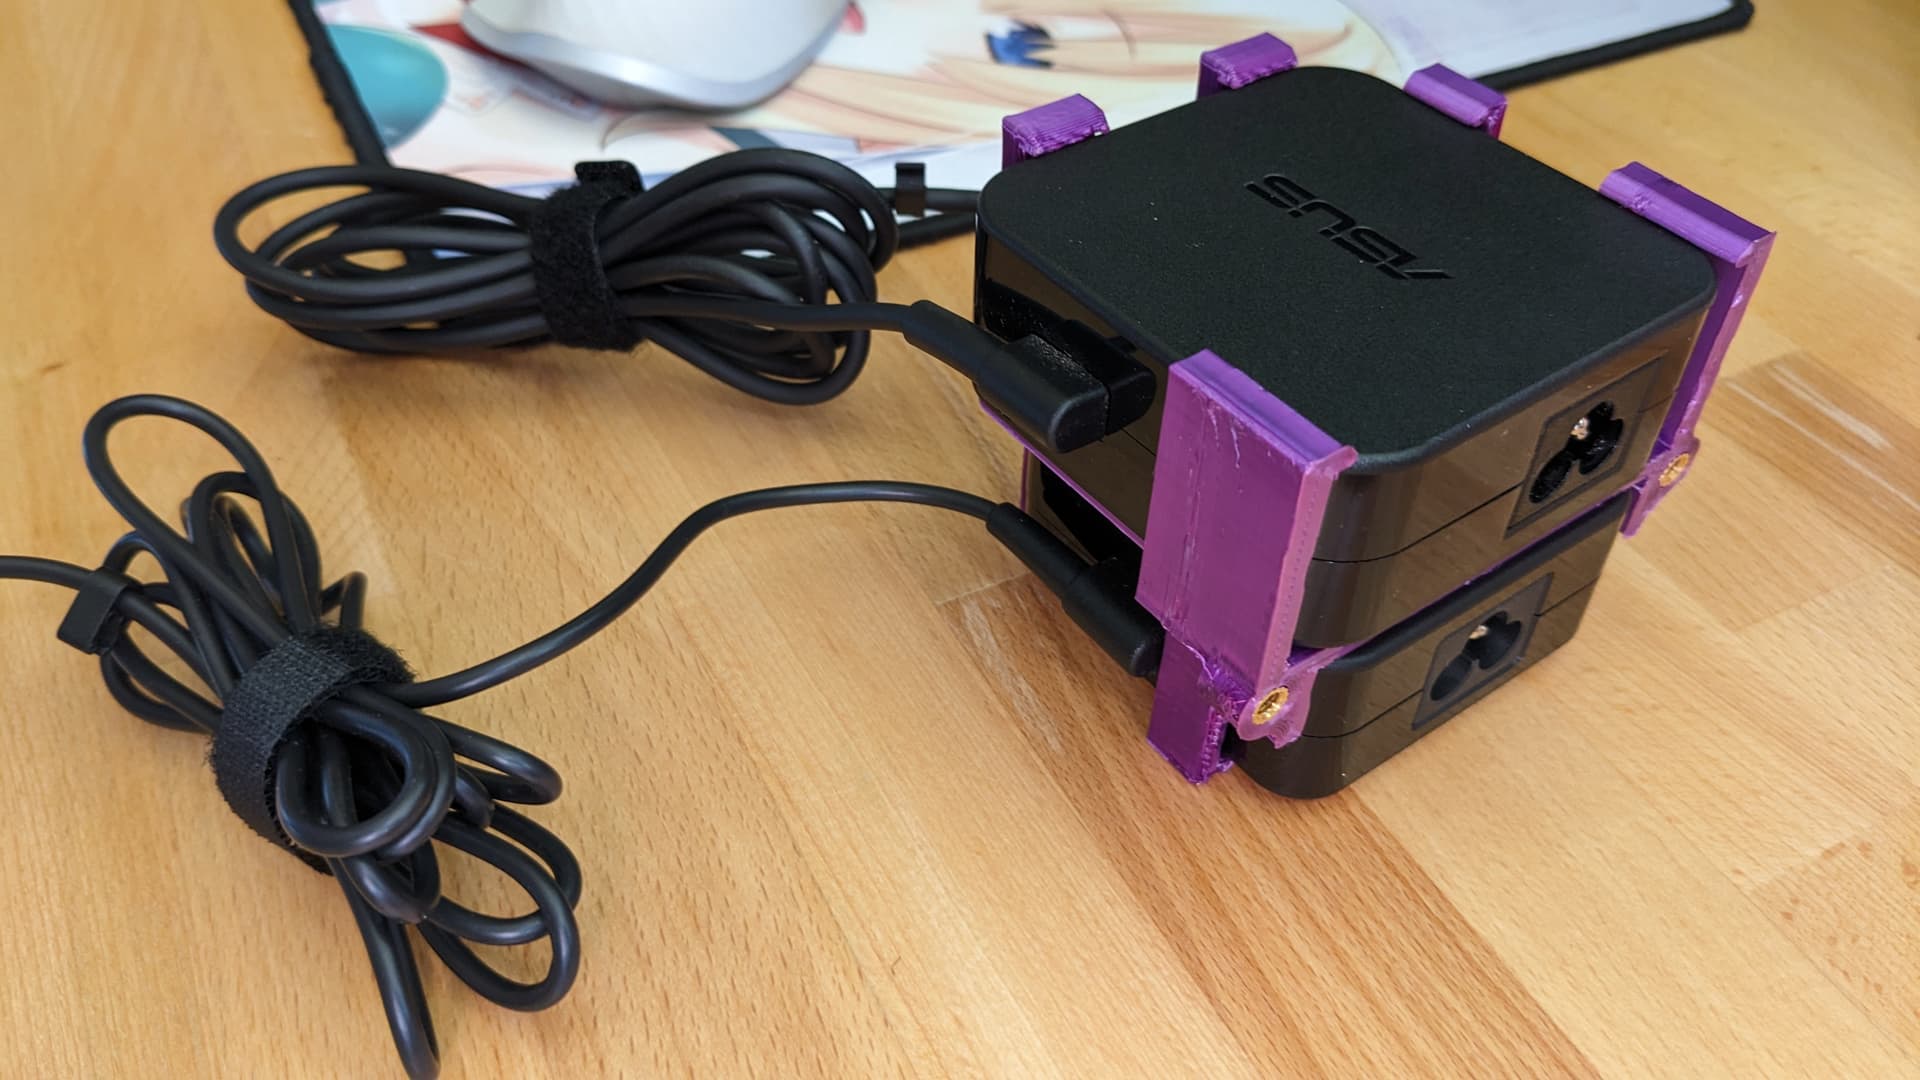
I received during the week the barrel jack, so I could begin my testing. But initially when testing I had no output voltage at all, except sometime from time to time a small transient voltage. I didn’t knew what I did wrong and was afraid I might have broke something on the converter.
So I asked on the same Pololu forum and finally “I totally forgot I had no more common ground between the two as I was using distinct power adapters. Adding a cable that connect to the ground pin on the motherboard, alongside the 5v cable for EN, solve the issue.”
(Also I had to power my motherboard with his original 19V power adapter for the pull-down to work and having an output of 12V)
It have been a long time I didn’t updated the build log. It’s taking long.
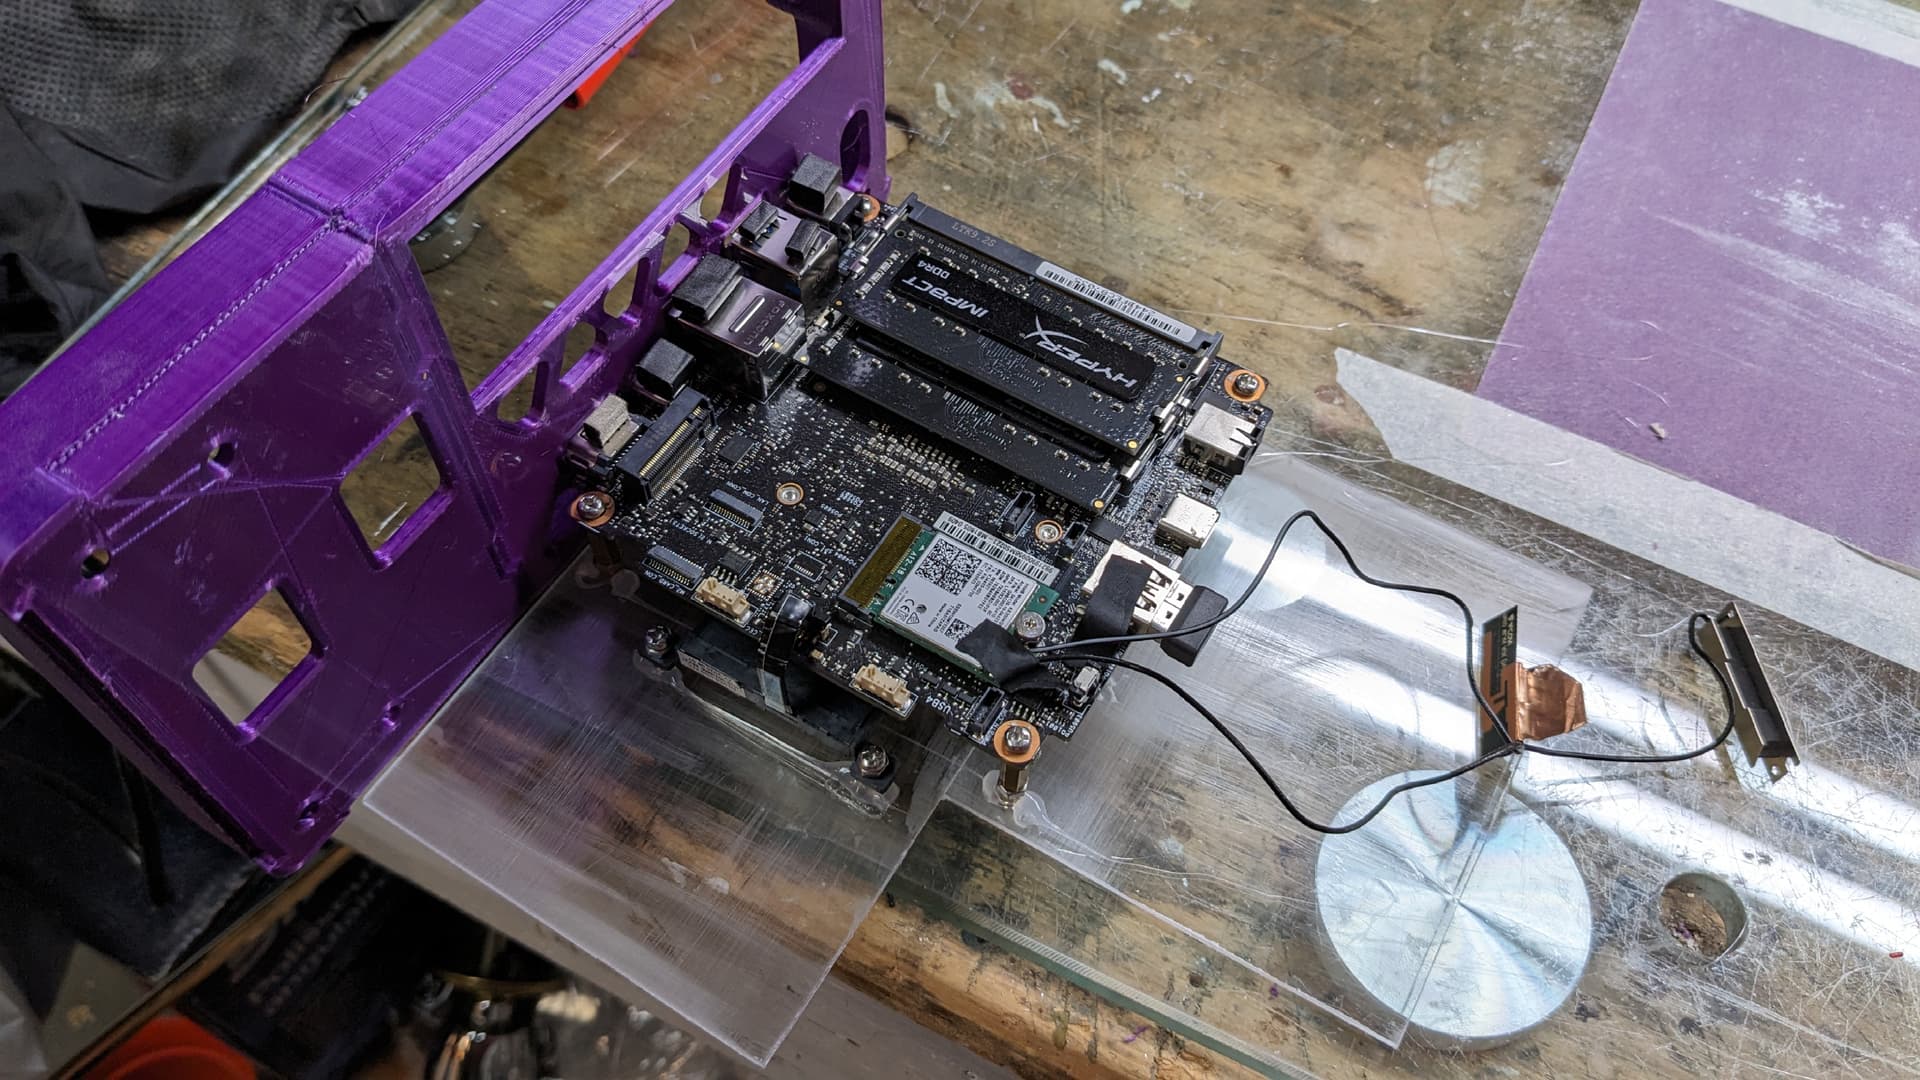
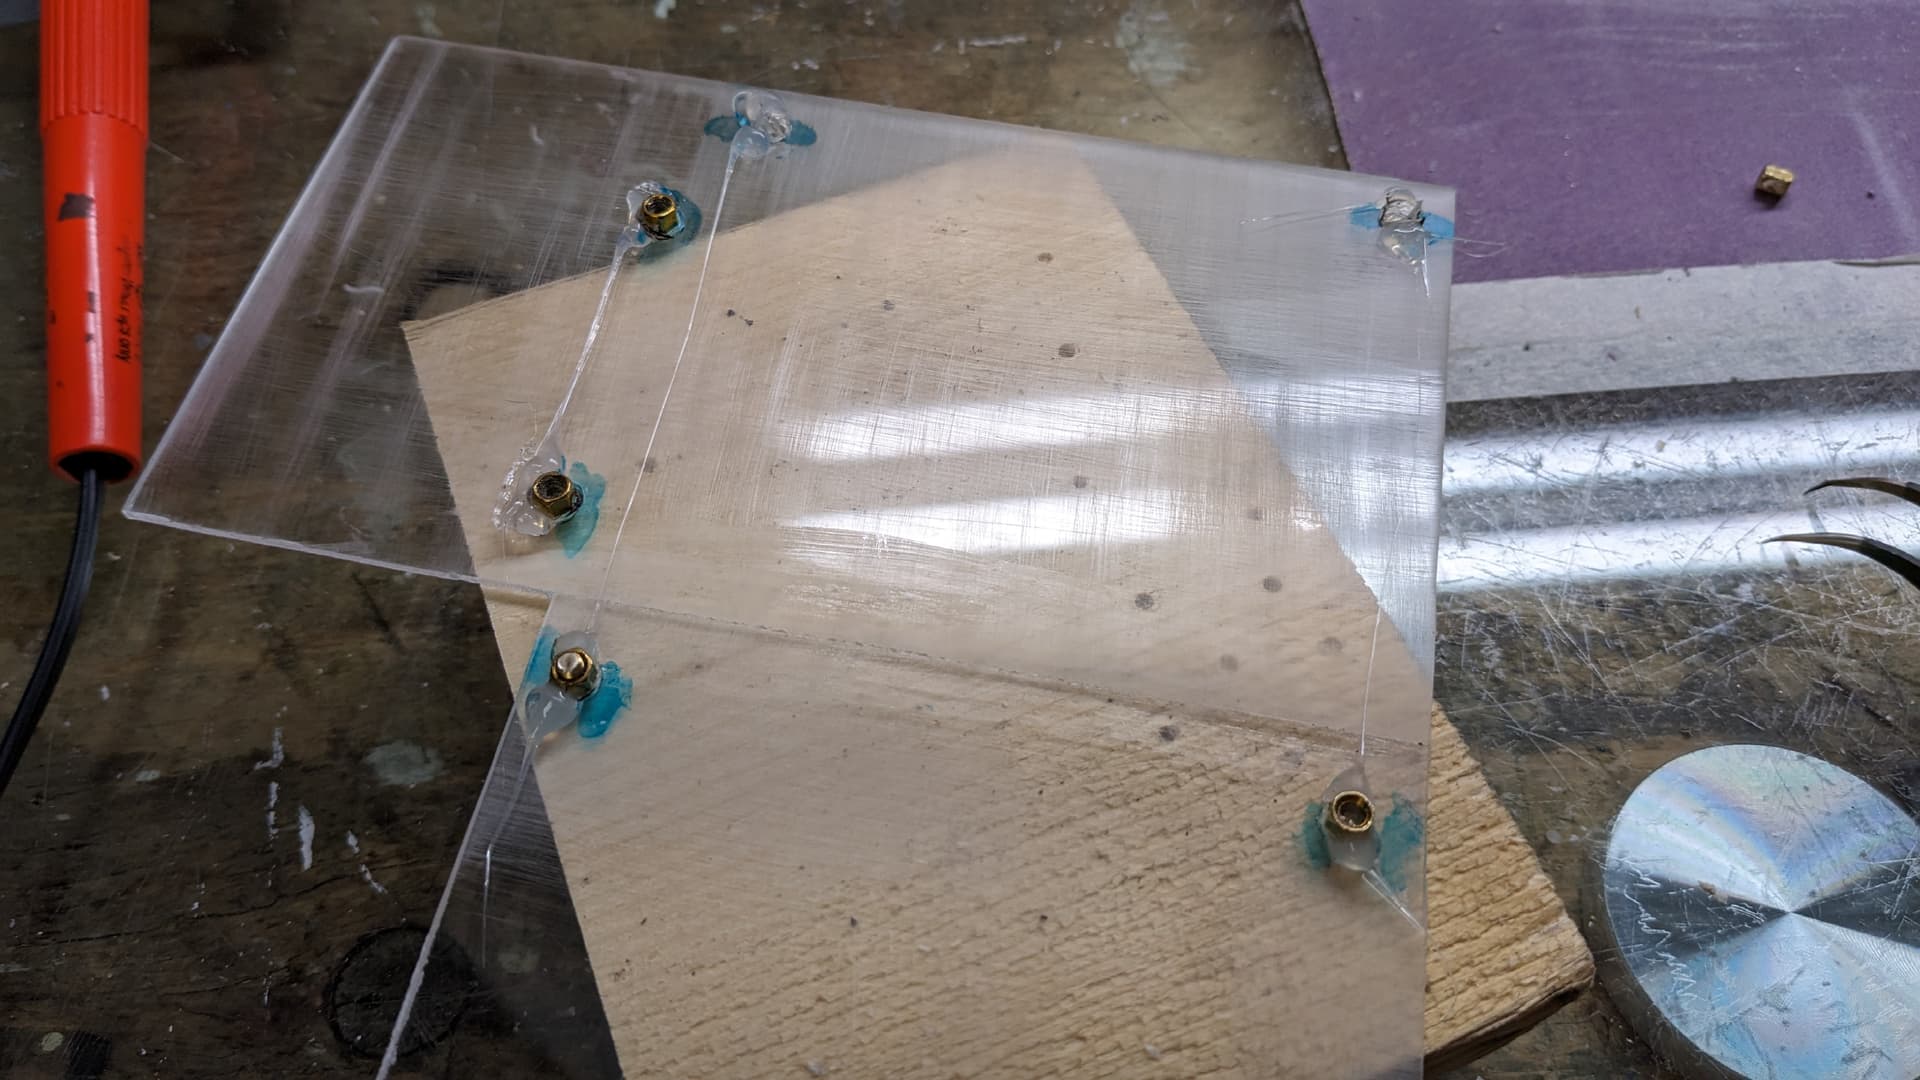
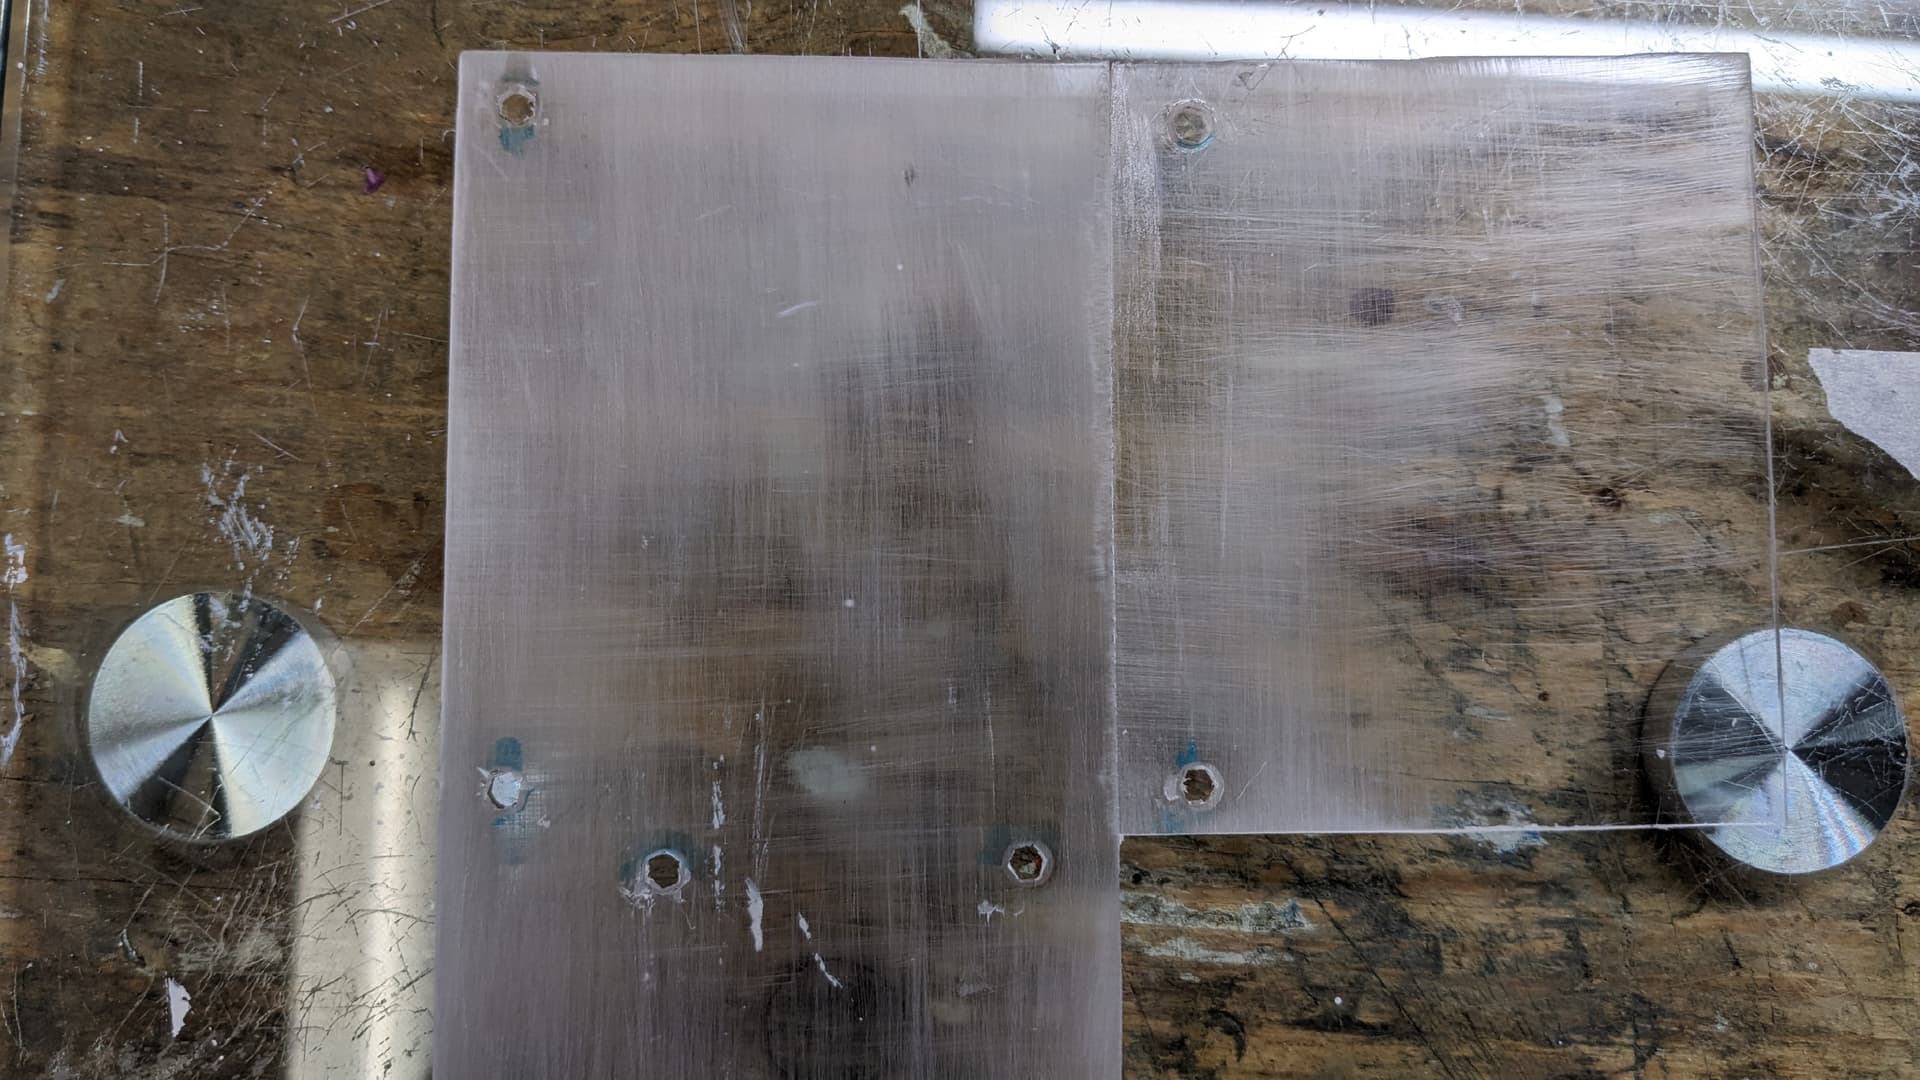
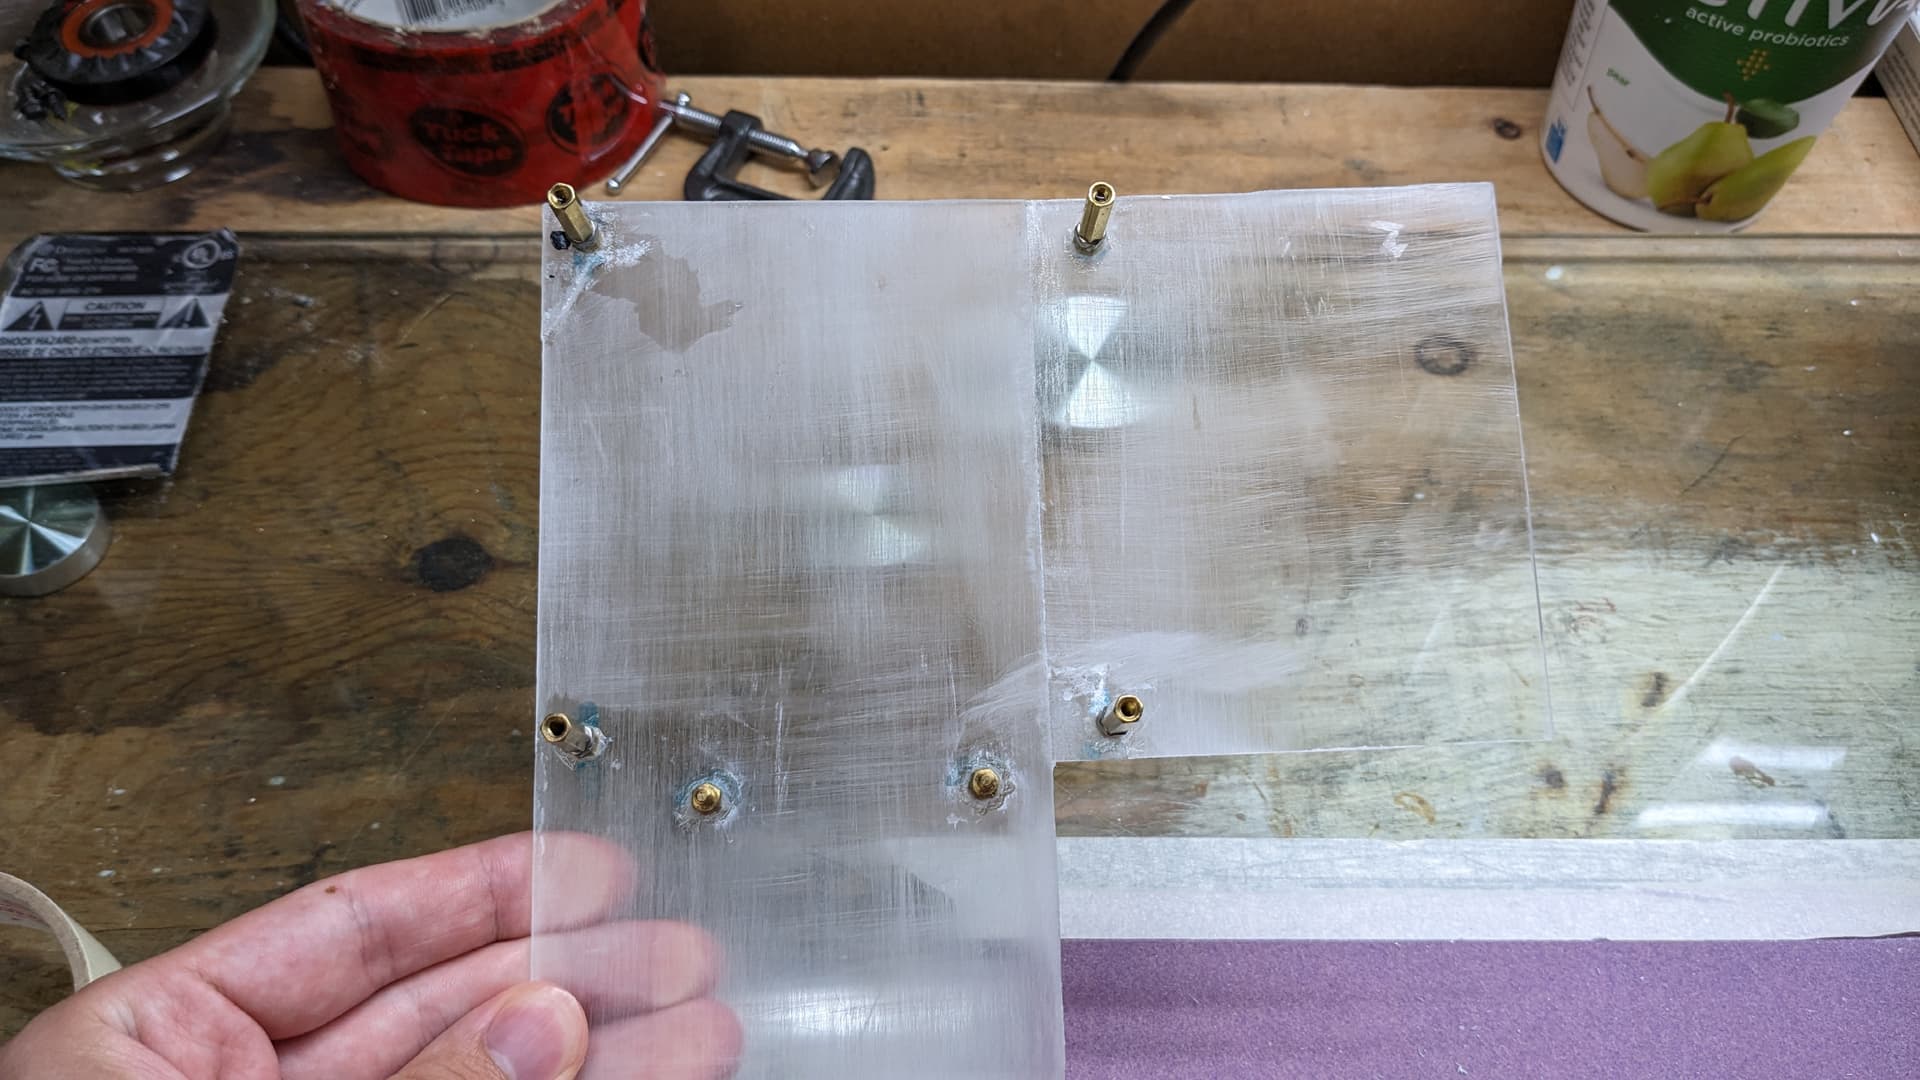
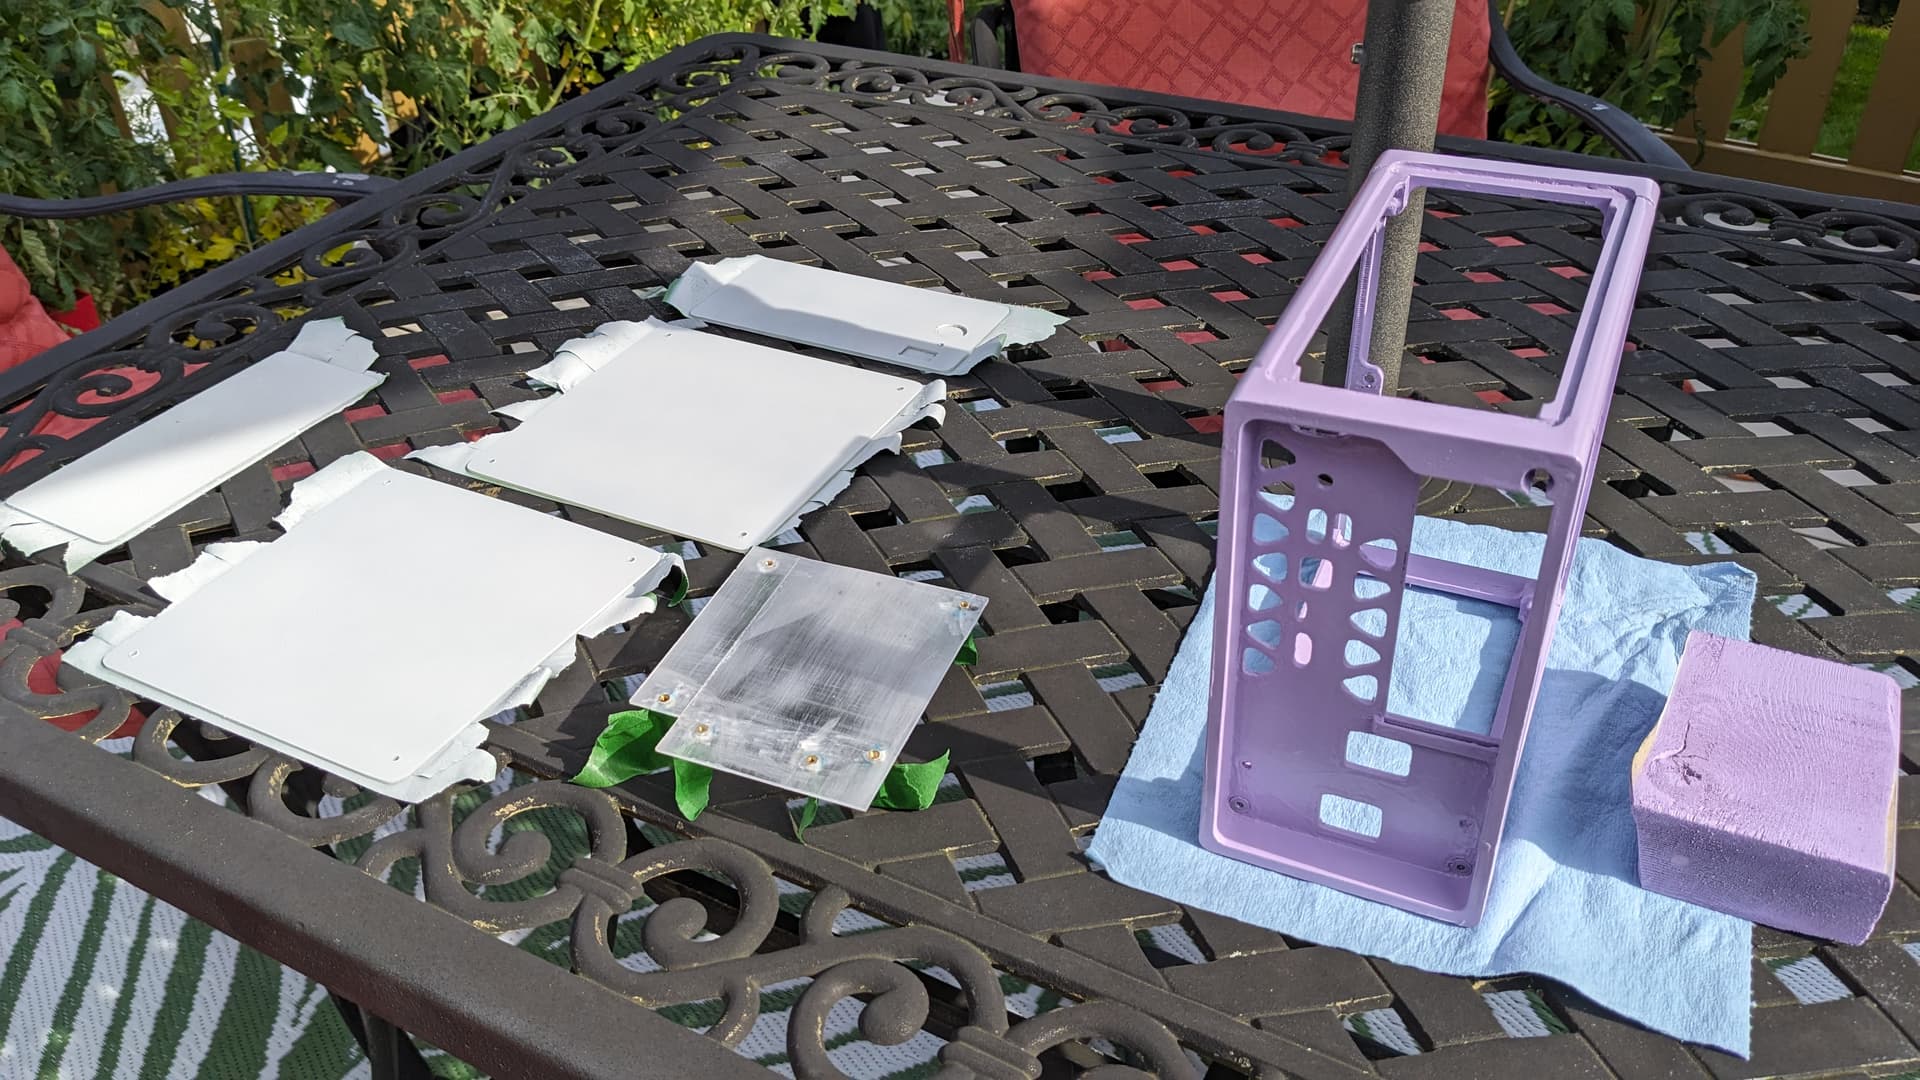
A few weeks ago I wanted to do some stuff, so took all yhe components out of the Gamecube and assembled them again on a piece of acryclic. That piece will be later glue to the side panel when I will be mounting it. However I learned that trying to do heat insert with acryclic is not a good idea. So I scrapped a lot of standoff that I used at the end to jsut create the perfect size holes by melting theough the piece of acrylic, for after crazy glue standoff in those holes.
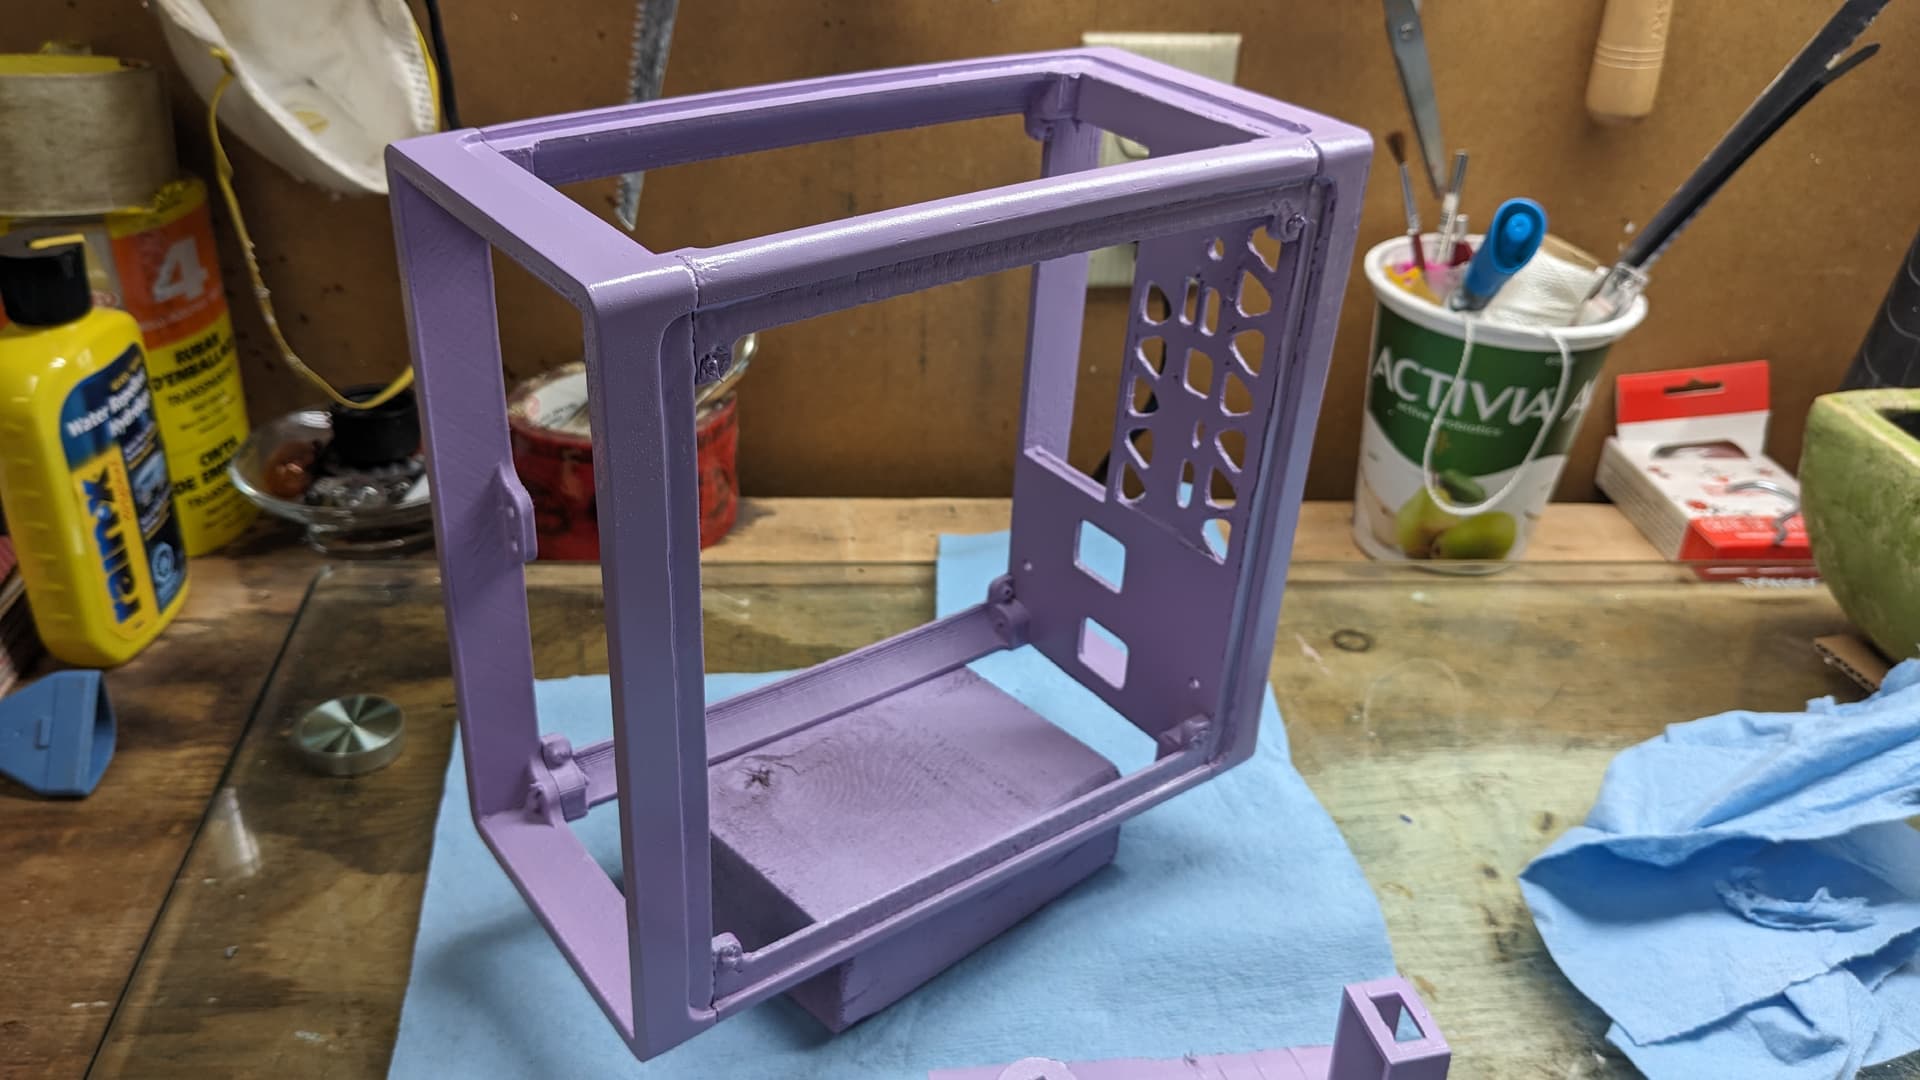
The v2 of the case was also printed. However the quality is not that better imo even with a different filament. And even with bodywork and putty, does not reach the quality I would like, but hey at that point I will still use it, just not look at it closly. Imo would need to be resin-printed to have a good quality, or a really good printer. Did a layer of primer and violet on it
Will do my log later. Nothing final yet, far from it. Just wanted to assemble it so my pc is not just laying around my desk. But my god it’s tight. I knew in theory it will be, but my god in practice hahaha
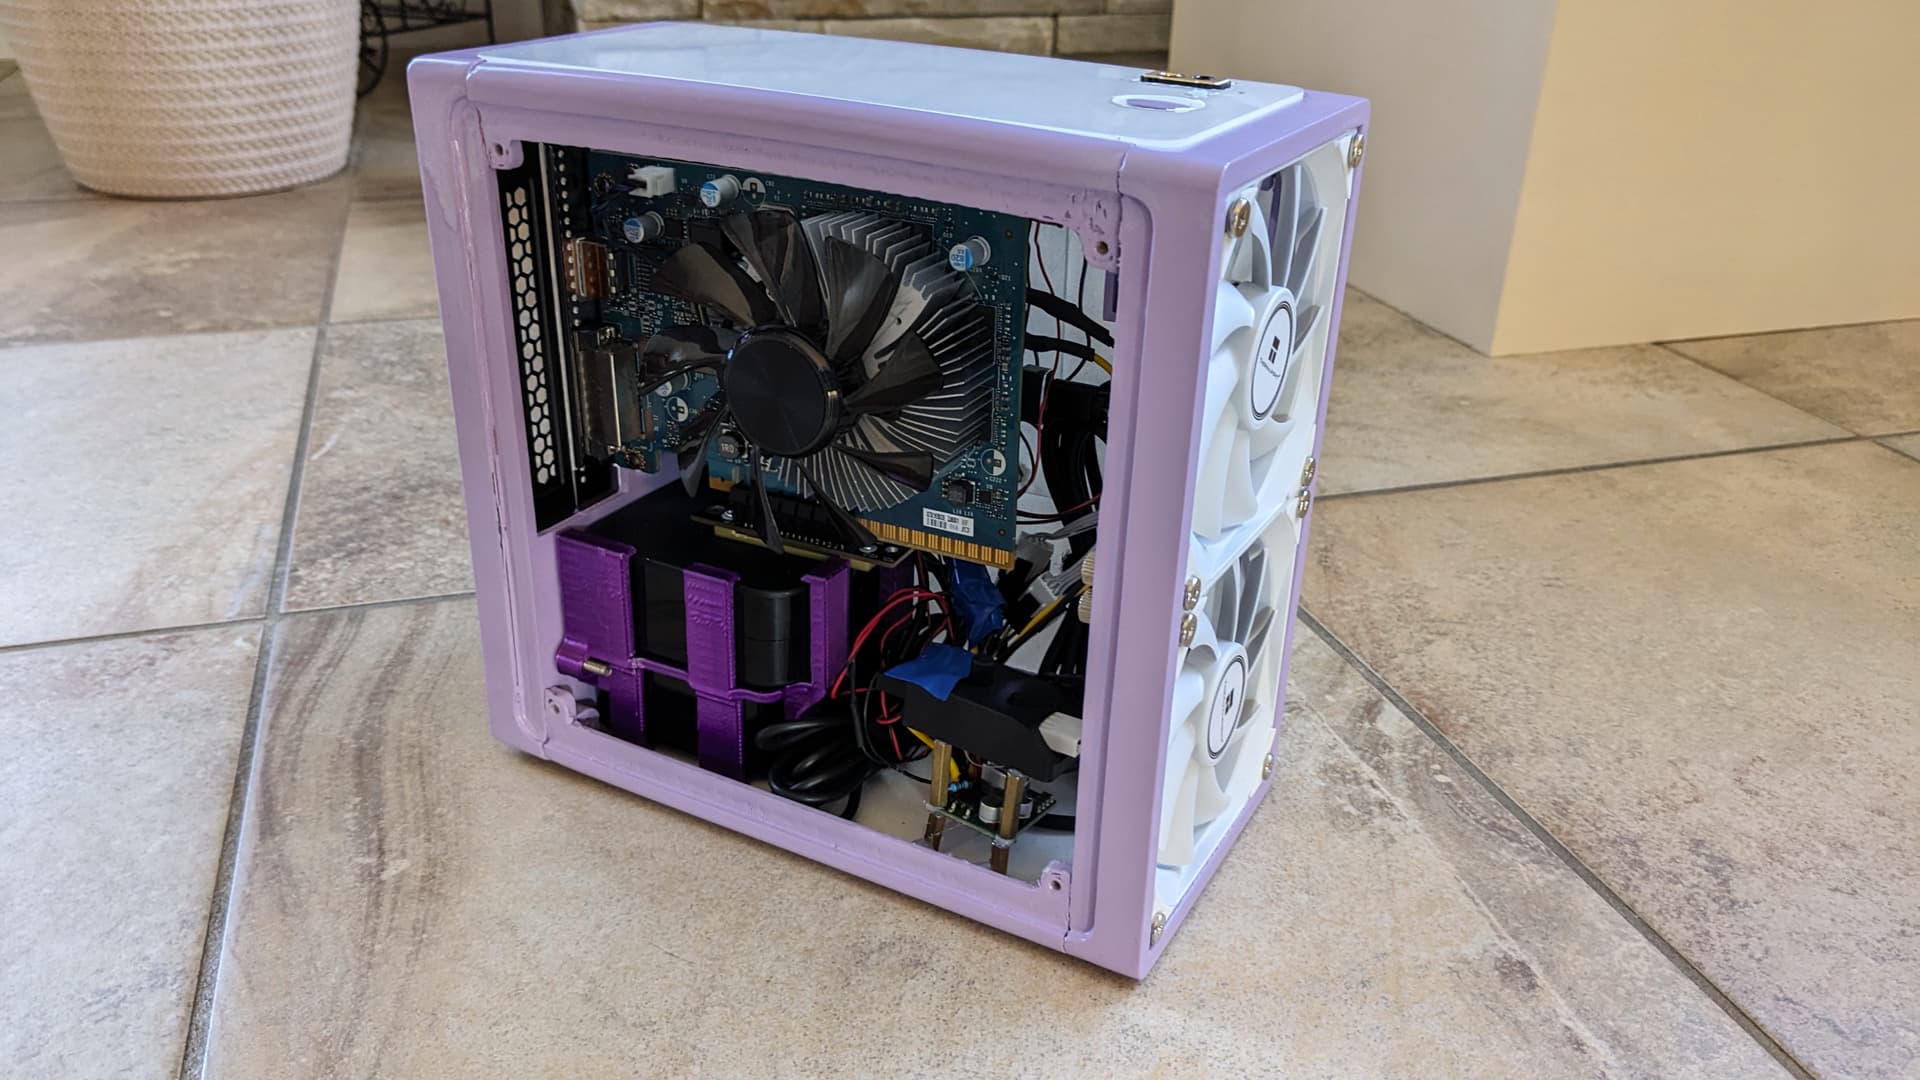
So last weekend I did a big push to finish the computer because of the incoming MBA. And it became janktown real fast lol.
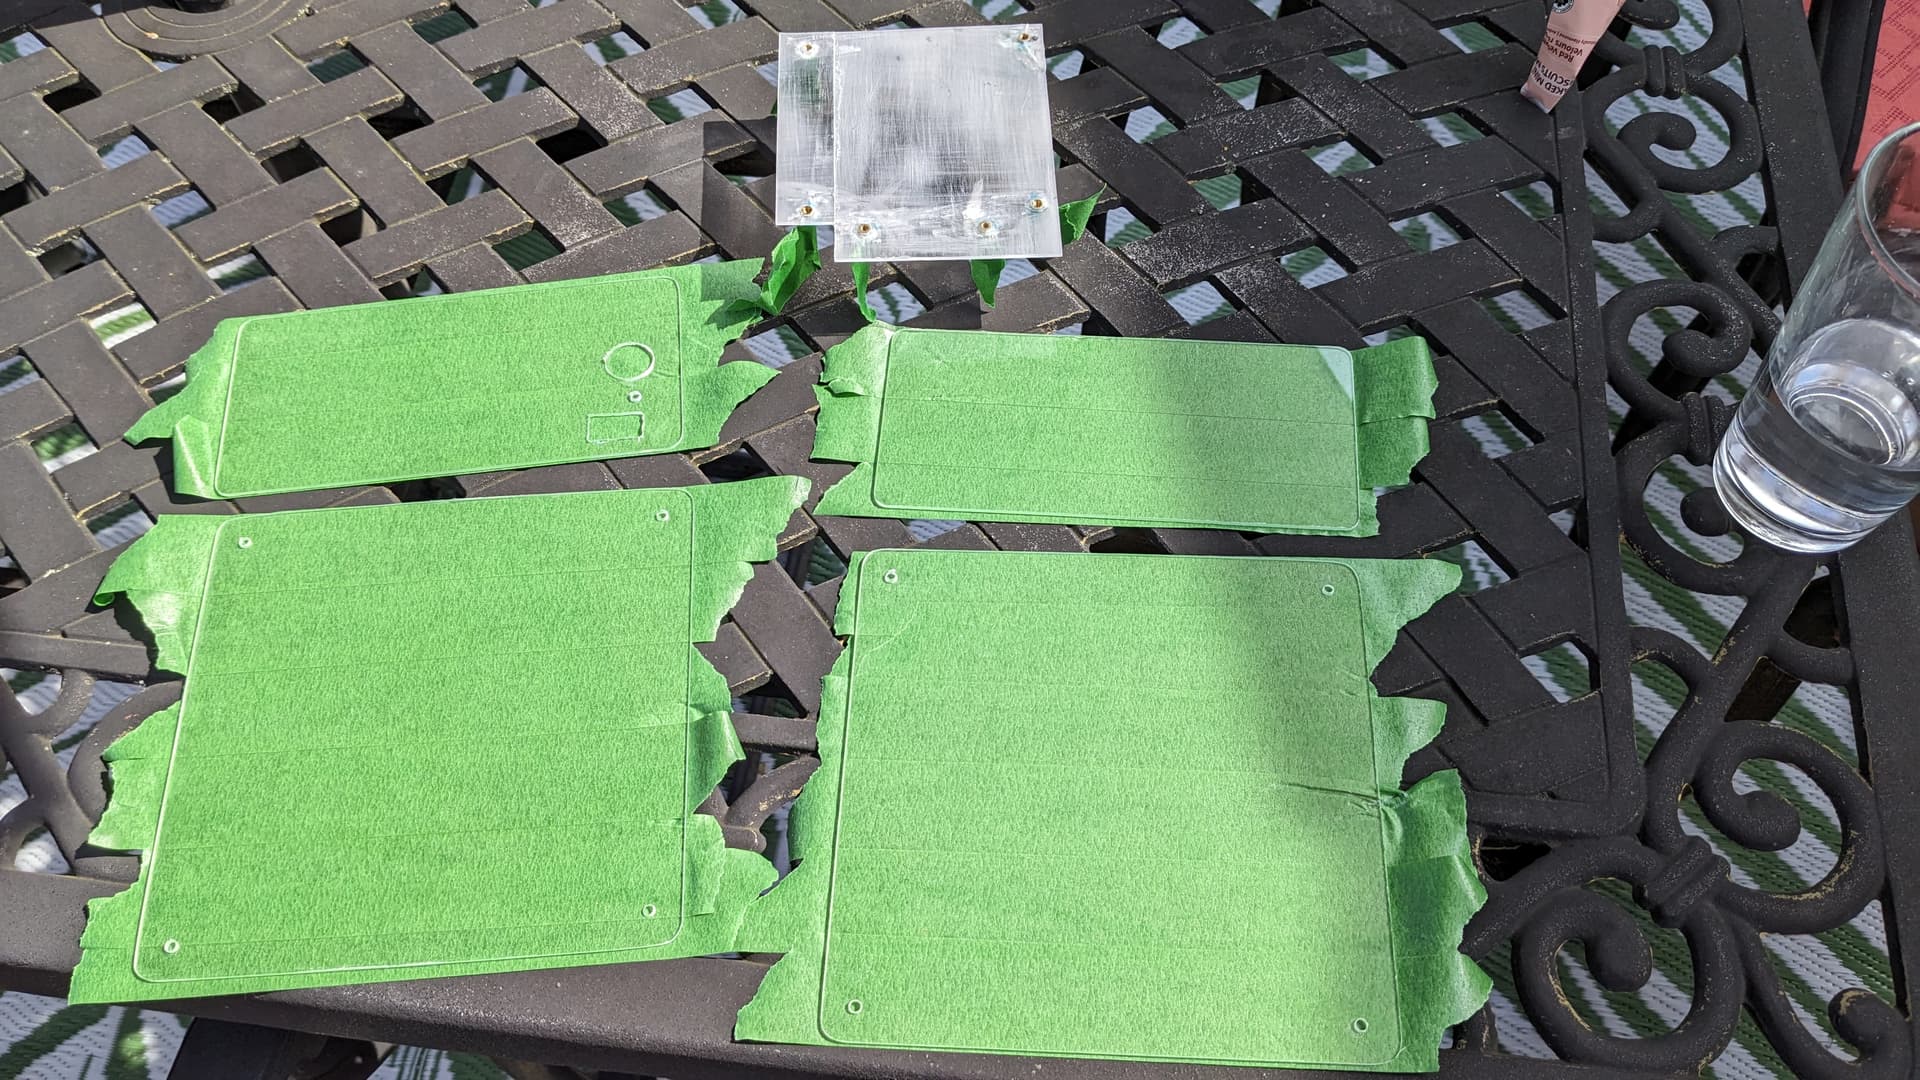
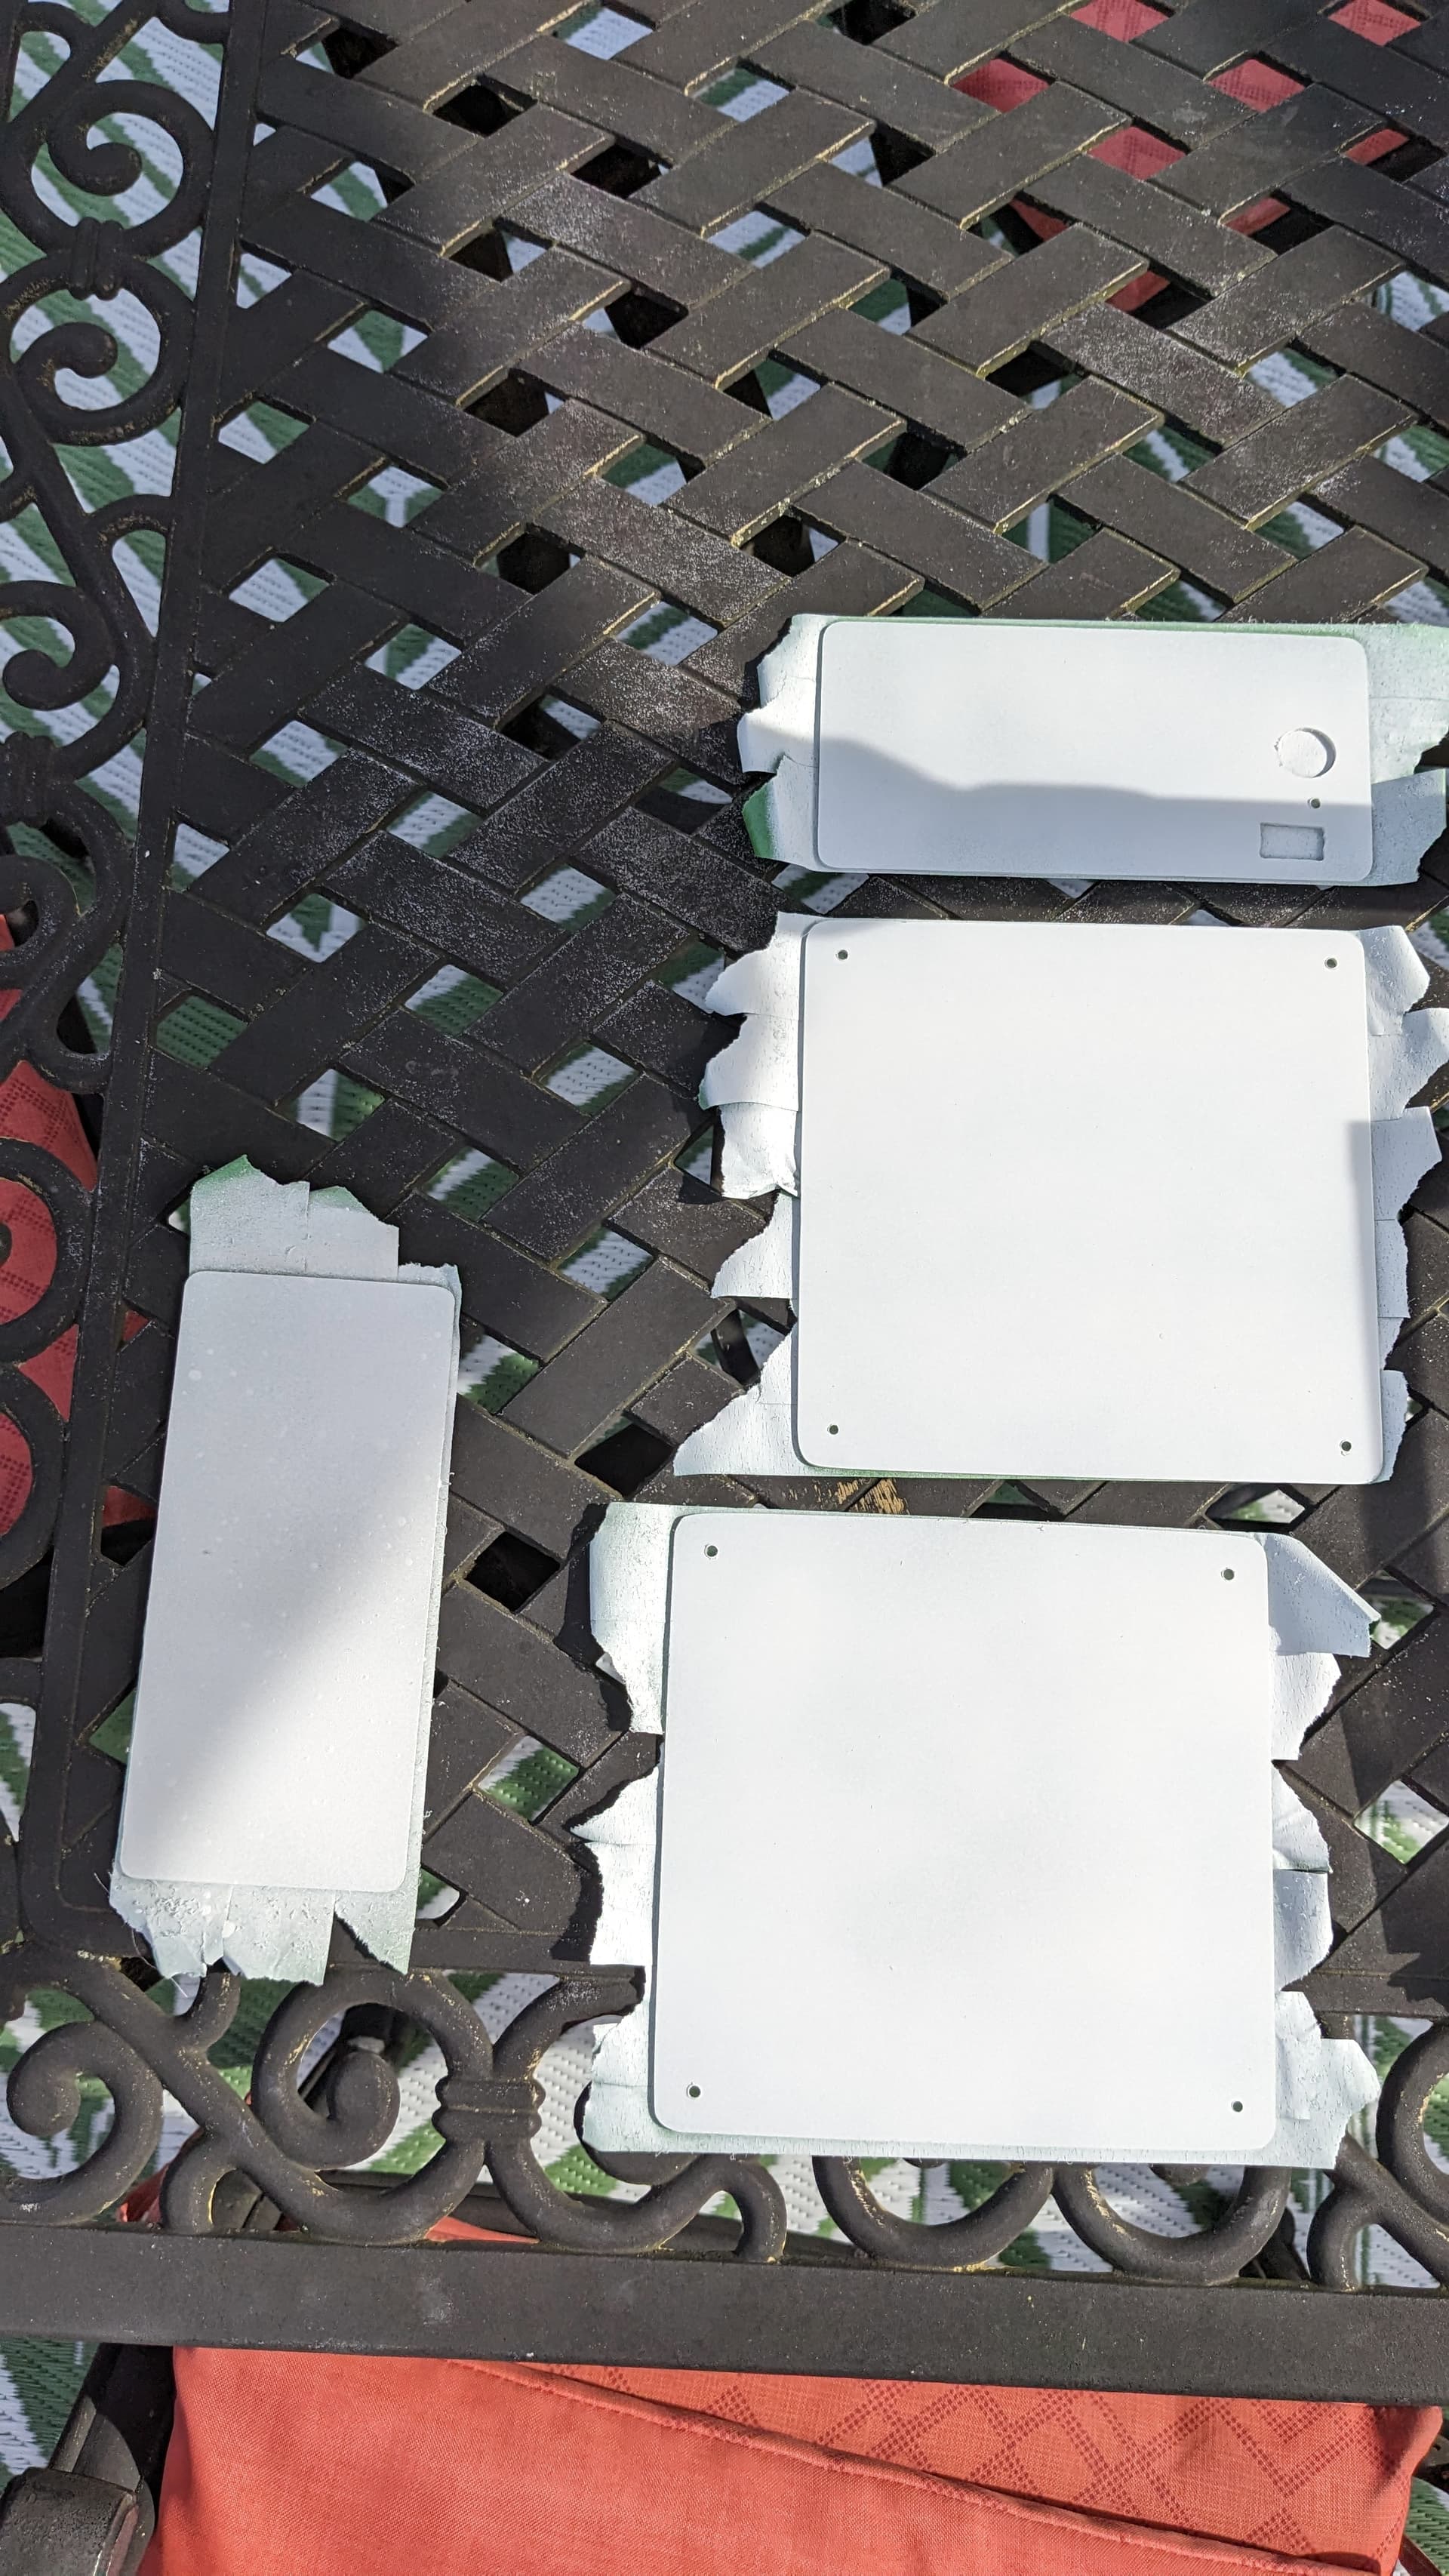
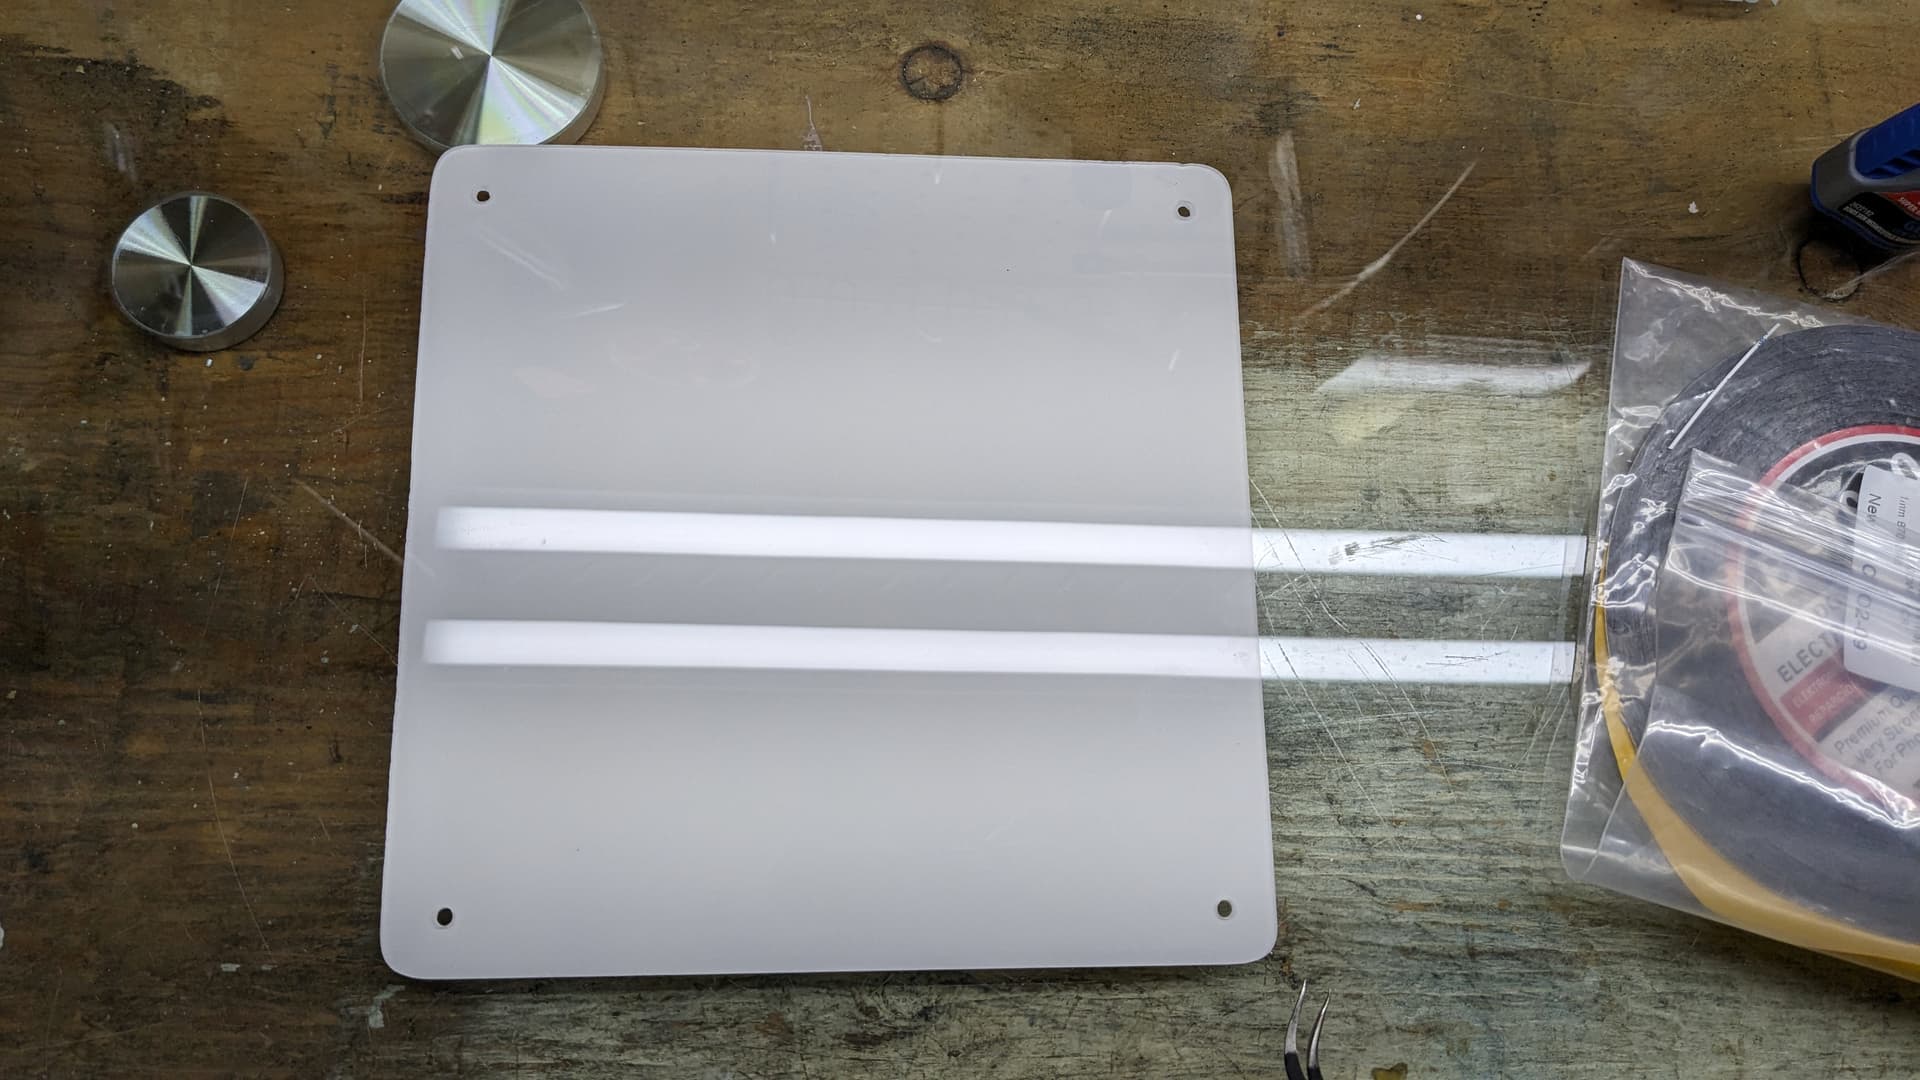
So I cut the acrylics sides. The skeleton is highly unequal, in part due to the use of potty and painting, that every panel is unique to its side with one orientation baked in. And I painted the inside of the pieces to have the glossy white sides. I had acrylic sheet leftovers from my brother, and leftover white paint, so that was a way to cut cost. However, I did lack white paint, so the sides are slightly transparent, especially for the bottom part that will never be seen anyway. But from a distance the transparency is now really visible.
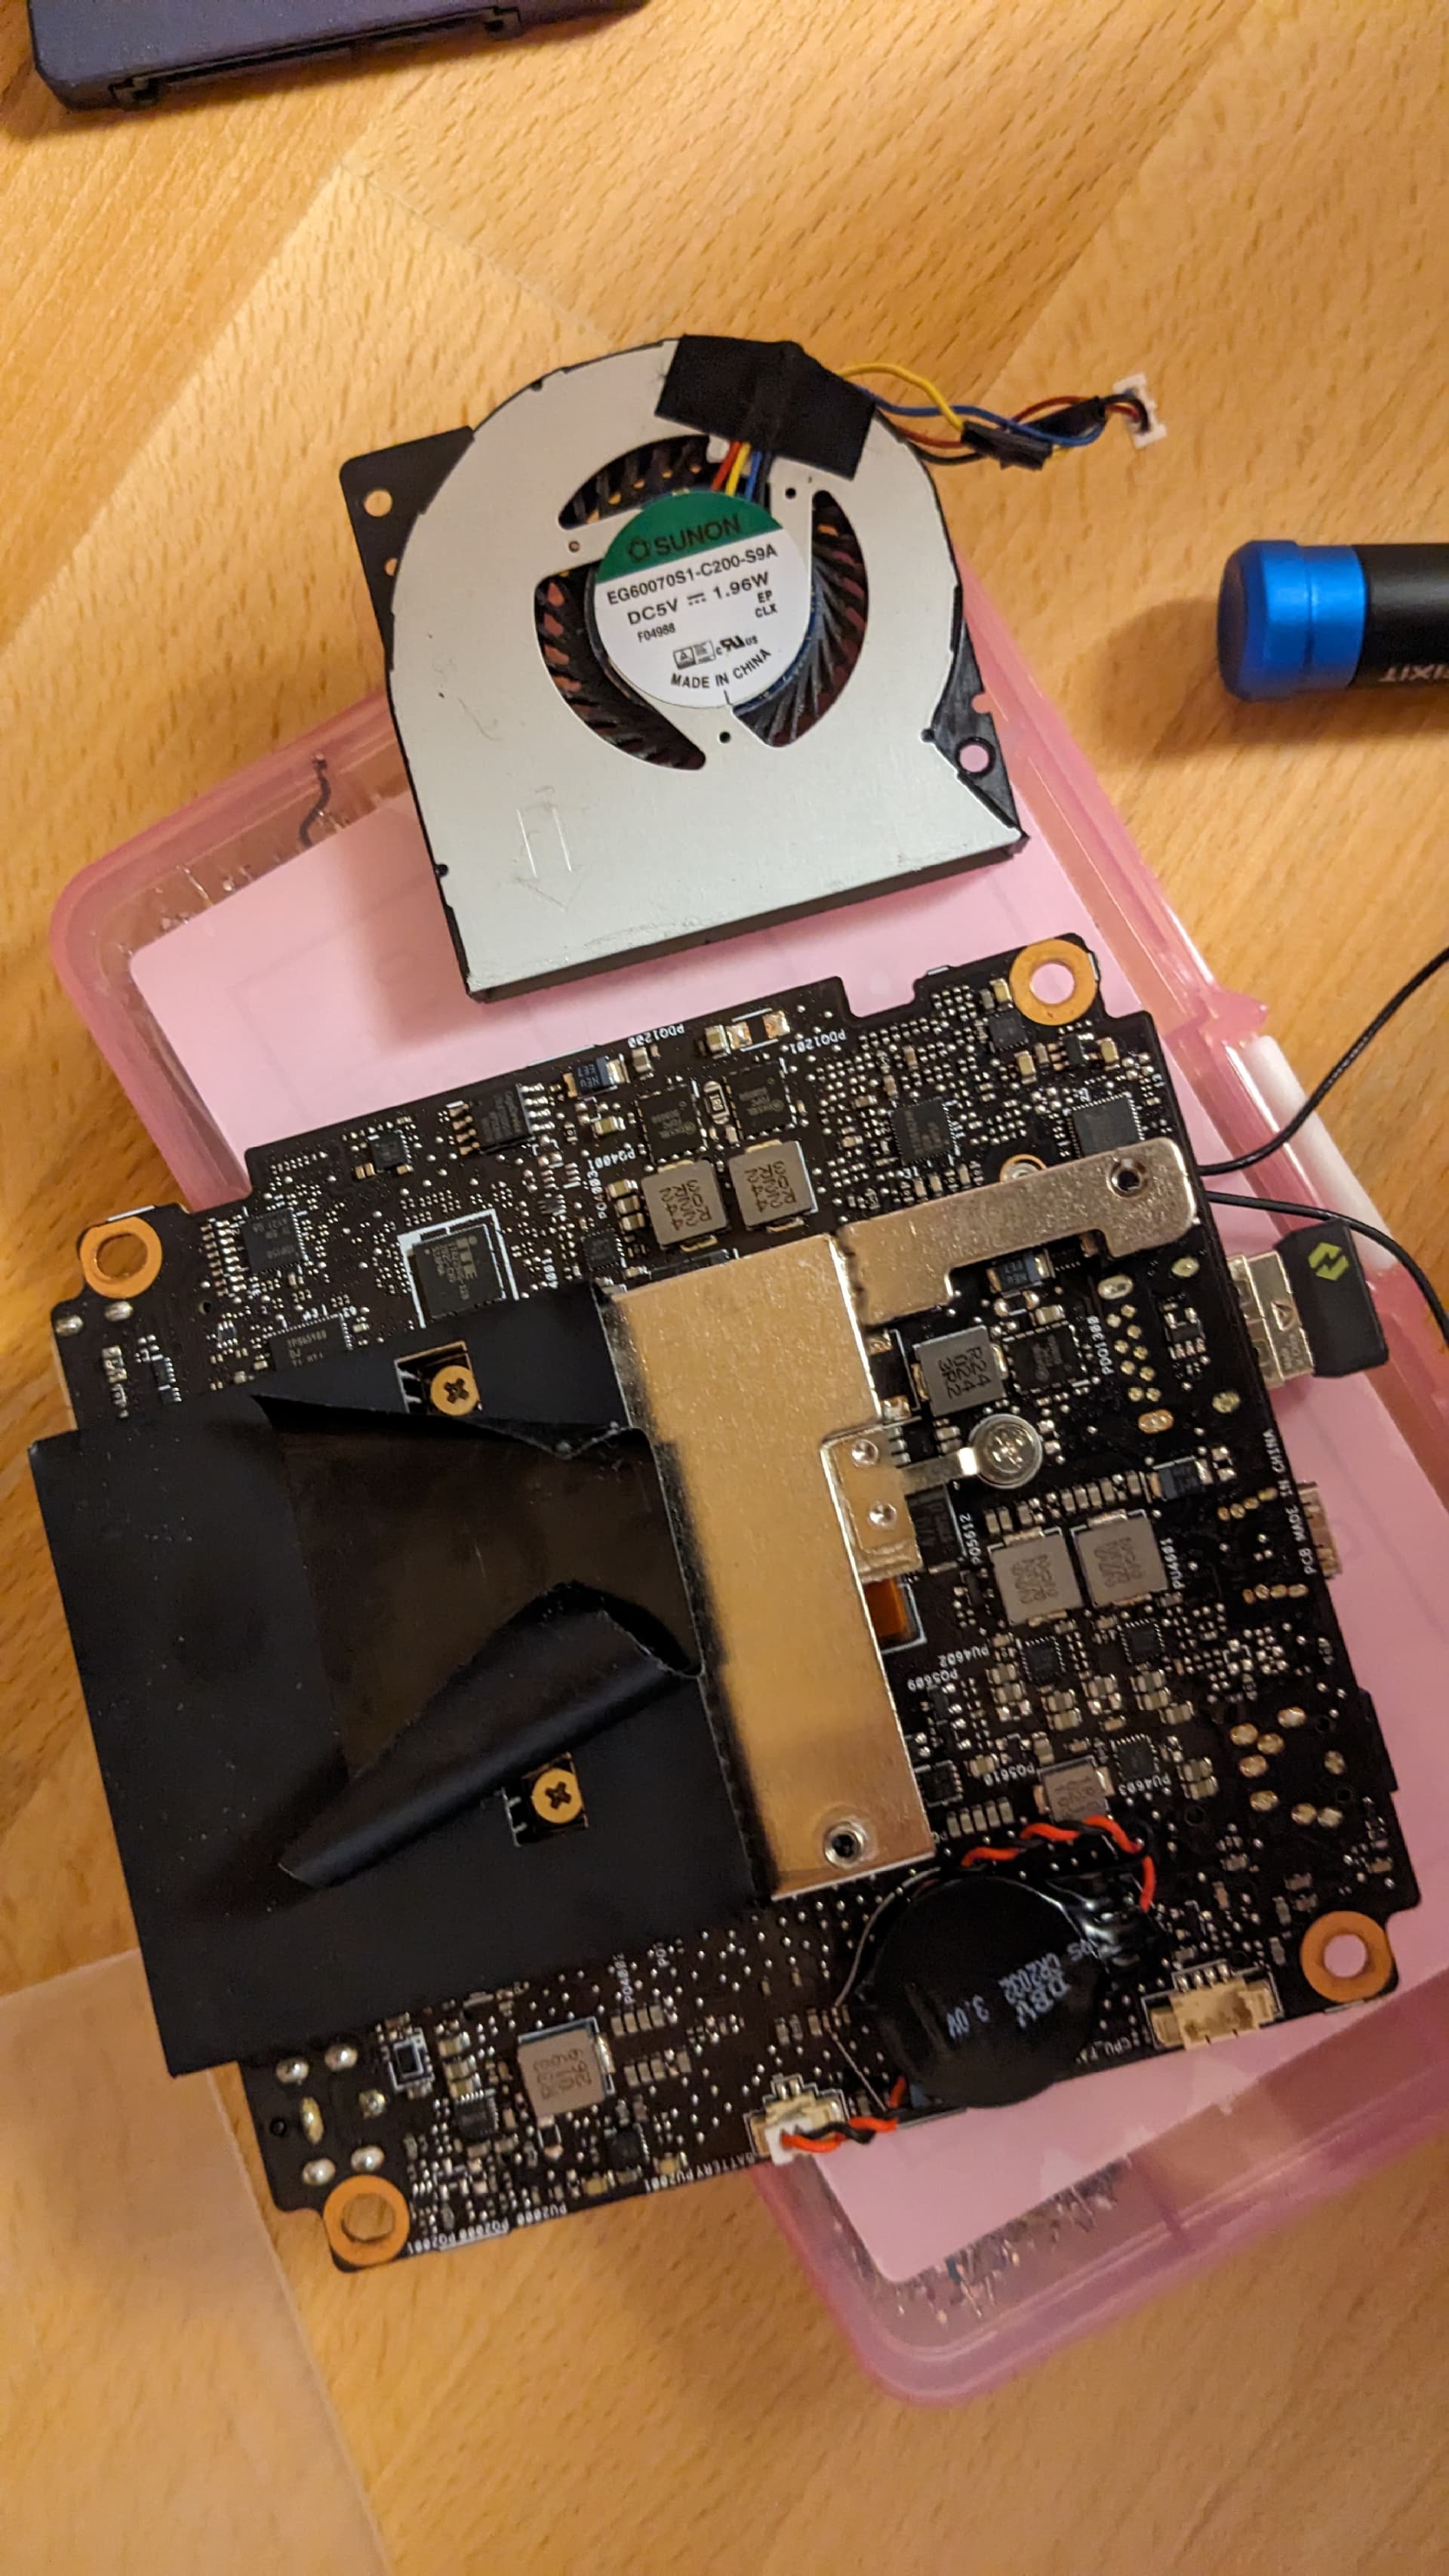
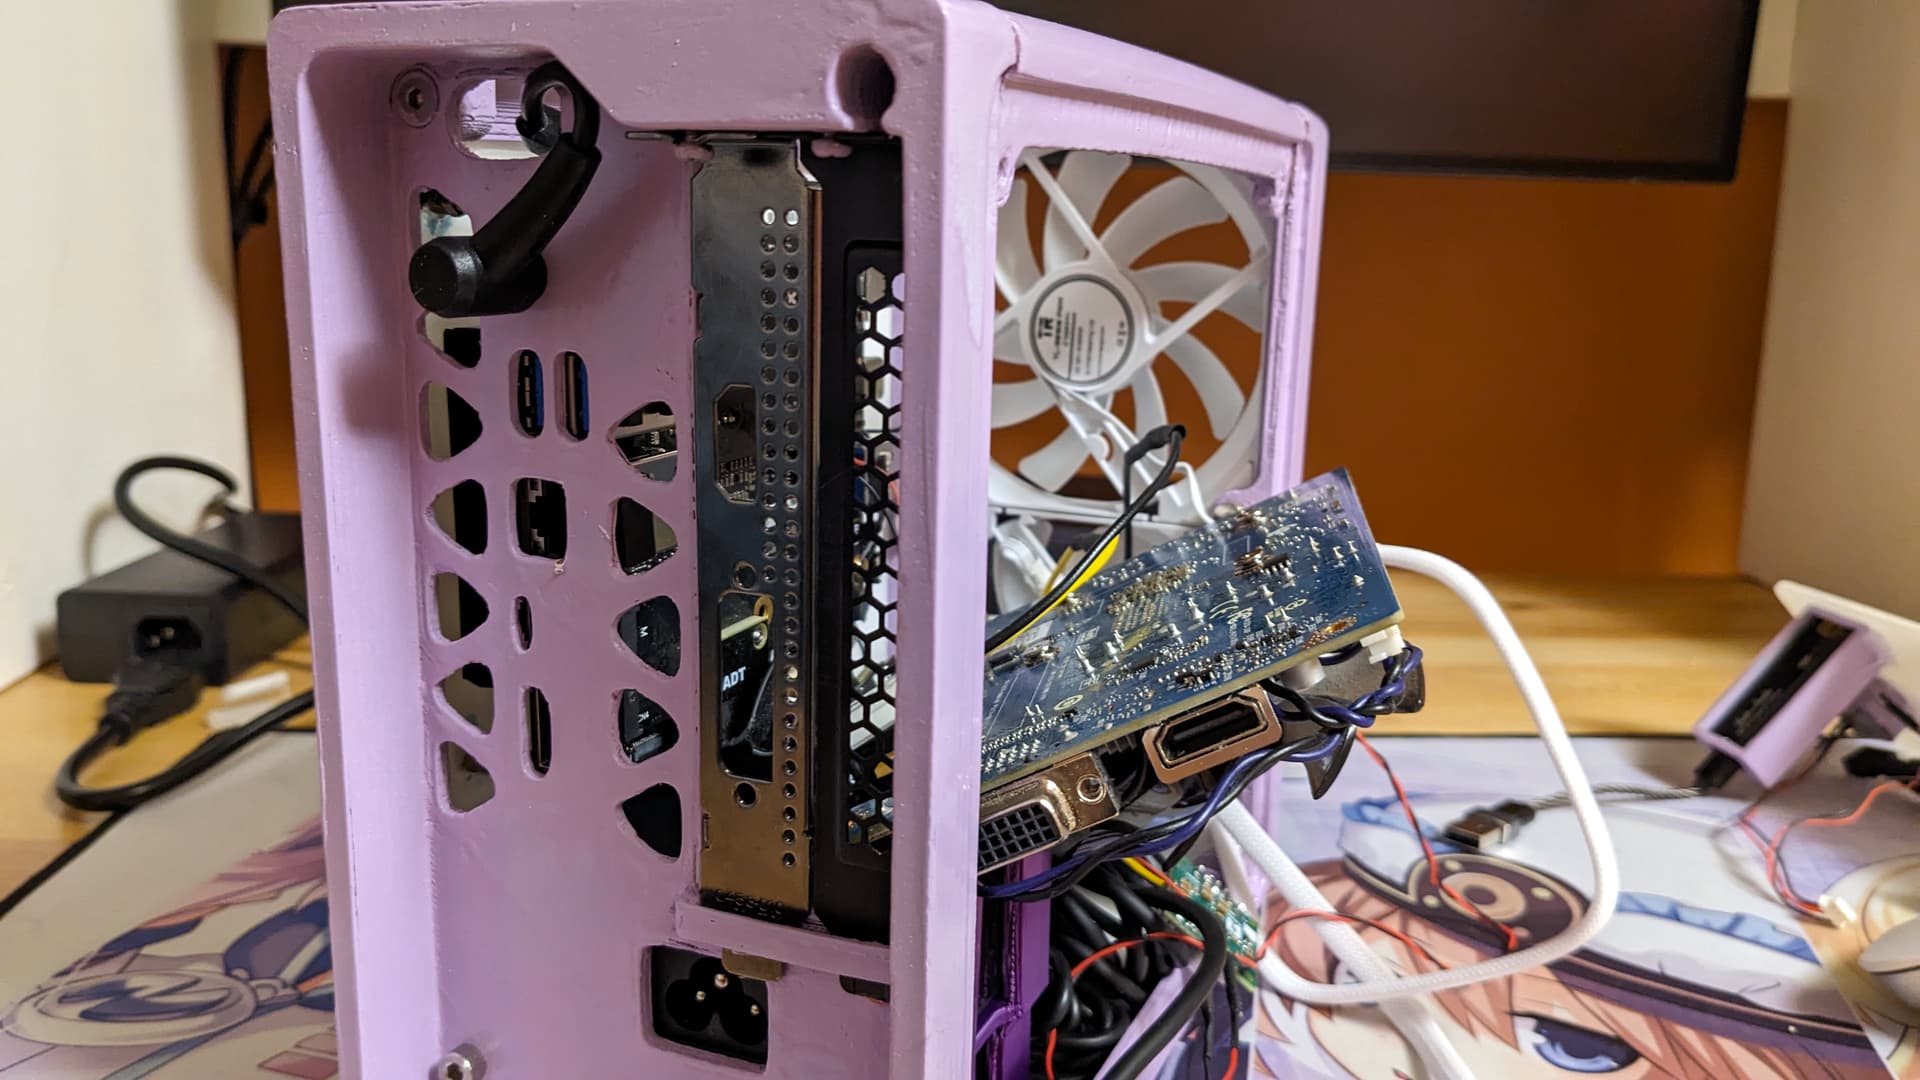
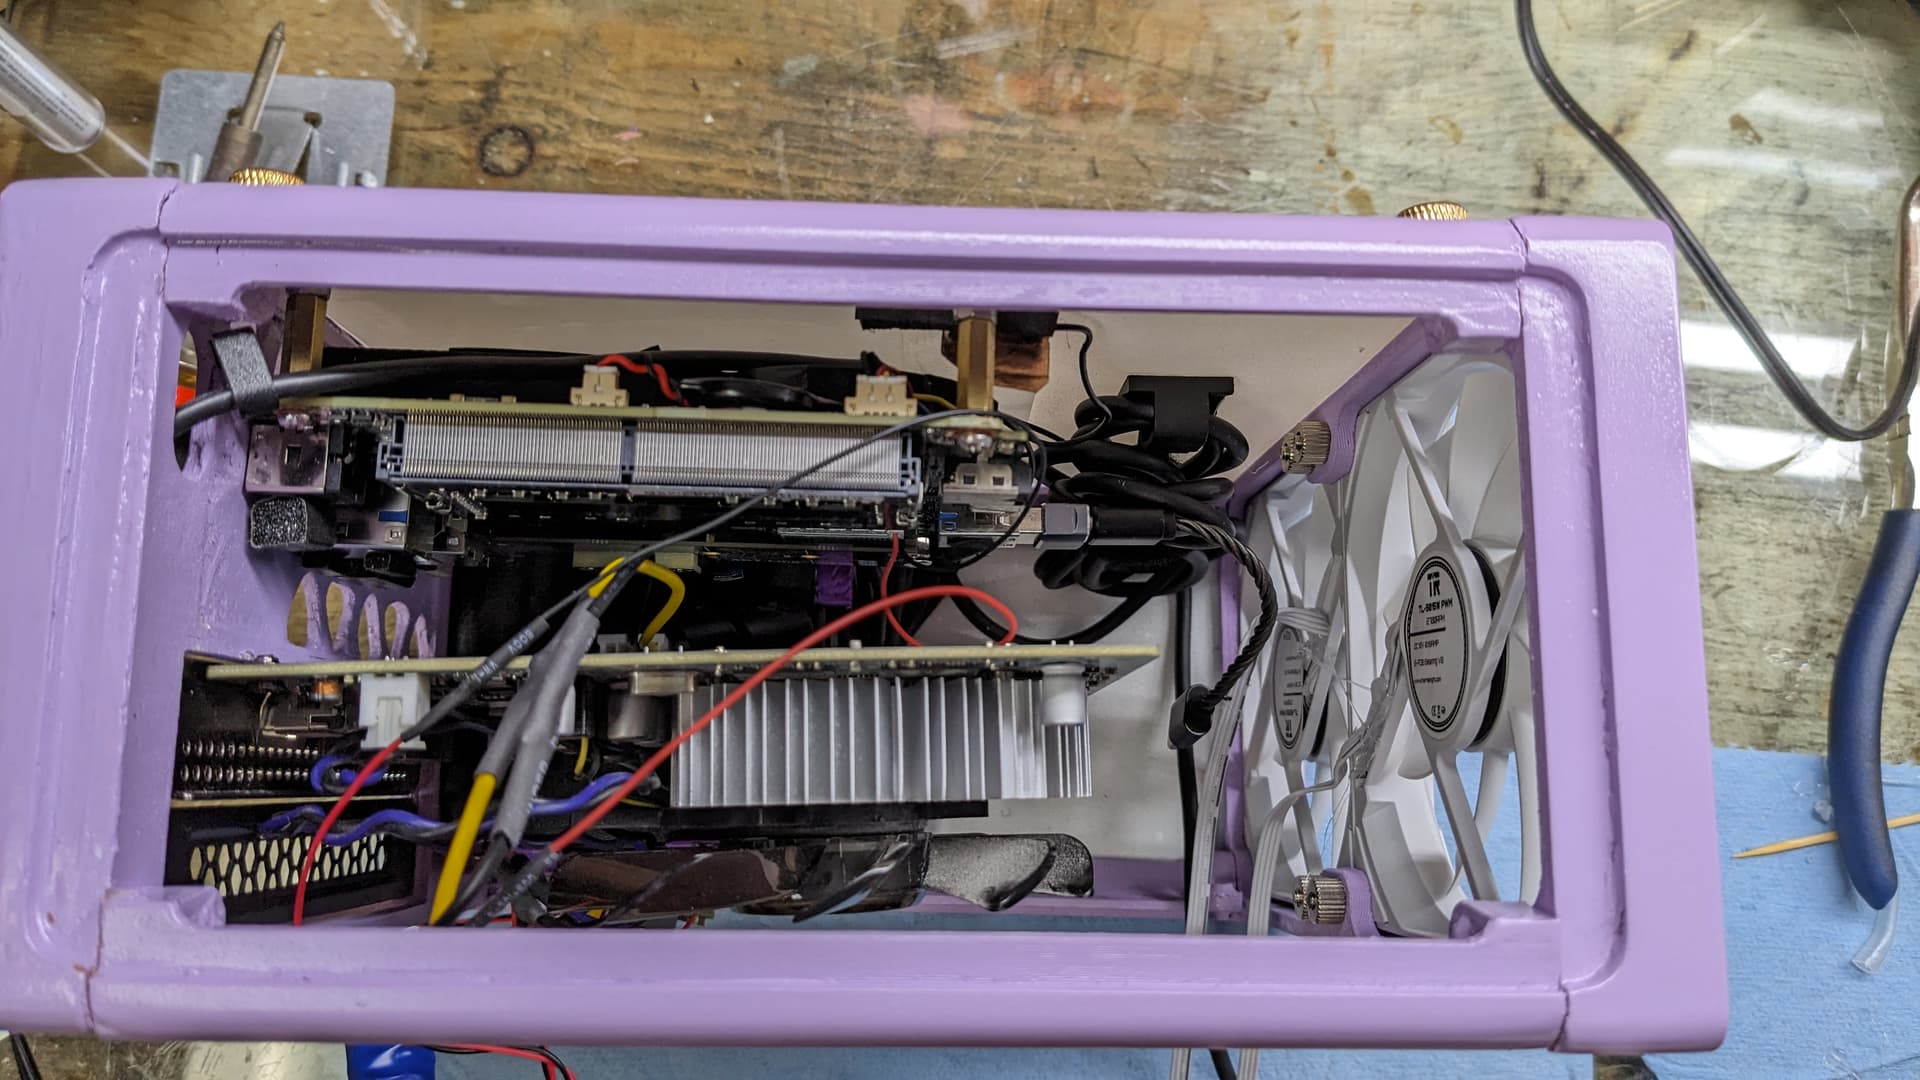
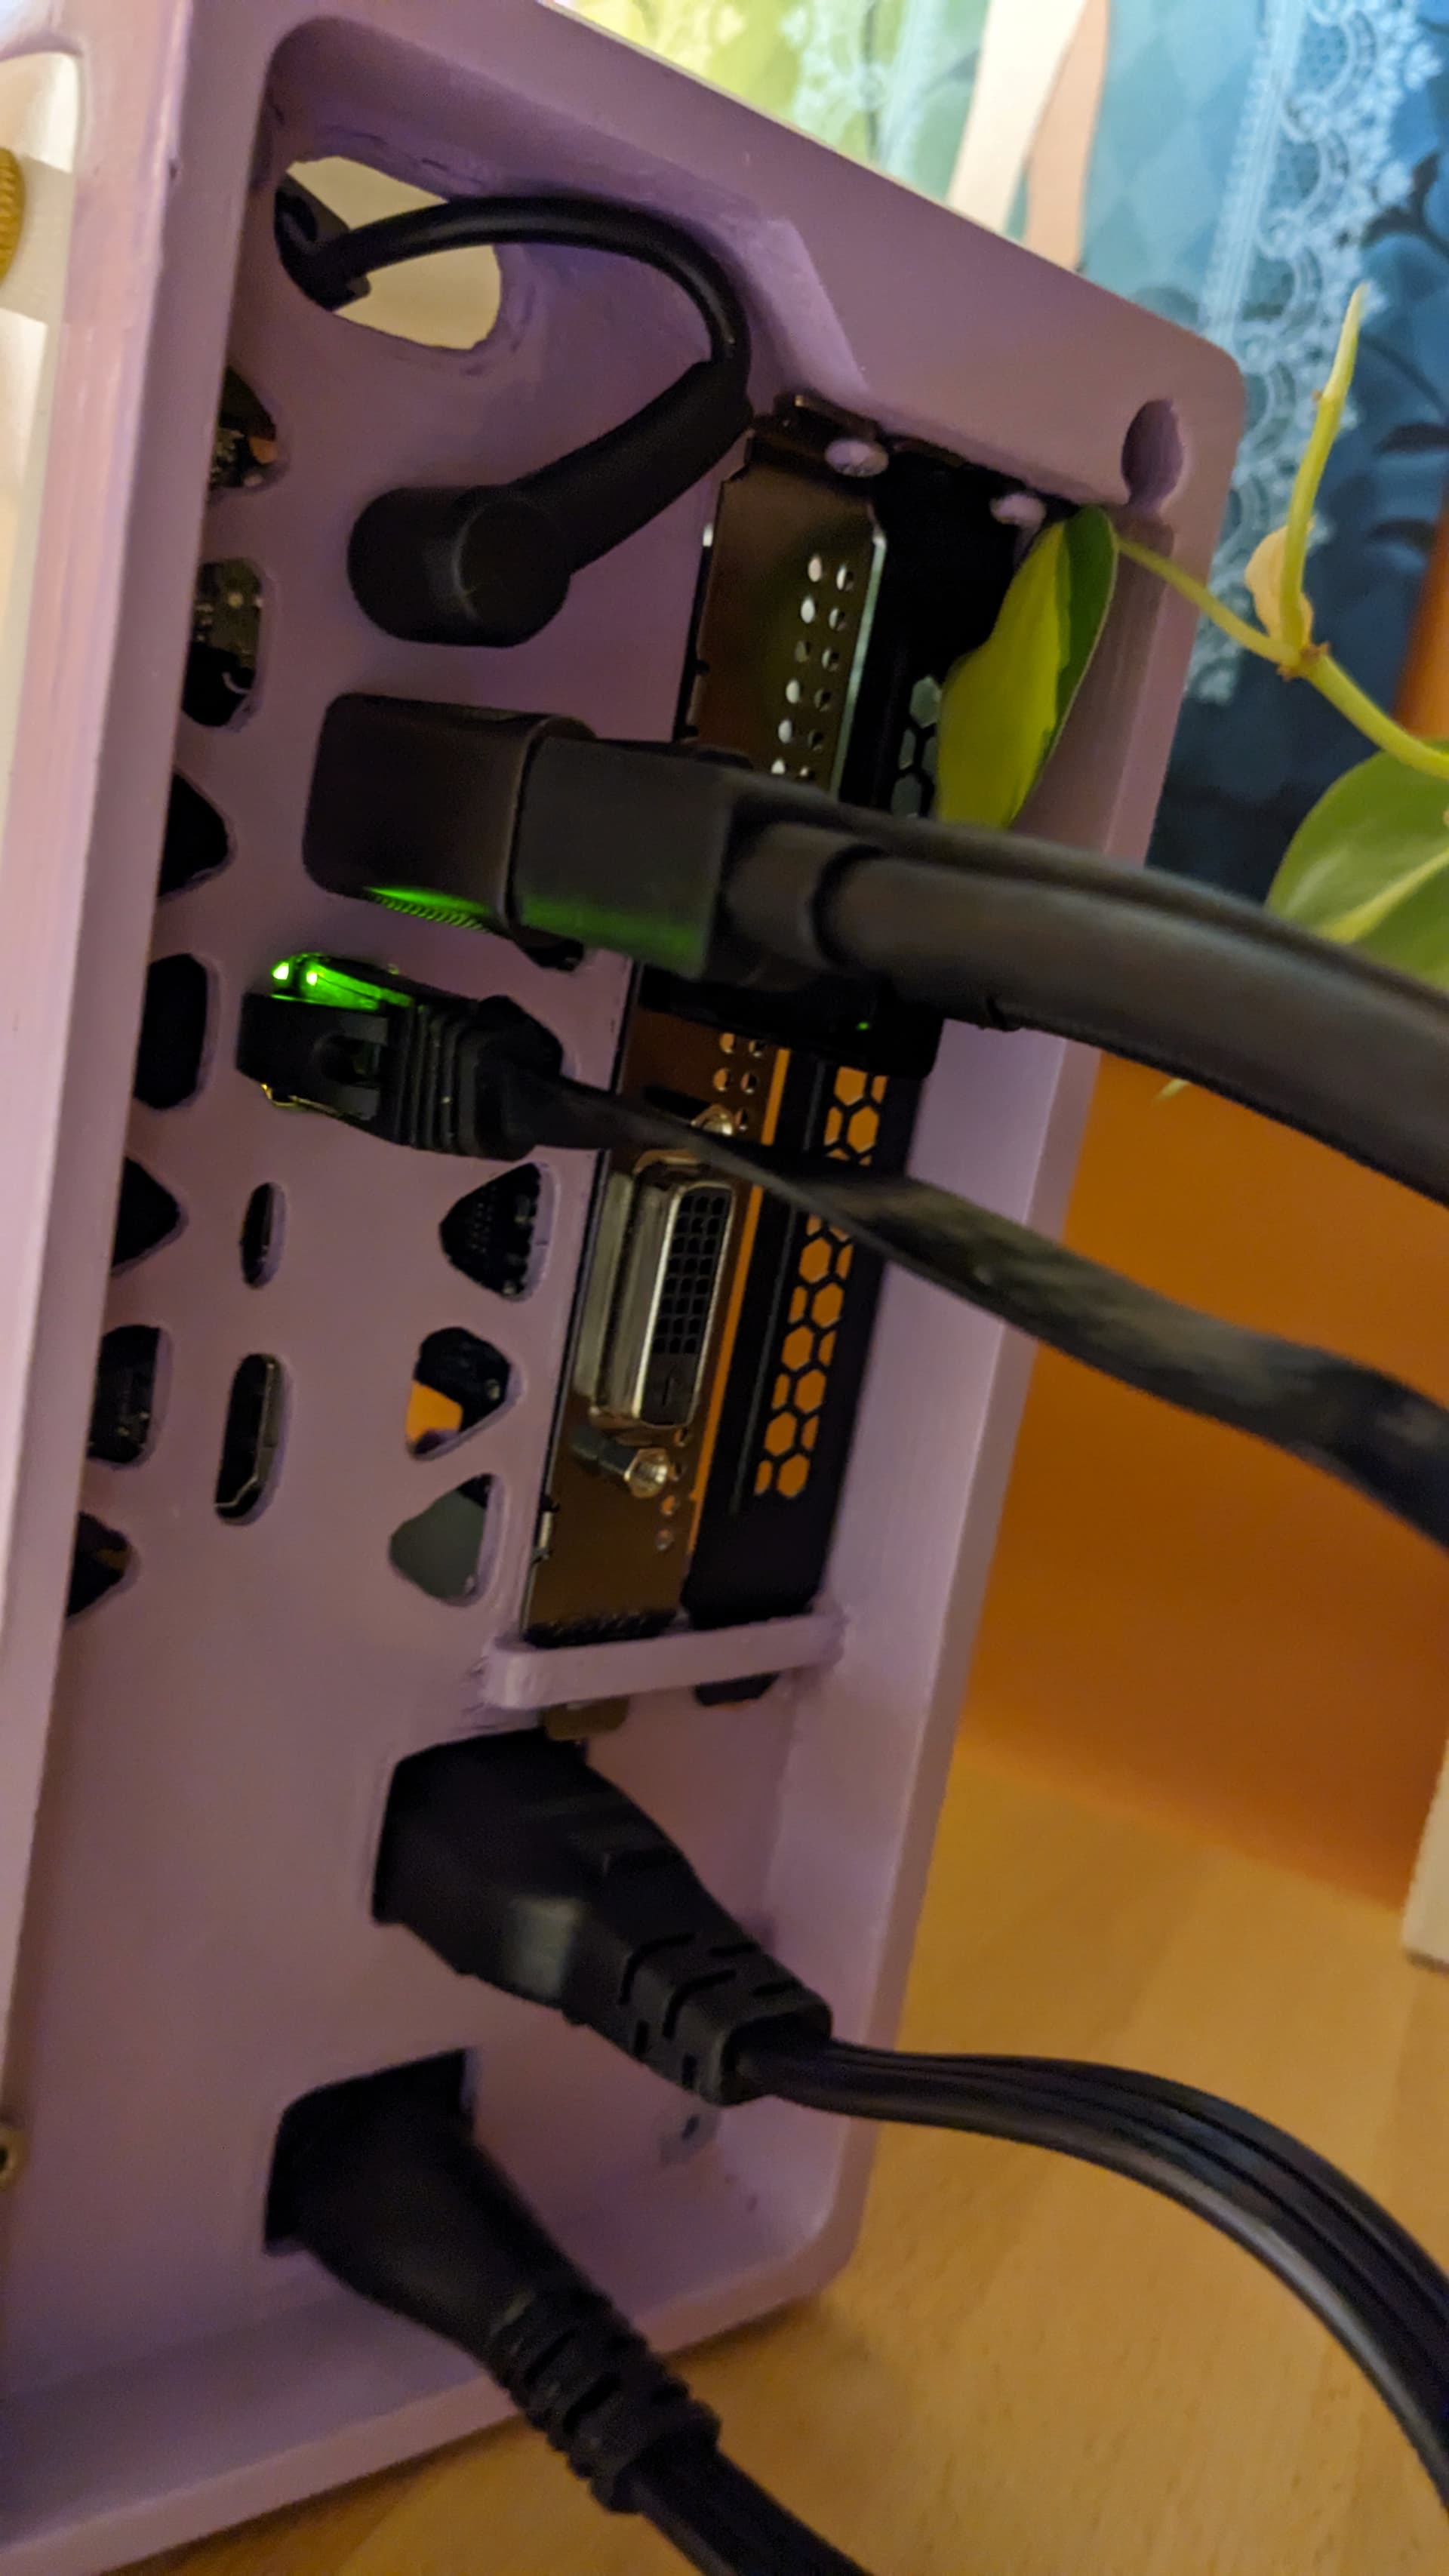
And then the assembly began. Like I knew stuff will be tight fit, the case was conceived that way, but my god when doing it in real, omy god it’s tight lol. Like the front fans were kind of hard to put in place. I forgot that for the GPU I had to unscrew PCIe bracket first and install it, then screw the GPU back on the PCIe bracket.
And there is some tolerances issues, like how the acrylic side hosting the mobo bulge a little bit because the mobo assembly is a little bit too thick.
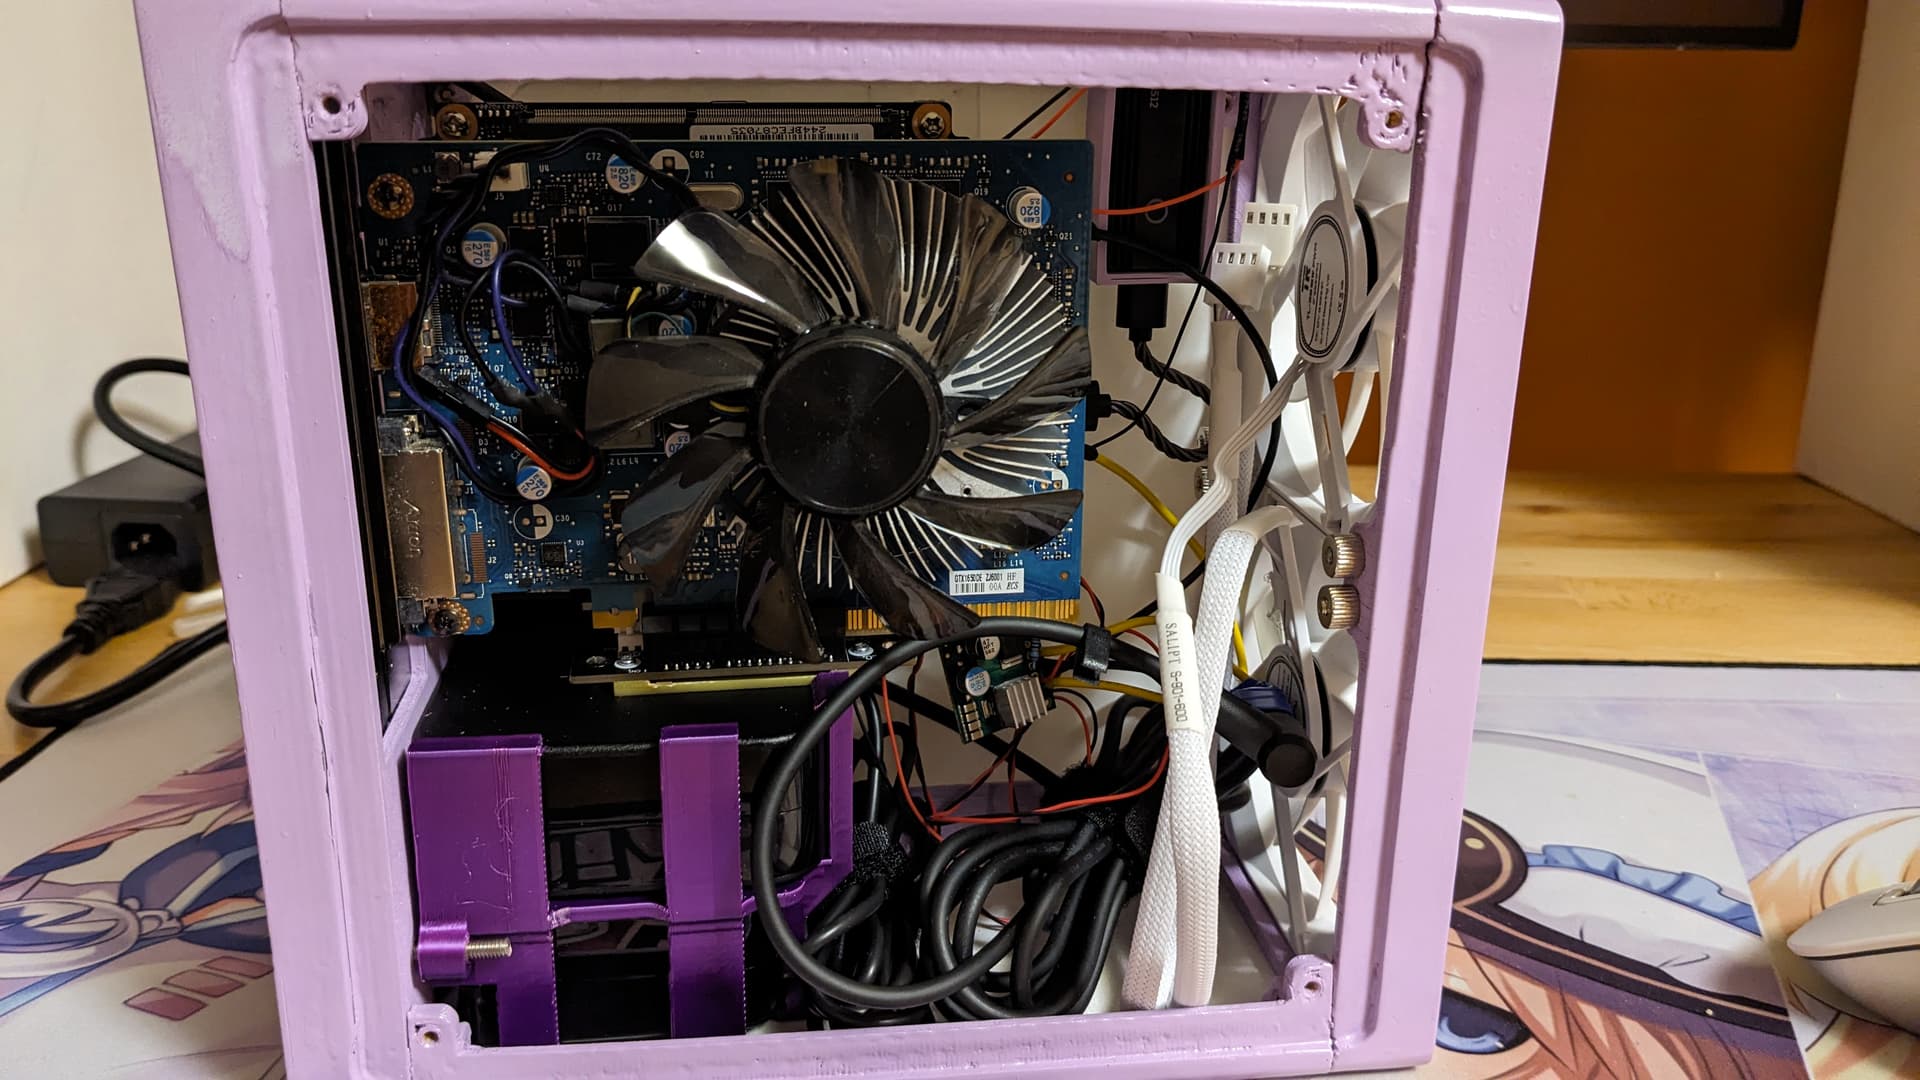
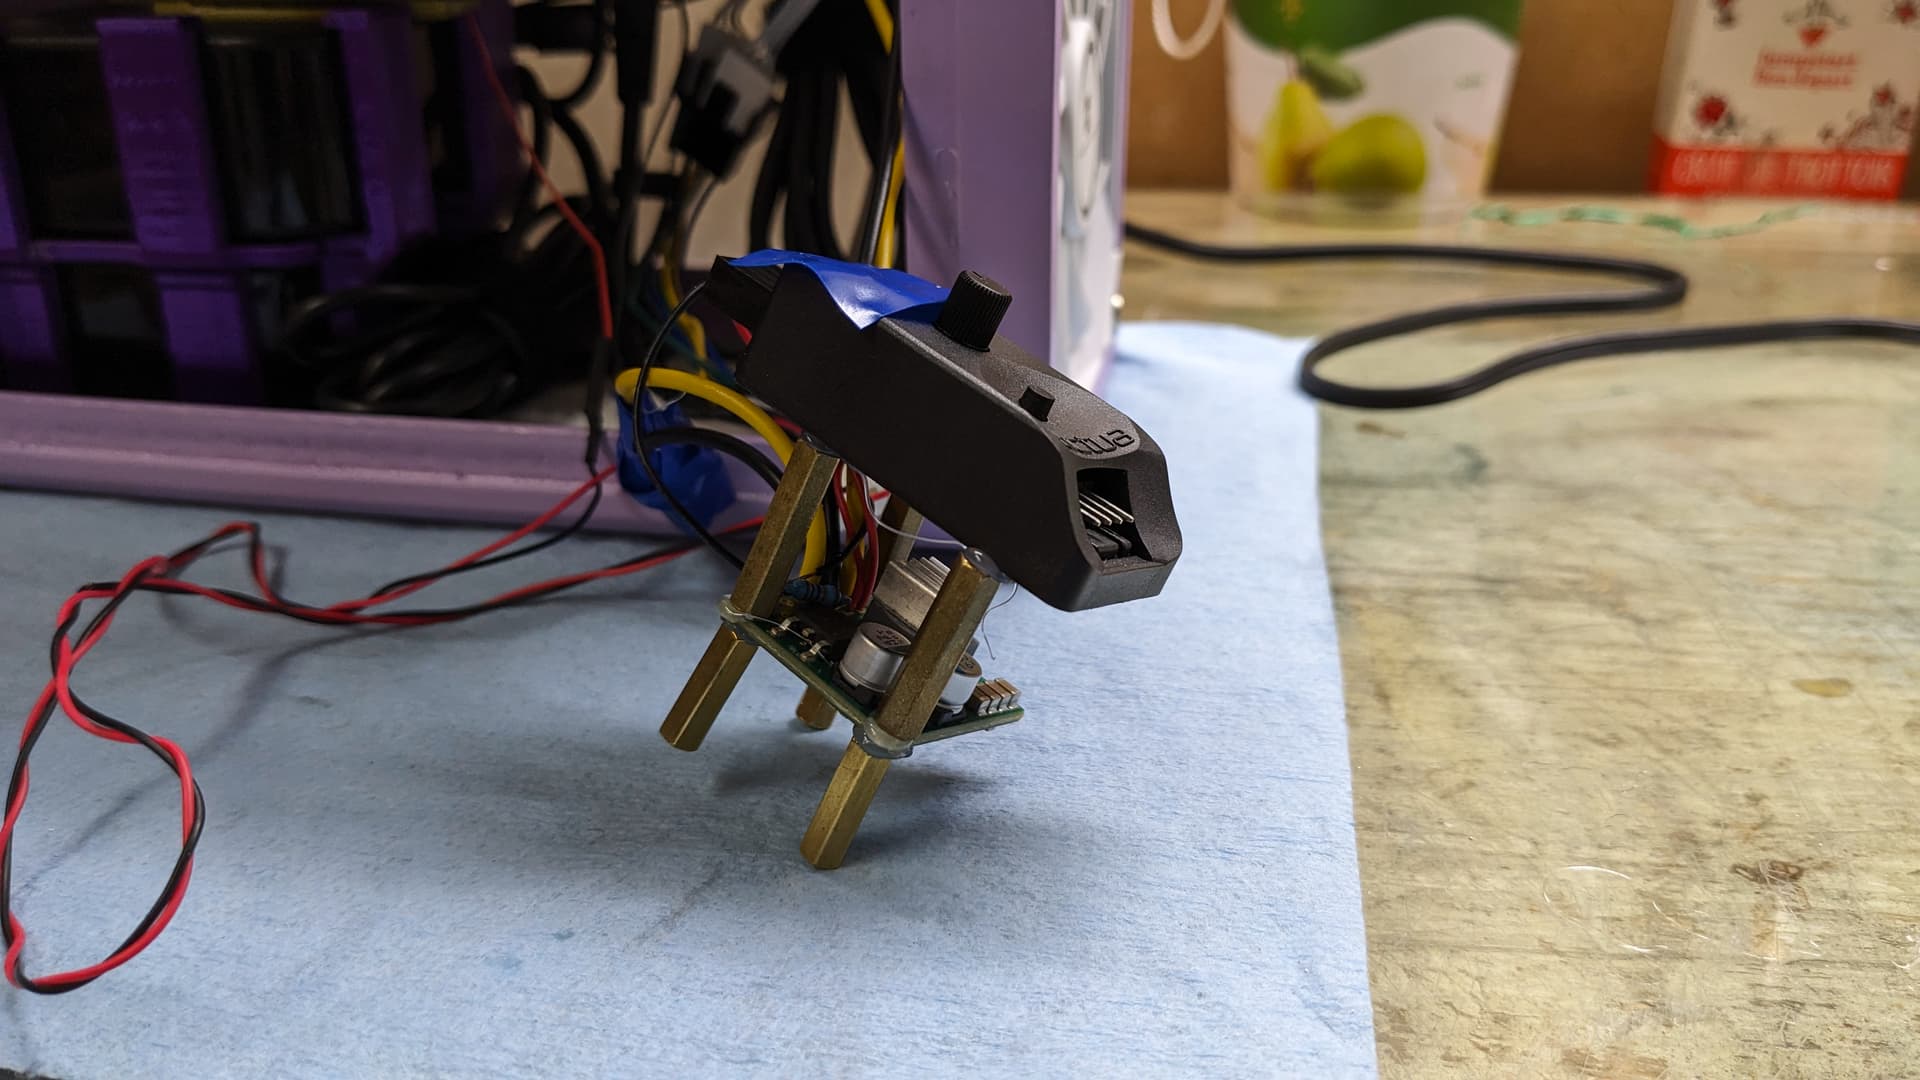
And then there was some stuff still needed to be fitted in, namely the fan controller and the 19 to 12V convertor. Due to cables, there was less place inside left than what I expected. As I didn’t order any M2 standoff for the convertor. So the jank way entered in full force. Aka I used M3 standoffs and hot glue to create a tower with the two components lol. And they are fixed inside with hot glue too. Hot glue is my friend hahaha. But it works and everything fit nicely inside after some cable management.
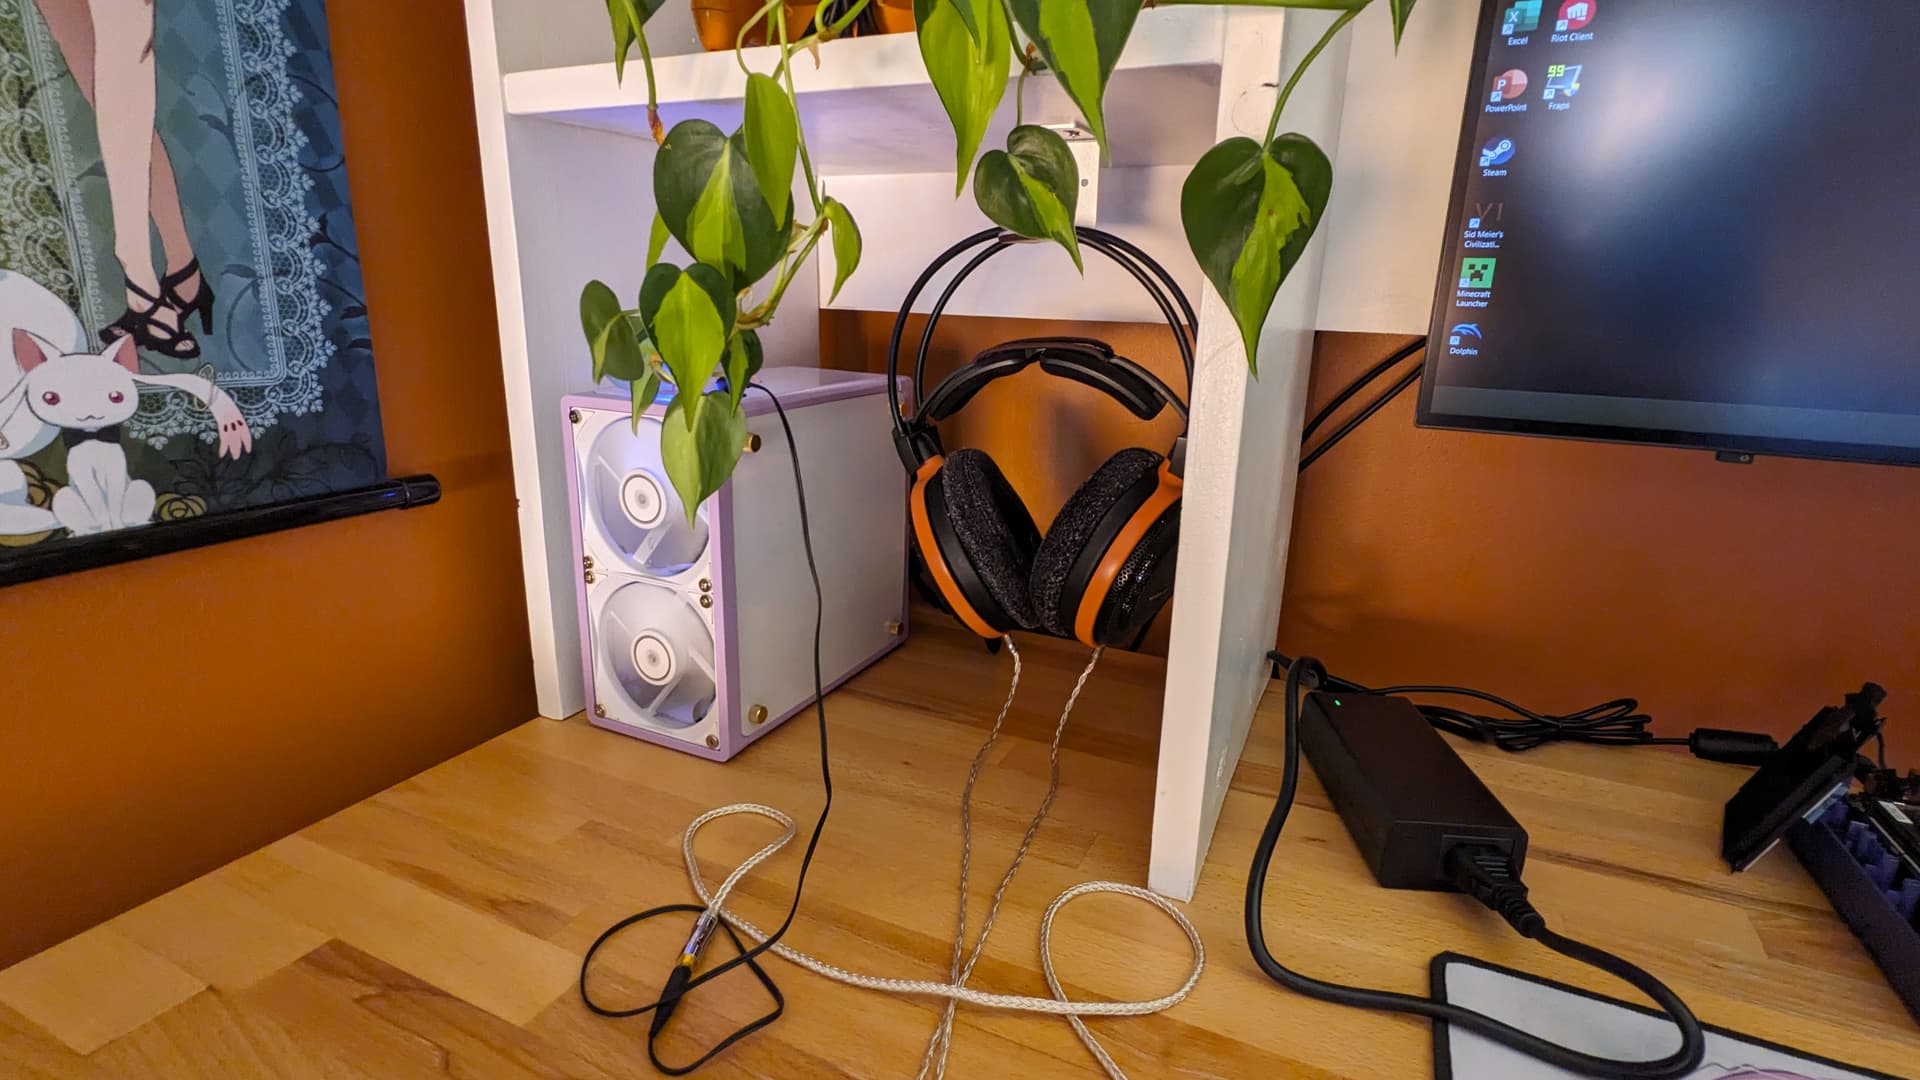
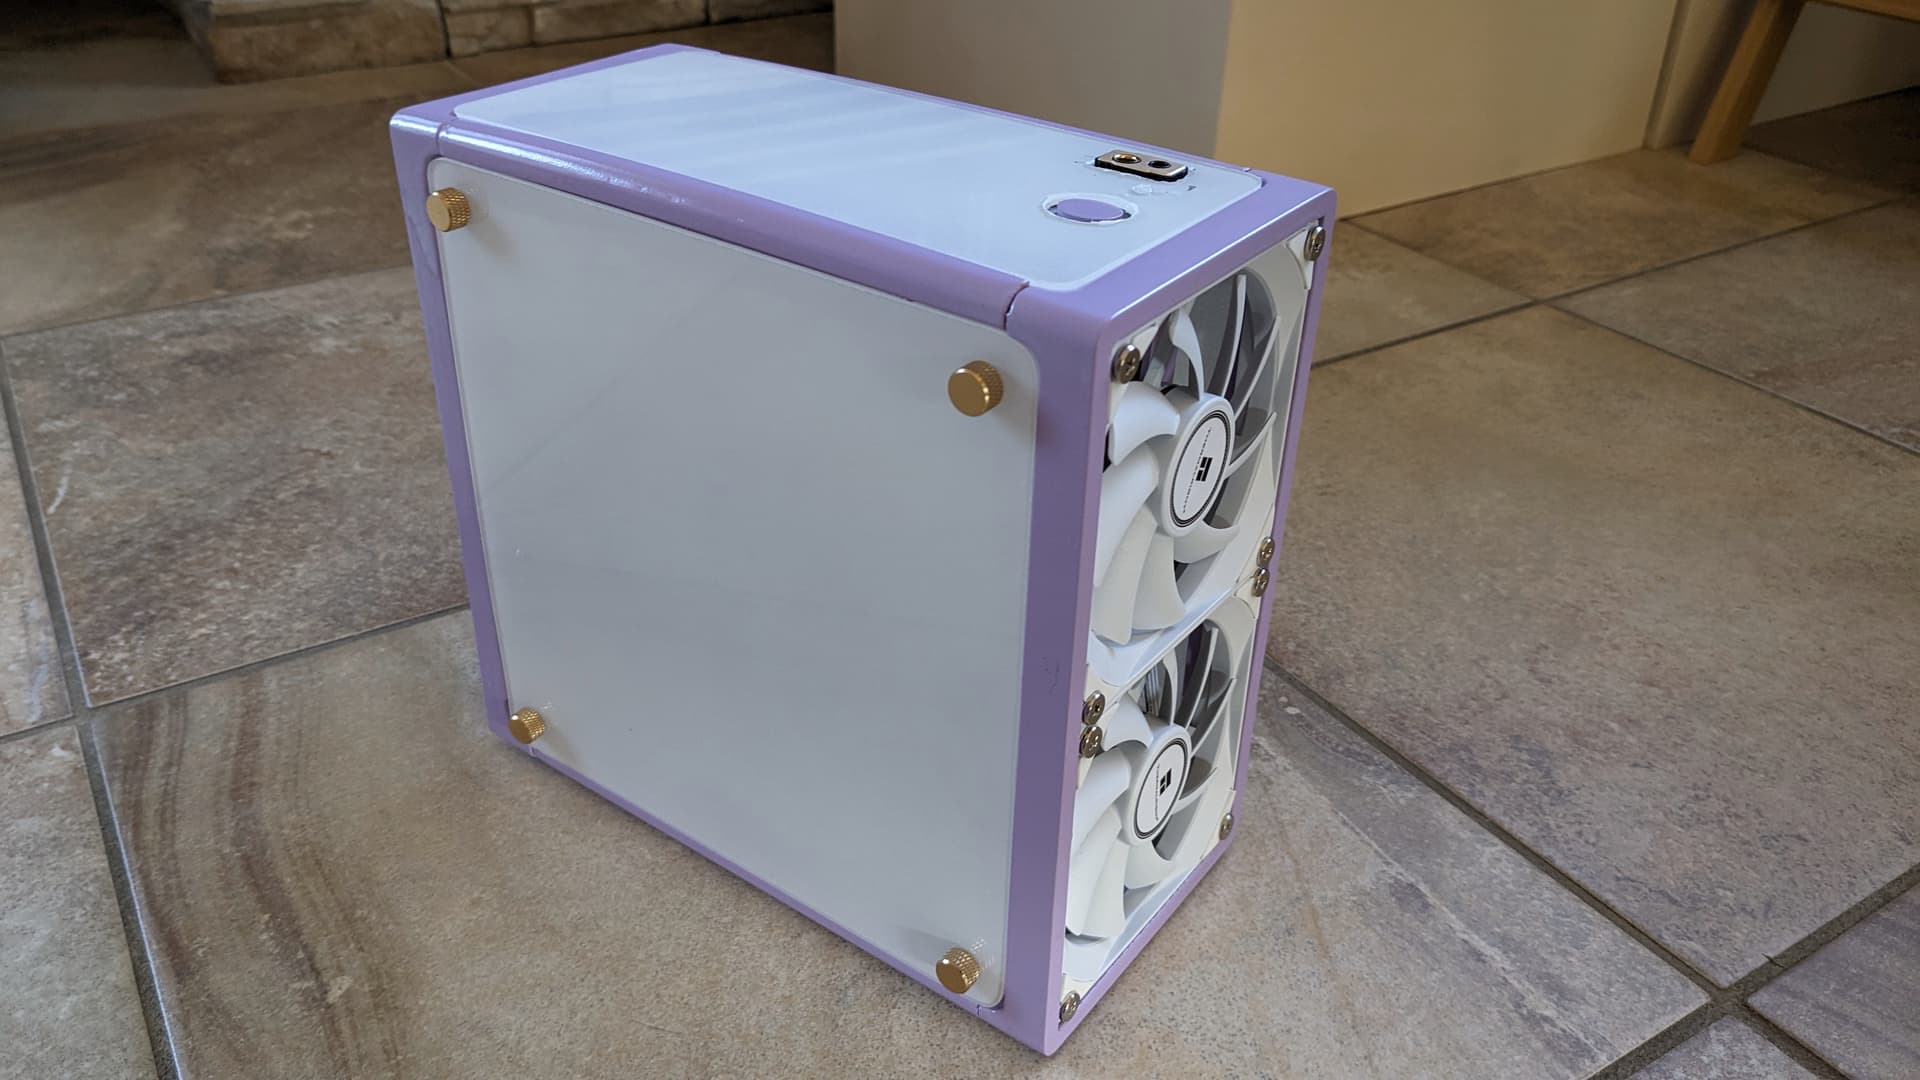
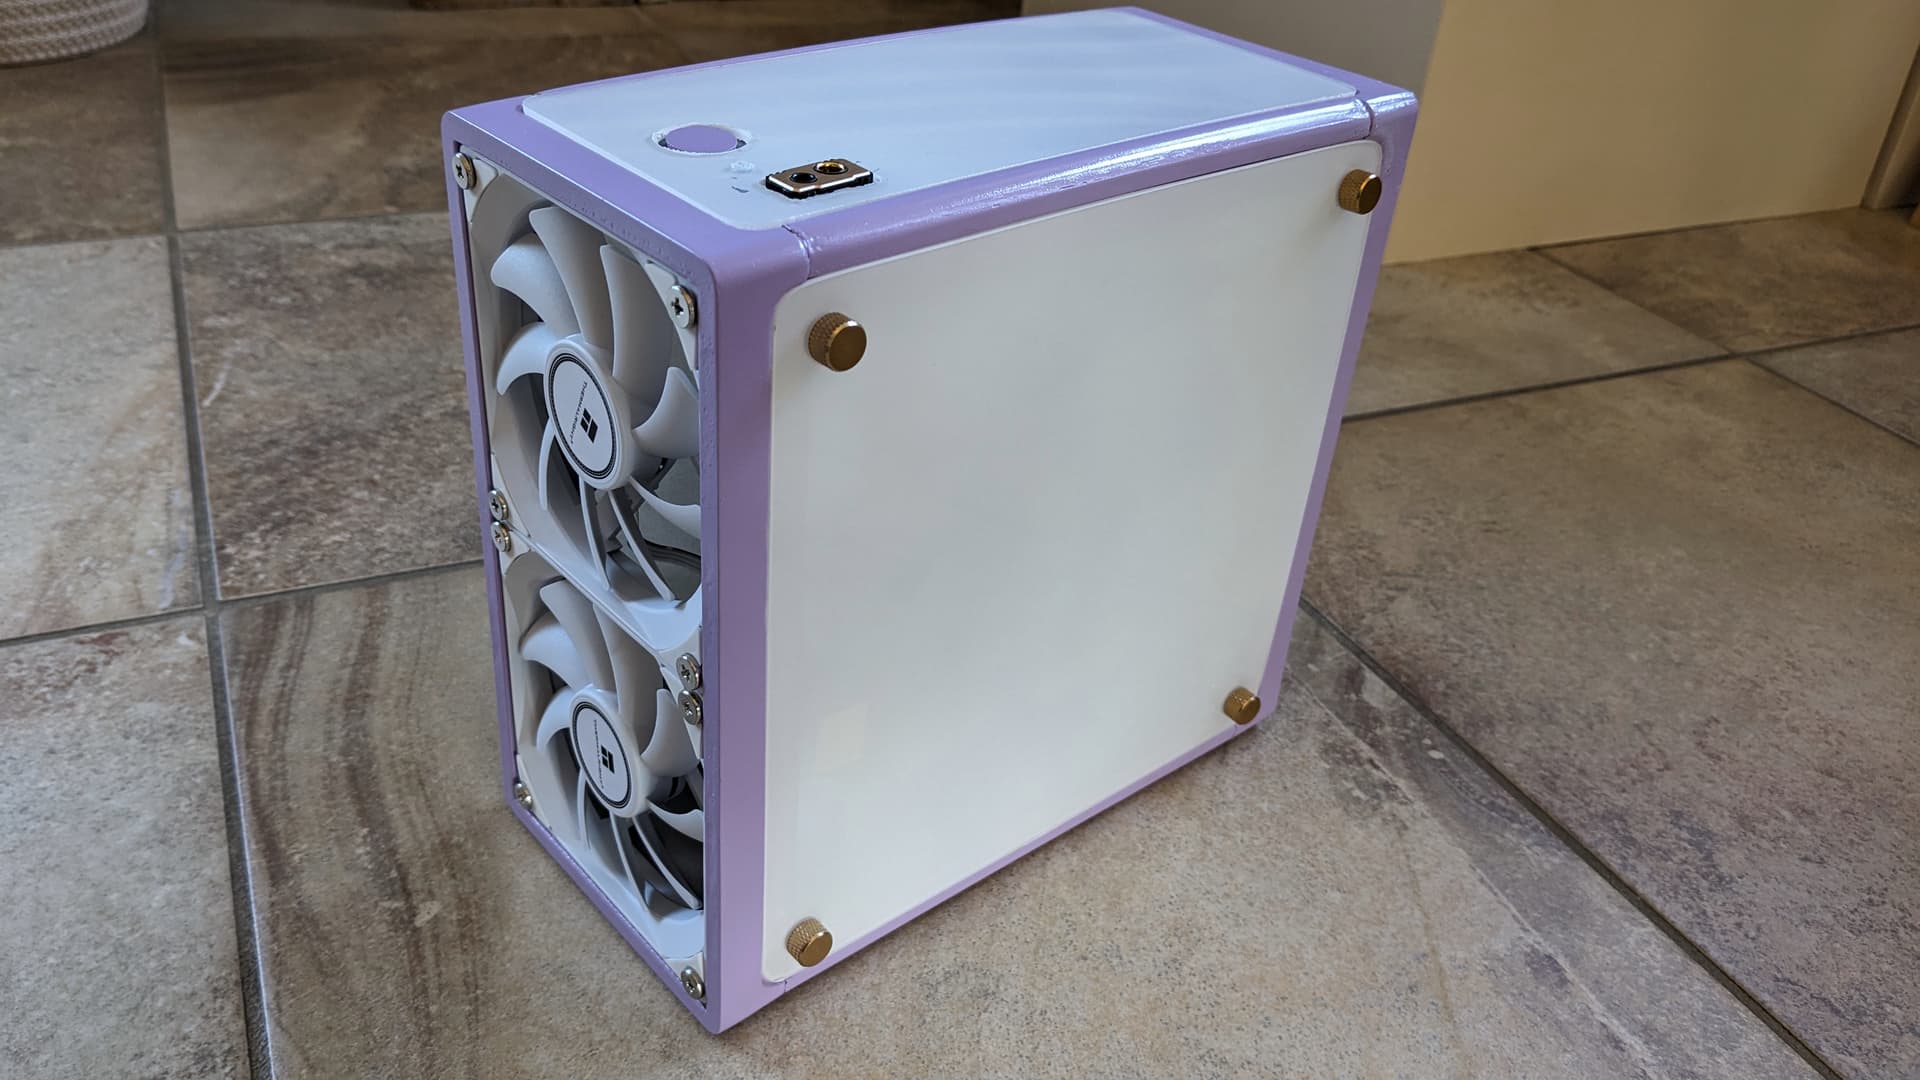
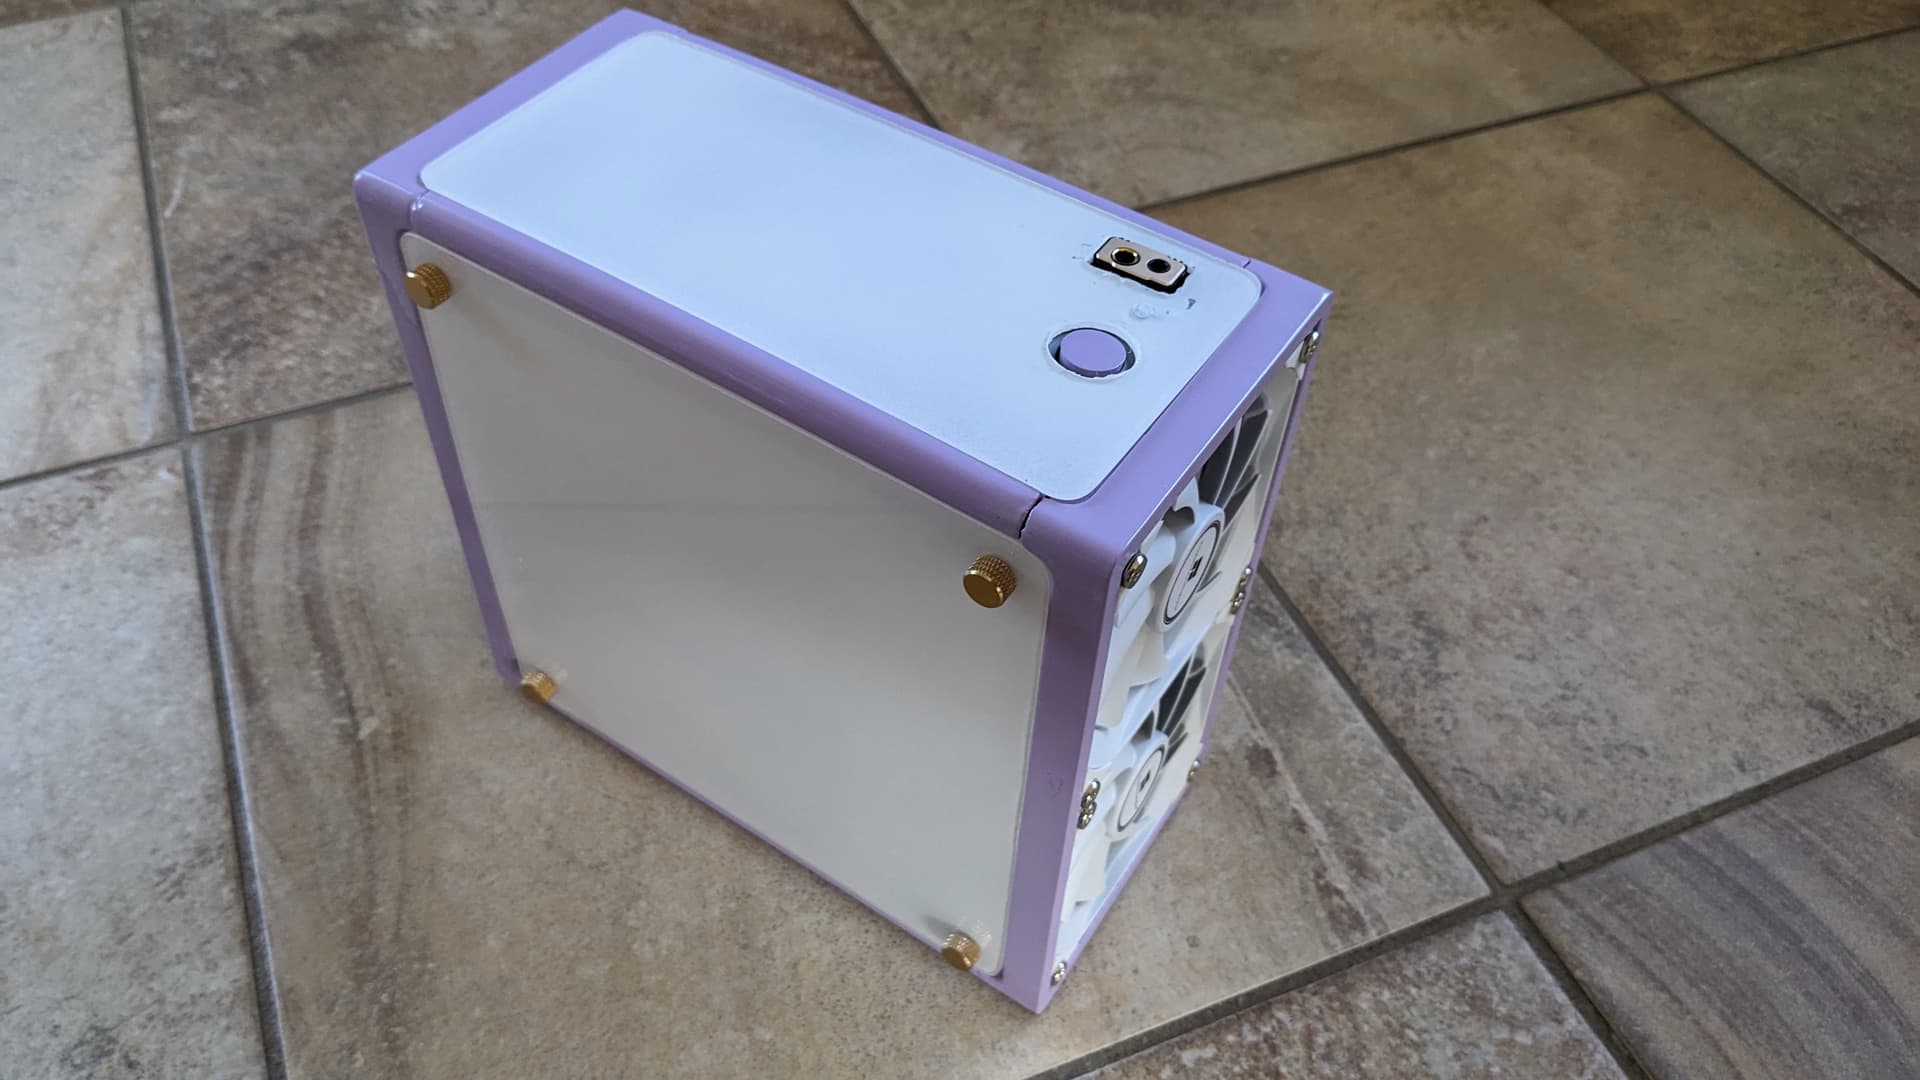
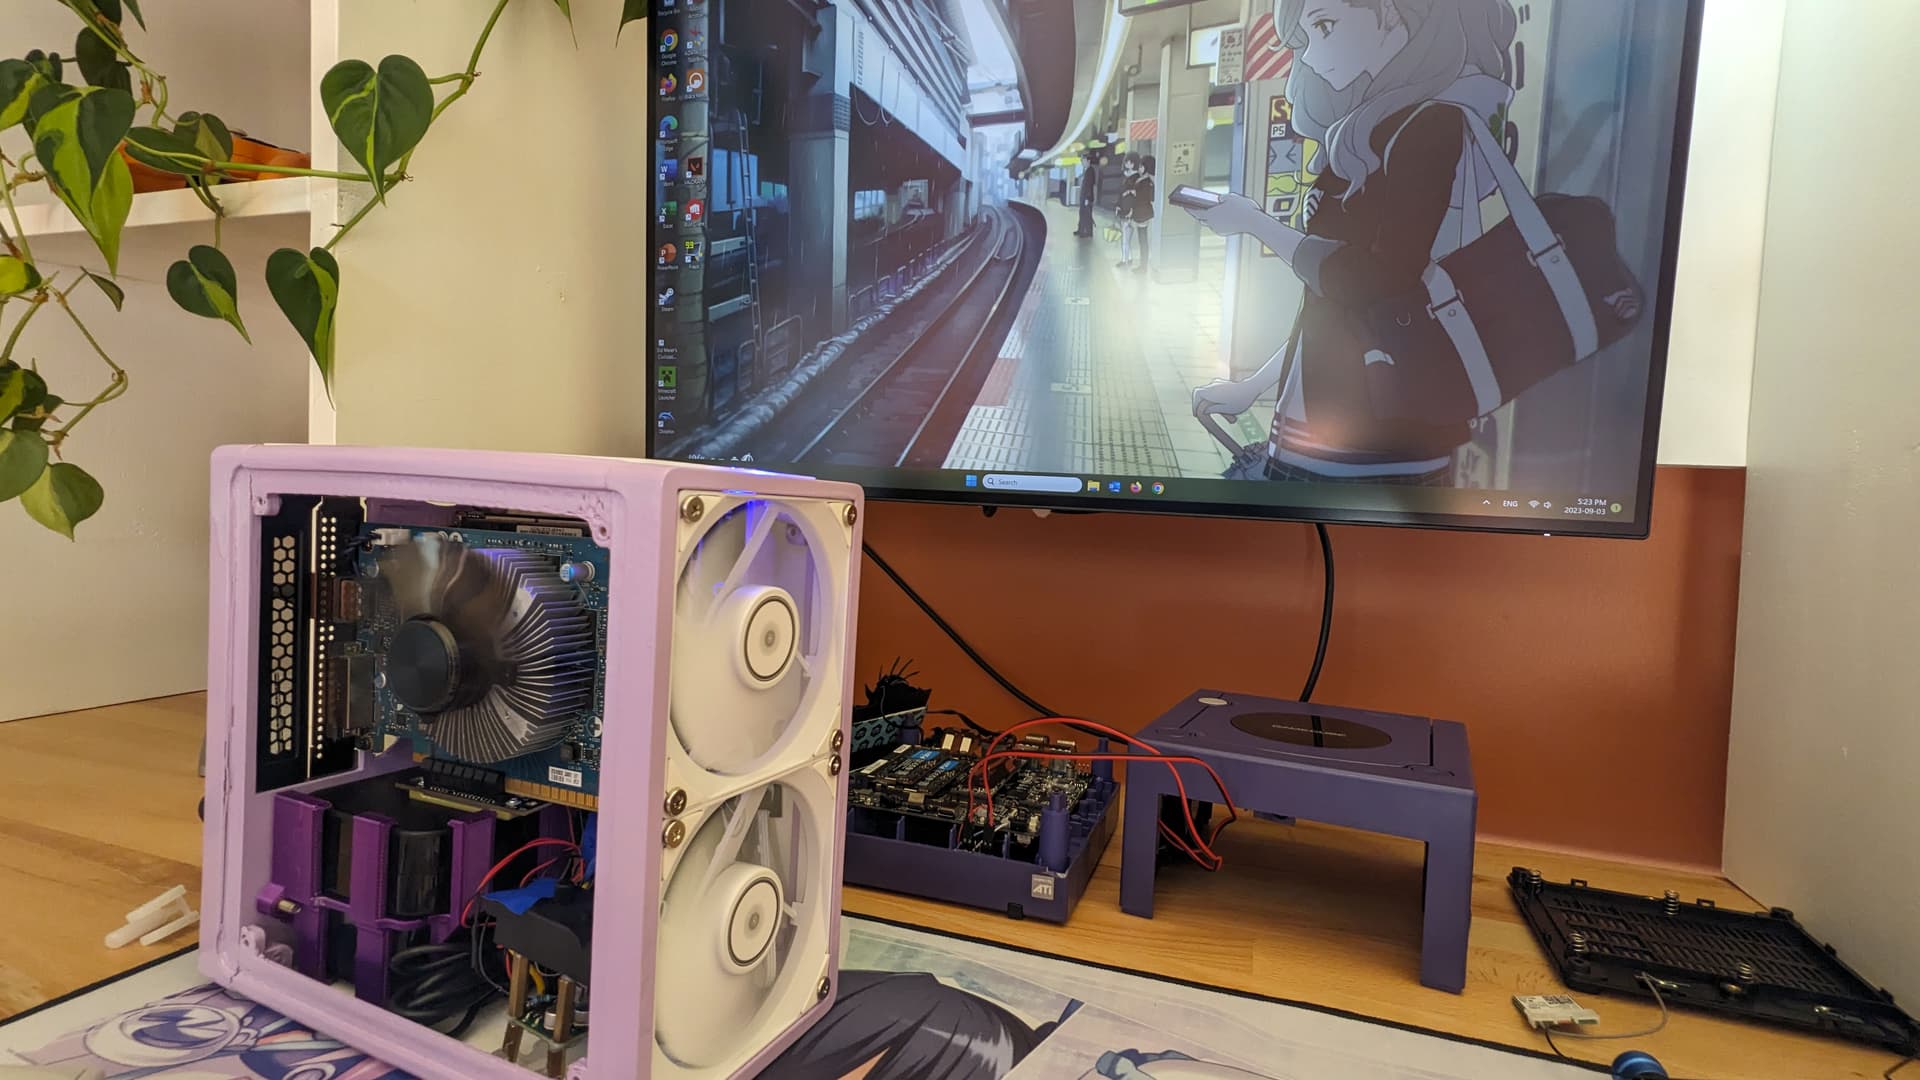
So here’s the final-ish pictures of the build. I would need to fix the bad job for the top panel, but that will not be done in a near future. Also i need to paint my headphones so they colour match the new case.
The brittleness is not an issue I find, unless you have a bad print. It’s quite solid. The issue is more with finish (and straightness when wanting to fix said finish). So in the future I would maybe do resin 3D print to have a clean finish, and just stick a color of material and not paint it. Like the Krylom Plum Gum looks nice, but I find that specific colours also is easy to over spray, compared to the Krylon Matte Sunrise which applied really well.
Oh also last point about the case. At first, I planned to a wood front panel as I was inspired by the NFC build, but I do like really much how the case looks on my desk as it is, with the fans and the screws visible. So I will not do such front wood panel at the end.