So I posted today the pics from my last build Falco that I did for a commission, and I got another one! hehehe
So ya I’m starting a new thread again, just to not mix stuff up, even if this build will be really similar to Falco, as it will almost be the same components. So now this time the opportunity would be to make this build more streamline and efficient now that I know what to do. But it will be again an indigo build lol.
Although I will surely get a Asus PN53, I will just in the next days be on the lookout for other opportunities. I’m still eyeing the annoucement that ASRock and Gigabyte had made for mini PCs with the latest Ryzen chips at the beginning of September. Especially for the Gigabyte Brix Ber7 7840, as this time the most demanding game of the client is Ark: Survival Evolved. The 680M of the PN53 can handle it at 900p, but would like better if possible. But also I will not waste time waiting for them.
So ya might not be the most entertaining build, but stay tune! There is still some areas for improvements.
I was going to suggest hooking up the native controller port board to a aurdrino like I did with snes but I can’t find a github for one that does all 4 controllers
might be a simple modification from one that does just one but I’m not sure
He even sells a kit now on Tindie to make a mSTX based Gamecube. I just don’t like those because way too much modification involved to make the board fit inside.
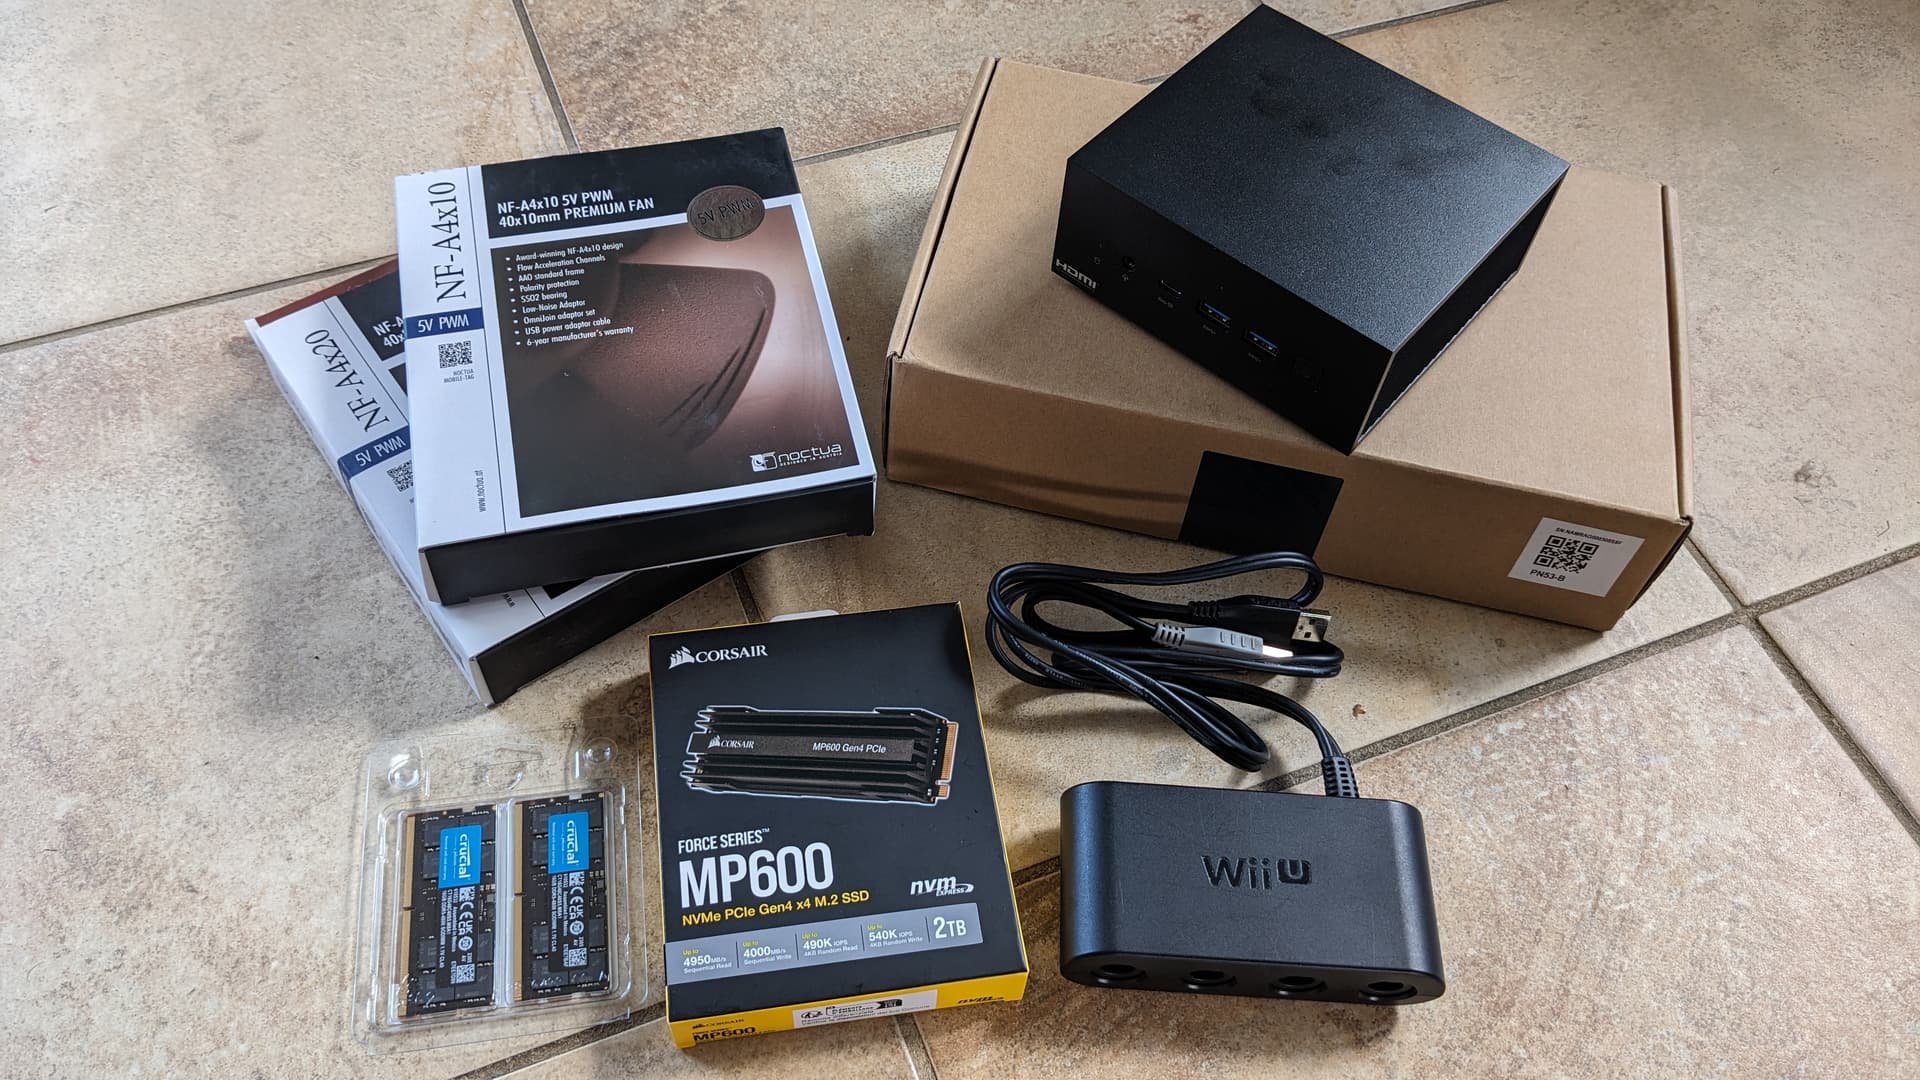
It’s interesting, but to spend that much money on making the original ports work I’m not sure. It’s desogn is based on the Mayflash, which is the only great third party Gamecube adapter, but I can also get a cheap Nintendo Gamecube adapter from Japan… so I already bought that lol.
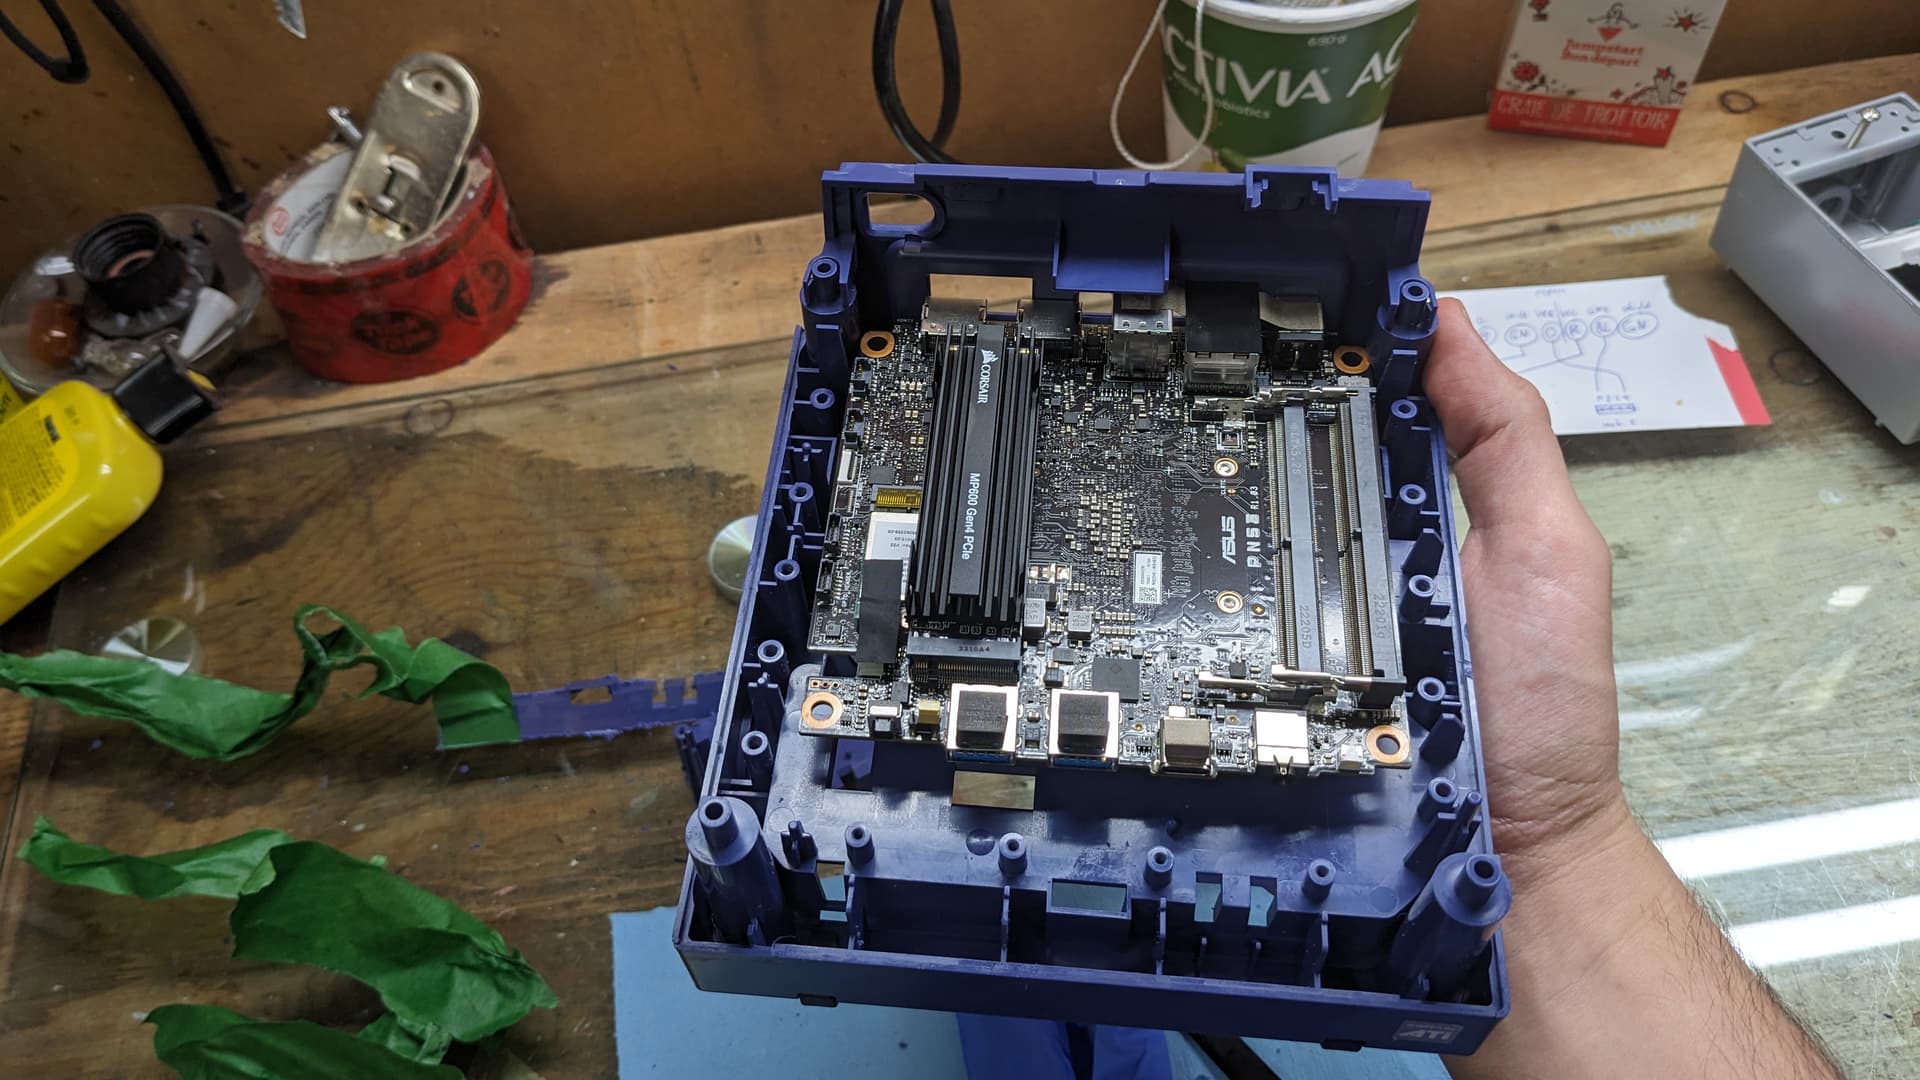
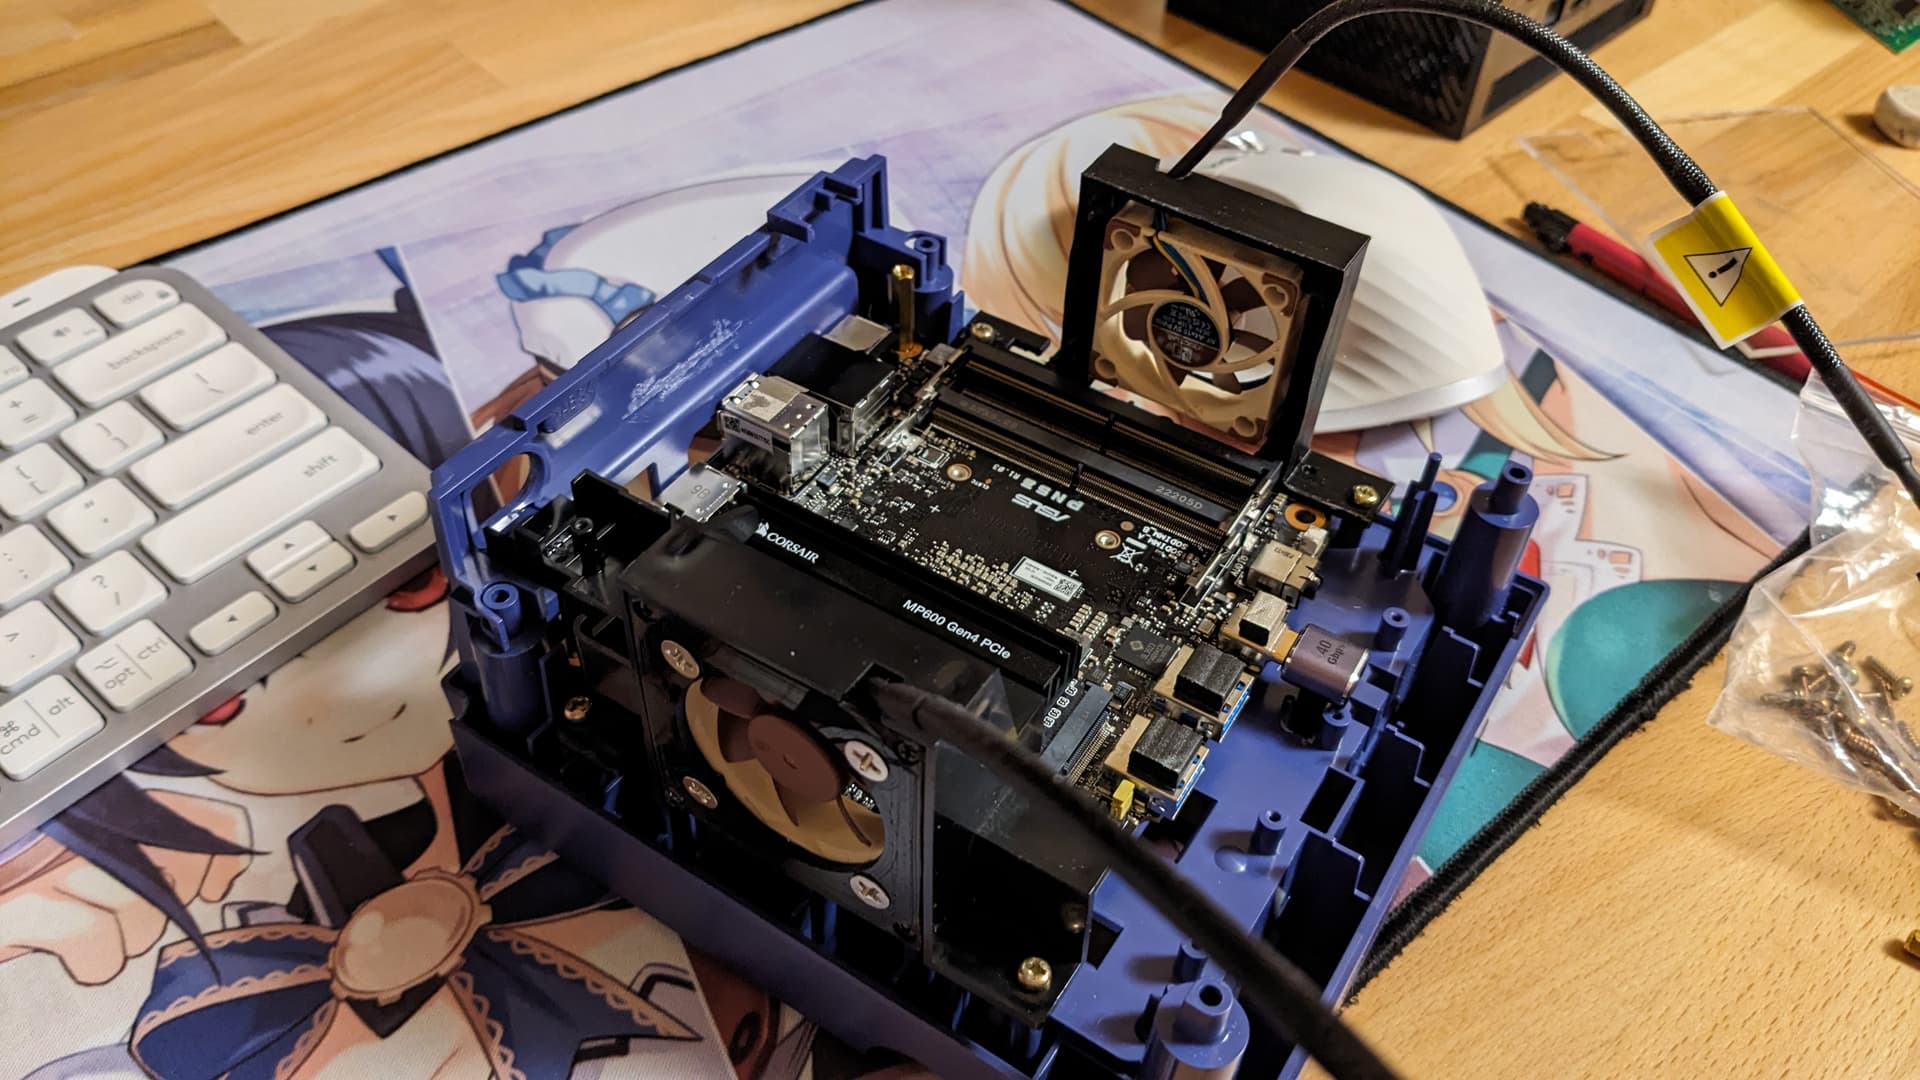
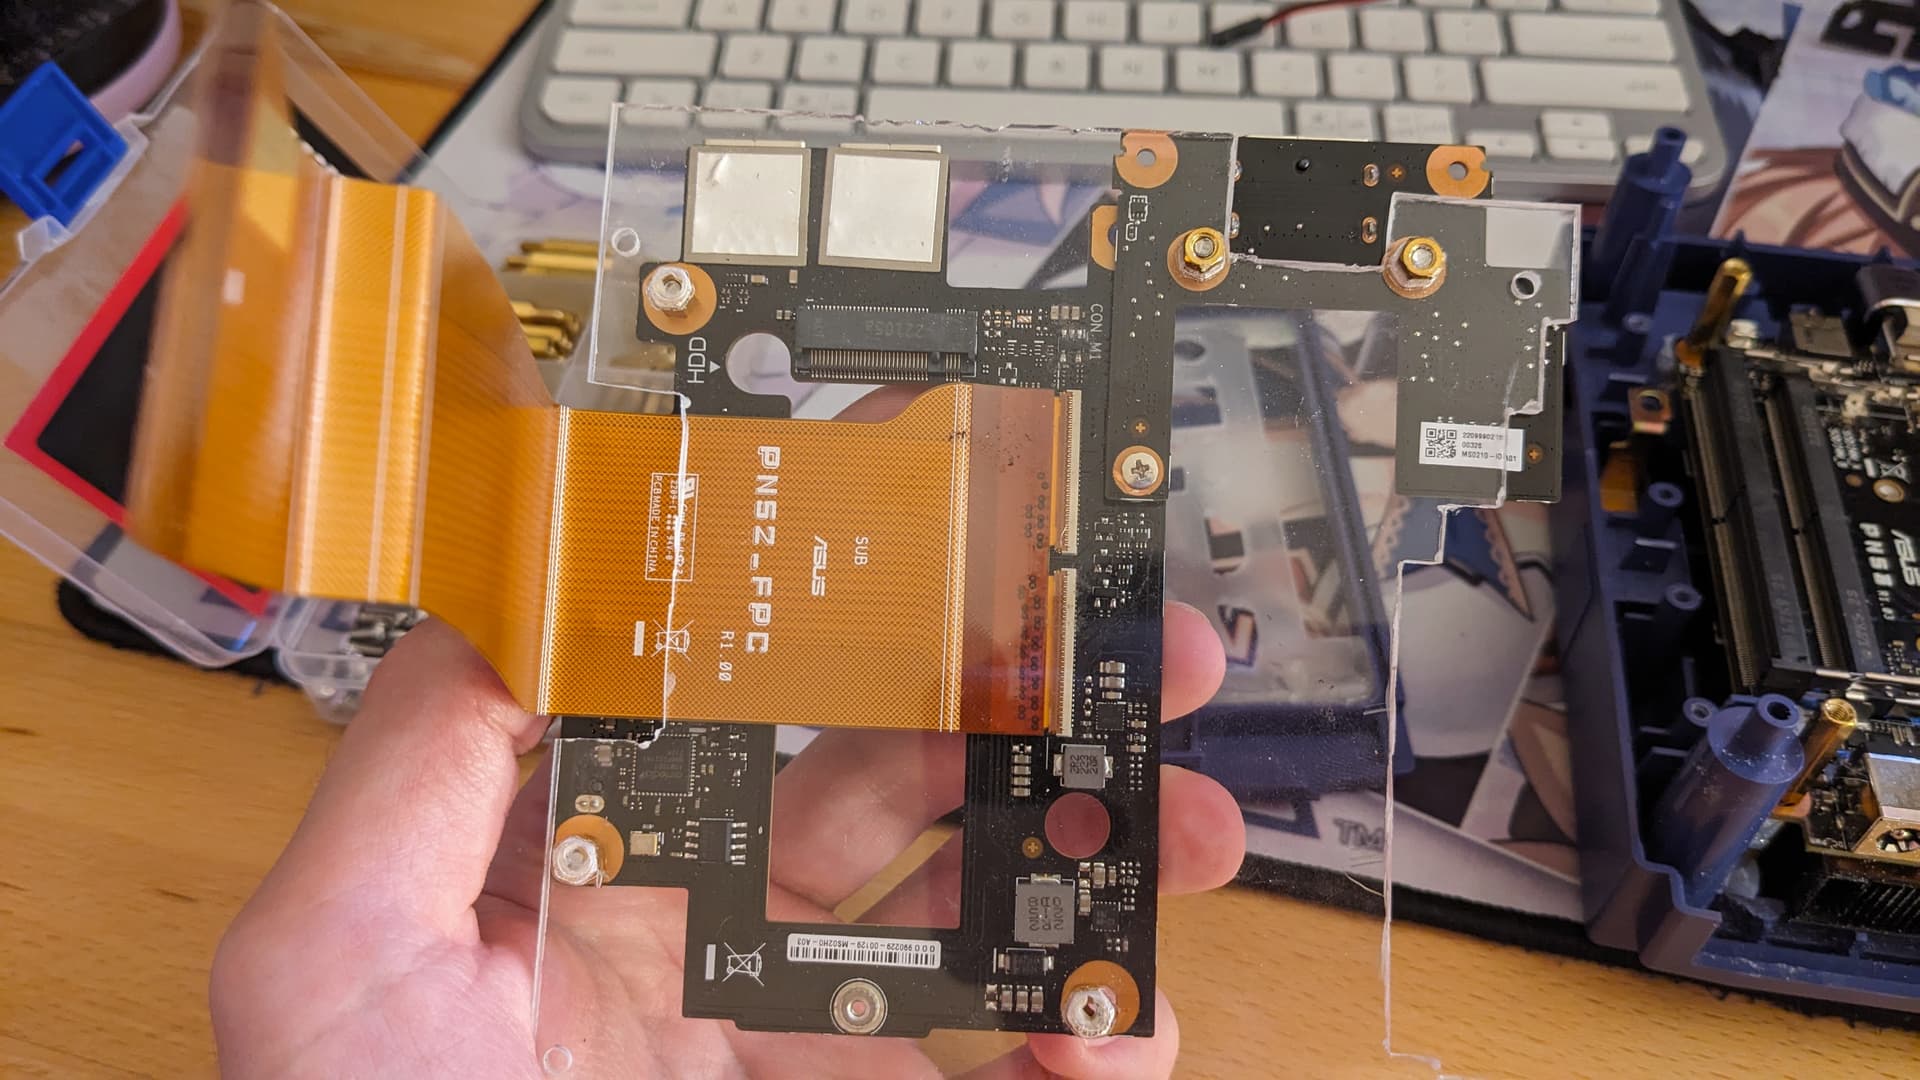
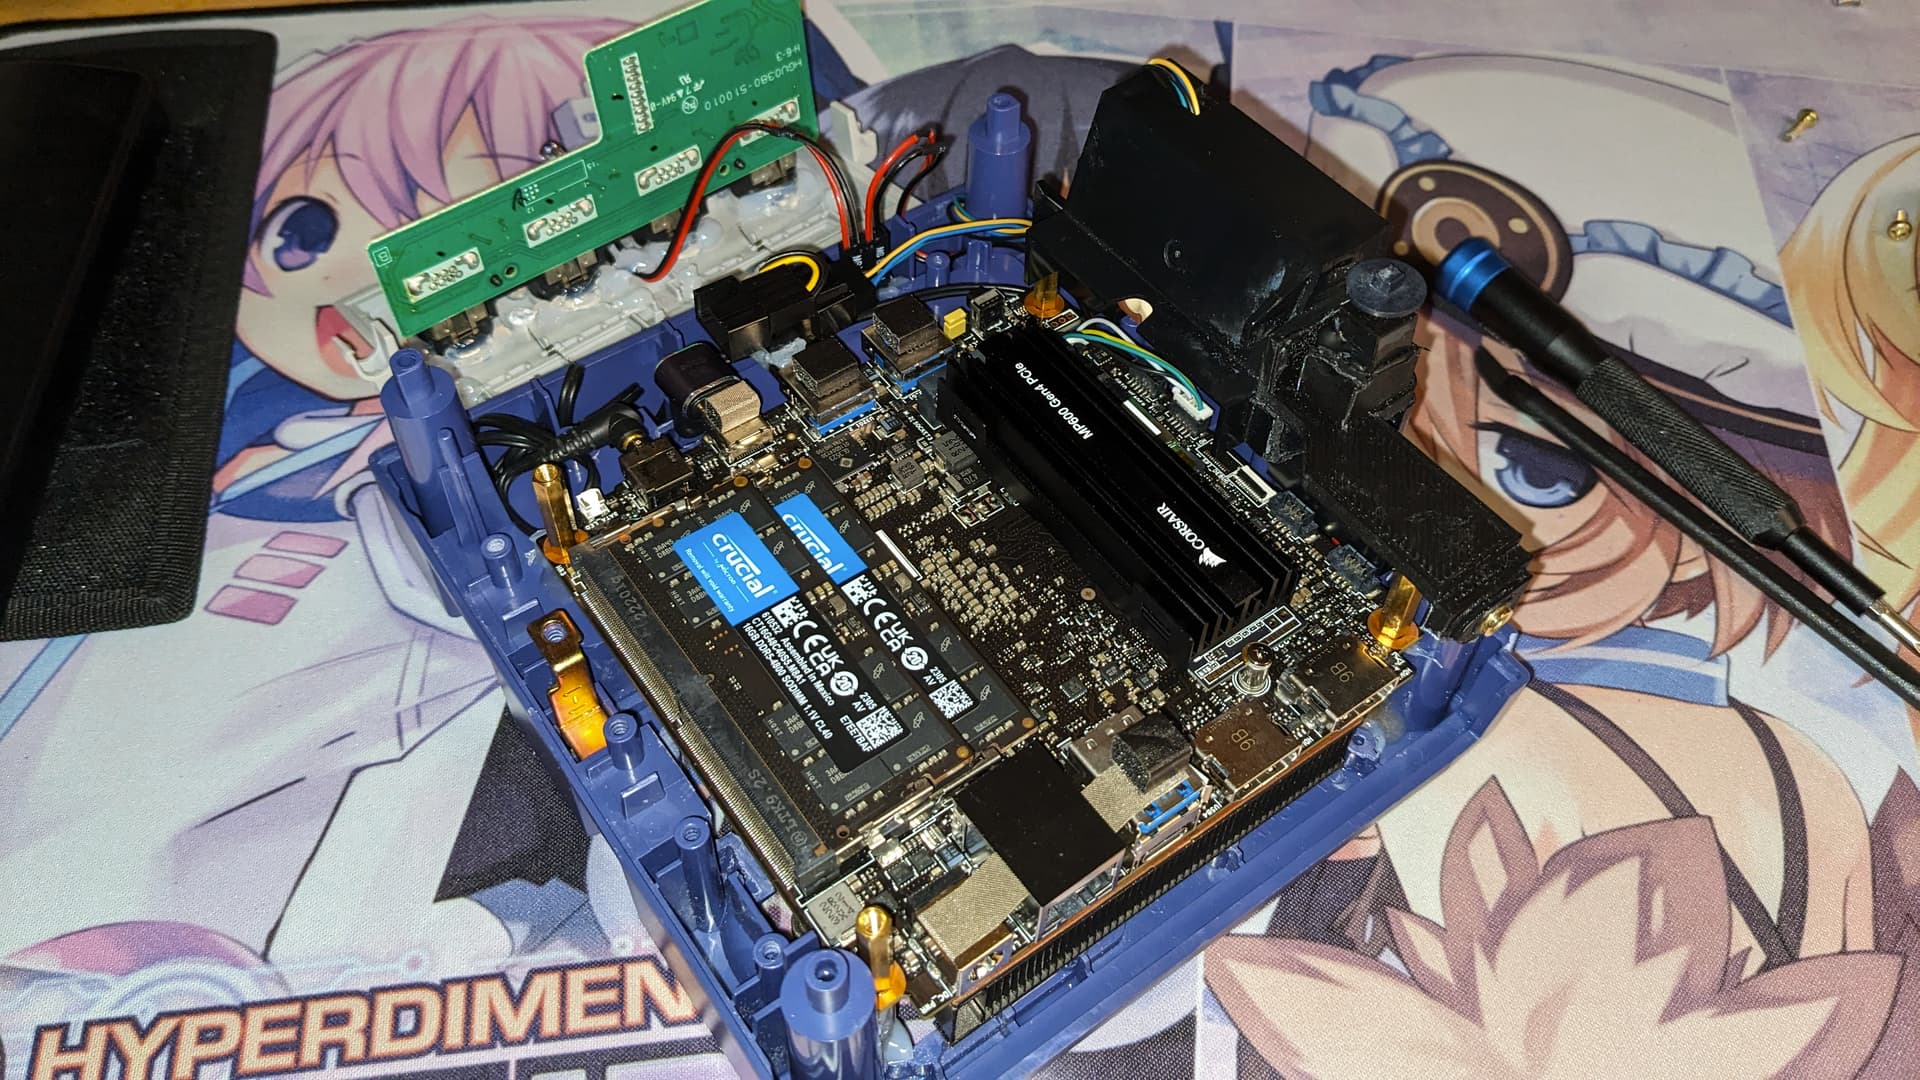
Received all the components for the PC itself, onlynthe Gamecube is left. Bought this time a 4800Mhz ram kit because the PN53 does not support ram speed over 4800Mhz, and the timing was tighther on the 4800Mhz than the 5600Mhz kit. Gonna maybe do memtest tonight.
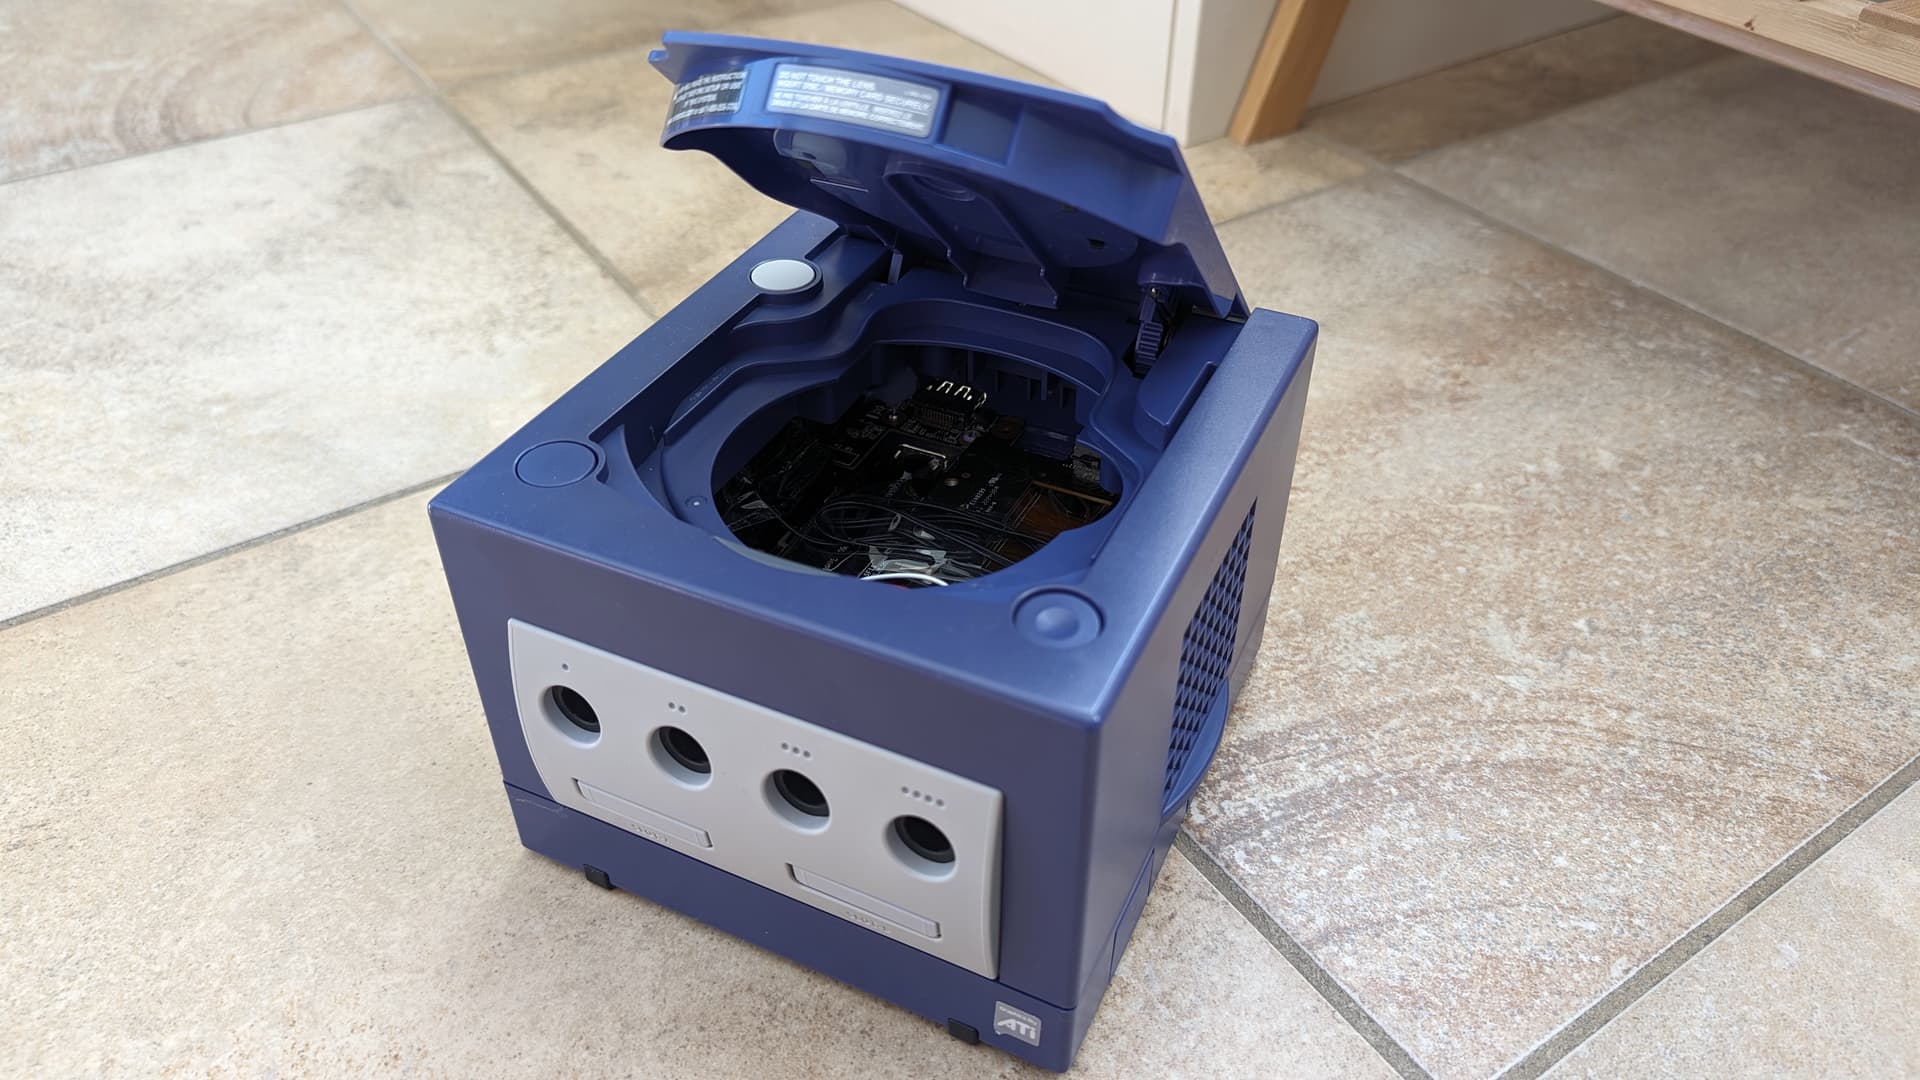
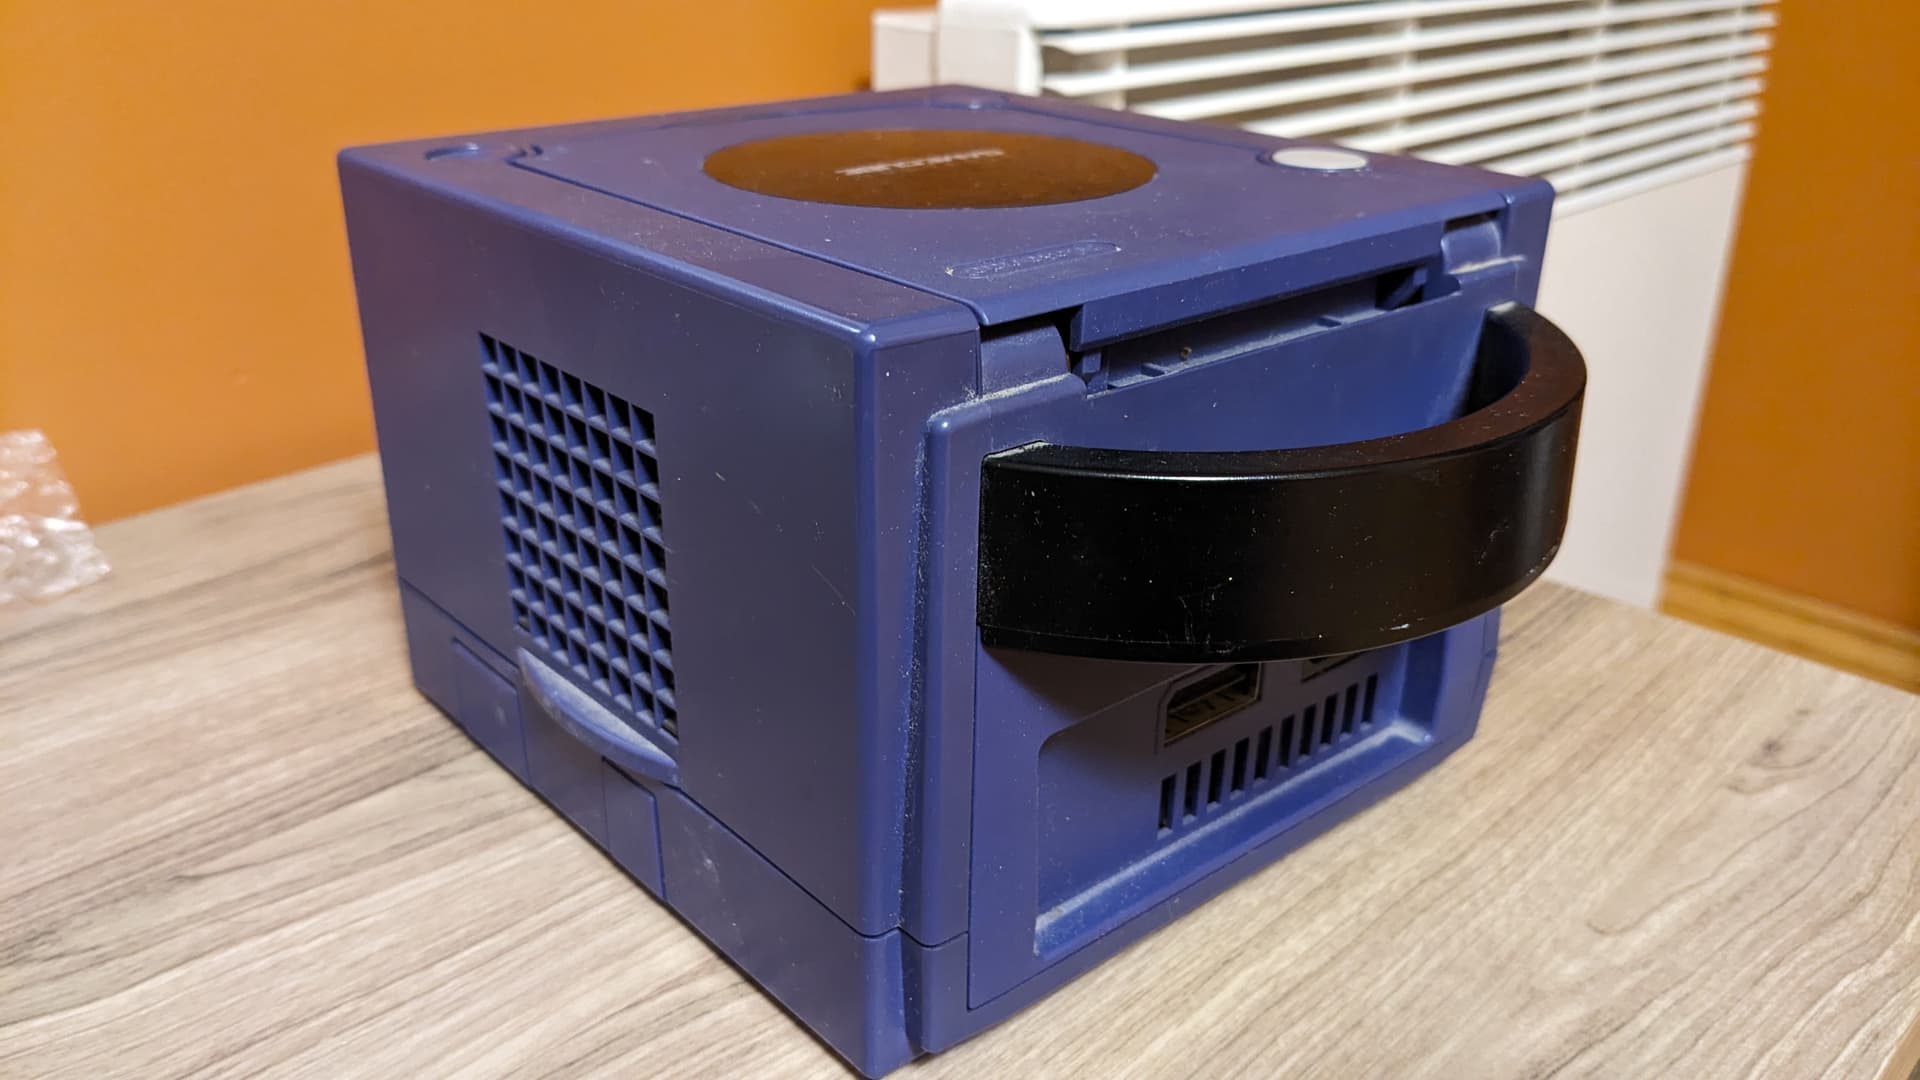
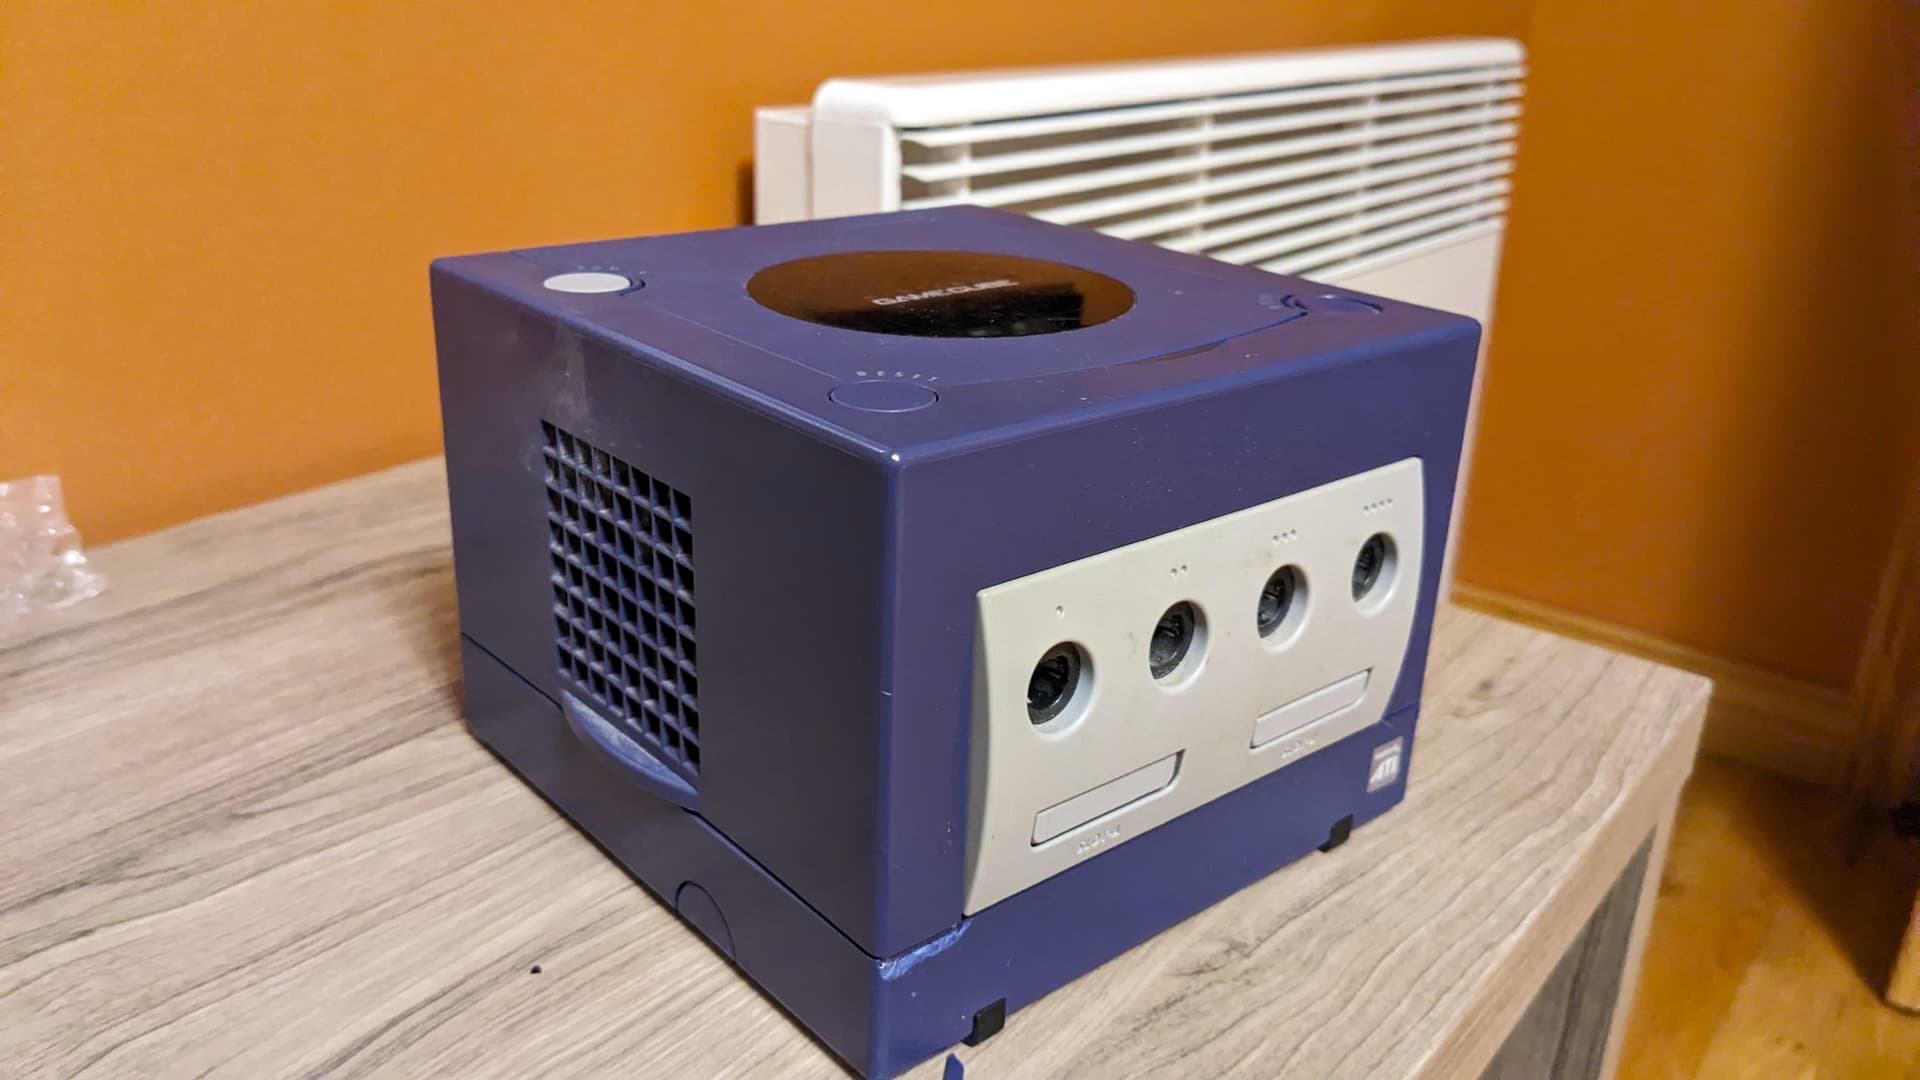
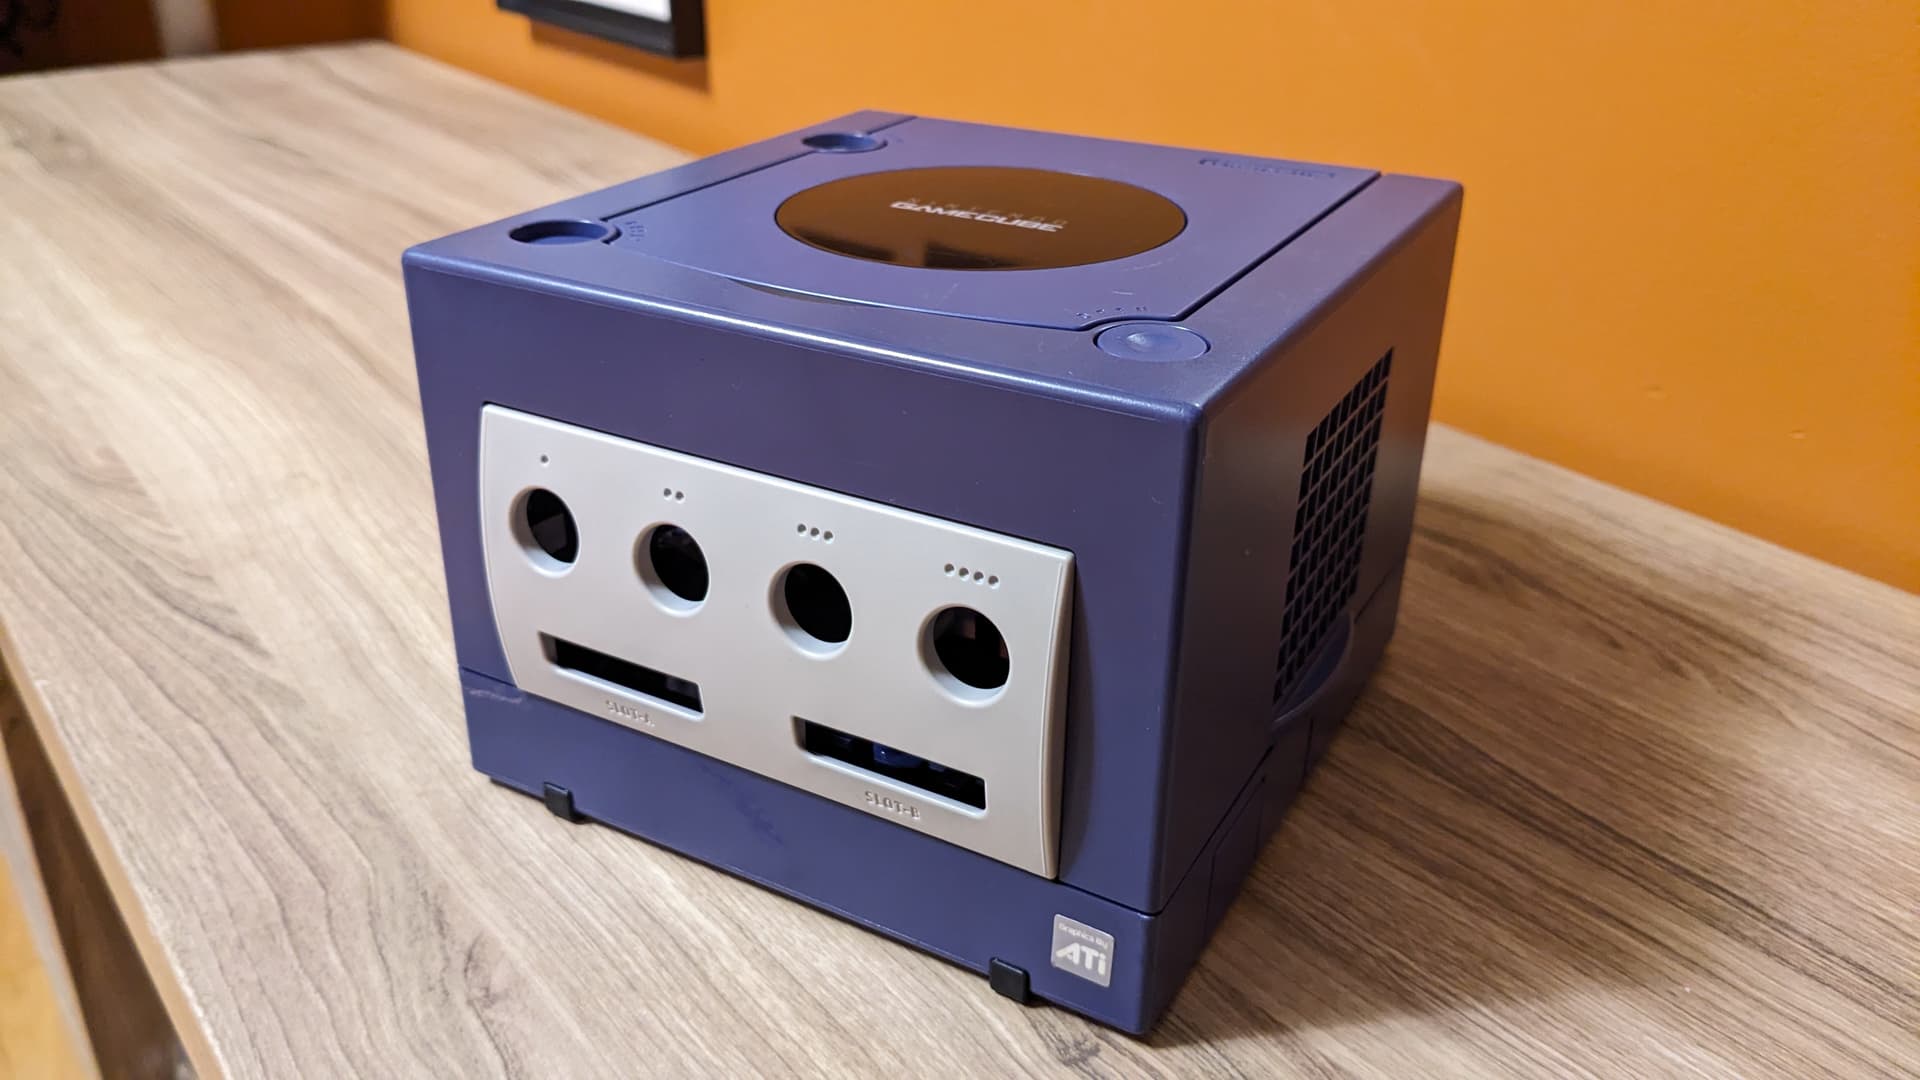
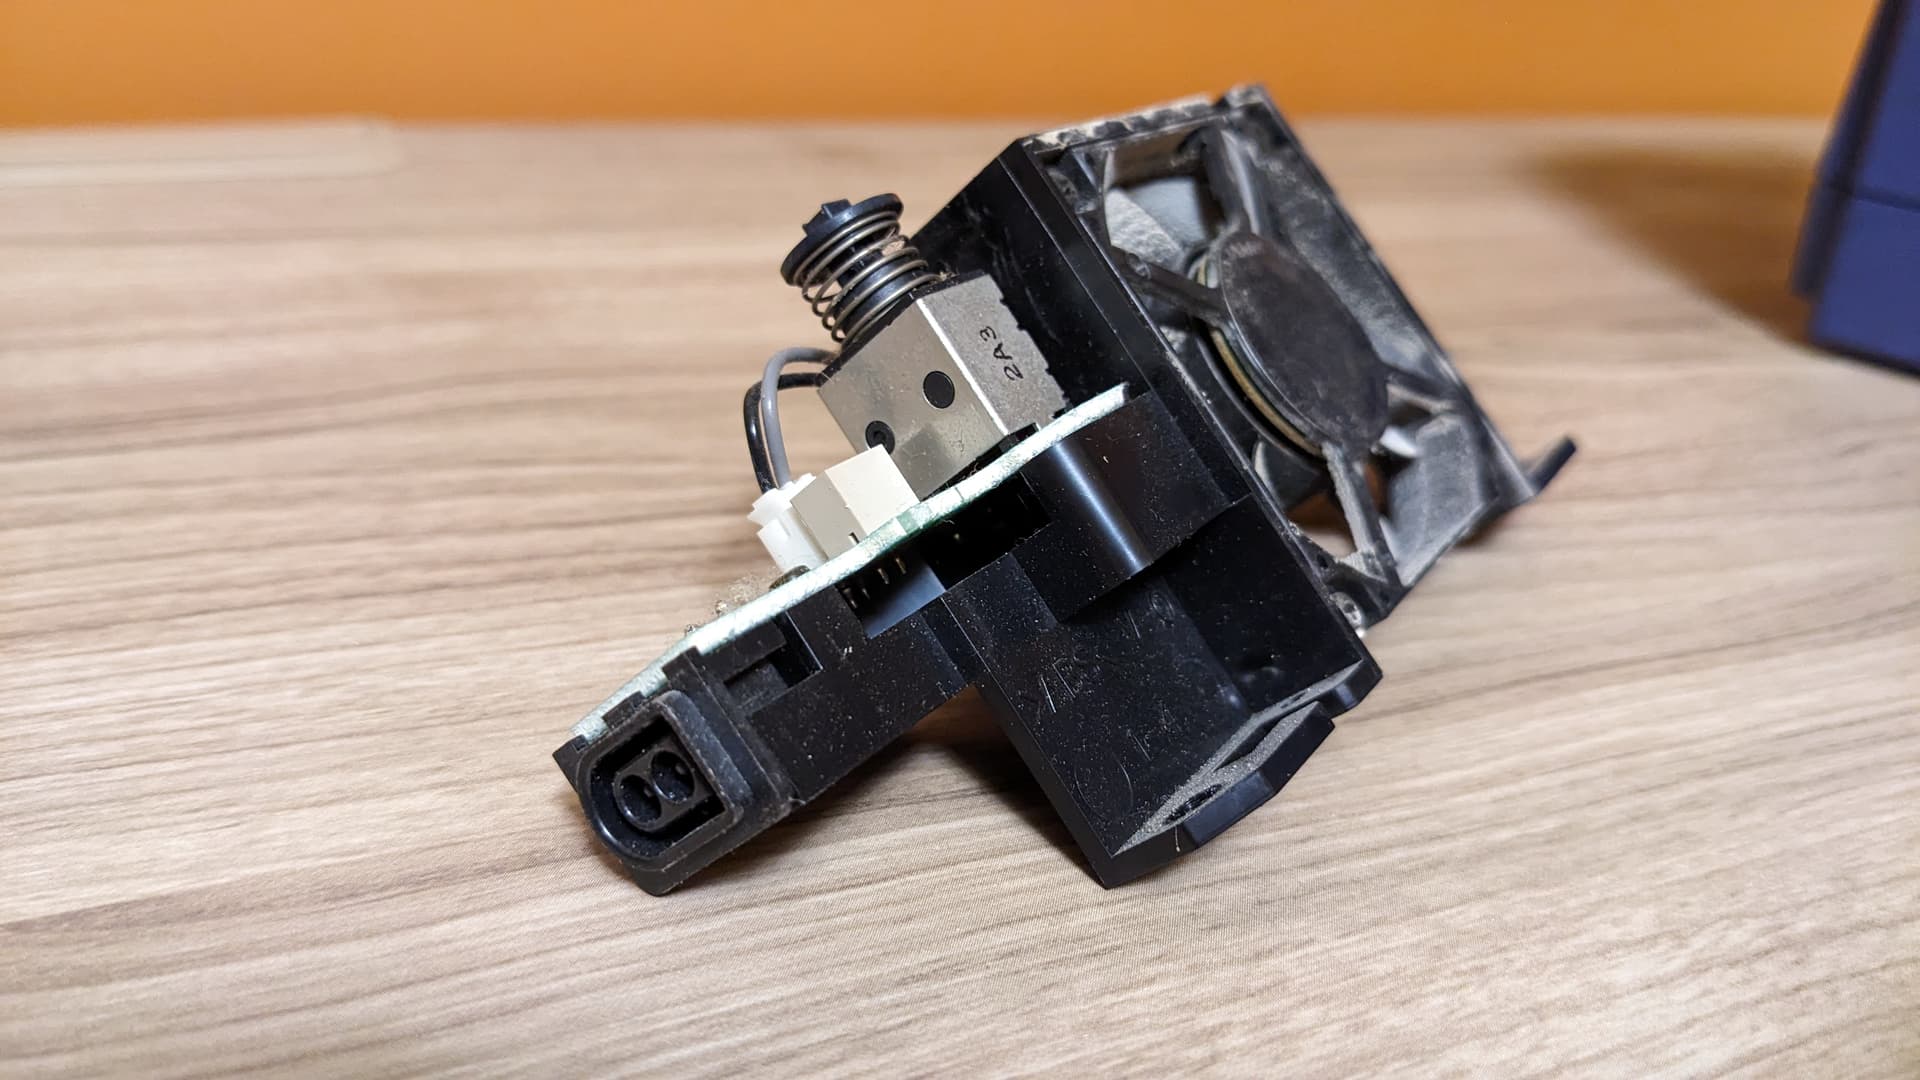
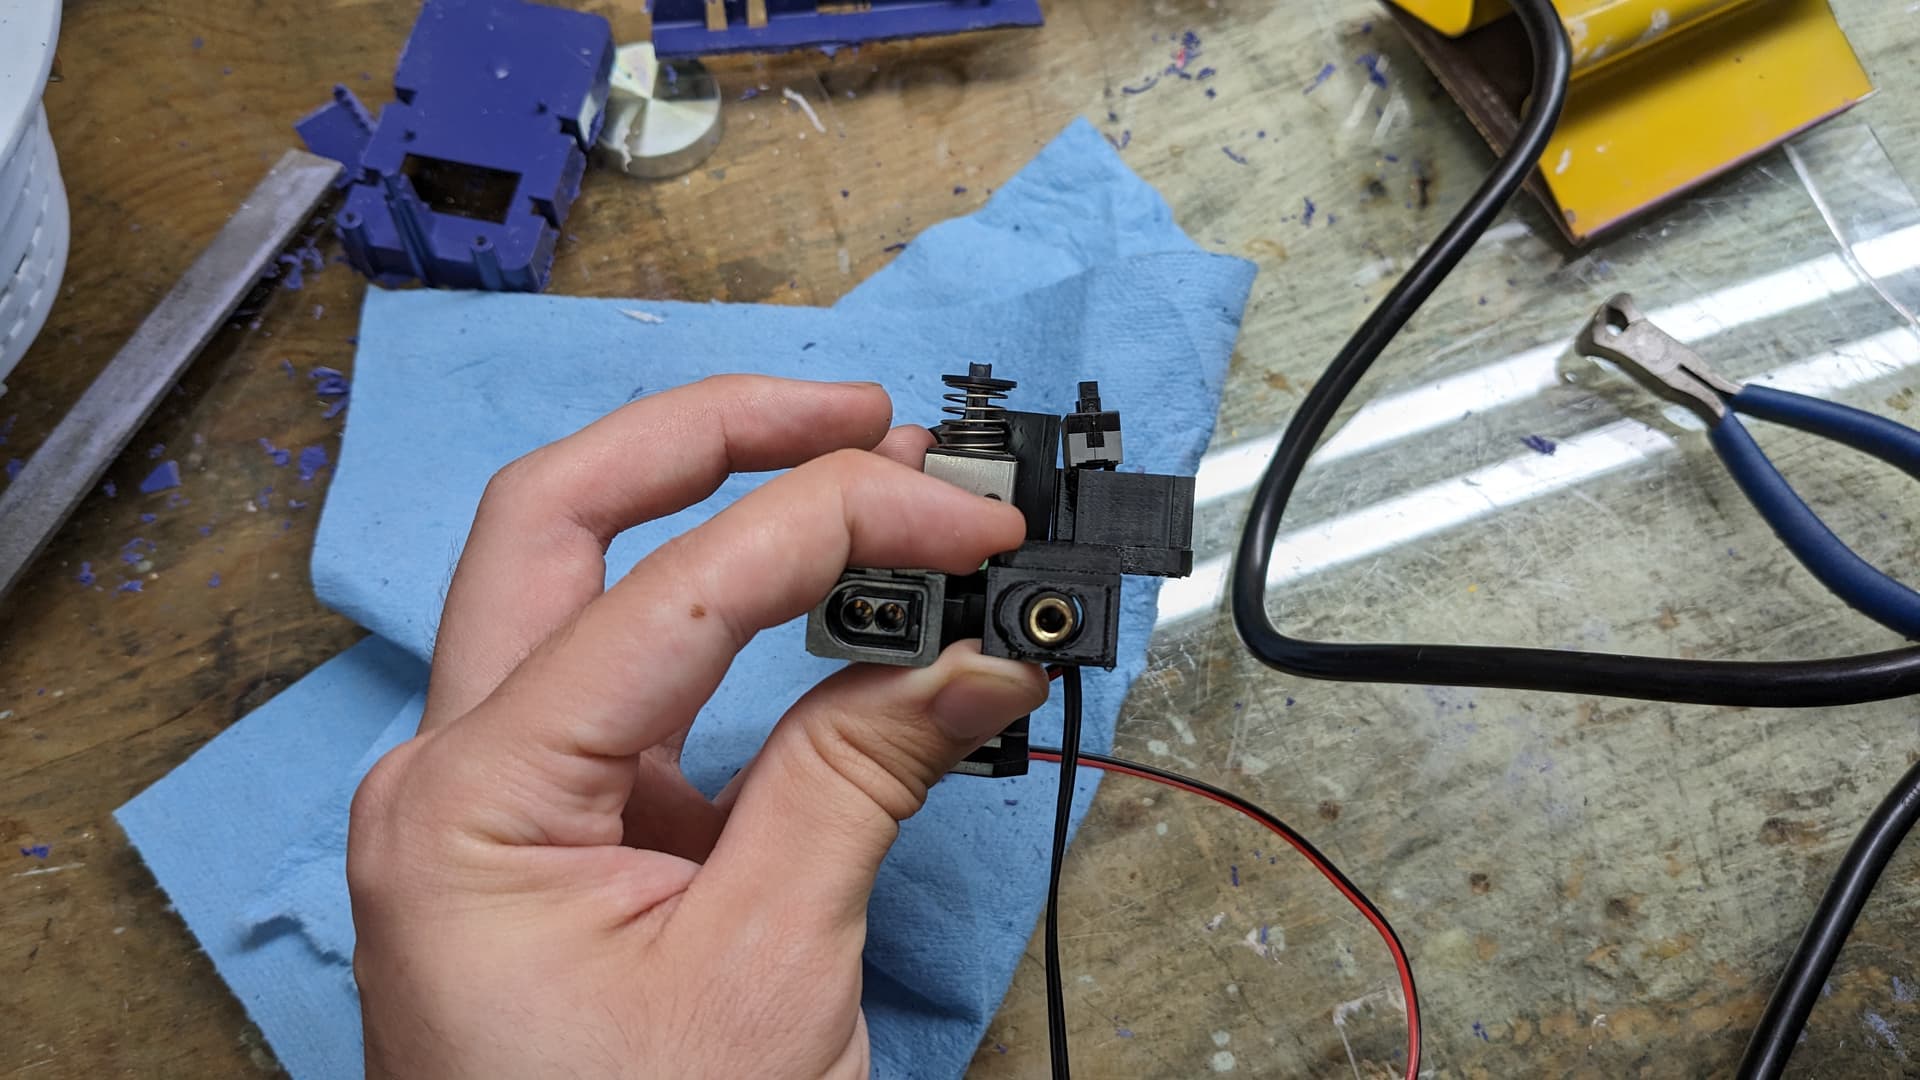
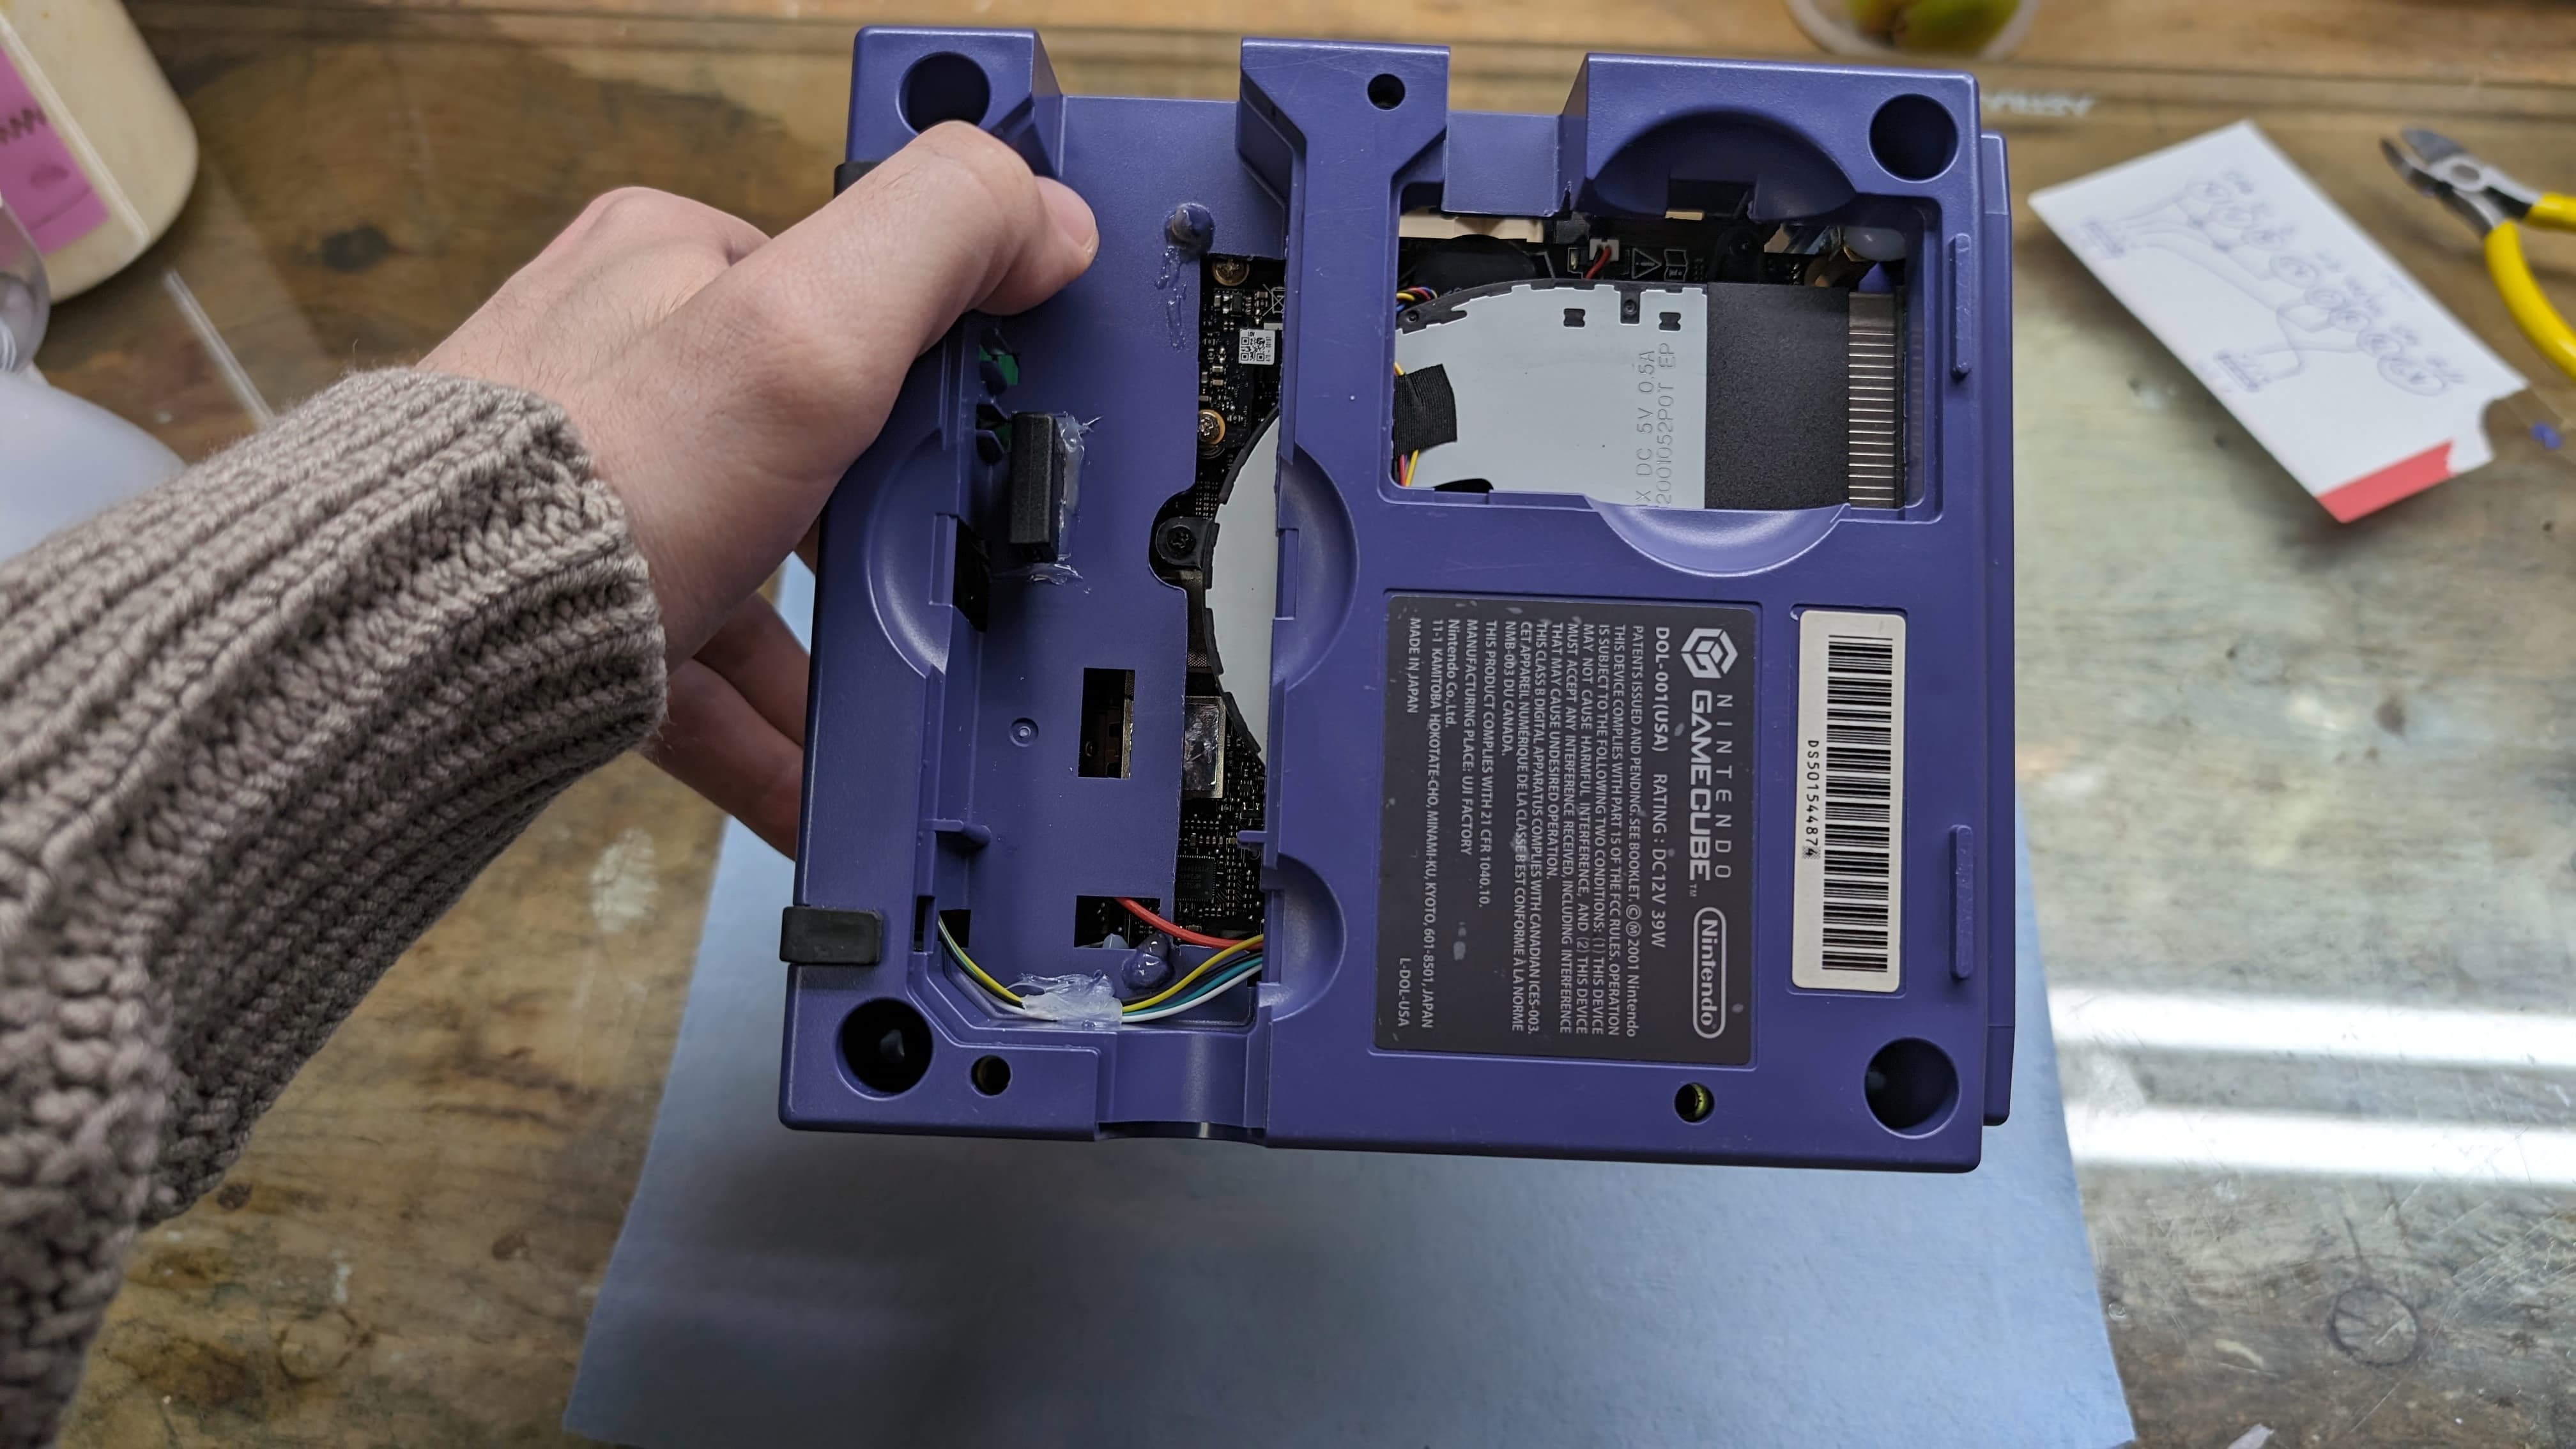
Being a complete Gamecube, that means I have everything, including the fan/power assembly. I think I might used it to mount the fan, and install a headphone jack inside the power connector to keep the Gamecube more original
The name of the game this time around is streamlining.
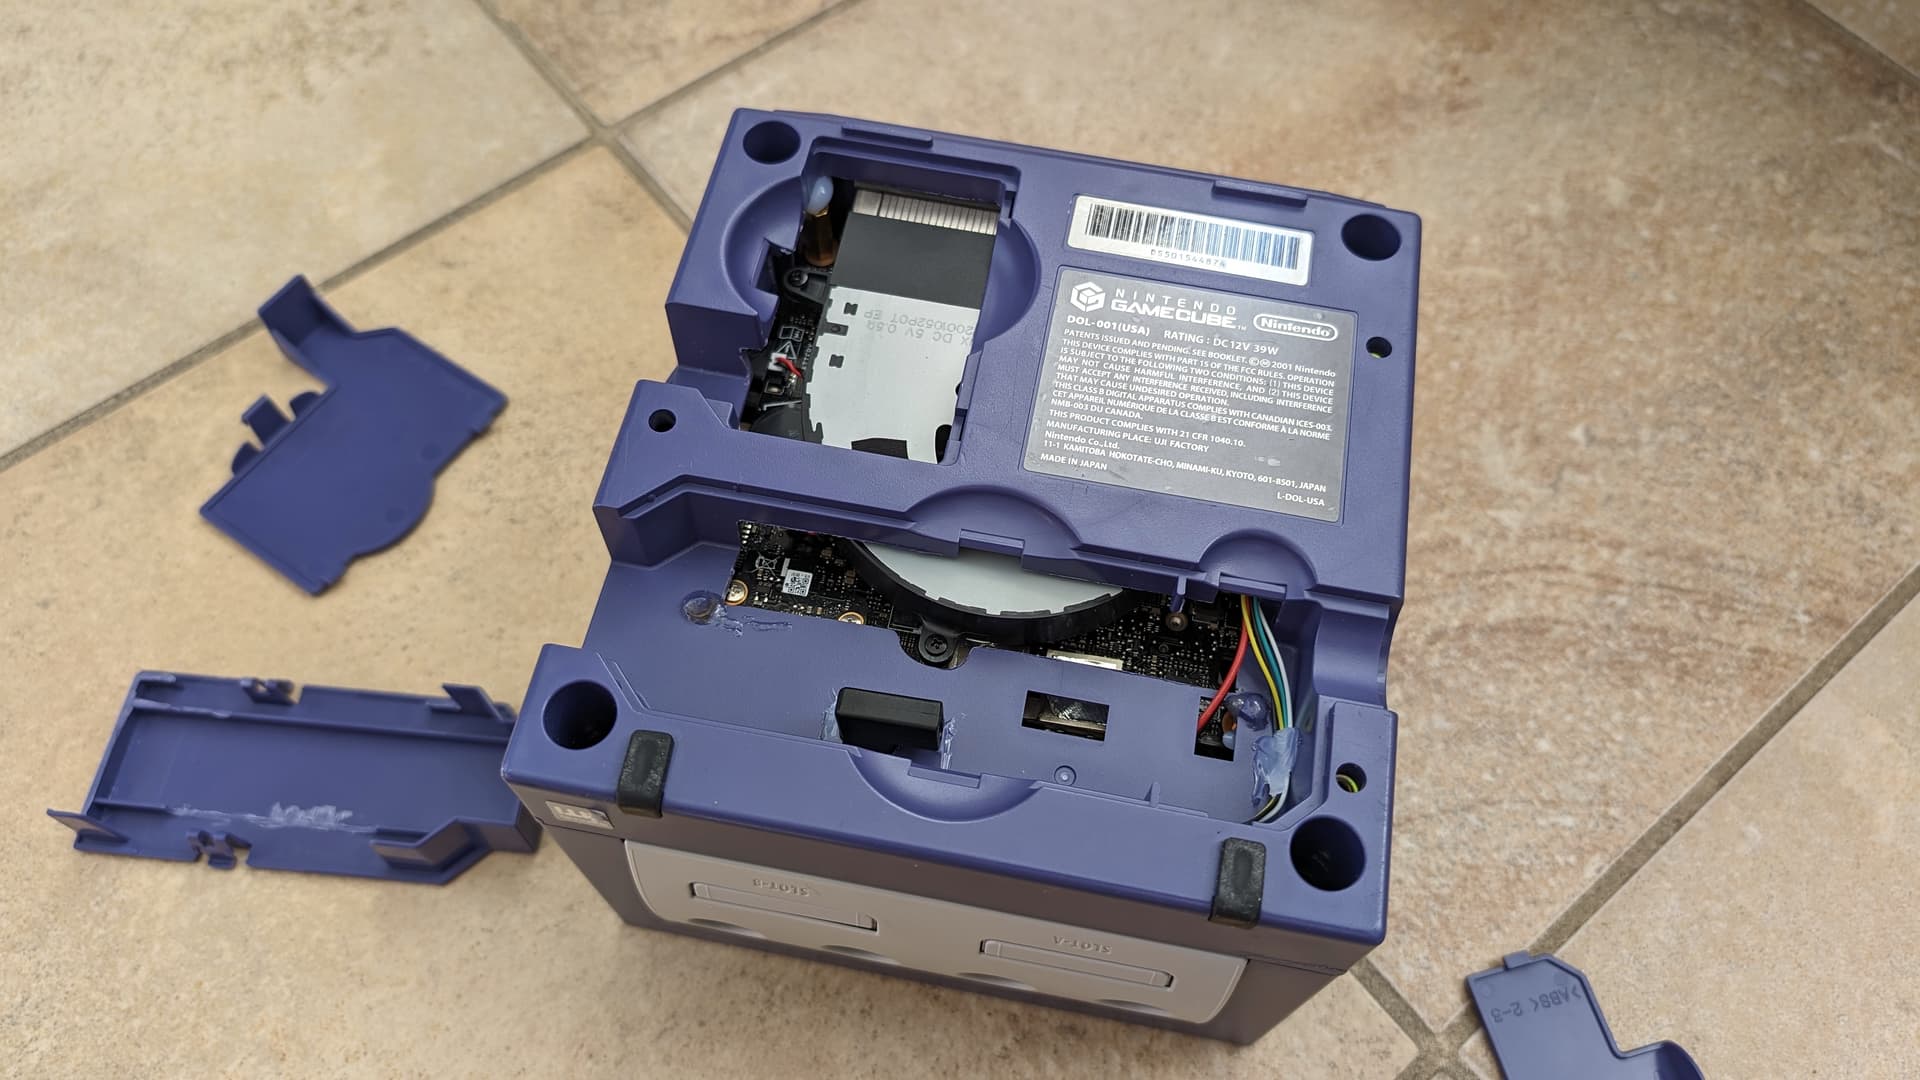
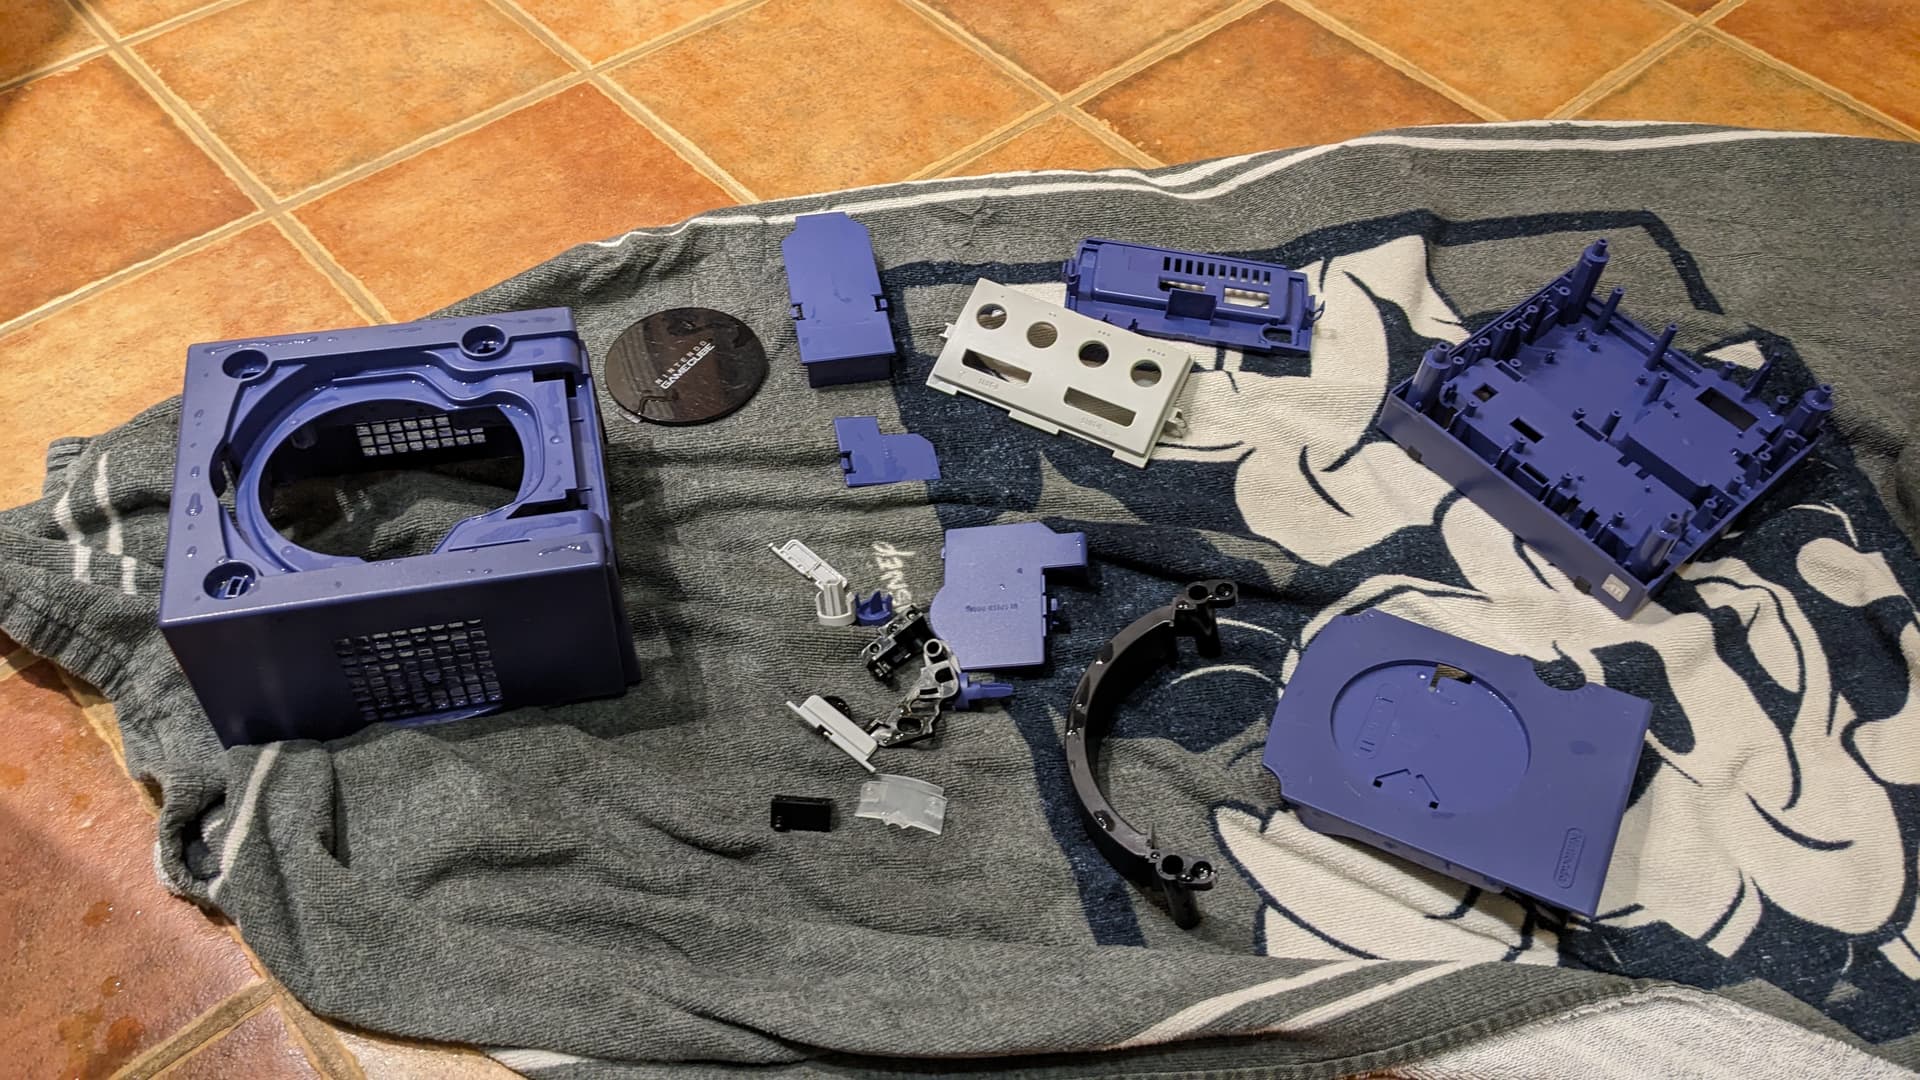
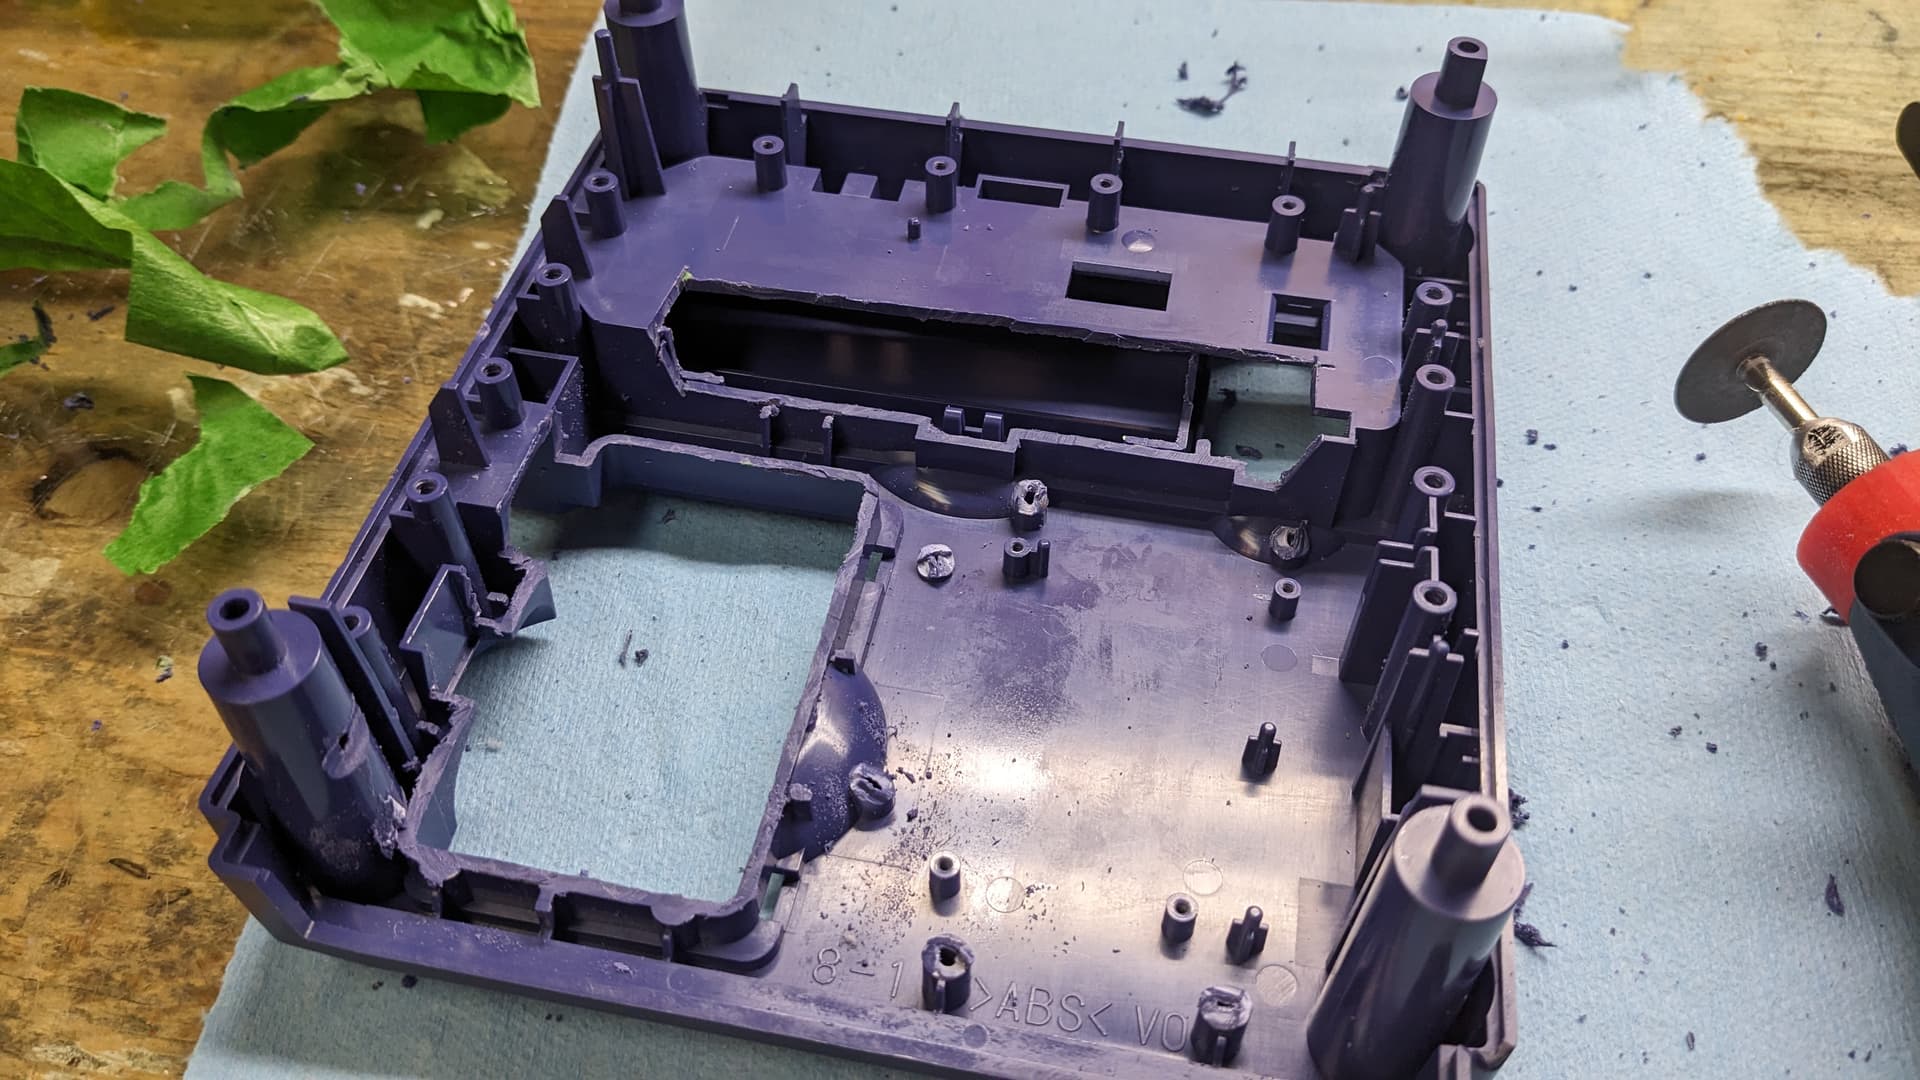
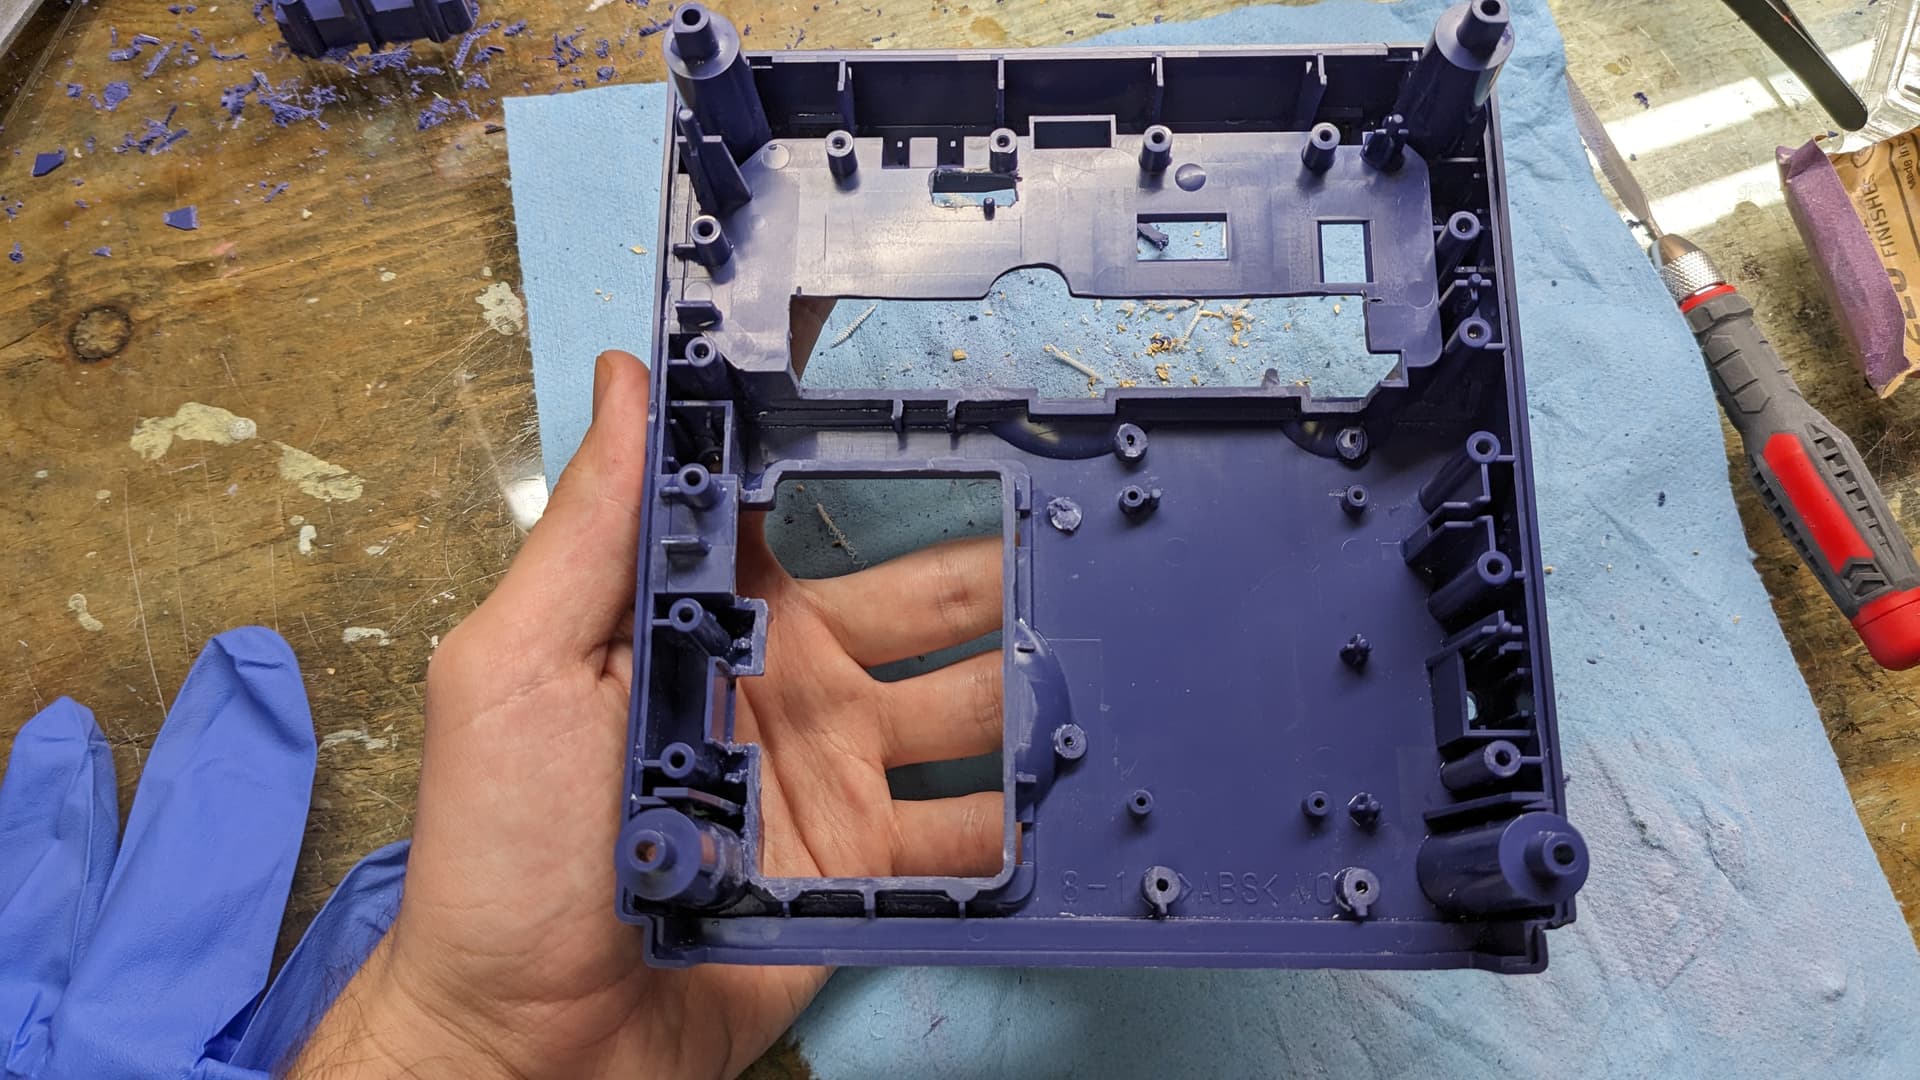
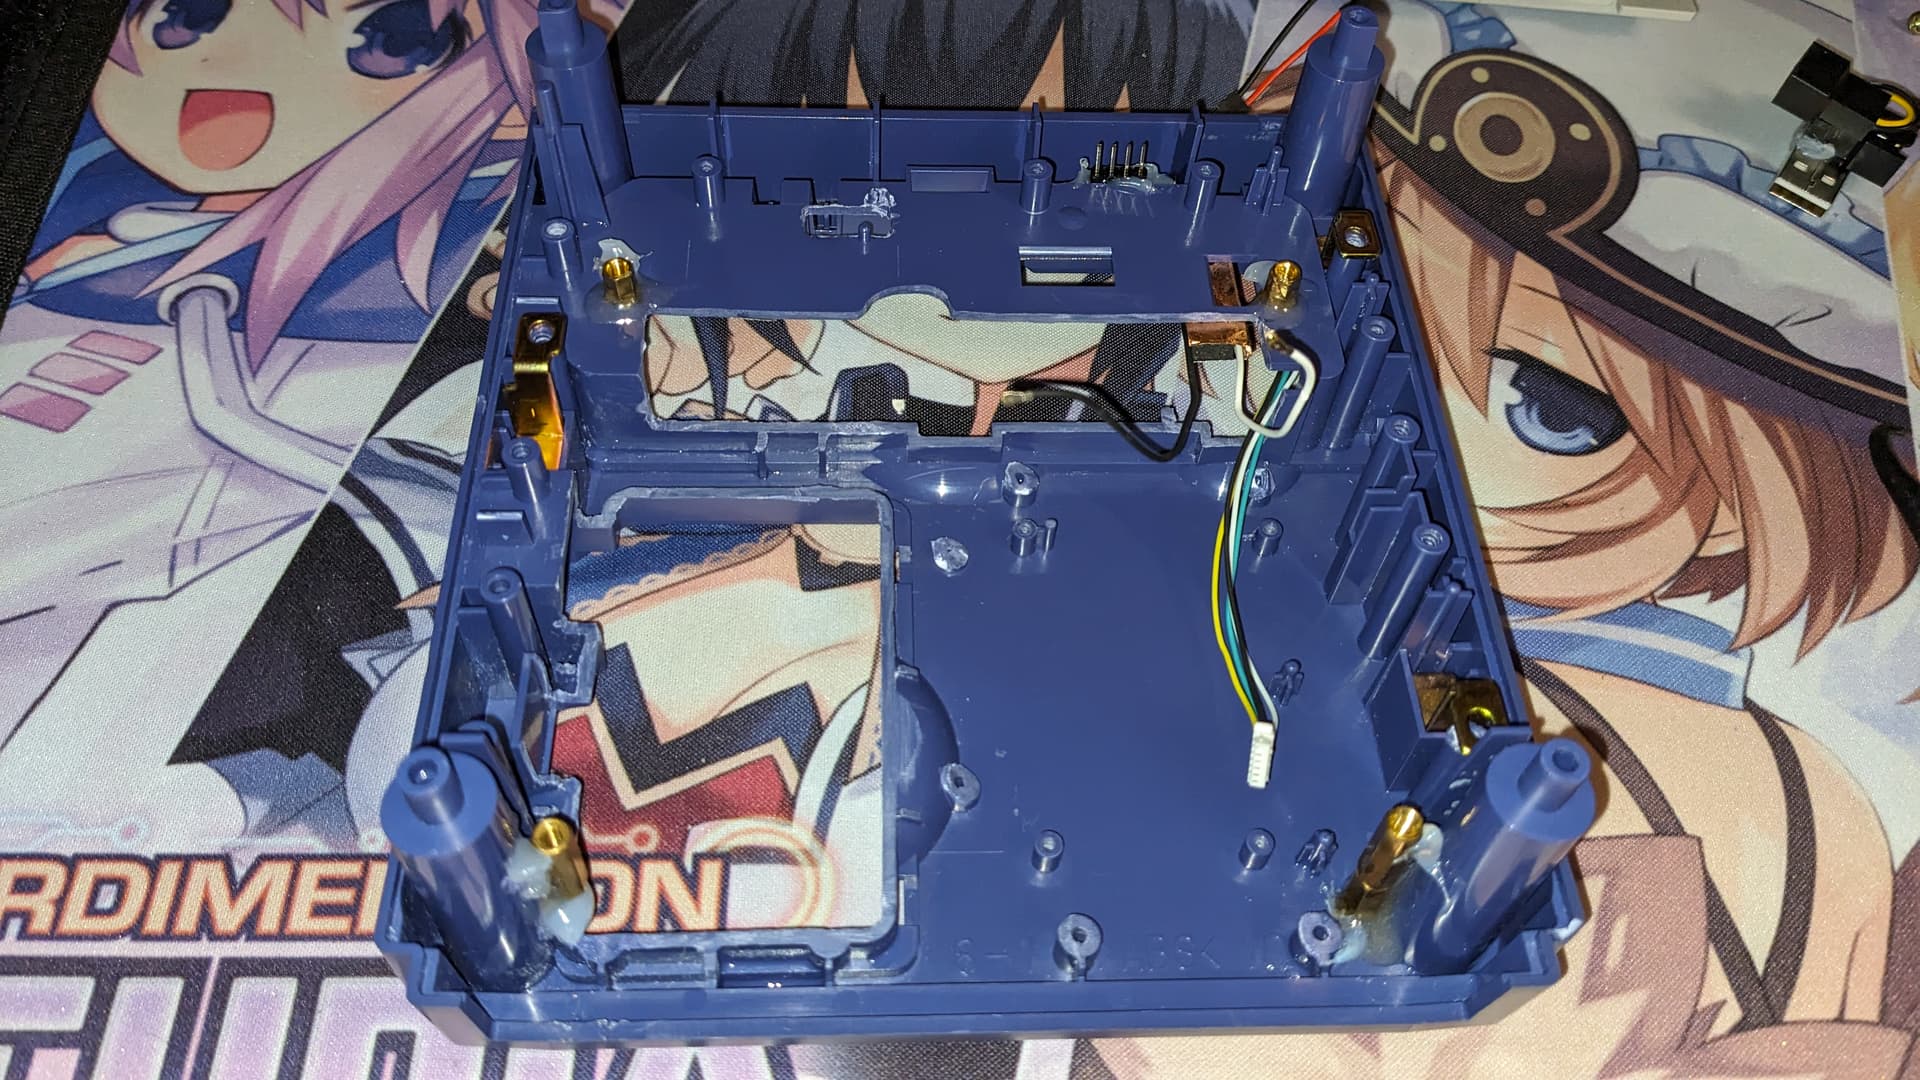
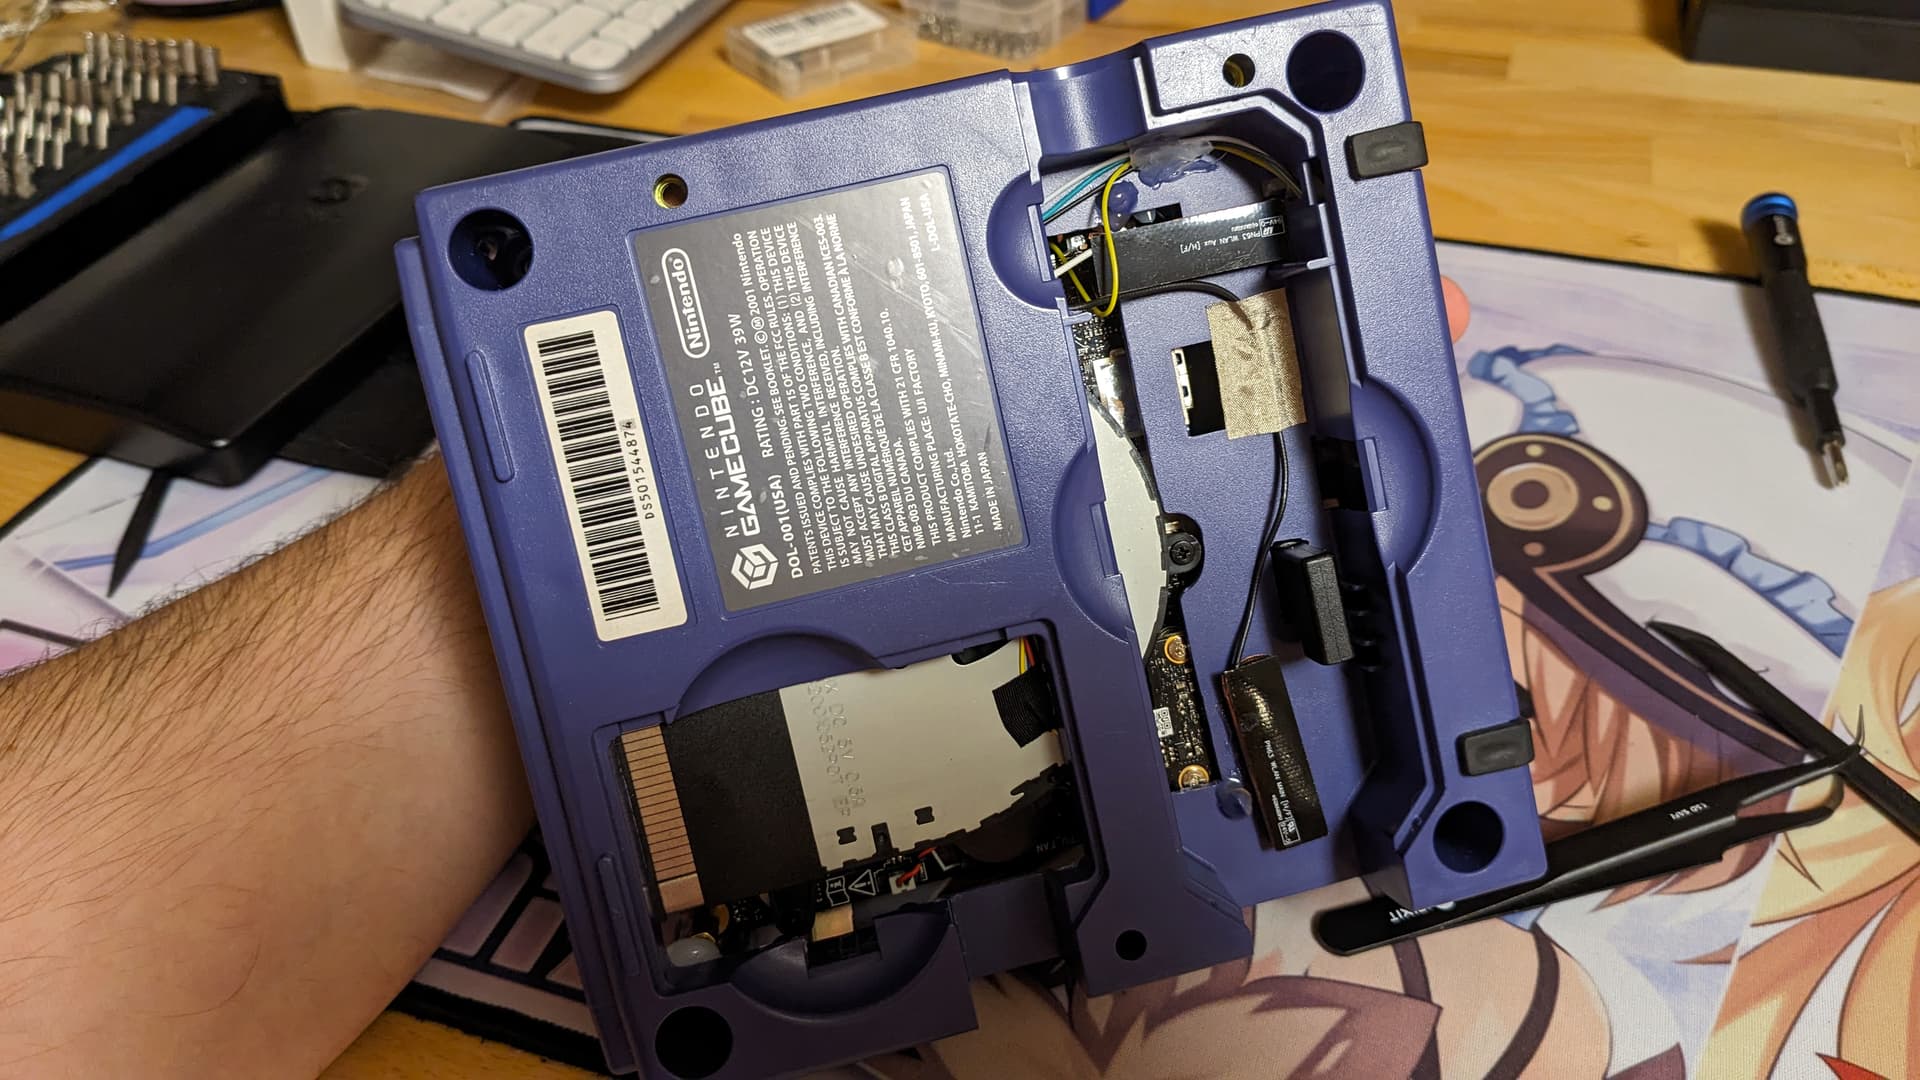
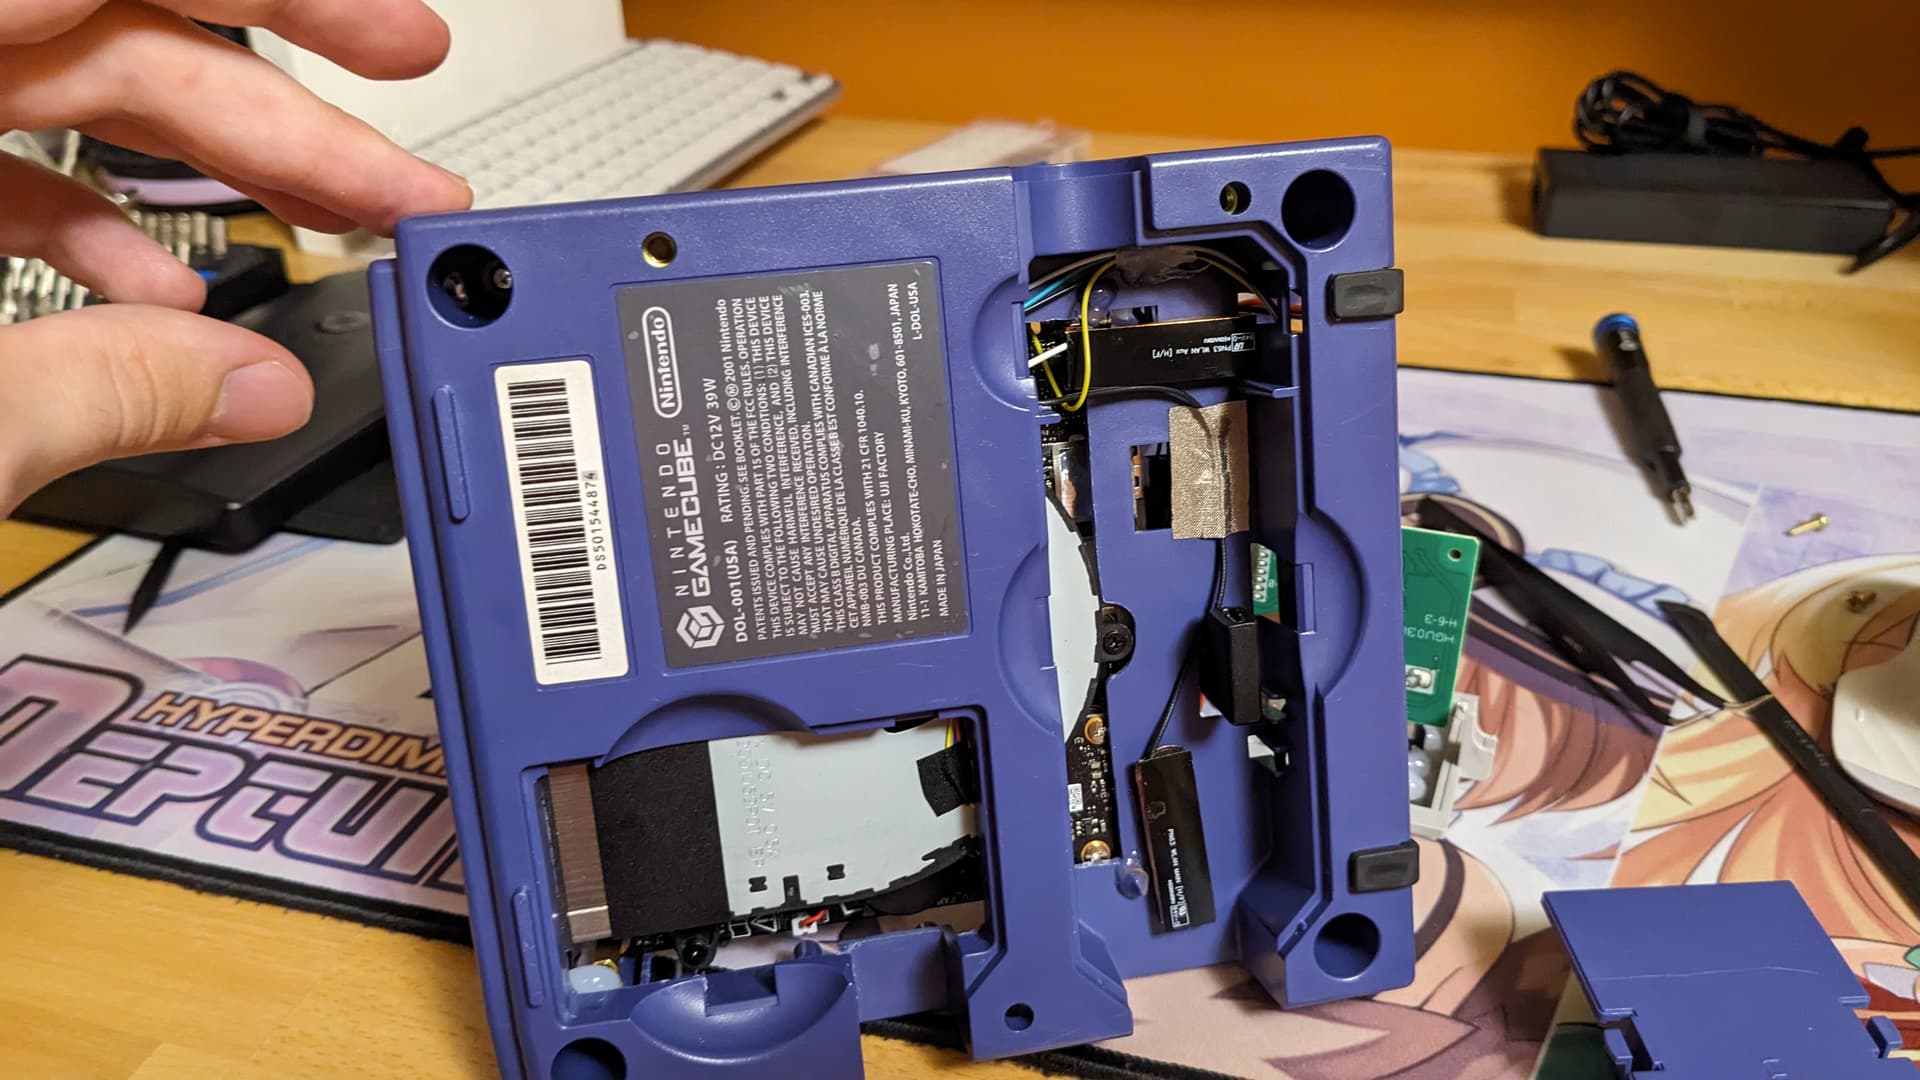
Began to cut the Gamecube insides to make place for the miniPC. The advantage of beginning straight with a PN53, instead of losing time with the UM790 pro, is that the former is smaller, and thus I need to cut less plastic away.
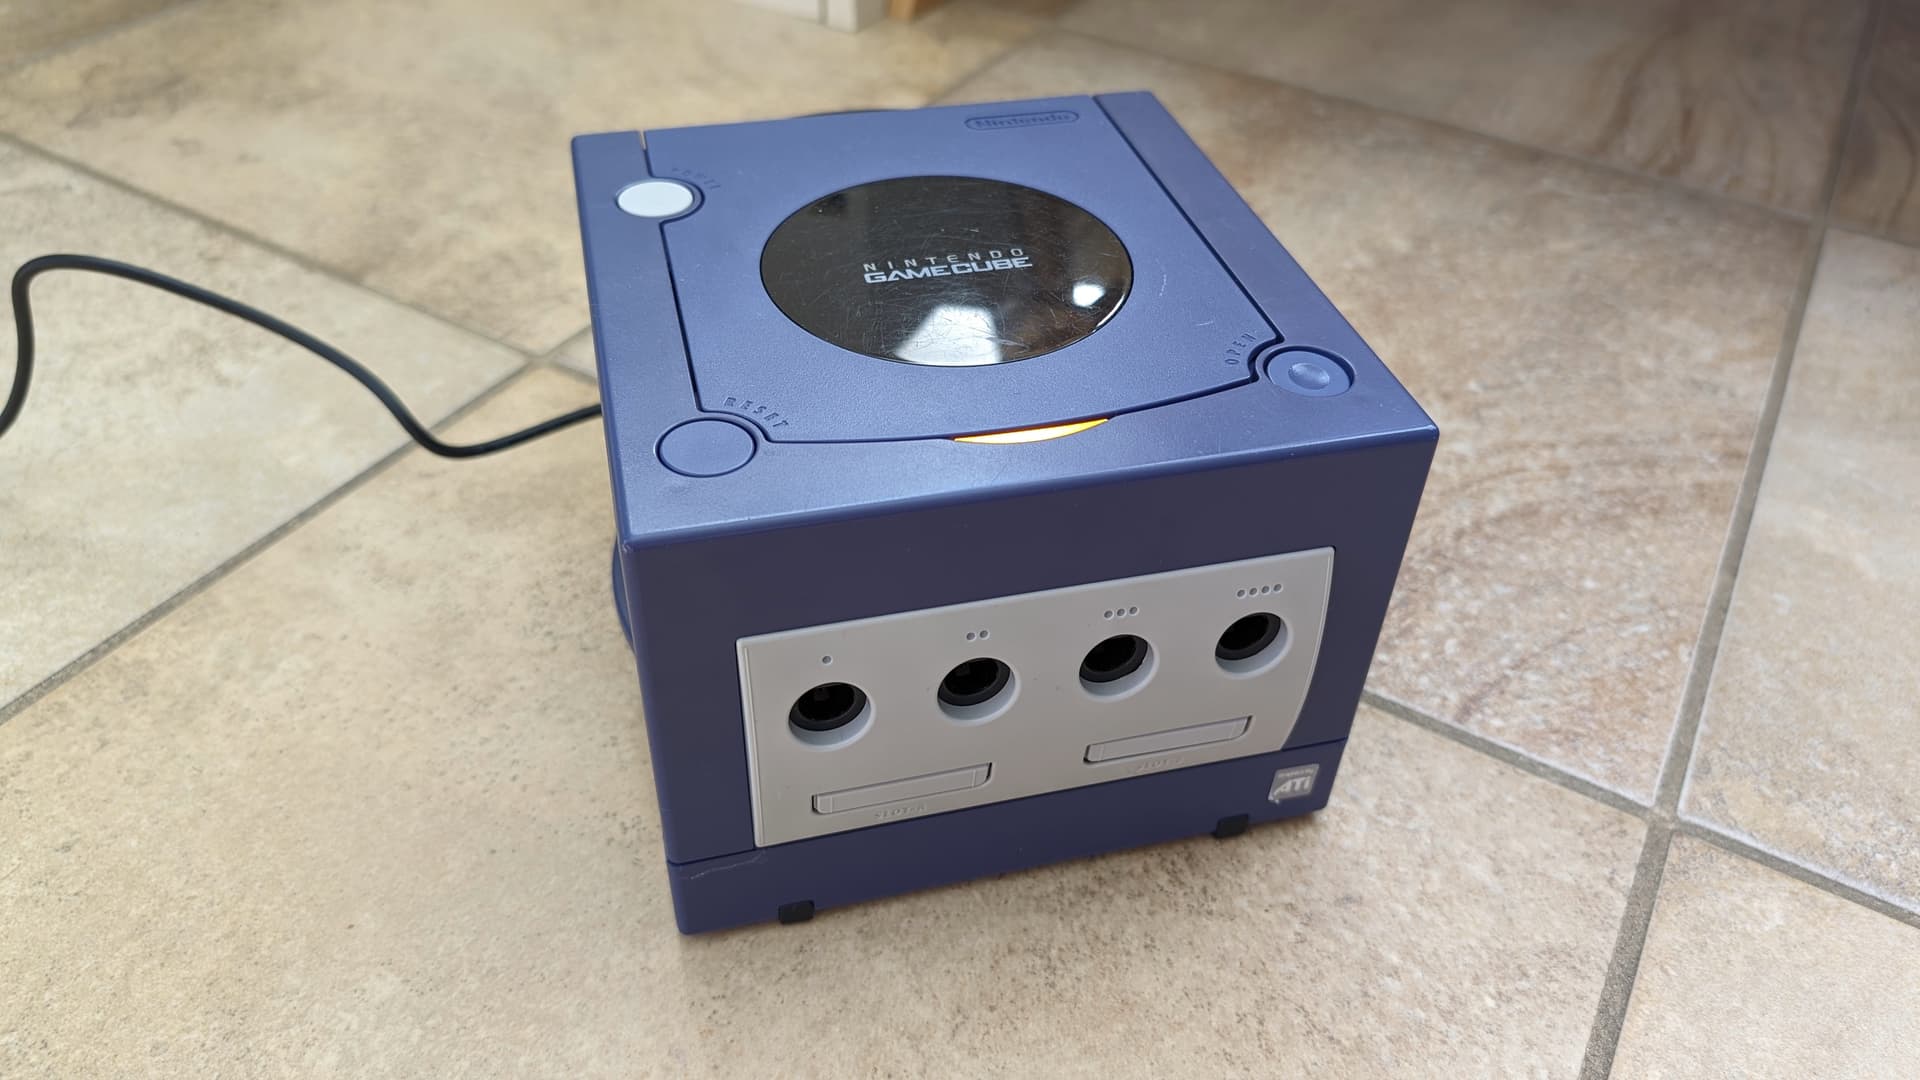
So instead of having to cut and rebuild the front floor, I can just removed a small section, à la my first Gamecube. This means less cutting, no bodywork involved, and I keep more the spirit of the Gamecube.
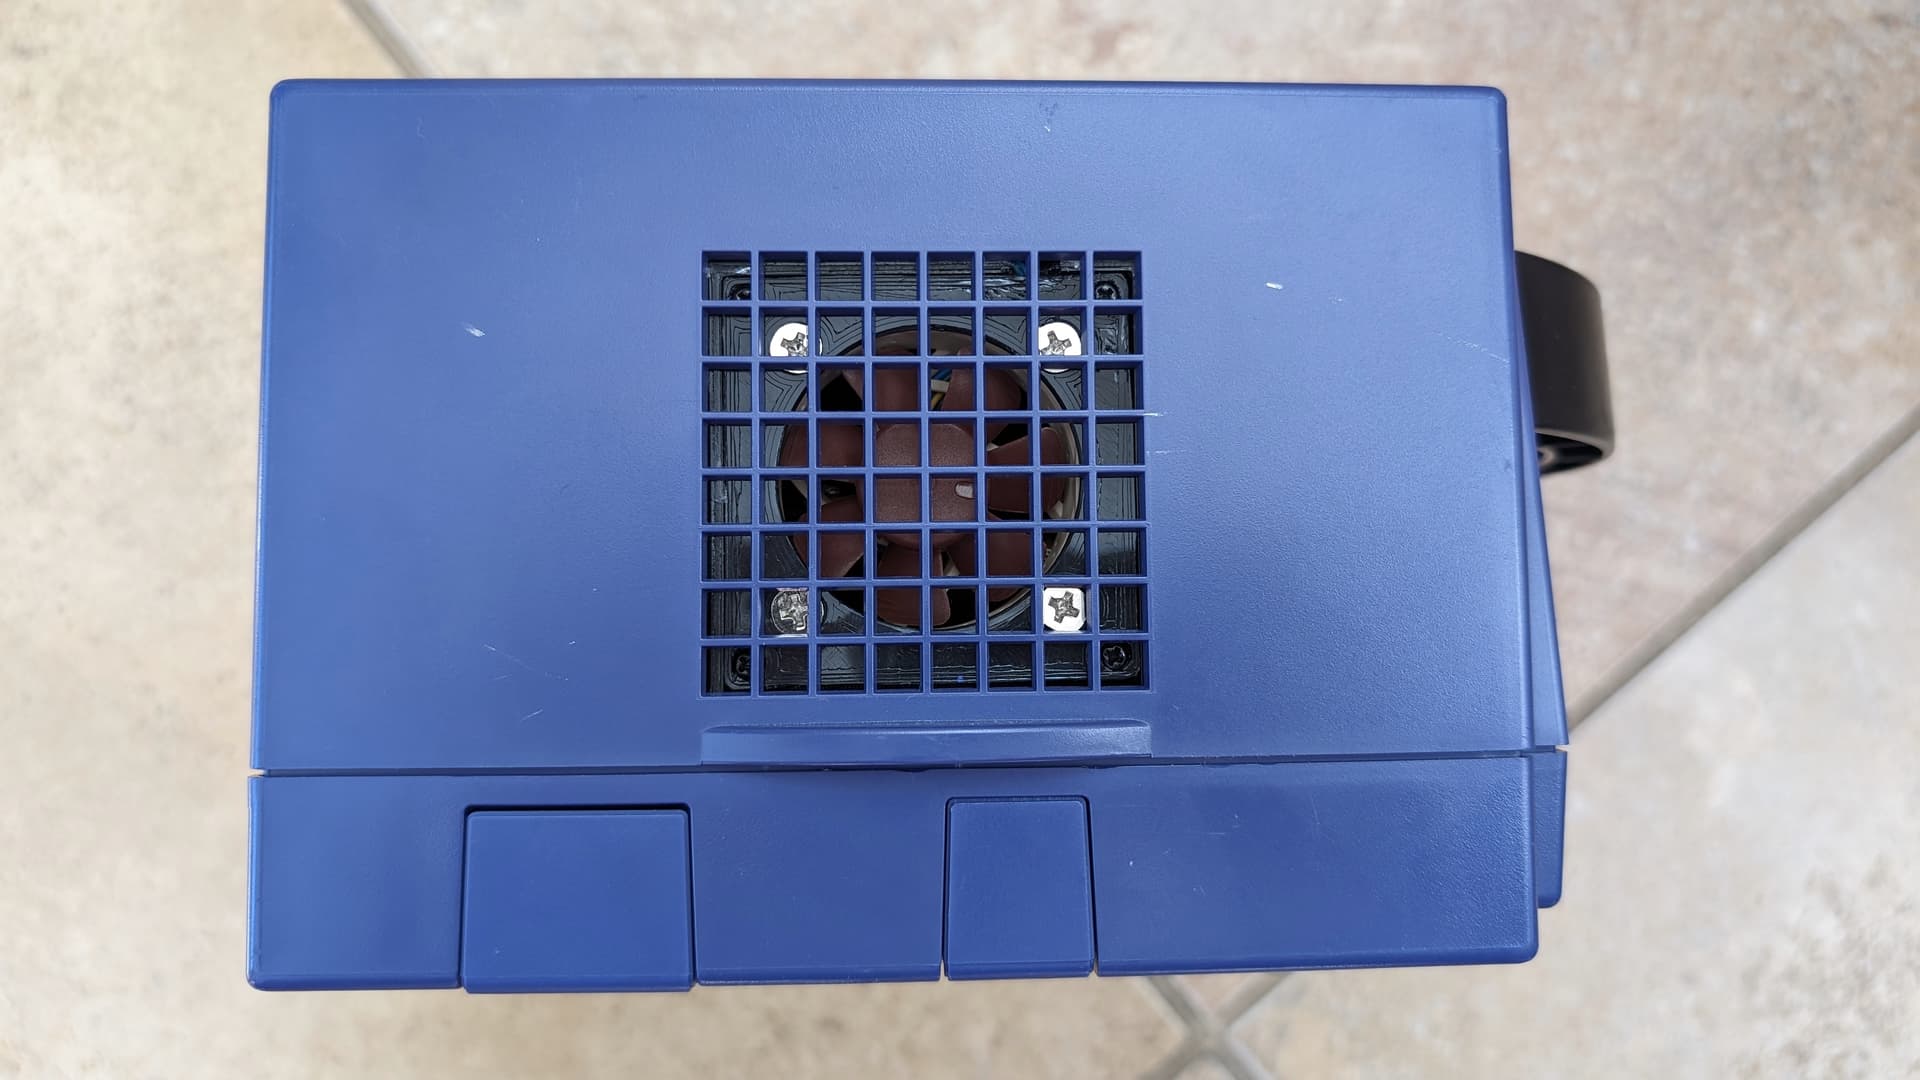
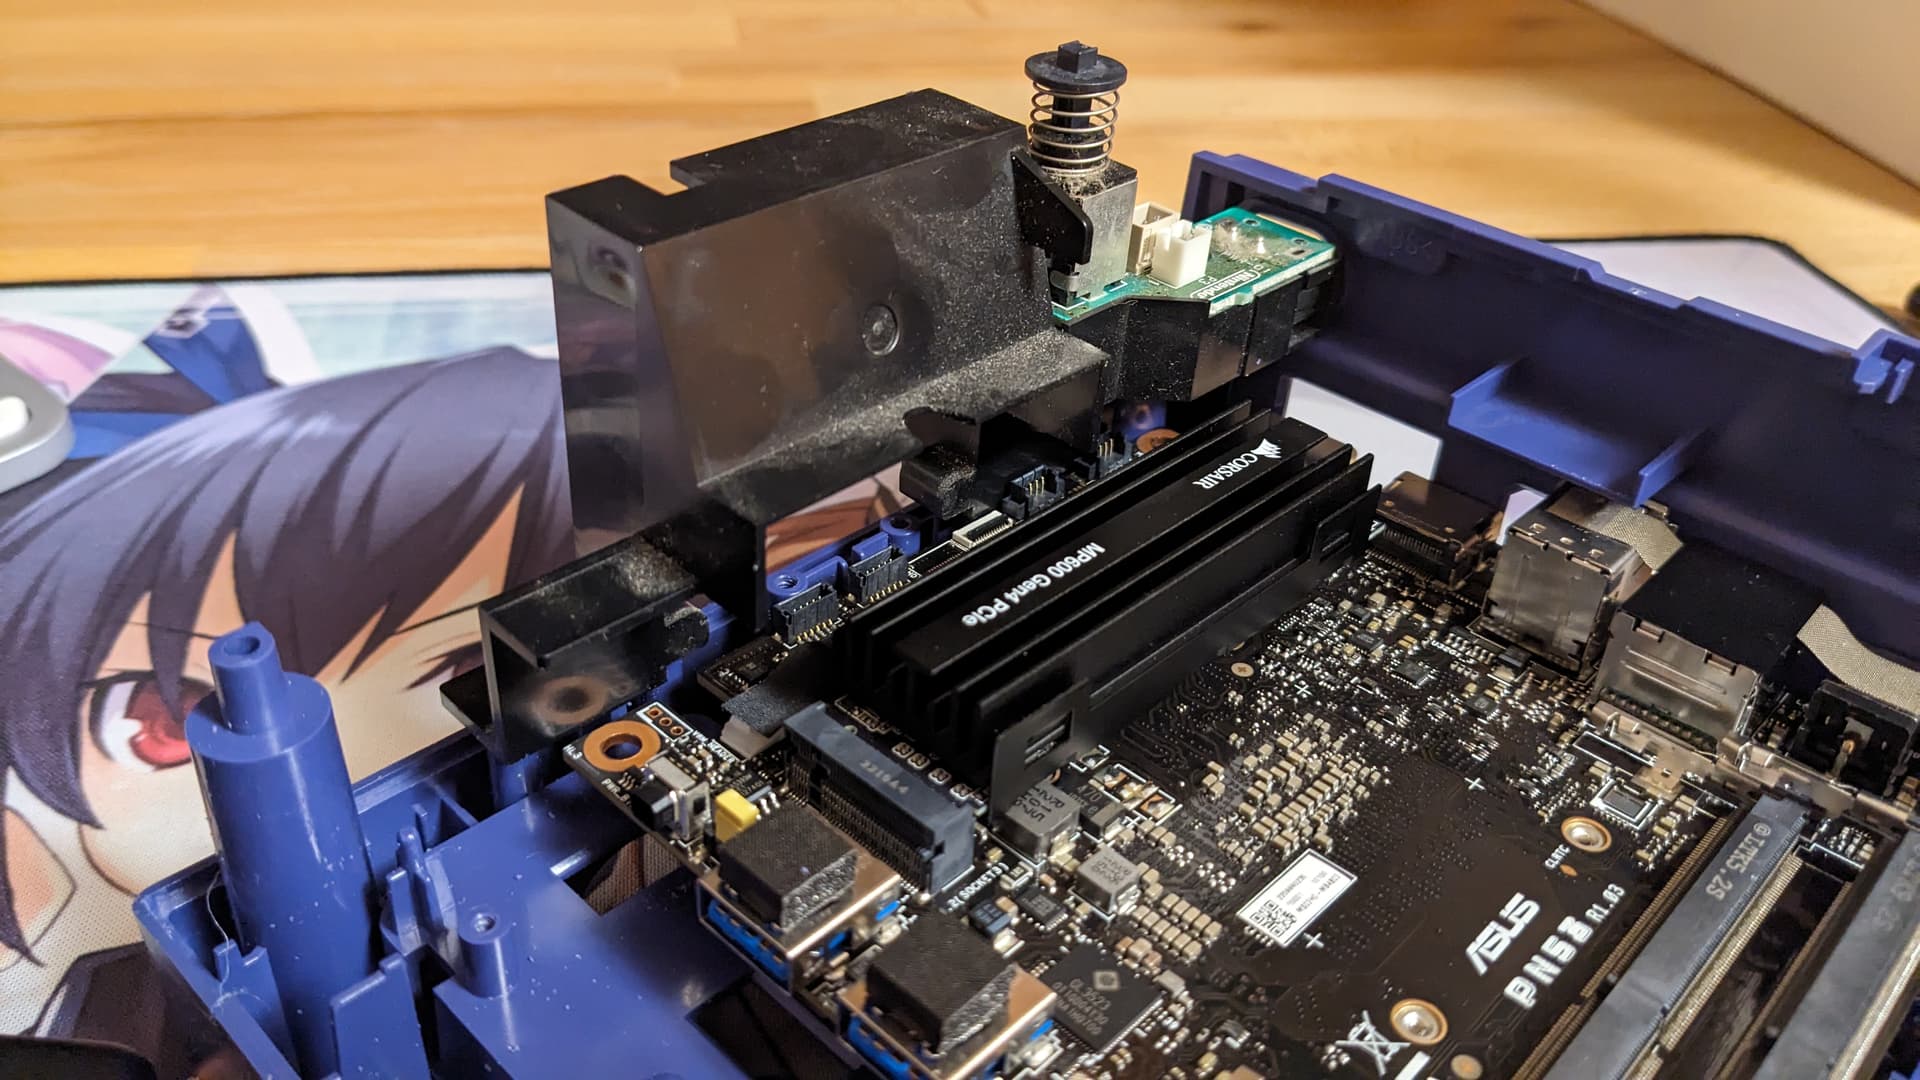
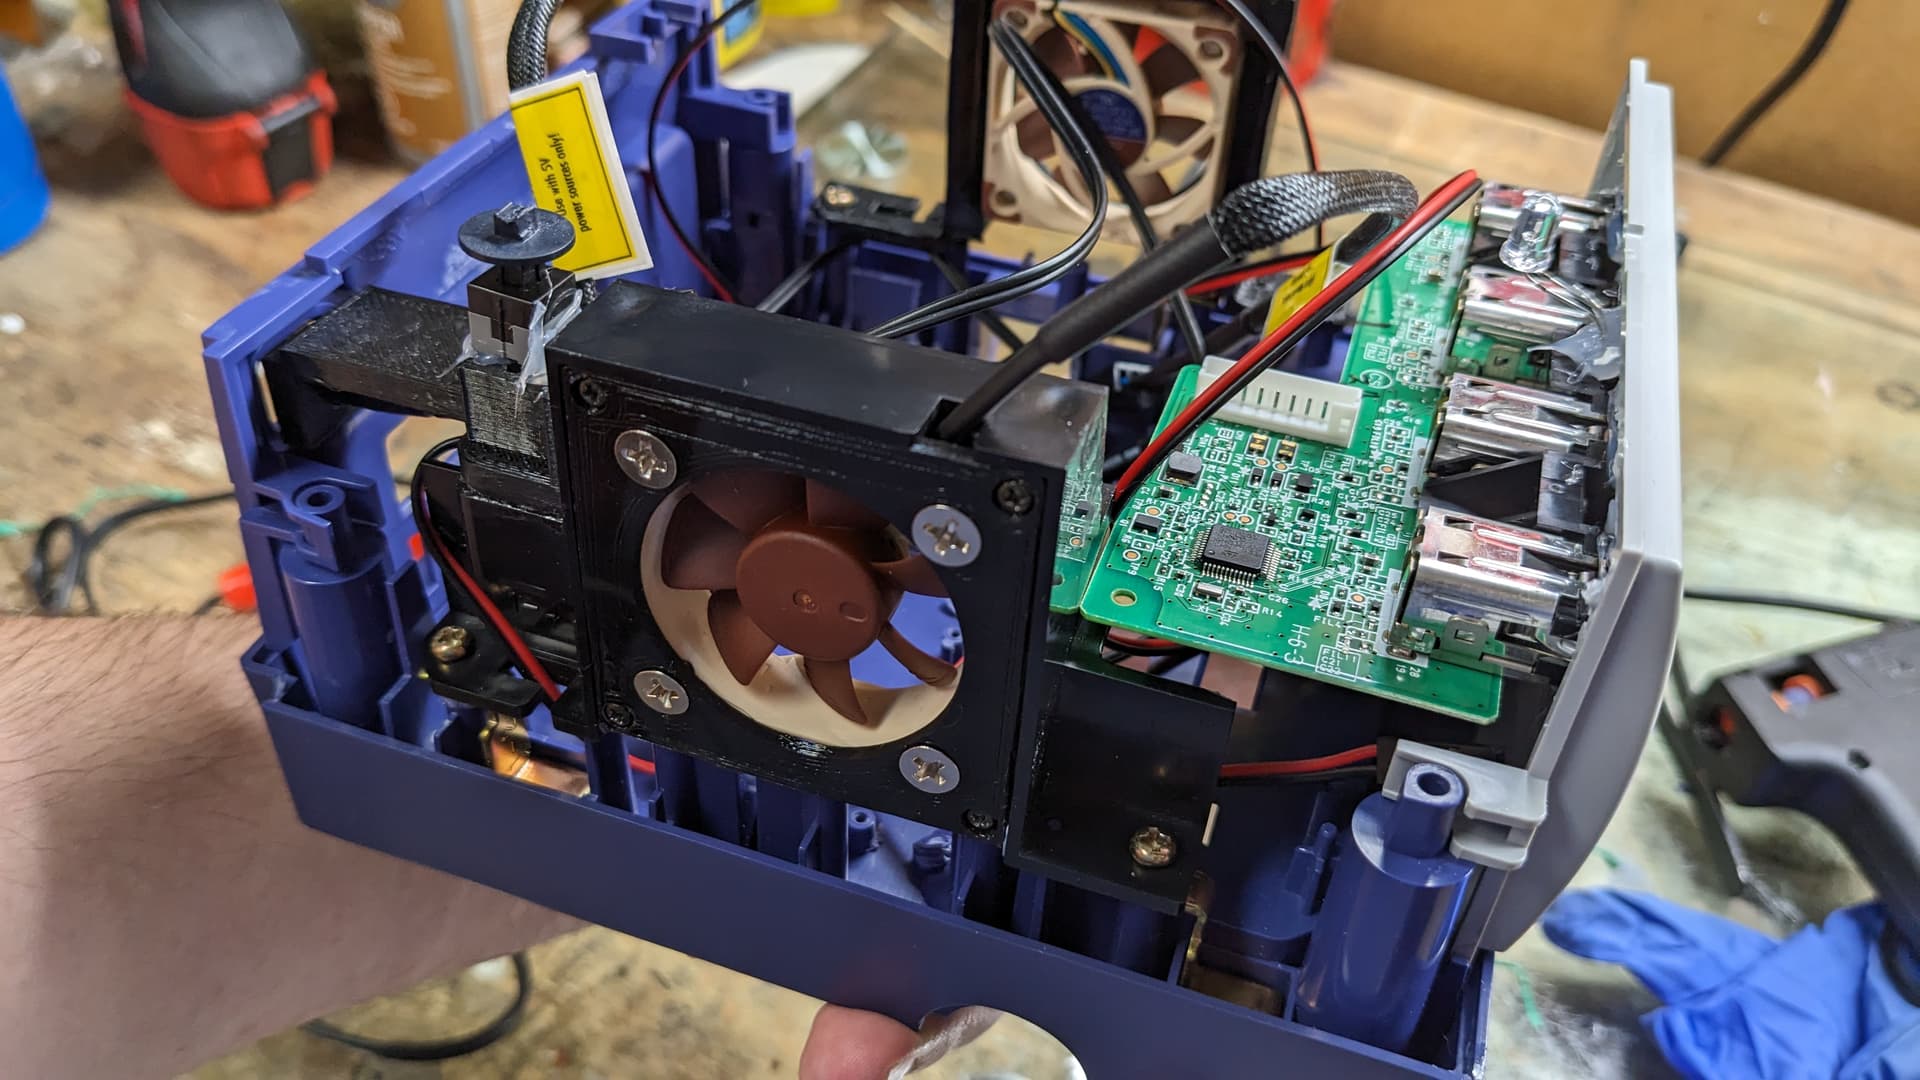
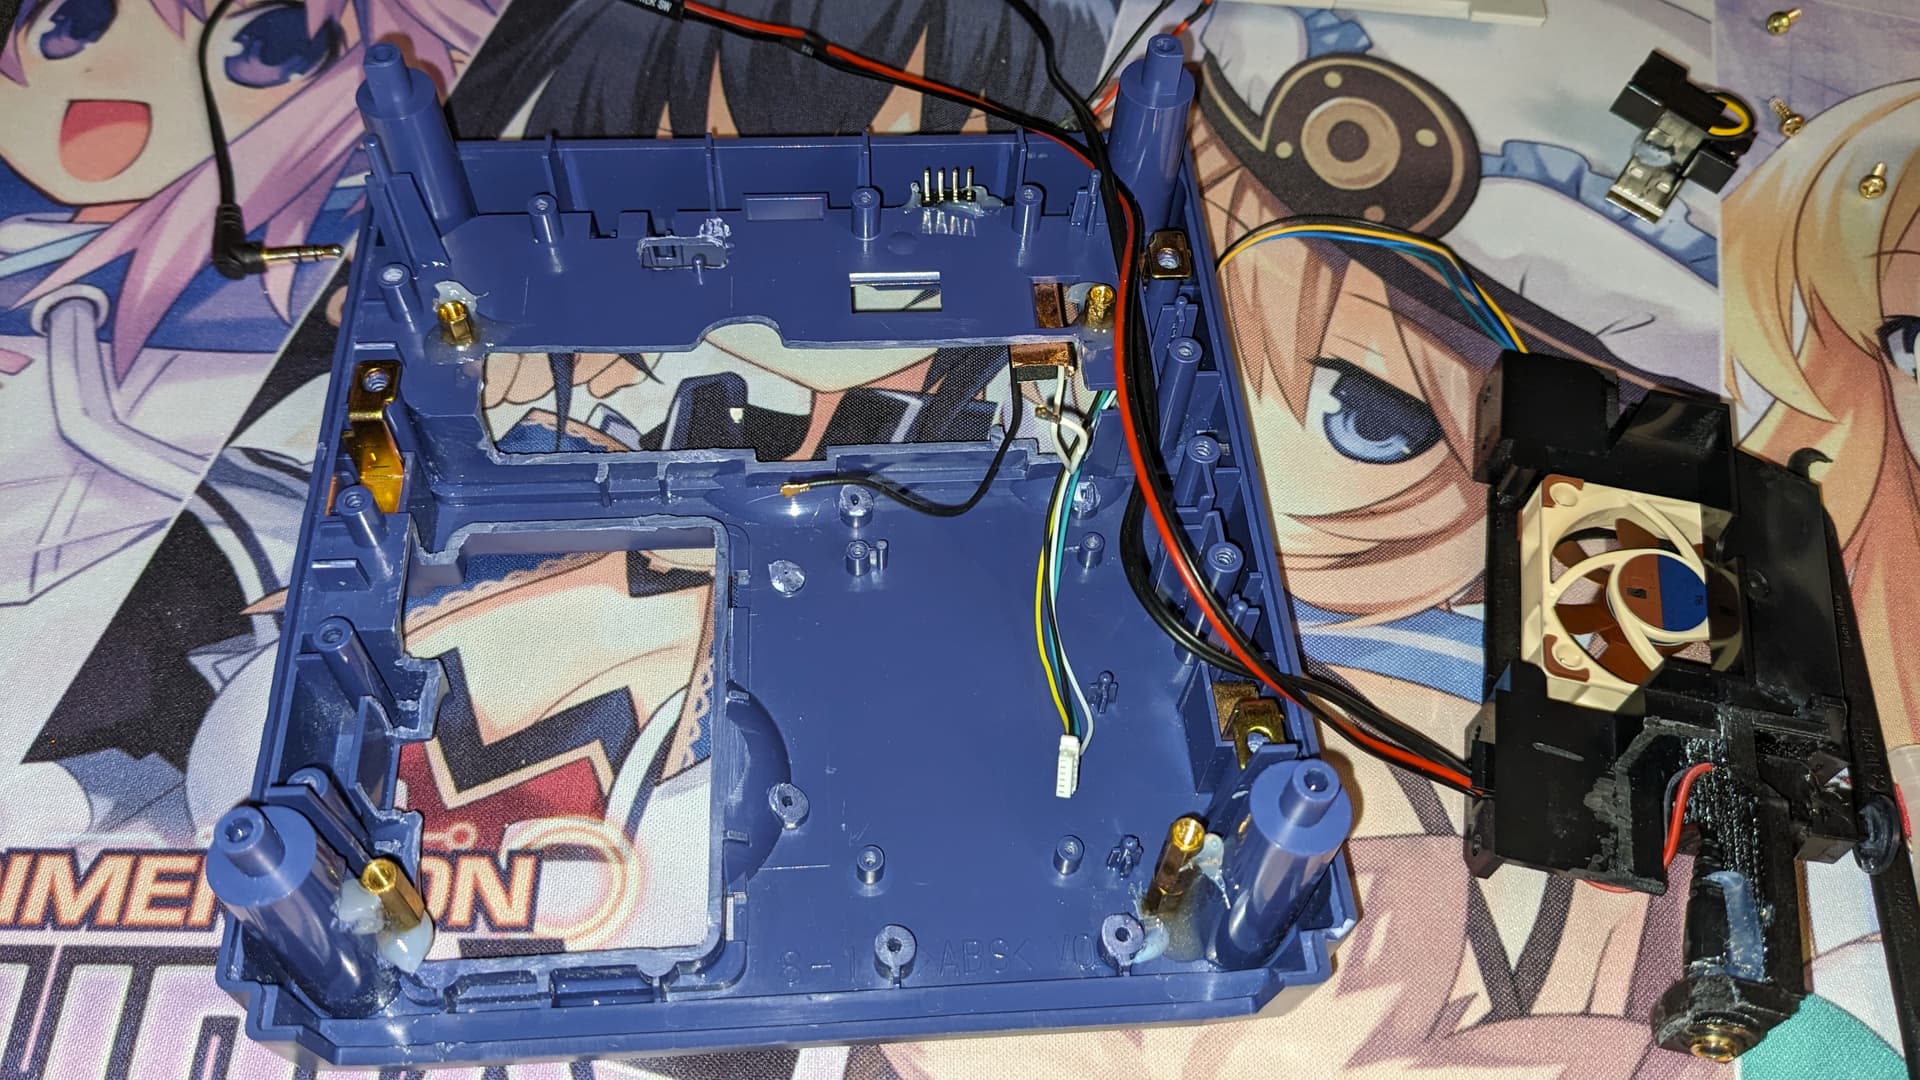
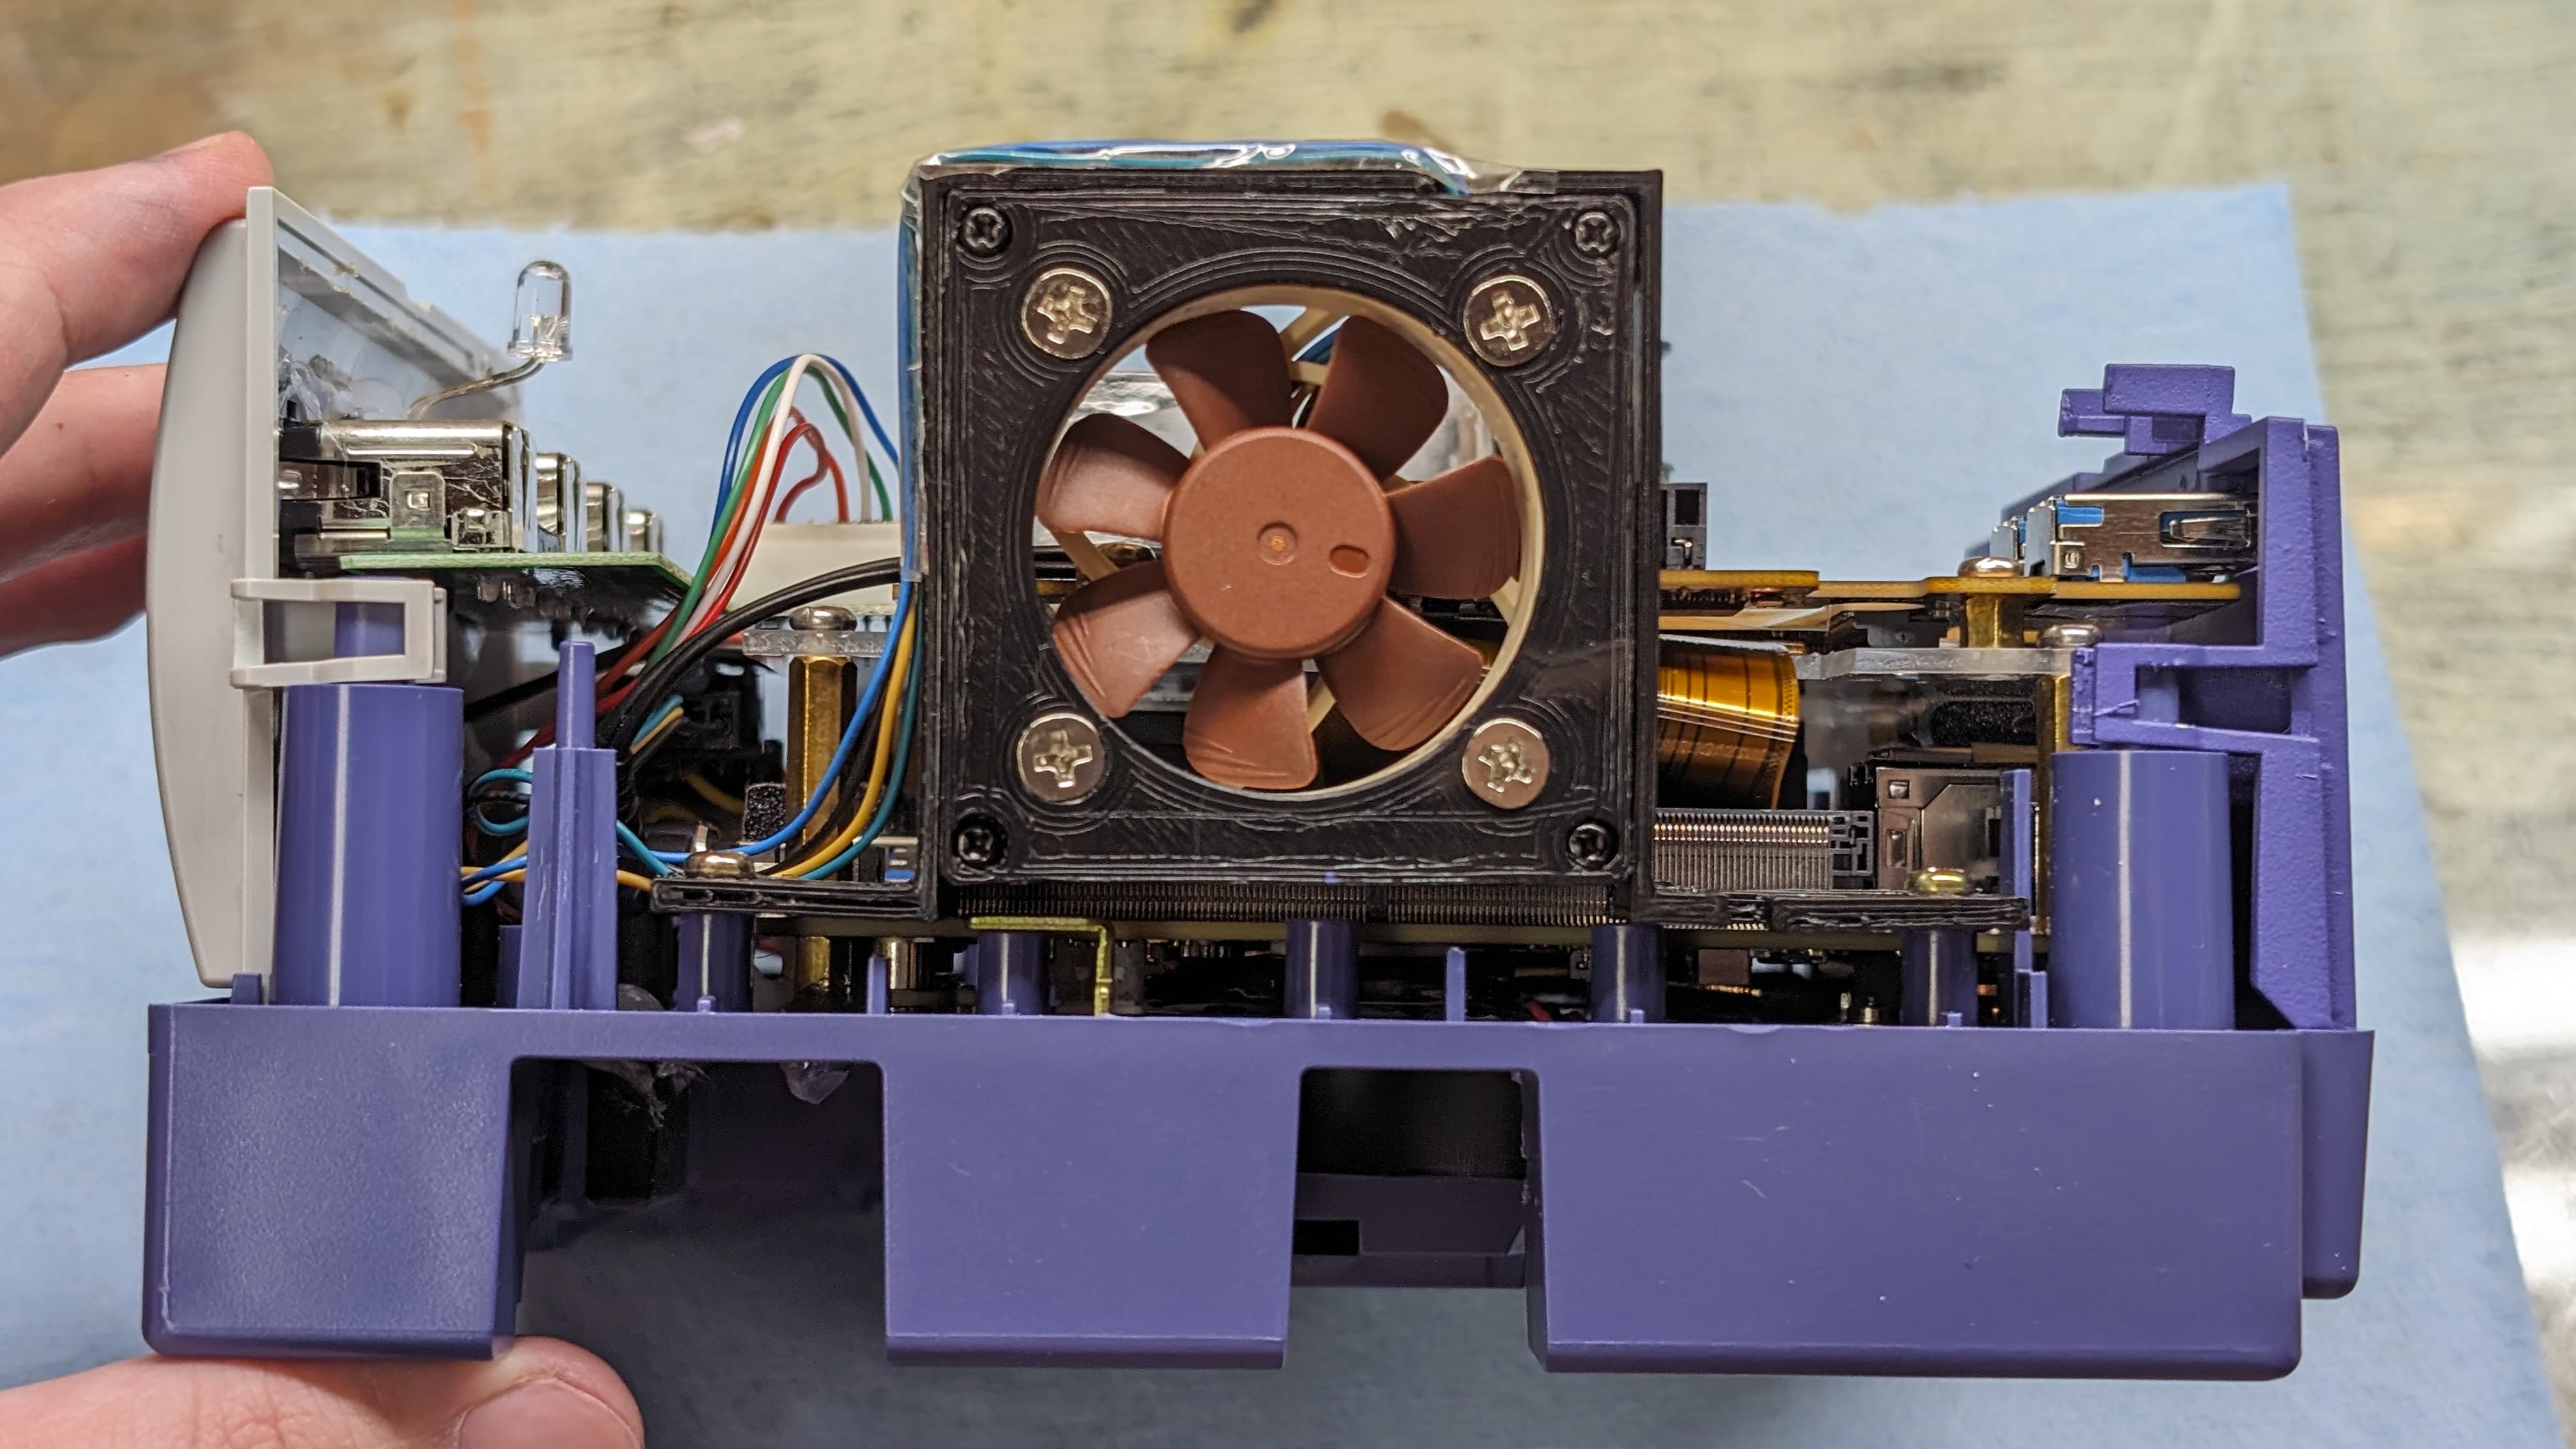
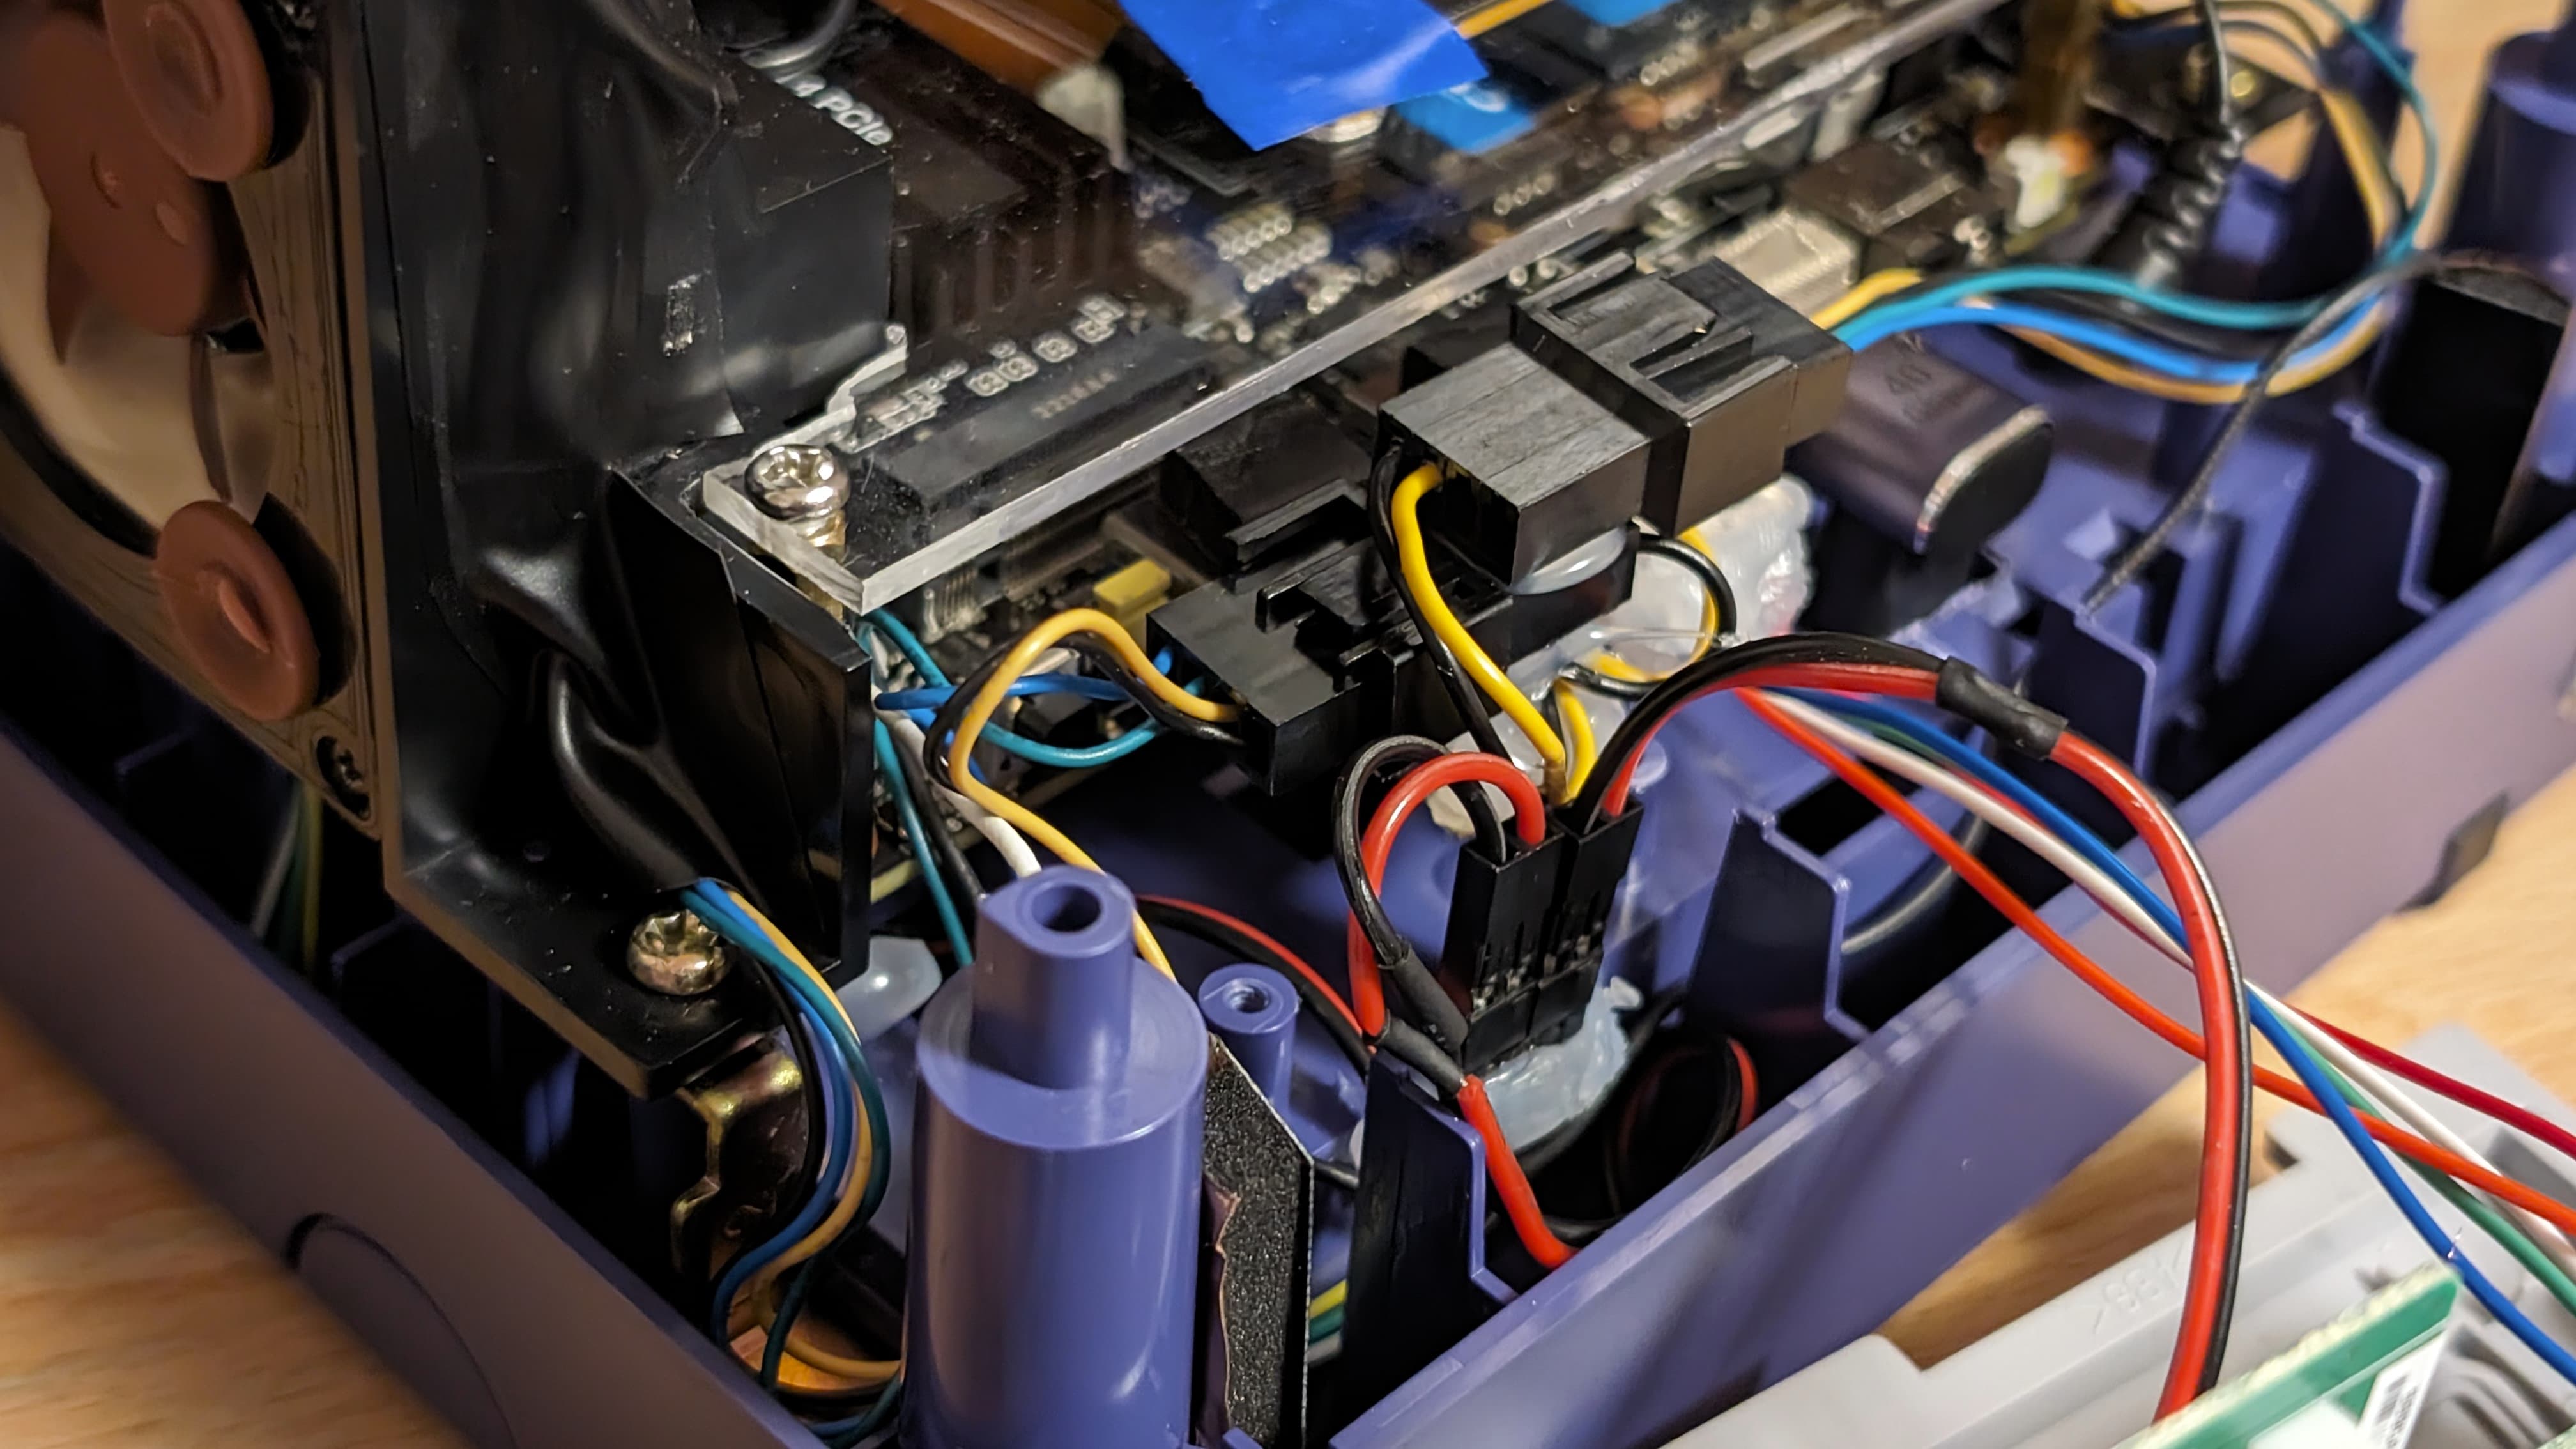
And the original power button/power/fan assembly still fits. However I need to use a 10mm instead of a 20mm Noctua 40mm fan on that side. The 20mm, anyway I place it, would interfer with the front panel header.
I believe someone made a USB pd adapter for the game cube idk if that’s worth checking out, I’ll post a link when I find it
Here’s a clone I think https://a.aliexpress.com/_mO9yliY
Omy god that’s so interesting. But the PN53 doesn’t support PD with the front USB C. But I kind of want to do with my Gamecube, even if I don’t use it lol.
But I like the idea, maybe I could 3d print something for the audio jack I initially planned to put there, inside of just drilling in the power port.
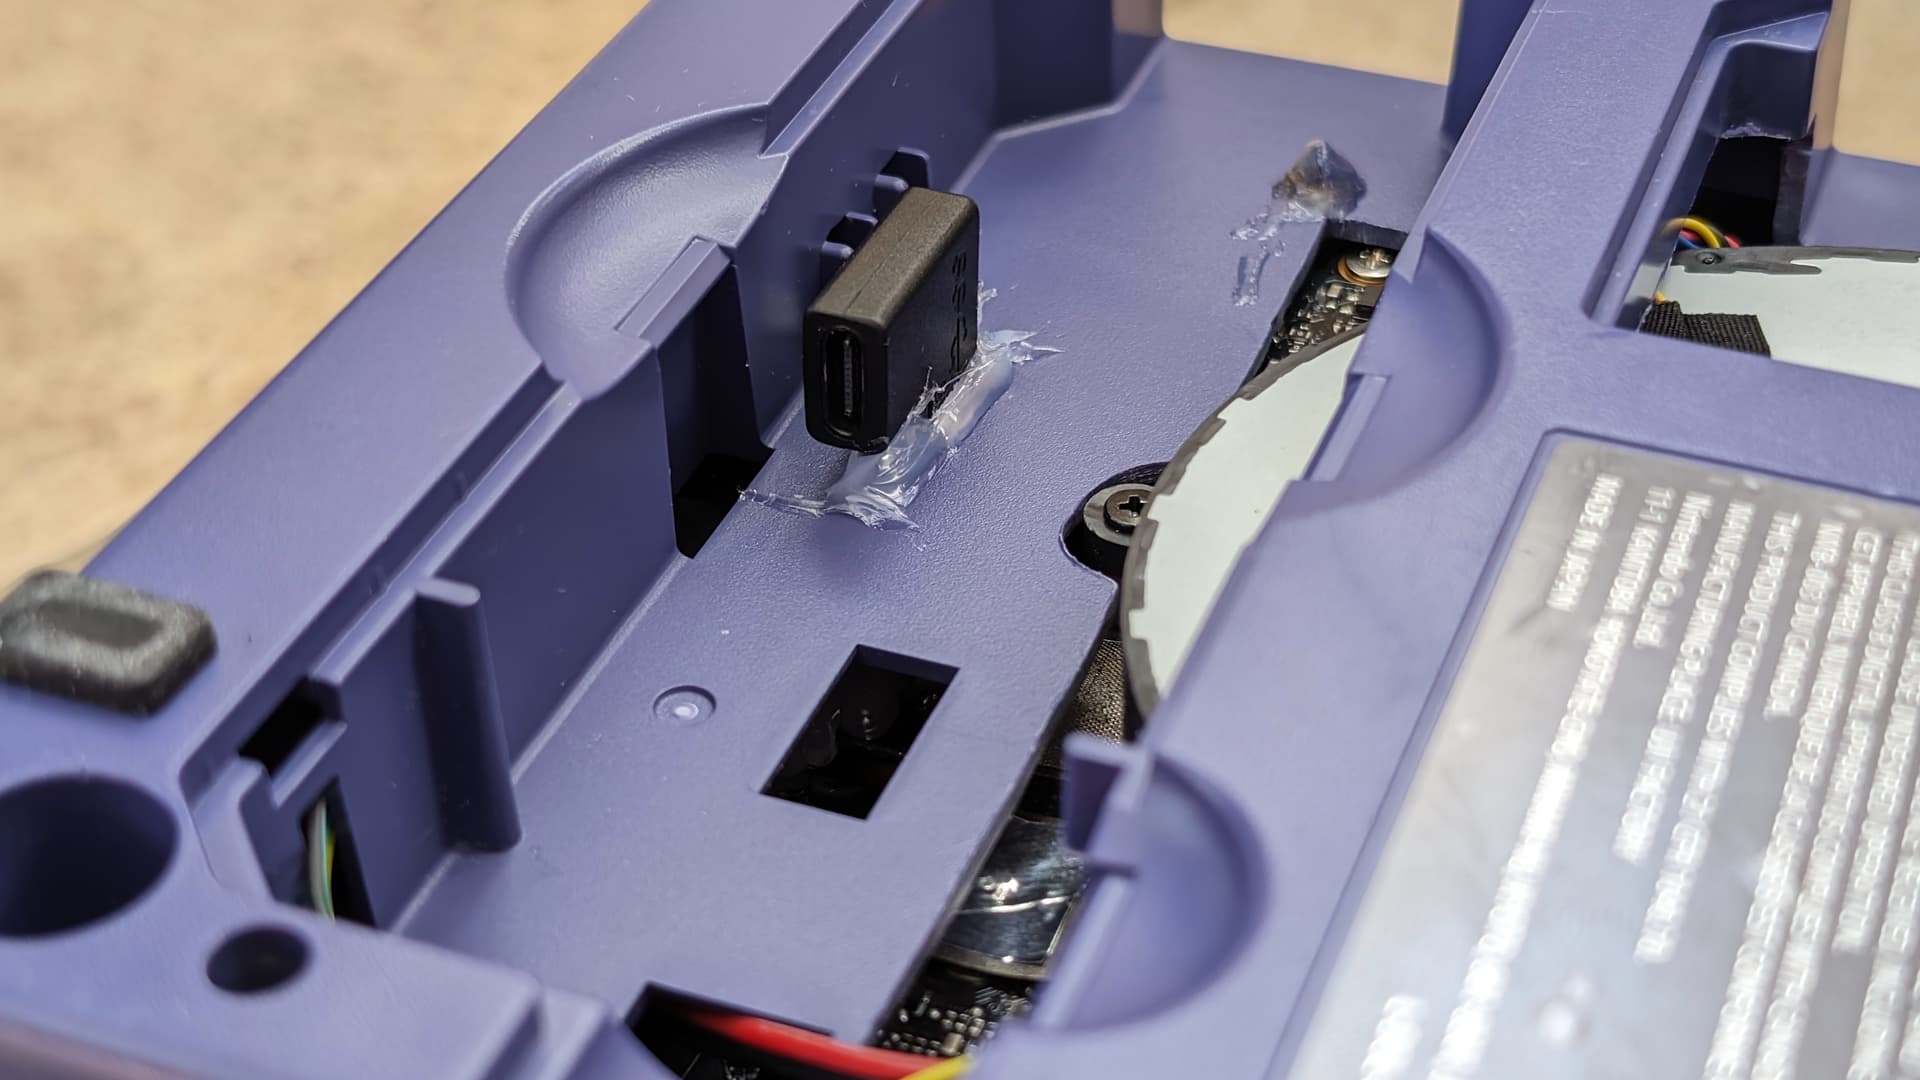
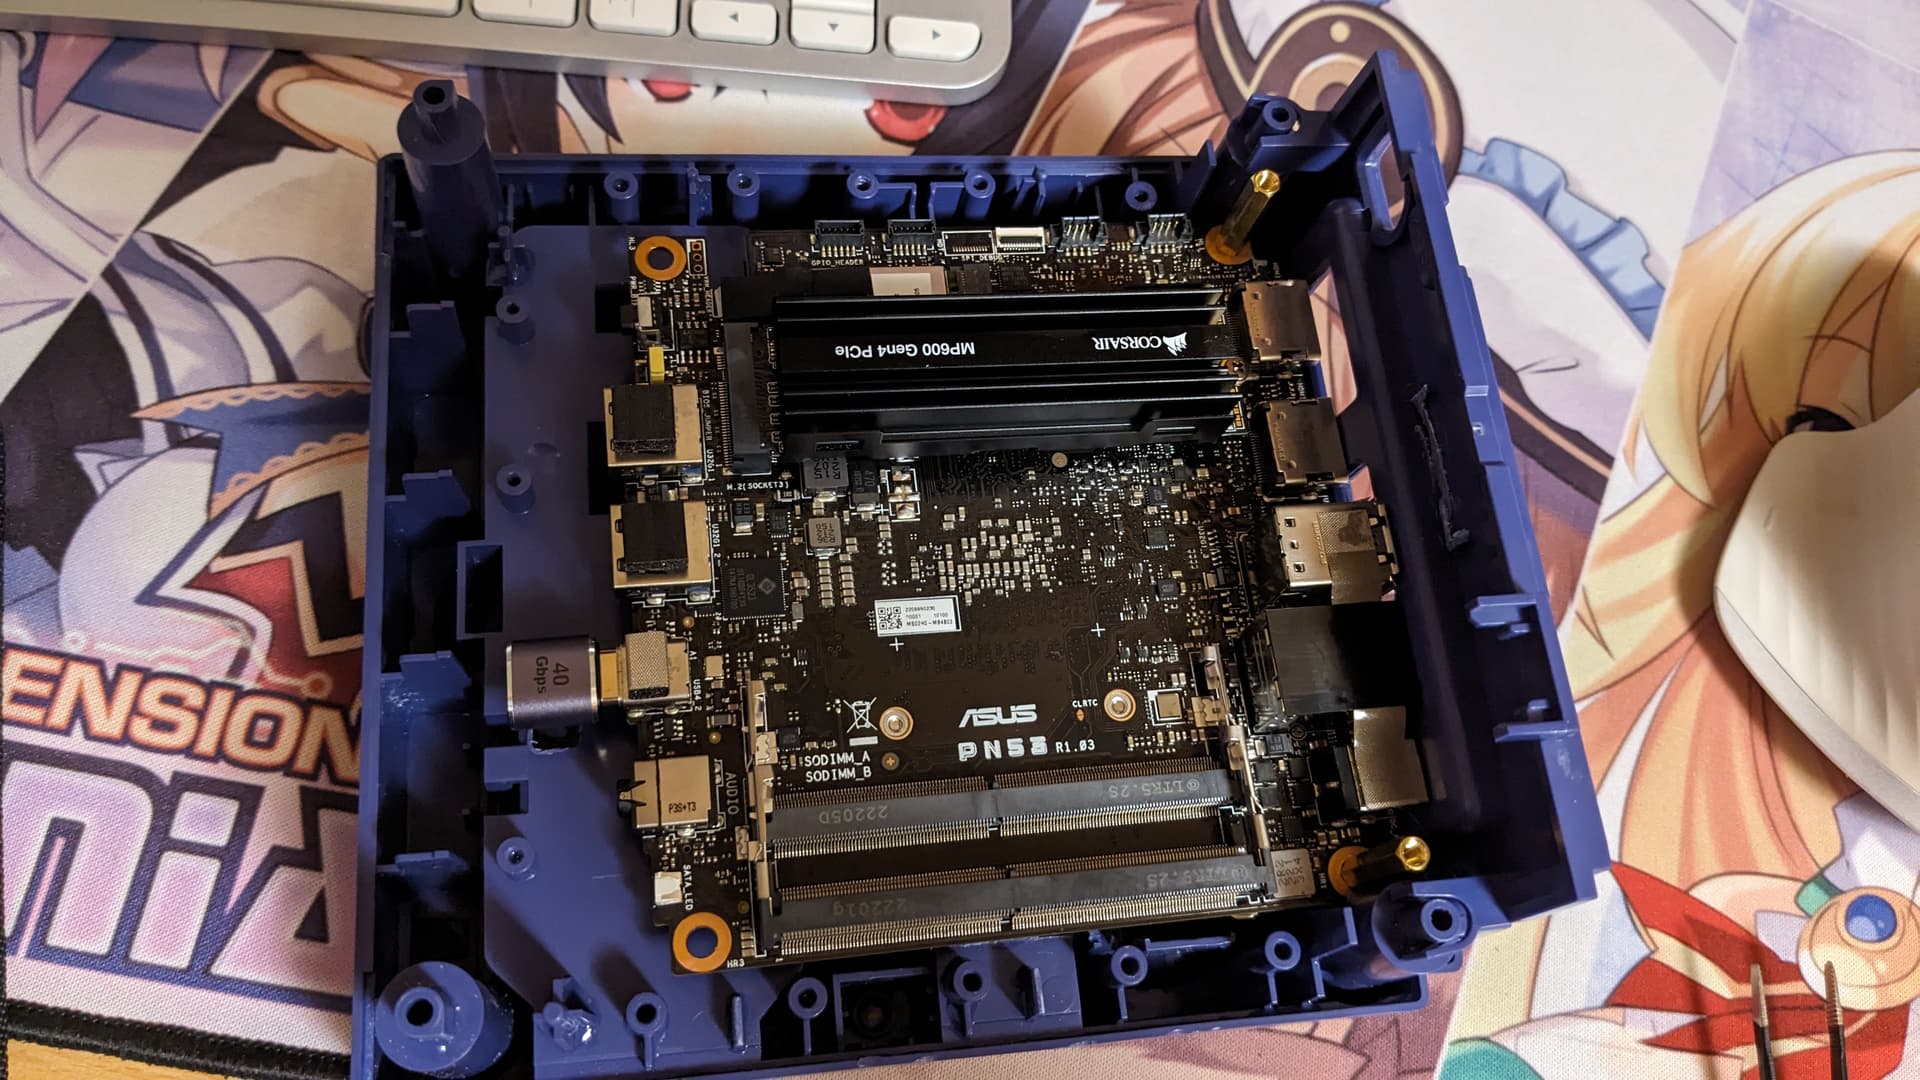
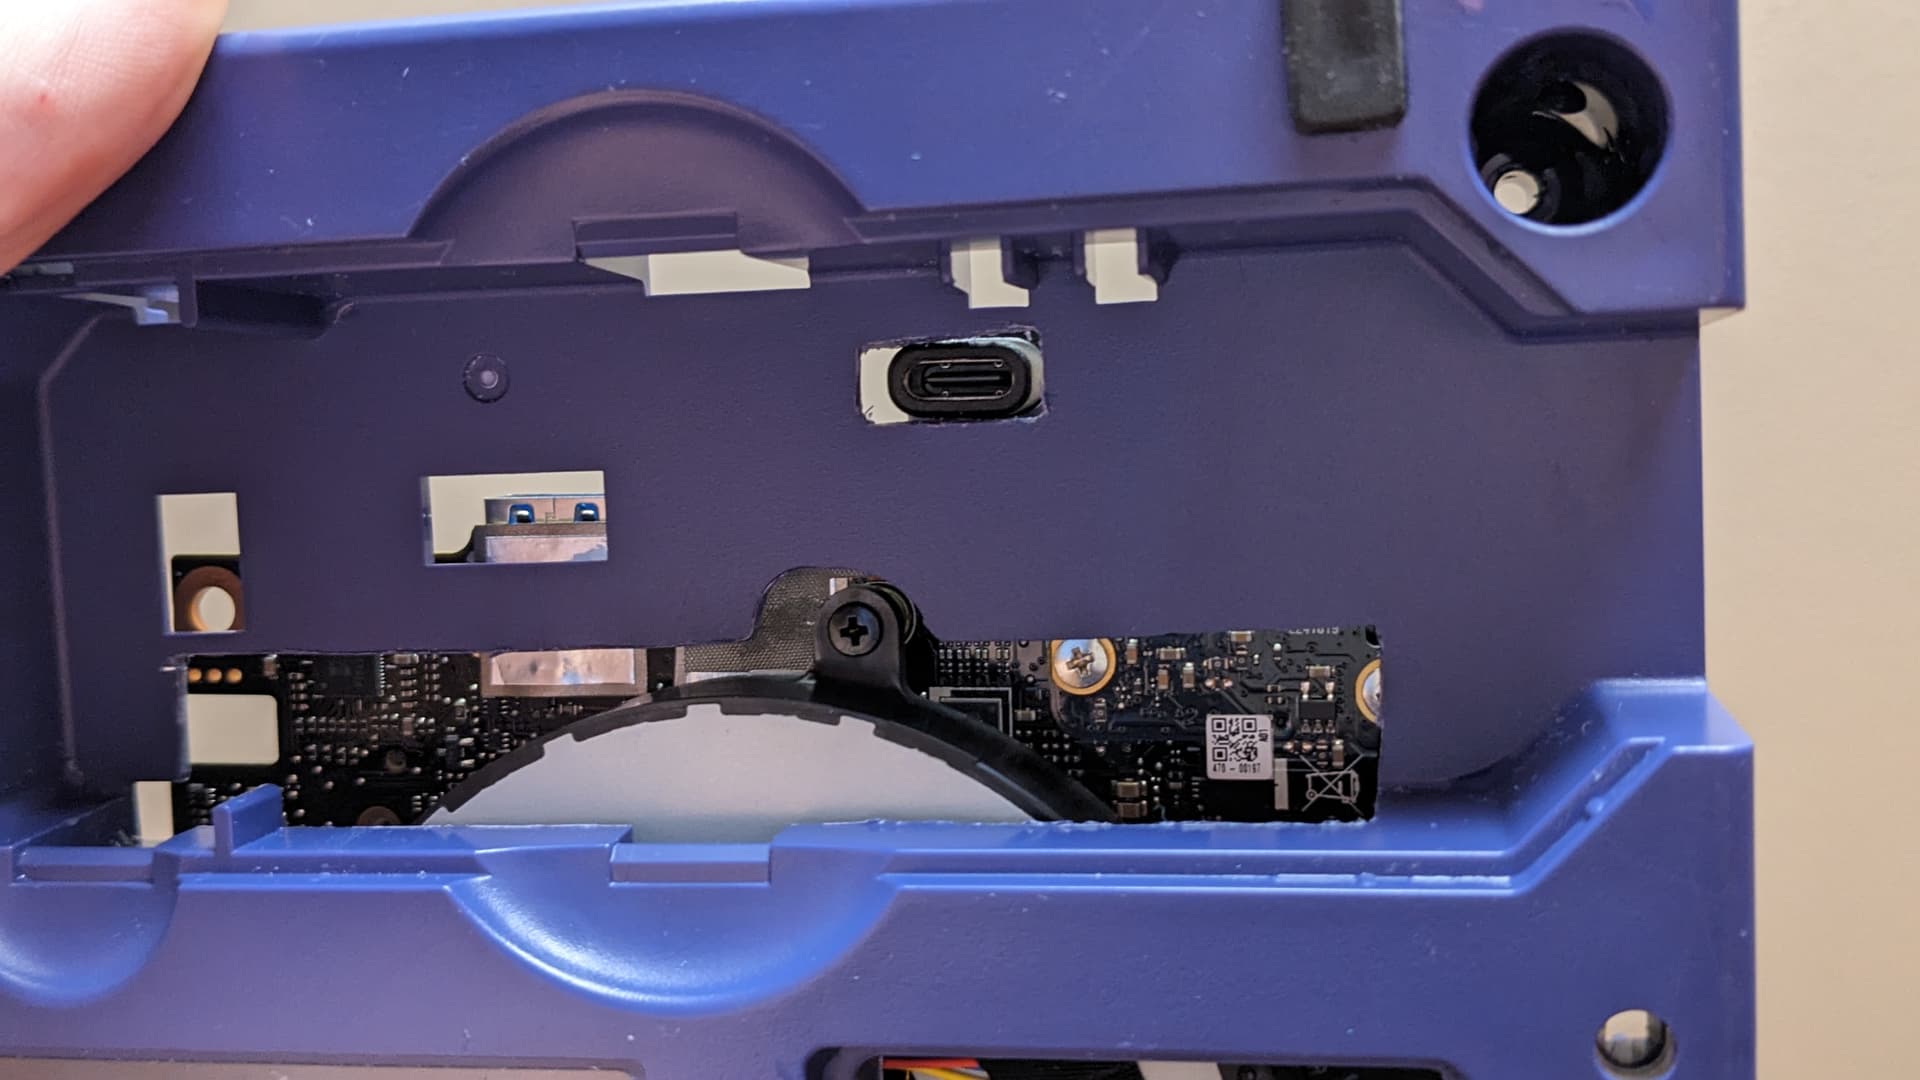
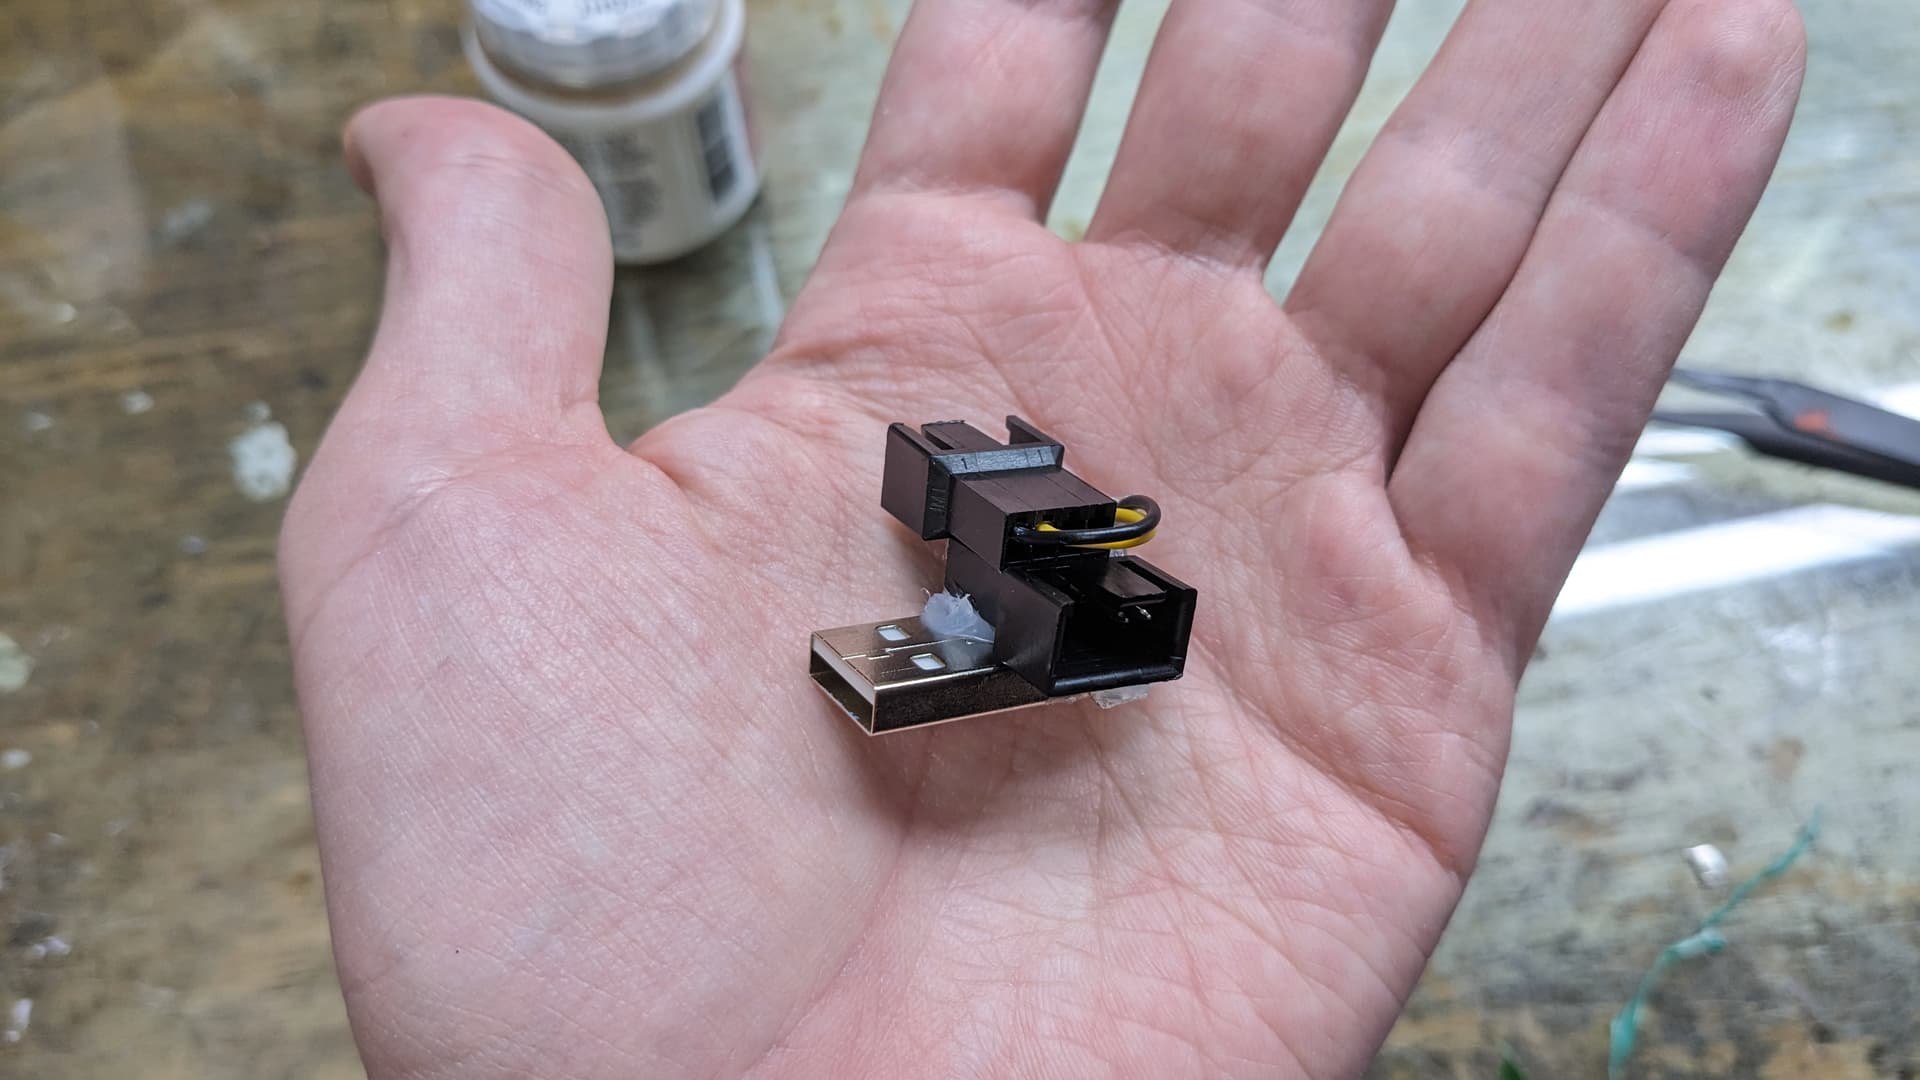
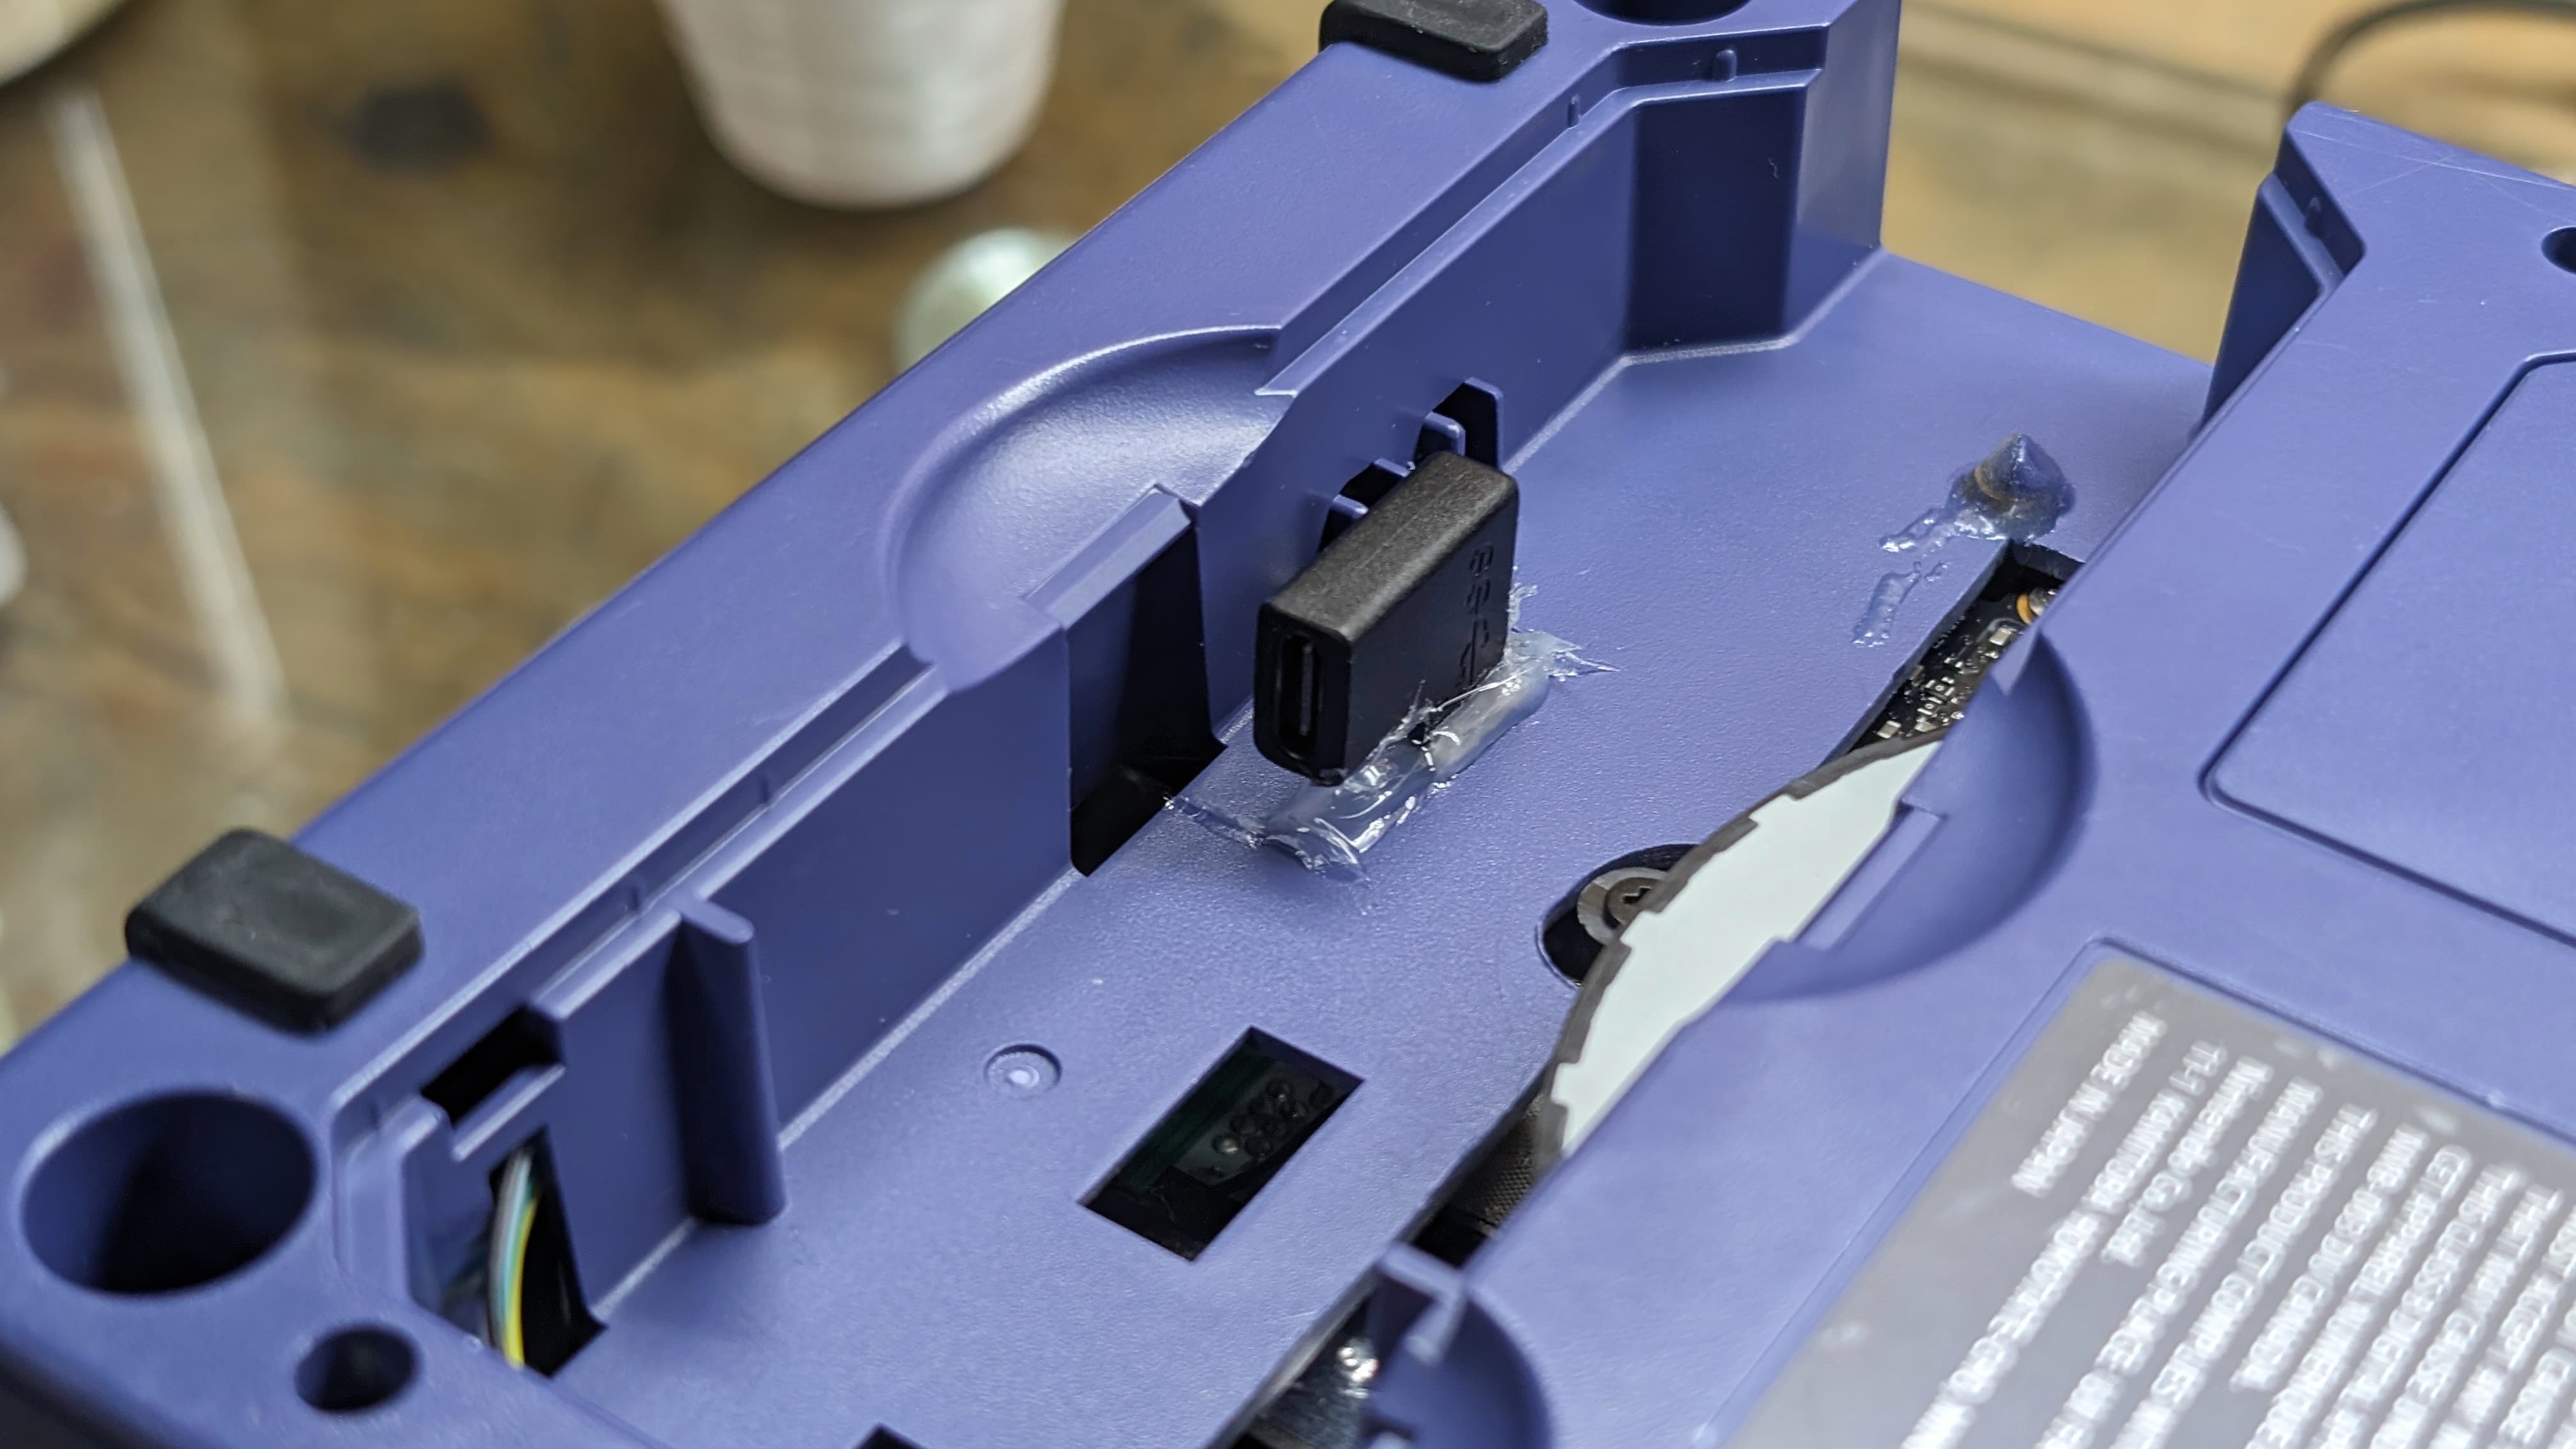
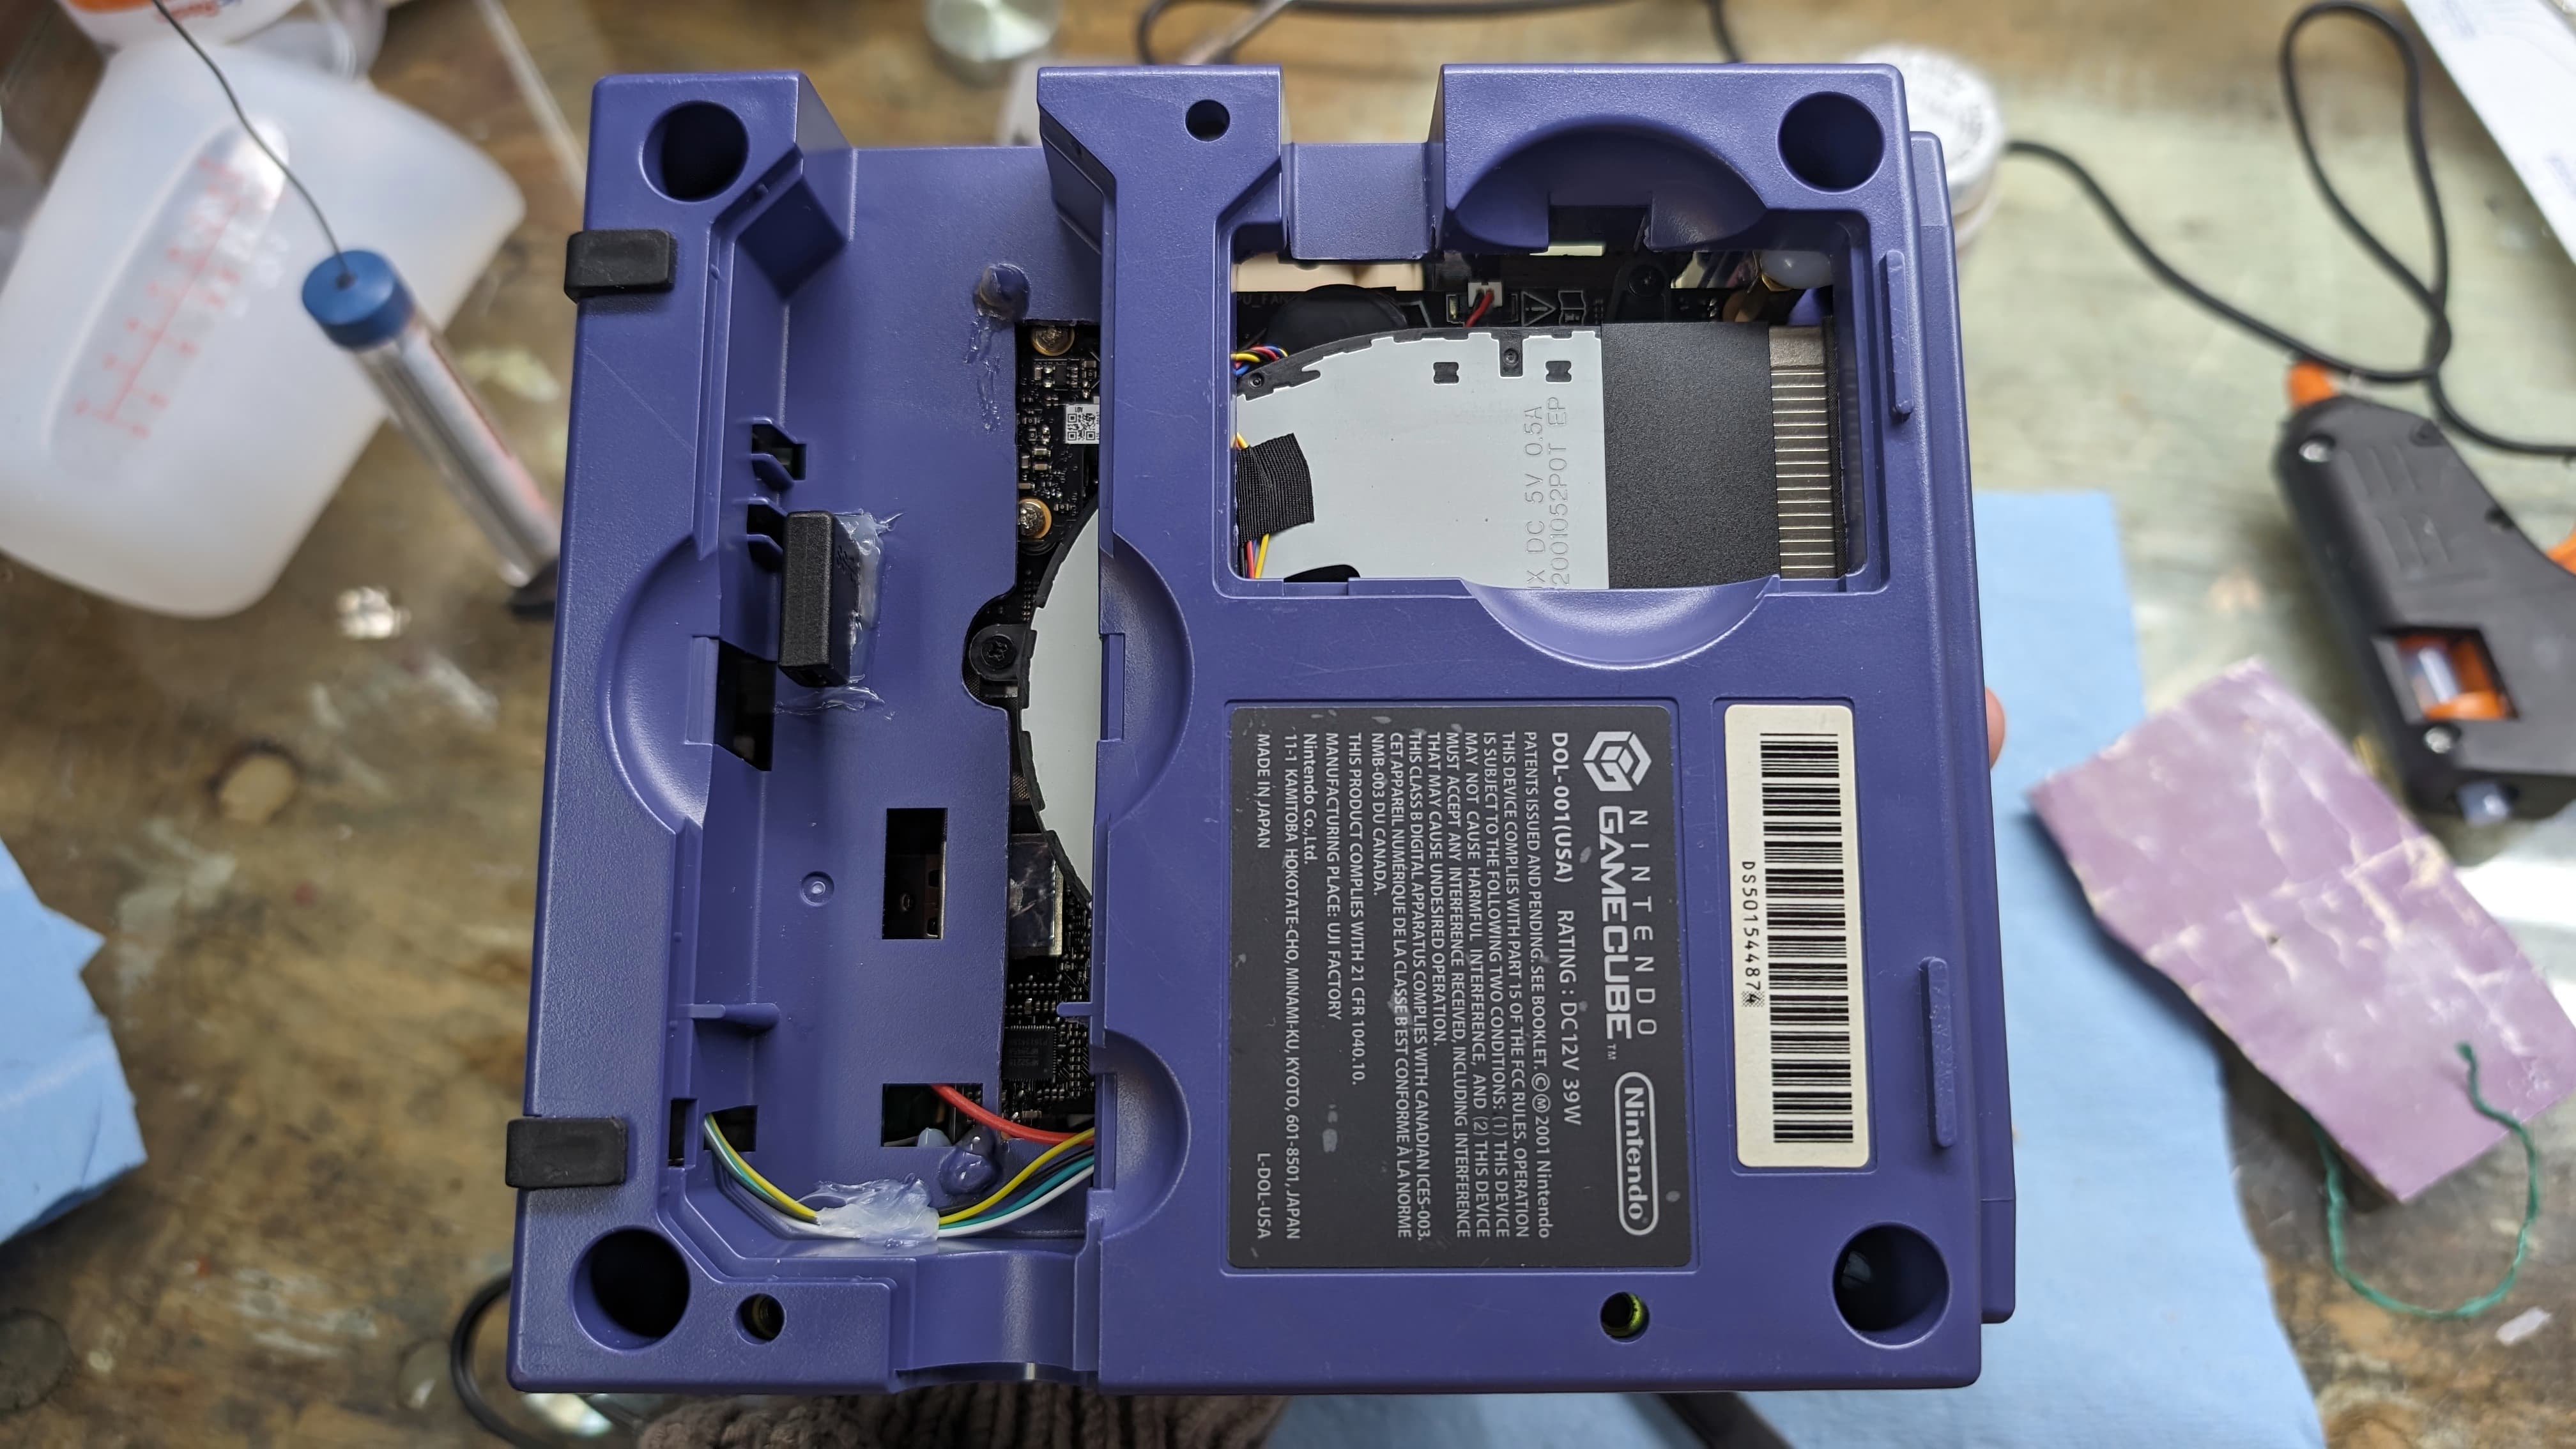
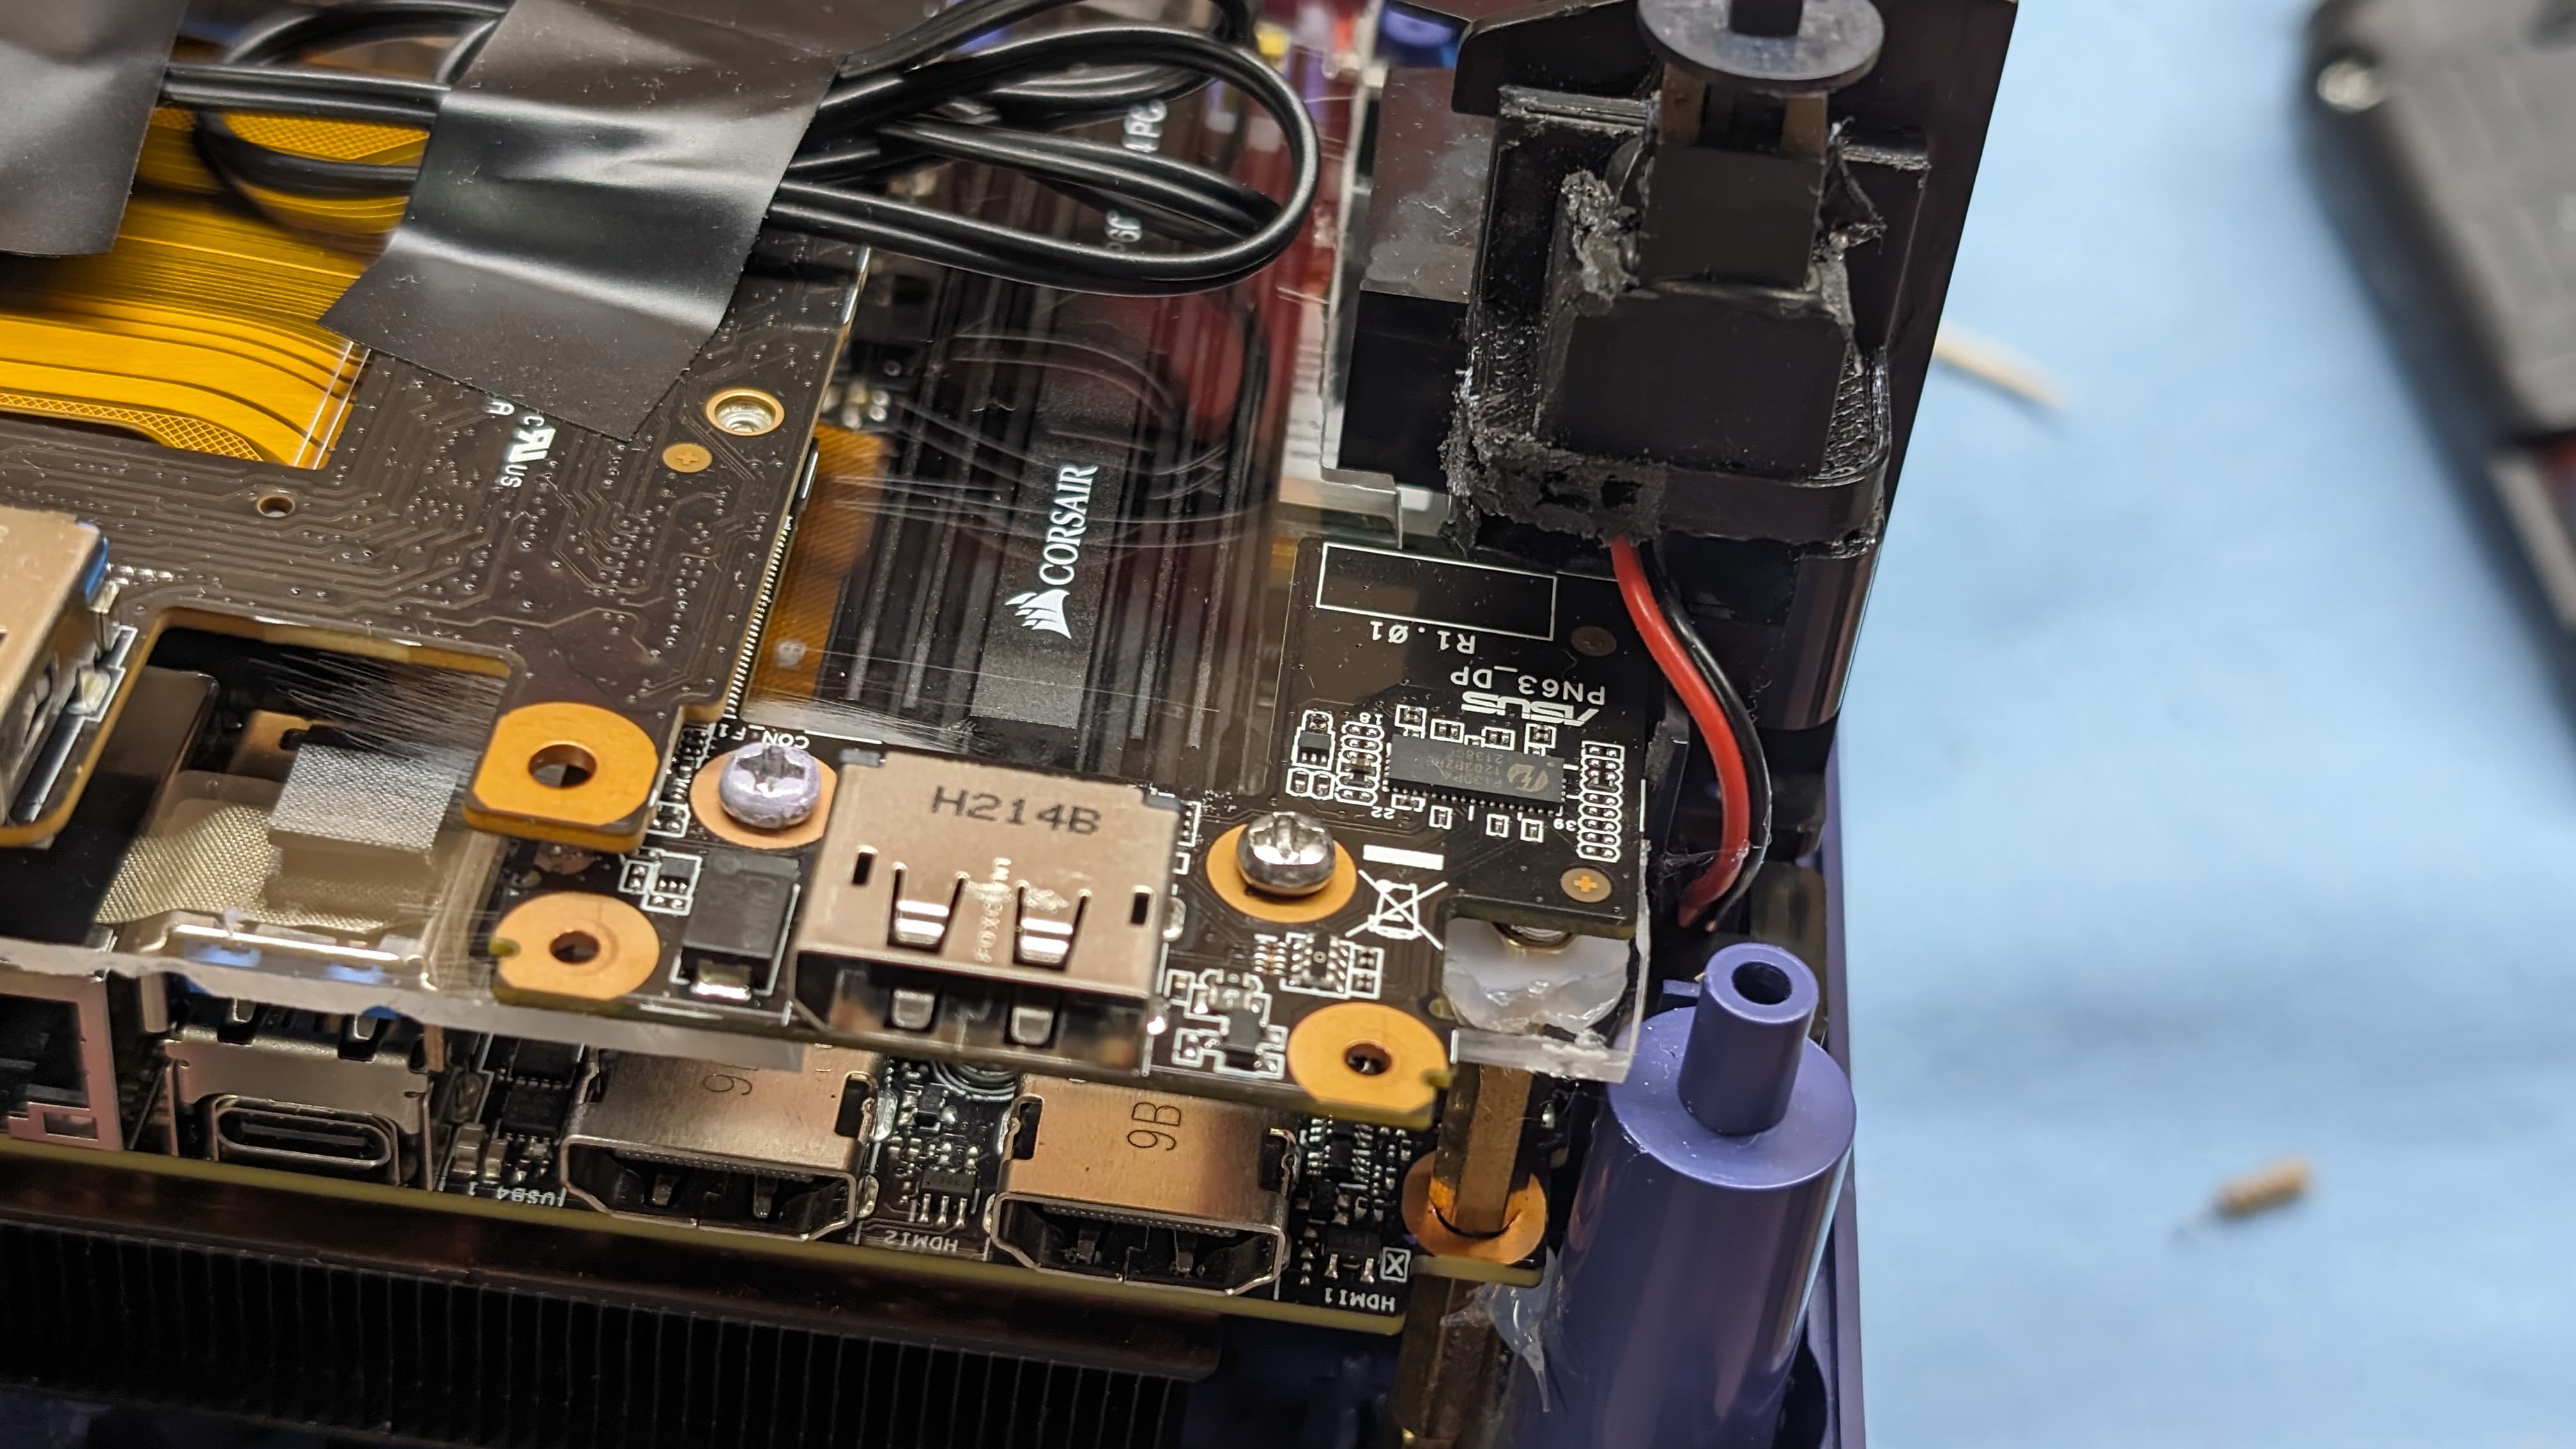
For the front USB C port, as now I have mostly the front bay intact, I was thinking of using a right angle adapter like that so the usb c port become available through an hole I would do. So he could remove the bottom front covers and connect a usb c cable if he needs to.
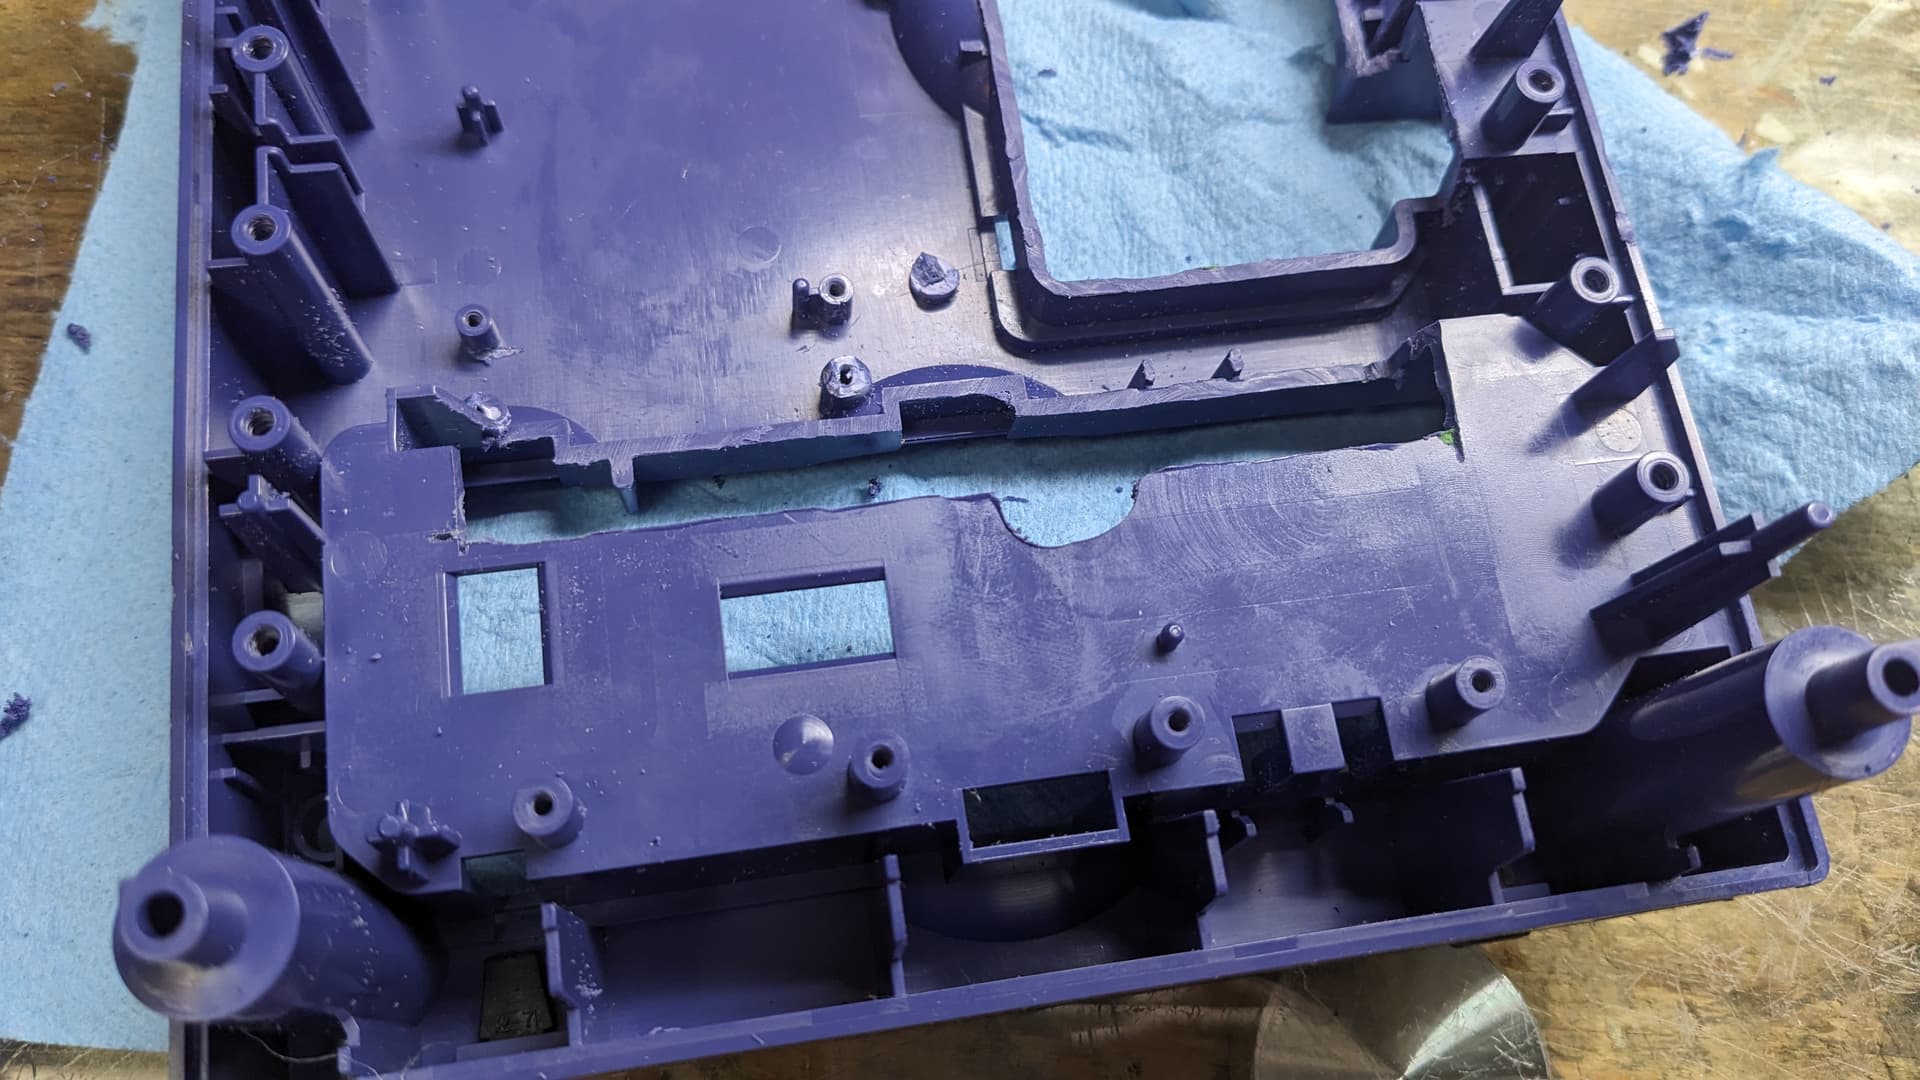
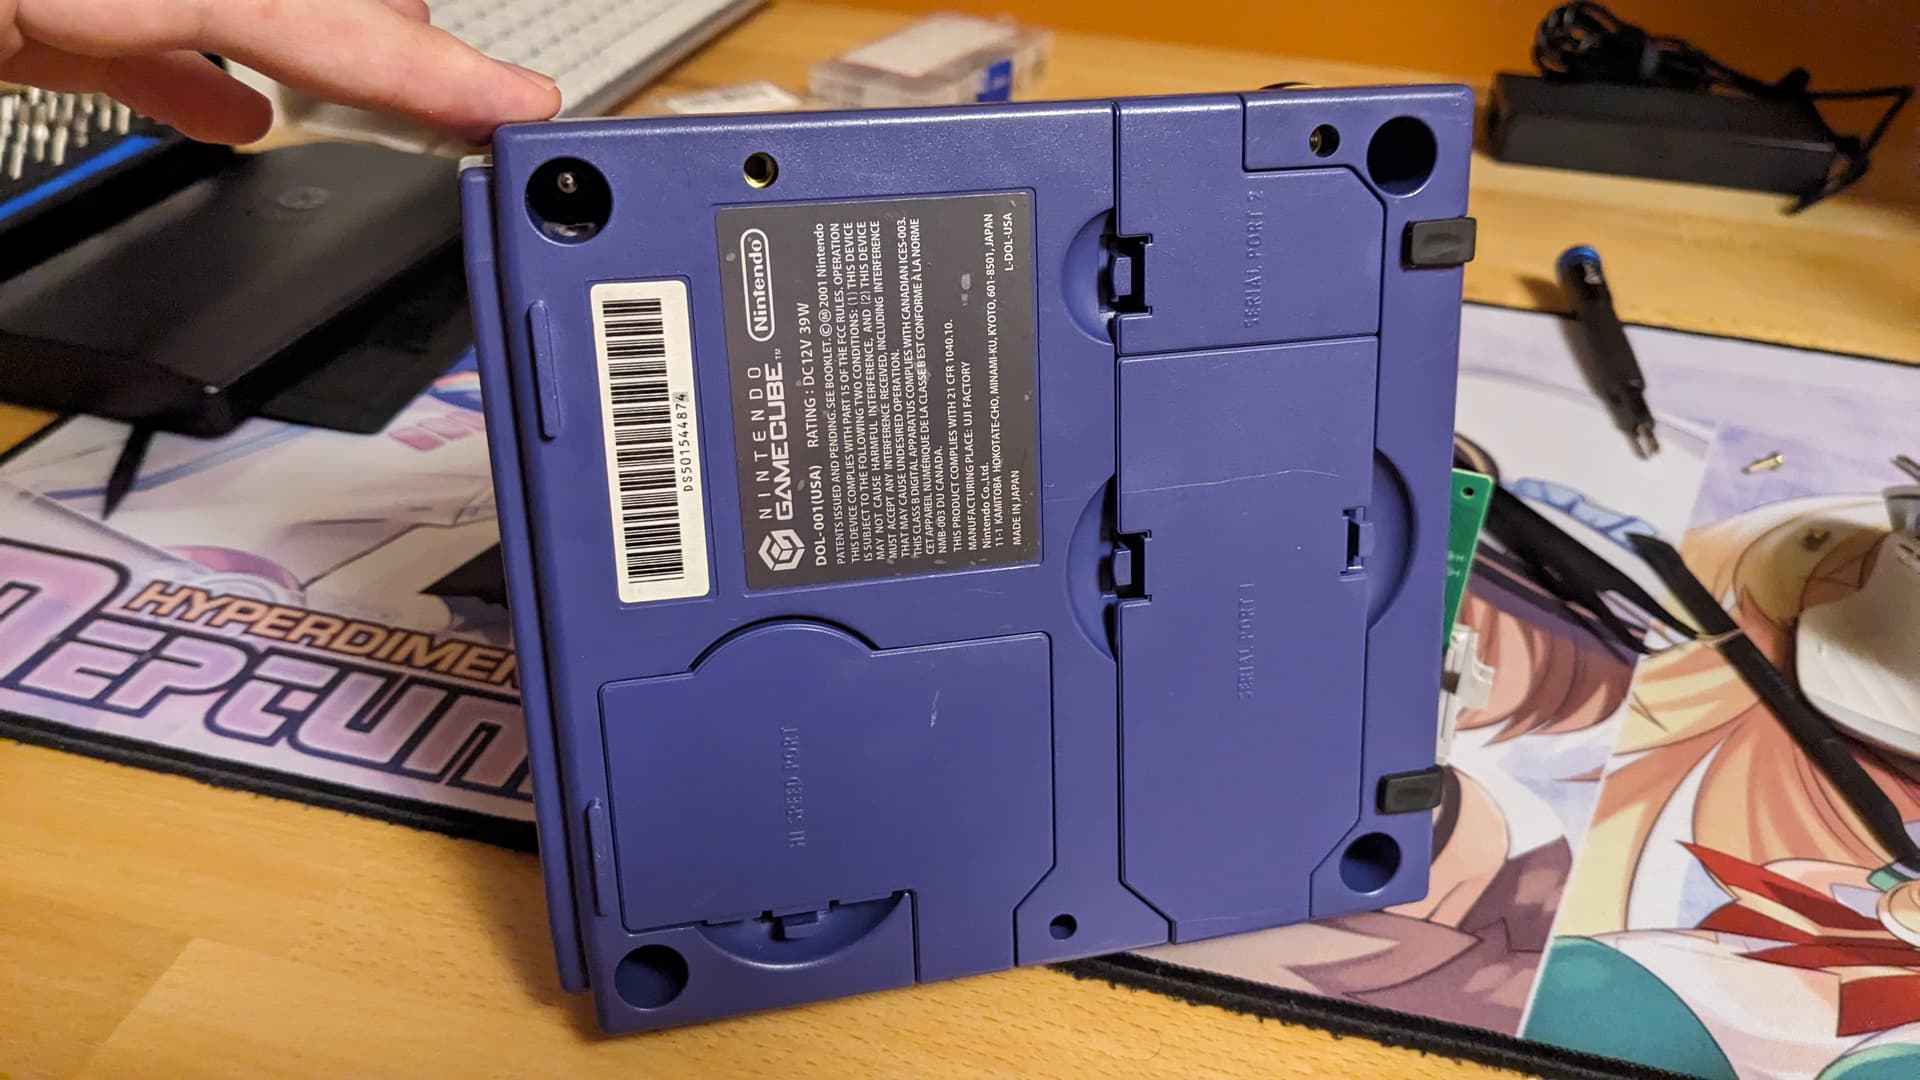
First I finished sanding down the base of the Gamecube at the right level. Also I receid the USB C right angle adapter. So I did an hole for that. Now it will be possible to connect a USB C by removing the bottom covers. And then just letting the smallest cover removed for the cable to pass throught.
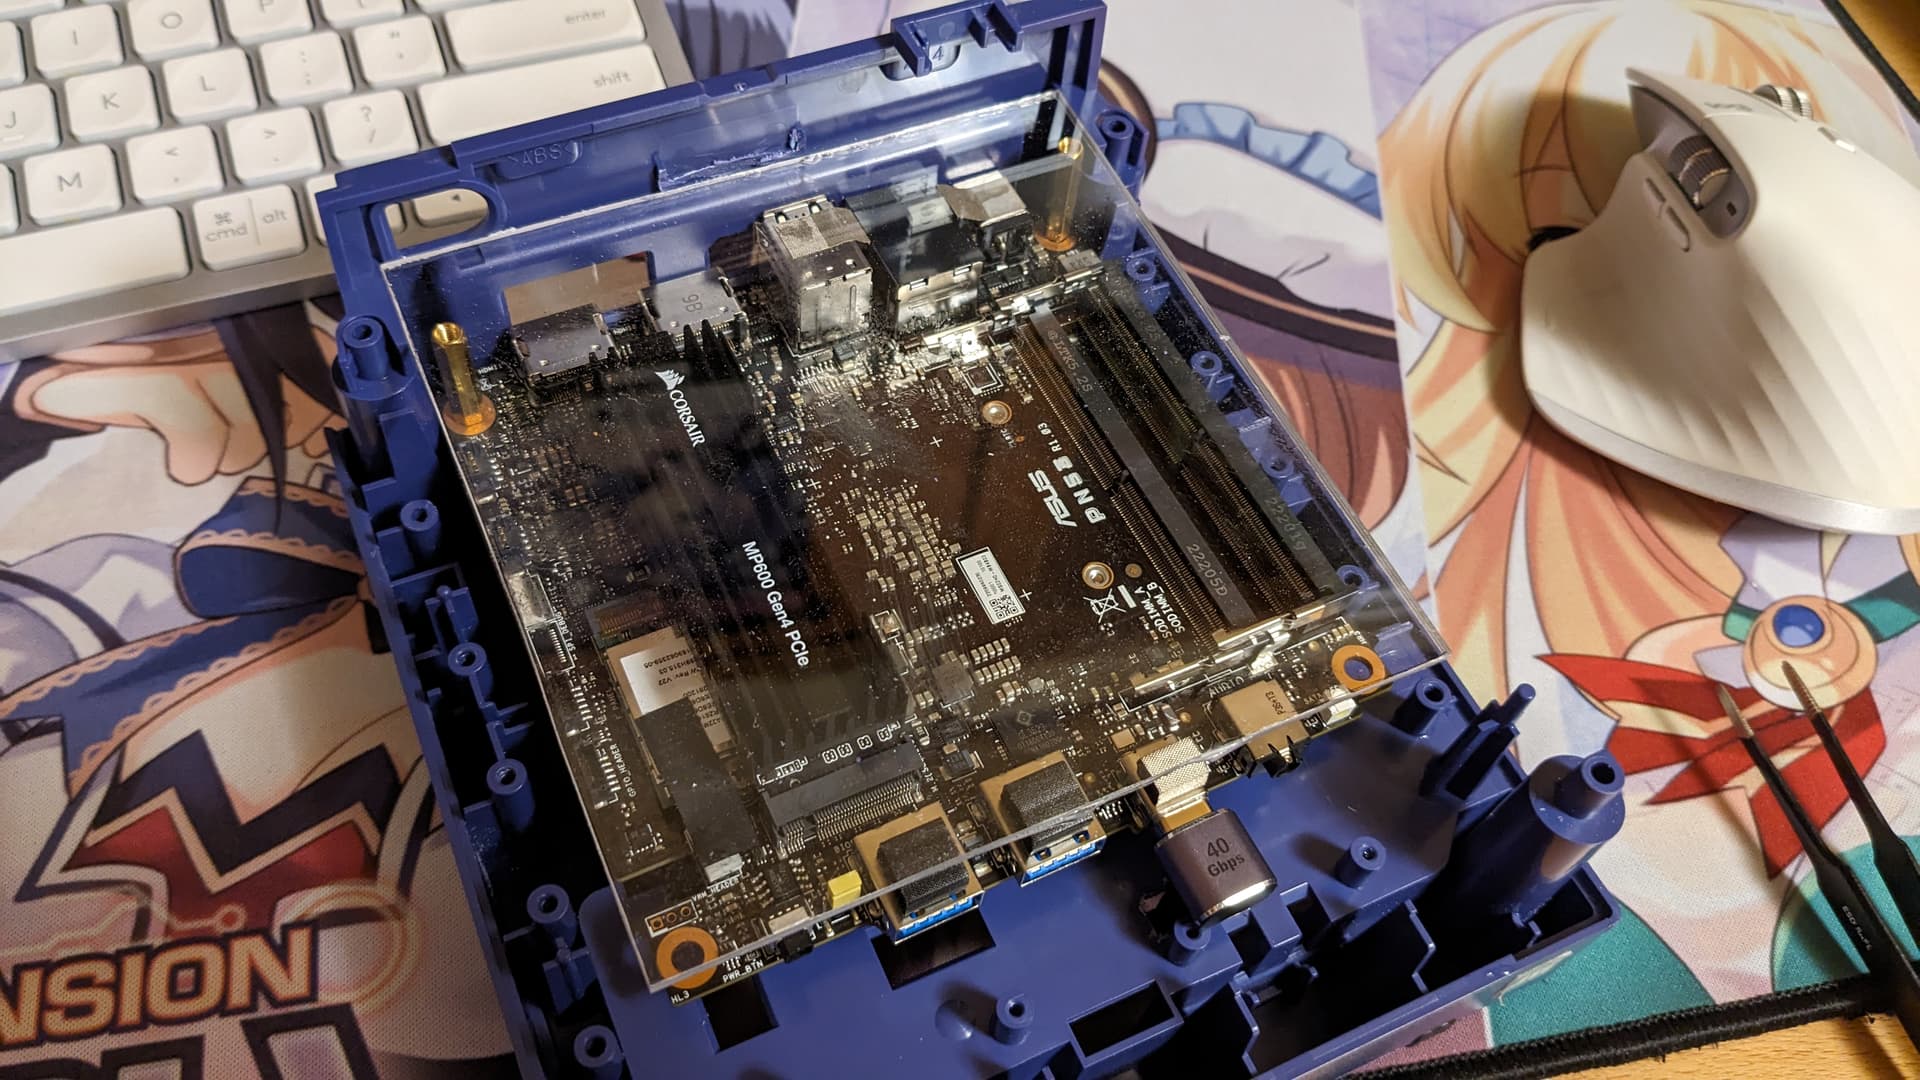
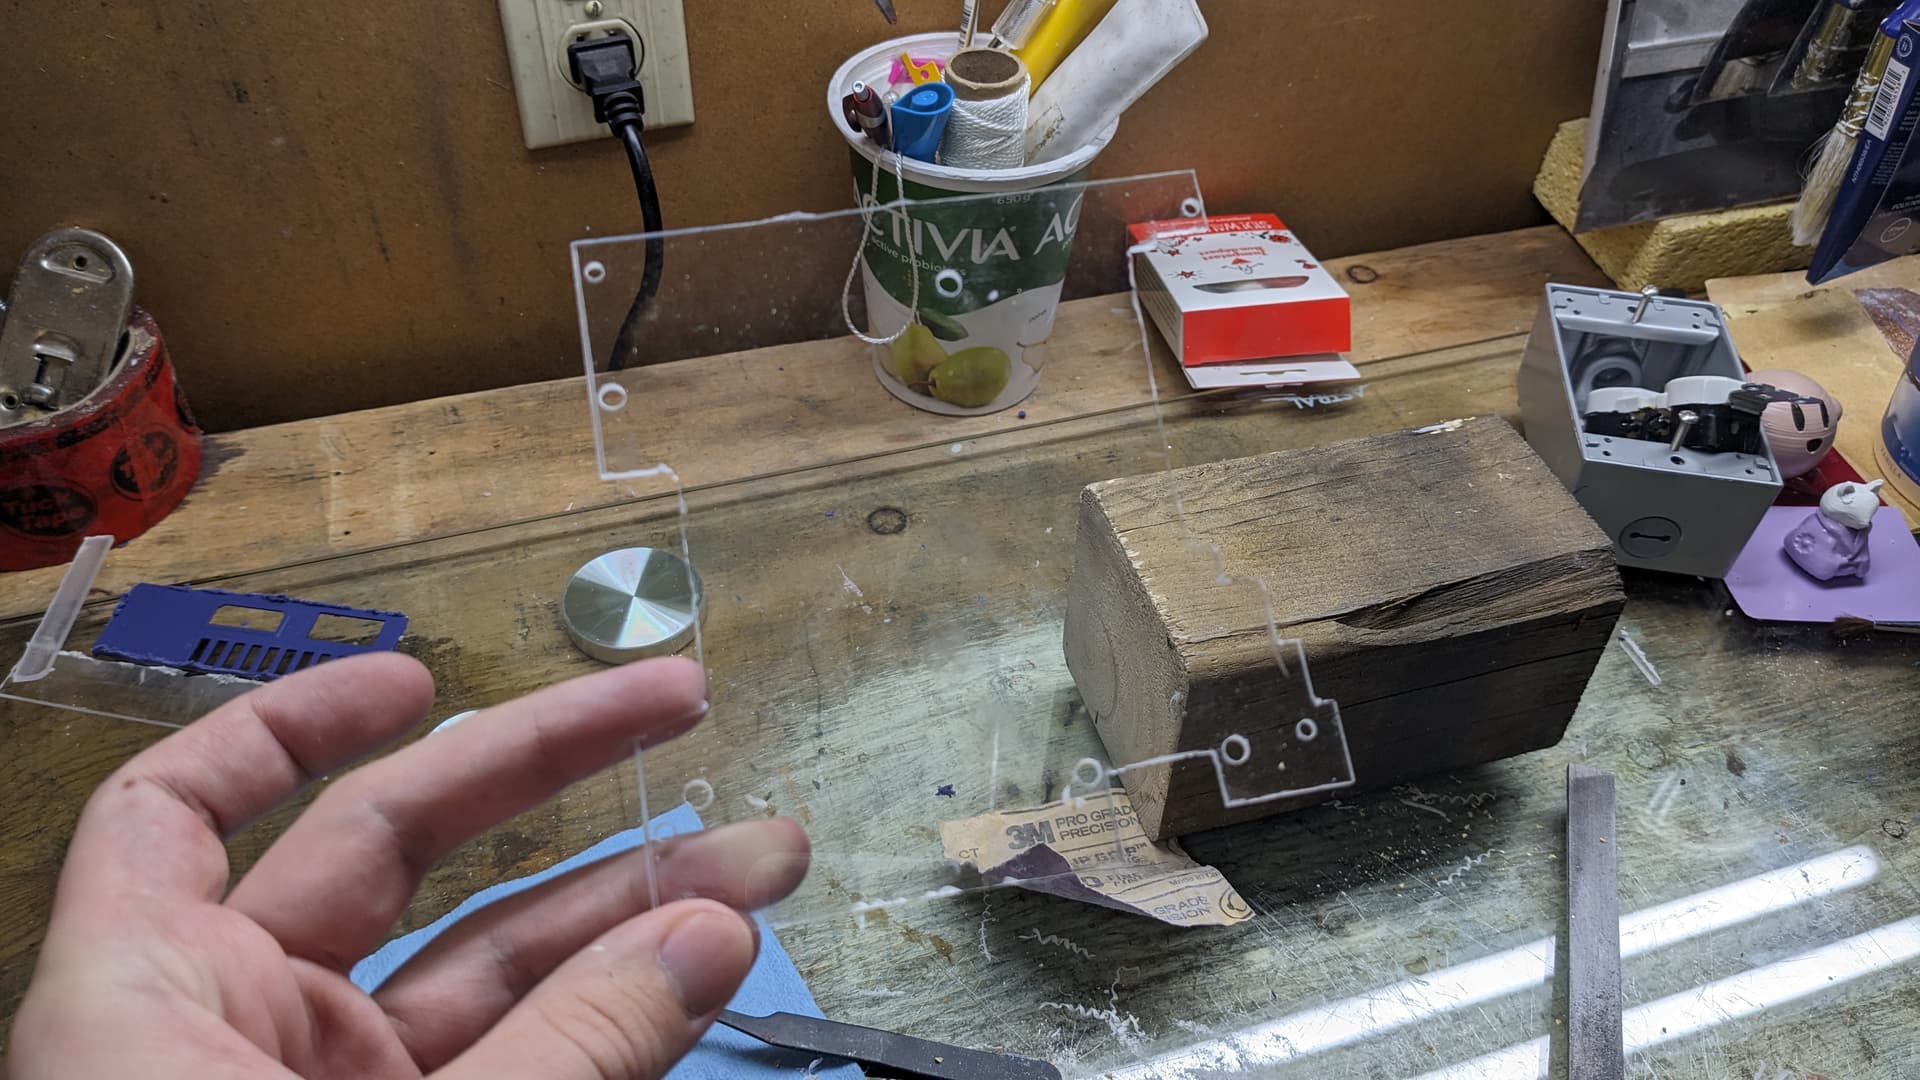
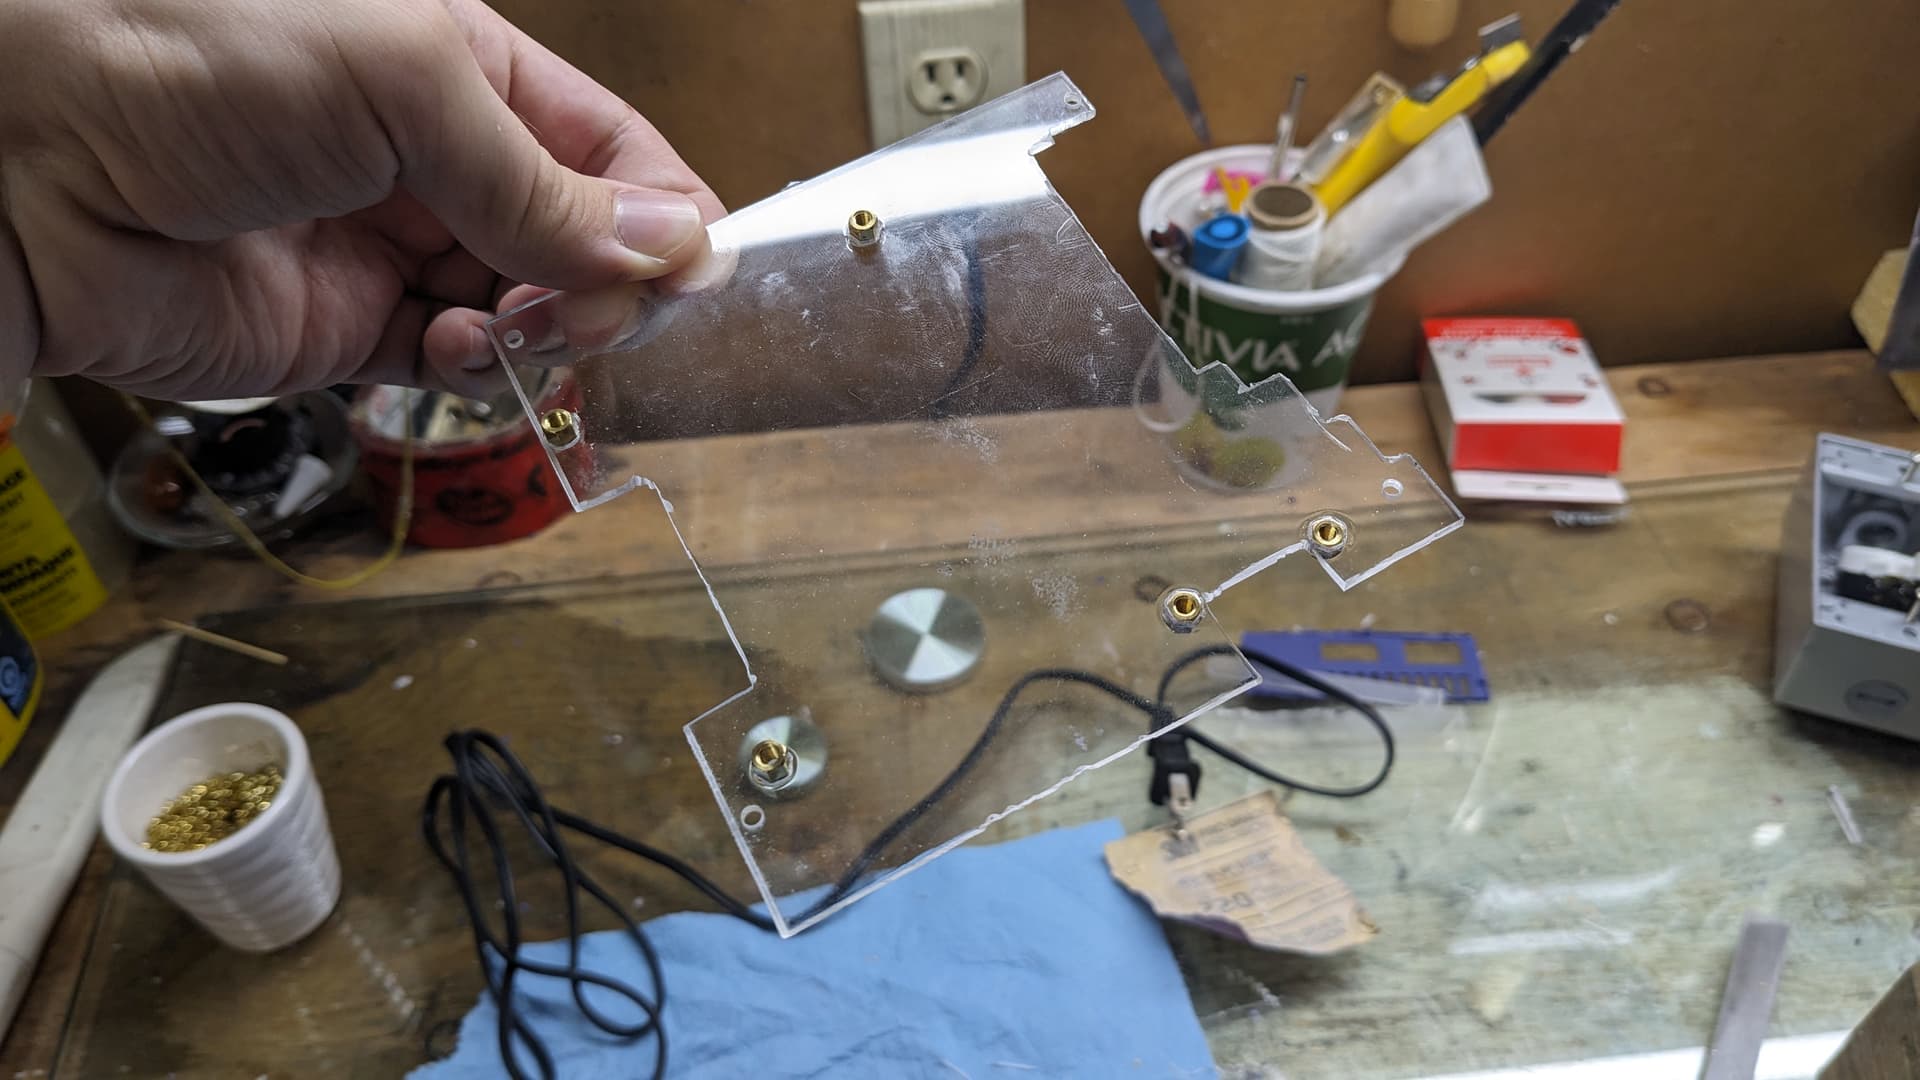
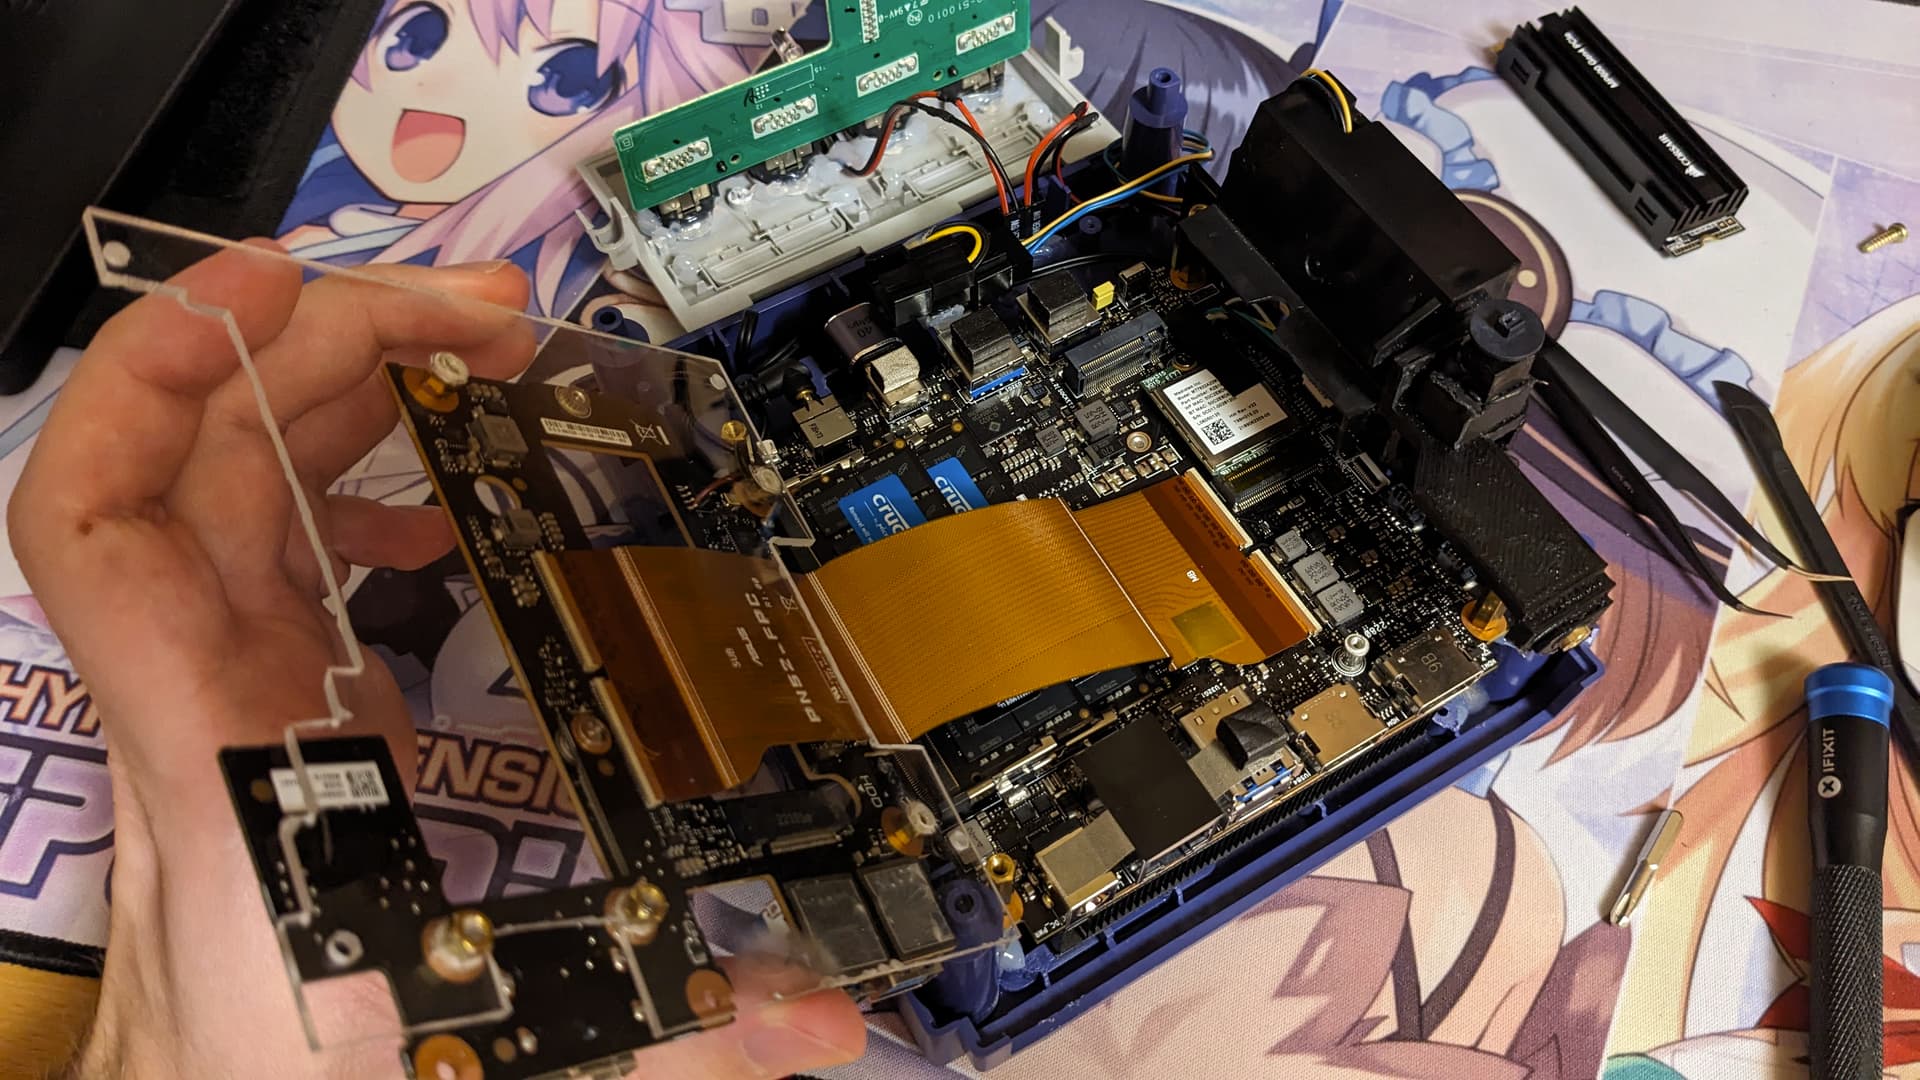
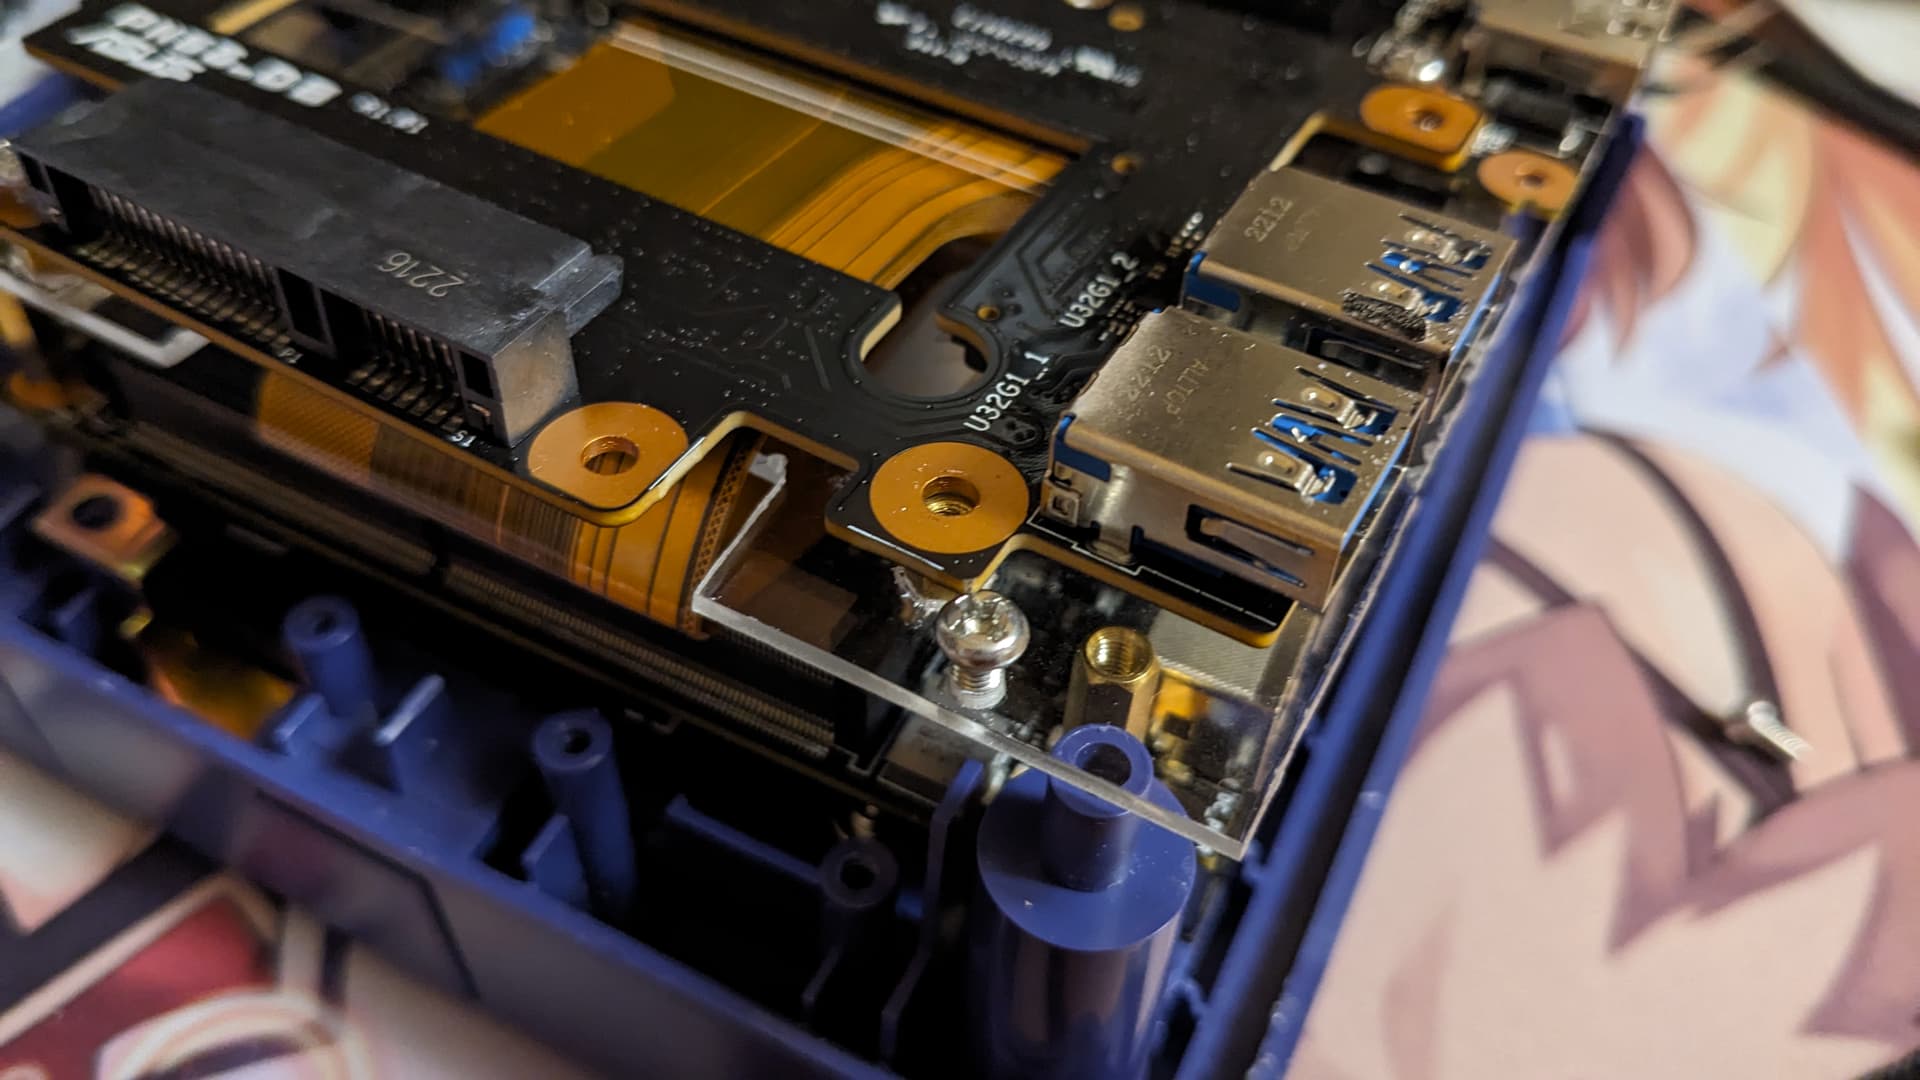
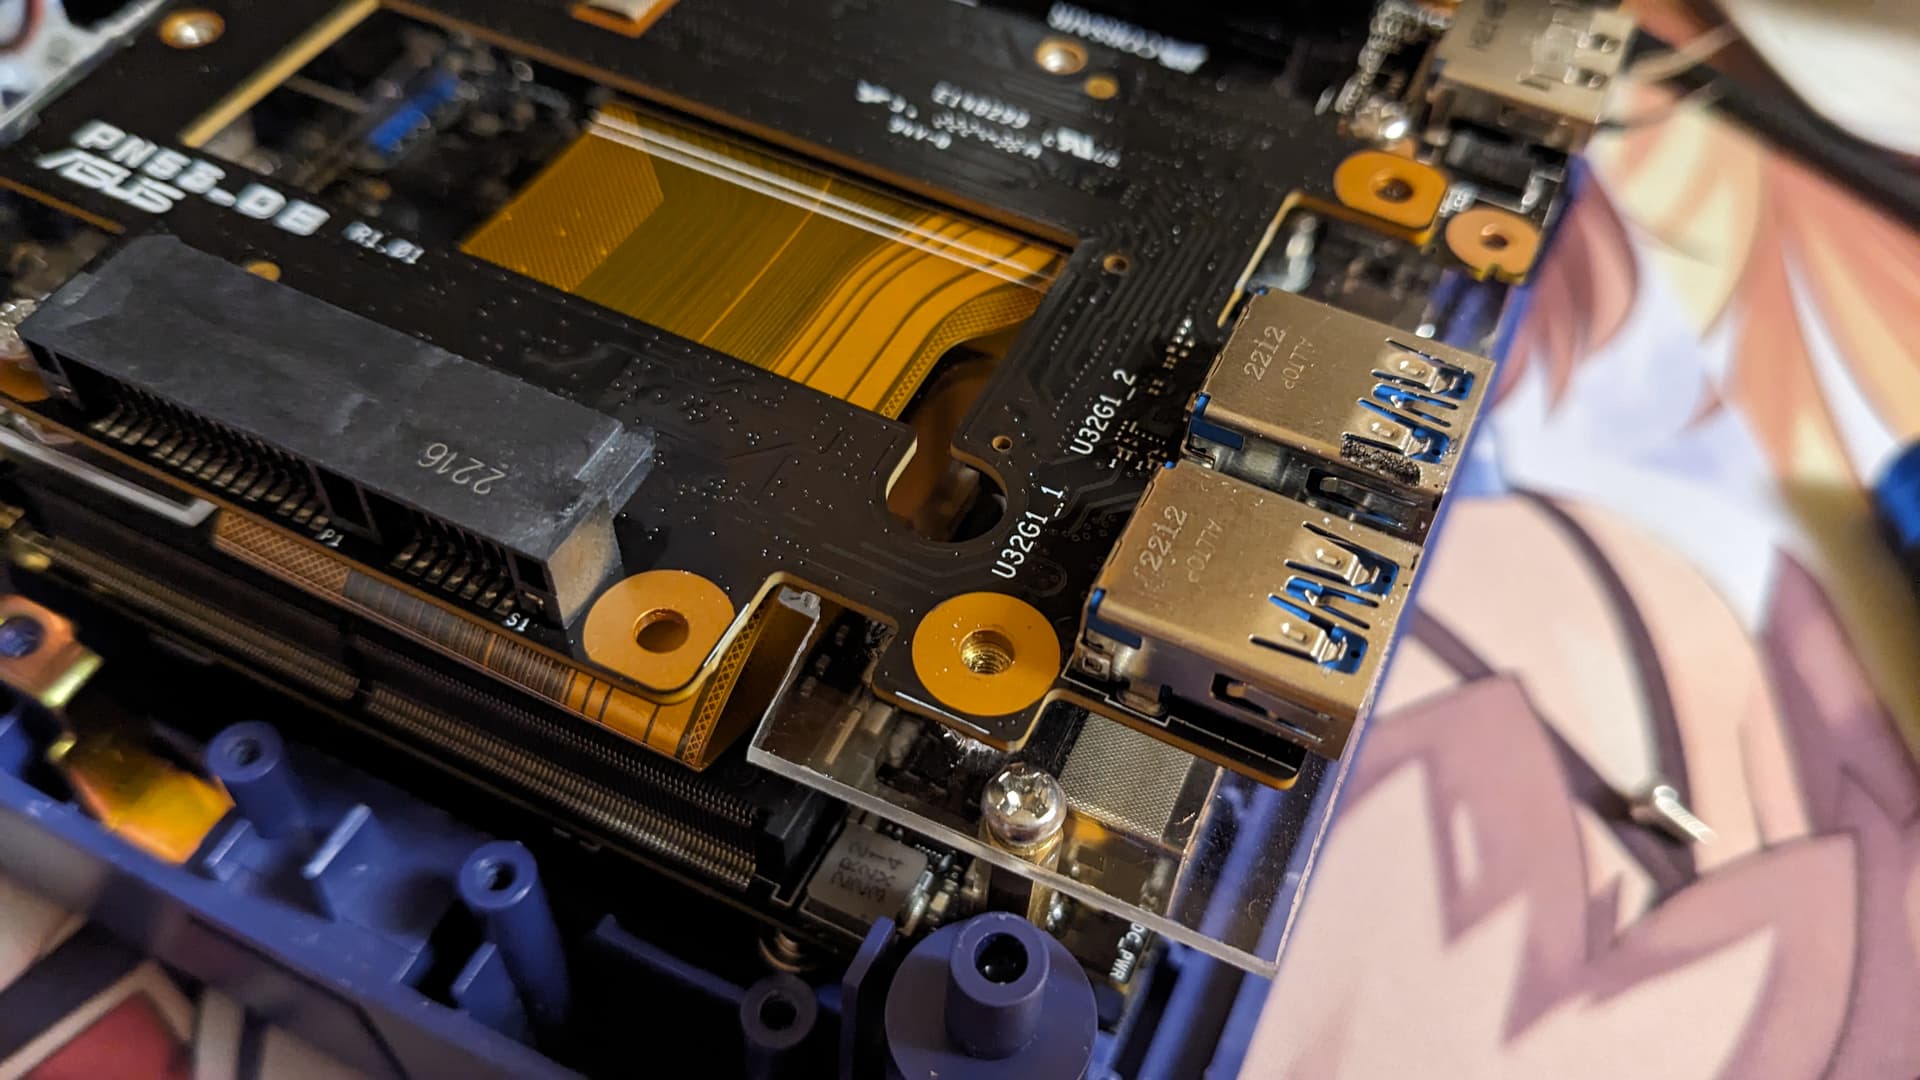
And this time around for the acrylic floor, I will do it from a single piece from which I will do openings when needed. That way it will be more solid and better looking too
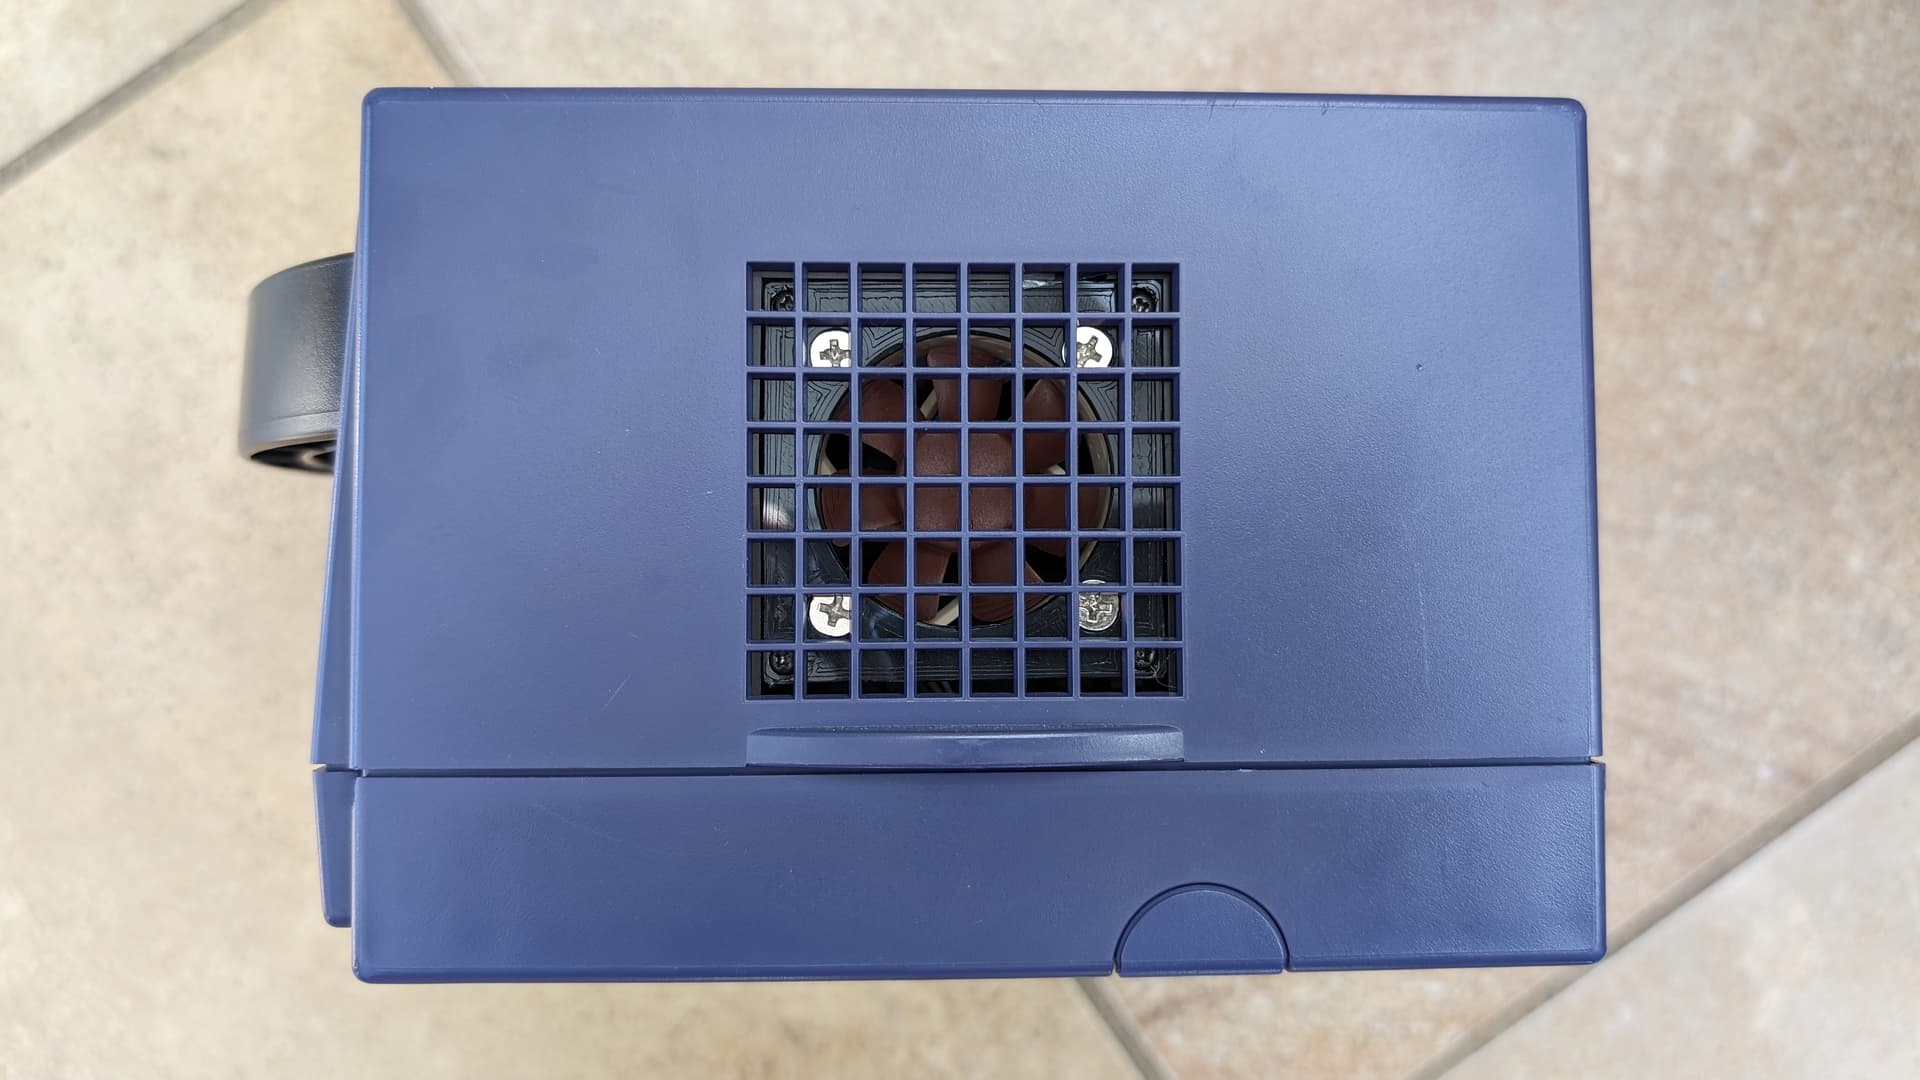
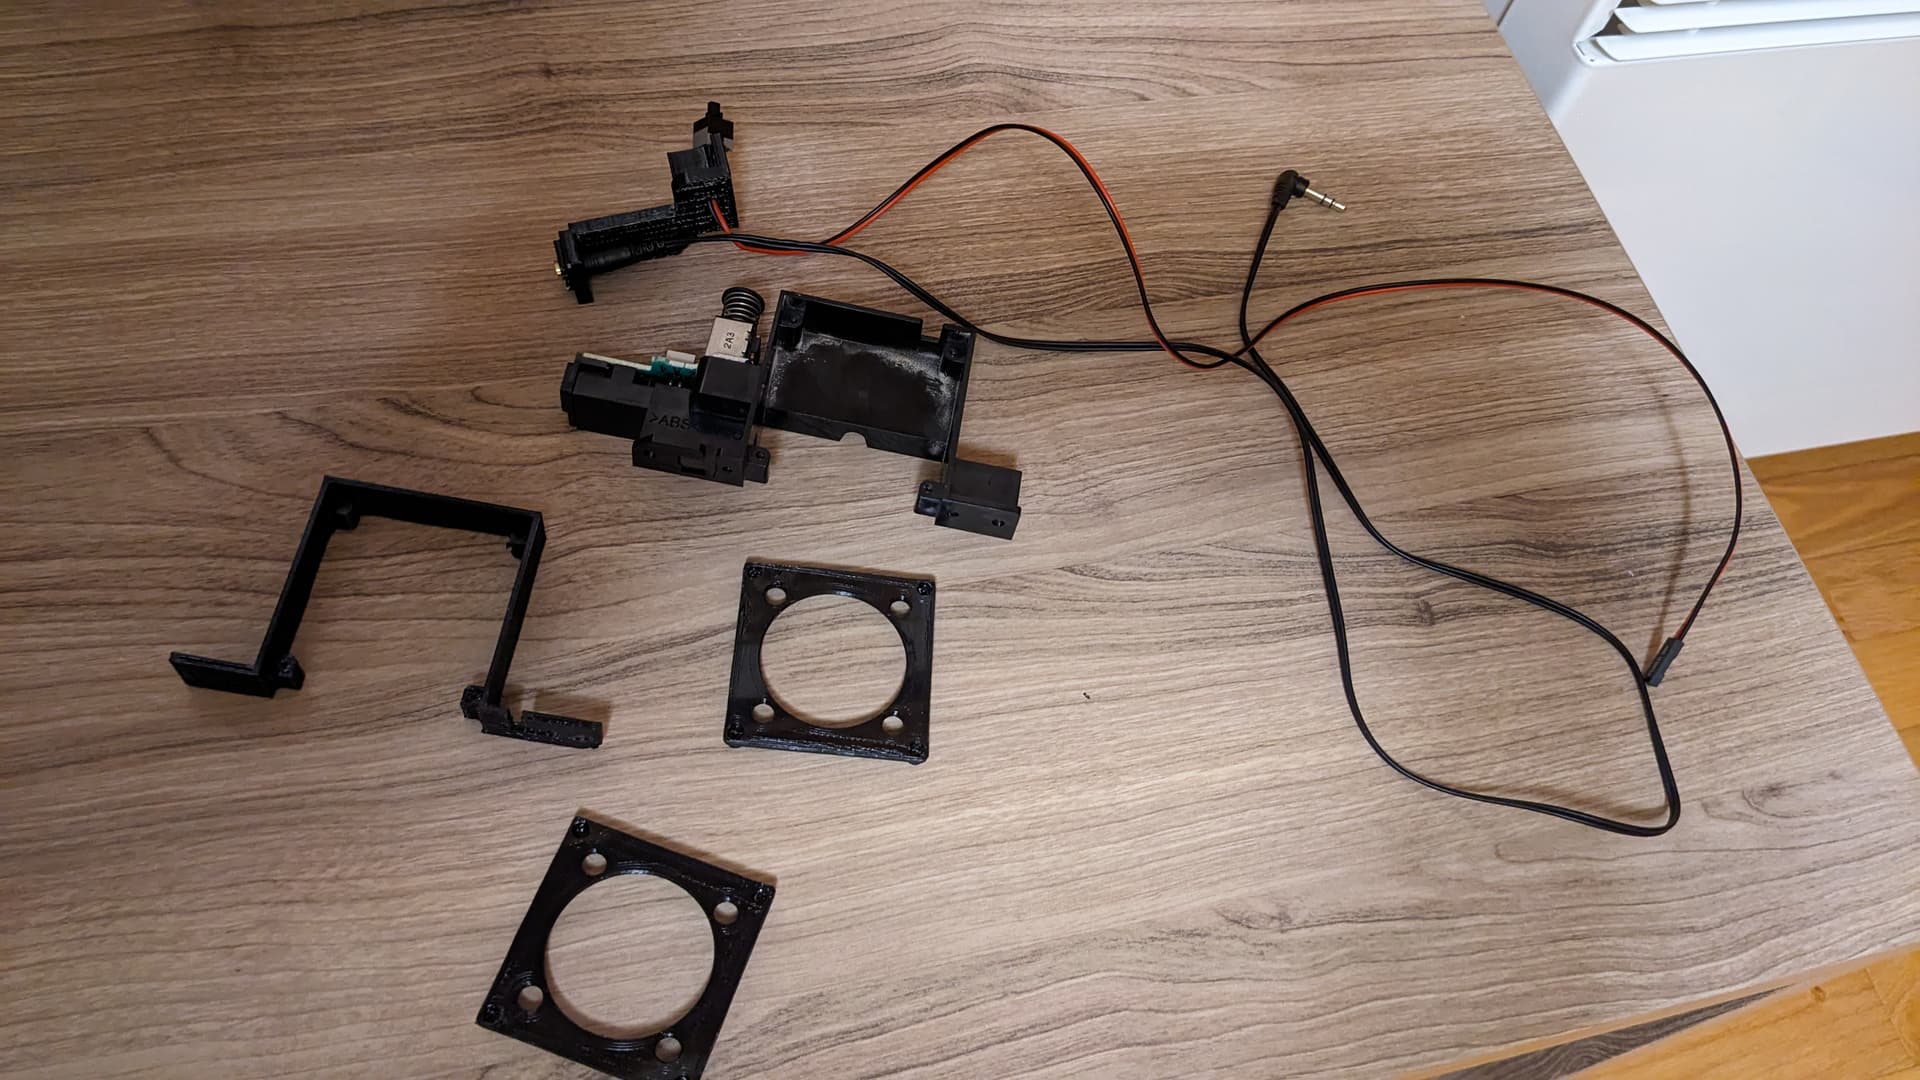
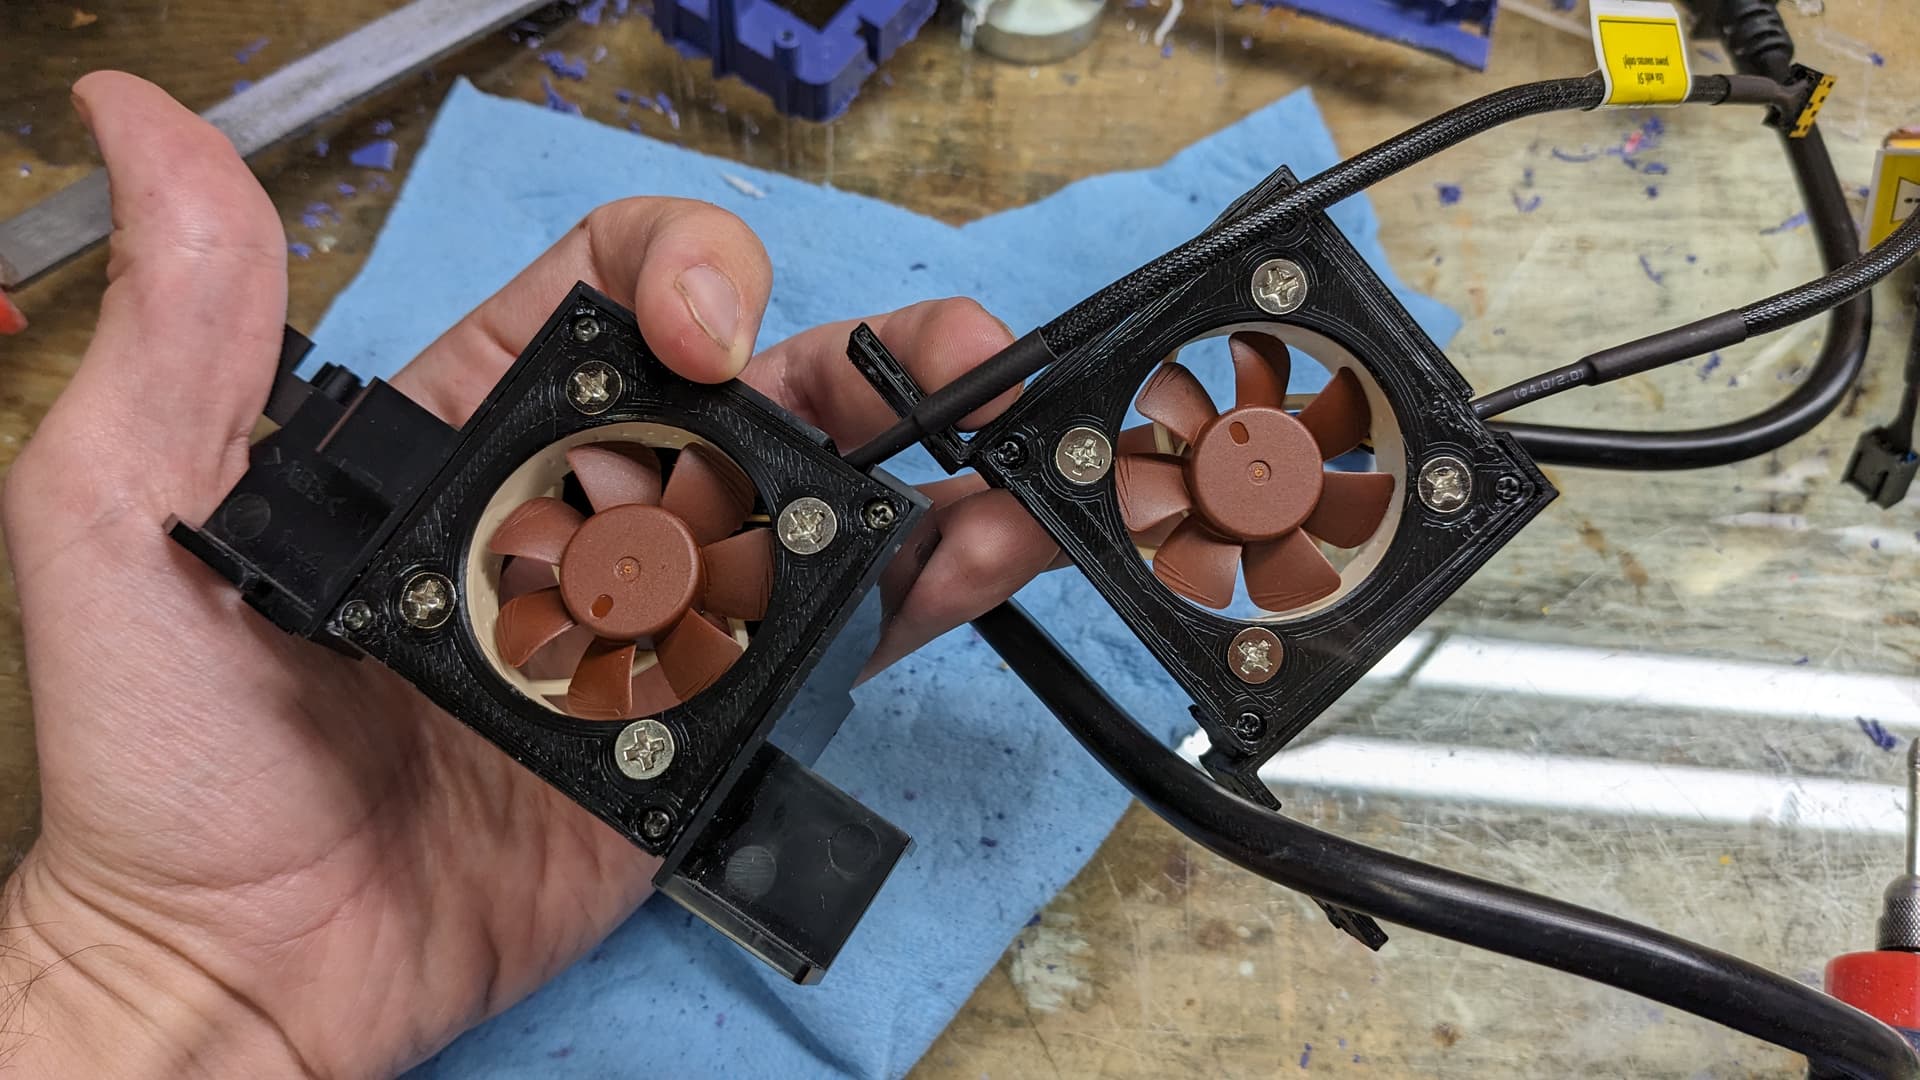
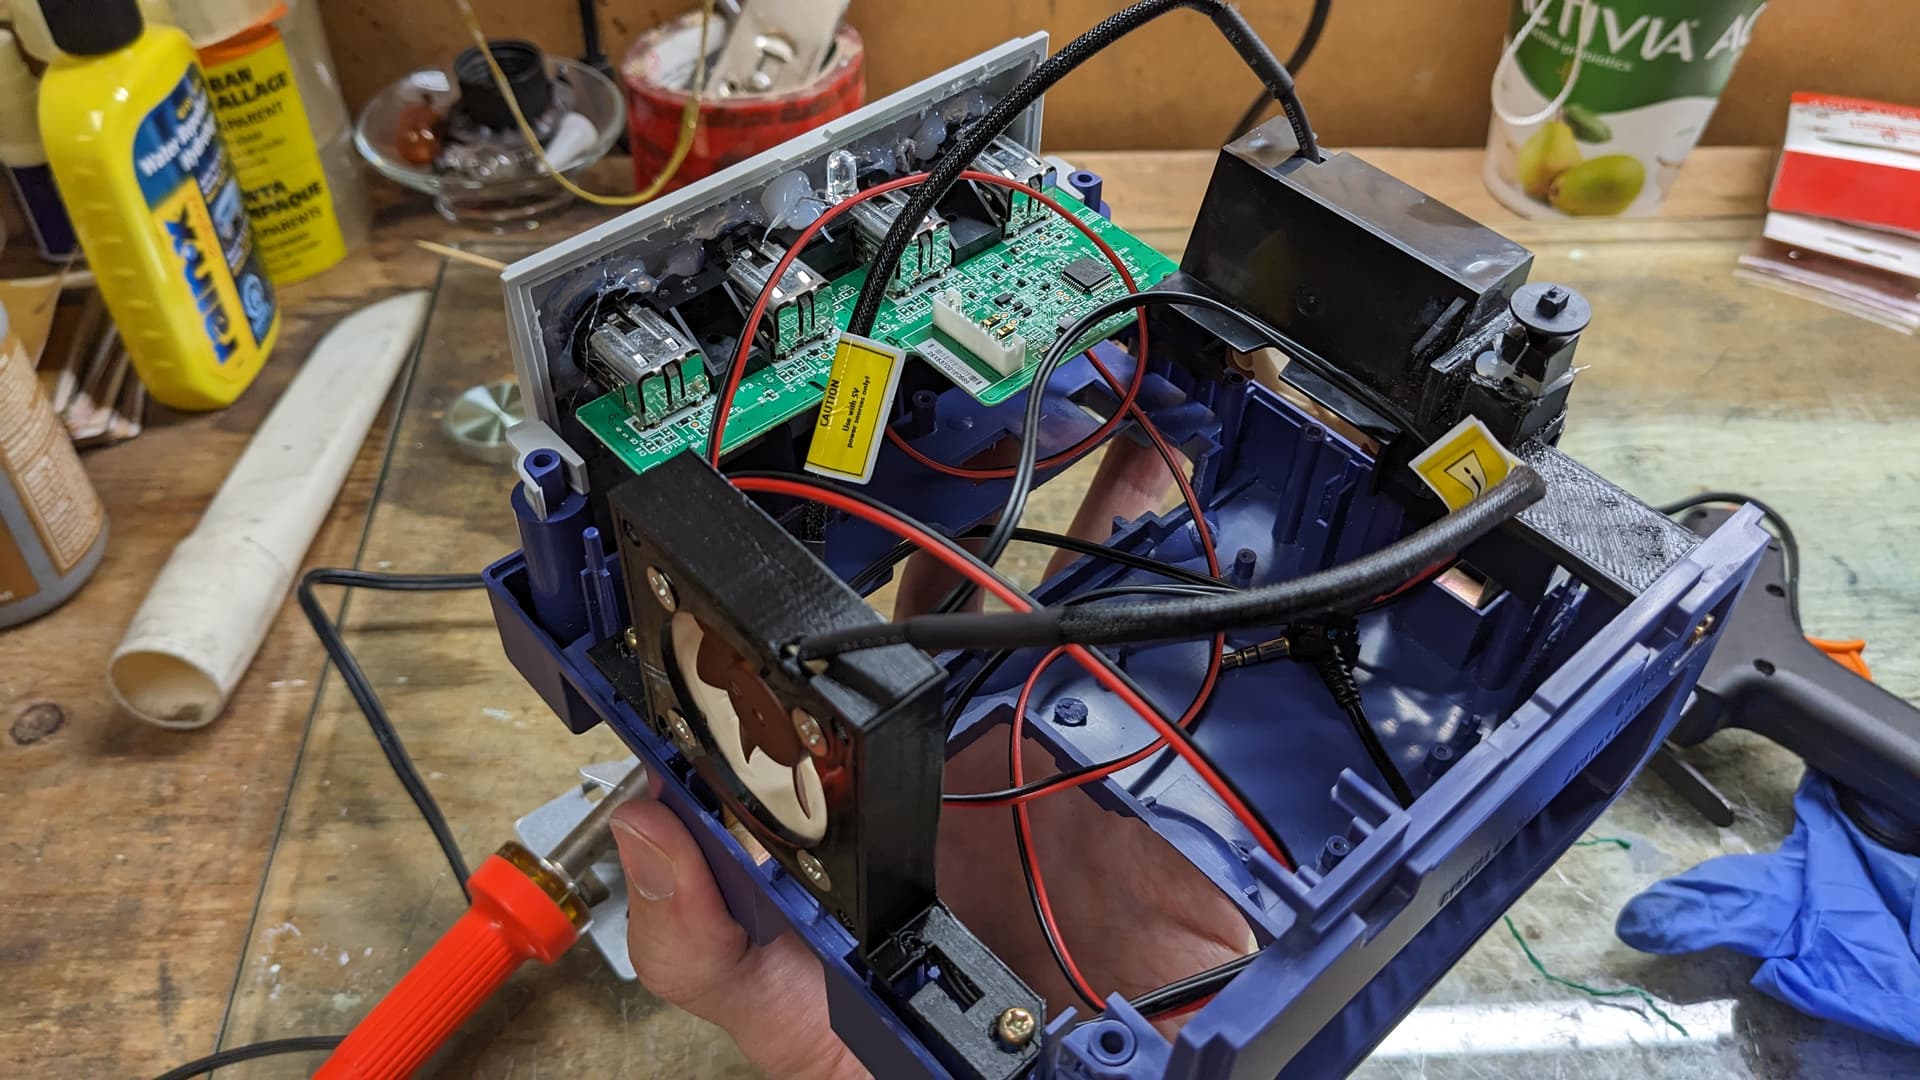
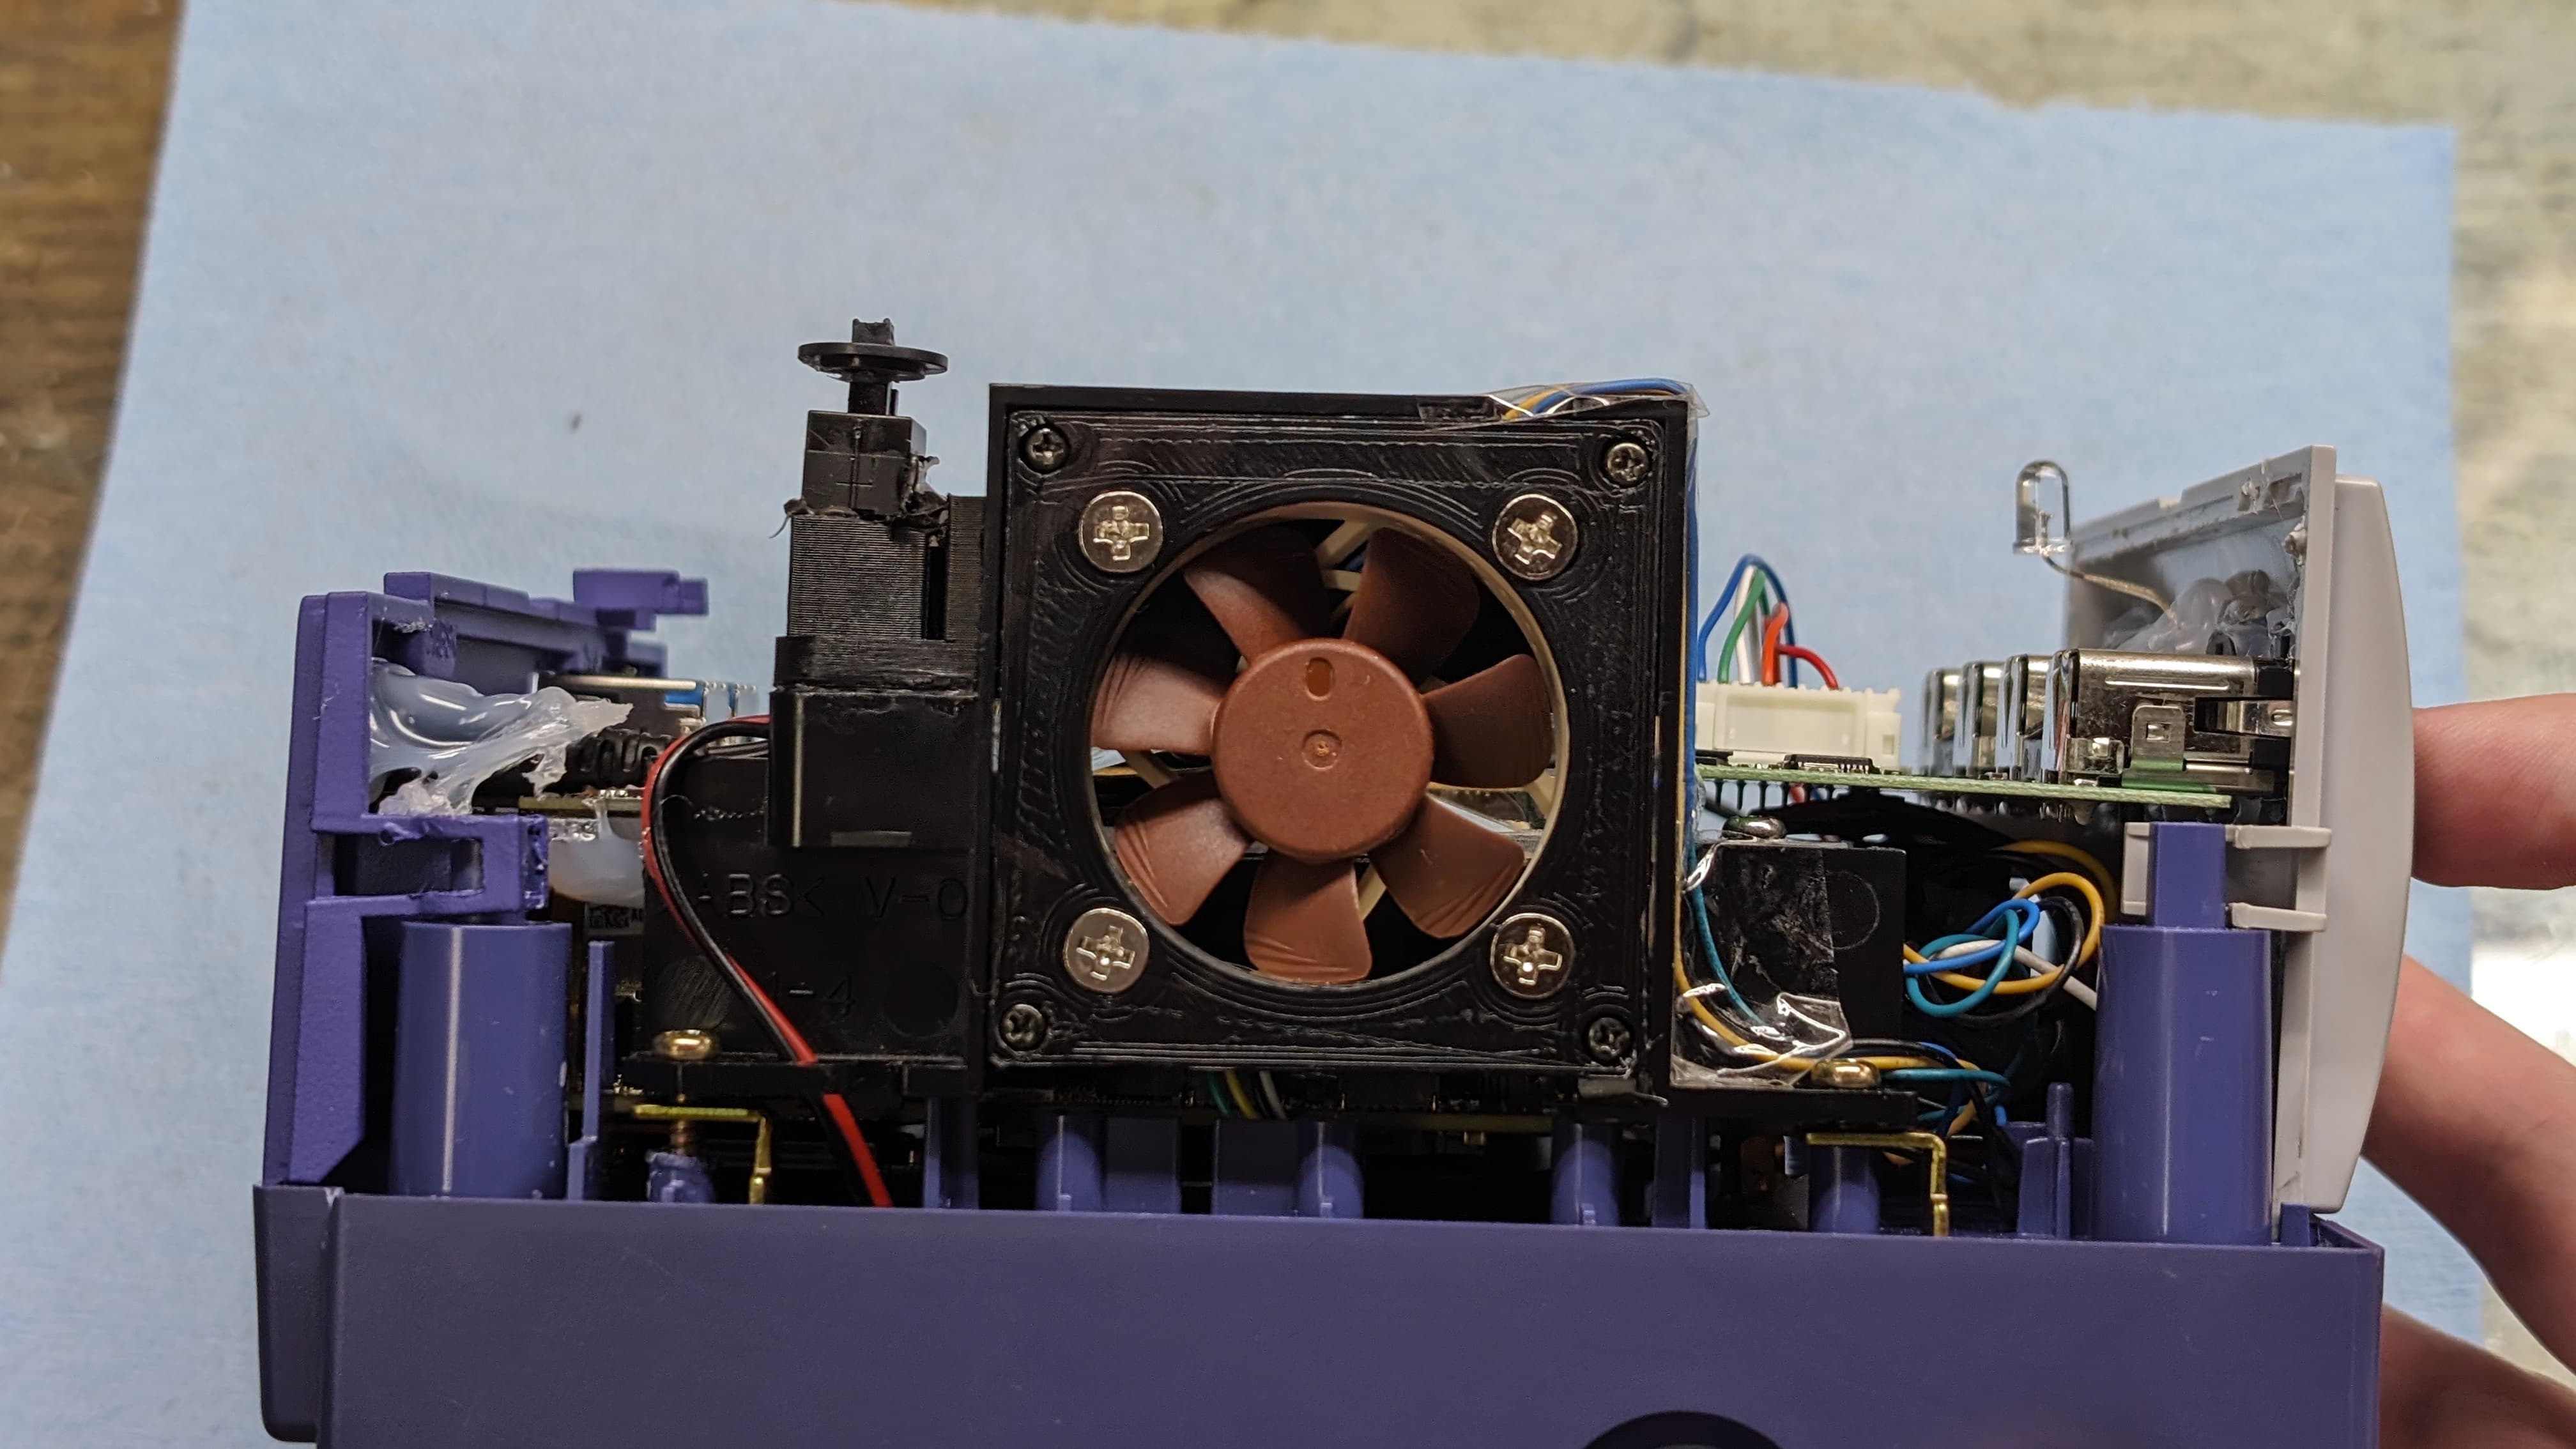
And I’ve got fan adapters and a new fan assembly 3D printed. Look so nice and professional, I like this time around I will not hot glue the fans to the case
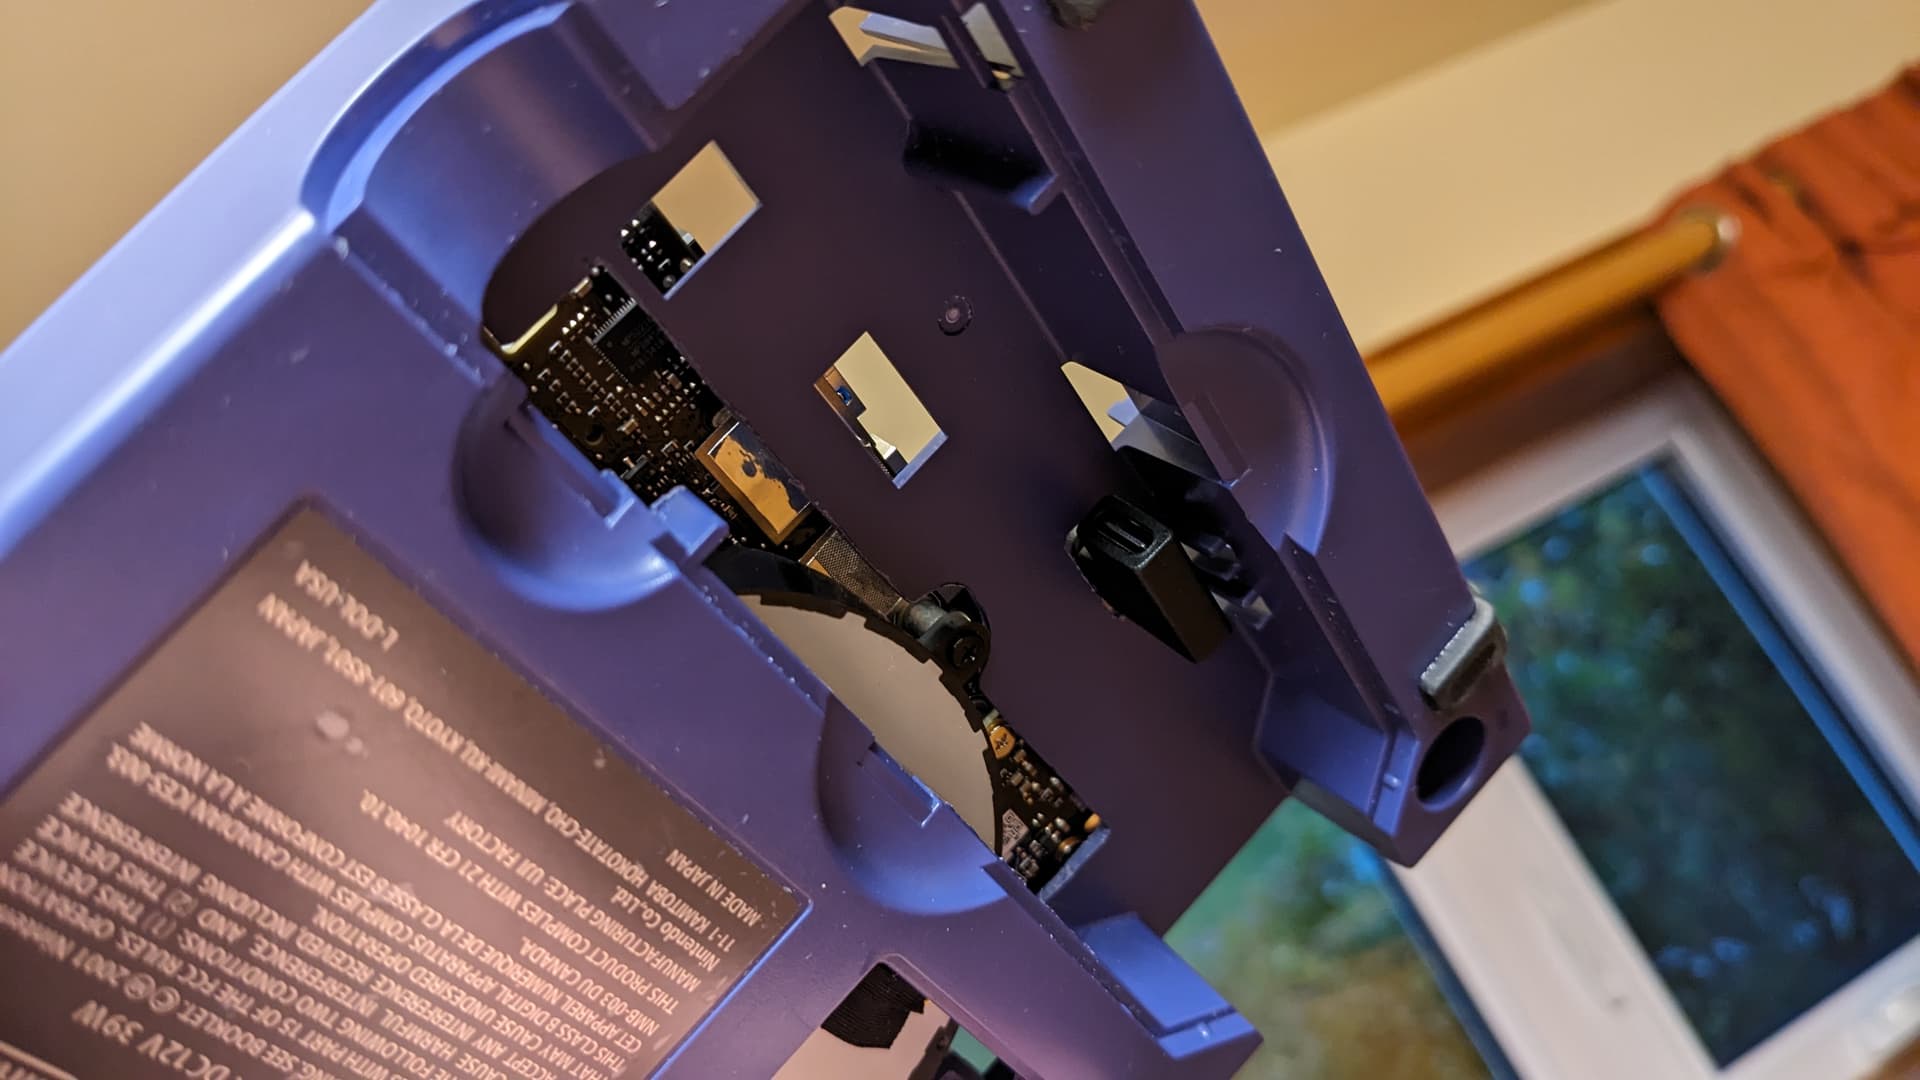
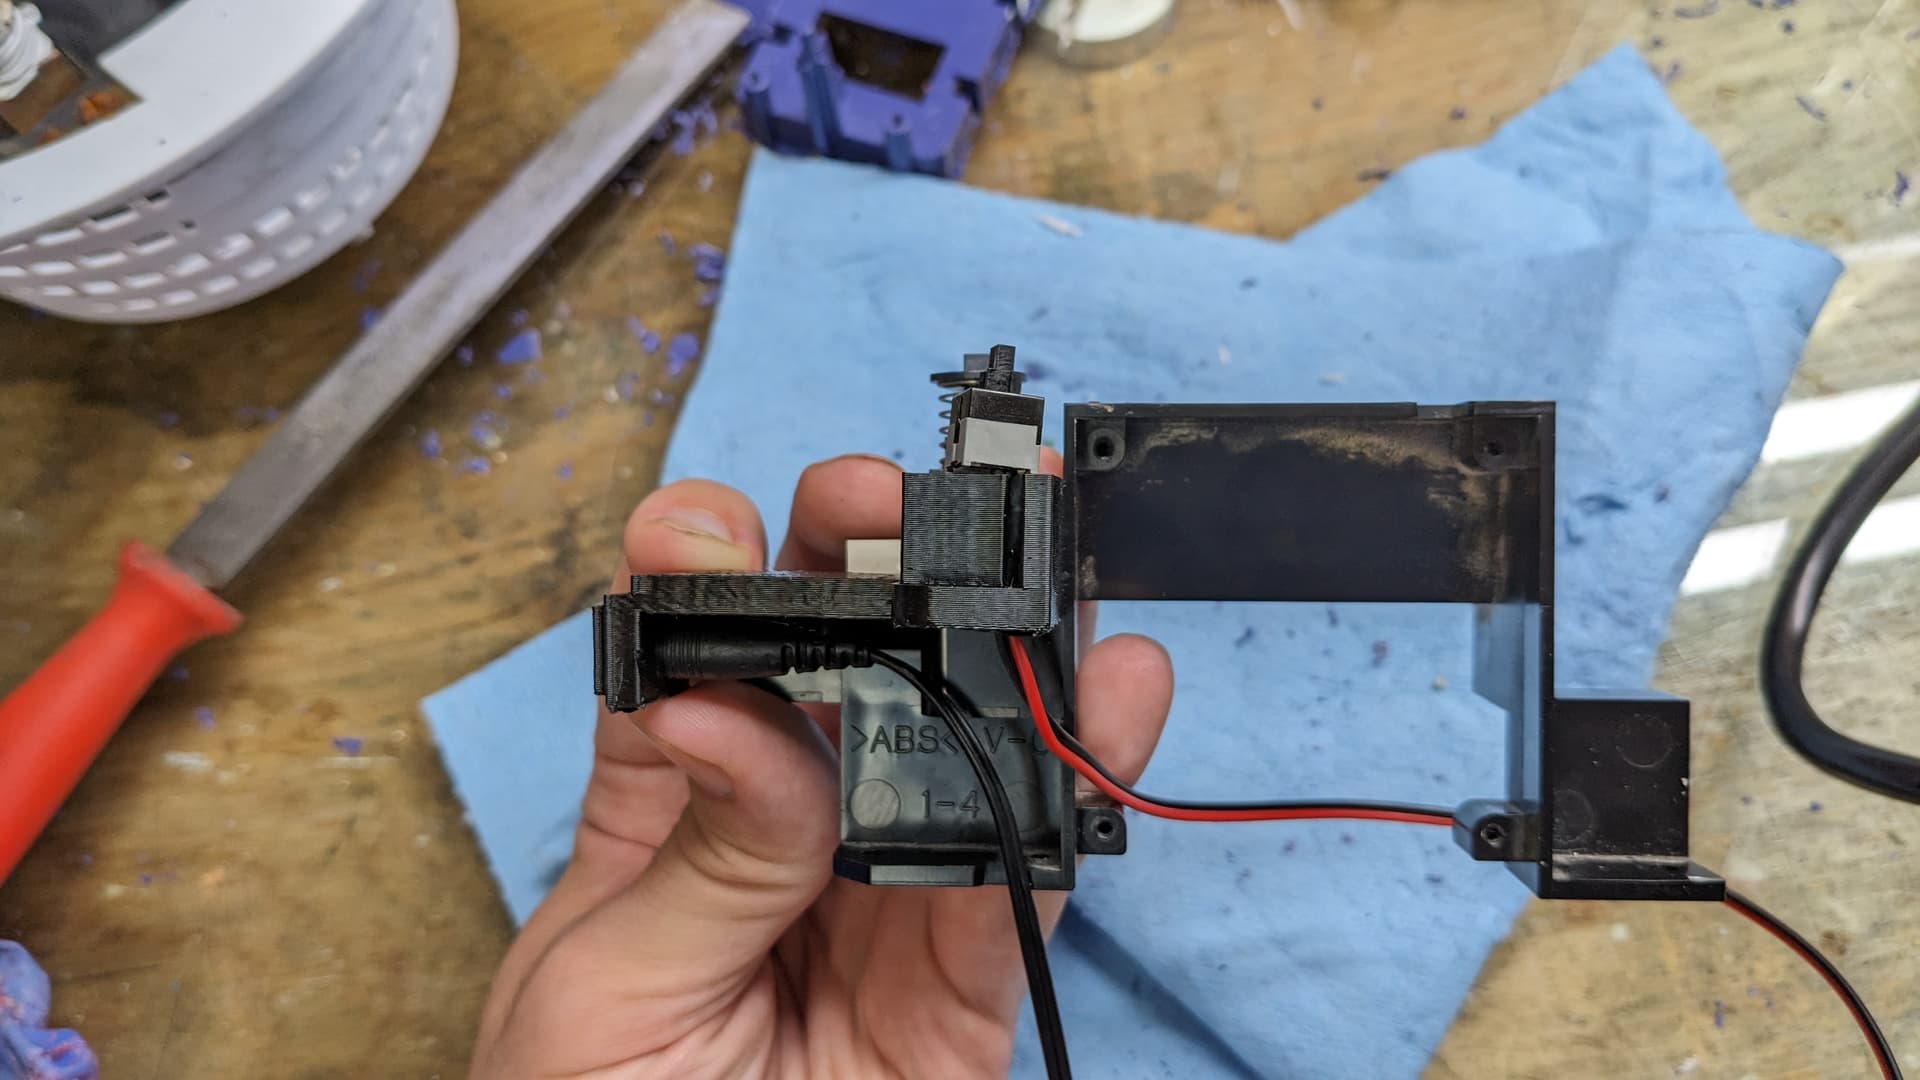
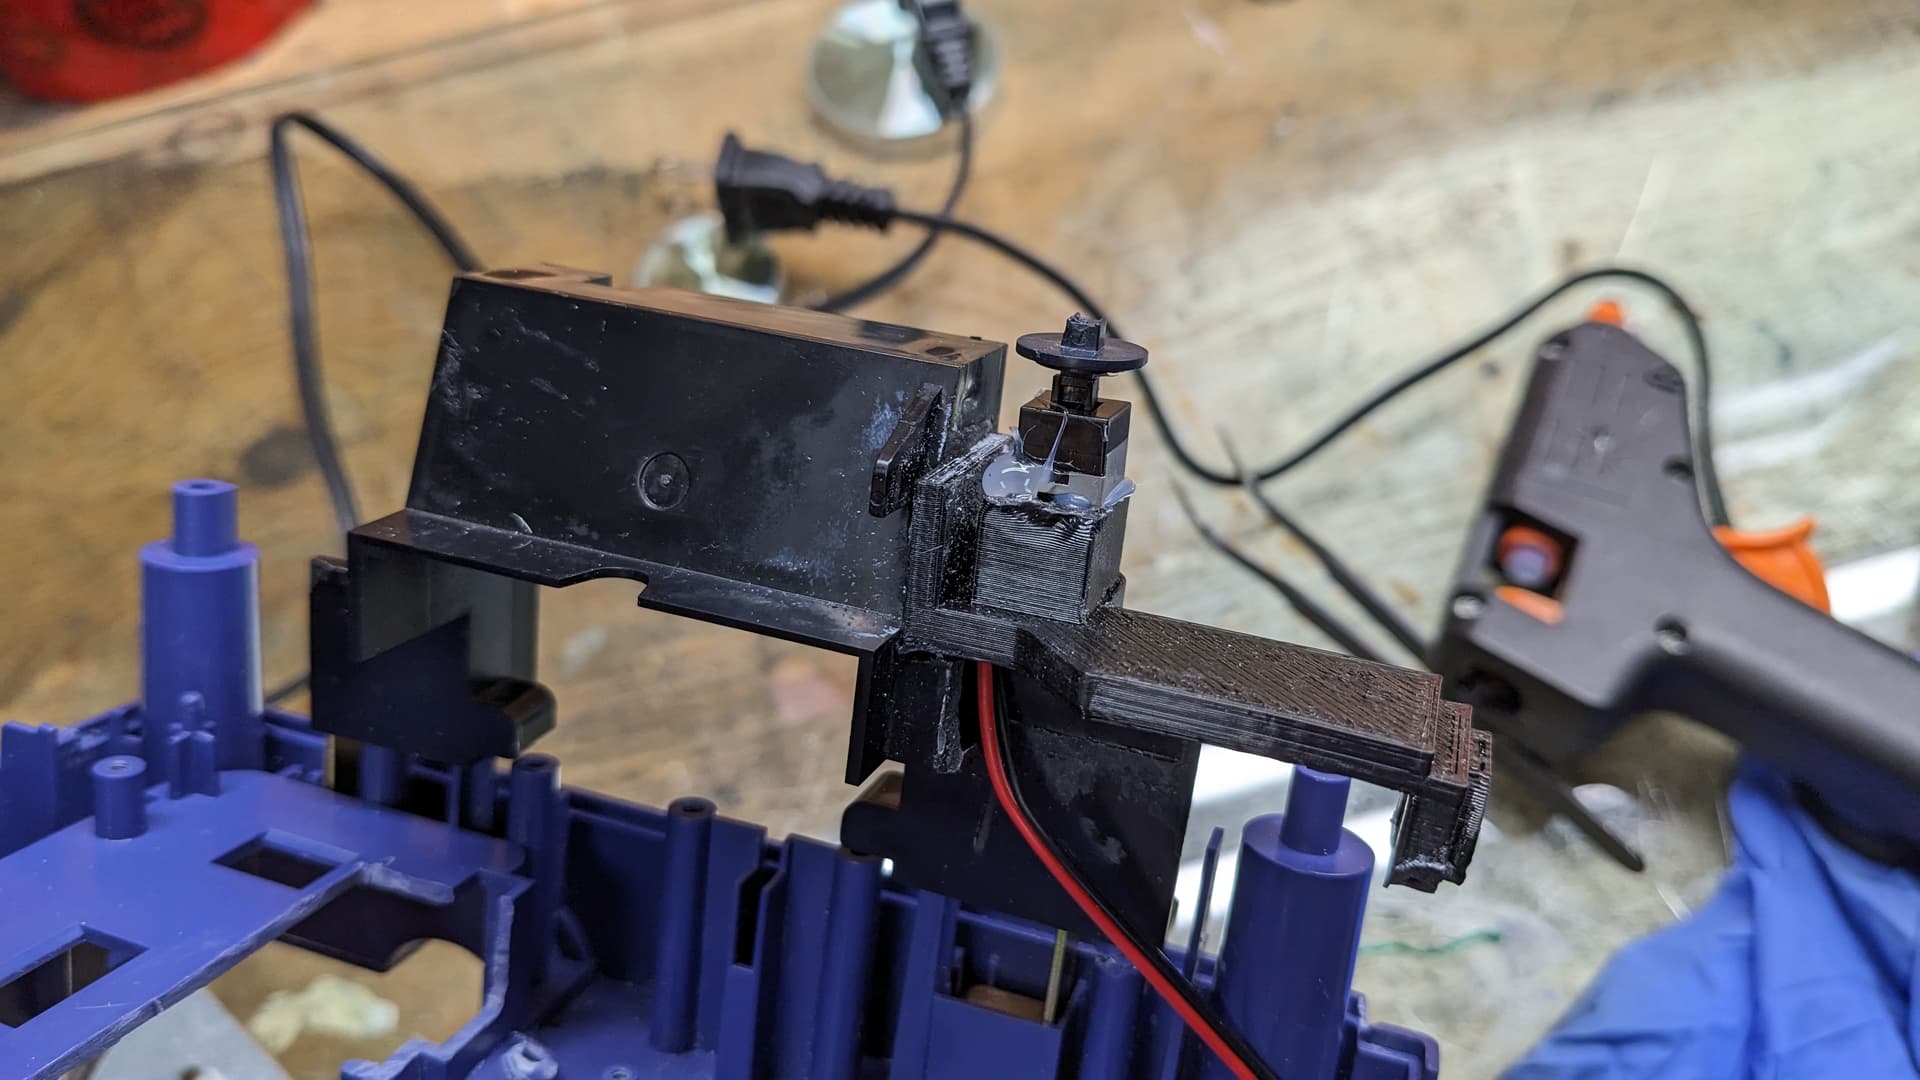
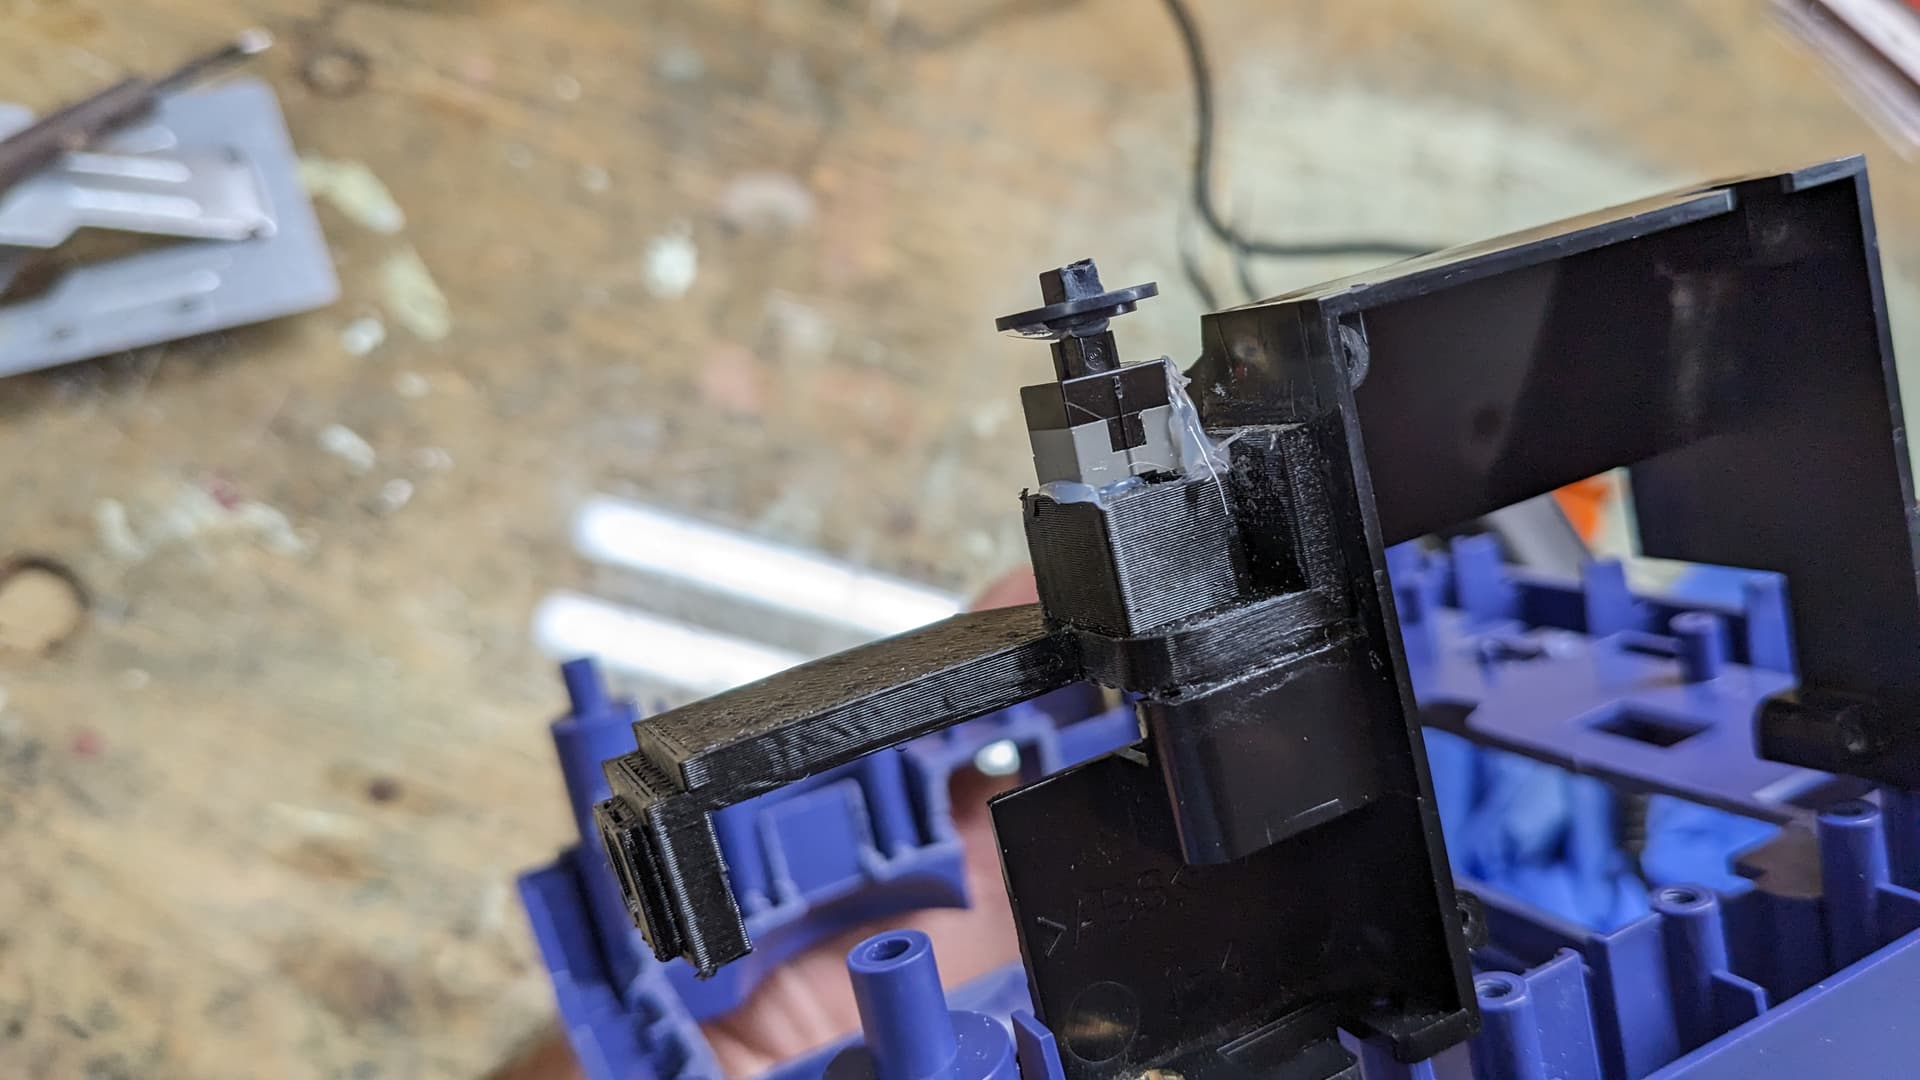
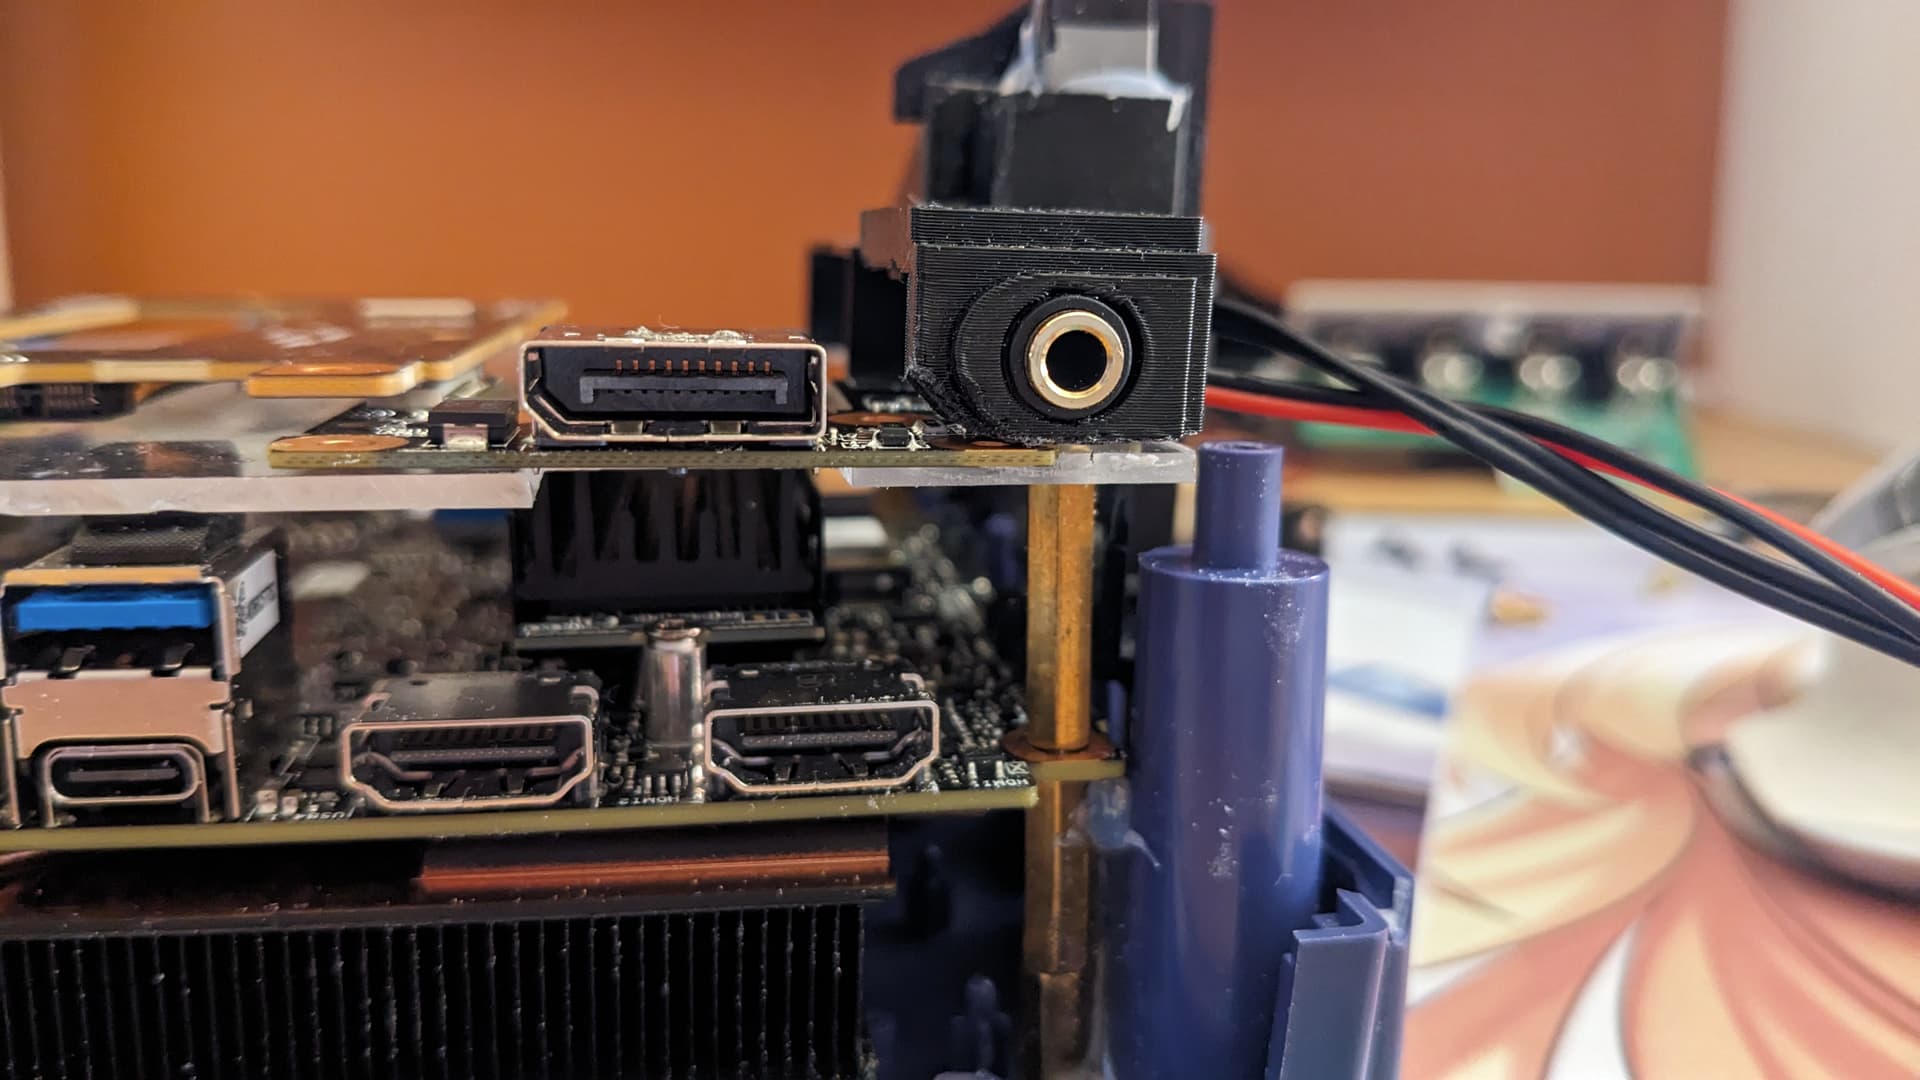
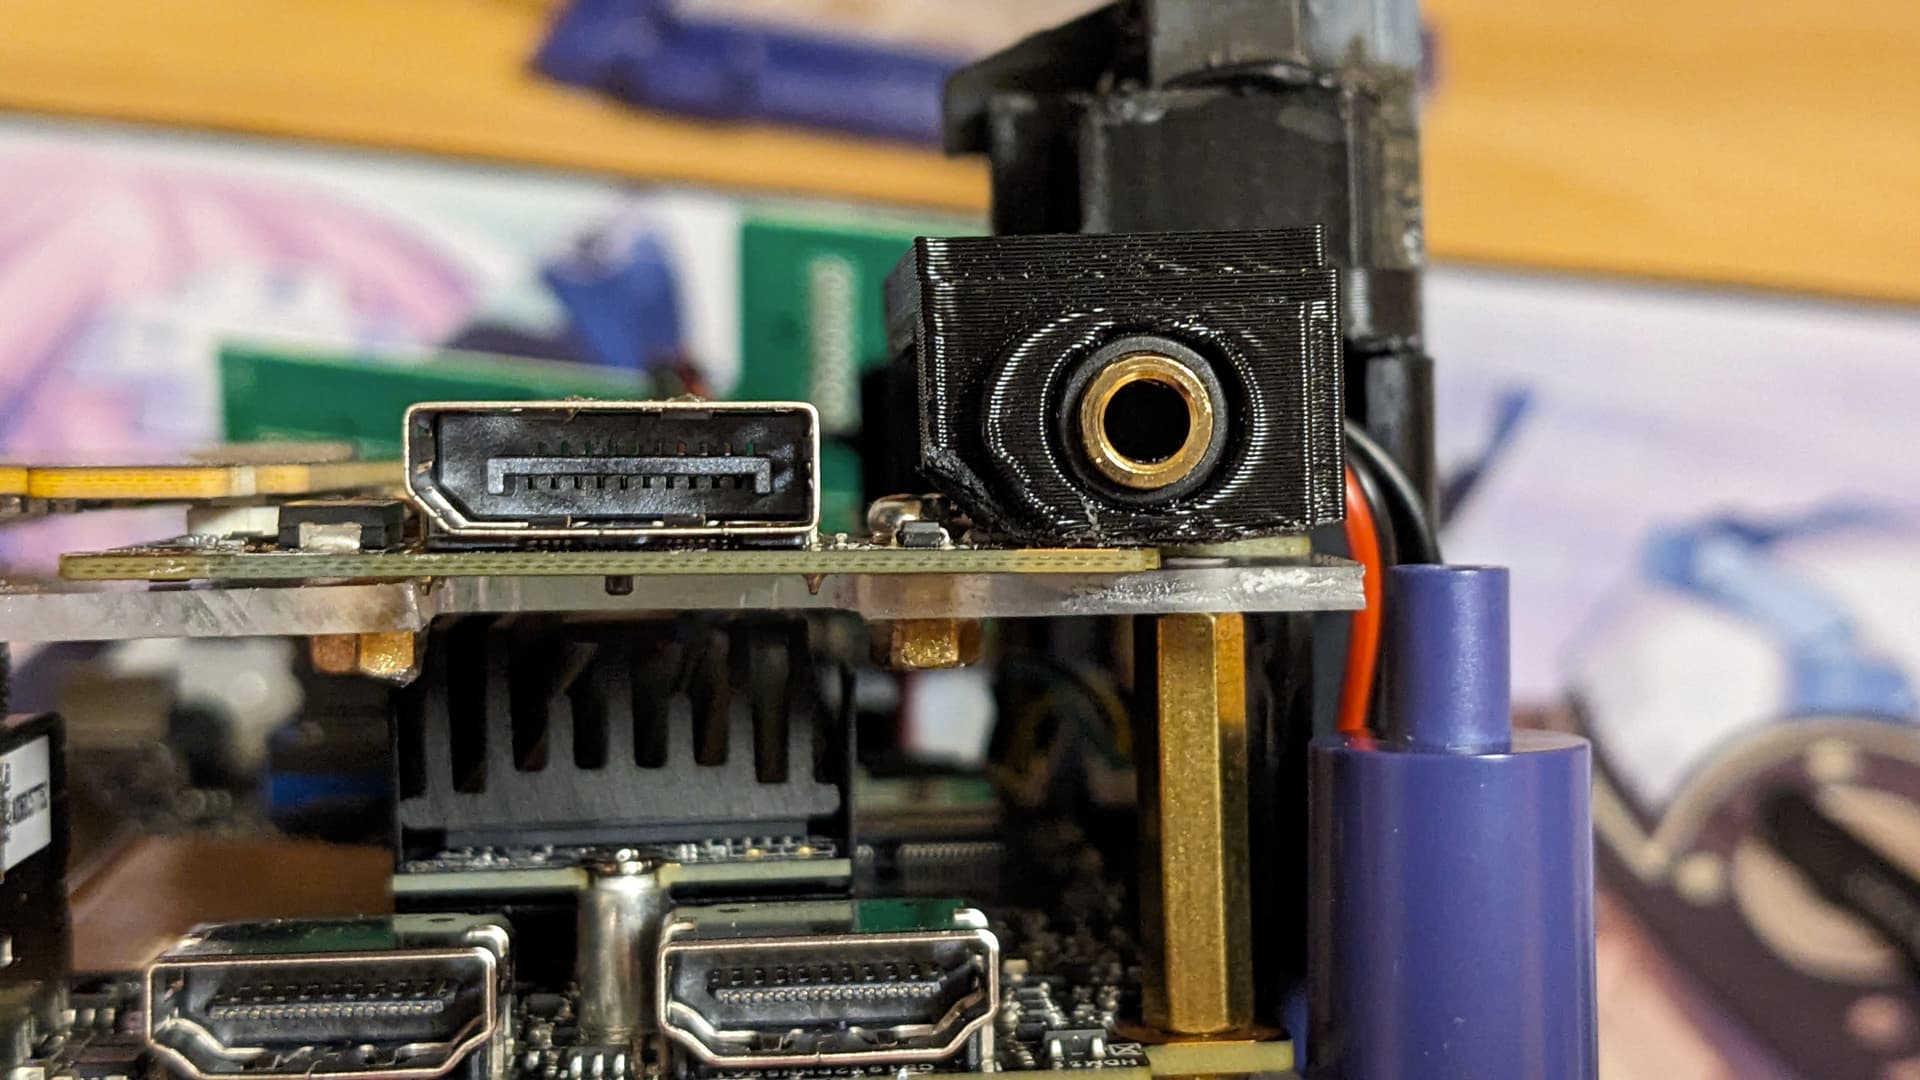
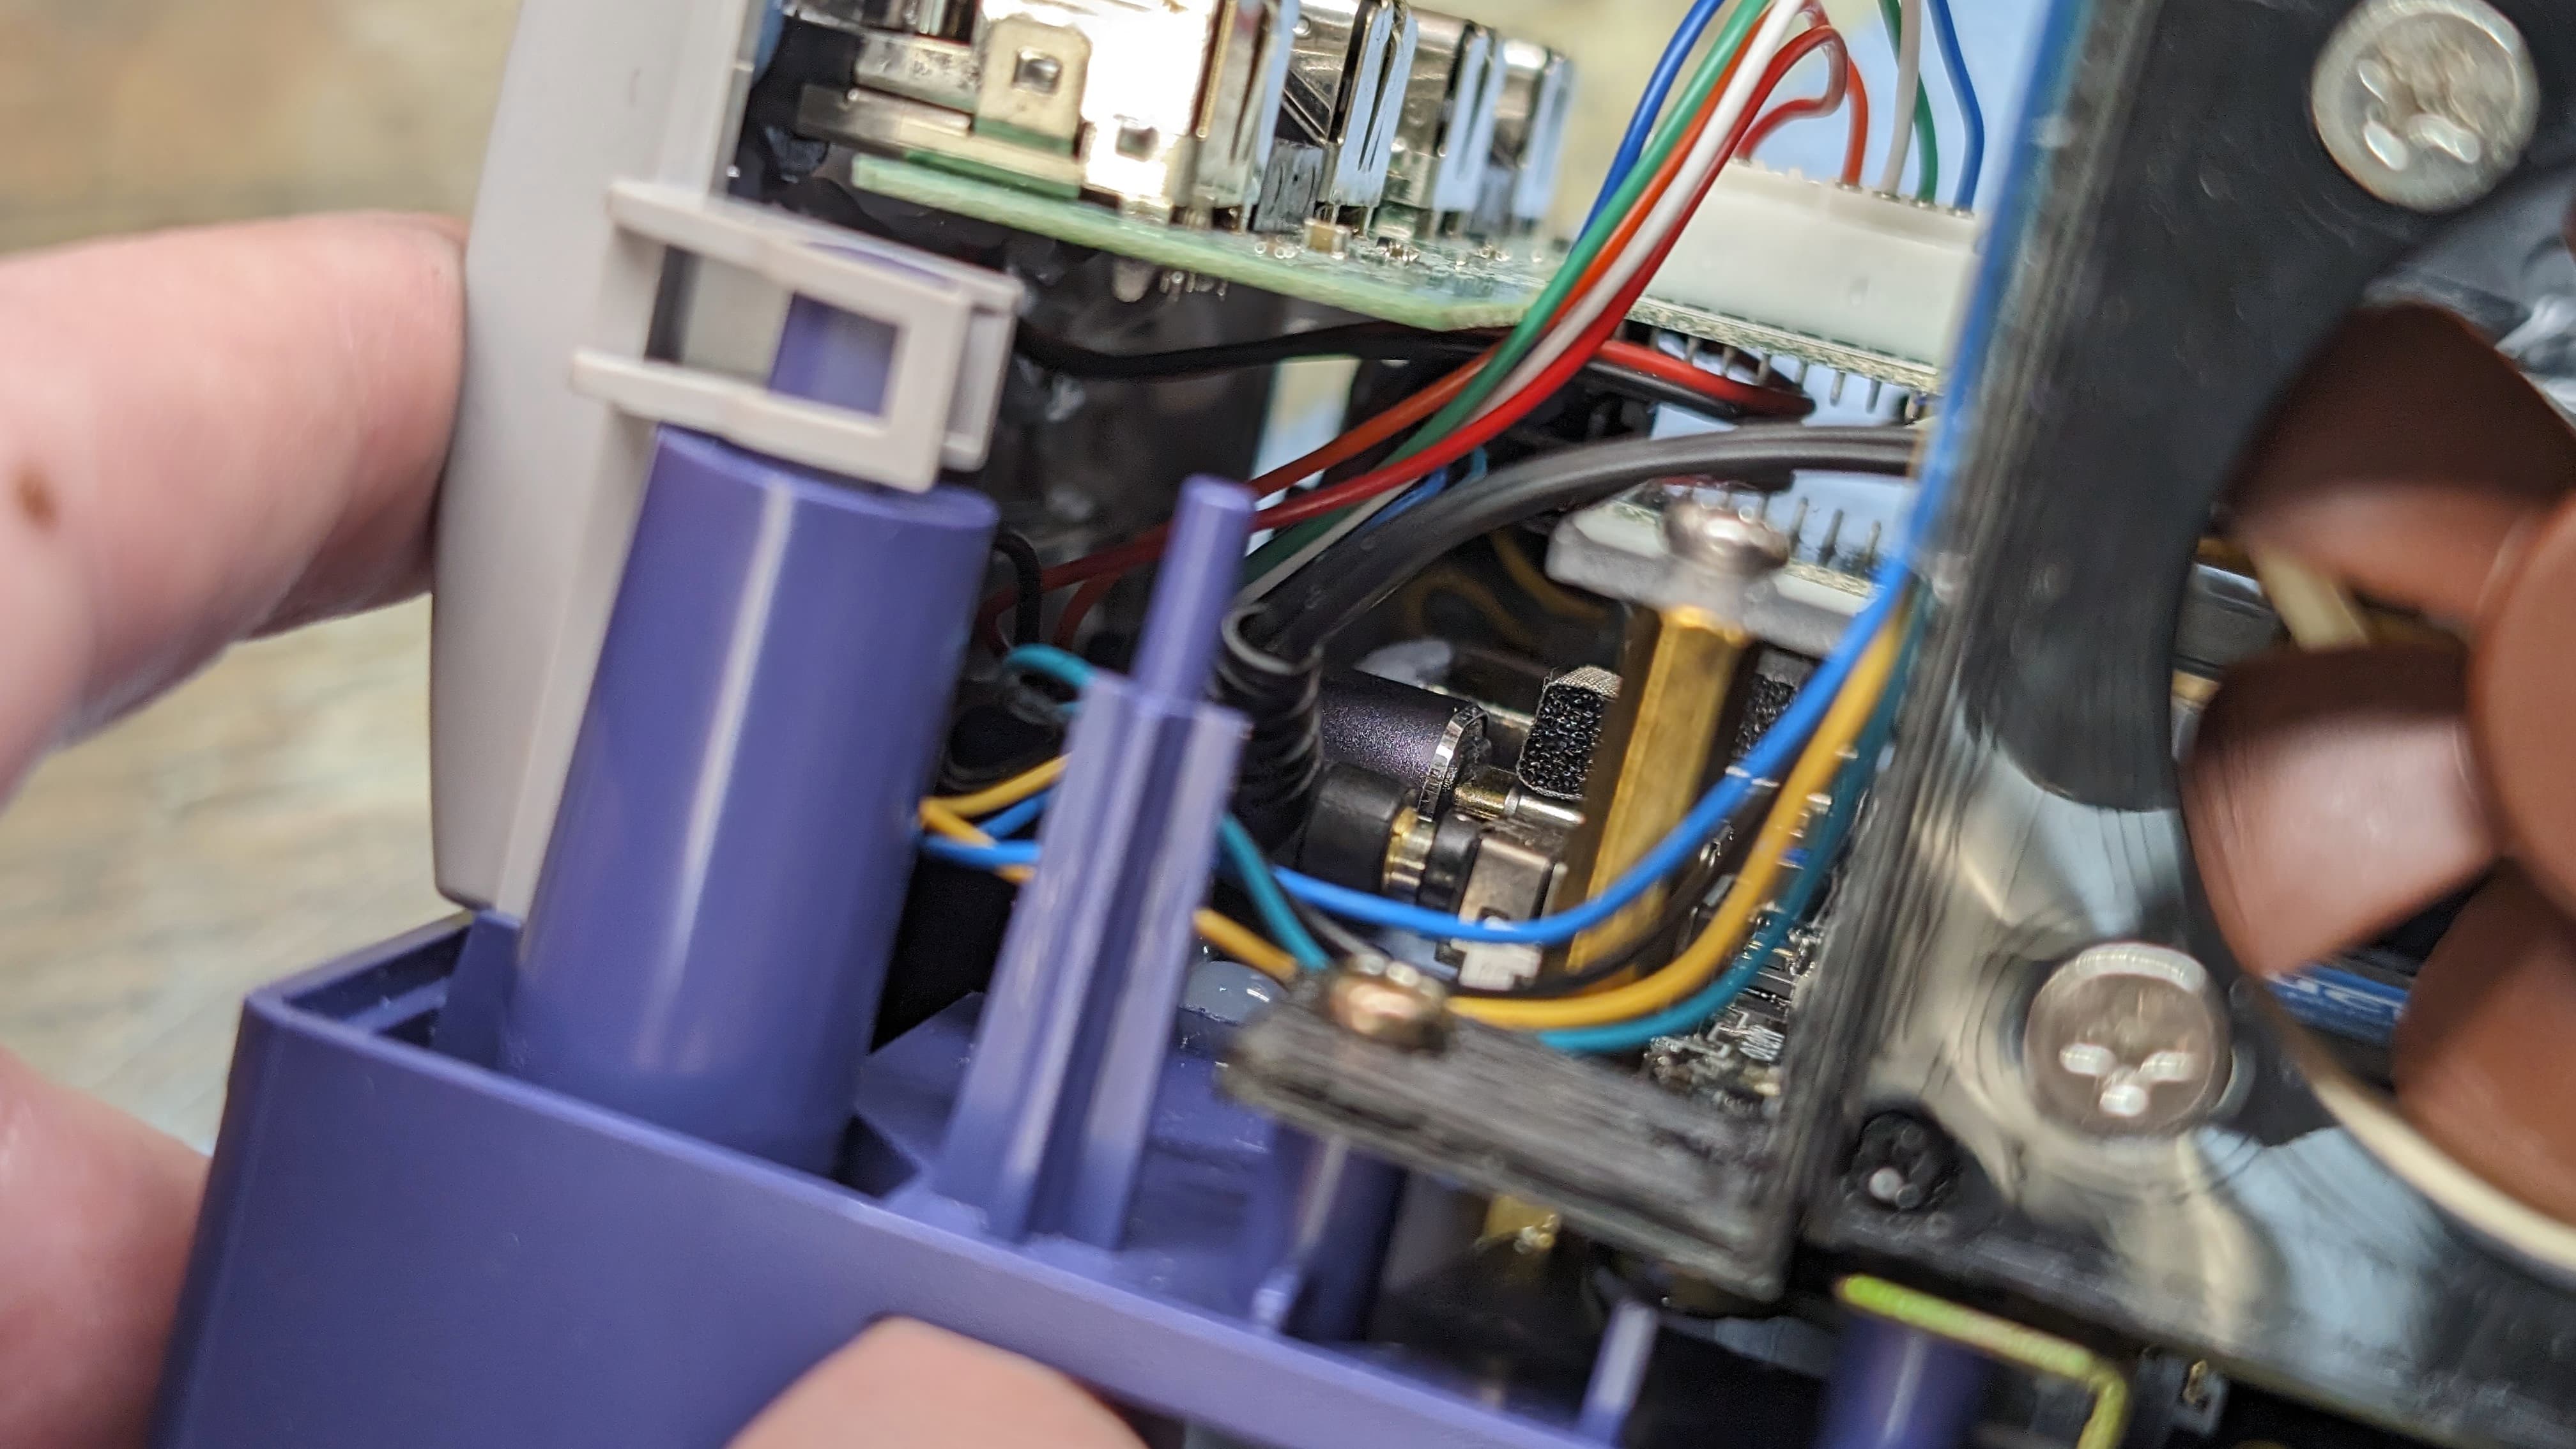
I’ve got also a fan assembly arm printed. I will need to cut off the original one because it will interfers with the DP board, and will replaced with the 3D printed one that will support the audio jack. Also there is an elevated area to put a button on it. So again instead of hot gluing the button to the case, it will sit inside it.
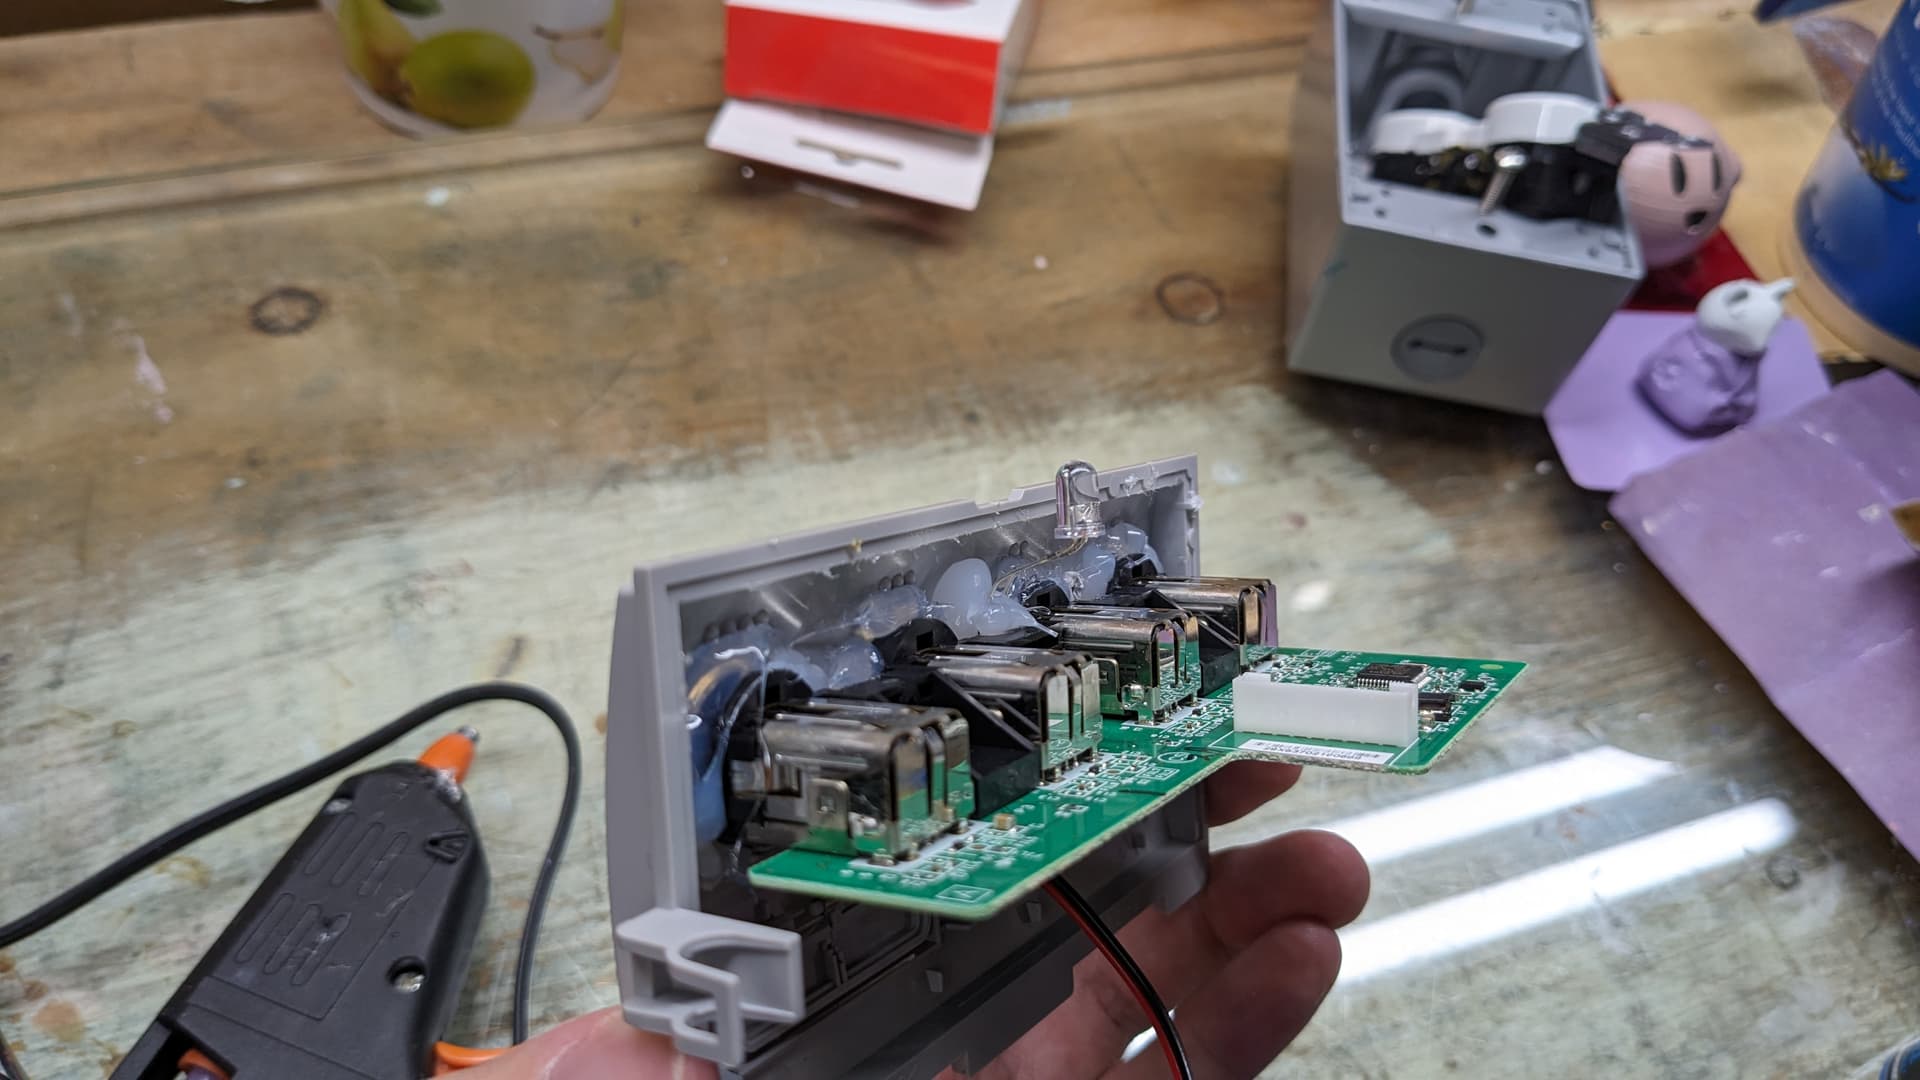
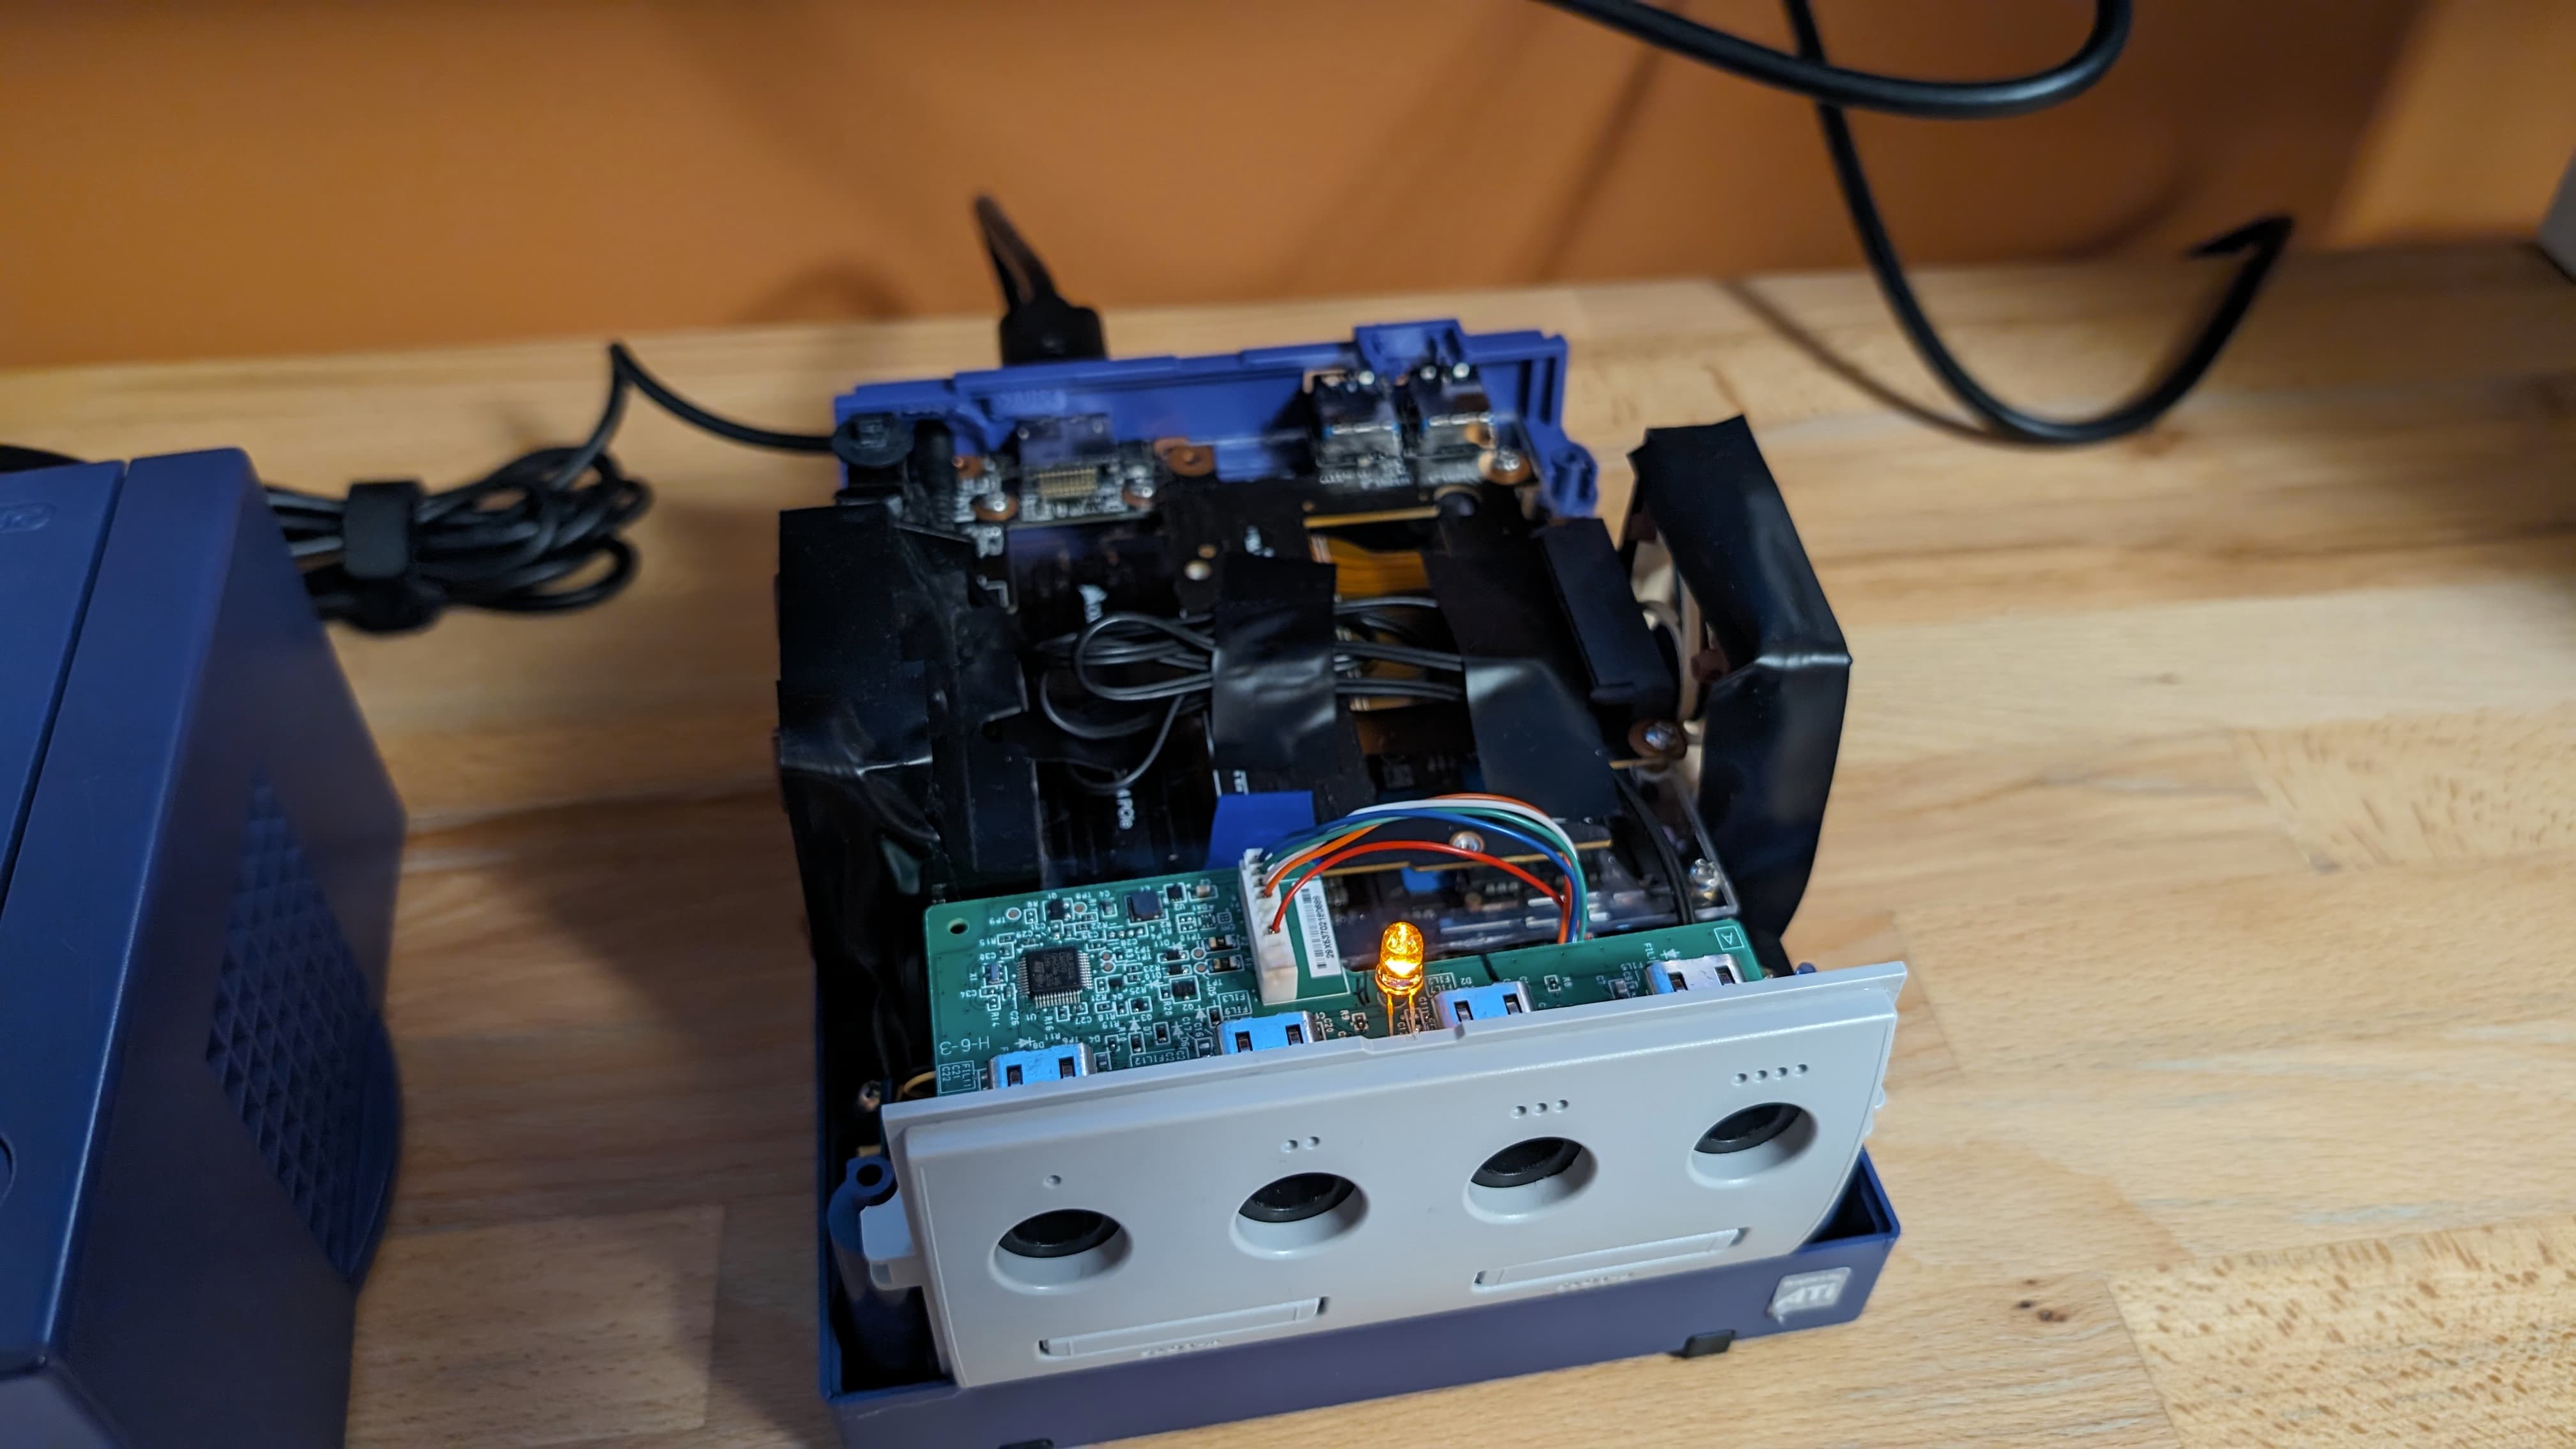
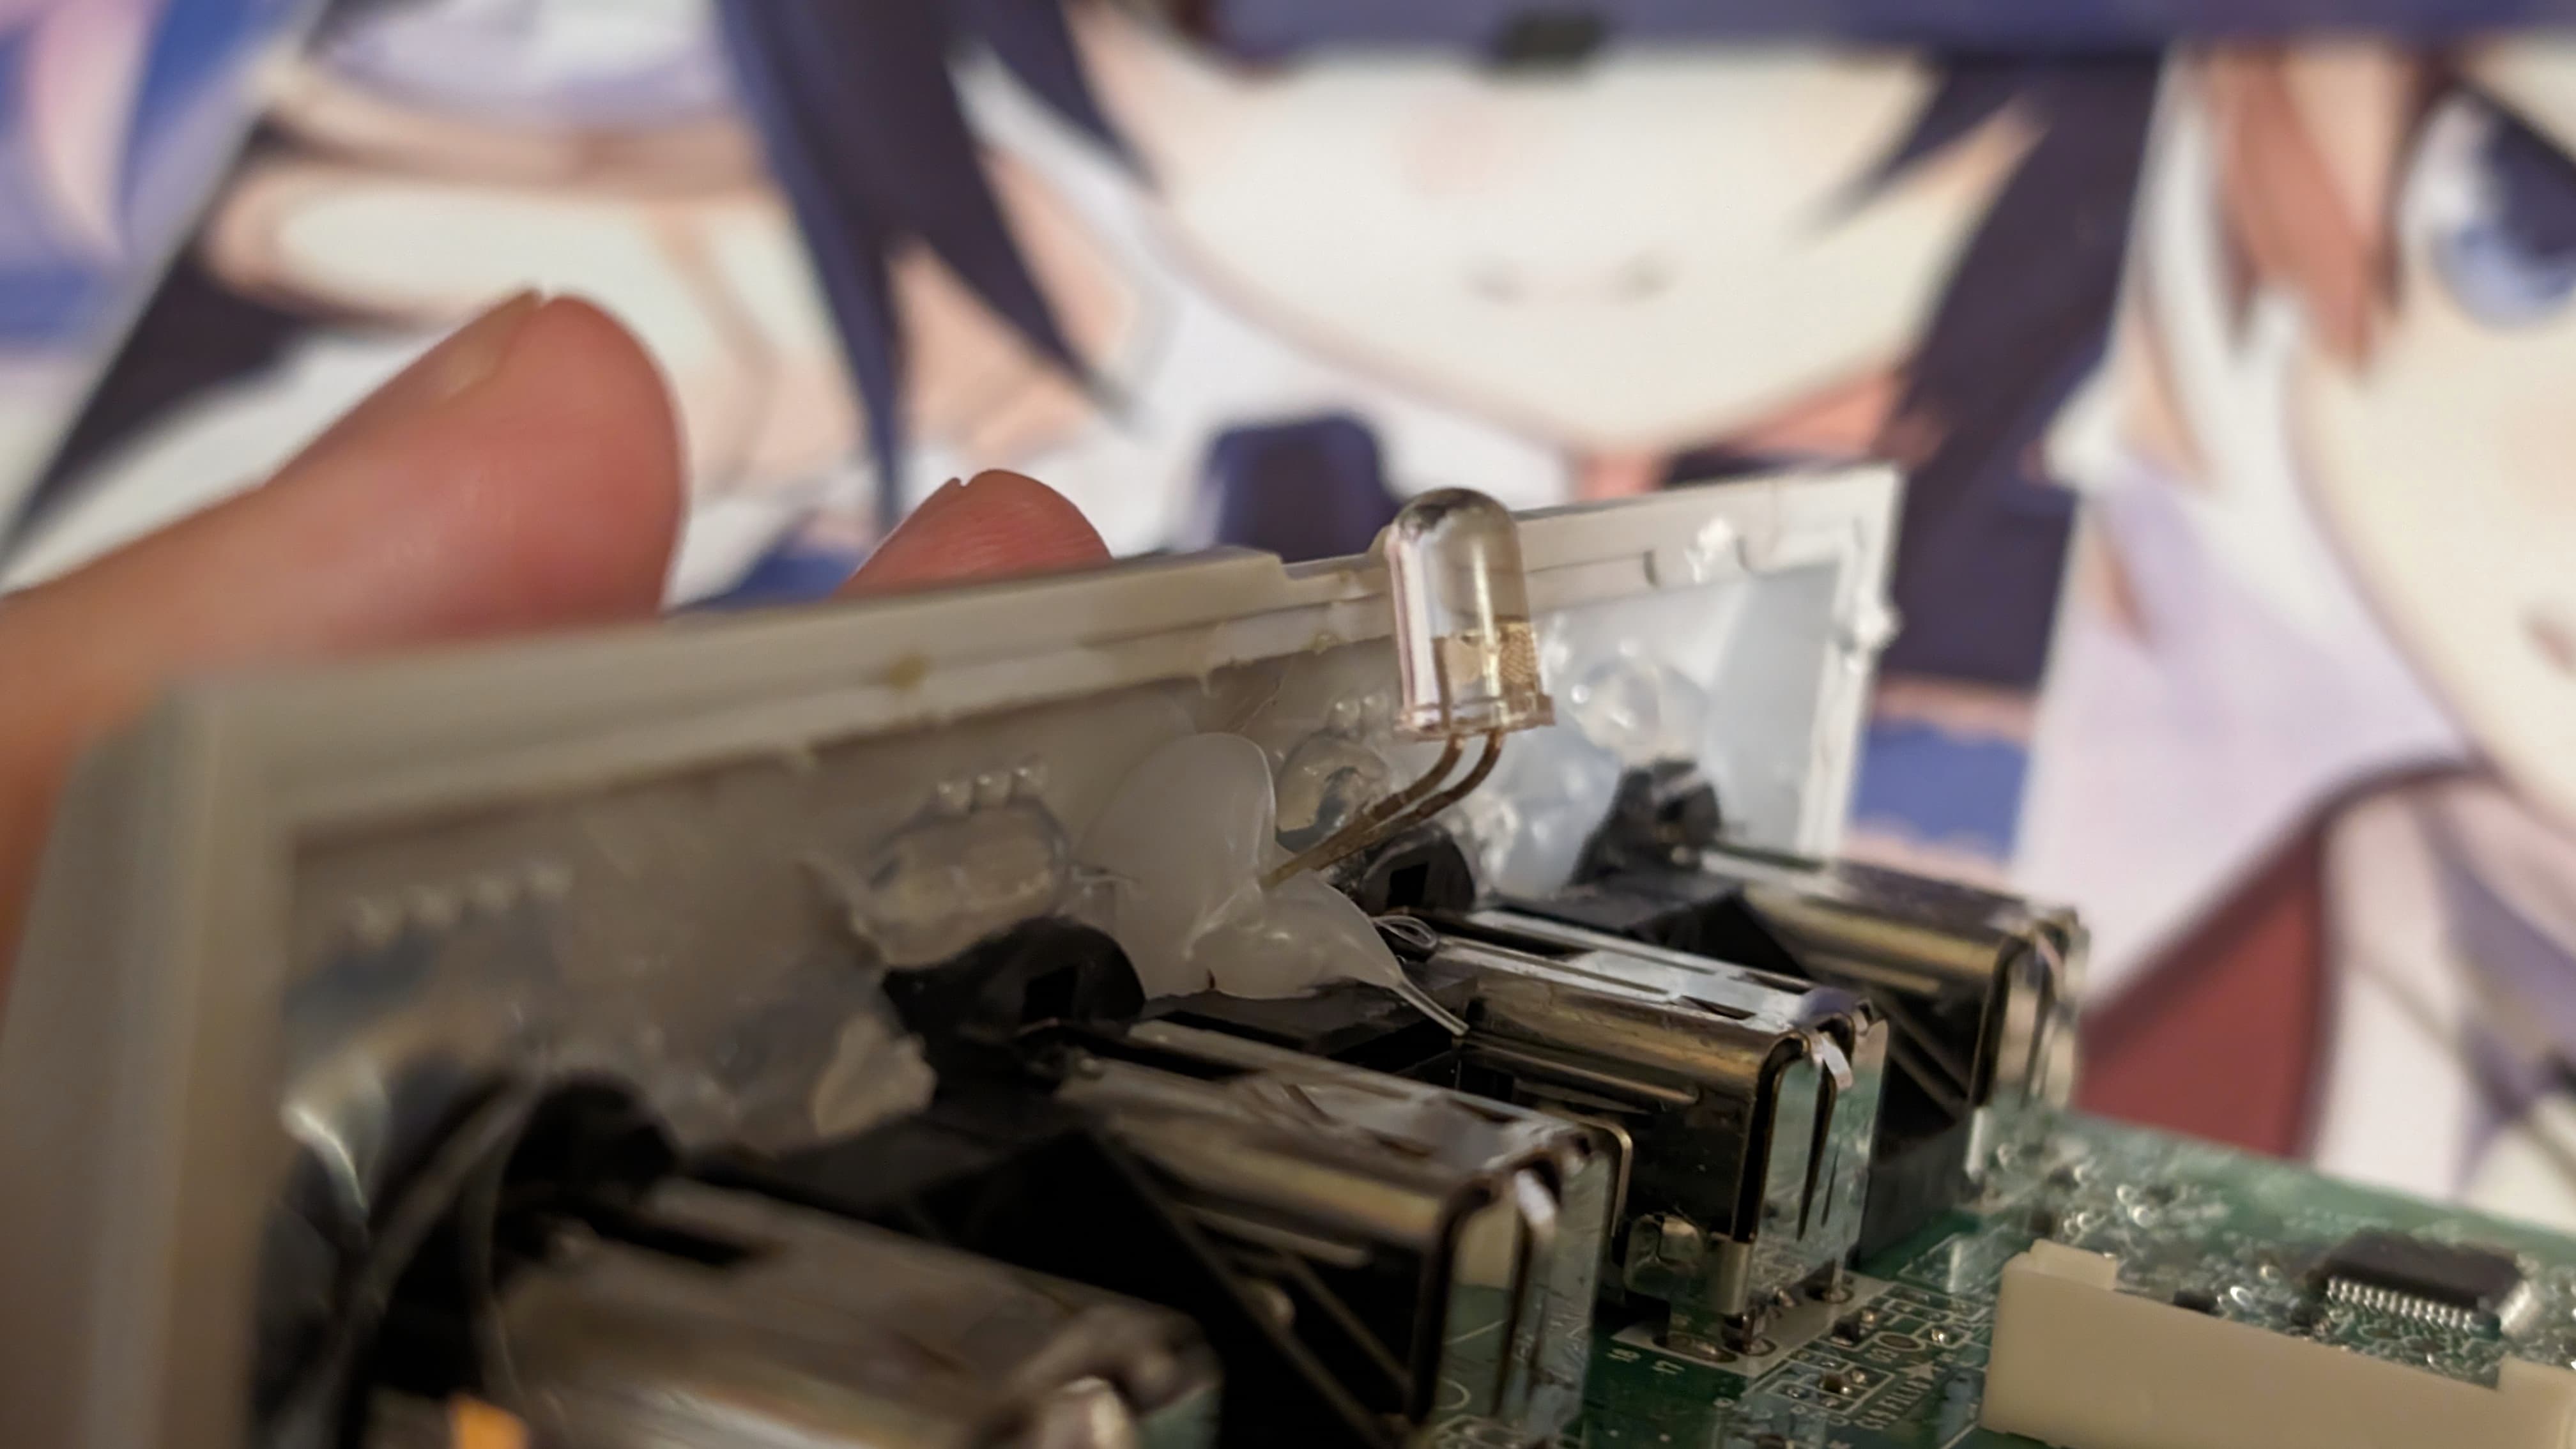
First, in the logic of having nothing glued to the upper case, I glue the led to the Gamecube adapter. Now it will slot perfectly when the upper case will be lower.
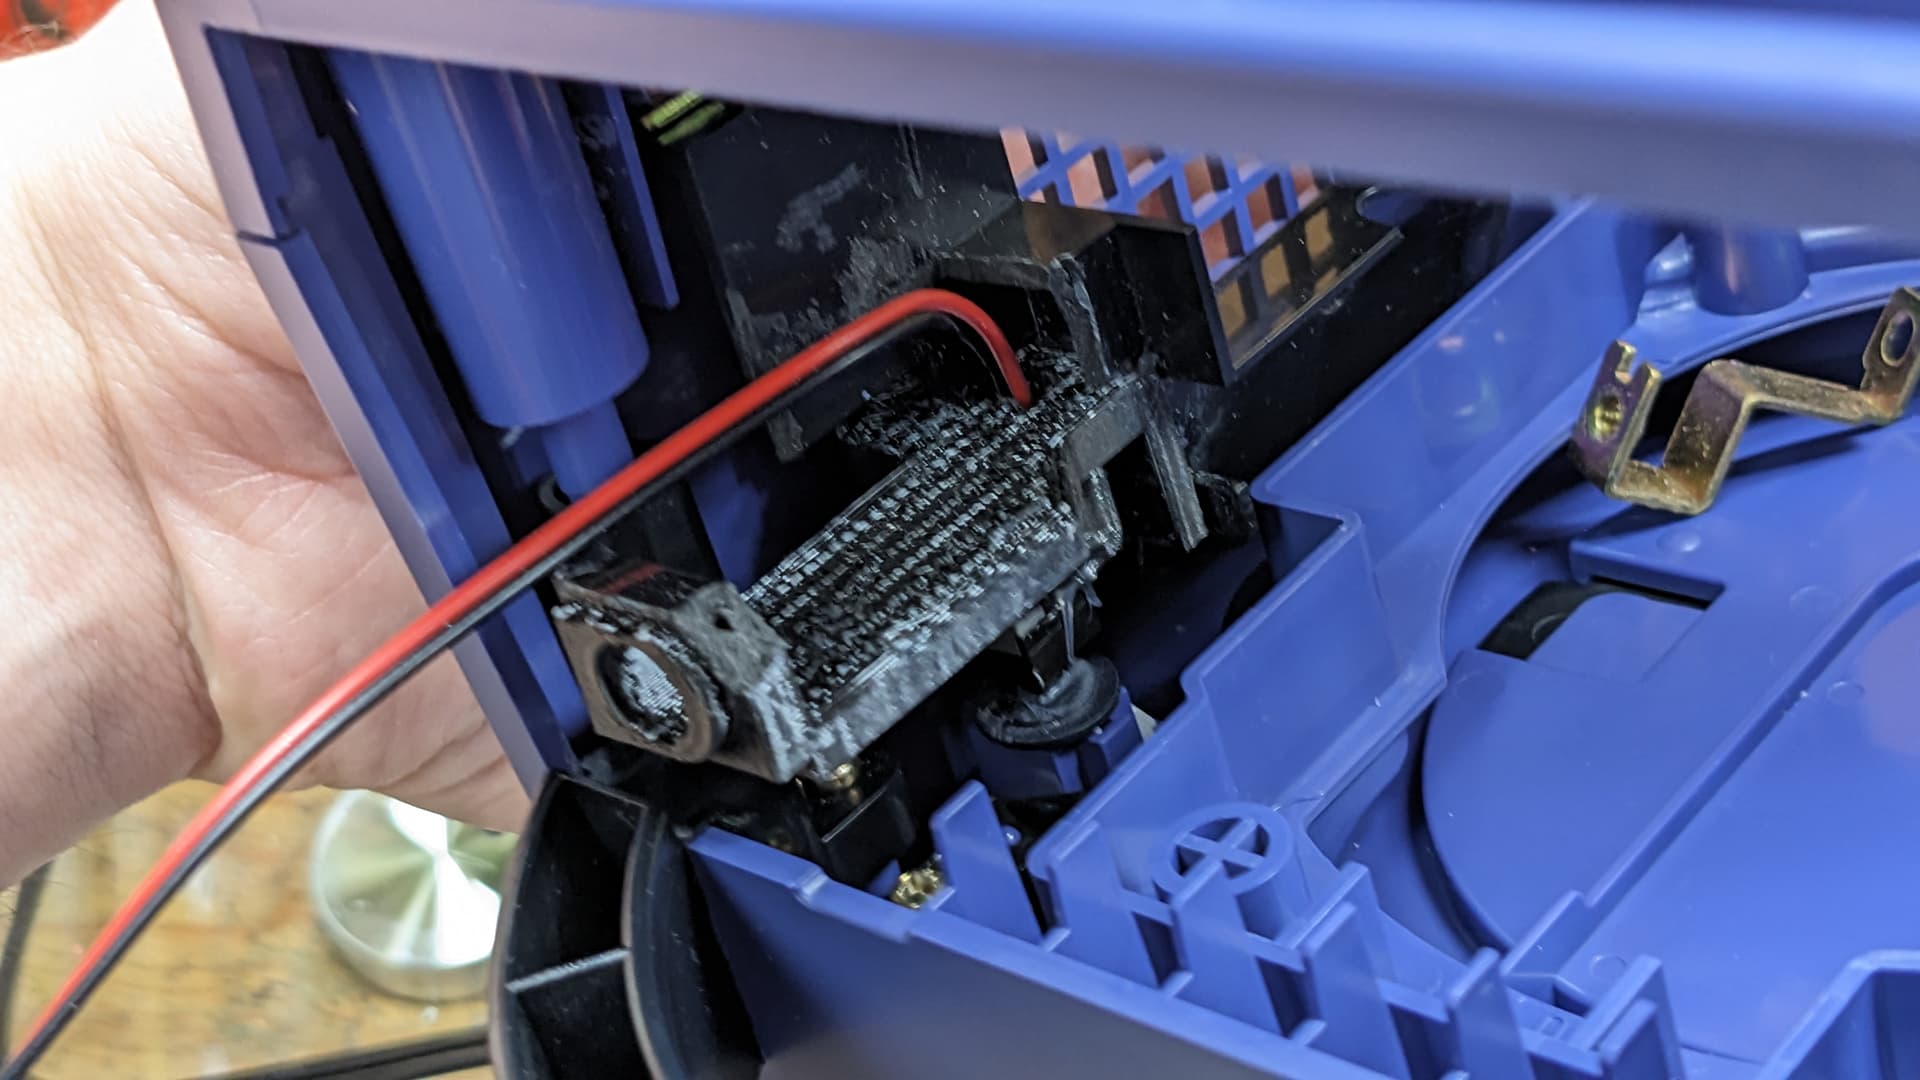
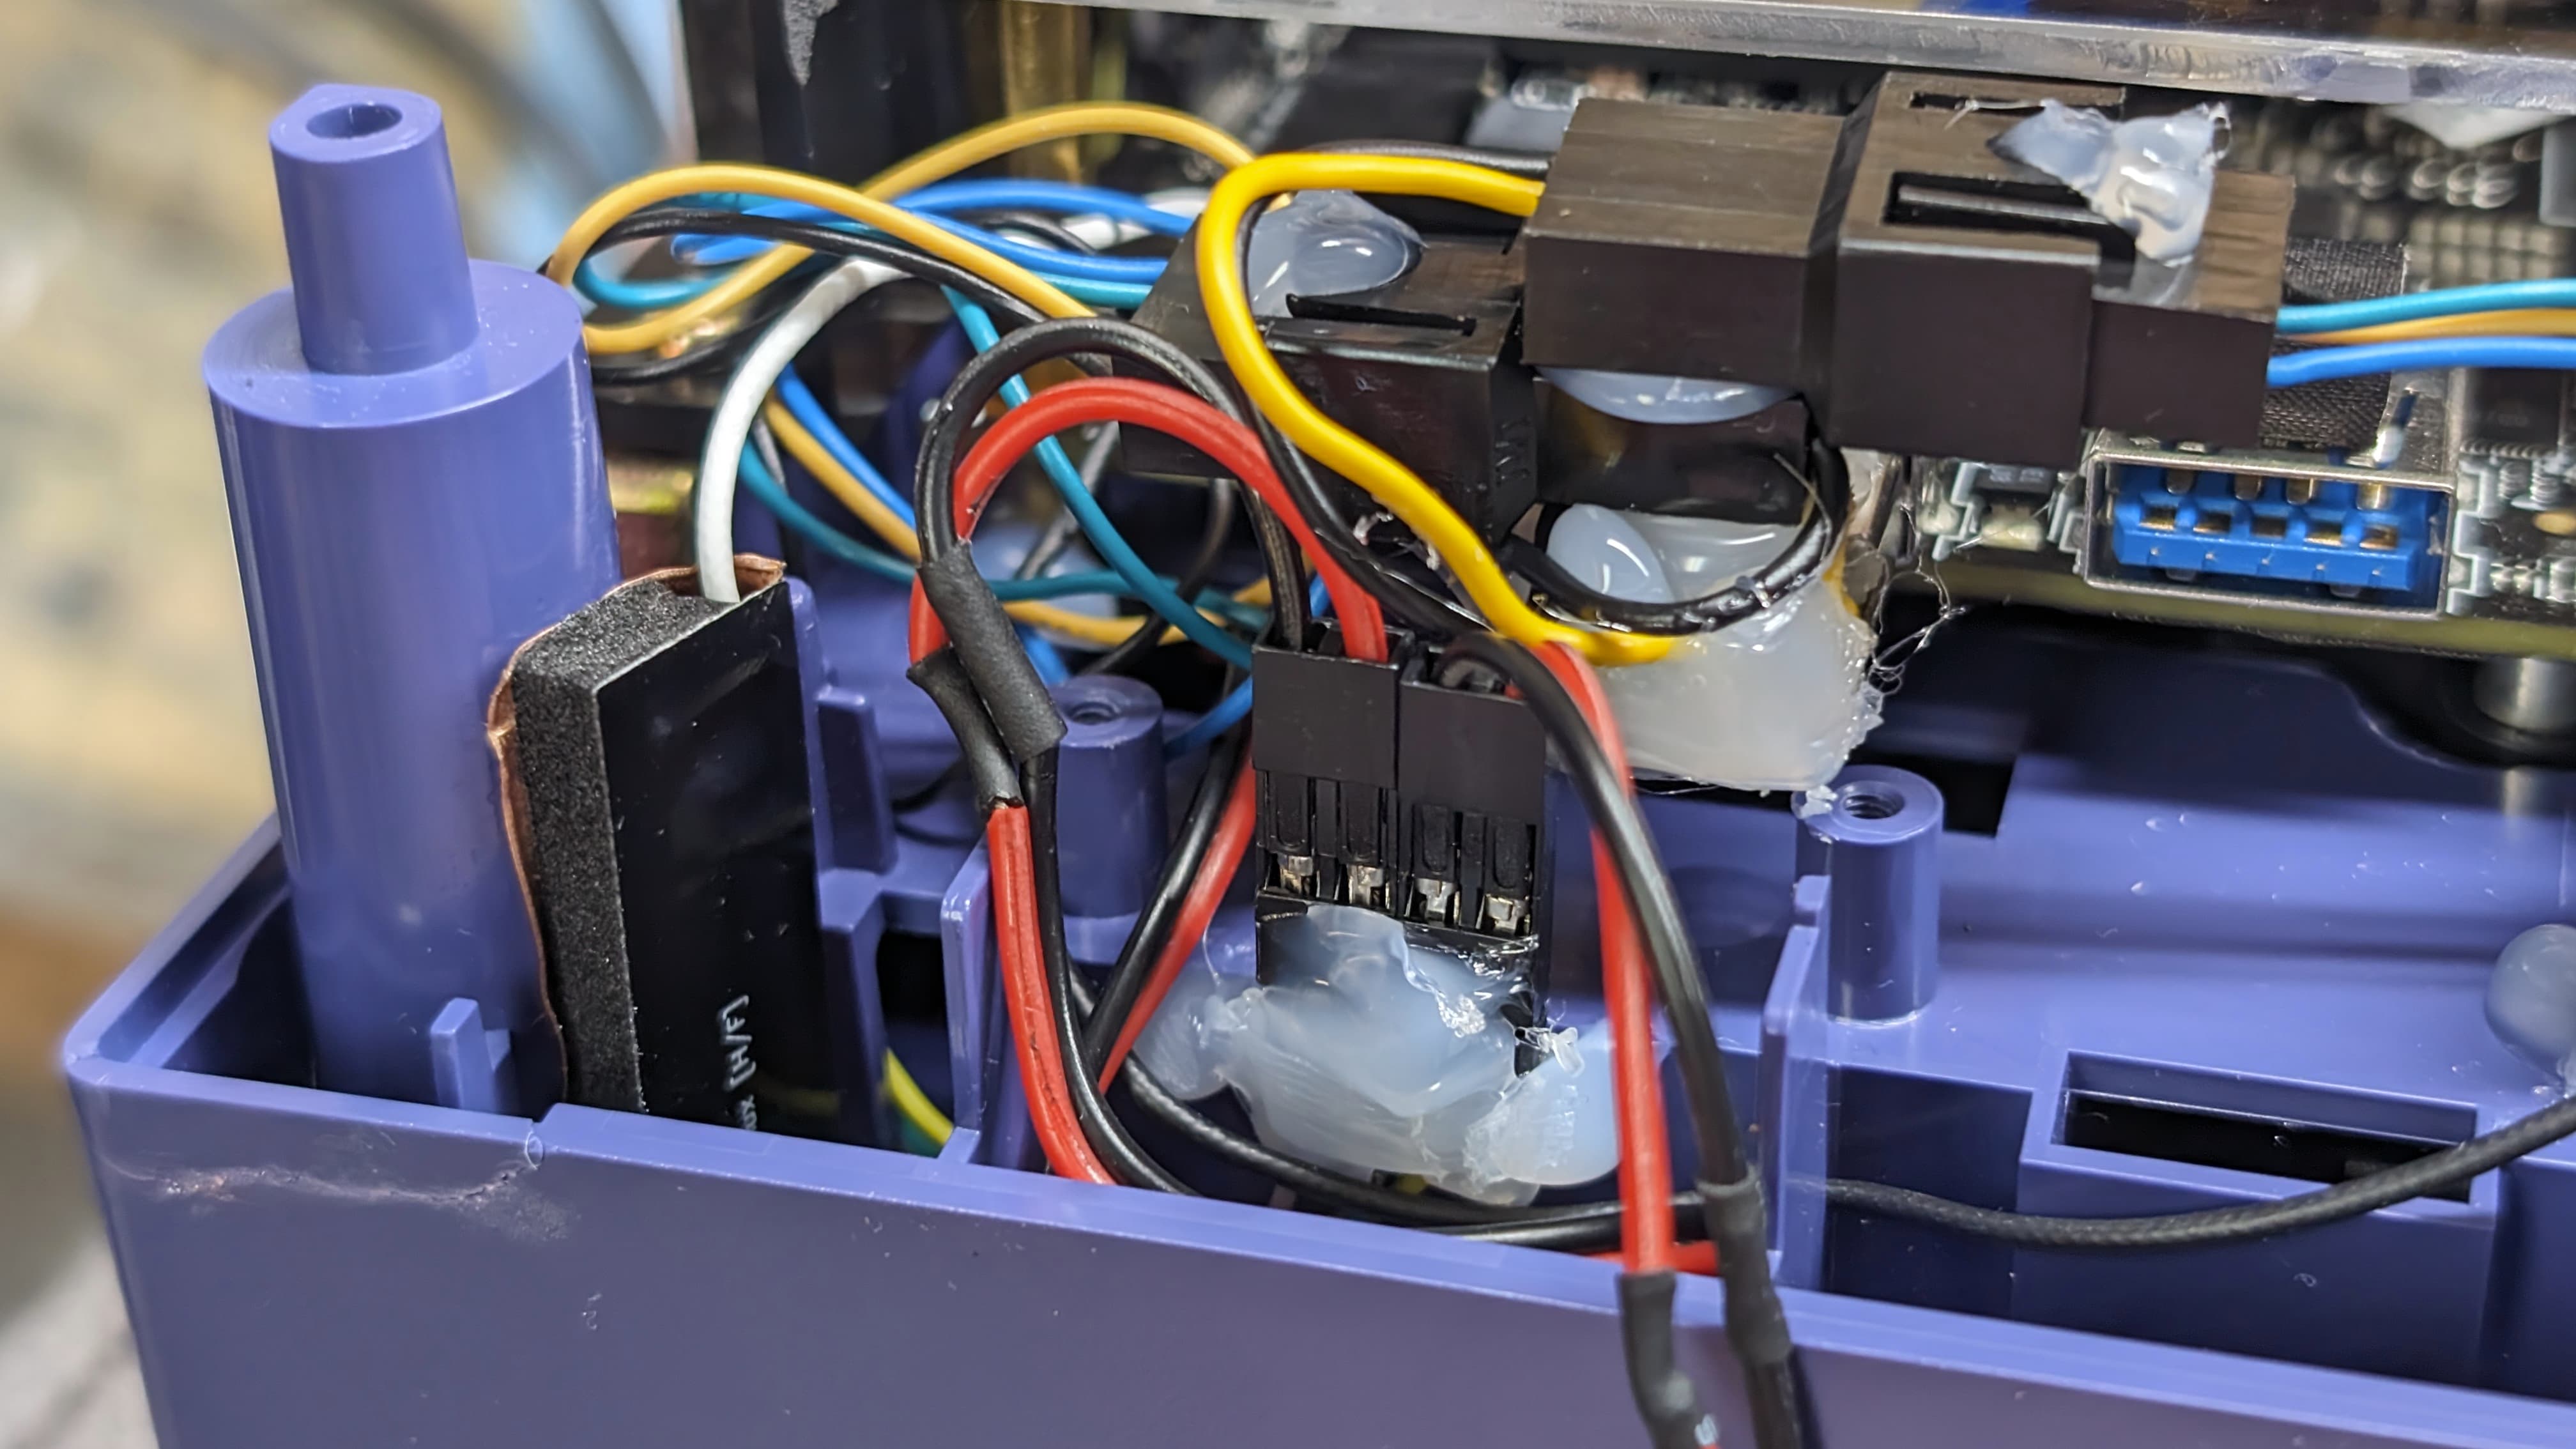
And I finished working the power assembly with the 3D printed piece that was glued in place after I cut the original arm. I put the power button in place after shaving some height to its supporting block. And I recovered the top from the original power button to slot it in and glue it to the new power button. And it fits! Nothing functionnal will be glued to the upper case!
Test fitting, pretty much everything fits. Just the power button can be a bit off from time to time. And I forgot to ever test with the Gamecube adpater, but I’m lucky everything fits flush lol.
This build is not dead! Sorry for the lack oh updates. I was busy with my MBA, and I got an issue with the PN53, so I had to send in for a RMA and the RMA took like two months lol.
But now everything is completed. So here’s the update (before I get busy again with my MBA lol)
Only shipping to its buyer is remaining.
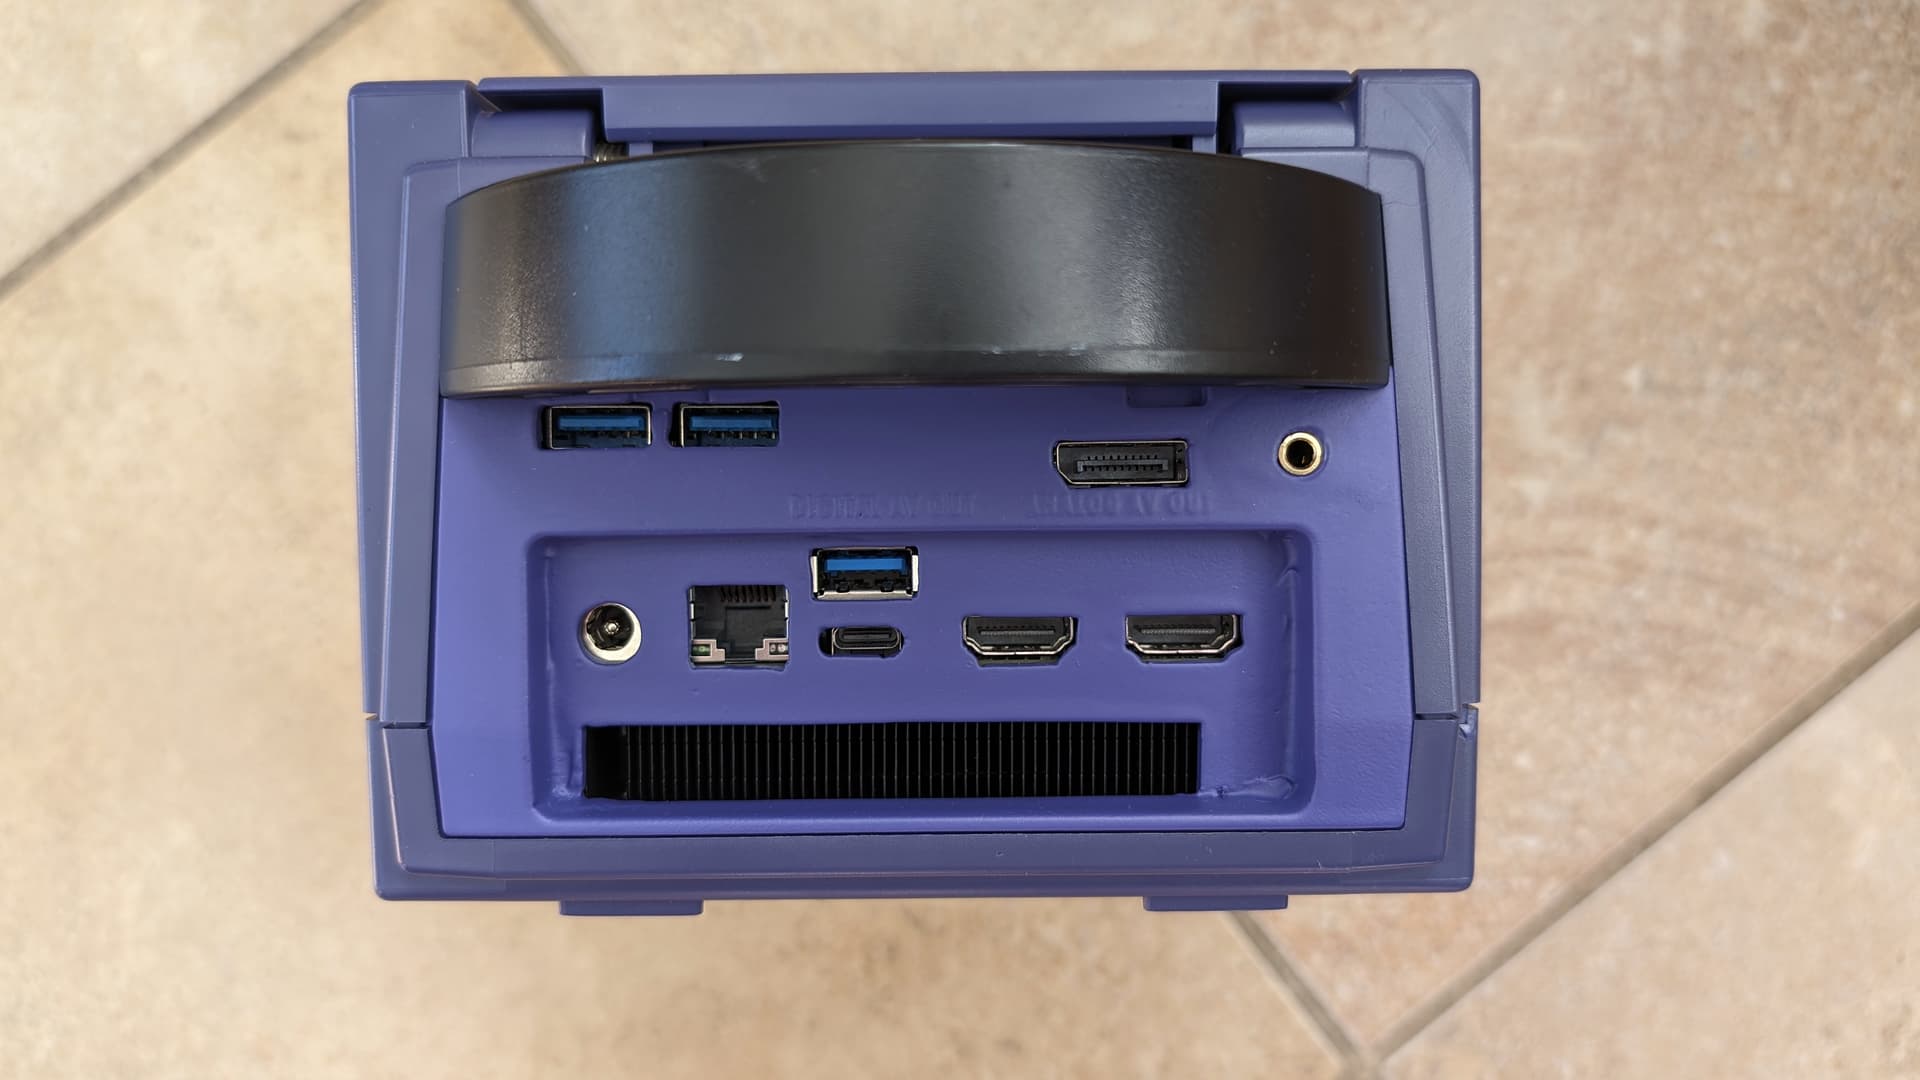
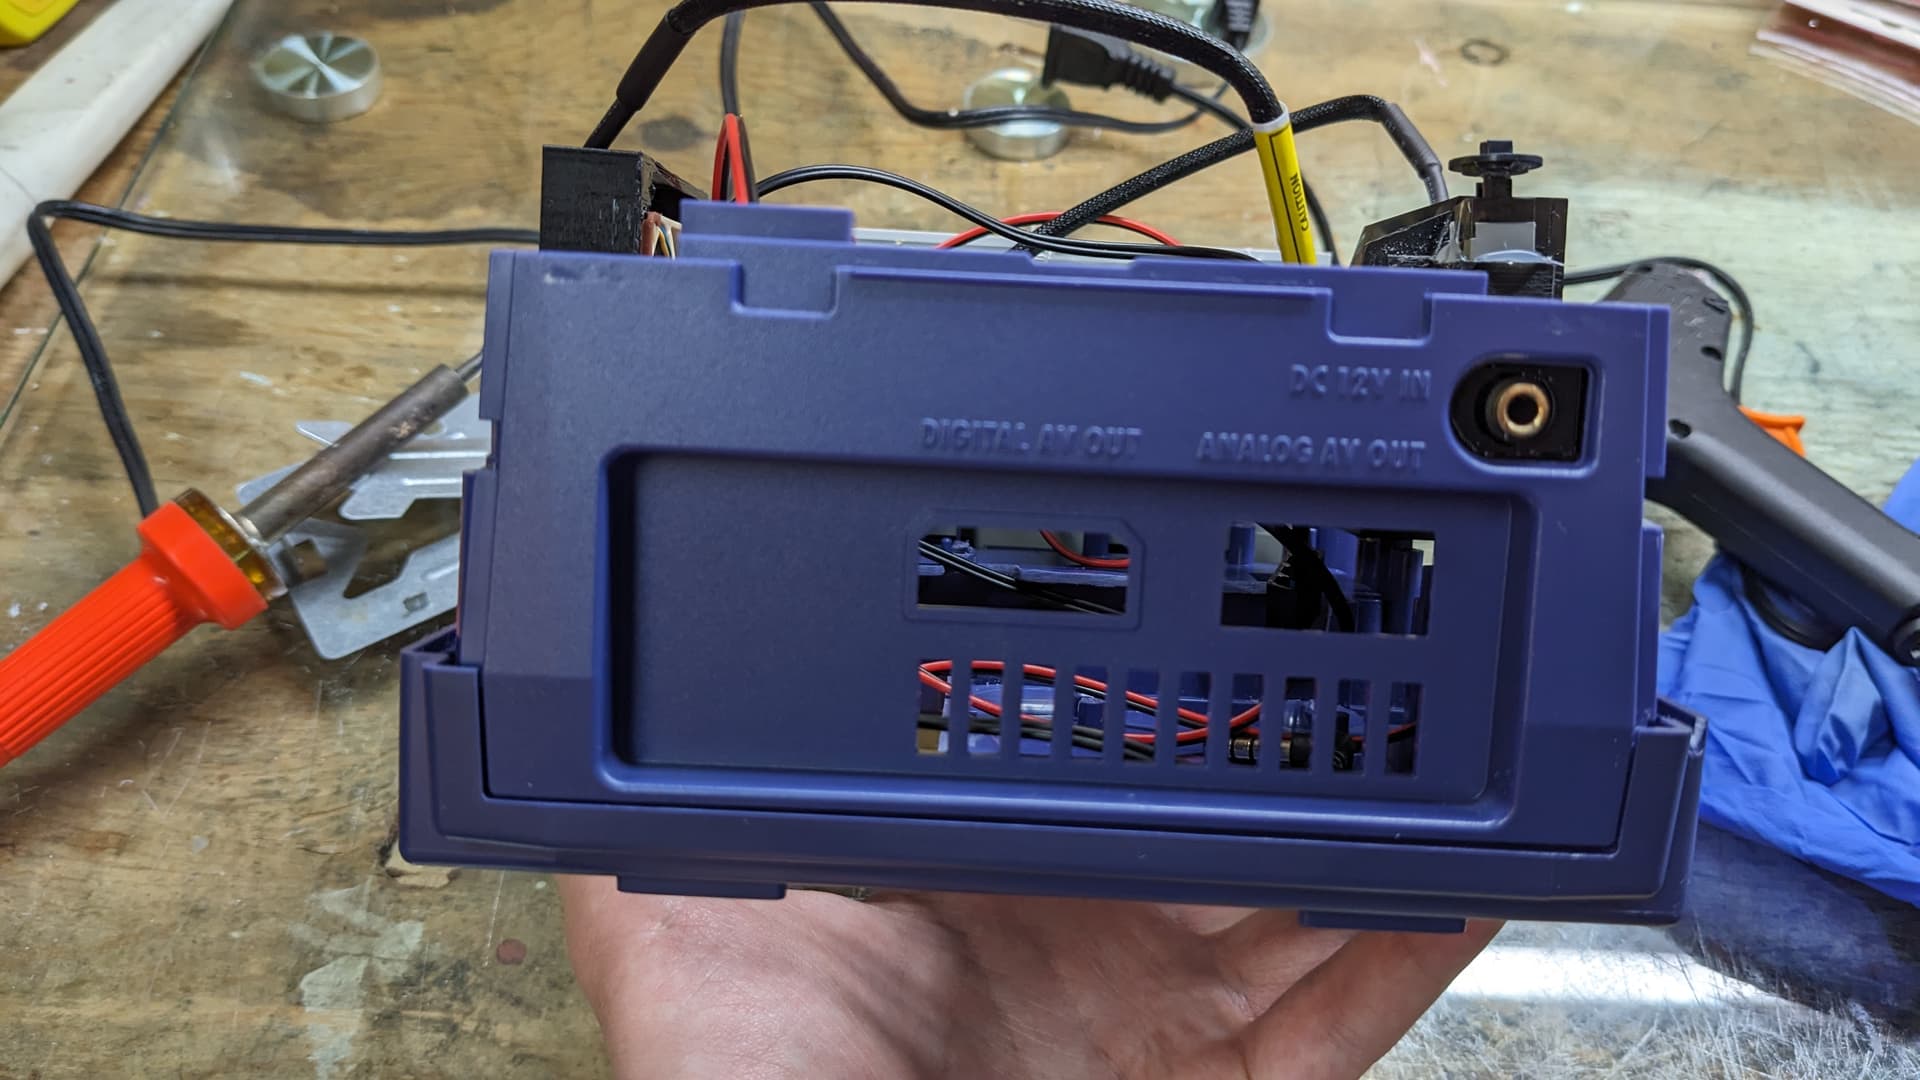
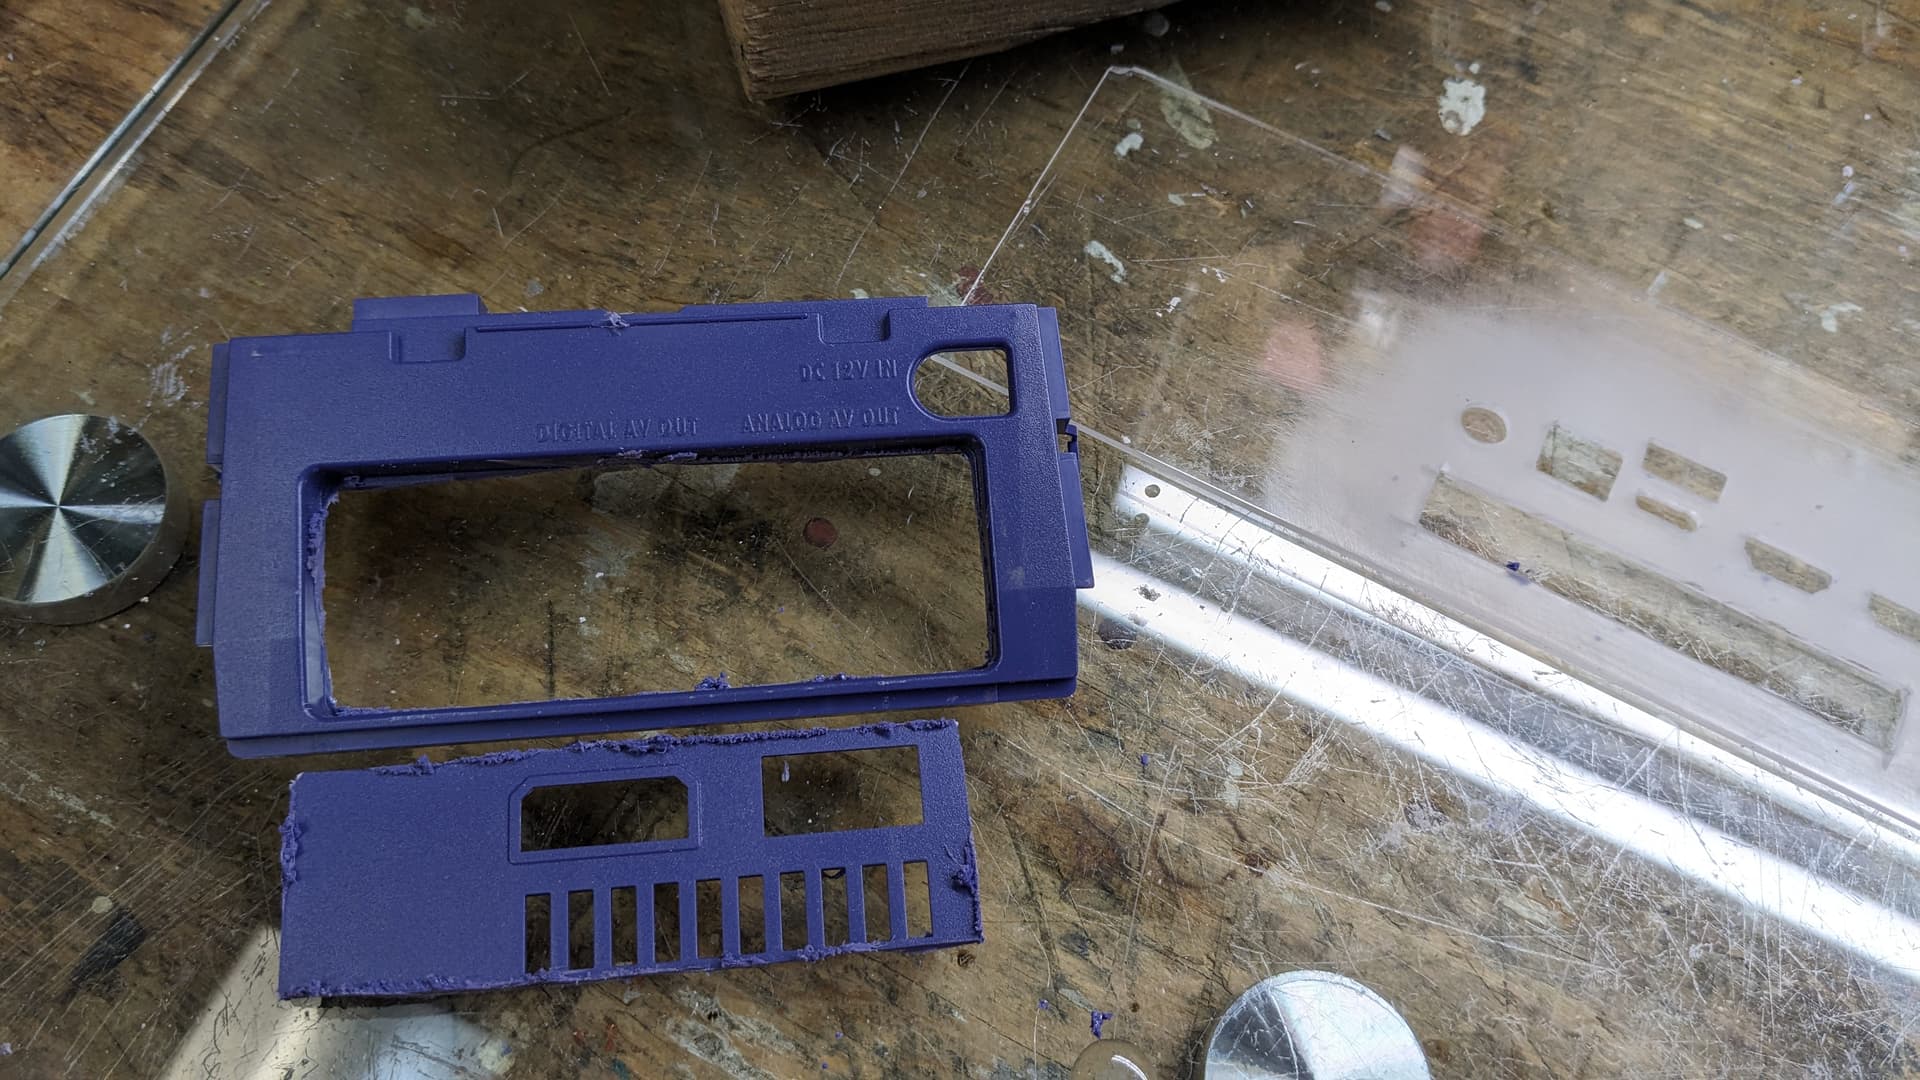
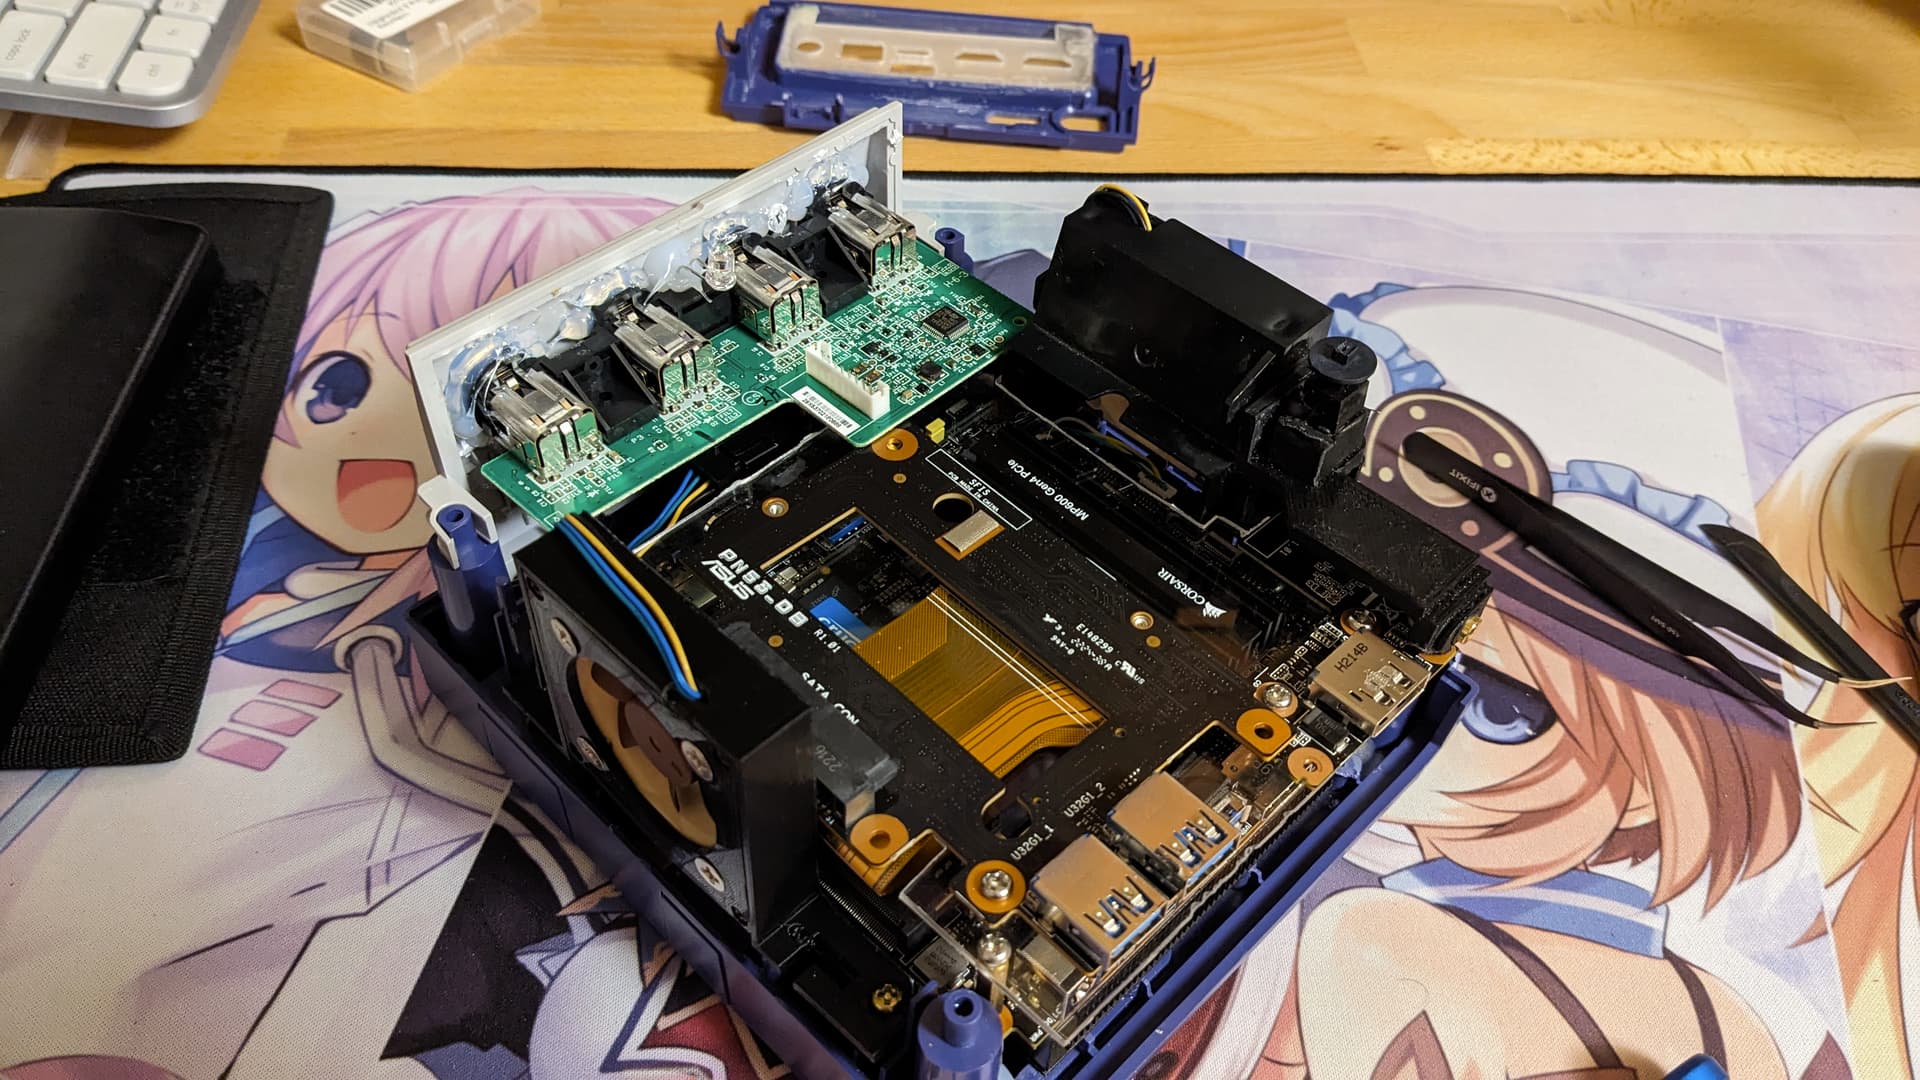
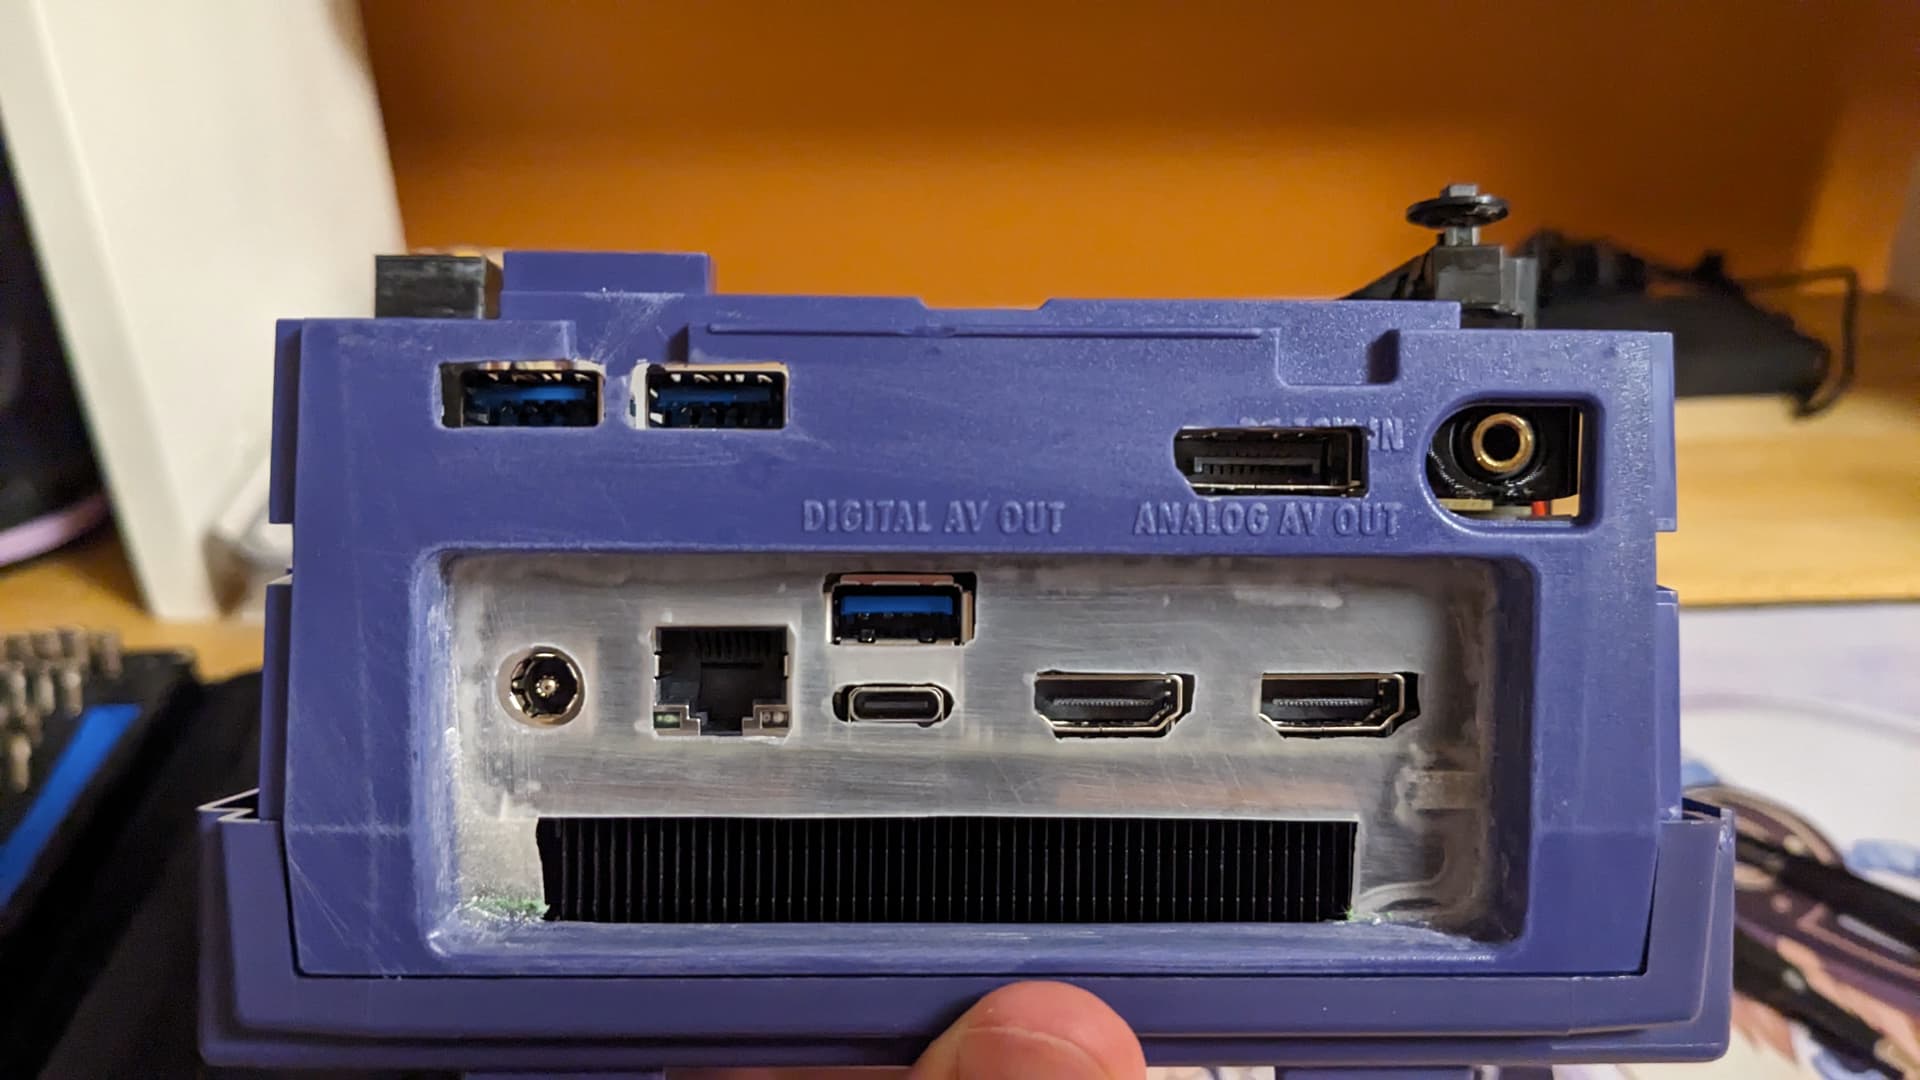
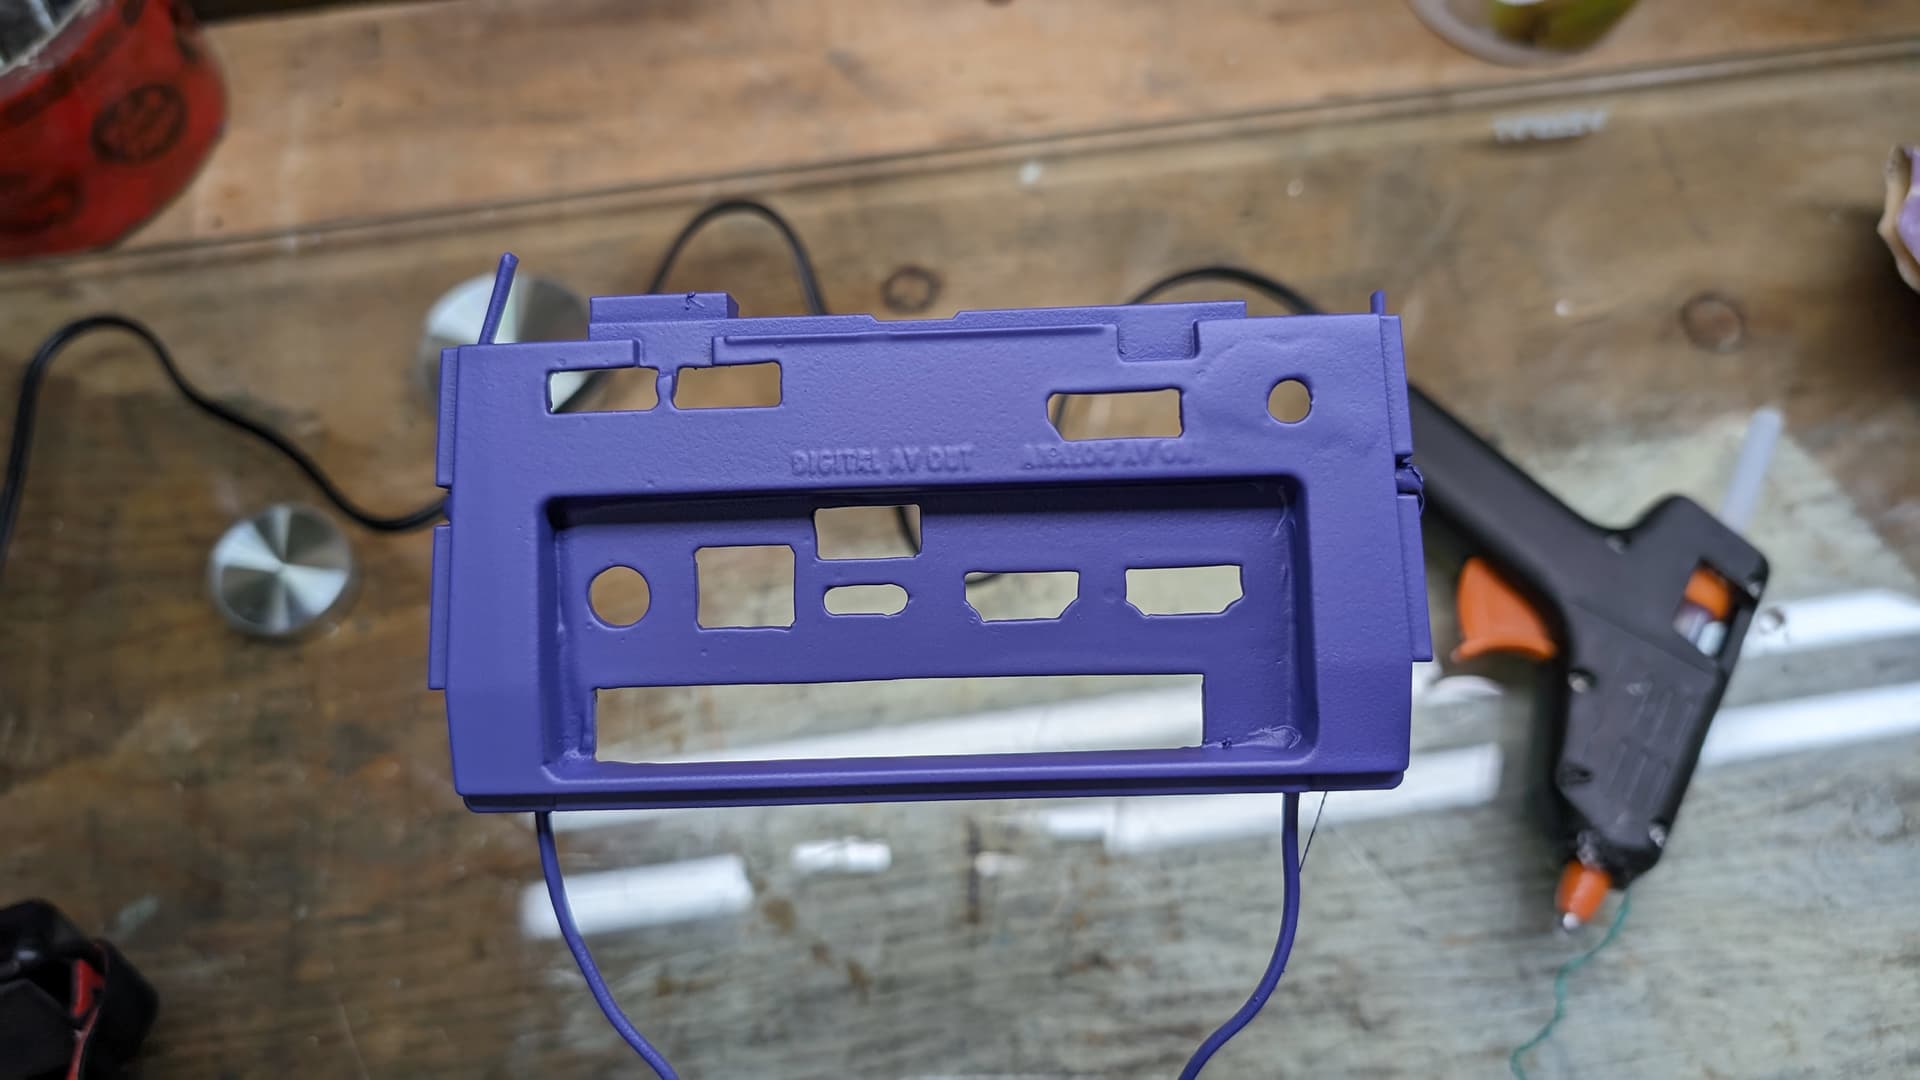
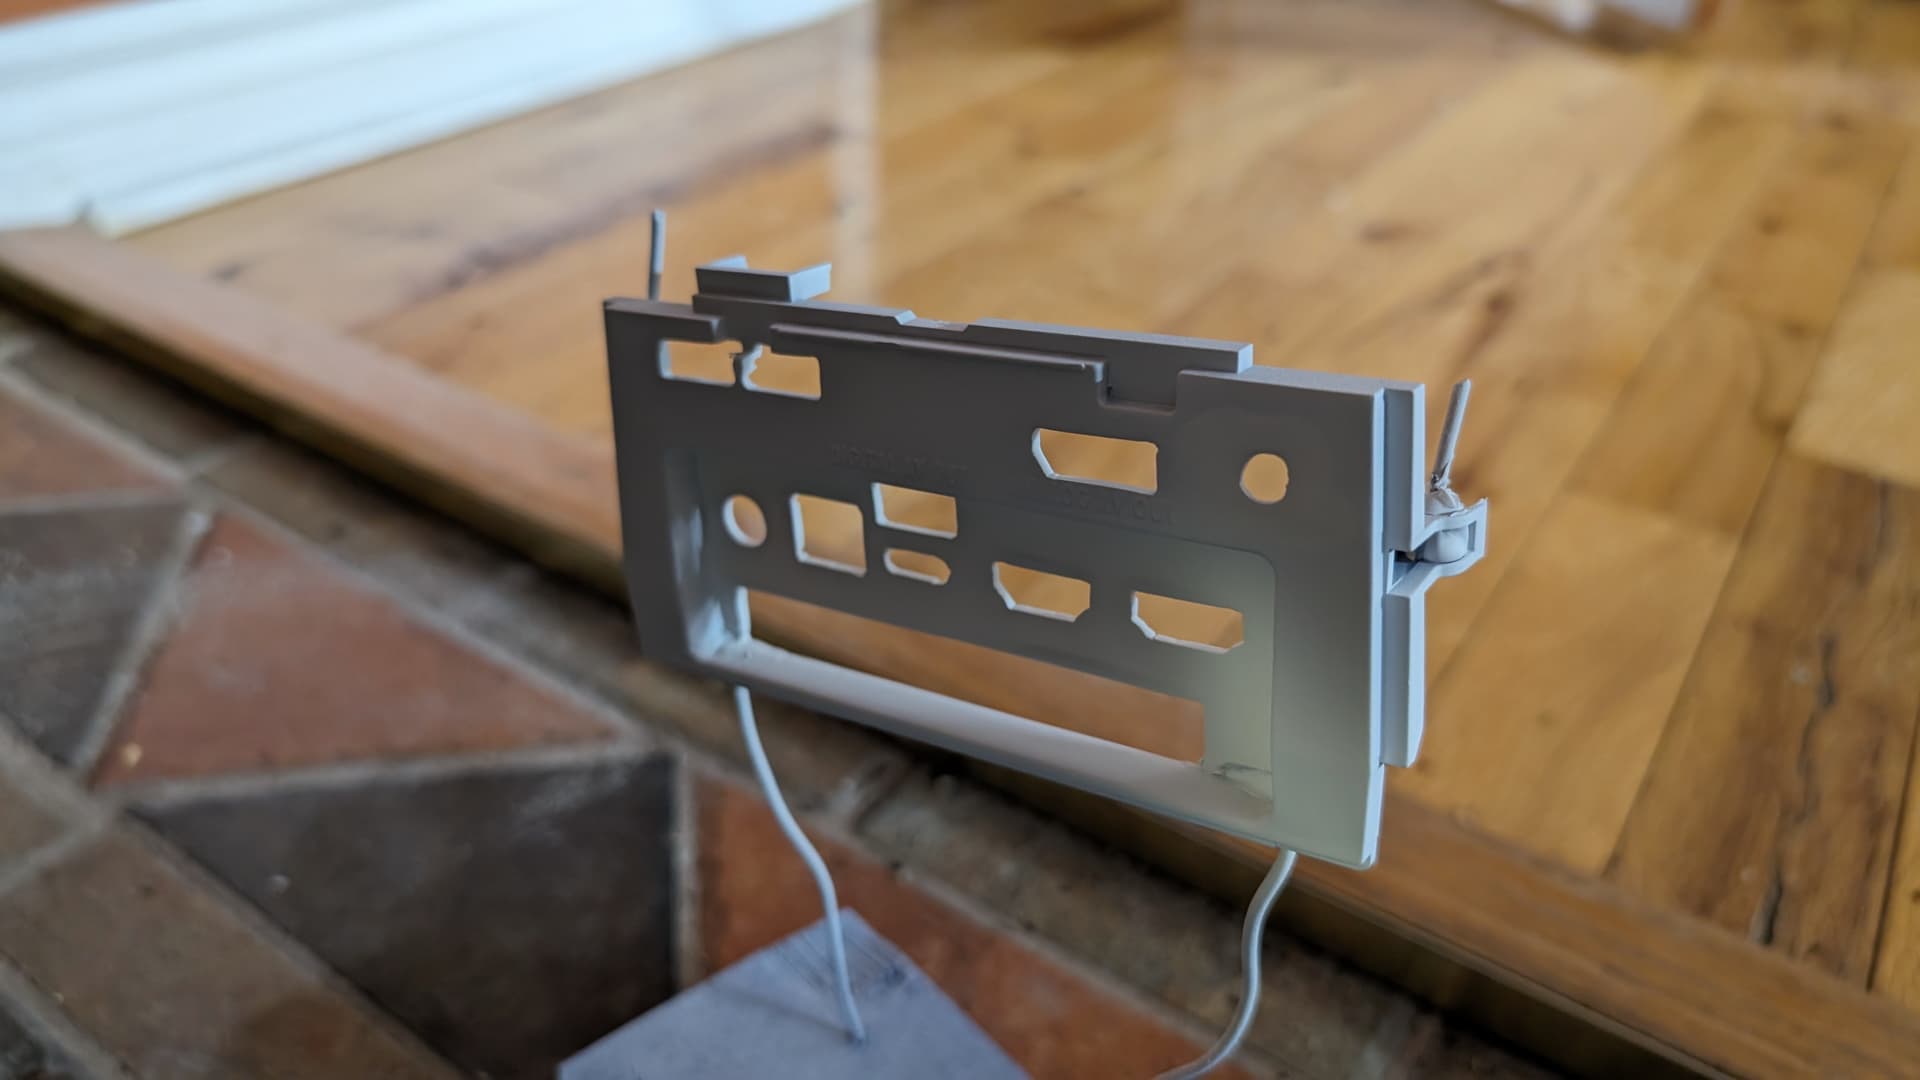
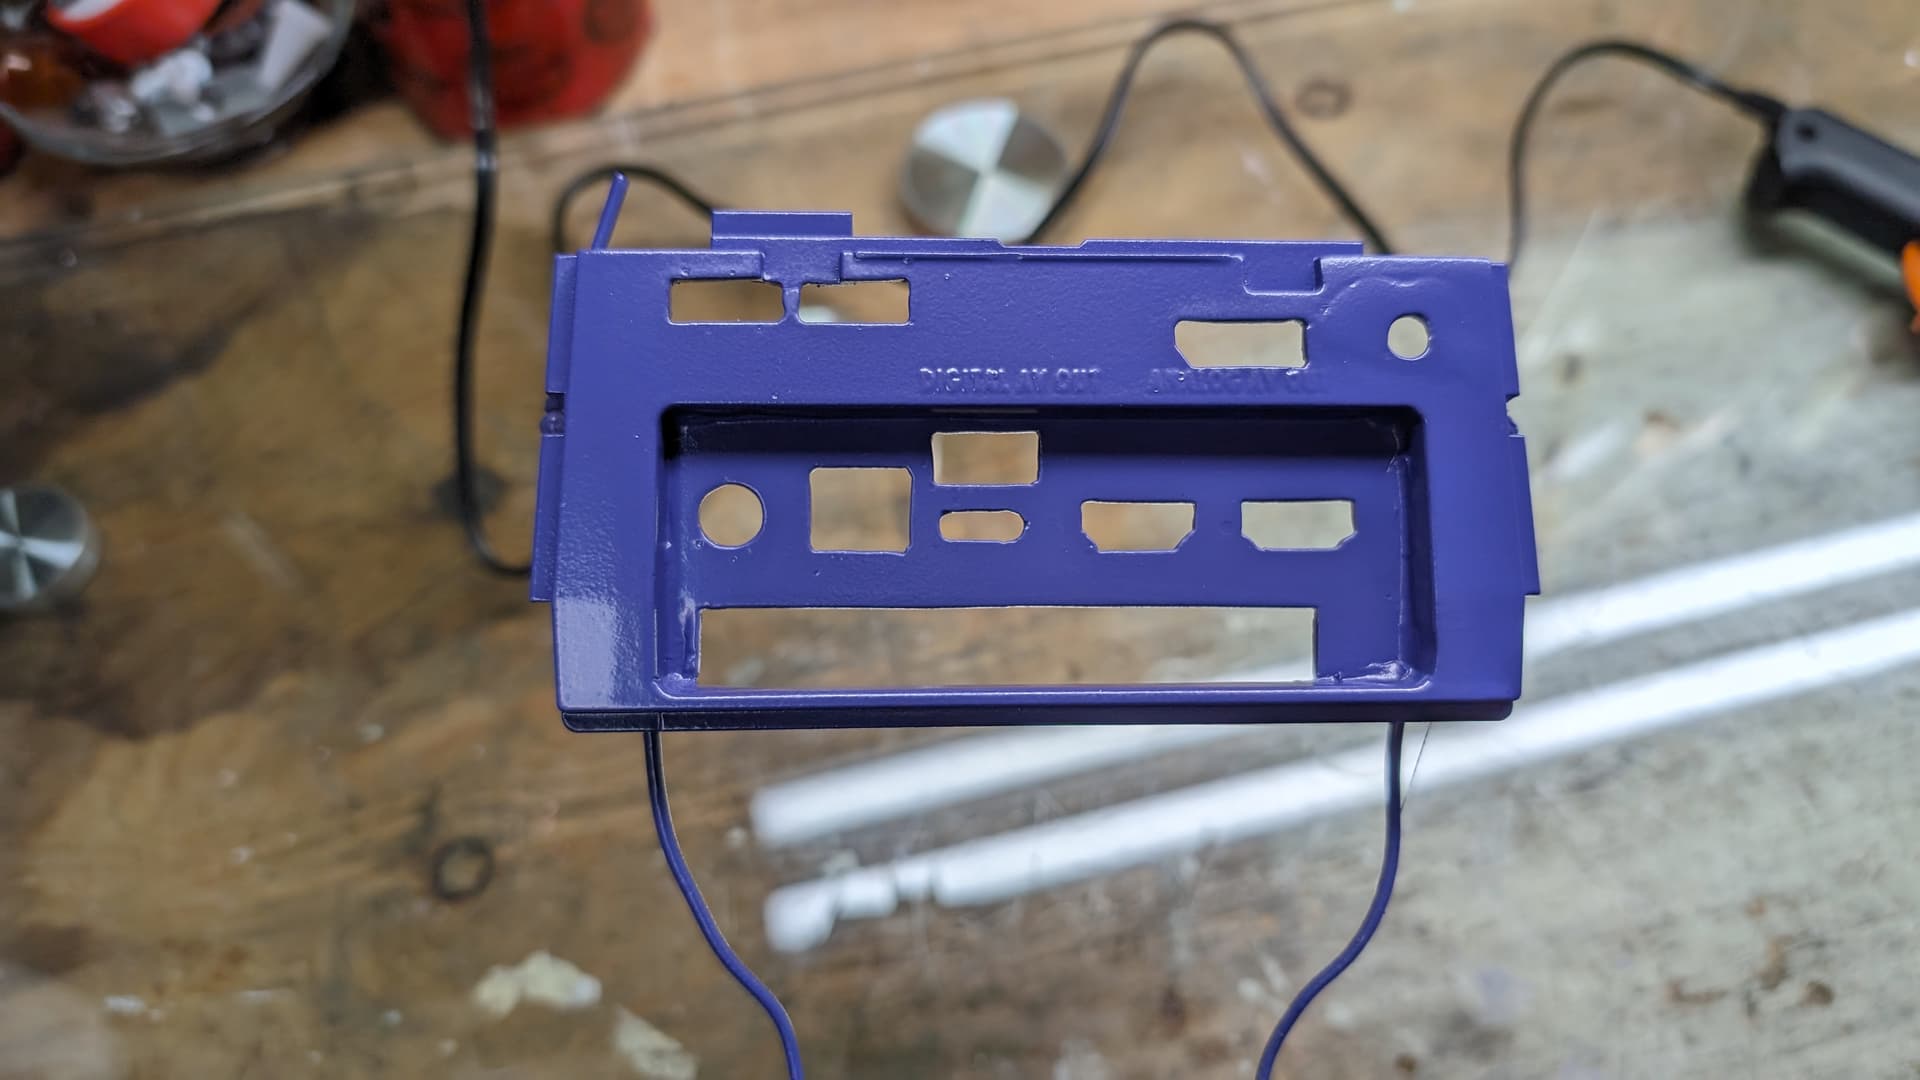
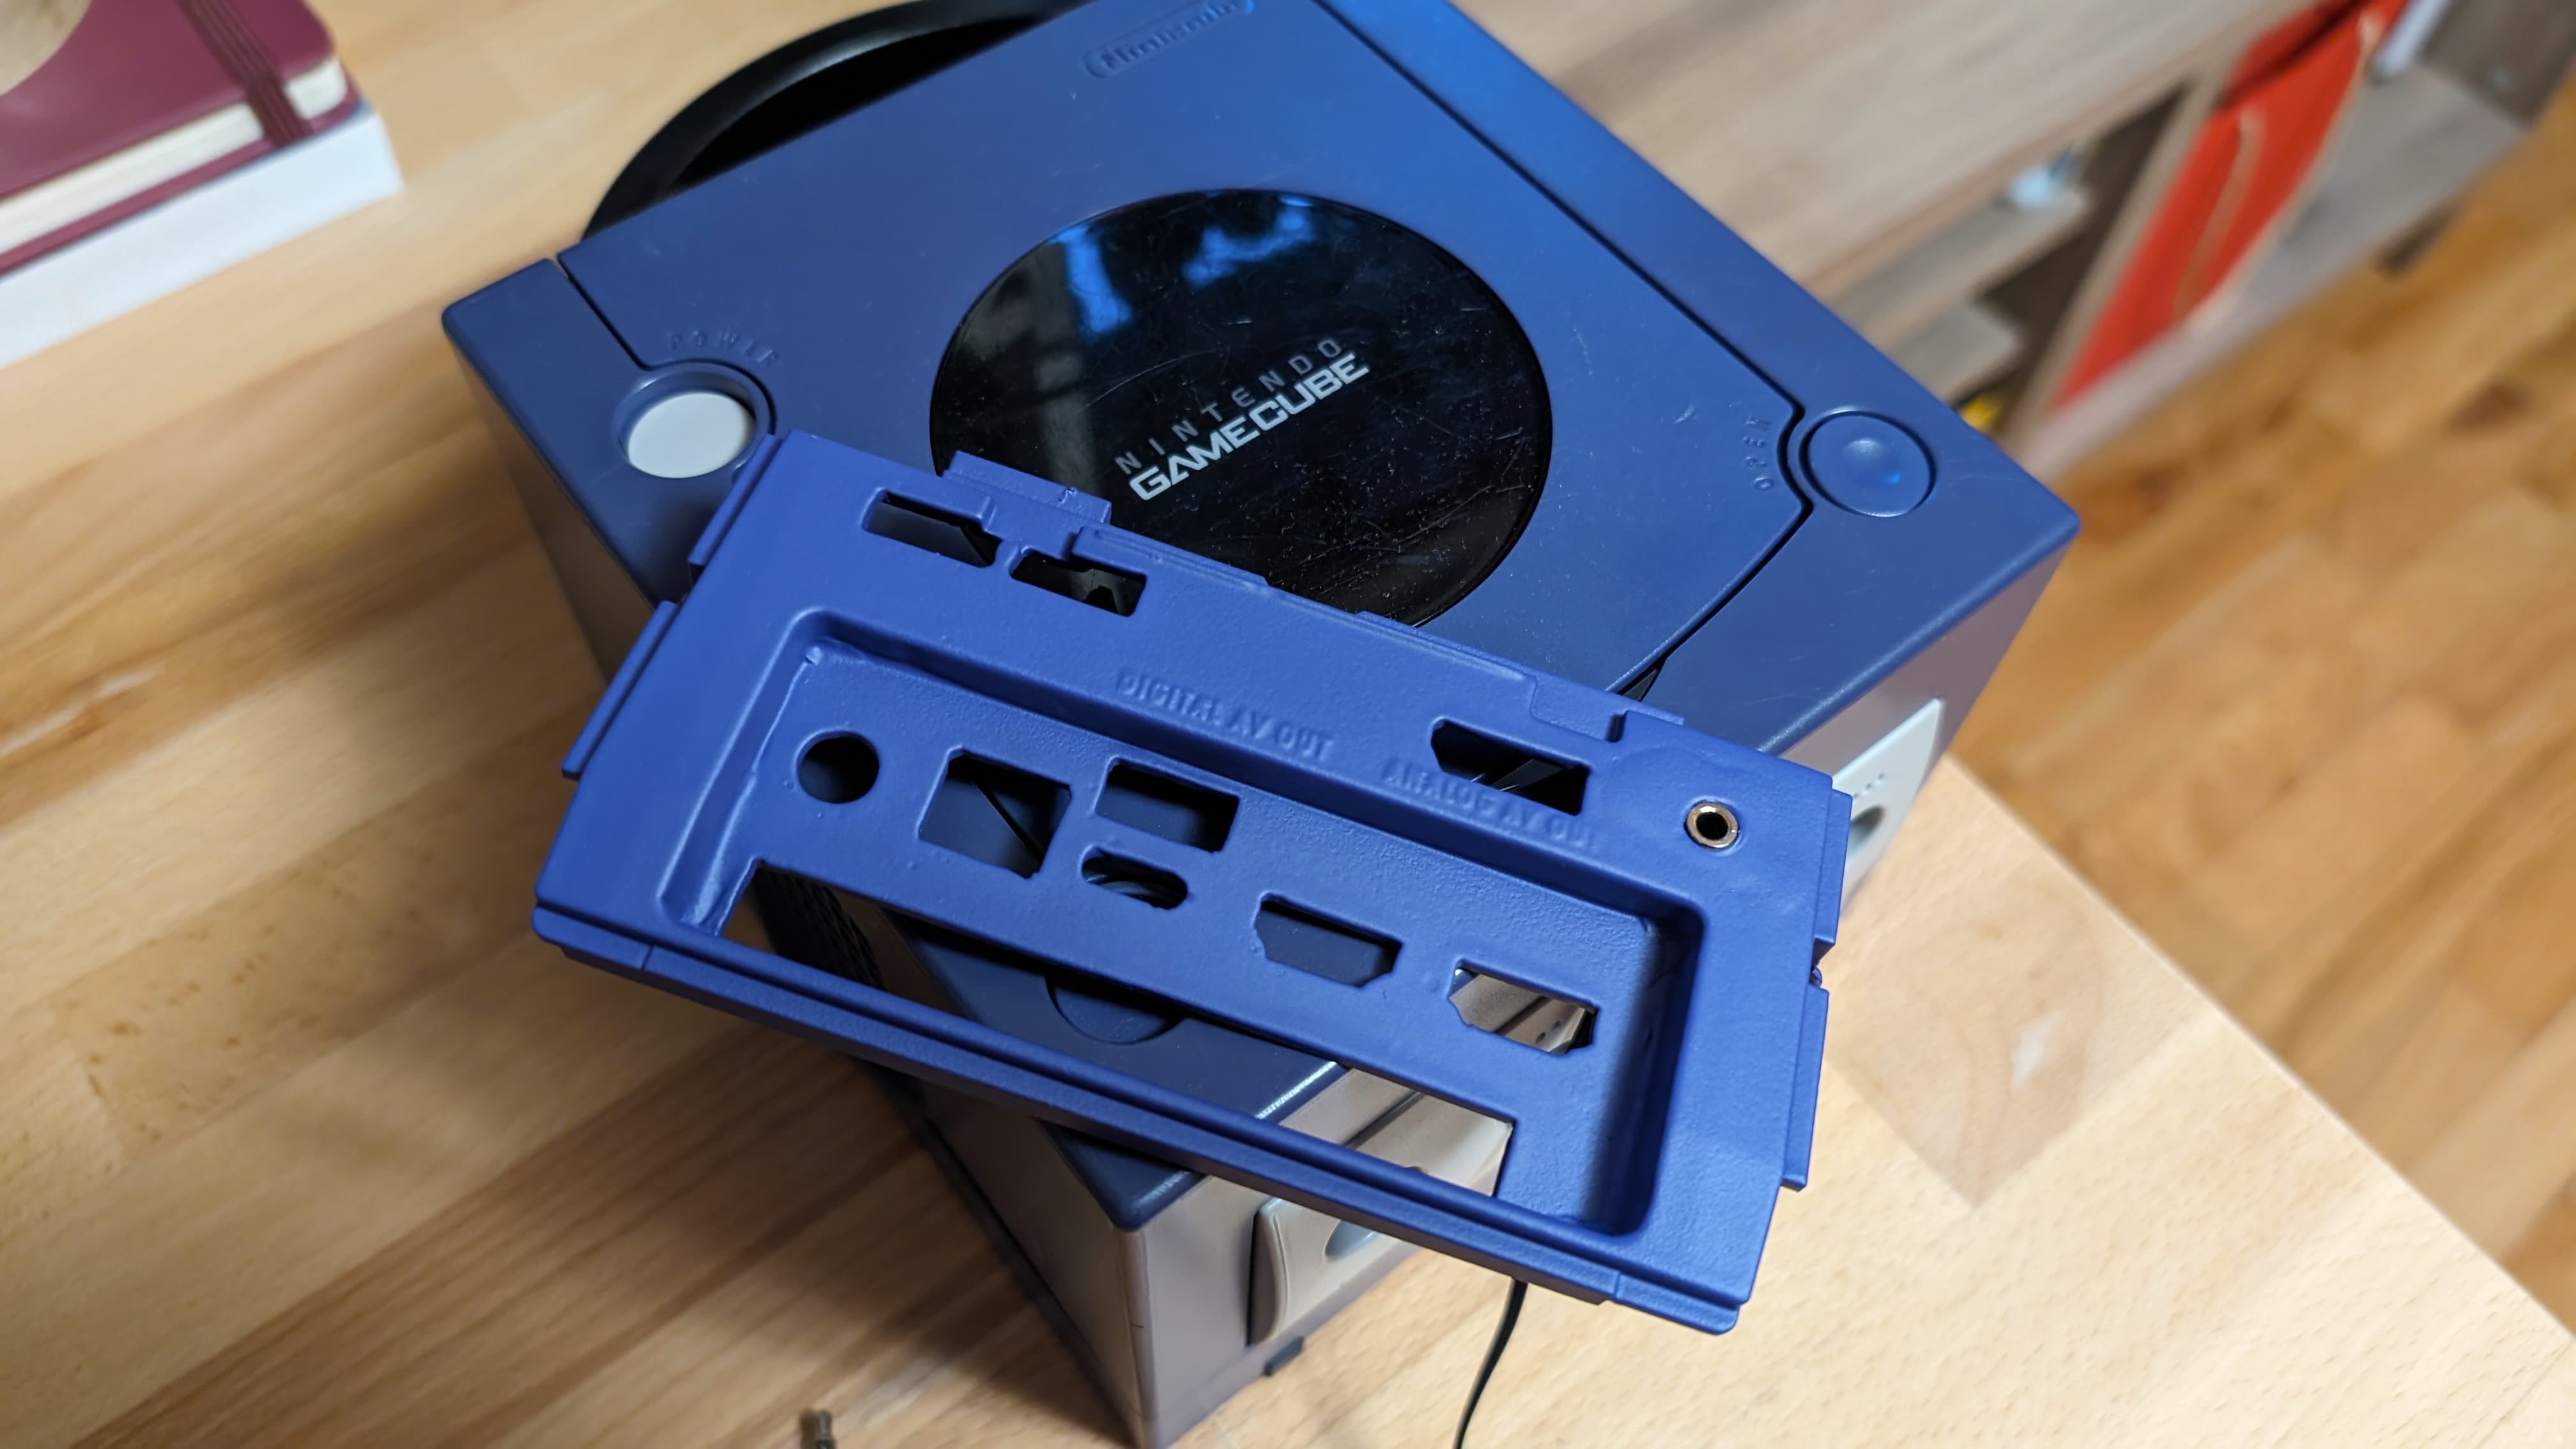
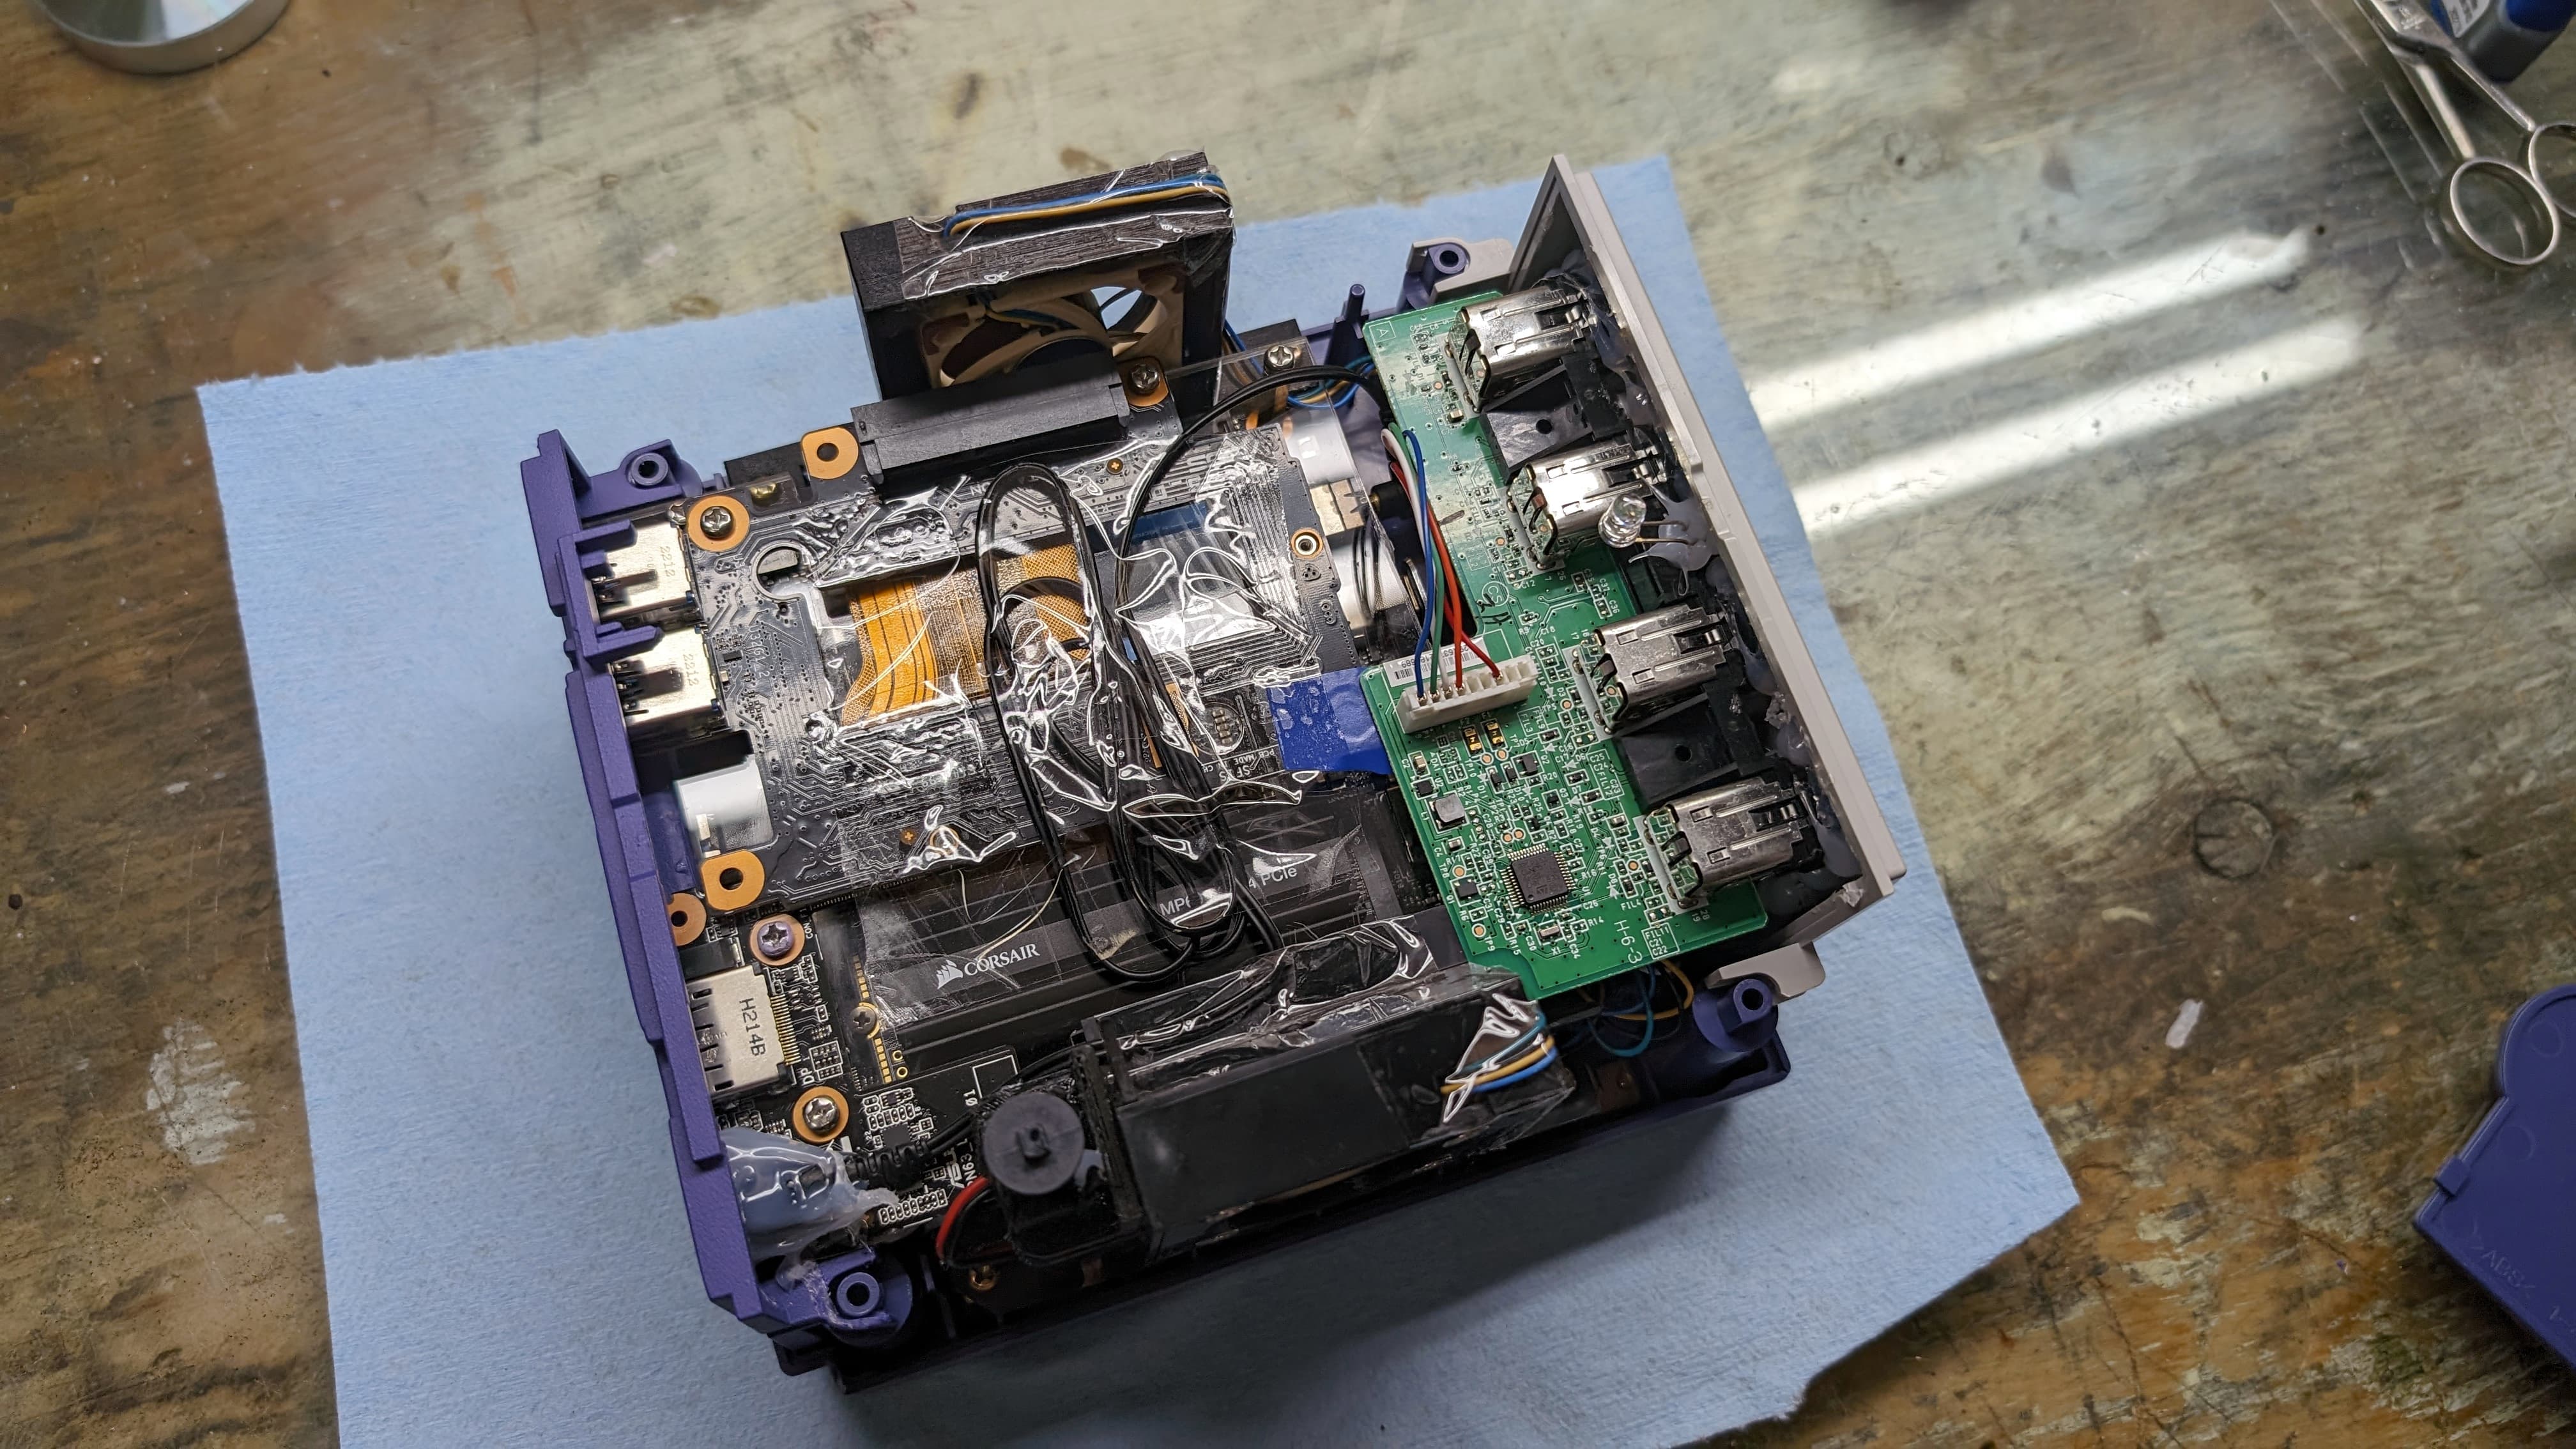
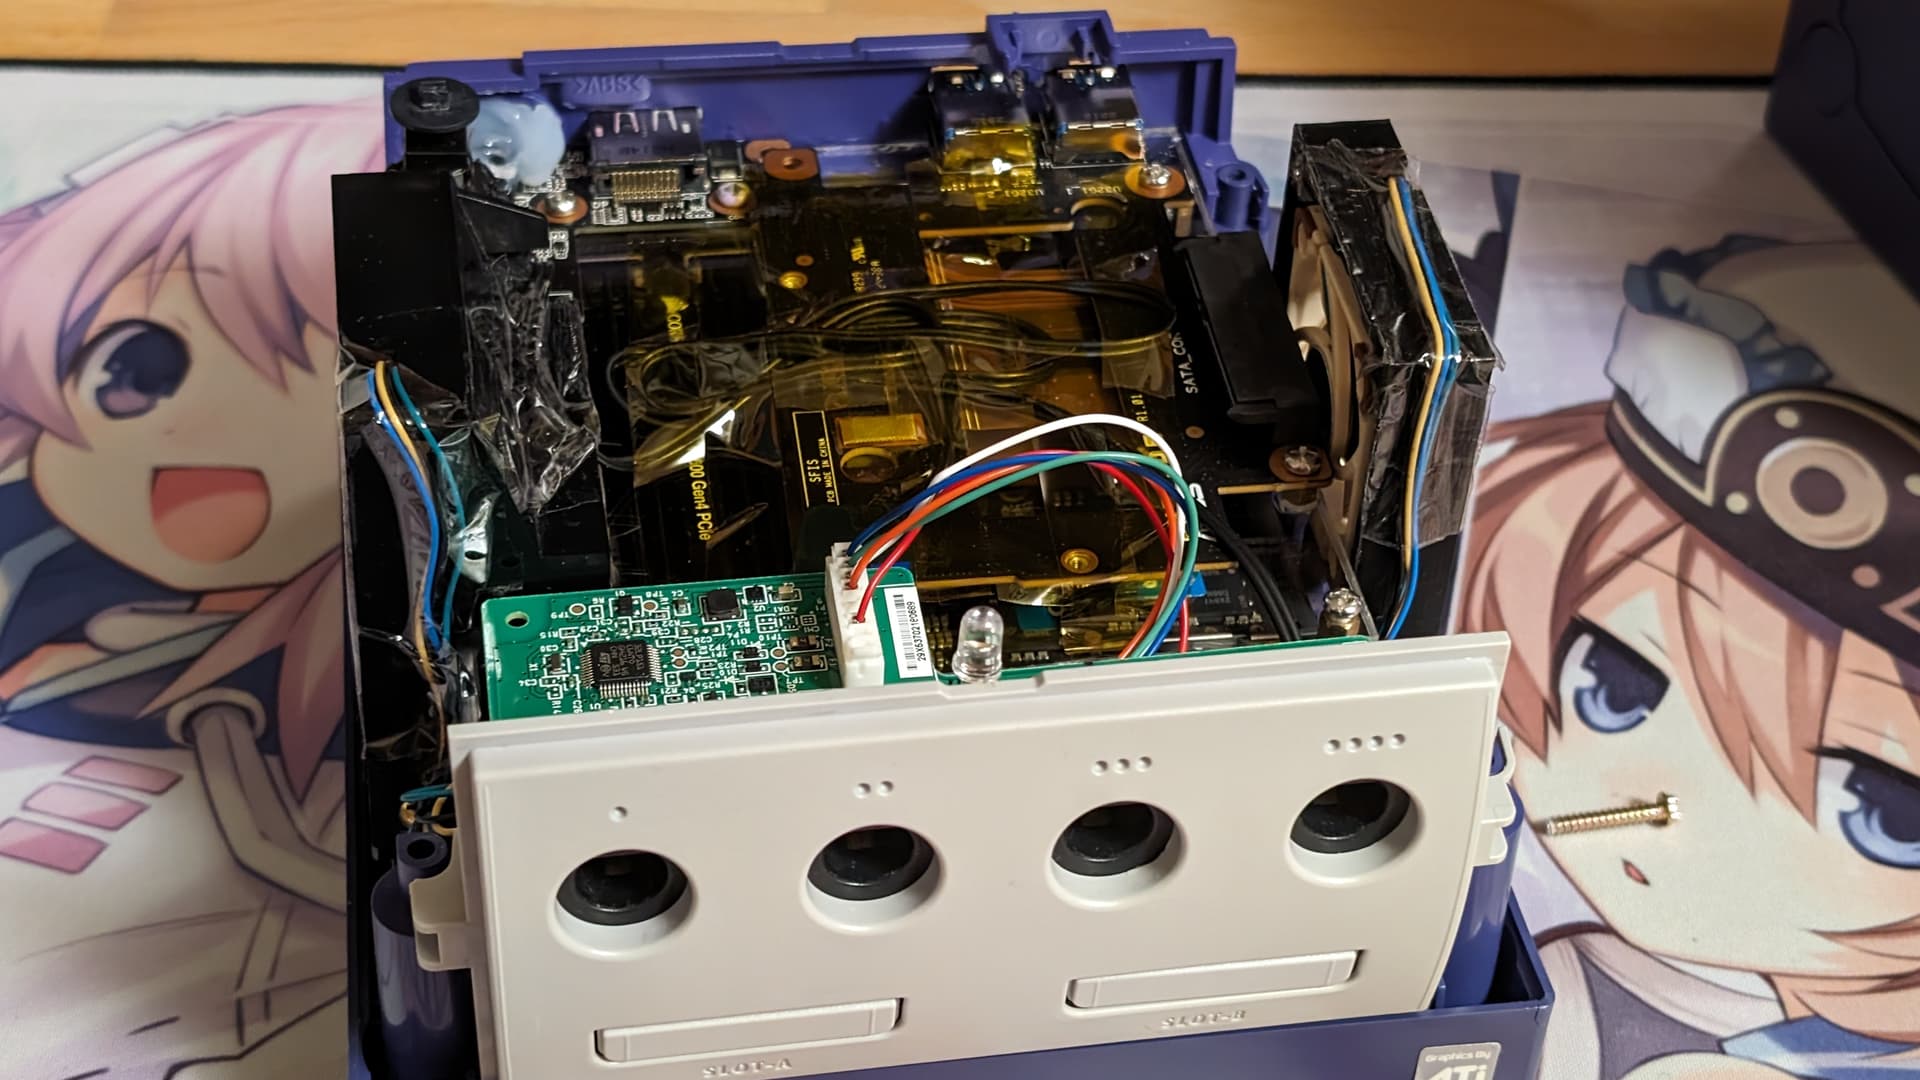
Ok, so from my last post, back in November, I did the IO for the back plates.
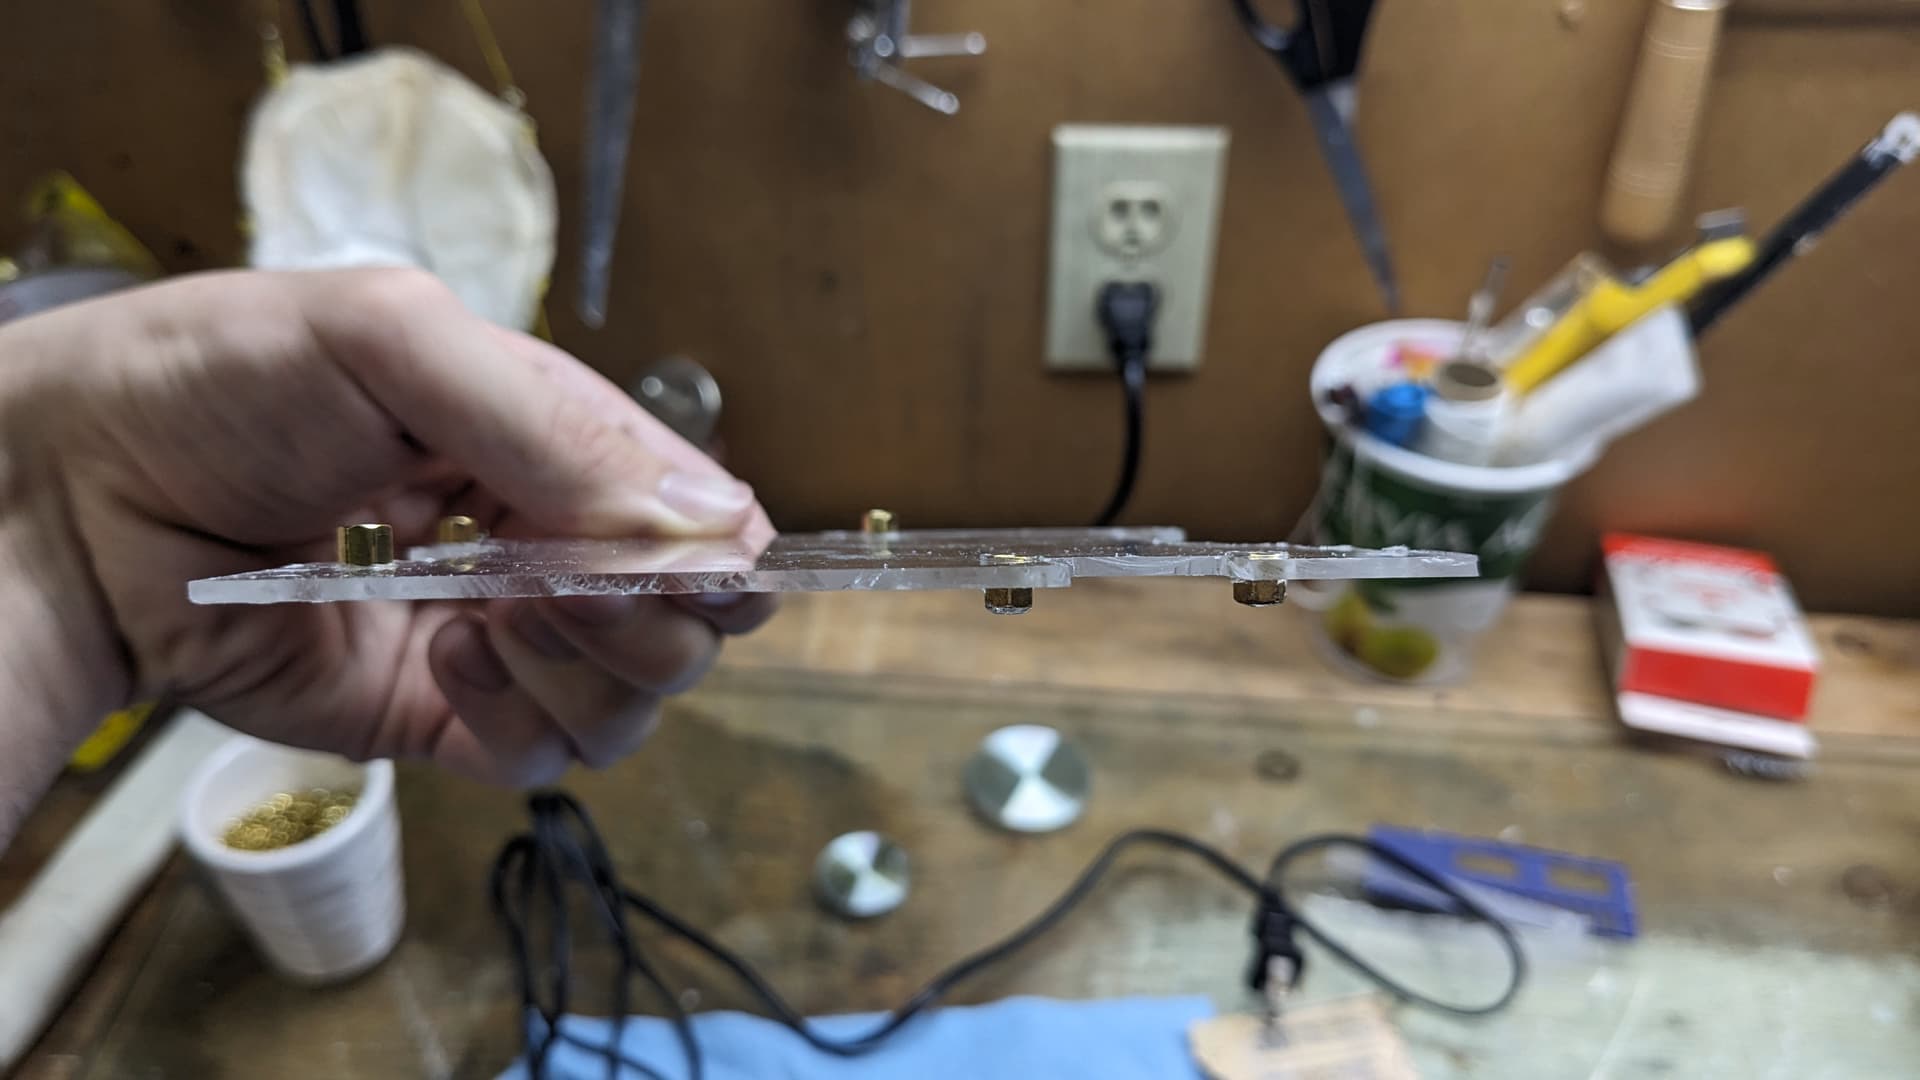
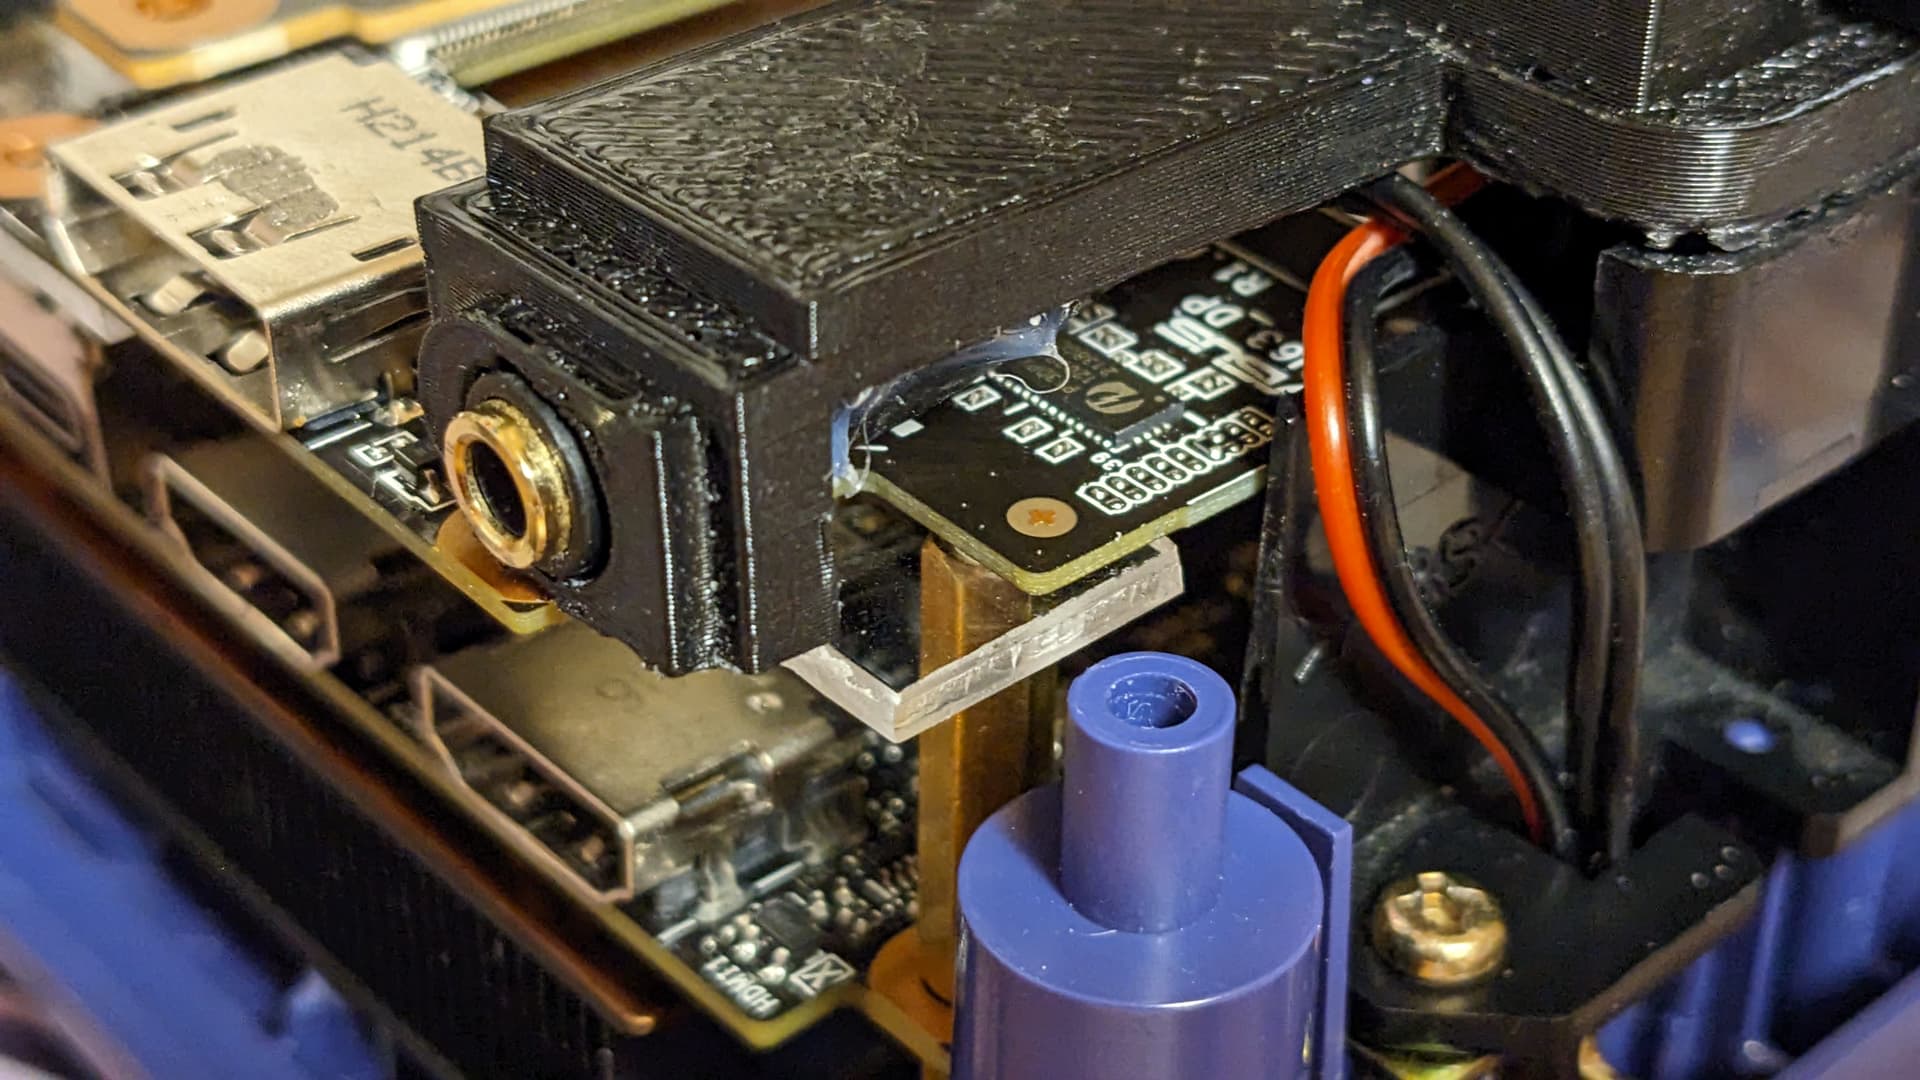
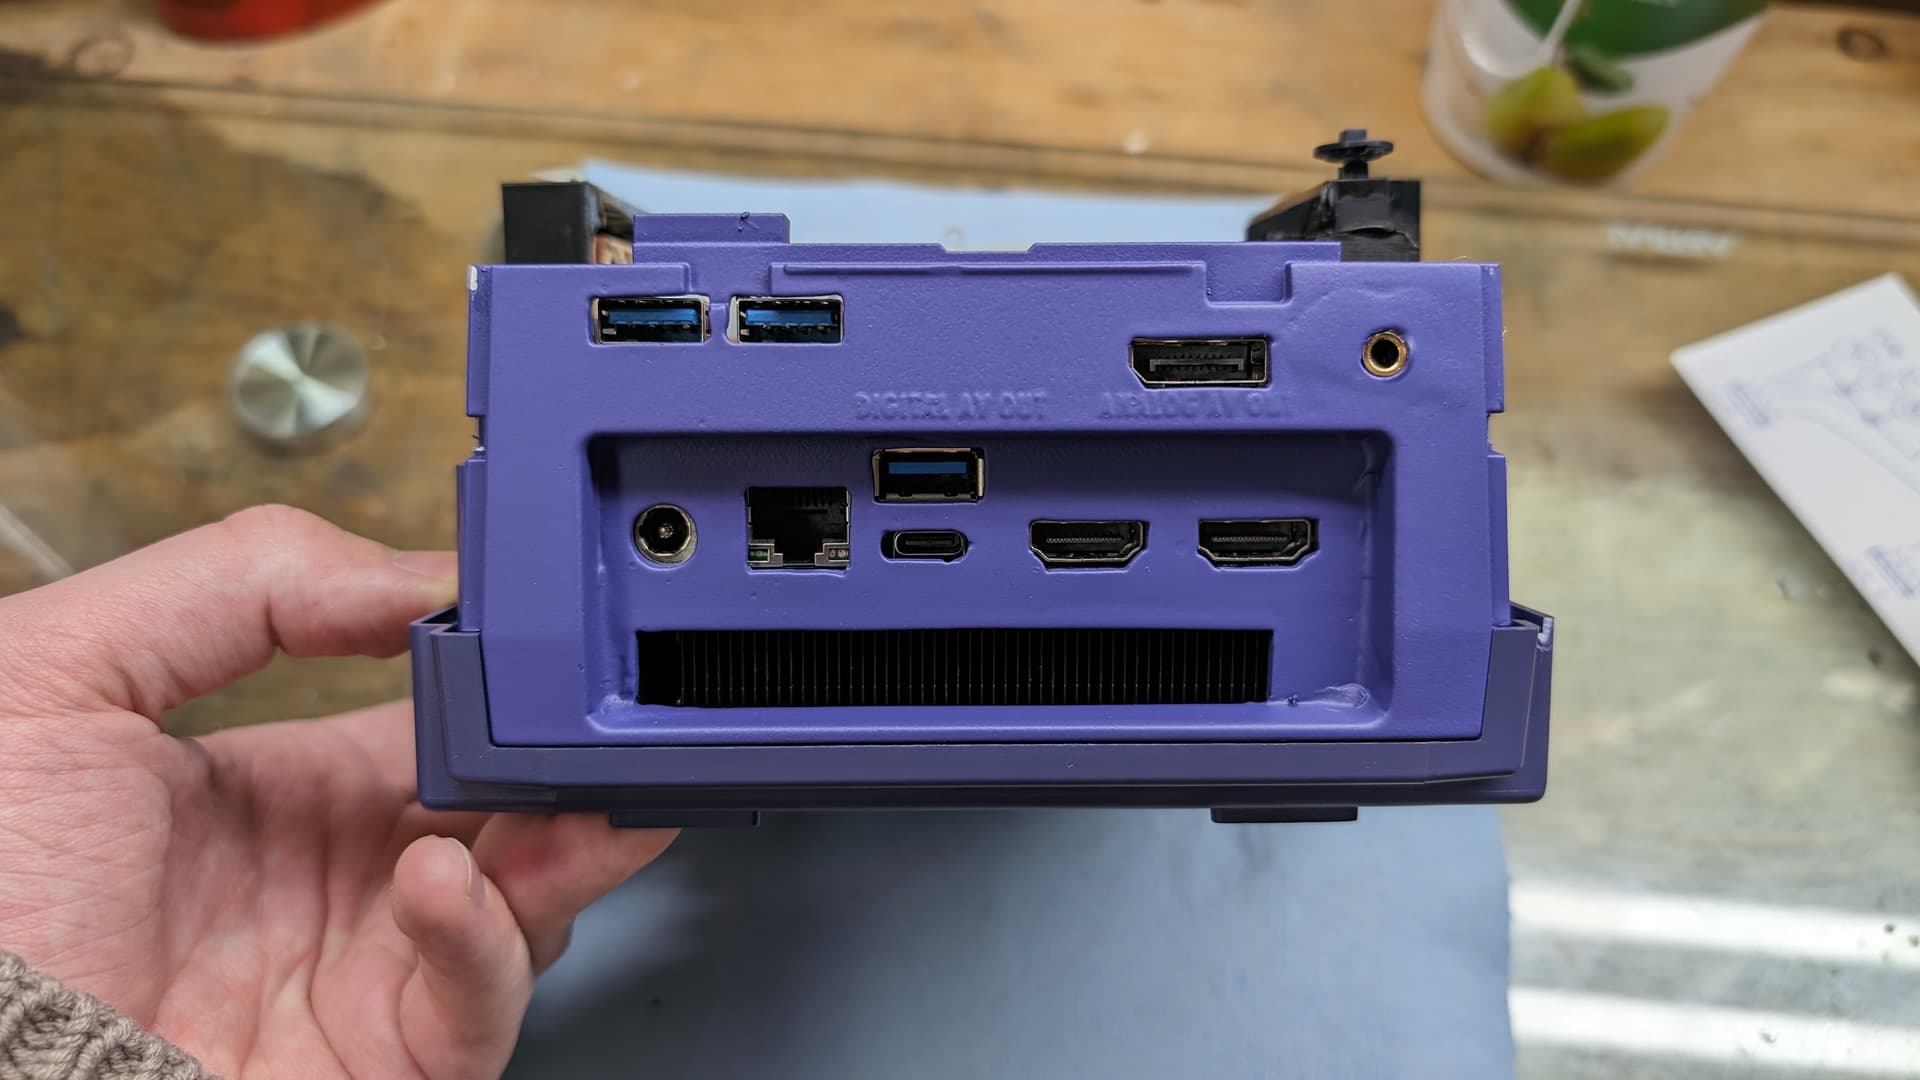
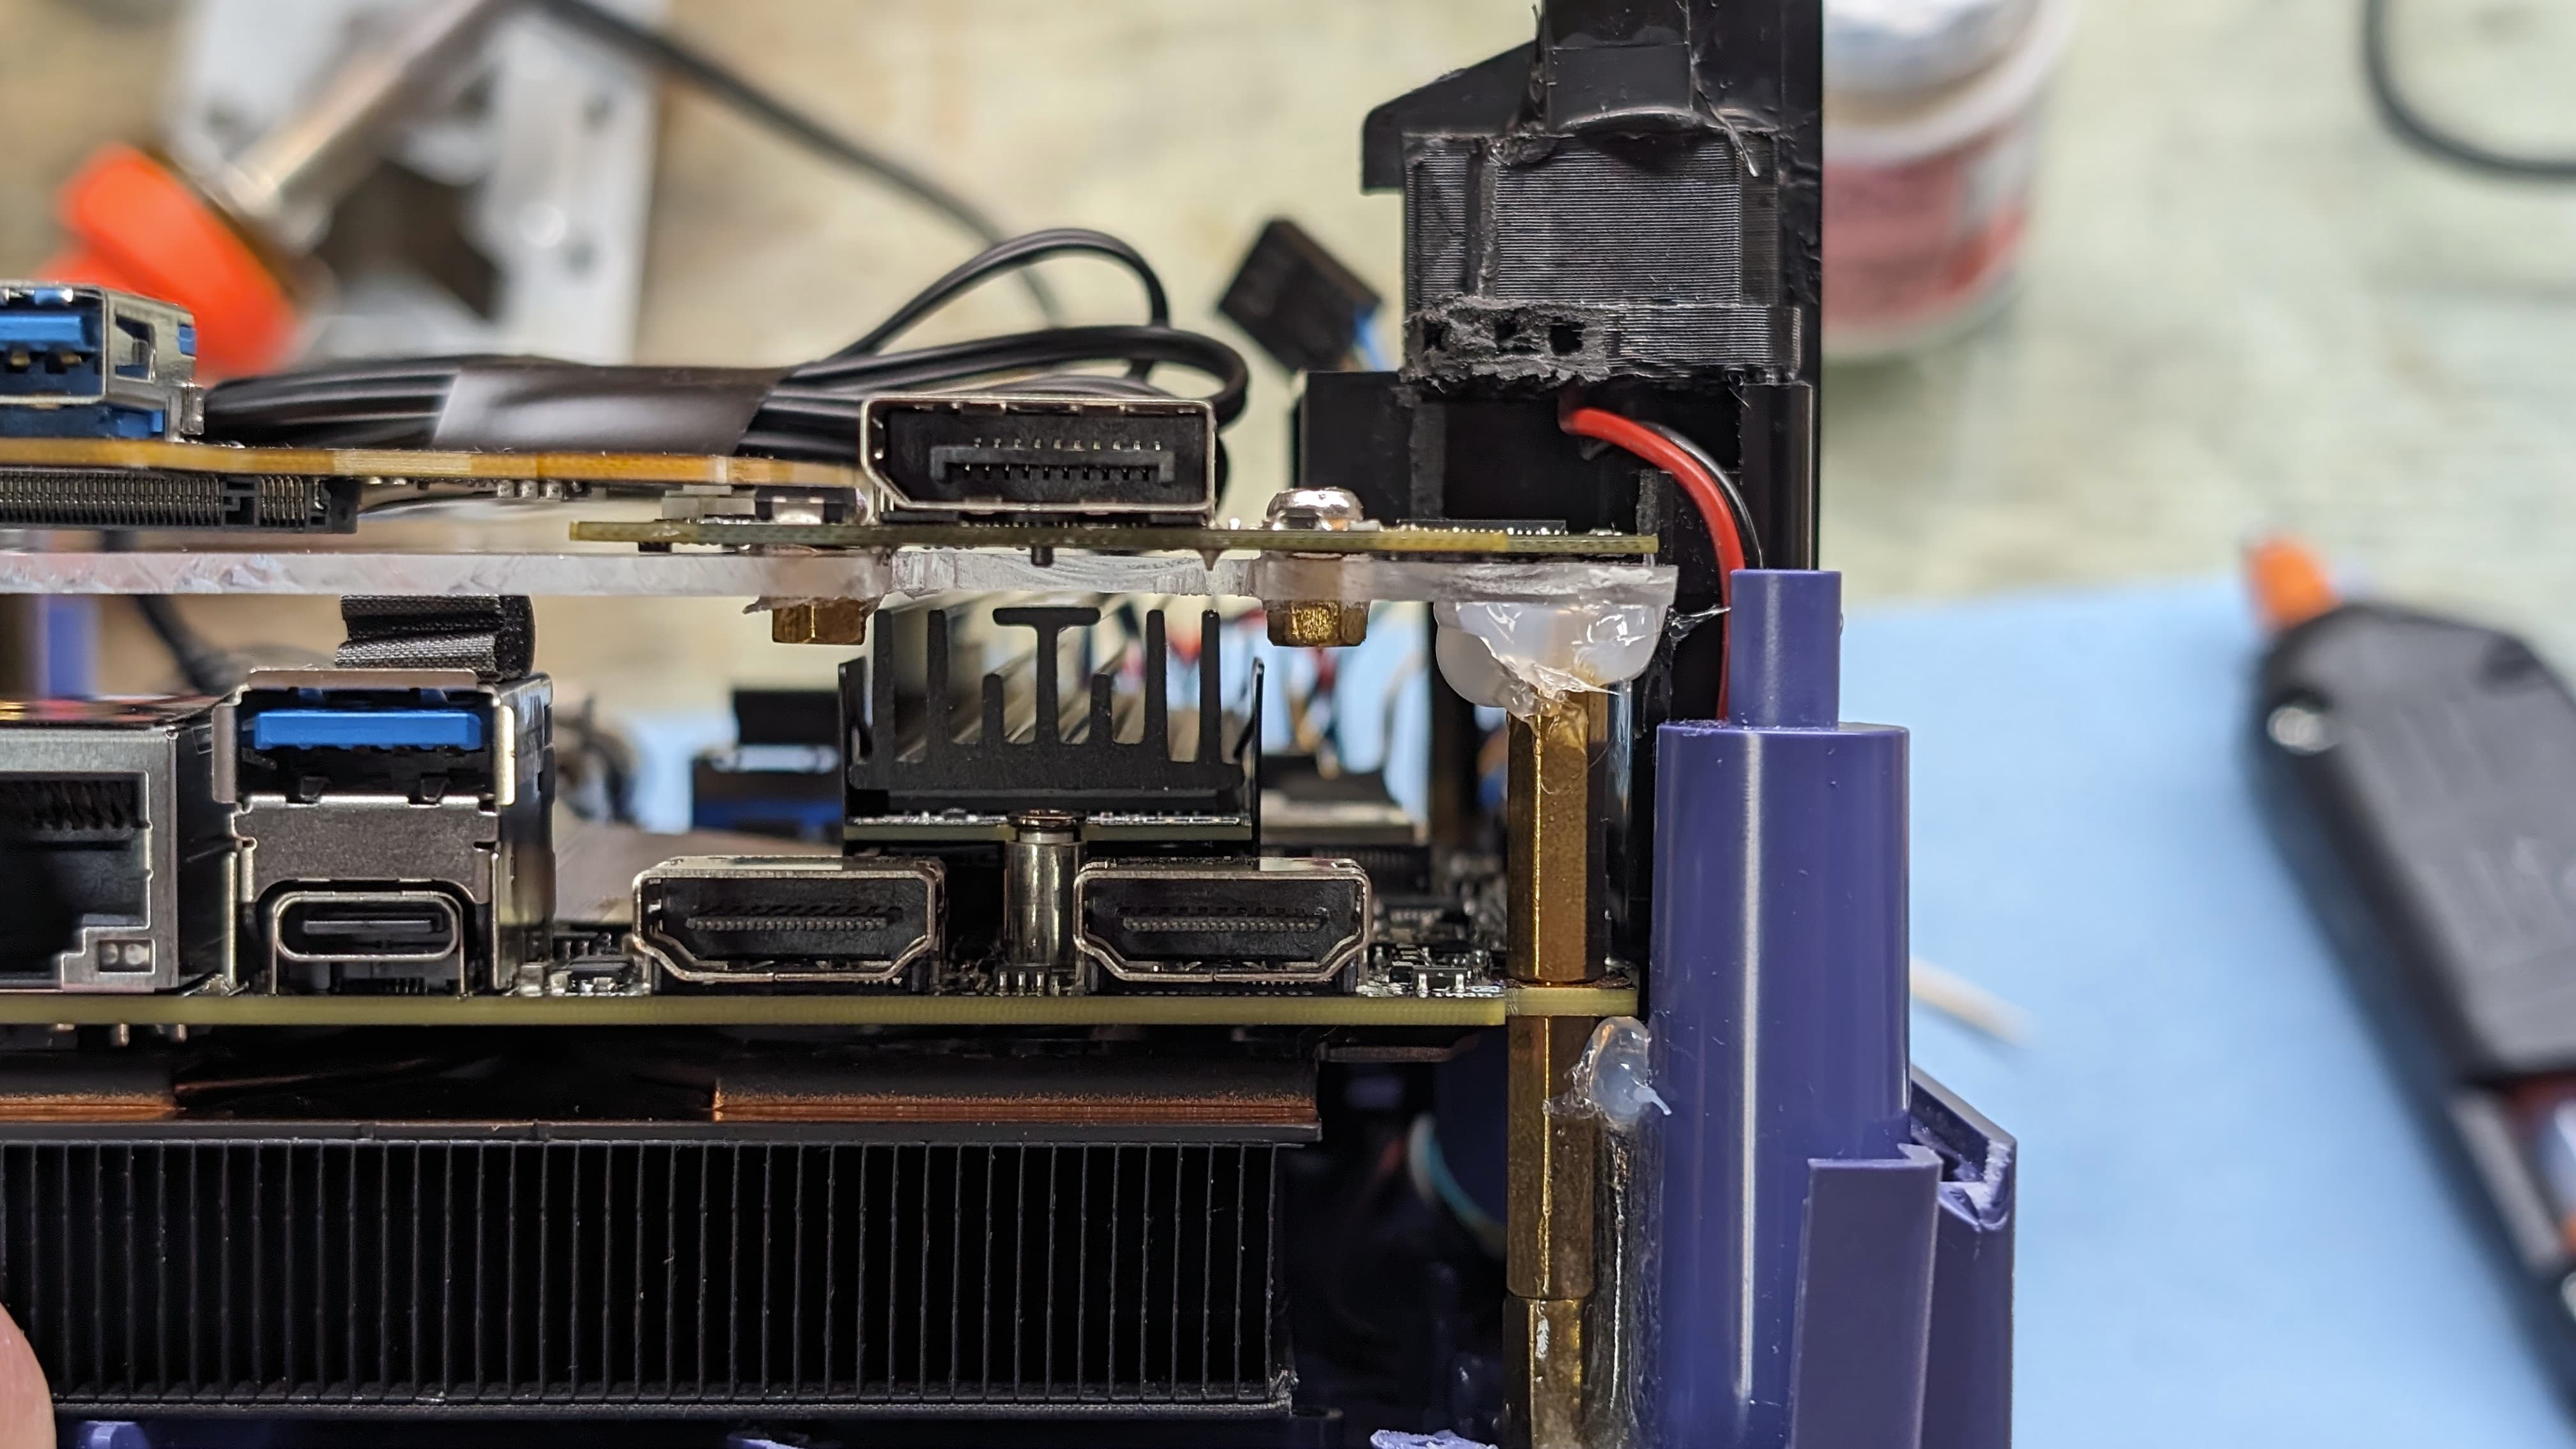
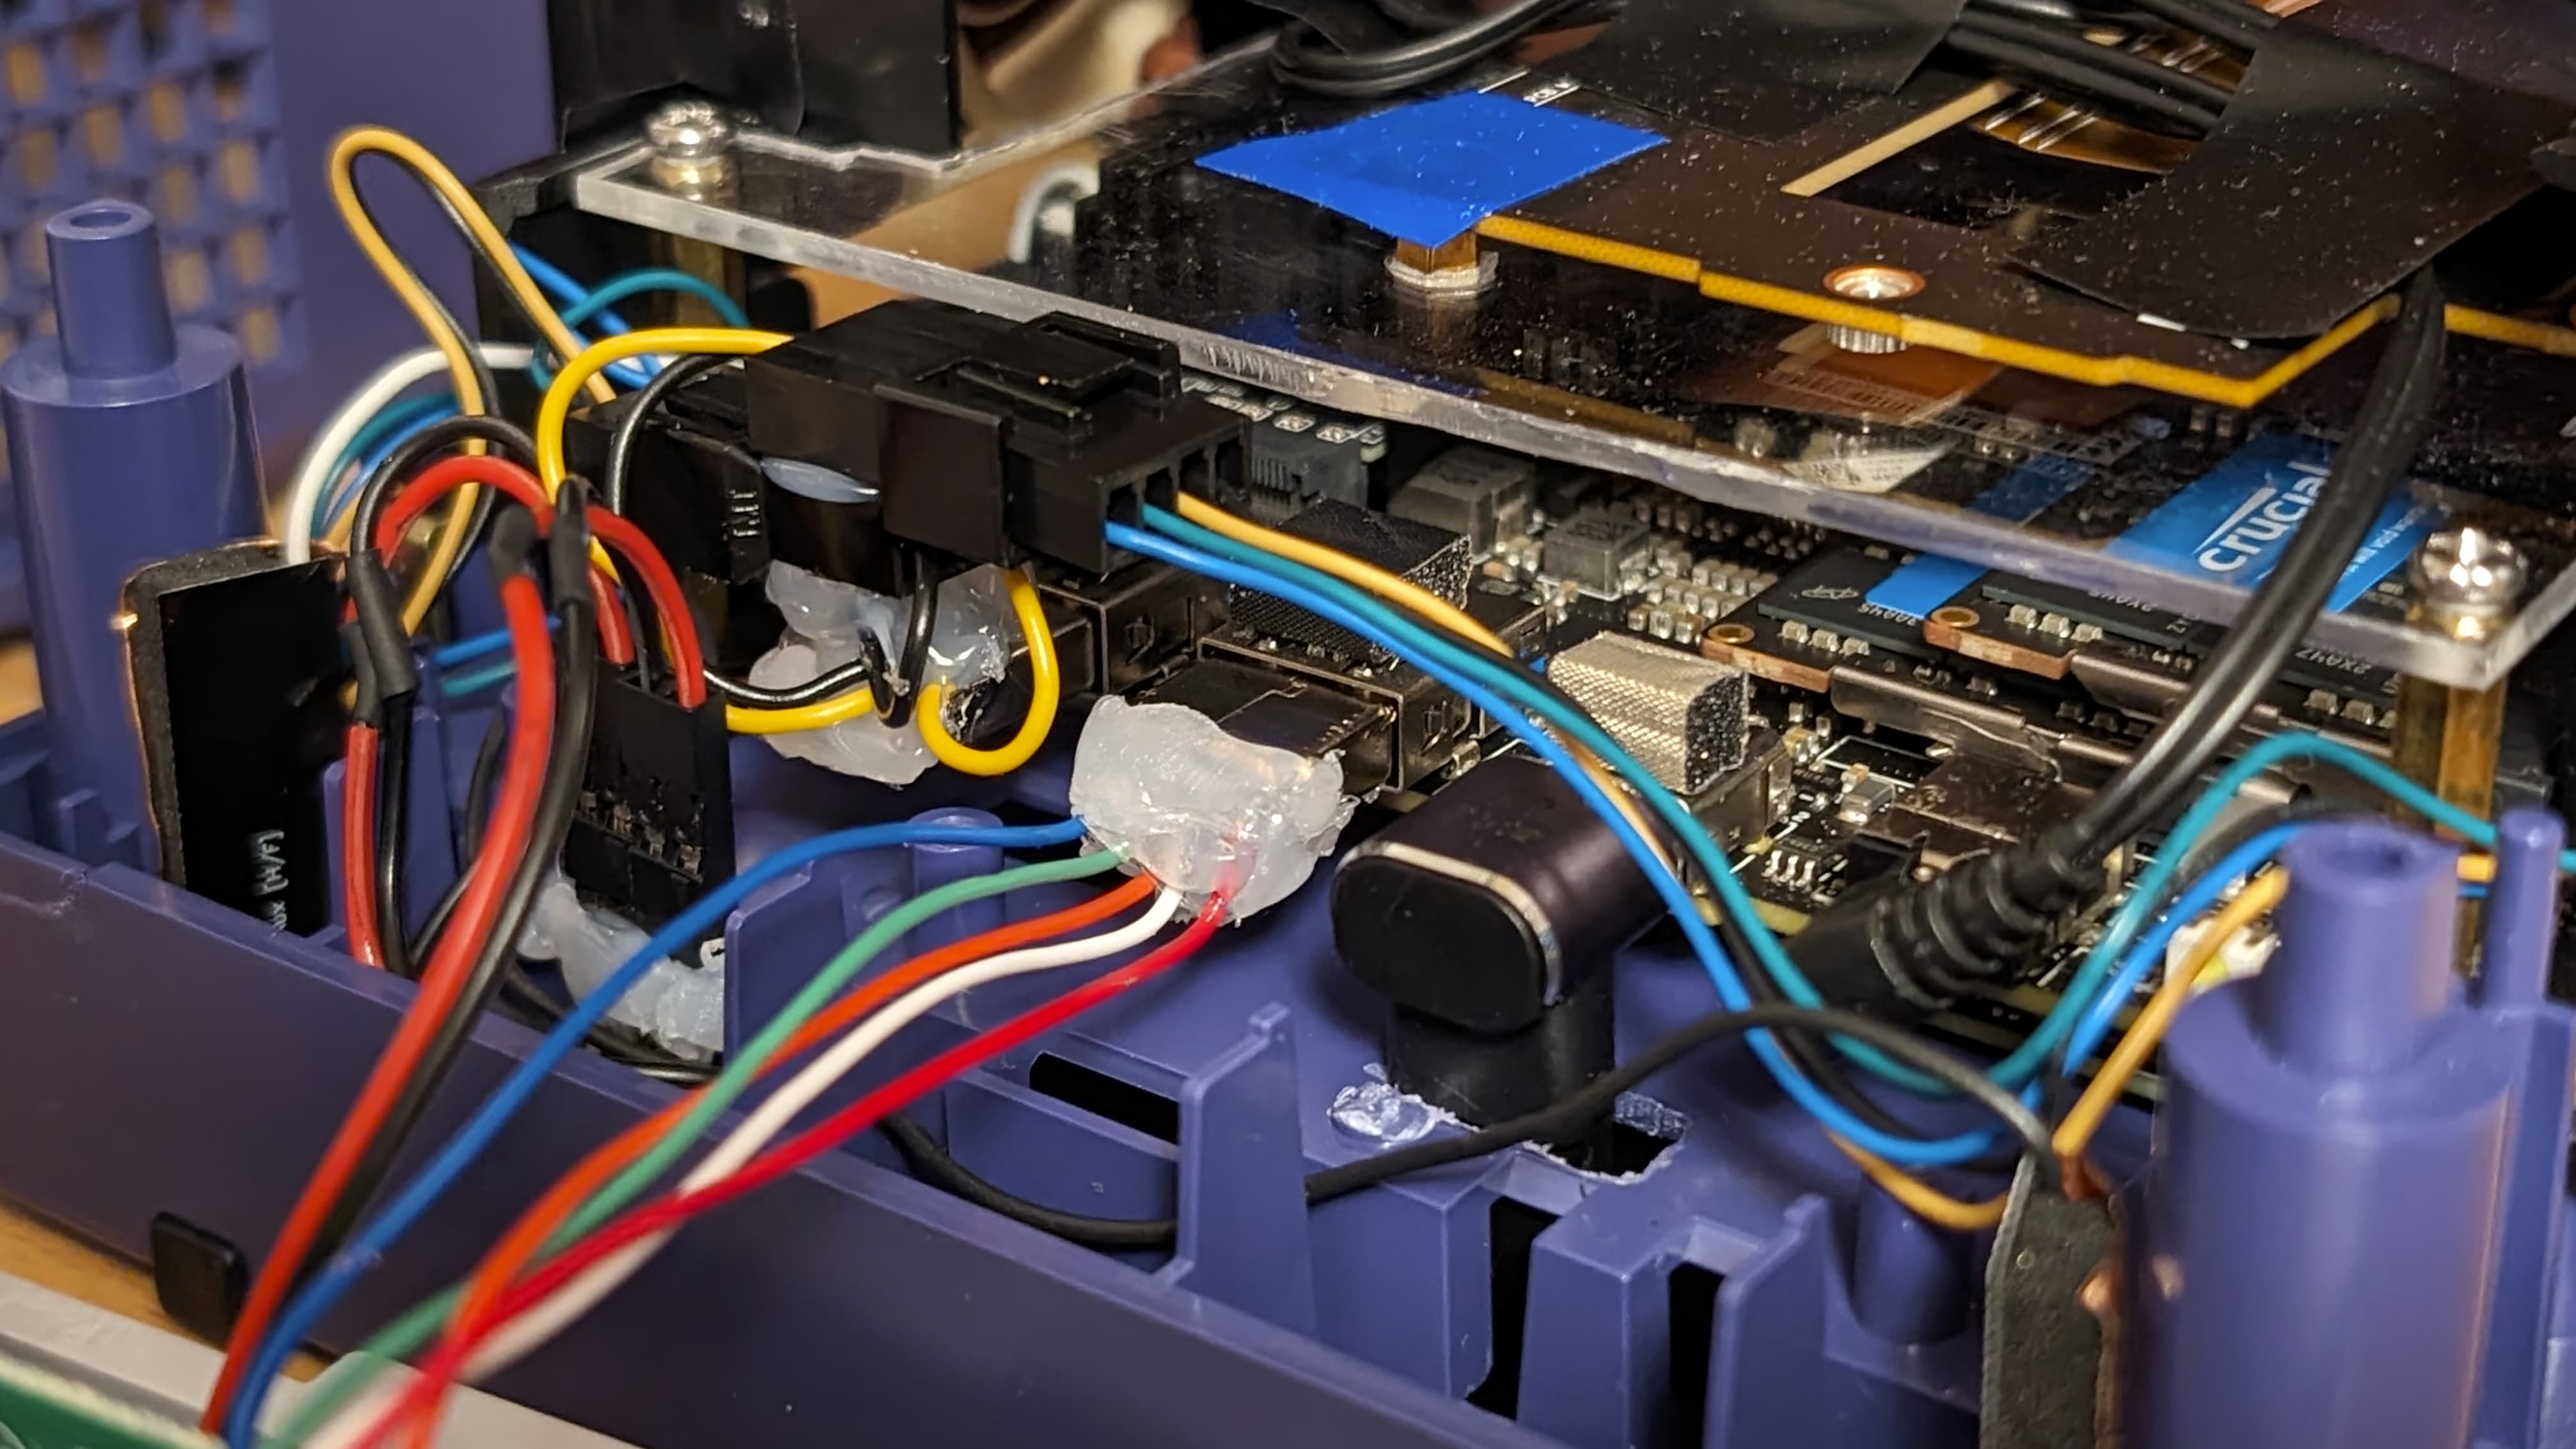
I adopted a new approach for the “floor” compared to the previous Gamecube build. This time around, it’s all one solid piece of acrylic. Makes it more sturdy and faster to do. However, this way the top part of the IO sits higher, but still within the limits of what I can get with.
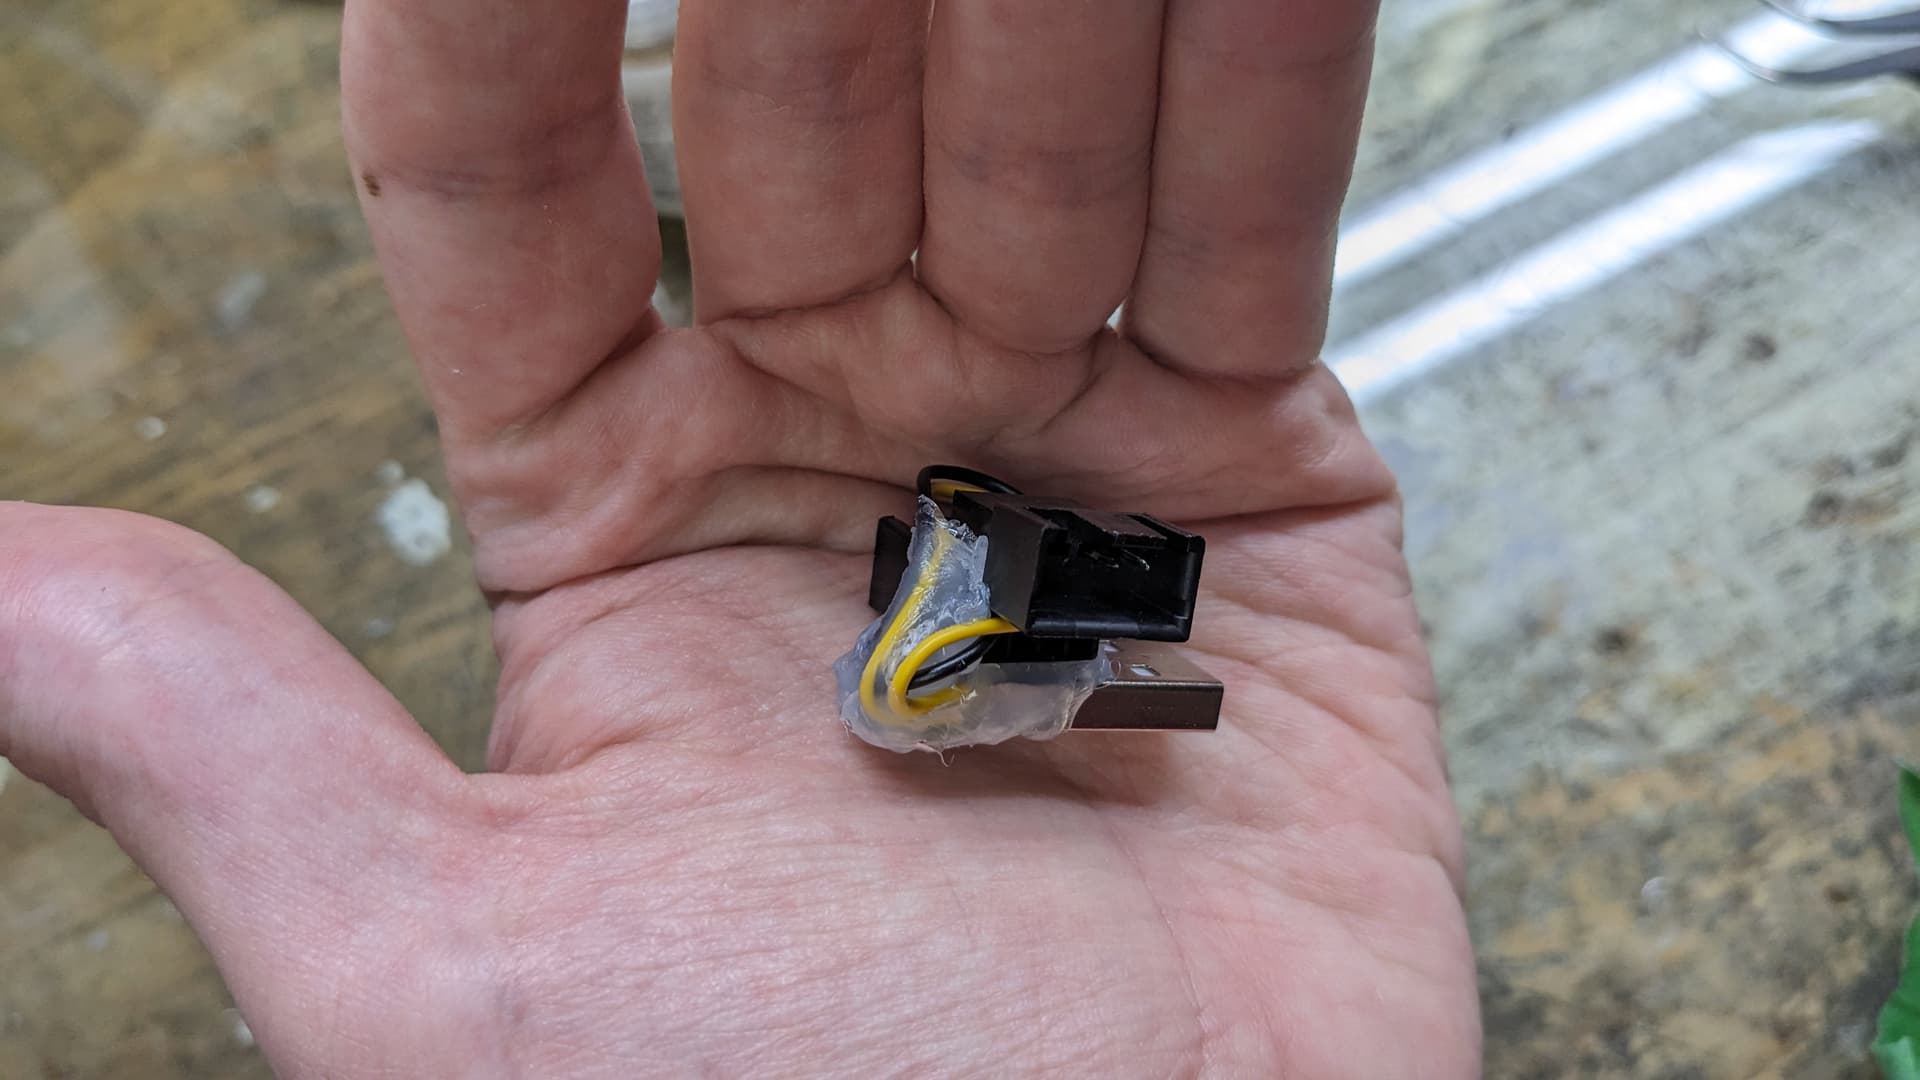
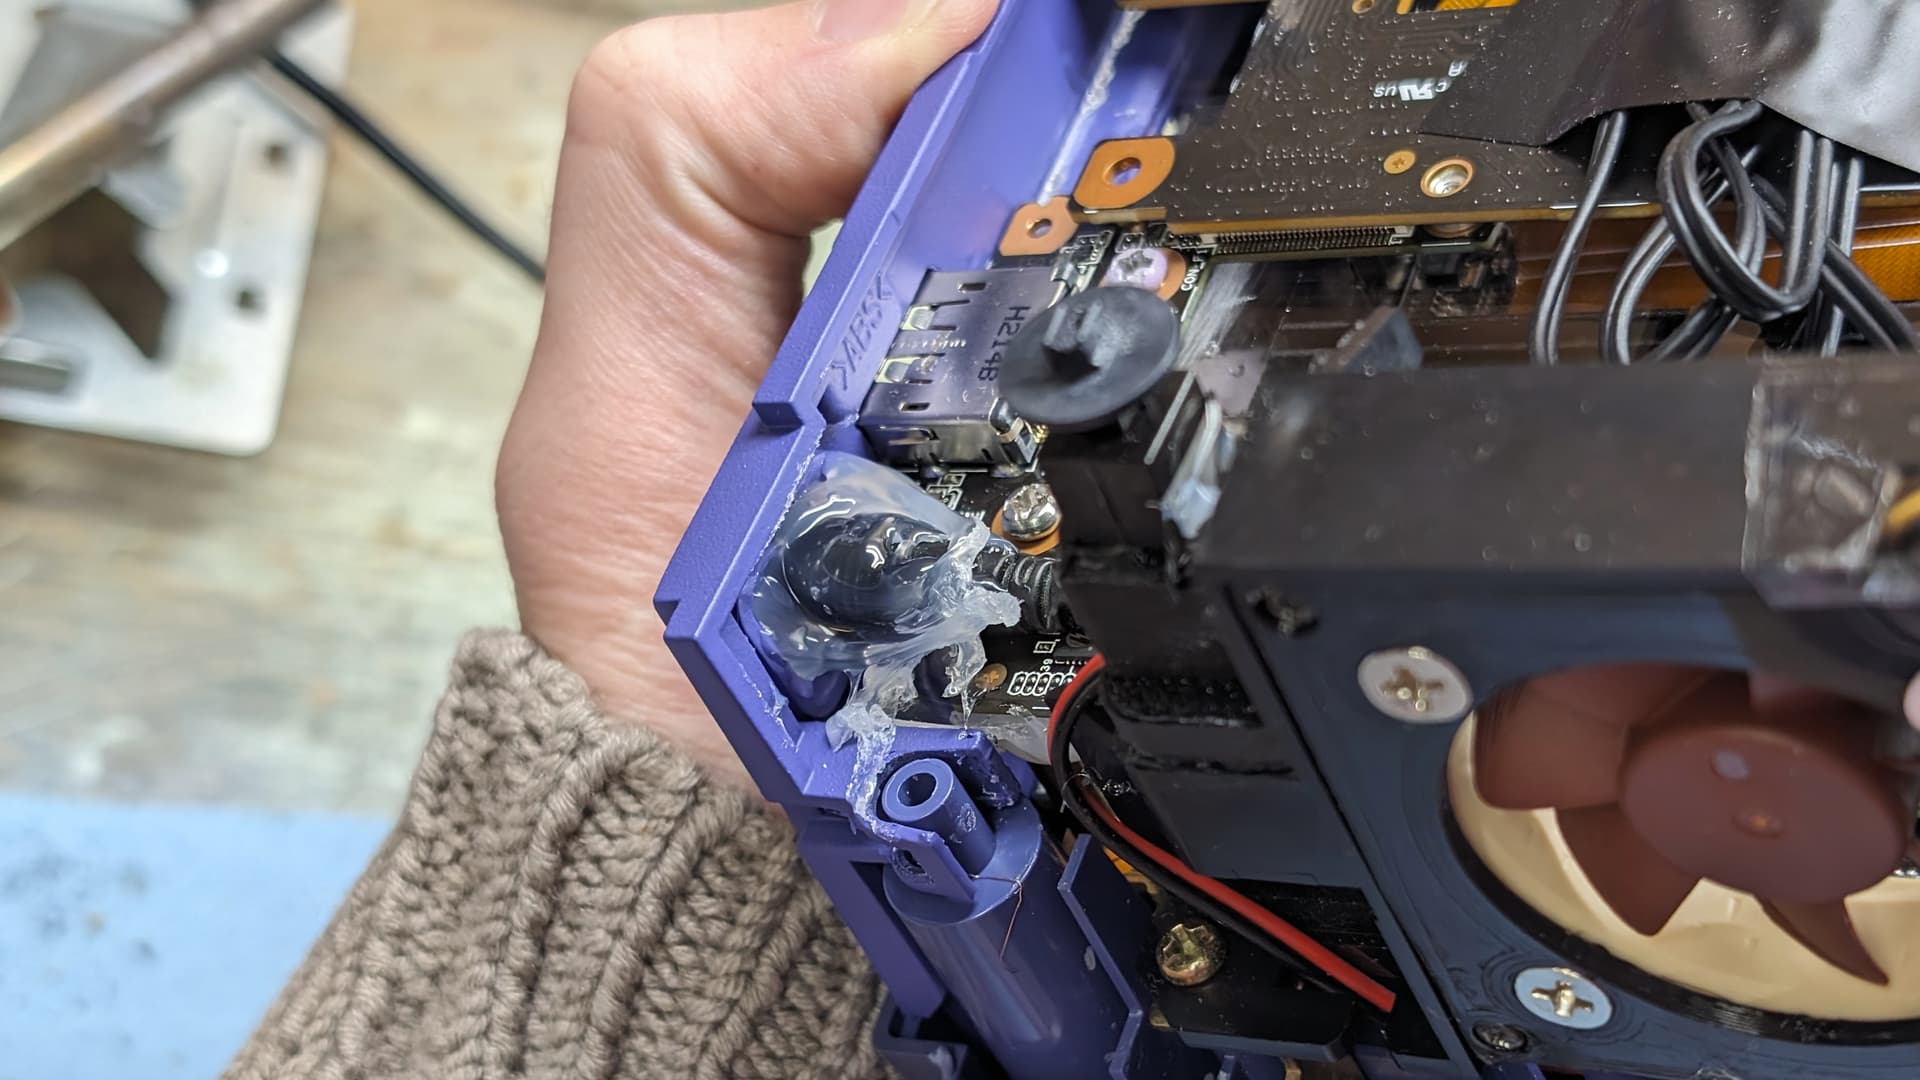
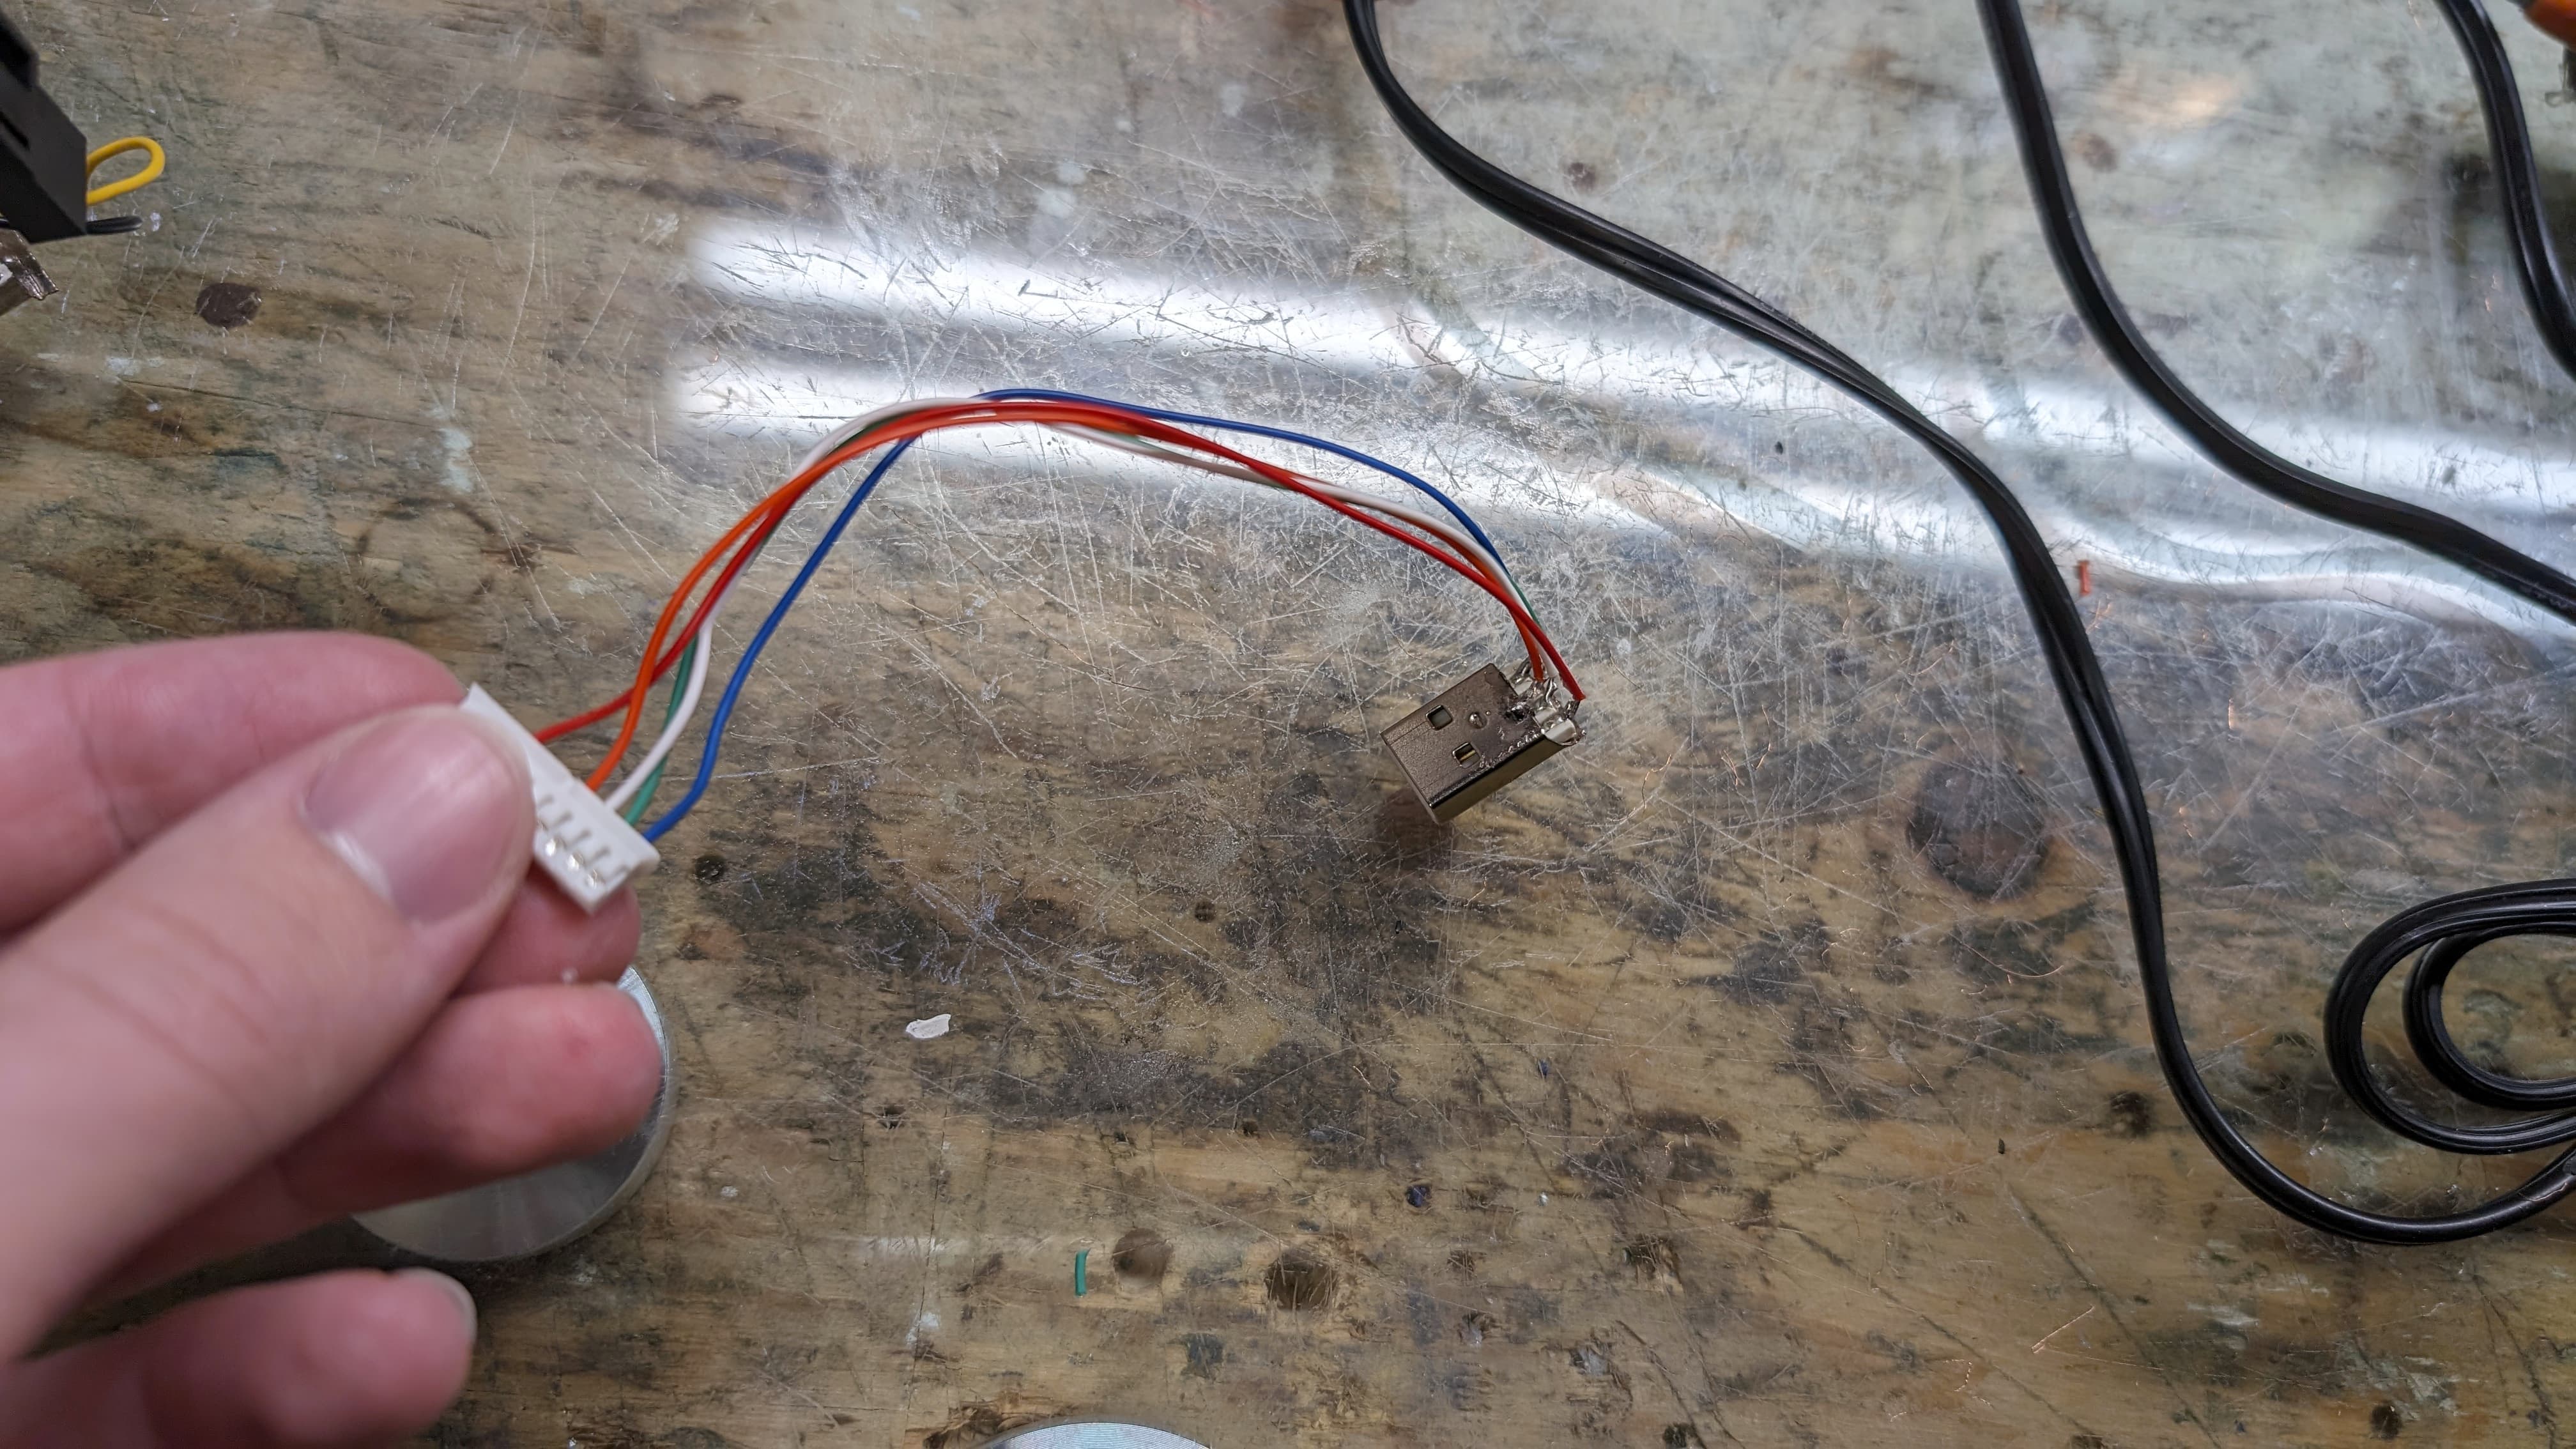
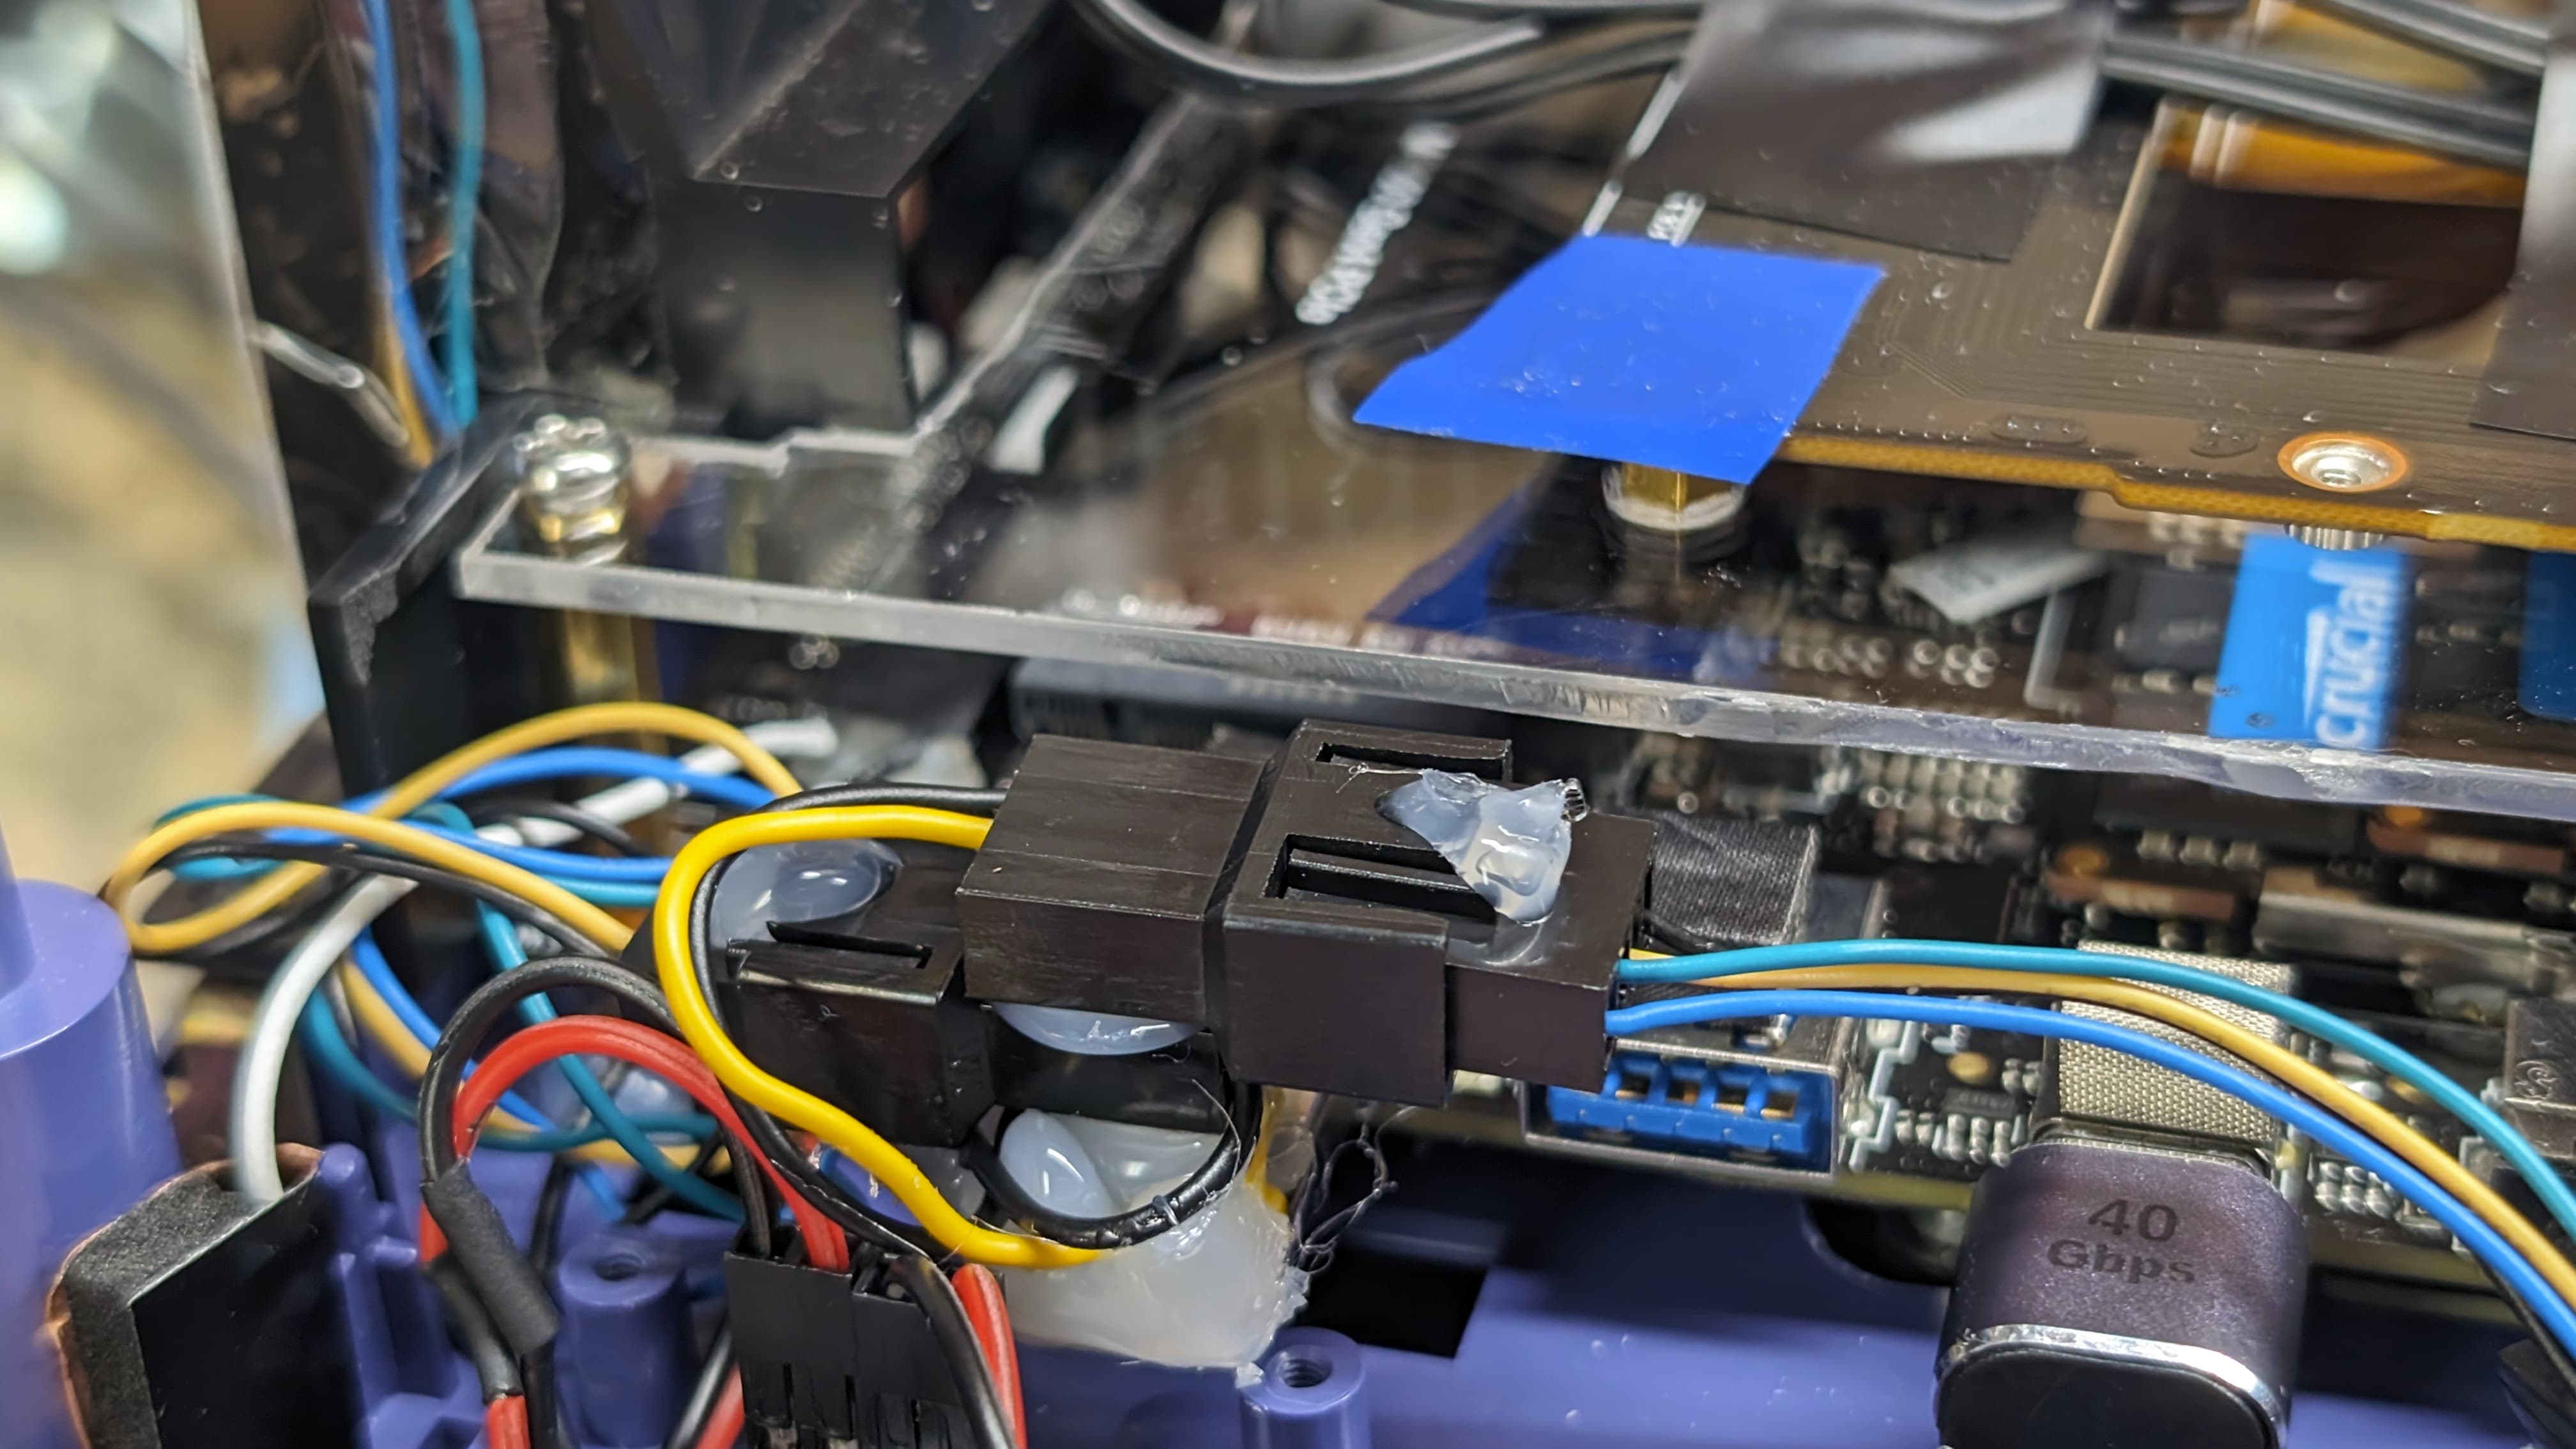
Also, I made a compact USB connector for the fans. Later I would add a 20ohms resistor to it in order to reduce the speed of the Noctua. Otherwise, at 100% speed sitting next to the openings, they were too loud.
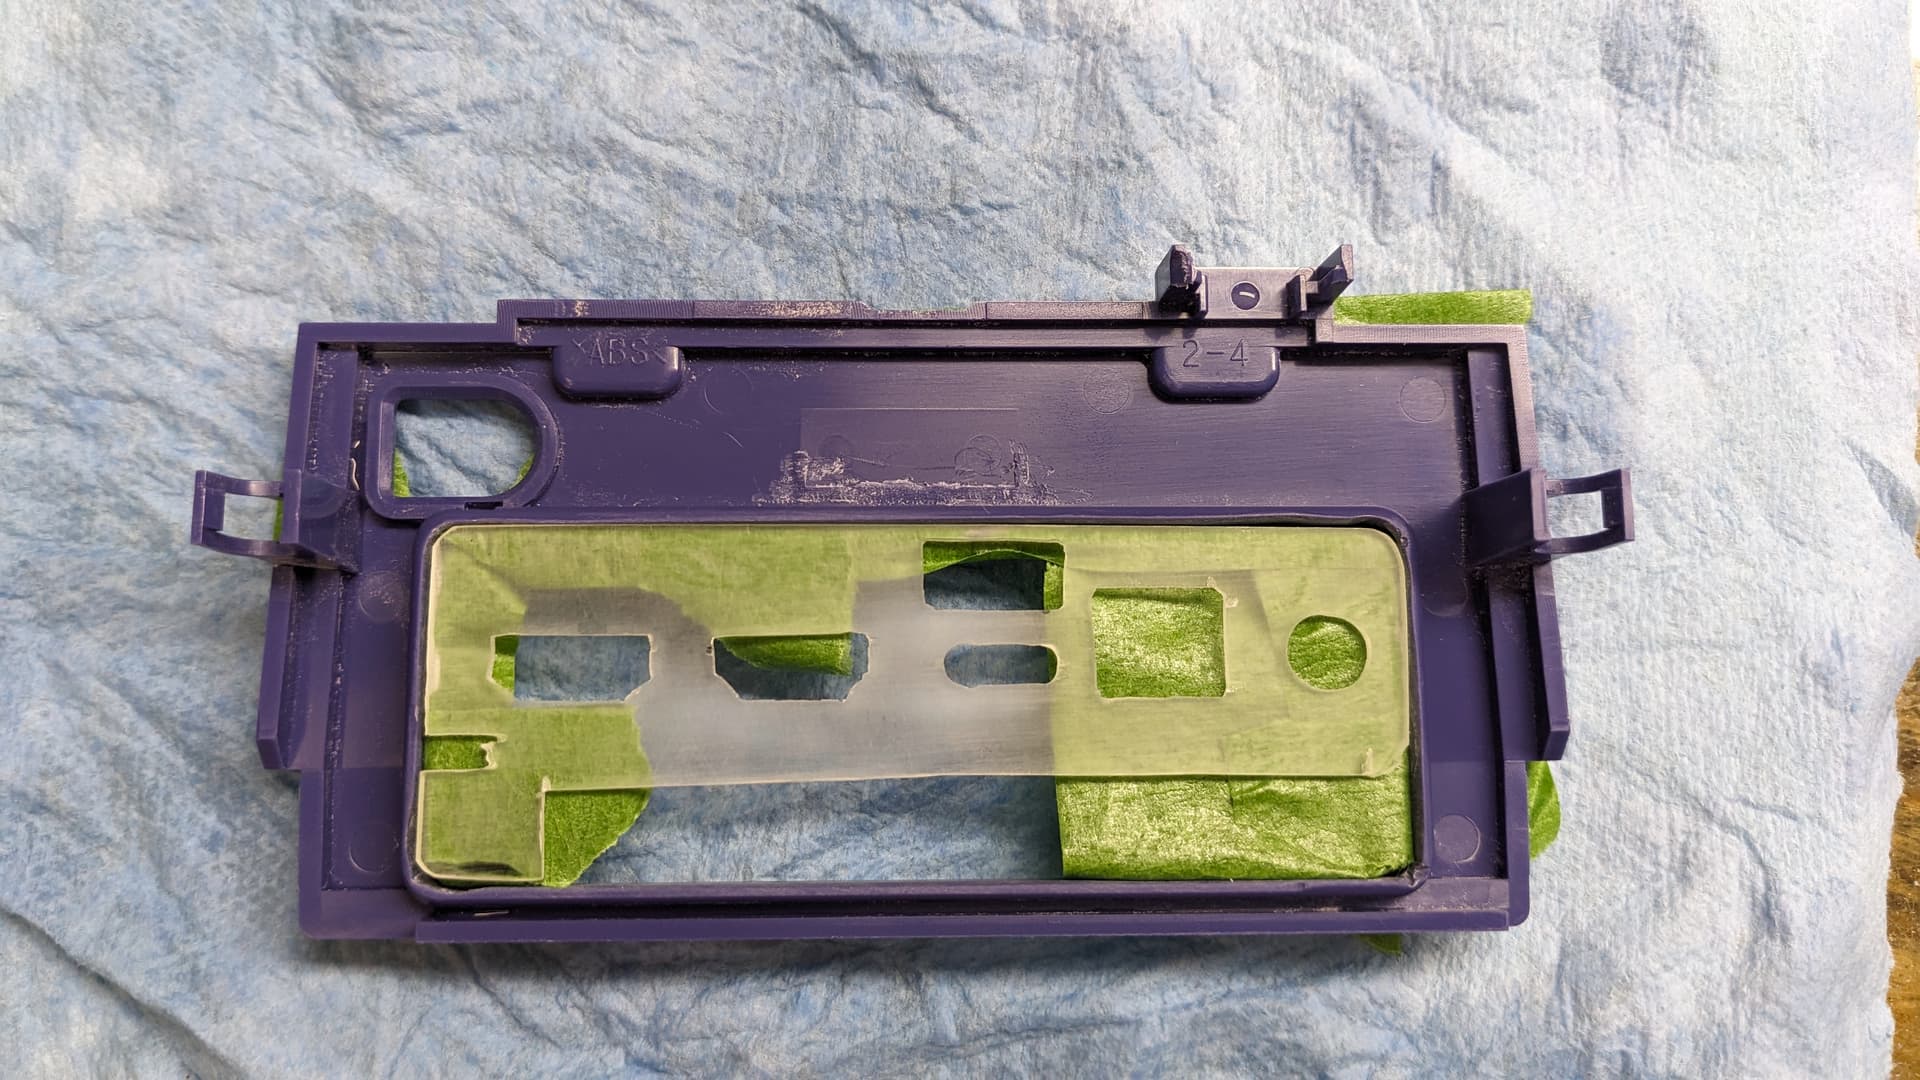
I had an issue with the audio jack support, as it would enter in conflict with the second board. So at the end I just closed up the hole in the back plate and glues the audio jack directly to it to barely be able to fit it.
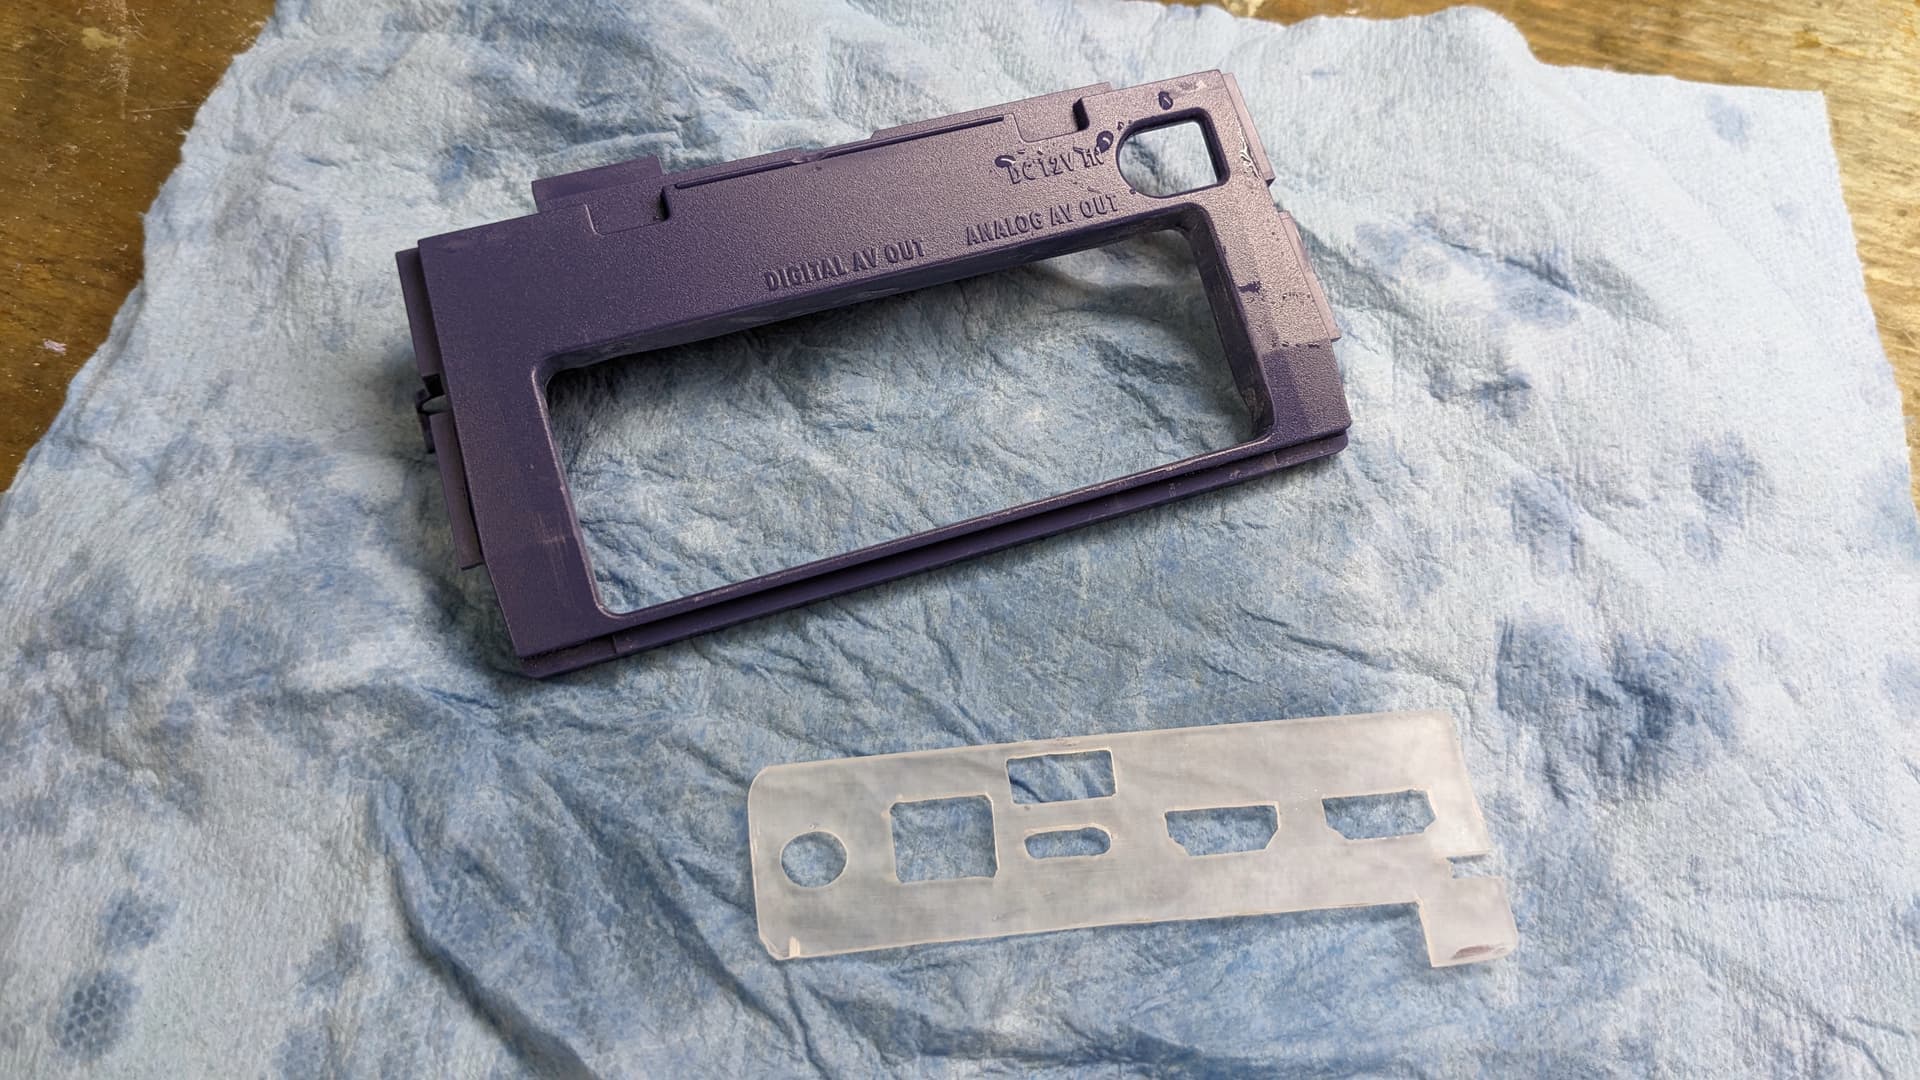
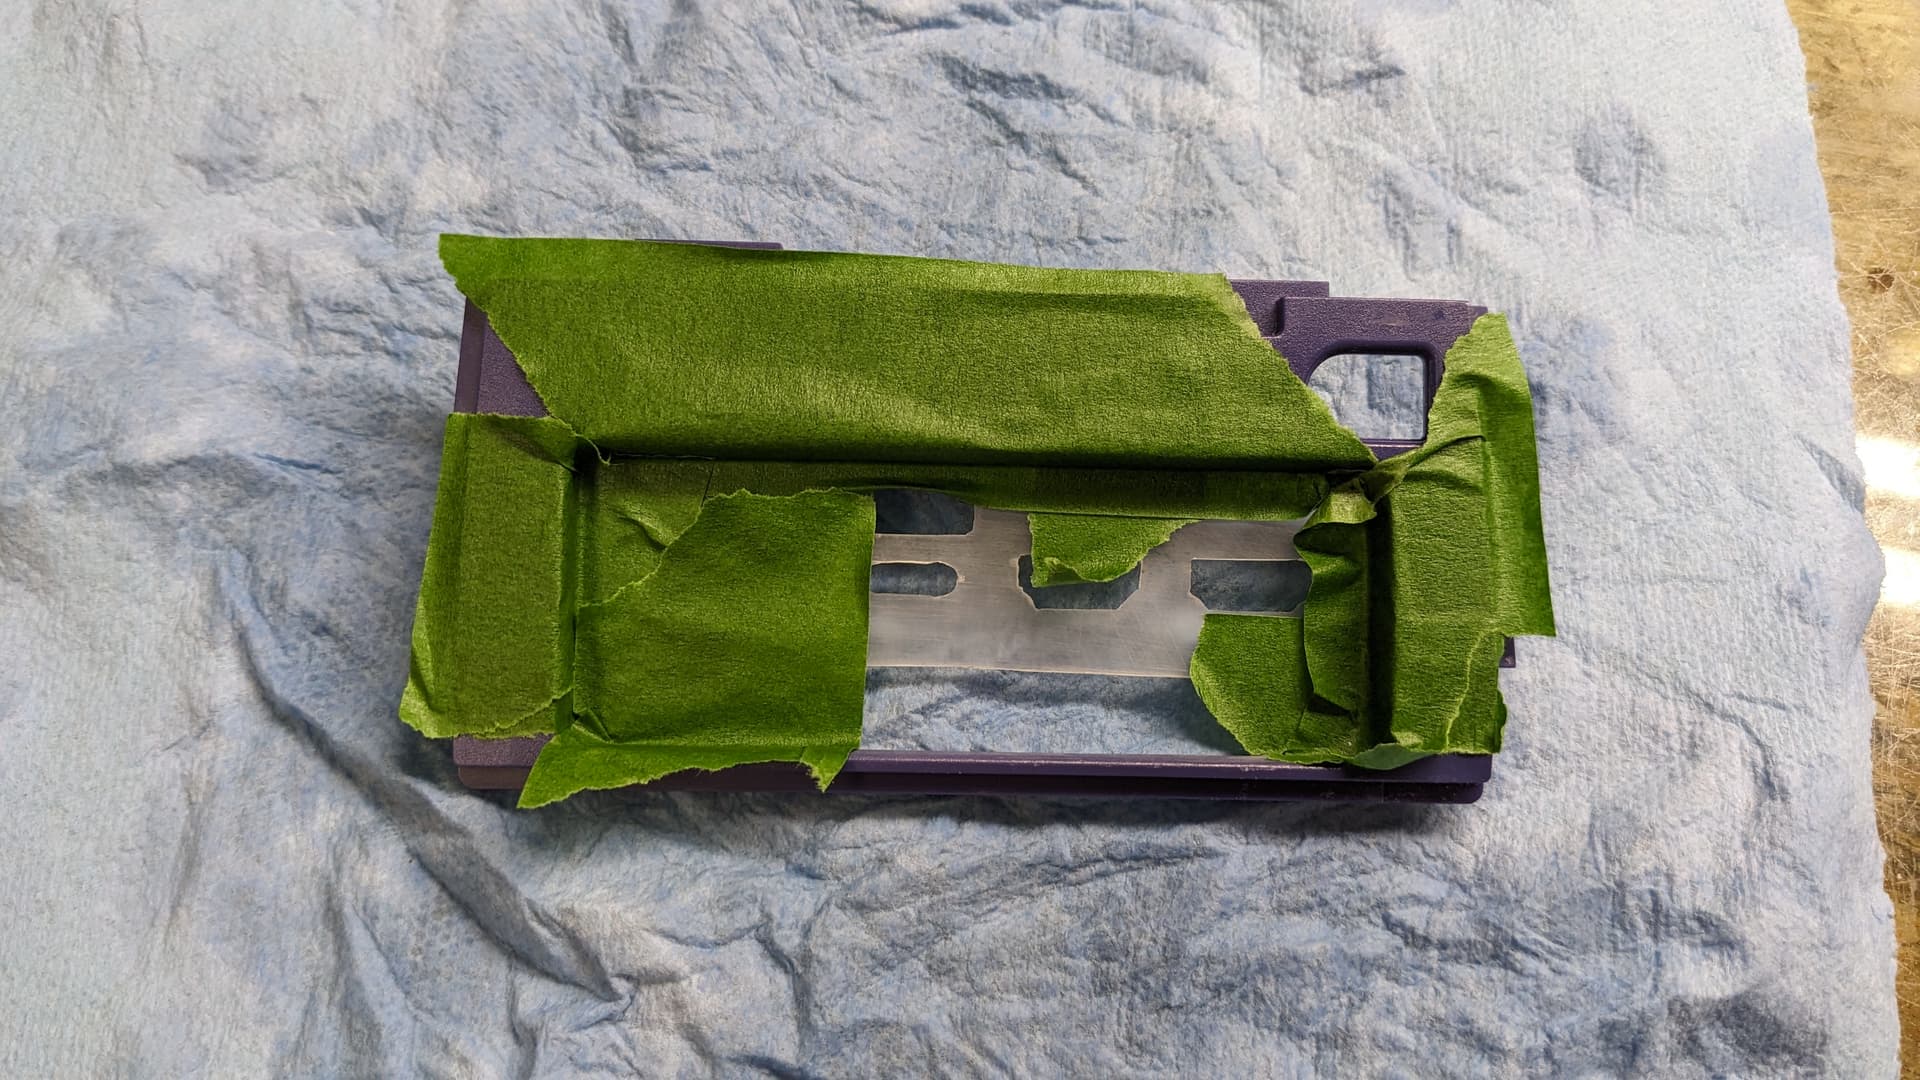
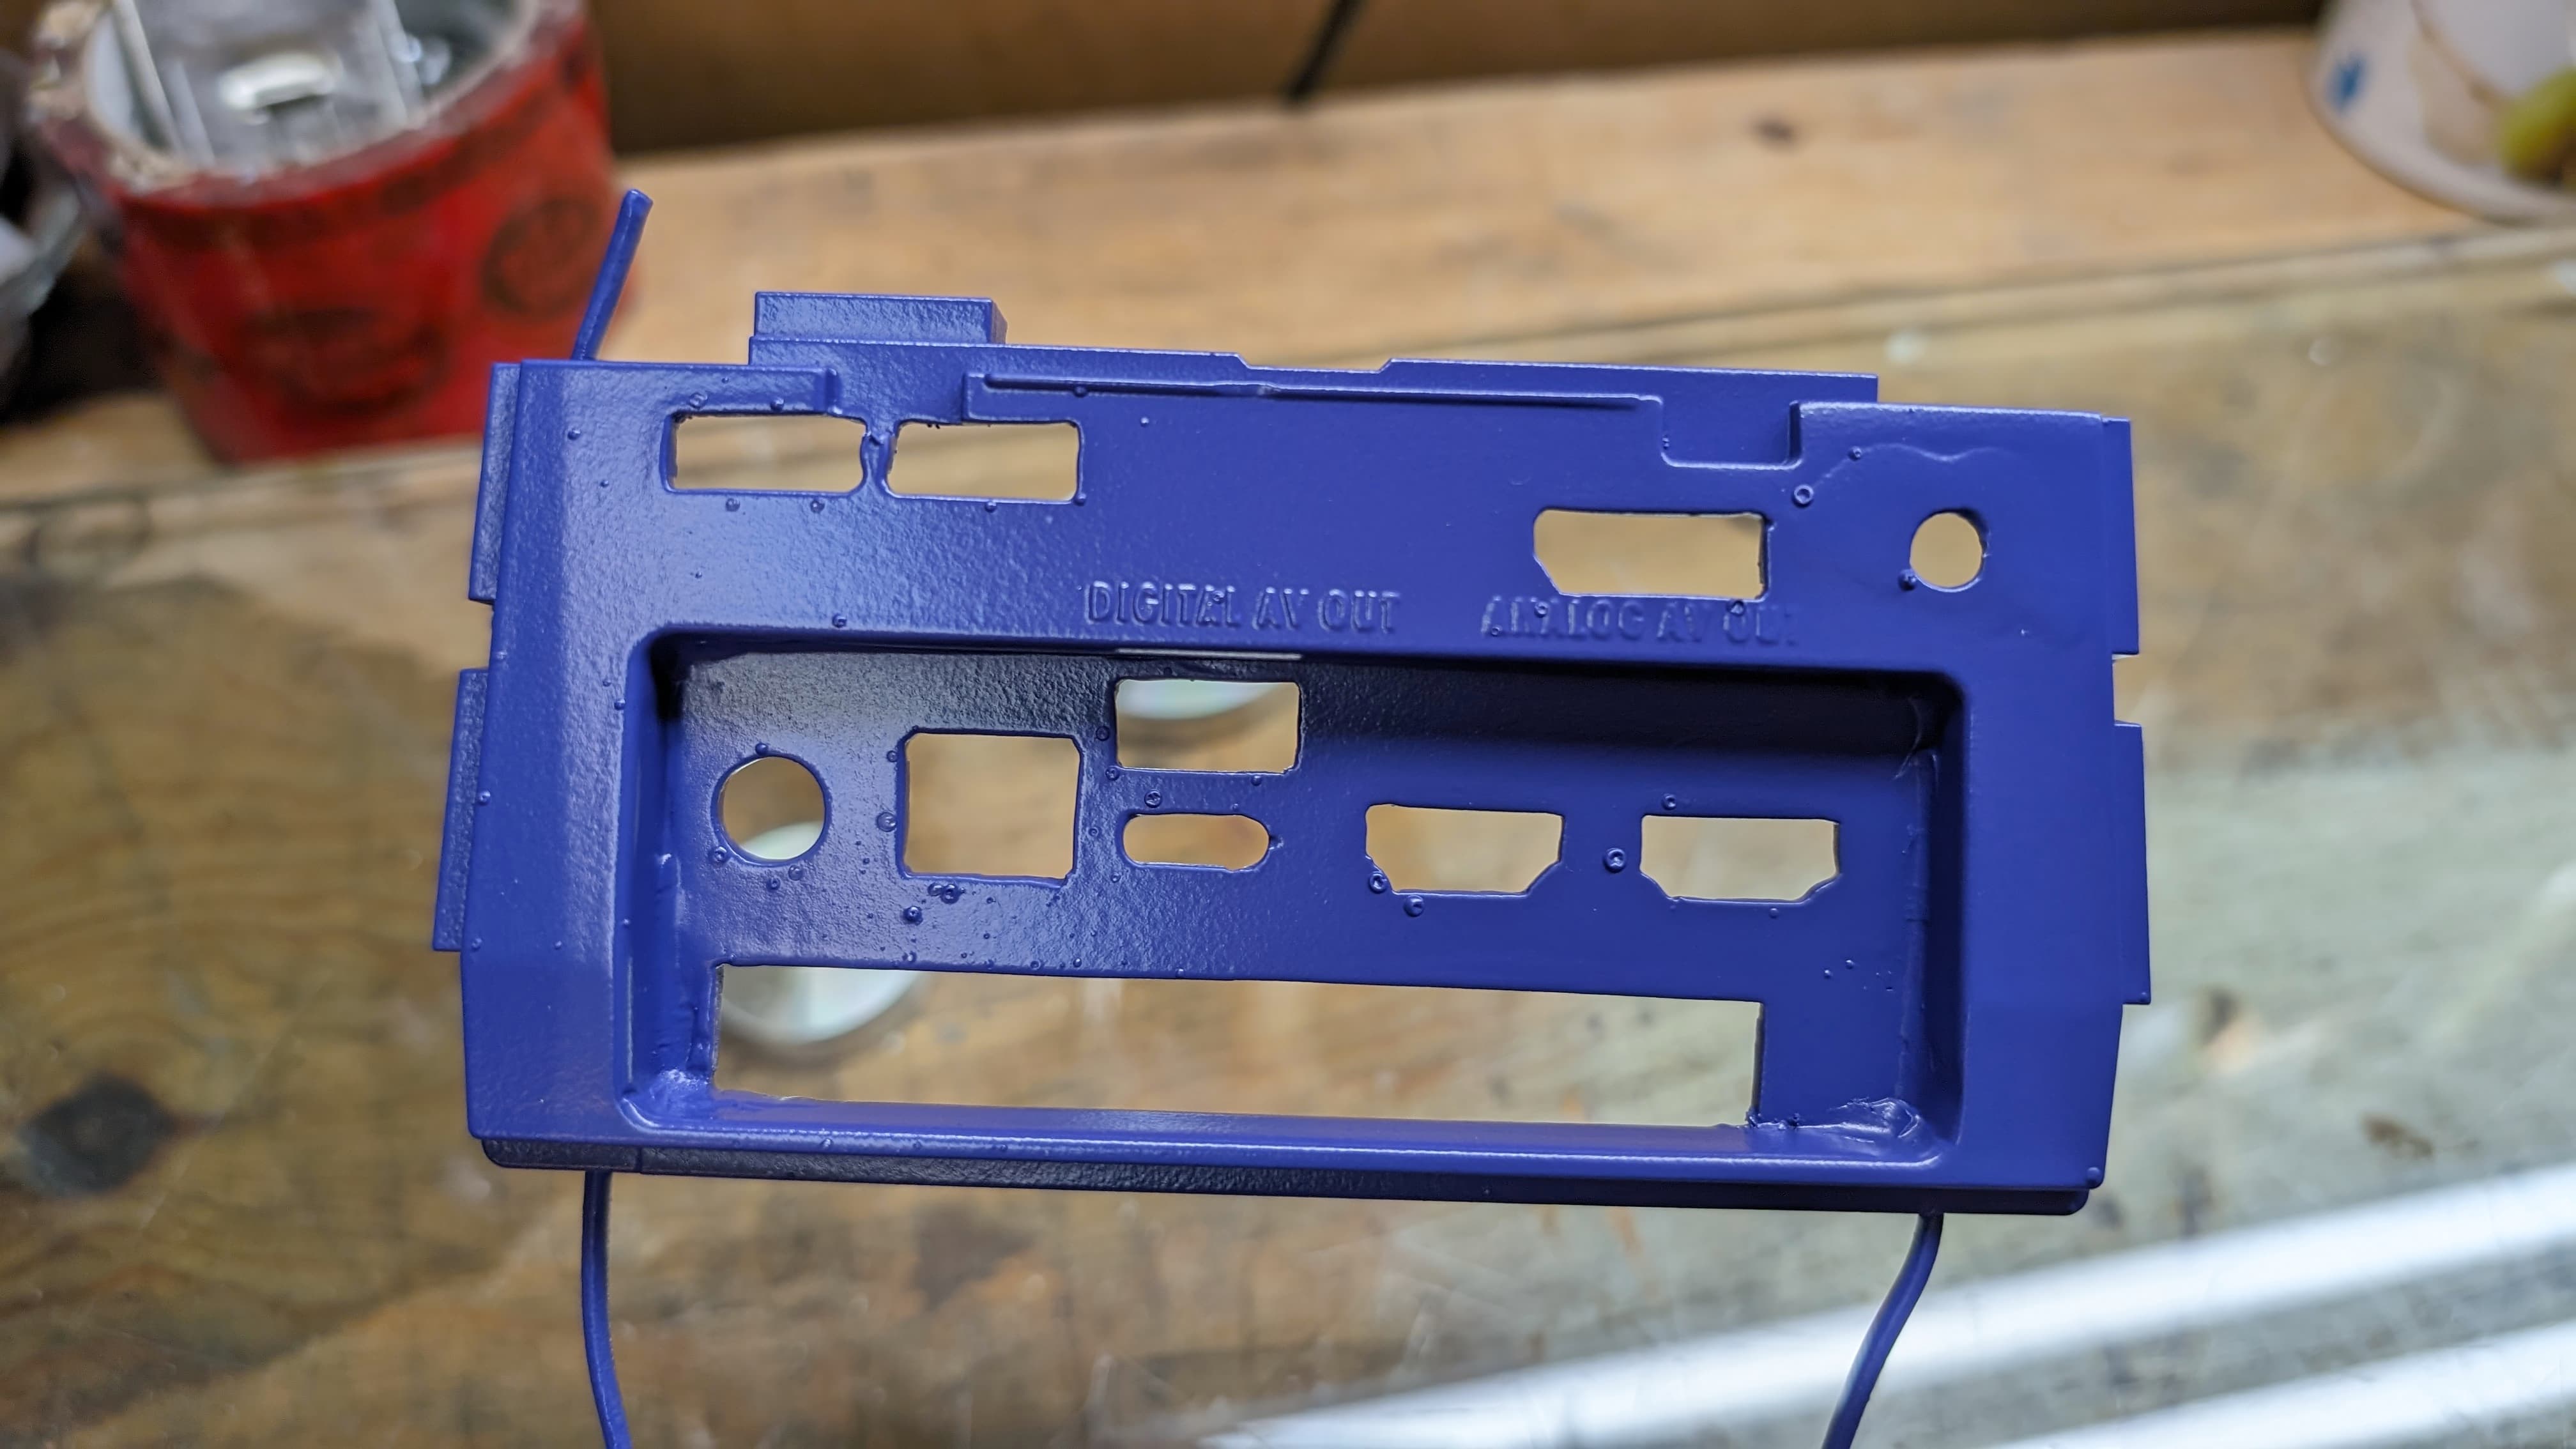
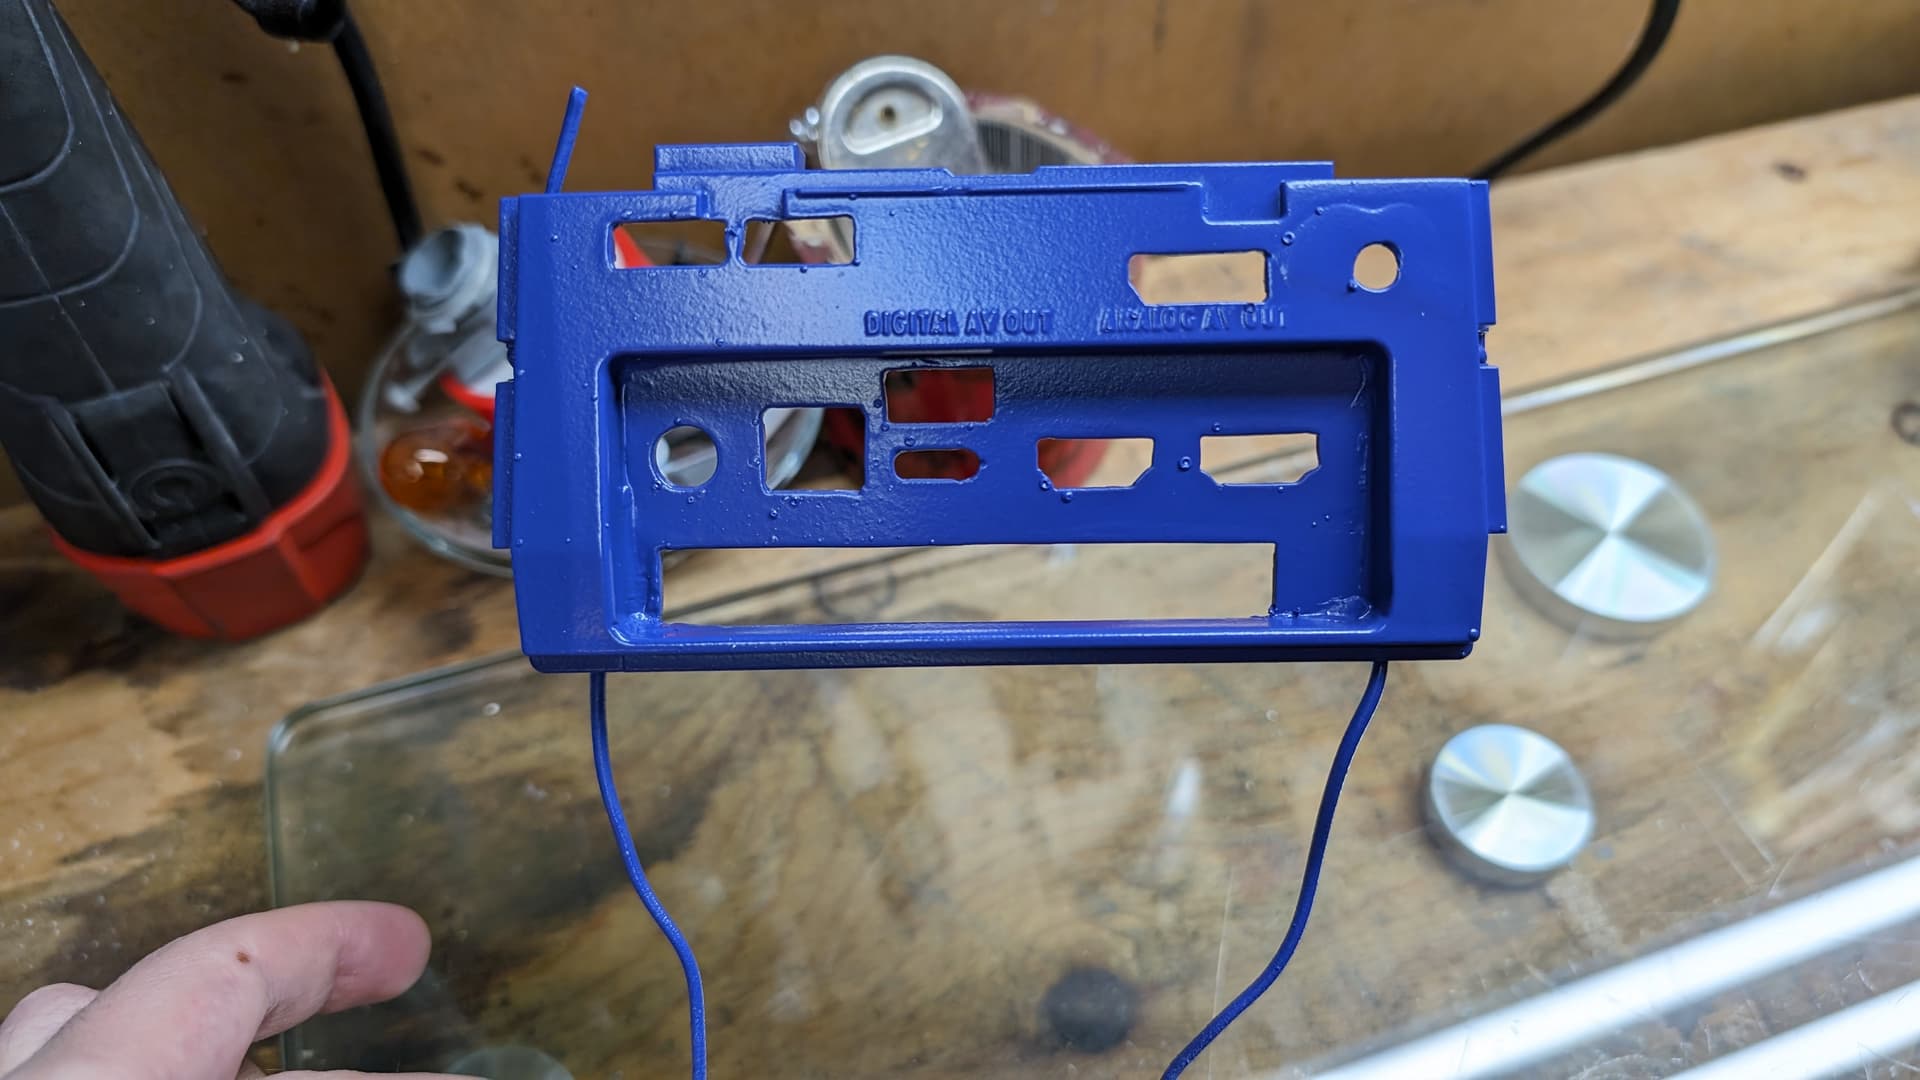
I had to figure how to paint in winter. But turns out it’s really easy. Just spray outside when it’s clear, and not too humid and cold, and quickly go back inside with the piece between coat. This time around the back IO is way lighter than the purple of the Gamecube. The purple of the Gamecube has darkenned a bit with time.
Small update as I’m still waiting for payment for the build.
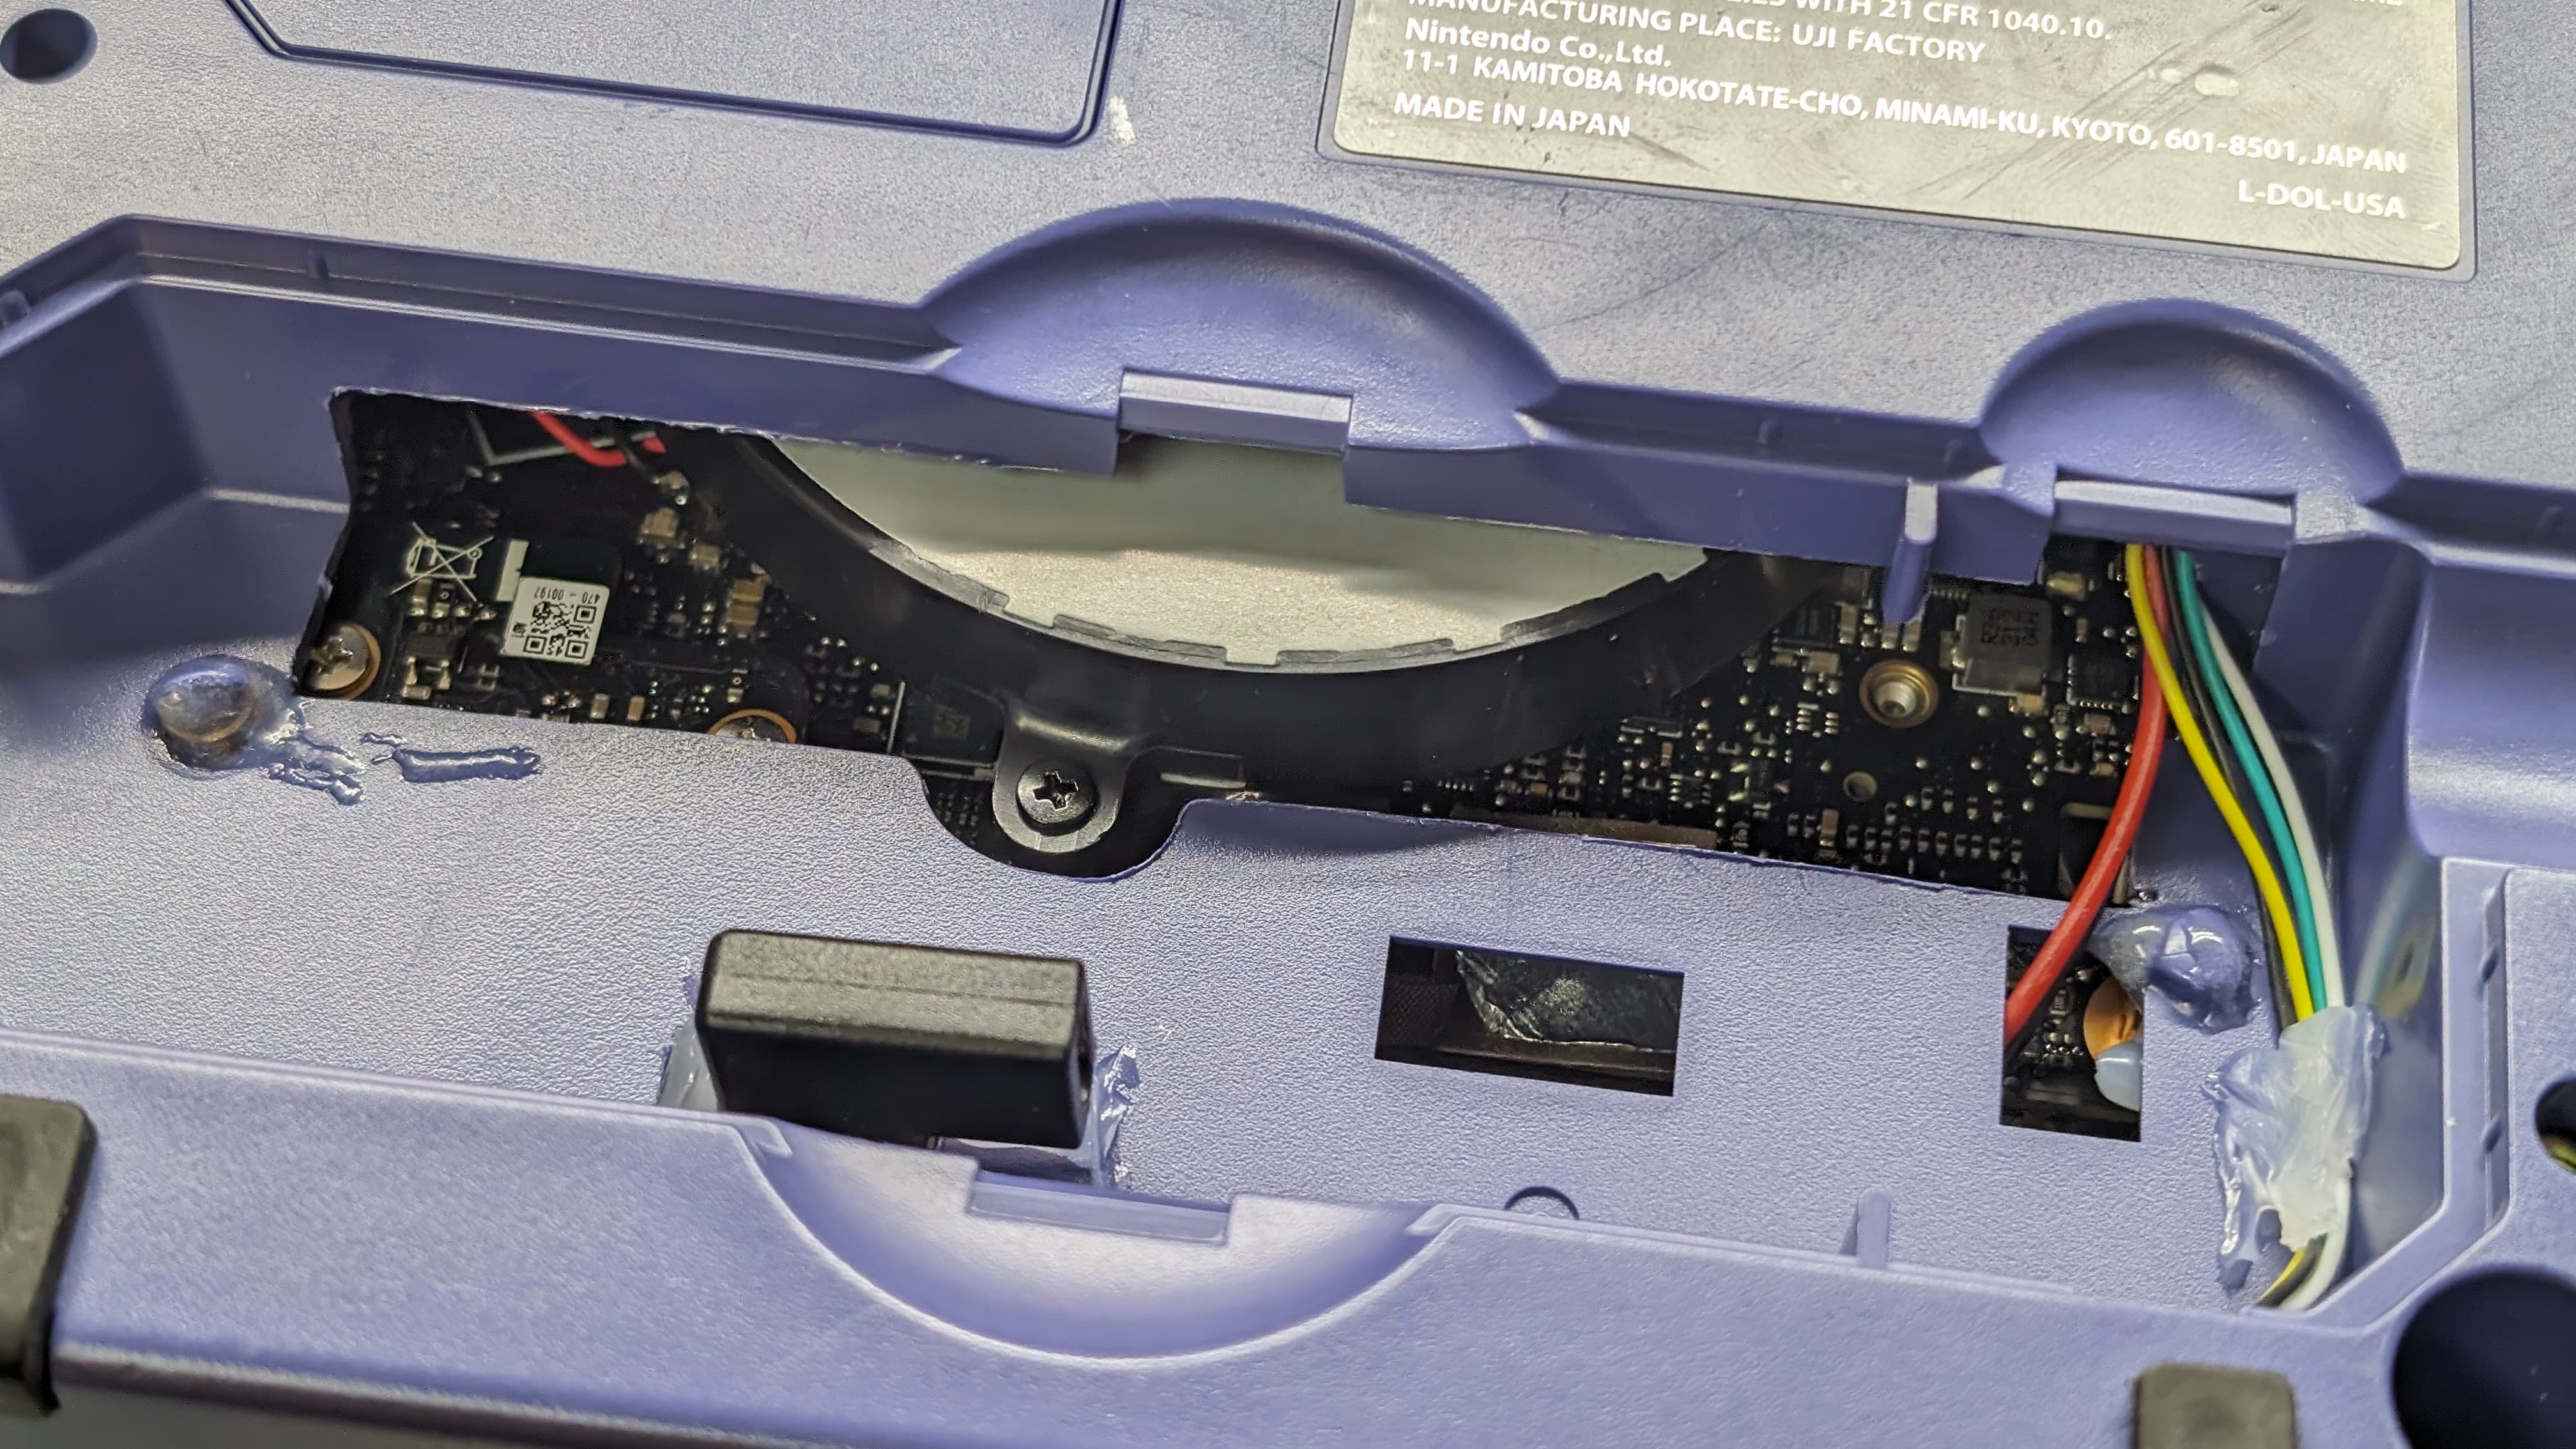
I changed the packaging tape that was holding down the audio cable by polymide tape following comments on Reddit about concern for electrostatic discharge.