[Build log] ベール (Vert) | A NFC-4TF build

Elmo has a crippling addiction to SFFPC!

So right now I’m saying farewell to my old components by building the Re;Gamecube build, but I already have my new components so I could have at least a working PC that I don’t need to disassemble and play with all the time.

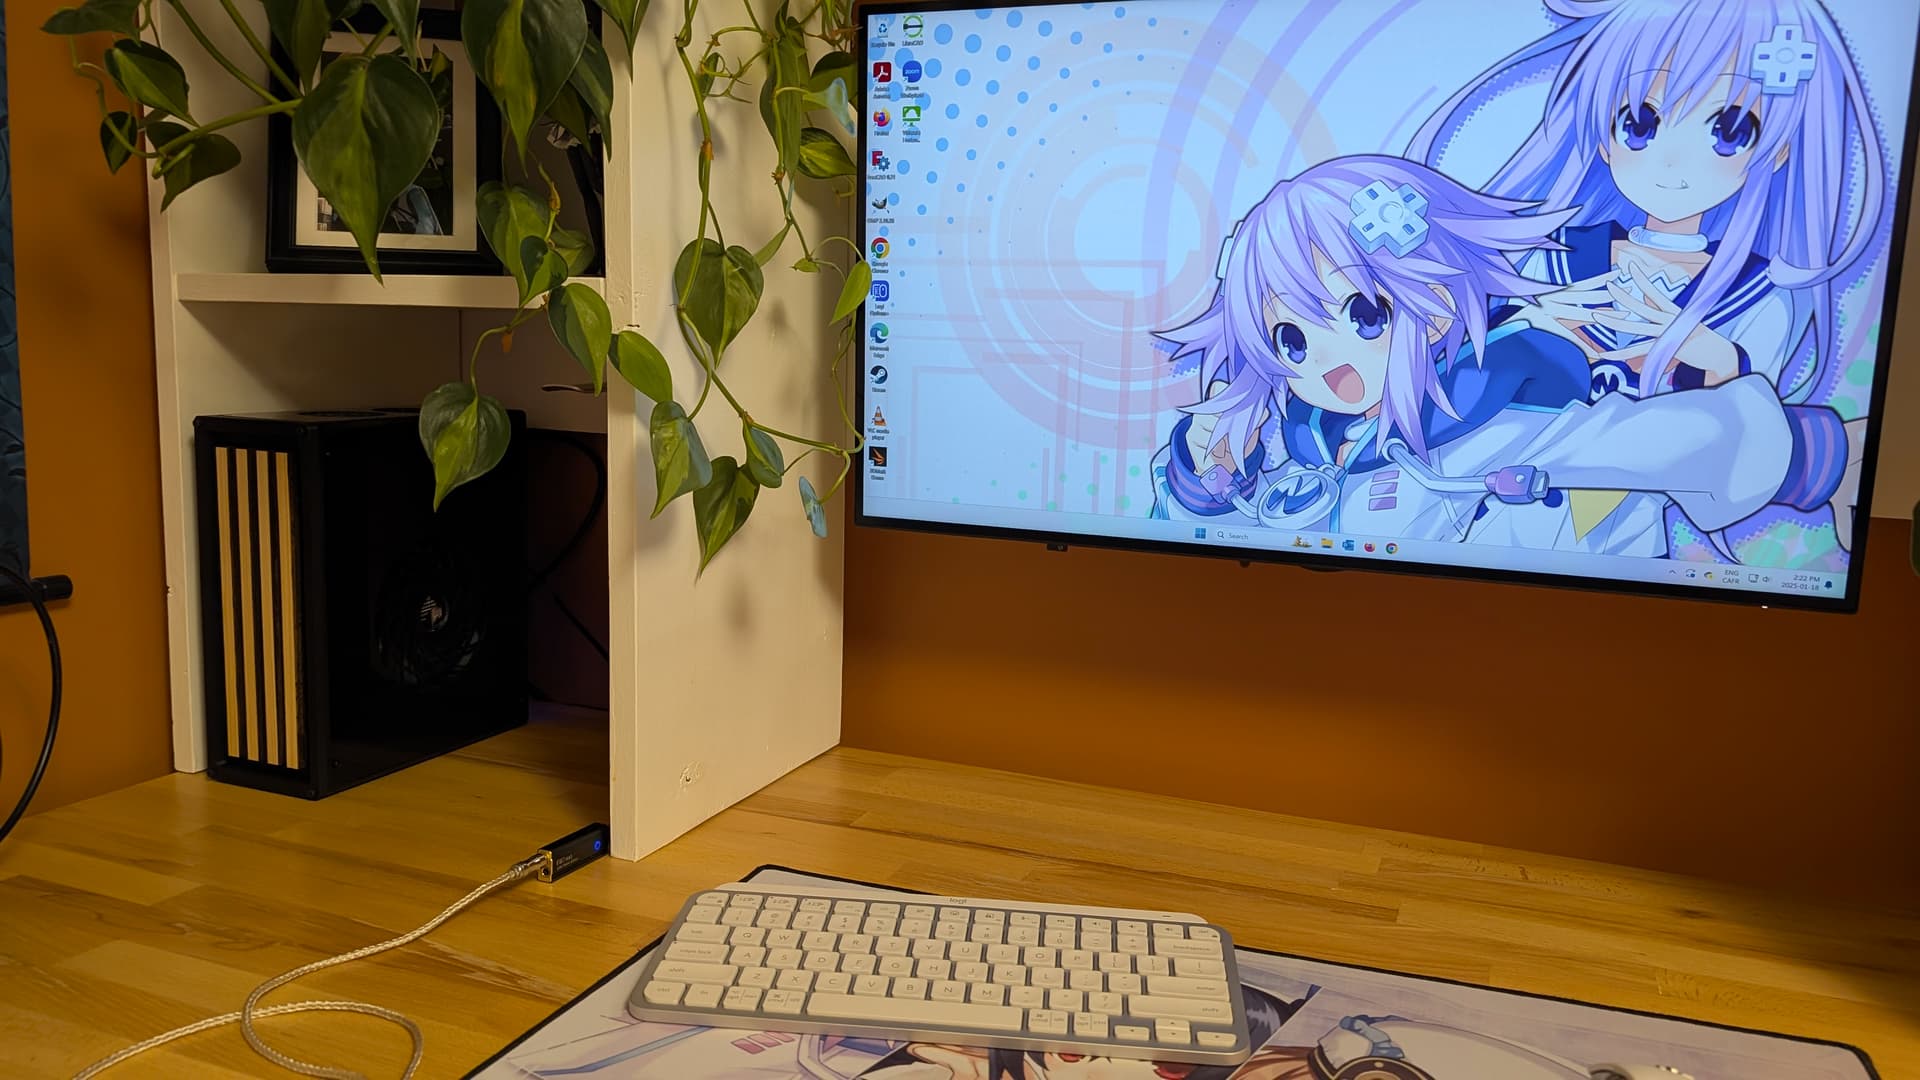
I intend to finish the Gamecube build first, but I’m now creating this build log because I’m already started tinkering about it, and wiritng it down on paper will help remove it from my brain lol.

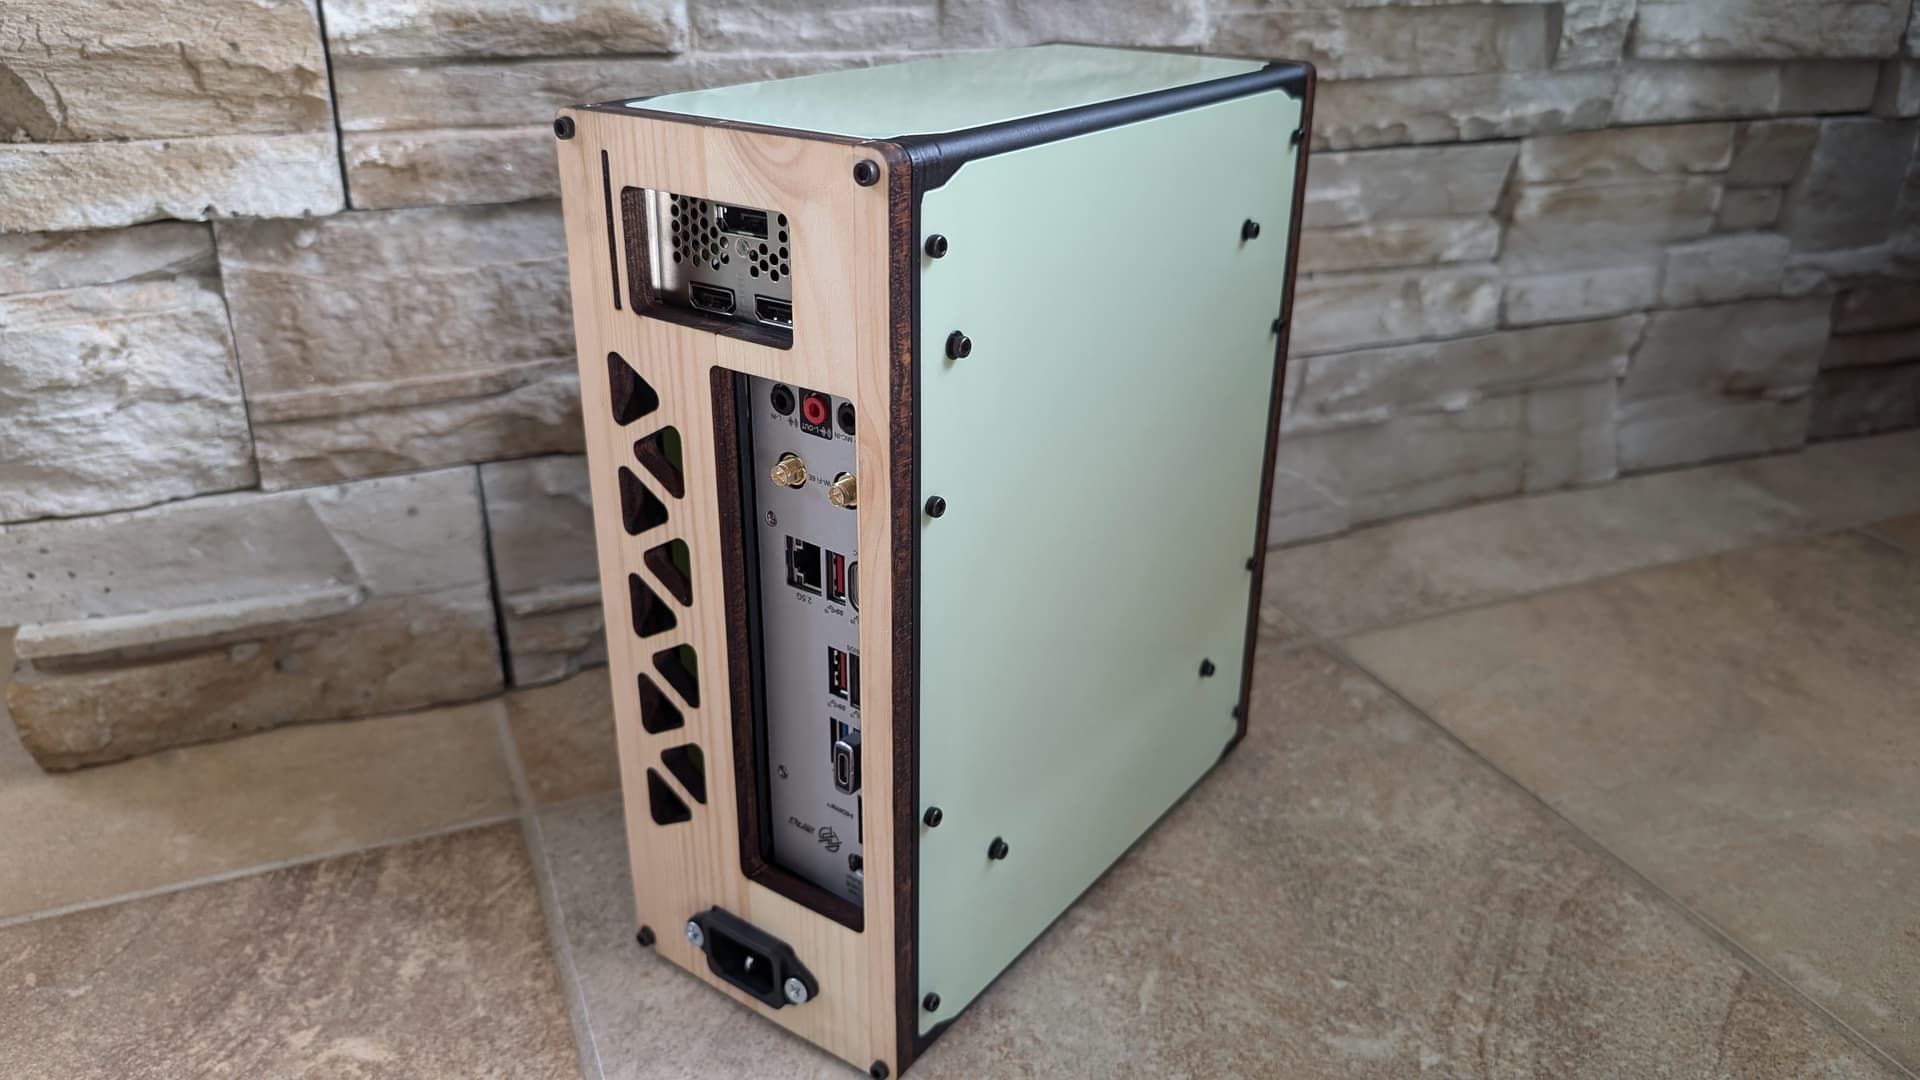
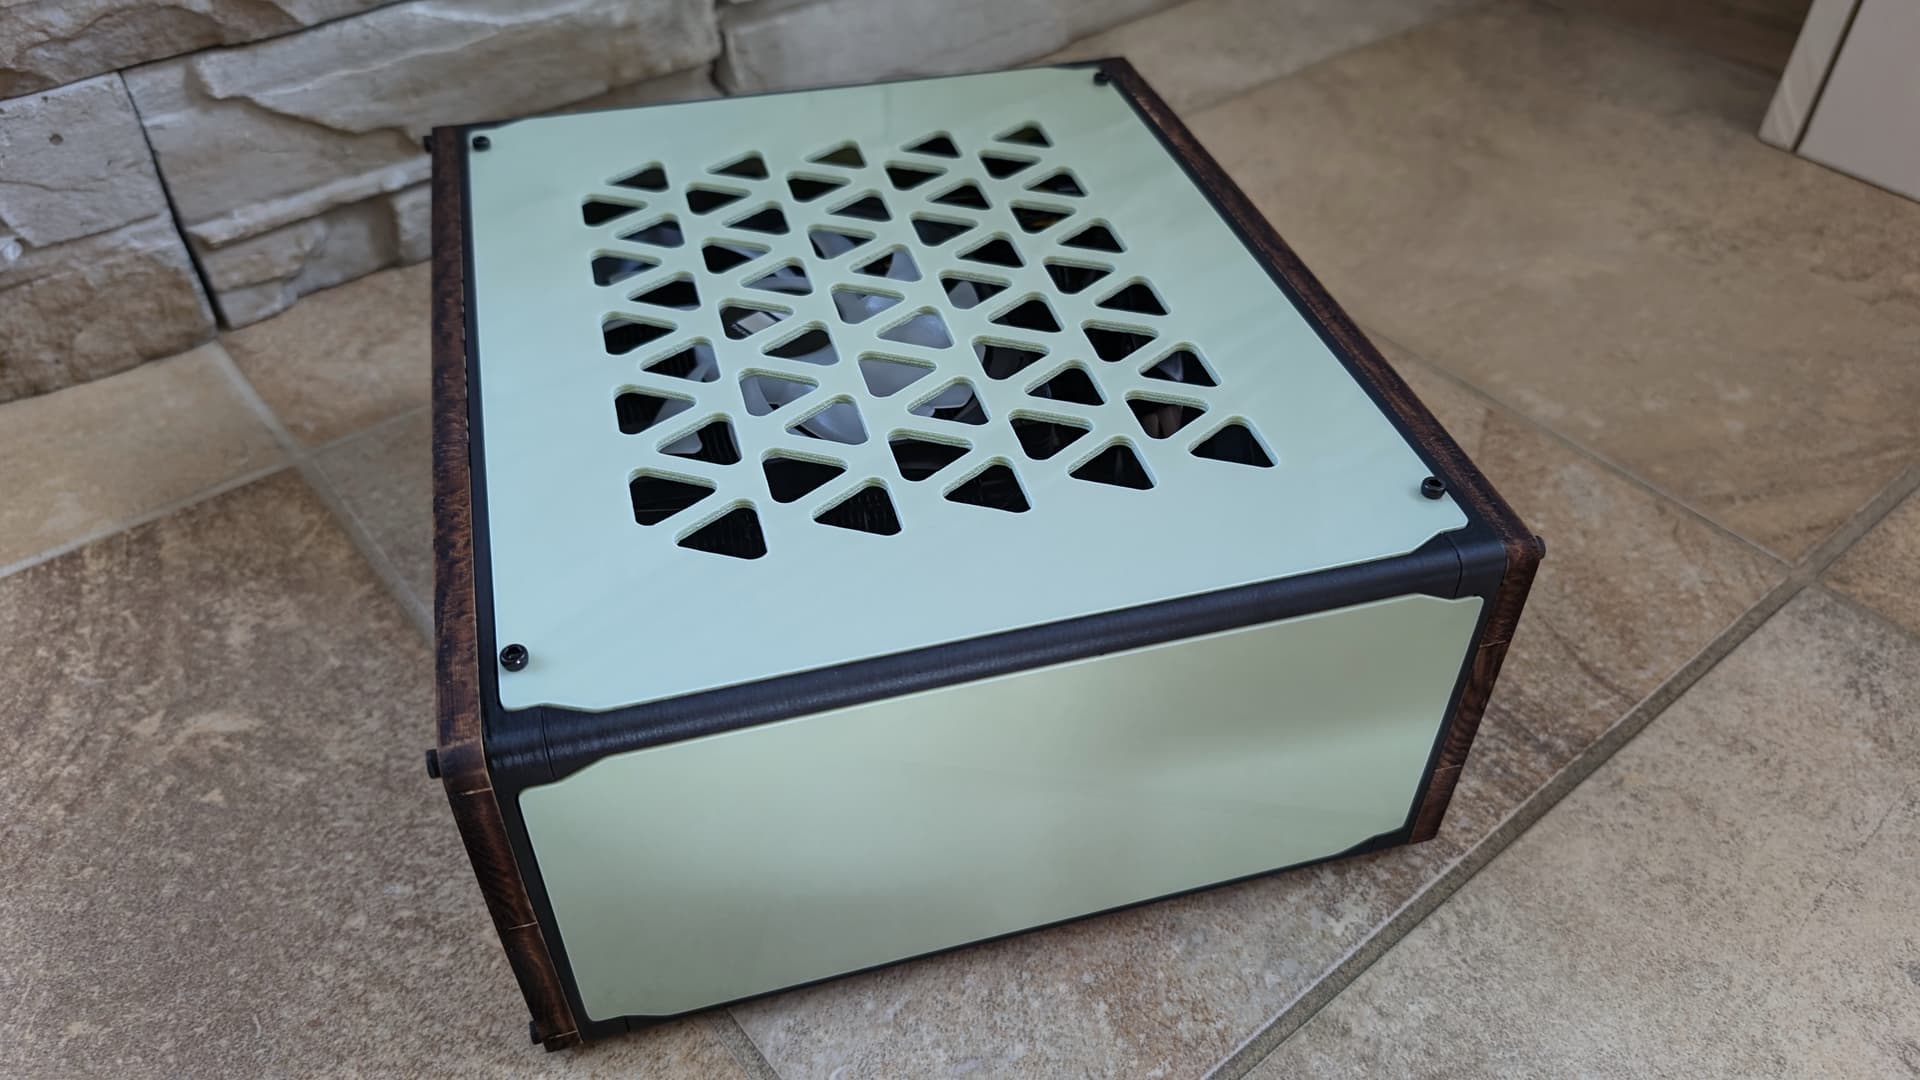
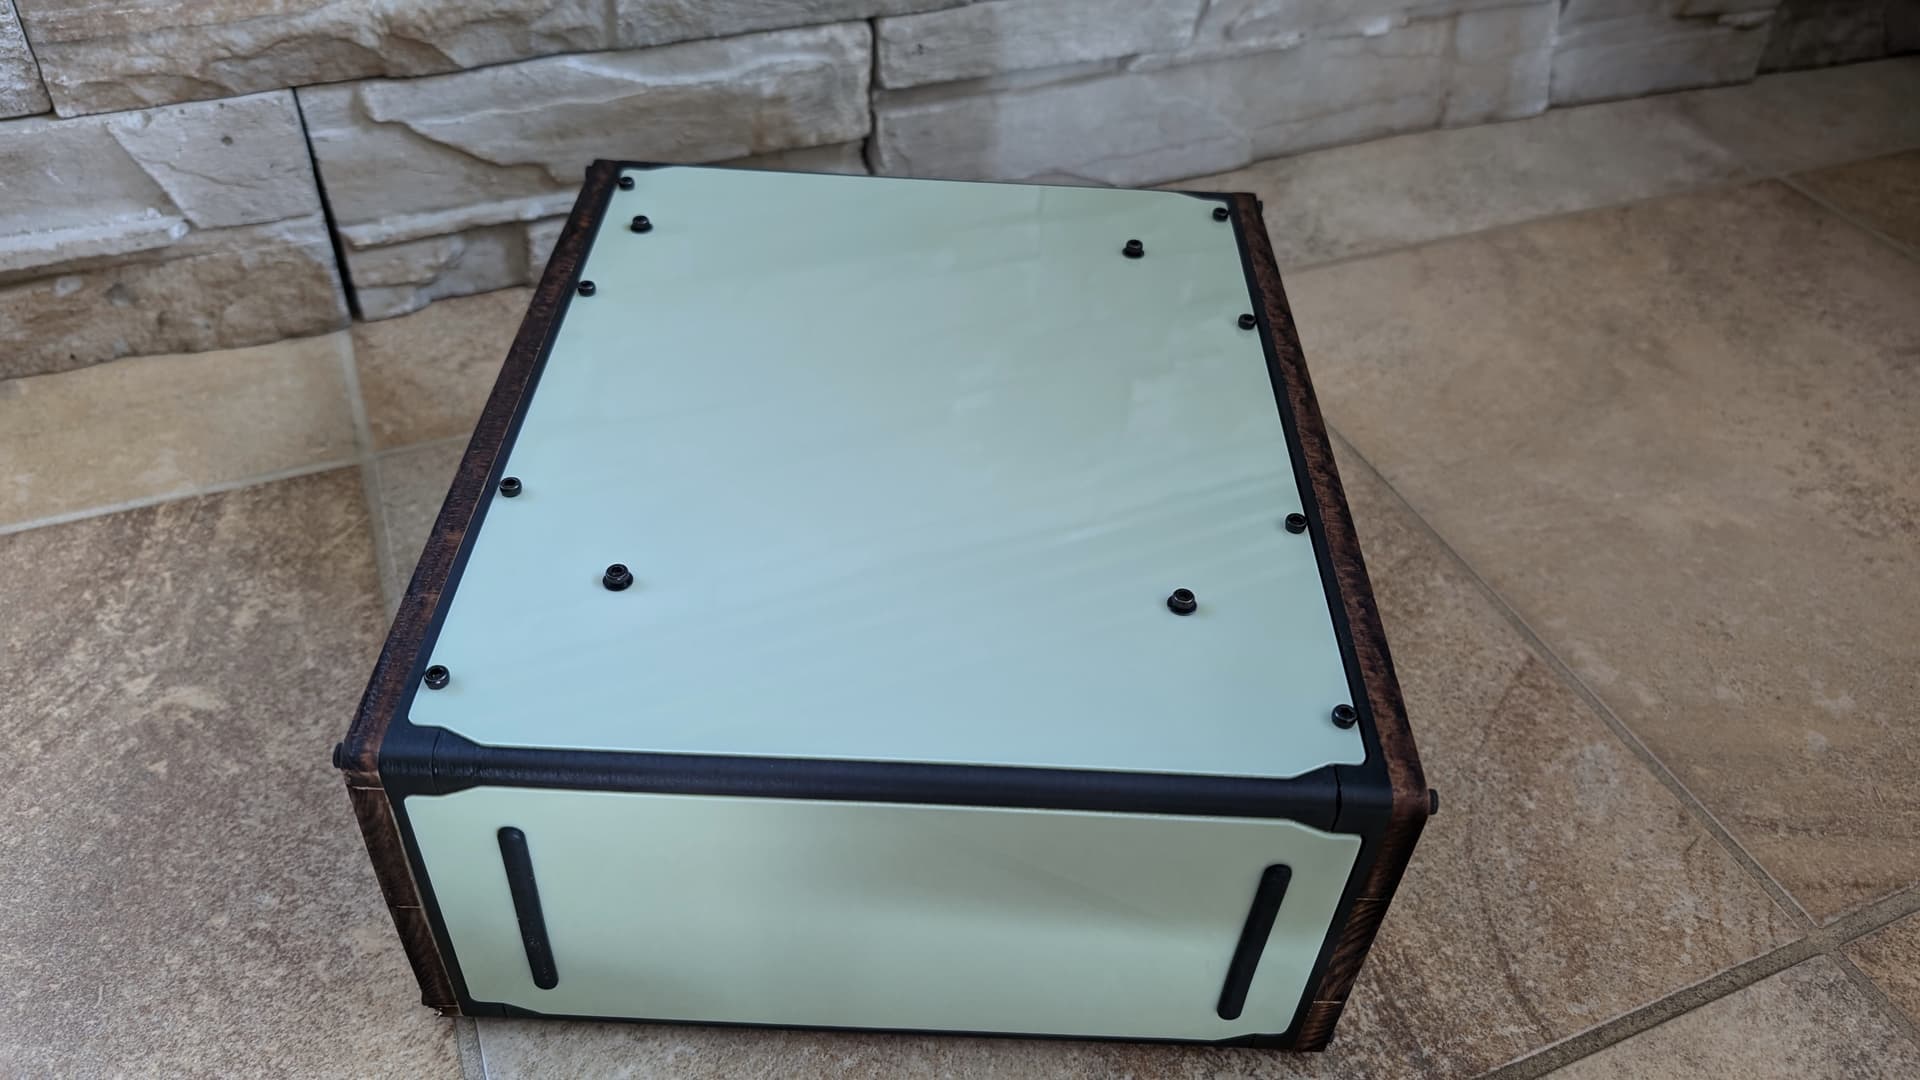
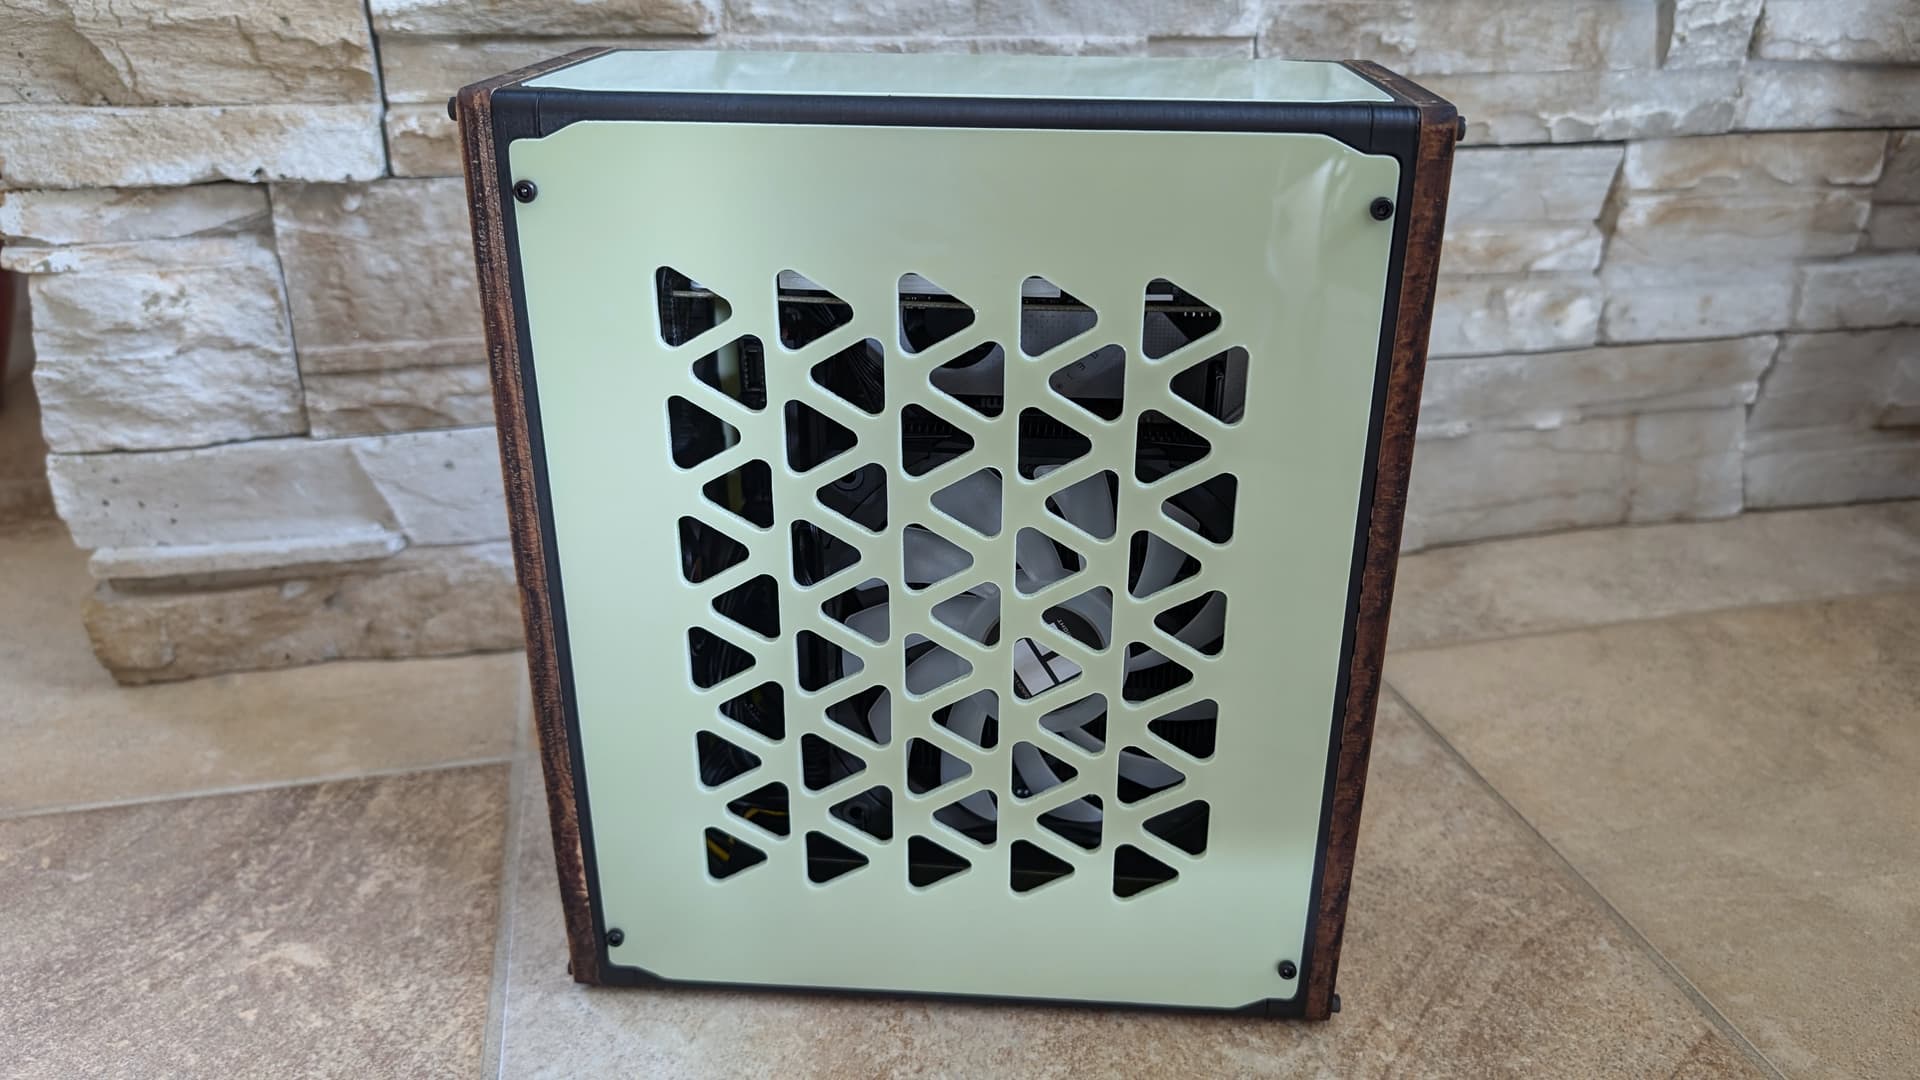
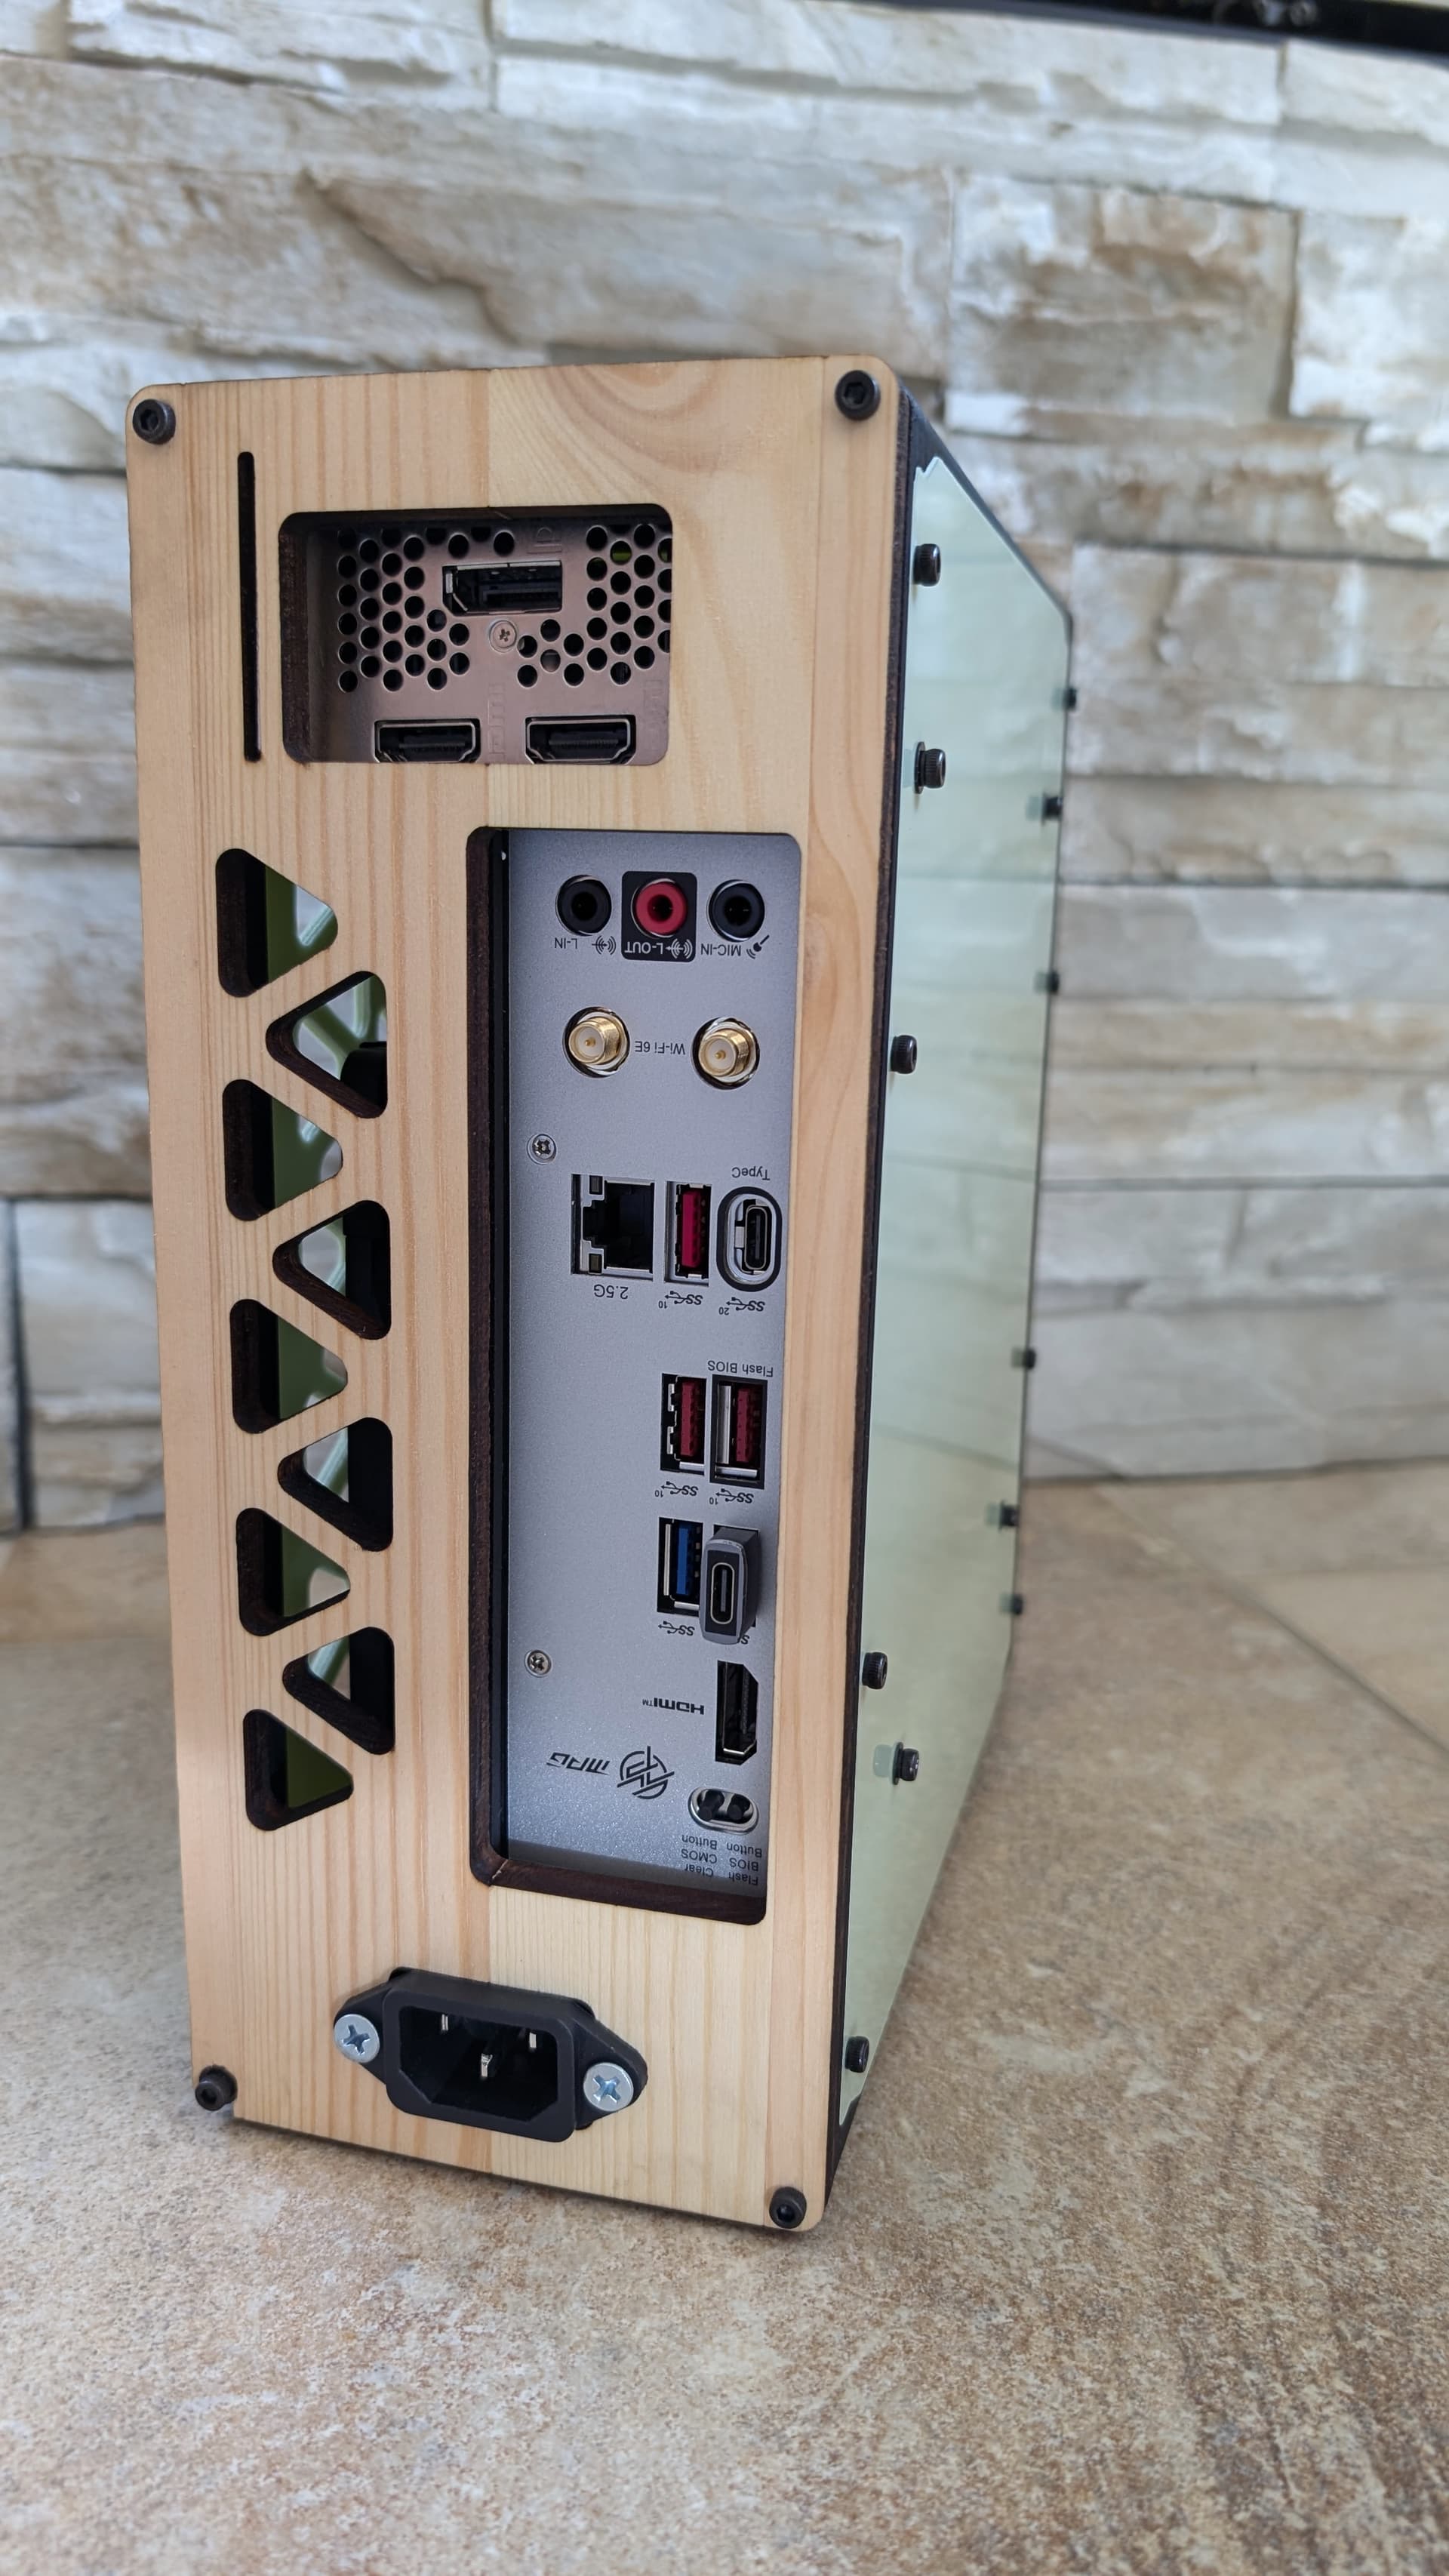
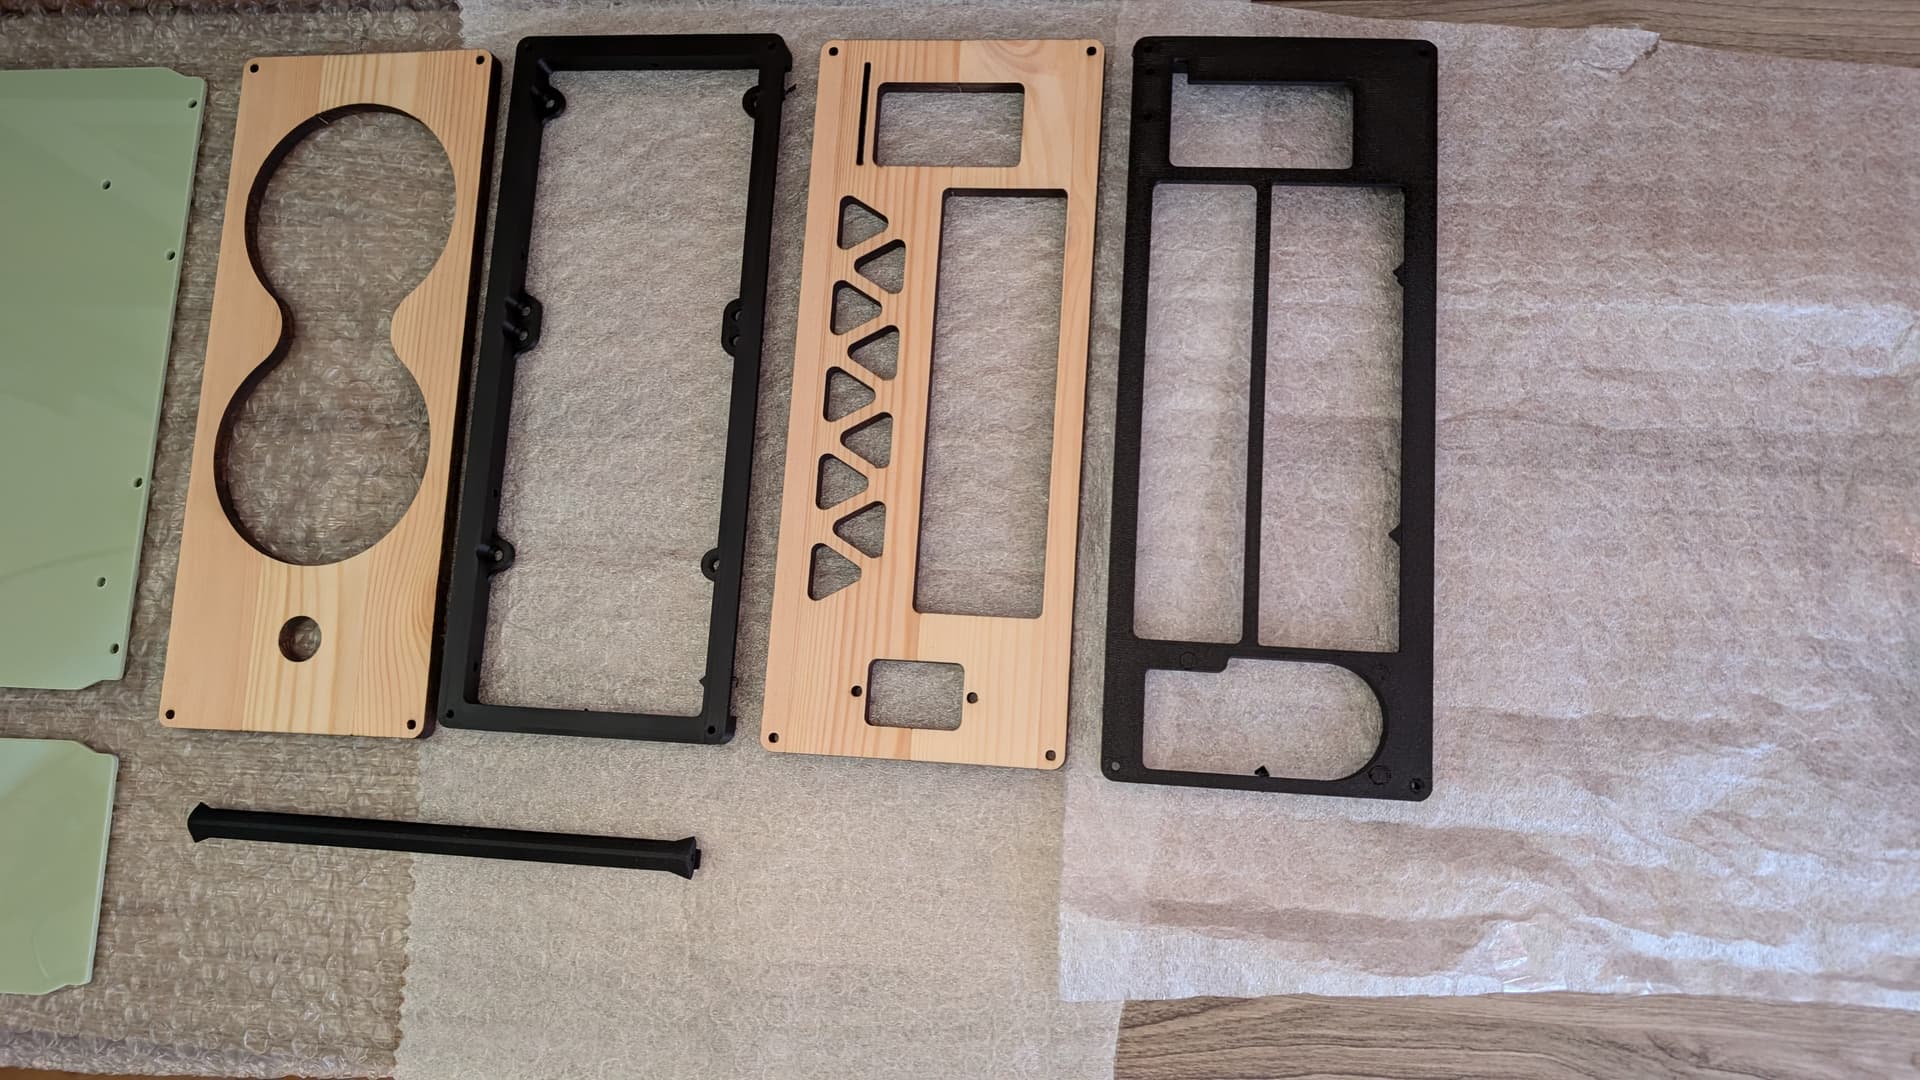
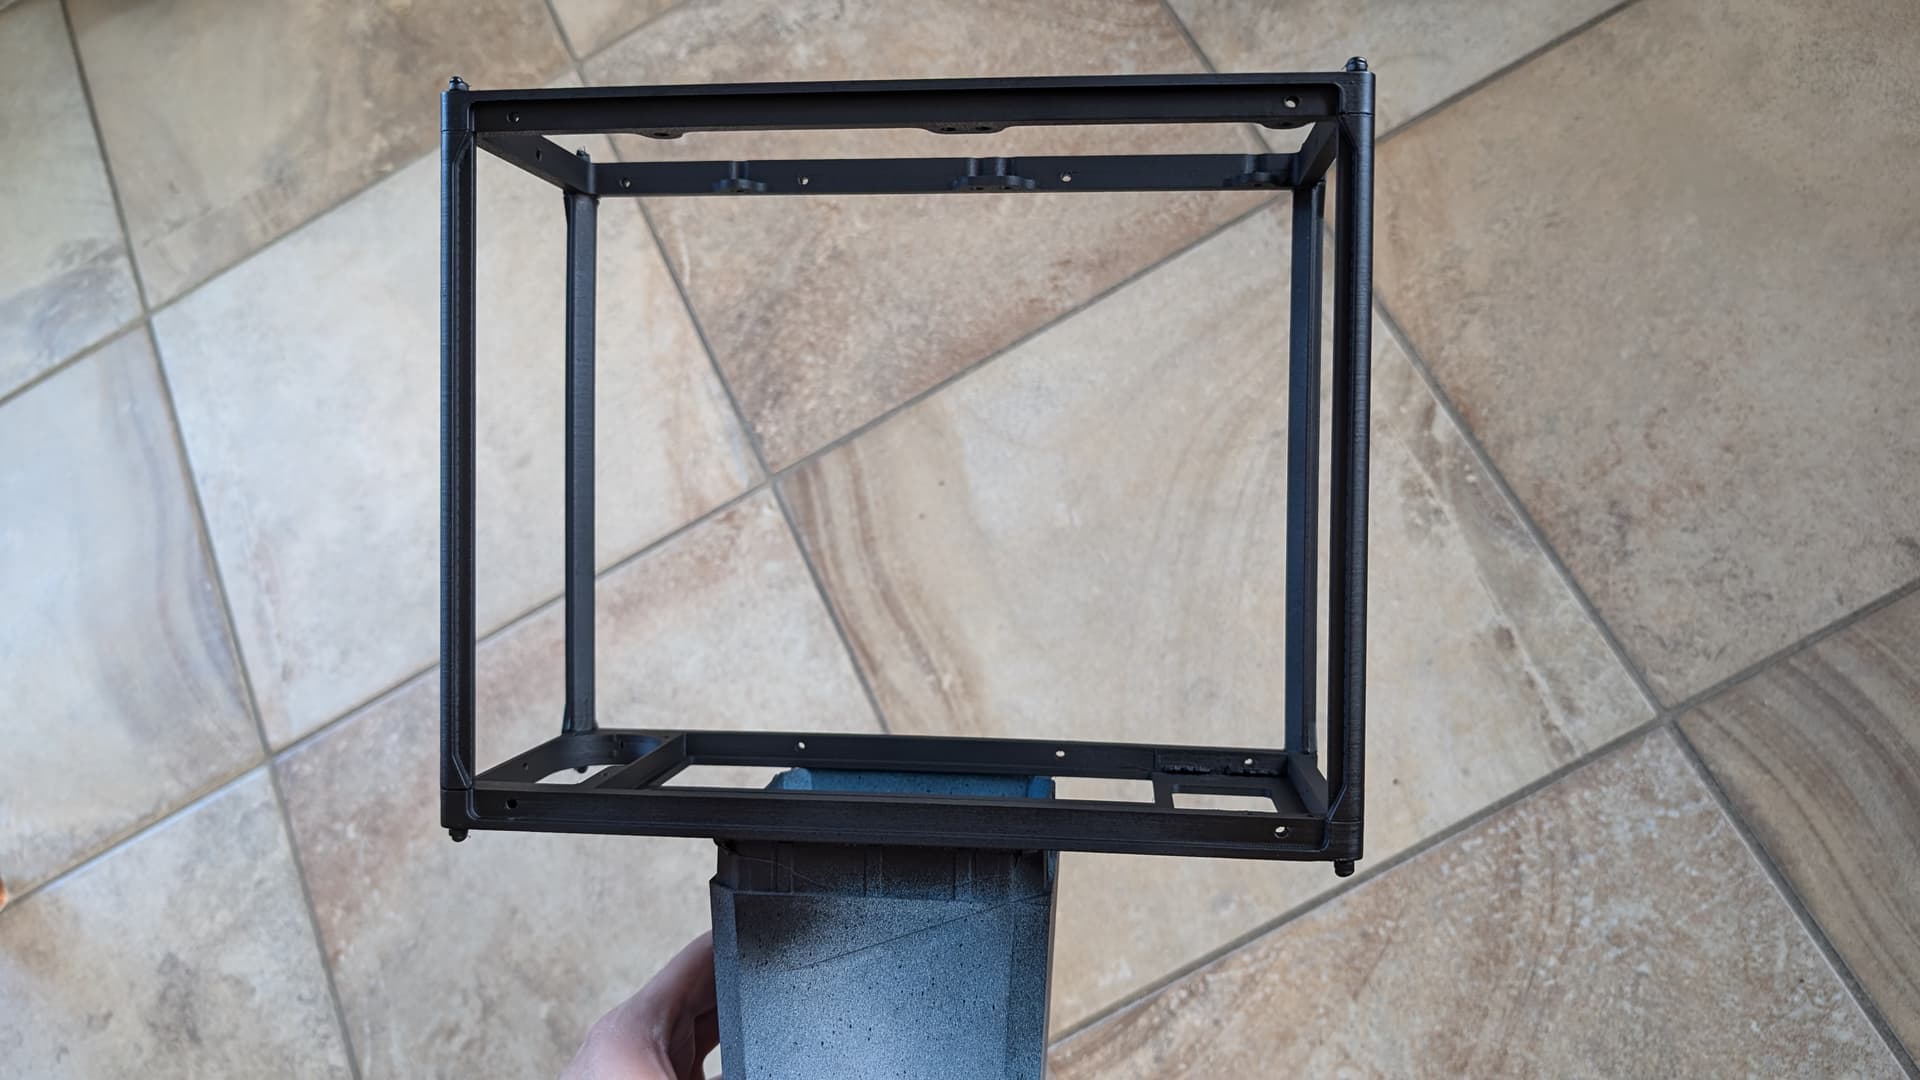
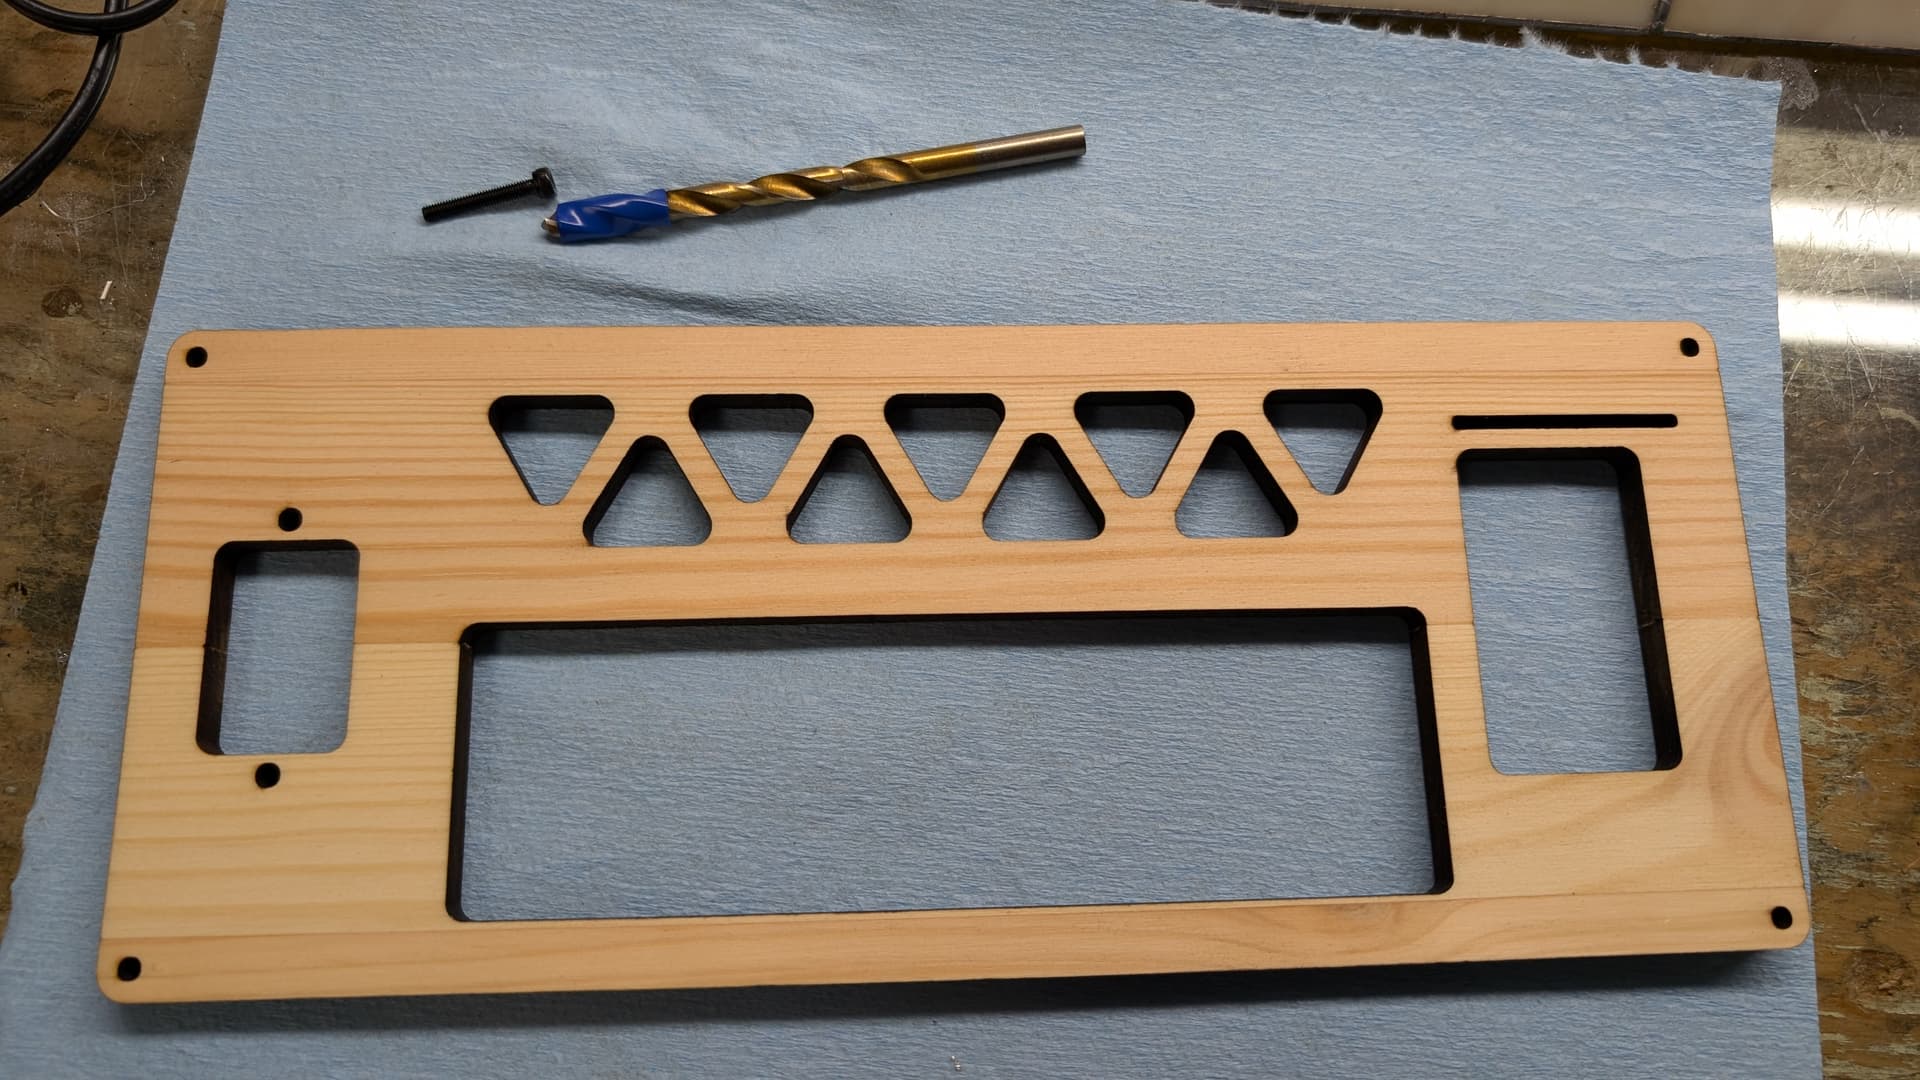
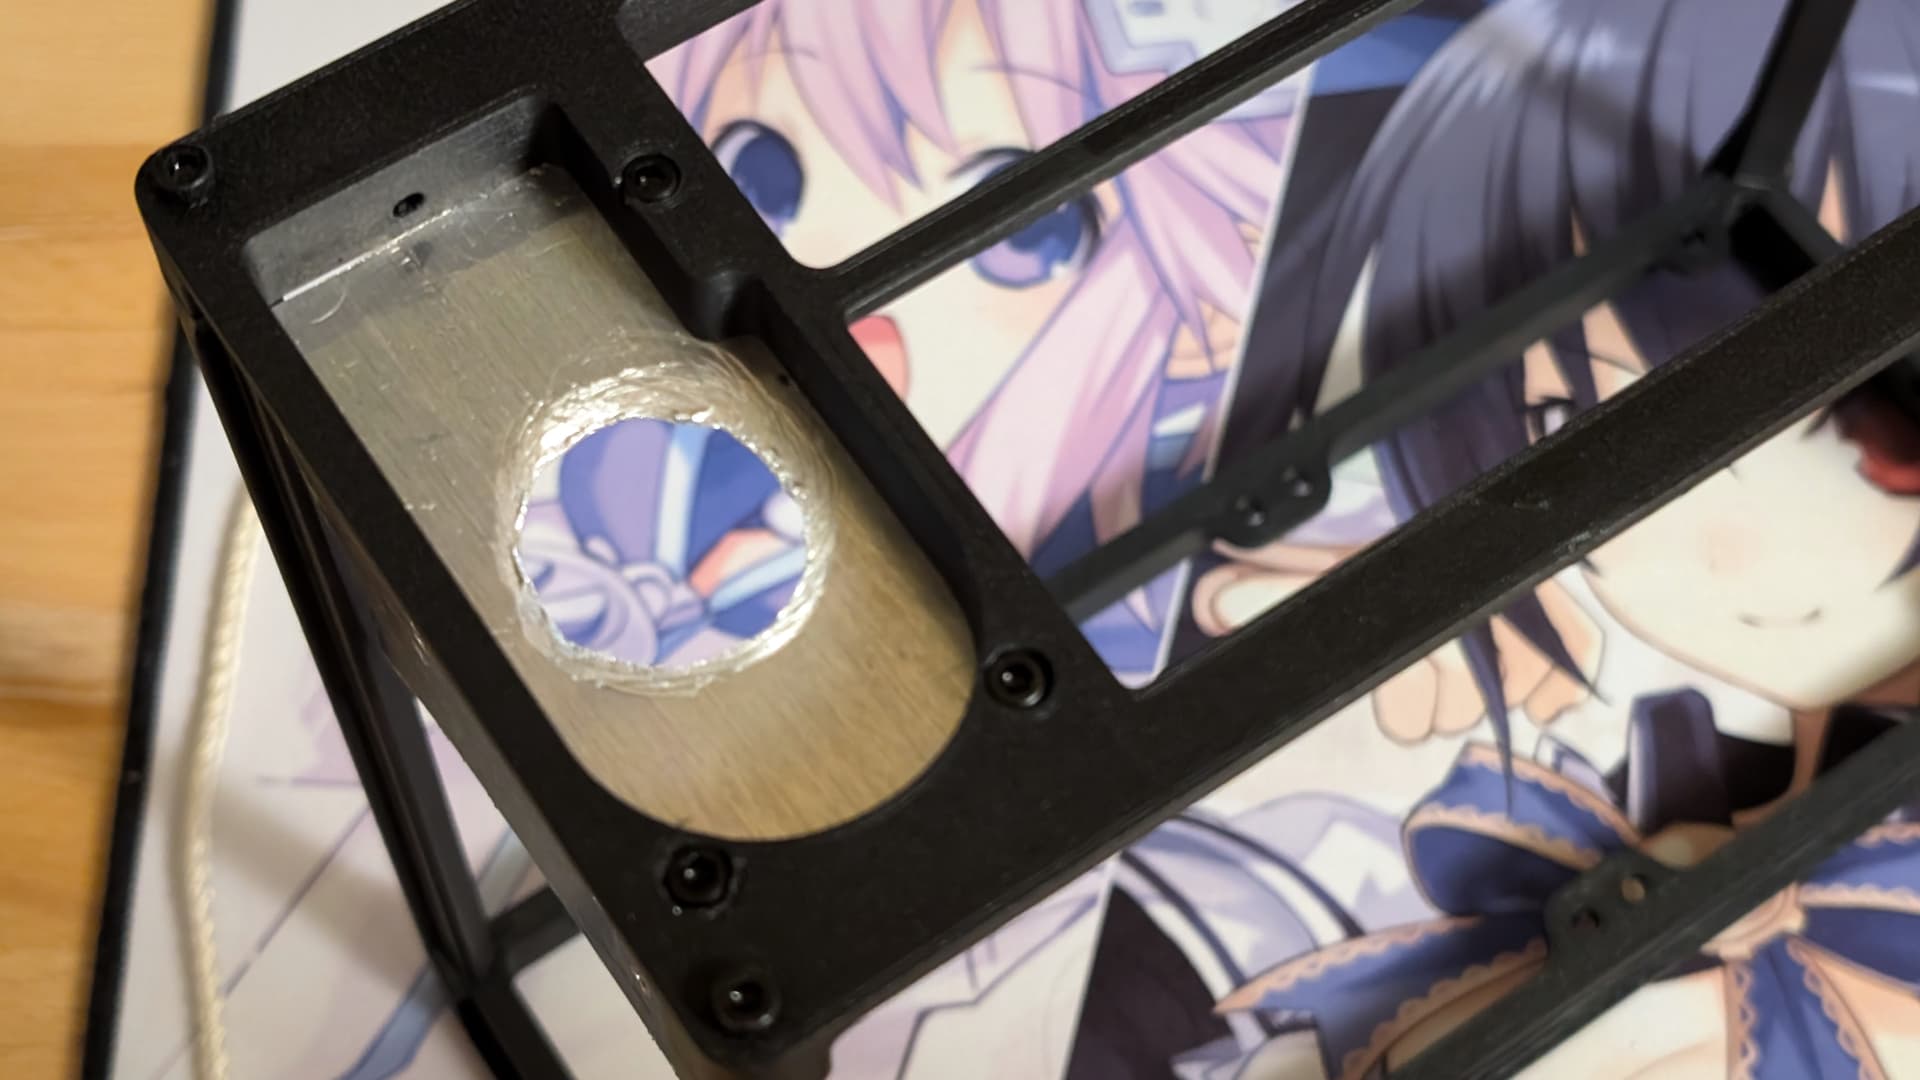
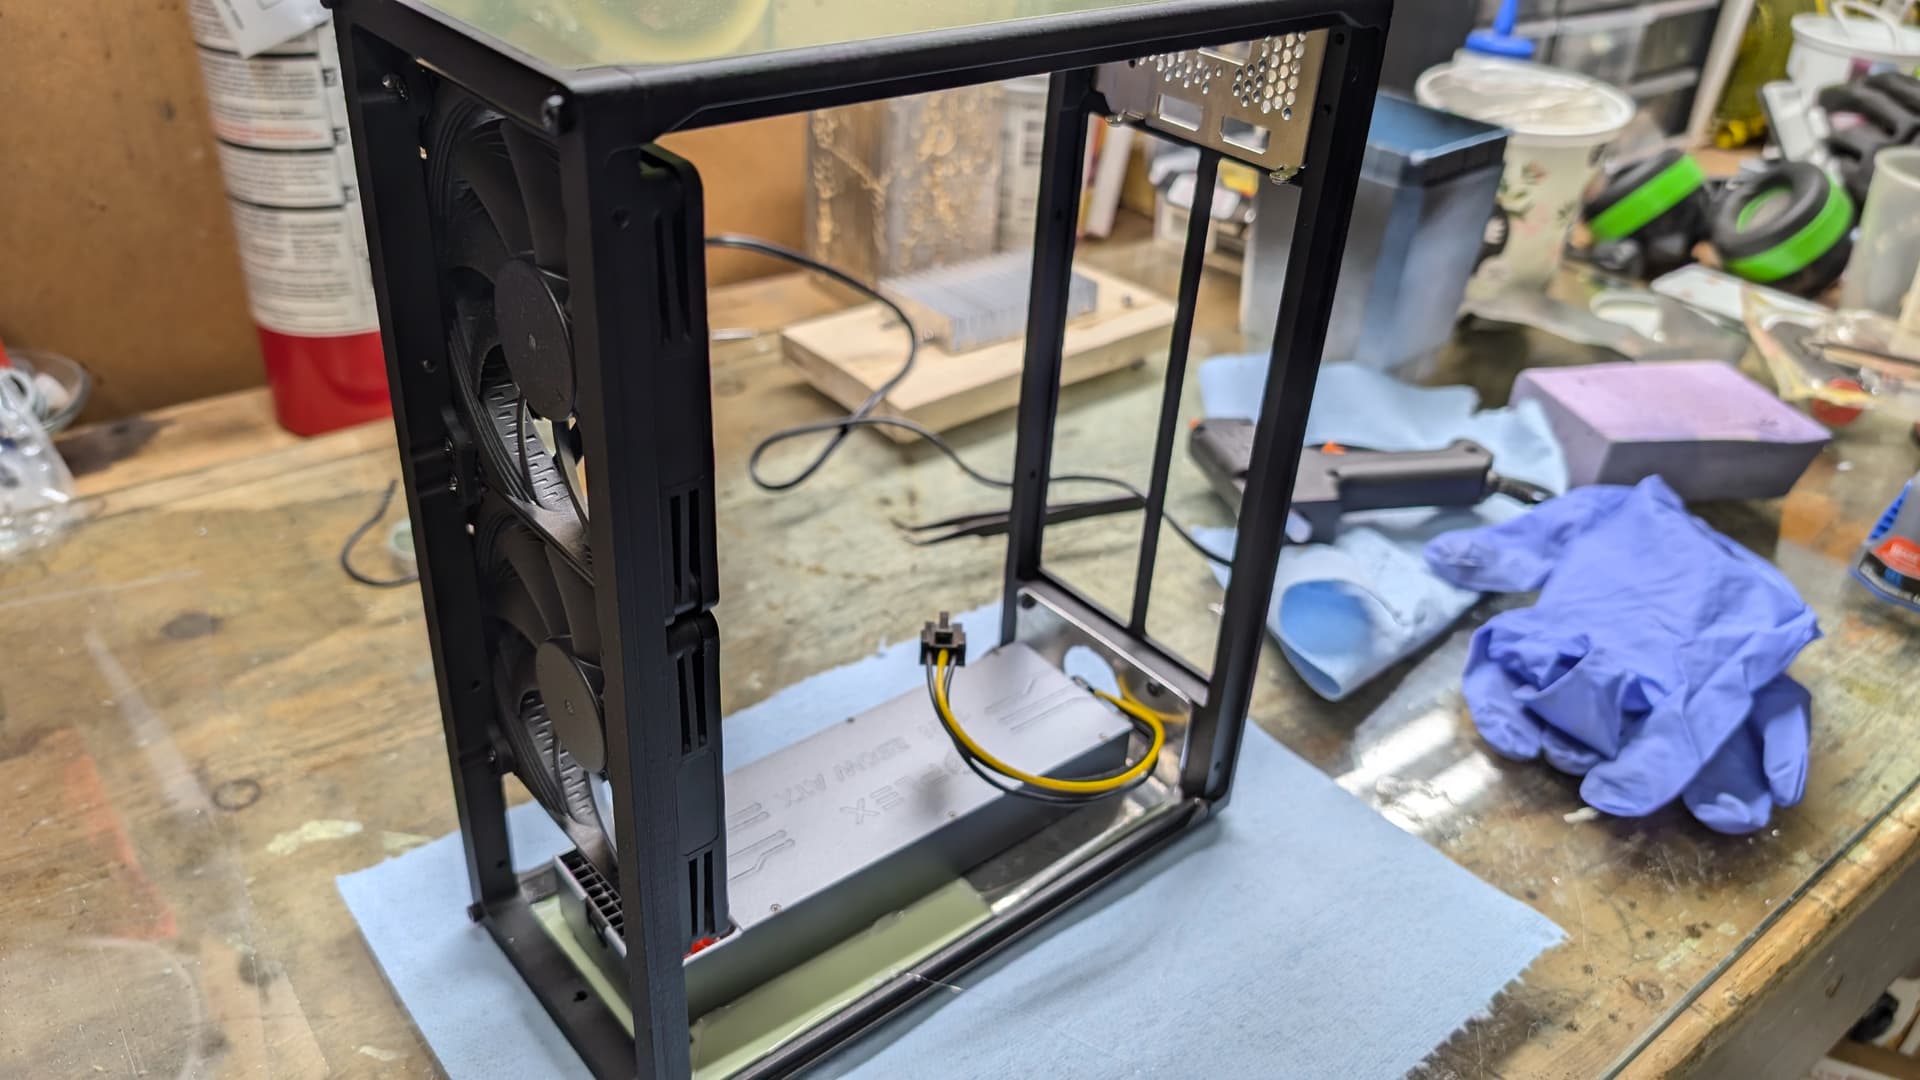
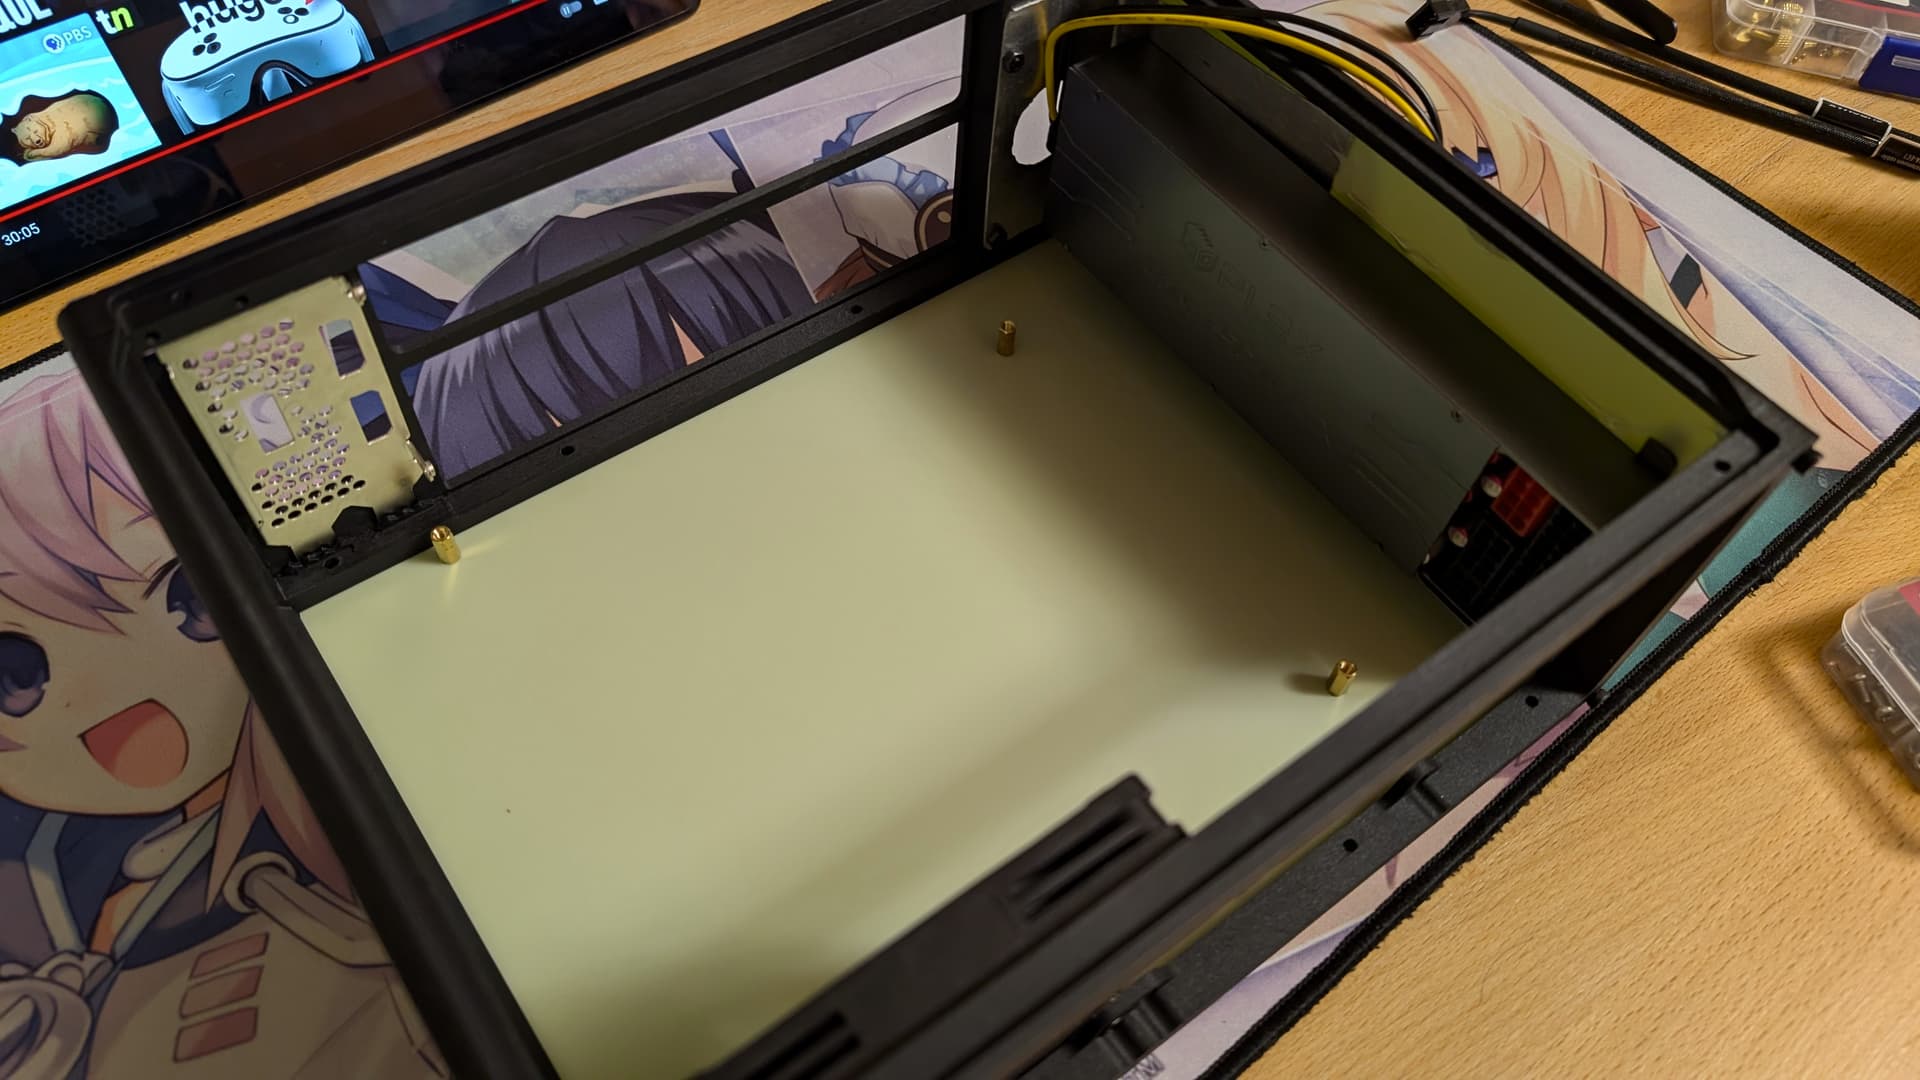
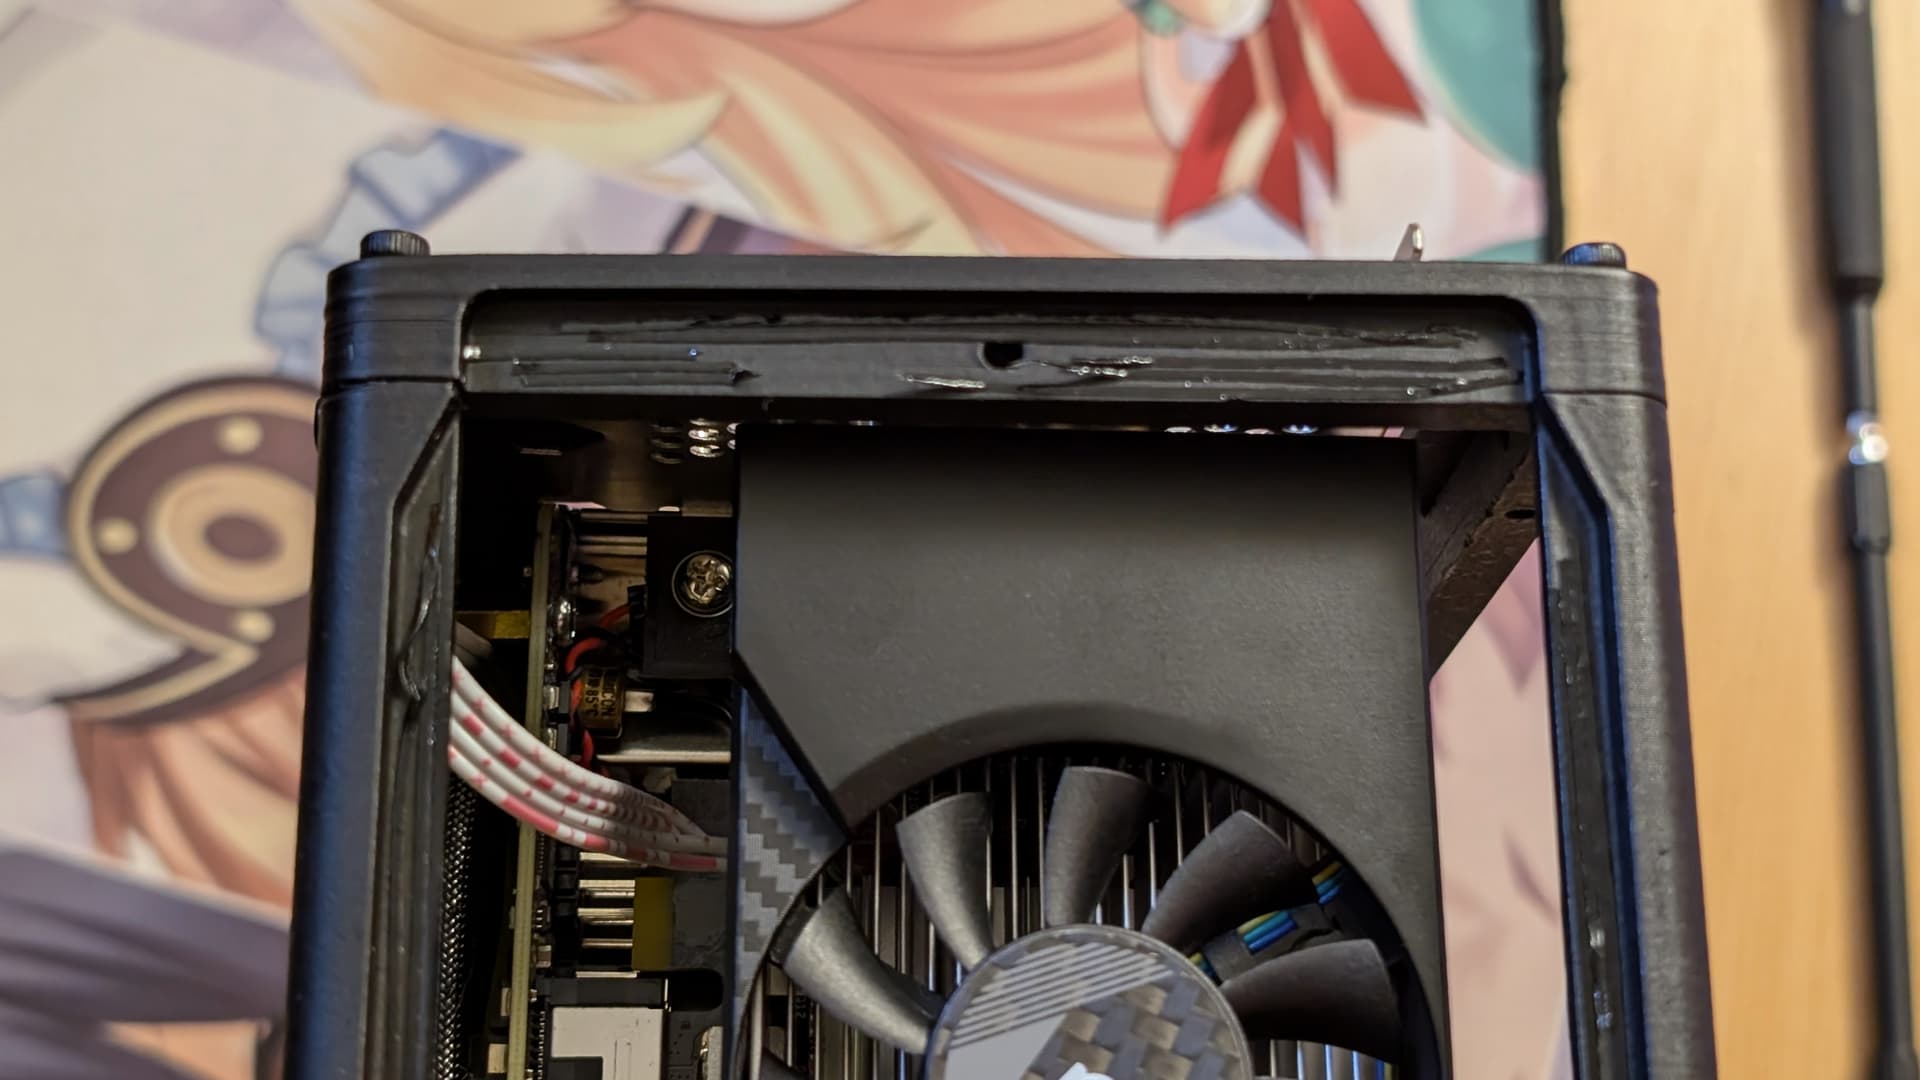
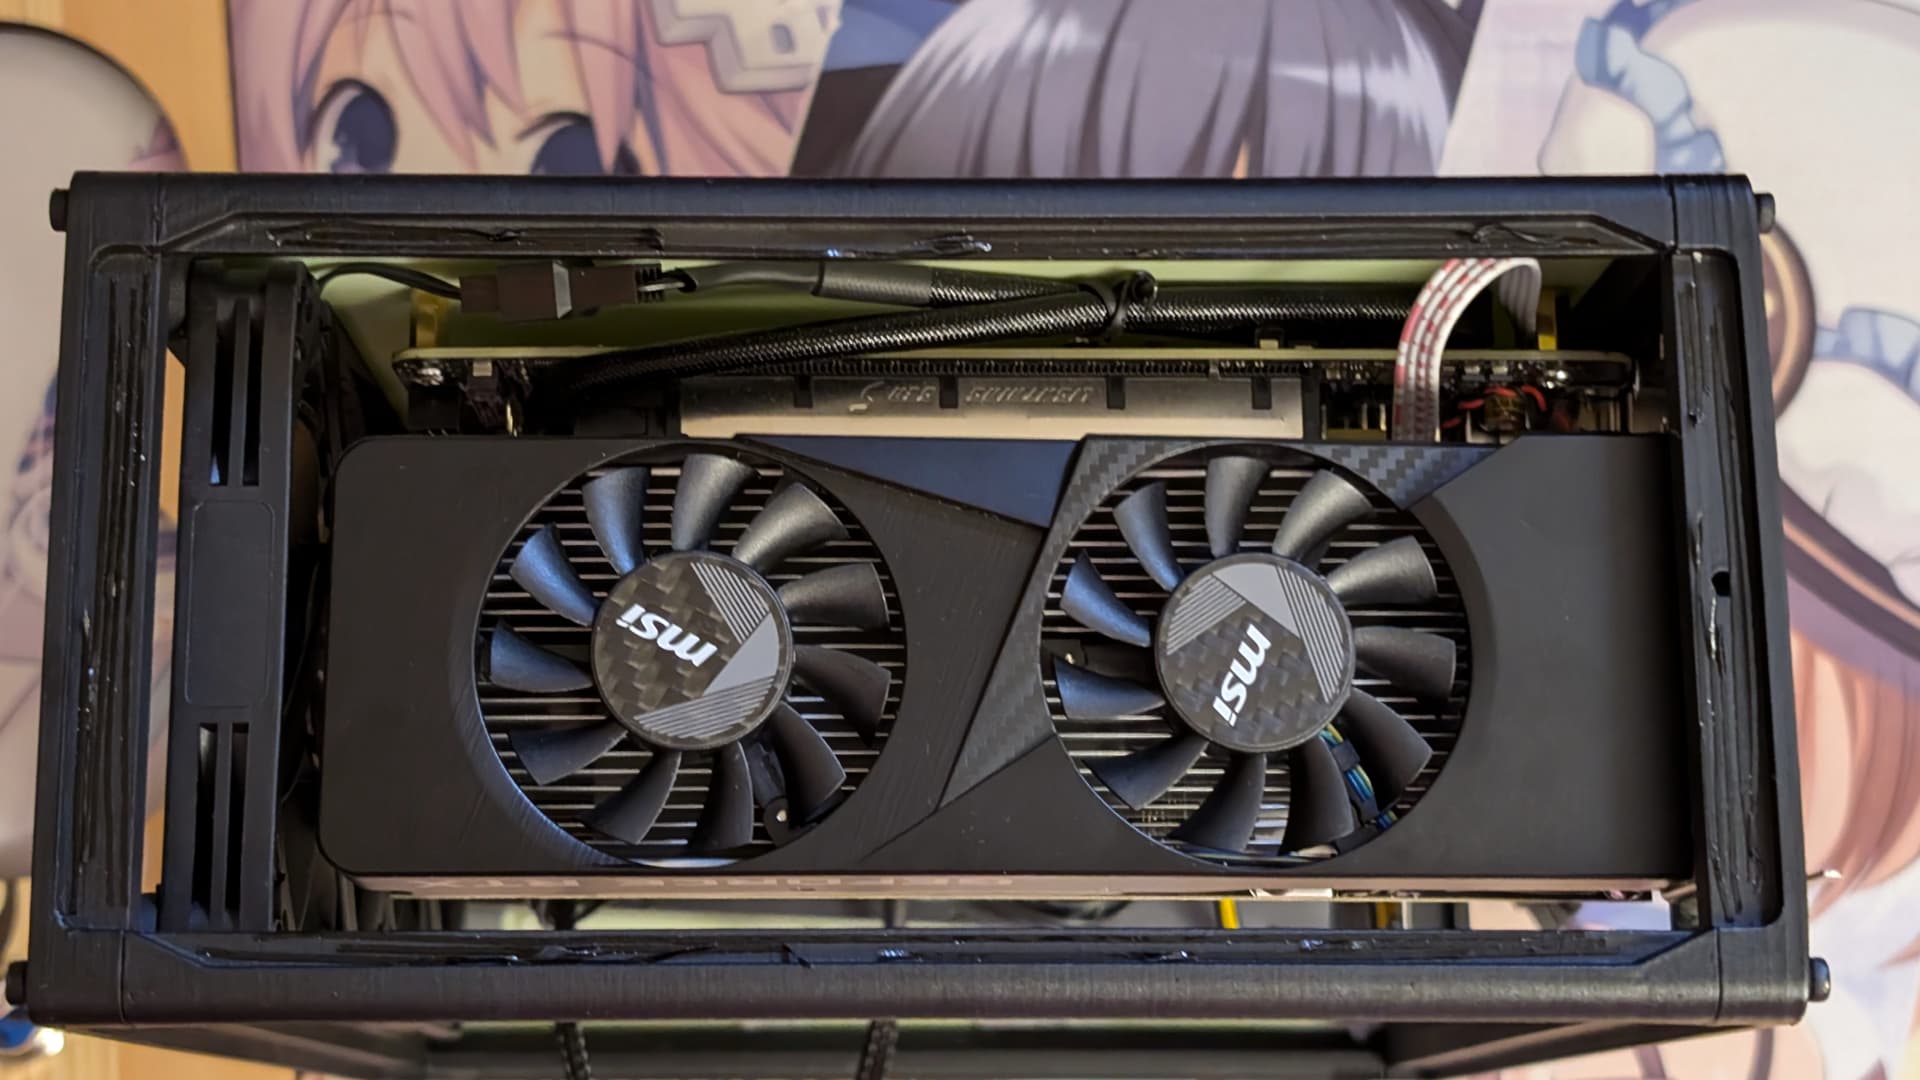
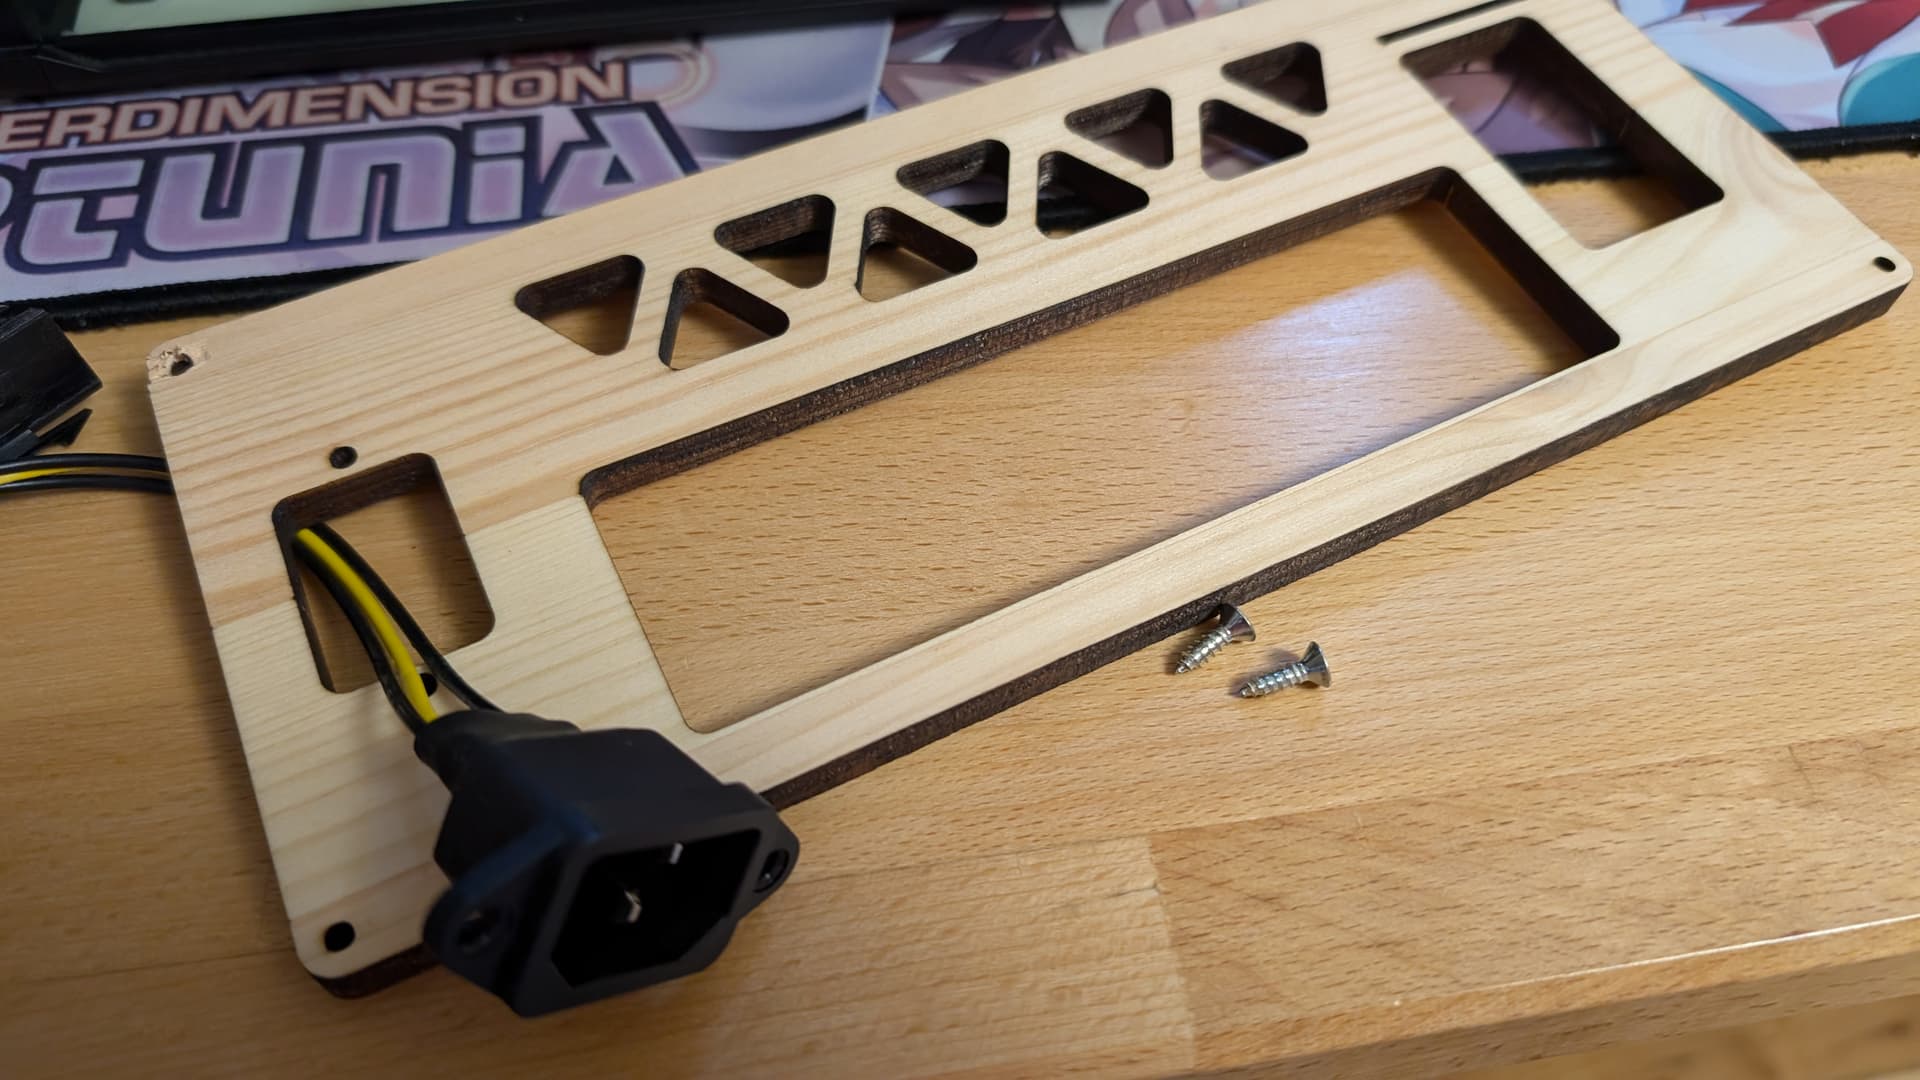
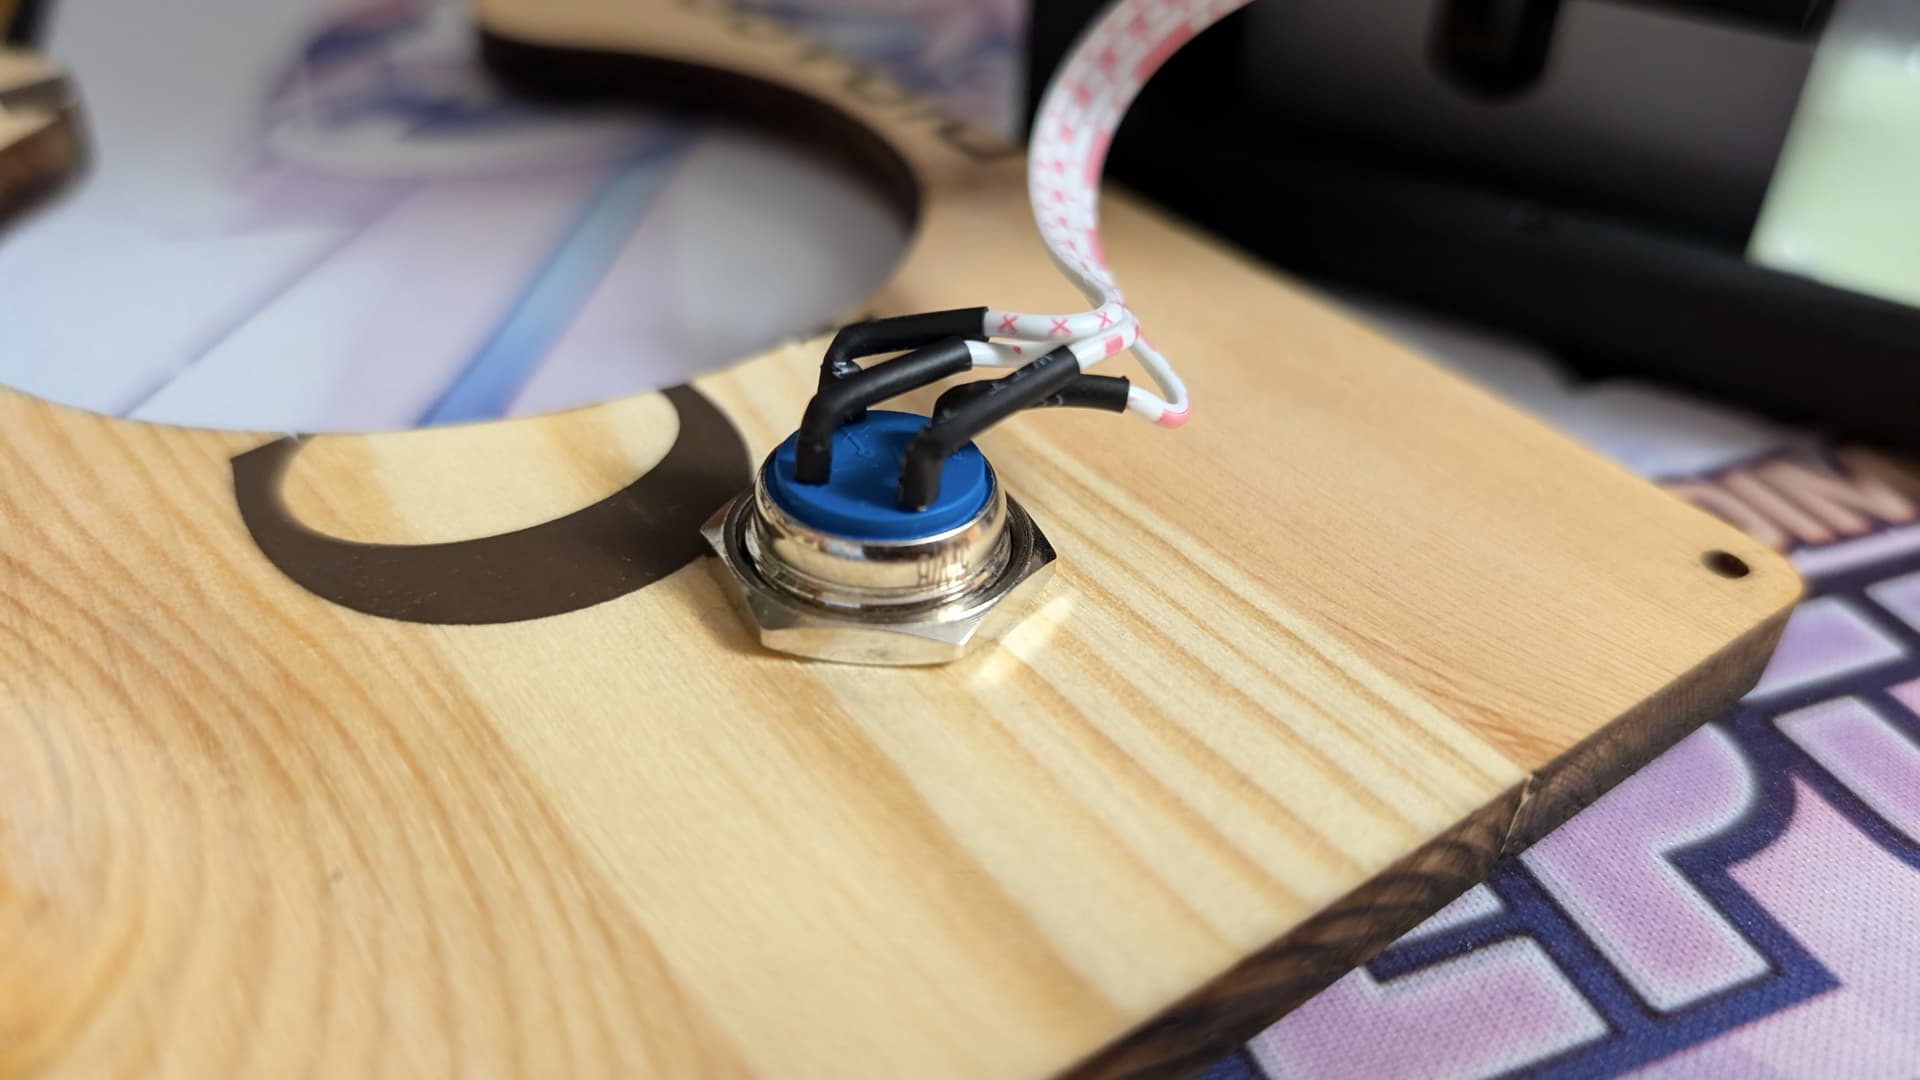
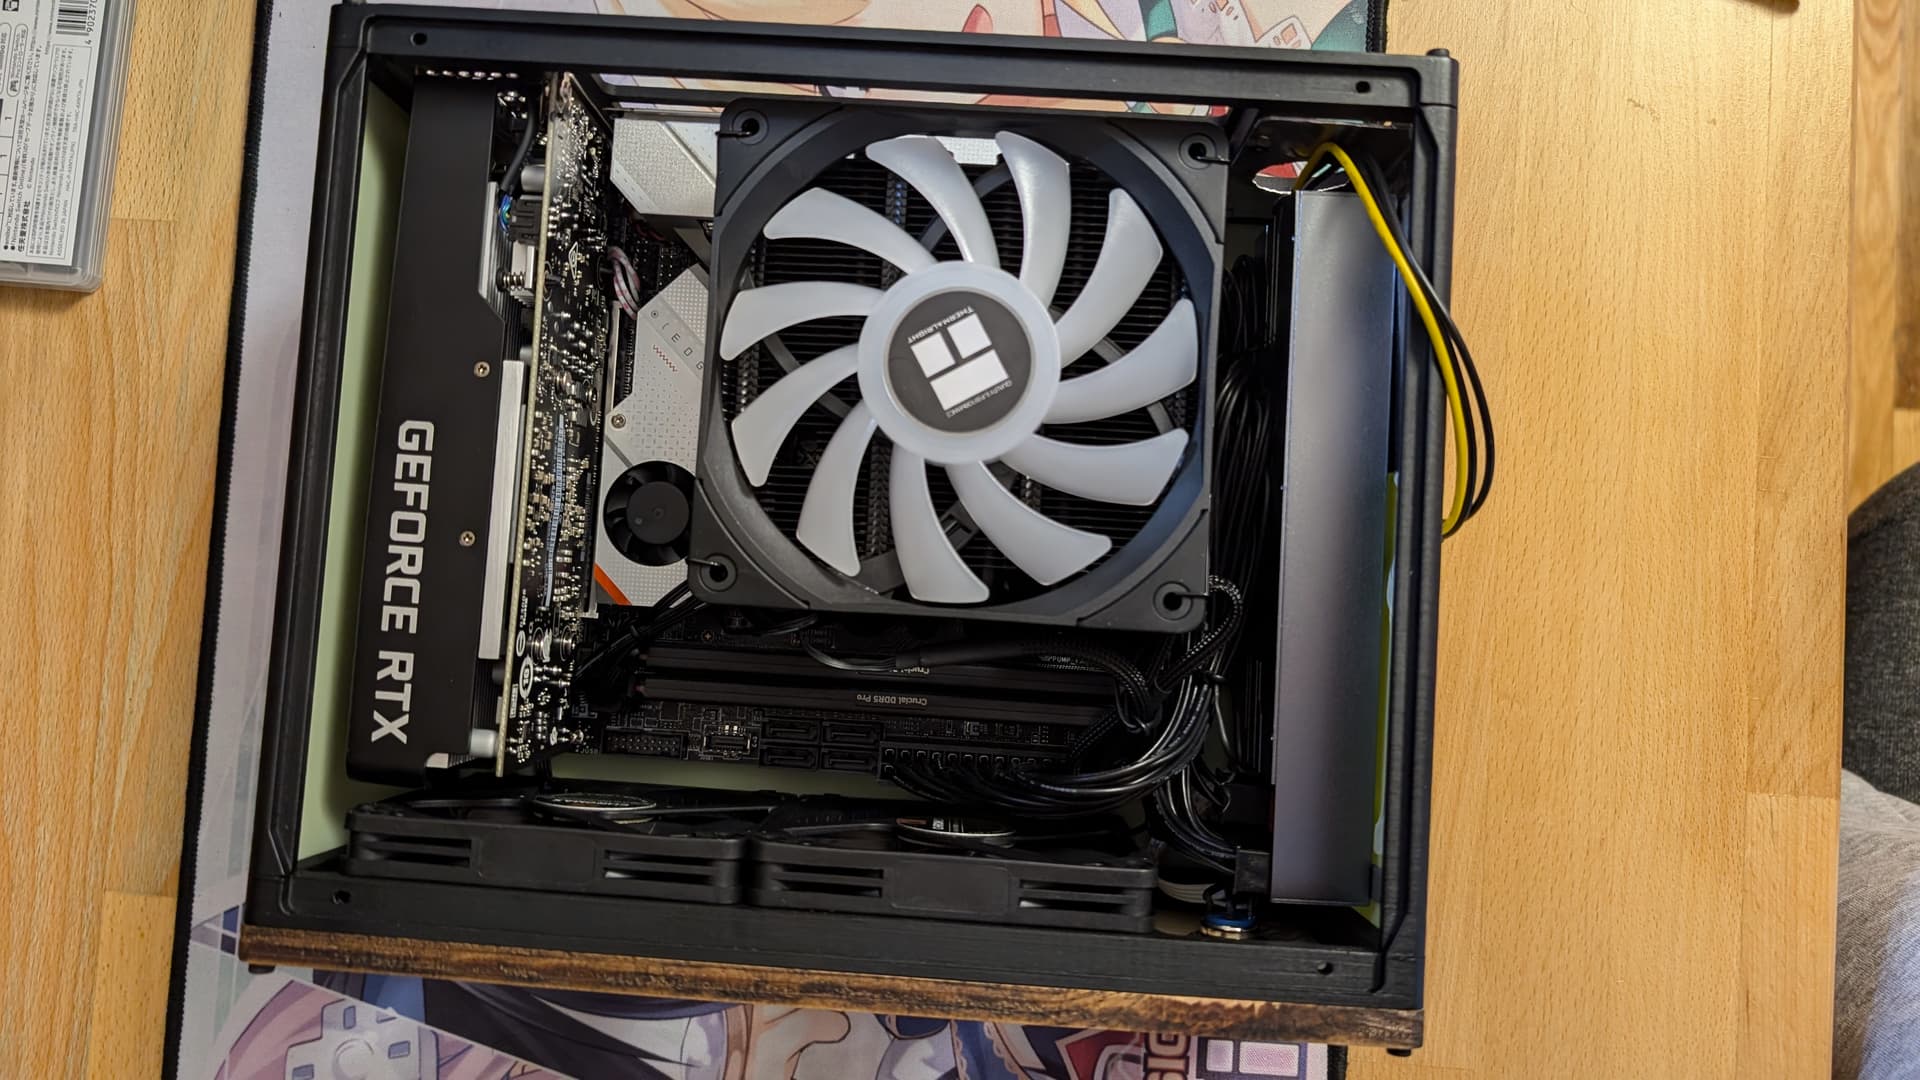
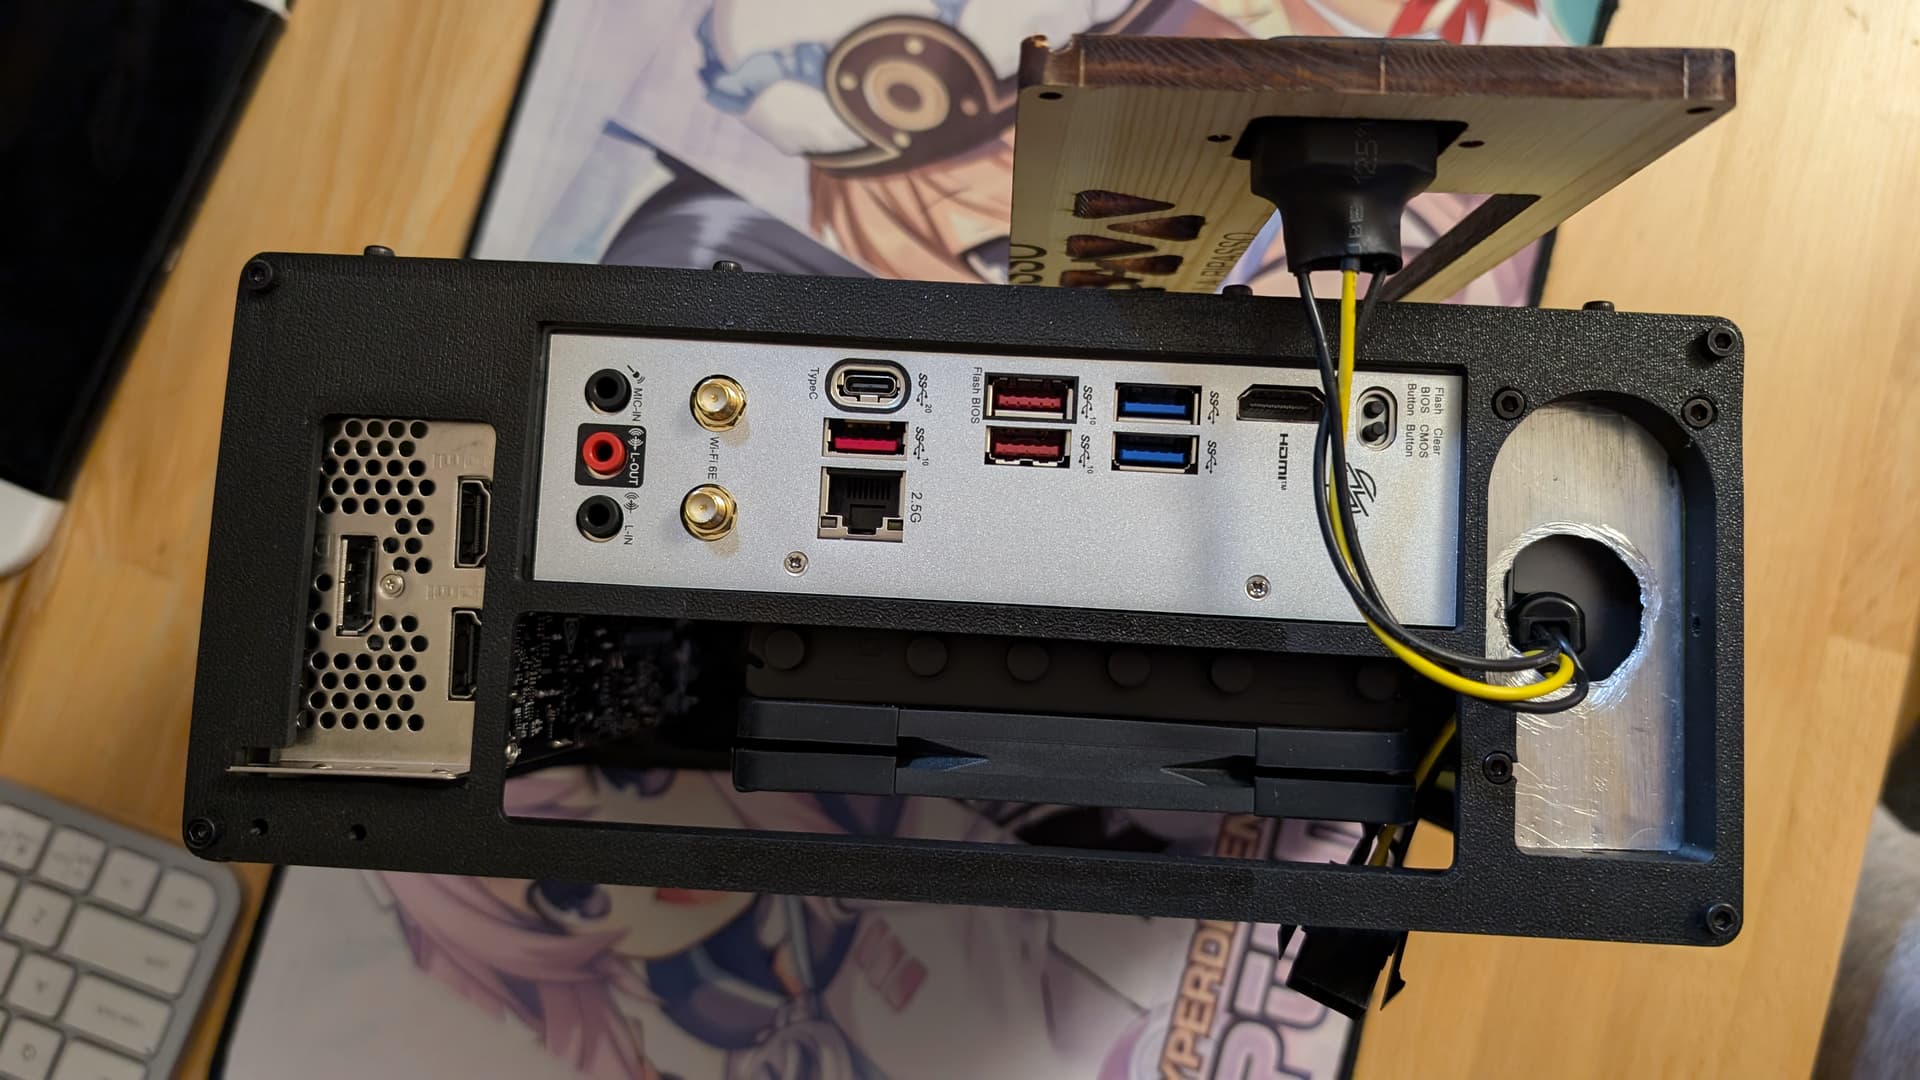
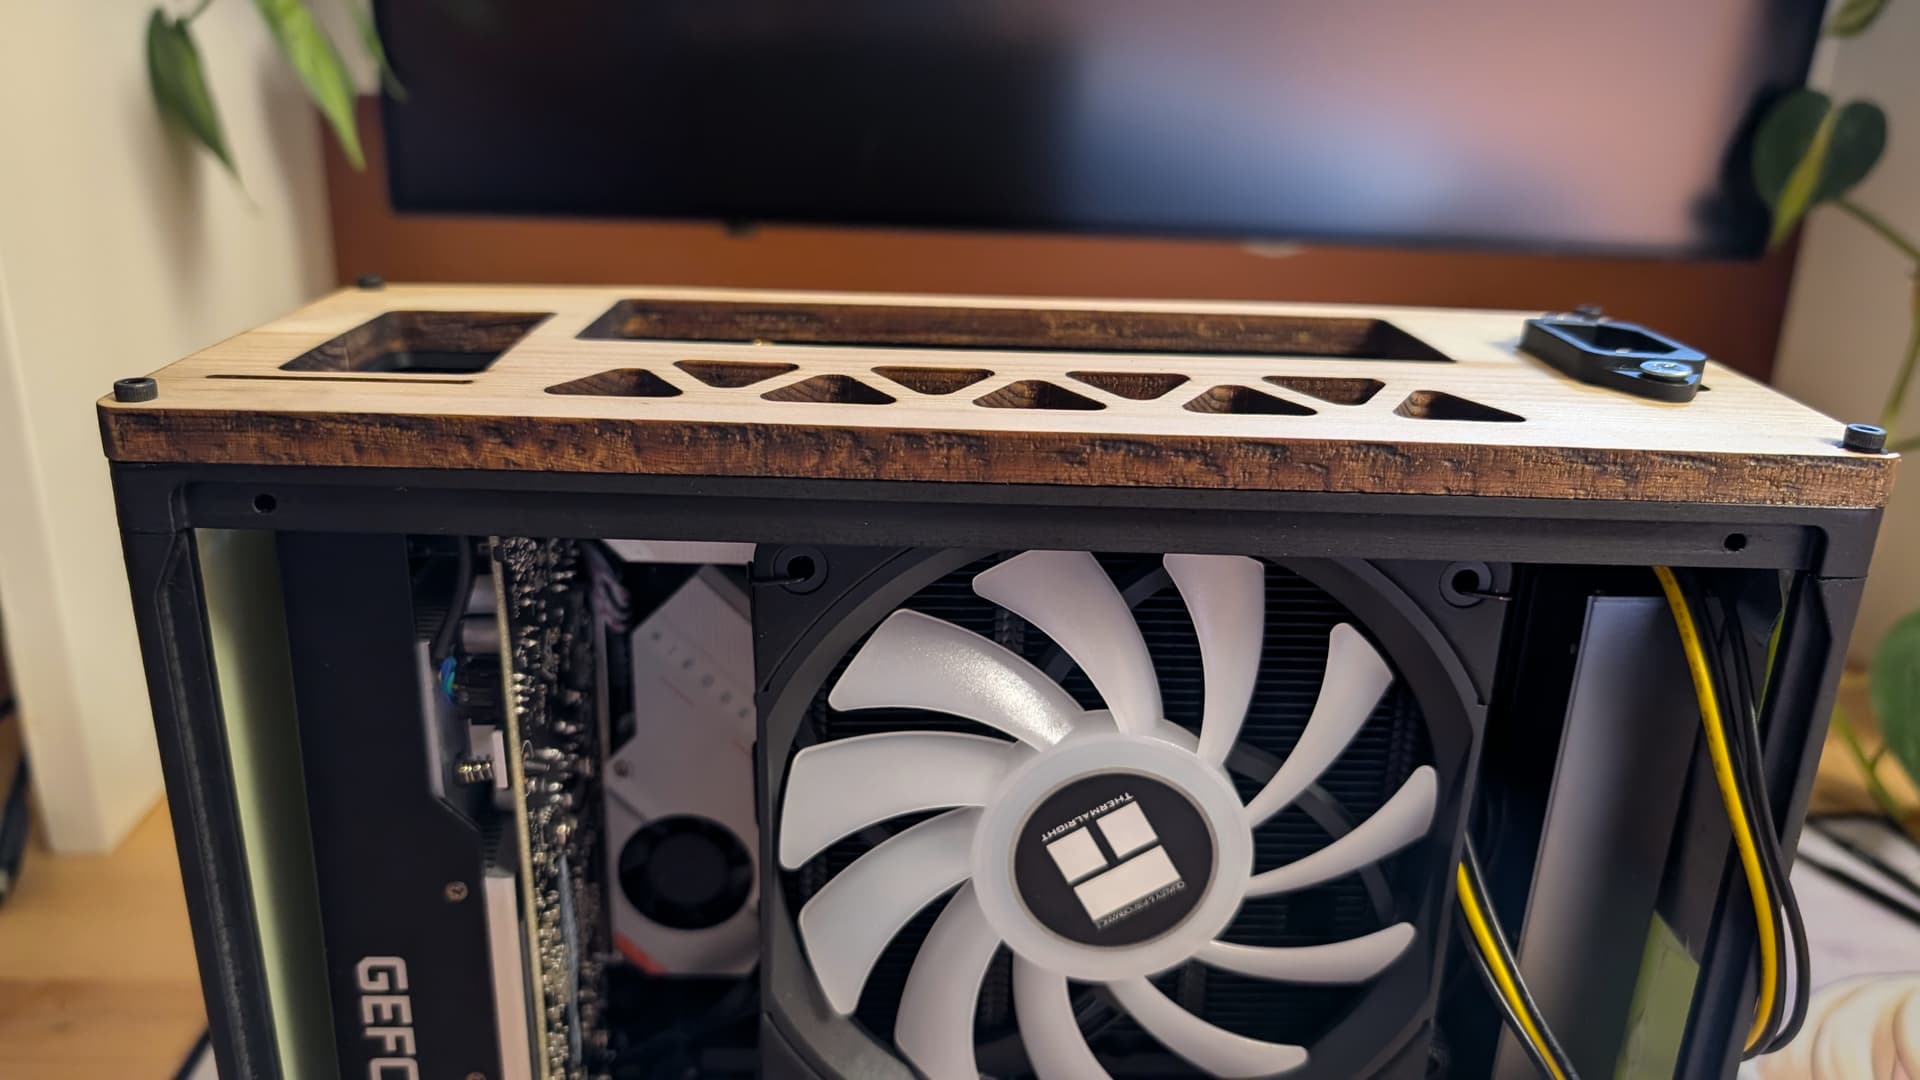
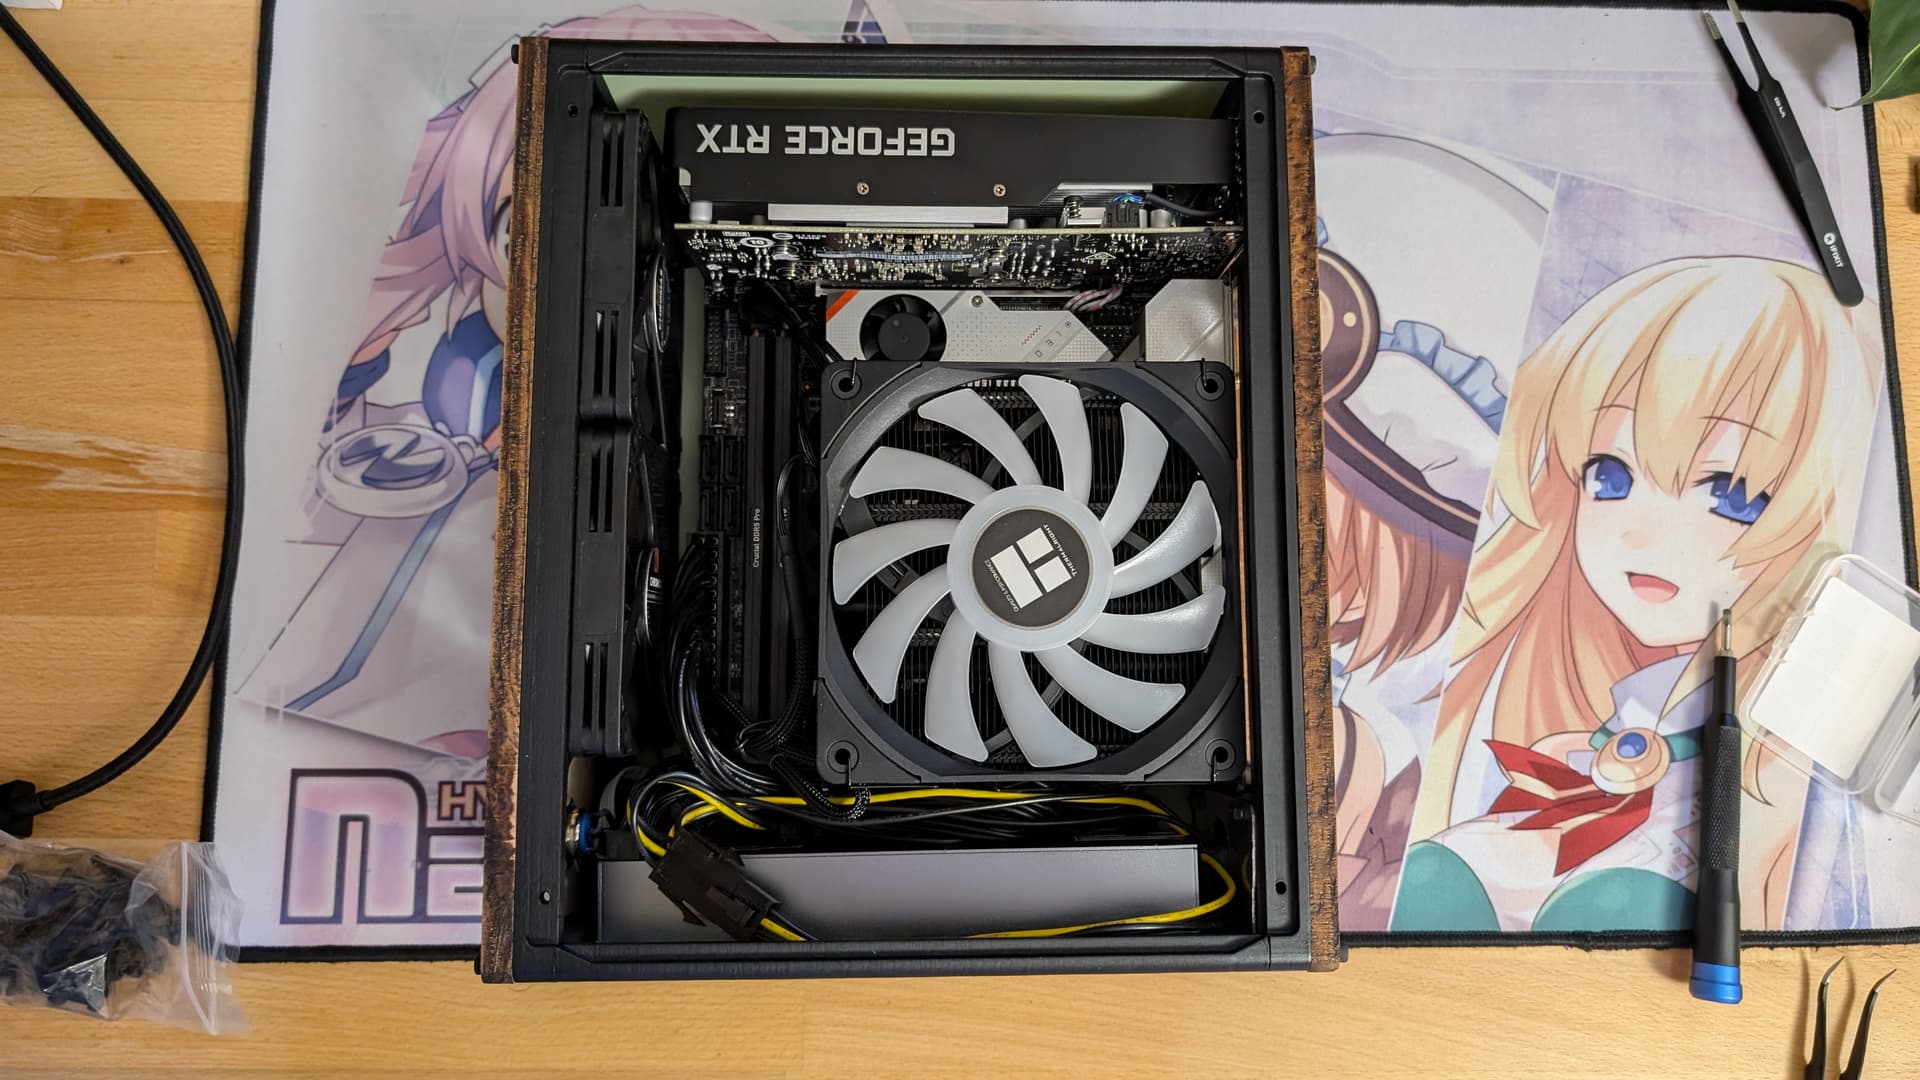
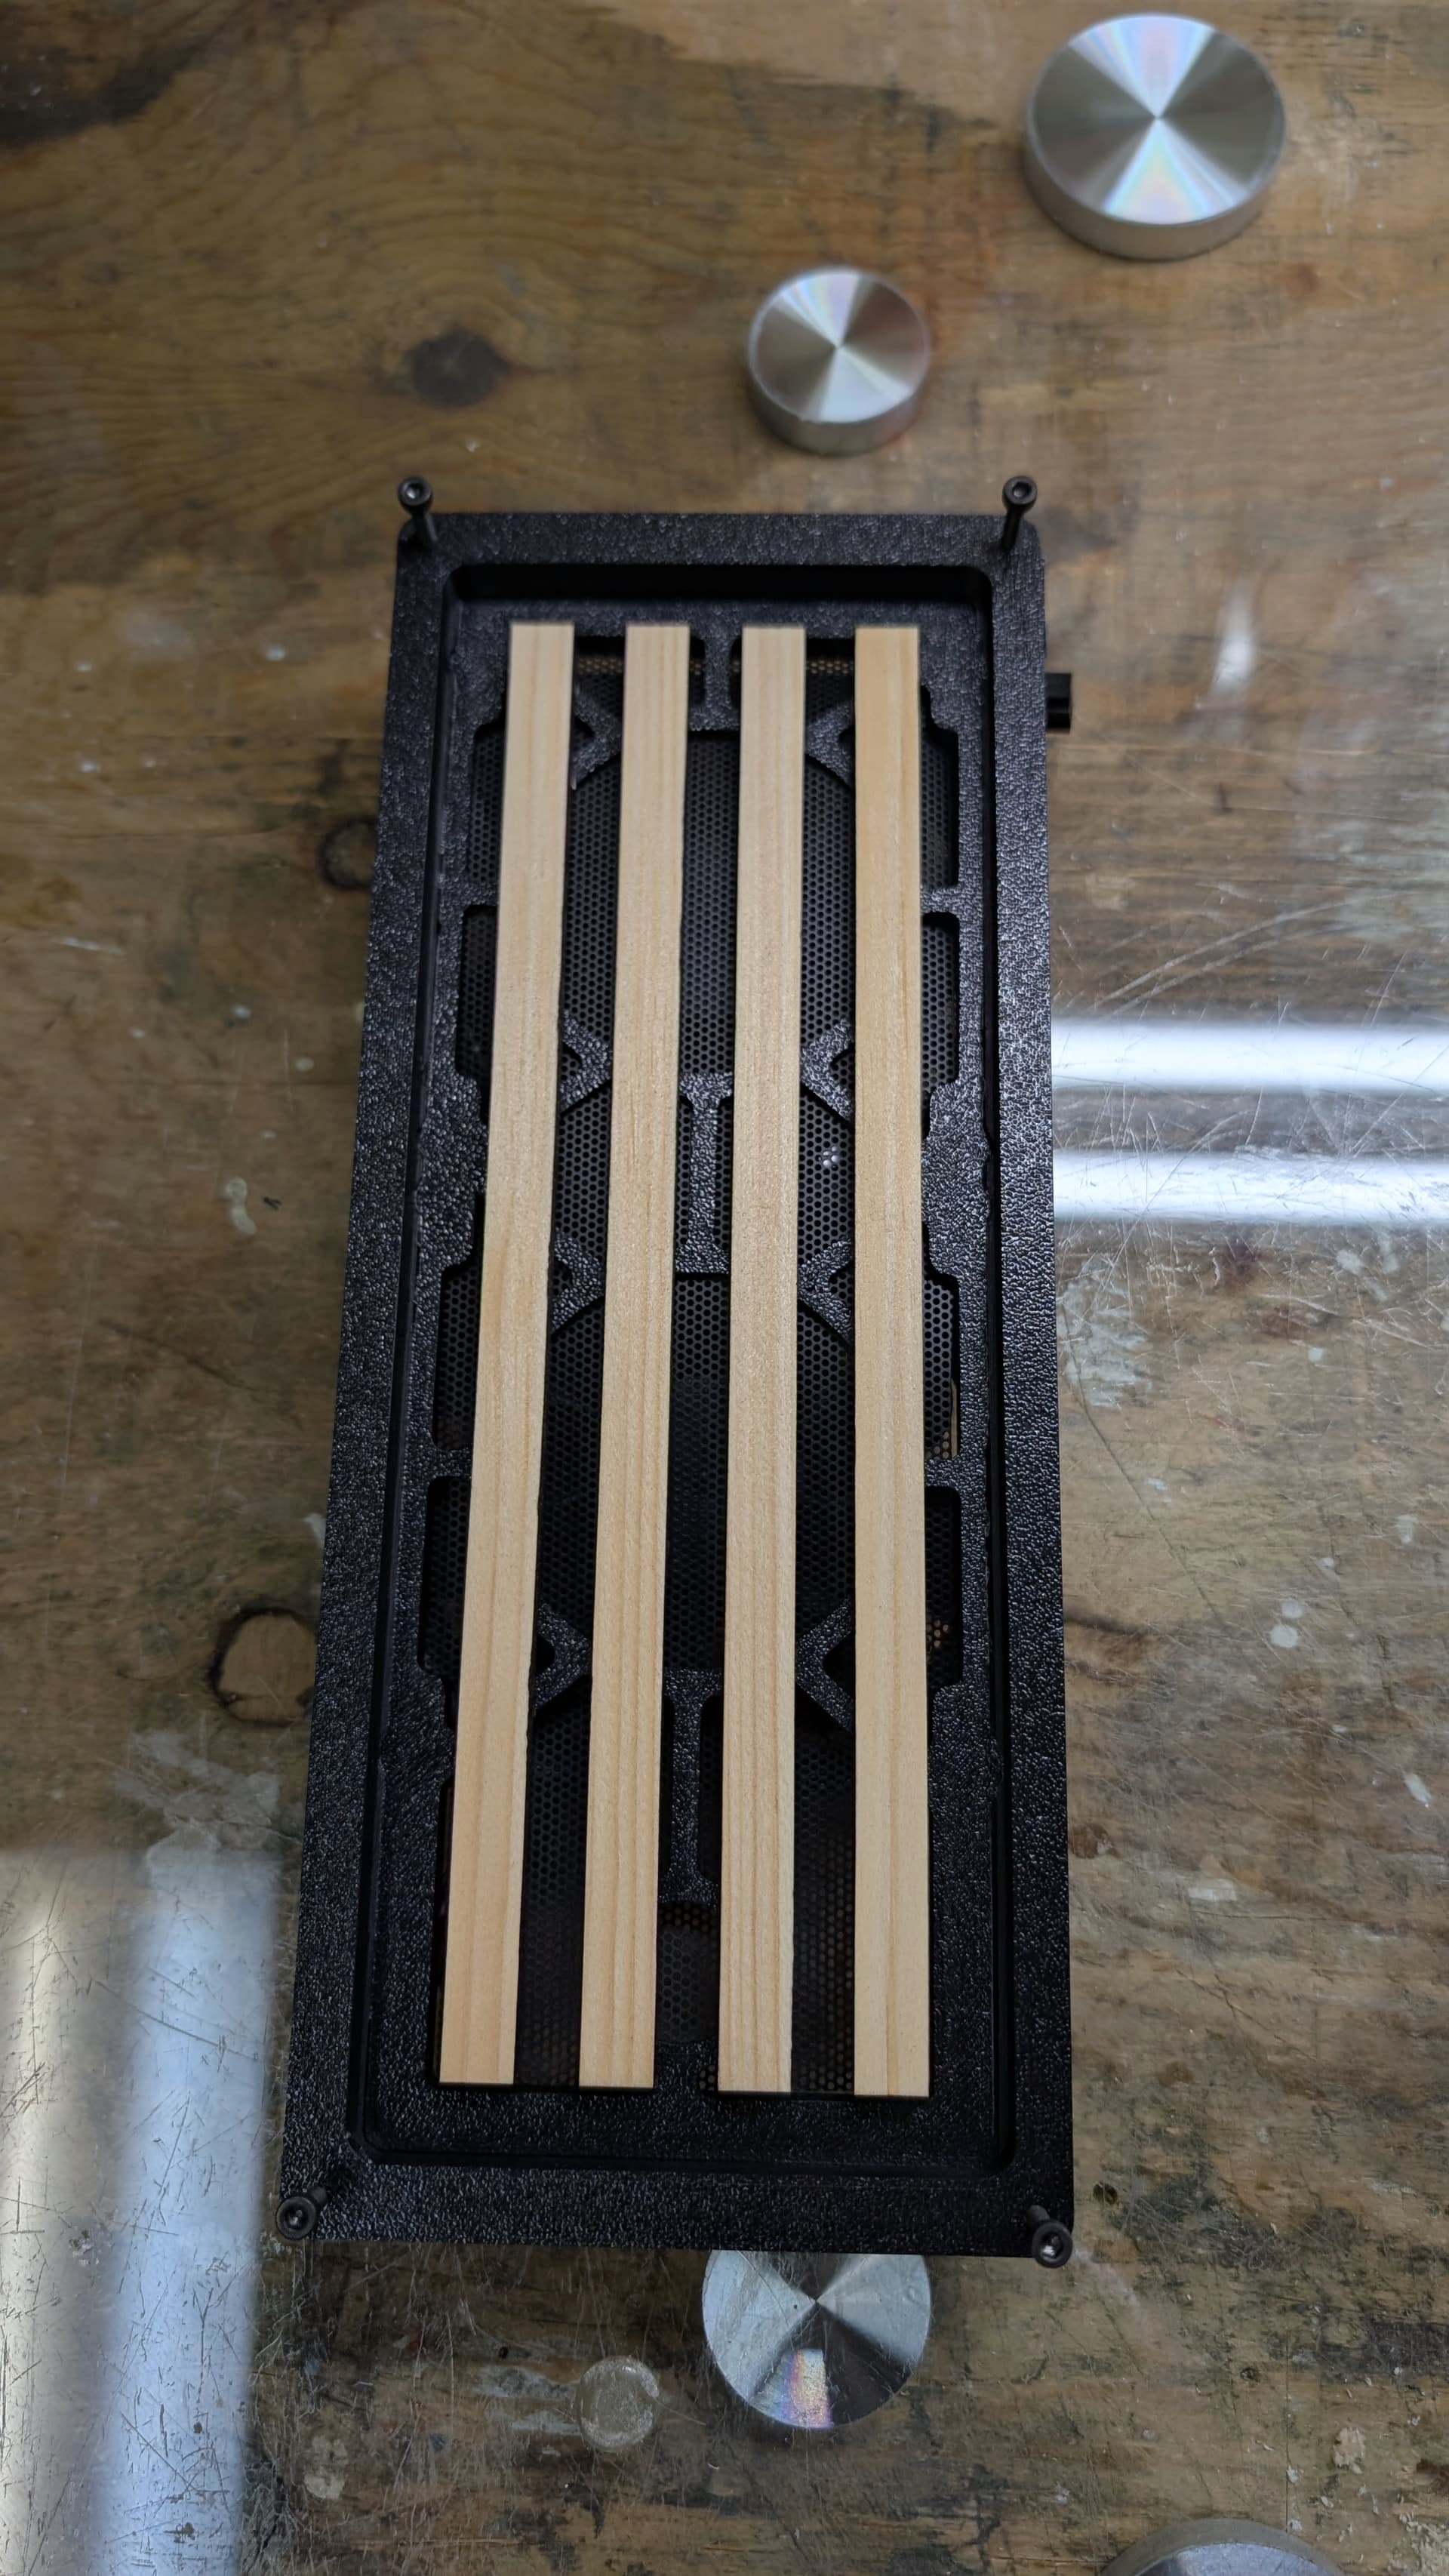
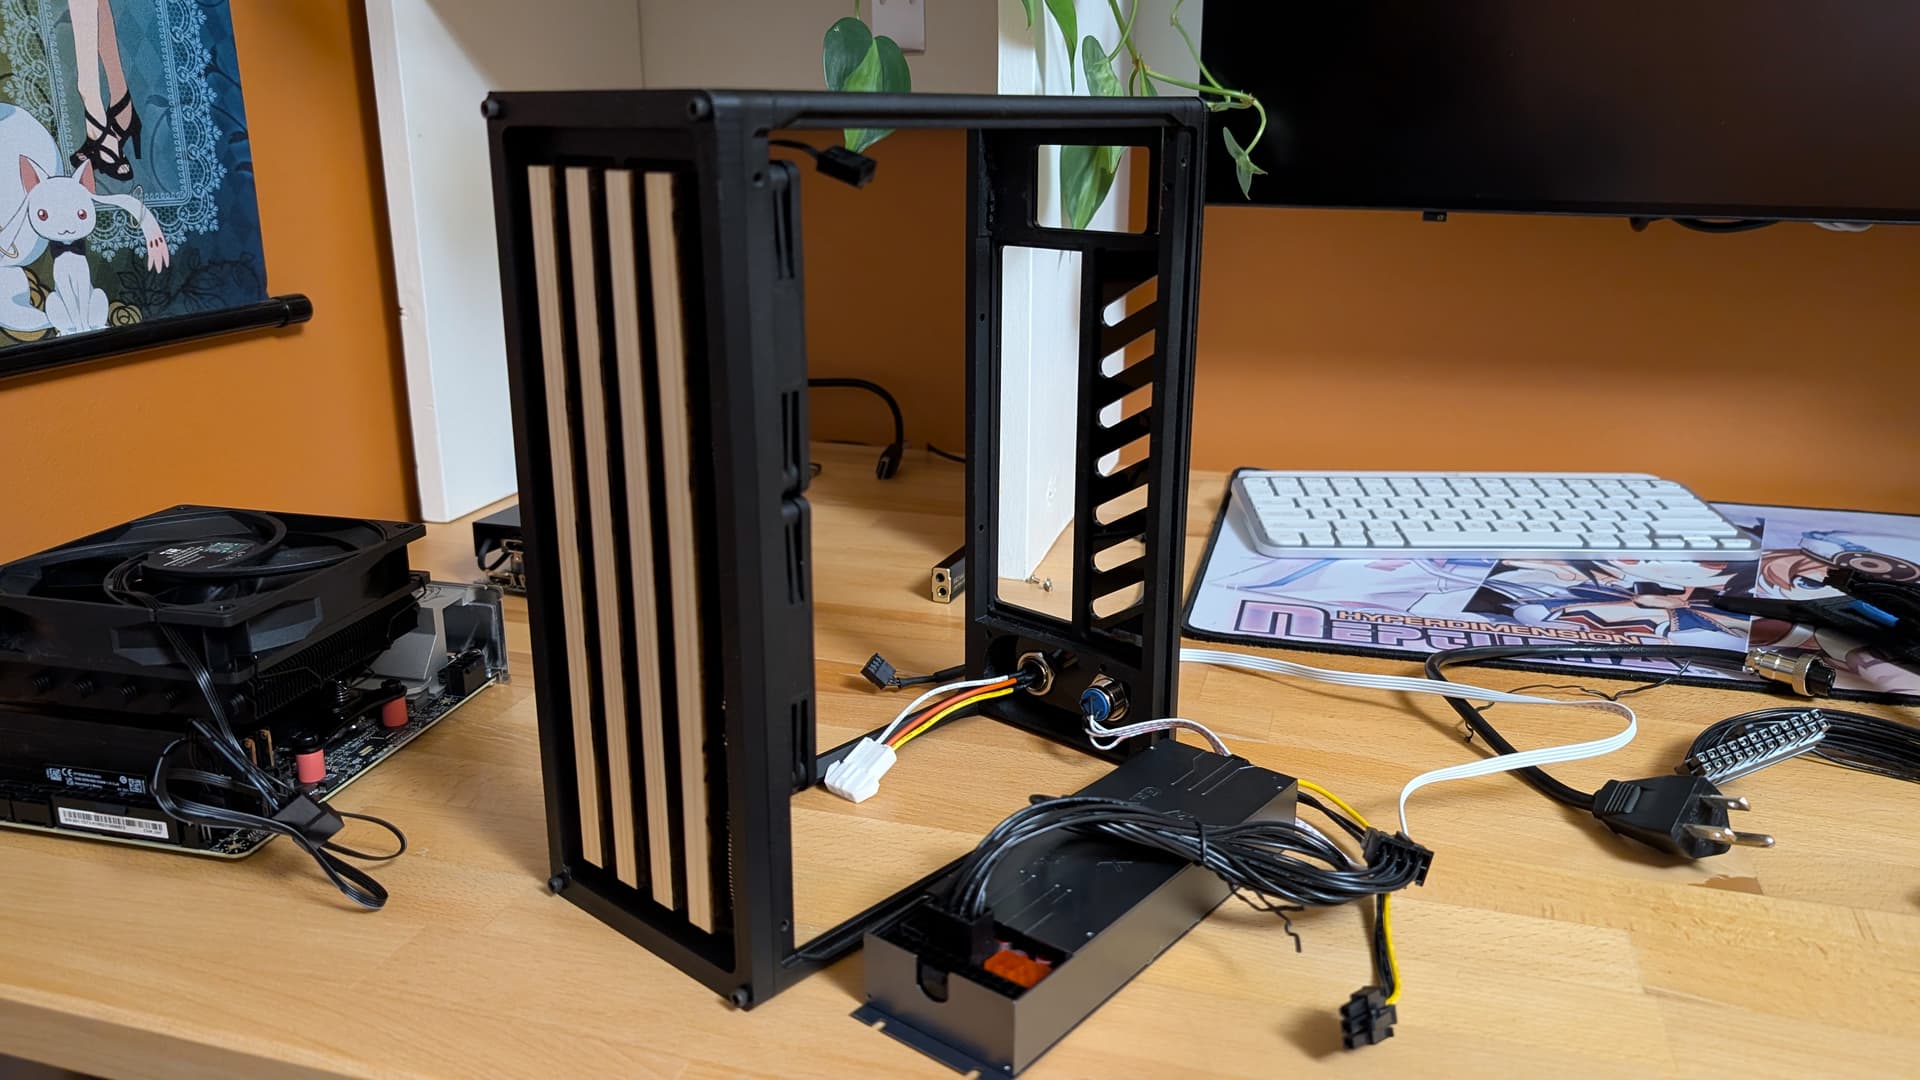
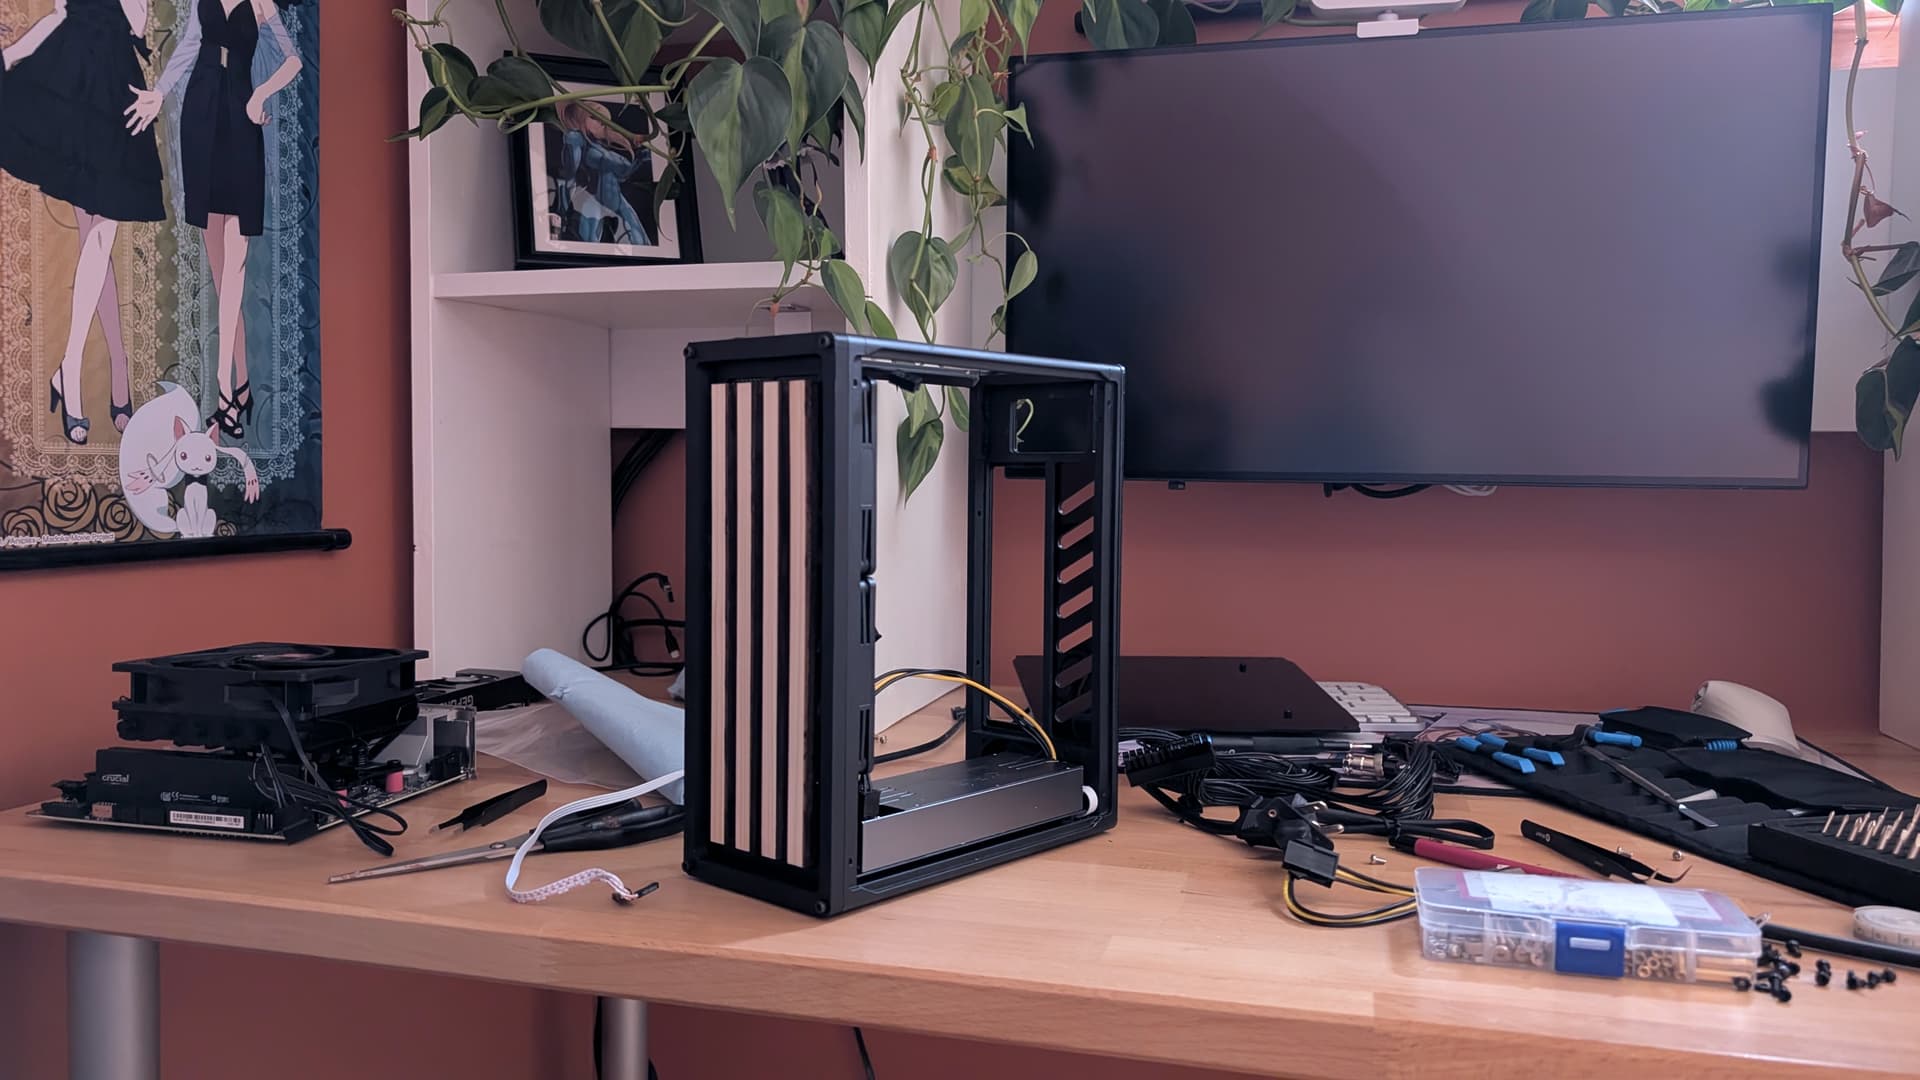
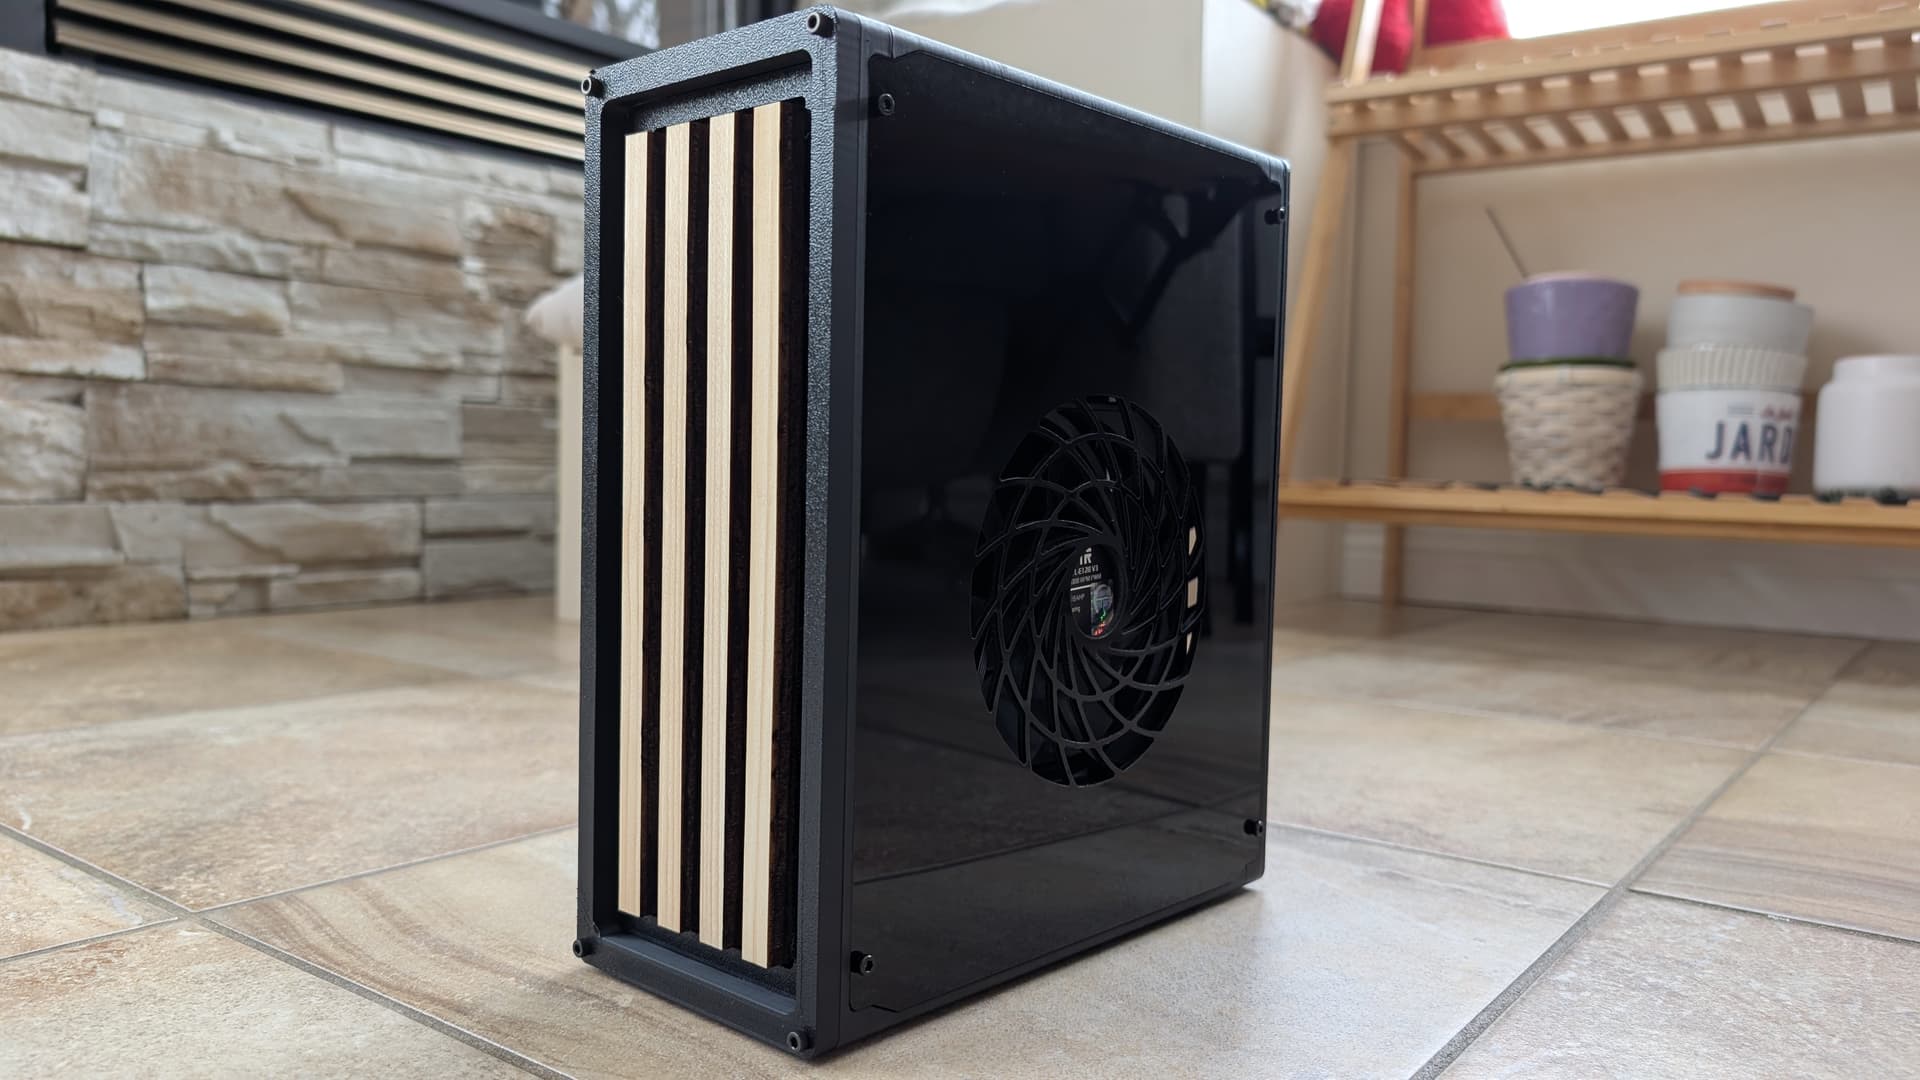
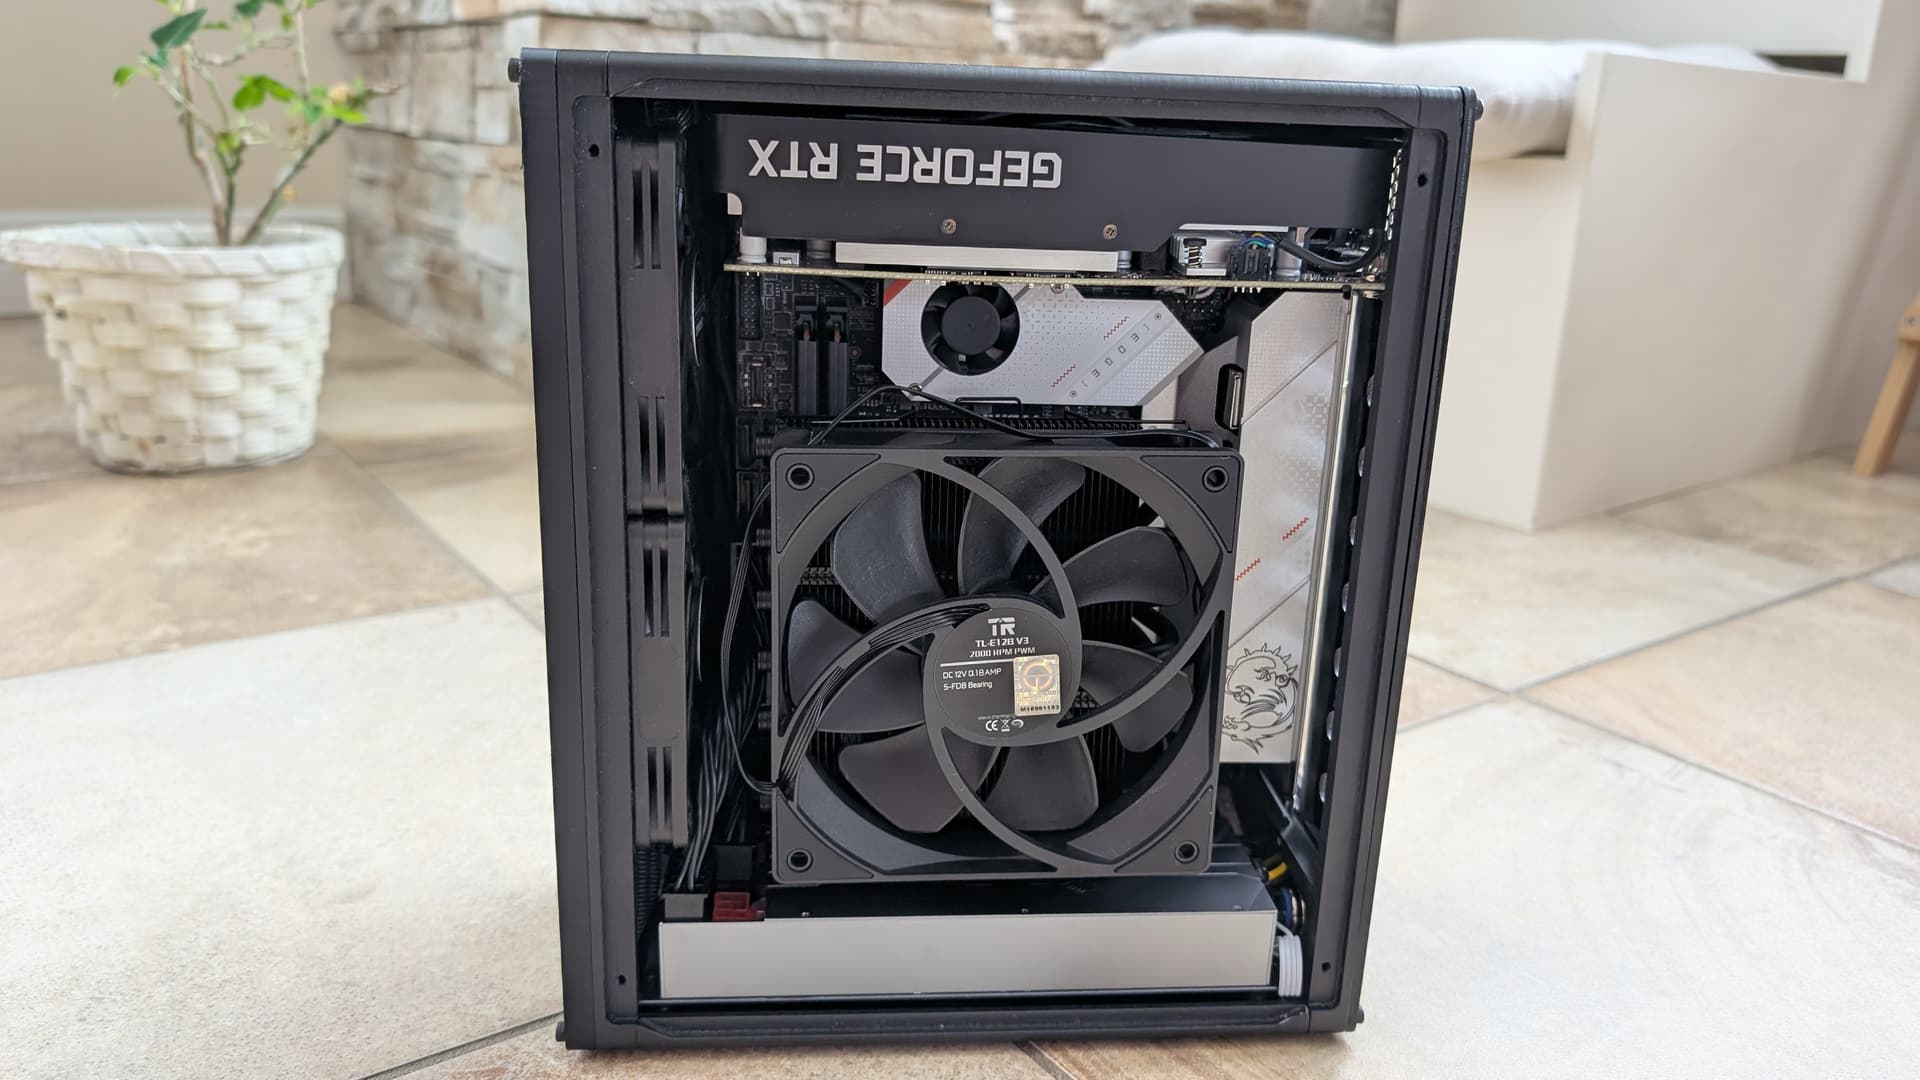
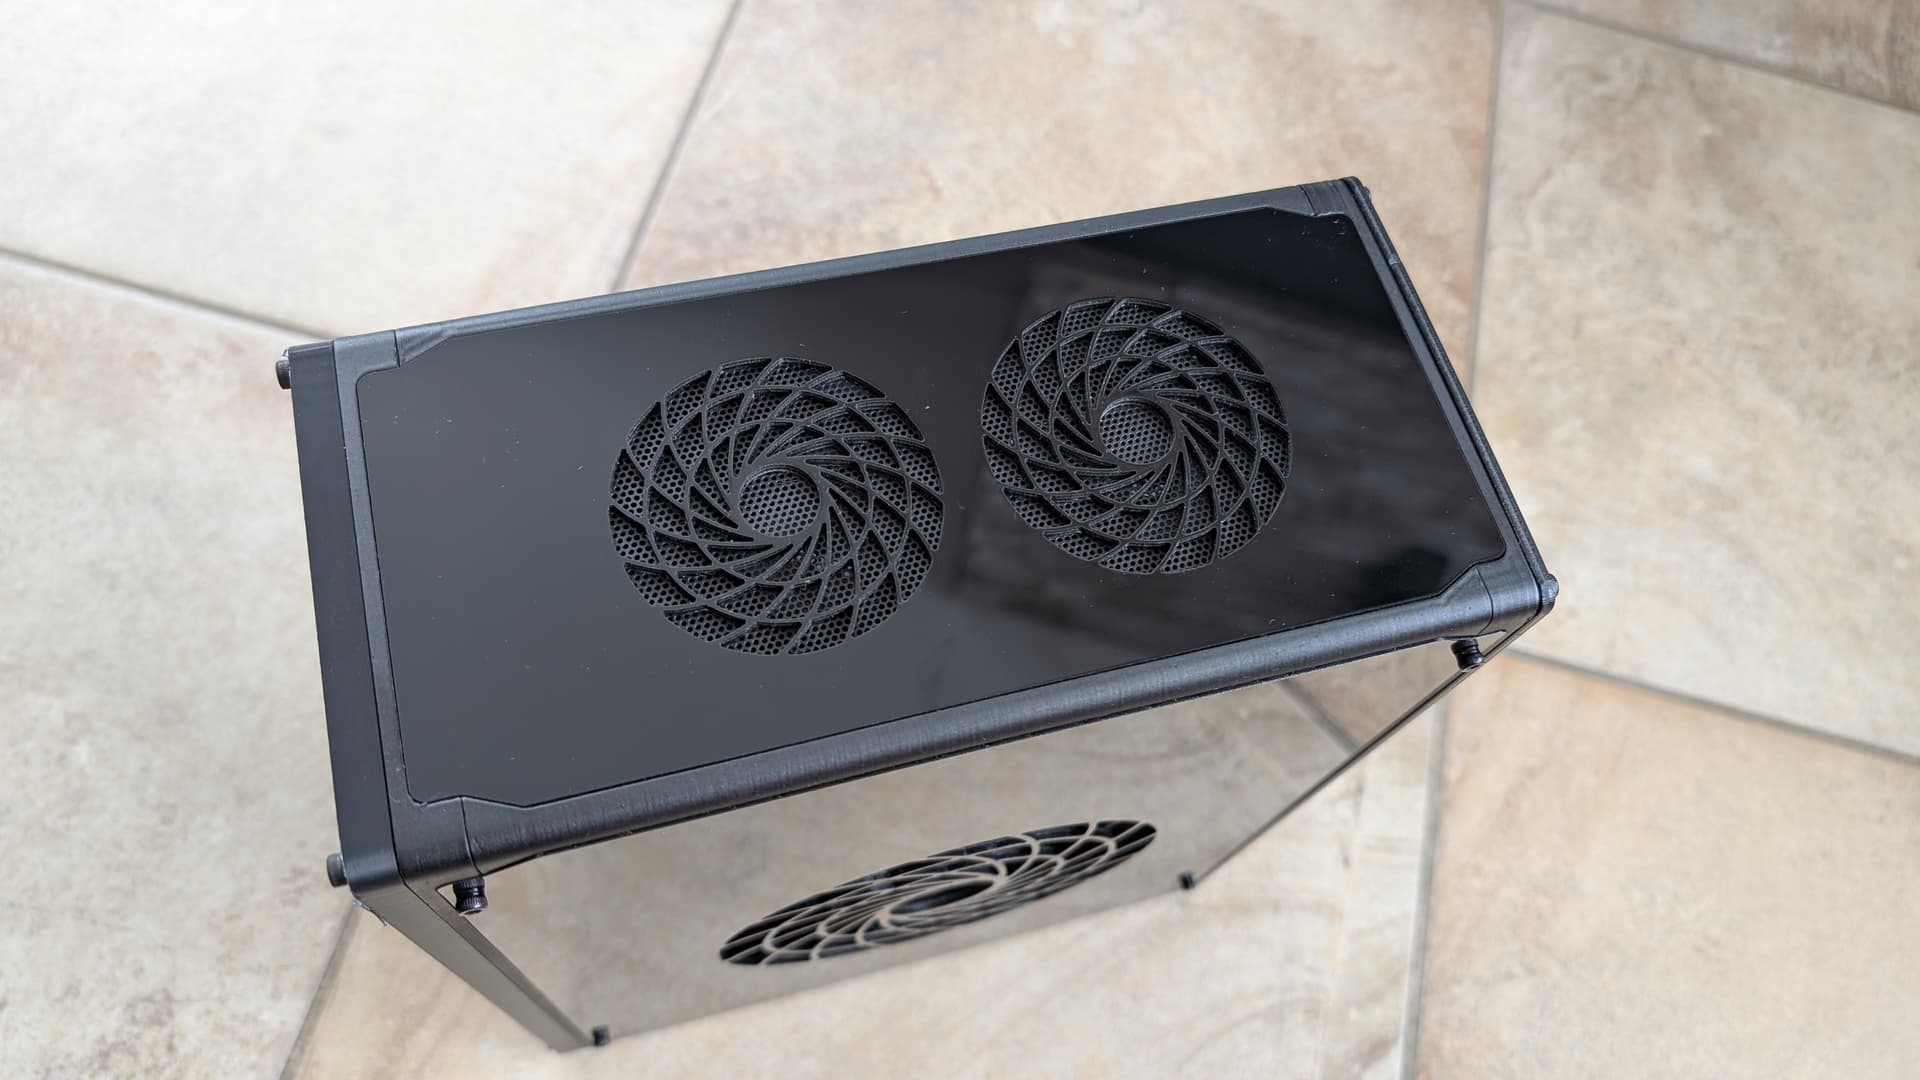
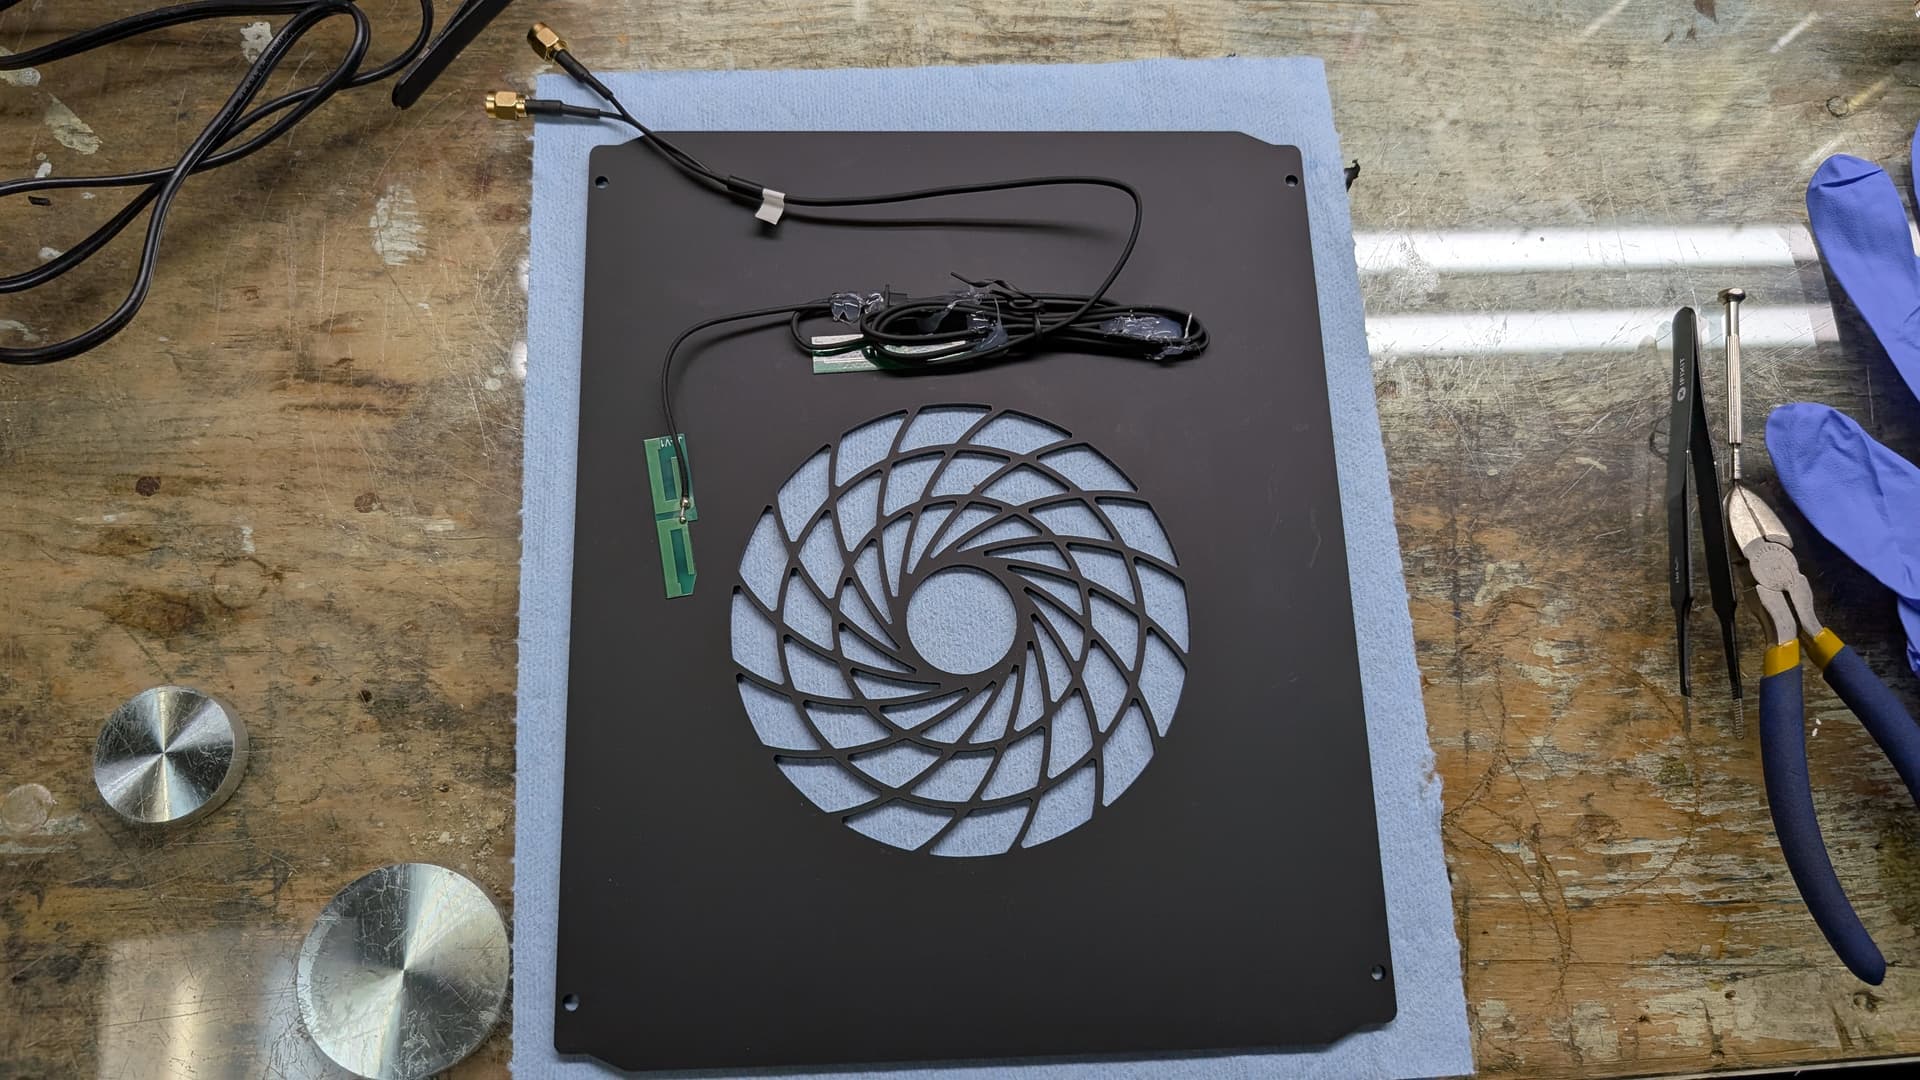
This time around, for this build, I’m going with mainstream-ish components and I’m gonna 3D print again my PC case, this time following the blueprint created by Josh from NFC System, creator of the well known S4 mini. Since the first time I saw his video about the NFC-4TF, I always wanted to build a PC in this case. I found the compactness, look and layout really enticing.

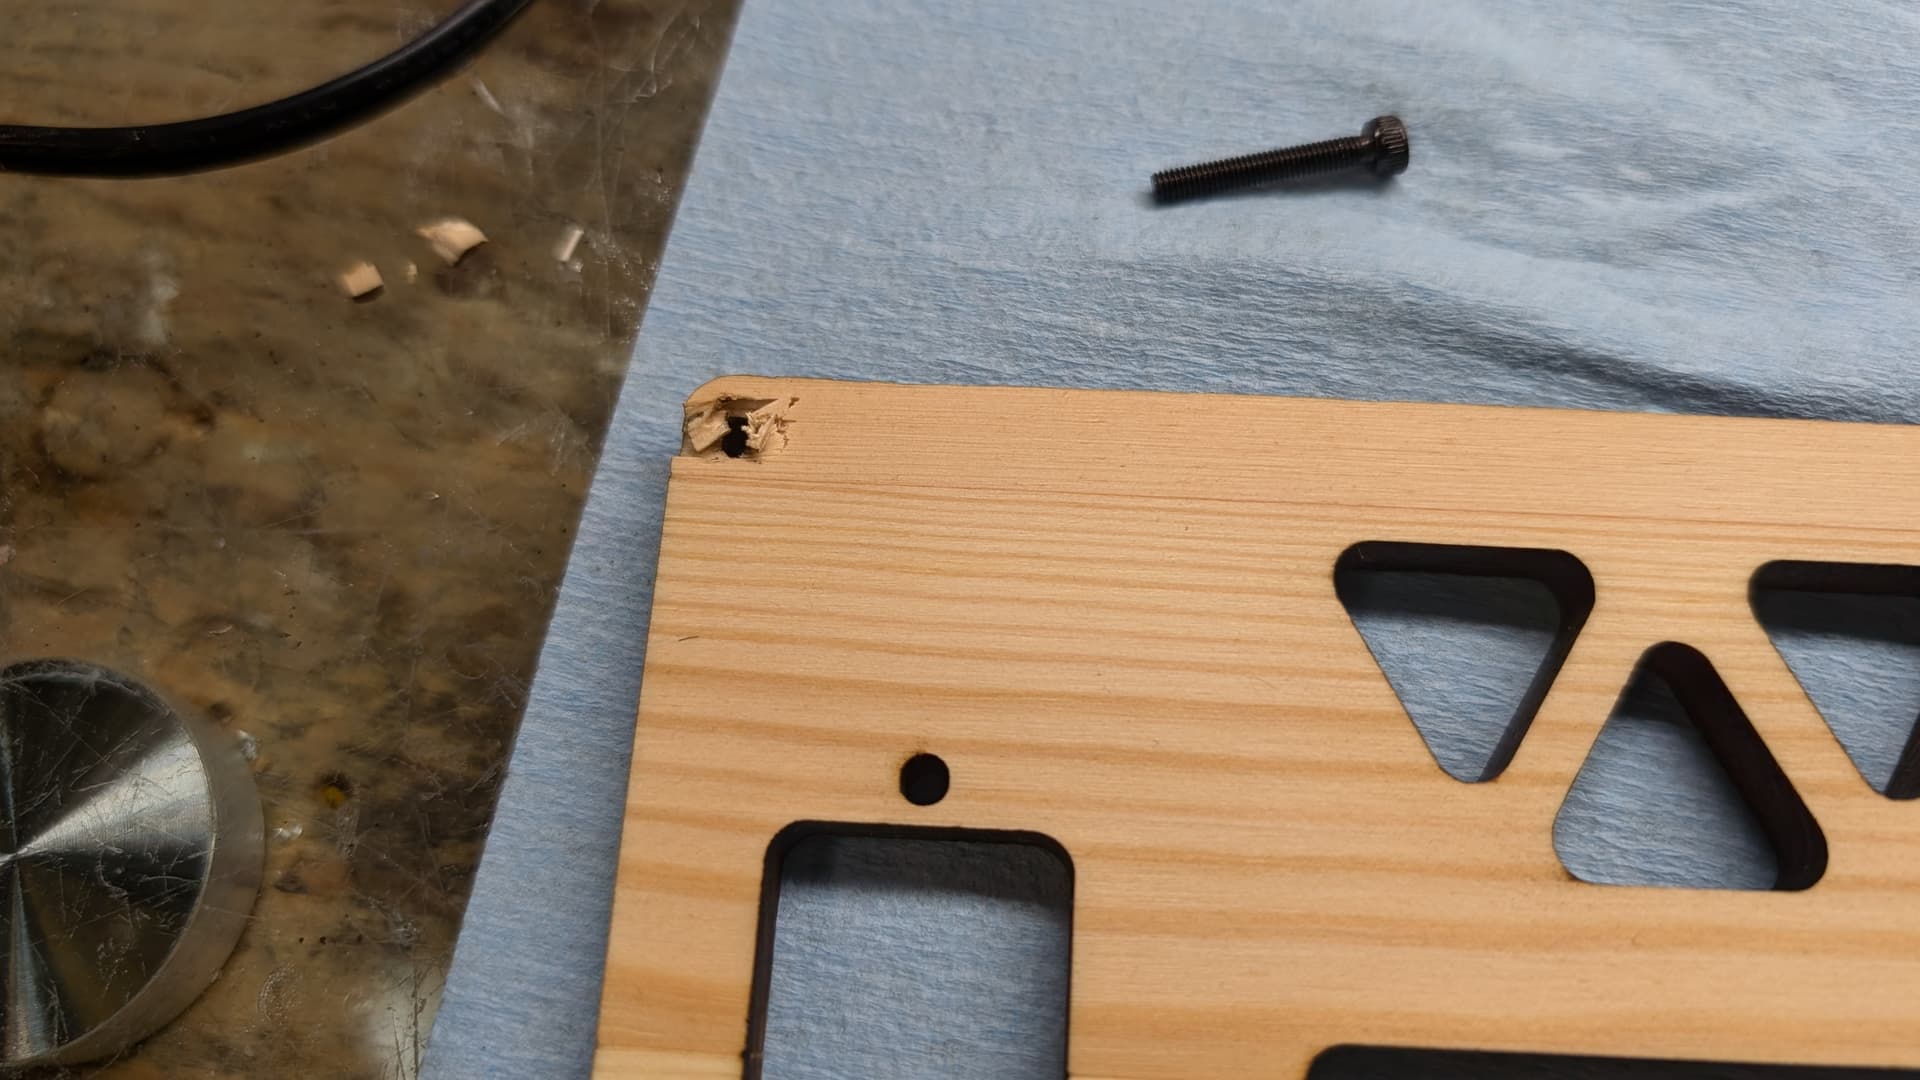
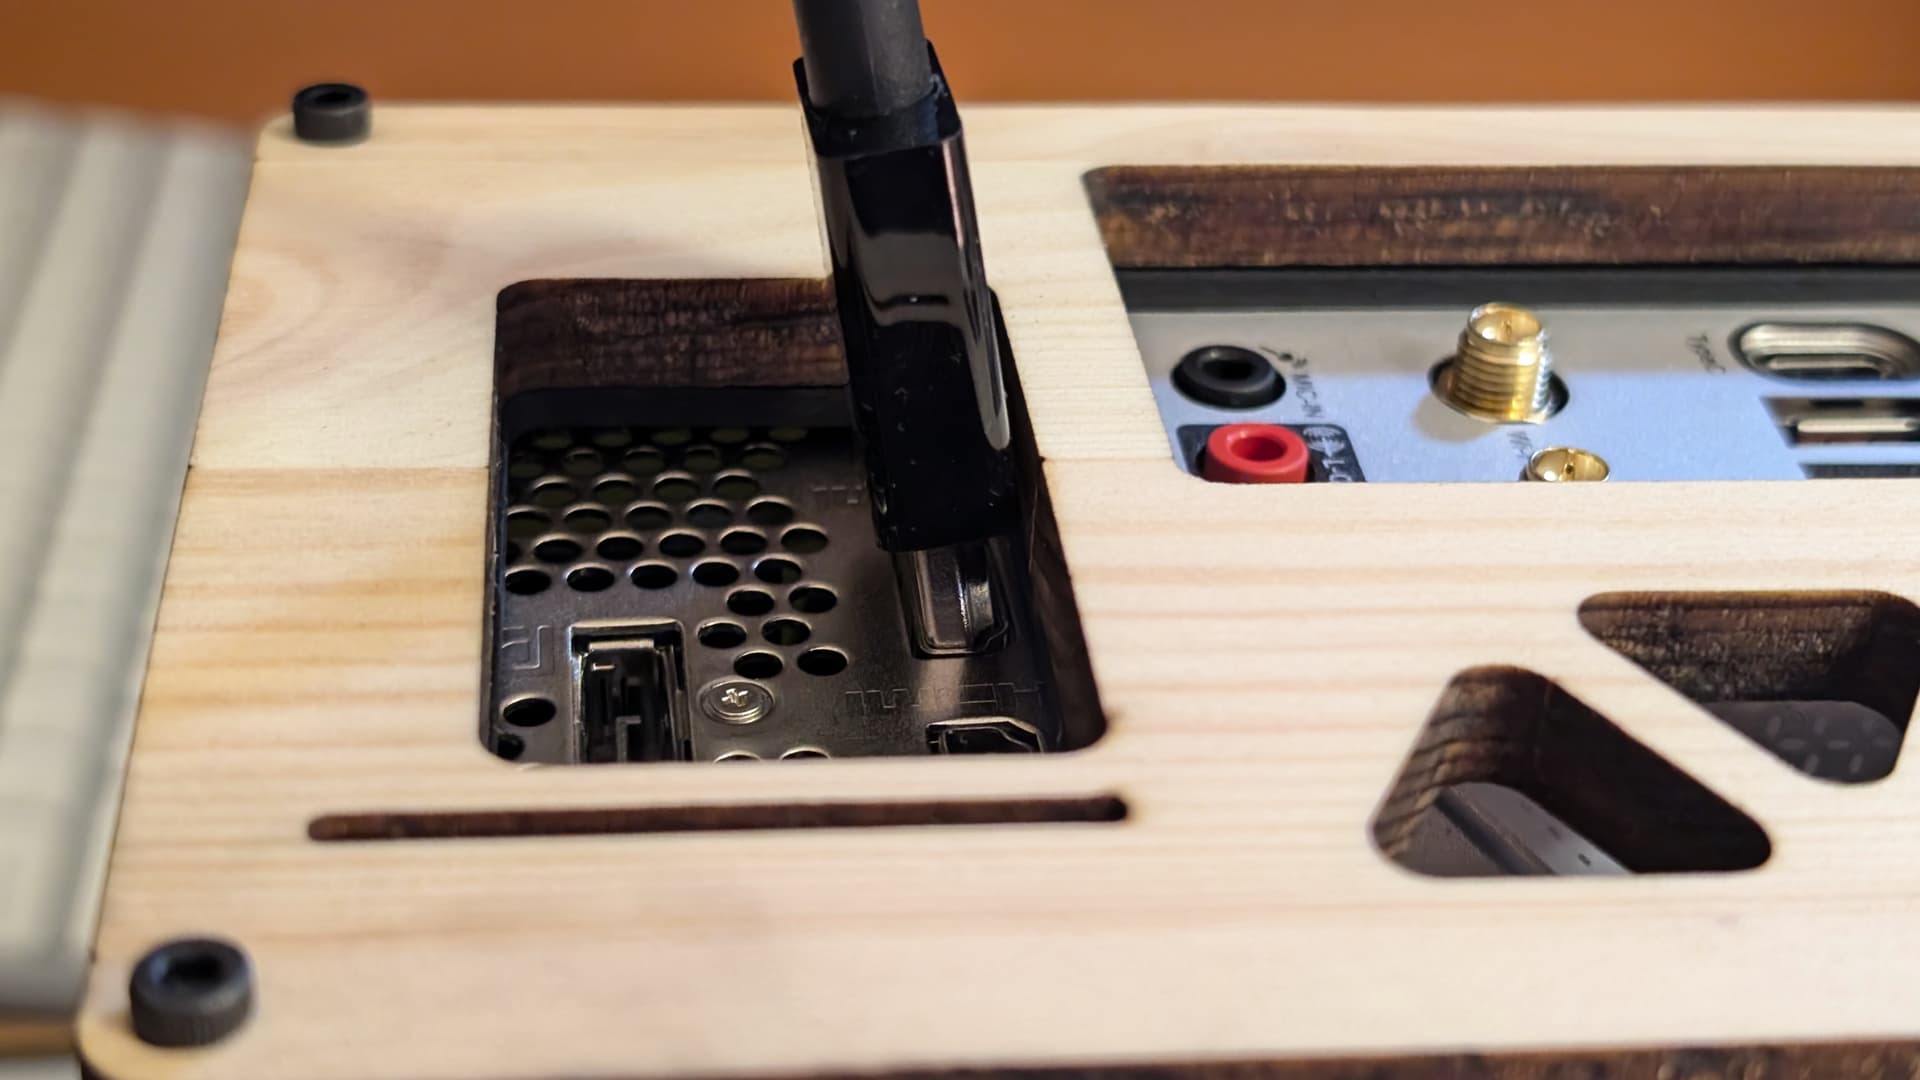
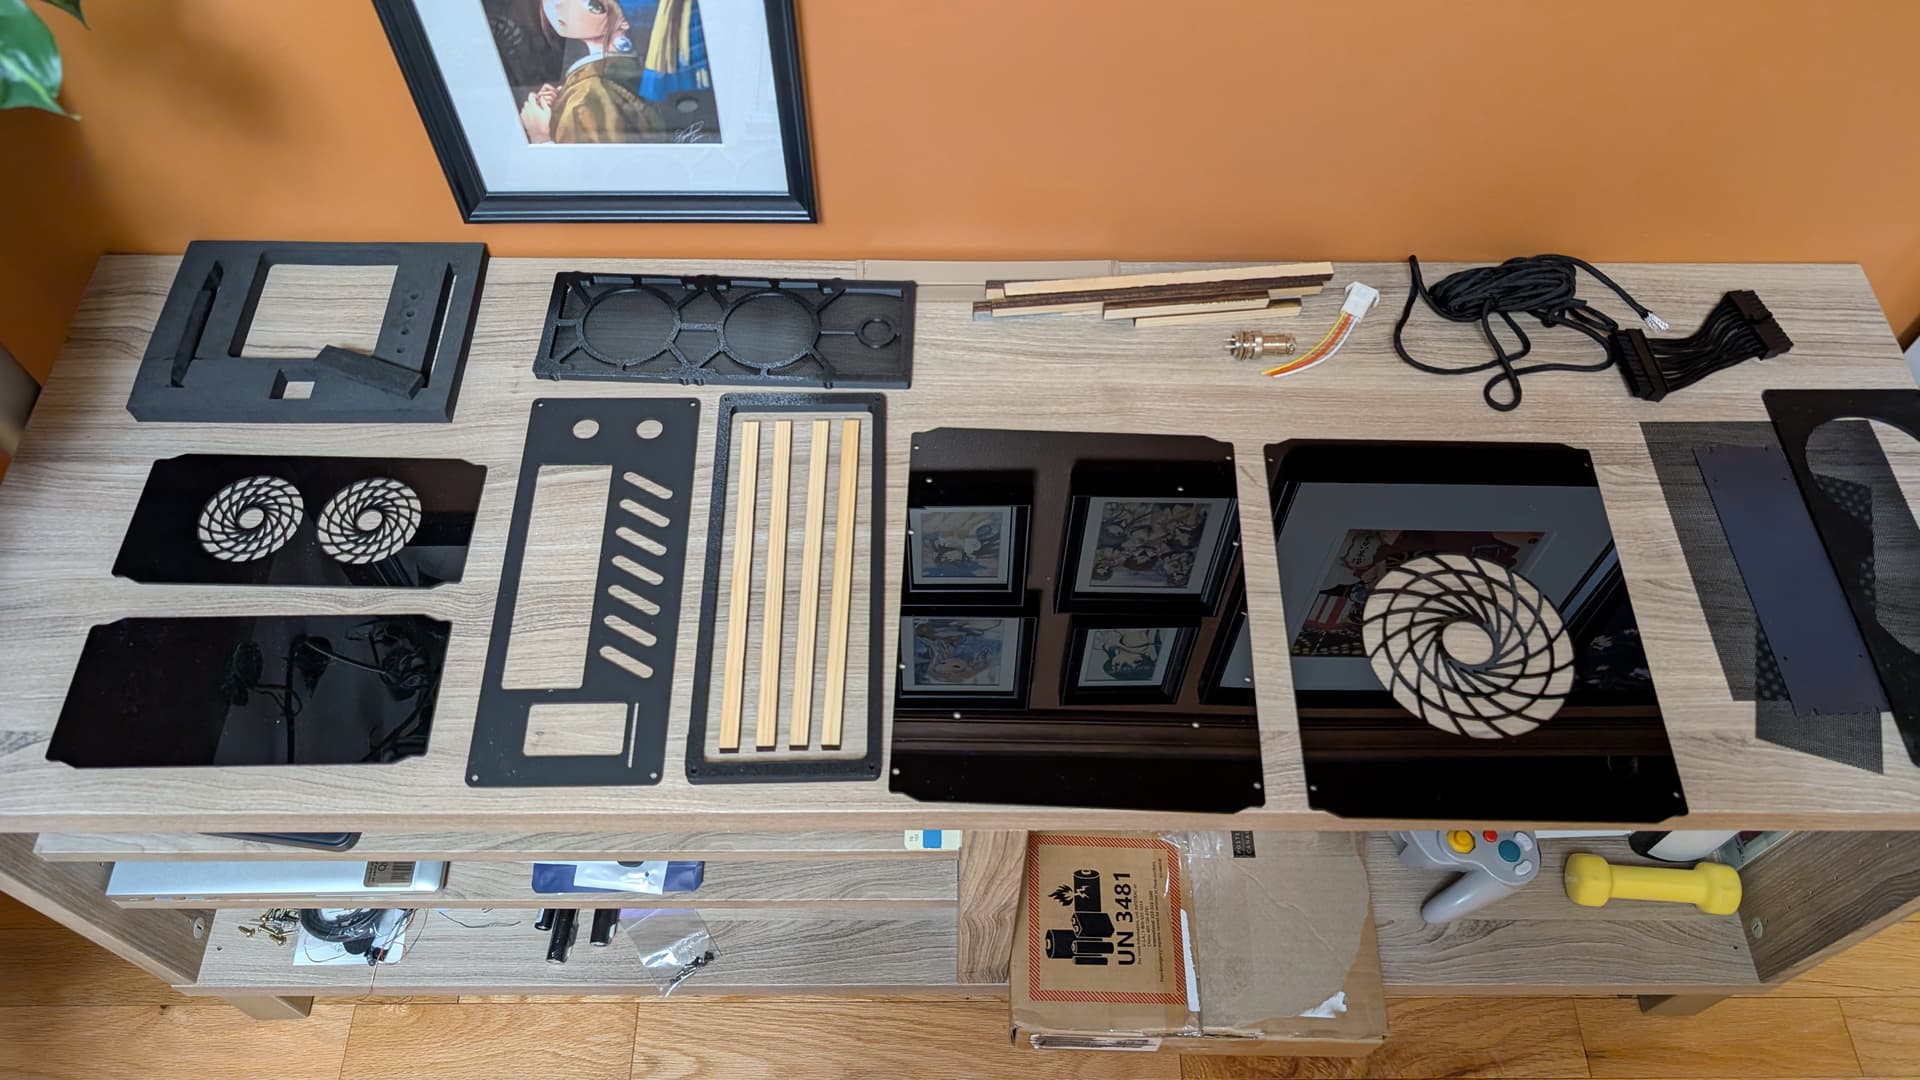
His case already inspired me when I did [Build log] パープルハート: A 3D printed case to house unusual components, but this time around I’m doing for real, and I’m gonna even laser cut the panels to have that well-build look (I just hope that the city’s libraries finish their strike one day so I can go use their laser cut and reduce spending)

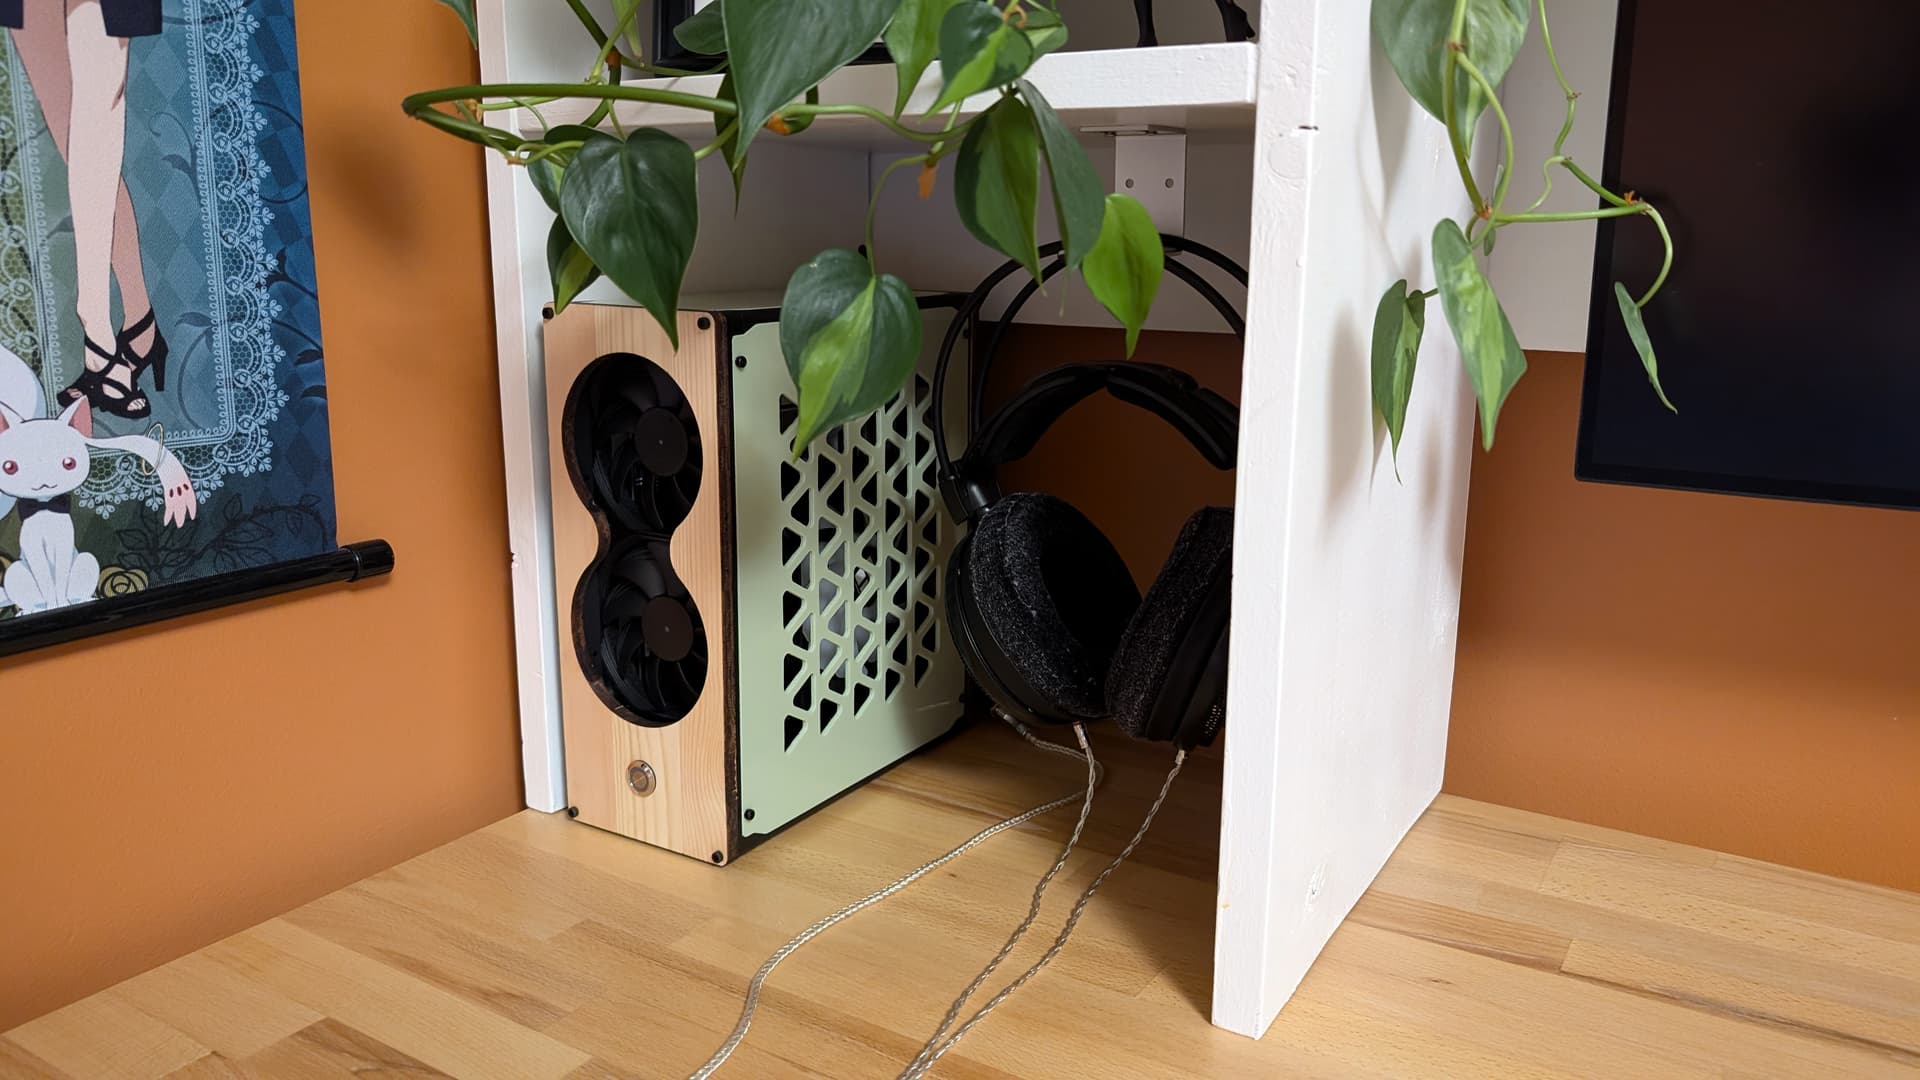
As per the tradition, the build is themed around a character of the Neptunia franchise. Usually, I go with Neptunia, and therefore, a purple theme, but this time around I wanted to mix things up. I wanted to have something more natural. So Vert is this time the inspiration for the build!

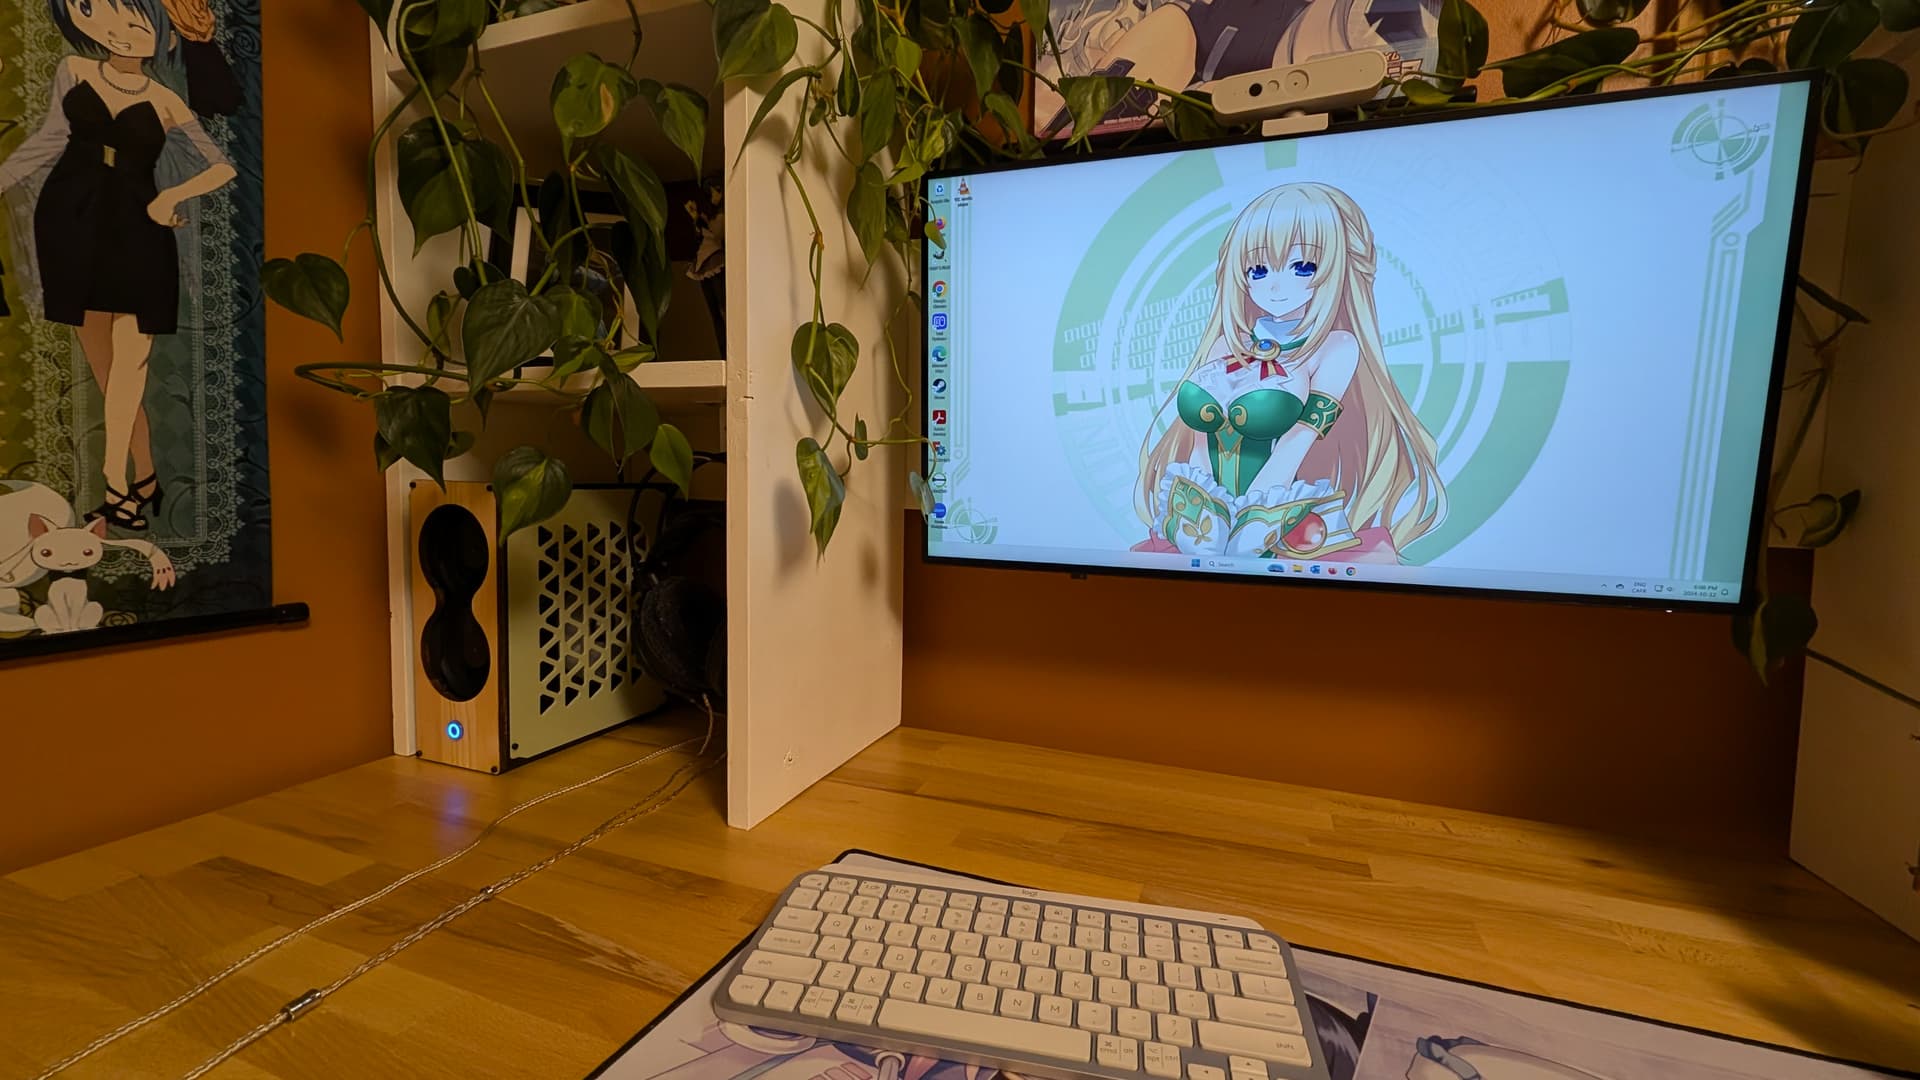
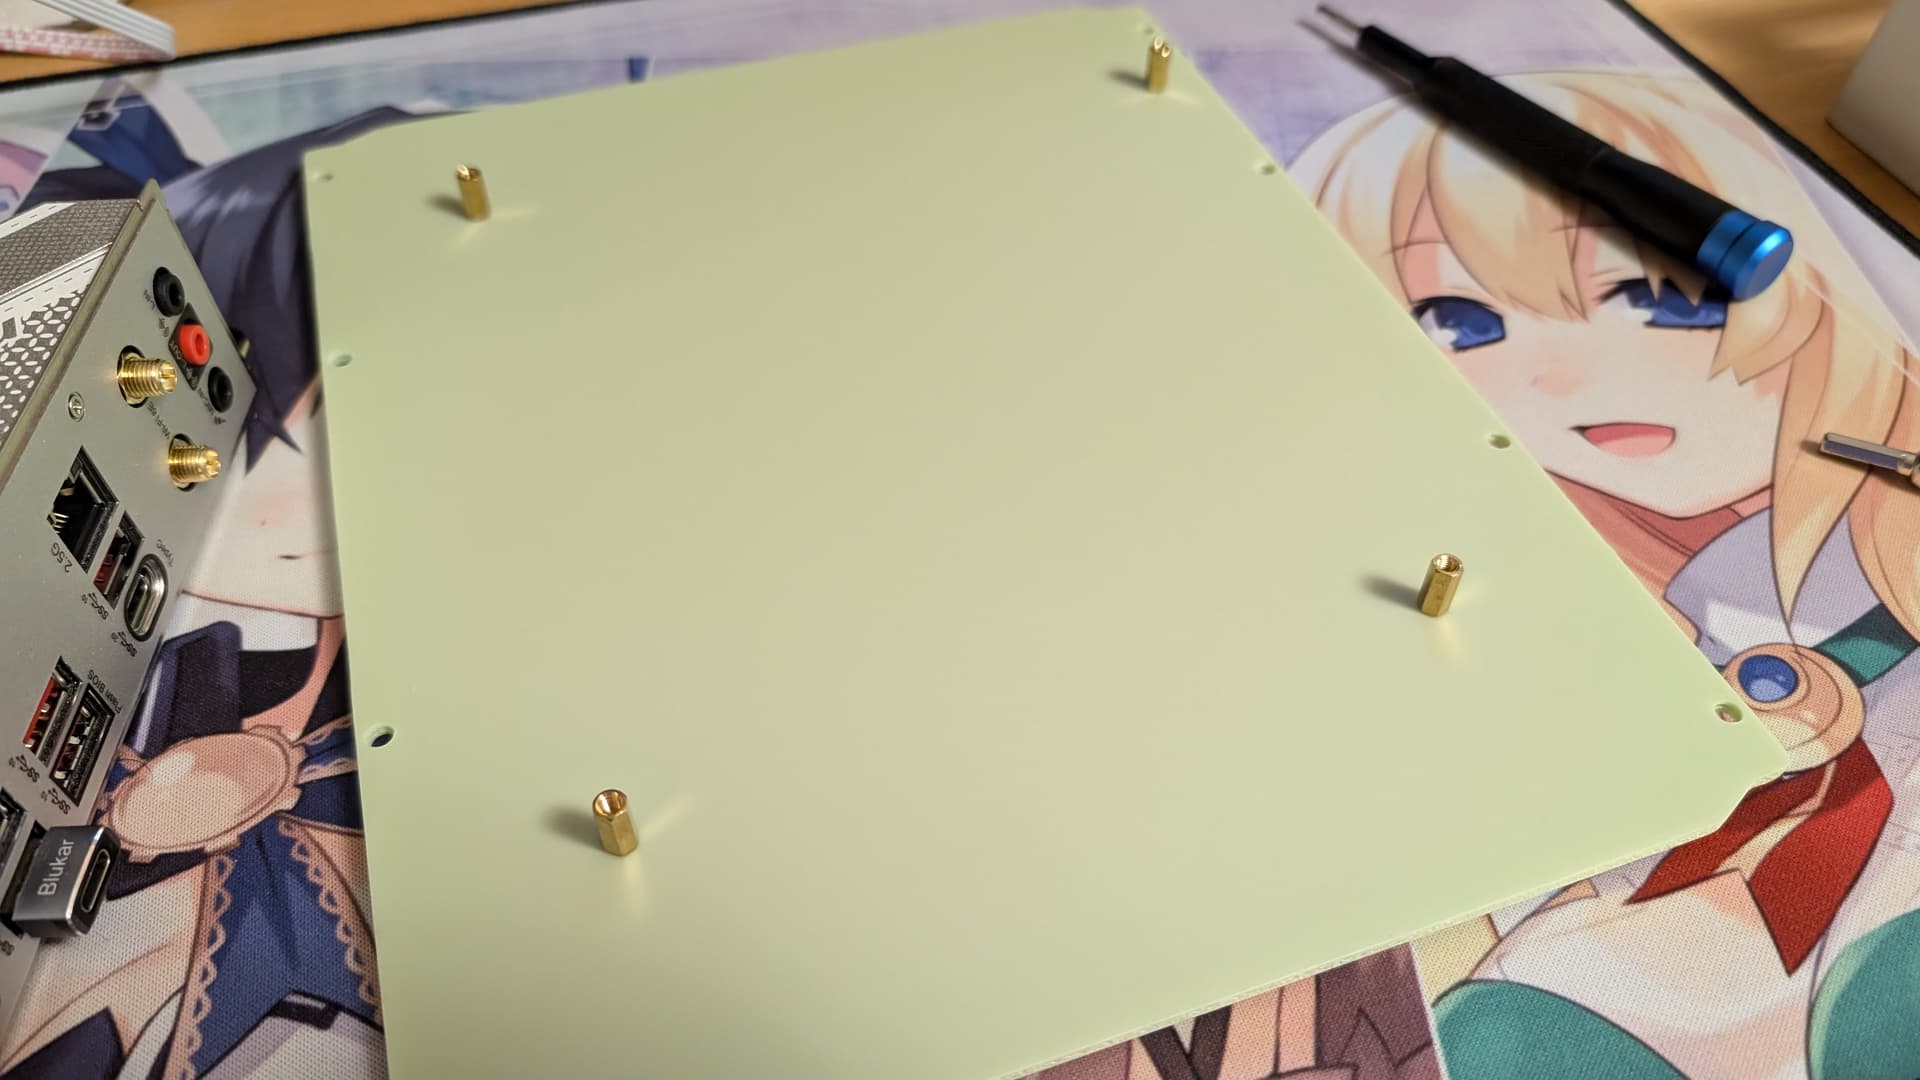
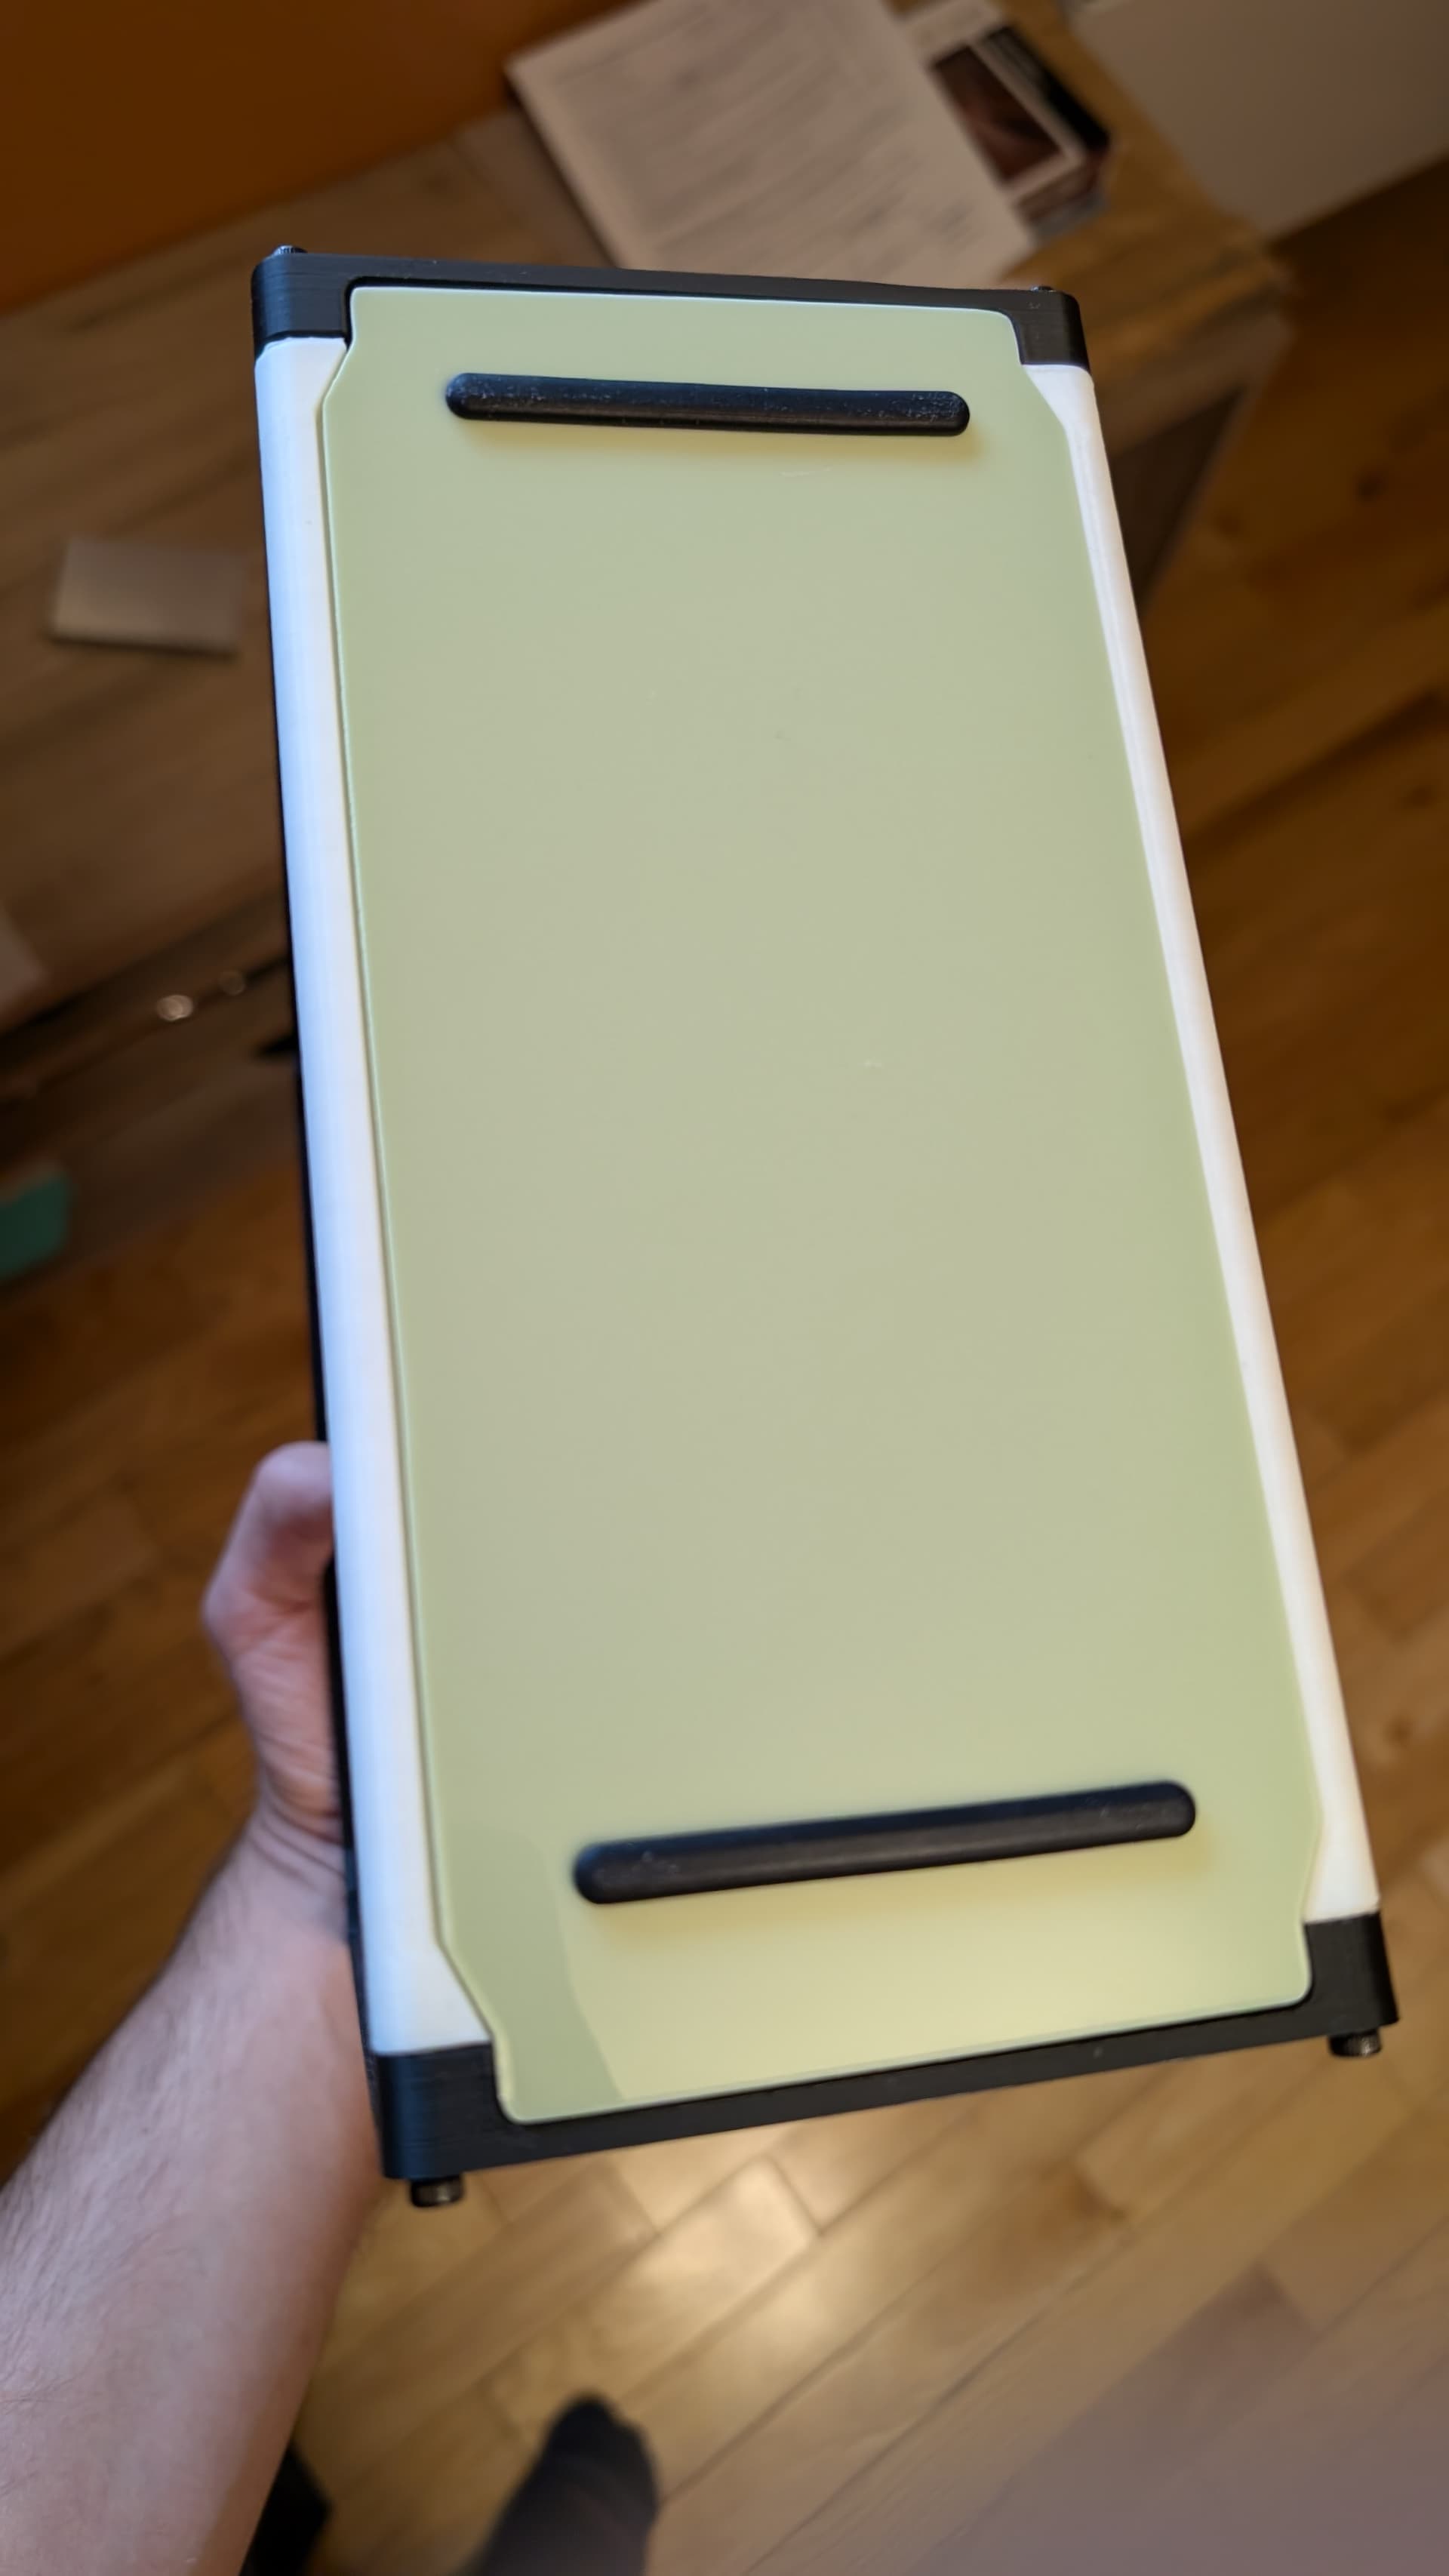
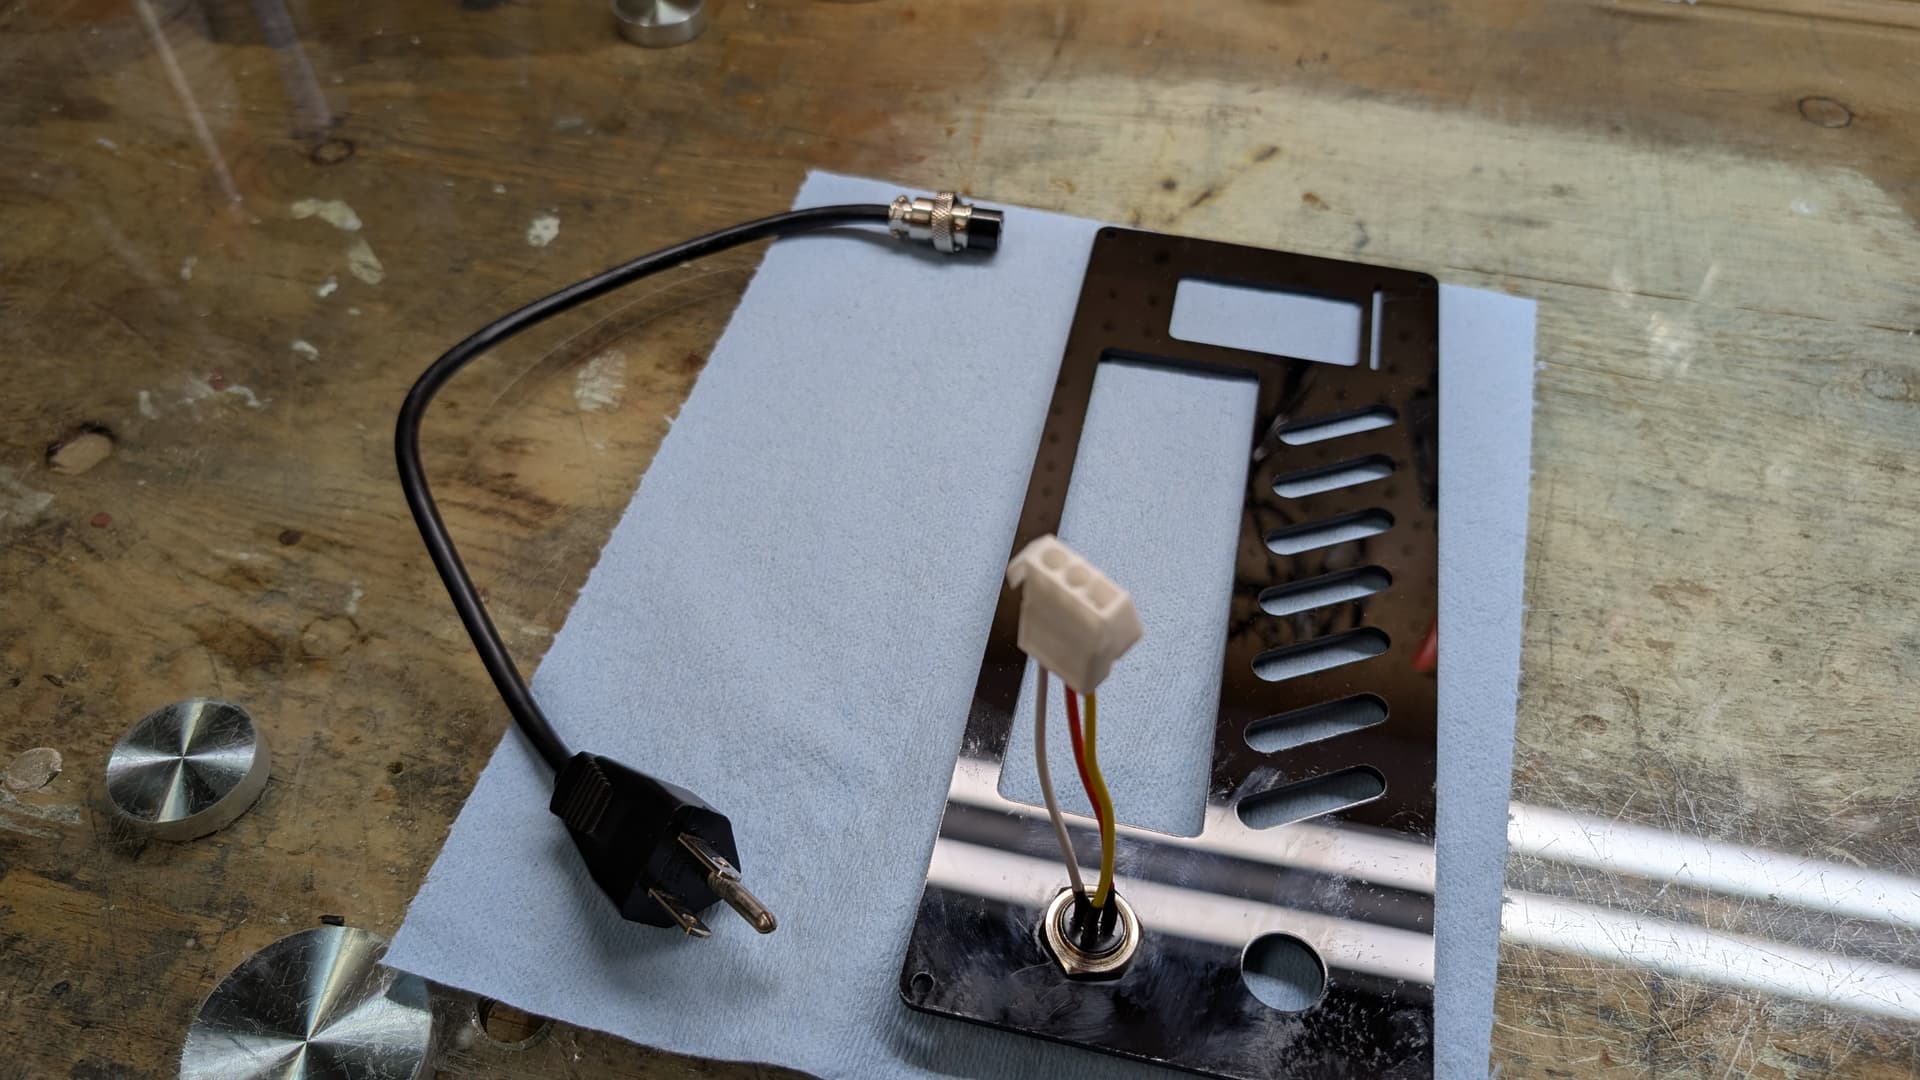
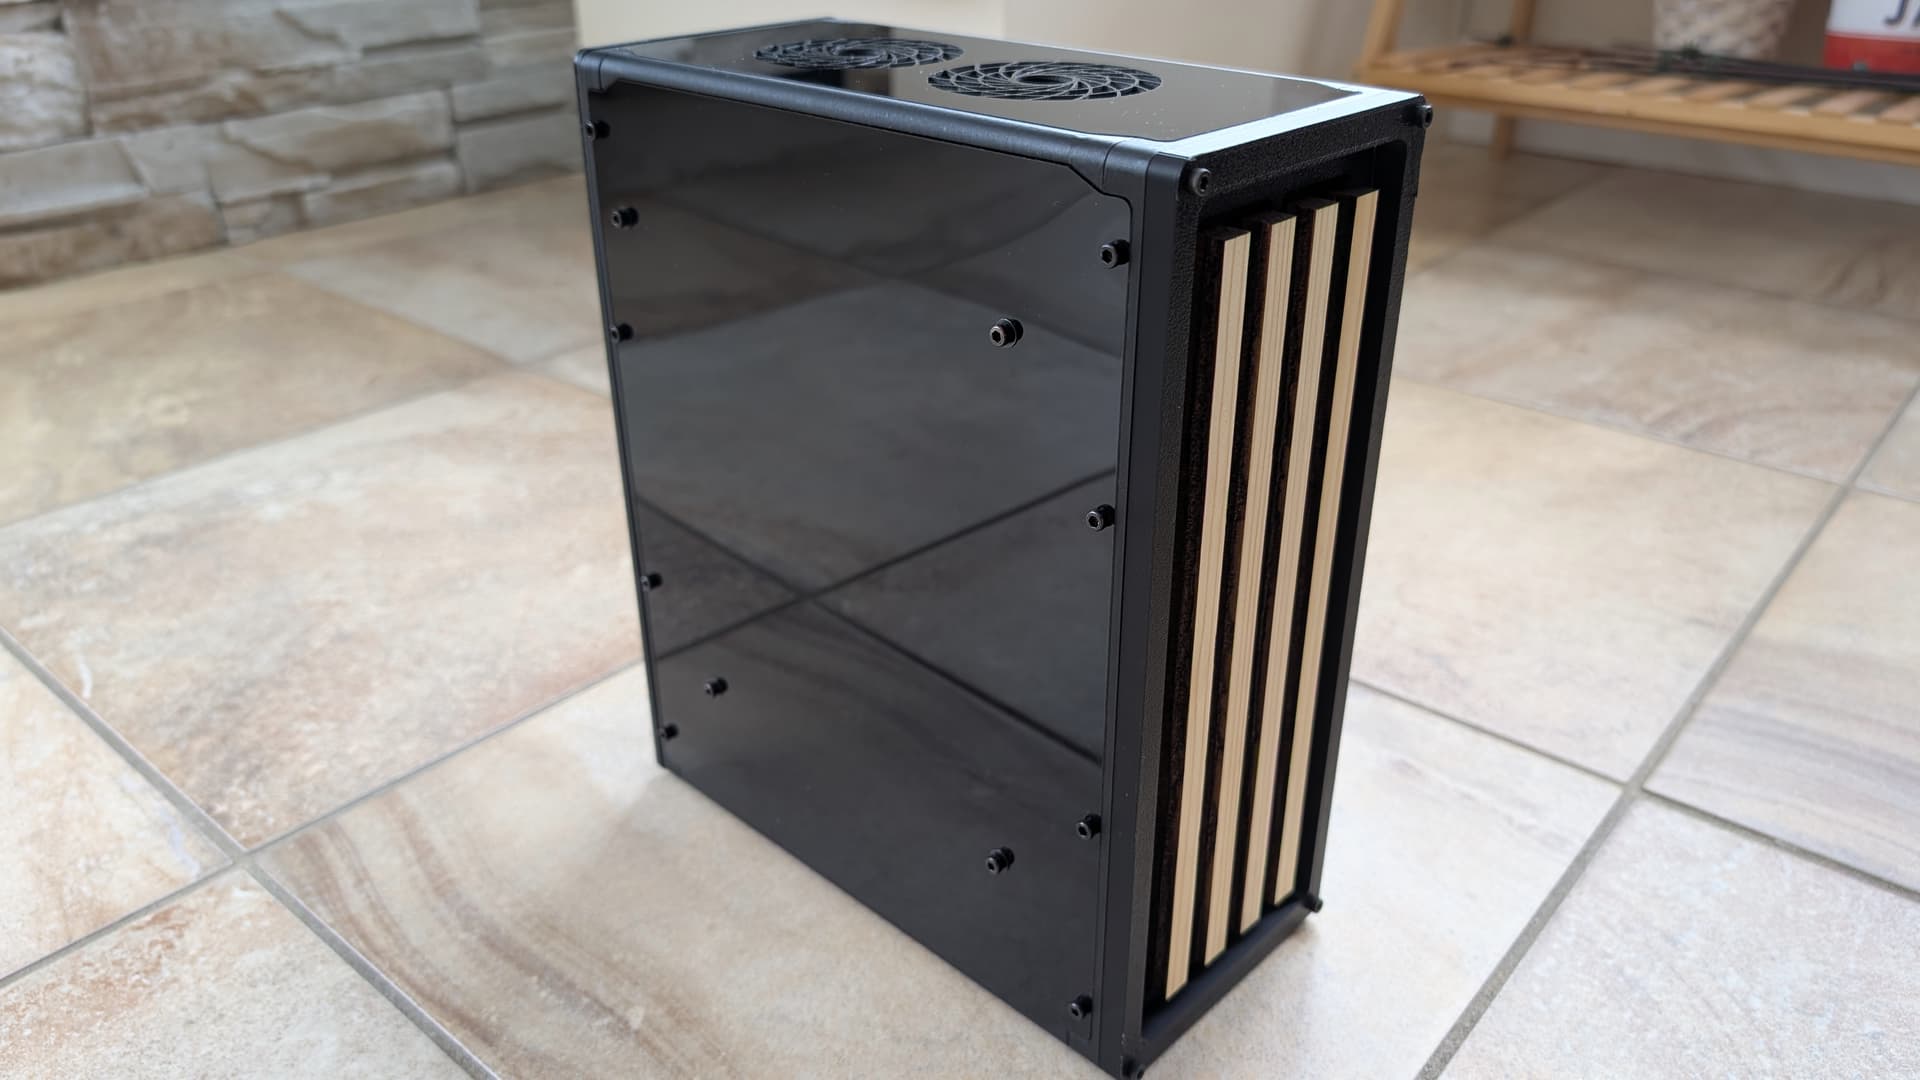
Her gorgeous stature and good attributes while fit well with the roundness of the case. Her color-theme also fits nicely with the use of wood paneling for the front and back that I will satin light. And the green then allows me to use Aloe as the colour of my acrylic panels. The structural beams for their parts will be black so the build stay classy.

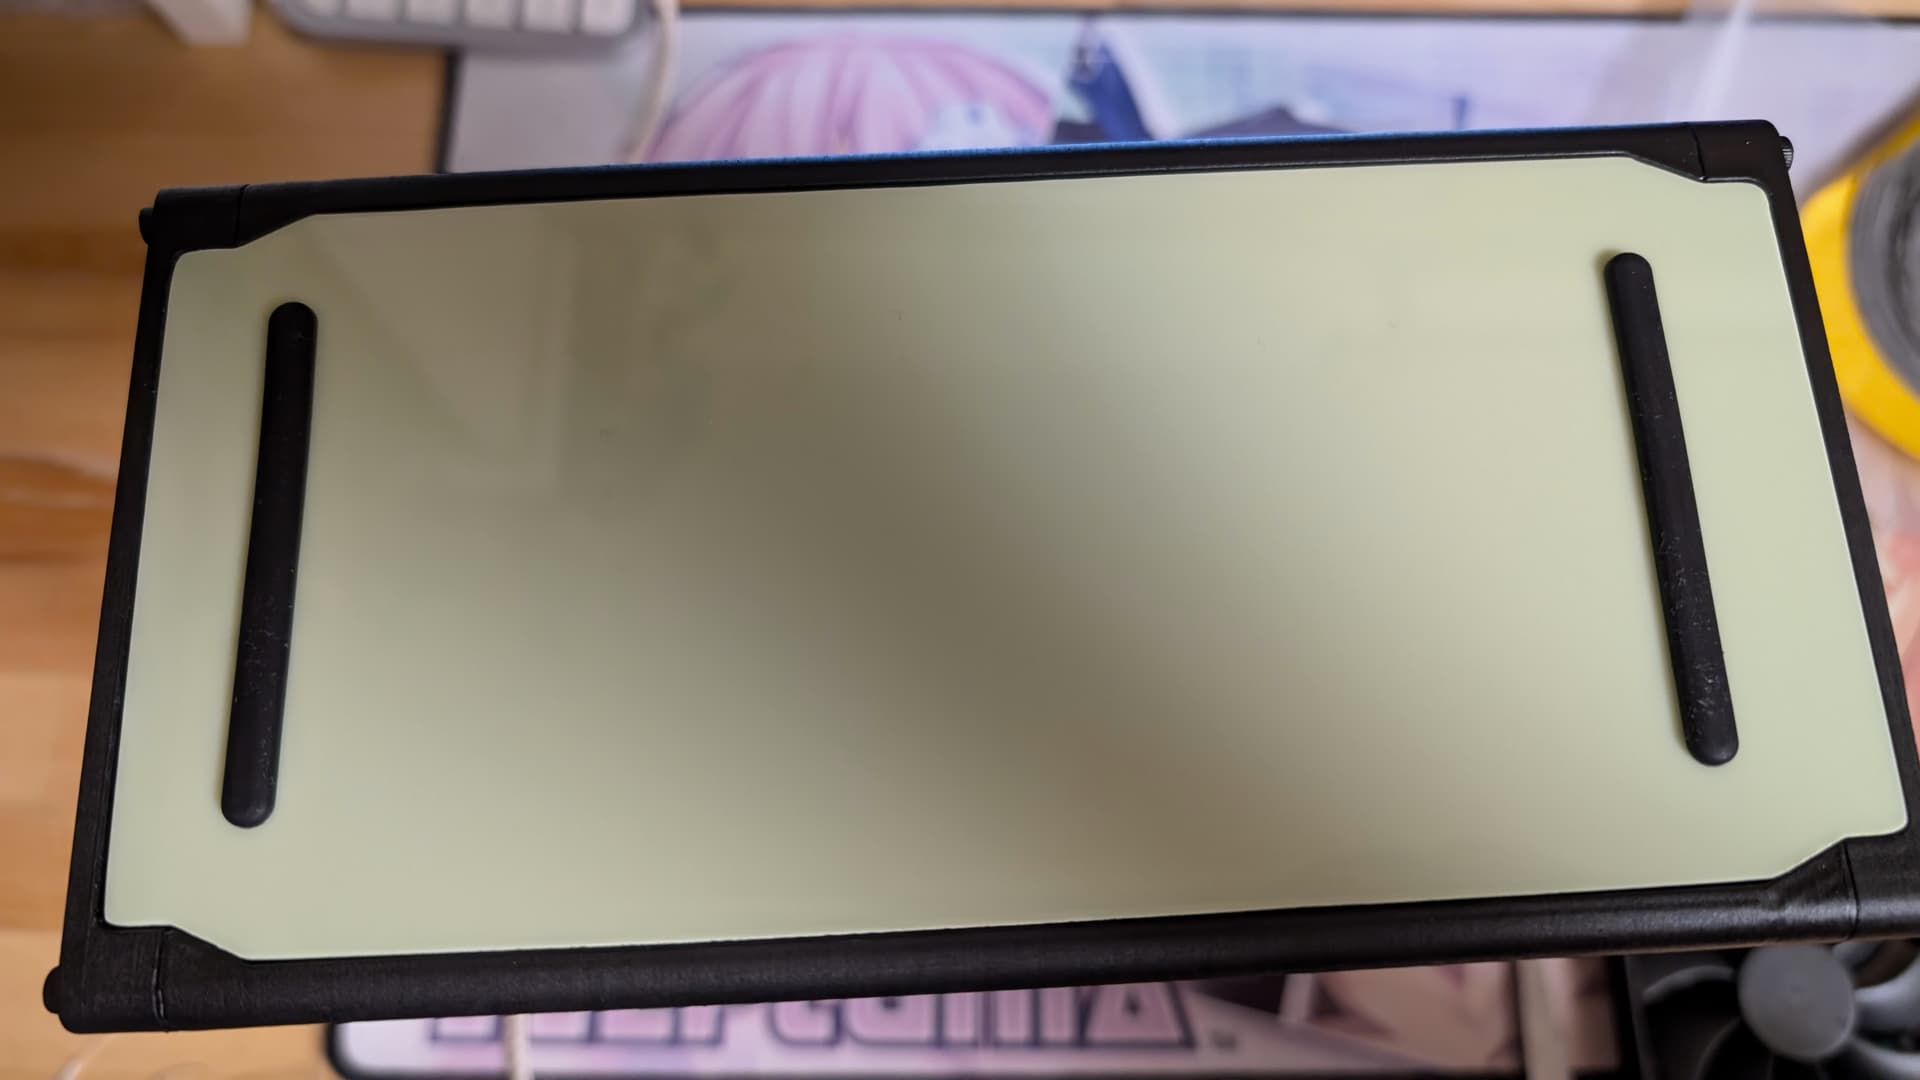
I just bought today the acrylic panels online because there was a rebate. The natural colour will really make the case look refined and blend well with the decor. Also it will fit a bit with my Slate Pixel 8 and my Olive Samsung Buds 2 lol.

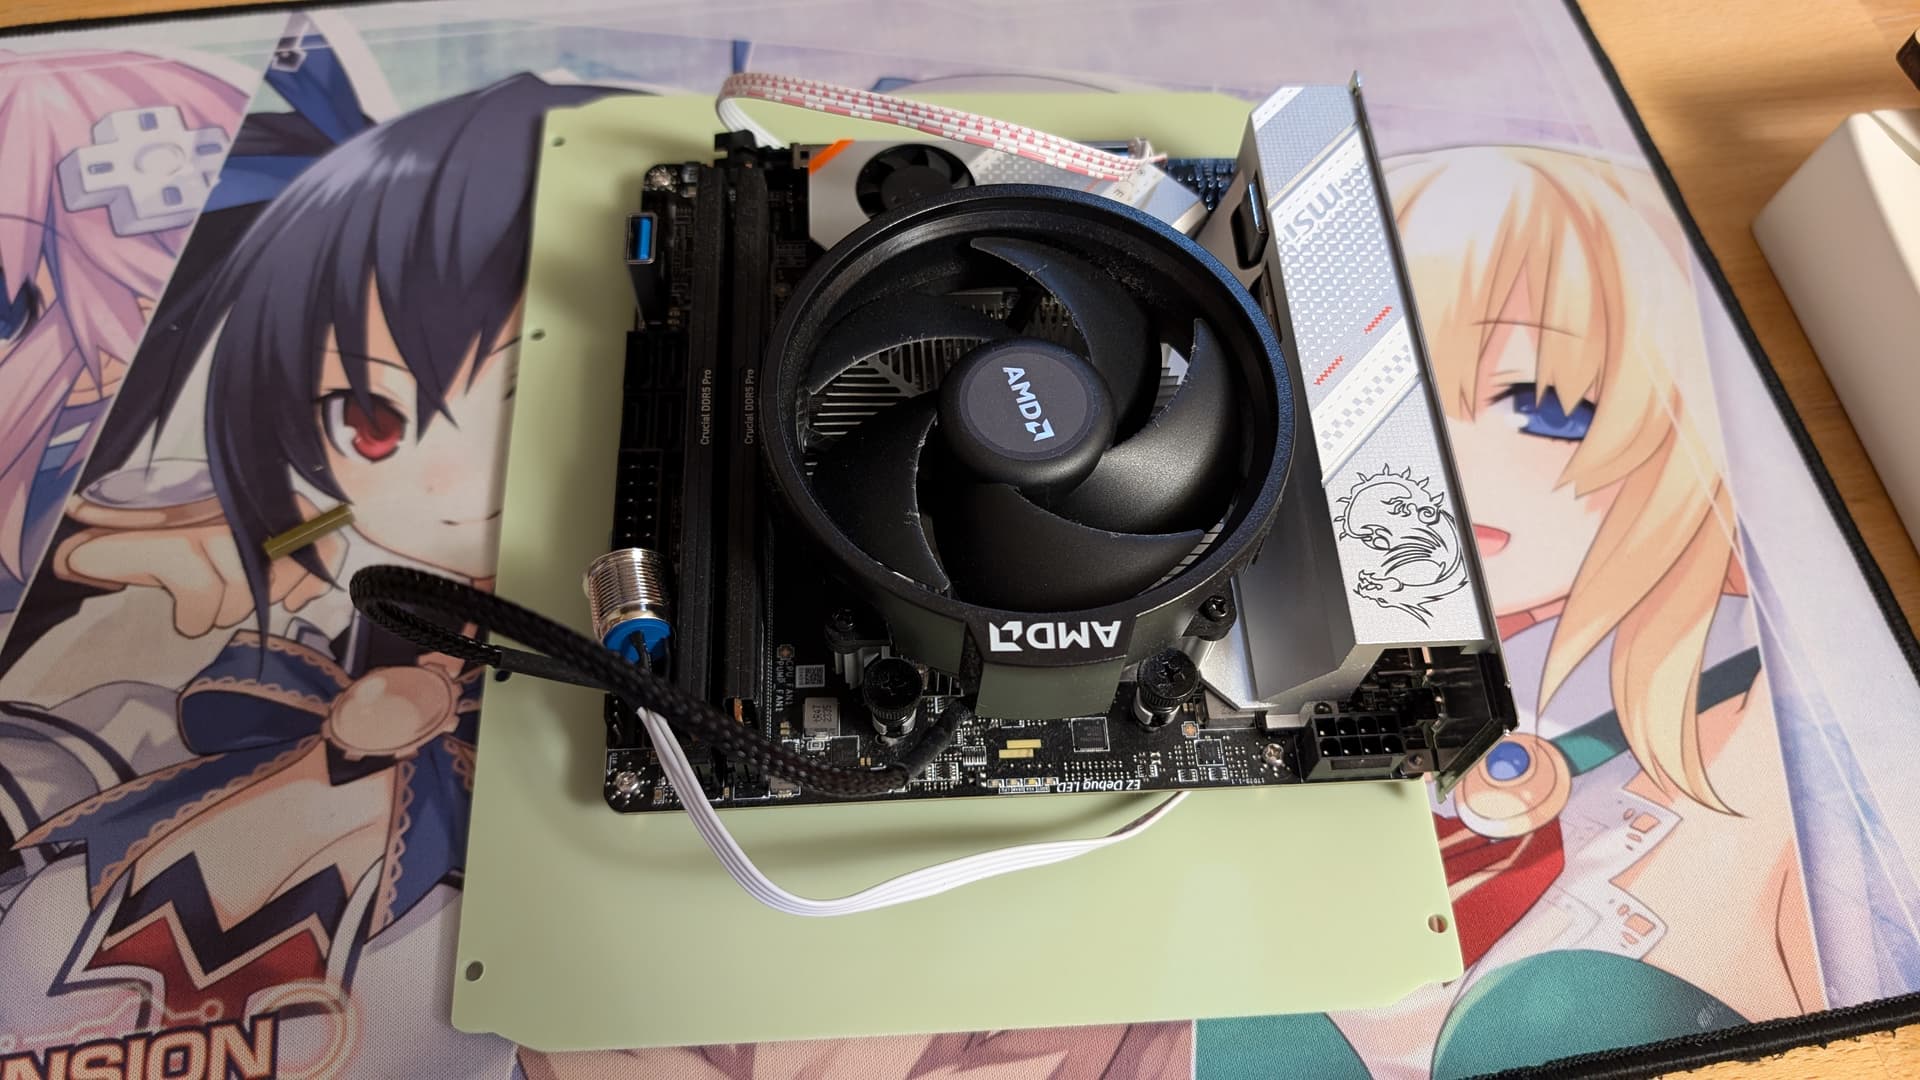
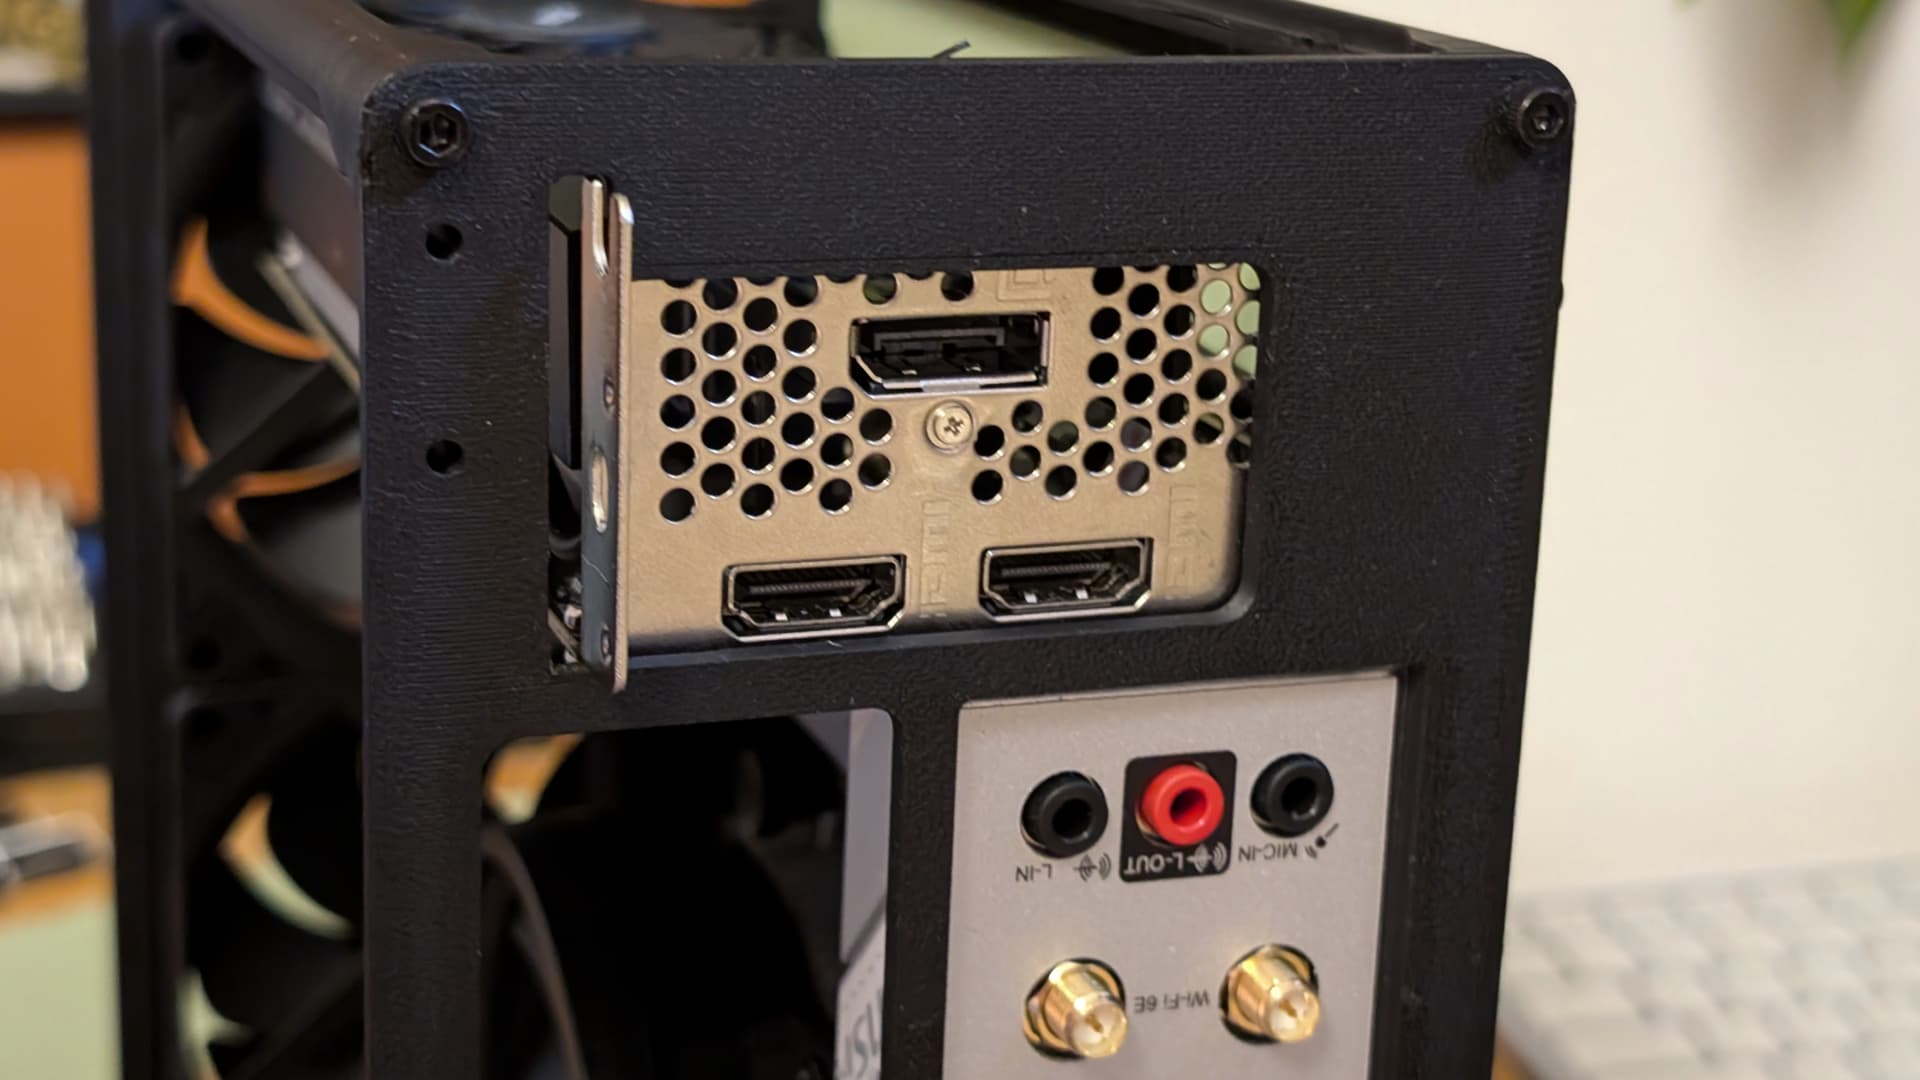
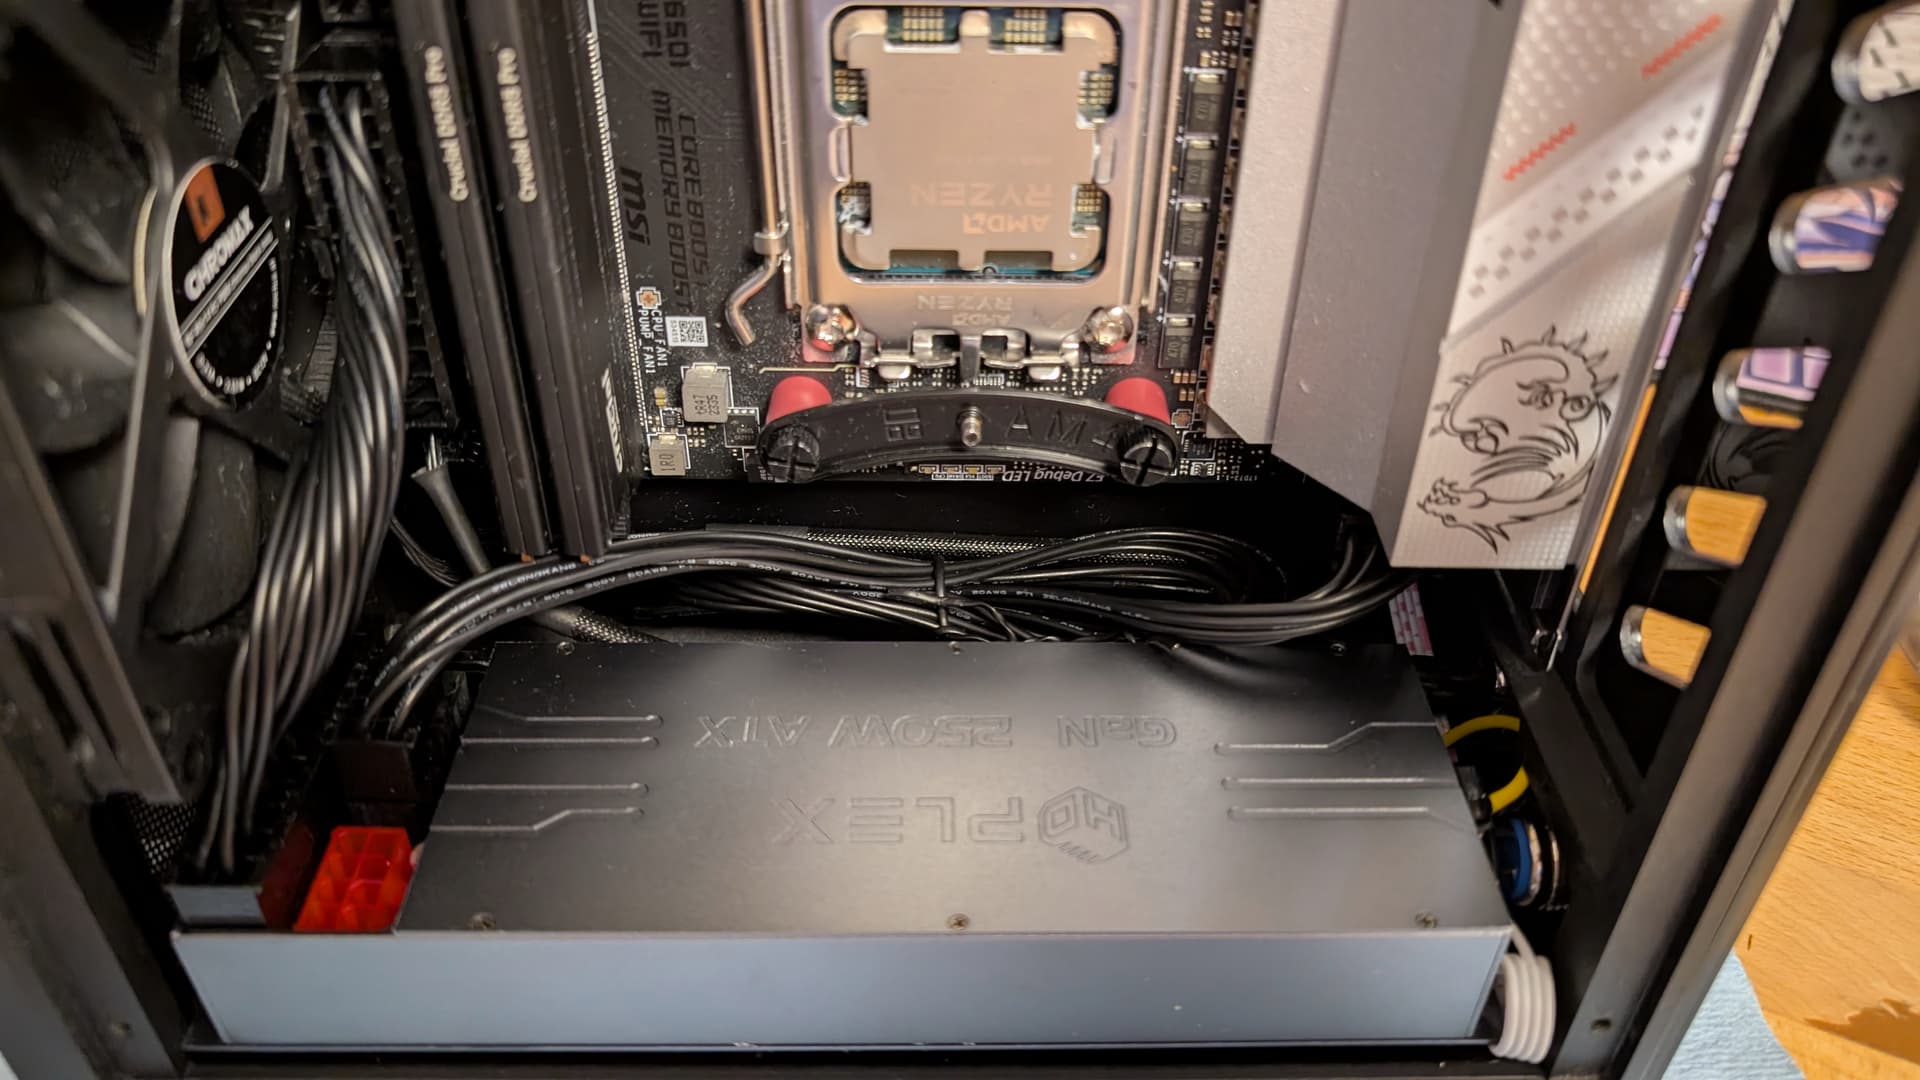
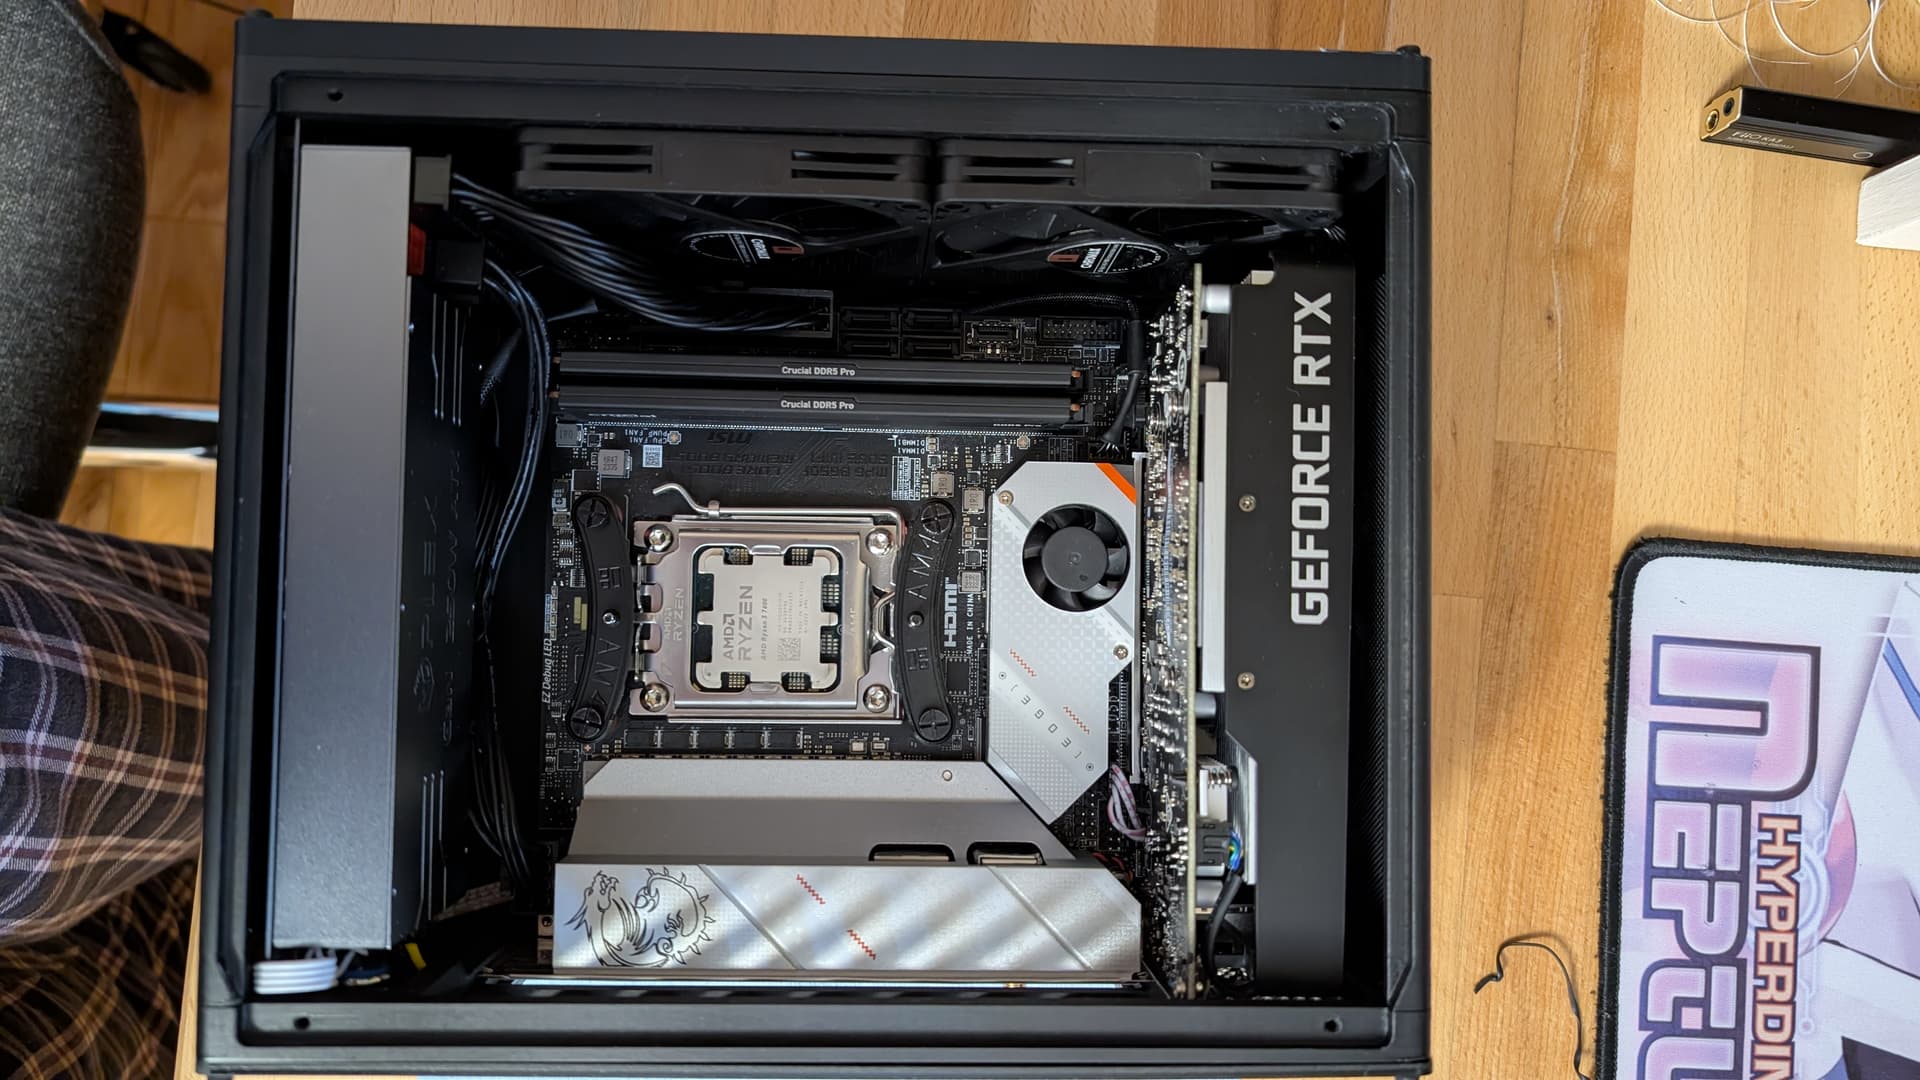
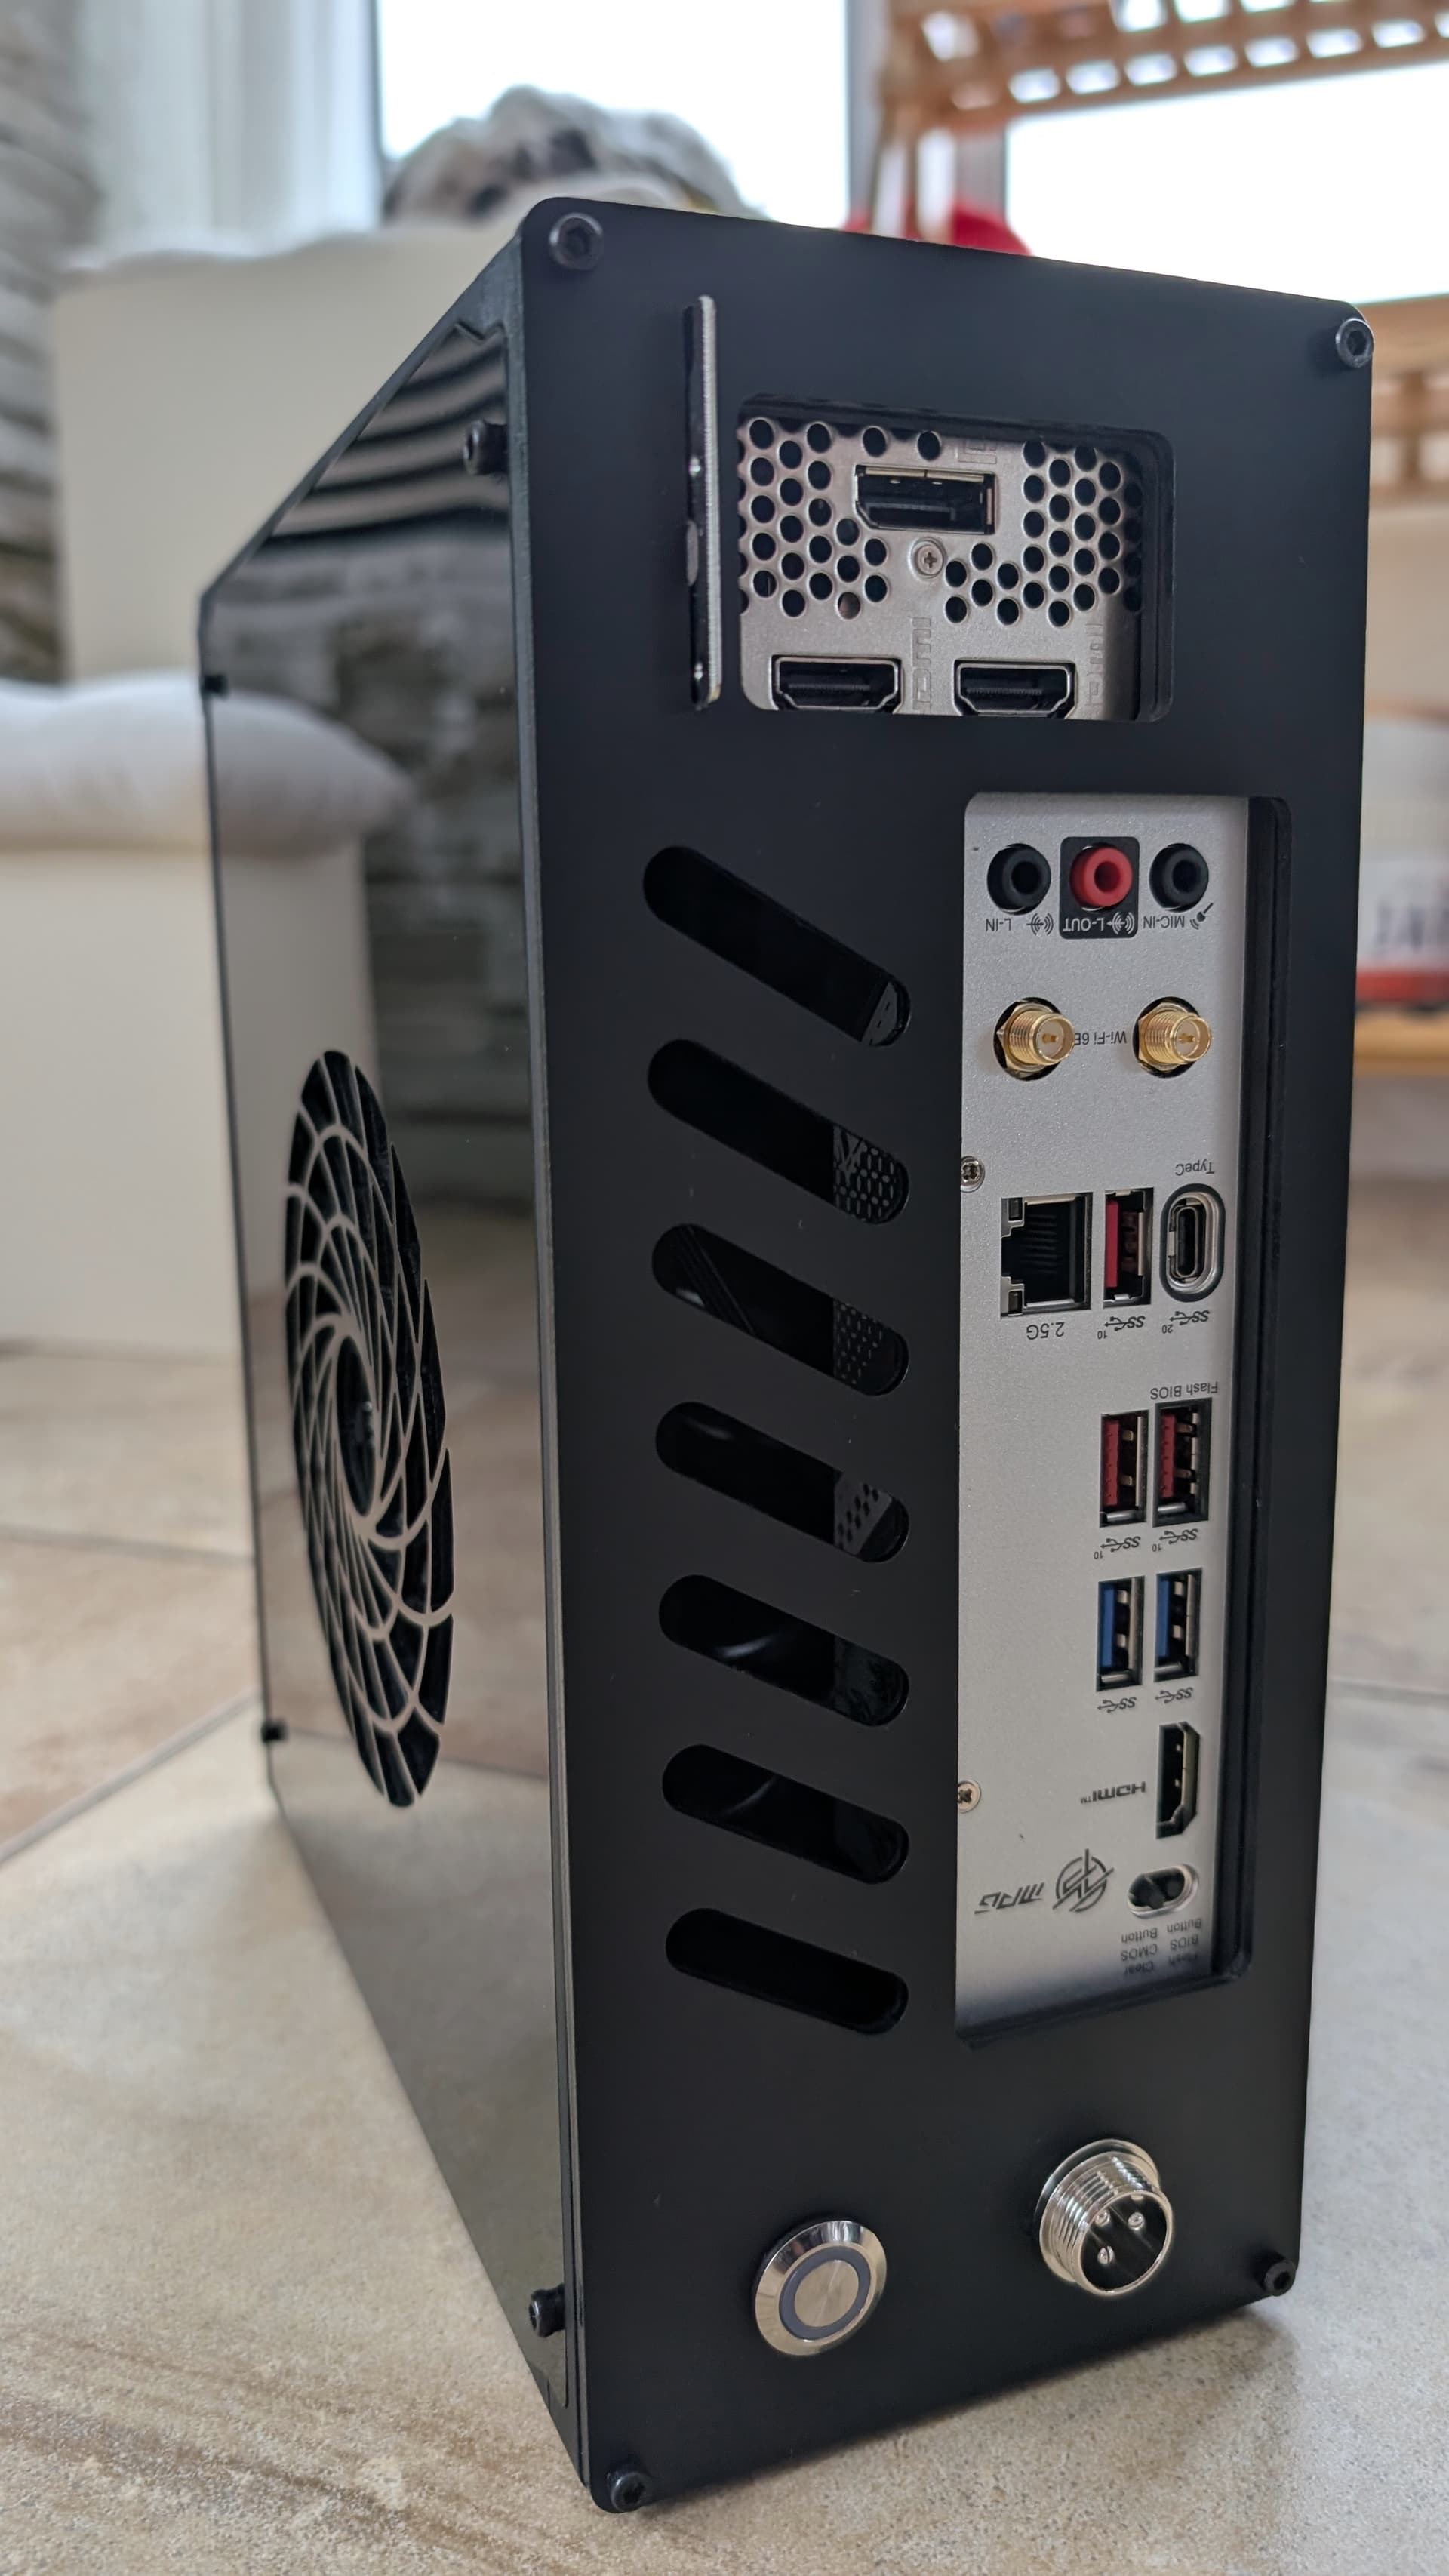
Otherwise, the components are the following:

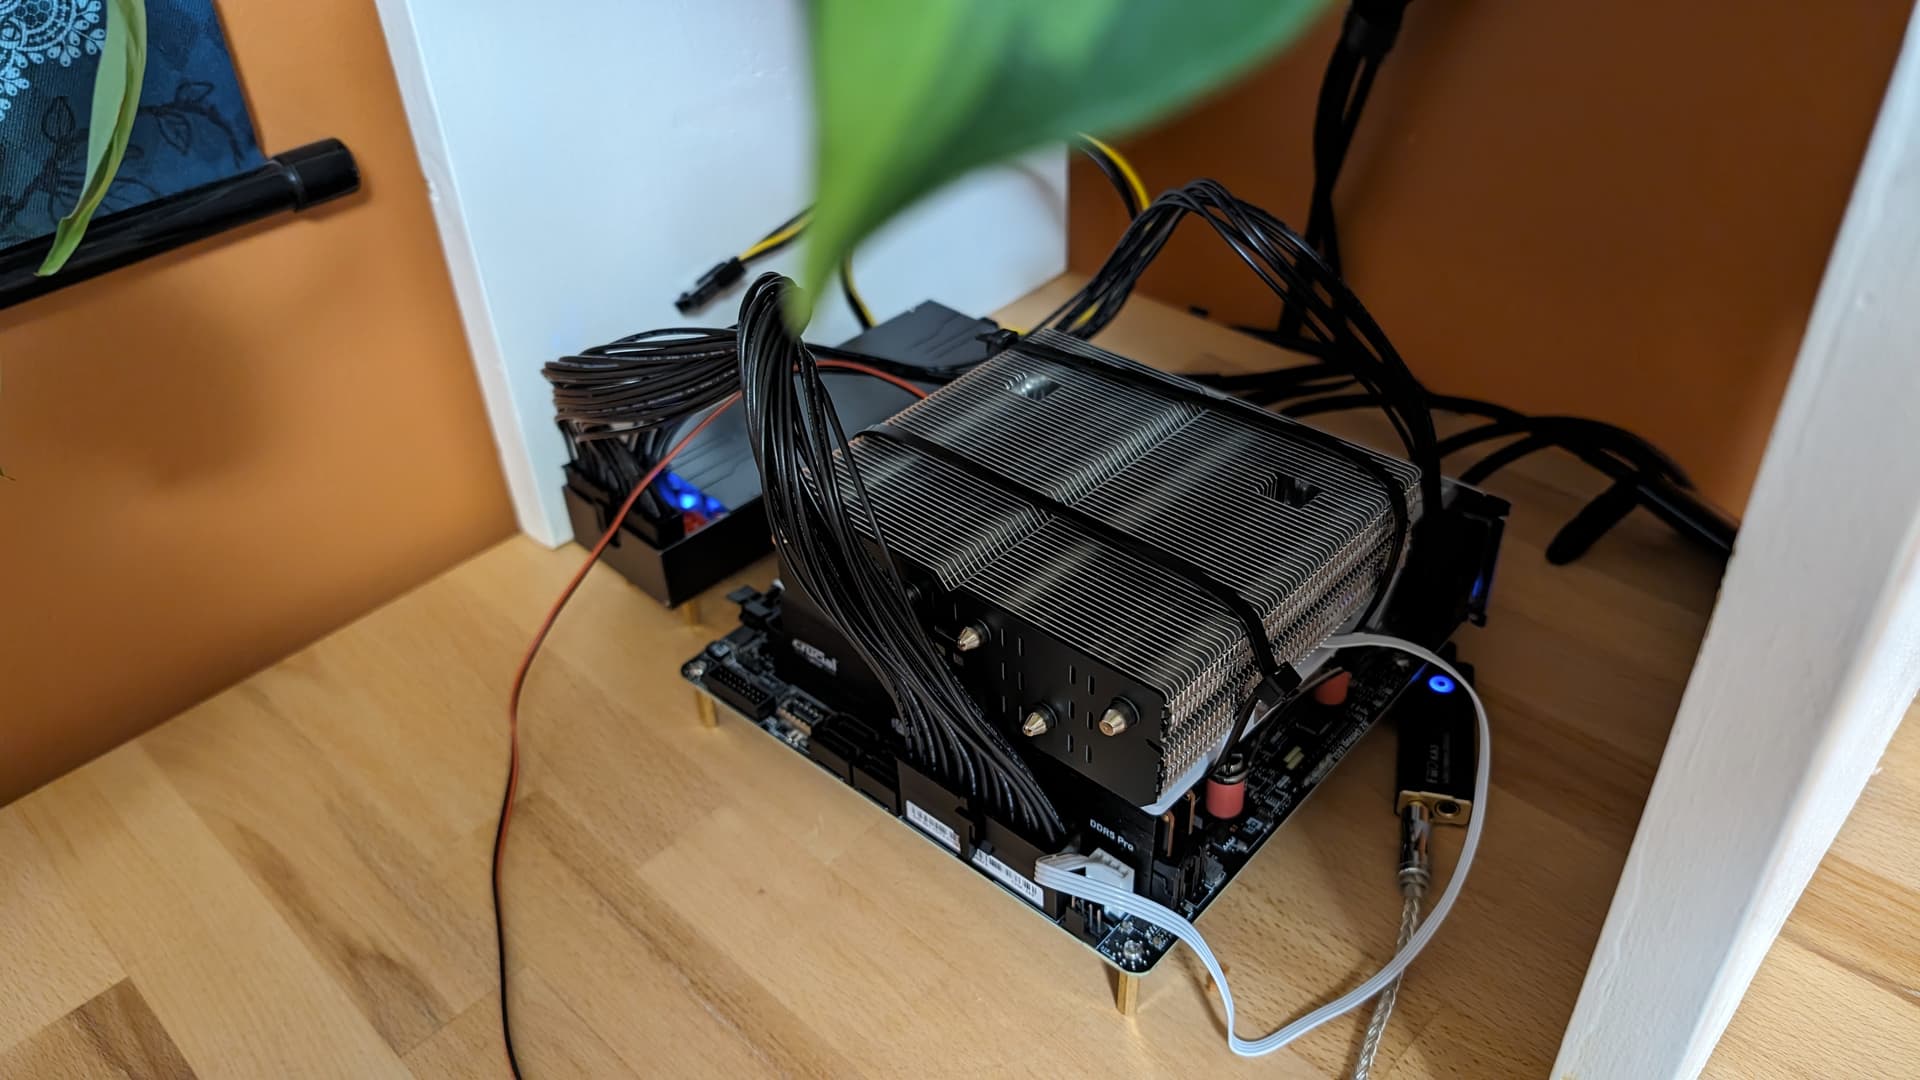
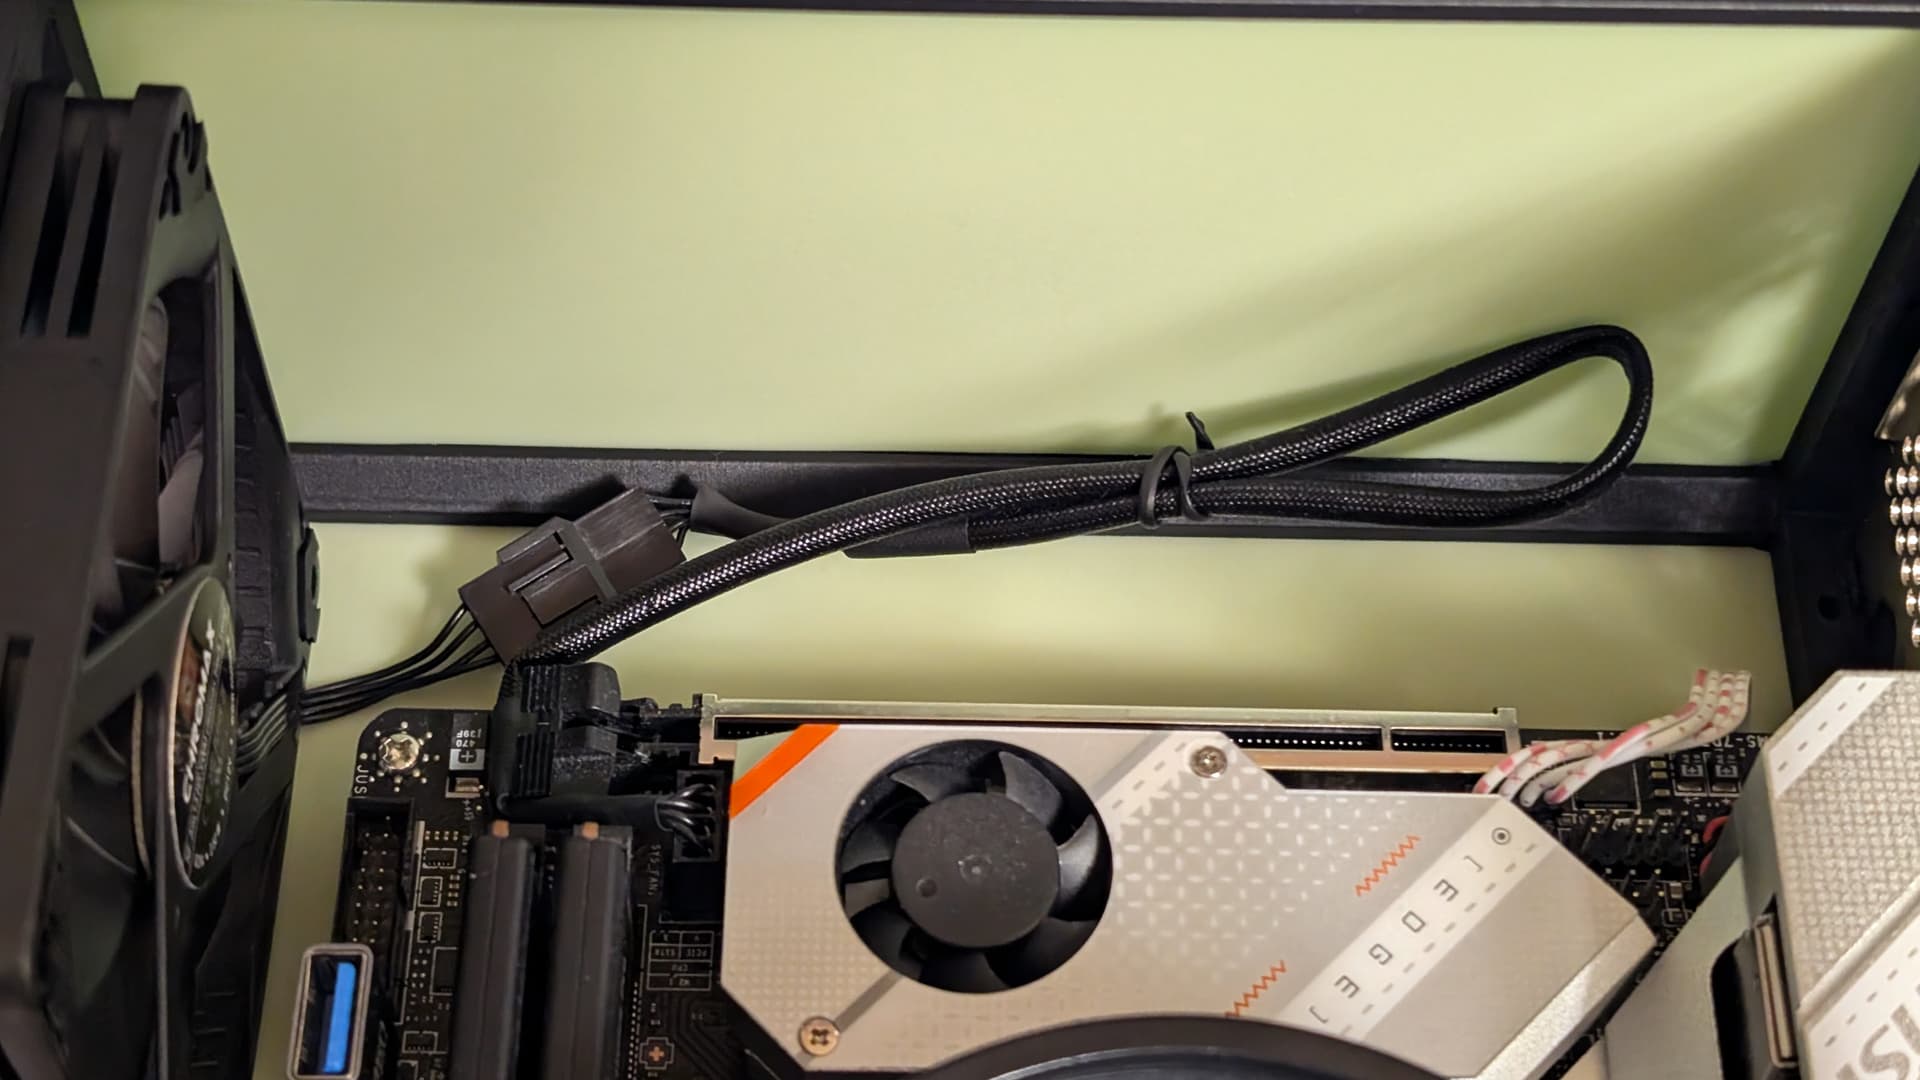
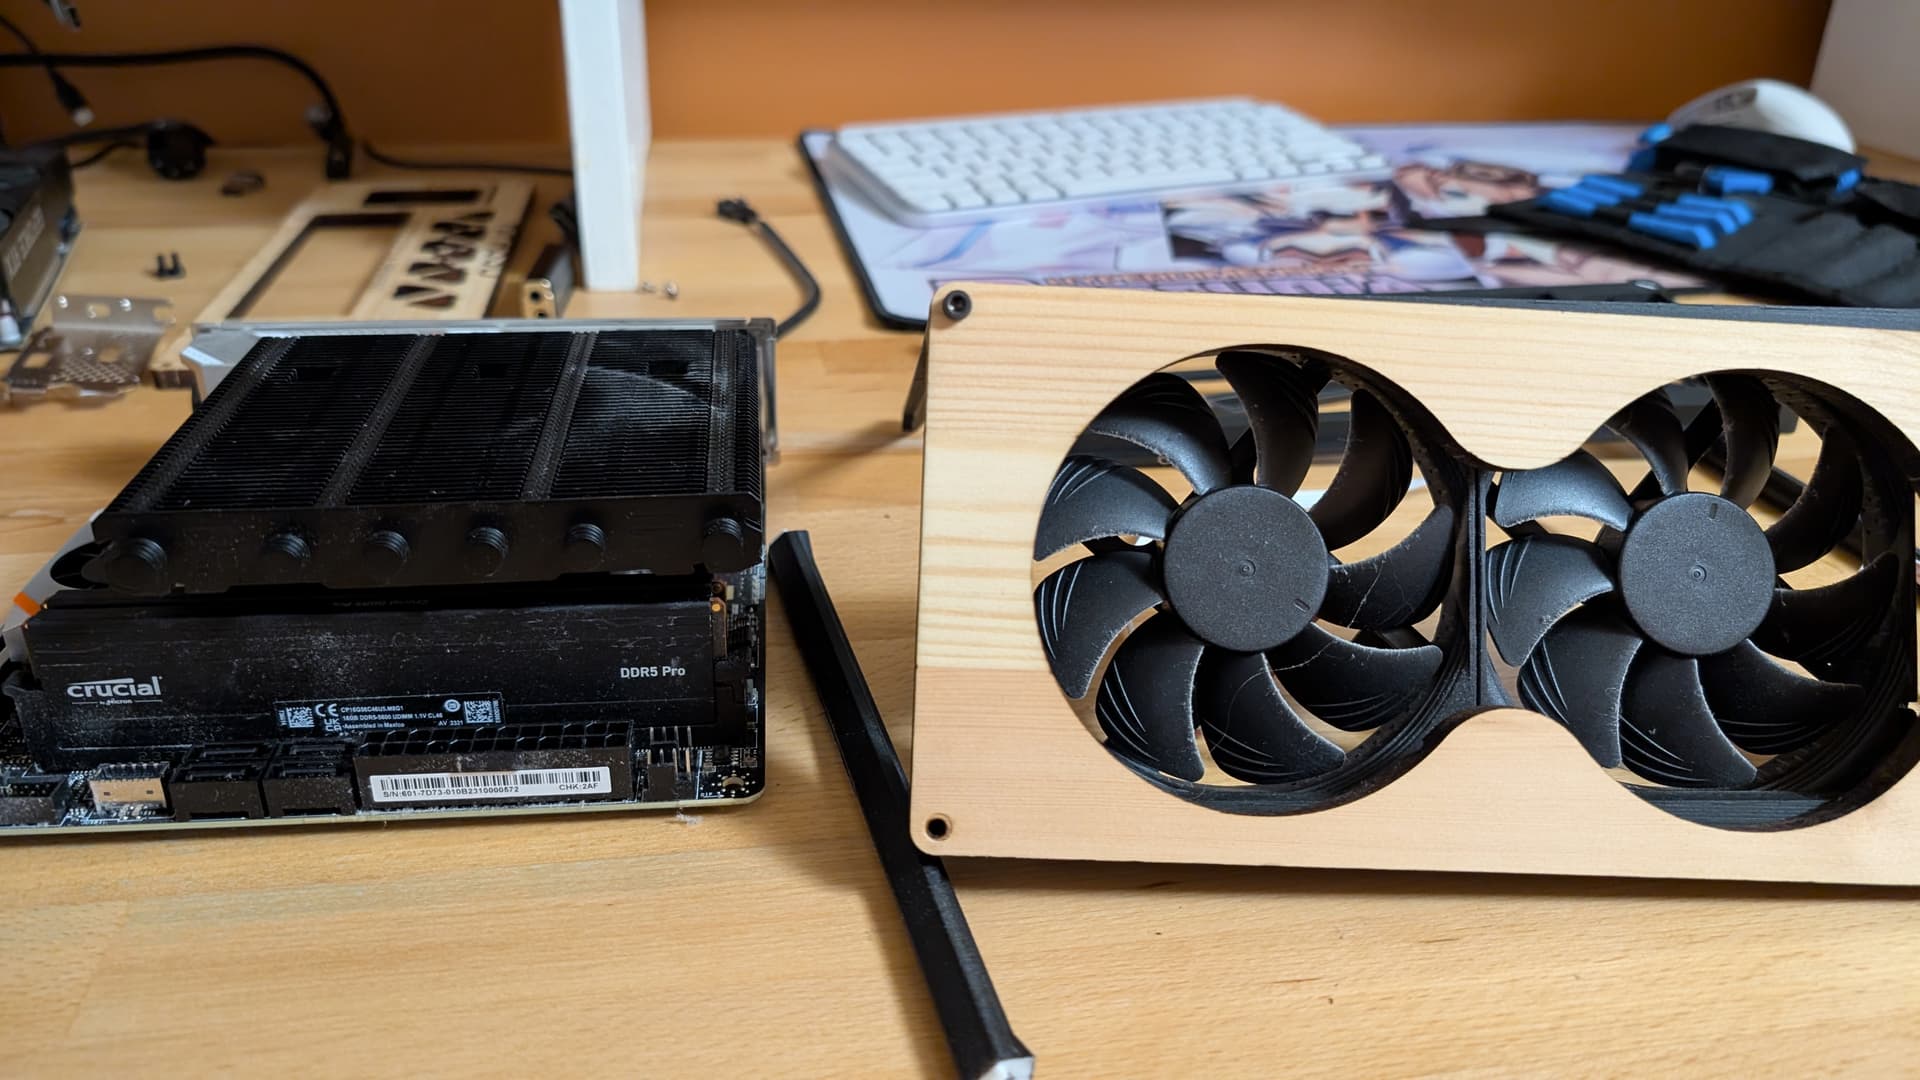
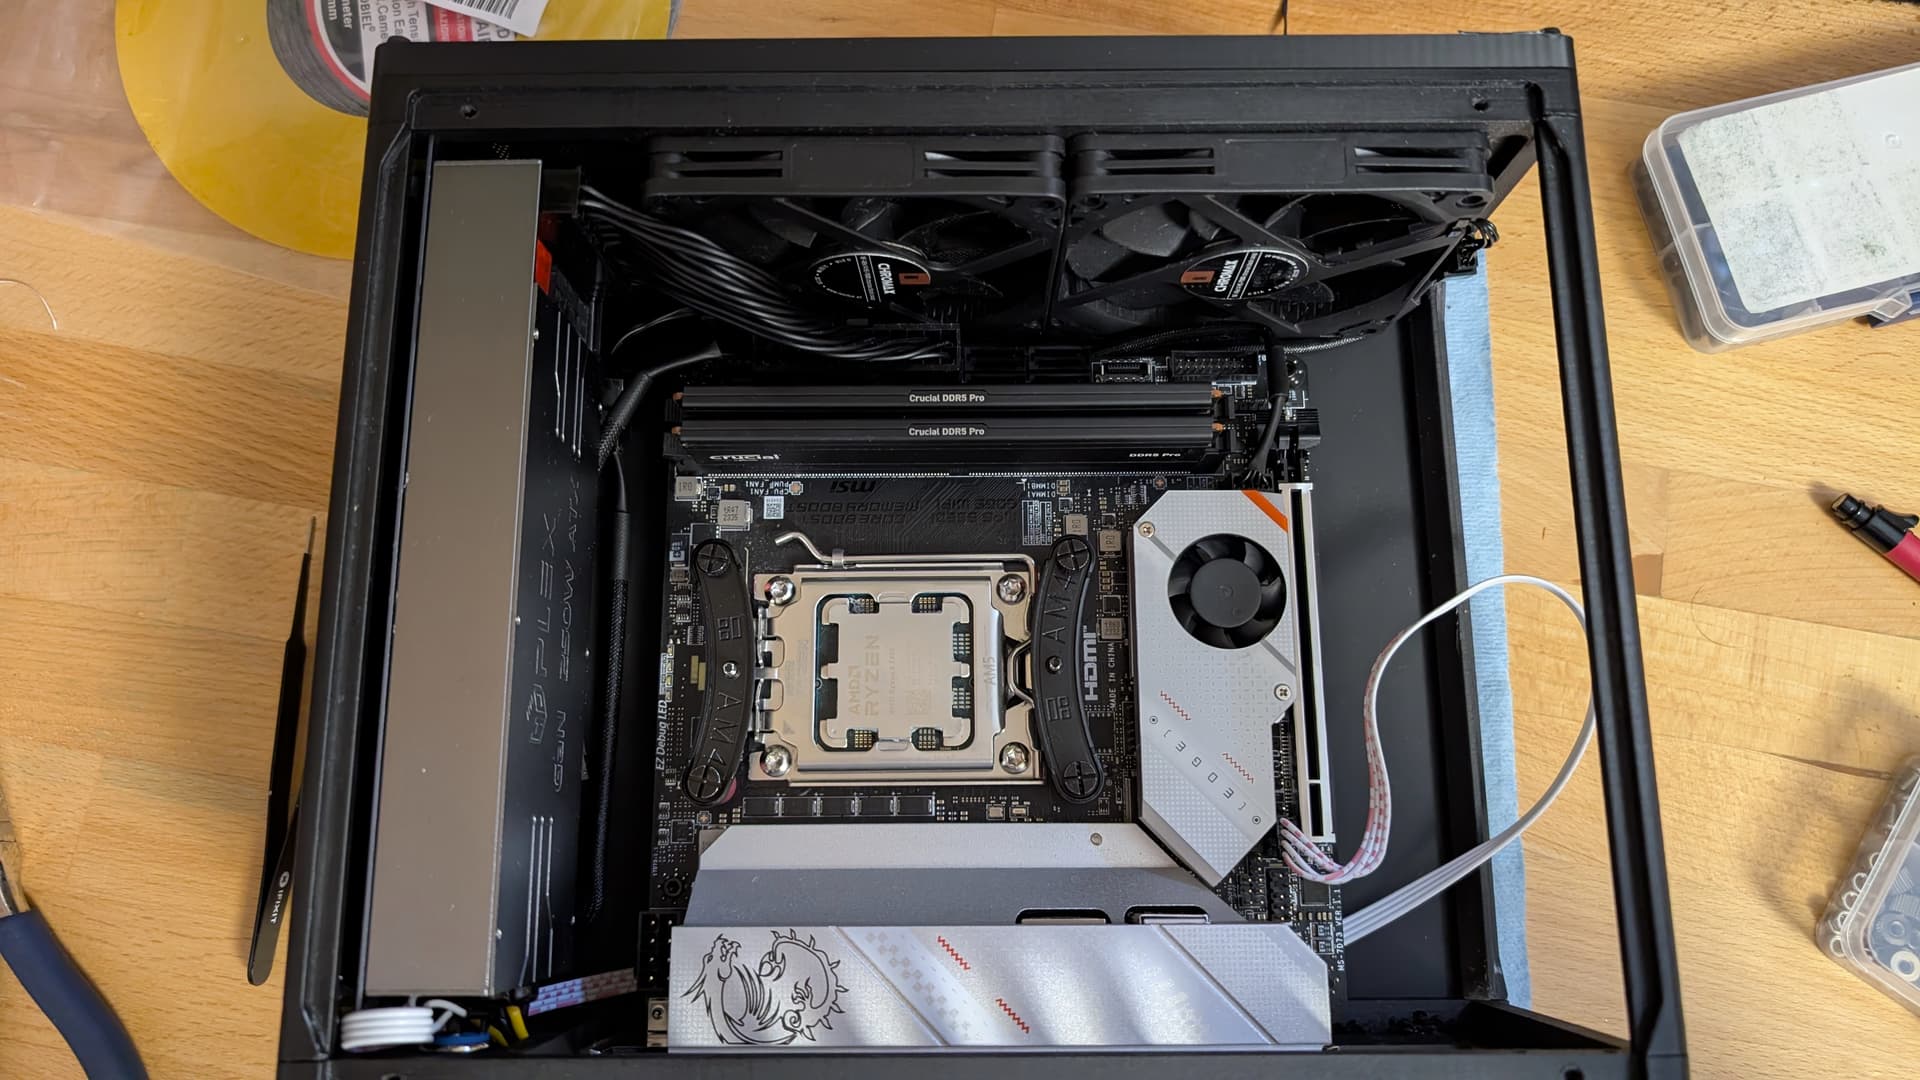
  • Ryzen 7600 (bought with a flash deal)
  • MSI MPG B650I Edge WiFi (also got a really good price on that one, I was intending to A650i first)
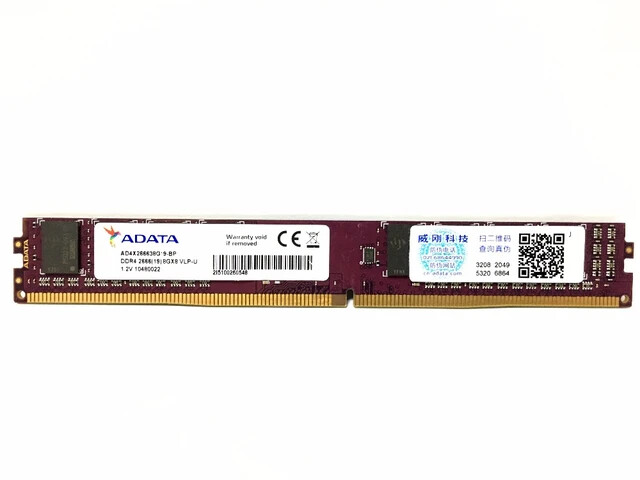
  • 32GB Crucial Pro 5600Mhz DDR5 ram
  • Solidigm P41 Plus 2TB (got one for cheap)
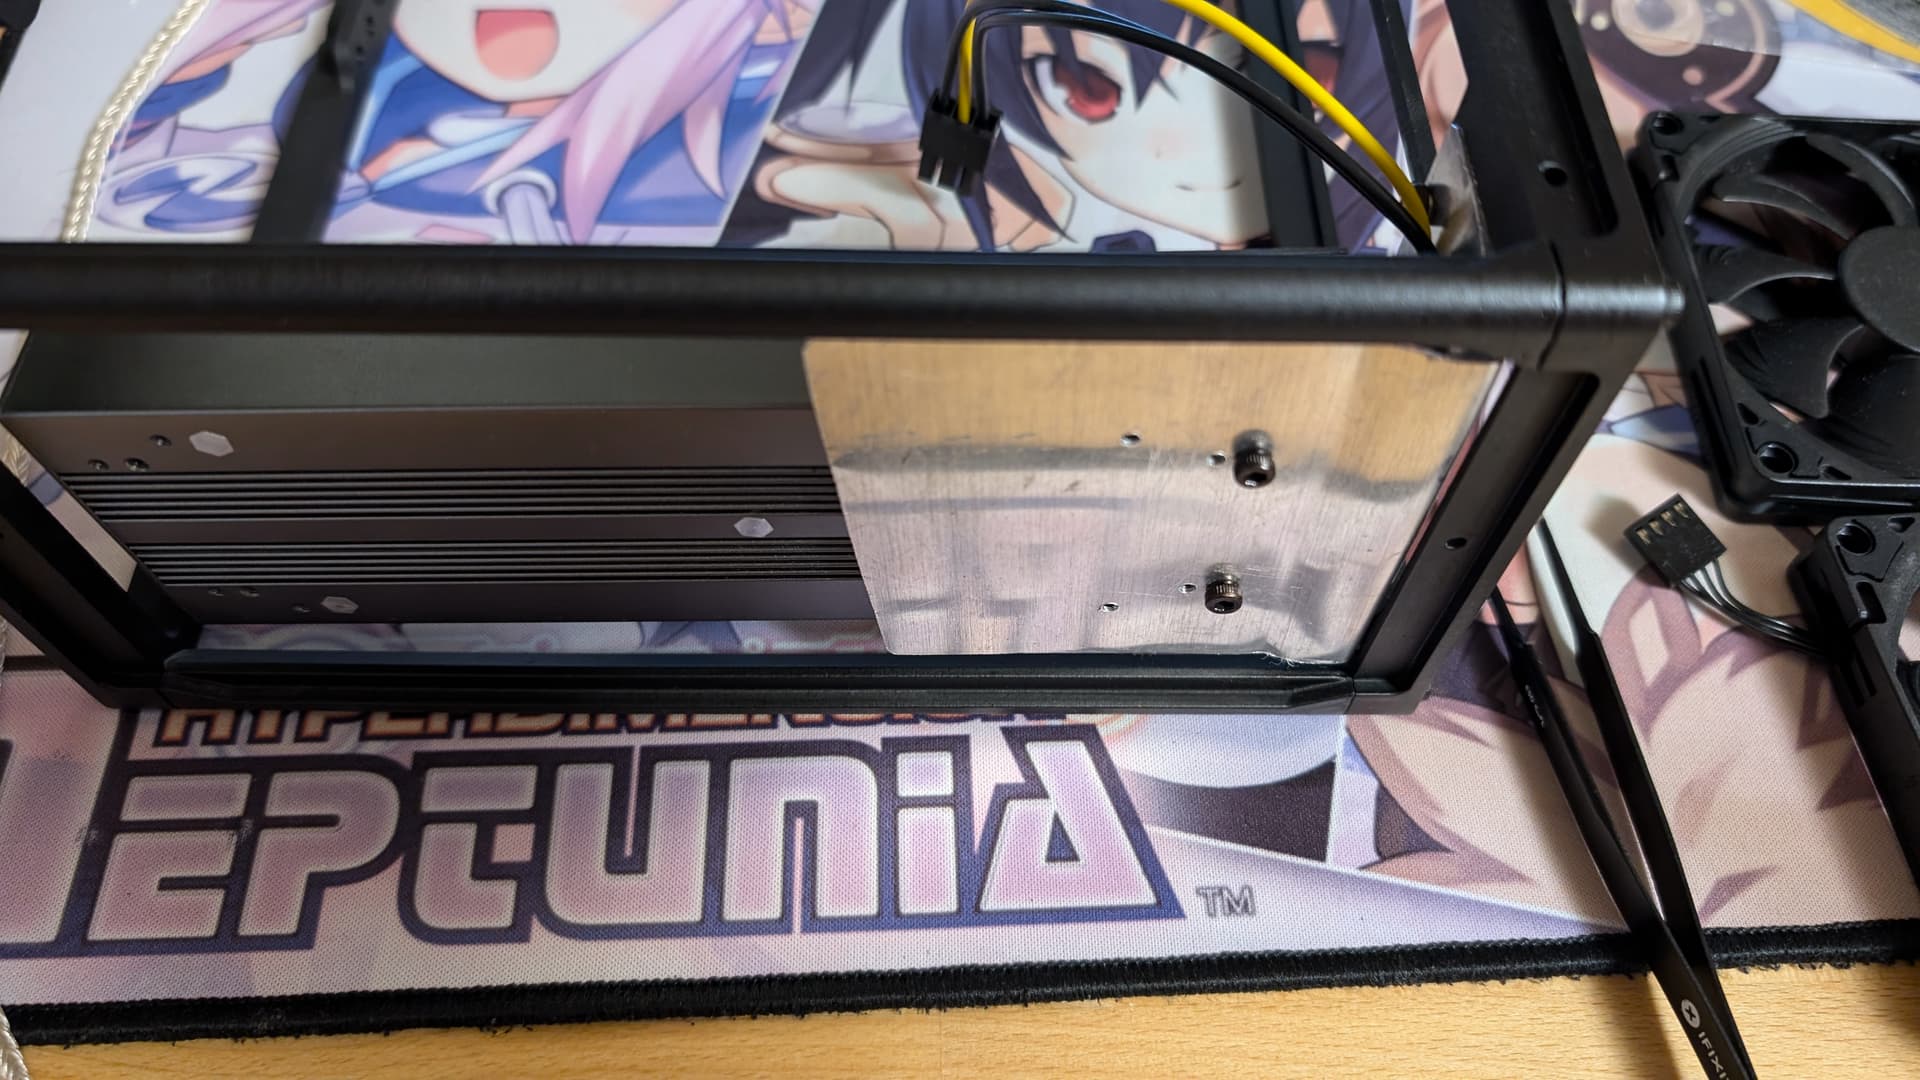
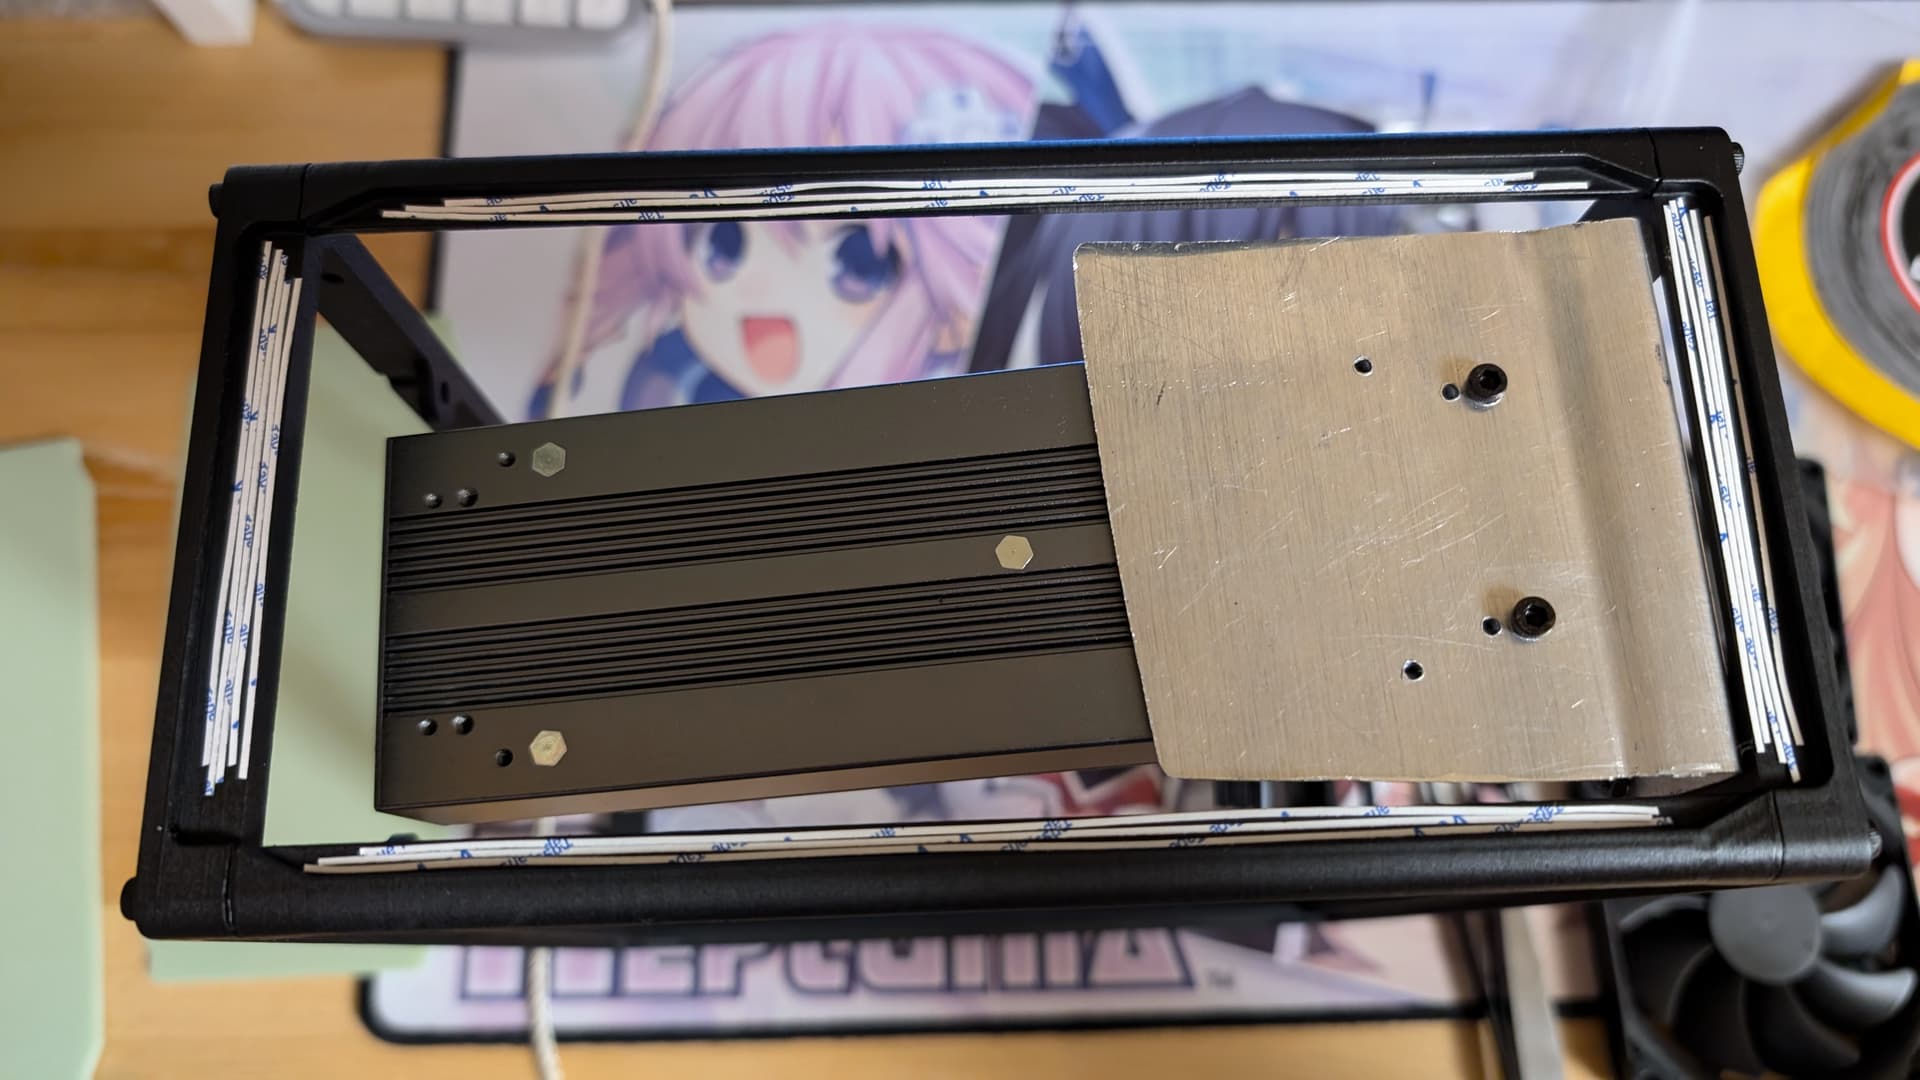
  • LP RTX 3050 (will get in the future or when there will be a rebate)
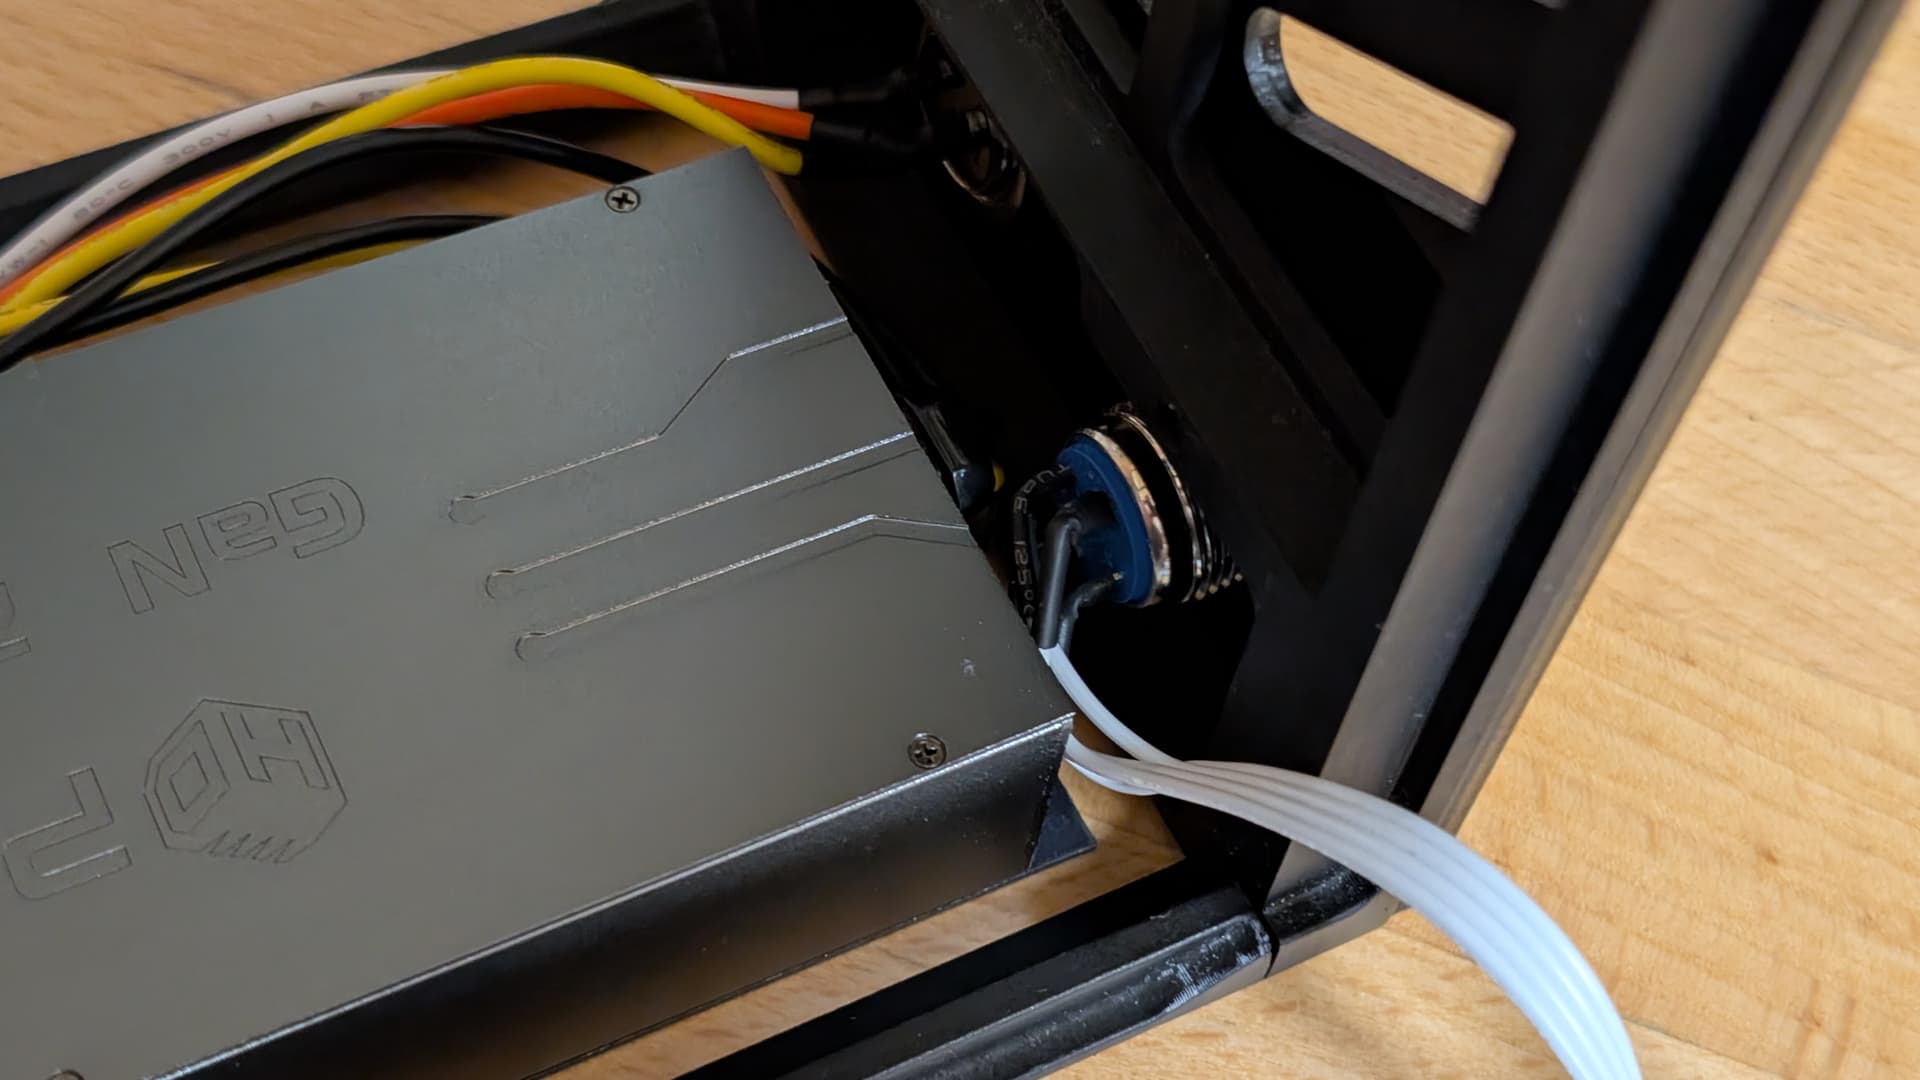
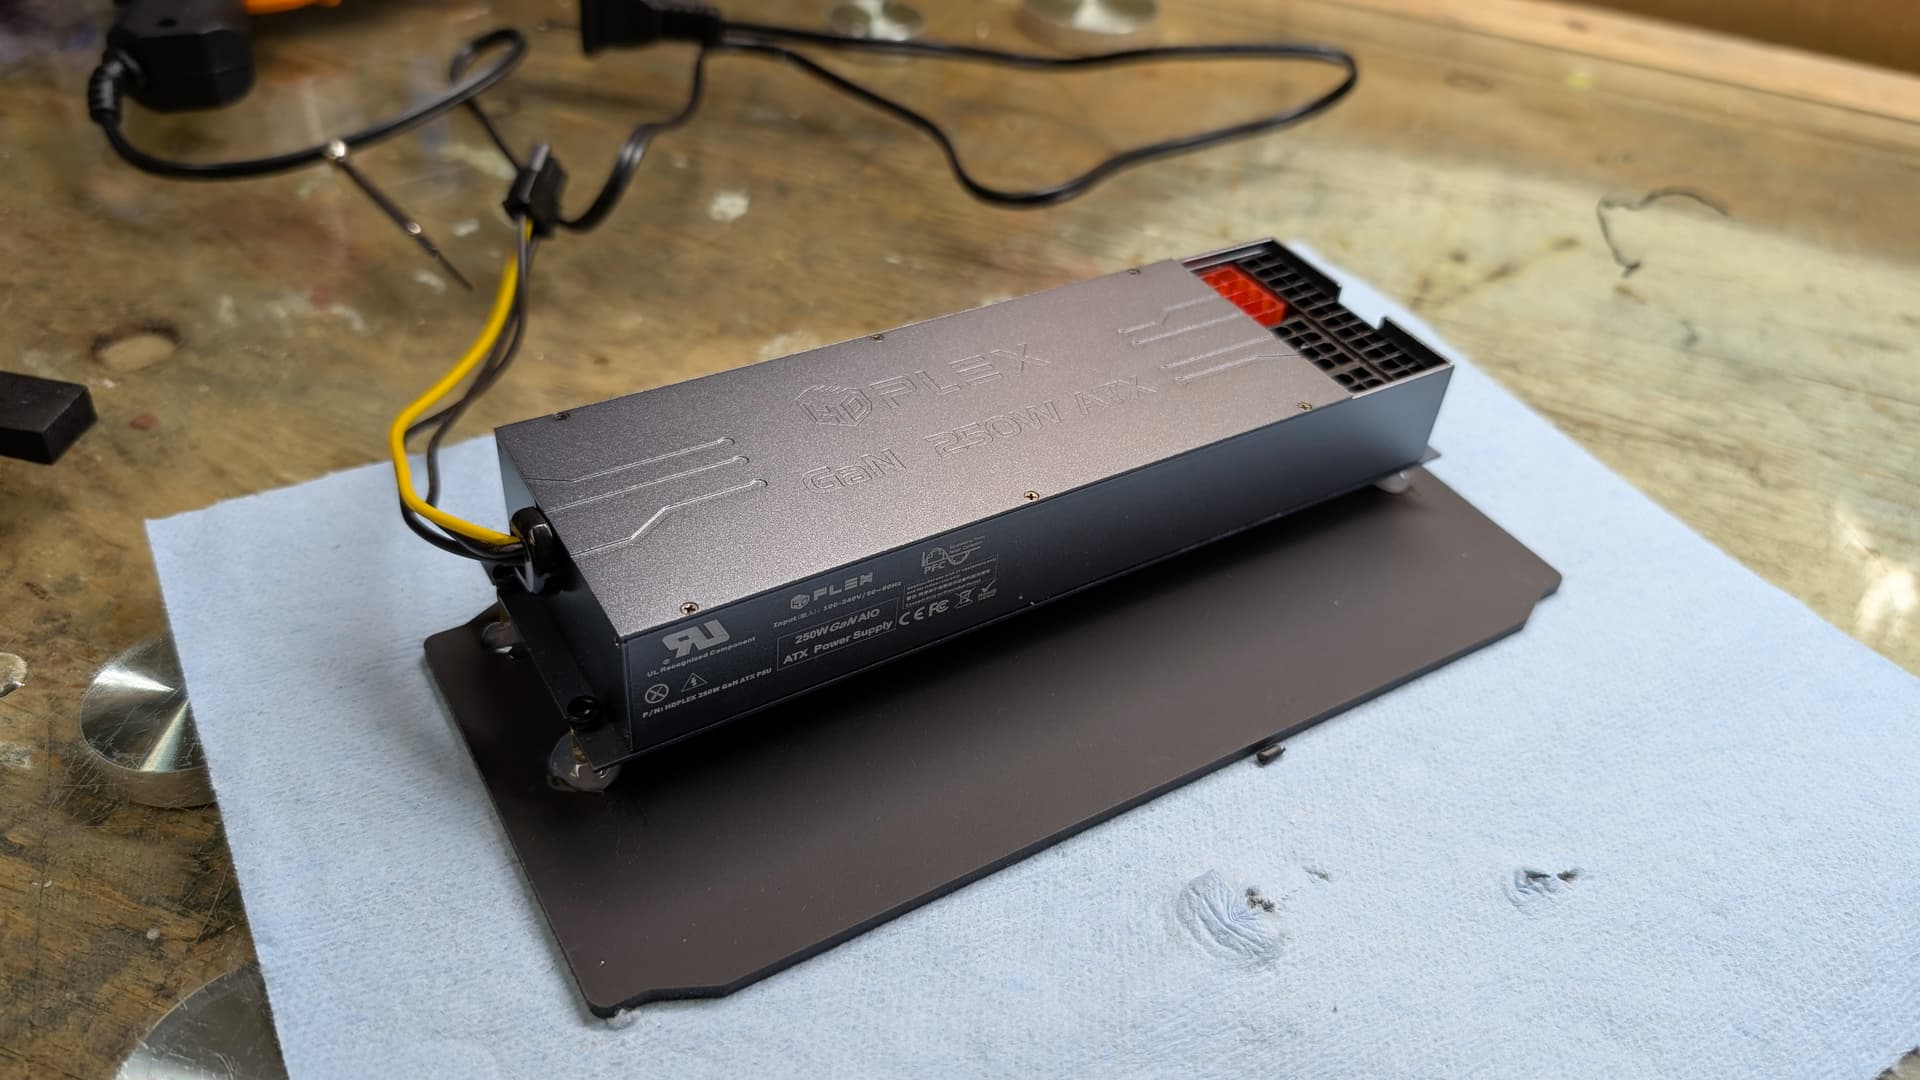
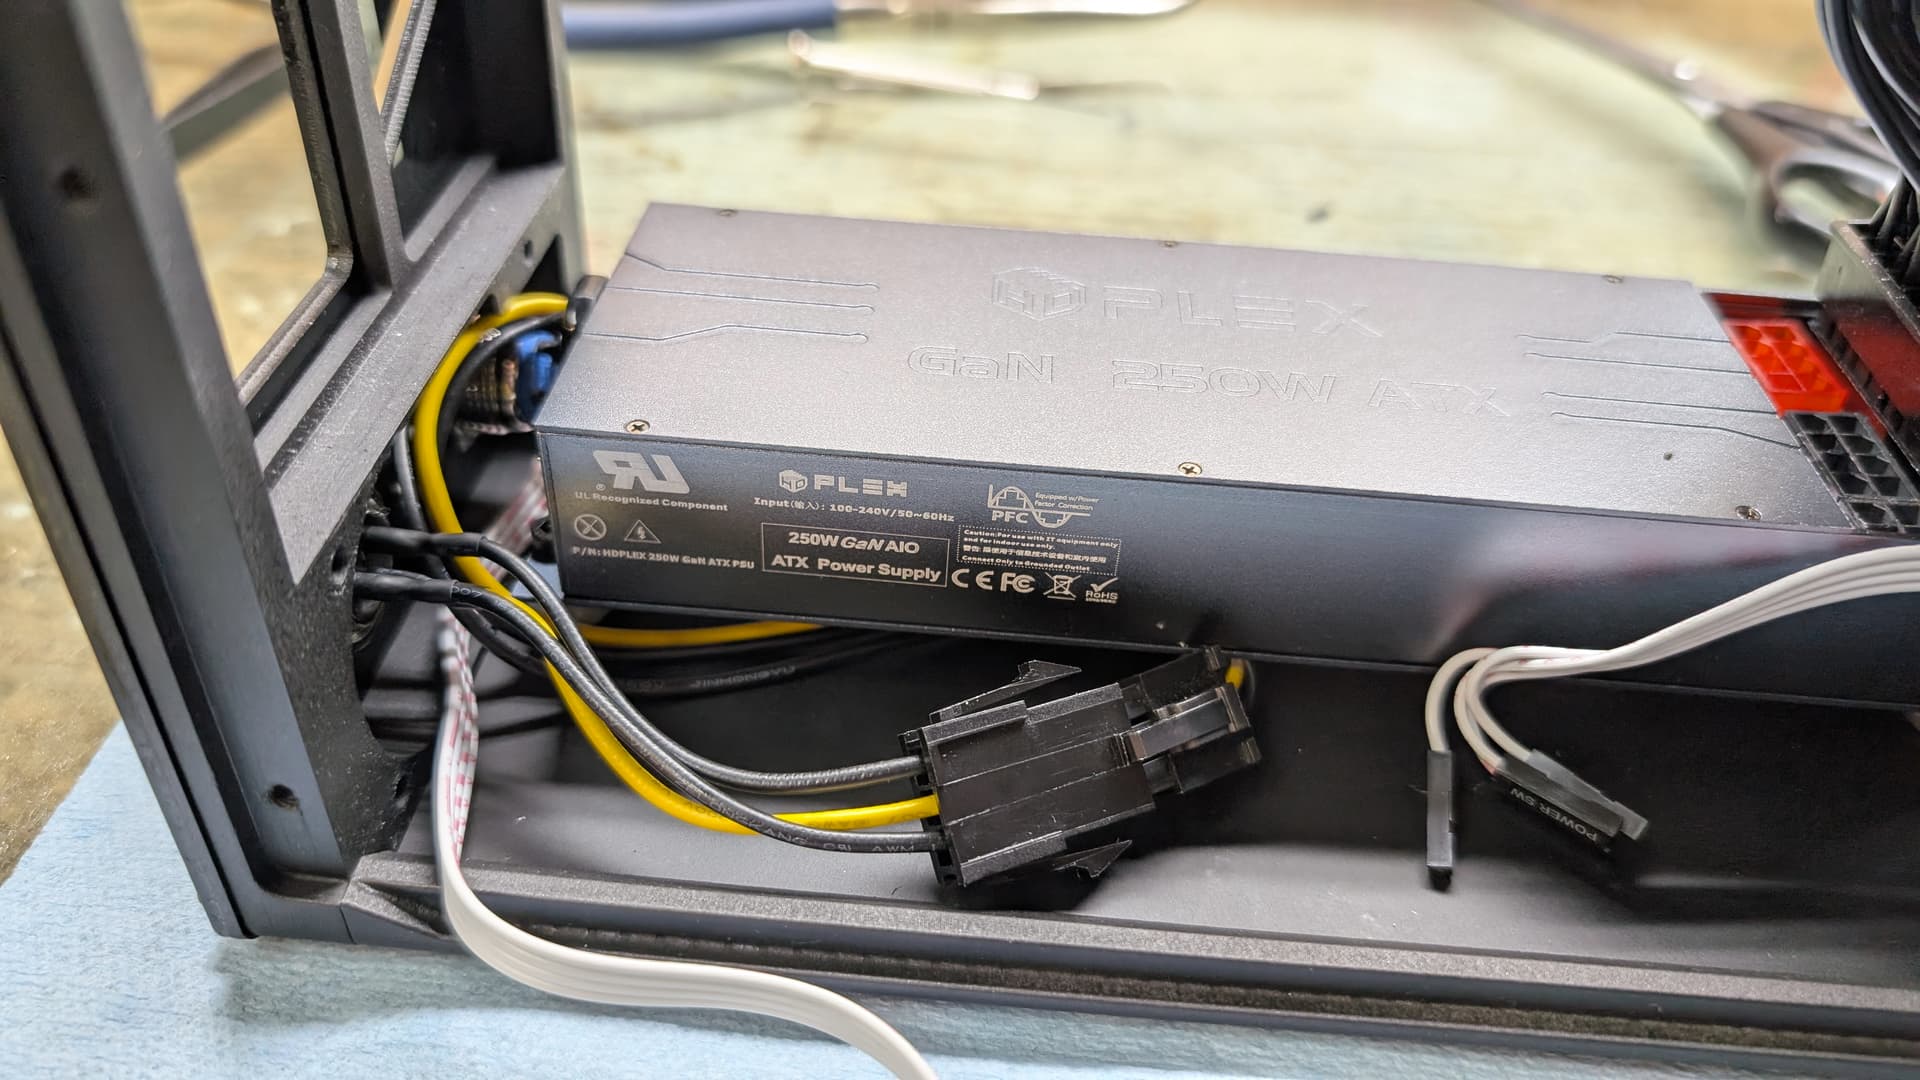
  • HDPlex GaN 250W
5 Likes

Reserved for final pics

And that was why I wanted to already create this vlog. I already start thinkering about the cooler lol.

Because I could just went with a Noctua NH-L12S, or go cheaper with a Thermalright AXP120-X67, and have no problem and call it a day. But I like pushing the envelope and doing stuff the complicated way lol.

What made me want to go the more risky route was the fact that:

  1. the NFC-4TF has a pretty large area above the CPU that will uncluttered and will benefit from the flow of the front fan, which led me to
  2. wonder if I can possibly pull off cooling the CPU passively in that case, as I only deal with a 65W TDP CPU.

So that made me buy the Thermalright SI-100. It’s a 100mm tall CPU cooler, but if you remove the 25 mm thick fan, it becomes a 75mm fan. So technically, if I go by the size of the front piece in the .stl, I should still have maybe 1-2mm of clearance :grin: (Also I bought Noctua mounting bars to hopefully mount the cooler with the fins parallel to the airflow, but the threading is not the same unfortunately)

I did a quick and dirty test with my two 92mm fan I had, and an acrylic sheet to simulate the kind of airflow in the case to see if I could cool it passively that way, but after 5 minutes of Prime95 it throttles.

However, there is a metal part underneath the cool to help support it, and it’s removable. And when removed, you can slide a slim fan underneath and cool the cooler successfully that way! So I will buy a slim 120mm fan at some and cool the cooler with it, positioning it to exhaust the hot air through the side panel that will have the ventilation holes. :grin: (ignore the zip ties, that was to be able to test with the 92mm fan I had on hand lol)


4 Likes

I ordered these last year, worked at 2933 gear 1 on my erying mobile tiger lake board, didn’t try gear 2 3200

https://www.aliexpress.us/item/3256803968985011.html
image

That would have been an interesting option, unfortunately at the end I returned the cooler because there was always some interference with the VRM cooler when mounting a slim 120mm fan below. Plus having to install the cooler in the orientation I would have wanted would have required to buy a cooler type CPU cooler (Thermalright don’t sell any mounting kits like Noctua), which would have been wasteful imo.

So right now I’m on the lookout for a discounted Noctua NH-L12S hahaha

Some update on the project, the libraries have finally finished their strike, so I swiftly went to the central library to get my pieces printed and pieces cut…

But the laser cutter was not available because during the renovations, the contractor overlooked to install an exhaust for it, and the 3D printer was lacking a spool, only having a carbon enriched one that didn’t gave good result.

But at least, it’s convenient because they will print my pieces for me when the new spool will arrive and they will call me when they will be ready for me to get. And it’s so cheap, like 1$ per 10g of printed material, so the total cost for the printing will be like max 10$ in total.

Also, speaking of low cost, I’m happy with how I sourced my wood for the front and back wood panel. It’s difficult to find any thin adequate wood panel, and often it’s plywood and often ends up expensive for the quantity of material. But I recalled alcohol stores sometime sell the wood boxes they get with shipments. So I got one, only 5$ and I have real pine panels!


And speaking of cutting cost, Josh original plan calls to use 4 different of hardware sets to secure pieces and panels together. But I don’t have any on hand, and ordering the required hardware would have been expensive at the end. So instead I will only use heat brass and m3 screws, that helps reduce hardware-related cost by half.

3 Likes