Overview and Information
So you want to ceramic coat a car but dont want to pay a ton of money. You are the DIY type. This is the thread for you.
The car:
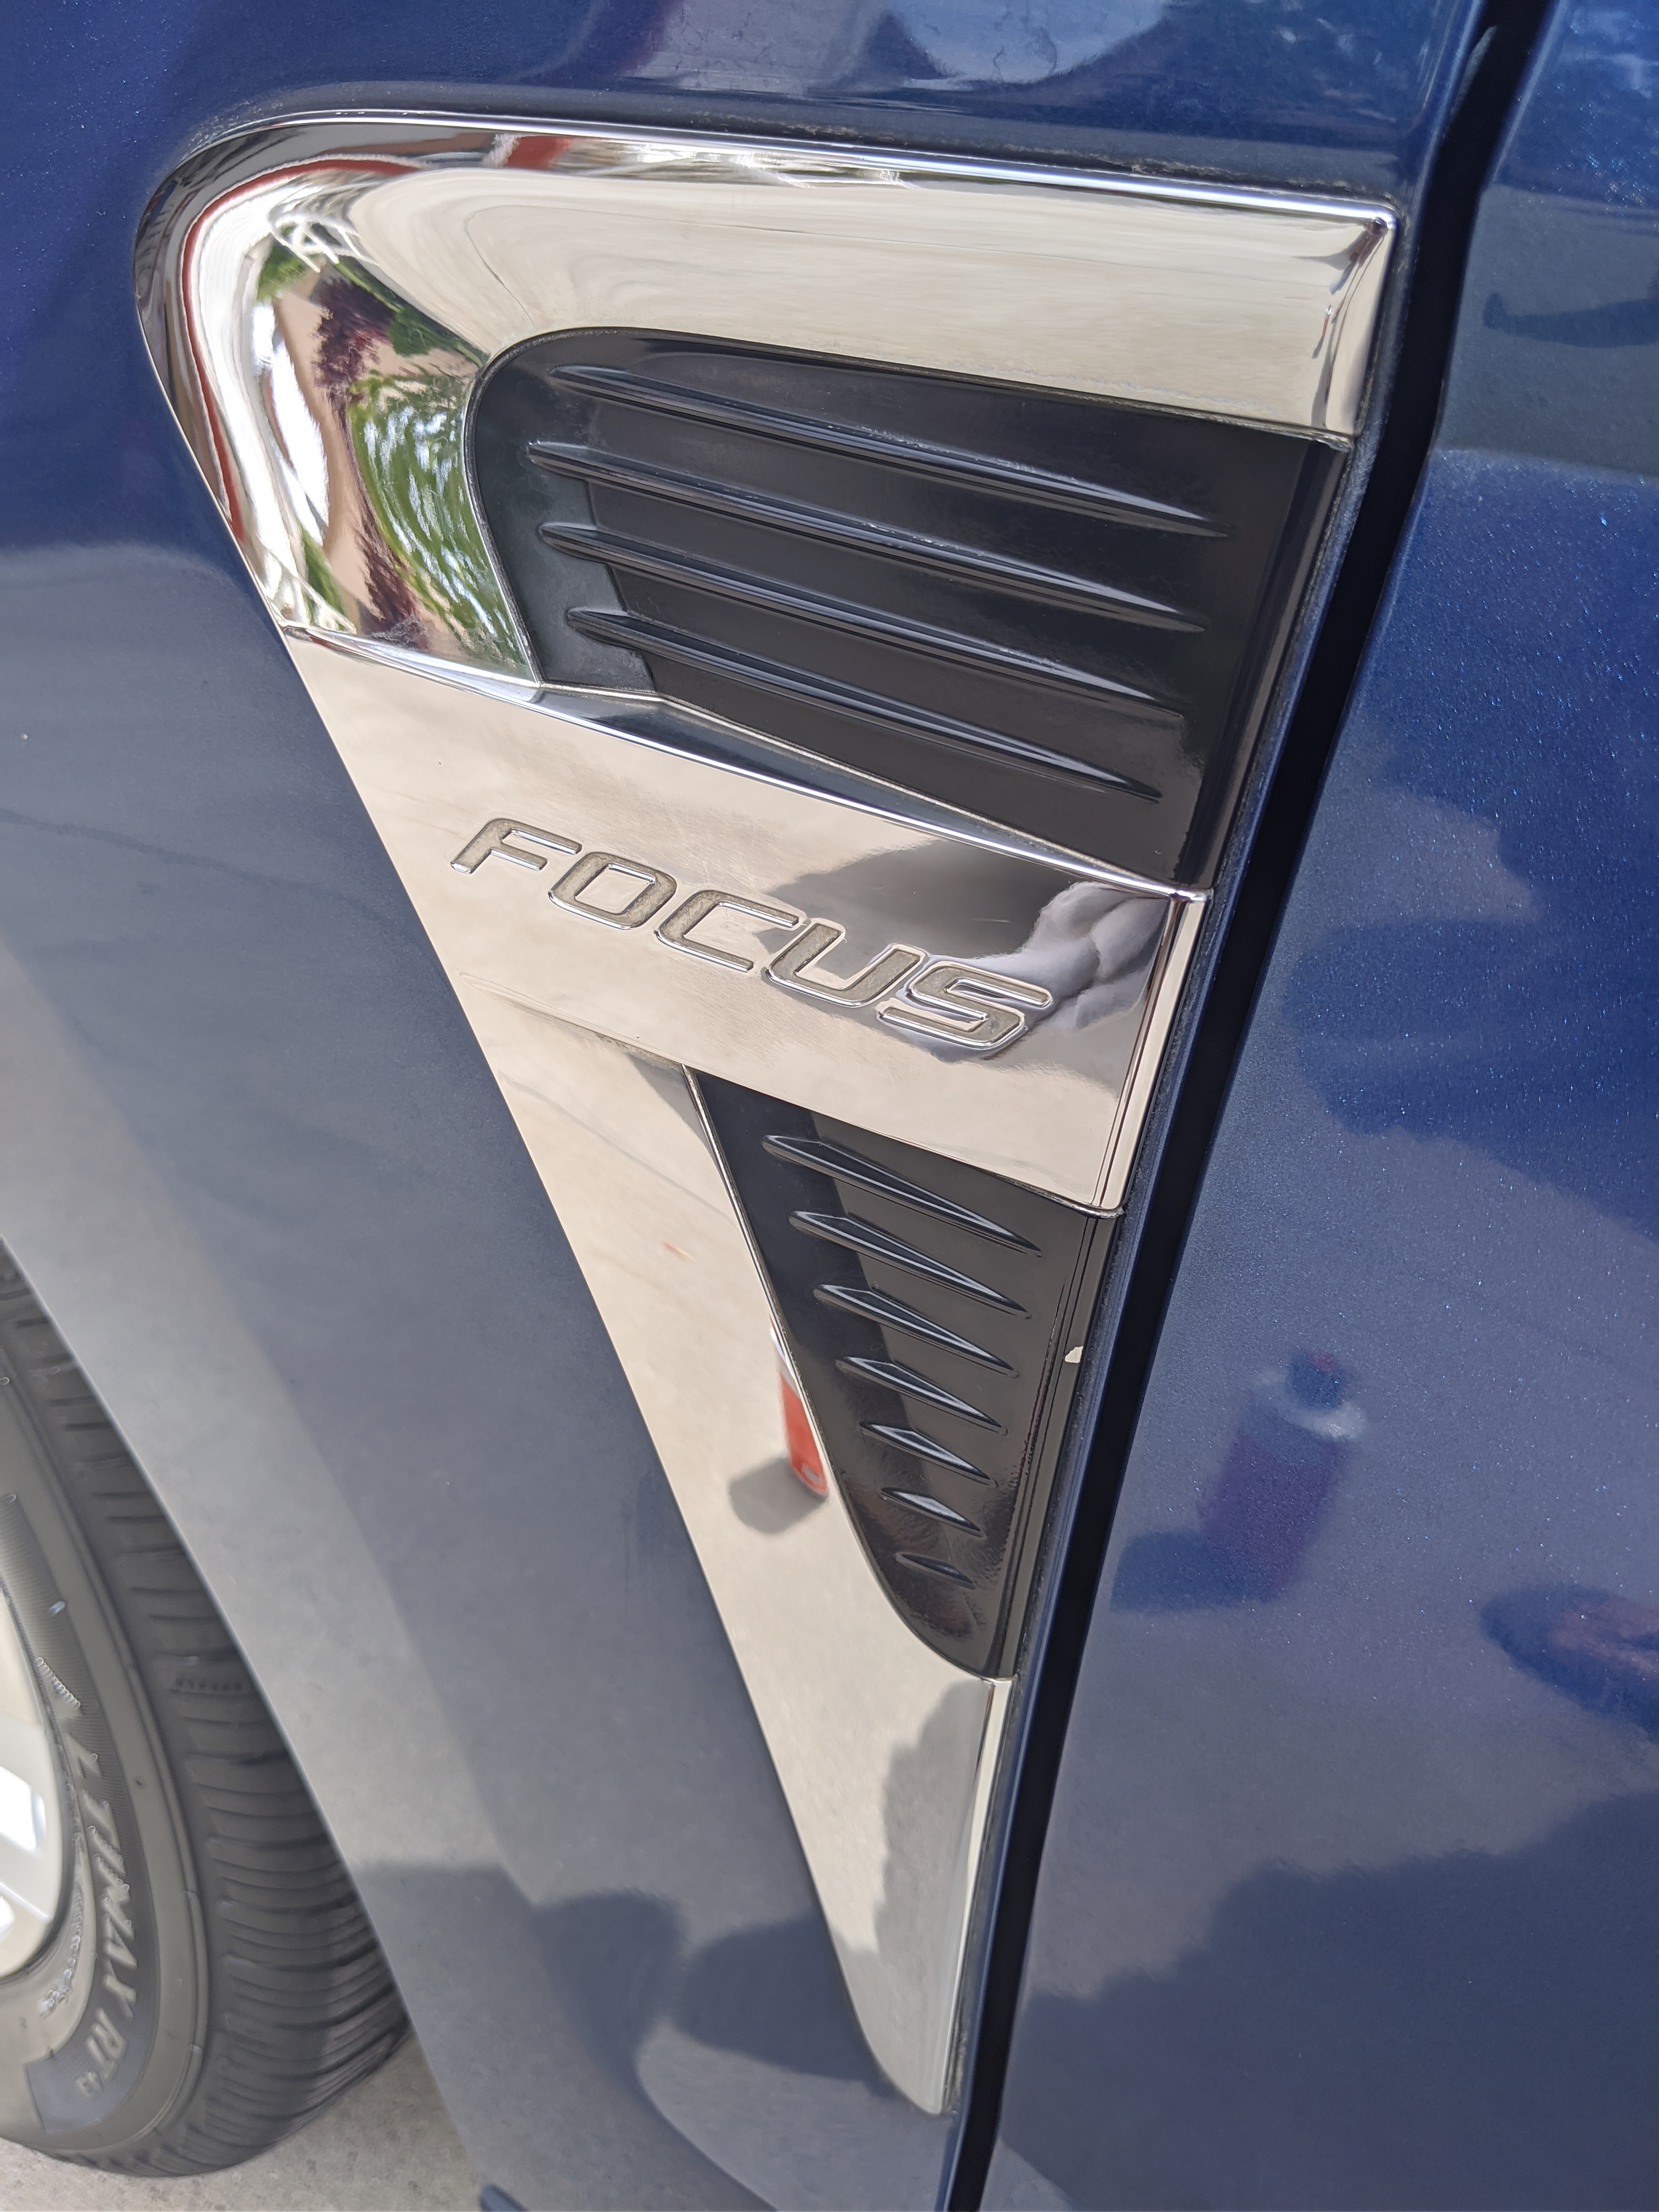
2009 Ford Focus SEL FWD Version
Odometer: 418713.7 miles
Engine: 2.0L (1999cc) Ford Duratec/Mazda L engine - Flex Fuel
Paint Condition: Poor, Very Very weathered
Wheel Condition: Curb rashed, terrible.
Tires: General Altimax RT43 All season tires 205/55/R16 (Wonderful tires 13k and still at 9/32)
Products Used:
Ceramic Coat Product: https://www.amazon.com/CarPro-Cquartz-30-Ml-Kit/dp/B005DZJ7VA
(Recommended by @SgtAwesomesauce and after much review I agreed with him) (highest SiO2 concentration and Reviews)
Wash Soap: https://www.amazon.com/Chemical-Guys-CWS_402-Super-Shampoo/dp/B00BJCAPEE?psc=1
Clay Bar Kit: https://www.amazon.com/gp/product/B0009IQYEO?linkId=34c36c7f486166e5ee89369fa1ec0b17
Clay Lube Mix: Homemade. Any simple instant detailer will work as a lube but keep in mind you will need to remove the polymer with isopropyl afterwards
Rubbing Compound: https://www.amazon.com/Meguiars-G17220-Ultimate-Compound-fluid_ounces/dp/B06W5HCZ9M
Polish: https://www.amazon.com/Meguiars-G19220-Ultimate-Polish-fluid_ounces/dp/B06X413M7J
Wash Mit: https://www.amazon.com/Meguiars-Microfiber-Wash-Mitt-Super-Thick/dp/B000RXKR6M
Utility (Buffing Towels): https://www.amazon.com/gp/product/B01CWAUA5U?psc=1
Easy cheap, wont regret discarding as buffing or oil towels post coat
Great MF Towels: https://www.amazon.com/gp/product/B00BQYCKE8?psc=1
Best ive ever used hands down and I got through a TON of stuff
Applicator Pads: https://www.amazon.com/gp/product/B0914SM277?psc=1
Fantastic Quality and easy to grab in bulk
Foam Pads (polish step requires foam): https://www.amazon.com/gp/product/B002J8379C?linkId=6645f43974243bf40592a96e13543e5b
Maintenance Products:
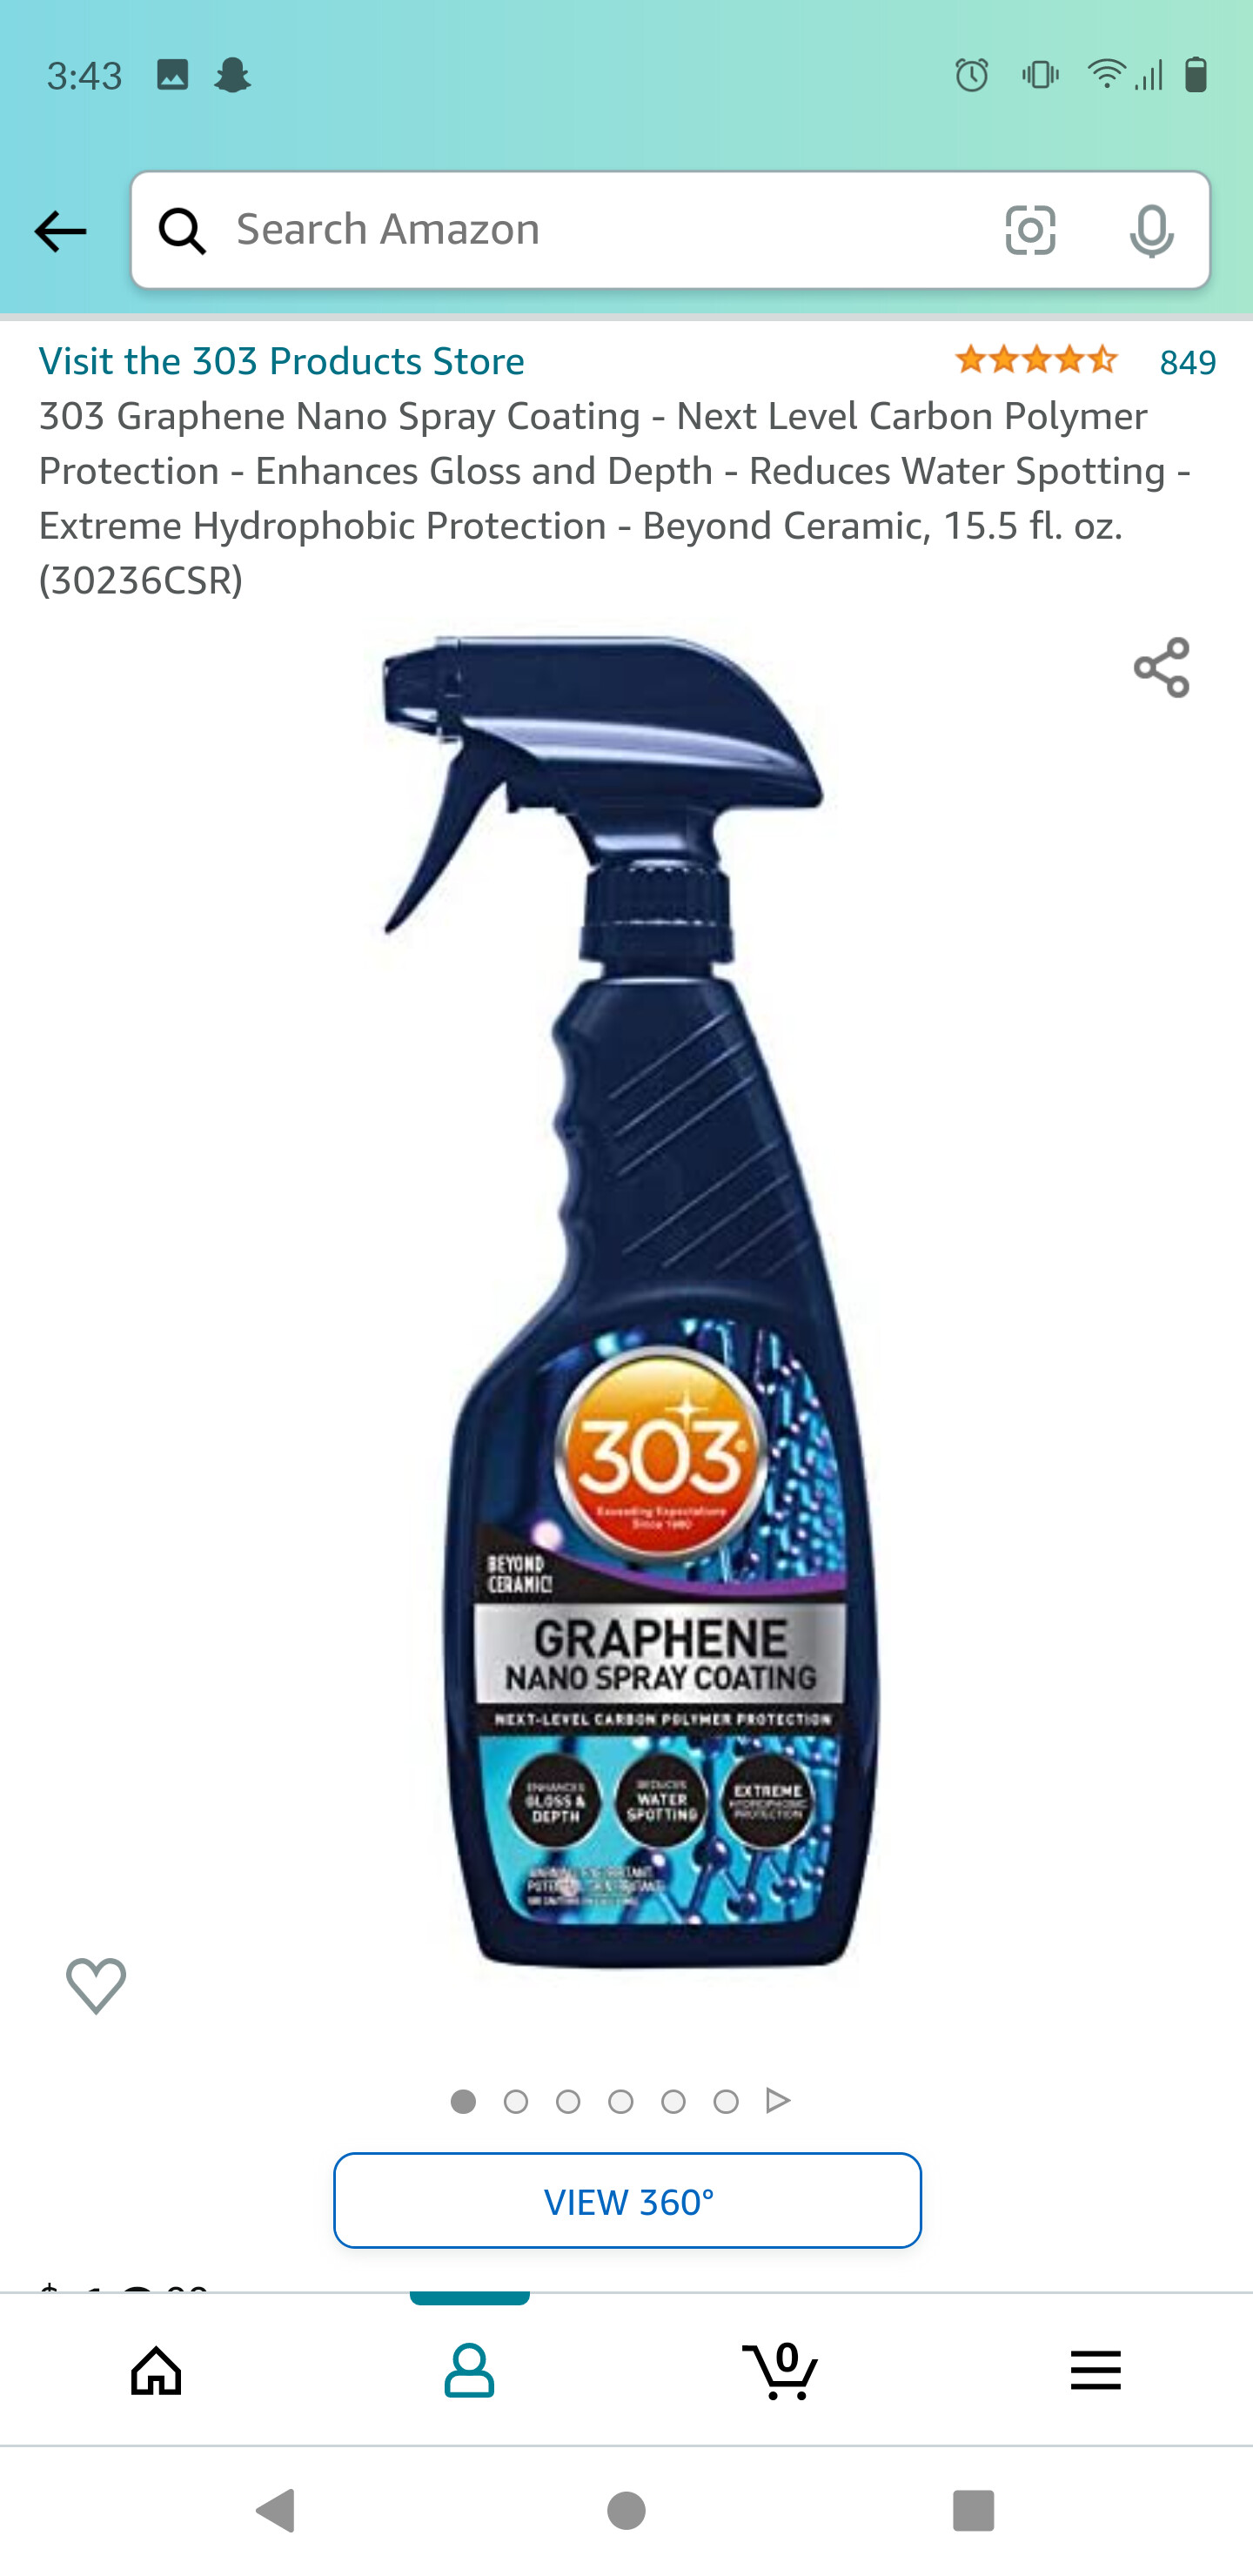
Best Value: https://www.amazon.com/303-Graphene-Nano-Spray-Coating/dp/B08K3N5QP5
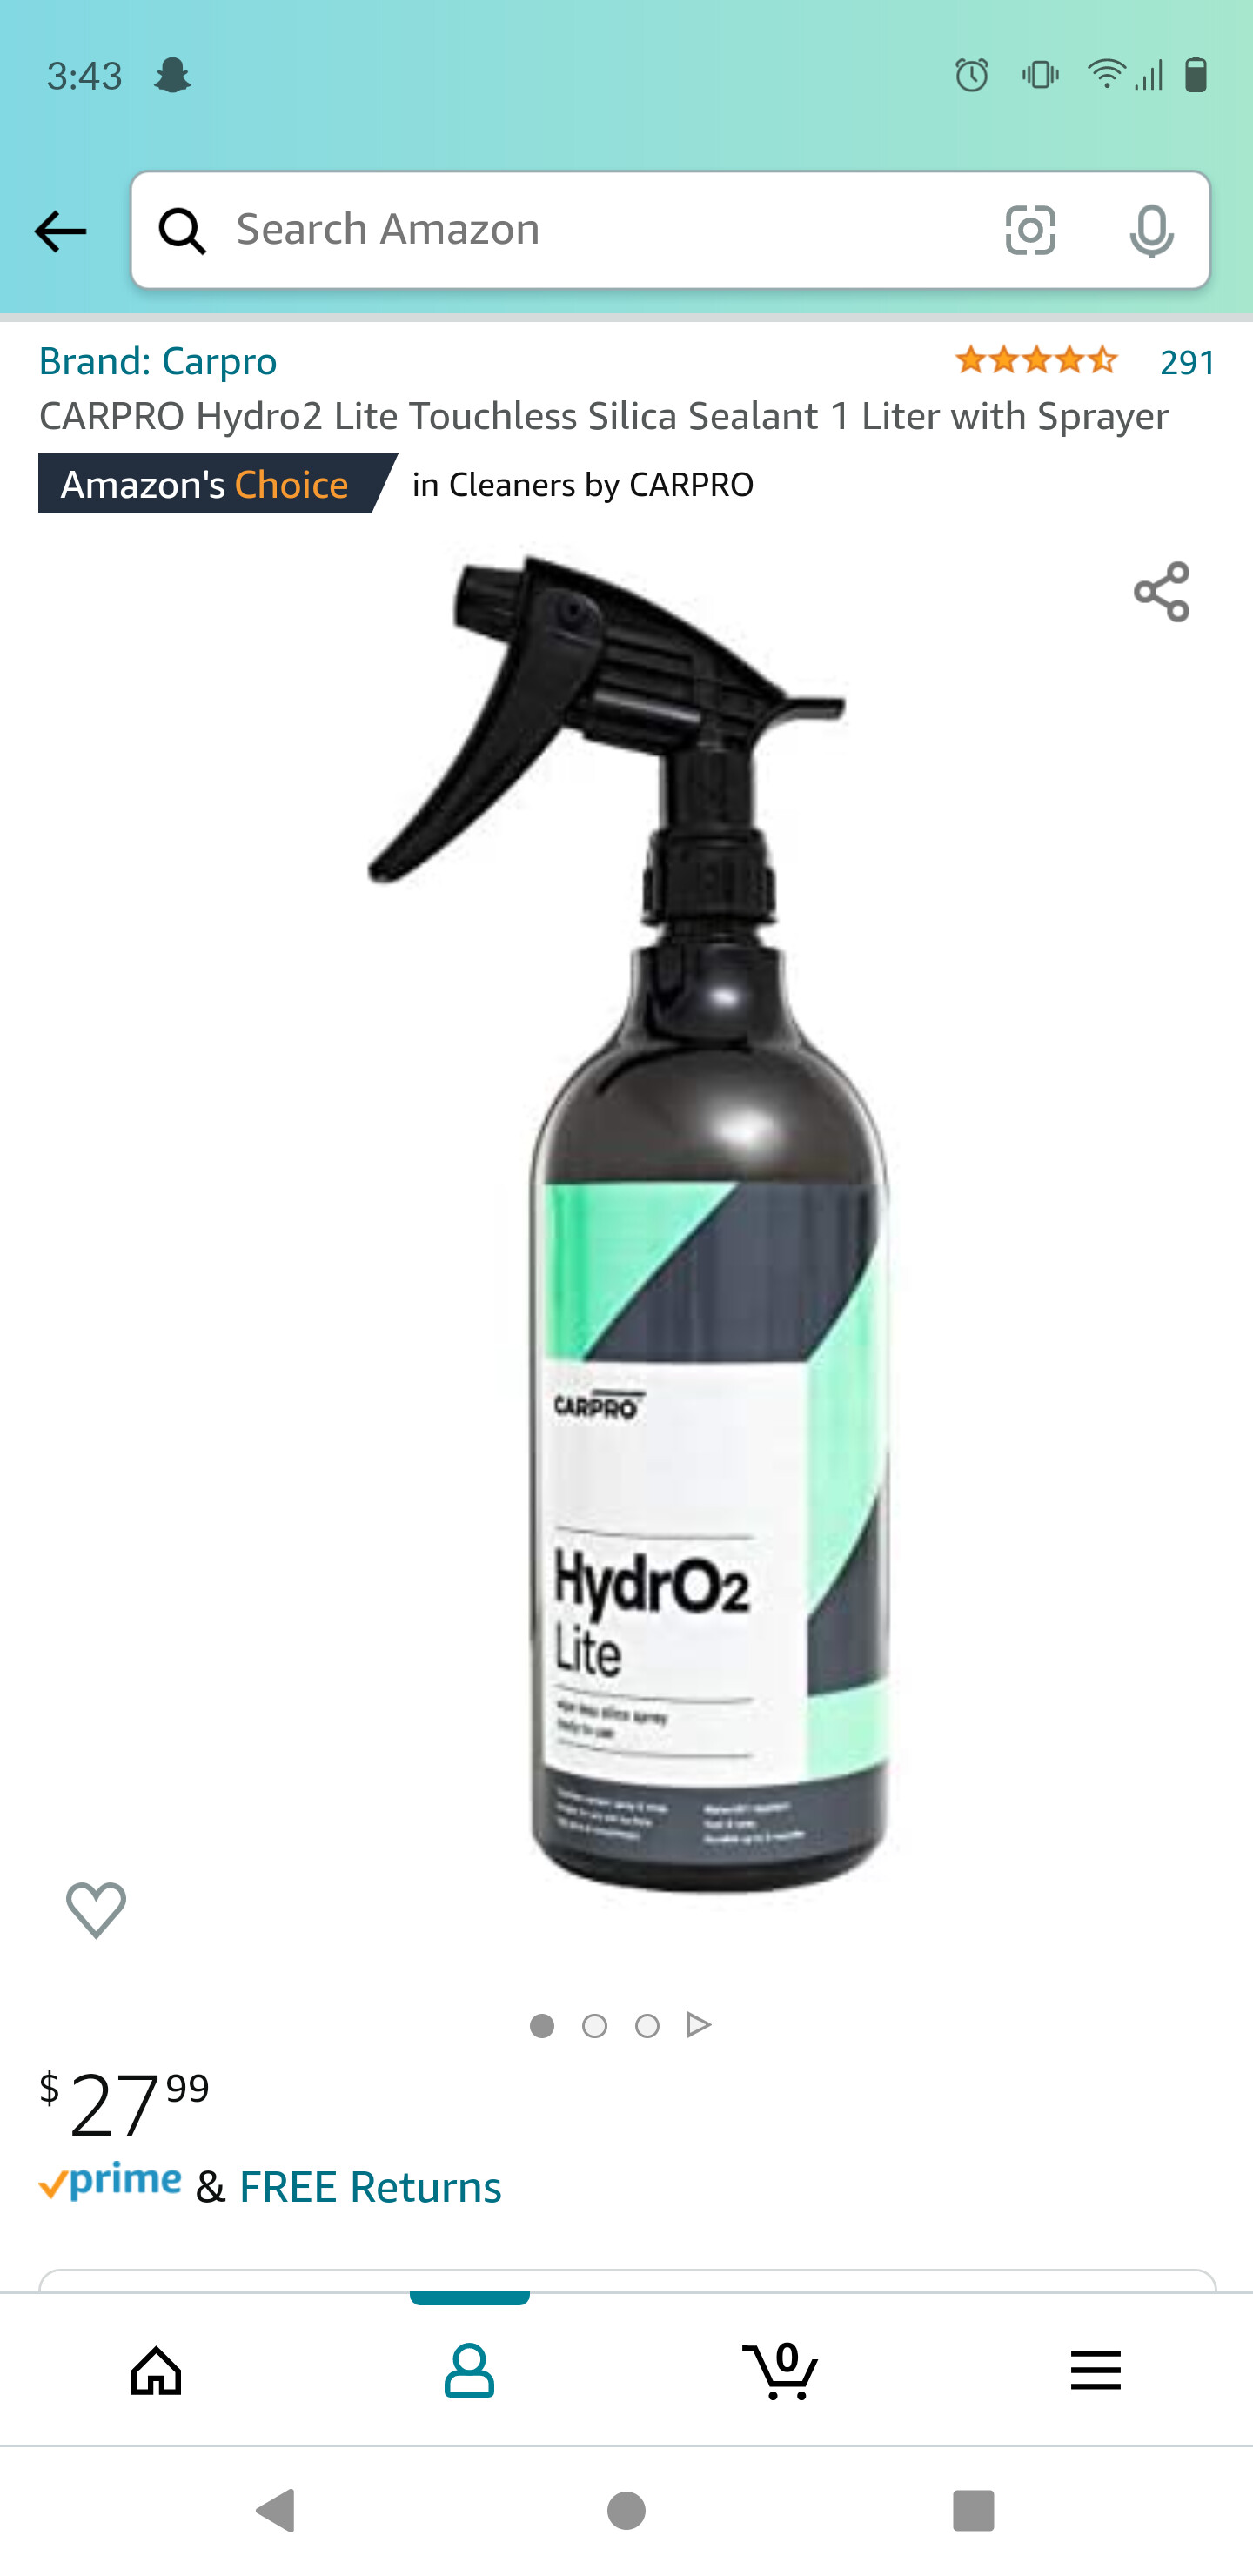
Most Compatible with Cquartz: https://www.amazon.com/gp/product/B076KVF6W3?psc=1
Protip BEFORE you start
Eat a good breakfast before going at this.
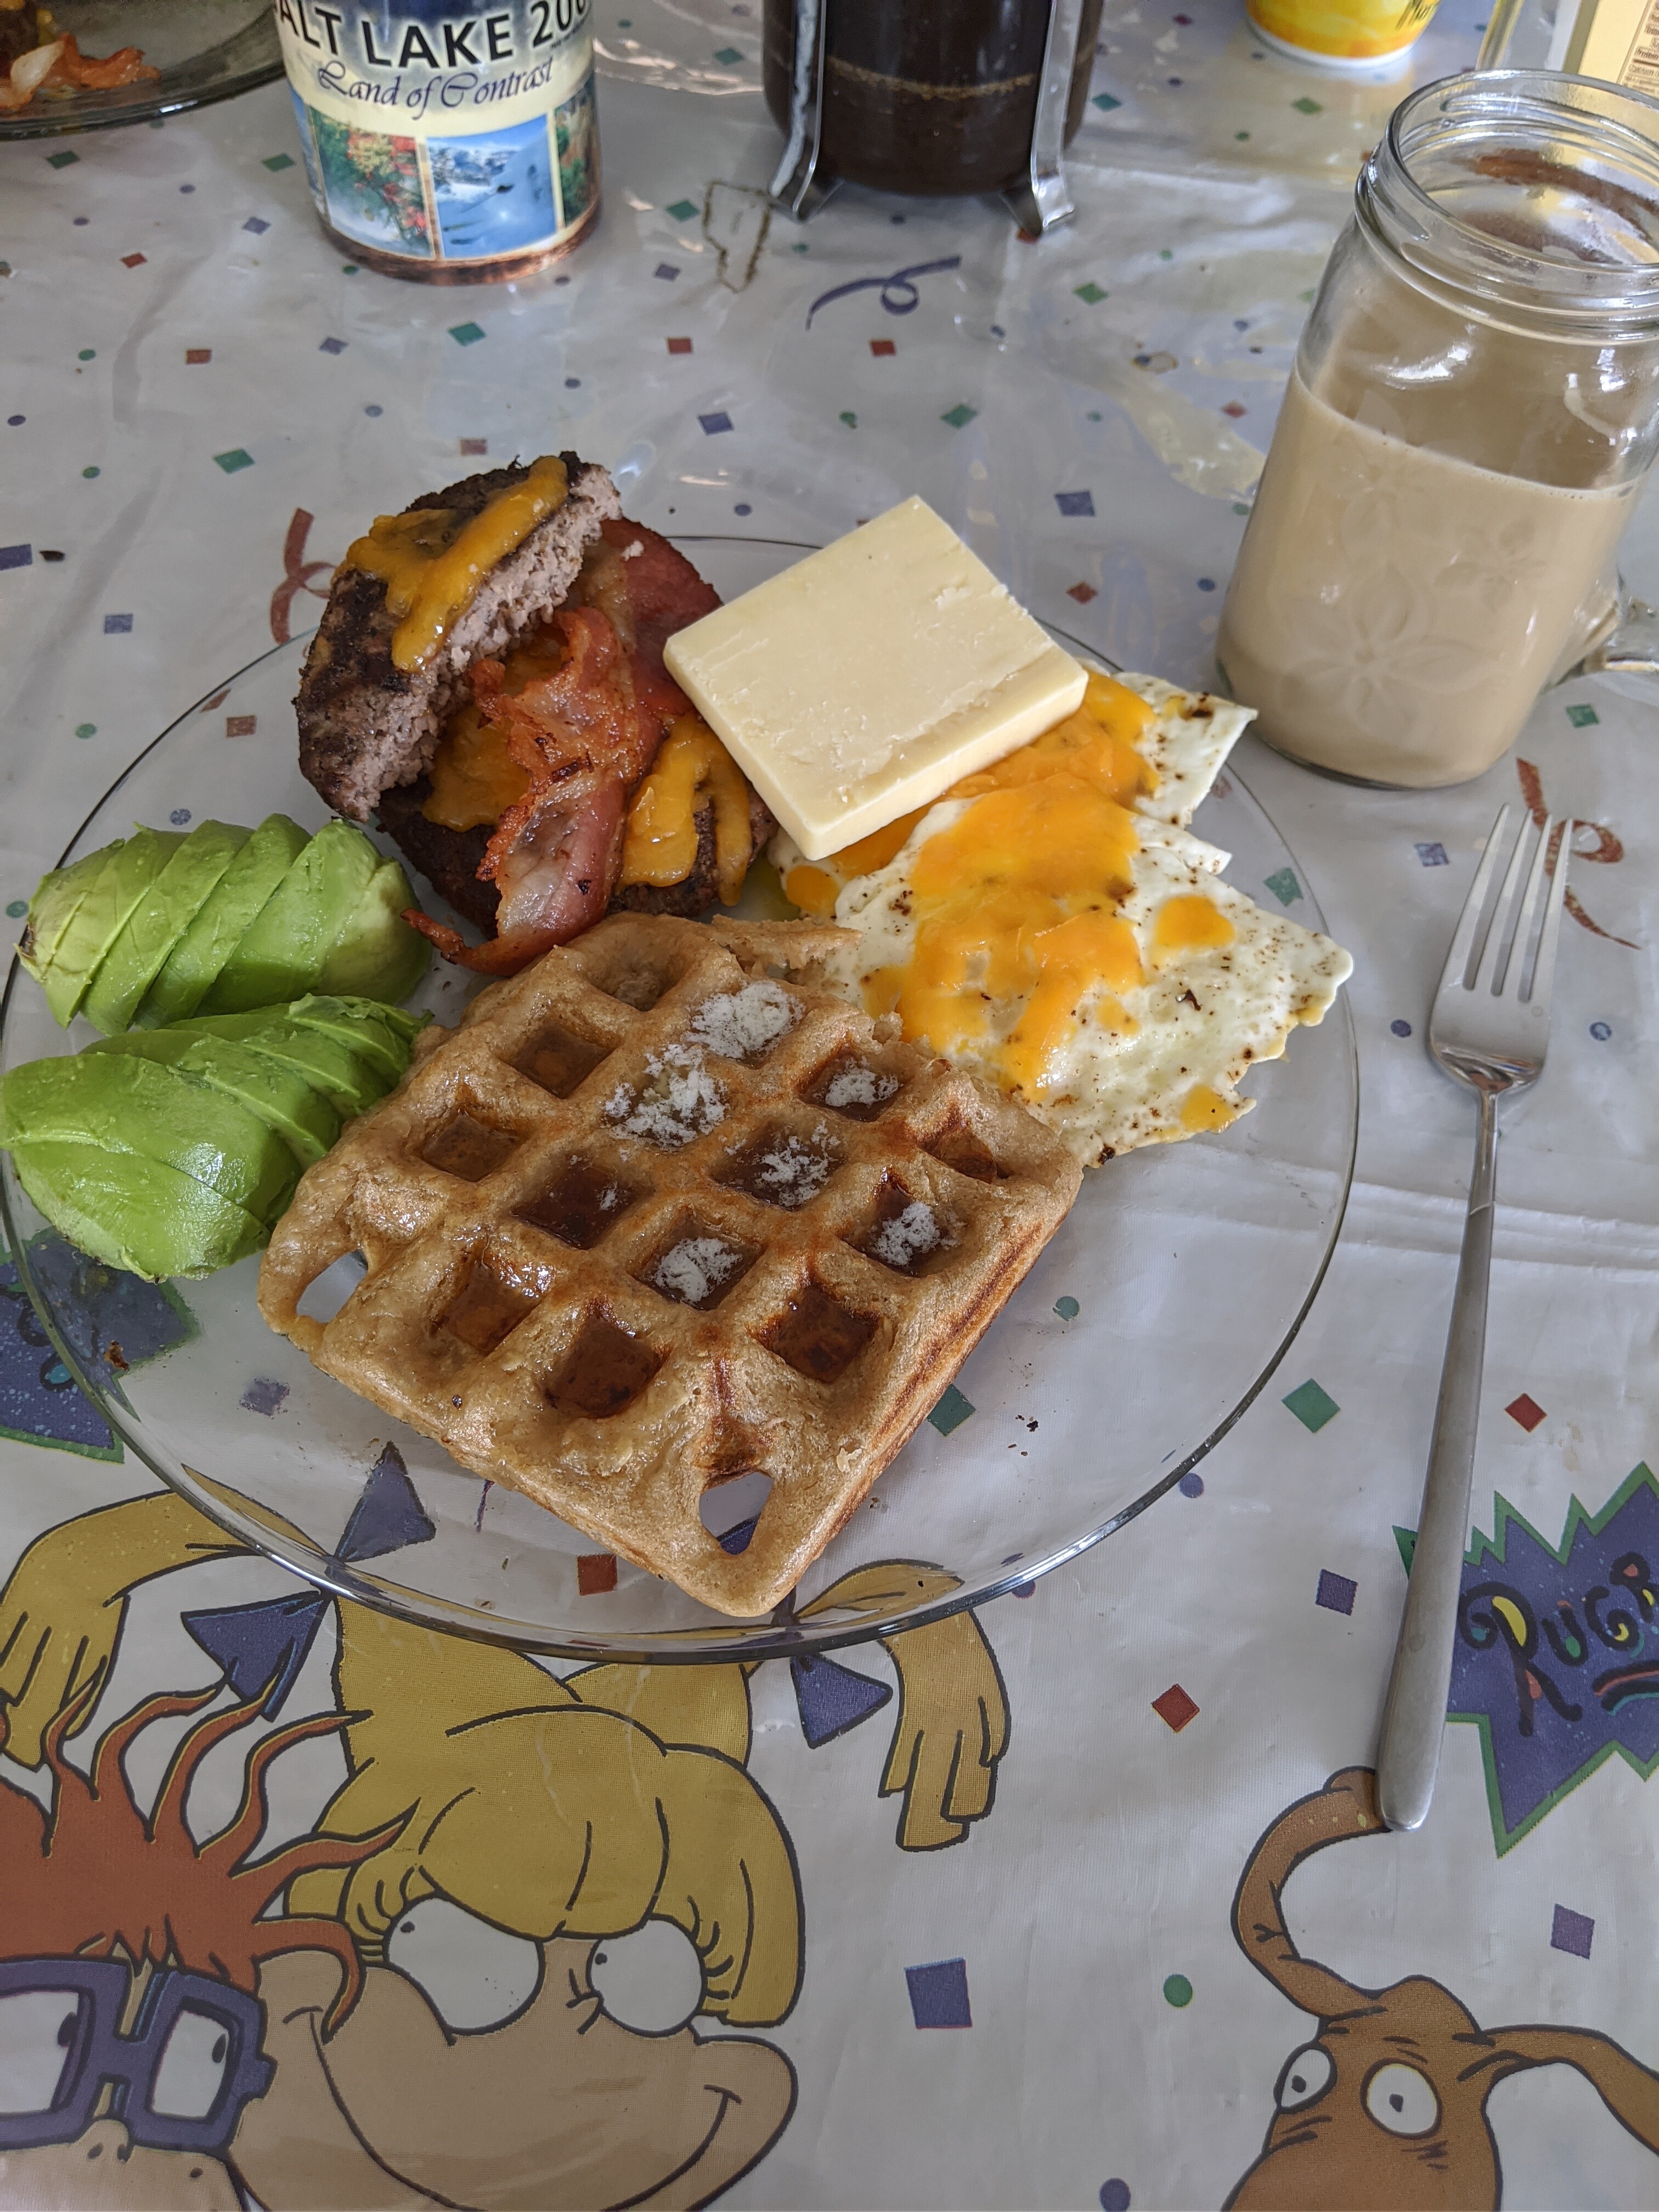
(beef bacon) (garage table covered with old rugrats cover LOL)
What is a Ceramic Coat?
A Ceramic Coating, like C.Quartz, is a liquid polymer that is applied by hand to the exterior of a vehicle. The coating chemically bonds with the vehicle’s factory paint, creating a layer of protection. It provides an ultra slick ultra tough top layer. Ceramic Coatings adds additional protection to your car’s exterior and helps keep it looking like-new with comparatively minimal maintenance. The coating achieves this result by making your vehicle more resilient and easier to clean… in theory. Now they do provide benefits such as blocking out UV and reducing lifetime oxidation of the paint. Also they can be a decent barrier to chemical stains and etching.
Some report much enhanced gloss and I did see a bit of that.
What is it Not?
So its not a PPF or paint protection film. The scratch-resistance of a Ceramic Coating is often exaggerated. Though some small scratches can be repelled by a Ceramic Coating but not deeper or more damaging ones. Its not a perfect sheeter. So when it comes to completely eliminating water spots thats not possible. A normal drop of water contains a certain amount of dirt or minerals. When water evaporates on your vehicle’s surface, the minerals are left behind, creating visible spots.
For that you need a graphene coating but those are still in their infancy.
It also does not eliminate the need to wash. The coating is for the kind of person who wants to keep their car paint healthy and looking nice well into the future of ownership.
Engineering Explained did a quick explanation.

Should you do it?
If you arent planning on keeping the car more than a couple years I would not say this process is worth it.
If you want to spend your time and make a labor of love out of your paint to make it look good. This is the DIY guide to go with. There is a great video here by Chicago Auto Pros:

Difference between pro-grade shops and DIY
From all the research I have found its down to surface preparation. The more perfect this paint correction is done. The better and longer lasting the coating is. Thats why I emphasize prepare that paint. Also some products are pro application only and really are particularly better but again these cost a ton and require a VERY perfect surface to adhere to.
Bonus. Ceramic Vs. Graphene
Found a good video worth watching. Its however quite long. Like about an hour:

Pre-Procecure Maintenance
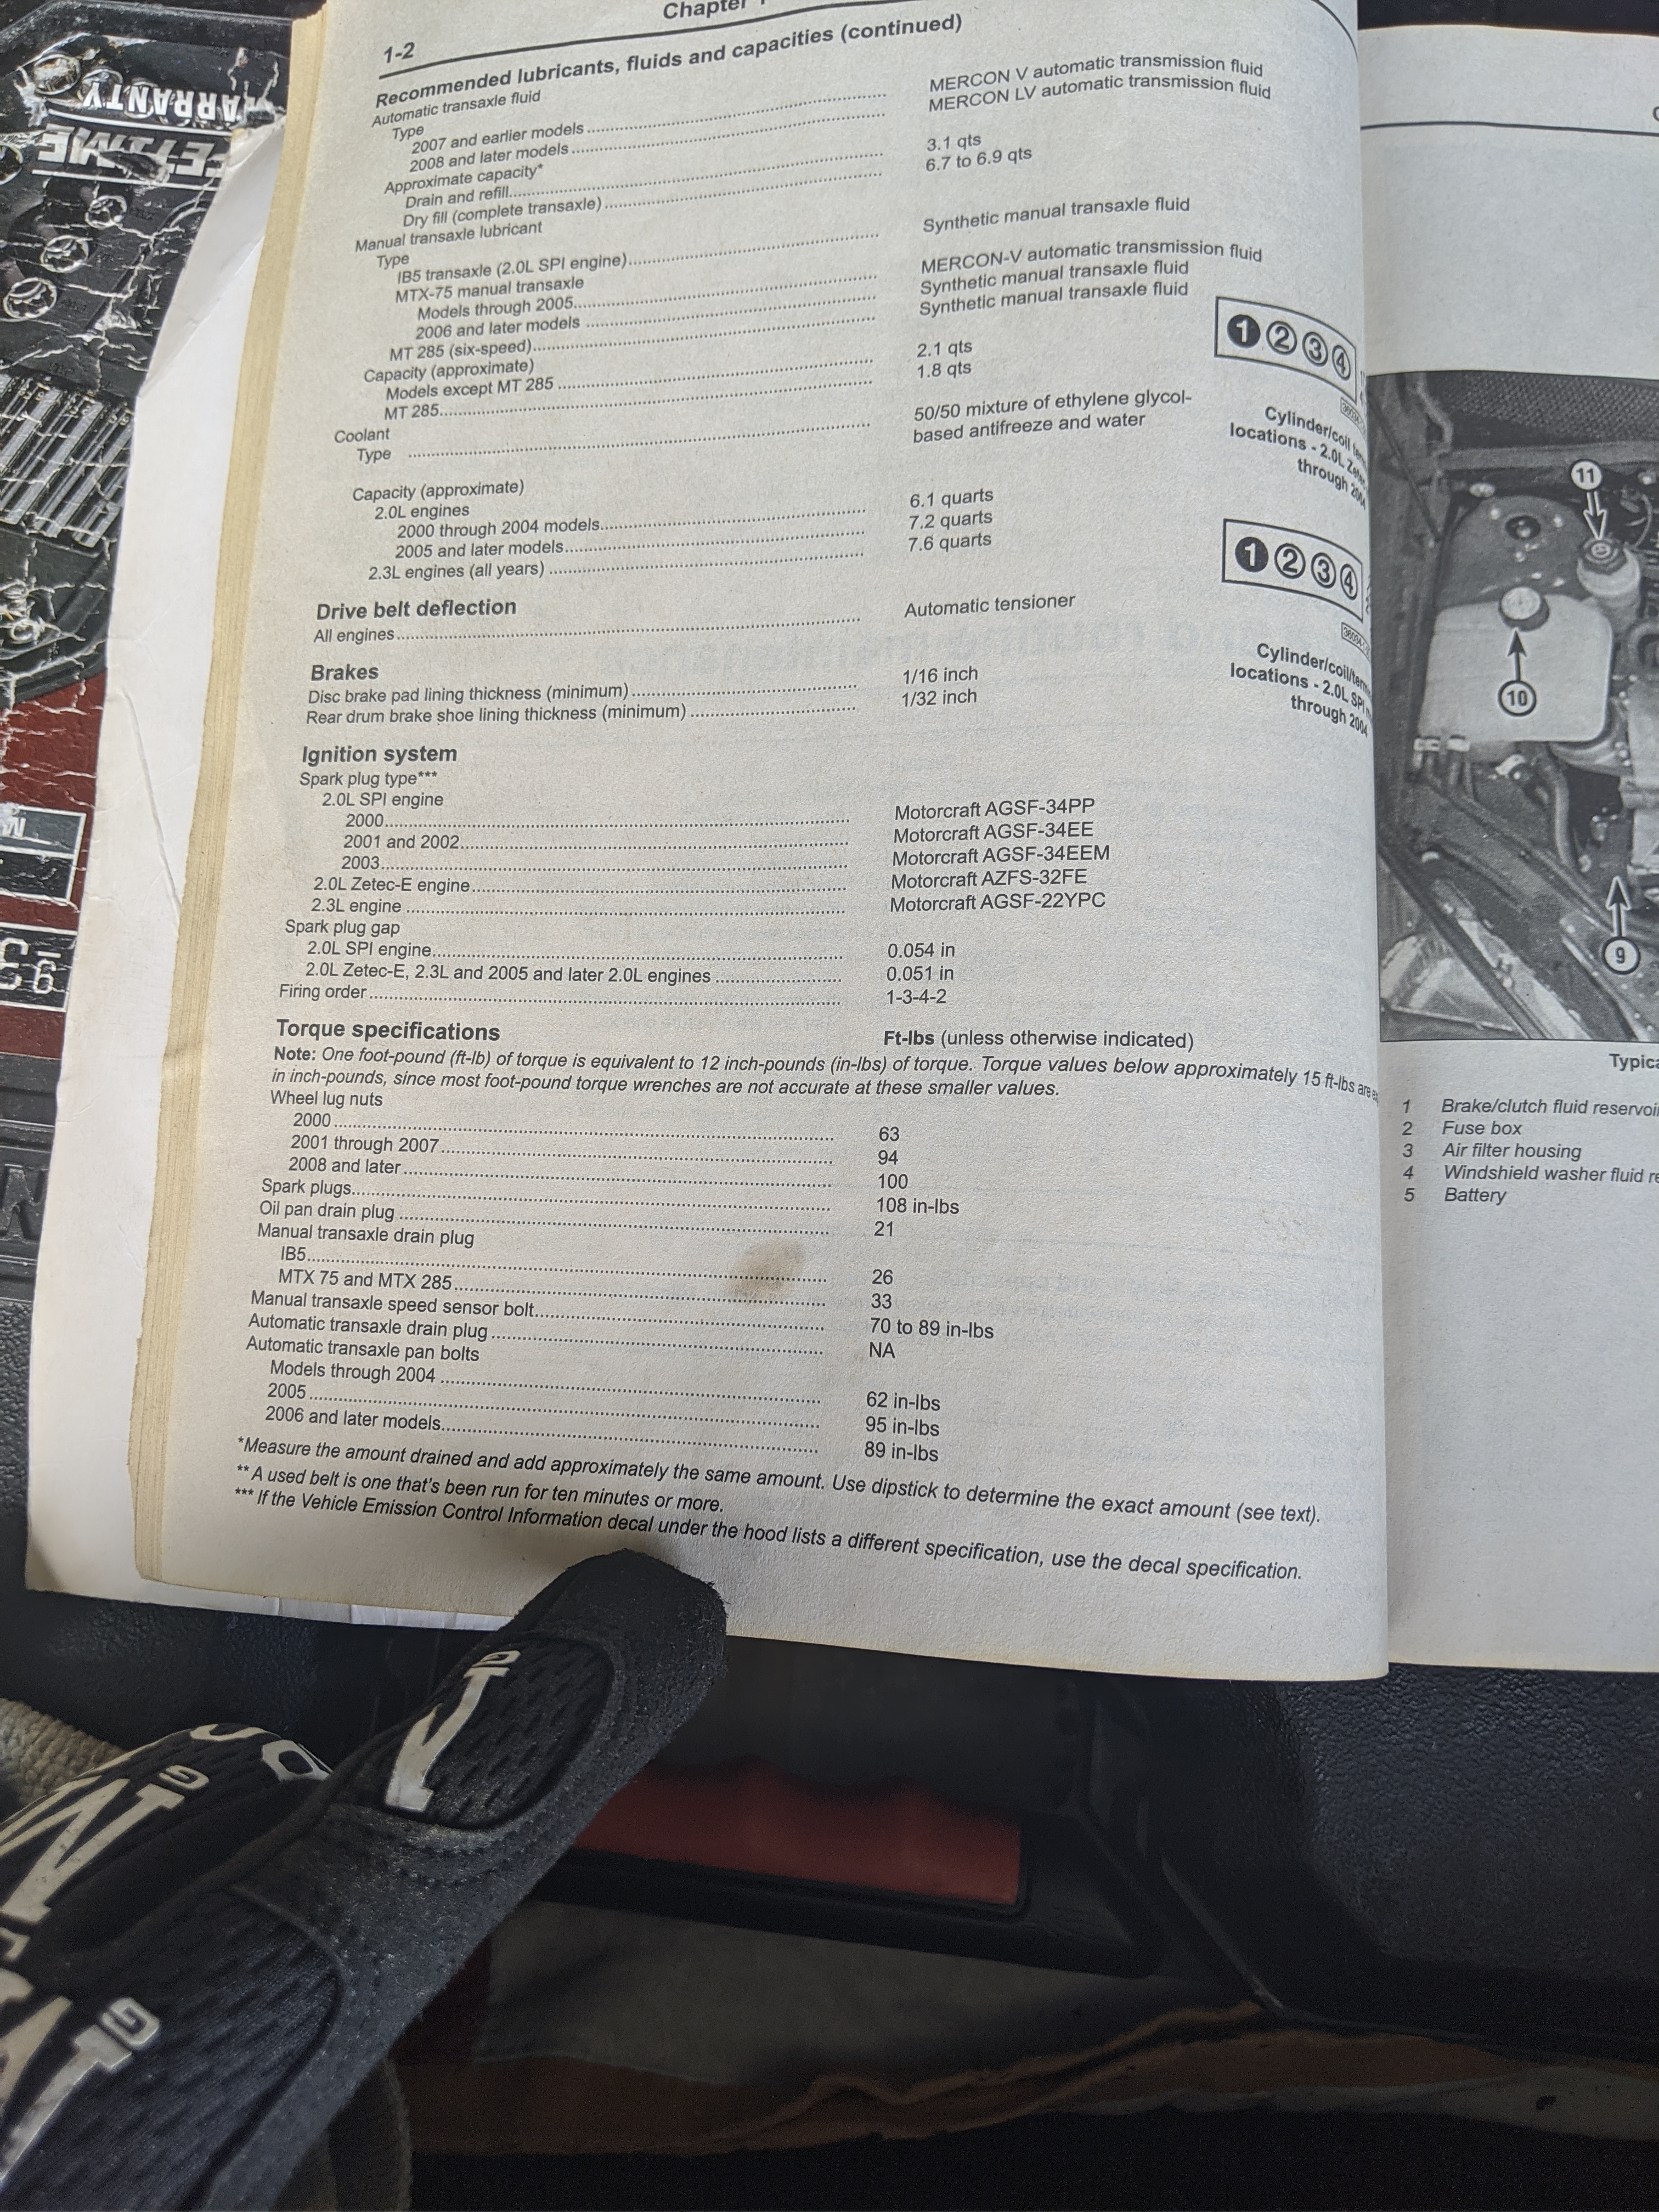
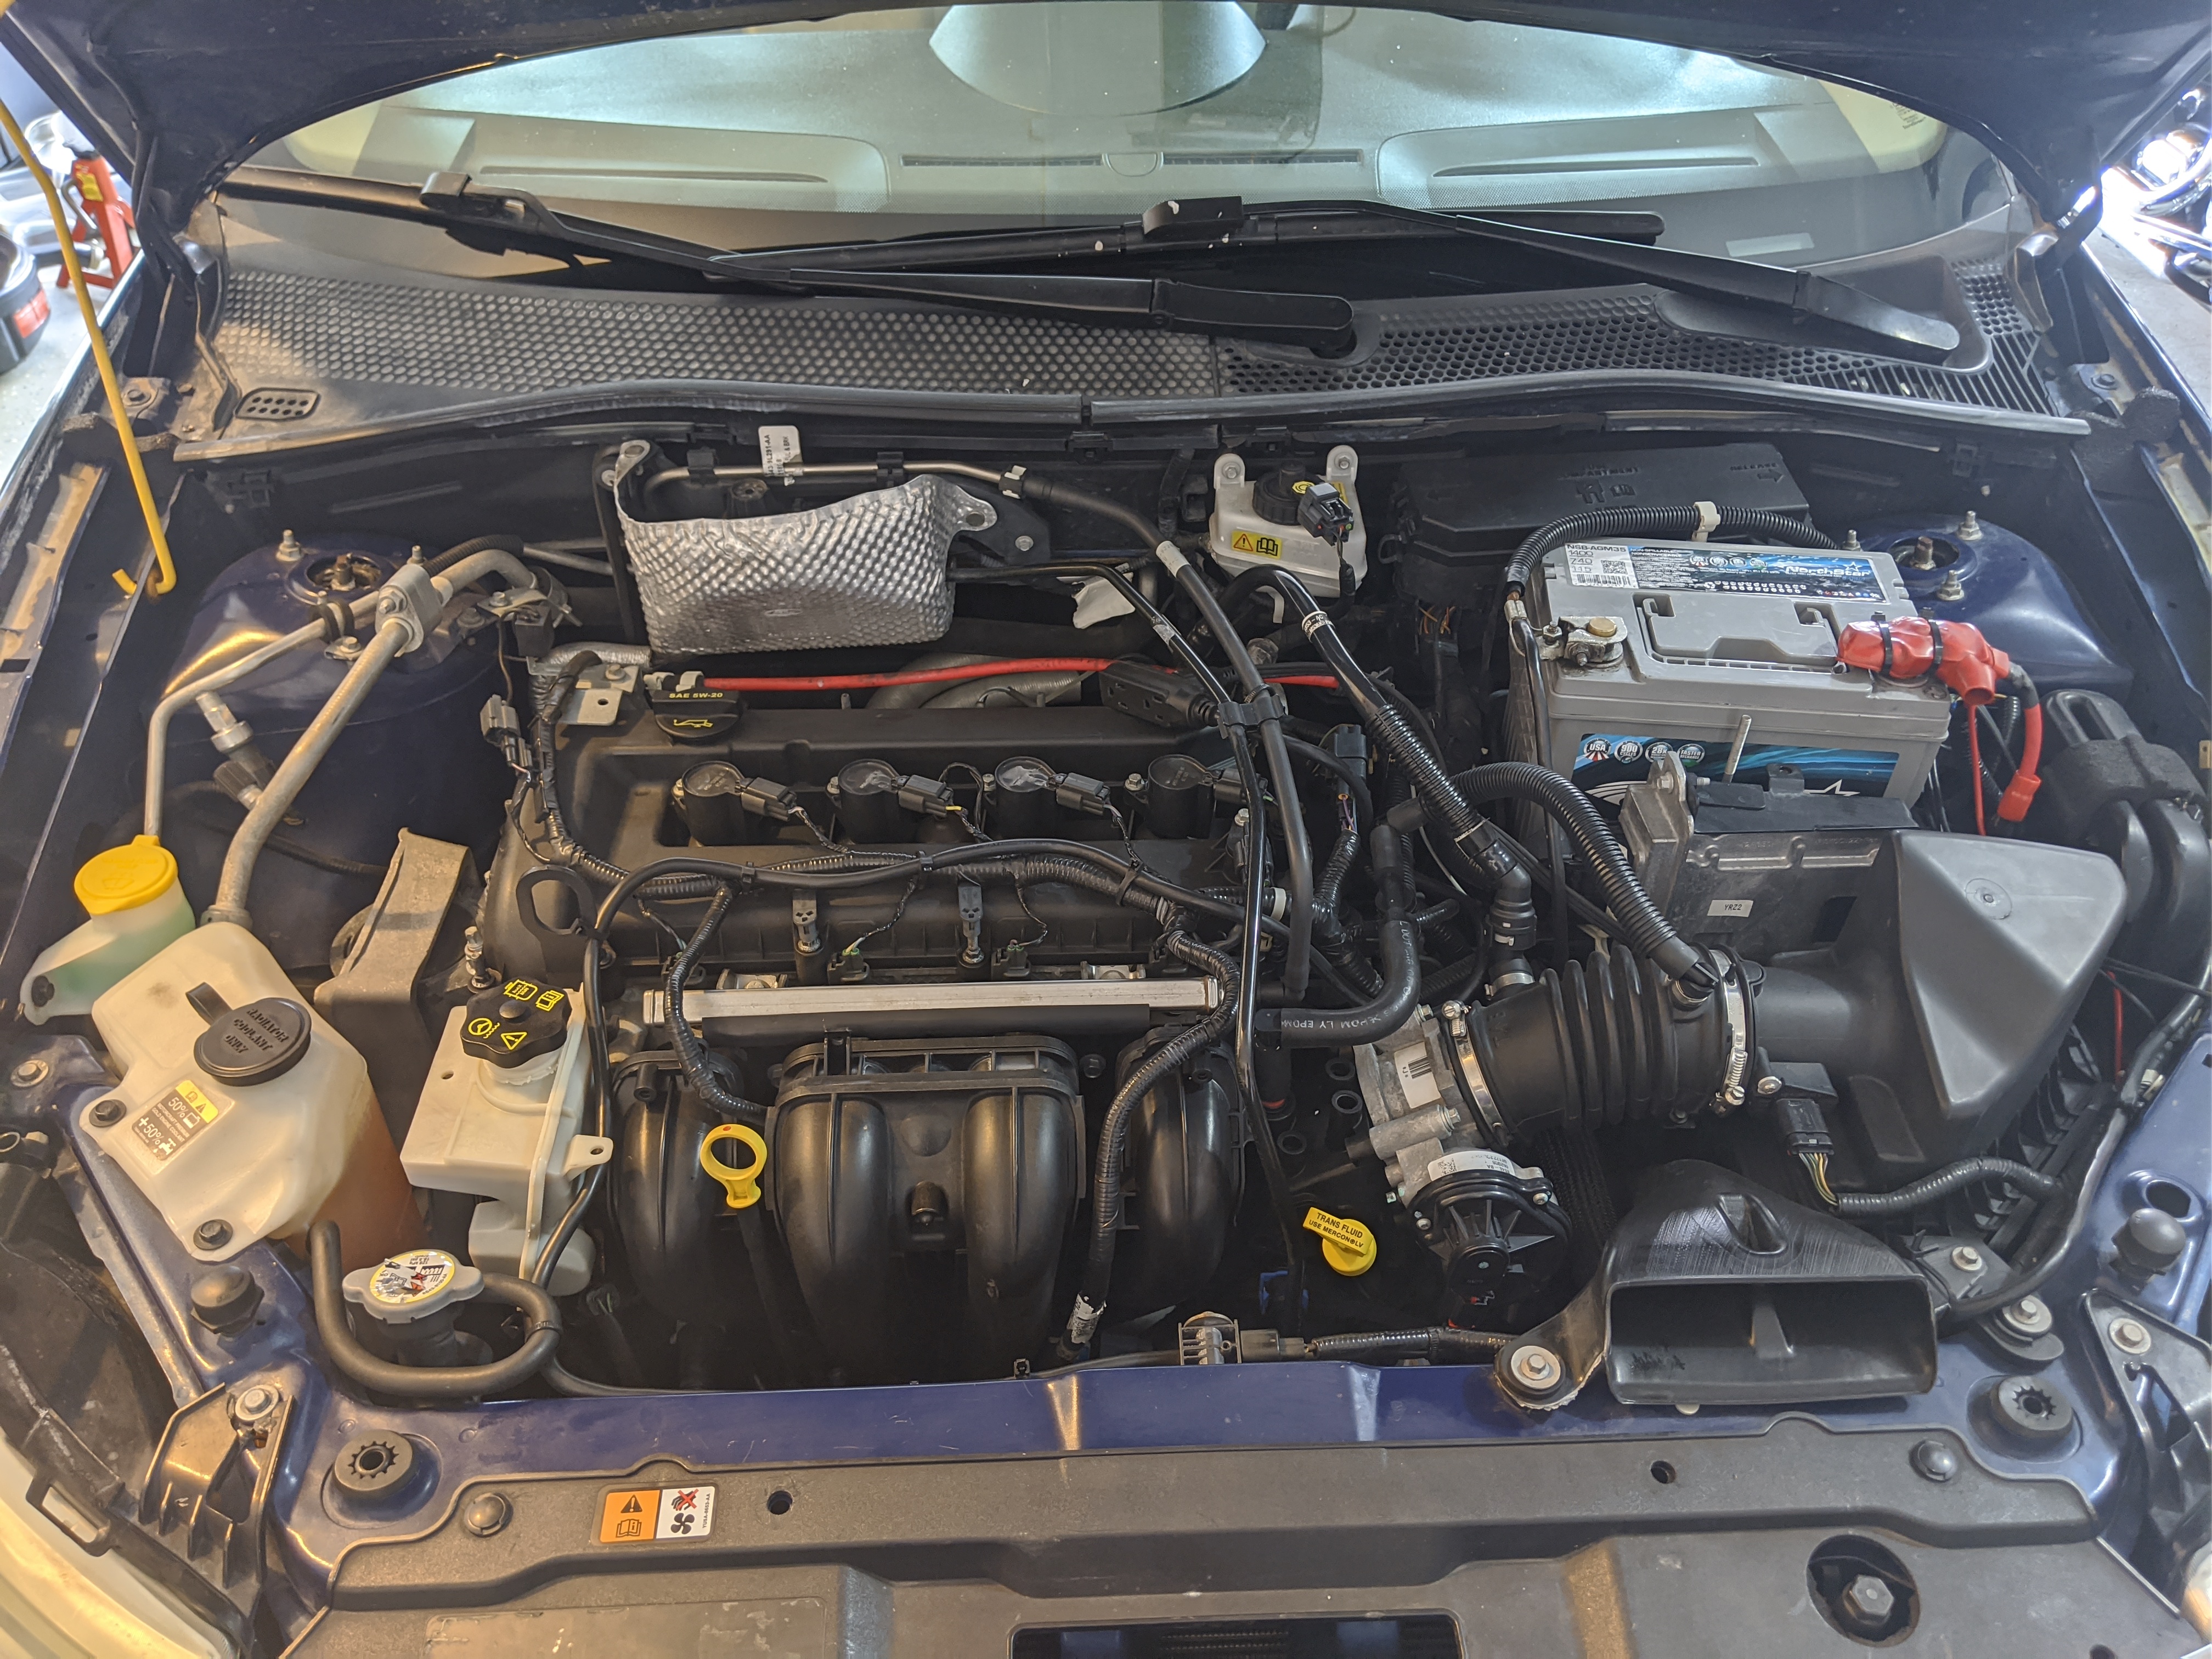
Perform all maintenance you will need to in the next 30 days to avoid getting chemicals on the coat later when working on the vehicle. Check oil or change it. check tire pressure etc.
Dont forget to TORQUE your lug nuts Air Pressure Matters!

For me this involved:
- Changed oil and filter (Wix XP + Pennzoil Ultra Platinum 5W-20)
- Changed/flushed Transmission fluid and filter ( Signature Series Fuel-Efficient Synthetic Automatic Transmission Fluid + Wix XP Transmission Cartridge Filter)
- Changed/flushed power steering fluid ( Amsoil Signature Series Multi-Vehicle Synthetic Automatic Transmission Fluid)
- Bleed Brakes (Used DOT4 Synthetic BF)
- Flipped Rotors
- Checked suspension parts
- Greased fittings
- Checked alignment
- Evans waterless coolant means NO replacing of coolant ever. Literally jay leno did a thing on it. Really nice stuff (its gold in color)
- Replaced Air Filters
- Replaced inline fuel filter
- Cleaned throttle body
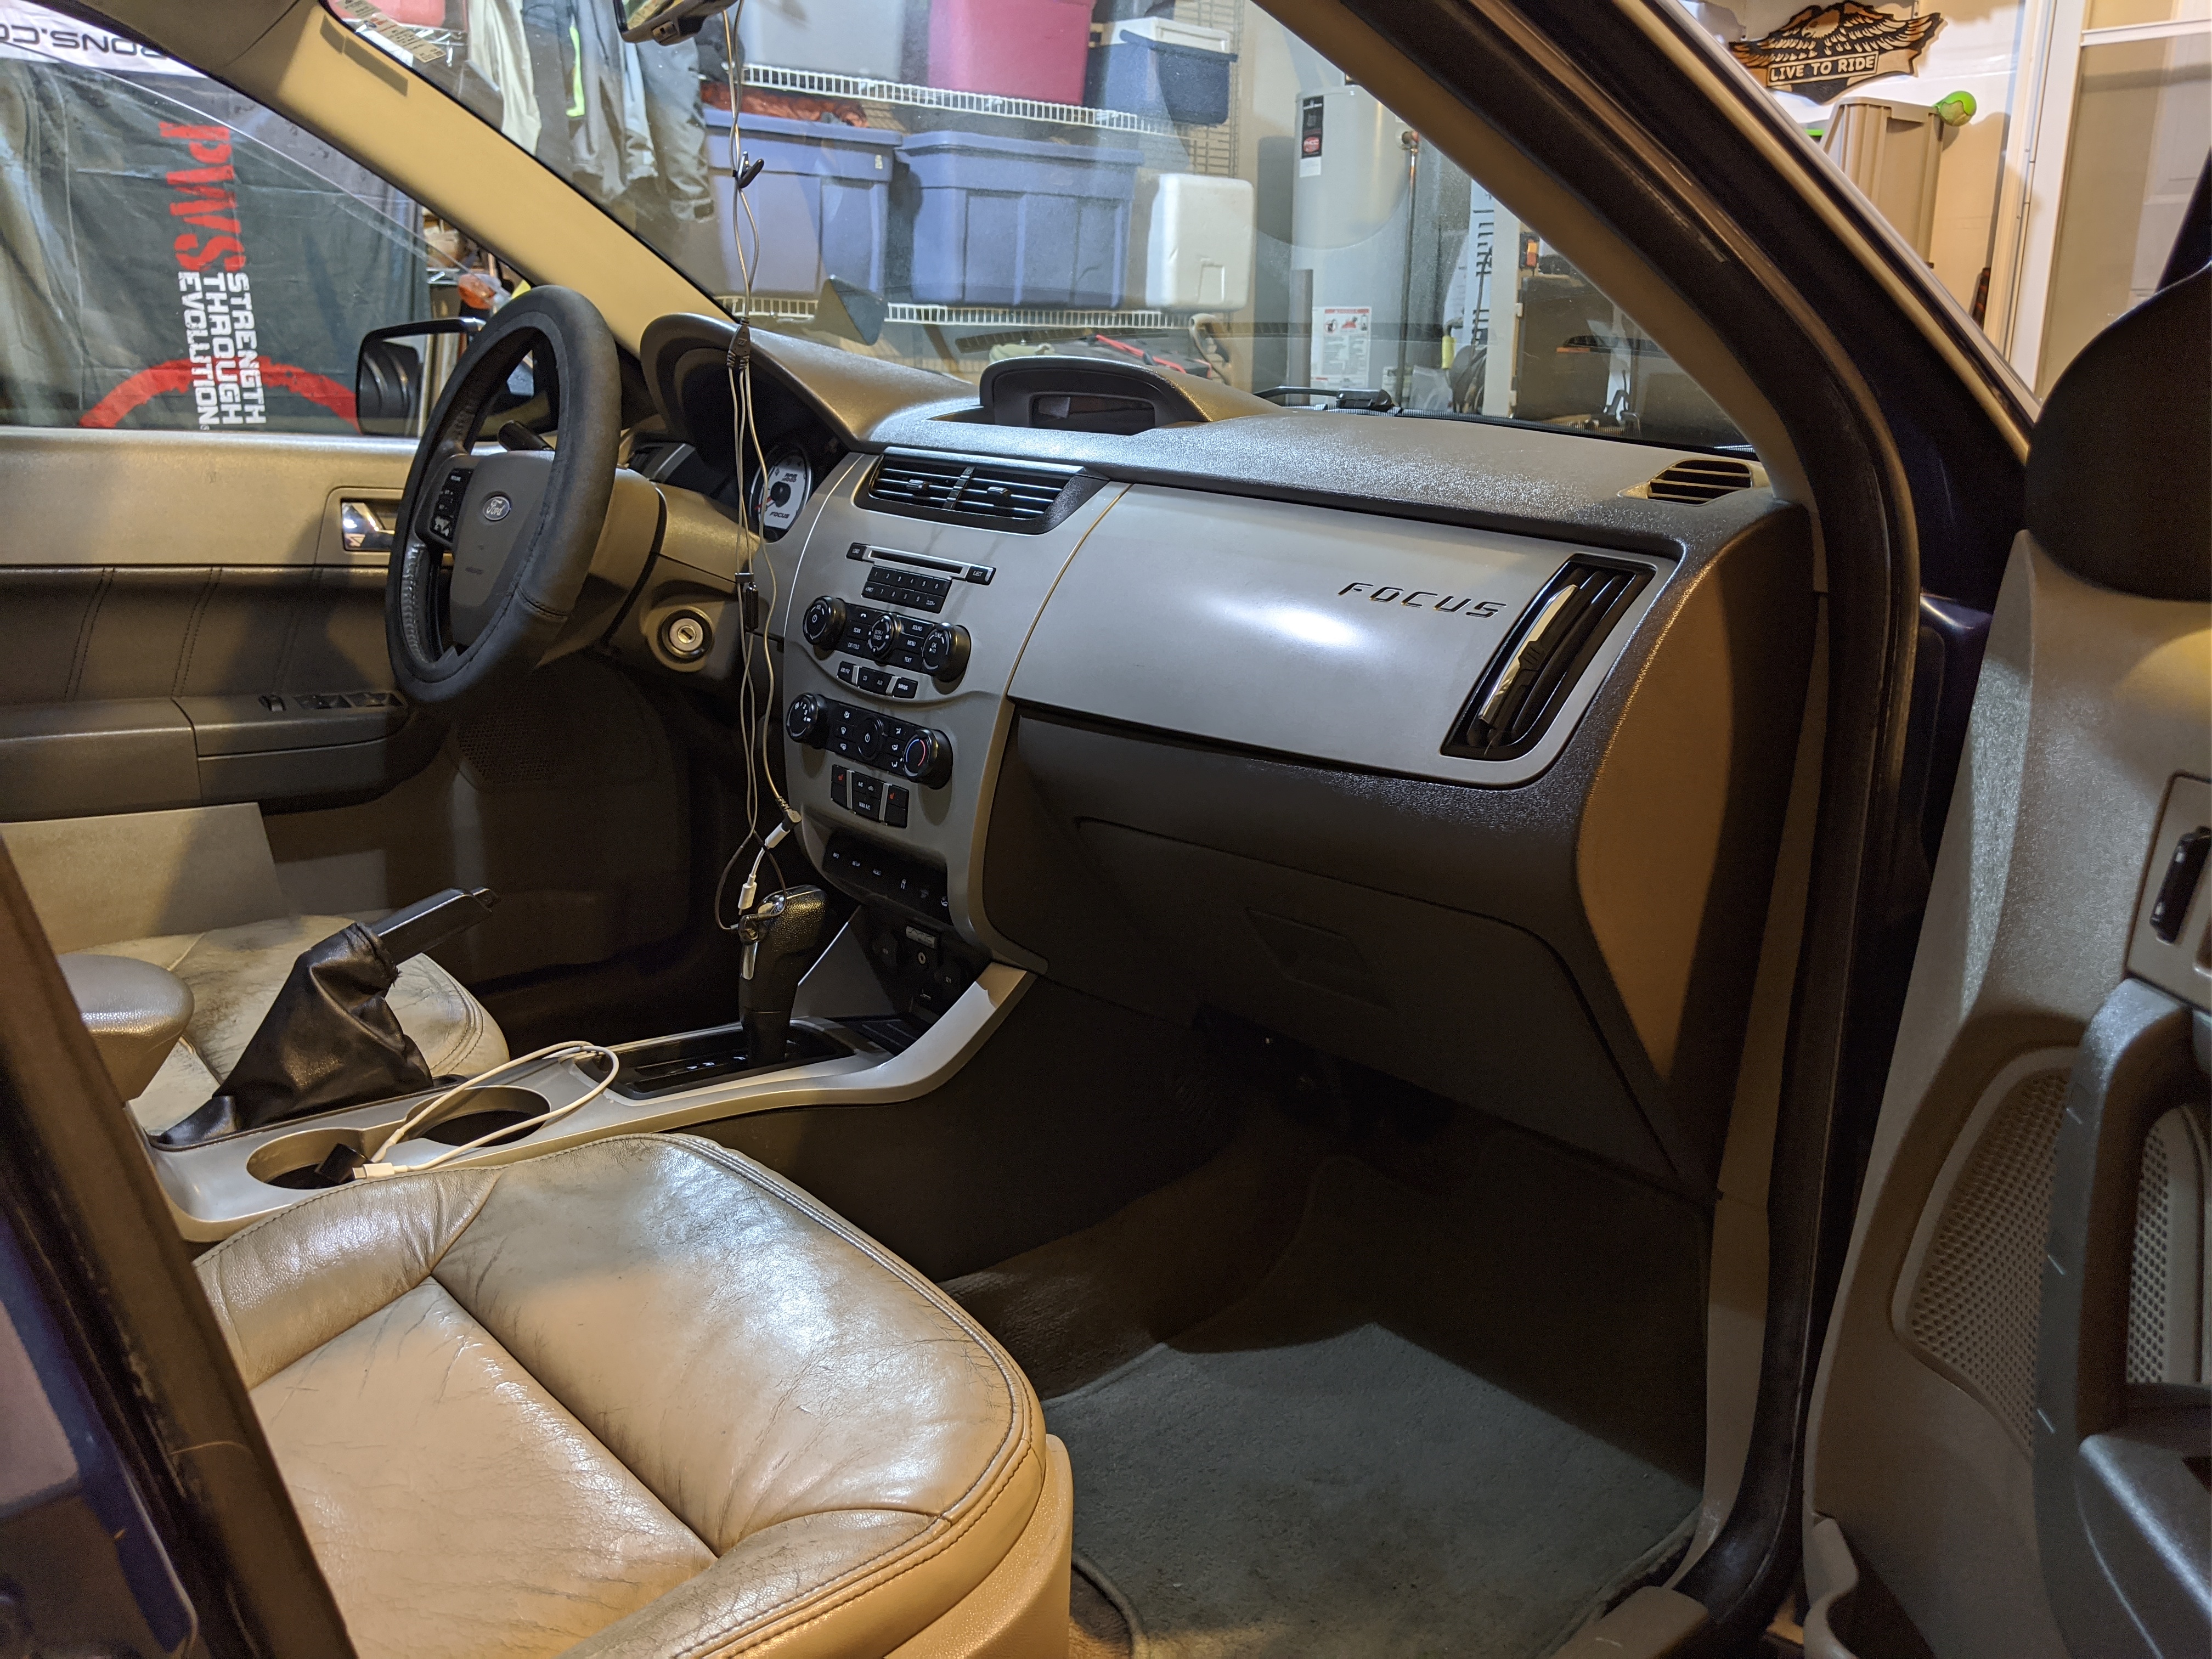
- INTERIOR DETAIL
Checked for oil leaks and other issues. I keep my engine bay immaculate for this explicit reason. I checked all cables for proper tension (parking break control etc). I personally enjoy working on a car. As an engineer, they are just simpler machines. Easier to interface with 
(yes I have done (DIY) all new pulleys and a new power steering pump and belt. Do not ask me how many new cuss words I created)
The Procedure
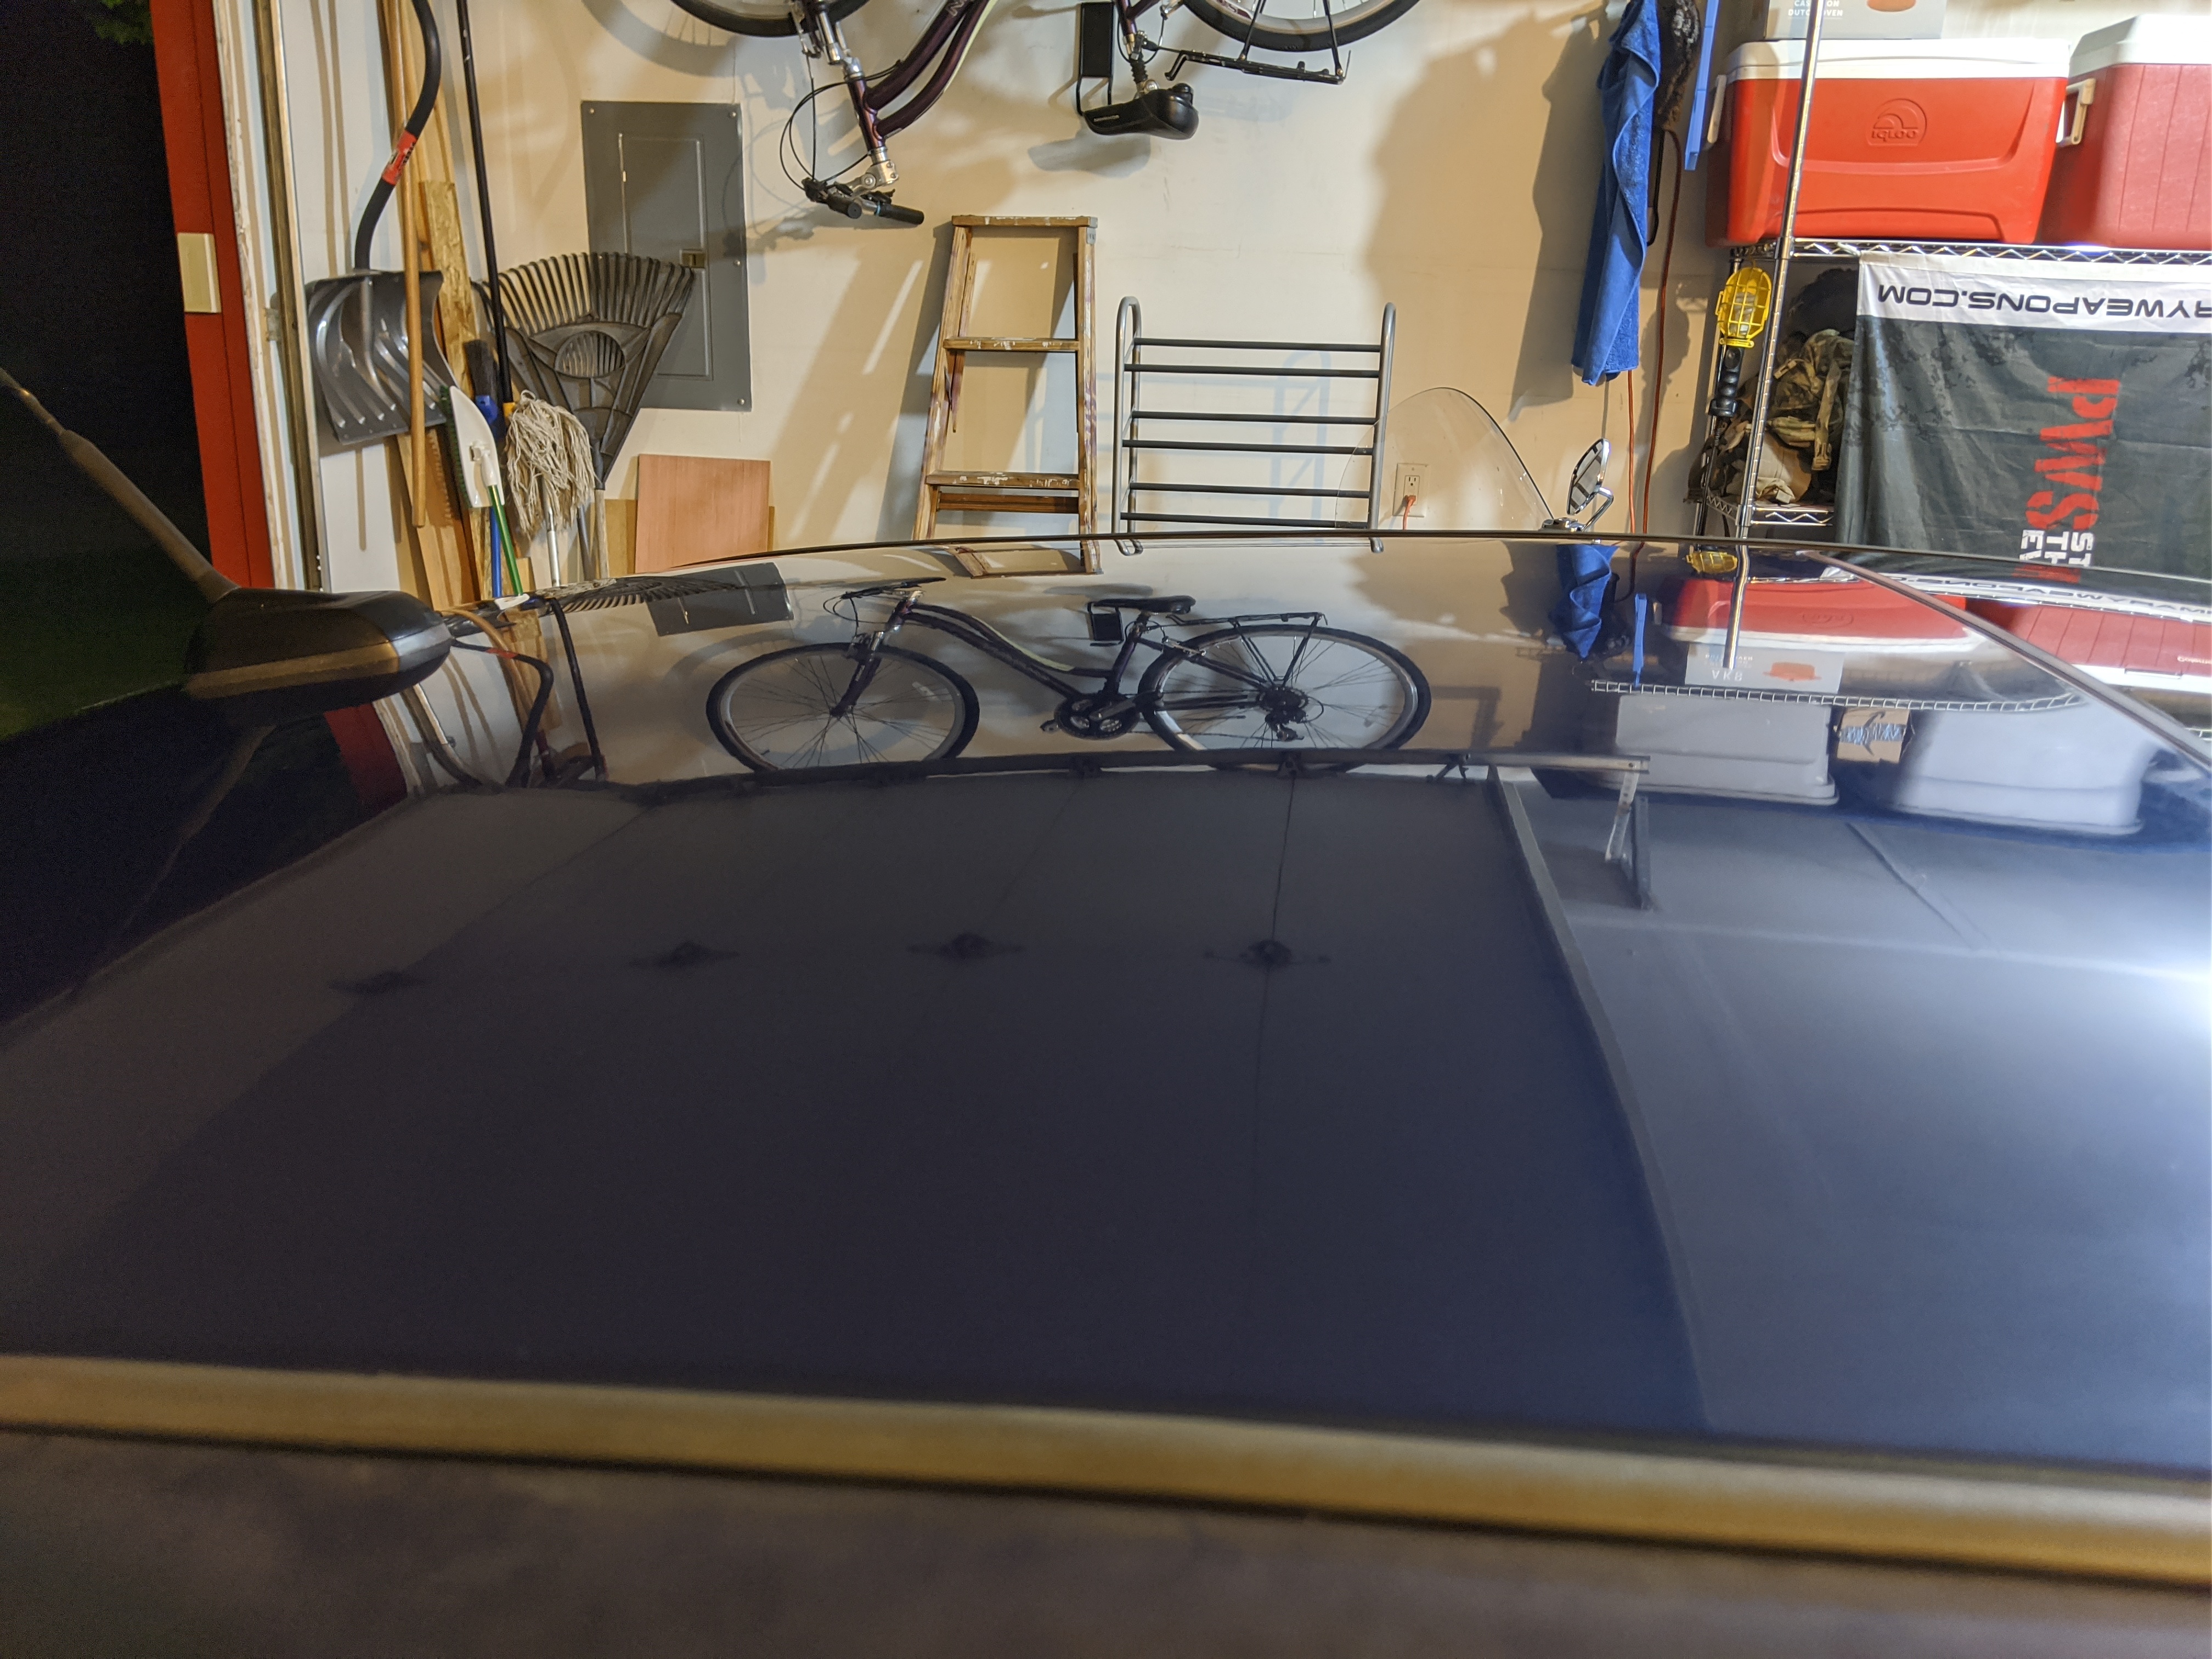
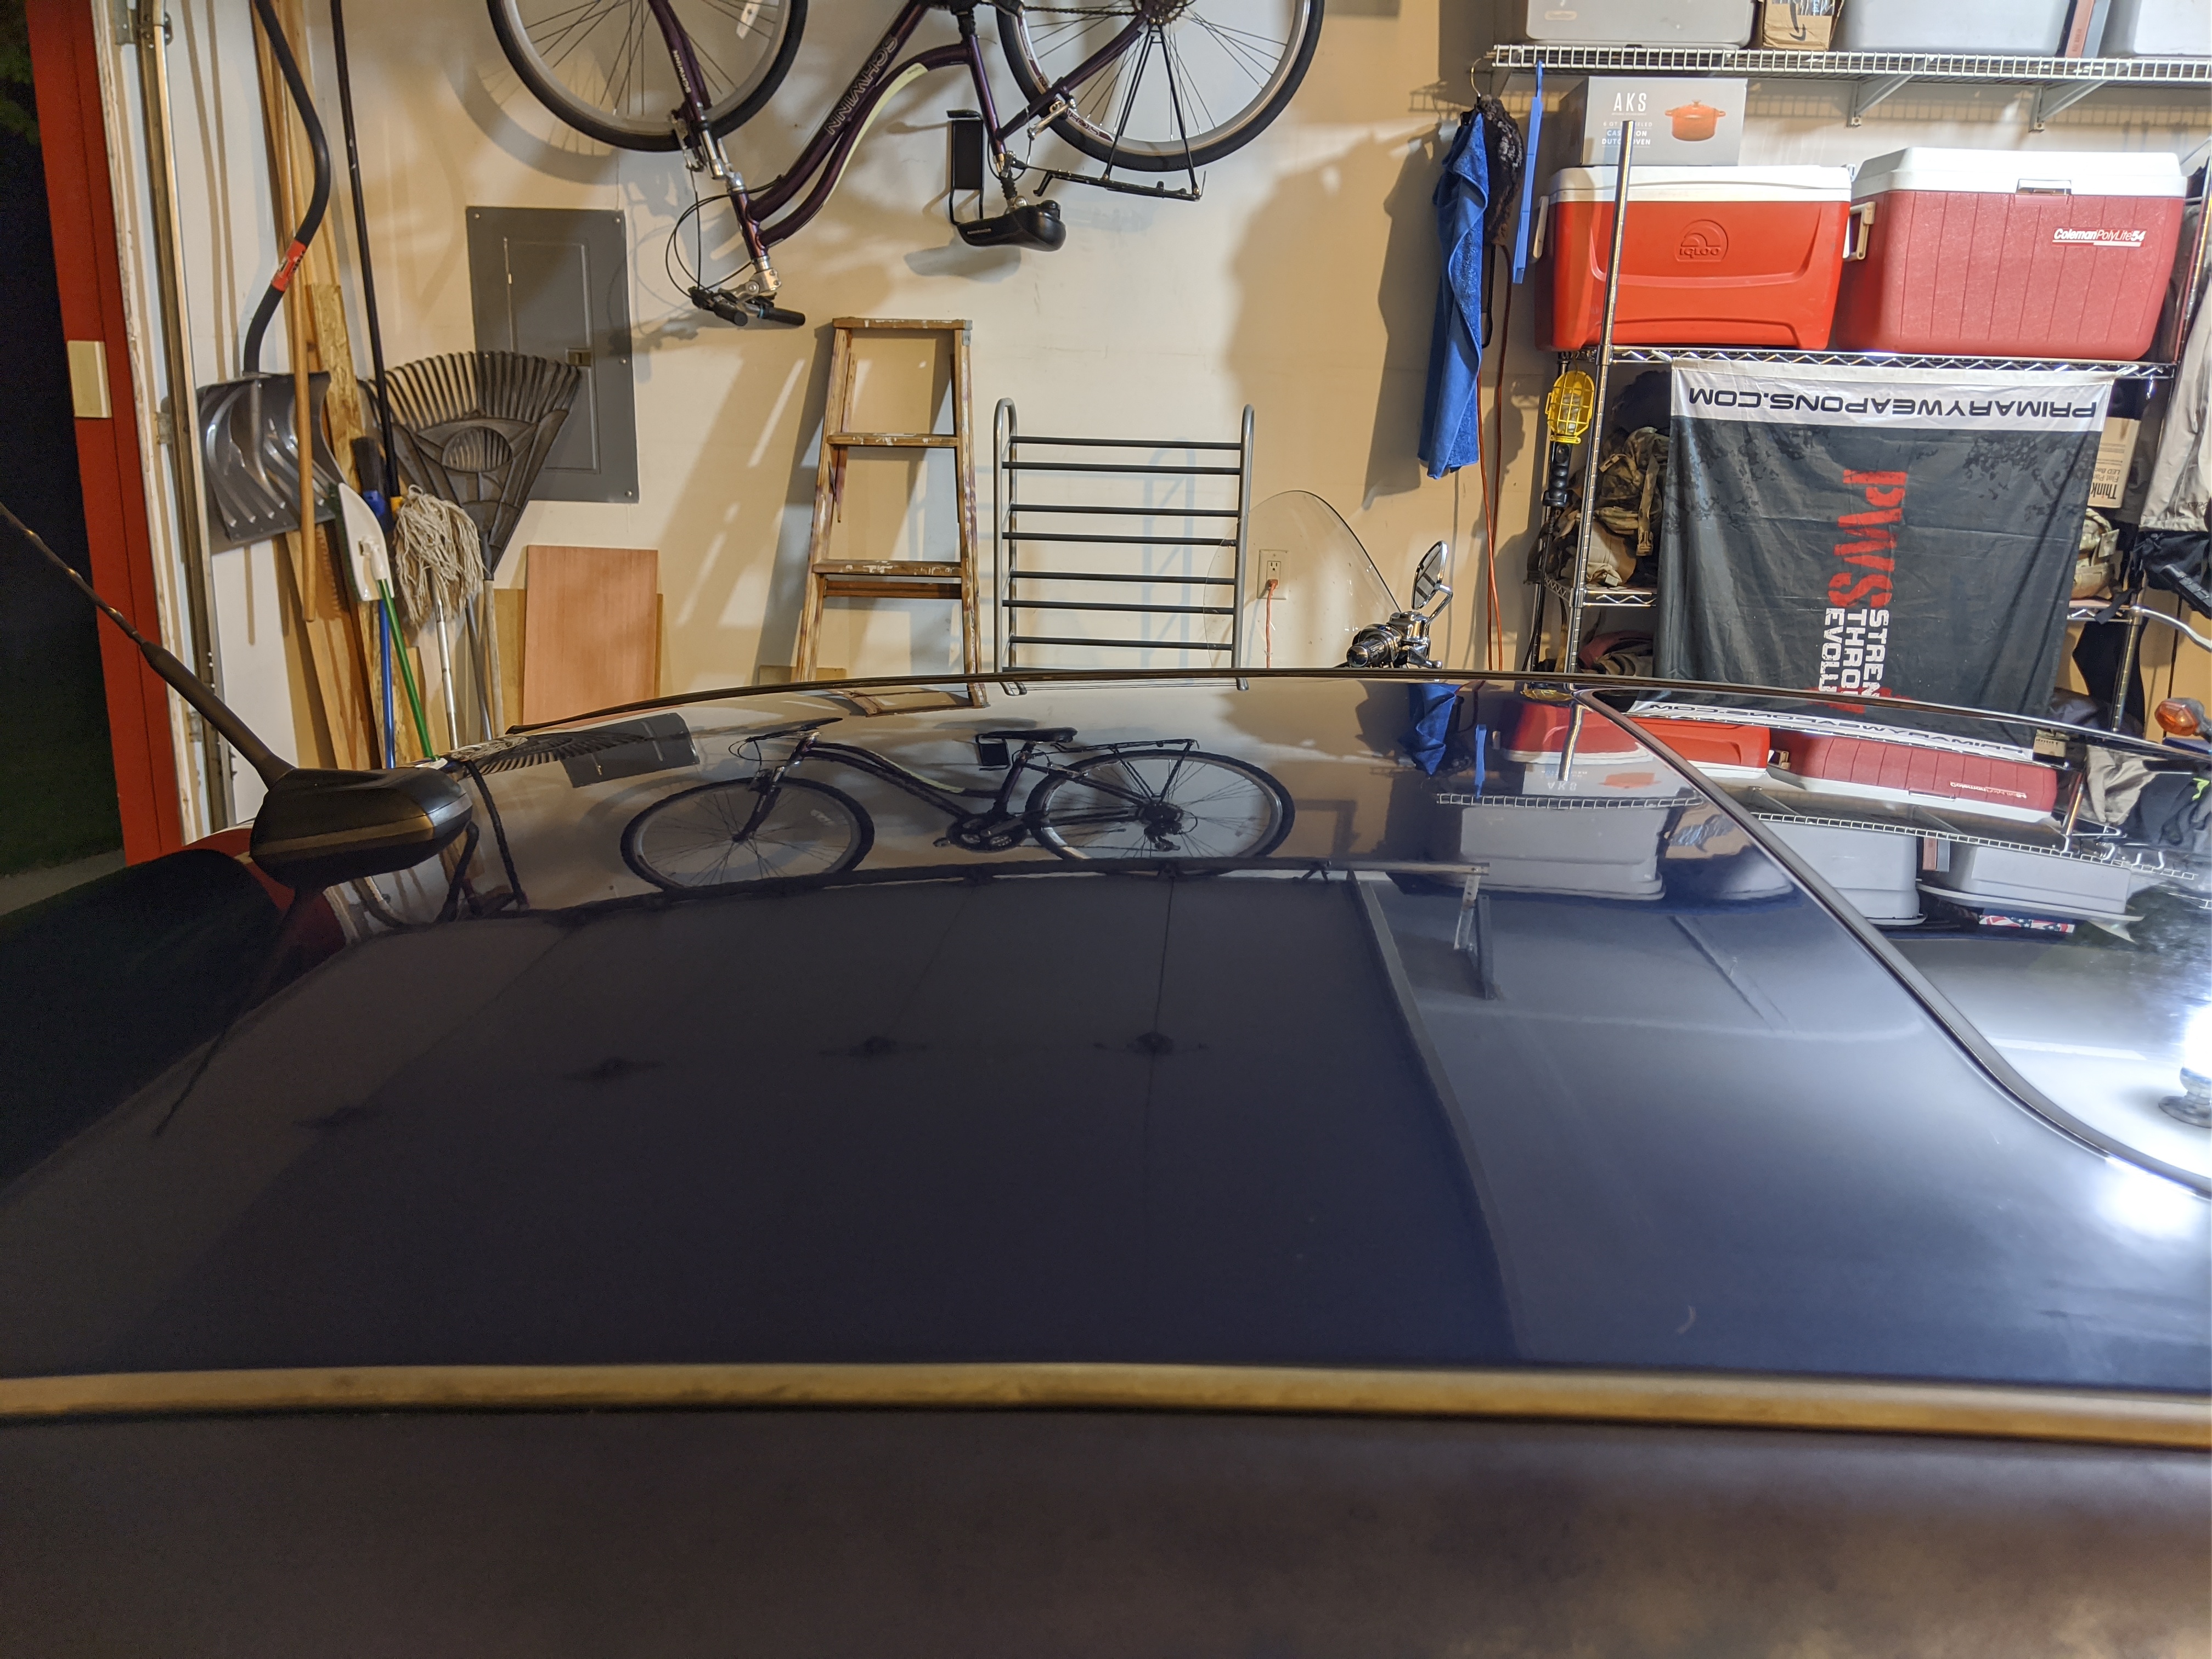
So this is where you should carefully consider what you are going to do. Its DIY. YOU are the warranty. Paint is a pain and requires a lot of patience. In this process I assessed my paint condition as poor. Lots of problems, blemishes, chips, 400k miles of oxidation. Its had to sit under a sappy tree in a prior summer which sucked. Its hard tar over spray. Just about everything. Keep reading though im sure youll be surprised at its transformation.
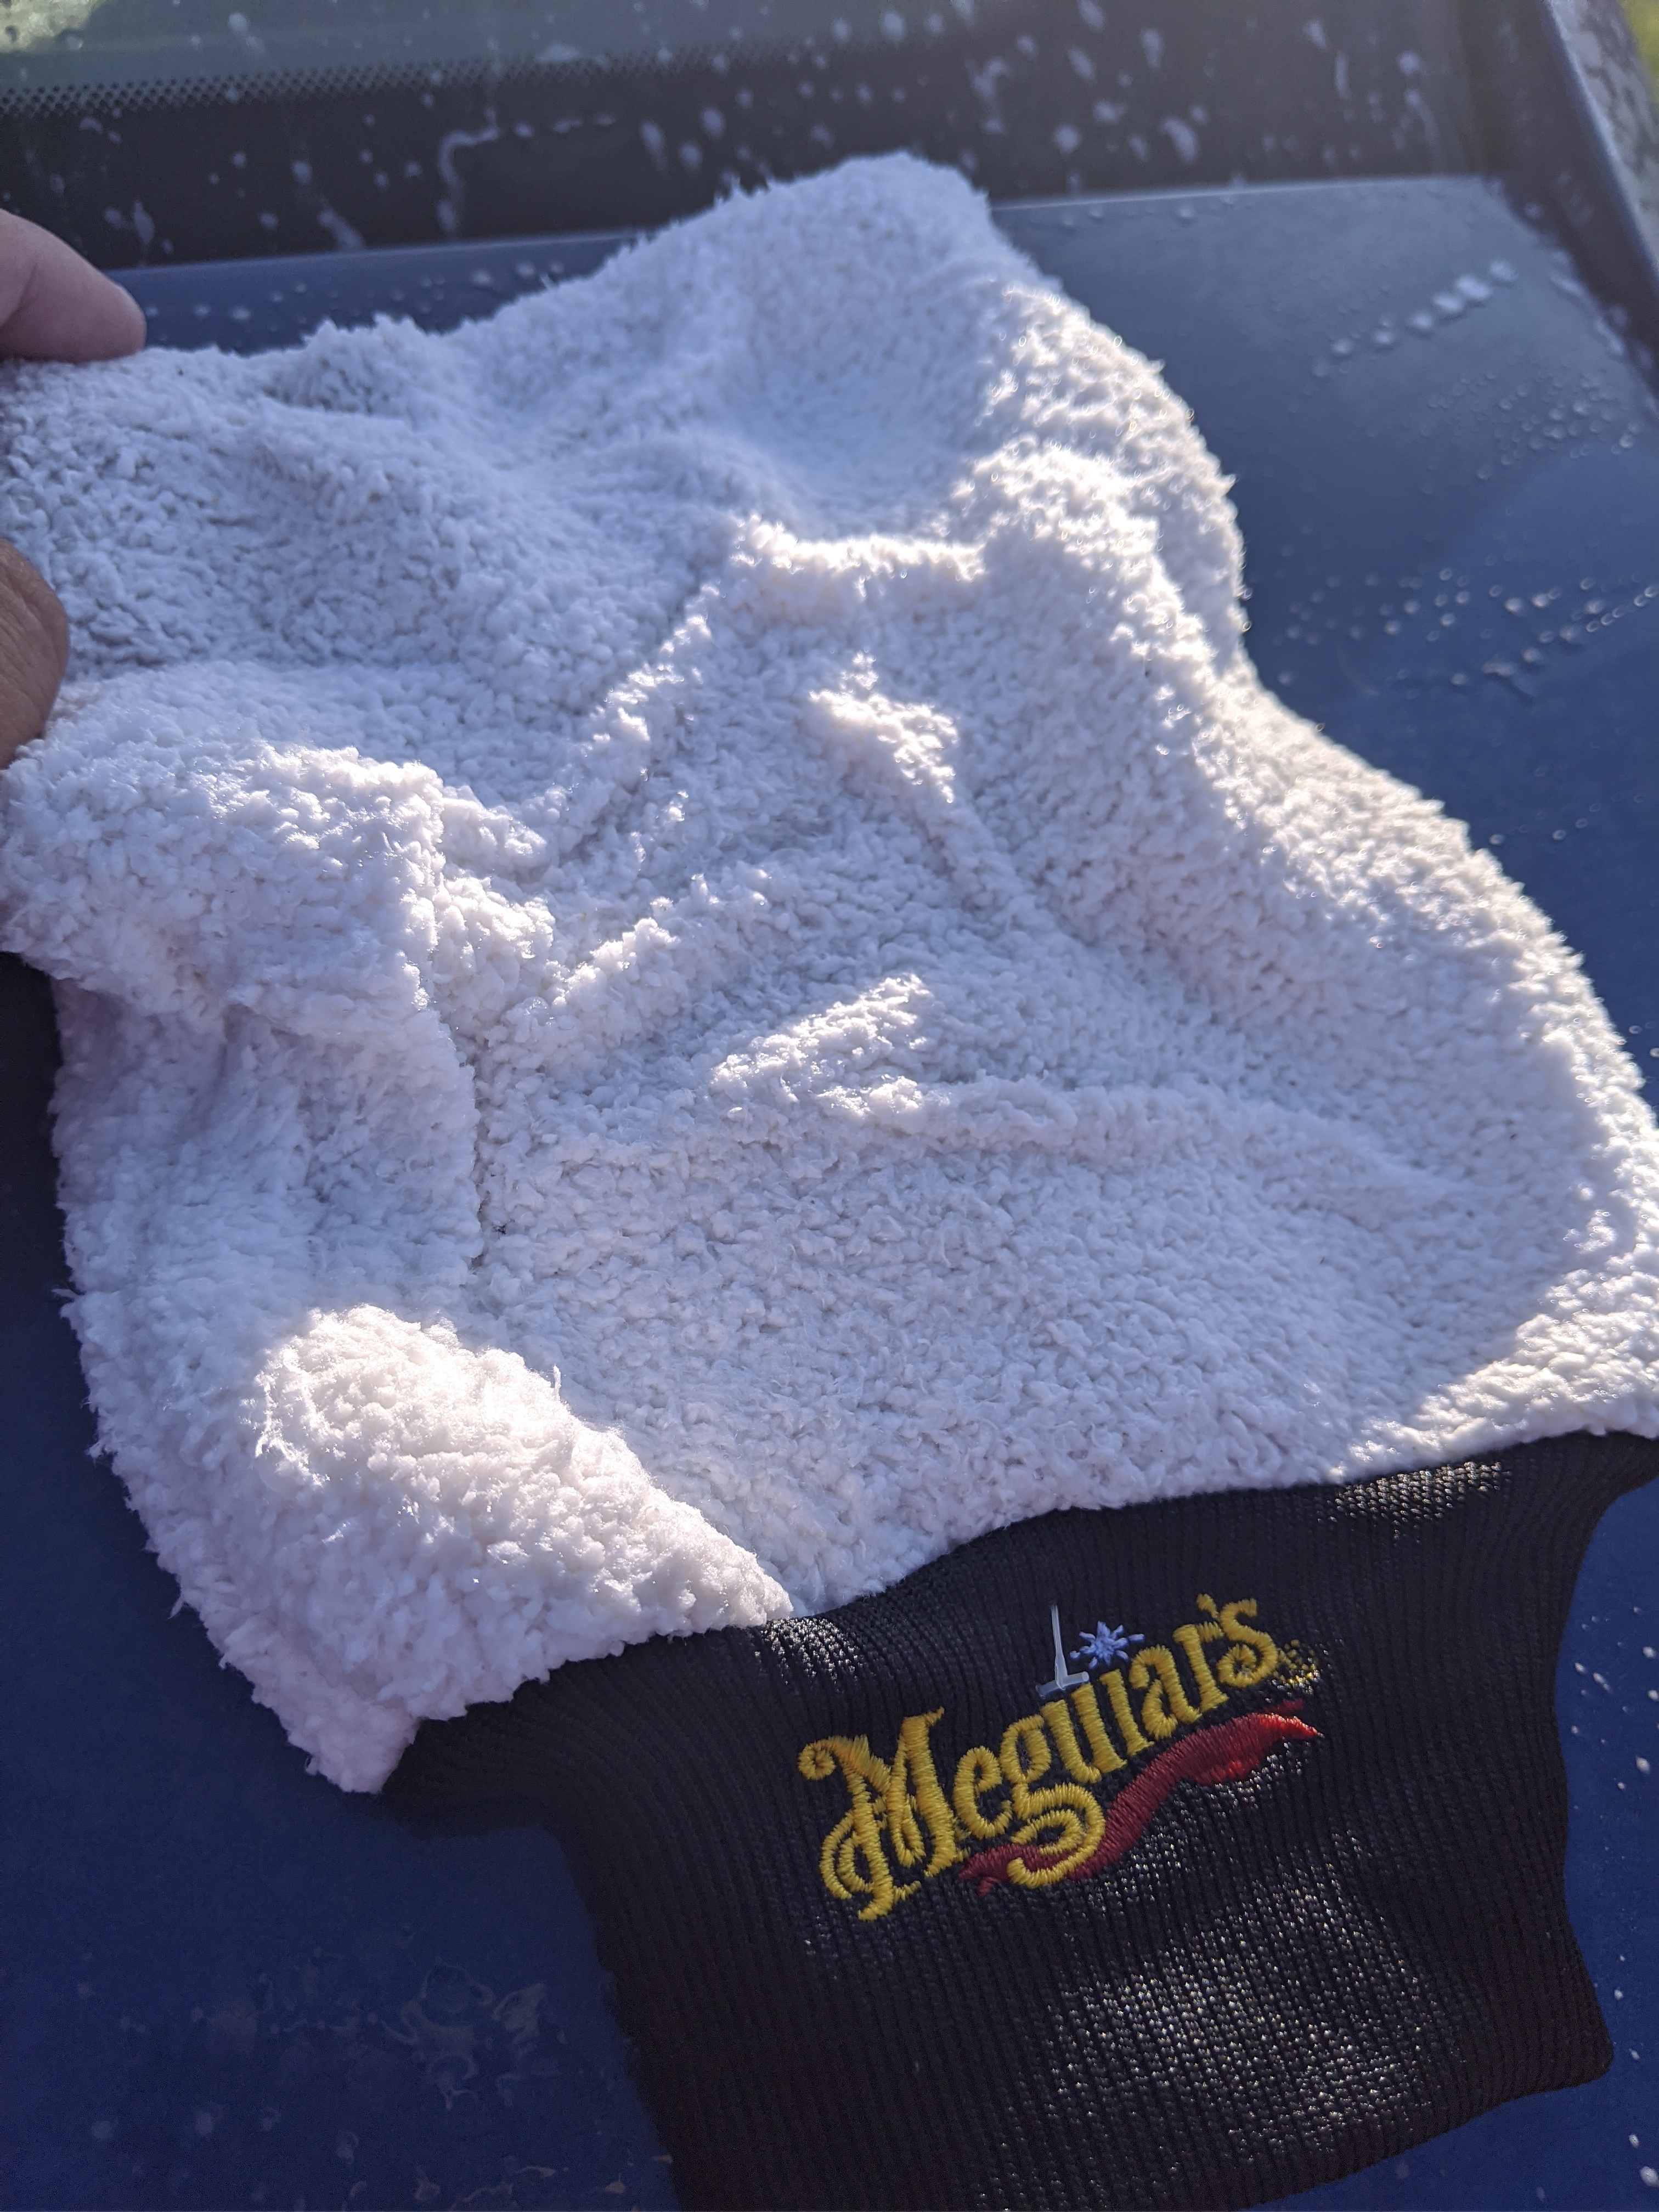
We want the right equipment. I posted the good stuff above. Invest in good MF towels. Invest in some throwaway MF towels for buffing off the coating. You dont want to reuse something that has 9H hardened droplets in it. That will decimate your paint if you use it again. Dont do that. A good set of applicator pads etc and a foam pad for the polishing and your golden!
Foam is simply better for polishing I havent had the same luck with microfiber! so theres a time saving tip
Washing
Washing you might think its a good idea to use your run of the mill soap. No we do not want to do this. We are already going to be trying to strip the surface of wax’s amongst other things. So get a nice PH balanced soap designed for this. I used the following:
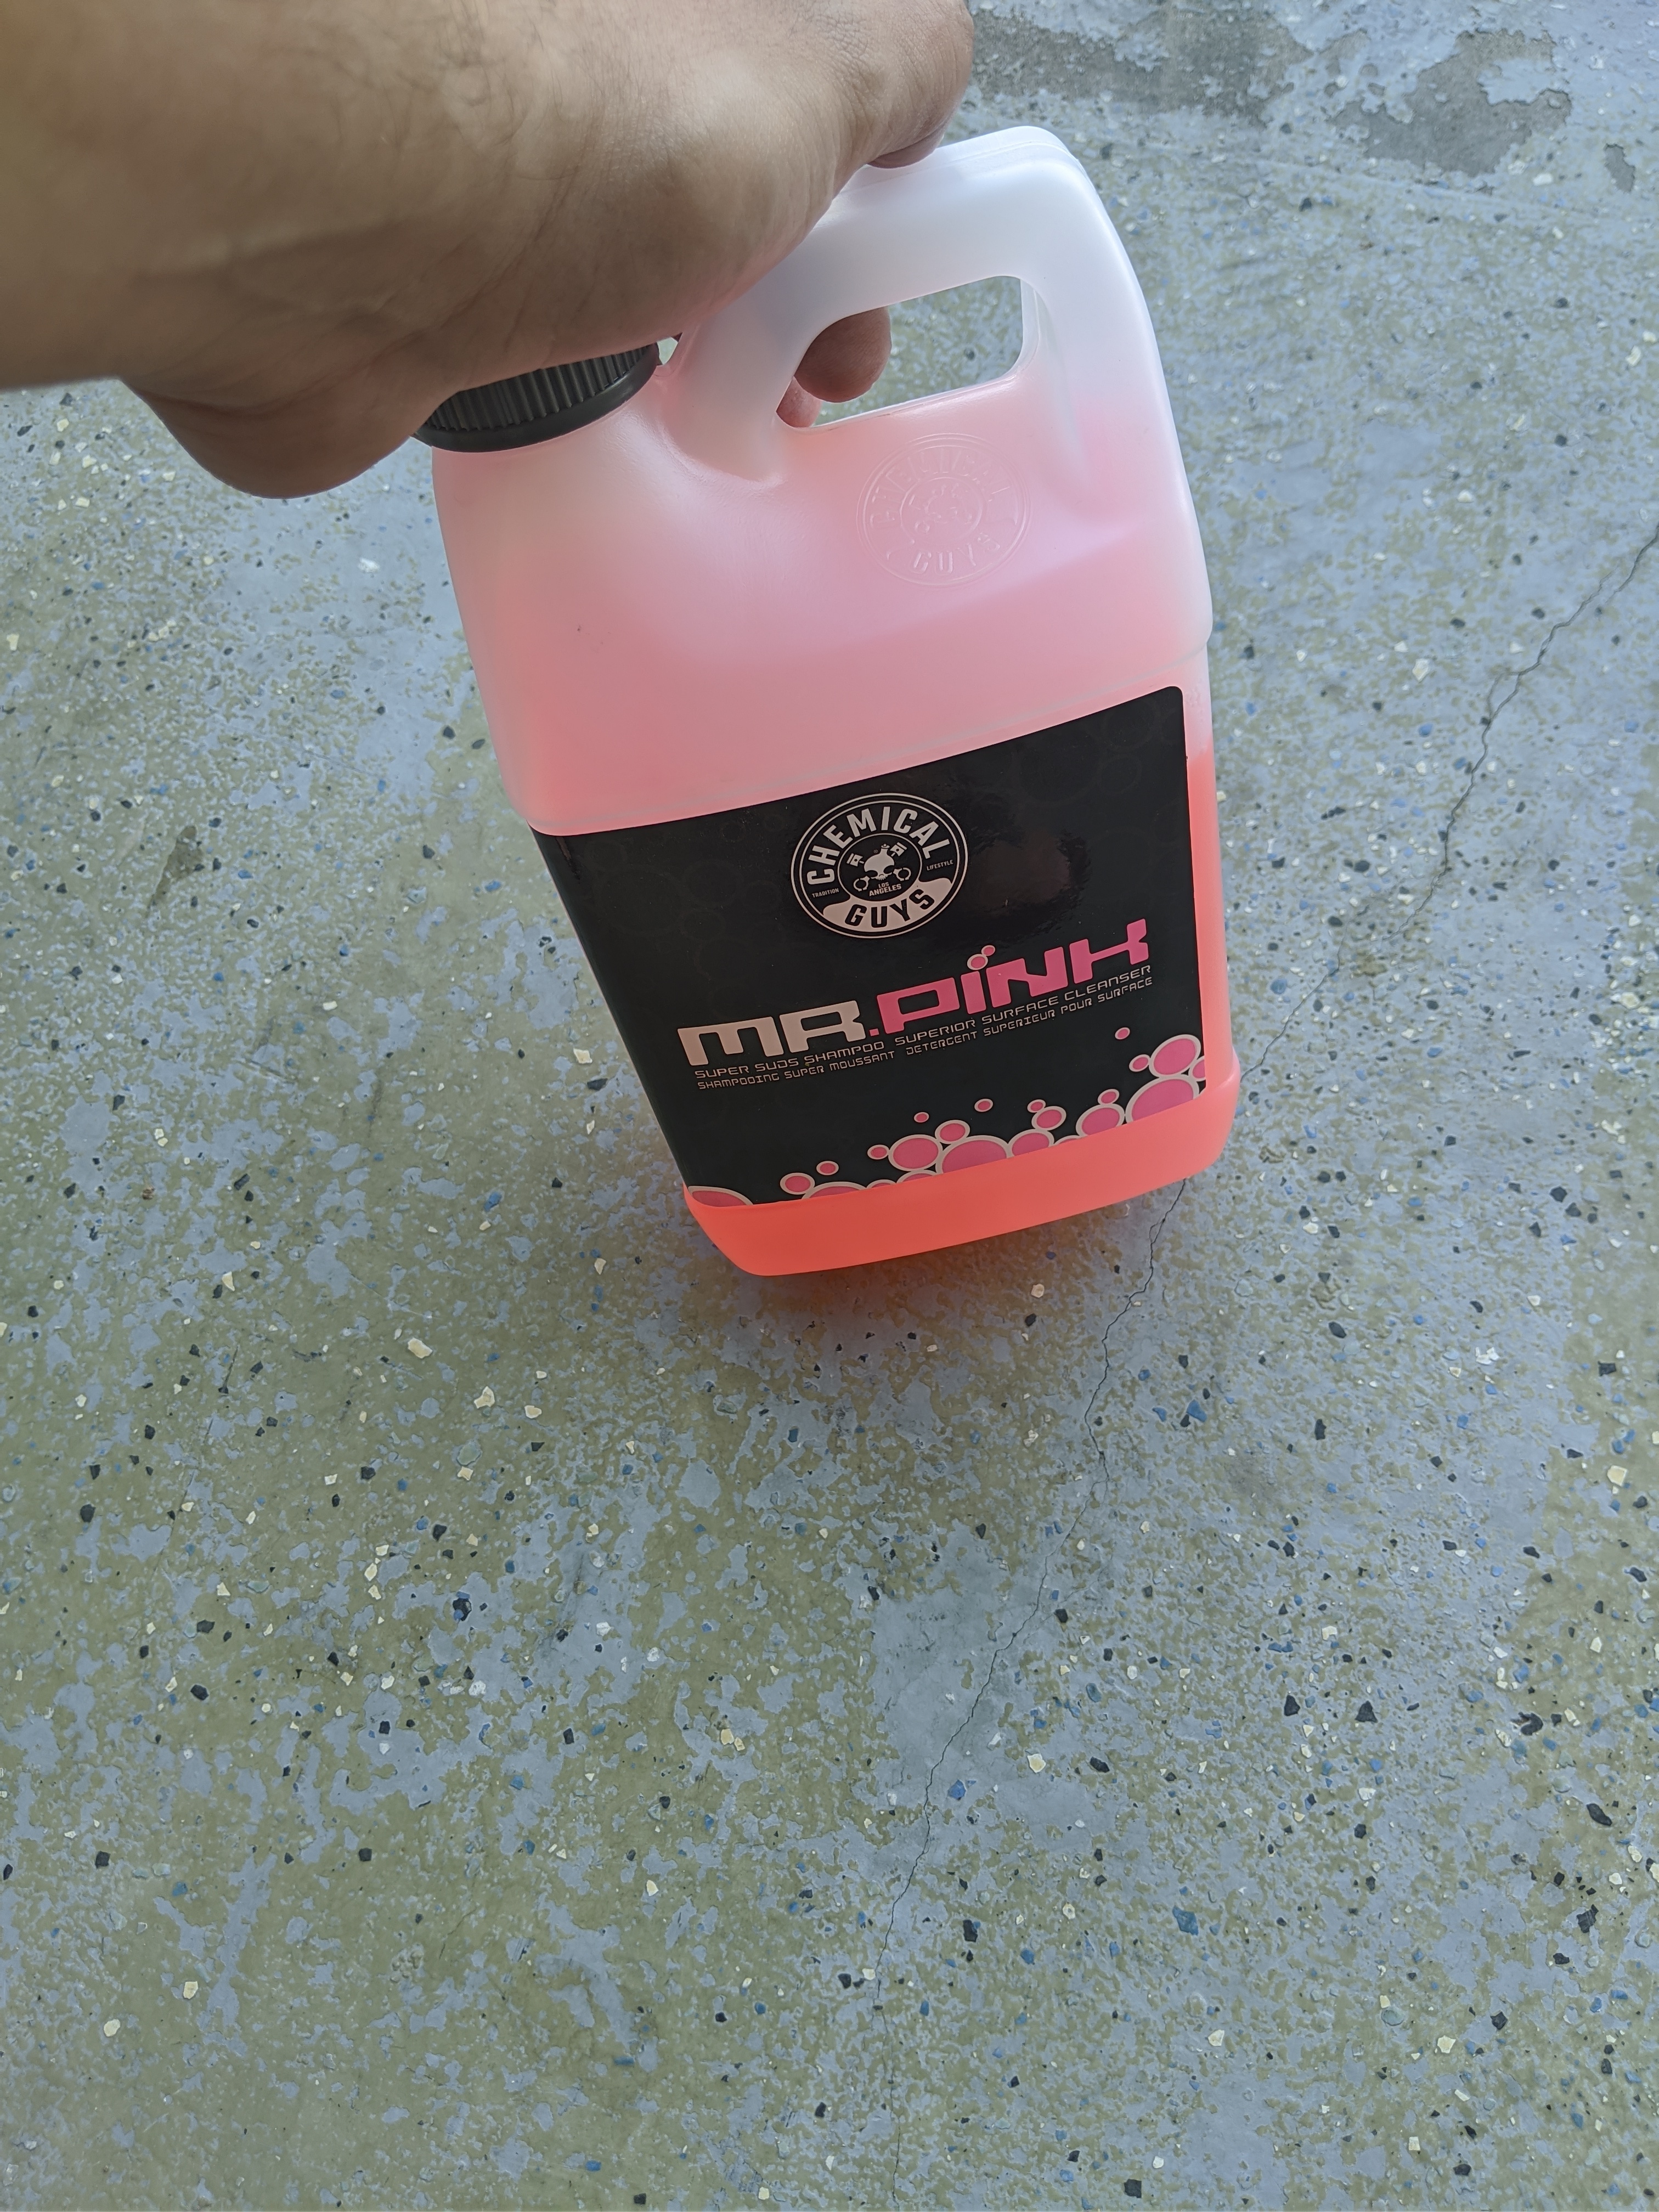
It works great and smells like cotton candy  … You want to use the two bucket method if your dont have a touchless auto canon. Even then I prefer the two bucket microfiber mit method.
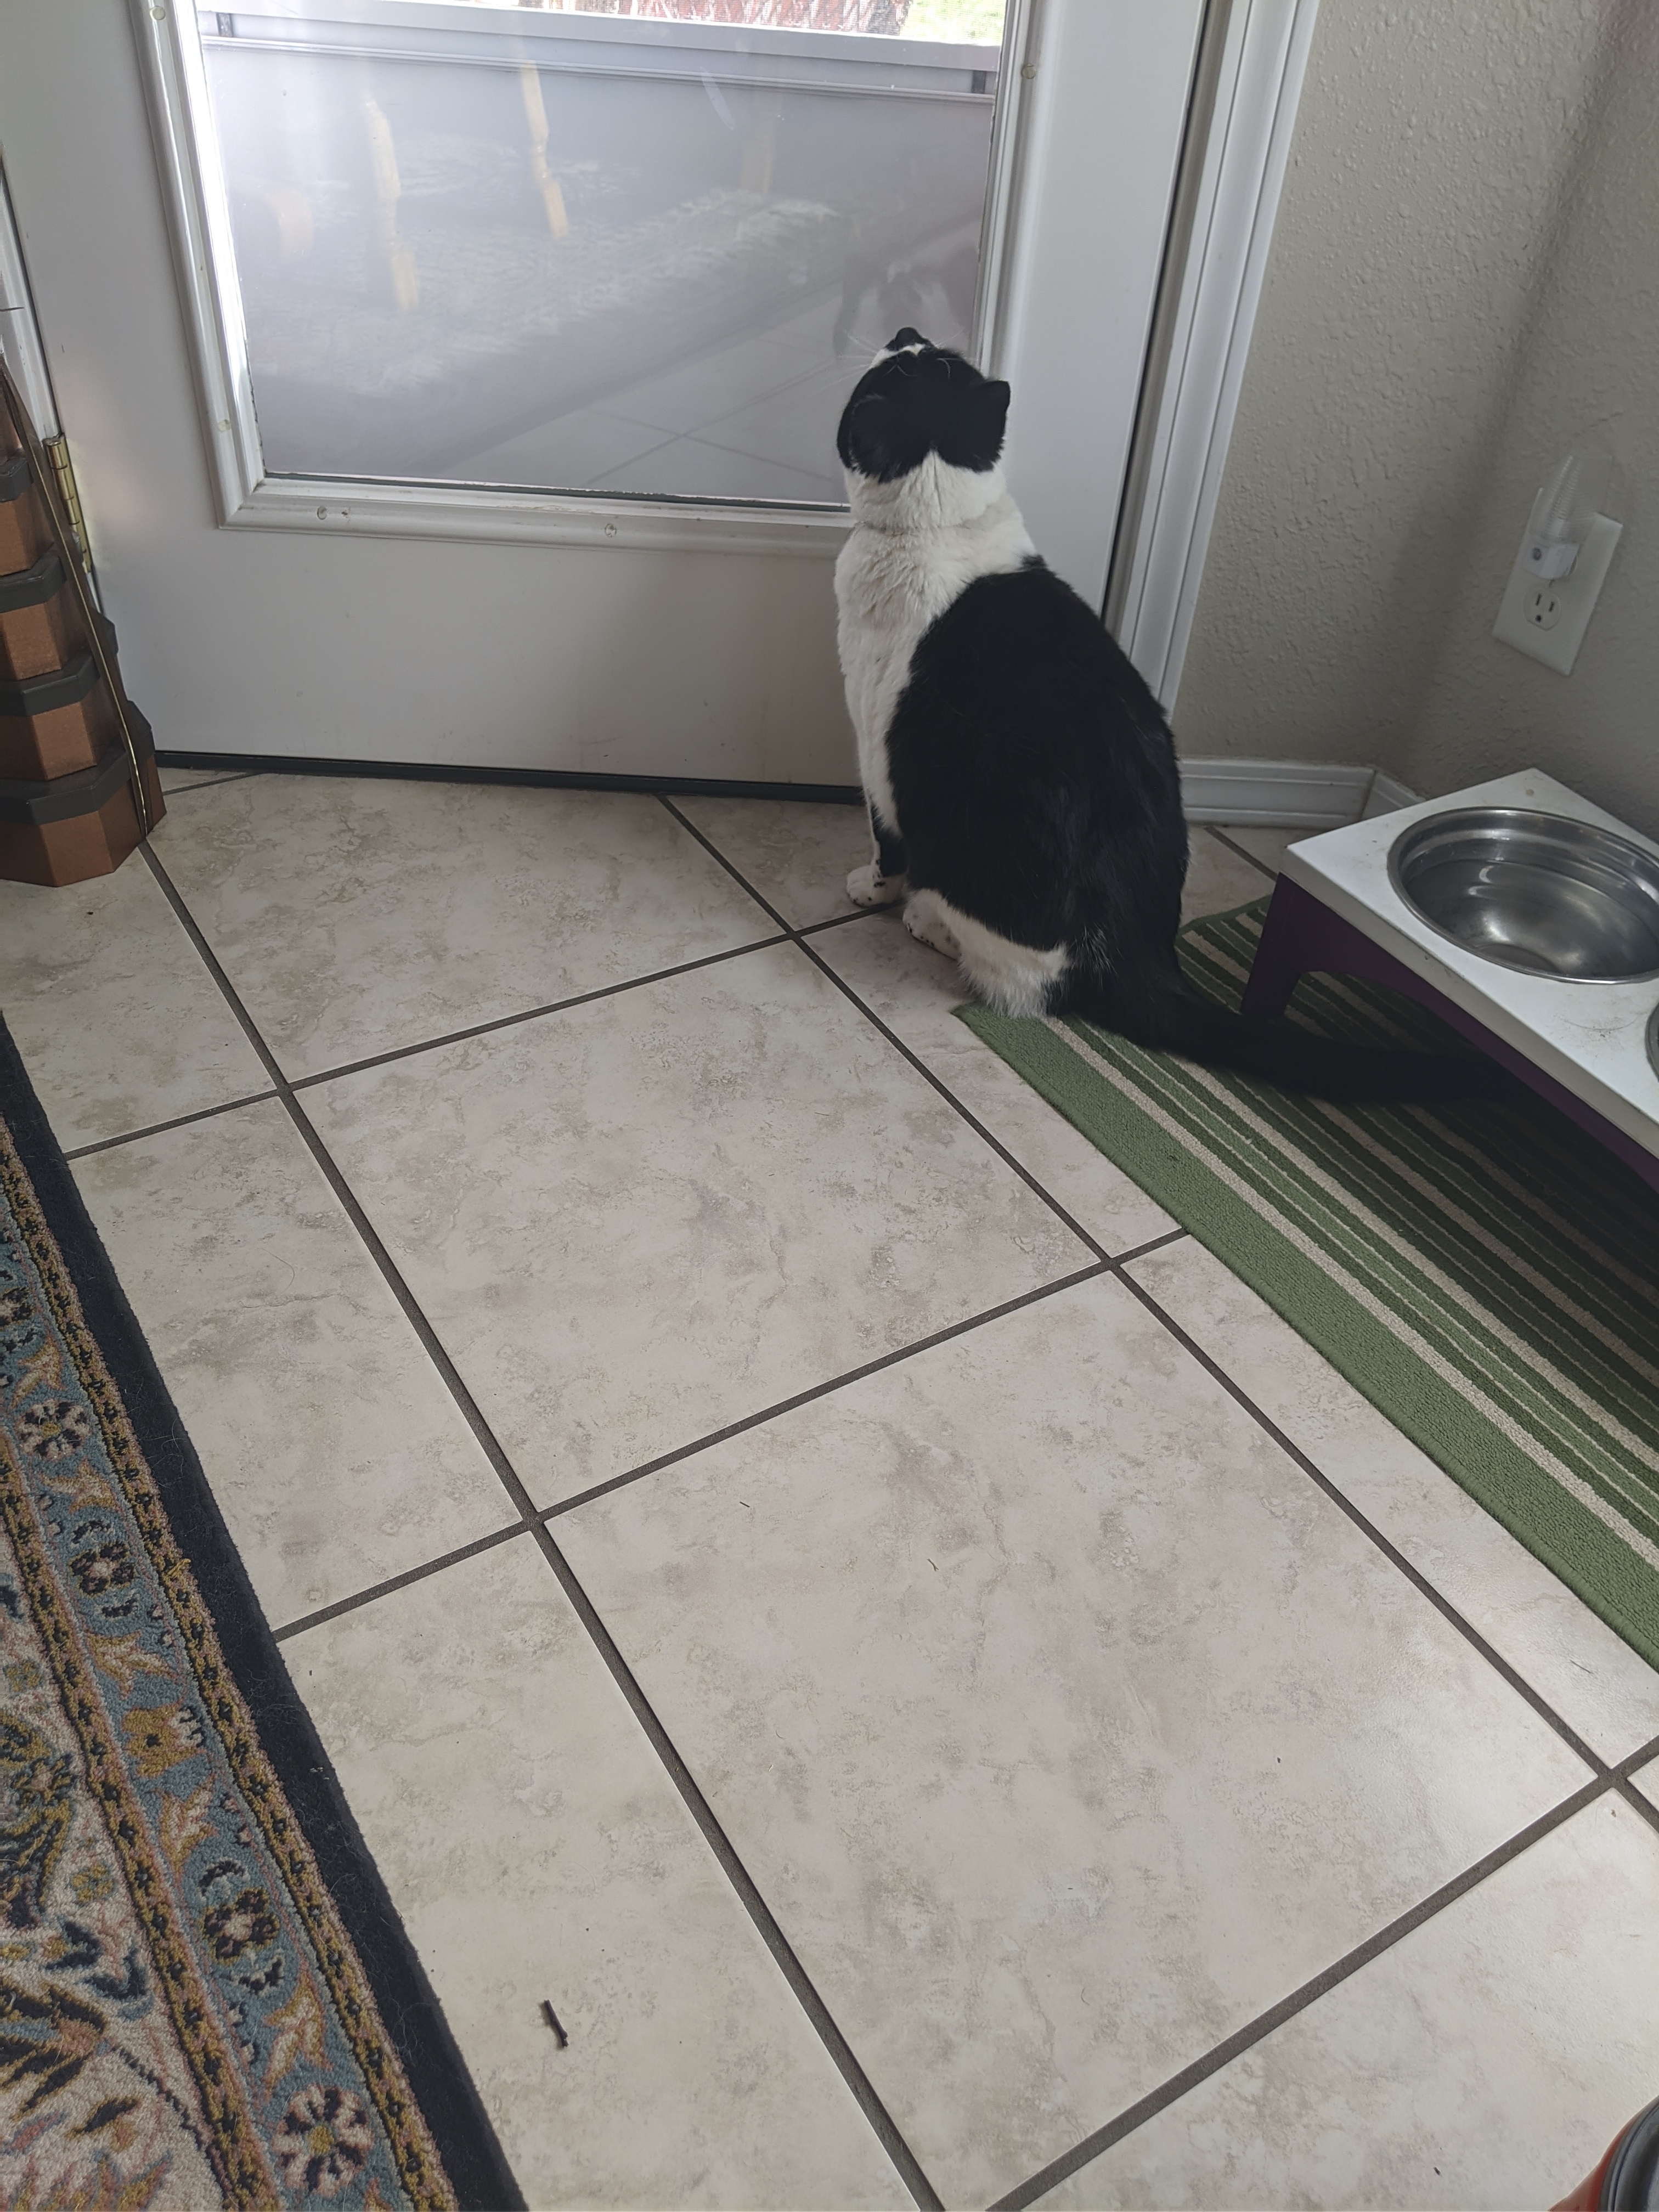
Being at one of many of my parents properties here. There was a perfectly empty clean cat liter box. I used this with grit guard at the bottom
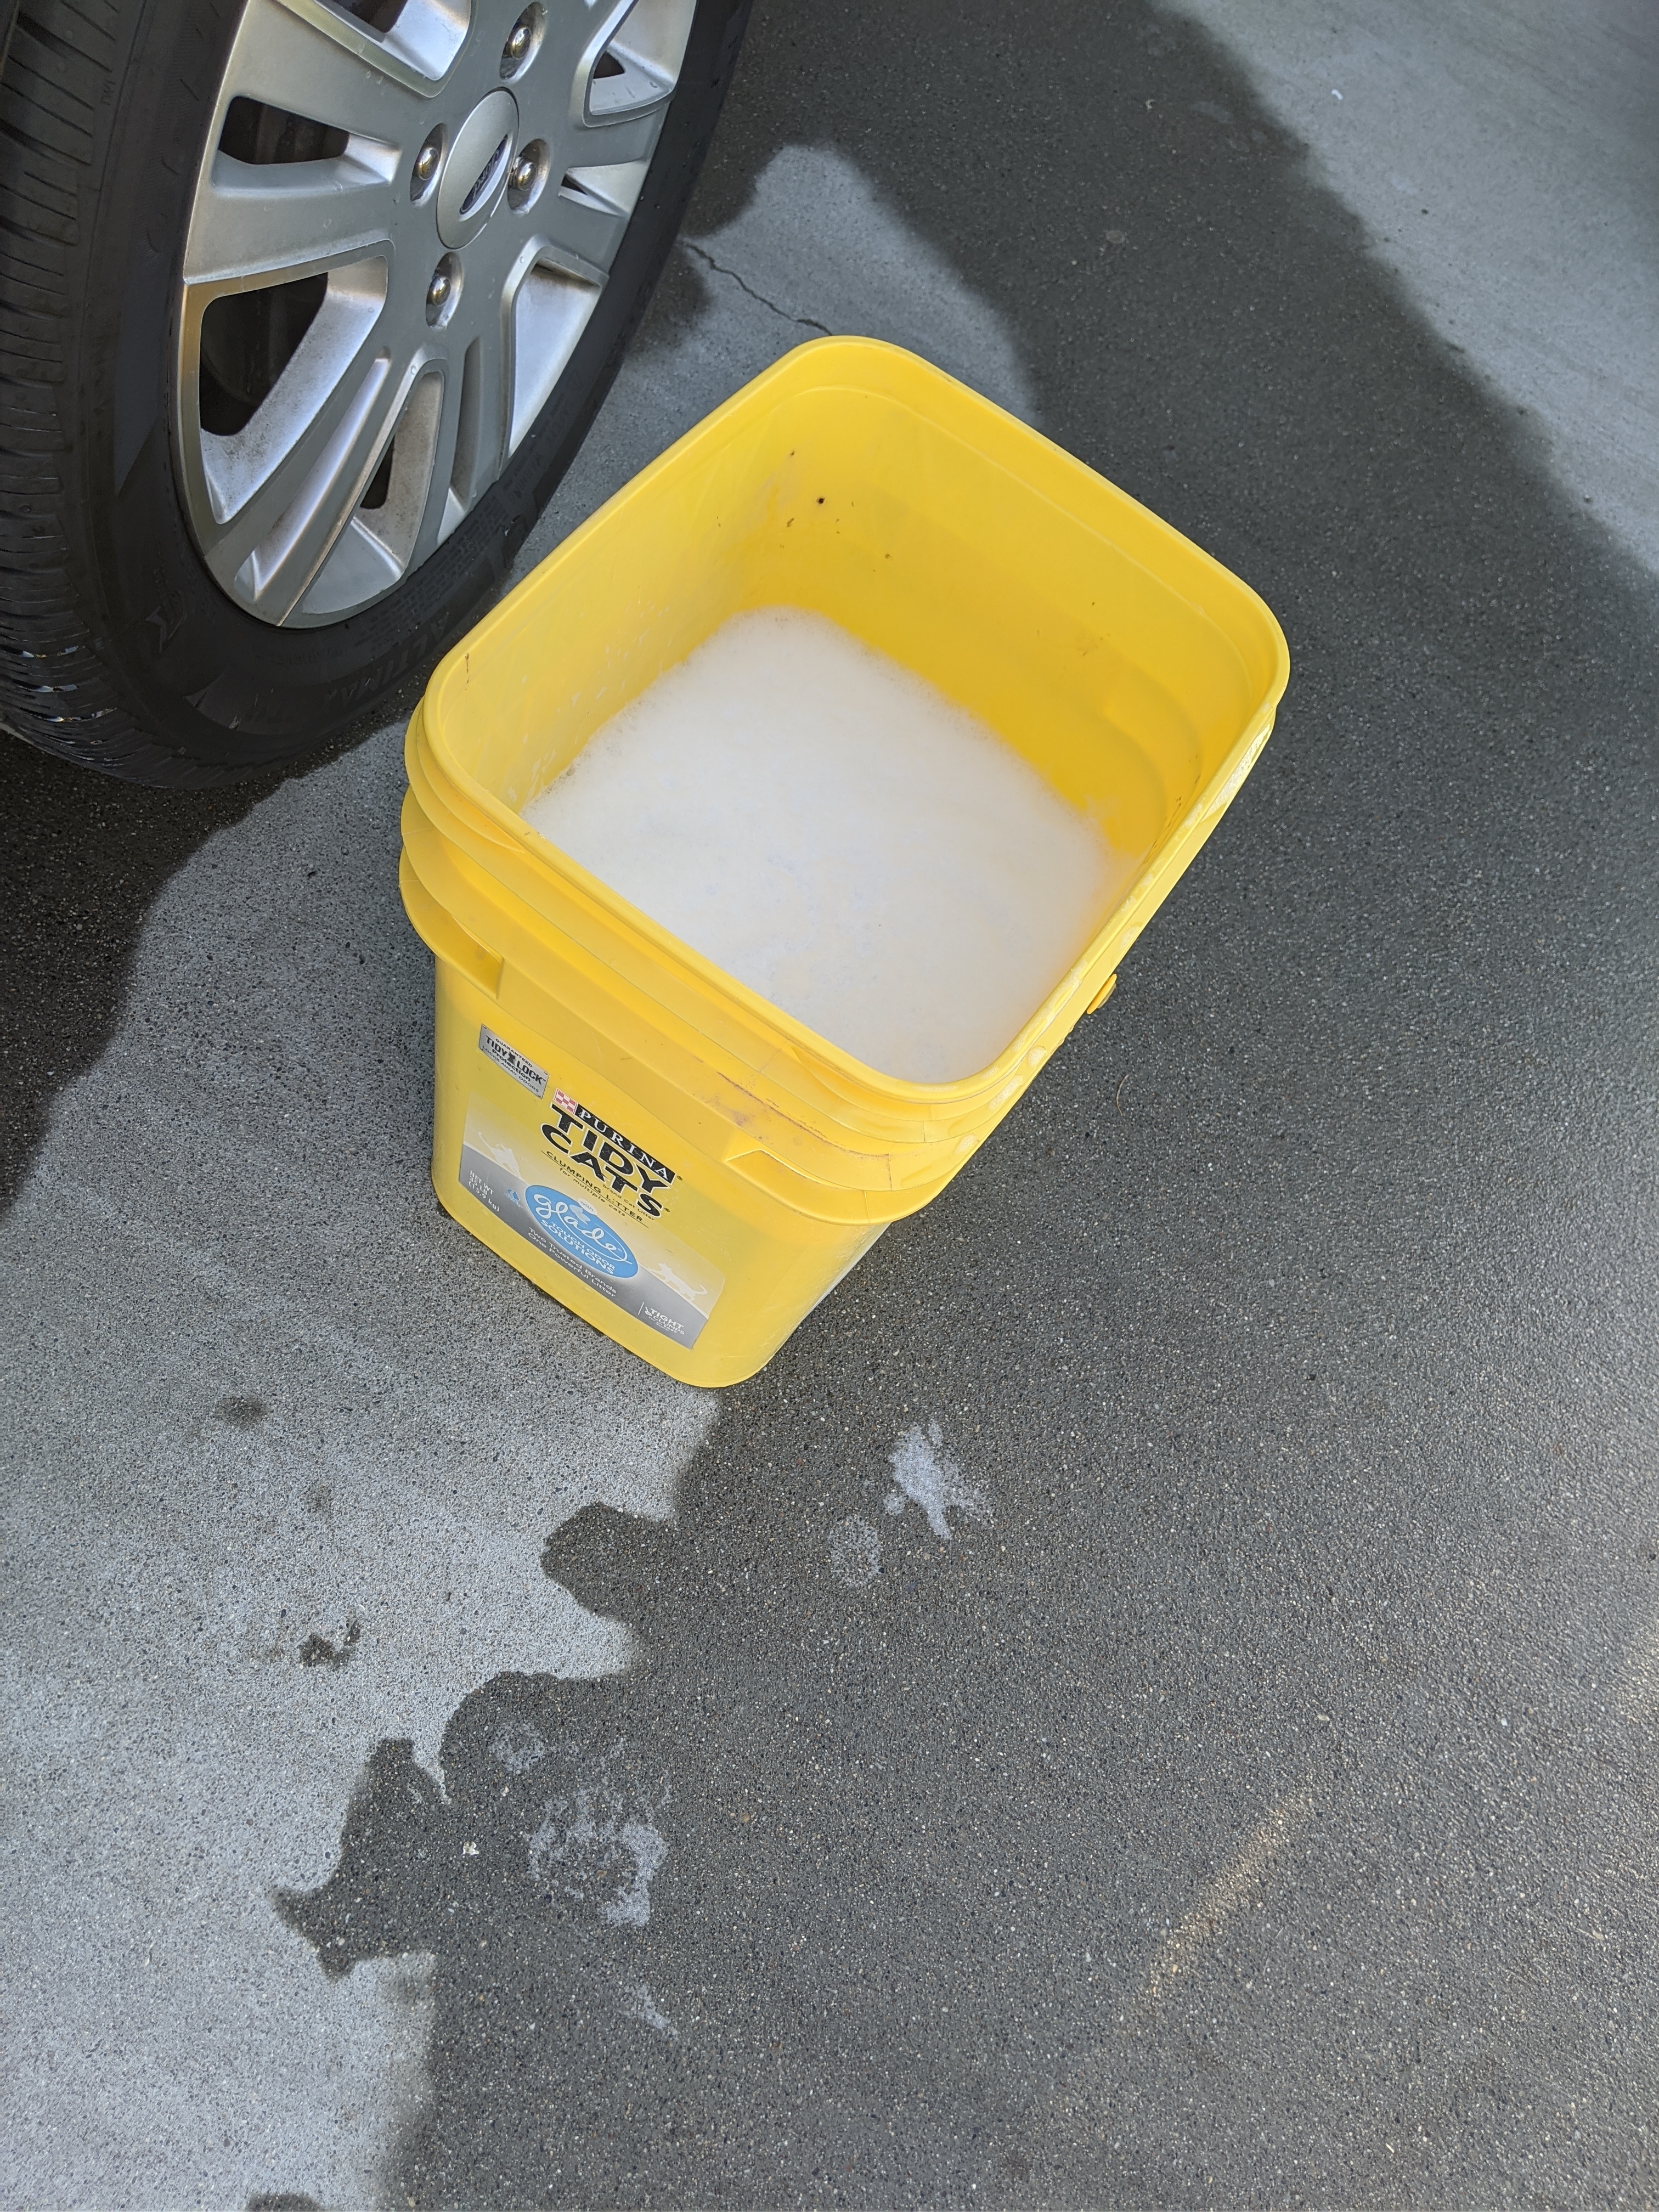
Its a hard life to be a cat. Having to open your own doors and have your poop scooped away for ya.

Little shit
Anyways another with the soap mix

This two bucket method ensures you can clean the microfiber mit on the grit guard and clean it off before getting it full of suds again helping to remove the most material from the paint surface.
You want to wash it very well and rinse it well

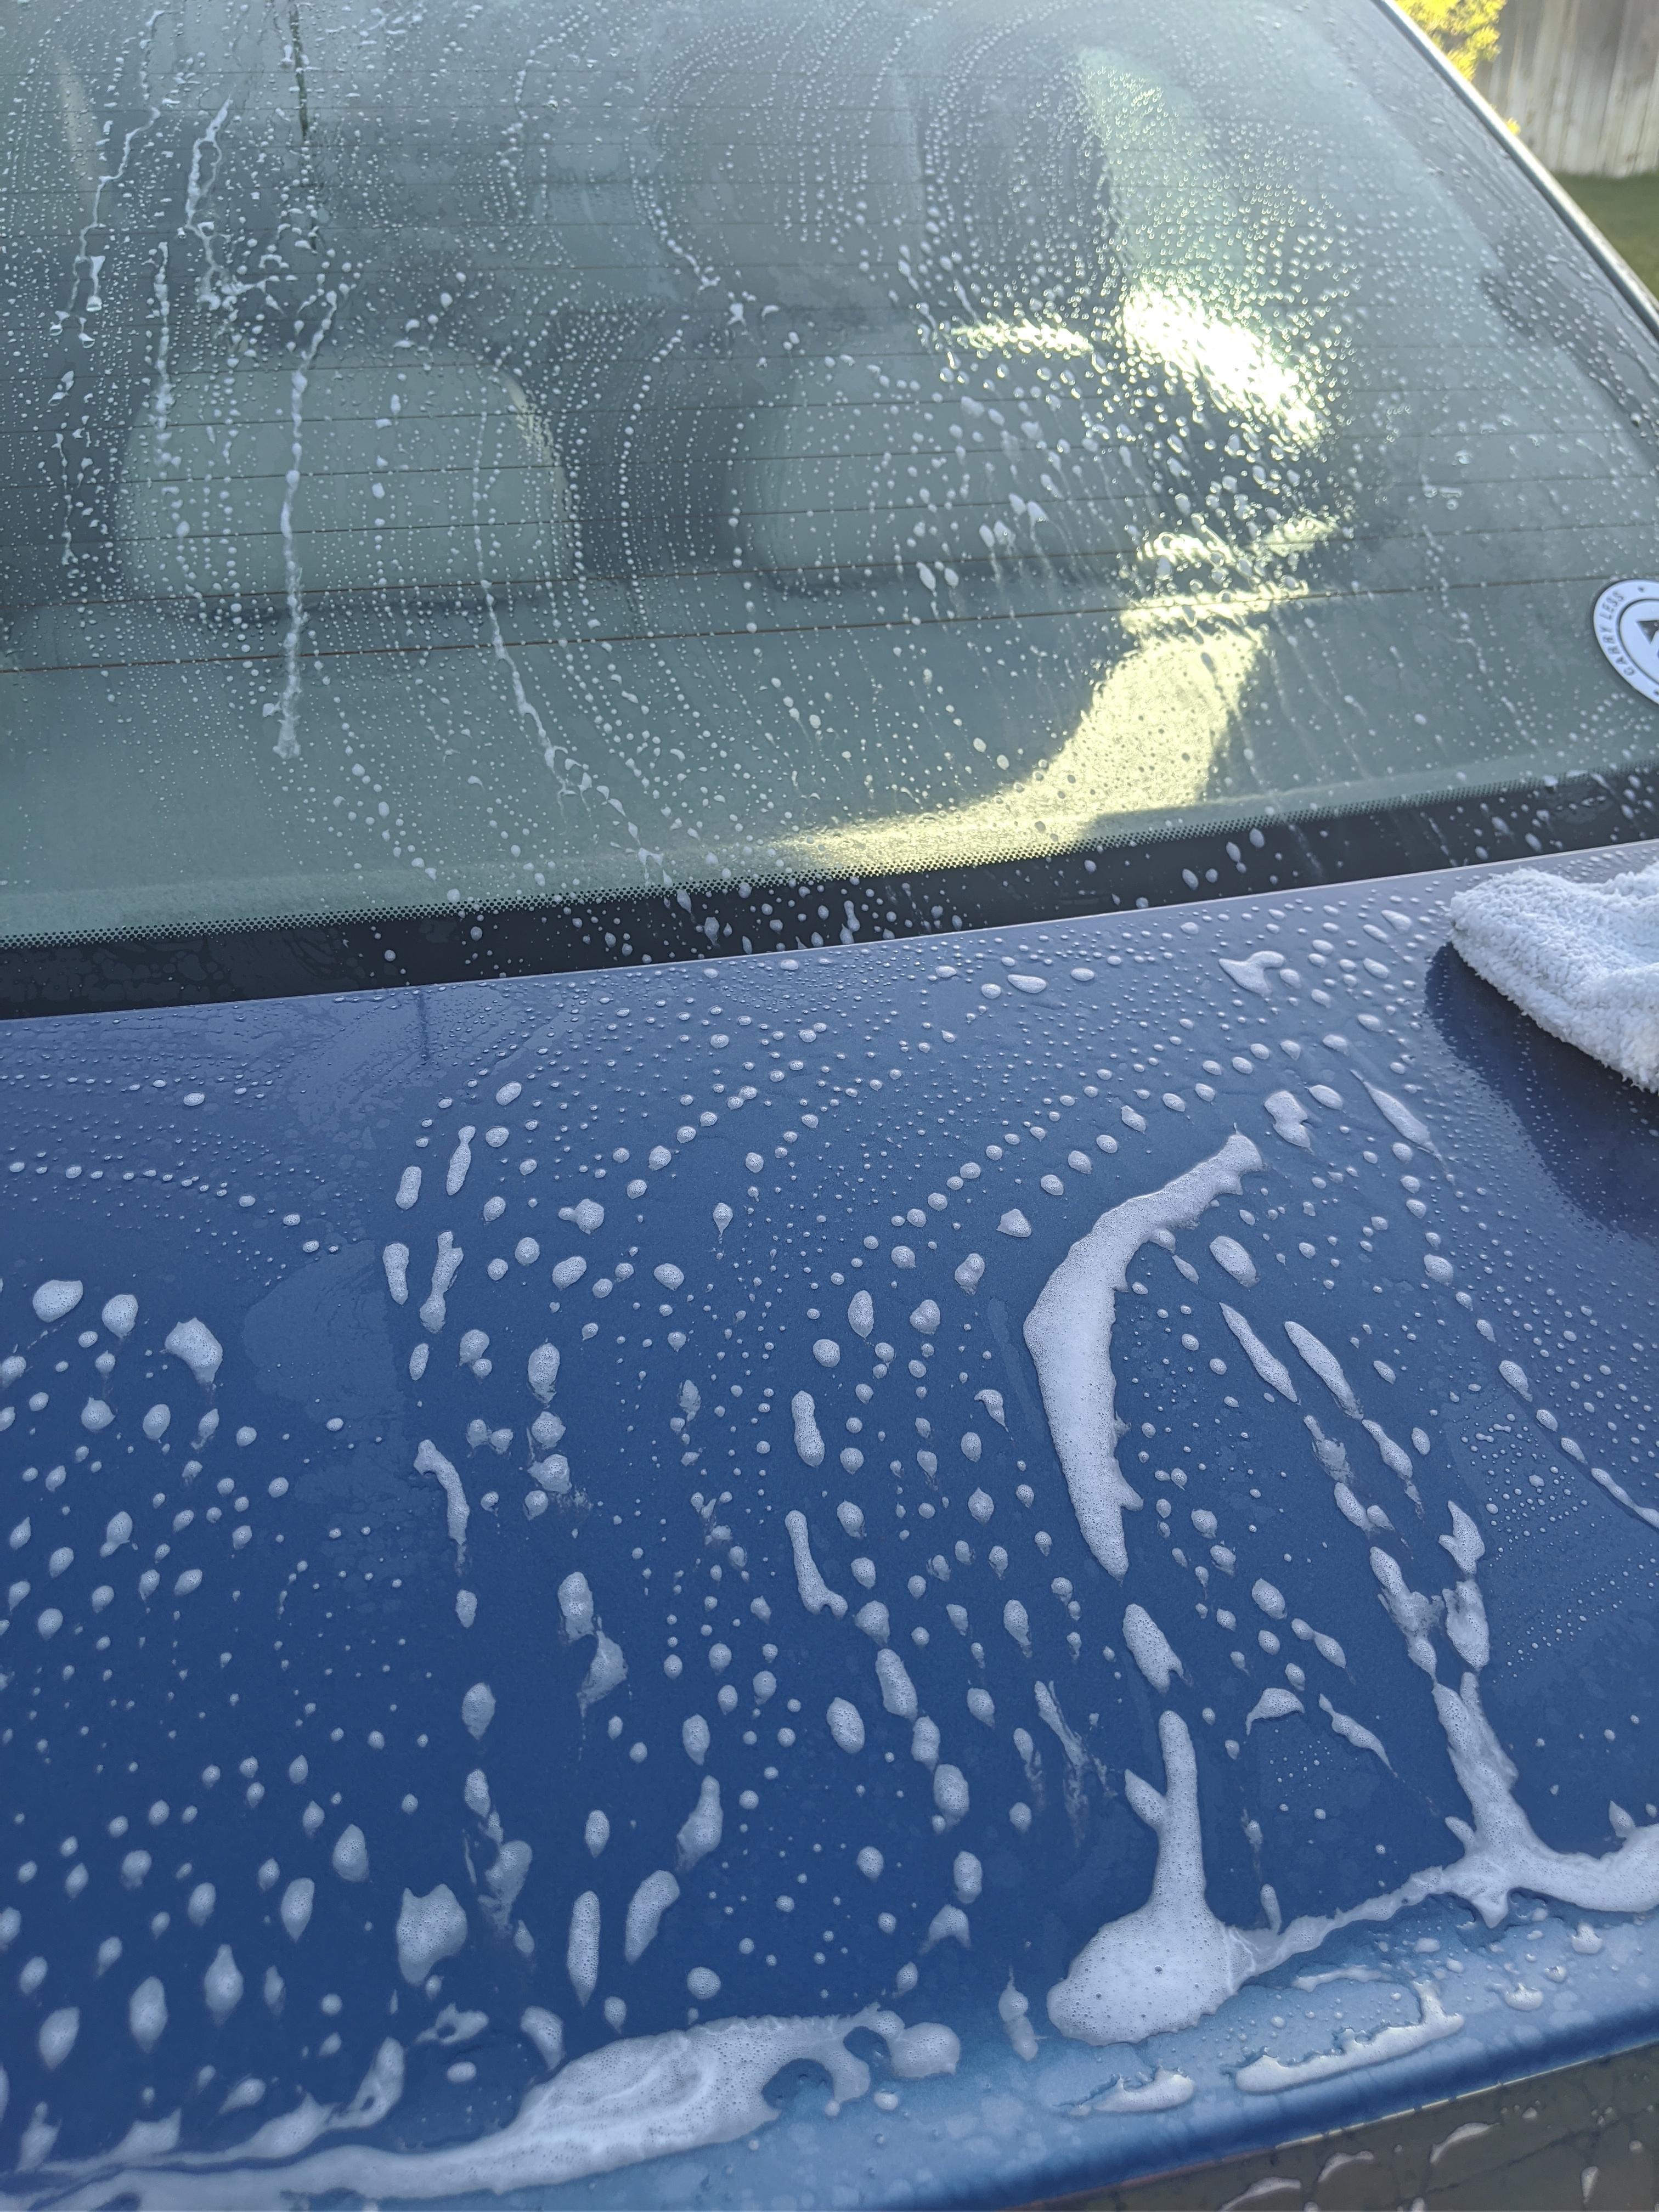

Once you completed the wash. I find a 50% isopropyl and water mix is a VERY good de iron and wax remover. Chemically most alcohols can be quite good at this. So mix it up and spray down the entire vehicle with it
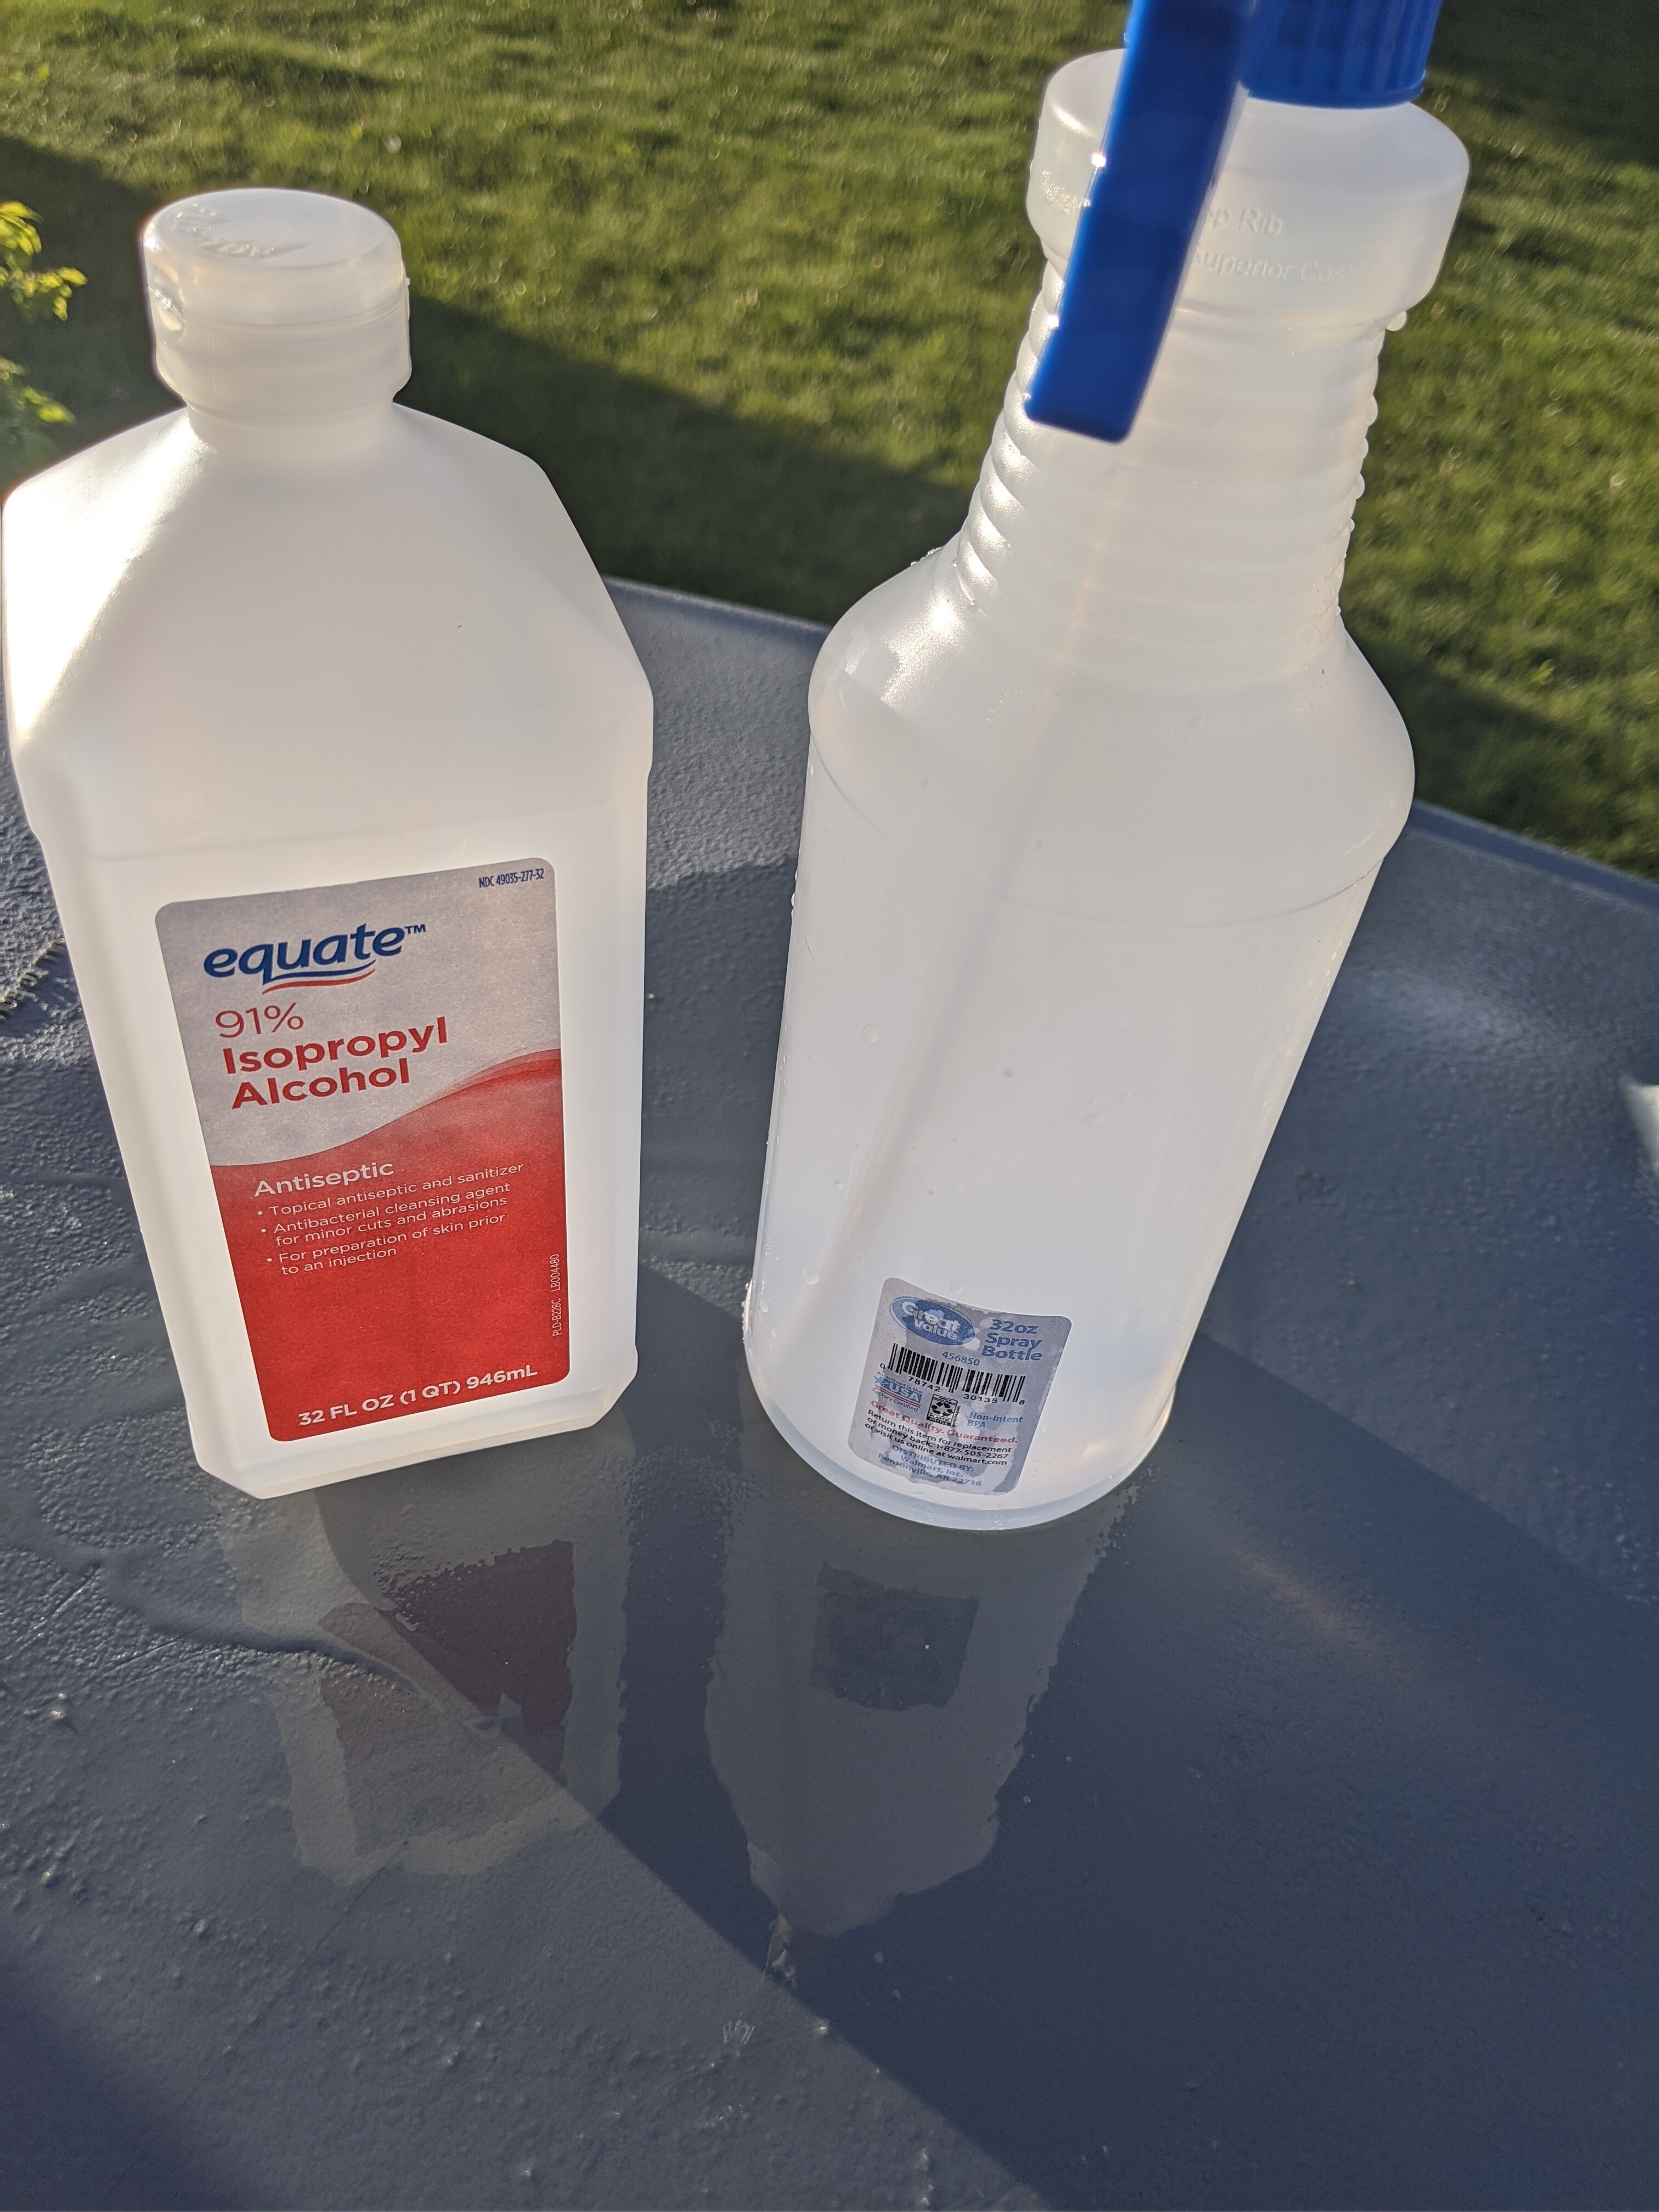
Try not to let it sit nor go above 50% it can mess with clear coat or has the potential to do so.
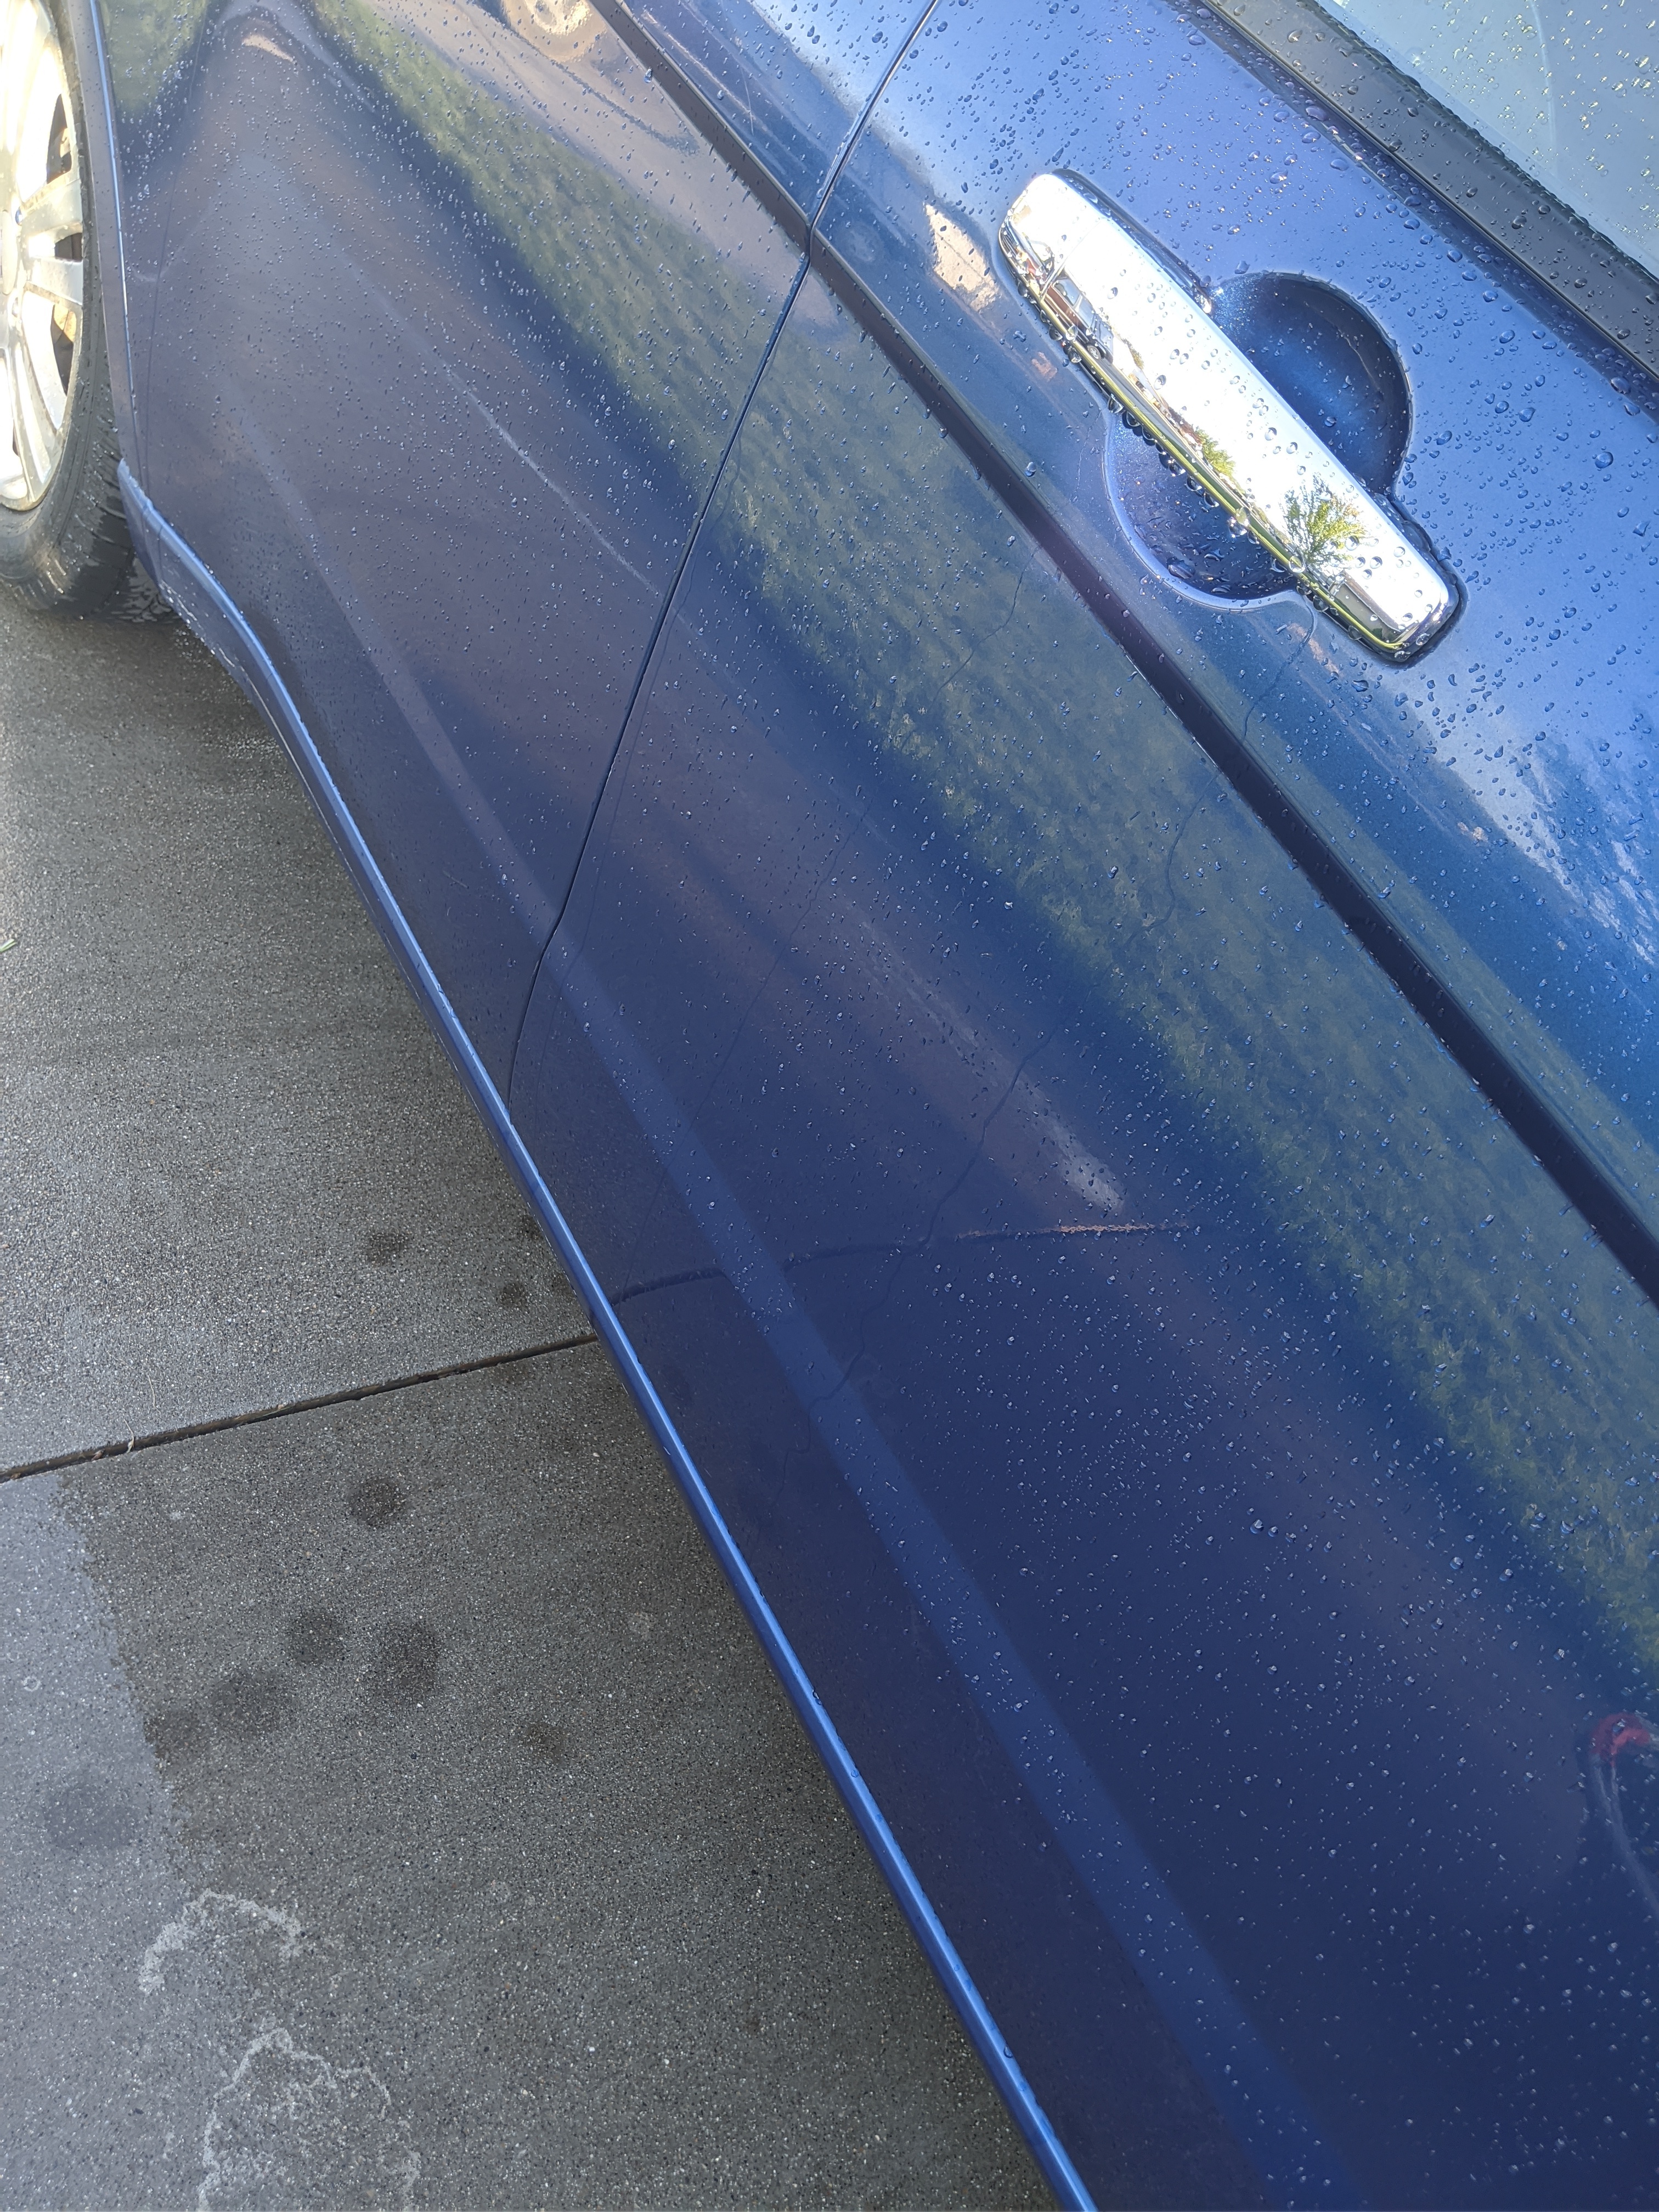
As you can see even when wet the paint doesnt look great. its quite oxidized. Go ahead and identify areas you know the coat wont make a difference on or problem areas you need to spend more time on

I found 3 noteworthy spots for me. The who side was grey on the top. Clearcoat paint oxidized and fading bad.
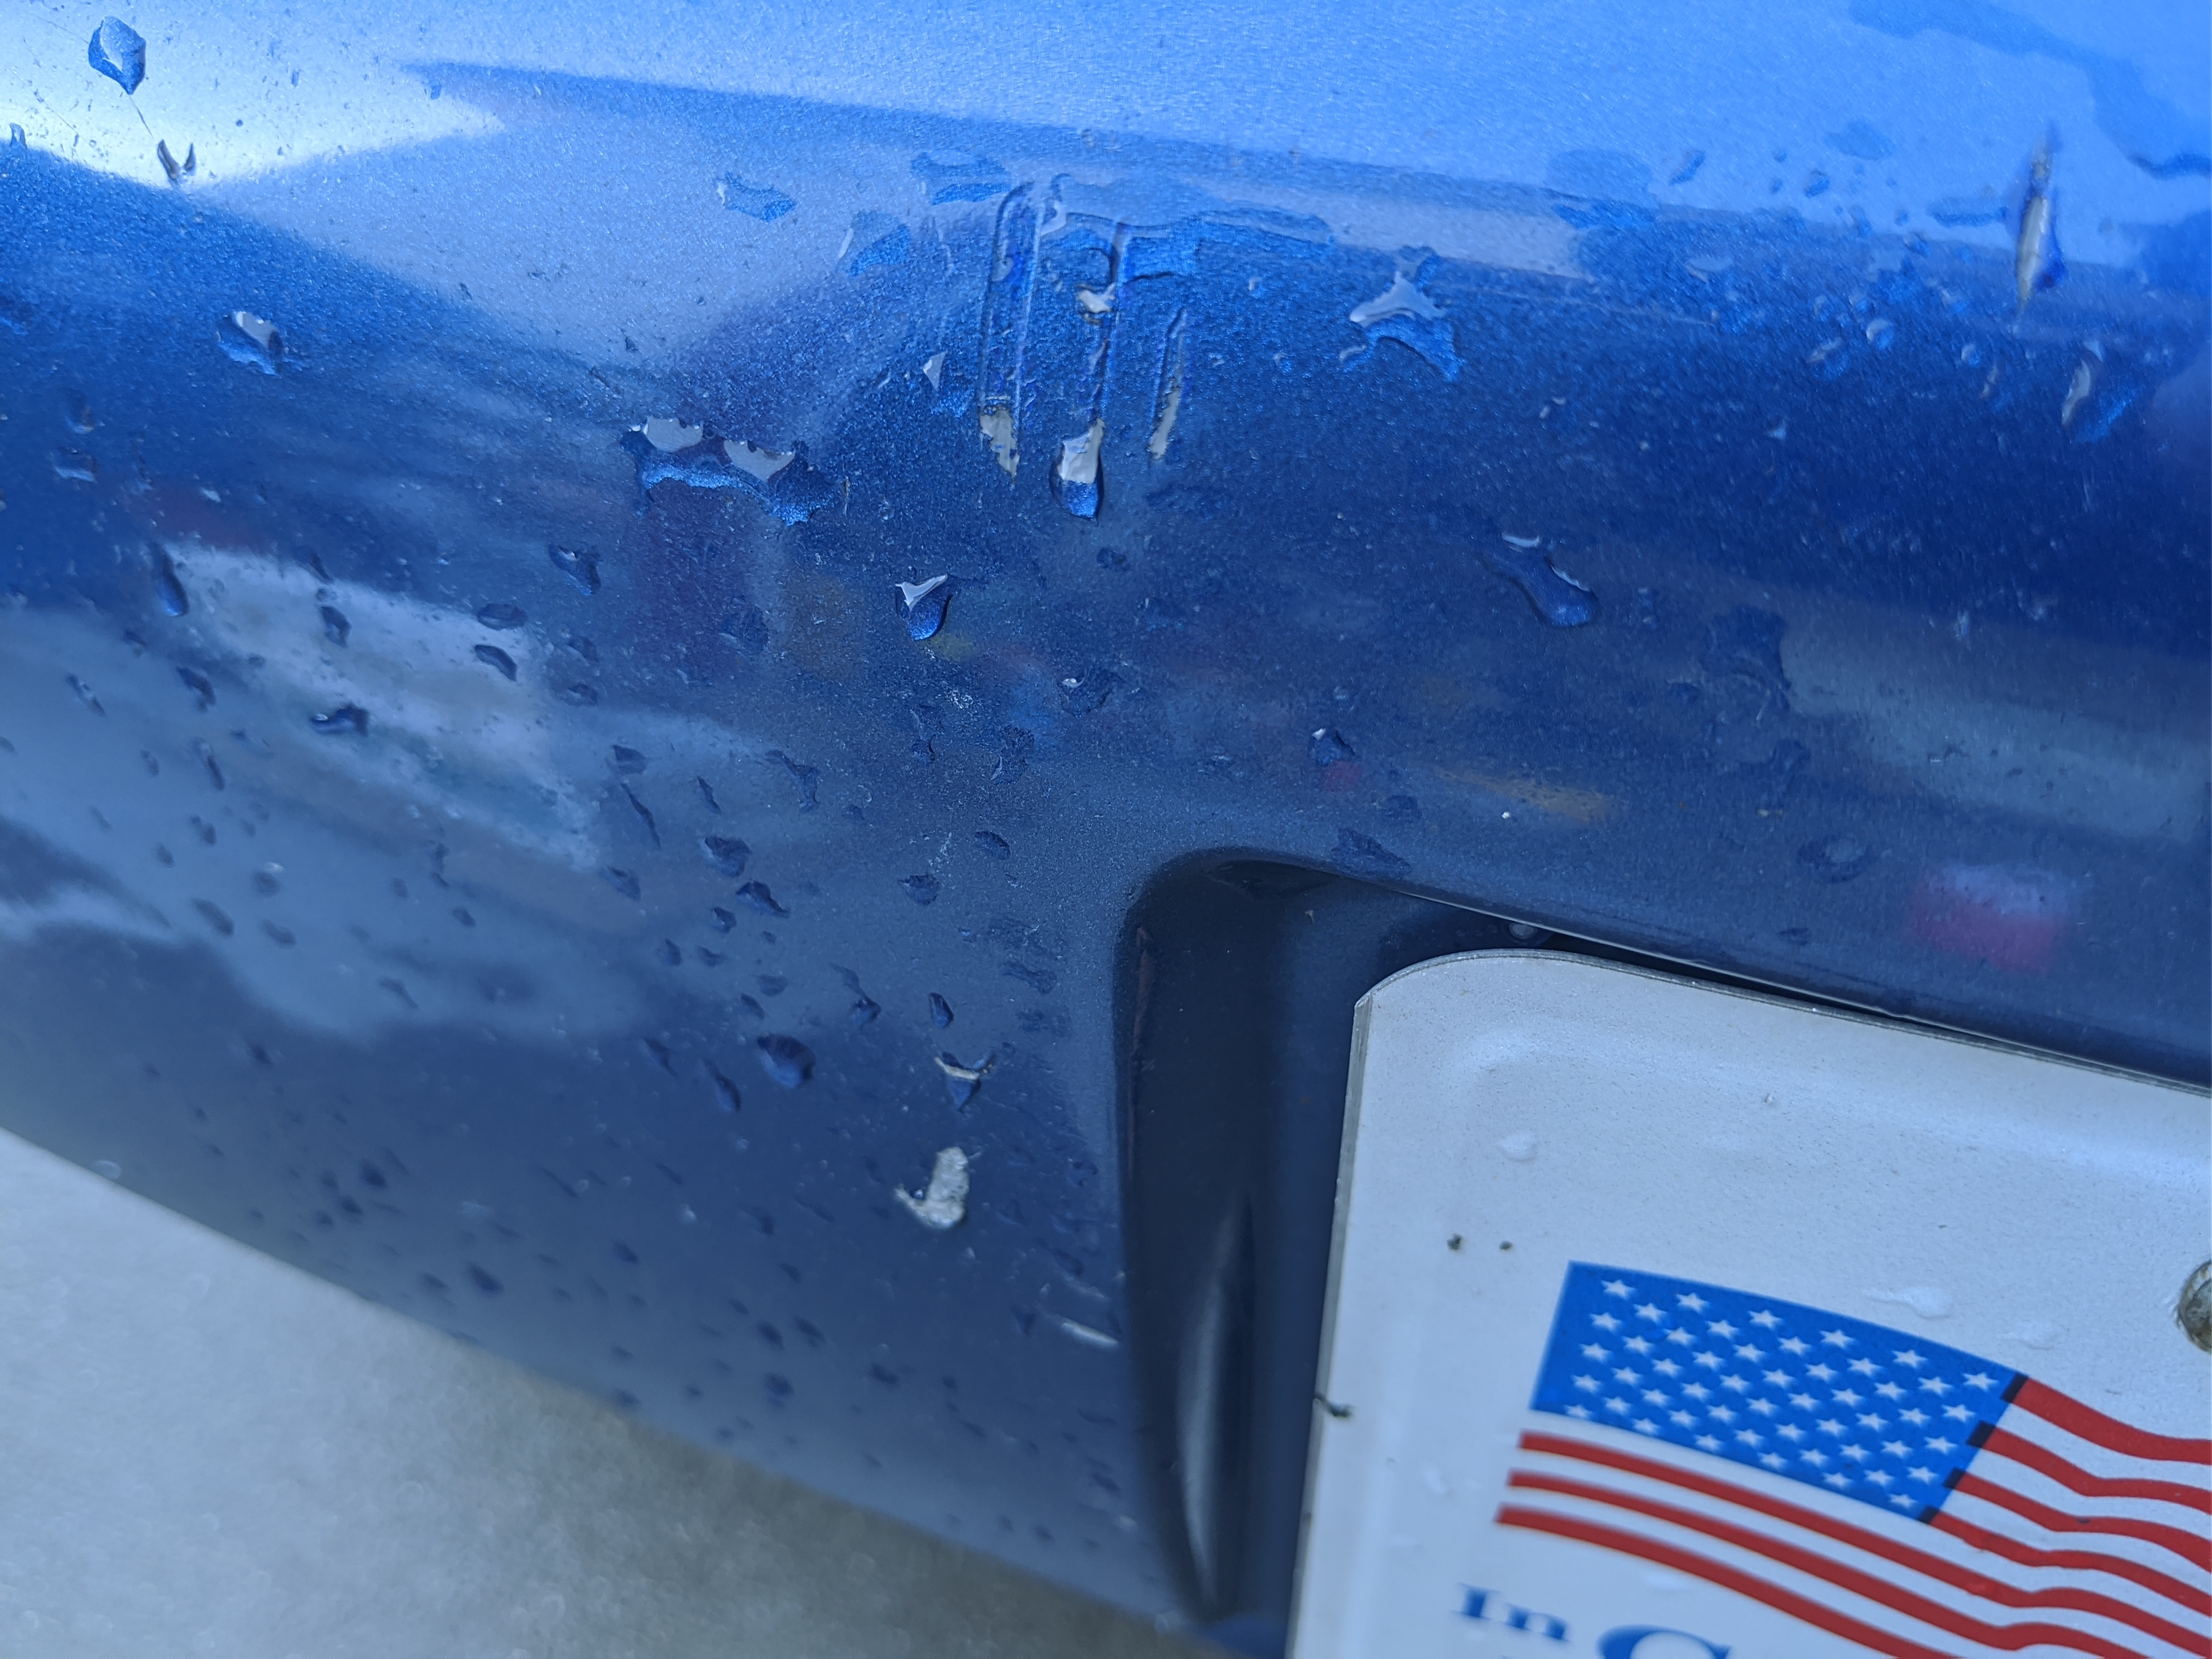
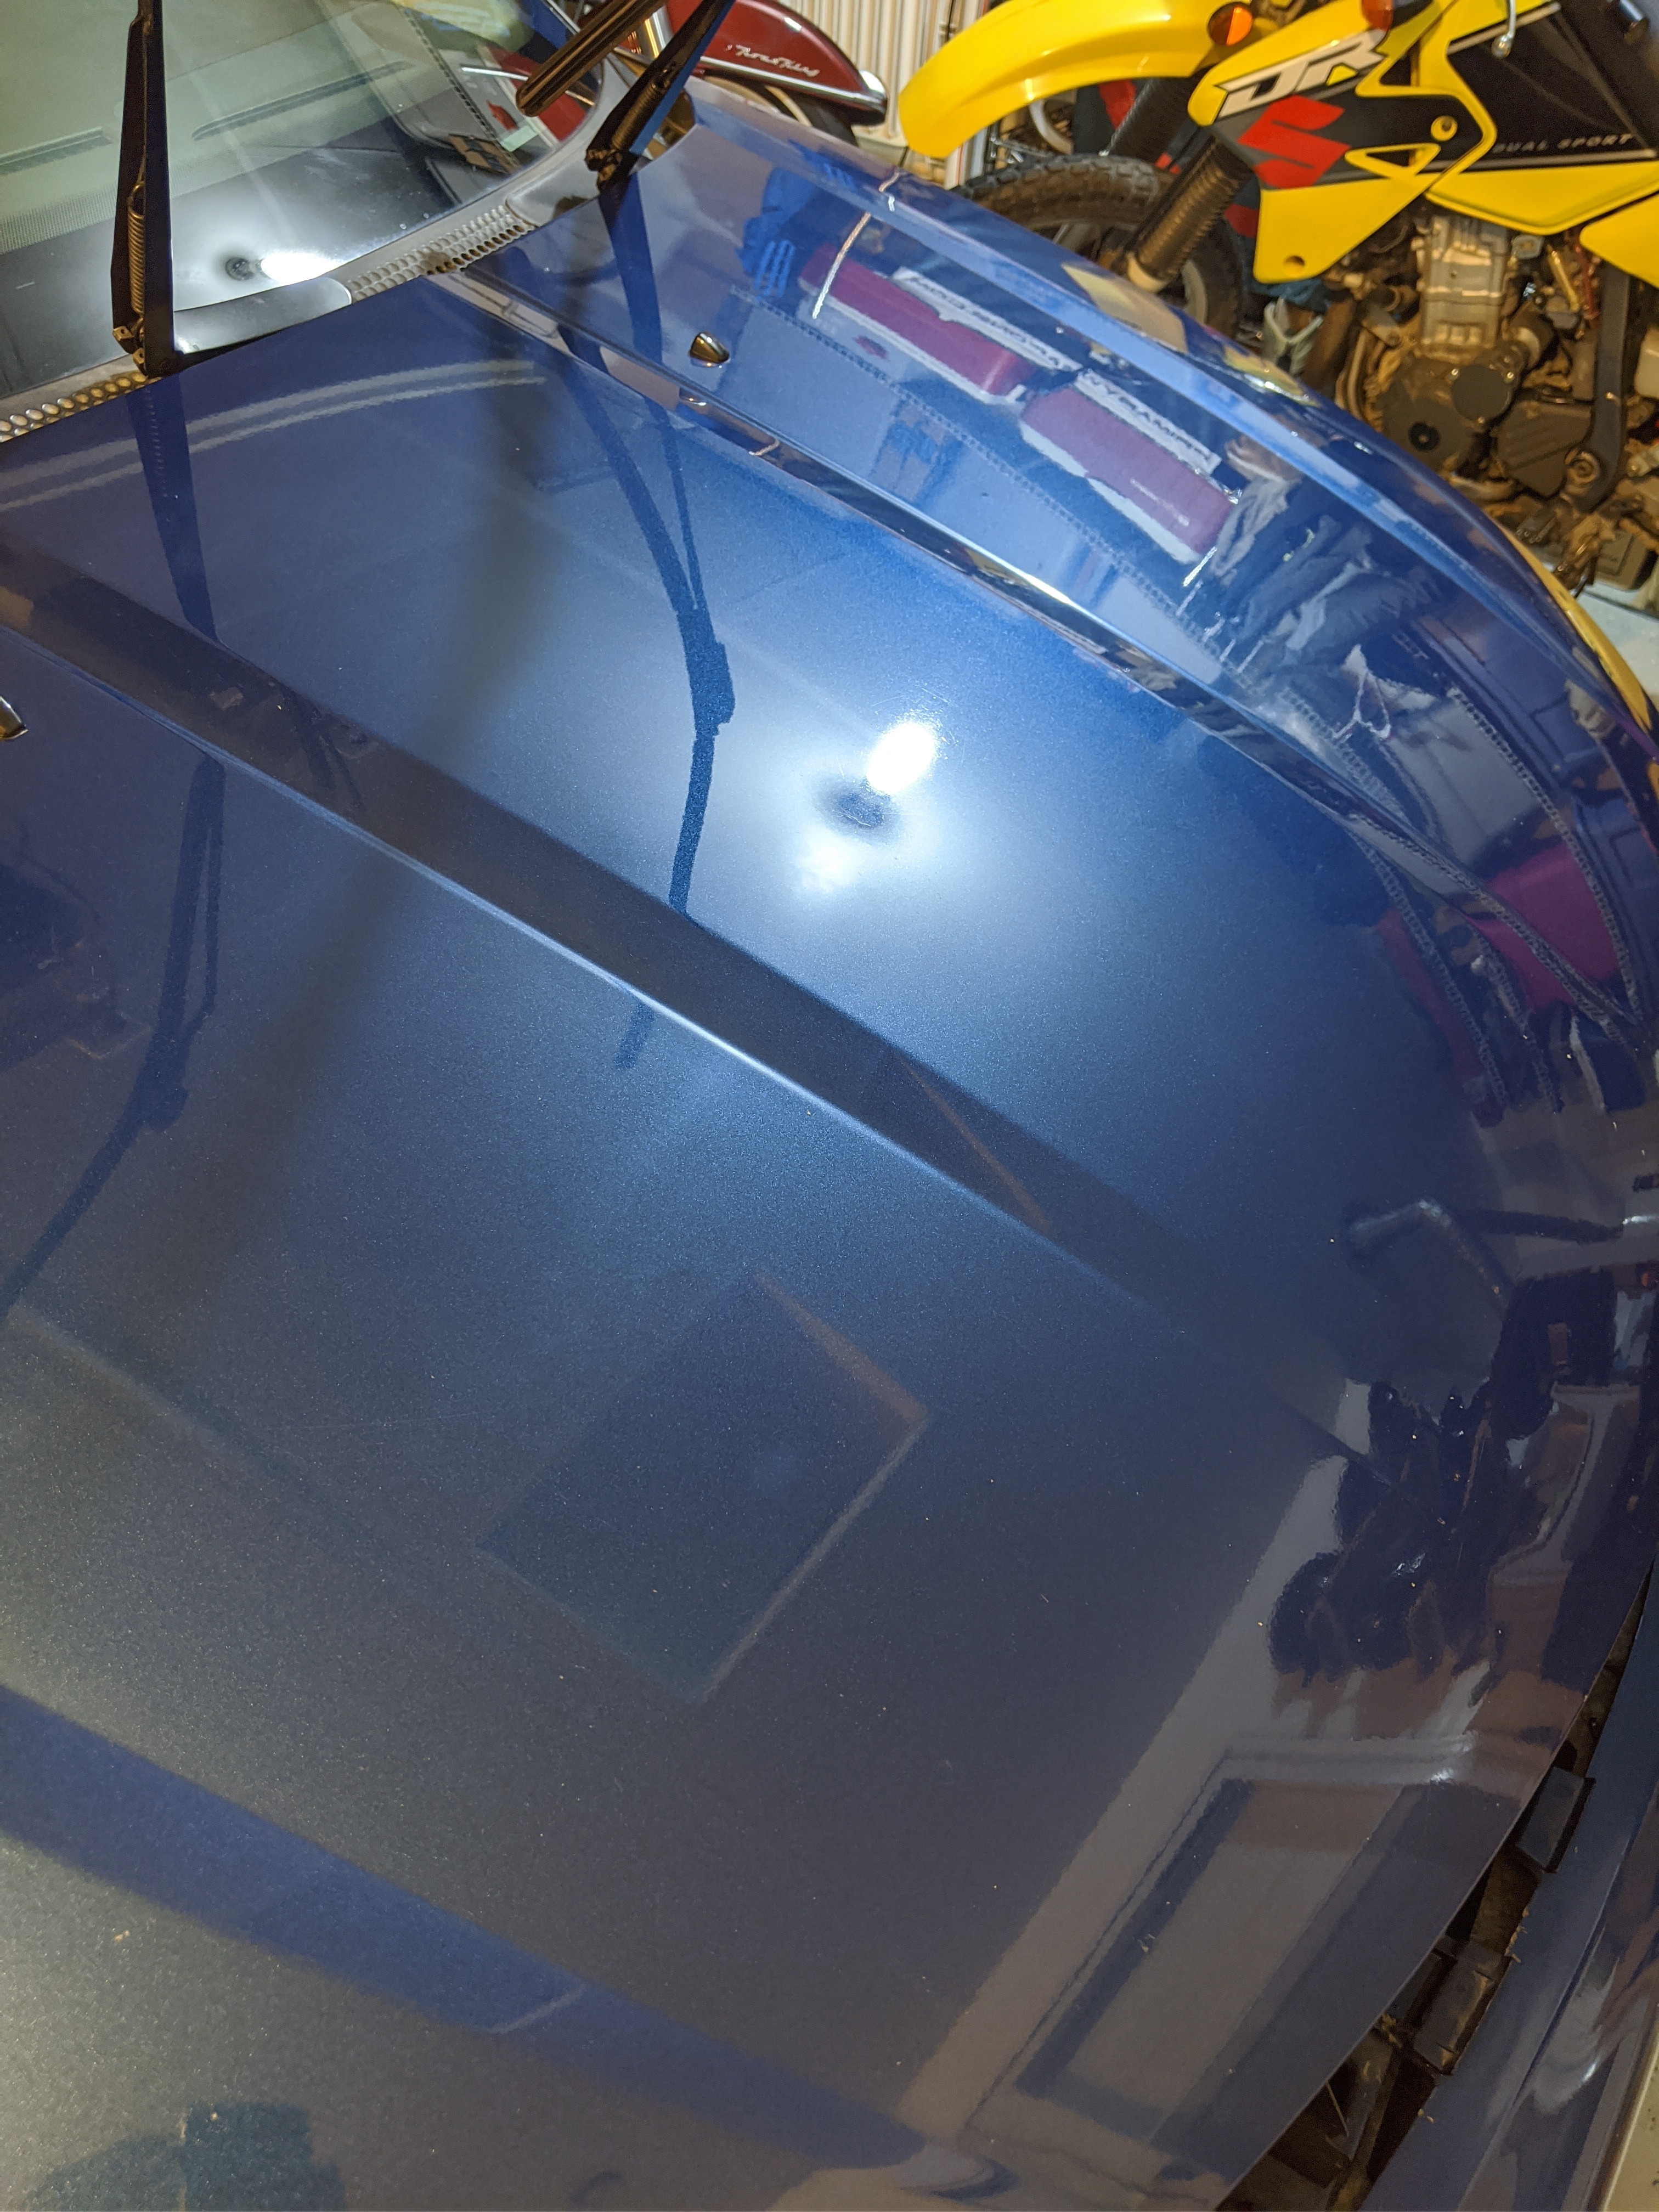
There was a spot on my windshield I decided to polish out and I was successful but this is what it looked like before
Go ahead and dry the vehicle with your nice microfiber towers. Keep track of the dirty ones so you wash them before reusing at another timeand do not miss the interior spots inside the door

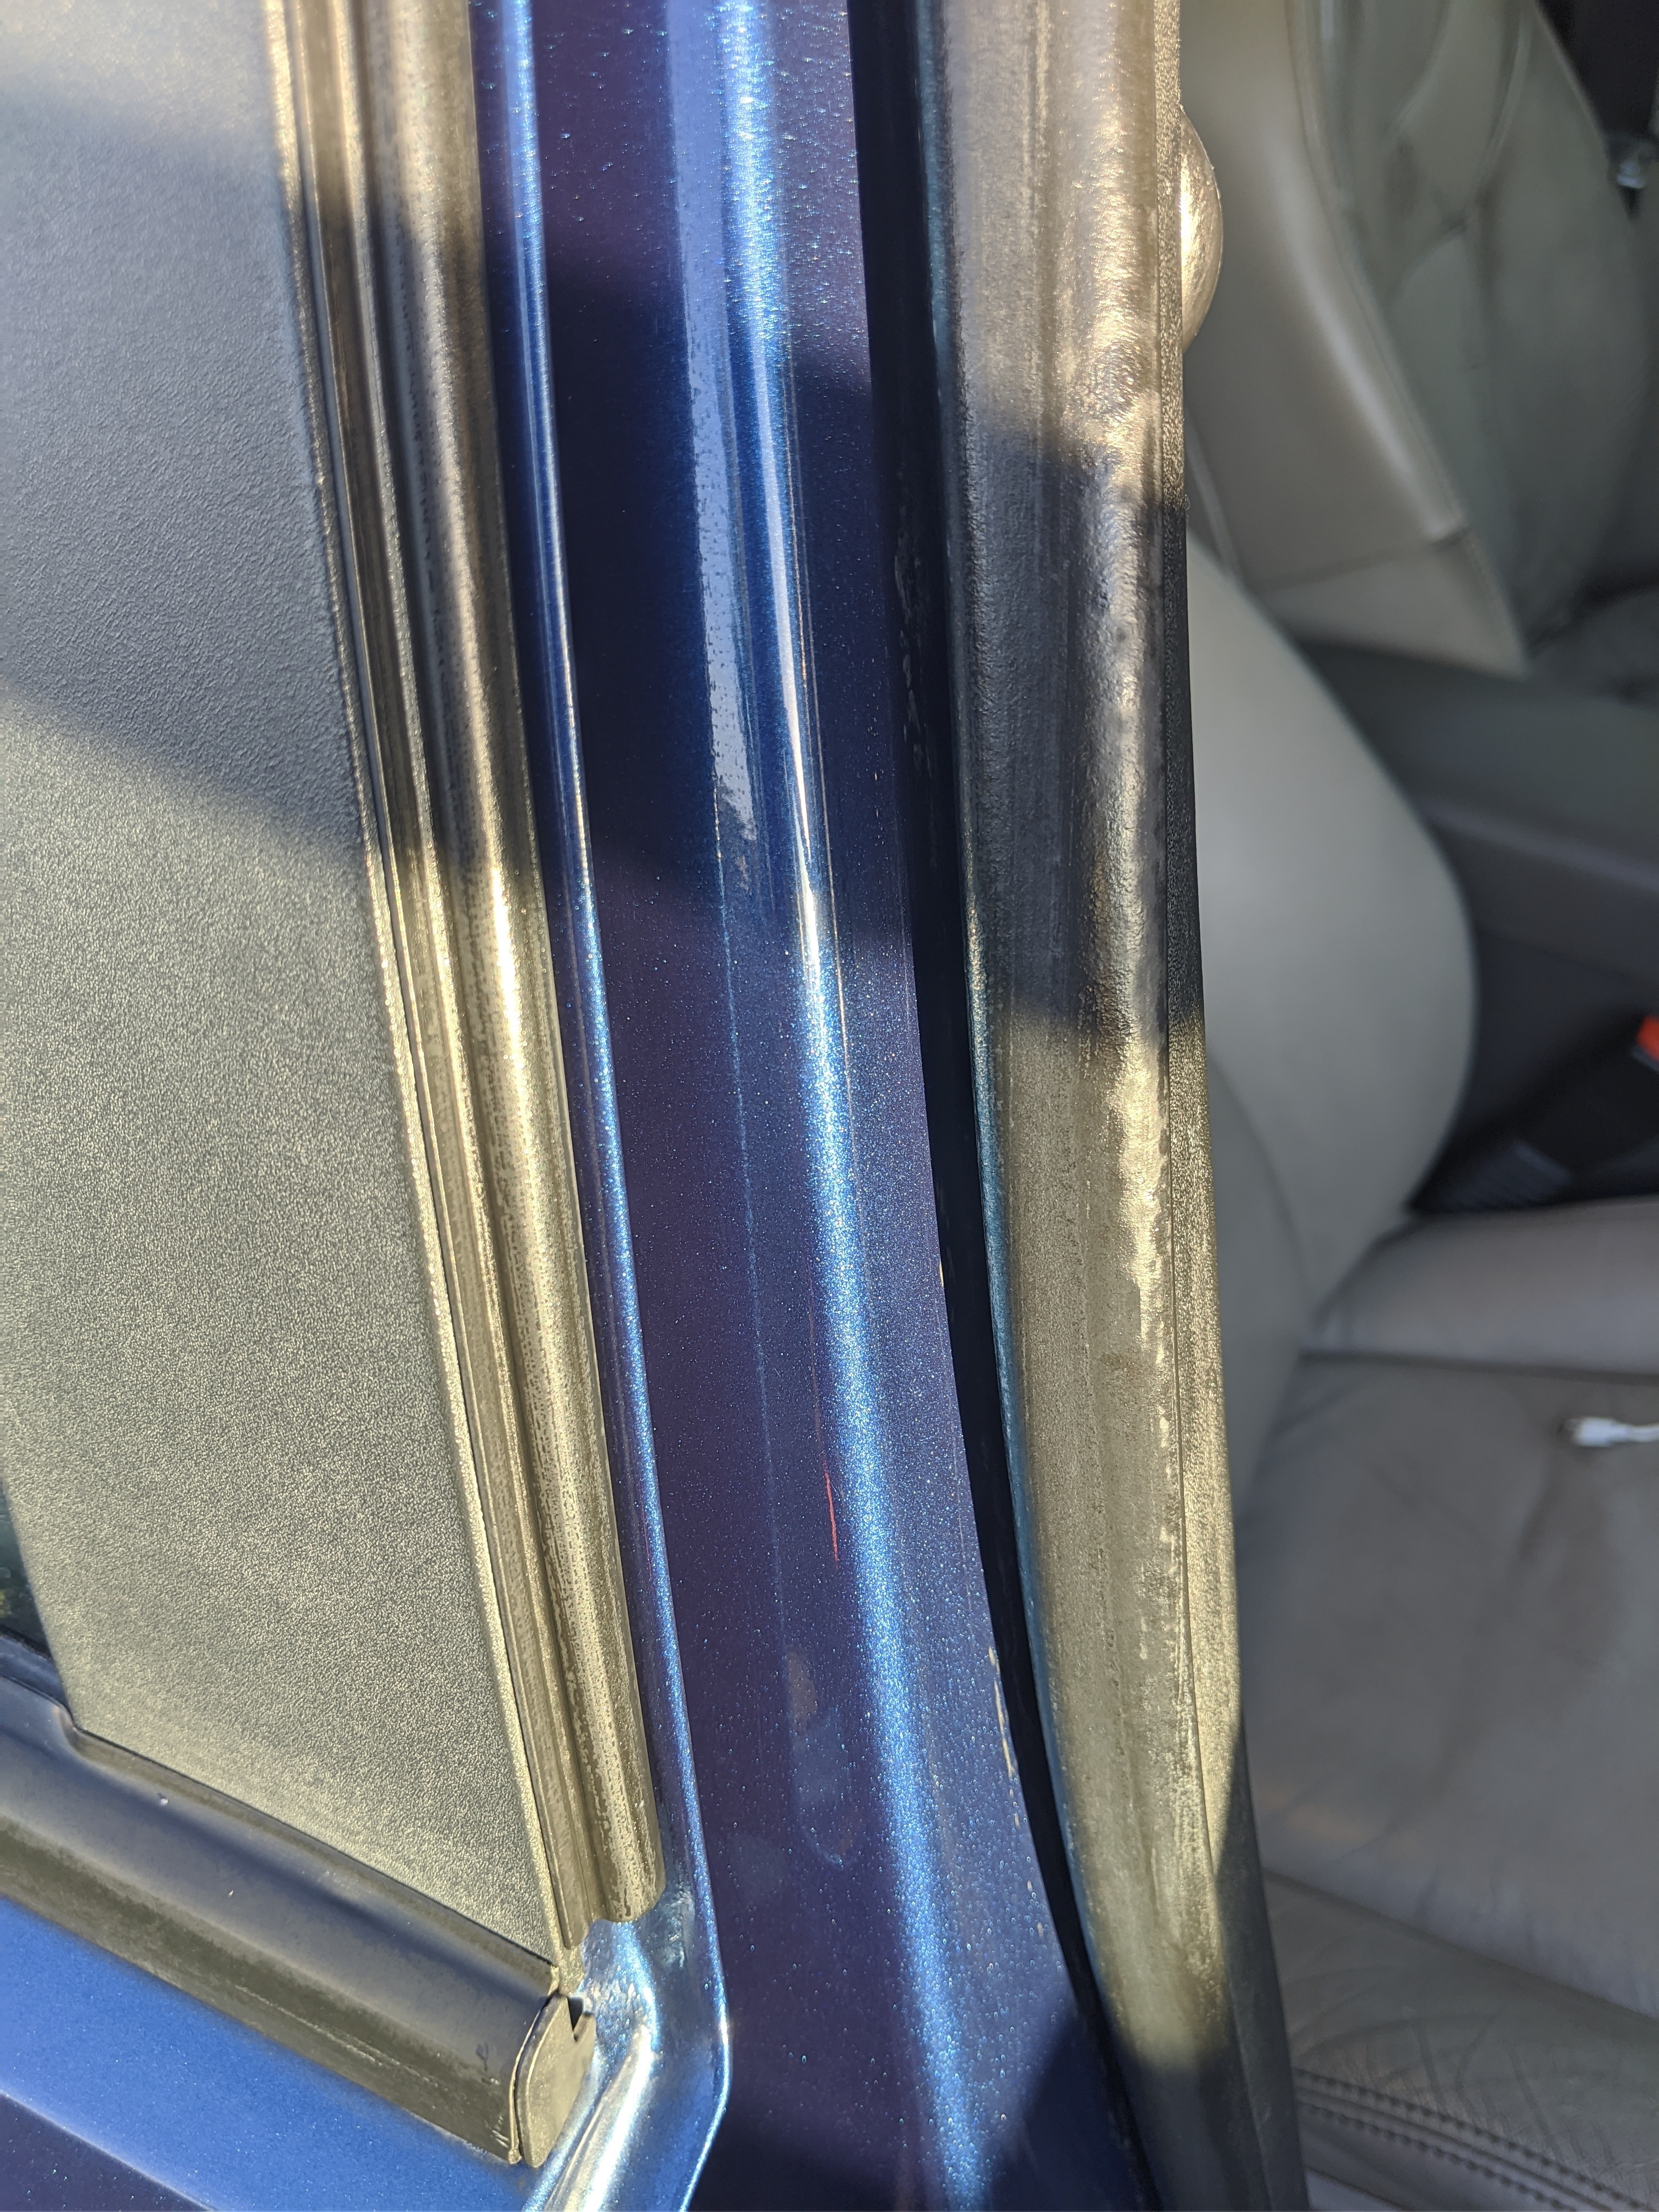
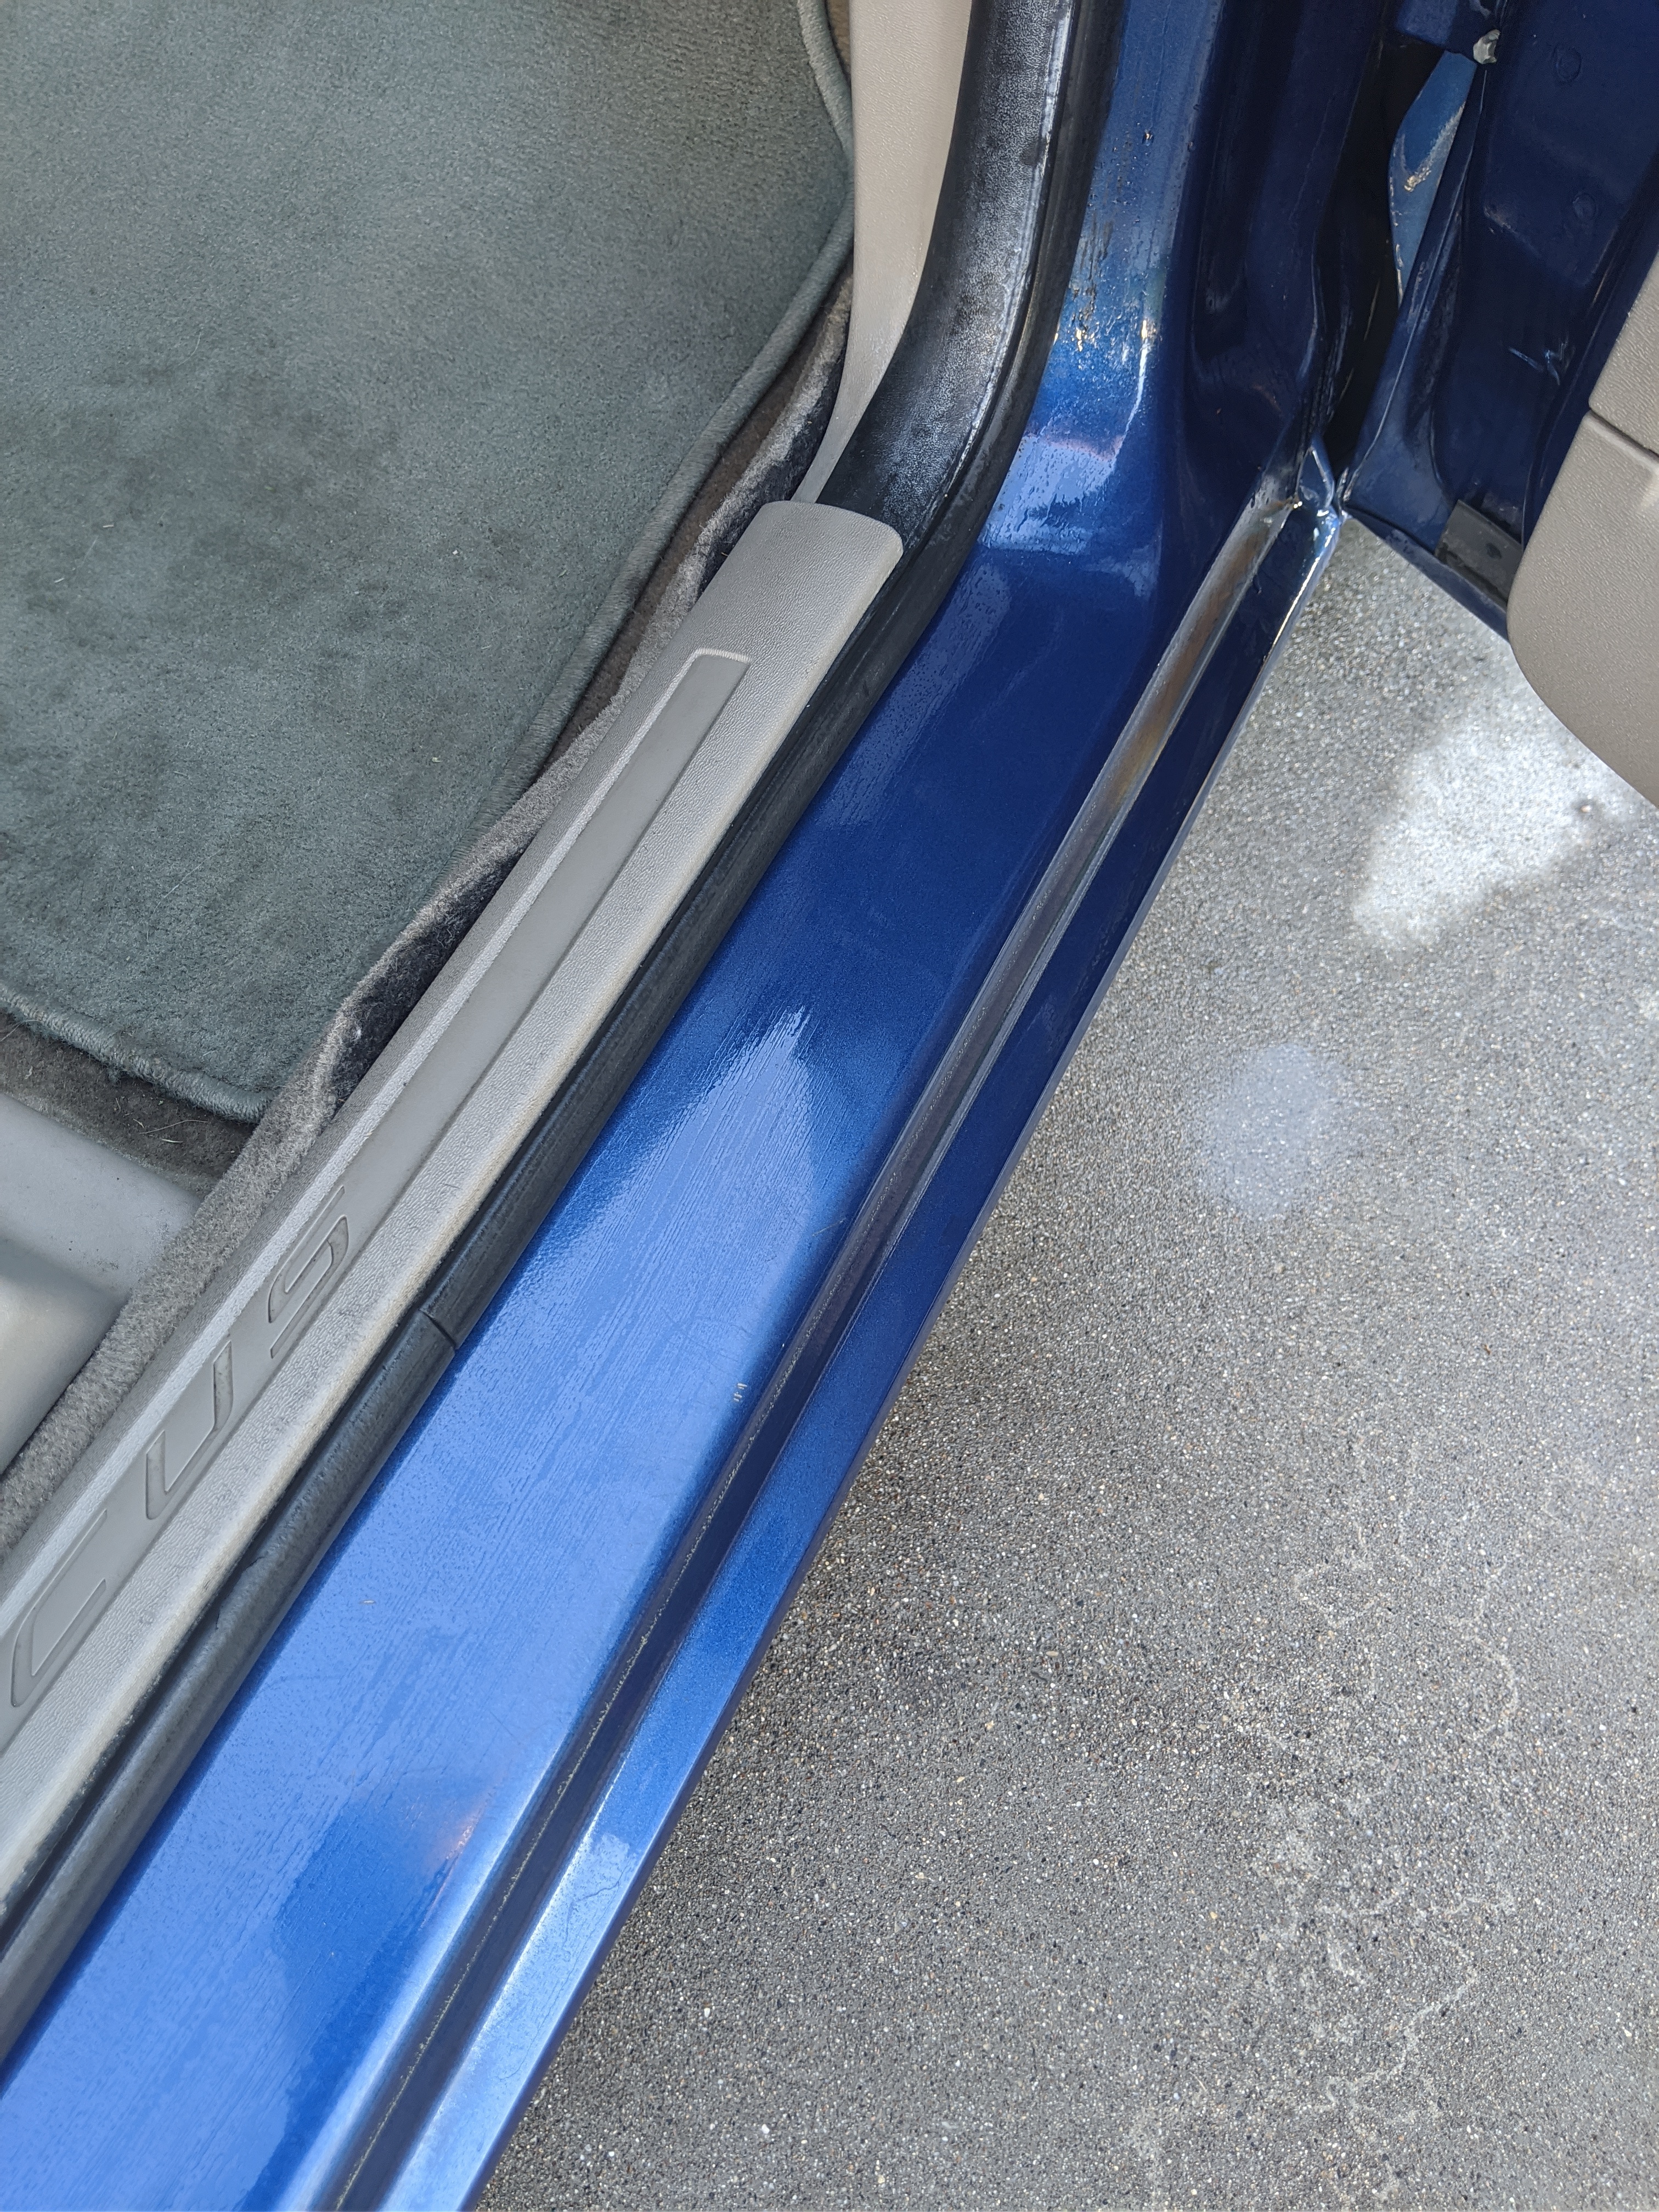
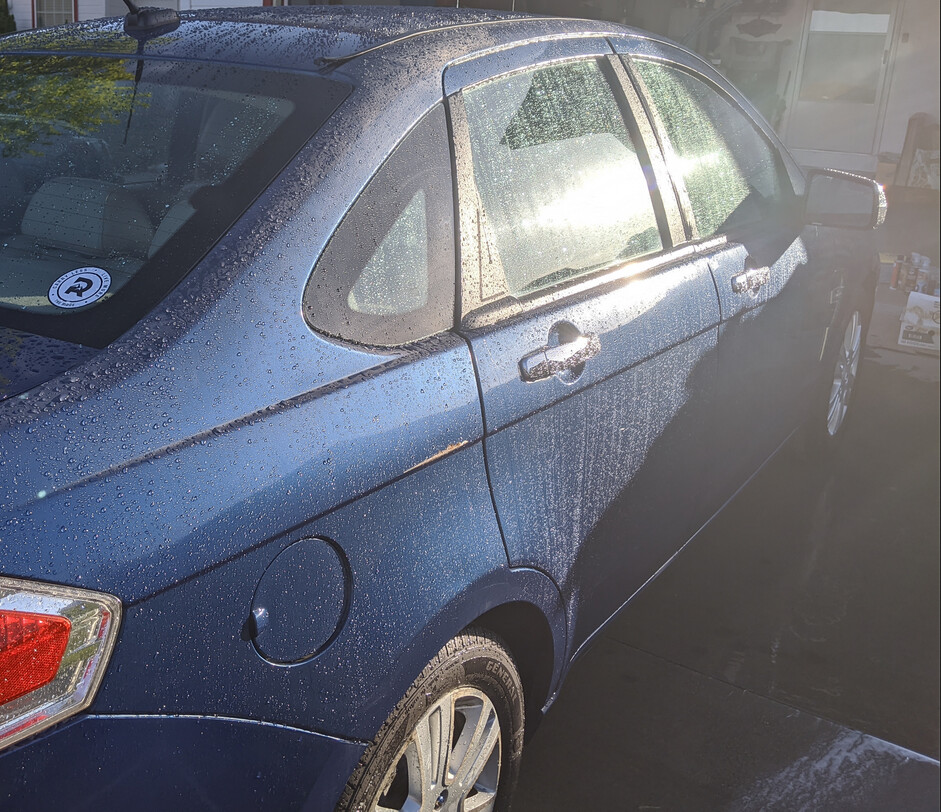
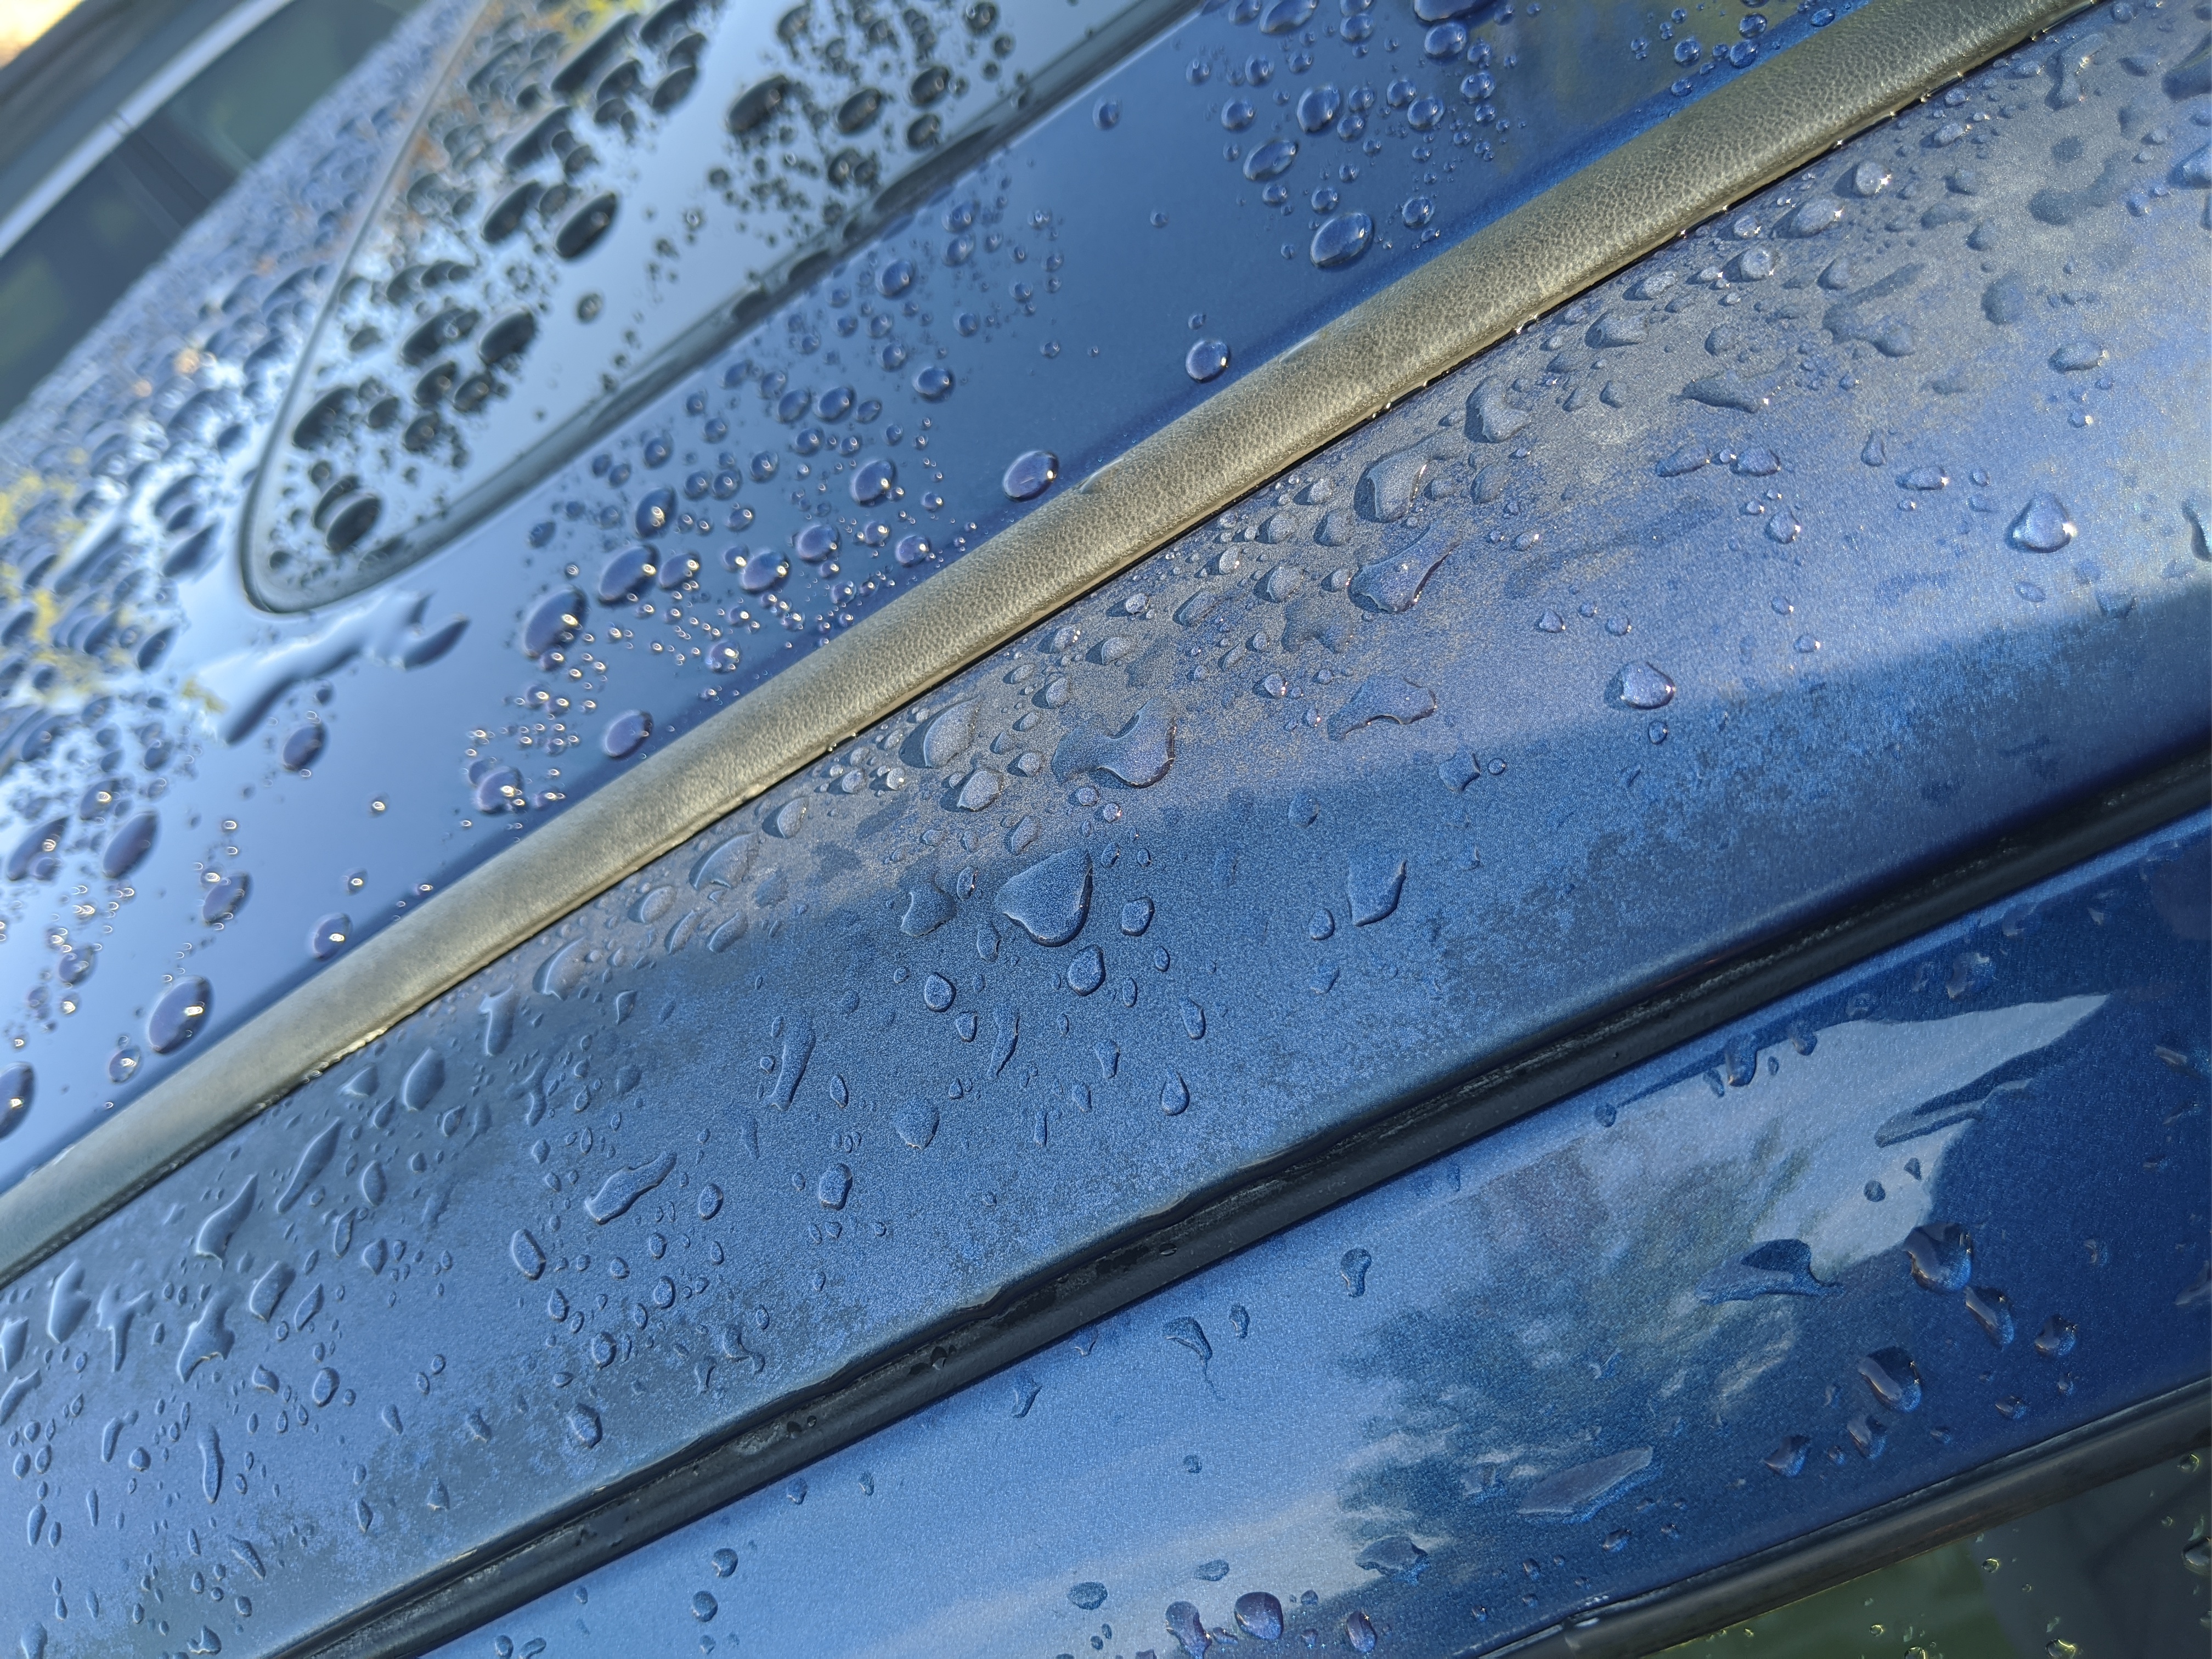
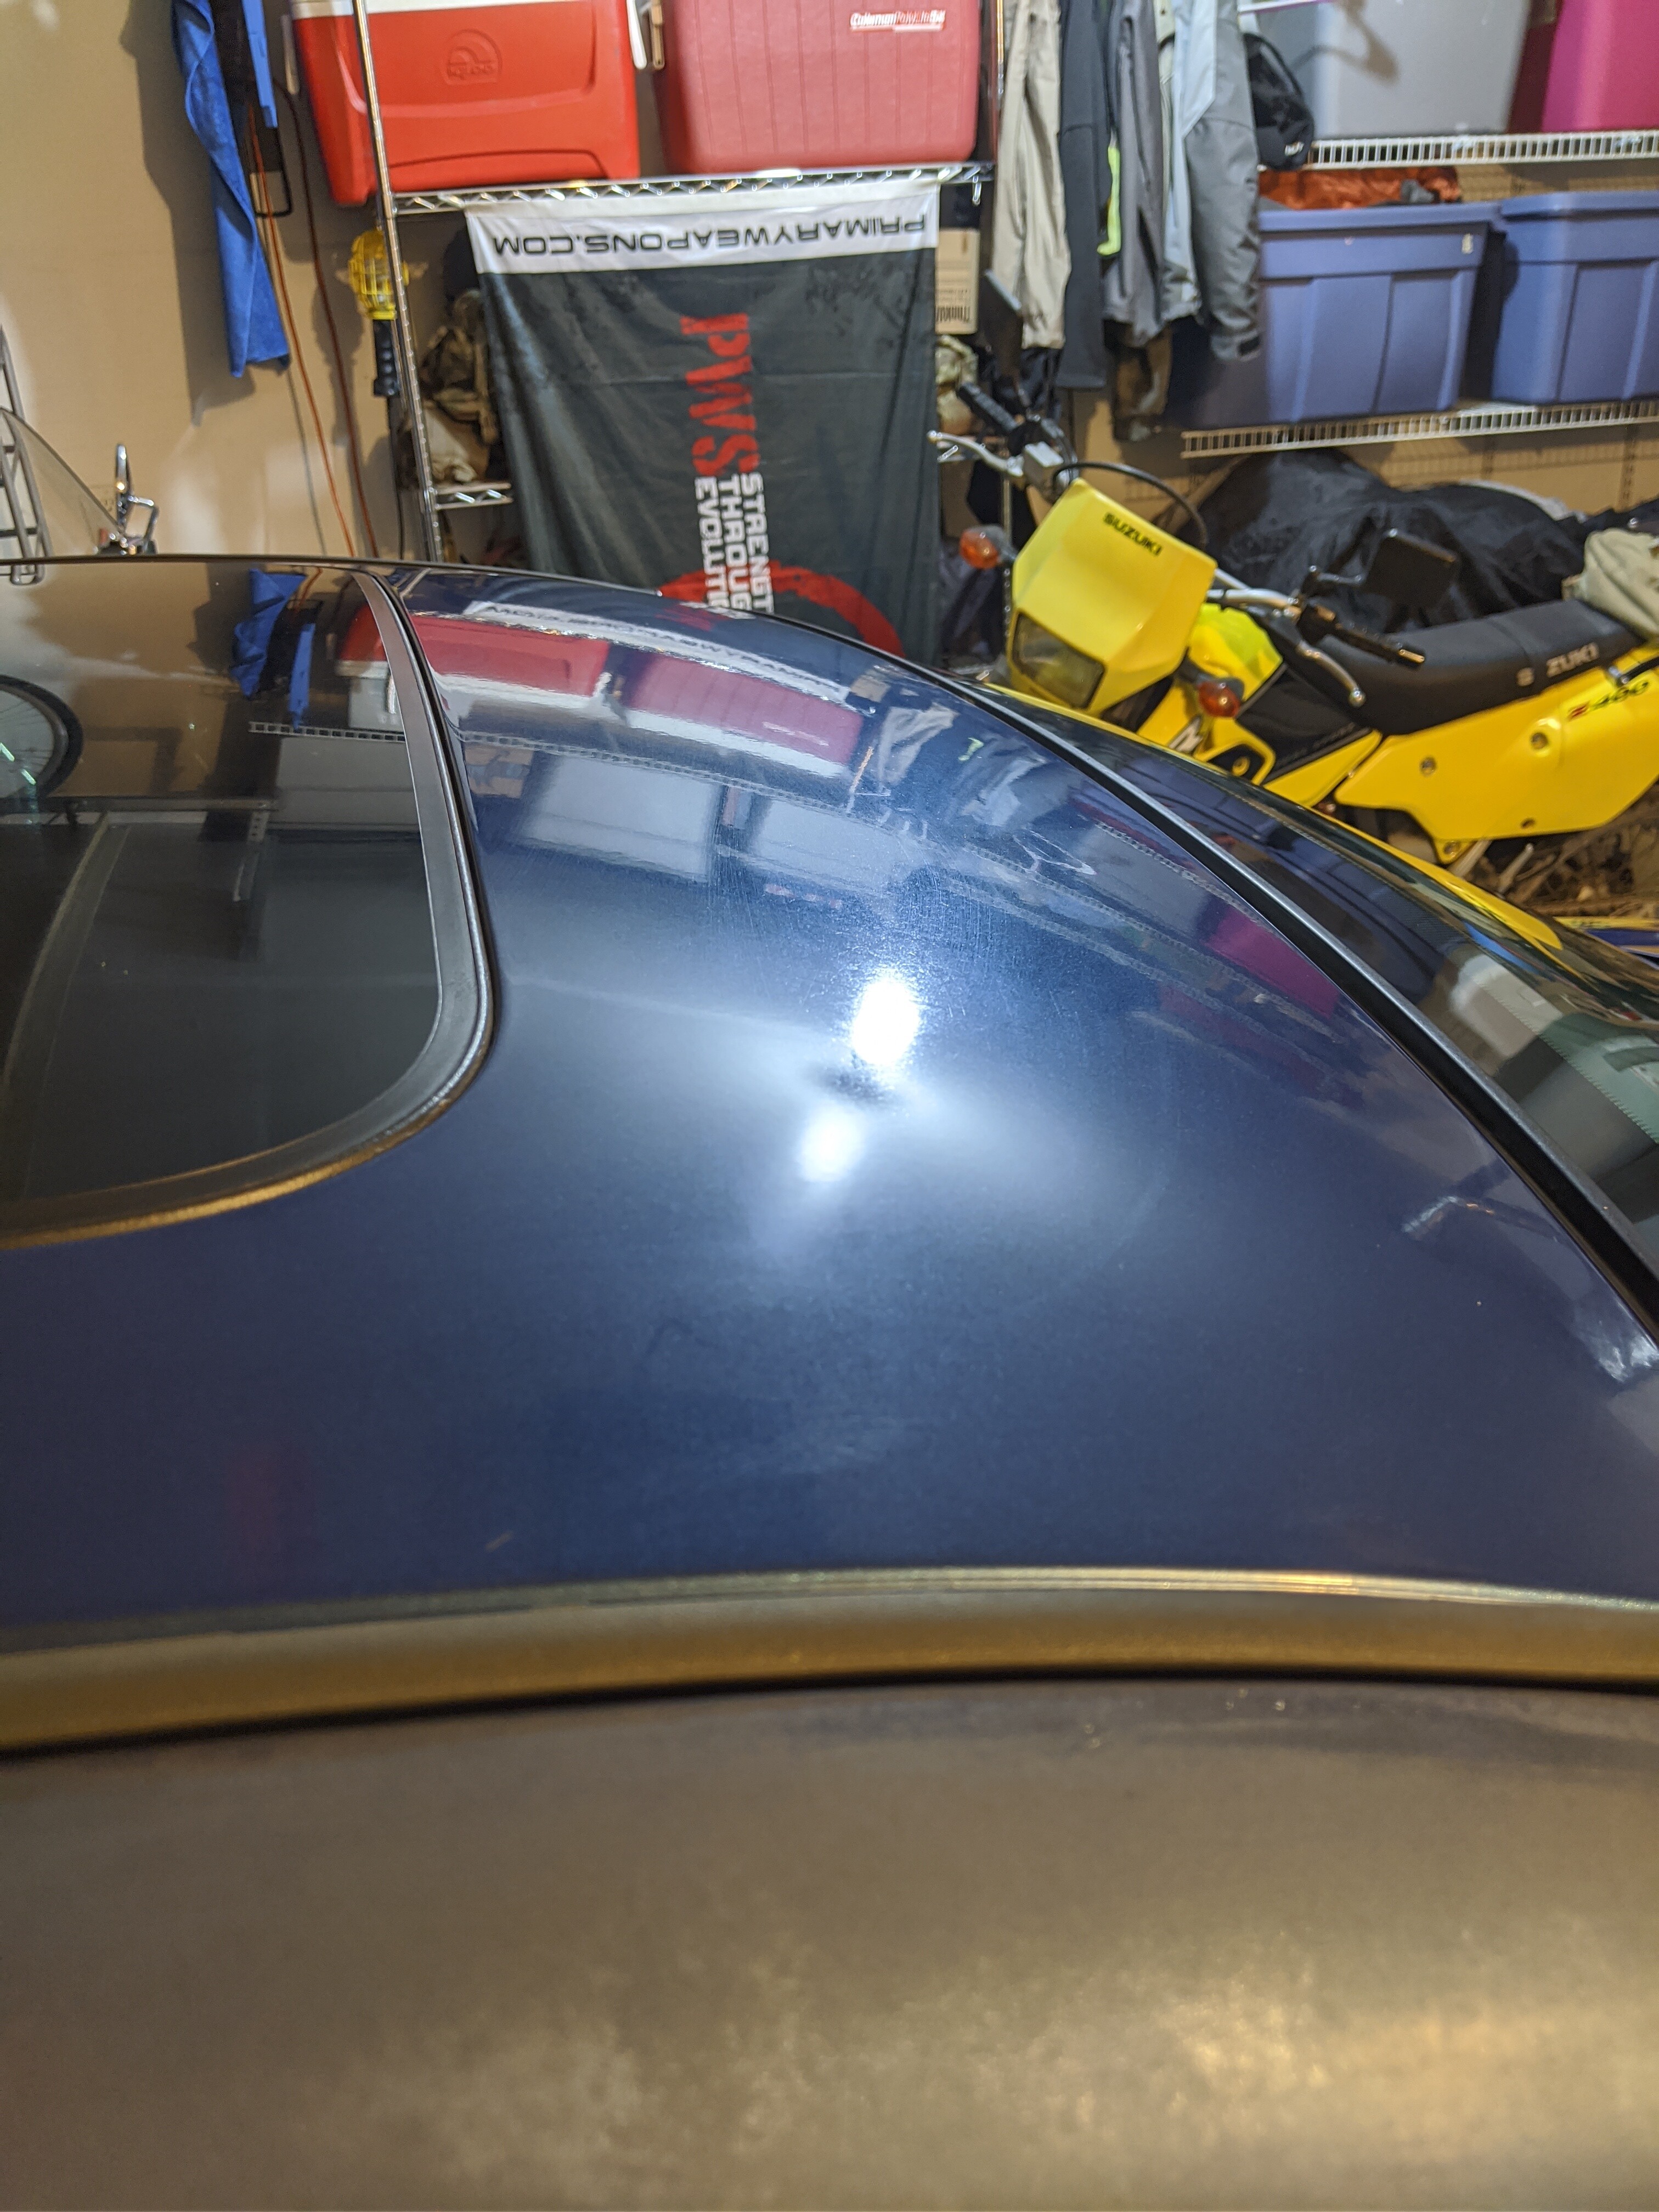
Now that you have the vehicle perfectly dry. You want to reinspect how the paint looks and your spots. As you can see below. Mine isnot in great condition. Its oxidized and fading. This is understadable for the mileage which makes it a good learning vehicle. Lets change that
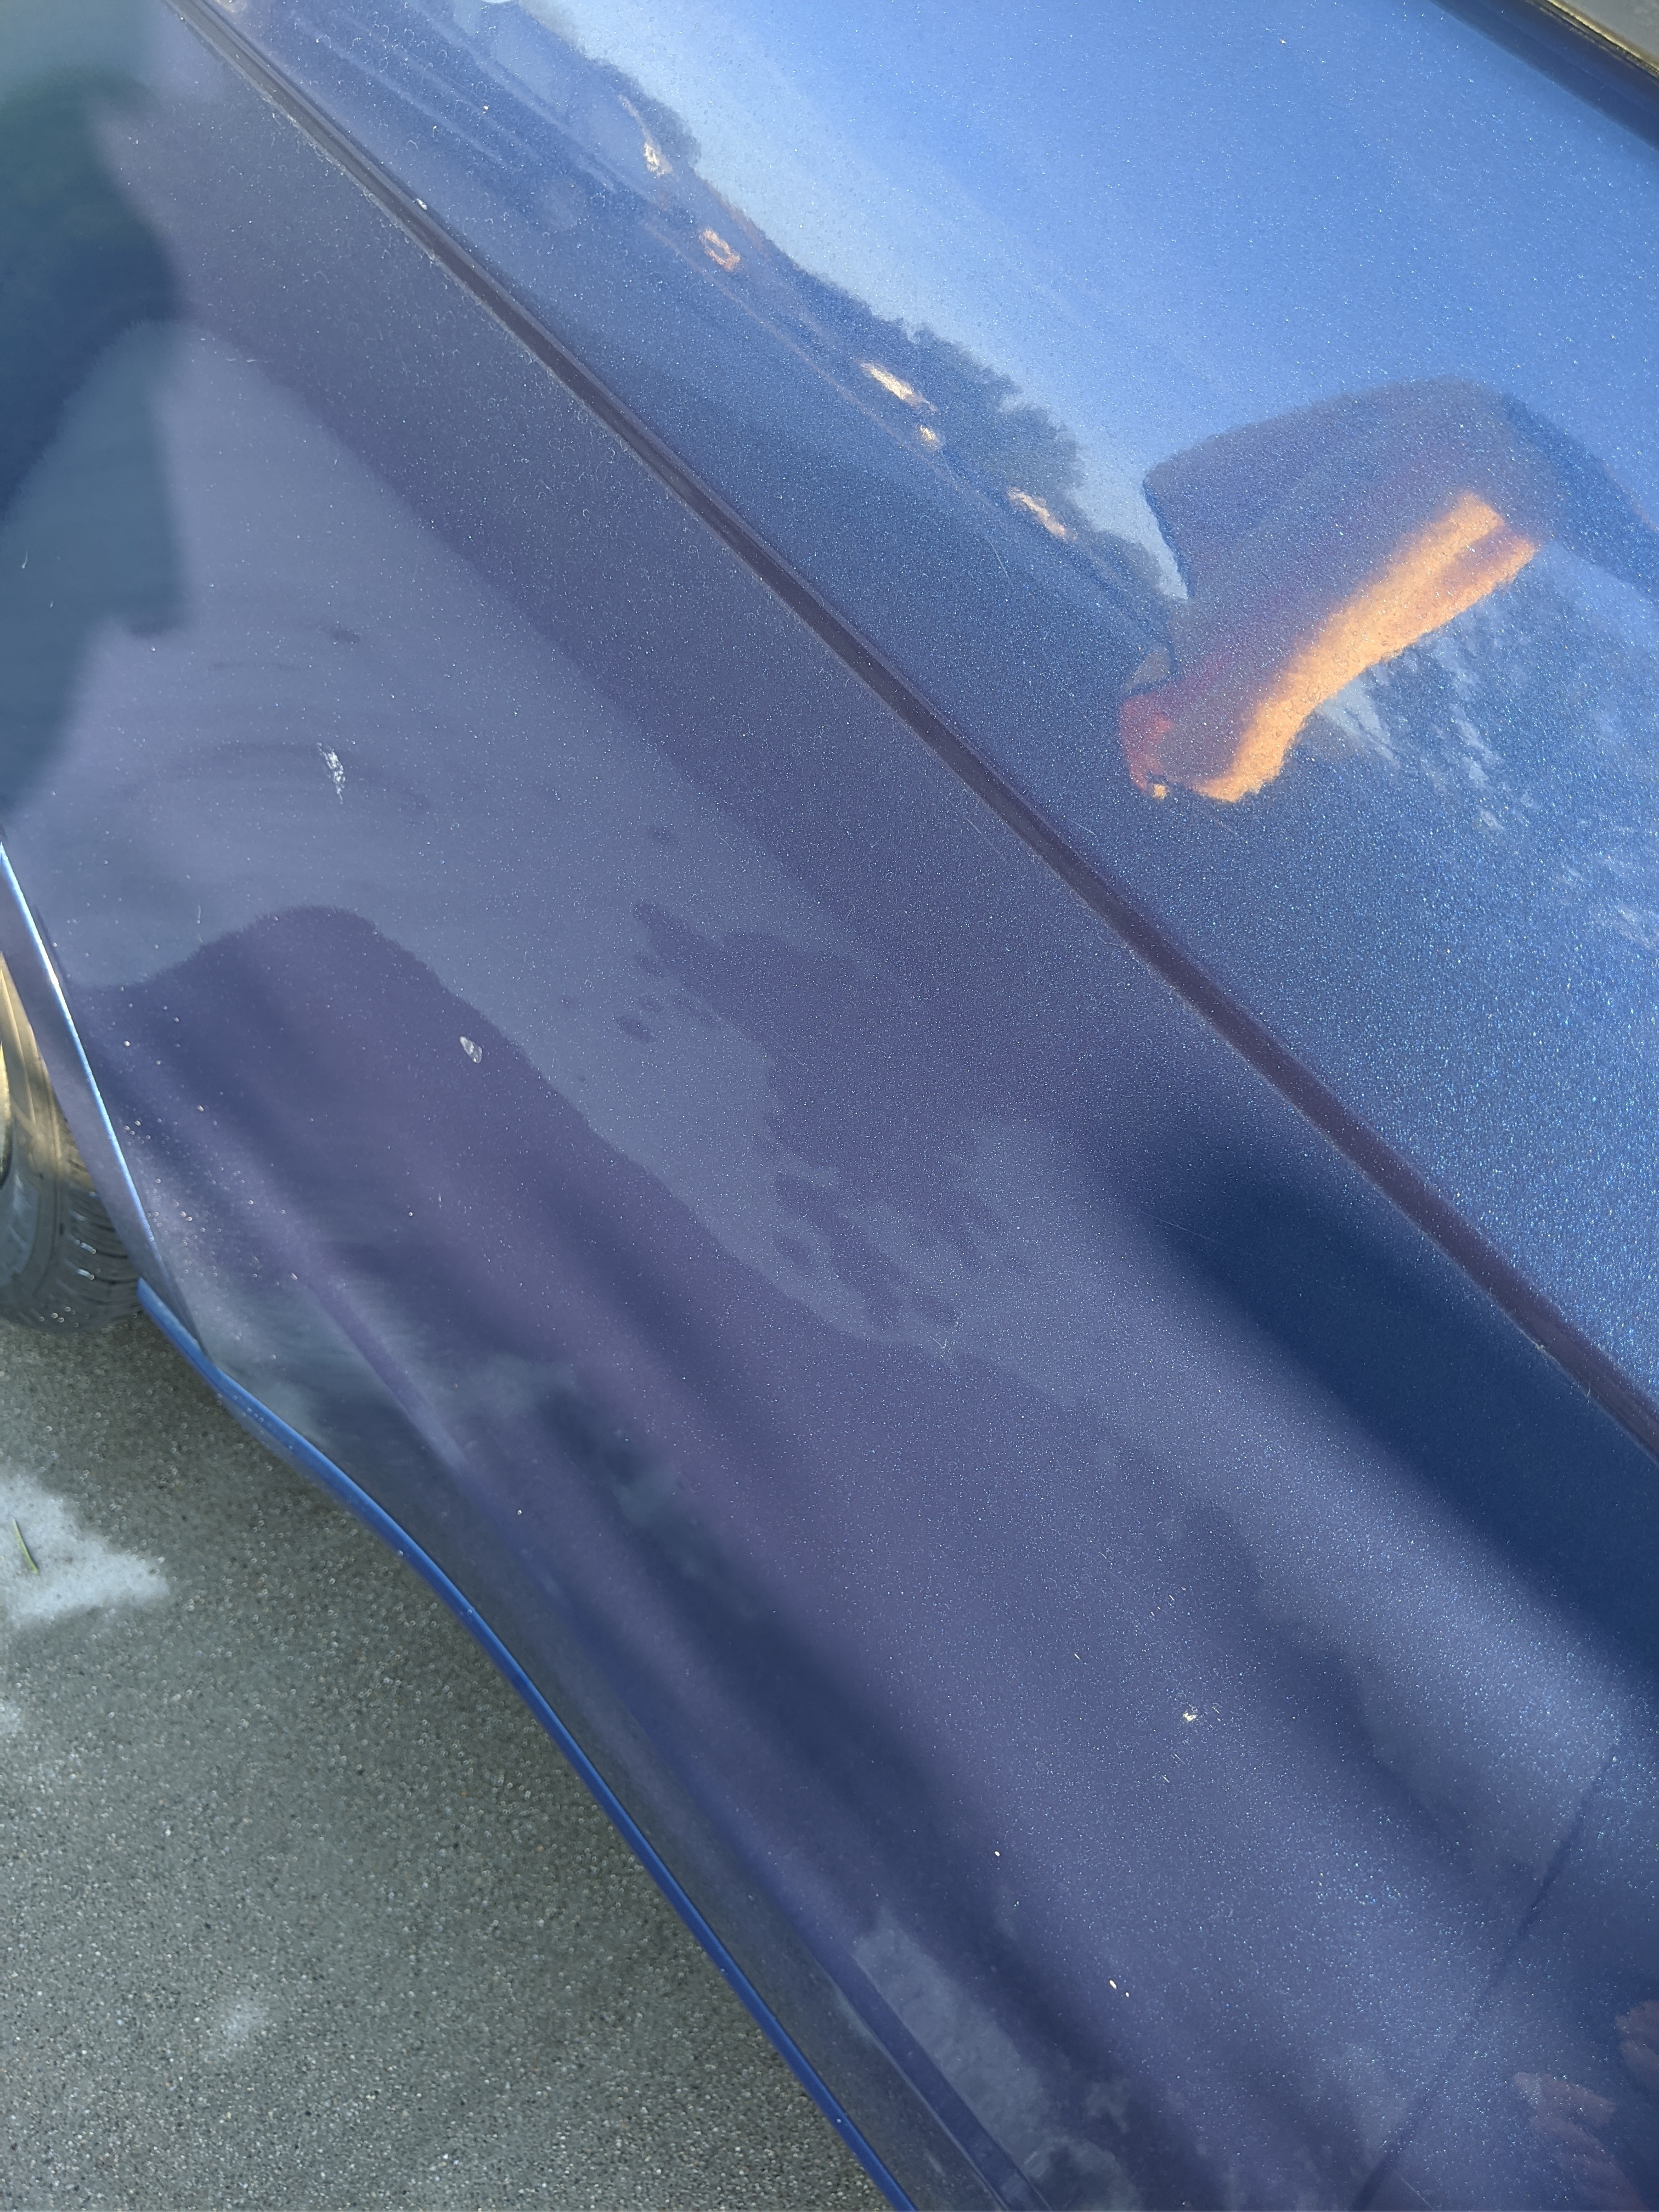

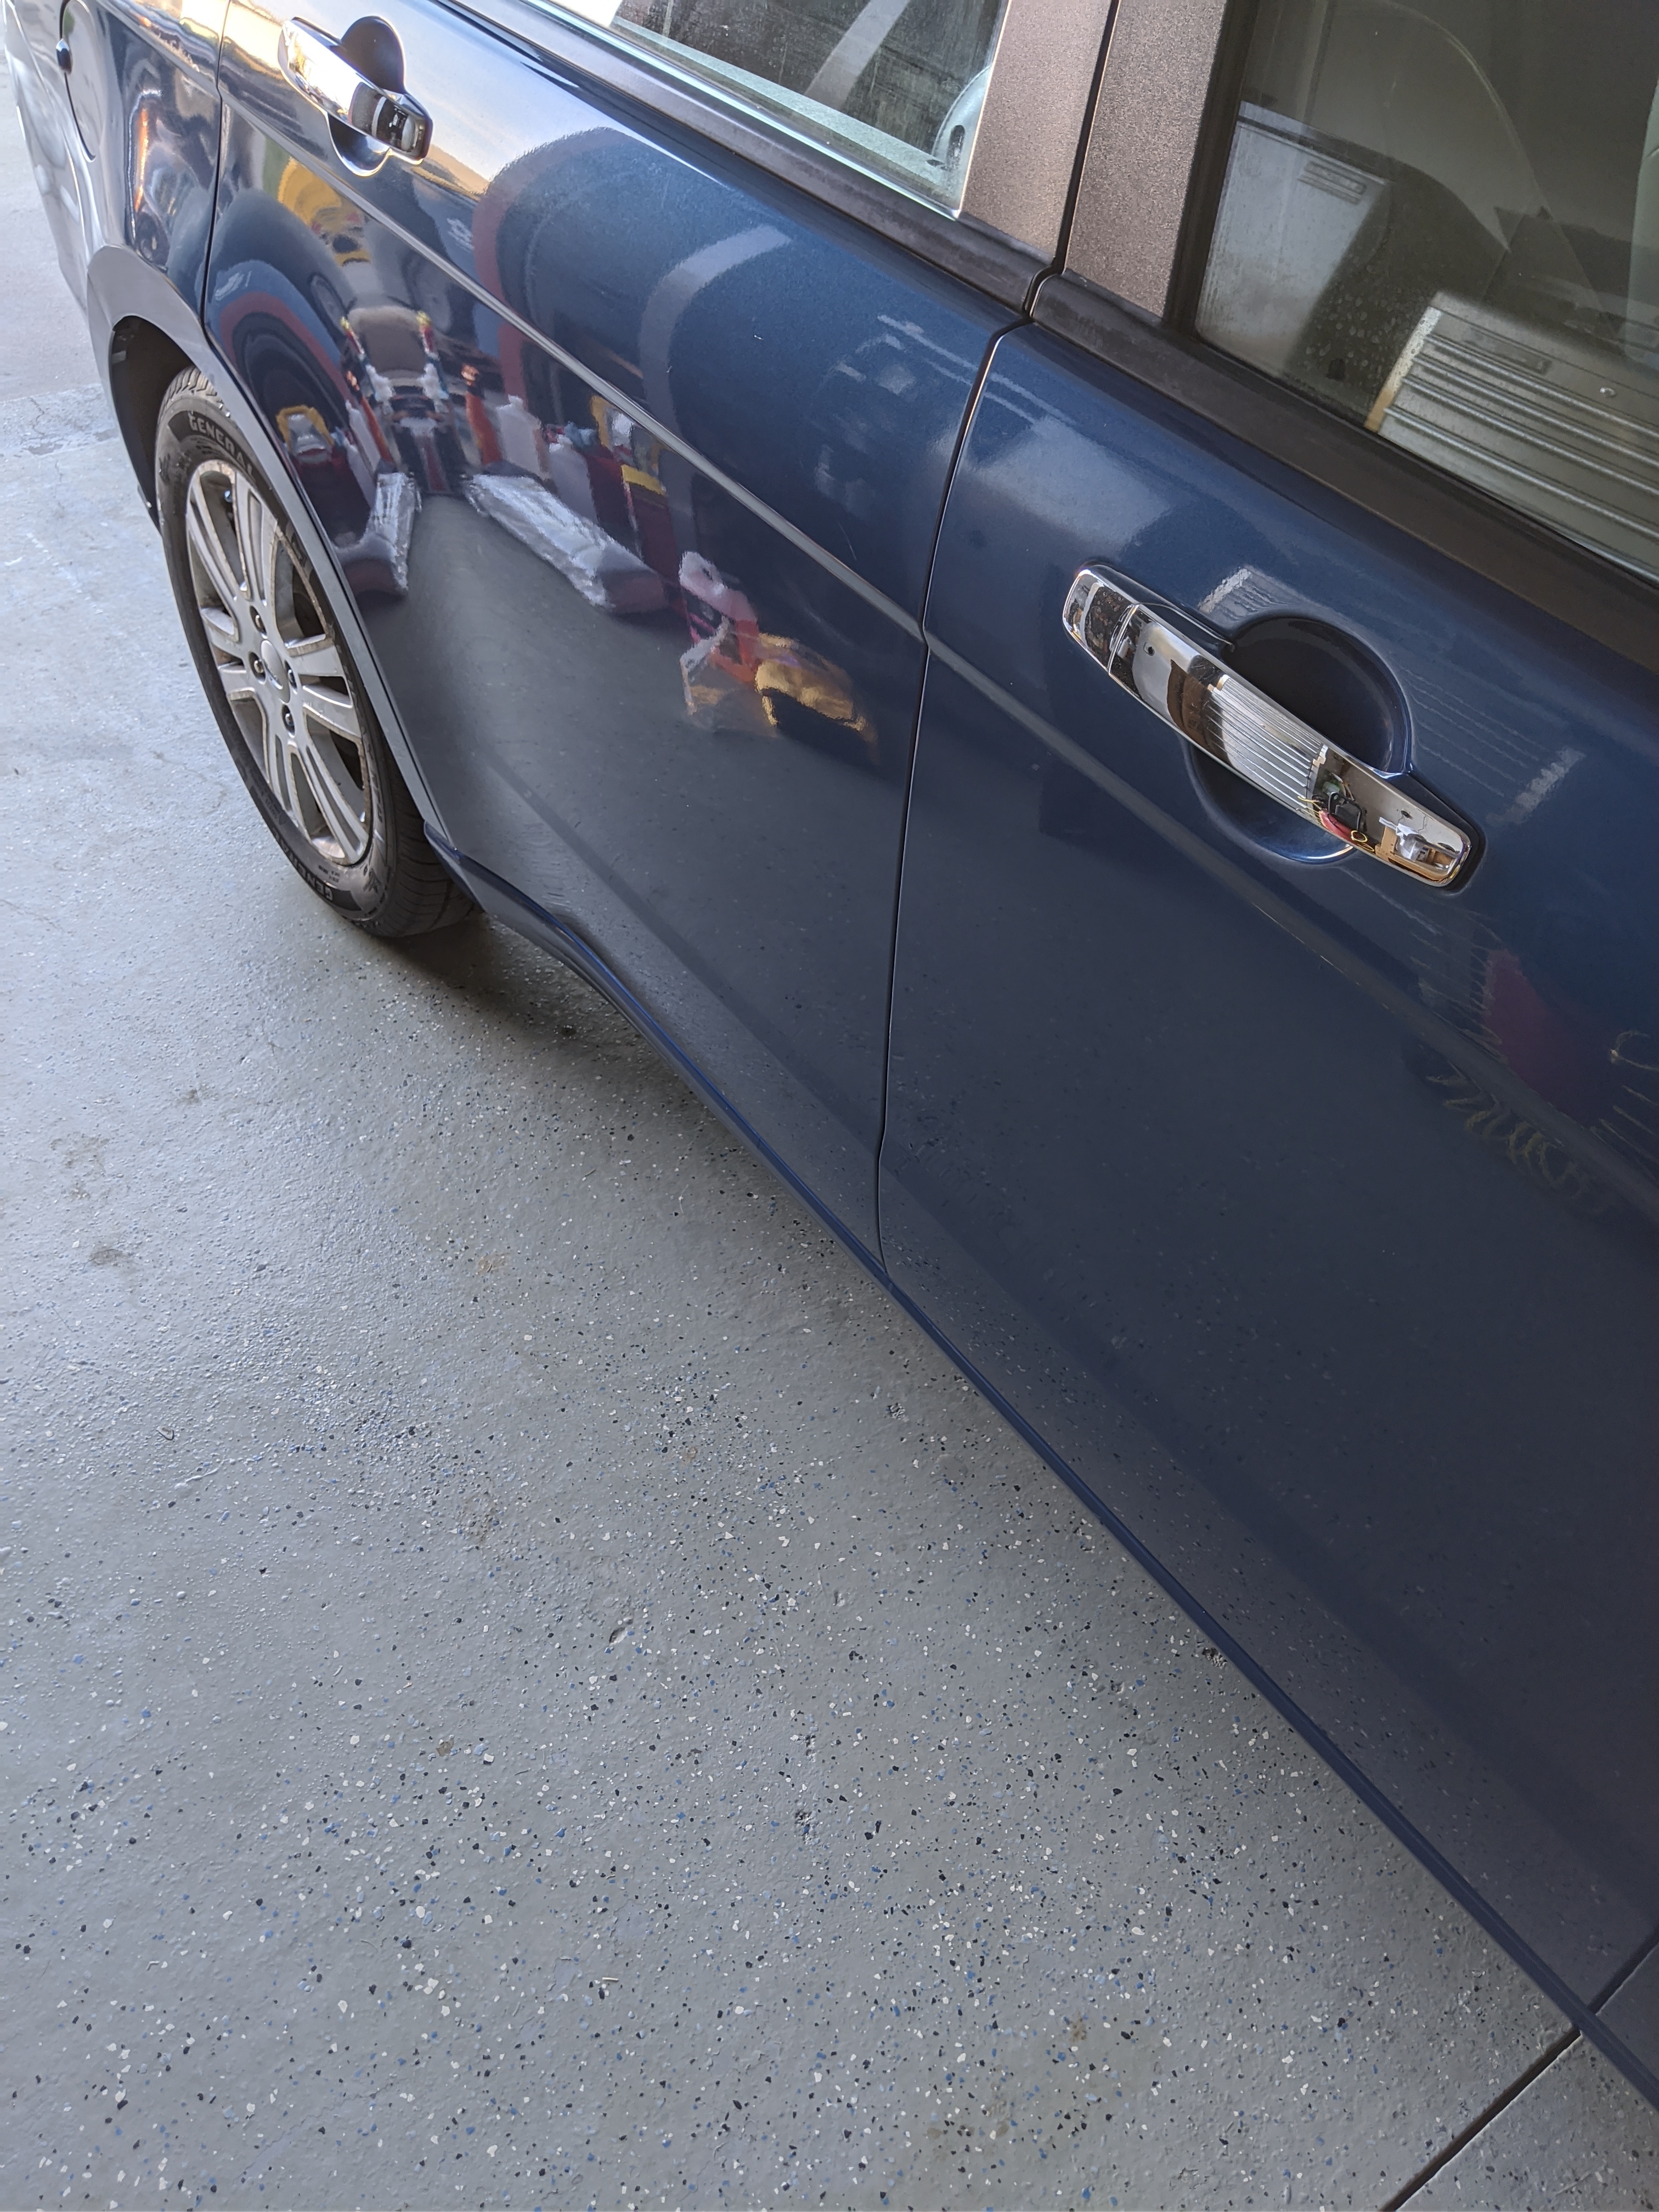
It just doesnt pop. Its weak and dull. It looks like a really weathered car and rightfully so. Its my point A to point B beater and it will not drop. No matter what I do its still a workhorse and starts right up.
Lets get to the next step of fixing the paint and that step is called correction.
Paint Correction
Clay bar

This process is about removing embedded contaminants. You use your lubricant to move the clay easy across until there is no more resistance on the paint. The paint will visibly glow more. Do NOT skip this step. It really helps. The more effort in these early steps the better prepared your paint will be. so DONT SKIMP!
Rubbing Compound
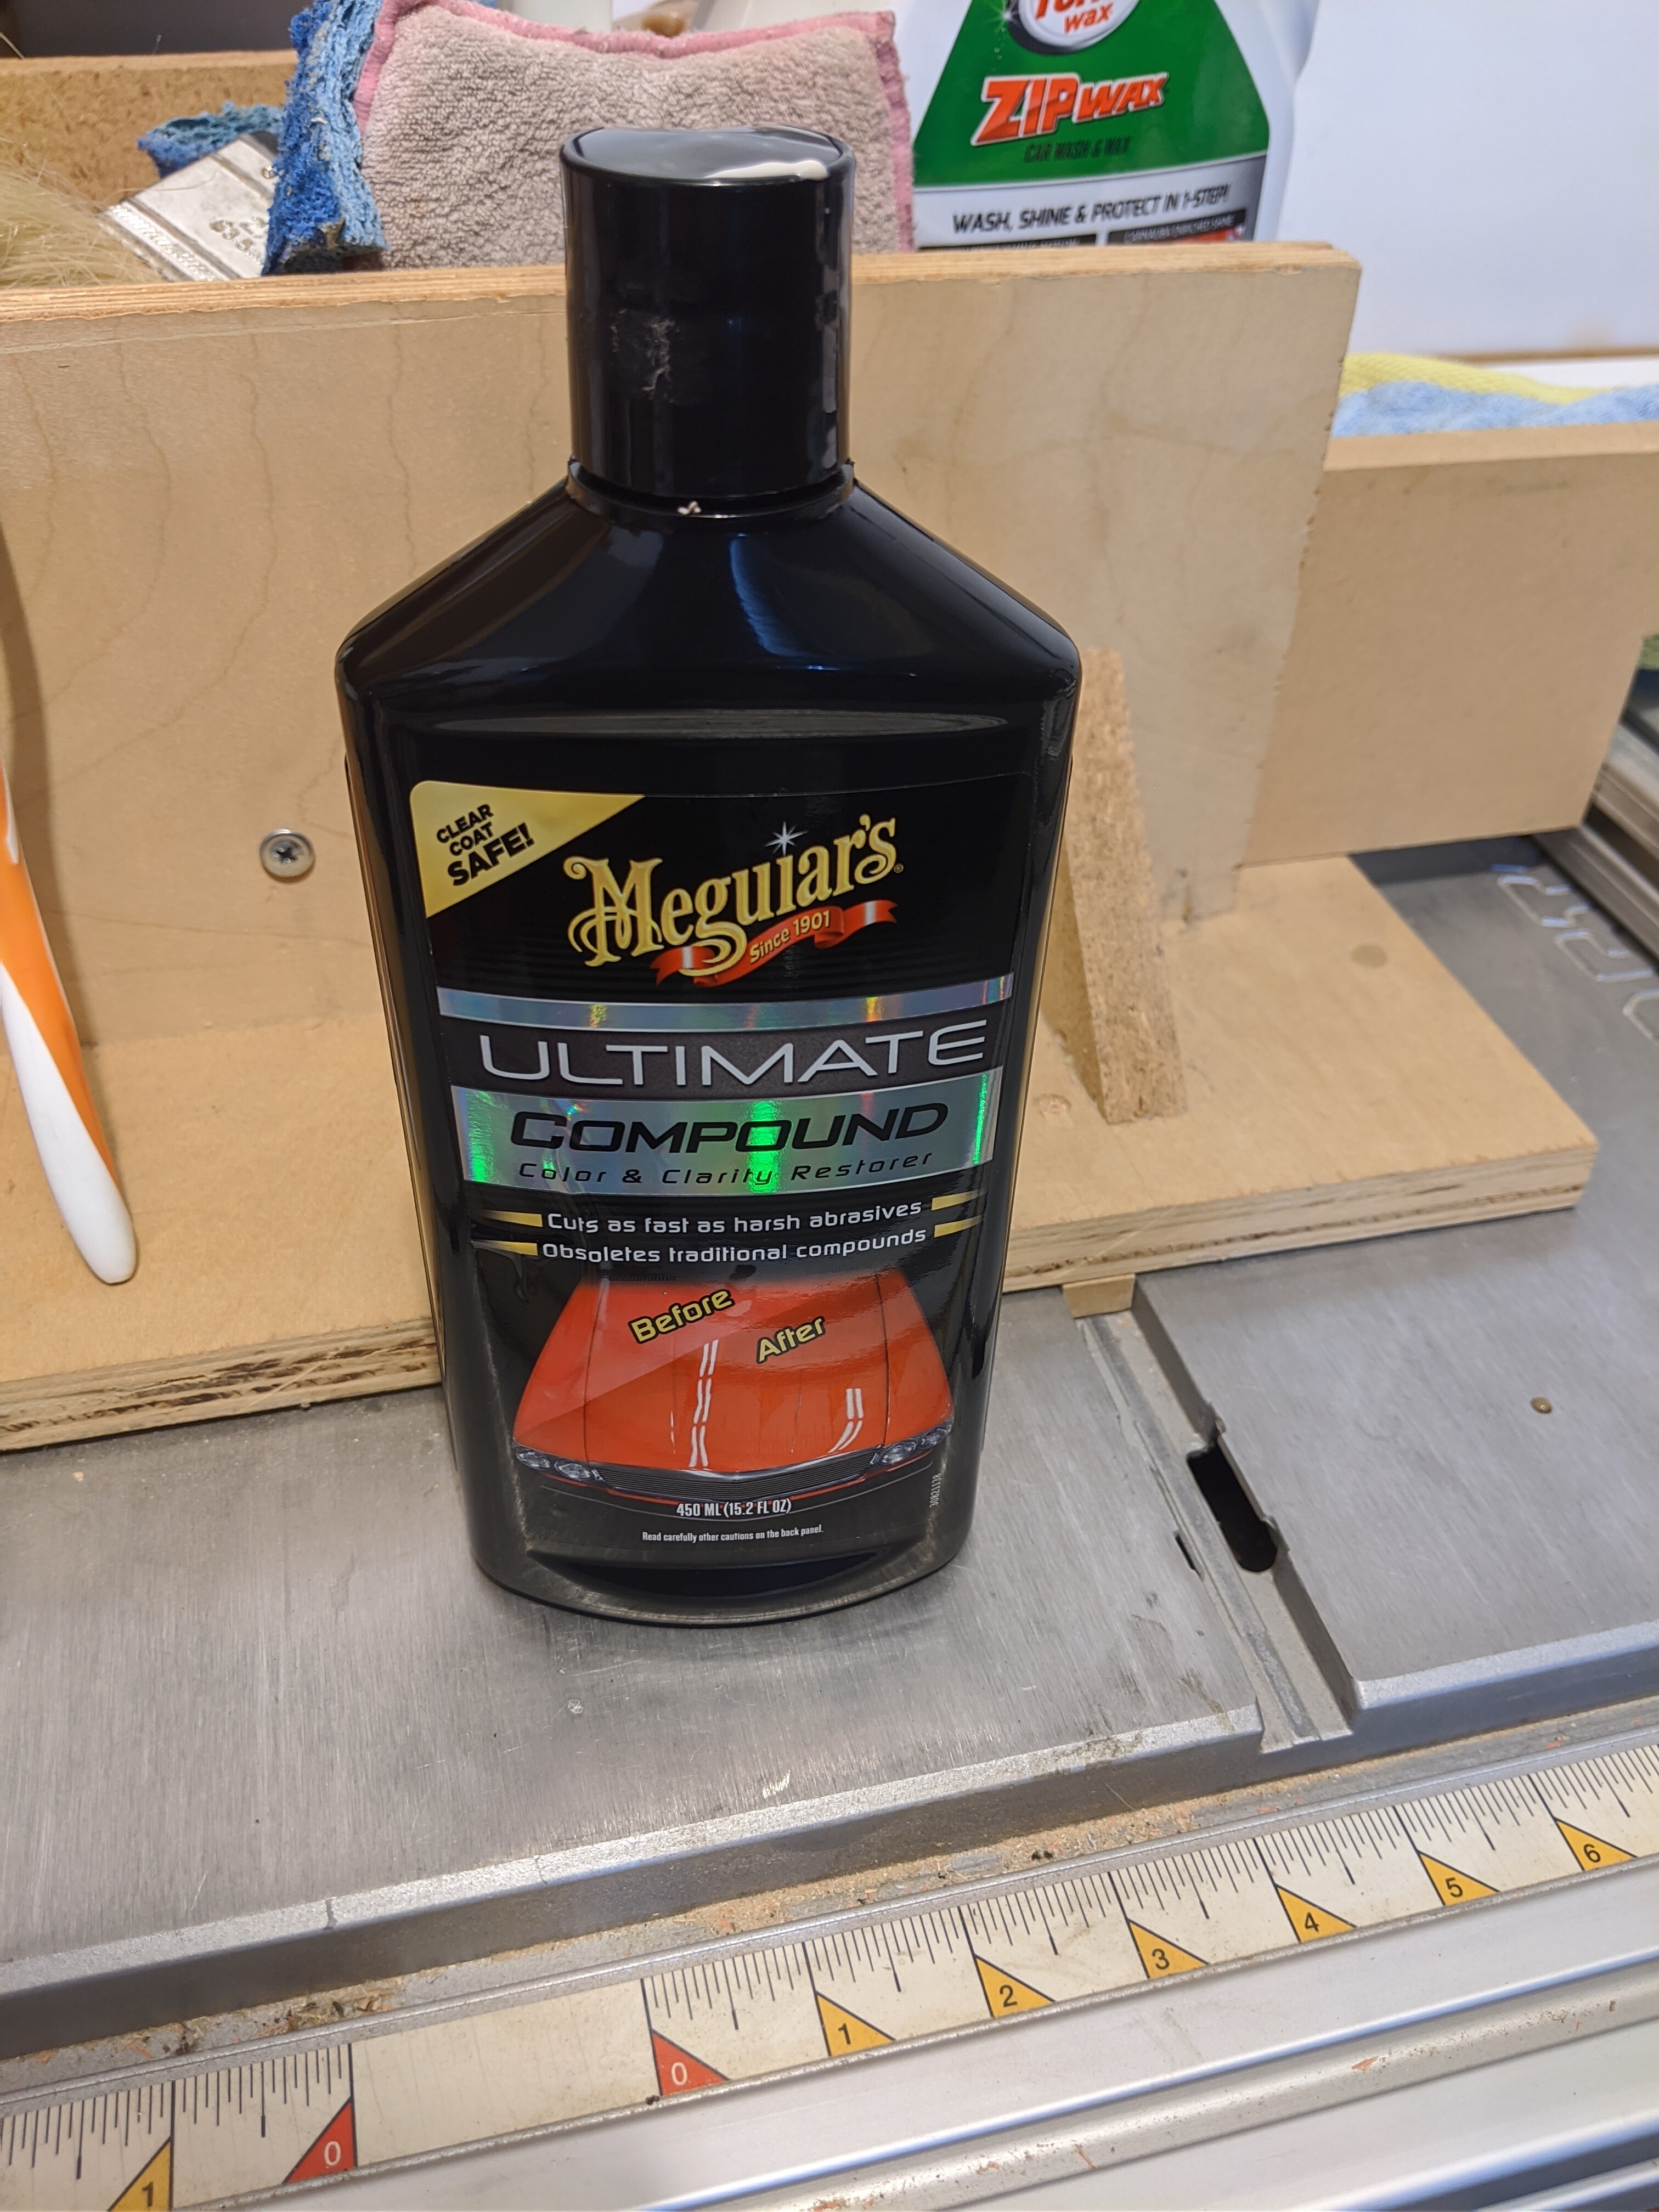
This step your allowed to be more careful on. Theres a technique here. You cut just enough to smooth and remove perfections but nothing more. Polish will take care of smoothing. Youll notice some dullness.
Pictures post Compound fix

The dullness is fine. spend time. really spend time perfecting your compund. Now its time to move onto polish. This is where we make it more mirror like.
Polishing
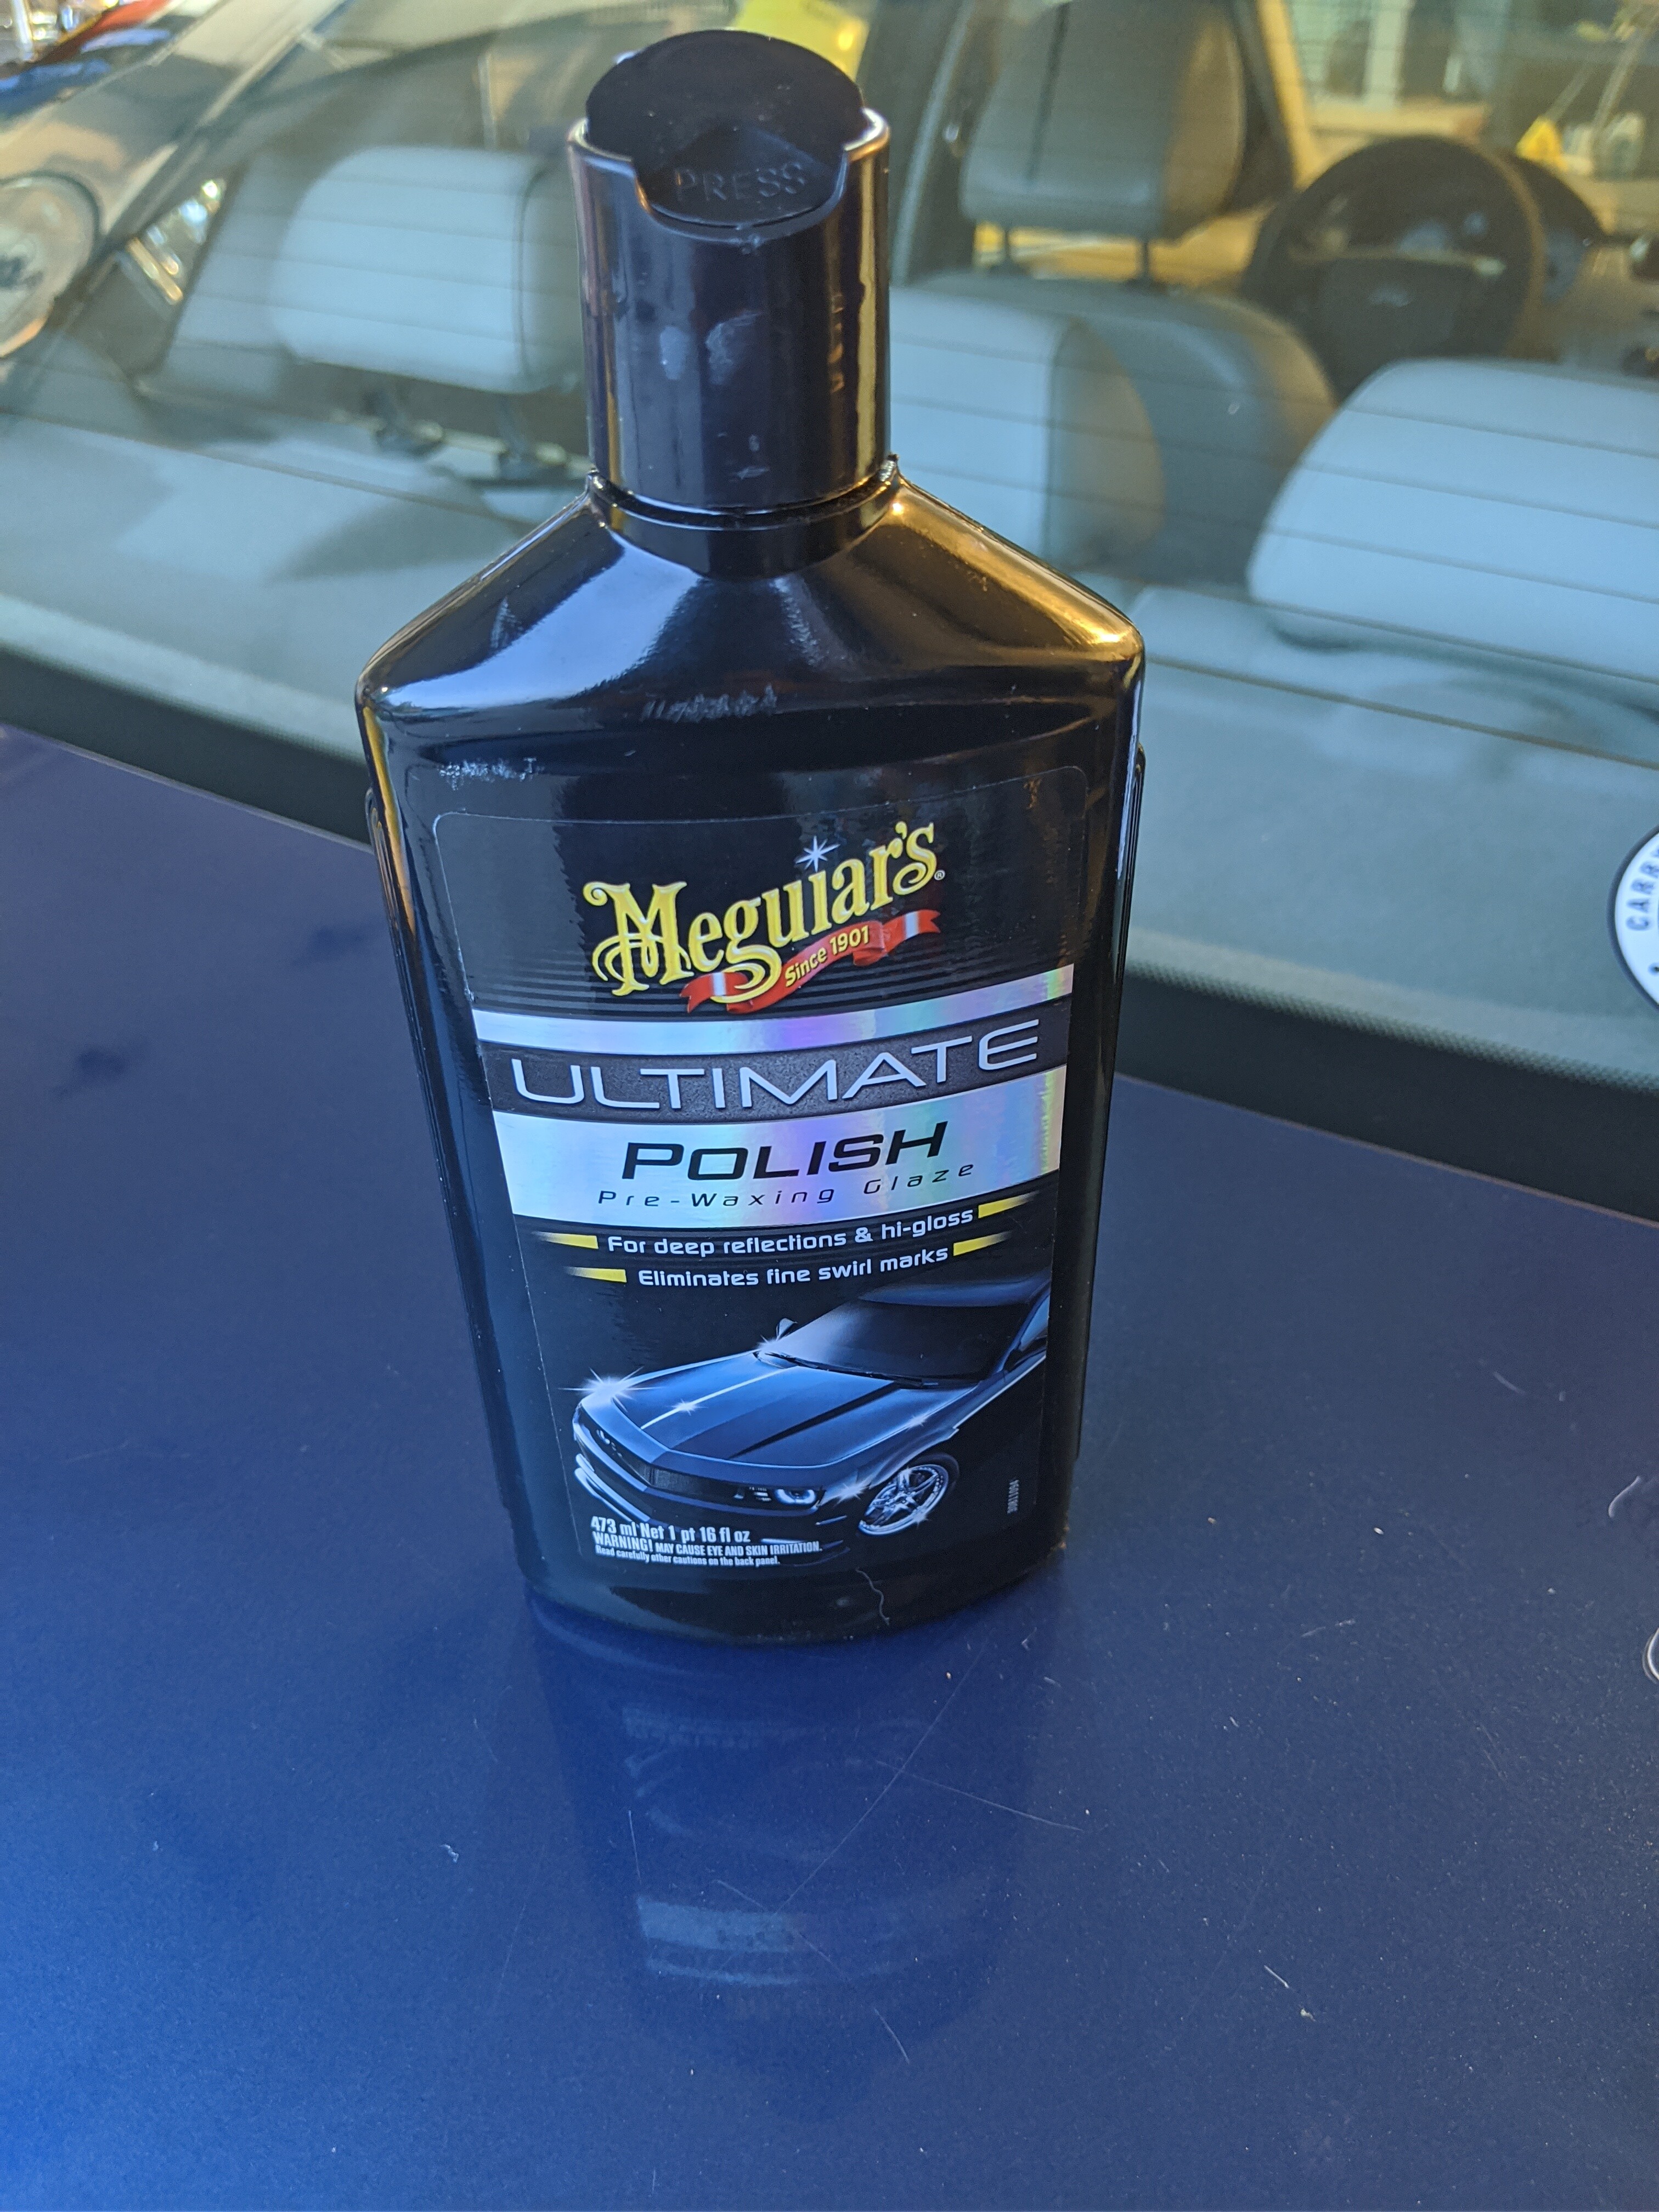
Get your foam pad. Apply the polish in small circular motions. You dont need to be too hard. The polish does the work not so much you. Dont let the polish dry. Buff it off immediately like the compound. go small parts of the paint at a time until it is glowing and shining like new.

TAKE YOUR TIME
SPEND YOUR TIME
MAKE IT as PERFECT as YOU CAN!
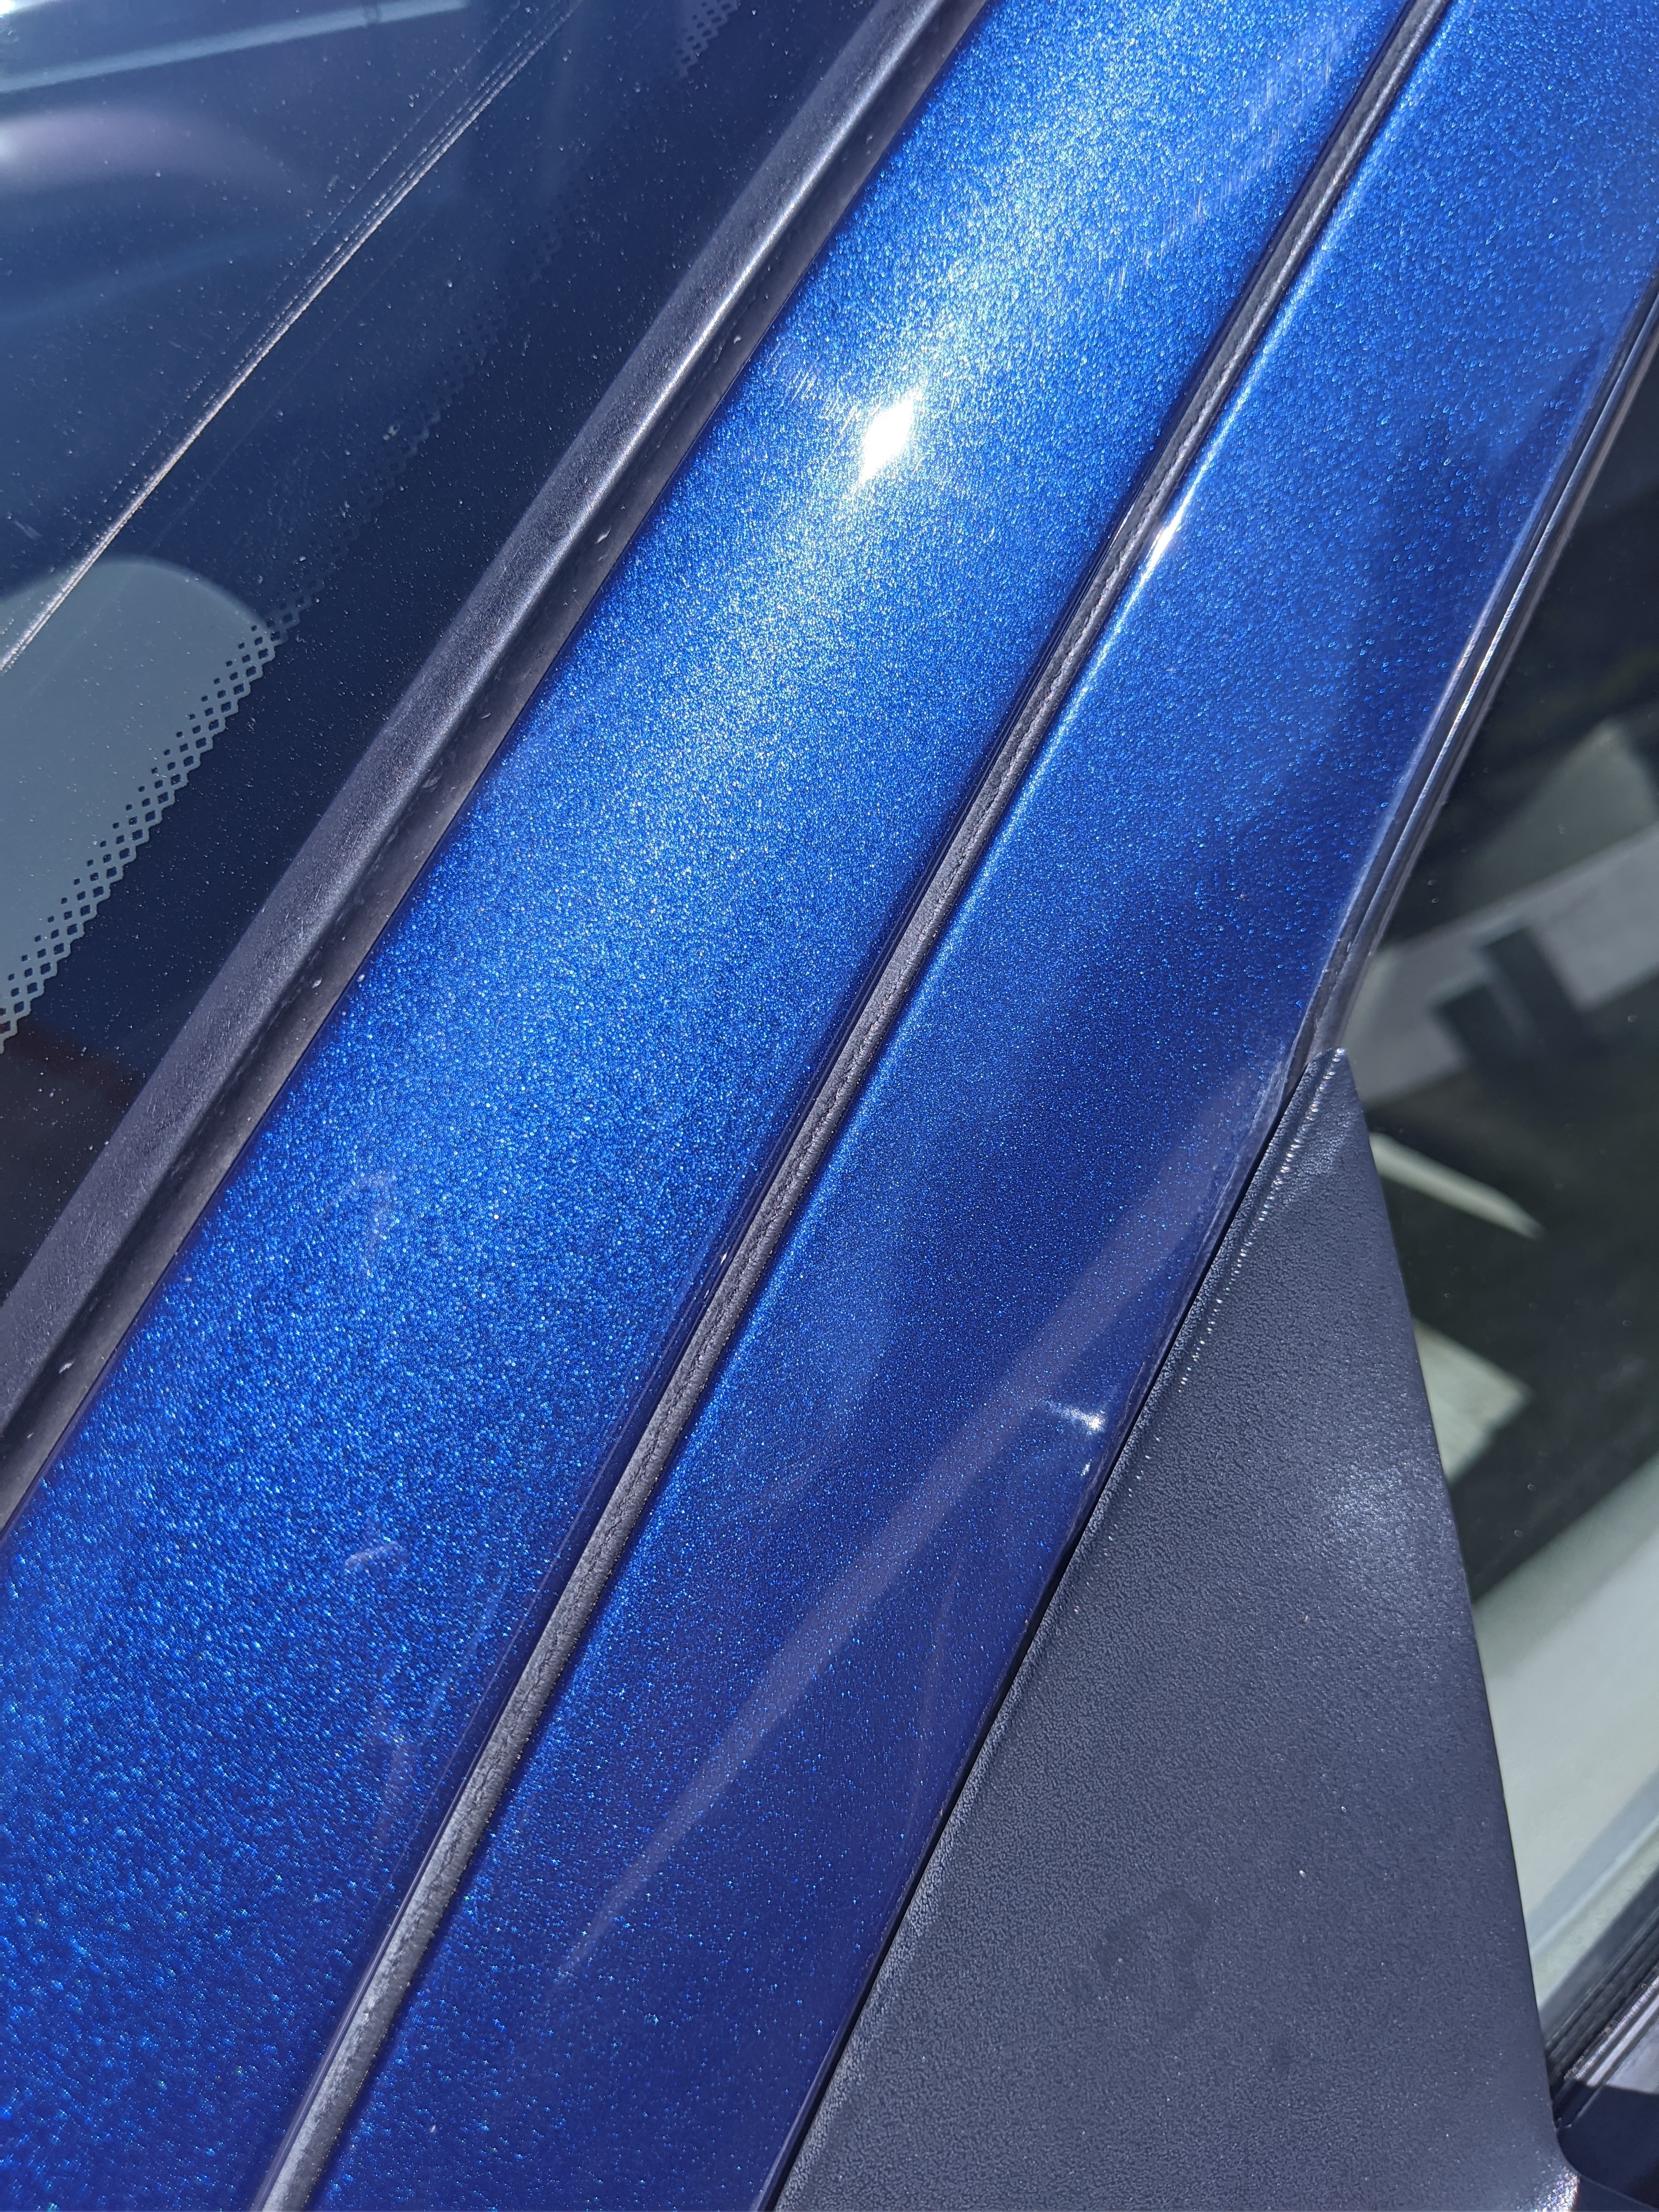
It should glow pop and be glossy like a shiny hard candy! It will become mirror like trust me. Work at it slowly but surely.
Surface Prep
Use a 50 percent isopropyl mix. spray down the vehicle. Soak it… clean off all those previous polymers and any of the polish. at this point the paint should be as smooth as a babies butt
Then dry it off with a clean microfiber towel. Make sure NONE of your skin oils get on the surface.
Then buff off leftover residue. When the vehicle is fully dry its time to apply the ceramic coat
Ceramic Coat Application
It was 2 am so I stopped taking pictures but here is where you DEFINITELY need to take the most time to do this right. If you apply it wrong it erases the quality work you did before
Steps:
Make sure the temperature outside or ambient is 10-20 degrees Celsius
Make sure theres no wind and minimal dust to settle and your able to park this car for 24-48 HOURS after applying for curing. YOU MUST do this step.
#1 – Wrap (1) small black cloth tightly around the application sponge.
#2 – Shake the bottle, then apply several drops (10-12) to saturate the cloth.
#3 - Wipe in a crossing method. Horizontally across then vertically and do VERY small sections at a time. It’s best to change the cloth every few panels or if coating crystallizes on them. You should also make sure you have even-covered sections. You can inspect the vehicle surface from multiple angles to ensure the coating is fully applied.
#4 - Buff it off when it becomes hazy, DO NOT WEIGHT, You need to buff off the excess before it crystalizes so that you dont misapply the coating. Basically buff onces flashed (varies with temperature)
Once youve done the whole vehicle. I went ahead and did 3 coats because the bottle was big enough for that. I had some left over so I applied it to my fixed wheels. 3 Coats is a thick coating
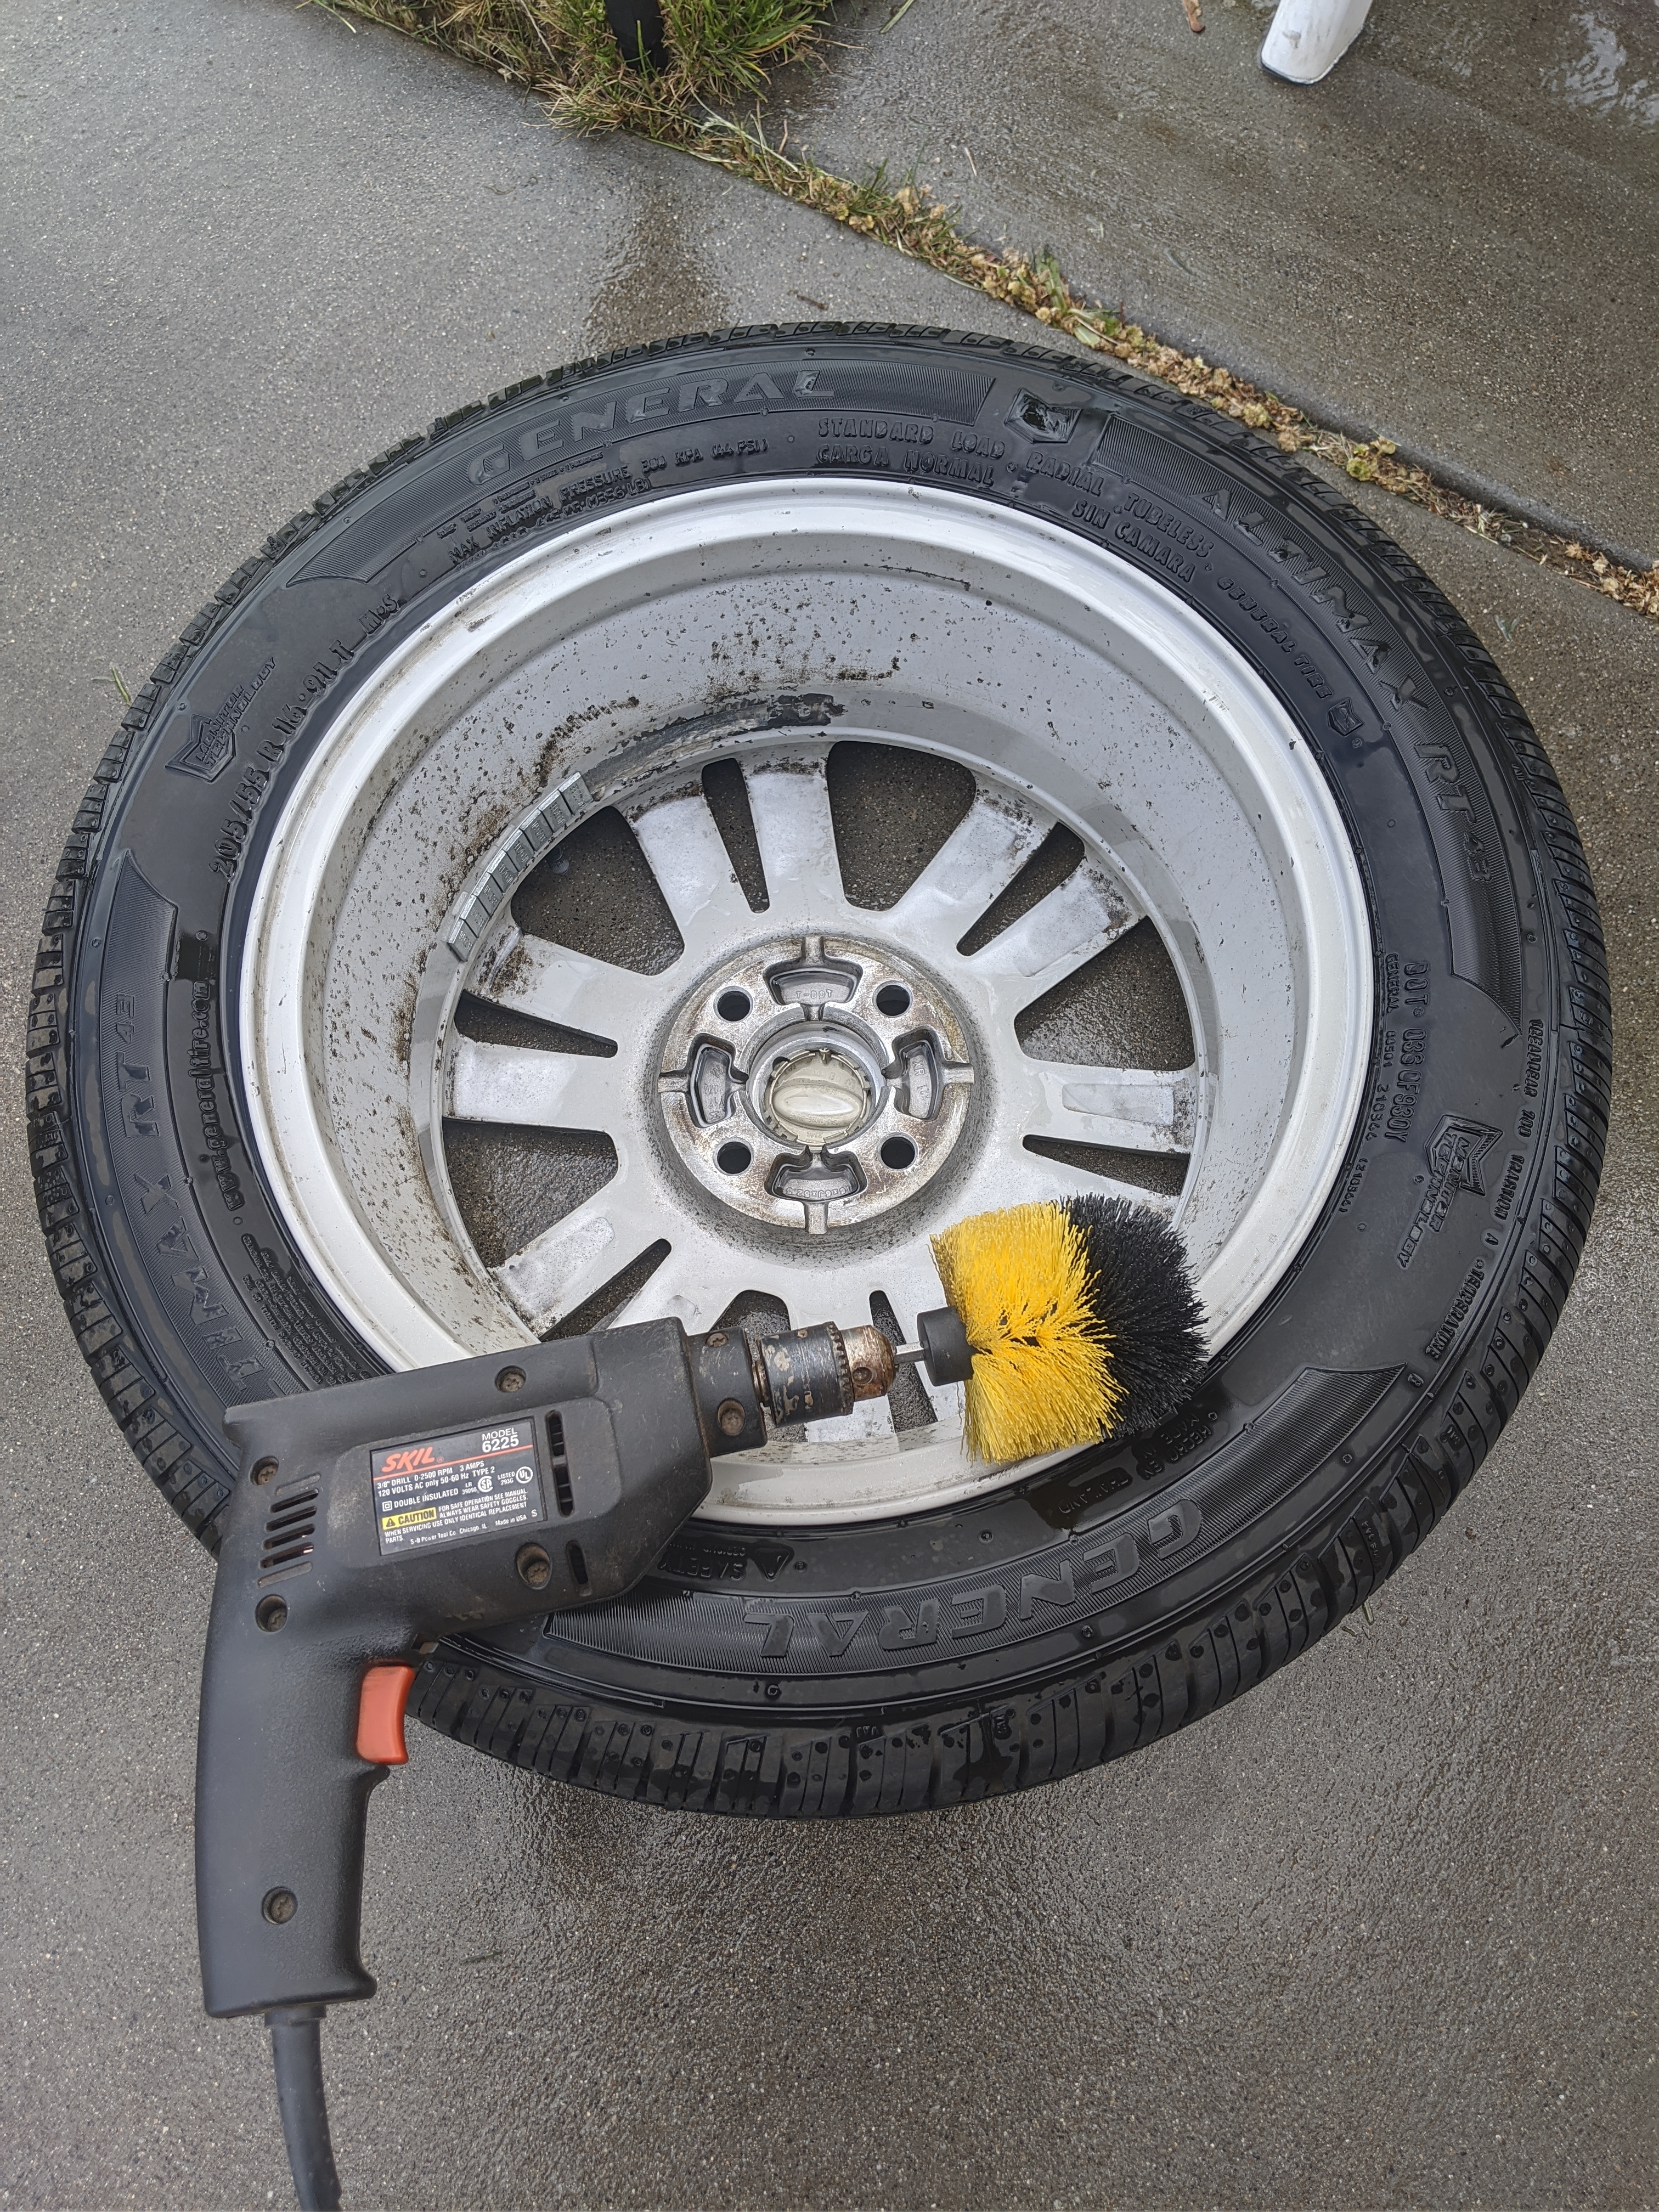
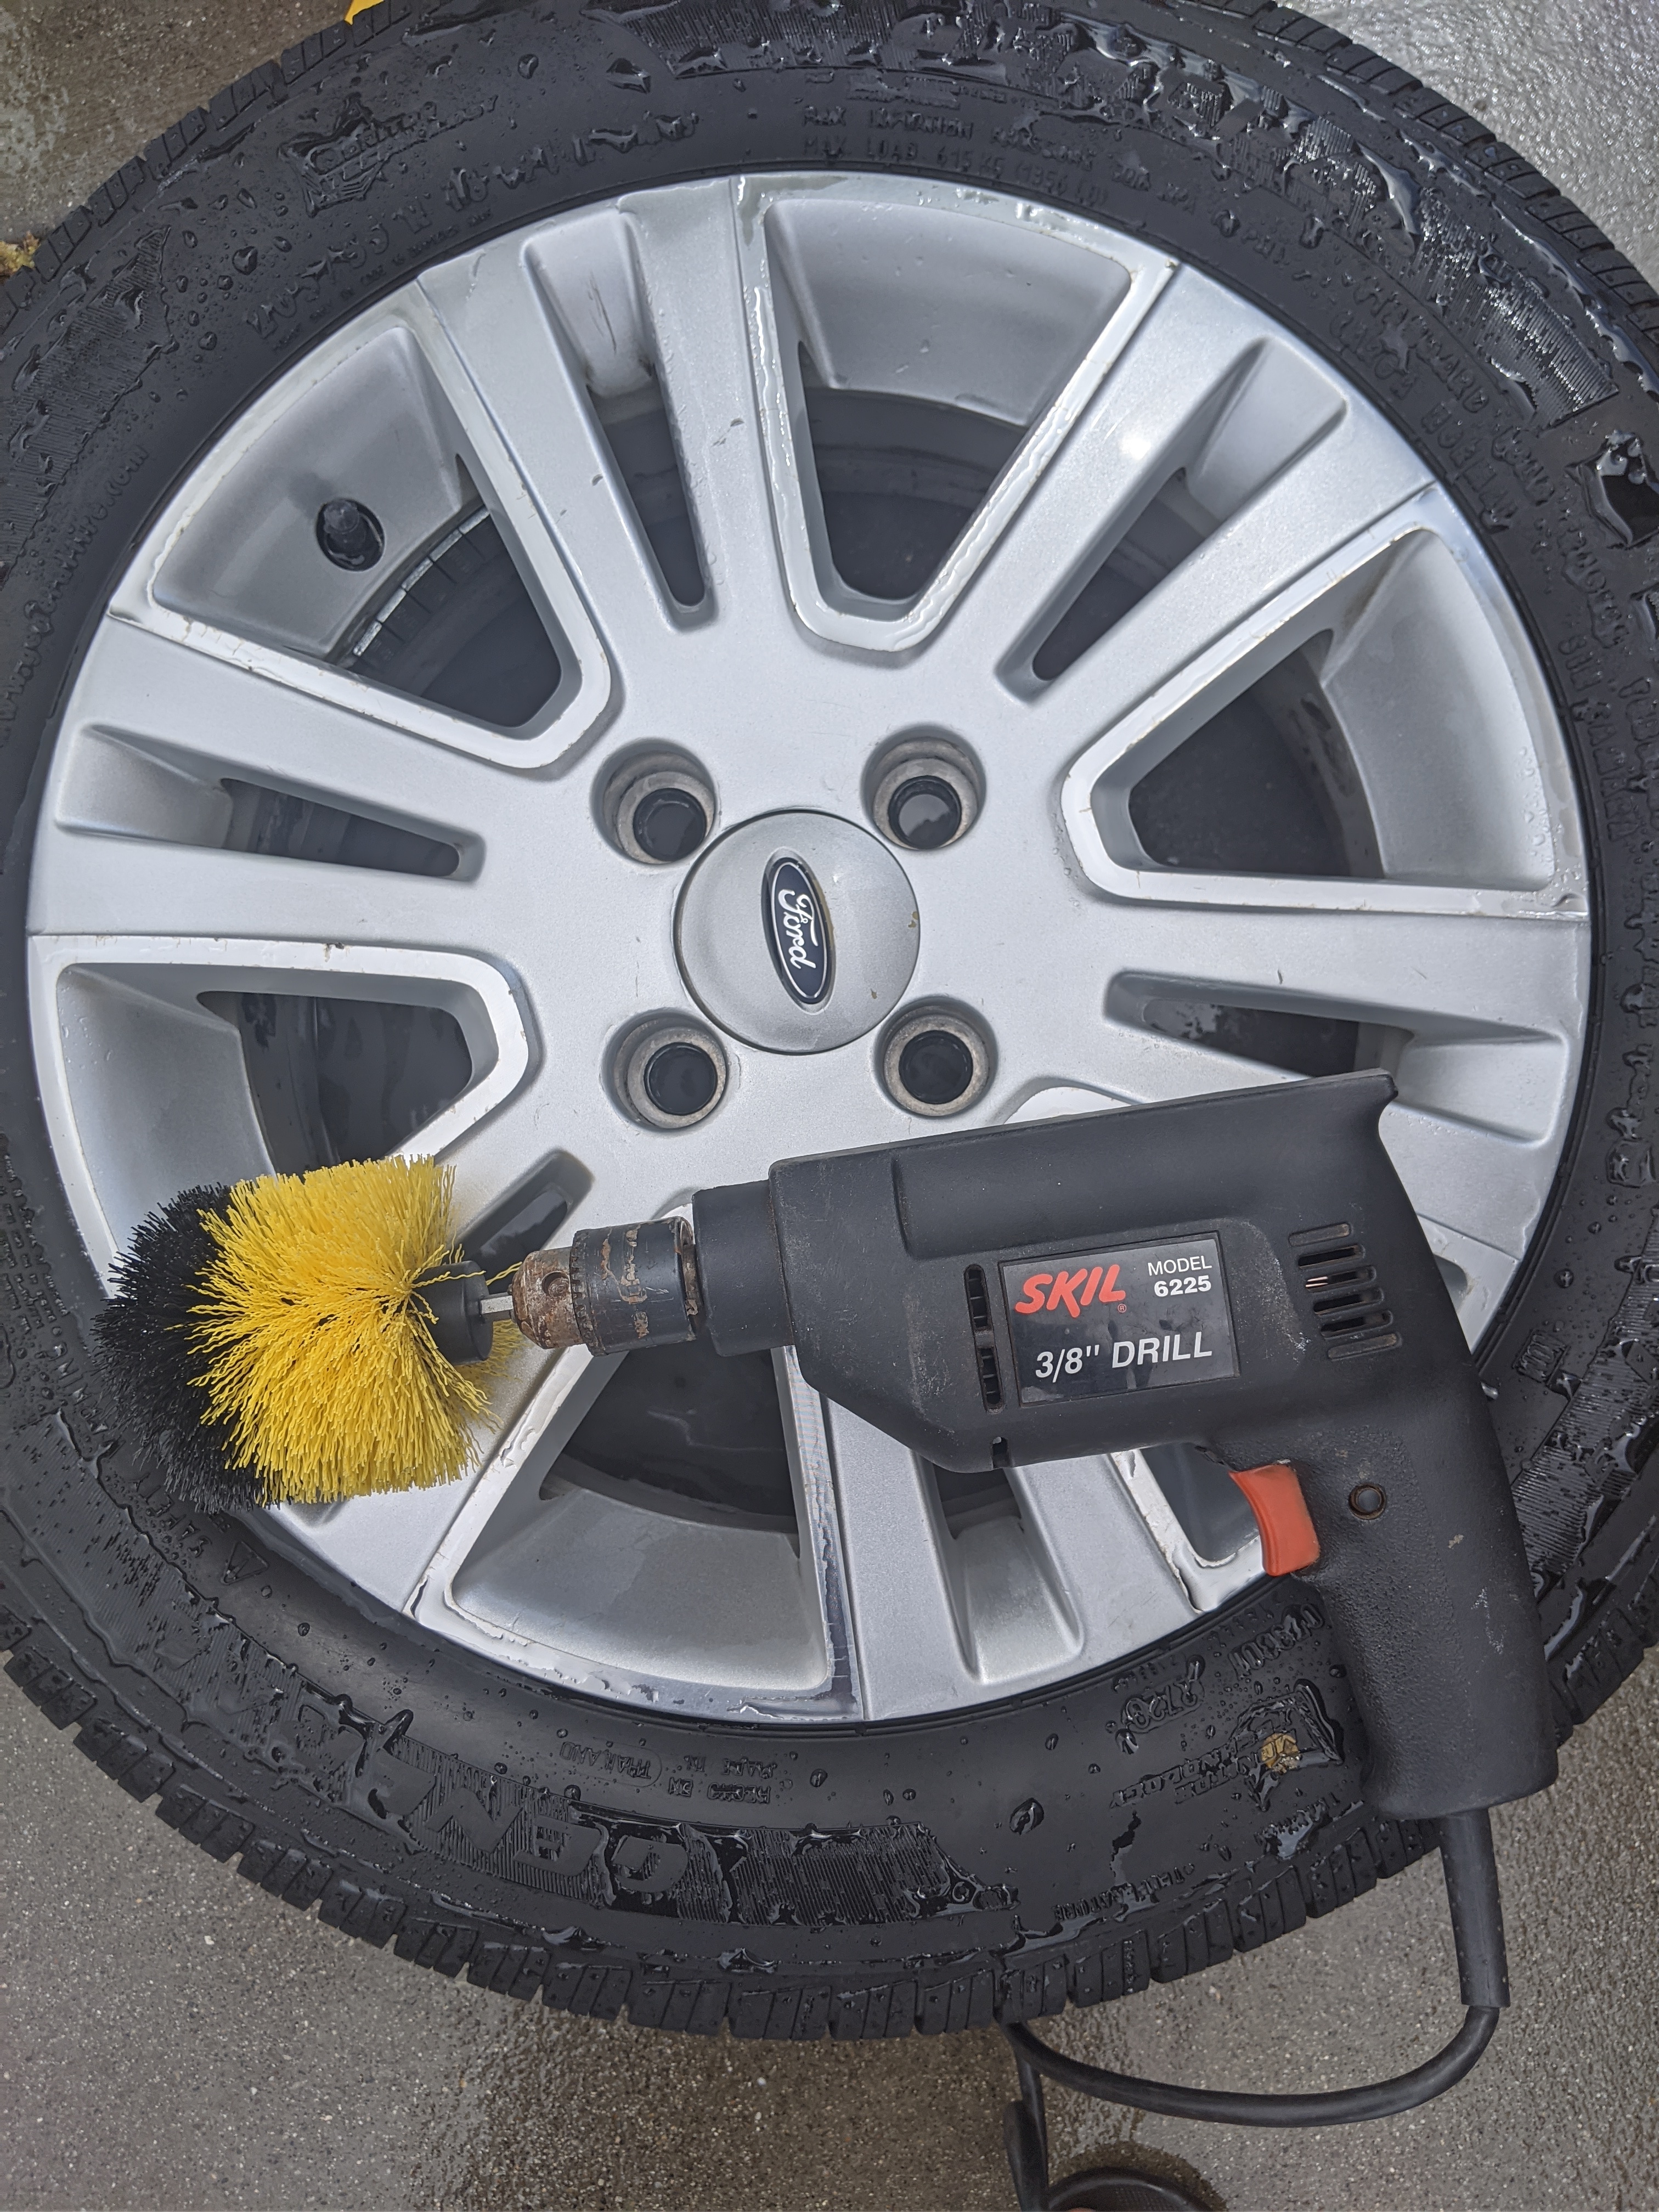
Tires/Wheels
Procedure
Wheels have a similar deal as correction but they are far more a pain in the butt. Do this before the ceramic coat. Unless you want aluminum dust on your hard work

I basically followed chris fix on this. I polished more and put more work into shining the wheel and used a better clear coat but youll have the same results
Here is my before/during:
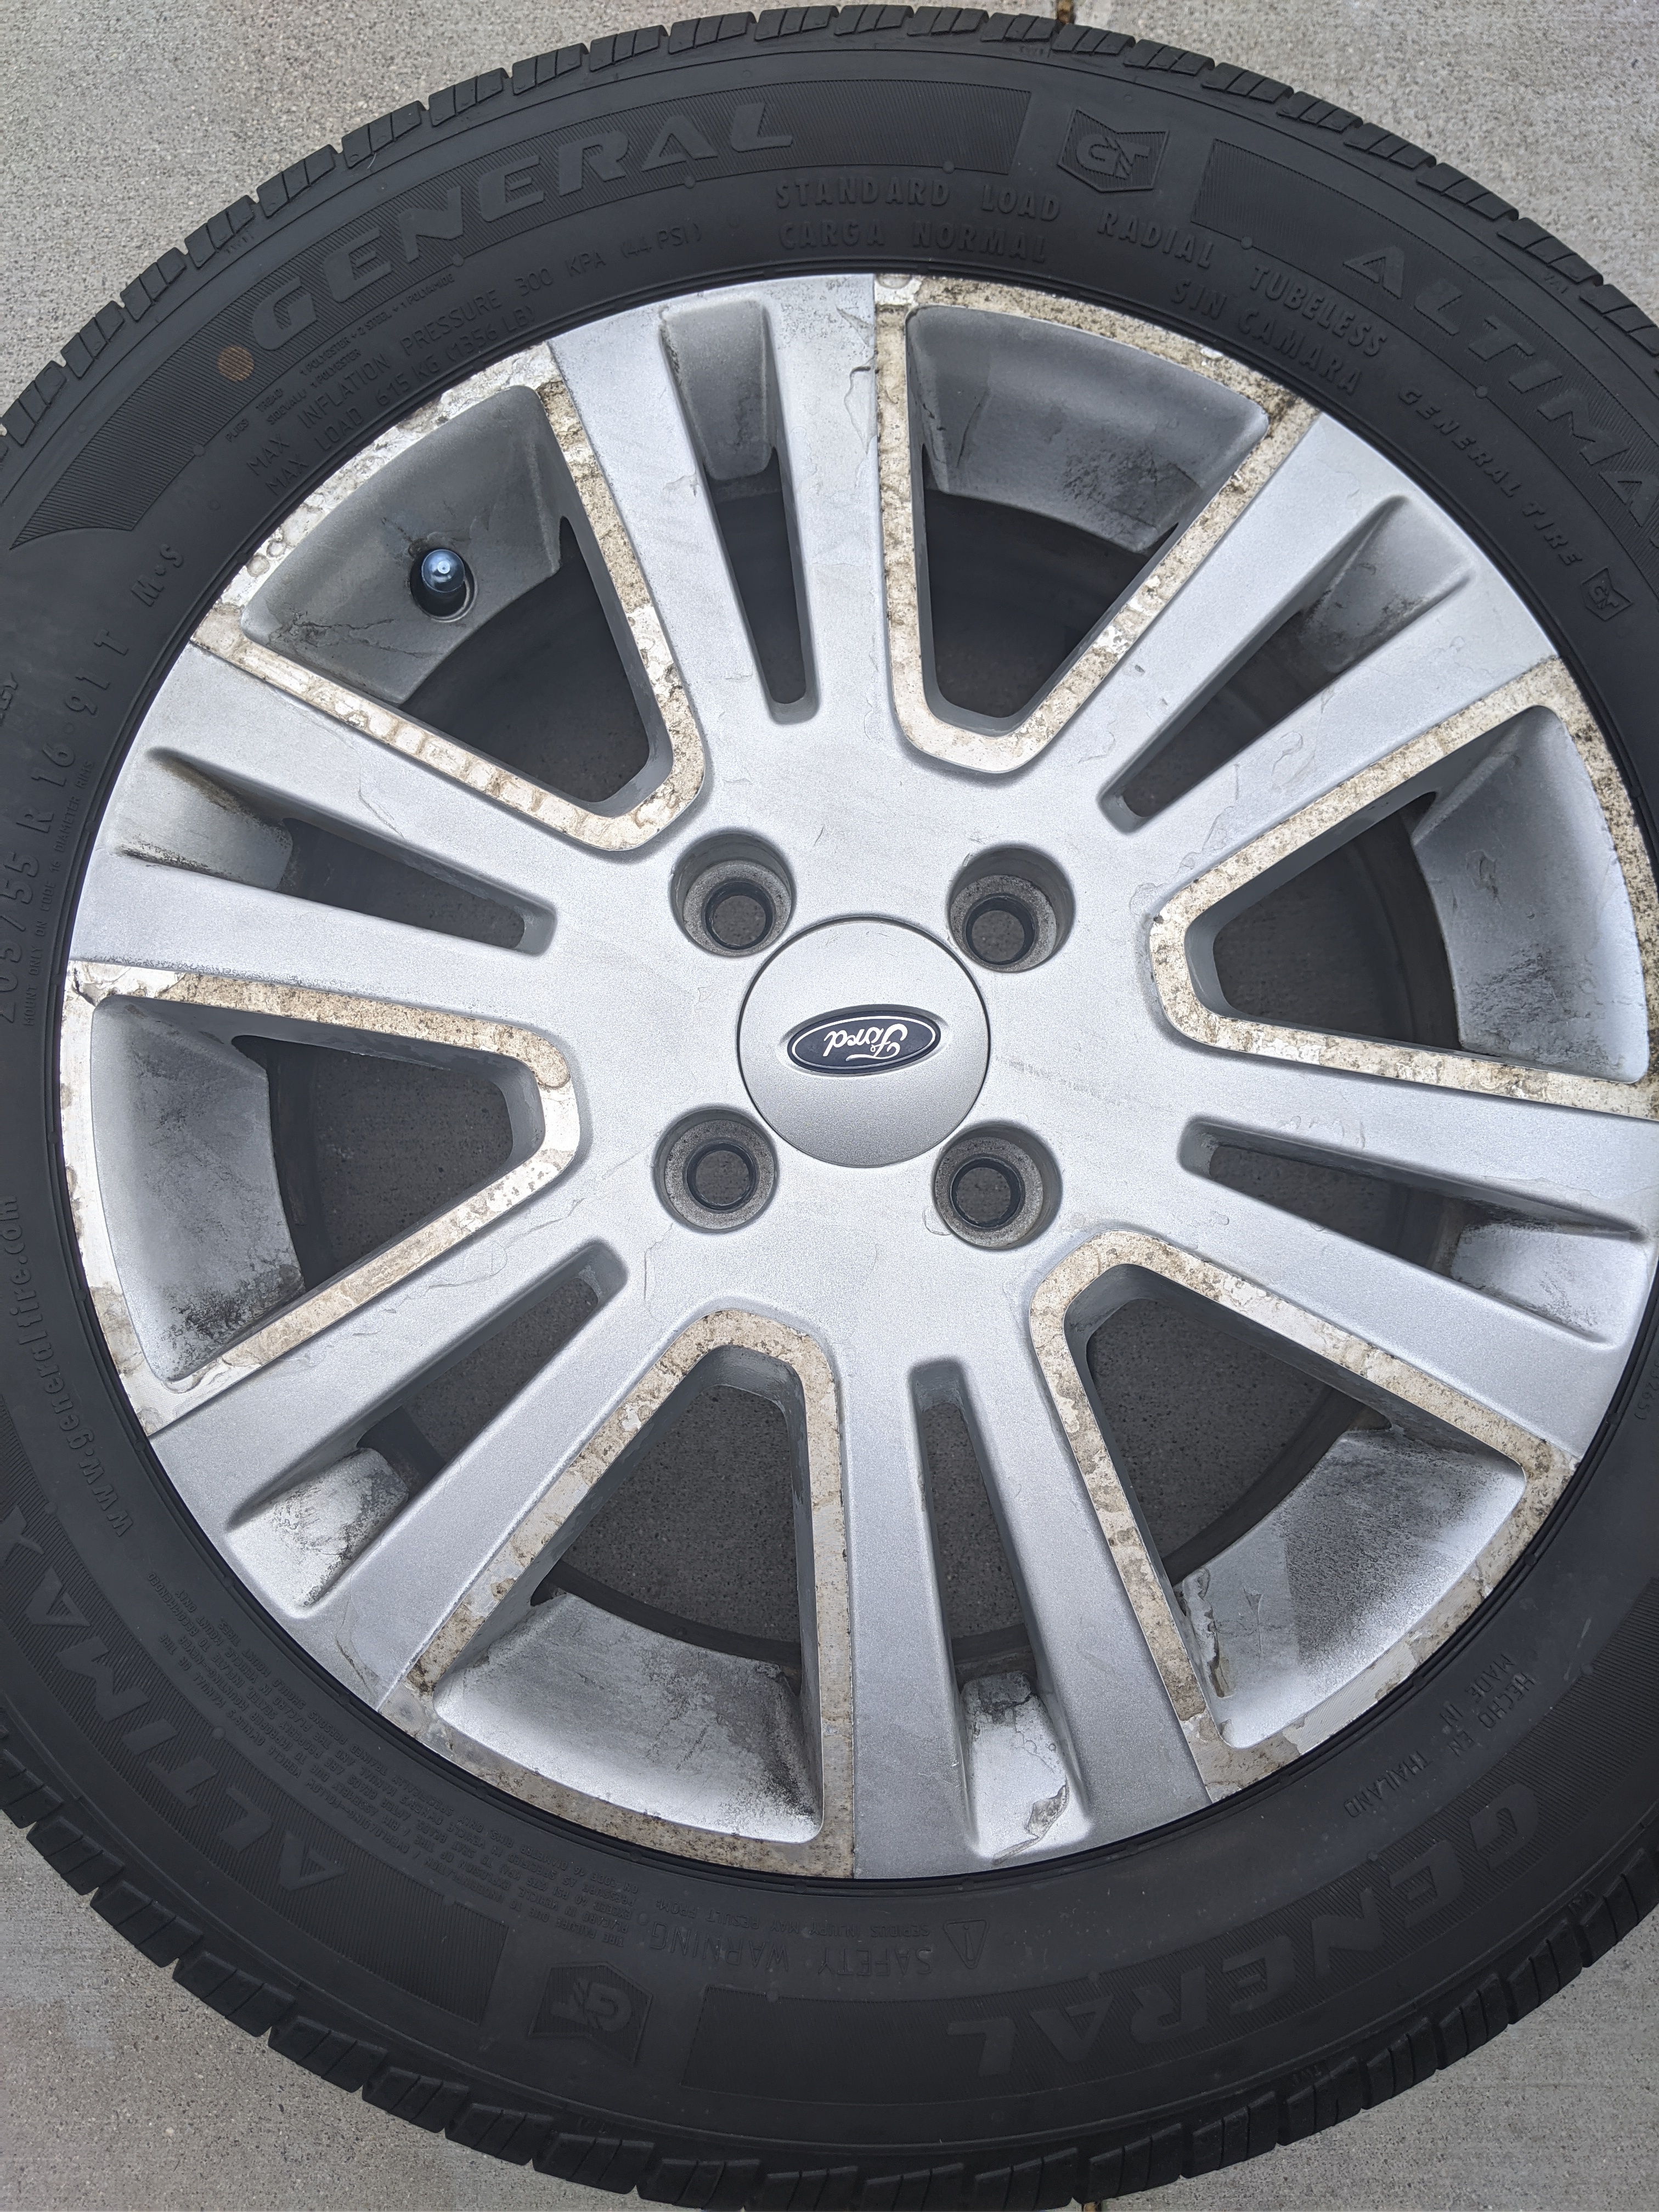
Here is after (clear coat stripped and ready for his process):
Then I followed his procedure to wet sand it and what not and it ended up looking nice. You will see in final photos.
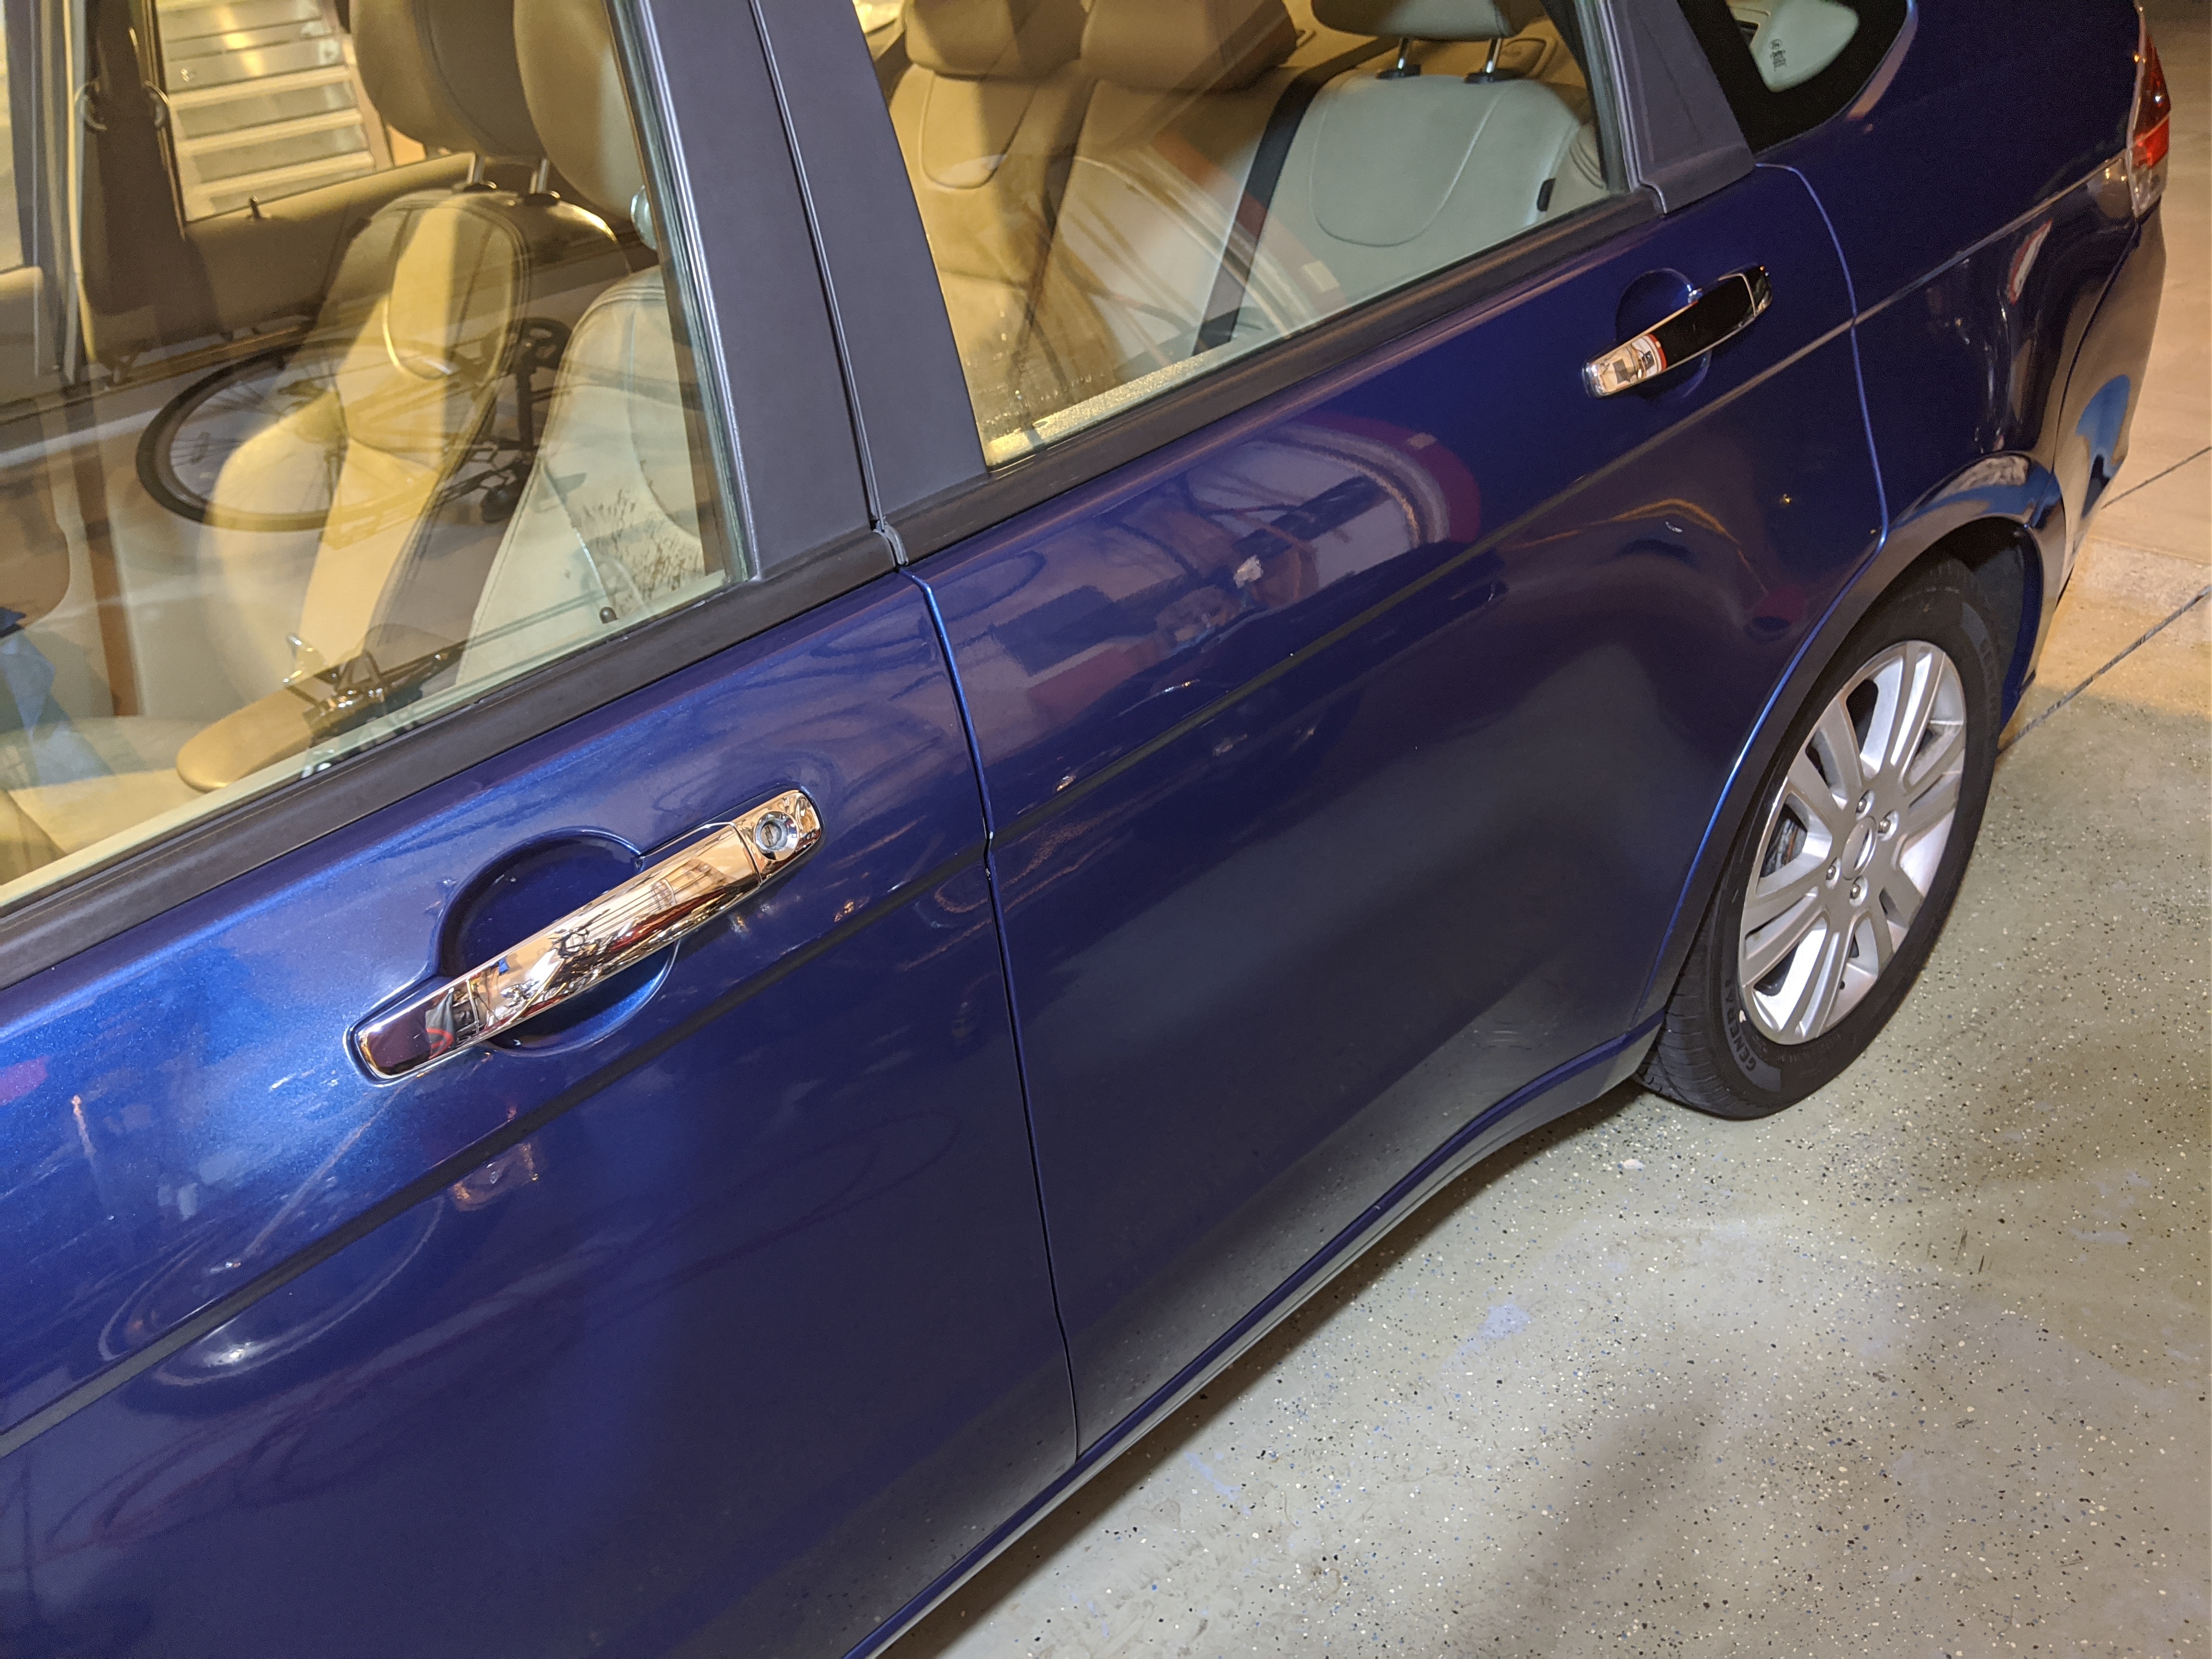
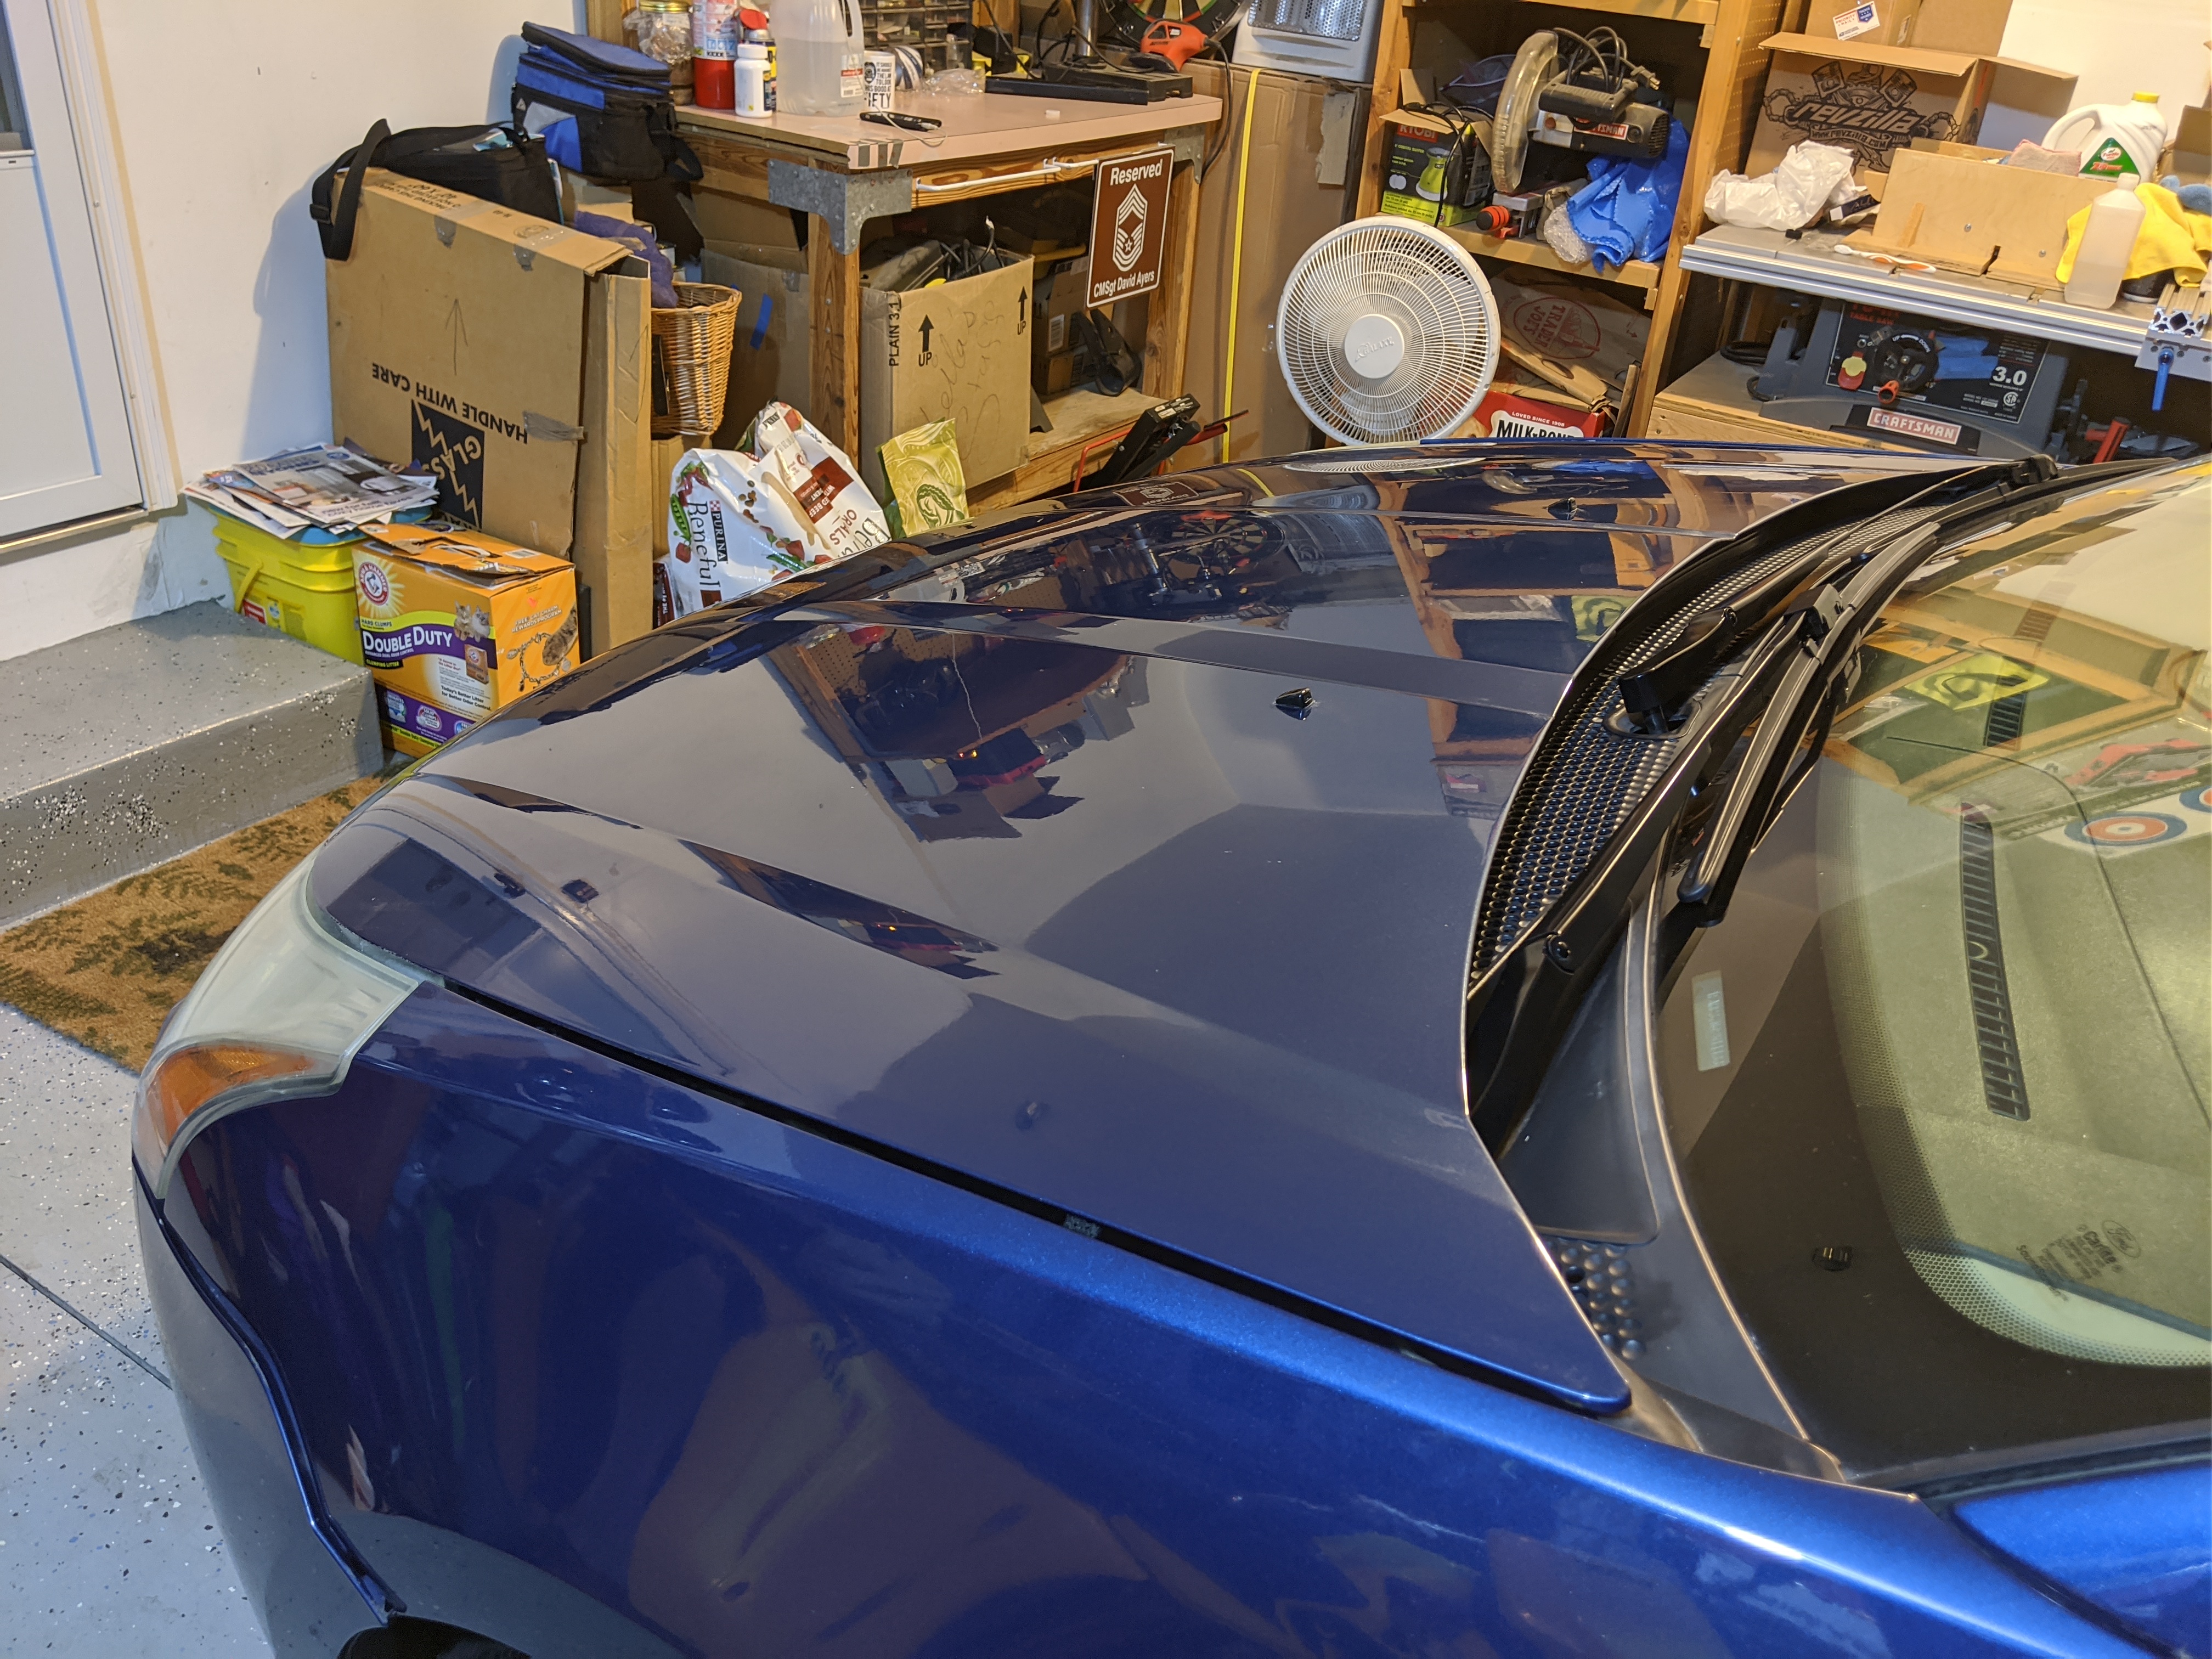
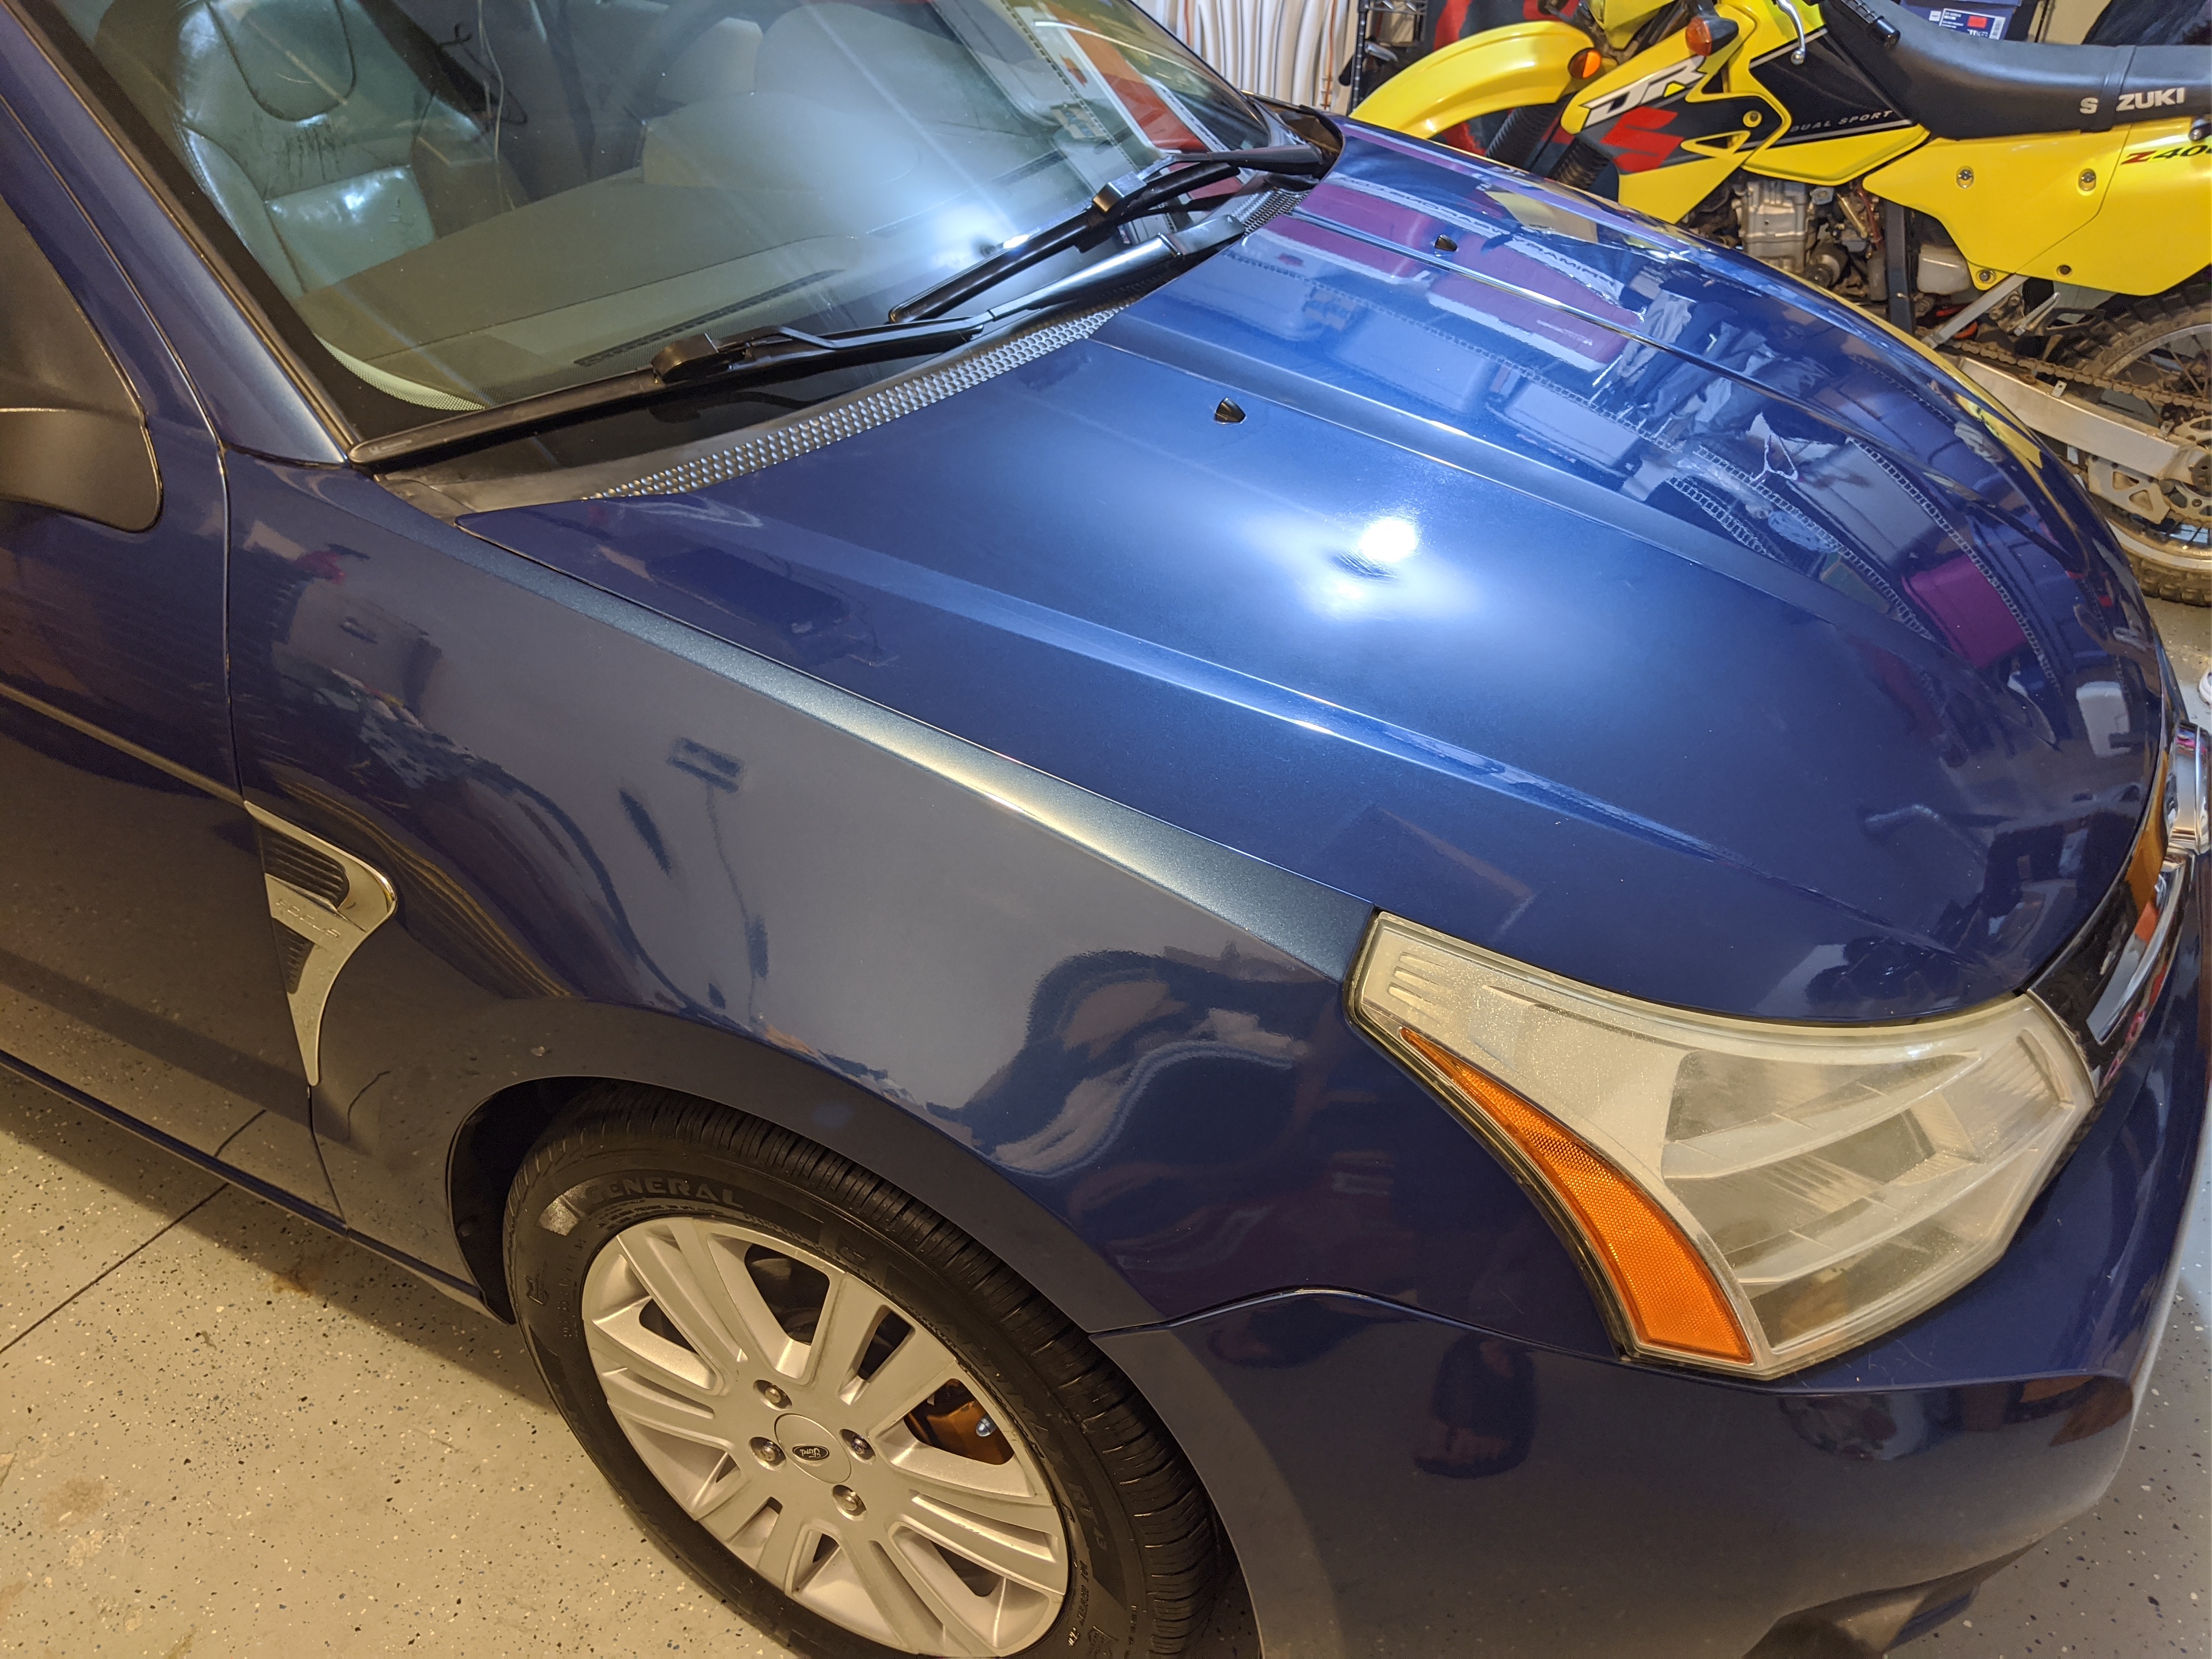
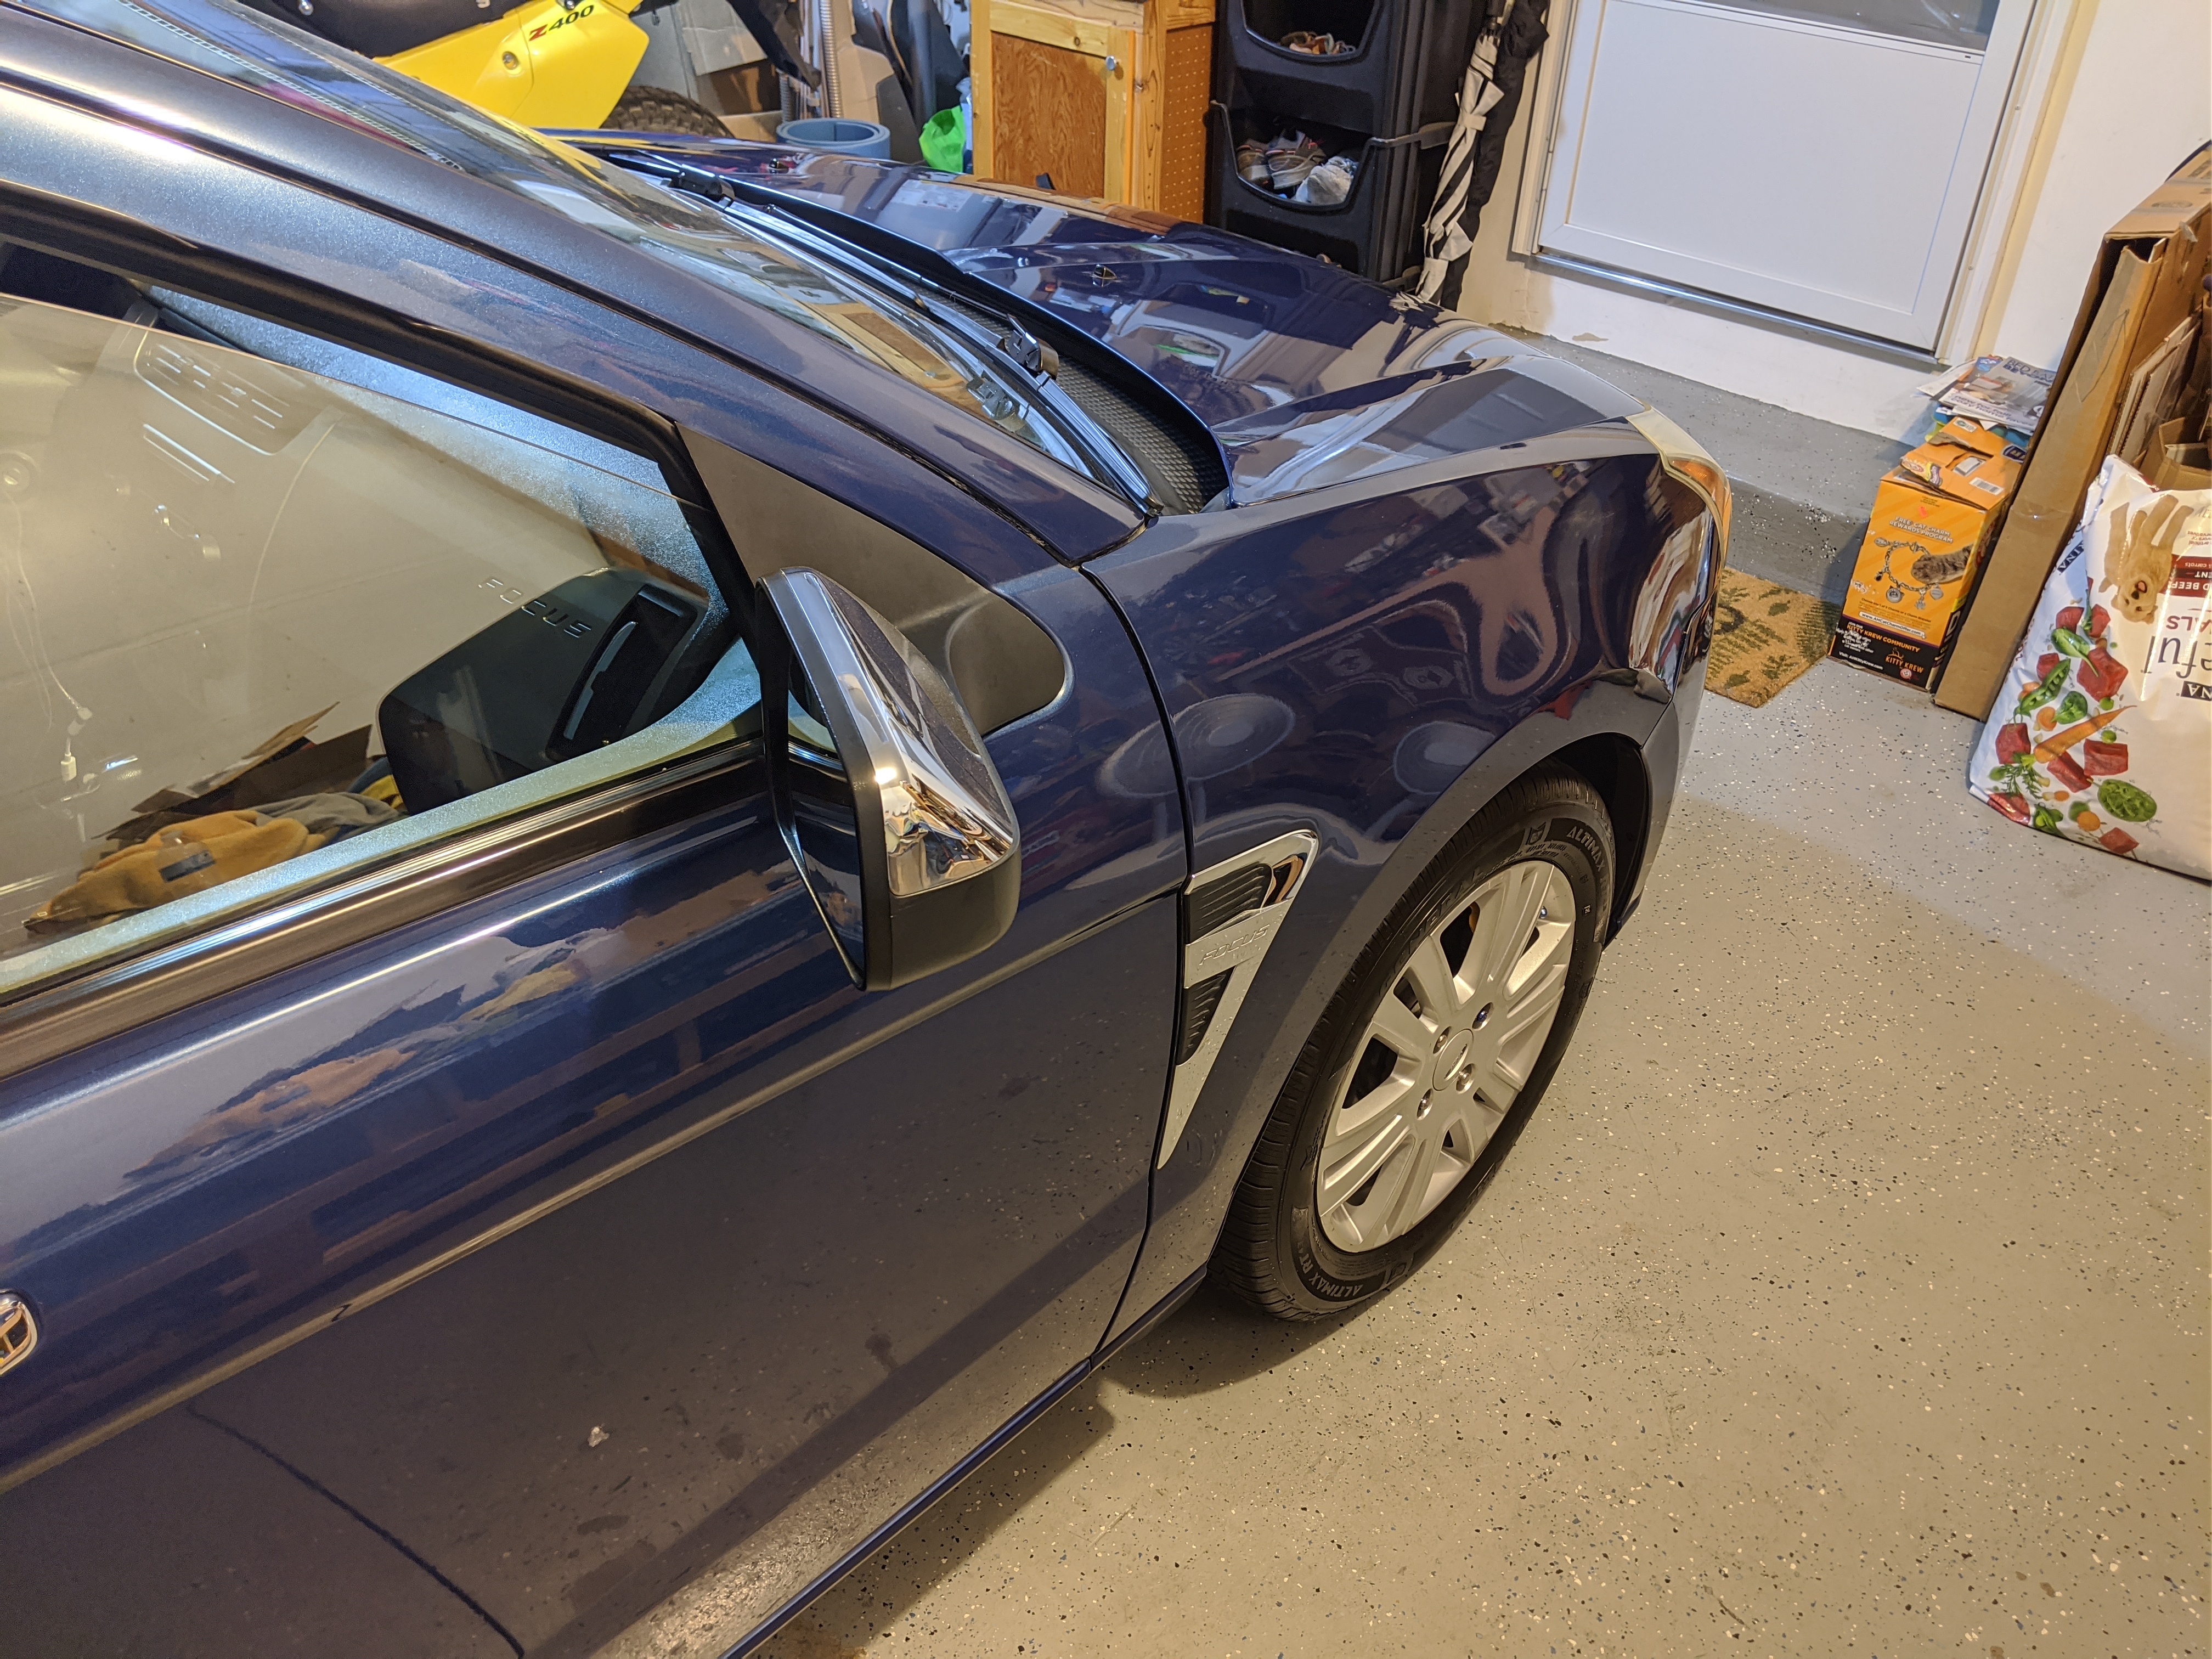
Results
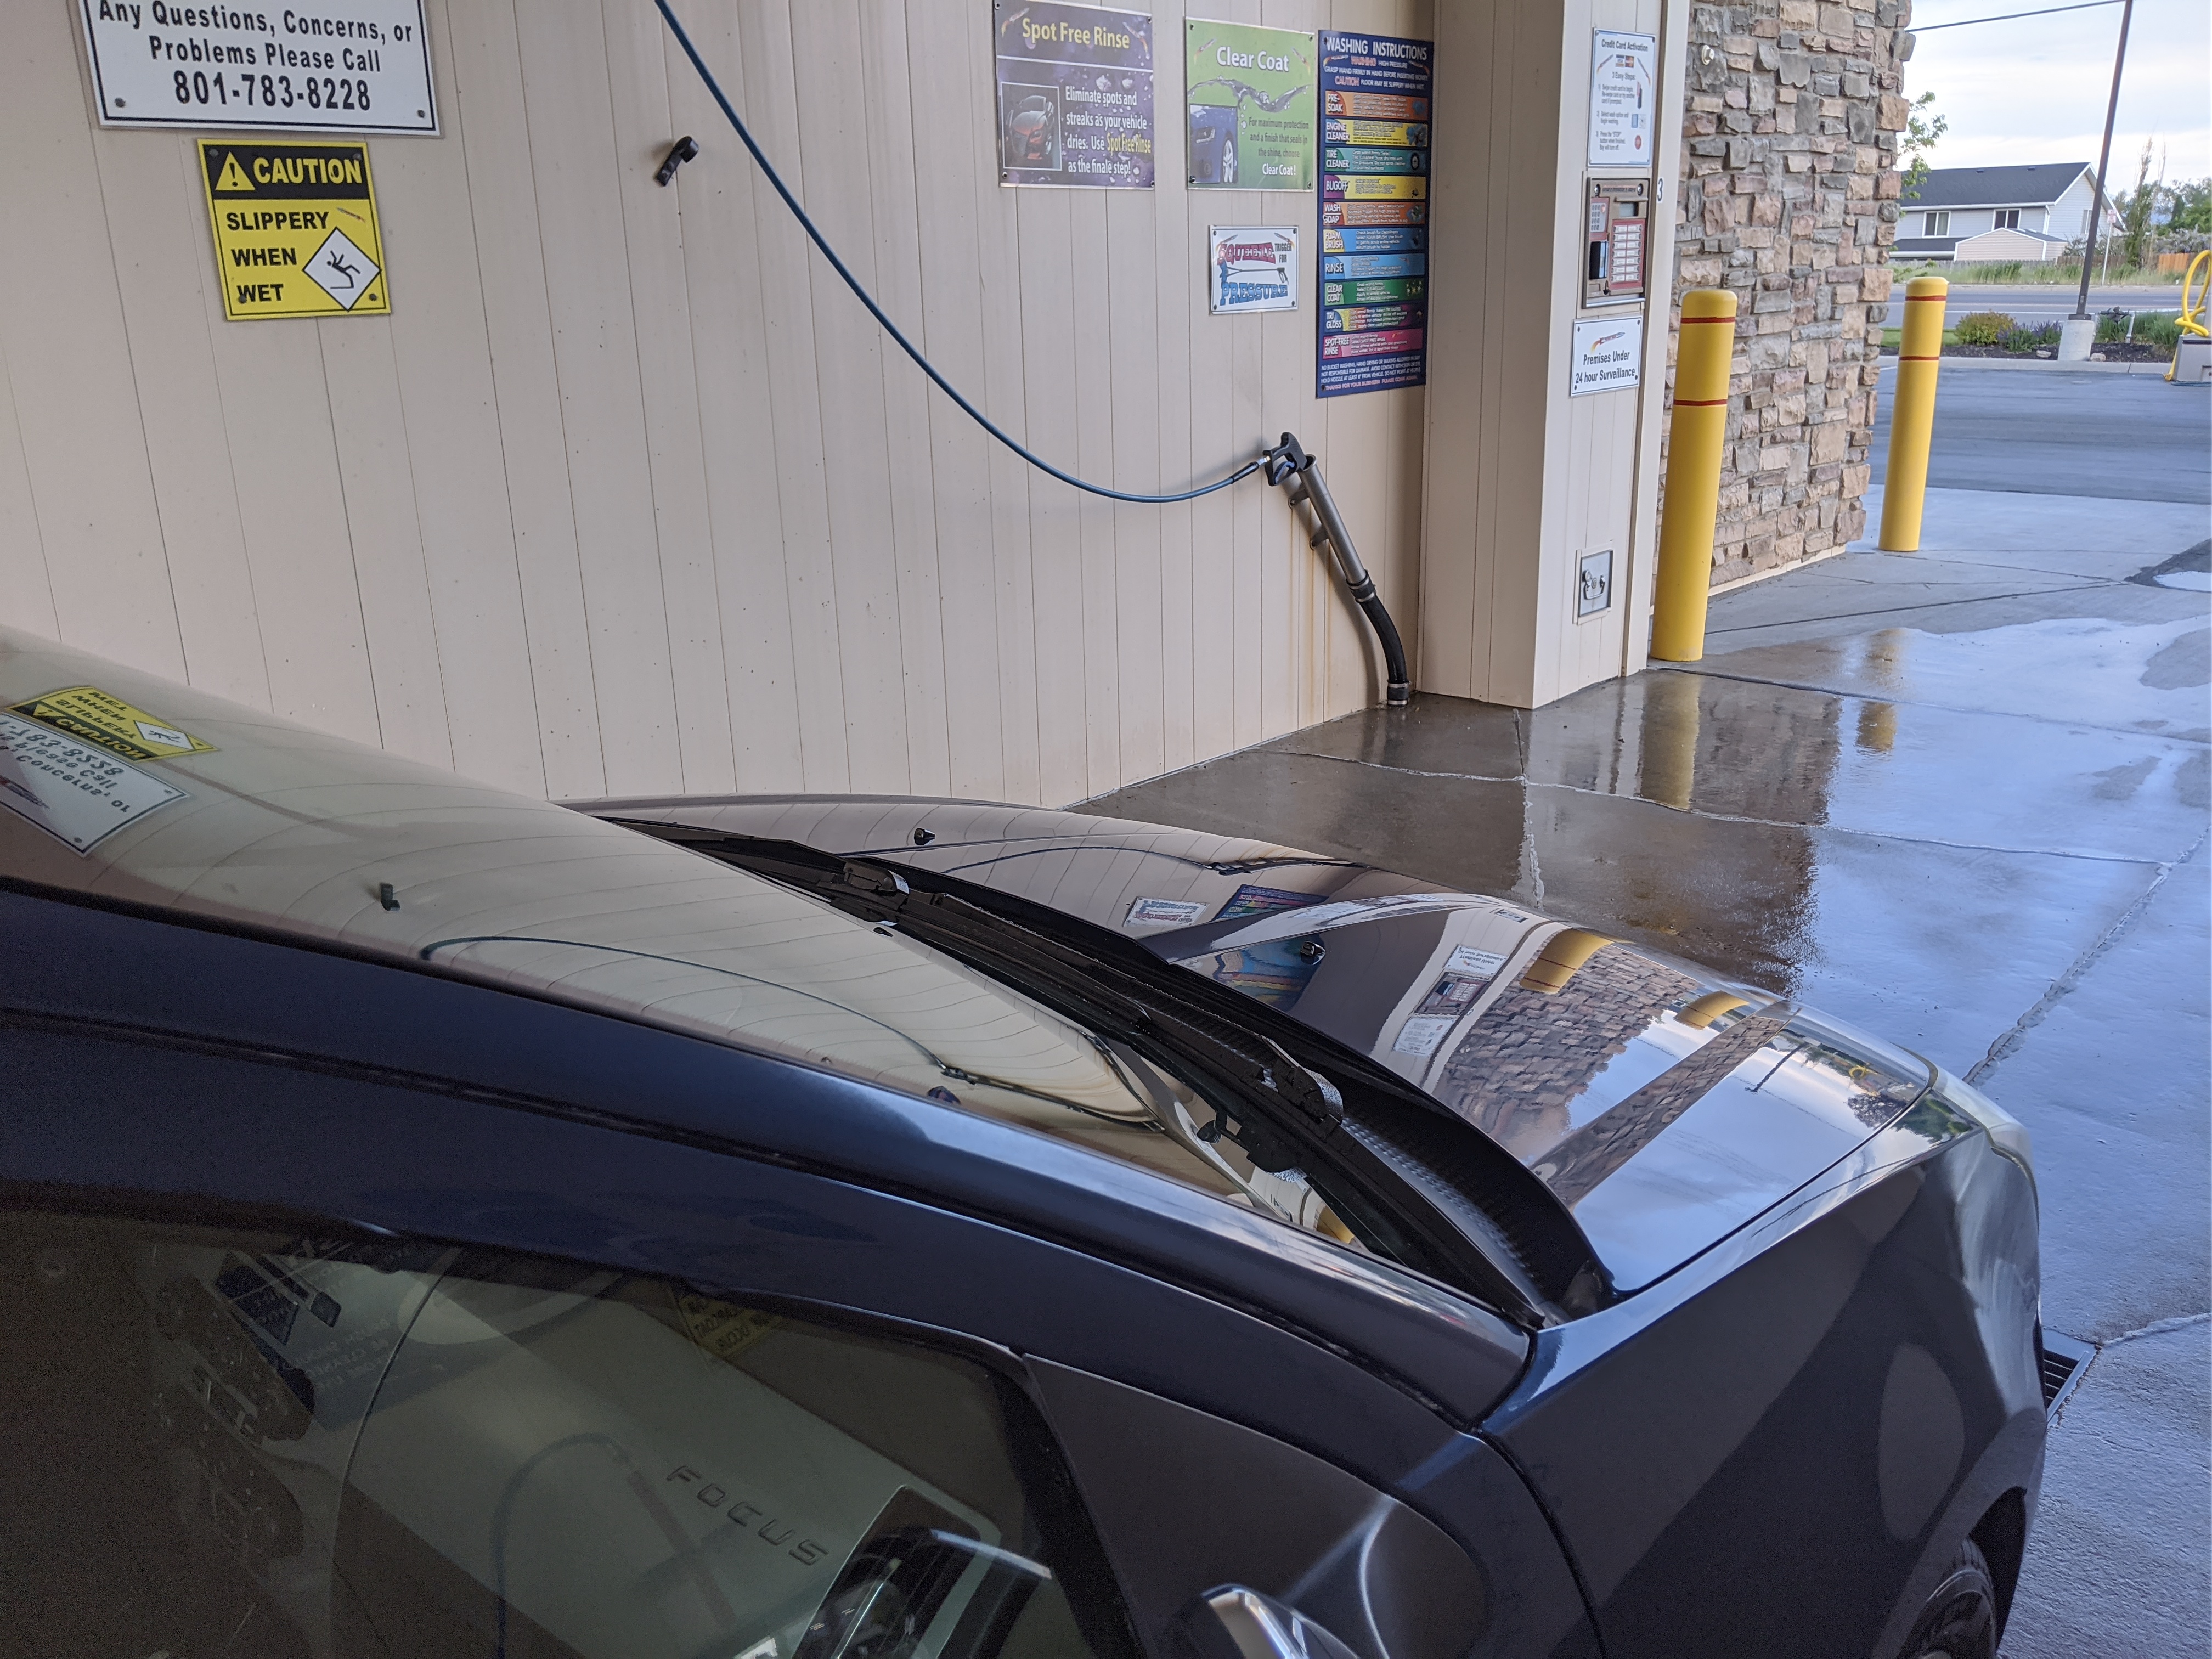
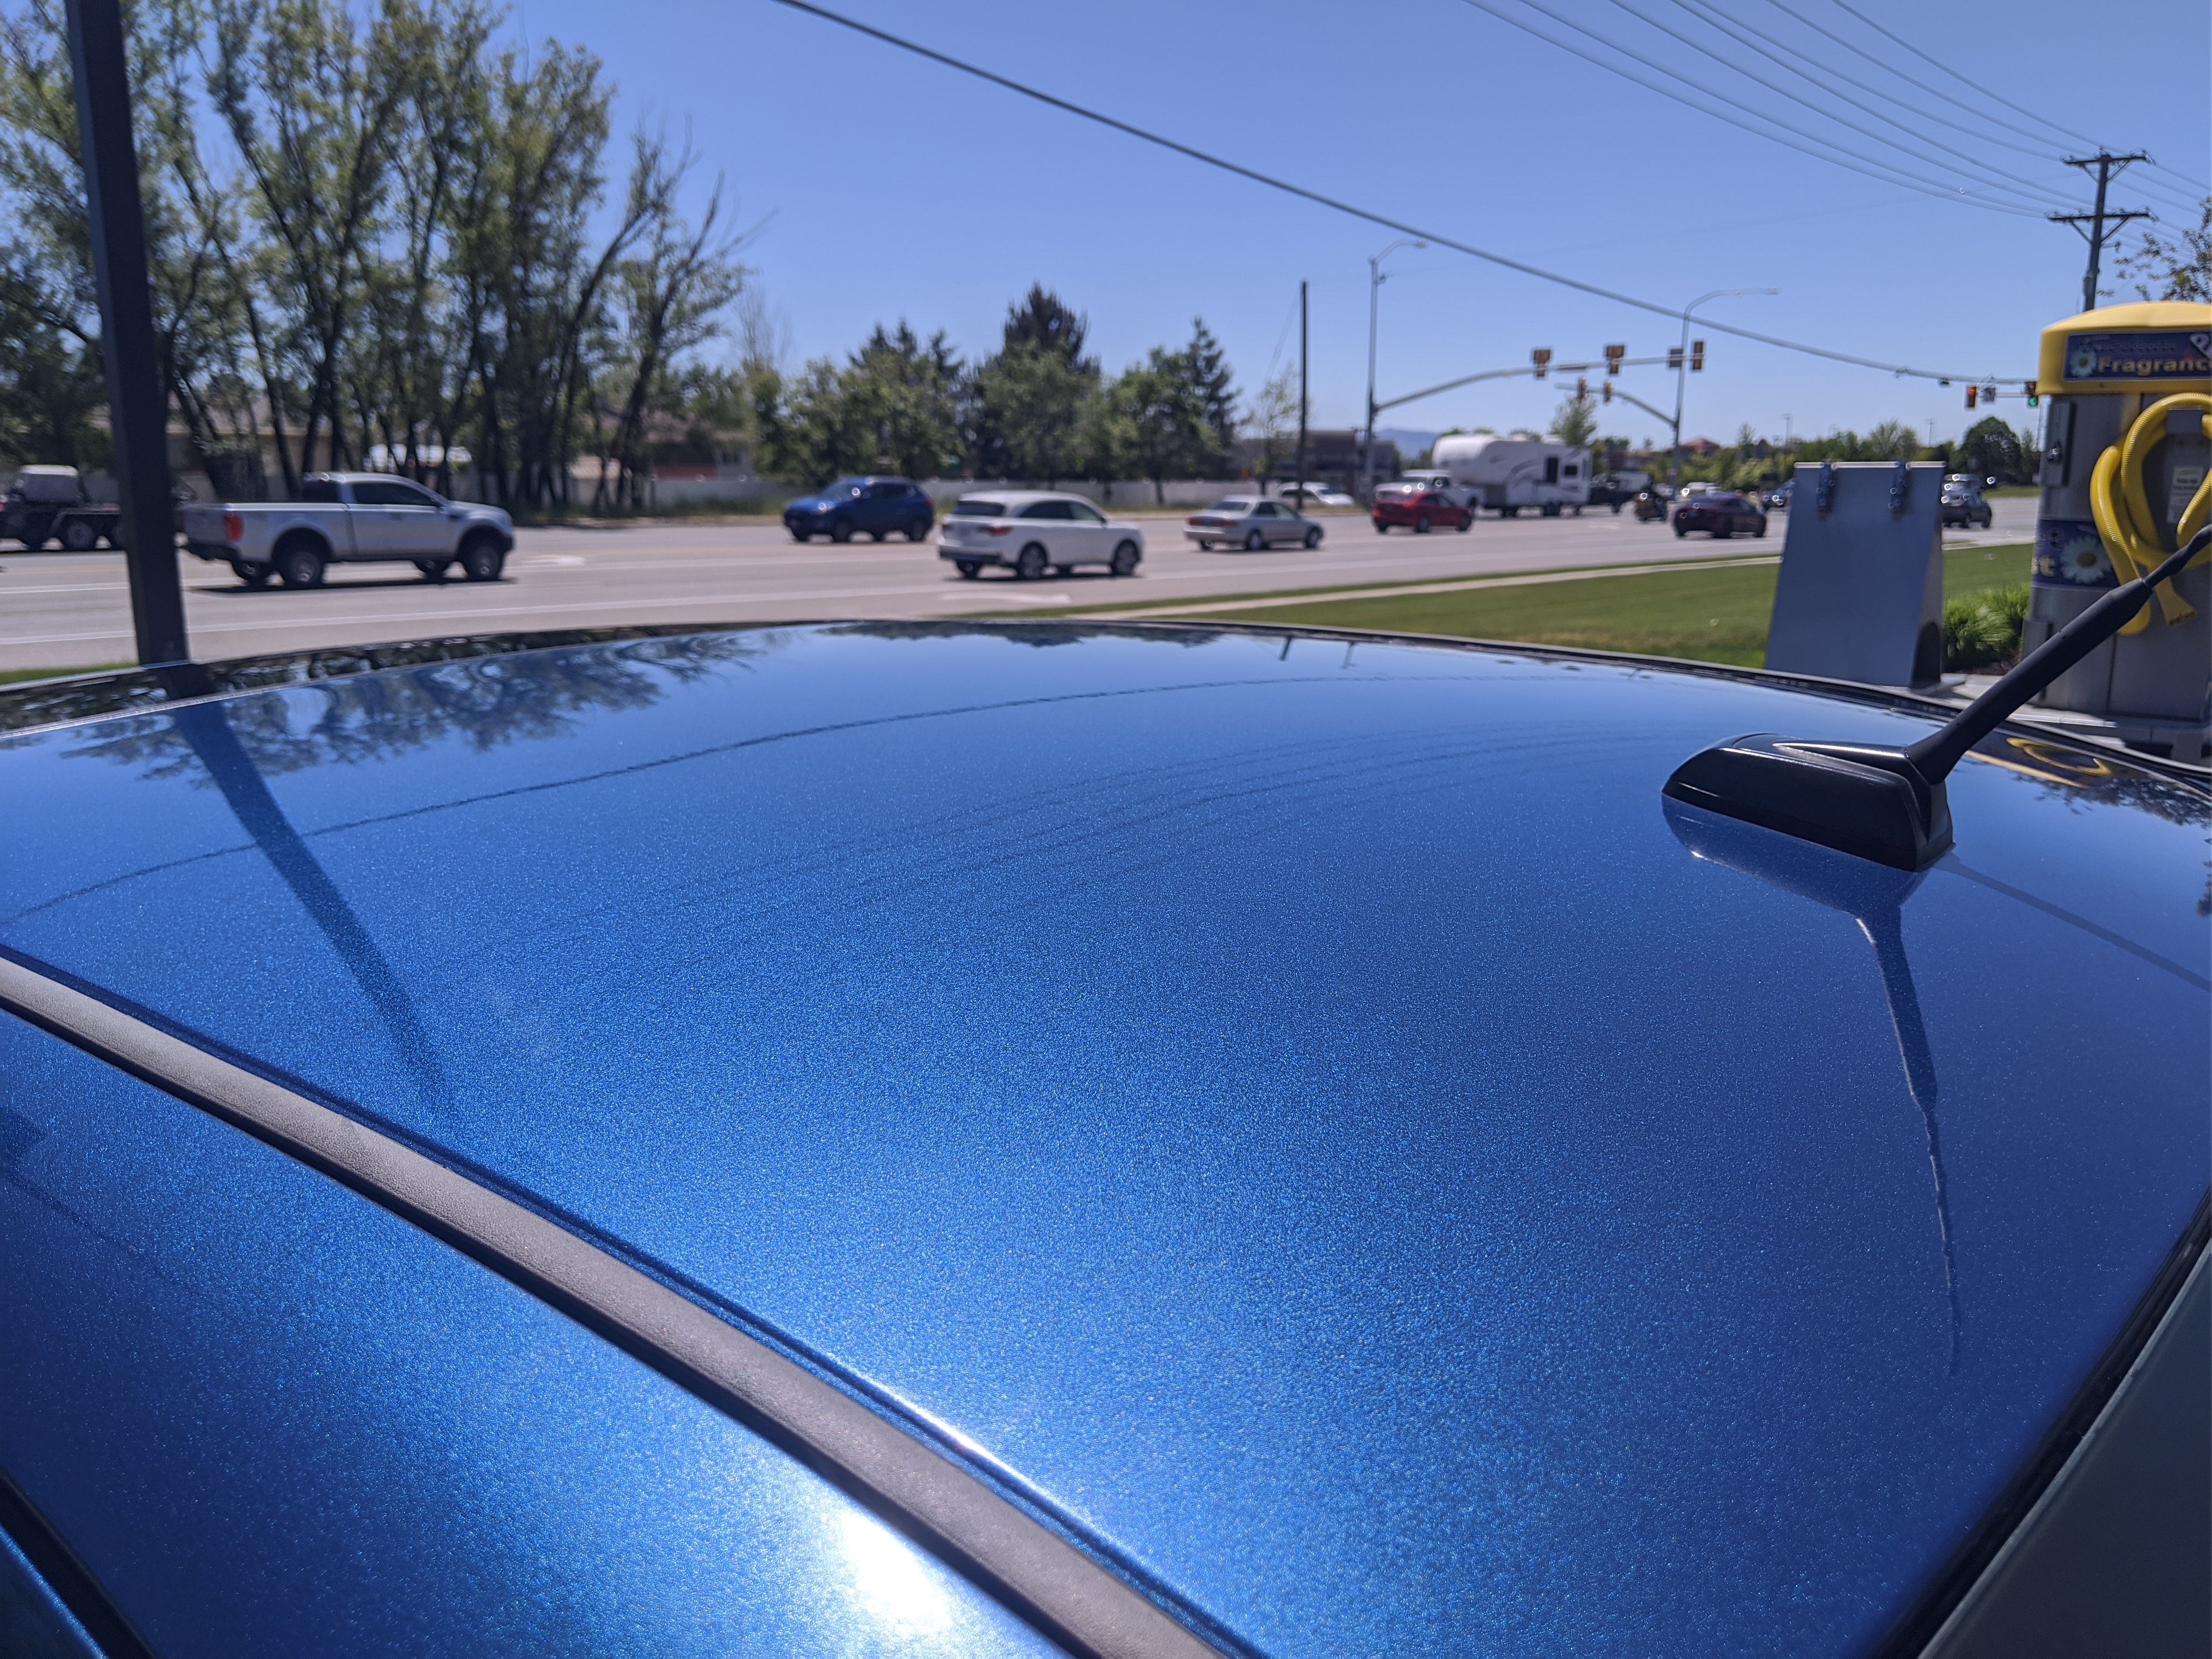
Overall im happy with the results. It takes 7 days minimum before you may wash it. Wash the way you learned in this post if you can. Do not wash it Before hand unless you absolutely need to. It looks damn gorgeous
Most importantly to do this like a pro, I cannot stress enough PREP PREP PREP. ITS ALL IN THE PREP. The coat is nice but it doesnt perform magic. You must prep the pain to look this good!
Pictures:


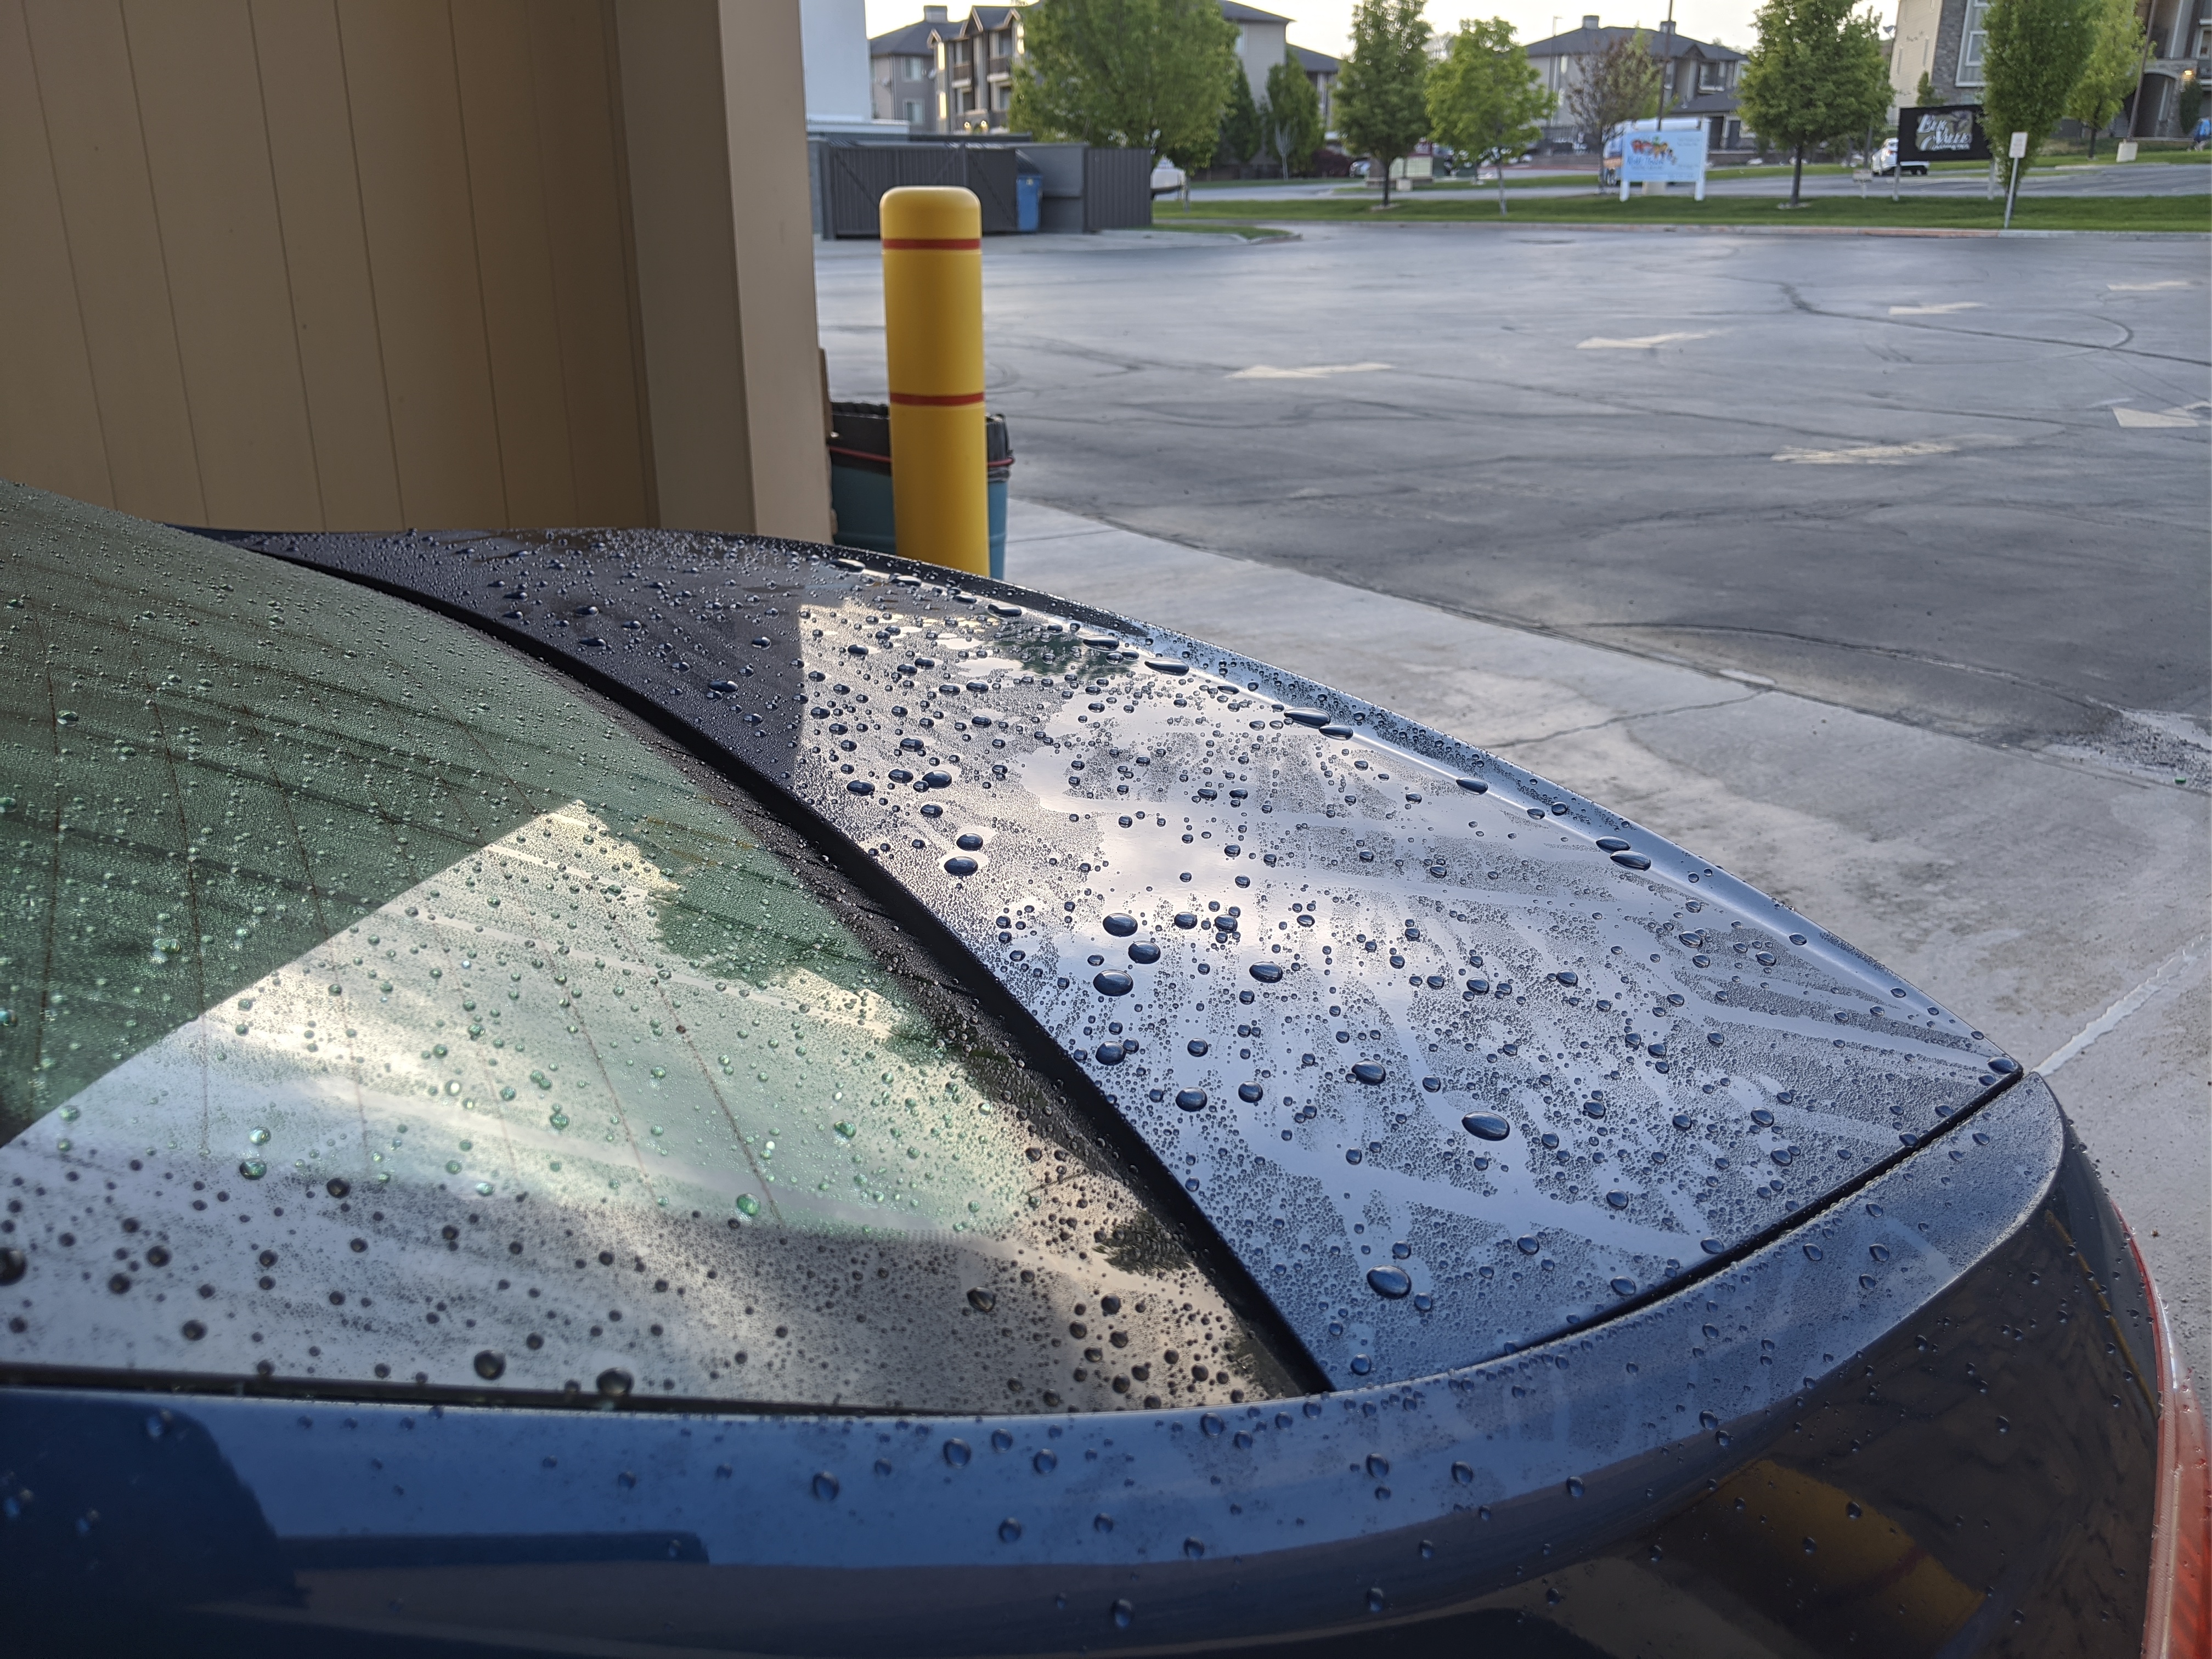
At the end of your first wash. Apply a maintenance product. A graphene product will work and is absolutely fine. I have suggested two above and I will resuggest them. From many peopels experience they are amazing particularly the graphene spray coating post wash every couple weeks. Really keeps the SiO2 protected with a softer more sacrificial layers of graphene.
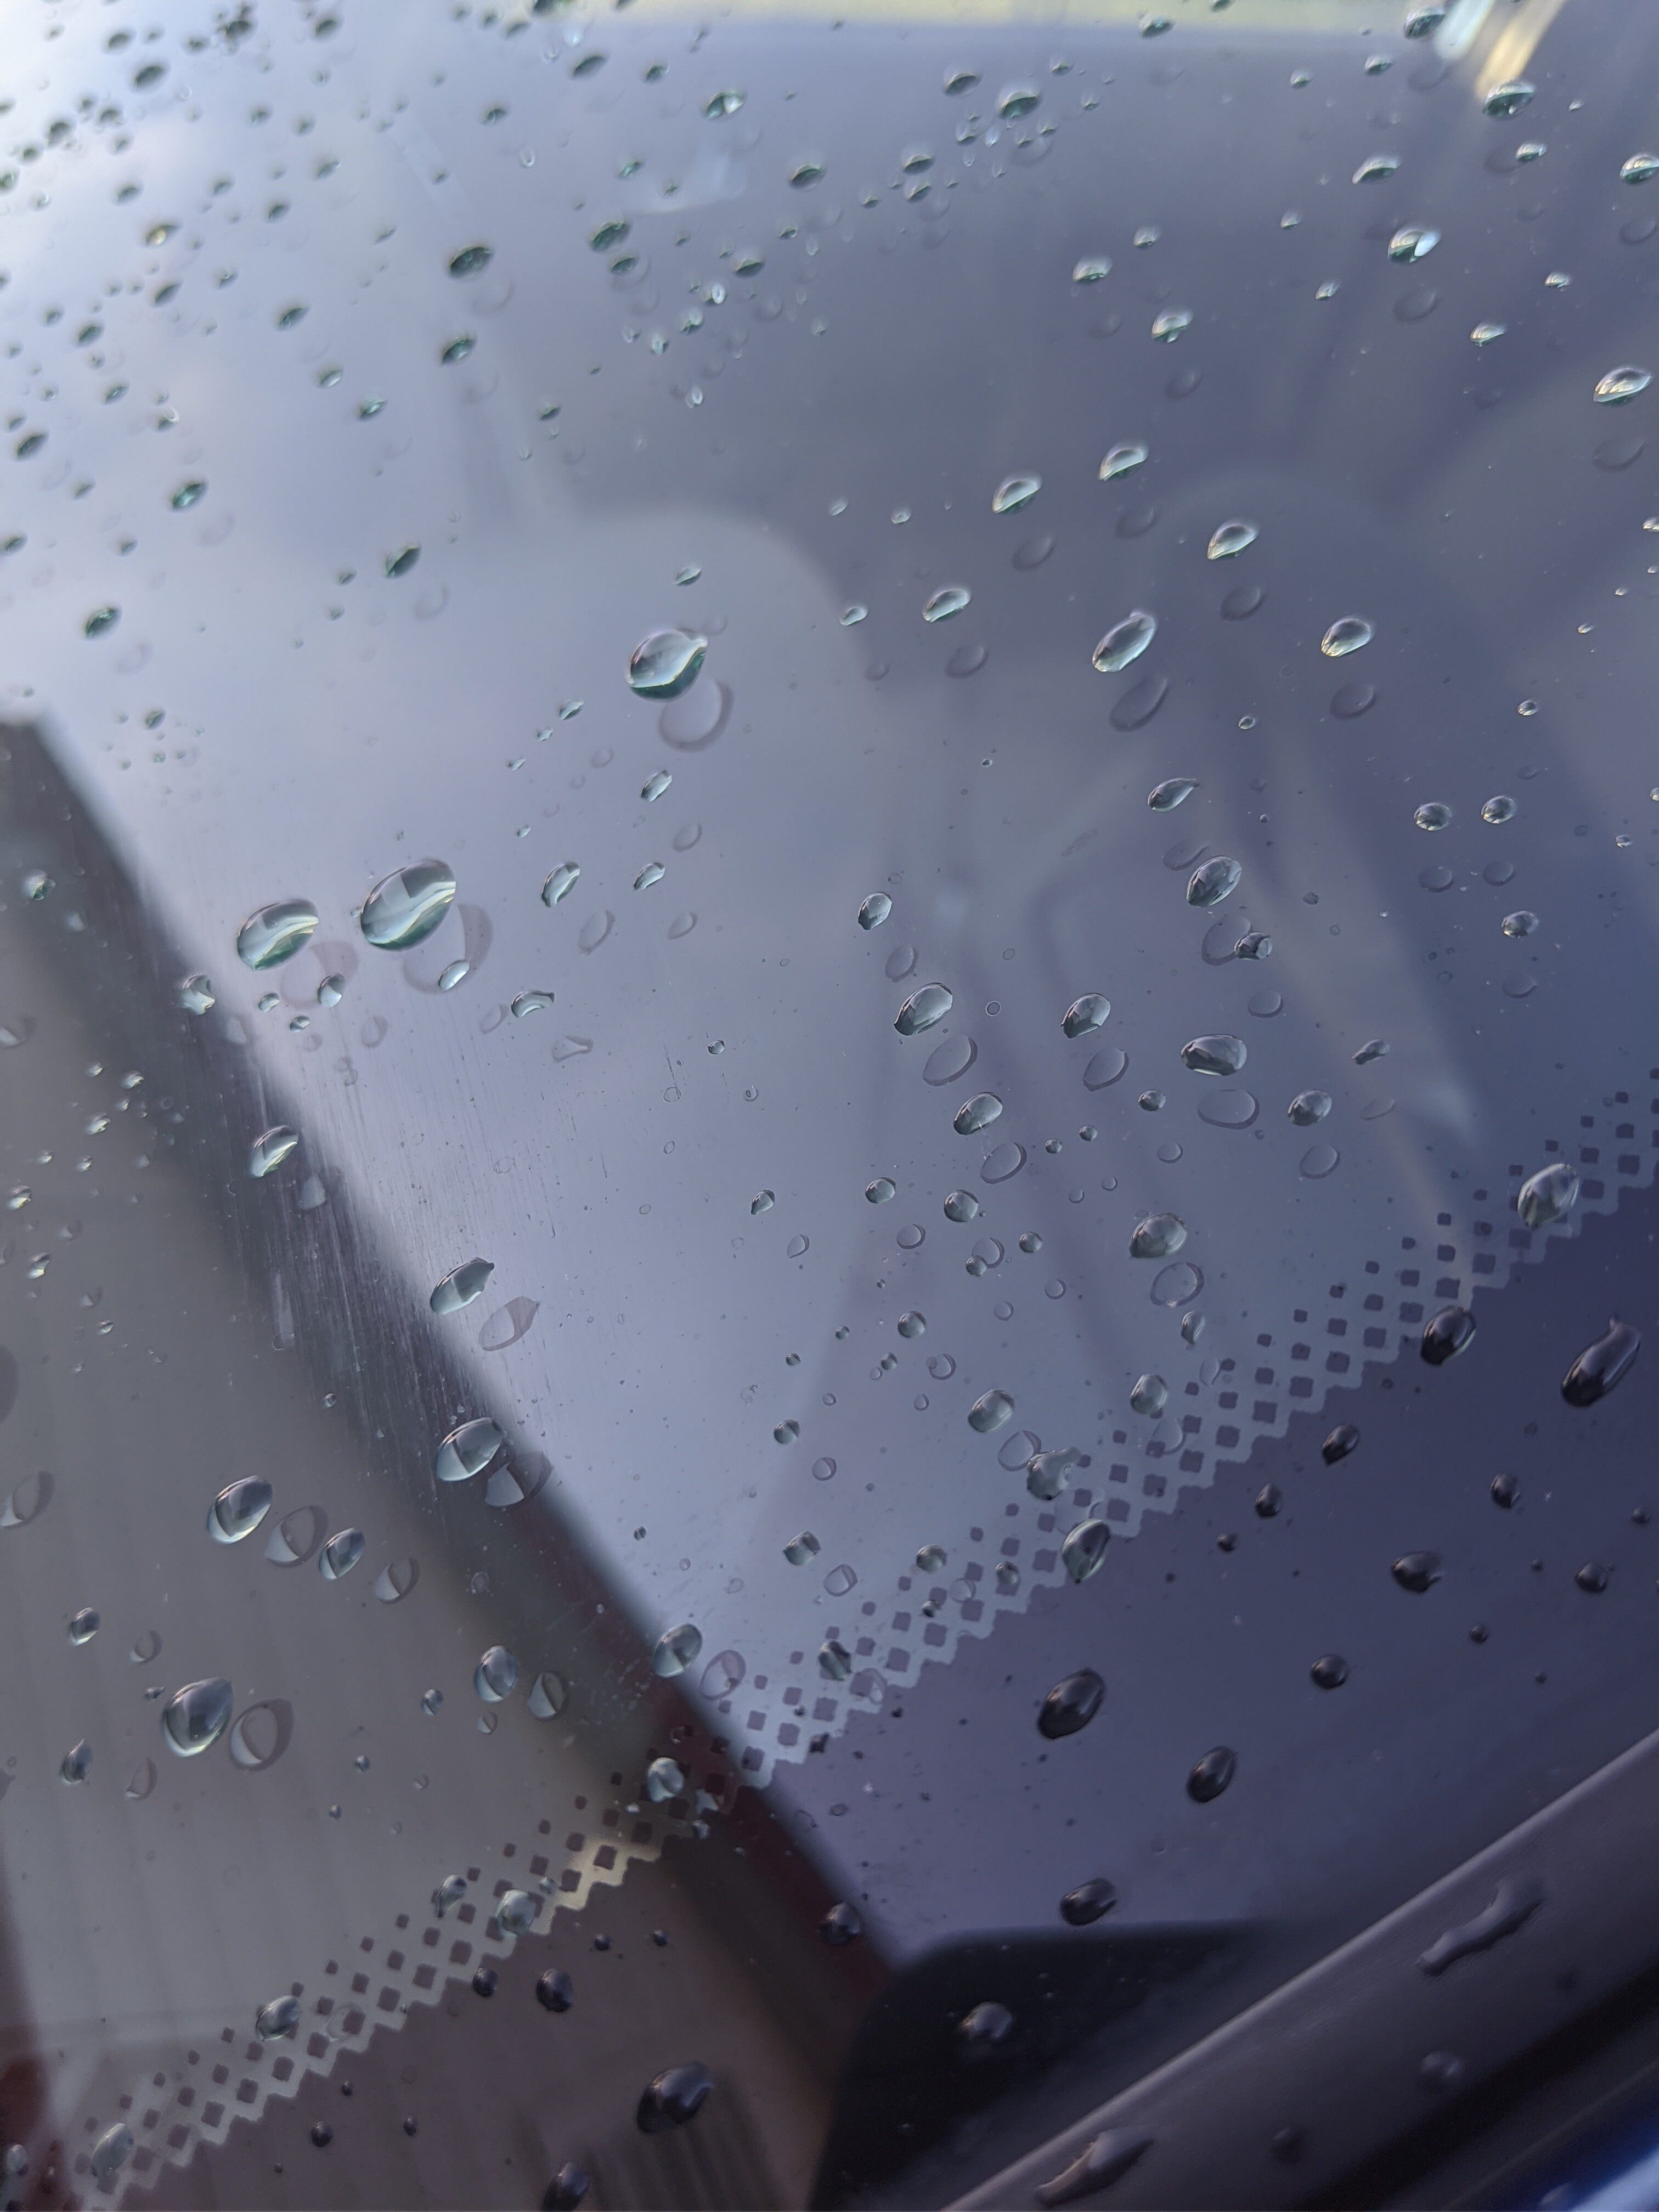
Waterbeading-First Wash
Results Post-first wash
Maintenance Products:
Best Value: https://www.amazon.com/303-Graphene-Nano-Spray-Coating/dp/B08K3N5QP5
Most Compatible with Cquartz: https://www.amazon.com/gp/product/B076KVF6W3?psc=1
I do lean towards the 303. They have always made fantastic products. They actually are not an auto company. They are an aerospace company and yes their stuff very much the same in chemistry… Gets used on aircraft which deal with much harsher situations than vehicles

YMMV Take your time and Focus on what you are doing
If it were up to me. C coats or Graphene coats should be done at the factory.
Good Luck! Drinks are good after your done.
Post your results below. Share tips. Talk about your experience!


 . Talk about ripping them off a bit. 1 dollar max