Introduction
Welcome to Part Three!
This builds on the first two parts of this Series, which you can find here and here.
Having installed TrueNAS Scale and created a Storage Pool and Dataset, we’re now ready to install an application on the Host.
This Guide will go over the general options and then show you step-by-step how to install a Docker Container via the GUI, at the example of Jellyfin.
Learning about Docker Containers on TrueNAS Scale
Before we start to configure anything, it’s important to understand what we’re working with.
TrueNAS Scale is built on k3s, which is a leightweight implementation of Kubernetes - a Container Orchestration Solution focused on making it easy to deploy Containers on multiple Devices in a Cluster for Load Balancing or High Availability.
These functions aren’t yet implemented fully in TrueNAS Scale and we won’t be covering much about Kubernetes, but it is important to keep in mind that there’s more than just plain Docker behind the GUI.
TrueNAS Scale natively provides two ways to run Containers:
Deploying Containers by using pre-made Helm Charts (Official, TrueCharts)
A Helm Chart defines how Kubernetes deploys Containers and related resources like Networking and Storage.
TrueNAS Scale’s Official Apps and also the community-maintained TrueCharts Catalogue are a collection of Helm Charts, which pre-configure almost everything and make it very easy to deploy more complex applicatons that might need multiple Microservices, e.g. a Webserver, Database and Application Container.
I’ll not go over how to deploy these kinds of Apps in this Guide as it’s quite well-documented, but here are some resources that might come in handy if you choose that path:
TrueCharts Manual
TrueNAS Scale Official App Documentation
Using App Catalogues in TrueNAS Scale
Deploying Custom Containers via the “Launch Docker” GUI
As an alternative methods to using pre-configured Helm Charts, TrueNAS Scale has an Option to launch Containers via a GUI which exposes most important Configuration Options.
It makes it easy to deploy Containers without much knowledge of the underlying Kubernetes while still exposing enough Options to make more advanced configuraitons feasible.
It is the only sanctioned Option you will have if the App wanted is not in the TrueCharts Catalogue, installing via the CLI is almost always a bad idea as it will break on Host Updates.
This is also what we’ll be using in the example below to install Jellyfin on our TrueNAS Scale Server.
About Jellyfin

Jellyfin is an Application that can be an equivalent to Netflix, Spotify and a Kindle Library by creating your own local streaming service.
It’s strength include:
- Very good metadata system - not much manual labor is involved in organizing your media library in comparison to e.g. Navidrome
- Multi-User Support, including watch-together and finegrained permissions
- Clients for many Platforms, which can remote-control each other (example: phone as remote for kodi client)
- Support for lots of codecs, transcoding support with GPUs
A few links that might come in helpful:
Clients for Jellyfin
Hardware-Acceleration (Out of this Guide’s Scope)
Organizing Media
Preparations
-
Log Onto your TrueNAS Scale Server
-
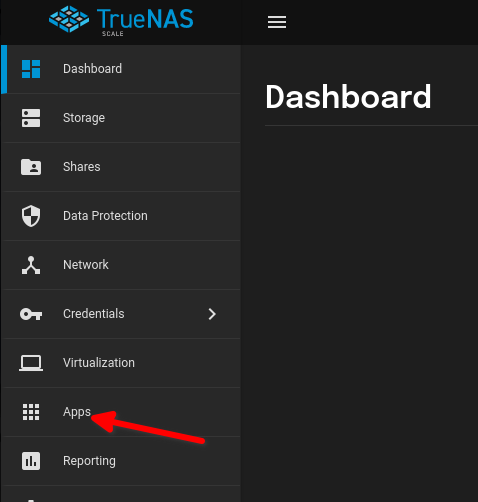
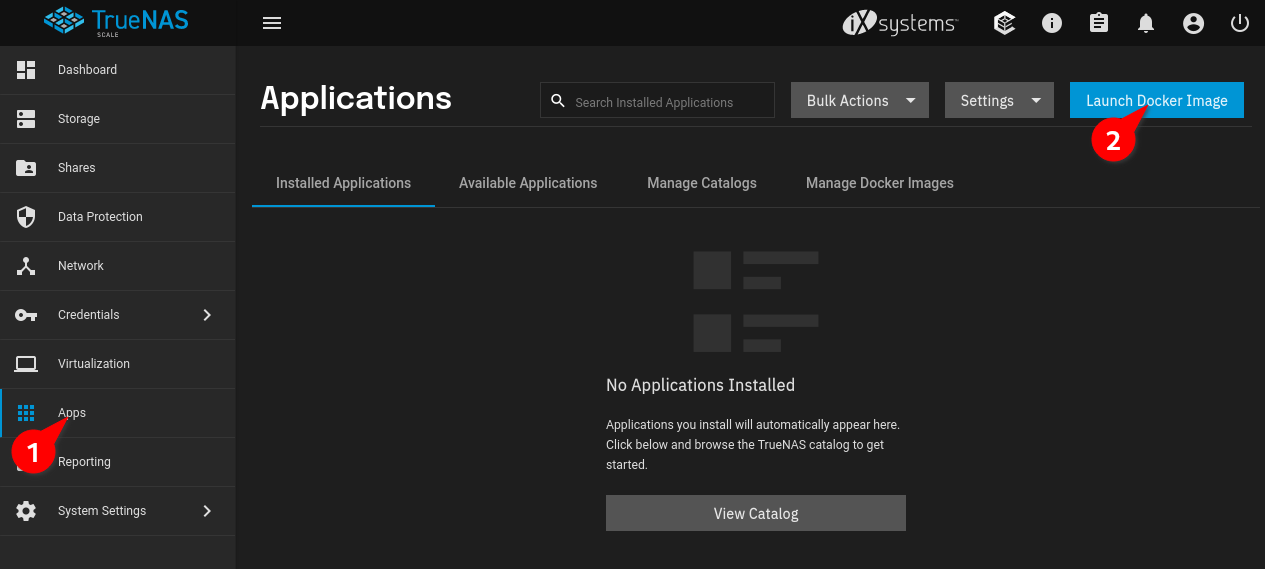
Click on “Apps” in the Side Menu:
-
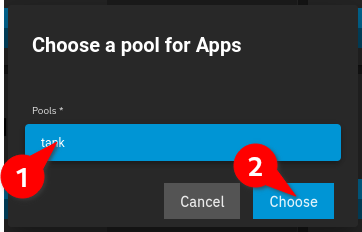
Select the Pool in which TrueNAS will Store Application Data, if you have a Pool Made up of SSDs, that one is preferable:
Now we’re being greeted by the Apps Section, displaying available Official Applications:
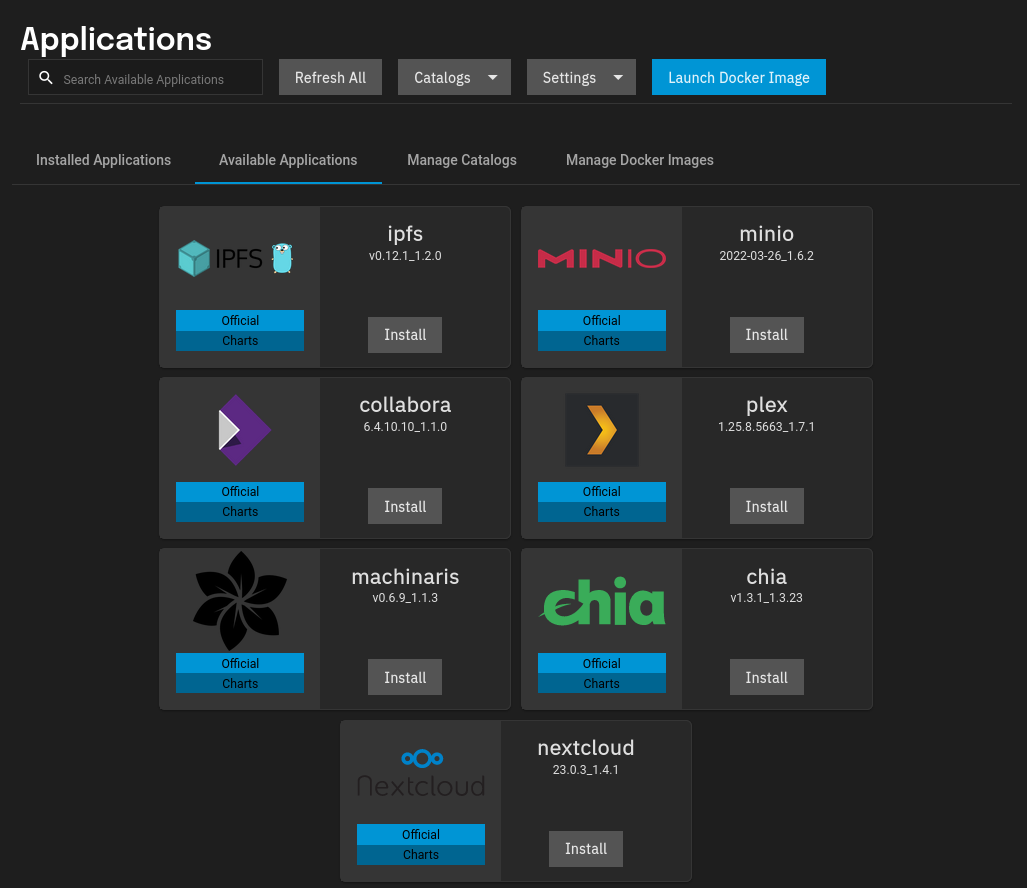
If we were going to install Applications only via that Method, we’d be done now, but since we’ll use the “Launch Docker” GUI, there’s two more Steps ahead:
Creating a Dataset for Peristent Jellyfin (or other Containers) Storage
To make sure Configuration Data of our Jellyfin Container isn’t lost if we upgrade or uninstall the App, we’ll store its data in a separate Dataset in our Pool.
-
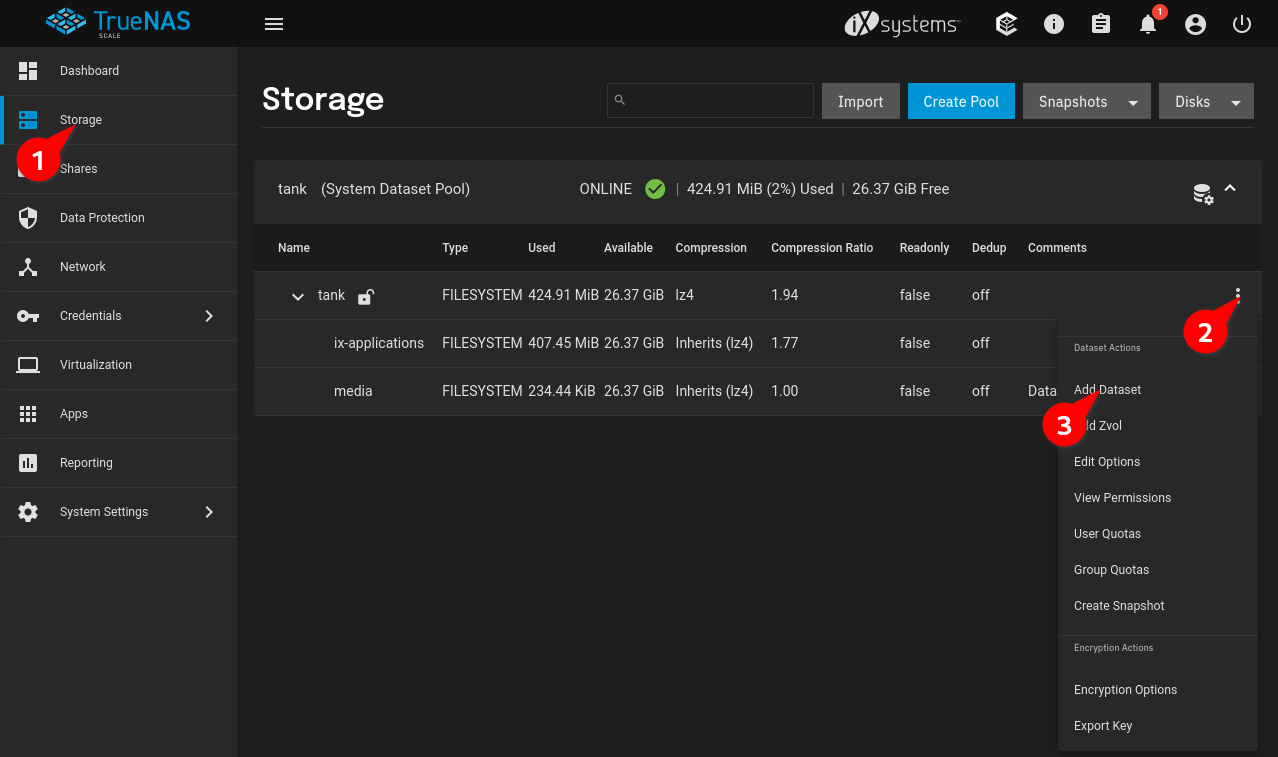
Navigate to Storage, then Click the Menu next to your Pool and “Add Dataset”:
-
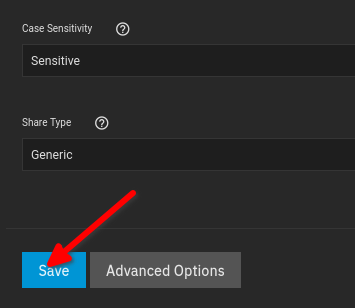
Configure the Dataset as follows, if you followed my other Guides only Name and Description need to be changed:
→ If you didn’t follow the Guides in this Series, confirm that everything is configured the same way. Encryption is Optional. -
Click “Save” and wait for the Dataset to be created:

Changing the Permissions on the Dataset
-
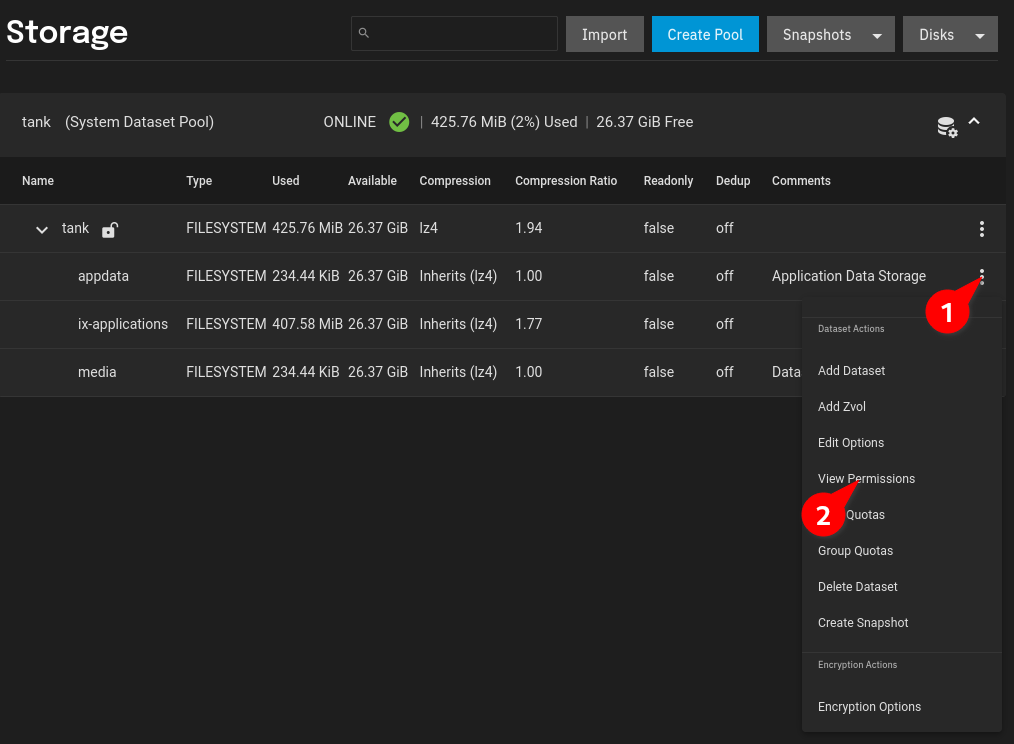
Click on the Menu next to the Newly Crated Dataset and Select “View Permissions”
-
In the Menu that Opens, notice currently the Owner is Root. To change this, click Edit:

-
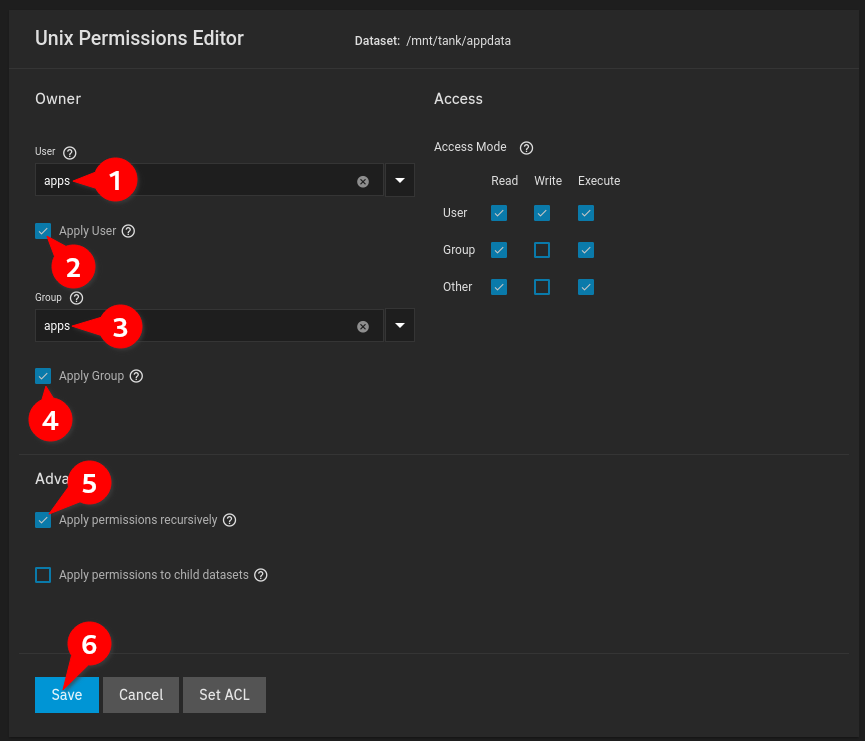
Change the Owner User and Group to apps; Click “Apply Group”, “Apply User” and “Apply Permissions Recursively”, then “Save”:
Create Directories for Jellyfin in the Newly Created Dataset
-
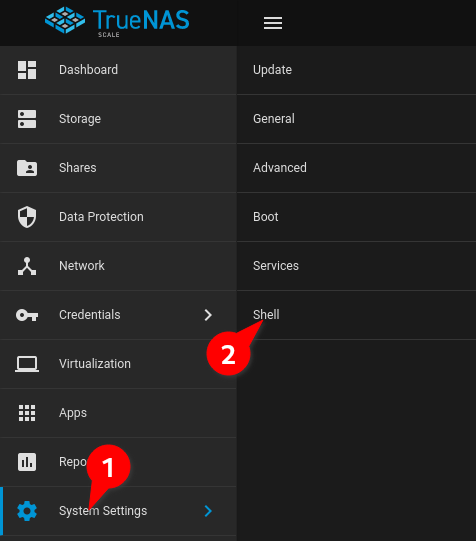
Navigate to System Settings → Shell:
-
Enter the Following Commands into the Shell, one by one:
cd /mnt/tank/appdata
mkdir jellyfin
cd jellyfin
mkdir config
mkdir cache
ls
- The Output after you’re done should look like this:

Configuring Jellyfin
Now that we’ve created a Dataset with Directories that Jellyfin can use to store Configuraton Data Persistently, we’re ready to Configure Jellyfin.
-
Get Started by Navigating to “Apps” and Click “Launch Docker Image”:
-
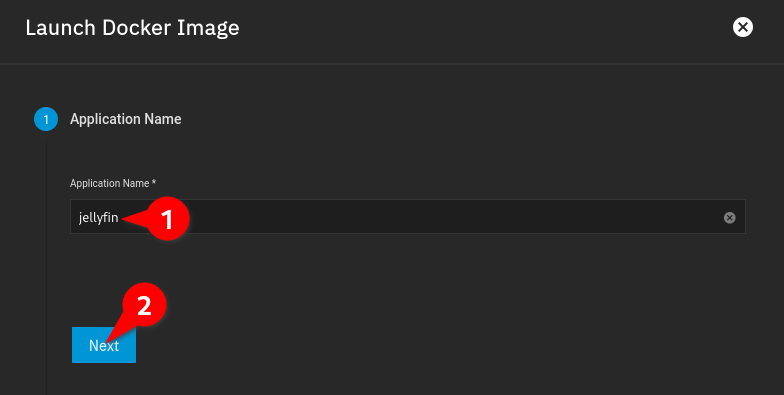
You’ll be greeted by the Configuraton Dialogue. Start out by Choosing a Name for your Deployment, “jellyfin” to keep it simple, then click next:
-
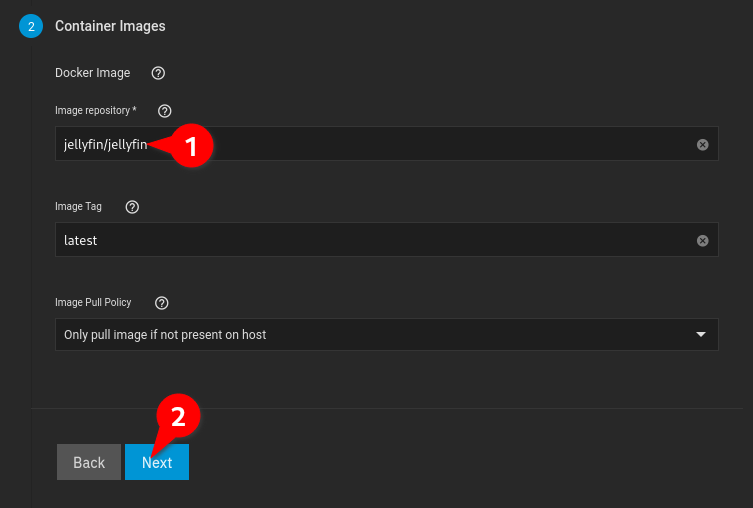
Enter the Repository “jellyfin/jellyfin” and Click Next:
-
We don’t need to configure Commands, Arguments or Environmental Variables, so just skip 3) and 4) by clicking “Next” two times:
Configuring Networking to the Container
We have Multiple Choices Now, only follow one of the two Folders below as mixing the settings up will Collide:
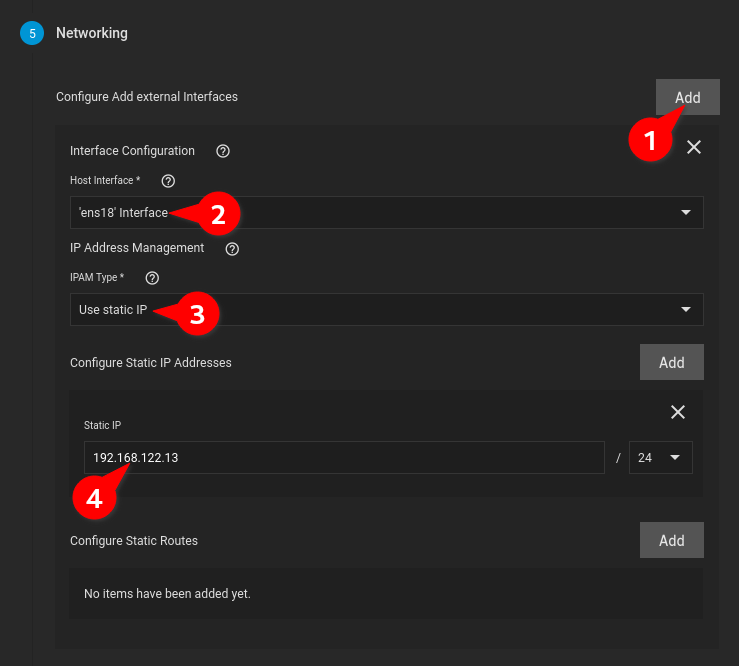
Add an External Interace, for Example an IP on a Network Bridge which VMs can also make use of or an IP Alias on a NIC
-
1 Click “Add” next to "Configure External Interfaces
-
2 Choose an Interface, it can be a Bridge or a Physical NIC
-
3 Select to Choose a Static IP
-
4 Select an IP Alias for the Interface which is on your Subnet
-
Now Click "Next Two Times, the "Port Forwarding Section can be Skipped:
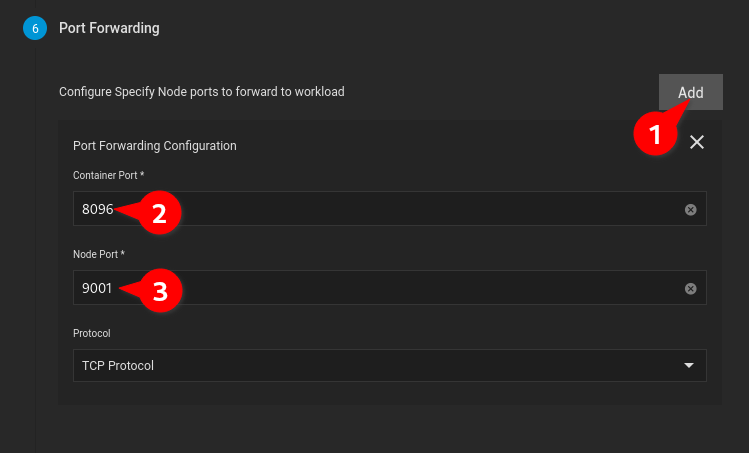
Forward a Port to the Host's IP, this means Jellyfin has to stay on a Port over 9000
-
Click “Next” to Skip over the Section “5) Networking”:
-
Click “Add”, Enter Container Port “8096” and Node Port “9001”:
-
Click “Next” to Continue:
After you’ve followed one of the two Options above, Continue on with the Guide.
Configuring Storage for Jellyfin
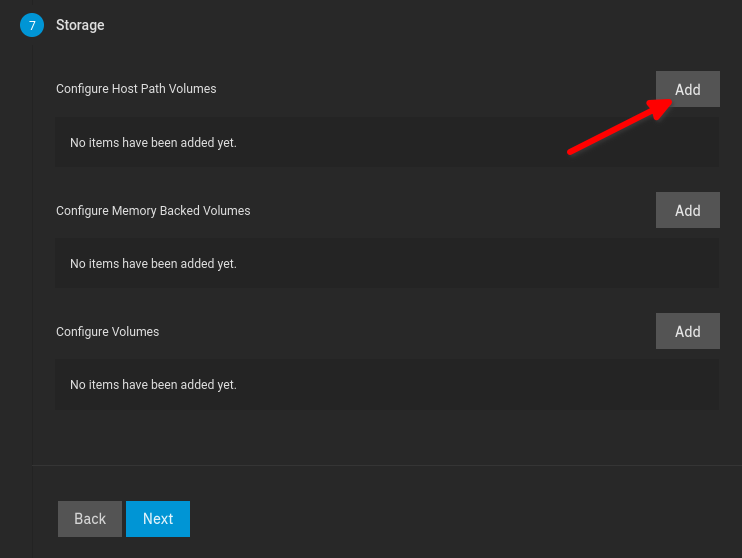
Now, we’ll have to create two Host Path Volumes for Config and Cache, plus one to access our Dataset where Media is Stored.
-
Click “Add” Next to " ConfigureHost Path Volumes" three tImes (3x):
-
Enter Host Path for the two Directories Created Earlier and Enter a Mountpoint in the Container as seen below:
-
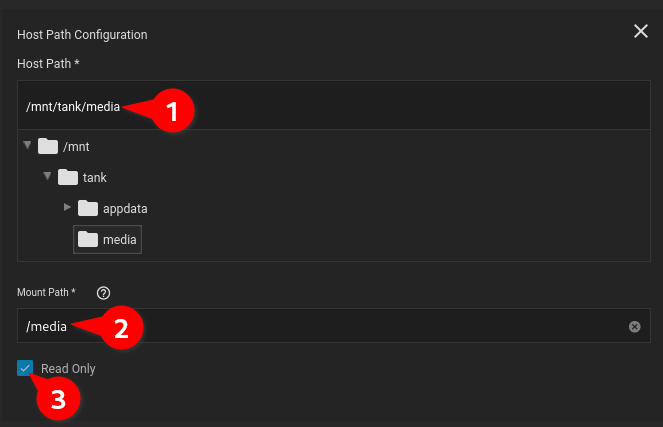
Now, Enter your Media Dataset as the Third Host Path, but this time Check Read Only:

As this is a lot to Type out (and possibly get wrong), here’s everything Entered:
# Host Path 1:
/mnt/tank/appdata/jellyfin/config
/config
# Host Path 2:
/mnt/tank/appdata/jellyfin/cache
/cache
# Host Path 3:
/mnt/tank/media
/media
-> Check Read Only!
Finishing Up!
-
Click “Next” two more times:
-
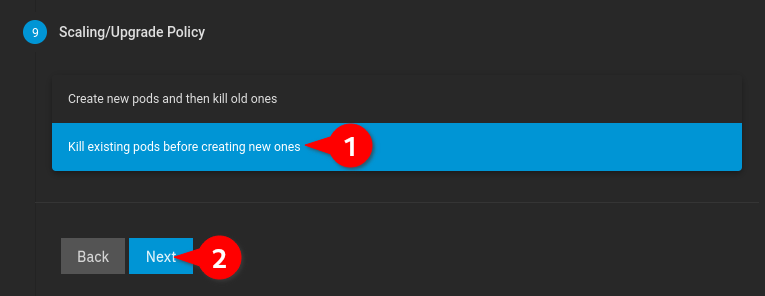
Change the Upgrade Policy to “Kill existing Pods before creating new ones” and click next another two times:
-
You’ve now configured Jellyfin, all that’s left is to click “Save” to confirm your settings:
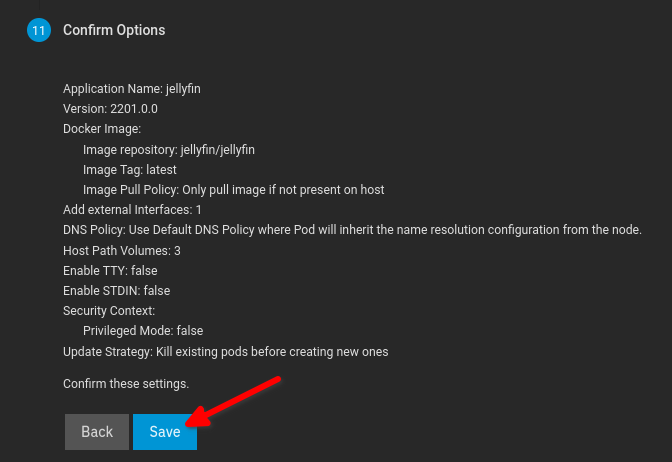
-
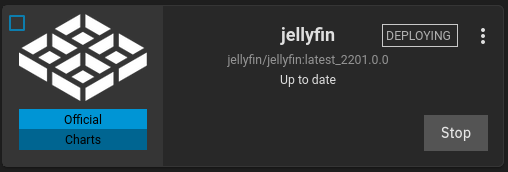
Wait for the Container to Download and Deploy:
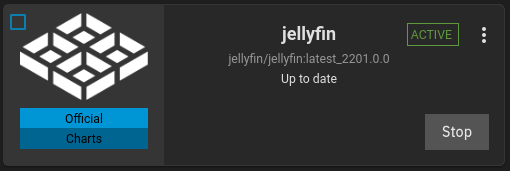
First Steps after Installation
CONGRATUALATIONS! You’ve now successfully installed and deployed Jellyfin.
Navigate to the Web Interface one of the following ways:
-
If Port Forwarded: http://[TRUENASSCALEIP]:9001
-
If Host Networking Added: http://[CHOSENIP]:8096
-
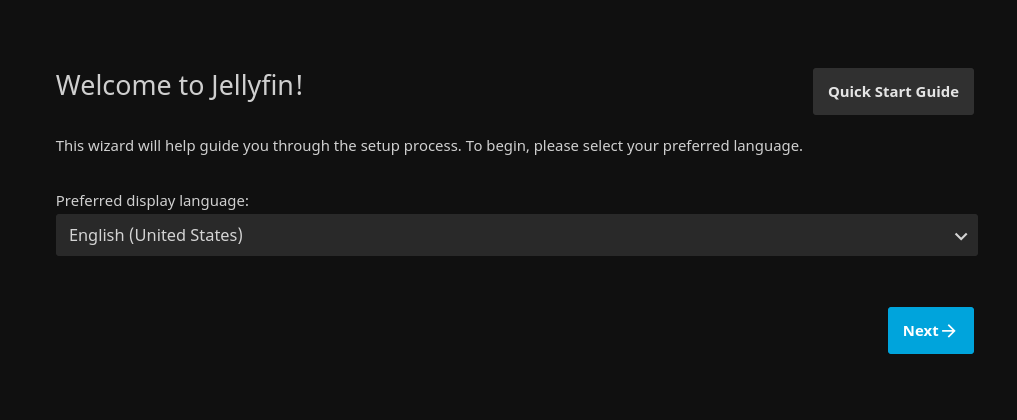
You’ll be greeted by the following Page:
-
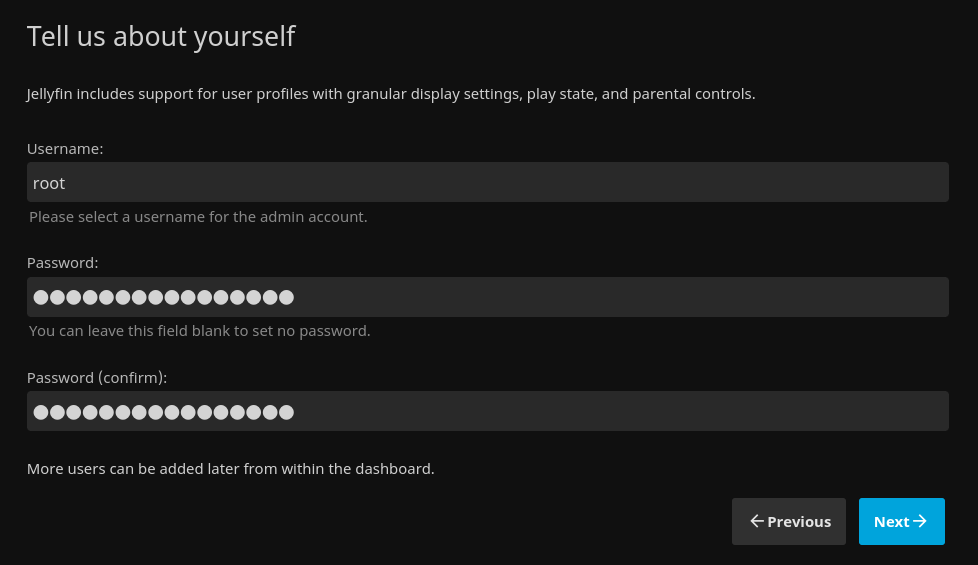
Create a Secure Admin User:
-
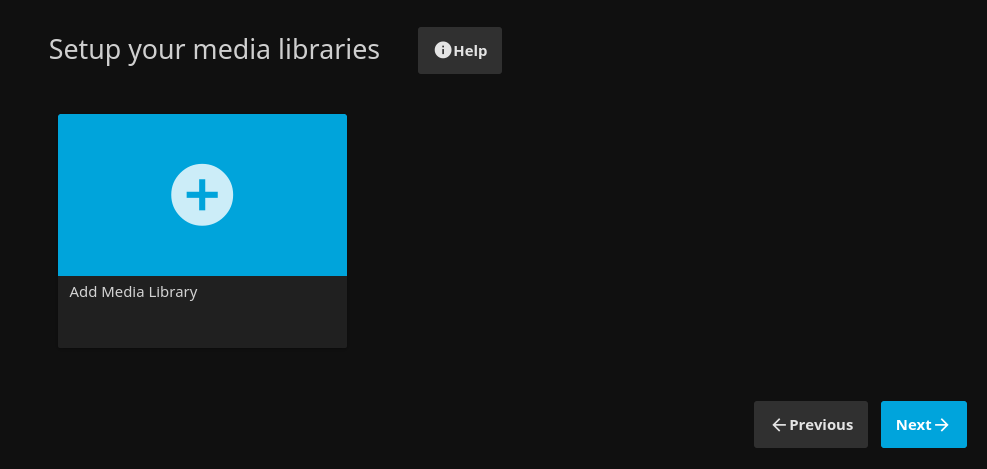
On the Next Page, you can set up Libraries:
-
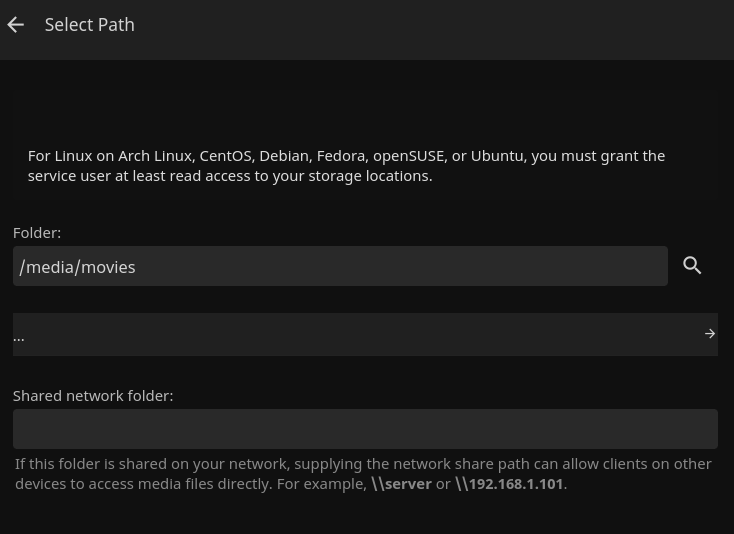
For Example, if your movies are at your media dataset and /movies, enter as follows when selecting your Path:
This Section will be extended more to cover changing Ports and Libraries more indepth
Conclusion
Now that you’ve successfully set up Jellyfin on your TrueNAS Scale Server, it’s time to get some Popcorn and start watching movies!

In the next Part of the Guides we’ll go about setting up File Shares via the Network.