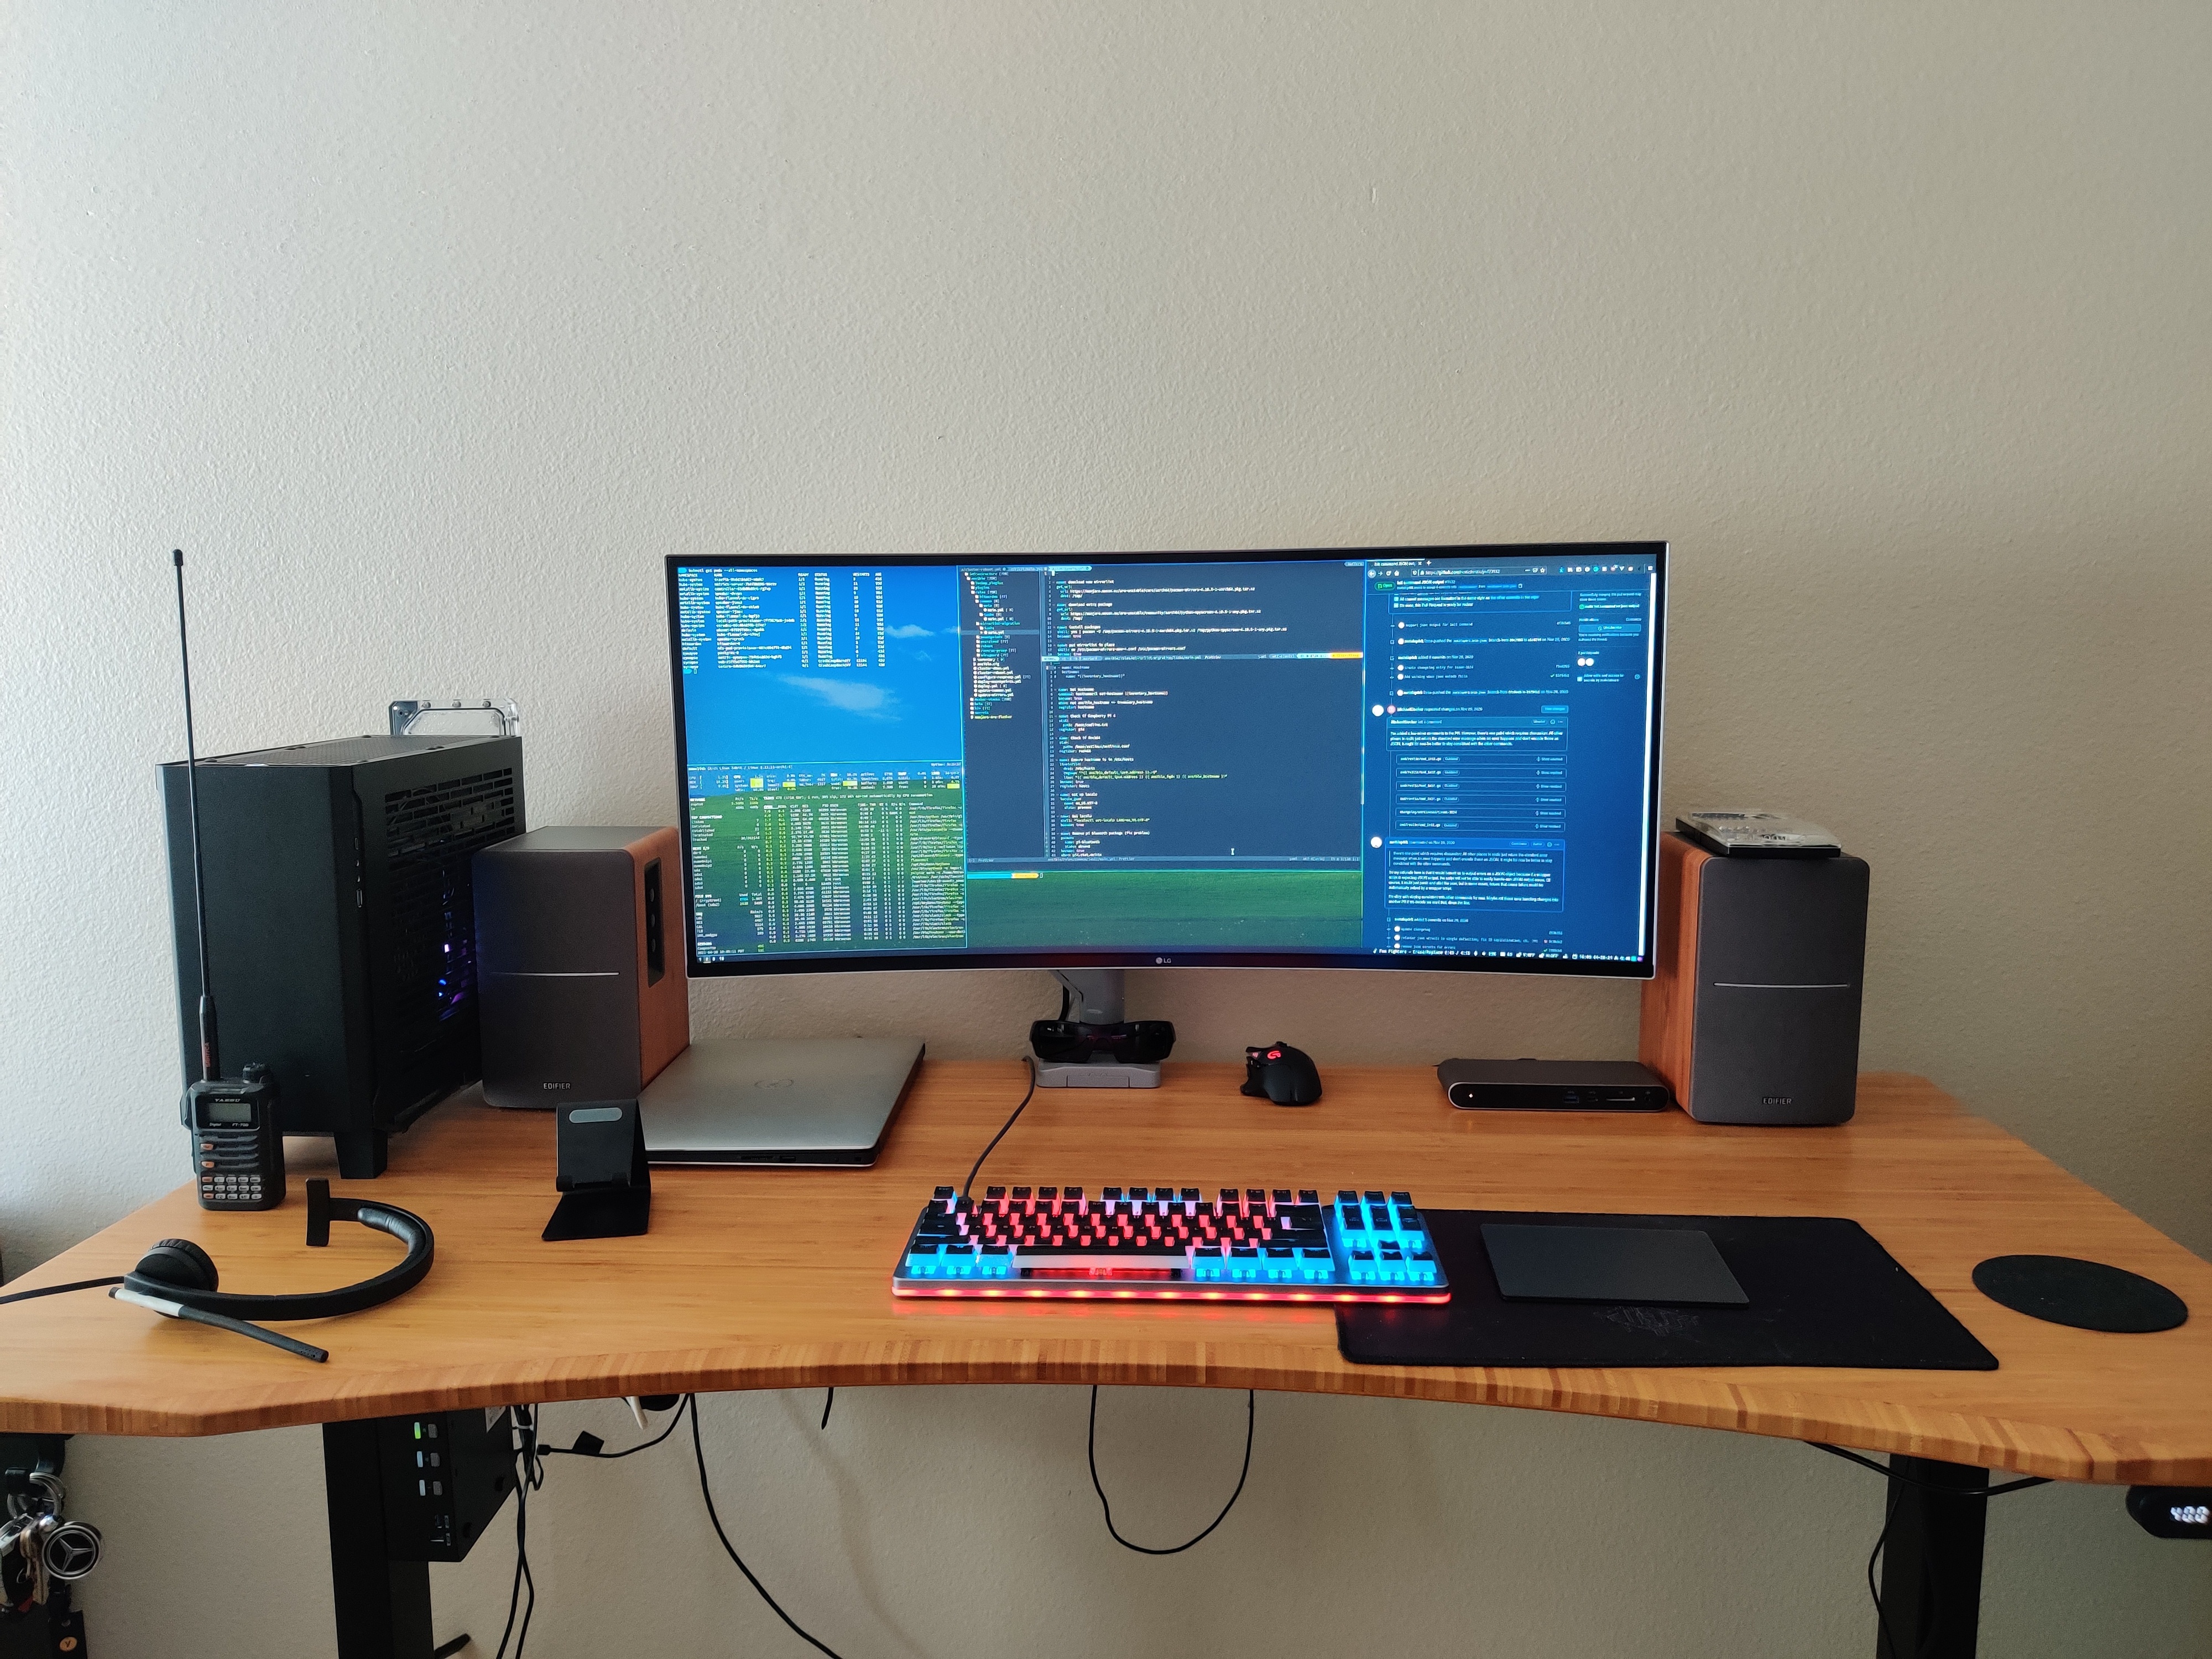
Alright folks, I’ve been teasing this system for a bit under 6 months now, and I’ve finally got around to writing it up.

So in June-ish of 2020, I set out to build the ultimate no-compromises ITX system. I wanted to be able to do passthrough, have lots of CPU power and run in utter silence. I’ve sacrificed only passthrough at the moment, but that’s simply due to a lack of GPU availability. I’ve got a PCIe slot available for the GPU whenever stock becomes available.
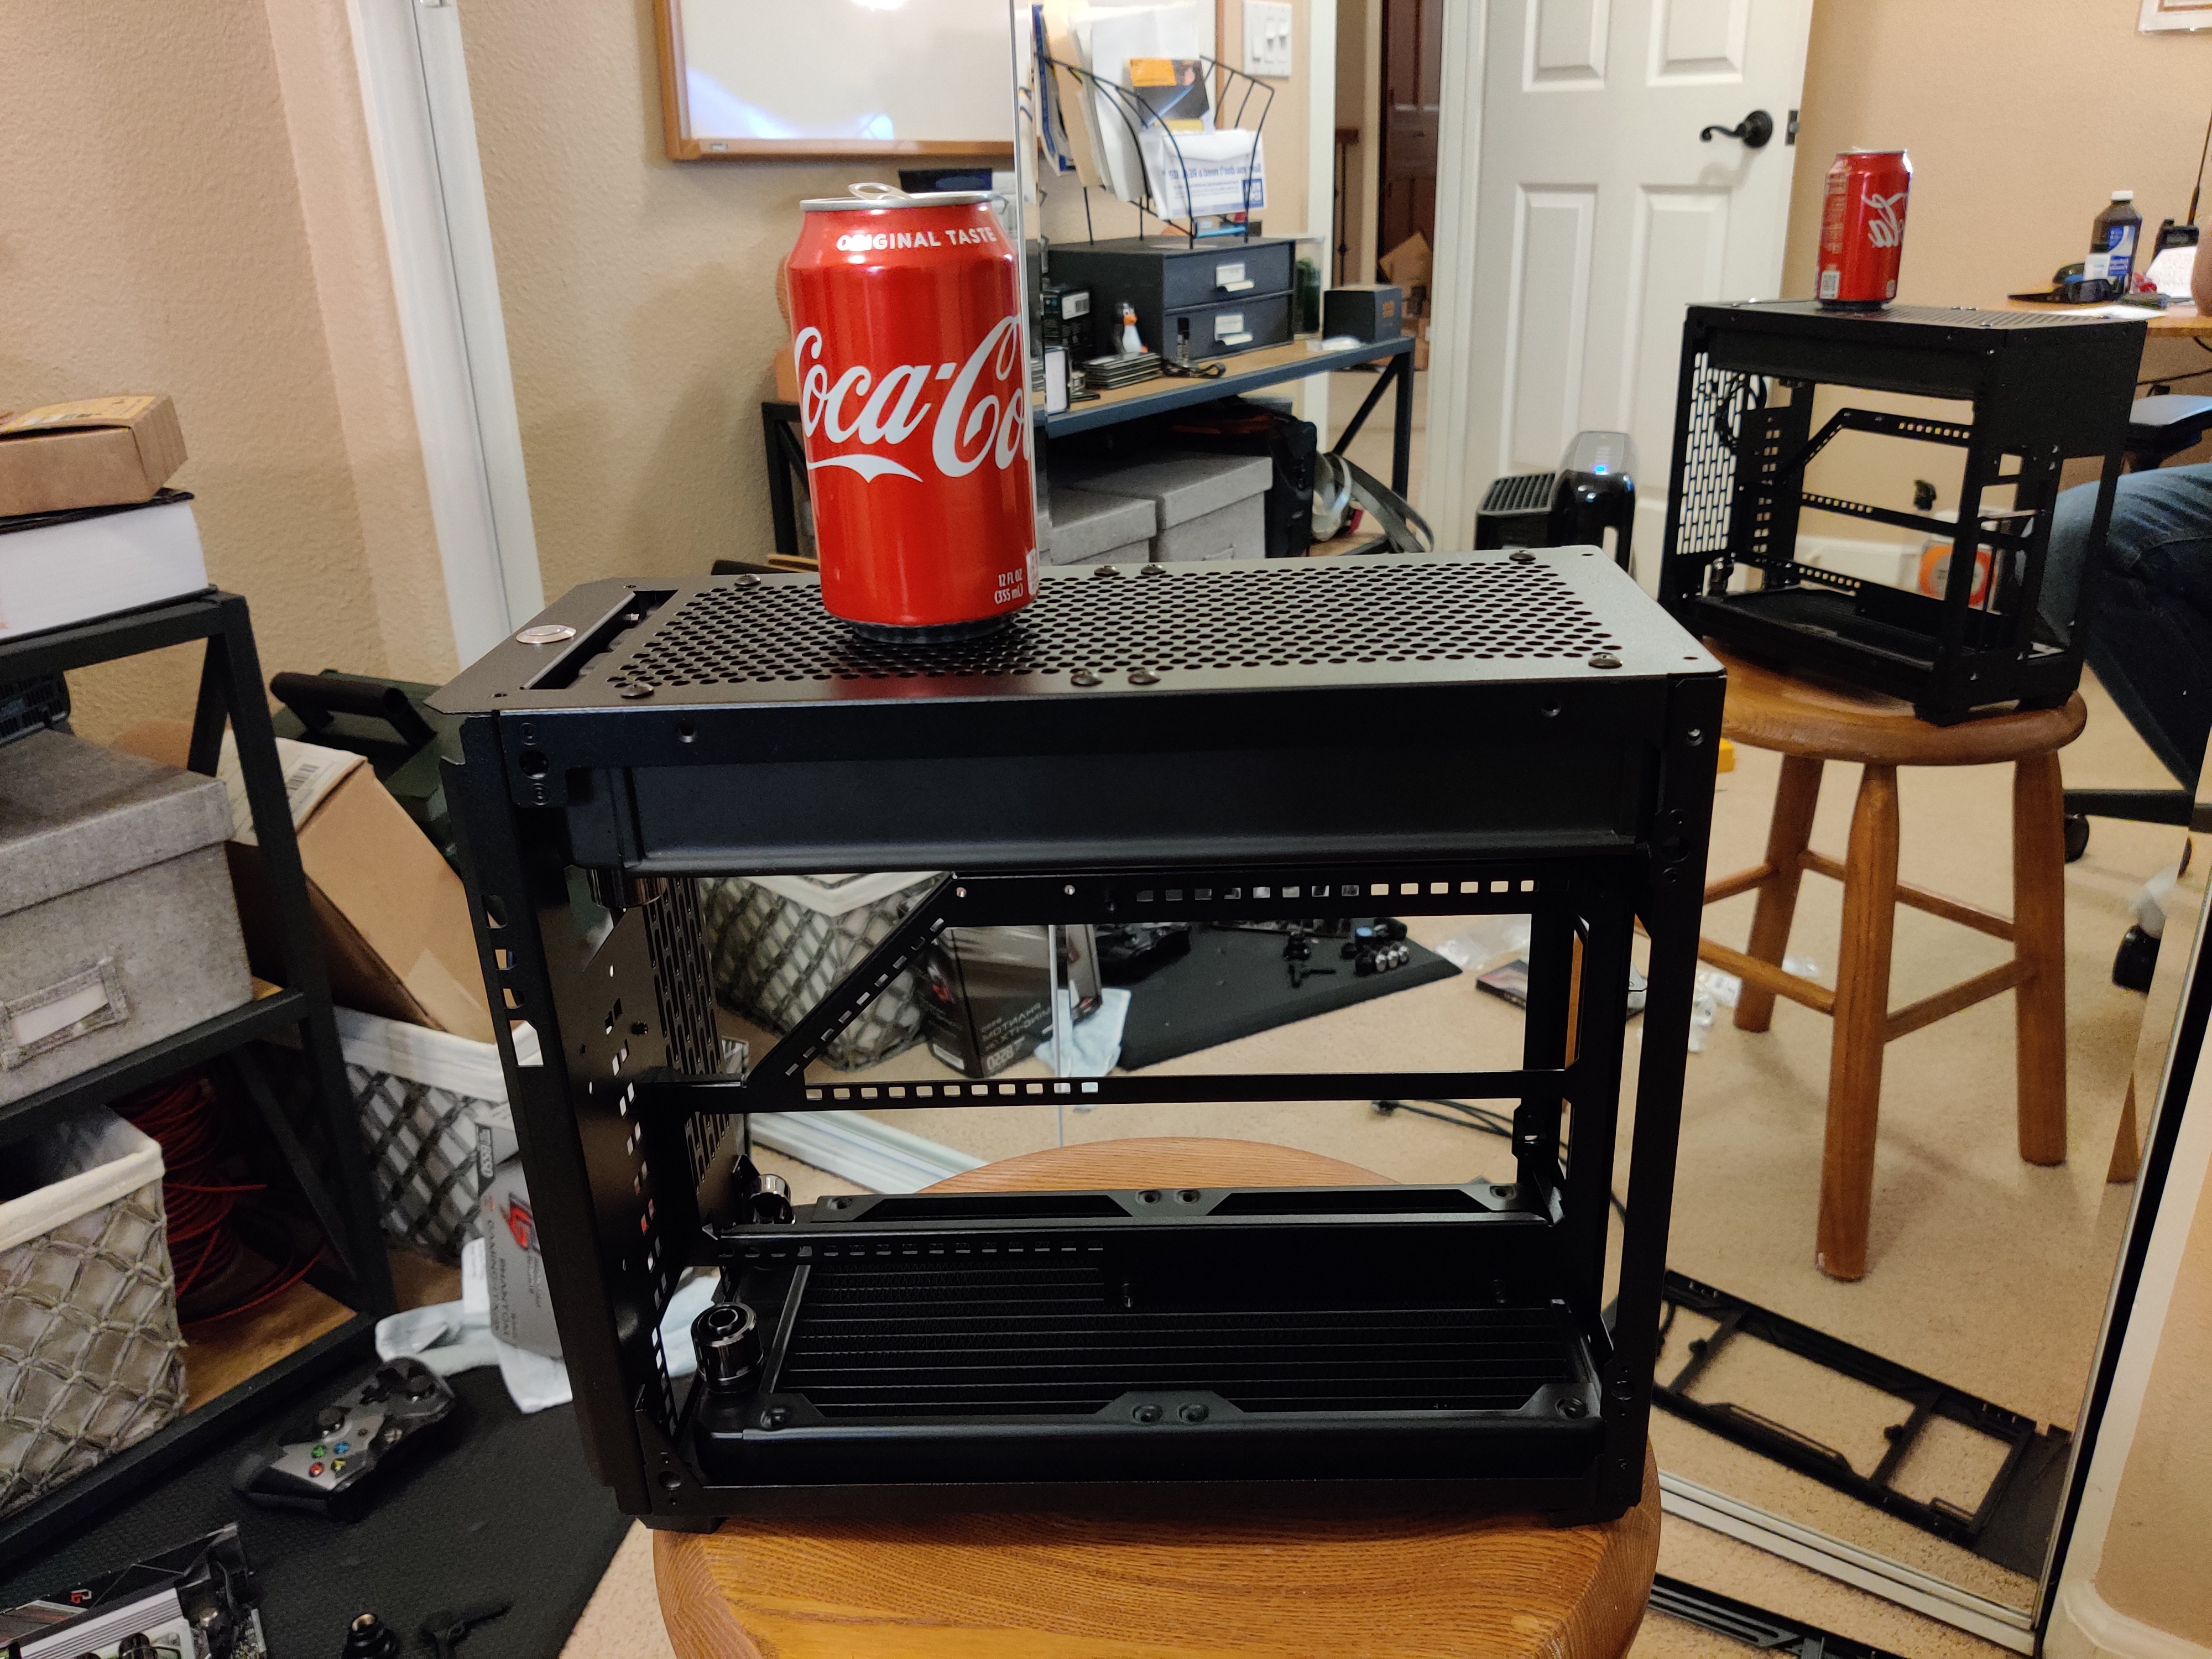
I chose the SM580 for the ample radiator space, the fact that it’s made in the USA and the solid, solid construction. My intent was to put 2 GPUs in here, a mid-range for Linux and a powerhouse for Windows gaming. At the moment, I’ve only got the 6900xt in there, but that’ll change as soon as stock comes around. I want people who need a first GPU to have a chance to buy before I buy a second.
So. Let’s start off with the hardware choices, justifications, modifications and
| Component | Choice | Count |
|---|---|---|
| Motherboard | AsRock B550 Gaming-ITX/AX | 1 |
| CPU | AMD Ryzen 3900x | 1 |
| RAM | G Skill Trident Z RgB 2x32GB CL18 3600MHz | 1 |
| SSD | XPG SX8200 Pro 2TB | 2 |
| GPU | AMD Radeon 6900 XT | 1 |
| Case | Sliger SM580 | 1 |
| Power Supply | Corsair SF750 SFX-L | 1 |
| Fans | Noctua NF-P14s redux 1500 | 4 |
| Watercooling | — | — |
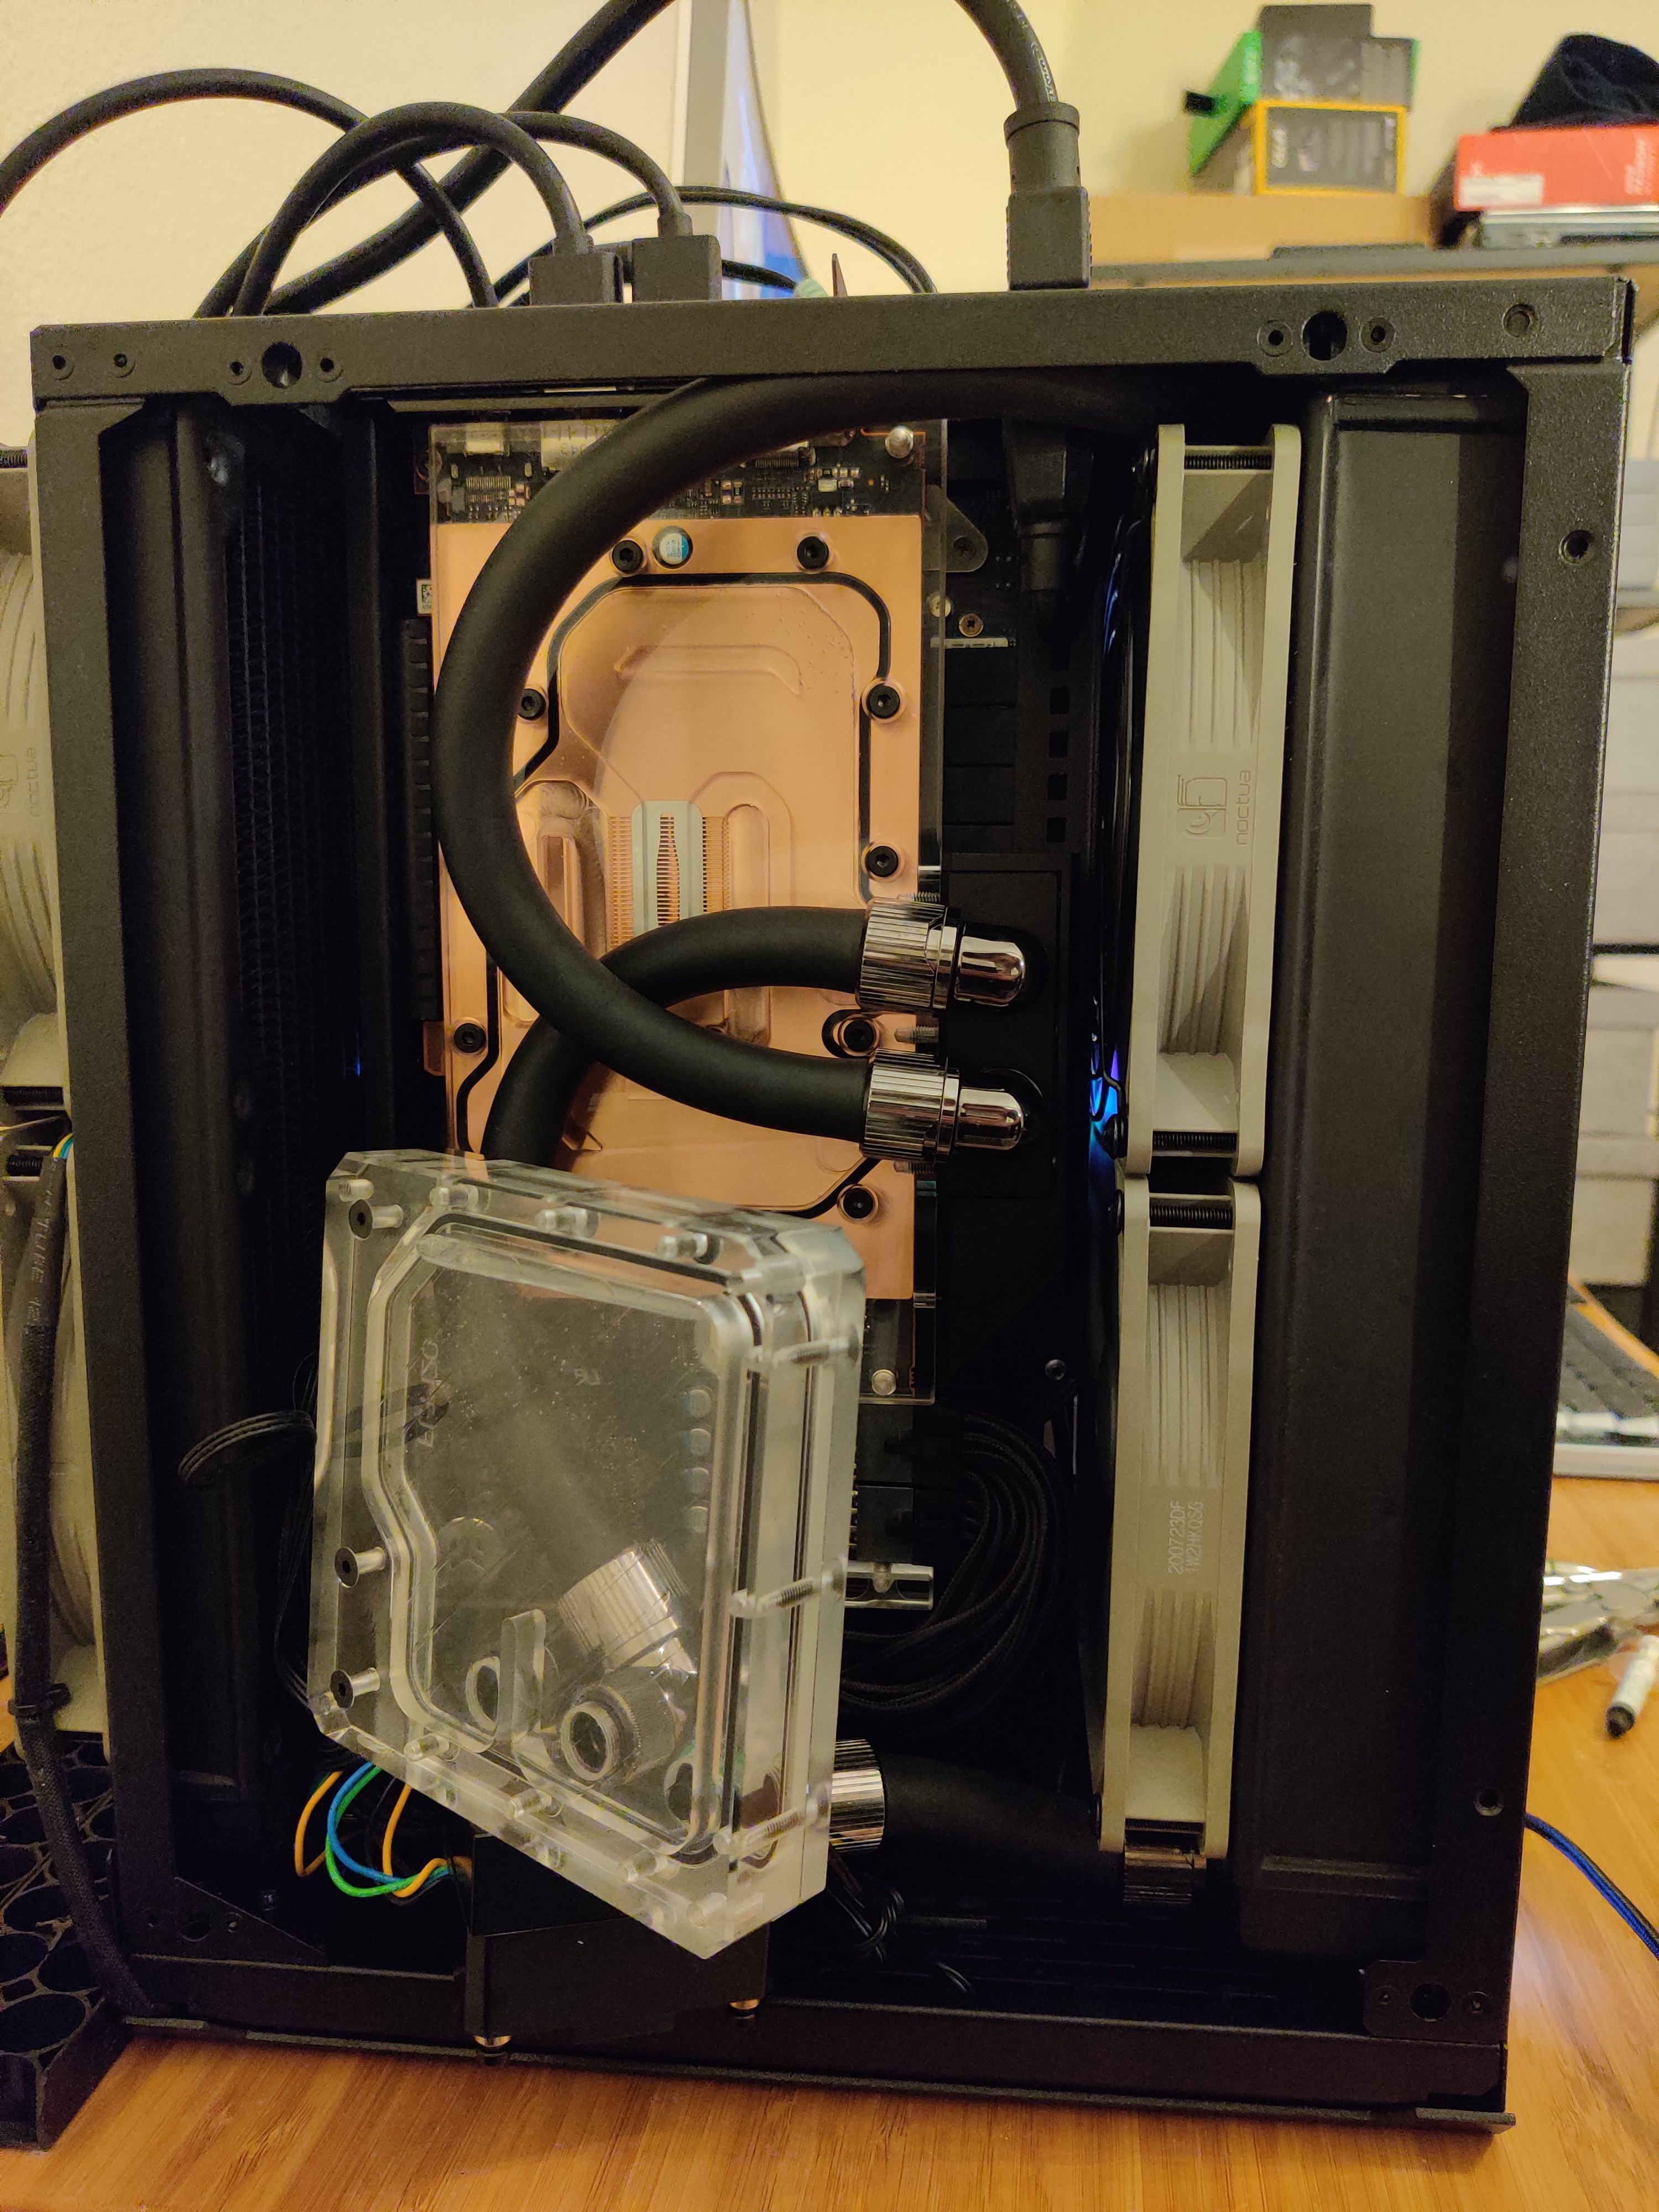
| CPU Block | EK Velocity | 1 |
| GPU Block | EK Quantum Vector RX 6000 | 1 |
| Reservoir | EK FLT 120 | 1 |
| Pump | EK DDC PWM | 1 |
| Radiator | HWLabs Black Ice Nemesis L-Series 280 Xtreme (280mm x 45mm) | 1 |
| Radiator | HWLabs Black Ice Nemesis L-Series 280 Stealth (280mm x 30mm) | 1 |
| Radiator | HWLabs Black Ice SR2 560mm | 1 |
| Plug | EK G1/4 Plug | 8 |
| Fittings | EK black nickel soft tube fitting | 14 |
| Fittings | EK black nickel 90 fitting | 8 |
| Fittings | EK T-splitter 3F | 1 |
| Tubing | EK ZMT 15ft | 2 |
| Temp Sensor | Bitspower Temperature sensor stop fitting | 1 |
| Quick Disconnects | Koolance QDC4 Male | 2 |
| Quick Disconnects | Koolance QDC4 Female | 2 |
| Custom | — | — |
| Bottom feet | custom 3d prints, designed by yours truly | 4 |
Now, as you can see, the vast majority of little nickle-and-dime things came from the watercooling. I’d say the watercooling cost exceeds the cost of the CPU and Motherboard combined. Would I do it again? Absolutely. Watercooling is freaking amazing when done properly. Most of the day, the computer sits entirely silent, with no fans spinning at all. When I need to do some CPU or GPU heavy task, the only fan that spins is the Power Supply fan. If the load is long enough, the radiator fans will kick in, but without fans, the rads will passively dissipate about 80w of load.
The Build

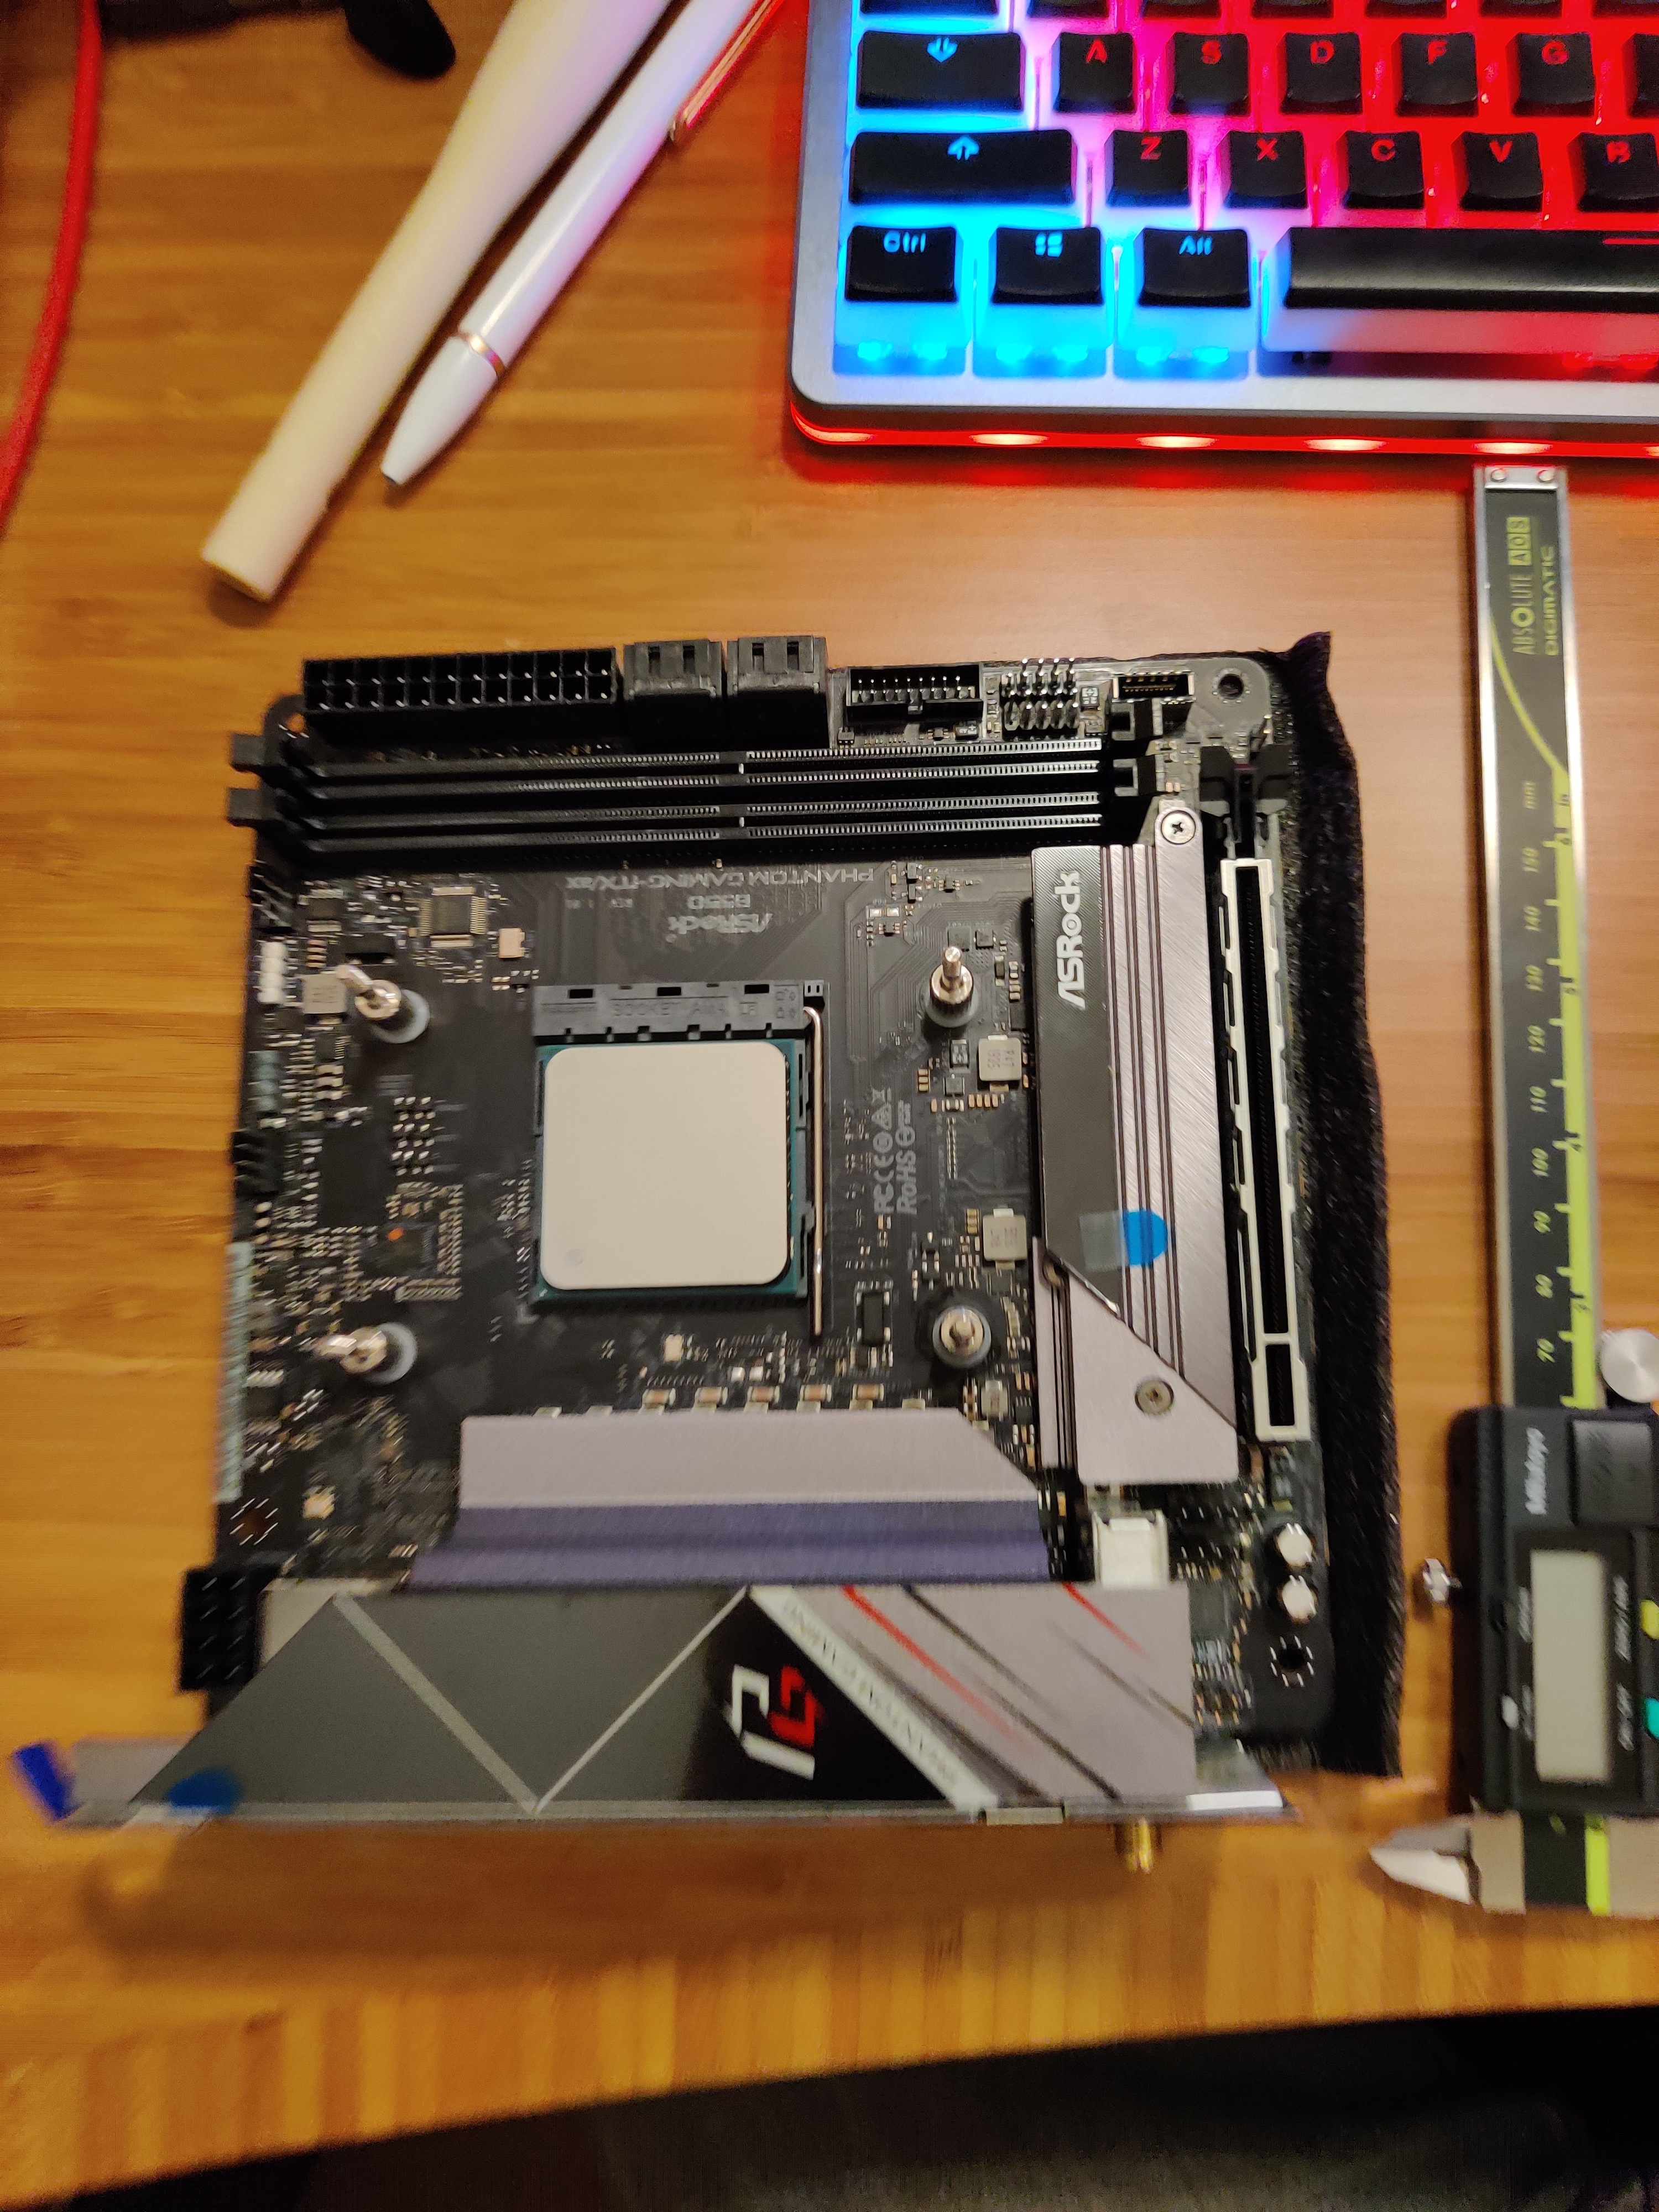
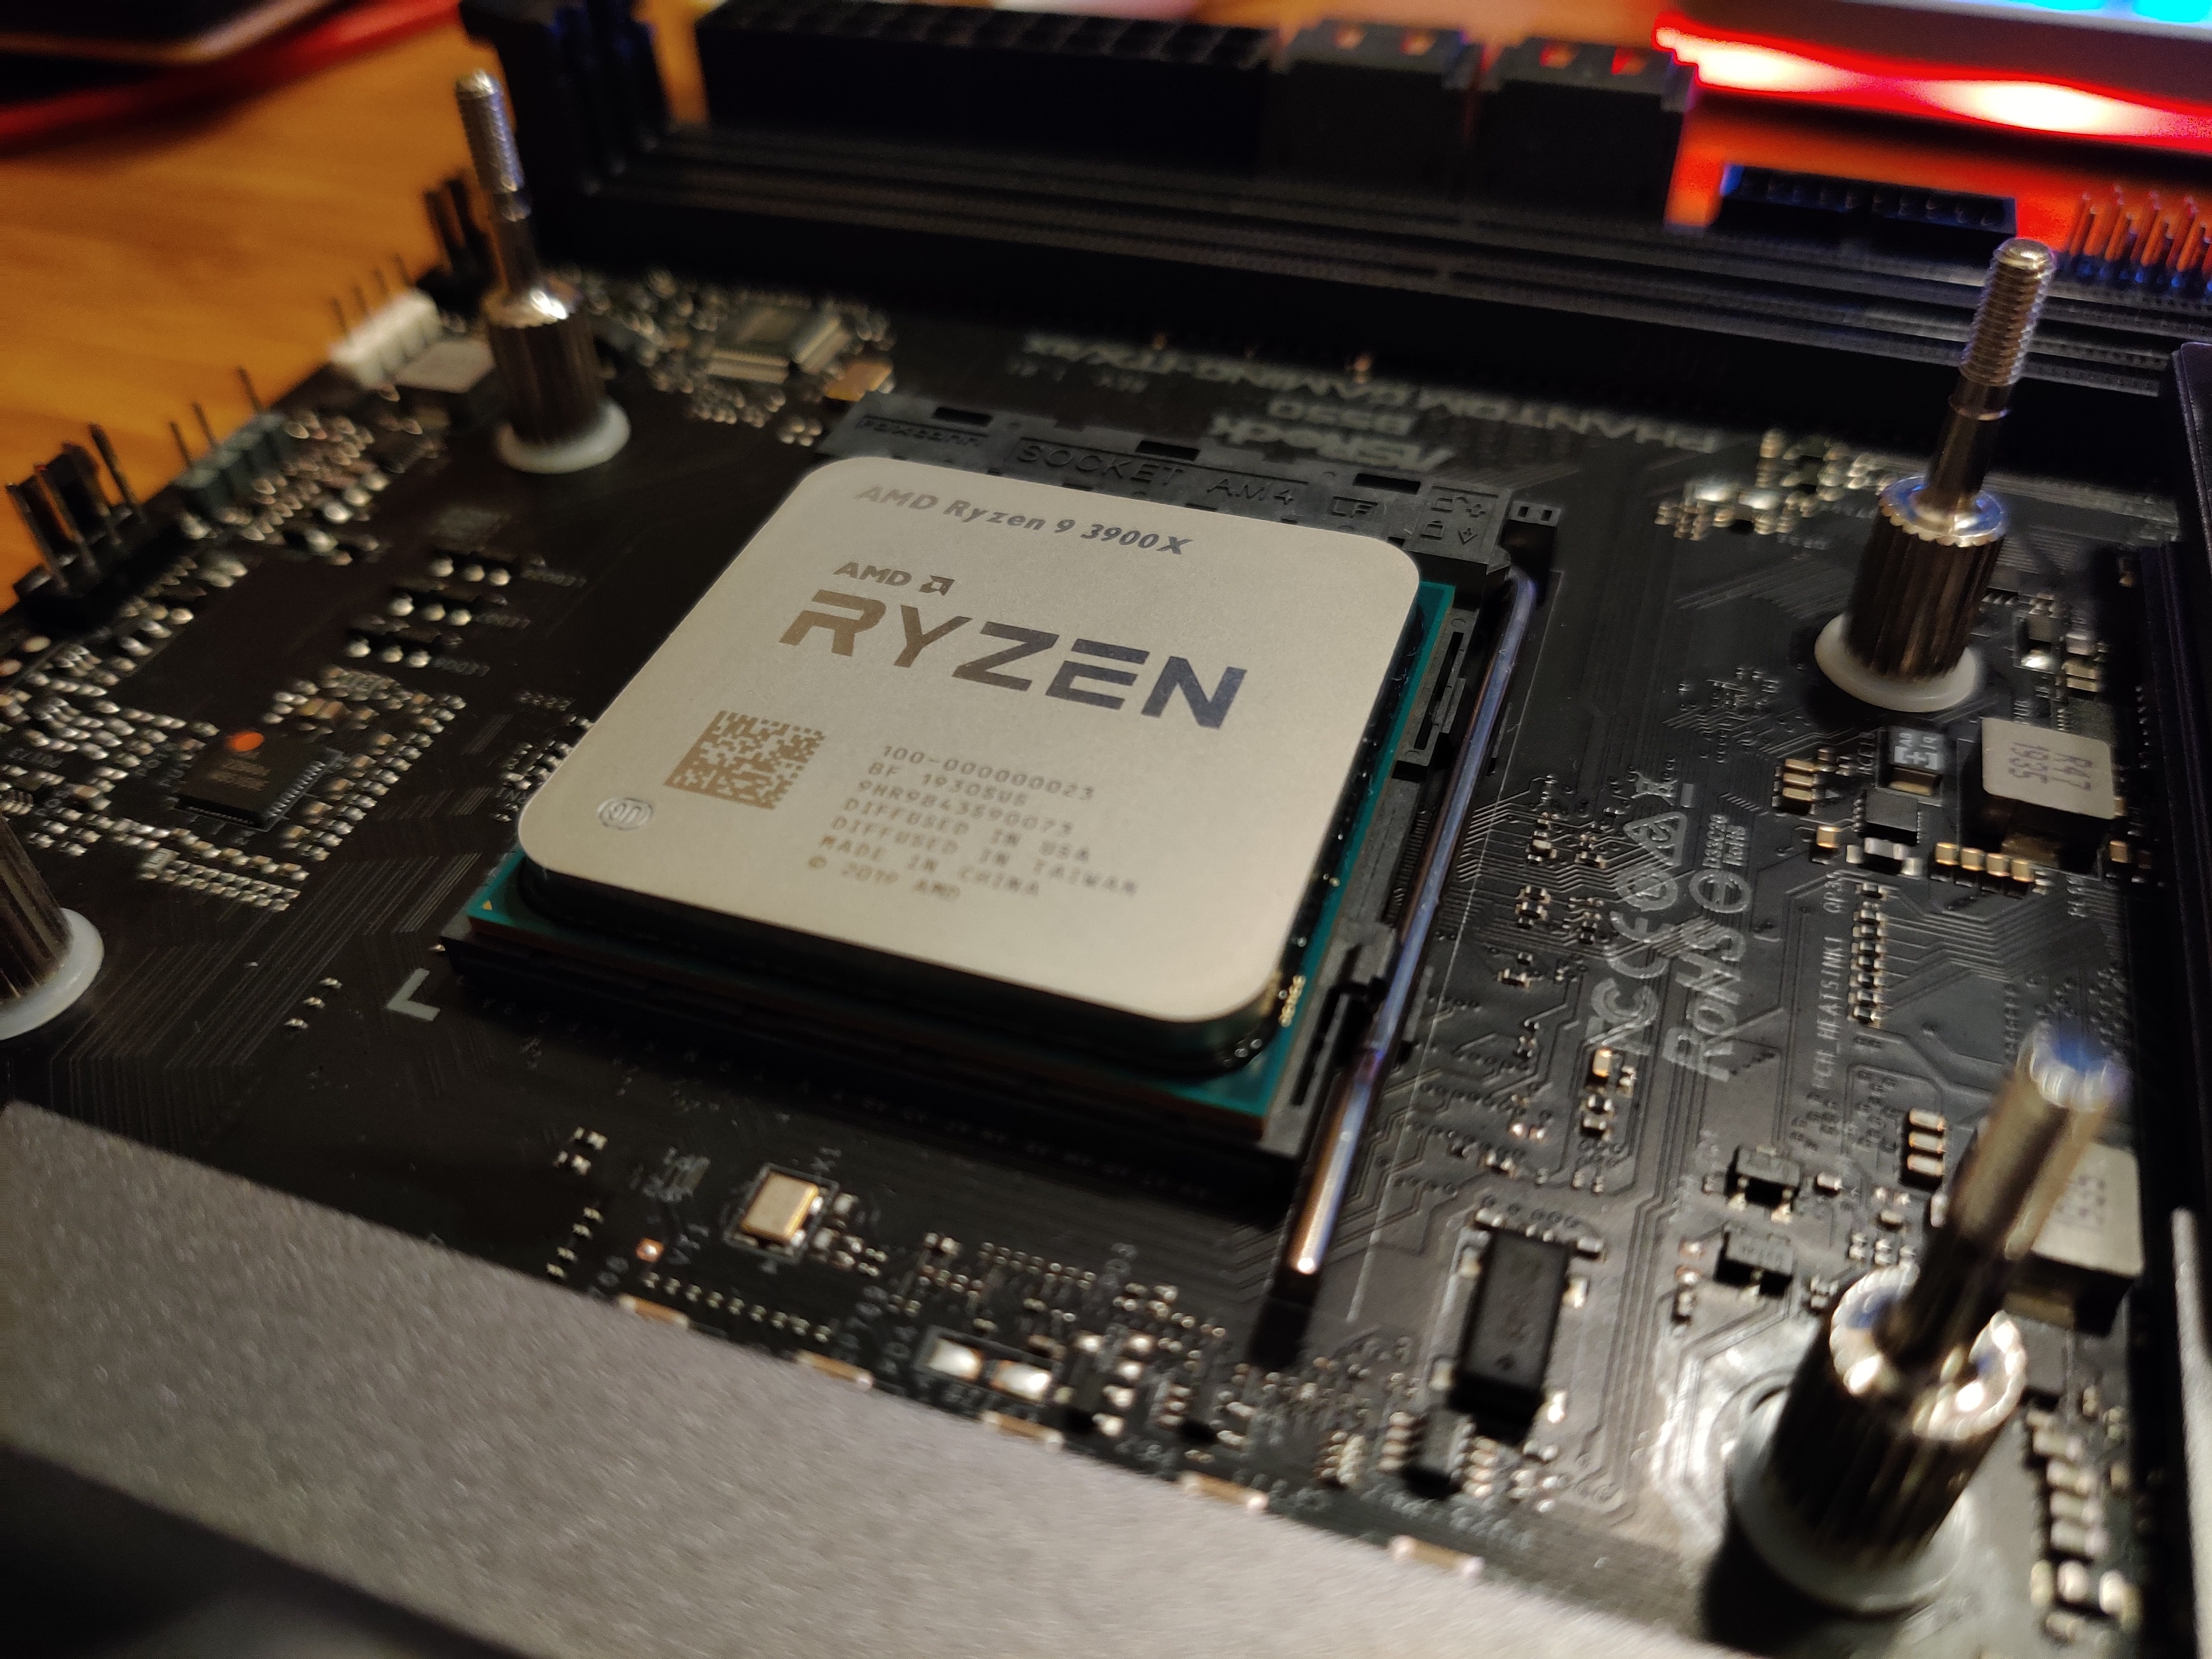
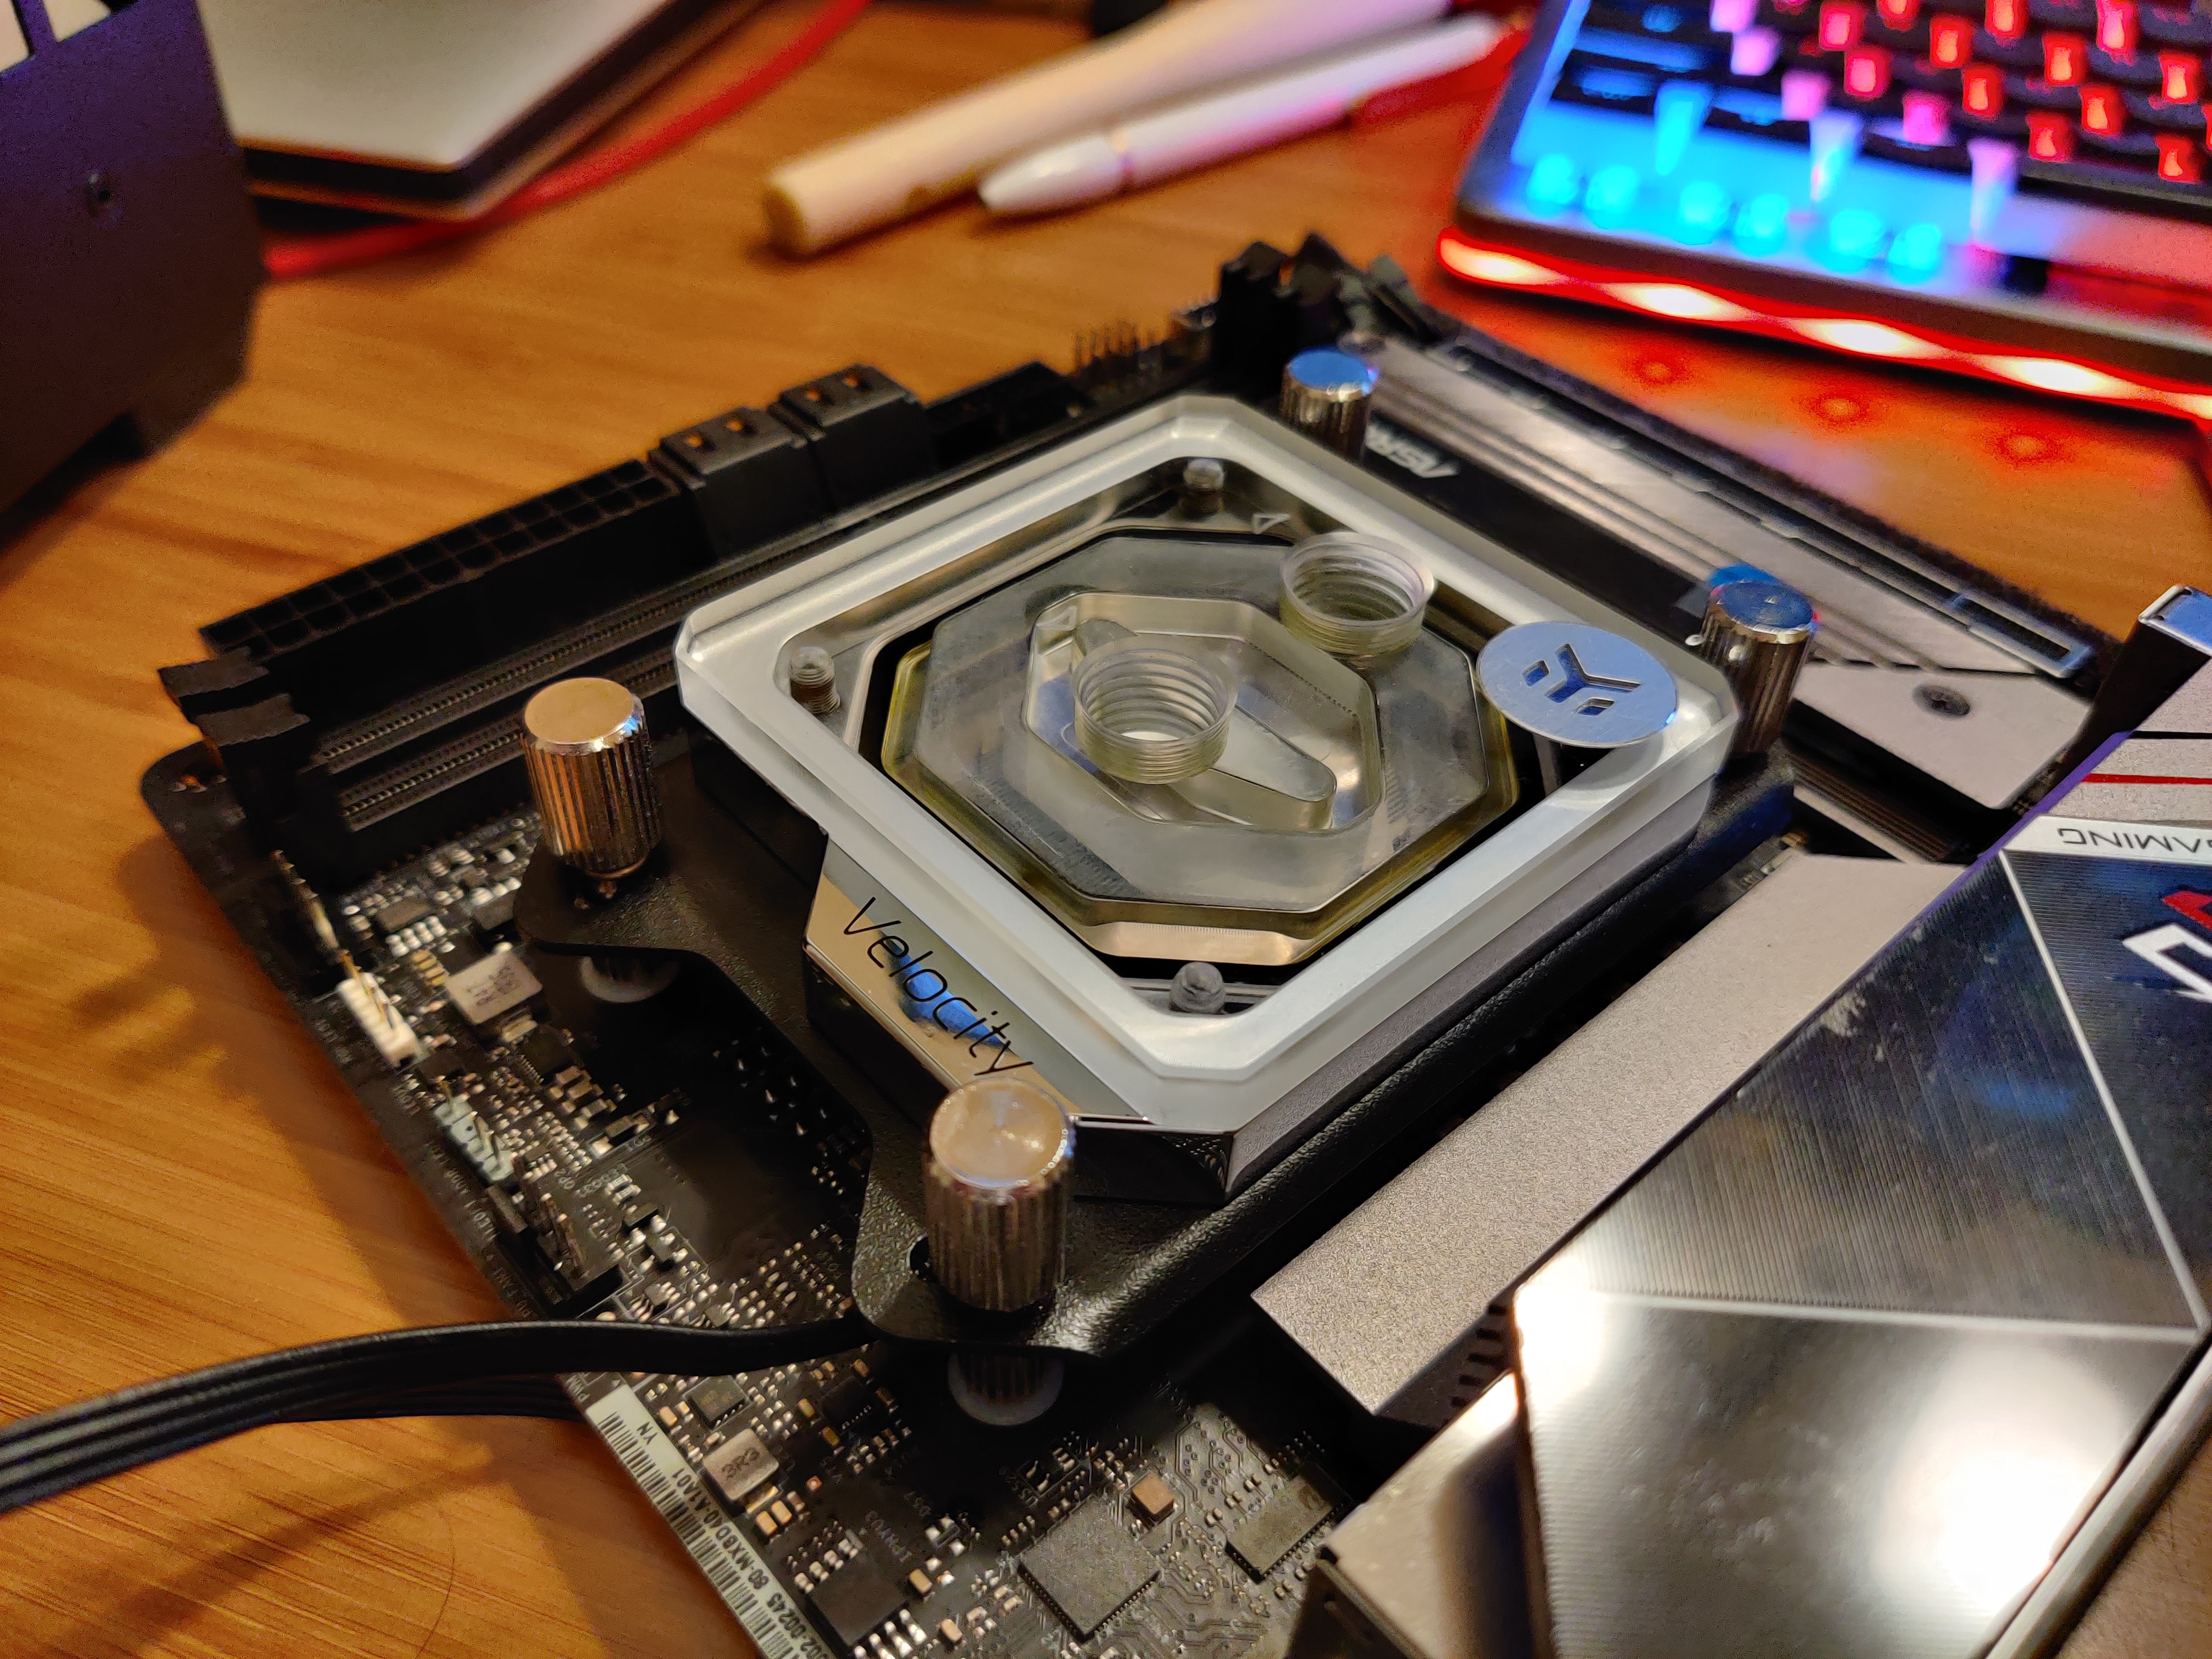
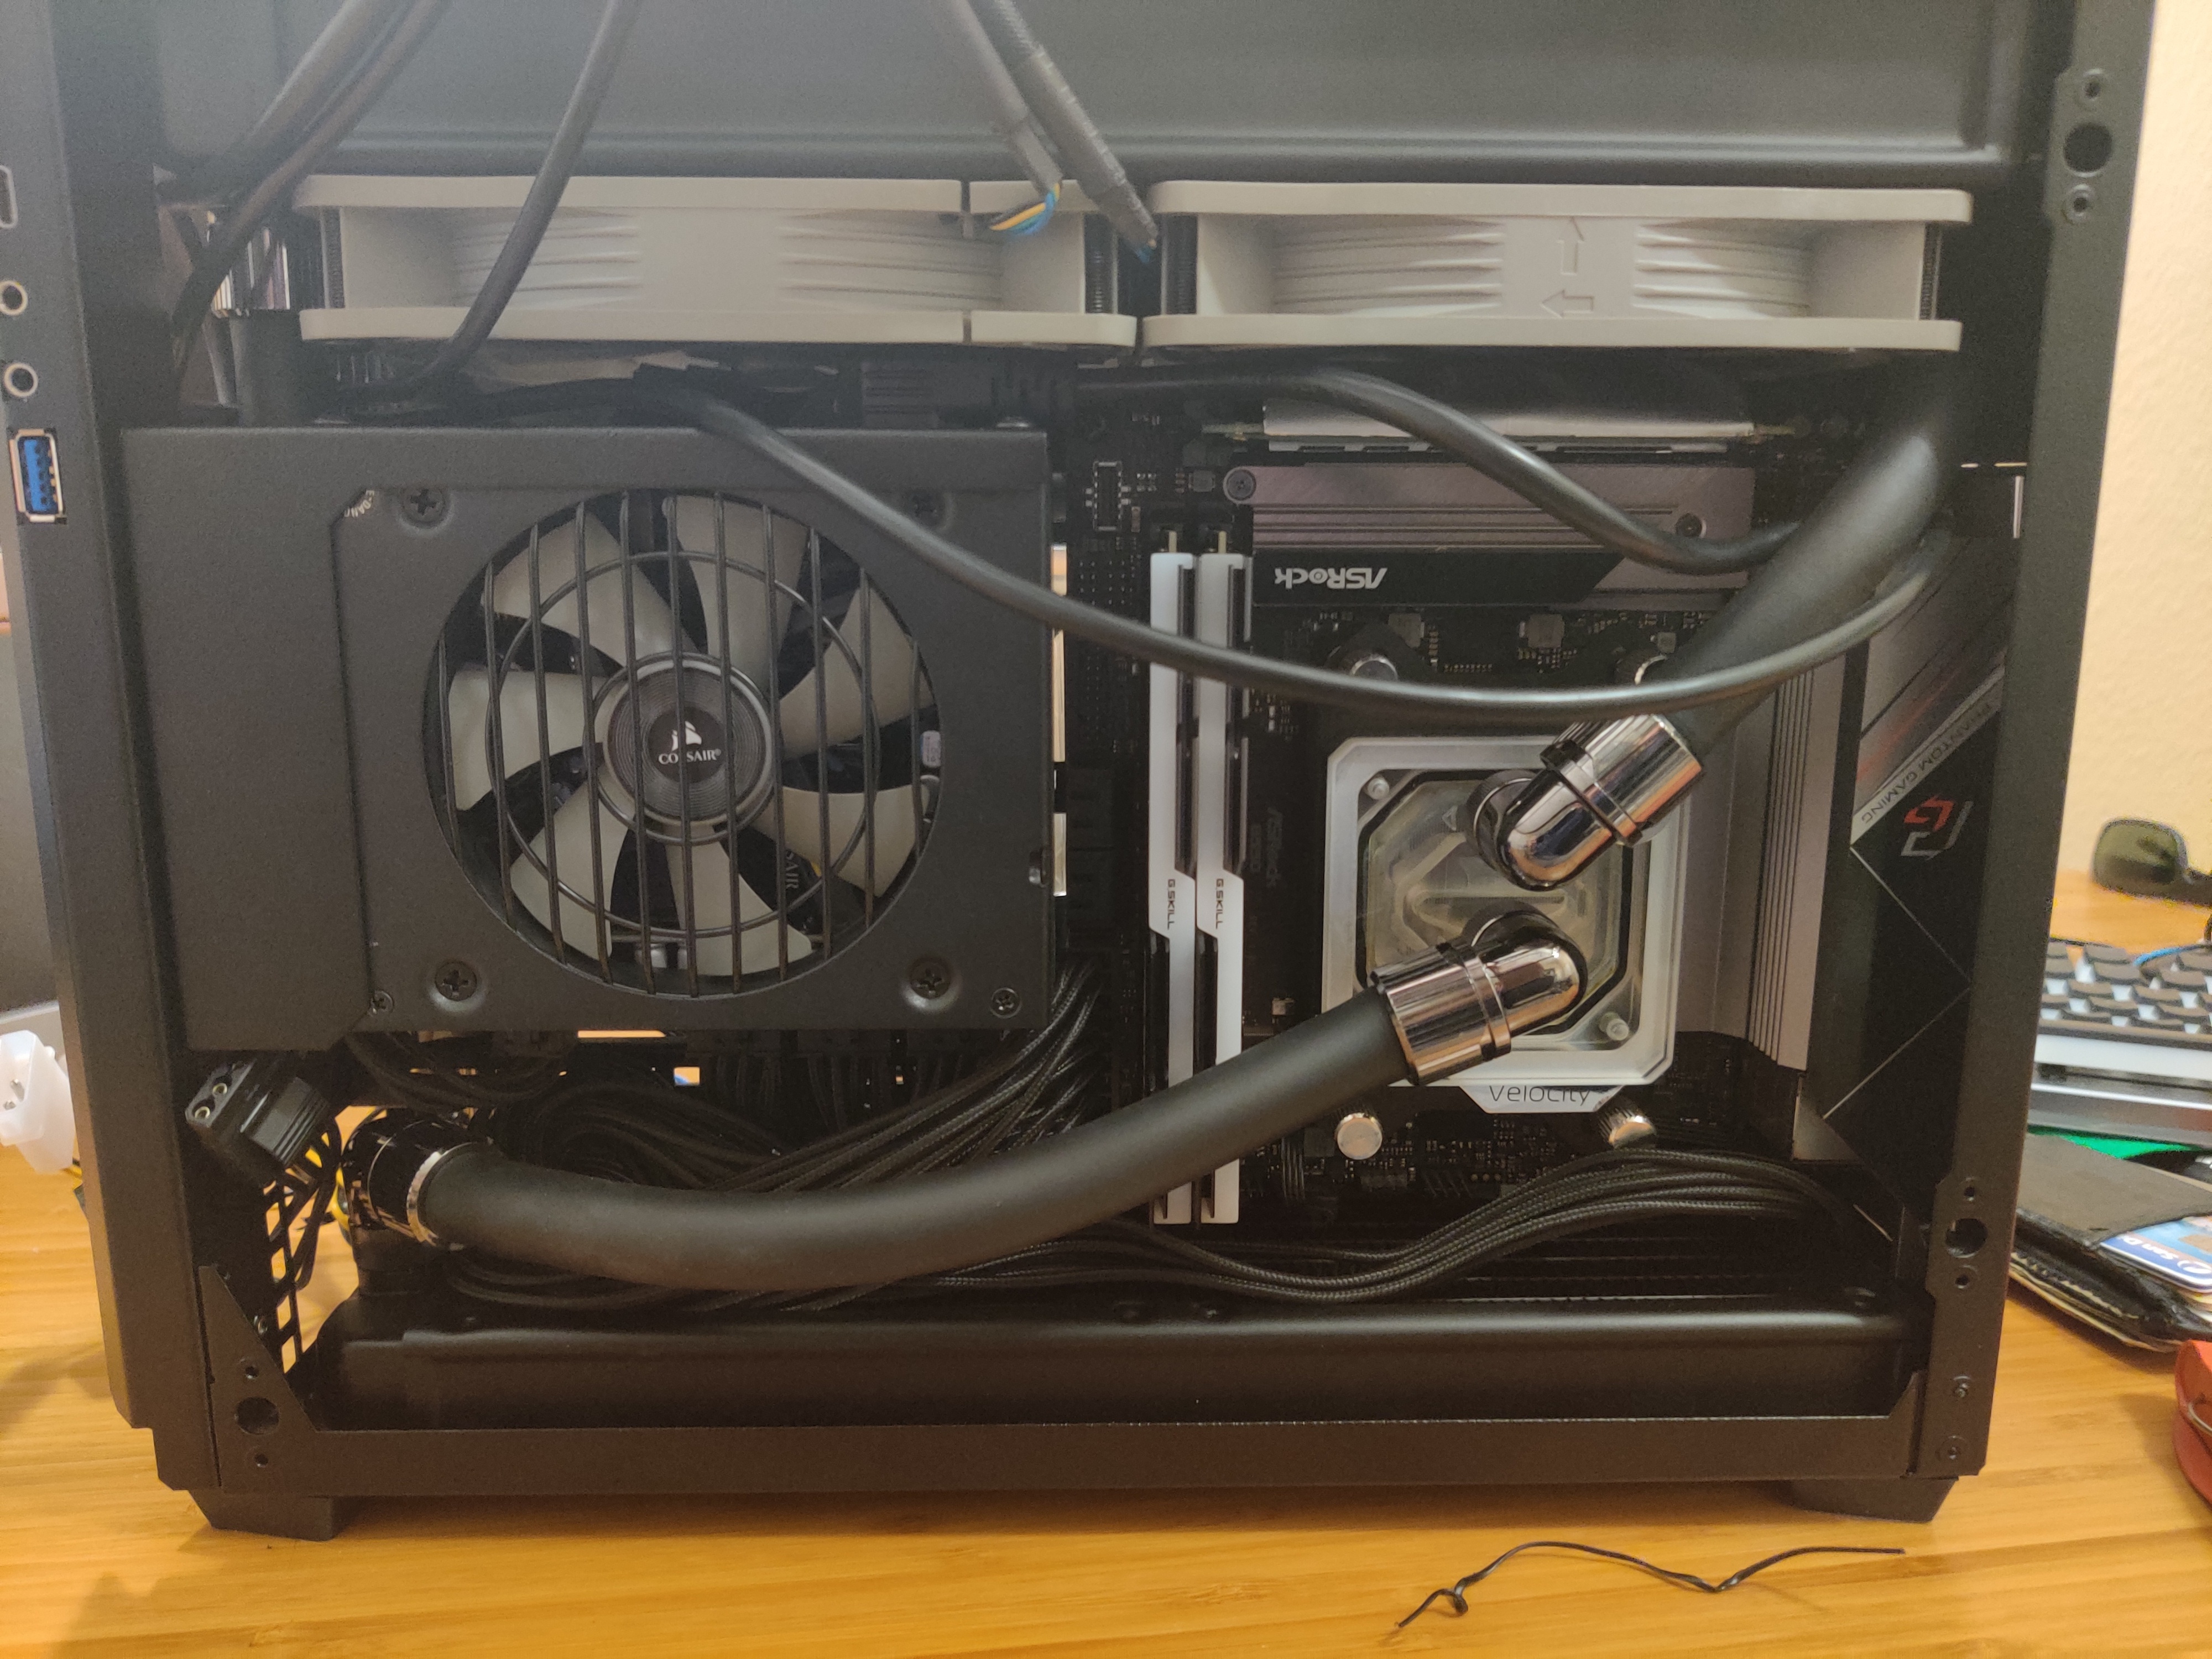
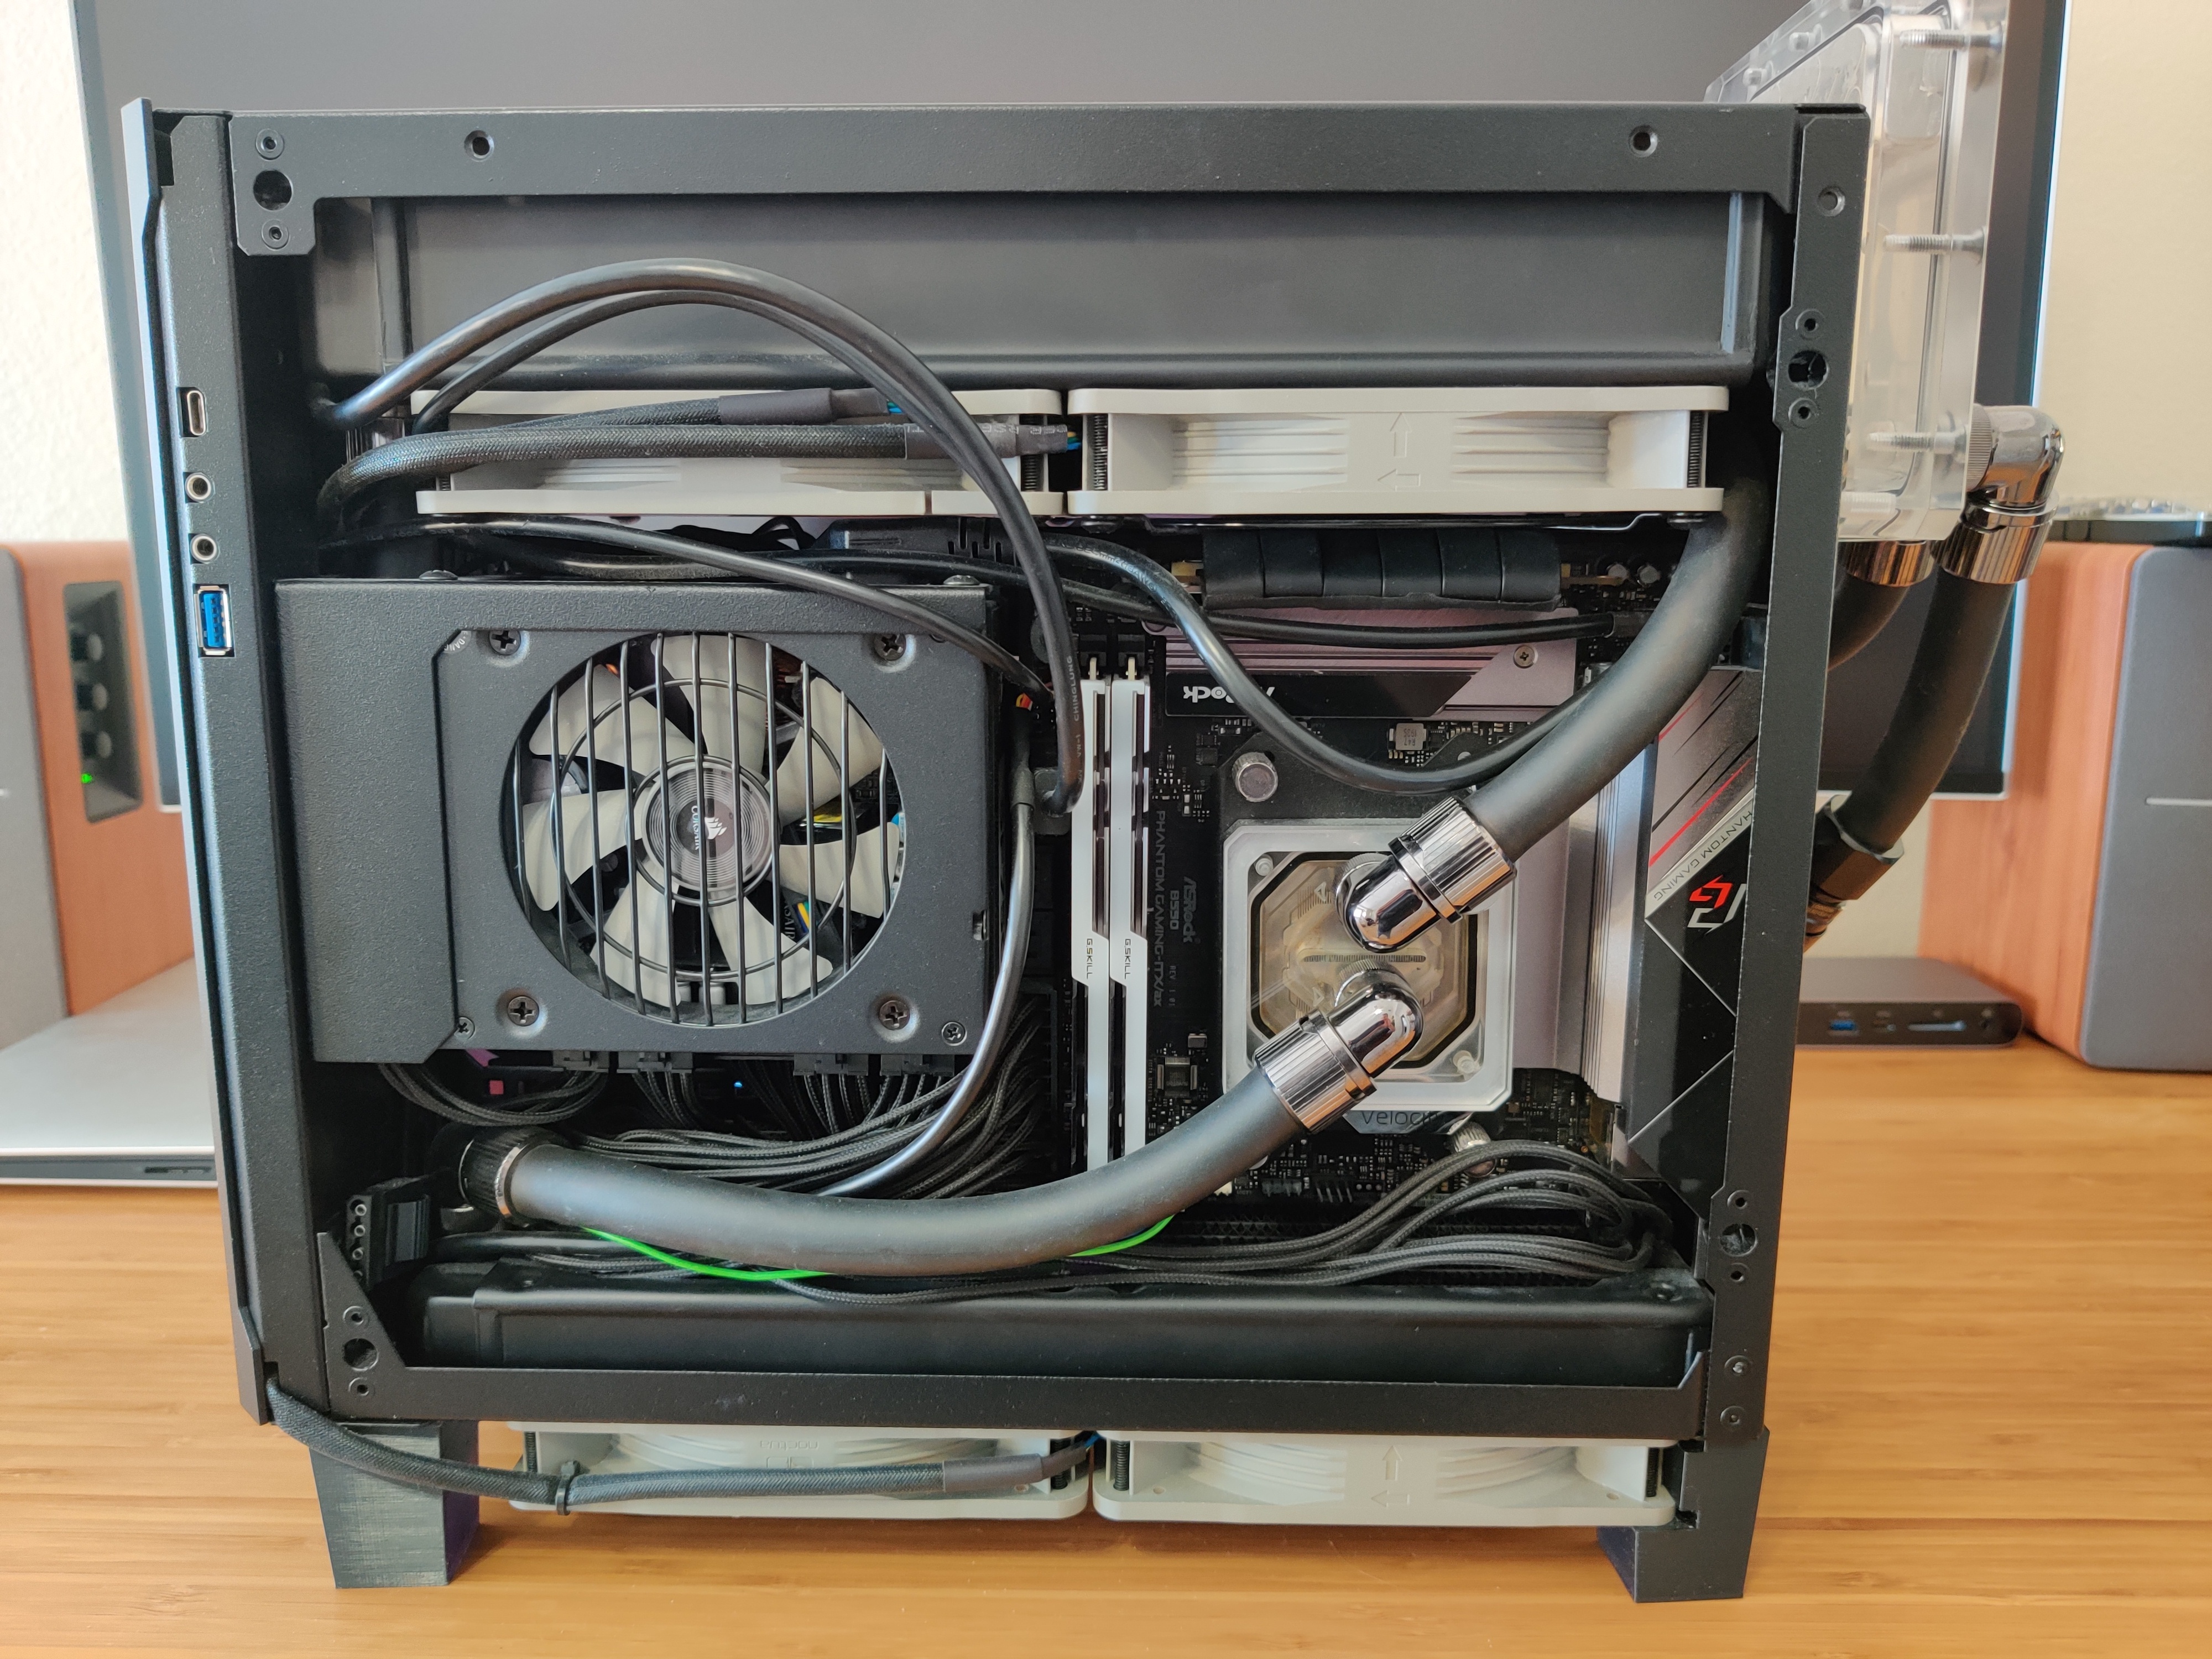
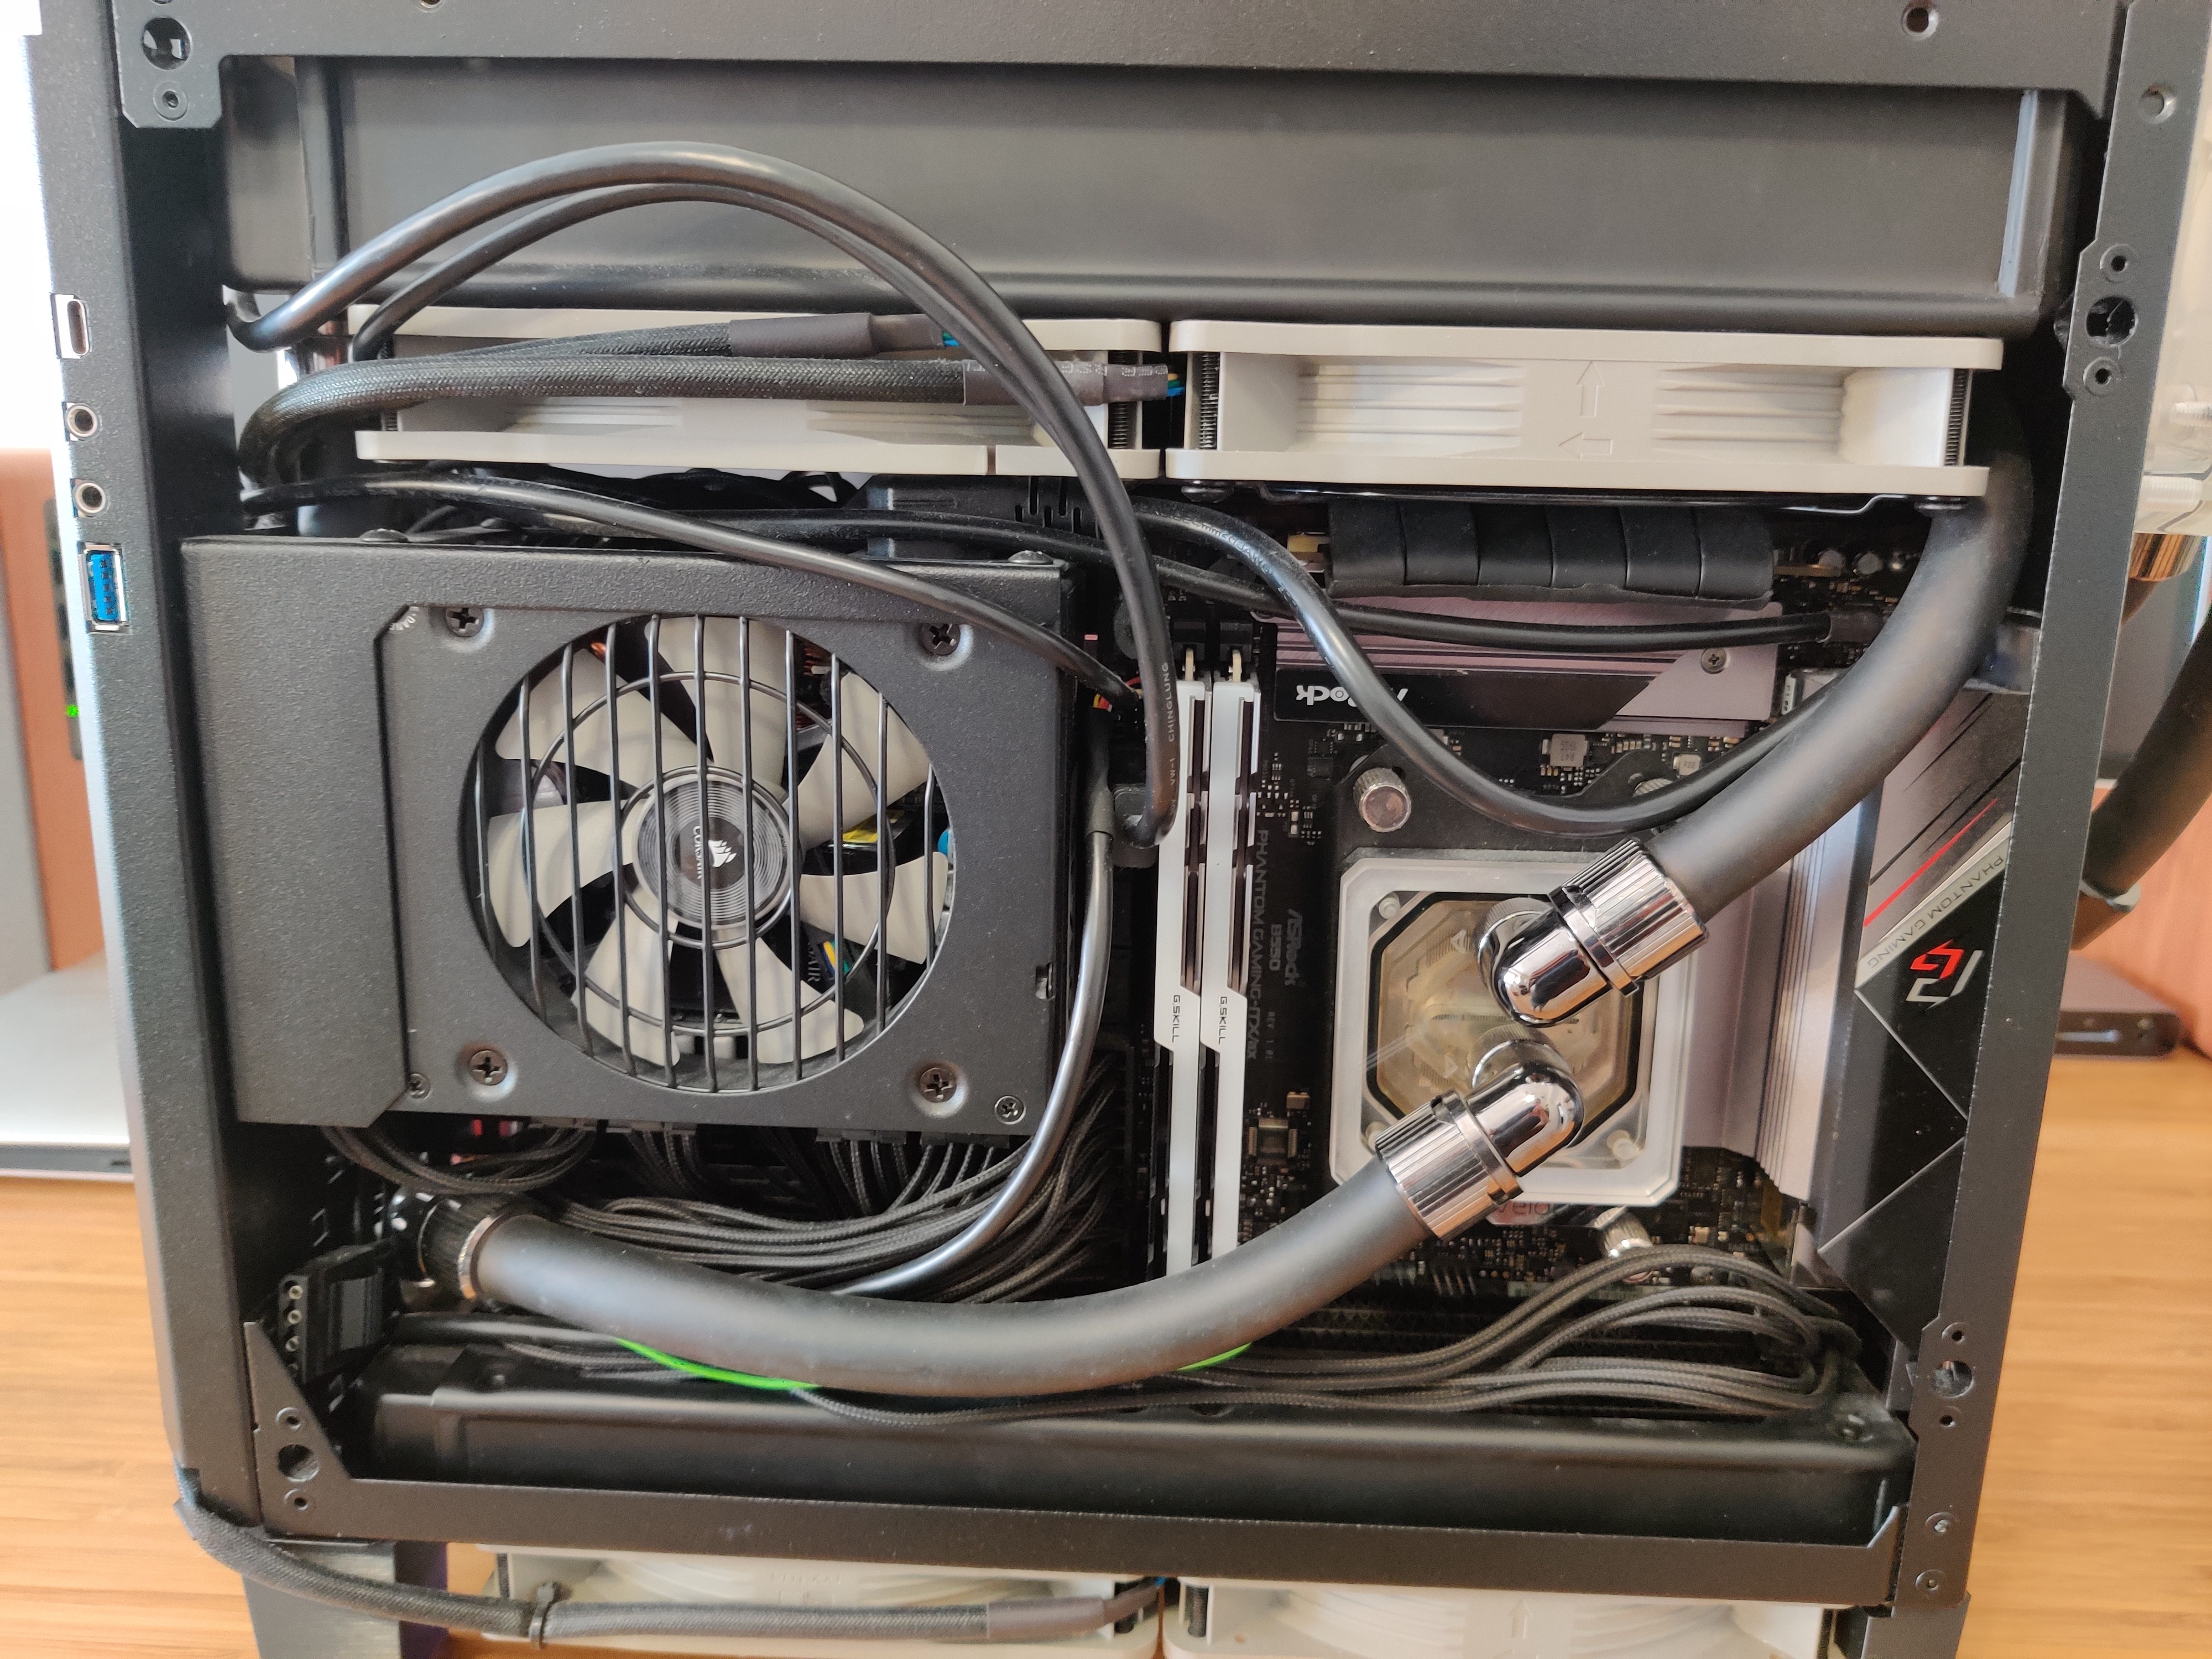
The first things to arrive were the CPU, Block and motherboard. A quick test fit while I’m waiting for the other parts to come in and she’s lookin good! From here, I began the first mods, which are detailed below.
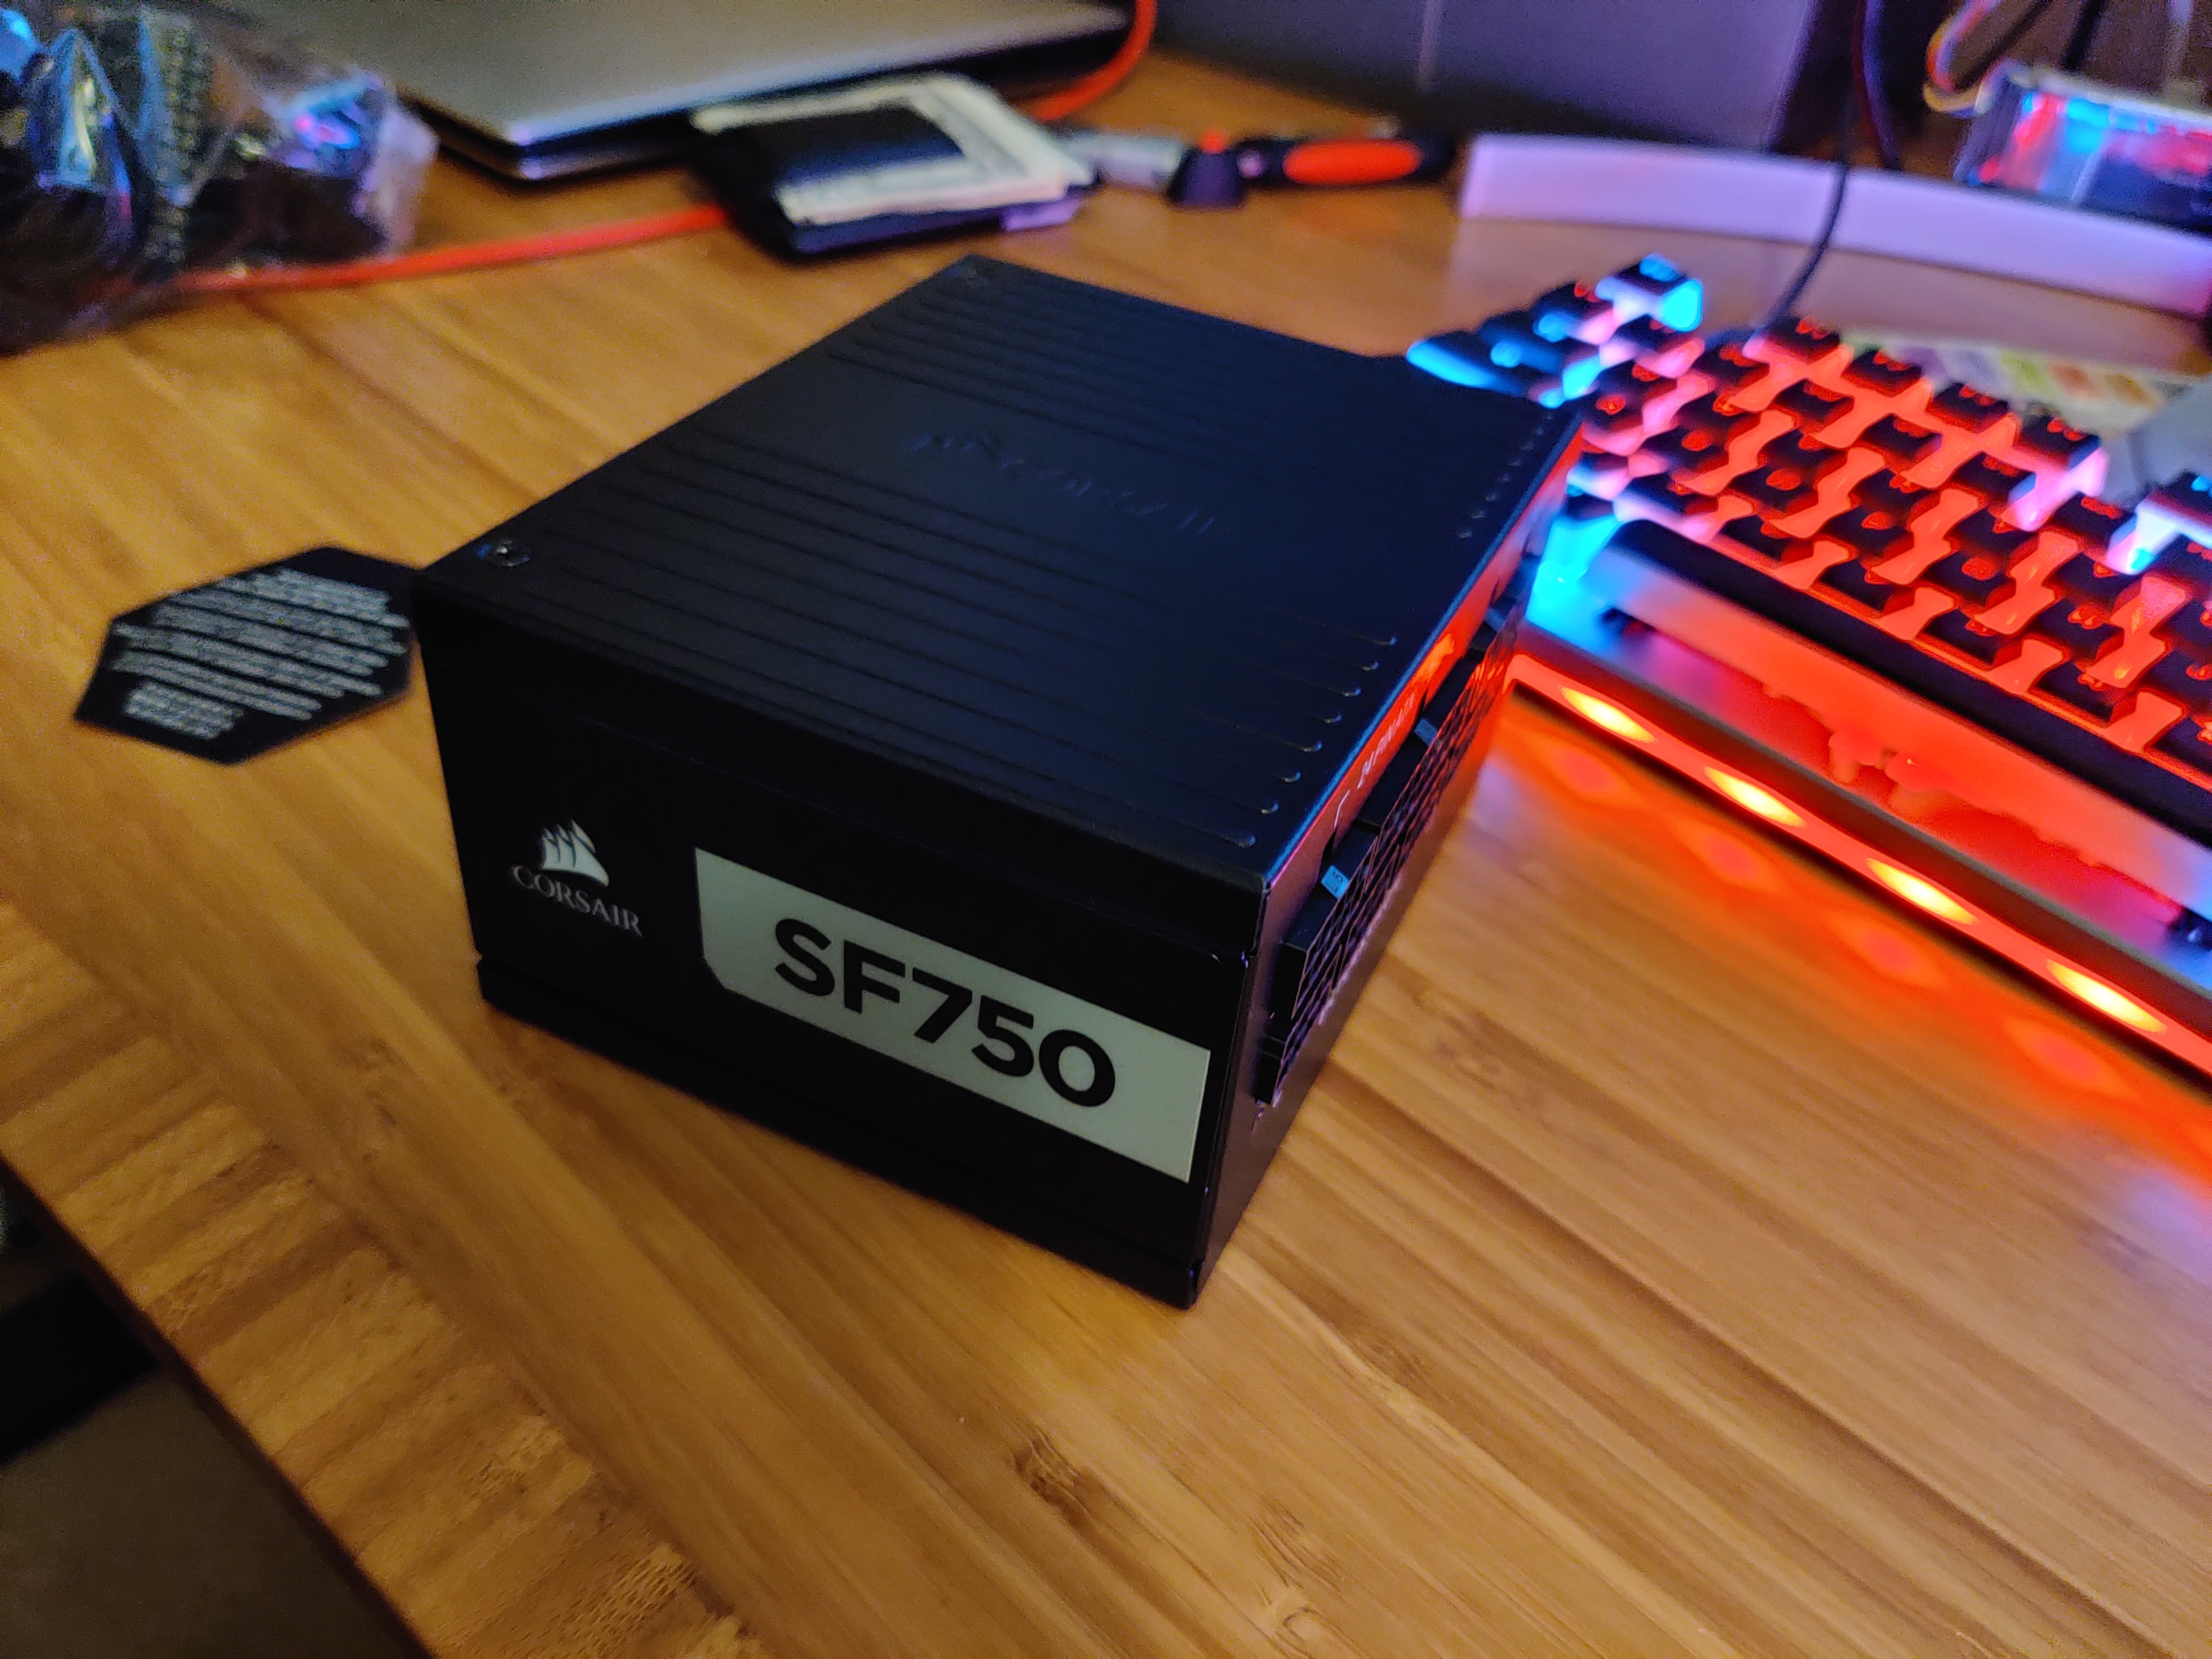
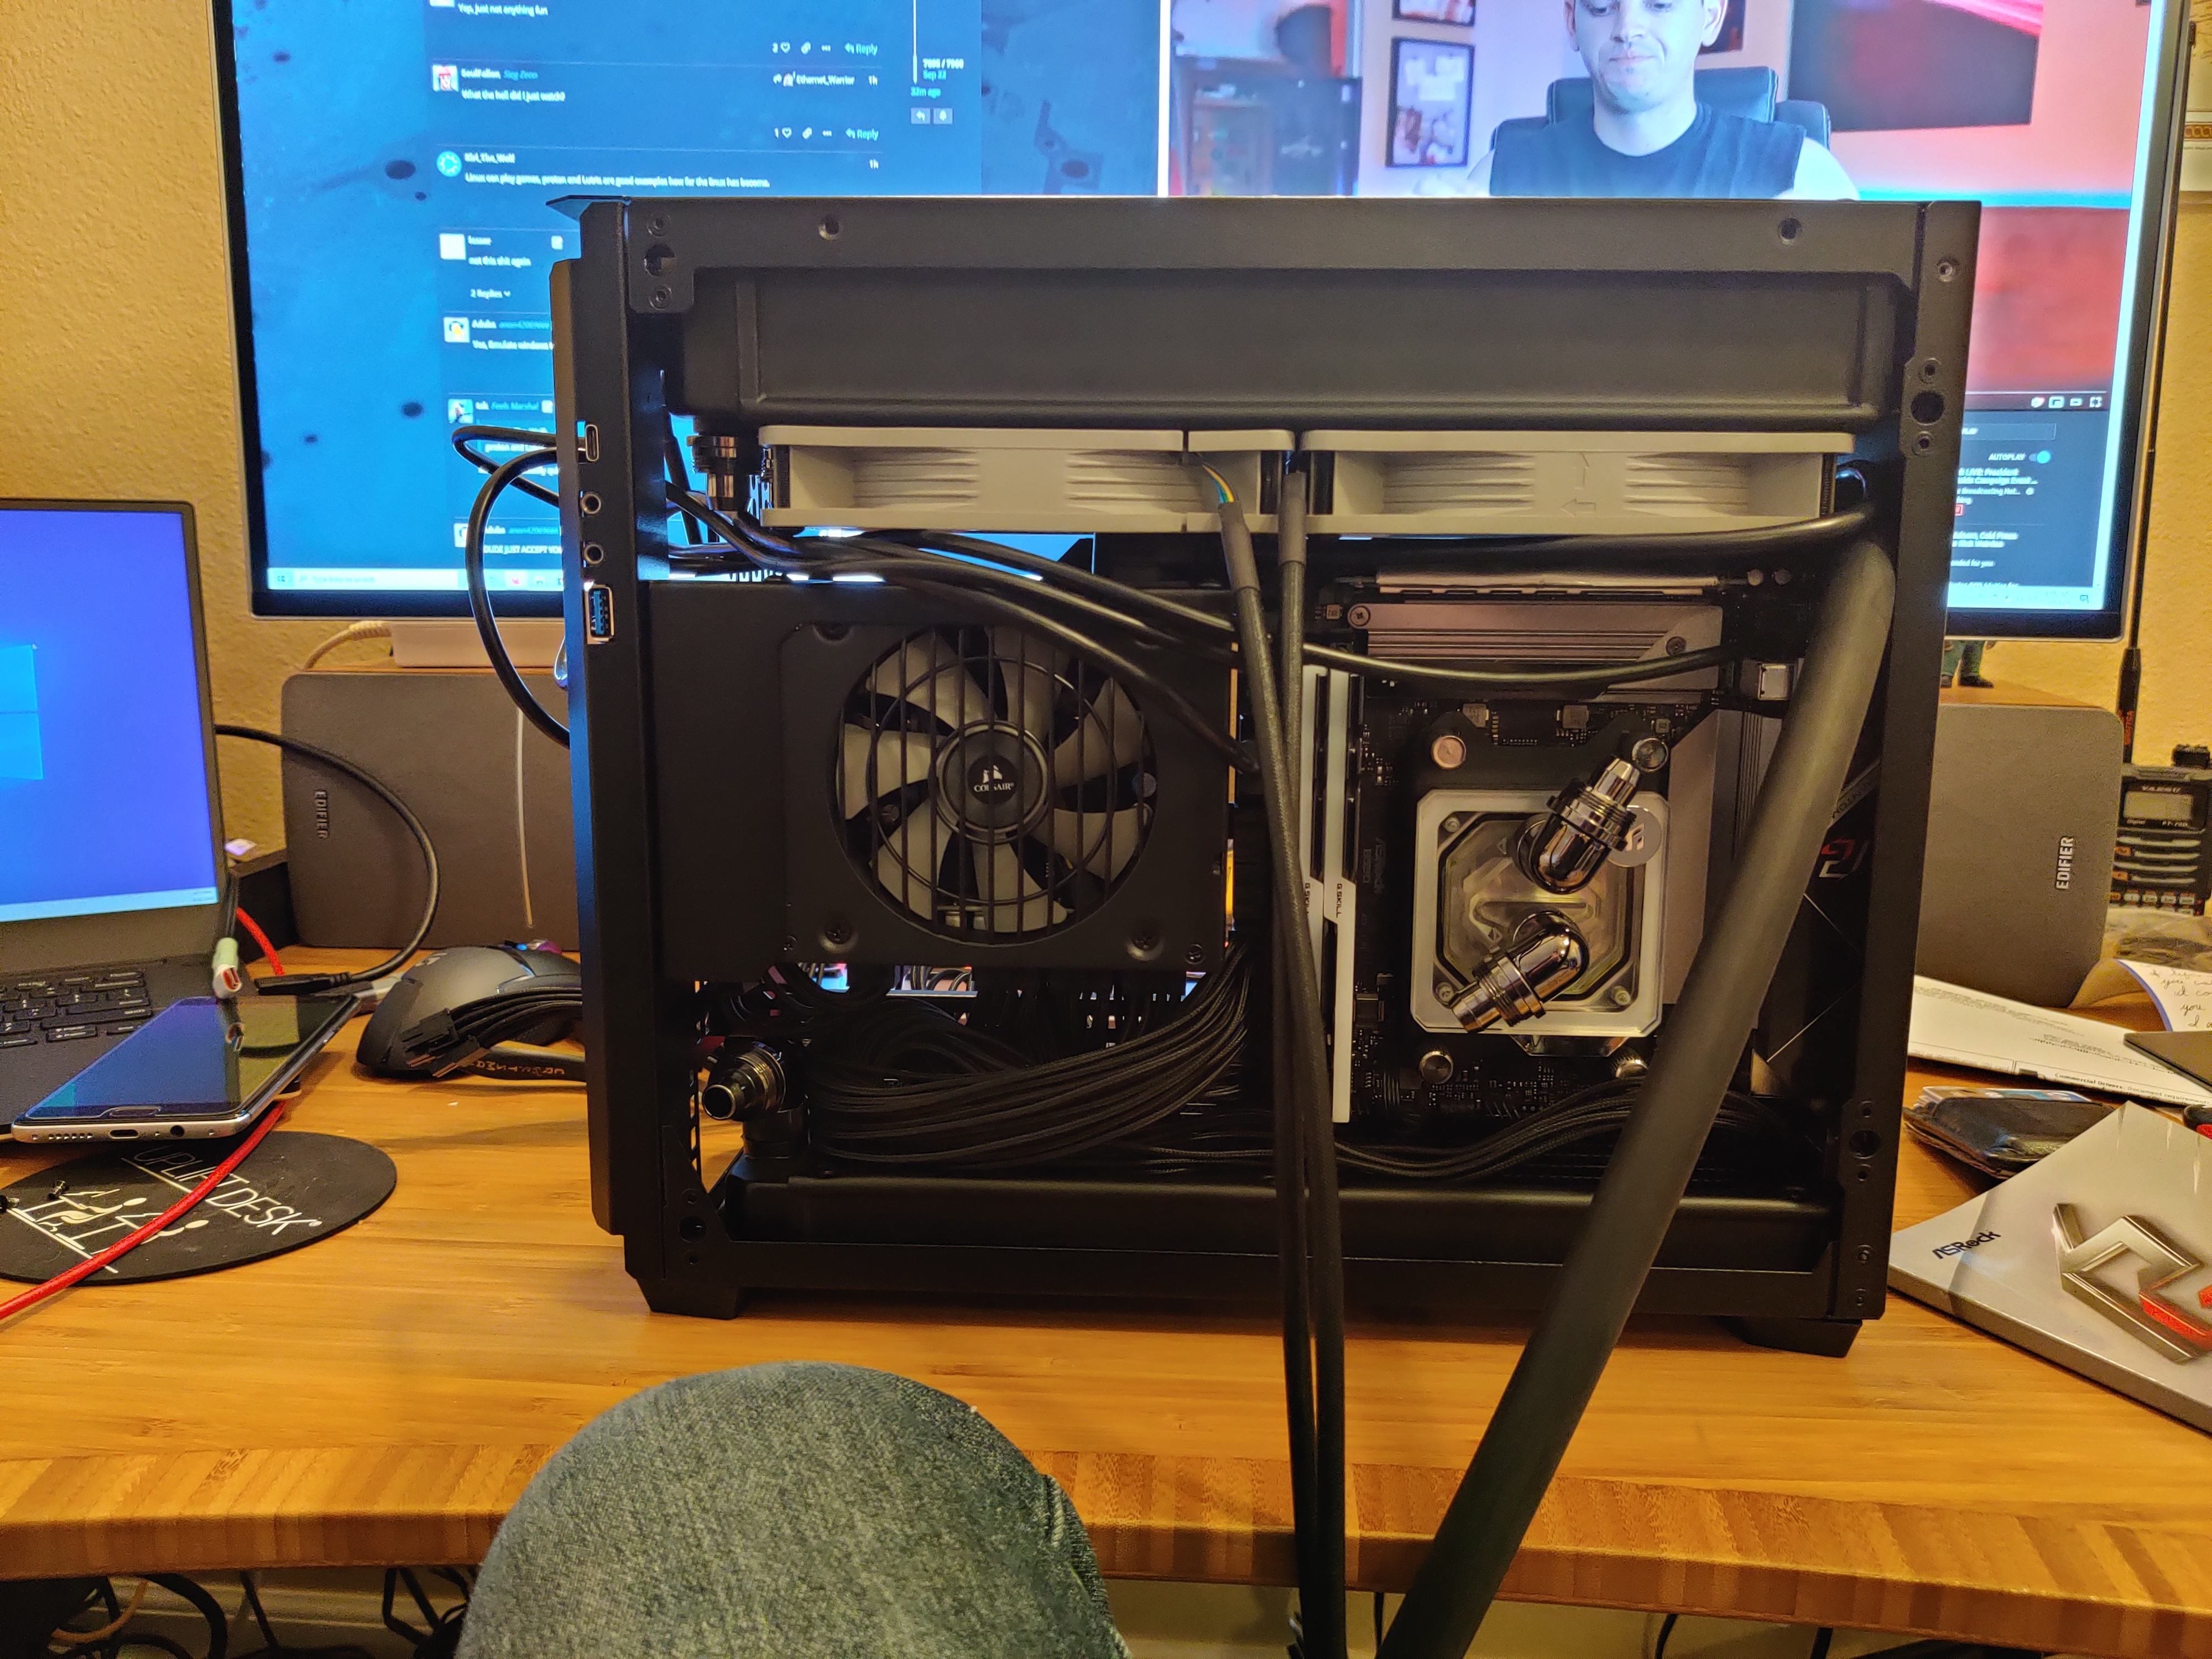
Installing the SF750 was a true pain in the ass. The PSU was properly mounted, but the case fans were too close to the power cord, preventing the fan from spinning. My solution included 12 washers between the PSU mounting bracket and the PSU itself. This dropped the whole unit 3.5mm and gave enough clearance for the power cable to fit.

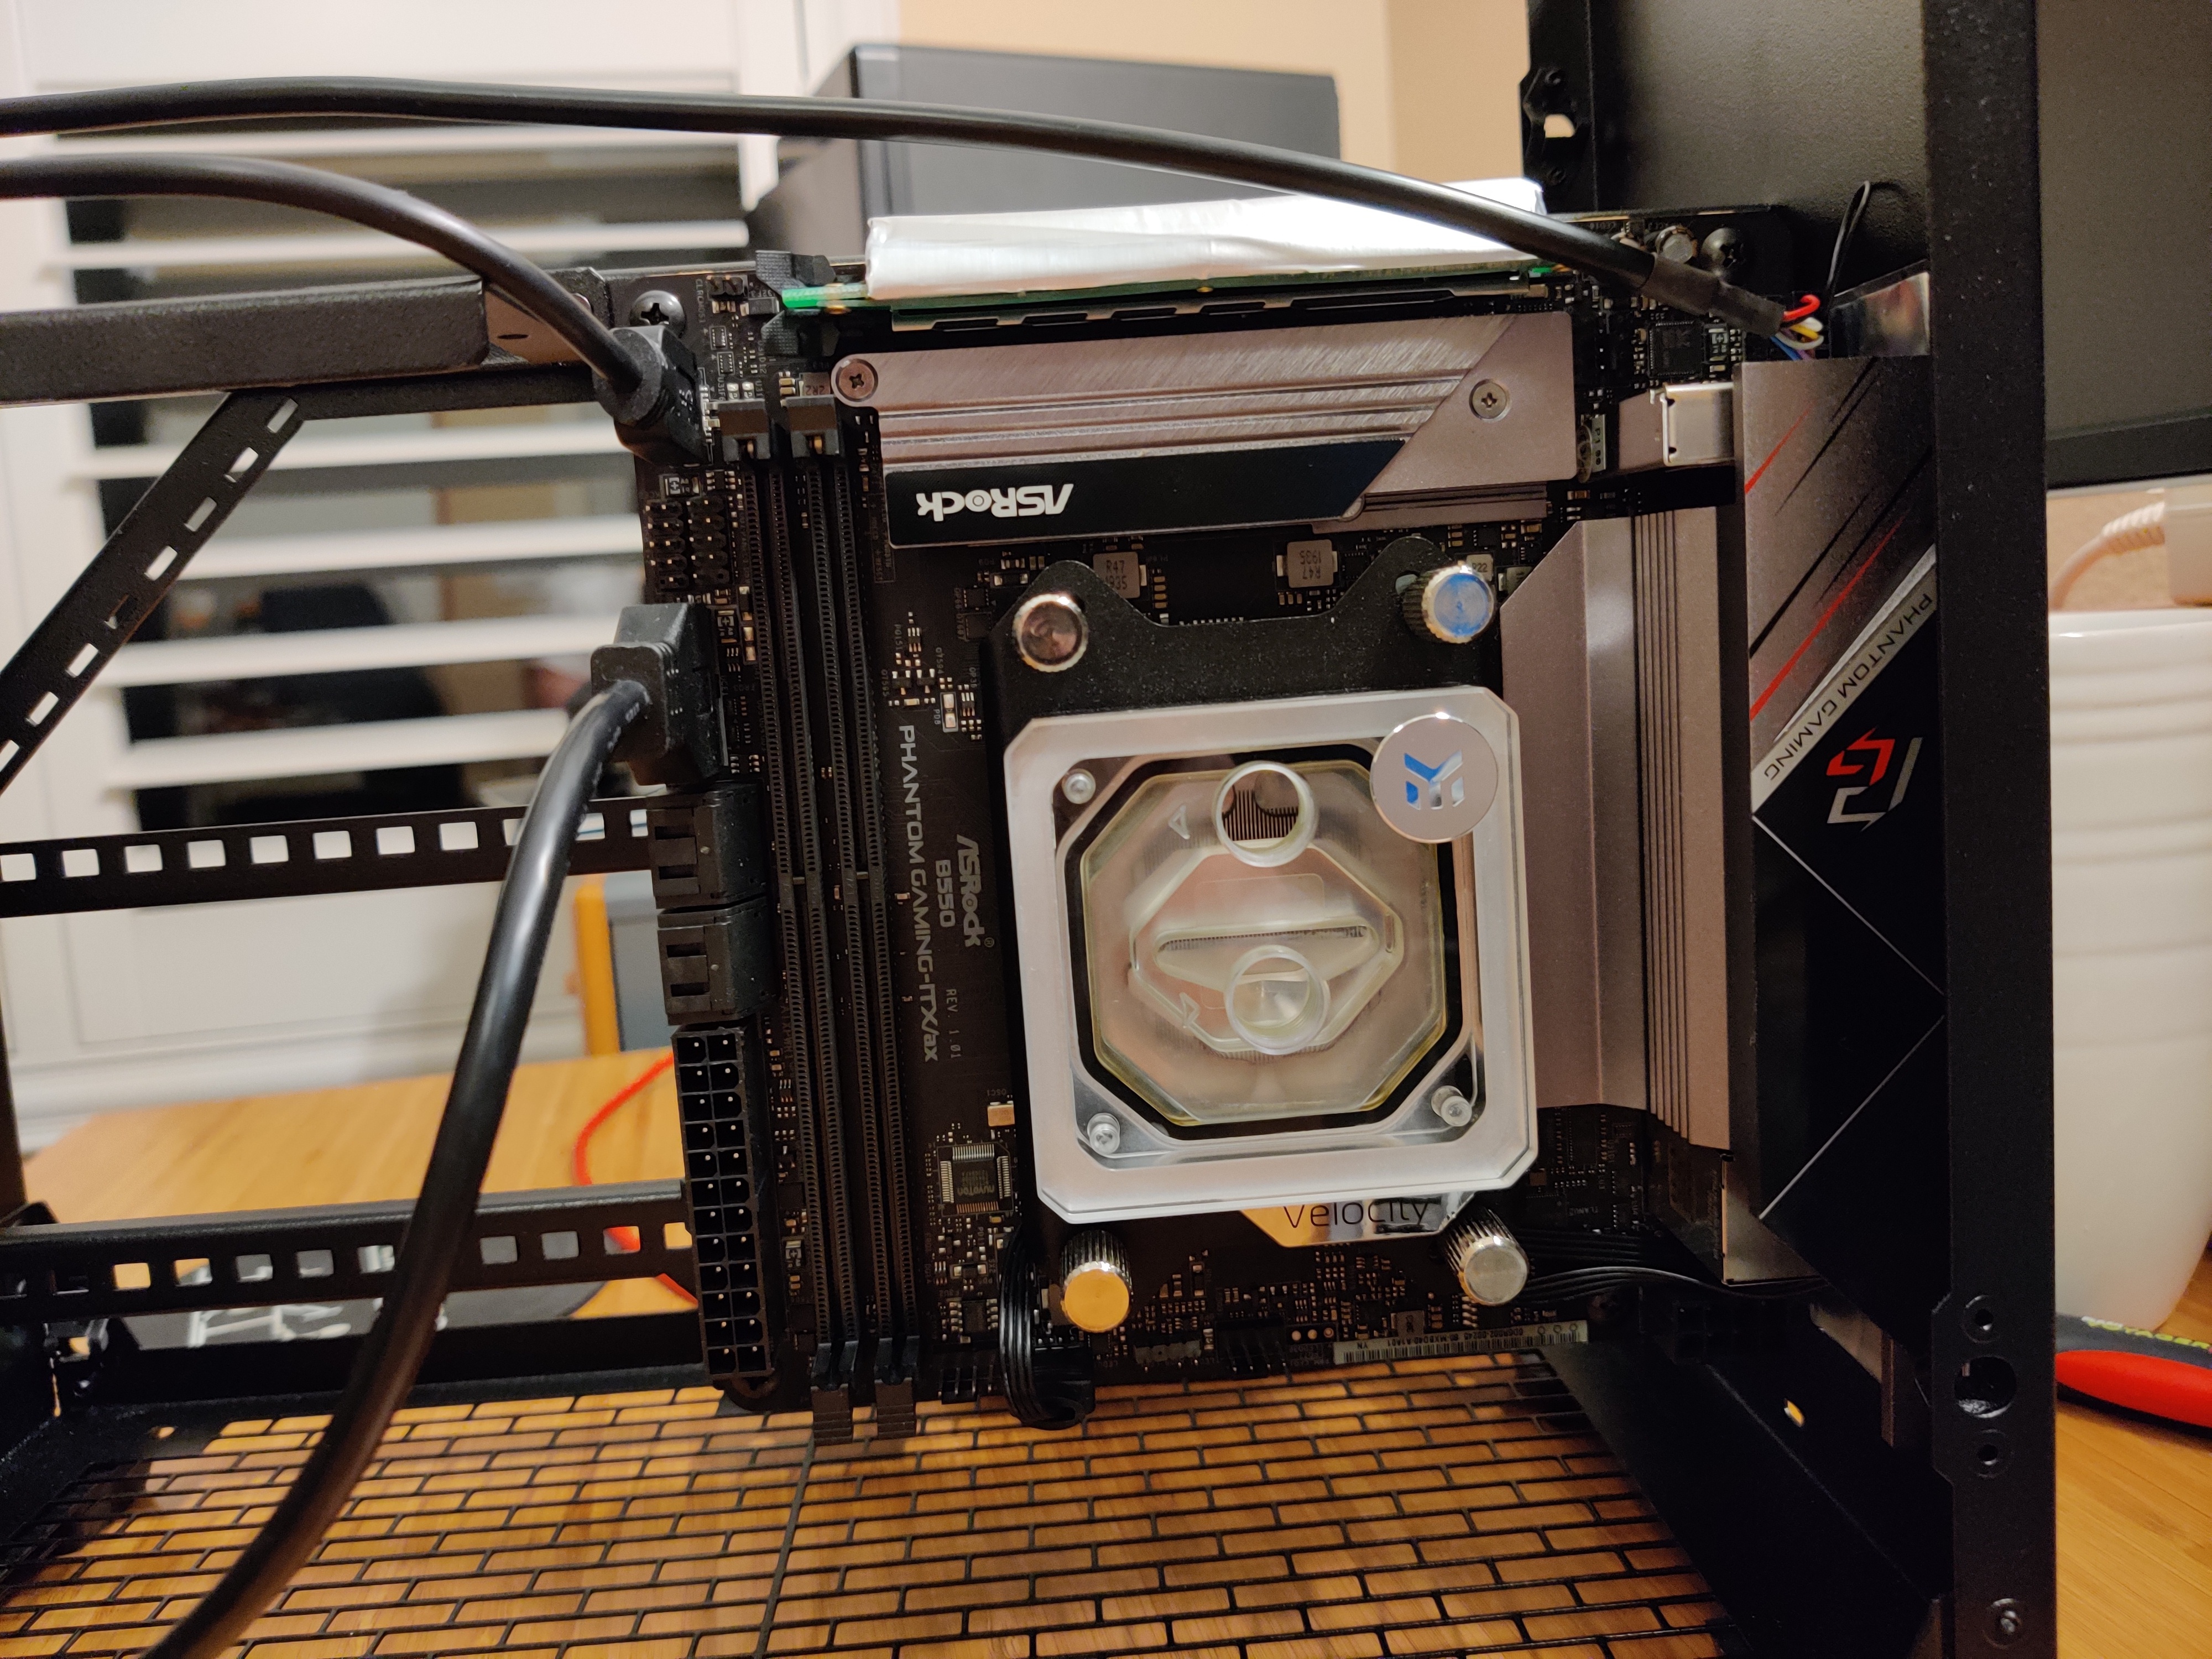
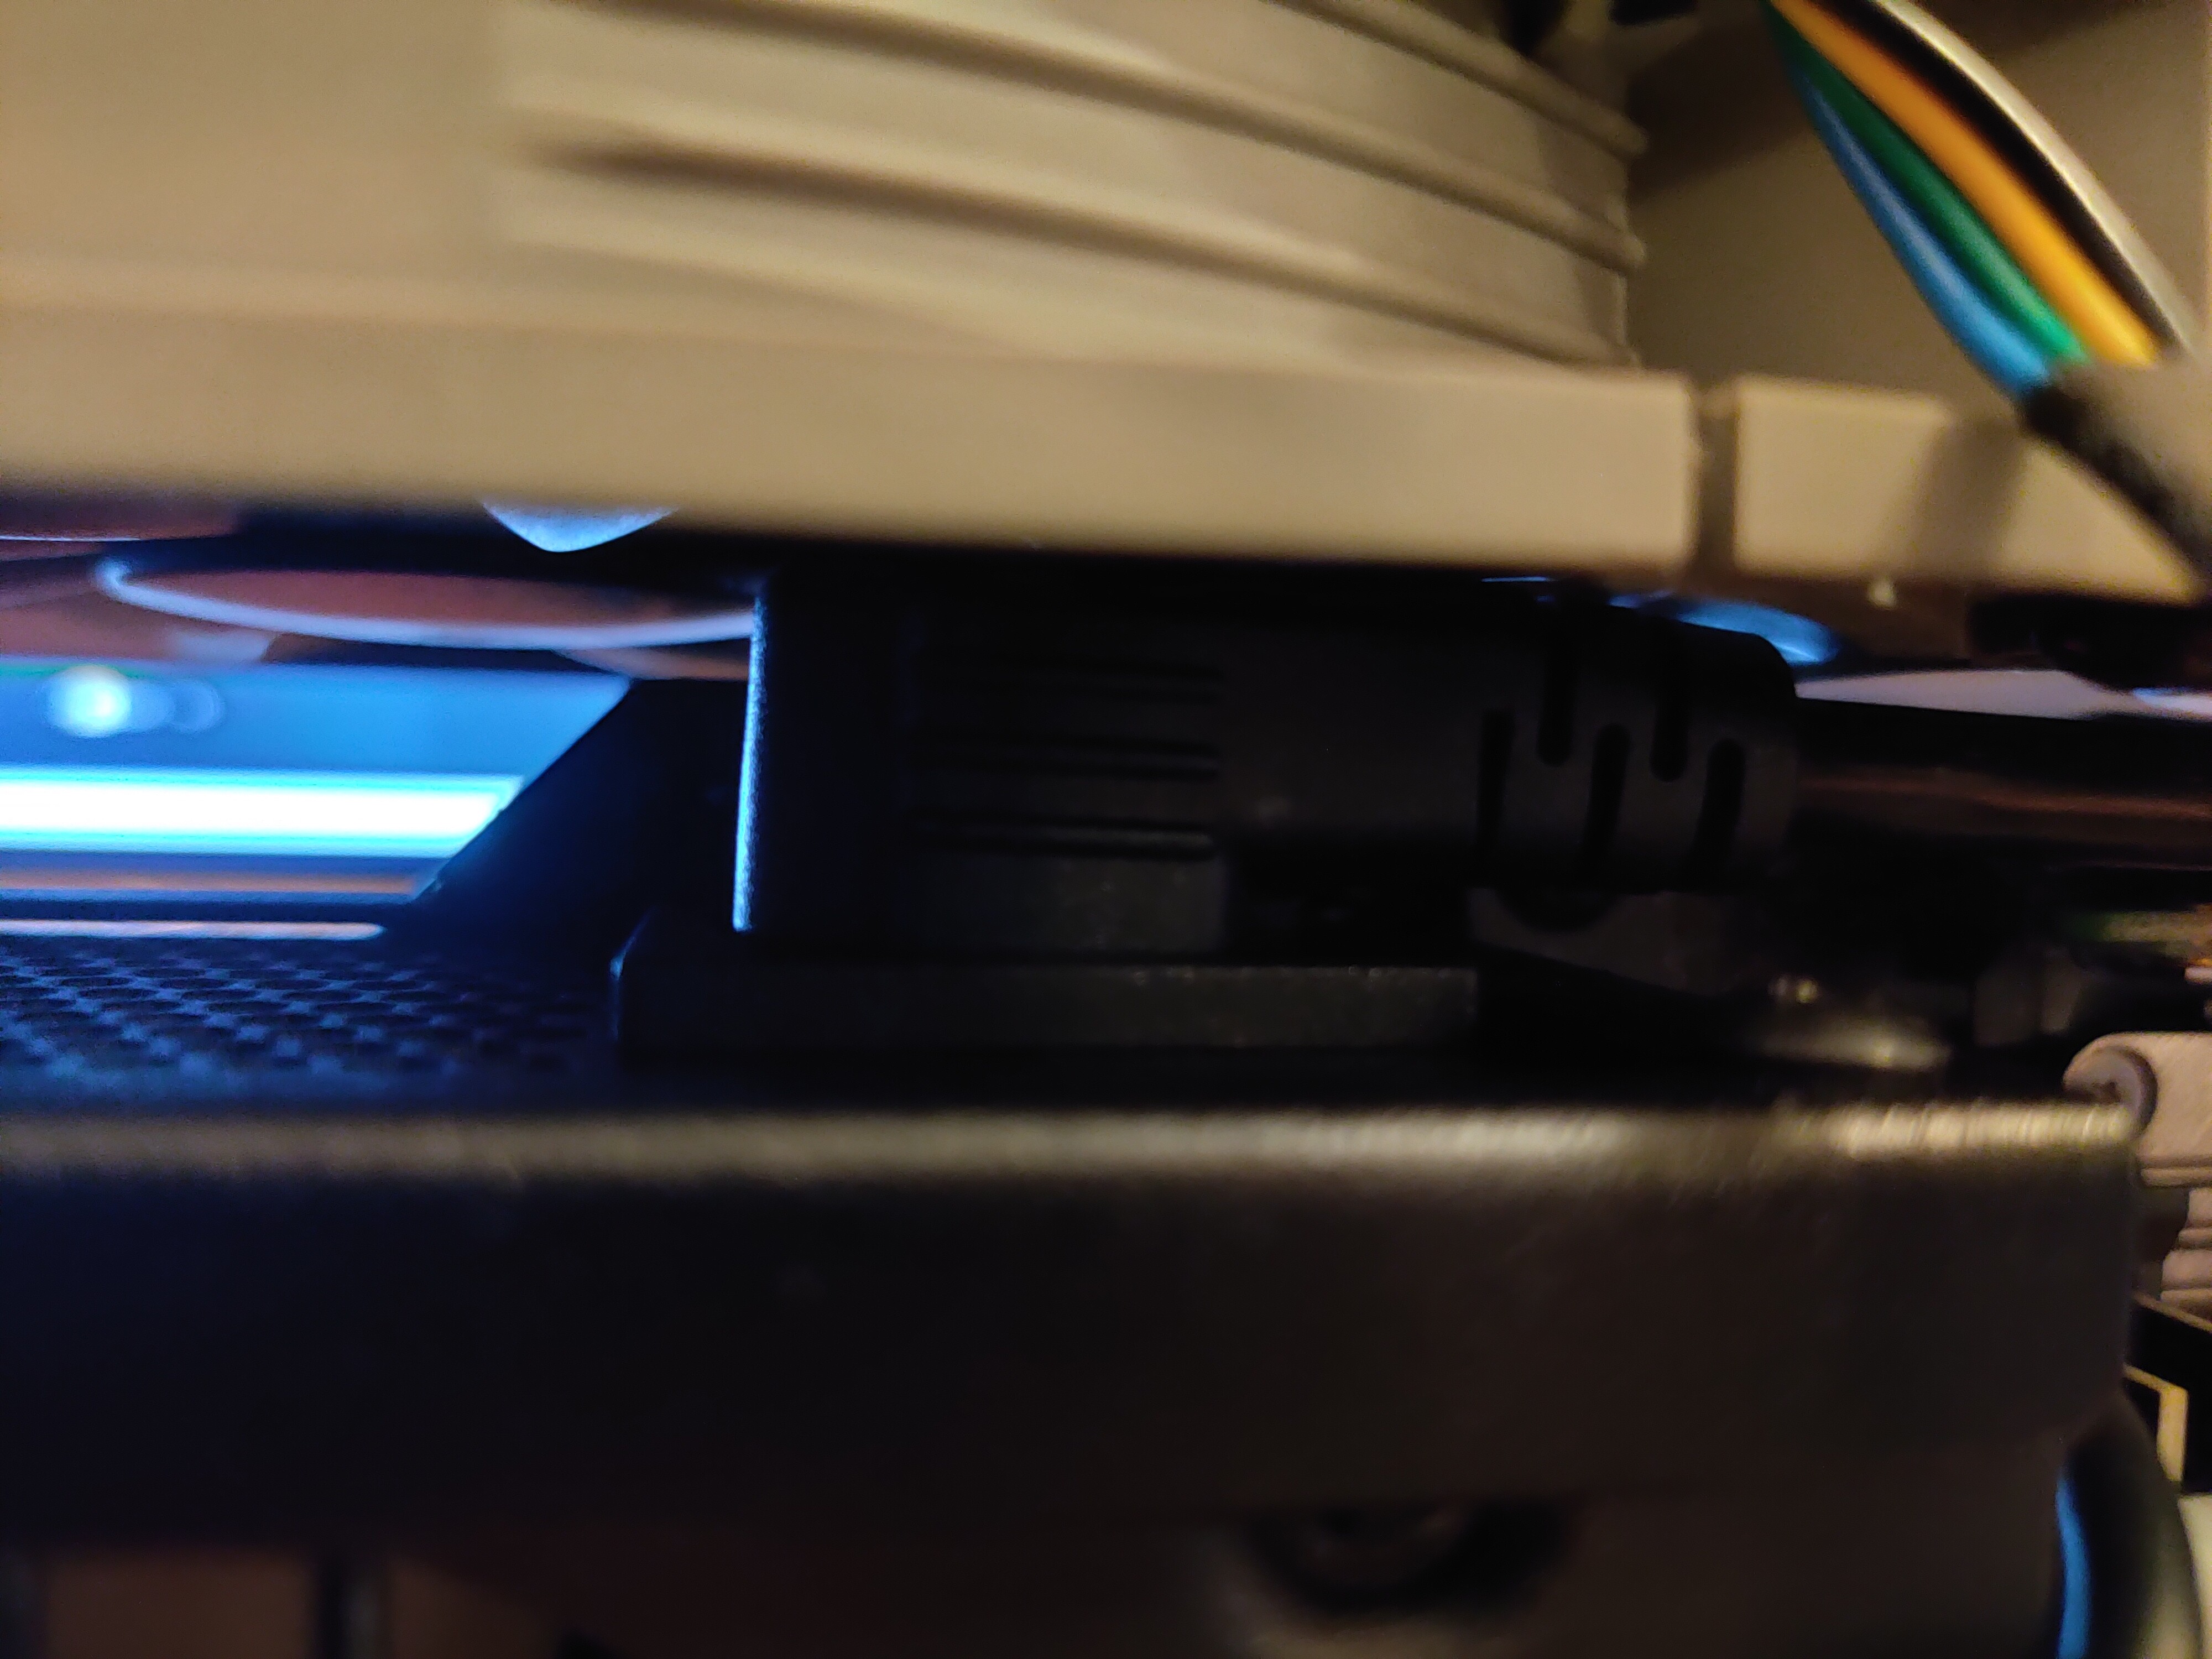
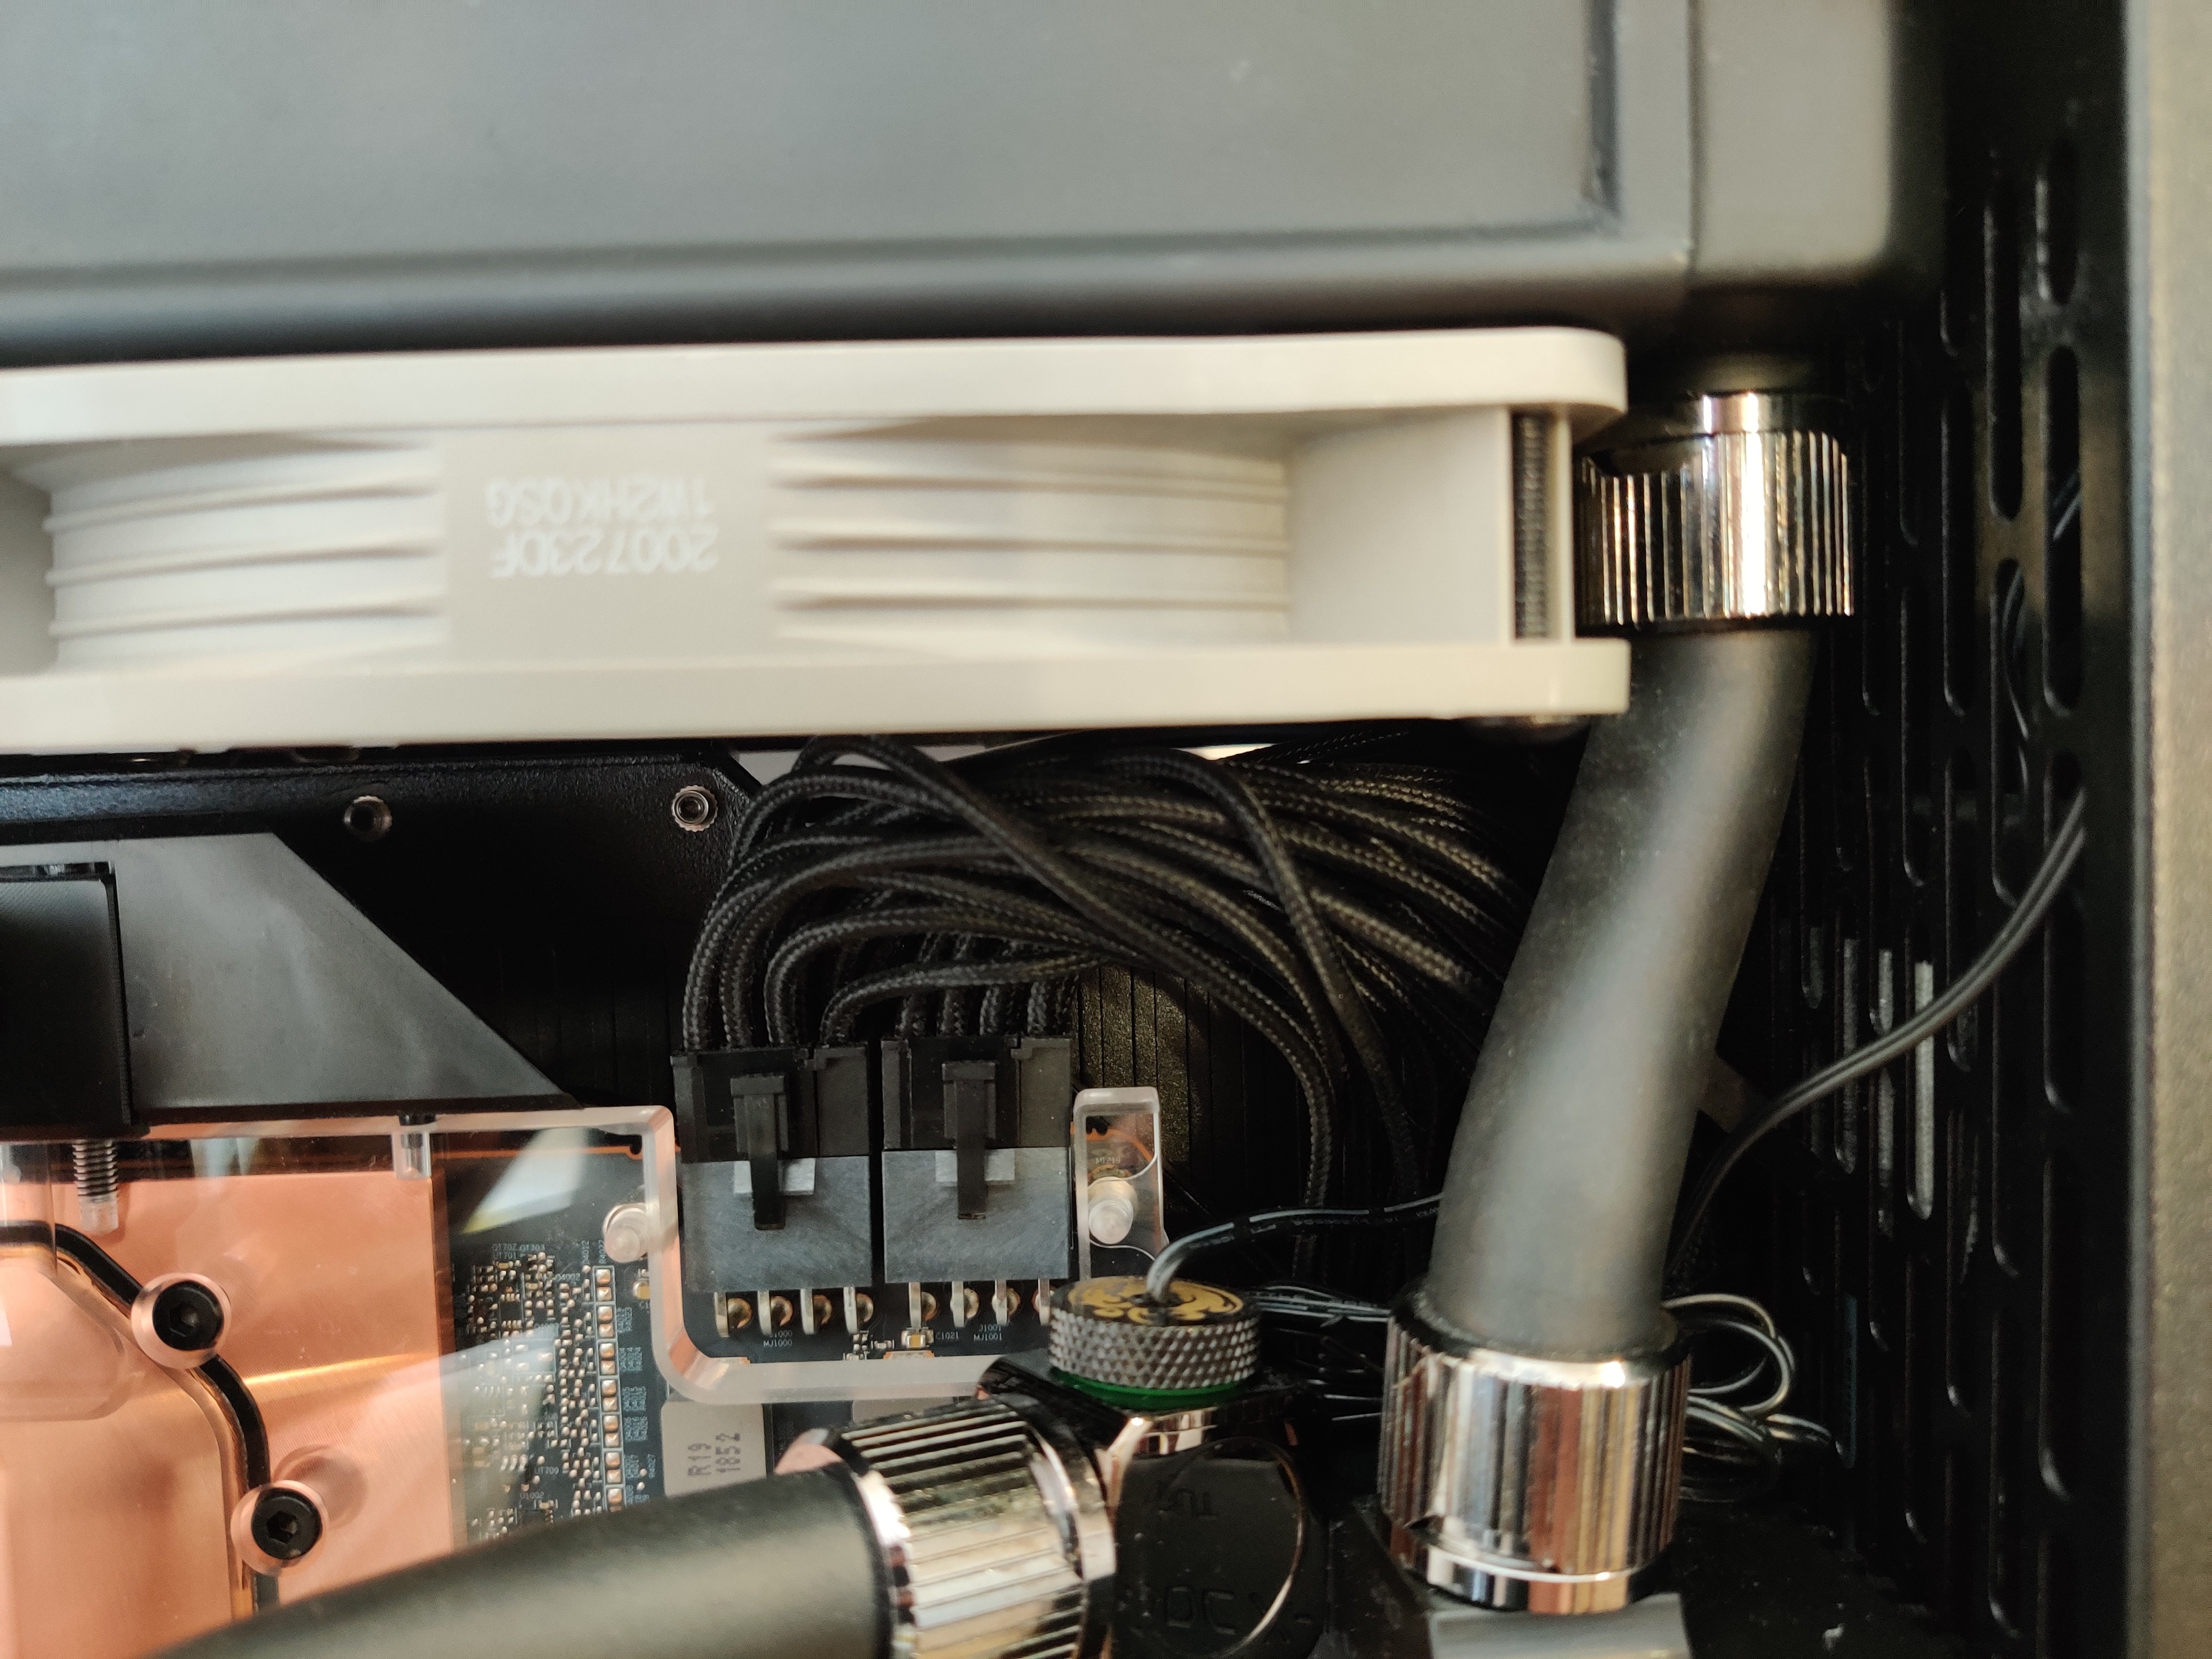
Fitting the tubing between the fan and the back of the case was a monumental task. Technically it fits, but in reality, it’s squished a bit. Here, smaller tubing would be a godsend. Good thing I’m not taking this case apart for years.
These fittings are approximately 2mm too tall for this case. the side panel bulges out ever so slightly because of the size of the fittings. If anyone is planning to duplicate this build, I would go with the smaller soft tubing, so that you can use smaller fittings.
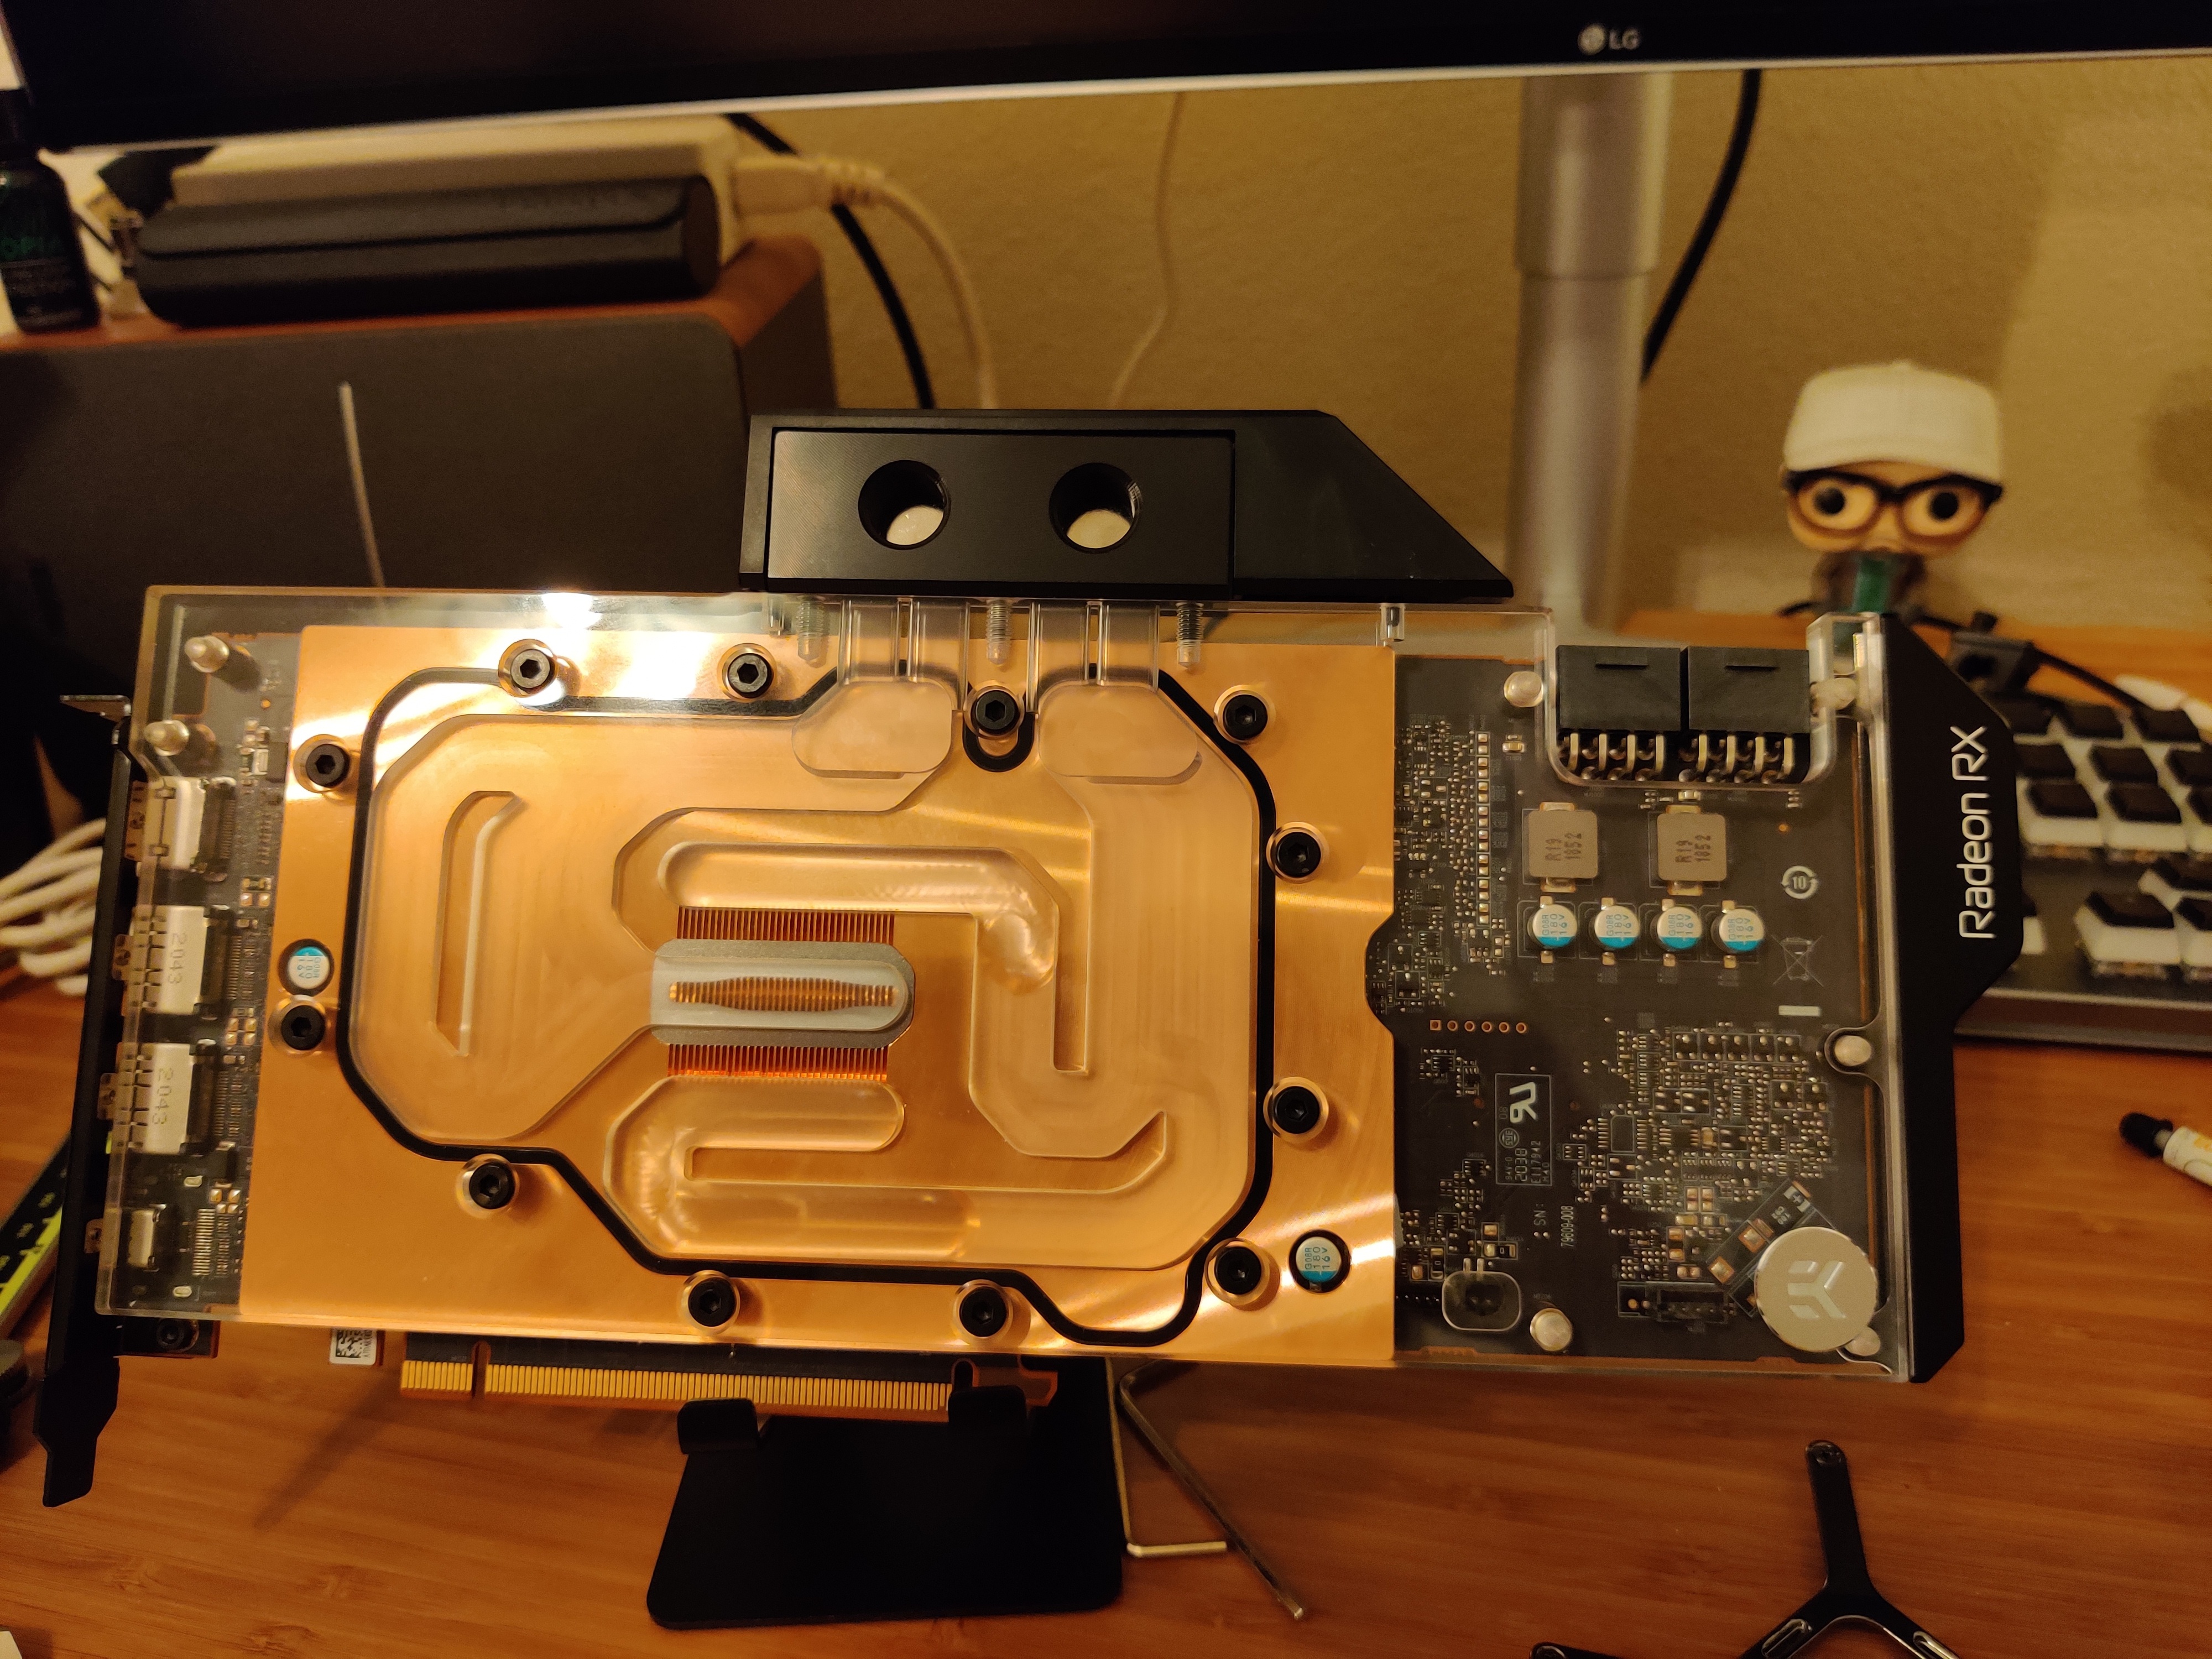
I had to wait 3 months to get a proper GPU for this system, but damn, was it worth the wait. The 6900xt is an absolute monster and is the first card that I feel is properly suited to power my 3840x1600 ultrawide. During that time, I had a Zotac 1080 mini in there, aircooled.
One interesting thing to note is that the aircooled Zotac (and to a larger extent the same was happening with the 6900xt when it was on air), would actually render the radiators ineffective, by blowing hot air into them. This was a very odd phenomenon that I think might be the subject of further investigation by myself in the future.
Mods
This build was not so easy. I had to do some minor case mods to get everything to fit properly.
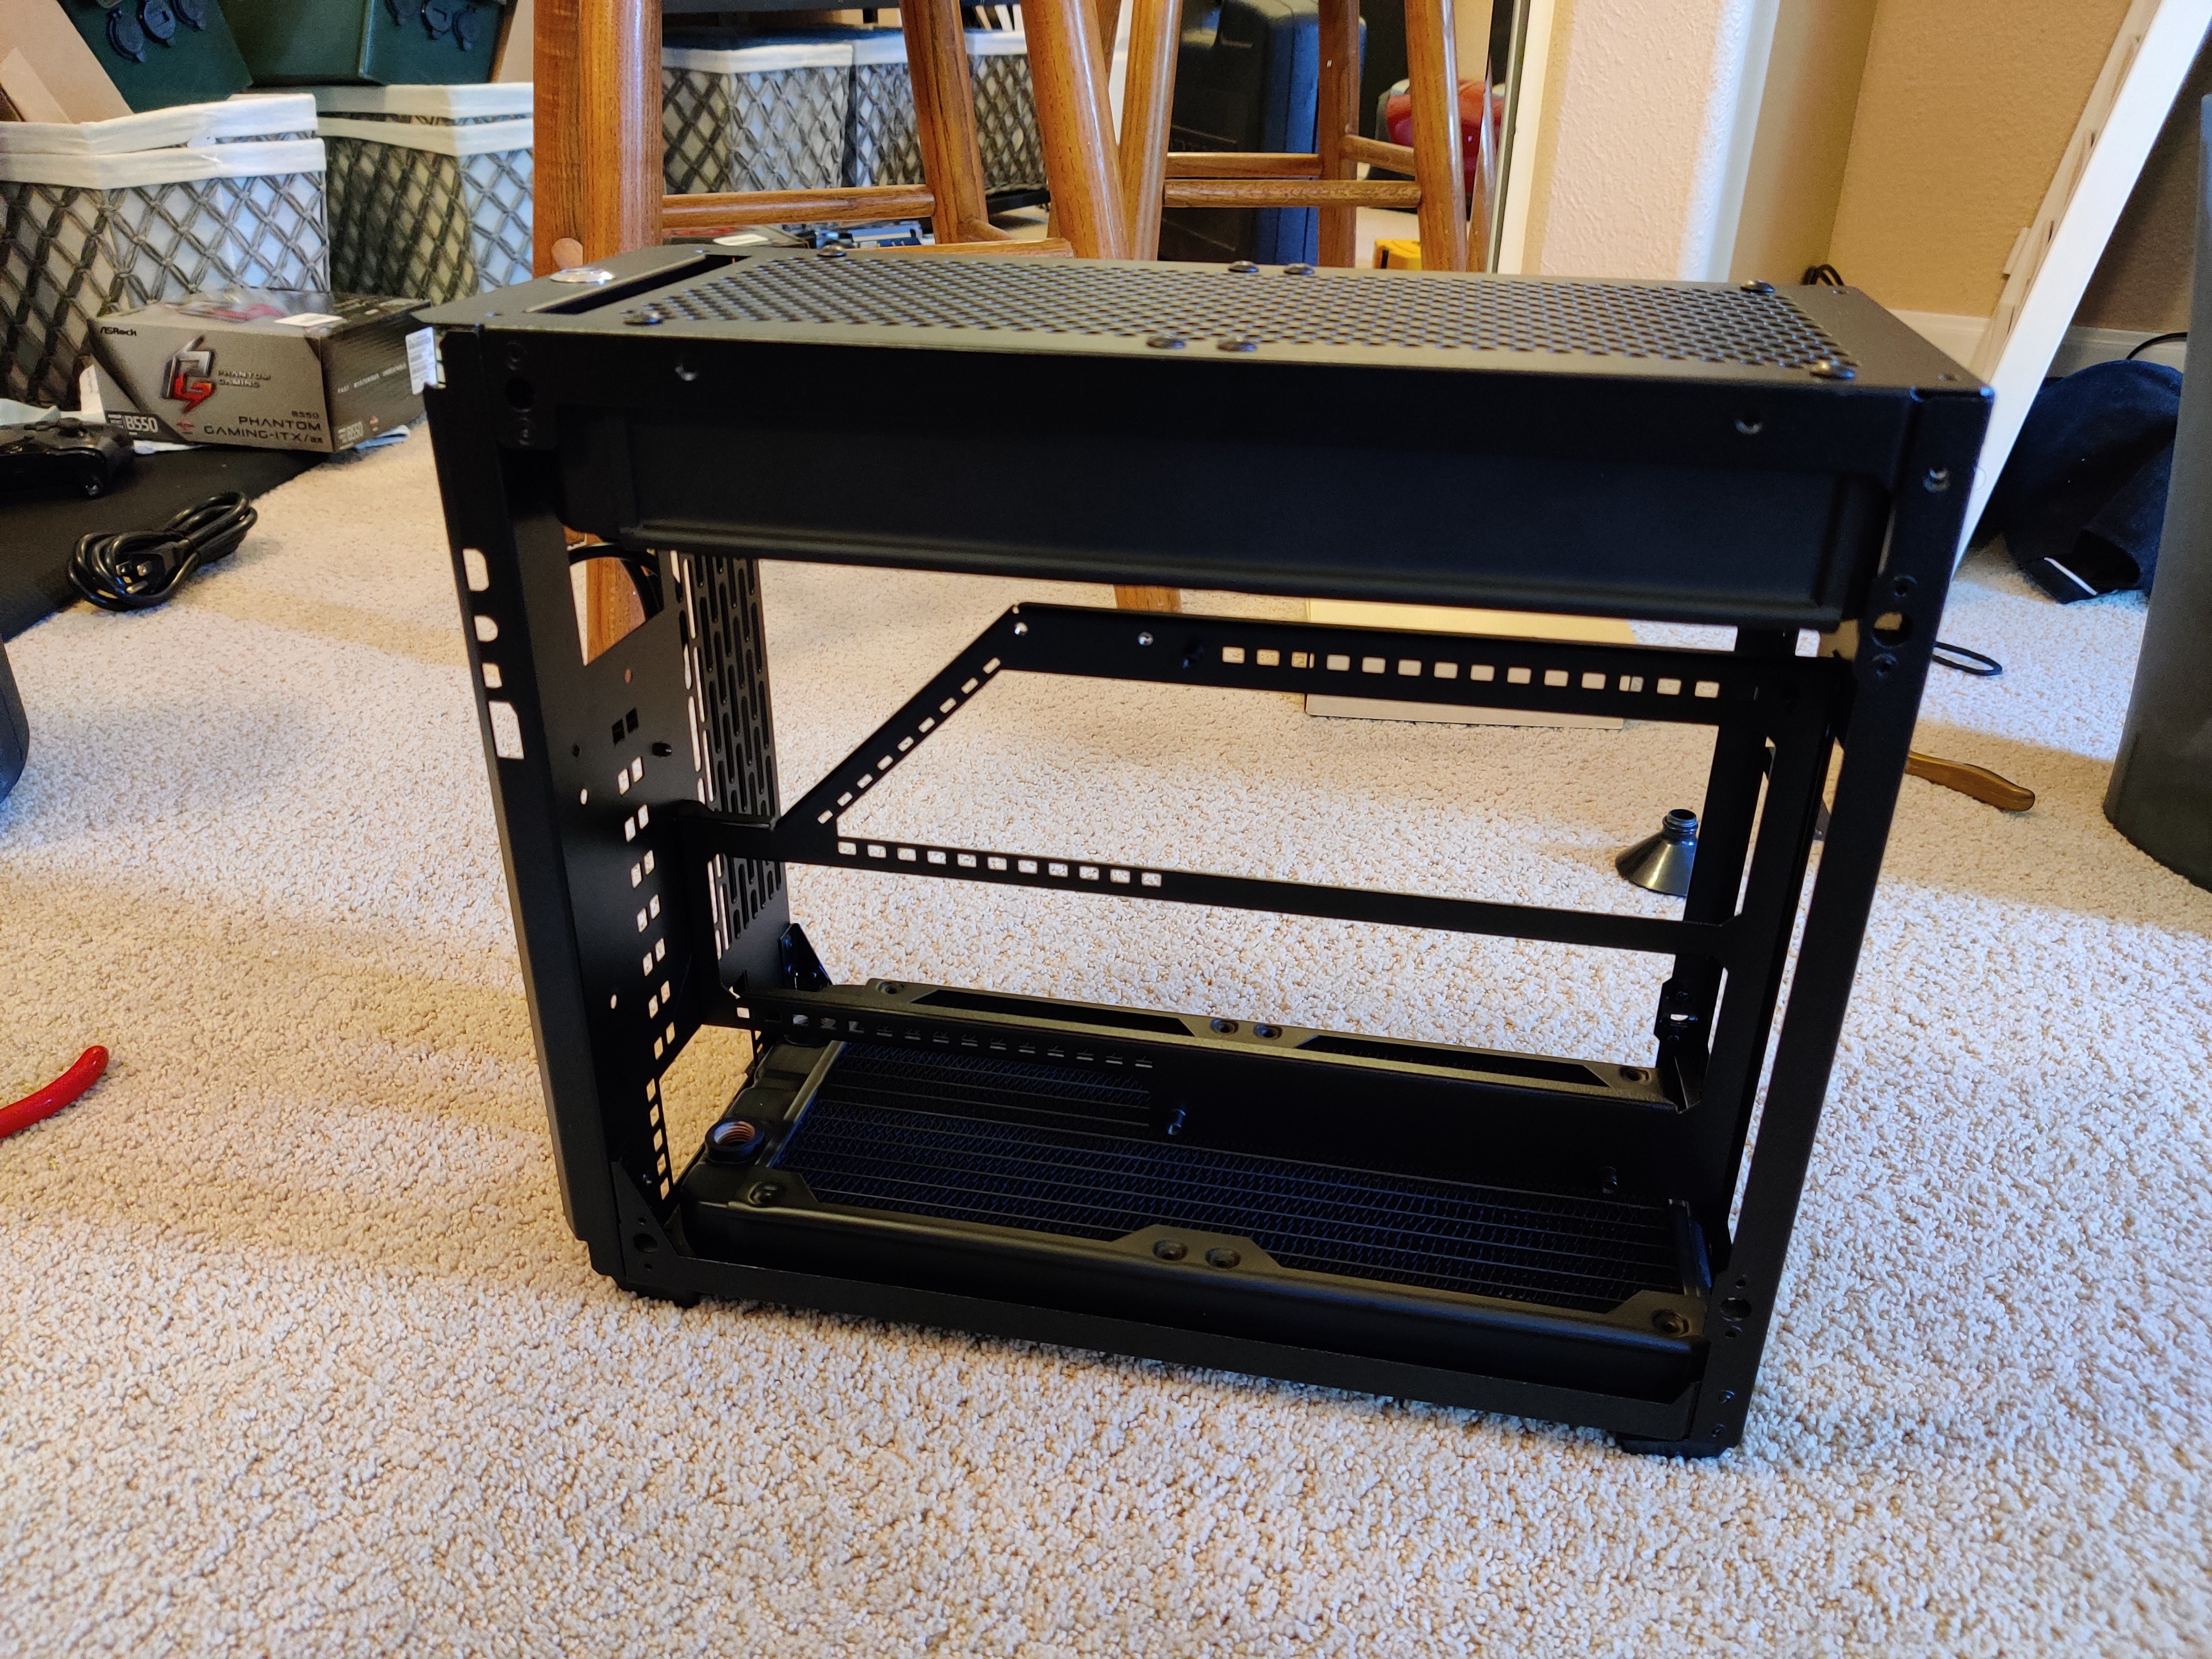
First, the top bracket had a “subframe” of sorts that you are supposed to mount a 120mm rad to. Well, that subframe was taking up about 8mm, so it had to go. I drilled holes into the top of the case to mount the rad and in it went.
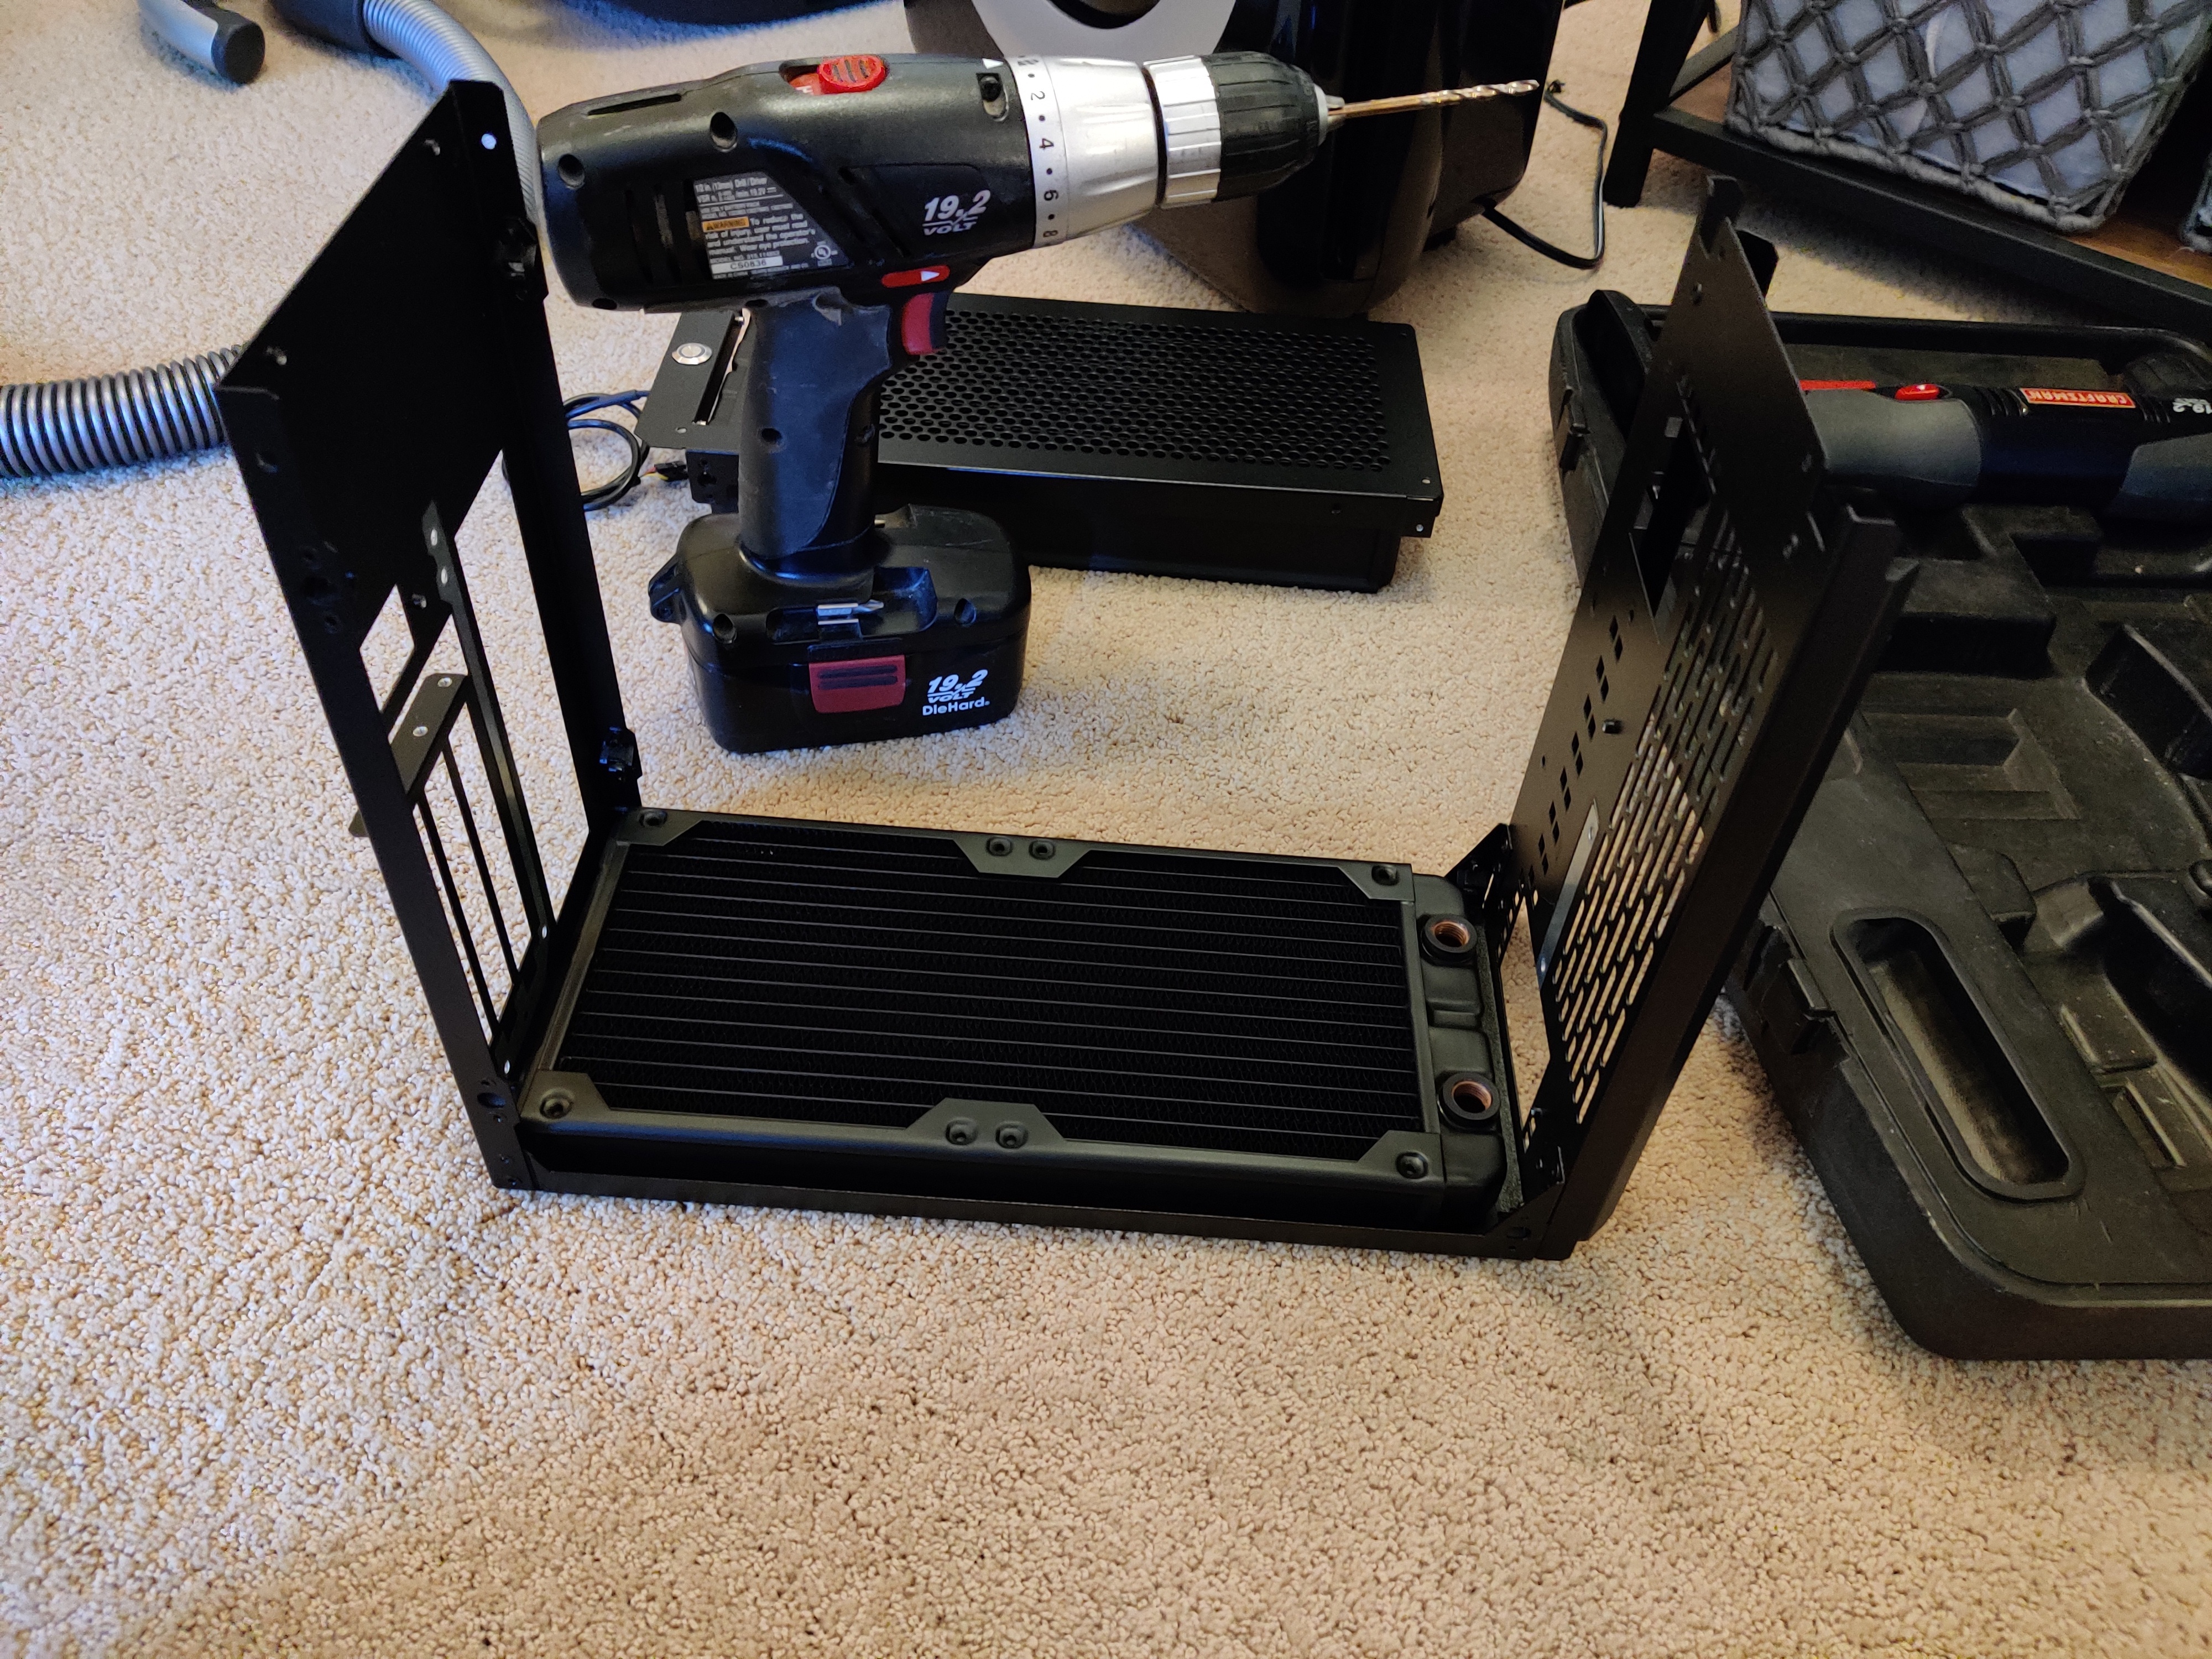
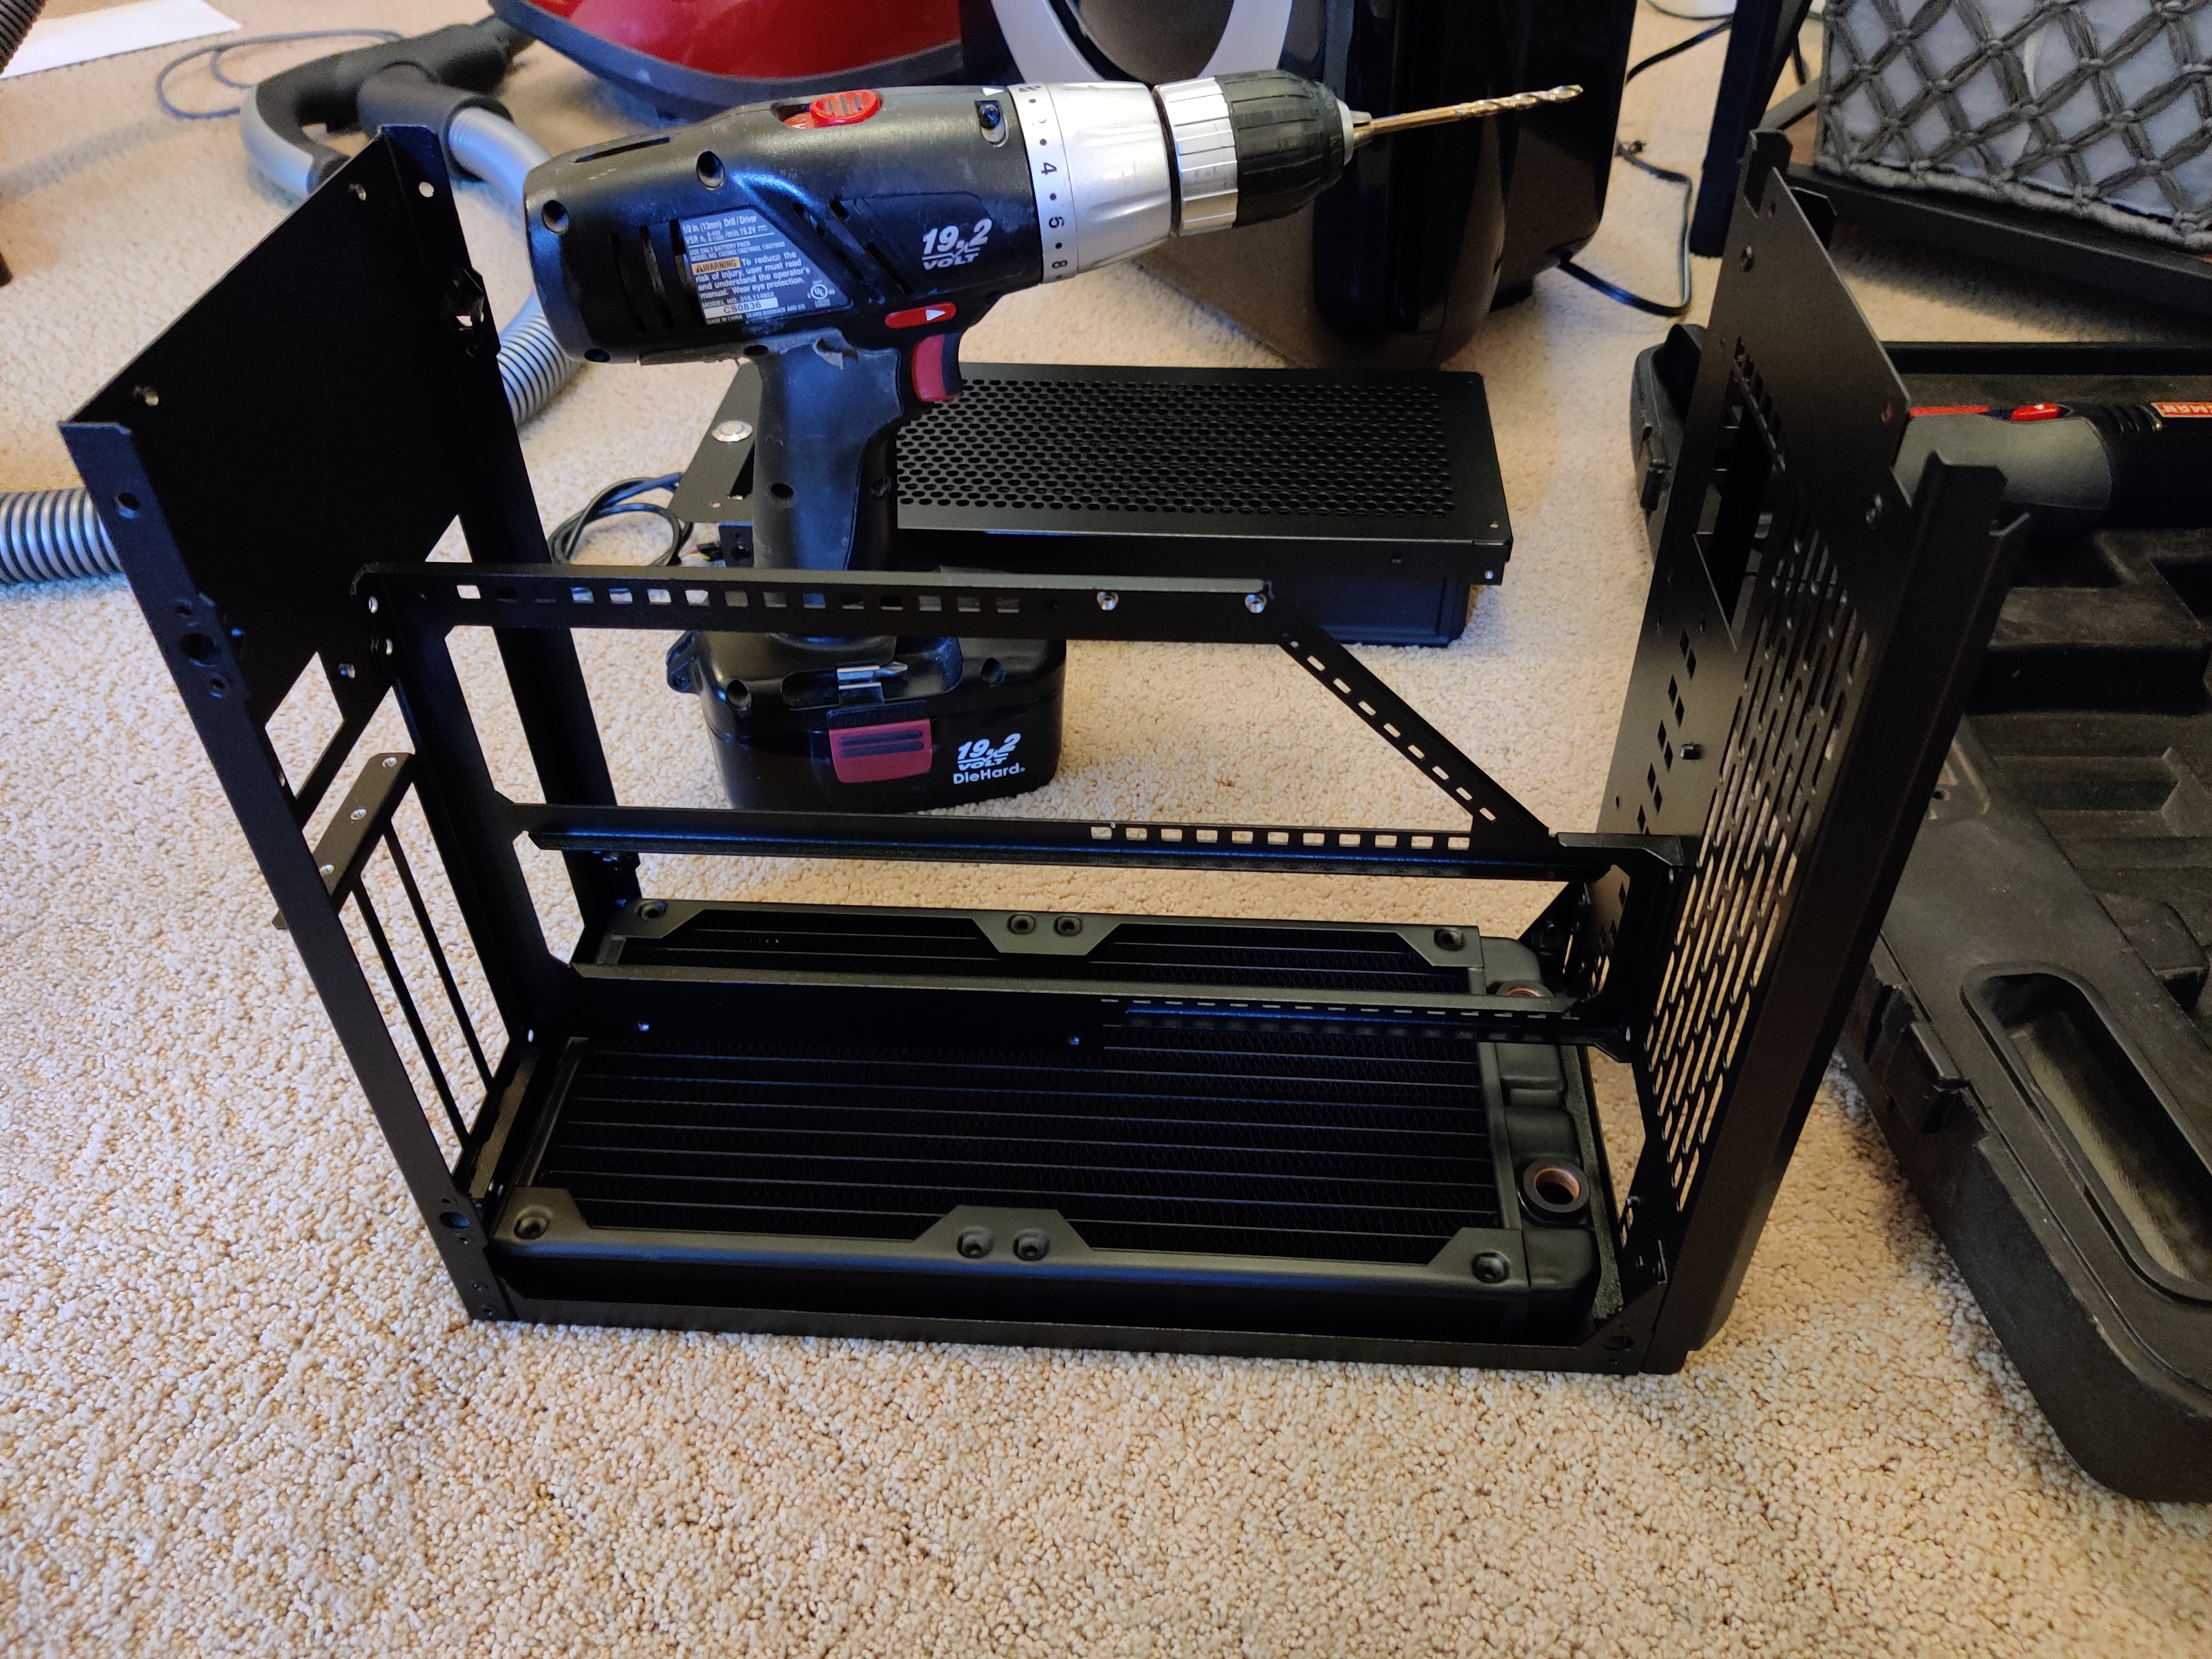
Secondly, I had to do the same thing with the bottom radiator. I needed to really think this one out. I had approximately 30mm of room under the “spine” of the sandwich in the case. The radiator is 30mm thick. Due to the physical dimensions of the radiator and the lip at the bottom of the case, I could technically fit the rad into the case, but it could not be inserted. So, I had to drill out the rivets holding the case spine in place. after drilling the rivets, I was able to permanently install the bottom radiator into the case and replace the rivets.
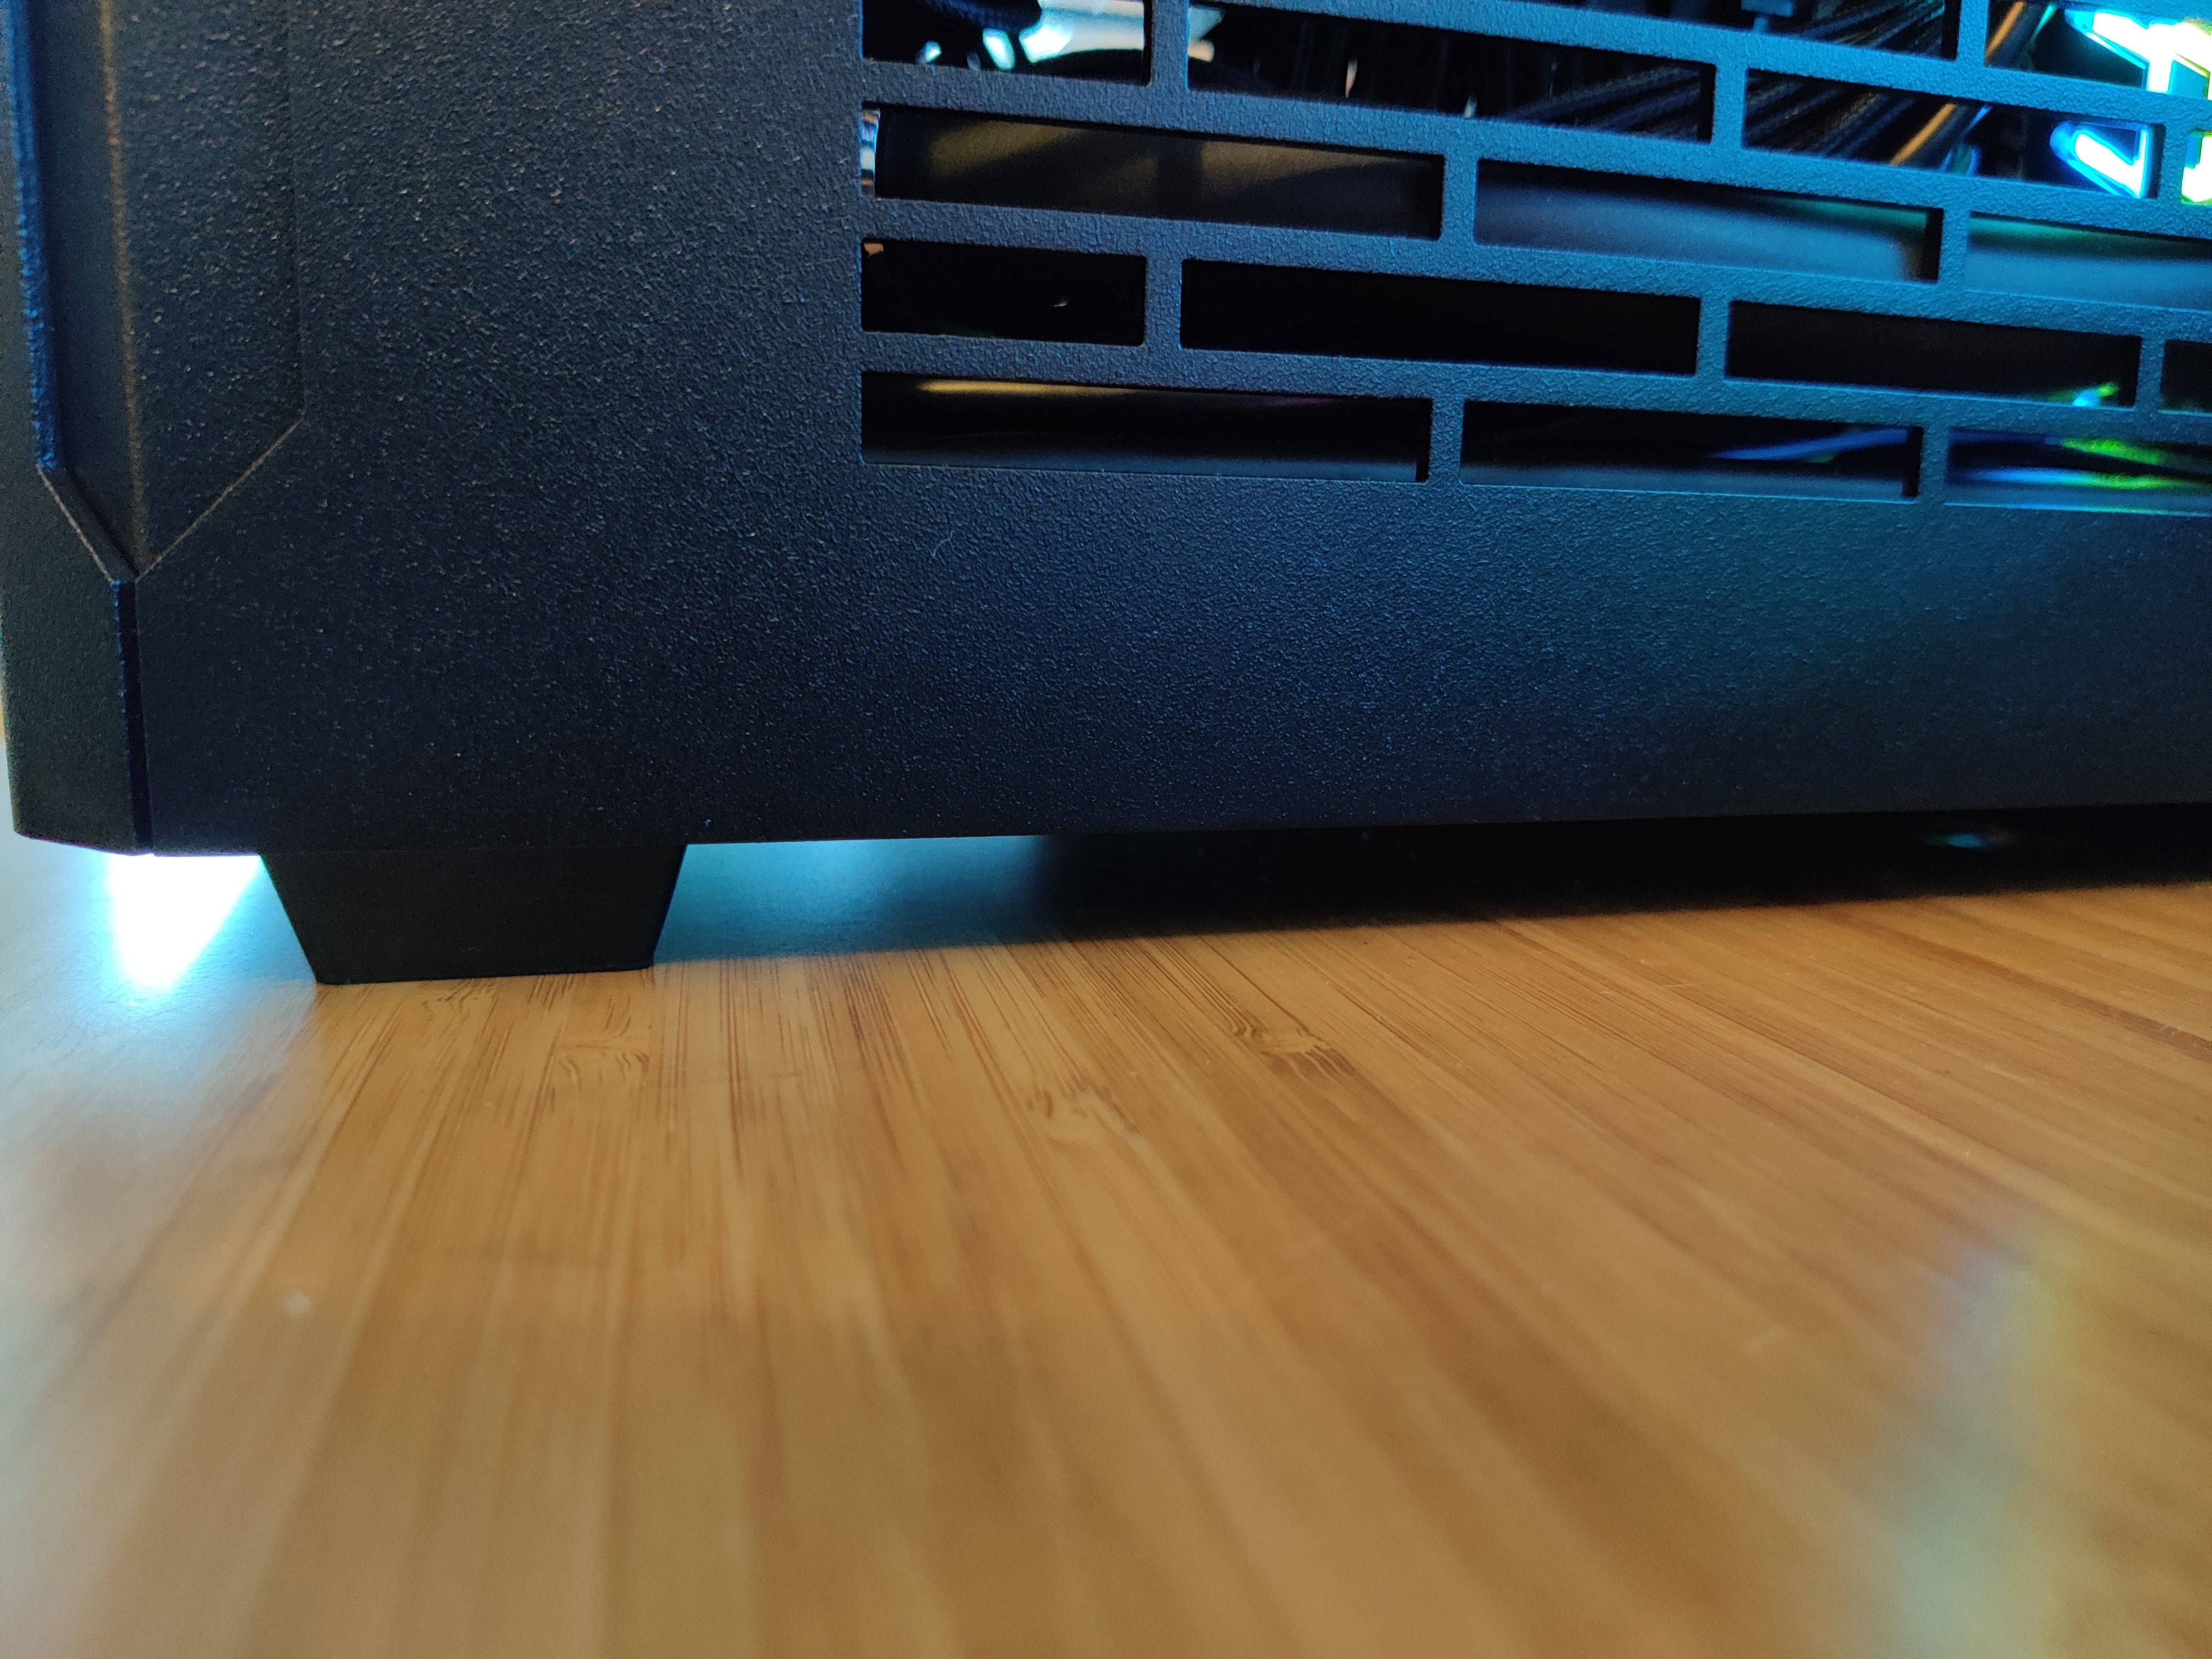
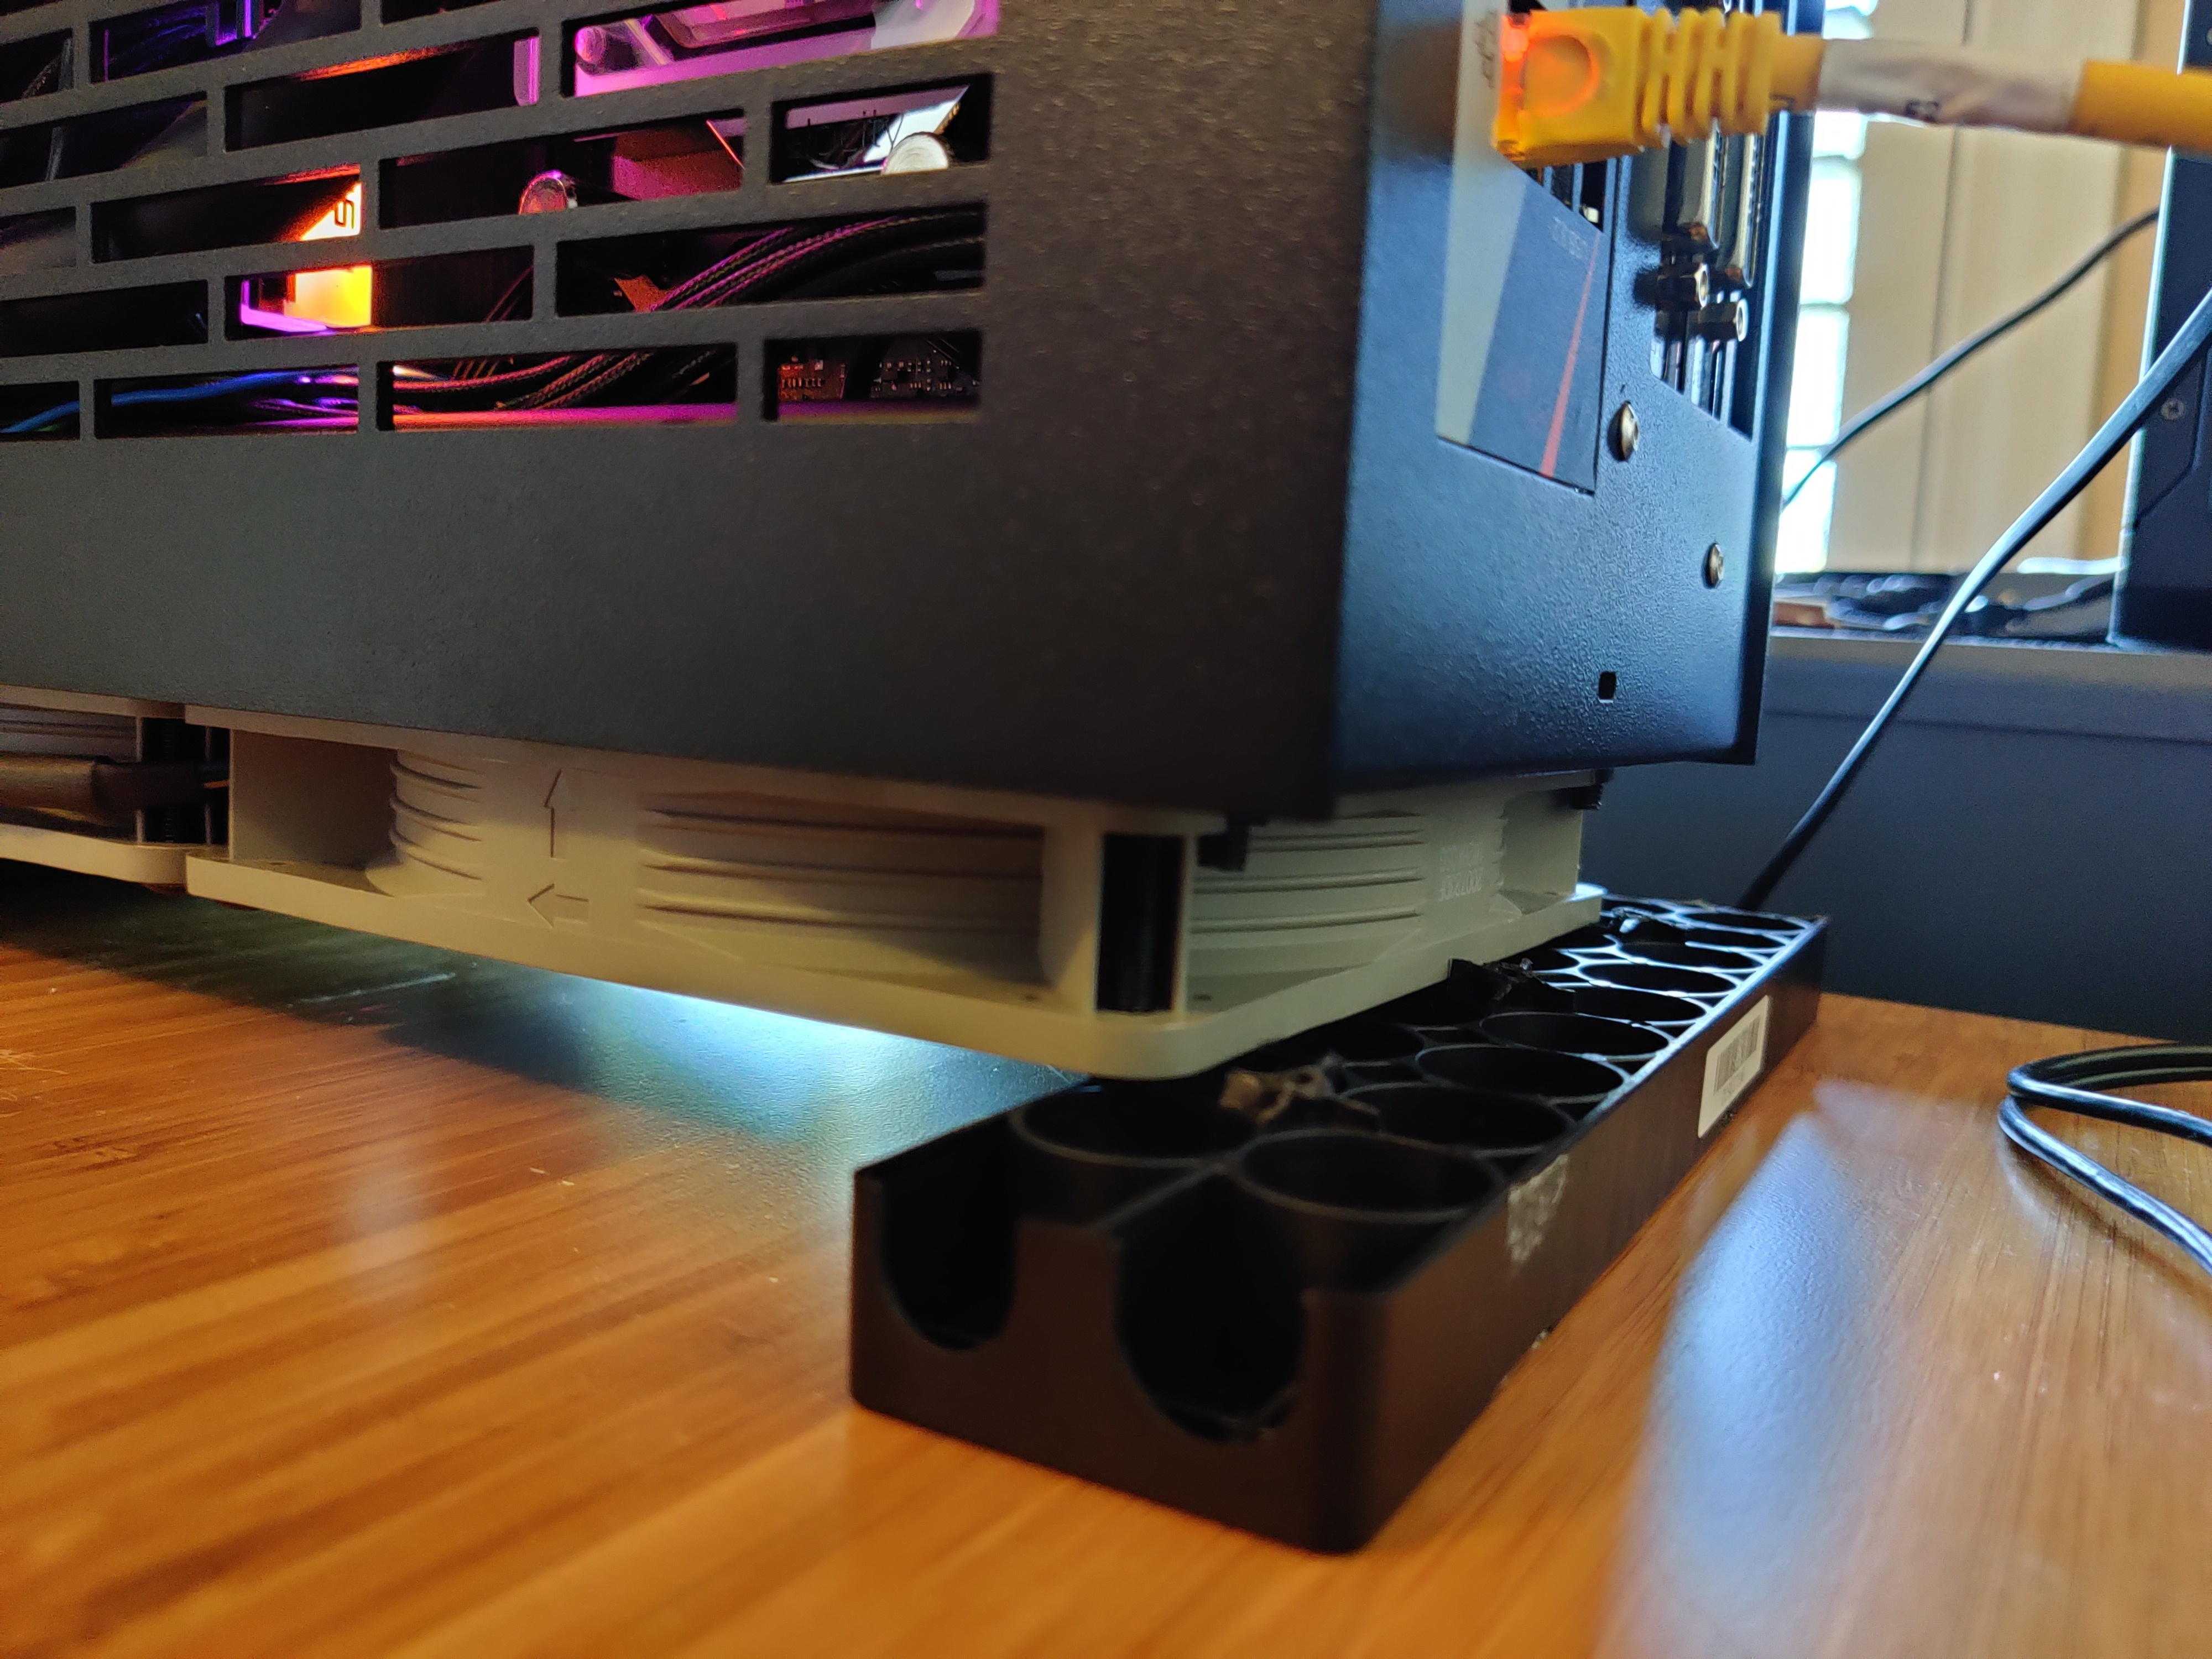
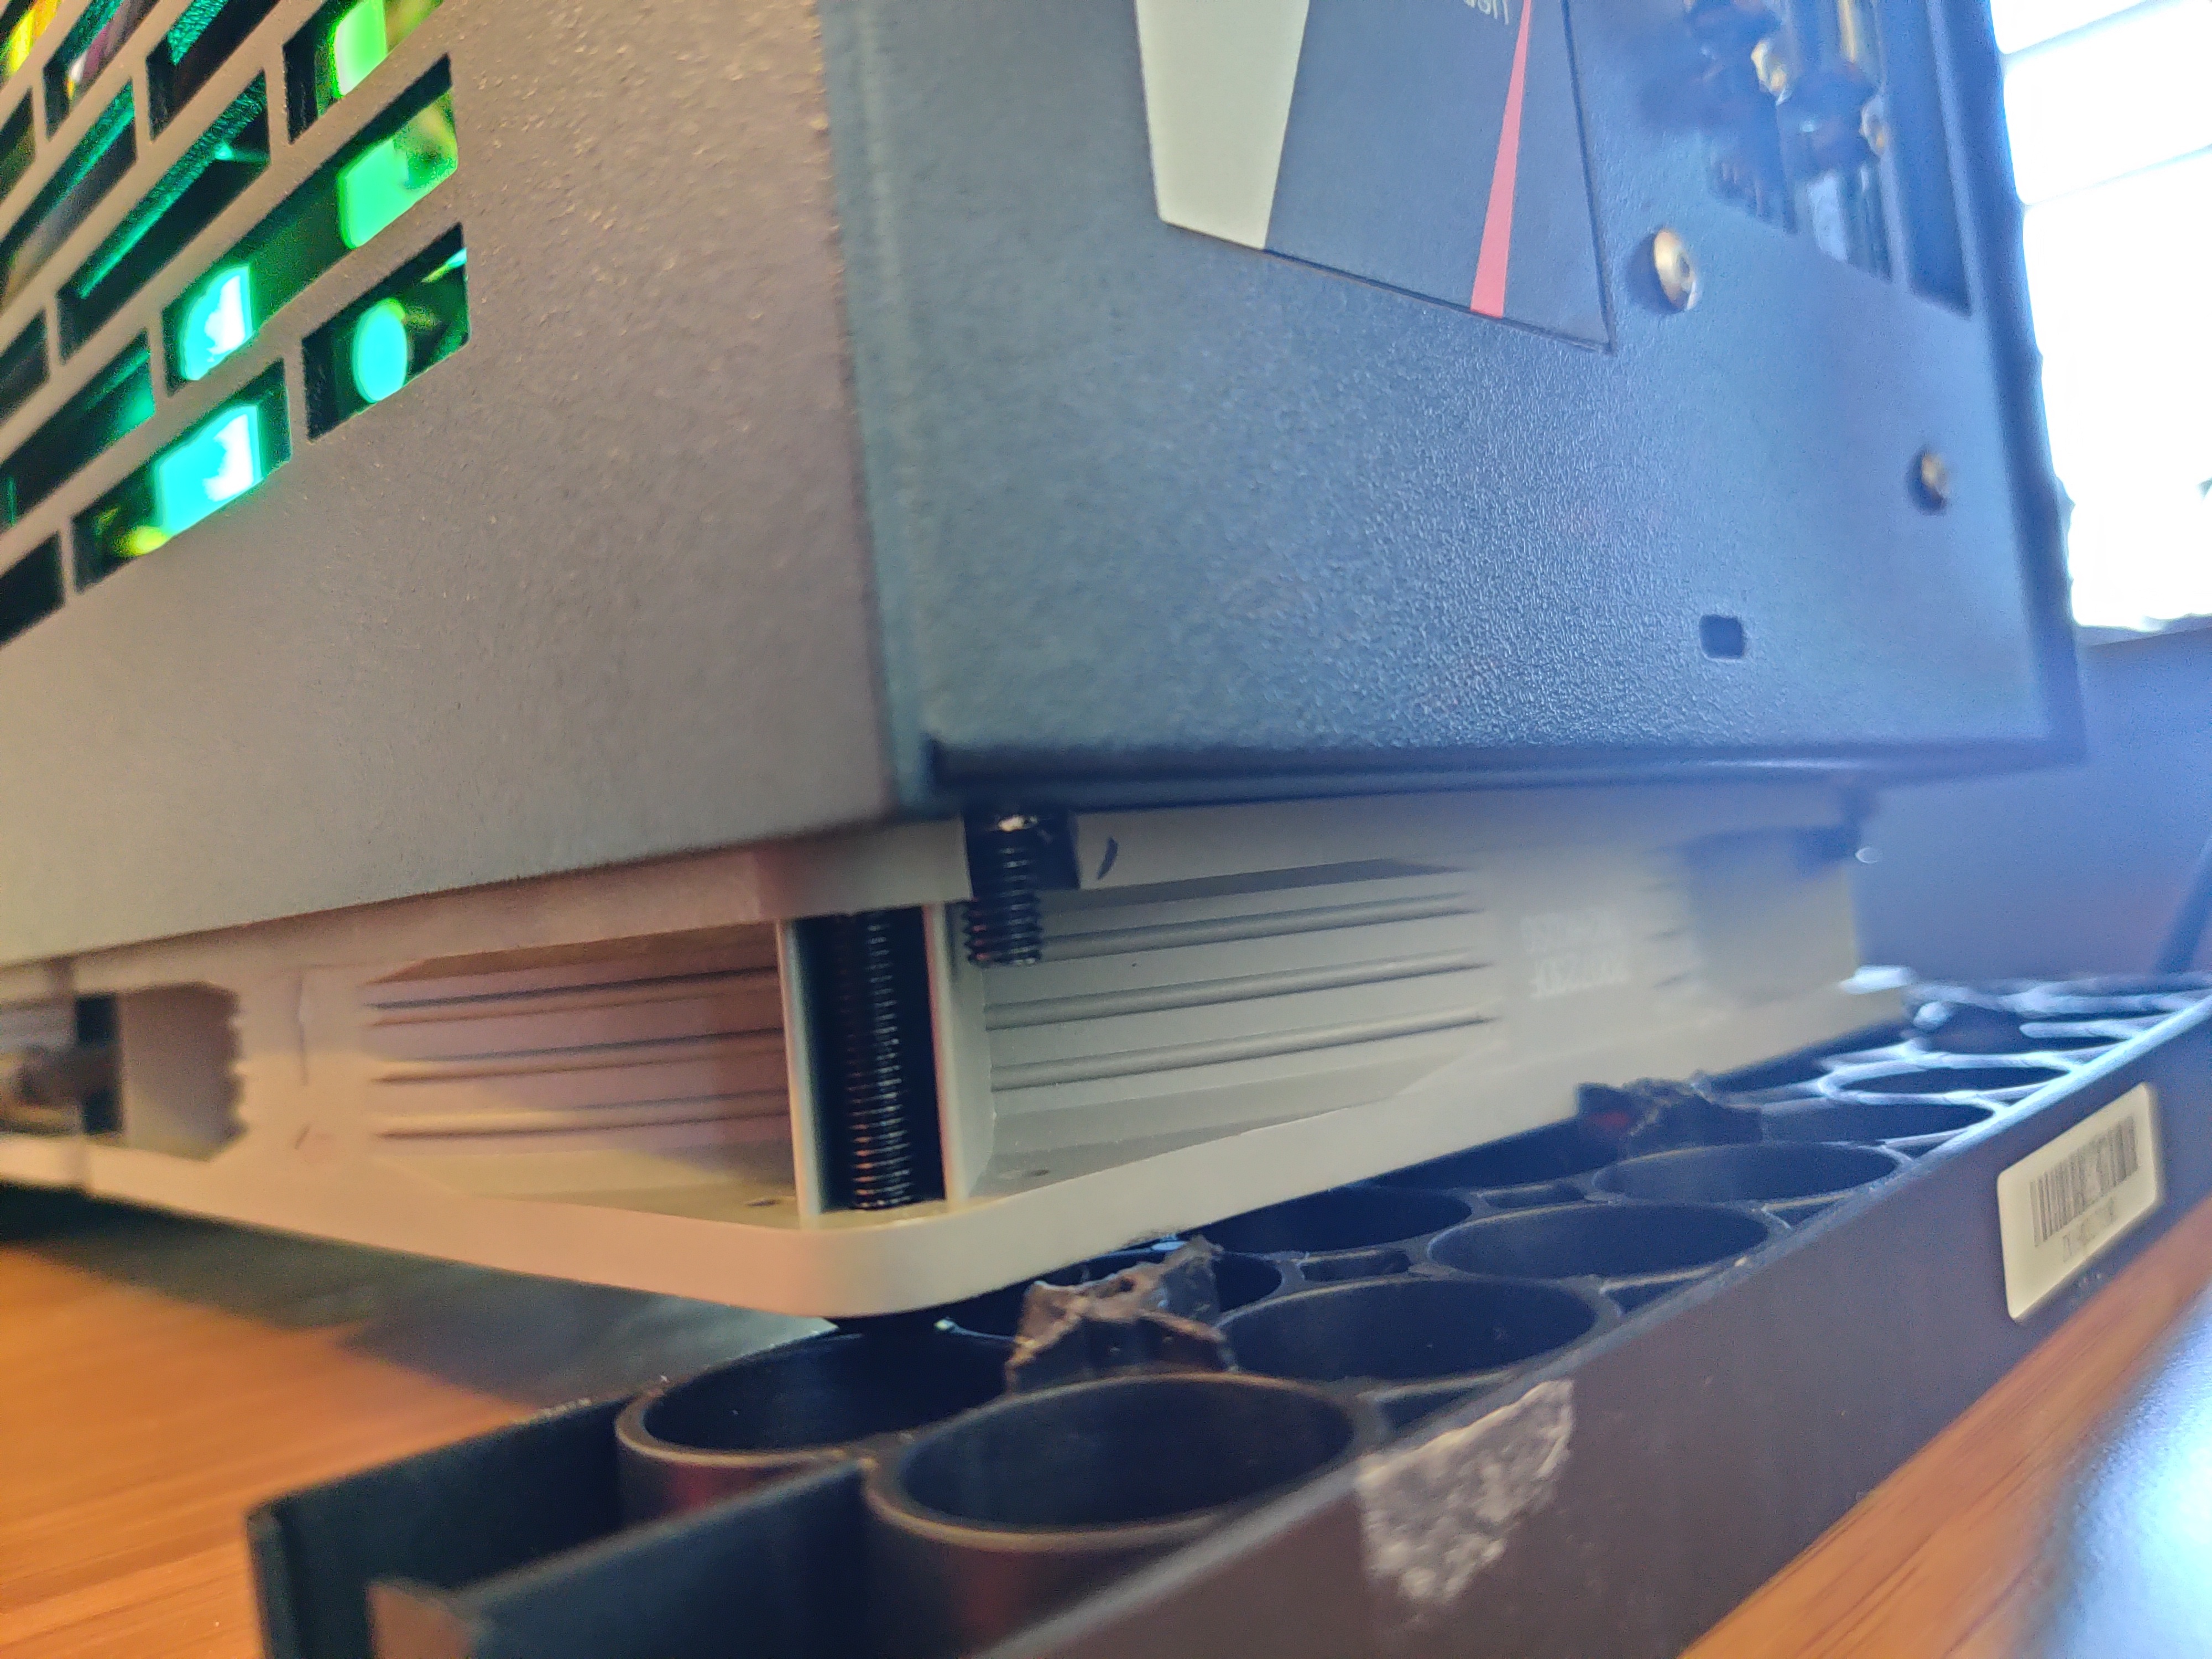
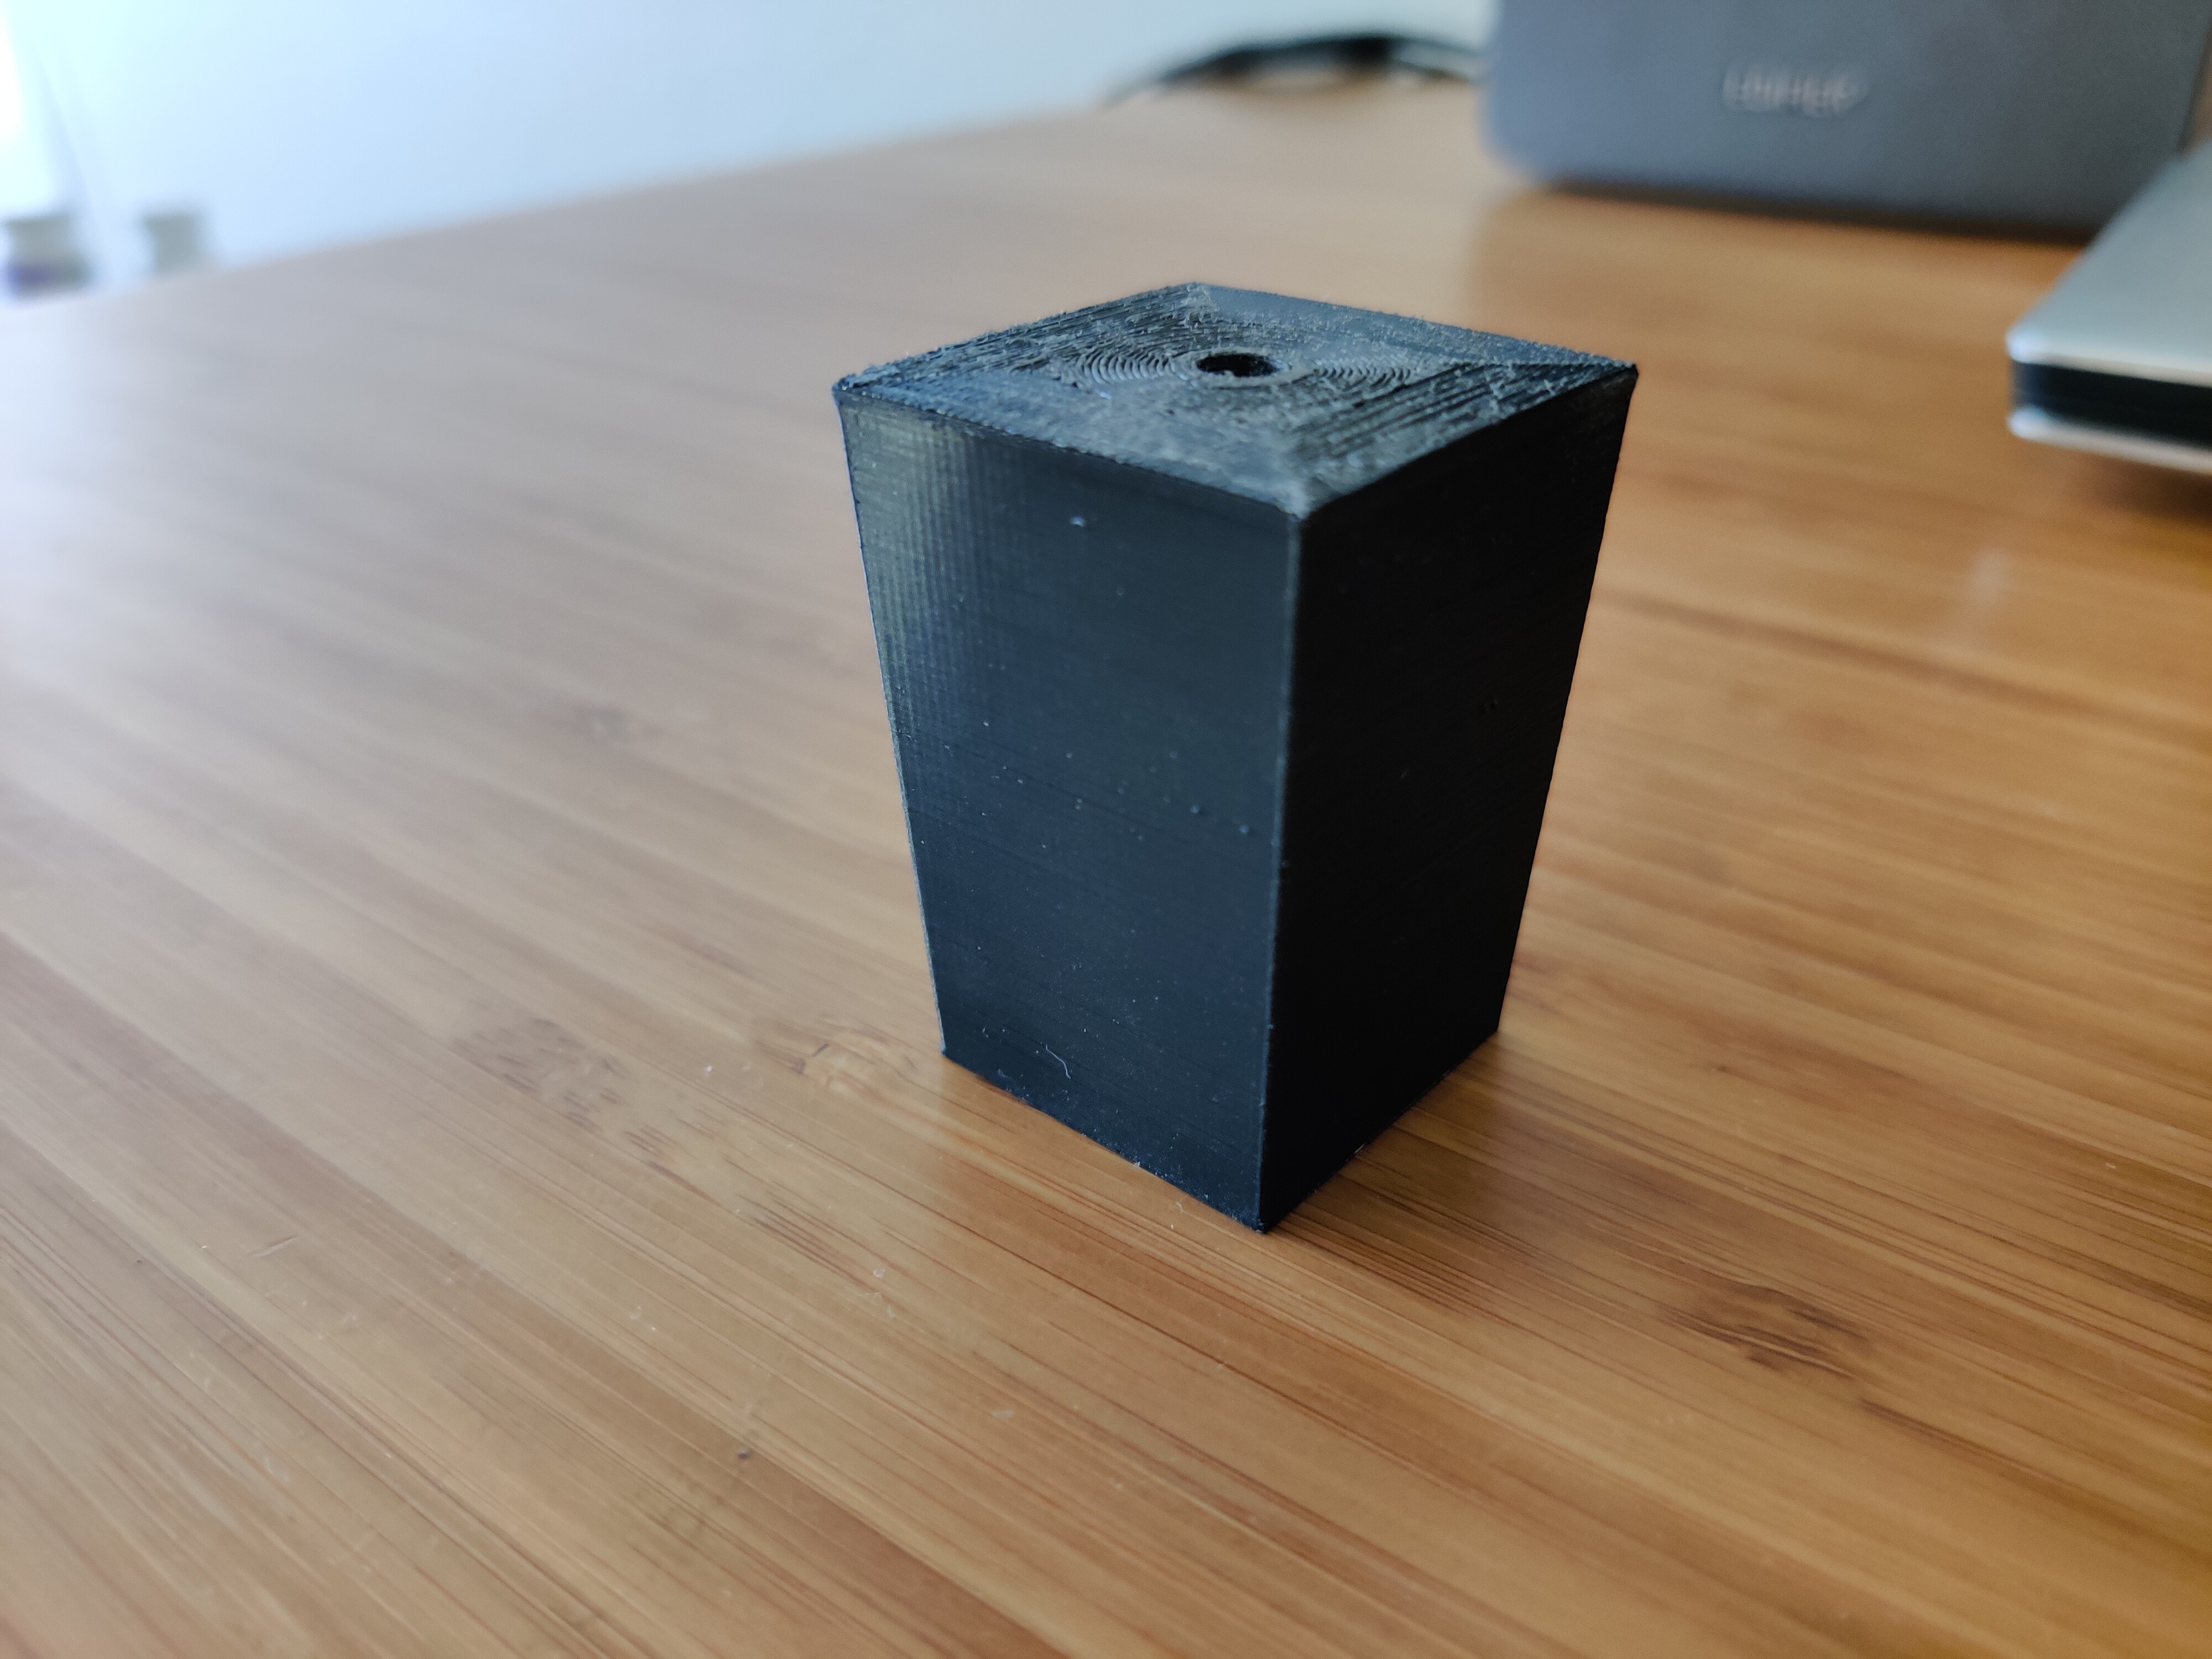
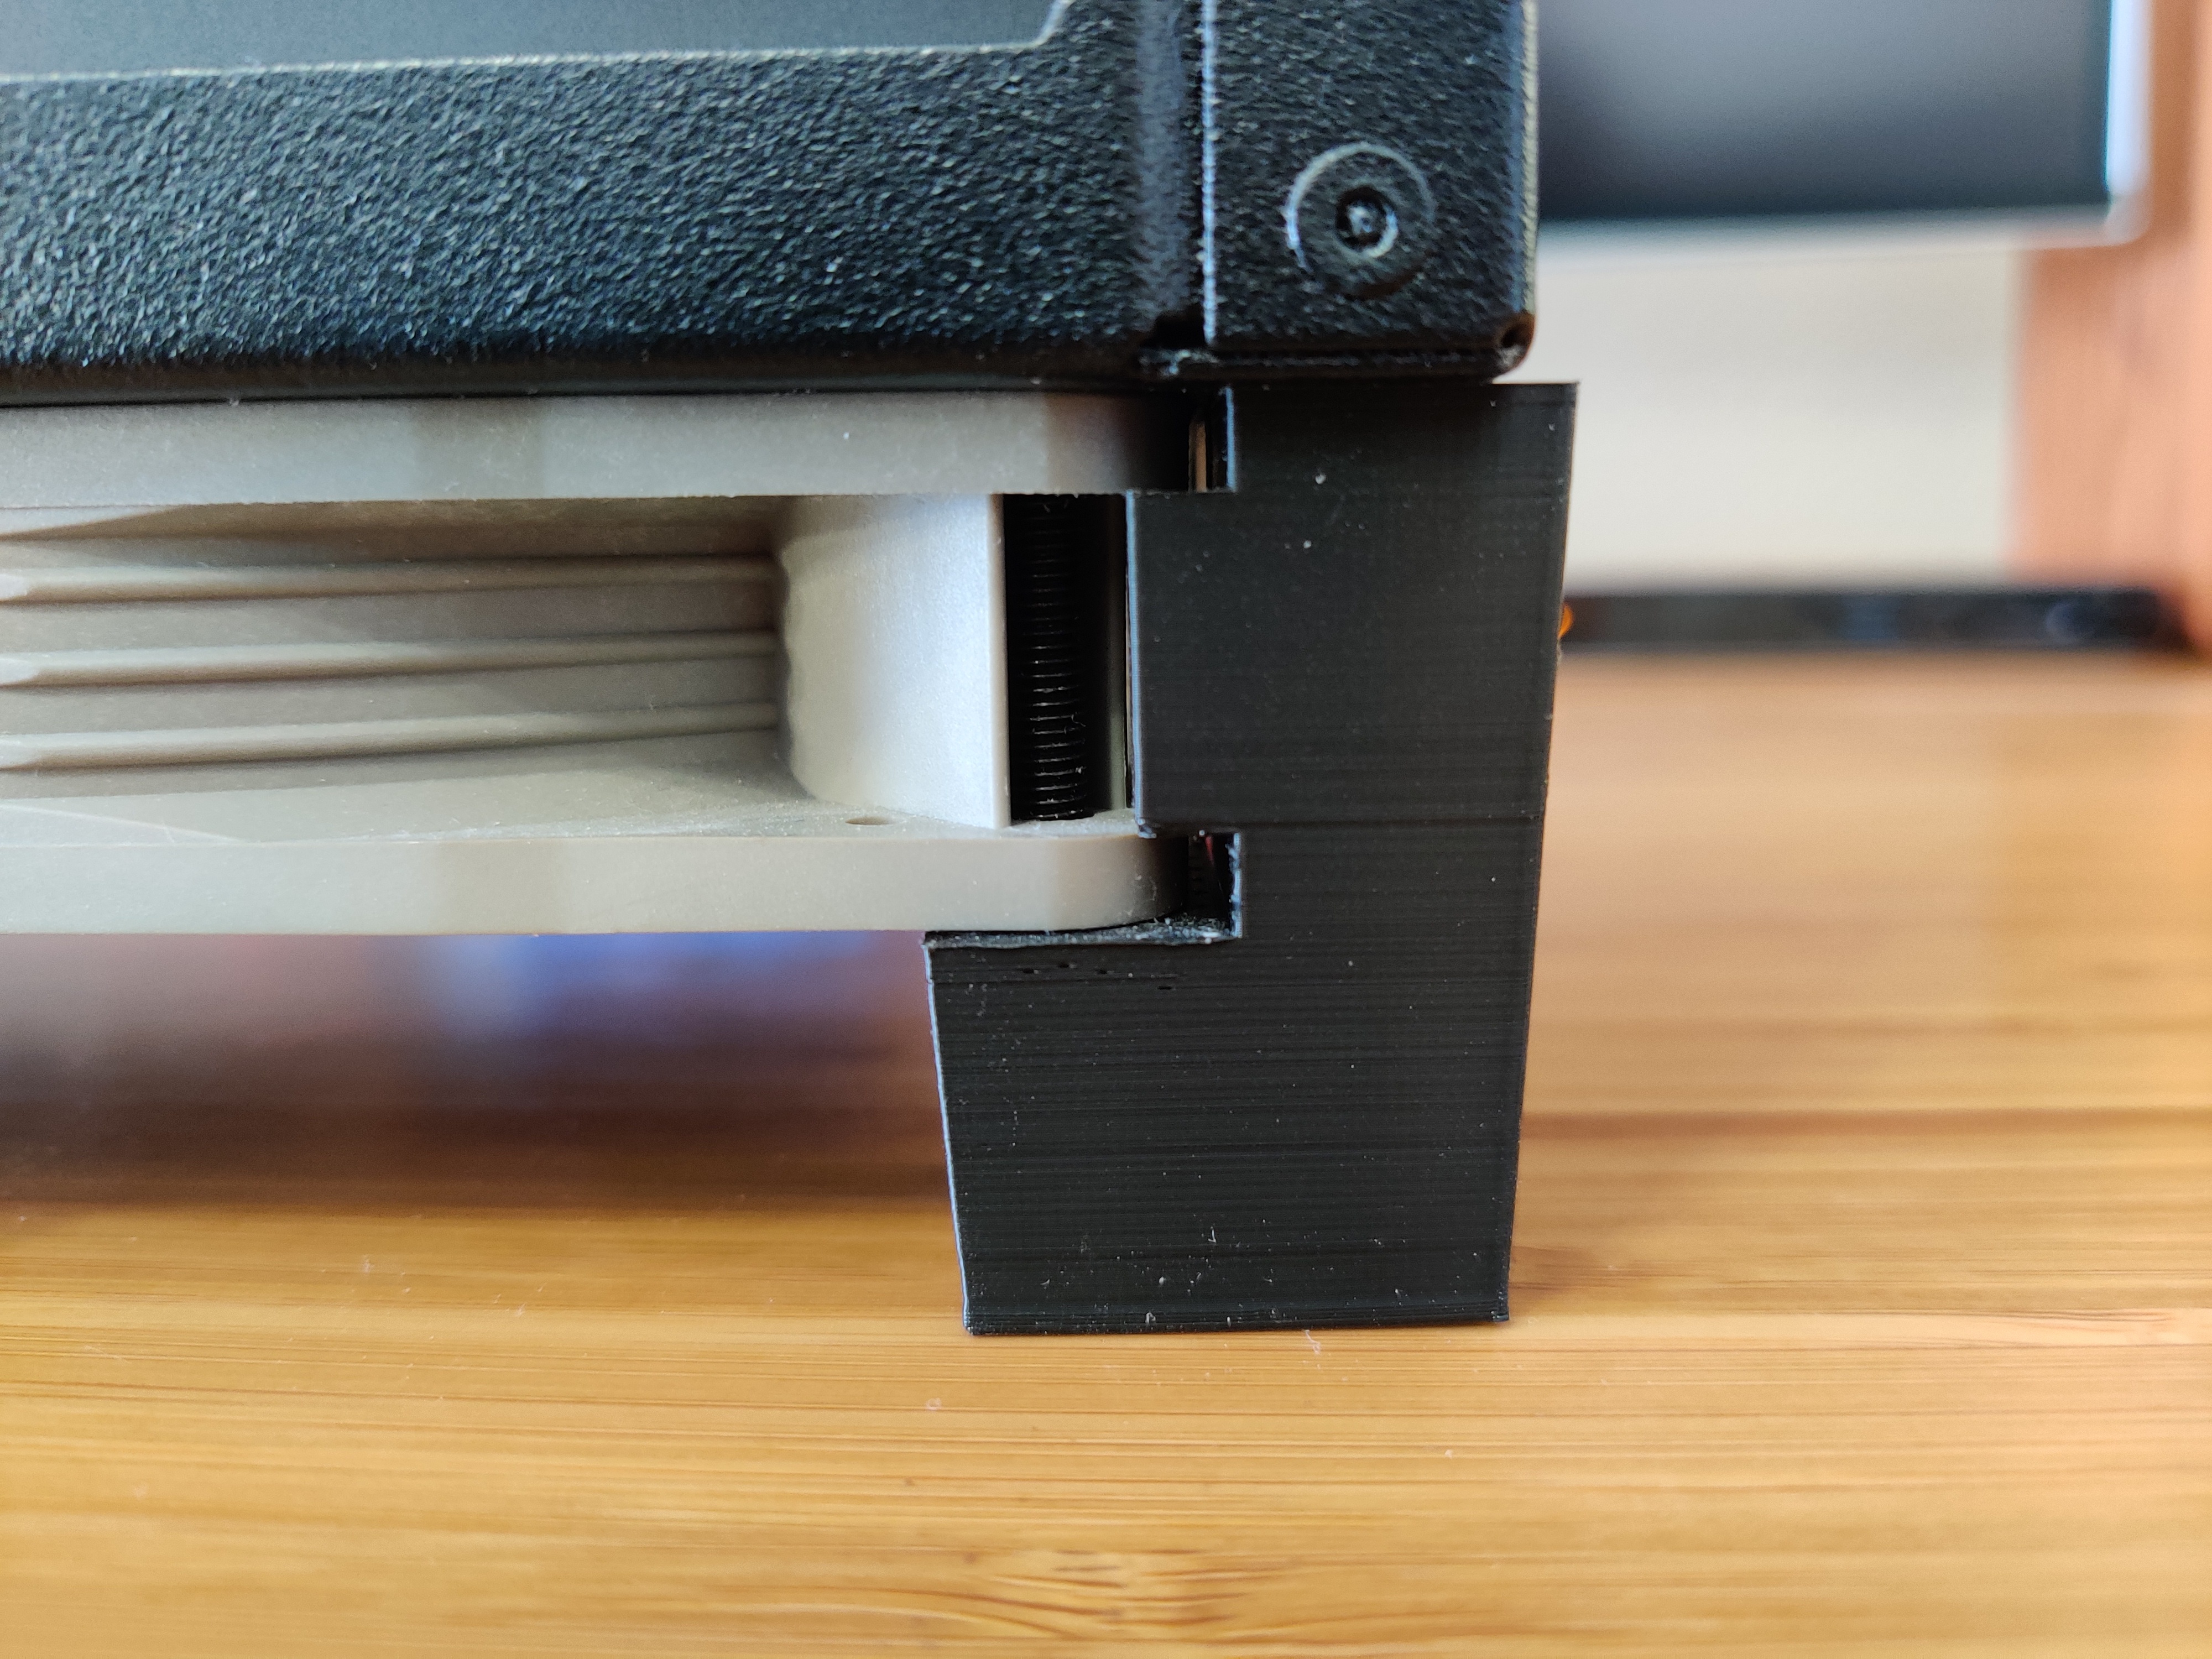
The next problem I had to solve was how I was going to get proper cooling into the bottom radiator. I’d taken up all the bottom space with radiator, so I will have to install fans on the outside of the case. Not a problem, the case has feet to raise it off the ground… Oh wait, these feet are only 10mm tall.
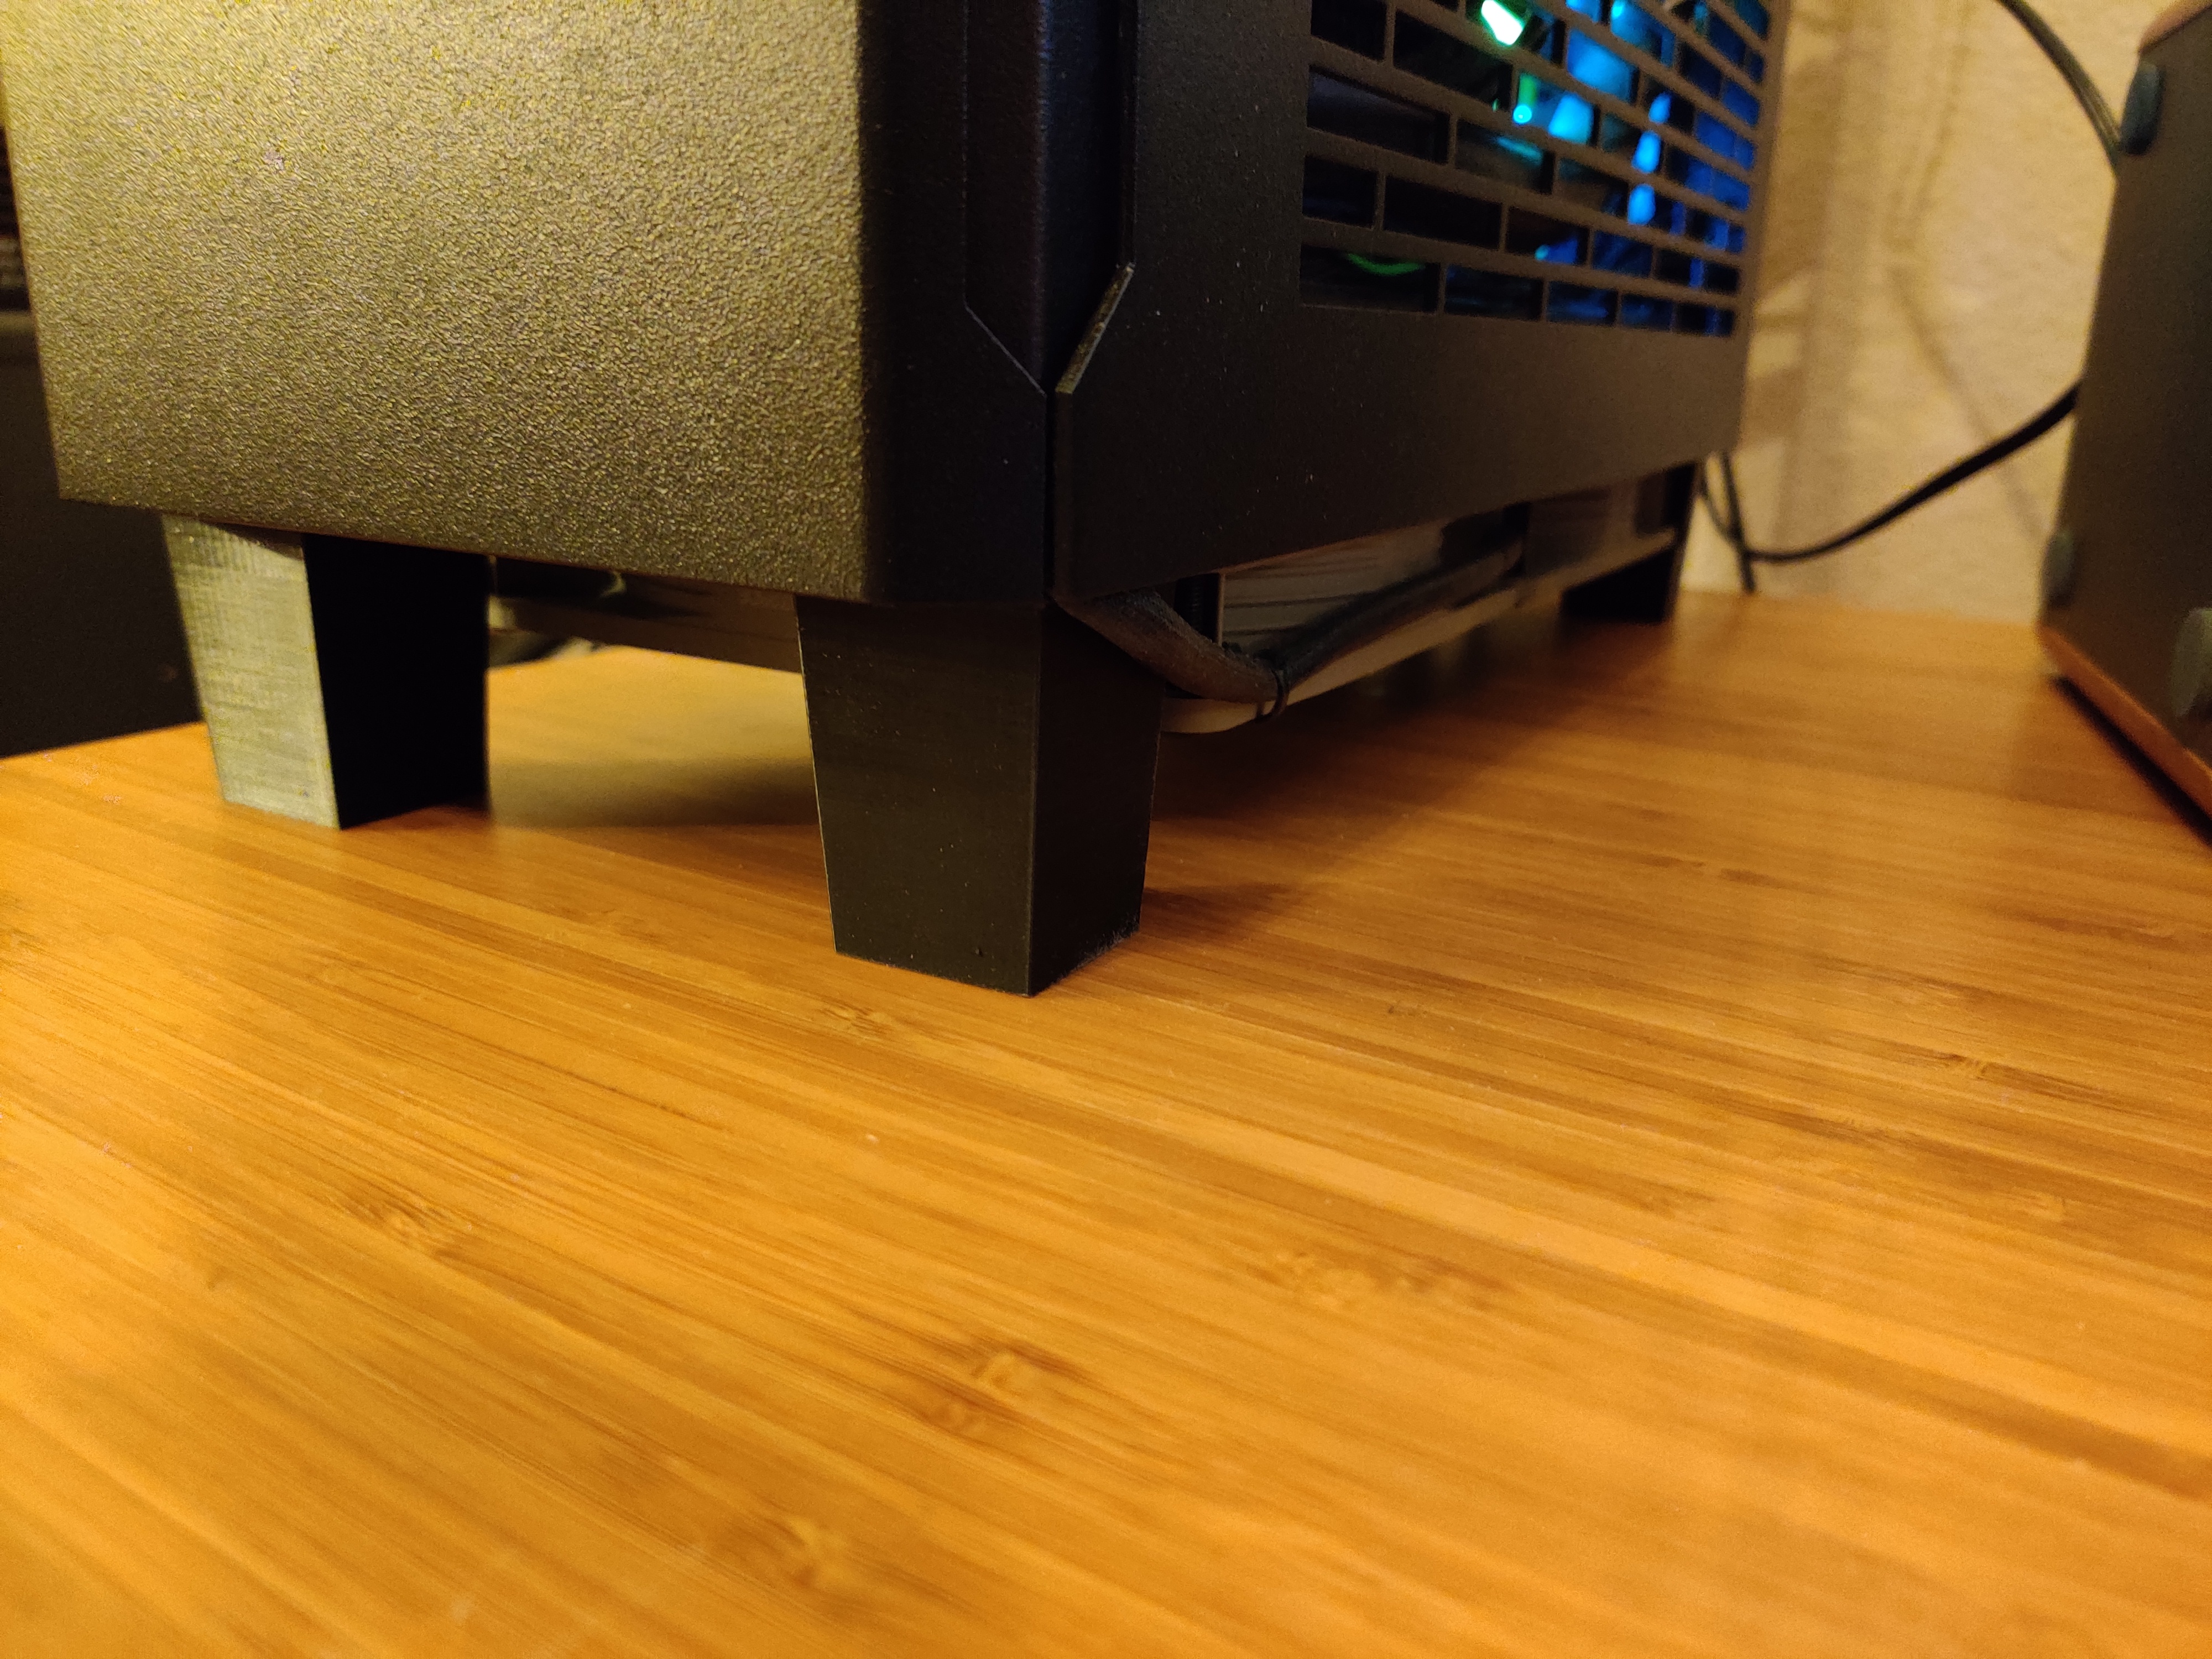
One of the challenges of this whole project was fitting the fans around the case. As you can see, the rear fans needed to be dremeled out a bit so that they can clear the case foot screws. Why not just grind off the screws, you may ask? Well, I’ve decided that I wanted to make the minimum required modifications to the case, so that if I ever wanted to take it back to “stock” configuration, I could.
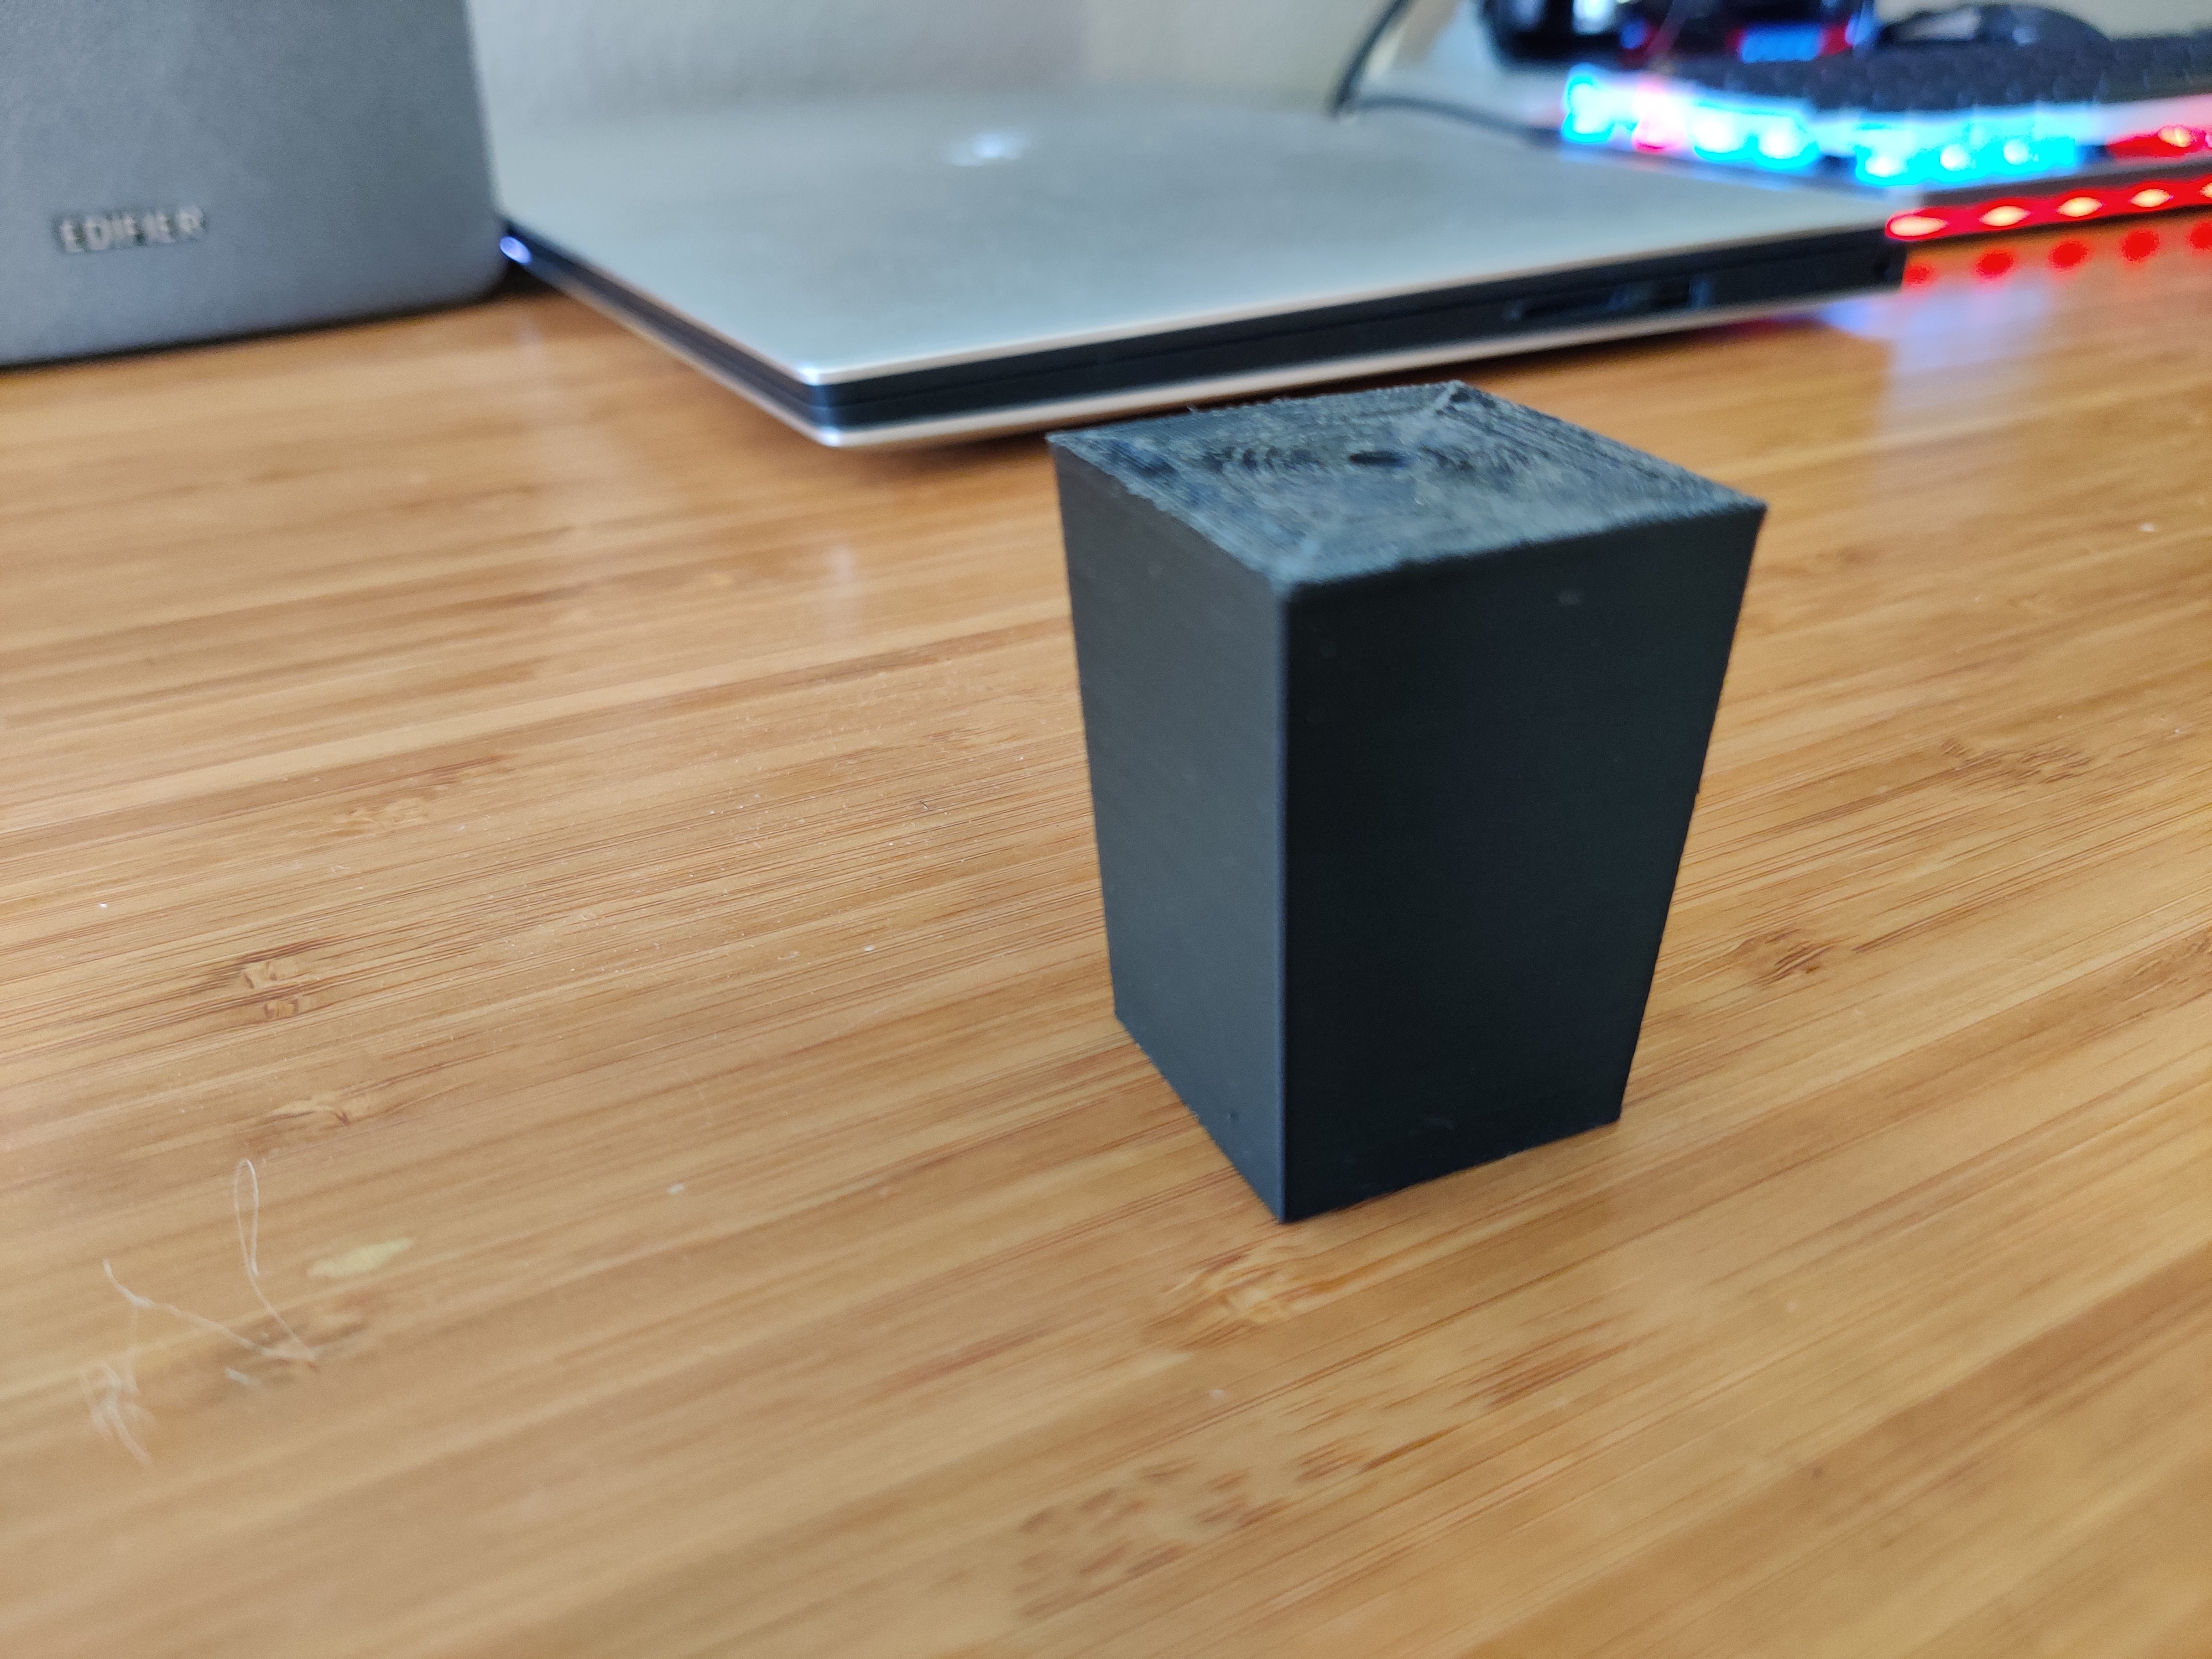
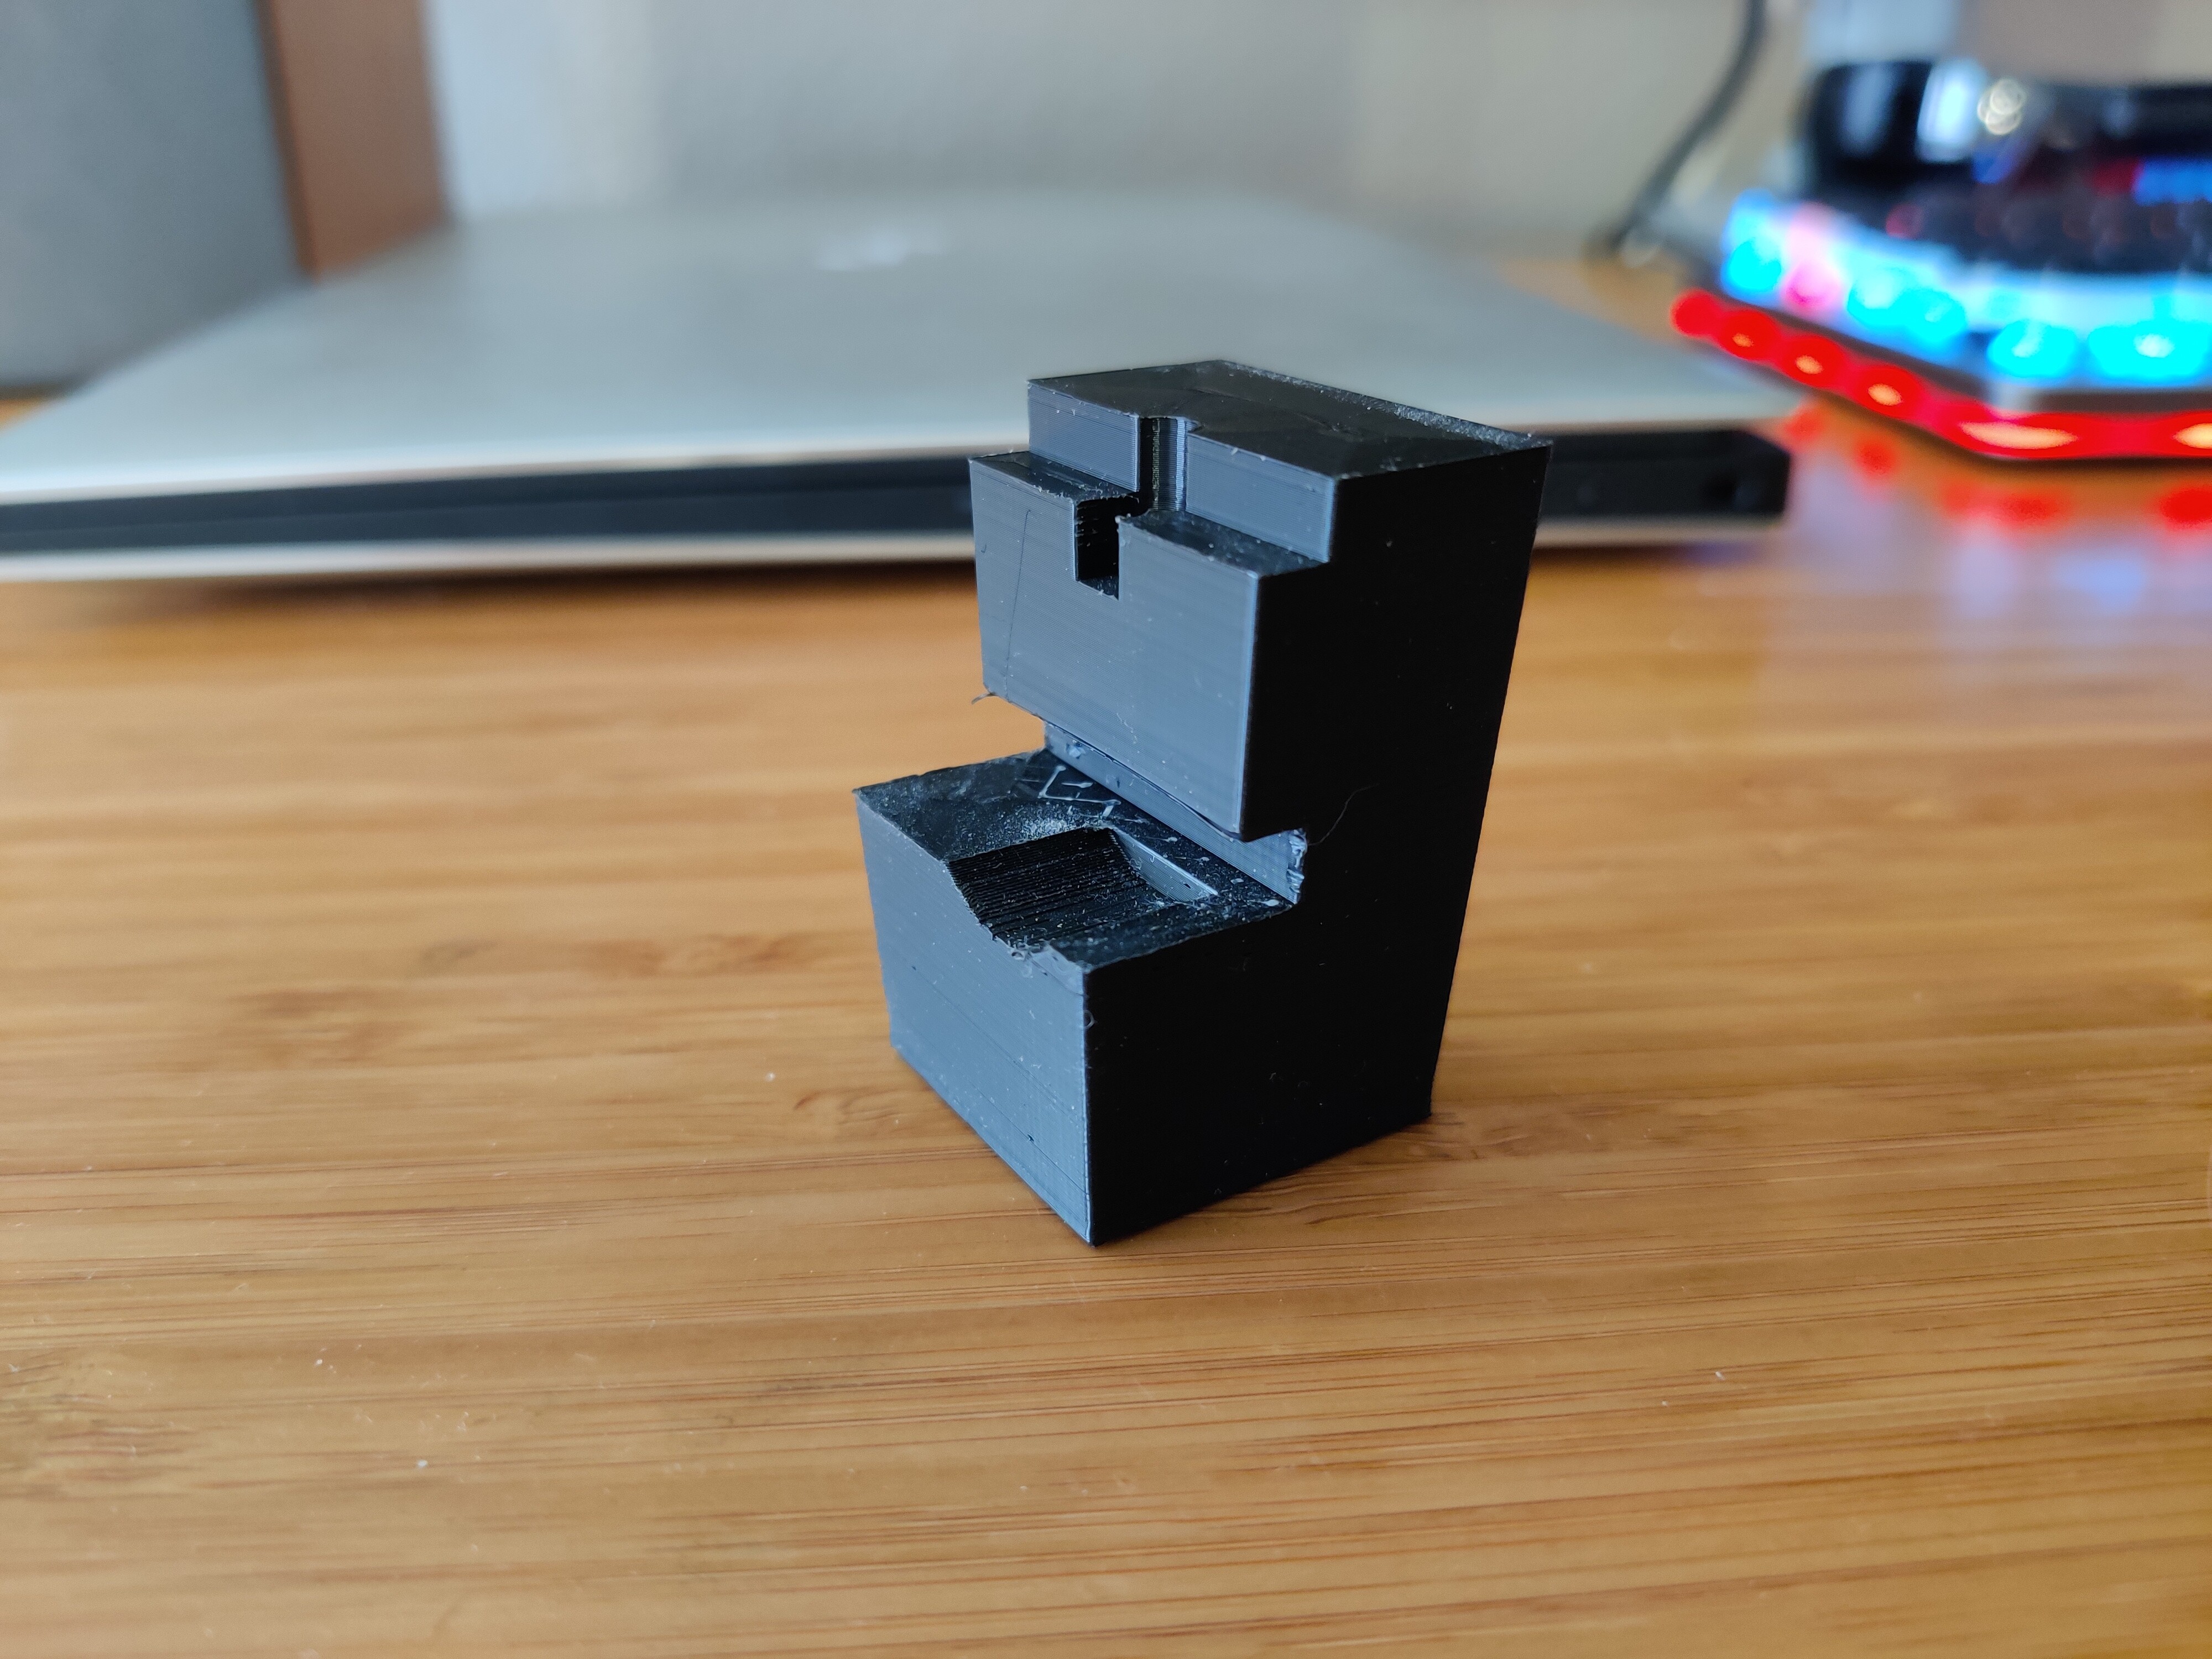
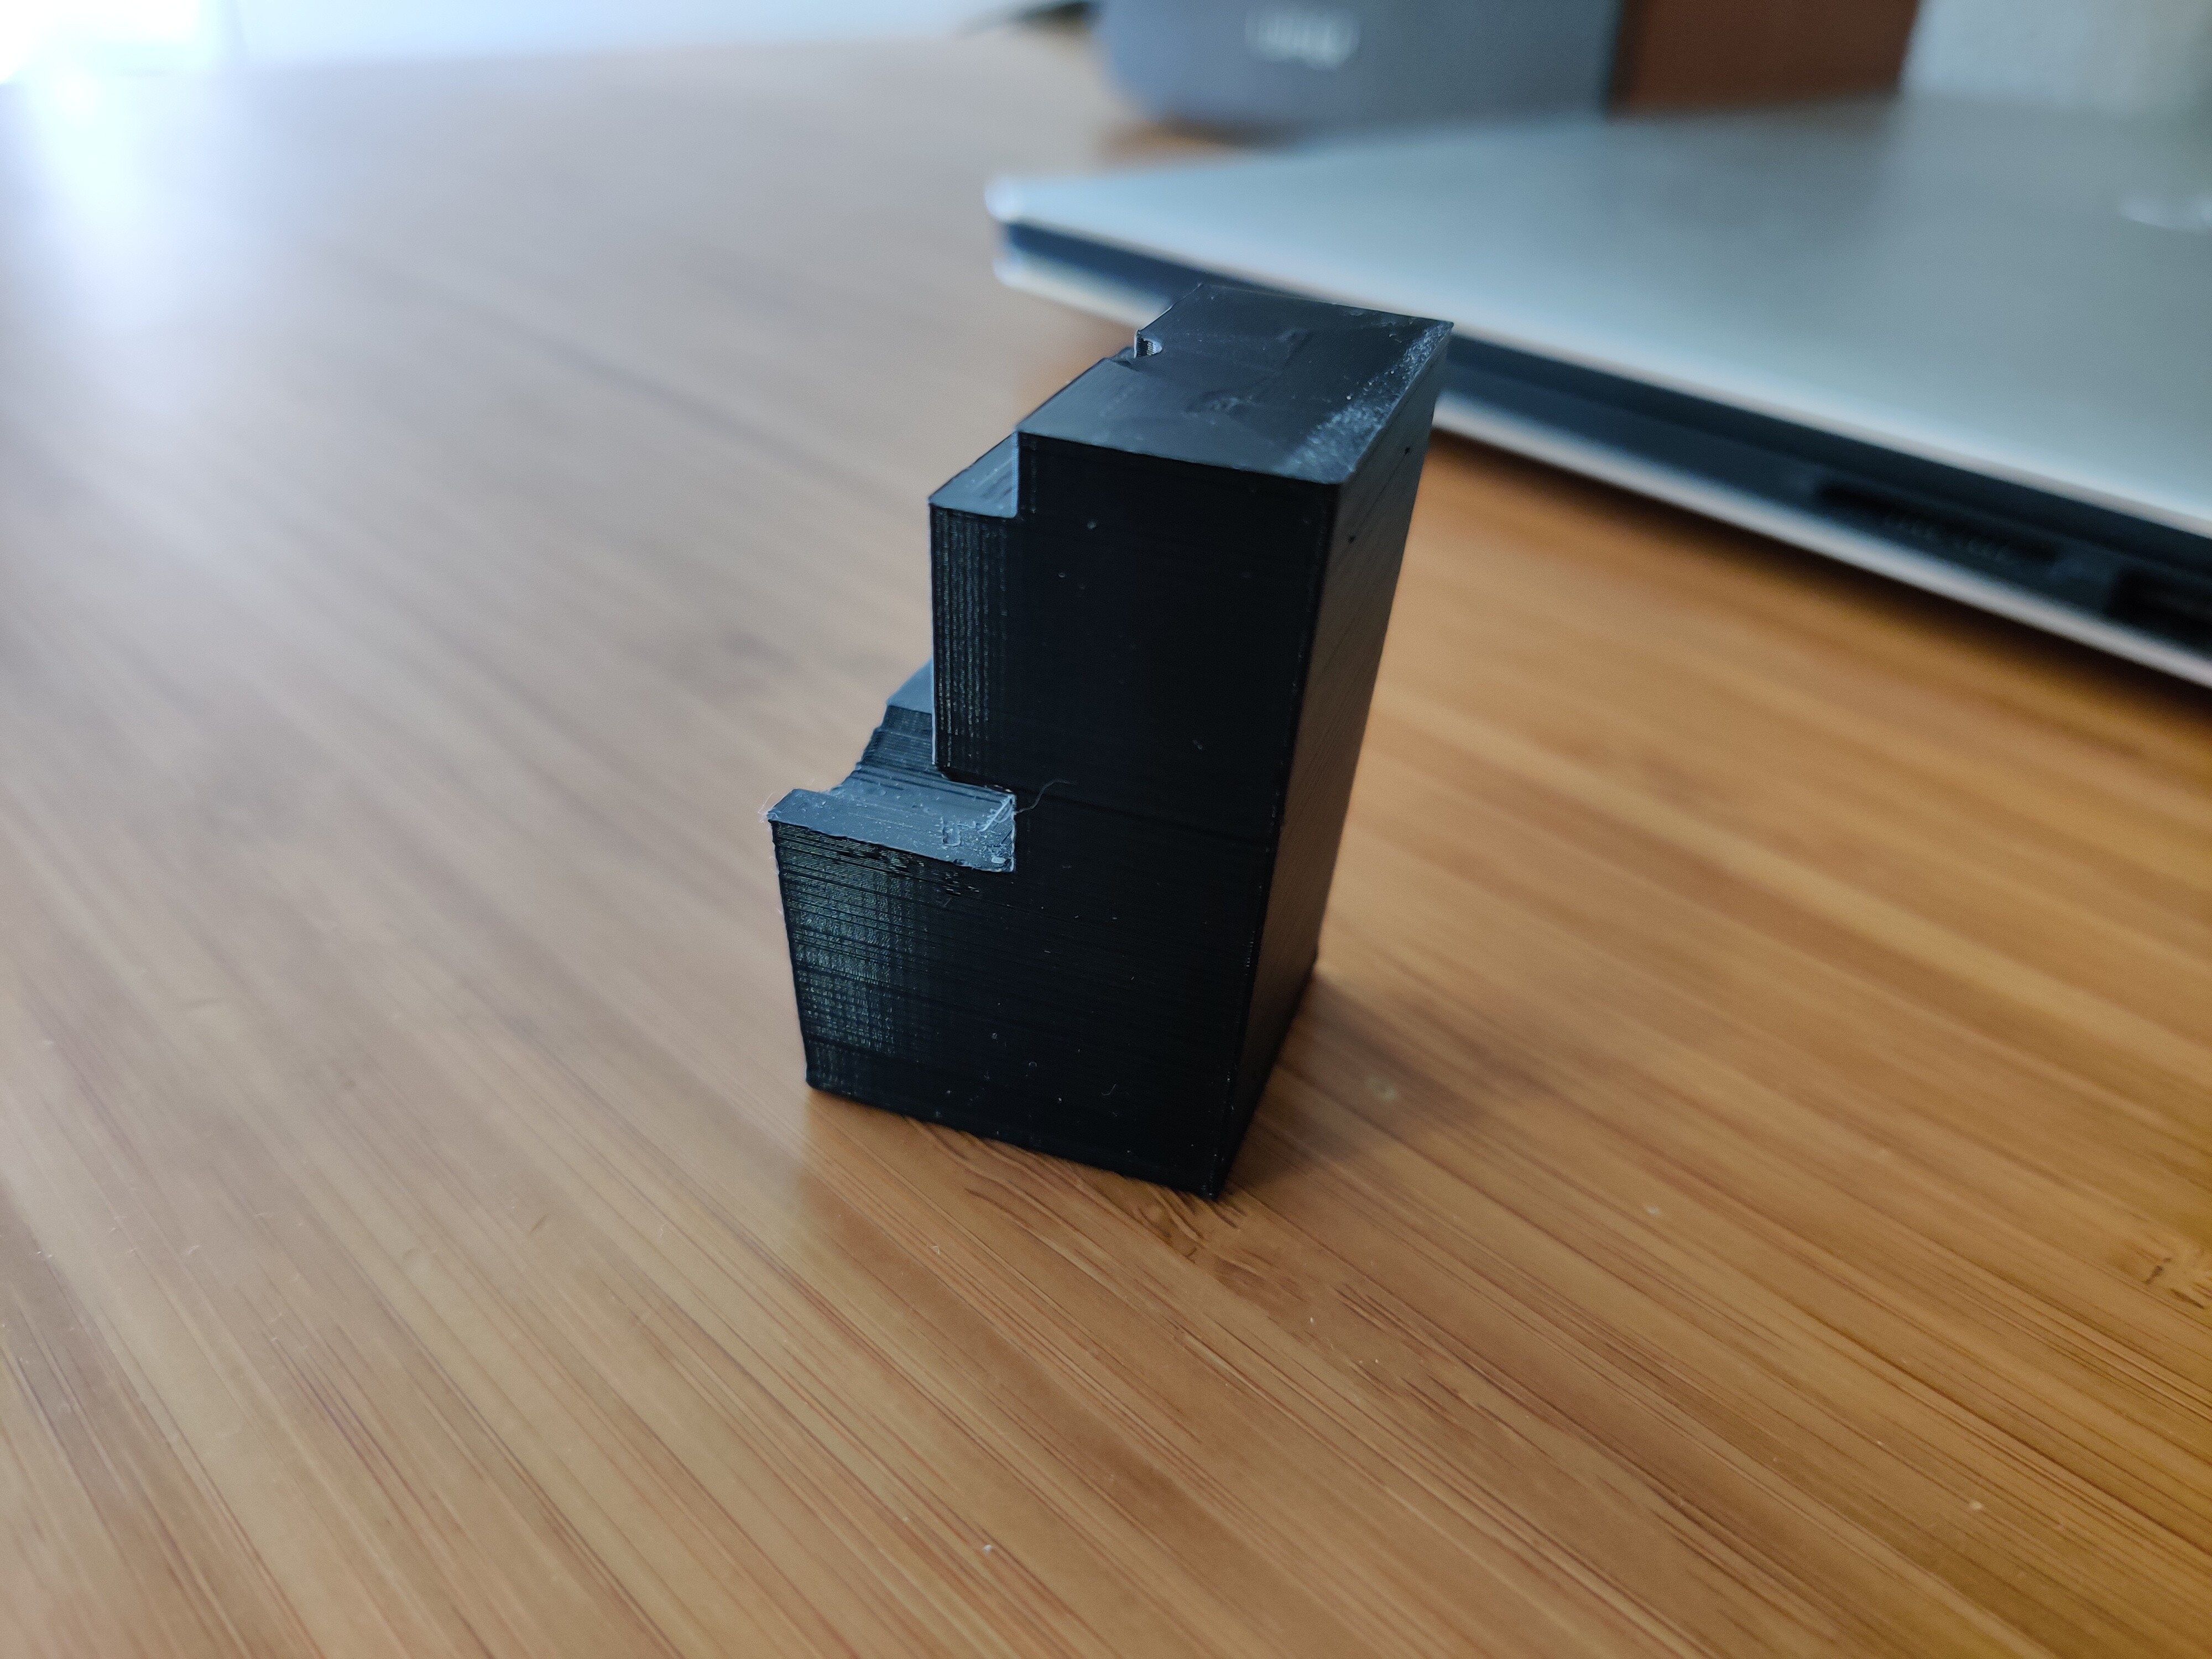
So, I installed the fans and set about measuring and designing (in FreeCAD) some feet that I could print out to install in place of the existing feet. there was a fairly significant challenge involved in this design, in that the bottom rear fan was covering the screws that the feet mount onto. No matter, just mount the feet to the fan! It took a few iterations of trial and error and some very rough prints, but in the end, I had a solid part.


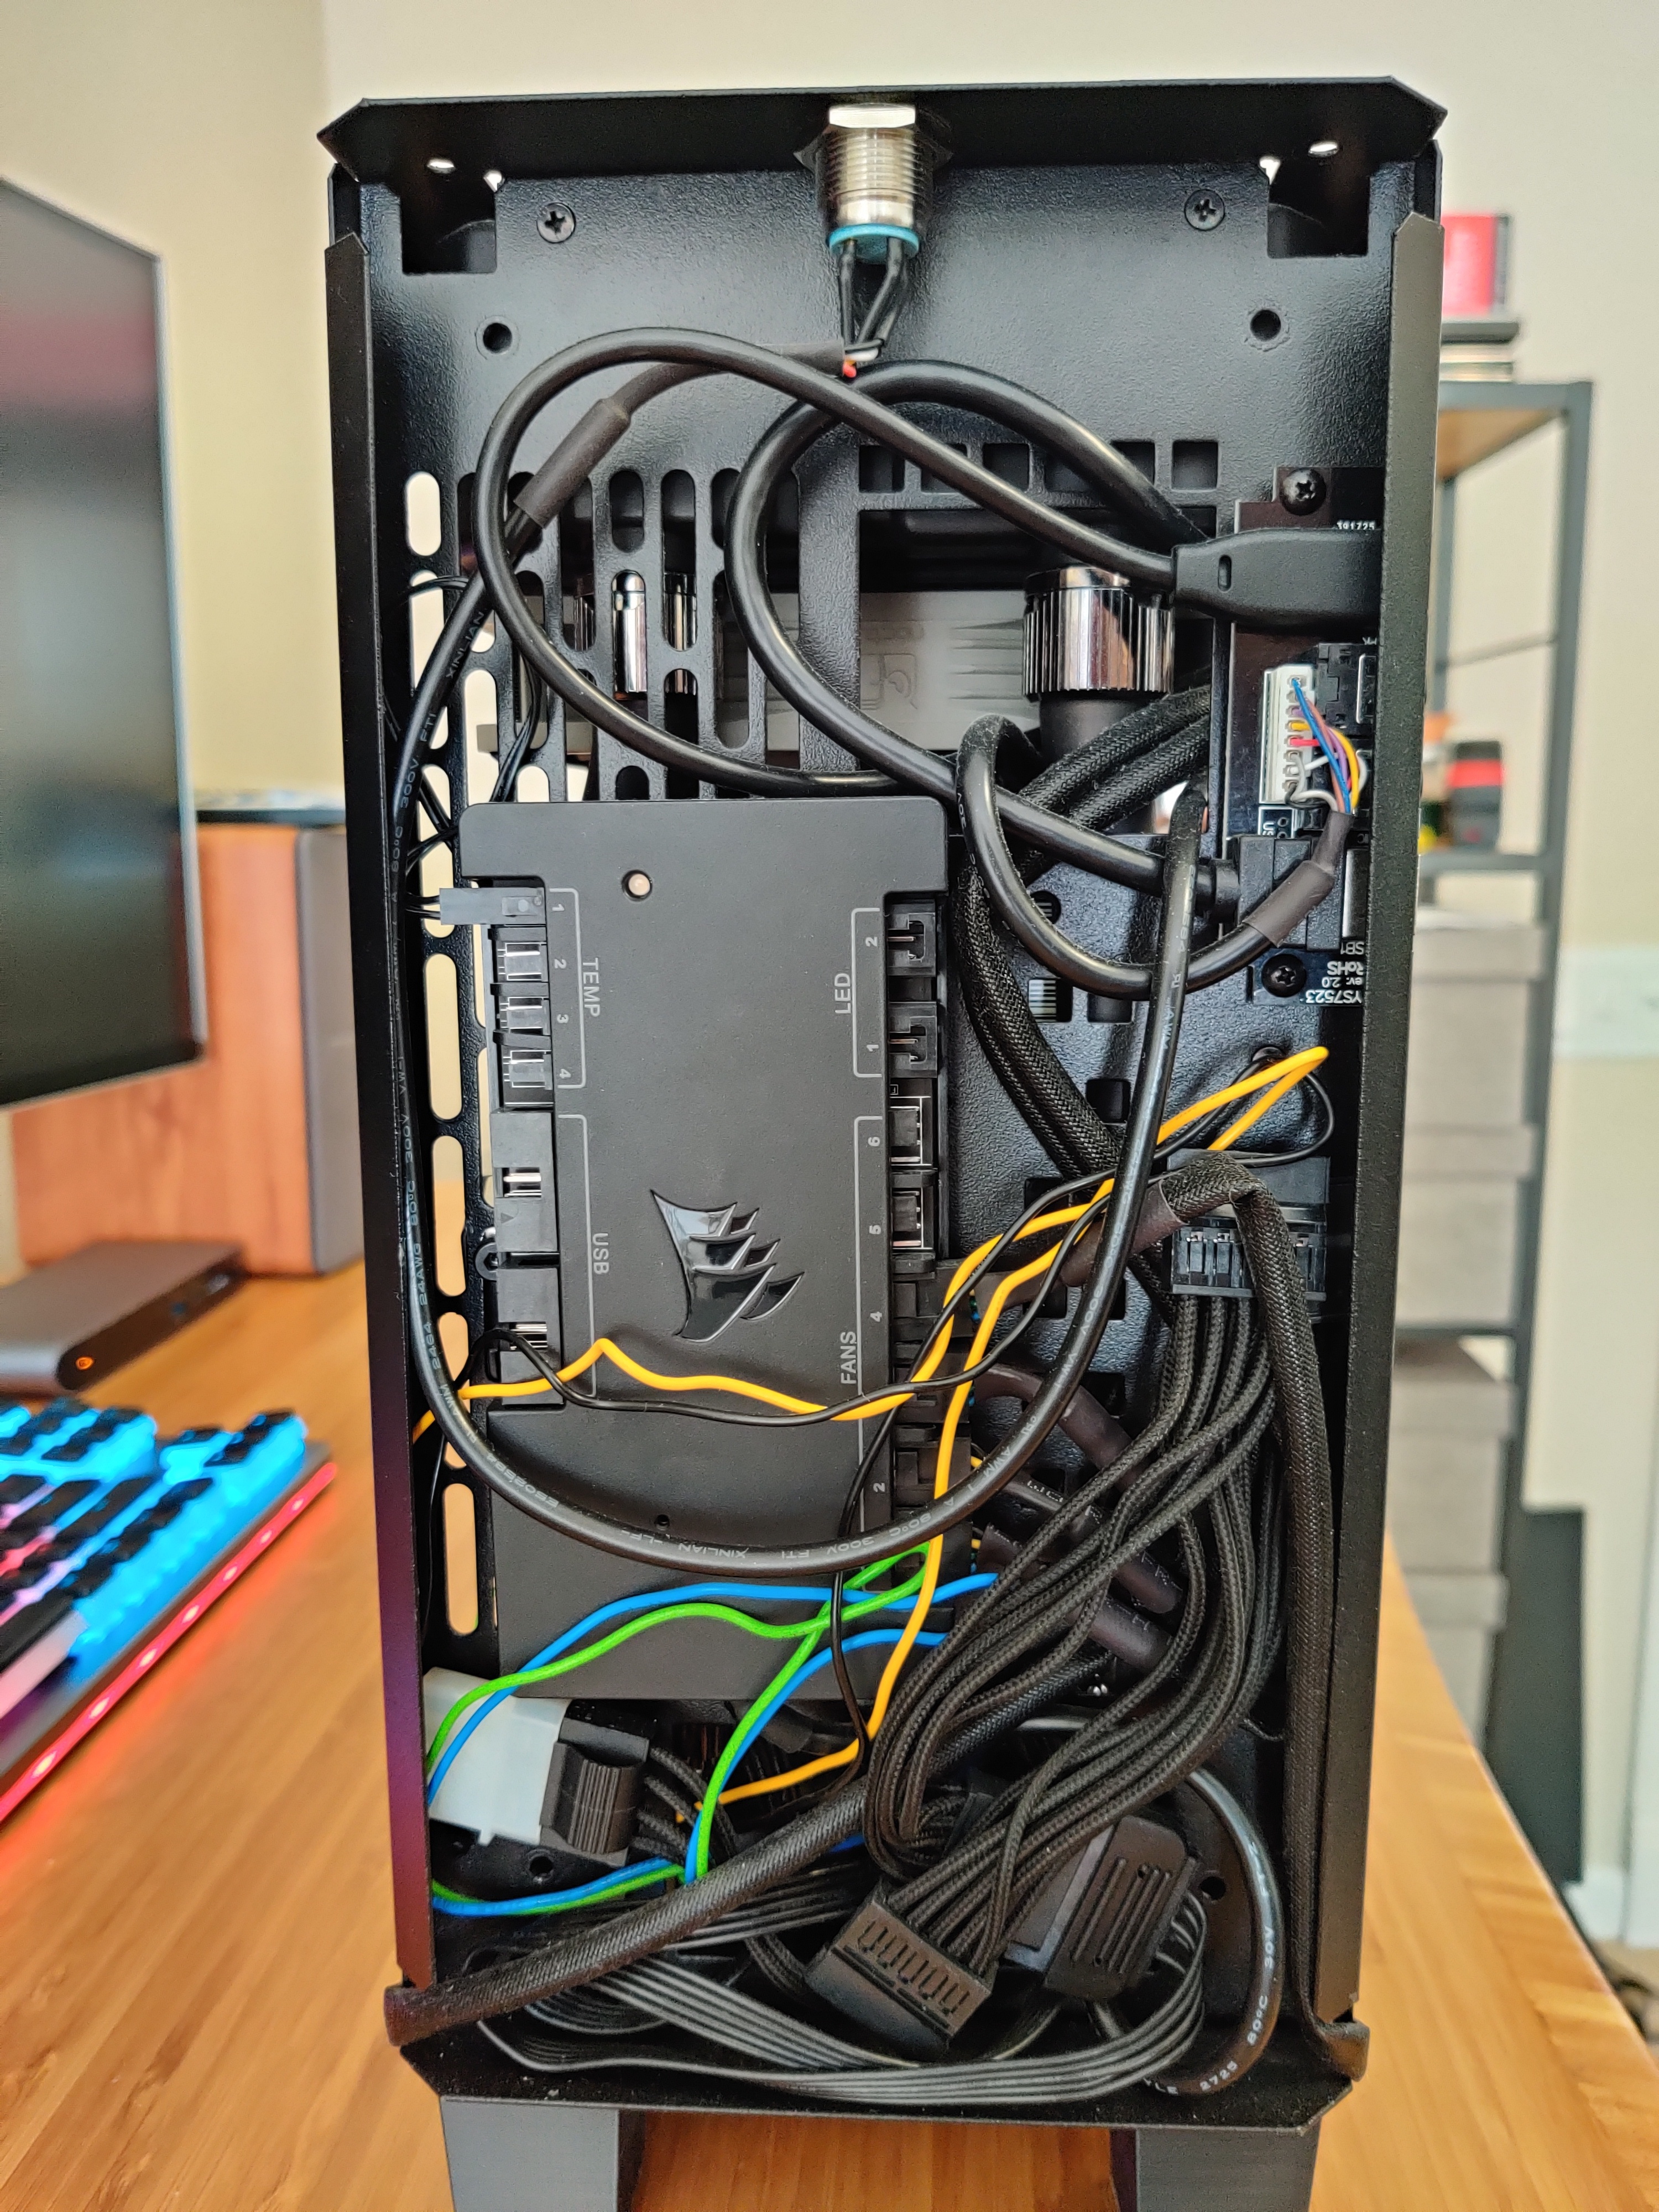
Once that was all sorted, the build was done, it’s time to load up into windows and design the fan curve in the Commander Pro to run off the water temp readings. Easy, says I, let’s load up aida and furmark and just watch the water temp curve. I decided that 45C water was an appropriate temperature for the water under full load. This did leave my 3900x a bit hot at 78c, but all 3rd gen ryzen tends to run higher than I’m comfortable with. My hope is that an eventual 5000 series upgrade will remedy that temperature issue a bit. So the fan curve is set and the water temp is stable under load, but I’ve now sacrificed a second desired feature: silence. My fan curve is spinning the noctuas at 1300rpm to keep the temps appropriately down. While that’s appropriate for most people, I was aiming for utter silence. So, what’s a guy to do? Buy more radiator, that’s what!
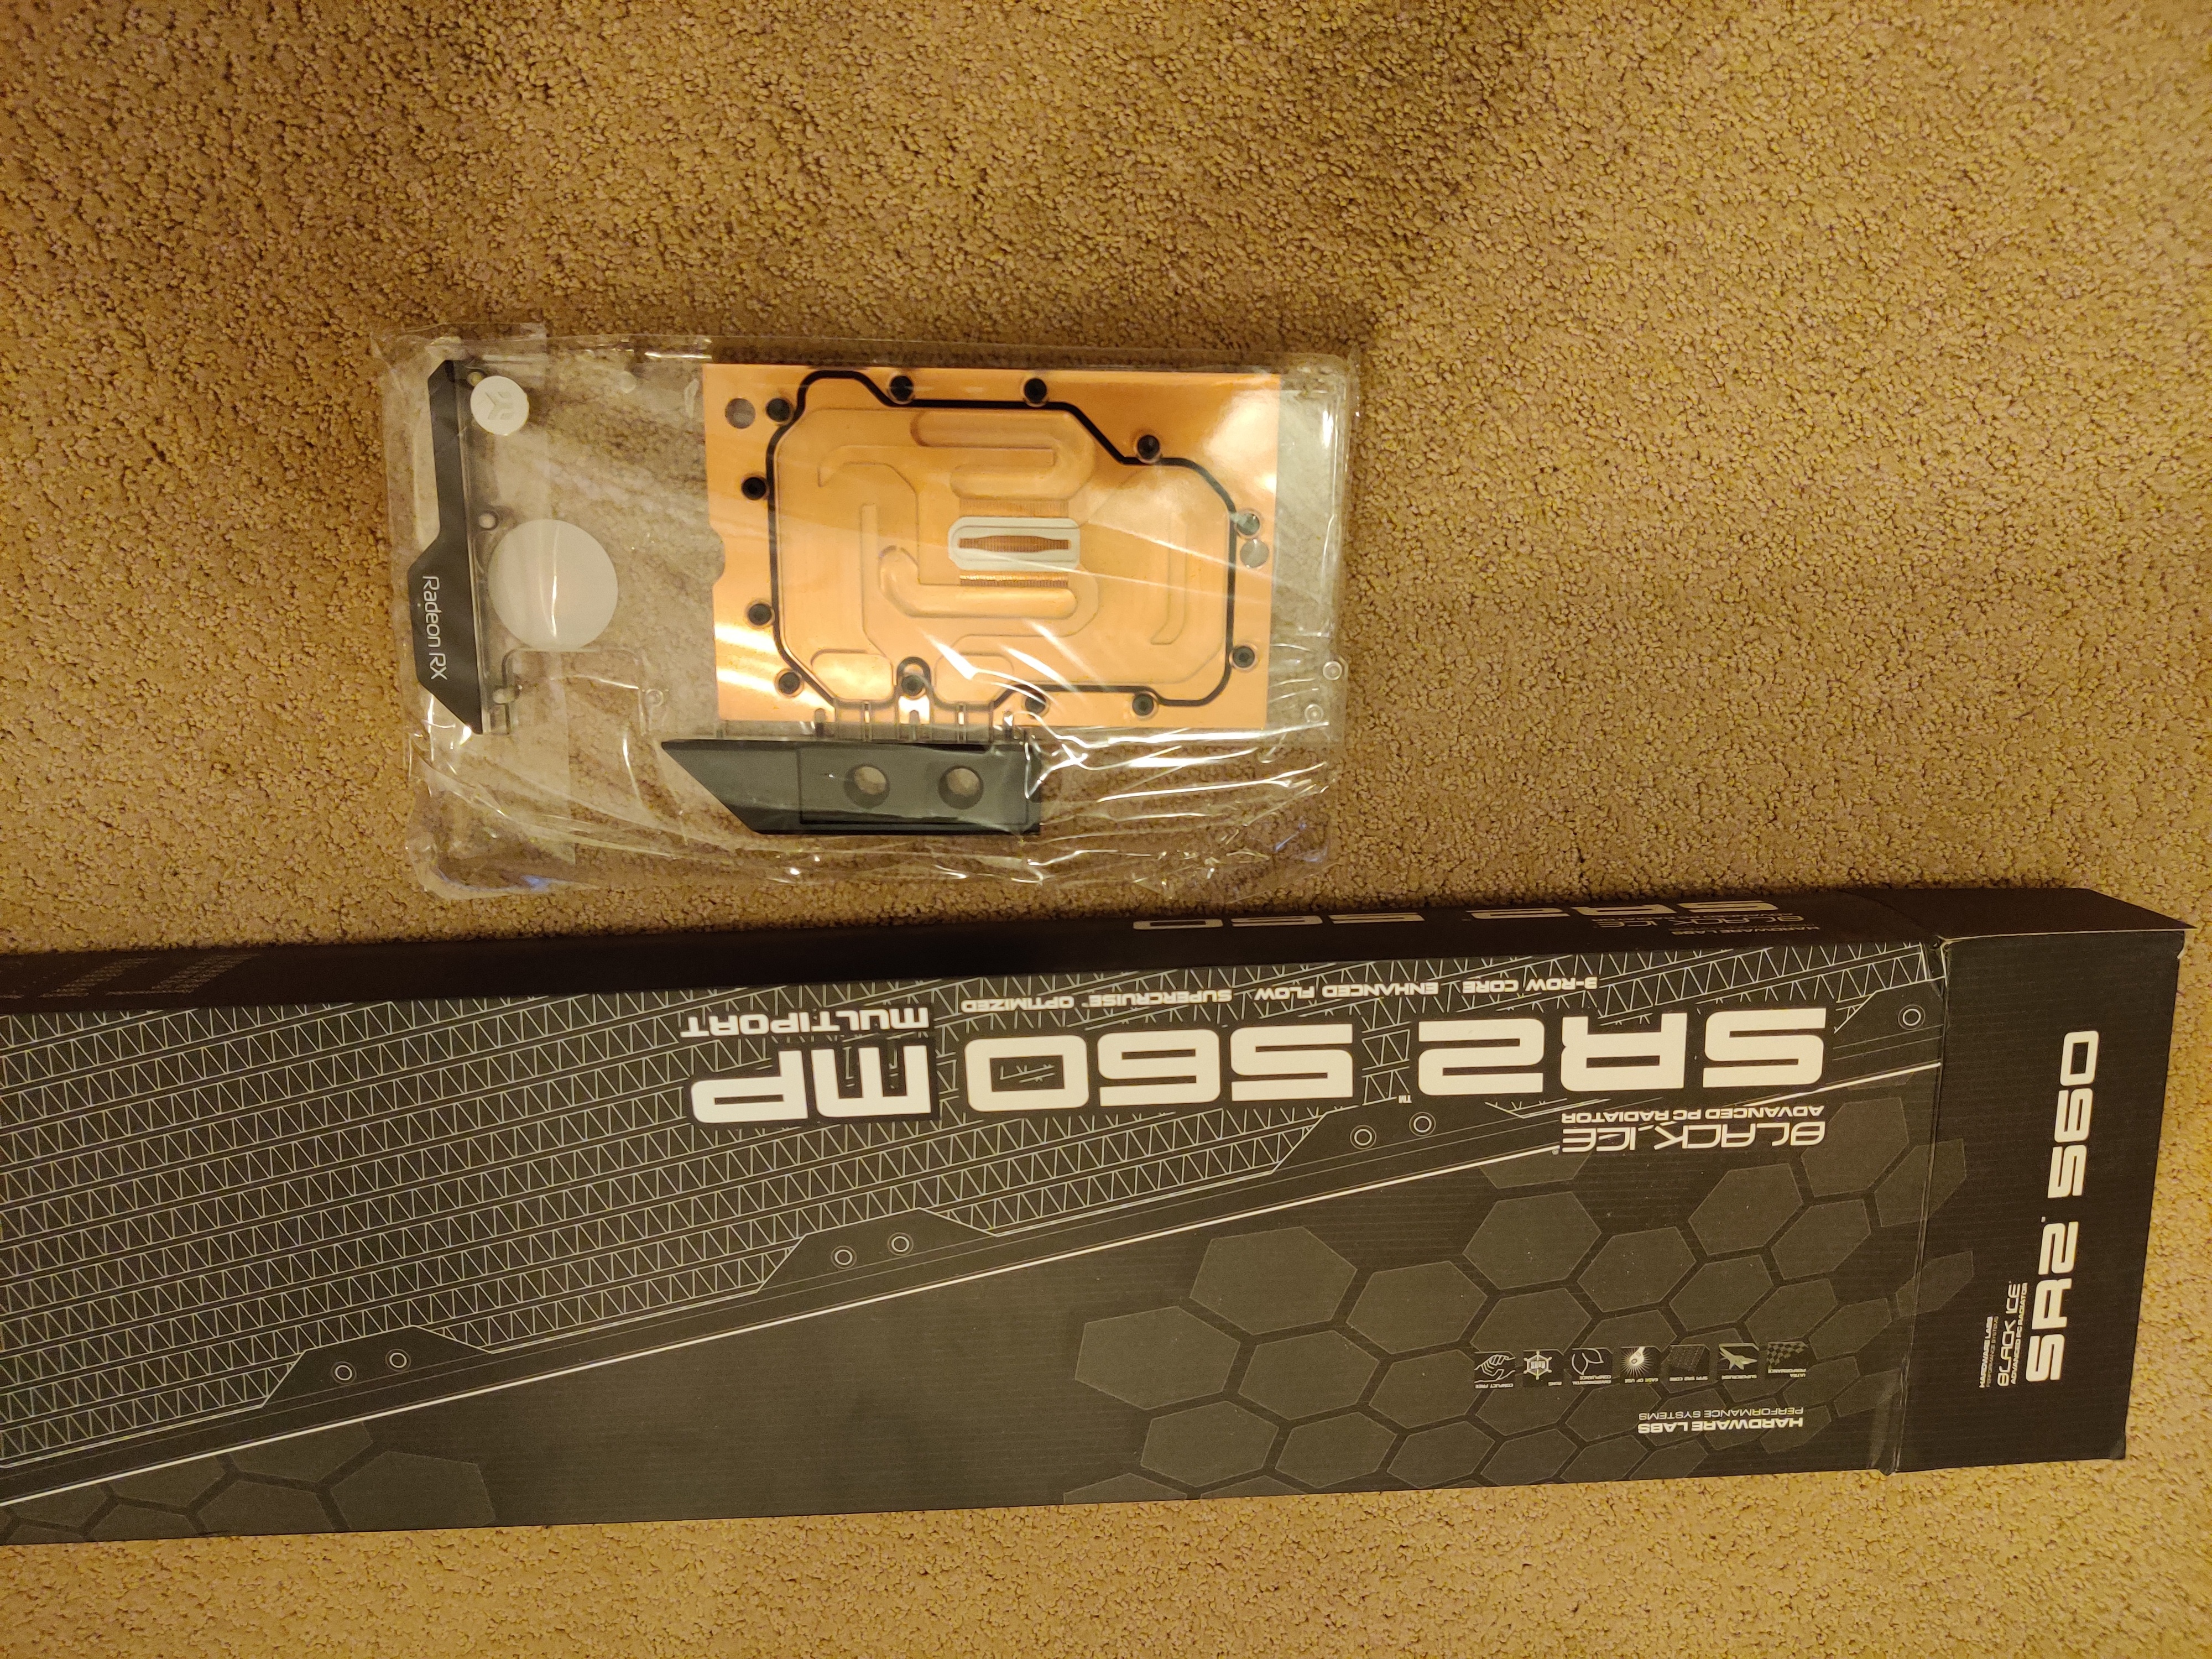
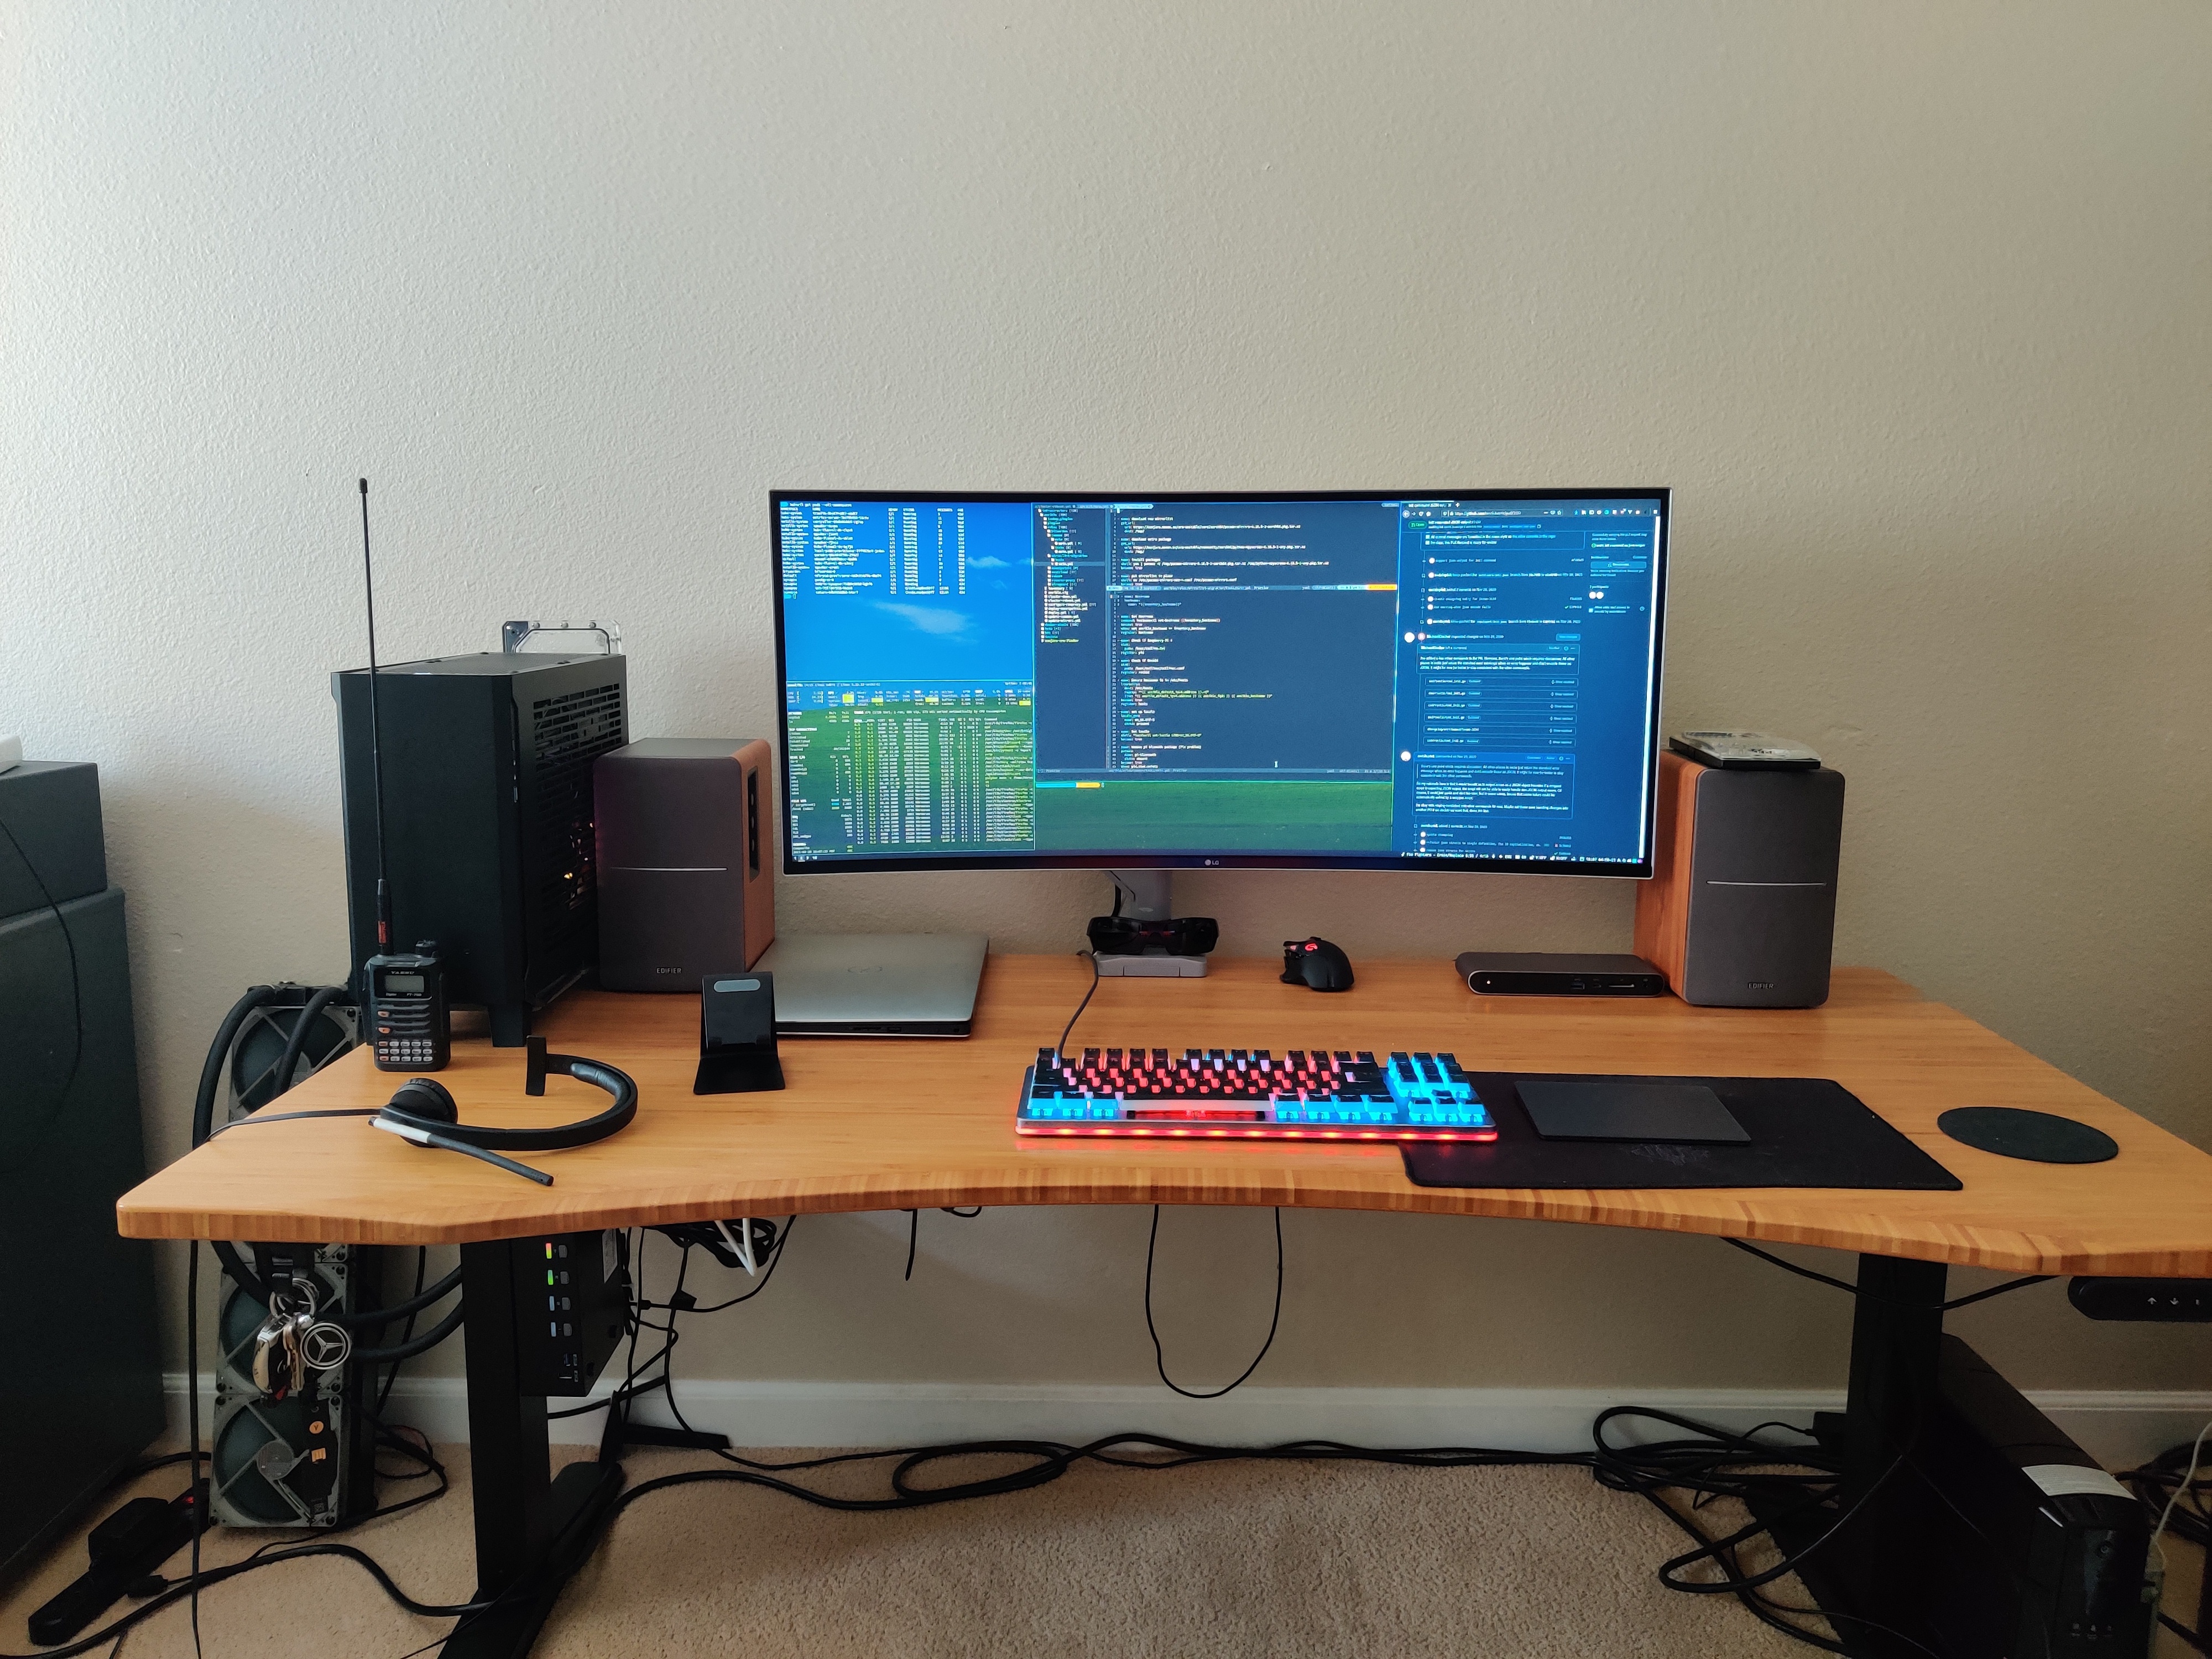
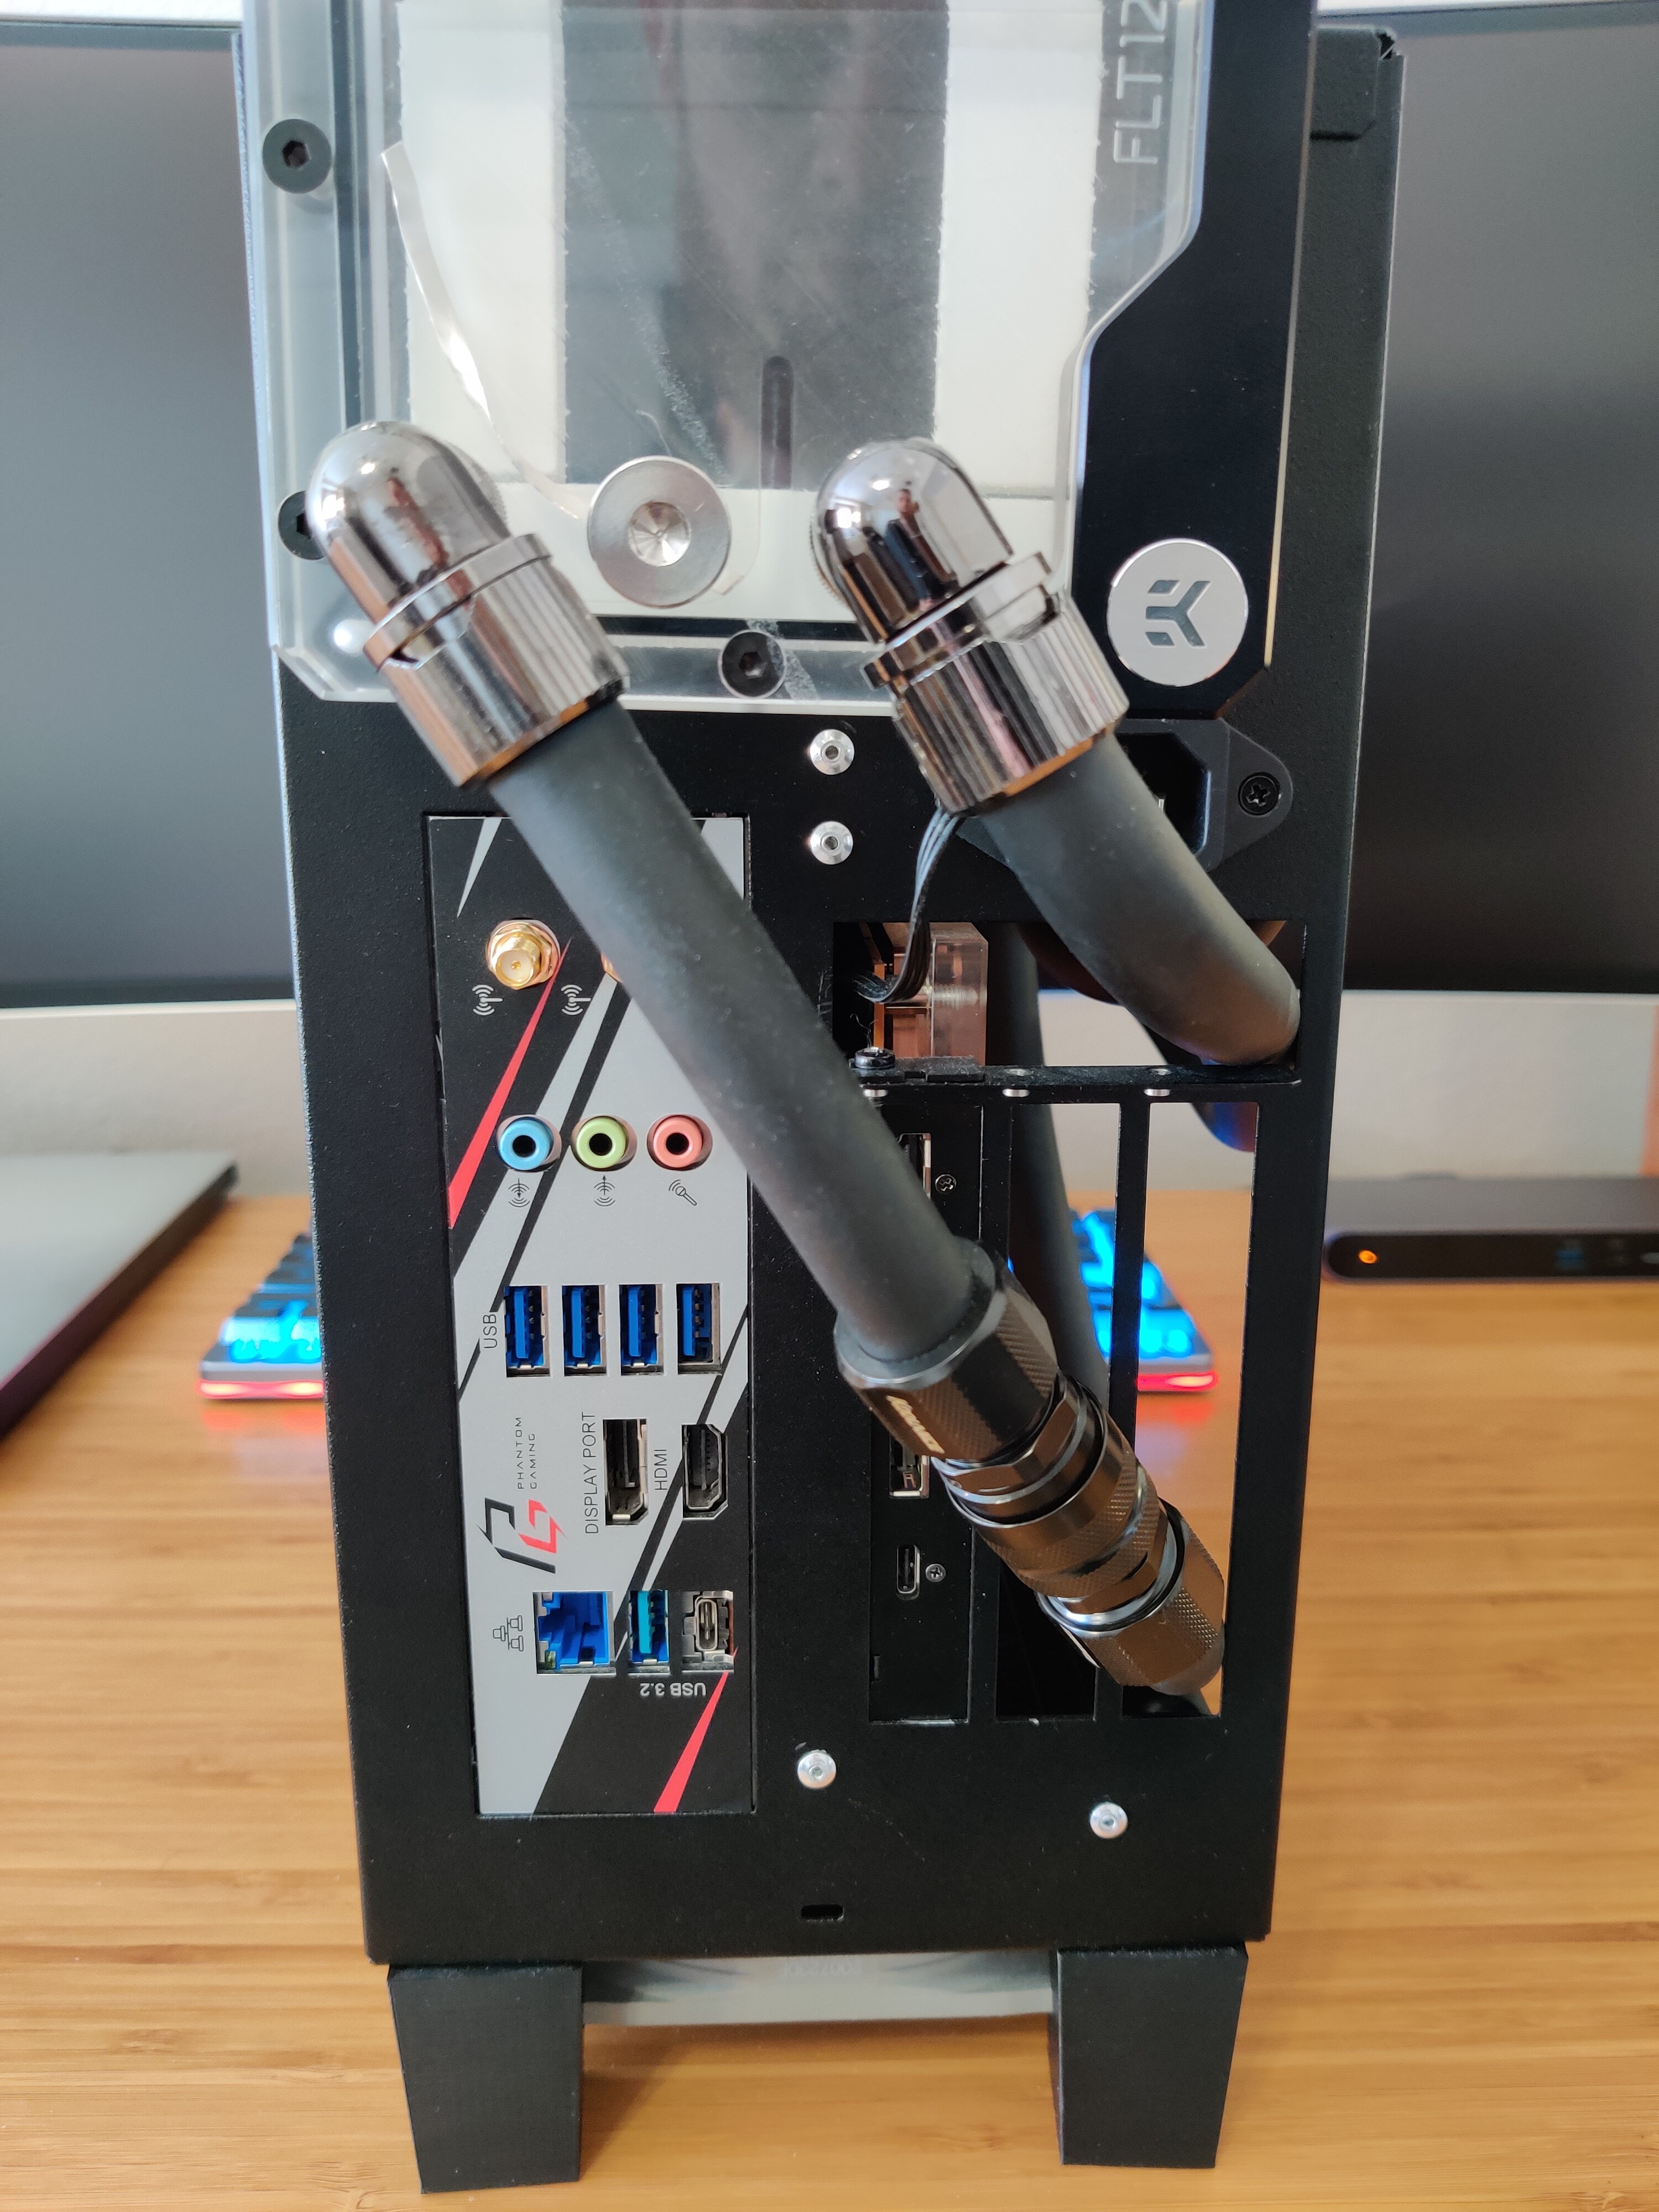
So I went out and bought some quick-disconnects and a gigantic, overkill radiator (560mm, 4x140mm x 50mm thick) and got to work rerouting my coolant lines to accommodate the beast. Once that’s done, I wired up some fans I had laying around and connected a variable step-down transformer to the rad, keeping the fans spinning at approximately 450rpm. I fire up Cyberpunk, crank the graphics all the way, and check my temps. 36C on the water, perfect! The external rad fans are running at about 450 and the case fans are about 400rpm.

Satisfied, I forget about writing this build log for about 4 months.
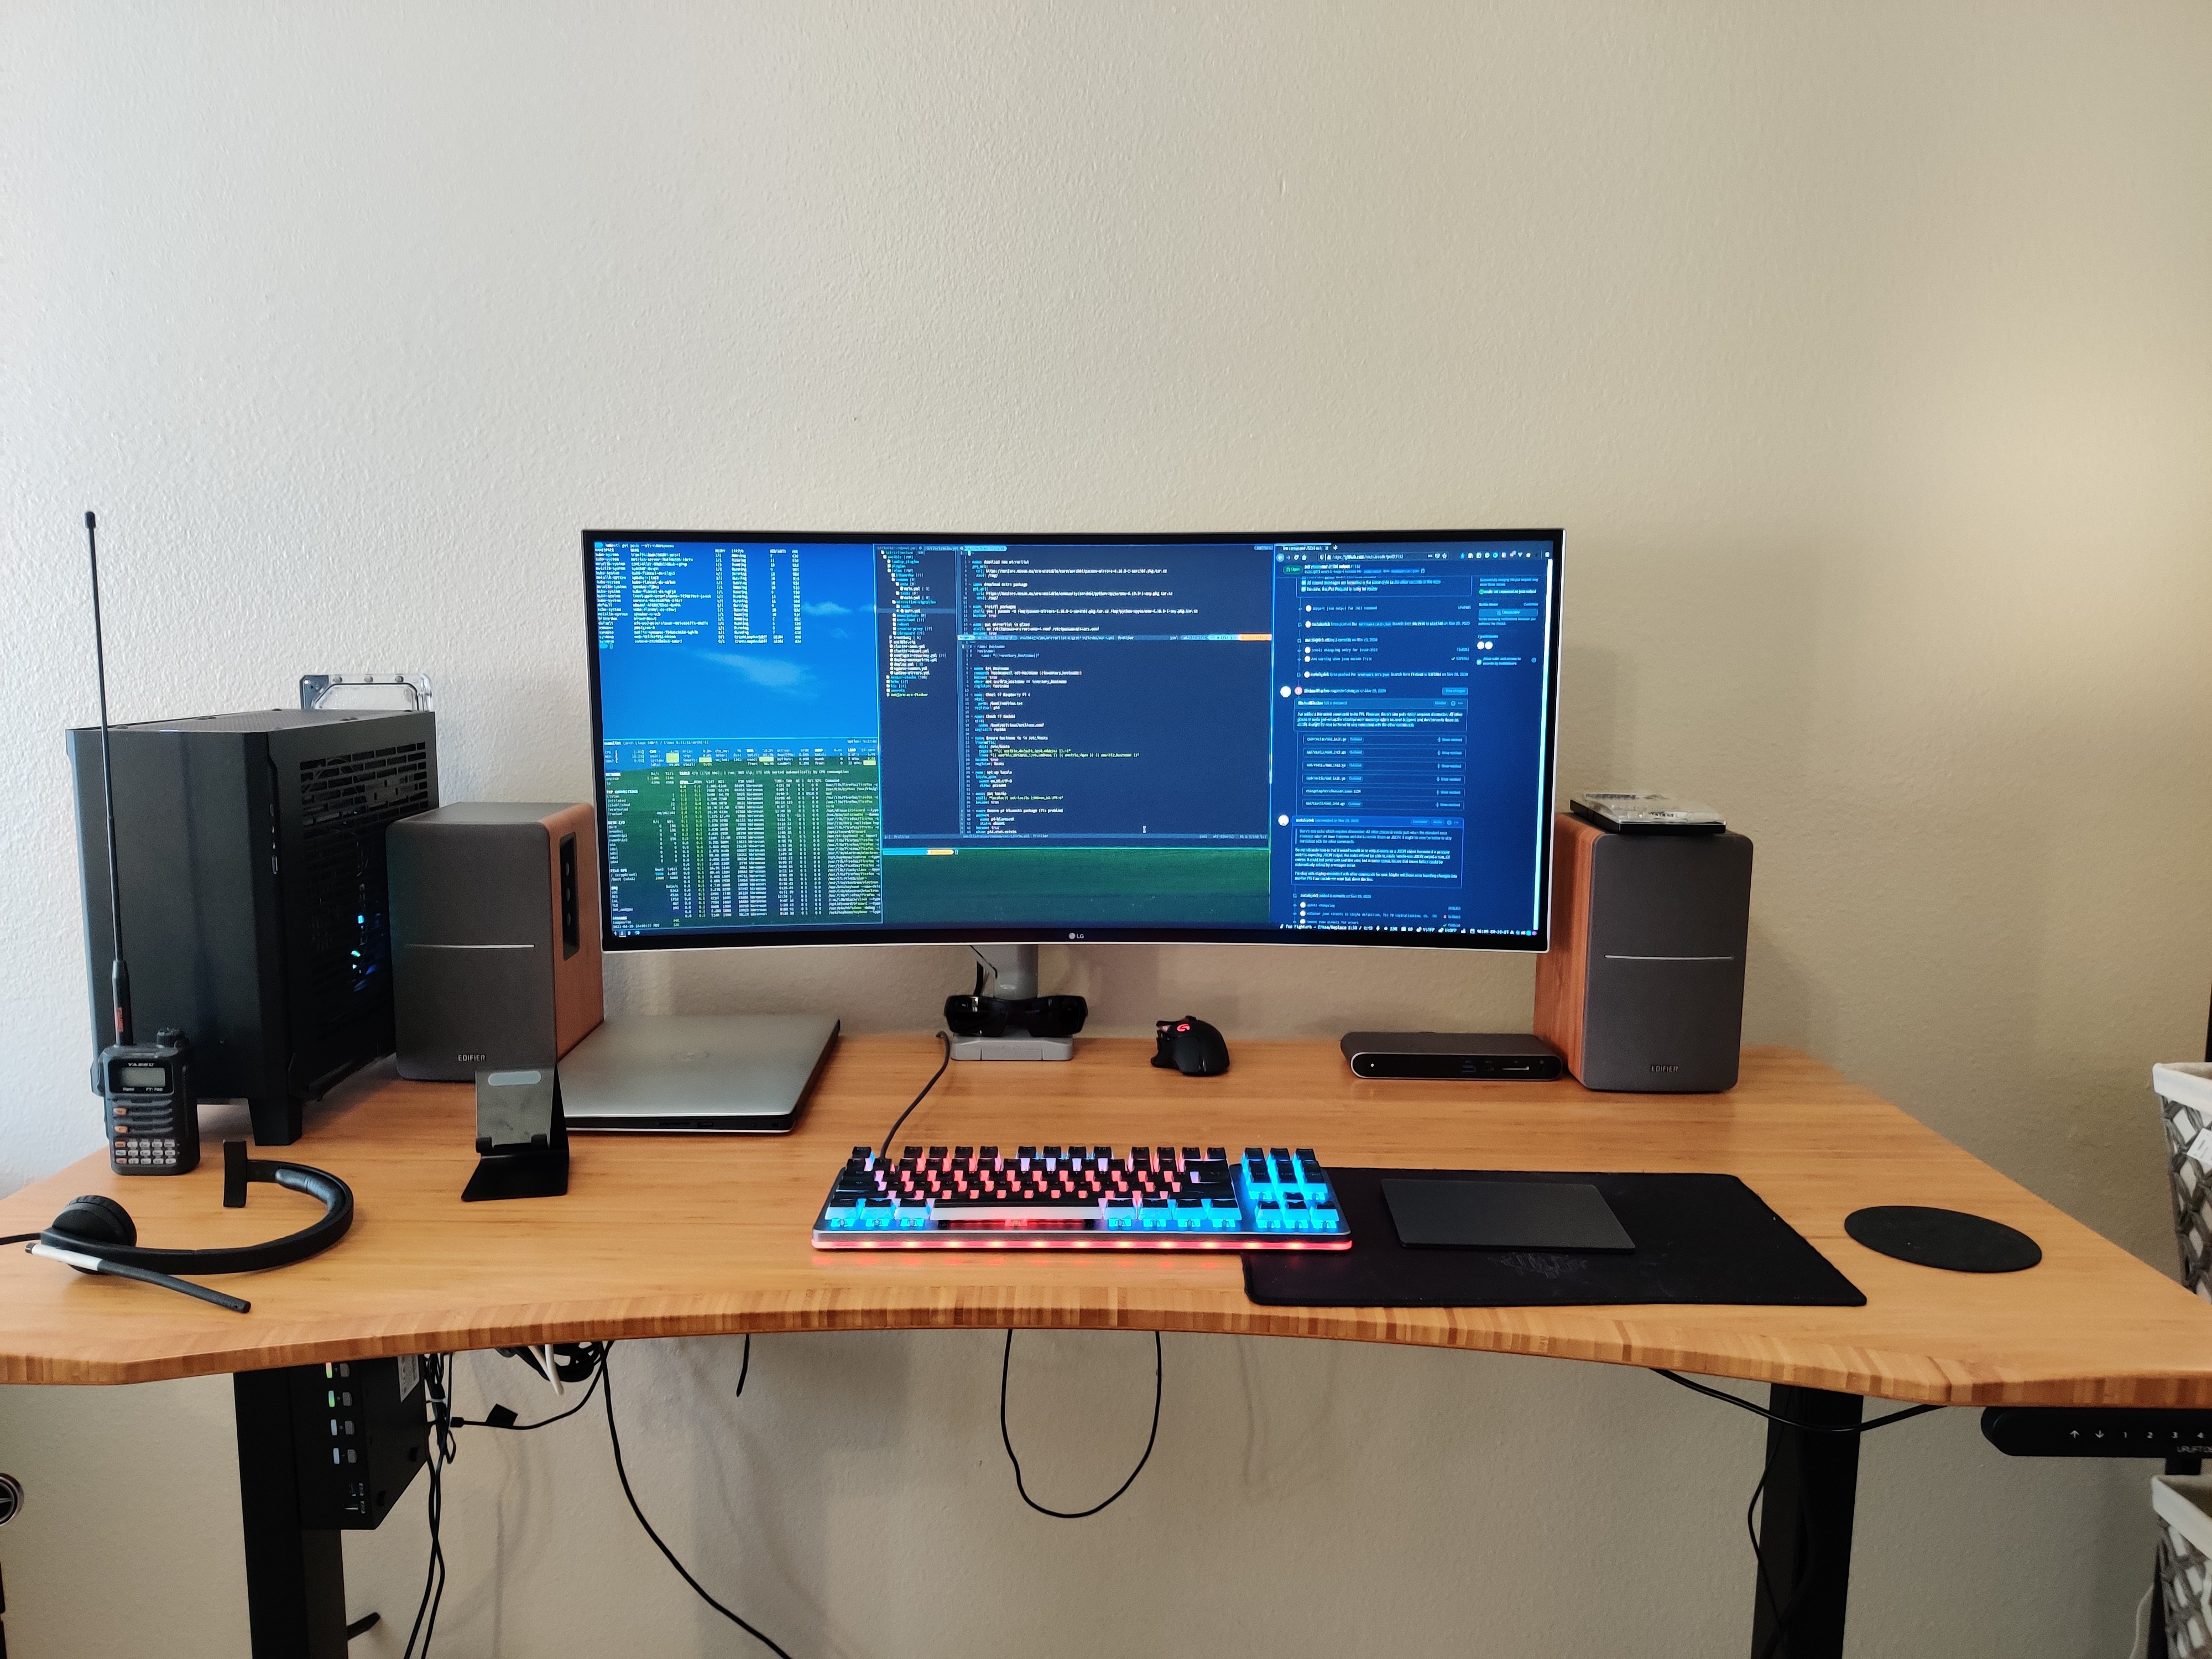
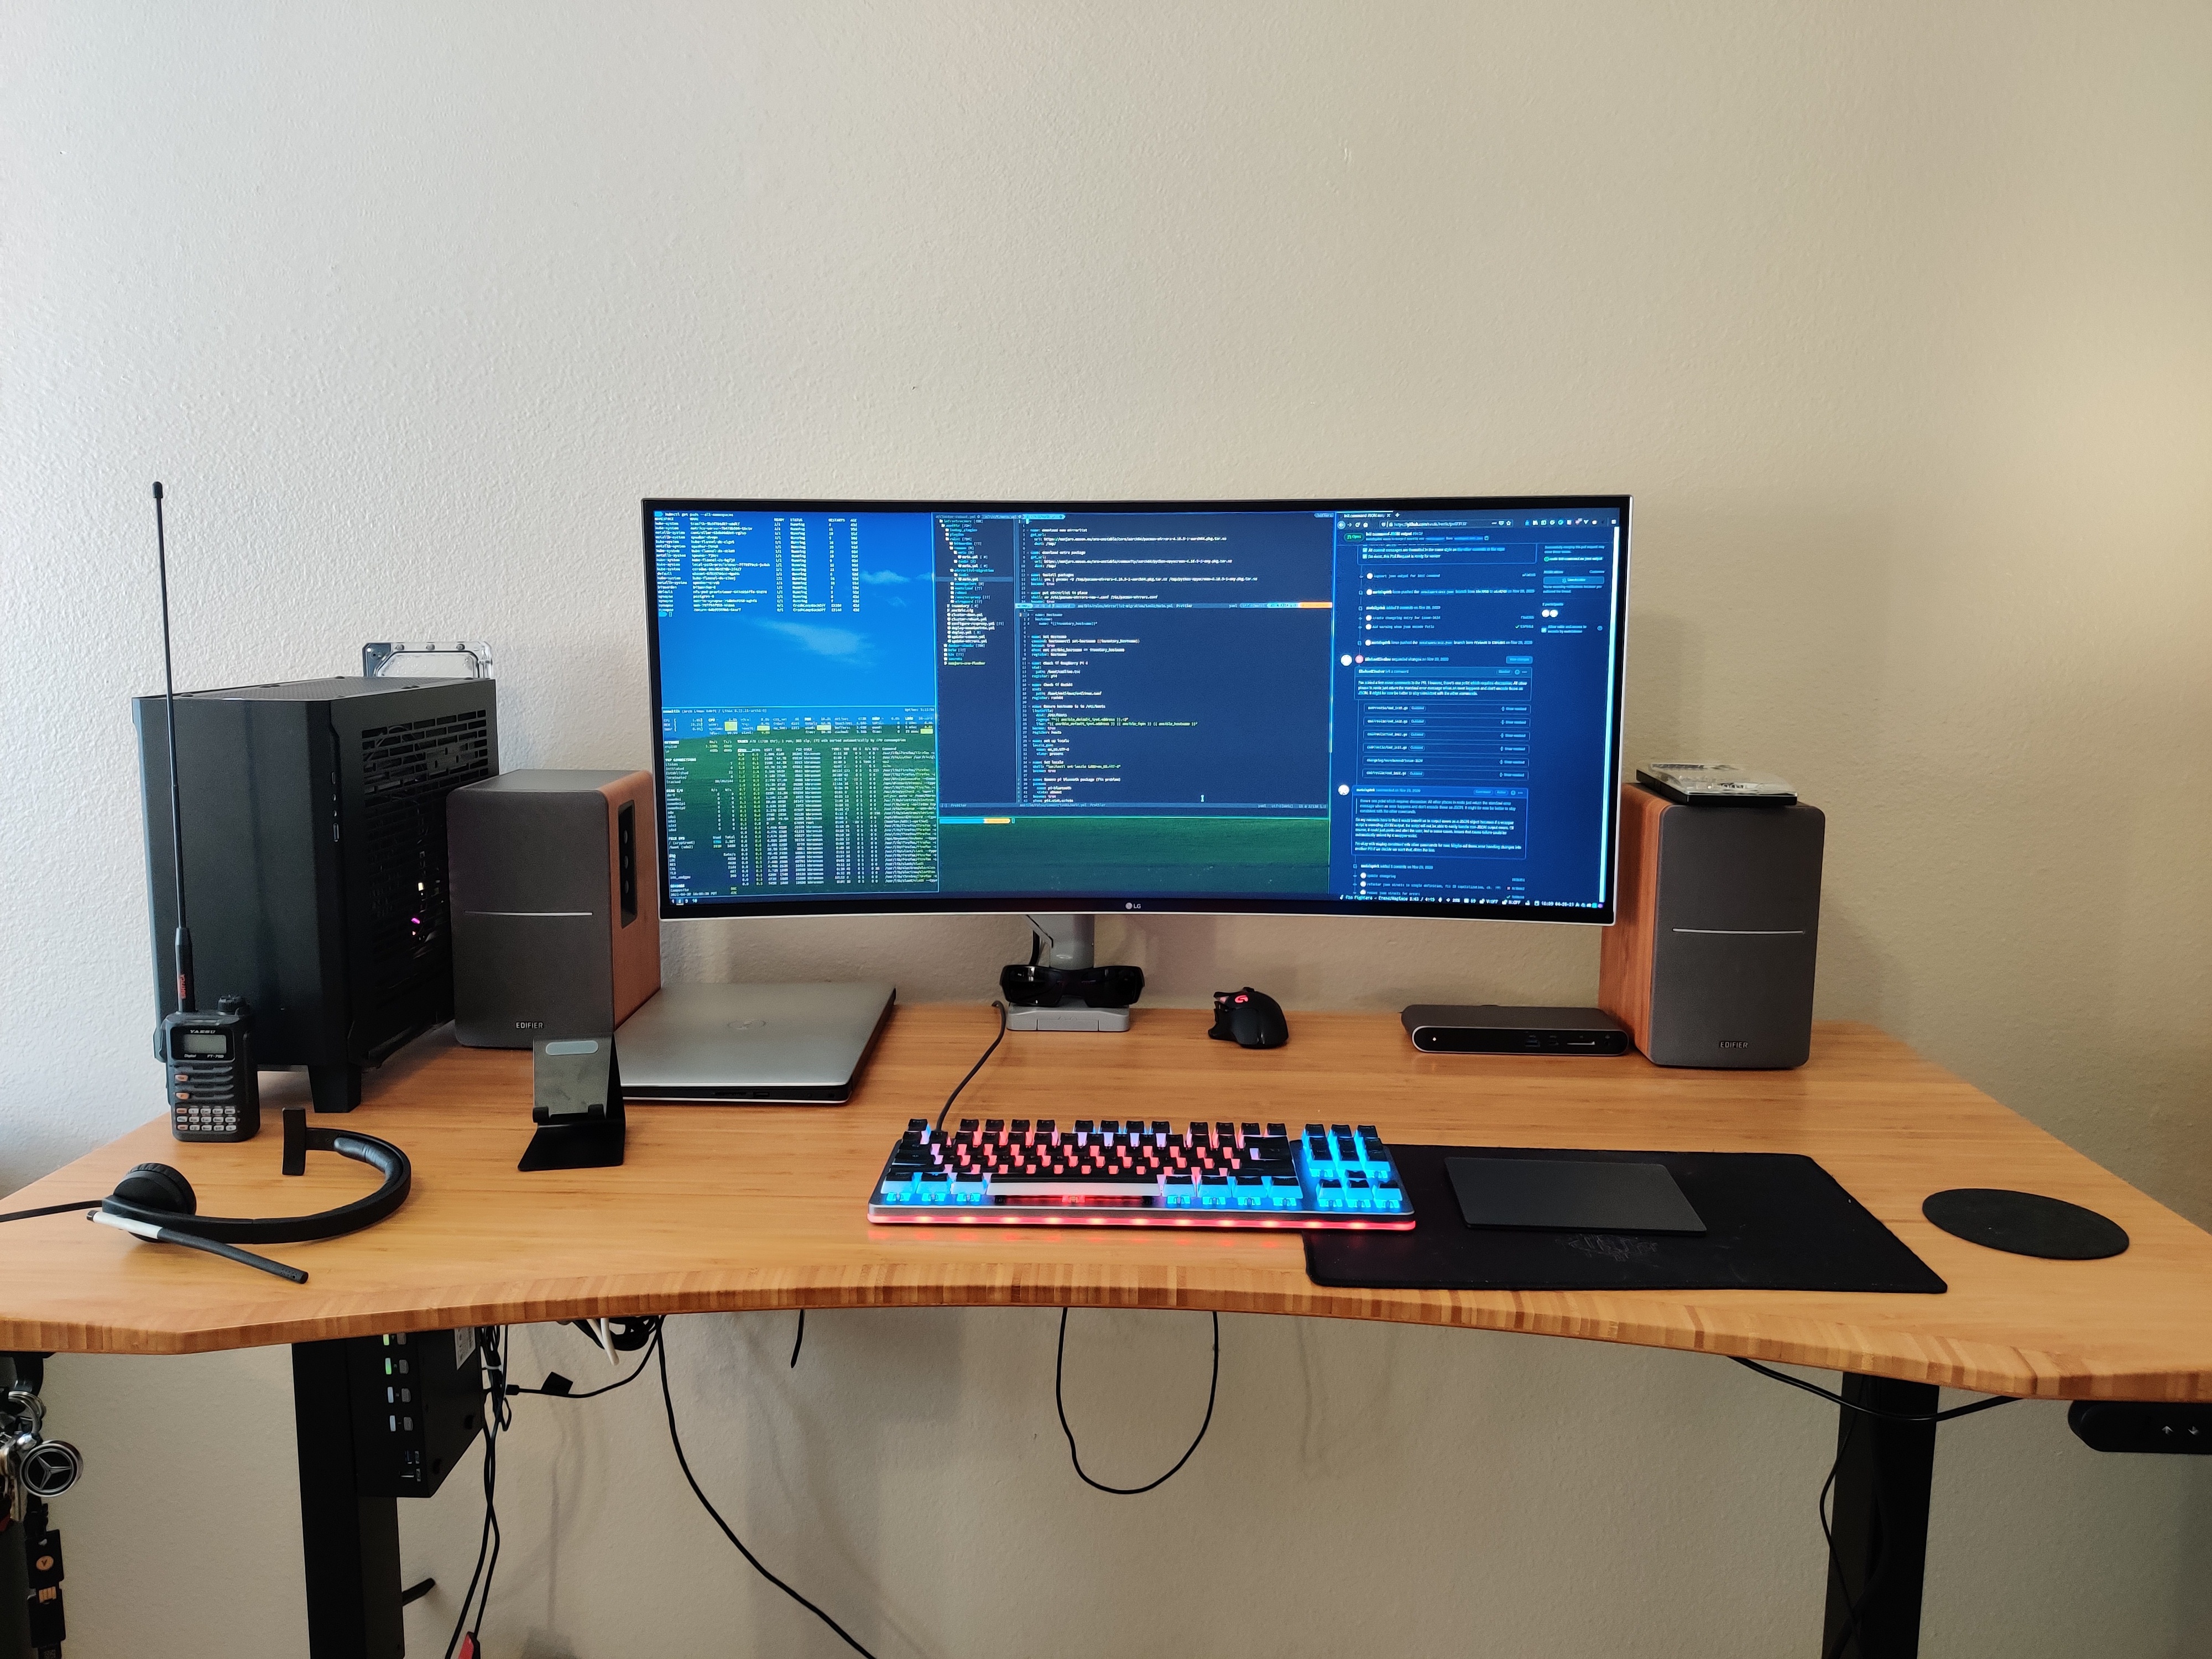
Here’s some pictures, to entertain:


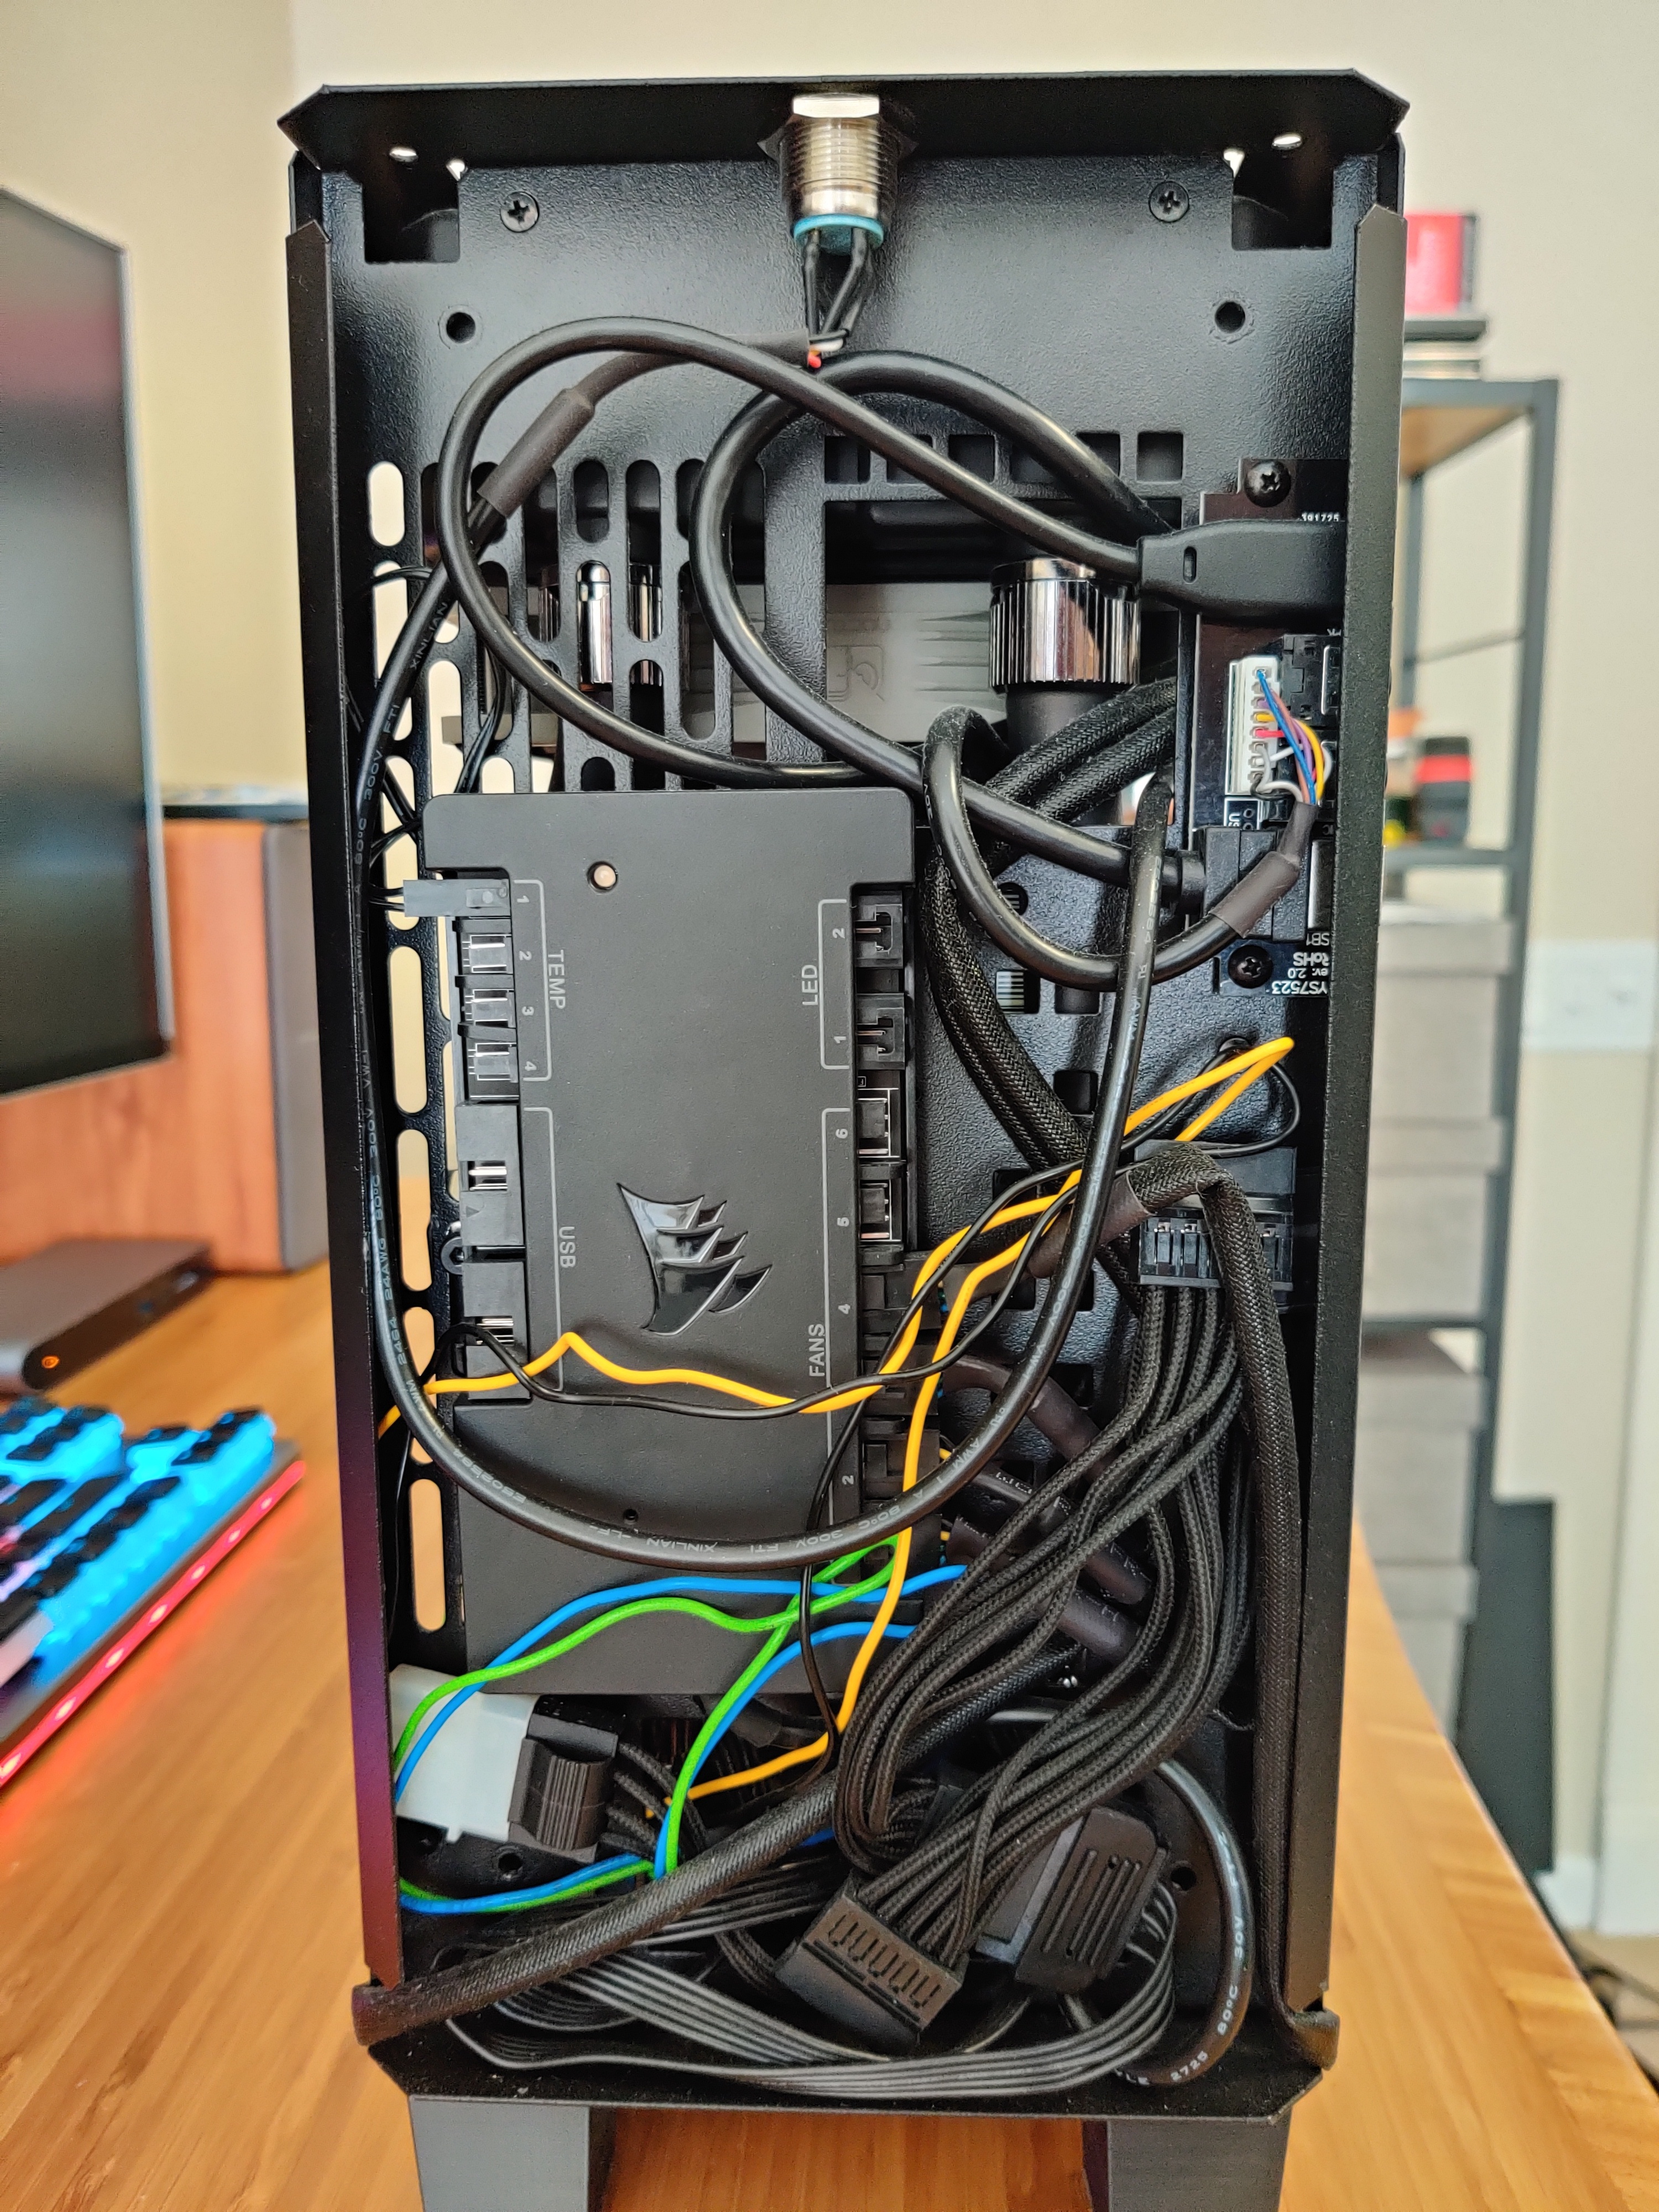
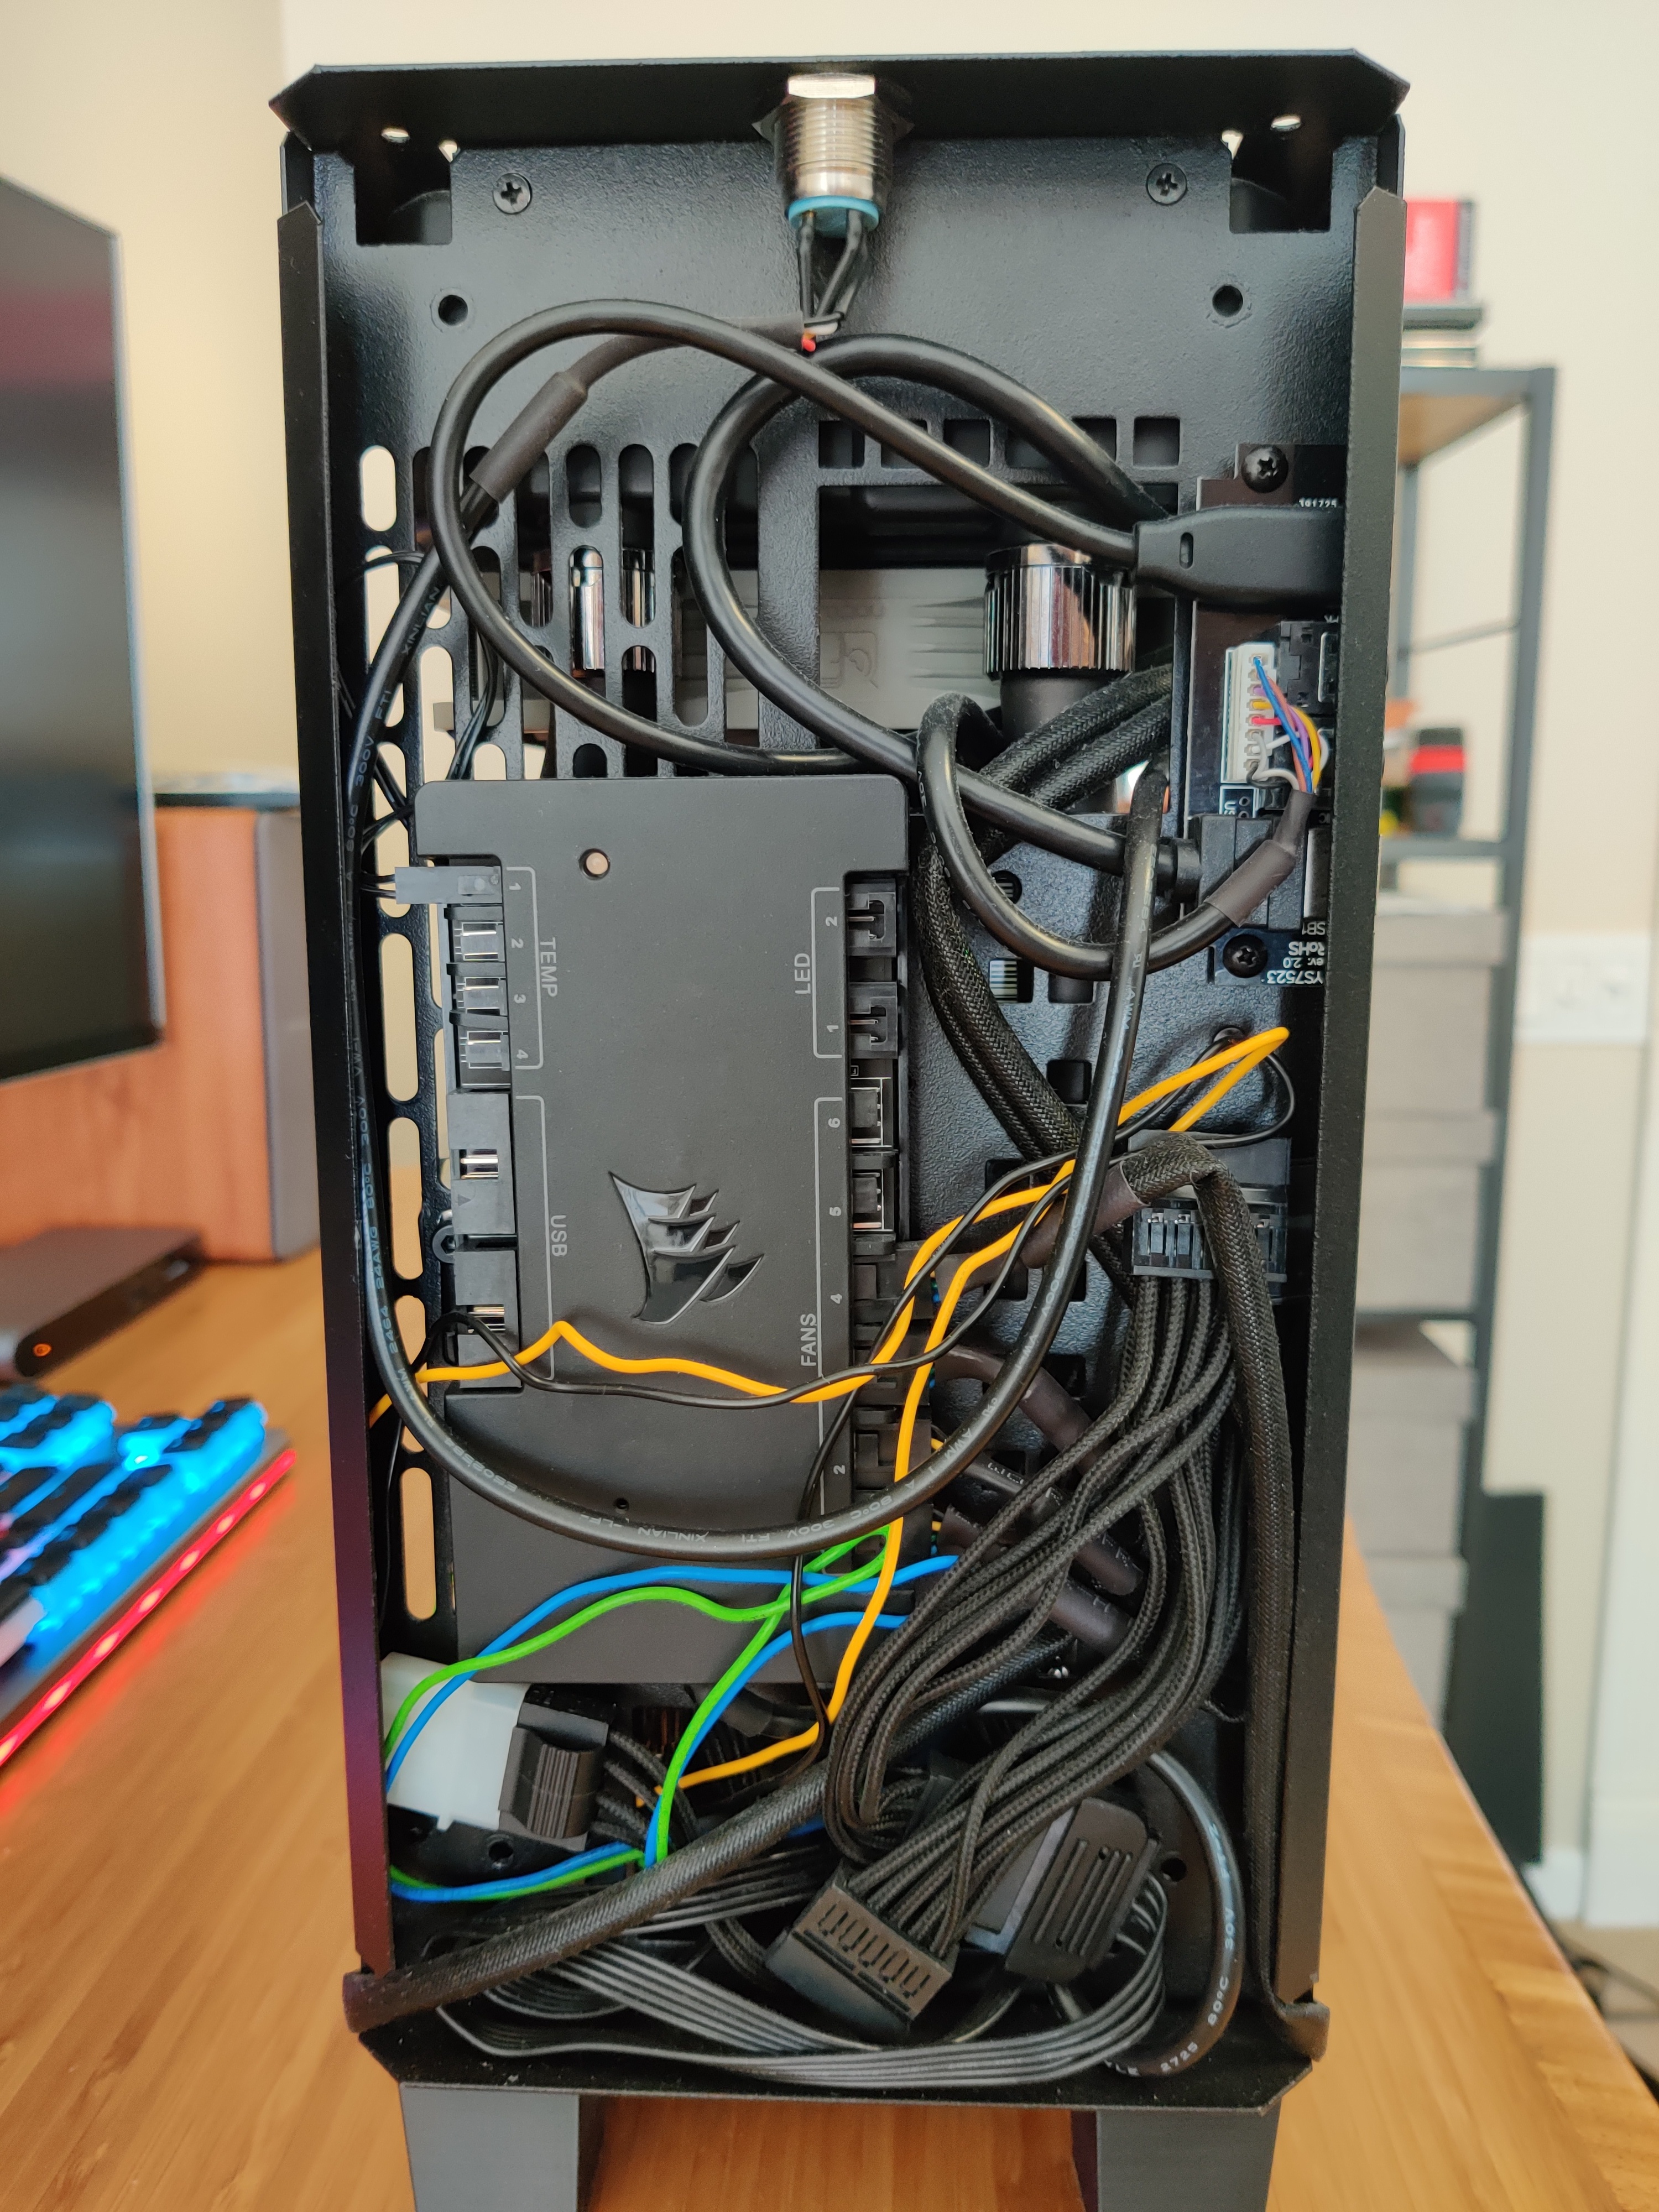


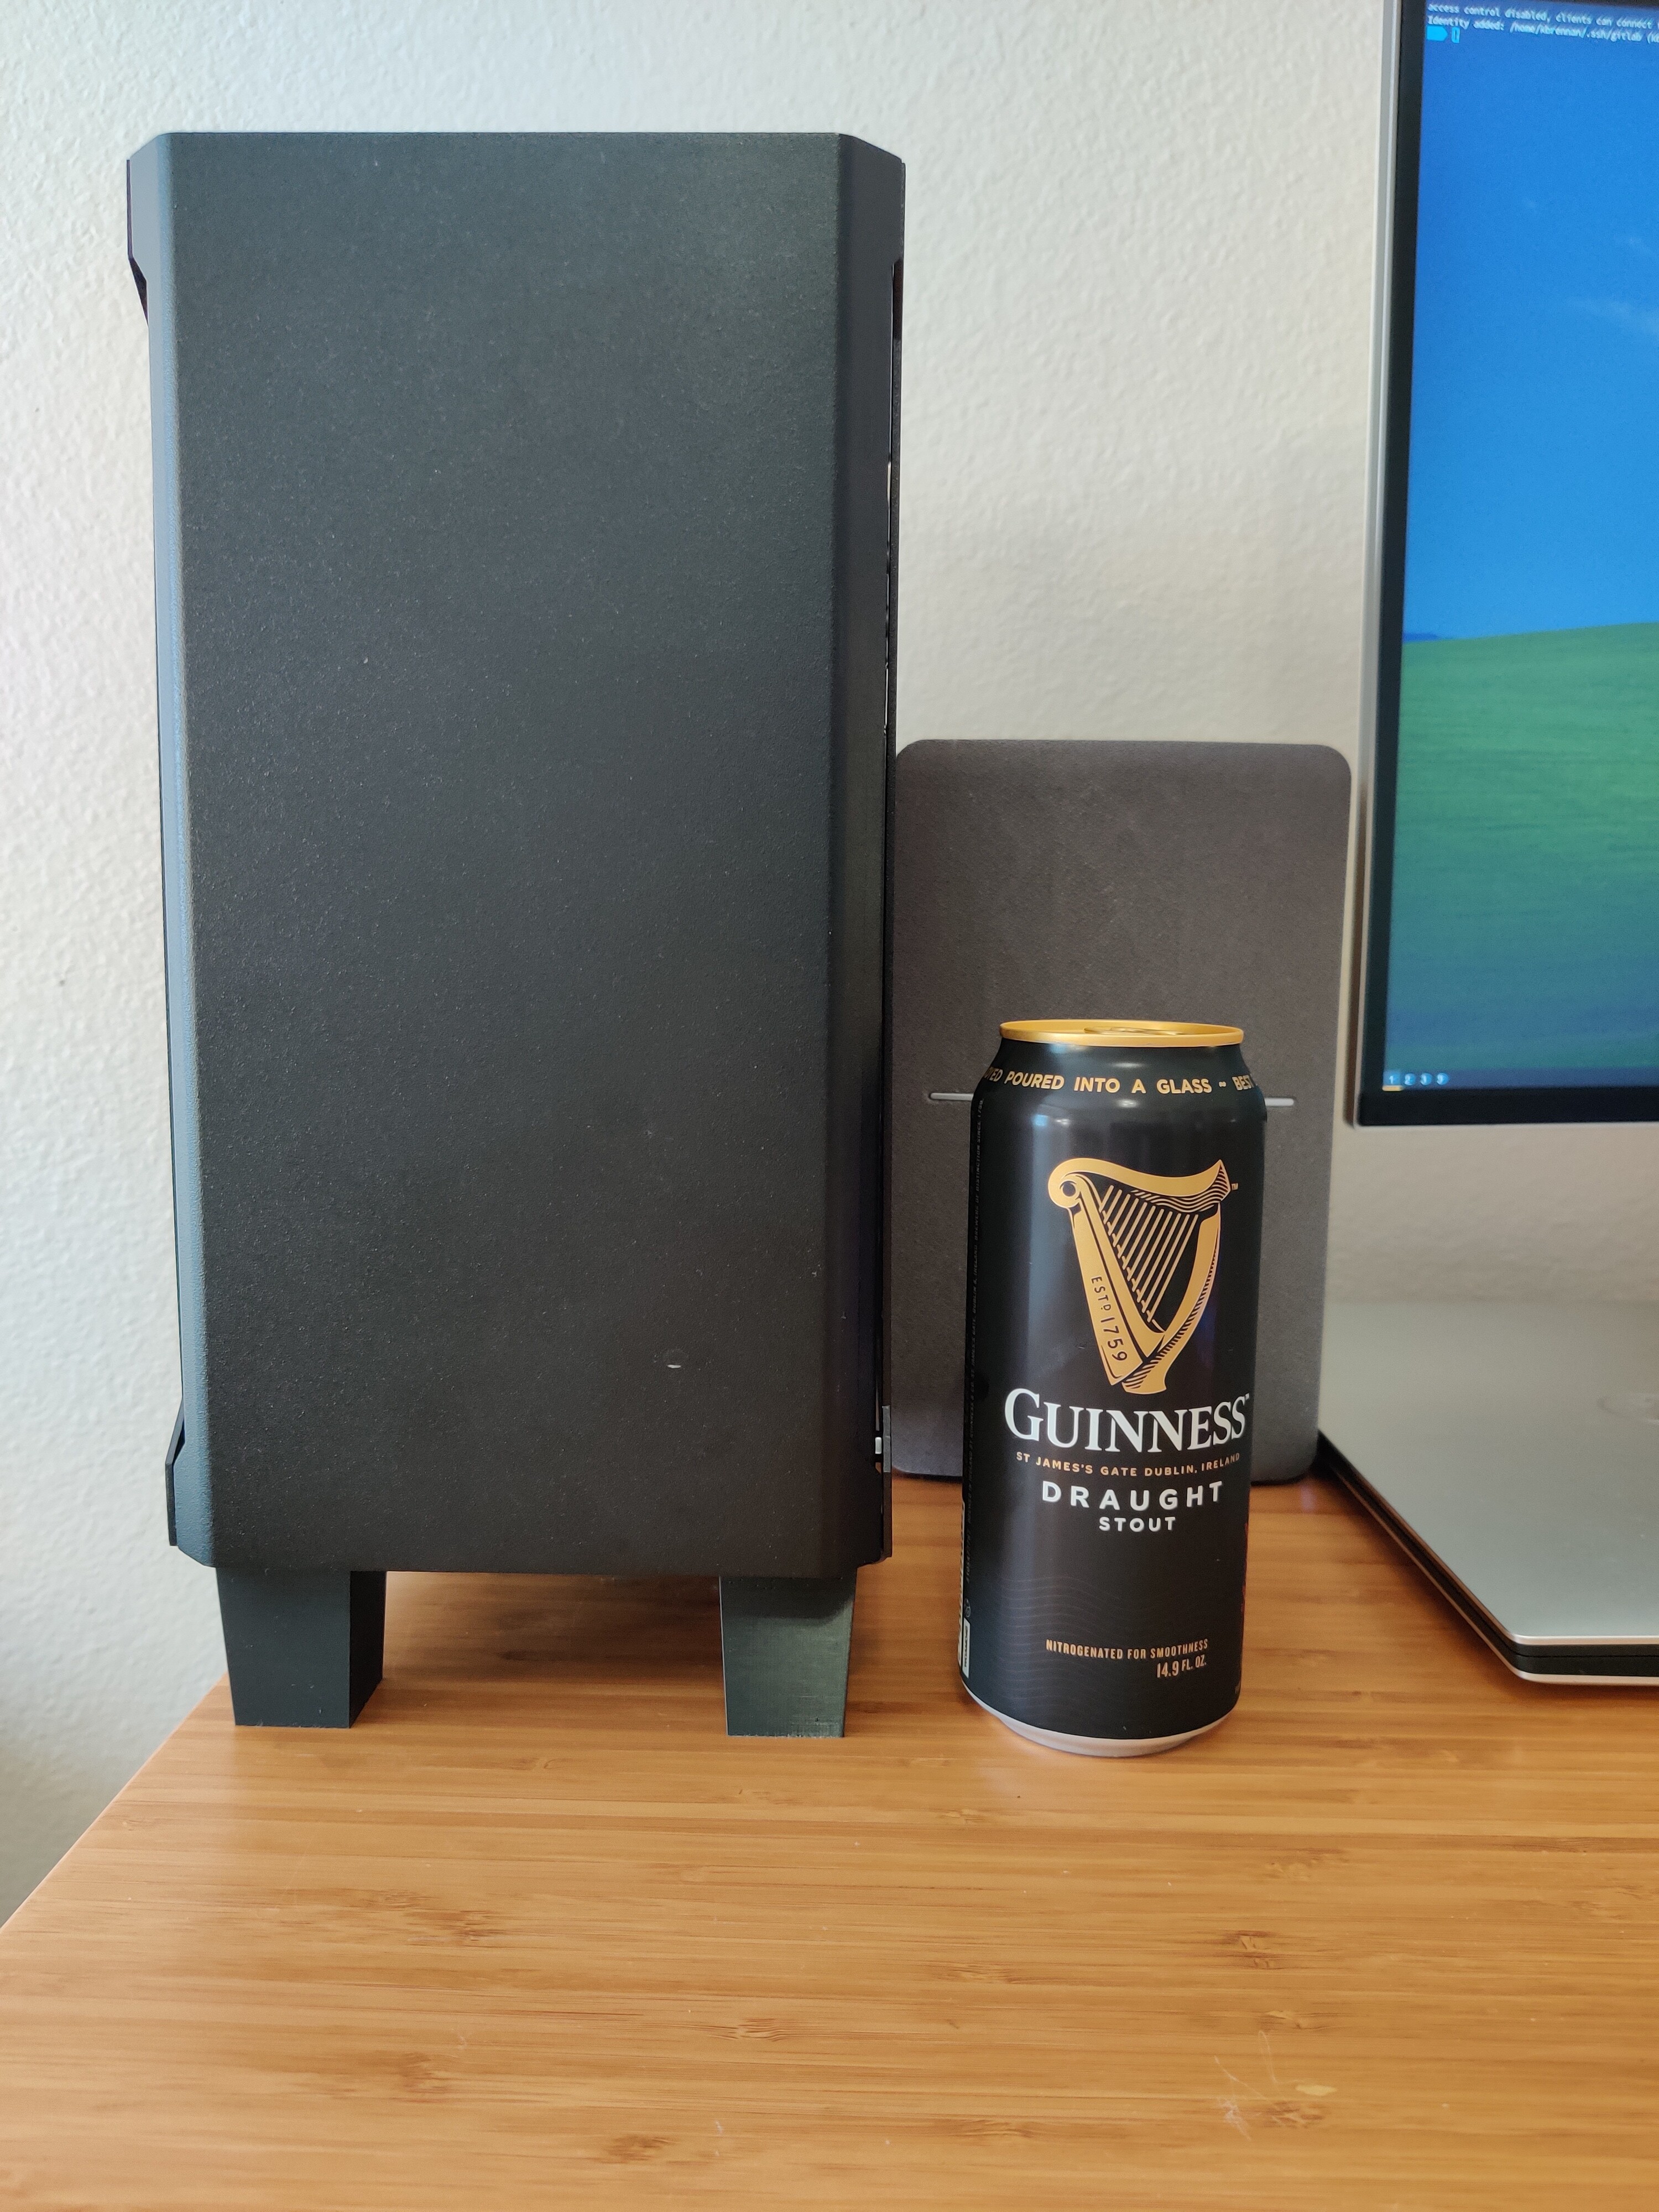
If yall have any questions, please do feel free to ask!
Future plans:
- figure out if I can mount the thicc rad under my desk
- build a proper fan breakout and pwm controller for the thicc rad, rather than just voltage step down.
