> Enter The PC Giveaway Here! <
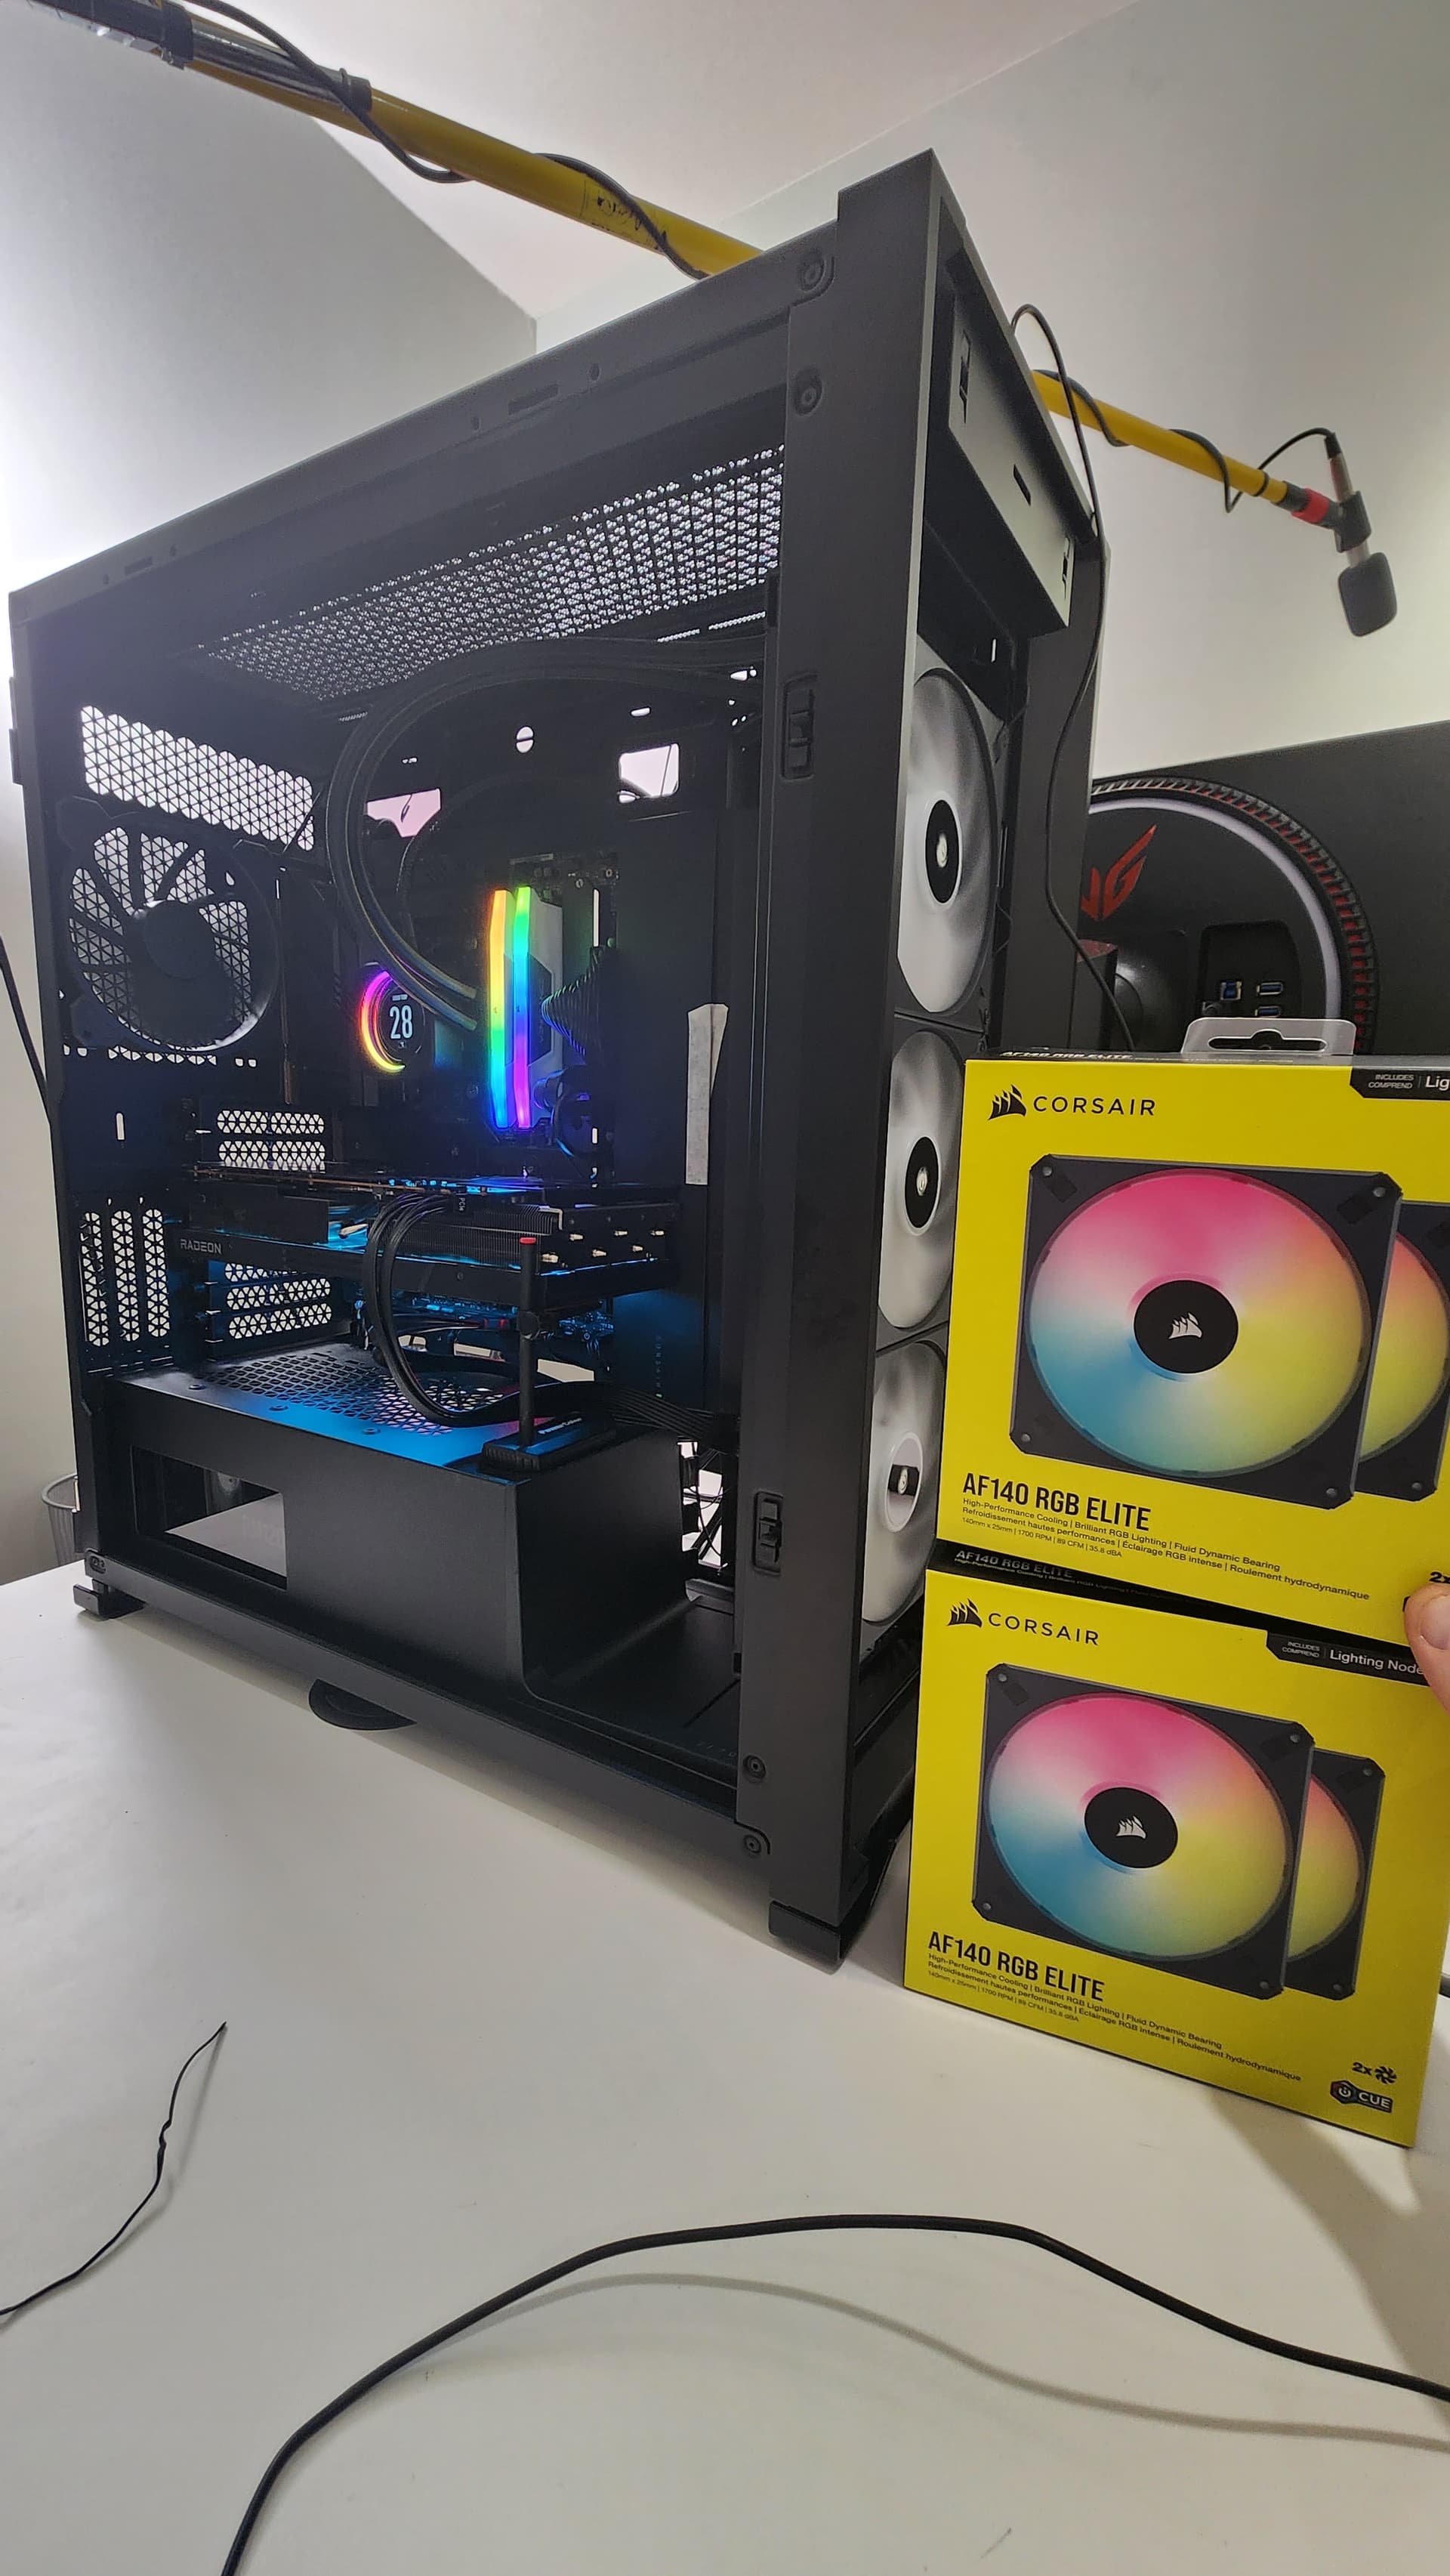
The Build
- Motherboard: ASRock Taichi X670E
- AMD 7950X 16 core CPU
- Corsair Vengeance DDR5 2x32gb
- Corsair RM1200x Shift Series modular PSU
- Corsair 7000D Airflow
- Corsair 140mm iCUE H170ibElite LCD XT
- Corsair 3x140mm AIO LCD Cooler
- Corsair MP600 2TB ( x2 )
- Corsair MP600 500gb
- Tested GPUs:
- ASRock Taichi White 7900XTX
- ASRock Taichi 7900XTX
- ASRock Aqua 7900XTX
- ASRock OC Formula 6950 XT
- ASRock OC Formula 6900 XT
- ASRock Taichi 6800XT
- Powercolor Hellhound 7900XTX
- AMD Reference 7900XTX
- AMD Reference 7900XT
- Merc 319 6950XT
- AMD Reference 6800XT

Huge Thanks to AMD & Corsair for most of this gear we’re using in our giveaway. Big thanks TO YOU for being part of the Level1Techs Community. Link below
TODO LINK
TODO RULES
Ubuntu 23.04 notes
sudo apt install wget
wget https://raw.githubusercontent.com/pimlie/ubuntu-mainline-kernel.sh/master/ubuntu-mainline-kernel.sh
chmod +x ubuntu-mainline-kernel.sh
sudo mv ubuntu-mainline-kernel.sh /usr/local/bin/

sudo ubuntu-mainline-kernel.sh -i 6.4.3
Don’t worry about this script making errors like Failed to execute child process “dbus-launch” (No such file or directory) or GDBus.Error:org.freedesktop.DBus.Error.ServiceUnknown: The name org.freedesktop.Notifications was not provided by any .service files – it doesn’t matter for our purposes.
It will look like this when it succeeds:
Downloading index from kernel.ubuntu.com
Will download 6 files from kernel.ubuntu.com:
Downloading amd64/linux-headers-6.4.3-060403-generic_6.4.3-060403.202307110536_amd64.deb: 100%
Downloading amd64/linux-headers-6.4.3-060403_6.4.3-060403.202307110536_all.deb: 100%
Downloading amd64/linux-image-unsigned-6.4.3-060403-generic_6.4.3-060403.202307110536_amd64.deb: 100%
Downloading amd64/linux-modules-6.4.3-060403-generic_6.4.3-060403.202307110536_amd64.deb: 100%
Downloading amd64/CHECKSUMS: 100%
Downloading amd64/CHECKSUMS.gpg: 100%
Importing kernel-ppa gpg key ok
Signature of checksum file has been successfully verified
Checksums of deb files have been successfully verified with sha256sum
Installing 4 packages
Cleaning up work folder
QEMU Changes
Important Syntax Changes
 <qemu:commandline>
... stuff to turn x-vga on
 </qemu:commandline>
became
  <qemu:override>
    <qemu:device alias="ua-stupid">
      <qemu:frontend>
        <qemu:property name="x-vga" type="bool" value="true"/>
      </qemu:frontend>
    </qemu:device>
  </qemu:override>
for a device like:
<hostdev mode="subsystem" type="pci" managed="yes">
  <driver name="vfio"/>
  <source>
    <address domain="0x0000" bus="0x03" slot="0x00" function="0x0"/>
  </source>
  <alias name="ua-stupid"/>
  <address type="pci" domain="0x0000" bus="0x05" slot="0x00" function="0x0"/>
</hostdev>
What’s with ua-stupid ? Well if you have a reasonable alias like name=hostdev0 it vanishes from the config mysteriously. Pretty WTF at the moment.
also have to update the <domain> line to allow more stuff to something like
<domain xmlns:qemu="http://libvirt.org/schemas/domain/qemu/1.0" type="kvm">
Re-size Bar Complications
Normally the Base Address Register is 256 megabytes. Moving data 256mb at a time is too slow. ReBar driver enablement usually means that you can get 8, 16 or 32 gigabytes of memory-mapped I/O space (meaning that your GPU can move data in much larger chunks).
This is another layer of complication as explained in the video. You should start by getting your setup working for VFIO with rebar disabled and then move on to enabling resizable bar.
Be prepared to need to write a script that unbinds vfio from your GPU, sets the BAR to something like 8gb, then rebinds your GPU (making it ready to start the VM).
Otherwise you can face a blue-screen of death from AMD’s driver when you install them – a common cause of BSODs from amdkmdag.sys for vfio/gpu passthrough is when Resizable Bar is enabled, but the actual BAR values are a little wacky from where you are in a GPU passthrough situation. Disabling BAR in bios as a temporary workaround/to test is fine.
Another strategy for this situation is to boot linux and examine the BAR/pcie mmio situation in order to take troubleshooting steps.
Yet another layer on top of this is when you have three GPUs in the system (integrated, plus two PCIe). I’m not sure AMD has done much testing with two 7000 series PCIe GPUs in the same system (given that multi-gpu gaming is dead… and VFIO is even more esoteric than when I started doing this a decade agao… this probably makes sense).
Hellhound 7900XTX Notes
It is possible to trigger D0 to D3 hot bugs on this card with kernel 6.4.3; however this card seems to work okay with ancient kernels – pre 5.15. I’m not sure if this is truly an AMD issue or just a problem with PCIe passthrough in general.
From a clean setup it is possible to install the AMD GPU Adrenaline drivers, and reinstall them, and to shutdown / restart the VM without triggering this issue.
For me the invalid header type 127 was triggered from an unexpected BSOD; hard restarting the system restored the ability to bind the GPU with no other configuration changes.
Re-size Bar
[    6.218099] amdgpu 0000:1e:00.0: amdgpu: ACPI VFCT table present but broken (too short #2),skipping
[    6.221042] [drm] BIOS signature incorrect 0 0
[    6.221044] amdgpu 0000:1e:00.0: BAR 6: can't assign [??? 0x00000000 flags 0x20000000] (bogus alignment)
[    6.224015] [drm] BIOS signature incorrect 0 0
[    6.224016] amdgpu 0000:1e:00.0: amdgpu: Unable to locate a BIOS ROM
[    6.224018] amdgpu 0000:1e:00.0: amdgpu: Fatal error during GPU init
The bogus alignment is a direct result, seems to be, of the kernel parameter
pci=realloc,assign-busses,nocrs (I tried also without realloc and nocrs).
I suspect, but not sure, an additional wrinkle here is this board’s thunderbolt capability. Thunderbolt can make some bad assumptions about memory I/O regions.
It could also be related to AMD integrated GPU assumptions about GOP:
… CSM is disabled on our test platform, but sometimes it is useful to patch the GOP even for the SOC (integrated) GPU.
Fine, I’ll resize it myself
Since assign-busses craps out on us, we’ll do it this way:
lspci |grep VGA
03:00.0 VGA compatible controller: Advanced Micro Devices, Inc. [AMD/ATI] Navi 31 [Radeon RX 7900 XT/7900 XTX] (rev c8)
59:00.0 VGA compatible controller: Advanced Micro Devices, Inc. [AMD/ATI] Raphael (rev c1)
lspci -vvvs 03:00.0
...
	Capabilities: [200 v1] Physical Resizable BAR
		BAR 0: current size: 256MB, supported: 256MB 512MB 1GB 2GB 4GB 8GB 16GB 32GB
		BAR 2: current size: 2MB, supported: 2MB 4MB 8MB 16MB 32MB 64MB 128MB 256MB
That’s the part of the lspci we care about. 256mb aka Re-Bar is off in bios.
Enabled Re-Bar in bios:
      Capabilities: [200 v1] Physical Resizable BAR
                BAR 0: current size: 32GB, supported: 256MB 512MB 1GB 2GB 4GB 8GB 16GB 32GB
                BAR 2: current size: 256MB, supported: 2MB 4MB 8MB 16MB 32MB 64MB 128MB 256MB
Let’s set it to 8gb Re-bar support to make it a little easier for VM memory mapping…
 ls *resize -l
-rw-r--r-- 1 root root 4096 Jul 17 21:39 resource0_resize
-rw-r--r-- 1 root root 4096 Jul 17 21:39 resource2_resize
I’m not sure why, but this is bar 0, 2 from lspci but here it’s called resource 0,2. (Where’s resource 1??)
to resize we can do:
# echo 13 > resource0_resize
bash: echo: write error: Device or resource busy
# echo 3 > resource2_resize
bash: echo: write error: Device or resource busy
root@level1techs-X670E-Taichi:/sys/bus/pci/devices/0000:03:00.0# rmmod vfio_pci
root@level1techs-X670E-Taichi:/sys/bus/pci/devices/0000:03:00.0# echo 13 > resource0_resize
root@level1techs-X670E-Taichi:/sys/bus/pci/devices/0000:03:00.0# echo 3 > resource2_resize
root@level1techs-X670E-Taichi:/sys/bus/pci/devices/0000:03:00.0# modprobe vfio_pci
Note that we got device or resource busy becauase the vfio module was loaded. The gpu cannot CANNOT be in use while you do this!
What’s #13? That’s 2 ^ to the power of. 2^13 is 8 gigabytes. Except that’s not math, 1 is 1 megabyte in this case. Then it works. Here’s a Handy table:
15 = 32gb
14 = 16gb
13 = 8gb
12 = 4gb
11 = 2gb
10 = 1gb
09 = 512mb
08 = 256mb
07 = 128mb
06 = 64mb
05 = 32mb
04 = 16mb
03 = 8mb
… and so on.
for 8gb BAR you want resource2 to be 8mb,
16gb 16mb and so on.
But lspci confirms:
Capabilities: [200 v1] Physical Resizable BAR
                BAR 0: current size: 8GB, supported: 256MB 512MB 1GB 2GB 4GB 8GB 16GB 32GB
                BAR 2: current size: 8MB, supported: 2MB 4MB 8MB 16MB 32MB 64MB 128MB 256MB
8gb now! Nice!
When using a 32gb BAR / 32mb resource2, the computer would black screen and not show anything. But 8gb works fine. This may or may not, not really, impact game performance.
Bar Sizes, and weird stuff IDK about
So, and this is really interesting to me, but it seems like almost all of the frustration I was experiencing previously where ReBar on in bios = doesn’t work is that there is some implicit relationship between BAR0 and BAR2 space that matters a lot on Linux (but seems not to matter on windows…)
The system firmware automatically resizes BAR0 (the big one) to be as big as it can, but Linux Does Not Like if the size of BAR2 does not correspond to BAR0 as with the above table.
In other words please set 8 gigabytes/8mb. Curiously, it doesn’t seem to always follow this rule but I haven’t found an instance where ReBar initializaiton failes if Bar0/Bar2 are BOTH sized along this rule on the Linux side of things.
What about Anti-Cheat?
This is becoming a huge problem. I am not sure what the solution is. Cheaters will always cheat, but perhaps game companies don’t realize the valid use case here is also being trampled on. We should all make some noise about this… fortunately even folks that use Proton (a la Valve’s Steamdeck) often also run afoul of anticheat.
Here are some things you can do to hide from anitcheat in a vm.
Enable Hyper-V in the host OS
This helps you be not flagged as a cheater. Historically this would flag you, but fortunately, even unreasonable game companies thought this was too unreasonable and relented.
KVM XML Config Tweaks
    <kvm>
      <hidden state="on"/>
    </kvm>