Synology DS1618+ Performance Tweaking -- Enabling SMB Multichannel

Level1 will have a full review of the DS1618+ up soon.

Would you like to enable transfers of 300 megabytes/sec + on this NAS? Read on to see our experiences upgrading to 10 gig and enabling SMB Multichannel.

Disclaimer: This is a modification to stock software/hardware. As such be sure you understand what you are doing and thoroughly test this configuration. No one but you is responsible for any difficulties you may face such as data corruption, instability, overheating or other issues. If in doubt, don’t do this.

Background

We’ve been testing SMB Multichannel on DSM 6.2 for a couple of months now.

It rocks, and our review will be out soon. While we like to DIY things around here, there is something to be said for an easy push-button solution for network attached storage, backups and flexibility.

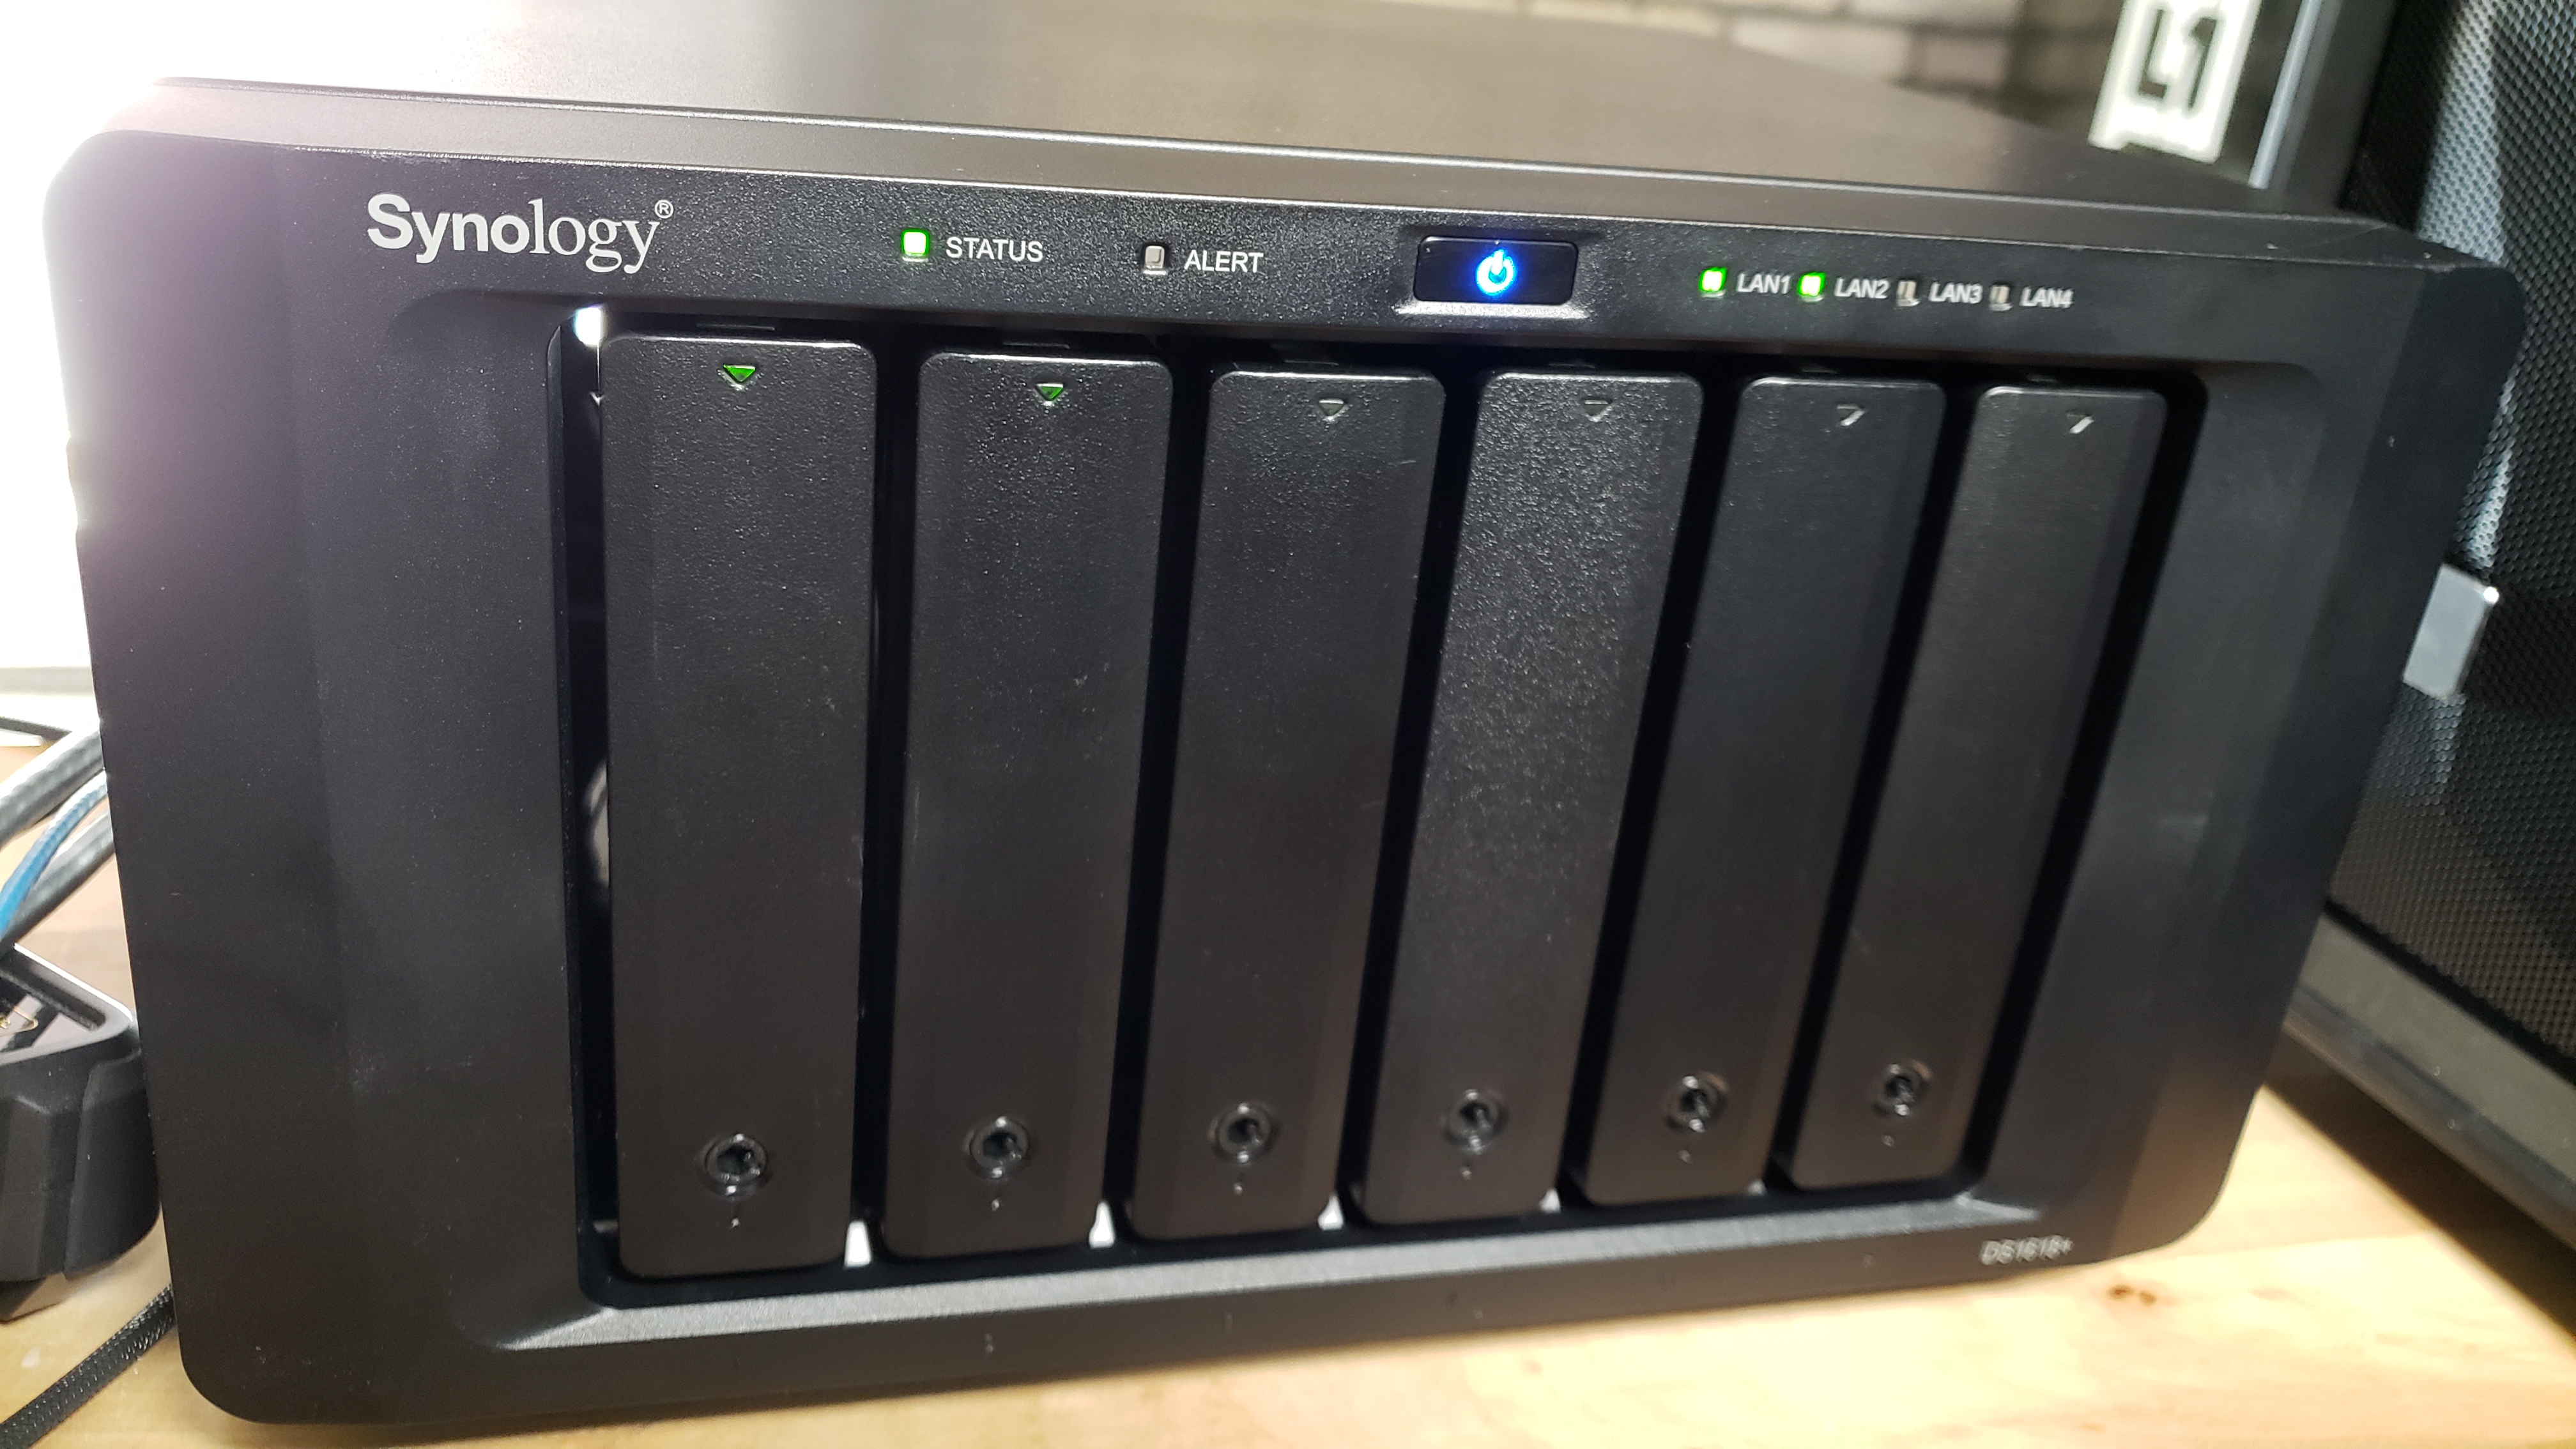
The base DS1618+ unit has 4 gigabit ports, but in general is limited to file transfer speeds of around 100 megabytes/sec windows file transfers. It’s possible to setup iSCSI and do some work arounds but mostly that’s not necessary with SMB Multichannel.

The base version of Samba in this build is an older build of Samba 4.4. Technically, SMB Multichannel is an experimental feature but we’ve tested it heavily by transferring 70+ TB of information the last few months with no file corruption to speak of. (Remember, that doesn’t necessarily mean it’ll work for you. But it did work for us just fine.)

Using SMB Multichannel can be plug and play. But if your network has configuration issues then SMB Multichannel may be a bit of a headache to setup. It’s highly dependent on good working name resolution on your network. If you run into Multichannel problems or don’t want to mod the software there is another option: 10 gigabit. Skip to the end for that.

How-To

The fastest way to enable SMB Multichannel is to first enable SSH, and then to connect via SSH to the IP of your Synology NAS. SSH is a remote command line interface to your NAS.

#TODO Pic here

The user/password is the same as the administrative user/password you created when setting up your NAS. Once you’re in, you’ll have to edit the smb.conf file as the root user. We used a command like

 sudo vi /etc/samba.smb.conf

to run VI as root and edit the config file. You may not be comfortable with VI, and you can use another utility to edit the file or to transfer the file to another machine, edit it, then transfer it back.

The edit that’s needed in this file is to just enable the SMB multichannel options. Something like this just below the [global] line should do it.

    server multi channel support = yes
    aio read size = 0
    aio write size = 0

For us the very next line was

printcap name=cups

So just above that line and below [global] should work for you.

The read/write size has to do with asynchronous reads/writes.

To make the change take effect you can restart samba (or just reboot the whole box).

Playing It Safe

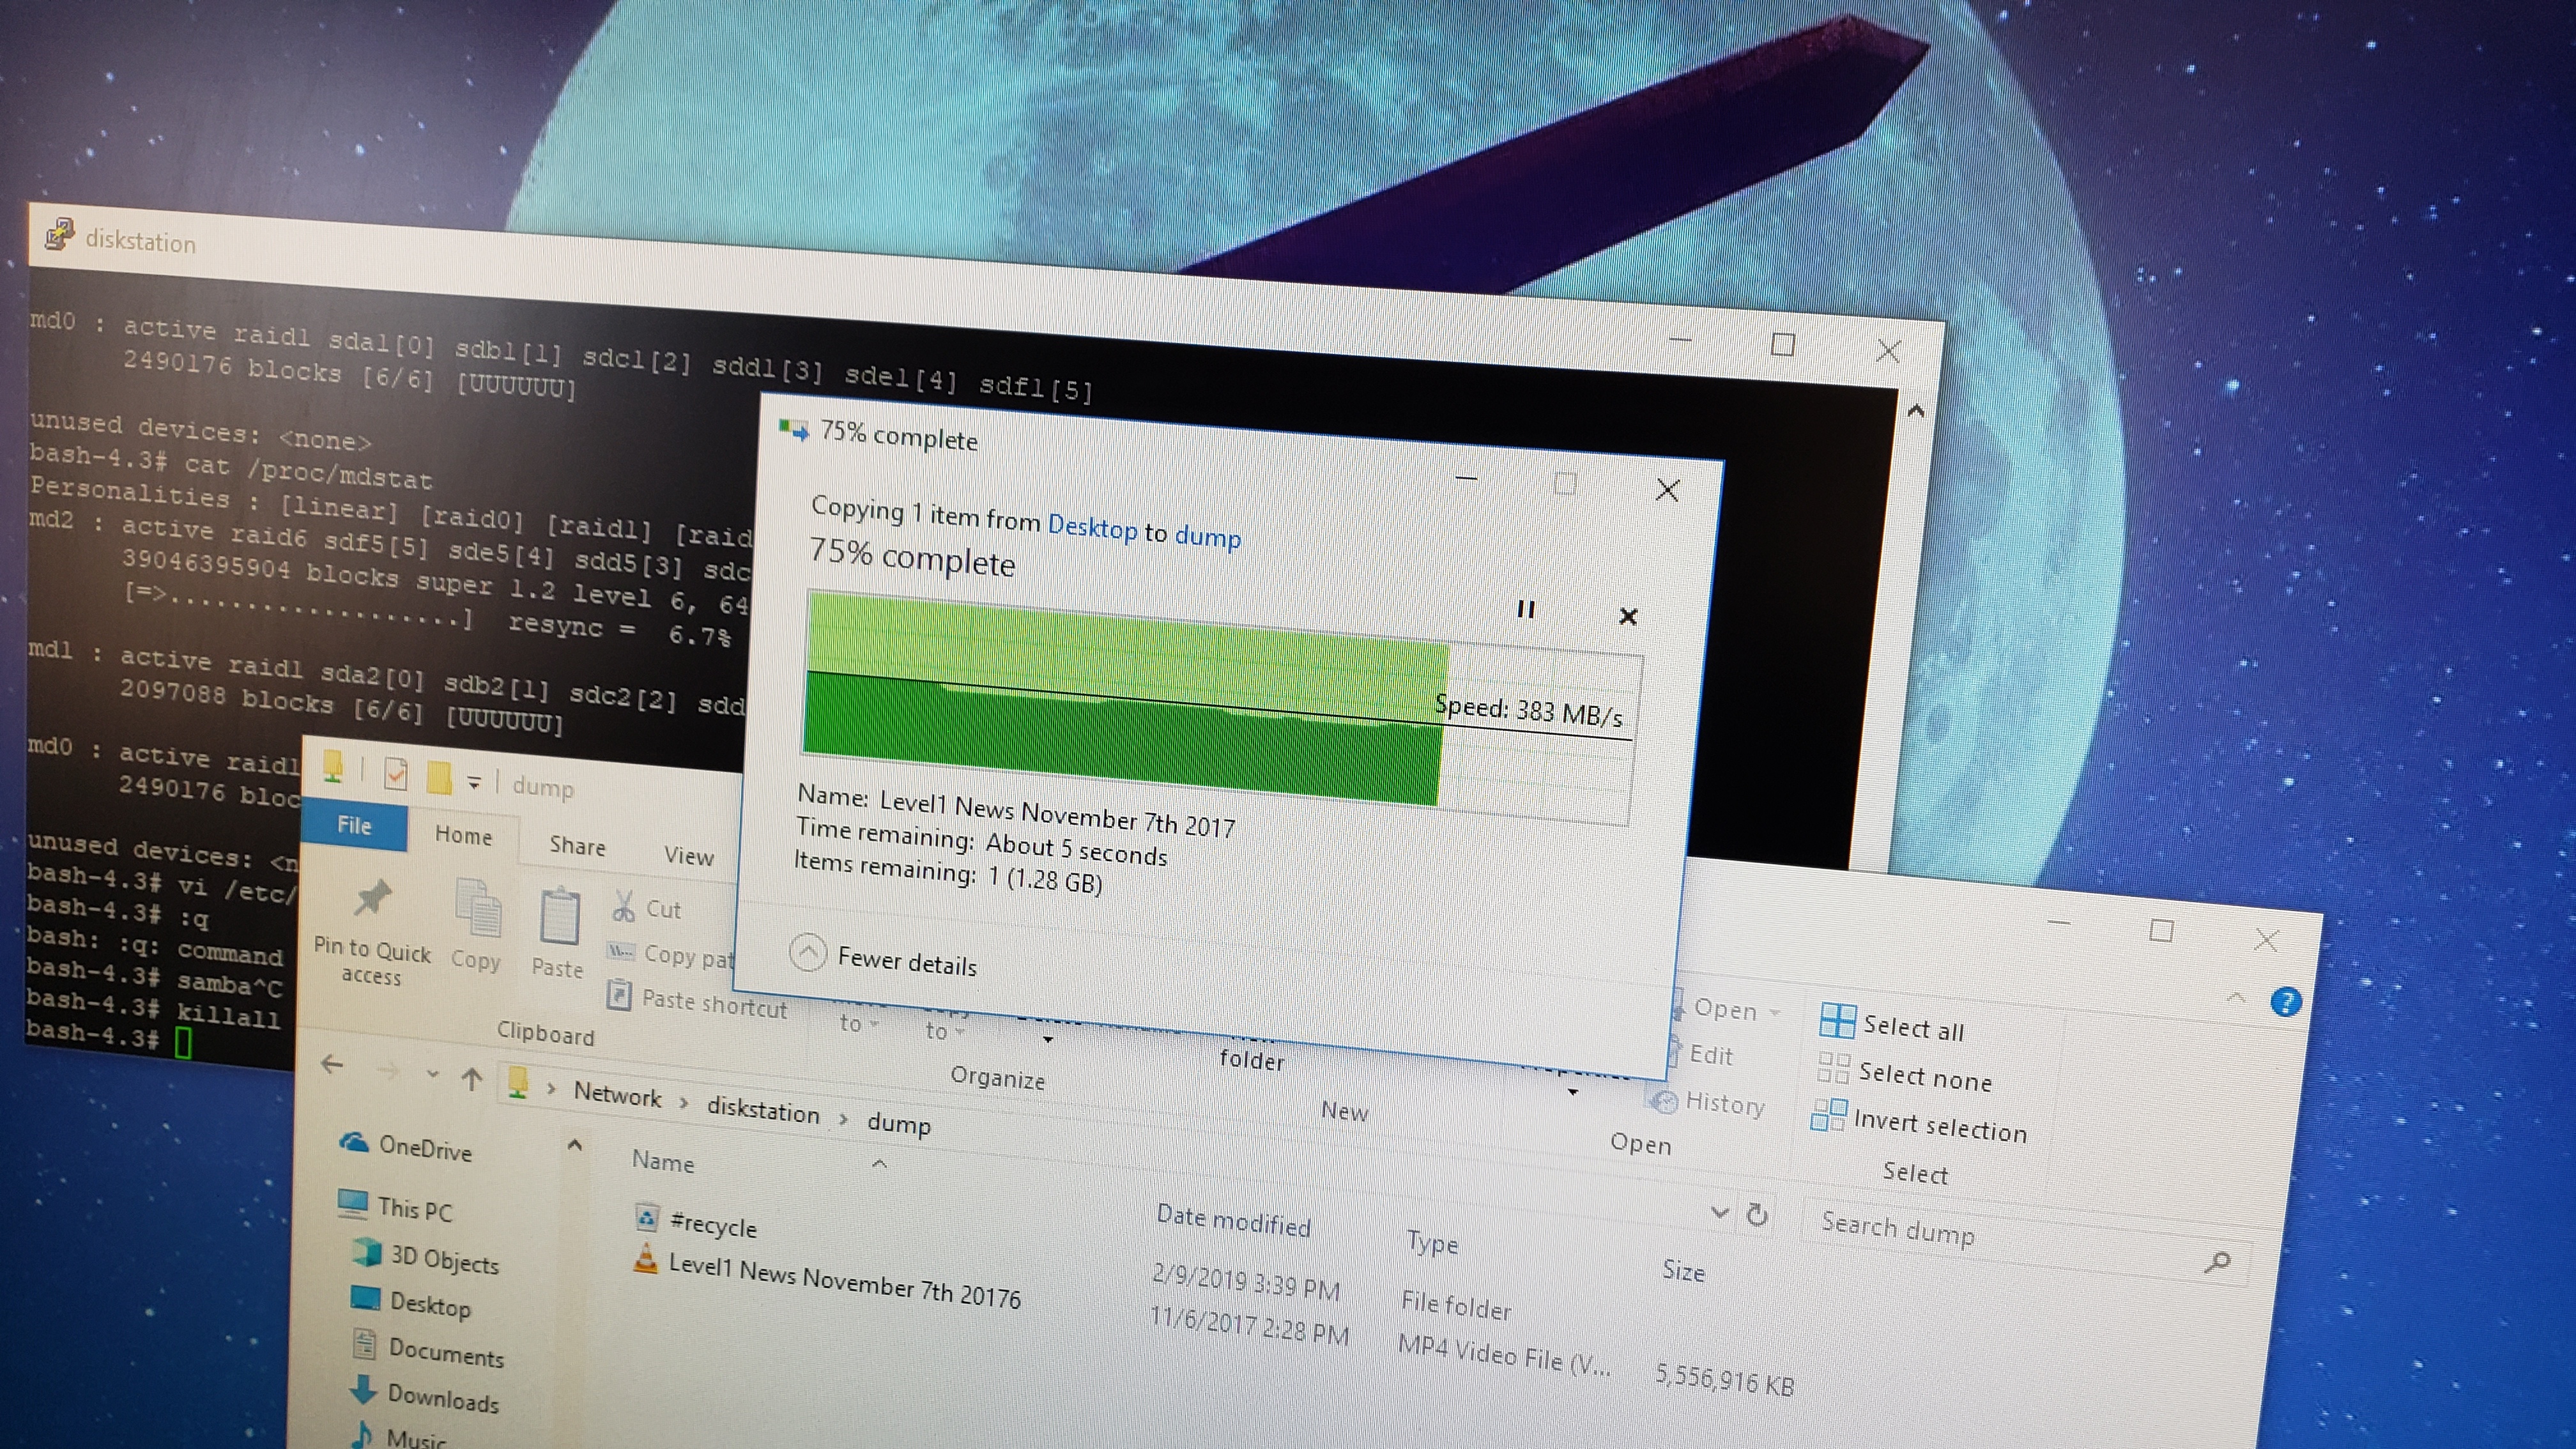
If you want to play it safe, the other option is to an an intel X540 10-gigabit ethernet adapter. We did, and we could achieve 400+ megabytes/sec with our 10 gigabit adapter. (The speed limitation was down to the Intel Atom CPUs being maxed out by the SMB process).

The Intel X540 has adequate cooling from the “Synology” vent on the side and is plug-and-play on Linux. No special configuration was needed for us. An IP was assigned to the 10 gig interface via DHCP without issue.

No smb.conf configuration changes are necessary with a 10 gigabit adapter.

P.s. Thanks very much to Synology for the loan of this unit and to permit us to put it through some grueling torture tests.

14 Likes

Good review,
I own one of the synology 8 bay models, it works well and exactly as you describe.
I would however, caution anyone reading that if you search for synology breakdown issues on the web you will find multiple instances of these breaking down and it’s usually the Power supply, which is proprietary (size, form factor).
GN has a video about this very issue, i believe Steve was able to -sort of- get around this by taking the case apart and using an ATX PSU, but this is not a viable real world solution.
Just thought you would like to have the info.

ACG

1 Like

Just watched the review and this SMB multichannel peaked my interest. Can this method be used to assist in teamed NIC’s? I have a 4 port gigabit adapter that i teamed within netstat in Ubuntu 18.04.

For paranoid, you can also backup to google drive with client side encryption. Or run OpenVPN server. Or have encrypted mounts.
Cool machine for a small household.

I really like Synology NAS’, currently have two which I never had any issues with…aside 10G on one newer model with PCIe expansion.

I just can’t get 10G NIC to work properly, maybe you have some ideas?
Tried using different cat6a cables and different X540 -T2s. Three different cards T2s, 2 Chinese ripoffs and official one from intel store directly all, same behavior.
kern log only shows it going up and down:

kernel: [   32.899958] igb 0000:00:14.0 eth0: igb: eth0 NIC Link is Up 1000 Mbps Full Duplex, Flow Control: None
(...1G internal port^)
kernel: [   35.399038] ixgbe 0000:01:00.0: registered PHC device on eth4
kernel: [   36.531693] ixgbe 0000:01:00.1: registered PHC device on eth5
kernel: [   41.504276] ixgbe 0000:01:00.1 eth5: NIC Link is Up 10 Gbps, Flow Control: None
kernel: [   41.615096] ixgbe 0000:01:00.1 eth5: NIC Link is Down
kernel: [   42.700201] ixgbe 0000:01:00.1 eth5: NIC Link is Up 10 Gbps, Flow Control: None

This is what happens when I run a cable test from a netgear xs708t switch and I did try different cables, port one and port two on the NIC both same.

Is it just overloaded?

It works “fine” otherwise but I’m worried because of those errors and I can’t set priority to the 10G NIC if I have the built in 1G port plugged in as well. It always uses the built 1G which I wanted to use as backup only if 10G goes down.

Network -> Manage-> Service Order does absolutely NOTHING. =(

SMB Multichannel sounds like a great alternative as I have tried the link aggregation setting both on switch and DSM UI and it also did nothing copying from nvme ssd using 10g WS mobo.

Check to make sure the card isn’t over temp. Could be a power issue. If not a cable/cabling issue if you haven’t covered your bases

Wendell, did you try putting the drives into a desktop linux system to see if the raid devices are auto recognized?

with md, they are, using the cli --auto-something-bad-happend-pls-fix flag

Is the lvm on an MD device or vice versa

depends on which gui option you pick. There is an n-way mirror of configuration thats just partitions, which is the os and config, and after that it gets funky. if you want, though, you can configure so its just lvm+md… that doesn’t support random size disks of course though

1 Like

Great review!
Wendell - your work is highly appreciated, as always.
Was interested what is power usage as how many W it is “pulling” from socket. Would be good to know as of how much $, £ or € (or any other currency) would cost to maintain it per month. In a comparison how it varies according to load. Are there any current customers monitoring it?

Just a quick typo edit to the procedure above, the command to edit the file should be:

sudo vi /etc/samba/smb.conf

I’m about to try this out as I can get 200+MBps server to server with SMB Multichannel, but not to the NAS.

Thanks :slight_smile:

I have a Synology DS918+ and had to edit /etc/samba/smb.conf like the following to get SMB multichannel to work:

add this lines:
server multi channel support=yes
aio read size=1
aio write size=1

edit this line (change to SMB3)
max protocol=SMB3

I now get 220 MB/s from my Windows Server 2012 R2 to my Synology NAS with Windows File Transfer

1 Like

Wazei: how do you assign the 2 NIC IPs on the NAS side? and how do you assign the 2 NIC IPs on the Windows side? and how do you make the connection between NAS and Windows? by IP? or by Name? or? thanks !

oh, and if you have a switch between them?

Interested in trying this out on my DS920+

My smb.conf is located in the same dir as with @wazei on his DS918+, so I assume I would have to make the same changes.

Just to make sure before I do this:
Is there any chance my NAS will refuse network connections when activating this before I add a second cable between the NAS and my switch?

EDIT: I did the plunge: 224 MB/sec read speeds from my 920+
Nice.

I made the change in the file (in the file path corrected by KlausOne) and have double checked that they are saved.
and have link aggregation configured on switch and synology DS918+ (has 2 Gigabit ports).
also i restarted smb service (by disabling smb in ui and then enabling it)
My Win 11 PC is connected to network via 2.5 GbPS link
still I am not getting better speeds on my computer when I copy and paste 20 GB file.
I am getting 110-115 MBPS max
If I do copy and paste on both the clients it transfers at 110-115 MBPS on each
but on one client it does not exceed that speed even if I do 2 instance of copy.

what am I doing wrong?
Can anyone help?