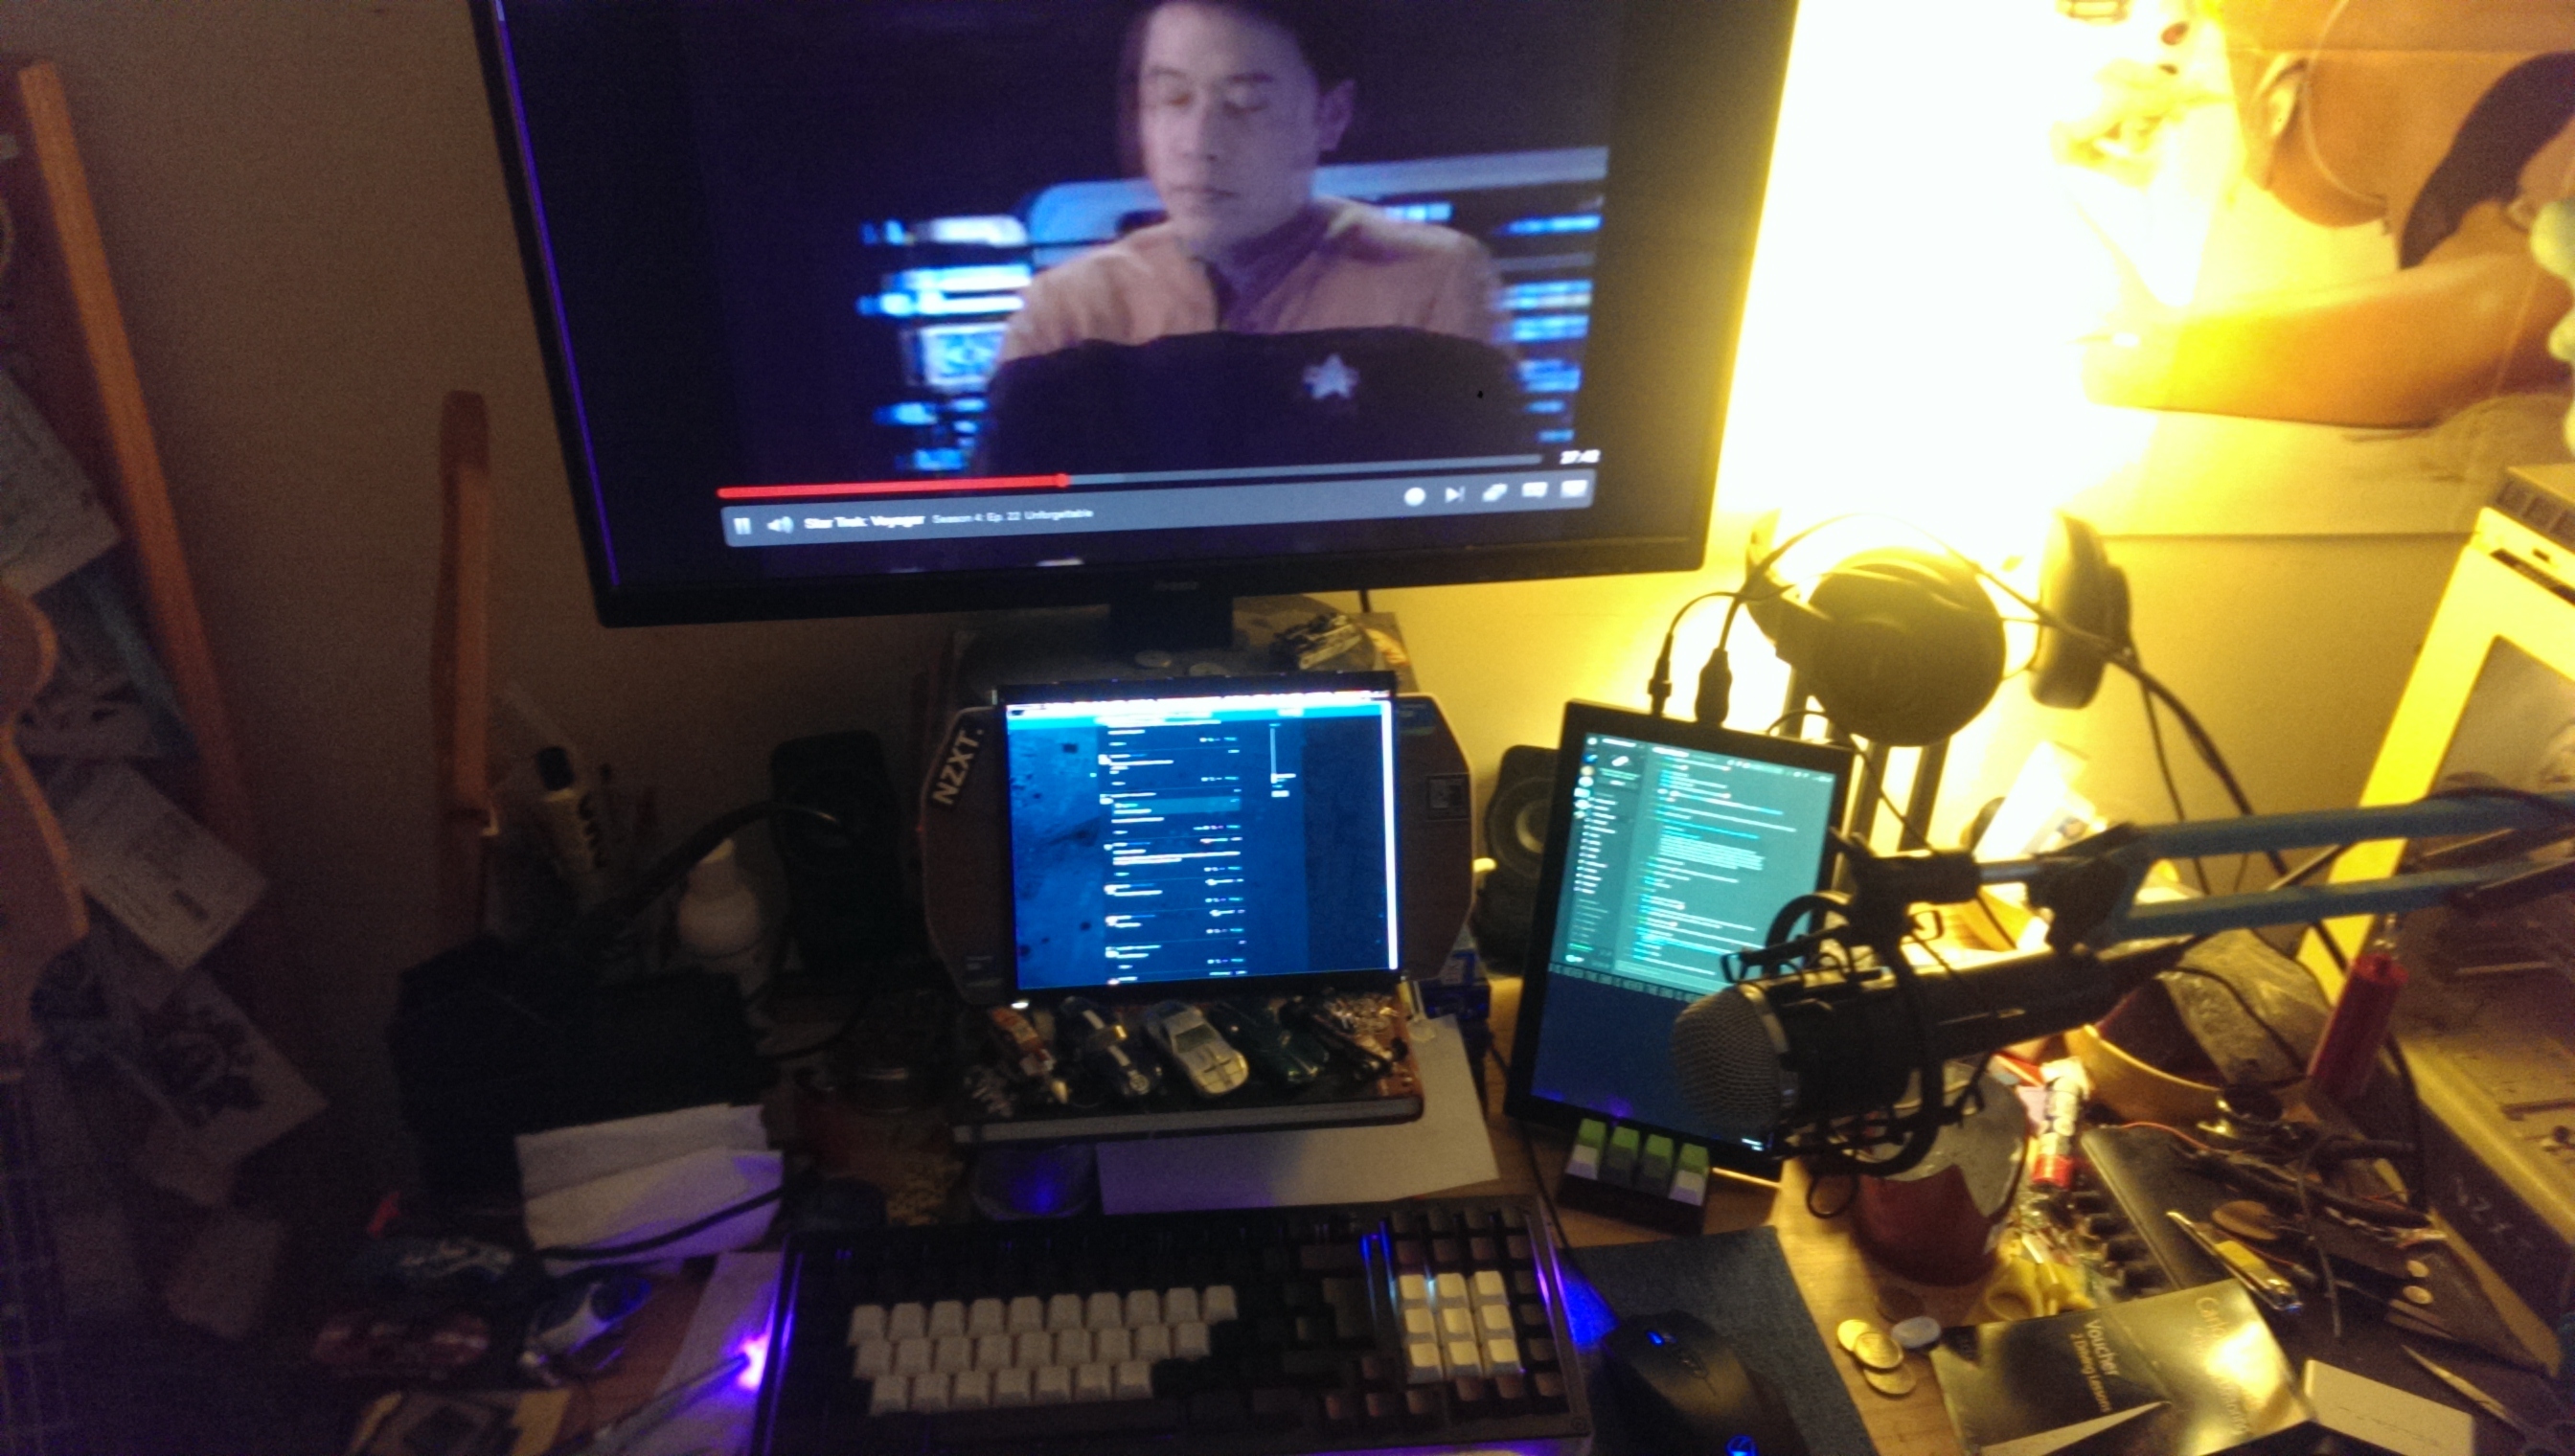
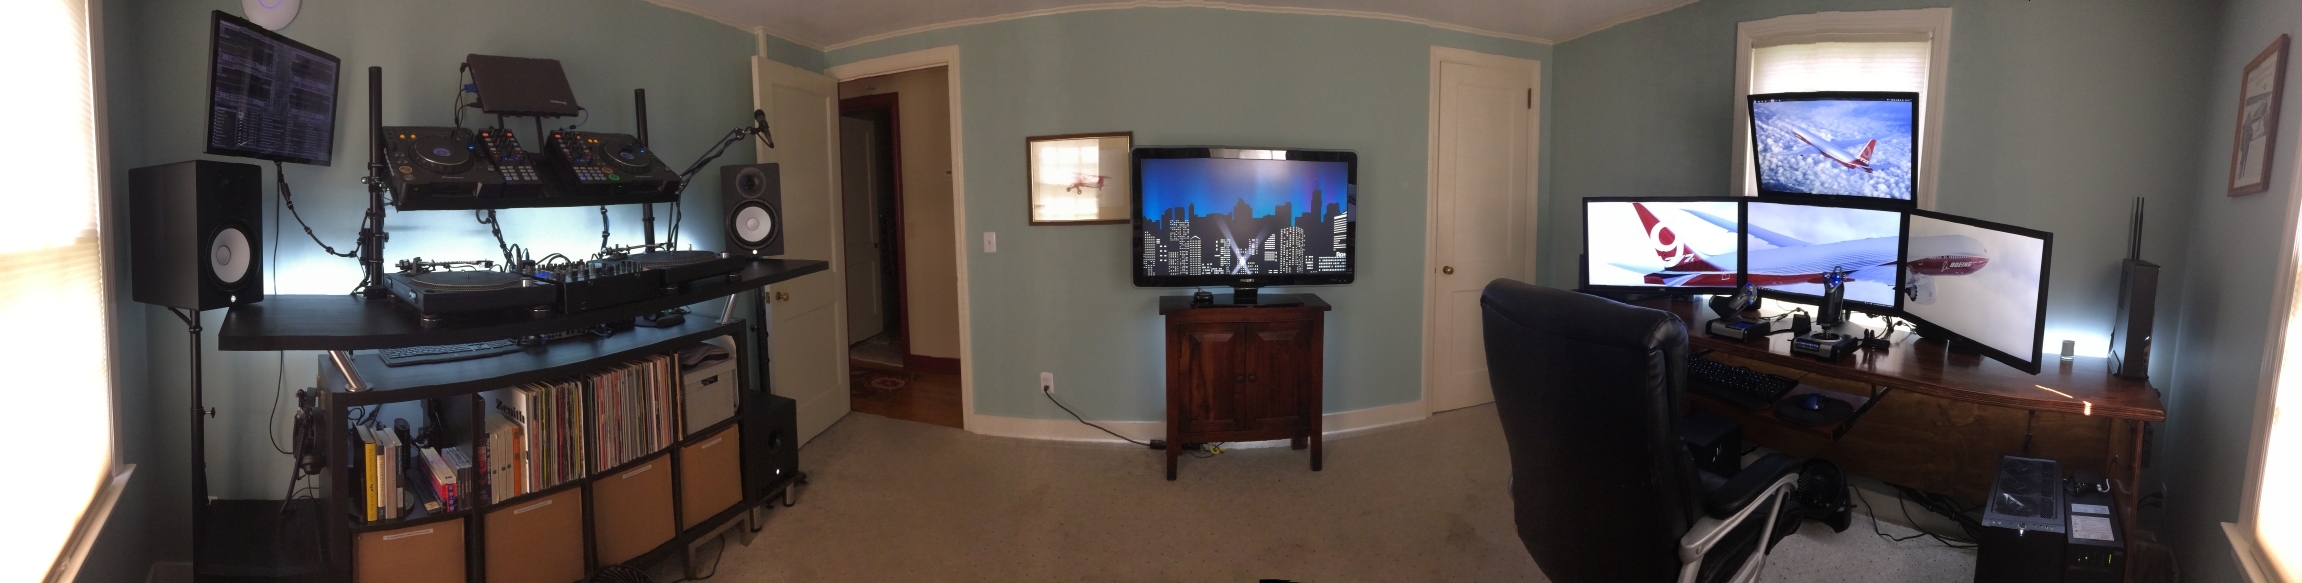
Welp... these are my battlestations.
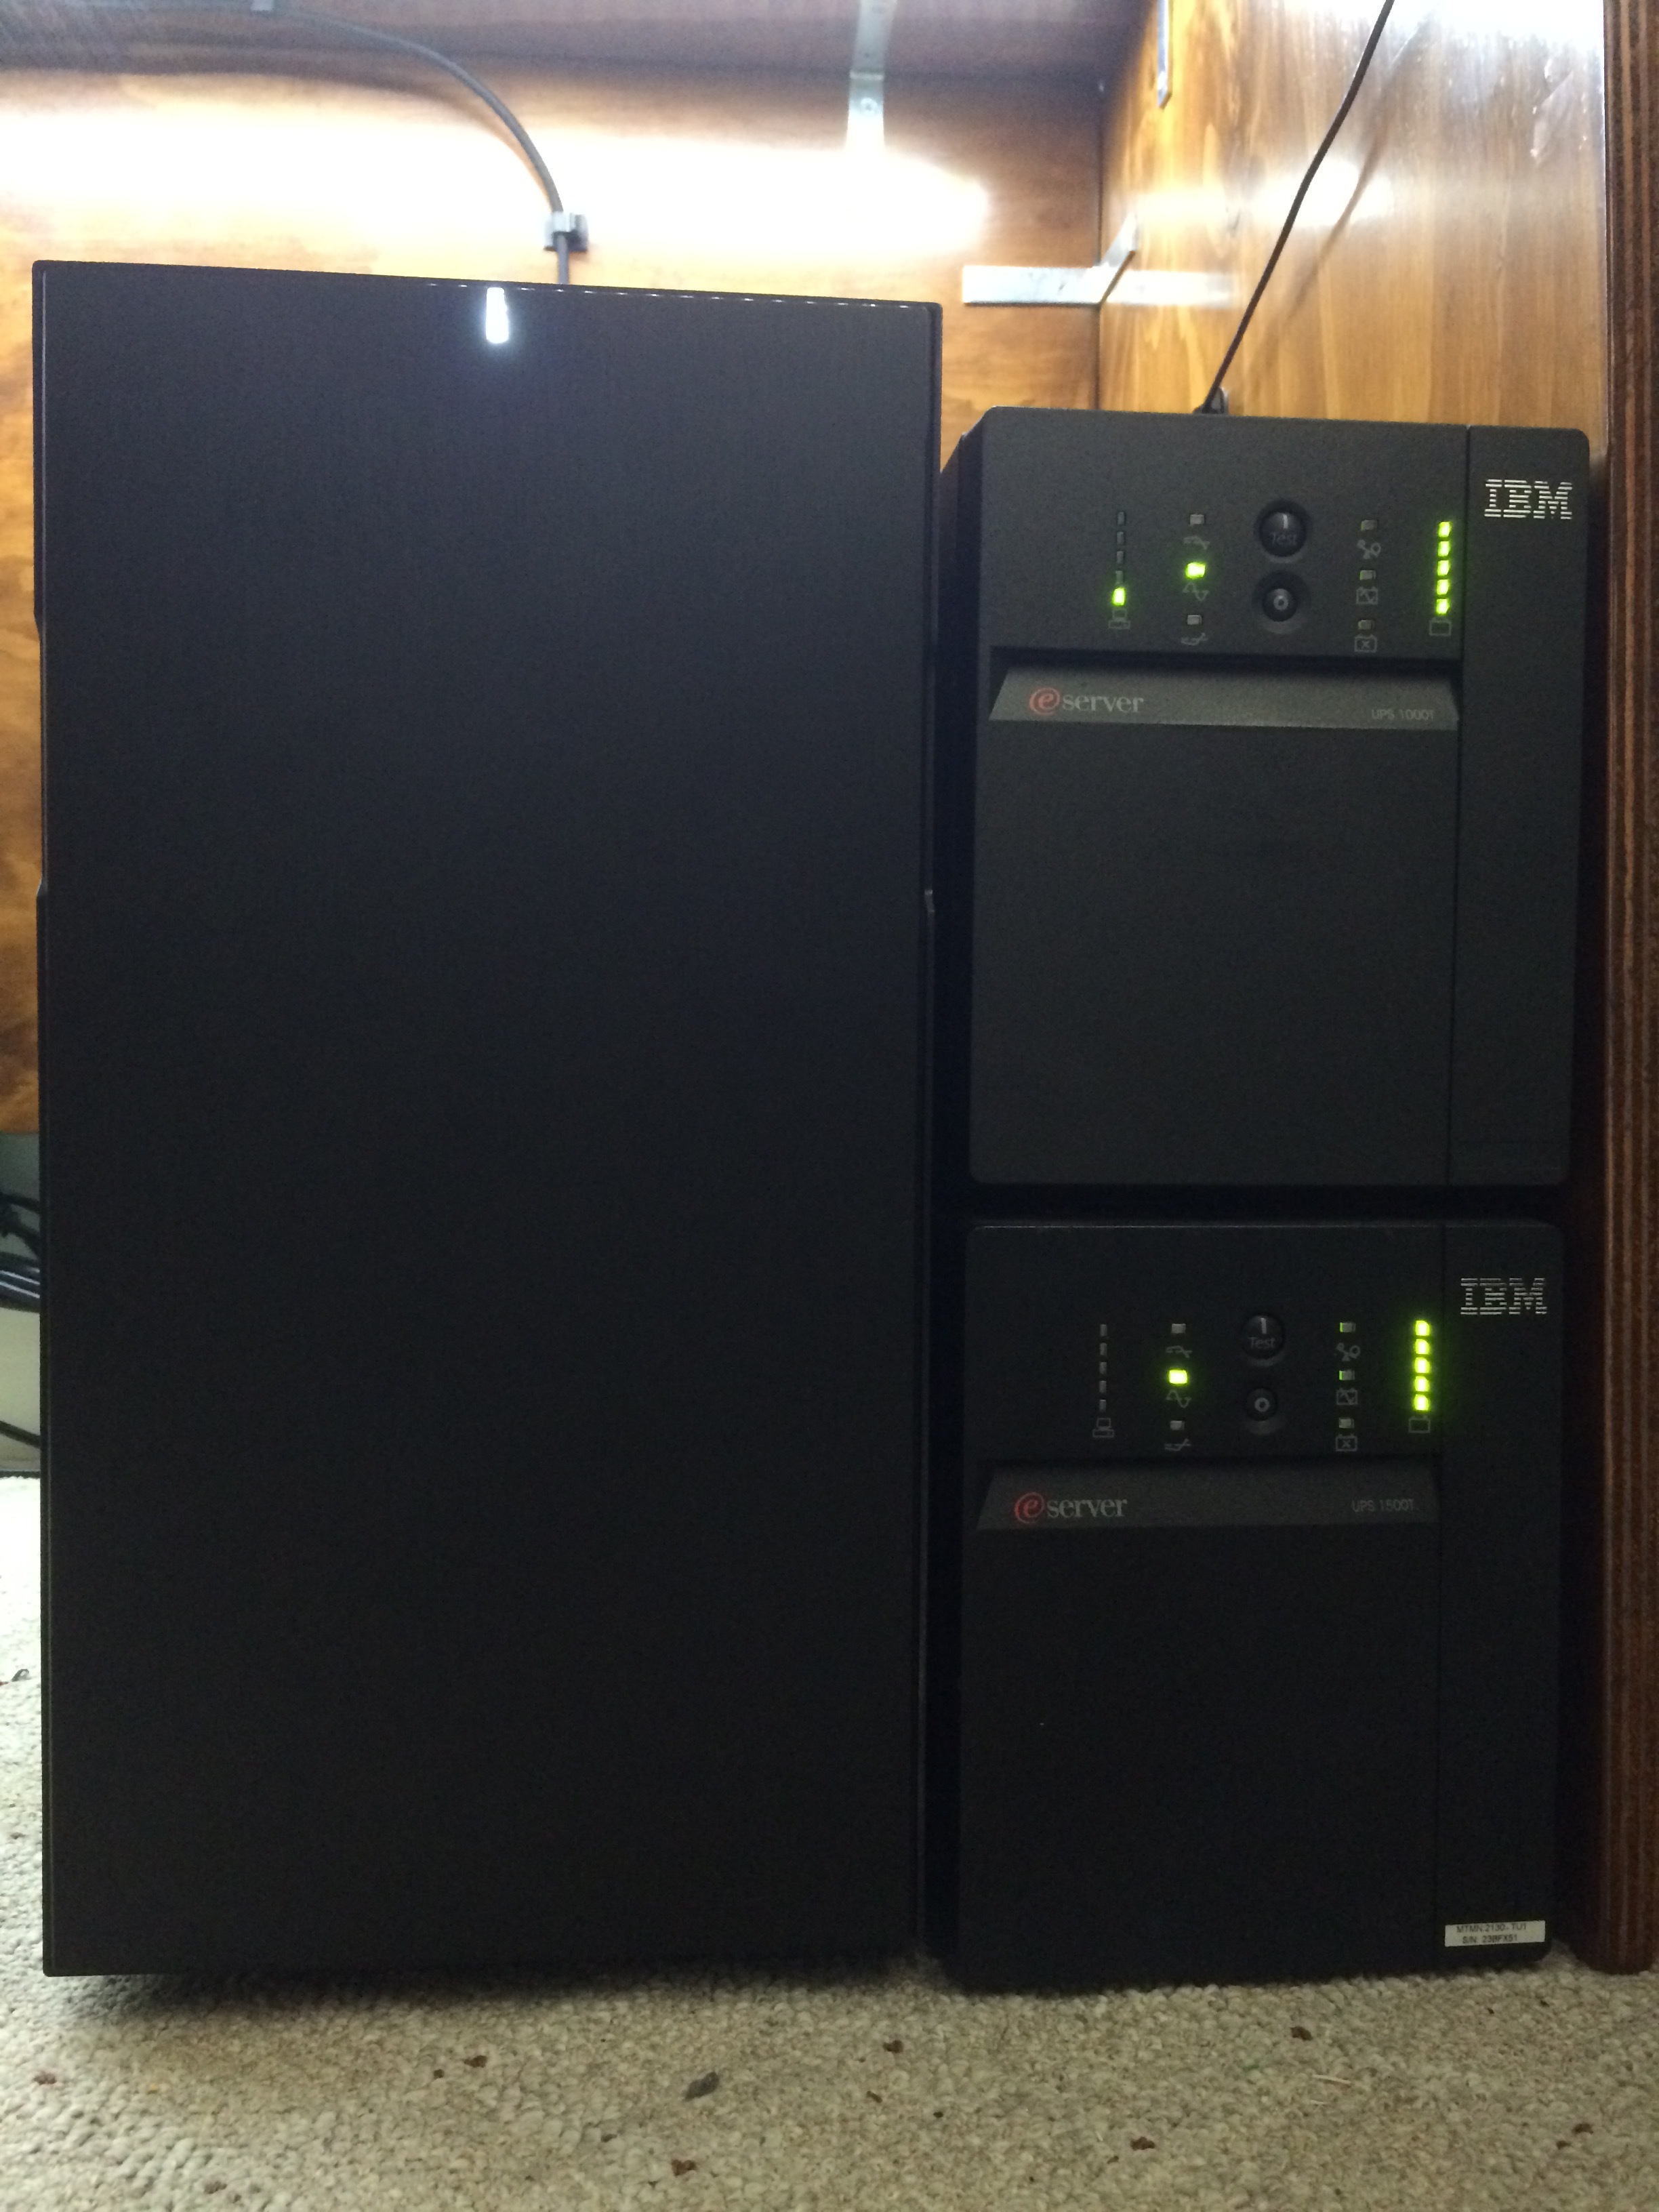
Everything sits on a single 40A which should be plenty. Volo is hooked up to her own UPS, an IBM UPS-1500T which is just a rebrand of an APC unit, it supports up to 1050W at max load. Everything else is on a single IBM UPS1000T which has a 700W load capacity. There's a few other things, a Brother printer (I'm never going with another brand again, this is the first printer since my HP Deskjet 845c that's been headache-free), a 5 port ethernet switch, a Logitech Z623 2.1 stereo sound system, and some LED lighting under and behind the desk.
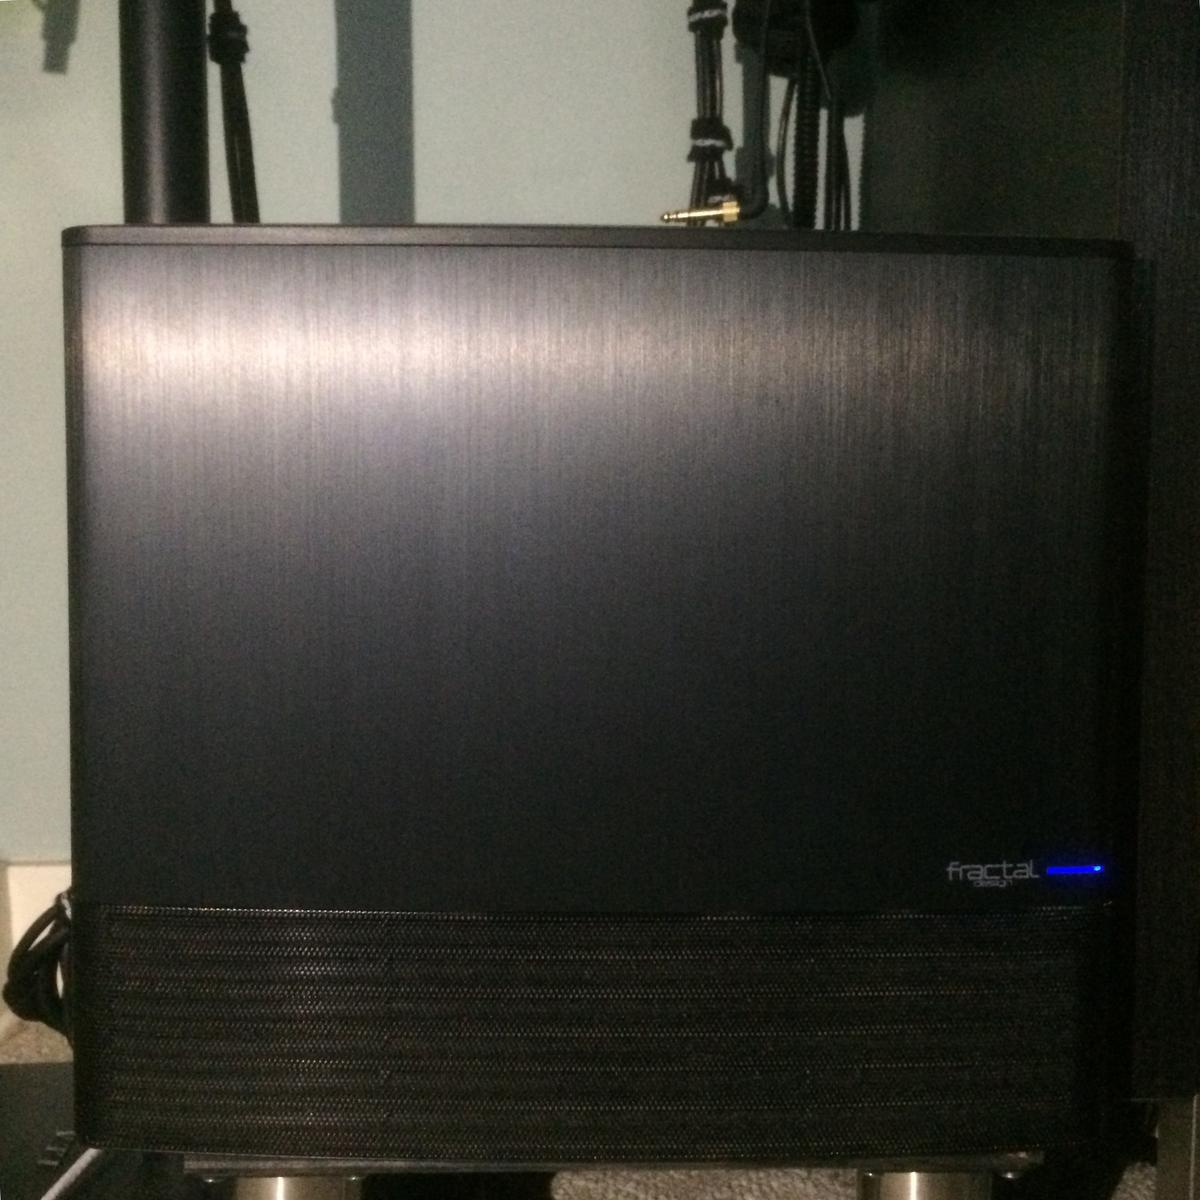
The secondary PC on the desk over the right is Tempestas:
Fractal Design Node 202
ASRock Fatal1ty Gaming Z170 Gaming-ITX/ac
Intel Core i7-6700K
CRYORIG C7 SFF Mini ITX
Corsair Vengeance LPX DDR4 16GB (2x 8GB) 2400MHz C16
Intel 530 Graphics
Samsung 960 PRO 512GB NVMe SSD
Corsair SF600 600W SFX PSU
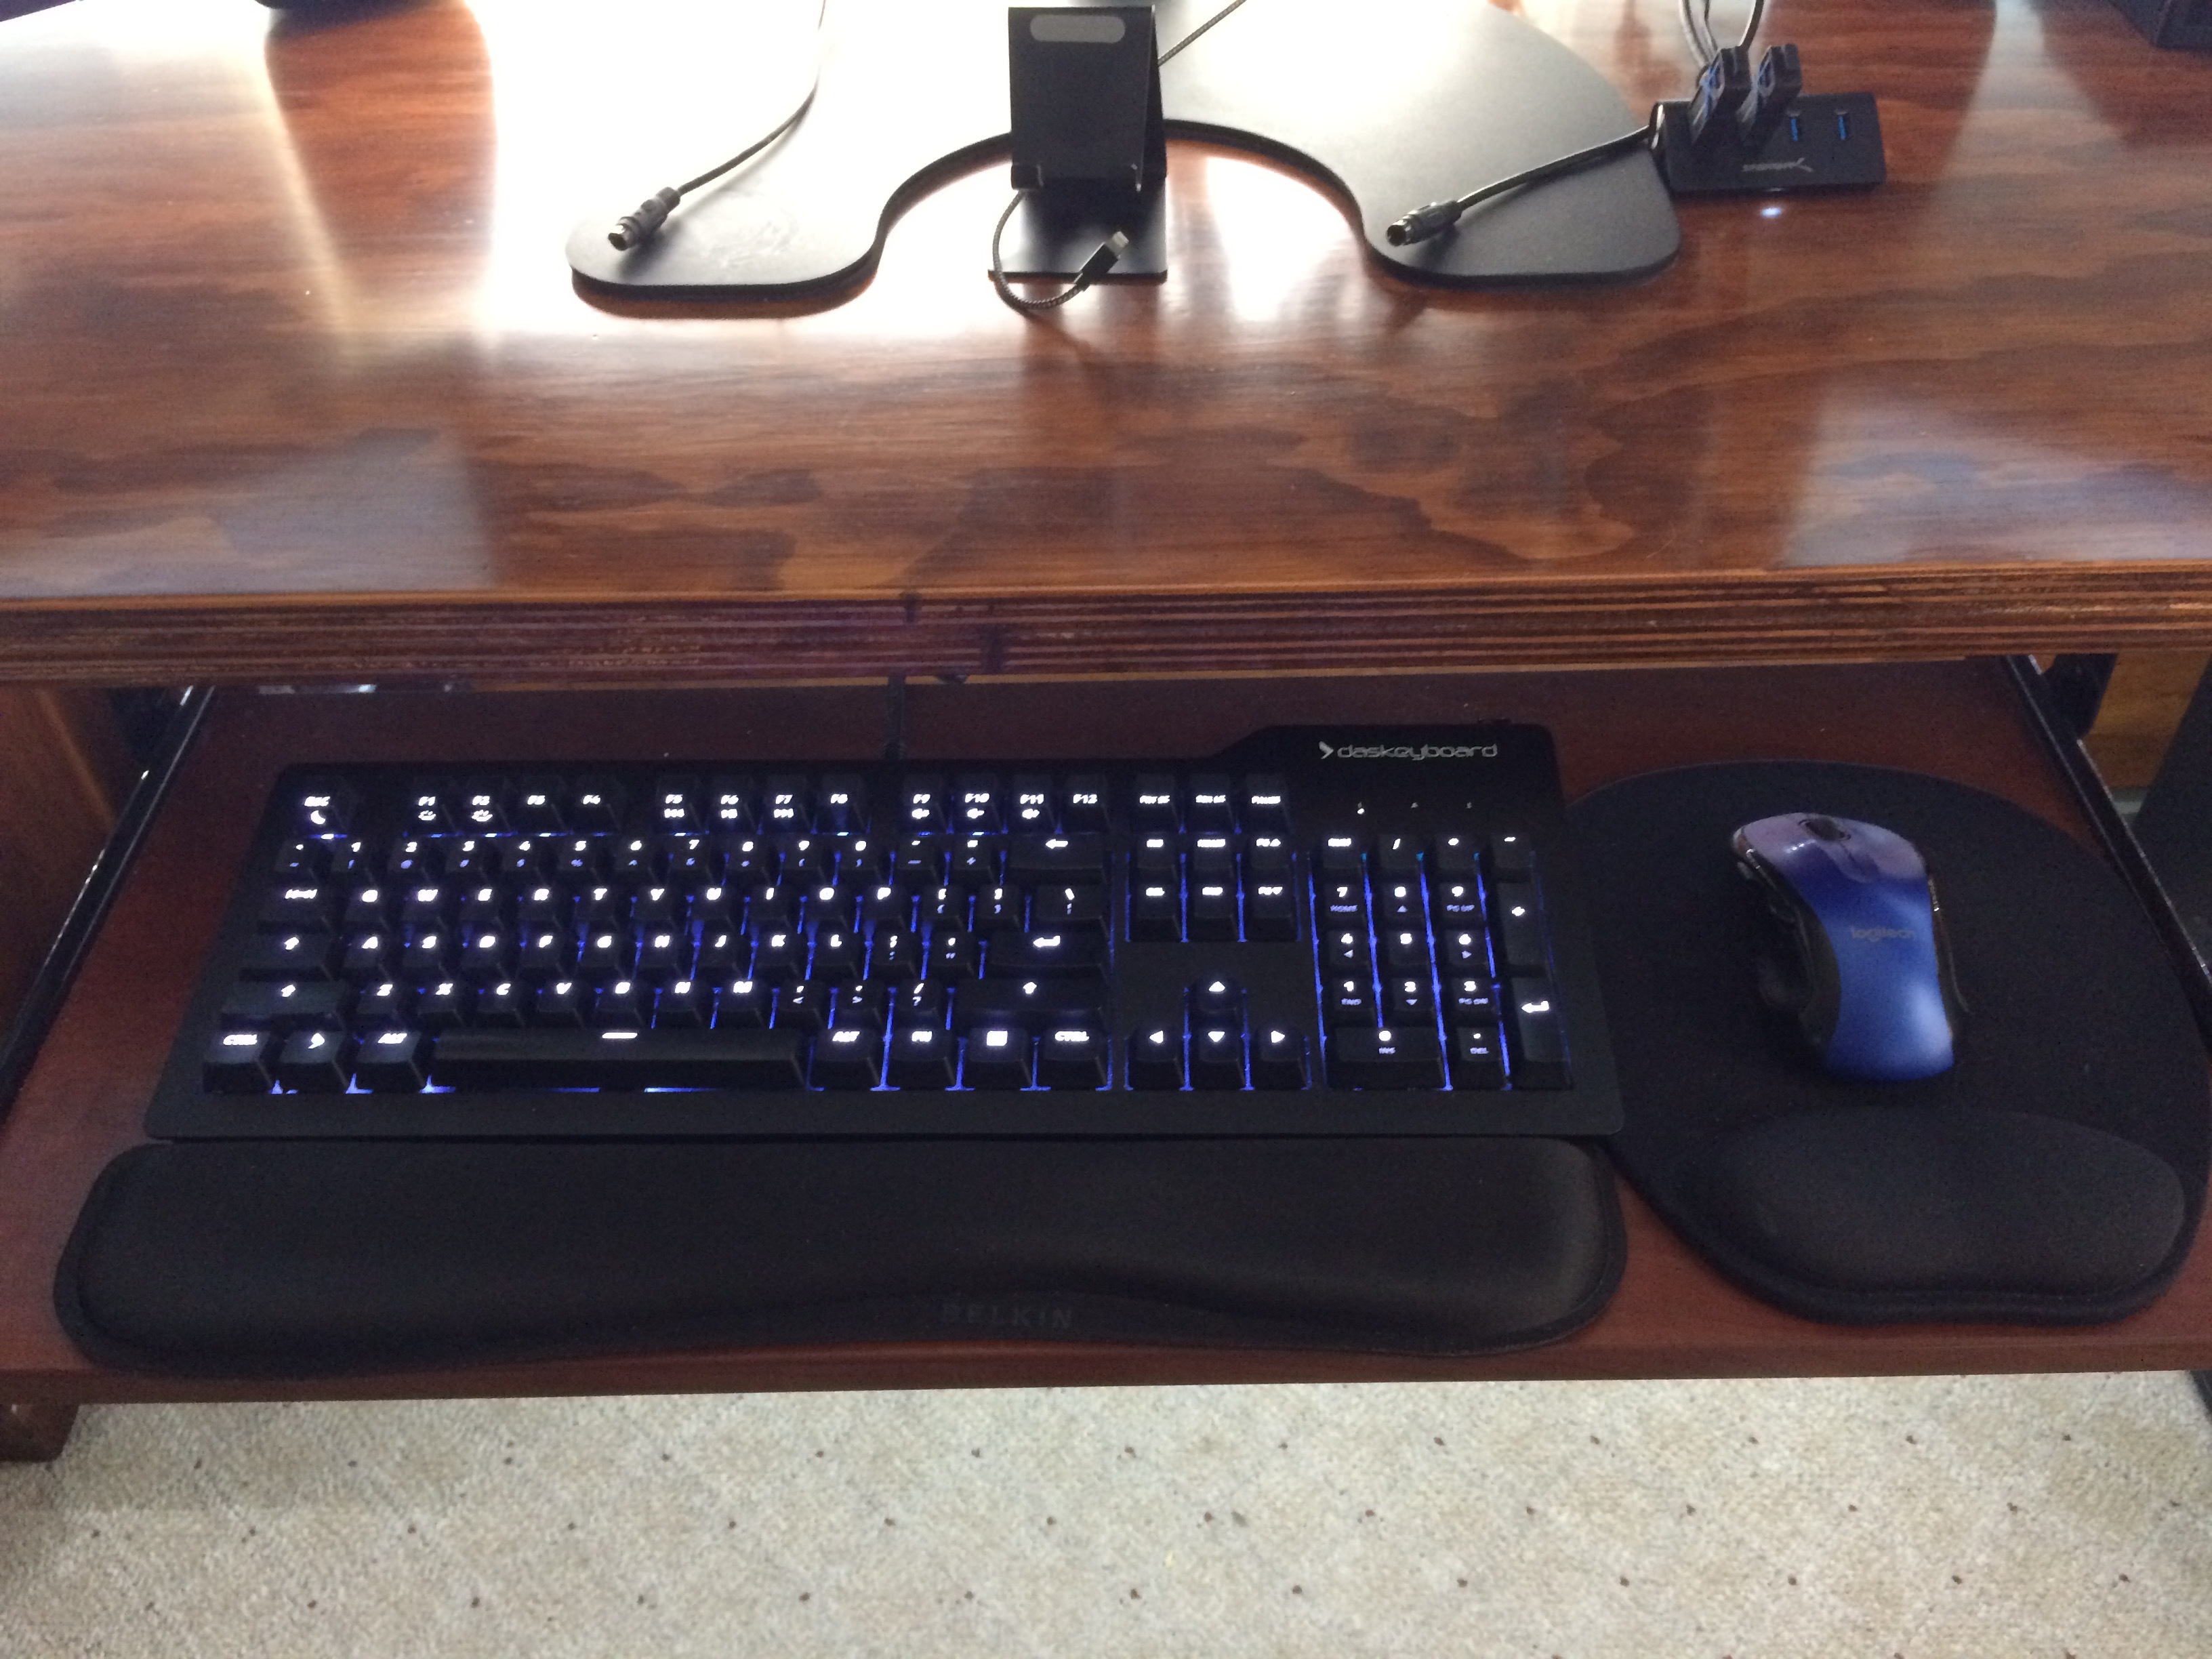
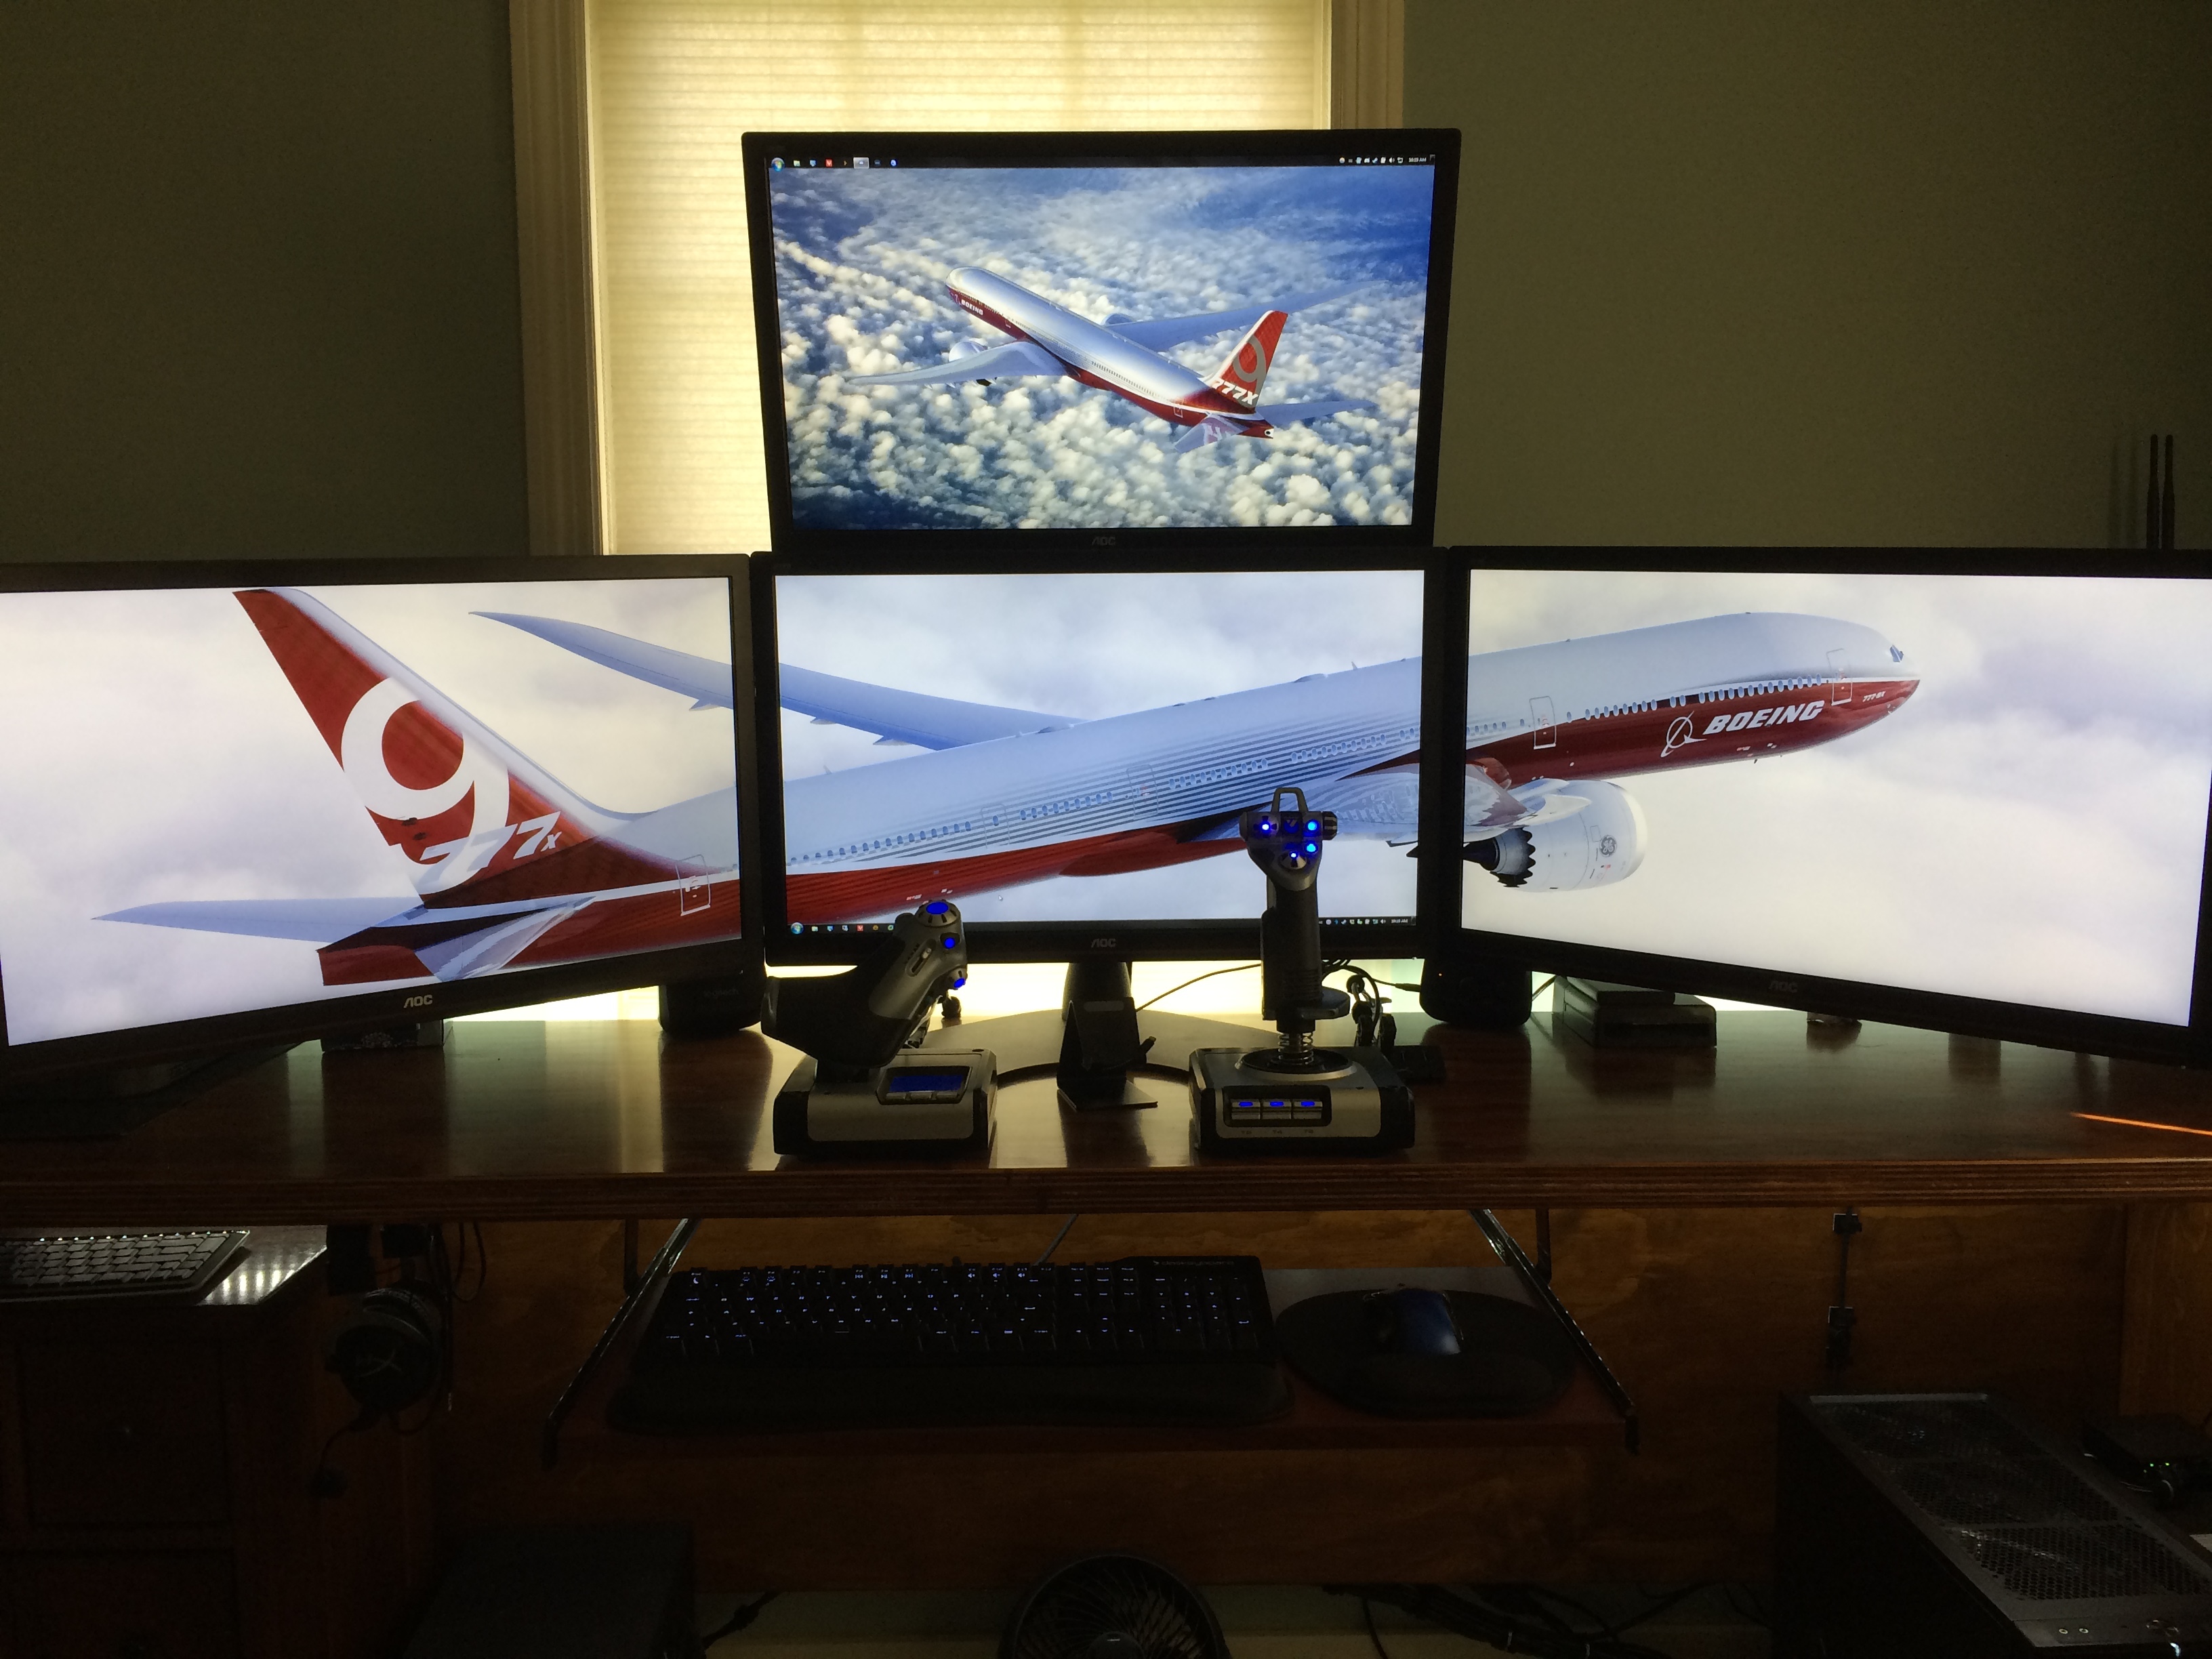
My keyboard is the Das Keyboard Prime 13, and I'm absolutely in love with it! My mouse is the Logitech M510, still my favorite daily driver after 7 years.
The monitors are AOC G2770PQUs. They are 27", 1920x1080, 144Hz LCD panels each with a single VGA, HDMI, DVI, and DisplayPort connector as well as 4x USB 3.0 ports and 3.5mm in + out jacks. Volo is hooked up to each of them, the main bottom three via DisplayPort and the top via DVI. However, I don't use the top monitor to display video from Volo, rather that one is for Tempestas. Keyboard and mouse sharing is through Synergy. I can tell you that the last time I checked, Volo has 24x USB 3.0 ports and 6x USB 2.0 ports. Insanity! And I haven't even used the type A or type C USB 3.1 ports yet.
This is Amplus, my home server. I'm looking to upgrade her eventually to 8x 8TB WD Gold drives and totally rebuilding the rest out of actual server parts while keeping the PSU. When that's done, I'll take the leftover parts and build a 4th PC for my younger brother. Currently, the specs are:
Fractal Design Node 804
Gigabyte GA-H97N-WIFI
Intel Core i5-4690K
Cooler Master Hyper 212 EVO
Corsair Vengeance LP DDR3 8GB (2x 4GB) 1600MHz C9
Intel HD Graphics 4600
Samsung 850 EVO 250GB SATA SSD
Western Digital 6TB Green
Seagate Barracuda 1TB
Seagate Barracuda 160GB
EVGA SuperNOVA 750 G2 220-G2-0750-XR 750W ATX PSU
5x Fractal Design Silent Series R2 120mm fans
1x Fractal Design Silent Series R2 140mm fan
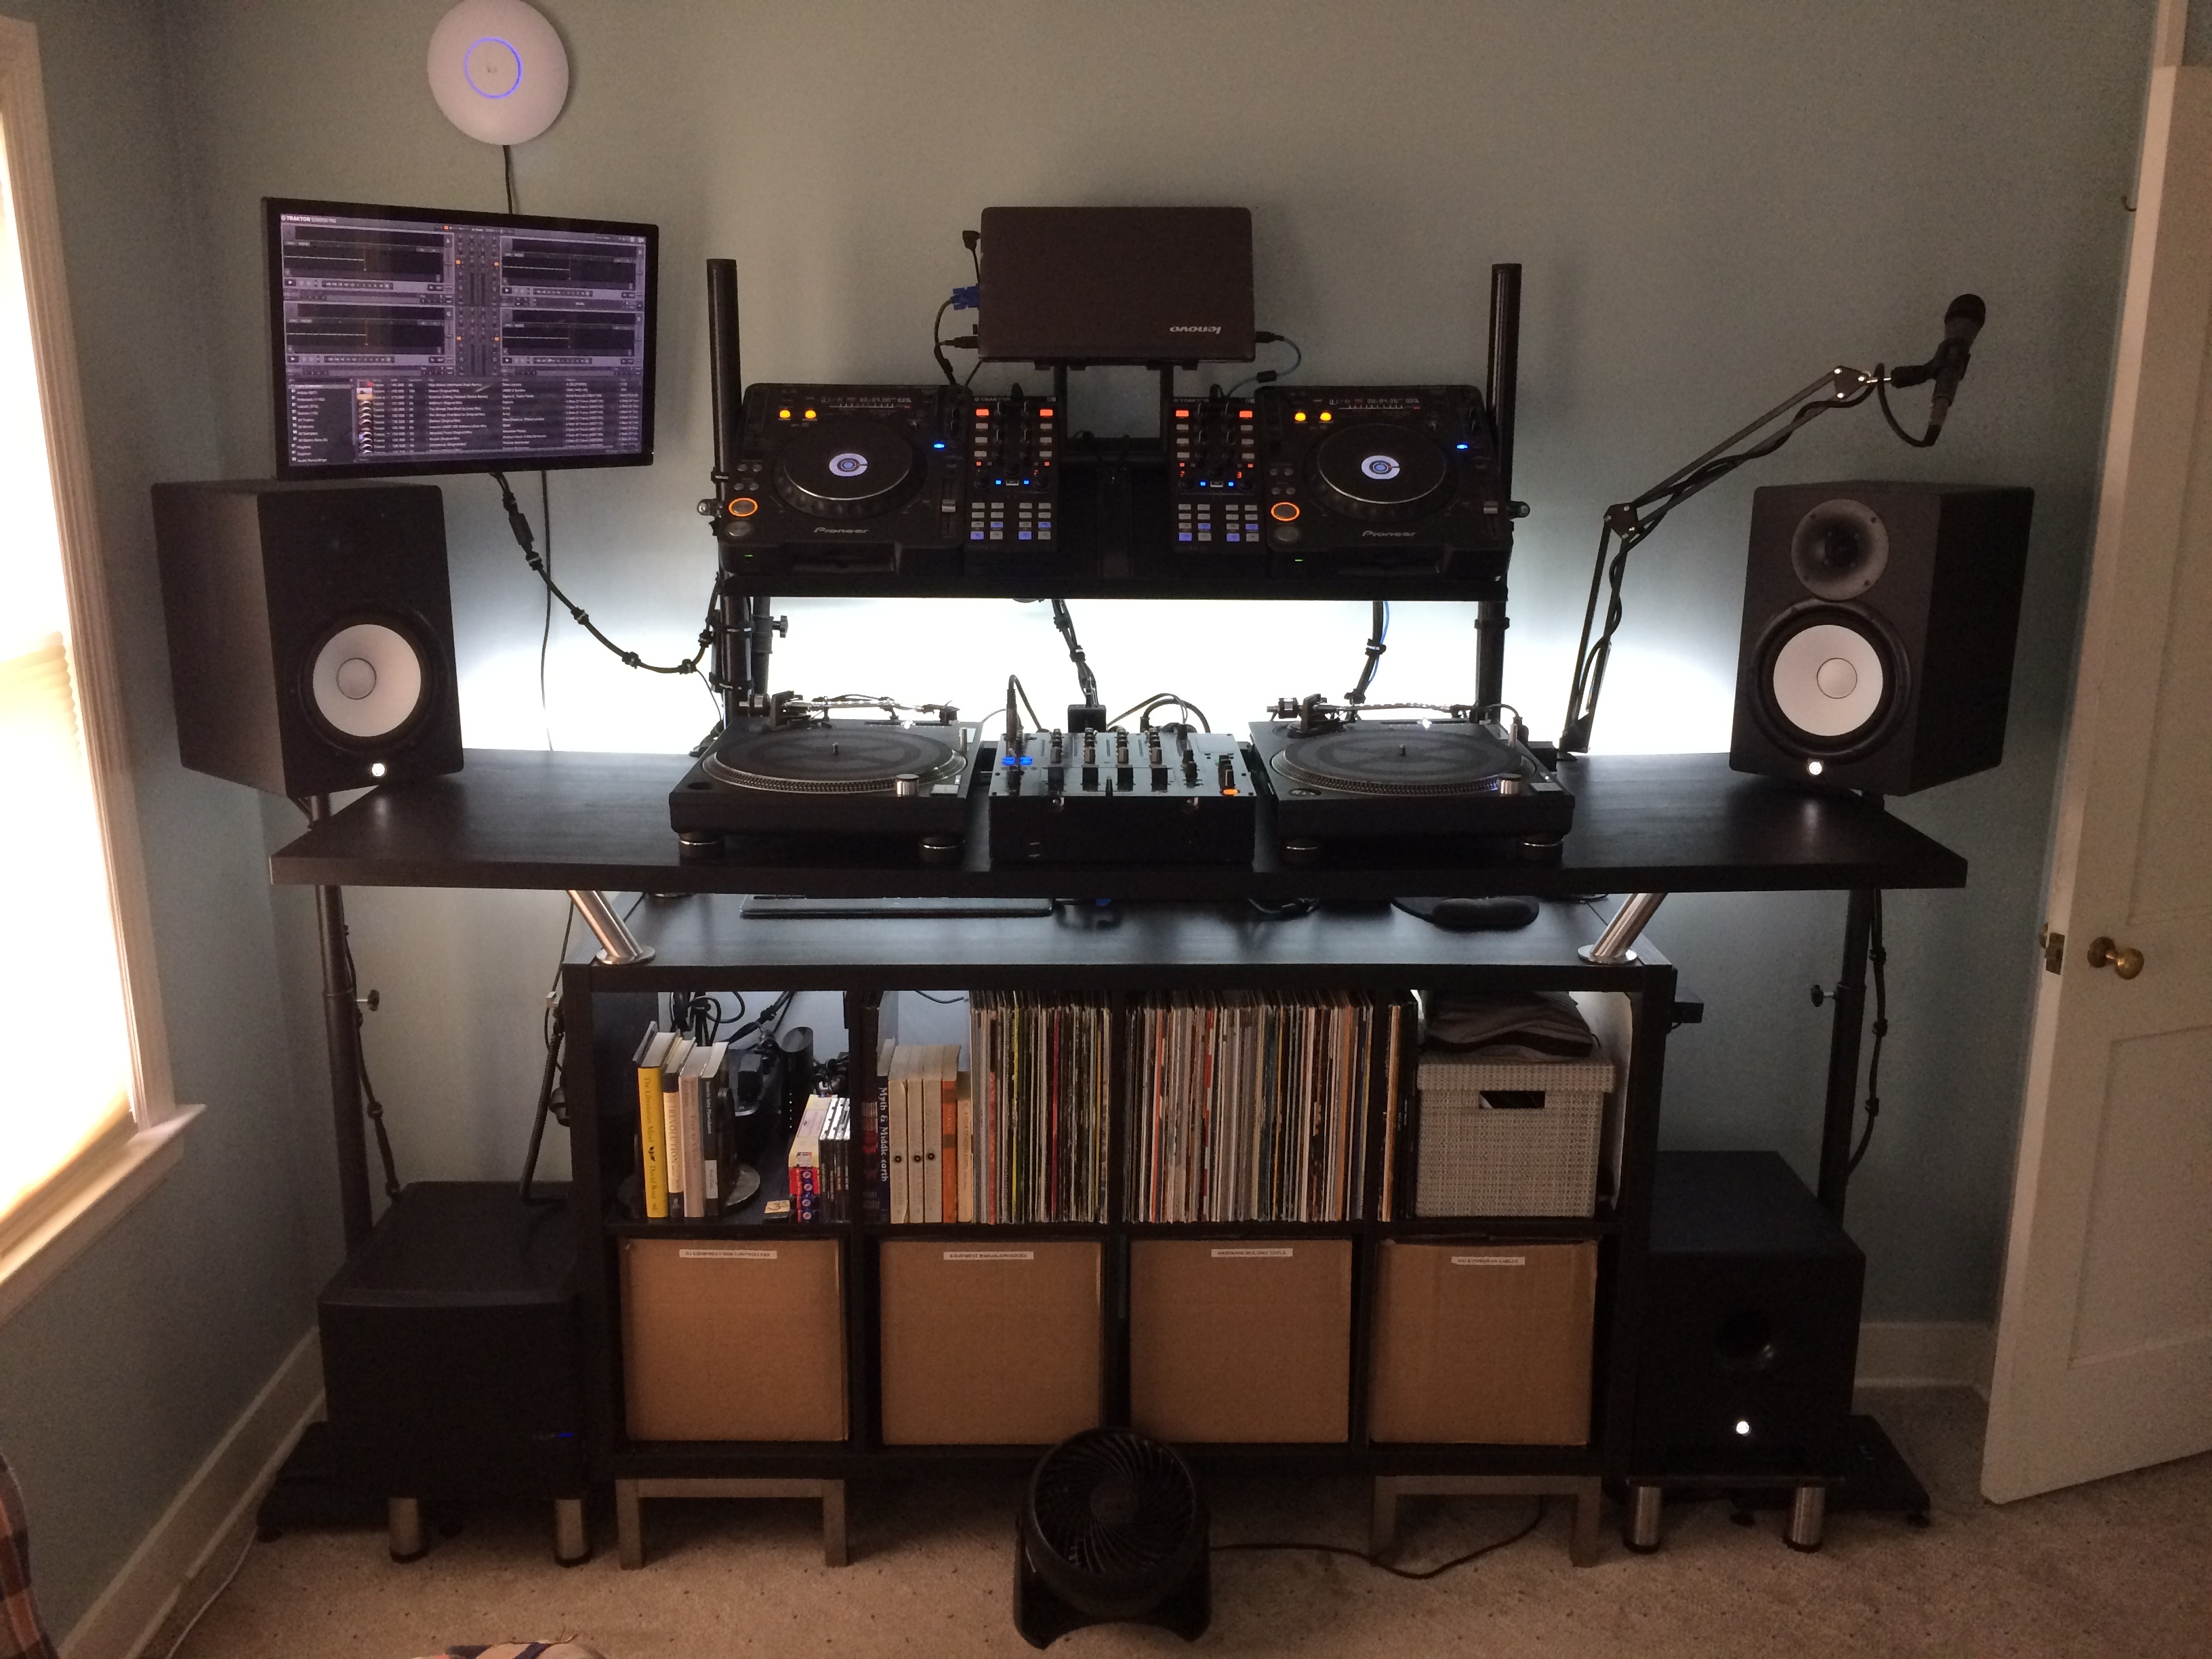
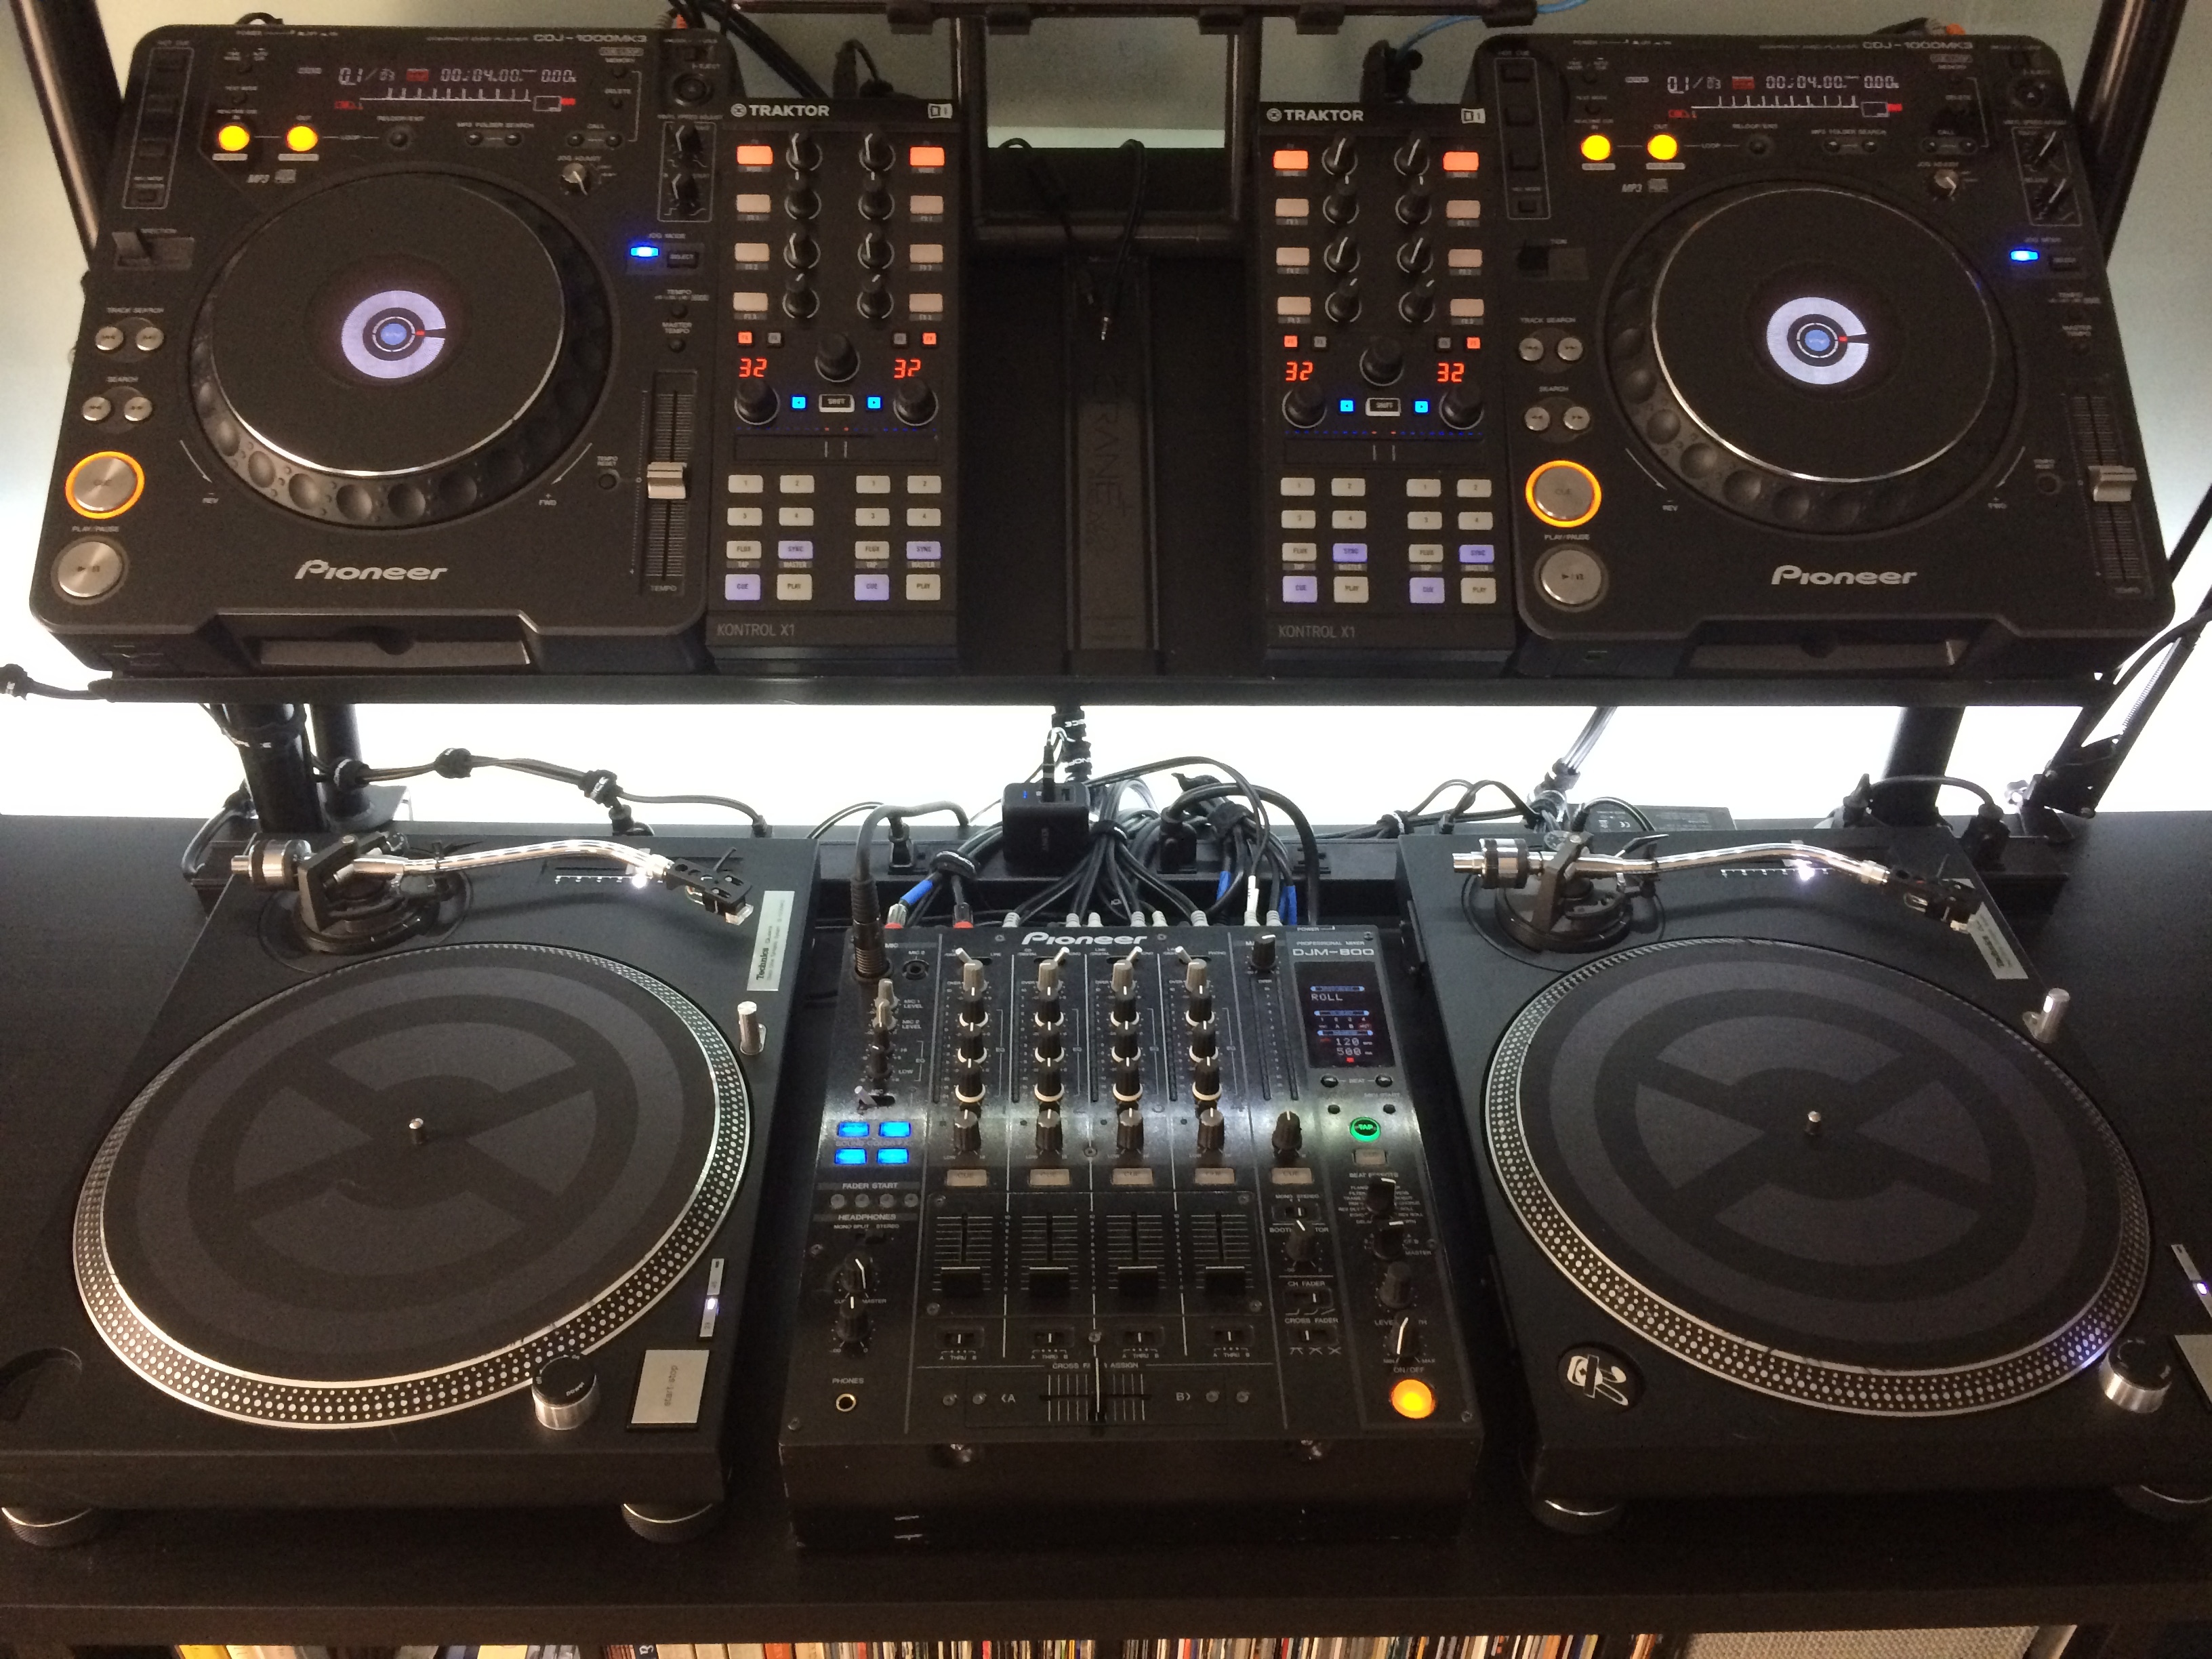
Here is the other half of the battle station... this is where the fun begins.
1x Pioneer DJM-800
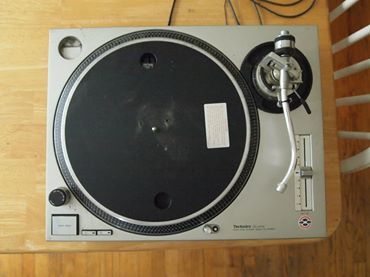
2x Technics 1200MK2 (These I have rebuilt from the ground up, keep scrolling for the short picture story of their return to glory!)
2x Pioneer CDJ-1000MK3
2x Native Instruments Kontrol X1 MK2
2x Yamaha HS8 monitors
1x Yamaha HS8s subwoofer
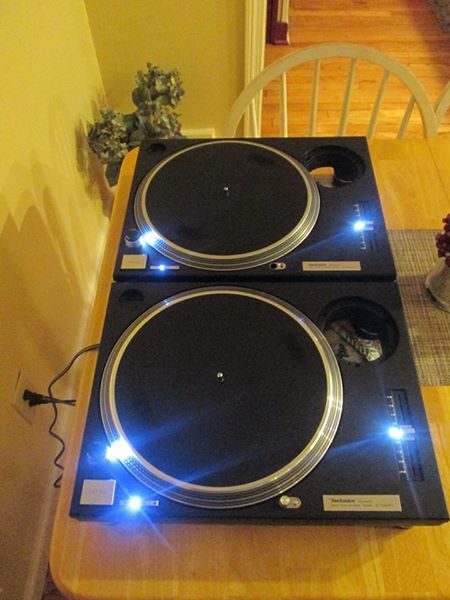
The Technics restoration project was a ton of fun, this is what they looked like before...
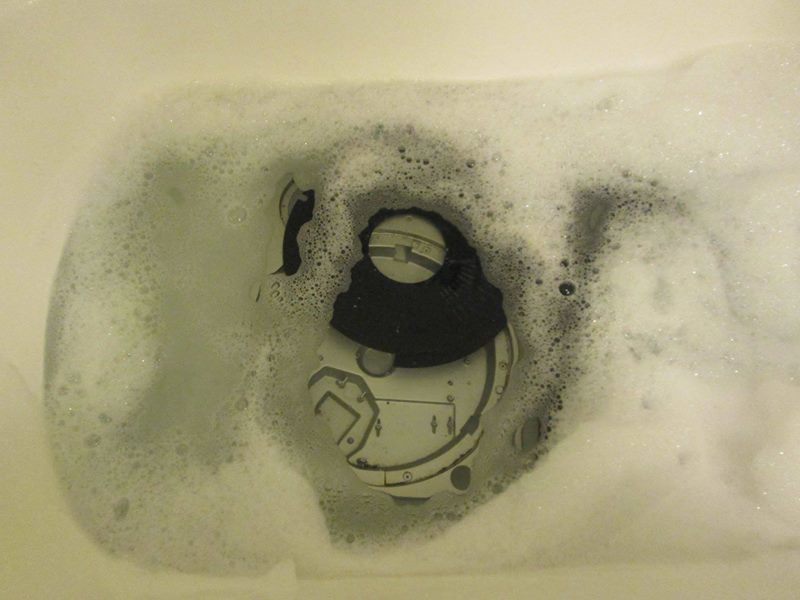
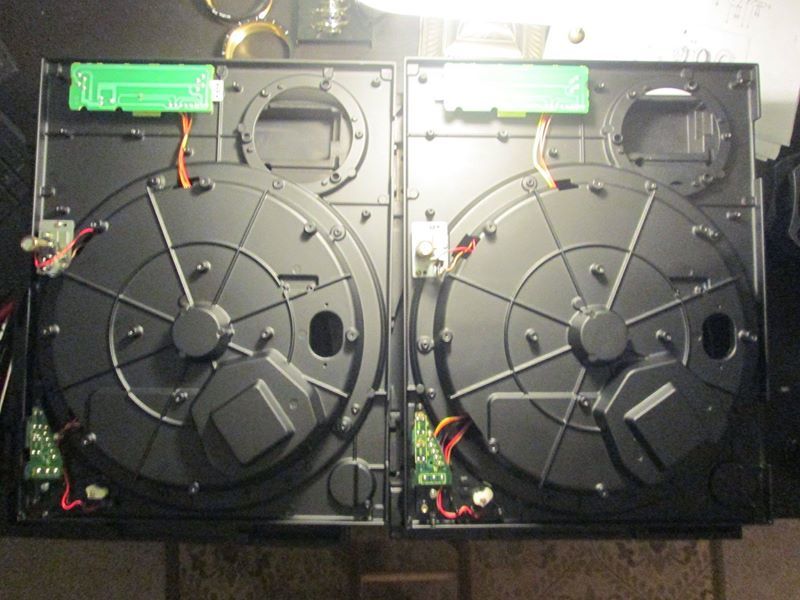
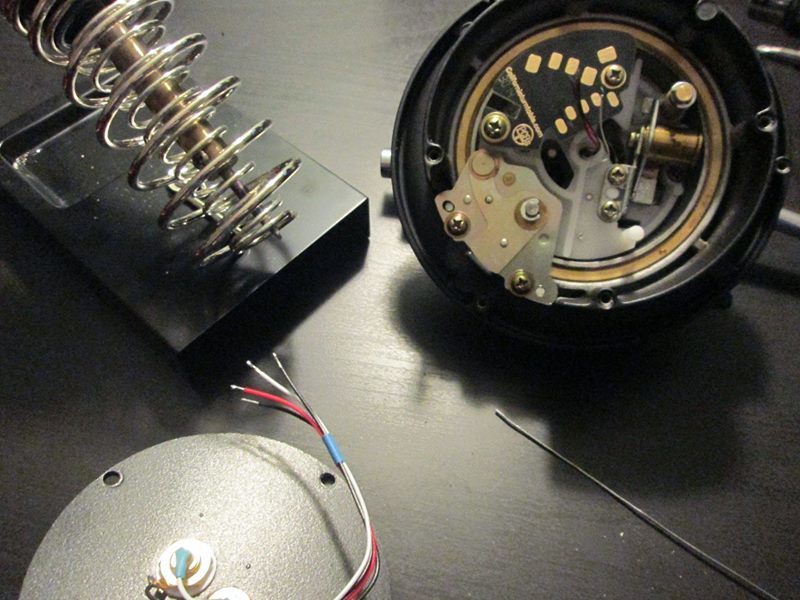
First thing I did was wash them in the bathtub after removing all the electrical components & PCBs:
They came out looking really clean after a quick bath!
I also had to polish the platters. They had a lot of dirt and grime on them, but nothing a little Mother's aluminum polish couldn't fix!
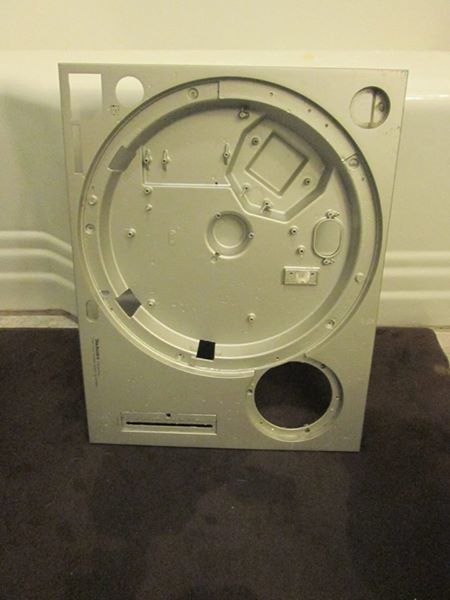
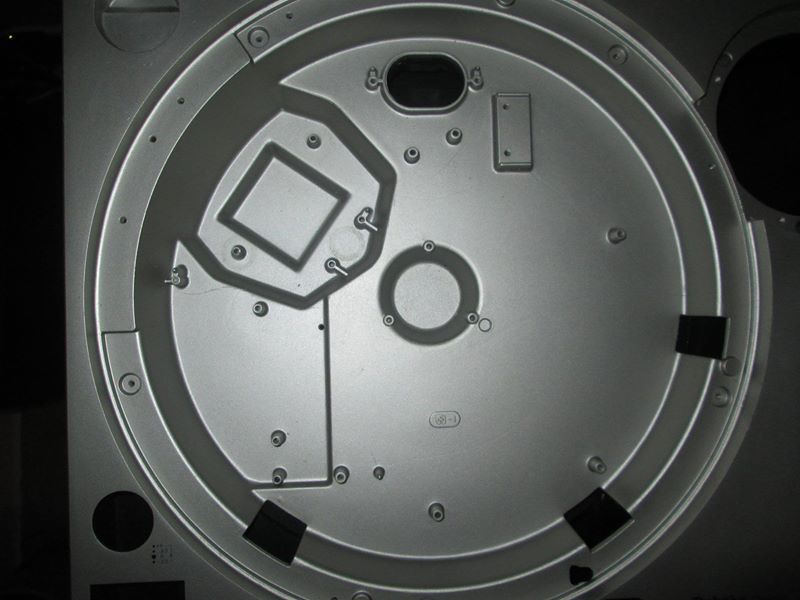
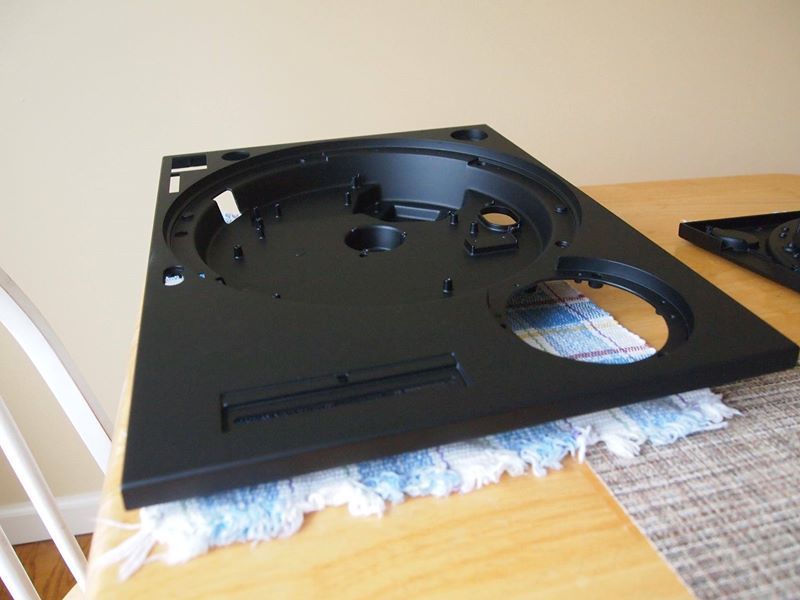
Back to the aluminum plinths; I had them professionally powdercoated and after two weeks they were done. I wish Vantablack had been an option... 
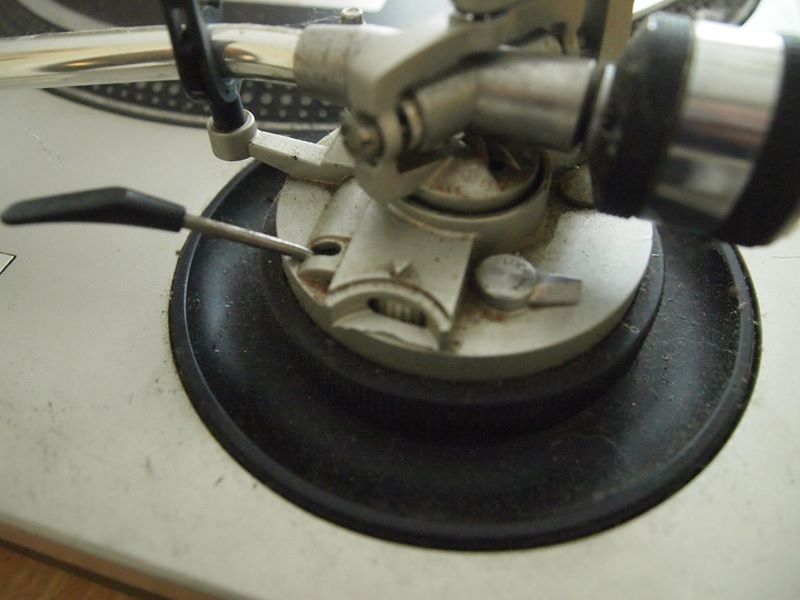
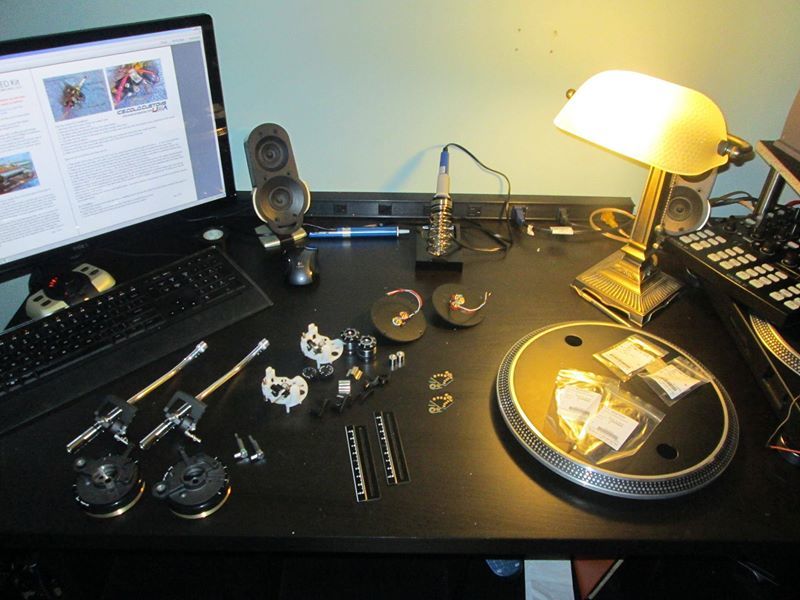
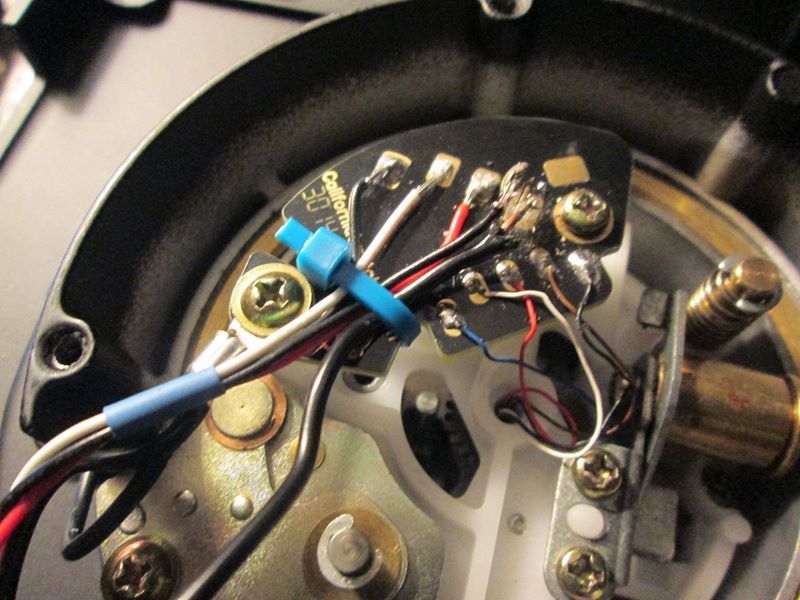
Once all of that was done, it was time to get into the more electrical and mechanical stuff. Complete rebuild where needed, which was a LOT of the components. Brand new tonearms, tonearm assembly rings, pitch faders, LEDs, power cables, RCA PCB boards, etc. One turntable had more damage than the other; I needed to replace the entire board which hosts the Power Knob, Start/Stop, and 33RPM/45RPM mode selector buttons.
Pitch faders installed (upside down, back of the PCB)
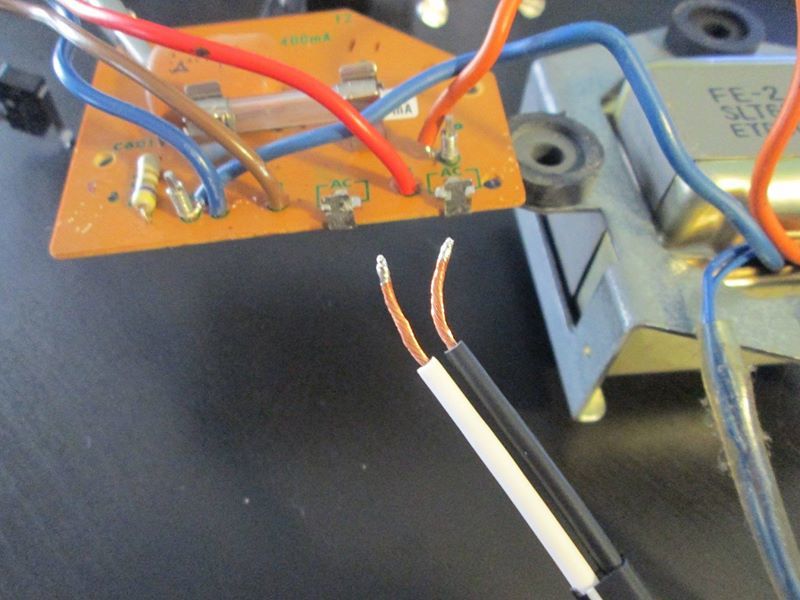
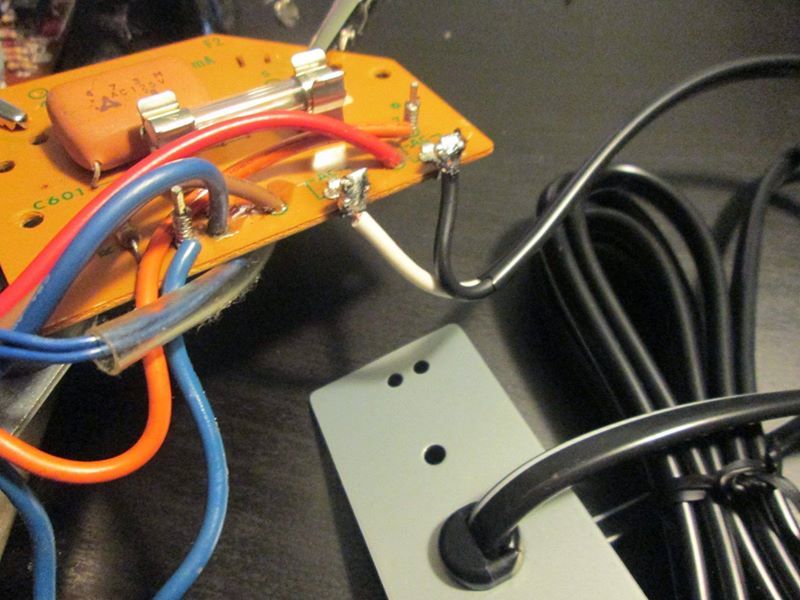
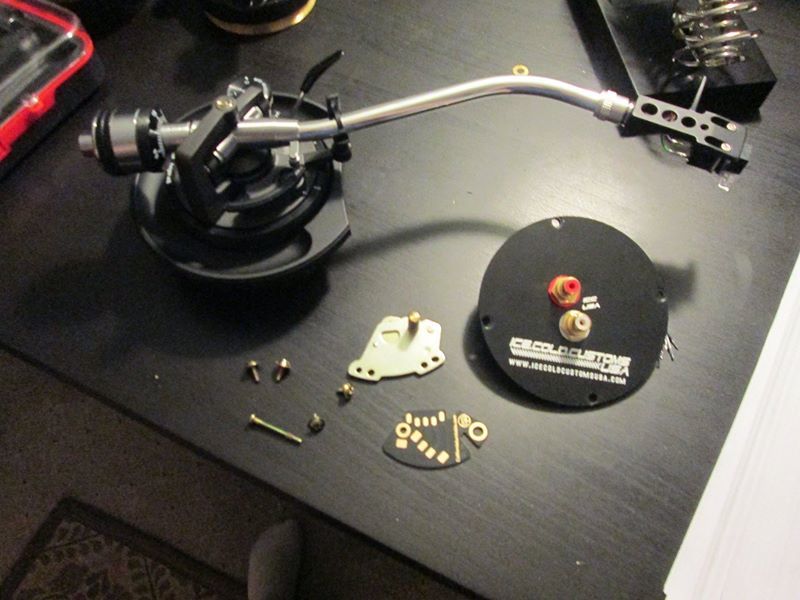
I found a neat mod part from a small company called Ice Cold Customs that provides a cover which lets you use any RCA cable with the SL-1200. To my knowledge, every SL-1200 that was released (all variations including the 1210) had an RCA cable with a lead that was directly soldered onto the tonearm PCB, not uncommon for a lot of audio equipment from the late '70s / early '80s. However, if you ever tugged on your cable hard enough... you could do some serious damage. The only thing that needs to be done to use this part is to internally ground your TTs, which I had no problem doing. It also means one less cable to worry about.
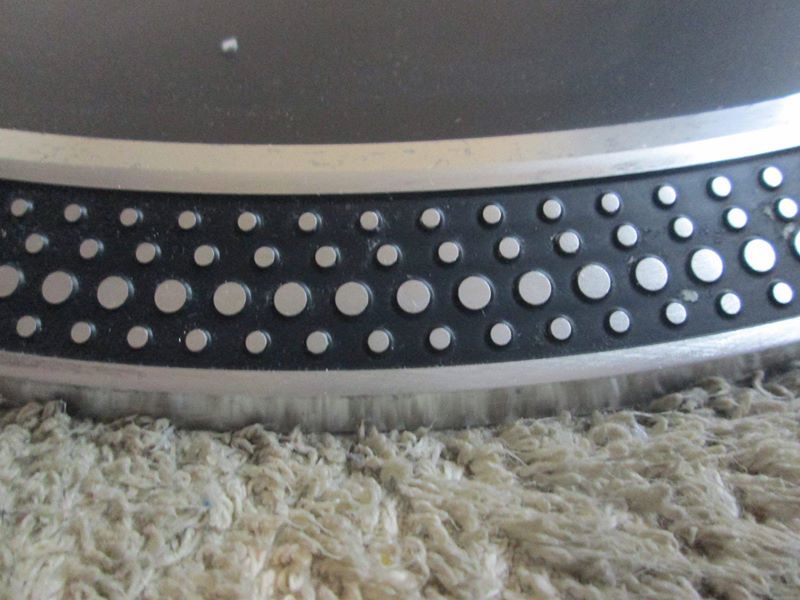
Yes, that is black PCB. All black everything.
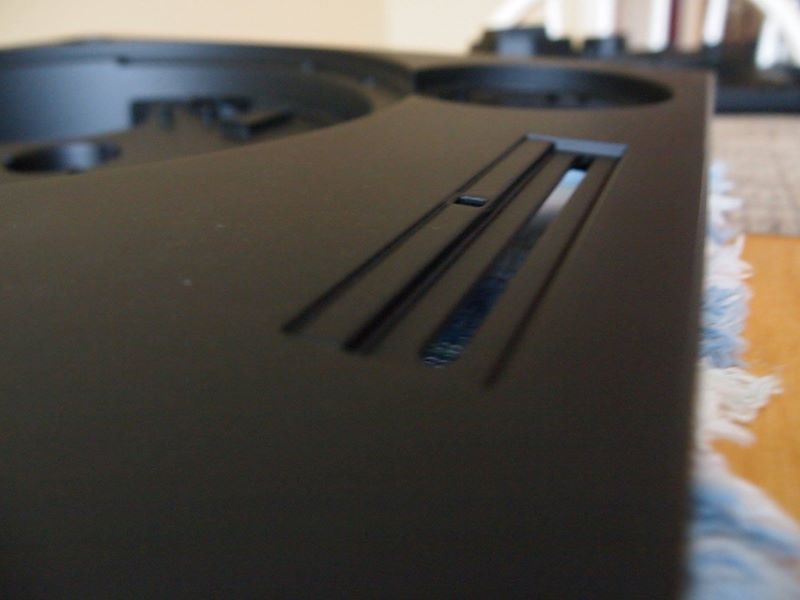
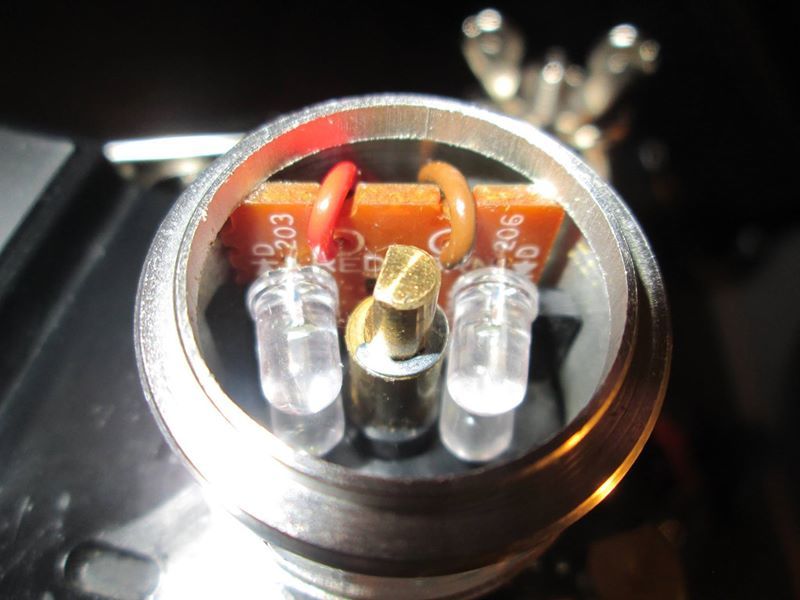
There is also a pop-up target light which is used on each SL-1200 to provide some lighting where the needle drops on the record, it quite literally "shoots" up from the body of the turntable, and when you push it down into the body of the turntable it will turn off while being not completely recessed but somewhat submerged into the chassis. This was so badly damaged it would have to be removed and replaced entirely, which I had a hard time finding on eBay. Most were in bad condition, but I lucked out one day and found one in near mint quality.
Here's a picture of one of the LEDs mid-way through the modification process:
Before installing the tonearm (one of the most painfully time consuming steps) I decided to see if my LED mod worked. They look blue here, but as you'll see in another picture to follow, they are pure white.
At night, with the platter & component shield removed.
I haven't many pictures of the tonearm rebuild; mostly because I wanted to die the entire time. It was over 100 tiny metal pieces that all had to come together, new internal cabling, etc... but here is a picture of them finished! And of course, my adorable cat Mikey striking a pose. This picture was taken a few years ago, after that I had built a new DJ booth which was shown all the way towards the top of this post. It's mostly made of IKEA stuff... never again.