

Introduction
Our goal is to setup a reasonable platform for development and/or homelab virtualization and experiments. Proxmox is the subject of this how-to, but there are other guides for things like VMWare ESXi and videos that I’ve done.
Proxmox is a competent virtualization platform, based on Debian, with good paid support offered and a reasonable free-ish version of the platform you can download and learn. It uses LXC containers for lightweight “virtualization” and, of course, full-fat VMs. It has good support for easily configuring SR-IOV, PCIe Passthrough, the ZFS file system and mixing storage.
There are many guides and resources for setting up Proxmox out there. This one isn’t the best one, but I stumbled over enough “hmm, that’s weird no one mentioned that” while following some of those guides I thought it wise to add my own notes here.
Our Lab Setup
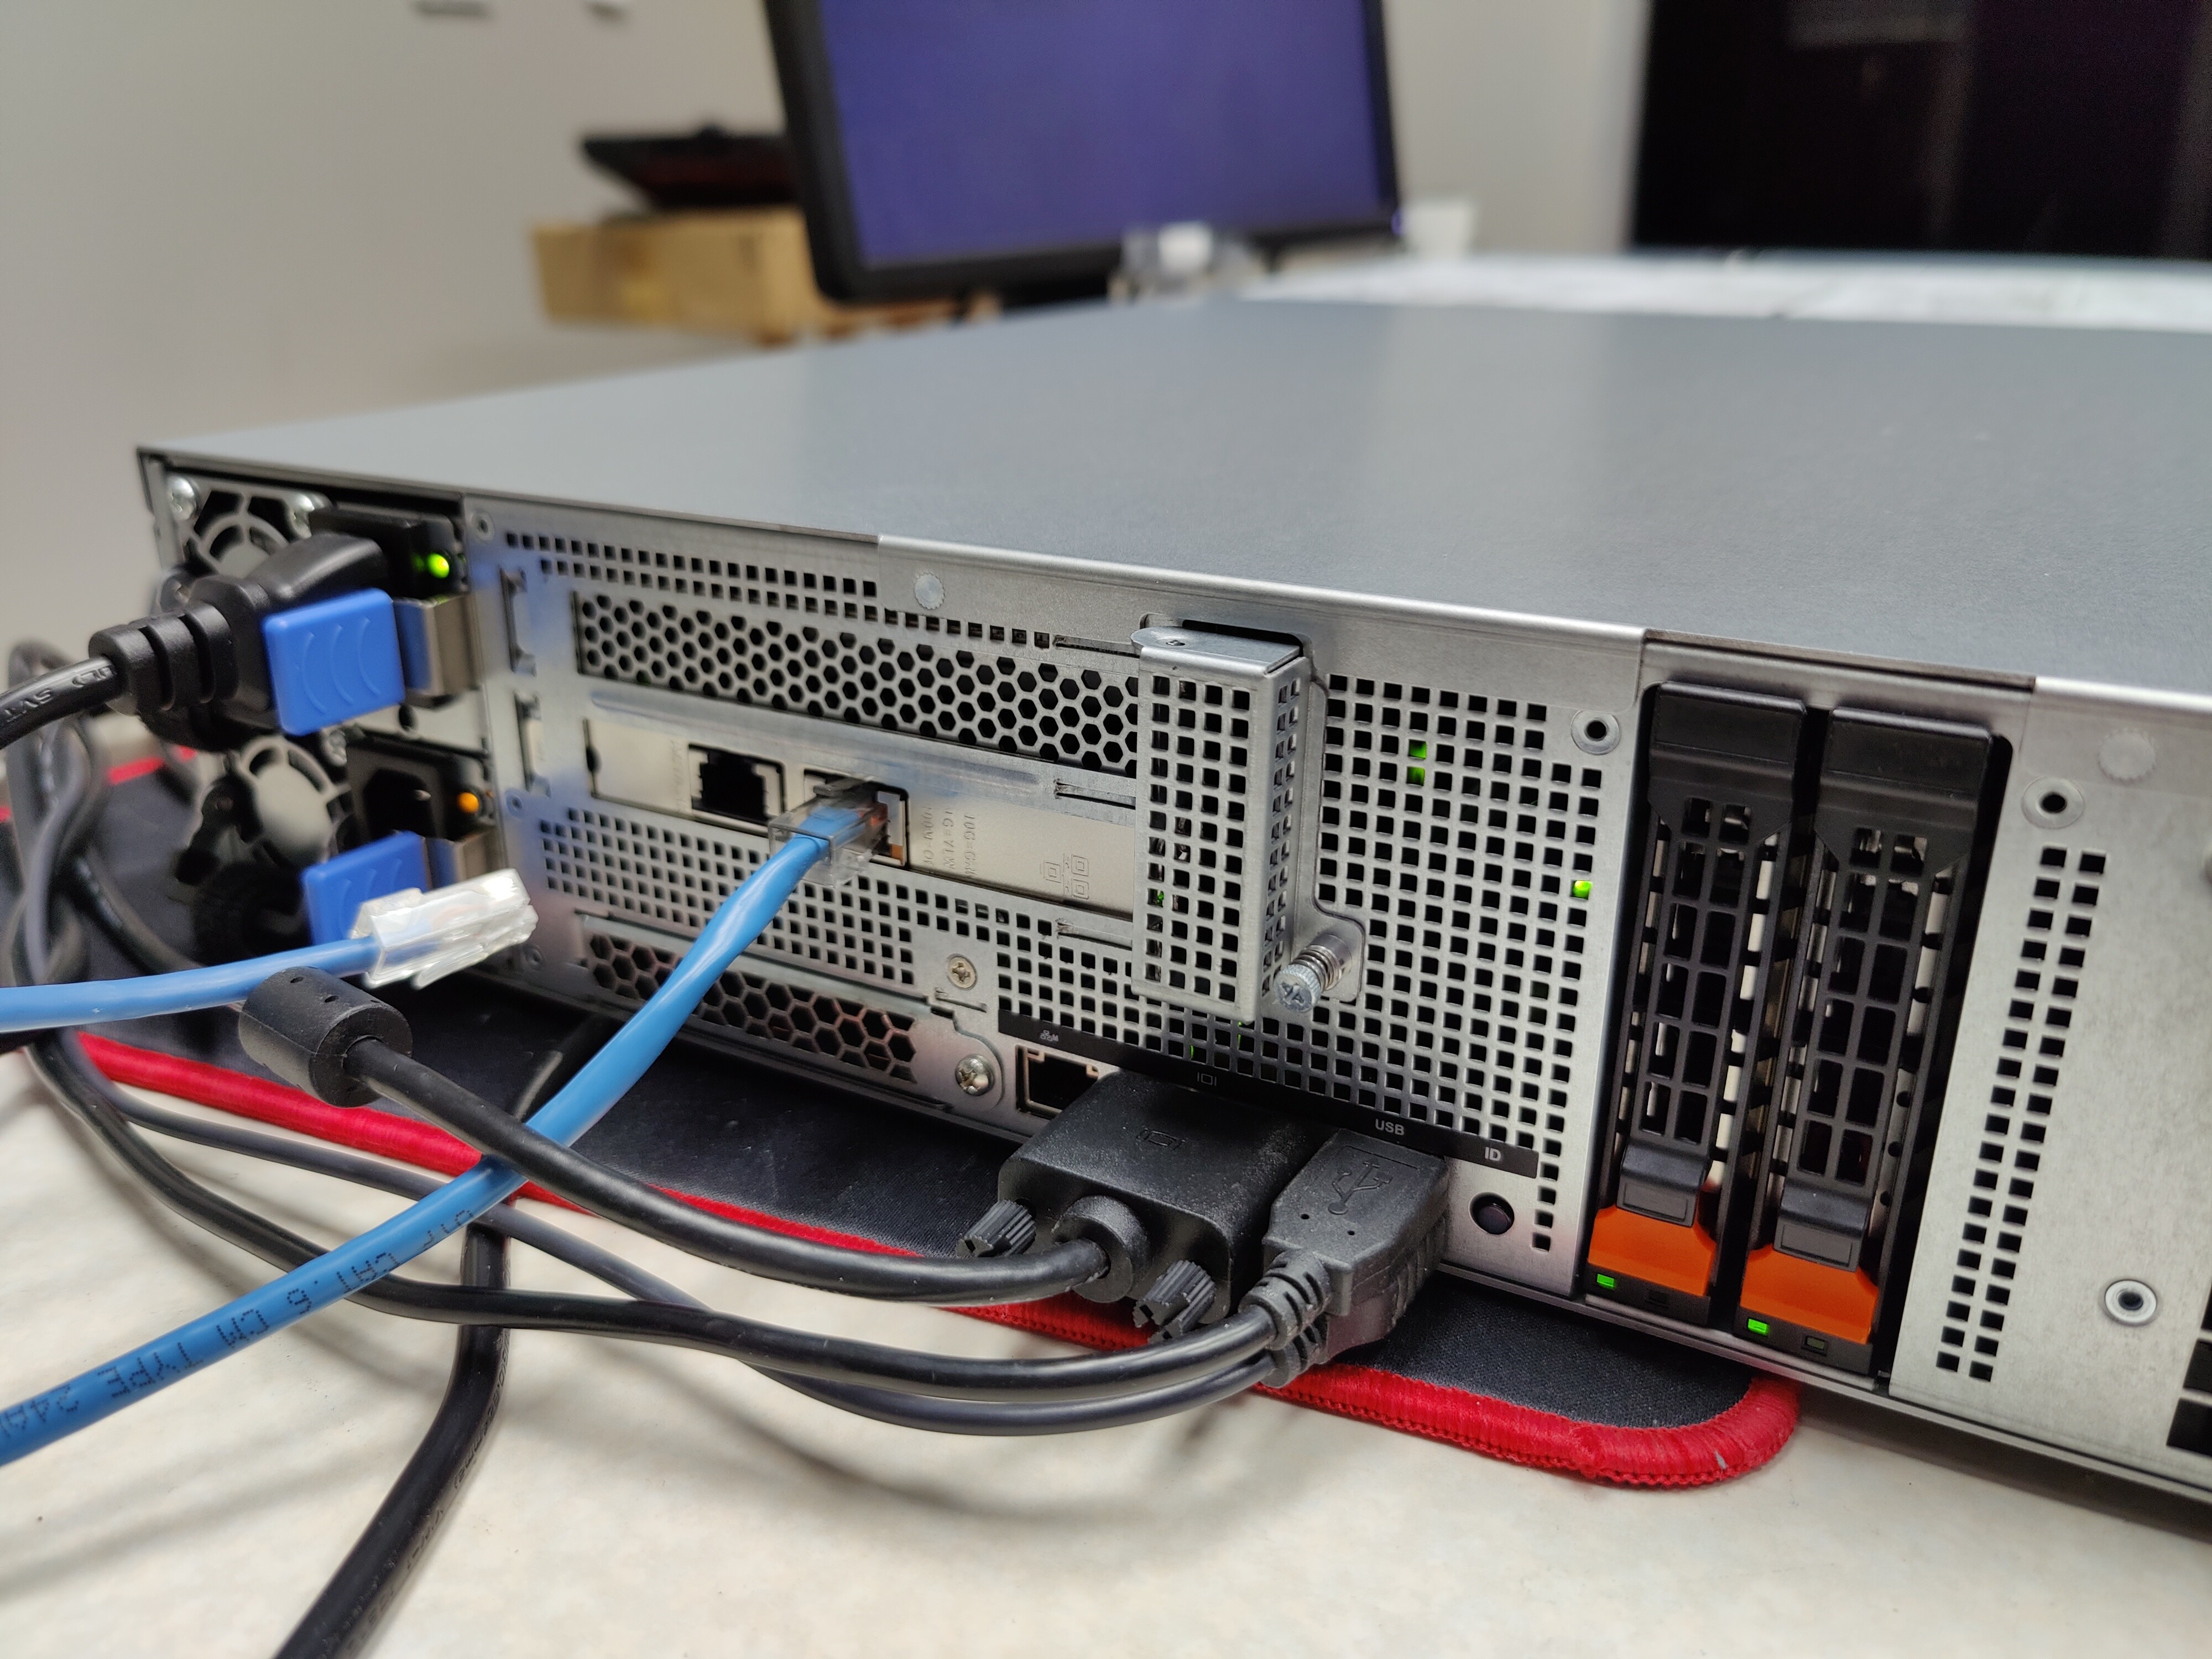
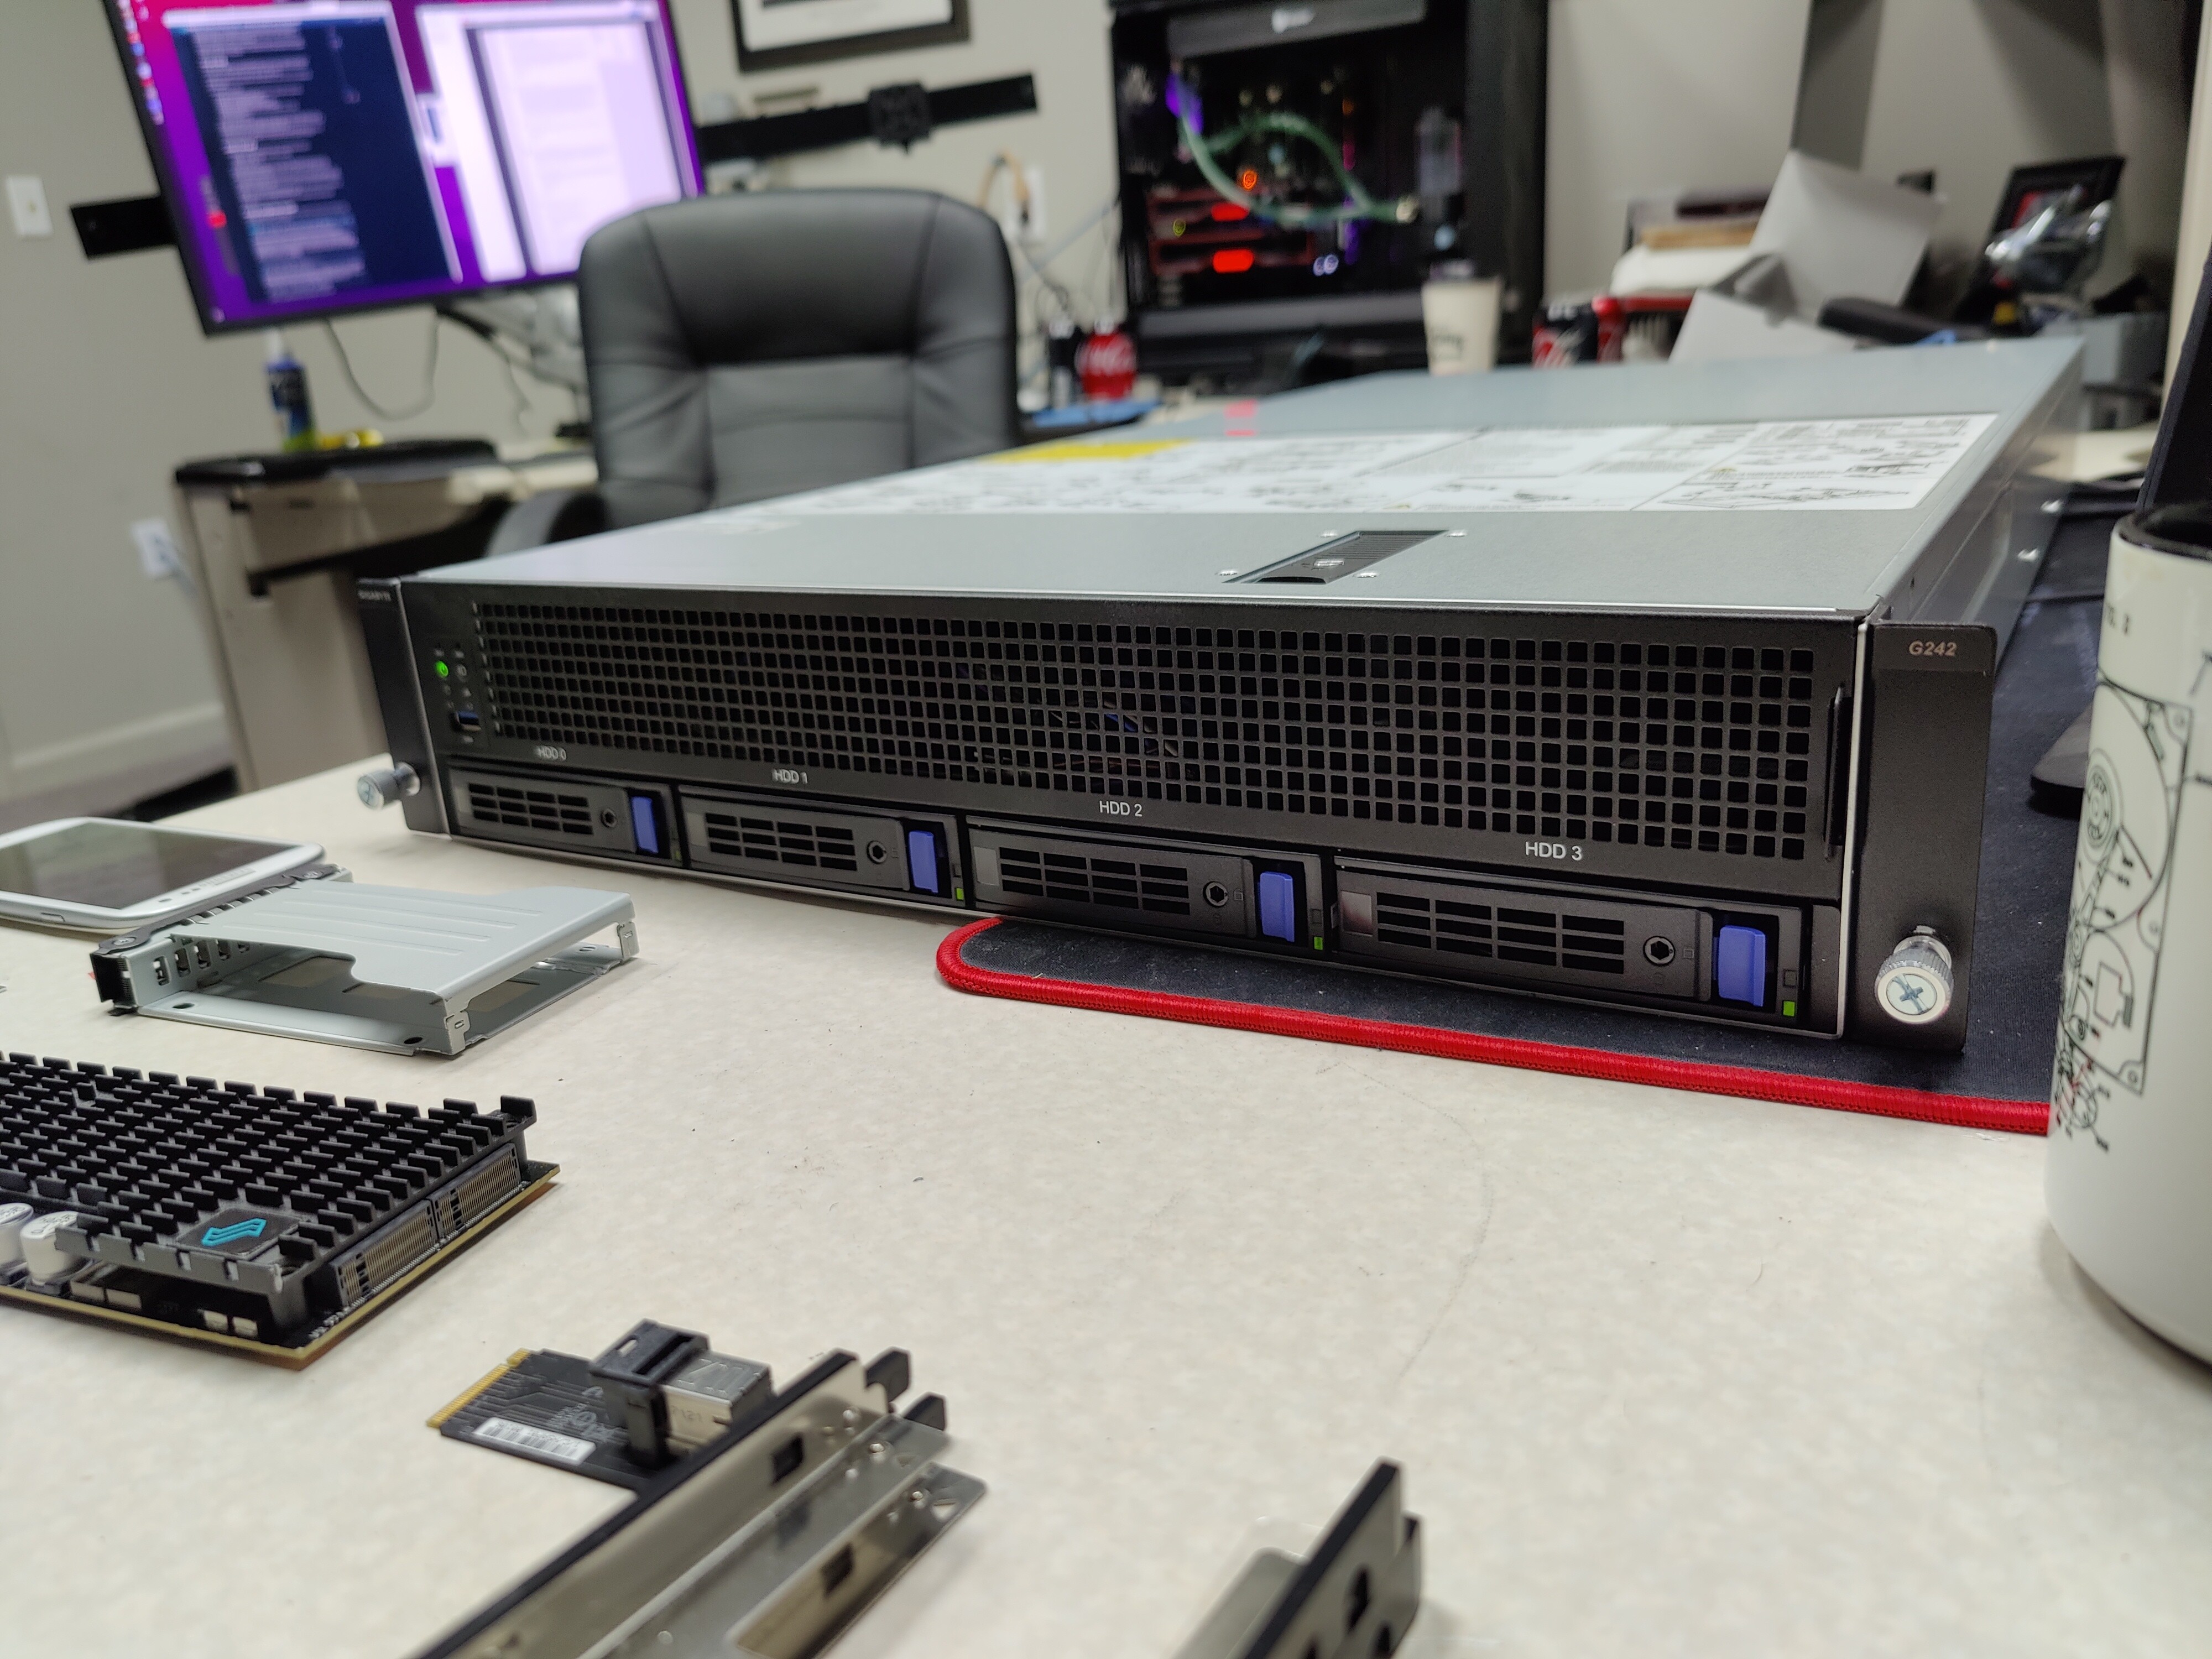
For the video, and this guide, I’m using the GIGABYTE G242-Z11 server. This is a great 2u server platform for GPU compute or even mixed-workload because it offers NVMe, 3.5" SATA and lots of internal PCIe .
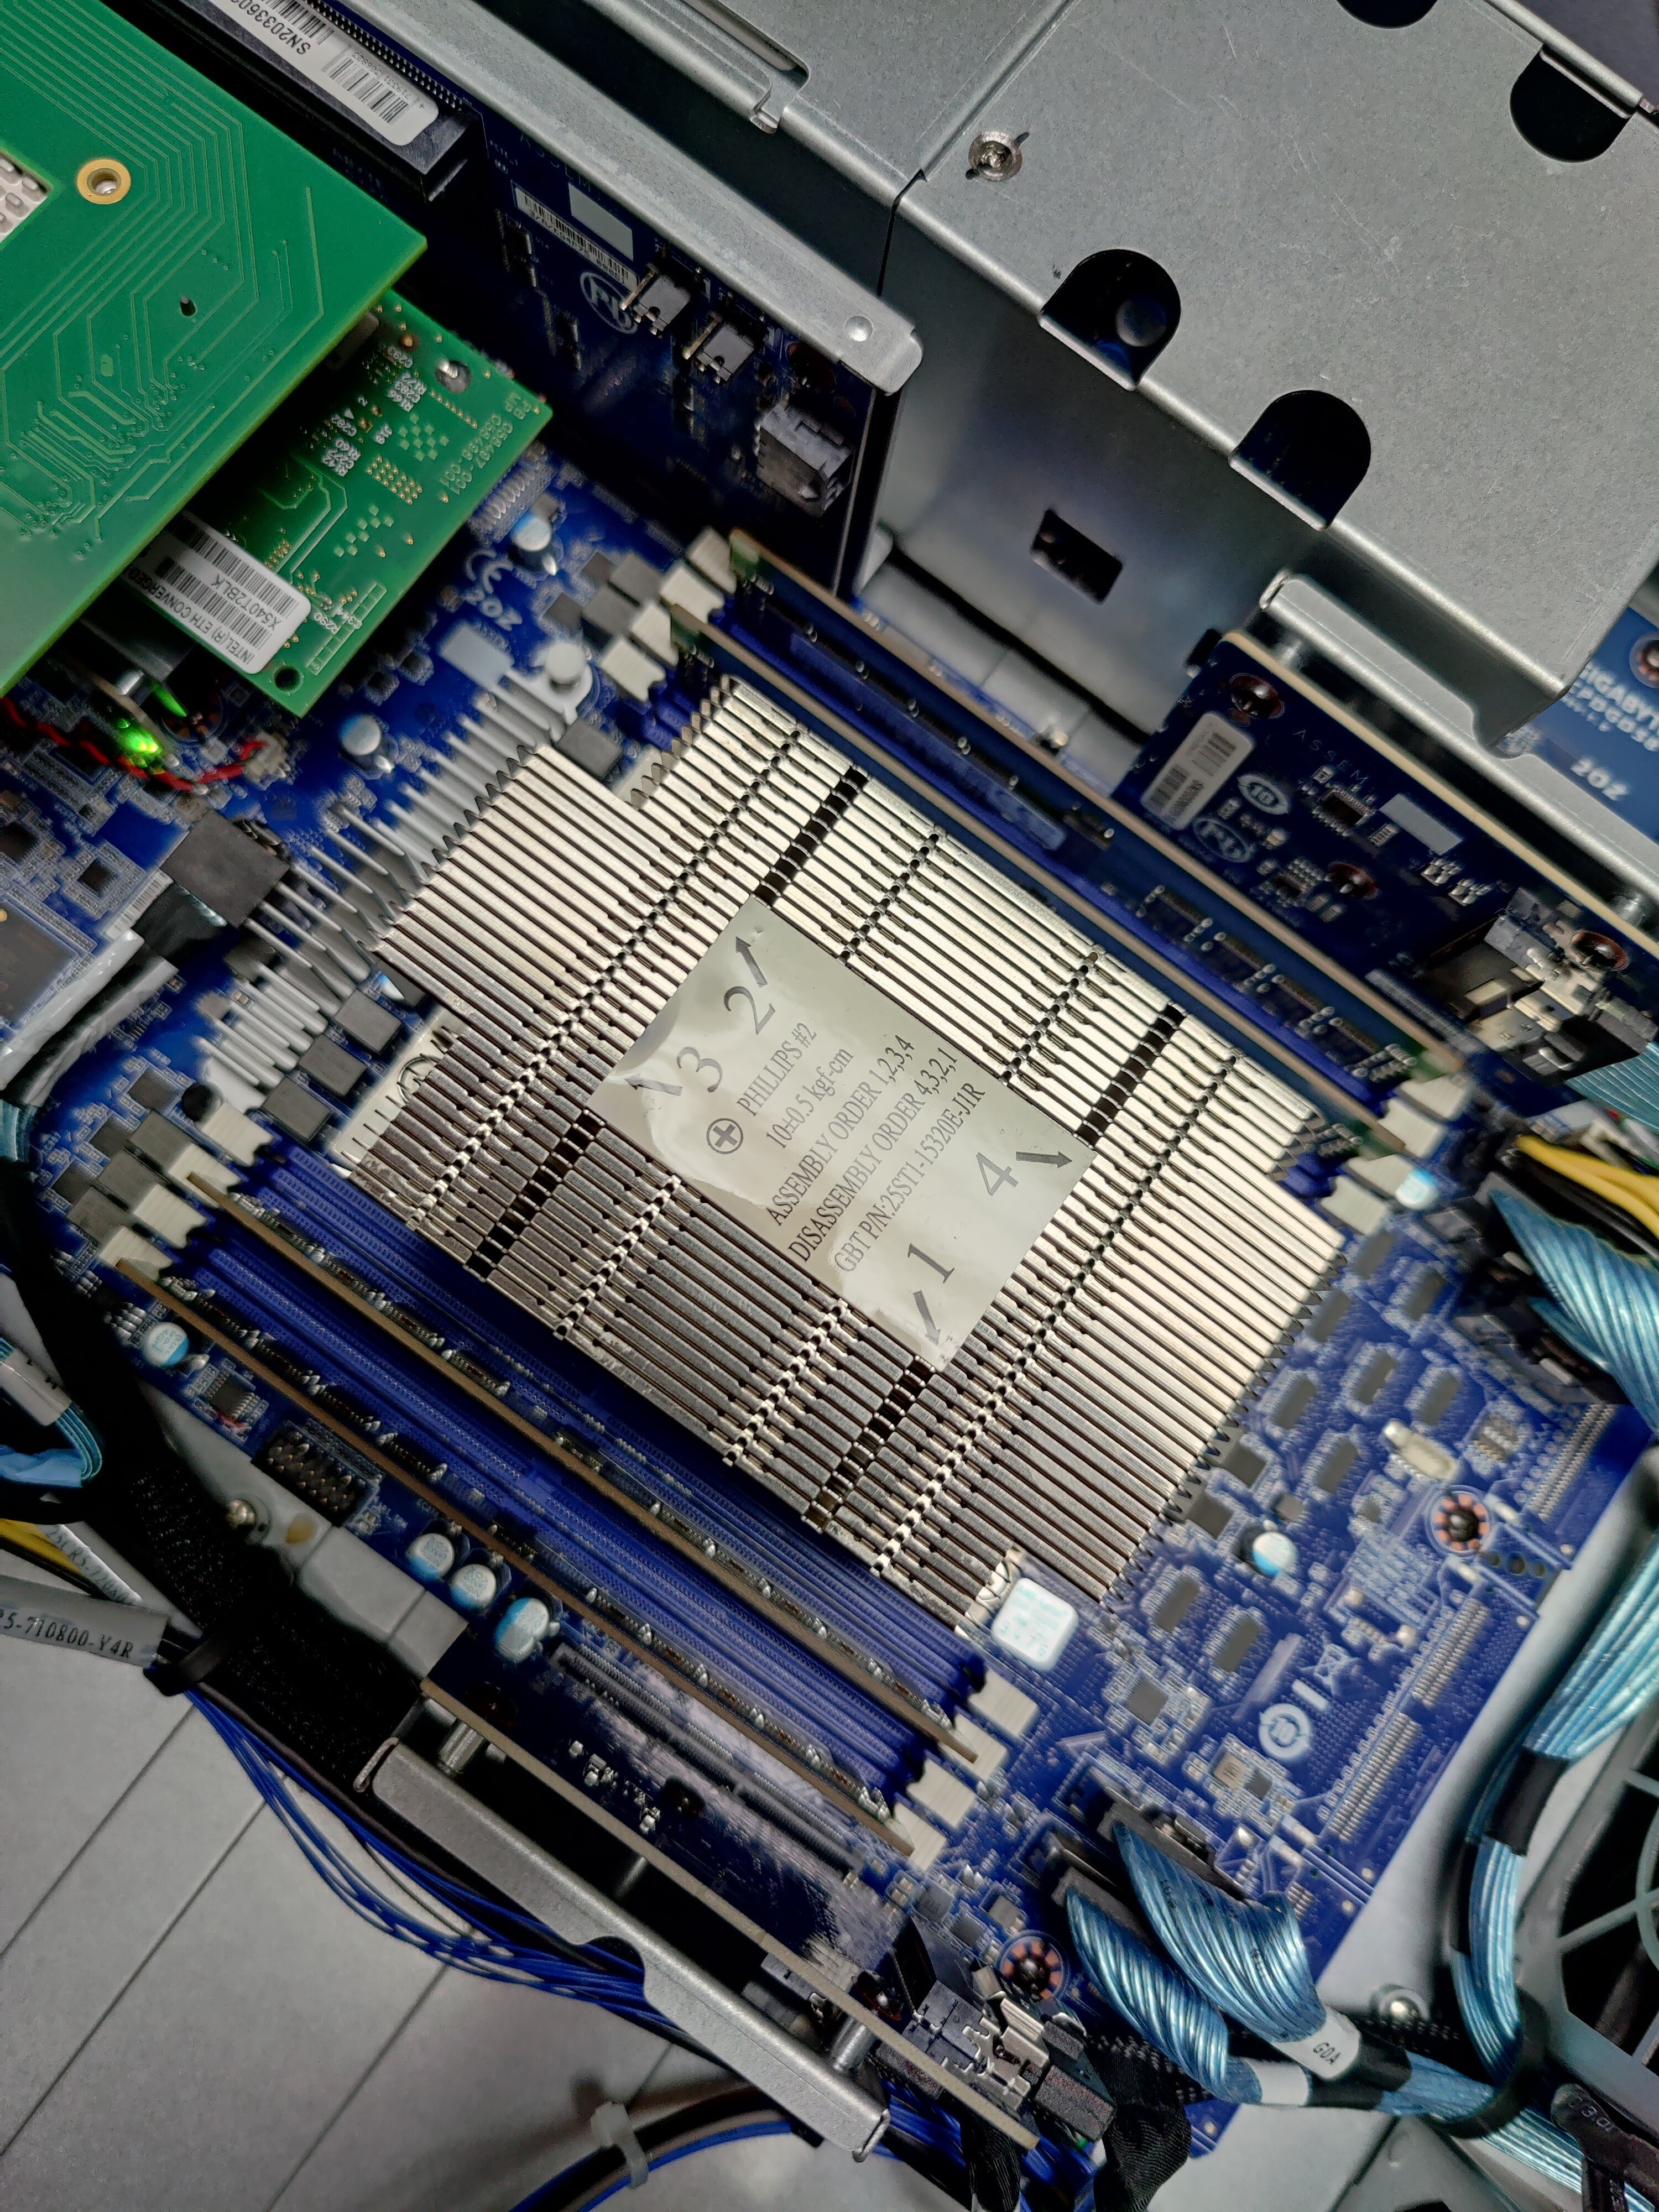
As configured, it is an Epyc 7420P 24-core with 128gb ram (8*16gb dimms).
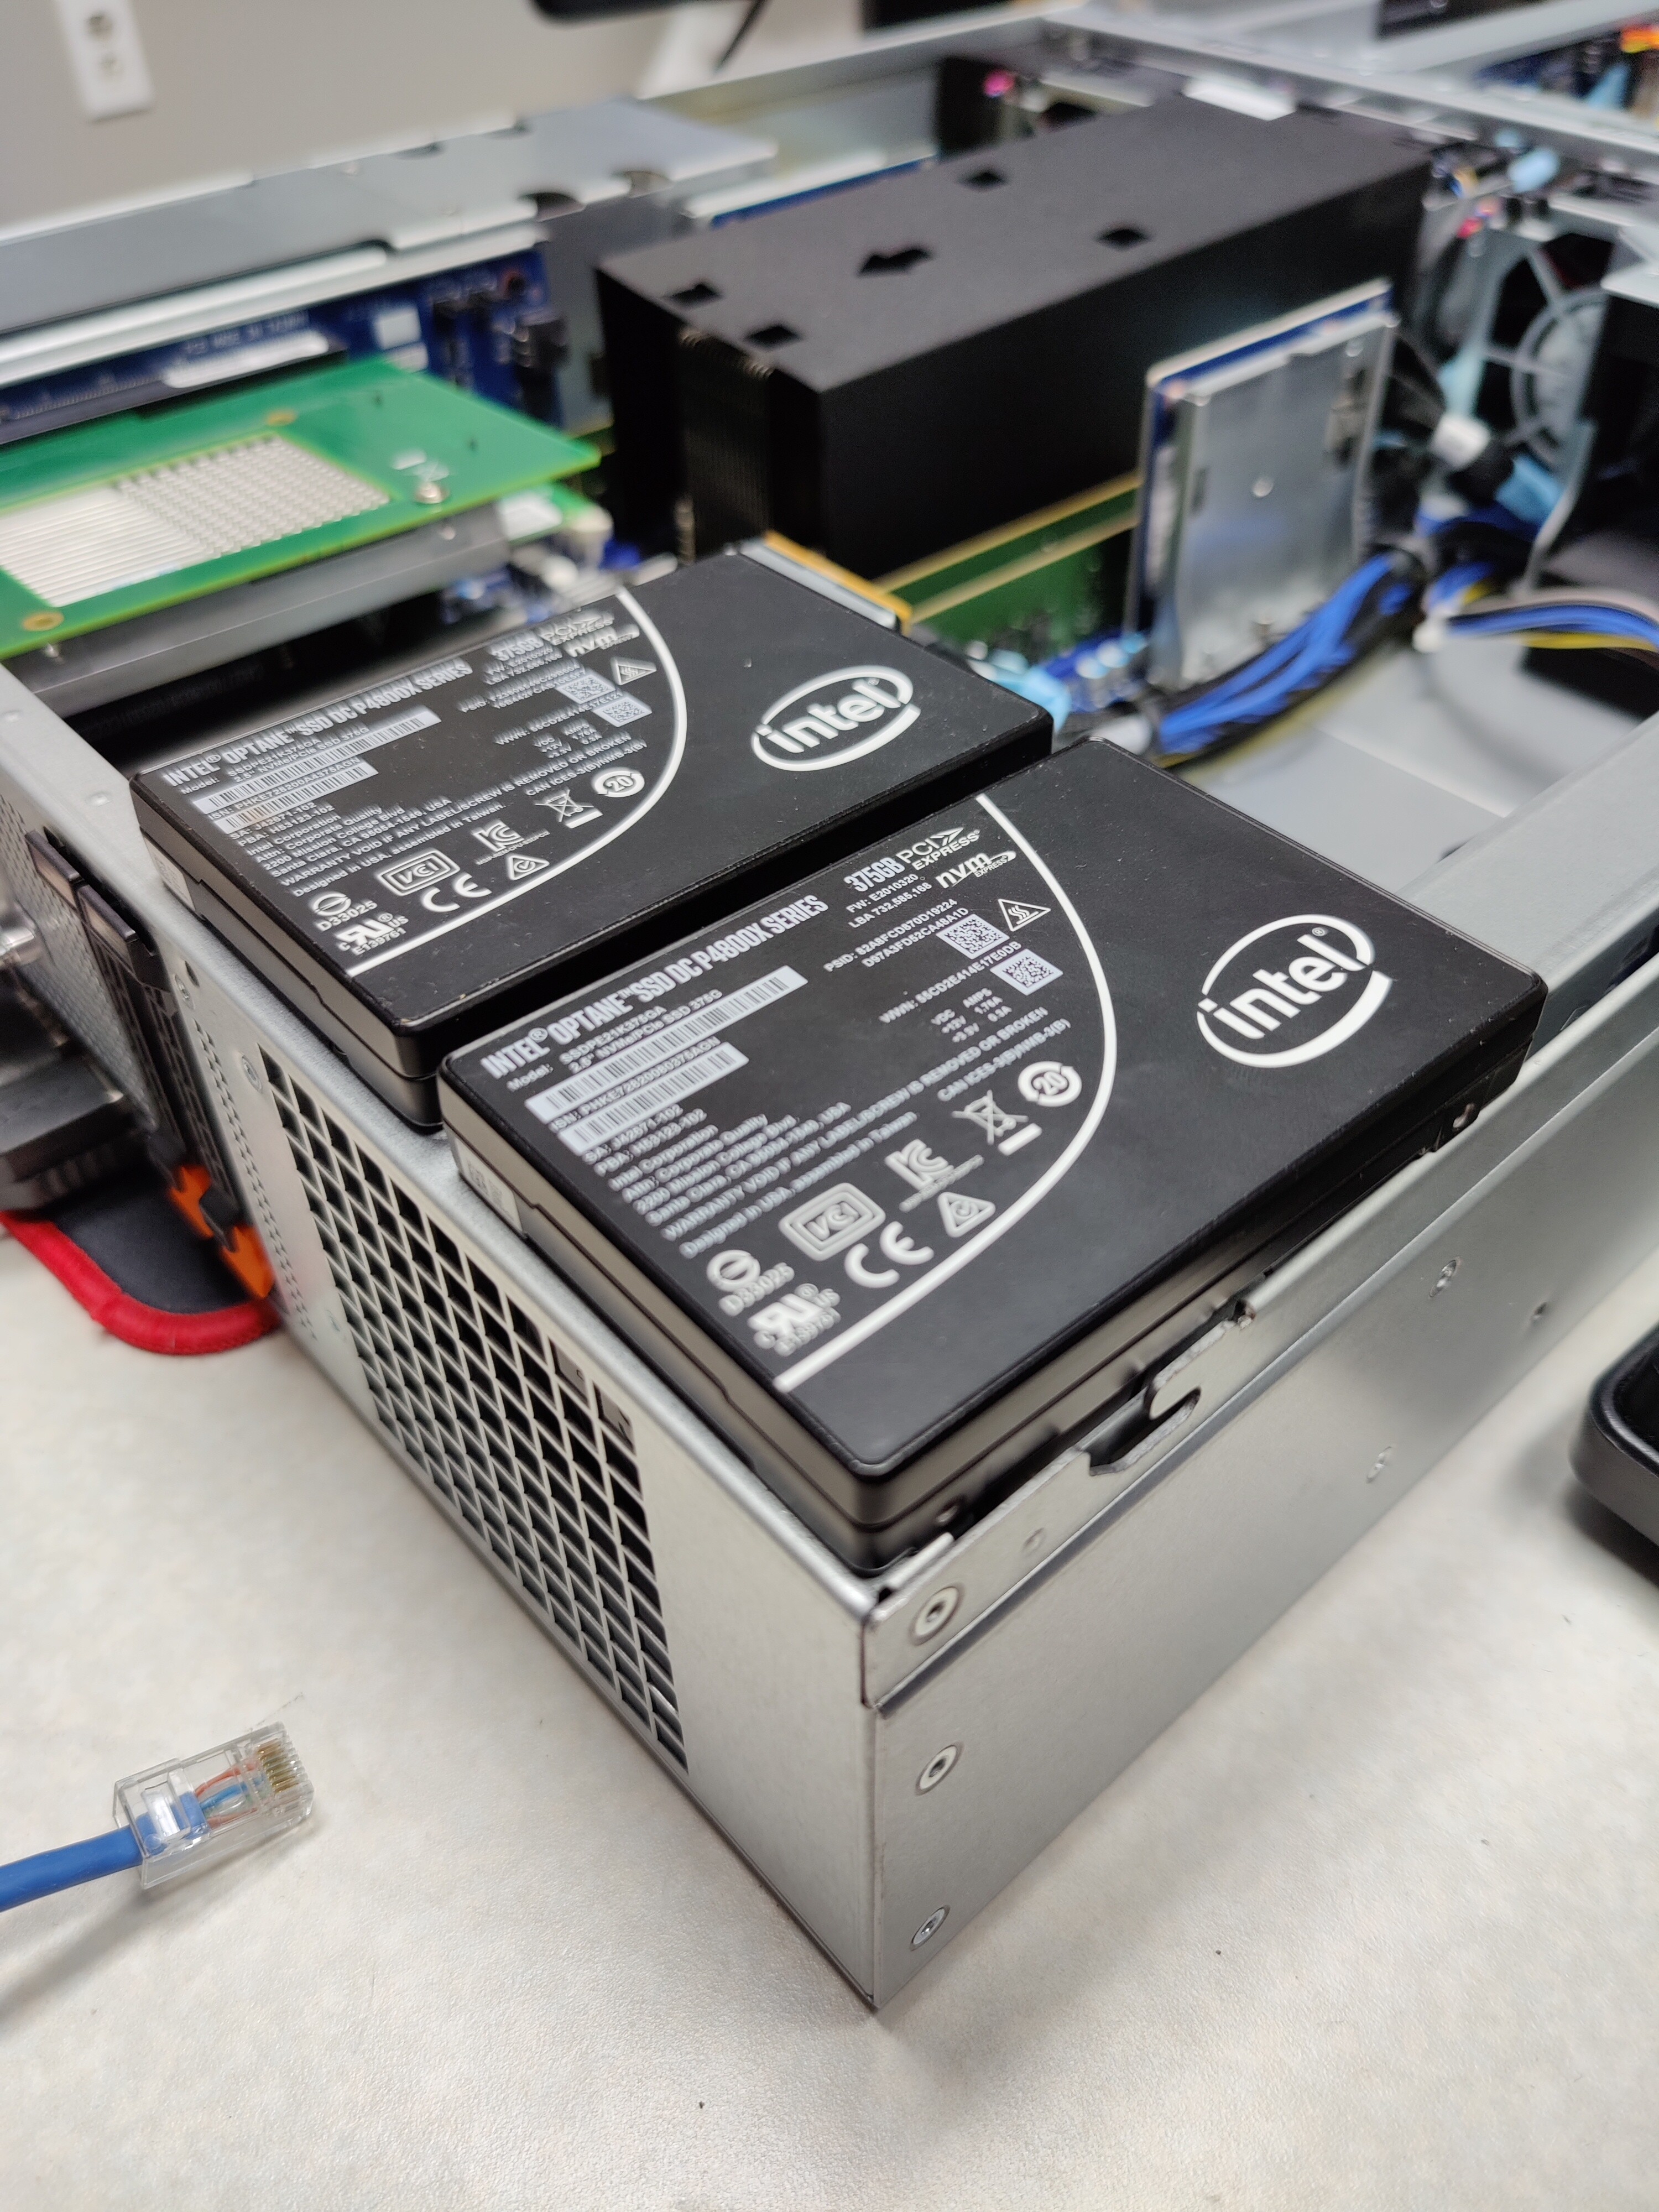
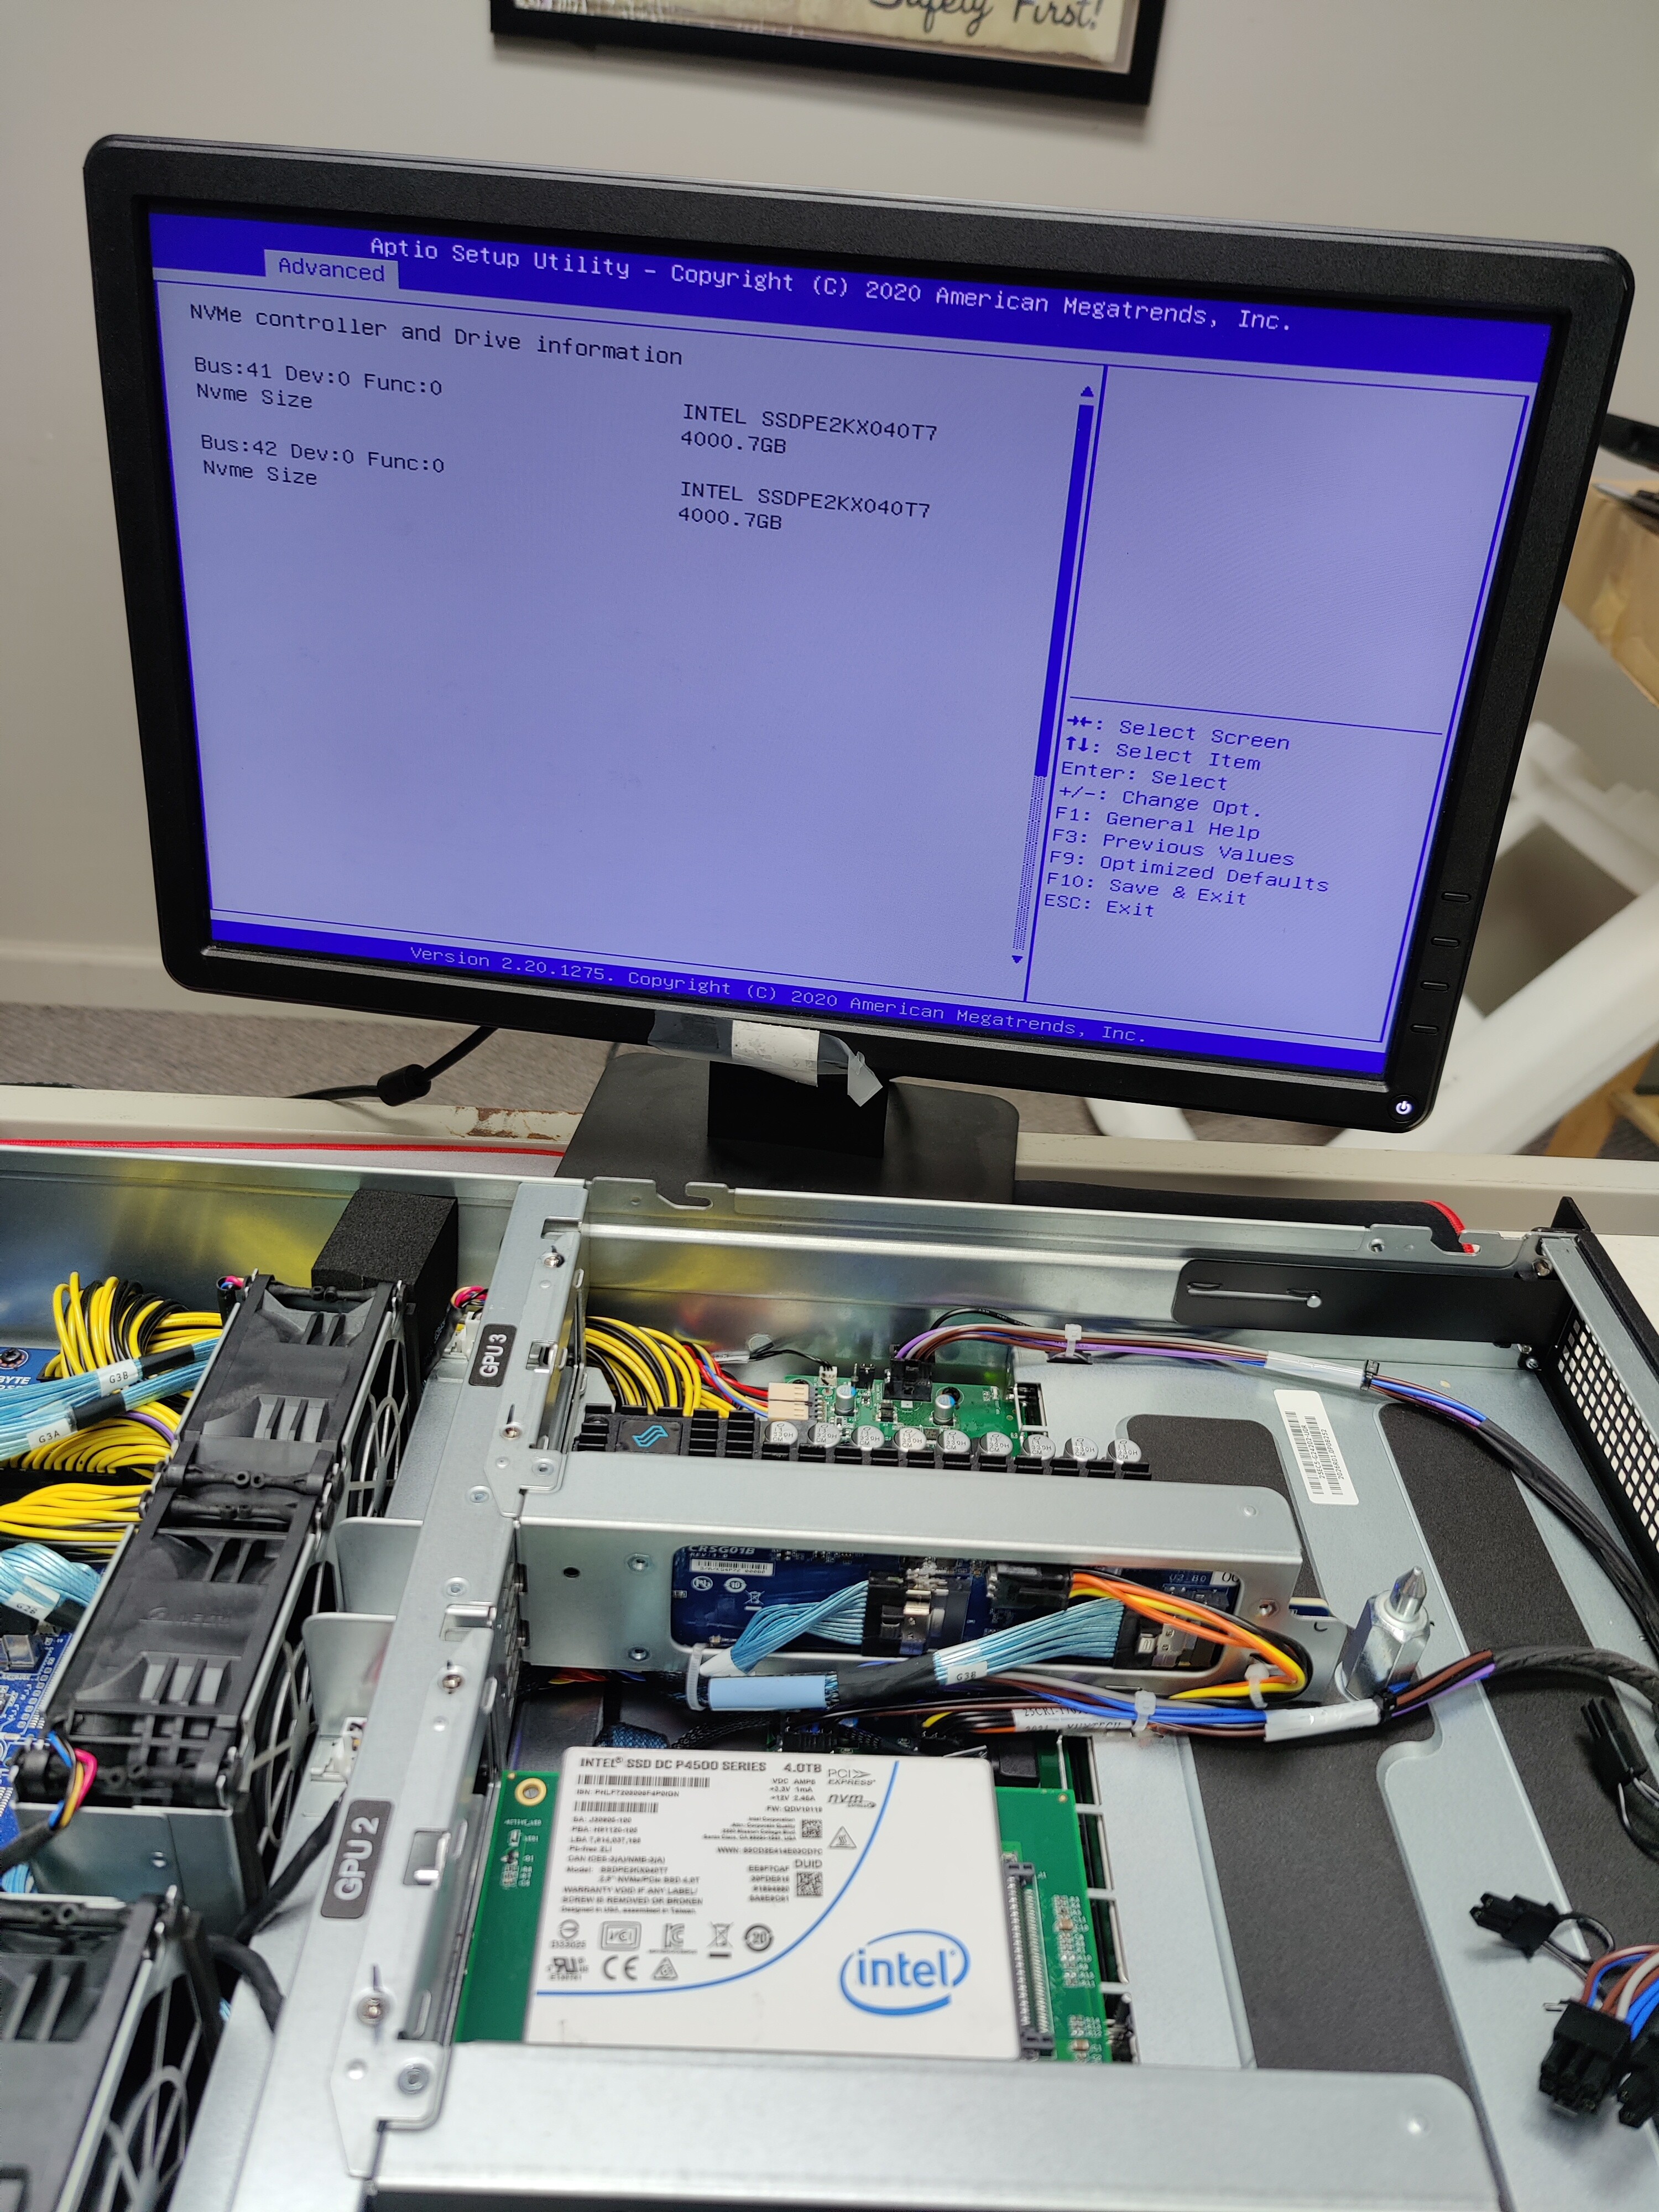
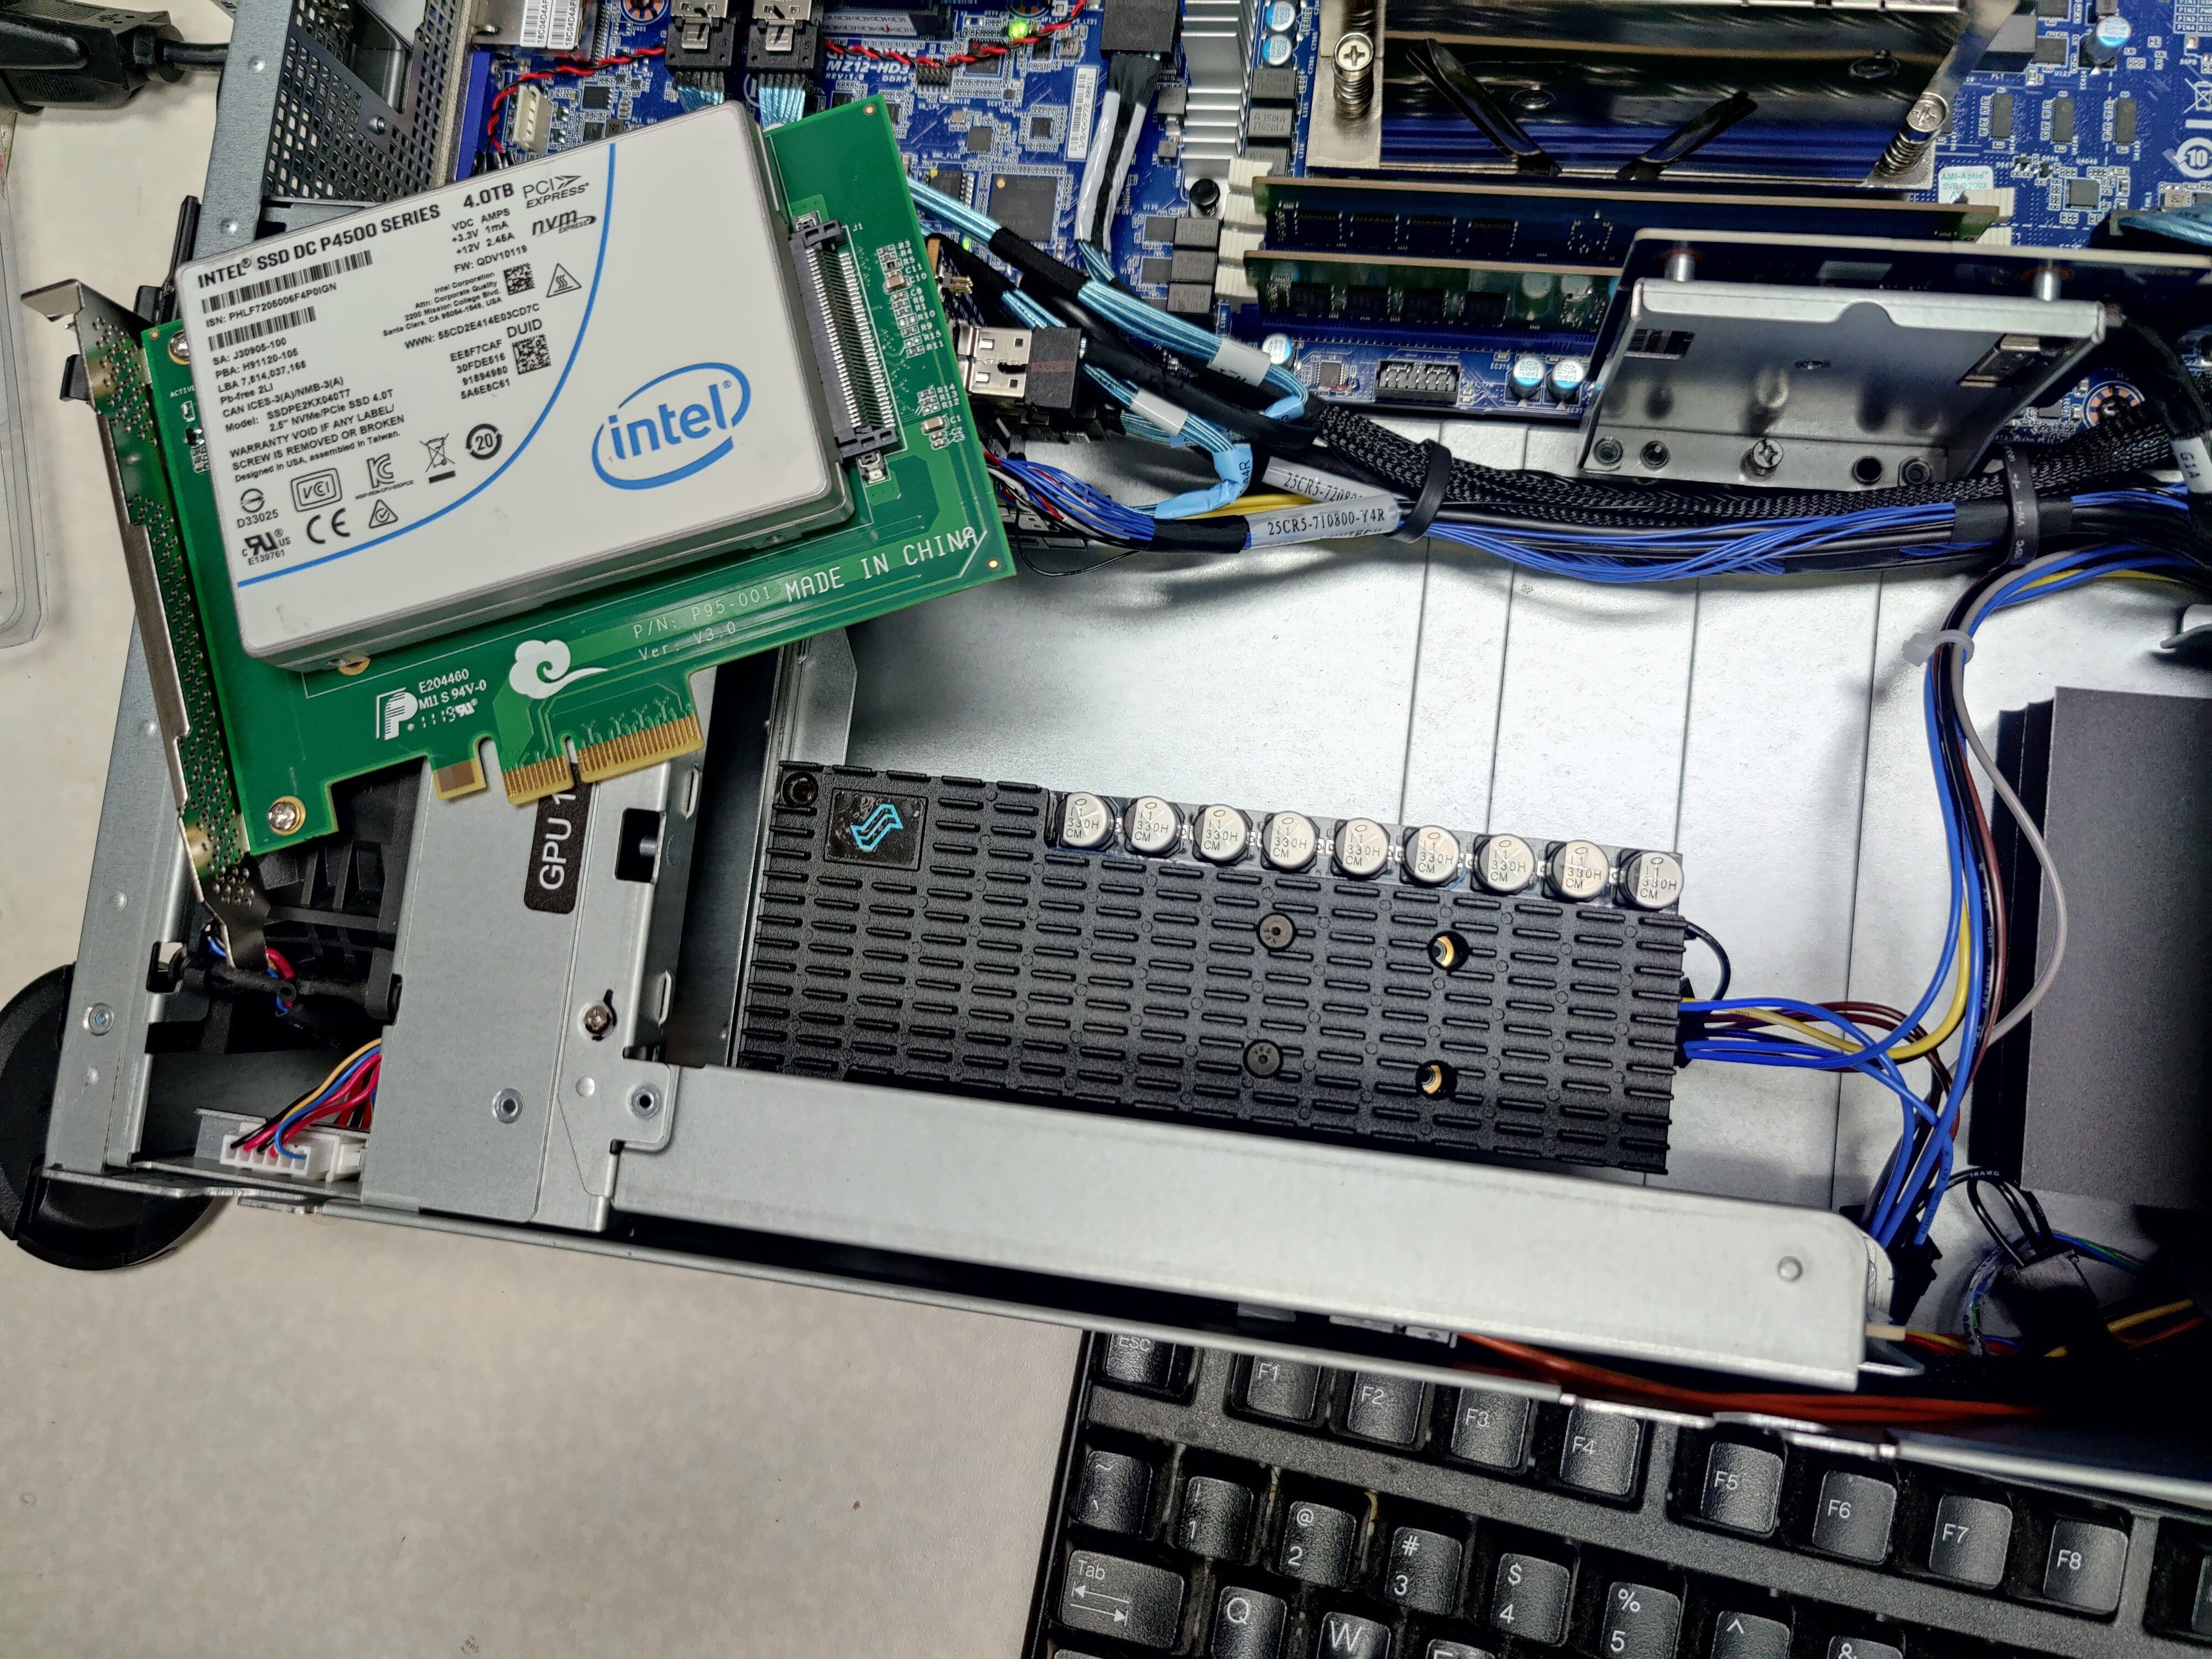
We have a 3x 4tb NVMe array combined with a 4x8tb WD Red array – both of which are configured with the ZFS filesystem.
Our overall goal for this system:
- Run some development paravirtual GPU workloads for ongoing SR-IOV experiments,
- Test system for Looking Glass experiments
- Test bed for unlocked Nvidia grid functionality
- Test bed for gvt-g (eventually? no hardware currently)
- Test bed for dev/programing/ci-cd tests for future videos
- Test bed for git automation/web hooks. GOGS from google is pretty swanky
- Go microservices host
- Video on Portainer sandbox
With the ZFS file sytstem, we can do snapshots and expose snapshots of the file system like as if they were native Windows shadow copy snapshots. This enables great cross-platform flexibility. There can be some gotchas with the “native” .zfs snapshot folder support as well.
I’ve read about issues with ZFS performance and Docker with the overlay file system. So far, knock on wood, performance here is pretty good from simply enabling the ZFS awareness of docker.
Docker?! But why!
Proxmox doesn’t do Docker out of the box. I think. You have some general options
- Docker in a full-fat VM (nested virtualization, essentially)
- Docker in an LXC Container
- Docker on the host
For this guide, Docker means Docker-CE – the community edition of Docker. Docker isn’t the only containerization/orchestration system in town, either, and competitors are gaining rapidly in both technical competency and ease-of-use.
I am not sure that I would recommend running Docker on the Proxmox host. This really opens up a lot of cross-discipline security issues. In a production environment, be sure you understand the full implications and nuances of mixing solutions here.
I strongly do not recommend your Proxmox, Docker, or Portainer admin interfaces to be accessible from the public internet even in a homelab/development scenario.
**For this guide, we are installing Docker on the host. This is the least secure option! But best performance. **
Proxmox Configuration Tweaks
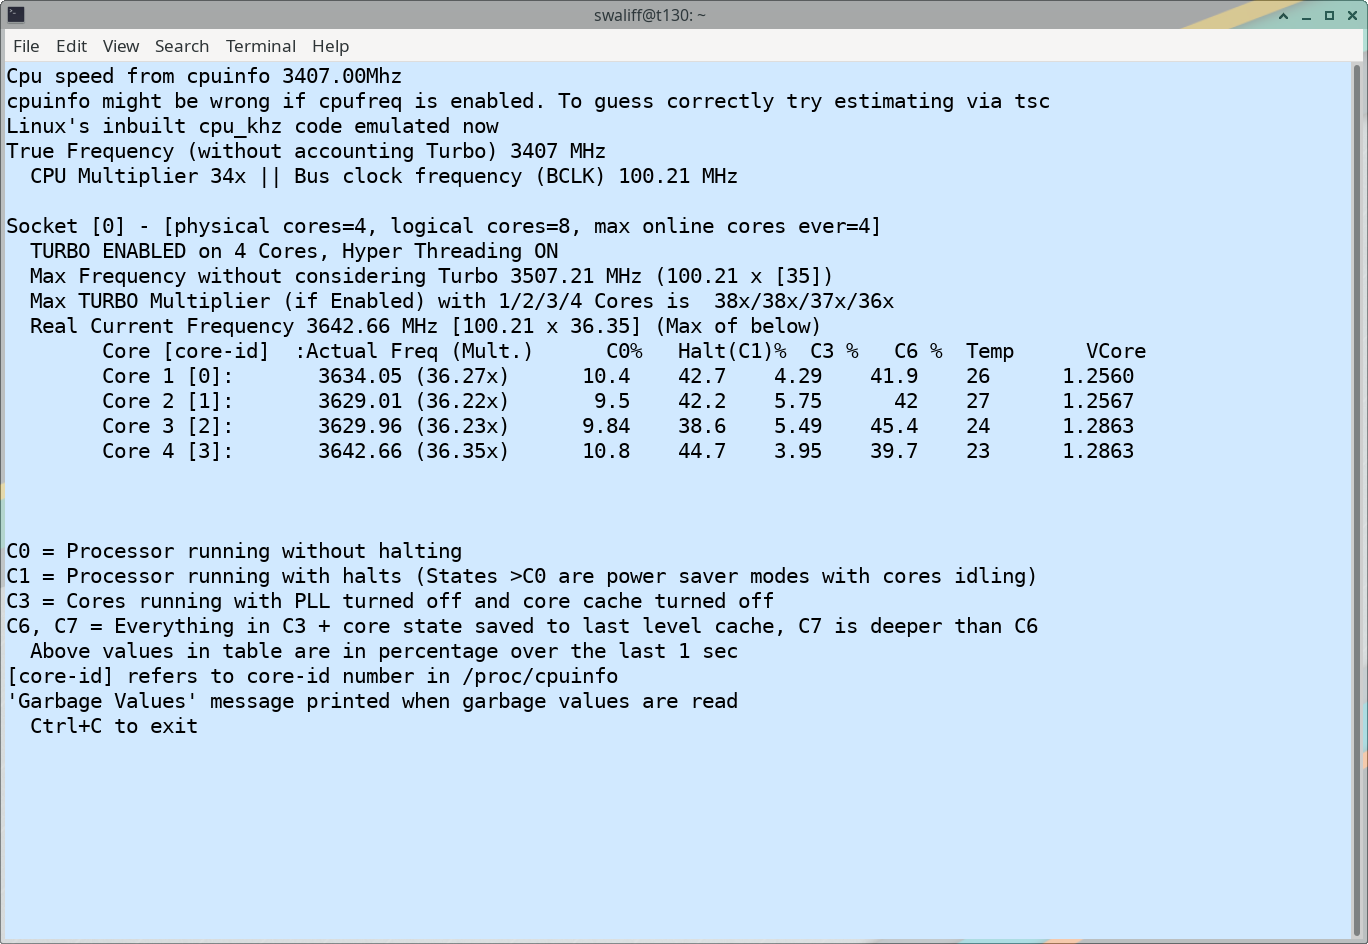
The first egregious thing I encountered was that boost frequencies on the cpu were not enabled. Whisky-Tapdancing-Tango-Foxtrot, system builders?
uname -a
Linux pm9 5.4.78-2-pve #1 SMP PVE 5.4.78-2 (Thu, 03 Dec 2020 14:26:17 +0100) x86_64 GNU/Linux
root@pm9:/etc/default# cat /sys/devices/system/cpu/cpufreq/boost
0
This is nothing specific to proxmox. Many developers working on distros simply do not properly understand that boost frequencies are a part of every modern processor, supported and should be enabled by default. Yet, here we see, they aren’t. That’s one of the reasons I like installing the cpufreq GNOME extension so you can see if the distro has some hilariously silly default setup that’s killing your performance (looking at you, irqbalance).
# Well, let's install some utilities to help us...
apt install linux-cpupower cpufrequtils
There is also the question of the performance governor. Most people will prefer to run the ondemand performance governor. It’s reasonable and works well. The problem with it, I have found, is that sometimes if your workload is bursty the CPUs will sleep at inopportune times and slow things down. If you can afford the extra electricity cost performance performance governor is nice.
sudo cpupower -c all frequency-set -g performance
Output on my system (one block of output like this for each core)
analyzing CPU 0:
  driver: acpi-cpufreq
  CPUs which run at the same hardware frequency: 0
  CPUs which need to have their frequency coordinated by software: 0
  maximum transition latency:  Cannot determine or is not supported.
  hardware limits: 1.50 GHz - 2.80 GHz
  available frequency steps:  2.80 GHz, 2.40 GHz, 1.50 GHz
  available cpufreq governors: conservative ondemand userspace powersave performance schedutil
  current policy: frequency should be within 1.50 GHz and 2.80 GHz.
                  The governor "performance" may decide which speed to use
                  within this range.
  current CPU frequency: 2.80 GHz (asserted by call to hardware)
  boost state support:
    Supported: yes
    Active: yes
    Boost States: 0
    Total States: 3
    Pstate-P0:  2800MHz
    Pstate-P1:  2400MHz
    Pstate-P2:  1500MHz
Make sure that you have “performance” or “ondemand” and “Boost > Active: Yes” in your output, like the above. Boost was “No” on my system. What a sad panda that makes me!
Now, the next part, is we need to make this persist across a reboot. We’ll make a custom systemd service.
First, because we installed cpufrequtils it should have it’s own systemd service now:
# systemctl status cpufrequtils

cpufrequtils.service - LSB: set CPUFreq kernel parameters
   Loaded: loaded (/etc/init.d/cpufrequtils; generated)
   Active: active (exited) since Sat 2021-01-16 16:22:30 EST; 41min ago
     Docs: man:systemd-sysv-generator(8)
    Tasks: 0 (limit: 7372)
   Memory: 0B
   CGroup: /system.slice/cpufrequtils.service

Jan 16 16:22:30 pm9 systemd[1]: Starting LSB: set CPUFreq kernel parameters...
Jan 16 16:22:30 pm9 cpufrequtils[38101]: CPUFreq Utilities: Setting ondemand CPUFreq governor...CPU0...CPU1...CPU2...CPU3...CPU4...CPU5...CP
Jan 16 16:22:30 pm9 systemd[1]: Started LSB: set CPUFreq kernel parameters.
That looks reasonable! Ofc it’s set to ondemand – let’s change to performance 
Edit: vi /etc/init.d/cpufrequtils
(*This is a bit anachronistic because… init.d … that’s what came before systemd! It’s not really the init system. And yet the systemd service calls this script! *
Zip down to the governor line and change ondemand to performance if that’s your preference. Ondemand is “fine” I just want the extra performance. Mostly you don’t really need to do this, unless you specifically know you’re on one of those edge cases where ondemand does weird stuff.
You can use the Phoronix Test Suite to do performance testing before/after, too, to confirm perf uplift.
I would hope you’re wondering about something from the above cpufreq output:
available frequency steps: 2.80 GHz, 2.40 GHz, 1.50 GHz
Even though Boost: Yes is showing, it’s still saying it tops out at 2.8ghz not 3.35ghz. What gives? It’s just how things are shown with this tool. If you run something in another terminal and re-run to check the frequency, you’ll see higher frequencies on at least some of the cores.
# cat /proc/cpuinfo
...
cpu MHz         : 3322.548
...
That’s a nice bump over the previous cap of 2.8Ghz! And it’s important to understand. This is not an overclock. This is literally how it was designed to work 24/7
This is a lot of words. I’m sorry for that. The governor is set, but not the boost. If you use command from a while back in this guide to check boost after a reboot, the boost is no longer boosting.
I don’t know of a more elegant way to make that stick other than creating a custom systemd service. I’m so, so sorry for that.
Creating a systemd service to enable turbo boost
Create a script to enable turbo (this is not strictly necessary since we’re just running one command HOWEVER you’ll thank me if you end up using this service to dump other tweaks that disappear on reboot and don’t have another more elegant spot that they can live.)
Create a file at /usr/local/bin/enable-turbo.sh with these contents and chmod +x /usr/local/bin/enable-turbo.sh to make it executable.
#!/bin/sh
echo 1 >  /sys/devices/system/cpu/cpufreq/boost
Create a file at /etc/systemd/system/enable-turbo.service with this contents
[Unit]
Description=Enable CPU Turbo Boost
After=network.target
StartLimitIntervalSec=0

[Service]
Type=oneshot
ExecStart=/usr/local/bin/enable-turbo.sh


[Install]
WantedBy=multi-user.target
Reload systemd, enable the service, and reboot:
systemctl daemon-reload

systemctl enable turbo-boost
No errors with that, hopefully?! 
After rebooting and reconnecting to the Proxmox console, you can issue cat /sys/devices/system/cpu/cpufreq/boost to verify boost is working. It should be 1 for enabled, or 0 for disabled.
Man, all those words to get a reasonable out-of-box default. Truly, I am sorry. But it’s fixed forever and should survive system upgrades for many years which should be some consolation.
On to Docker!
Let’s Install Docker on Proxmox, with ZFS, and good performance!
We are installing docker-ce on the host, and Portainer to help manage containers.
This is for dev only. I think. See, you really have to have a deep understanding of all the systems involved to understand what sort of risks you’re opening up yourself to by going off script. LXC containers, by default (imho) have better host isolation than Docker, for example.
And Docker inside a Virtual Machine or LXC container can’t really get at some of the ZFS features it would be nice to be able to access from inside the container.
So, we run it on the host. The main feature, for the types of things that I do, that is the nicest is this:
ZFS Caching : ZFS caches disk blocks in a memory structure called the adaptive replacement cache (ARC). The Single Copy ARC feature of ZFS allows a single cached copy of a block to be shared by multiple clones of a With this feature, multiple running containers can share a single copy of a cached block. This feature makes ZFS a good option for PaaS and other high-density use cases.
So on my setup I have the default rpool that Proxmox gives you, and I have added ssdpool at /ssdpool.
I am adding my docker storage on the SSDs for now.
zfs create -o mountpoint=/var/lib/docker ssdpool/docker-root
zfs create -o mountpoint=/var/lib/docker/volumes ssdpool/docker-volumes
zfs list will show you the mounted ZFS stuff around your filesystem. It’s nice.
We’ll want to disable auto-snapshotting on the root vut enable it on the volumes:
zfs set com.sun:auto-snapshot=false ssdpool/docker-root
zfs set com.sun:auto-snapshot=true ssdpool/docker-volumes
And finally, according to the ZFS storage driver doc above we need to add the storage driver as ZFS. You can also set a quota
edit or create /etc/docker/daemon.json
{
     "storage-driver": "zfs"
}
Actually Setup Docker
Now we can install docker CE. Follow their docs, or cheatsheet:
apt install apt-transport-https ca-certificates curl gnupg-agent software-properties-common
curl -fsSL https://download.docker.com/linux/debian/gpg | sudo apt-key add -
create etc/apt/sources.list.d/docker.list
deb [arch=amd64] https://download.docker.com/linux/debian buster stable
Finally, install amd test
apt update
apt install docker-ce docker-ce-cli containerd.io

docker run hello-world
Portainer, The Container Porter. That’s not what it means. I’m just making stuff up.

zfs create ssdpool/docker-volumes/portainer_data
docker volume create portainer_data
docker run -d -p 8000:8000 -p 9000:9000 --name=portainer --restart=always -v /var/run/docker.sock:/var/run/docker.sock -v portainer_data:/data portainer/portainer-ce
don’t forget to to go http://yourip.example.com:9000 and set a password (!!!)
And you’re up and running with Portainer, and ZFS, and Docker! On the host. With a decent gui for manging the containers.
TODO
Other Proxmox Quirks
As I mentioned in the video, this is the staging platform for other experiments like VDI with nvidia and the S7150. When you’re running a windows 10 VM the performance can be weird and slow. Might I suggest huge pages?
There are some other threads on our forum that dive a little more into the setup of that. Do some experiments; your mileage may vary.
Is one such thread – worth an honorable mention!