I’ve been thinking about getting a 3D printer for a while now, but traditionally, it just involved me looking at all the different options for so long that I got lost & gave up.
@kewldude007 Your blog has finally pushed me to actually ordering one.
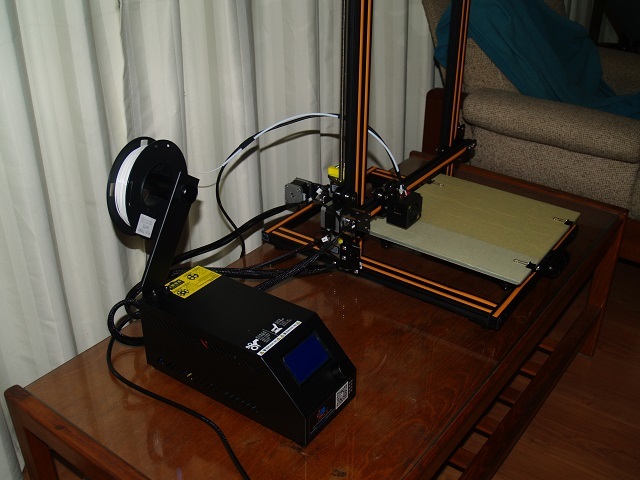
I have a Creality CR-10 on it’s way. It has a fairly large 300x300x400mm build area & the videos I’ve seen of people using it have been pretty positive.
I’ll probably use Blender/Cura in Linux to create things. It will be cool to see my models come to life
Nice, I was looking at those too, but it was just a little small for some of the things I would like to make.
I picked up 3 rolls of ABS for $20 & 5 rolls of PLA for $50 at an auction today, so that was a decent deal :)
Missed out on a couple of server cabinets that could have made a decent enclosure for the printer. The guy bidding against me seemed kind of desperate, so I let him win. I can just build one anyway :)
Probably for the best that you didnt. I made it halfway through the manual and it just stopped giving any decent instructions. They give you a picture of how it should look and then you just gotta figure it out.
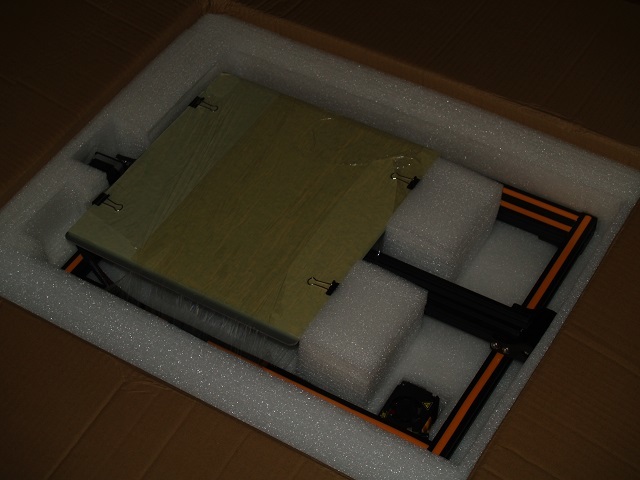
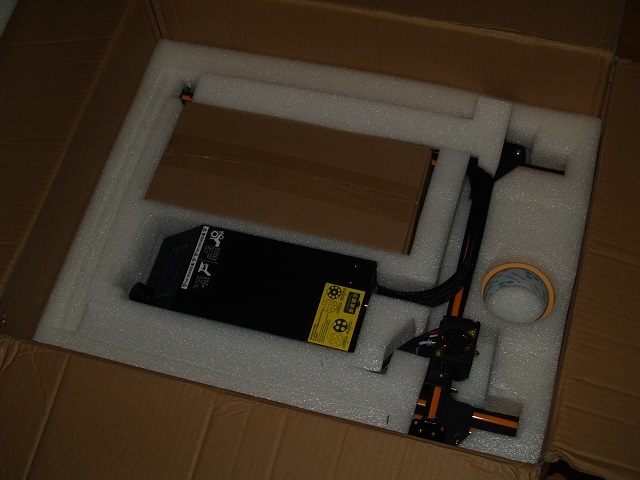
Sounds like an adventure. This one comes in 2 pieces with everything already installed. You just bolt them together & plug the control box in. Setup is around 30 minutes & you're printing.
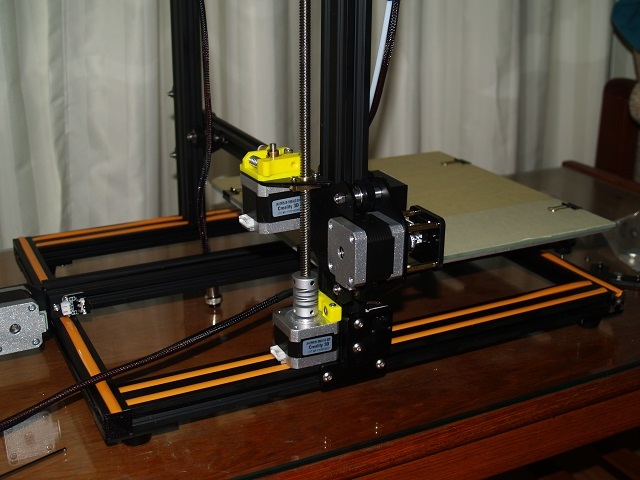
Printer arrived today, I got home at 3:40pm, it's now 5:30 pm & I've assembled, read the instructions (which are actually pretty good), and am half way through my first print. This thing is ridiculously easy to put together.
4 screws to bolt the base to the upright section. 2 plugs onto the control box, then just the plugs from the control box onto the end stops & motors- which all seemed to have been pre-fitted, as the wires were bent in such a way that it just naturally fit into the plug. I hadn't even read the manual at this stage (it's on the included micro sd card), and had it wired up correctly in minutes.
Quality is really good. No issues with bolts not fitting, no awkward to get to plugs.
The motors are pretty quiet, about as loud as your average laser printer. The fans are rather noisy, both in the control box & on the hotend. I'll replace these with some Noctuas I think.
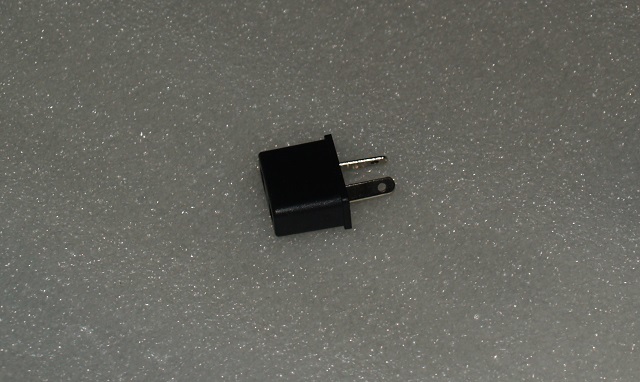
They did include an Australian adapter, which I thought was cool, as I got the EU version on a flash sale. It doesn't have an earth on it though, so I'm using a proper adapter instead, but the thought was nice at least.
Packaging was A1 quality, almost EVGA levels. Very impressed.
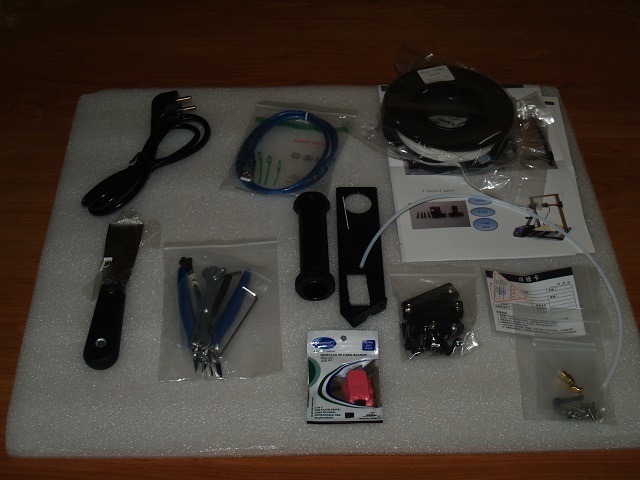
Included a few tools, lots of spares & a roll of PLA.
Thats epic. The build volume is insaine. I must say having a printer is awesome. Theyre really fun to play with. Plus you can actually print a lot of useful stuff too. Ive printed some car parts and awkward mounts. If only someone made a centralized 3-d printing thread.... @kewldude007
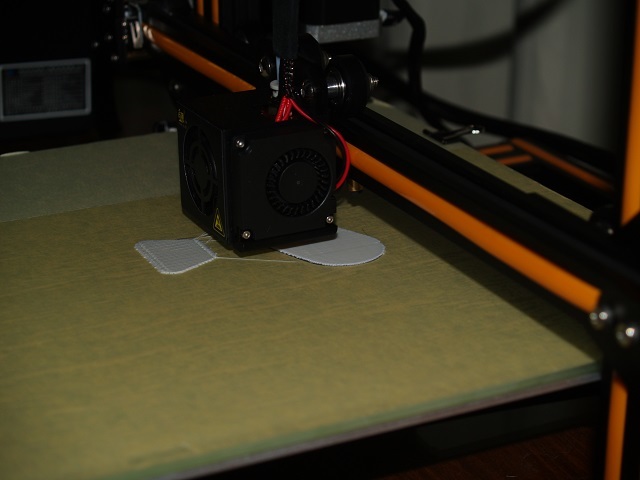
I printed a couple of brackets to hold wires, they turned out pretty rough, but usable.
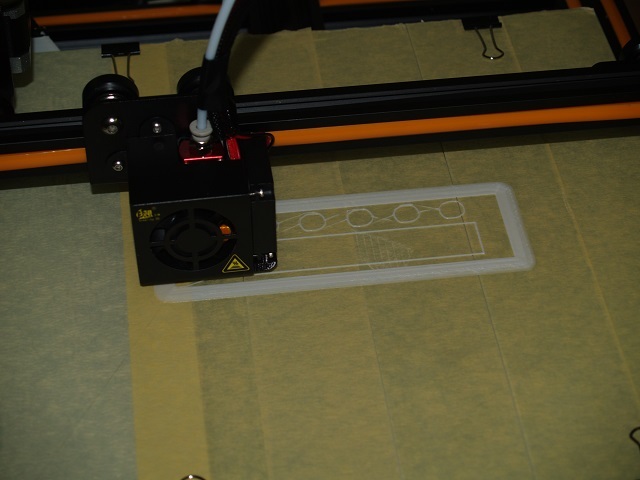
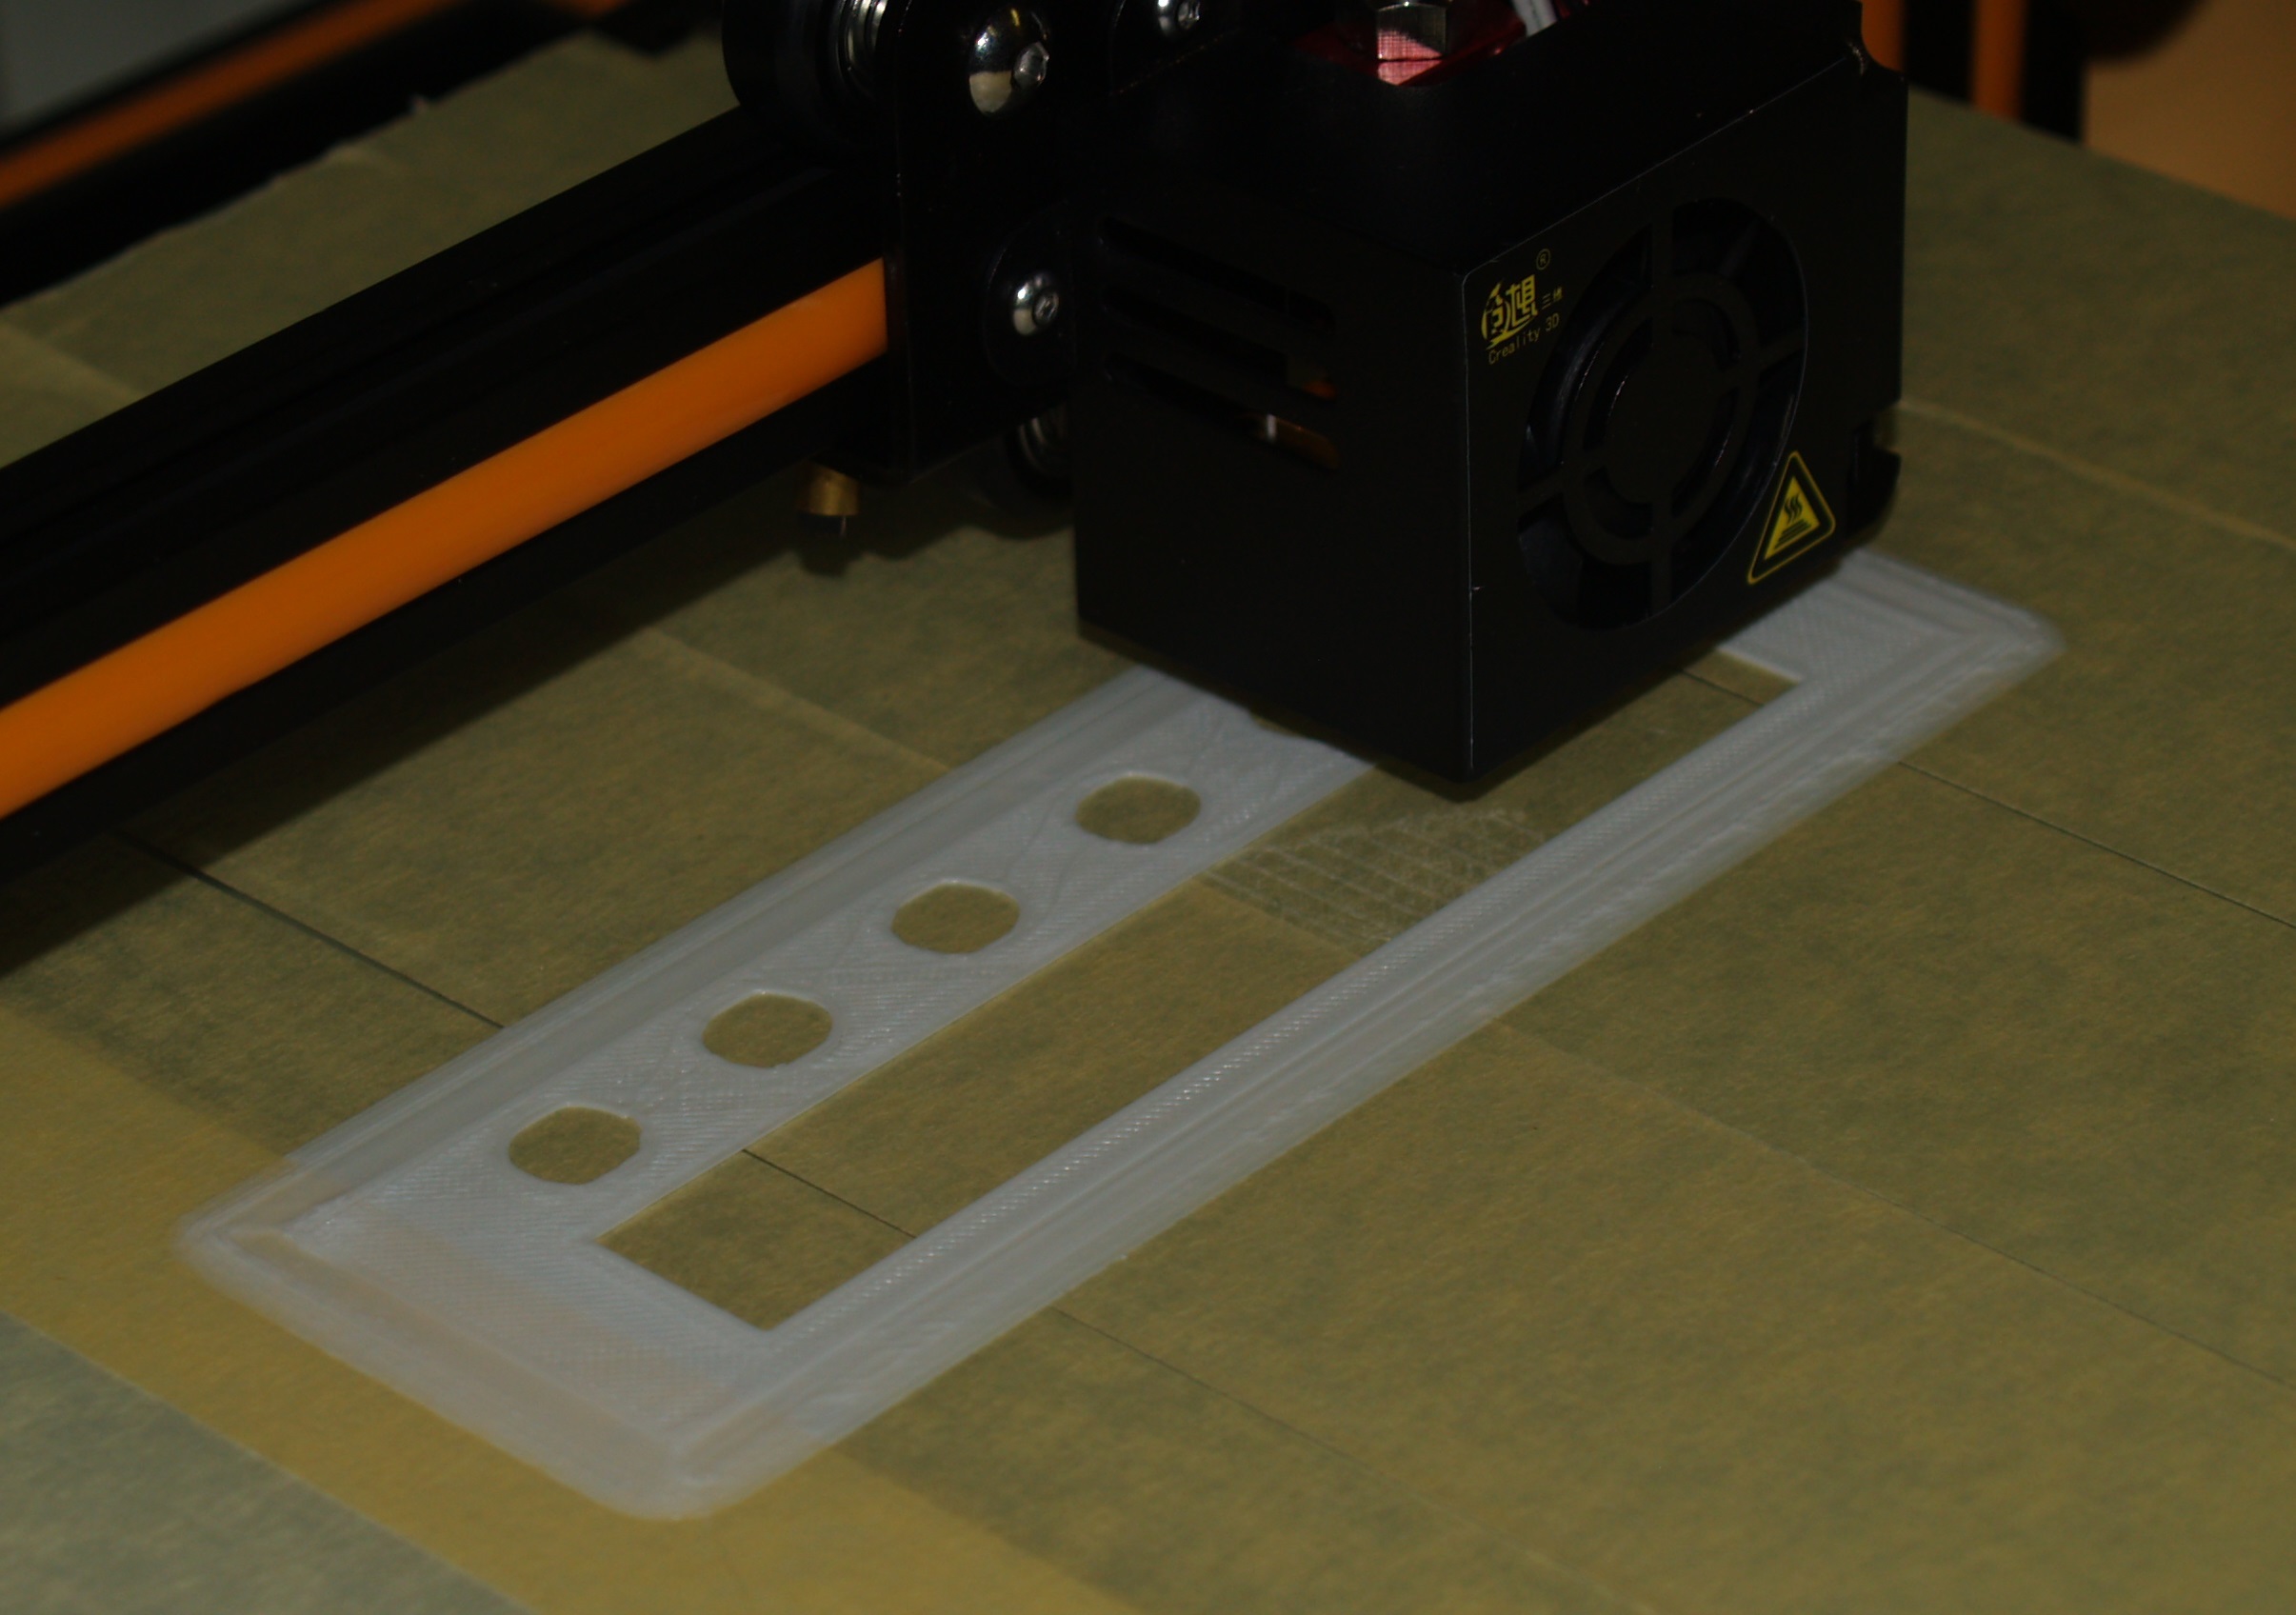
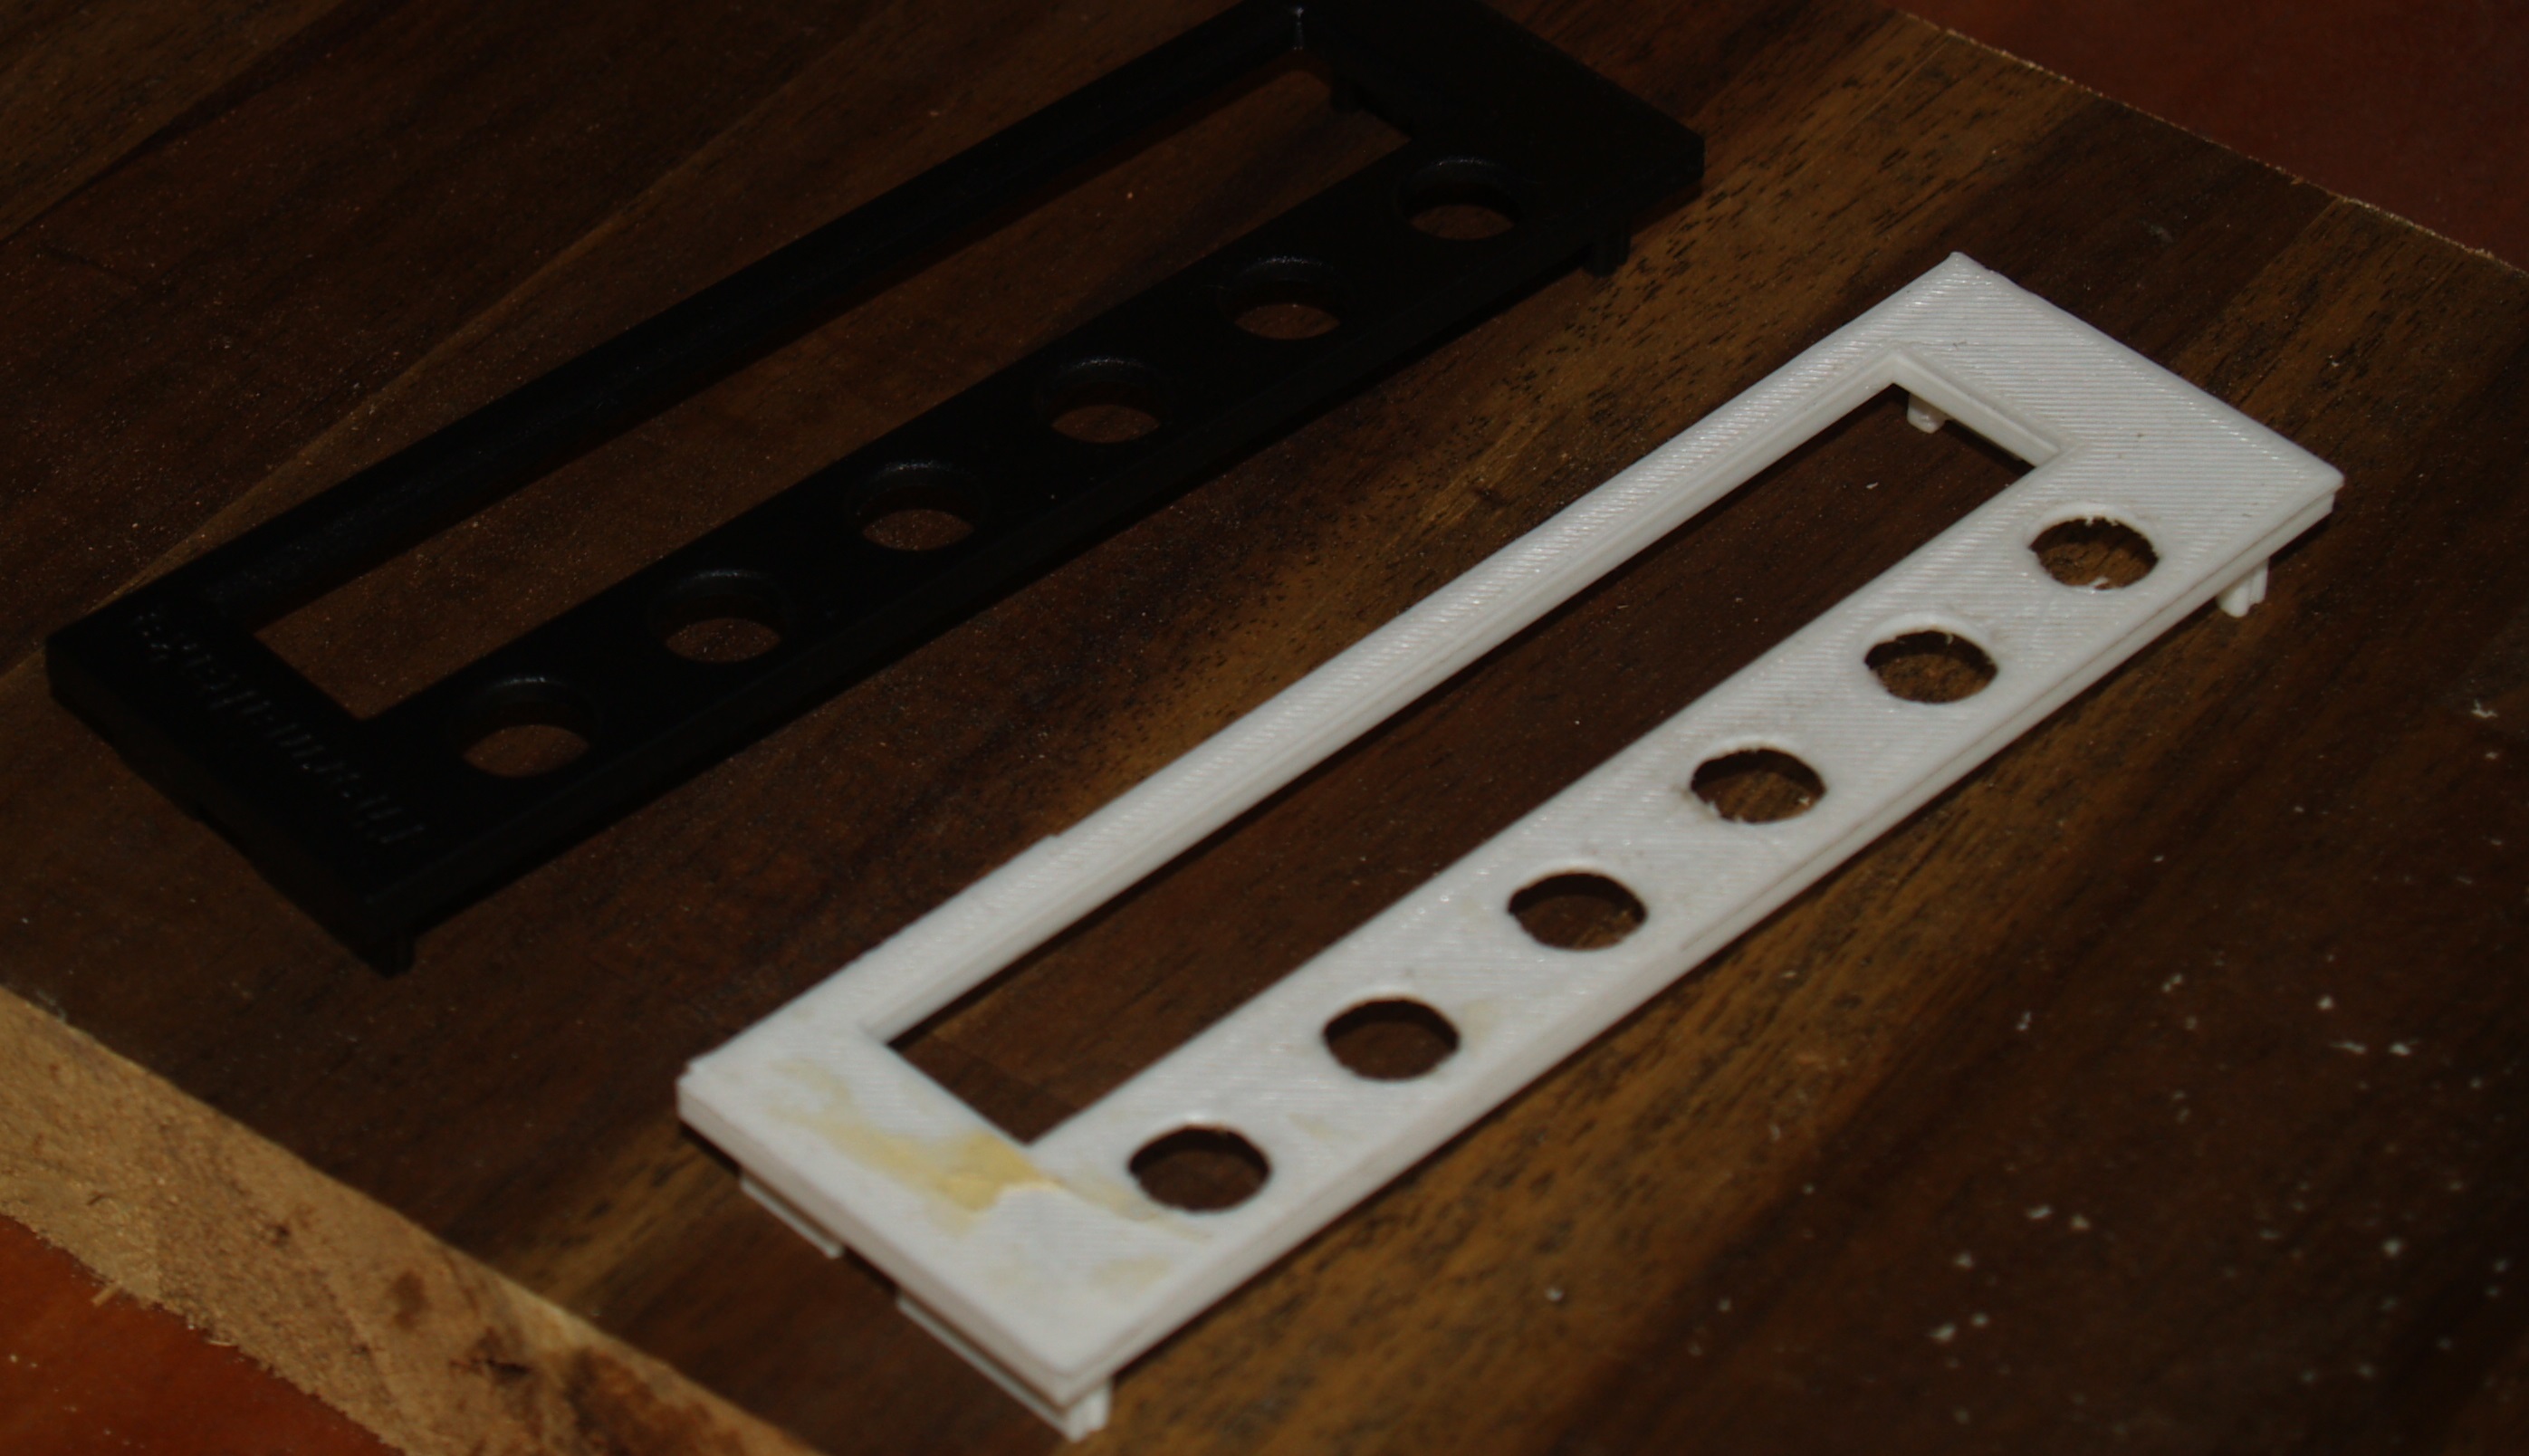
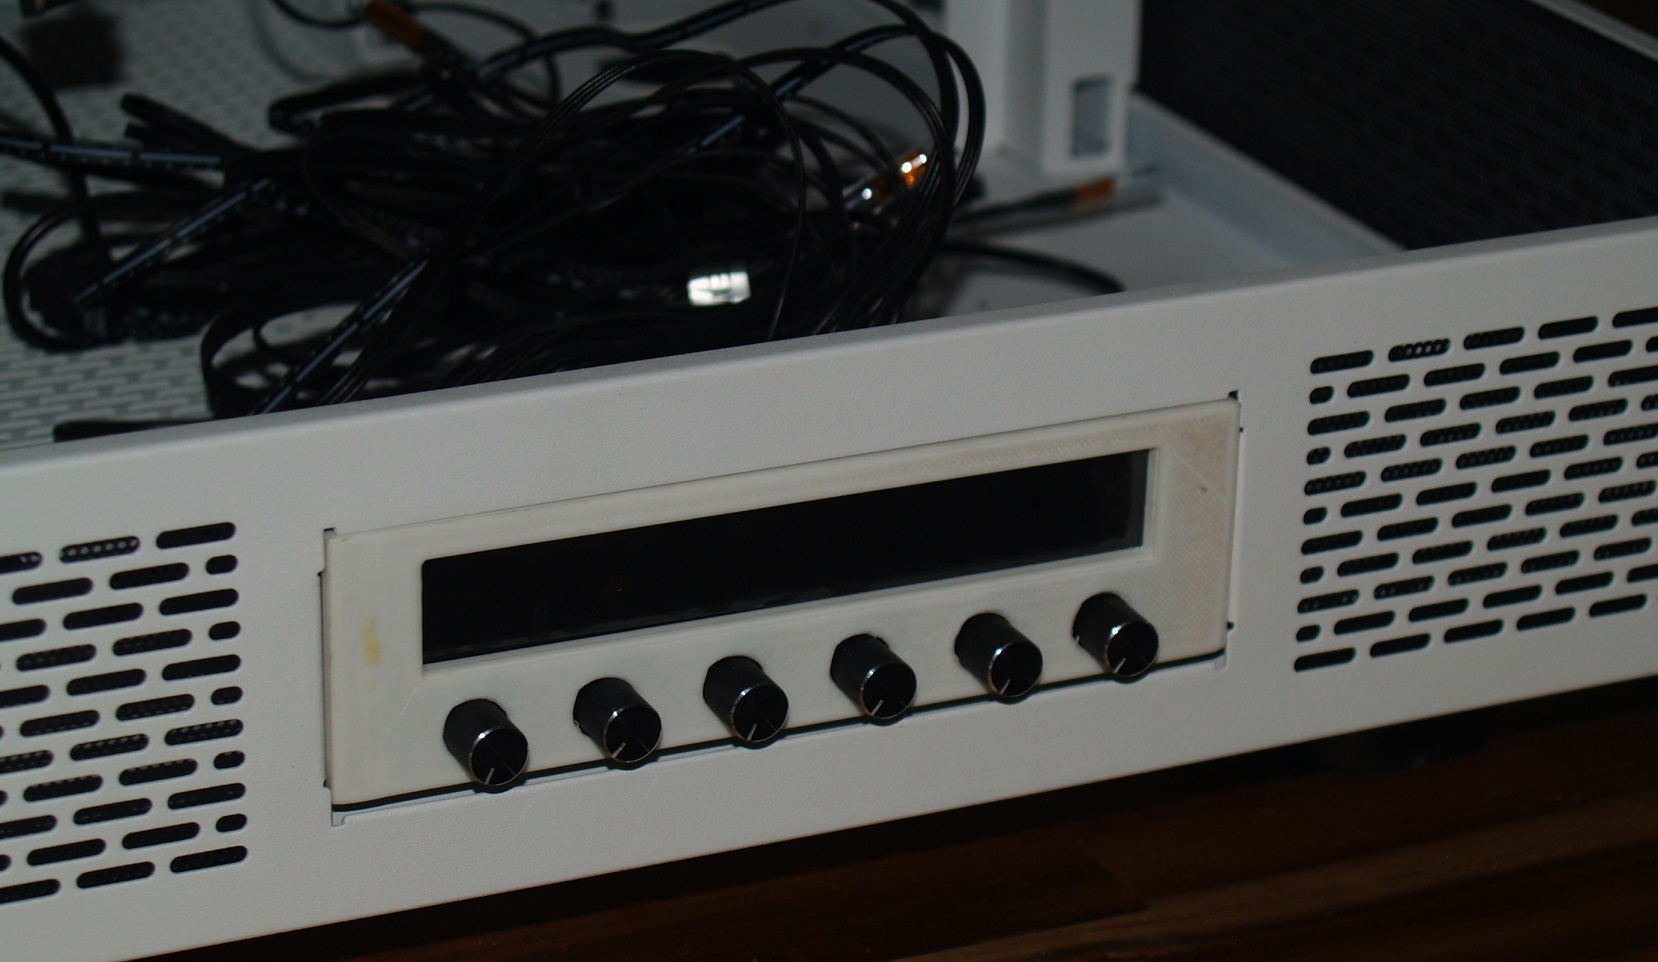
The version of Cura that the printer comes with is pretty old, I downloaded 2.4 last night & tried printing the front panel of a Thermaltake F6 commander that I drew in Sketchup. Got a much better result. The holes were out of round, which I believe was caused by the Y axis belt not being tight enough. I'm printing an adjuster for it now. There is visible lag when changing direction on Y.
Pretty happy with the straight lines, just need to sort those holes out.
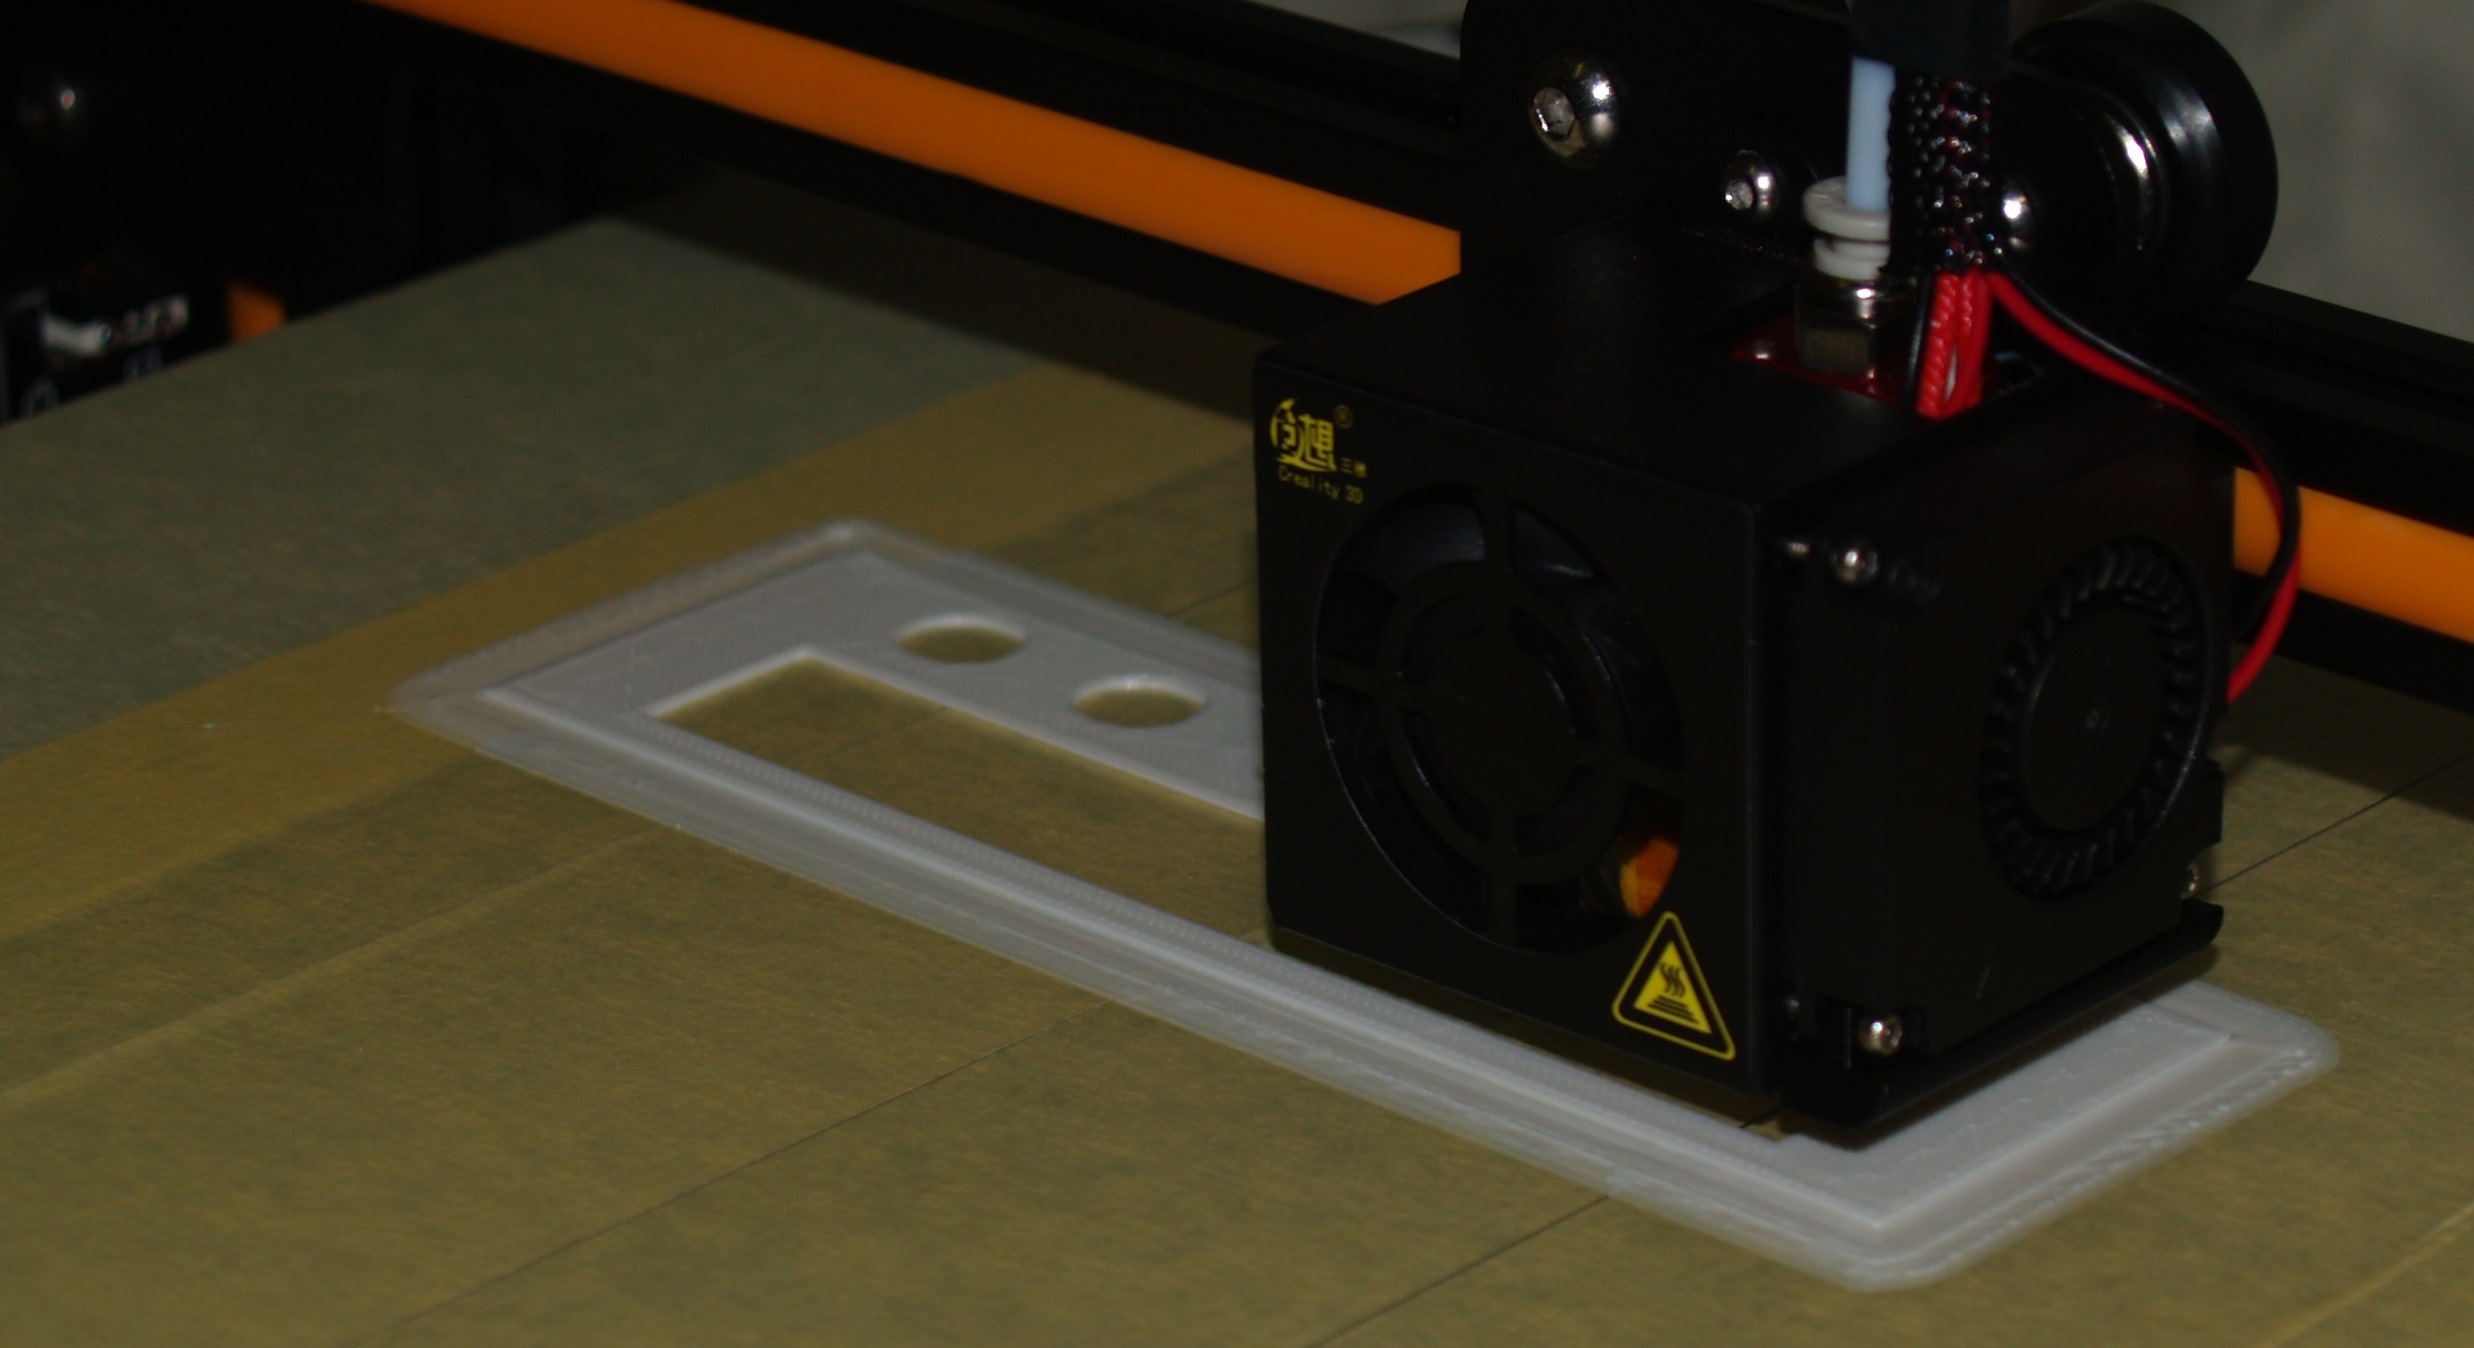
Not sure if the lines on the face are normal or not, could be due to print quality, or maybe the belt issue again paging @kewldude007
With a bit more tuning & playing with settings I think I'll be able to get some good results.
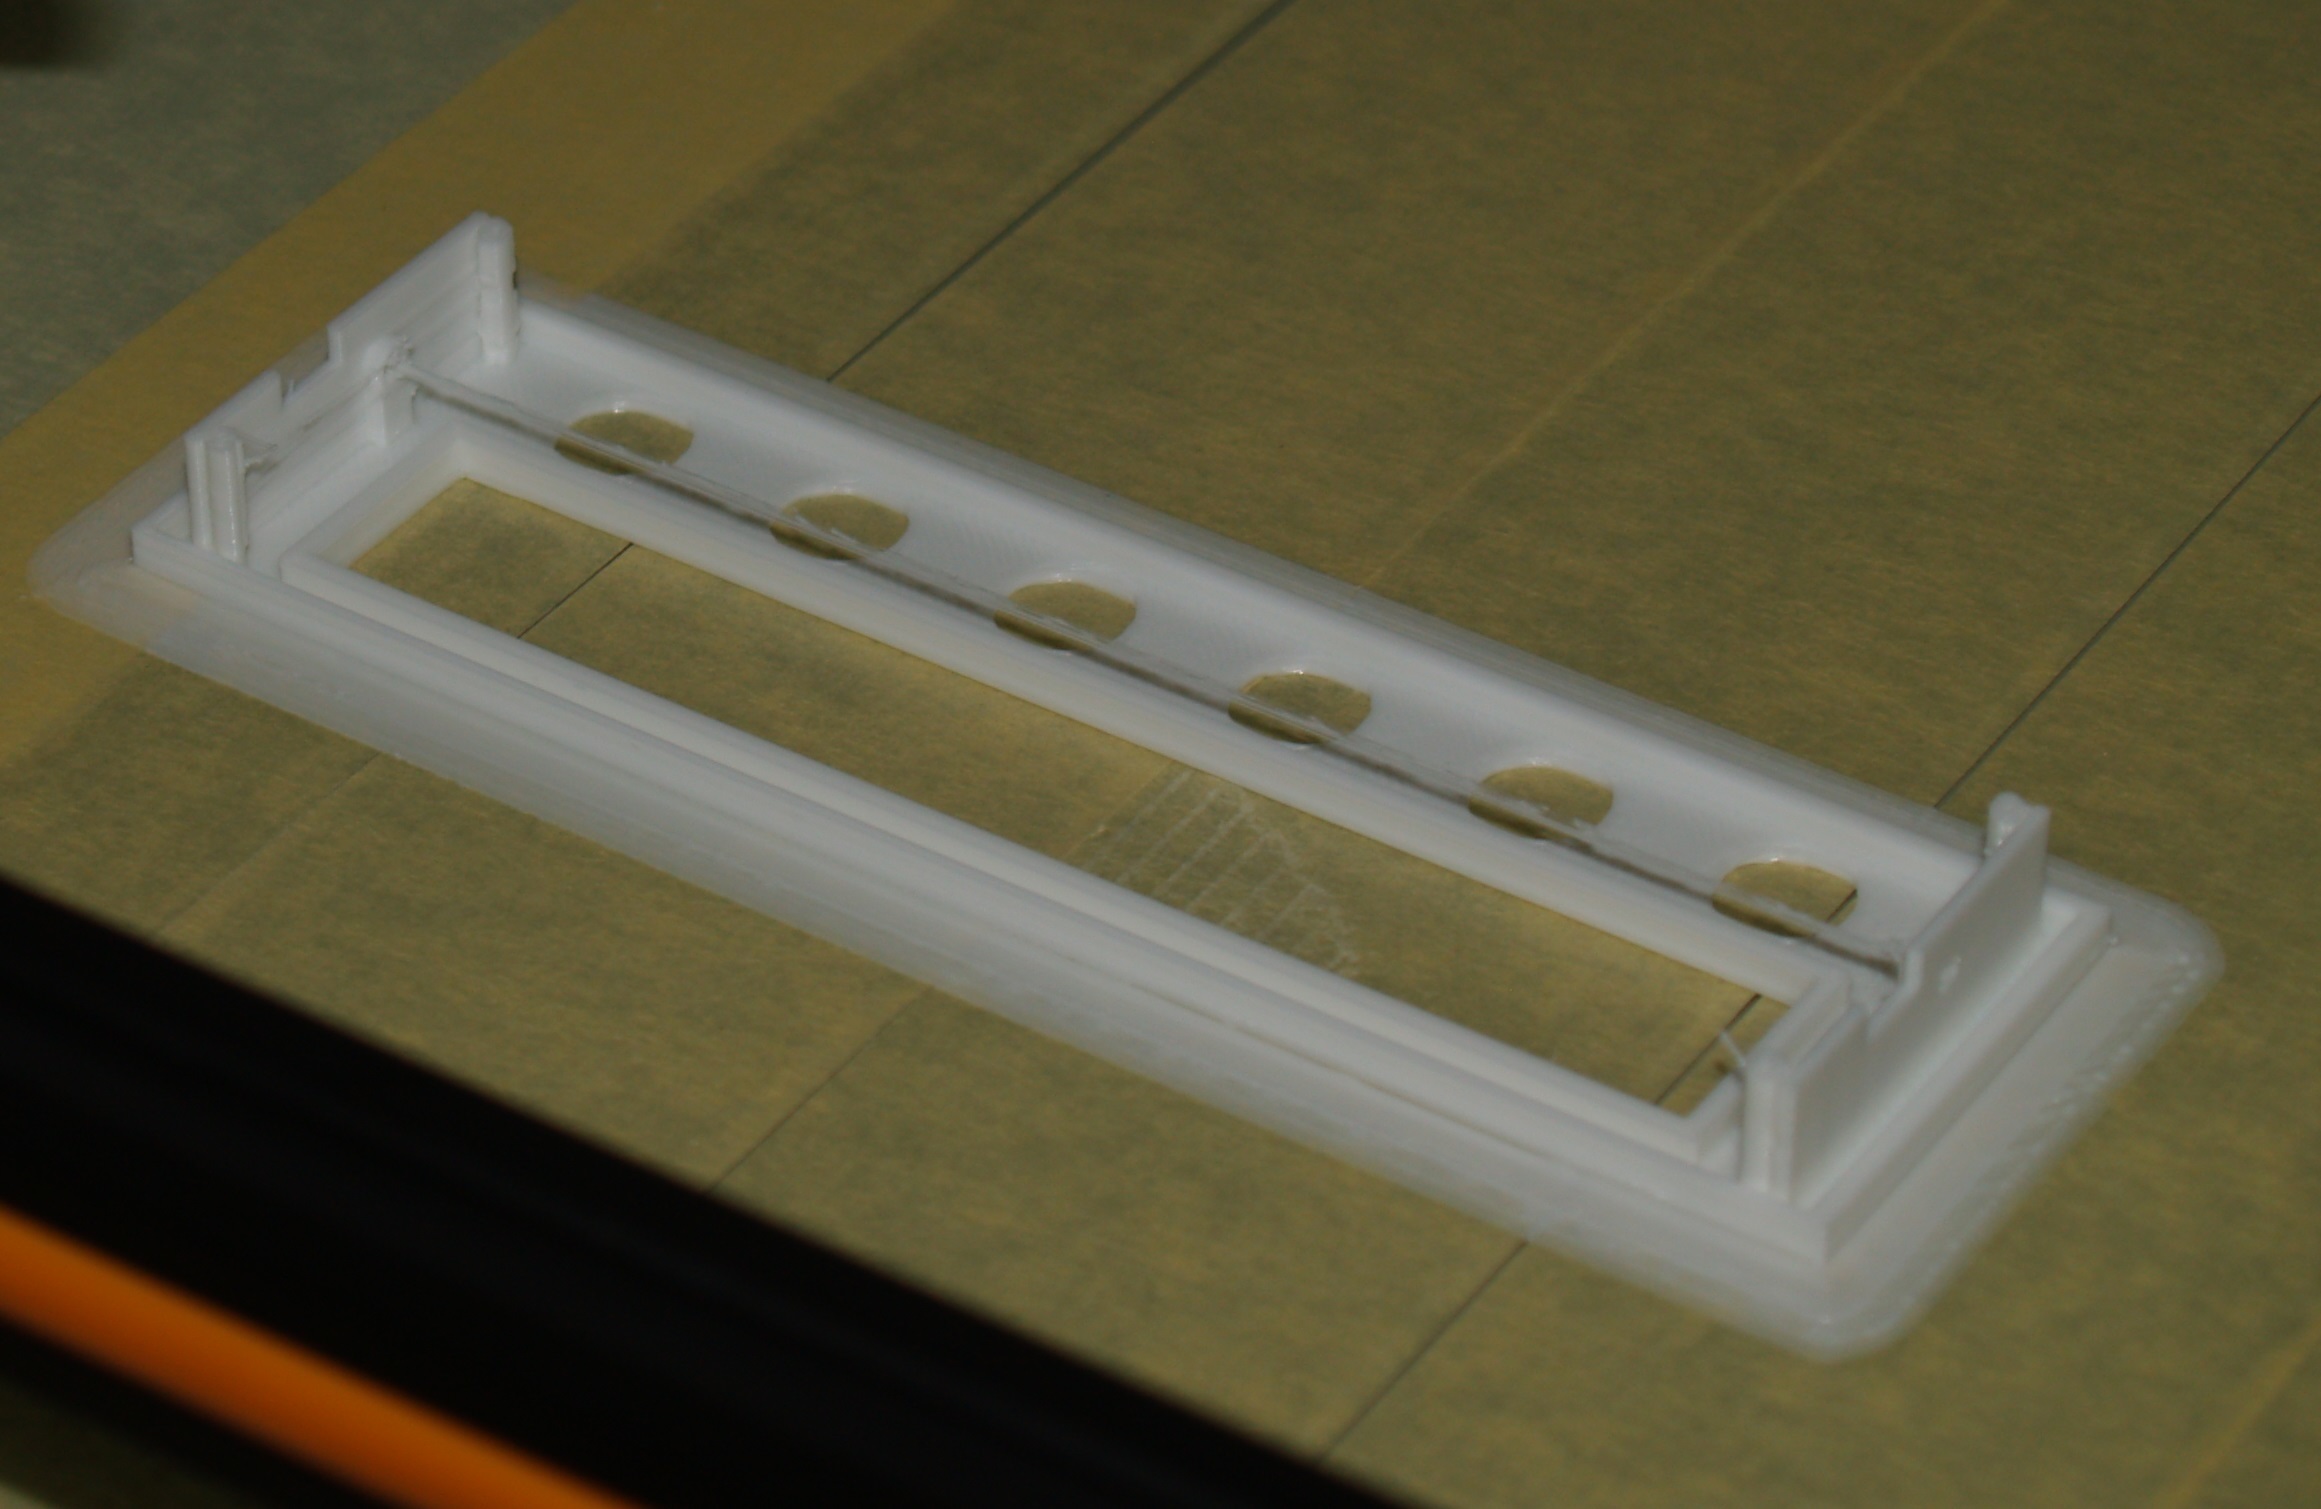
This print was made with PLA, I may try out ABS on the weekend when I have some more free time.
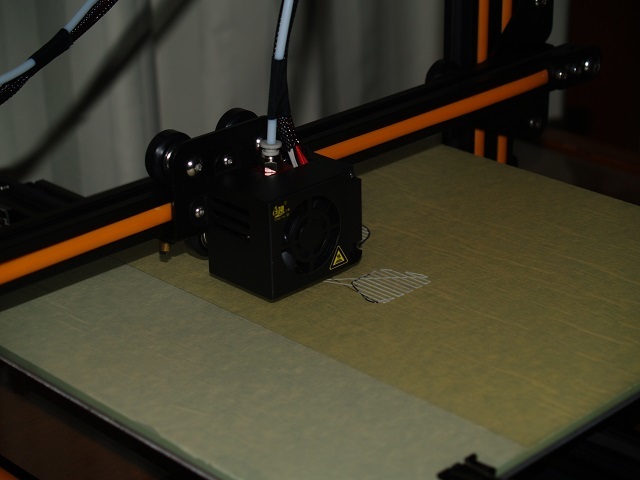
I couldnt get cura to work well with my printer. I switched to slic3r and got much better results. I had to turn up my retraction settings 6mm @ 60mm/s and print at 80mm/s. I was getting the same strings before I did that.
Are you using the heated bed and tape? Cause I dont think you need both.
It has 2 fans, I think the smaller one is for cooling parts, but I have been reading that it's not great at doing that, so there are a few mods you can do to improve where it blows the air.
I'll give Slic3r a go, just moving to the new Cura made a massive difference.
The bed came with the tape already on it, so I've just been patching any sections I damage when removing parts. I'll try without.
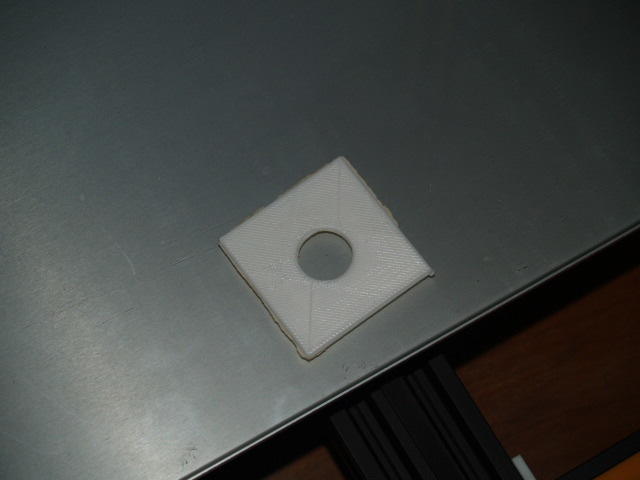
I printed the Y axis tensioner last night, it looks pretty good, I'll install it now & see if it improves things.
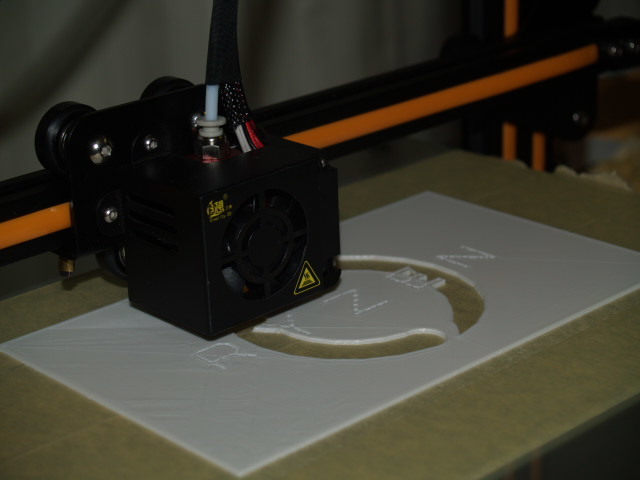
Oh, I tried the print straight onto the glass & had lifting issues, so went back to tape while I work those out. I tried raising temps on the bed & the hot end for the initial layer & slowing the speed down, but it didn't help.
I'm out of cleaning alcohol, so will grab some when I'm out tomorrow & see if a good scrub helps it stick.
for PLA, clean glass with couple of layers gluestick (i just use pritt) on top heated @ 70c You'll never have warping again it sticks like a mf, and pops off easily when cooled down. And it lasts for many prints! atleast 40 prints on my printer.
(only drawback is that the bottom finish is not as perfect and shiny)