Hi all, my new printer just arrived, took a total of 9 days to arrive from China. It takes longer than that to get stuff from the other side of the country here! (I wish I was joking)
My CR-10 is running 24hours now & still going strong, and I could have just bought another of those, but where is the fun in that?
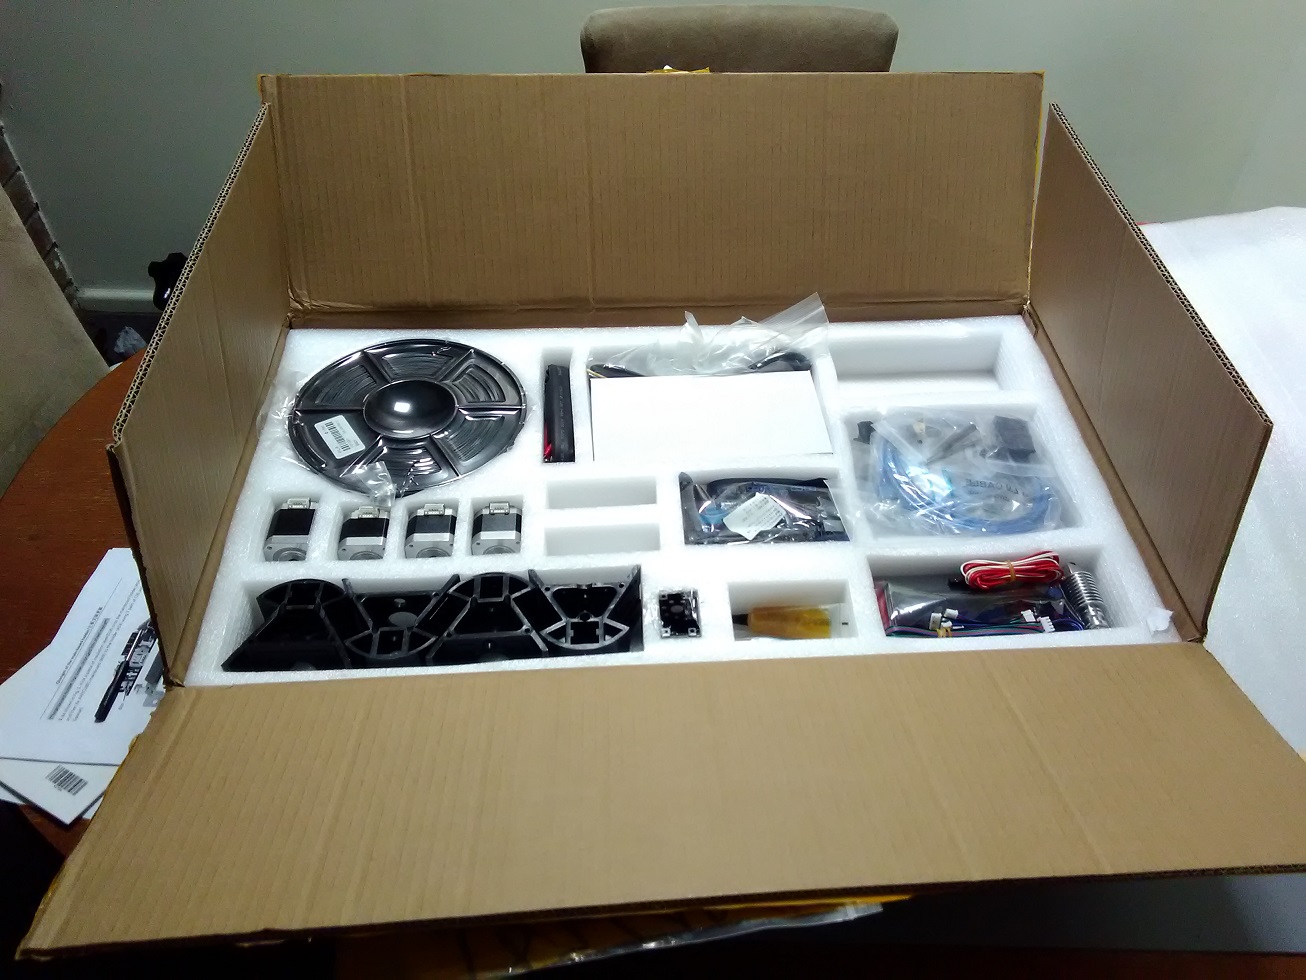
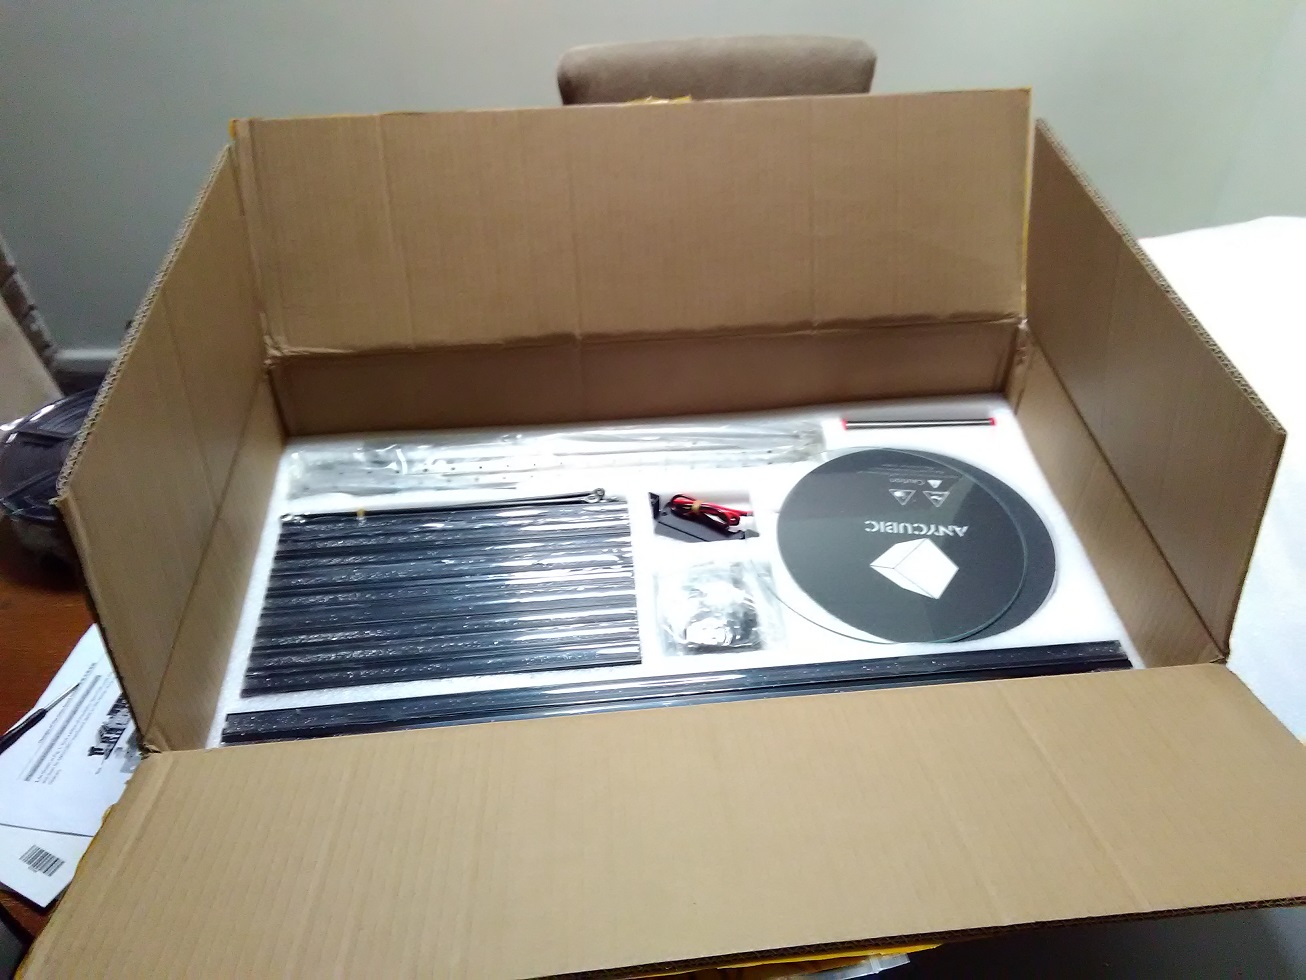
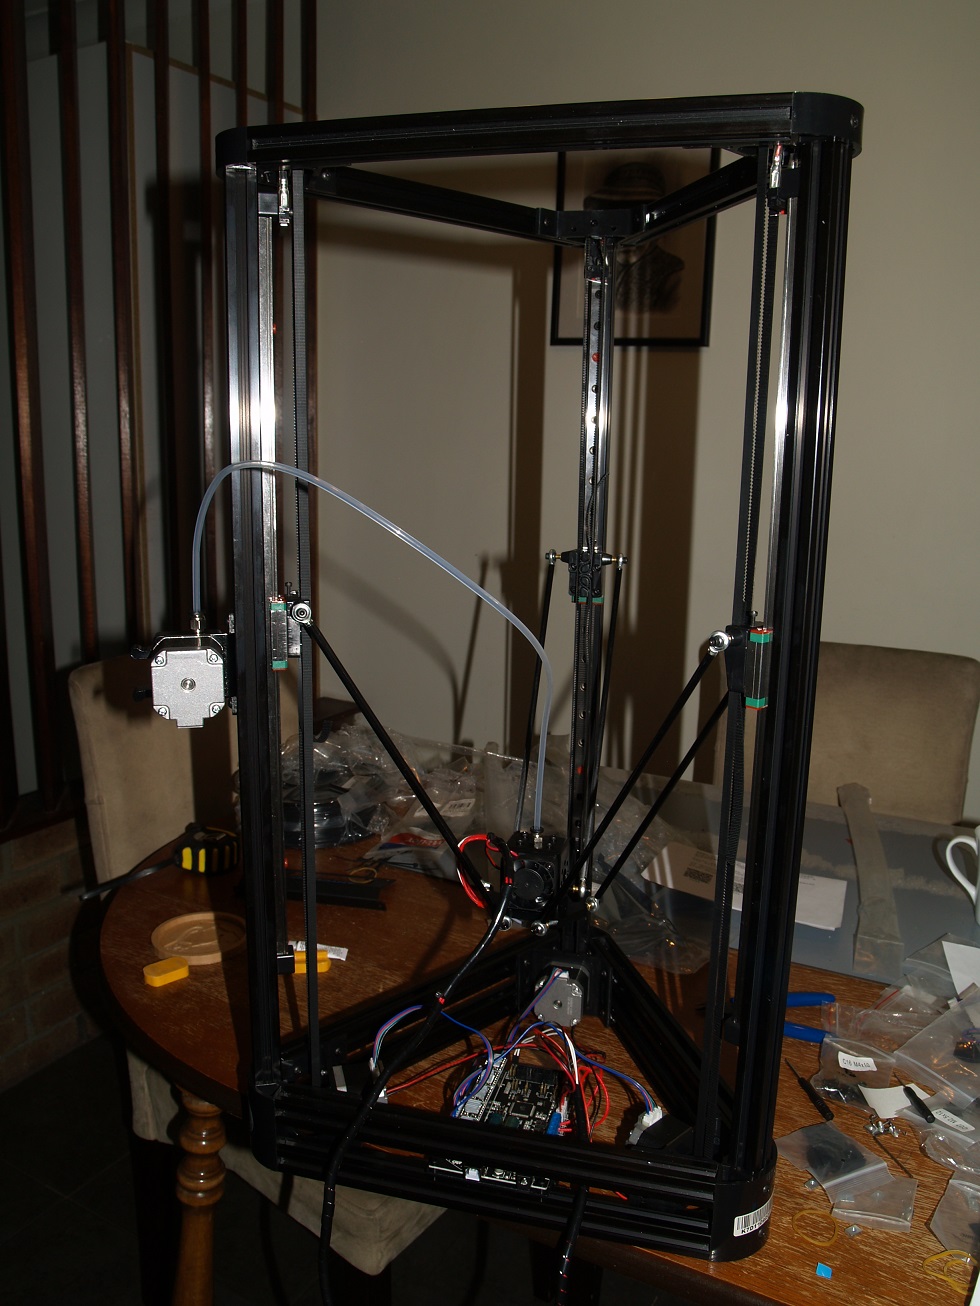
This one is an Anycubic Kossel Linear plus. It’s a Delta style printer & is in kit form, so lots of assembly to do, which should be fun.
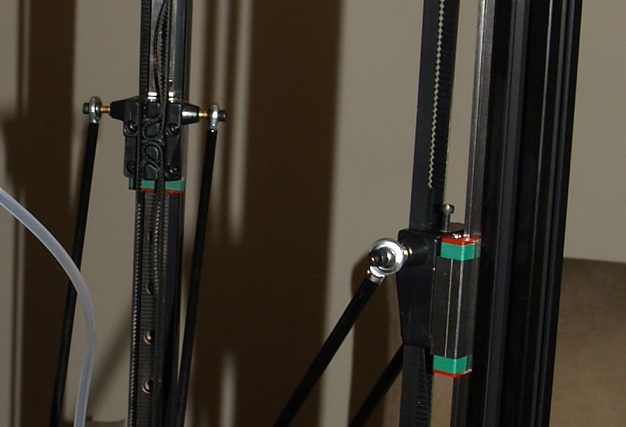
Print volume is 230mm diameter, 300mm high. It comes with a heated bed & all metal hotend & runs on linear rails, rather than wheels.
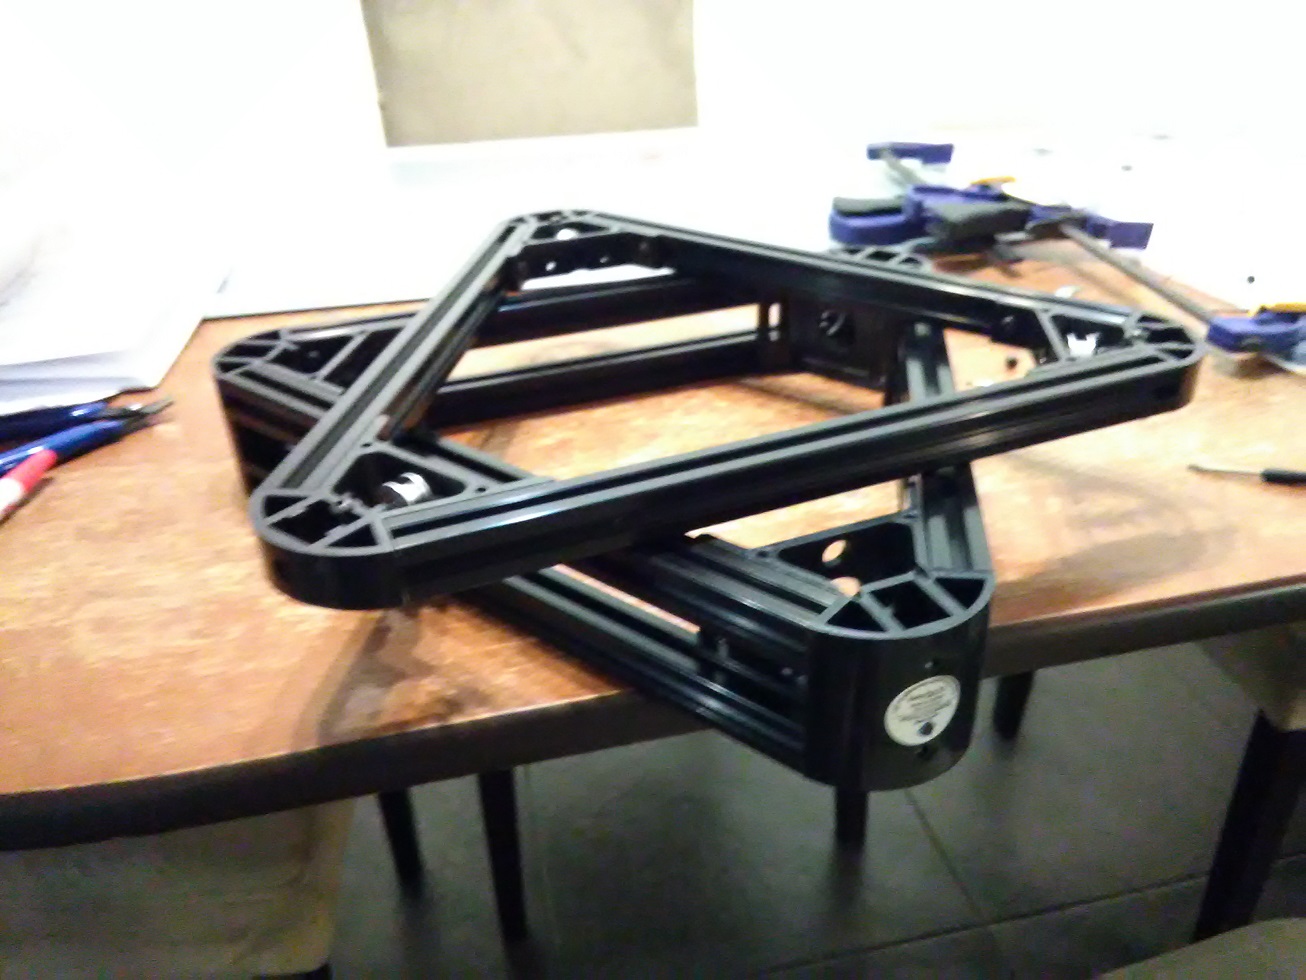
These triangles are an absolute nightmare to assemble. The top wasn’t too bad, but the bottom…
You have to basically line up 6 rectangular nuts simultaneously as you feed them along the extrusion. The nuts have an extremely tight tolerance & some just don’t fit. After a couple of hours of assemble, disassemble, repeat & a lot of swearing, I finally got them together.
I don’t know why they made it so unnecessarily annoying to put together, even just using a different type of nut would have made it a breeze.
For anyone who comes across this post before building, I found the easiest way was to slide all the nuts on, but only attach bolts on the end, leaving the inner bolts out until everything is slid into place. This gave me more wiggle room to get the thing together without having the inner nuts binding on the extrusion, which was a problem due to the lack of clearance.
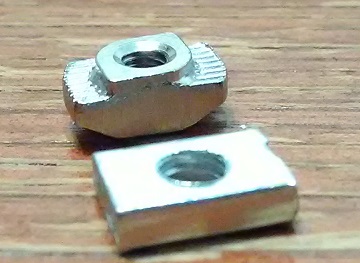
The nuts- the front is the type supplied, the rear is what they should have used.
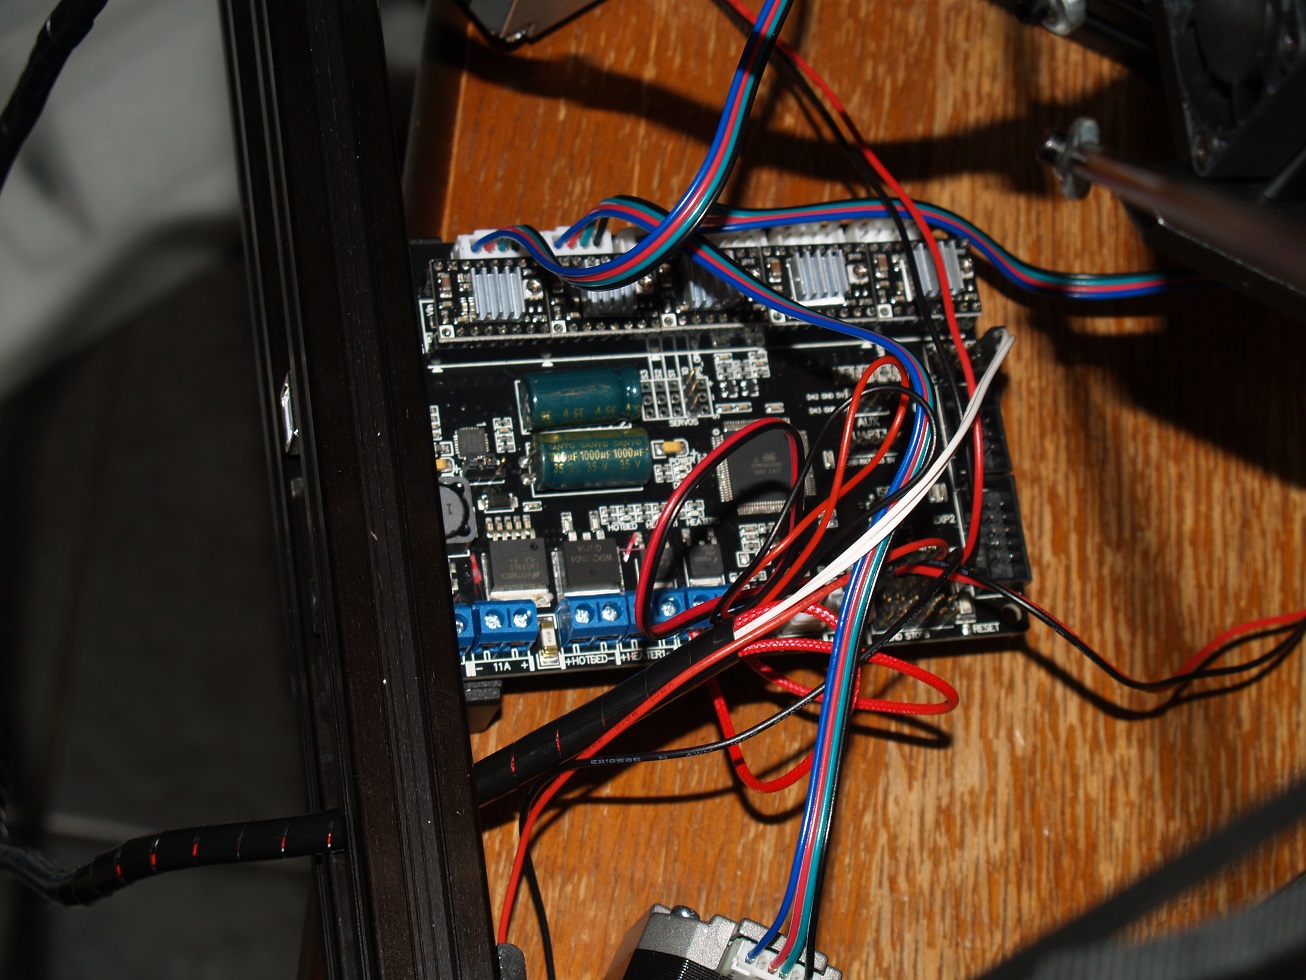
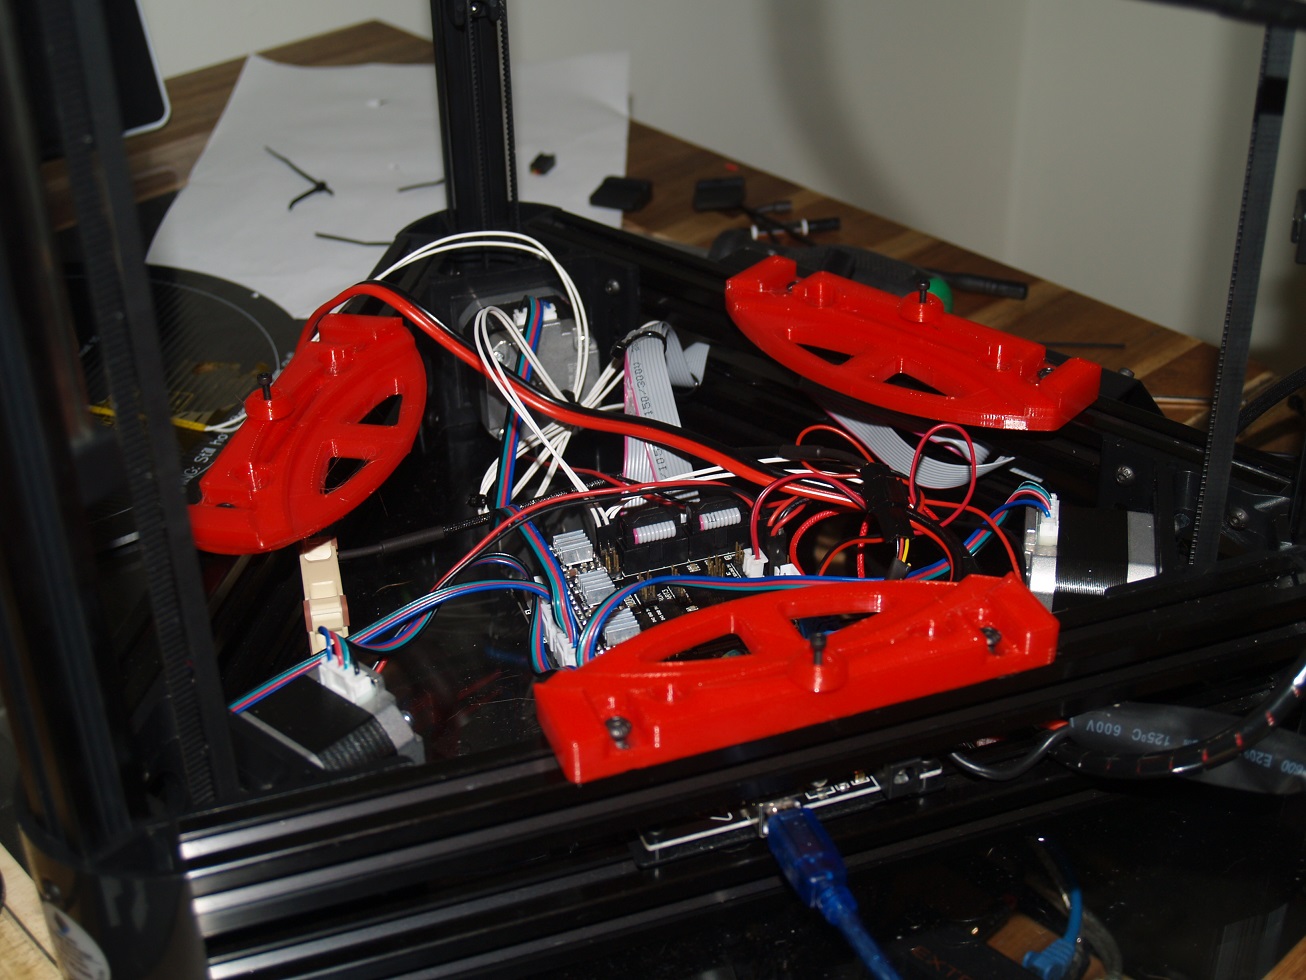
Tonight was much more productive, everything went together really well. I’ve got most of the wiring done now, just power supply & LCD to go, so should be able to finish it off tomorrow after work.
Almost done, completed the wiring, uploaded new firmware & zeroed in the Z axis. I almost printed a test, but it’s getting late & I didn’t want to be up all night tinkering, the weekend is almost here, so I can wait
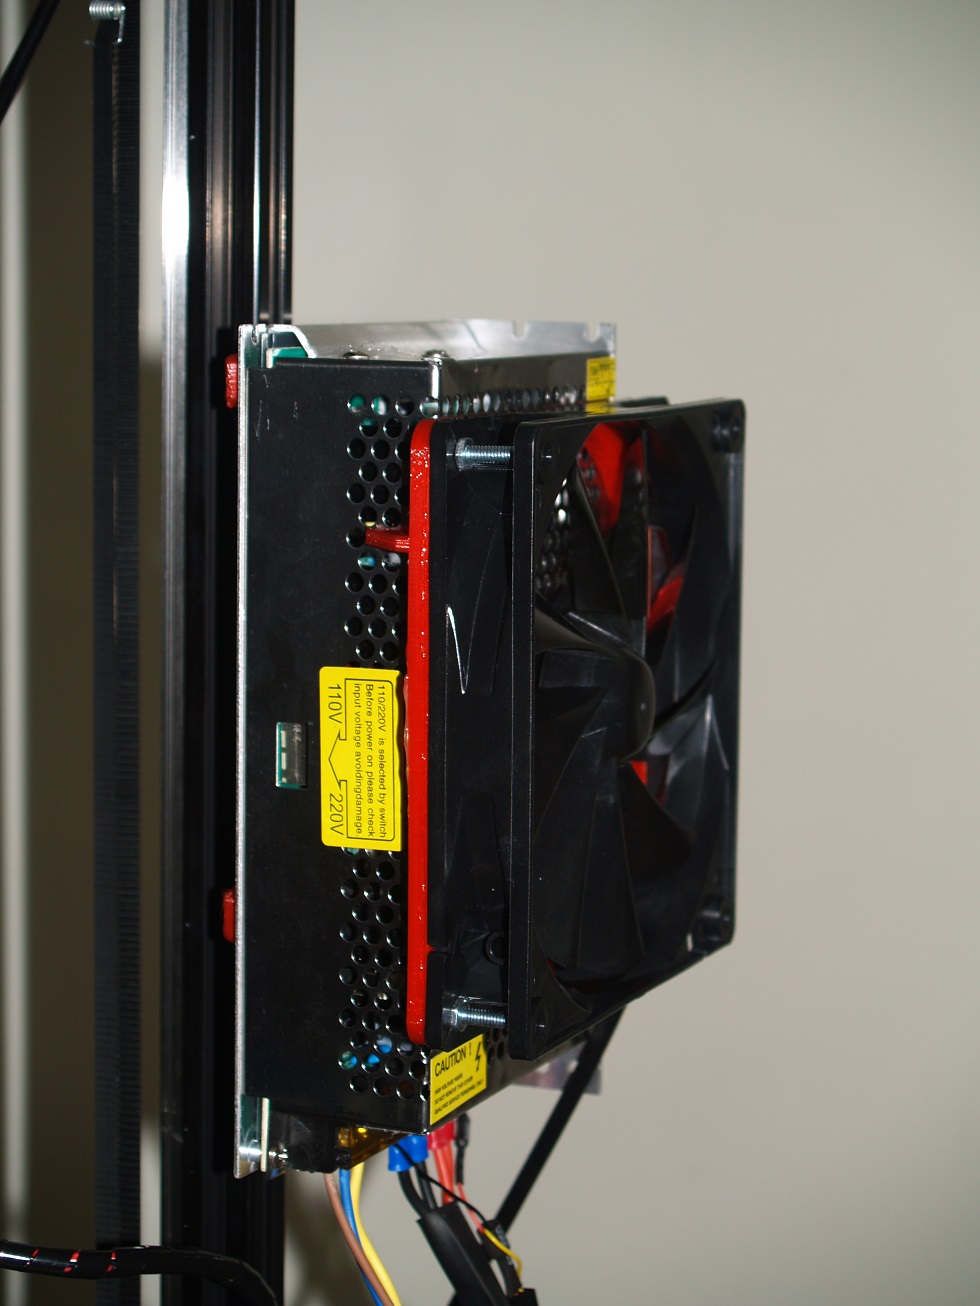
Still need to tidy up the wiring now that it’s all functioning correctly & print a mount for the power supply once the CR-10 finishes it’s current print.
I think I’ll also fit a couple of fans on the electronics to get some airflow going, as it is only passively cooled.
Aside from the issues with the triangles, it’s been an enjoyable & straight forward build so far.
Calibrating them can be a little entertaining your first time around, but they’re awesome once they’re up and running. I can keep my Kossel printing around ~150mm/s travel speed for routine printing, but I’ve done tests up to 300mm/s.
Thanks, I love watching it run, its so much cooler than a Cartesian style.
I started calibrating it, printed a test cube, which was 2mm undersize on X & Y. I adjusted the firmware to suit, but then decided I wanted different mounts for the print bed, so figured I may as well just leave the tuning until I finish making the new parts on the CR-10.
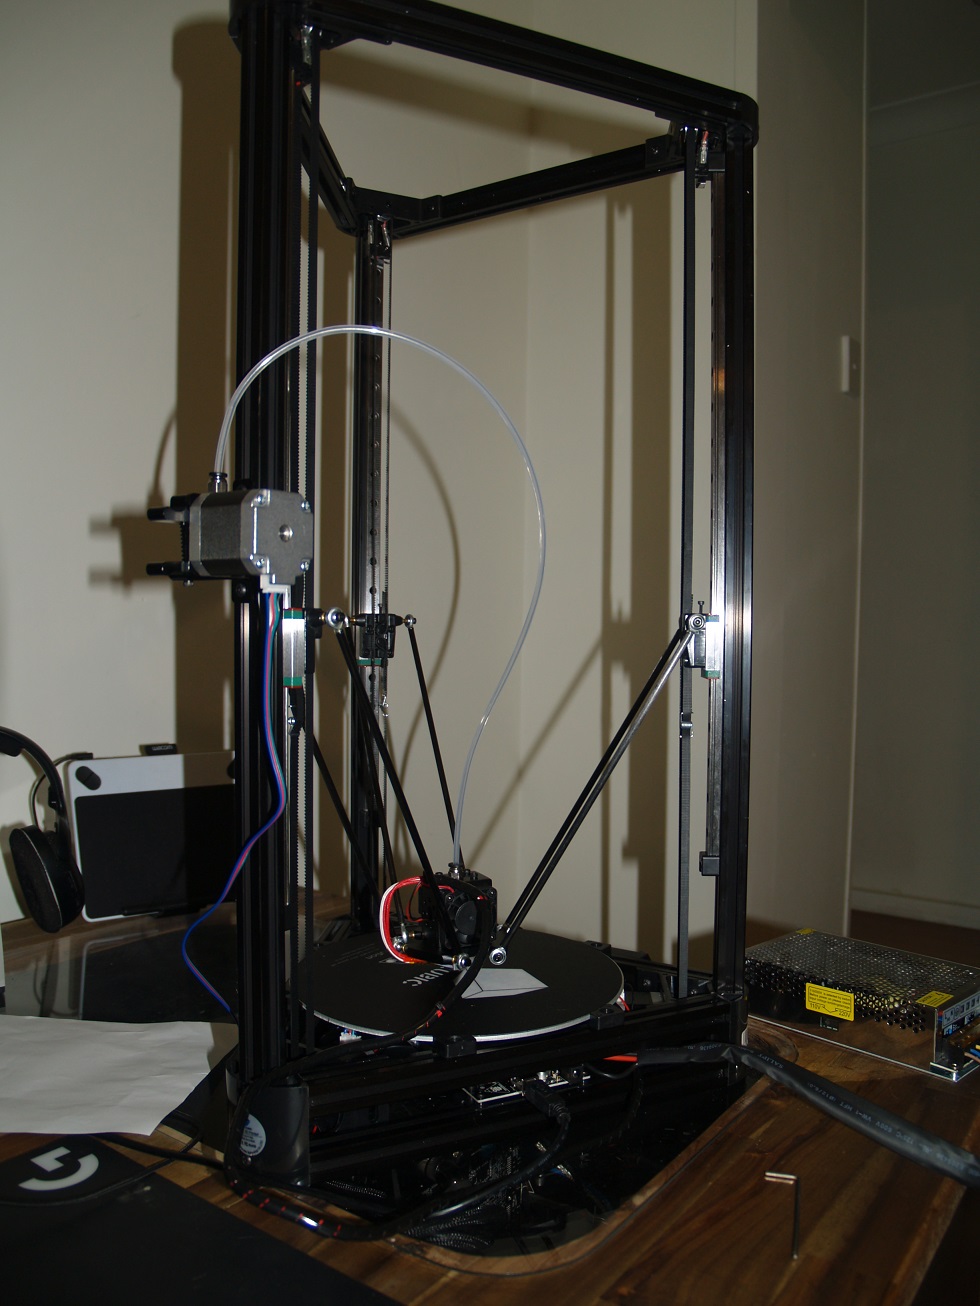
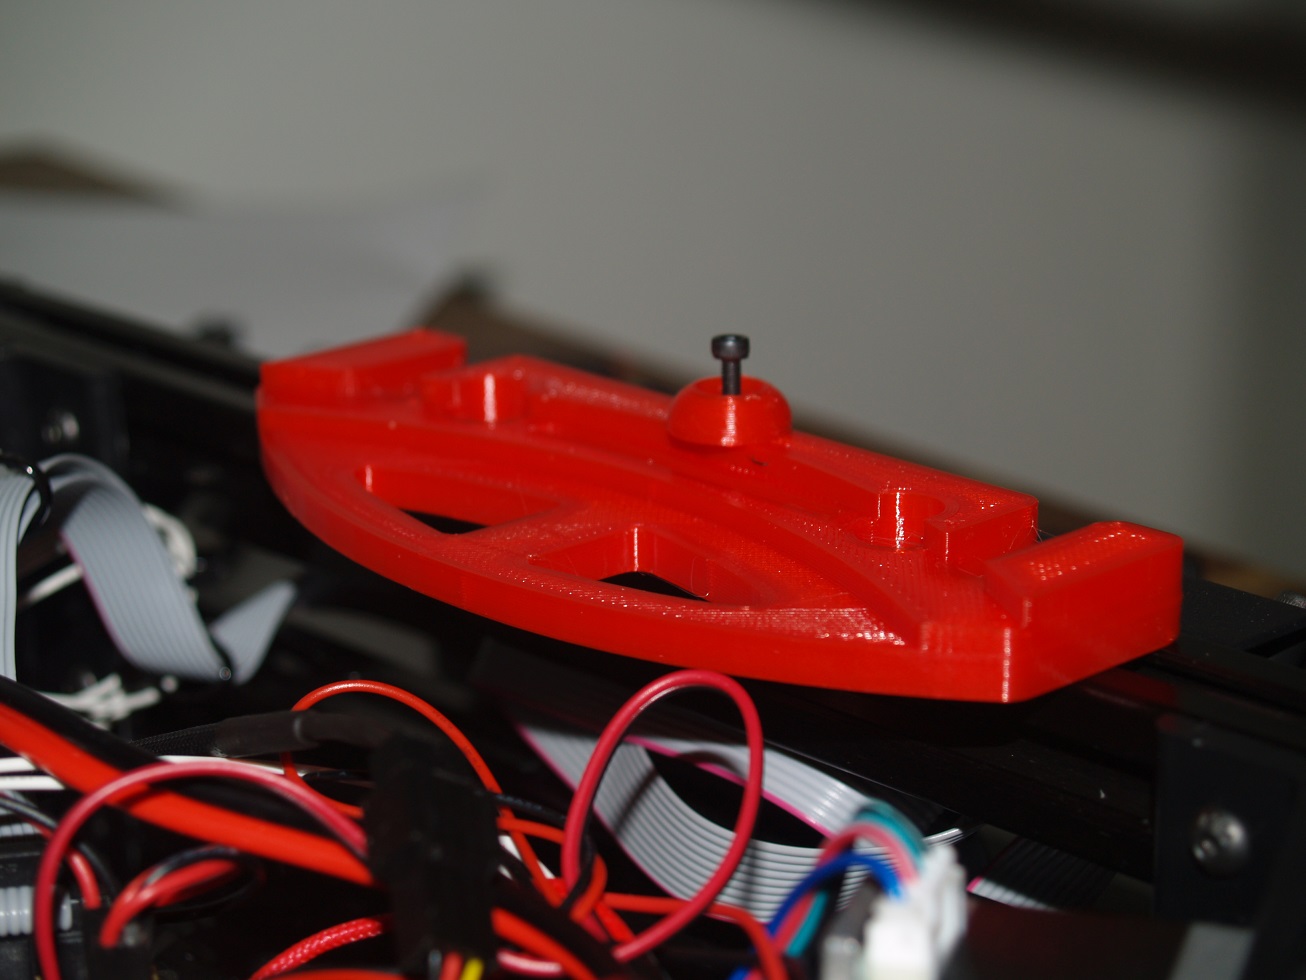
I printed some mounts, one to get the power supply off the desk & another add a fan to it. I know a 140mm fan is over kill, but I have a ton of these laying around, so may as well make use of them. I wired in a low noise adapter, so it’s not running at 100%.
All up & running now, the calibration was an adventure, not difficult, just annoying having to keep updating firmware, testing, repeating.
My first attempt I got wrong by following the manual, I leveled it at bed center & was adjusting rod length in firmware, My test cube was coming out spot on, but I had major concave/convex issues when trying anything larger.
I then realized that I should have leveled the towers first, so got it level at locations:
G1Z0X0Y90
G1Z0X78Y-45 &
G1Z0X-78Y-45.
Then adjusted Manual z home_position,
delta_diagonal_rod &
delta_smooth_rod_offset
settings until it was level & flat.
Print quality is great & it’s pretty damn quick. The Buildtak style sticker for the print bed is awesome, I can drop a layer on from .5mm at 60c & it sticks solid. To get it off you just need to give it a bit of a wiggle & push a scraper under a corner & it pops right off.
It’s printing glow in the dark stuff currently, so the pictures don’t come out too good. I’ll post some color stuff once I get through this spool.