[Build log] うずめ X コンパ | A Dreamcast & a Gamecube PC

0e15b030194bfc7ed52bff1830eb7322

Went around working on the project. Did a temporary connection job to test, and after checking voltages for 10 times, connected everyhting and it just works. Everything powered up without any issue. Yeah!

Gonna play Minecraft to test the stability. Will do a more detailled log later. In the meantime some junkass setup pictures.


7 Likes

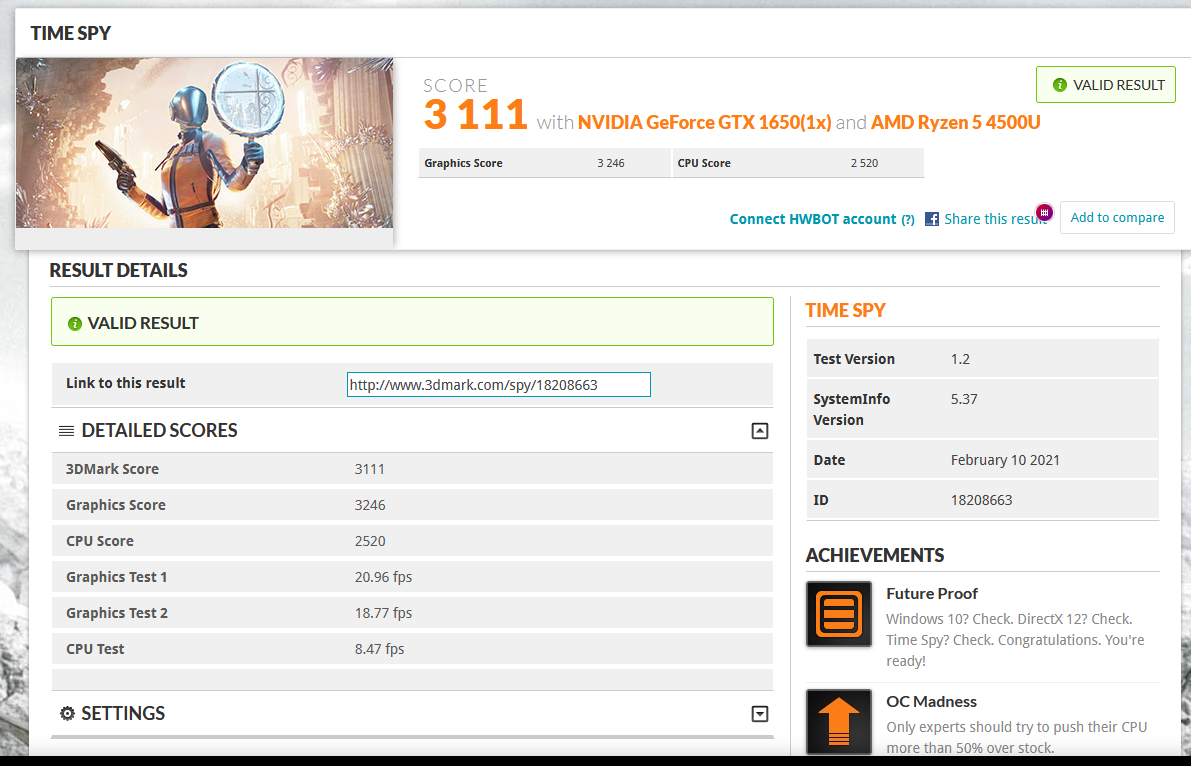
A little update to keep you up-to-date with everything. Compa first. So ya played Minecraft and ran Time Spy and no problem. However, my Time Spy results were lower on the CPU side, and I think it was because the CPU was heat soak, as I ran it after 2 hours of Minecraft.

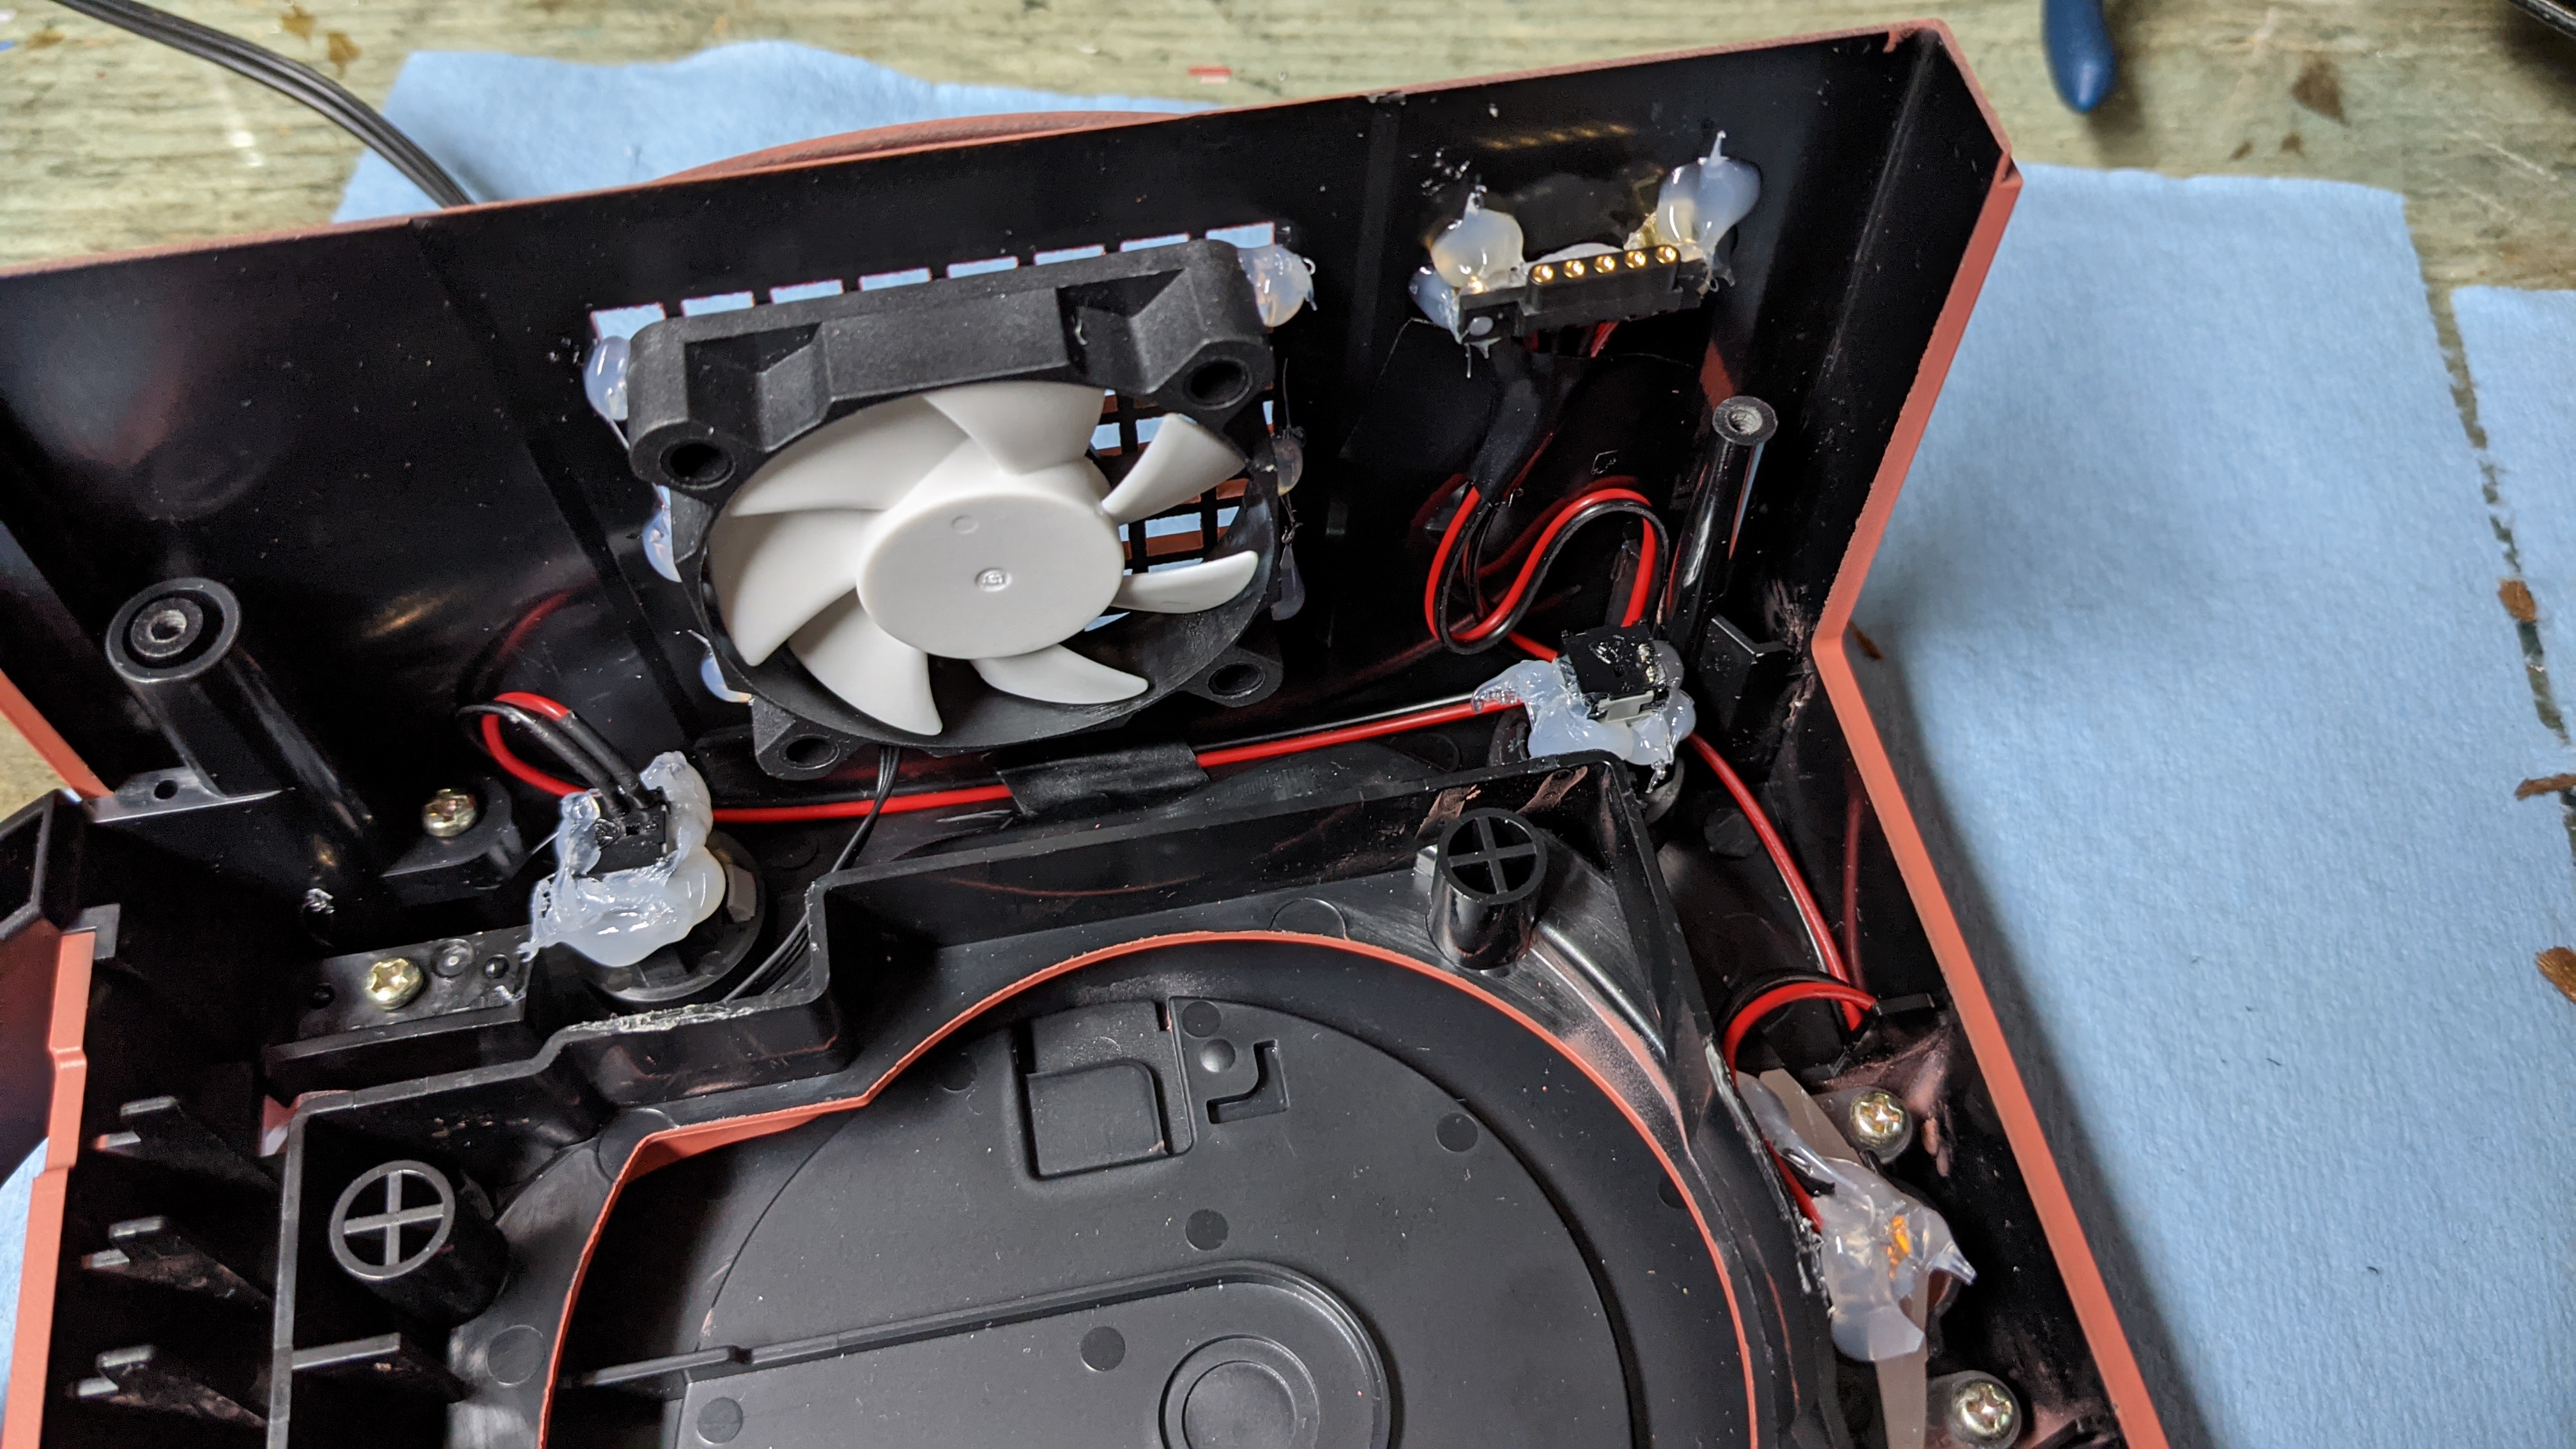
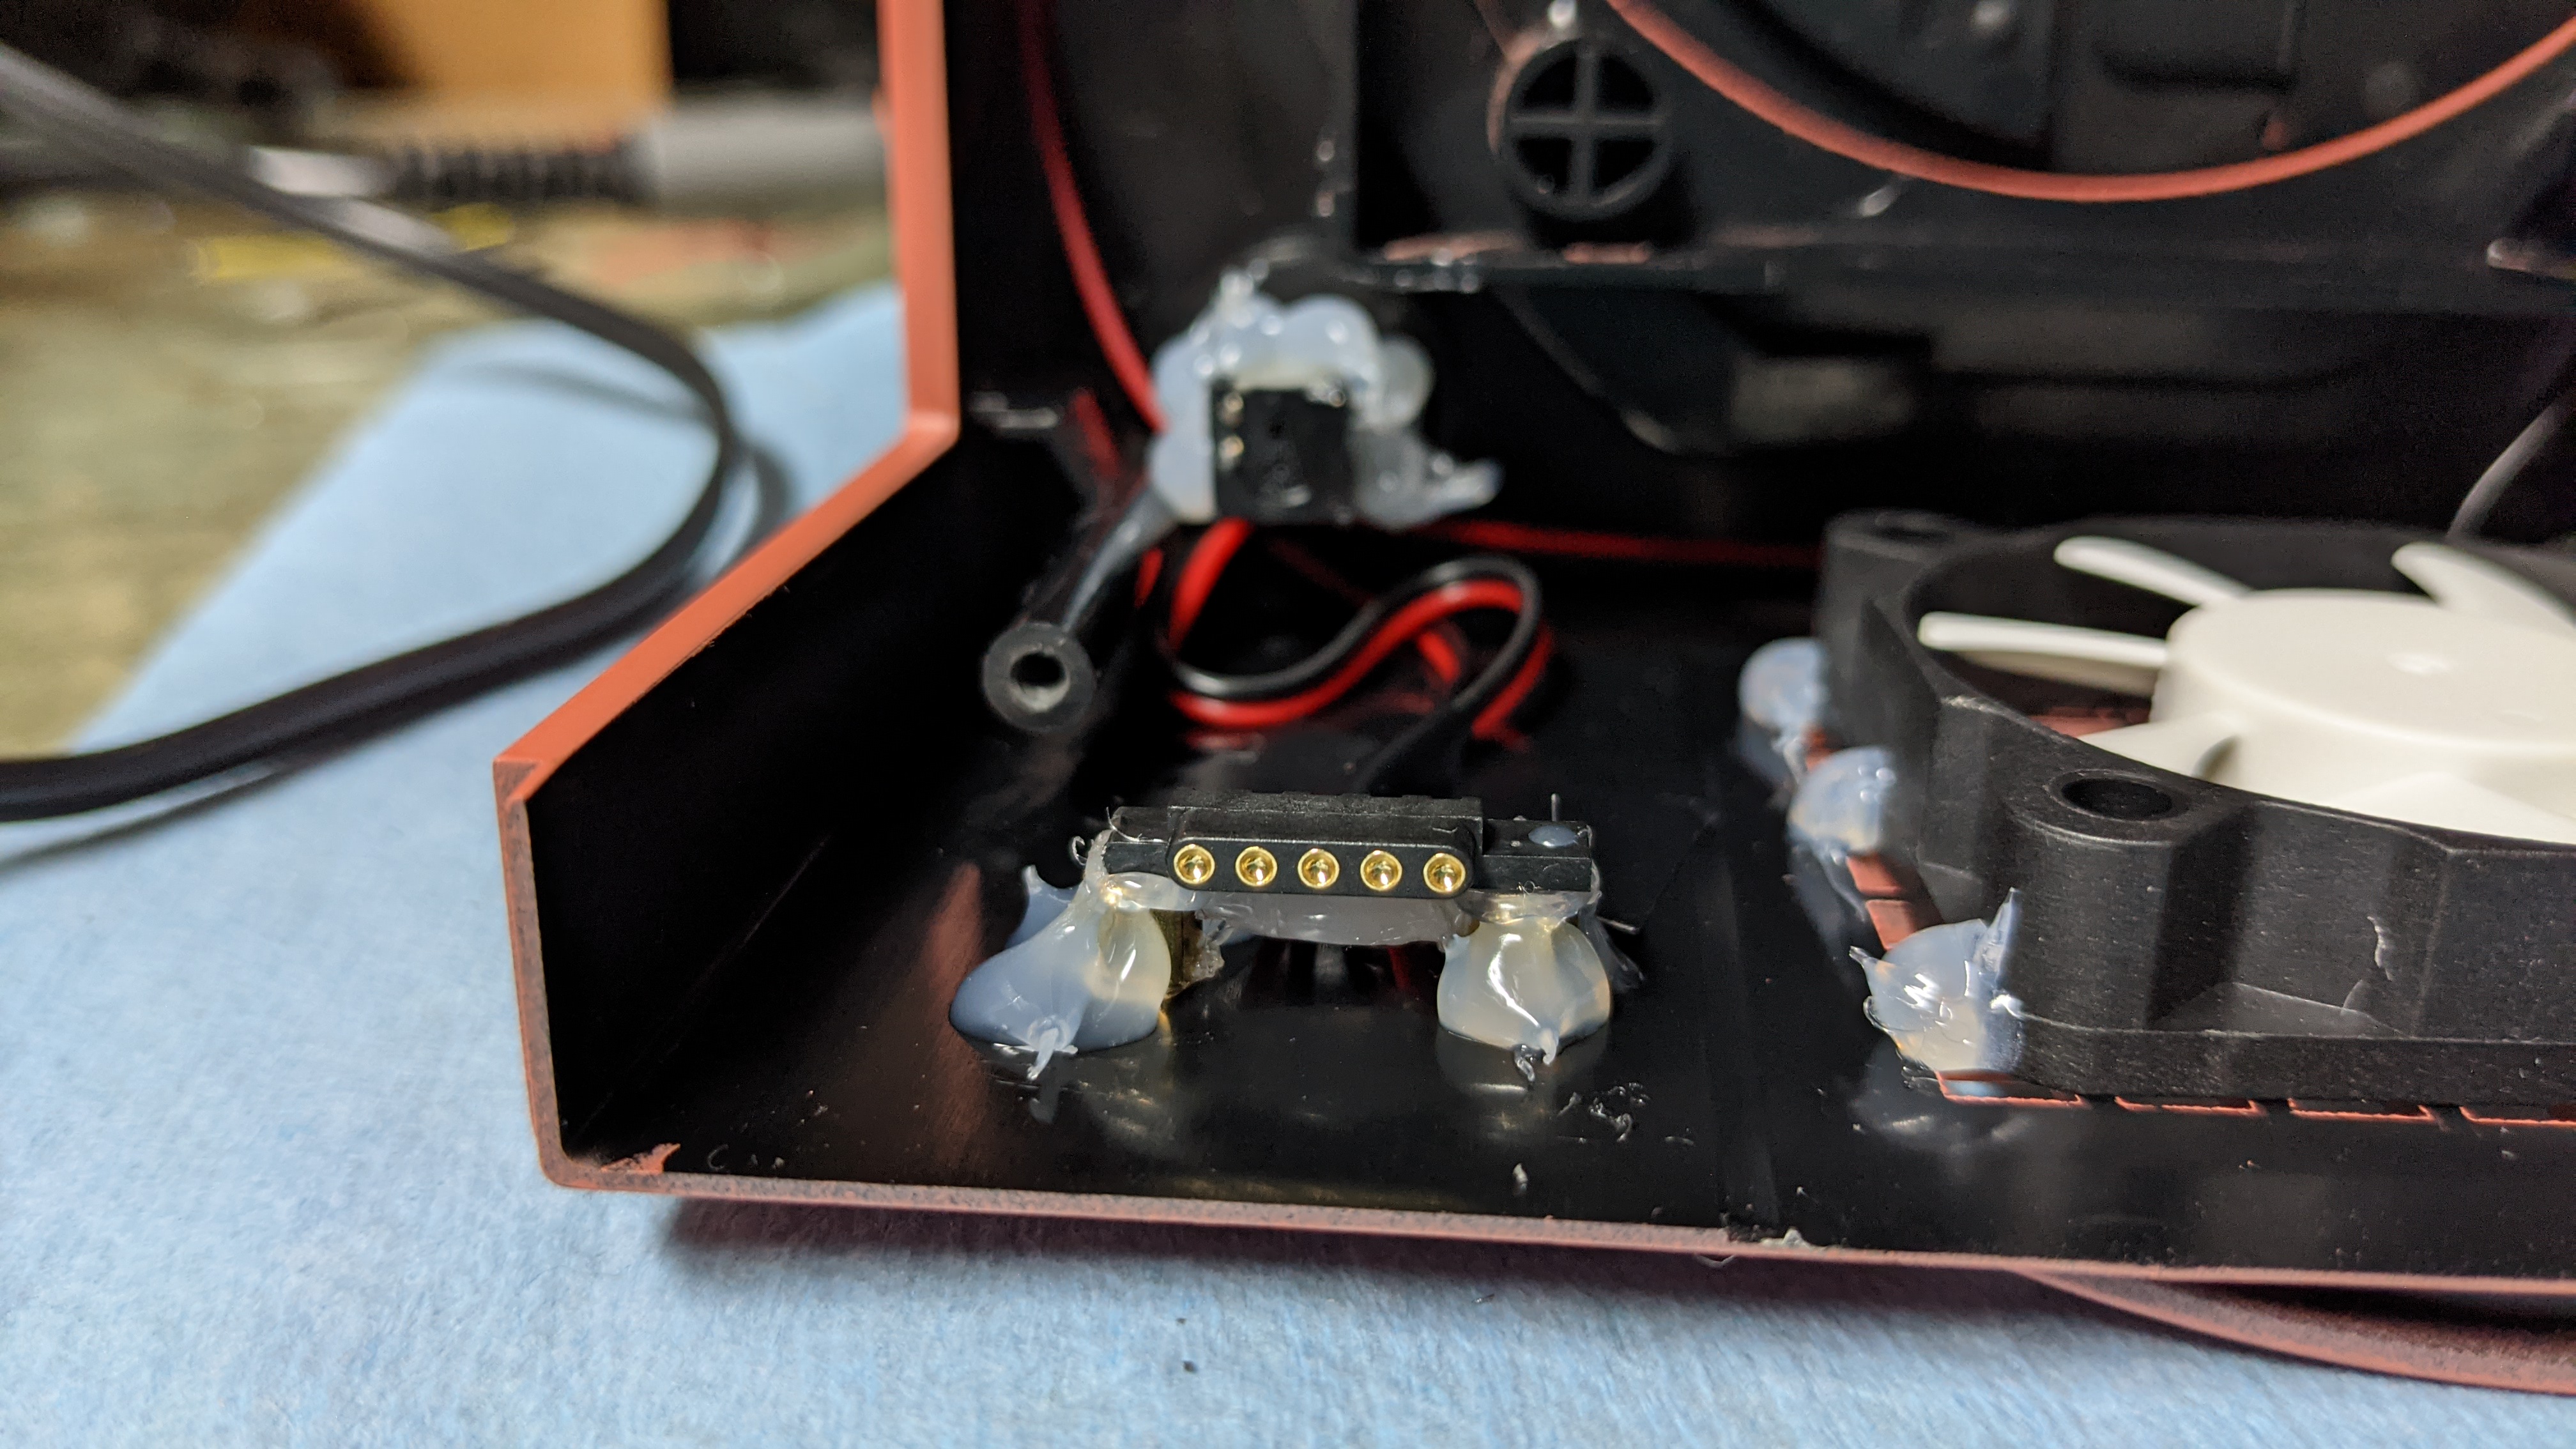
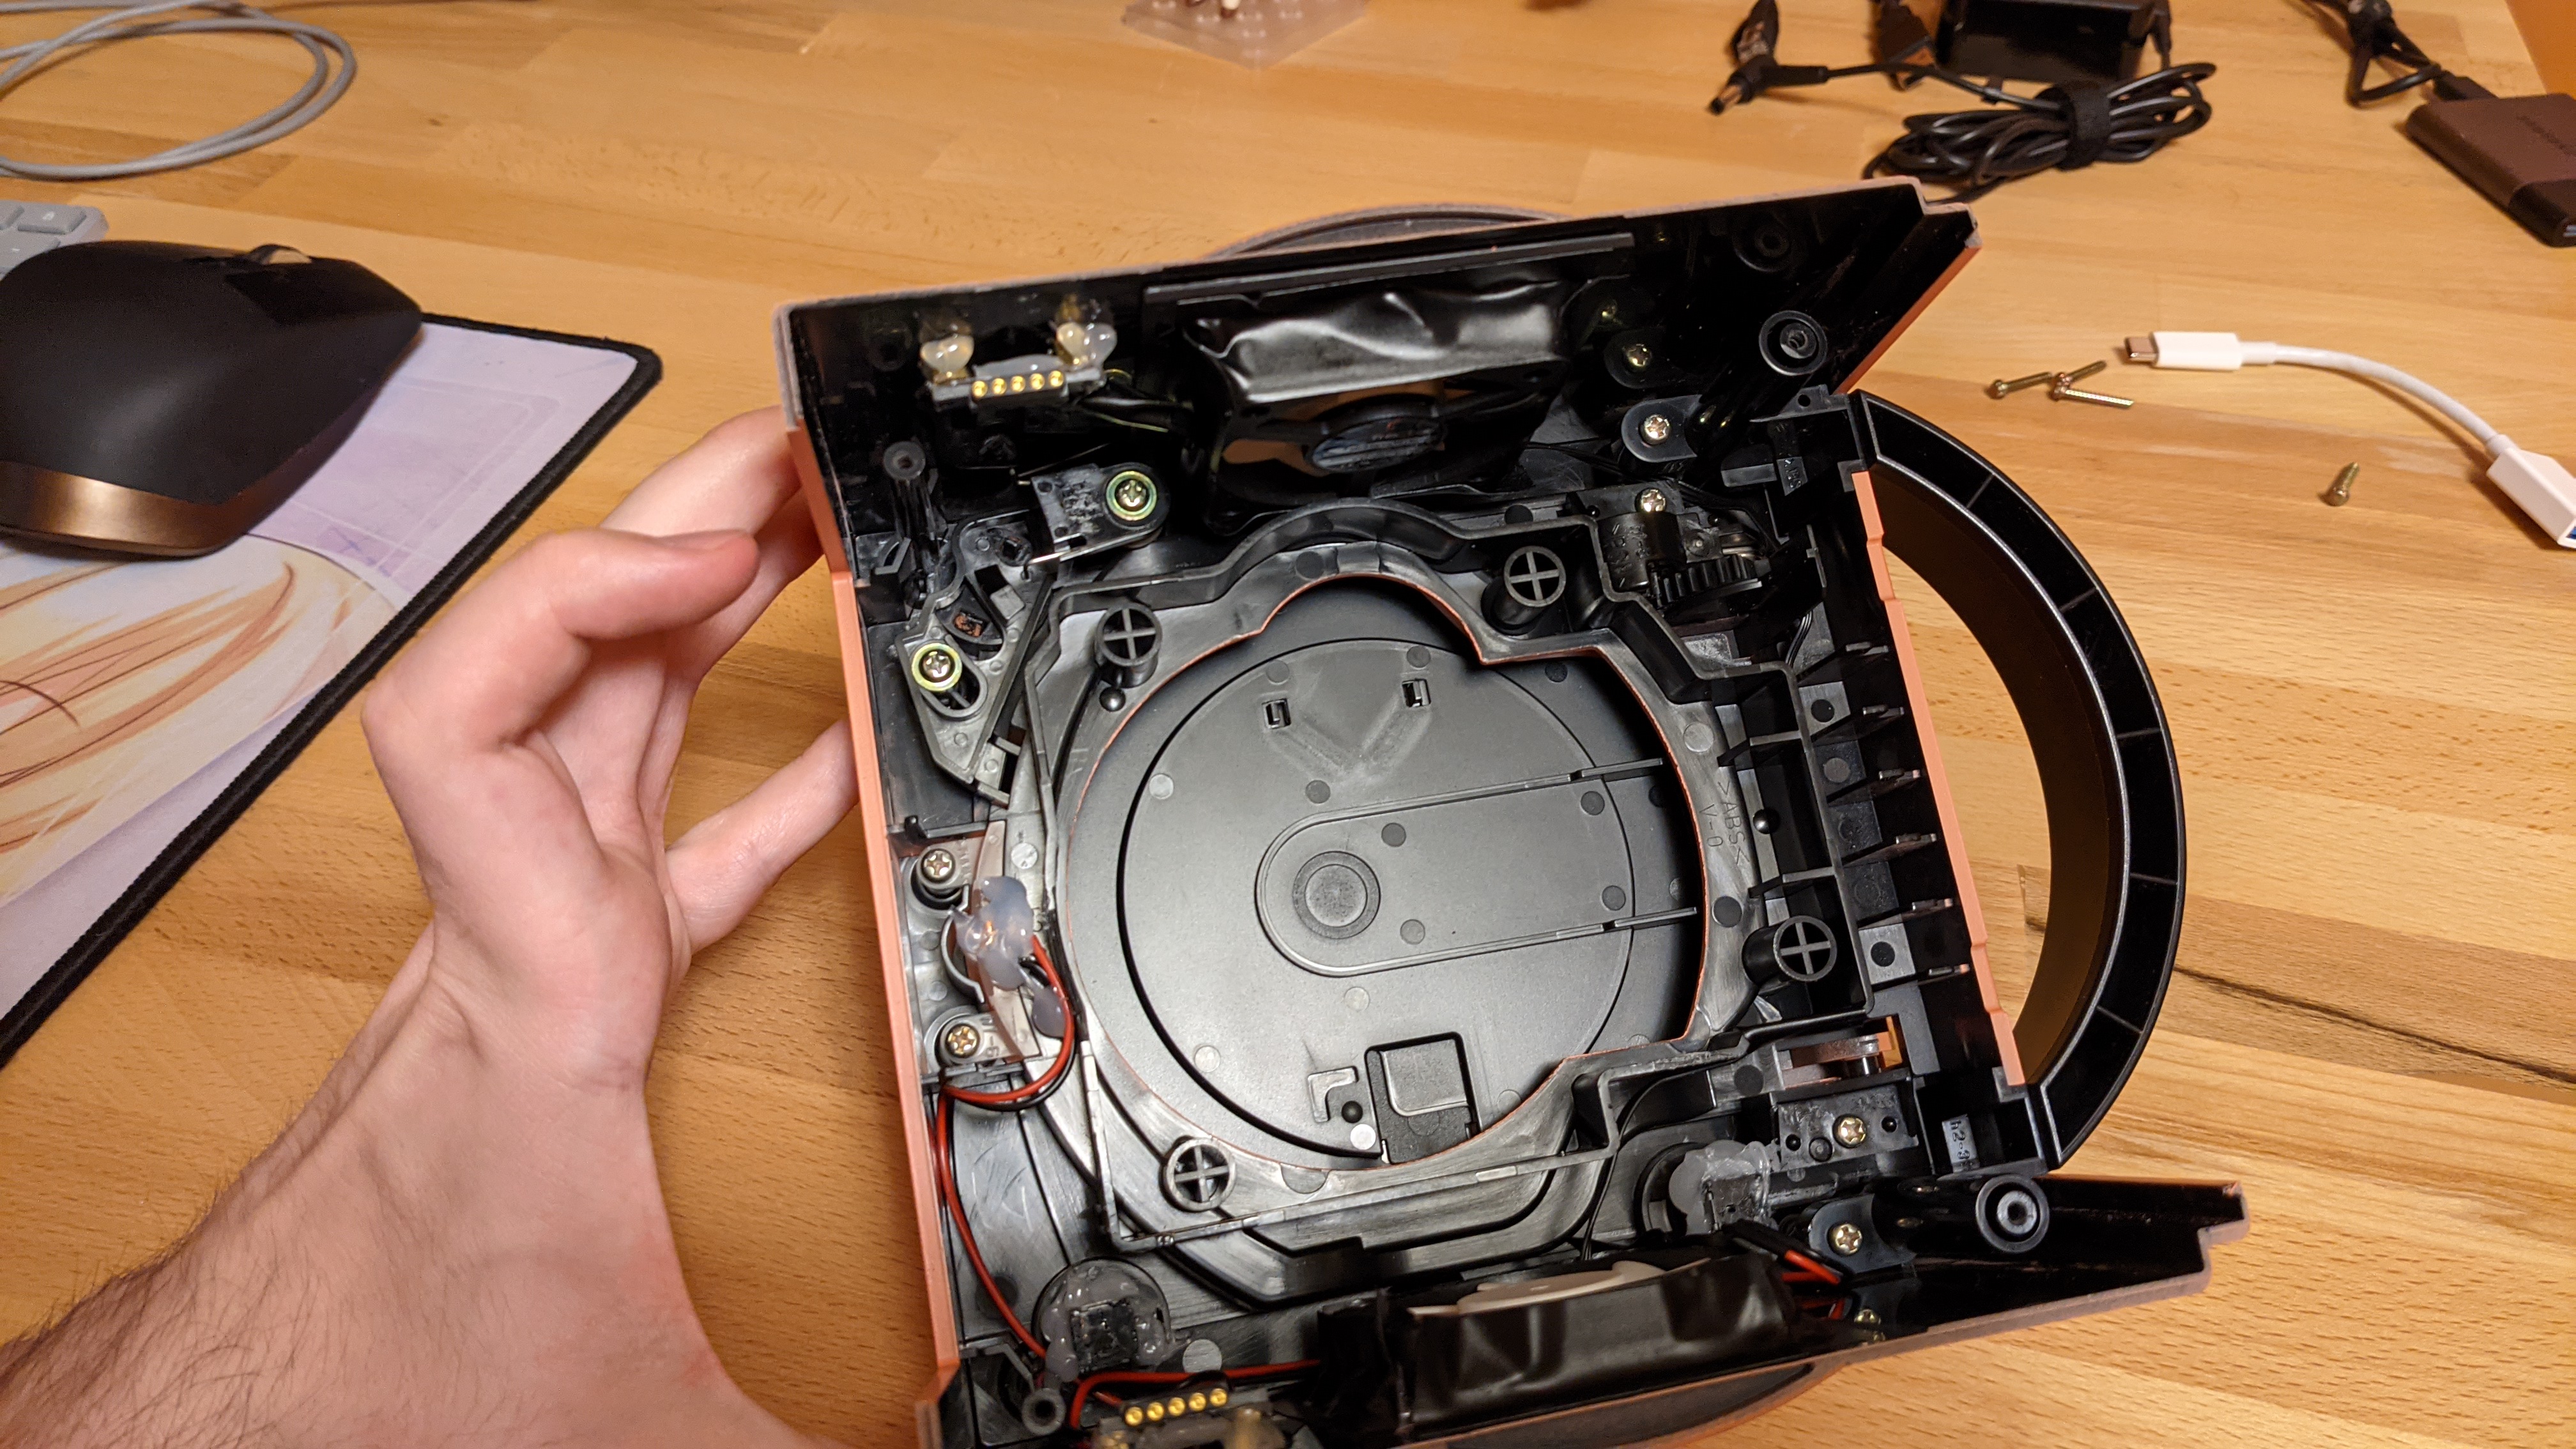
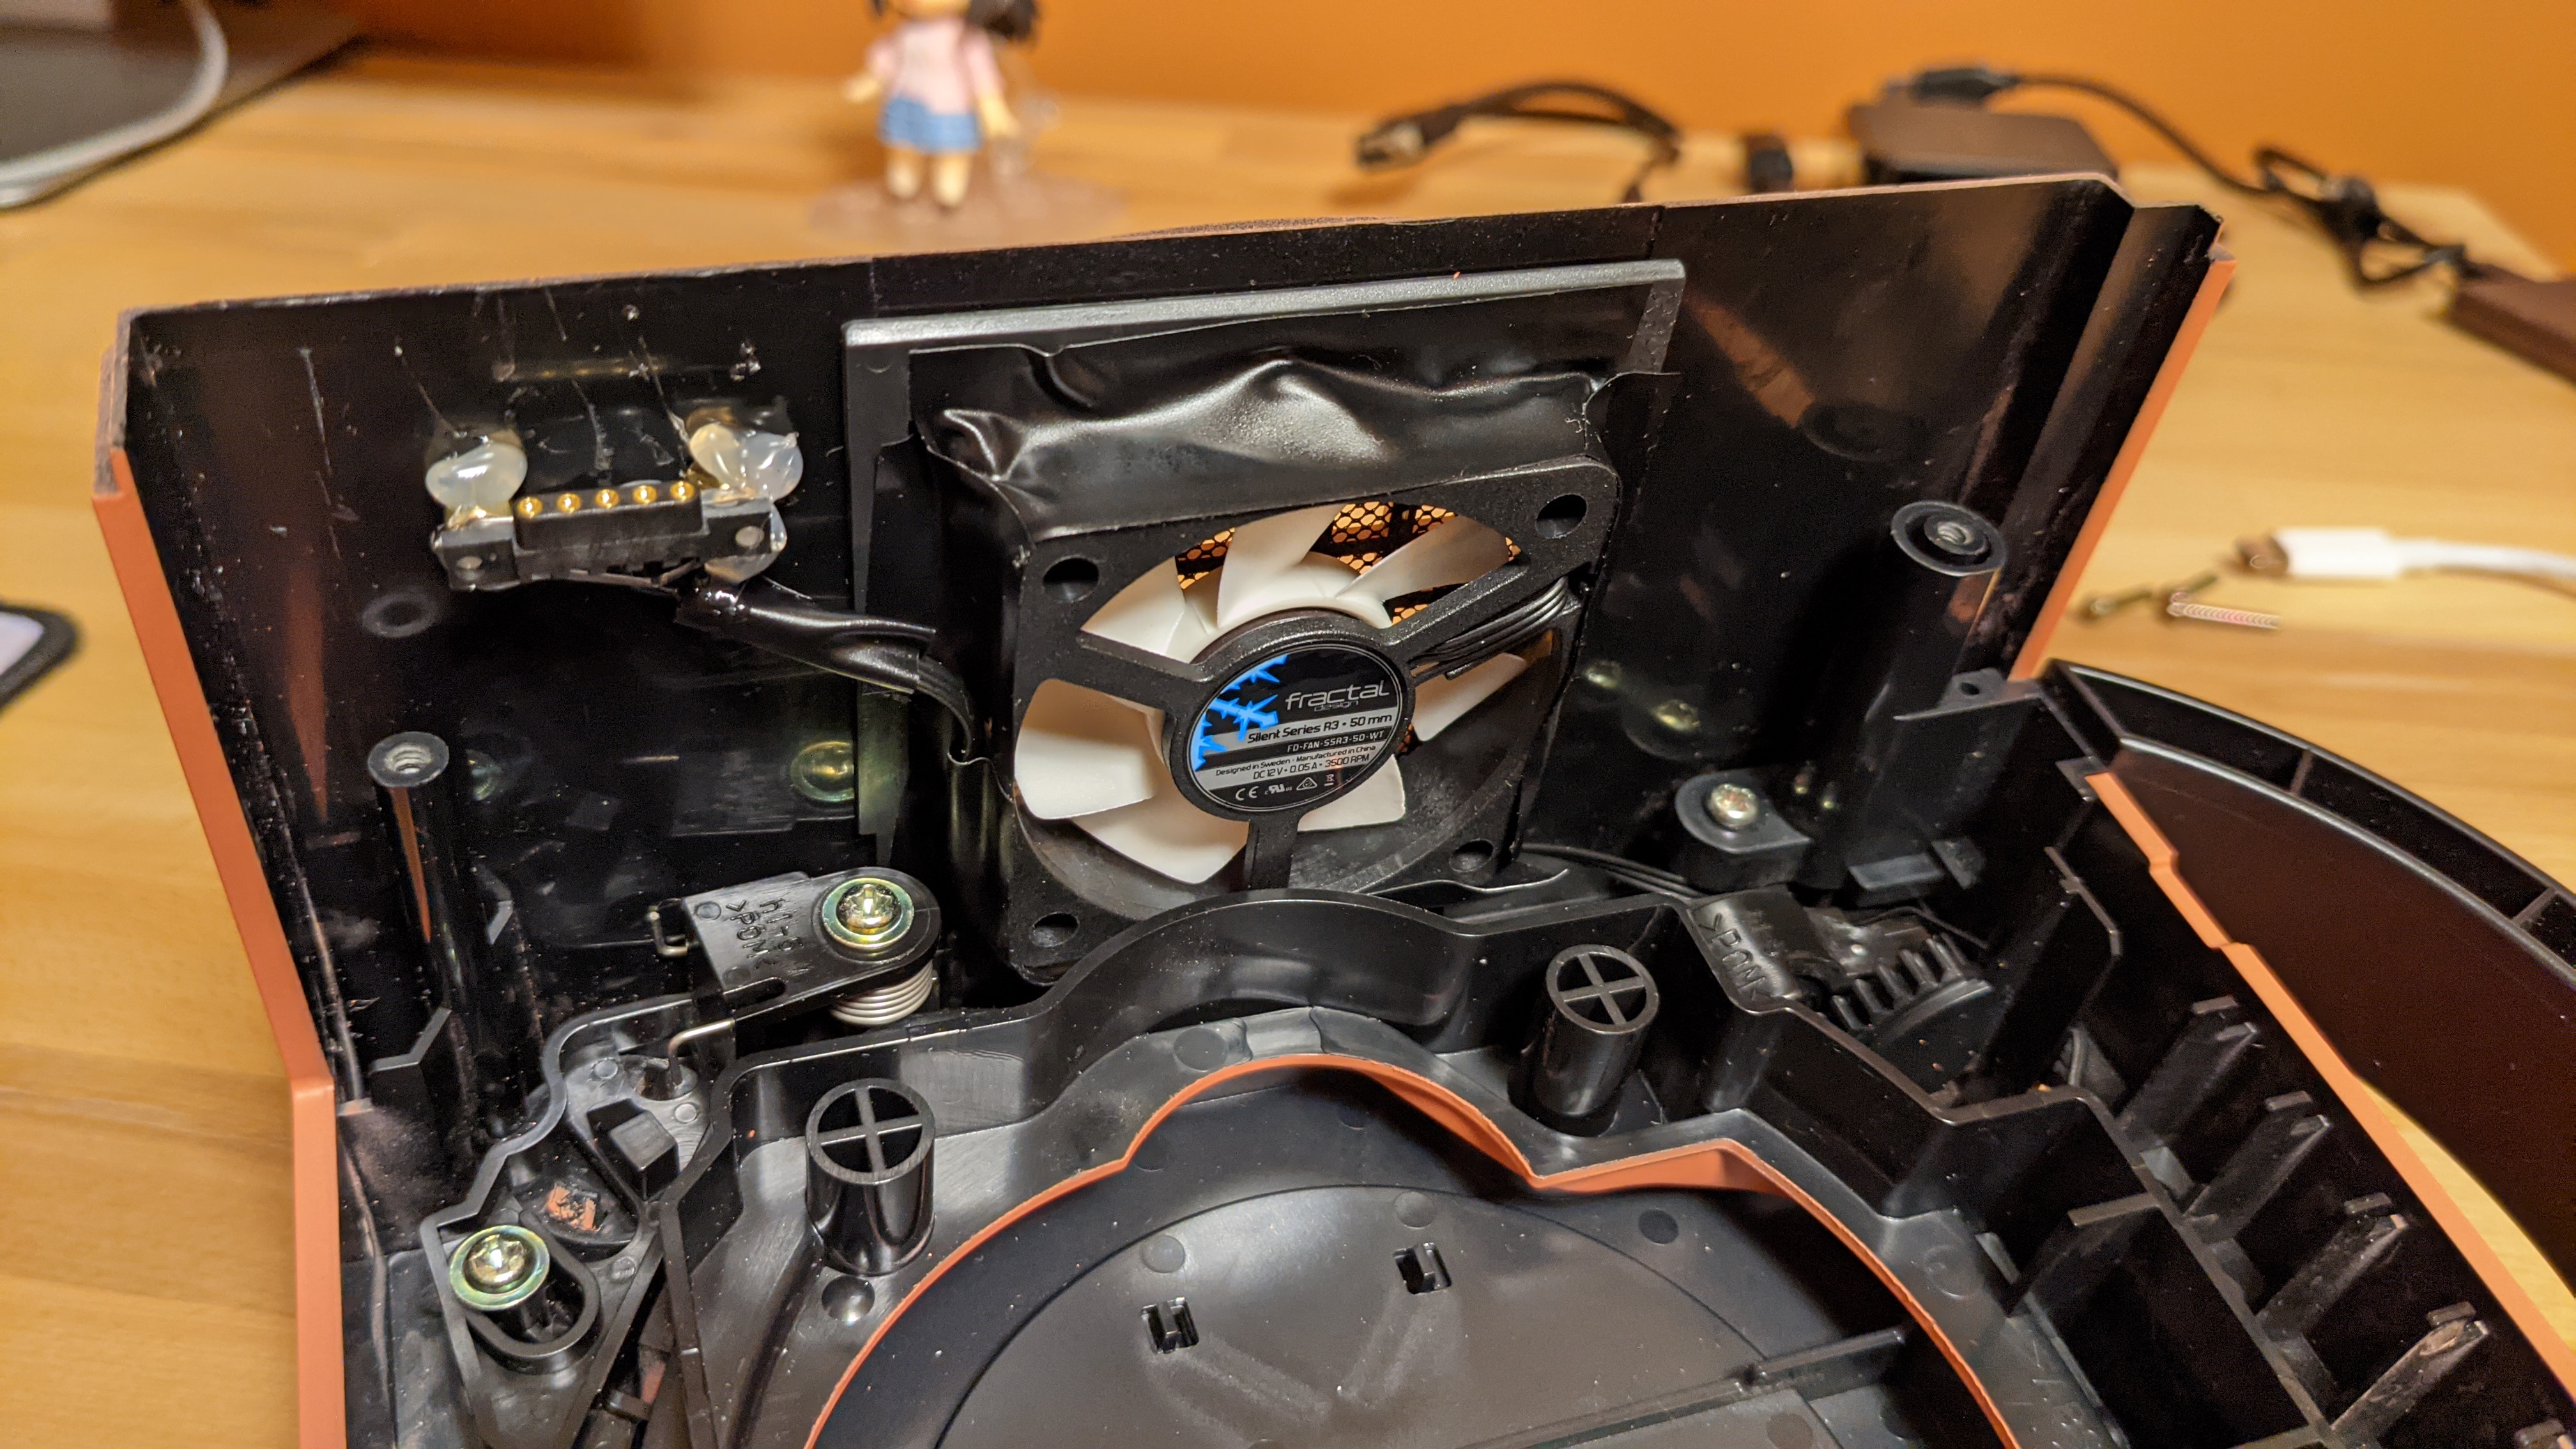
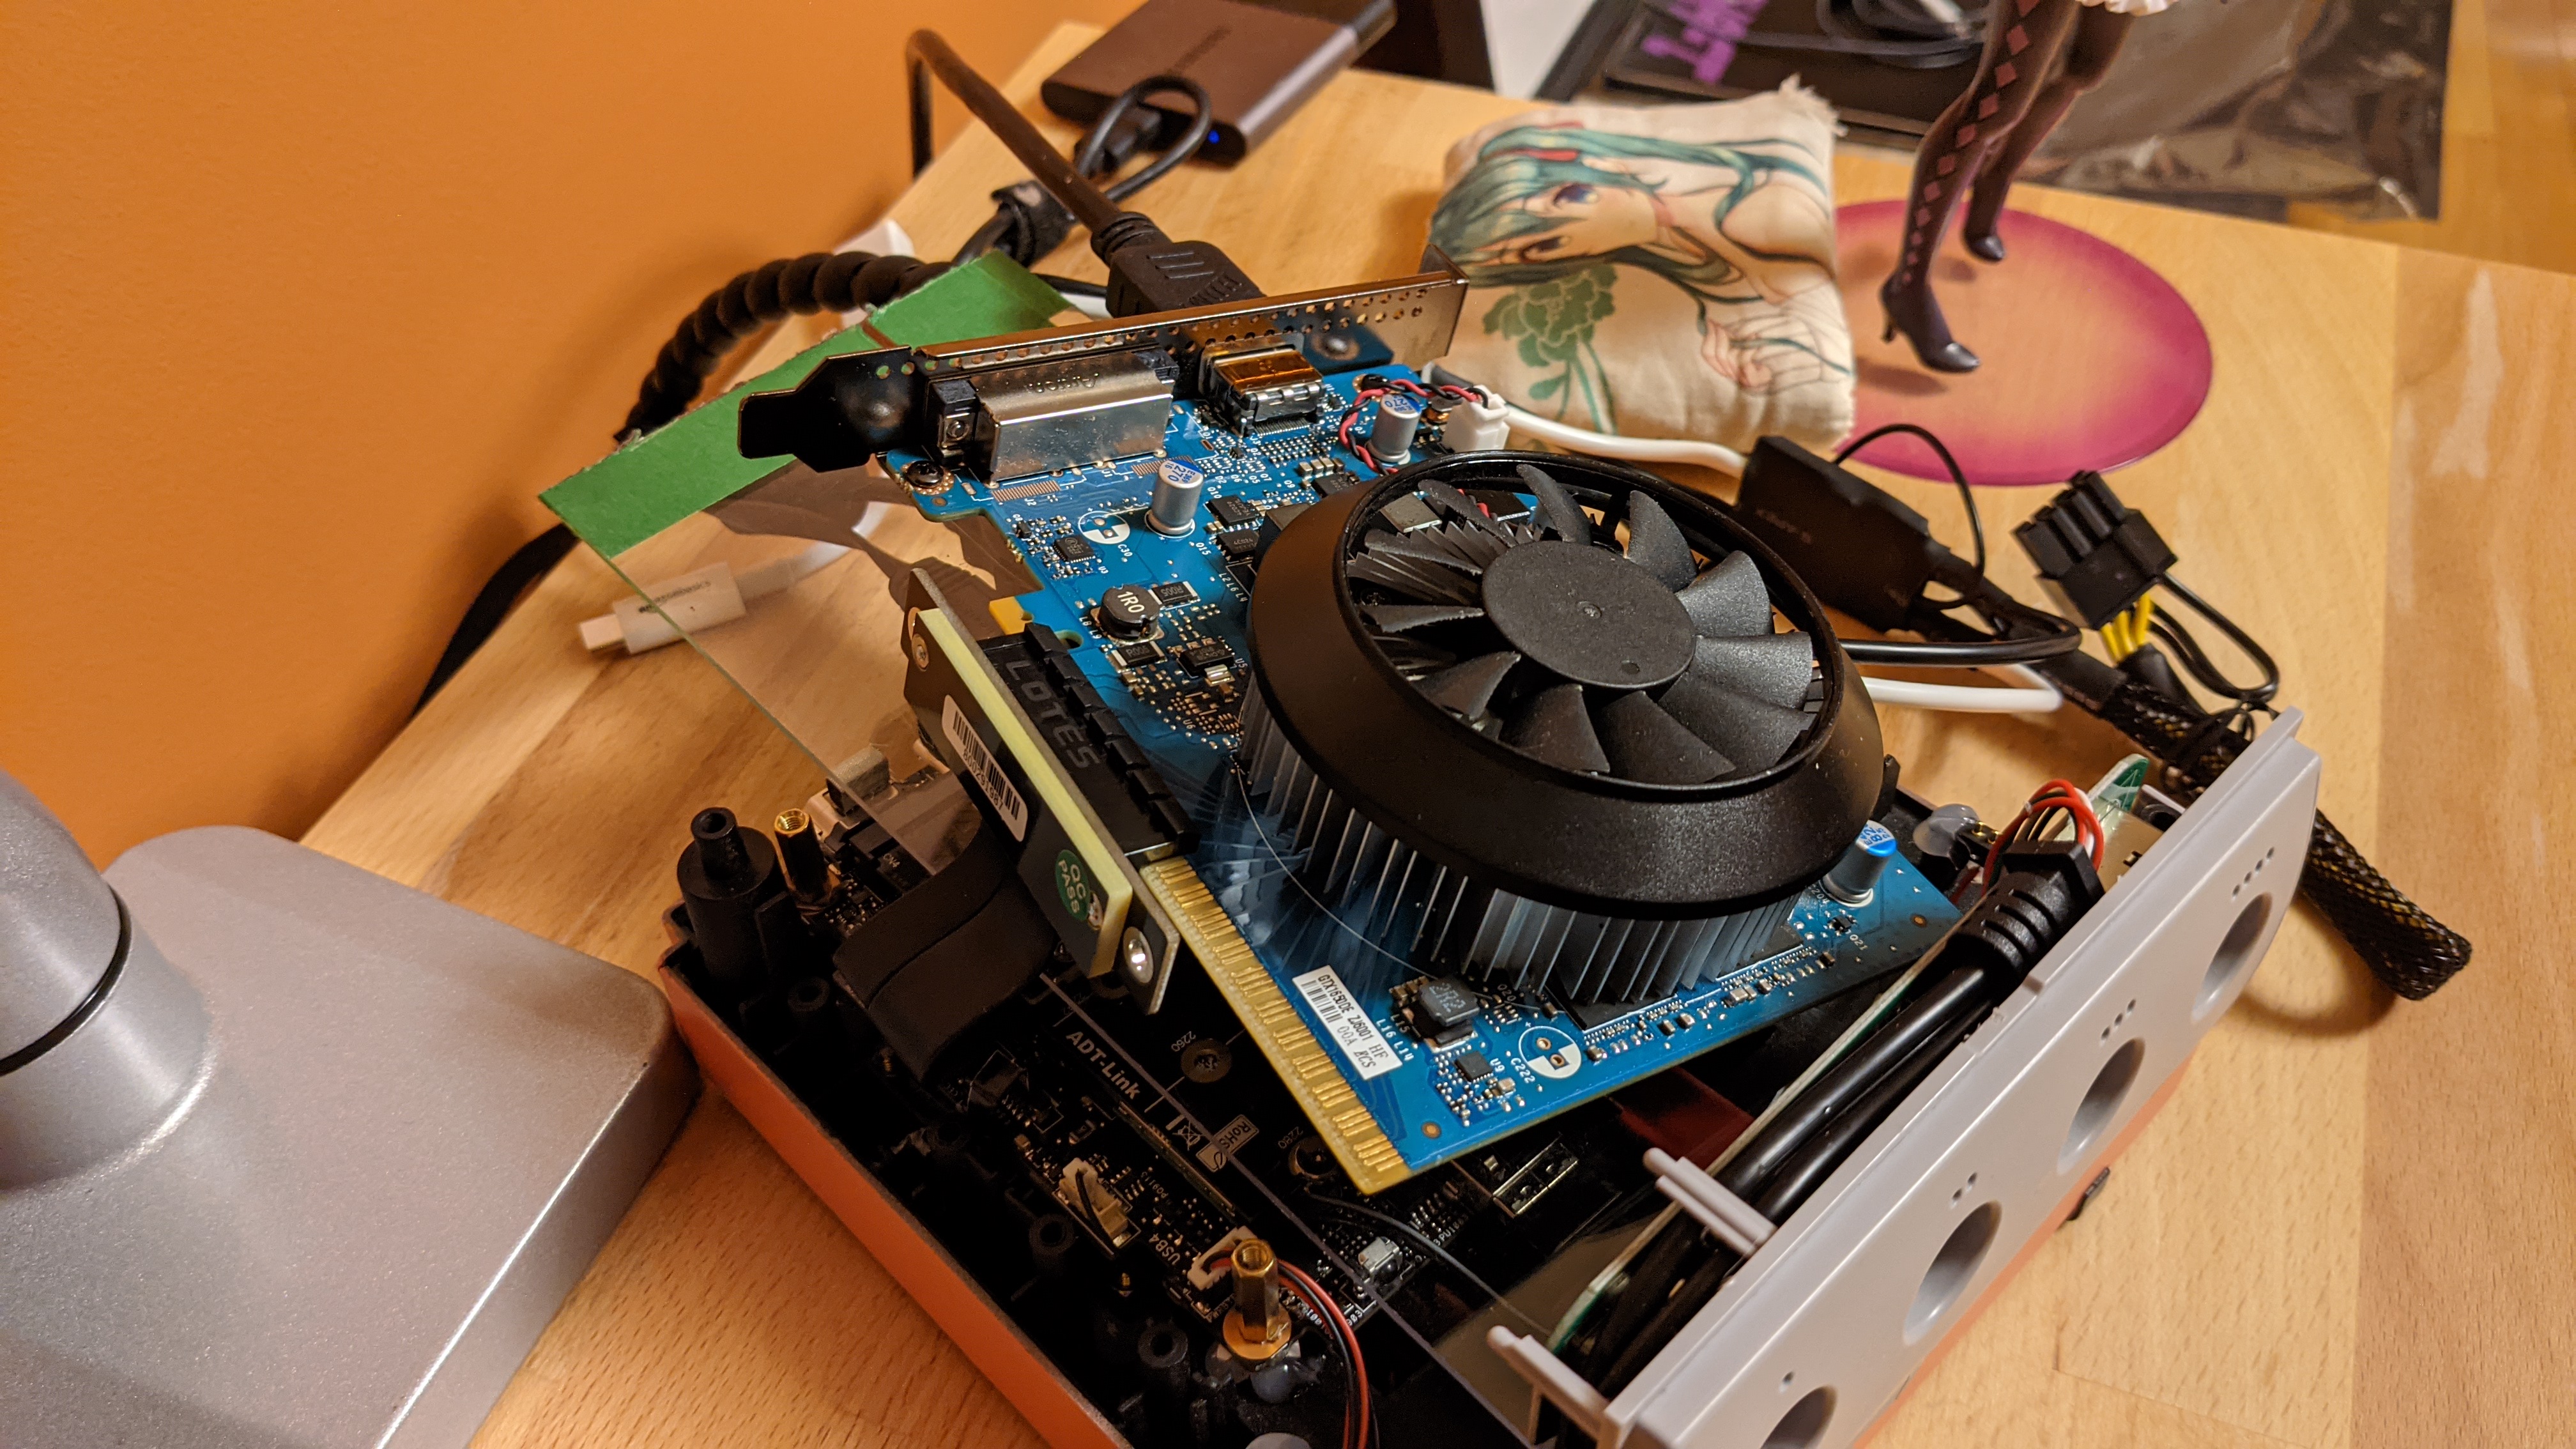
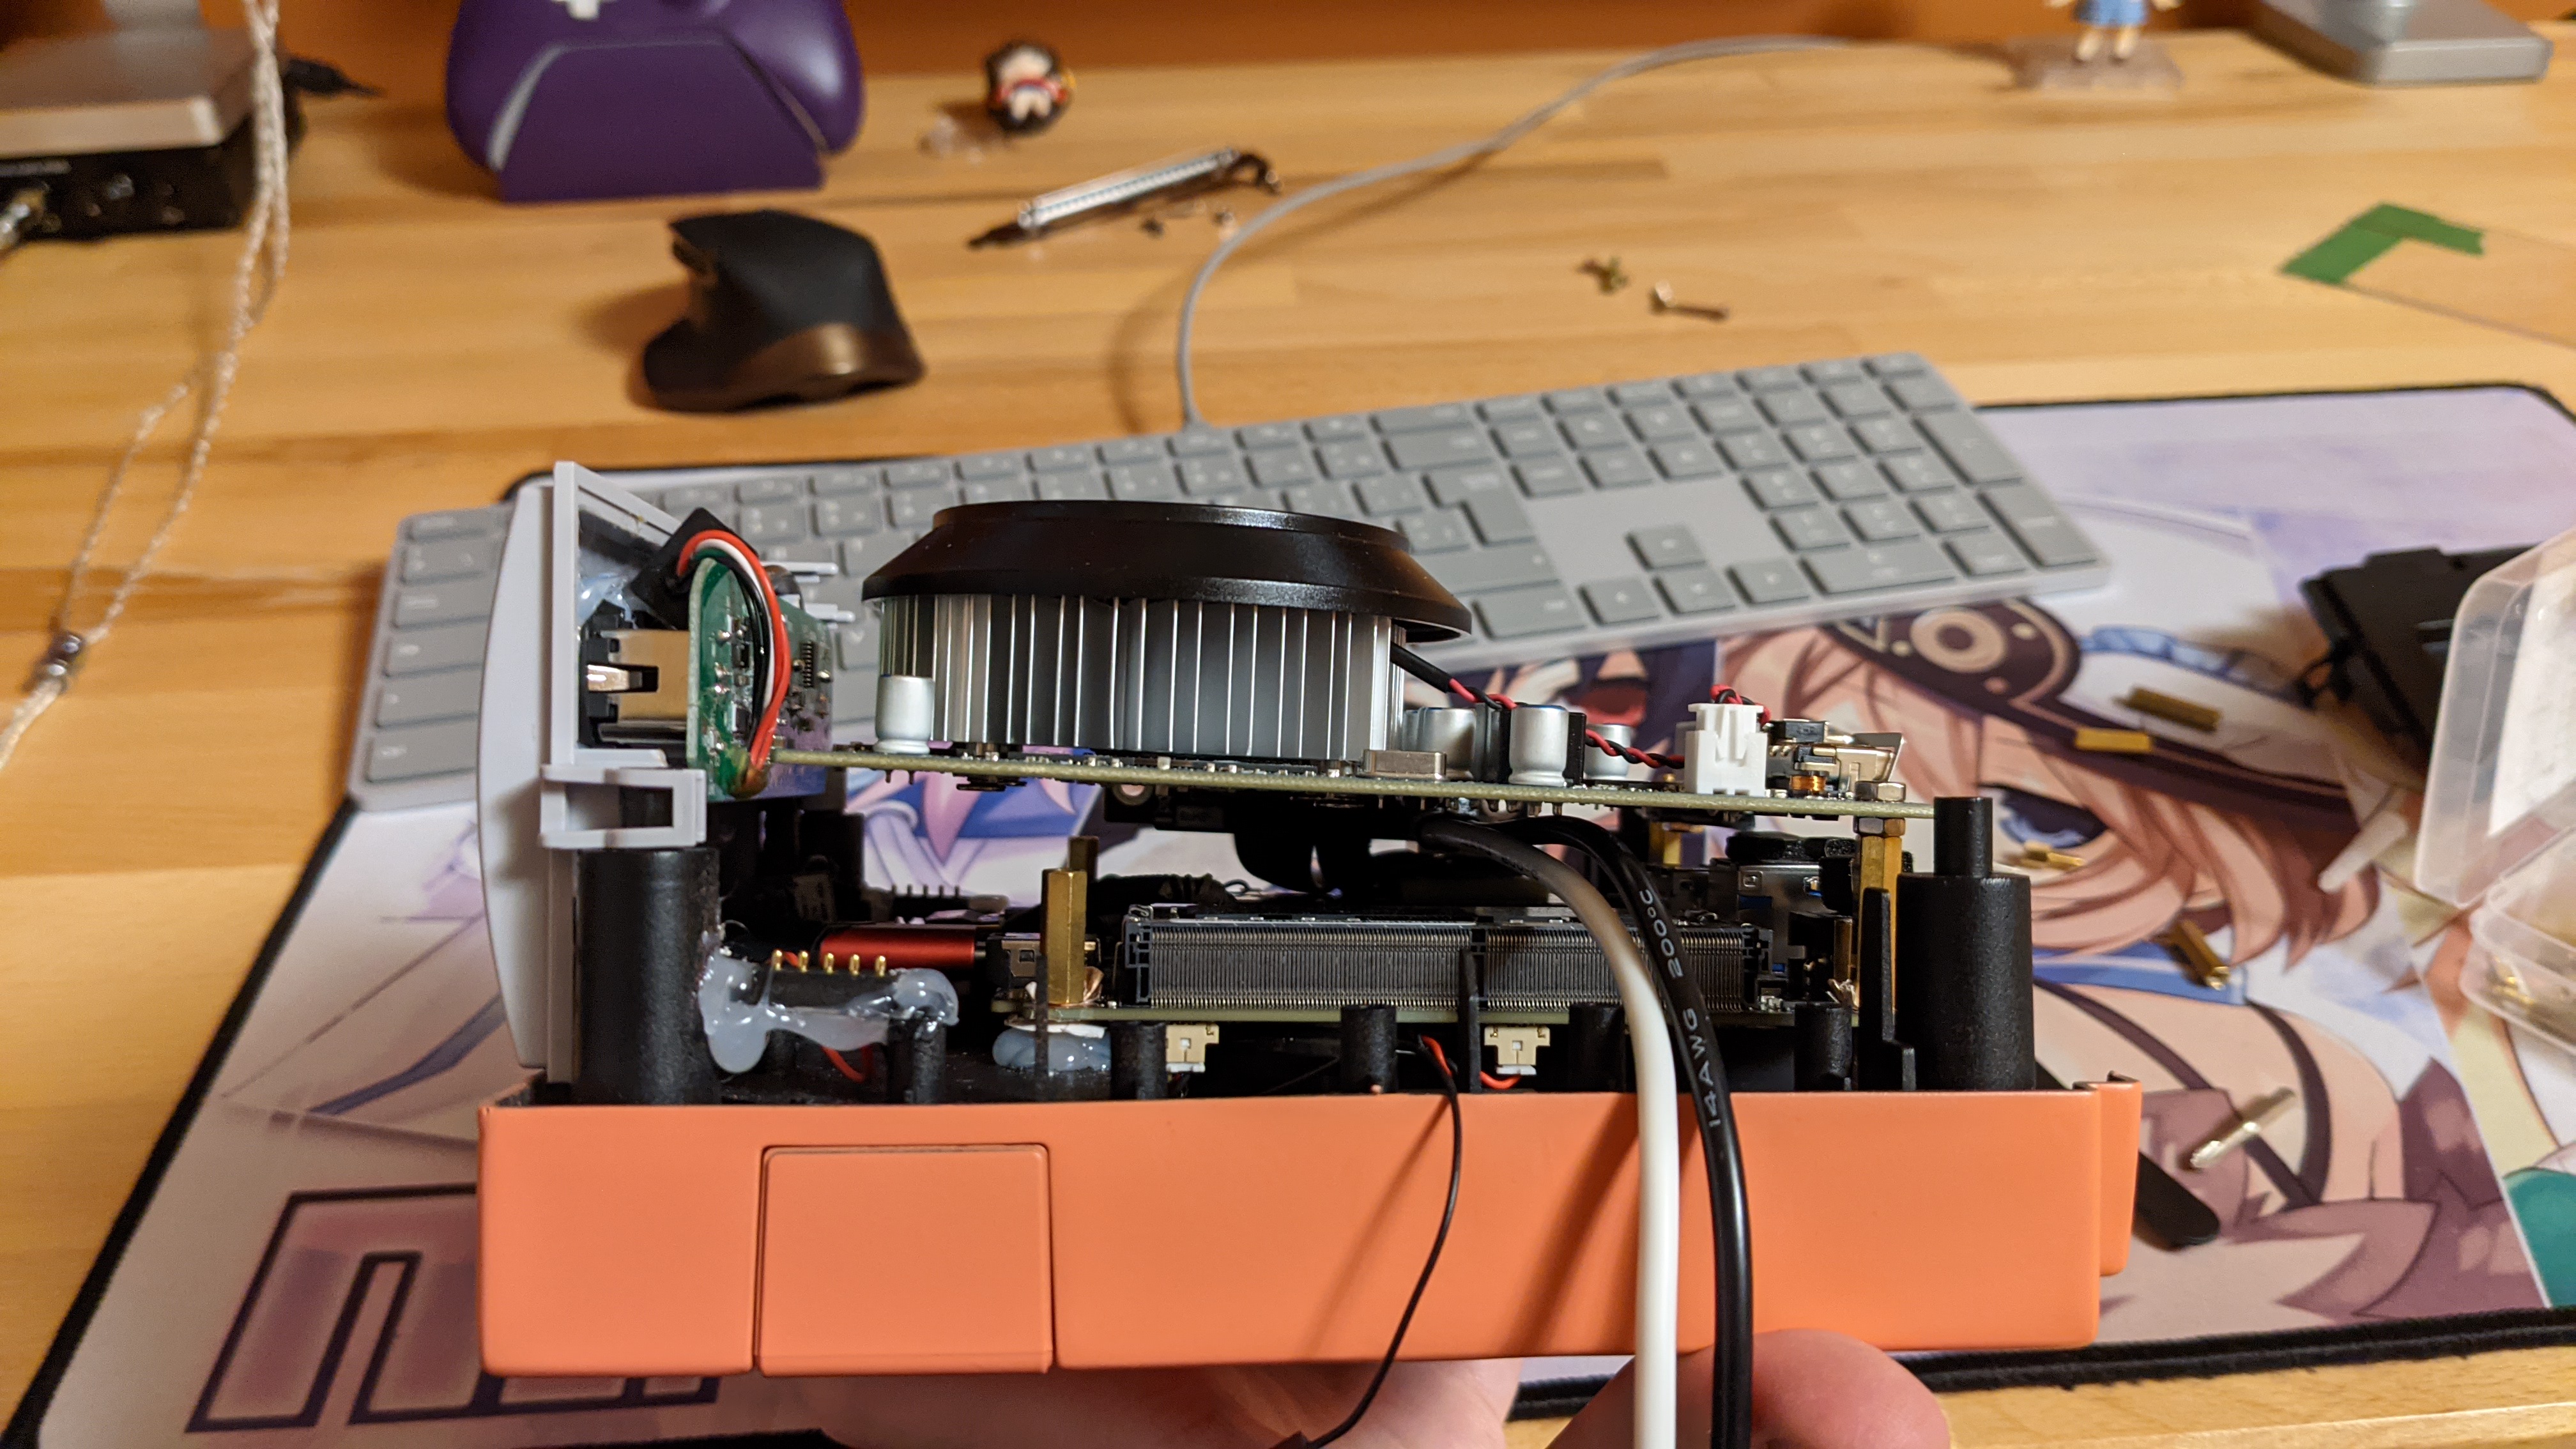
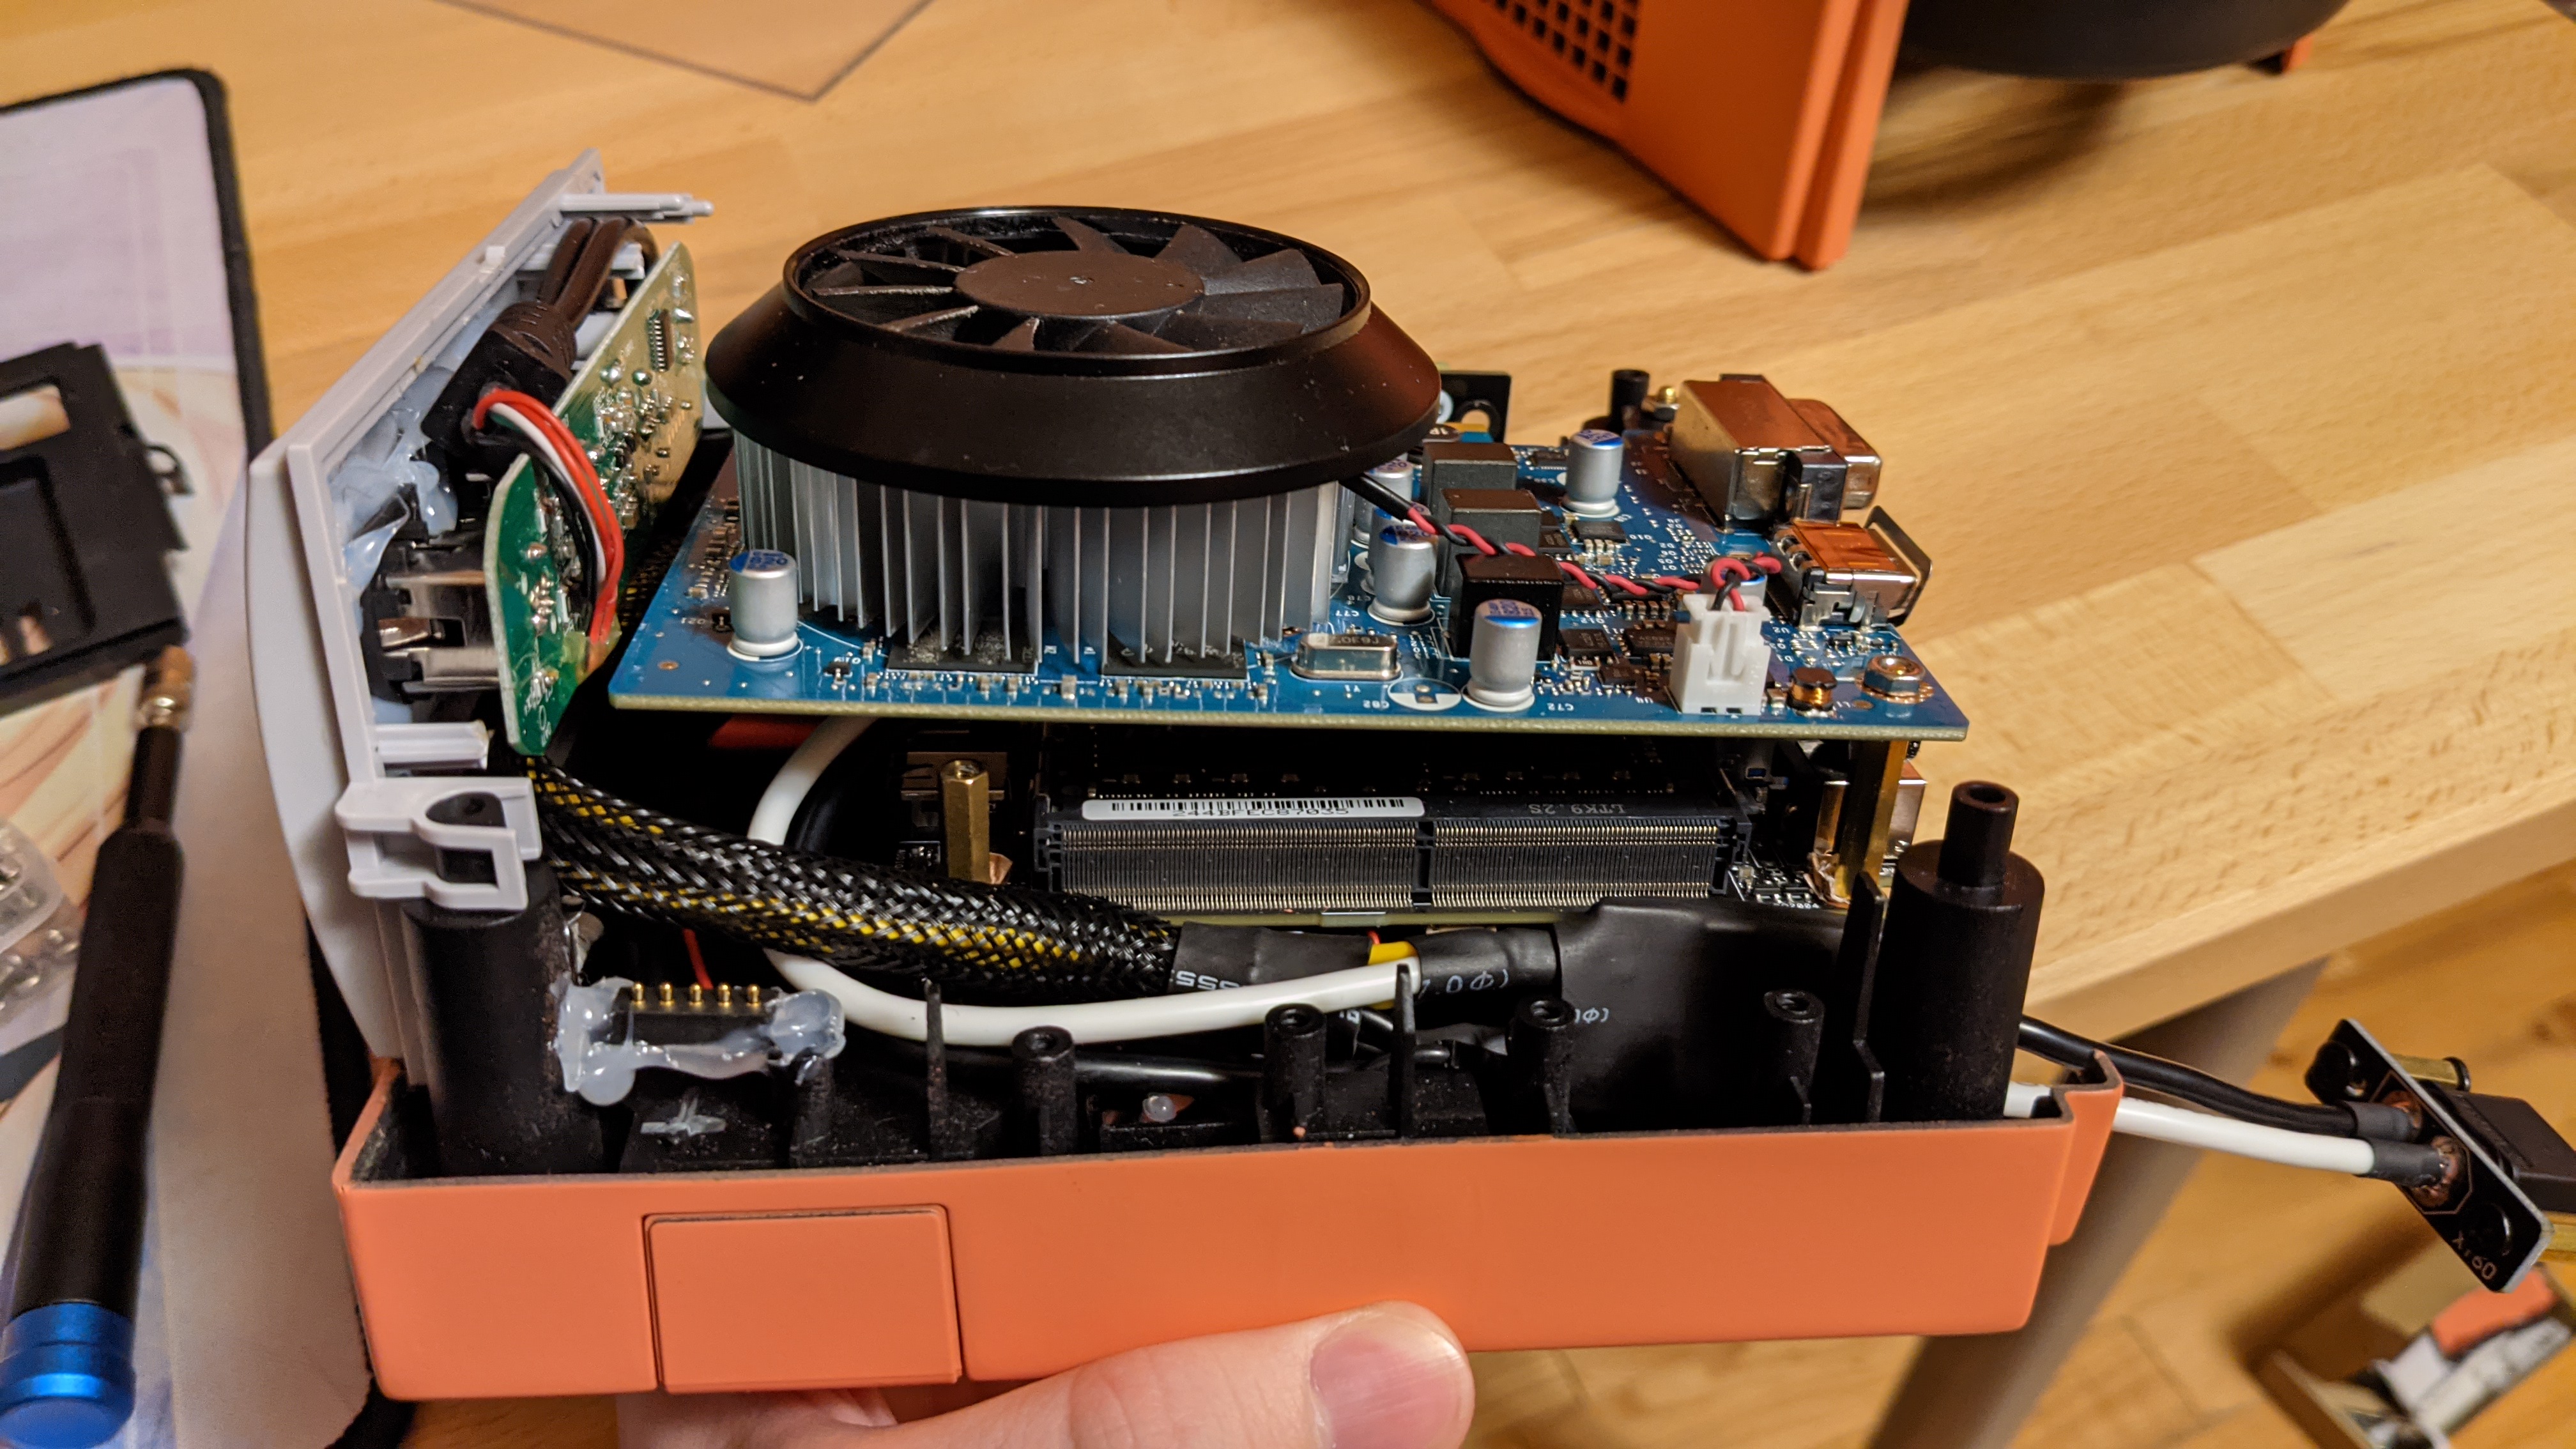
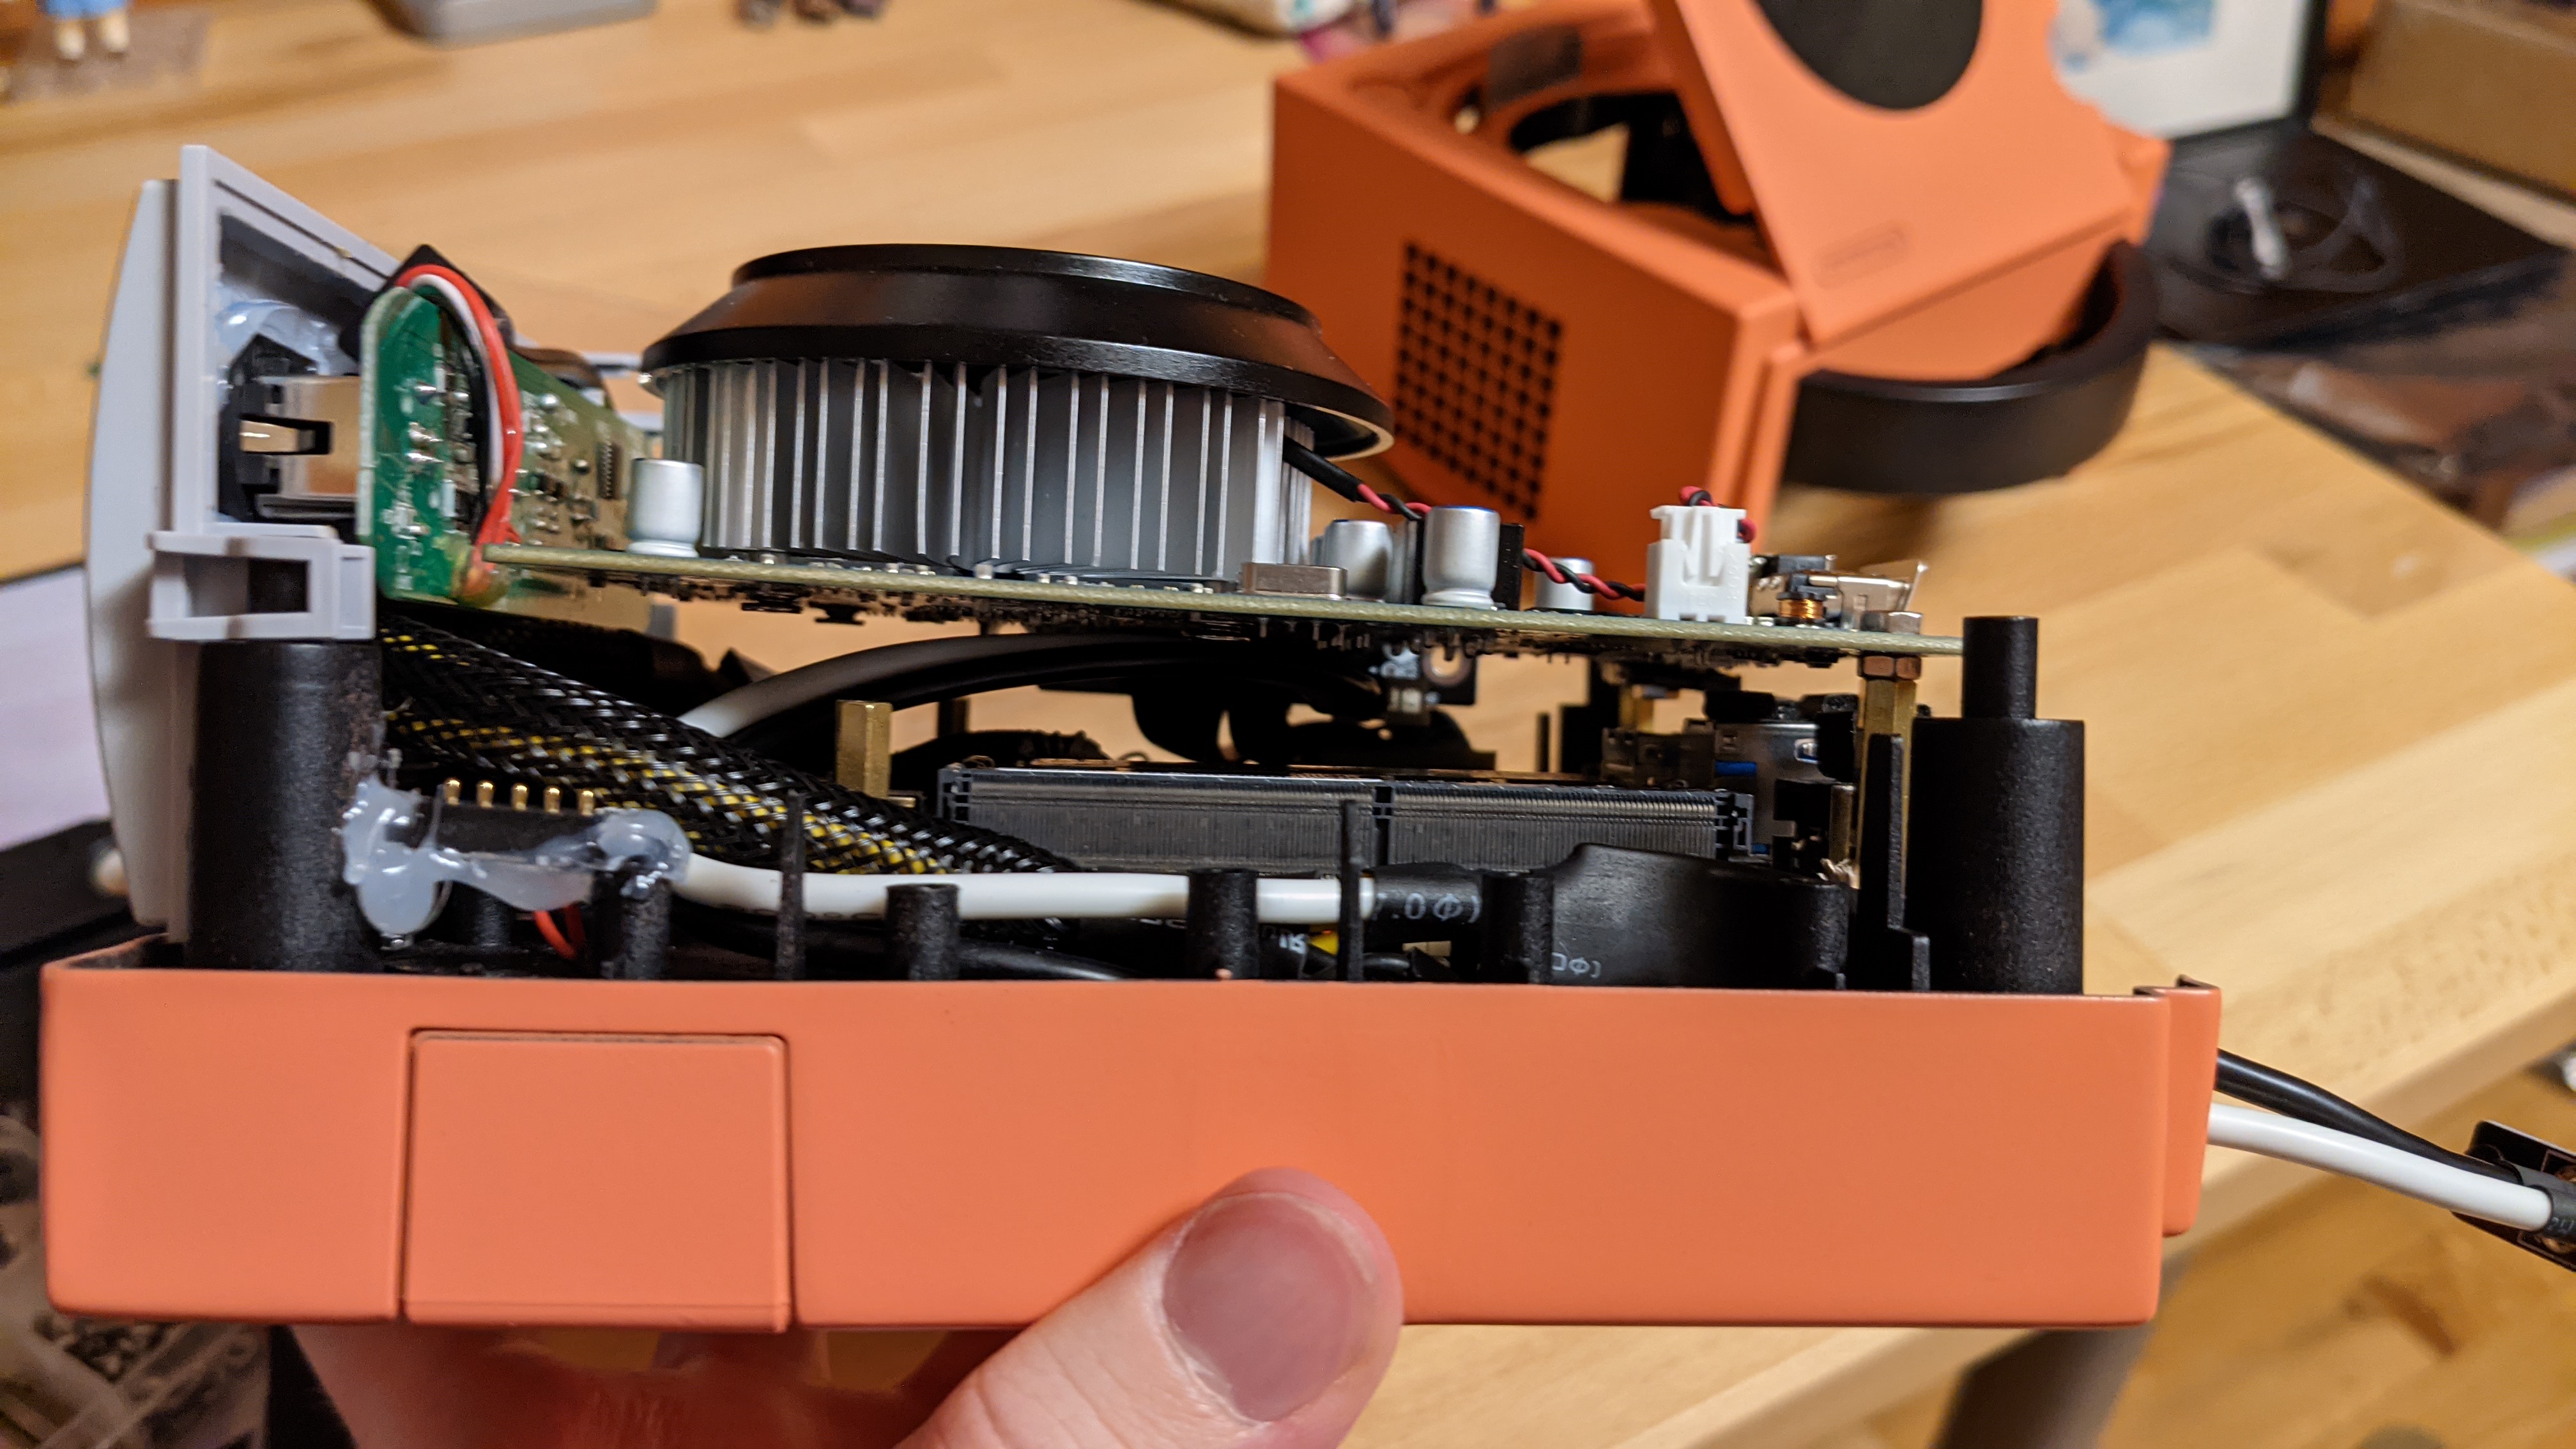
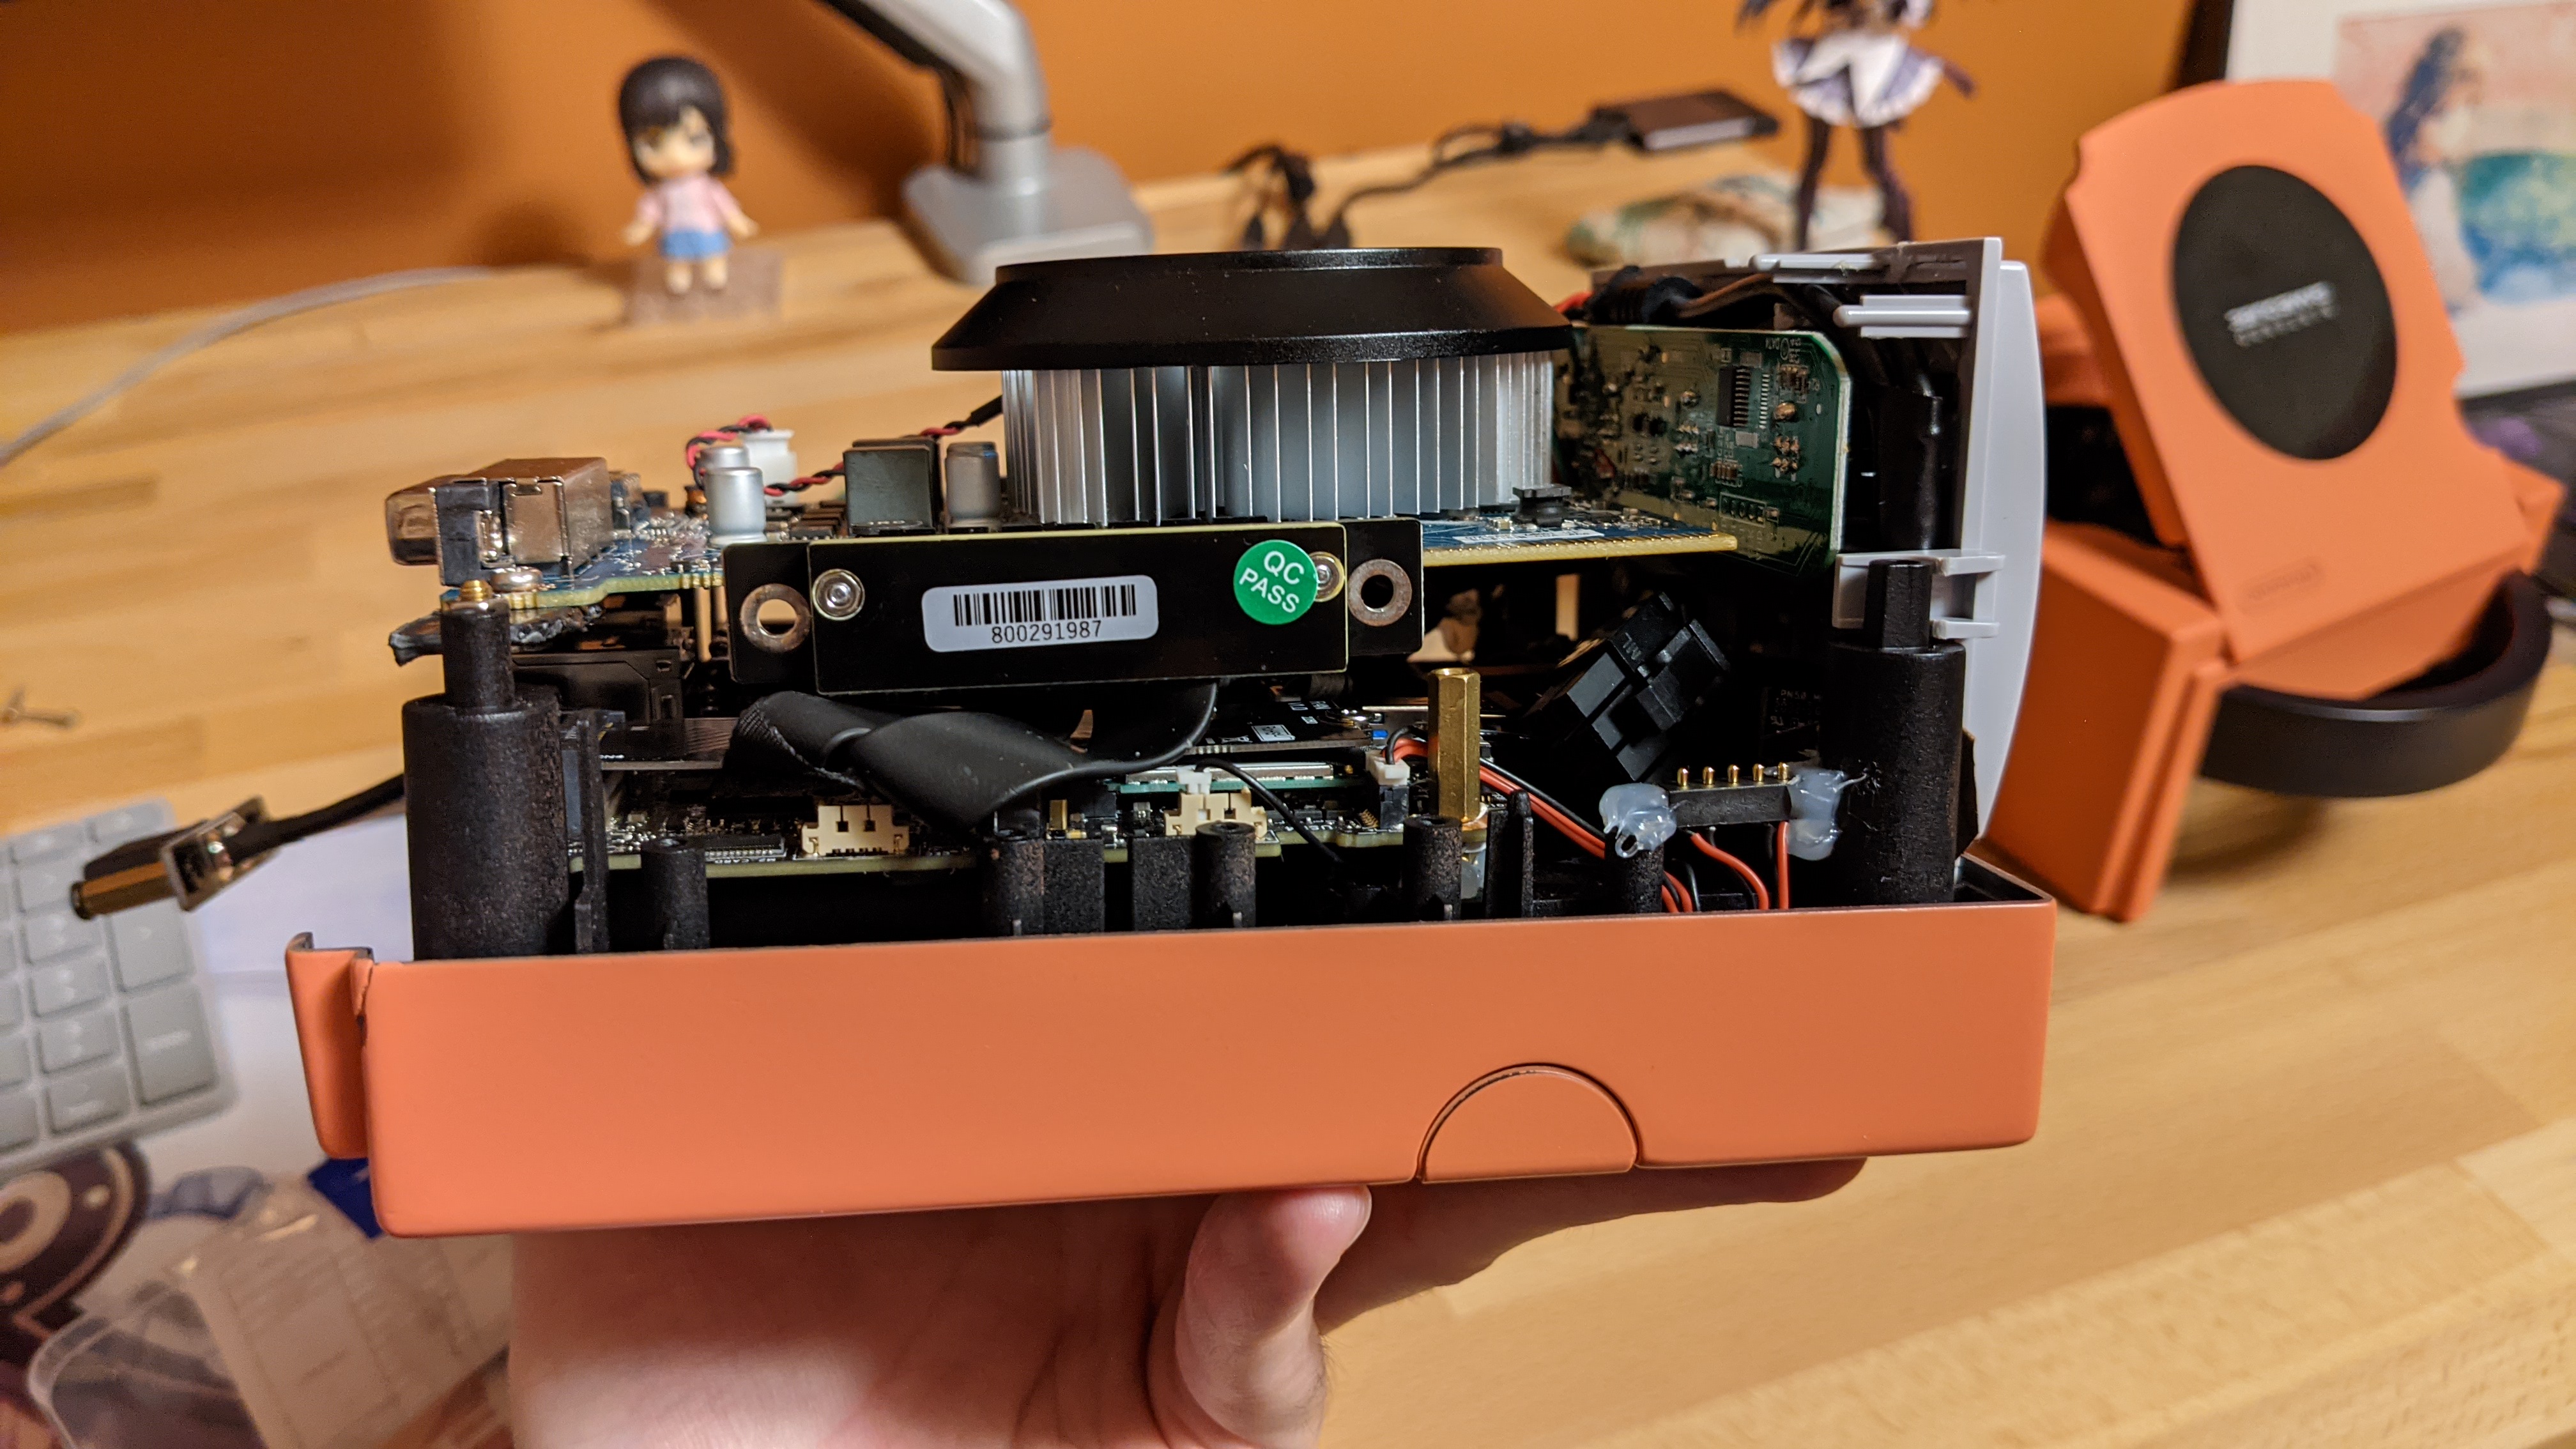
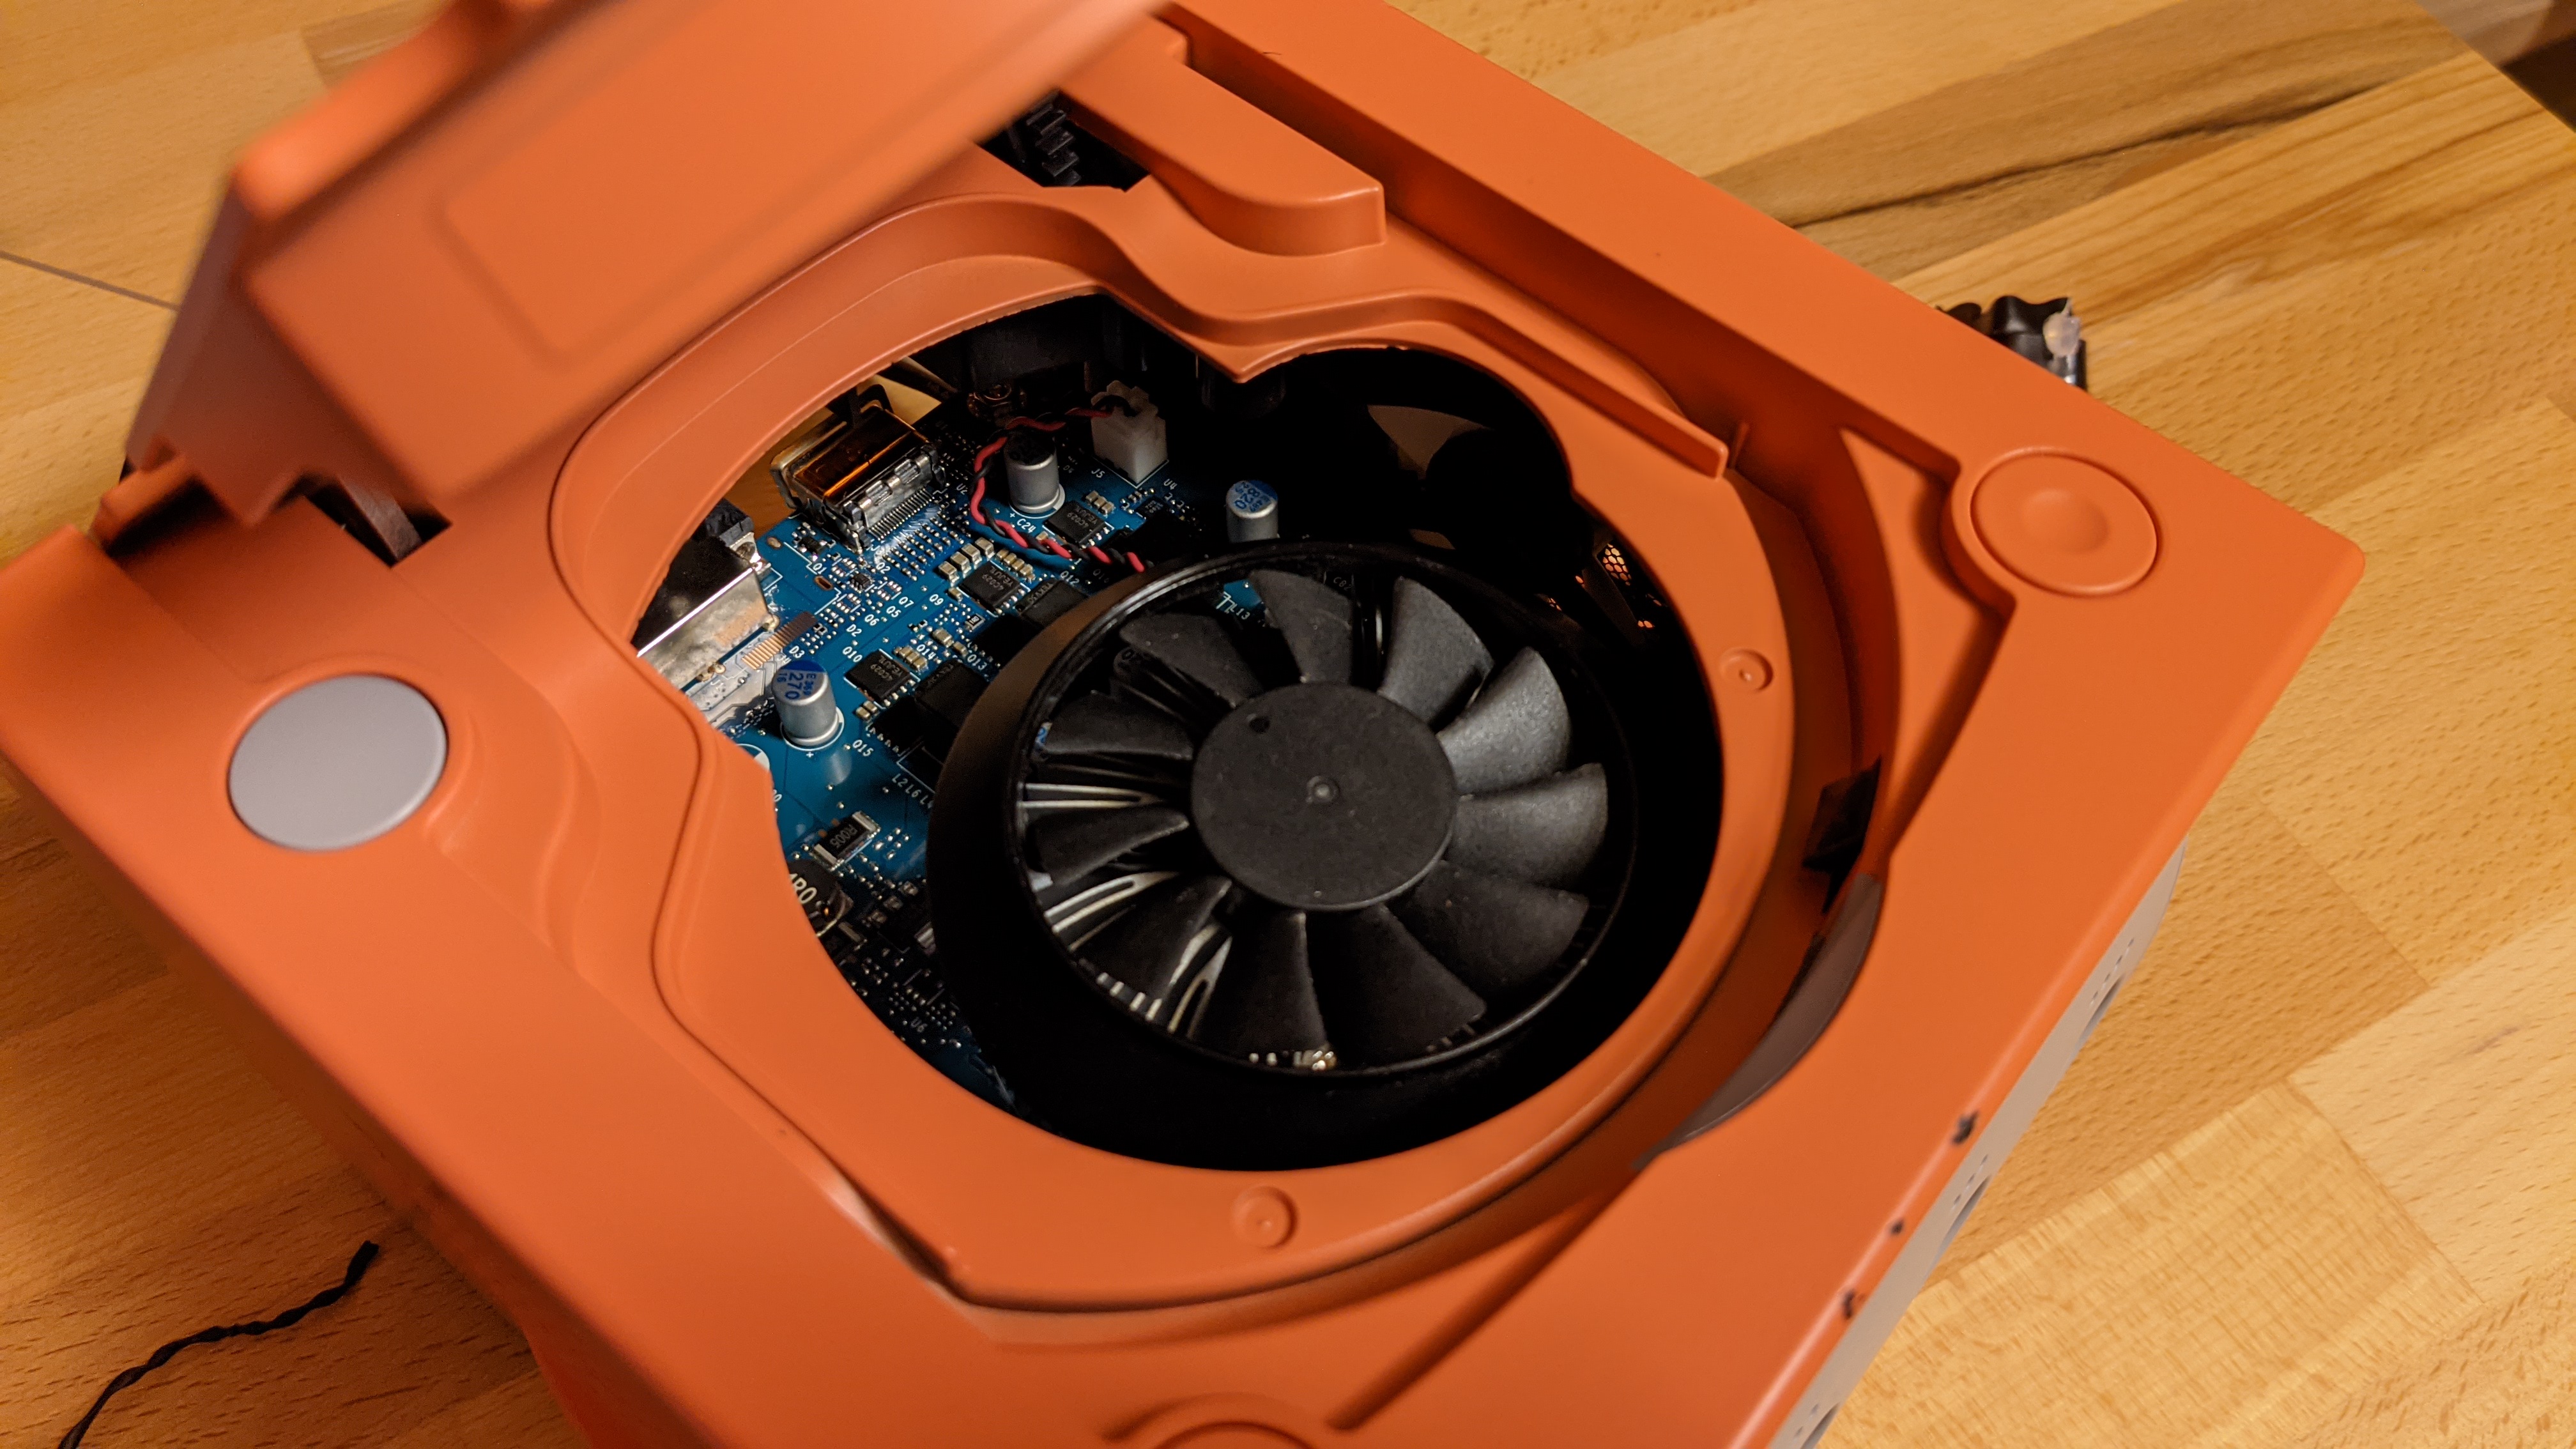
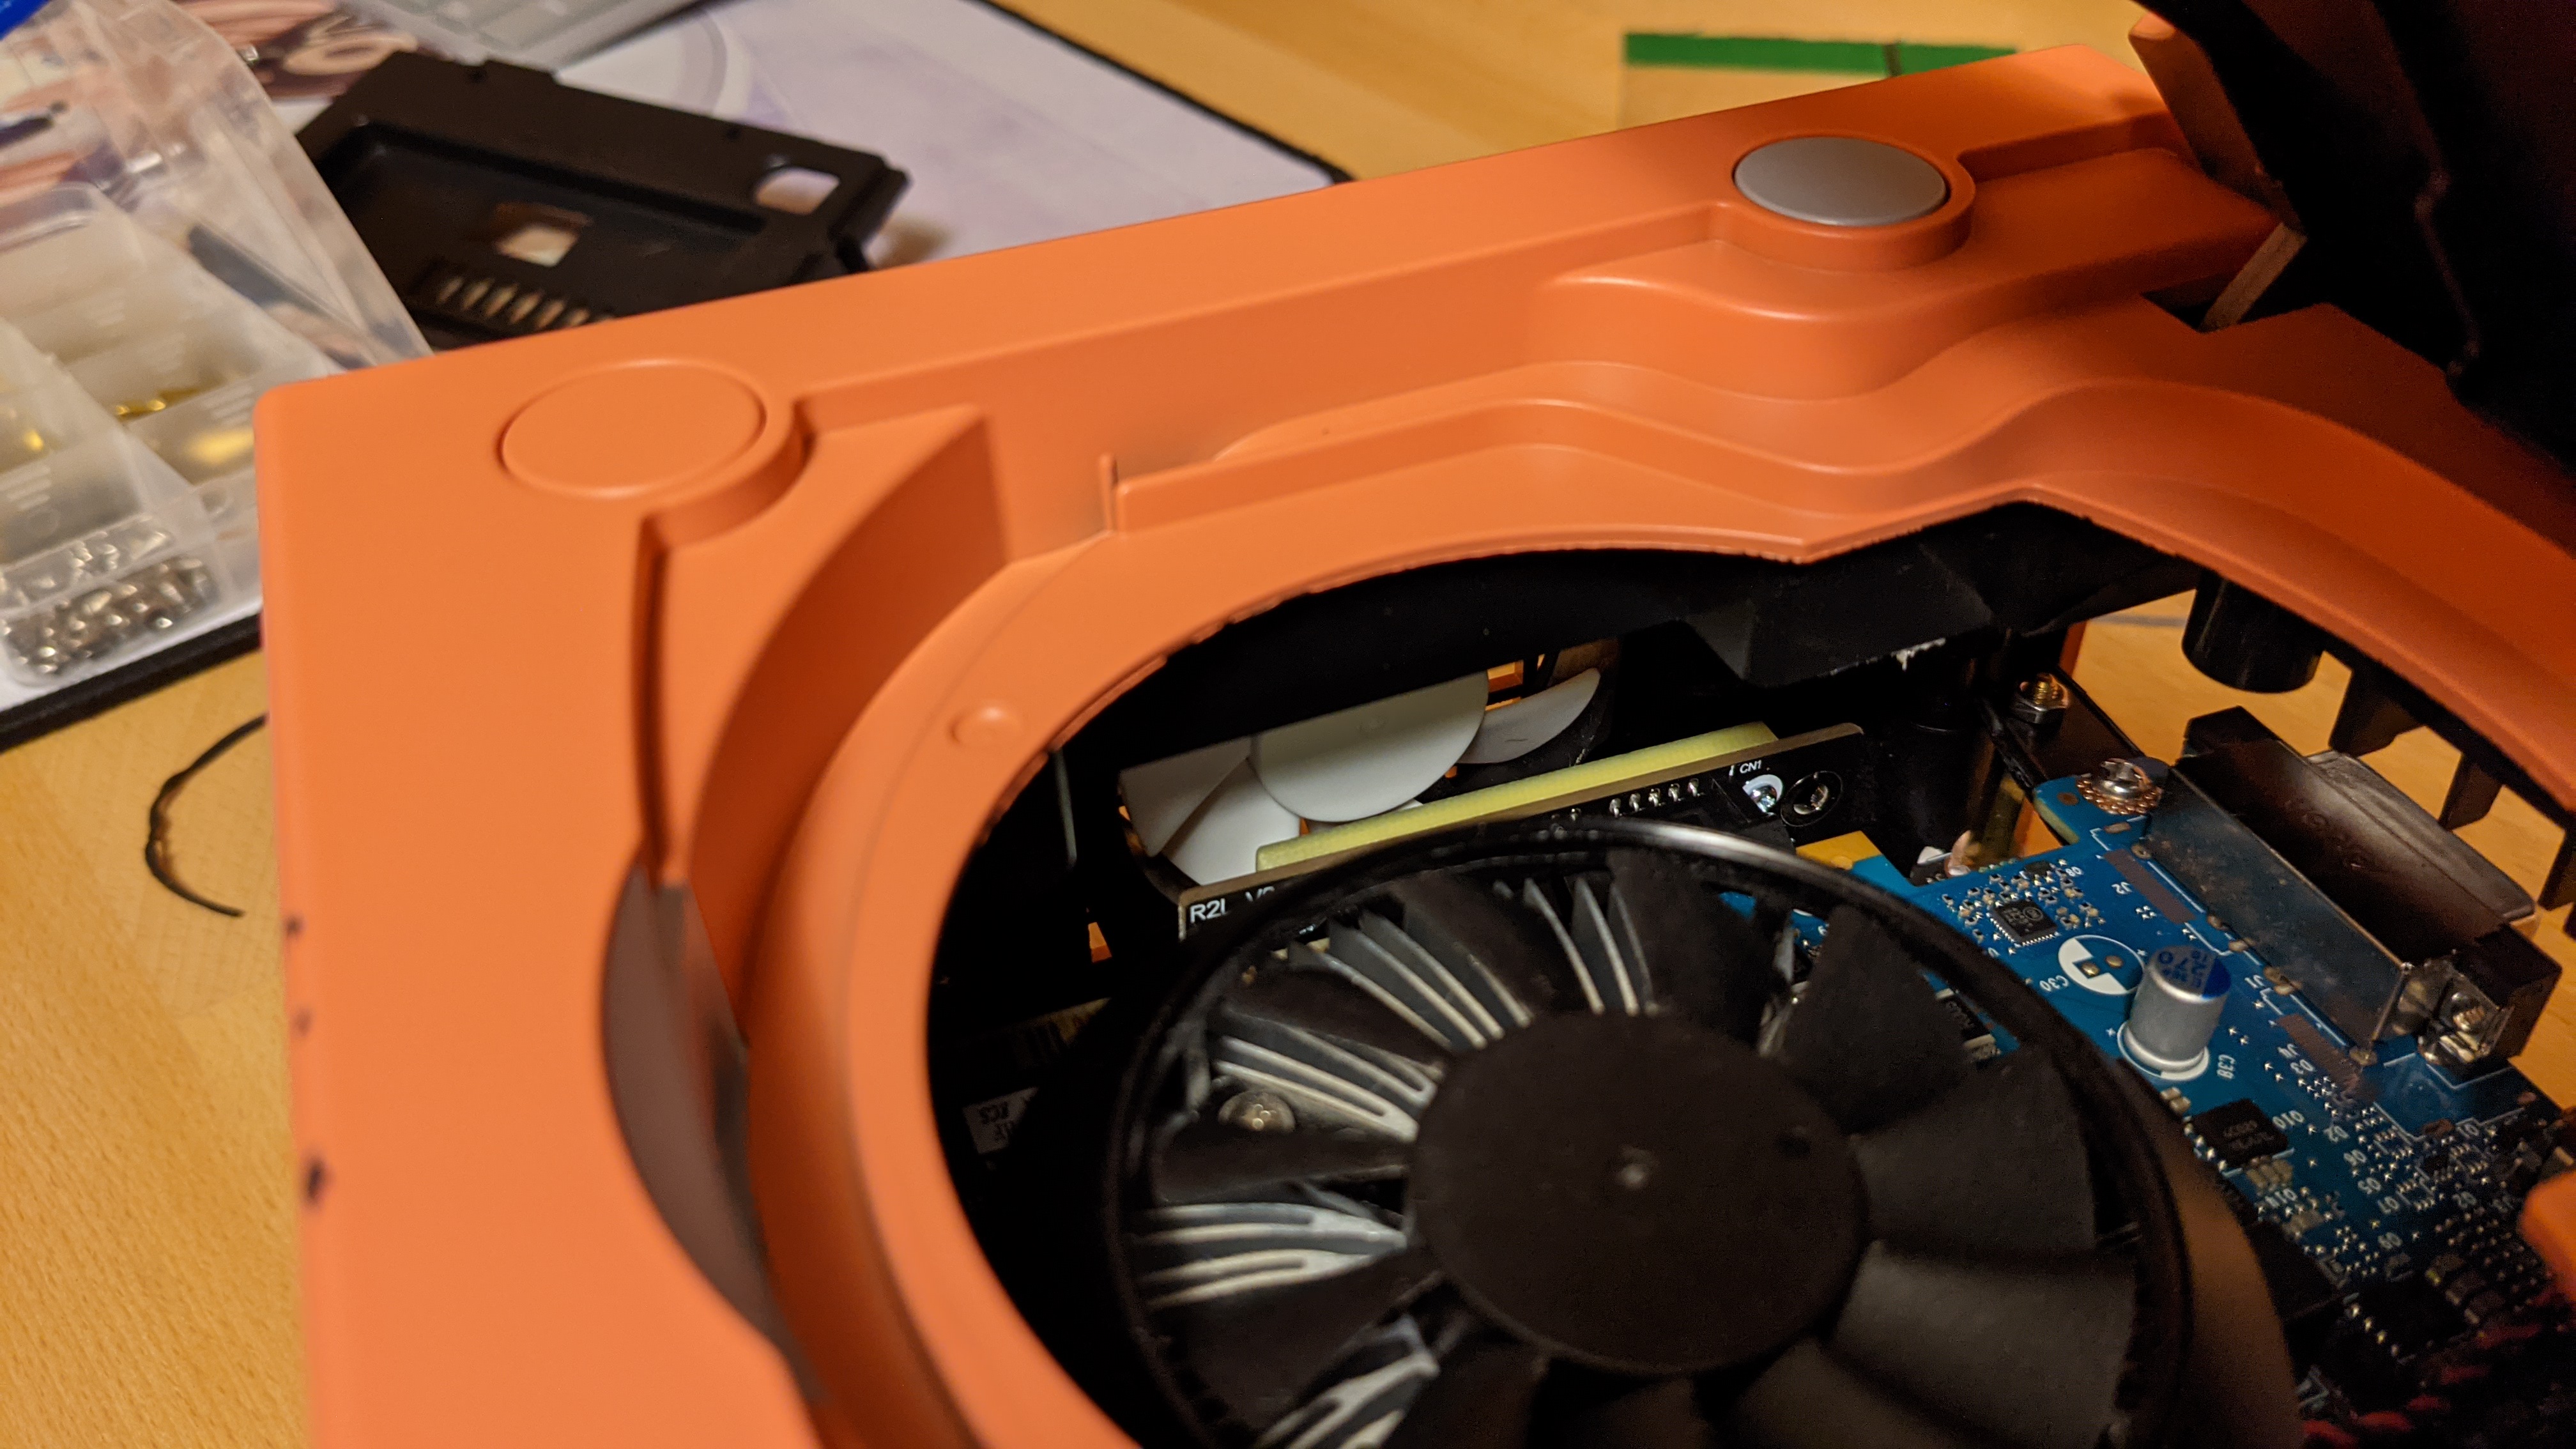
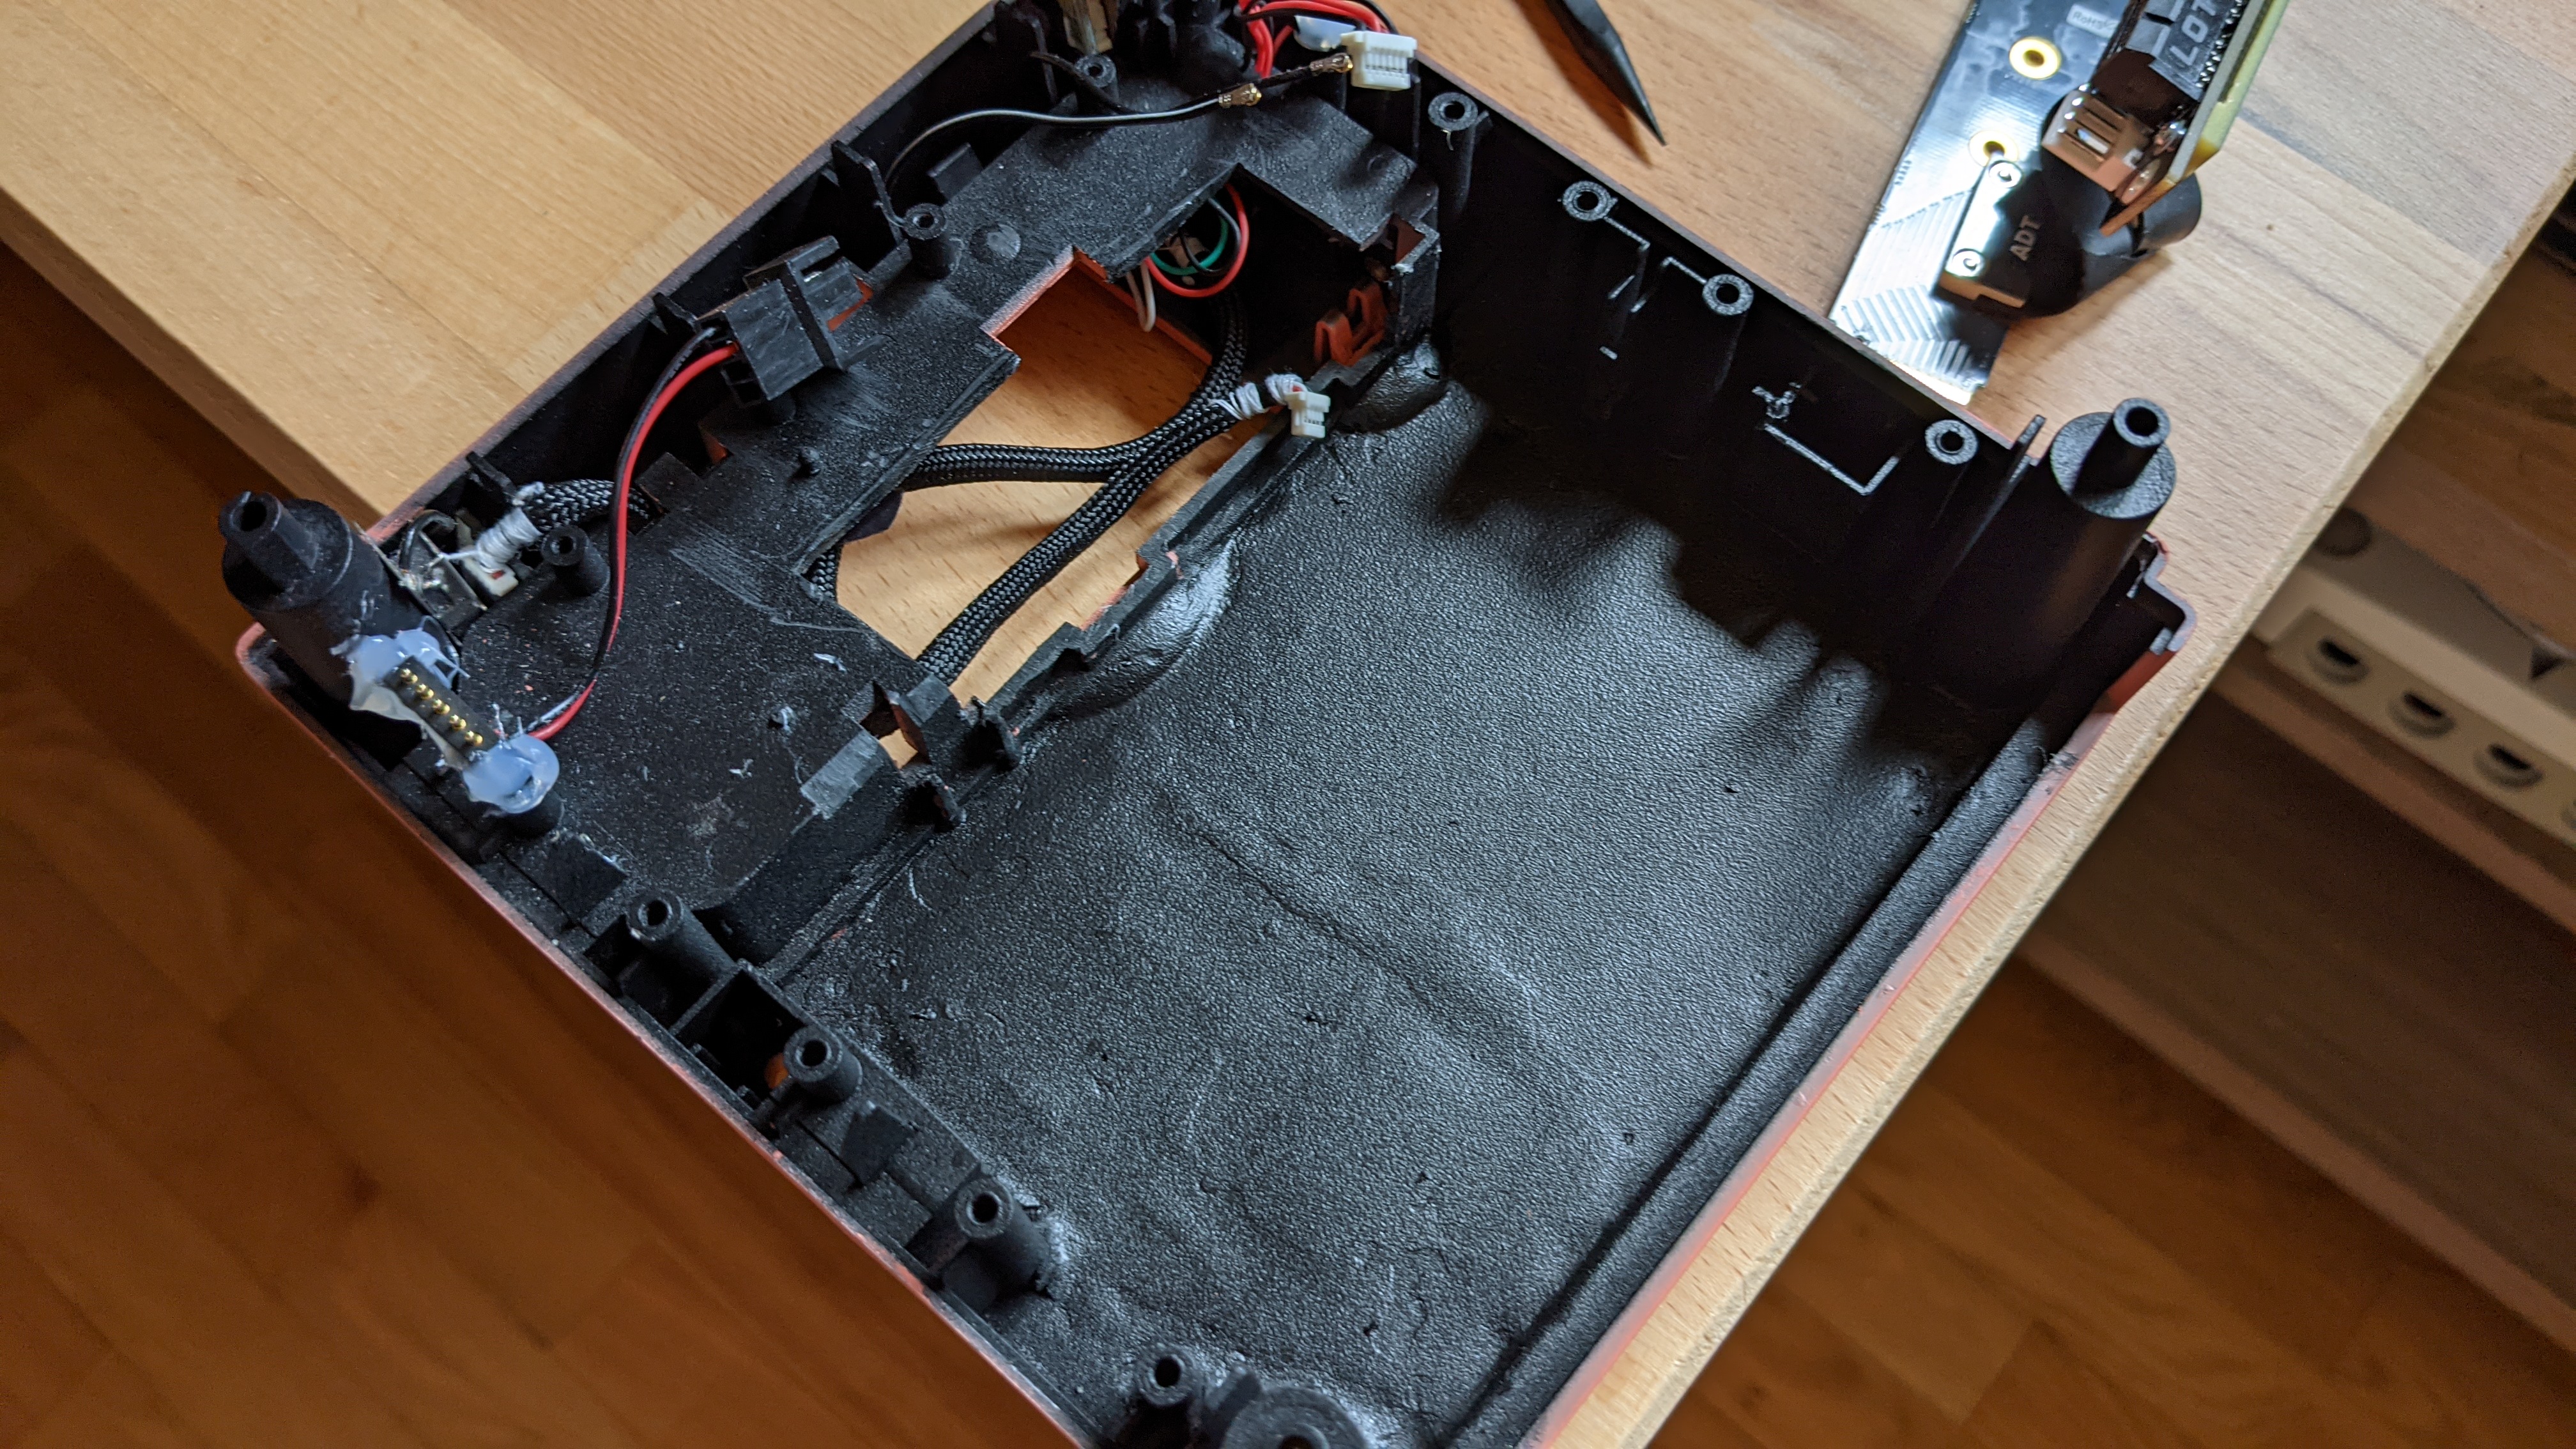
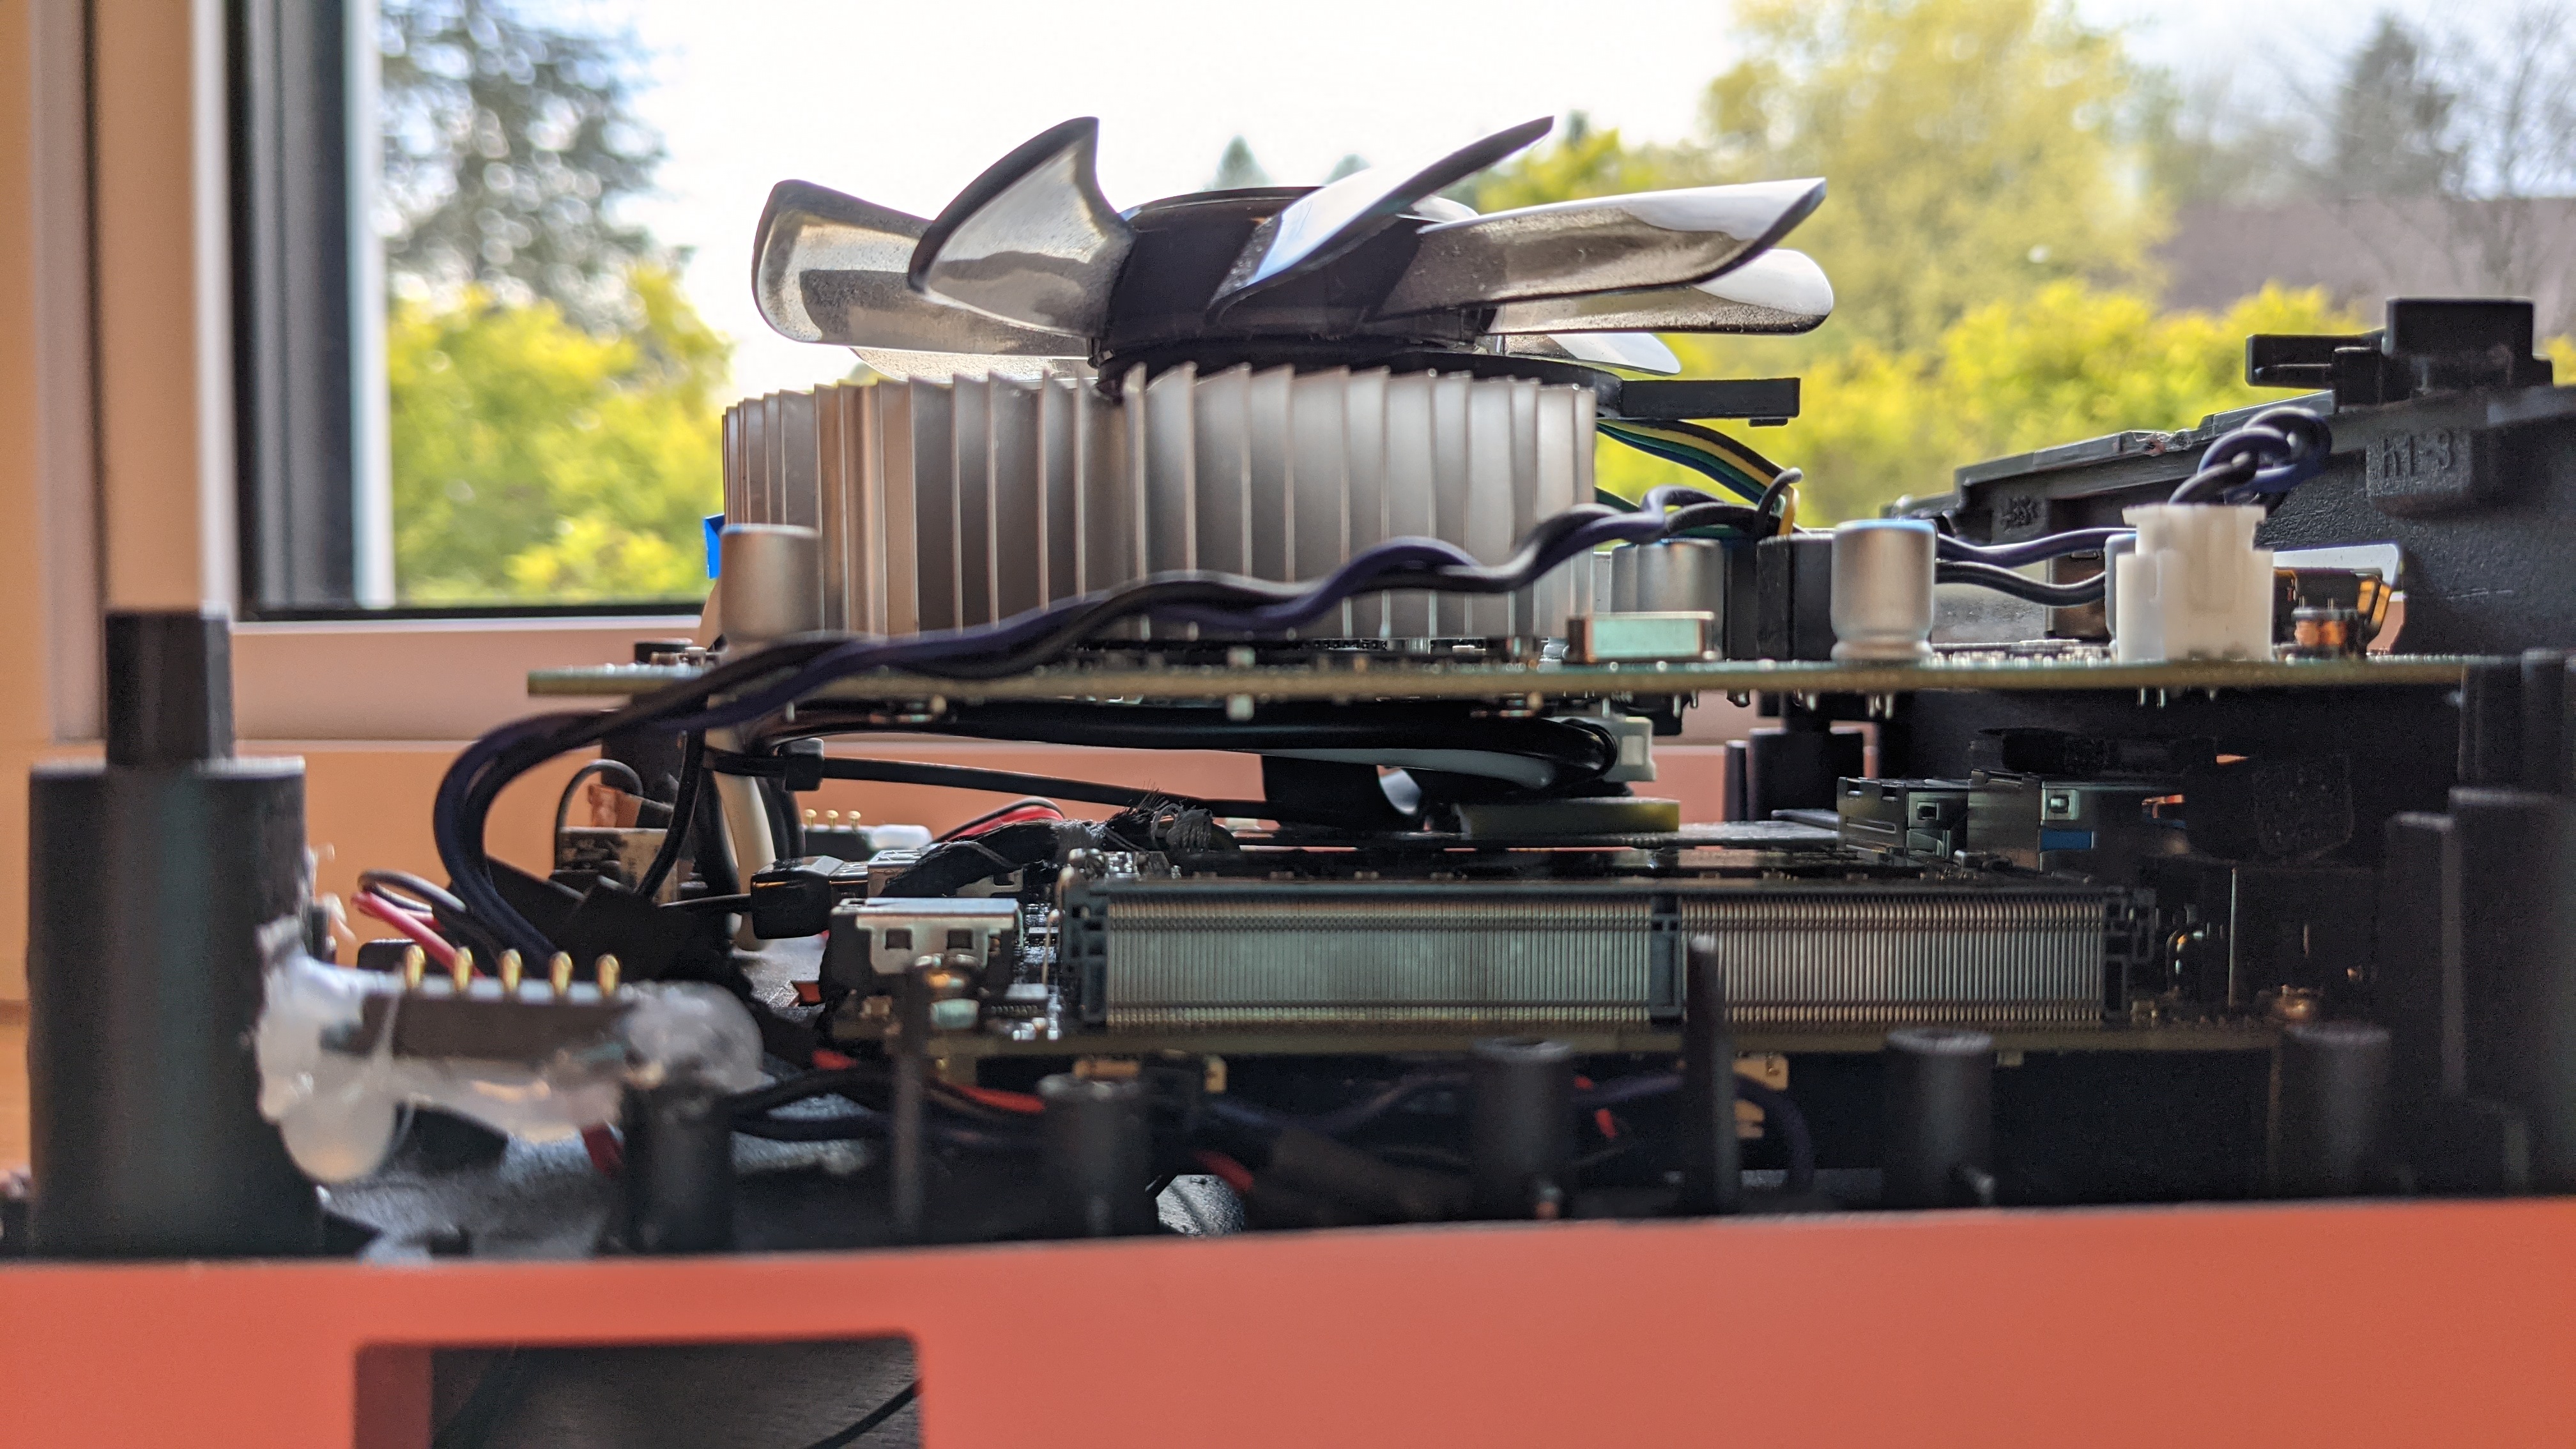
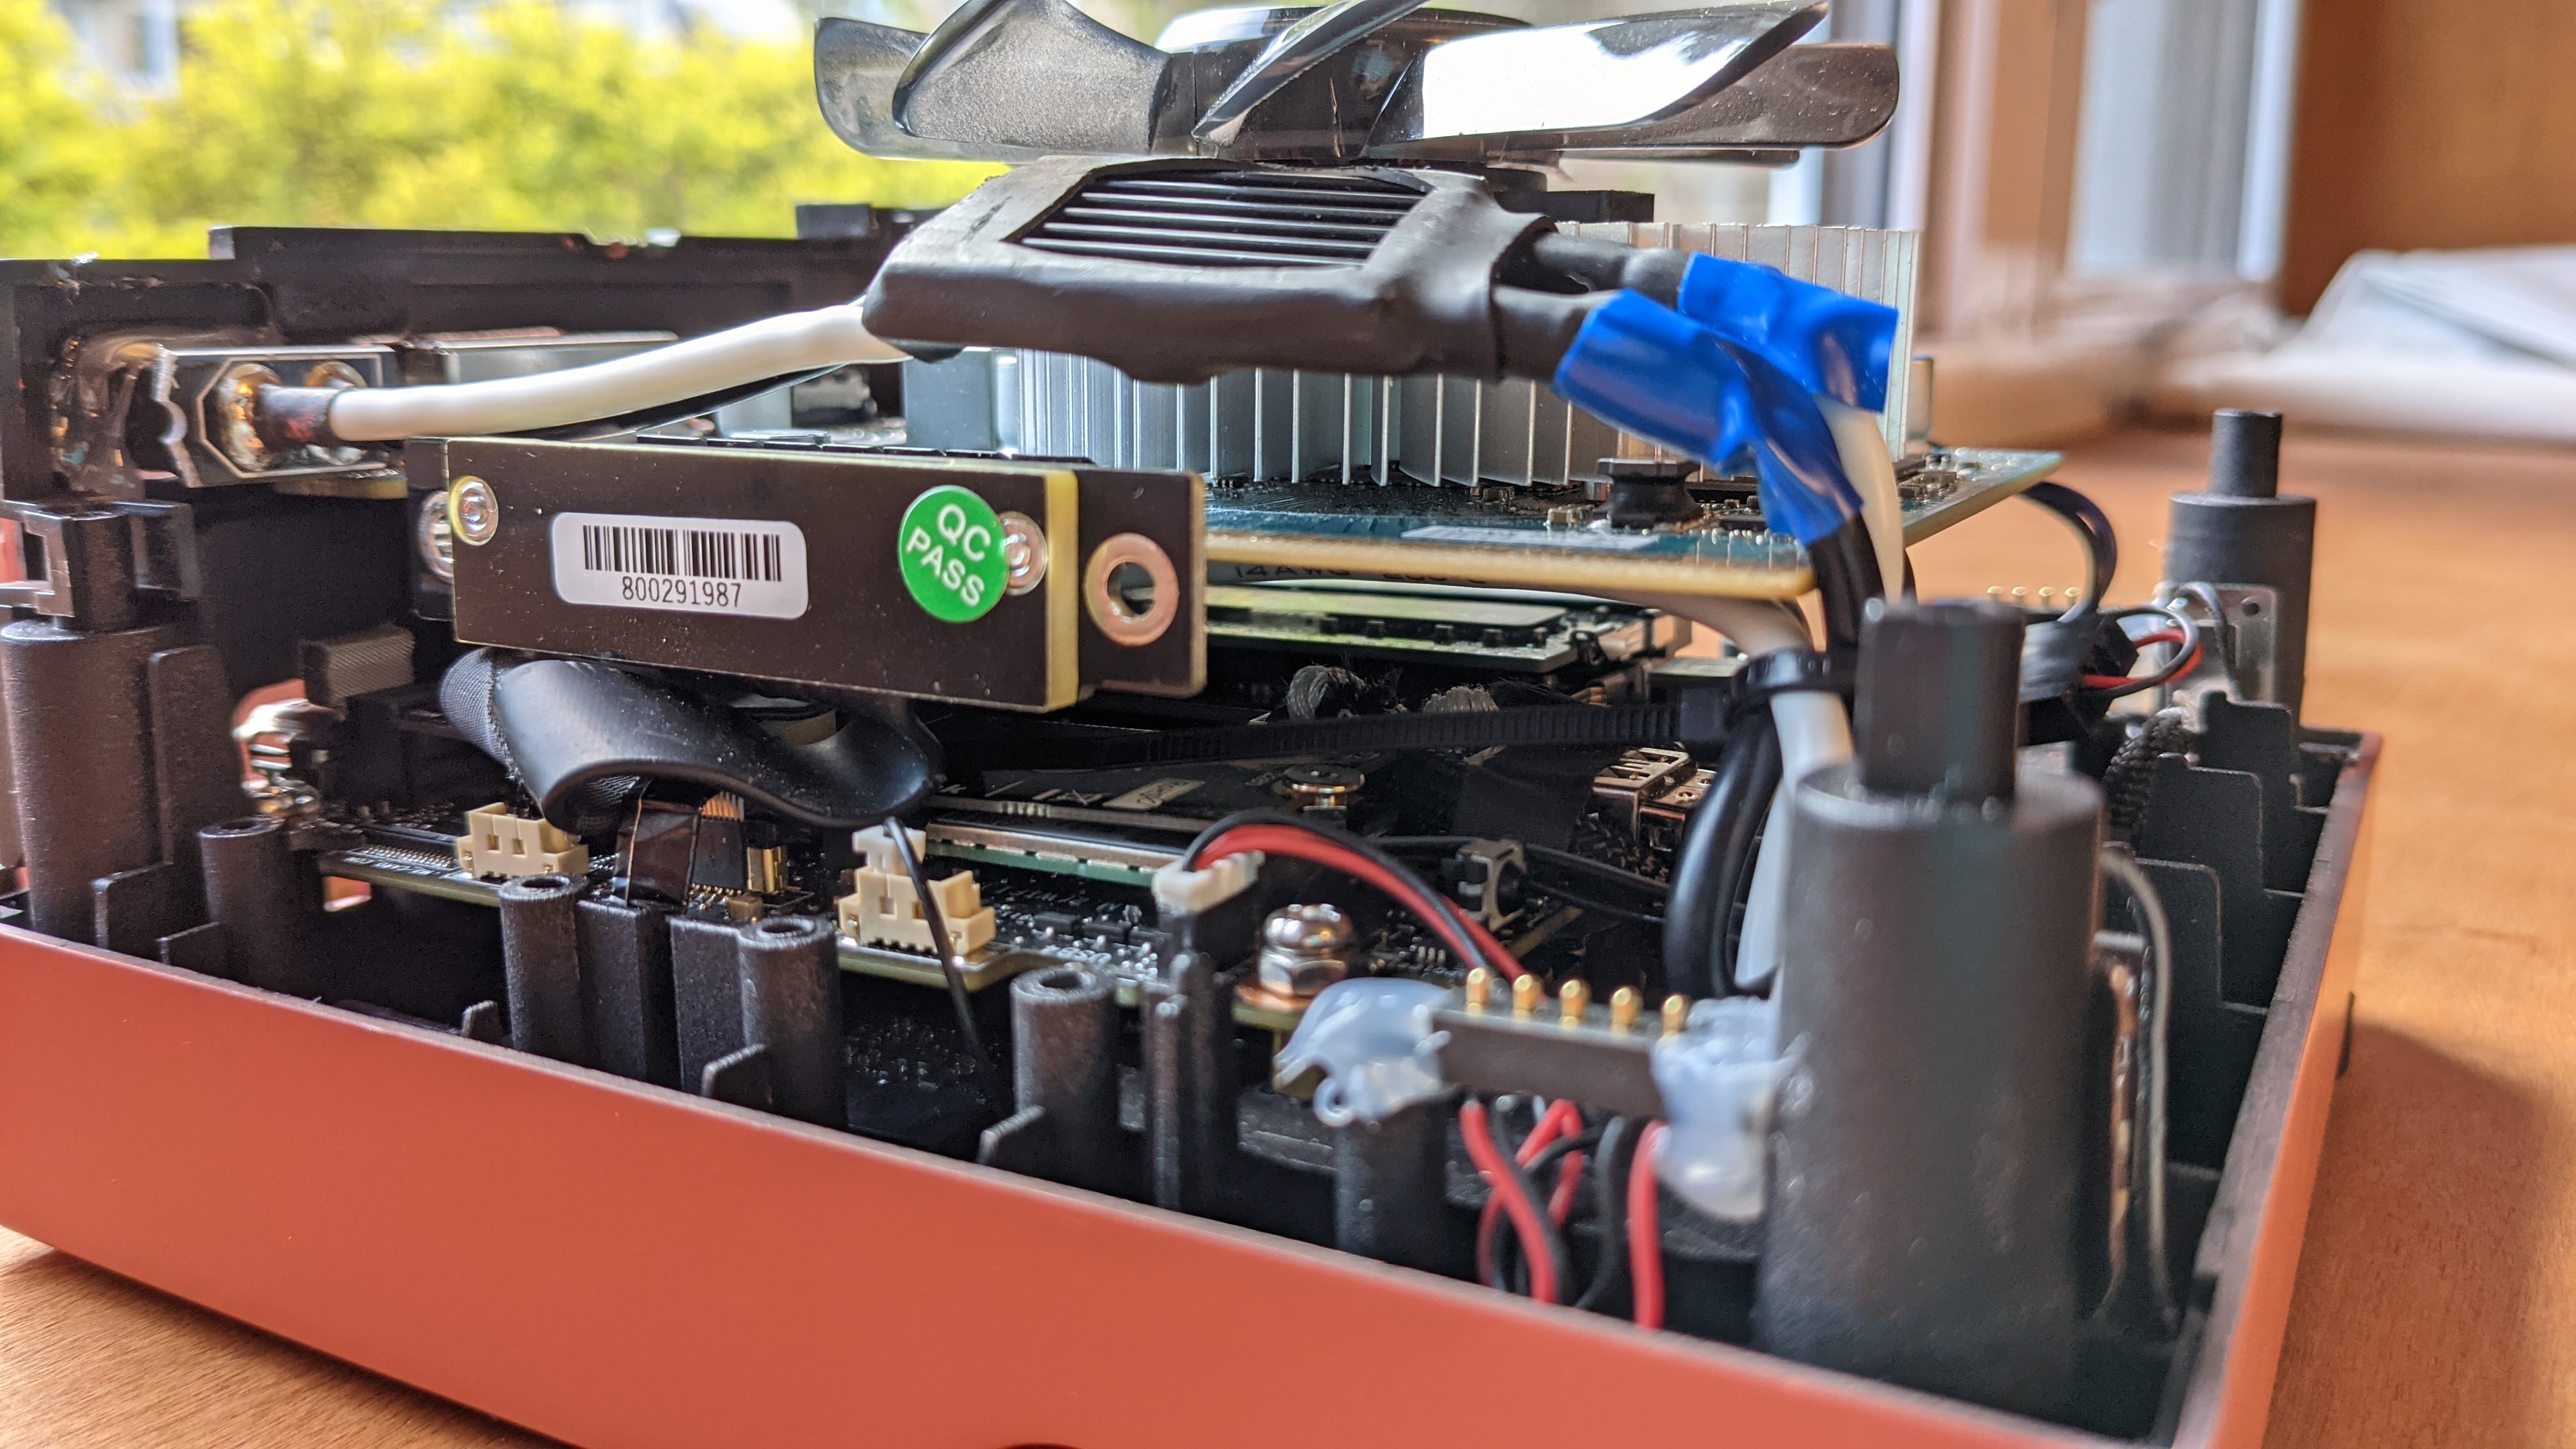
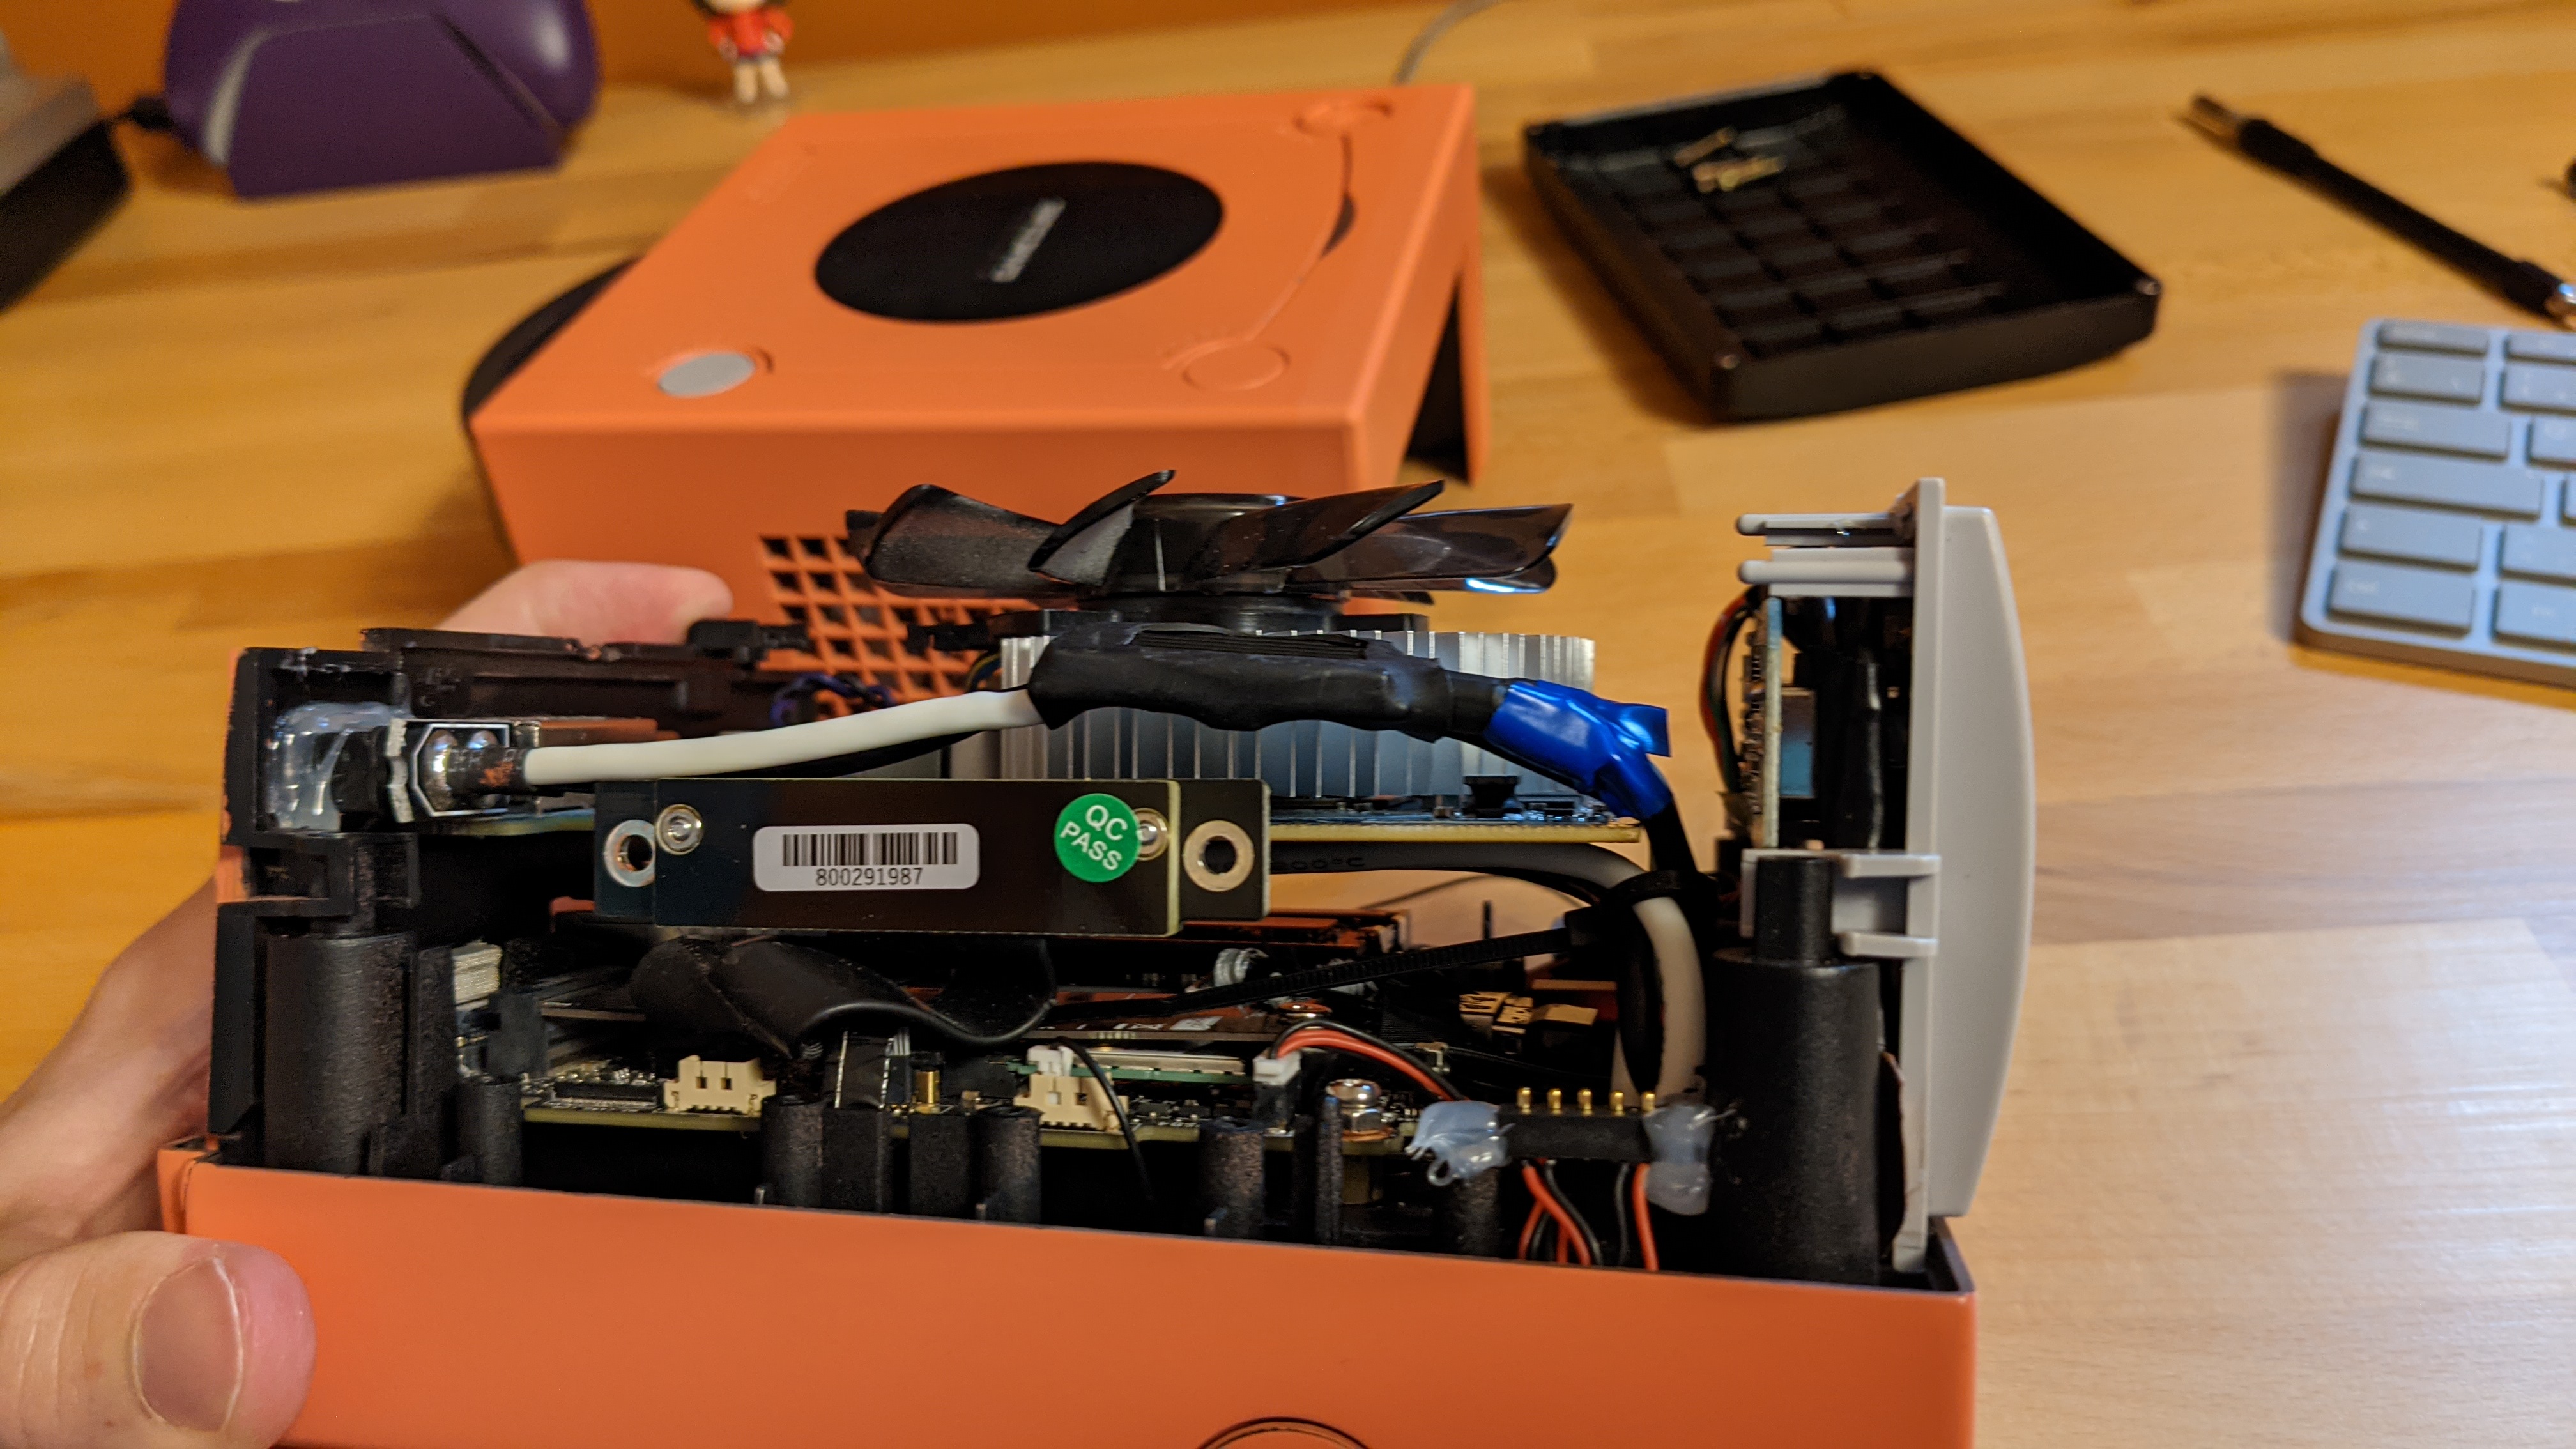
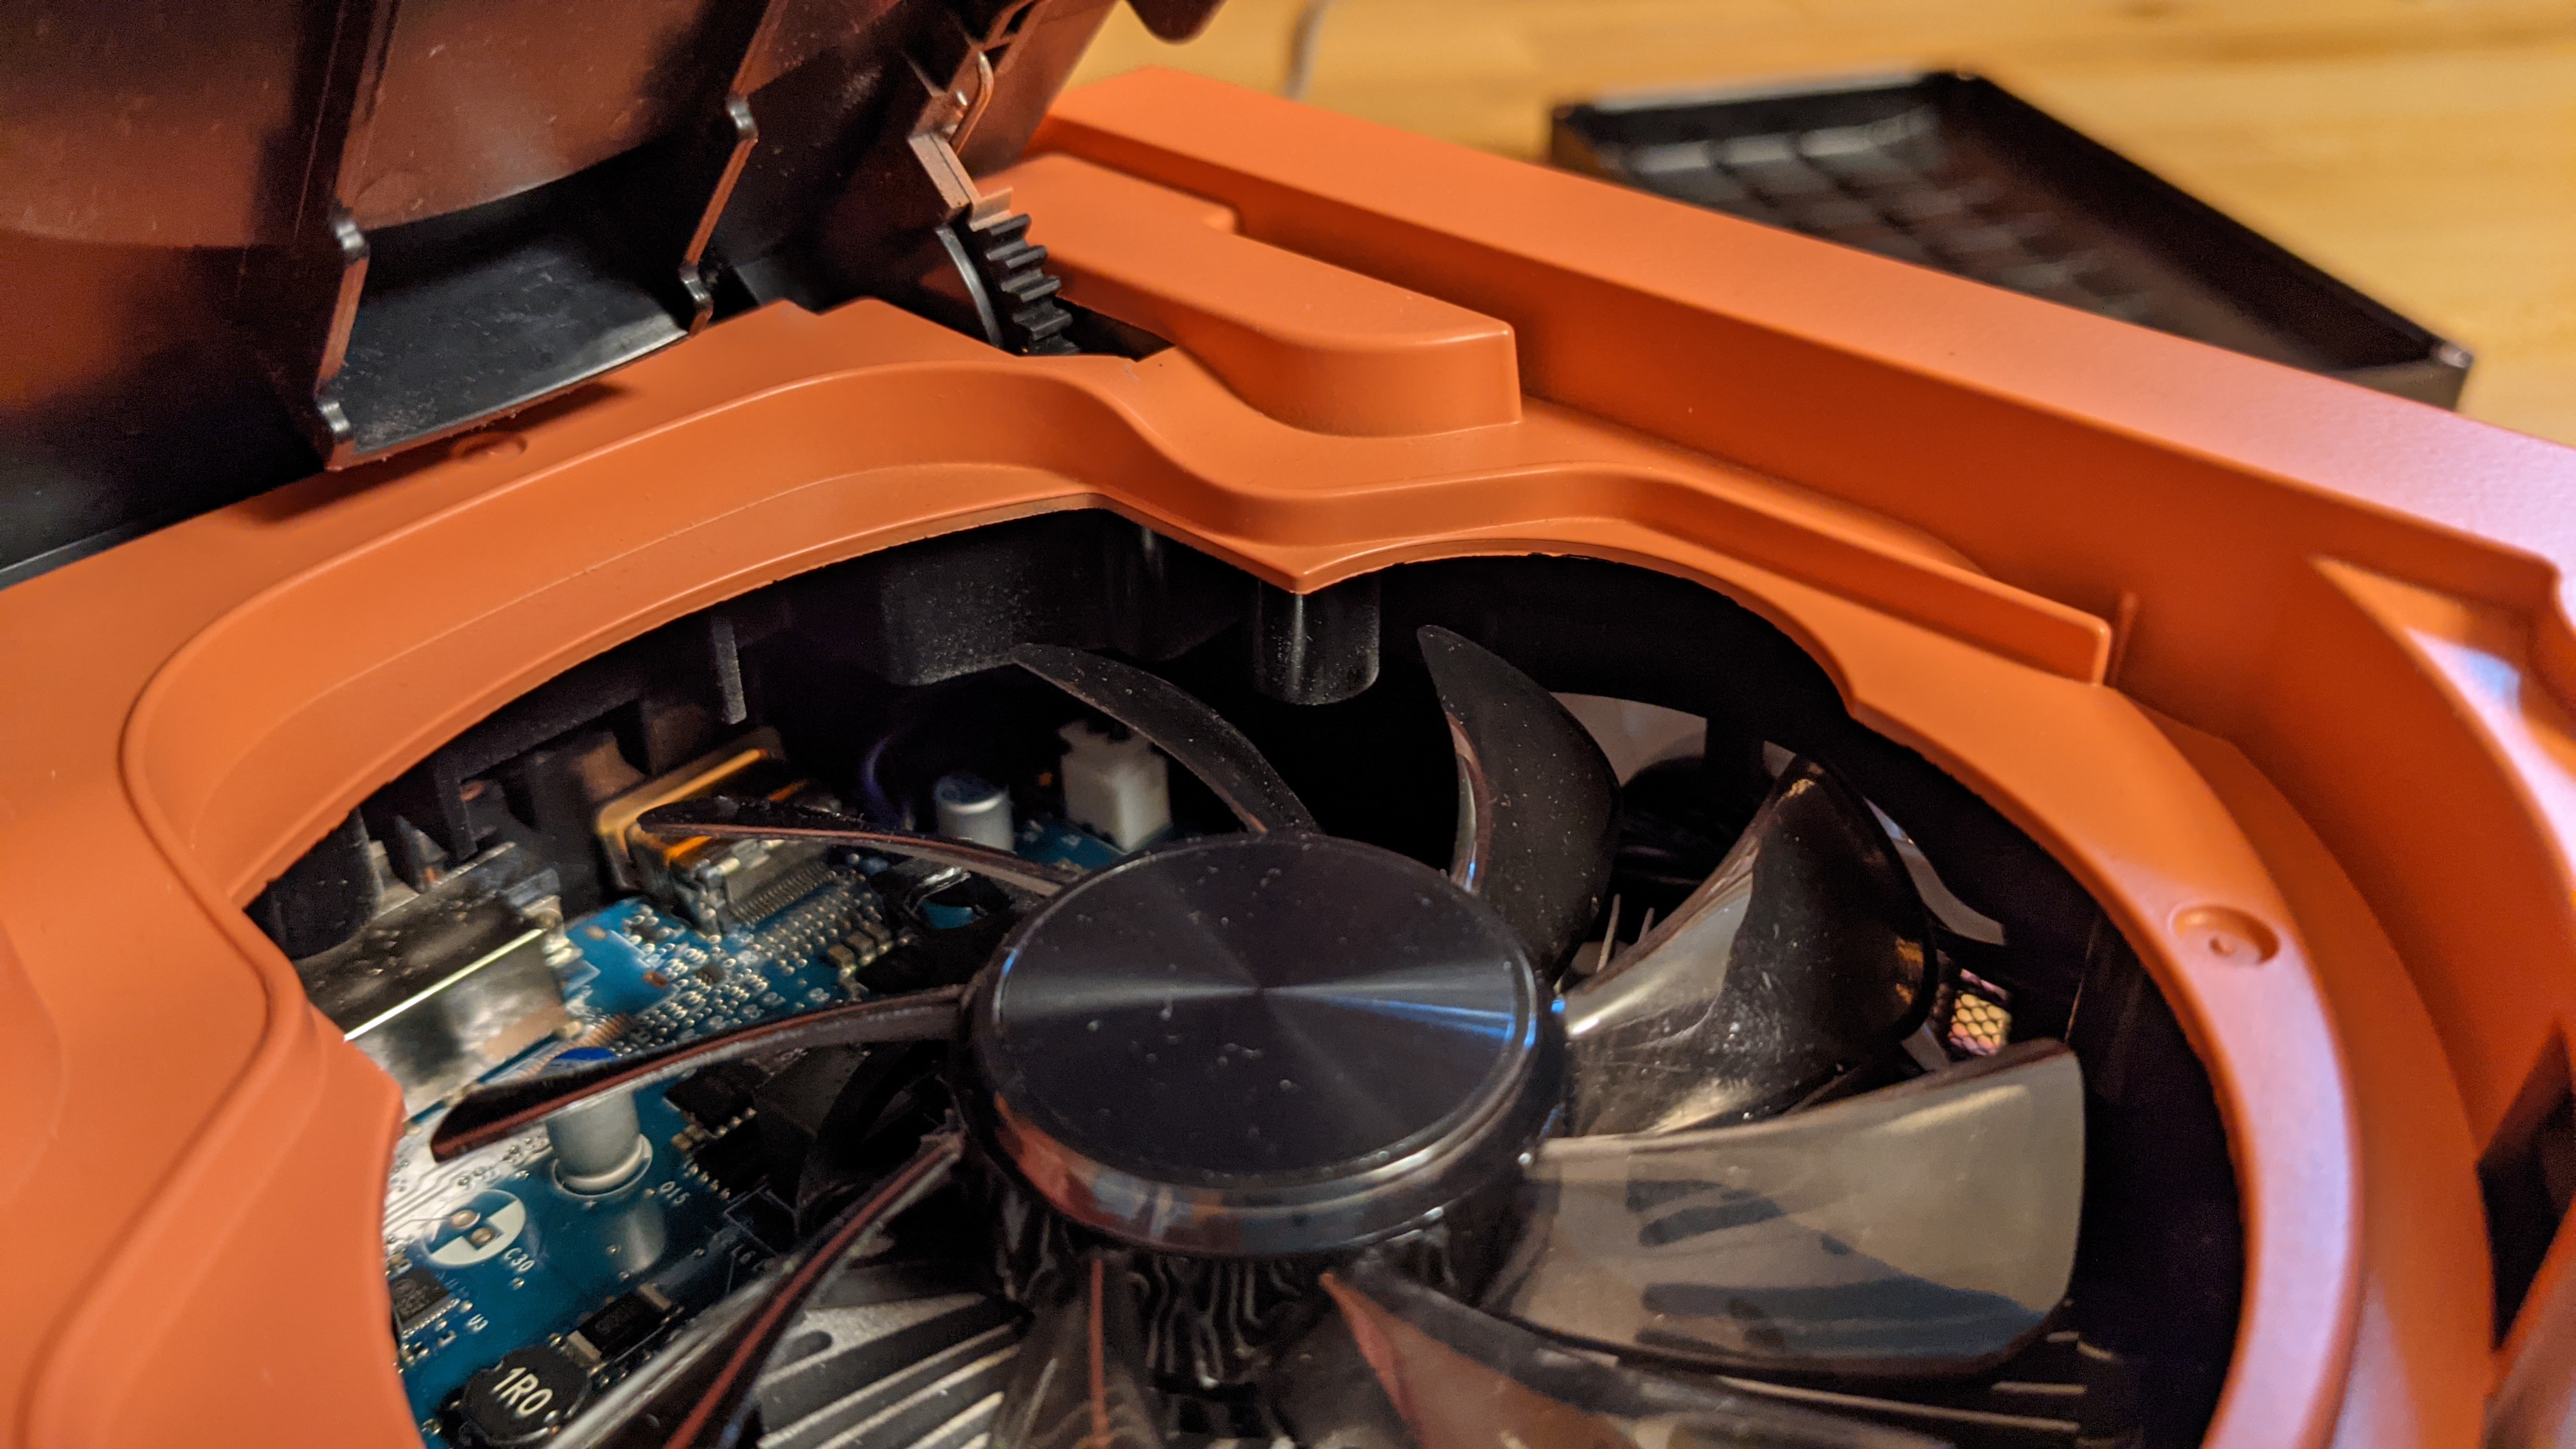
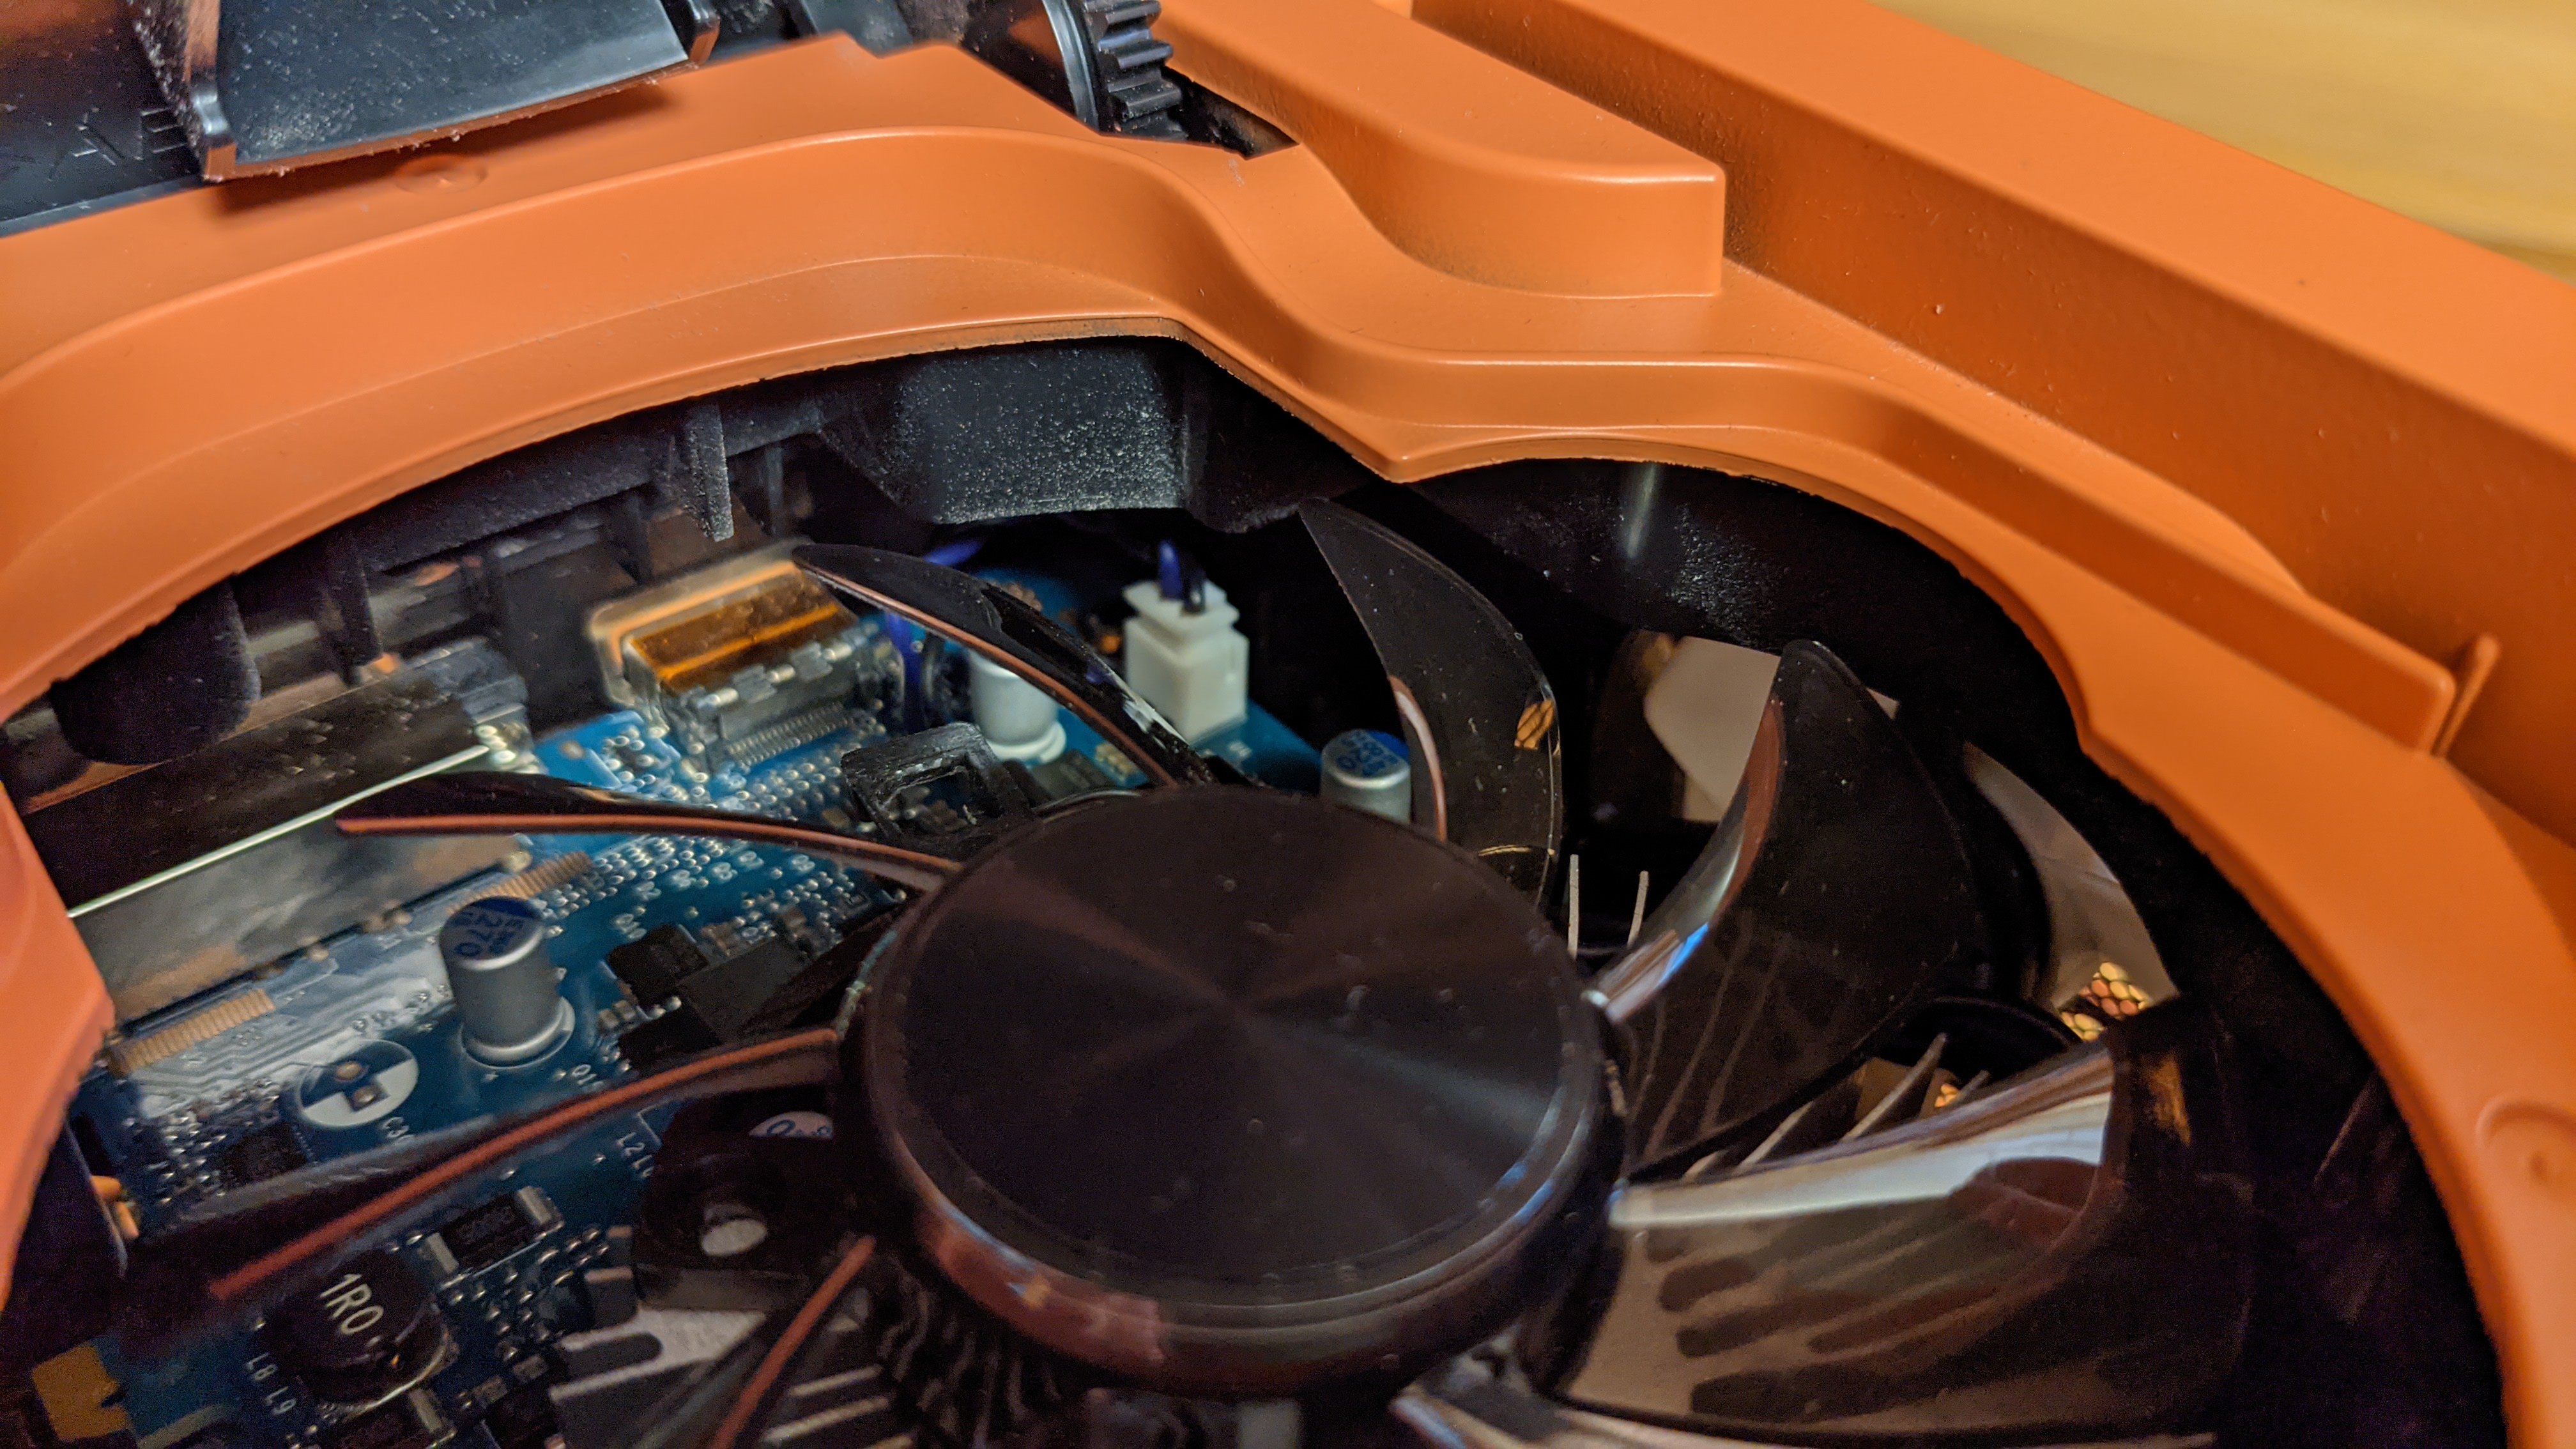
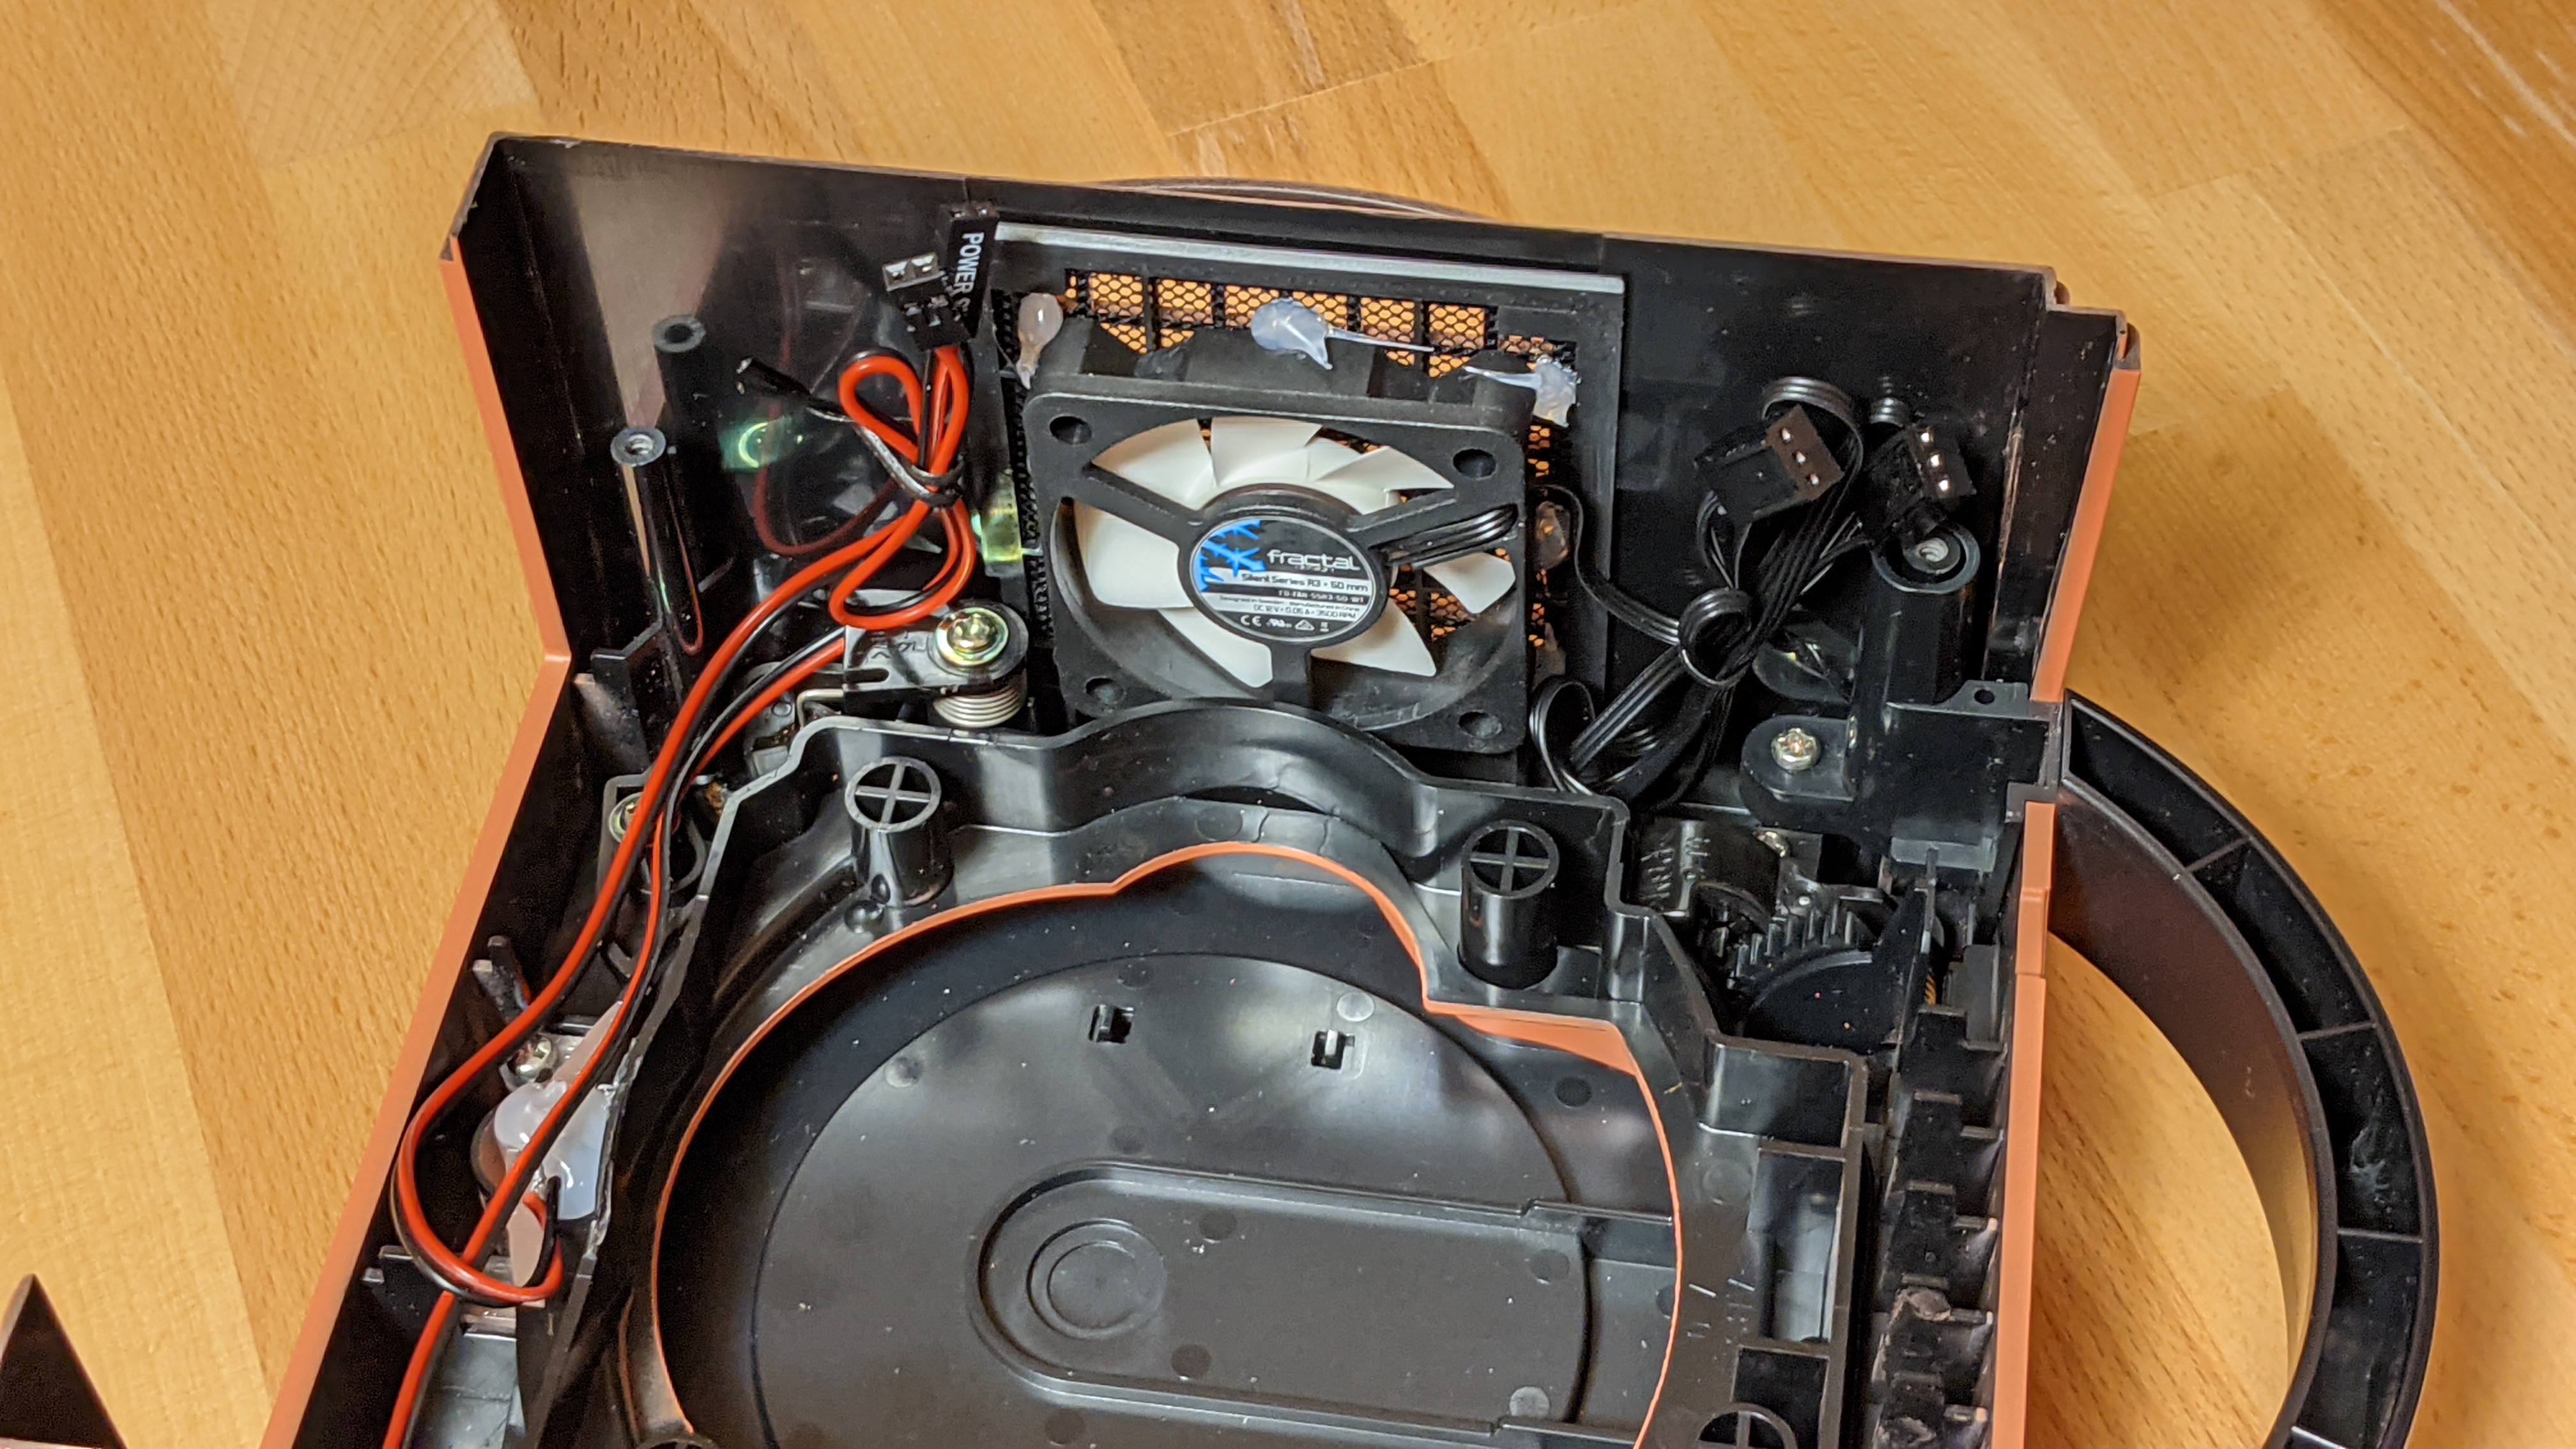
So that brings the subject of cooling. Installed two 50mm fans inside the case, one as an intake, and one as an exhaust. Those will be connected to the fan header on the GPU. So still haven’t tested how the cooling performs, but it should be able to exhaust the heat generated by the GPU and provide fresh air to the CPU to improve its cooling.


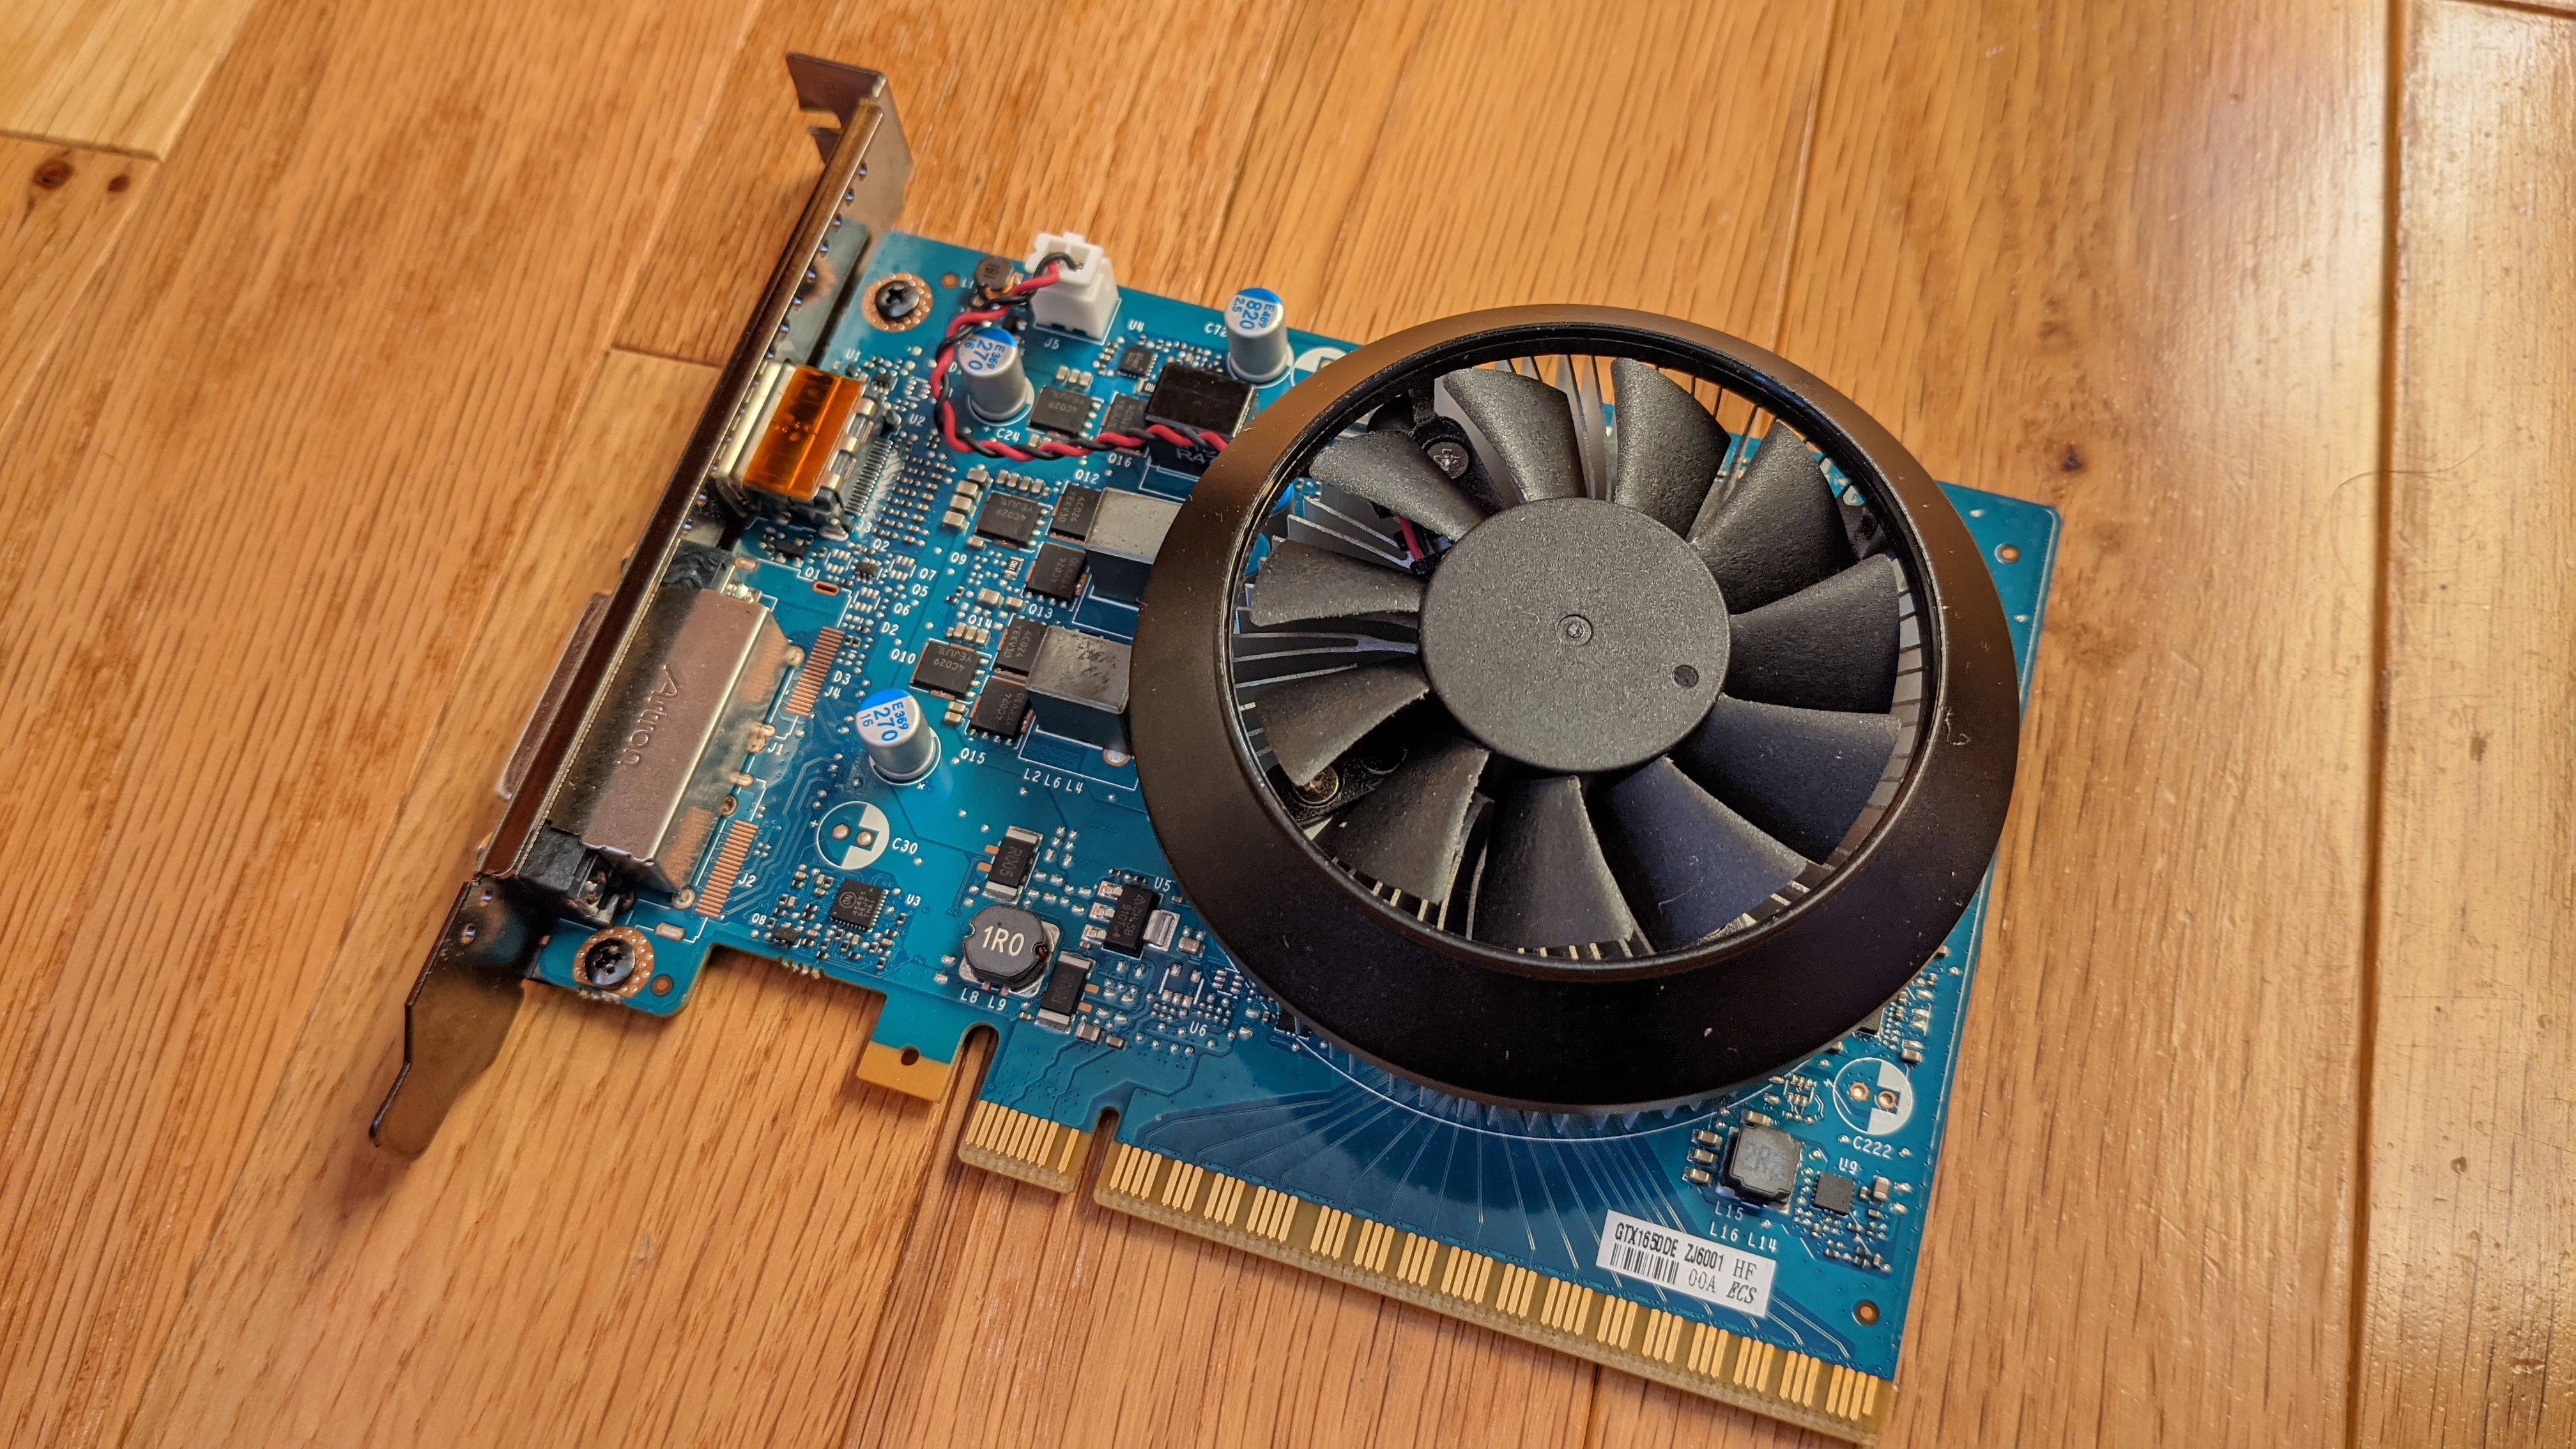
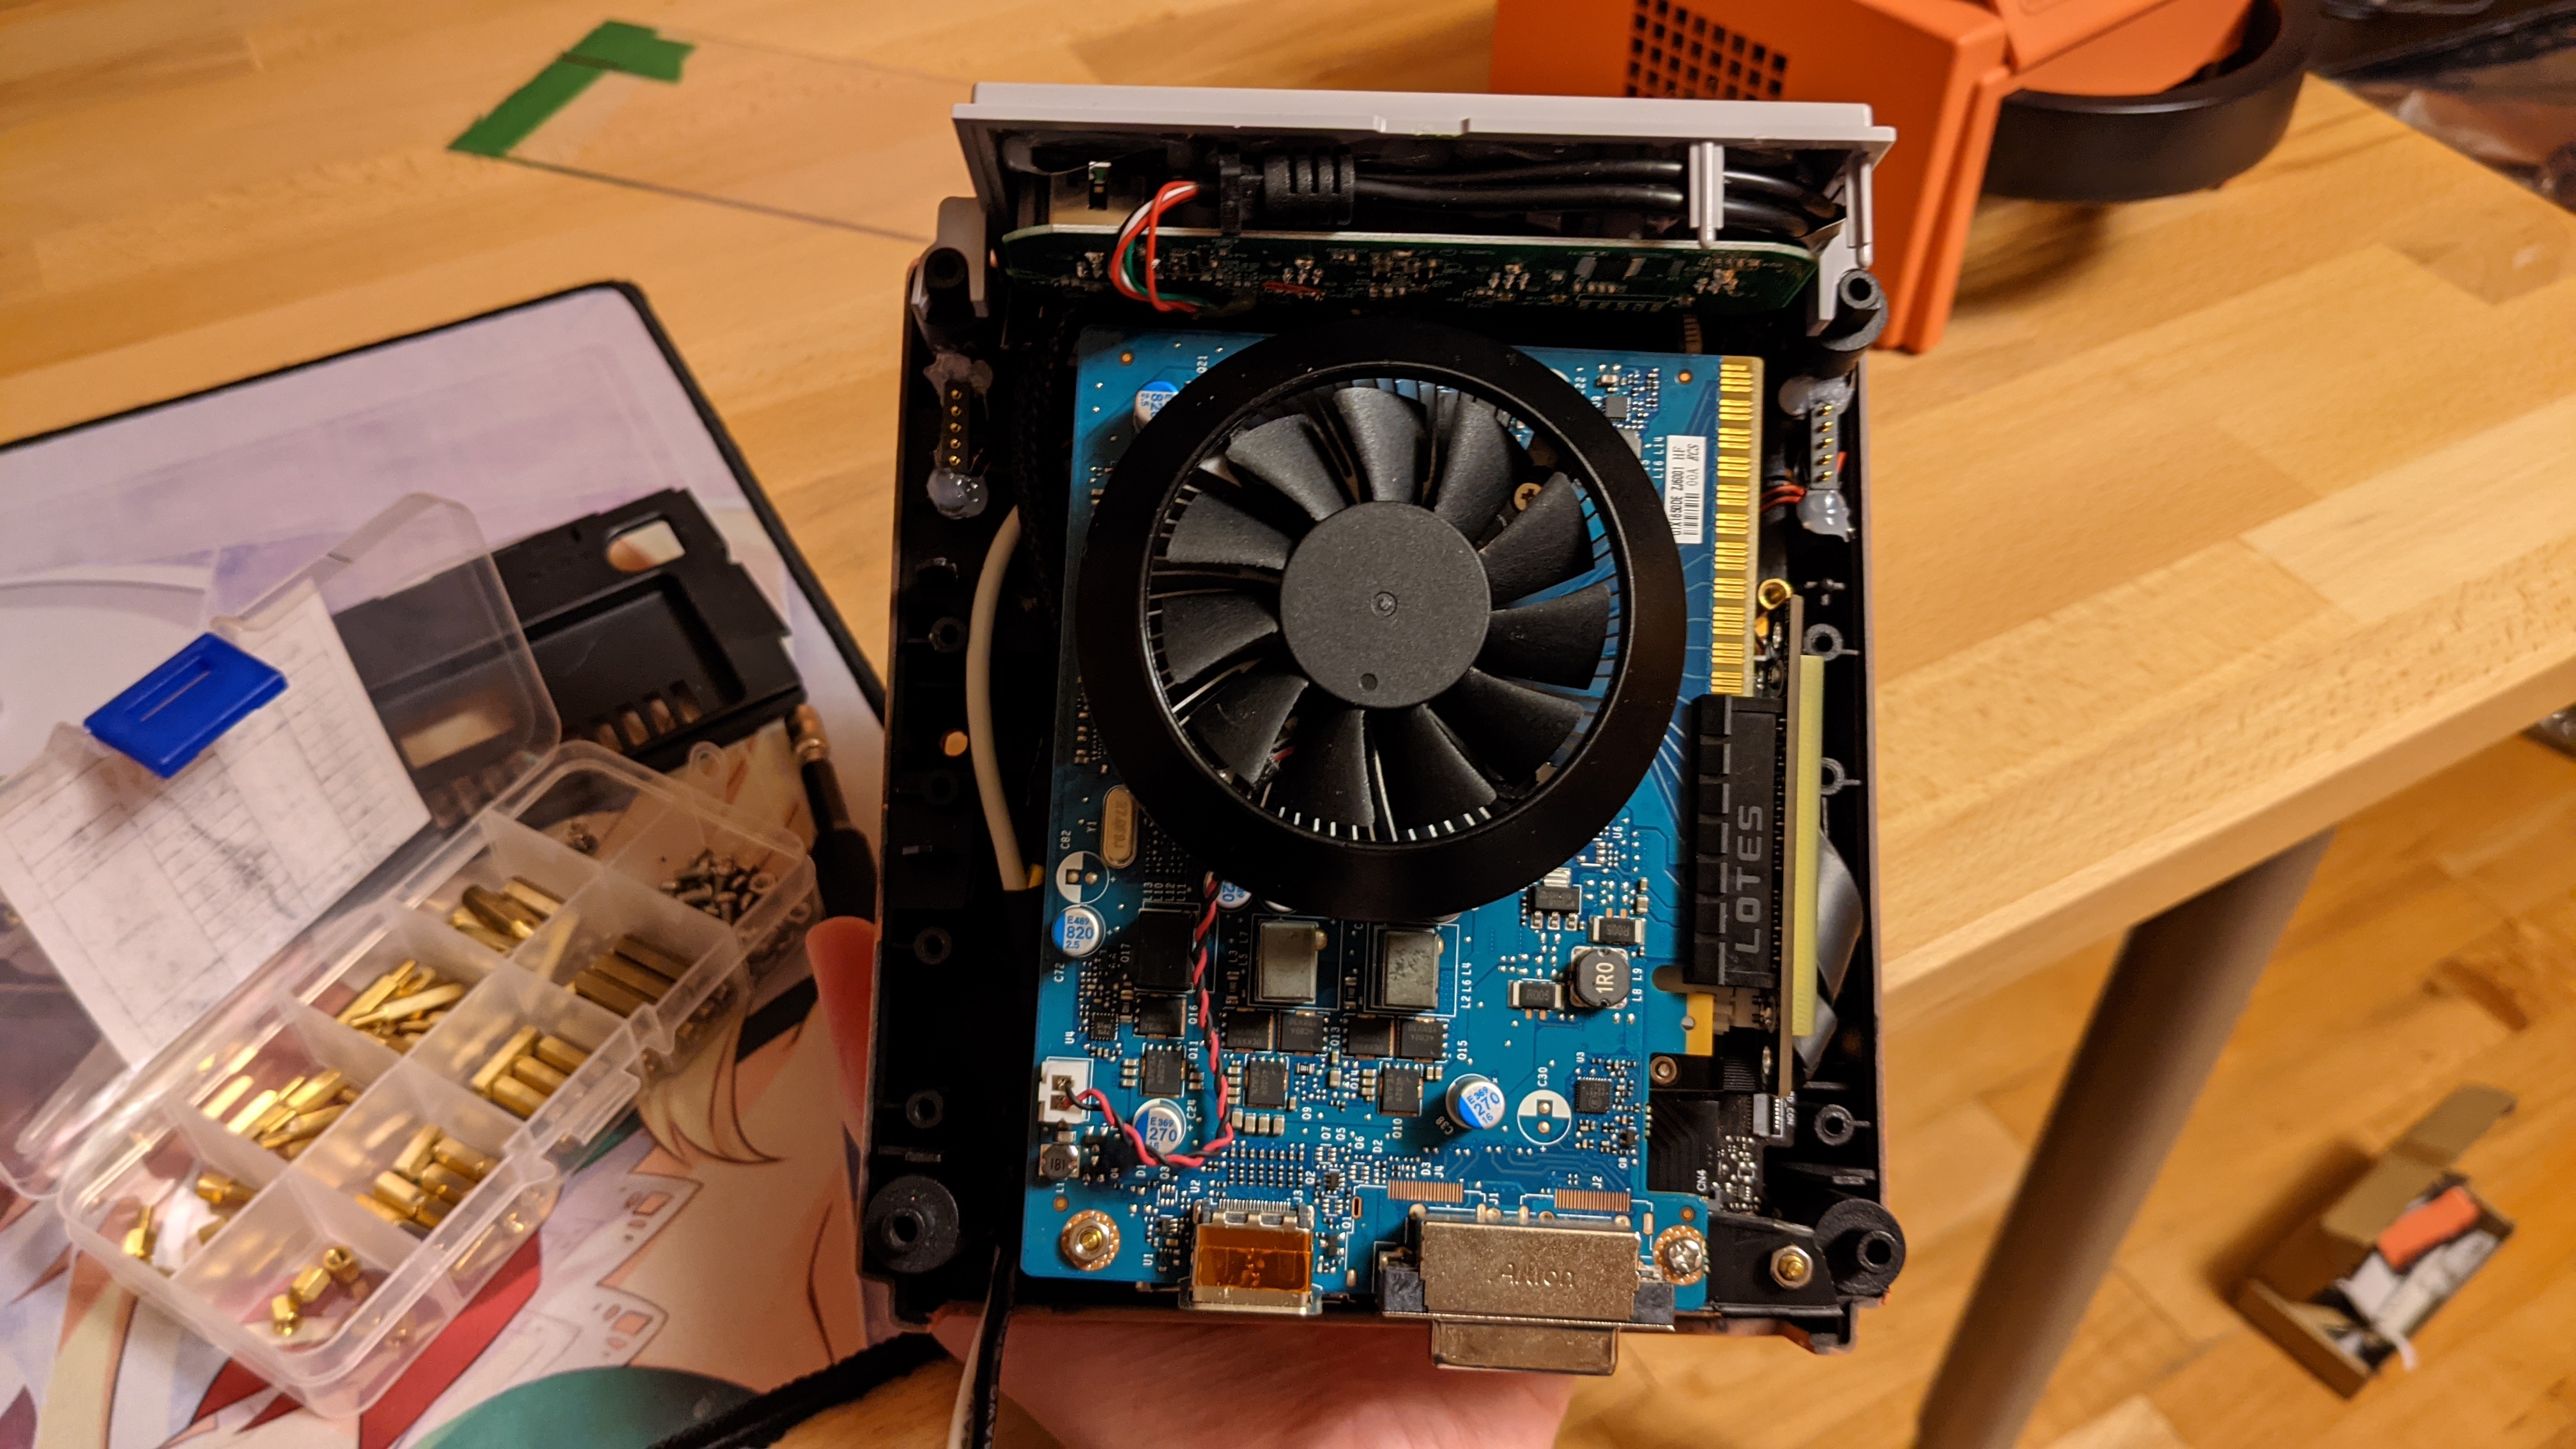
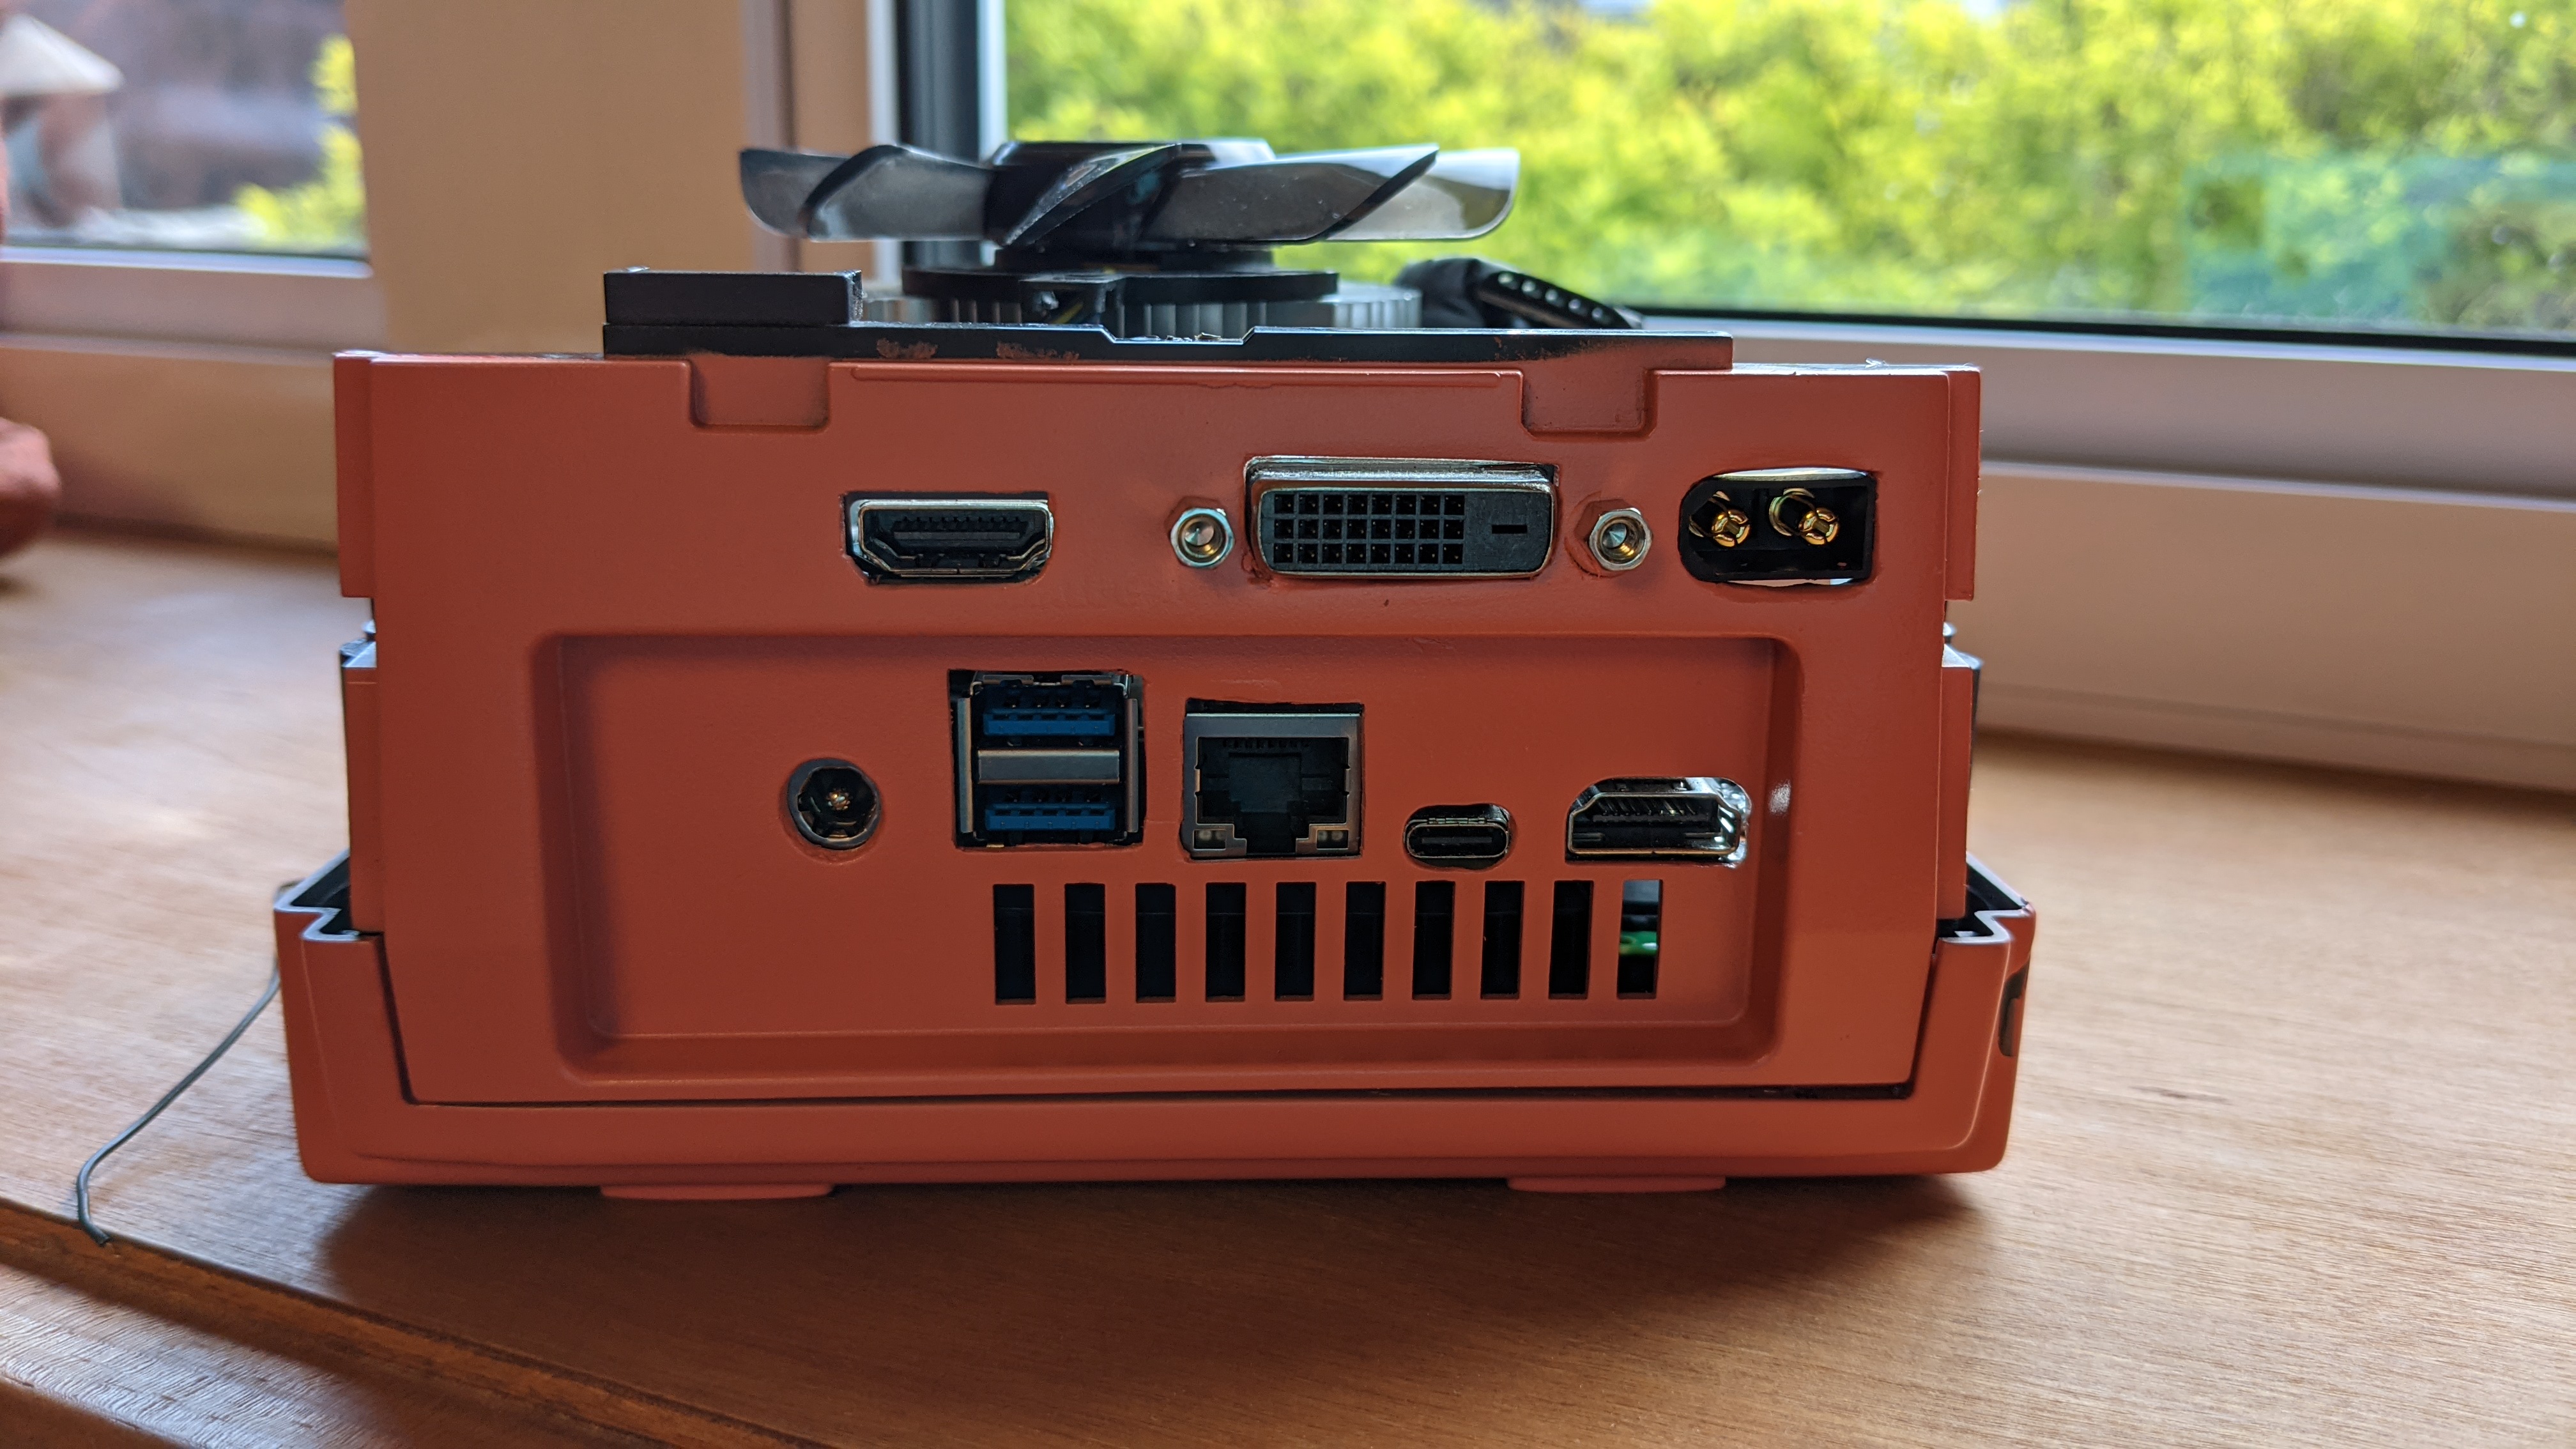
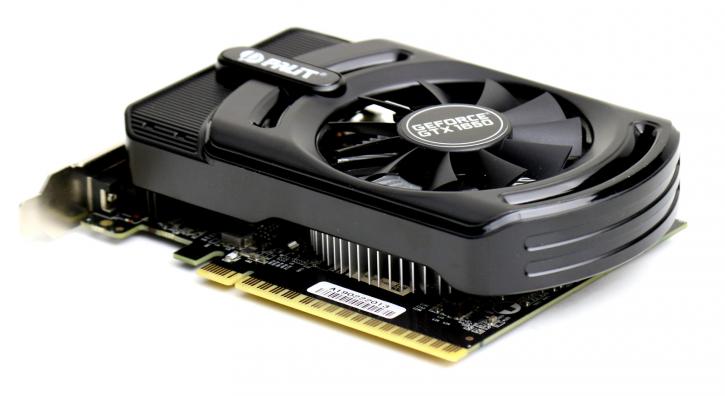
Speaking of GPU, still haven’t acquired a GTX 1650, because out of stock and too high used price for the card. So waiting for the RTX 3050. The rumored 90W TDP should be still fine with the case. Plus that would make the build the first ray tracing Gamecube :wink: Hoping there is a PALIT one akin to their 1650 which has a super short PCB that would make the whole fit the GPU inside the Gamecube way easier.

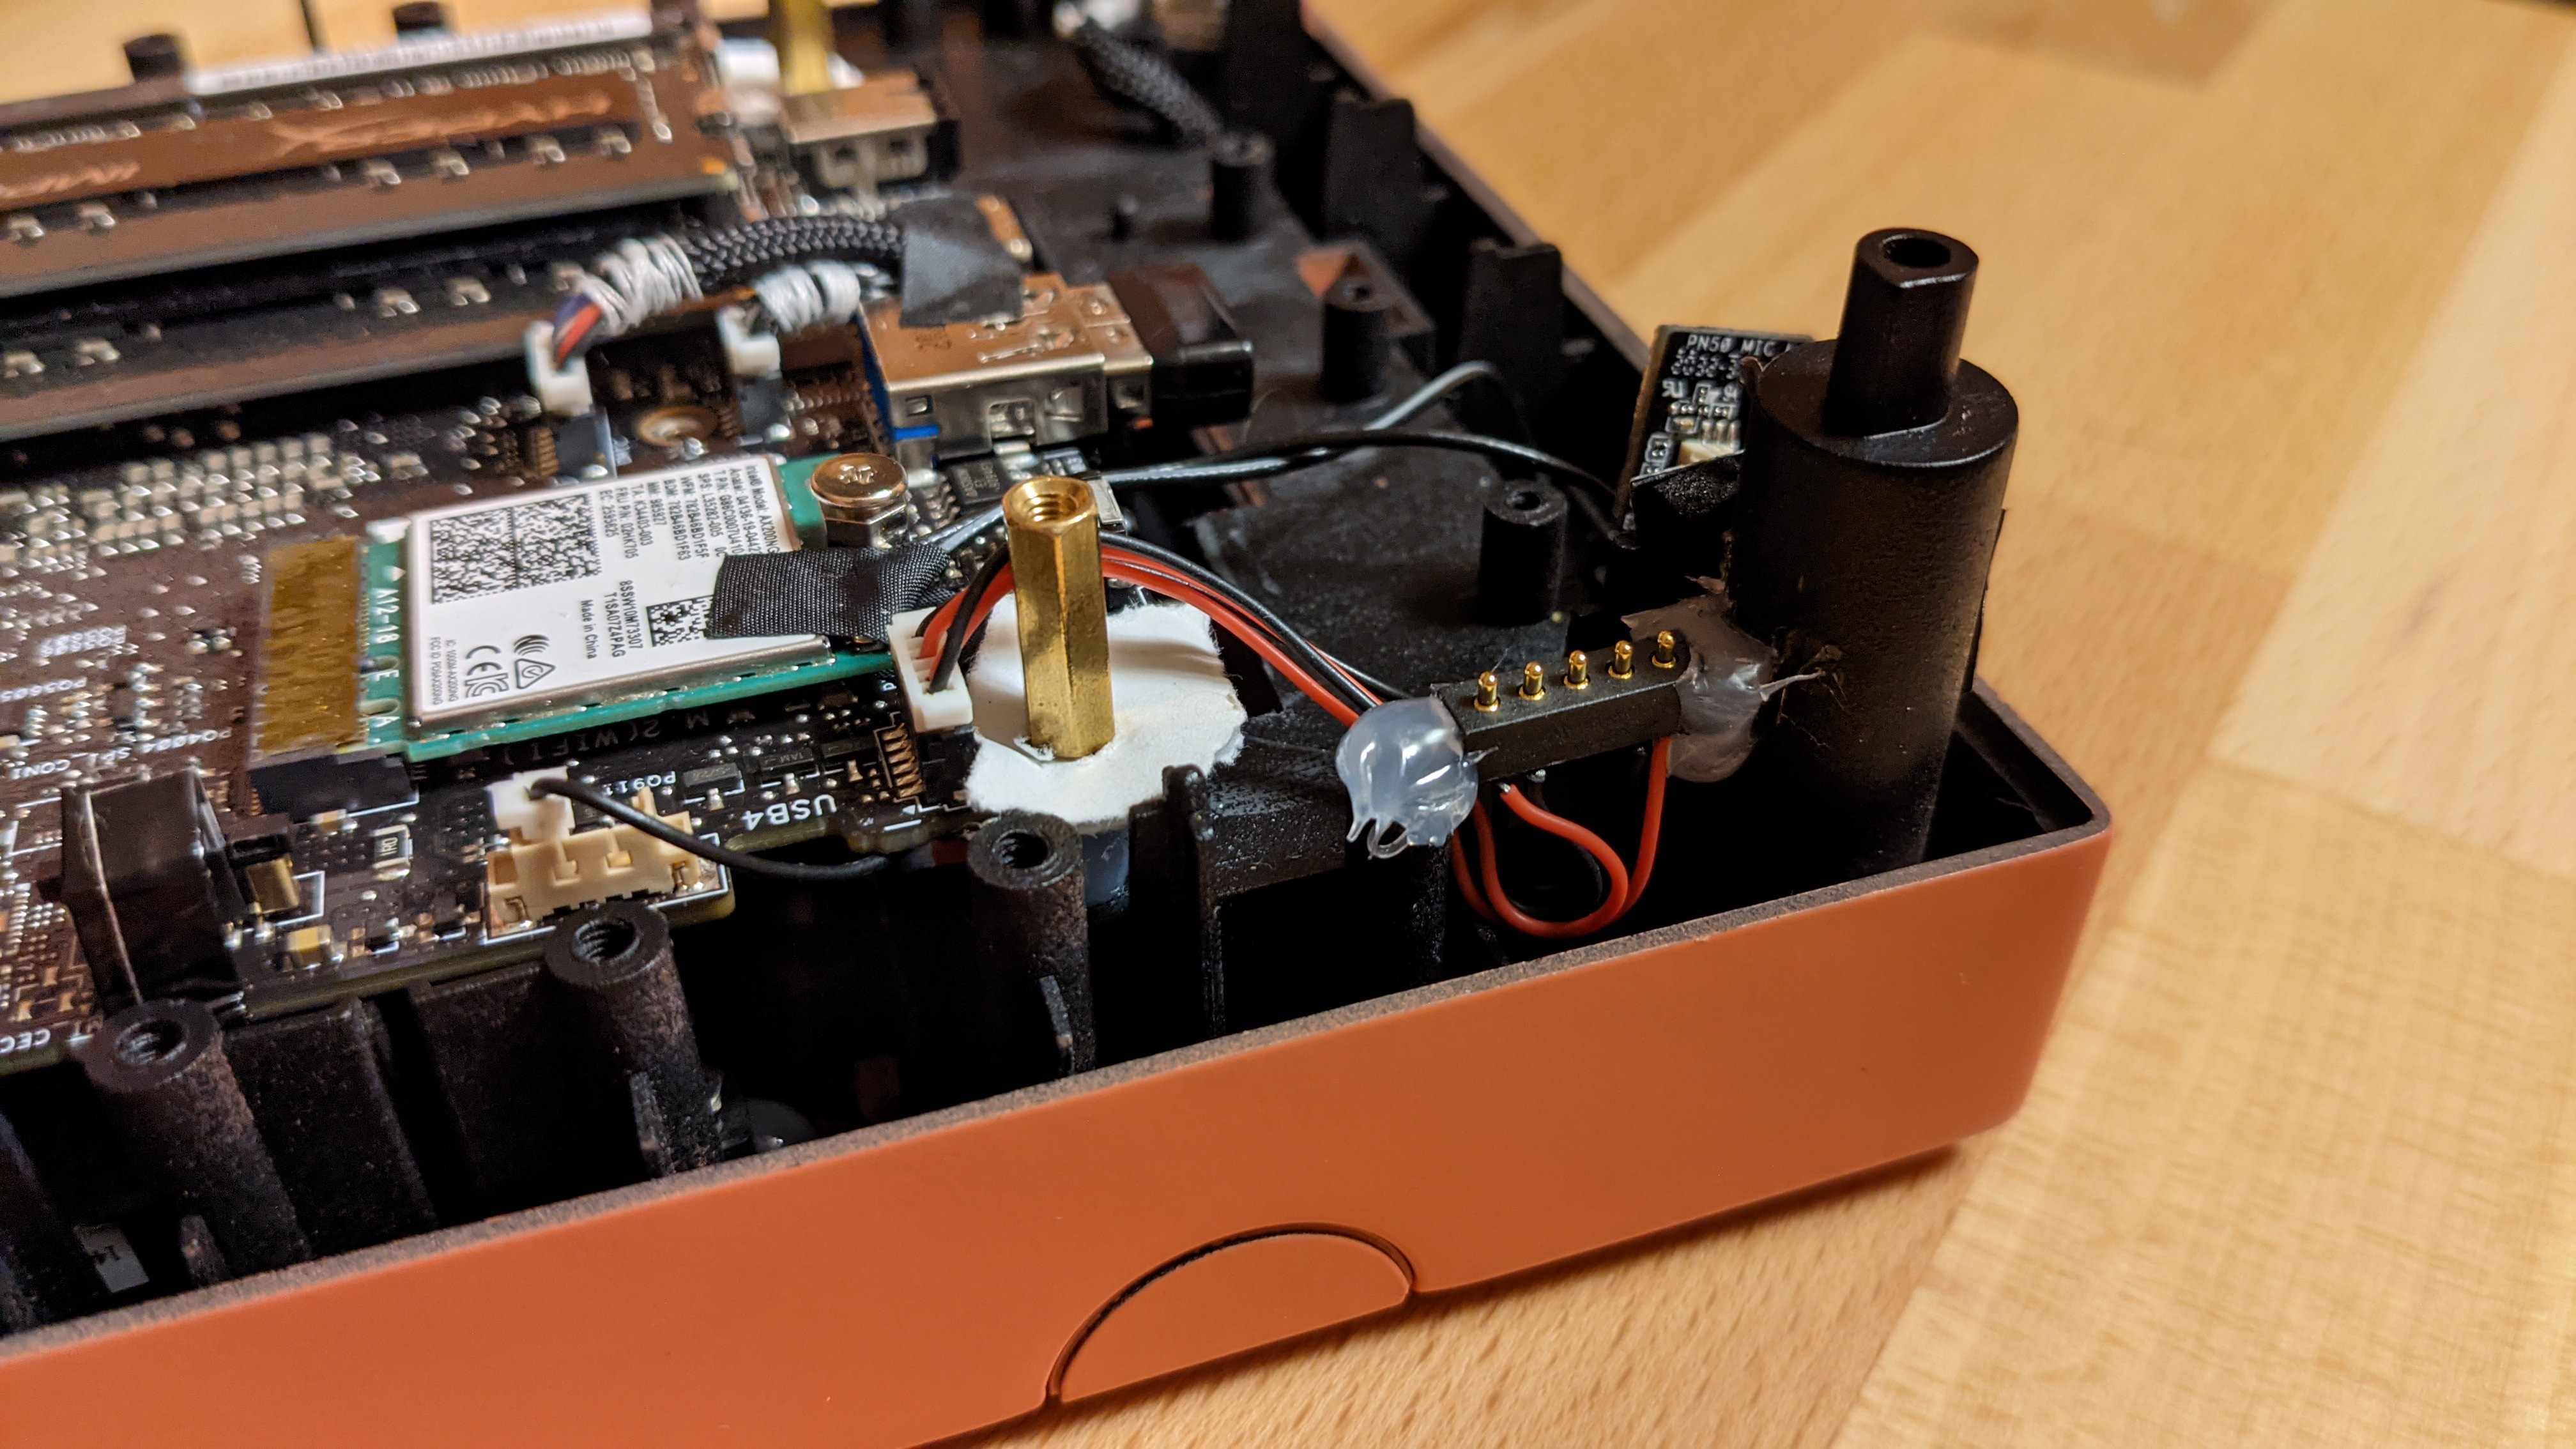
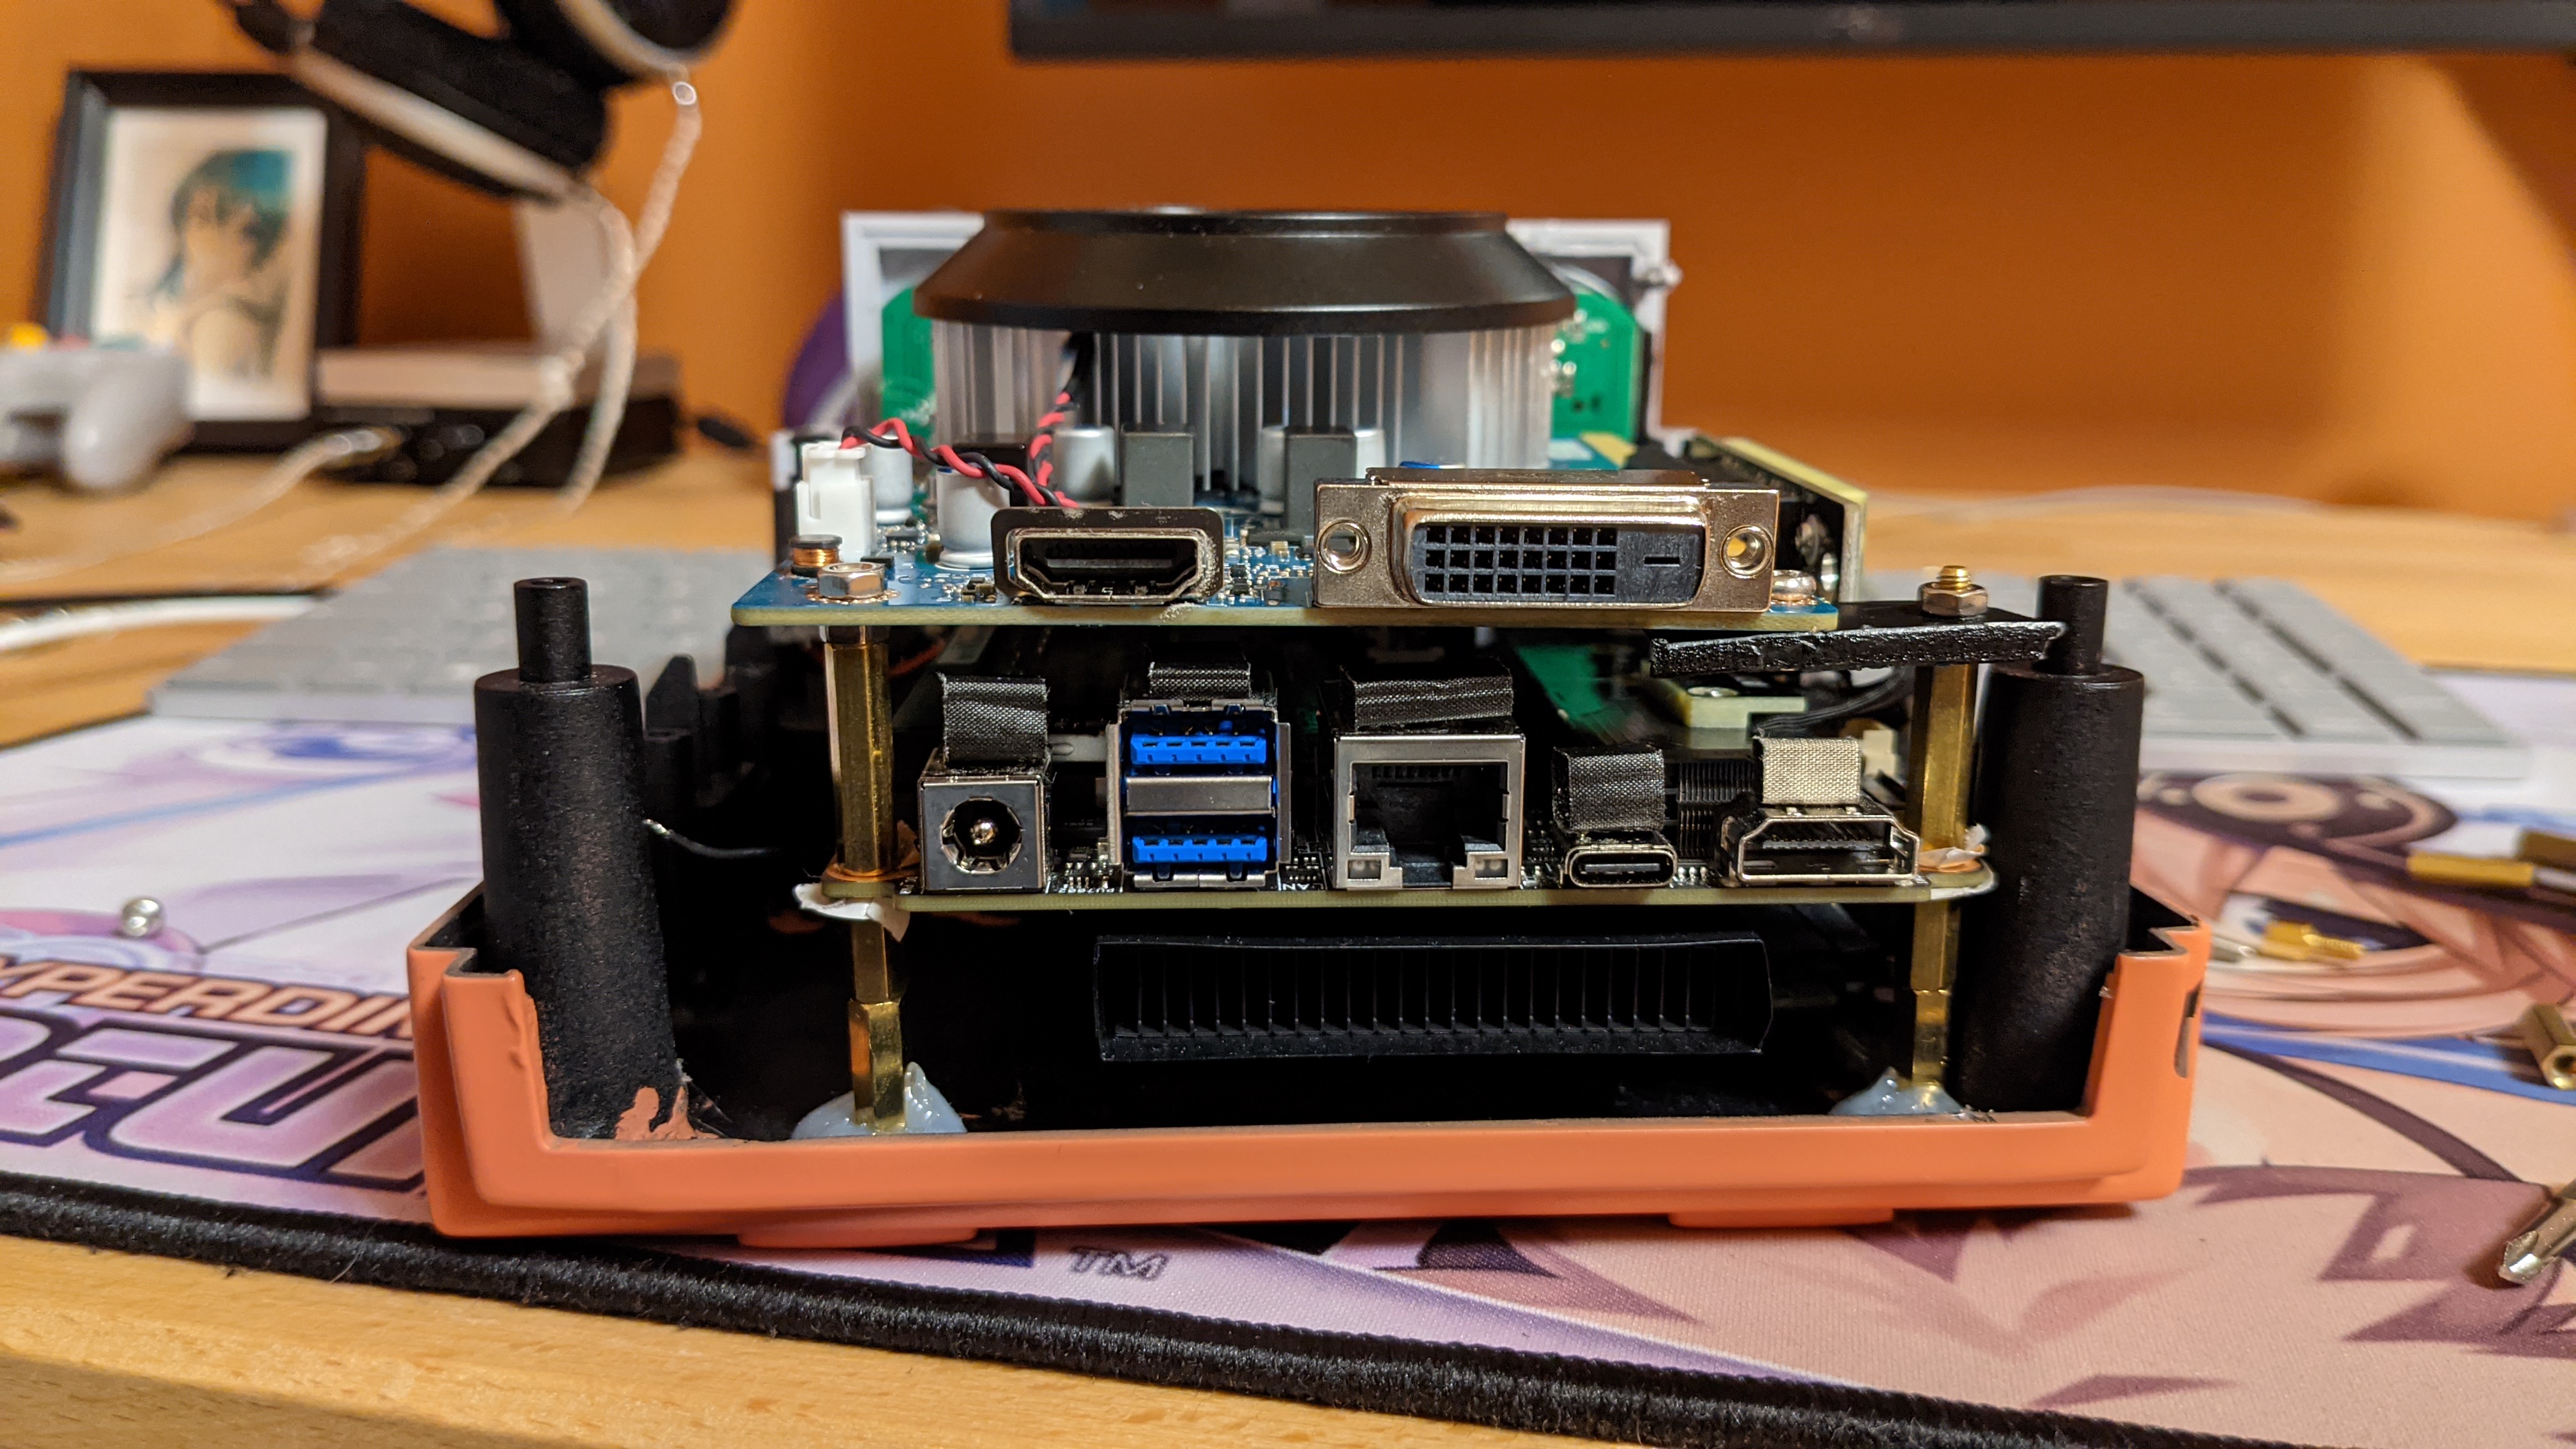
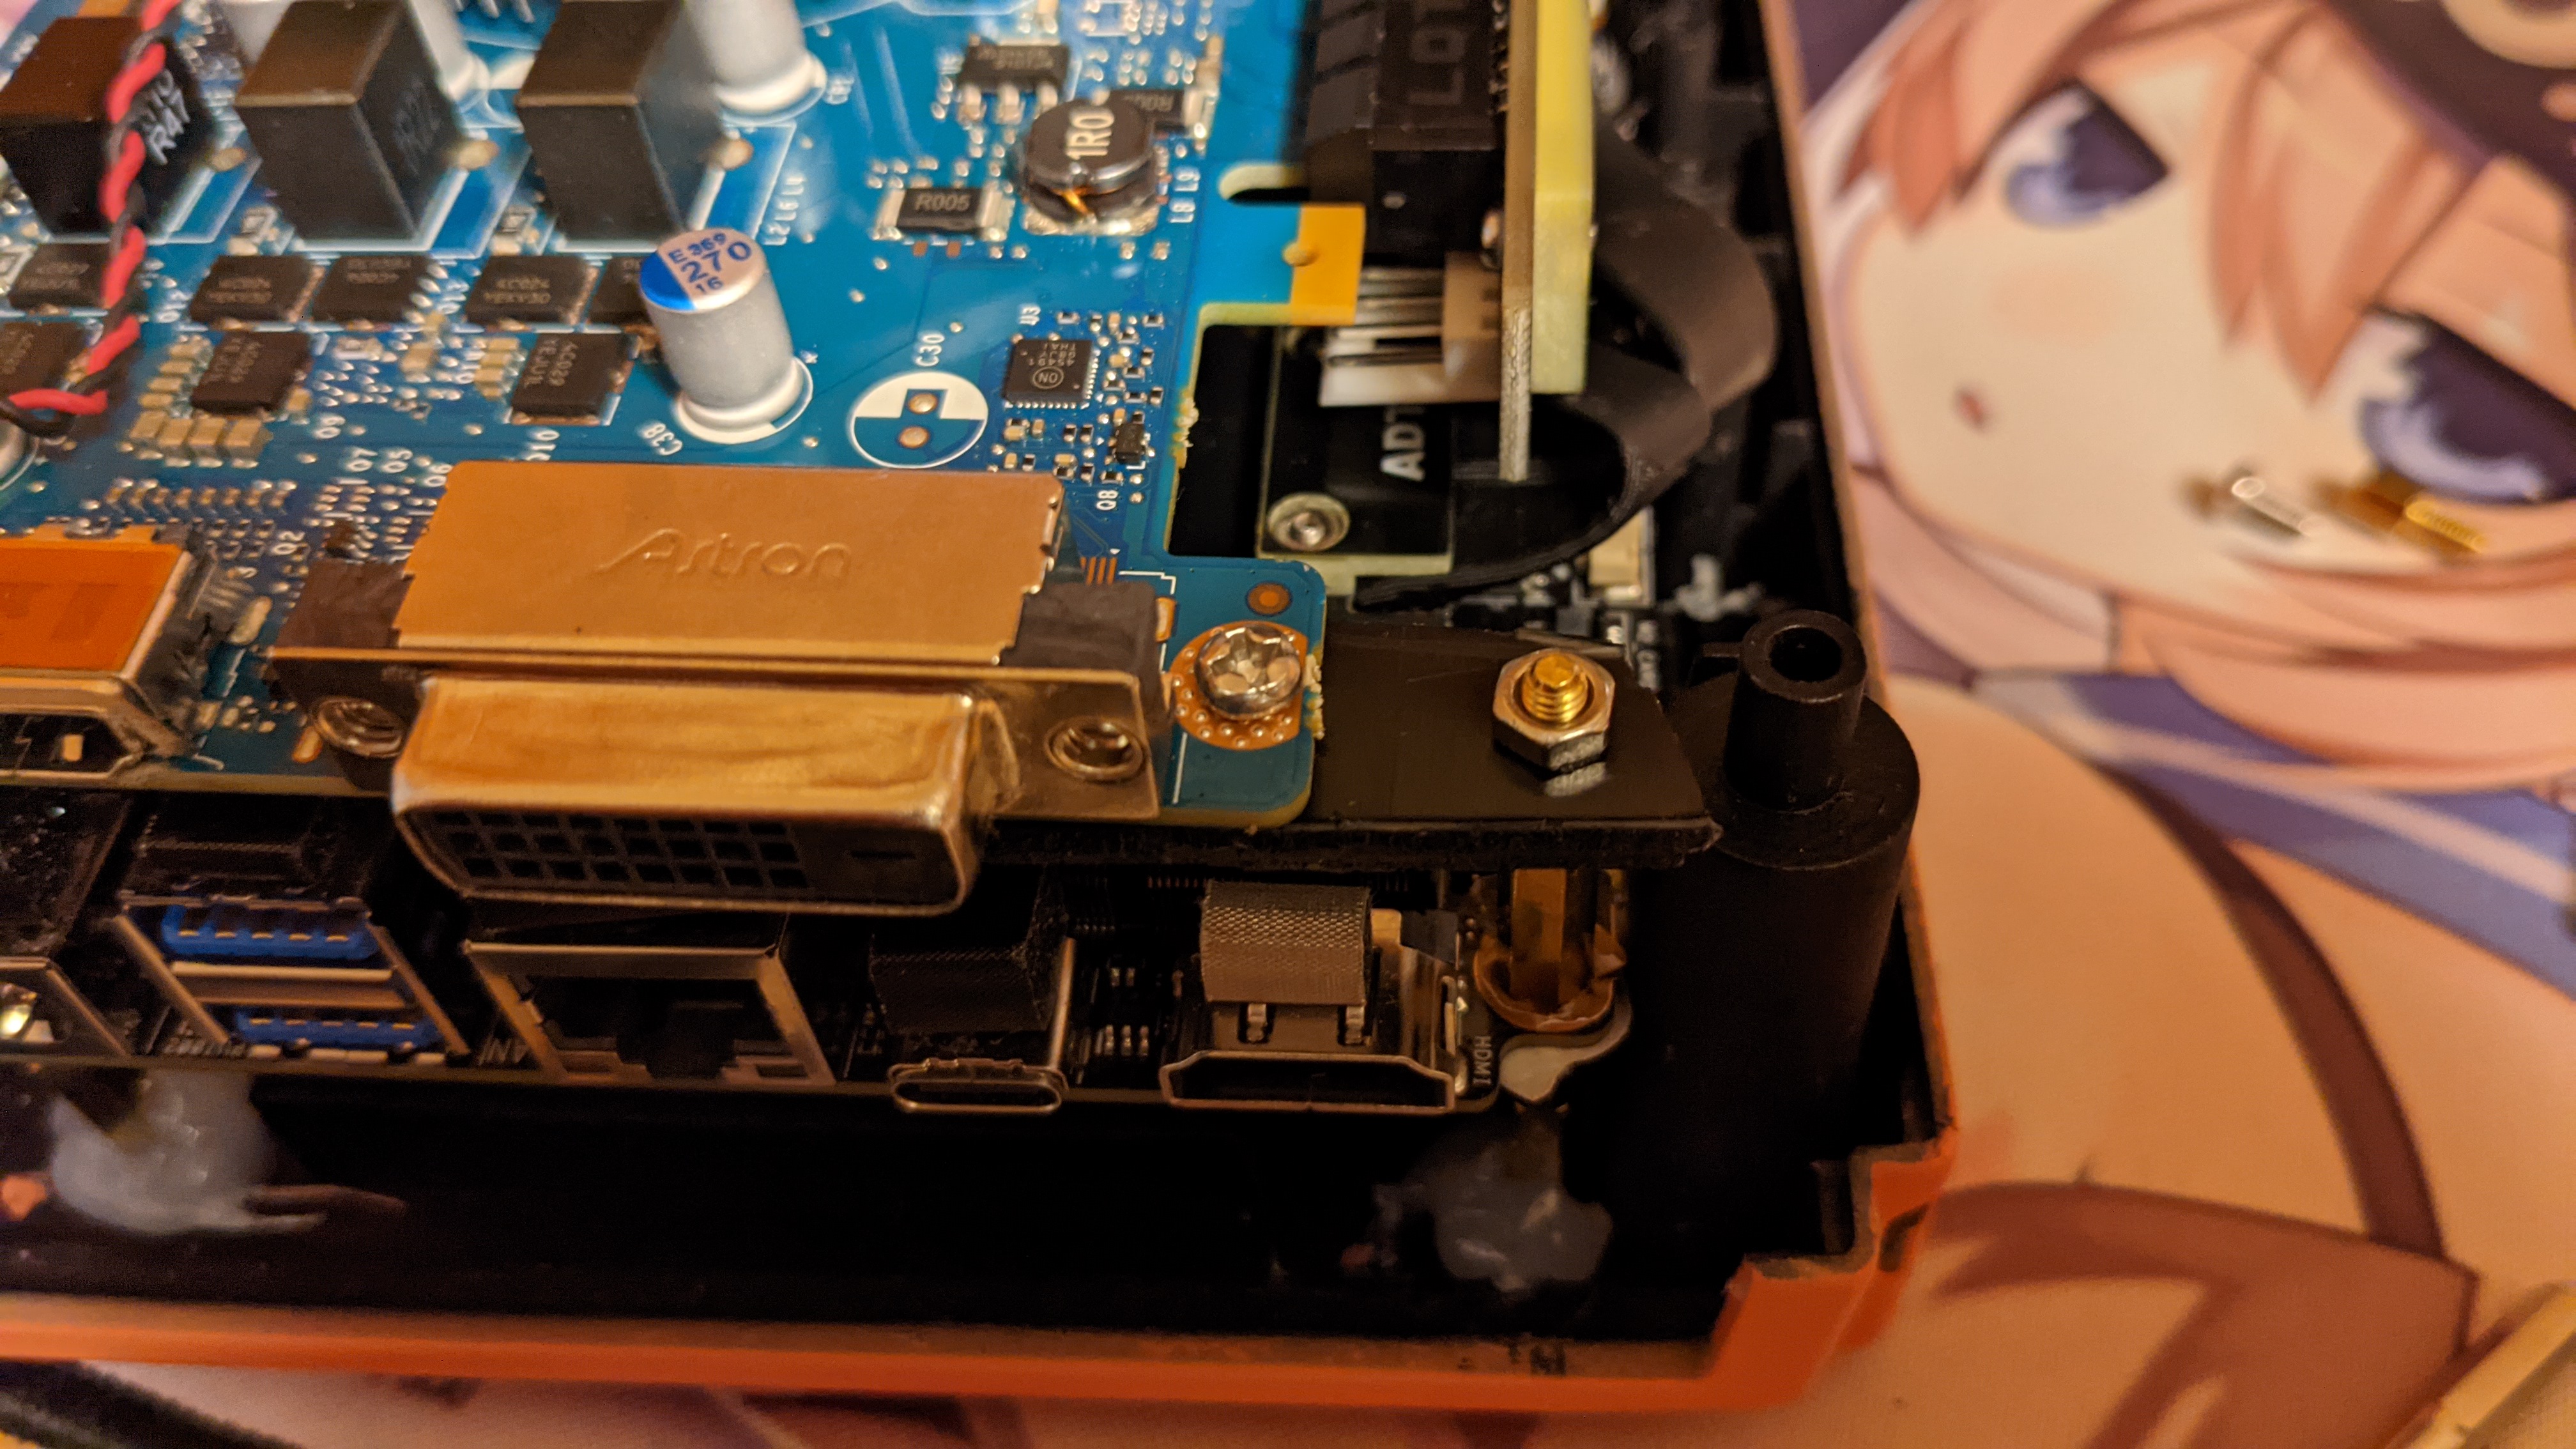
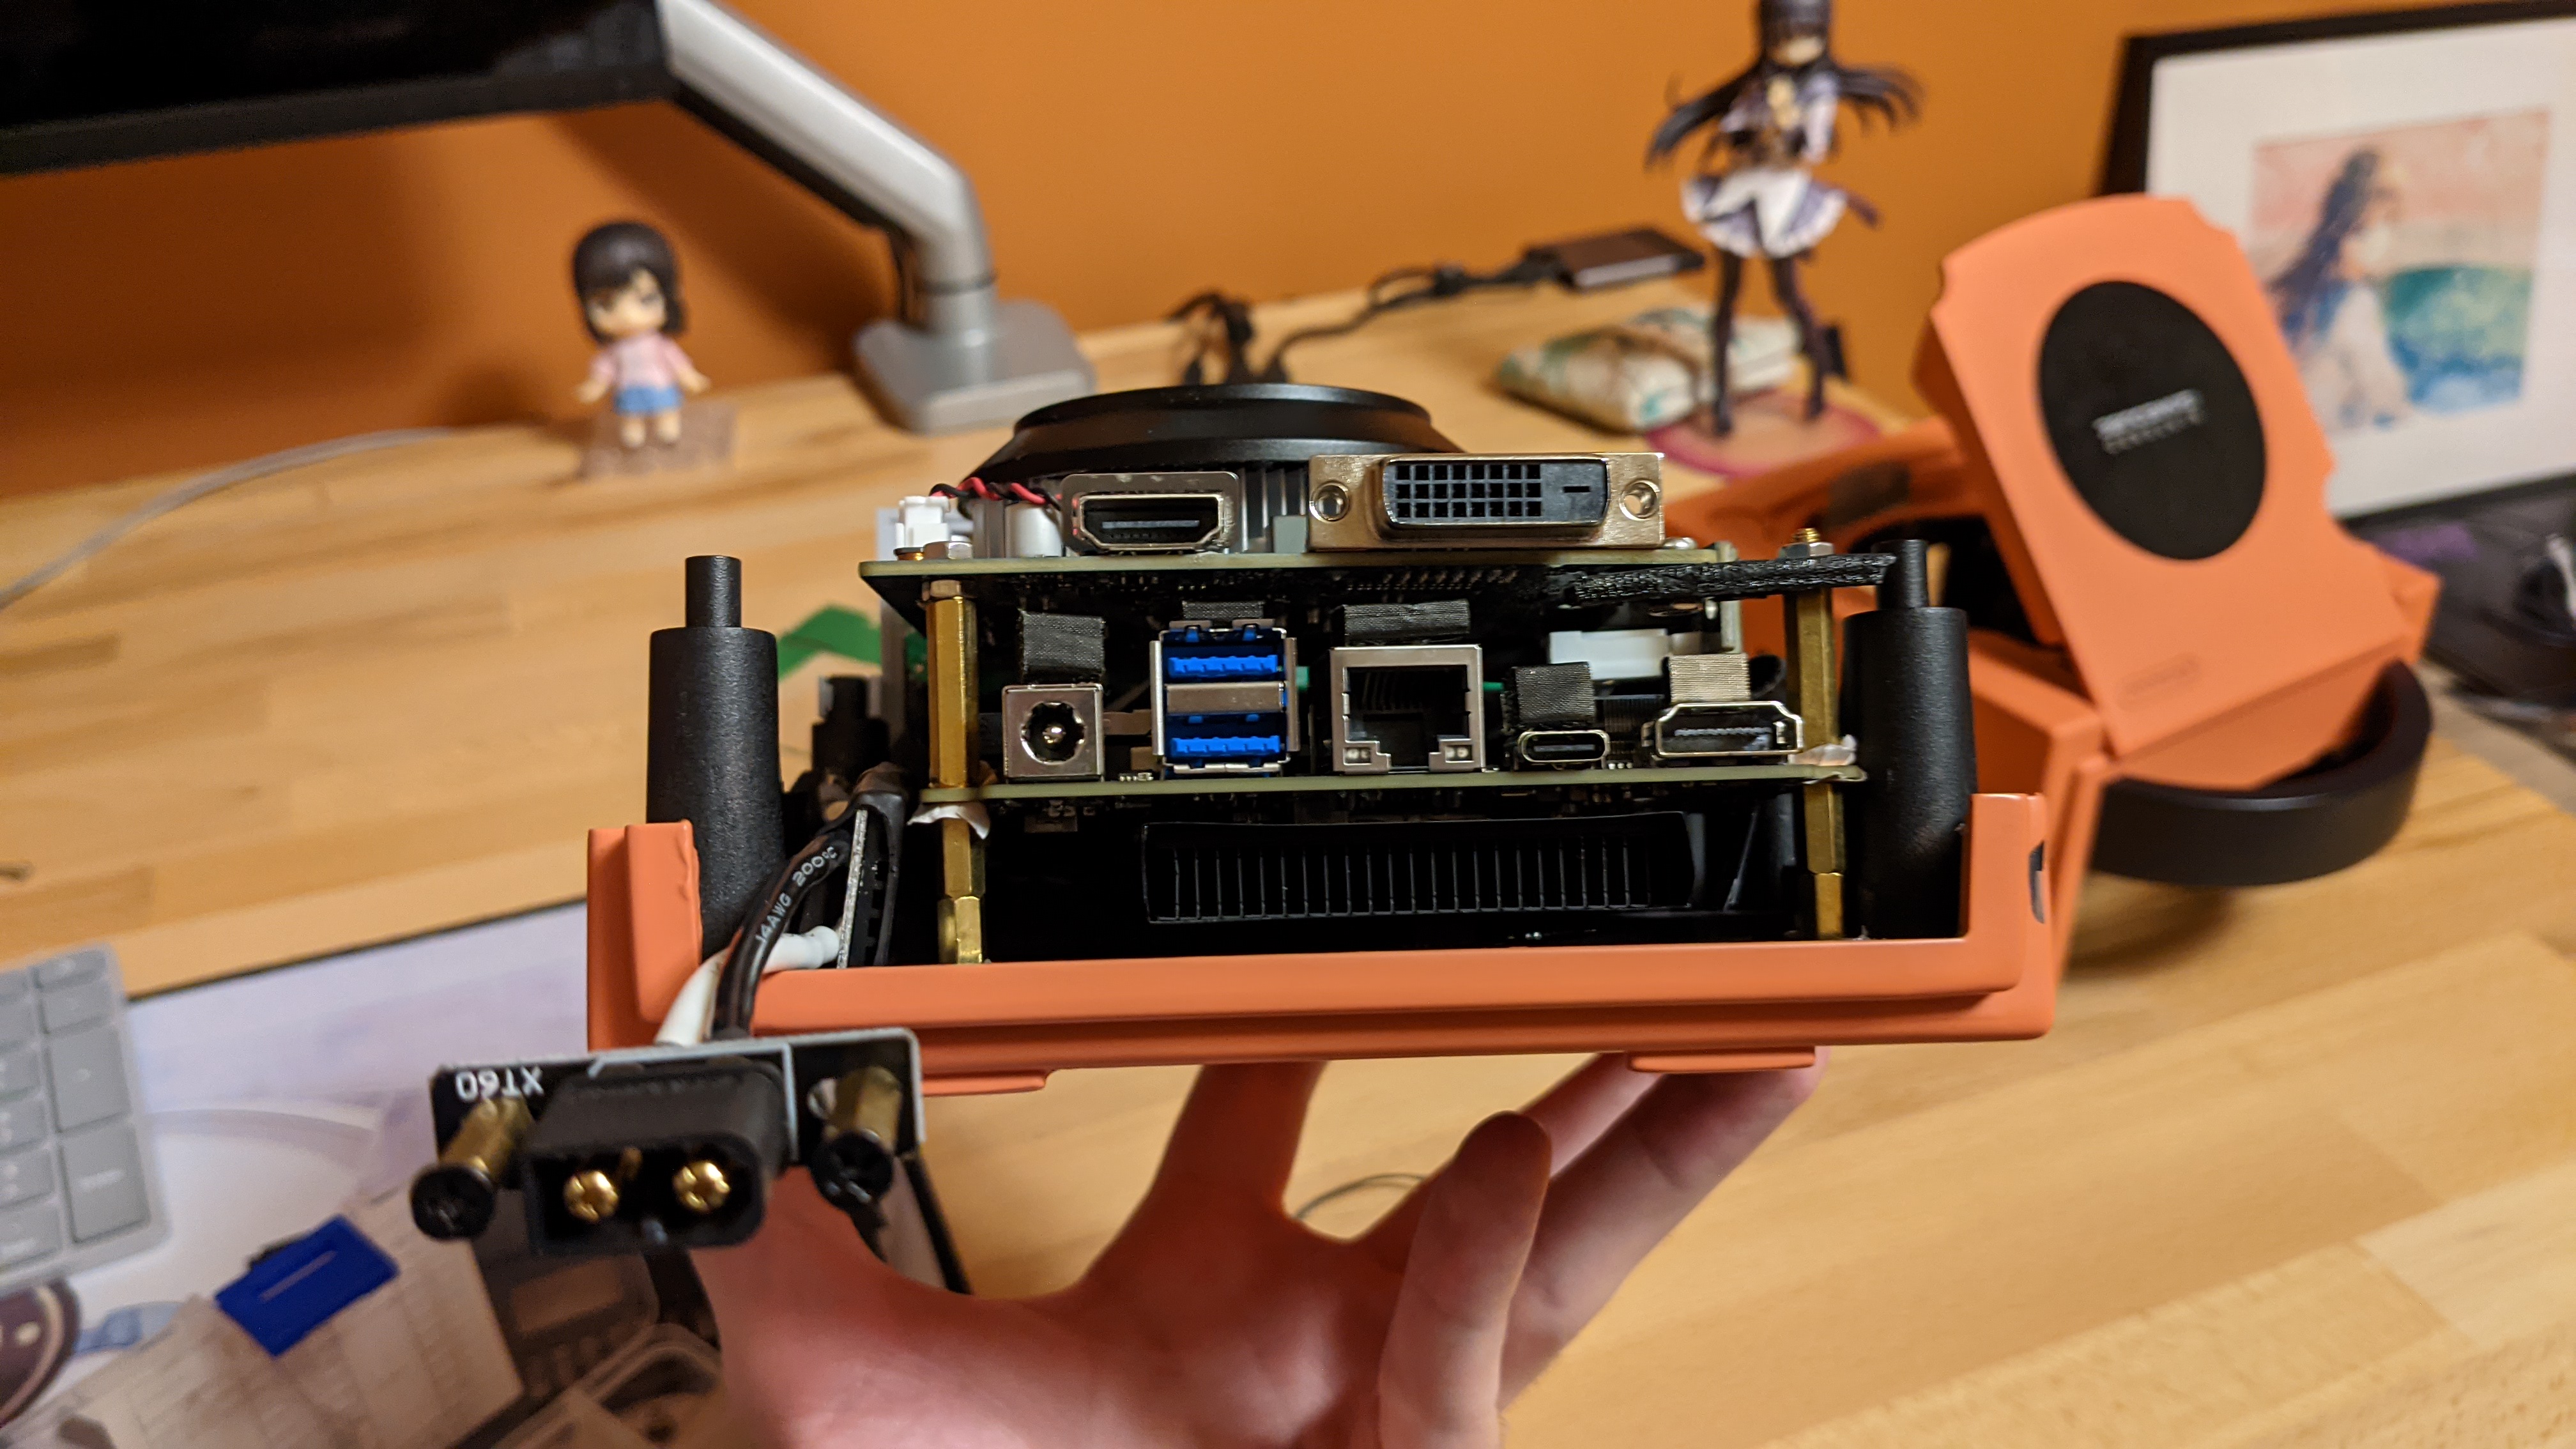
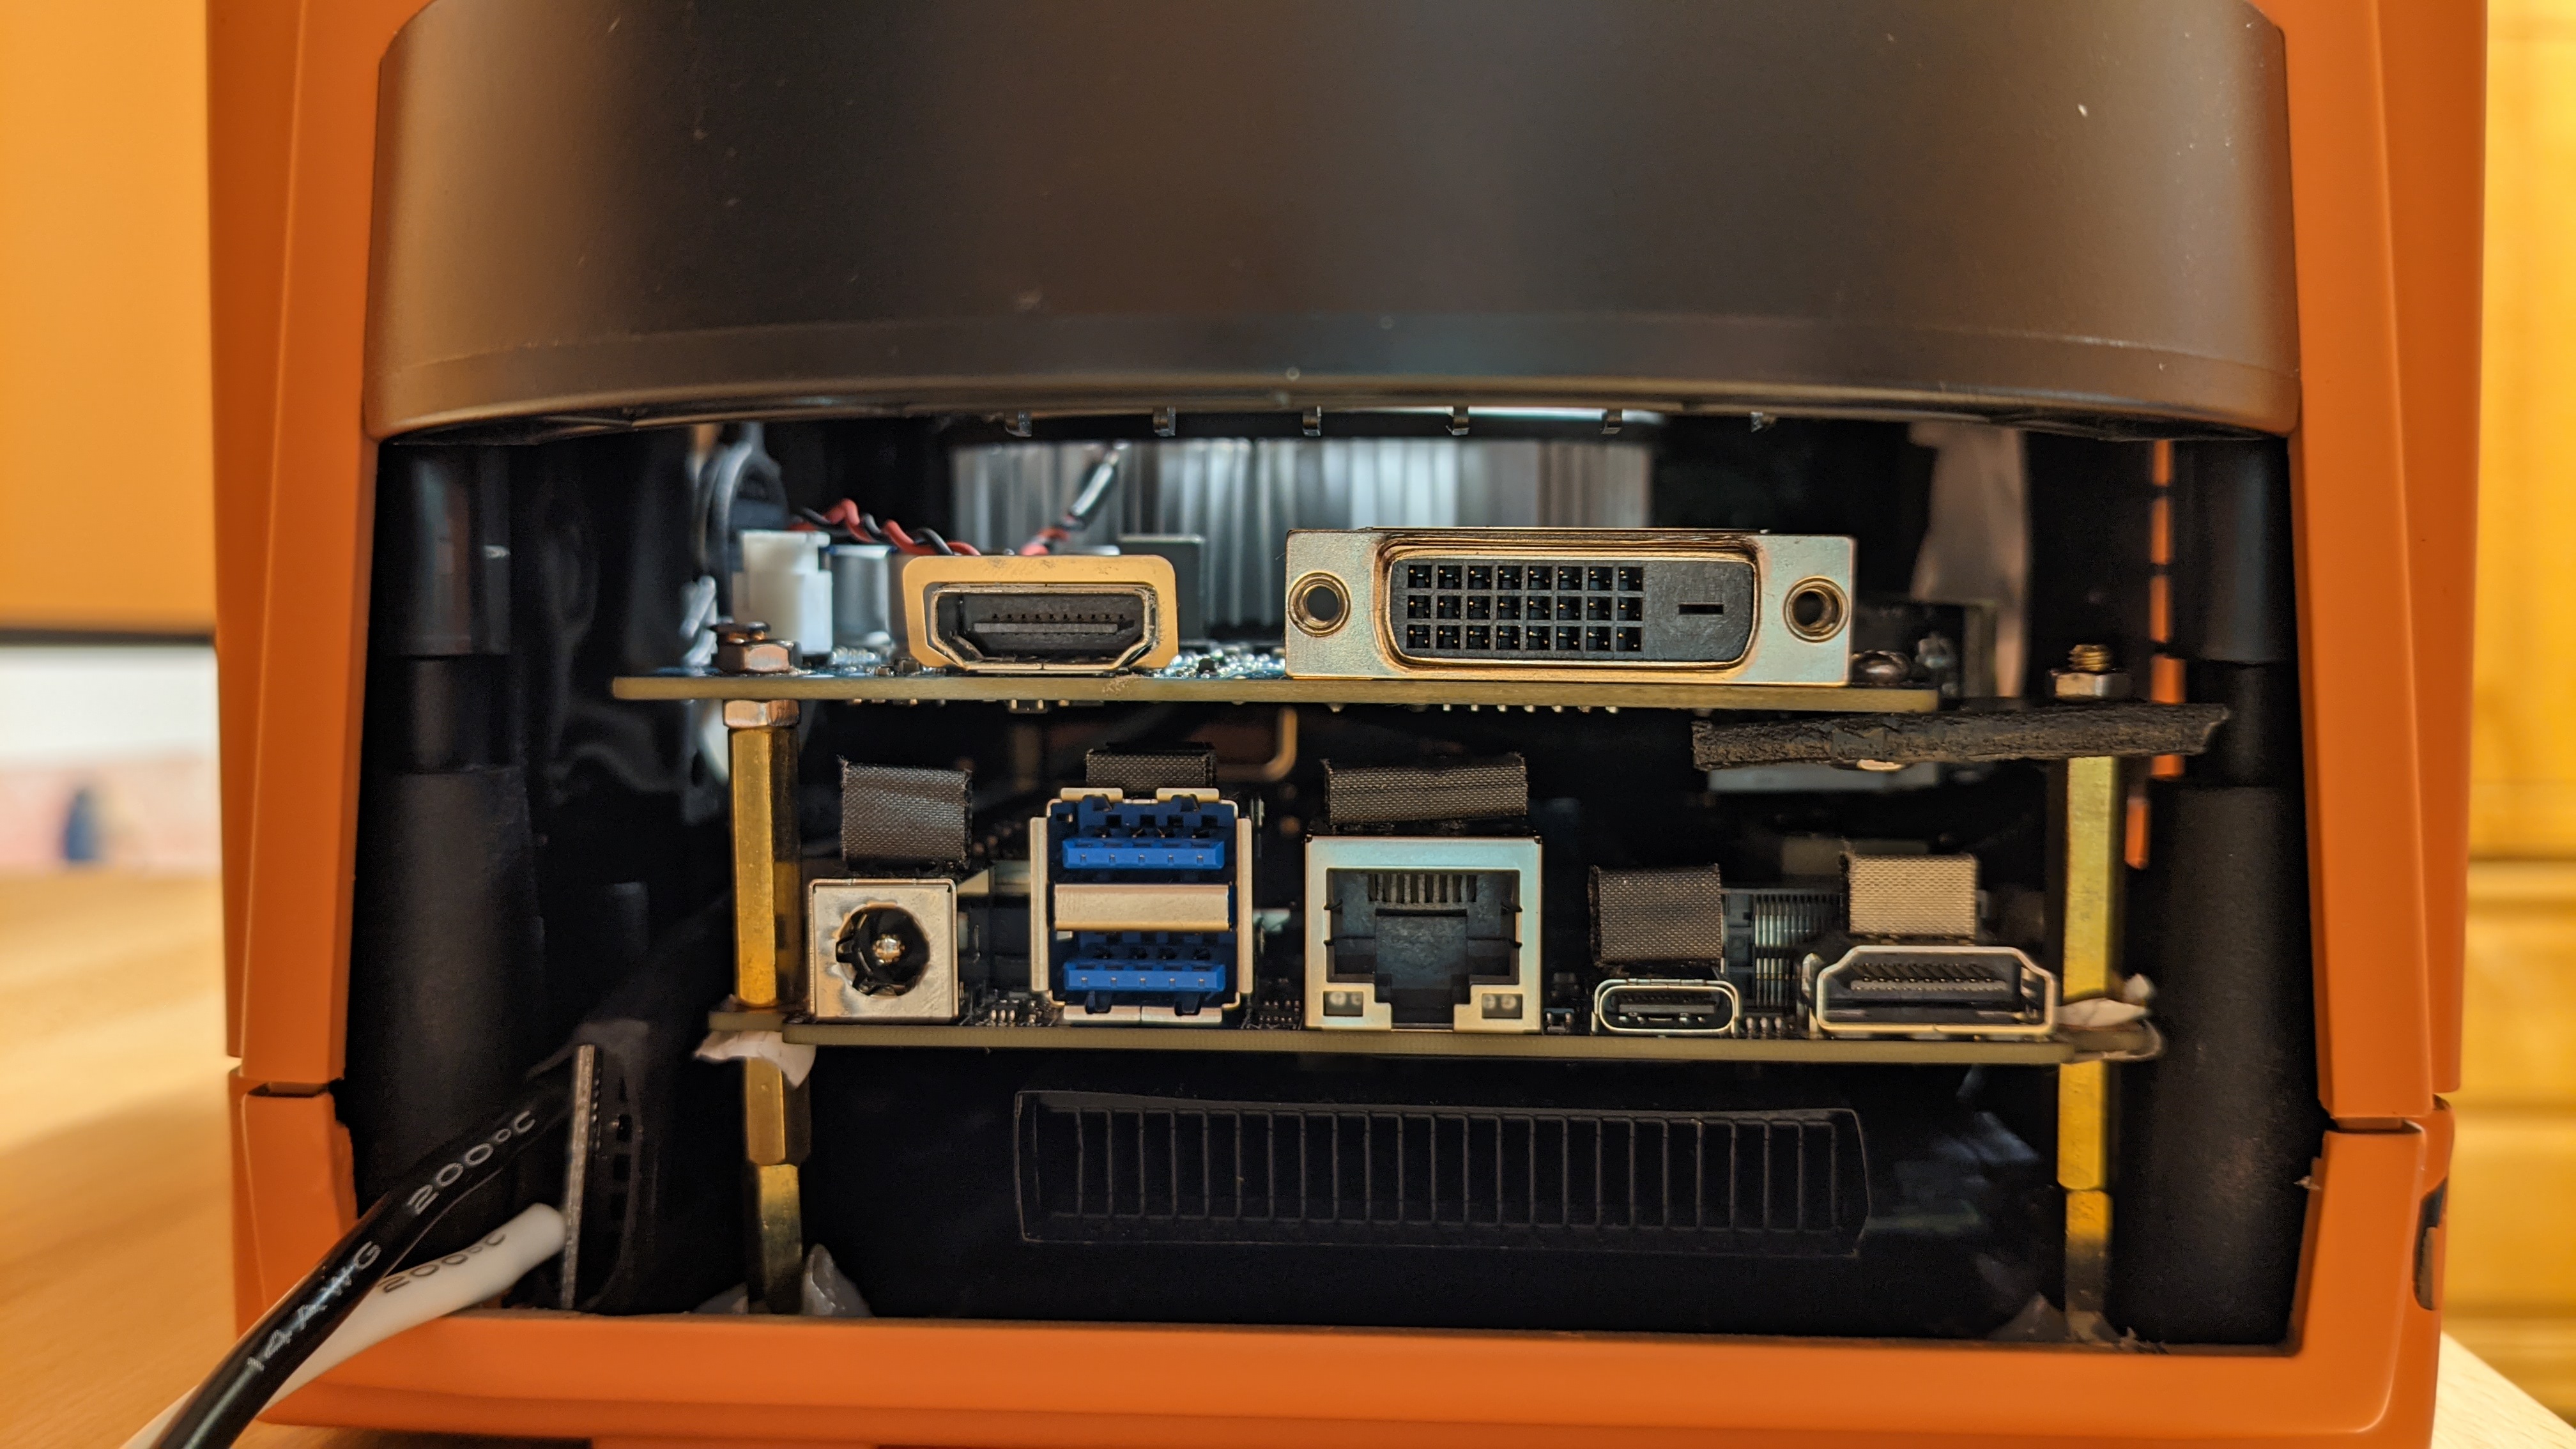
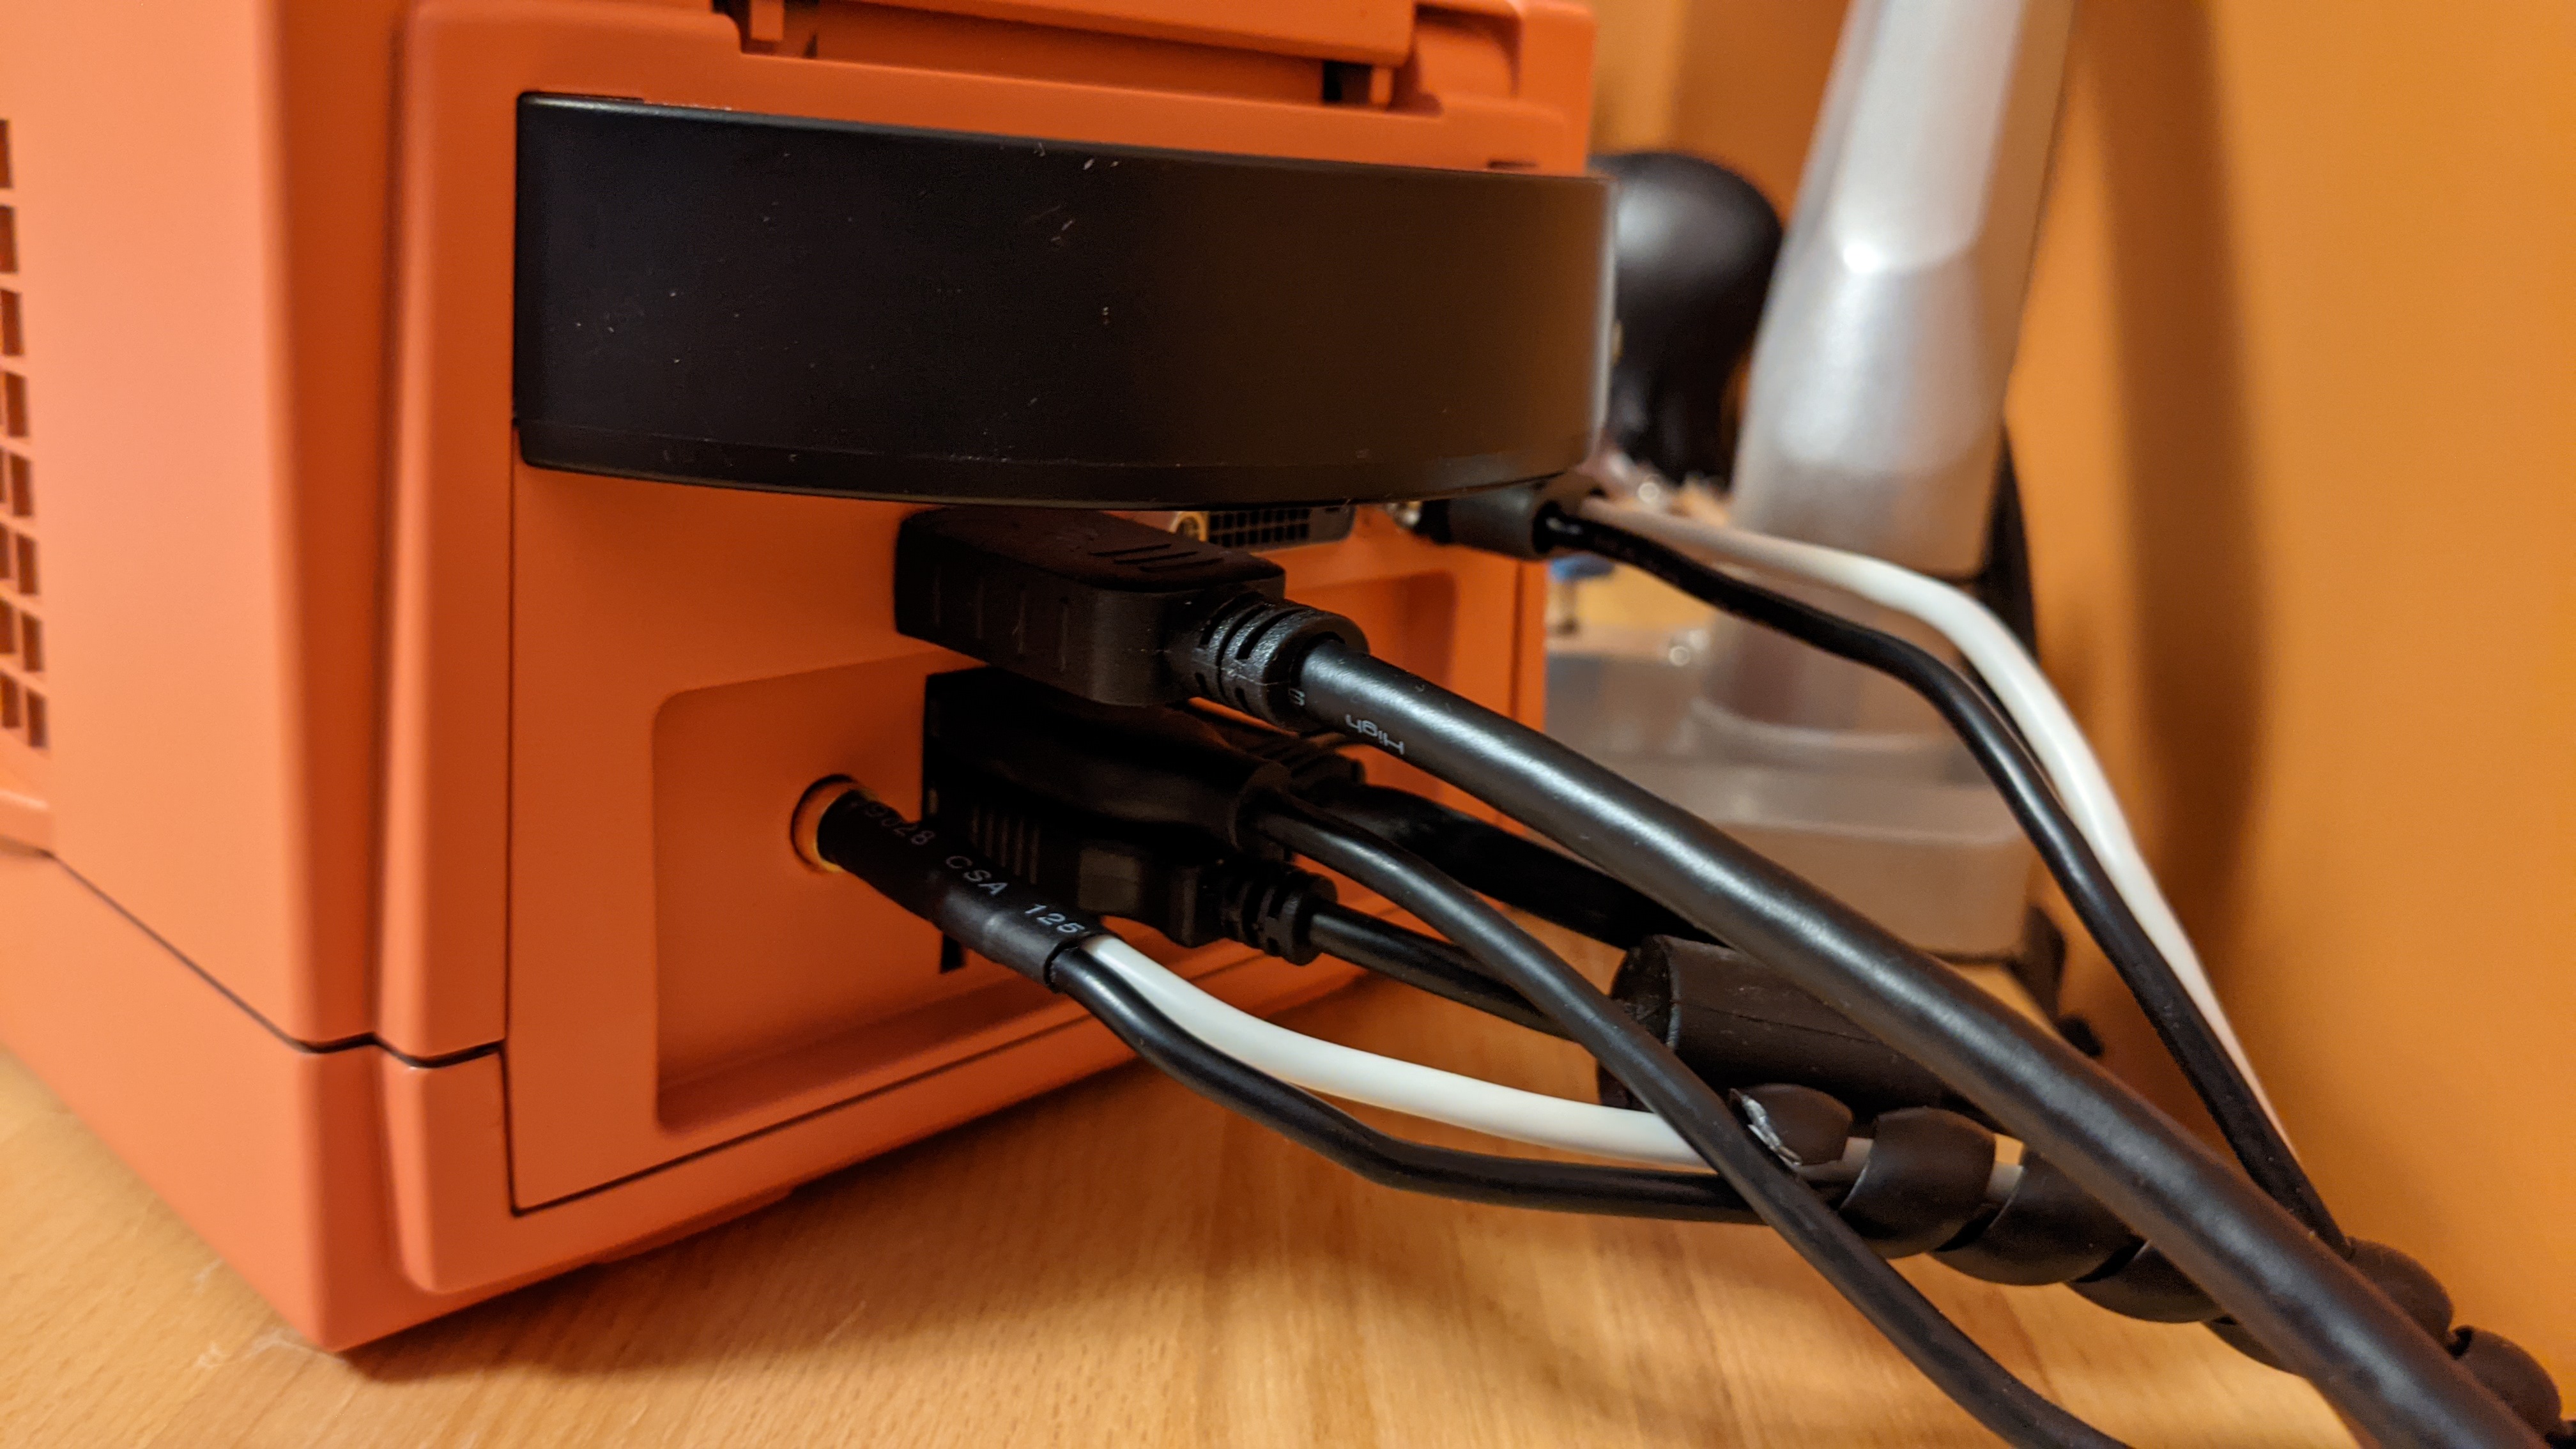
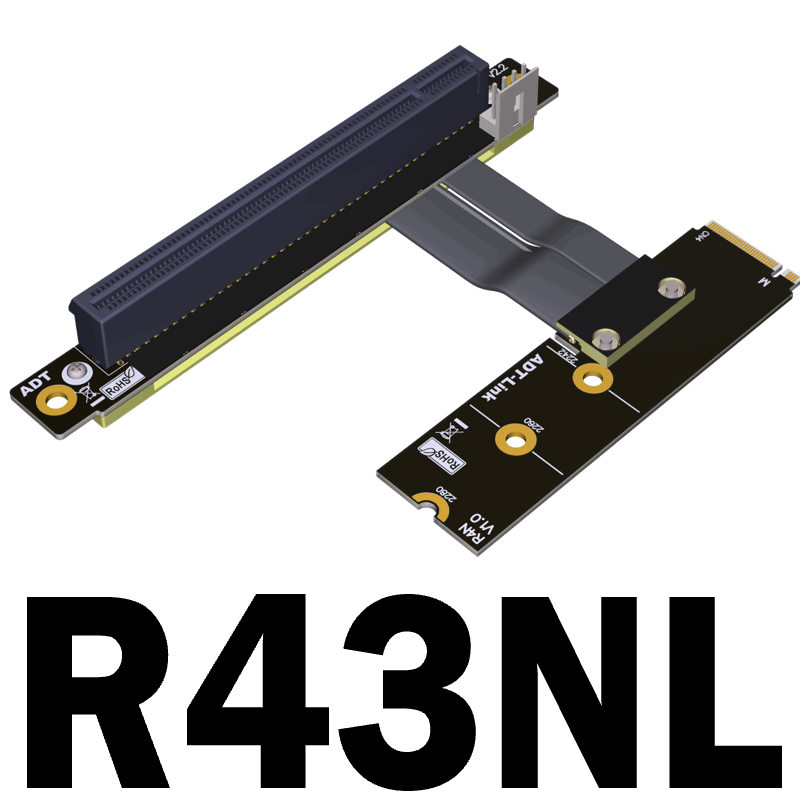
Speaking of GPU, I will probably buy a new riser to reduce the cable clutter. More precisely, the ADT R43NL as it goes directly to a right angle, with an angled PCIE slot, and with hopefully a 3cm cable, and would allow me to avoid doing several questionable bends to the riser that will be squeezed between the GPU and the PN50 and would block airflow to the ram and wifi card.

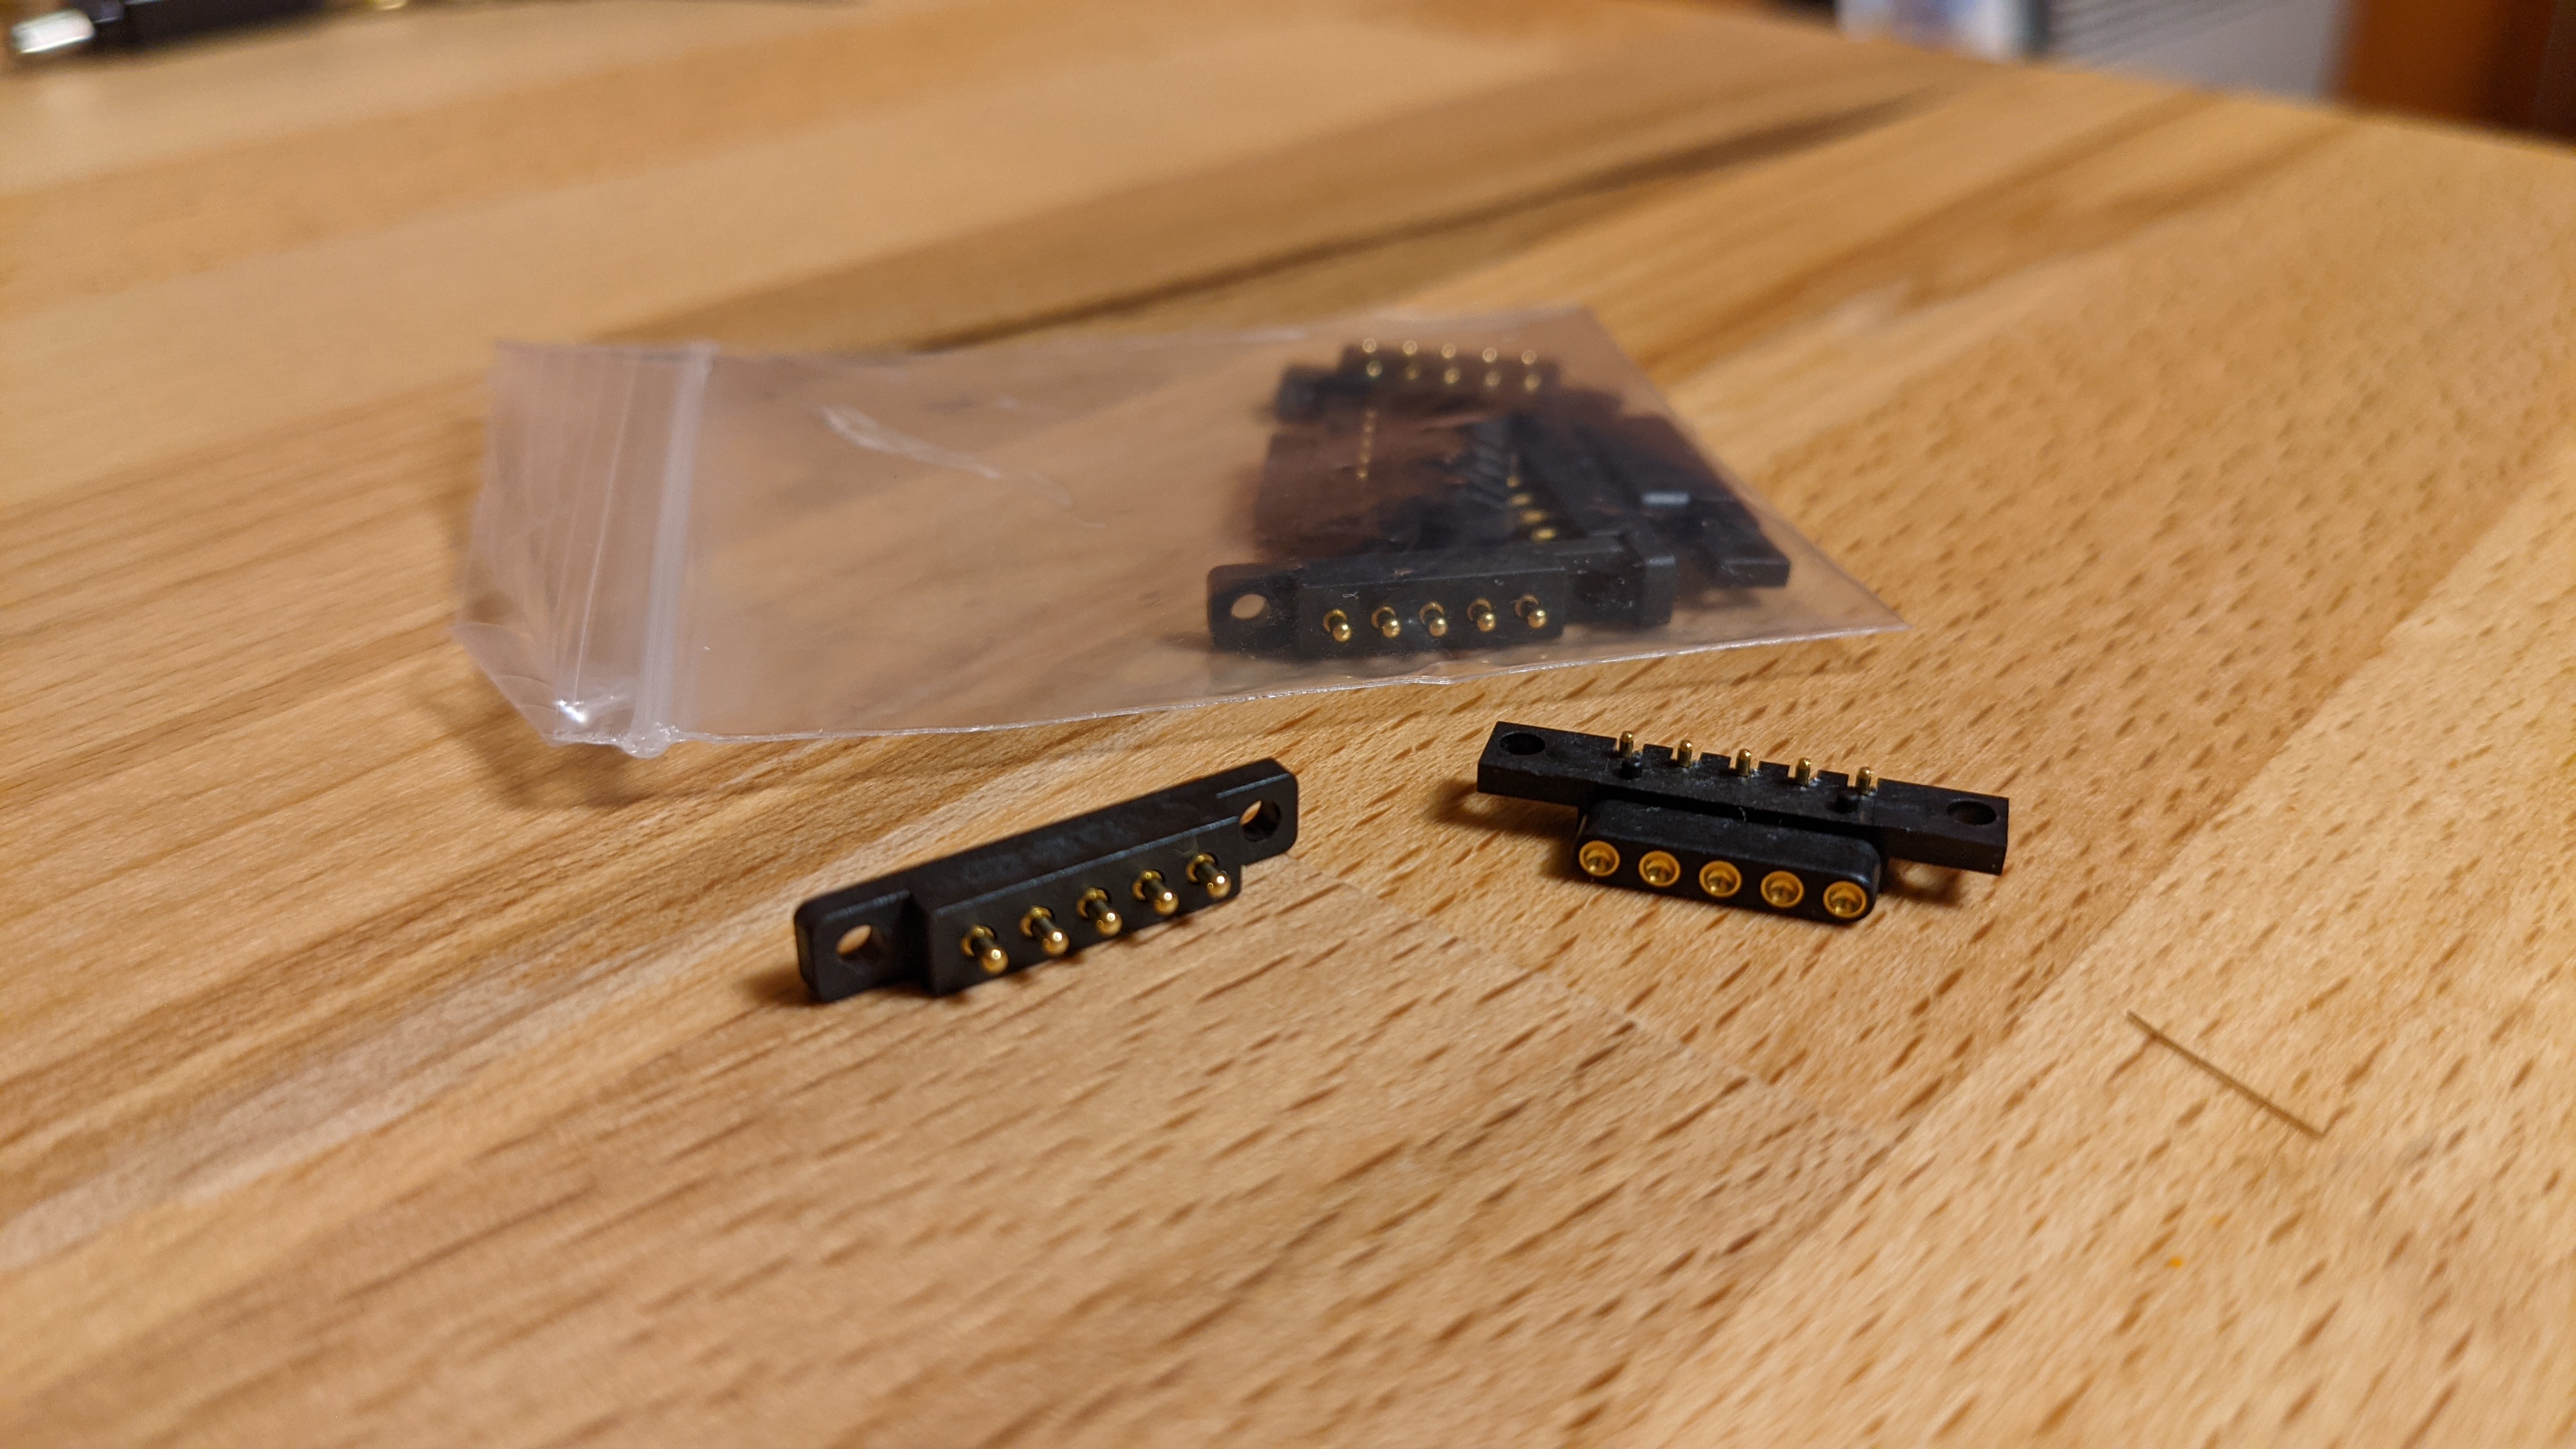
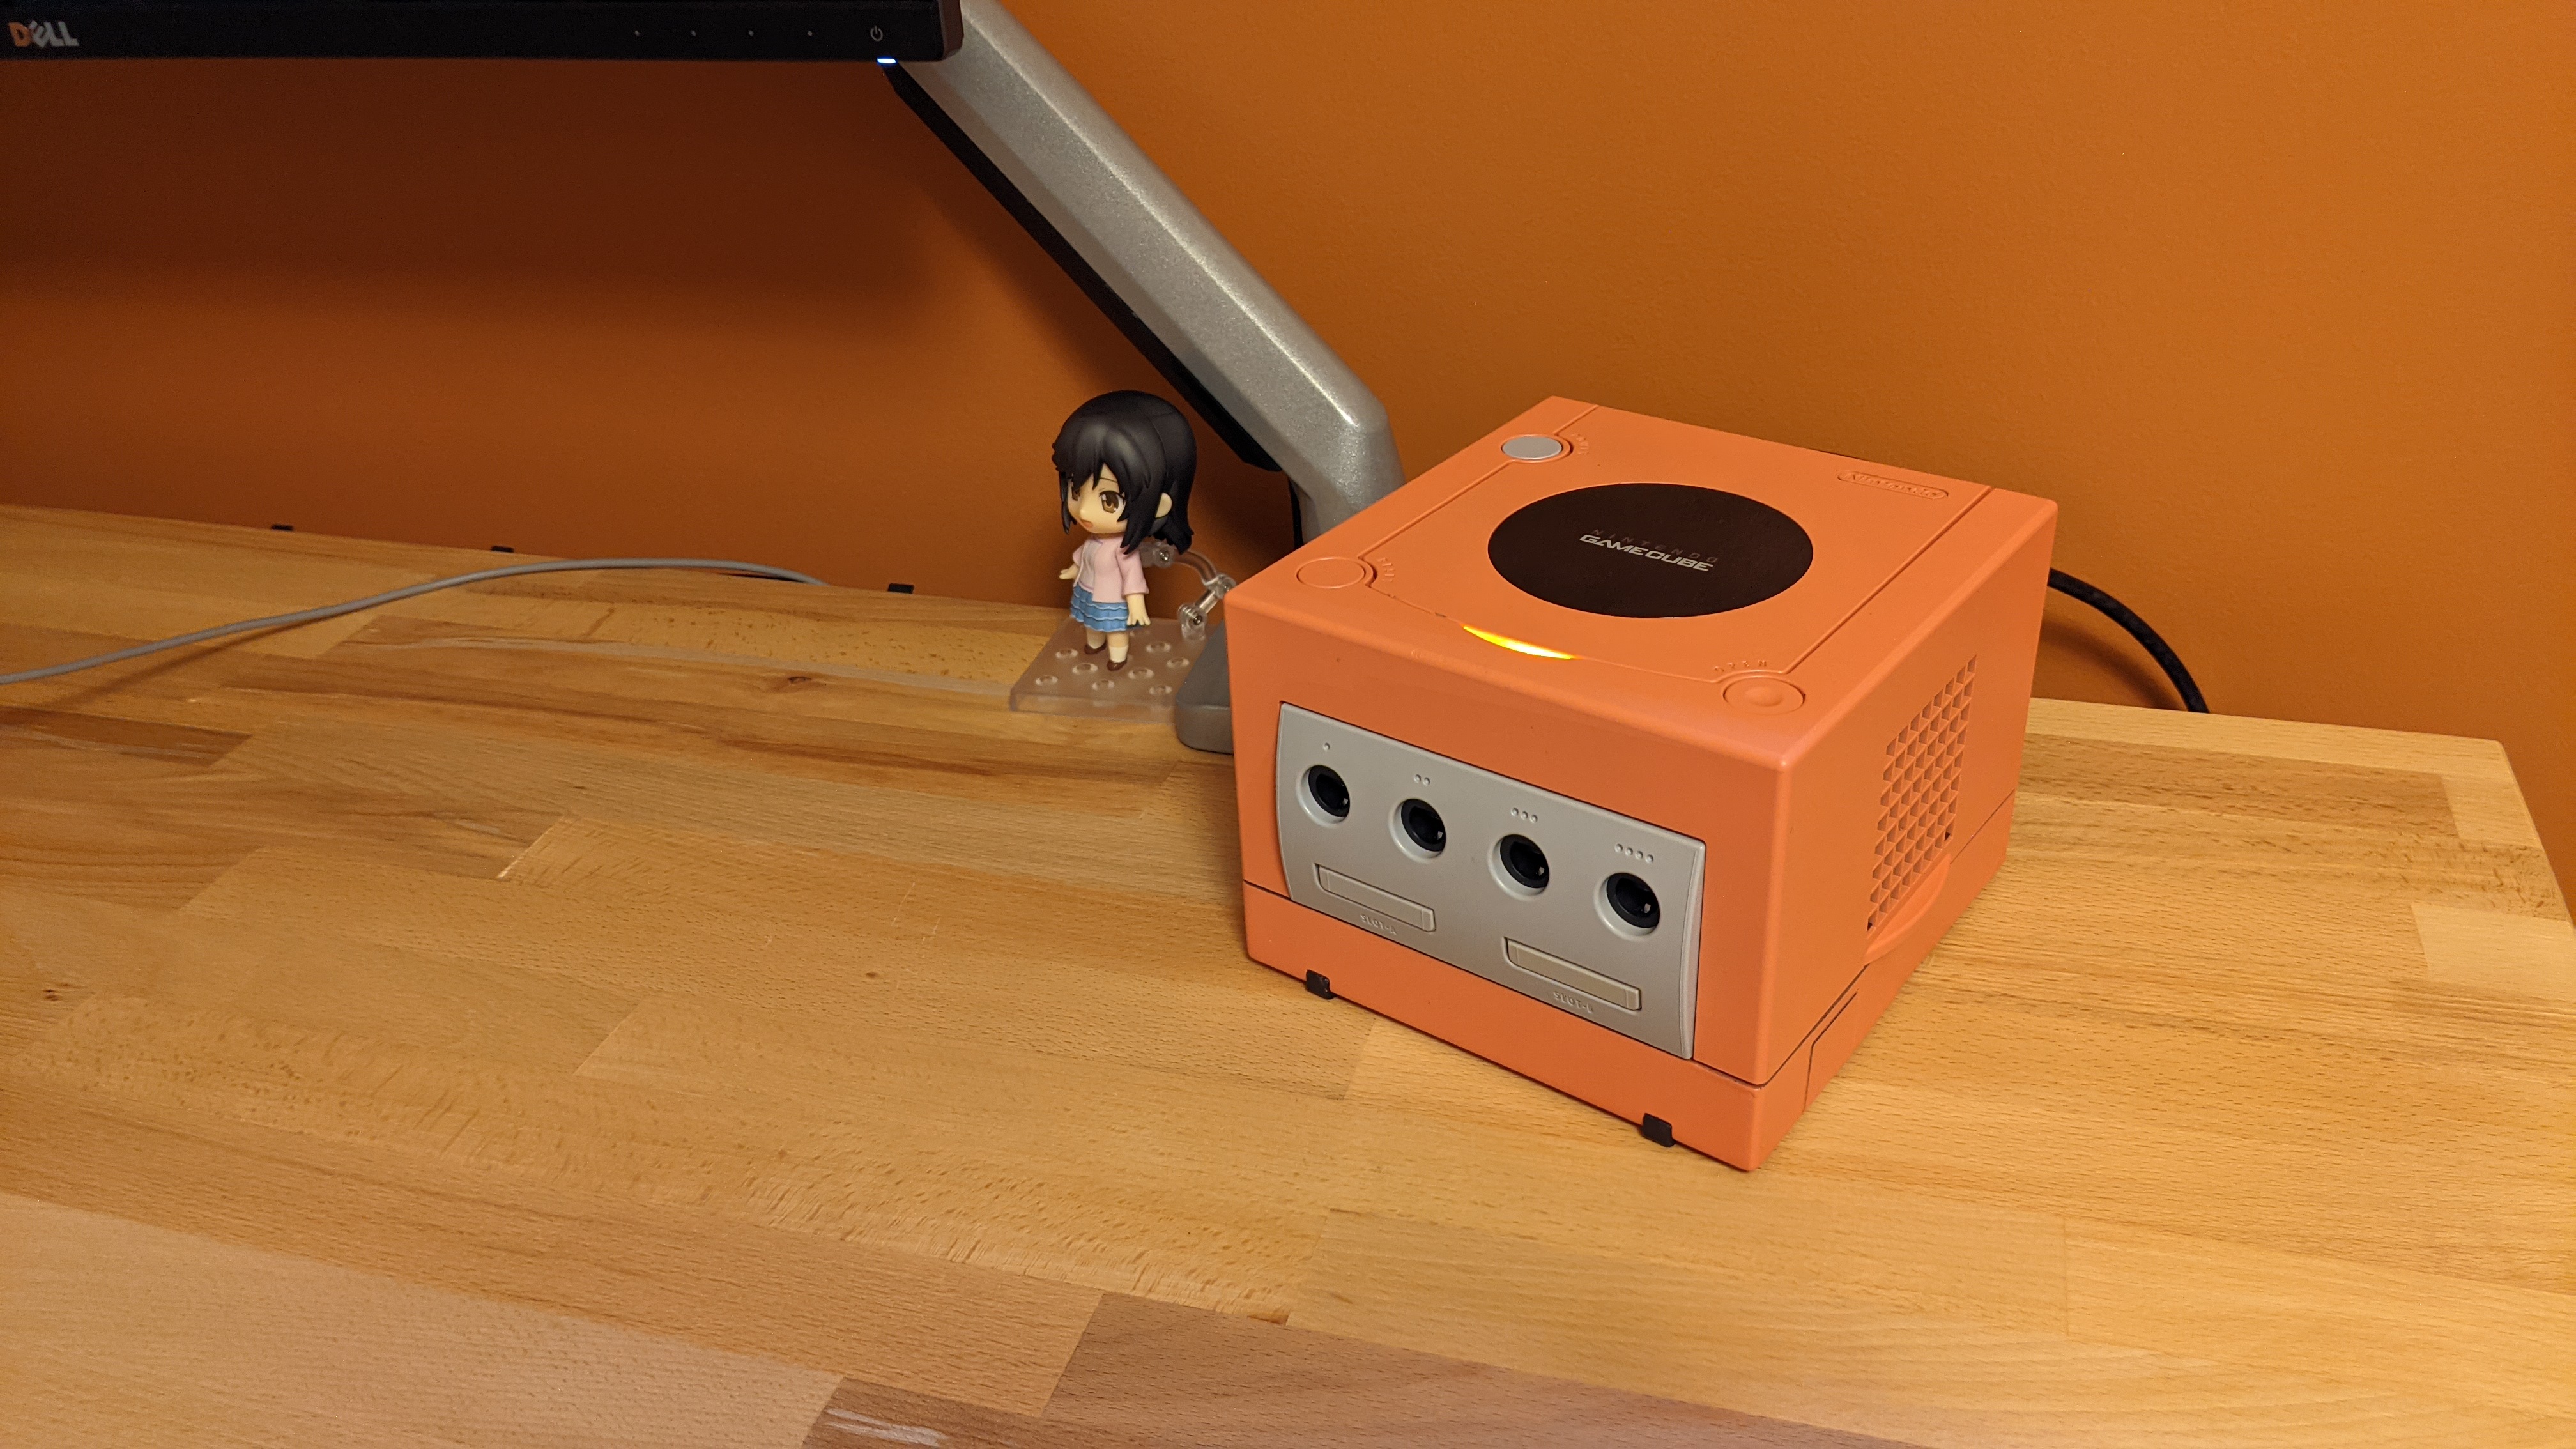
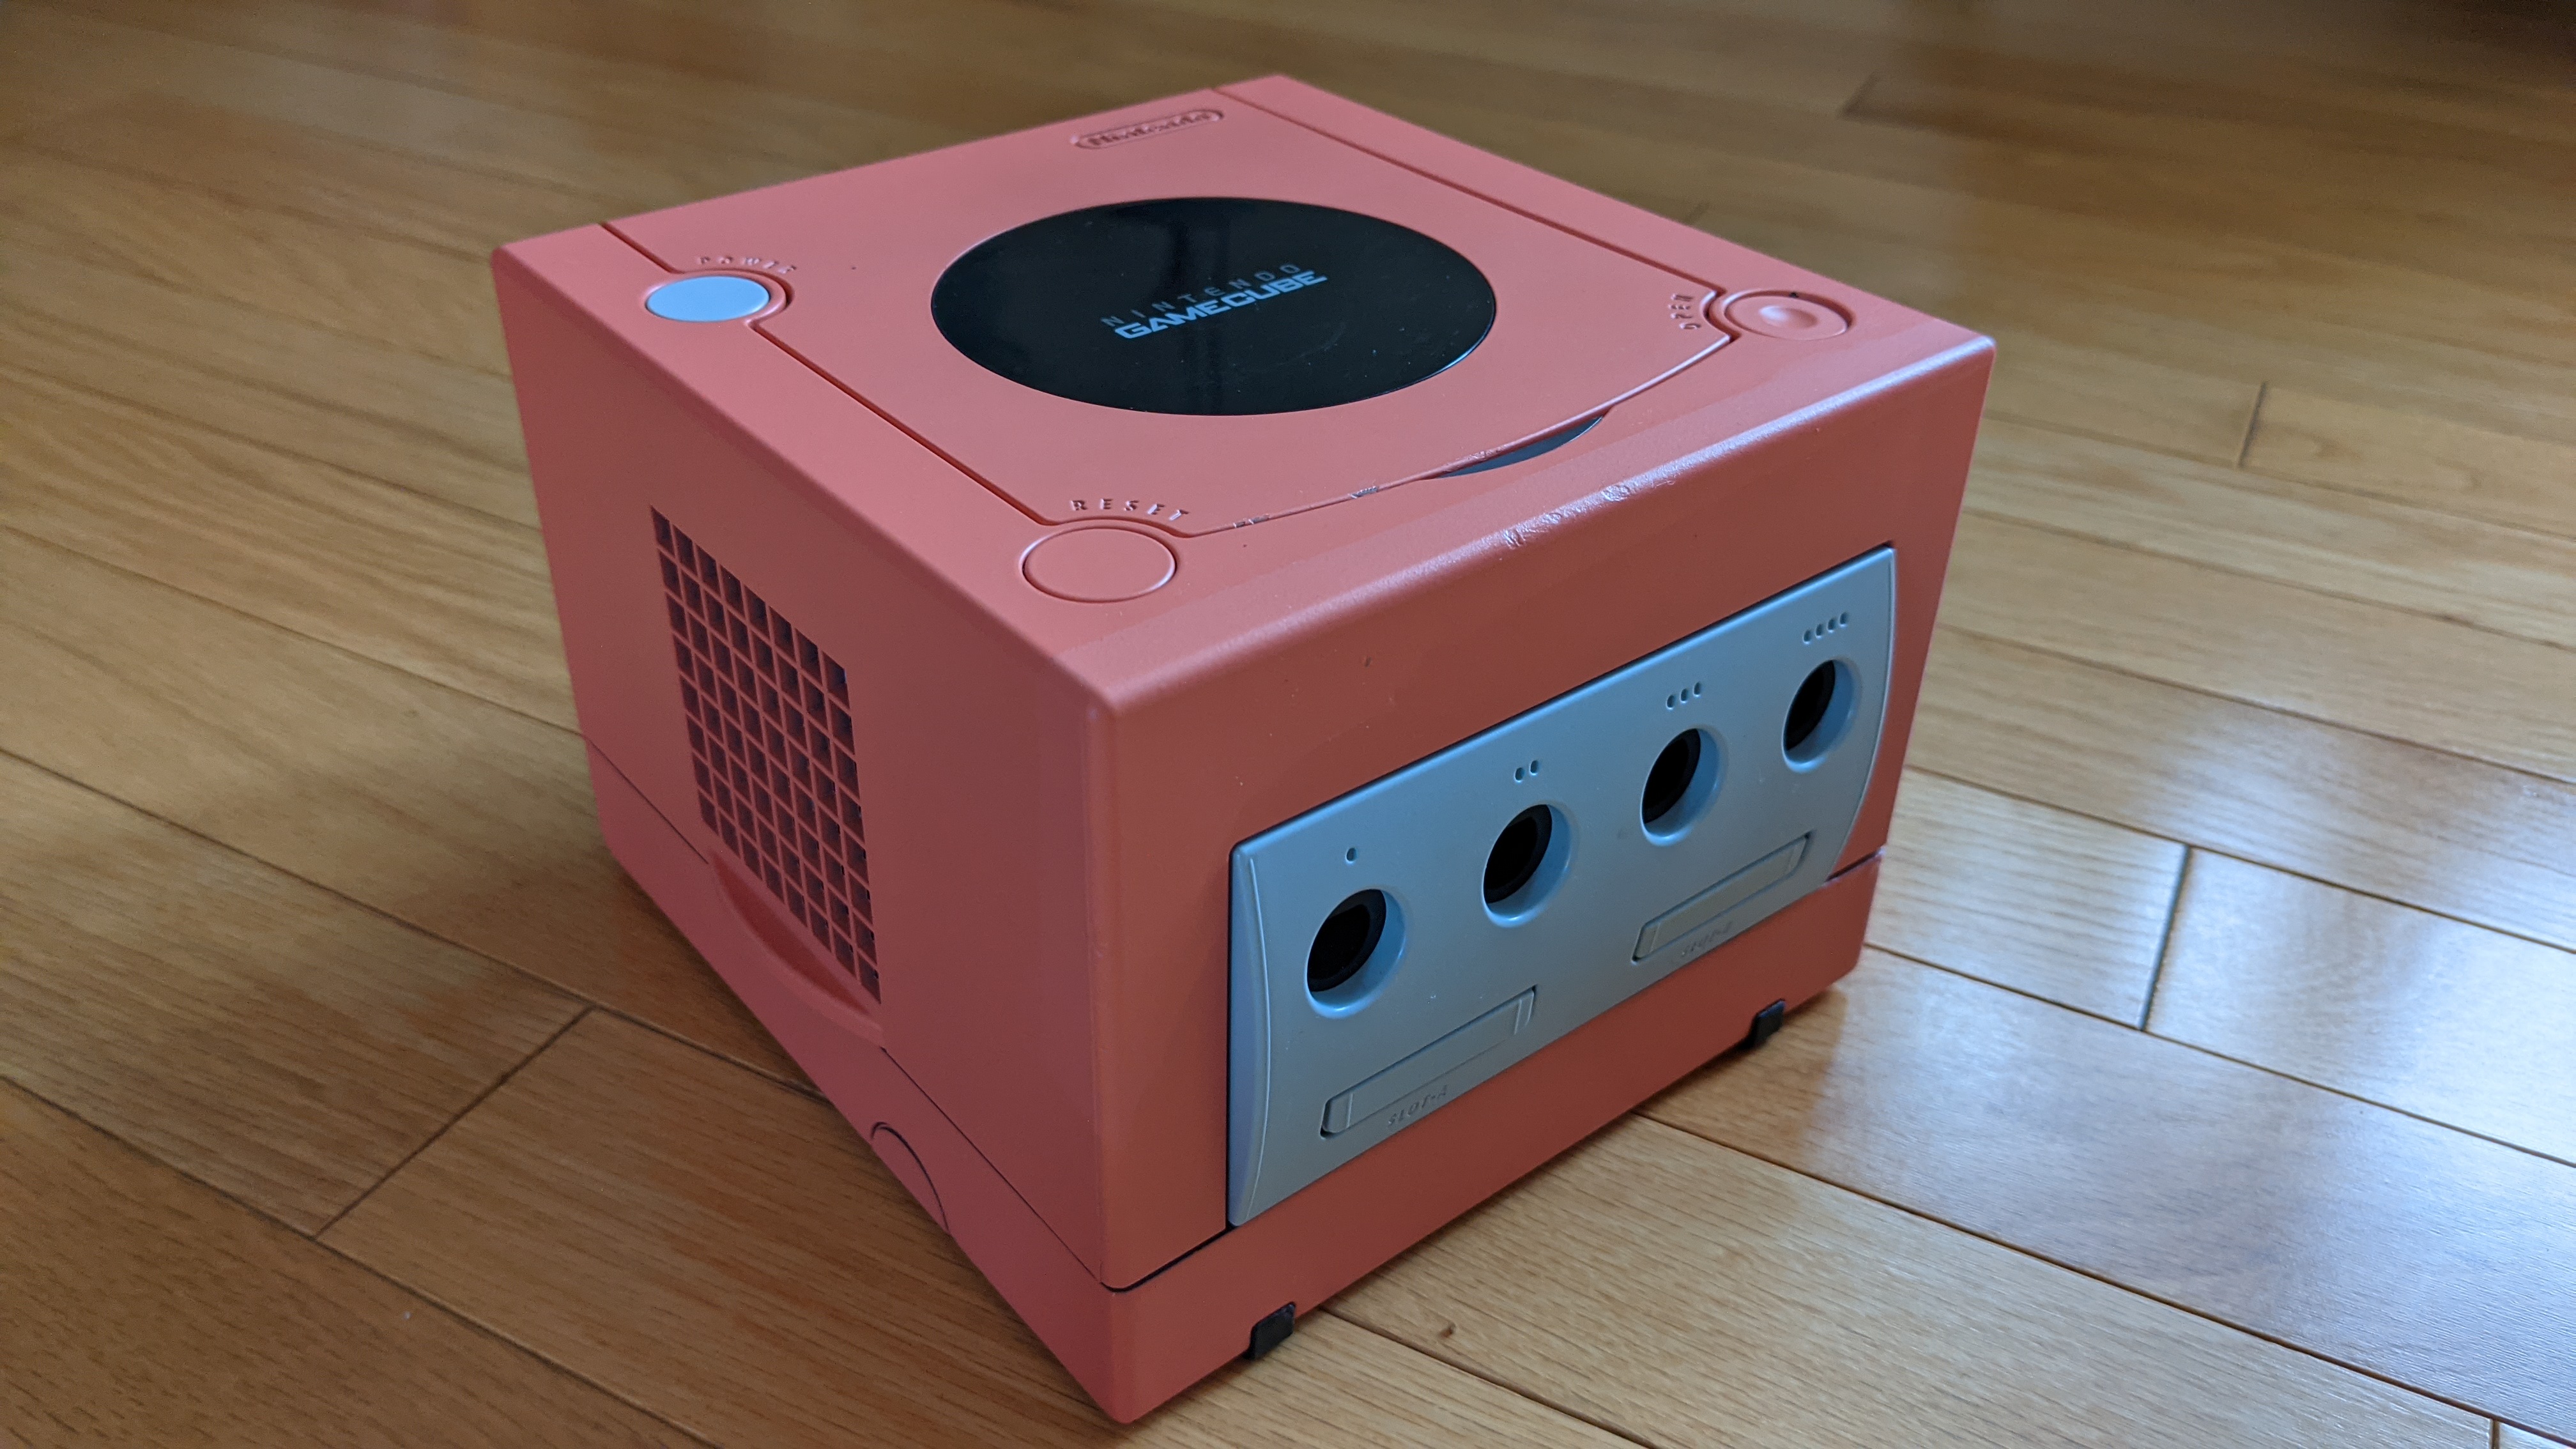
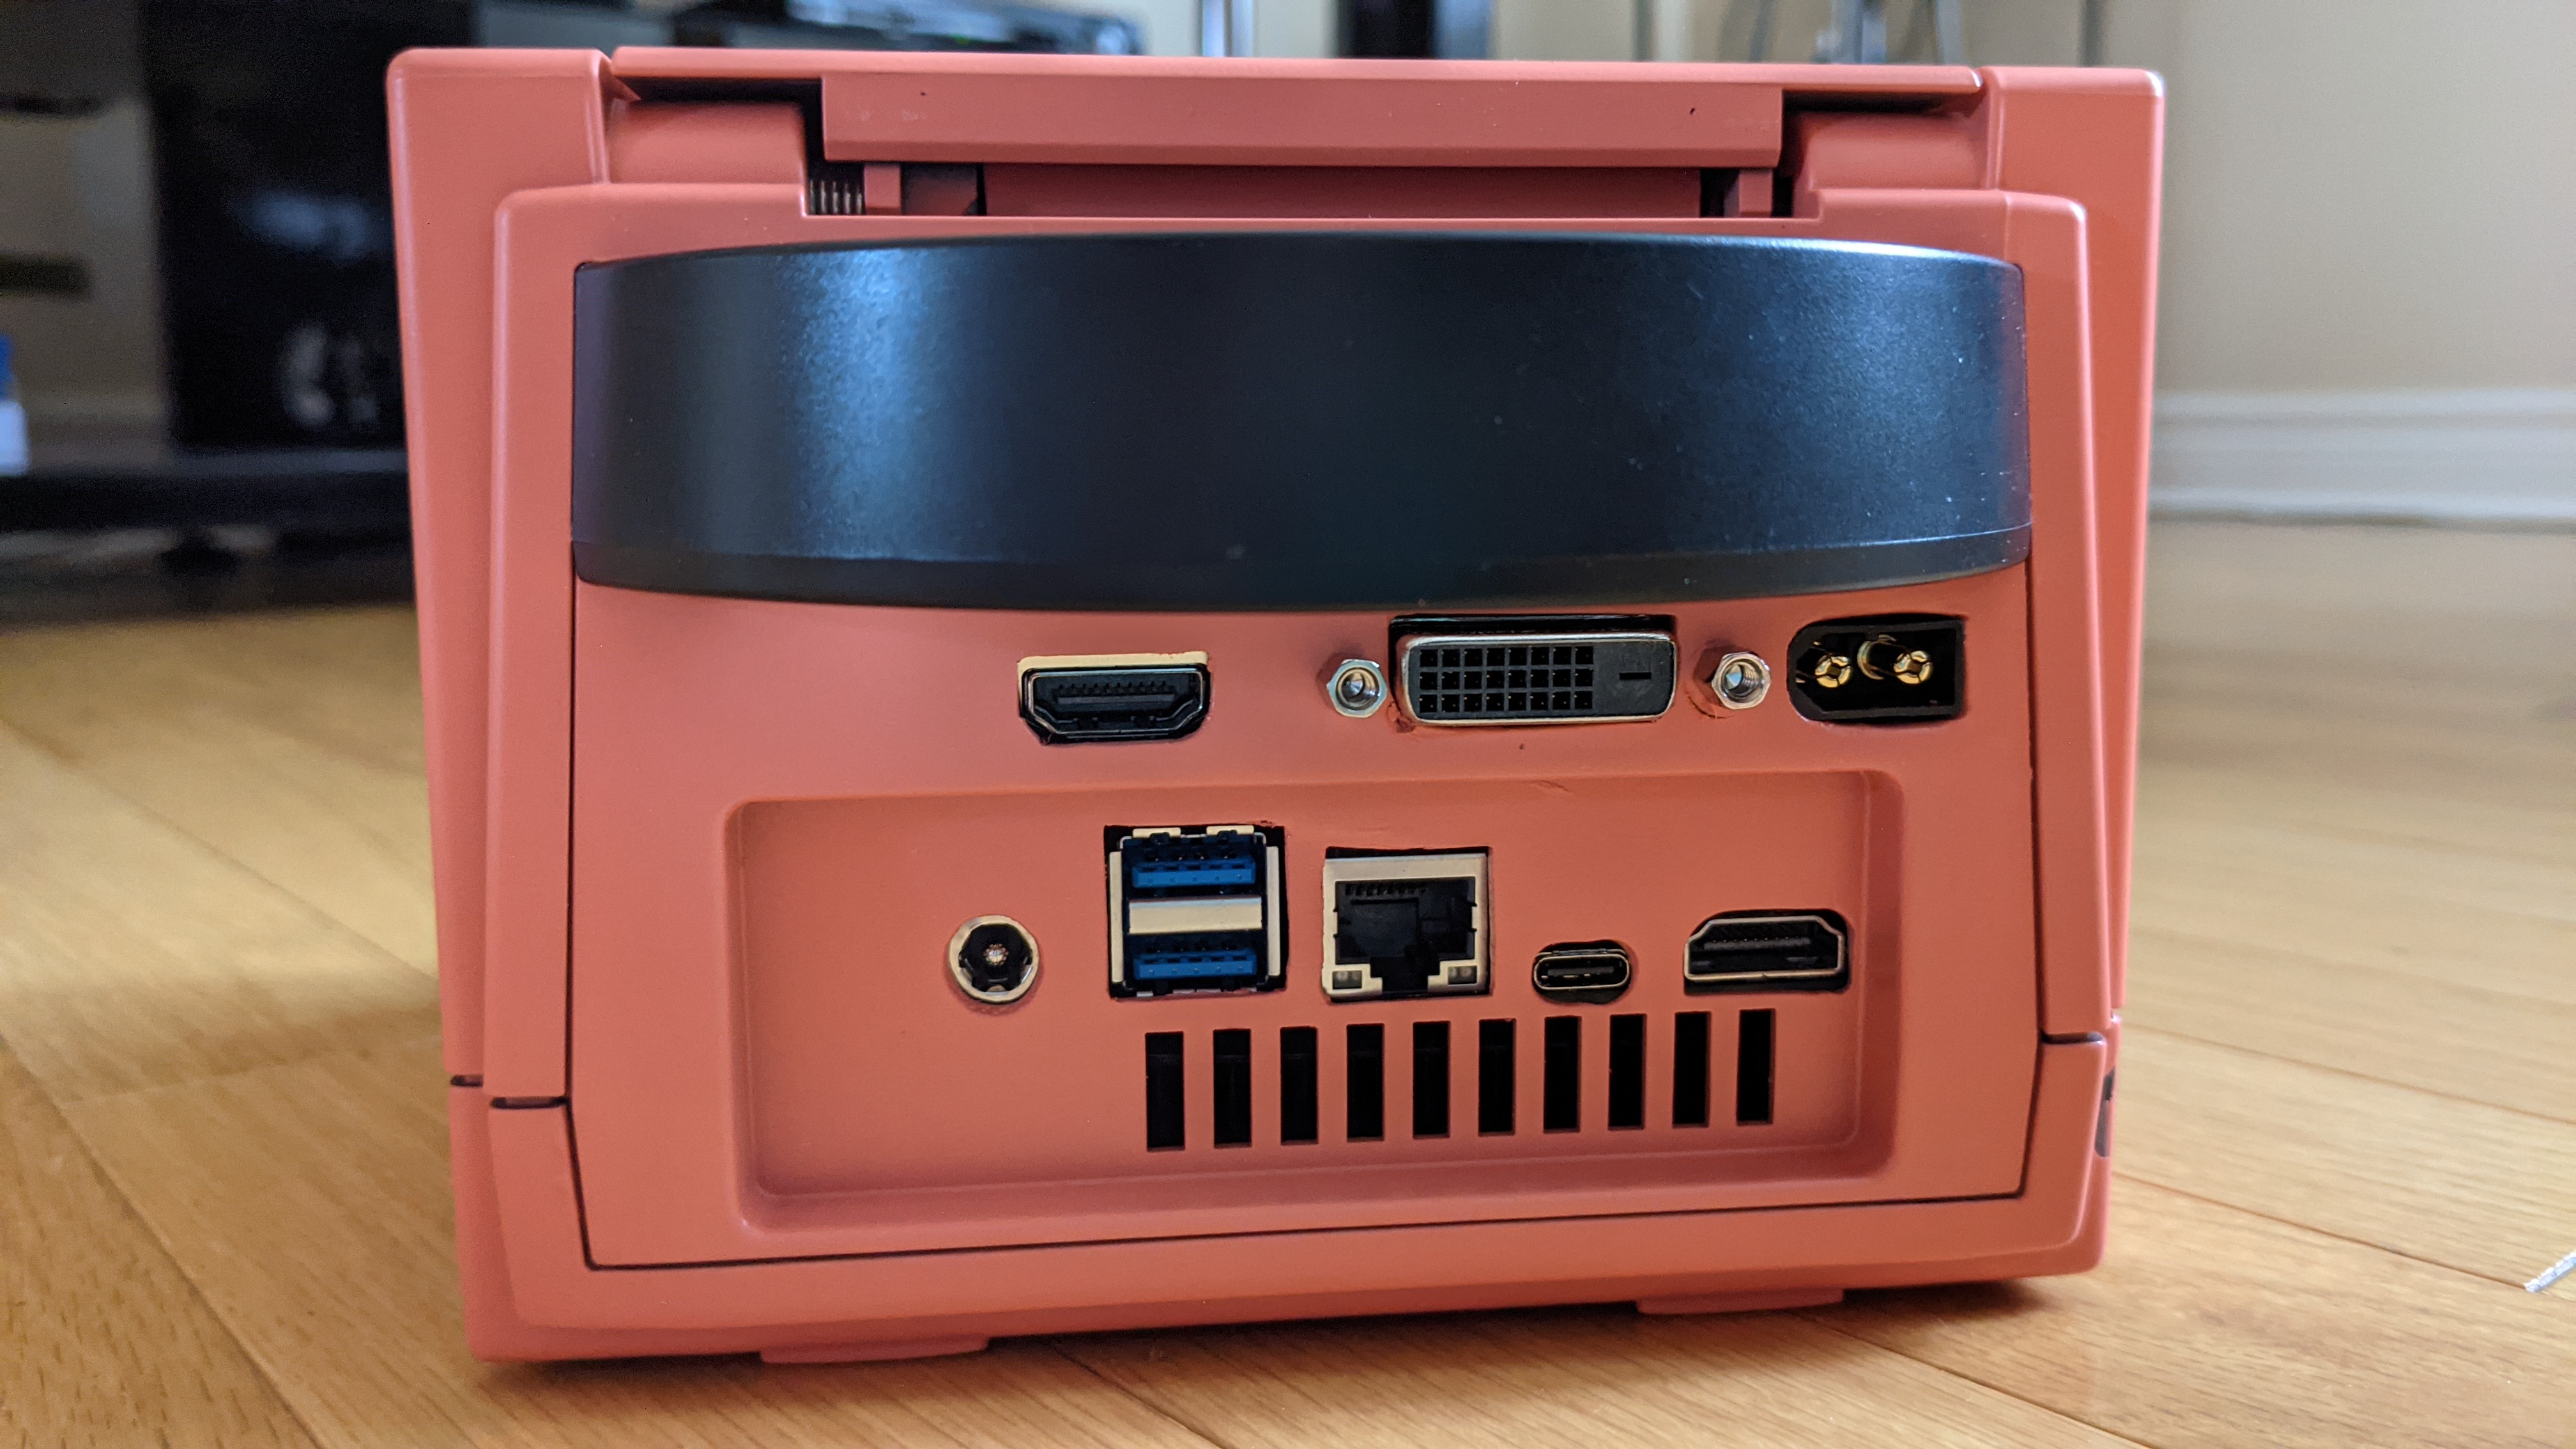
Also, all the power and reset buttons (even if the latter is unused) are done on the Gamecube, and they have a satisfying sound.


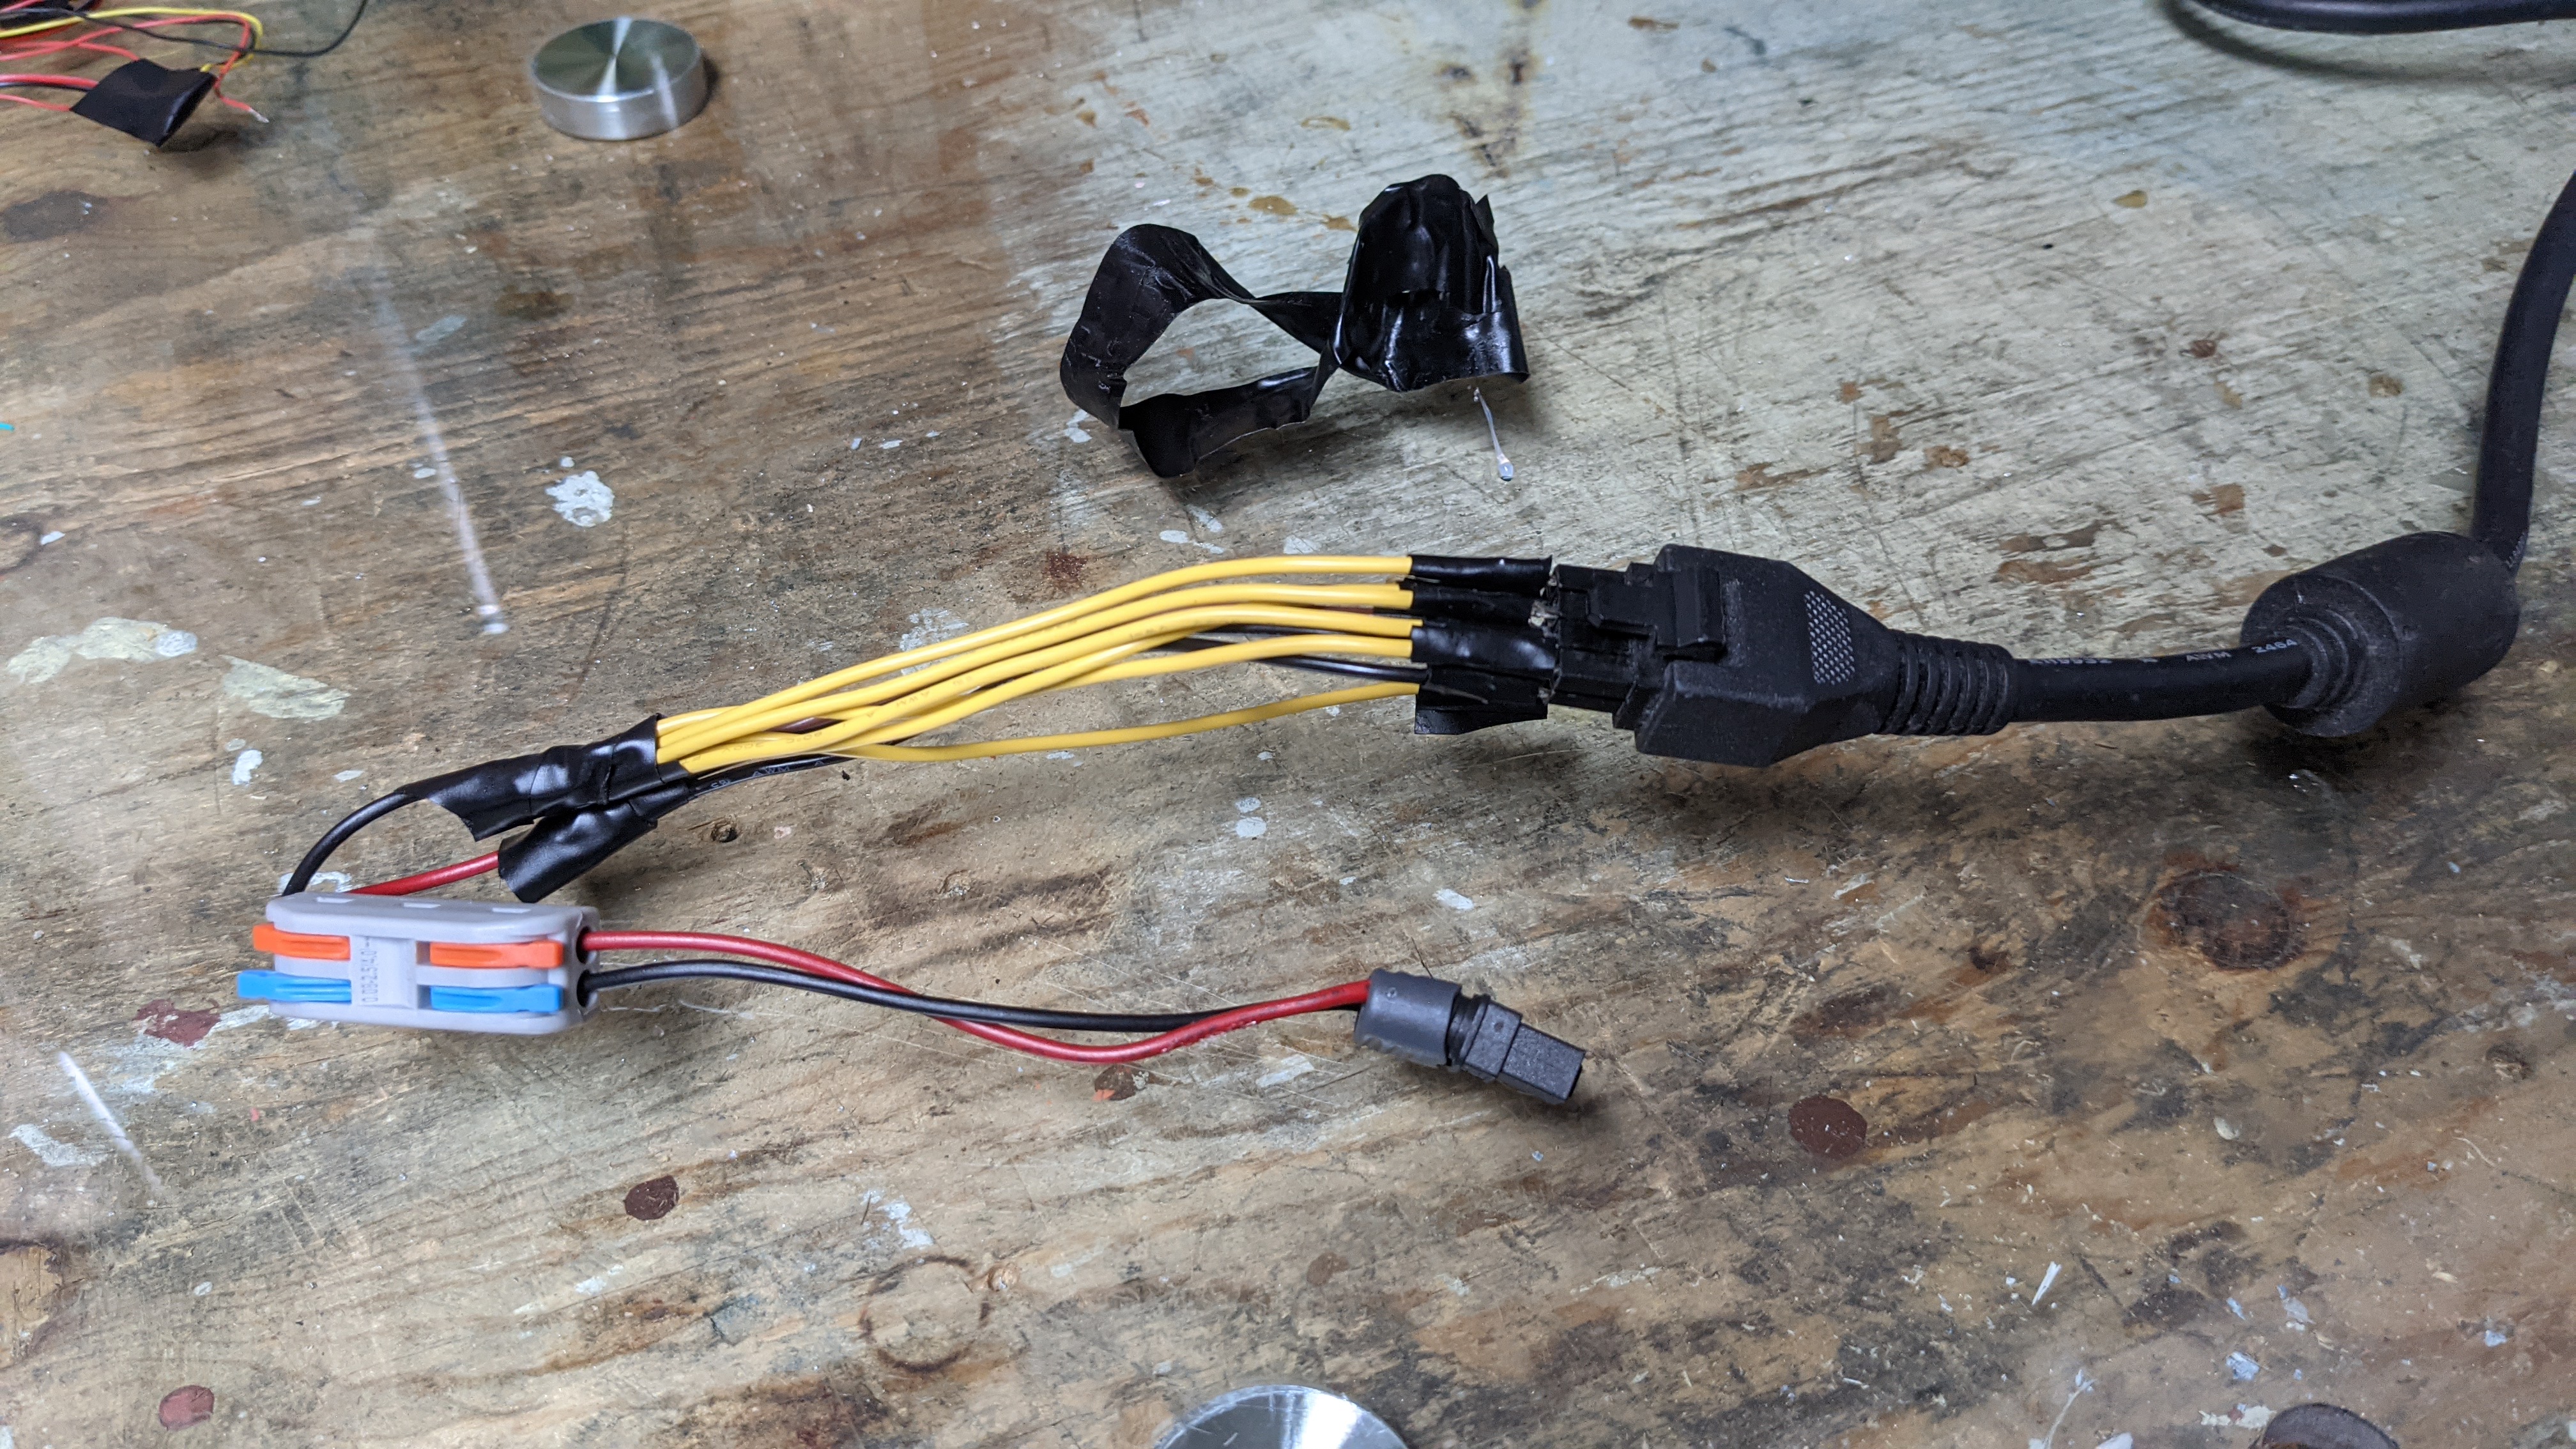
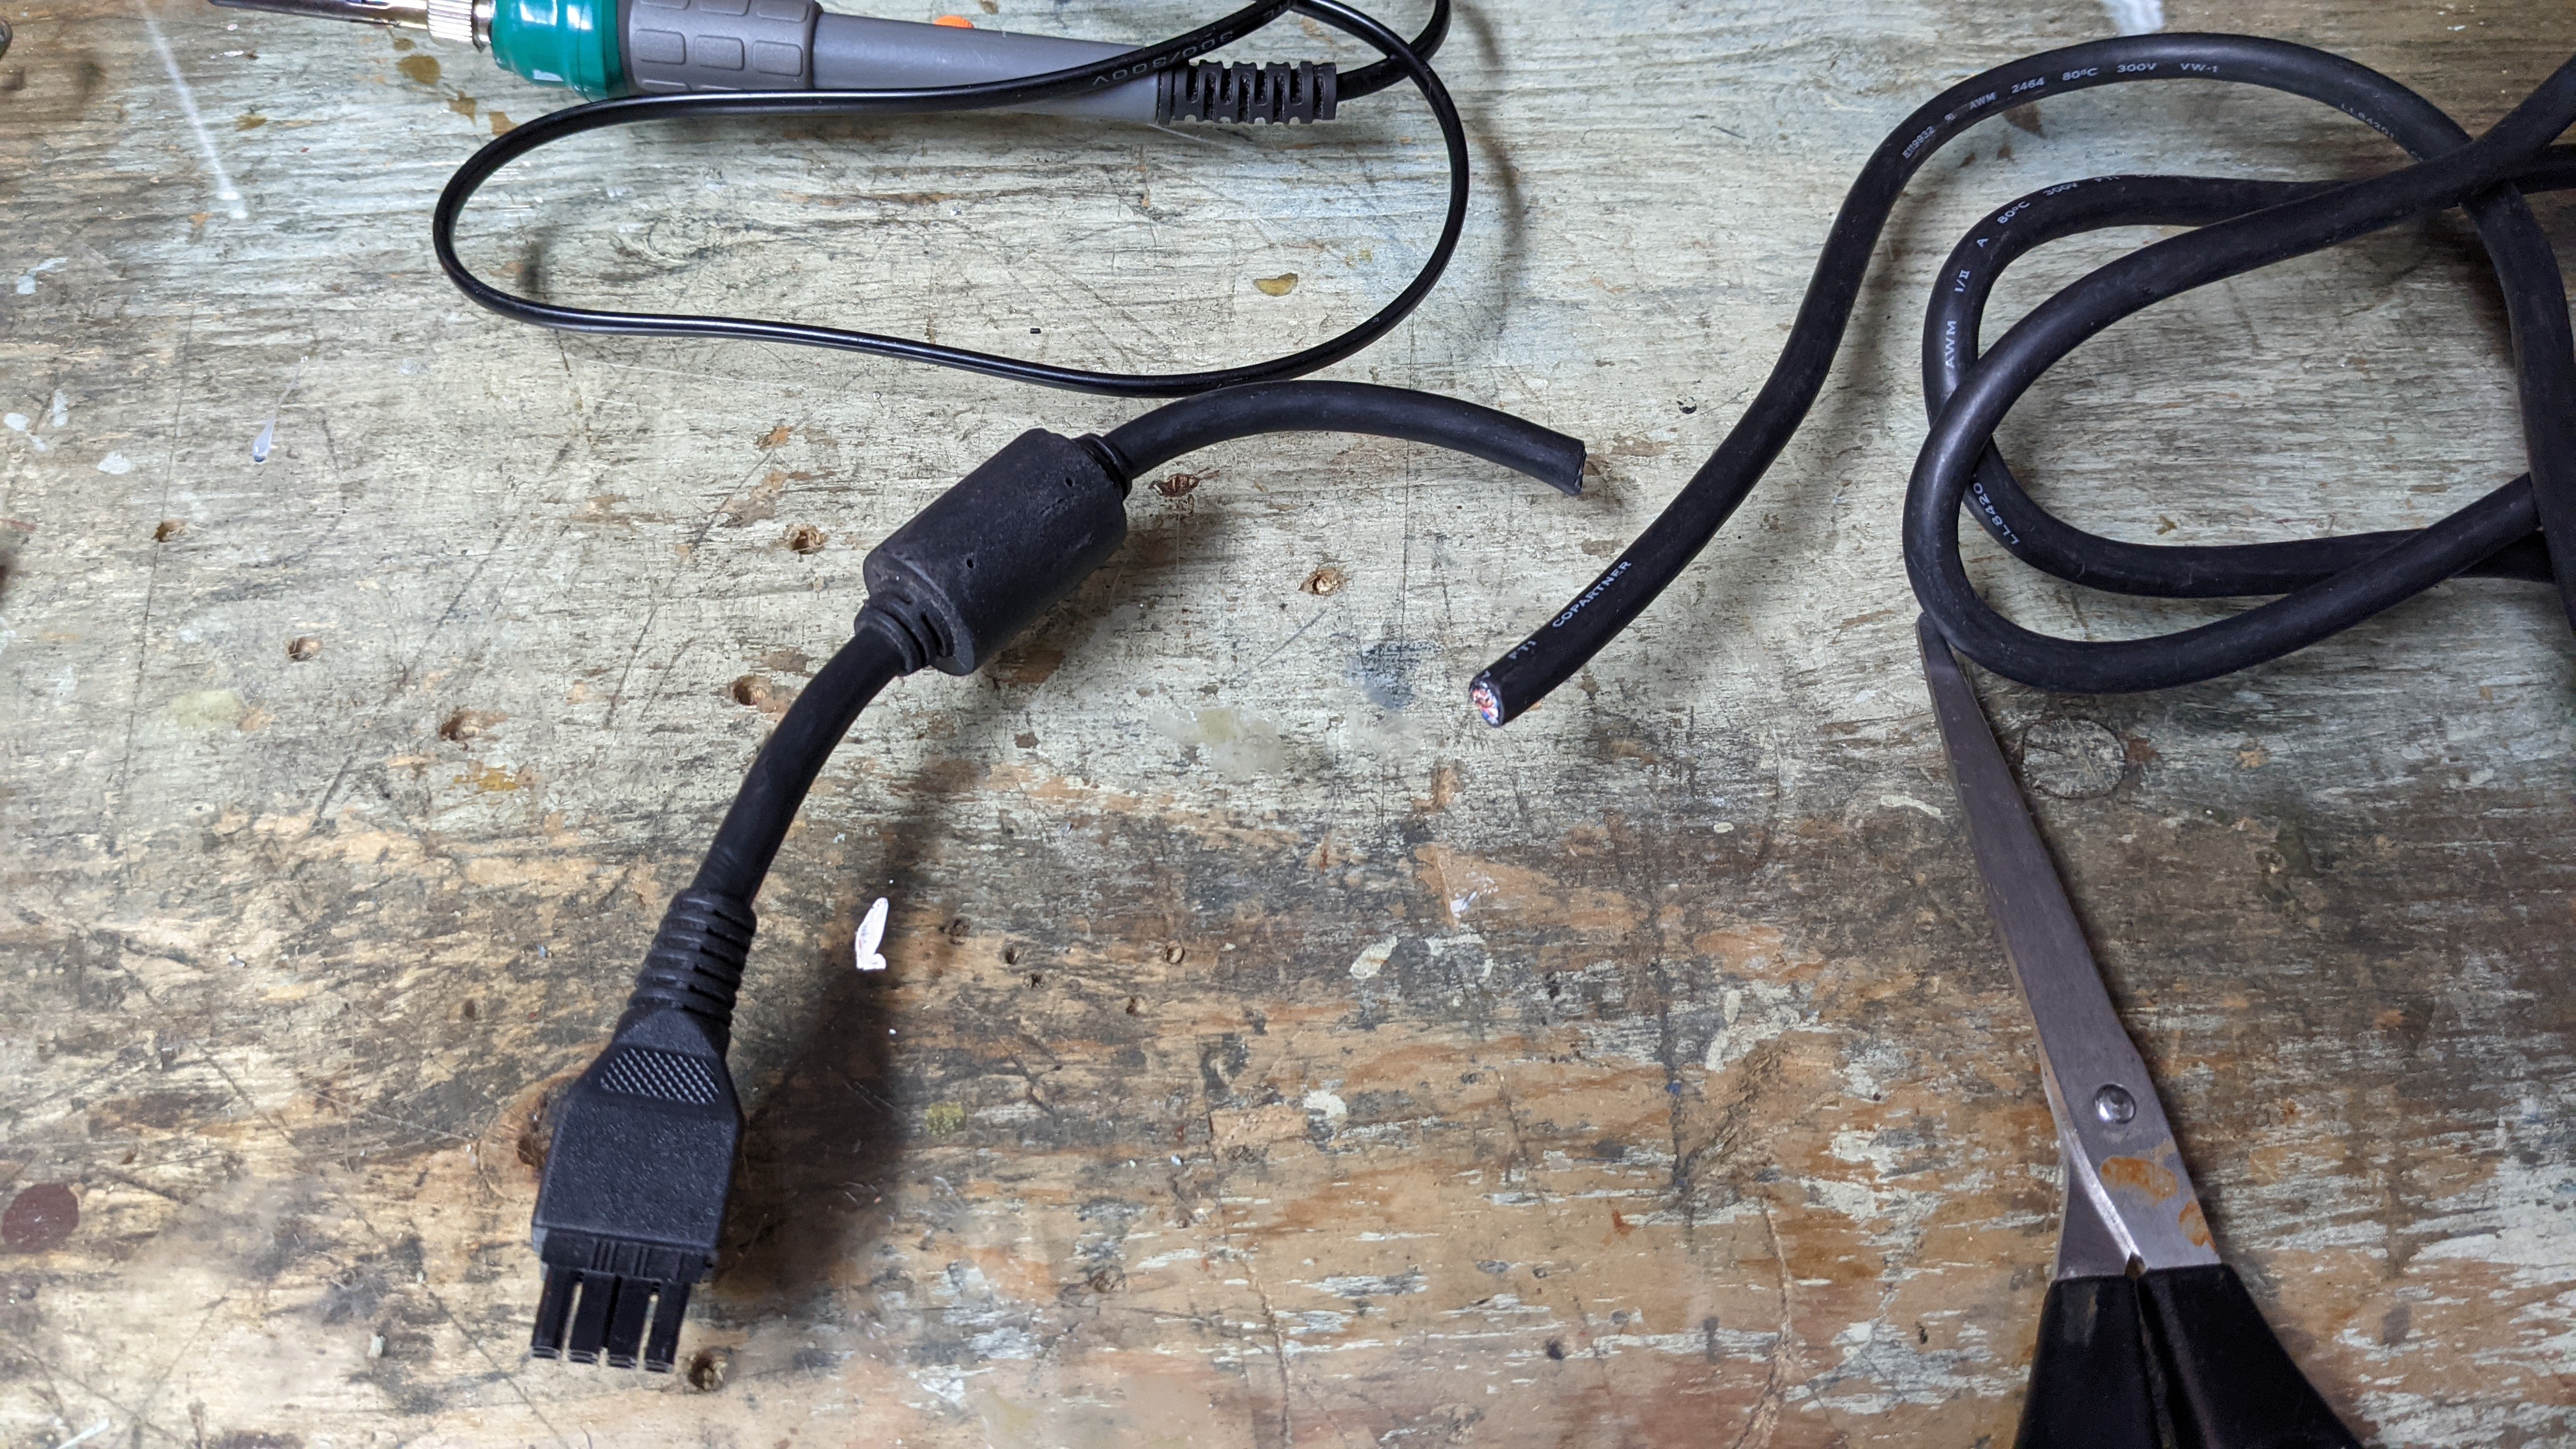
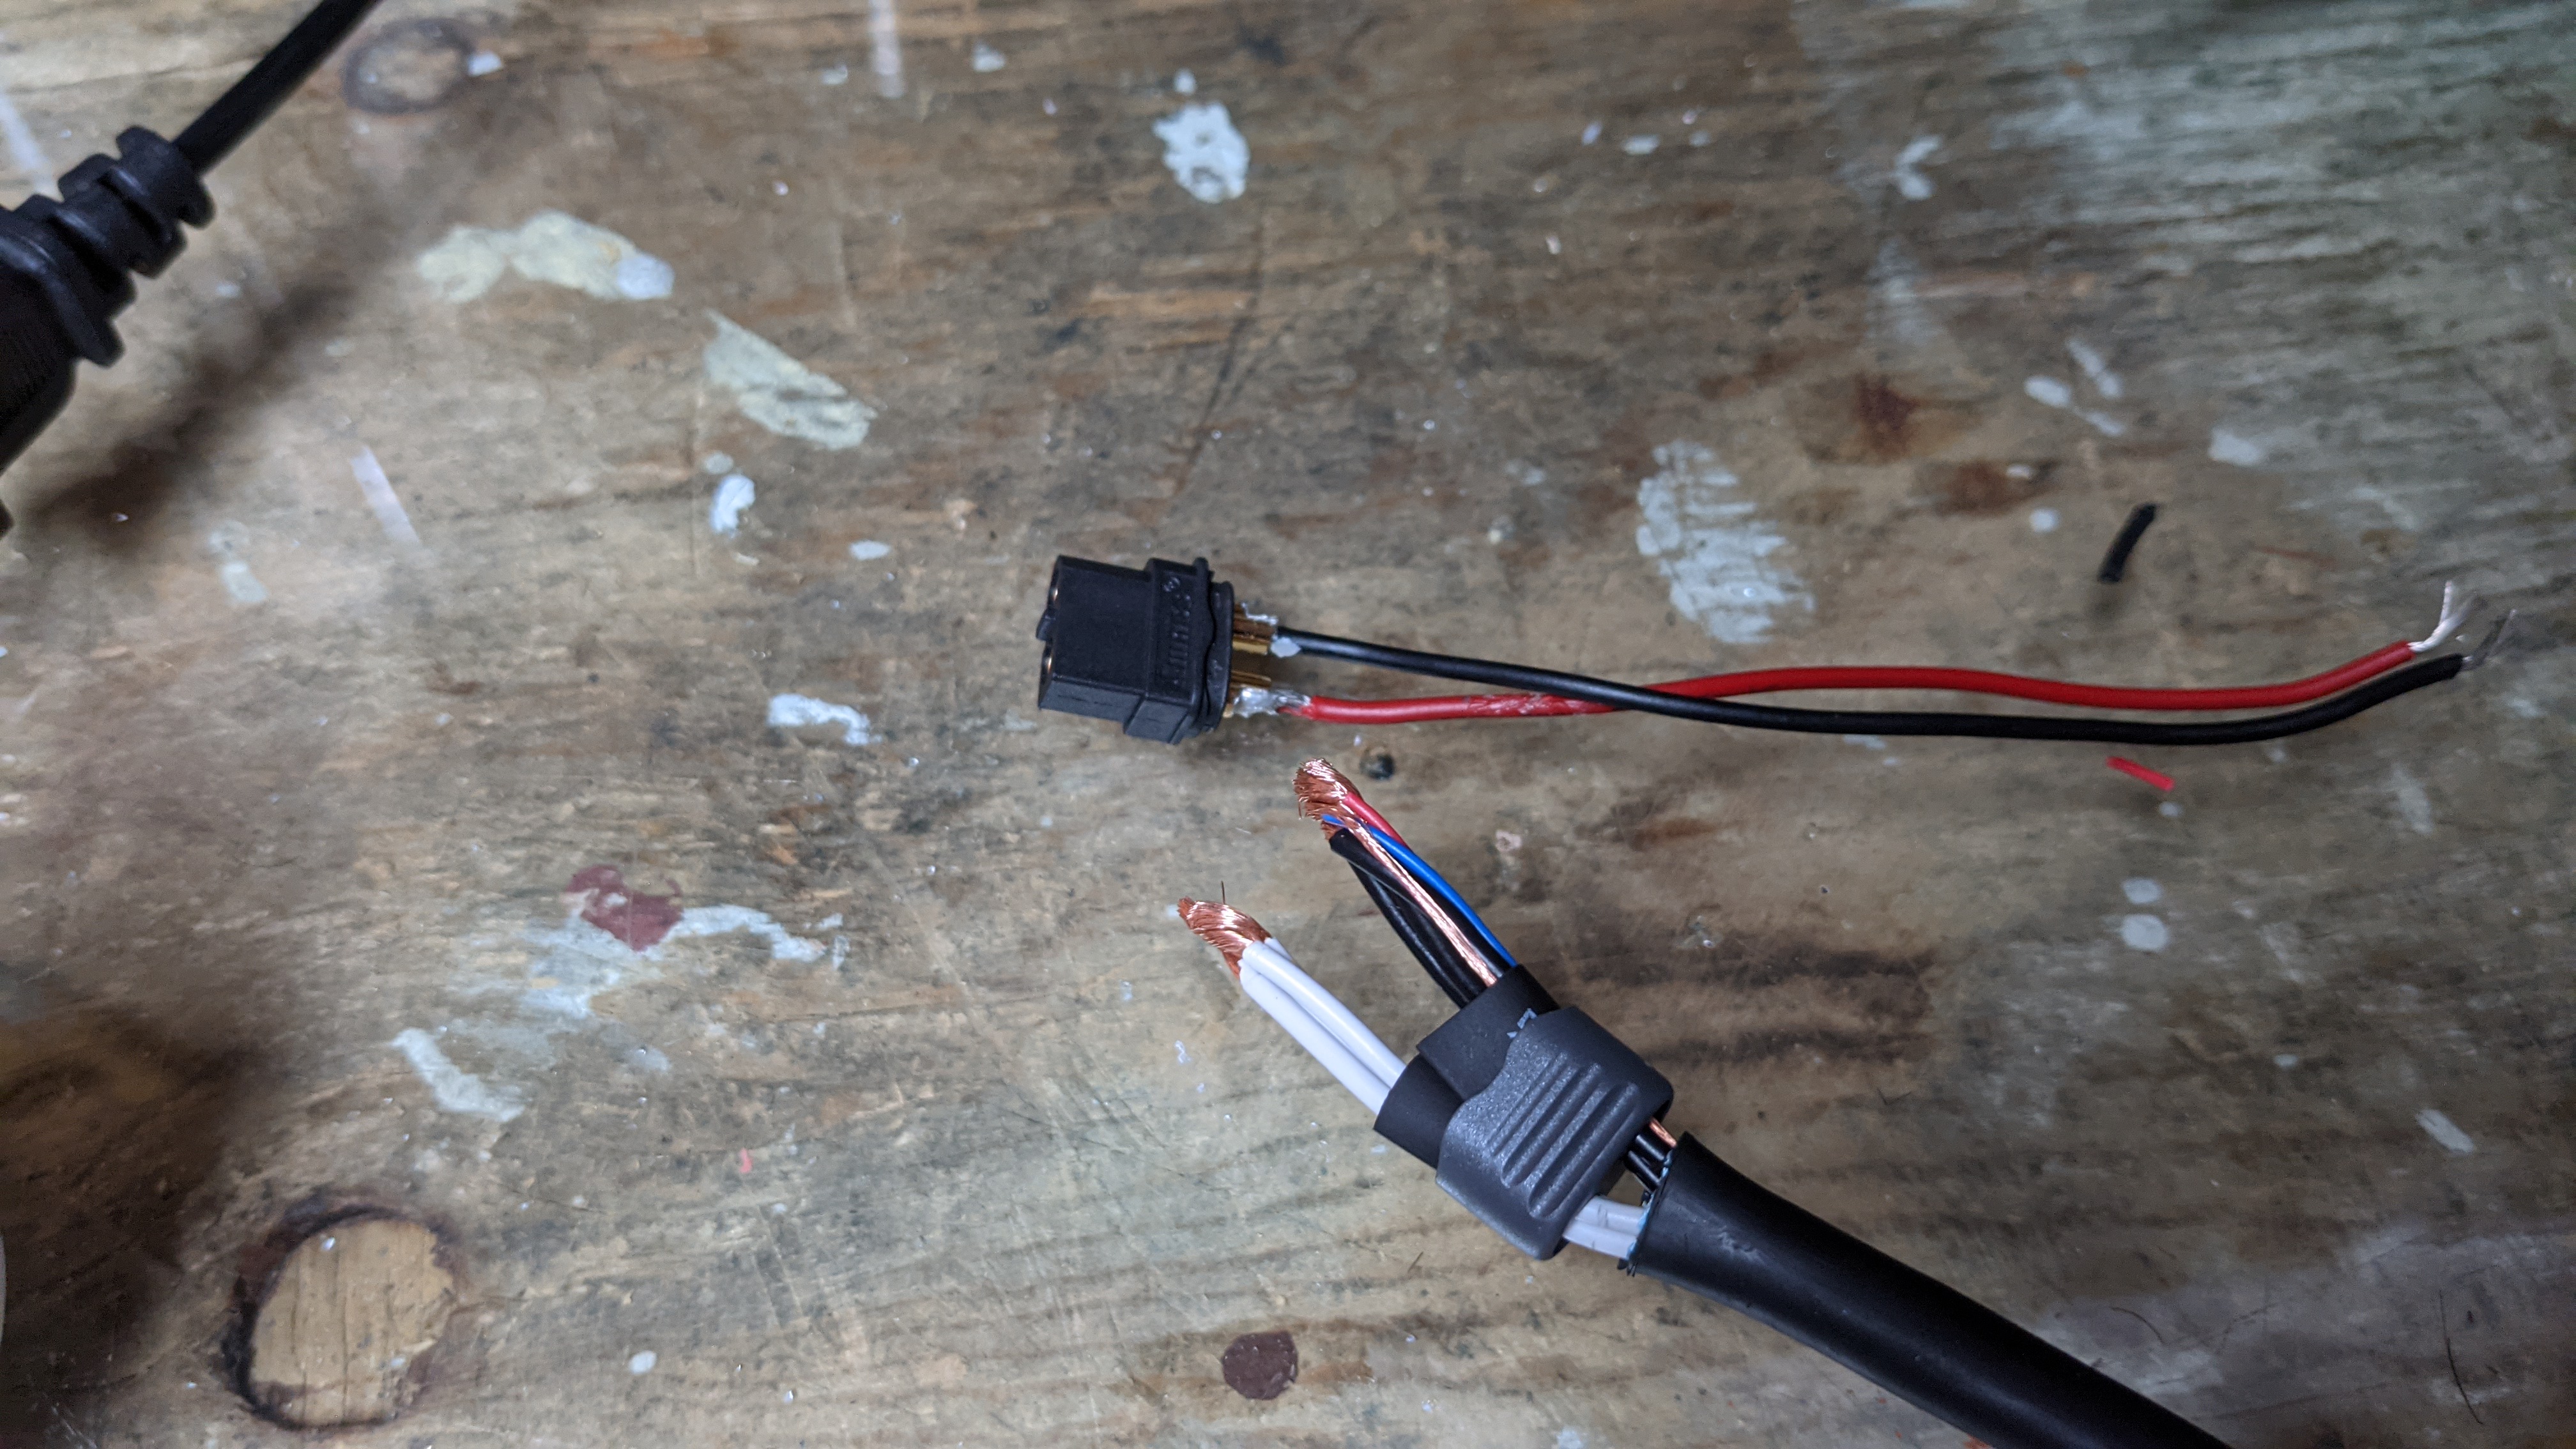
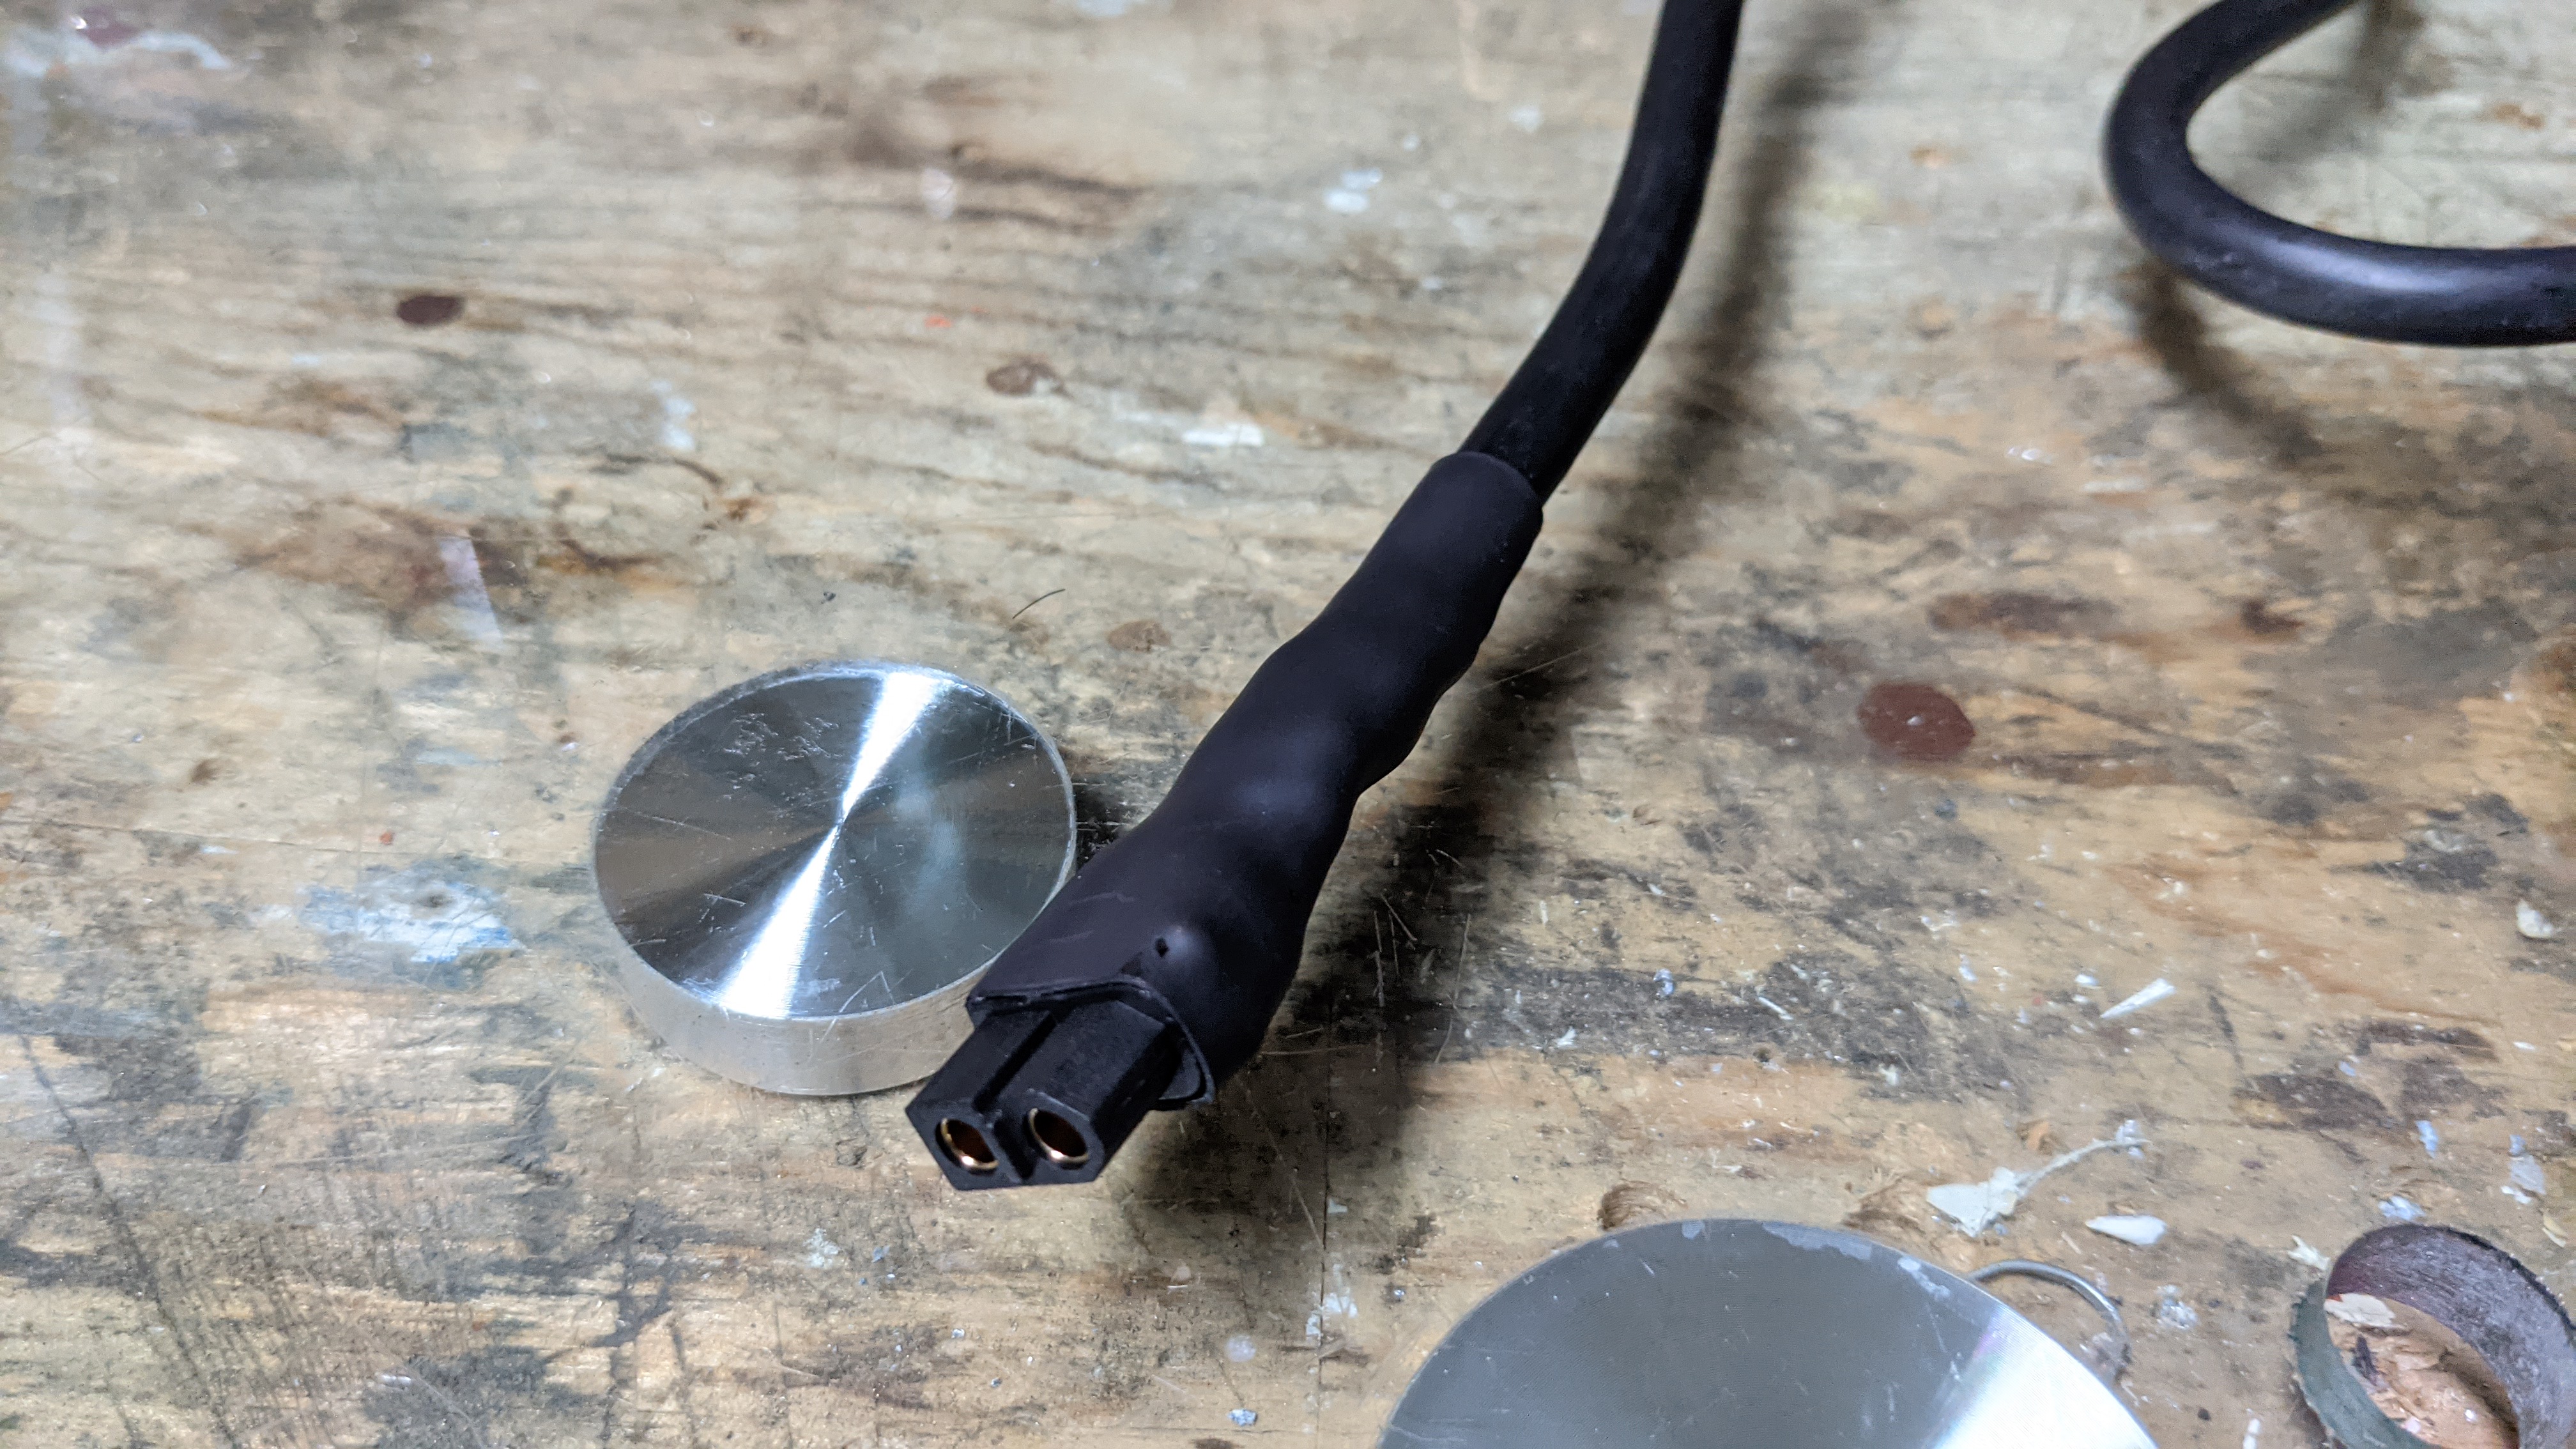
Lastly, I will surely need to redo the cable on the GxR-DIY to reduce cable length and make everything much cleaner.

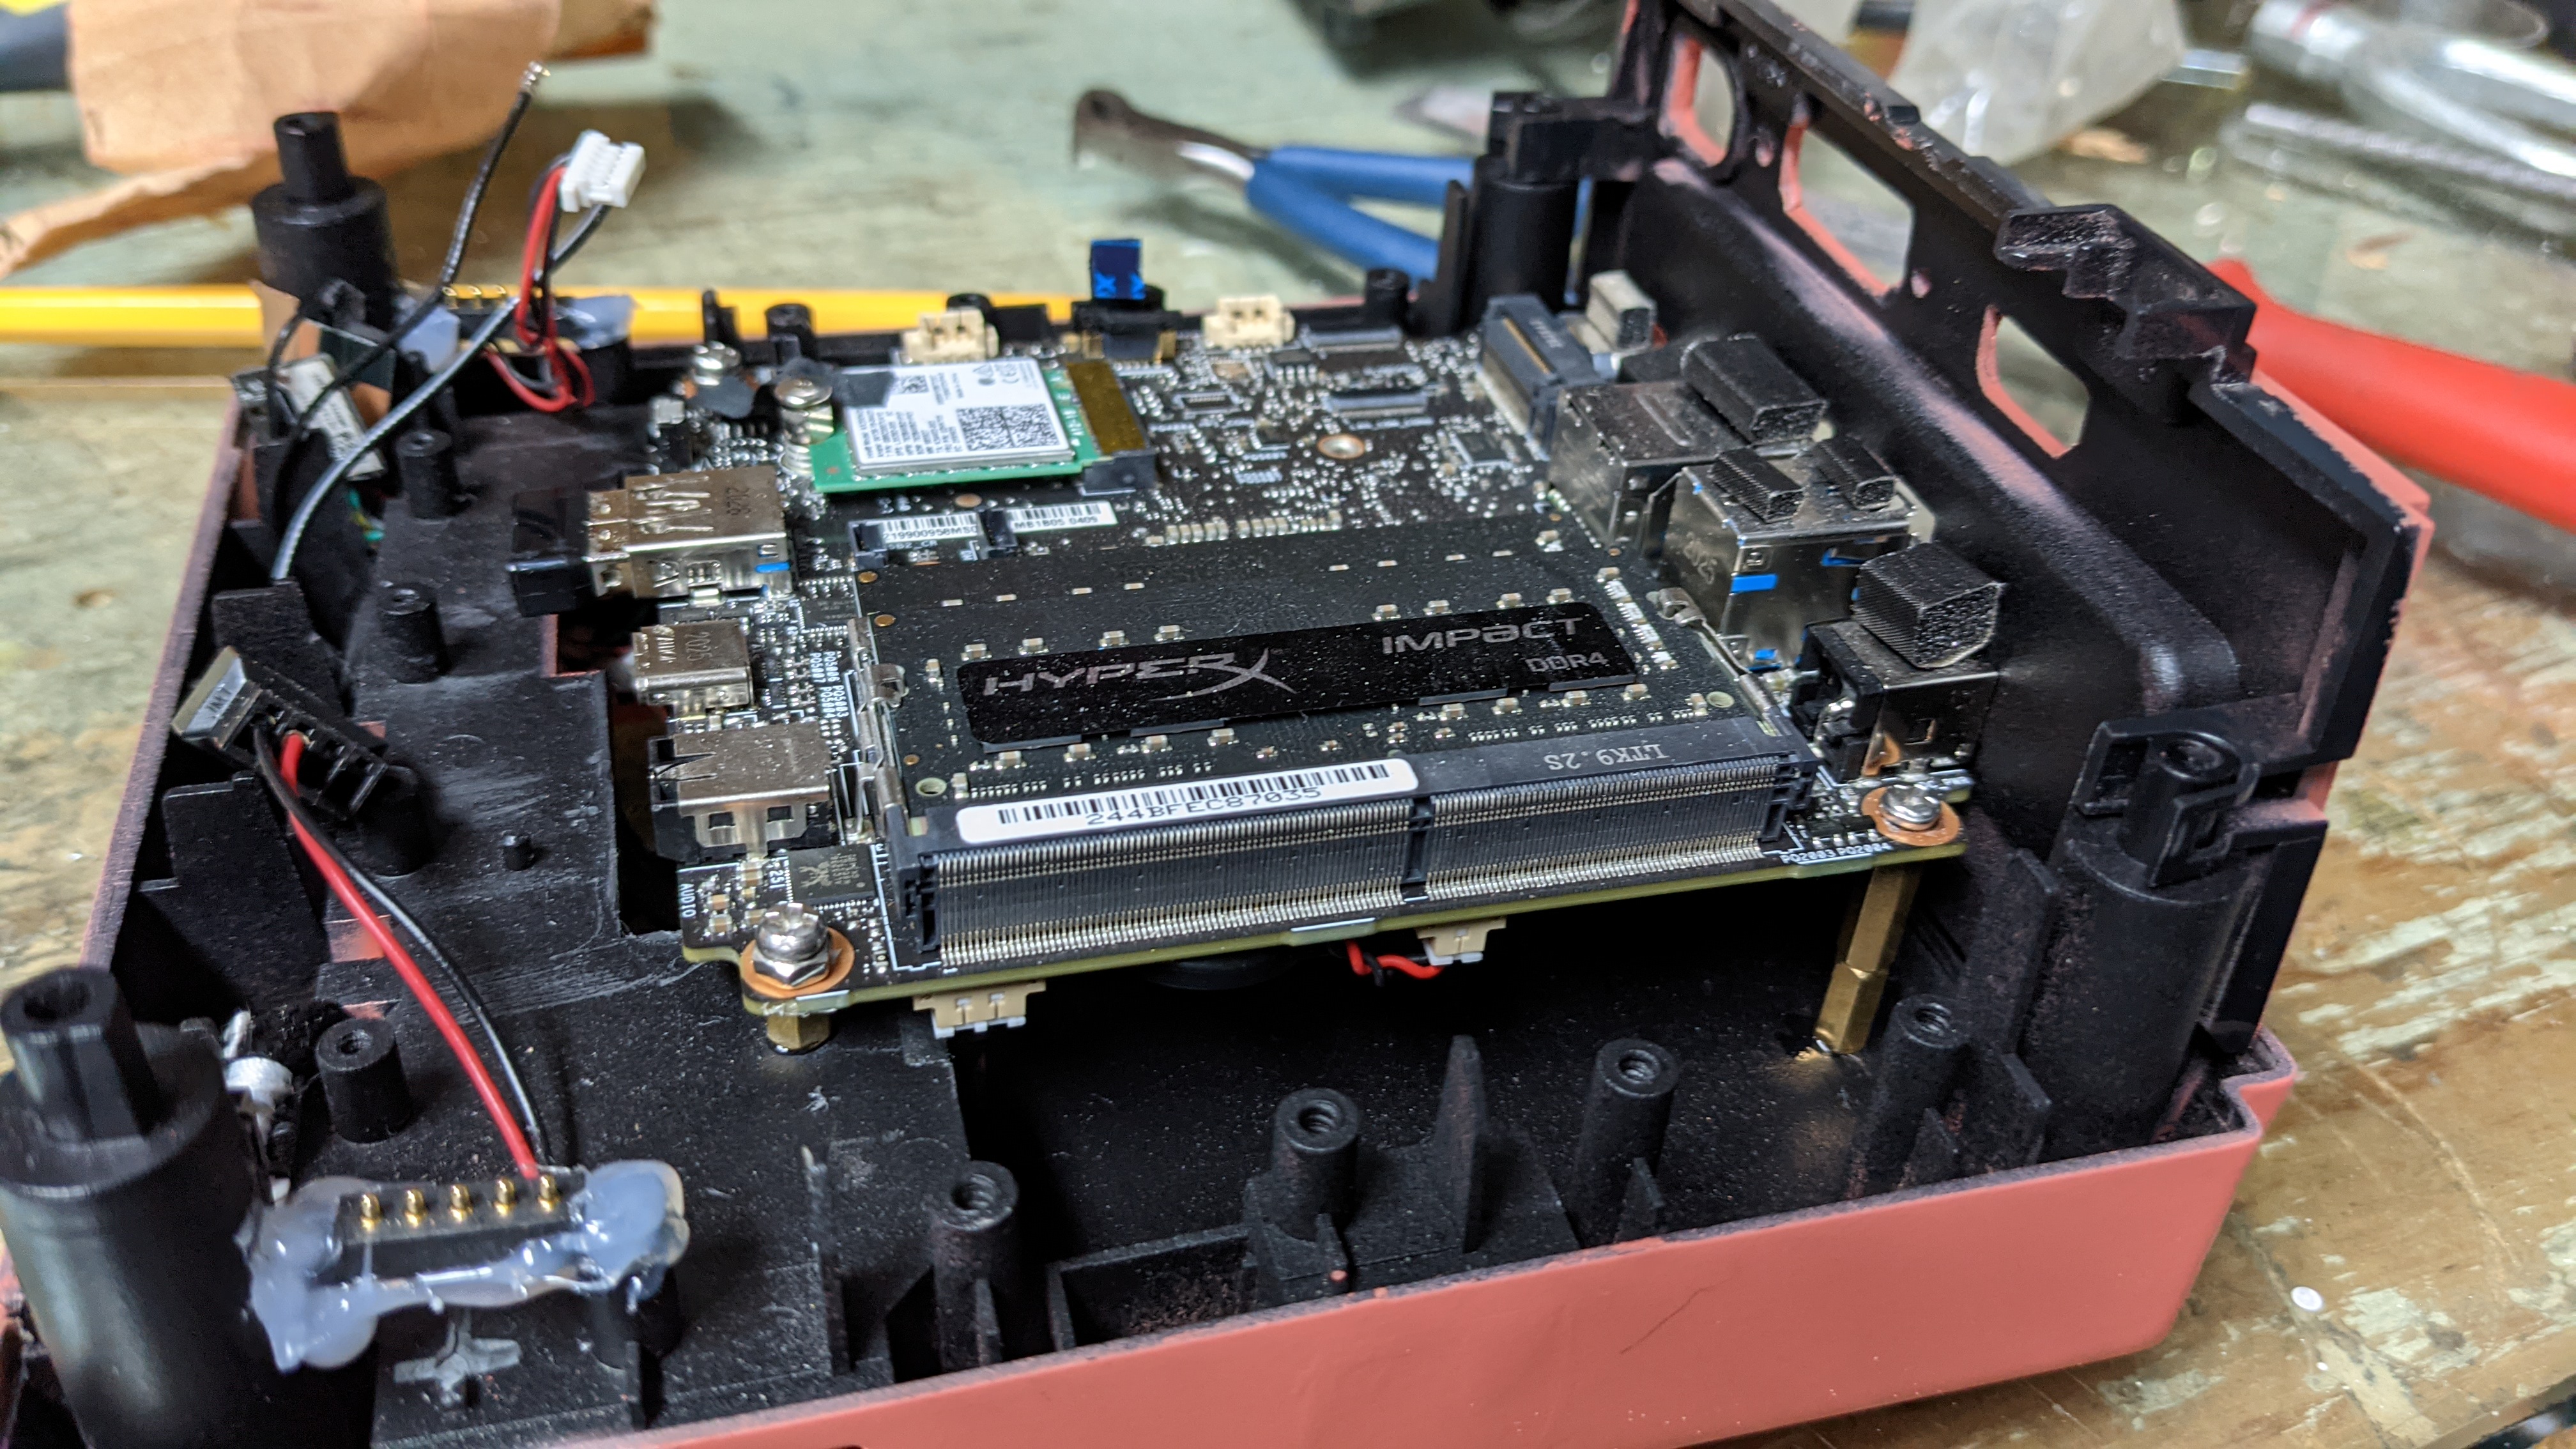
Also, a word on Uzume, the Dreamcast build. I’m considering getting a Ryzen 3 Pro 4350GE, as it is ZEN 2 and a 35W CPU, which would allow me to use the cute 65W power adapter that was included with the PN50. Might go with a Deskmini X300 also, as it would fit better in the Dreamcast, if I can sell my current MOBO and get the Deskmini without any loss.

6 Likes

looking good! you could probably even go 60mm slim in place of the 50mm ones for more air flow

Ya could have gone with 60mm fans, but went with 50mm to be sure I didn’t had clearance issue around them, and it kind of keeps the spirit of Gamecube by using 50mm fans. Maybe will go with 60mm fans if necessary.

1 Like

Quick update:

In the same weekend I sold stuff that I was trying to sell since a month. So logically my mind went just to “Can I sell more stuff?”. And my attention went toward my 3400G. Was already planning to just return it to Amazon as I could return till February 1st, as I pretty much want a 35W Ryzen instead for Uzume (HTPC Dreamcast).

So today I put it on ebay with a pricing allowing me, after the ebay fees, to get a small 15$ profit on the price I paid originally for it, you know to try maybe. And it fucking sold the same day. Was kind of baffled. So kind of forced me to use Compa (Gamecube) :sweat_smile:. Just without the GPU for the moment.

And I encountered a strange issue with the PN50. Wanted to boot on my NVME in the meantime, but the bios didn’t recognized it as a boot option, but the drive is there when going in the NVME section of the bios and on Windows. So ya I don’t know what is going on. At least that means I will be able to clone it with Clonezilla, probably tomorrow.

5 Likes

Dammit I will need to do a clean install. The PN50 does not have a CSM option and is running UEFI only. And my NVME is in MBR… Too lazy tonight to any installs, just reinstalled Windows so I can browse. (well maybe I gonna look to convert an MBT to GPT so I can do that with the QVO…)

3 Likes

Lights on!
So this week I received, after 2 months of shipping, my pogo pins connector. They are smaller than what I expected and the holes are not big enough for M3 screws, so I have to rely exclusively on hot glue to install these. (This project can be named Hot Glue: The Project)

Solder the led and power button cable and cable managed to have clean runs.


And after some adjustments, everything works. I can power my PC with power button of the Gamecube. And the OG Gamecube power led is alive ^^

Will do the fans tommorow, I first want to check if there is a way I could power the fans with the PN50, instead of the future GPU, despite the lack of 12V. Still looking for a GTX 1650 or 1050 not too expensive in the meantime to be a placeholder for the RTX 3050 that might come after February.

8 Likes

Did also the wiring for the fans, so now all the upper section is cable managed. The pogo pins for the fans will only be completed when I will get a GPU one day…

7 Likes

Was looking for Deskmini on ebay to see the prices (still thinking about how I will go with the Dreamcast) and I just found that! Lol. He was way less destructive than me :sweat_smile: Looks clean (also do any of you know how I could have a Google TV OS like? My parents have begun Netflix and I would like to do a more powerful option with still an easy use)

5 Likes

Decided today to finally solder the XT60 connector to the poer birck so I don’t have nay more the jank cables. Took longer than expected because I didn’t work in a proper manner, and I discovered at the end my soldering pen was not hot enough, explaining all the issues I had.


The GTX 1650 I bought, an OEM one of the super short variant, should arrive next week, and hoping that the riser arrives at the same time (wandering in the country since the 12th) so I can finally have a functional PC with a discrete GPU.

3 Likes

GTX 1650 received! The super short variant. A Dell OEM

Did a quick test and everything worked fine. Finally I went for a R42NL for the riser as the physical 4x slot meant easier to fit with less chance of interference.

So installed it in a temporary-ish manner. Plastic part removed from the Gamecube during the initial modding was used to secured the GPU. Only screwed at the front has the PCI-E riser, being bent to fit, prop the back of the card up. Right now there is no issue, but might one to have also an attach point at the back so the card stay put whenever the PC will be moved.

Had to move the exhaust fan to the corner so it doesn’t interfere with with the PCI-E riser.

The wires fit inside, but at one point I will shorten them. Might do it if I get a RTX 3050, will depend how the card is made and if there would super short variants.

Everything closes and fits.

However the fans cases are still not connected, will maybe do that during the week because need to solder wires for that.

7 Likes

Did the soldering for the fan, using the stock fan of my old GTX 1660ti. Bigger than the fan already there, but just needed to offset it’s mount so it’s doesn’t enter in contact with the case. Used MSI Afterburner to adjust the fan curve because the fractal fans doesn’t begin to spin until it’s at 50%.

Fun fact the original GTX 1650 fan is made by Cooler Master.

Strangely, the CPU score in Time Spy is still half of what it was when I used the 1660ti, and I just don’t know why. Maybe it’s power related I have no idea. But hey at least EVERYTHING is finally functional.

4 Likes

where space is a premium these might be good for bulk storage

3 Likes

Had a nagging suspicion before going to sleep yesterday of what could be the cause for the lower performance on the CPU since I first tested my build.

Decided to power the PN50 with it’s original 19V power brick and here it’s, almost double the CPU score.

After running the test on 19V and 12V, the CPU does pull significantly less amps on 12V than on 19V, which would affect the performance of the CPU. Meanwhile, the GPU still has the performance of what is roughly expected for a GTX 1650.

So I do not think the 12V power brick is at fault, but that the PN50 is not spec to operate at 12V. It works at 12V, but has not be conceived to pull more amperage when at a lower voltage, hence the disparity in performance (contrary to most NUC who are spec to run 19V-12V)

Doesn’t have an impact whatsoever on day to day use, but don’t want to let it that way too. So I will be looking at getting a small 12V to 19V step up converter to put inside the case to power the PN50.

5 Likes

Been quite a well since I updated. With summer temps here, decided to finish my Gamecube build. I decided to not wait for an eventual 3050 because it gonna be expensive anyway, and right now the 1650 is fine, especially since I barely gamed lately.

So what was to finish was the io cover. After several measurement, cut the holes for the io, in part by eye explaining why sometime there is crooked lines, but it’s gonna be behind anyway so was less important.

One thing to note is I decided to use the original Gamcube power port opening to fit the power connector of the GPU. That way I keep more of the “spirit” of the Gamecube.

Also I changed how the GPU is secured inside. The latter will be directly screwed on the io cover so I can feasibly pluggued cables in it. Also it had the advantage, with the adapter cable, to put the GPU perfectly straight.

While painting the back cover, I also repainted the bottom of the Gamecube so it’s all black again and now I mounted the SSD and the mobo with super glue to make it more permanent and clean.


After some work with the adapter and the GPU power, everything fits snuggly. Just had to chop a plastic piece inside on the top as now it was interfering with the GPU fan because of the GPU’s new mounting.

Everything is plugged in and Compa is now completed! Might put a 60mm noctua inside as an intake to replace the 50mm.

10 Likes

Spot for the nice pictures

13 Likes

Looks great. Are those wireless attach points on the right.

That is a great project and it turned out really good.

3 Likes

Thanks. On the upper right is the XT60 connector, at the location of the OG Gamecube power connector, to power the GPU. The wireless antennas are inside the Gamecube where the two front supports.

2 Likes

Amazing work. That is a great build! Hows performance? Temps etc?

1 Like

Ah I see, very nice. It really looks great. You have made me want one myself, if only I was not so lazy…

1 Like