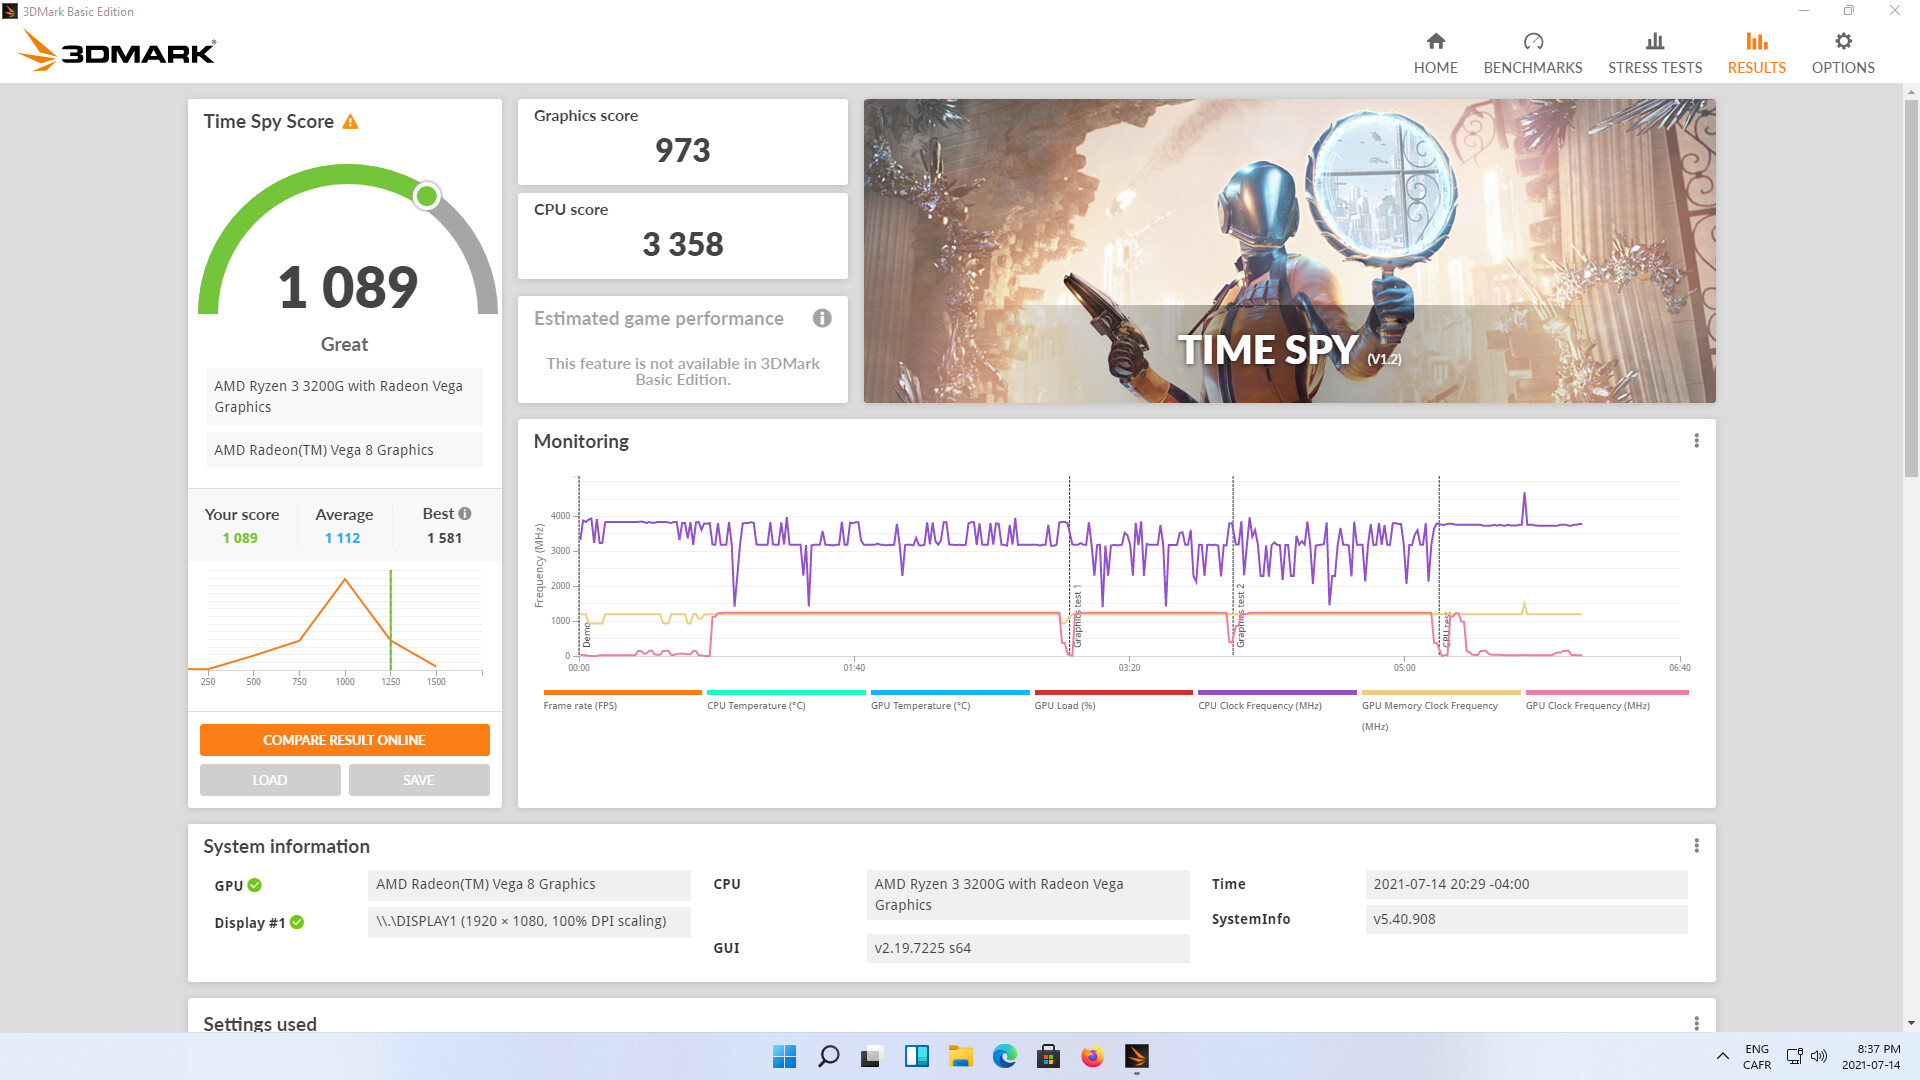
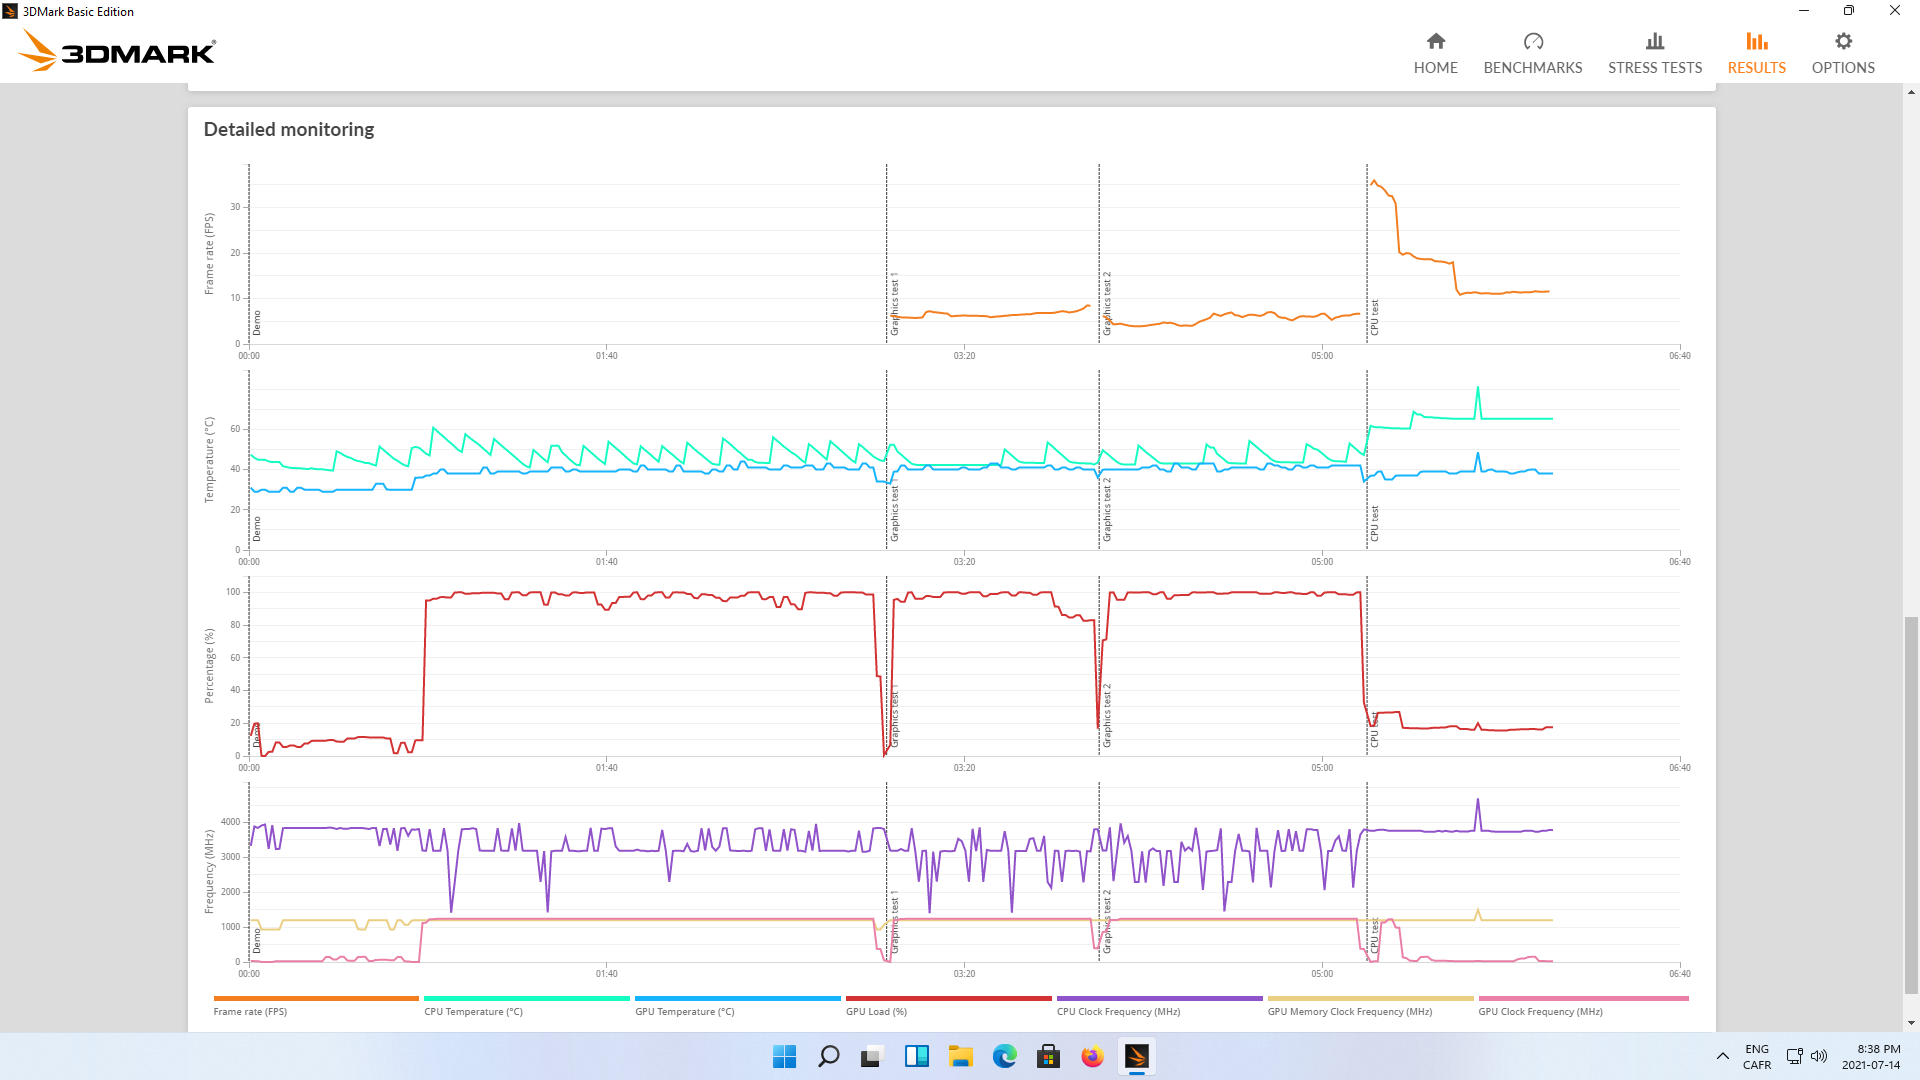
Here’s the results with Time Spy. CPU score would be higher if I was providing 19V instead of 12V to the PN50. But I want to have a single power brick, and I’m not knowledgeable enough to find a trustful but still small buck converter to step-up current from 12 to 19V.
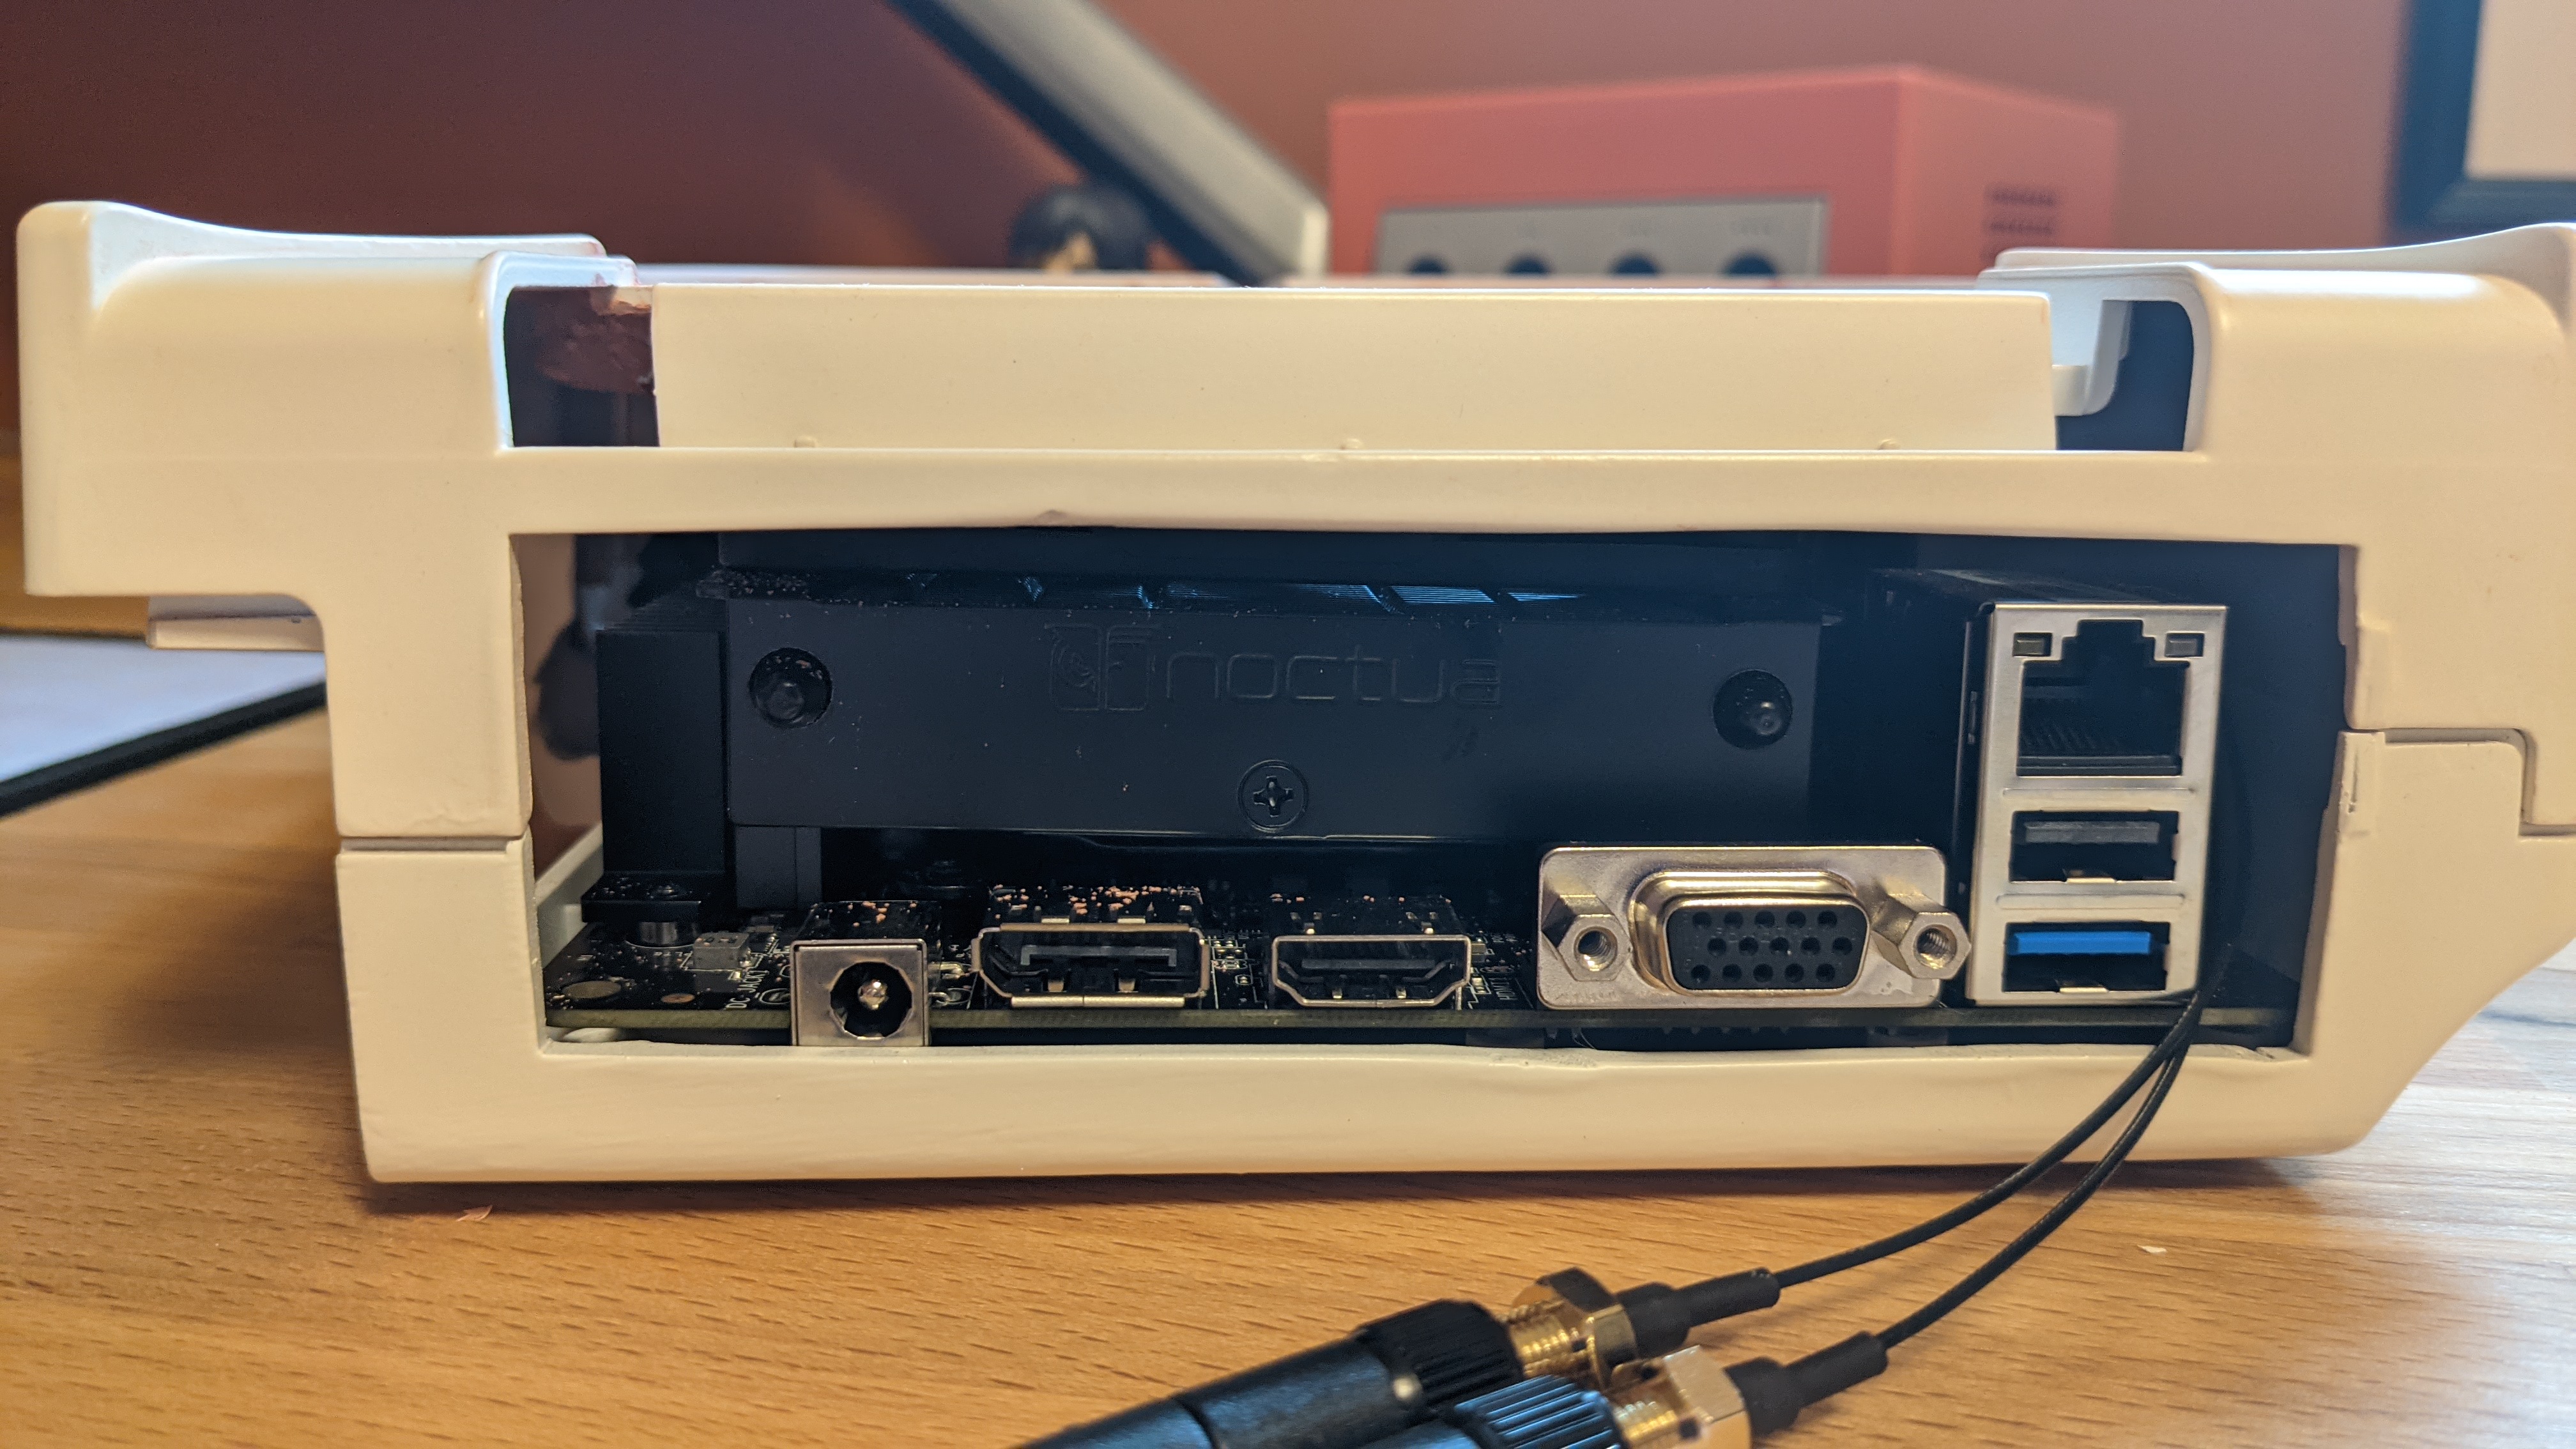
damn dude i saw the power on reddit, wow SUPER clean IO!
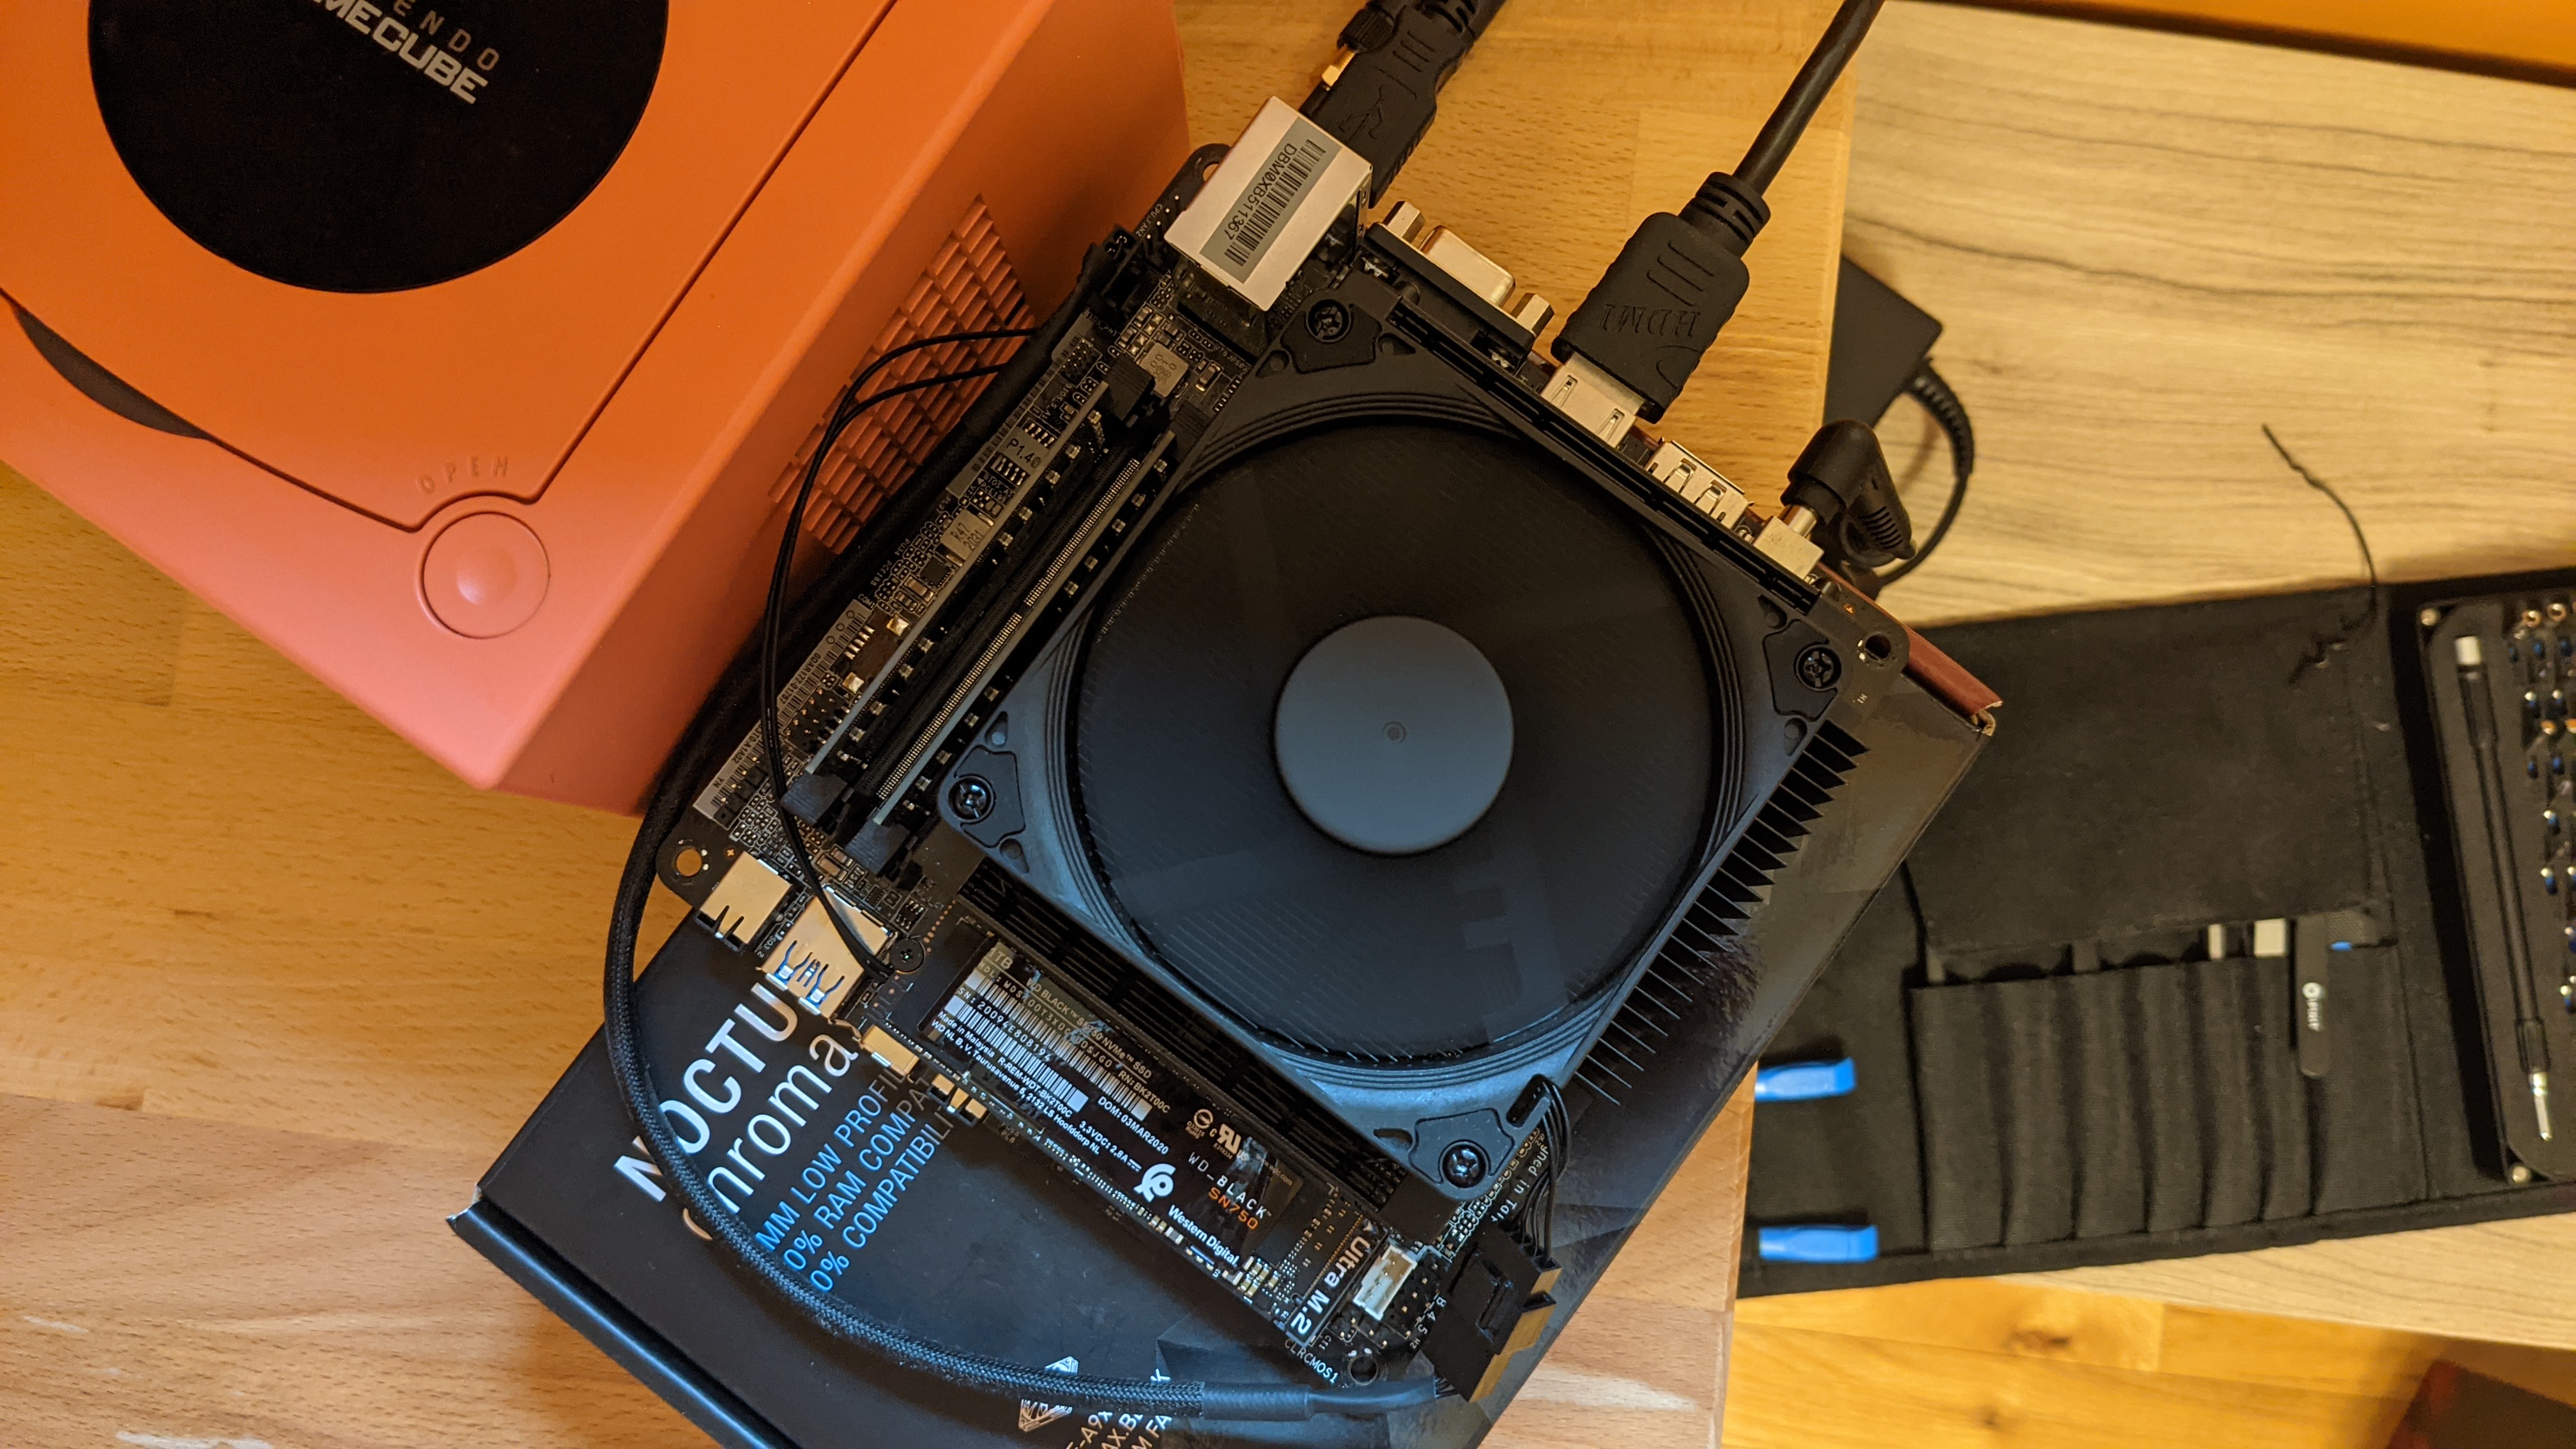
EDIT: you clever bastard, you got a PCIE to m.2 adapter!!! Very nice!!!
EDIT: step UP from 12v to 19v? get a 350 watt dell . alienware chonker kill a man power brick and lop the end off, they run at 19v. i also super duper skimmed this, sorry if i’m wrong or missed an important piece
It would be a pleasure to build you one. ^^ But with the actual state of things in regards to prices (especially the GPUs), the same config would go more for 1200-1300USD. (and also please note I’m in Canada, so you might want to factor in maybe duties). You can PM me if you want to discuss about that.
Kudos. Well deserved. You spent a lot of time on this and solved a number of issues. Your passion and ingenuity really shows! Thank you for sharing with us.
Congratulations on the three features on big gaming/tech news sites! Deserved beyond any doubt.
Seeing that someone on here asked you to build them one maybe you could make this a side hustle.
I adressed this point during the project, but an HDPLEX would have too big/cumbersome to fit. I would have need an elusive HDPLEX160 v2 that would have fitted convenently inside.
Thanks. Although there was some interest, it was silent on my side, never had any formal request. Would not have complained about this little side hustle.
I think you can really make it. Surely now that you know the quirks of such a build you could almost streamline it, knowing where to trim the shell and add ventilation. Maybe even just selling modified shells could work too.
Just throwing ideas because I like your projects (didn’t forget about the Sega Genesis one).
So I will complete the Dreamcast build, because I want it done even if at the same time I don’t want to spend money Will surely run Windows 11 preview on it and maybe use it as a media center.
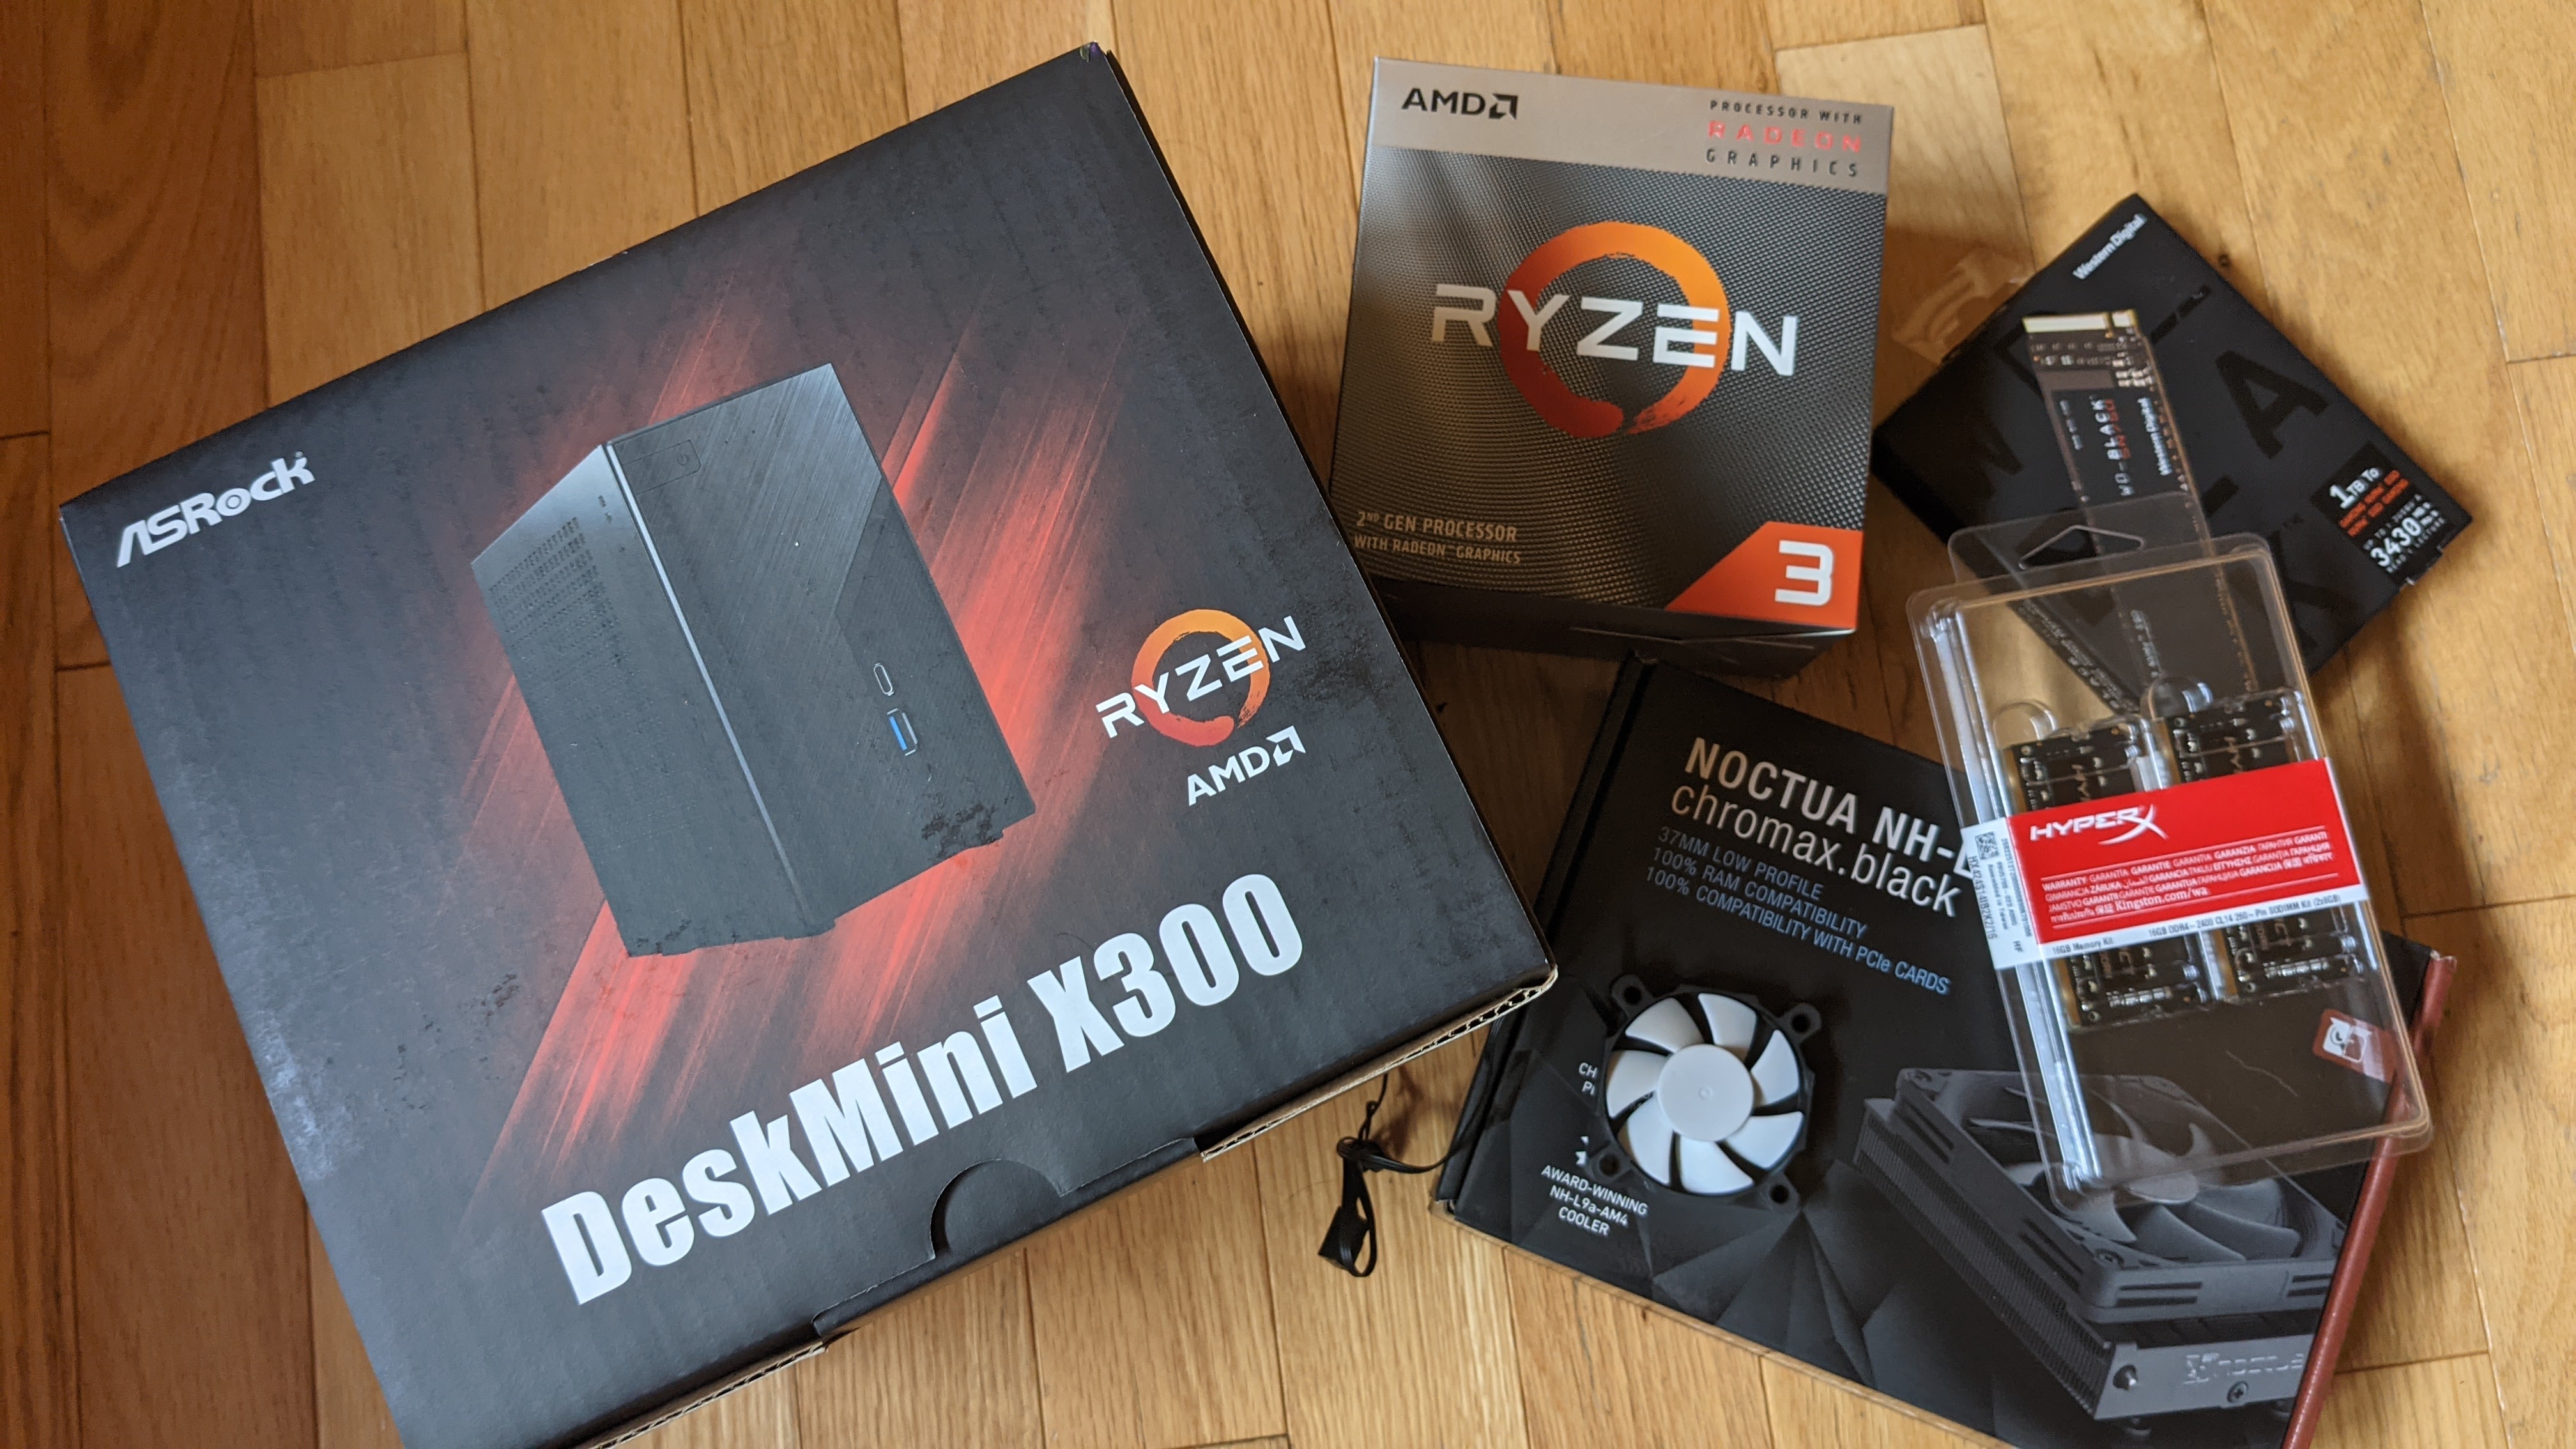
Went for a cheap 3200g from ebay and have a deskmini x300 on rebate from newegg coming my way. Will buy also the ram tonight, but waiting a little more maybe I have an answer from a guy on kijiji with a set of ram at a really good price.
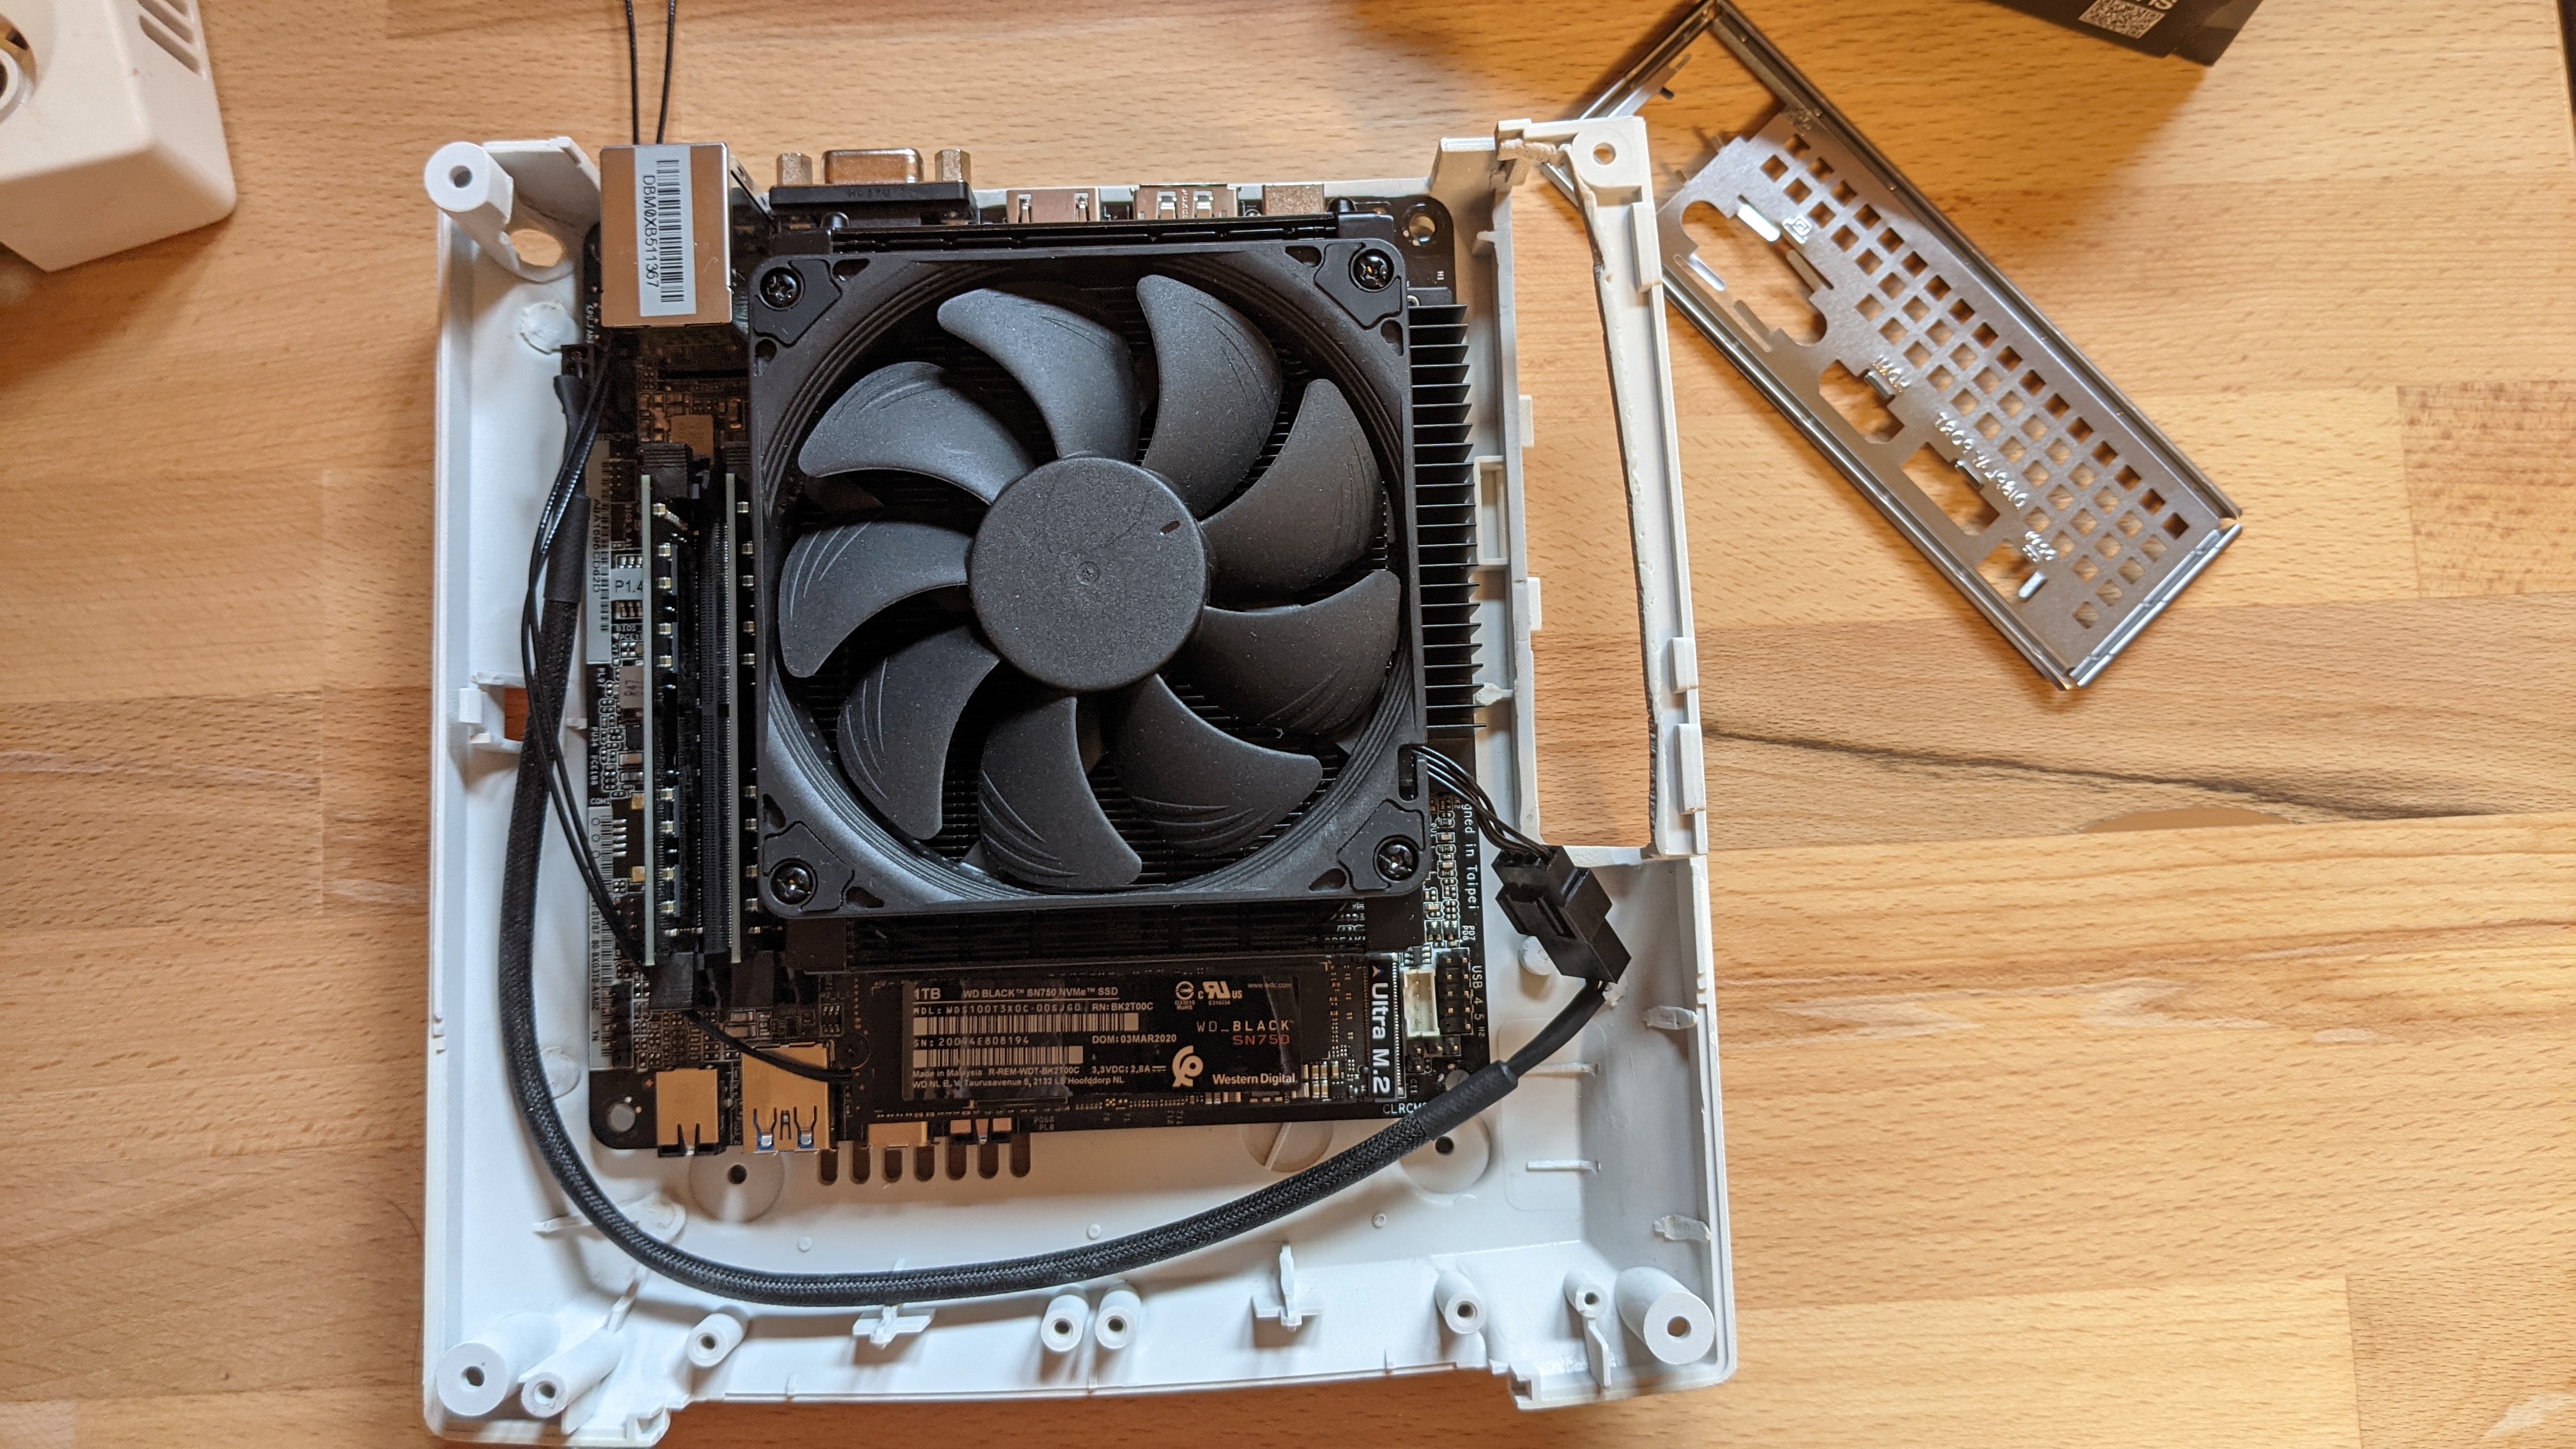
I have still the nvme ssd and noctua cooler from my previous build.
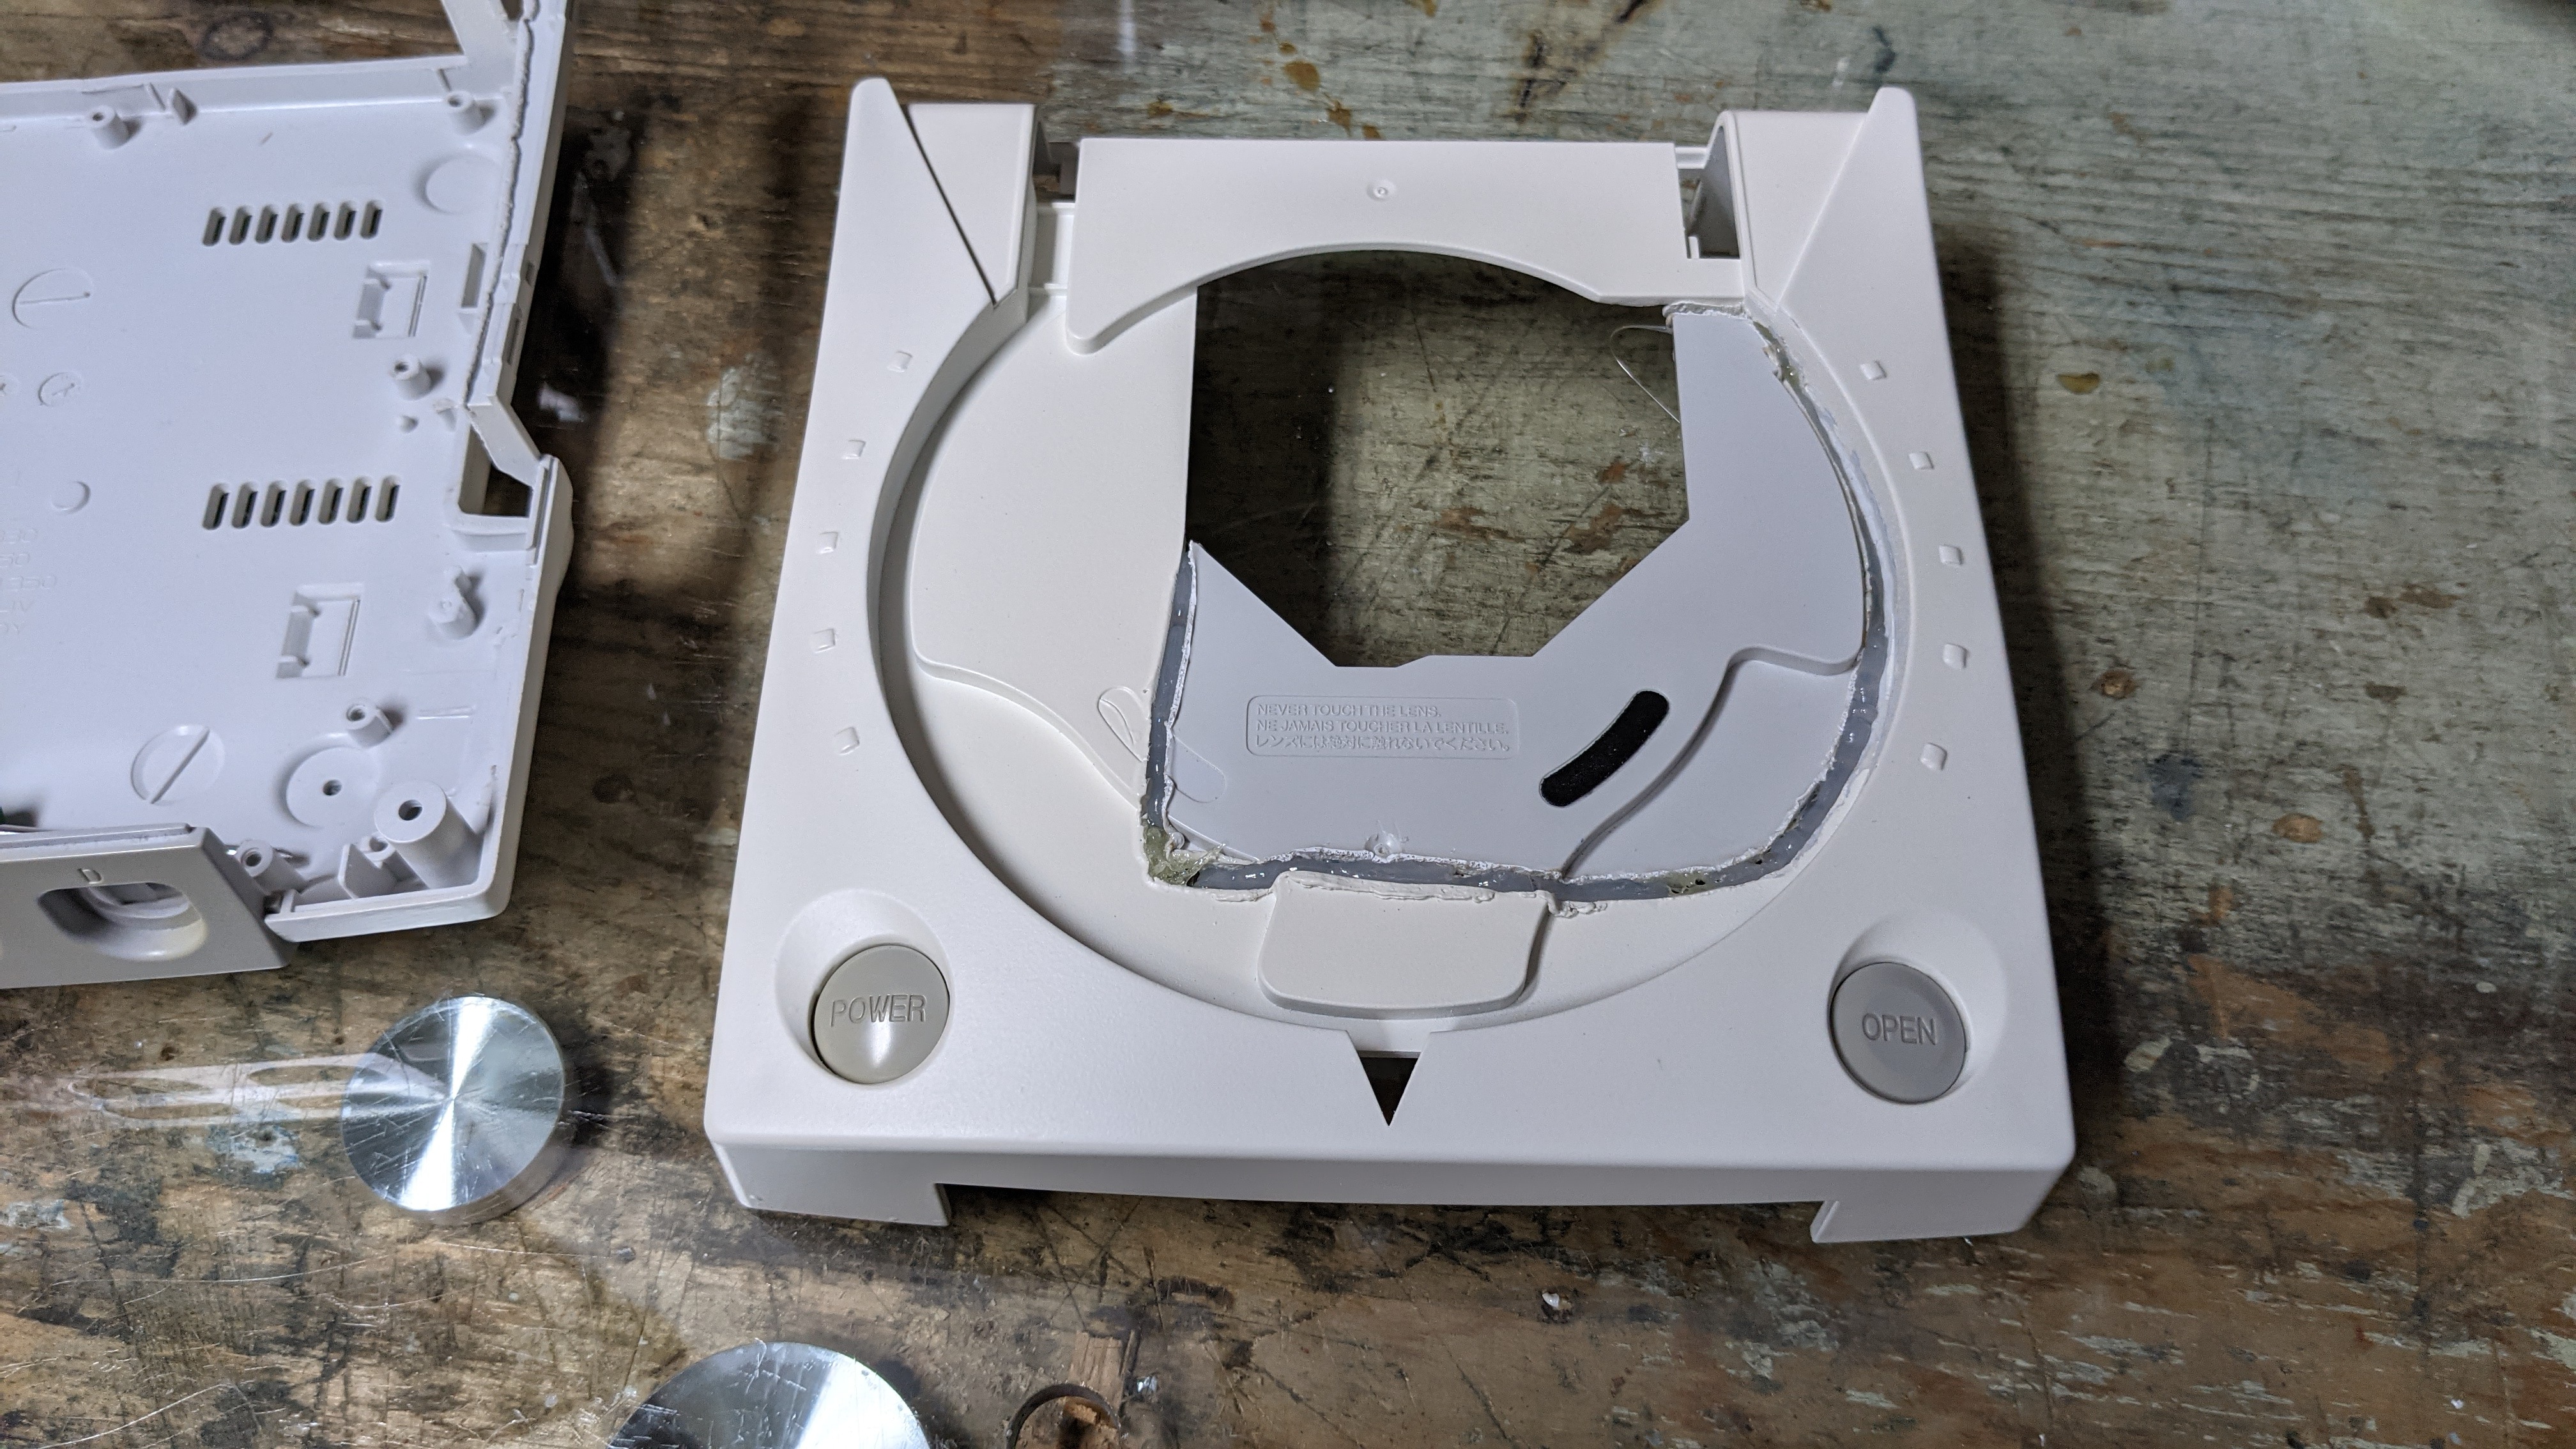
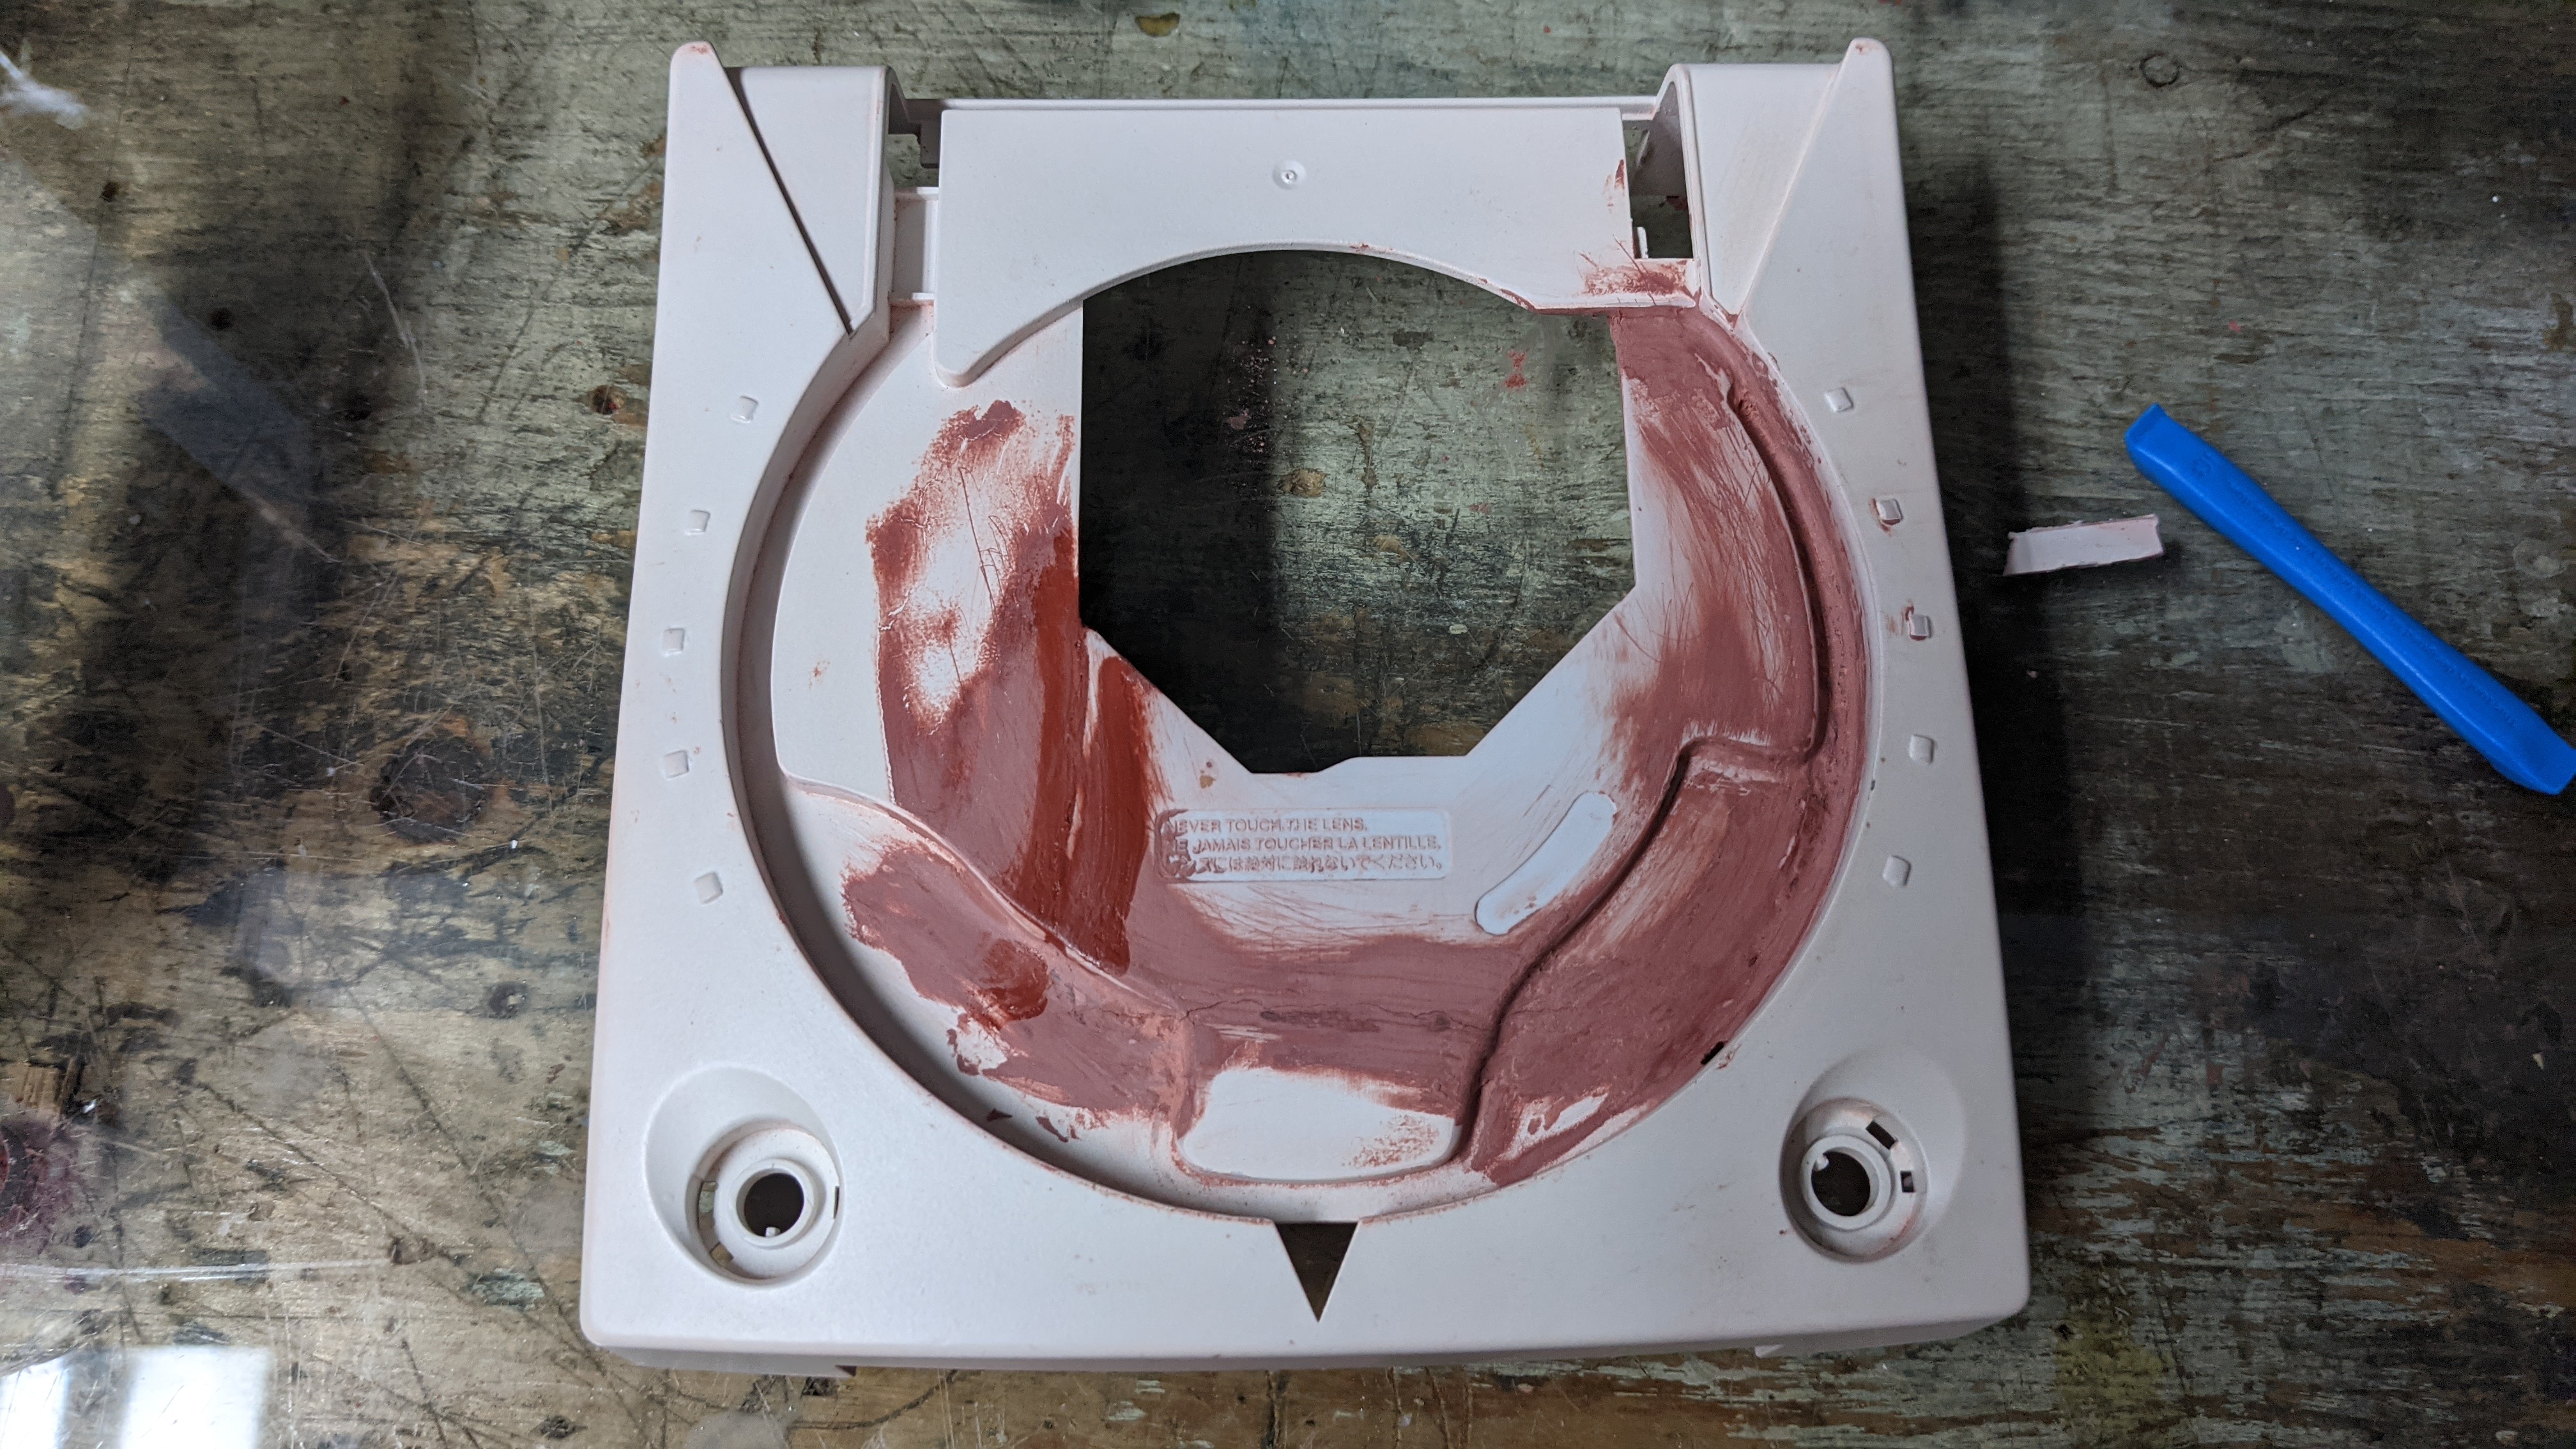
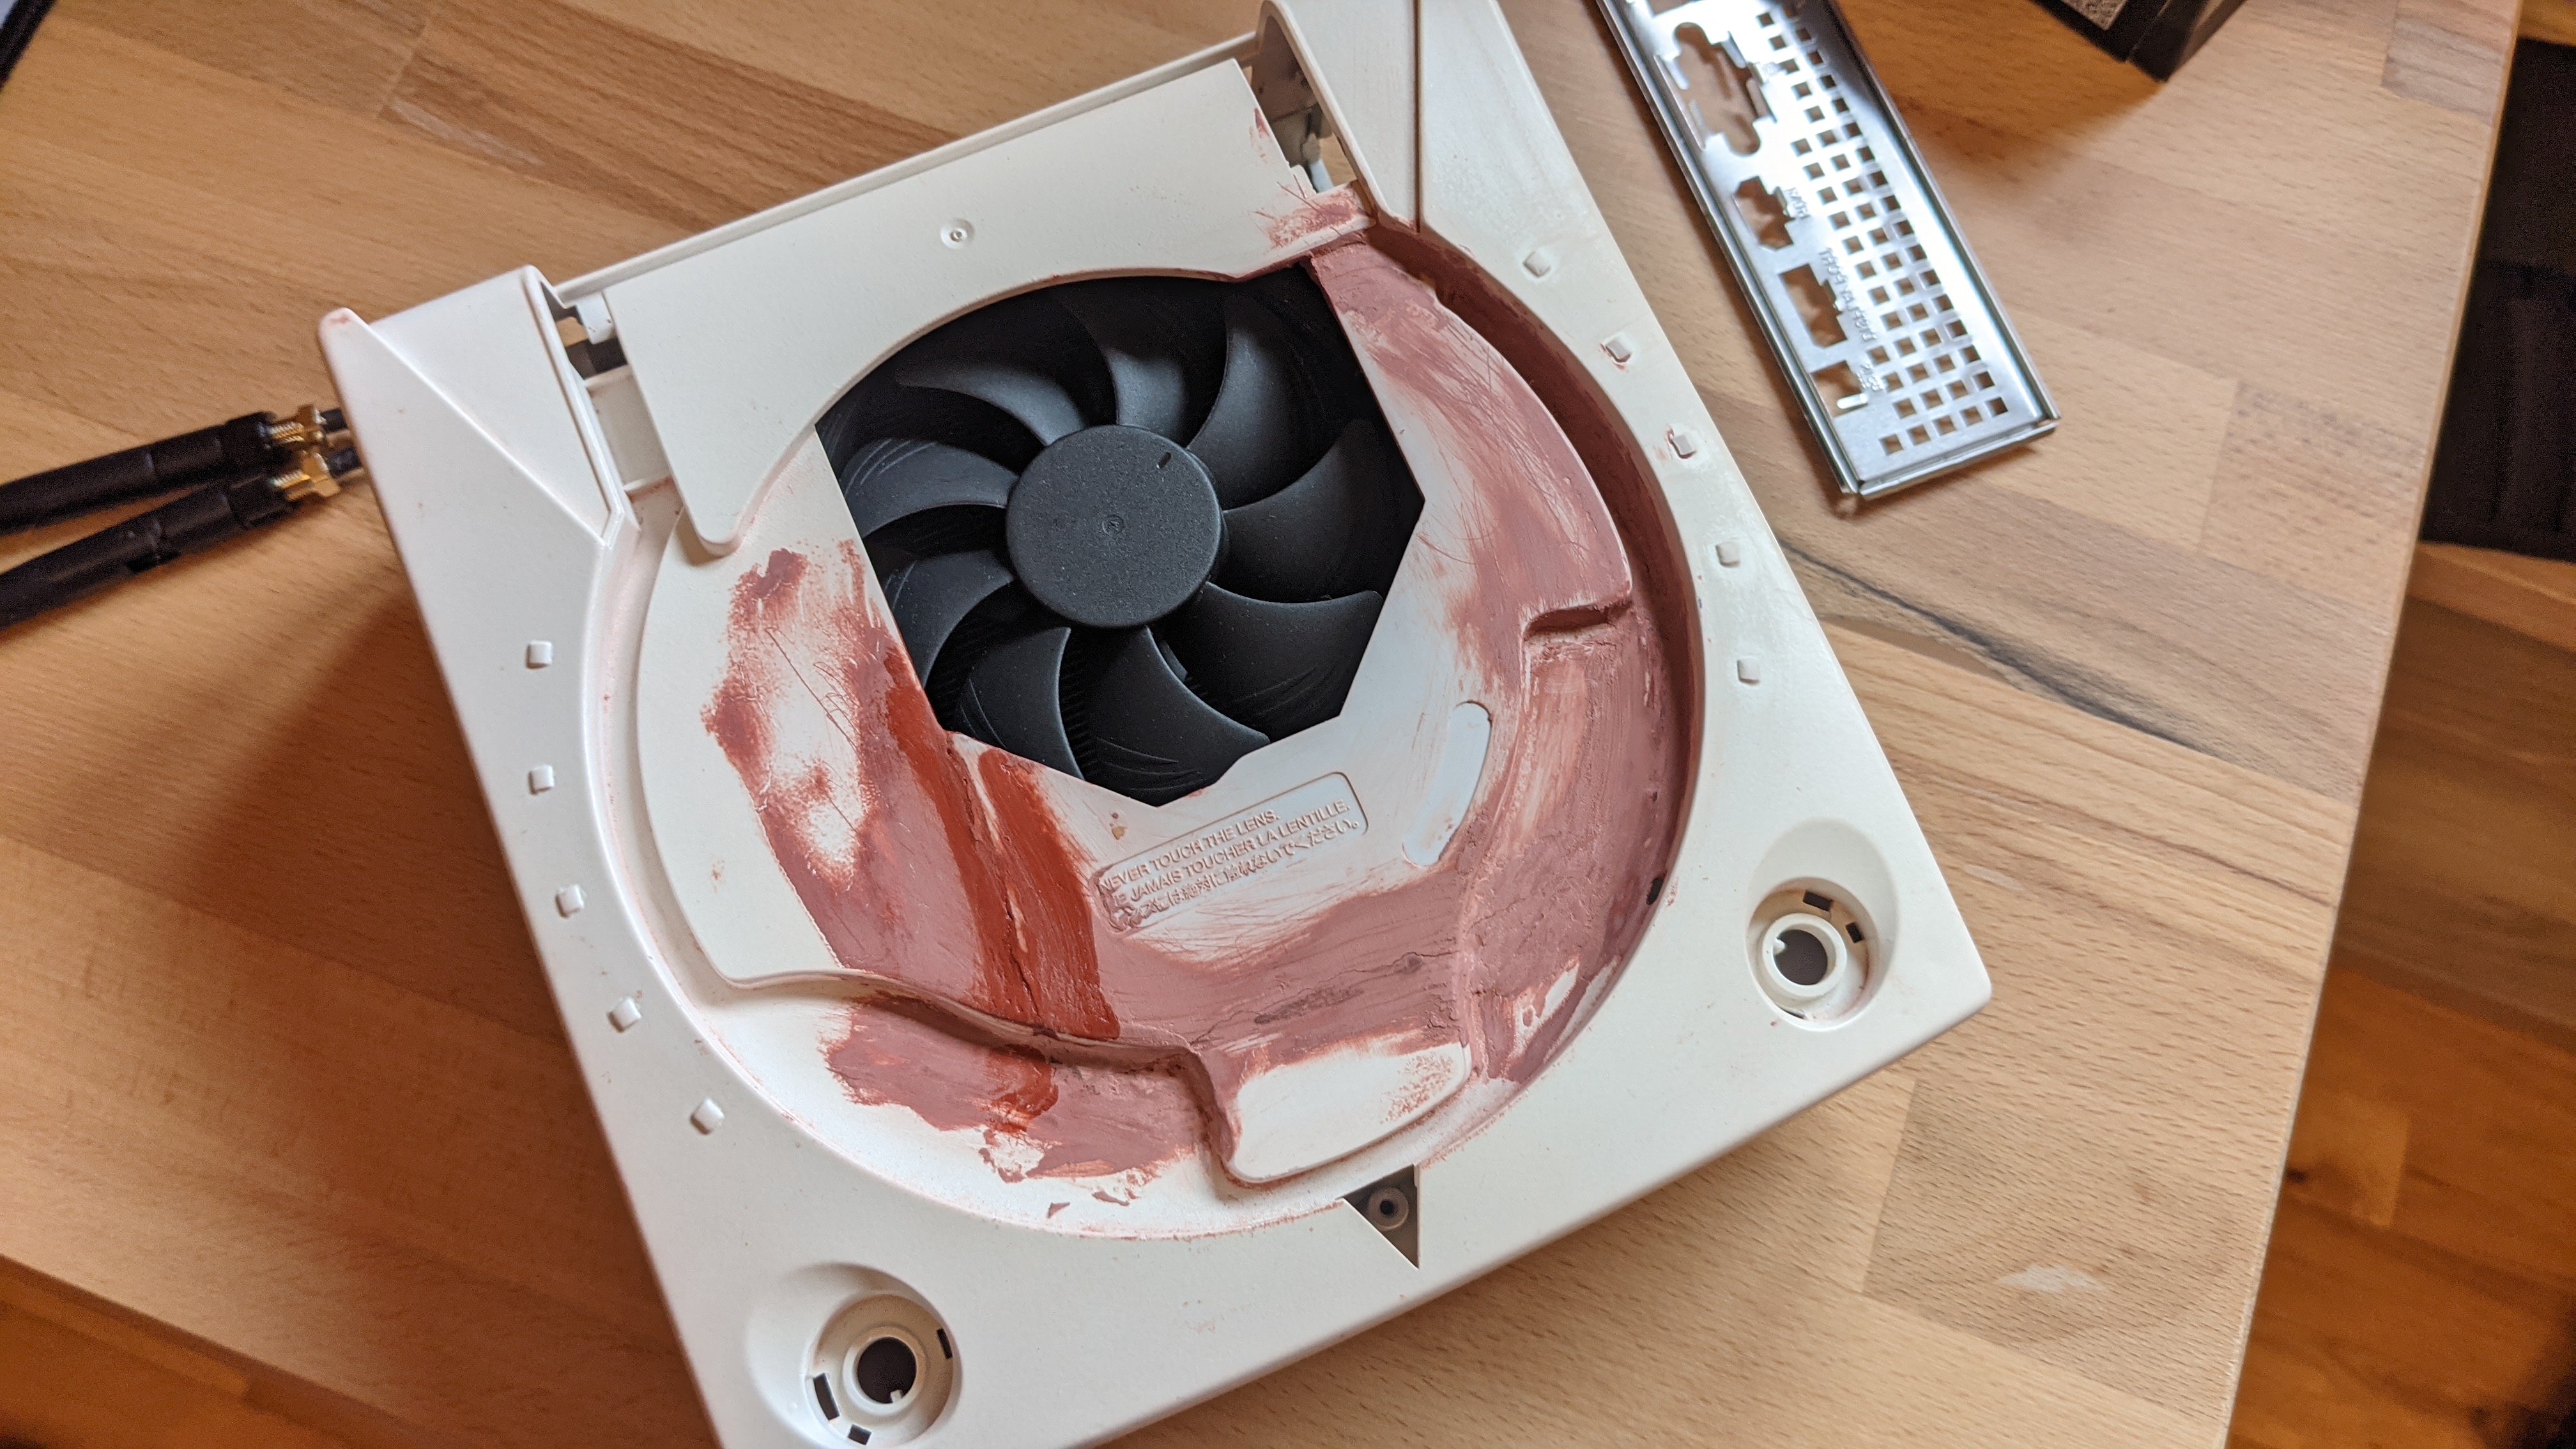
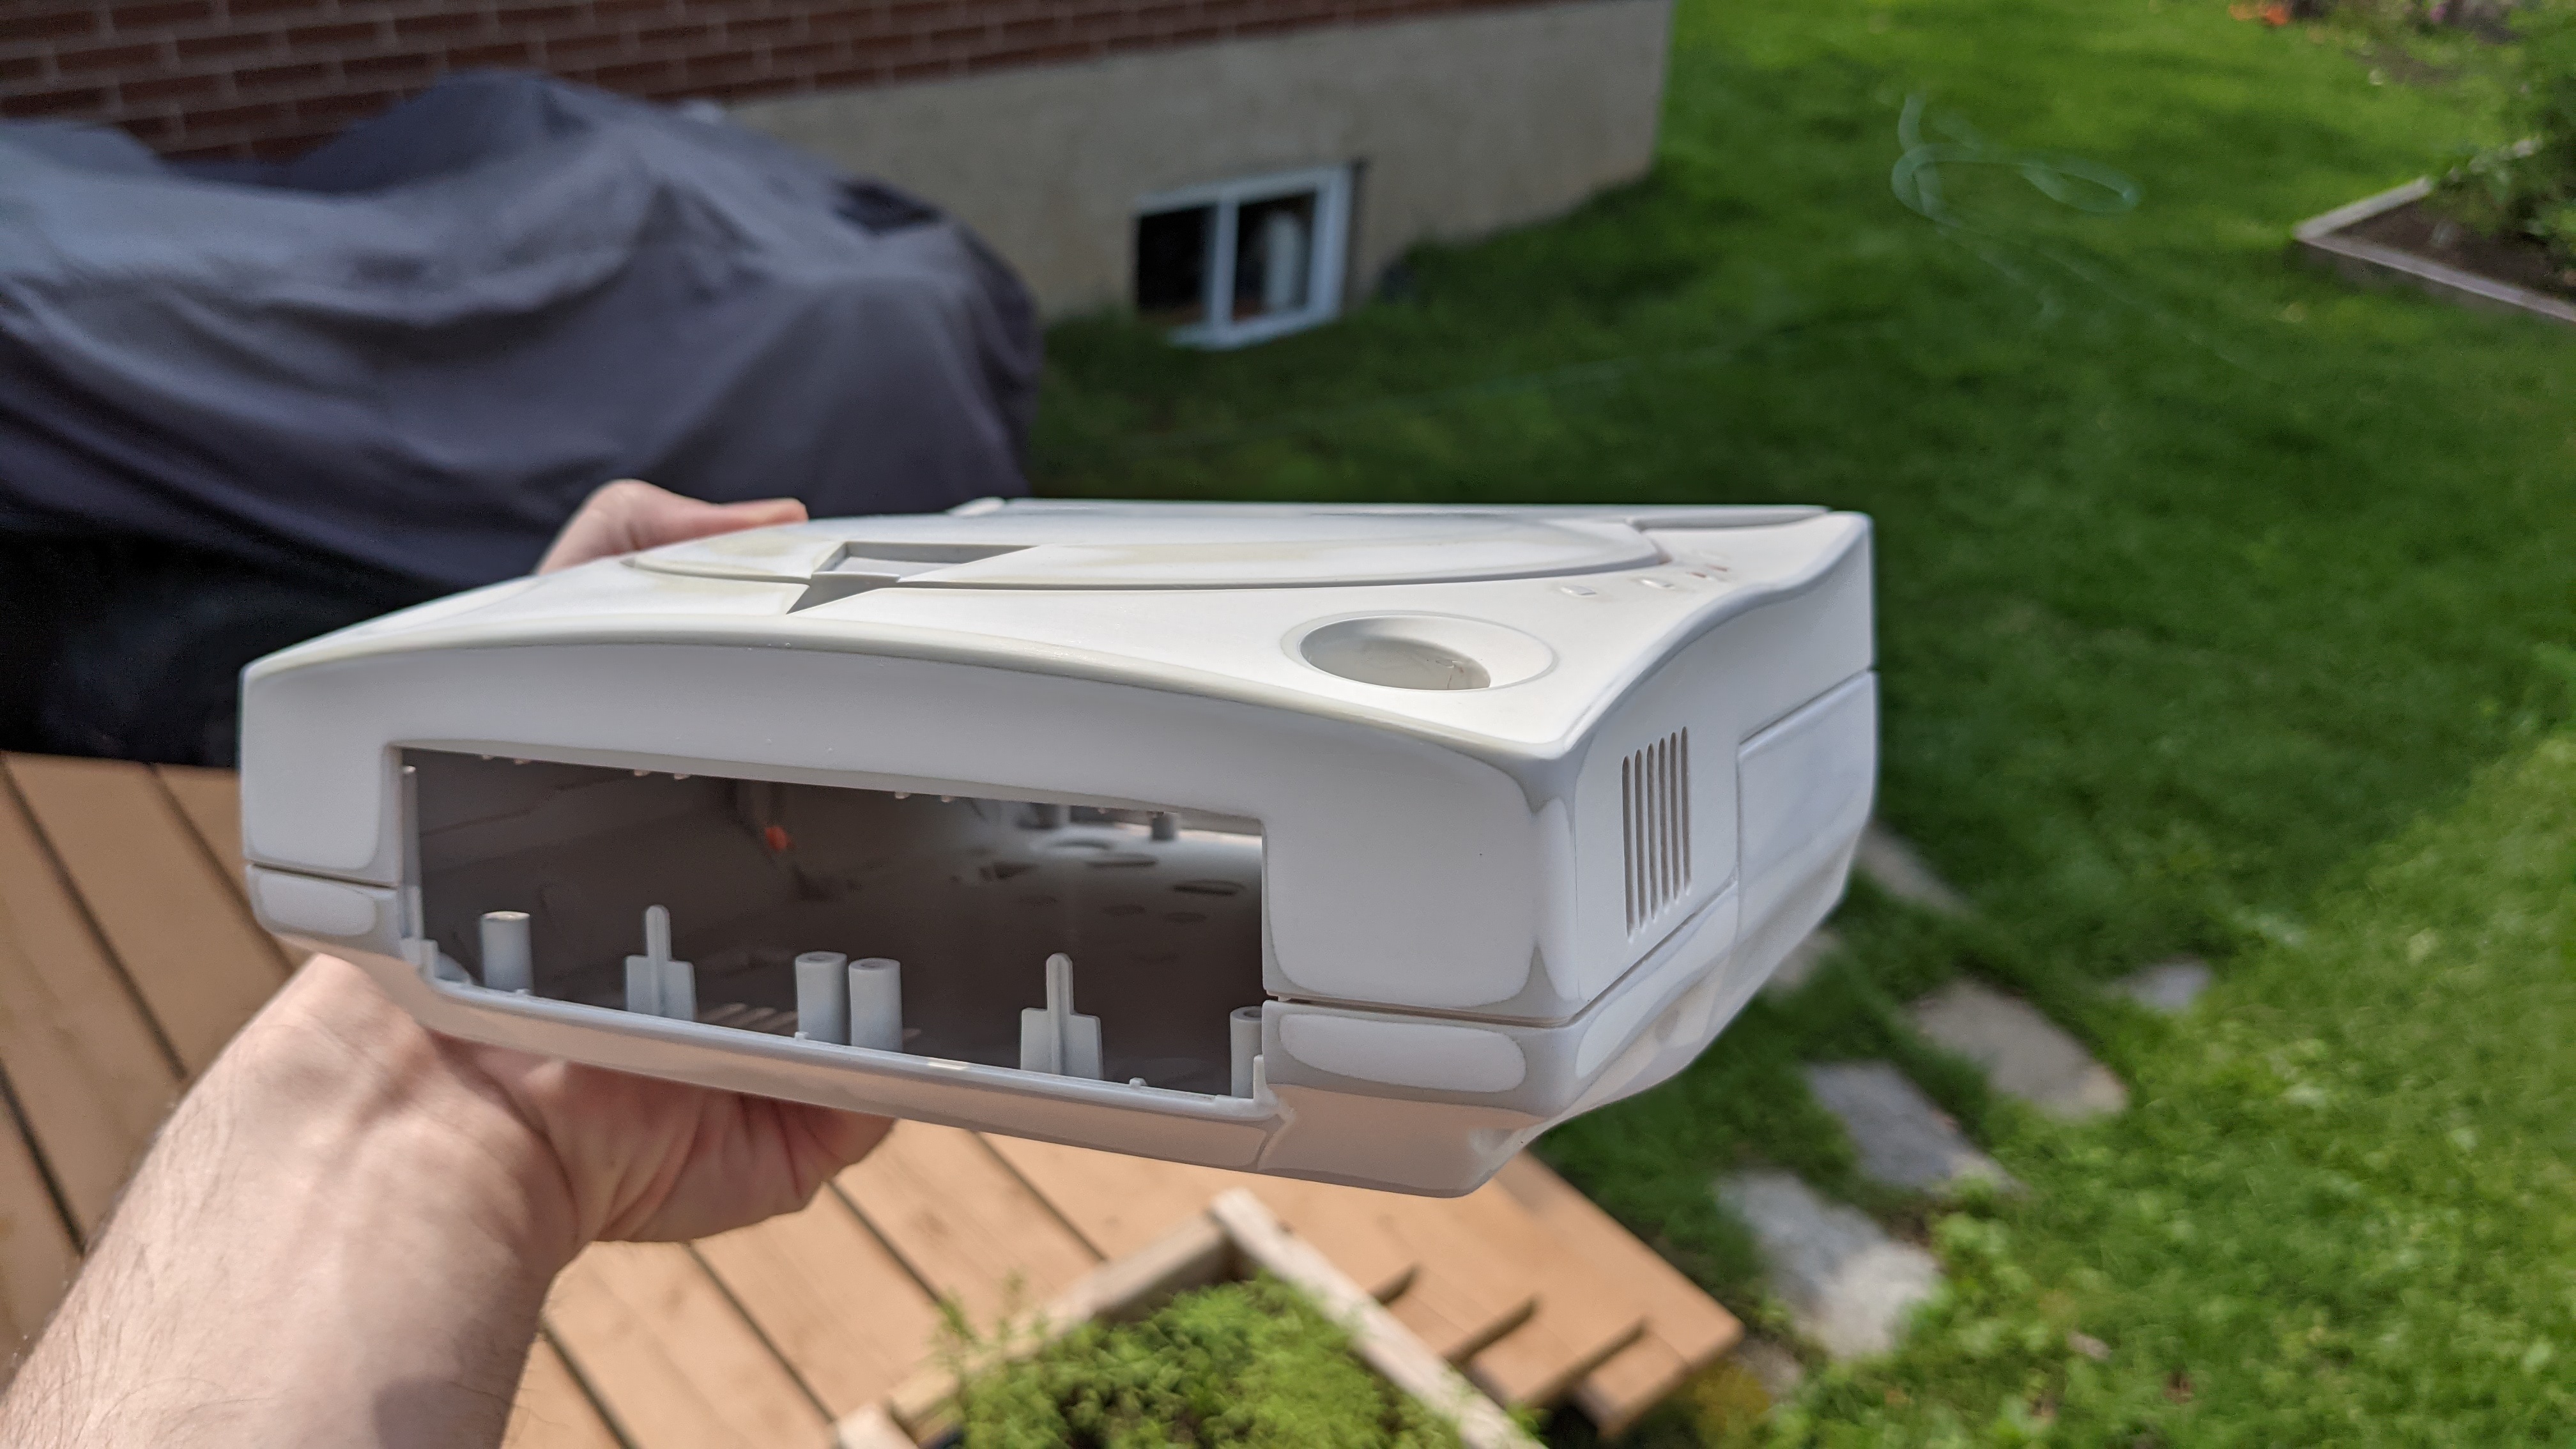
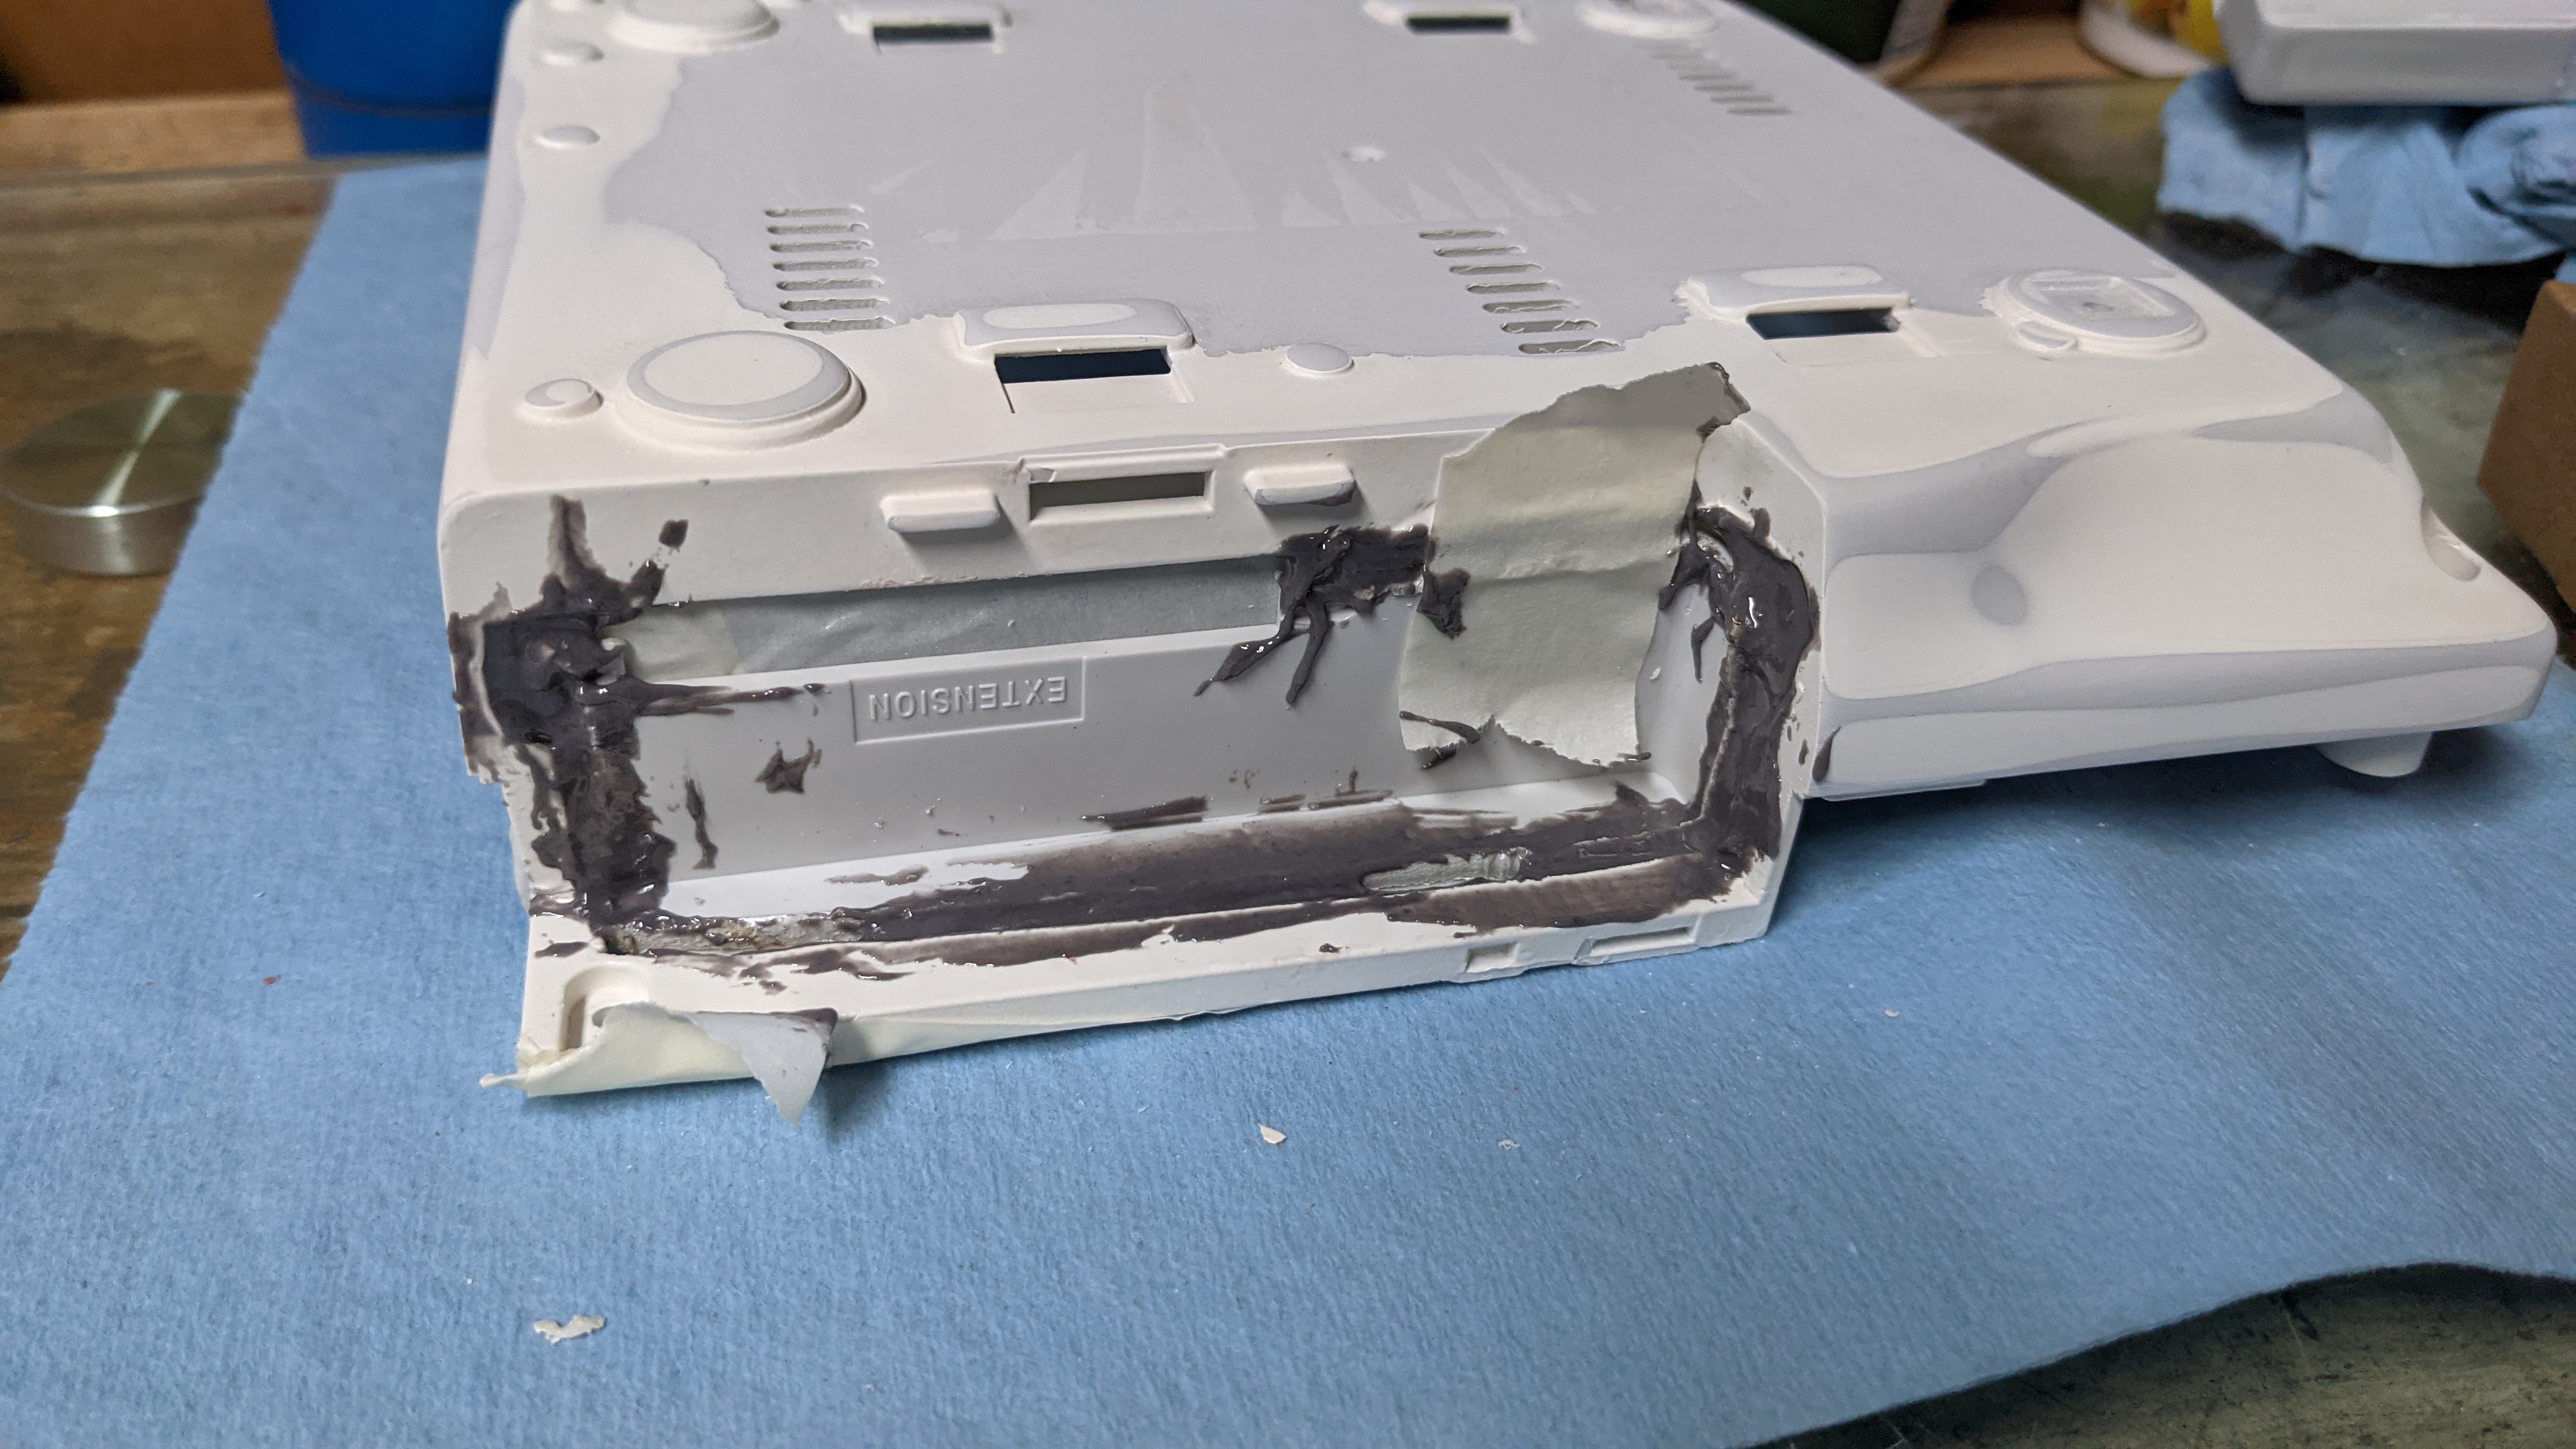
So you remember when I gutted part of the disk area so the cooler would fit with itx board? Probably not, but I did, and I didn’t like that I gutted the shell like that. So after a small fit test with cardboard and my cooler, before even receiving the actual mobo to confirm everything would fit well, I just went ahead rebuilding it Not finished but going well.
(Oh and I decided I just gonna repaint the whole thing again)
And received all the components I needed already. The logic here is that I wanted to spend the least money possible, so 3200g is a used one, the x300 was on rebate on Newegg, and I gonna complete the mail-in rebate also, and the ram (16GB, 2400Mhz, CL14) was on special (the 2666 also but no more stock online).
So after a swift build everything work. Well except the actual Windows partition from by previous build, Neptunia mk3. I don’t think it liked different CPU, mobo and ram at the same time. Doesn’t want to budge from that blue screen. So just gonna go directly to Windows 11.
Installed Windows 11. Do enjoy it for as long as I used it. Just need to change some habits I had on Windows 10 (I always went at the lower right corner to open settings).
For posterity, I run Time Spy, so now I have a baseline to compare to when the project will be done.
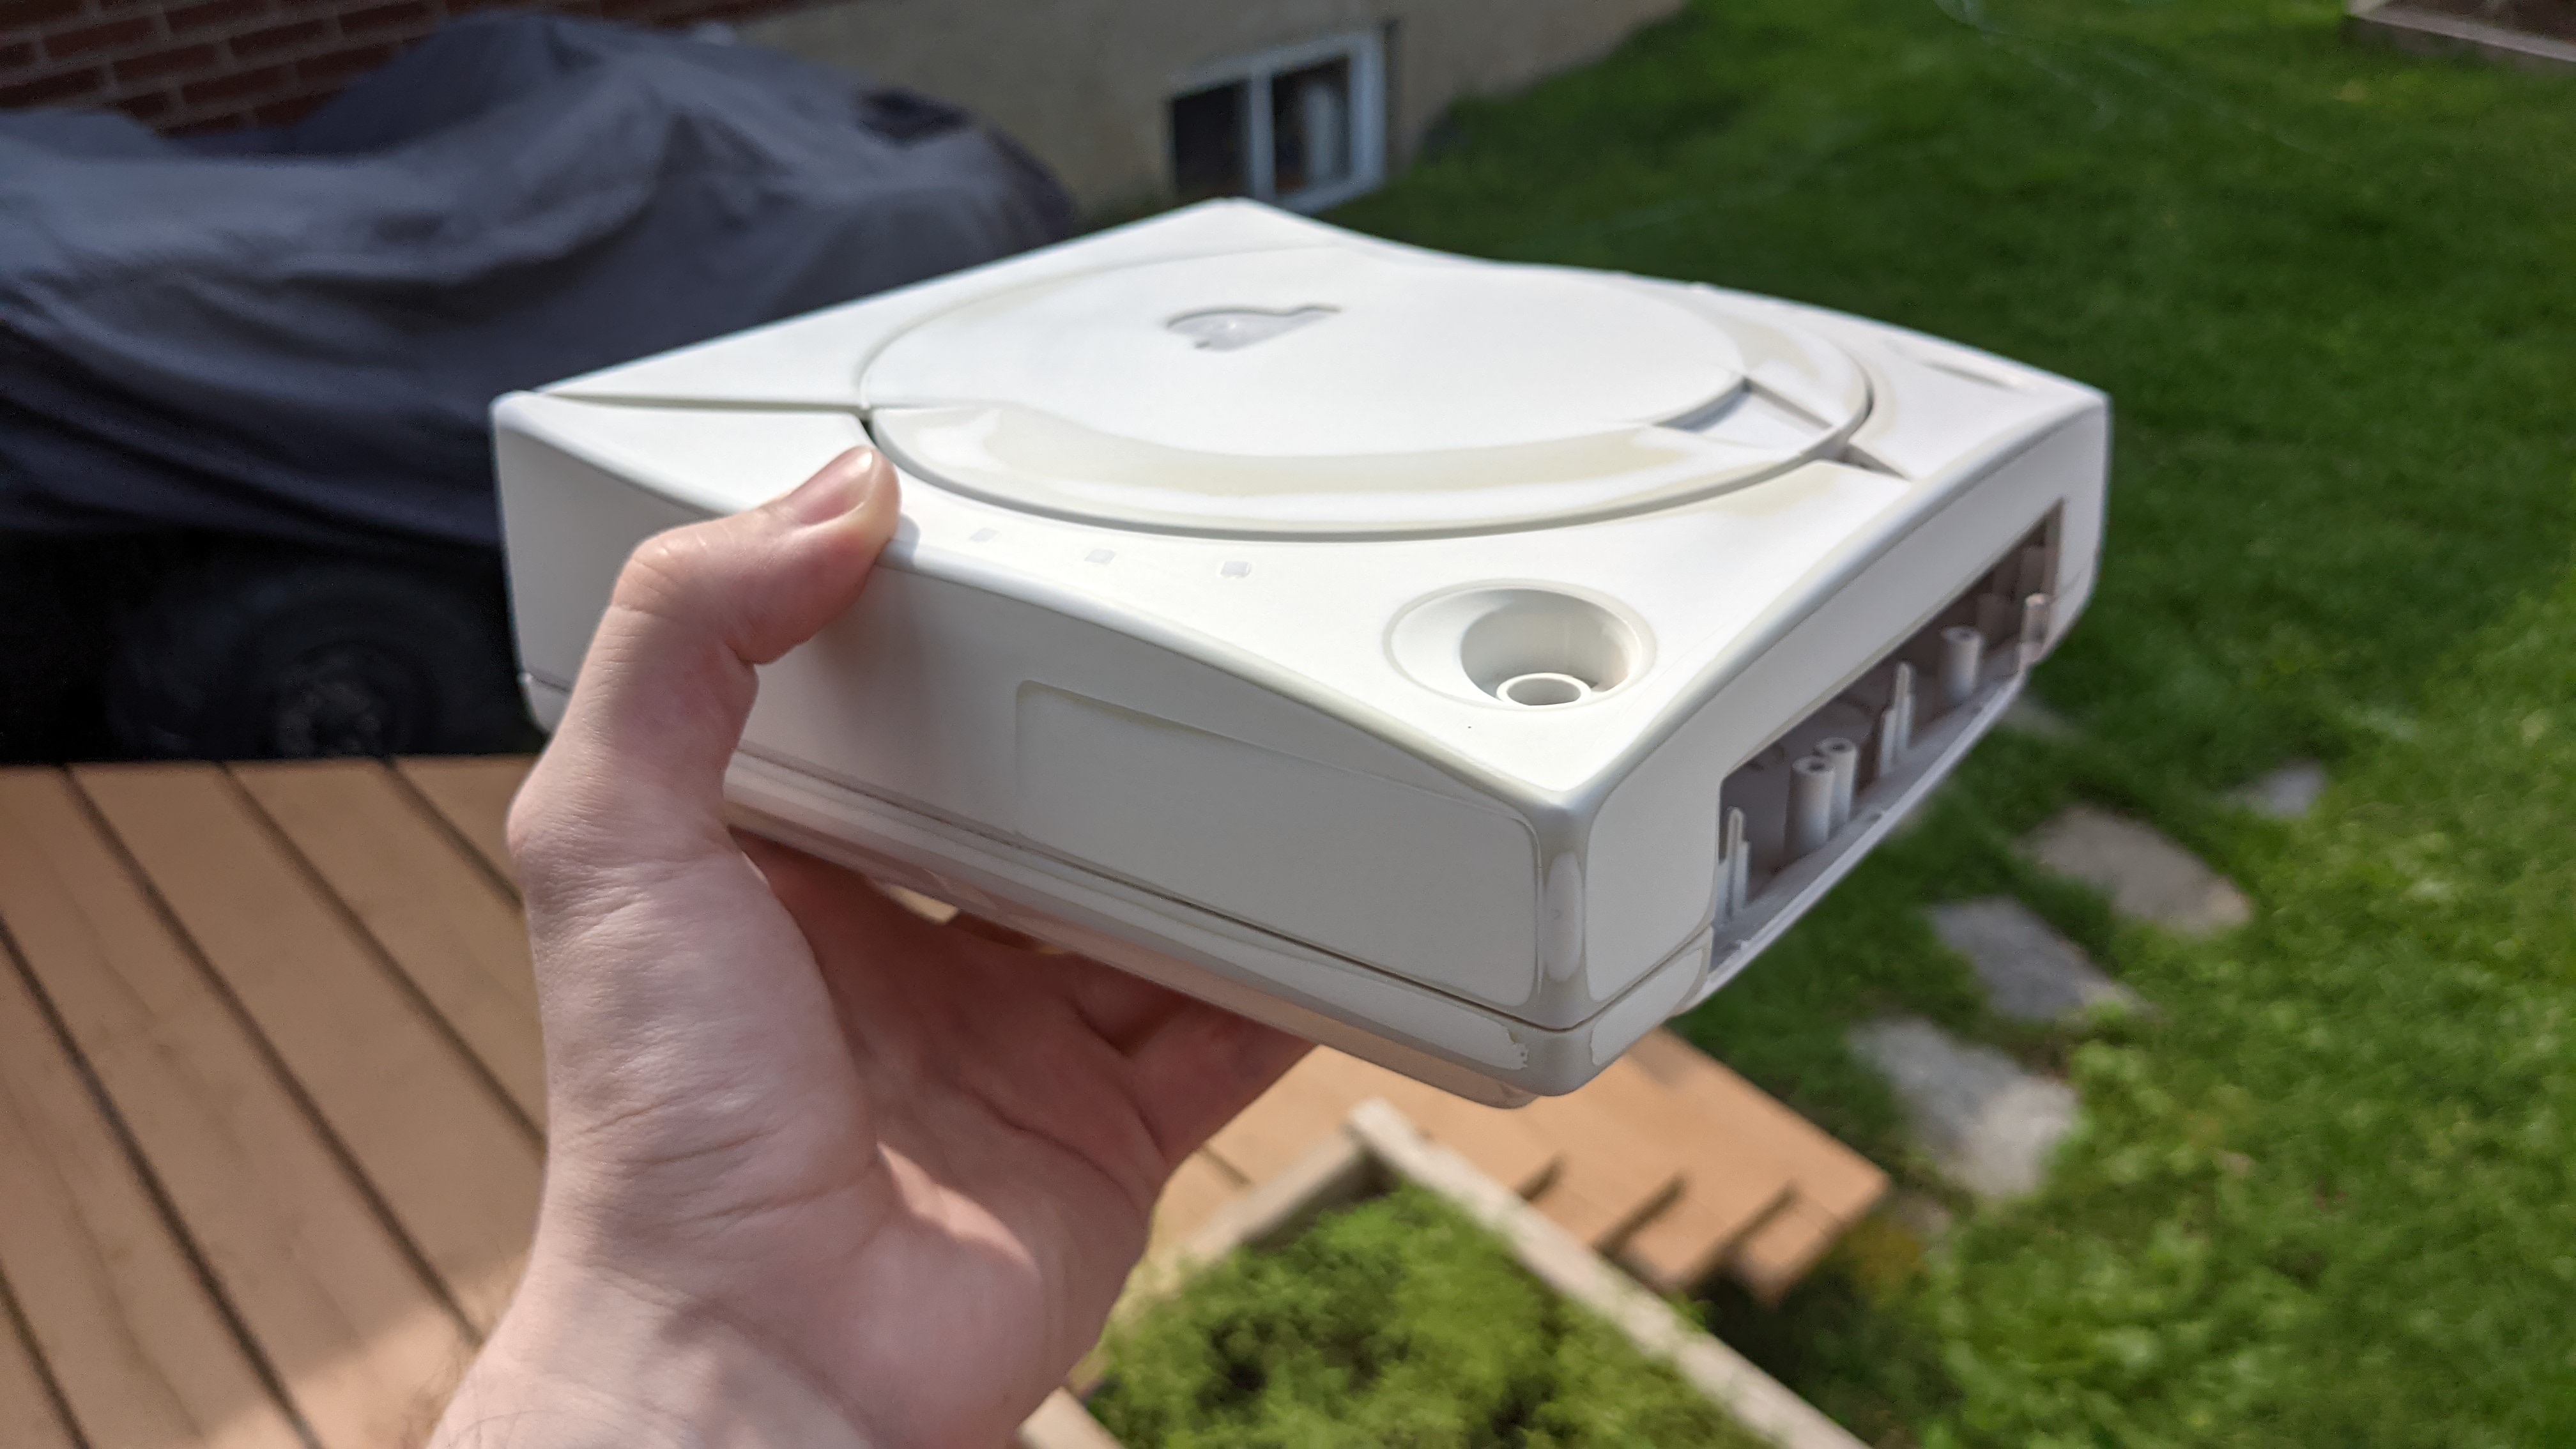
Work on the Dreamcast shell going well. Today I sanded down the paint so I would be able to repaint, this time correctly. It took so long, but the prep will pay off (hopefully).
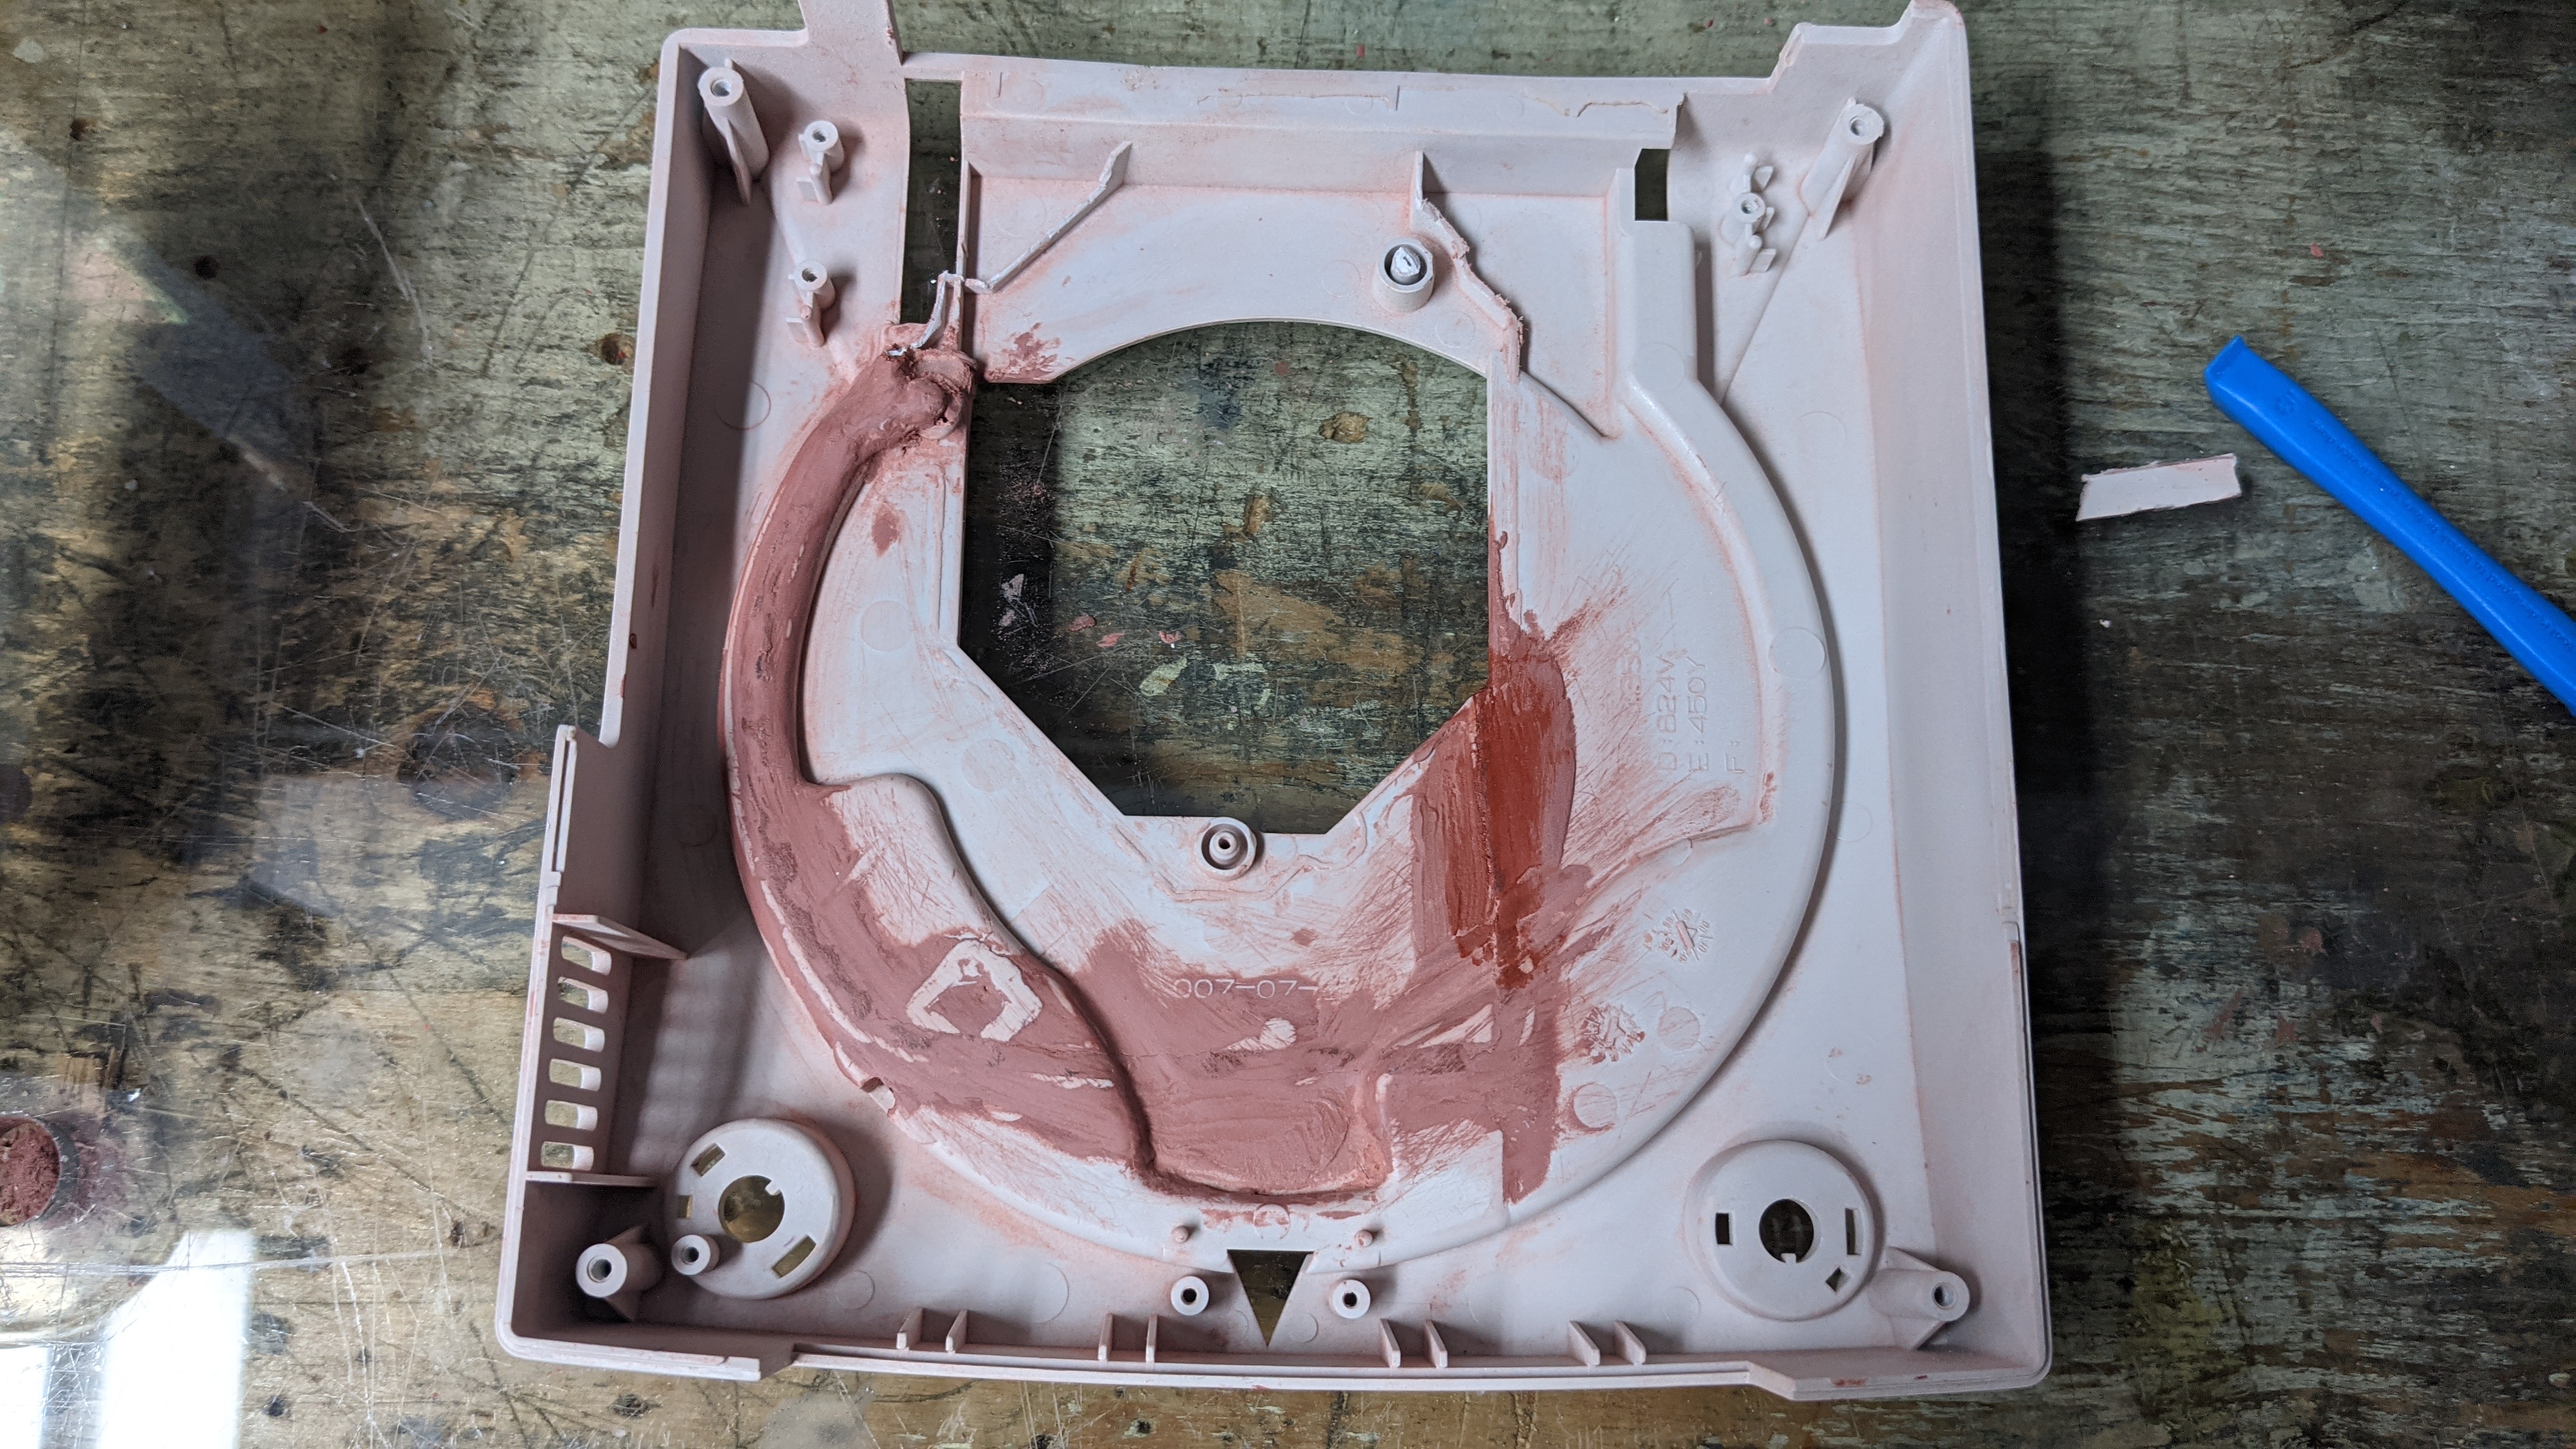
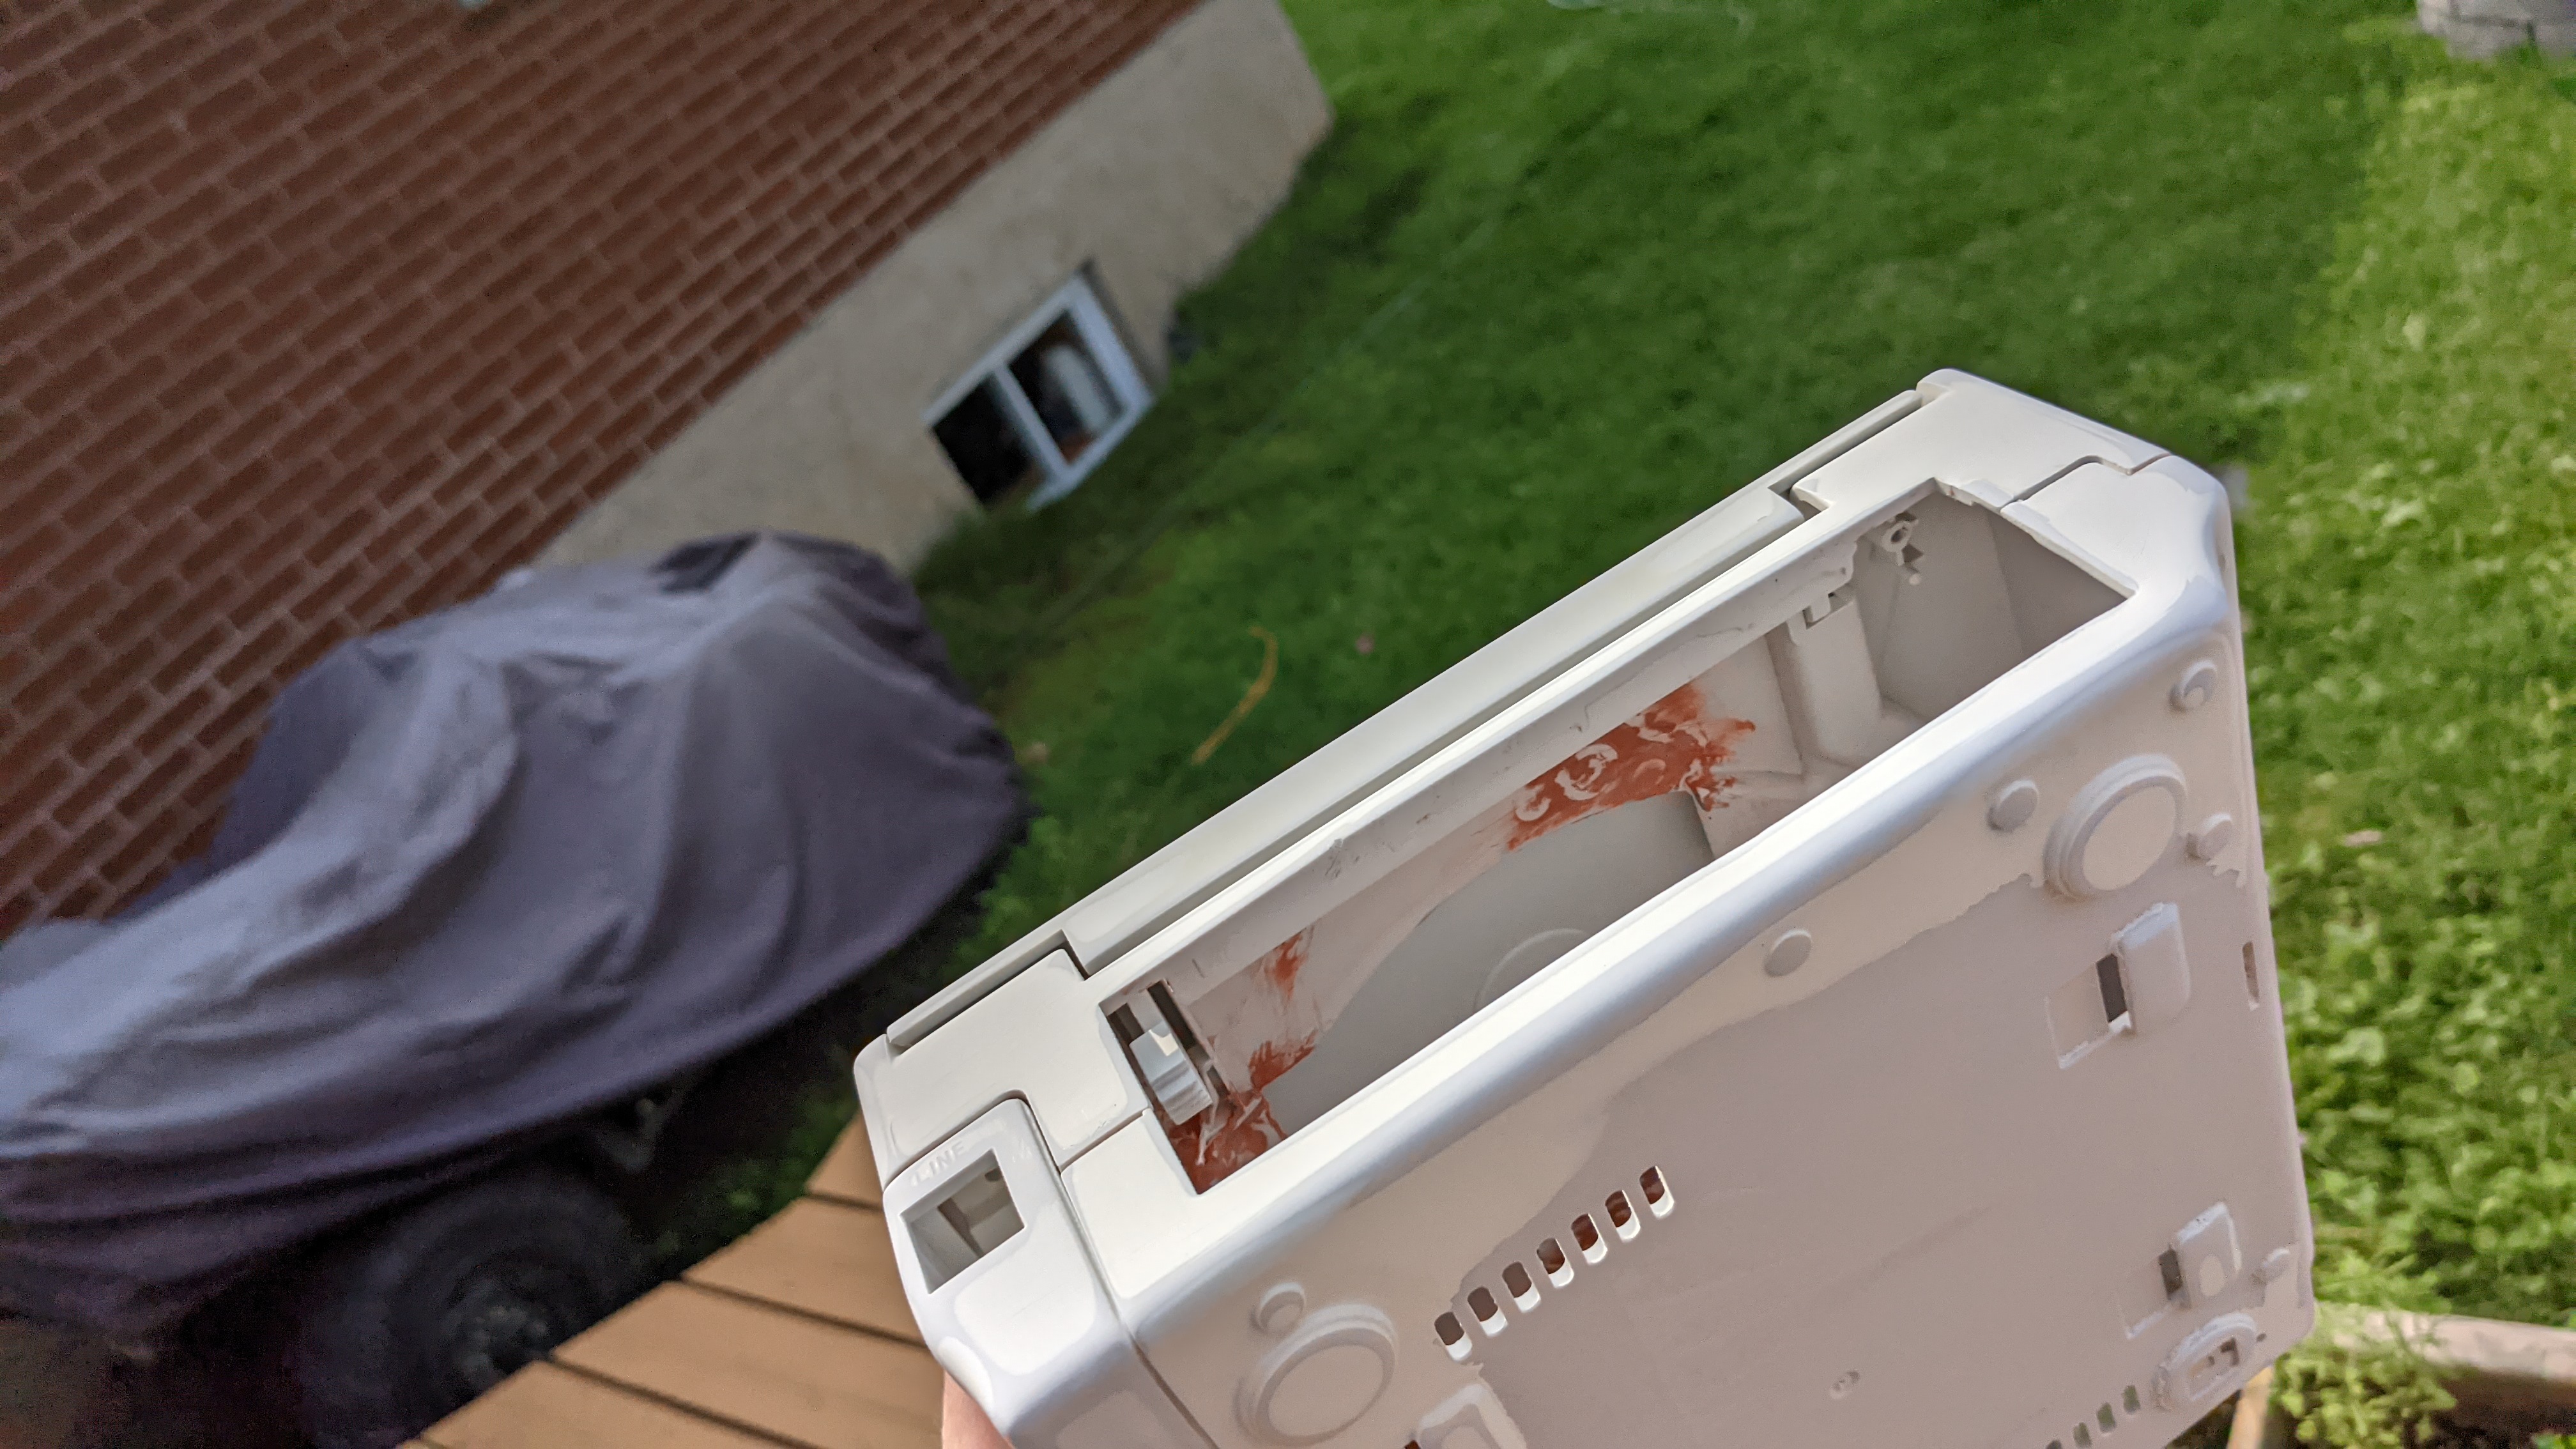
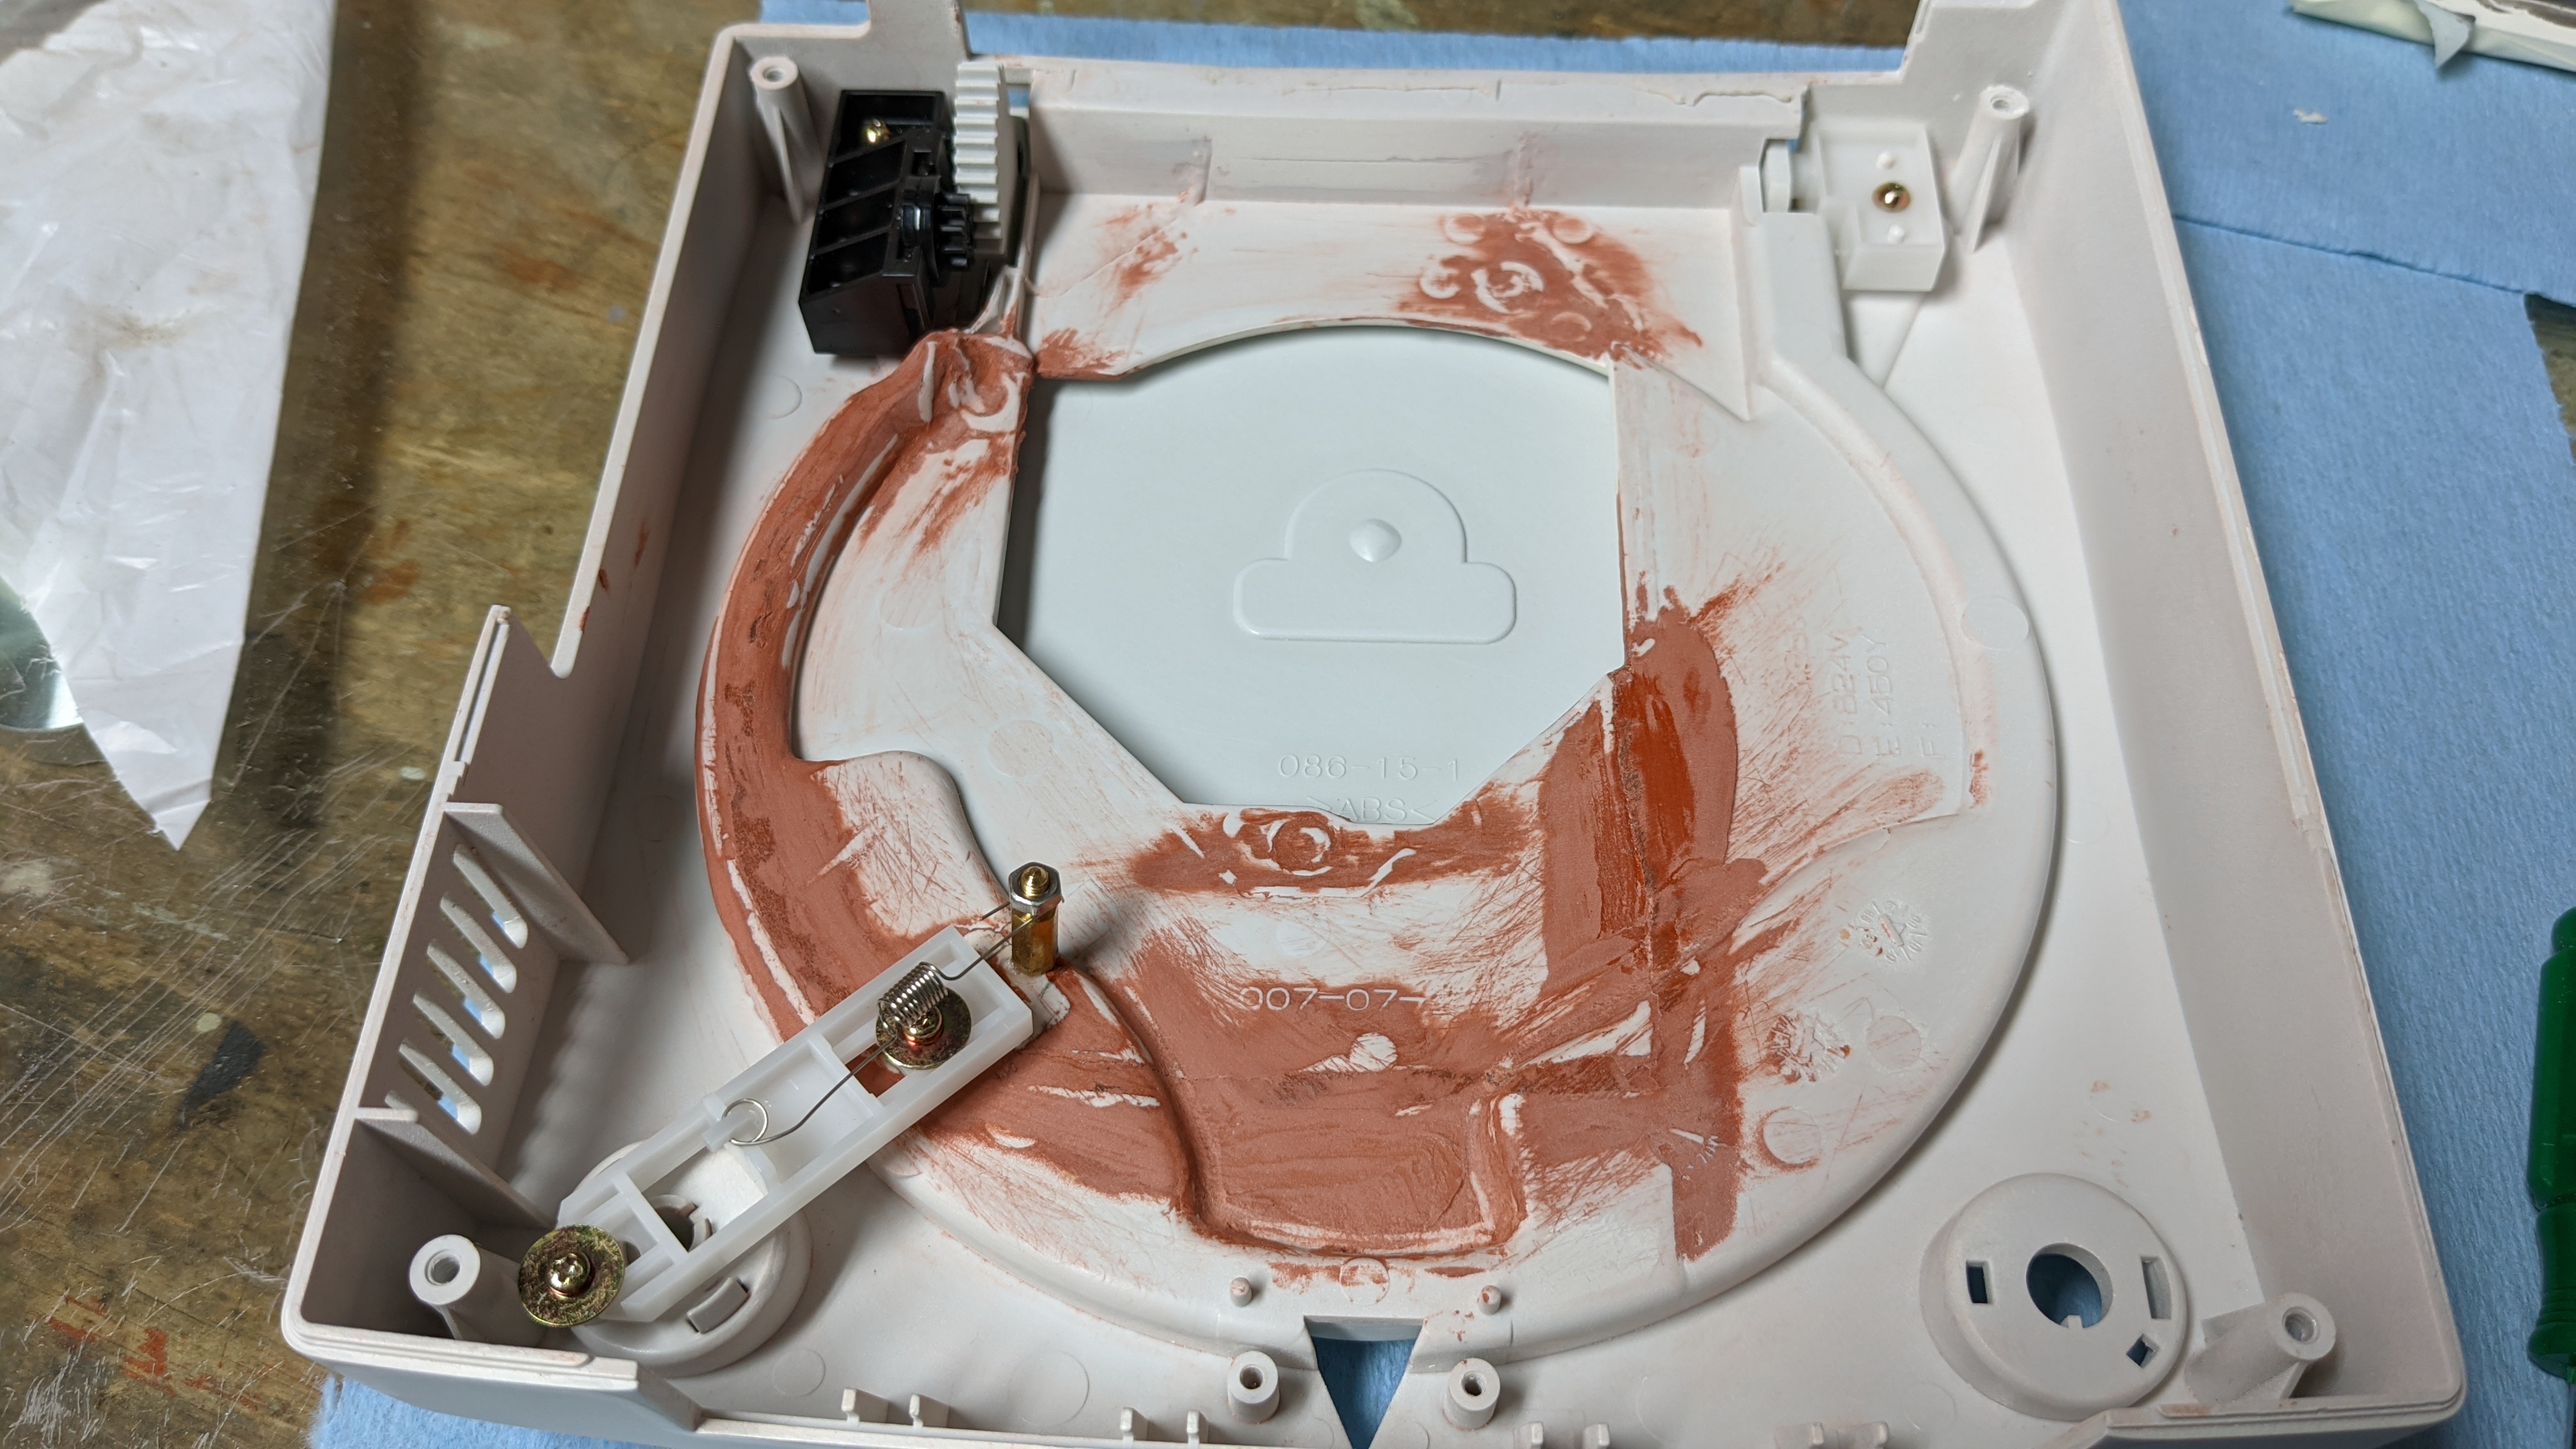
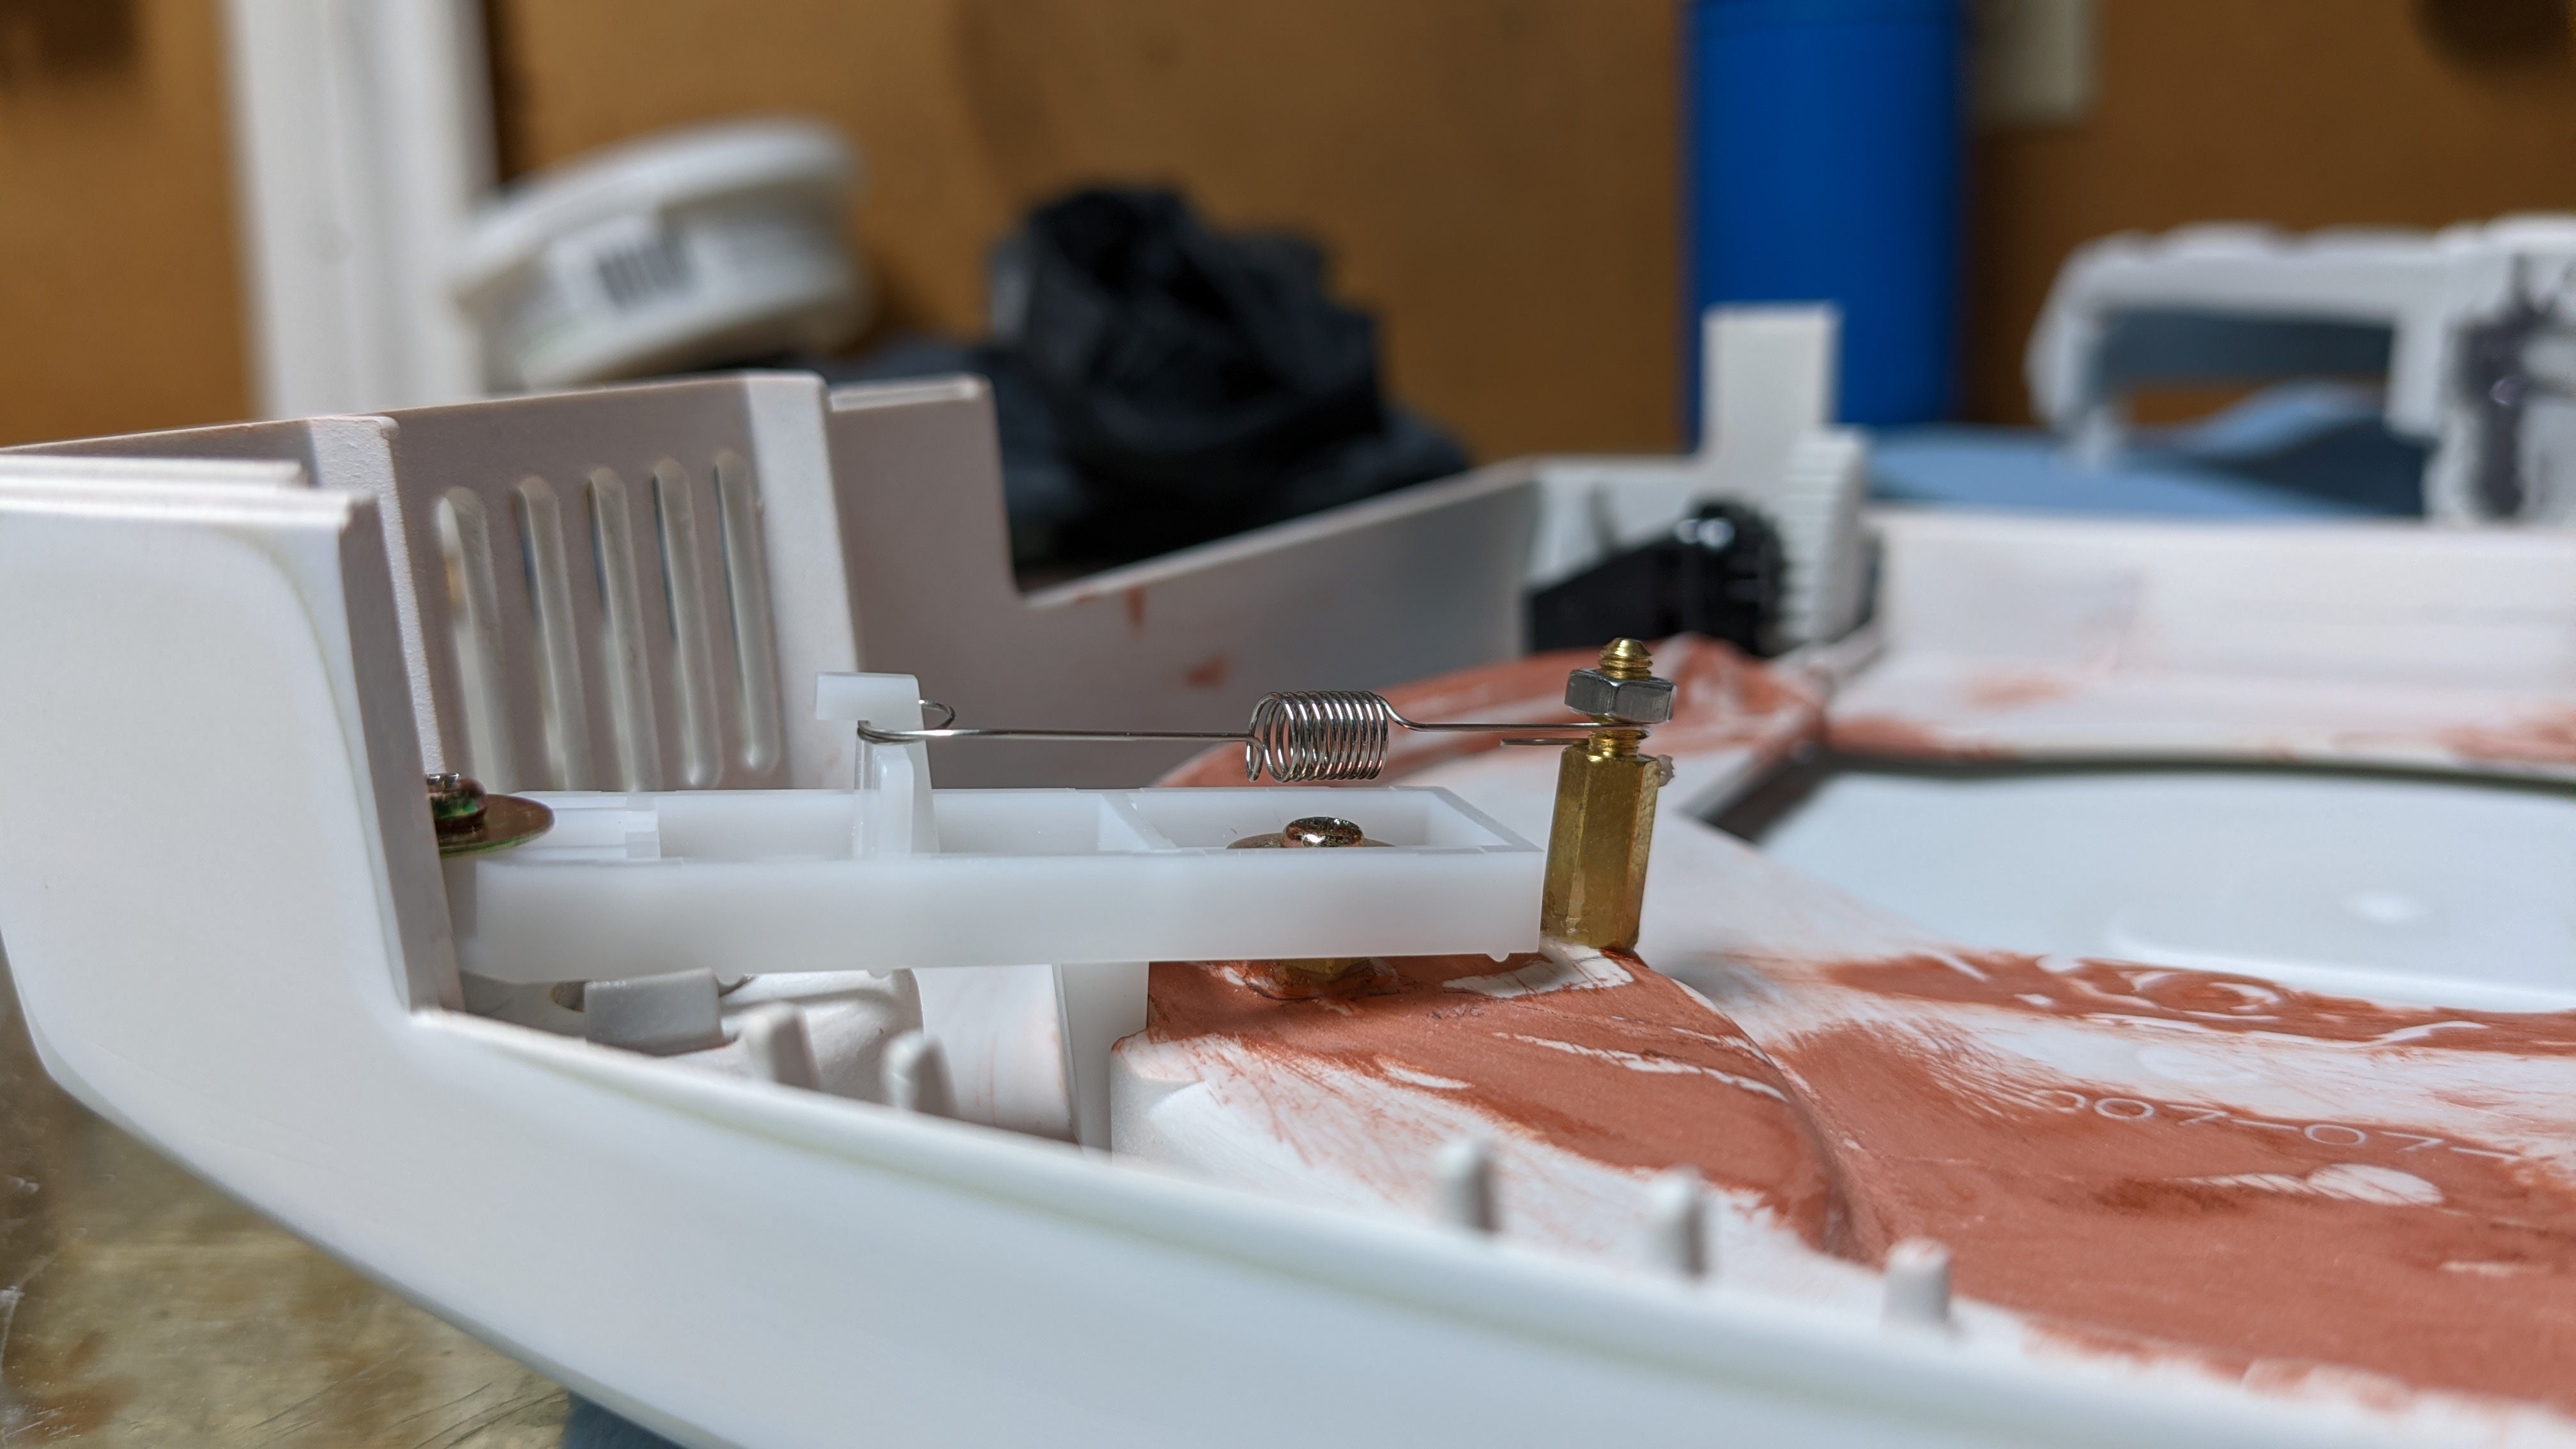
And I continue restoring the spirit back to the Dreamcast shell. Redid the mechanism keeping the lid close, and opening it, with two standoffs. Works beautifully.


 GPU only accept 12V and the
  Will surely run Windows 11 preview on it and maybe use it as a media center.