[Build log] Falco: My first ever commission! A Gamecube build

Back when I finished コンパ, my Gamecube build, I was open to commissions. Well I got one! Gonna build a Gamecube built for a fellow Canadian that will be a gift. And the build gonna be named Falco.

Since my build, there have been a lot of evolutions in minipcs and laptop CPUs. A GTX 1650 is no longer necessary to have good gaming performances. The project will use a Minisforum UM790 Pro which has the new AMD Ryzen 9 7940HS. The Radeon RX 780M integrated to it is surprisingly powerful. So at the end, after several options, this option won the game.

It gonna simplify the process of building the PC, so I will try to come with better cooling as I will not have a GPU taking space. Maybe trying to put a 92mm slim fan at an angle with a 3D printed shroud to provide quite a lot of airflow hehehe.

Also I will have the feedback of my build to make it better. Like not gonna use those pogo pins again lol. They caused me issue each time I had to open the Gamcube. So stay tune.

Parts list:

  • Minisforum UM790 Pro
  • Crucial RAM 32GB Kit (2x16GB) DDR5 5600MHz
  • 1TB nvme Gen 4 SSD
  • Fans (TBD)
  • Gamecube adapter
13 Likes

Awesome! Looking forward to see this journey :slight_smile:

1 Like

Received the Gamecube from the client. And it has like expected all the bottom panels, so no bodywork required for that, only the the back io, yeah! With the SSD and ram also here, what is left is waiting for the minipc to be shipped.


12 Likes

Did some cleaning of the Gamcube while waiting for the minipc to be shipped. Wanted to know if I needed to do some retrobright because there was a difference in shade between the outside and the inside.

Knowig that I will need to paint the back the io after I would have mod it, I was afraid the paint might clash too much with the shell, even if it’s in the back and will not be visible by the user.

But after cleaning with dish soap and some alcohol, it seemed to be mostly dirtyness. Sure there is a slight difference still, but not perceptible a lot.


So that’s a good news, no need to do any retrobright! Plus now the Gamecube lid open way better and button do not get stuck. Although it’s still sometime lacking stabilization, so might add a small spring underneath to help pop up properly

Now I just hope to find a good colour of spray paint. When Shank Mods did his Gamcube joycon, he used Krylon Short Cut Iris Gloss to emulate the Gamecube purple, but it seems to not be available anymore. I hope the Krylon Colourmaxx Iris is the same shade.

4 Likes

I finally received the UM790 Pro! My god it was long to received.
(and sorry in advance for all the pictures of screen, was too lazy)


Put in quickly the ram and the ssd and began testing. It’s so snappy lol I like it. It’s CPU score is so high compared to my PN50, and the graphic score is the same than my GTX 1650. Exciting to have this much power within one die. And during the run, the fan was barely audible, which is nice.


Did a ramtest too. usually I never do those, but being a commission build, I want to make sure everything is good. The ram reached 67C in the default case.


Then try Valorant at 1440p, everything on high, and the performance was good. Mostly was between 230 to 150 fps, and only dipped as low as 100 fps.

And also quickly tried SMBM at 4x the native resolution (1440p) with 16x MSAA and Dolphin was capped by the 60fps limit. So ya the performance is great for the use case.

So after all that testing, immediately went to remove everything hahaha. Always stressful to do so, but was not too hard. Just need to take the time and be methodical. And happy to see that, the ram/ssd fan is 12V, so I can use its header to power 12V case fan instead of having to buy 5V ones. Also, the cpu fan seems to intake air from the side, so it’s good to know.


So for test fitting, used my old Gamecube, and the fit is not too bad. It’s thight on the rear side, but I think the io will however be flush with the io plate without removing material to the corner columns. Also, i think I will go with slim 40mm Noctua fans. I don’t think it would be appropriate to try fit a 60mm at an angle. But will wait to see better how it fits inside the Gamecube before making a call.


So my plan at first is to level down all the floor area inside in order to make the motherboard fit inside.

The only difficulty I foresee is the power button and led. They are small components that are soldered to the board. Not eager to try to solder cable to those and try to get an external switch button working. I can always wired a led with the fan, so it plays the same purpose, but the button I cannot. But there is a 3 pin headers unsused on the board. Will probe them. Hopefully maybe they can be used to power on the board?


11 Likes

Of the power button is through hole you can maybe find a large solder points on the bottom

1 Like

Began the bodywork to make the minipc fit inside the Gamecube. Had the idea to use tape to make the cute as straight as possible.


After the first cuts, the minipc fitted inside. Otherwise, there was two things that needs to be addressed. First, the board was sitting still a millimeter too high. If let like that, it would not be possible to plug an hdmi connector without shaving the connector first.

Second, I will need to shave some material from the columns because the IO is 1mm from the IO plate. So close. But will do that later. First the floor.


By trying to find a way to reliably lower the remaining inner wall from 1mm, I realized I could use a foam block I had around not only for that purpose, but also later in order to recreate the exhaust seal that existed with the UM790 Pro which blocks the warm air from being recirculated inside the case. I will not recreate the floor for the lower container as the tolerances are way too small anyway.


After the additional shaving, I’m now rebuilding the floor of the upper container. Went out to buy epoxy as I had no more on hand. I could have let it open as the base still seemed solid without it, but I don’t want to take any risk, and also be more akin to an OG Gamecube.


10 Likes

Oh my god I forgot how tedious and long it was to make a Gamecube PC :face_with_spiral_eyes: The back Io is definitely the worst part of the process, and my god are the tolerances tight with that minipc. :tired_face: Just look! lol


But even when putting back on the shell just to test the performance, with no fan to intake air inside. Performance is not much affected, which is good news.


So here we go with painting. Everything is good. It’s a shade ligther than the original colour but at least most of it is inside so doesn’t disturb. I just need to do some touch up thought.


Also I added foam, included foam that was present at the exhaust of the minipc, to kind of recreate the same sealing that was going on in the UM790 Pro to make sure there is not hot air being recycled back in the case.


Otherwise I need to wait for the fan. I went with 50mm Geely because anything bigger would have fitted even I tried to put it inside an angle. Just need to wait for those as they are coming from the UK (they were cheap over there, and not a lot of stock I can find of those anyway). In the meantime I did an adapter with the UM790 case fan plug and the PWM extension I got with the Noctua fan controller I bought for my one PC. The Geely are 3 pin but at least the PWM are available if ever there’s a future need to change the fan.

And I need to source a cheap-ish official Nintendo Gamecube controller adapter because the two third parties I bought were inadequate (one just broken, and other with really weak rumble except on port 2).

8 Likes

I’m glad the thermals are alright I’m dreading how much I’m gonna have to cut and drill to make the SNES breathable with the 6900hx and 6600m in there

3 Likes

The build has hitted a snag, the minipc is not working anymore. Last weekend it had a weird behavious whereas when I turned it on, the green power light would too, but nothing else. After several hours of me not touching it, trying mutiple time to power it, along with switching between the ac adapter and usb-c power, it returned to normal.

But thrusday oit if nowhere again just nothing would powered on. I turned it on, used it for two minutes and then it just shutted down and never did anything again.

So I’m getting a replacement for it.And it sucks because I need to pay for the shipping too out of my own pocket! First time and last time I’m doing business with Minisforum, really letting a bad taste in my mouth. To not get 50$ of shipping reimburshed because I needed to ship a deffective unit is not fun. :expressionless:

At least I got a nice picture of the Gamecube assembled. It’s litterally when I was looking at the picture on my phone after I took it that it shutted down lol. Still needs the fans and adaptee.


9 Likes

Just a side question – were you able to wire up an external power switch? I was planning to use the UM790 inside my arcade cabinet, wired to an an external momentary pushbutton. I can’t see clearly enough from the MB pictures whether there’s something easy to solder the switch to.

get a nice set of files. i use them to square corners up and flatten edges when i make the cuts for things like the HDMI and USB ports. it is not a big deal, but one of those finishing touches that can really make custom work stand out, well, stand out as not looking custom.

I know but at some point the sanding is like so much :face_with_spiral_eyes:

1 Like

I answer the wrong post earlier lol, but on that precise subject it’s possible by just attaching the wires to the right solder/wire behing the switch.

Will detailled that more later, but now I will be doing it with micro toothless alligator test clip instead of soldering because way too difficult.

You can find them by just probing like with the iFixit angled tweezers.

1 Like

Try number 2. Will stress test the shit out to be sure I don’t have any more surprises. Will log later to detail more how I did stuff.

3 Likes

Ok fuck Minisforum, the unit died too. This morning I woke up with pc light turned on, but not the pc. That was extremely strange, never saw that, but I was able to turn on the pc without problem. So I closed it and went doing stuff.

Came back to it, I notice the power light turns on briefly and then turn off, highly unusual. Then I turn on the pc, the fan are turning on high speed for about 2 minutes then the pc just closed and nothing, dead.

My god I didn’t needed that :expressionless: First time and last time with Minisforum. Will ask for reimbursement and alternatives I can go with. And it’s supposed to be a birthday gift in late September…

4 Likes

Ok building again and working at the moment. I will do a log in a near future. But here’s a sneak peek. I’m happy with that solution I found.


5 Likes

Glad to hear you got it resolved eventually, would love to hear all the dirty details going on beneath that purple outfit when you are less stressed… :wink:

1 Like

Back in business. Still stuff to do. But the core is completed.

7 Likes

Ok, so here’s update about the project. Most of it was done last weekend lol.

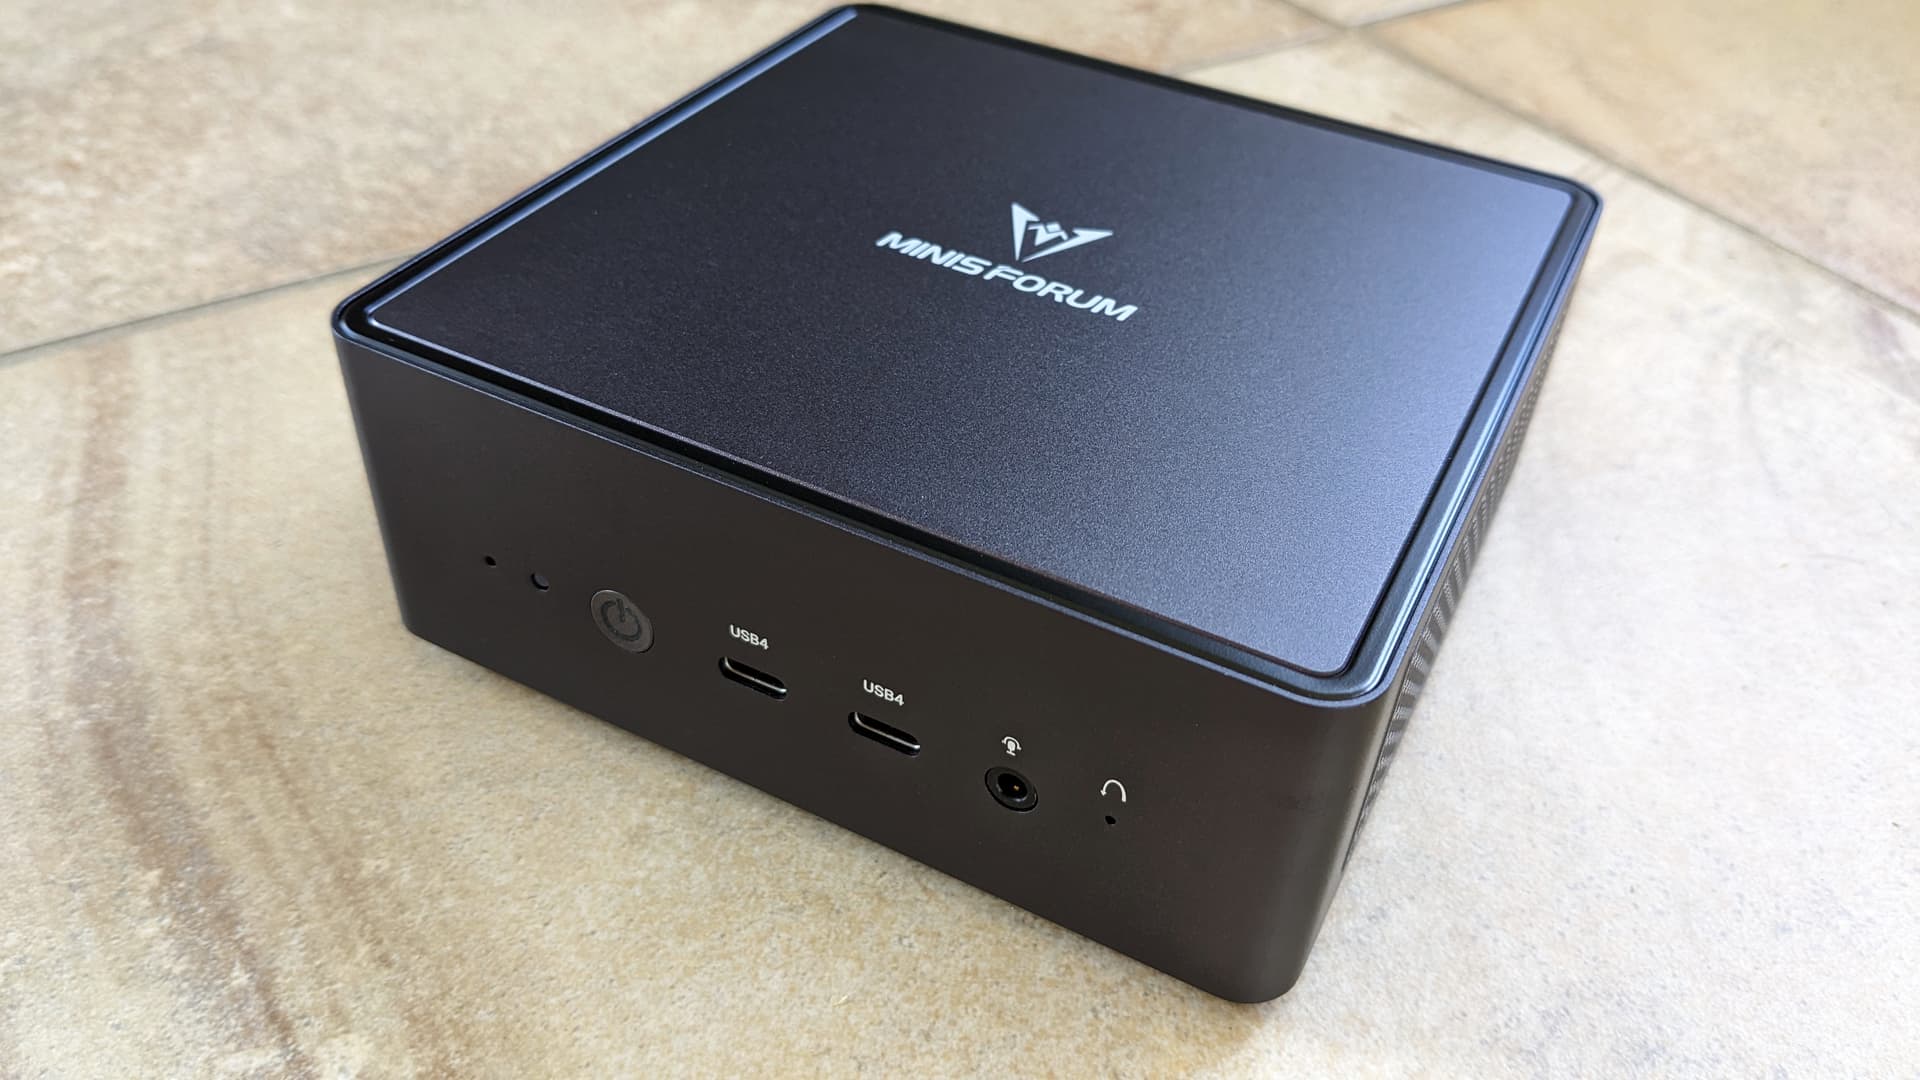
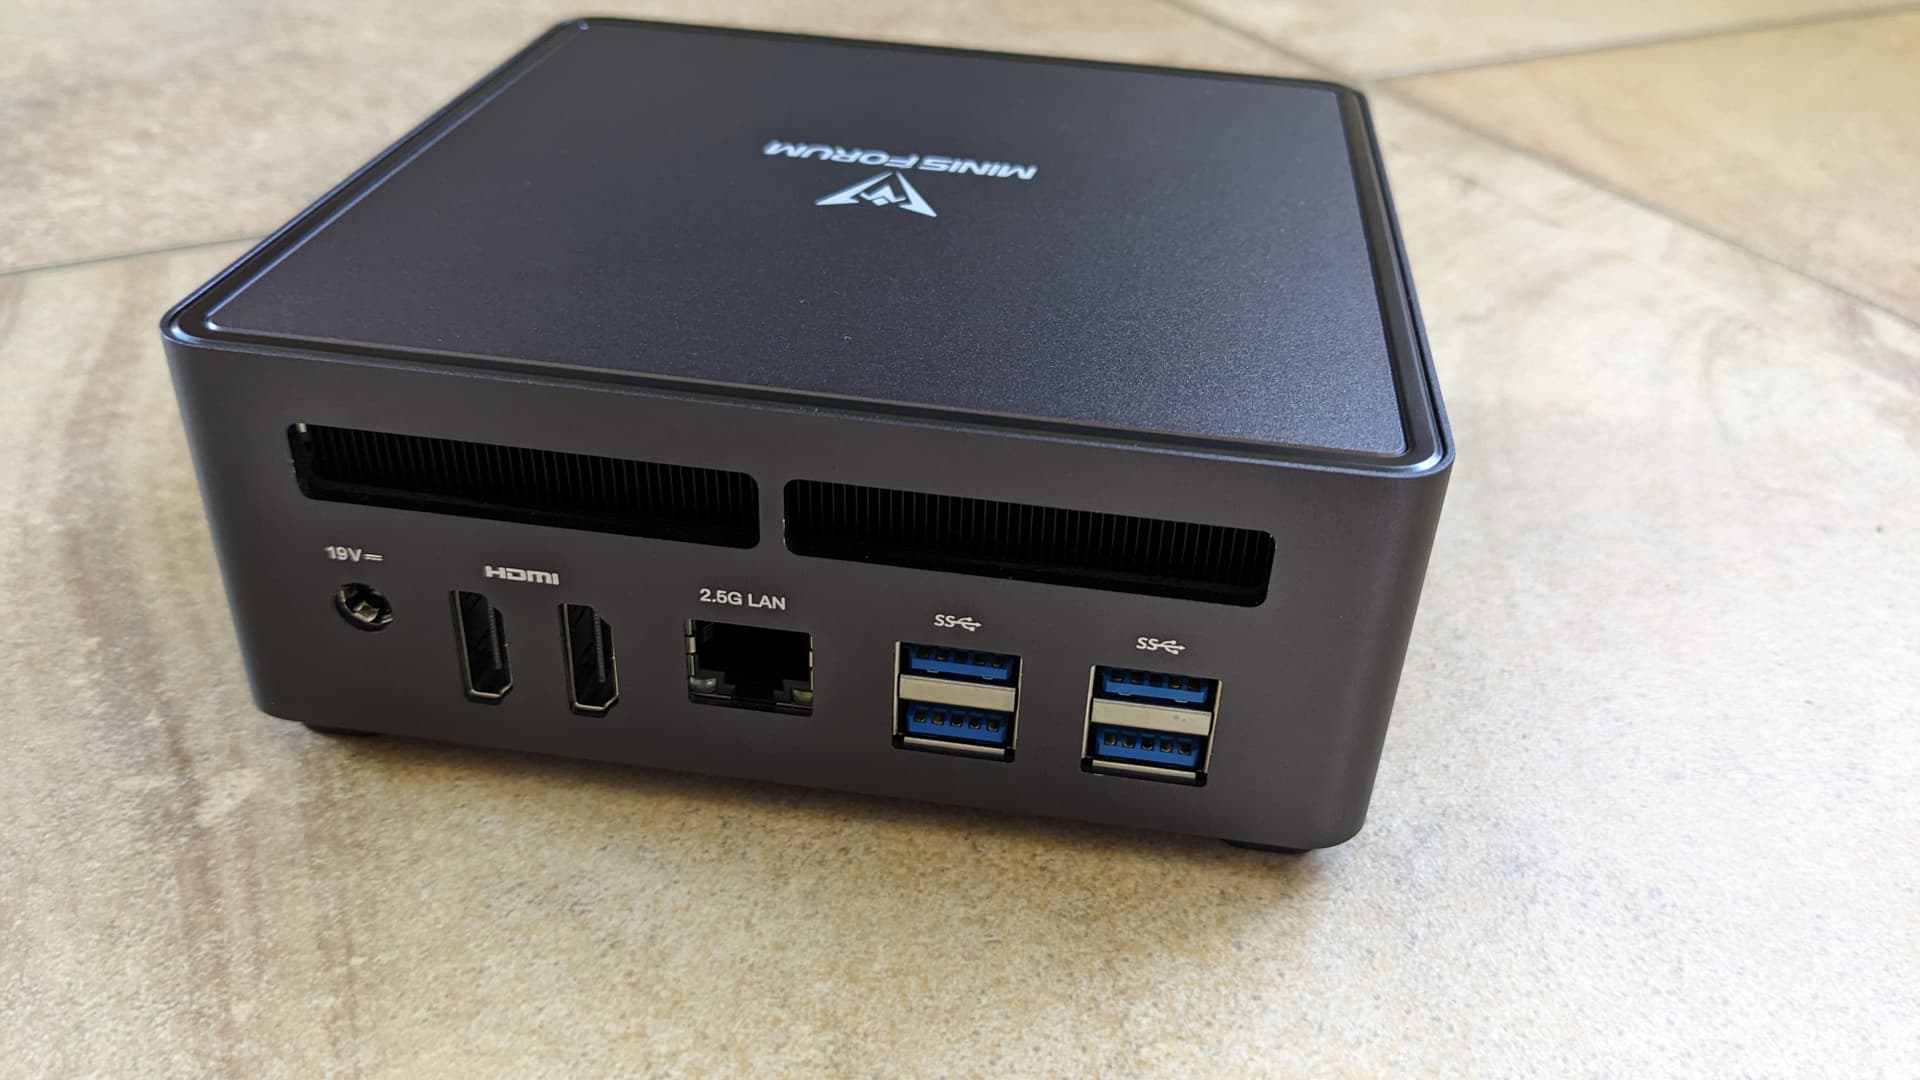
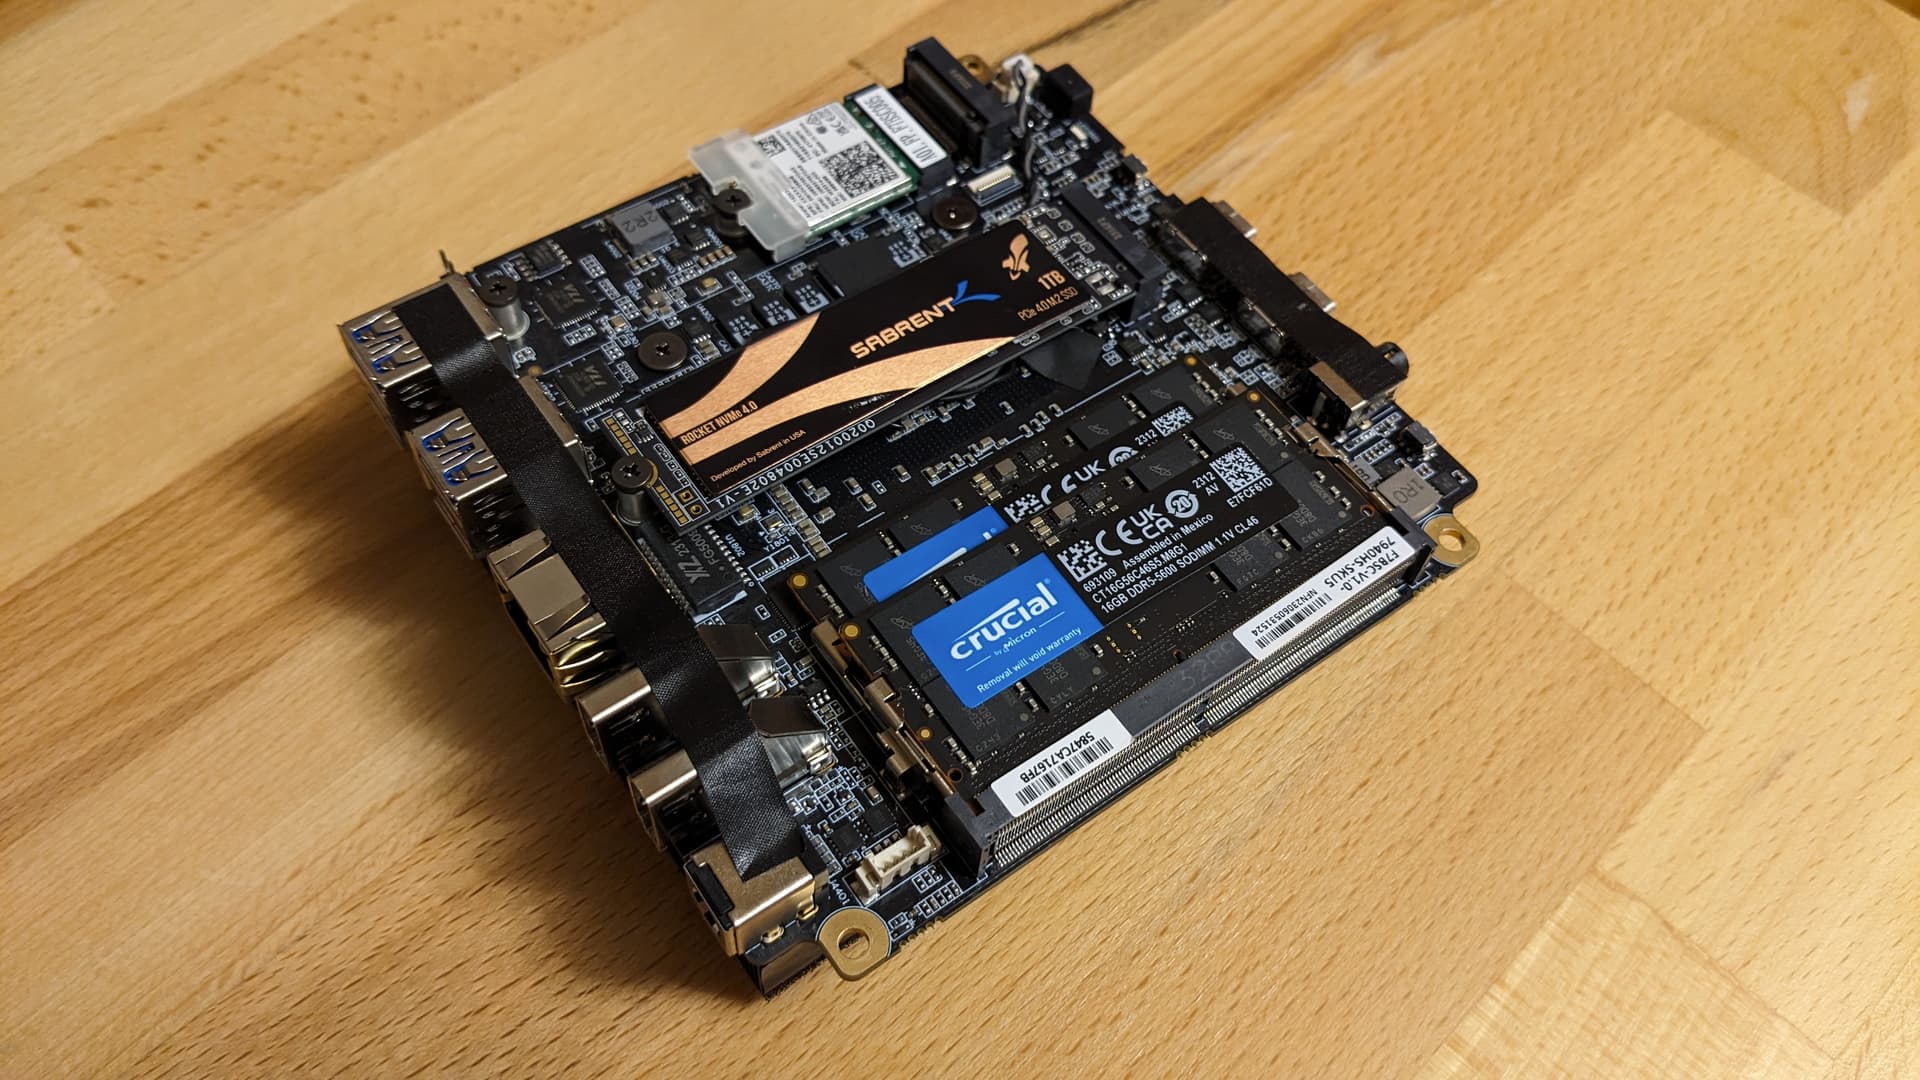
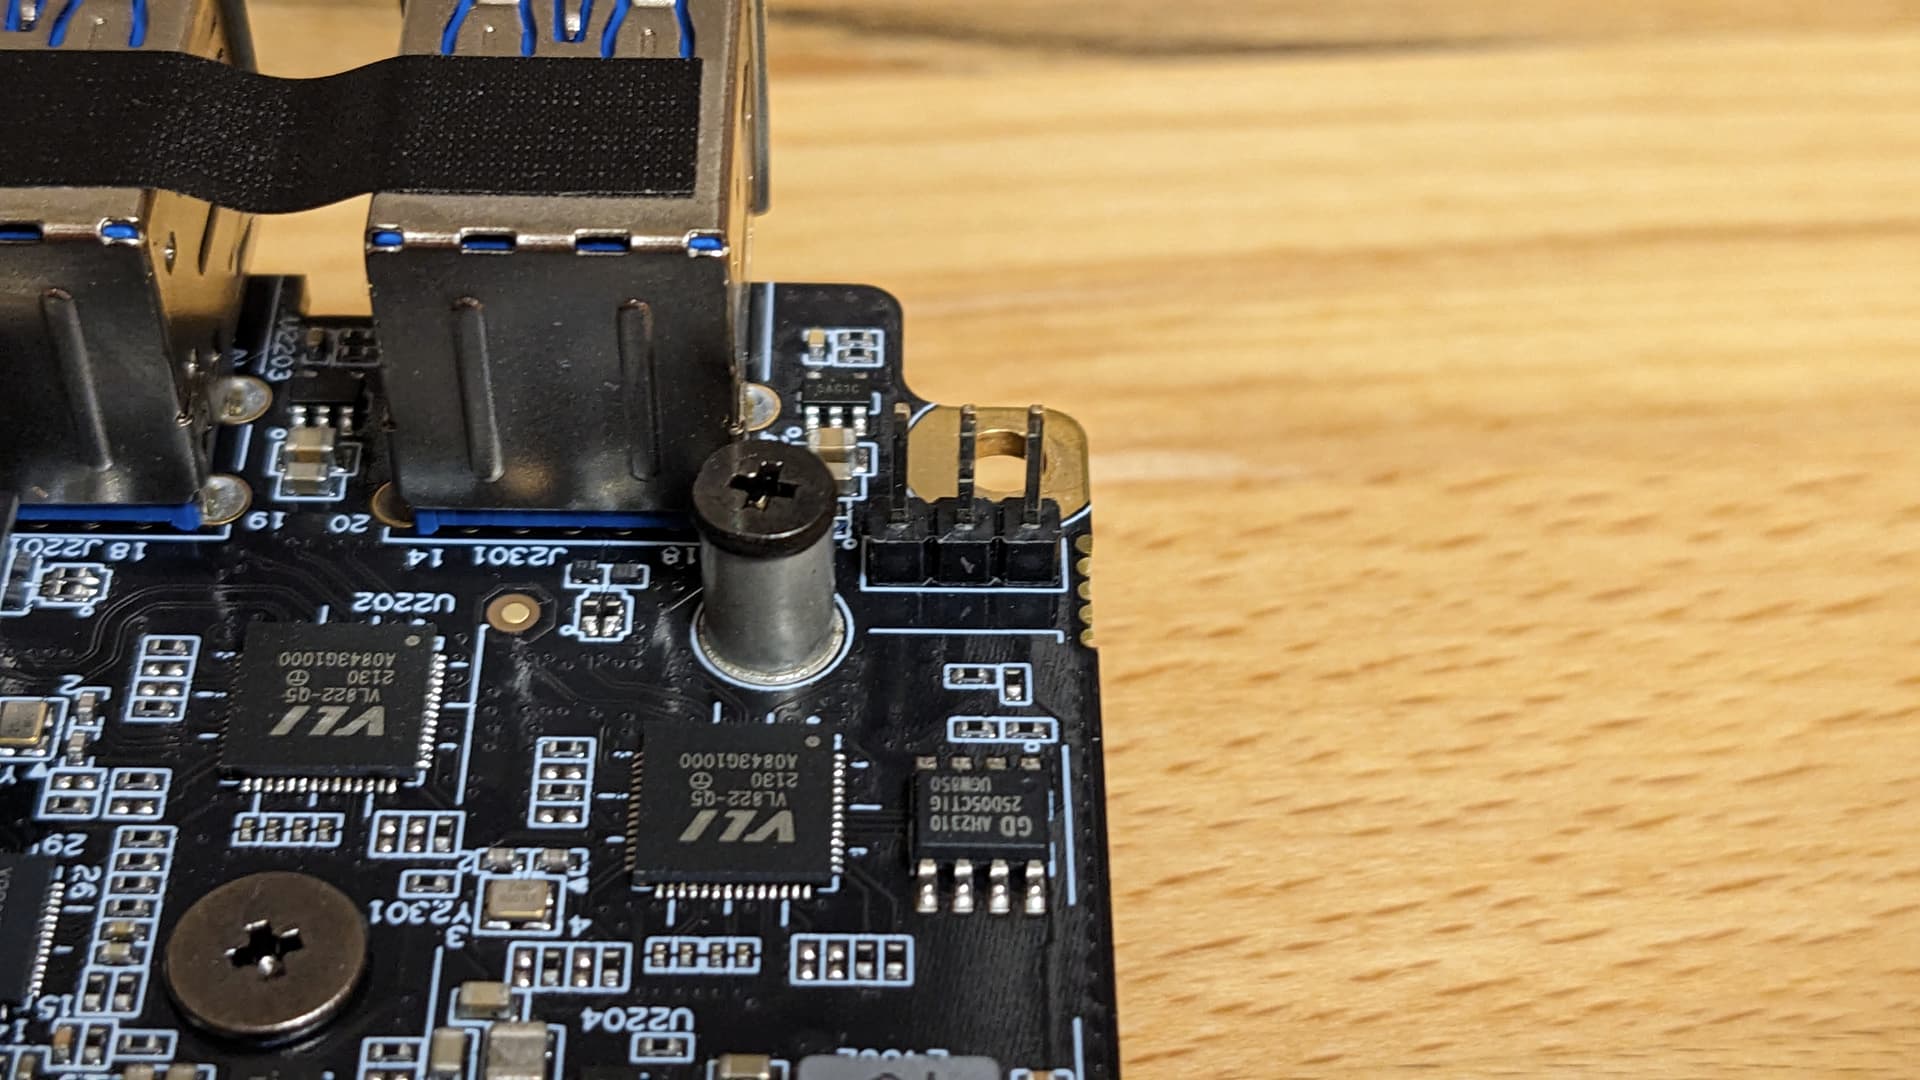
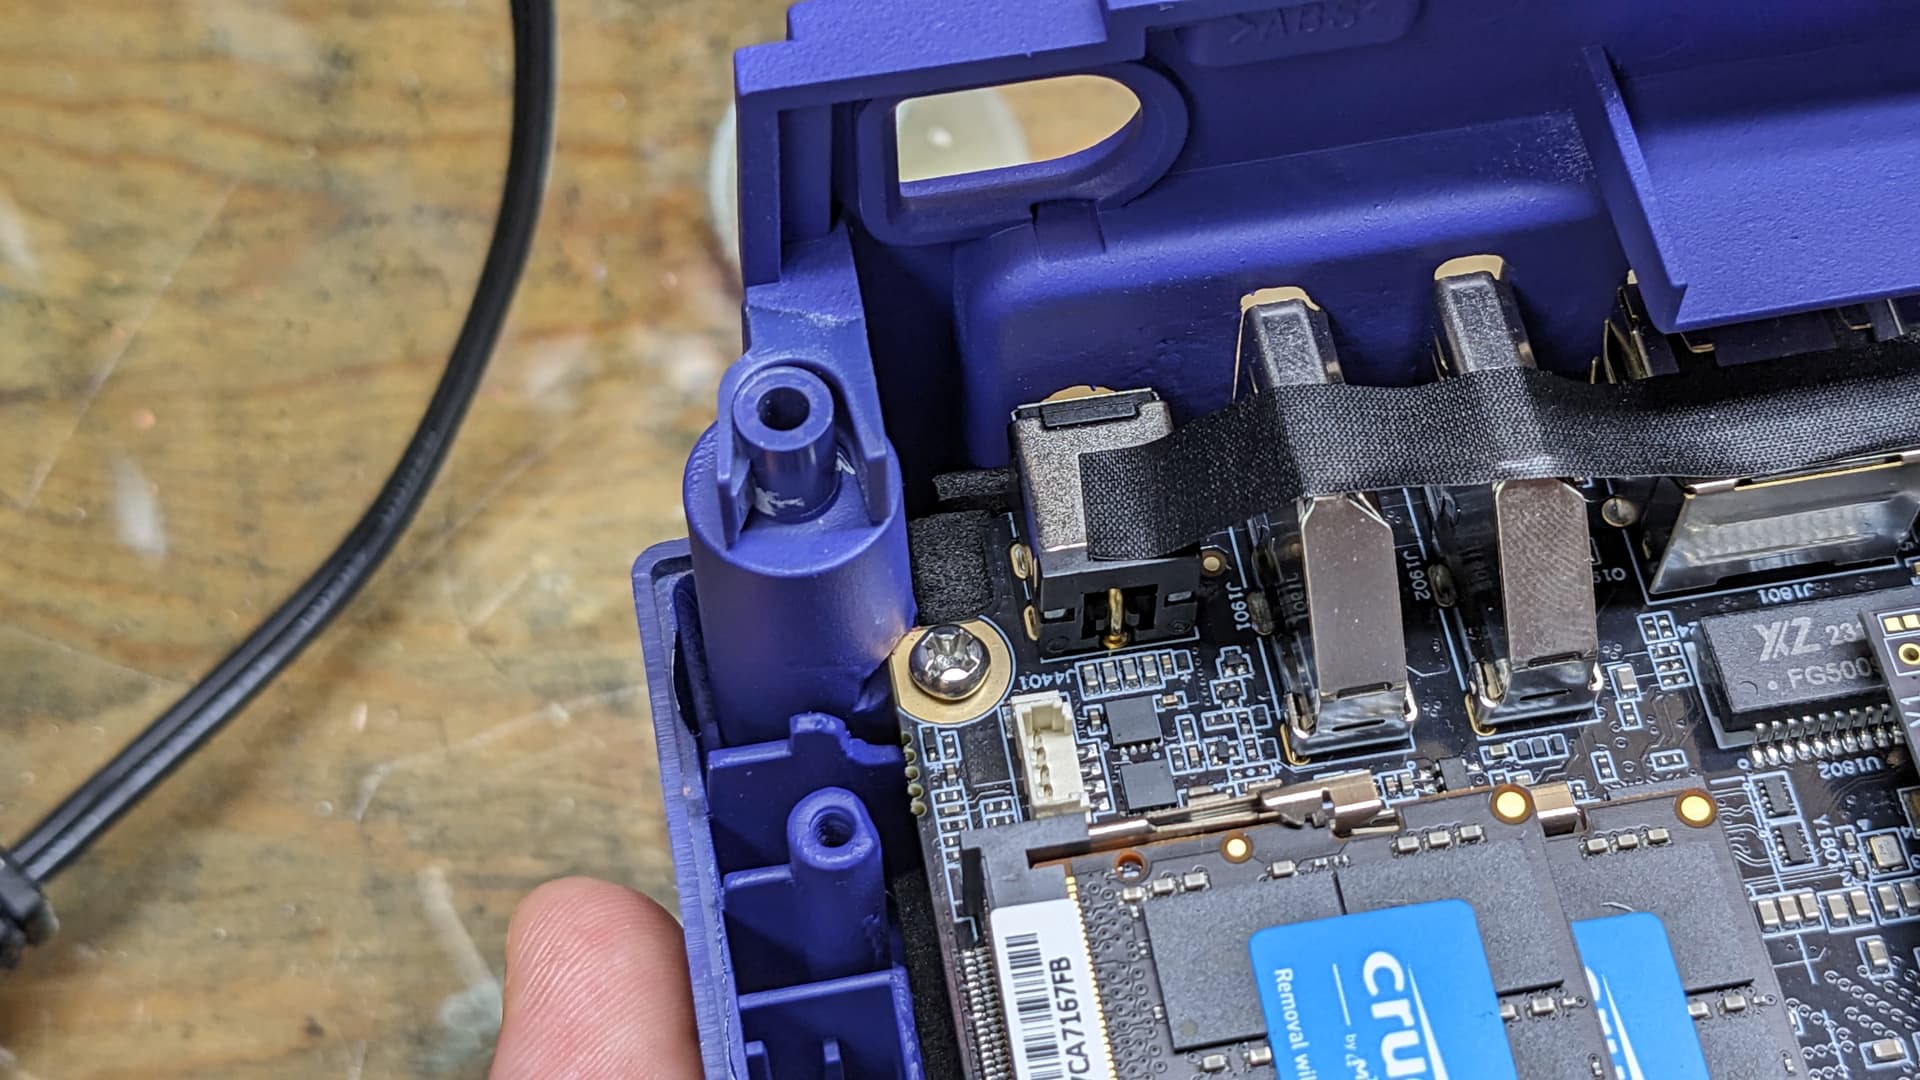
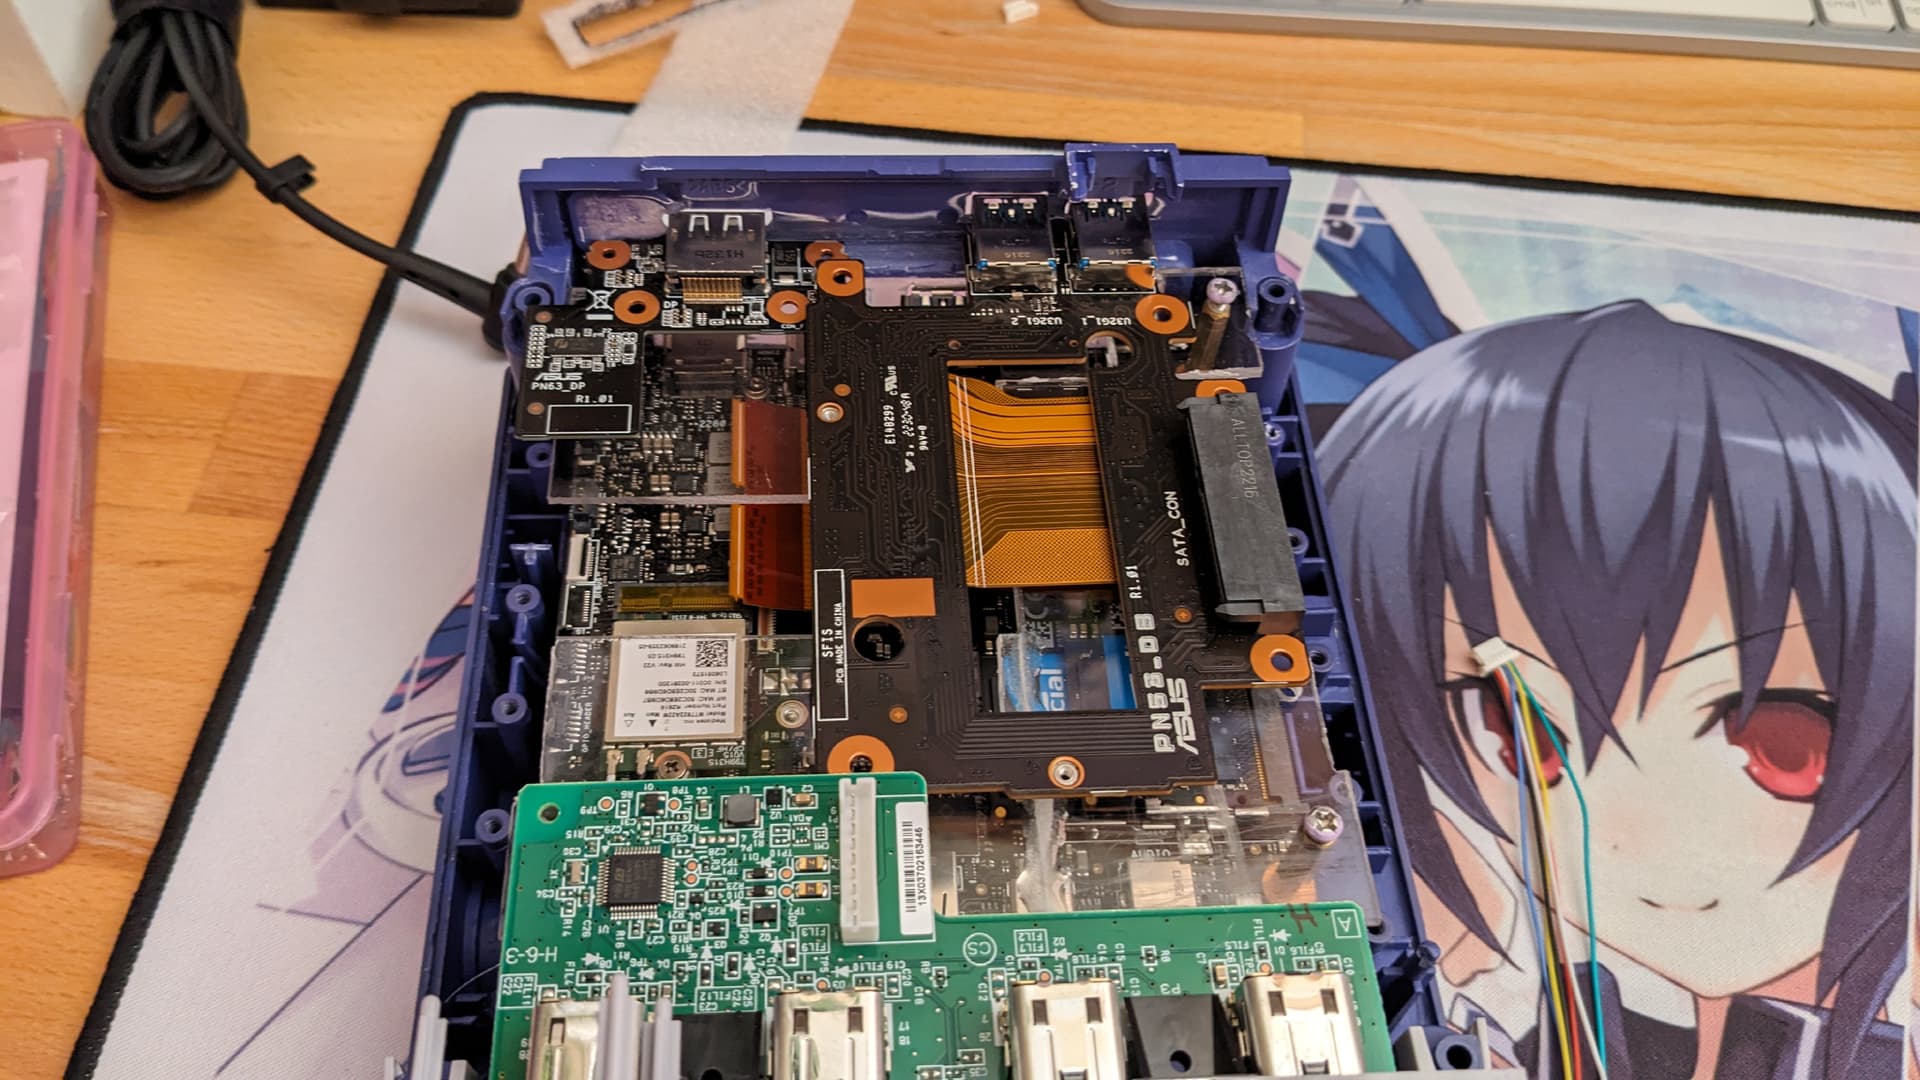
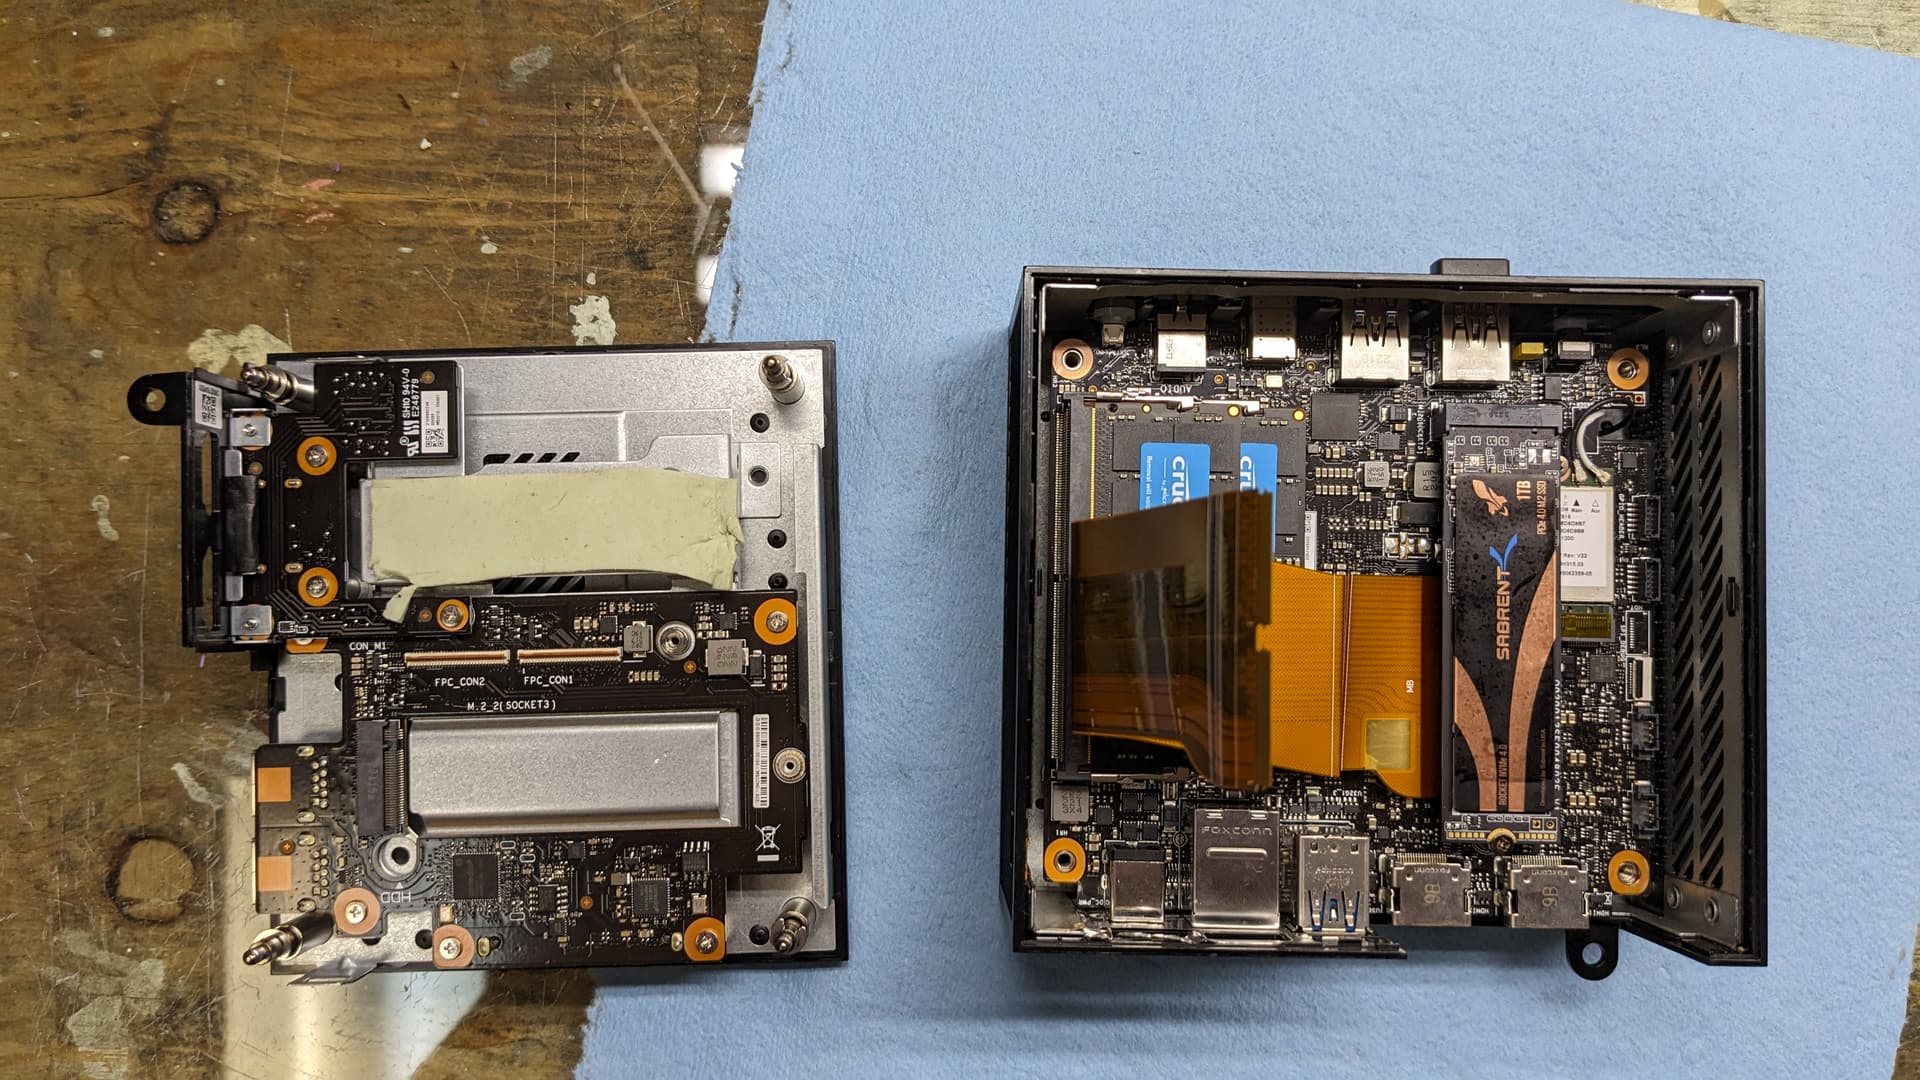
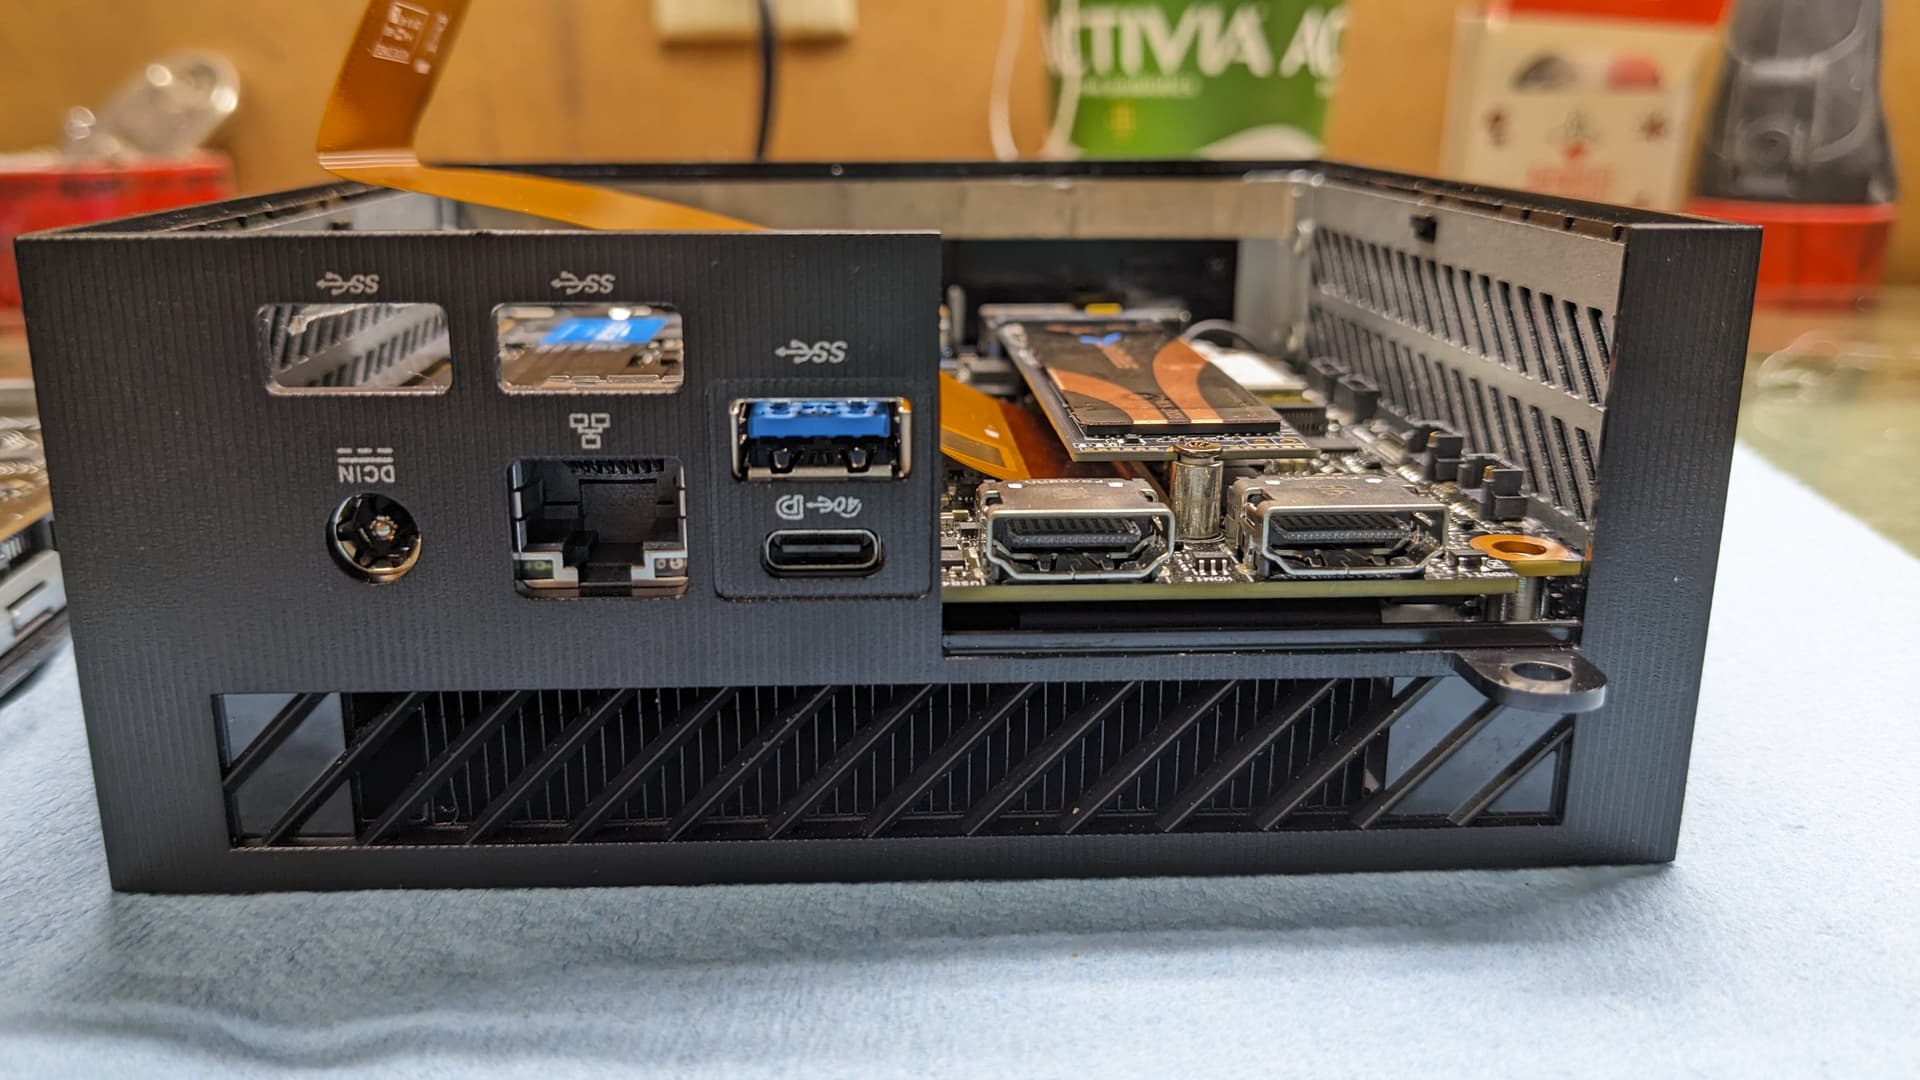
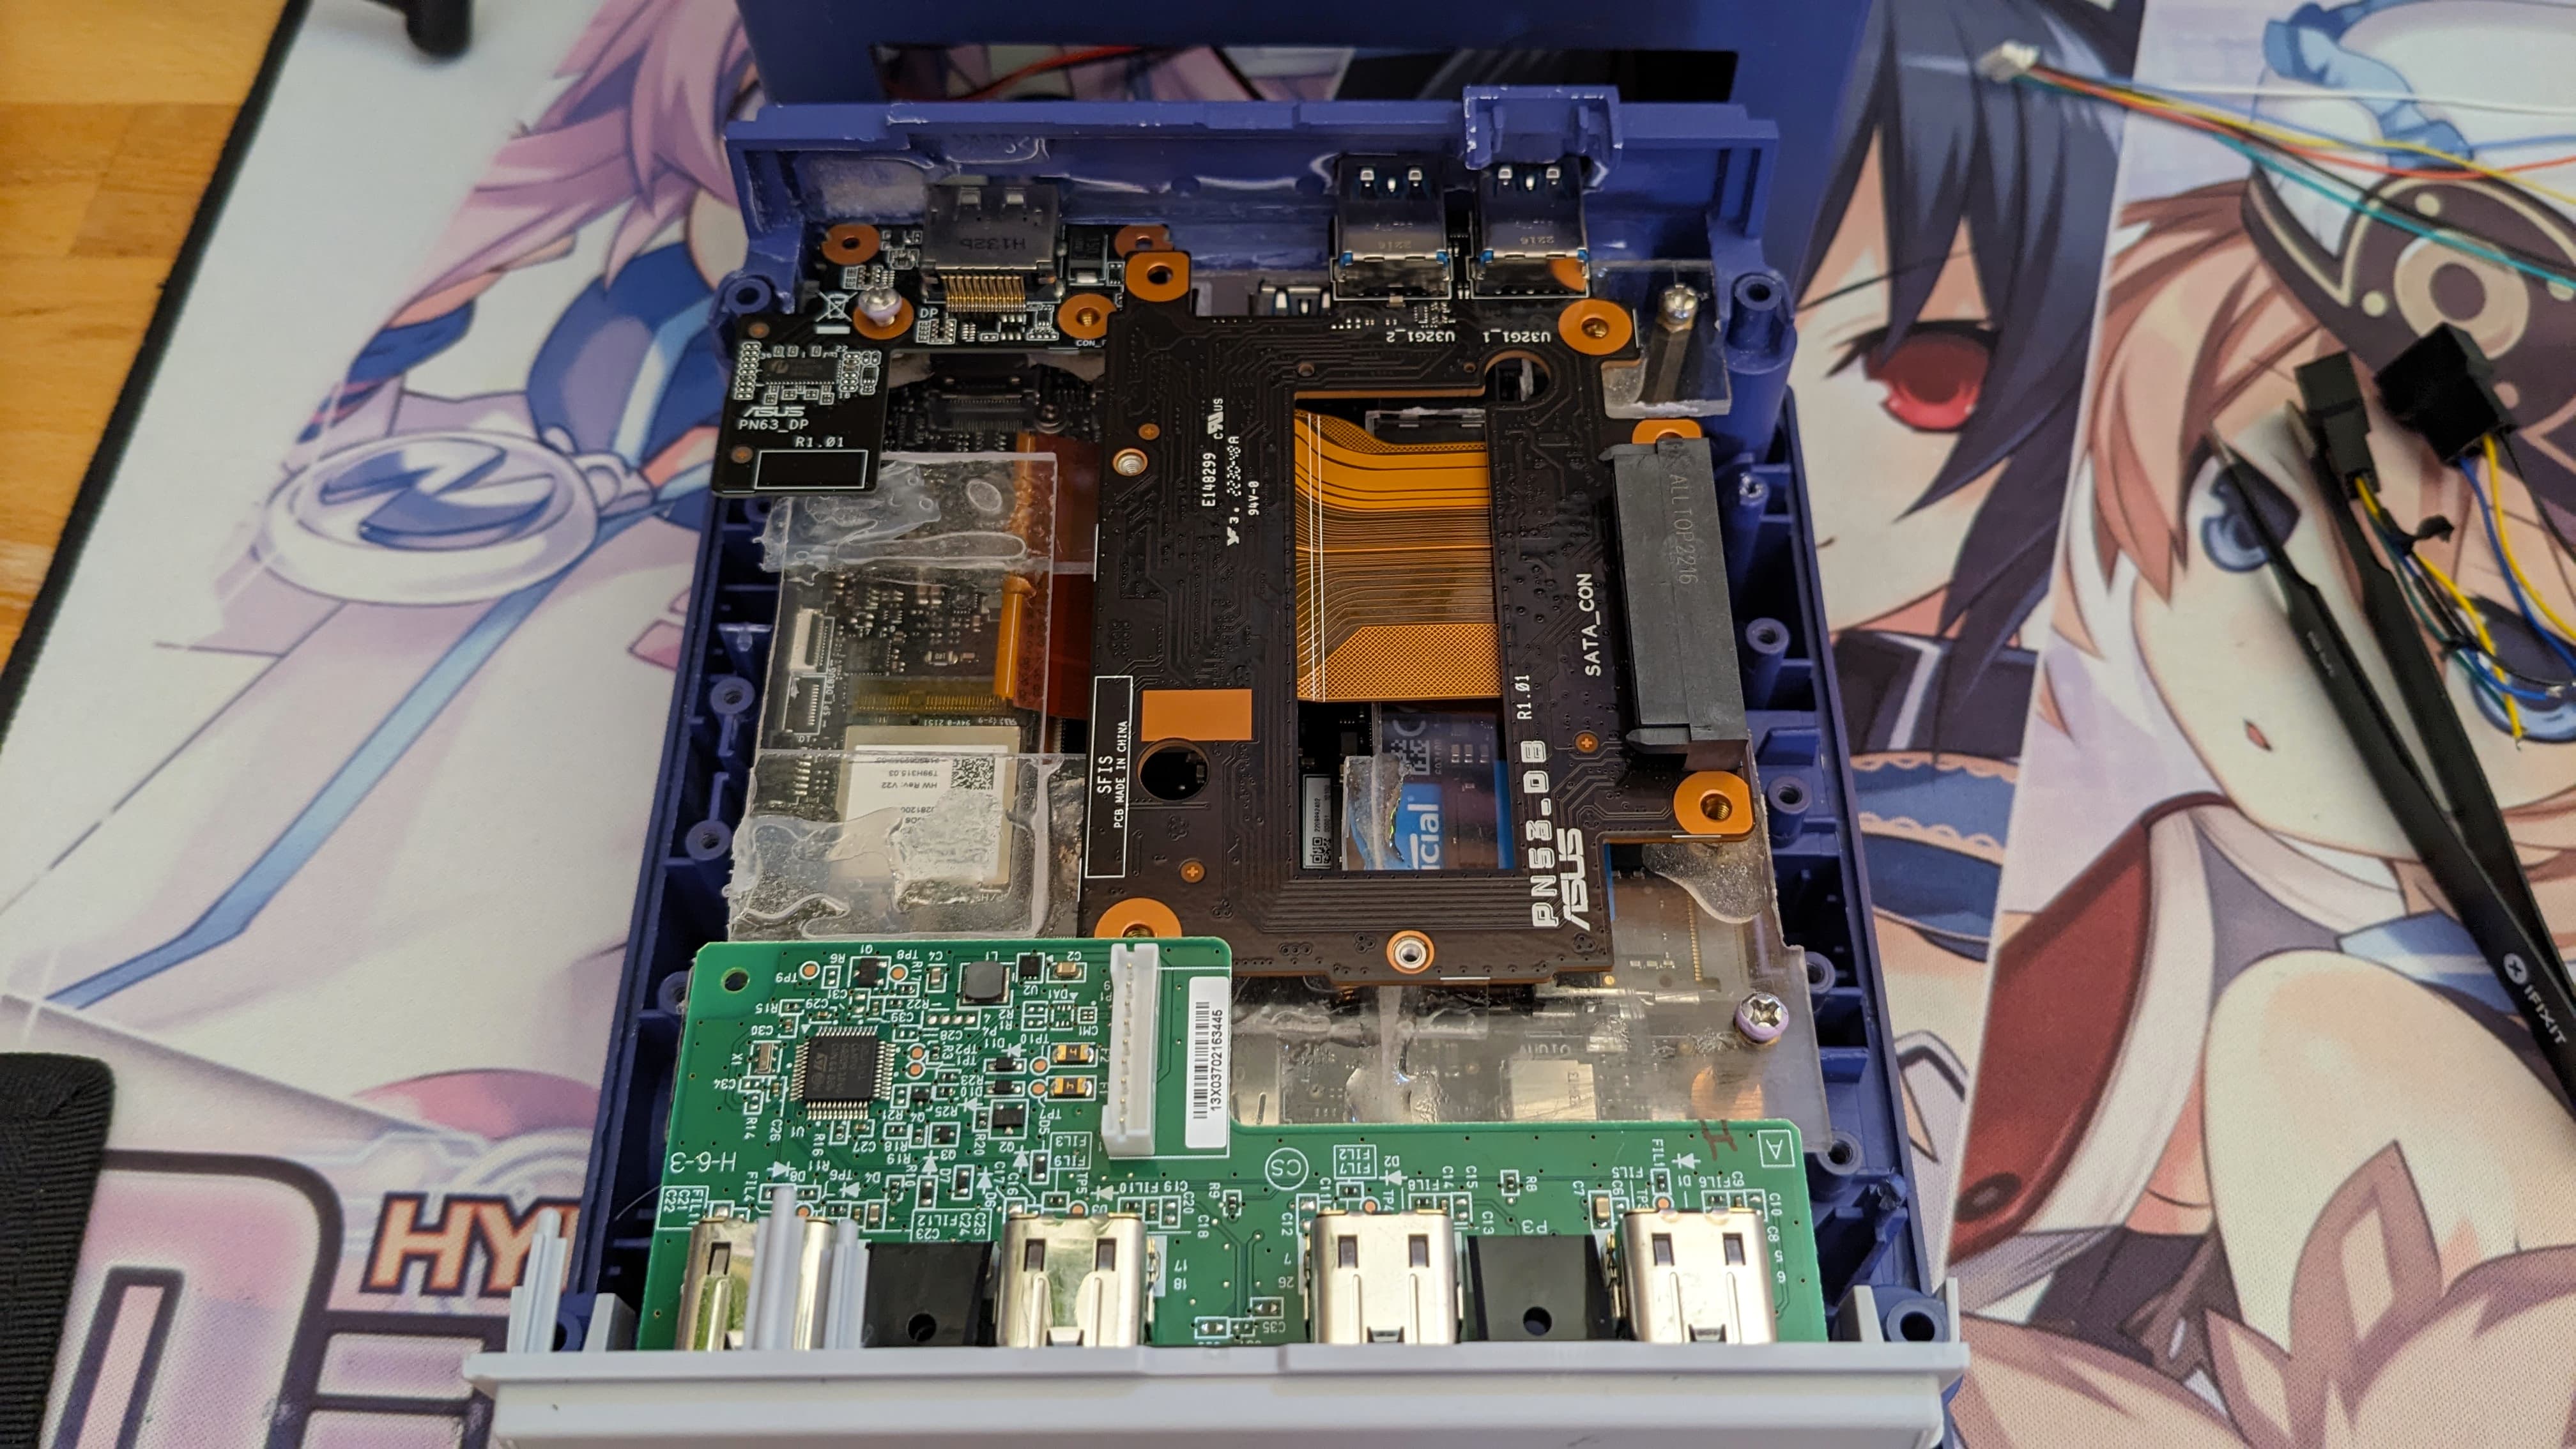
So using a new miniPC changes everything as the sizing and io layout. But specifically with the PN53, there is an additional board, which contains some IO along SATA and NVME that I need to account for.


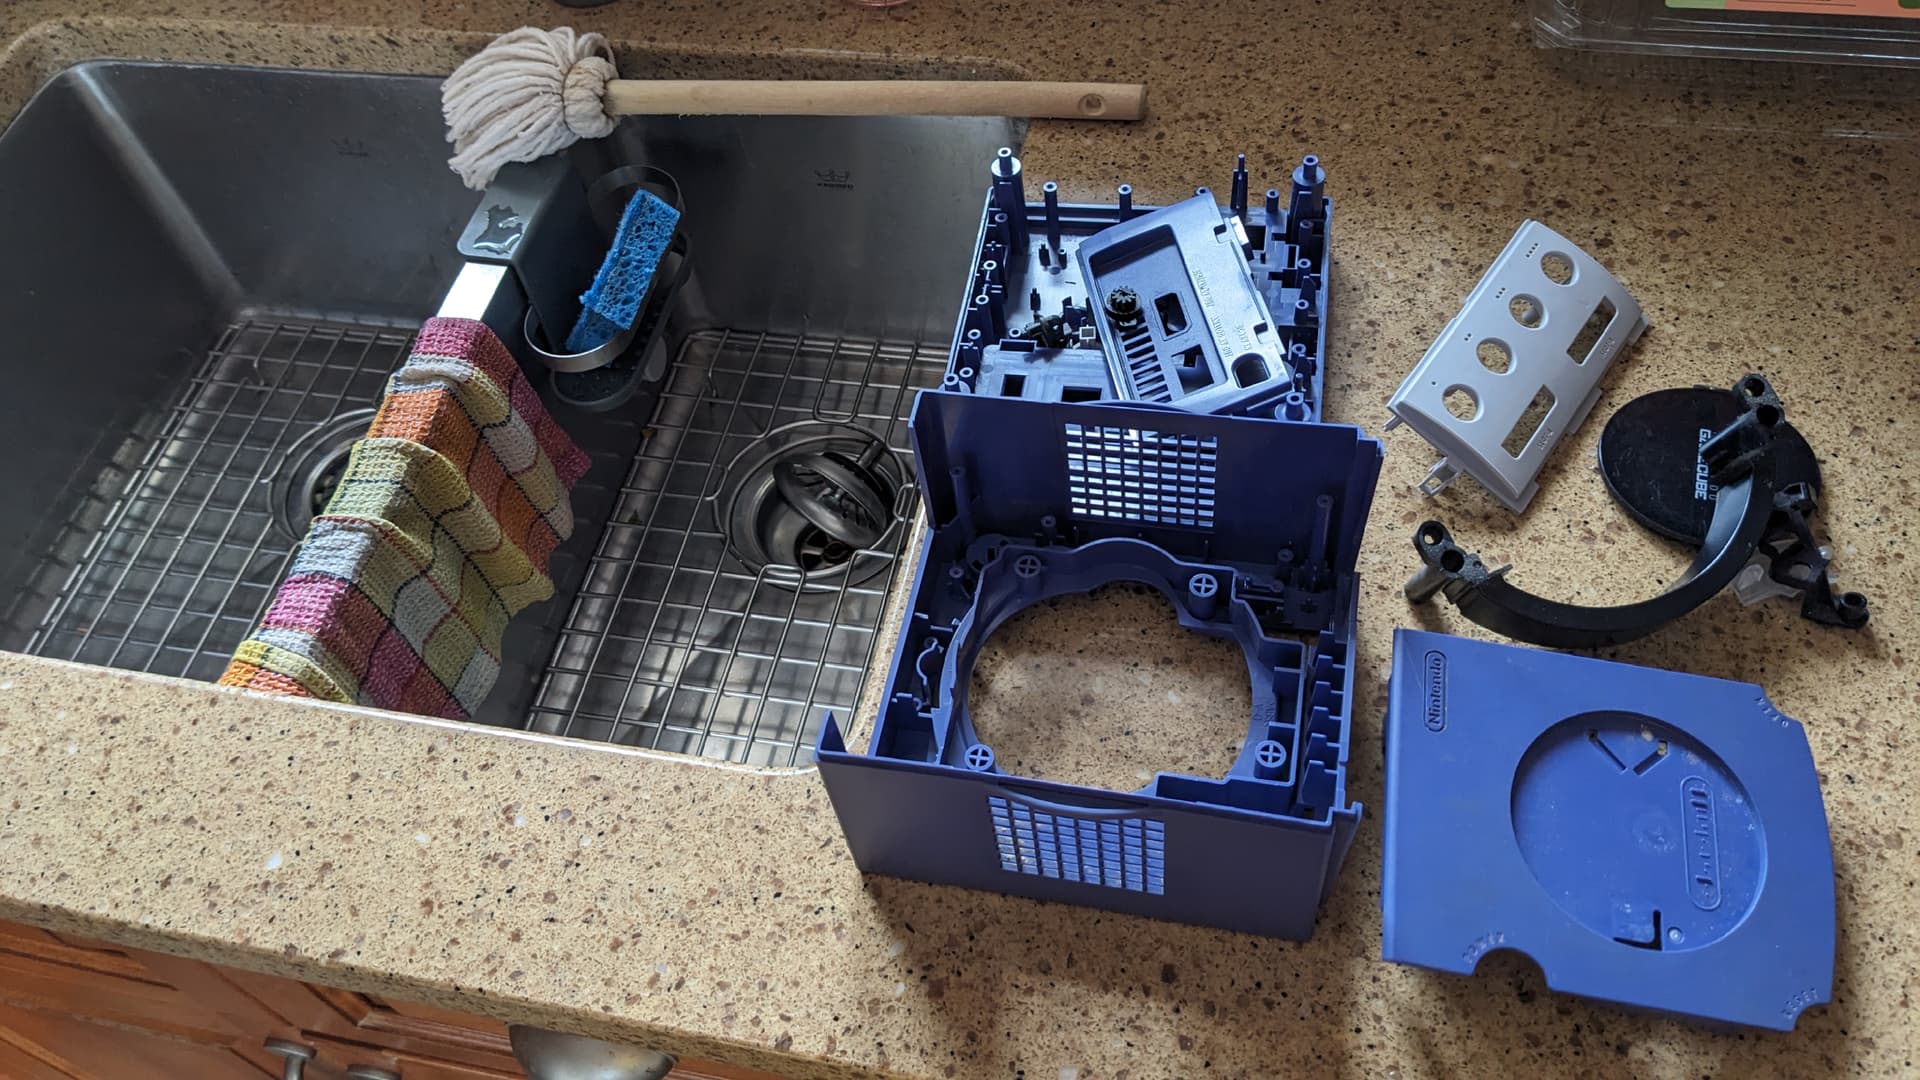
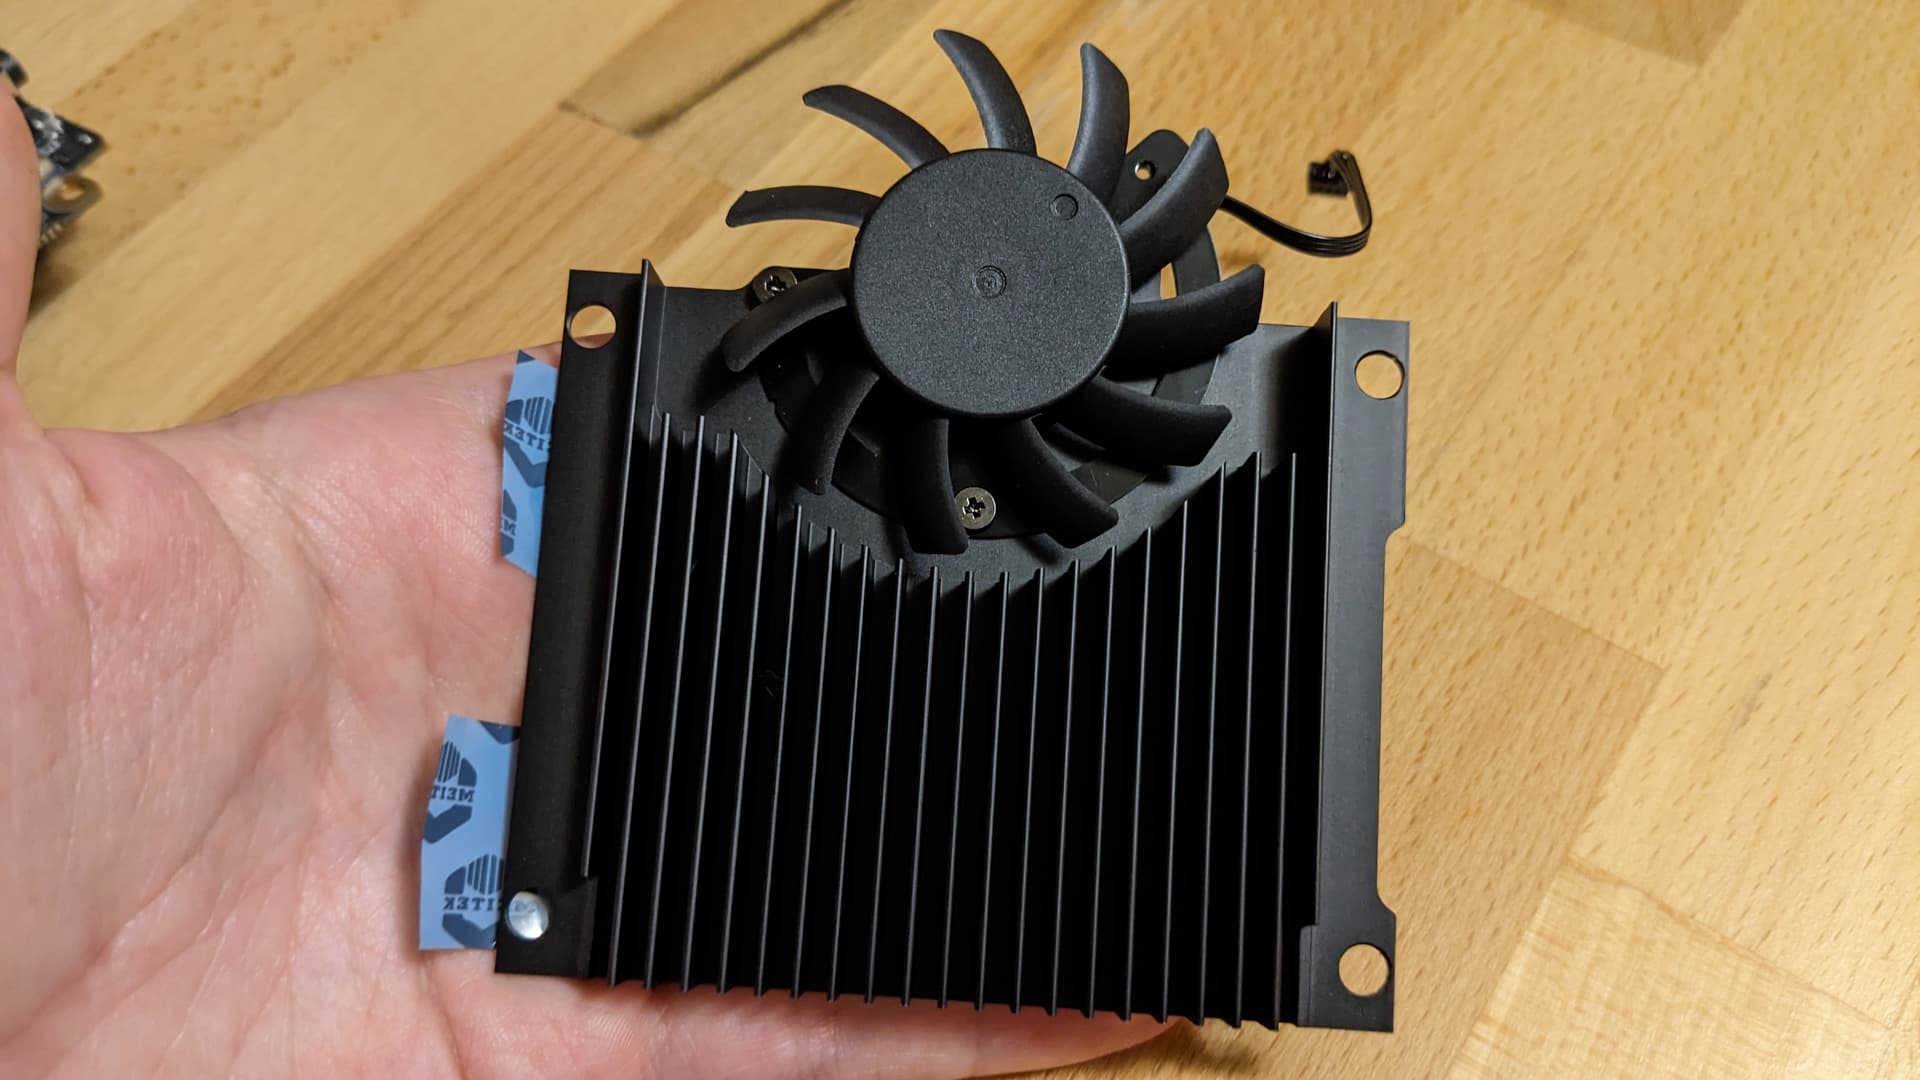
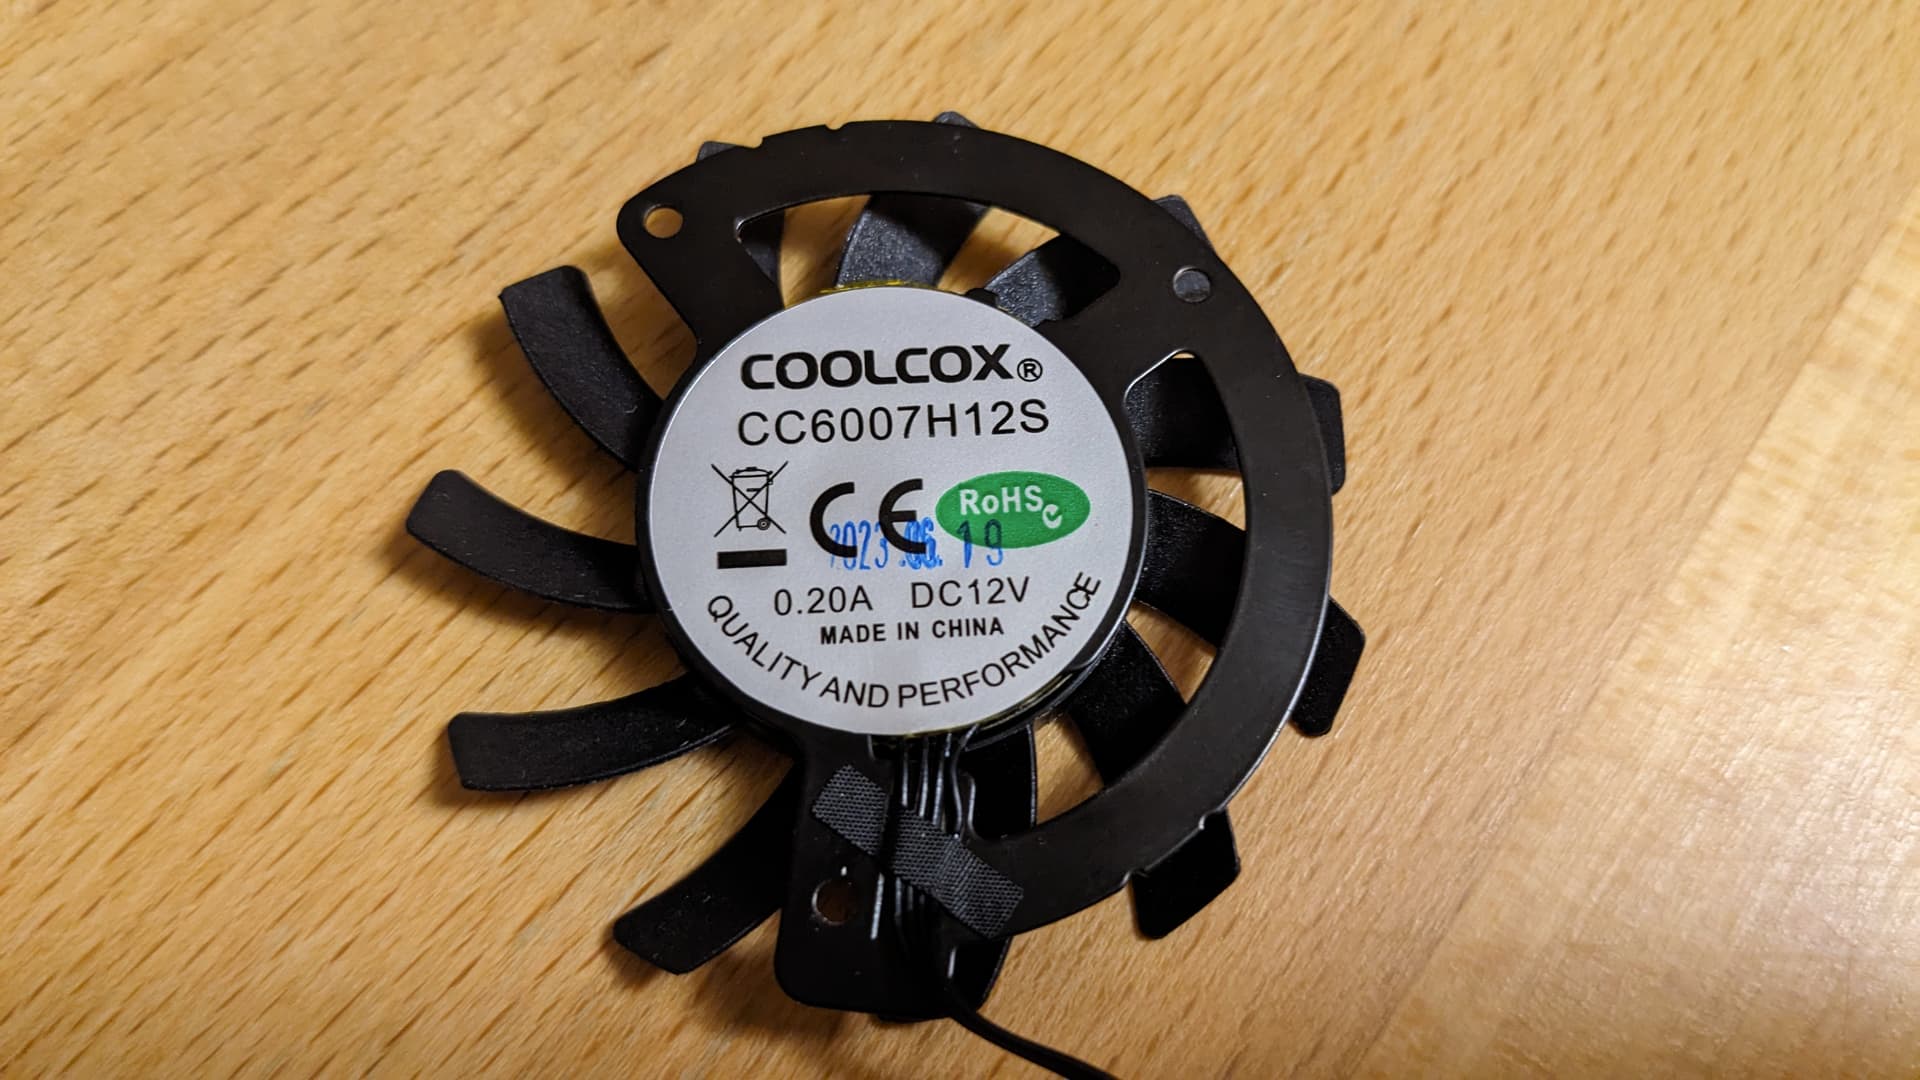
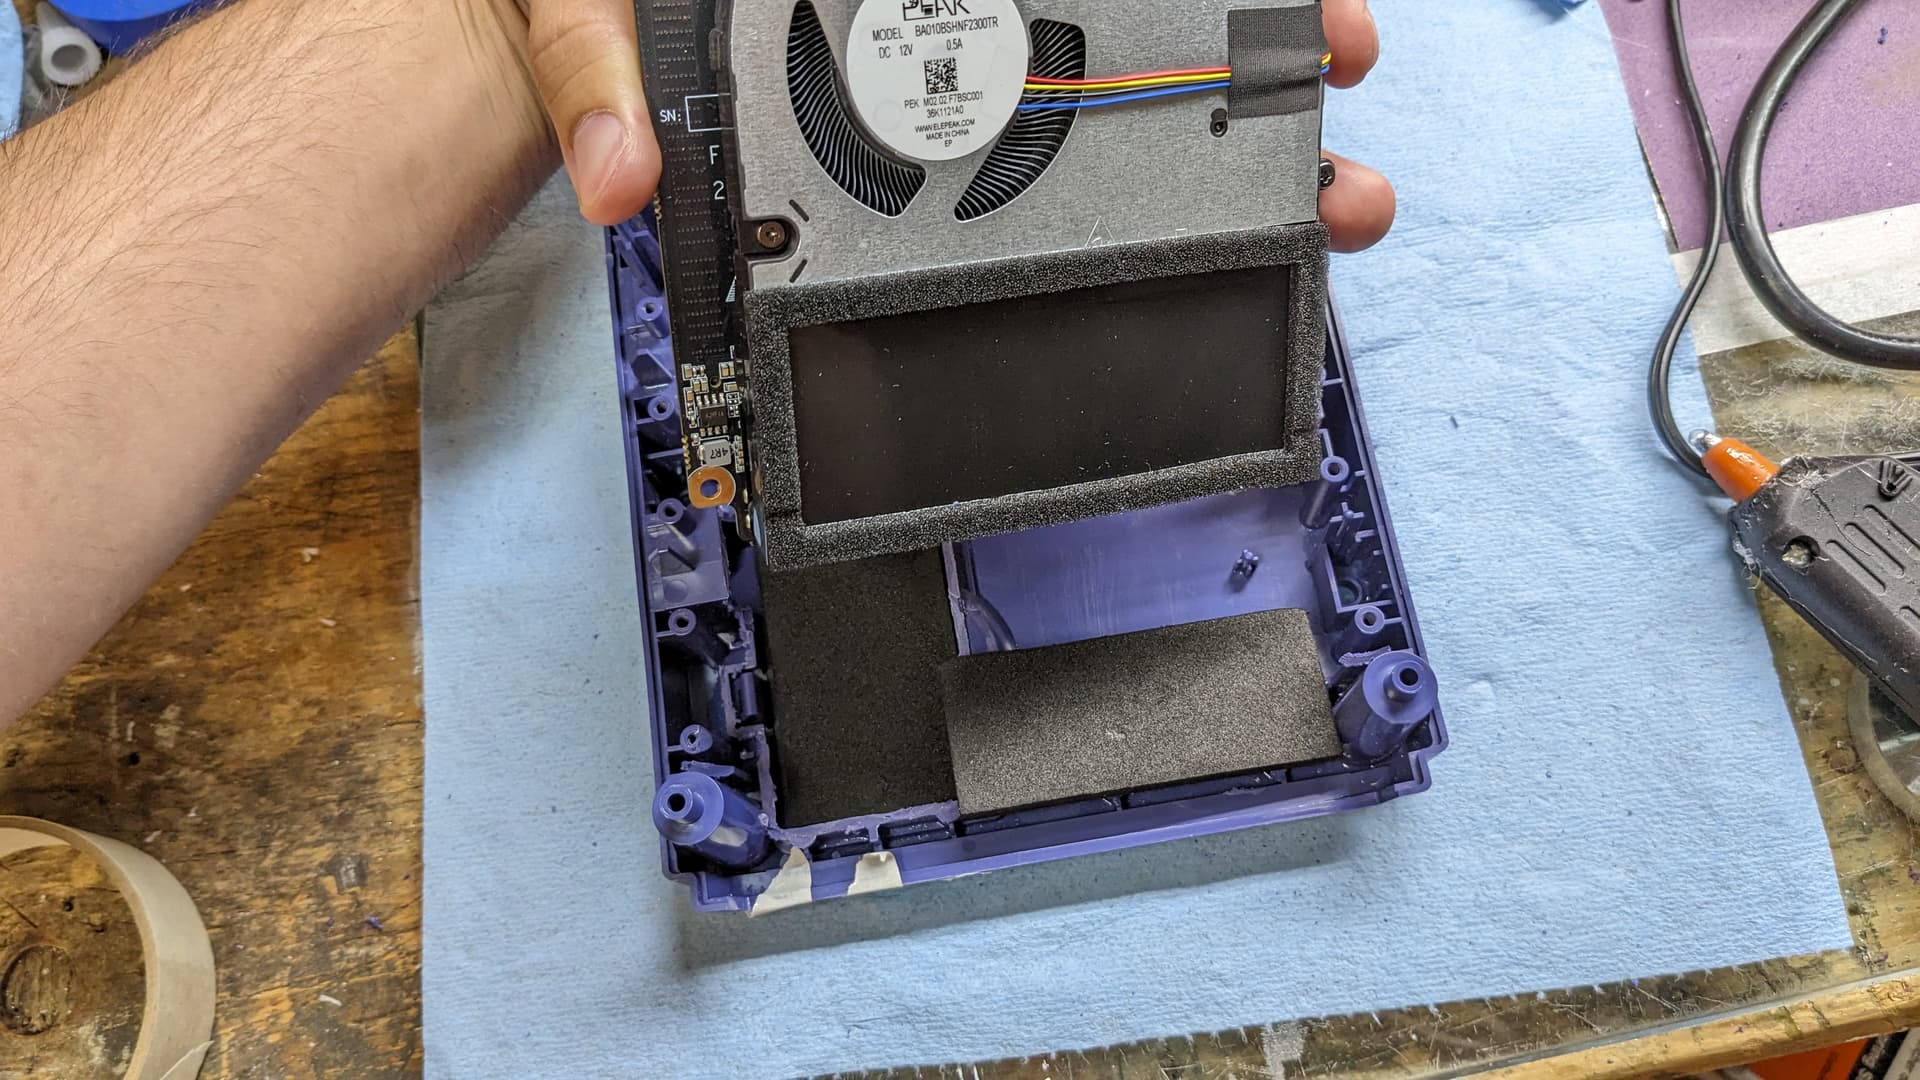
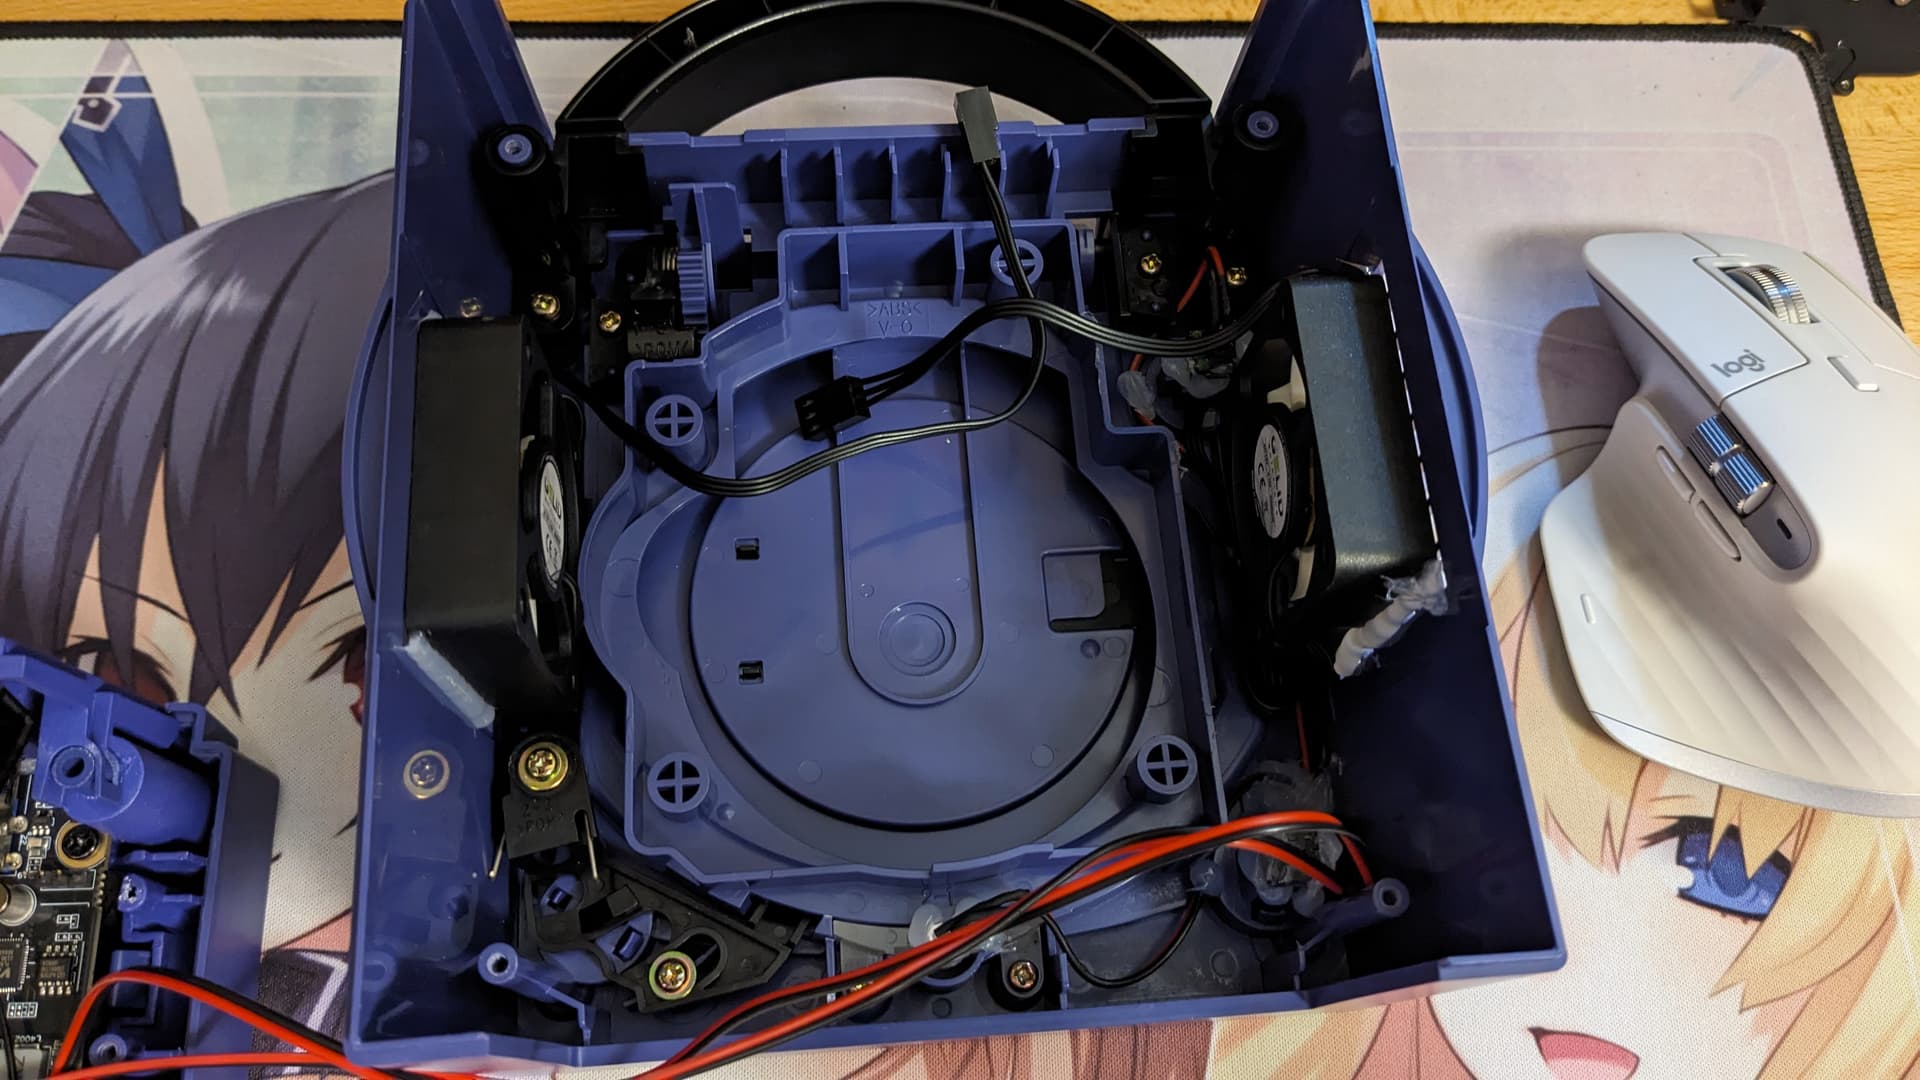
The only thing I brought from my previous advancement before the Minisforum died on me are the fans, buttons and light installation in the upper part of the case. It’s the same as with my previous Gamecube build, involving mostly hot glue to hold everything in place.

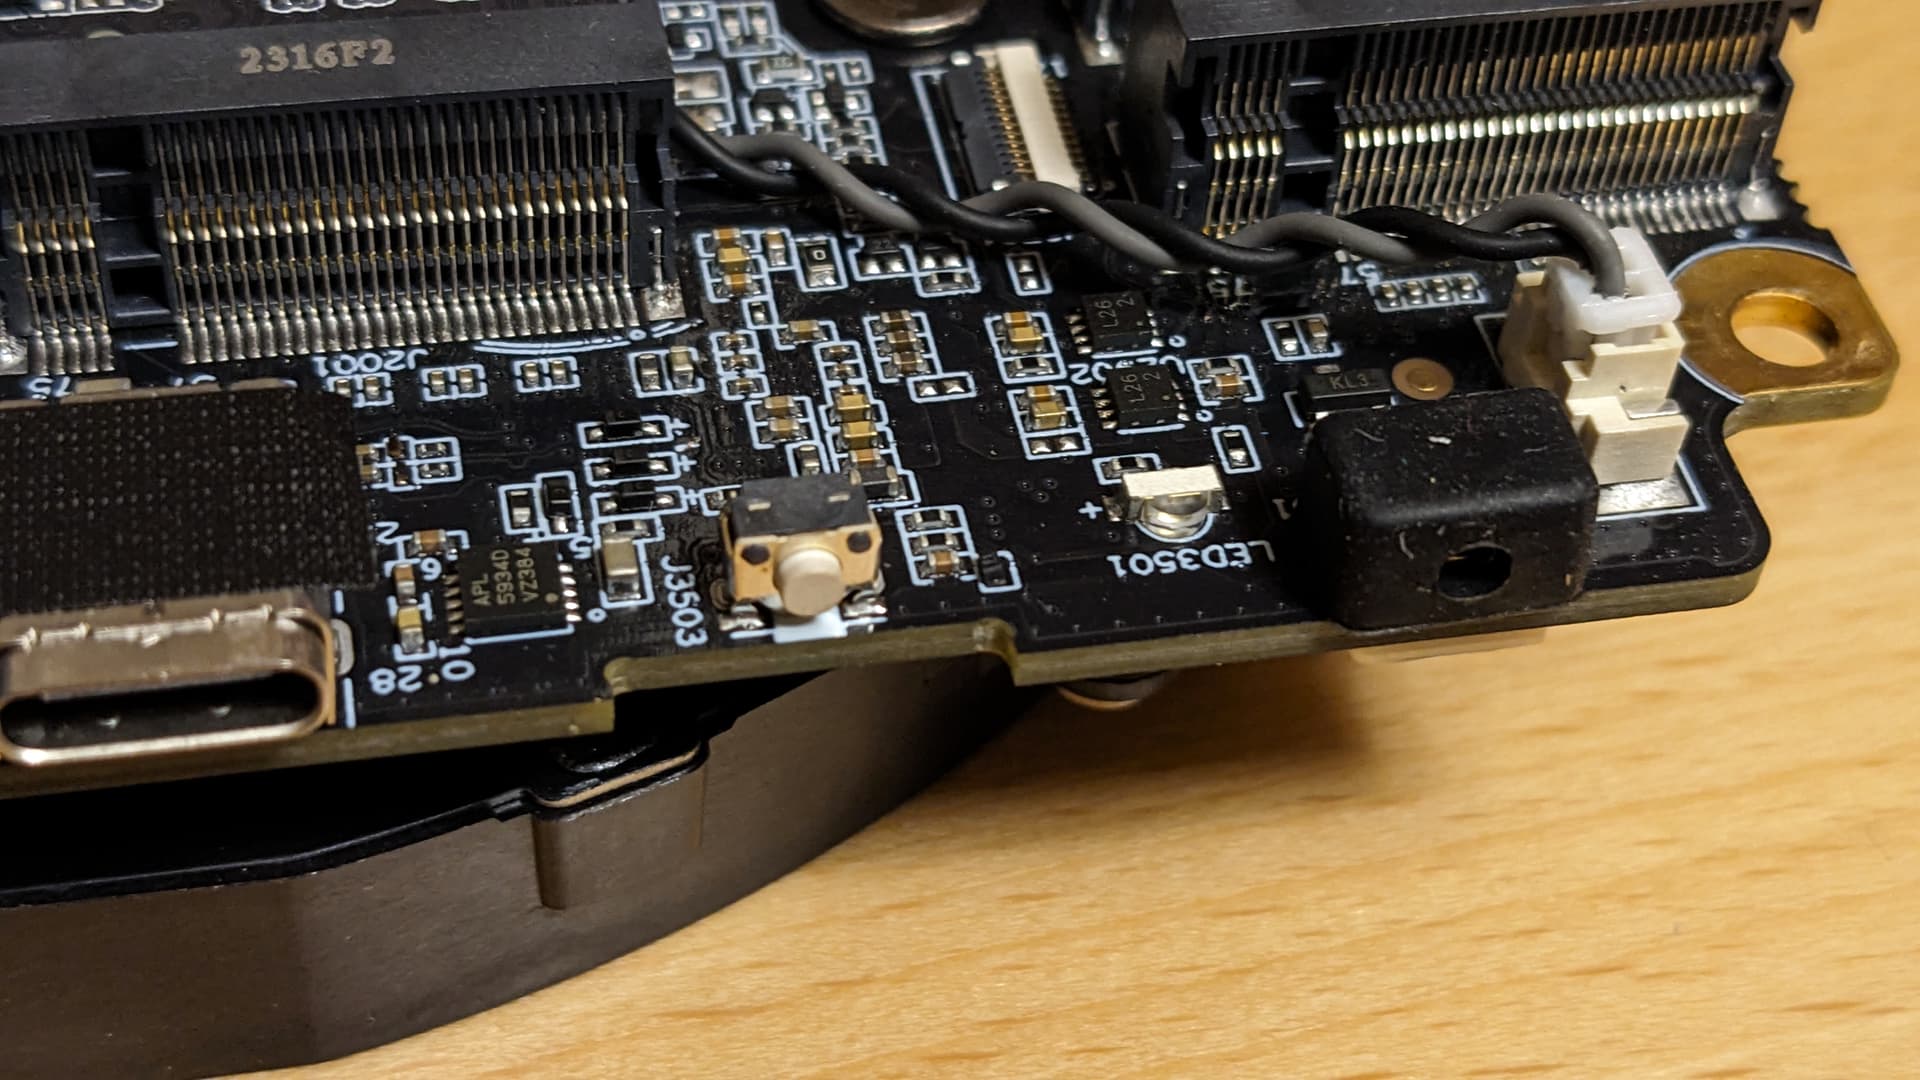
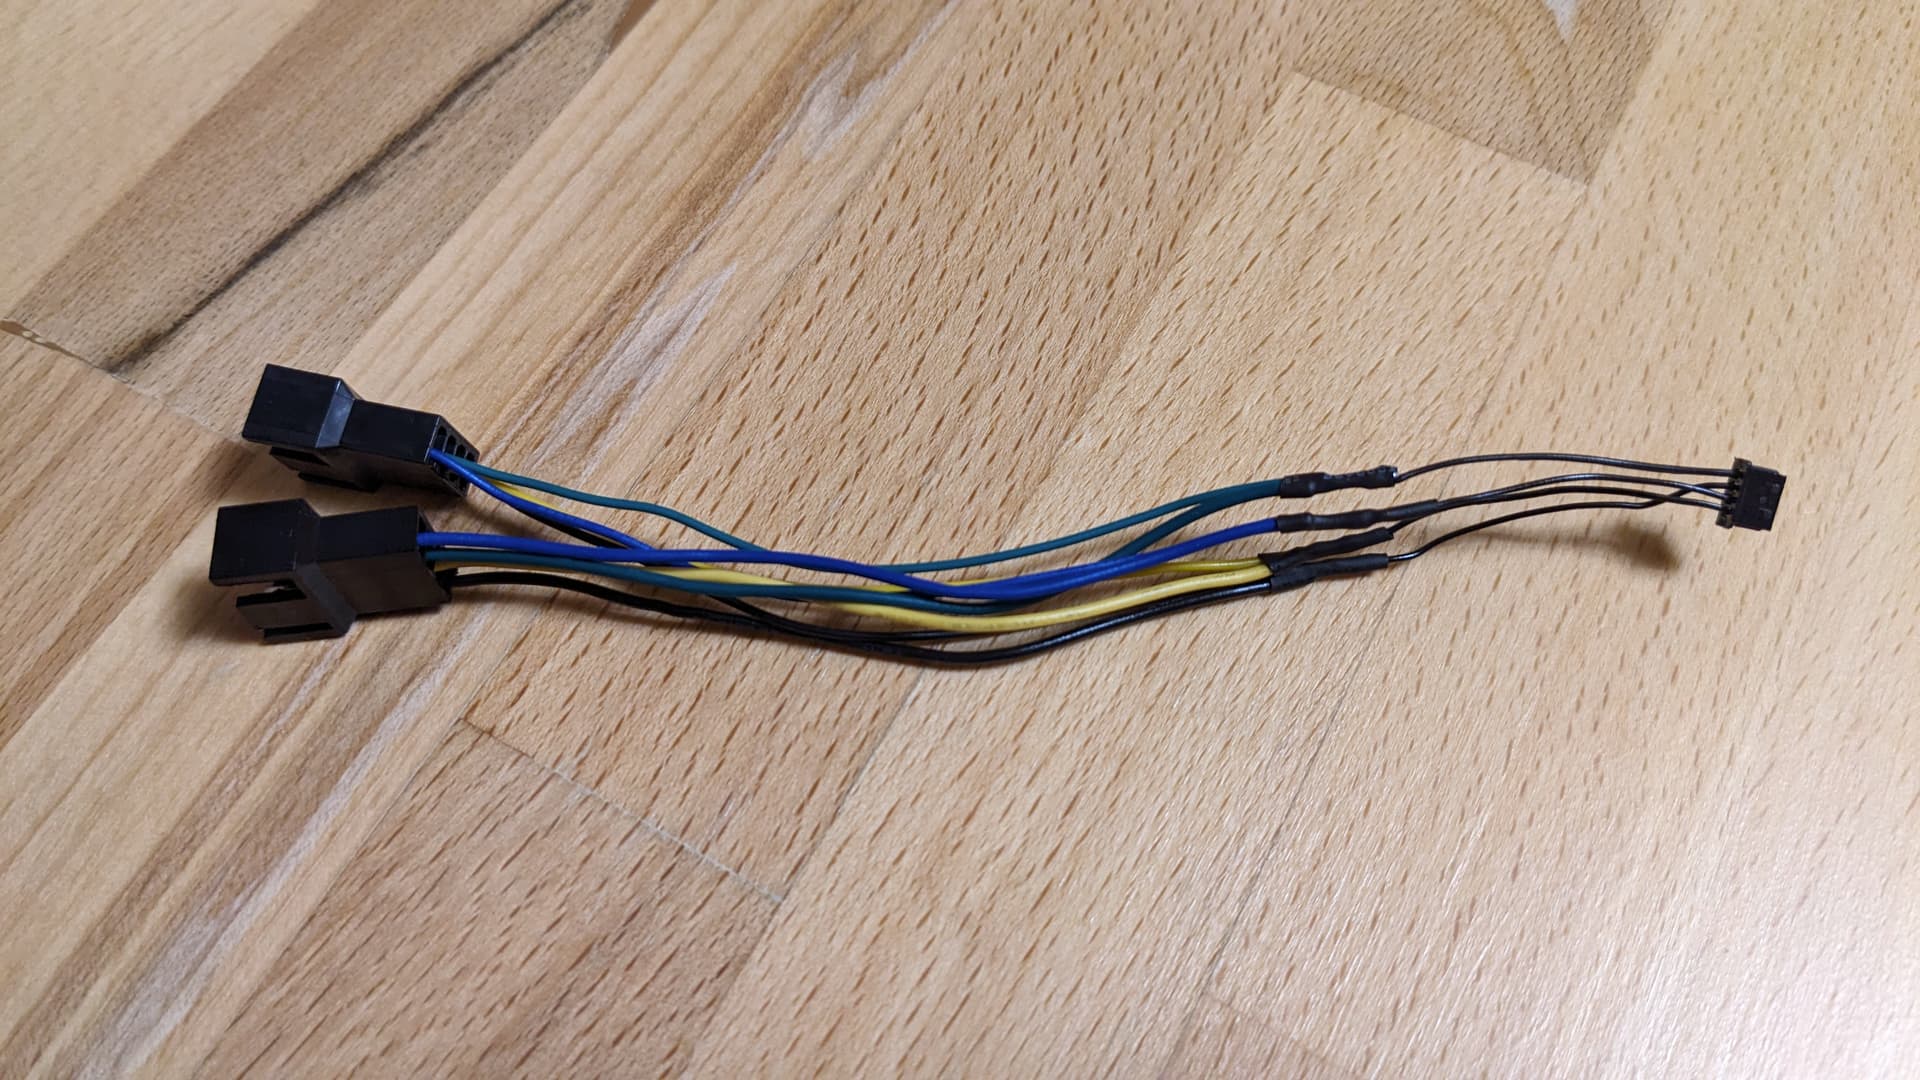
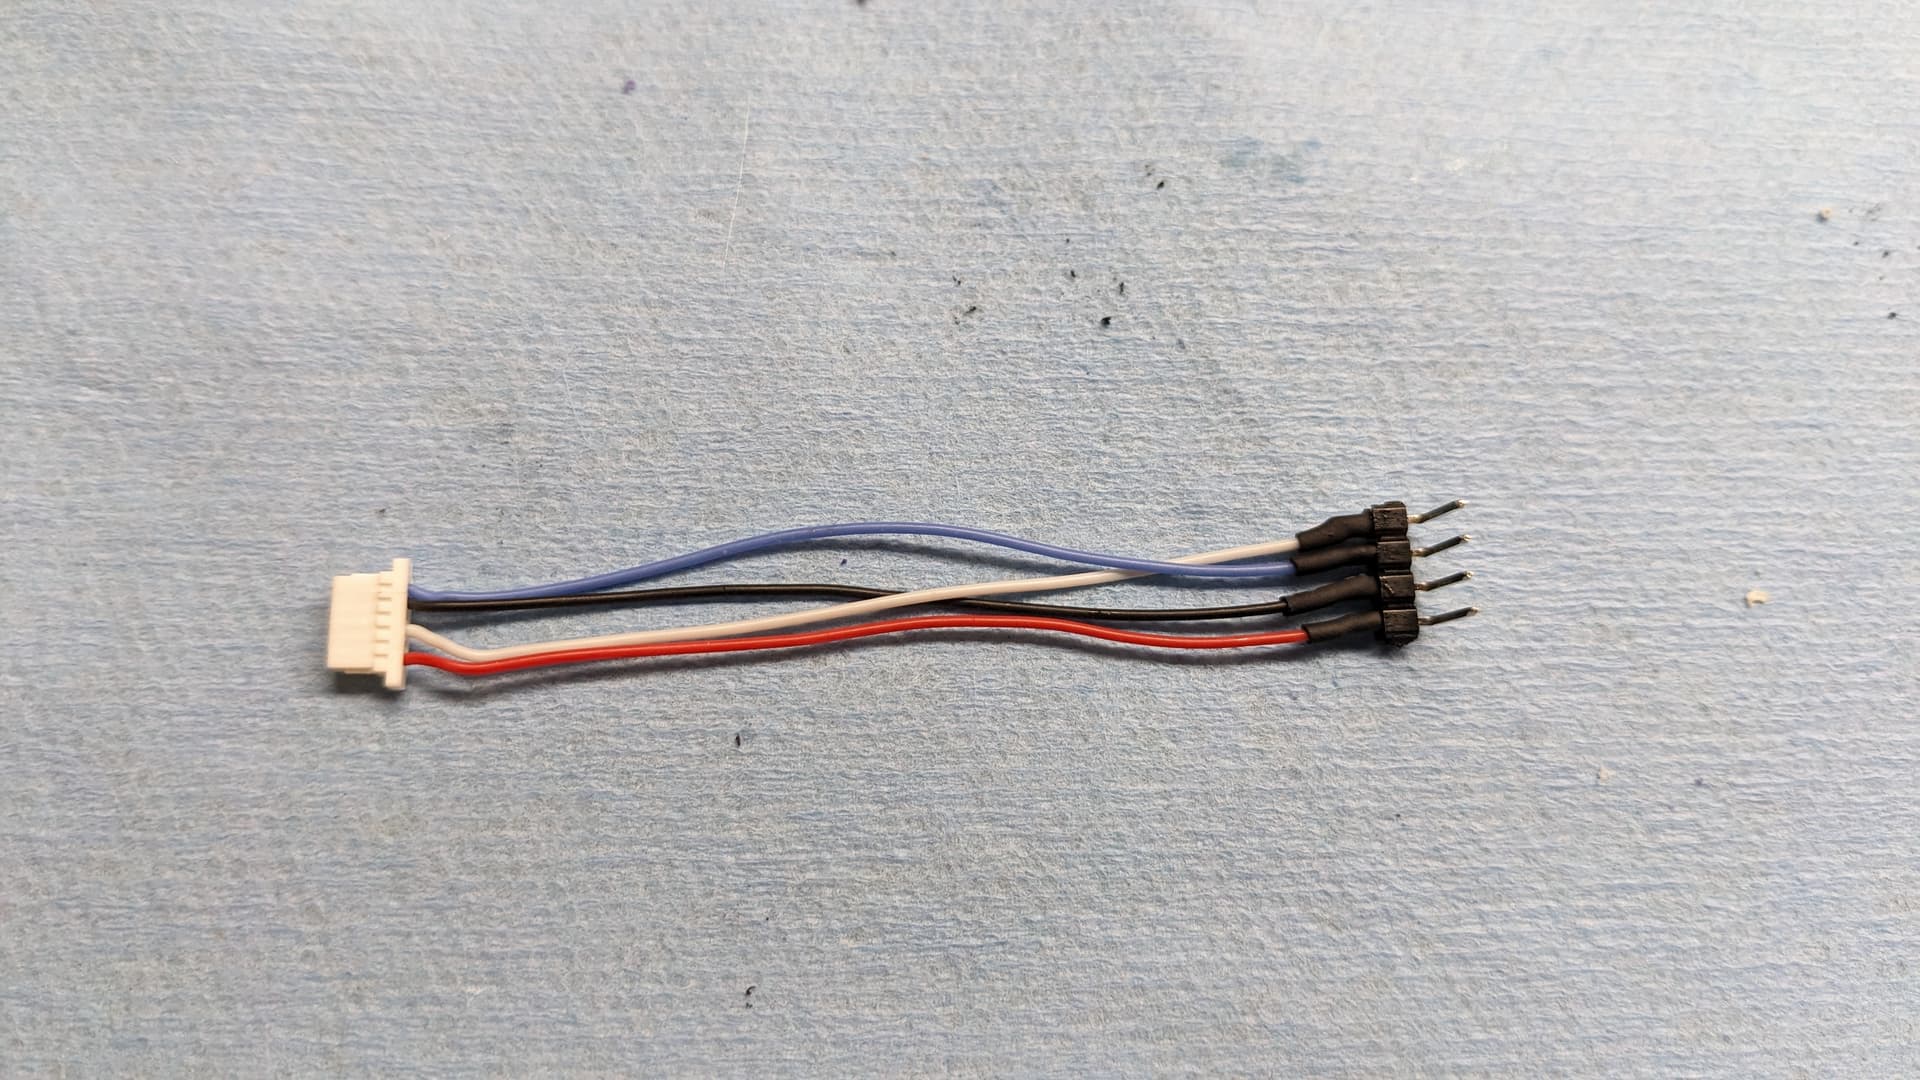
What is fun with the PN53 is there is an actual front io header! It simplifies so much stuff to connect the power button and light. And it’s the same of headers than on my trusty PN50, so I have already the connector for it too.


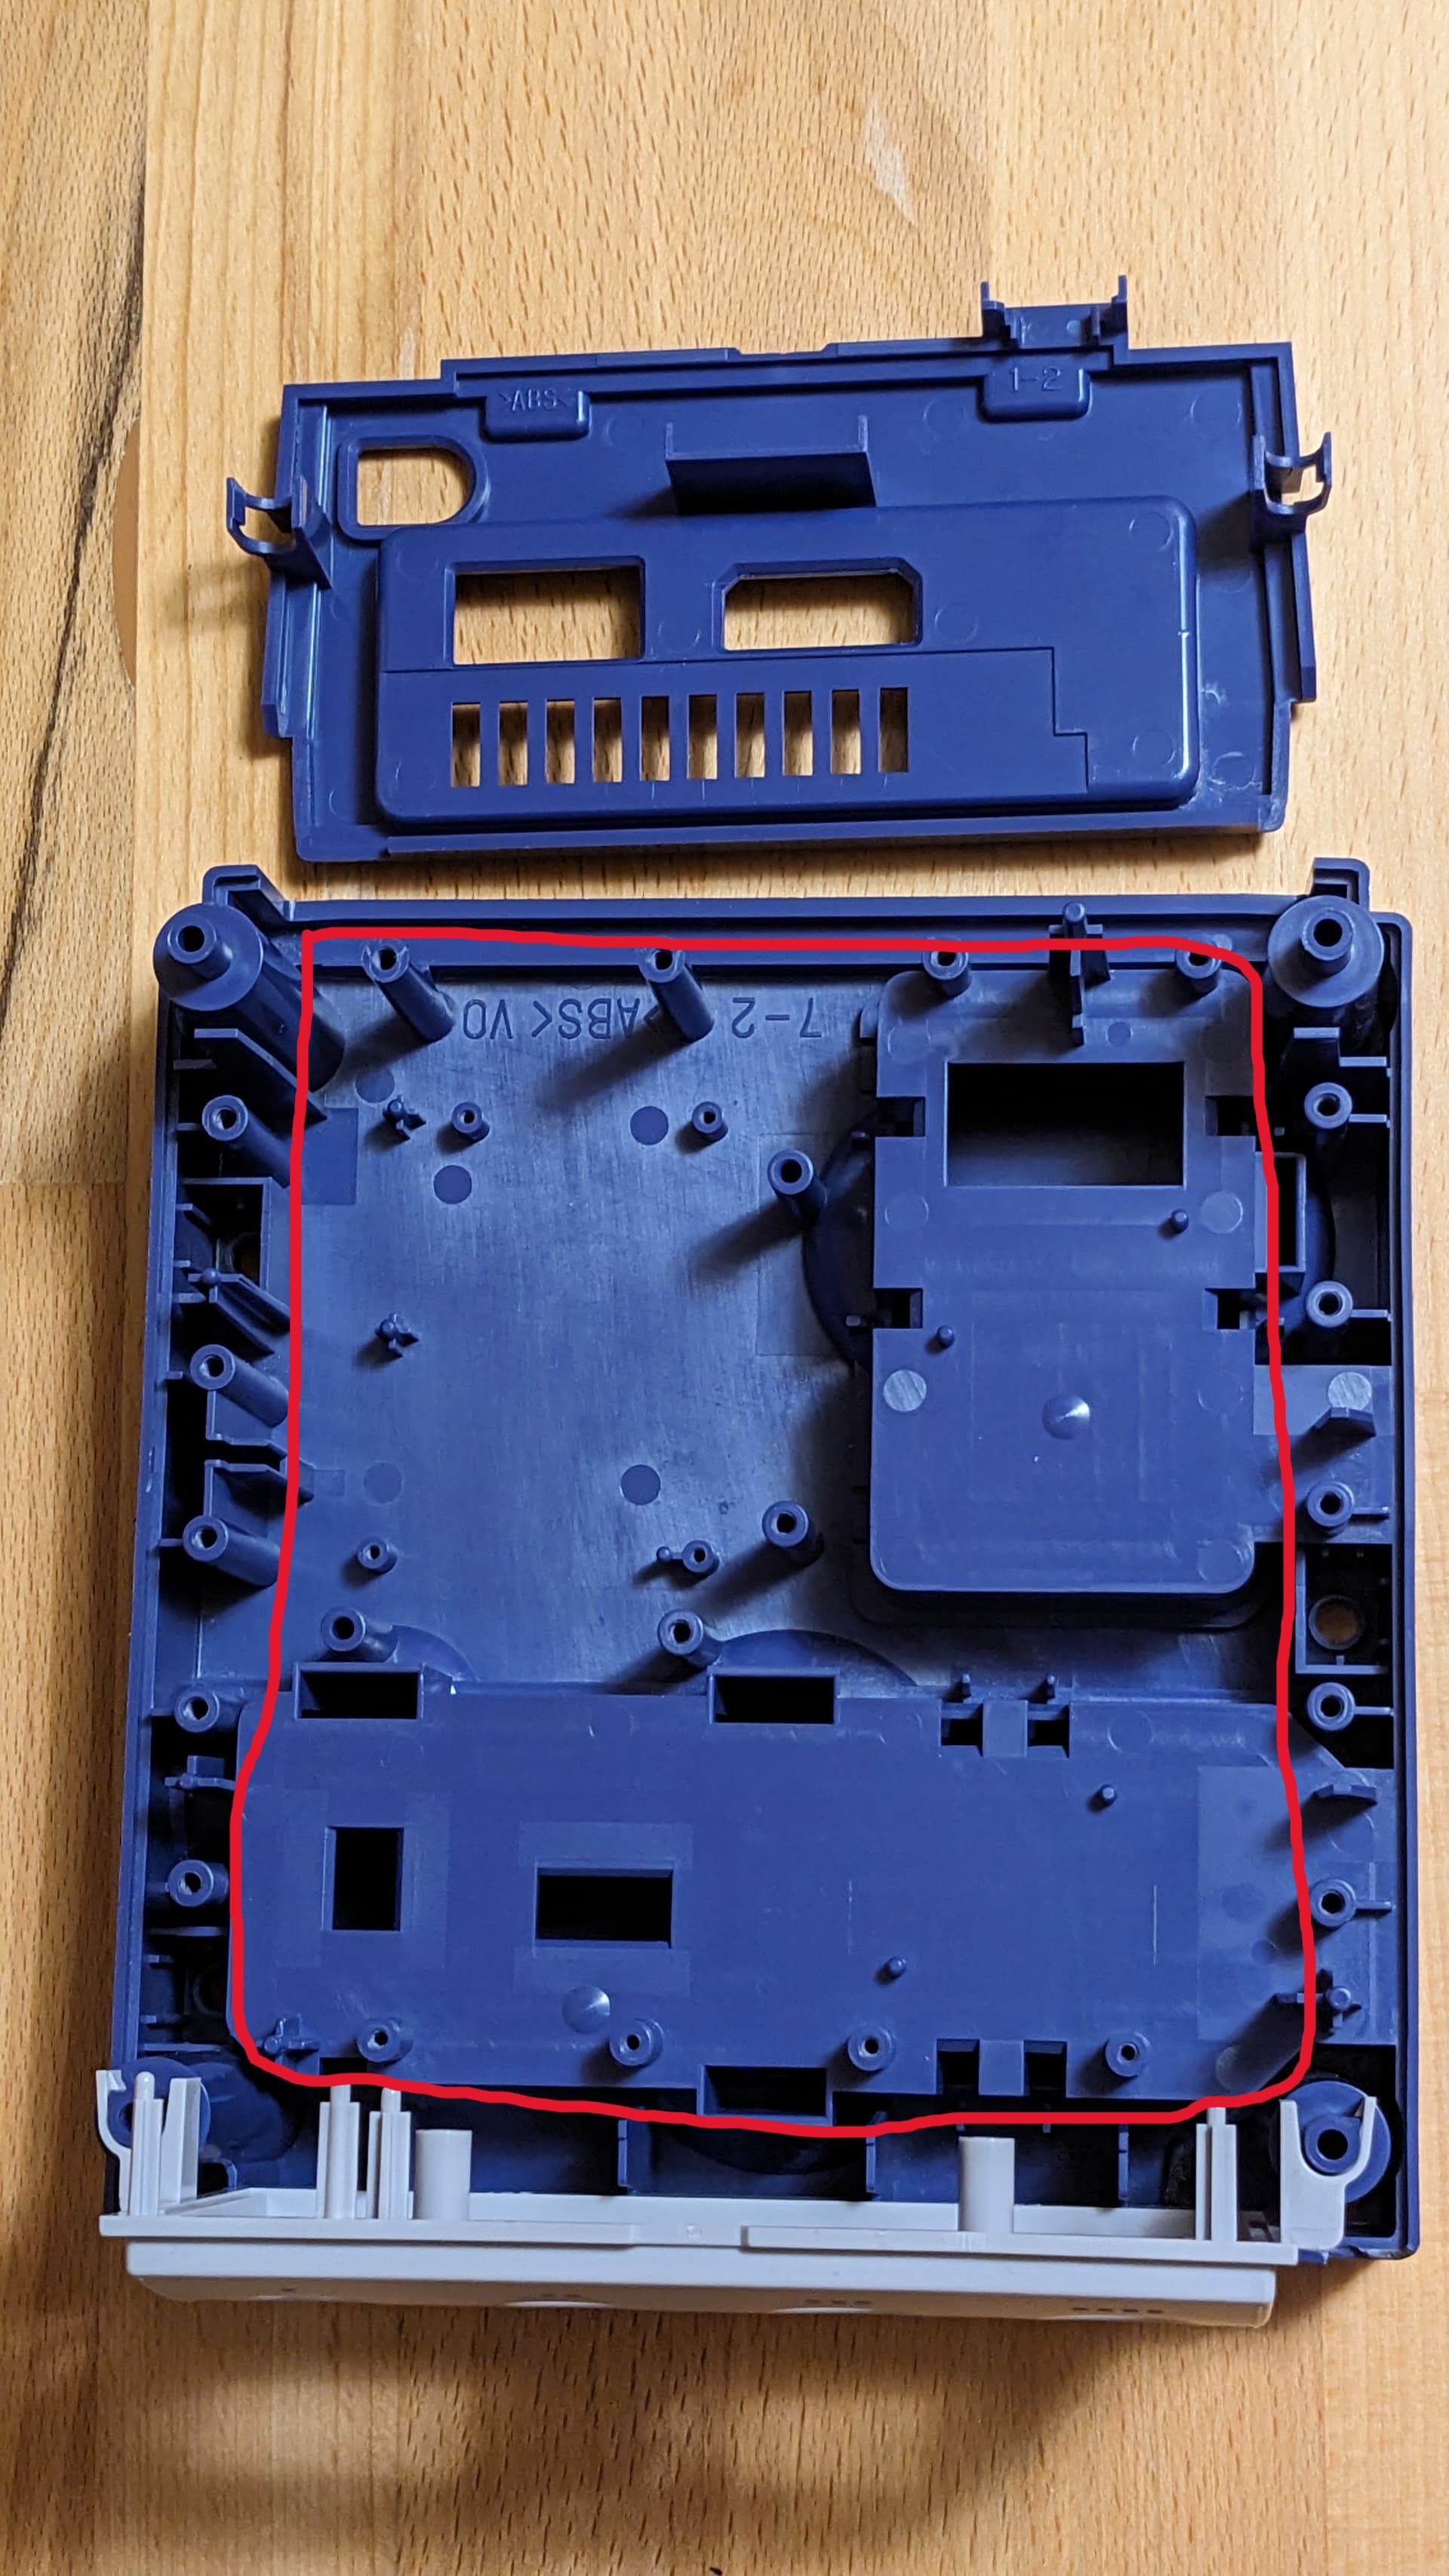
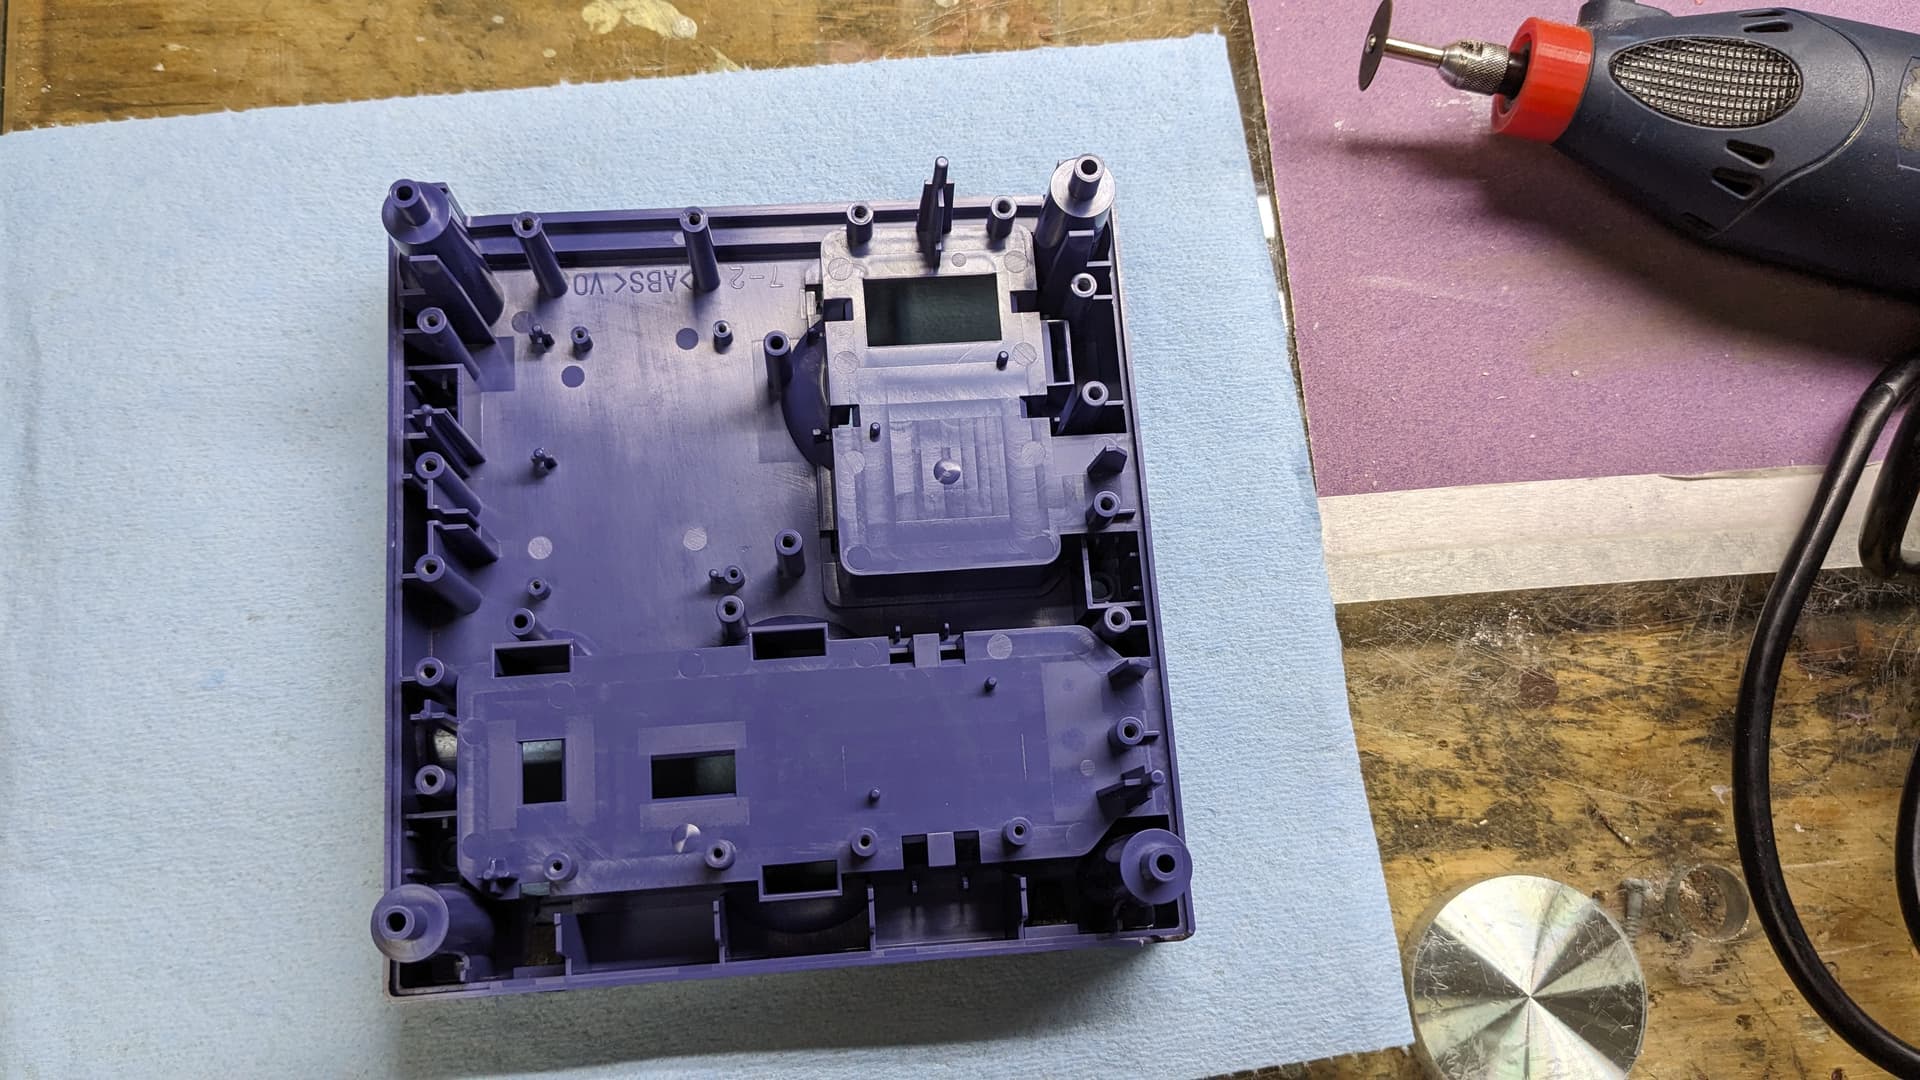
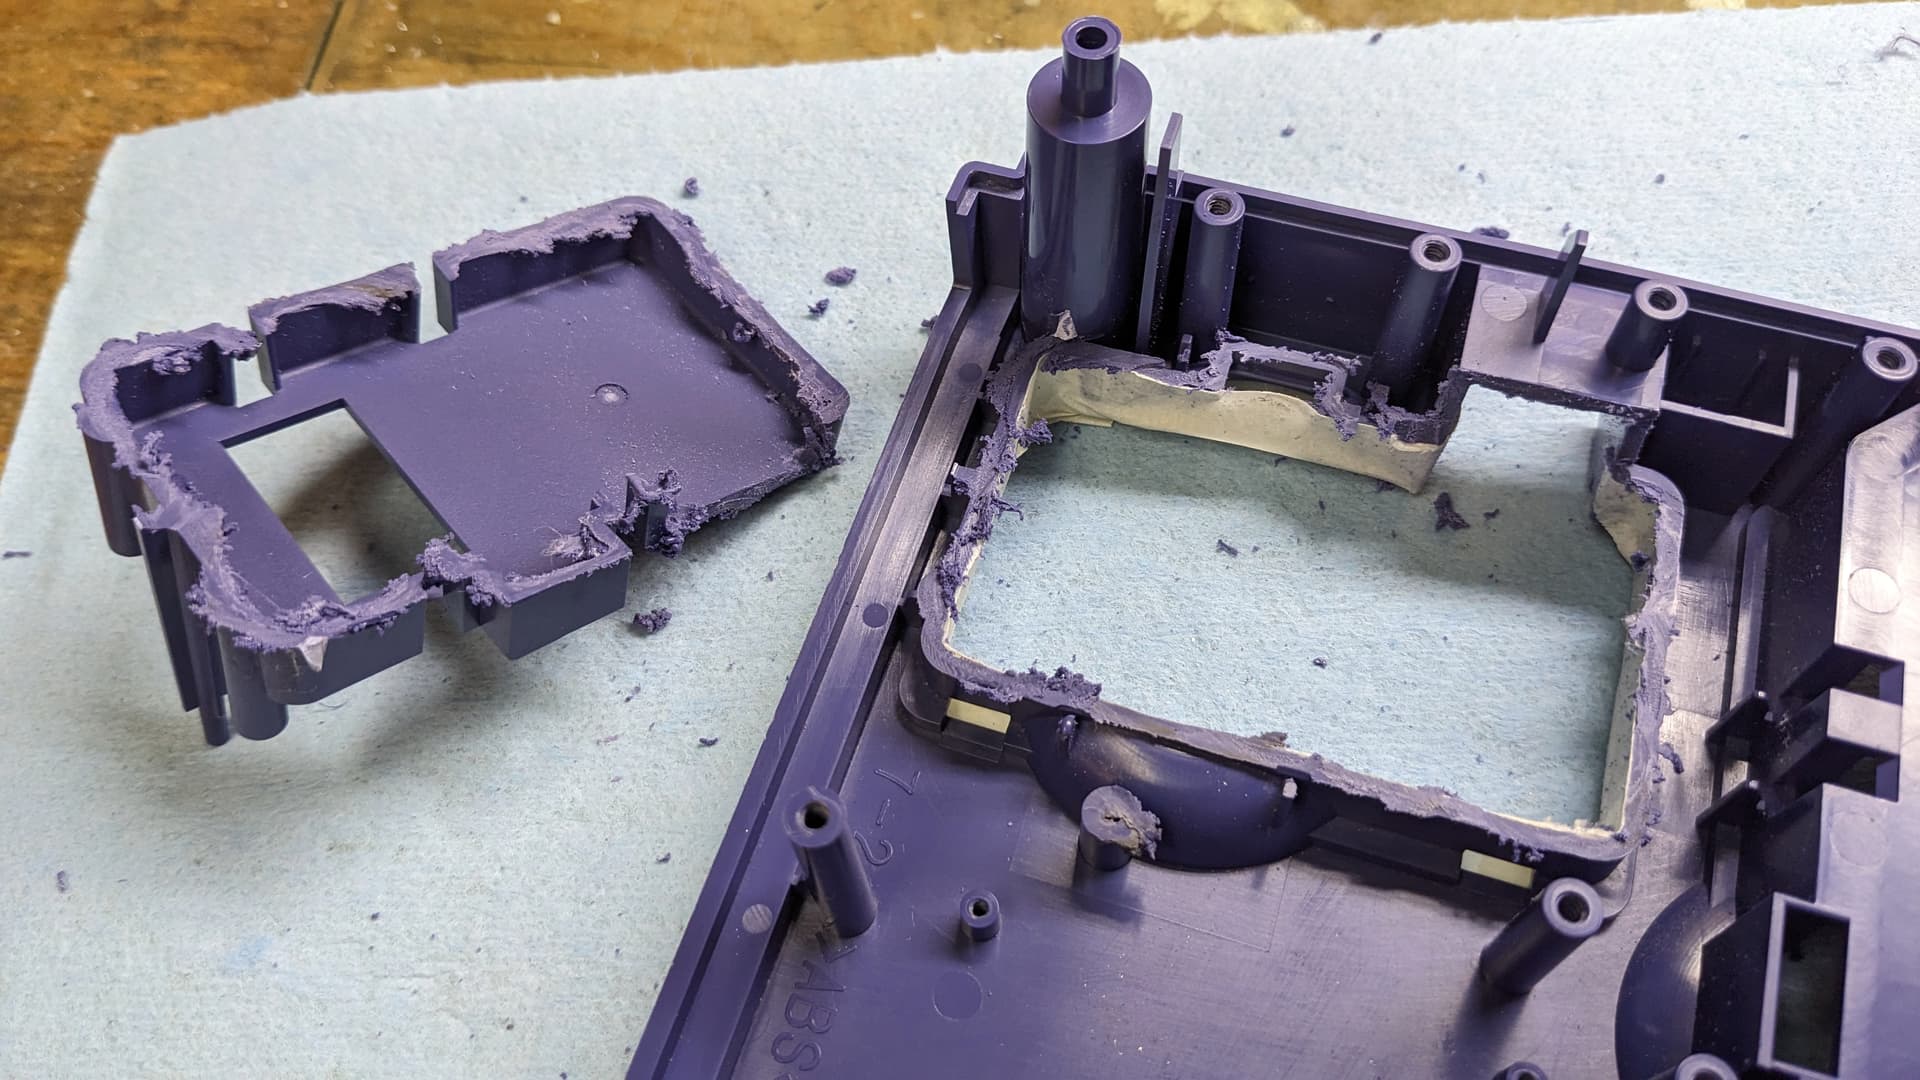
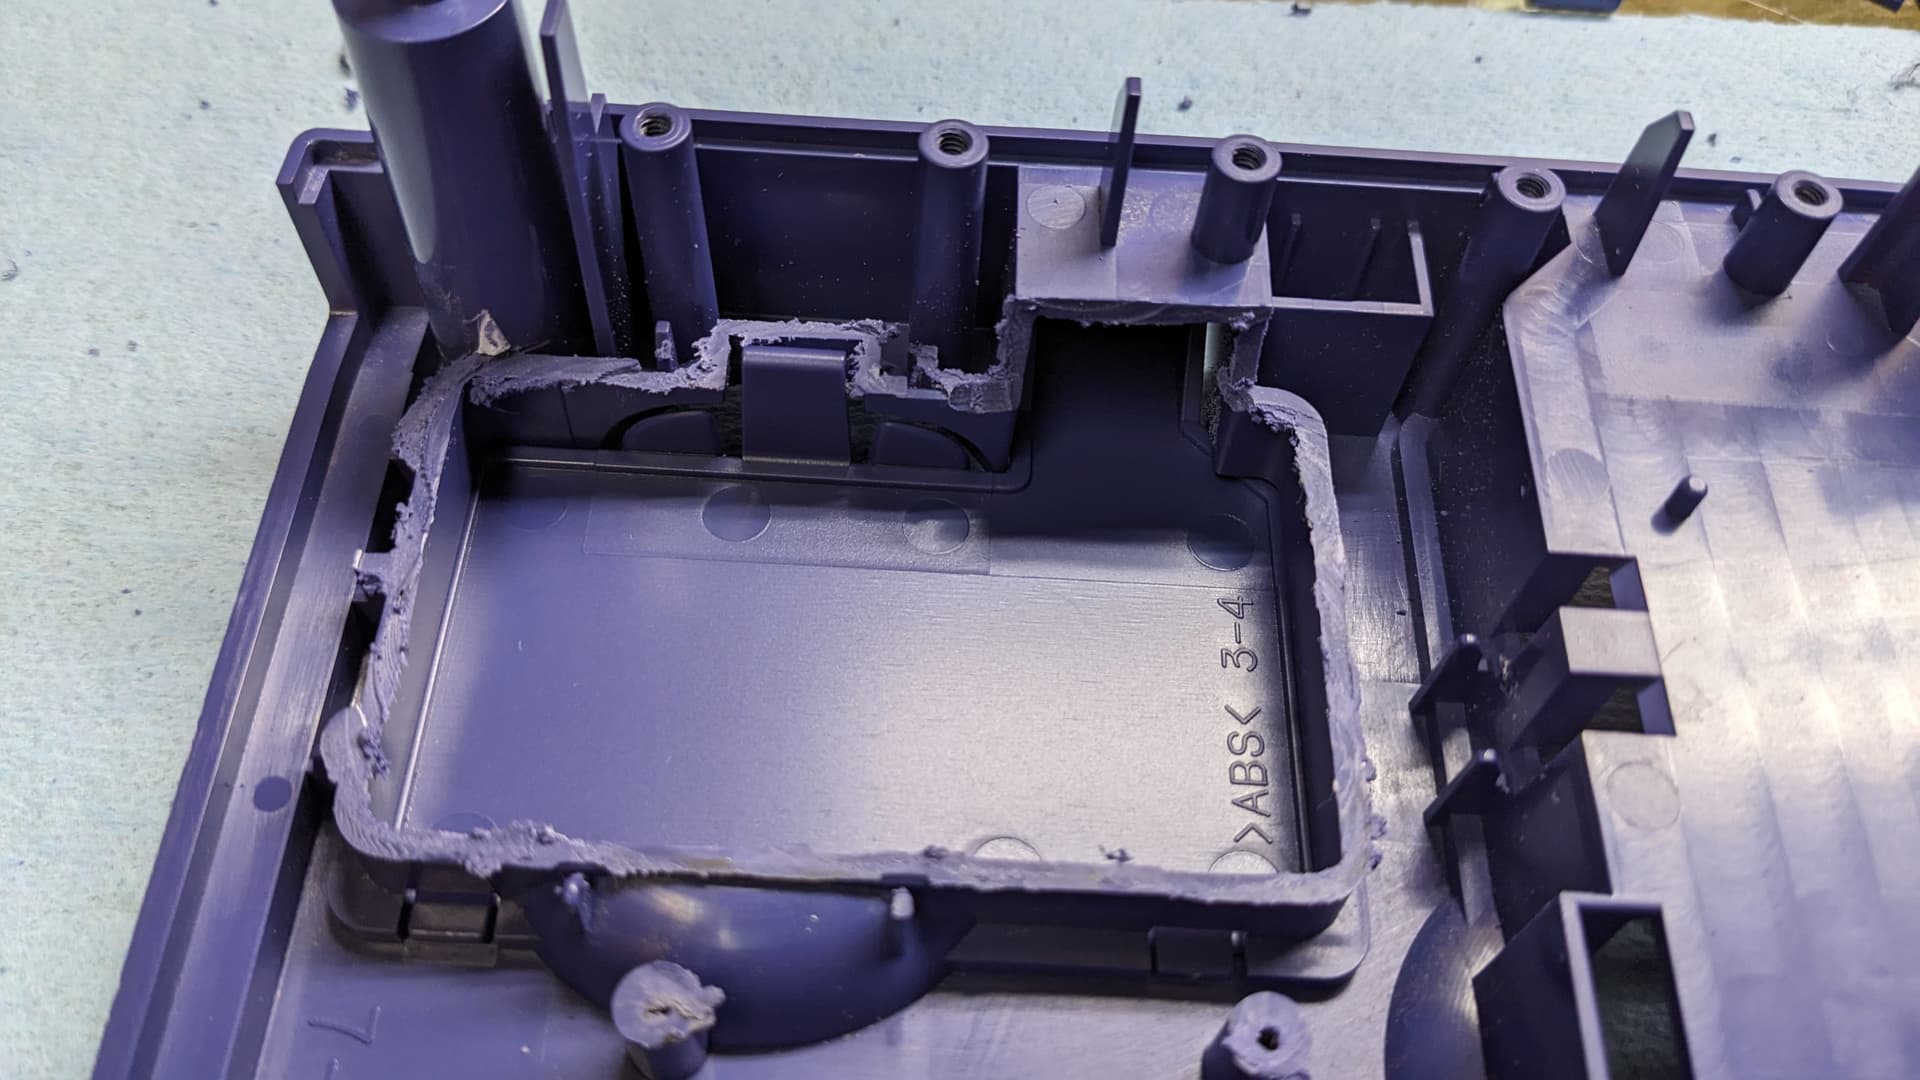
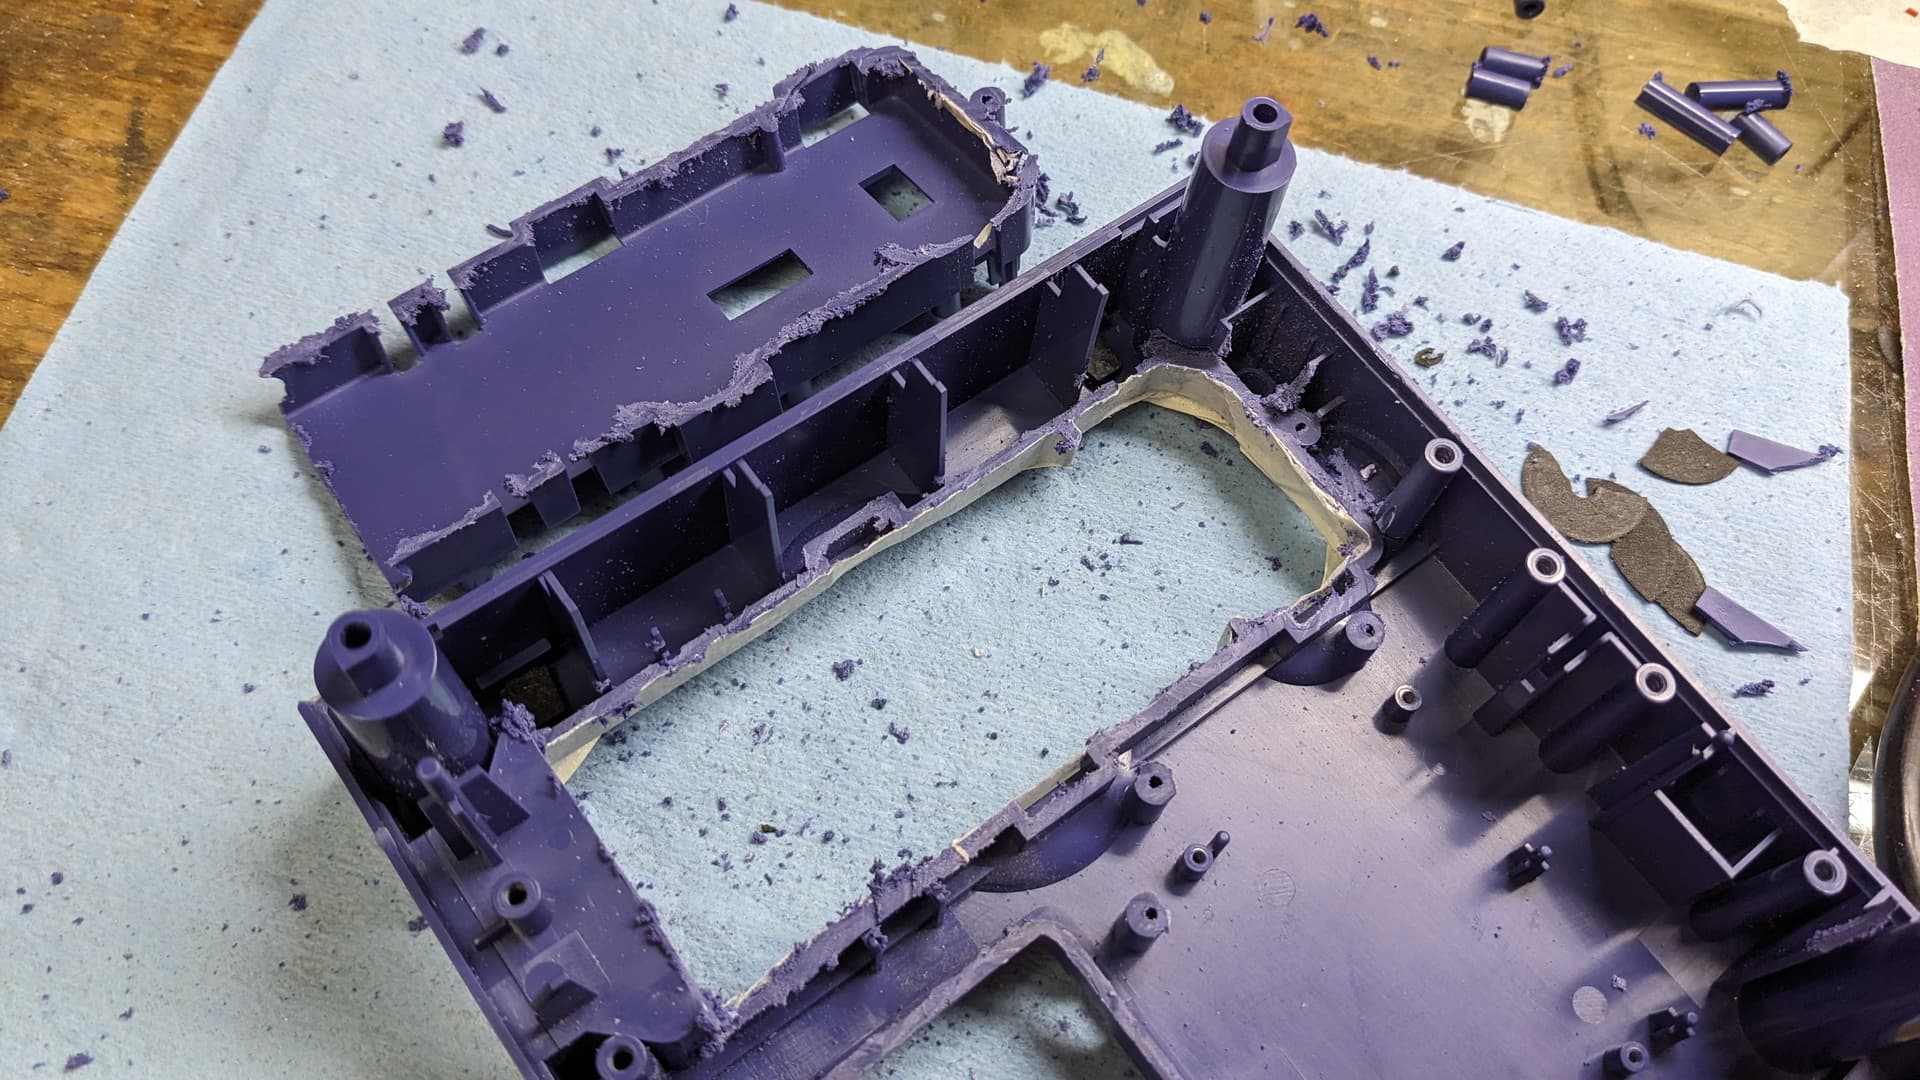
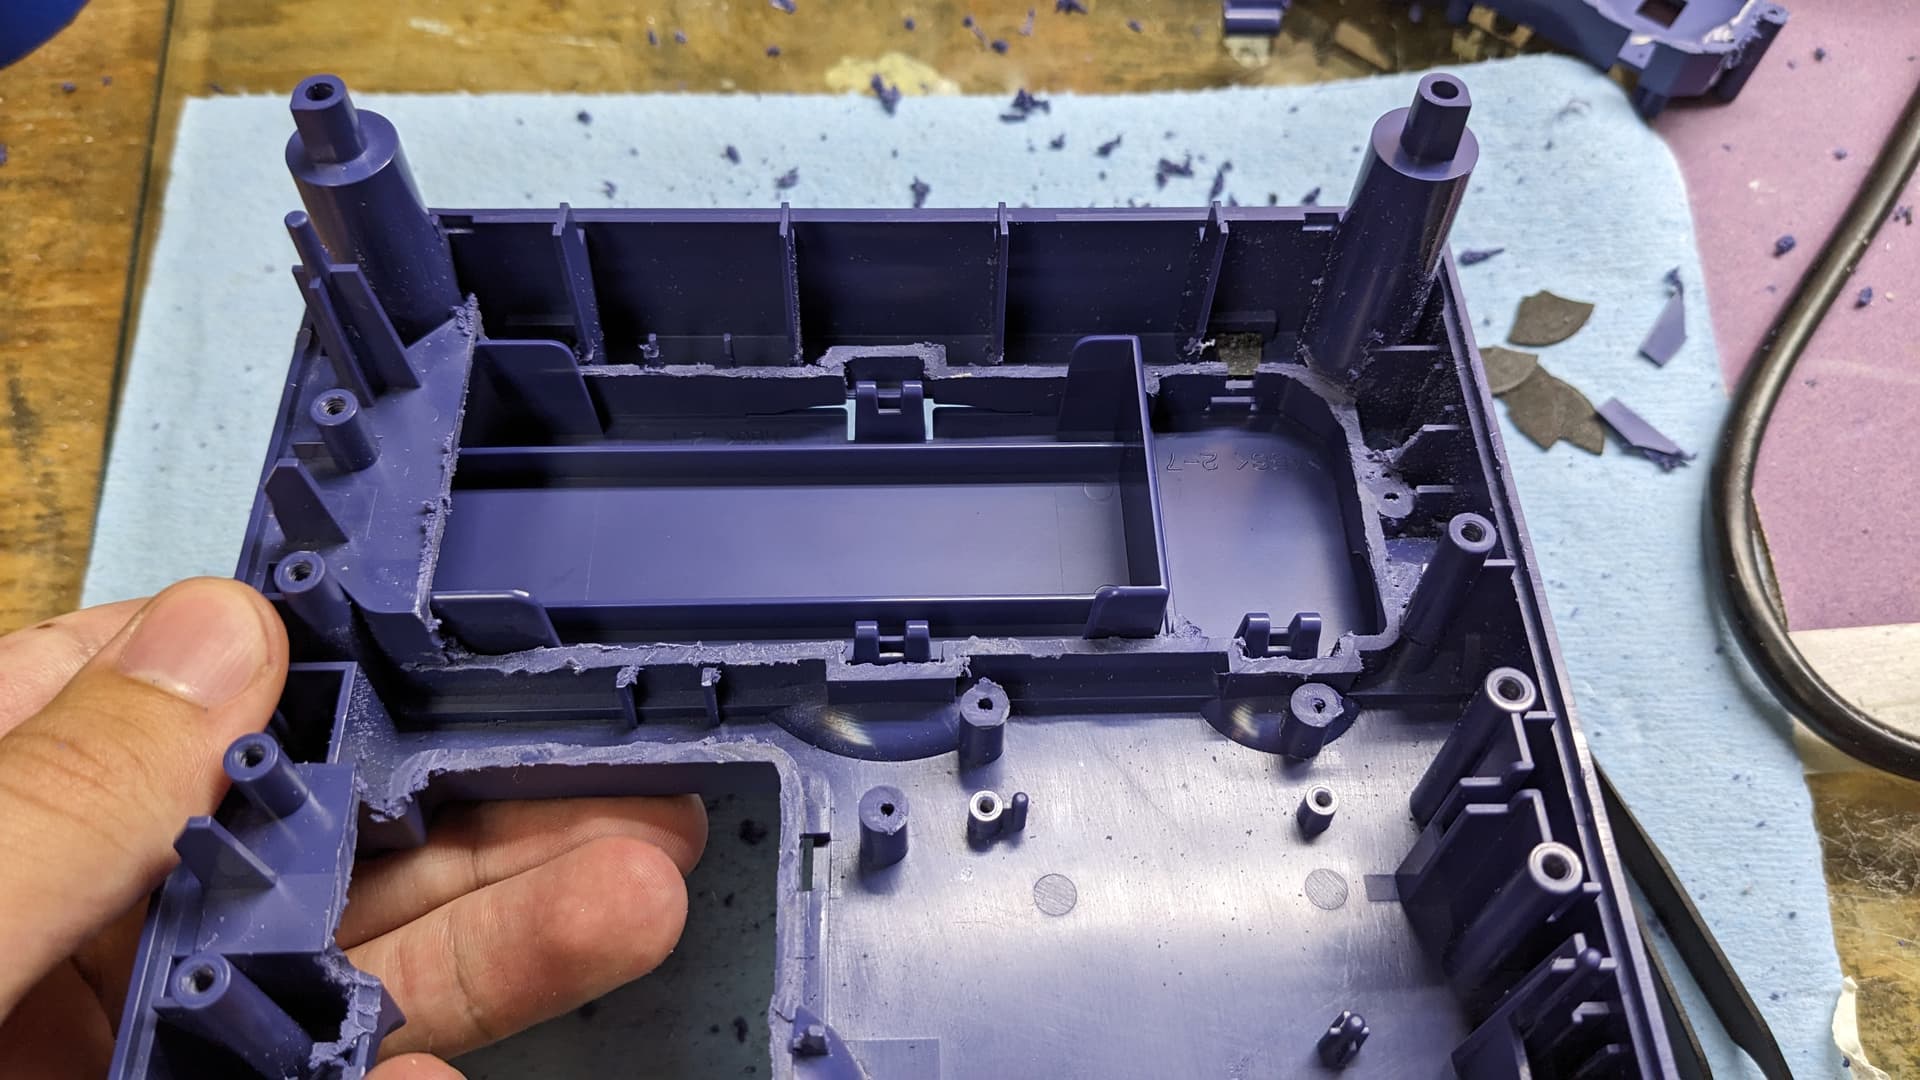
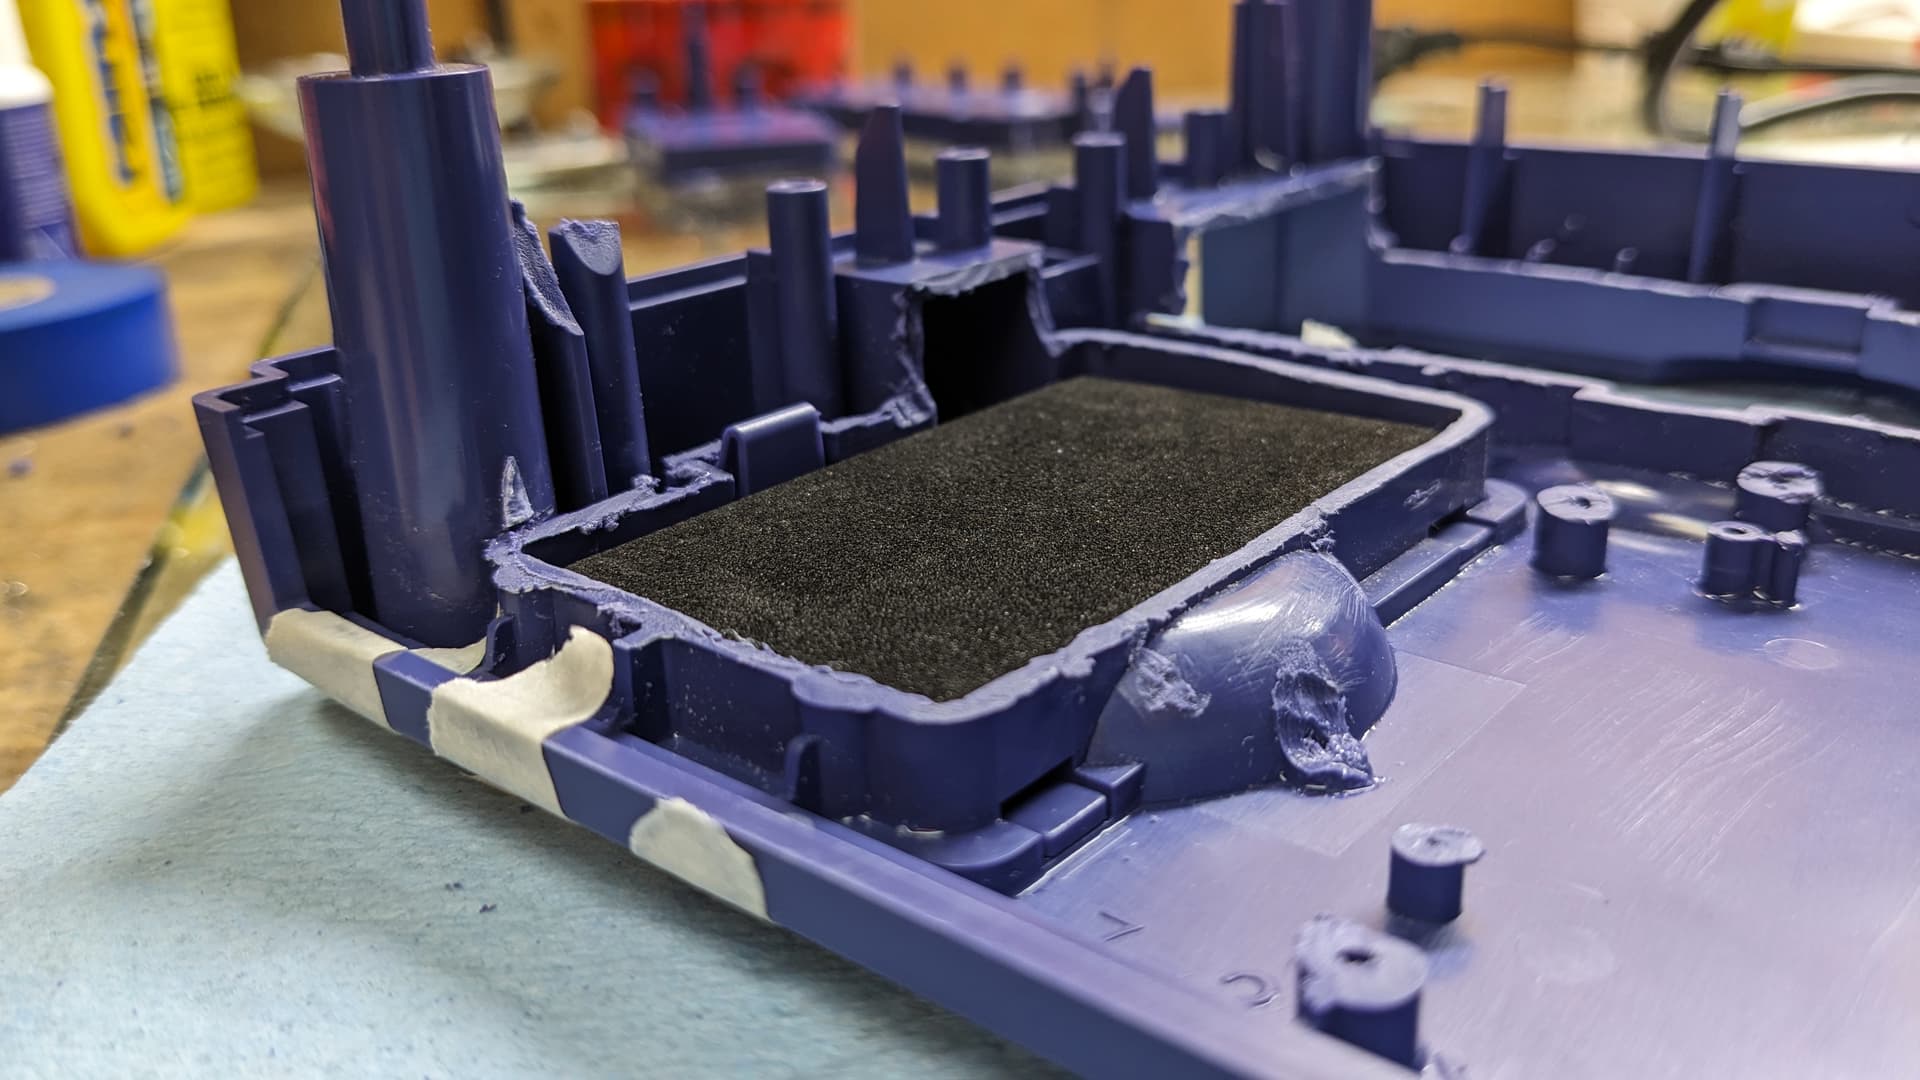
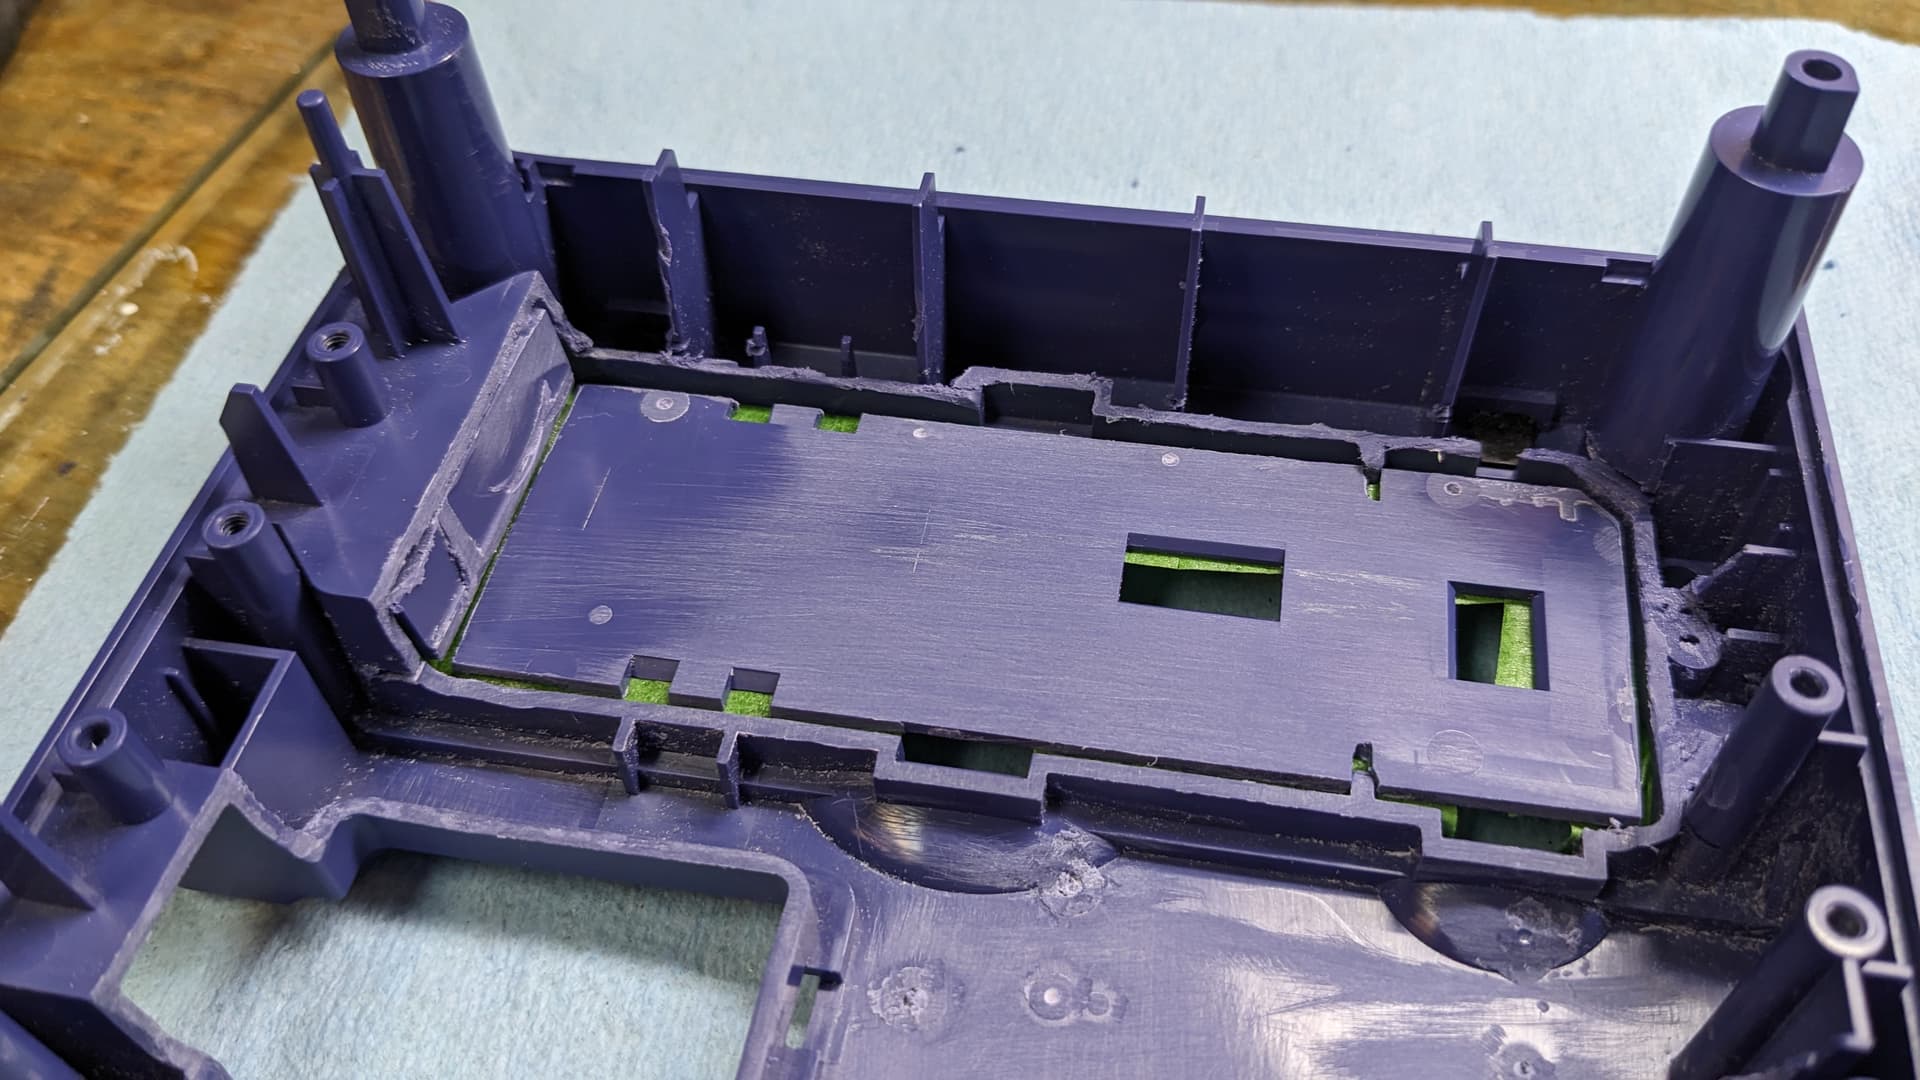
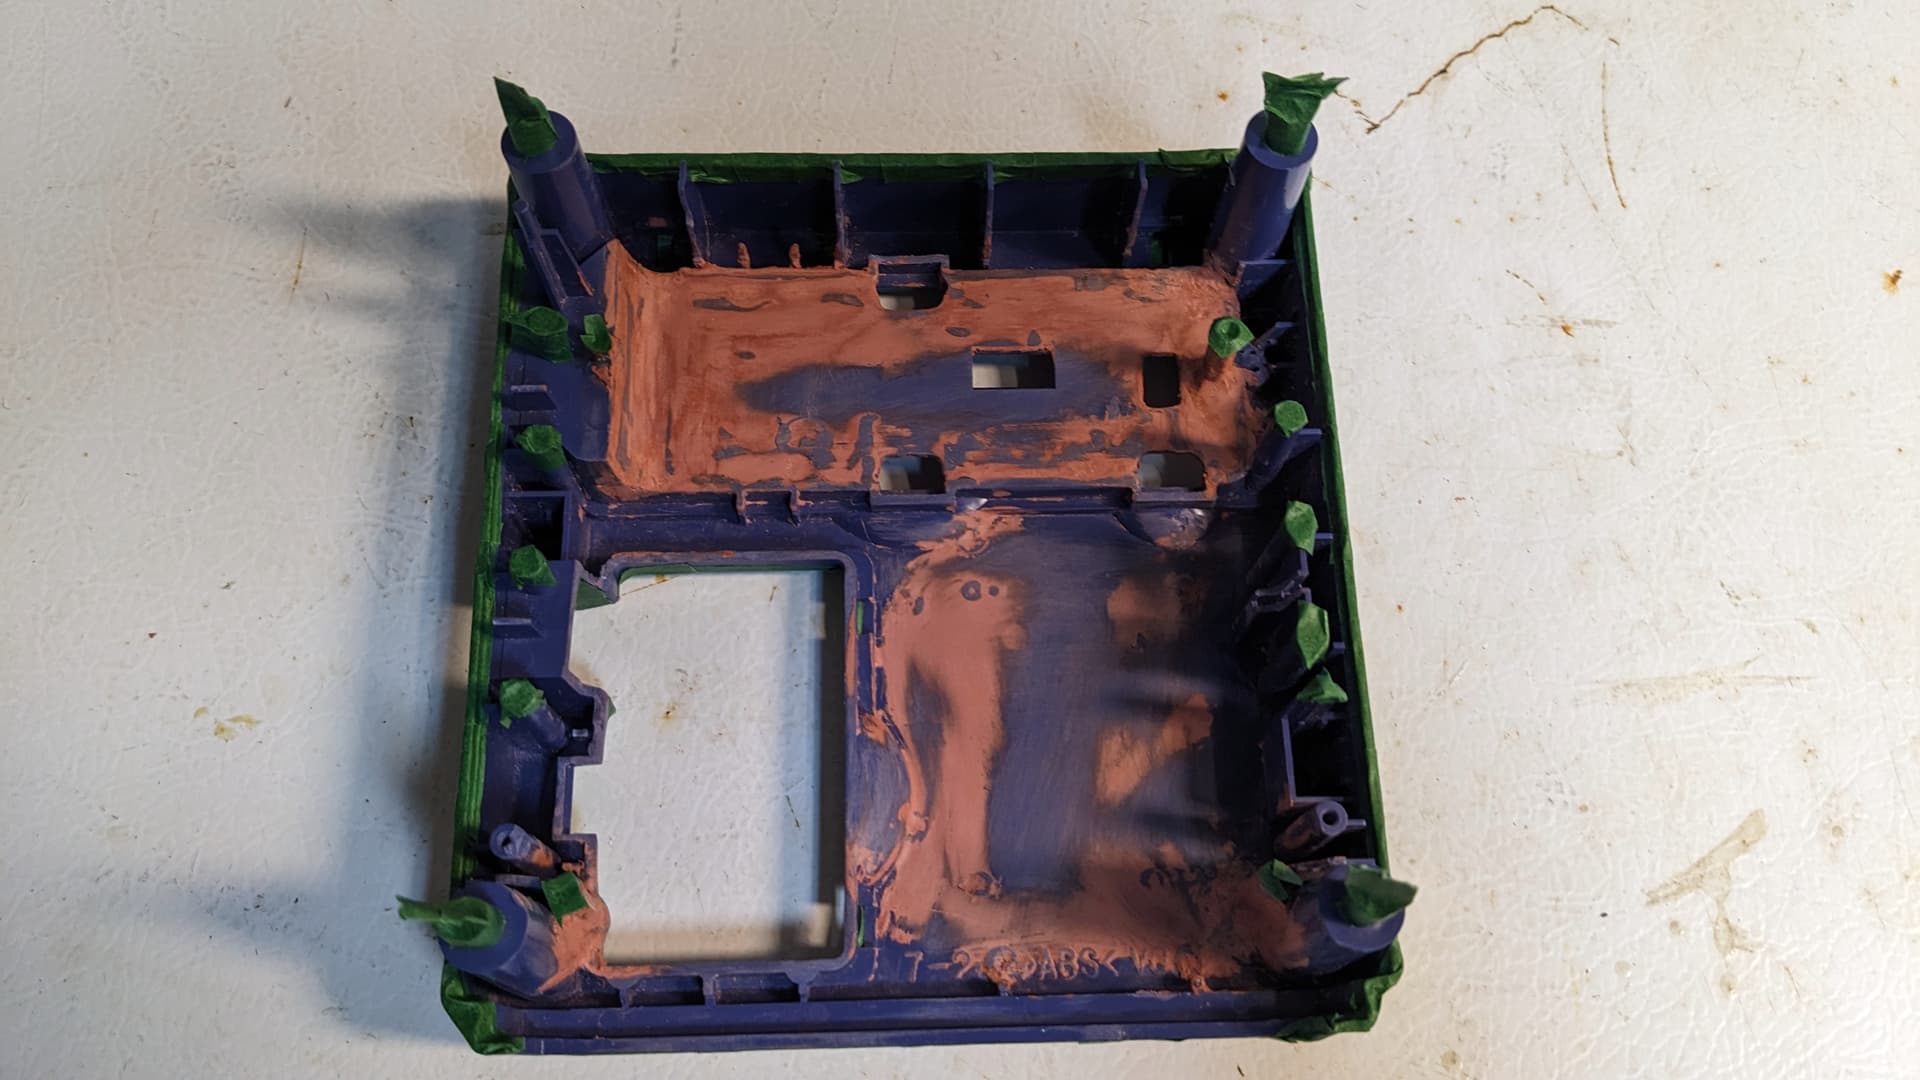
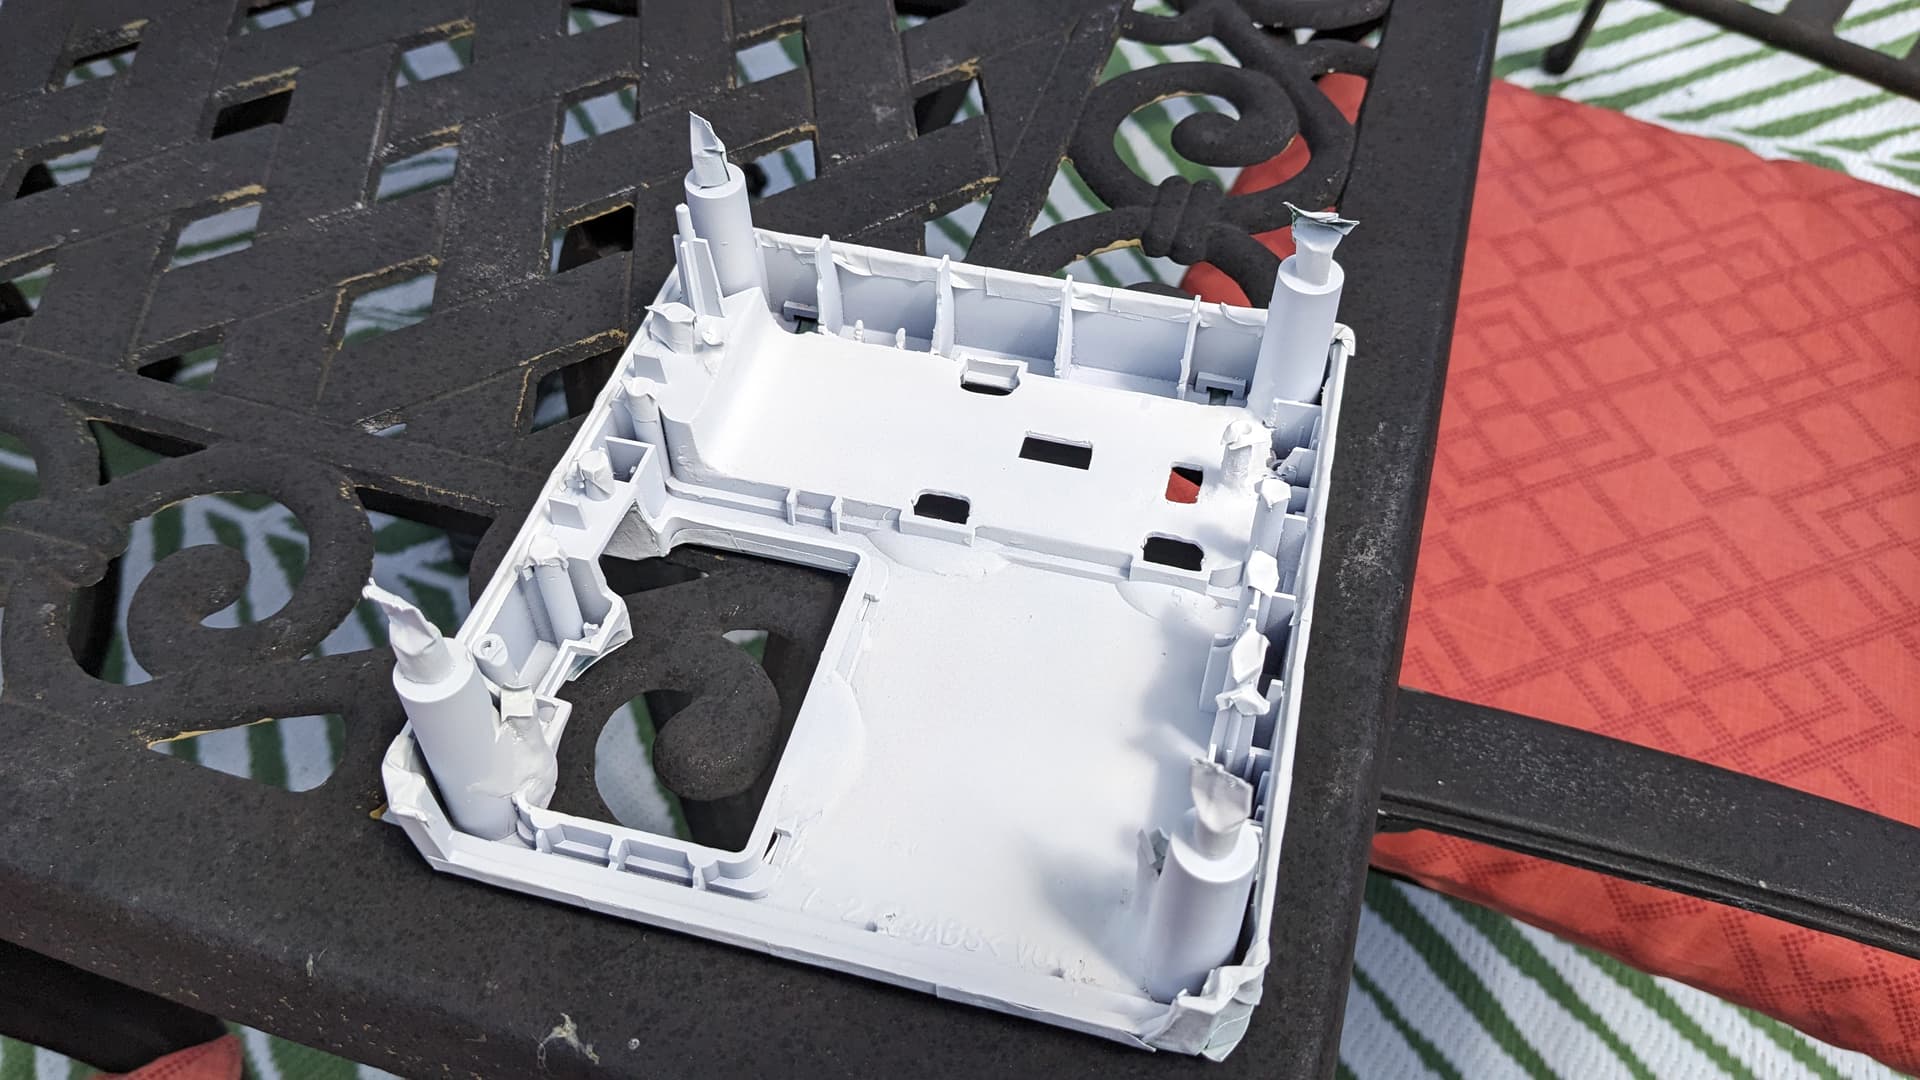
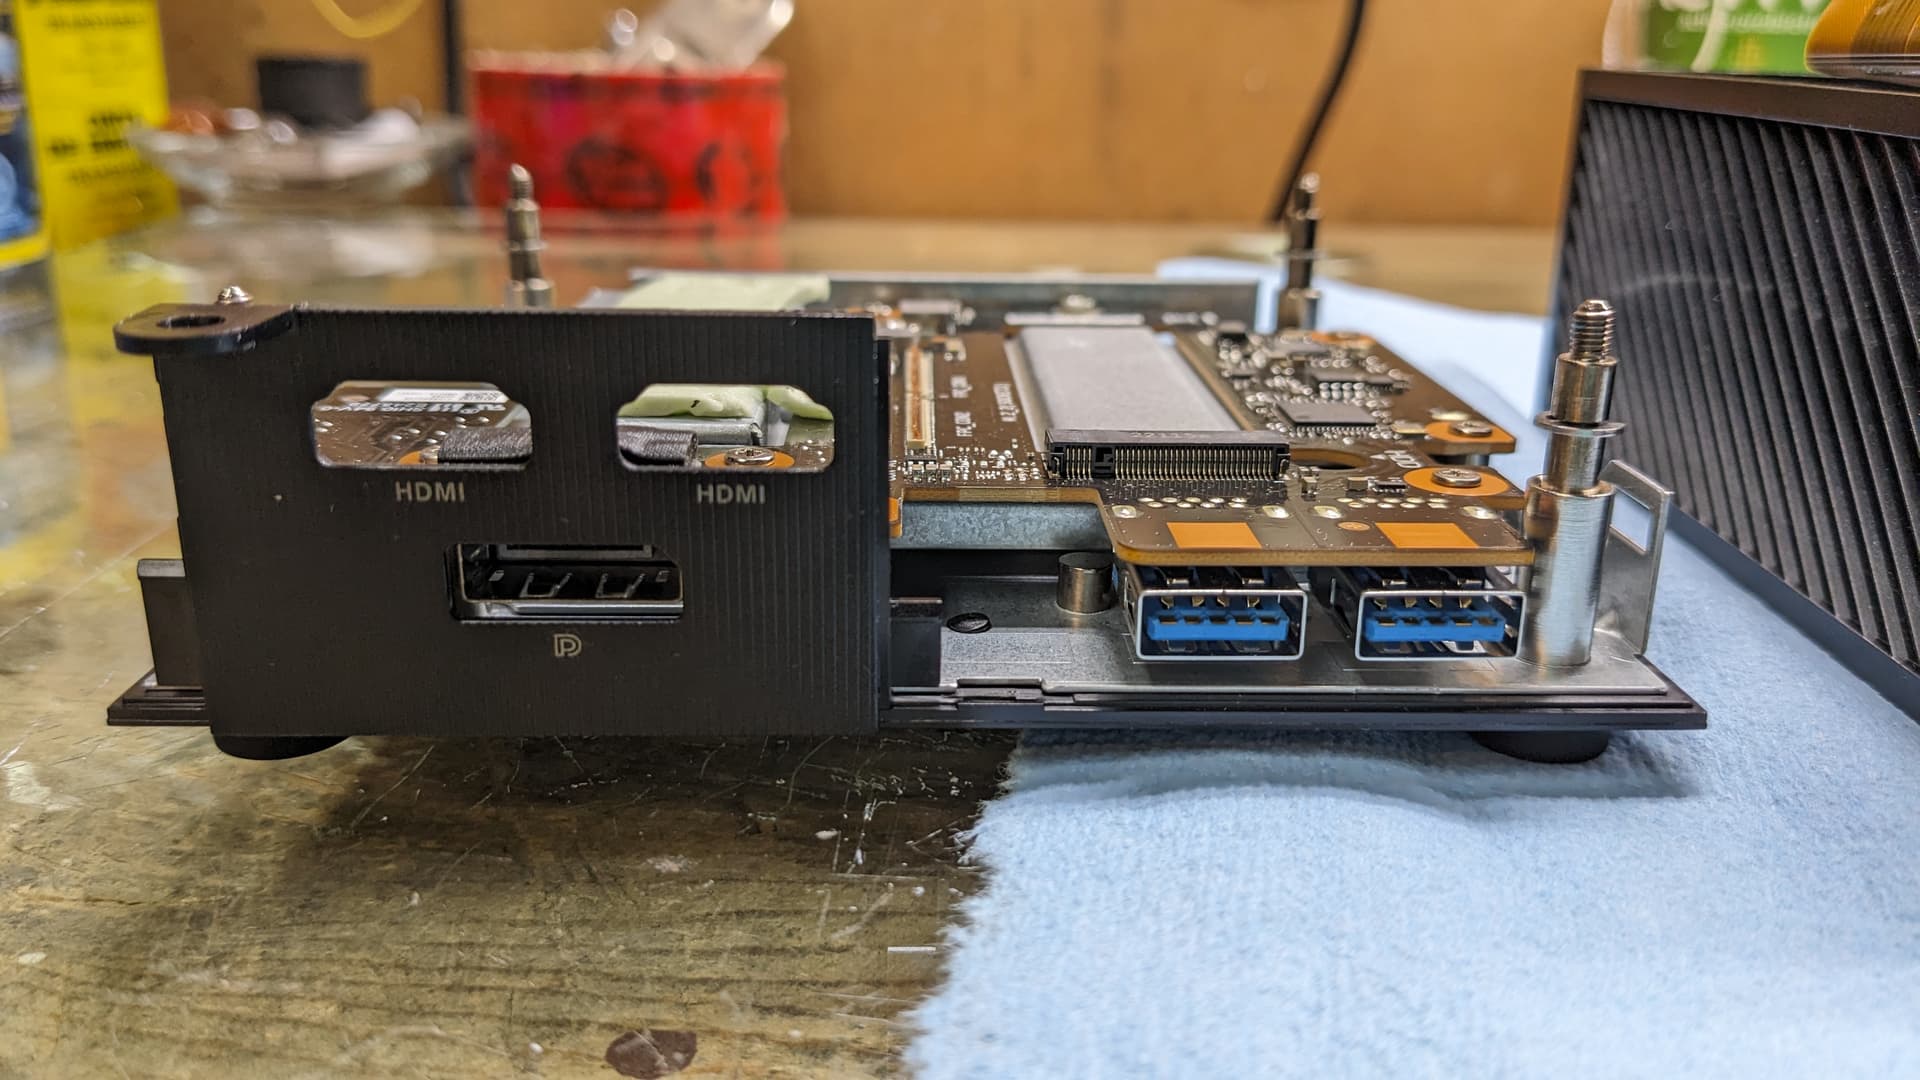
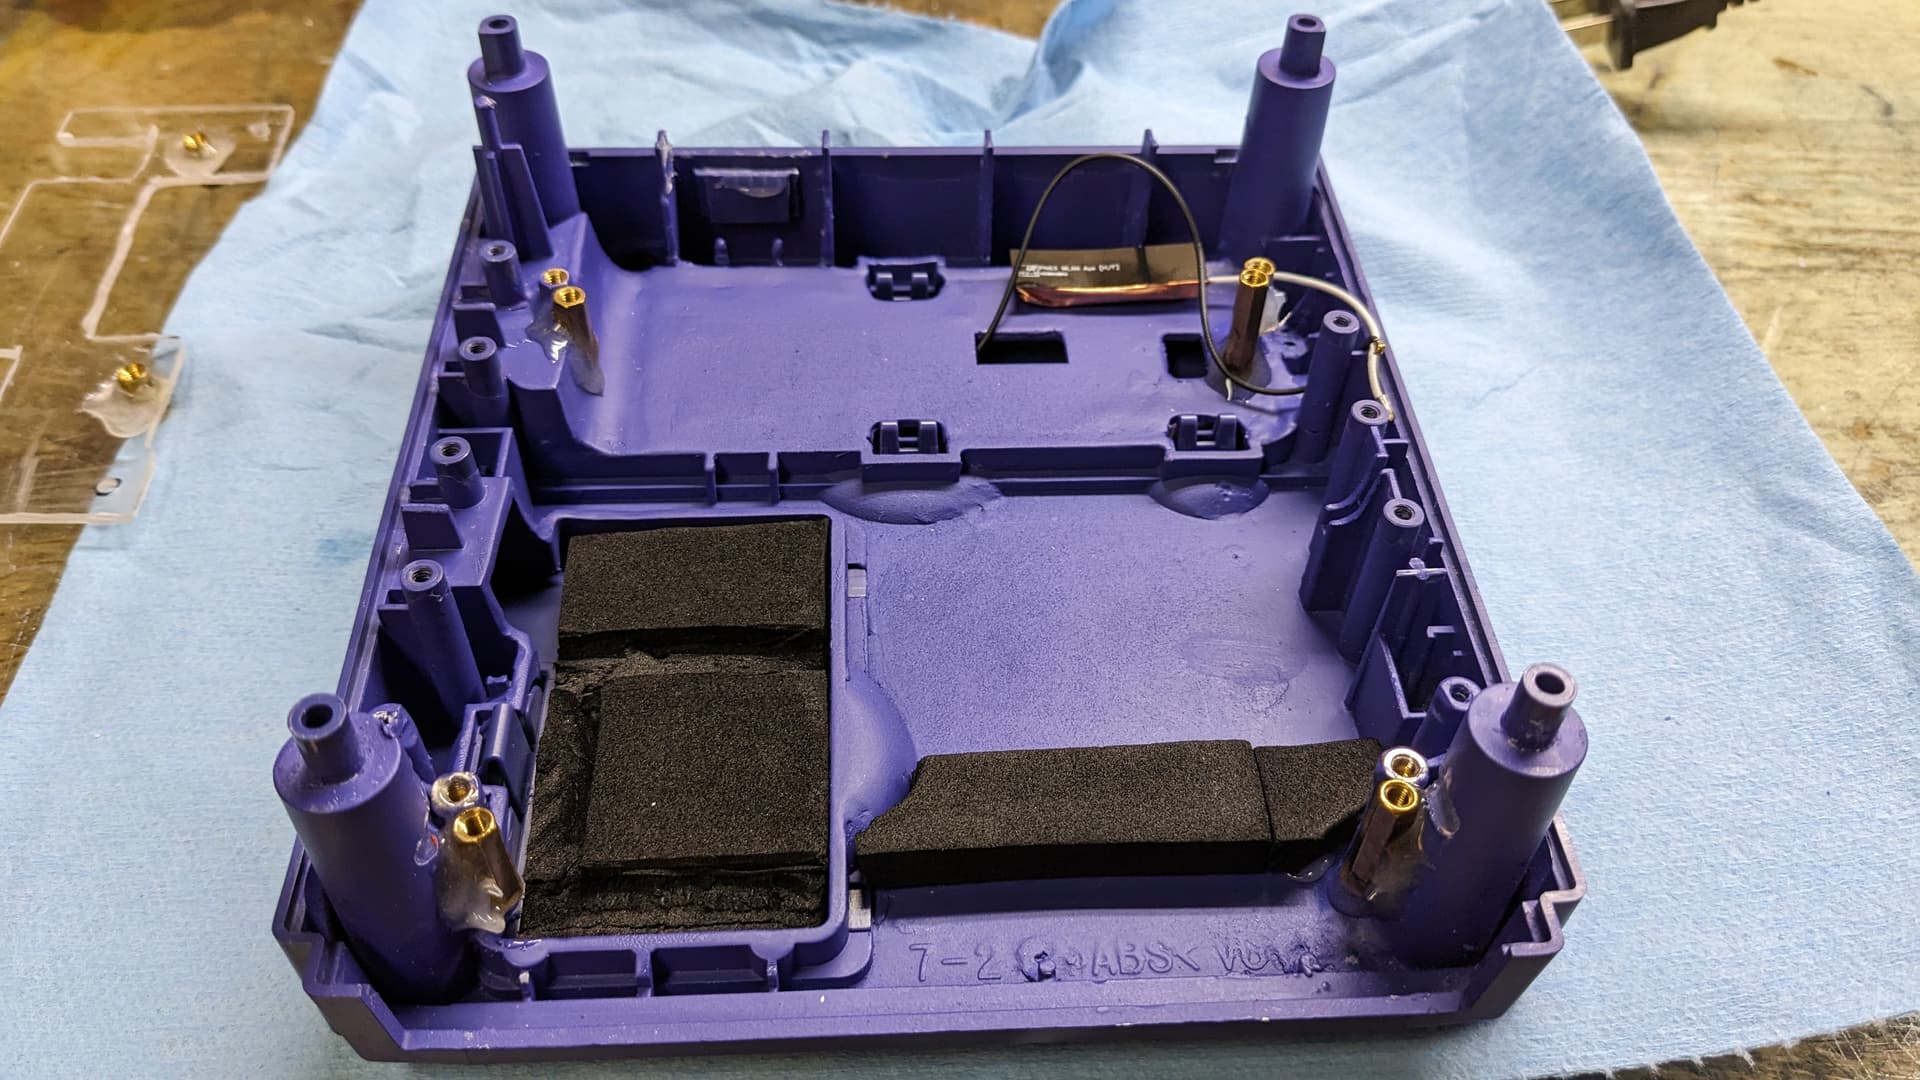
So in adapting the new device, I first had to put new supports. I didn’t removed the old ones because they now act as support points for the one, plus removing them would have been an hassle (they are either heat inserted and/or covered with epoxy). Also I needed to remove some more material to the back columns as the IO on this pc is less outward than the previous F*** Minsiforum.


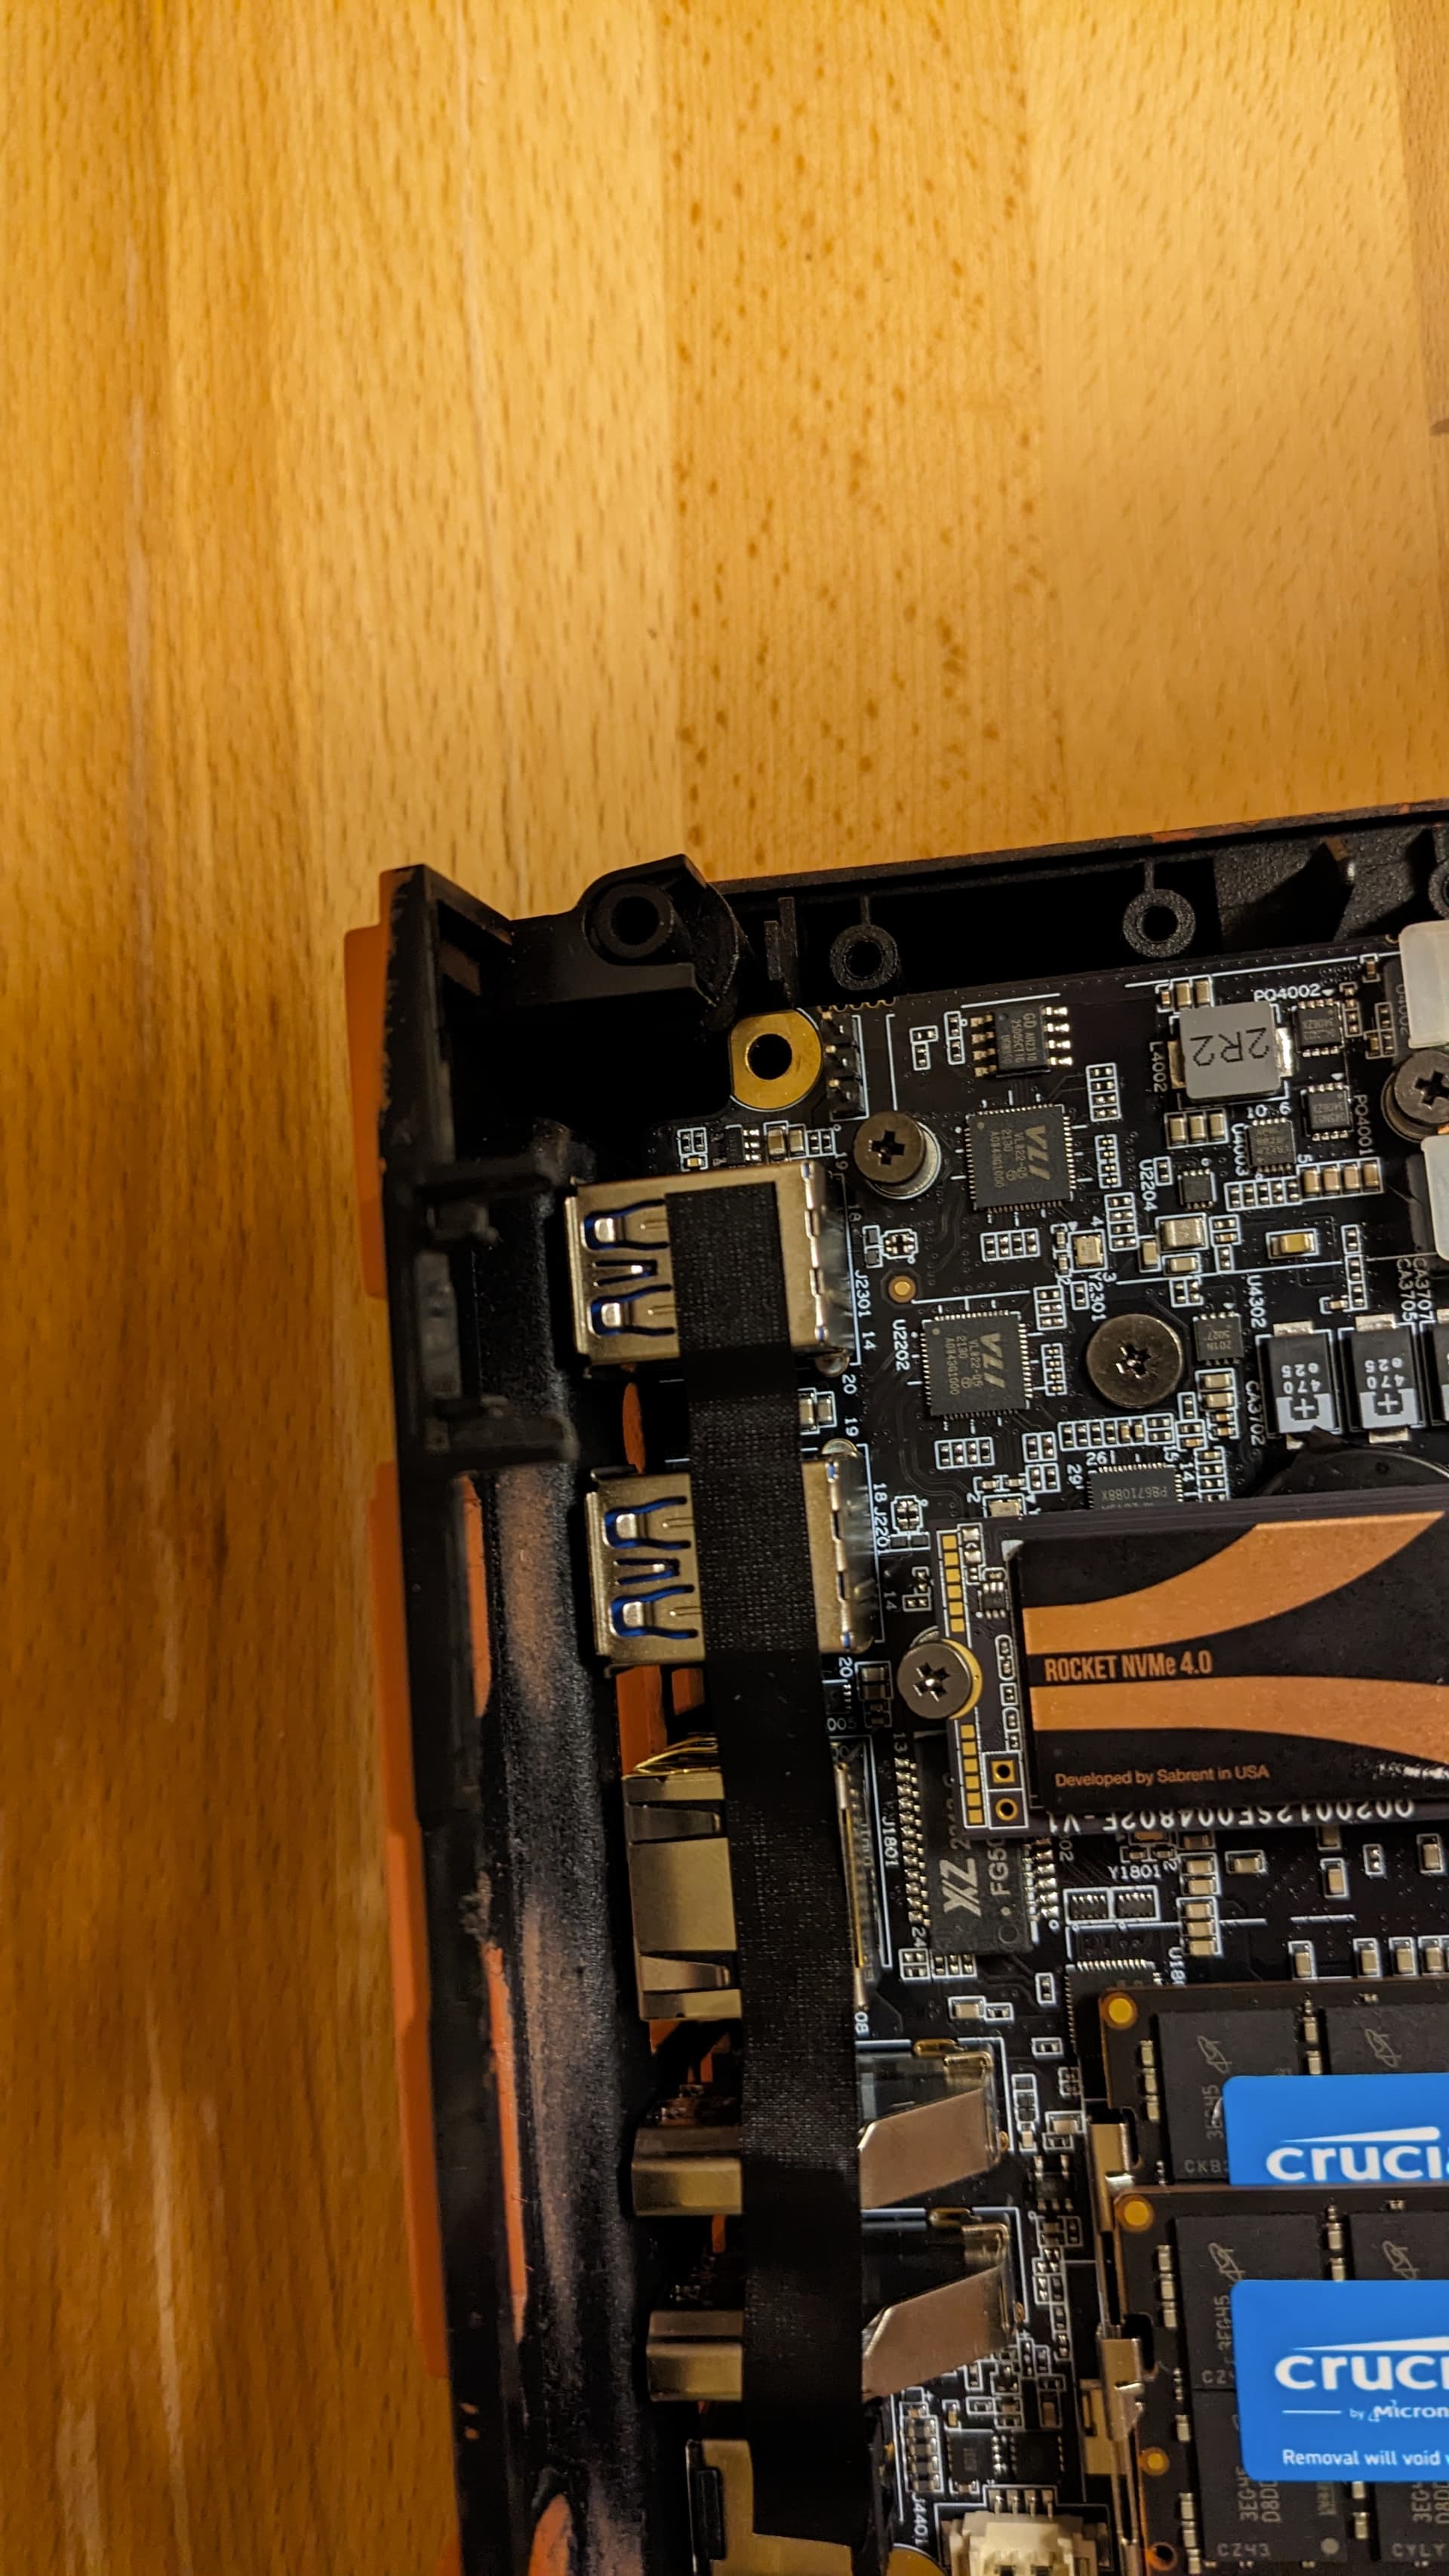
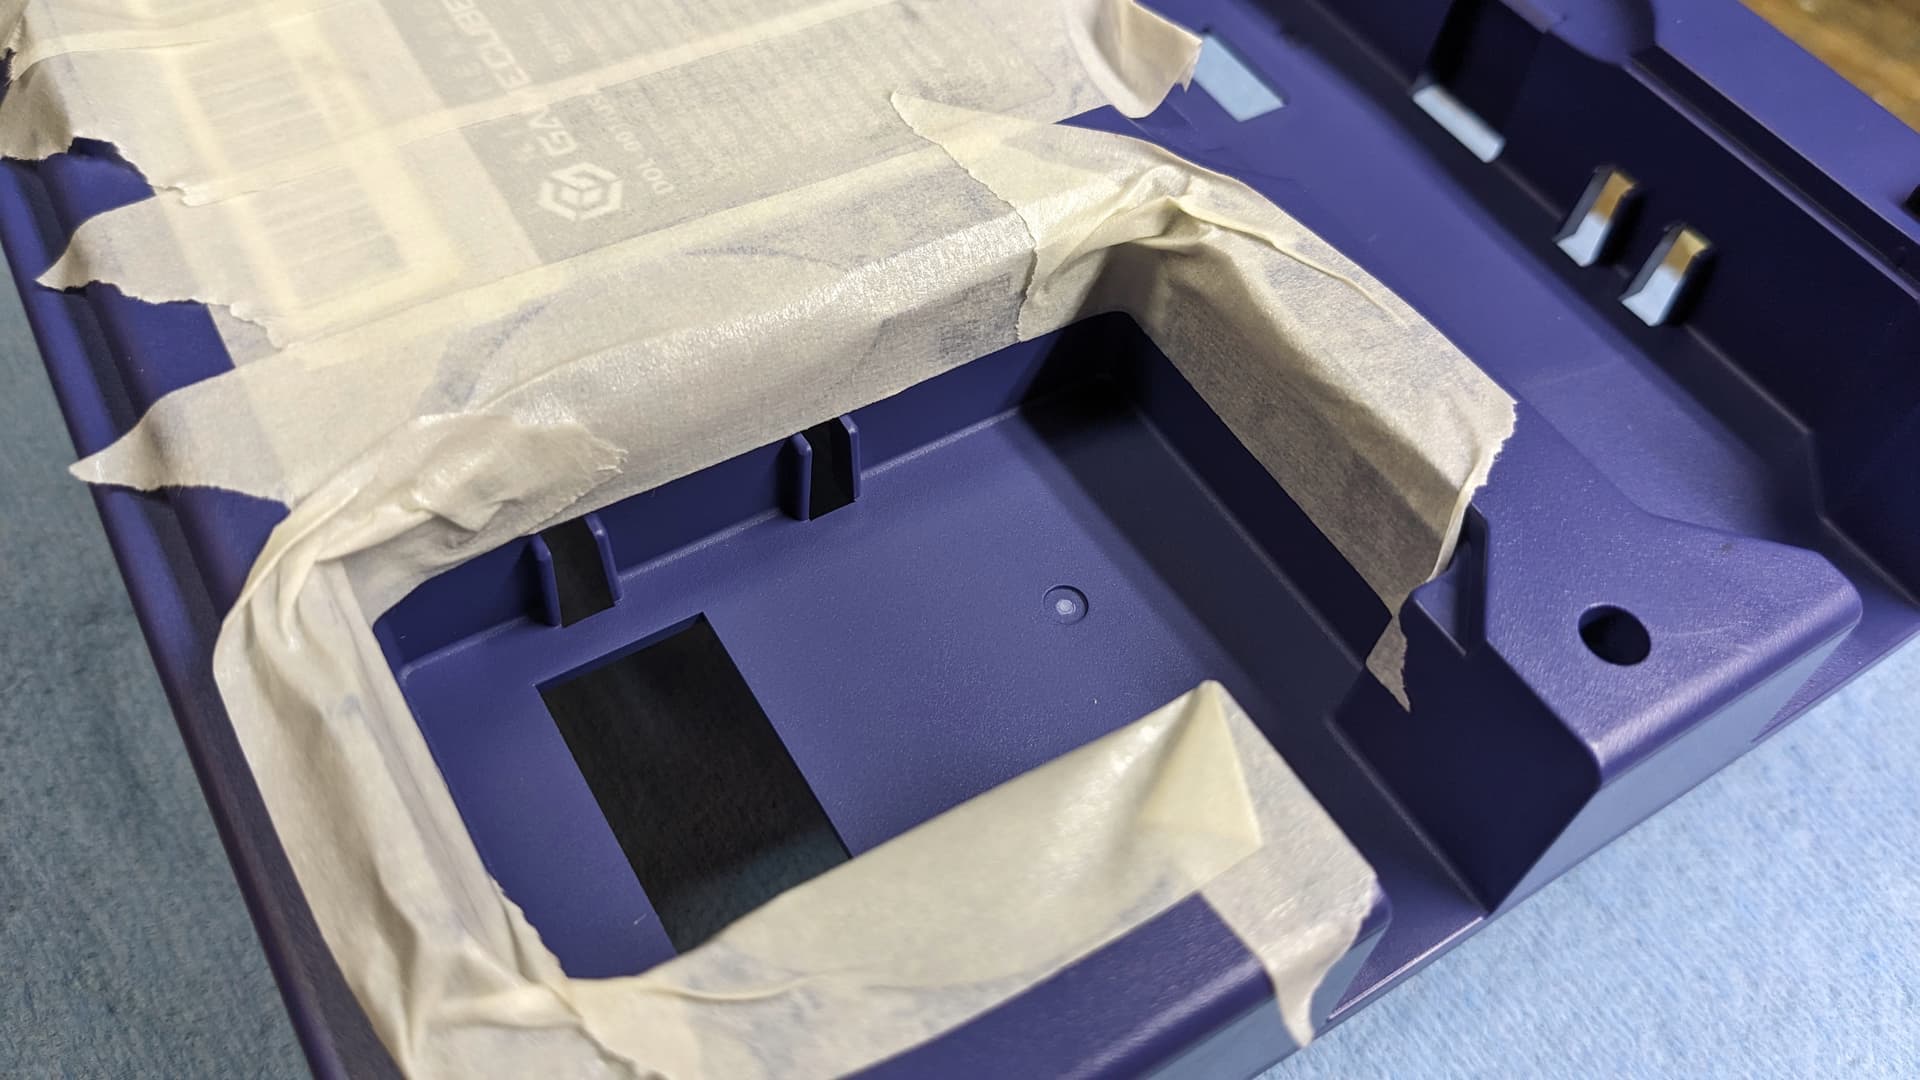
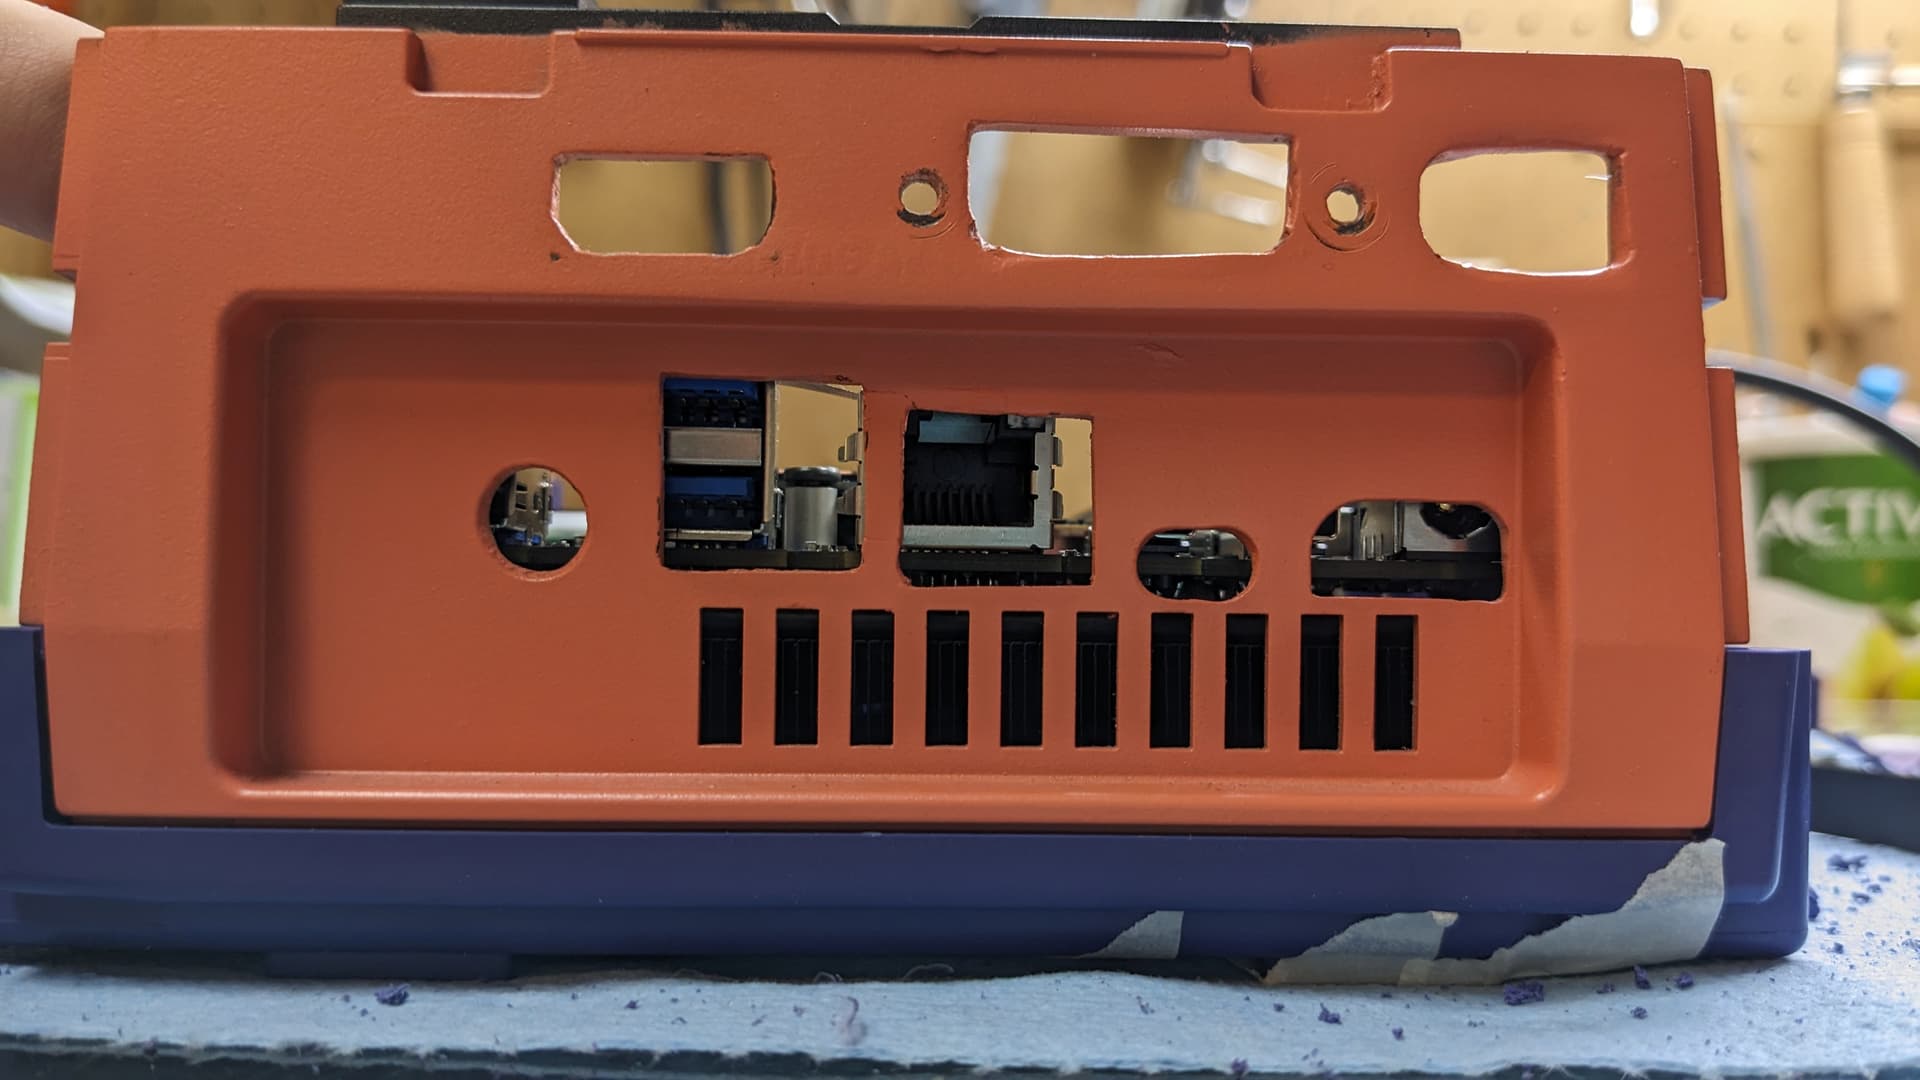
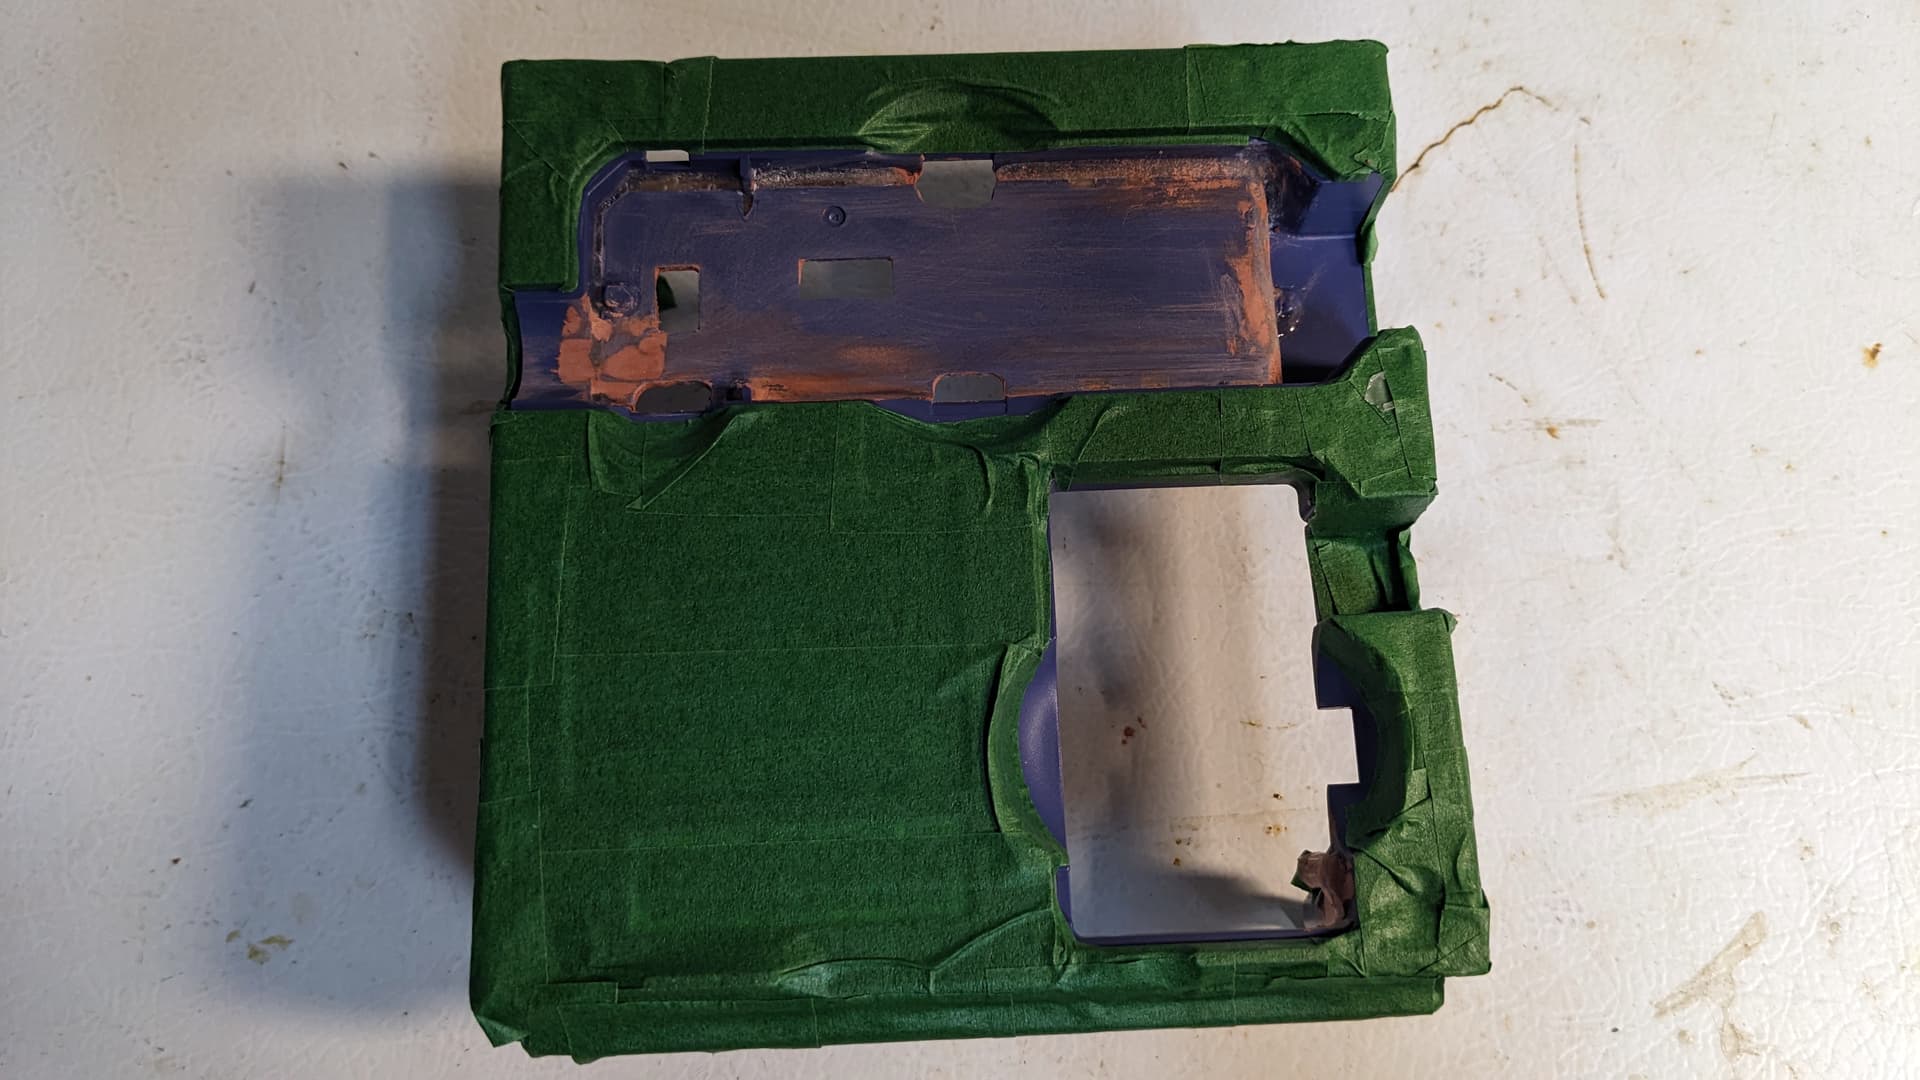
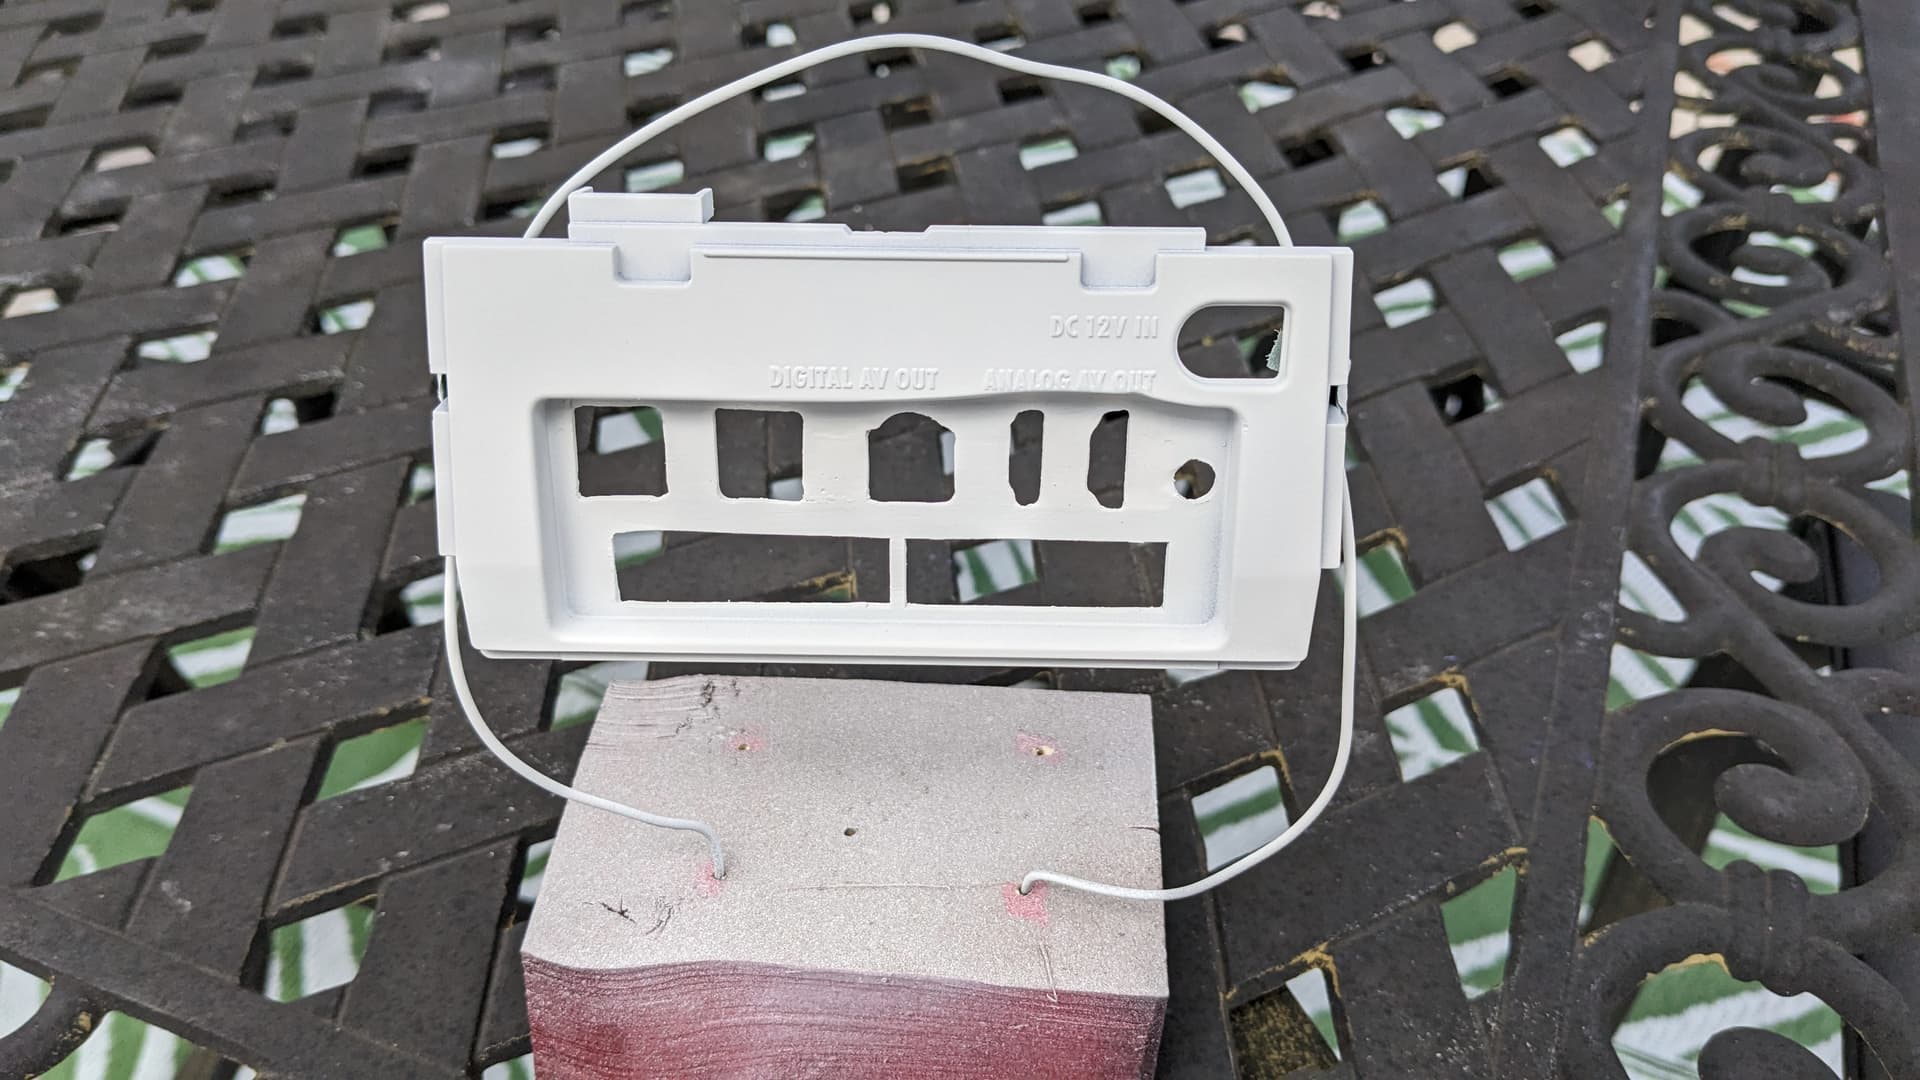
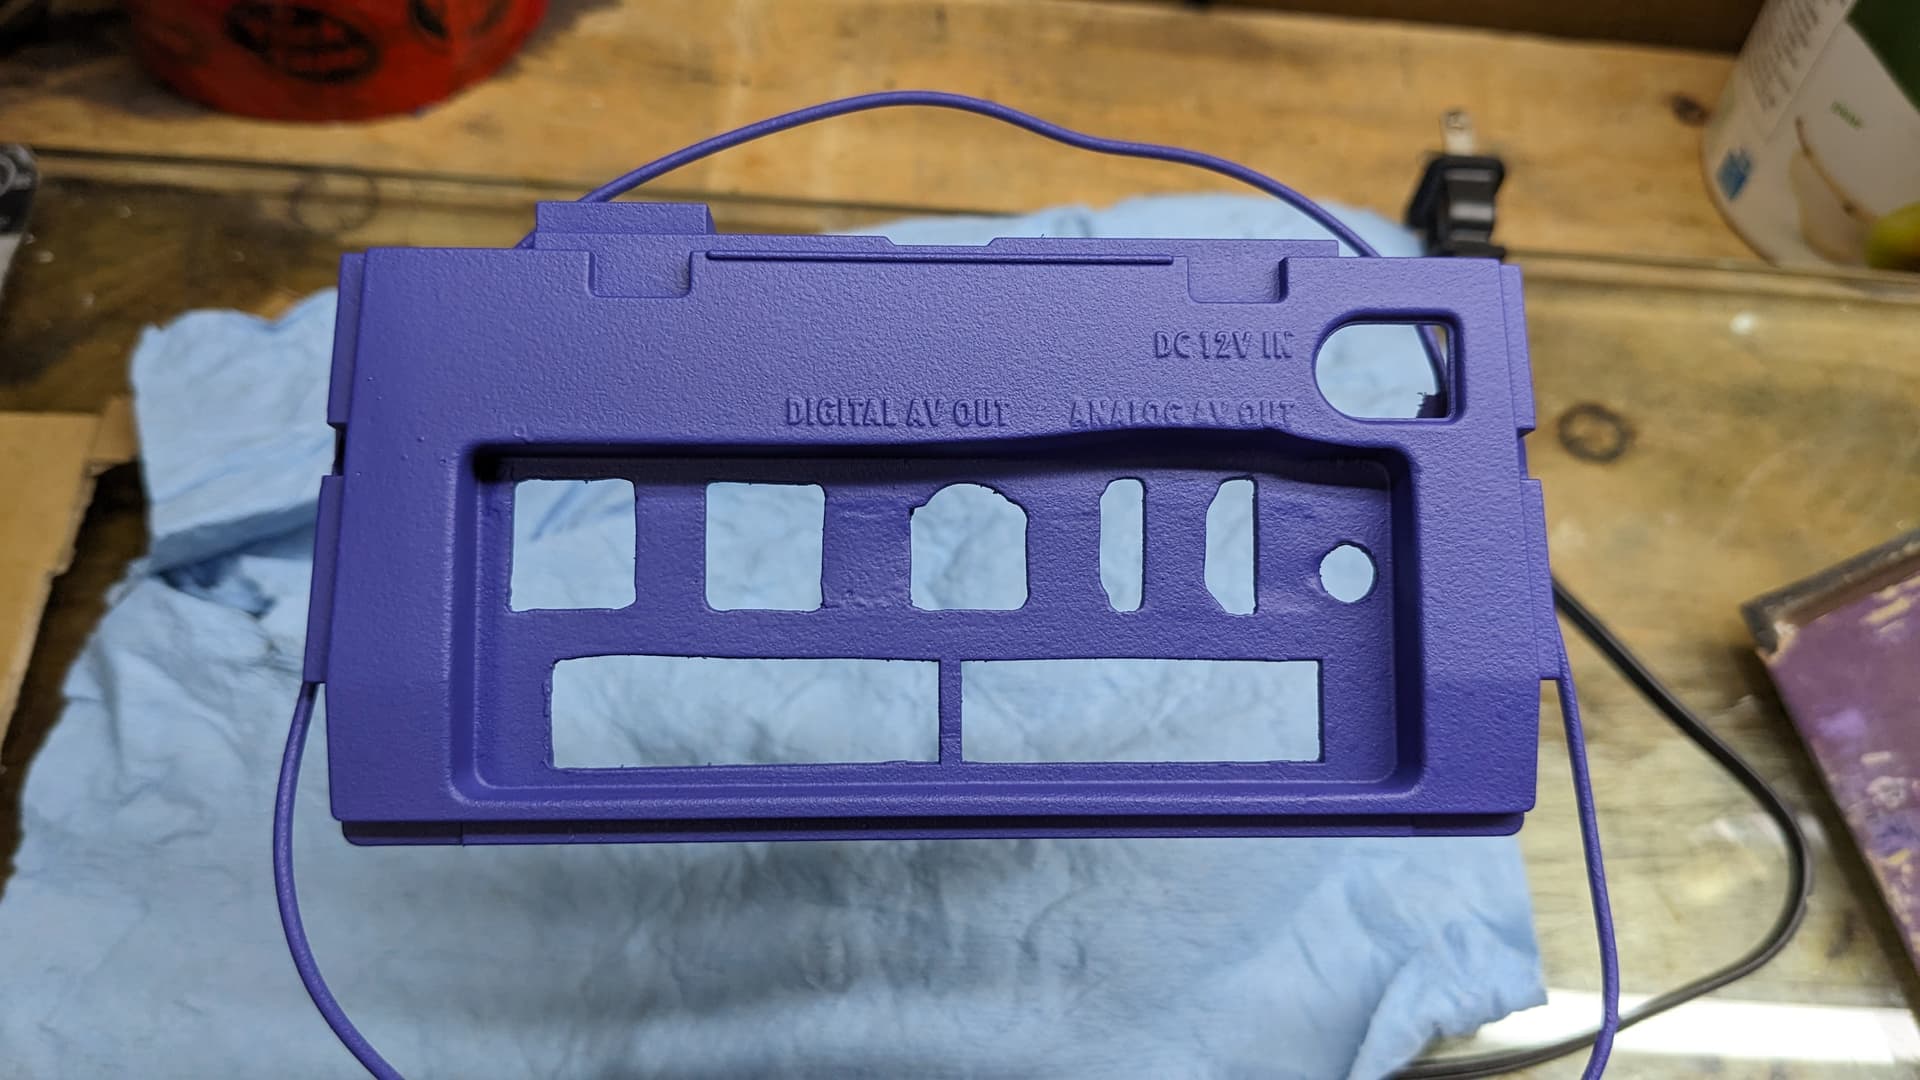
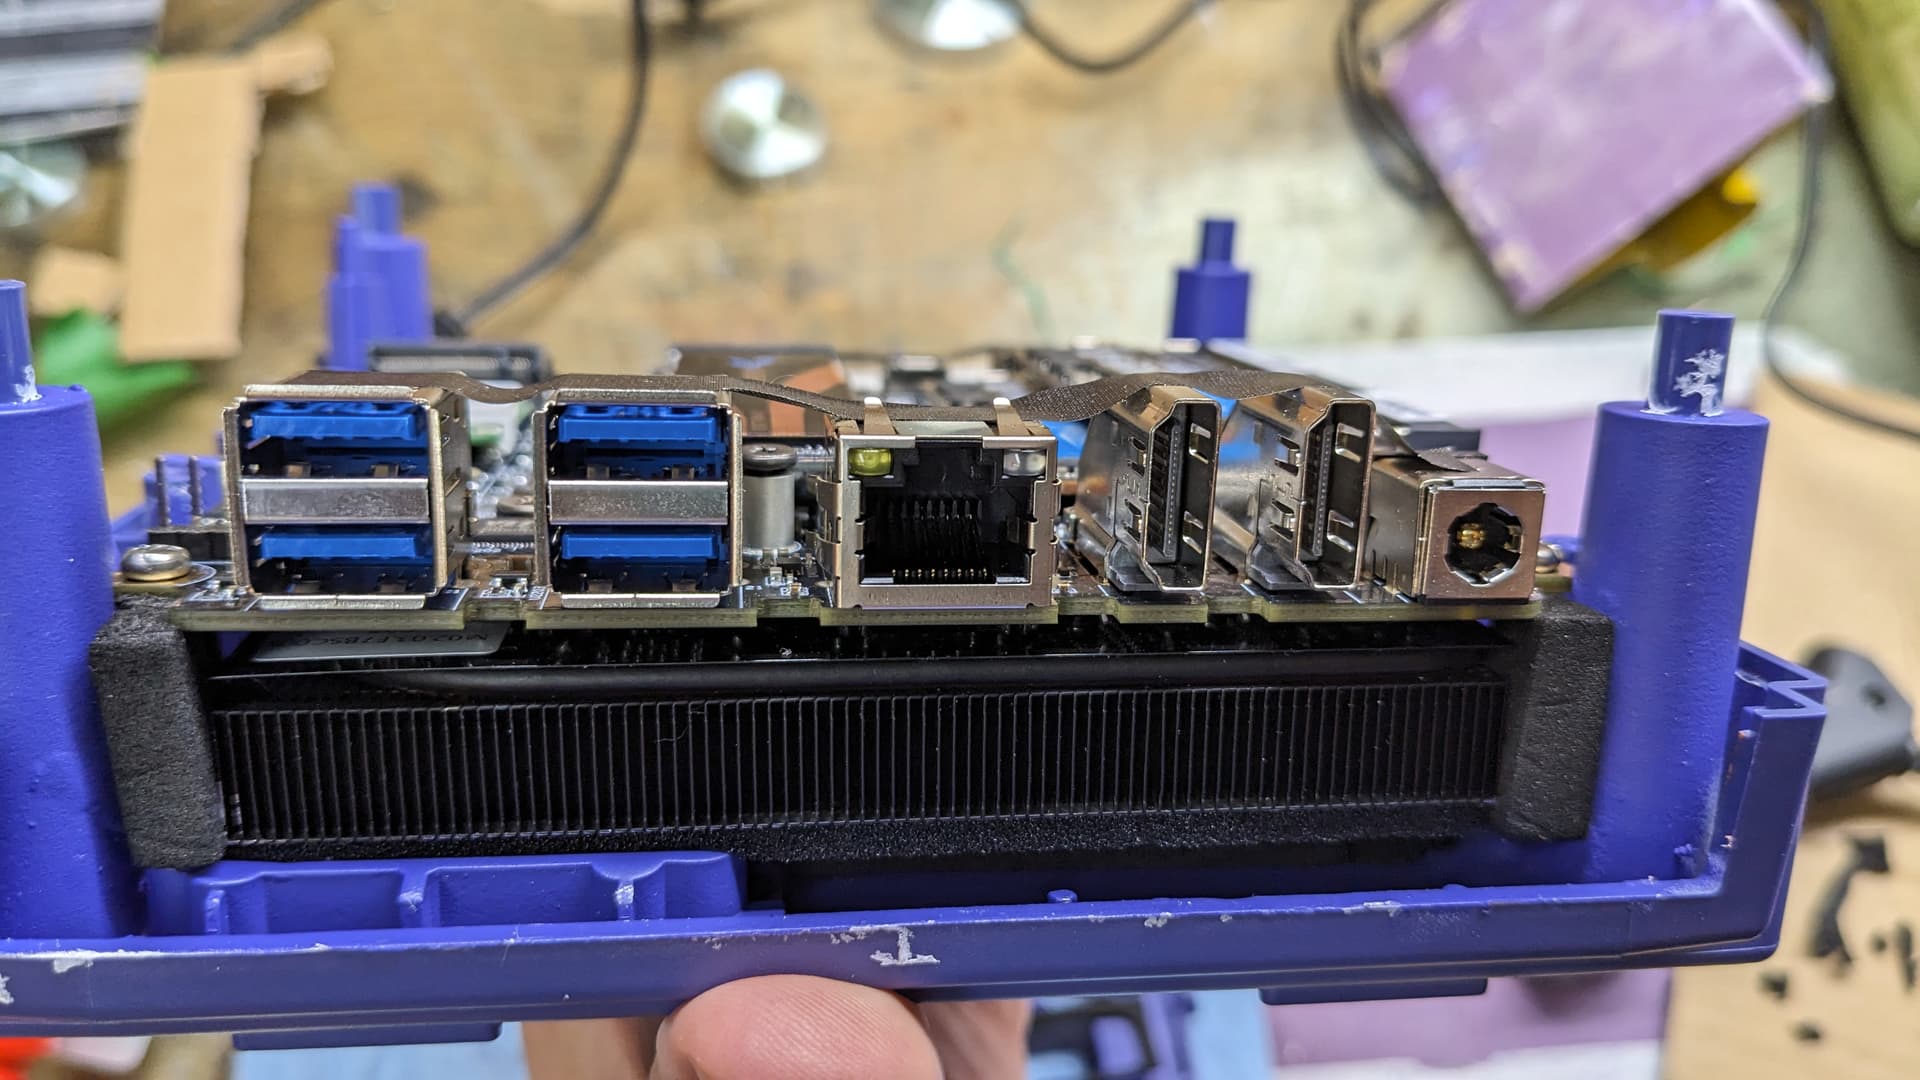
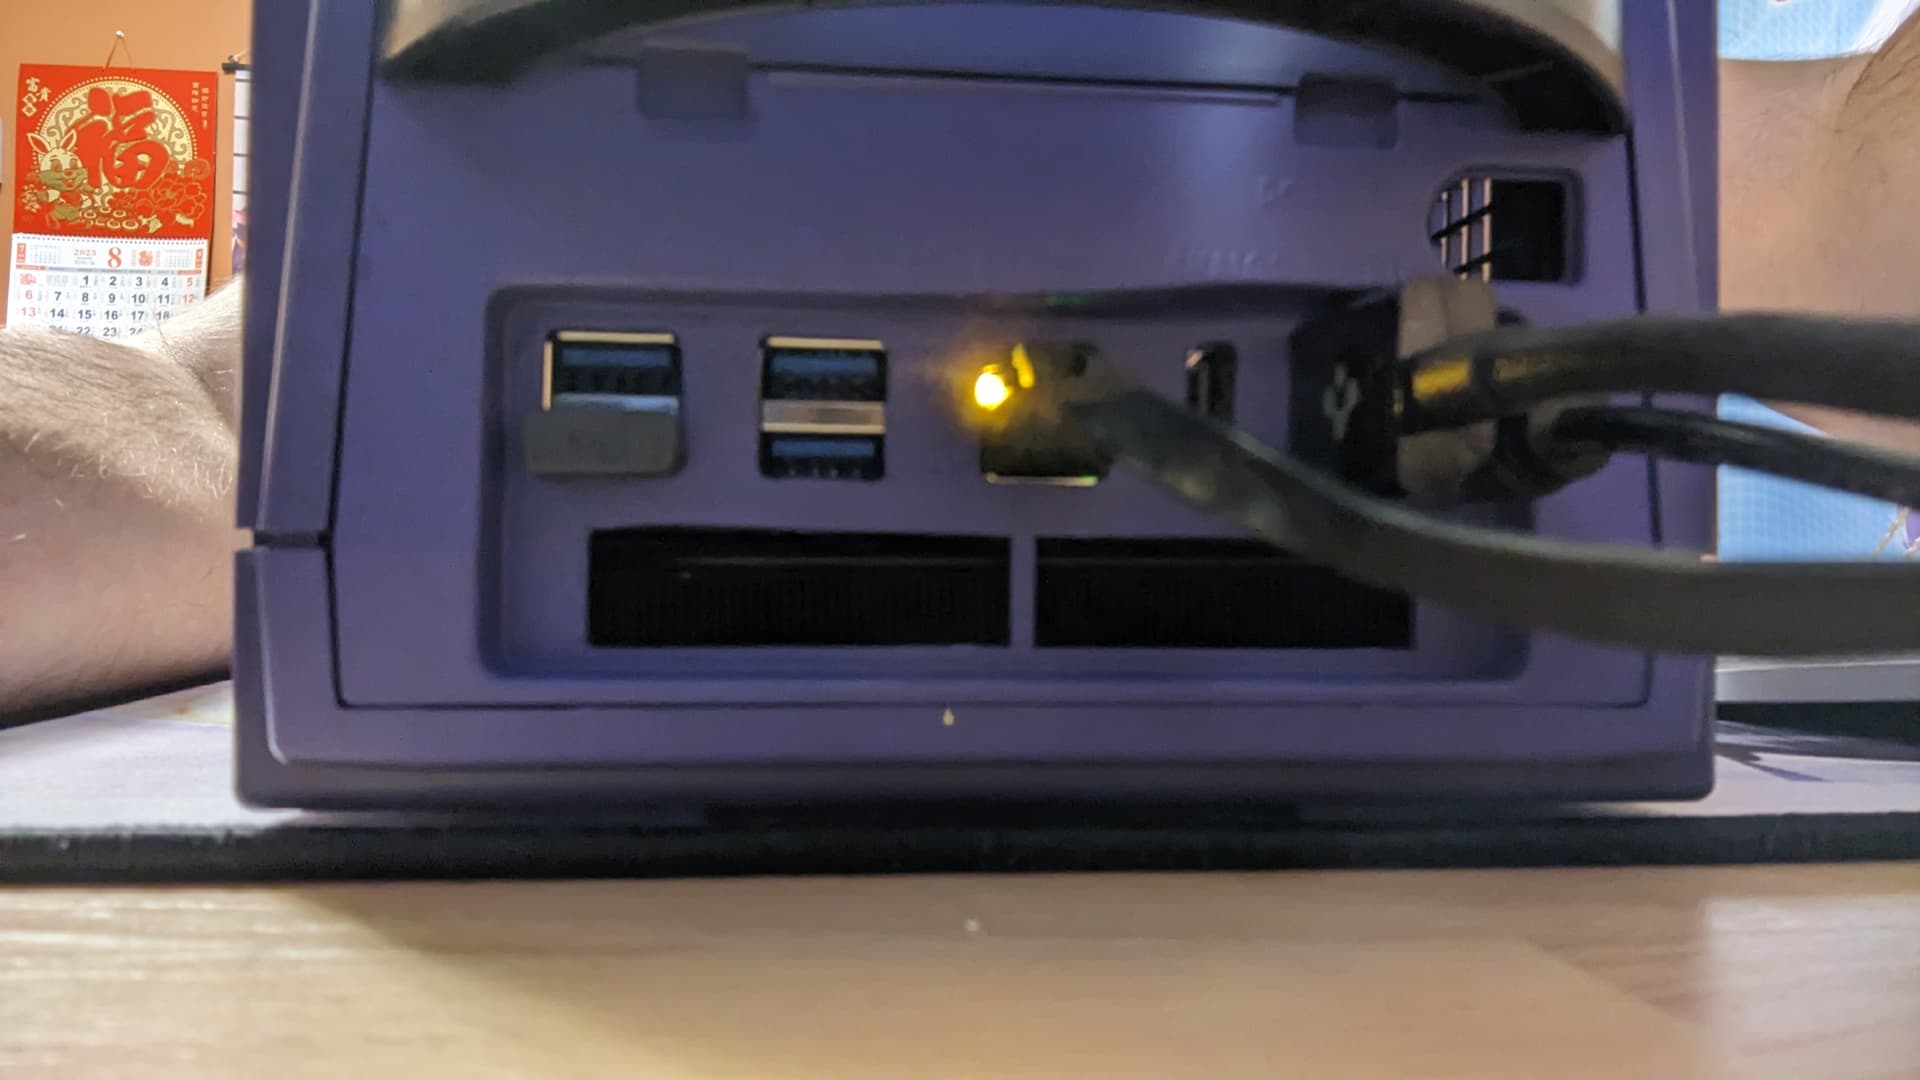
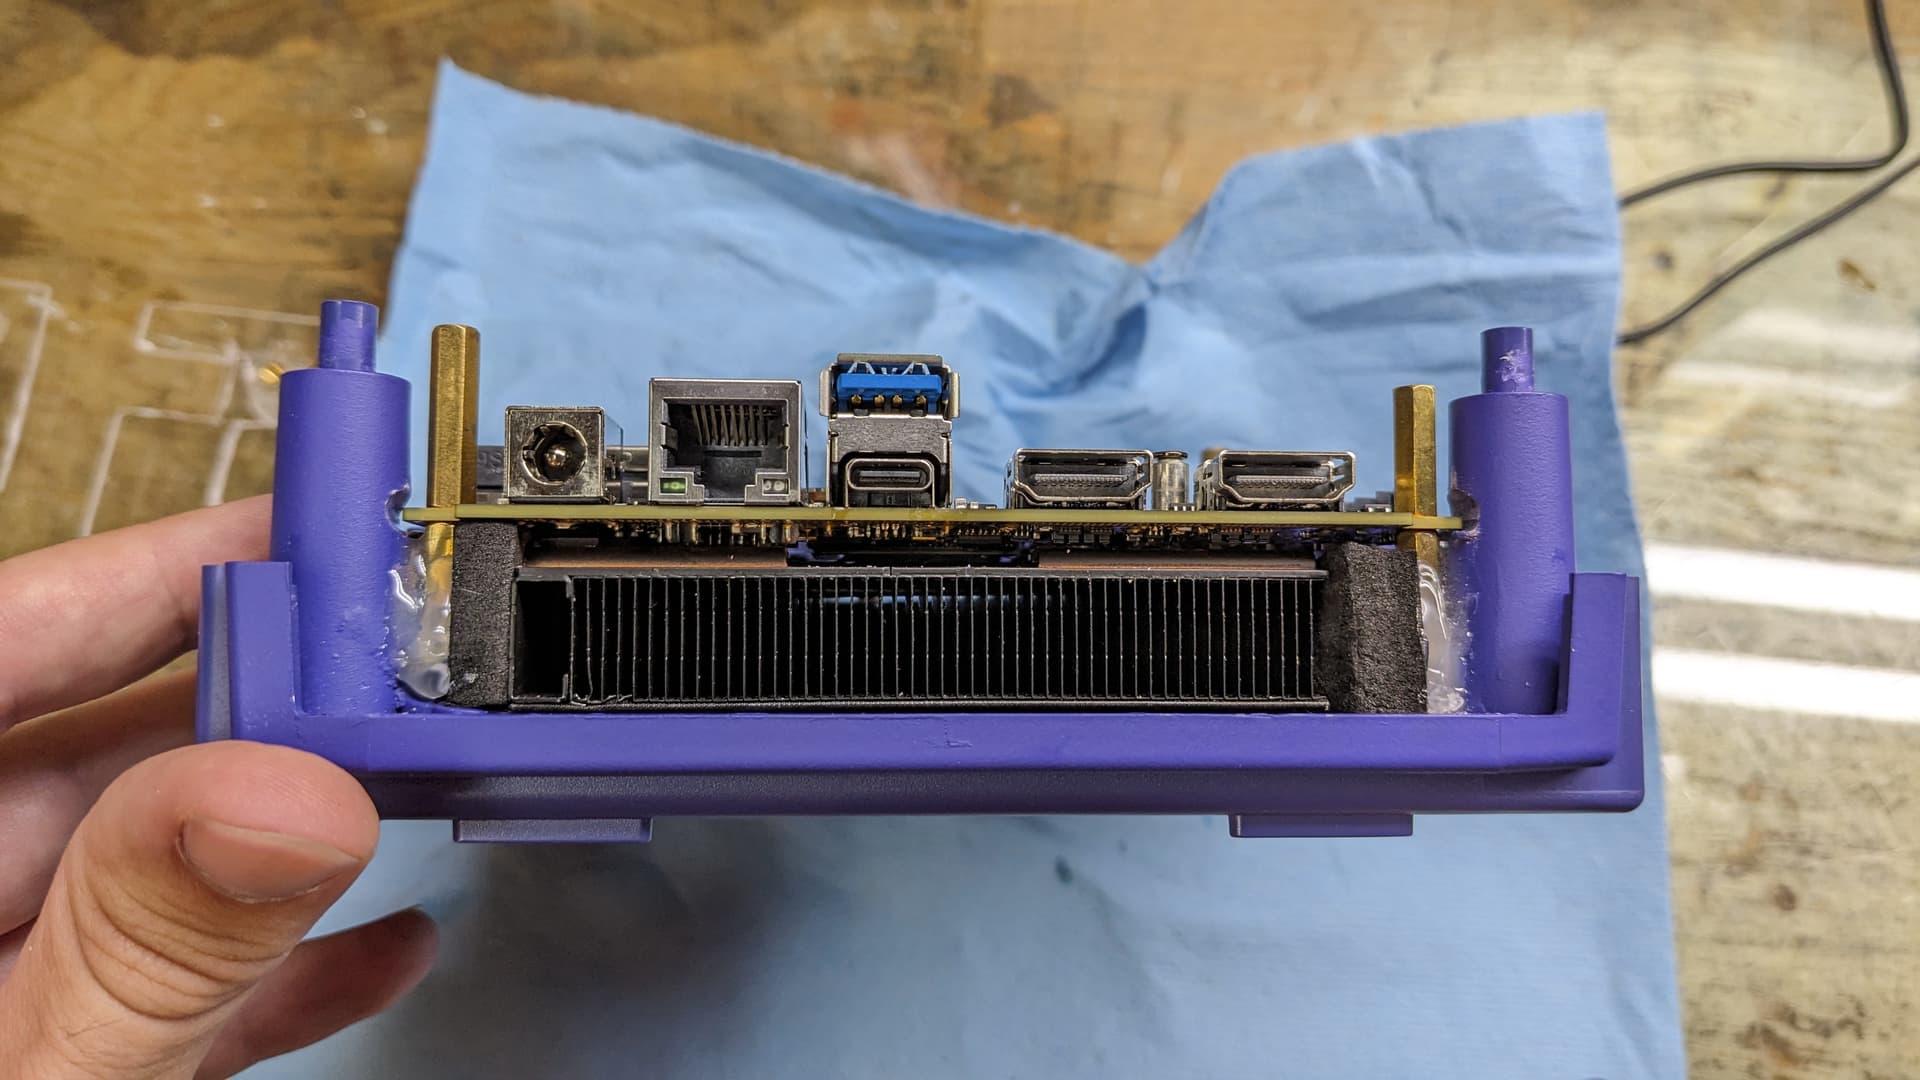
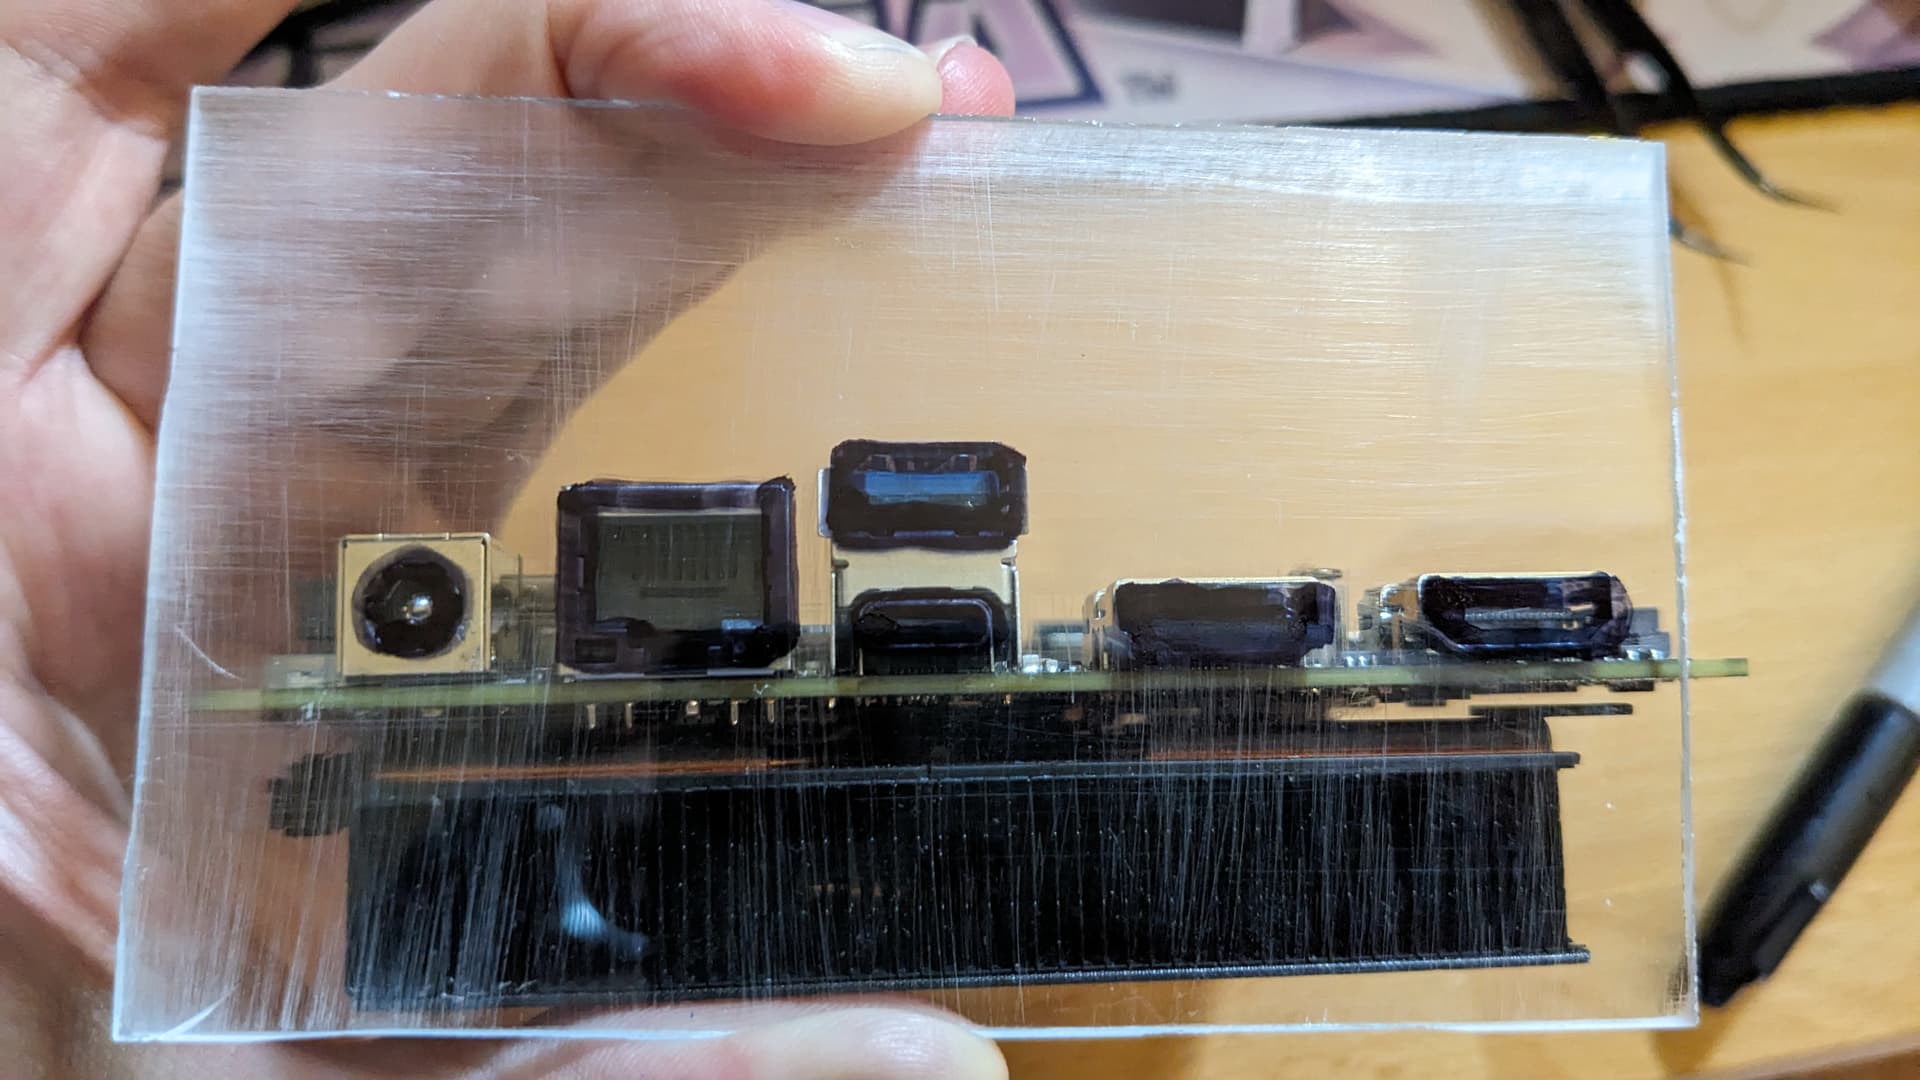
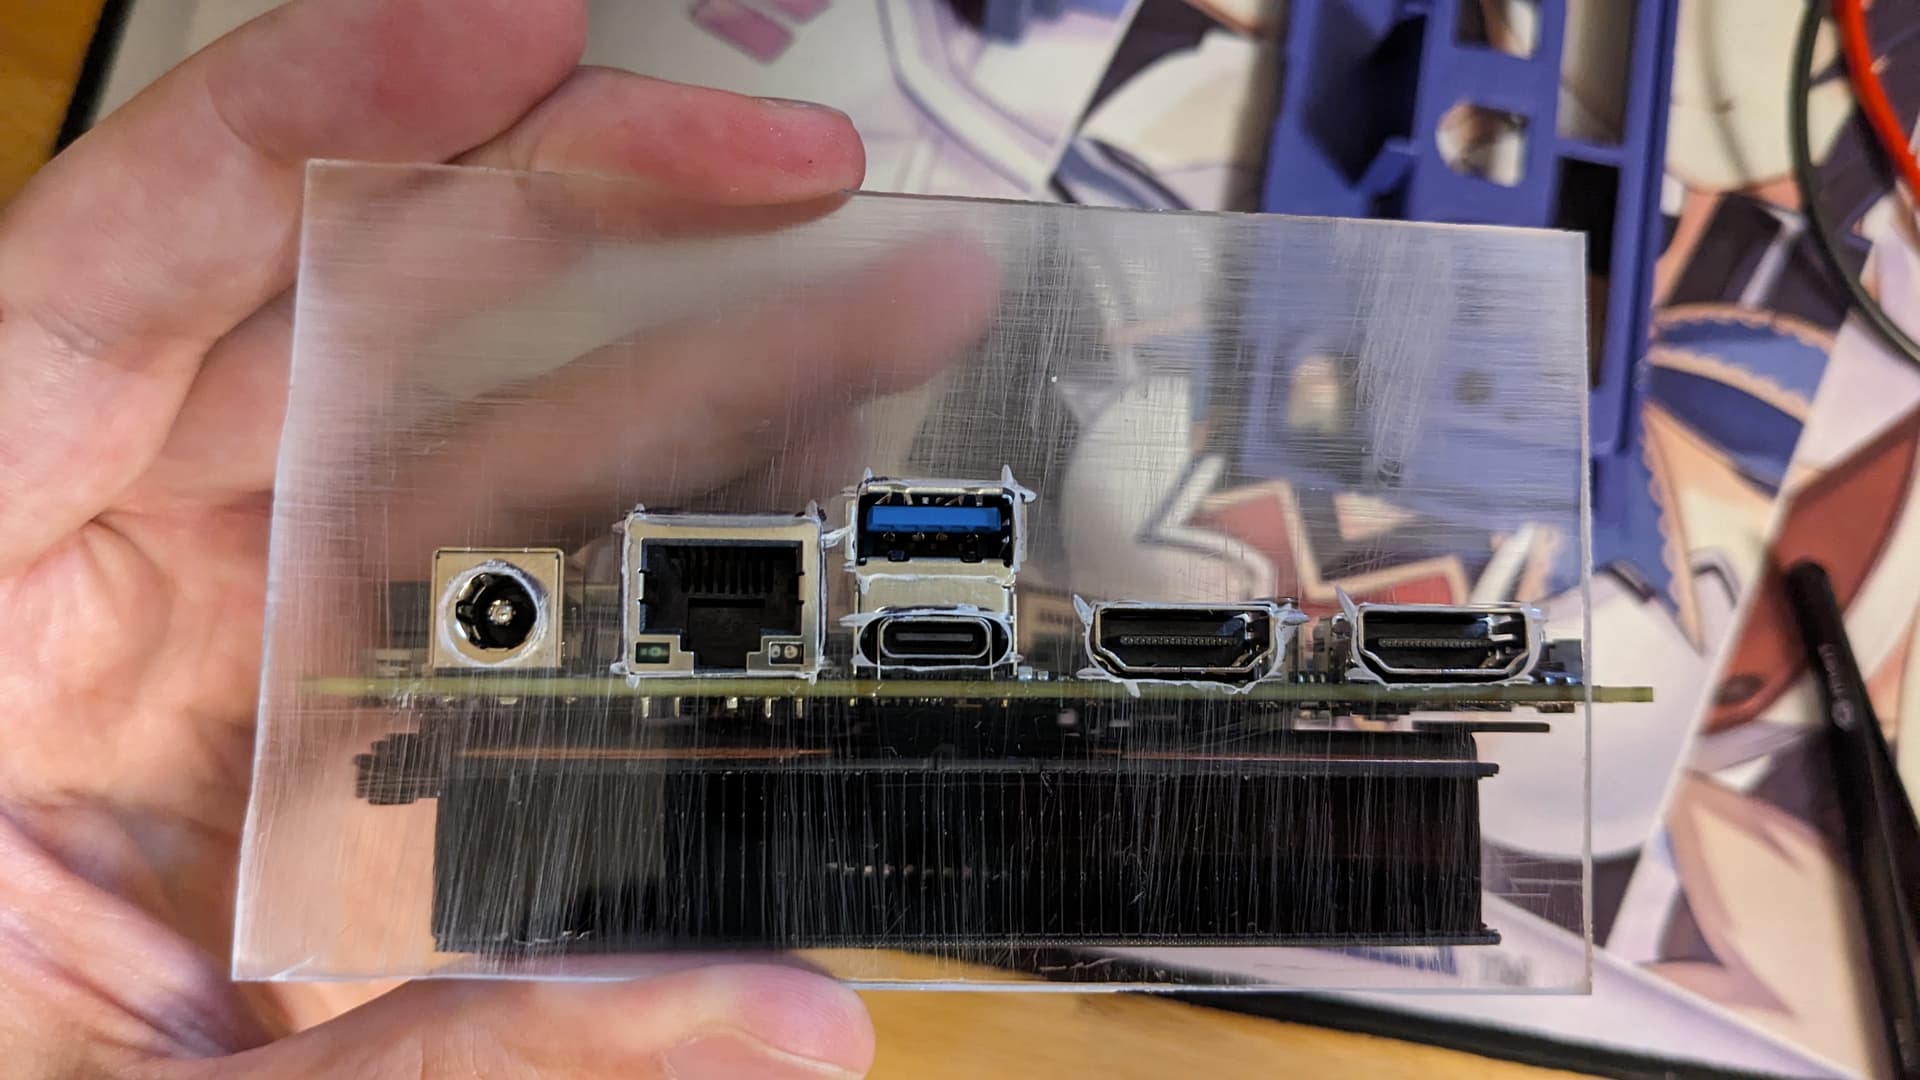
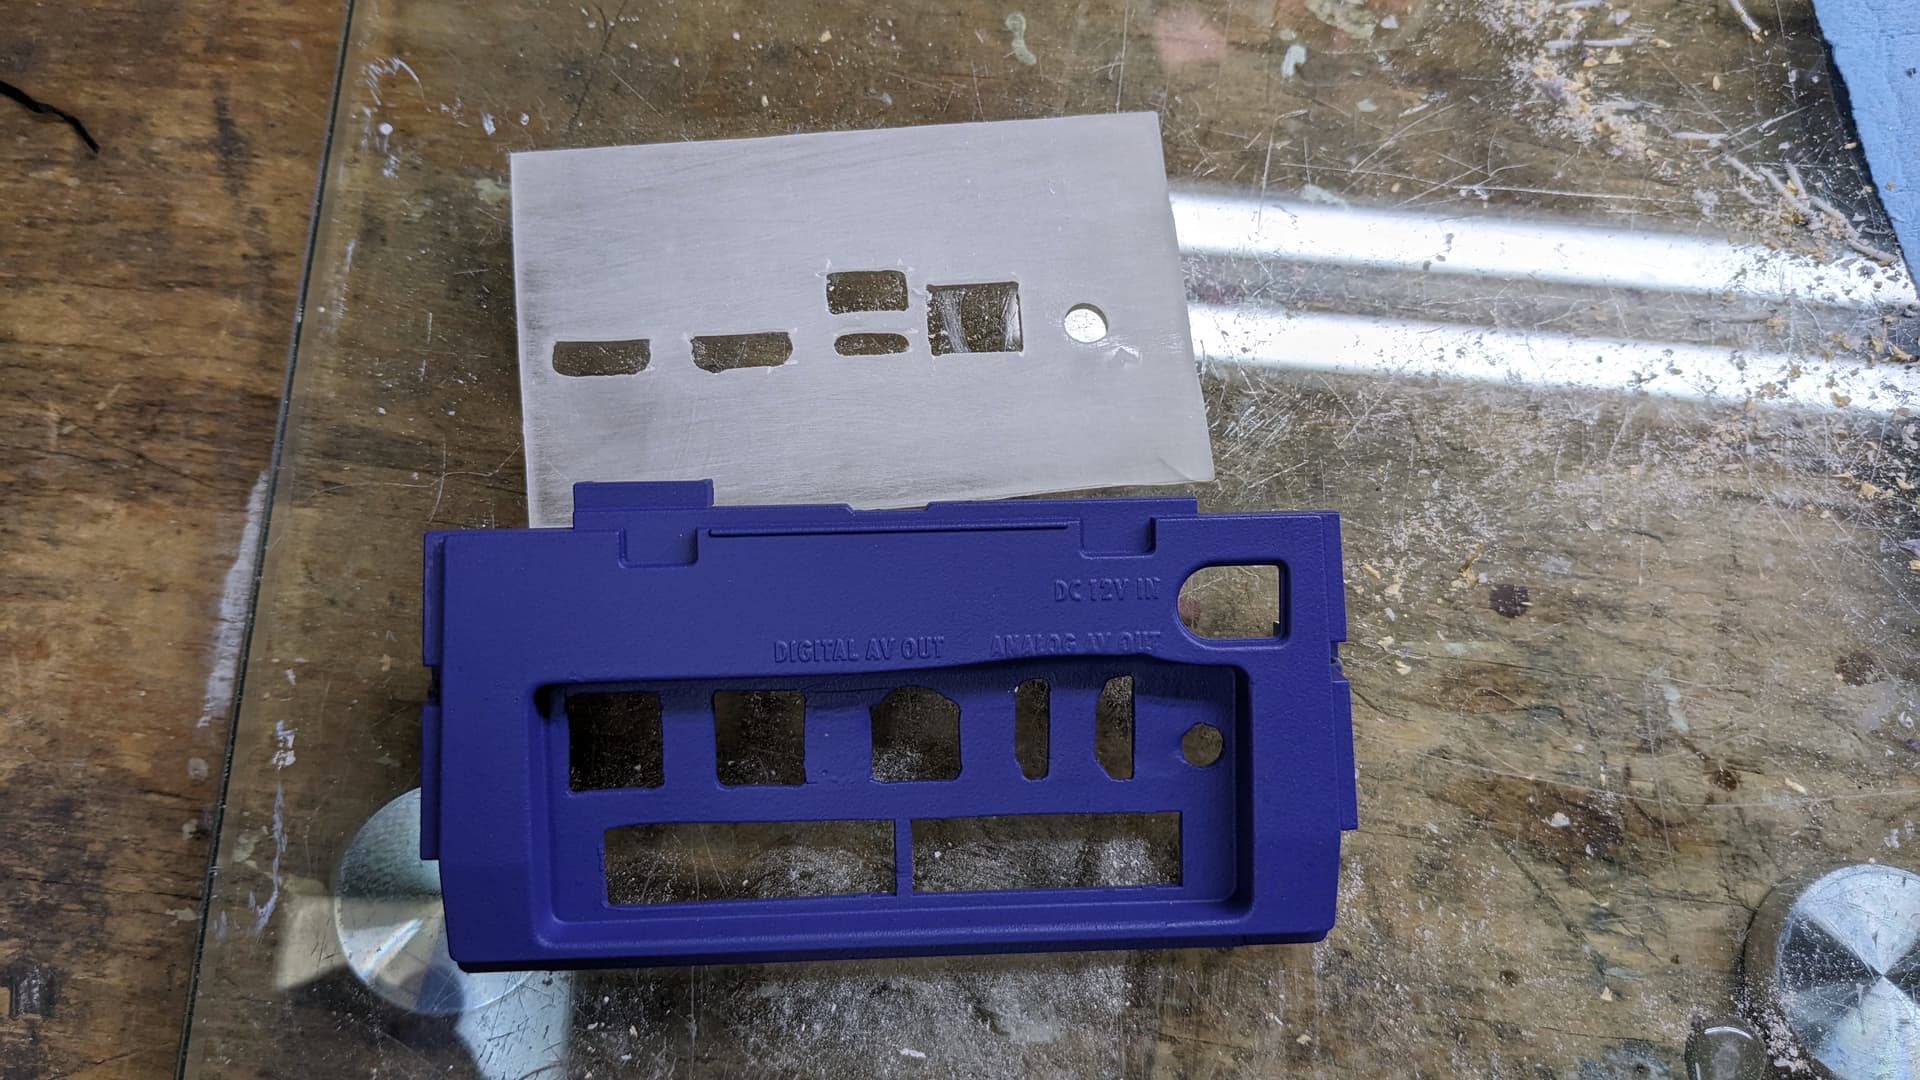
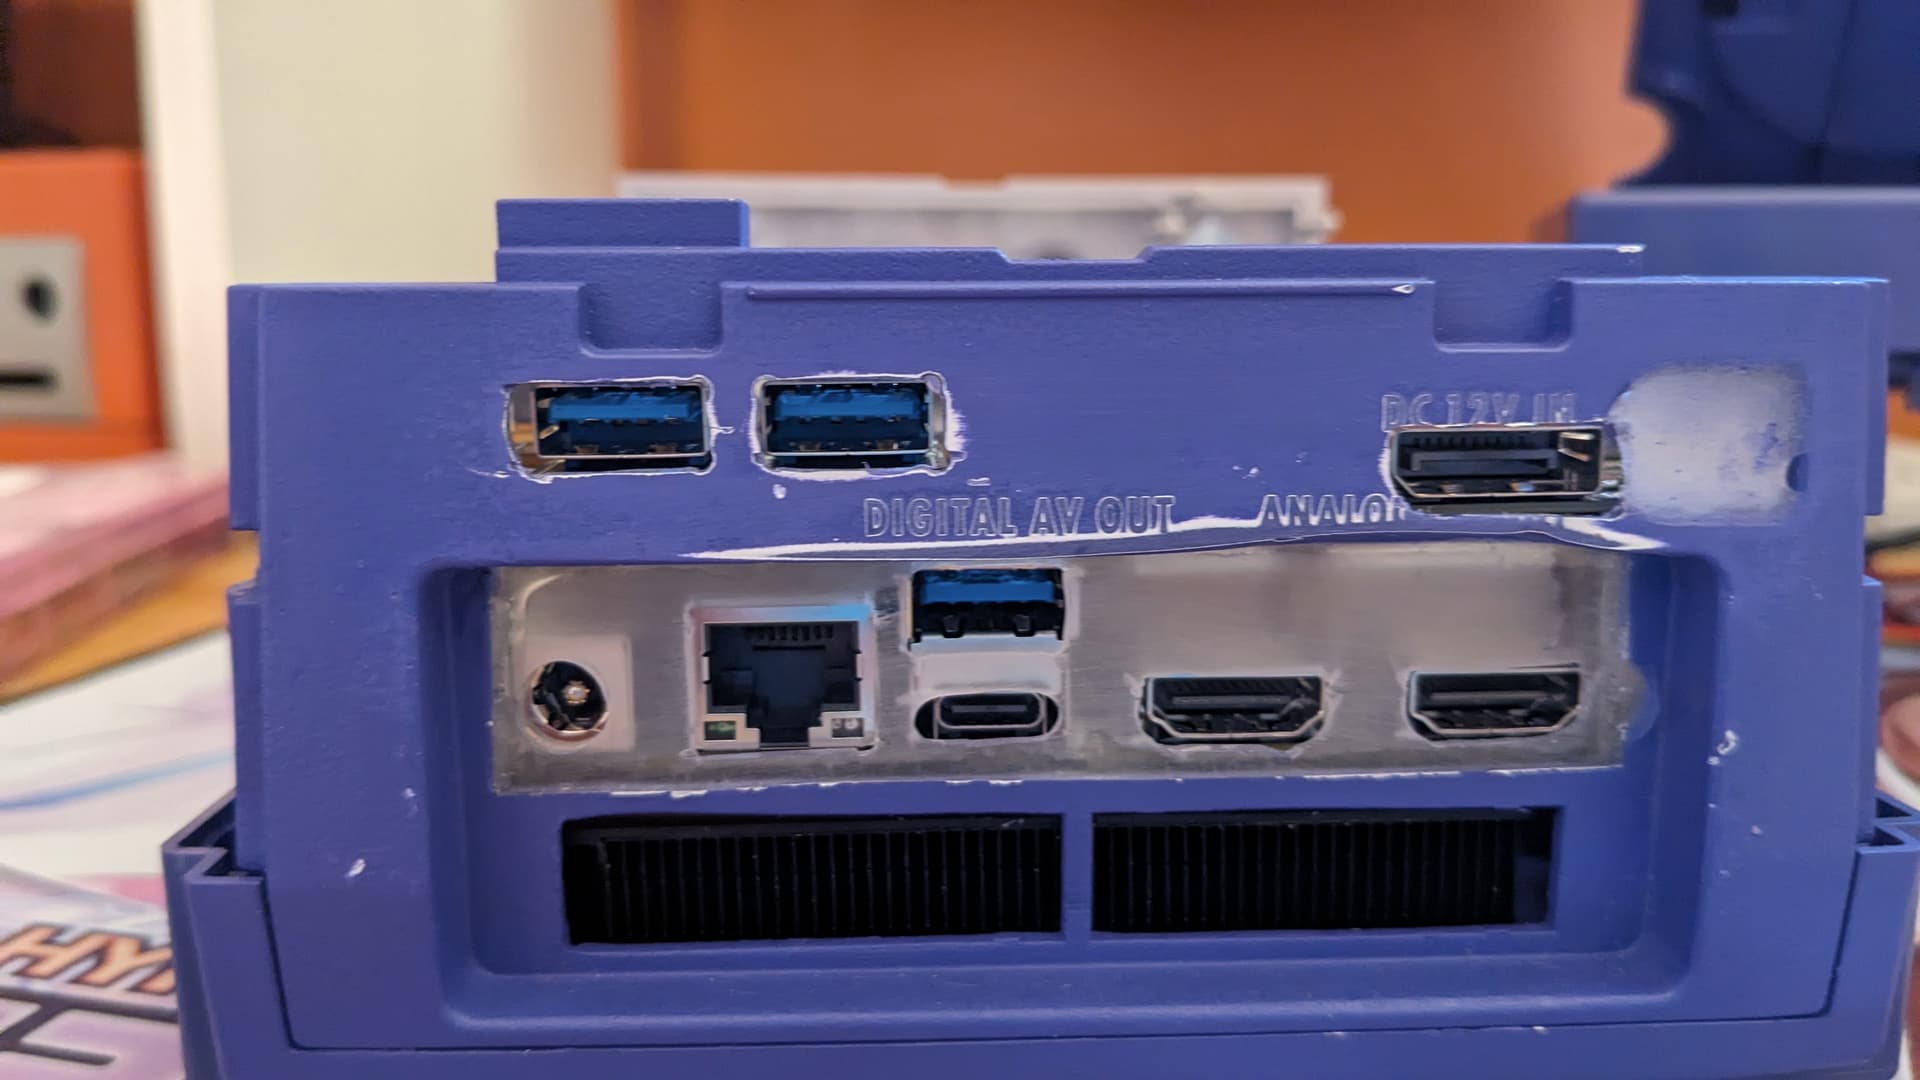
Then I did the new IO. This time, as there was already so much opening already done in the back piece, I just used an acrylic sheet in which I created the new IO openings, then opened up the back piece to slot the said acrylic pieces. So much measurement and eyes measurement to make sure everything was aligned.


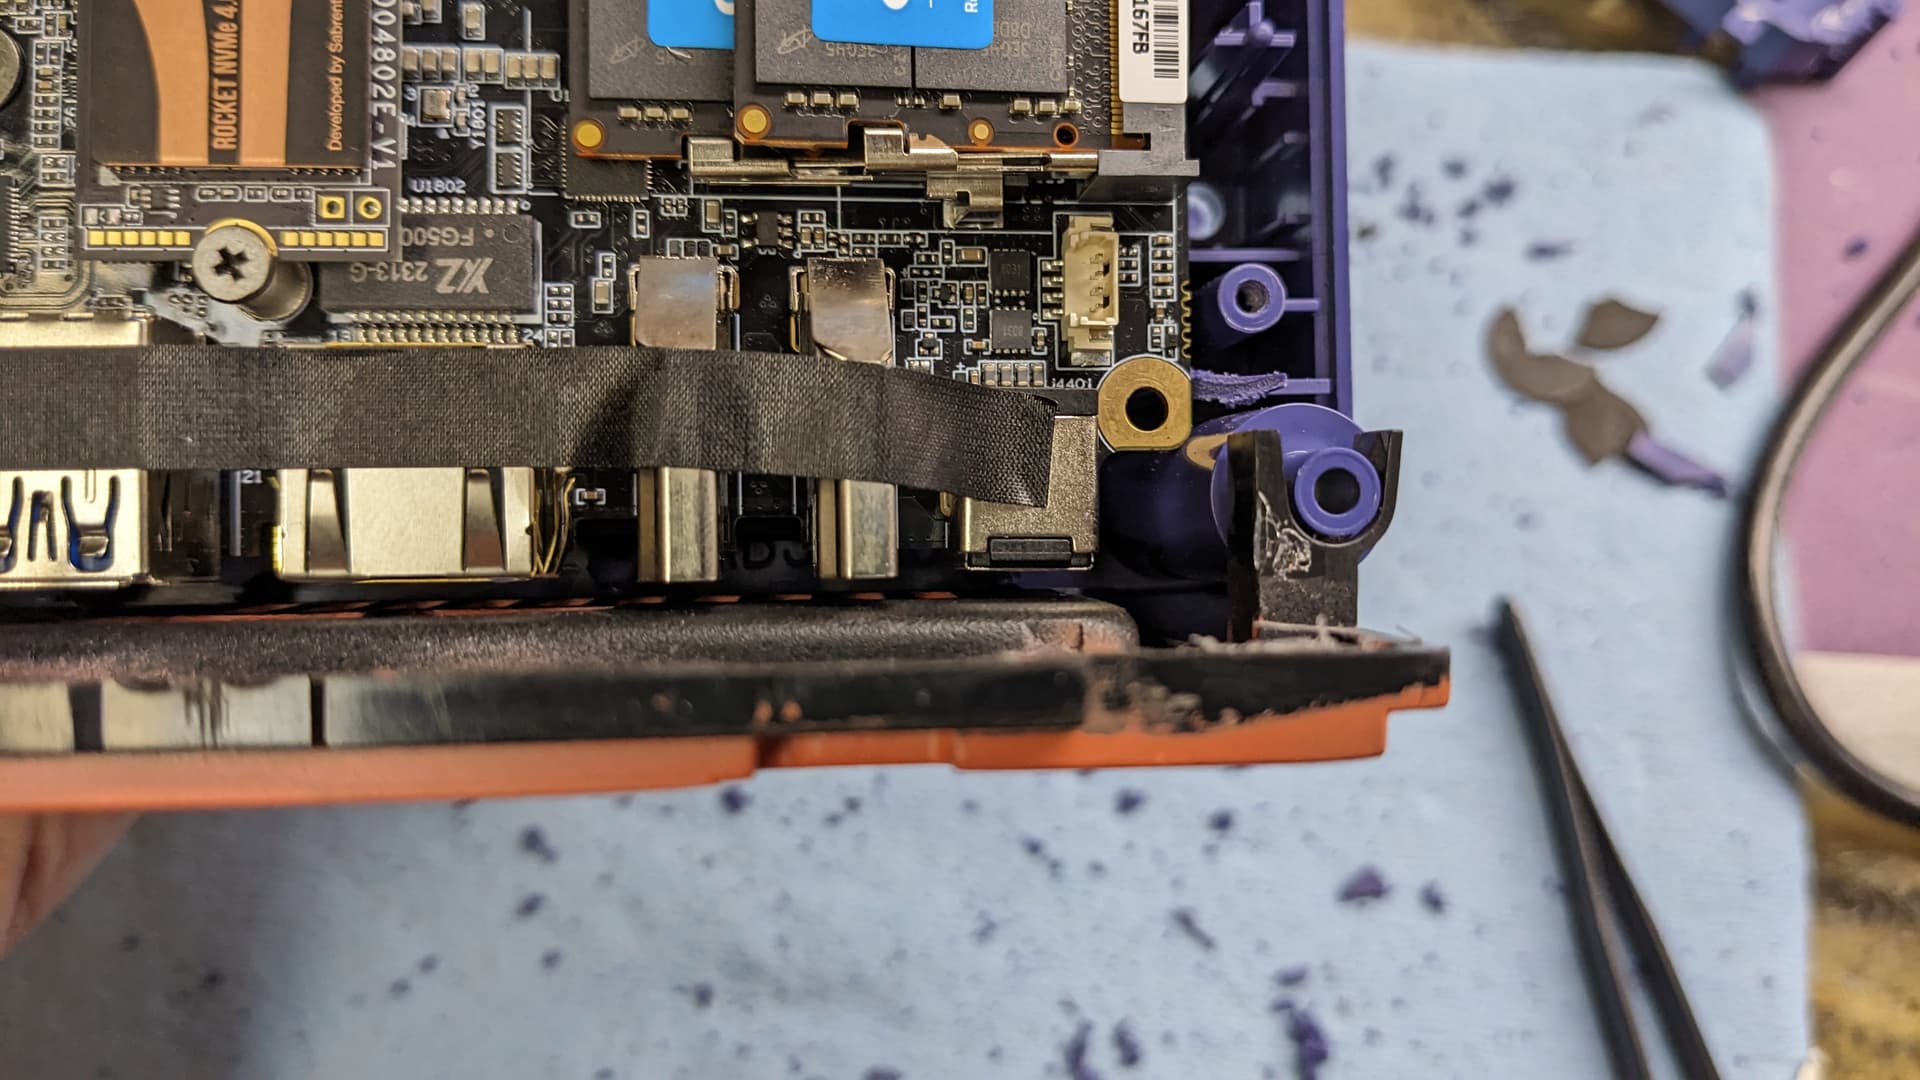
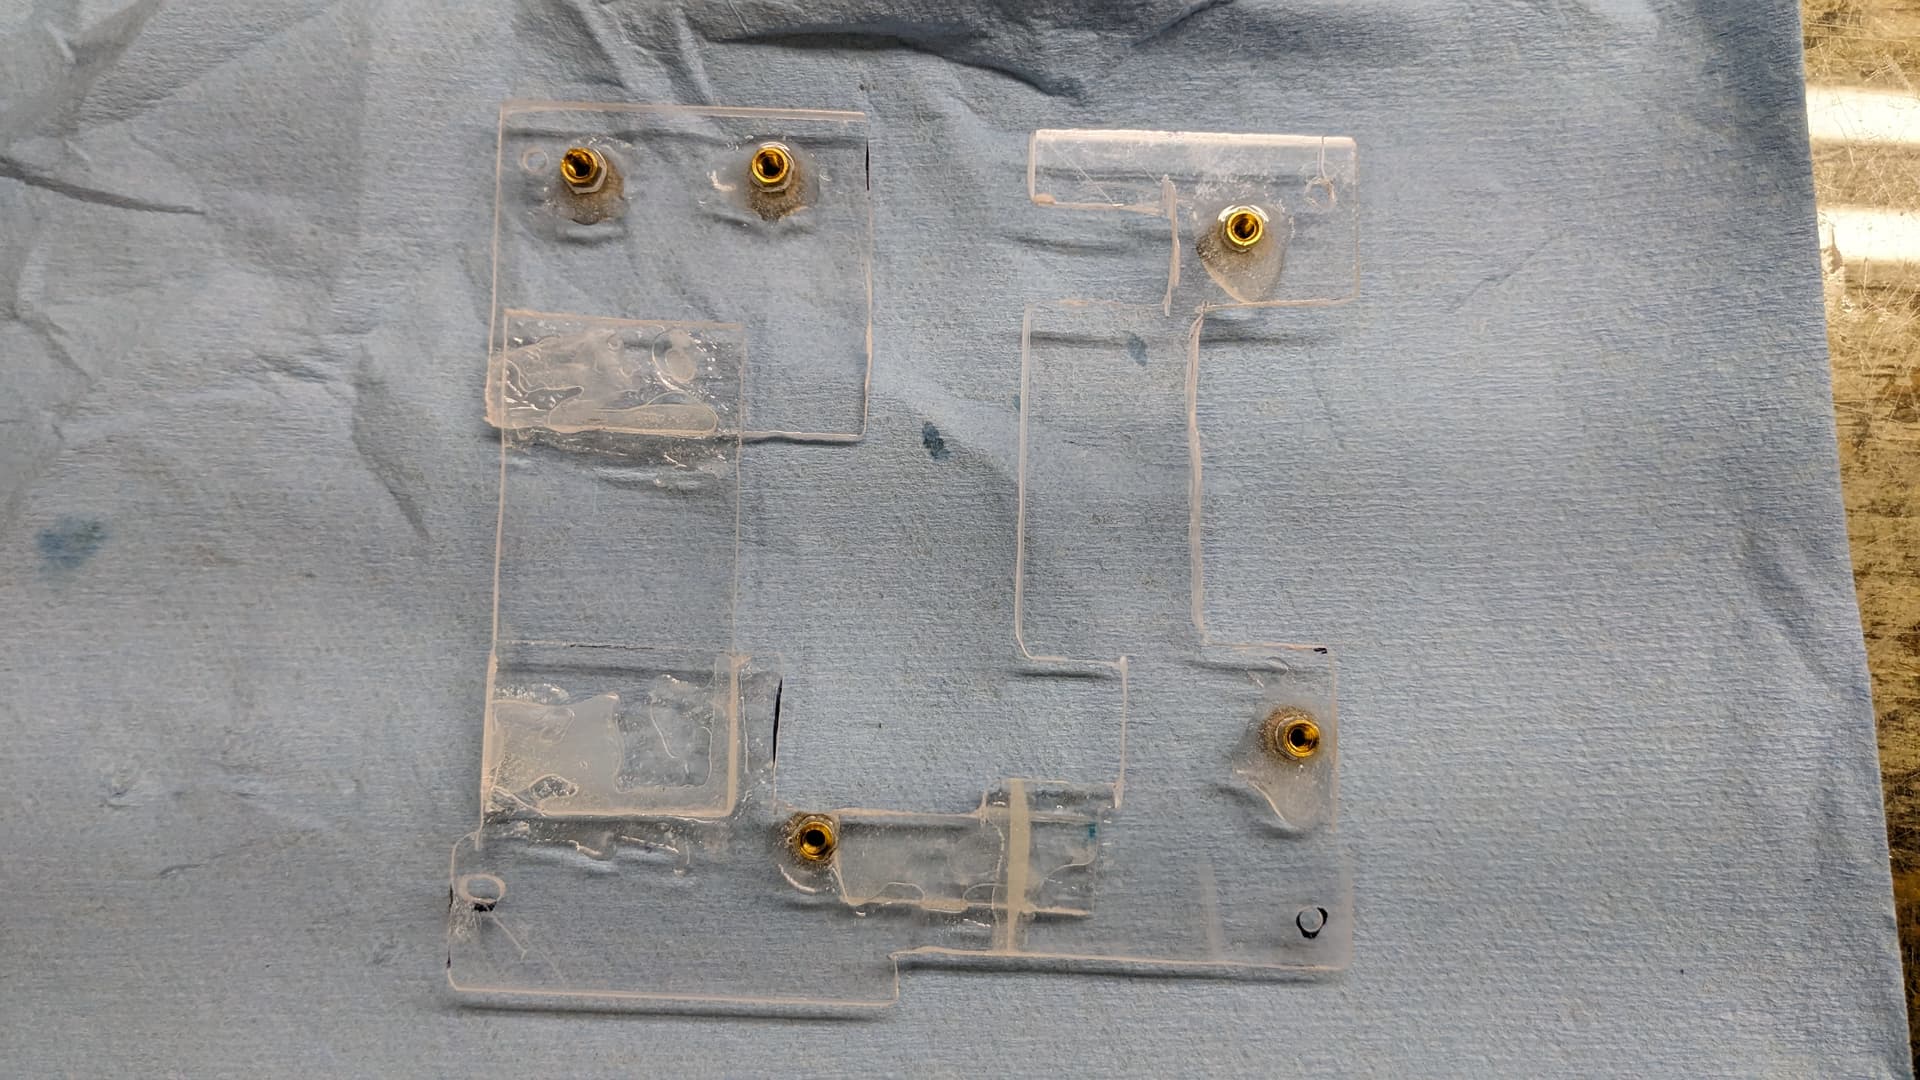
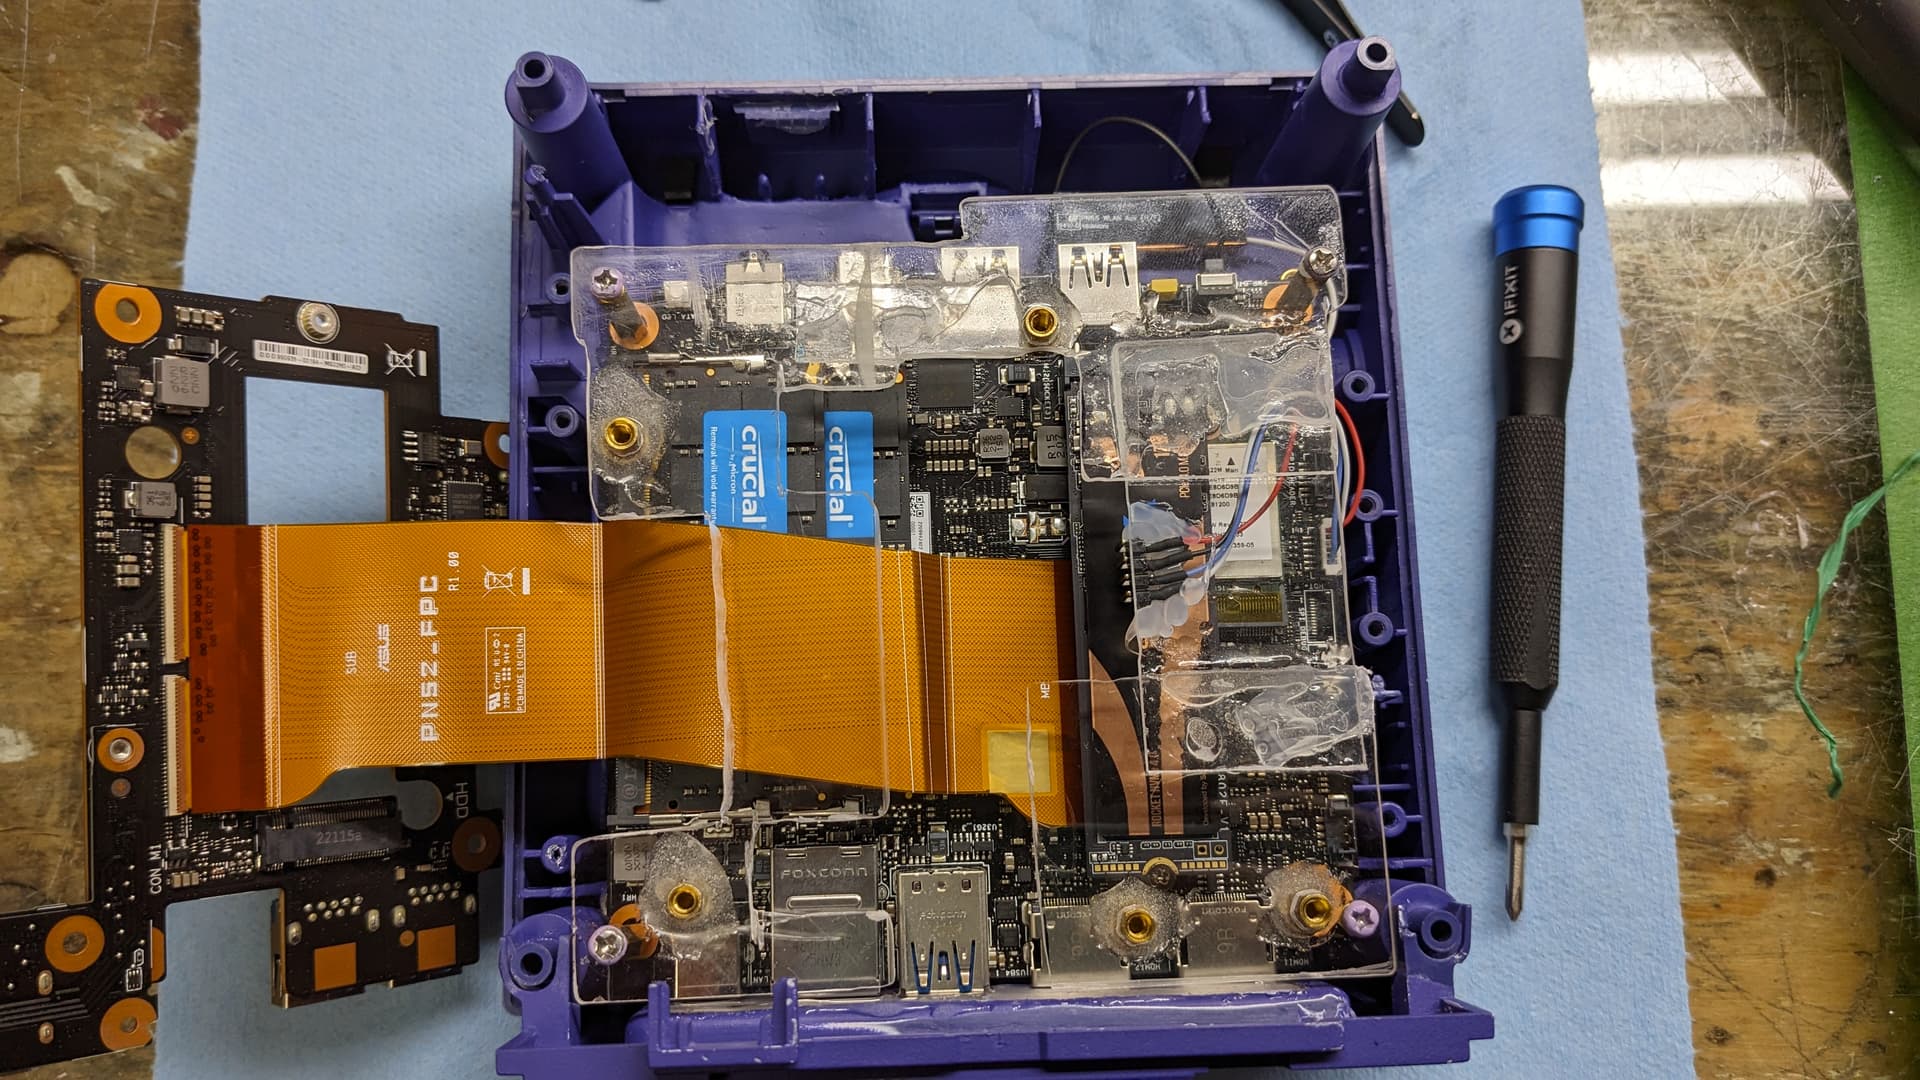
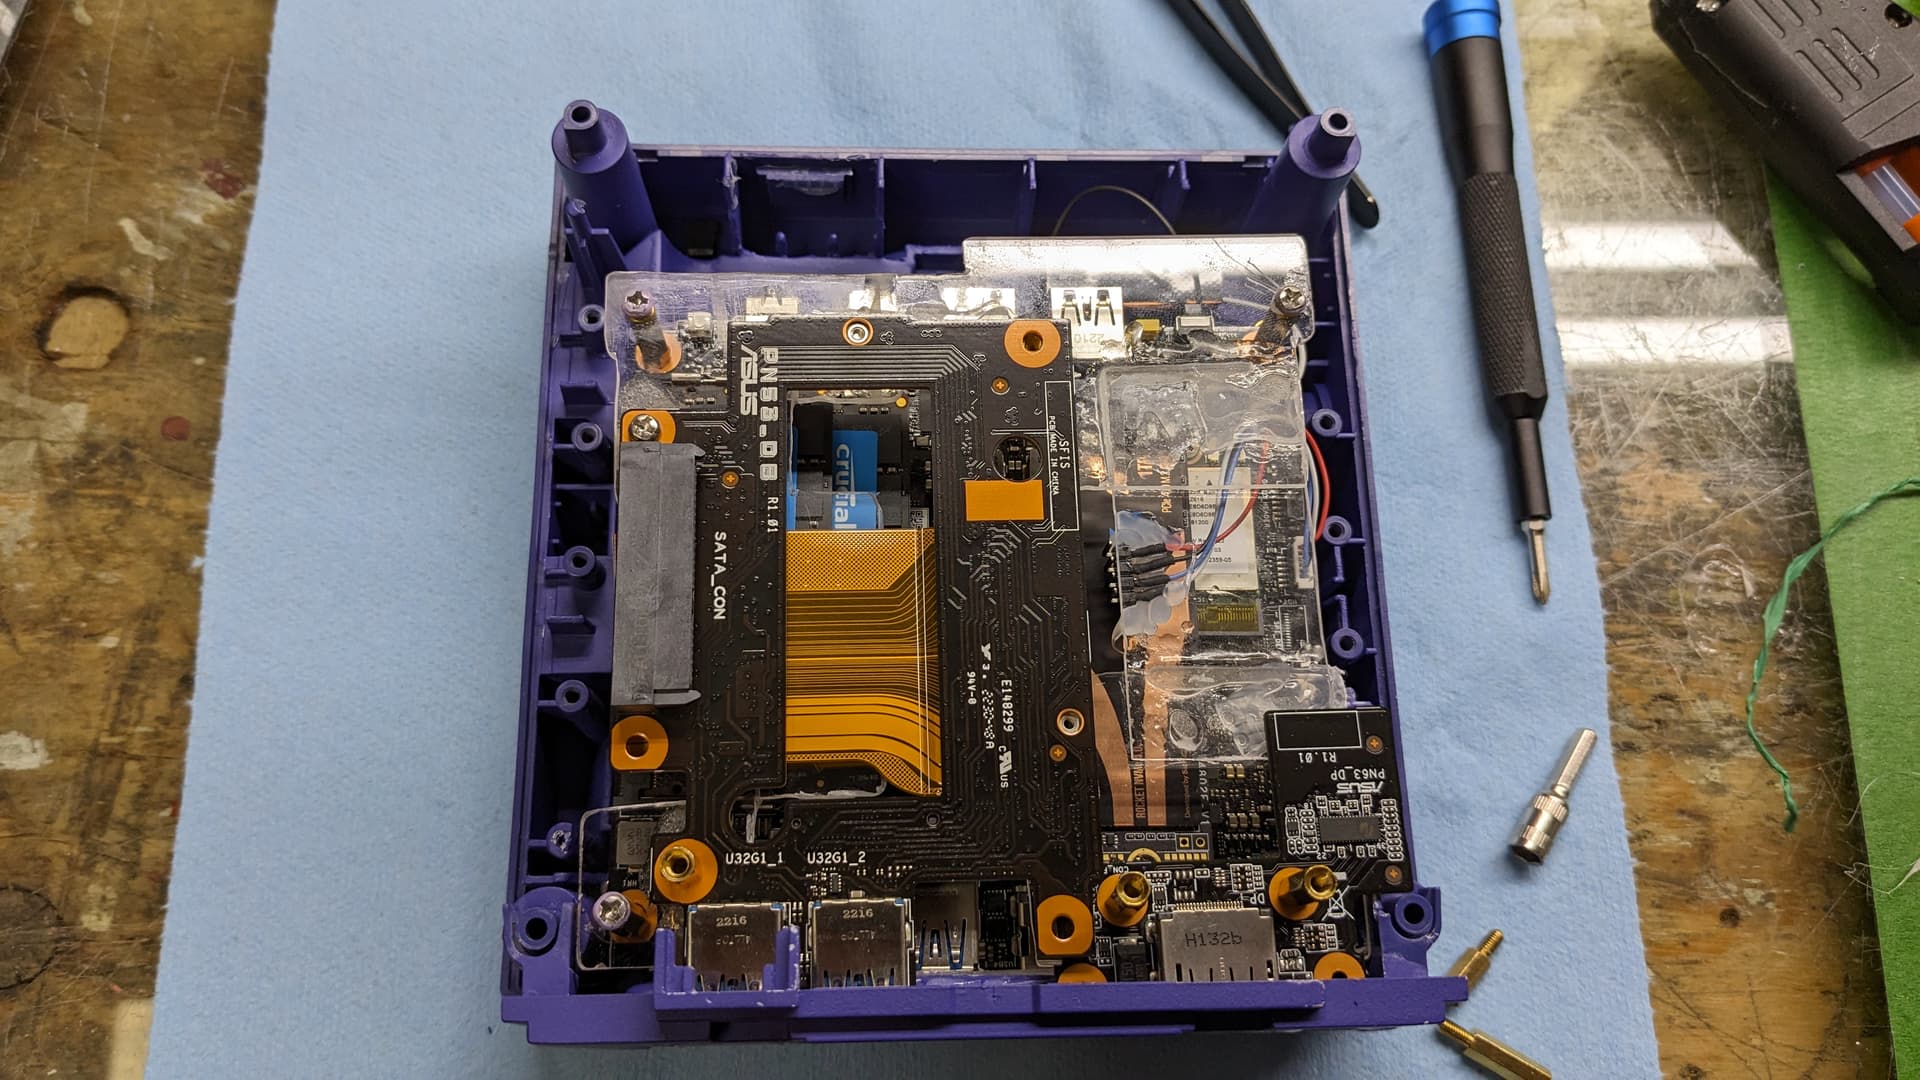
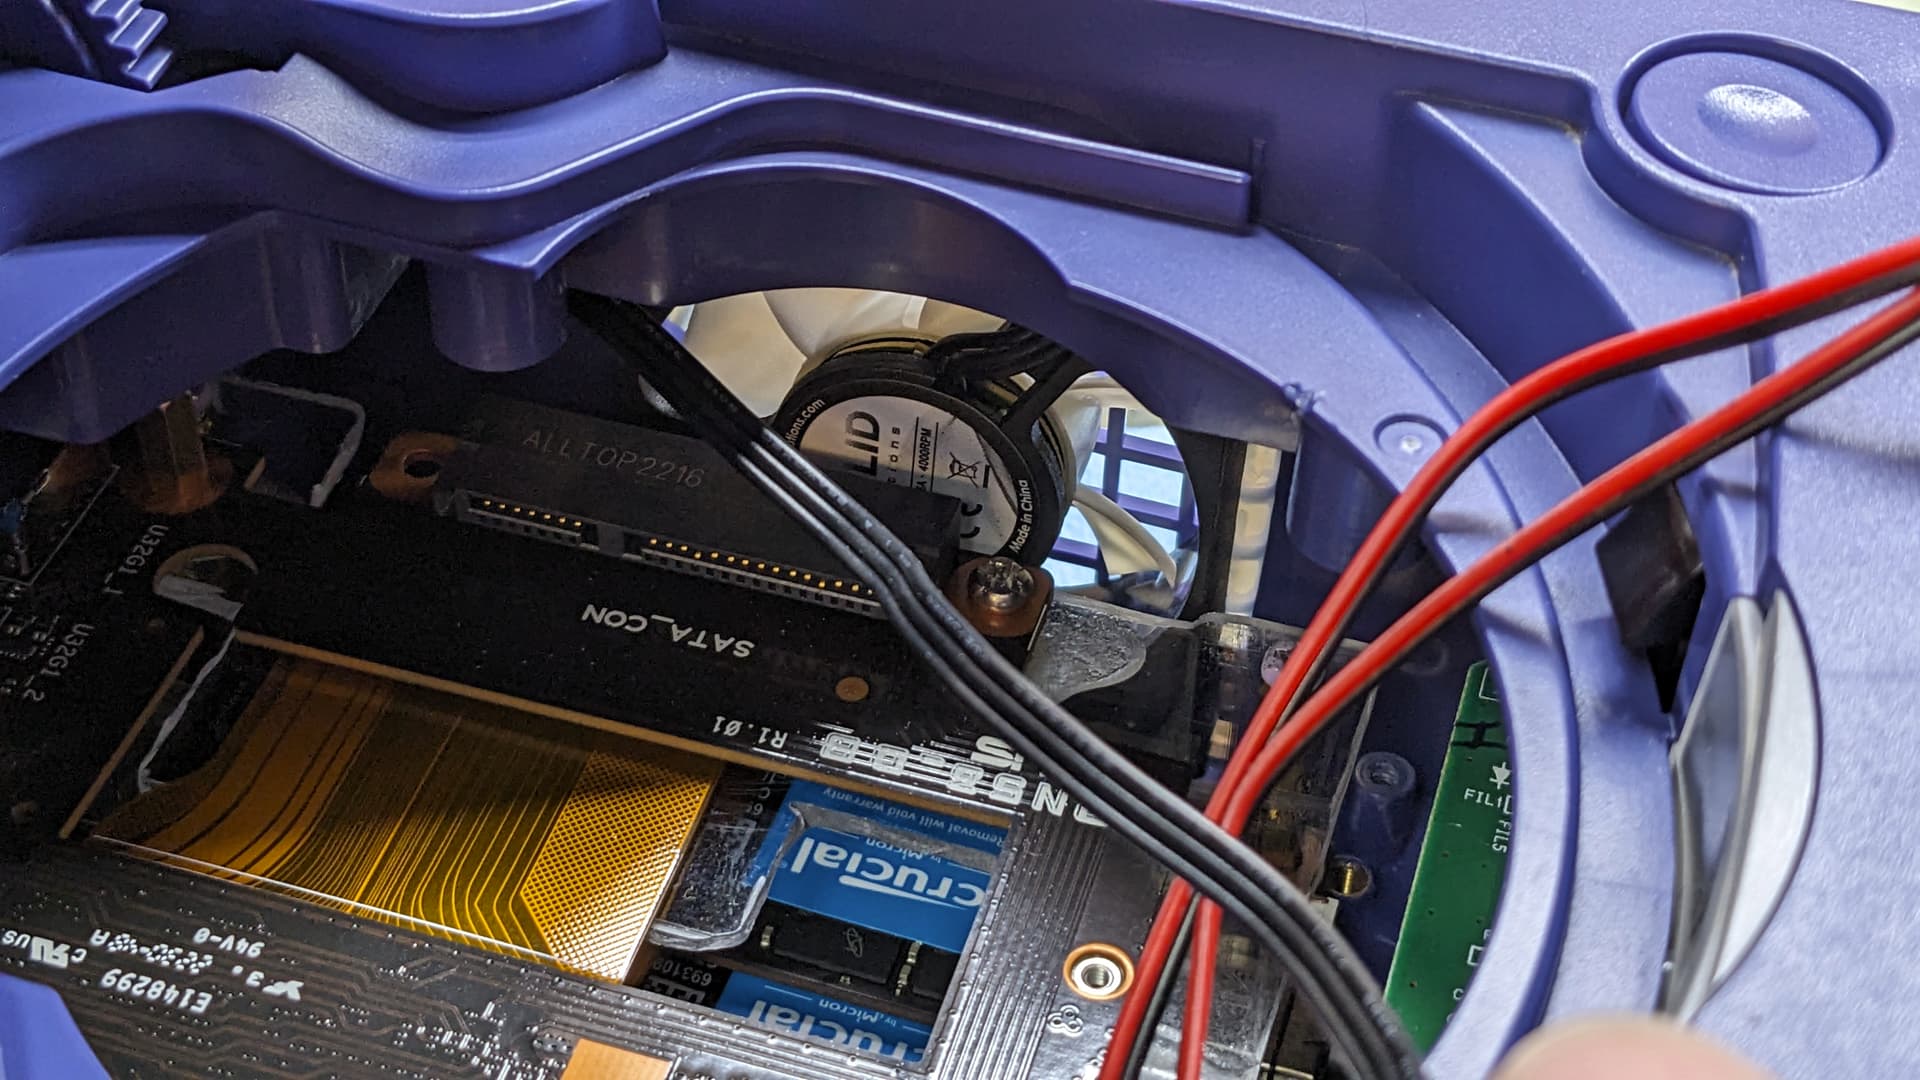
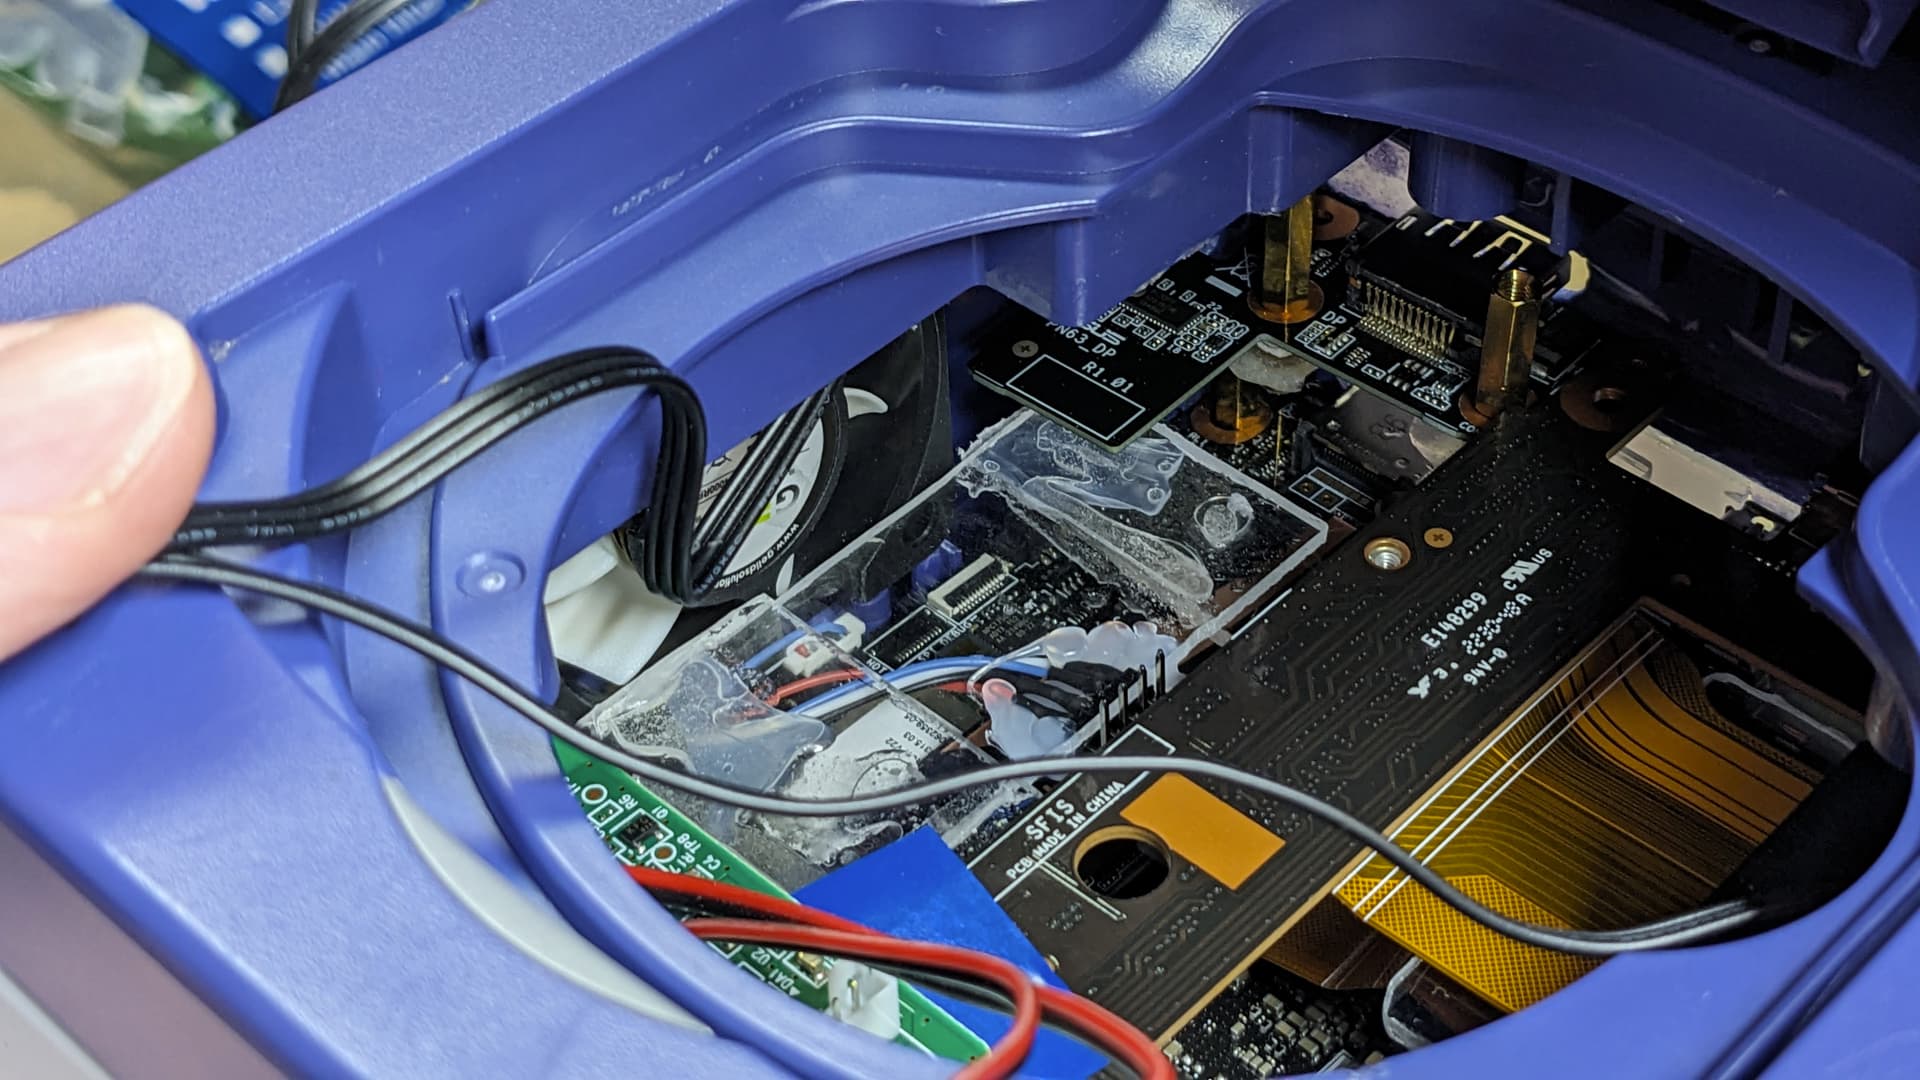
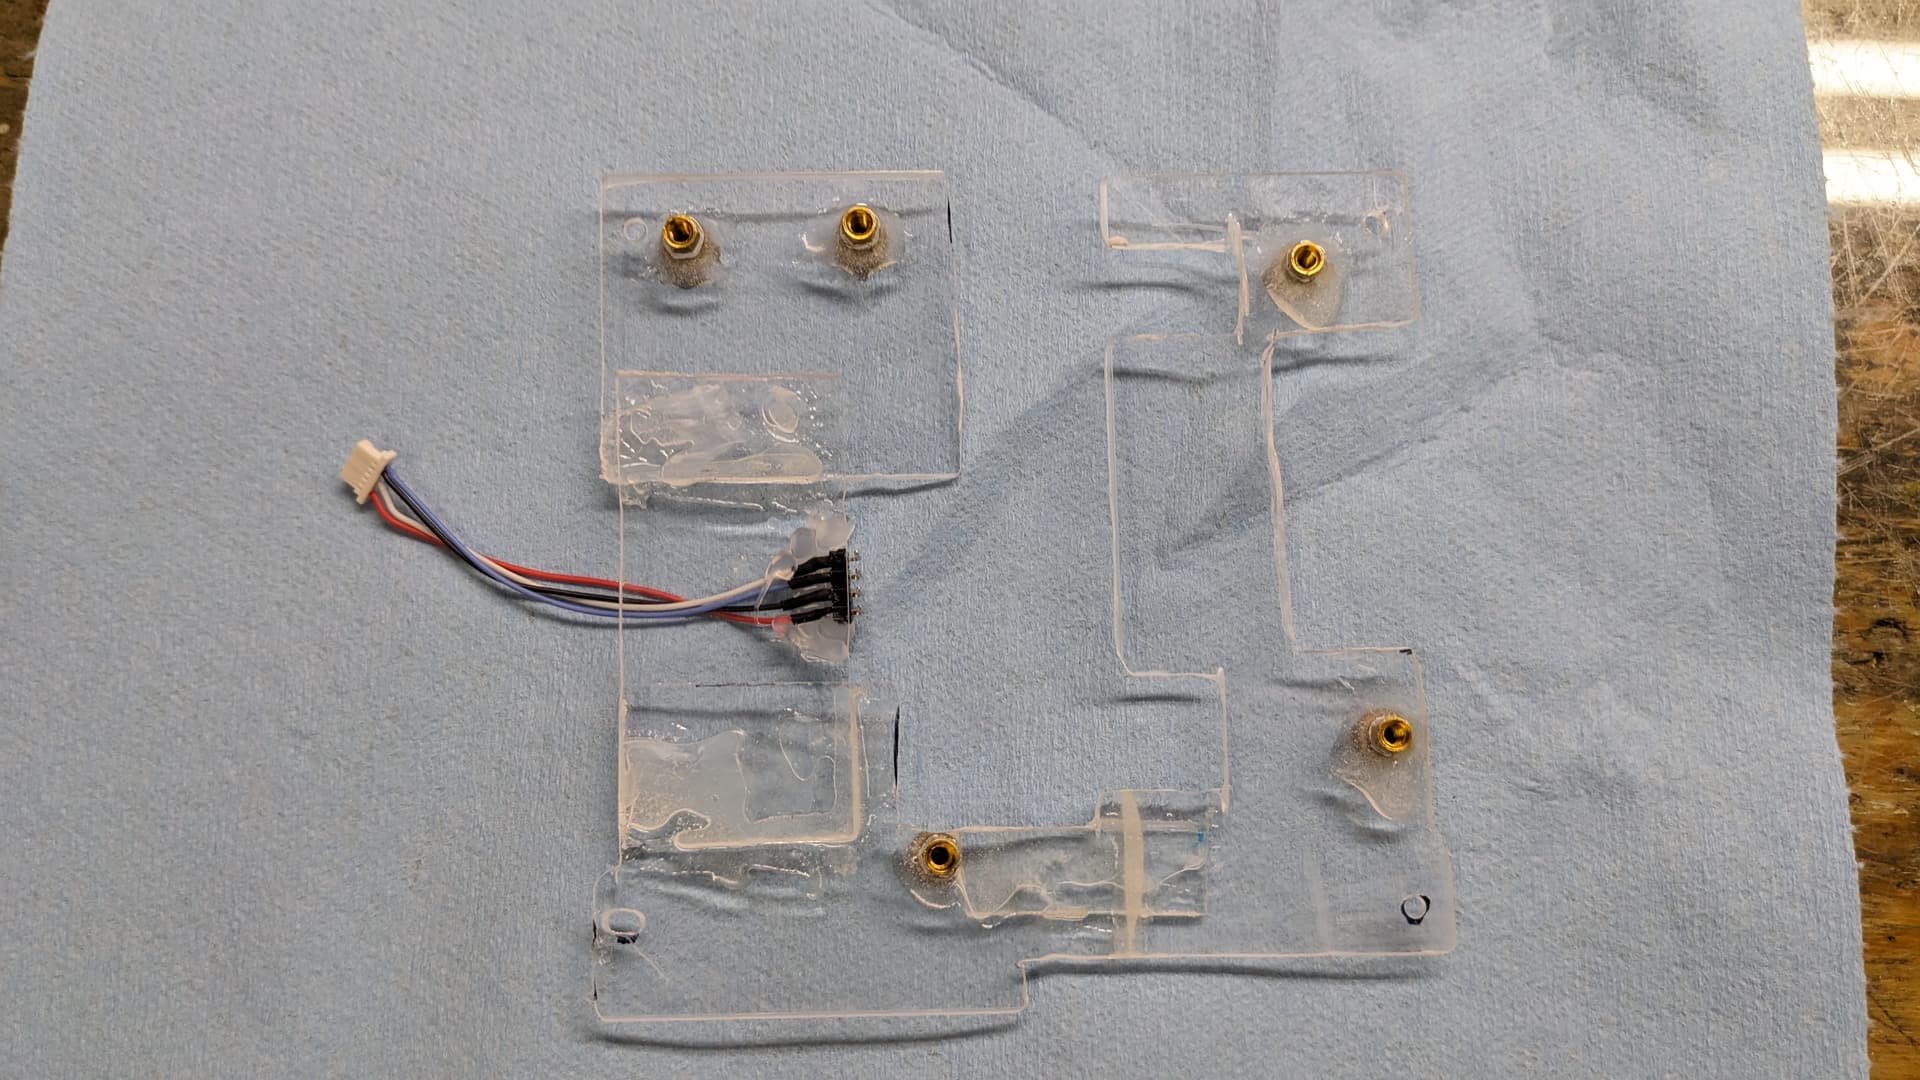
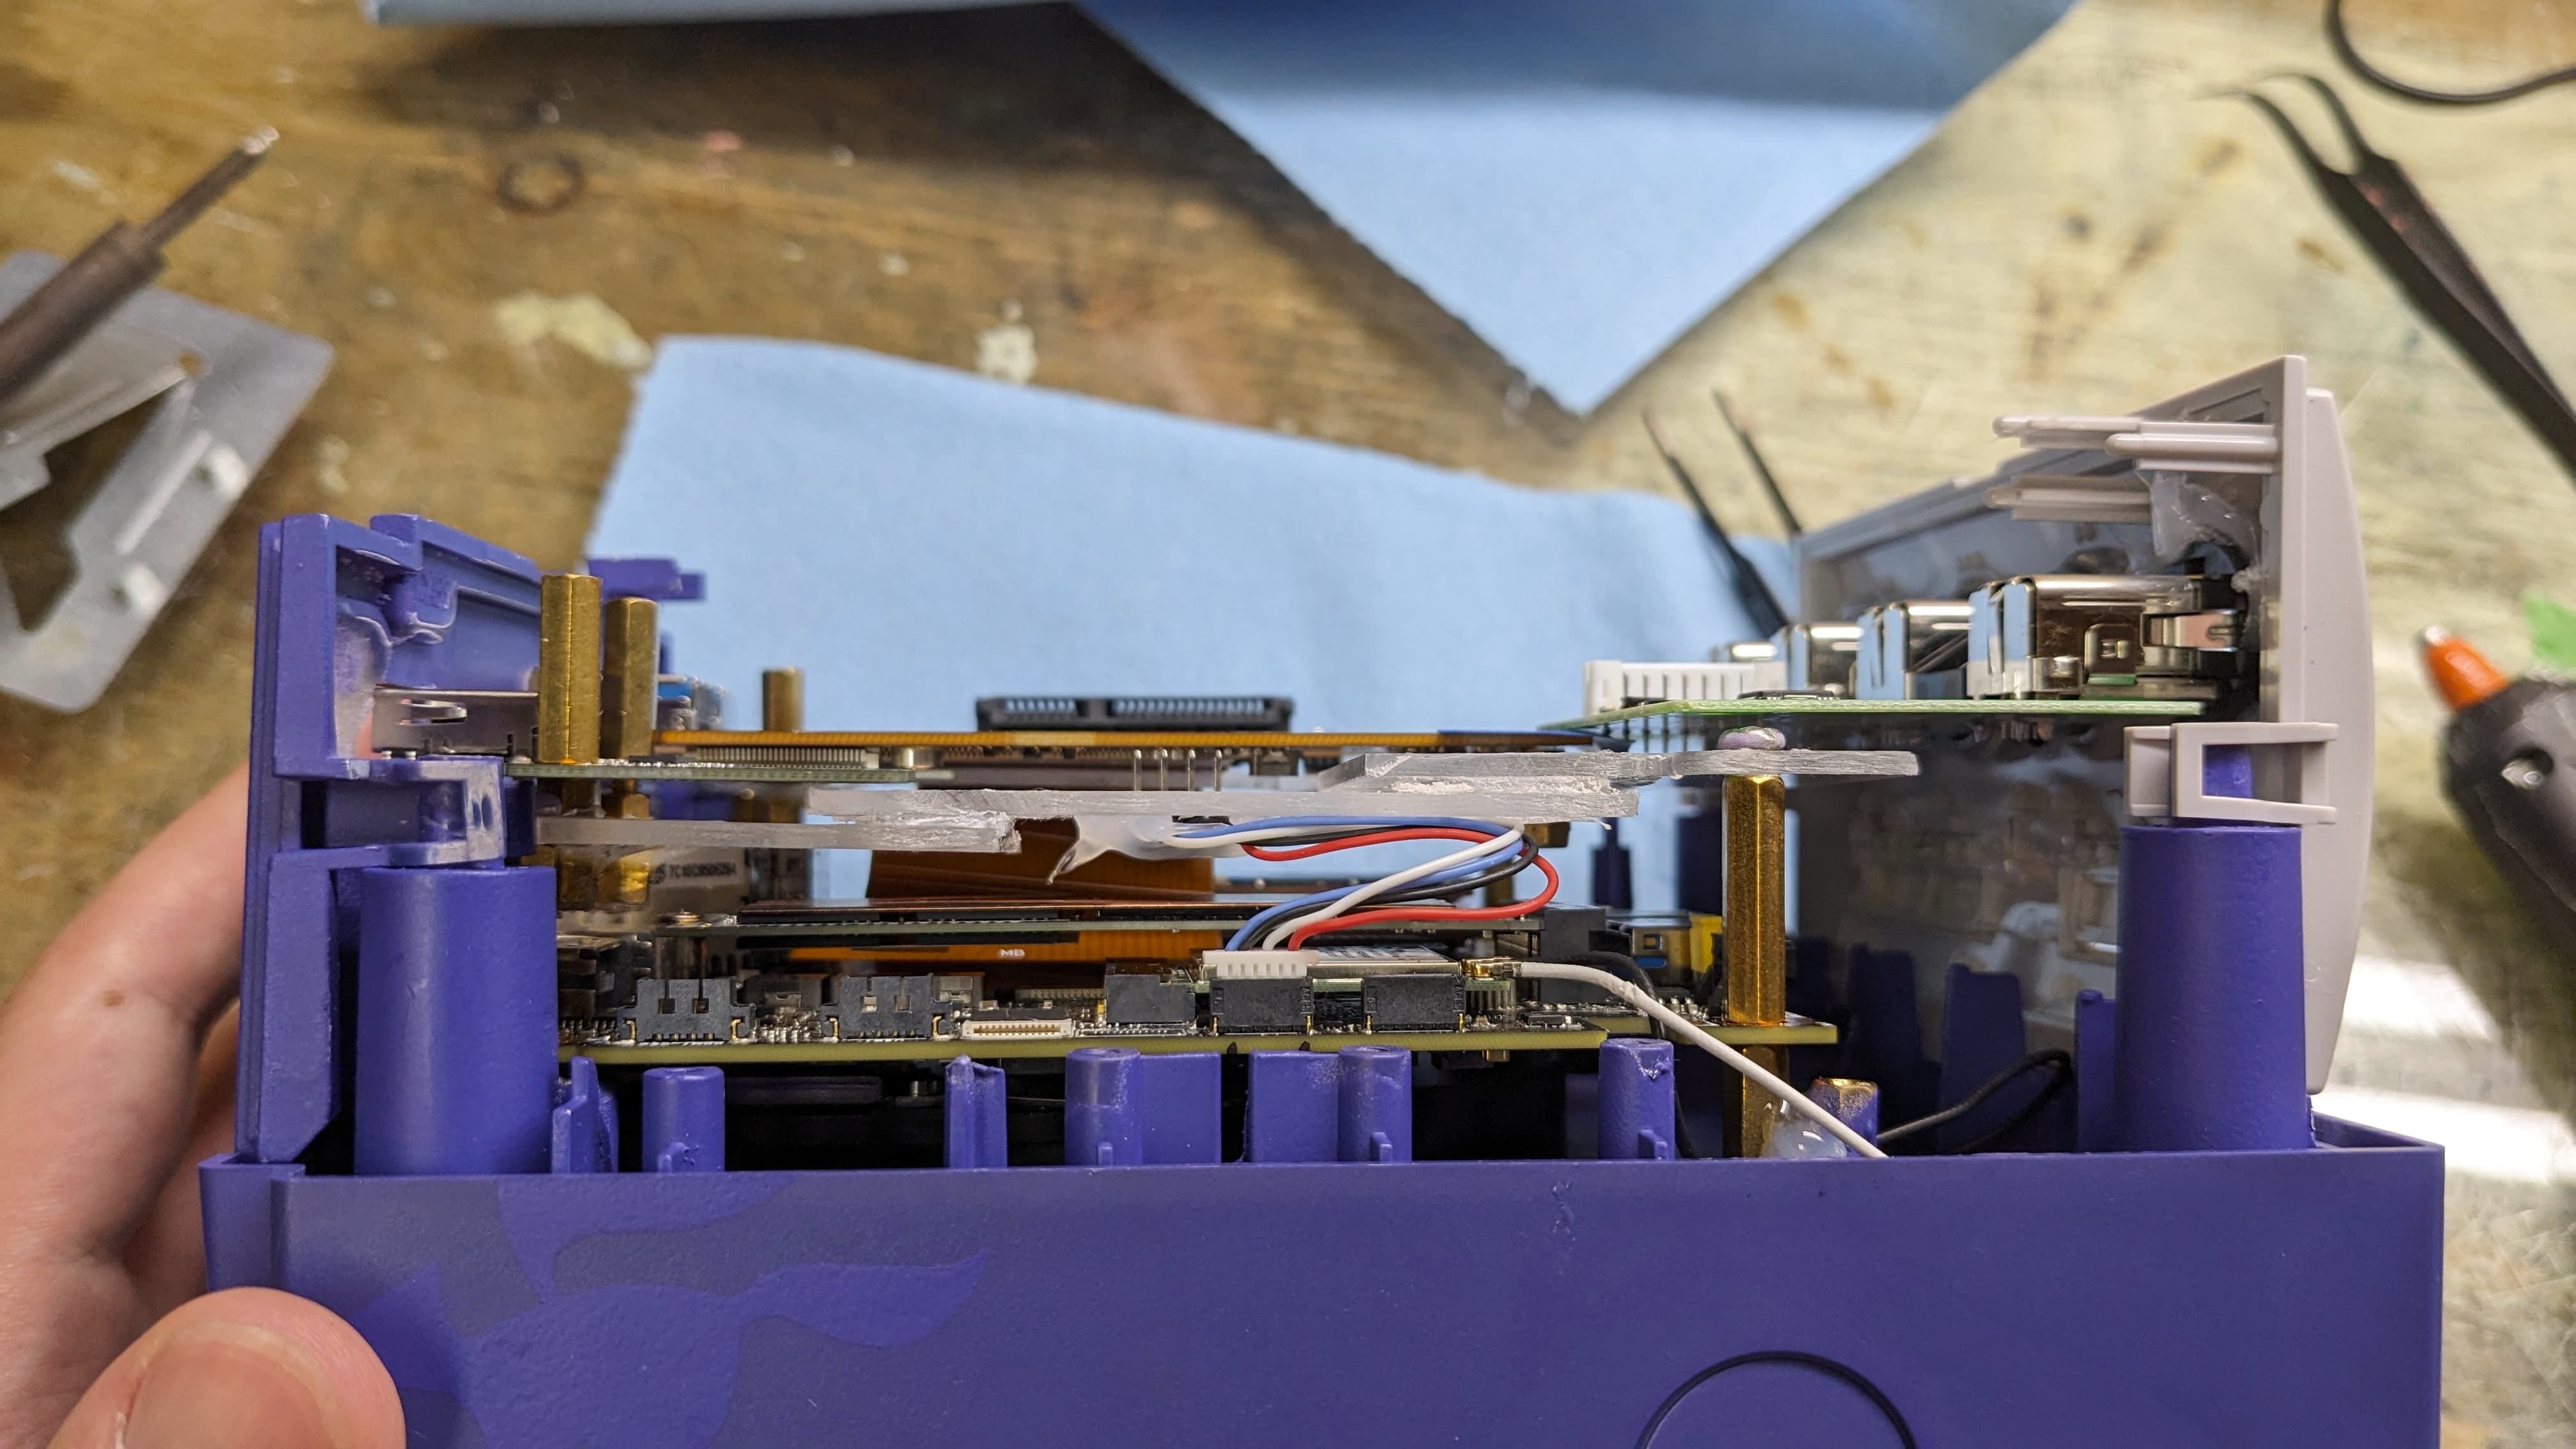
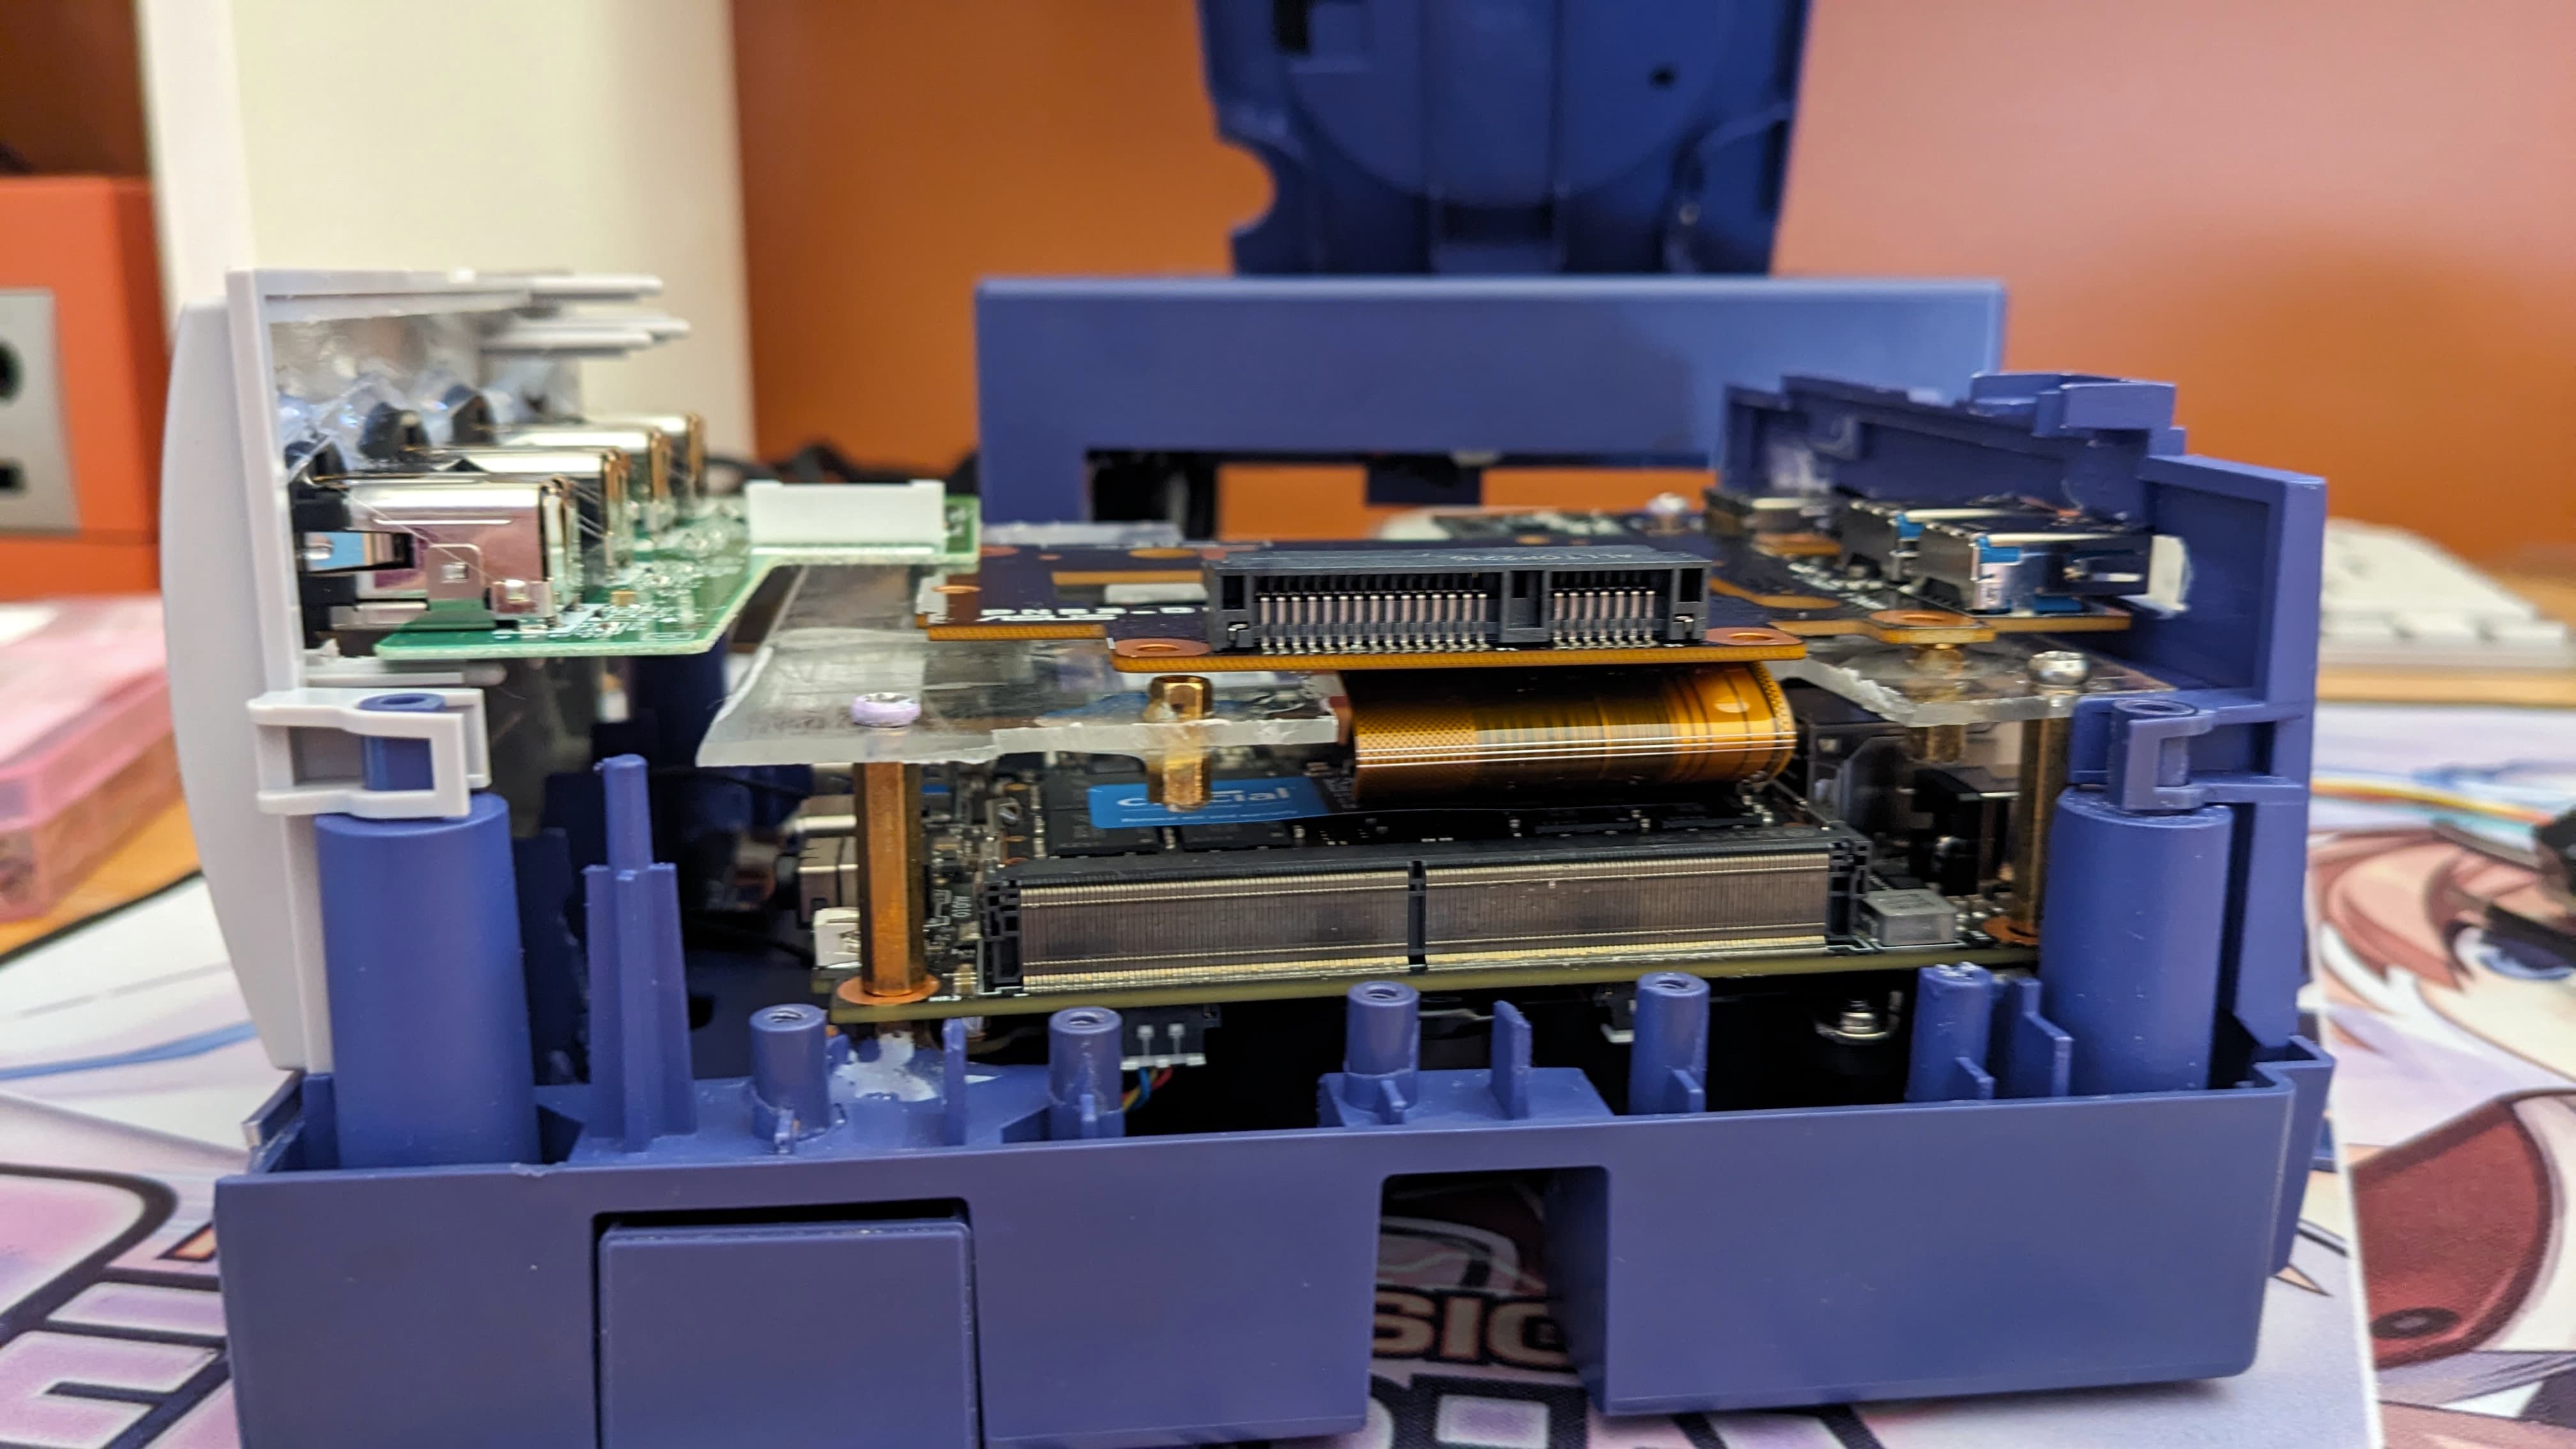
Then was the fun part of trying to add the additional board. However, I’m happy with the solution I came up with. In short, the mobo is held into place with additional standoffs which support an acrylic floor I created. The acrylic floor then provides the necessary standoff to held the board into place. It worked beautifully and everything is just solid. Knowing the board was at a good position, I then created additional holes for the top IO.


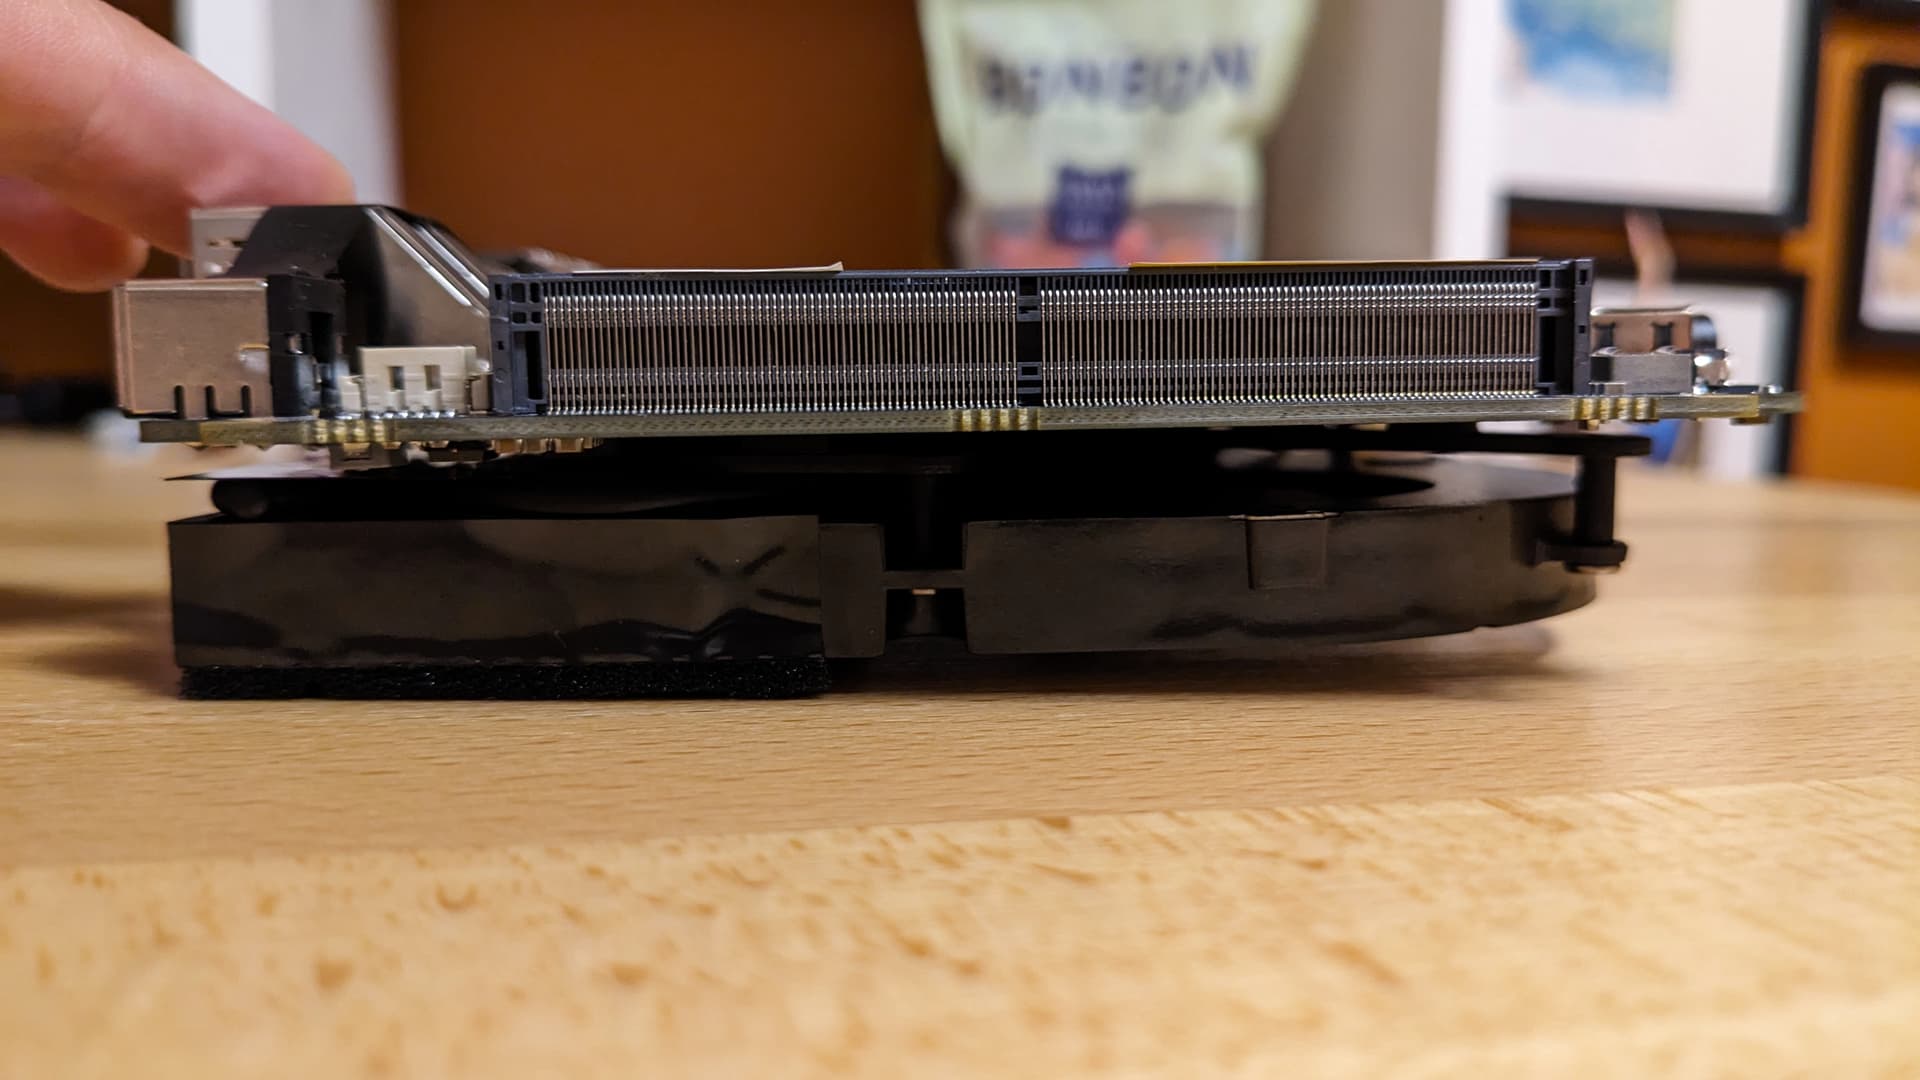
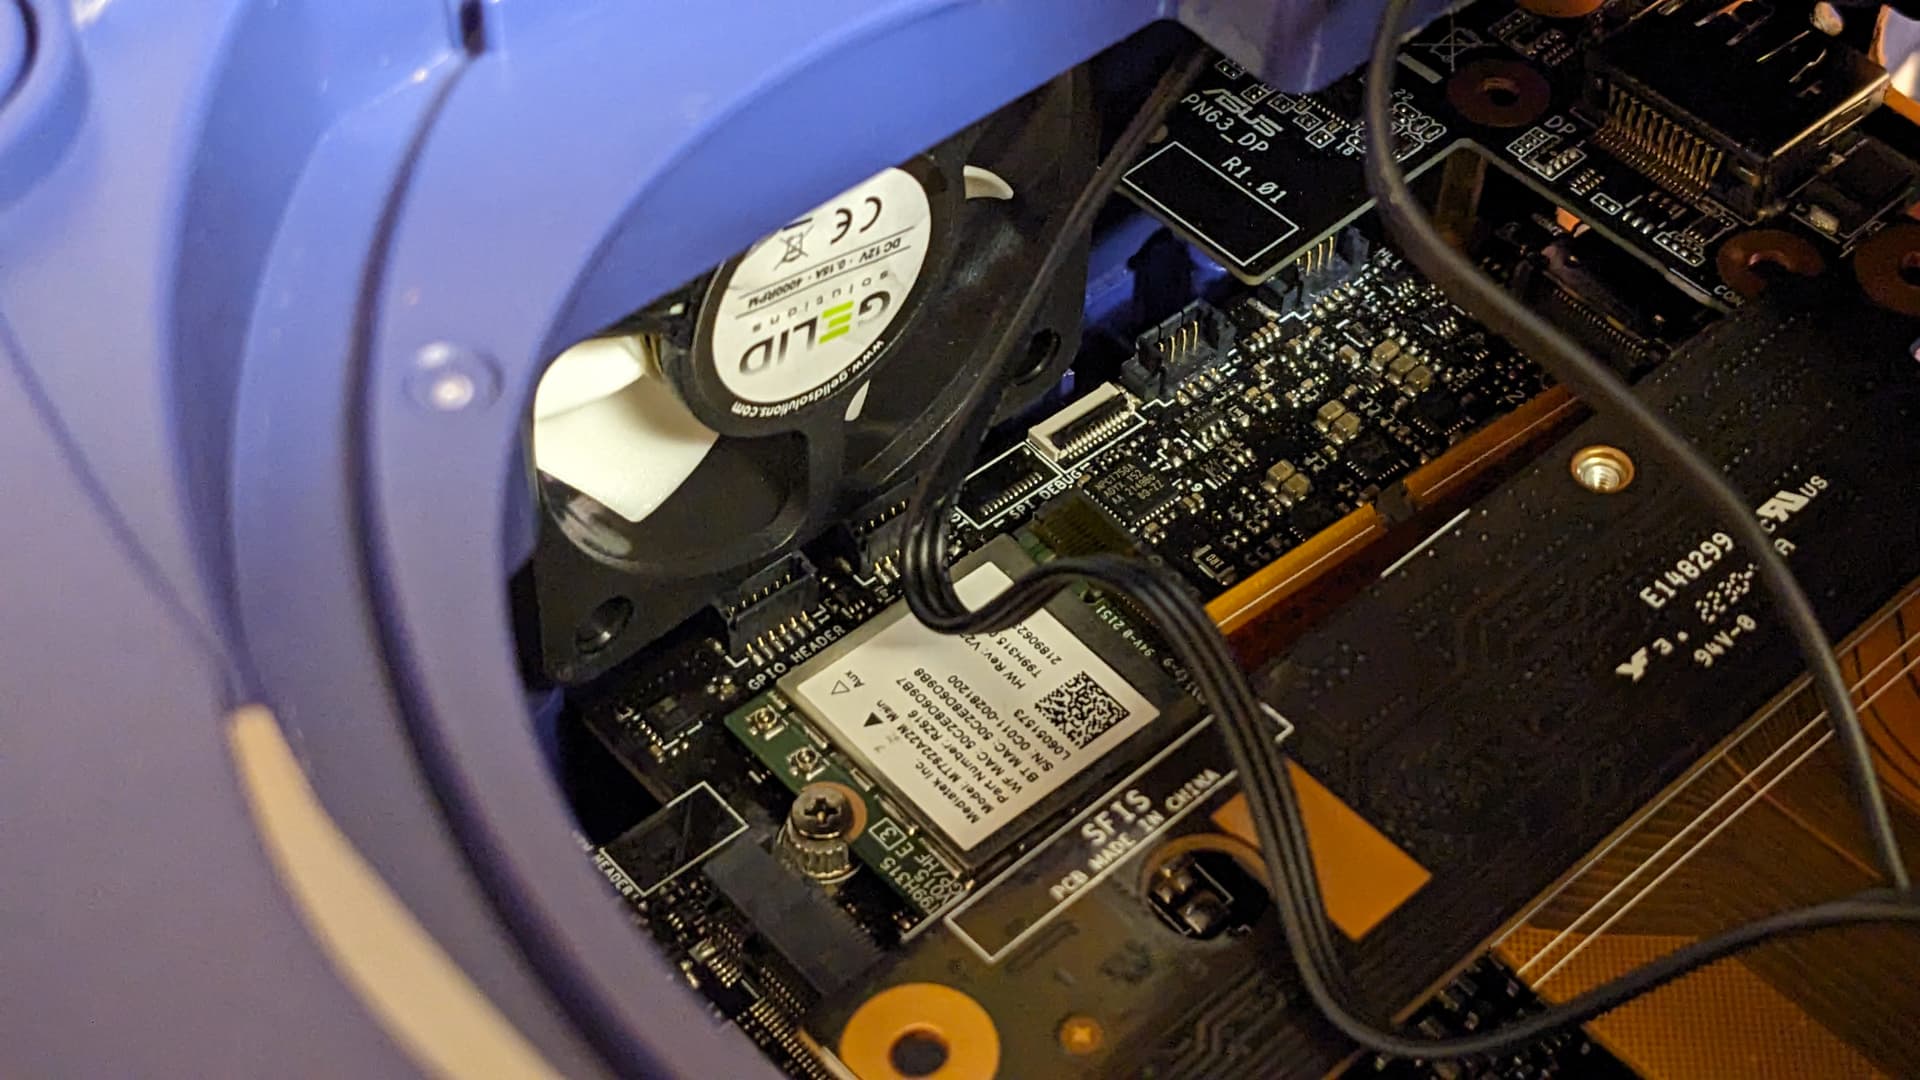
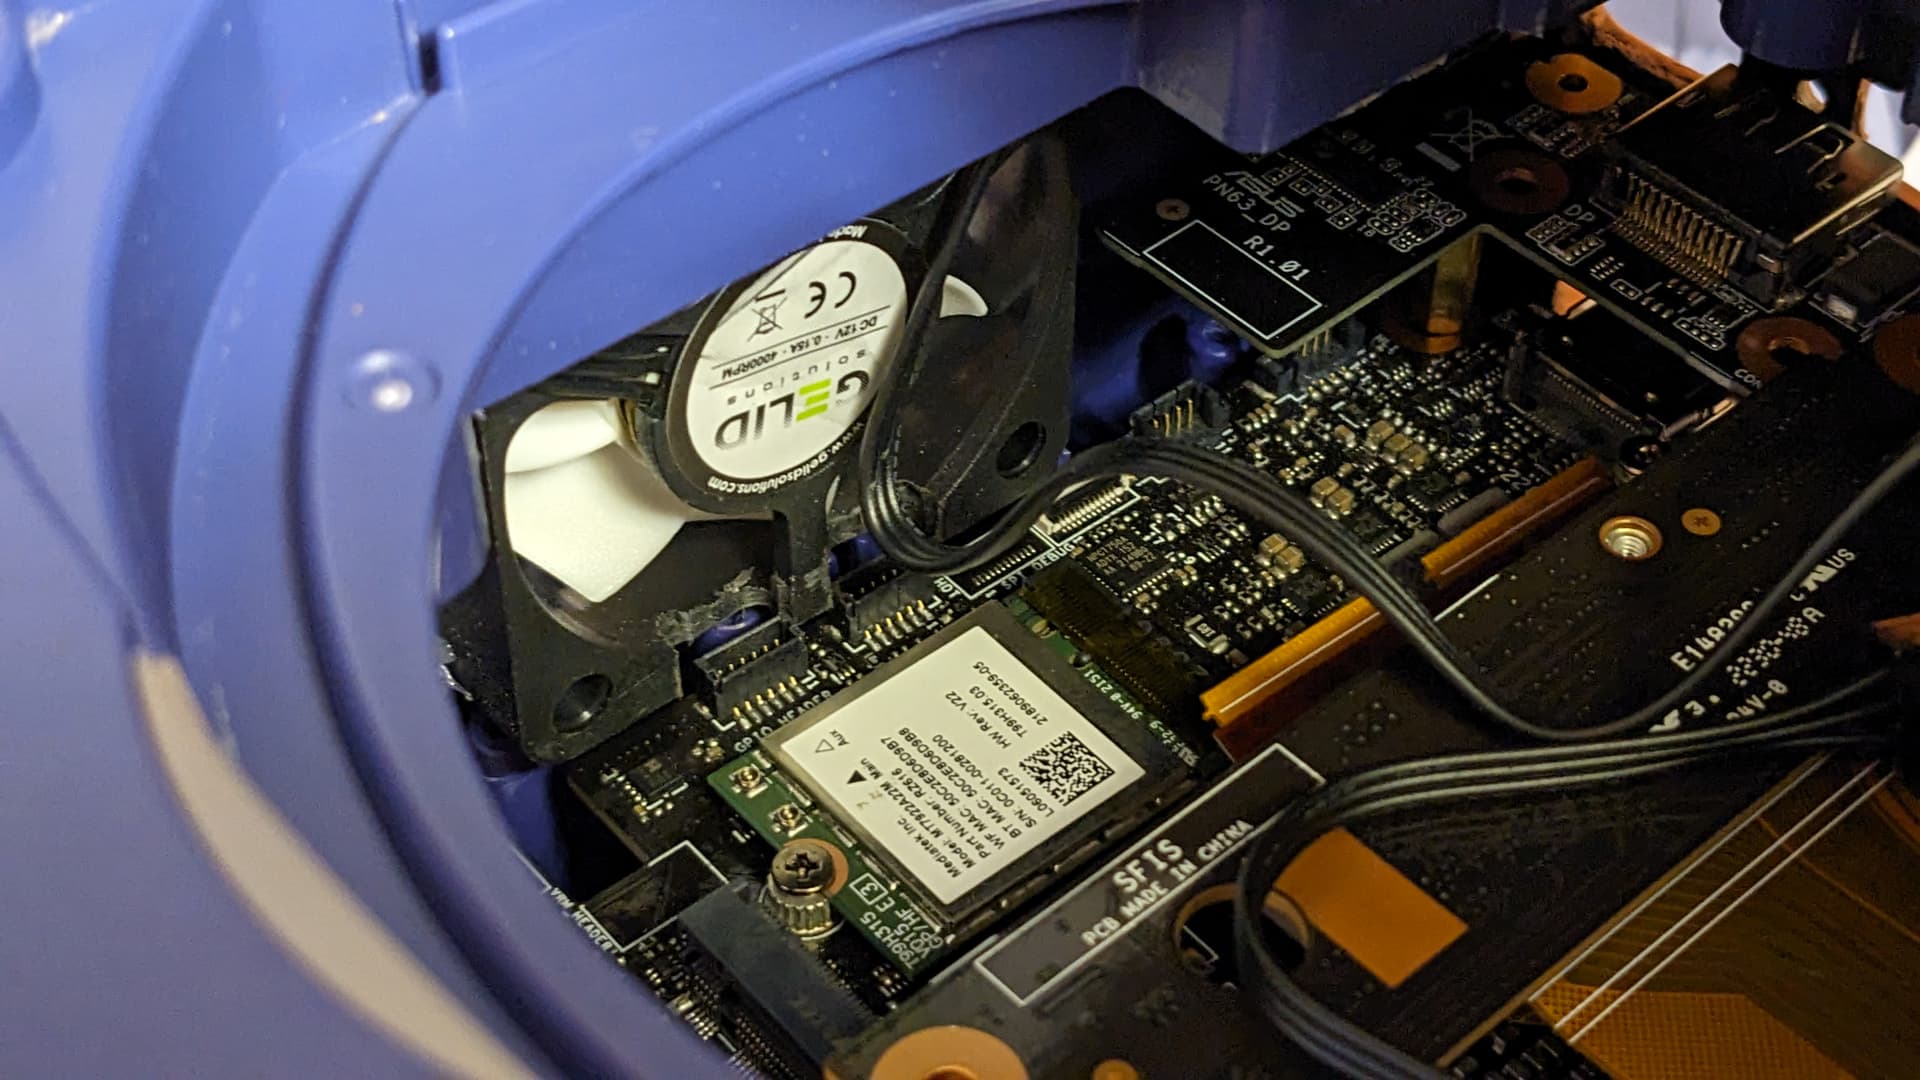
Tolerances are so tight inside, it’s kind of ridiculous. Like the acrylic floor is in its position and configuration to barely offer space for the fans. Also, one the fan was entering in conflict with headers on the mobo, so I just removed material from the fans frame lol (and later also placed it a little bit higher up)


Assembled everything is just tight.


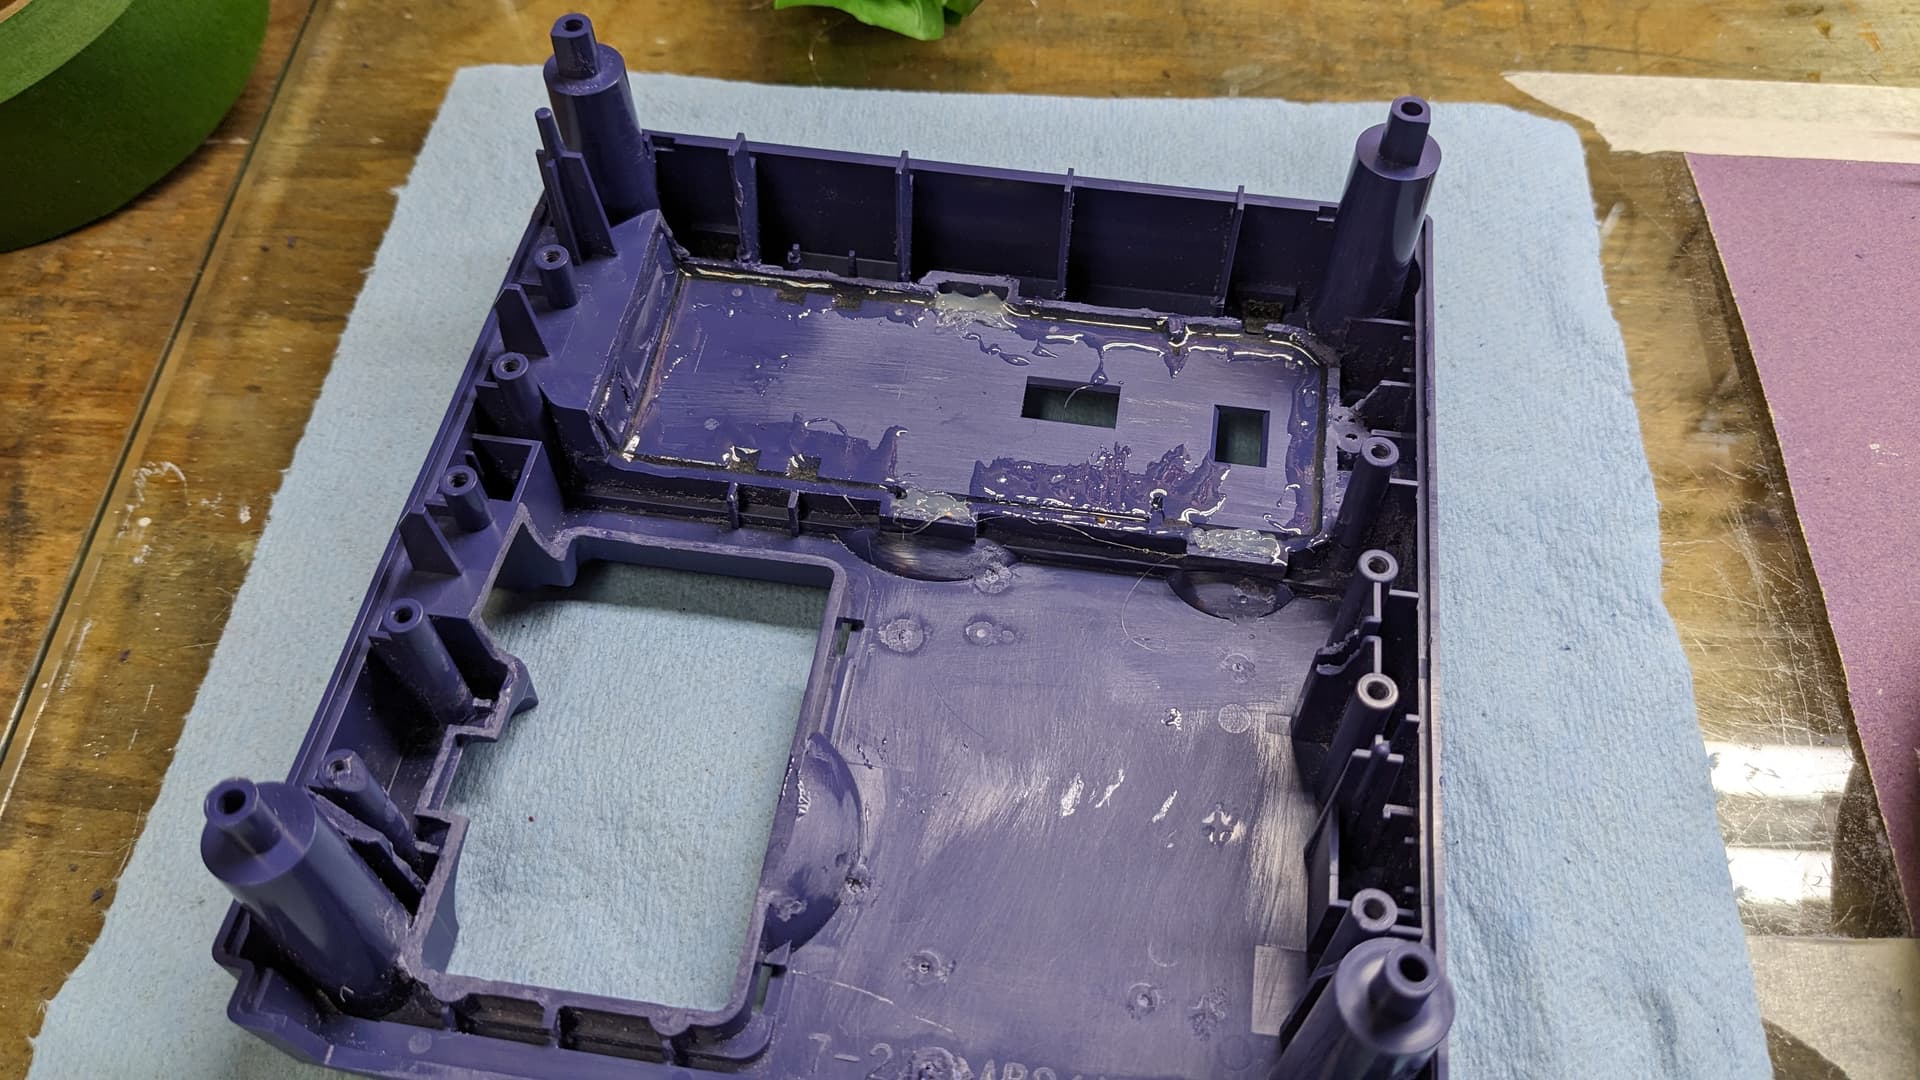
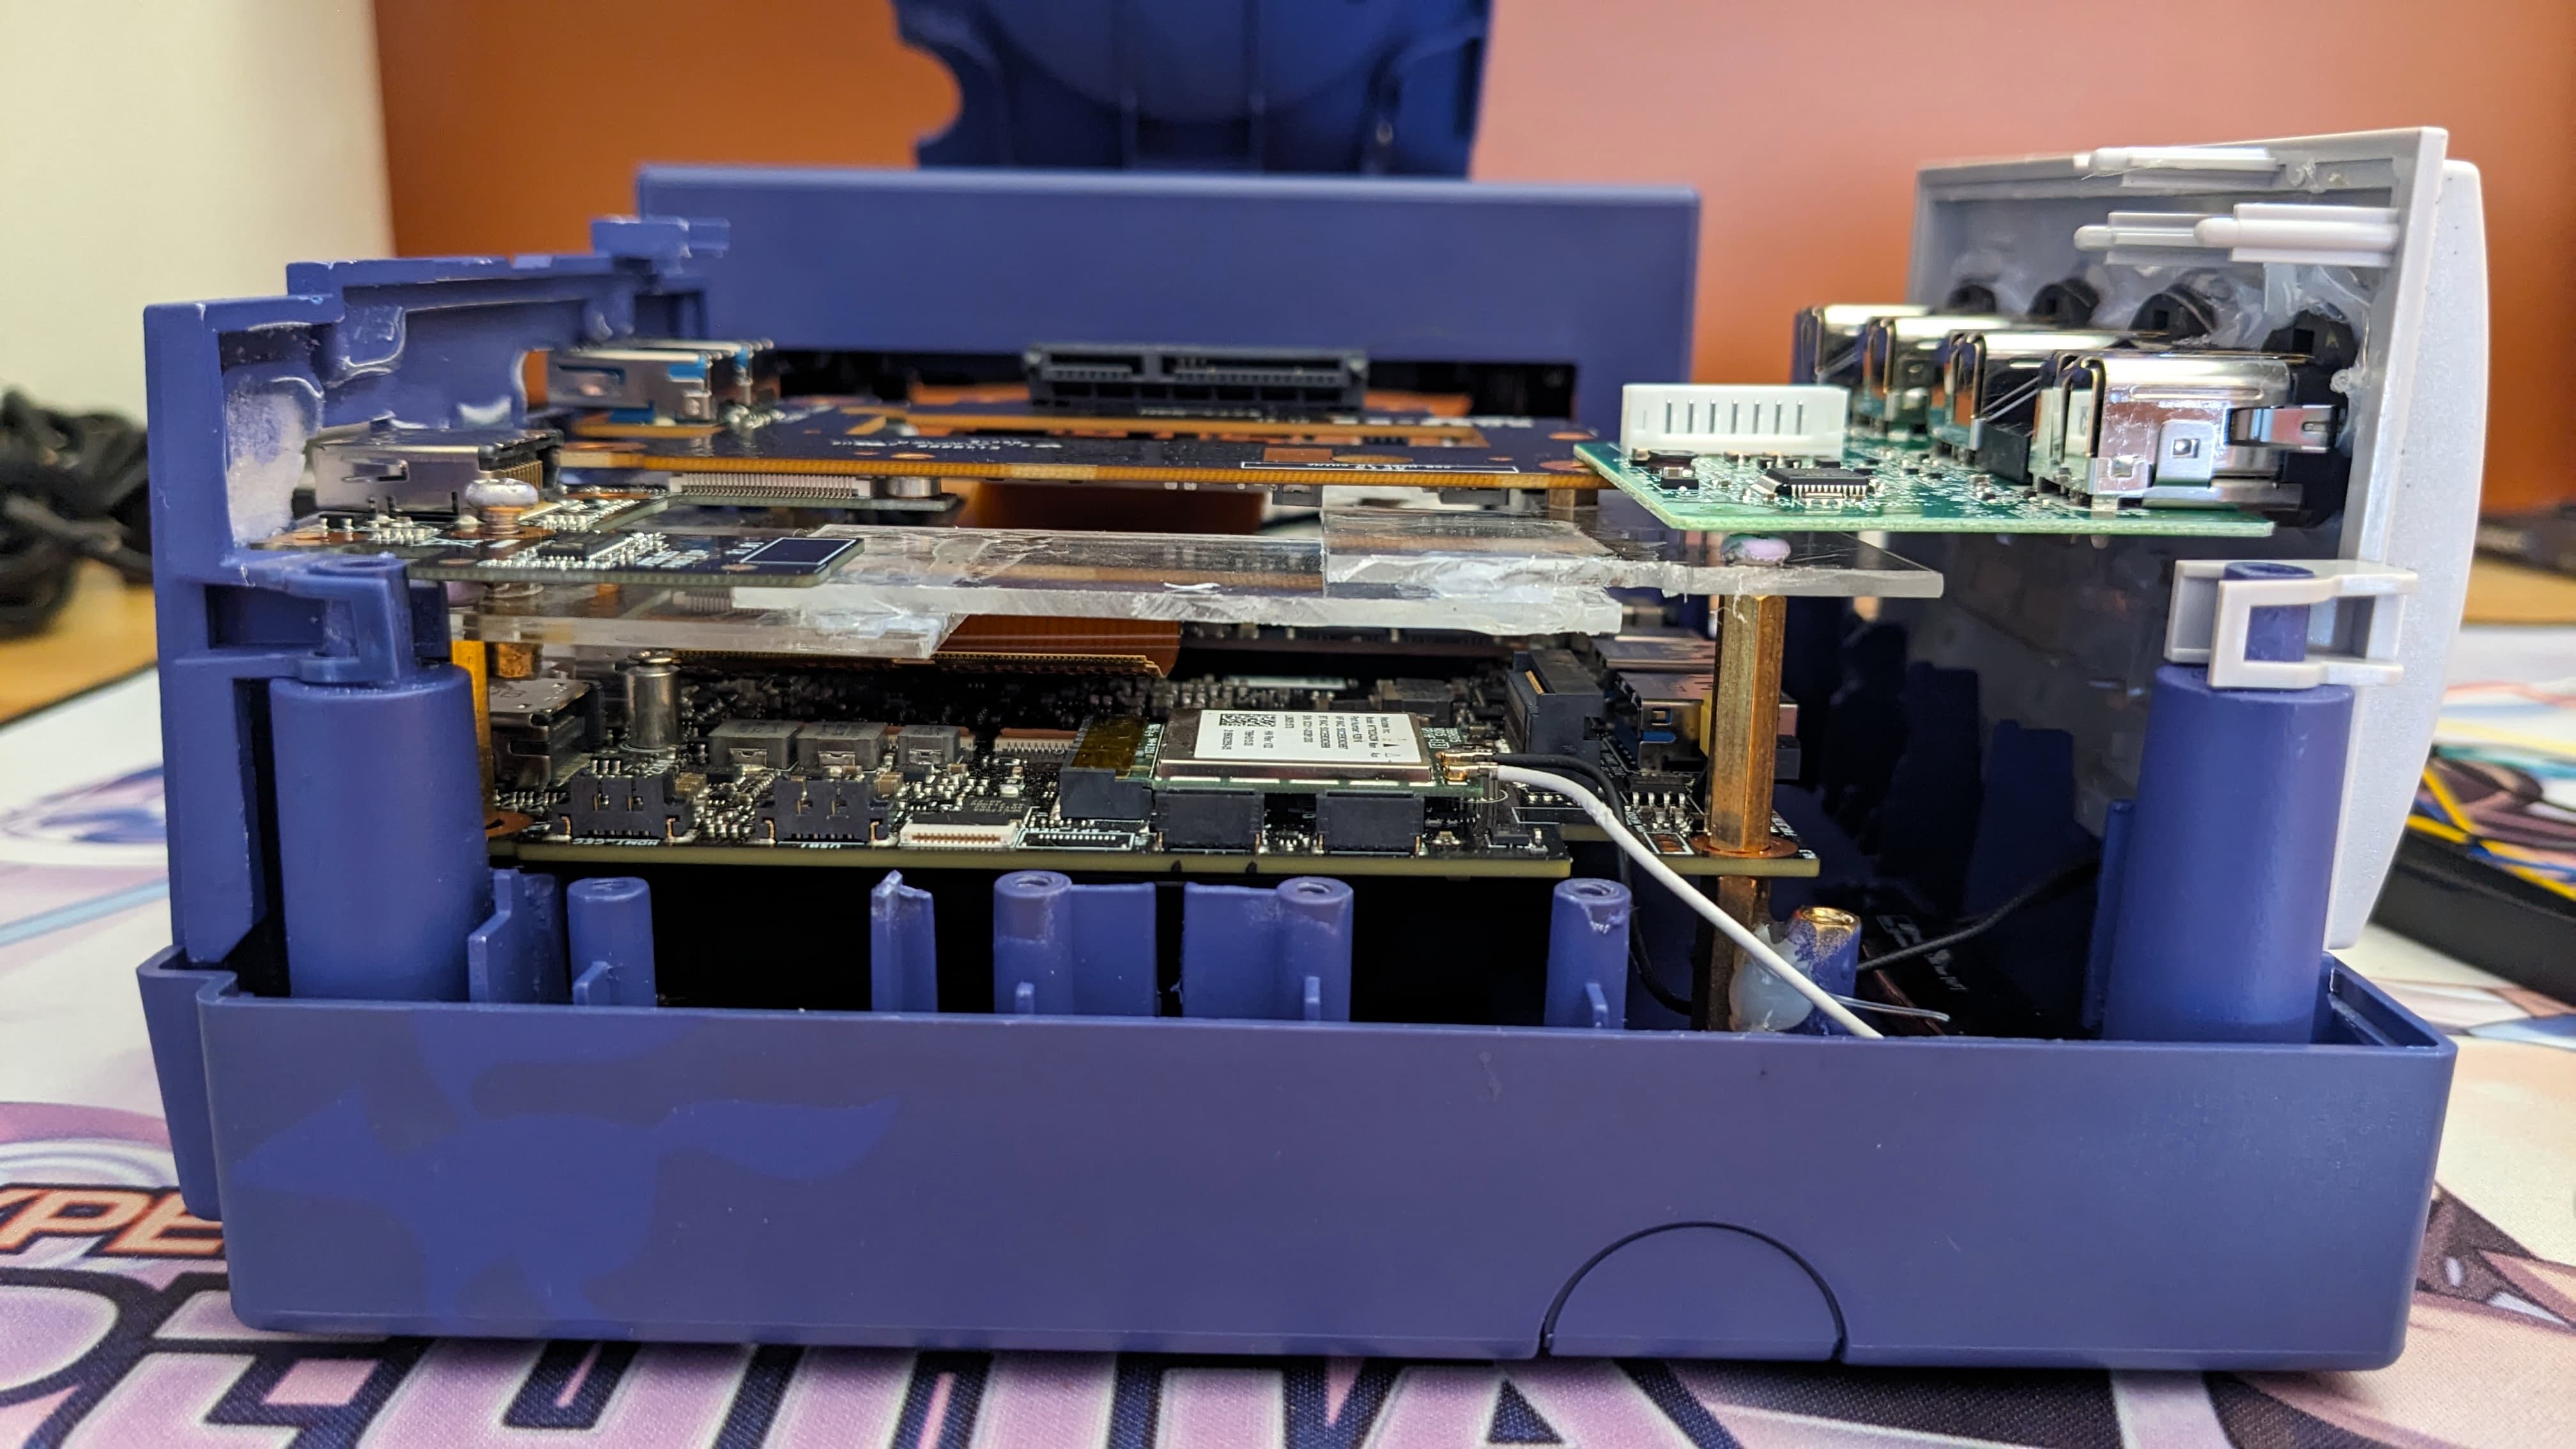
Also, I’m planning to put all headers on the acrylic floor. That way, the power button, light and fan connectors will be easily connected and disconnected by opening the disc tray. I already glued in place the header for power and light.

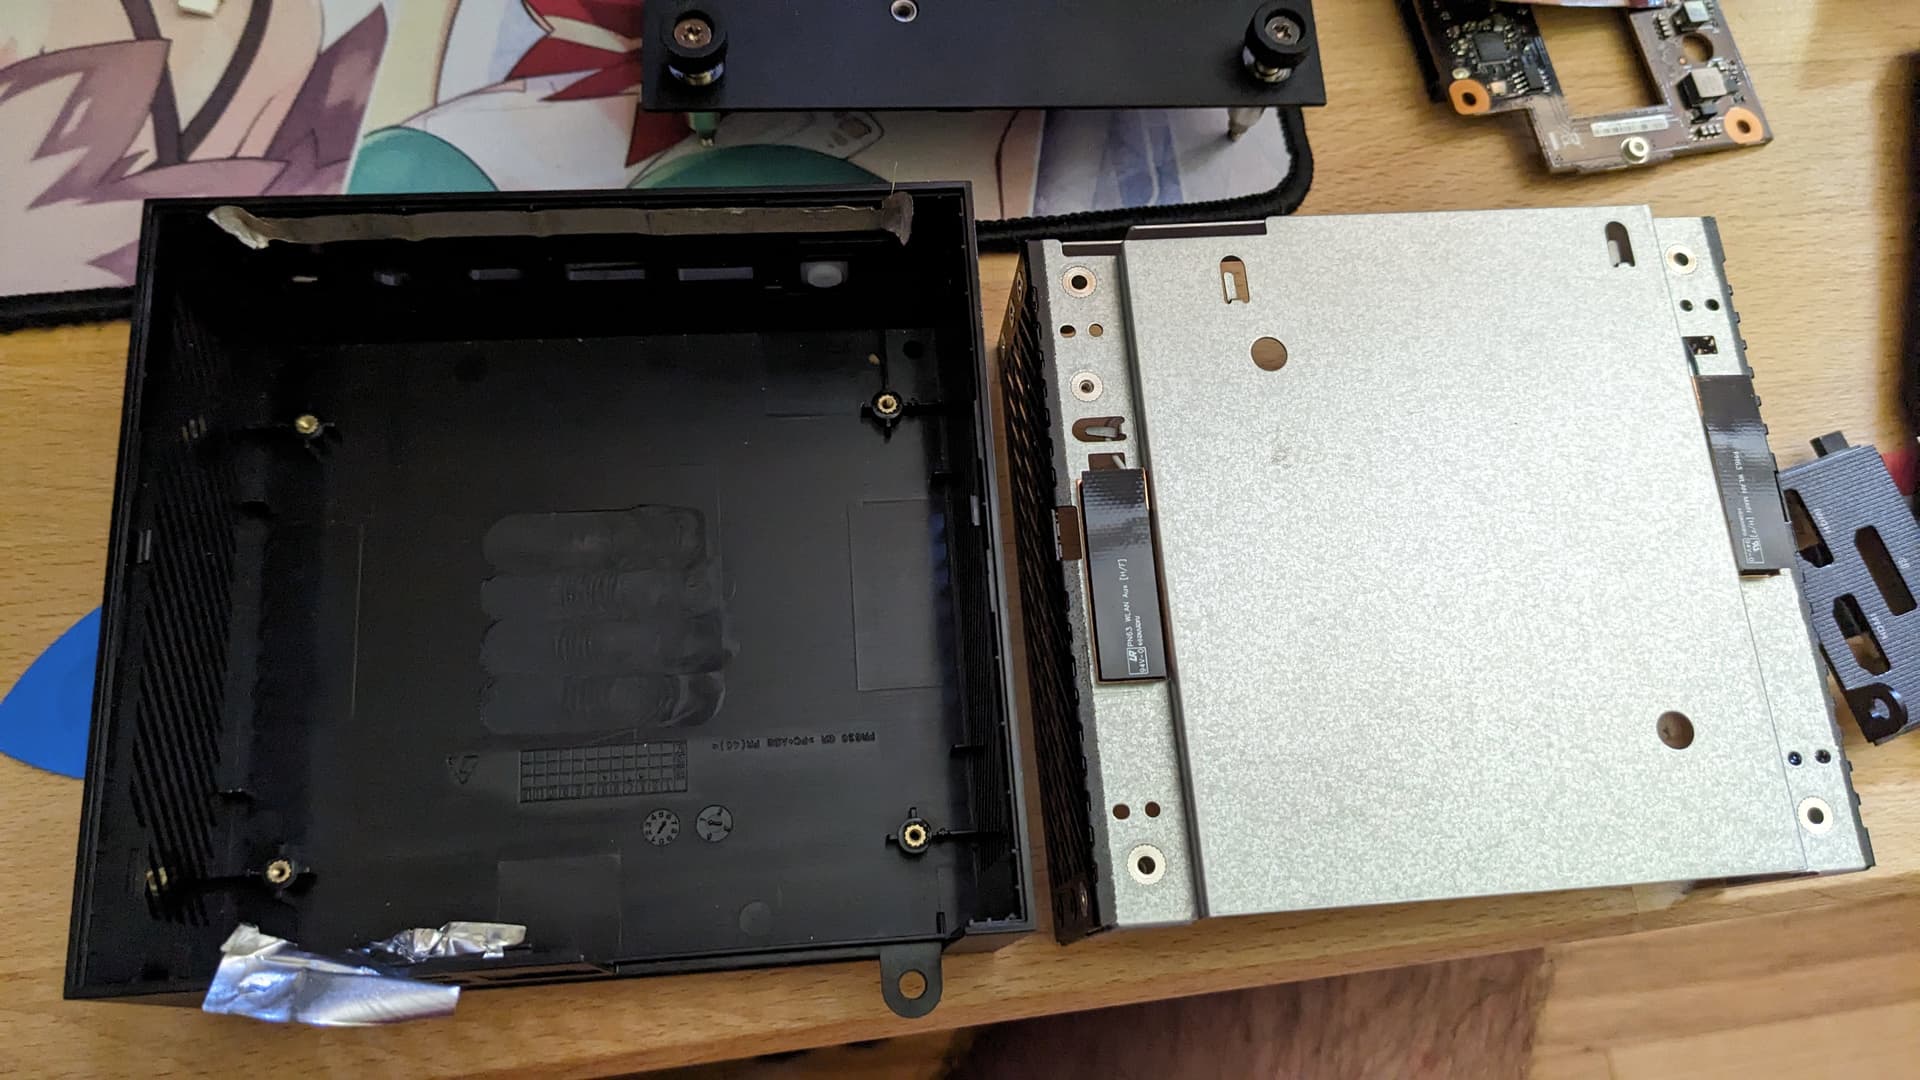
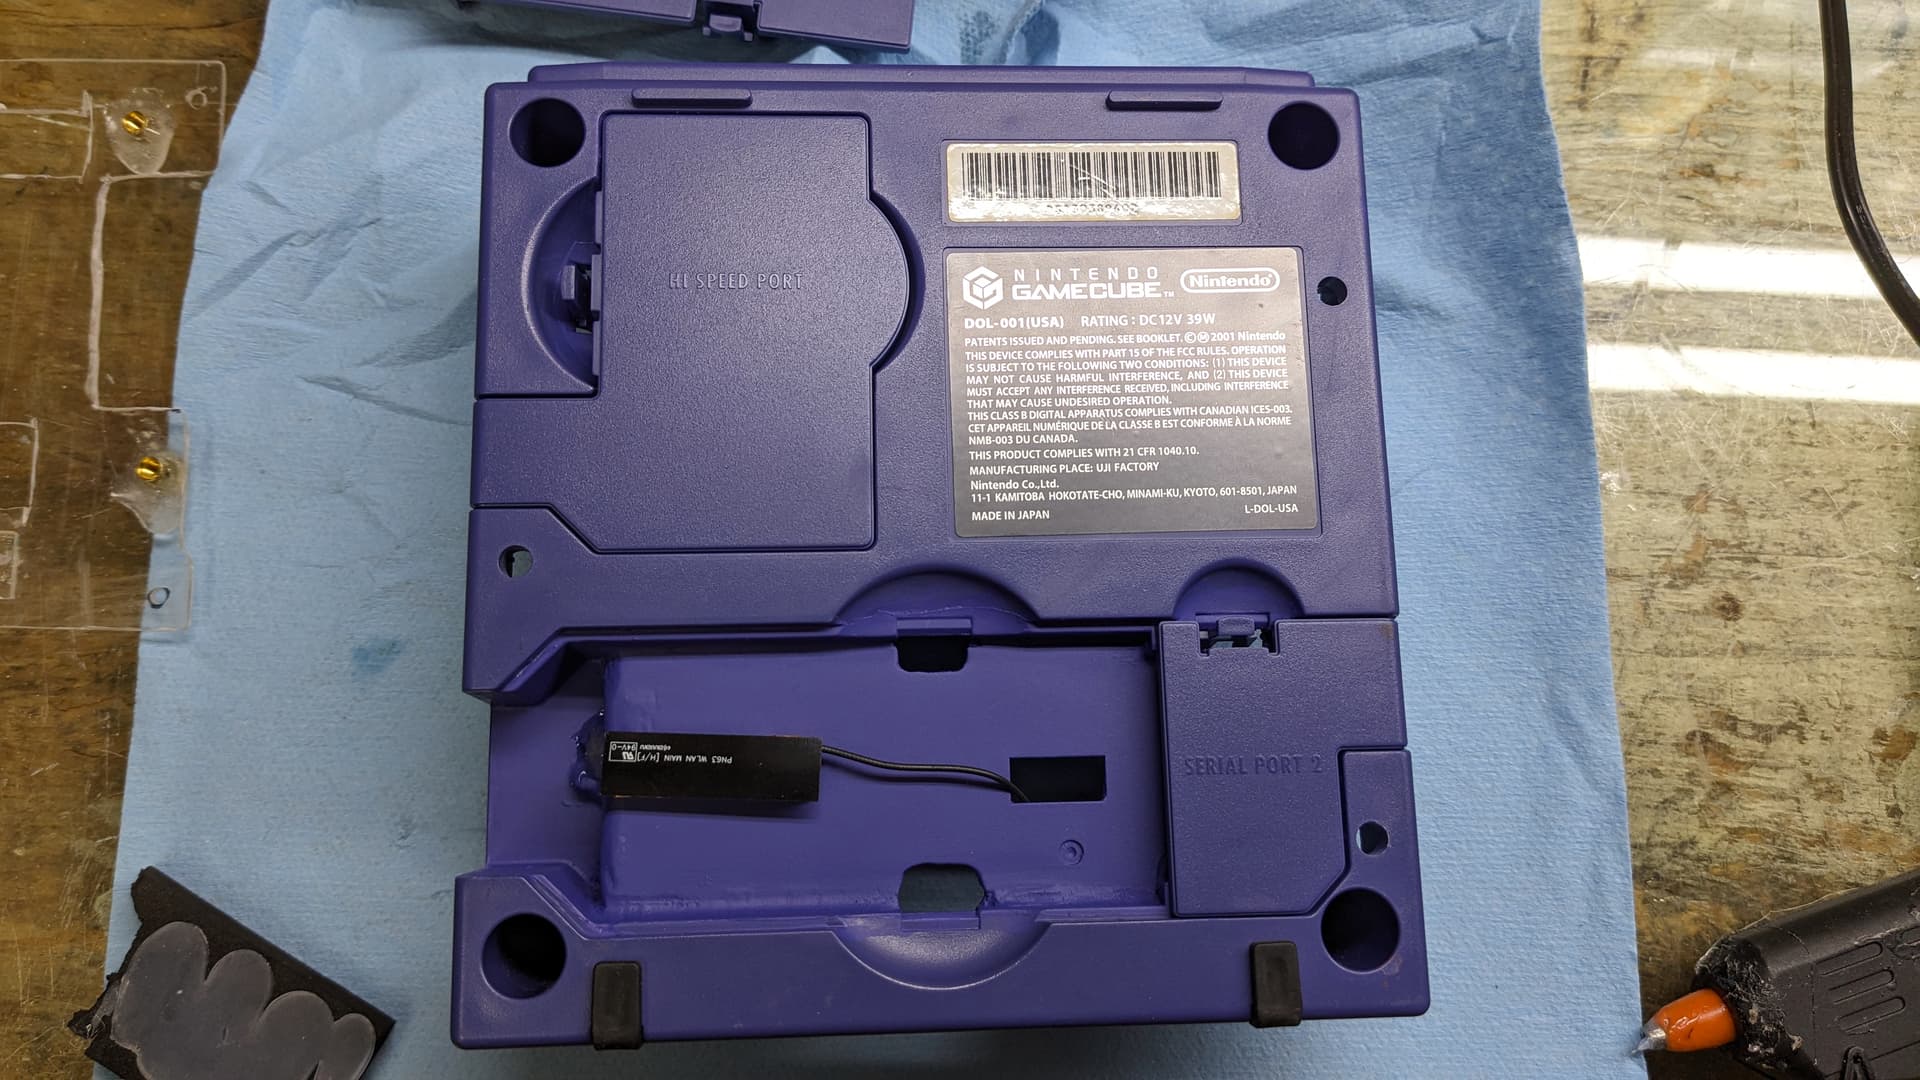
Also I salvaged the wifi antennas from the PN53 case.


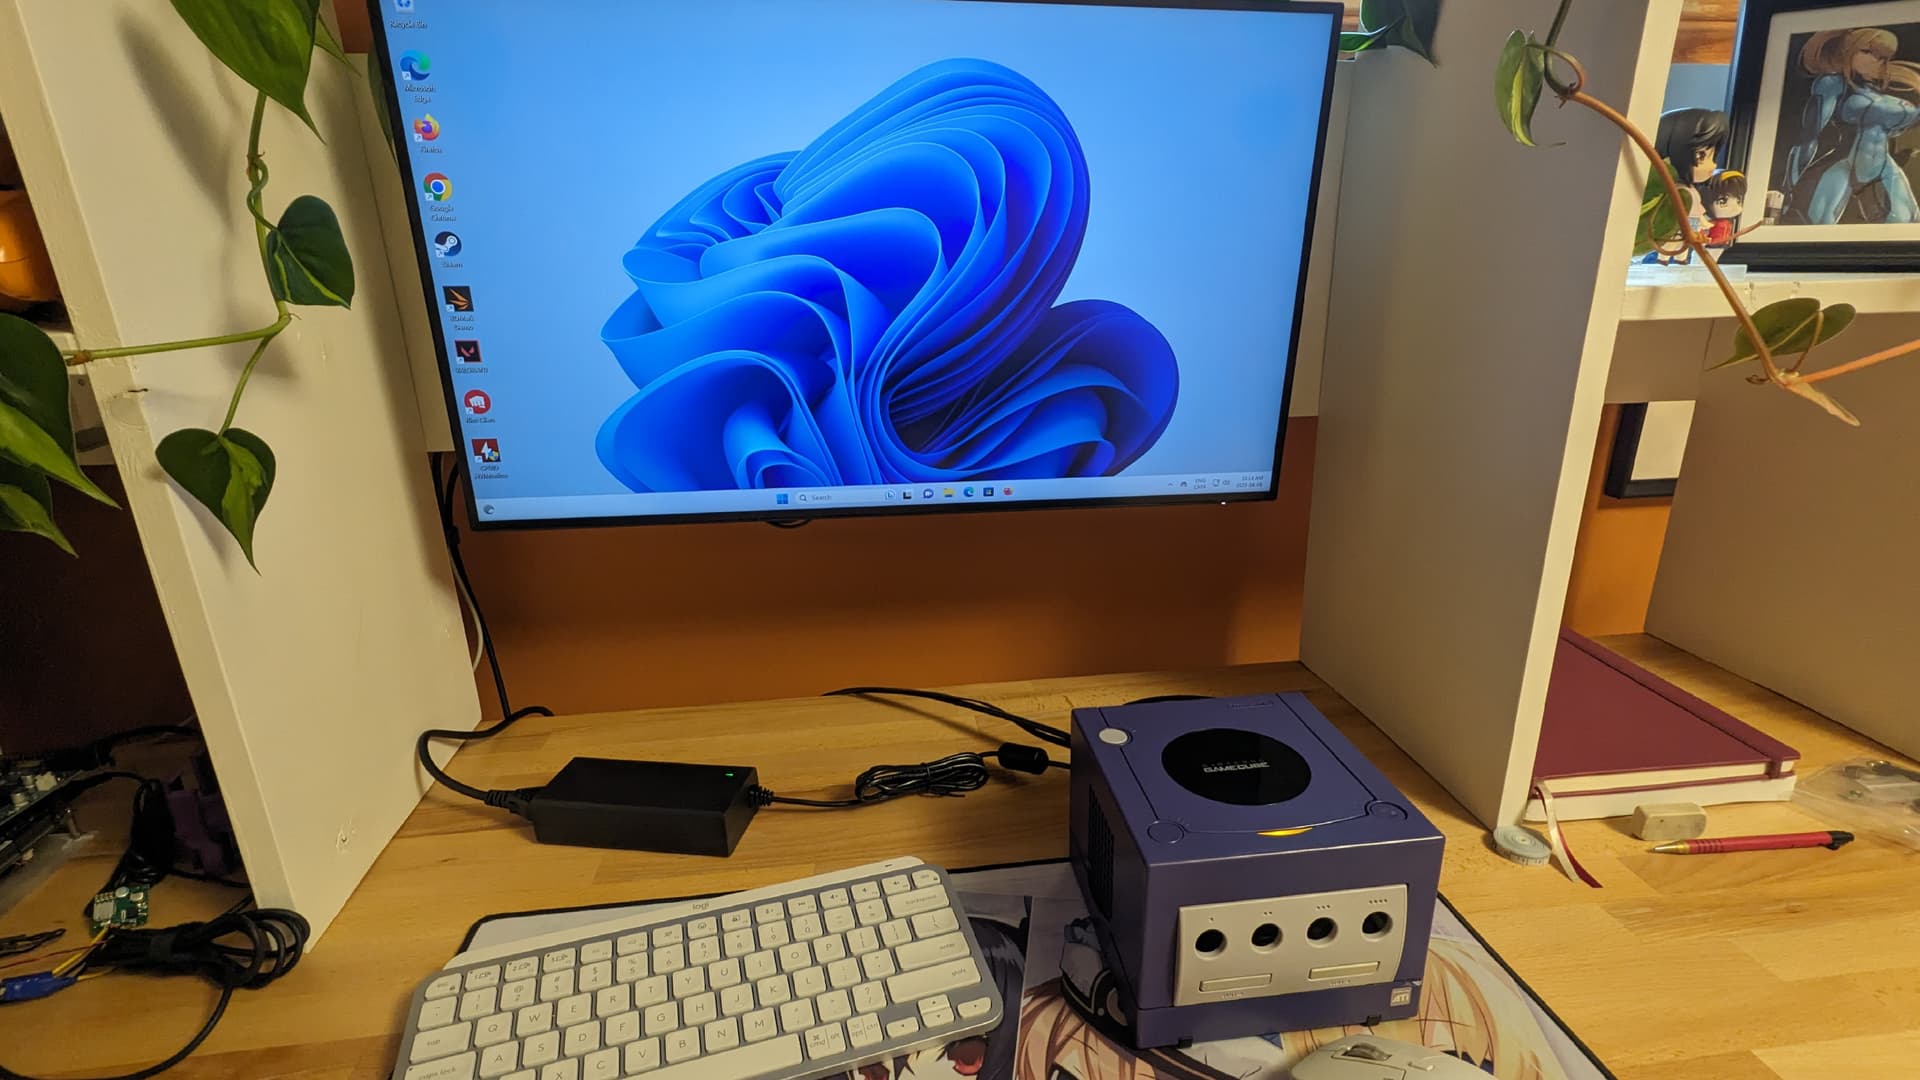
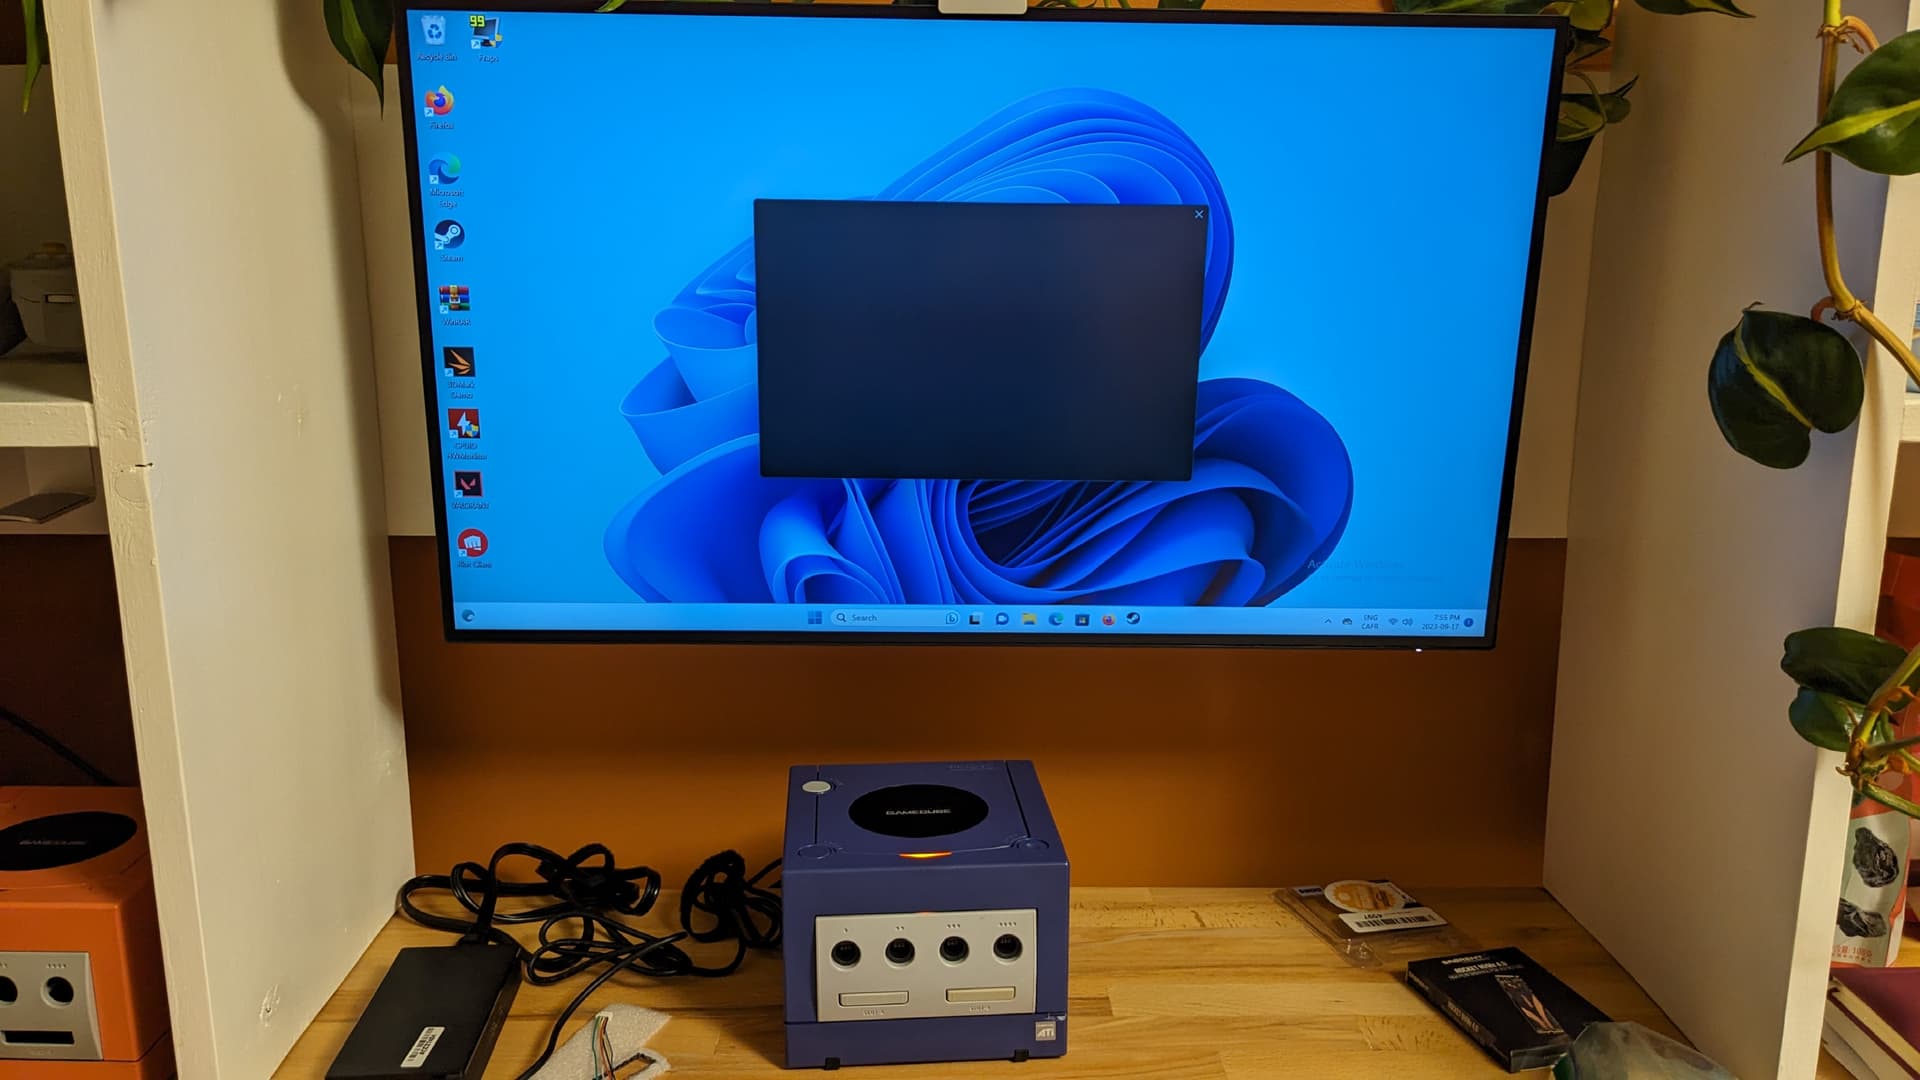
And now I want you to see how to assemble it. I’m really proud of it. It fits nicely and it just works really well.

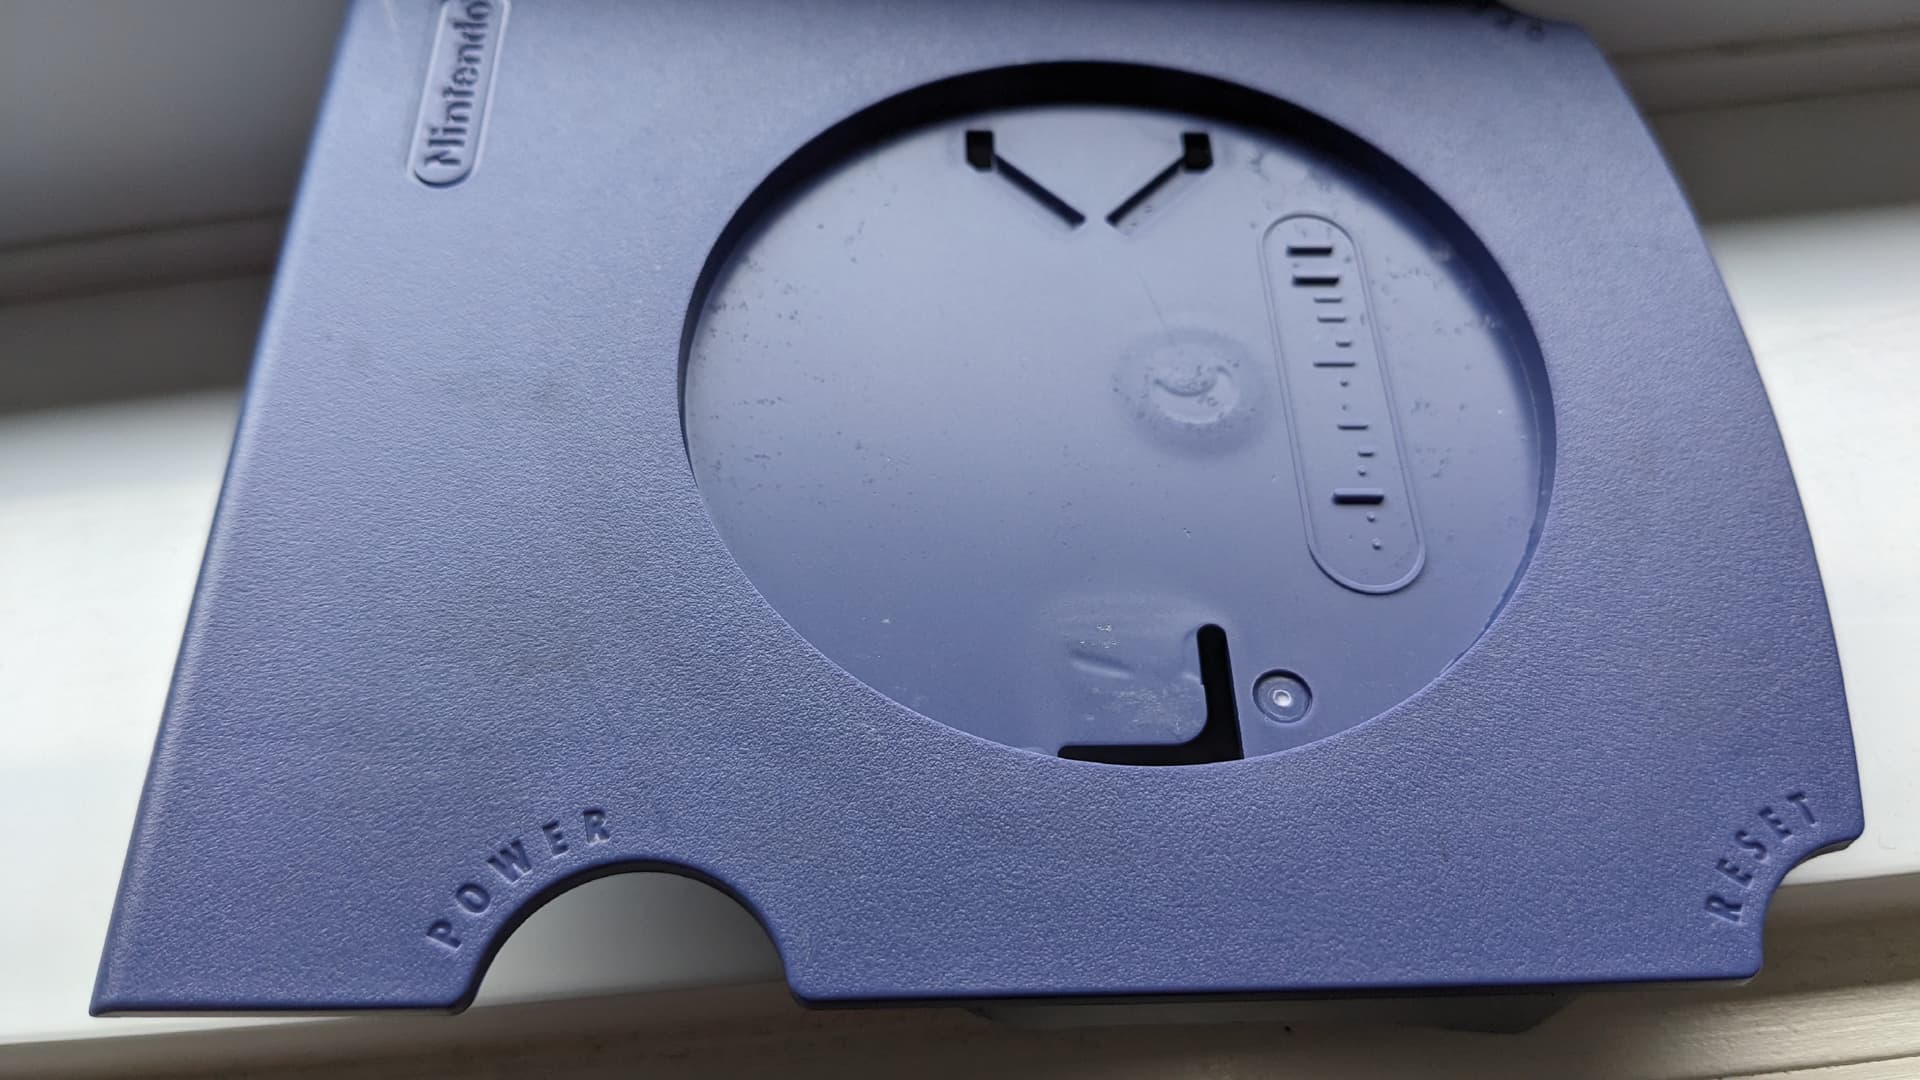
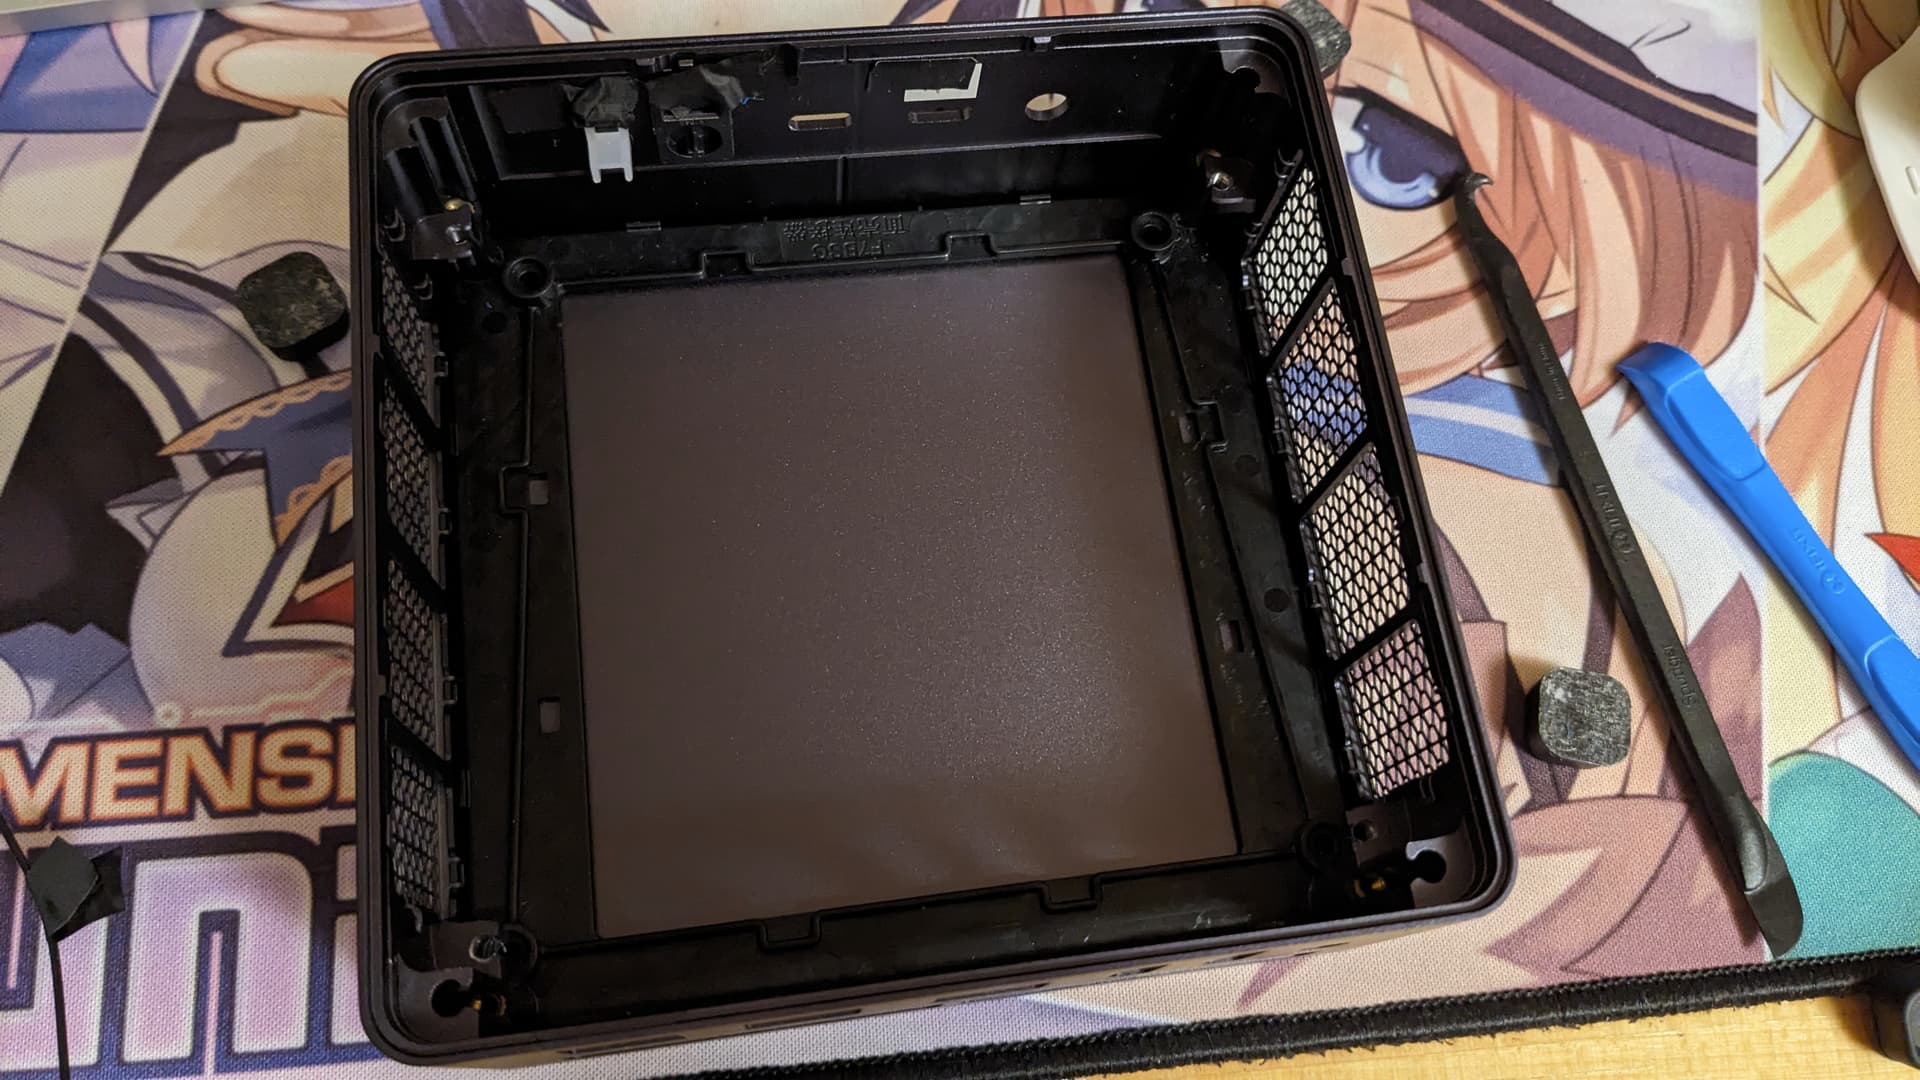
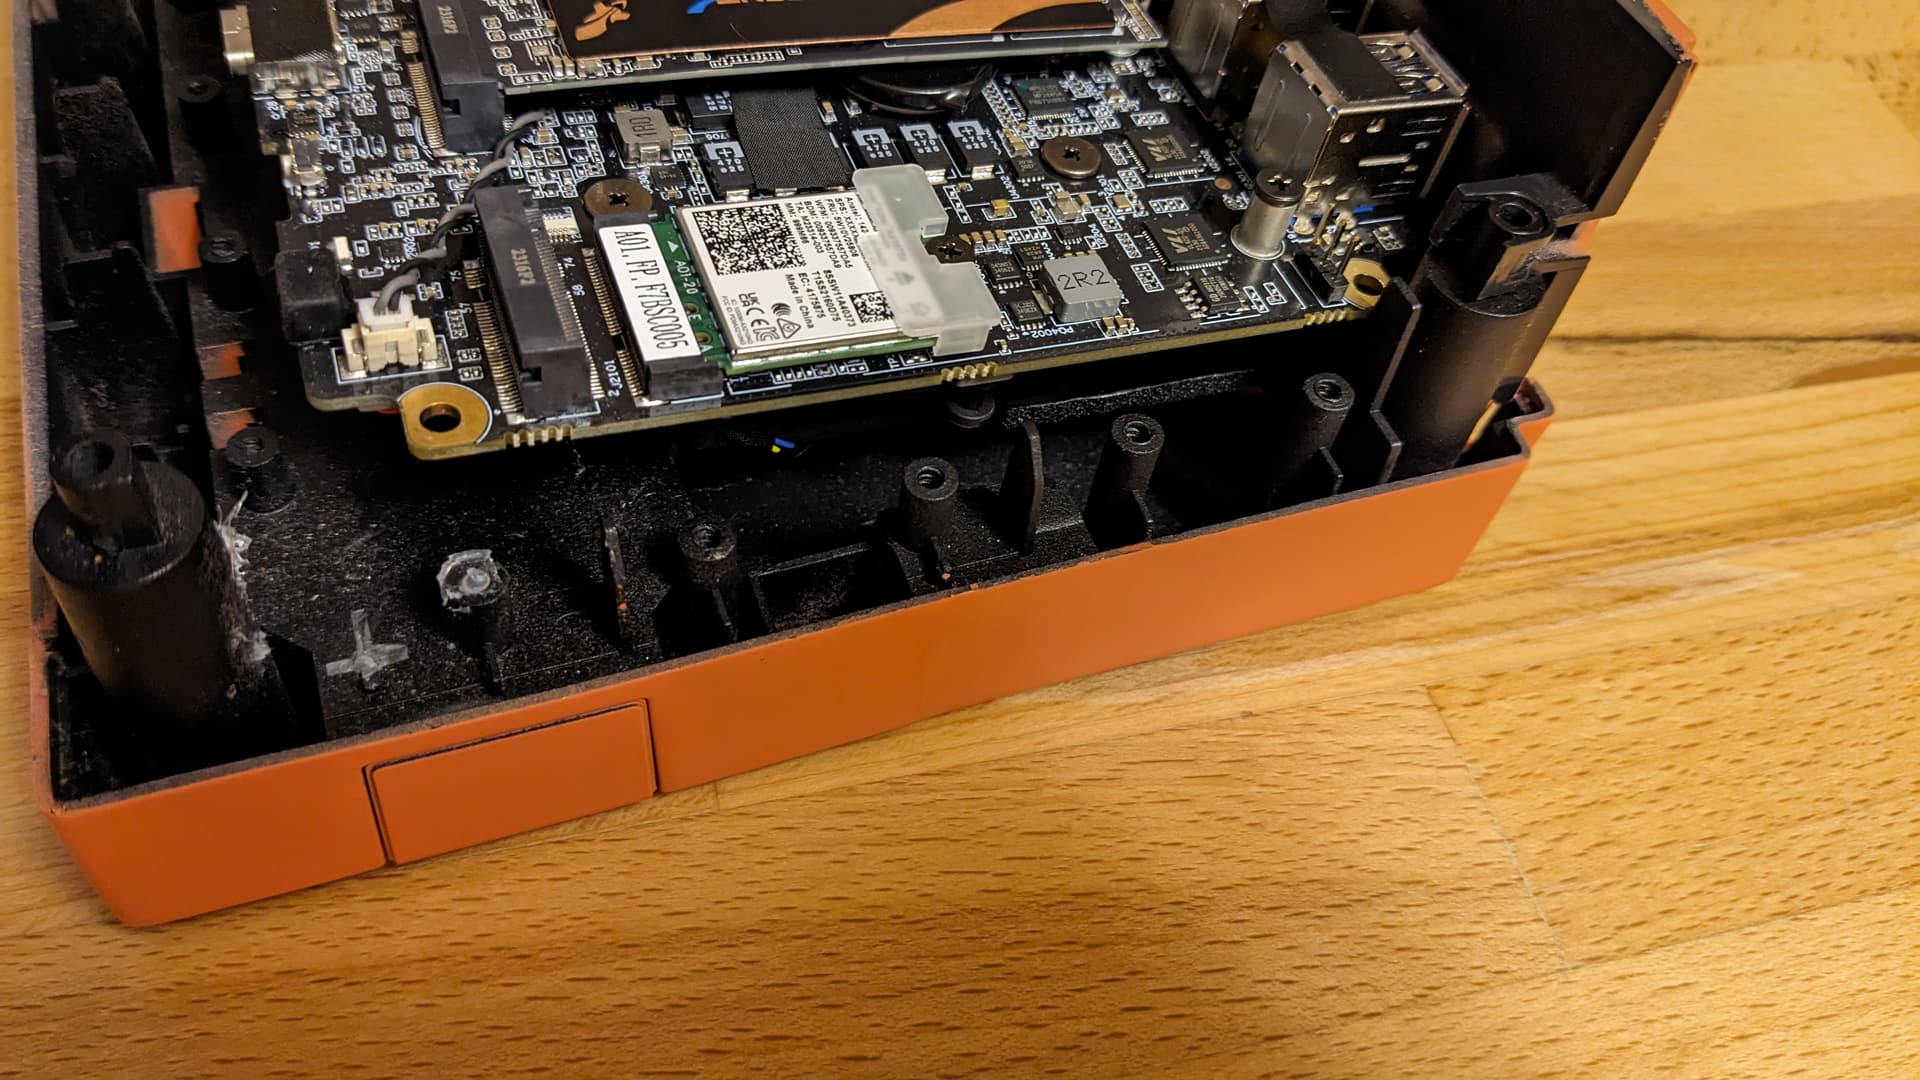
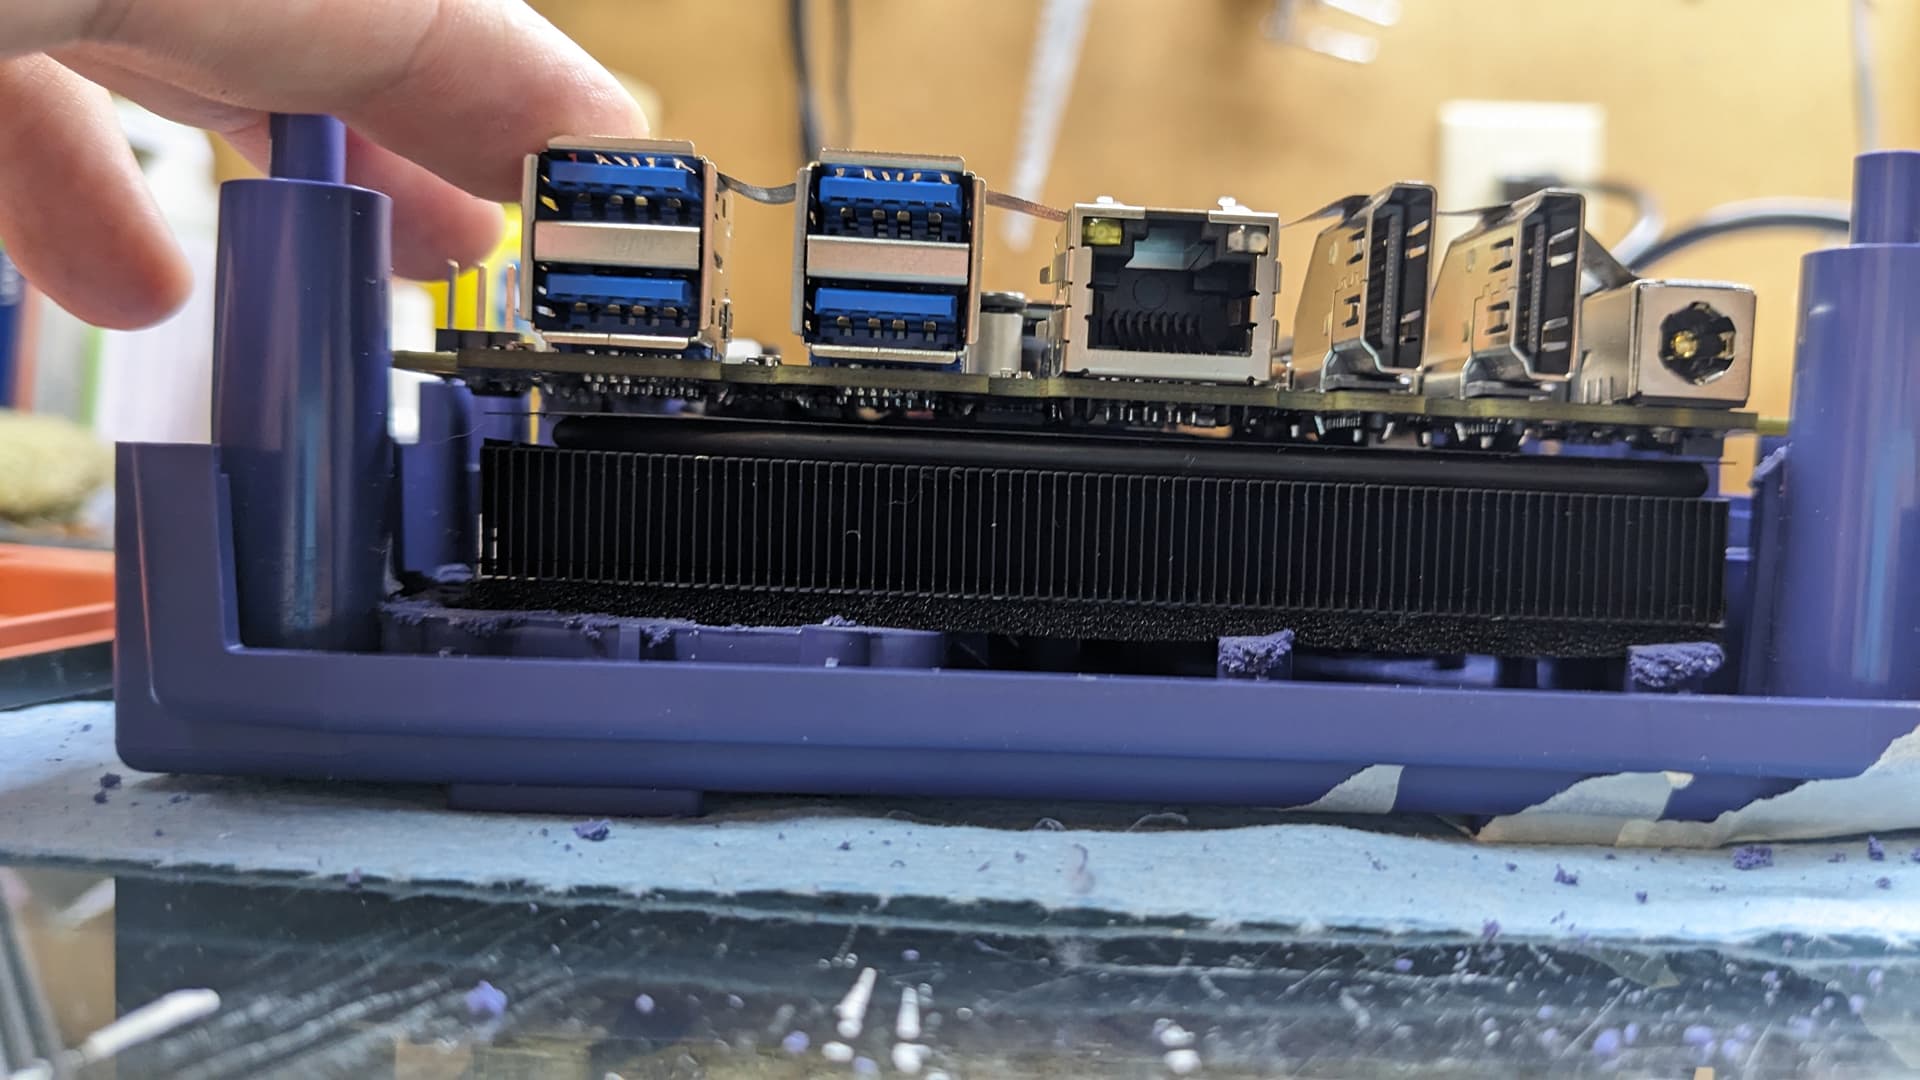
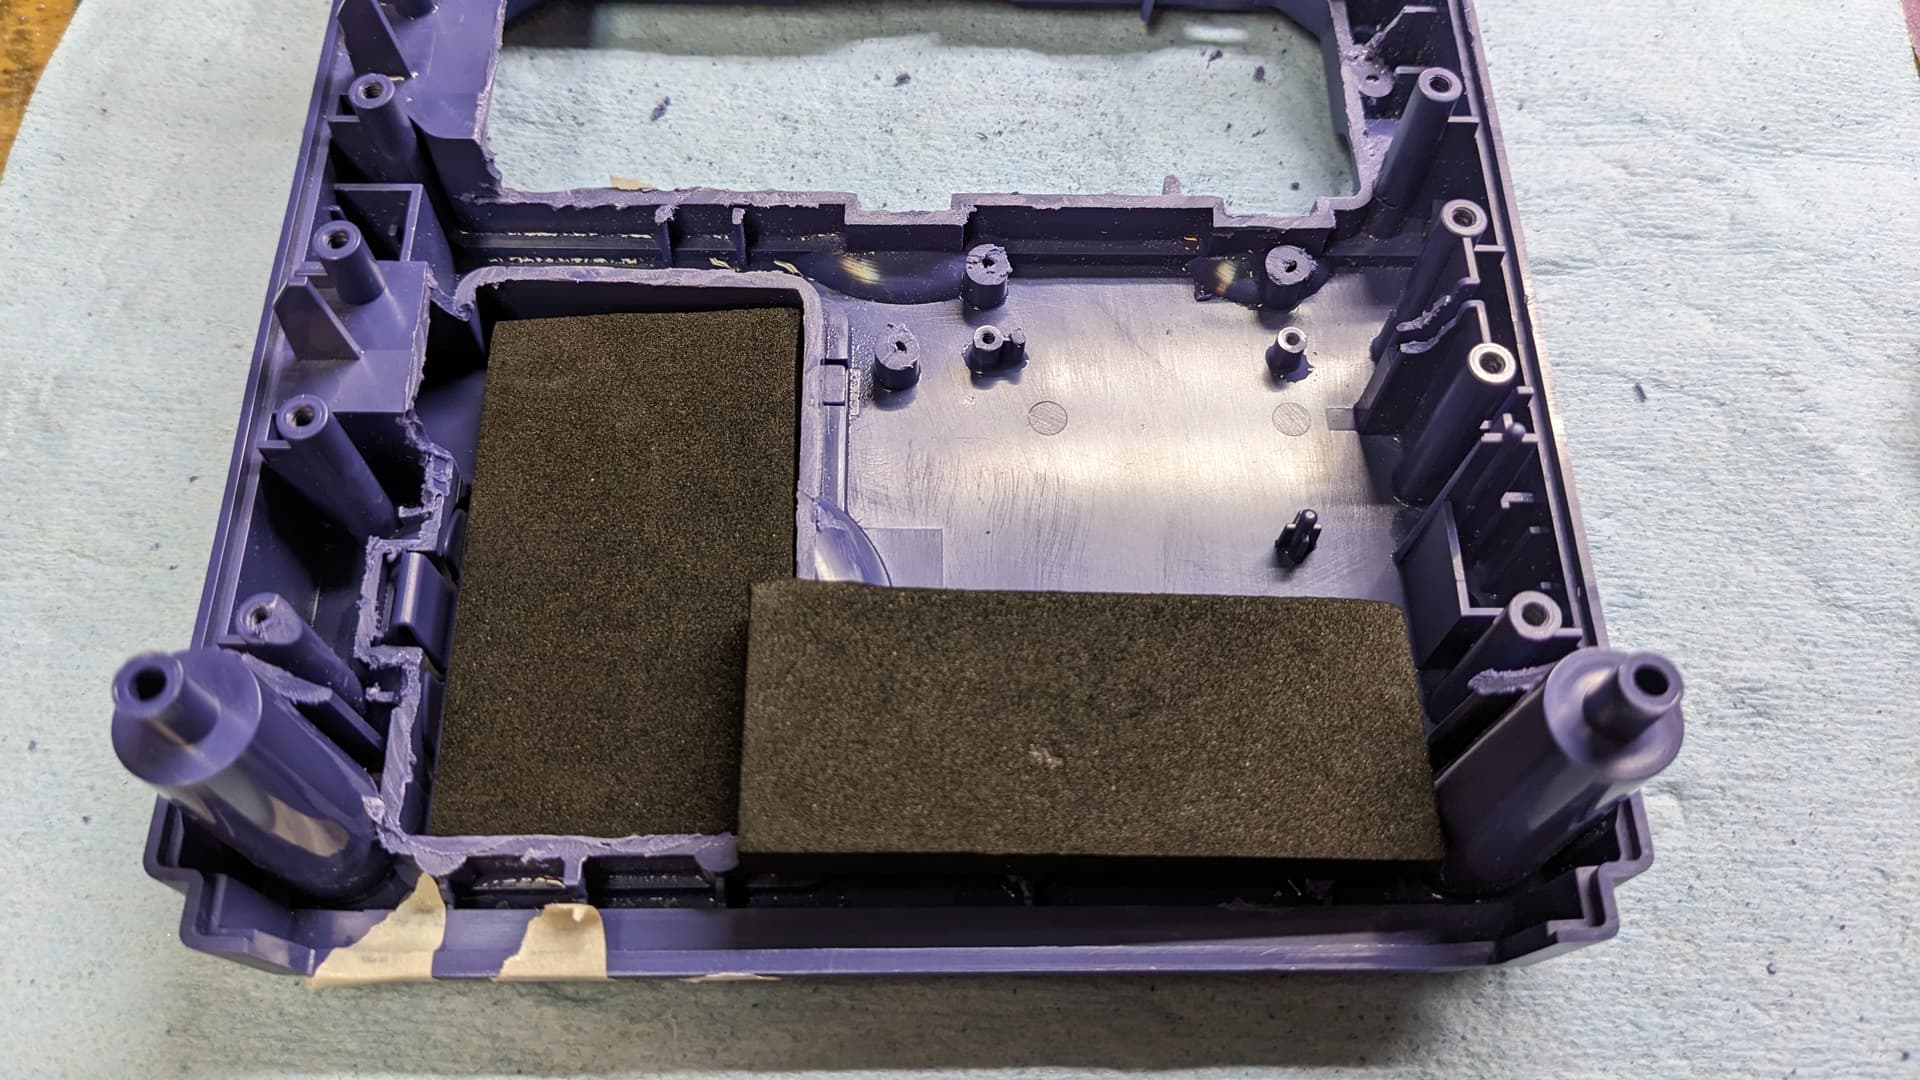
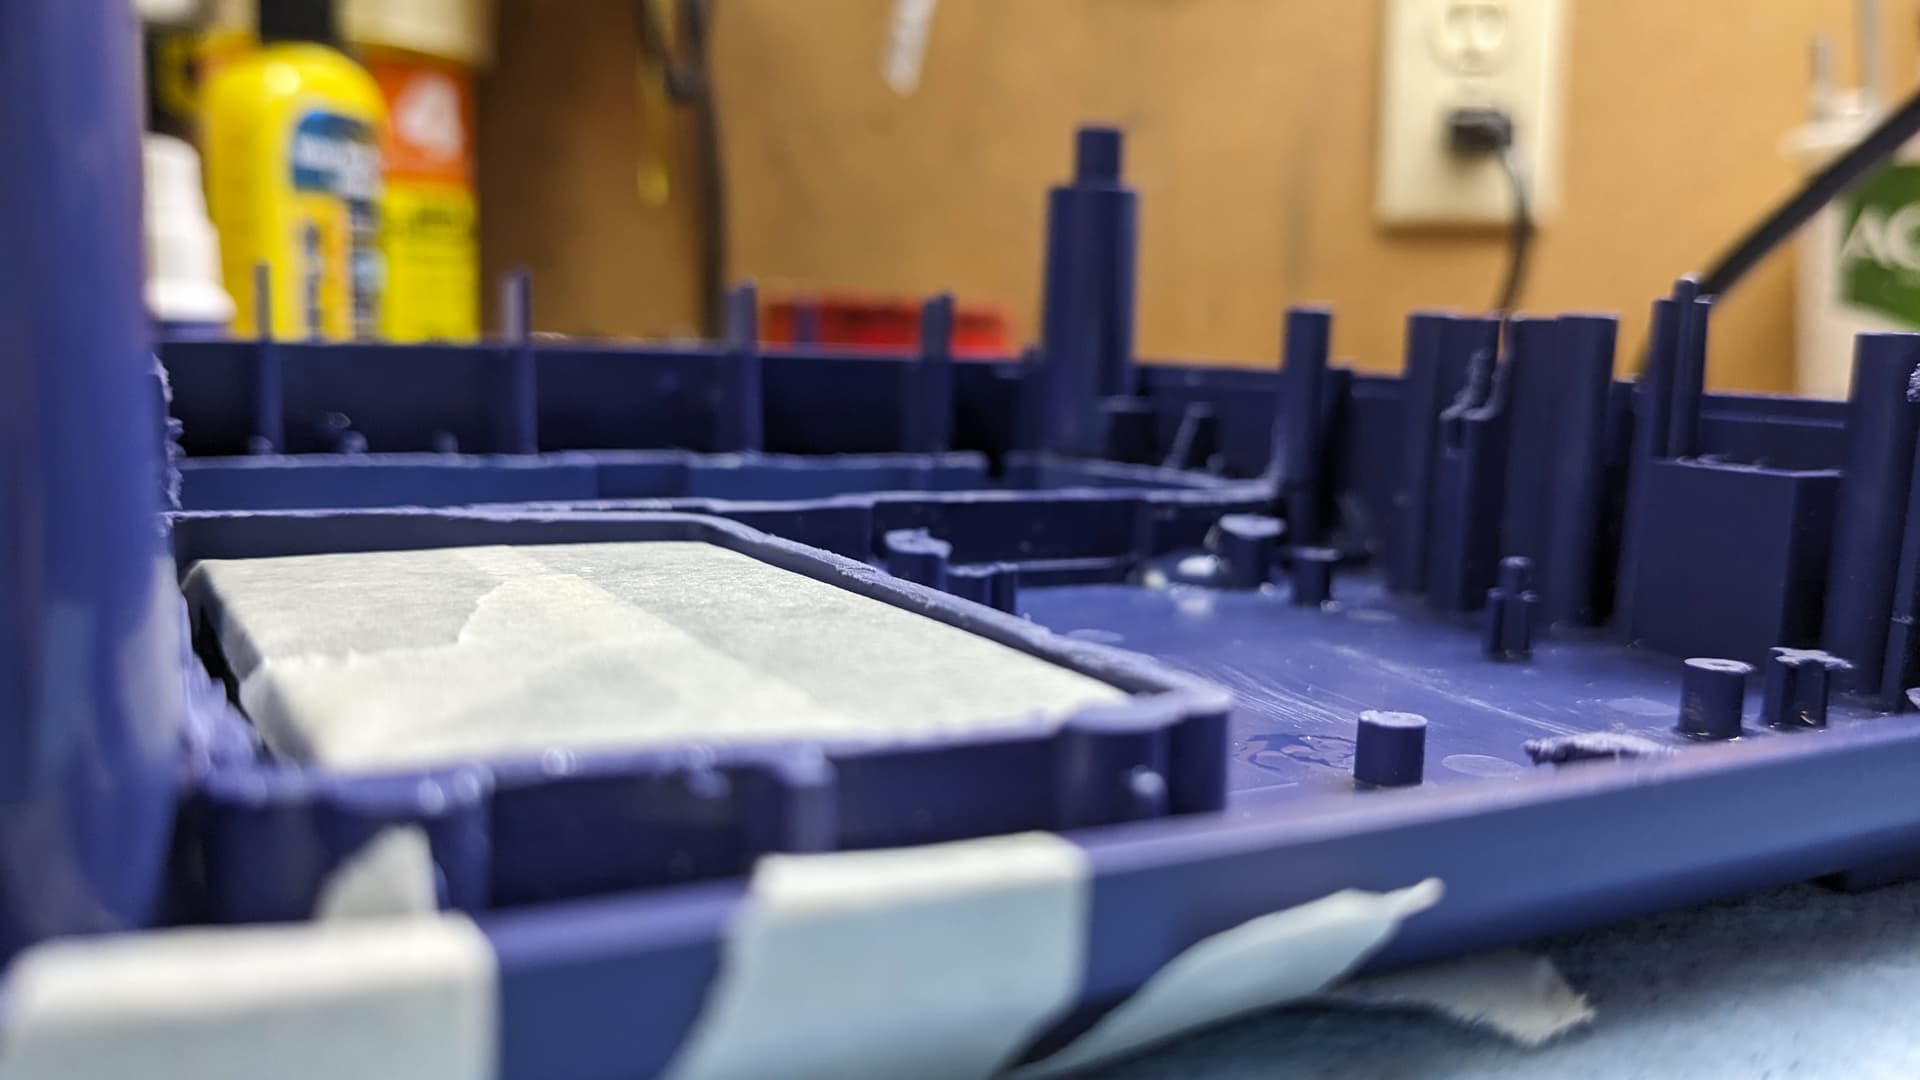
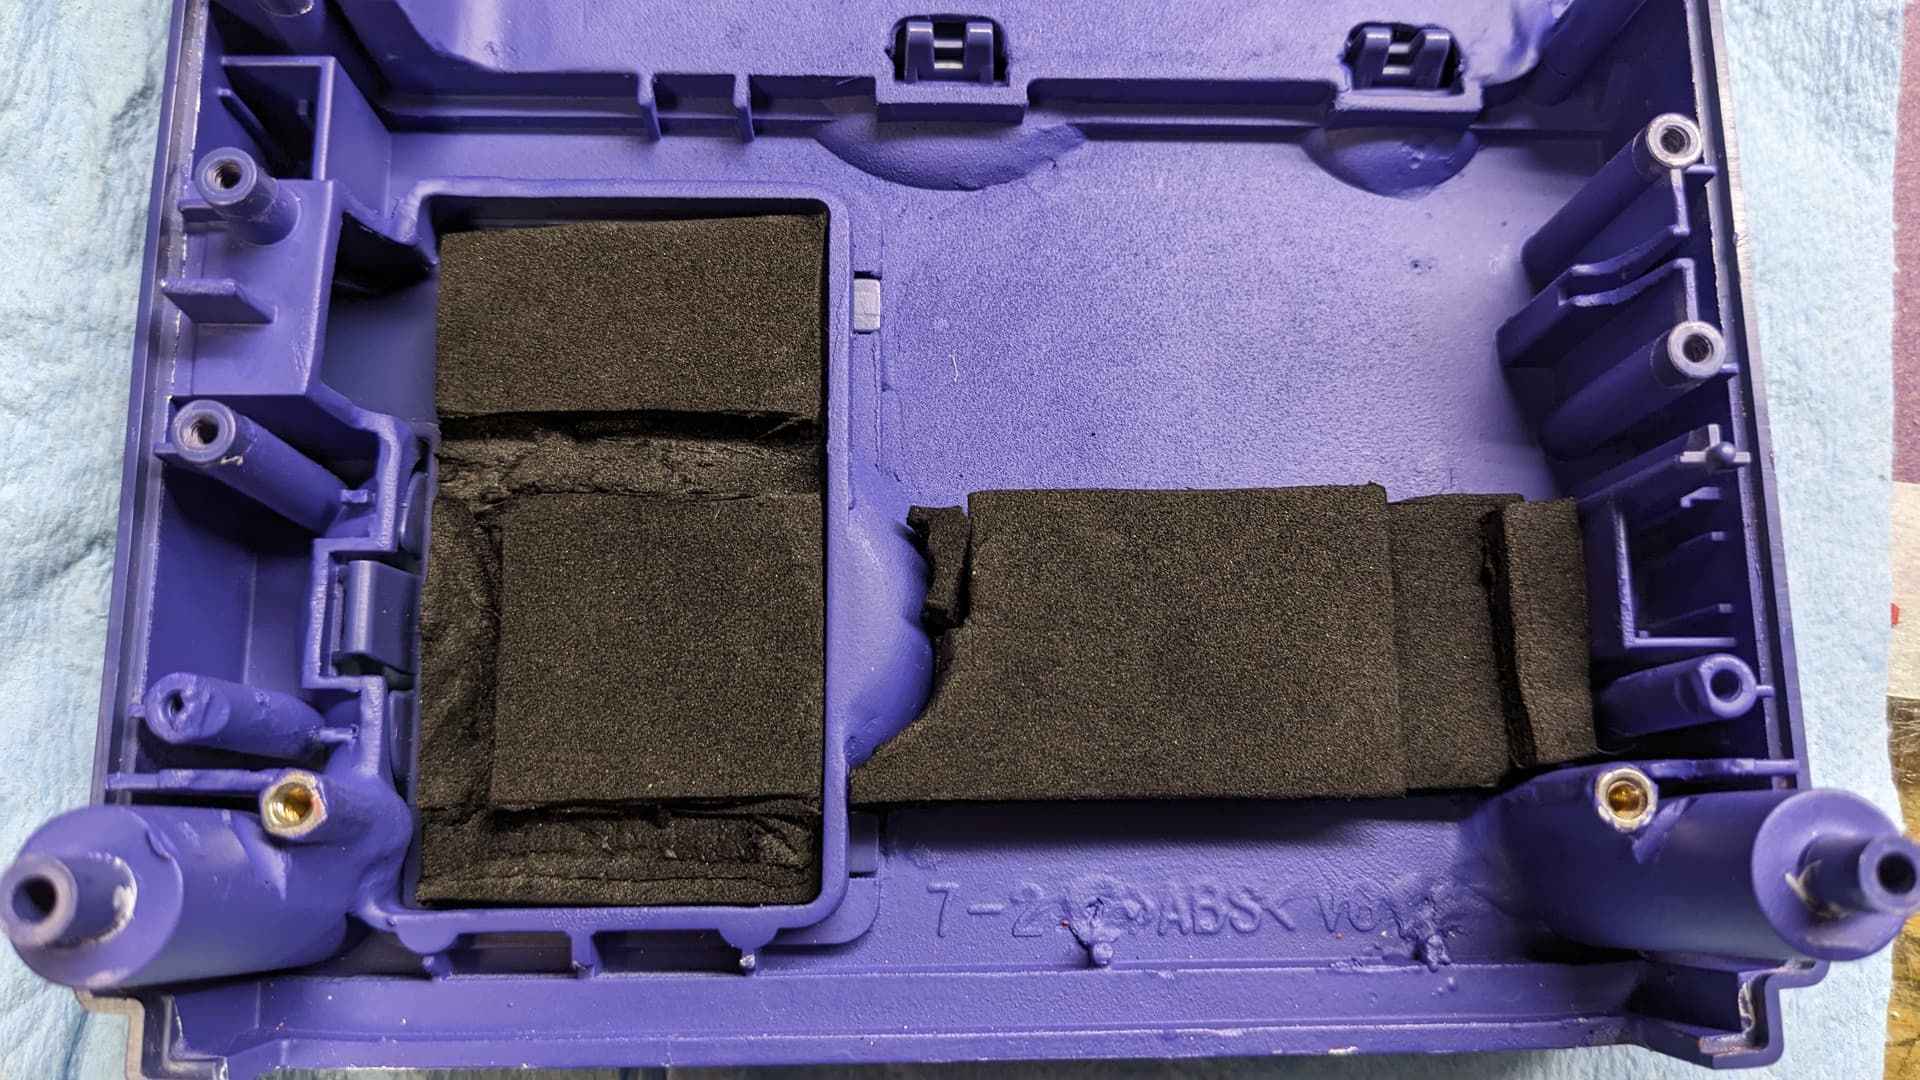
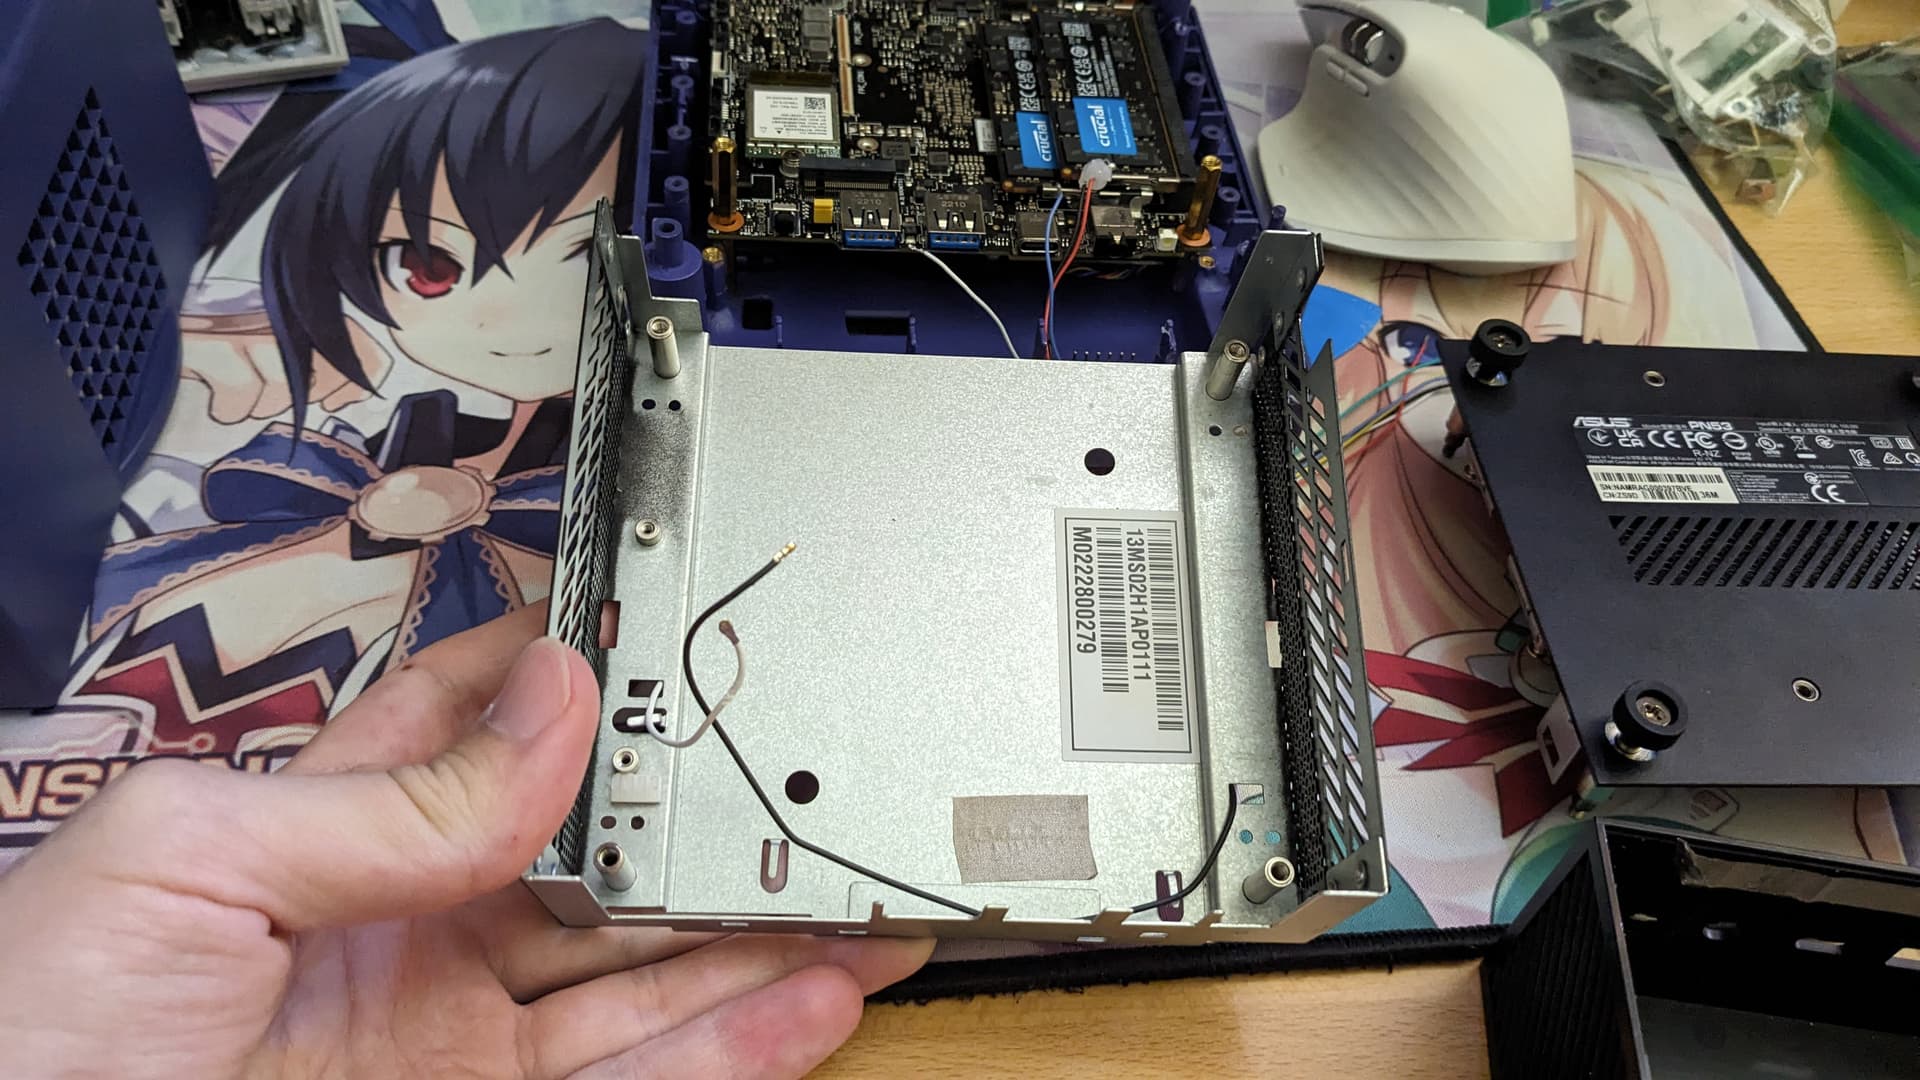
First there is the case empty with only the antennas installed. Also I kept the foam to be sure that no hot air from the exhaust get recirculated back into the case.


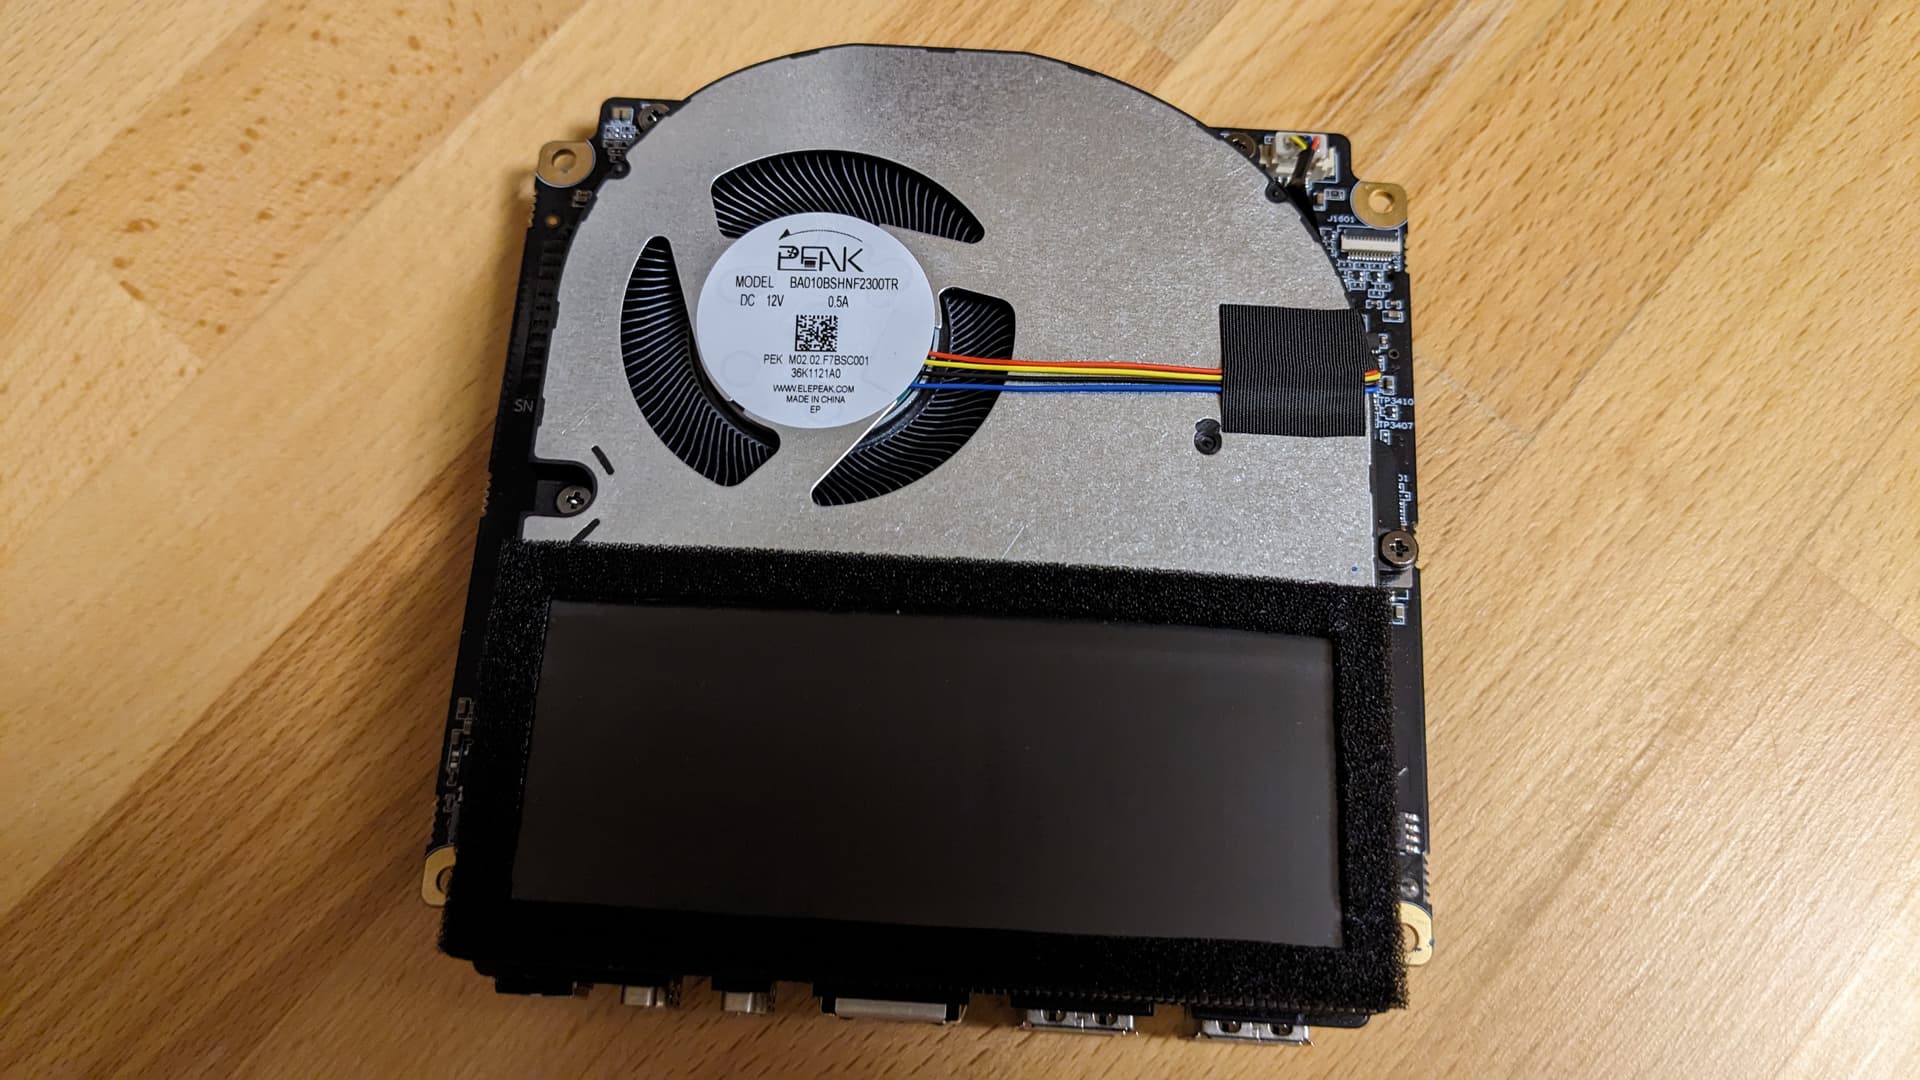
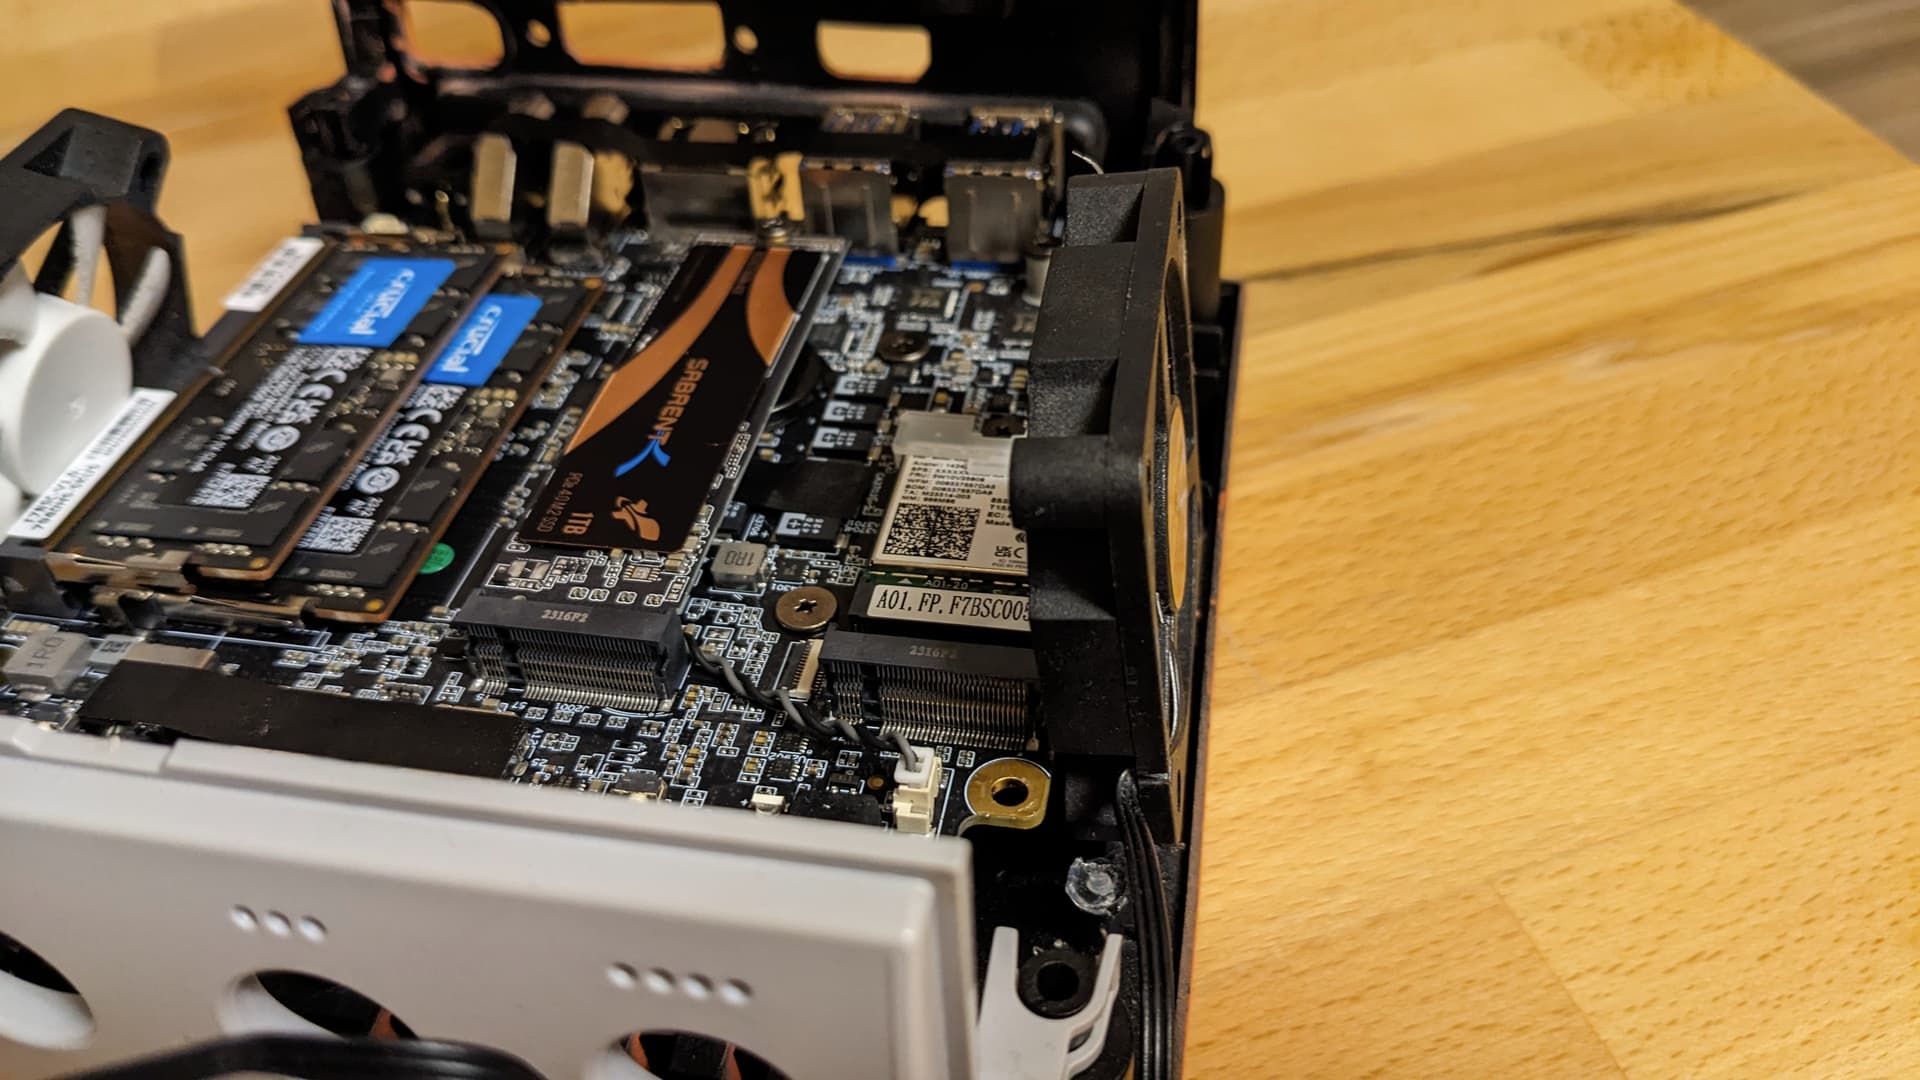
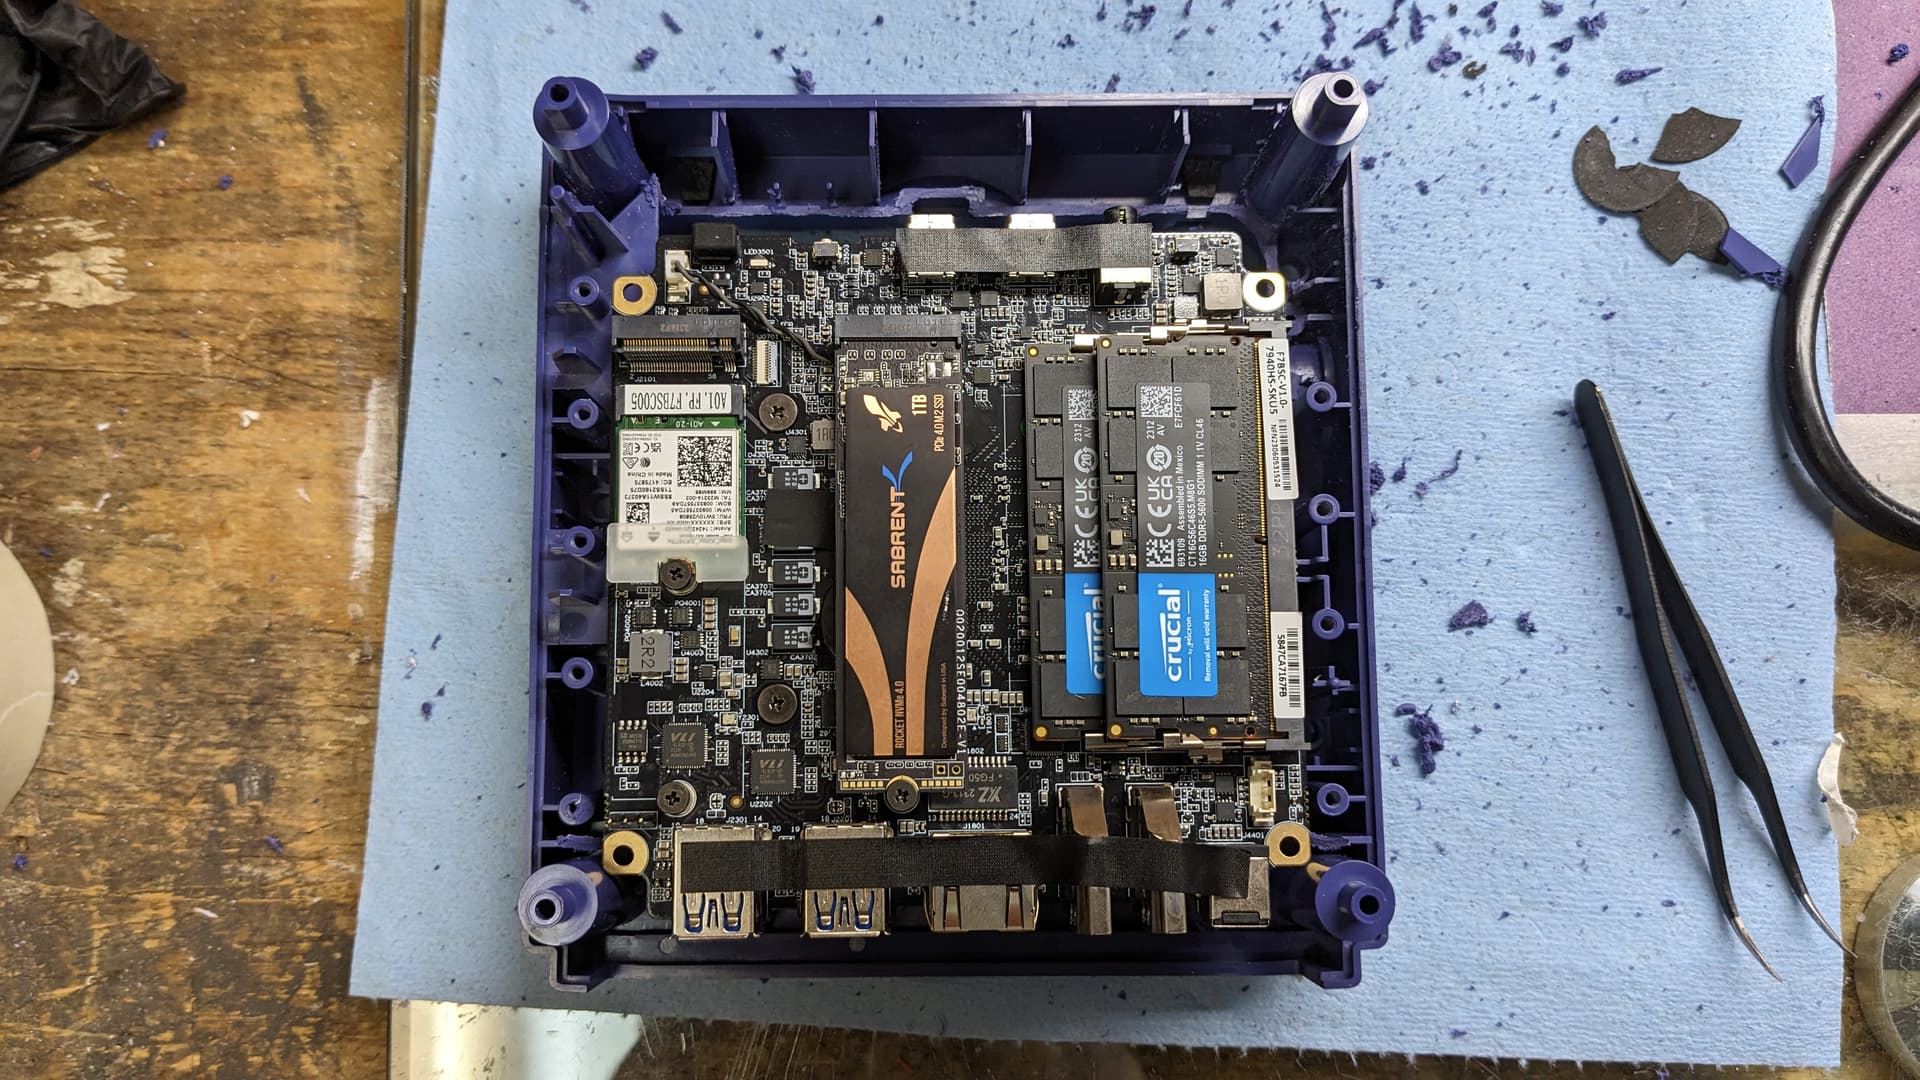
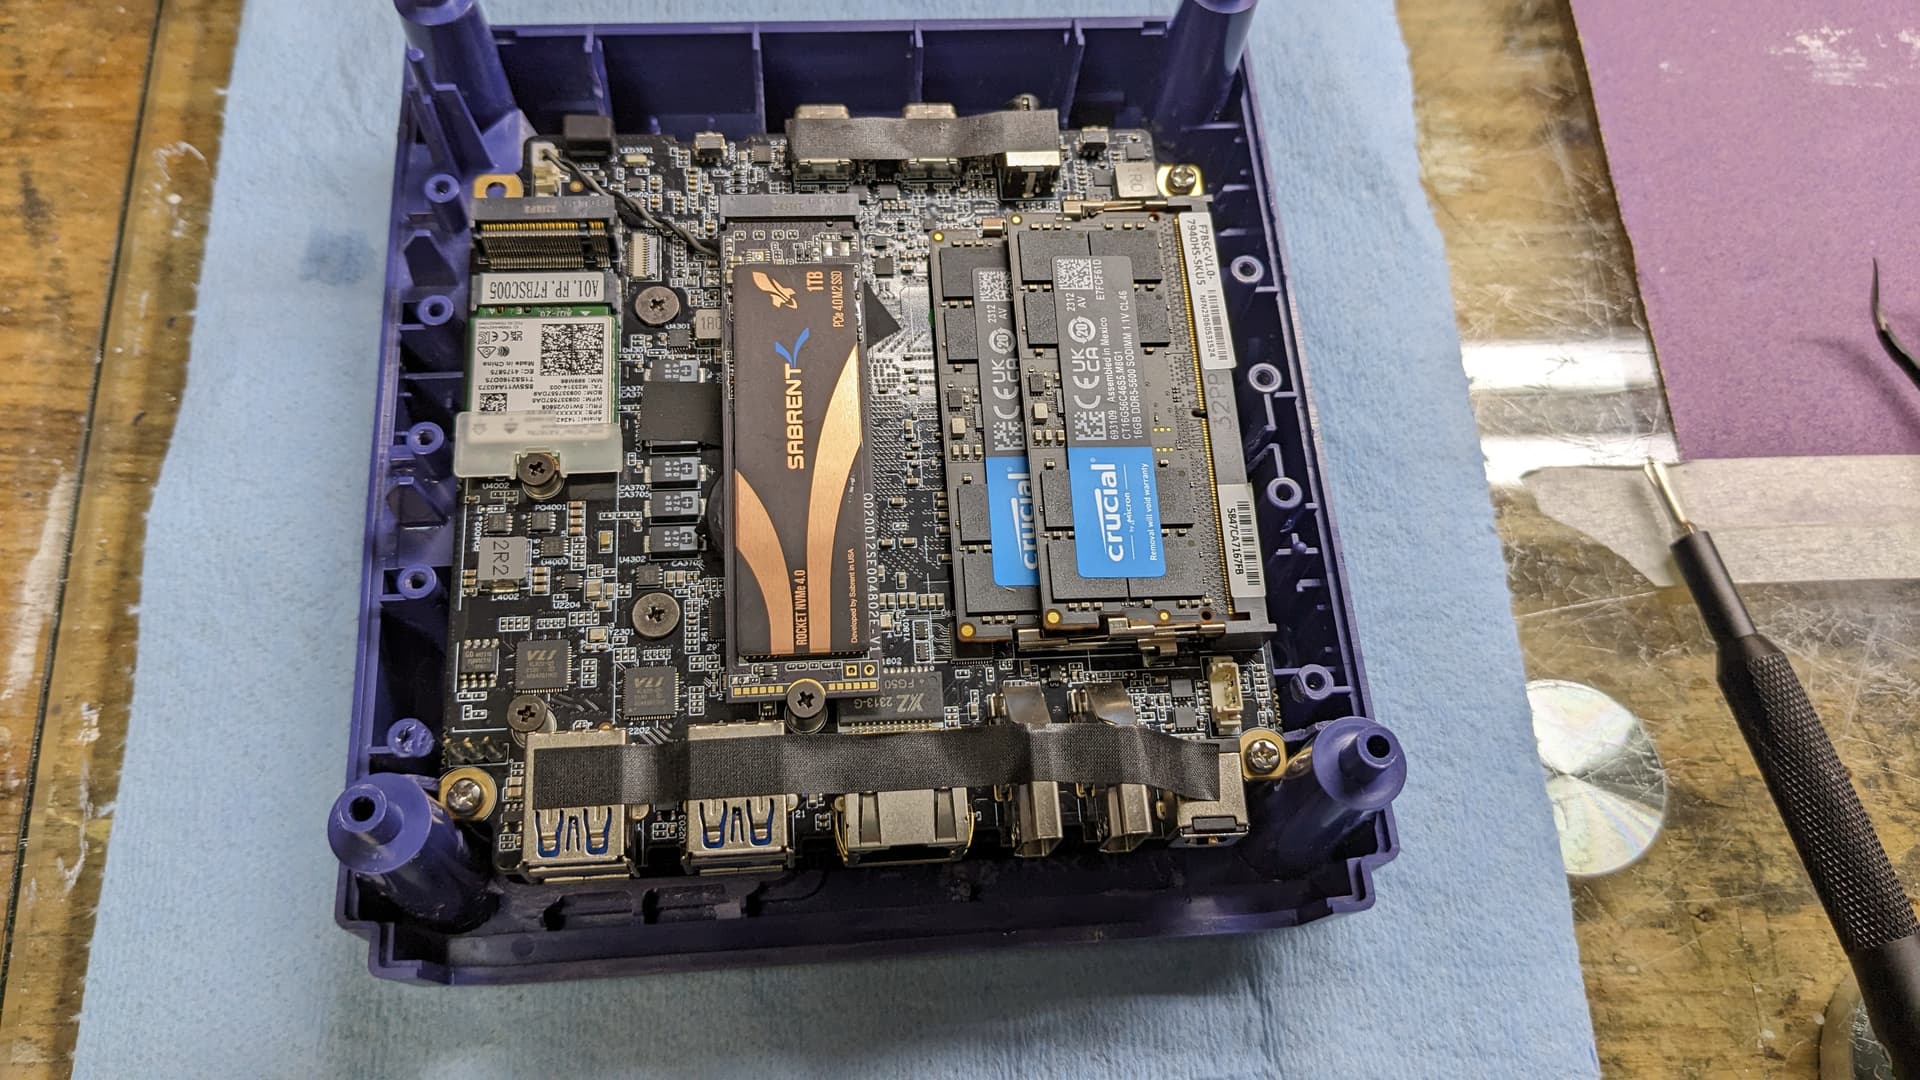
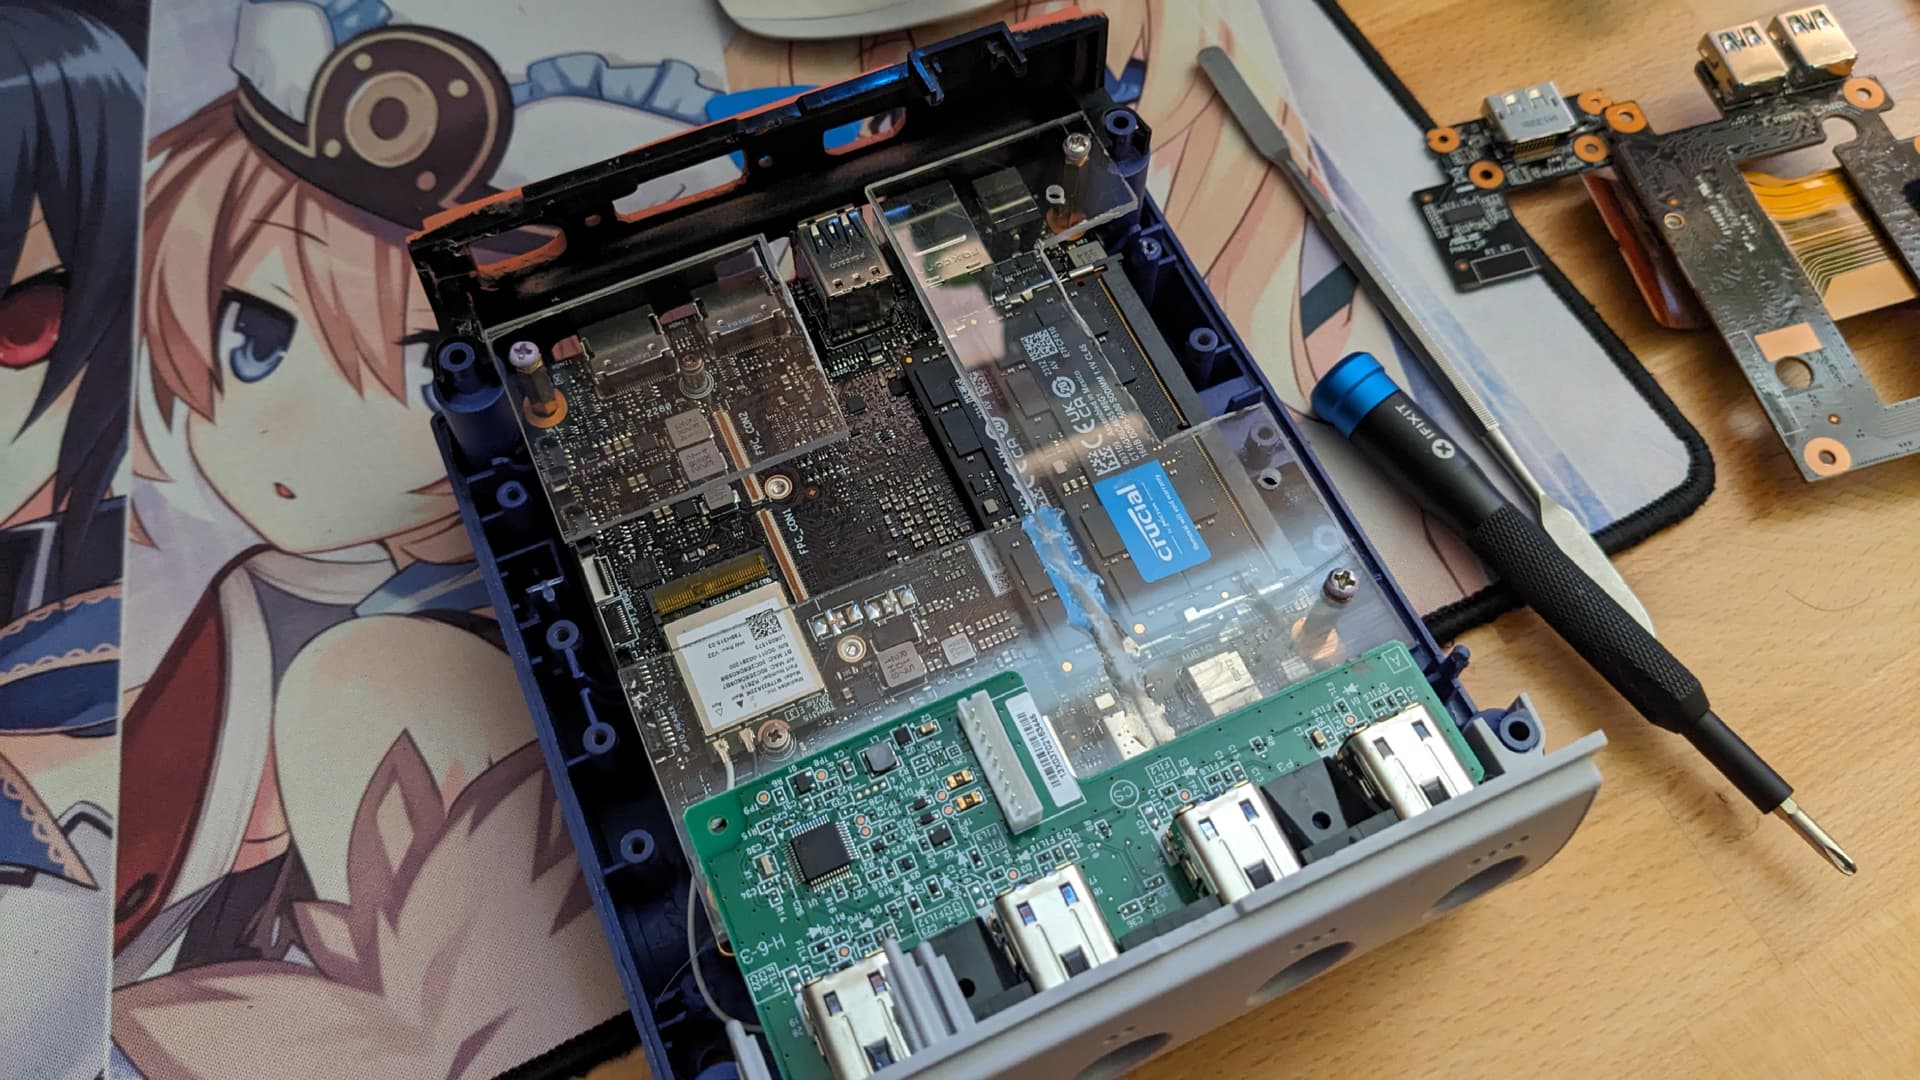
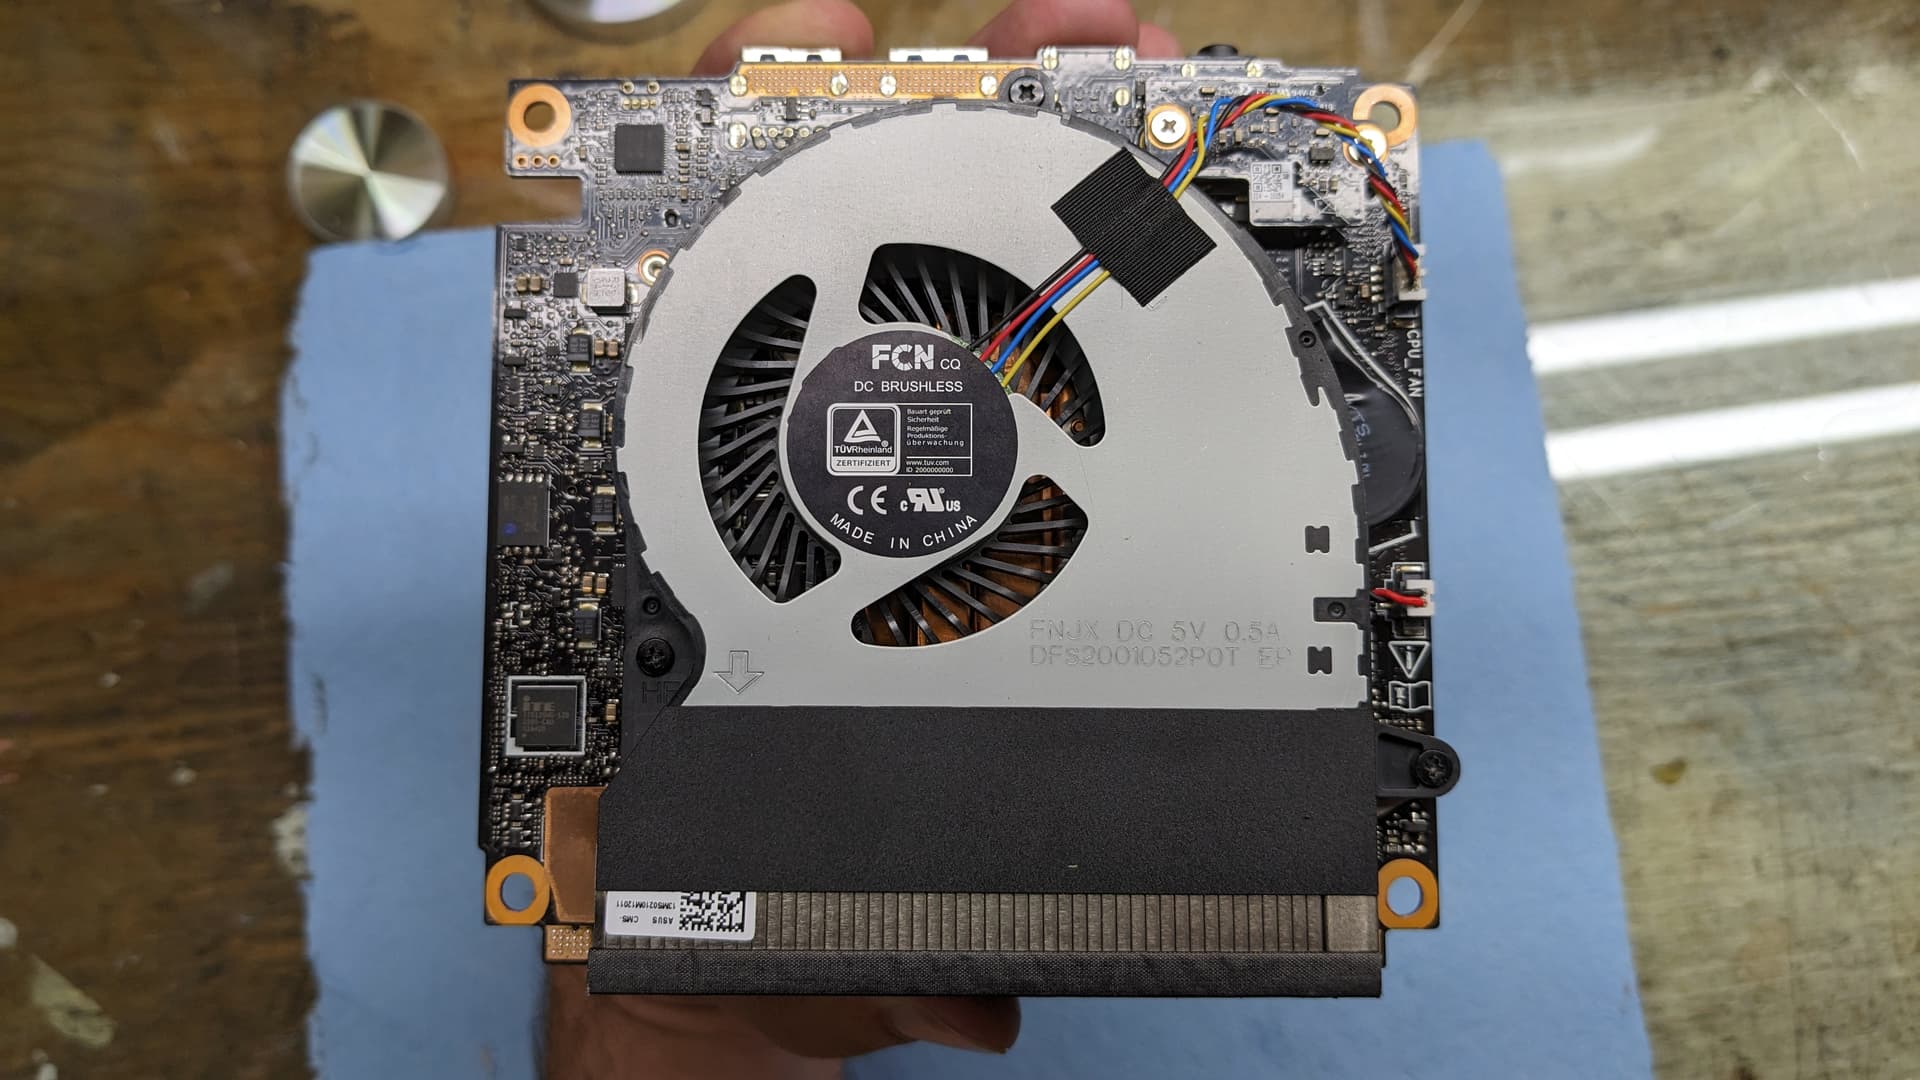
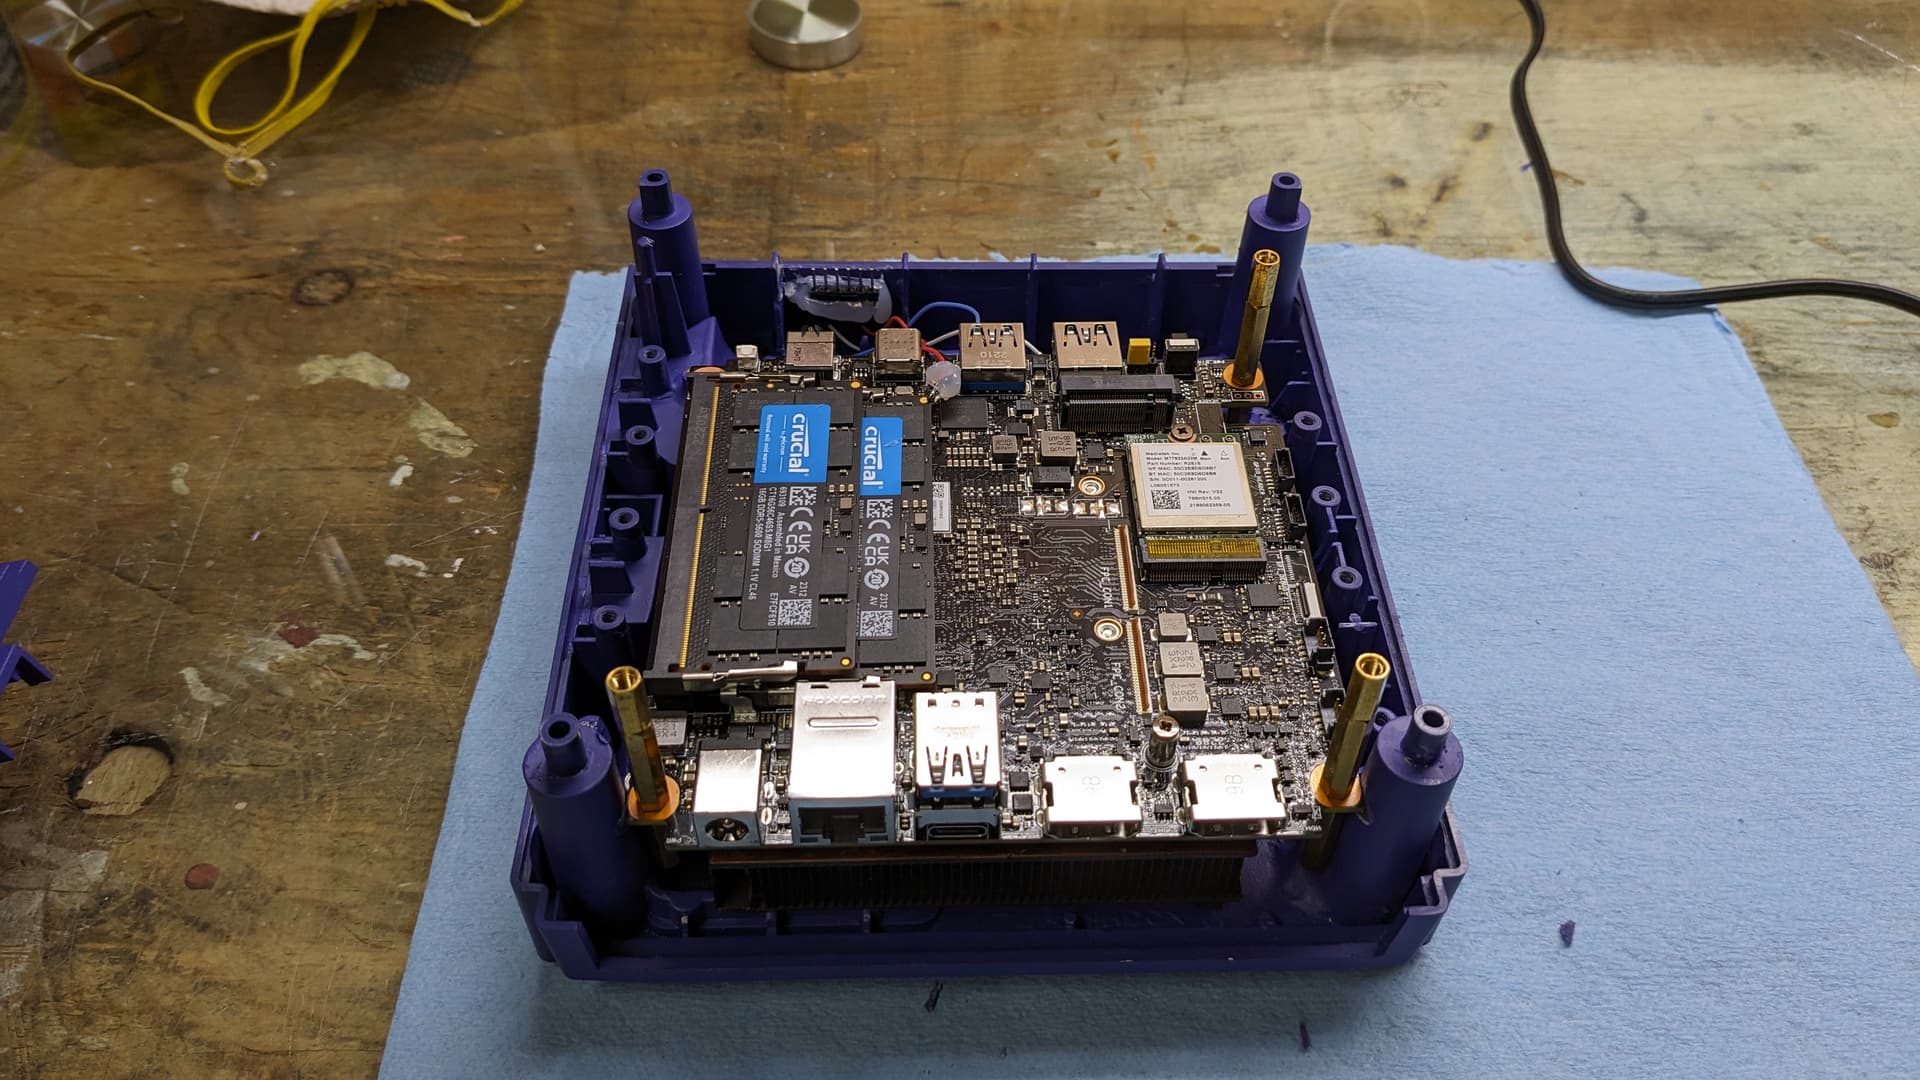
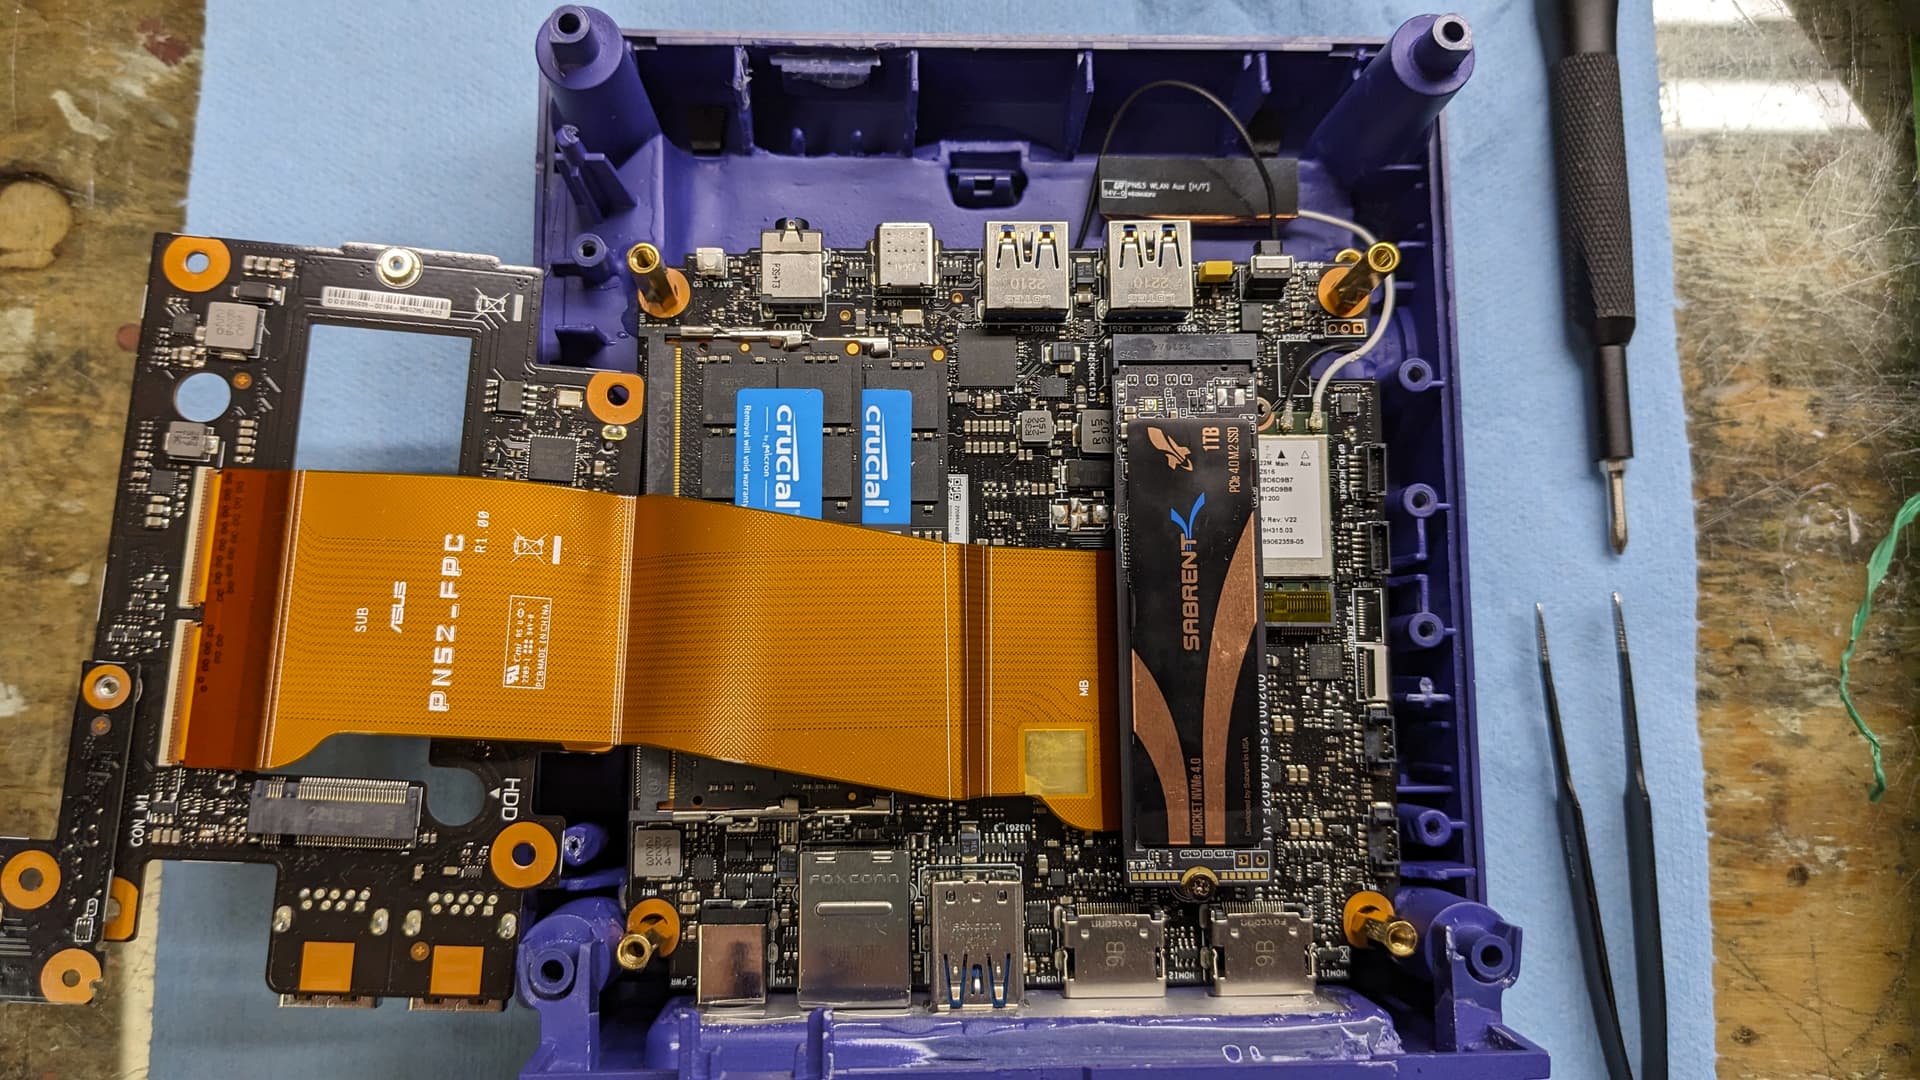
The mobo is then put into place:

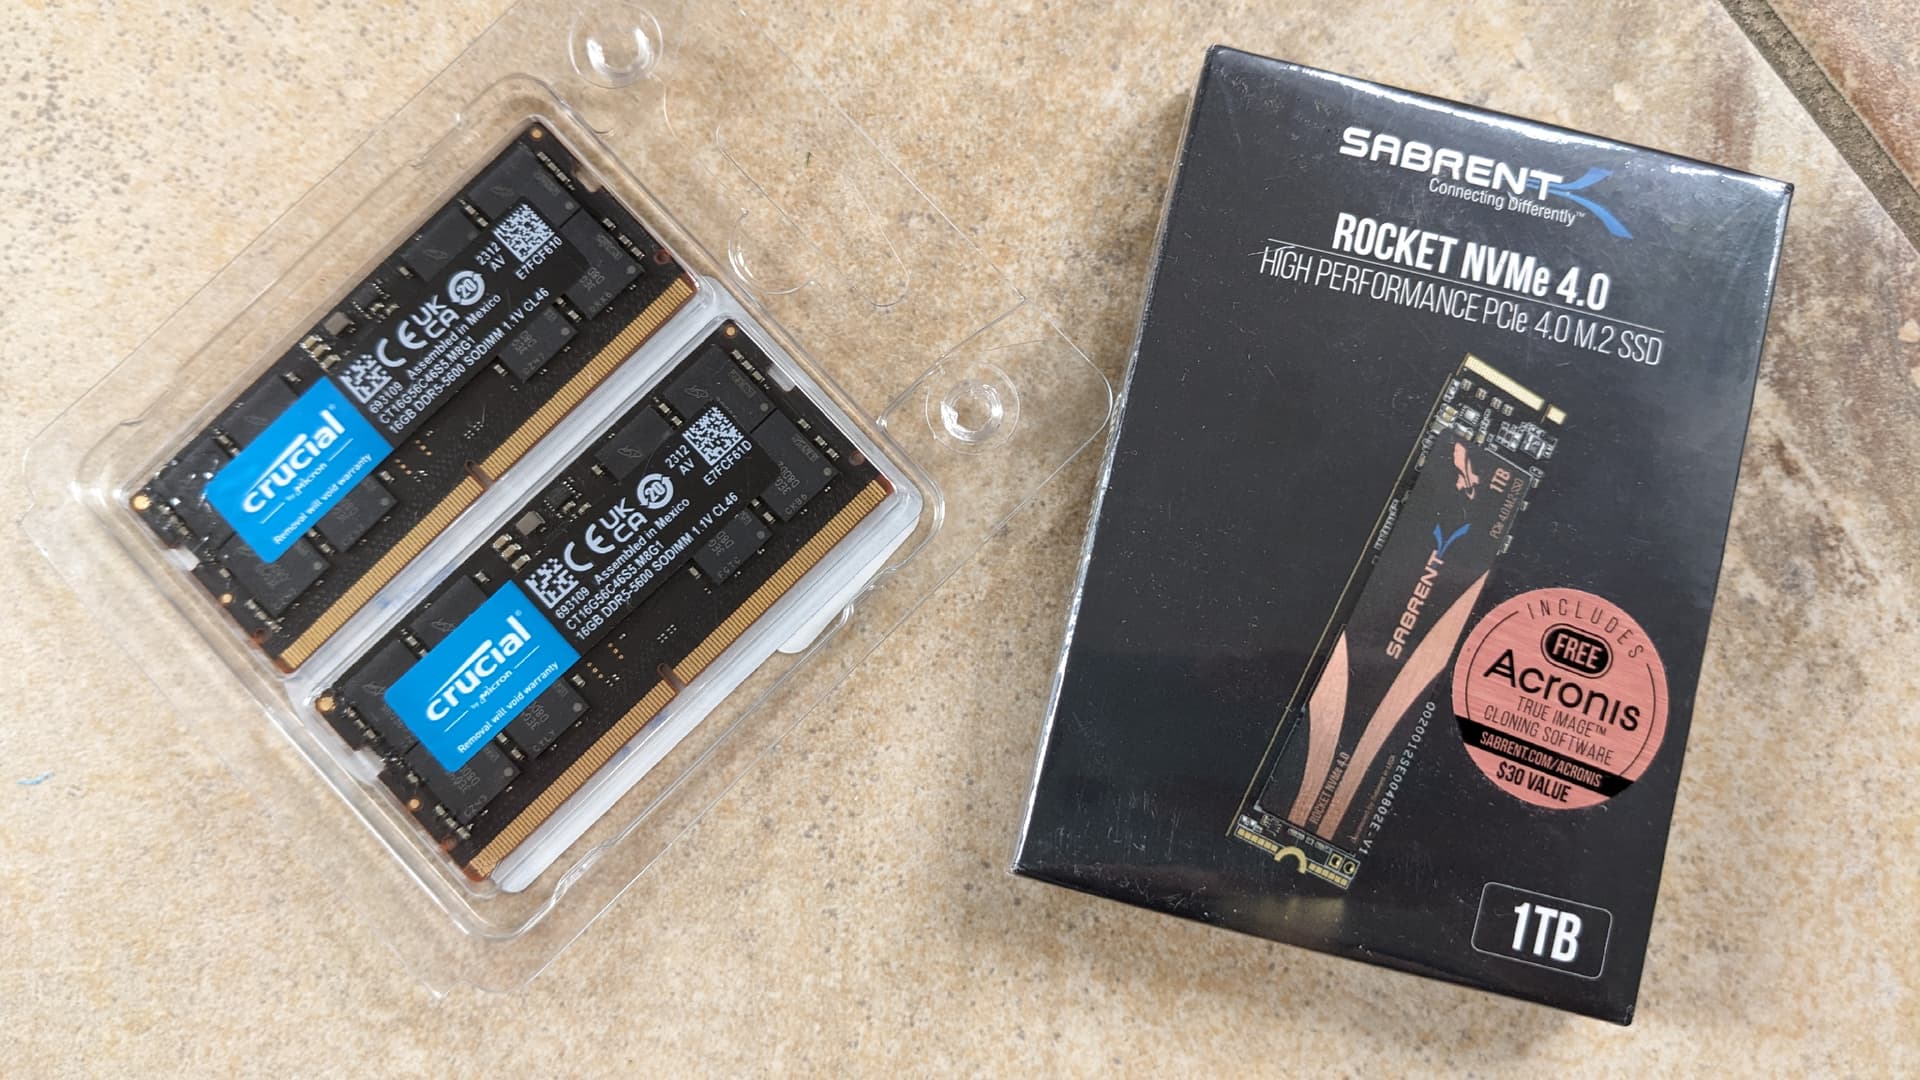
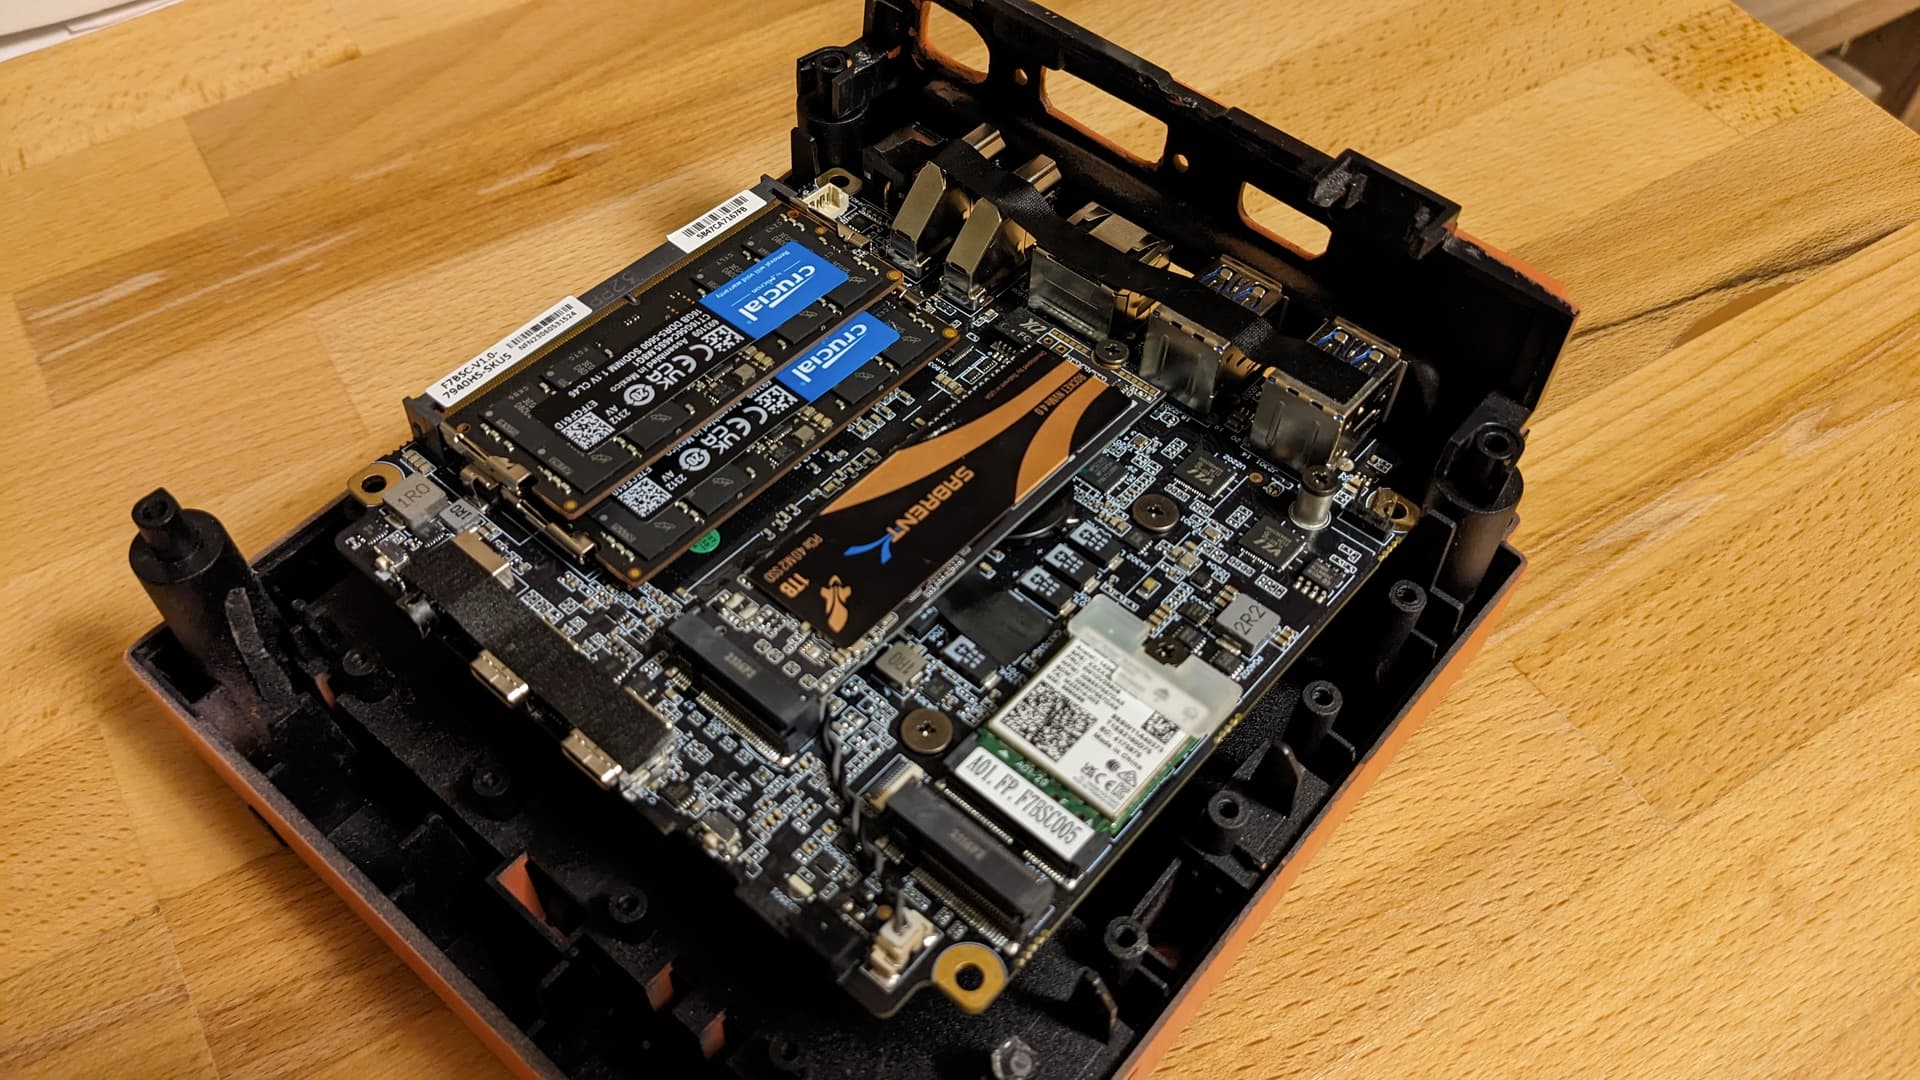
The cable of the extension board is connected, then the sdd is installed afterward:

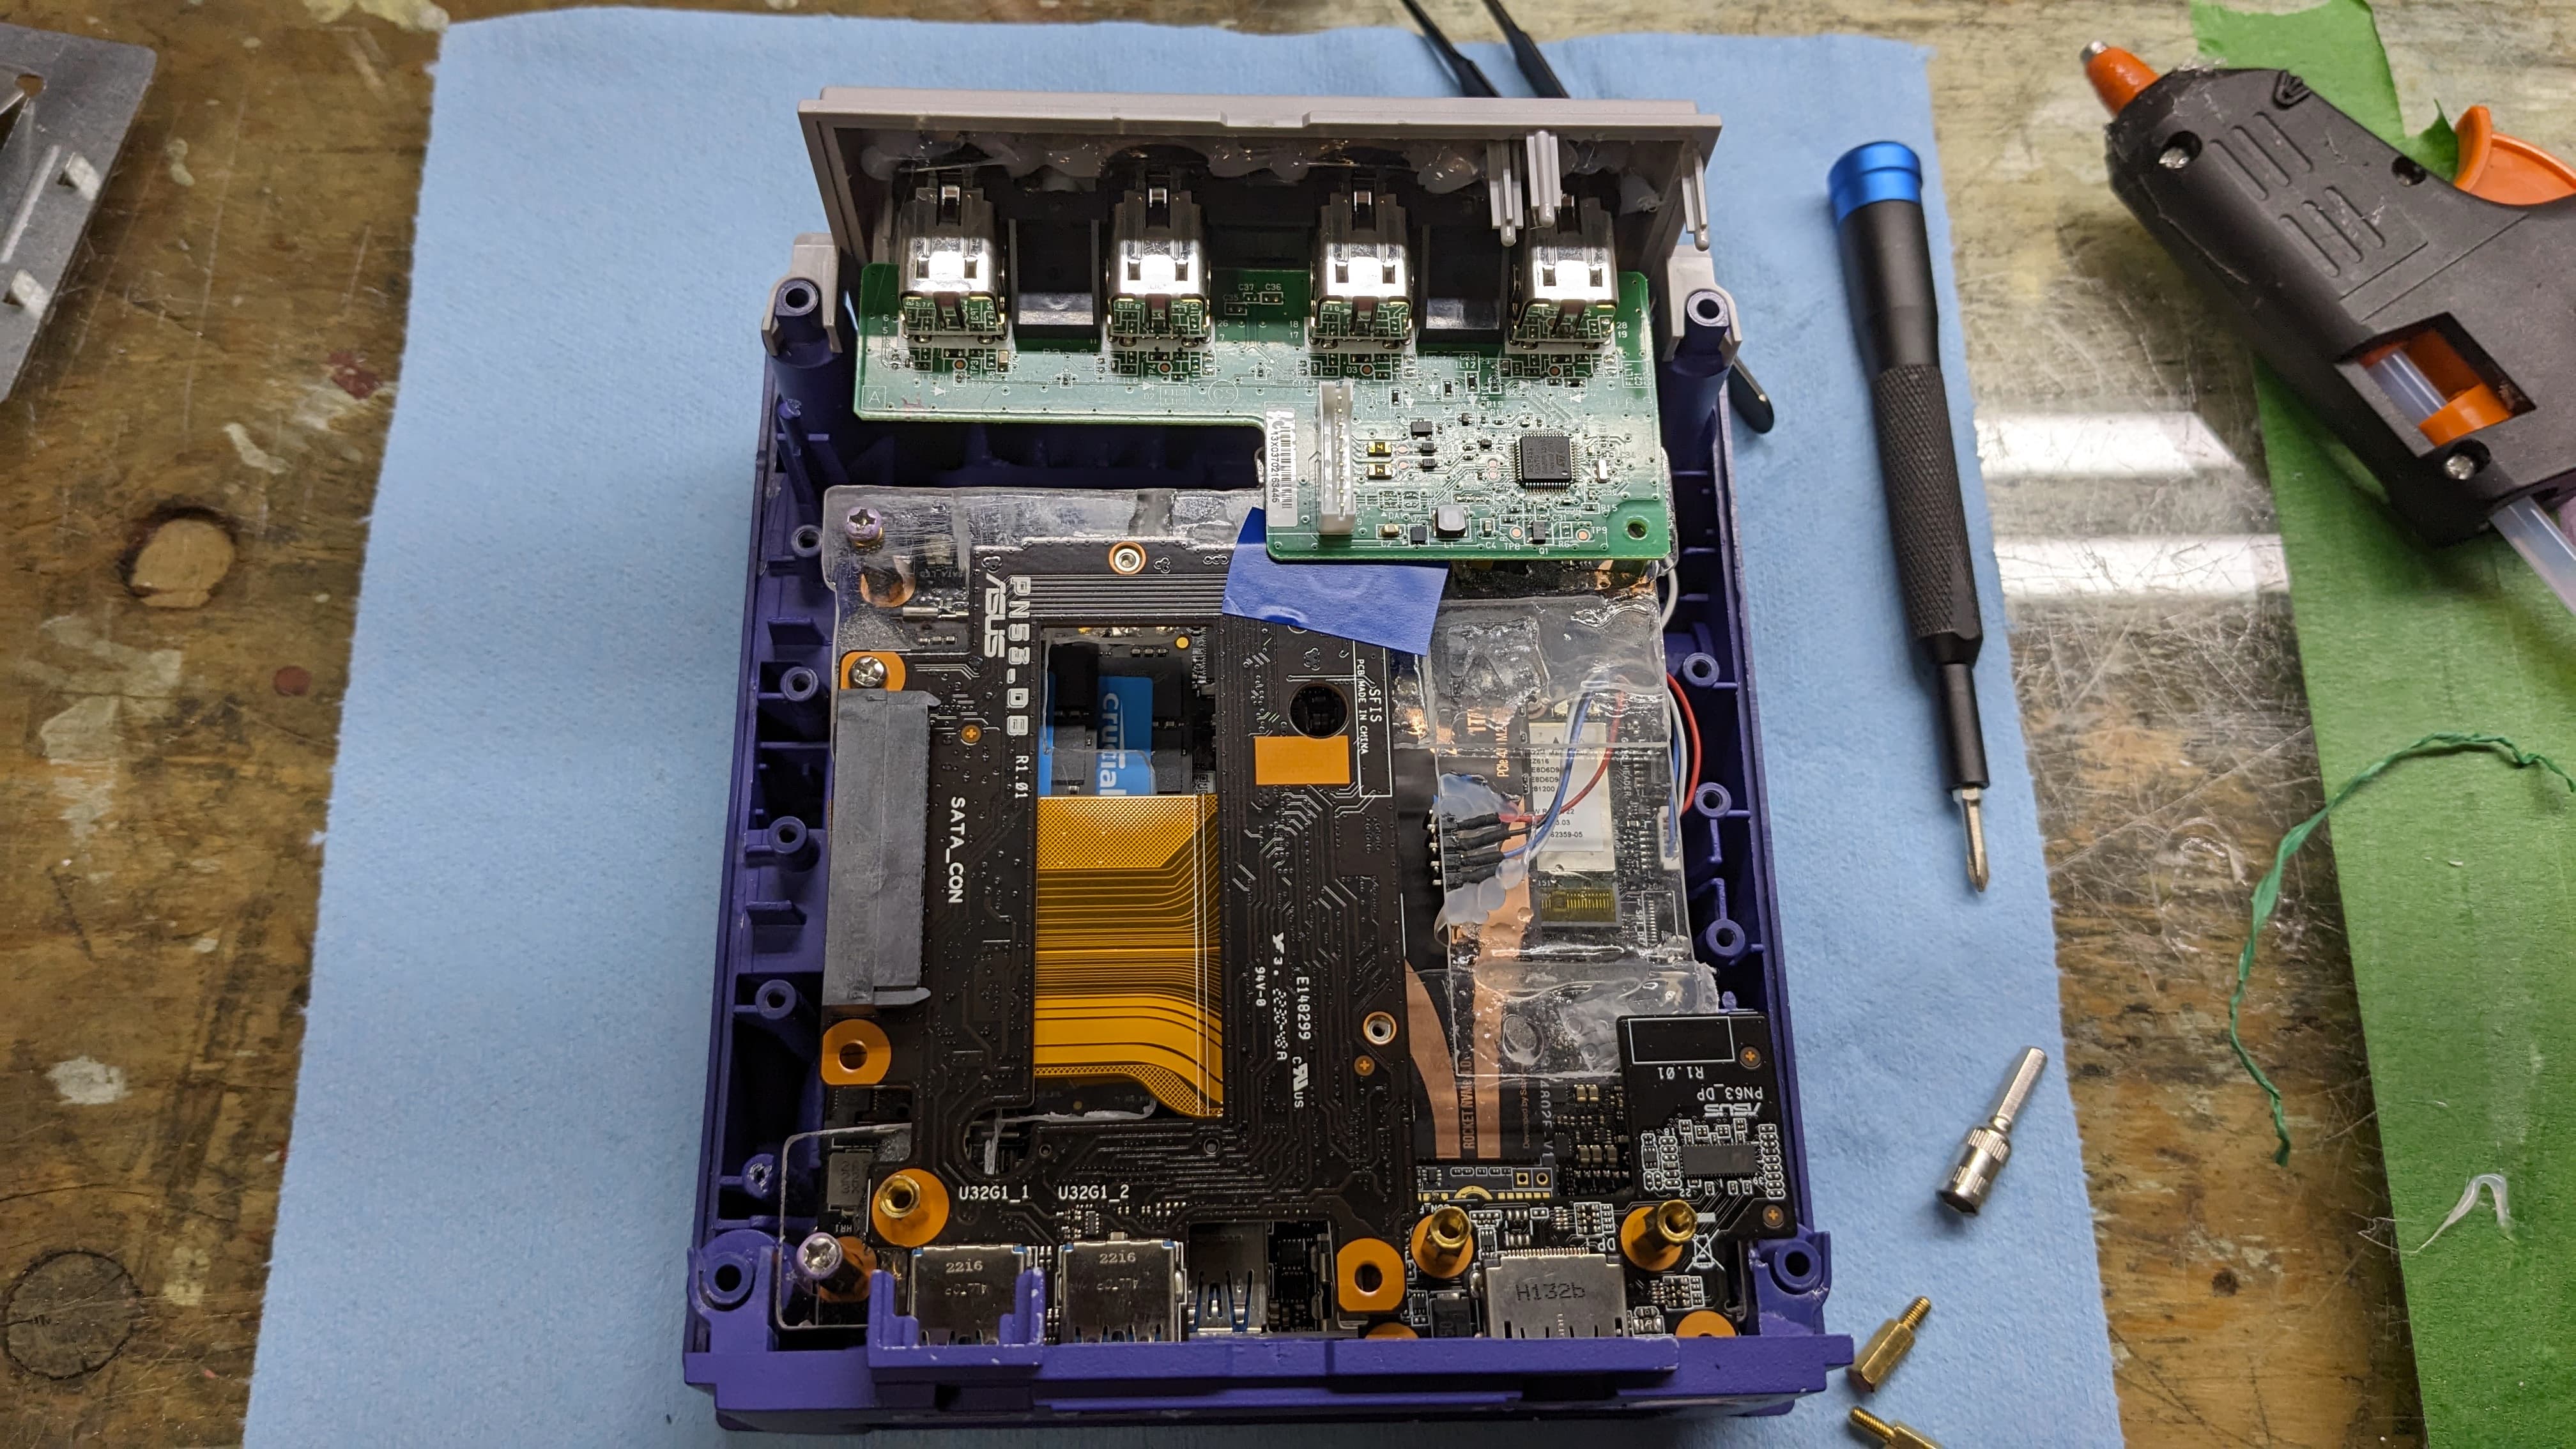
The acrylic floor is then screwed into place:

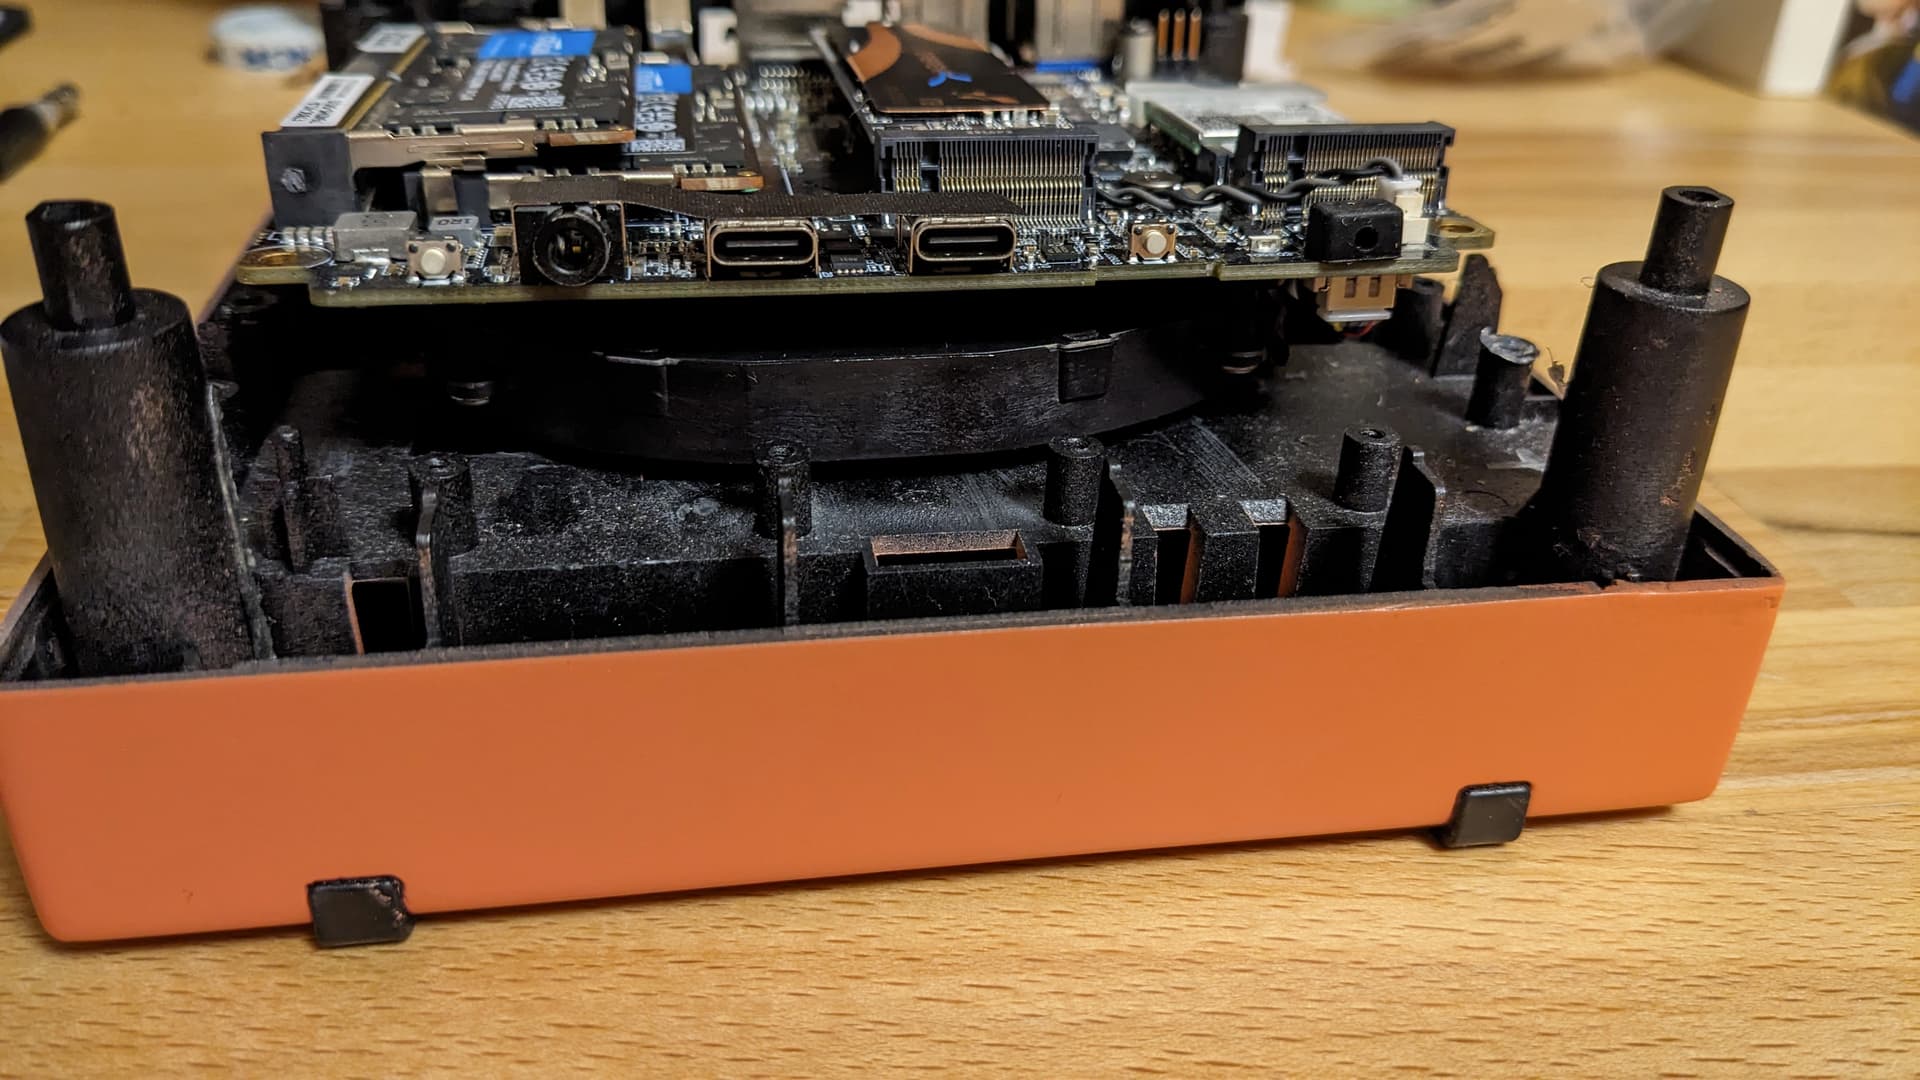
And then the board is screwed into place upon the acrylic floor:

And then the front is put into place. The Gamecube board touch the external board because everything is so much tight:

And like that you obtain a very dense and solid package that I do not worry will break easily.


11 Likes