Impressive!
1 Like
The build is now finish!
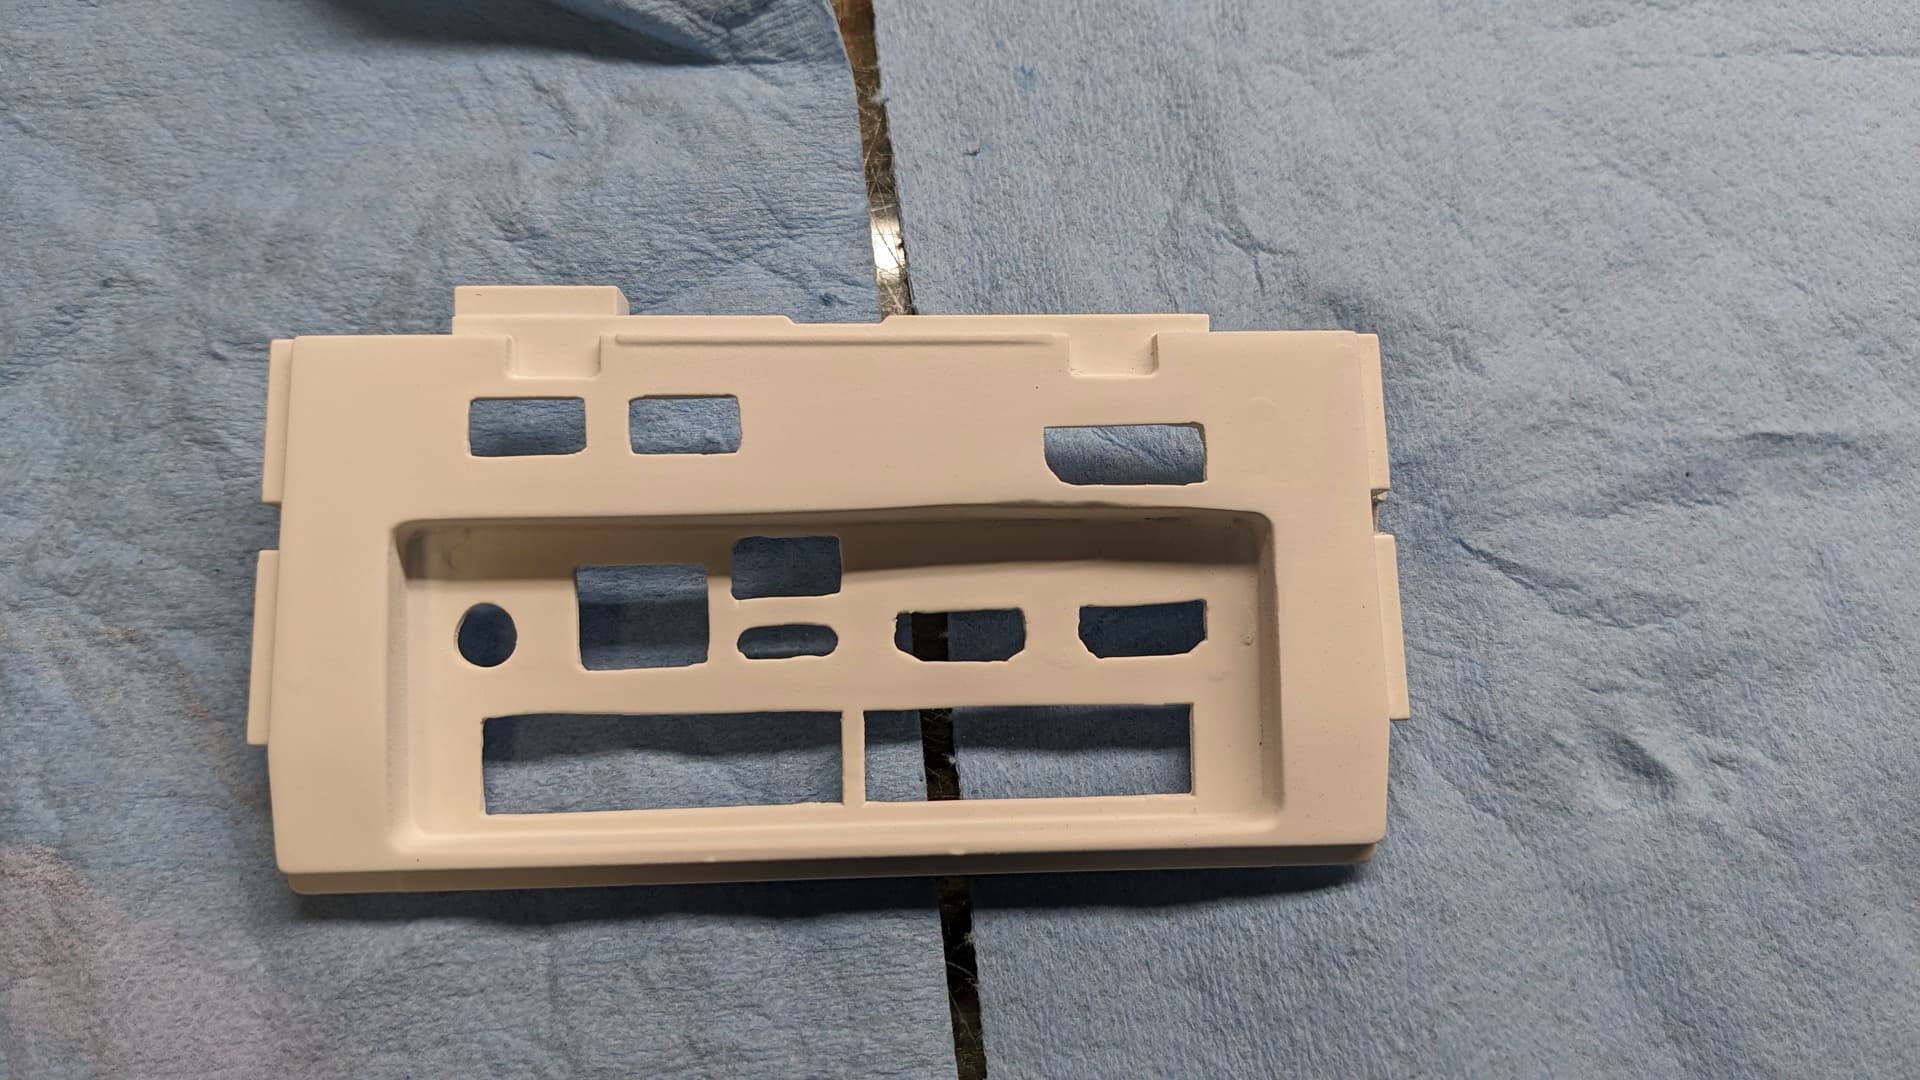
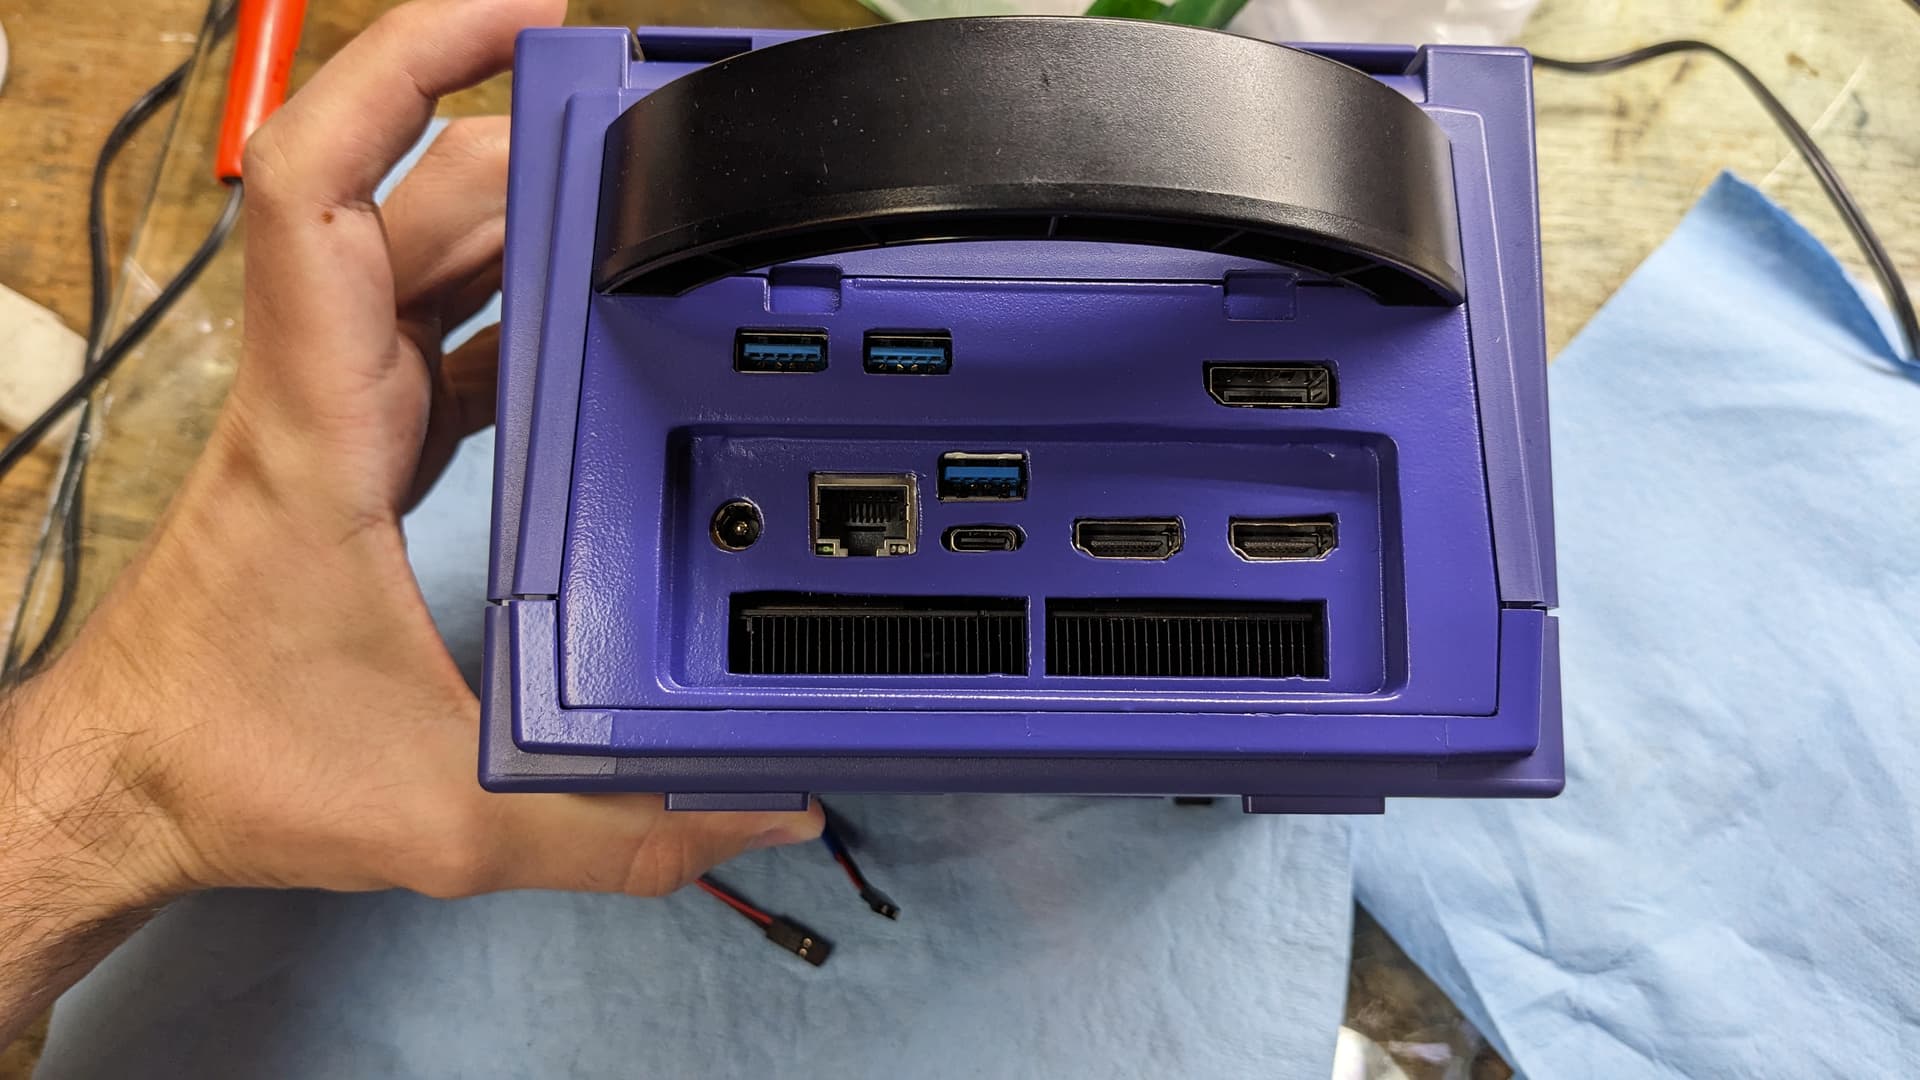
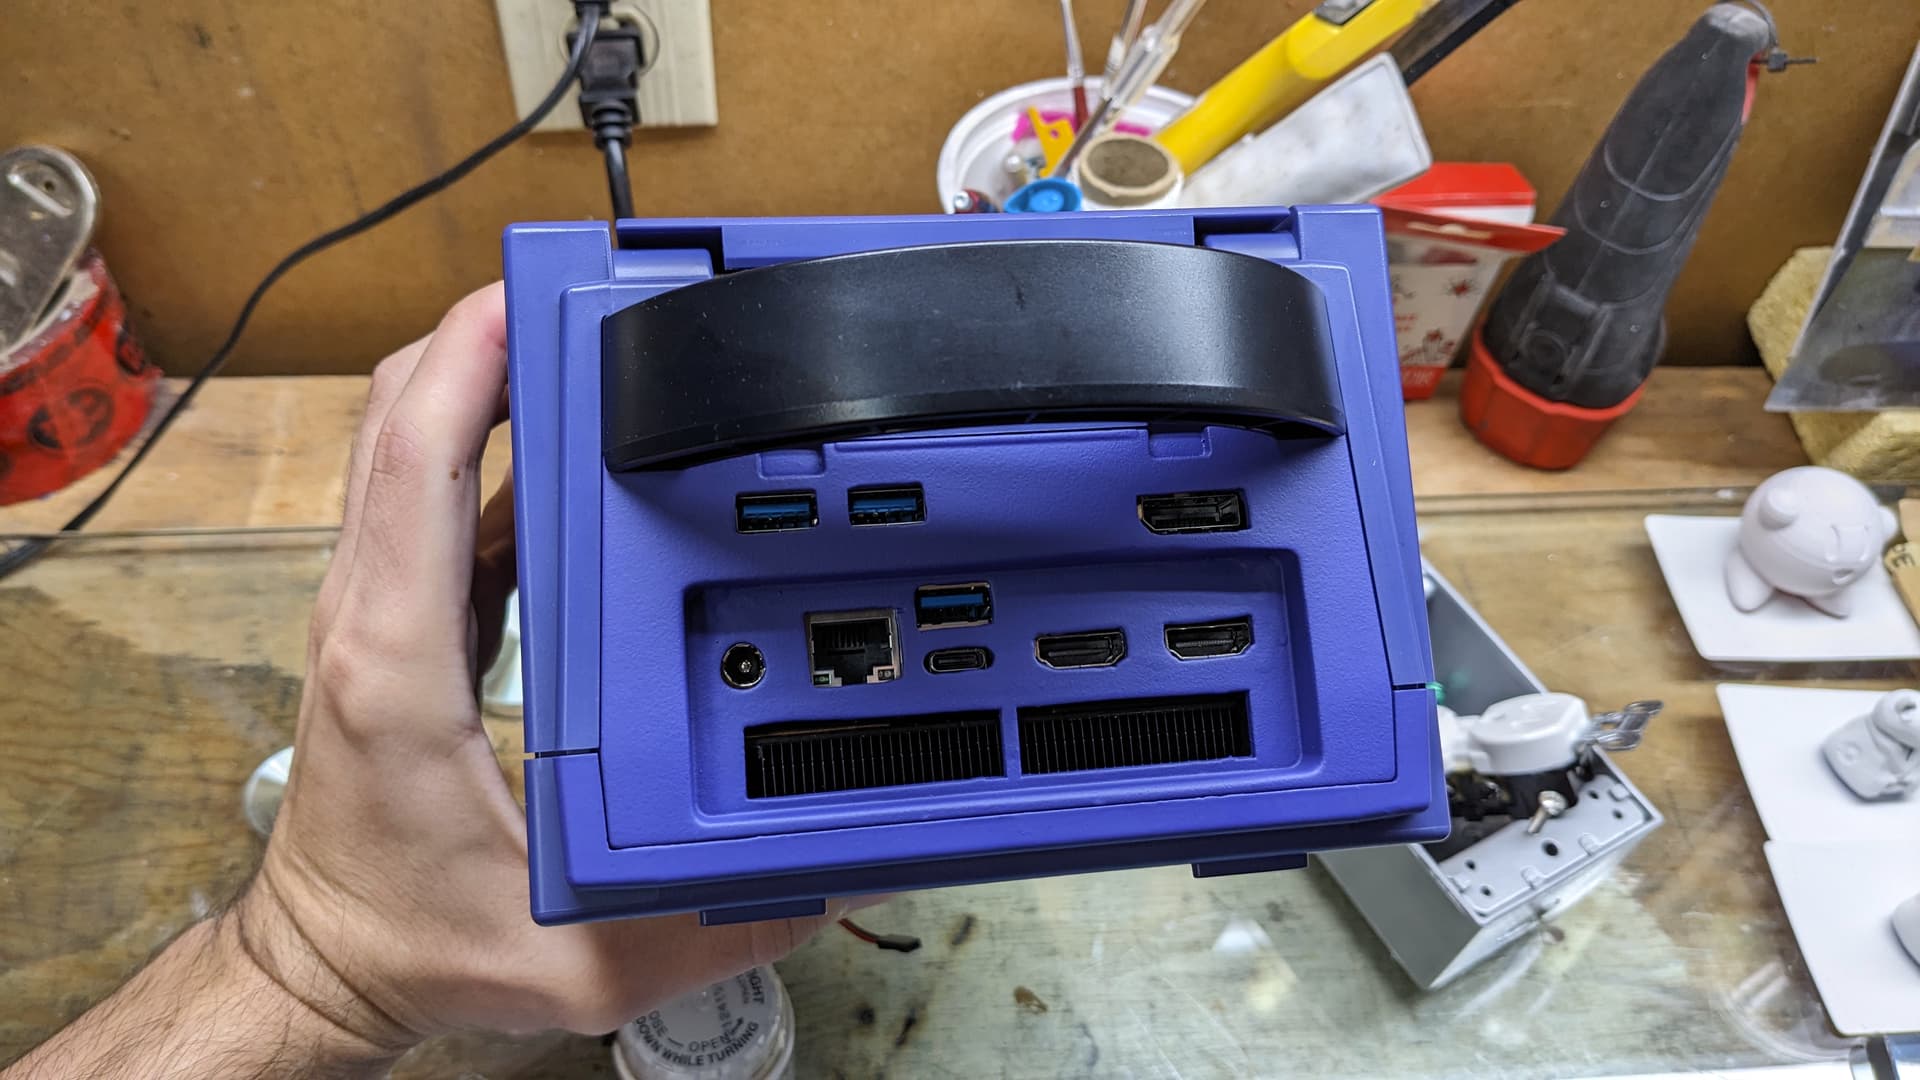
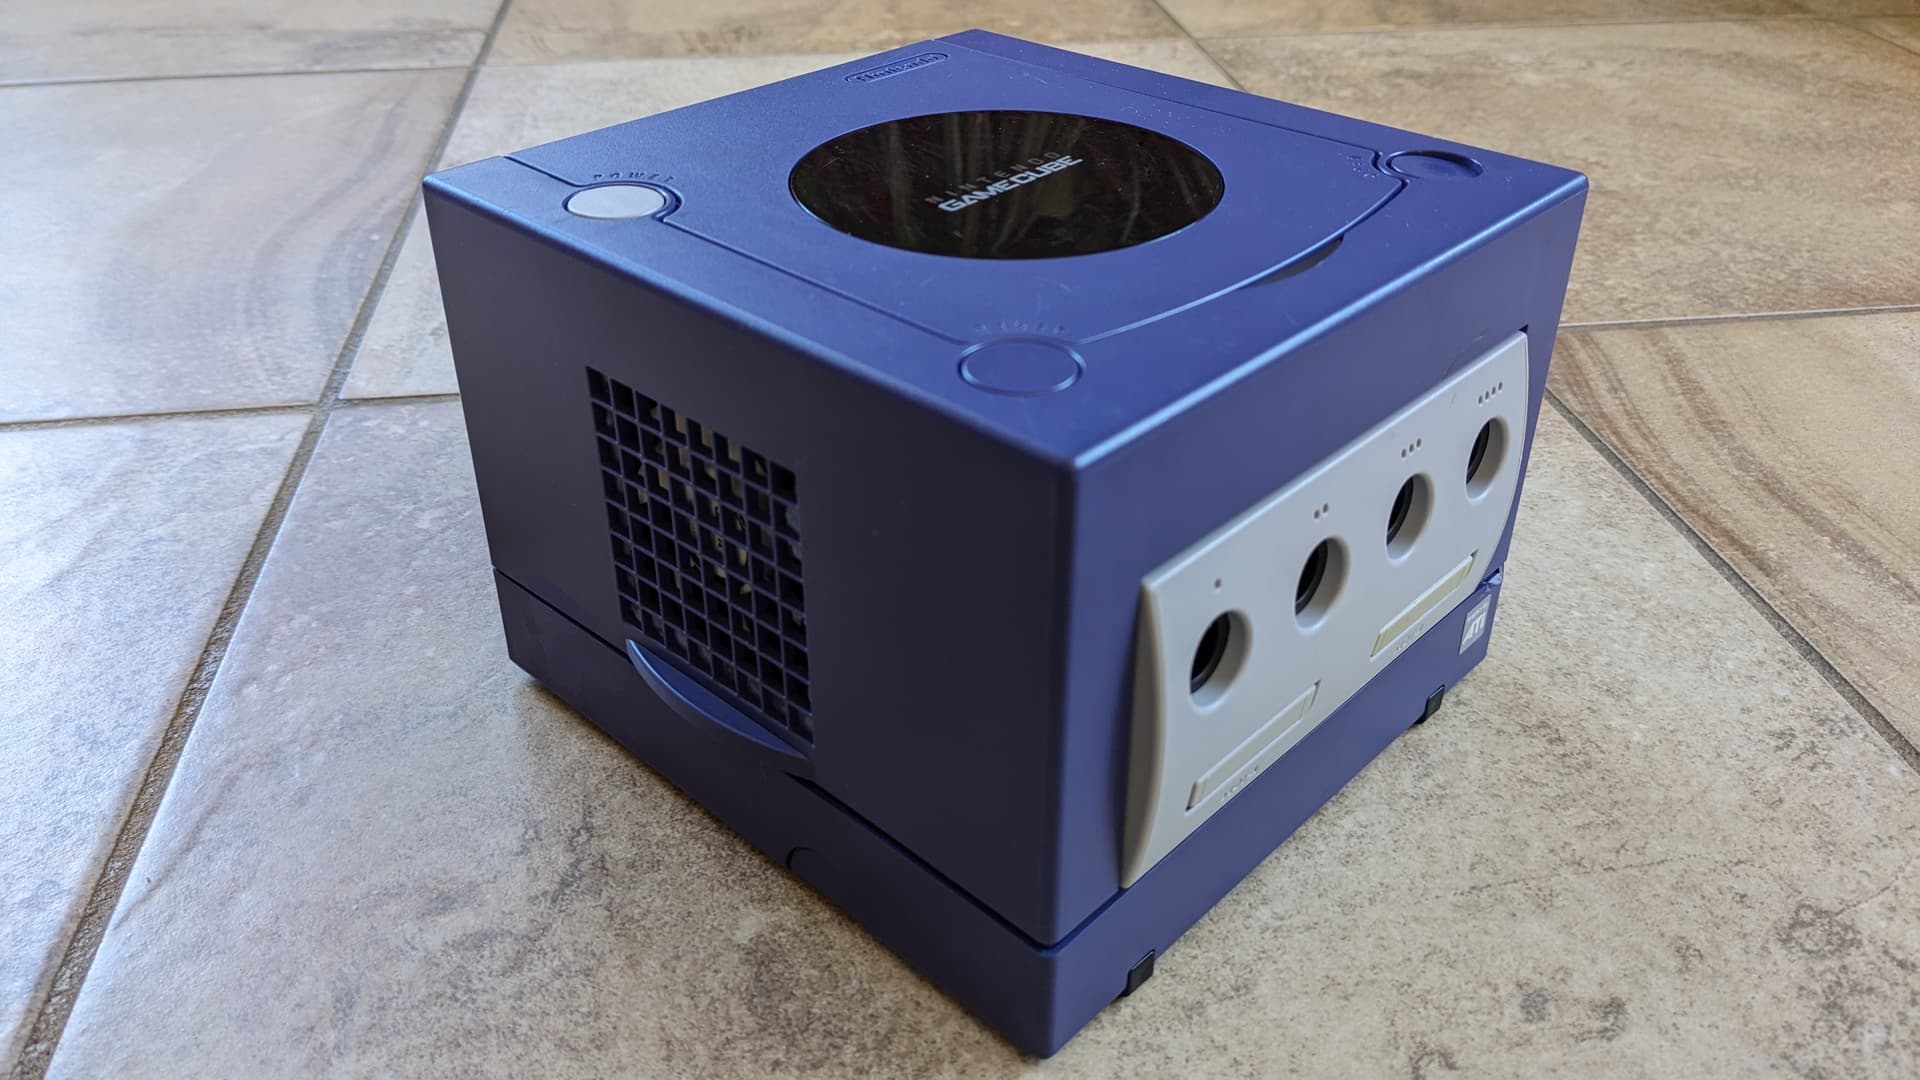
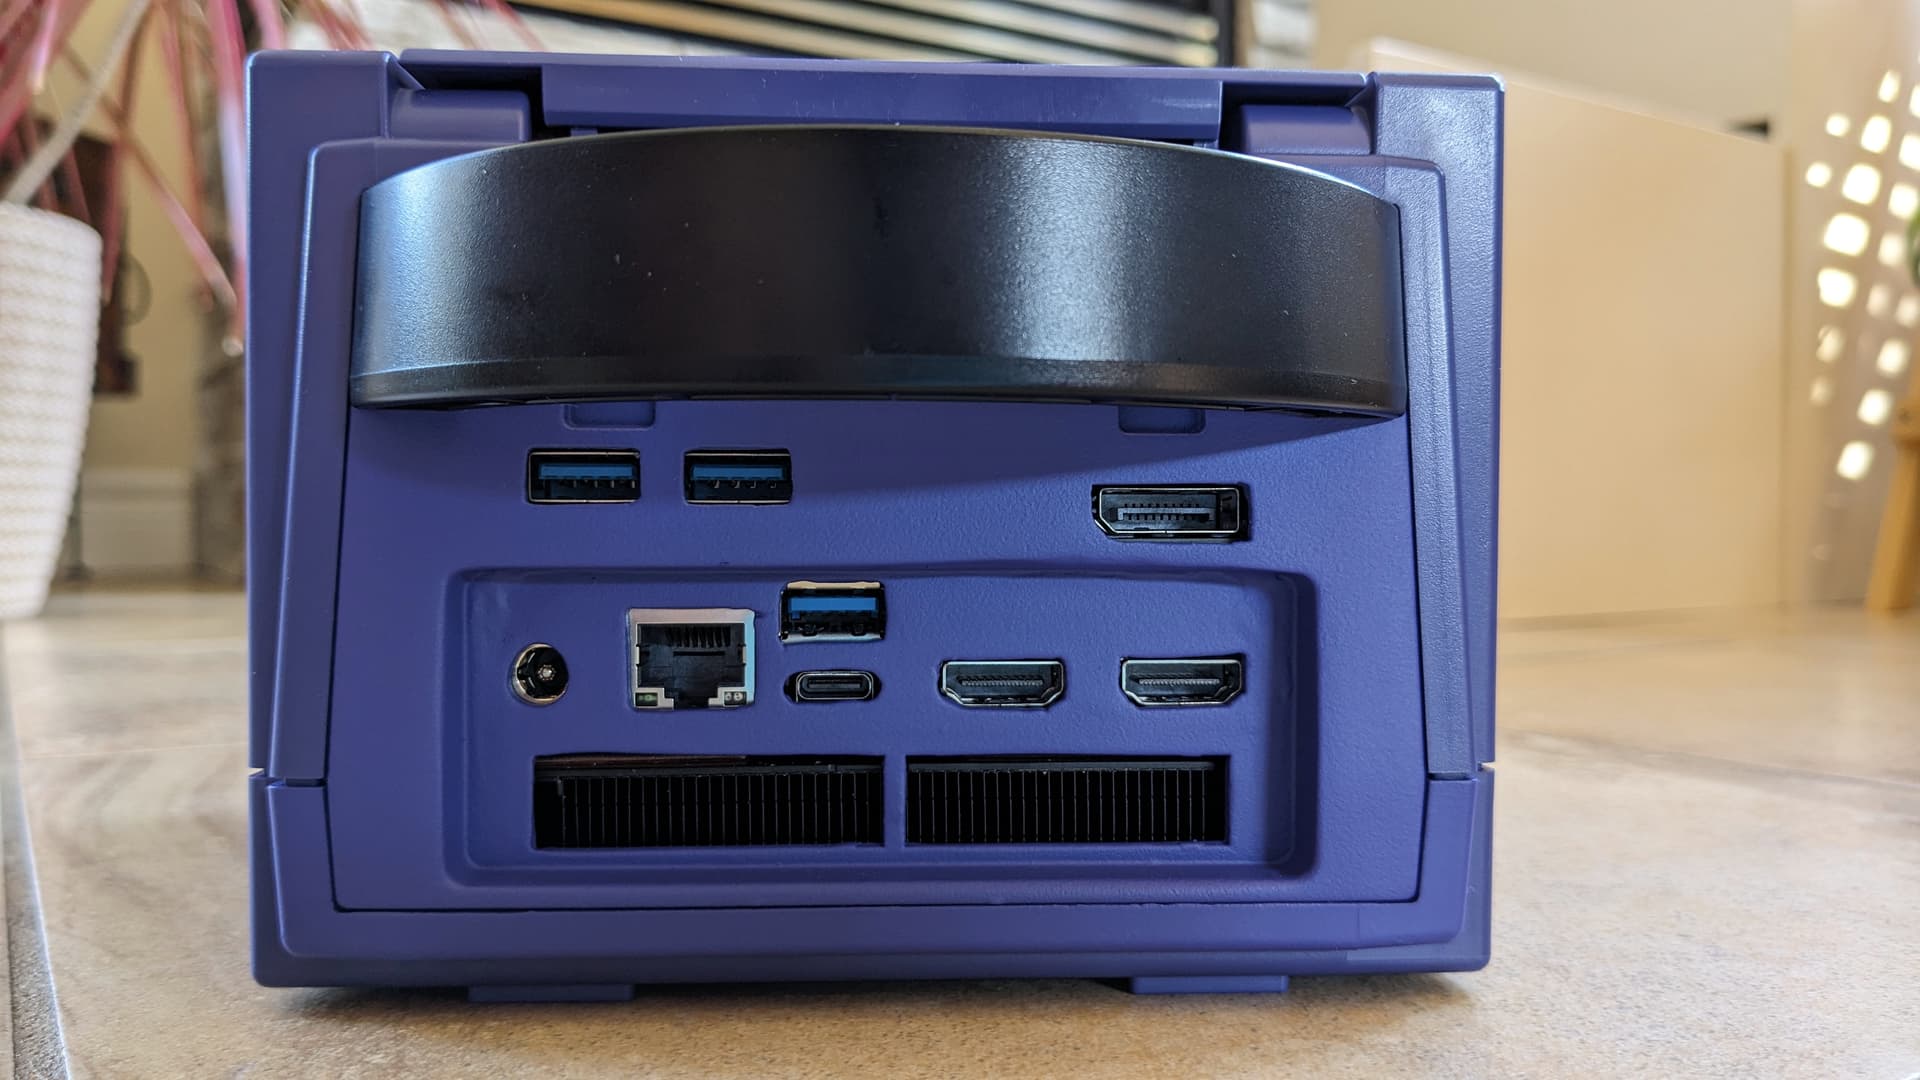
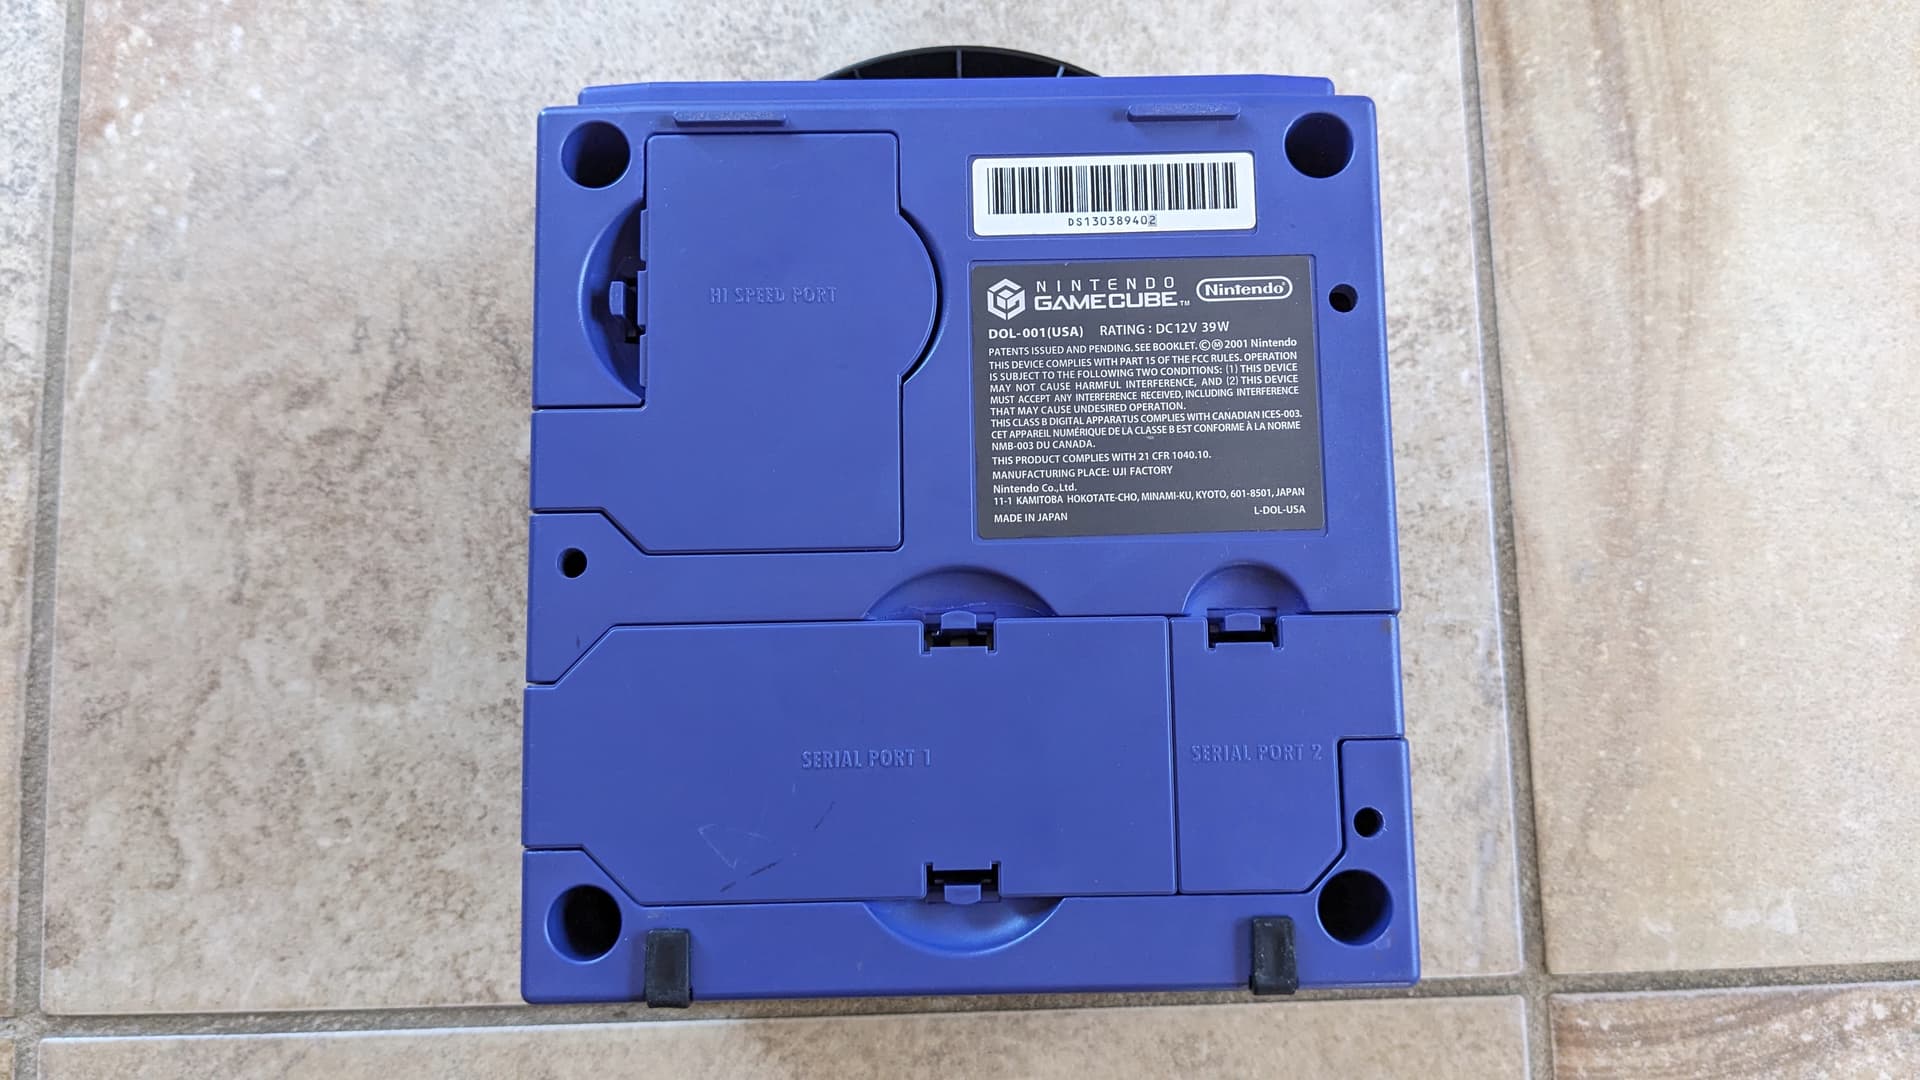
So first, I repainted the back plate after the several modifications. I’ve noticed the purple paint I used, being water-based, seemed to be just a little more scratch prone. And being the part where you plug and unplug, those are more likely. So I wanted to do a clear coat, however it doesn’t matched the rest of the Gamecube really well. So I did another purple coat on it. This way at least, if there’s a scratch on that layer, white will not show up, but a glossy purple instead, which is way better.
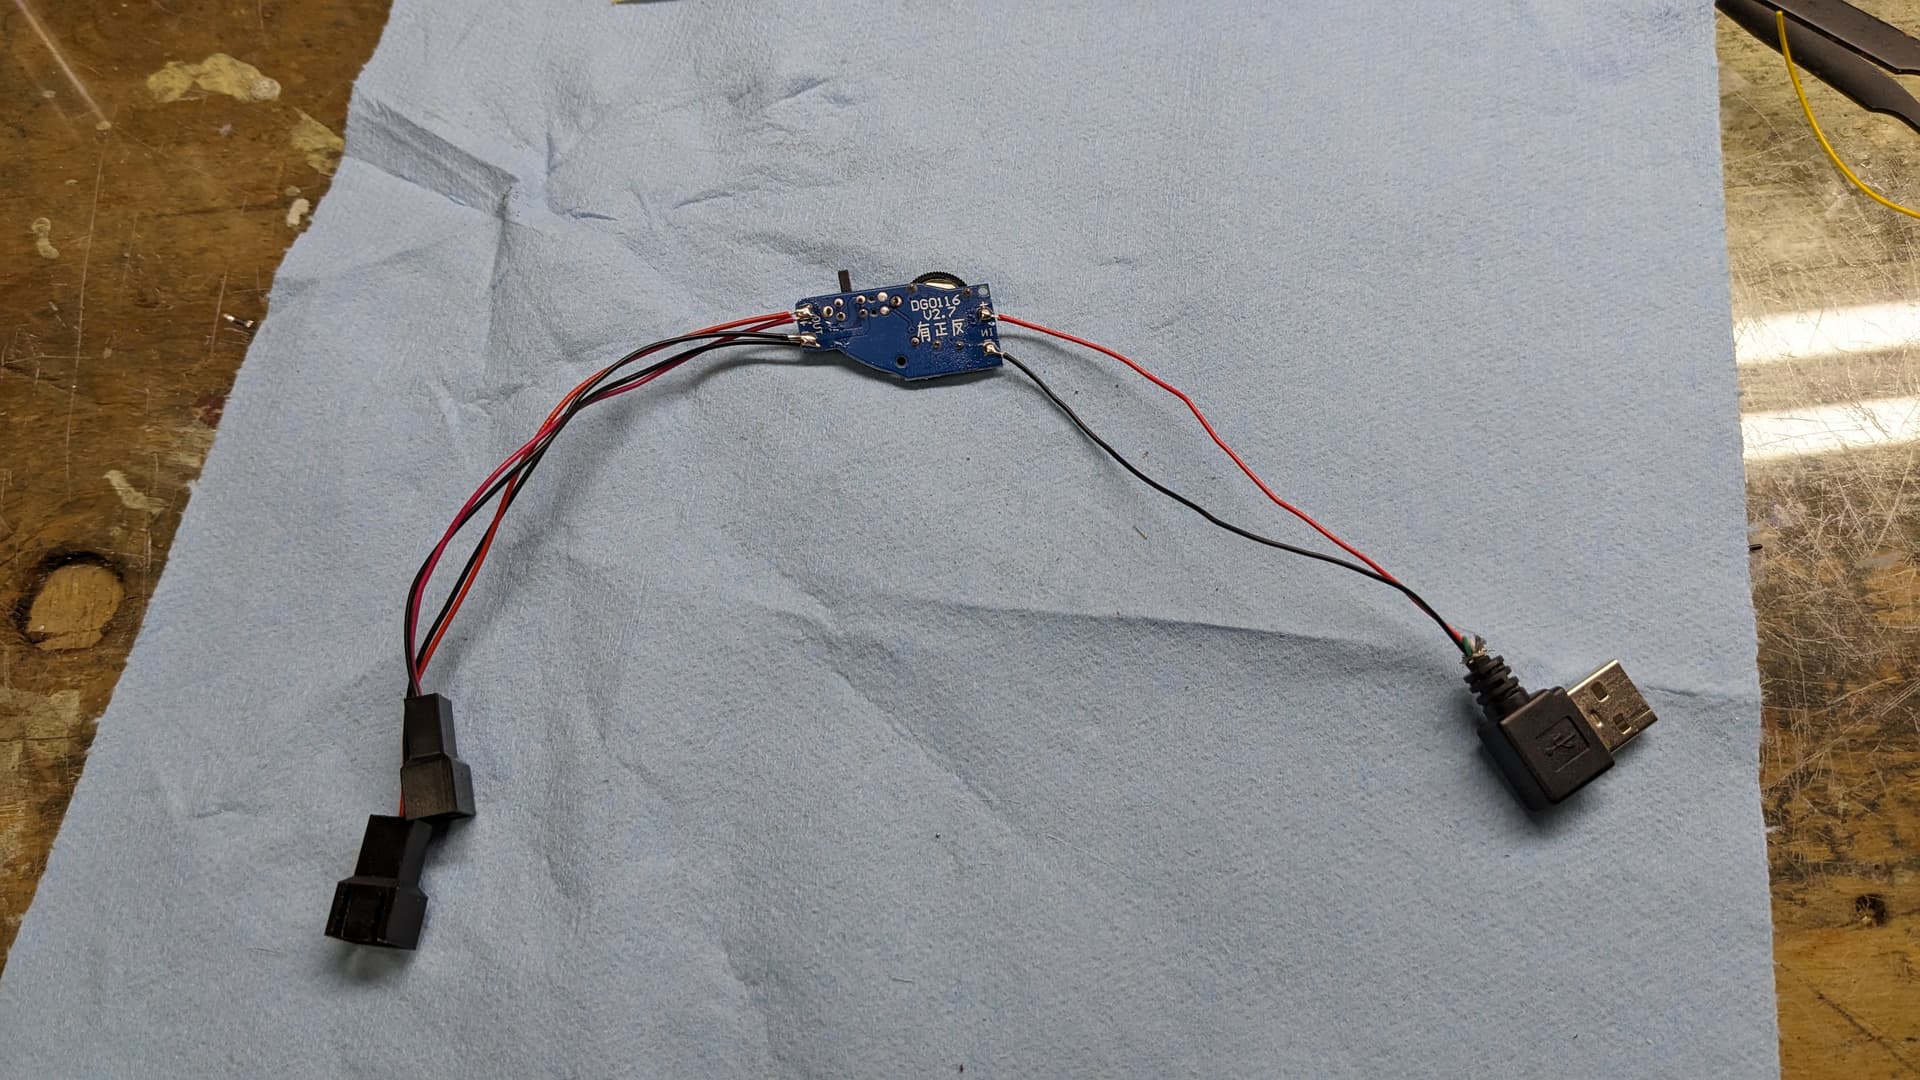
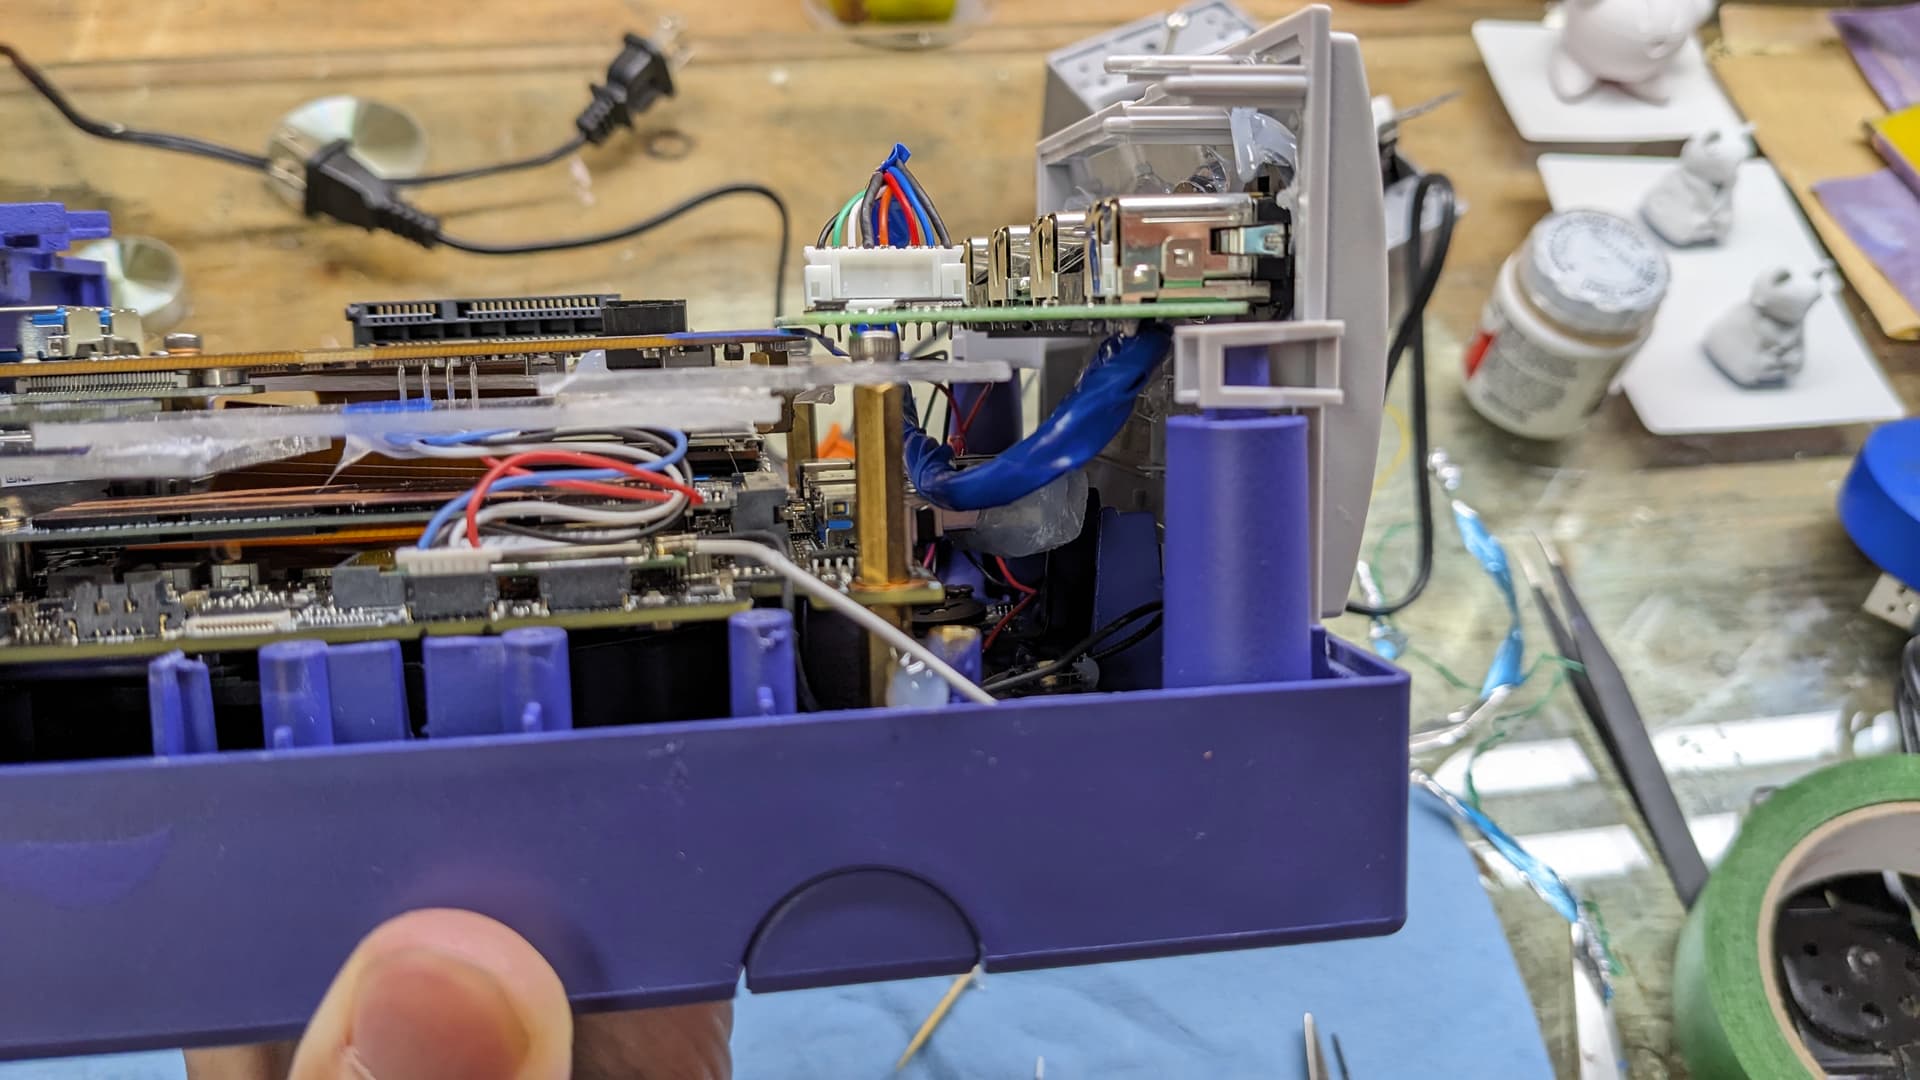
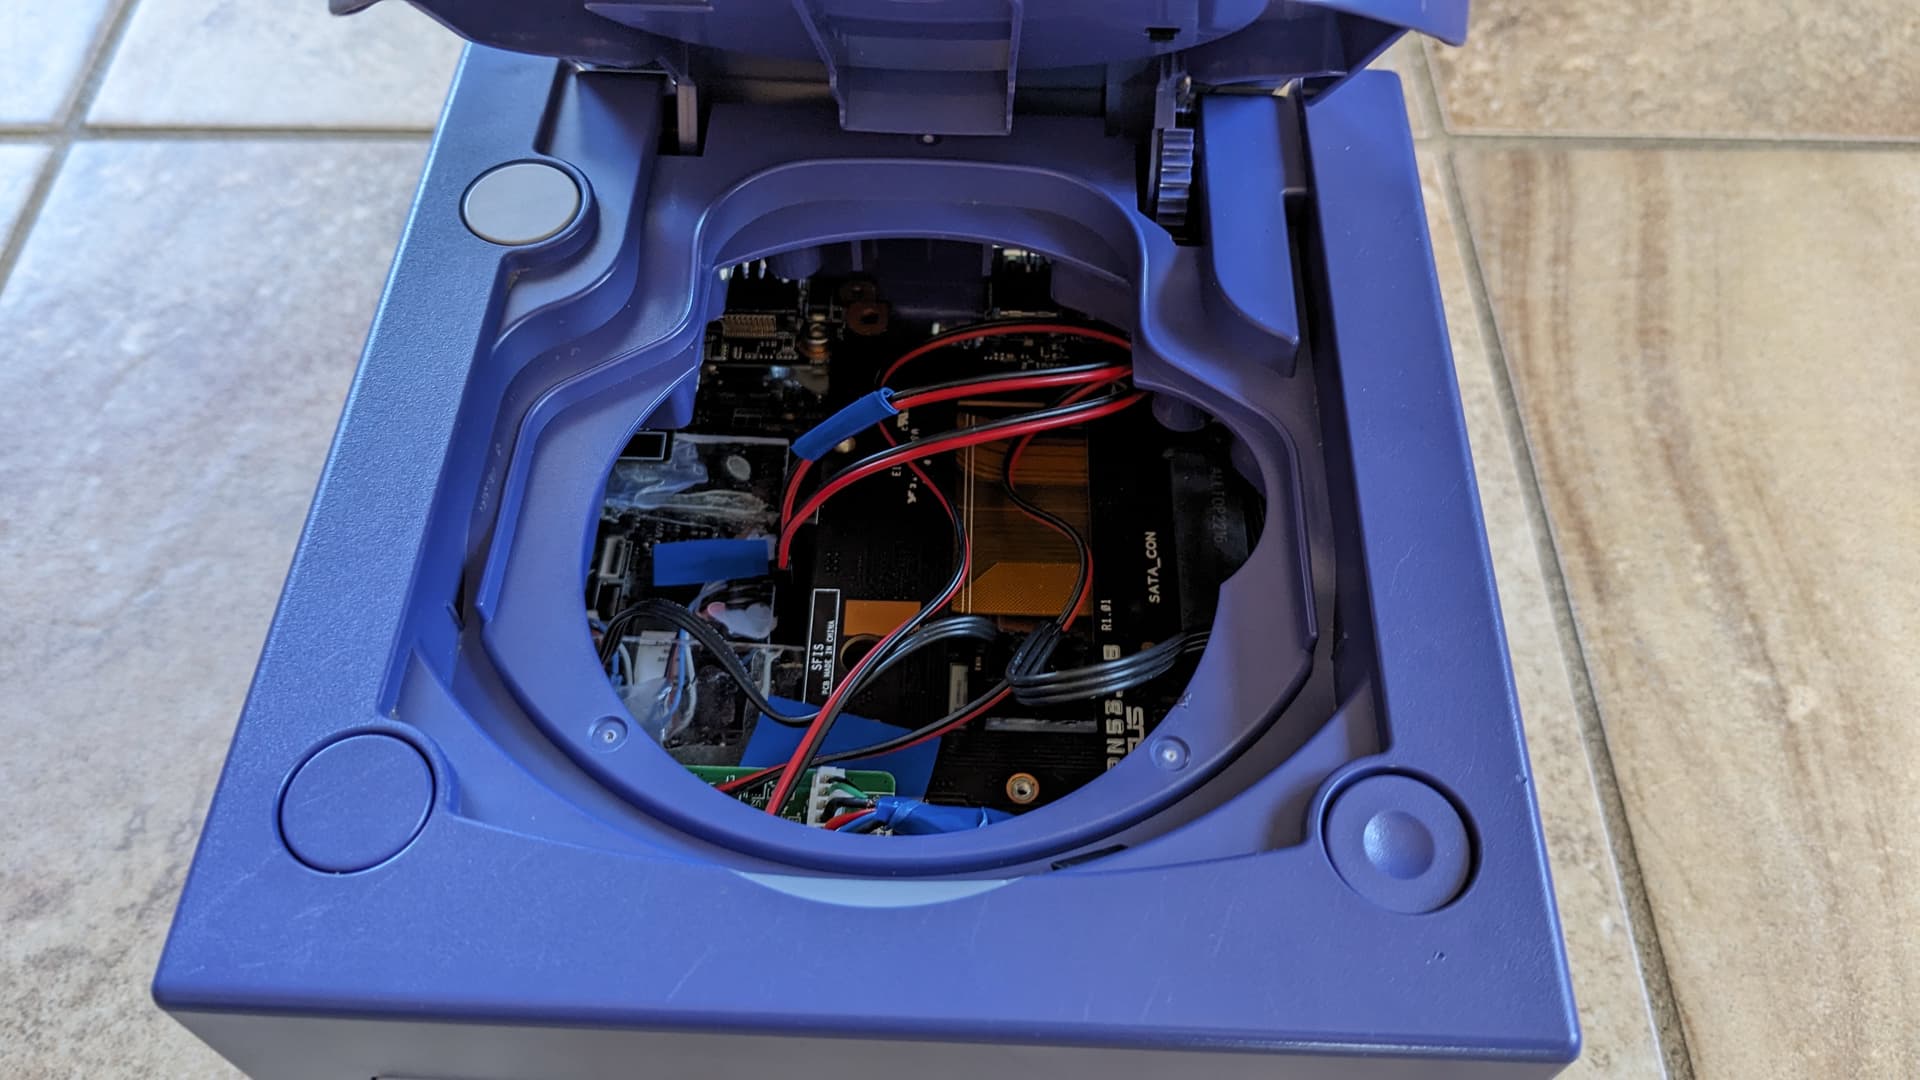
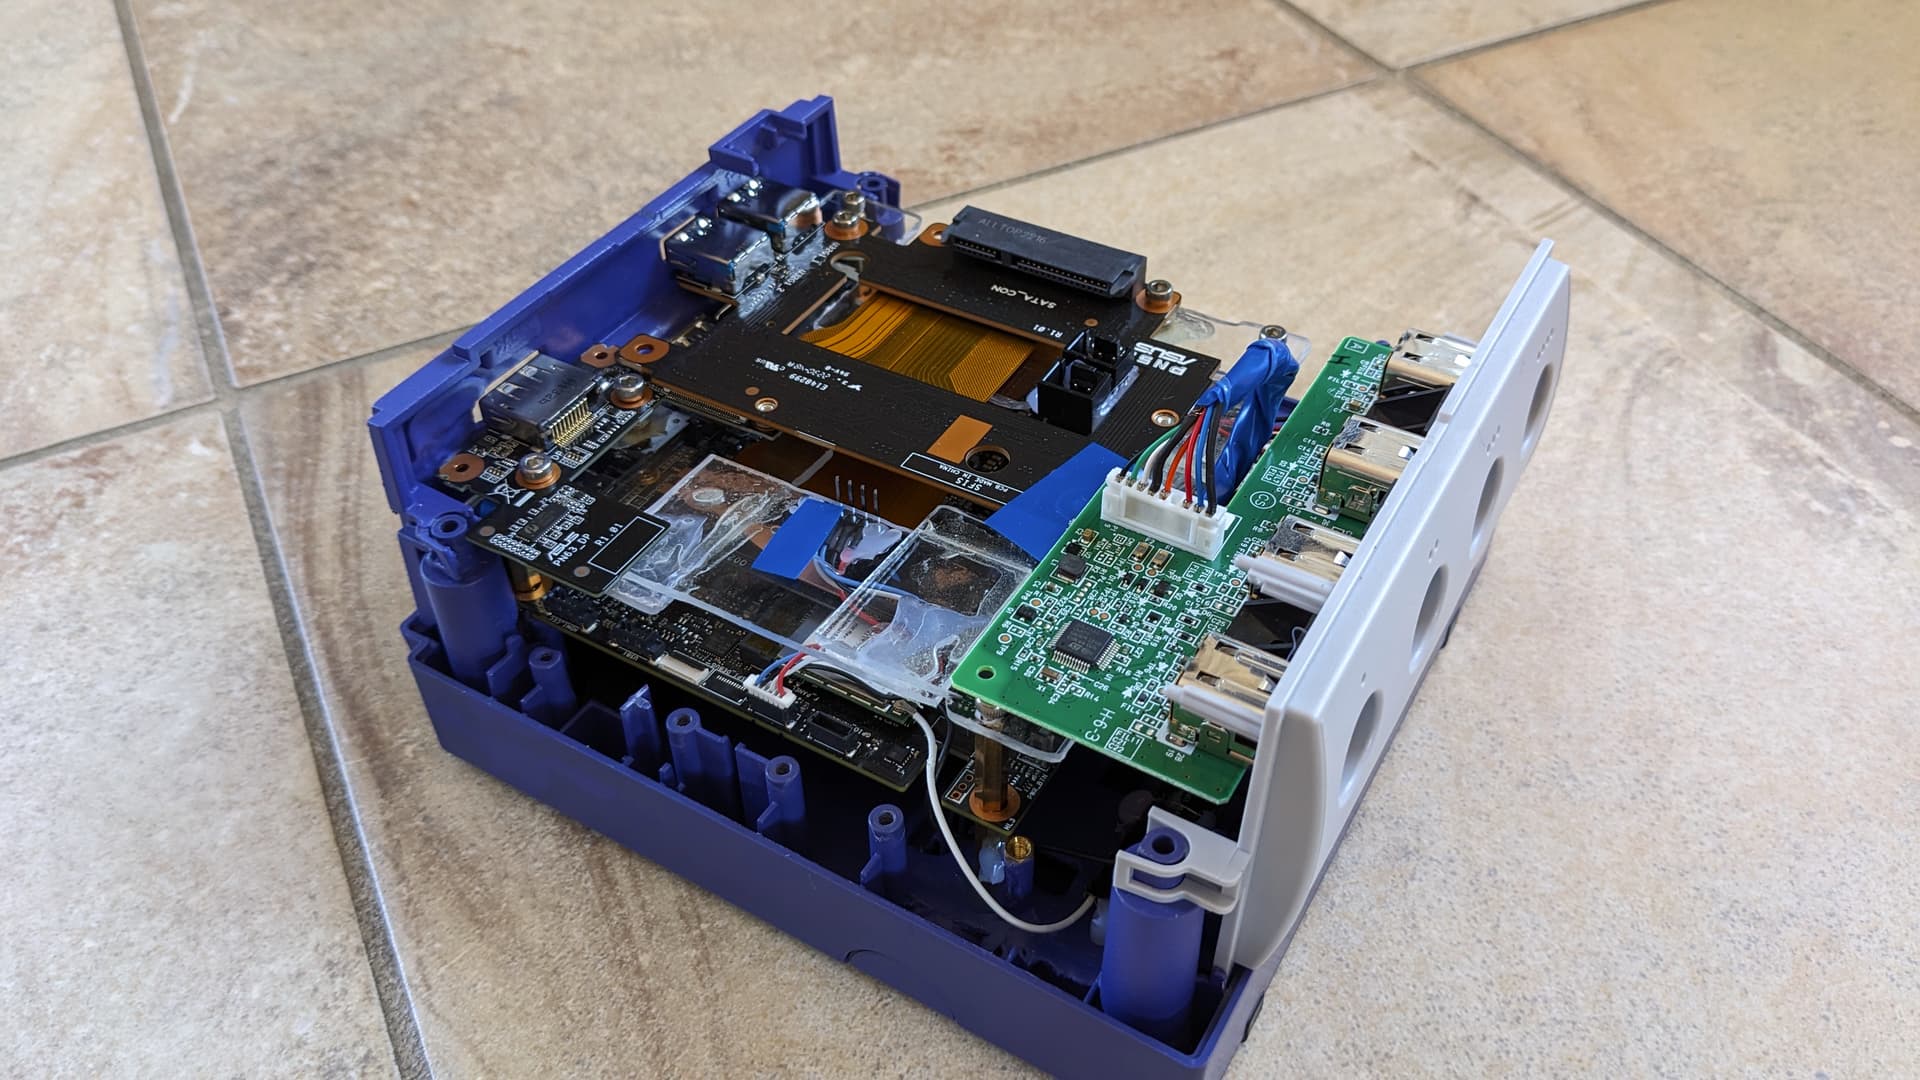
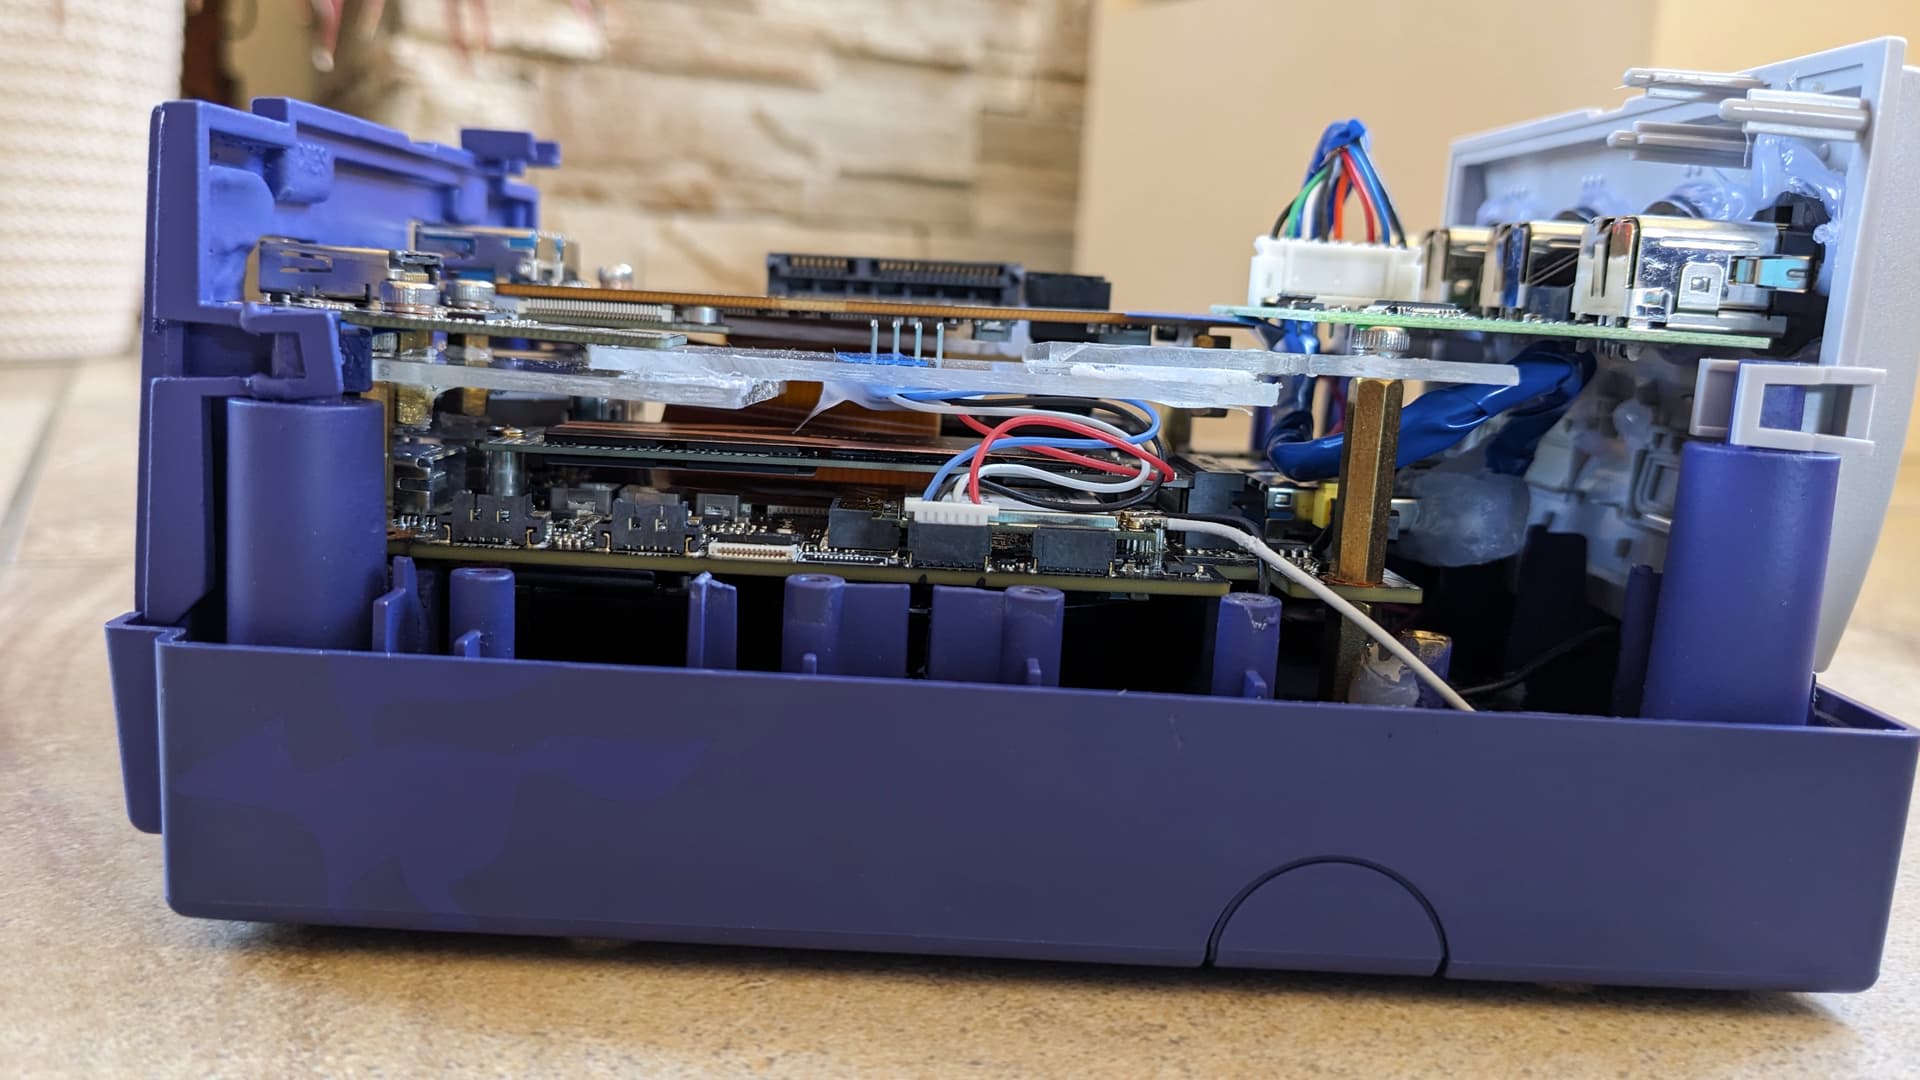
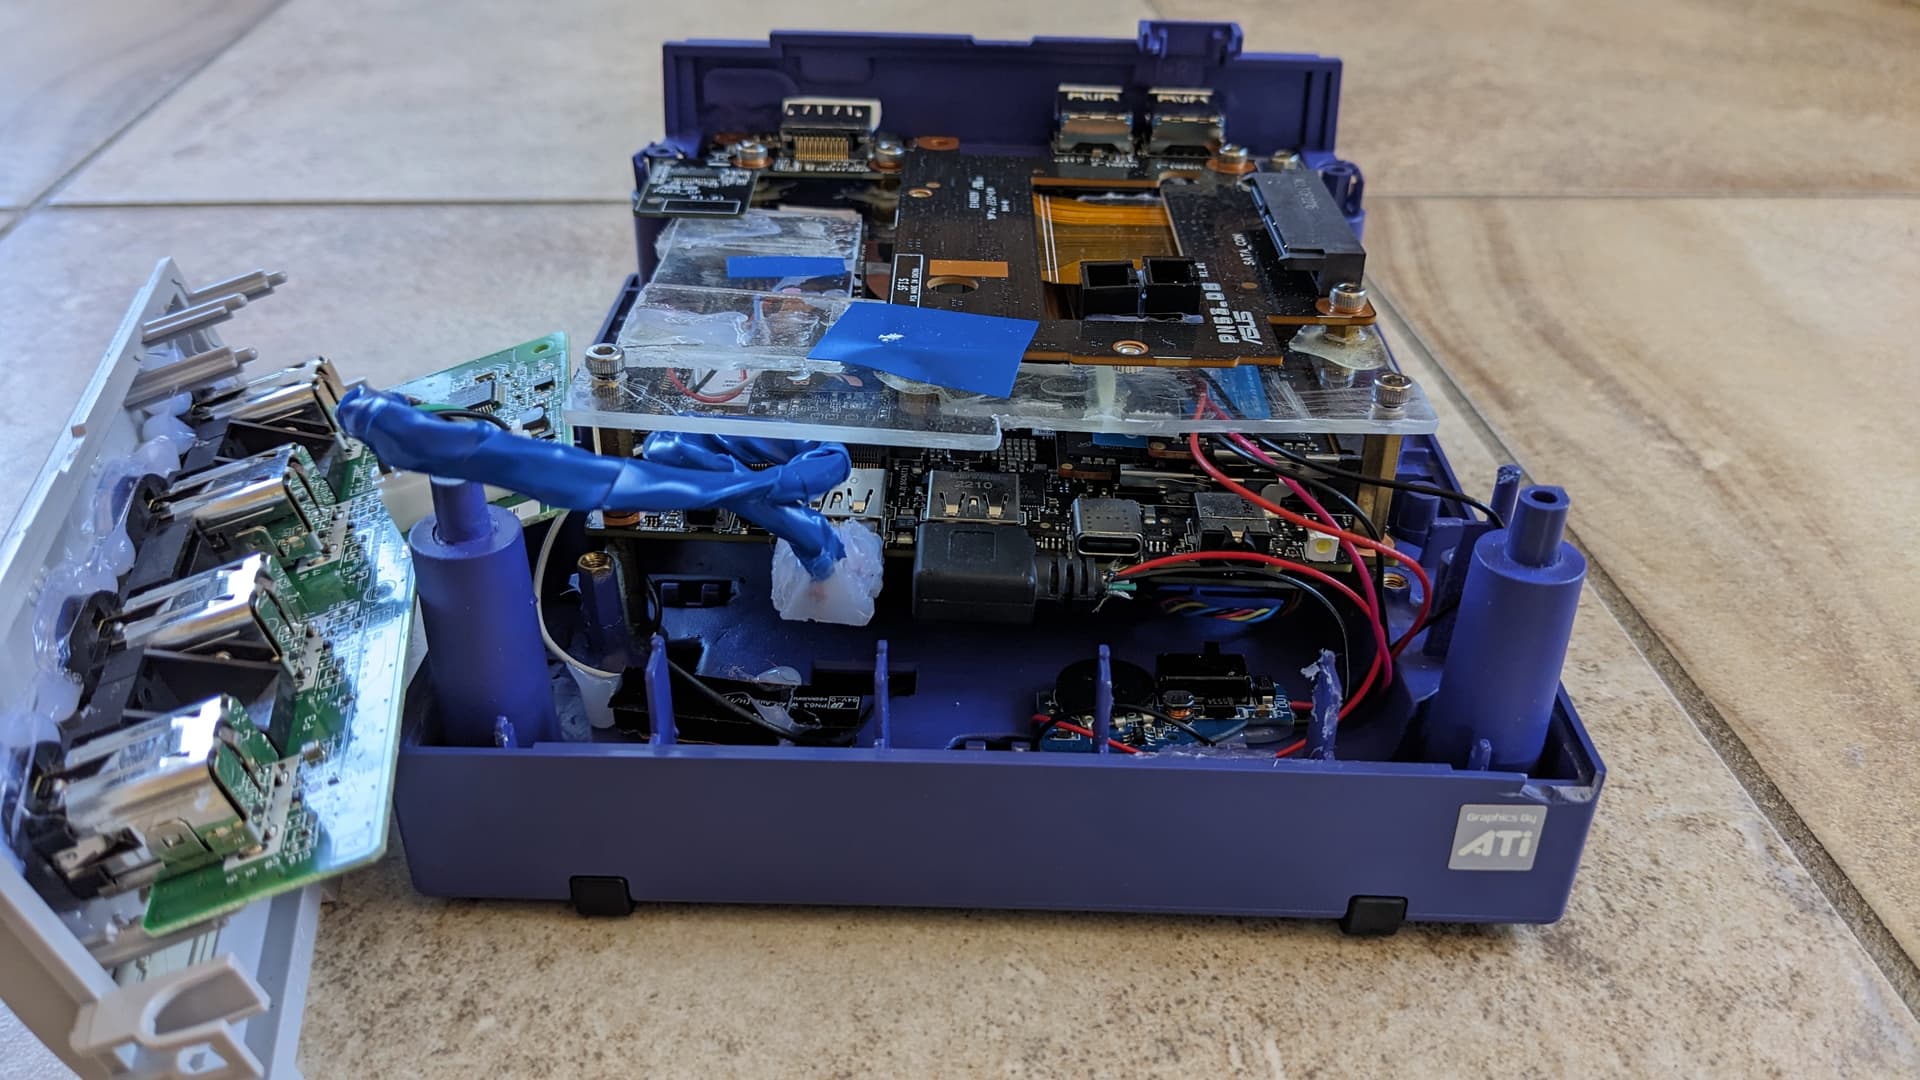
Then came the part to power the fans. The PN53 doesn’t have a fan header. So to circumvent that issue I went with a USB 5v to 12v converter for fans. I extracted the board, then soldered directly the fan headers and usb plug. Then I set up the desired speed, as this adapter allows to adjust the fans speed through a wheel. It will be a fixed speed, but it’s better than nothing. And the board is just hot glued to the floor of the Gamecube. Hot glue is my friend lol.
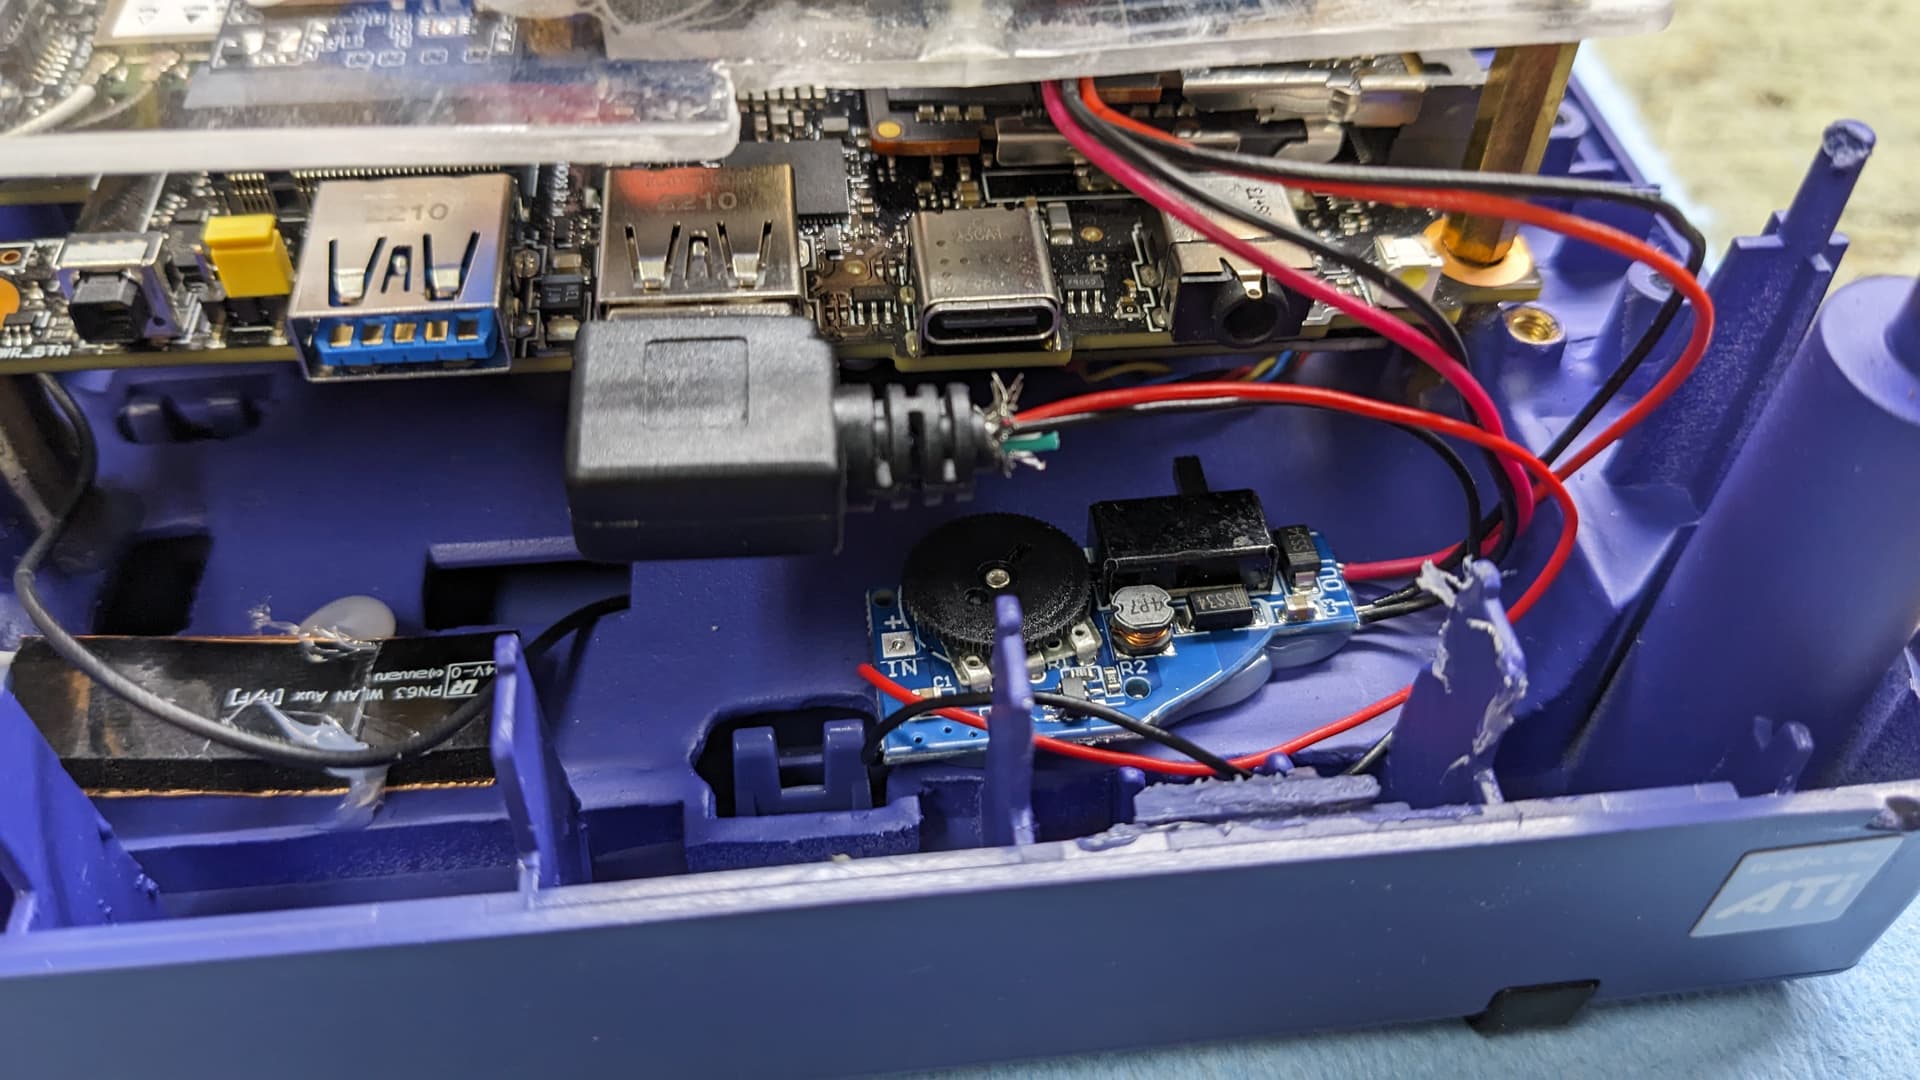
I just had an issue that when I was shutting down the system, the fans would still spin has USB standby power was still active. At the end, I solved the issue by enabling [ErP Ready] in the UEFI at (S4+S5). So now when the PC is closed, the fan will stop spinning too. The only thing is when the pc is disconnected, and then connected back, the fans will spin again with the computer close until there is a power cycle. But the fans do help the temps for ssd and the ram. I don’t see them going above 50C when stress testing.
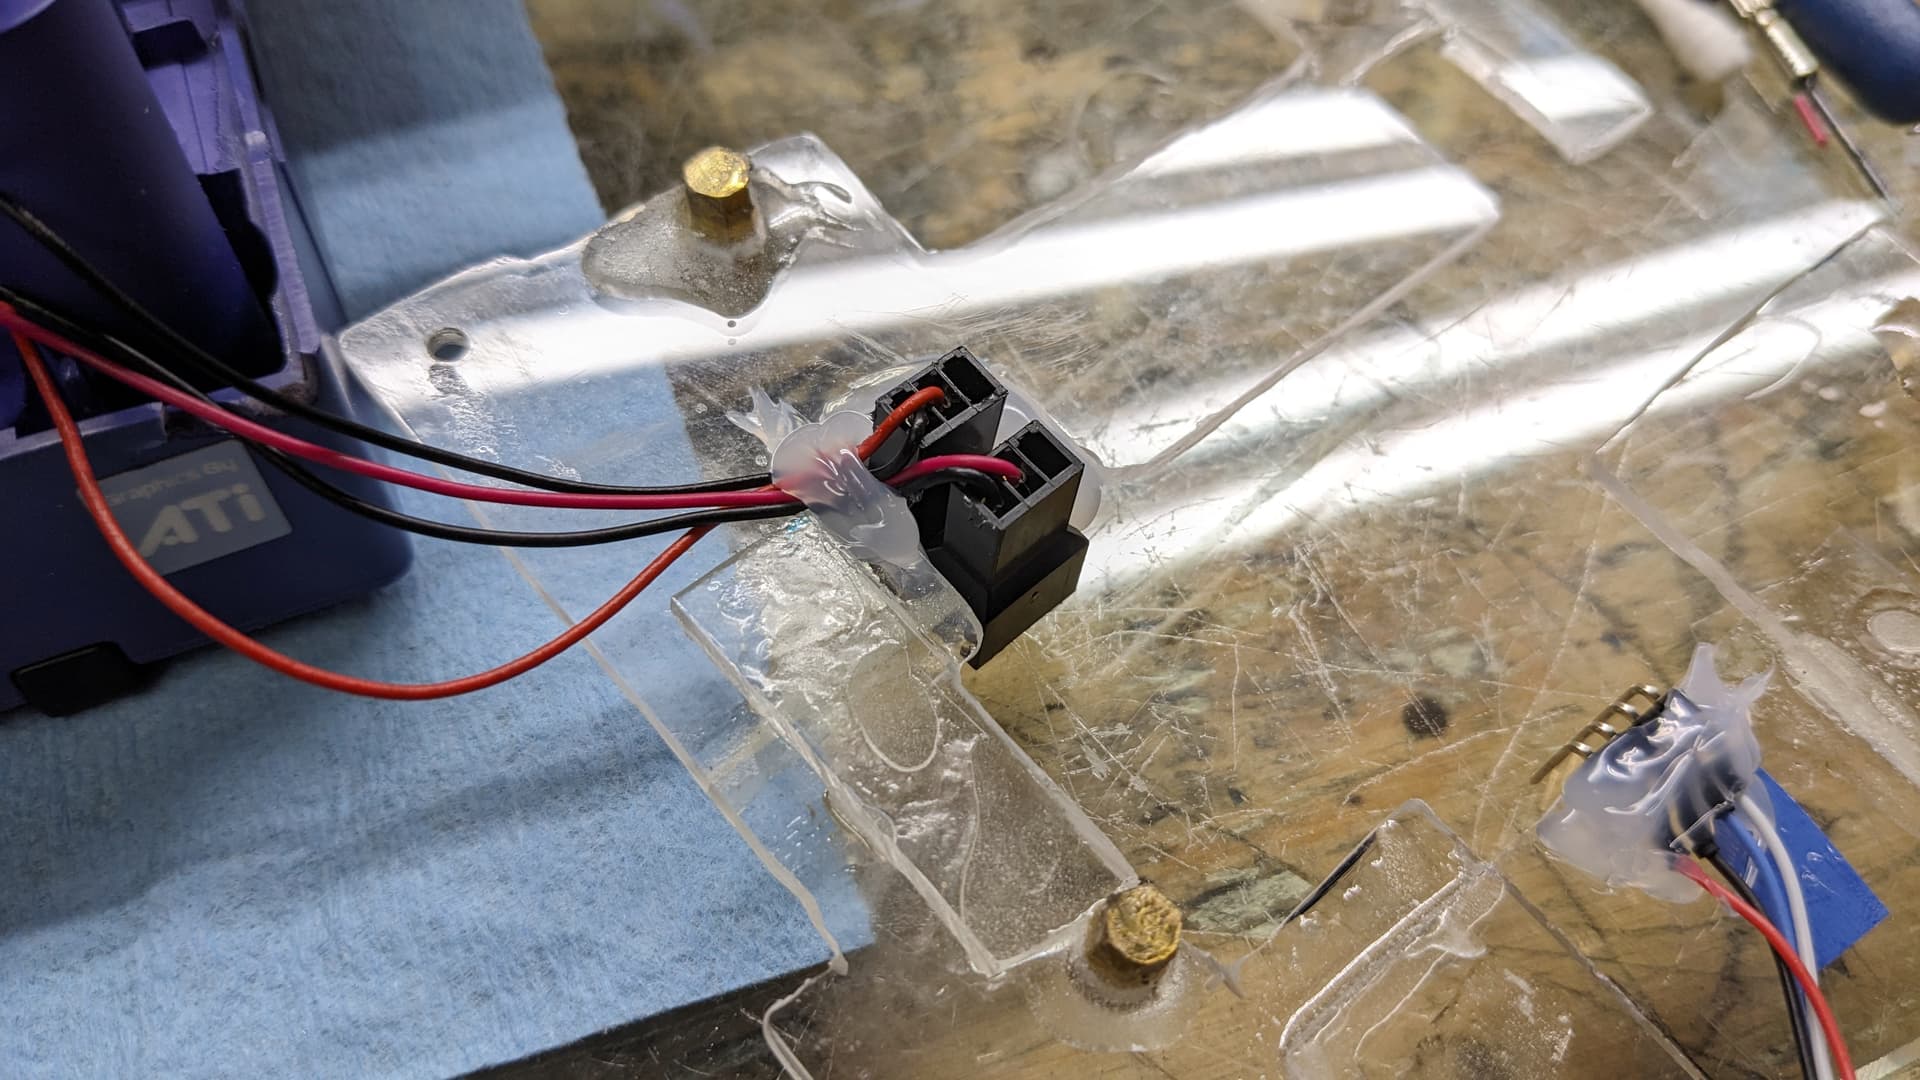
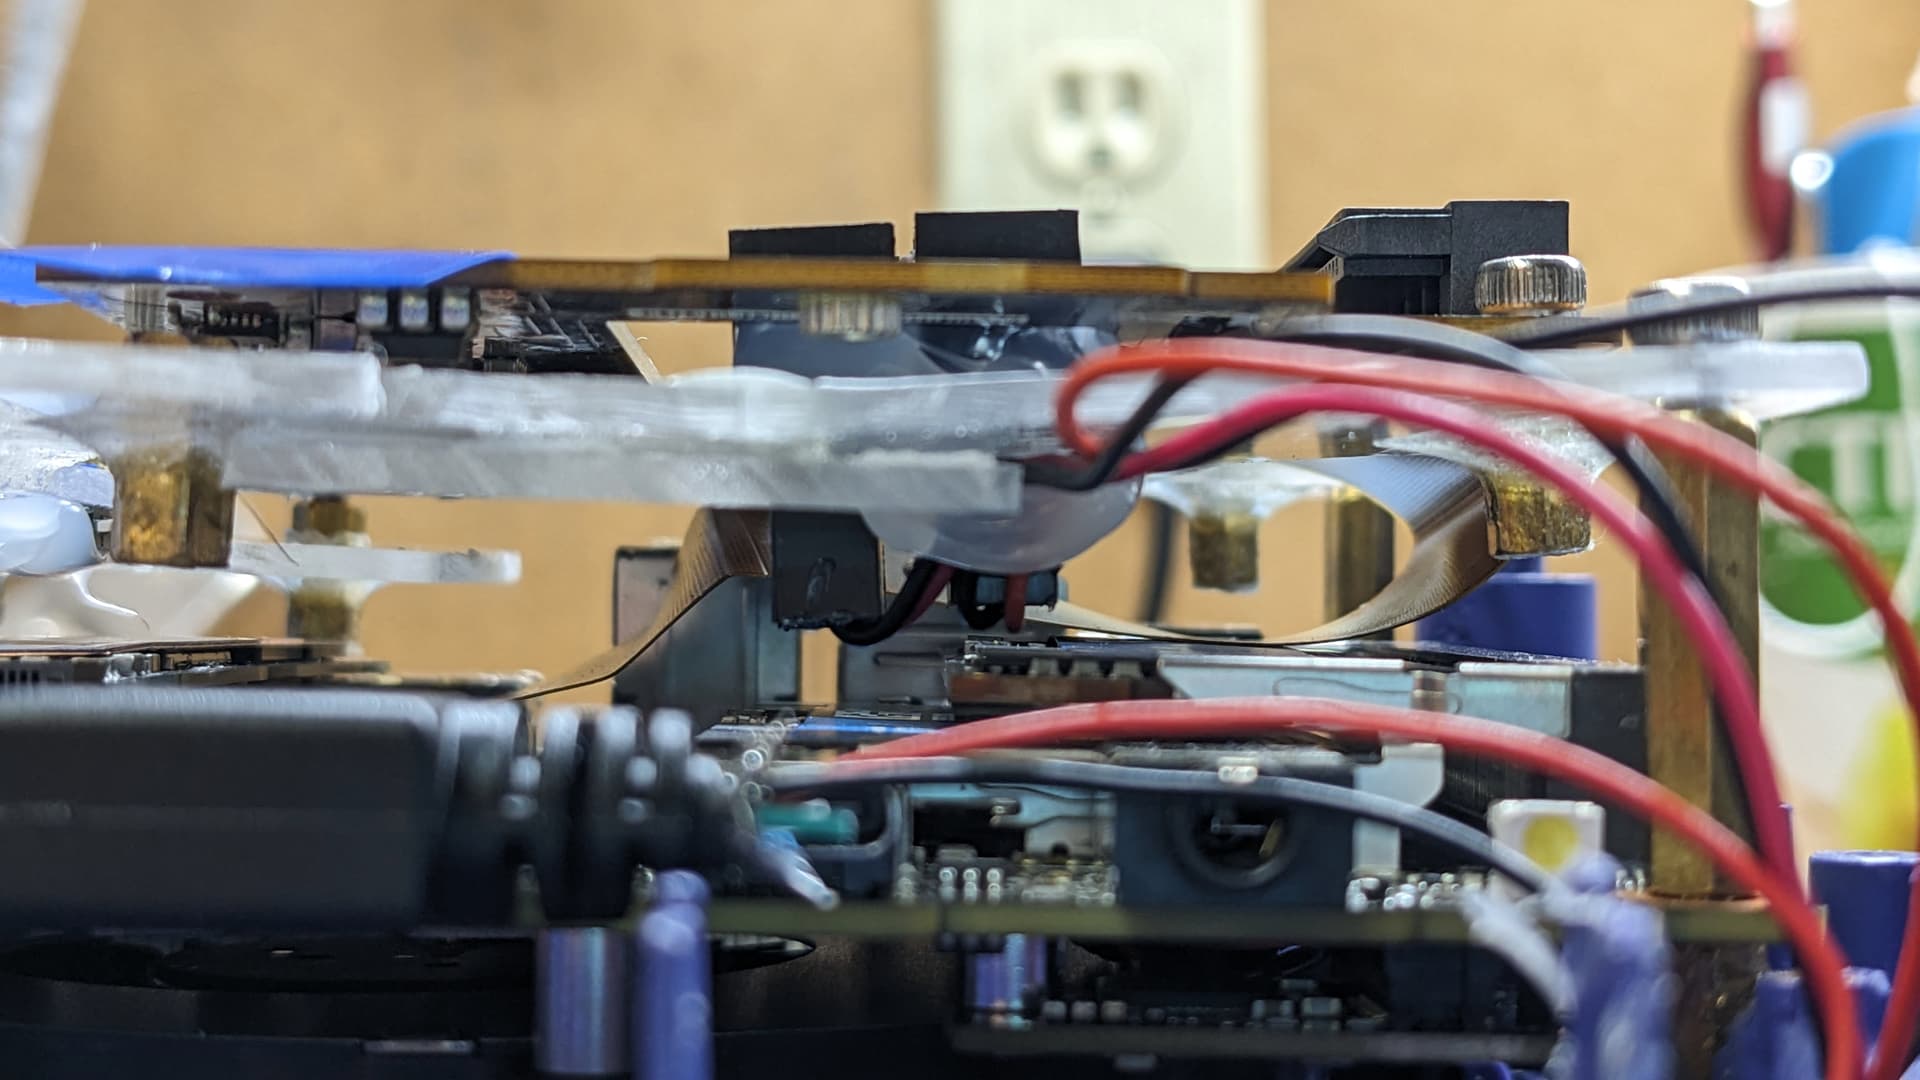
I hot glued the fan connectors to the acrylic floor. However the wires were kind of touching the ram, and I didn’t like that lol. So I hot glued the wire in a tight bend so everything clear out adequately.

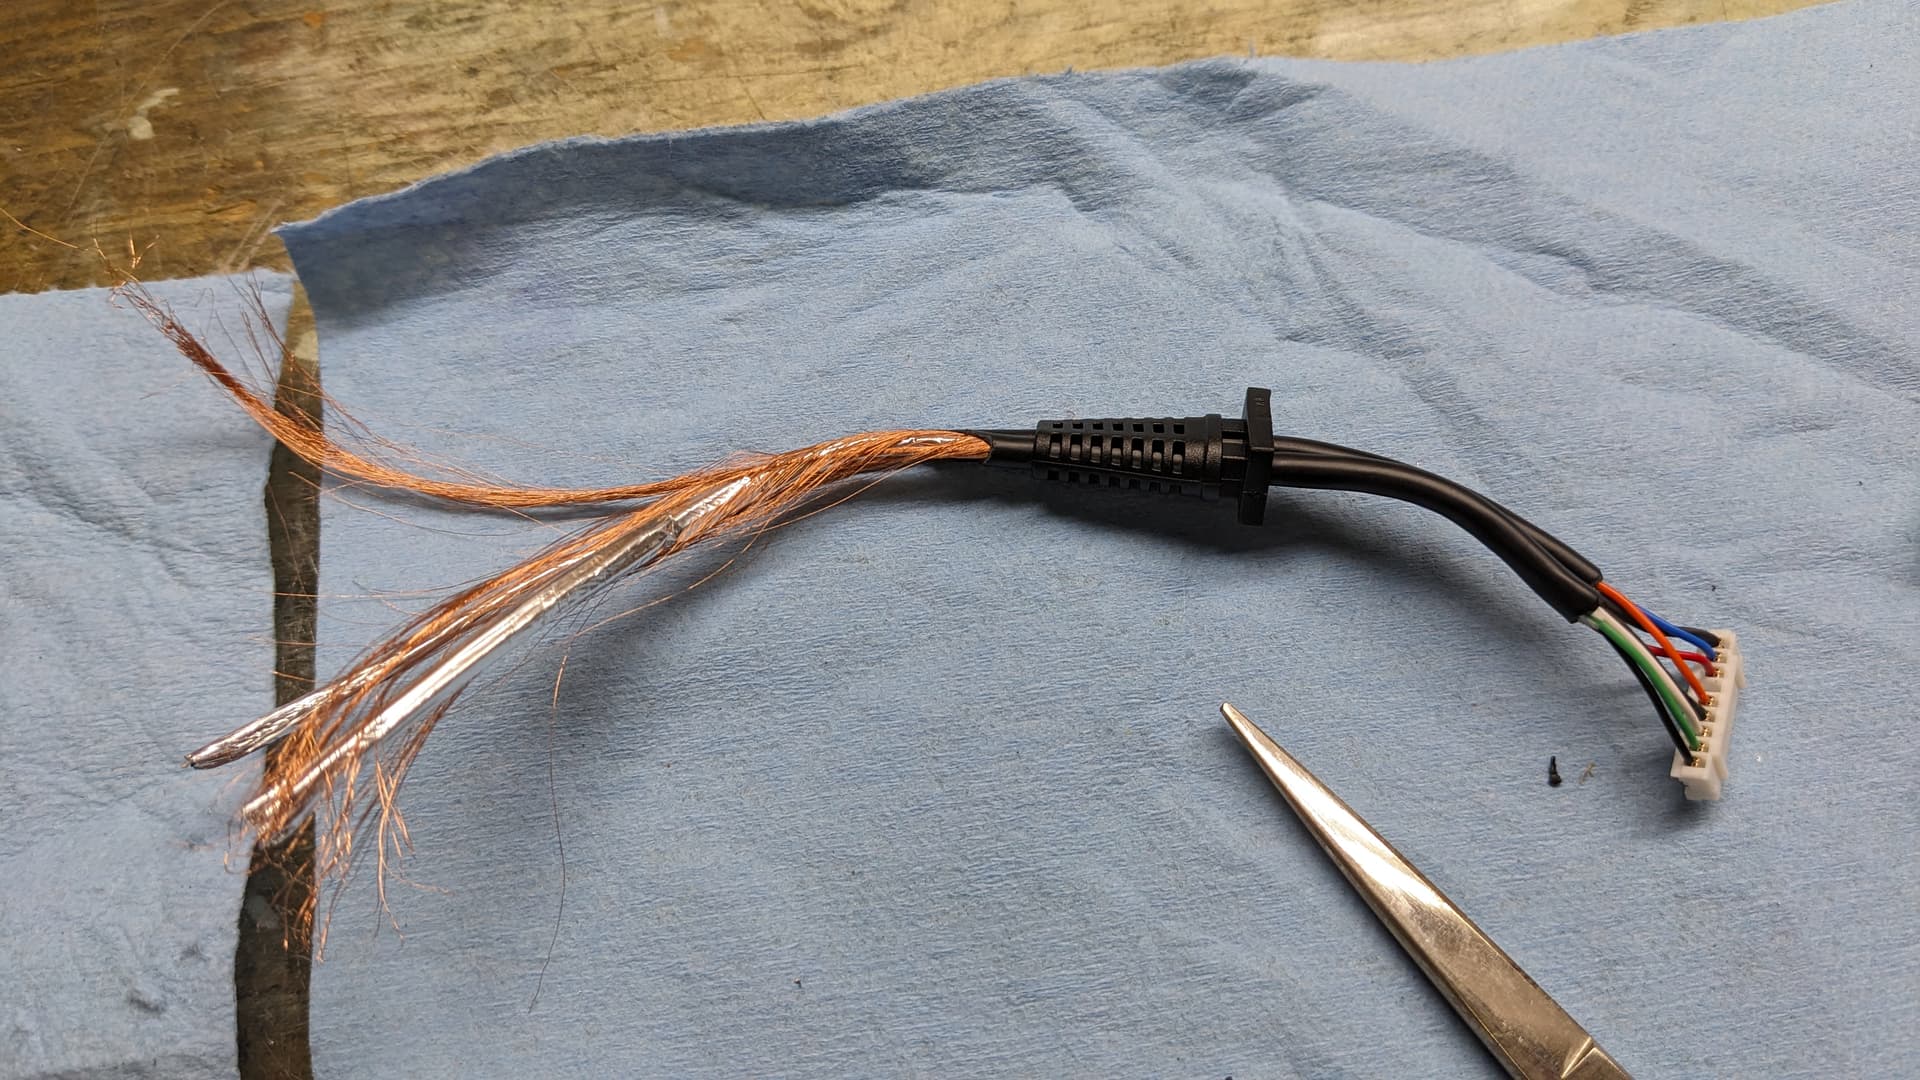
The next step was to wire up the Gamecube adapter. For this, I used the original cable for which I did a pin out, extracted the required length, then soldered everything. I used hot glue to ensure the soldered wires stay in place, creating a kind of shell with it.

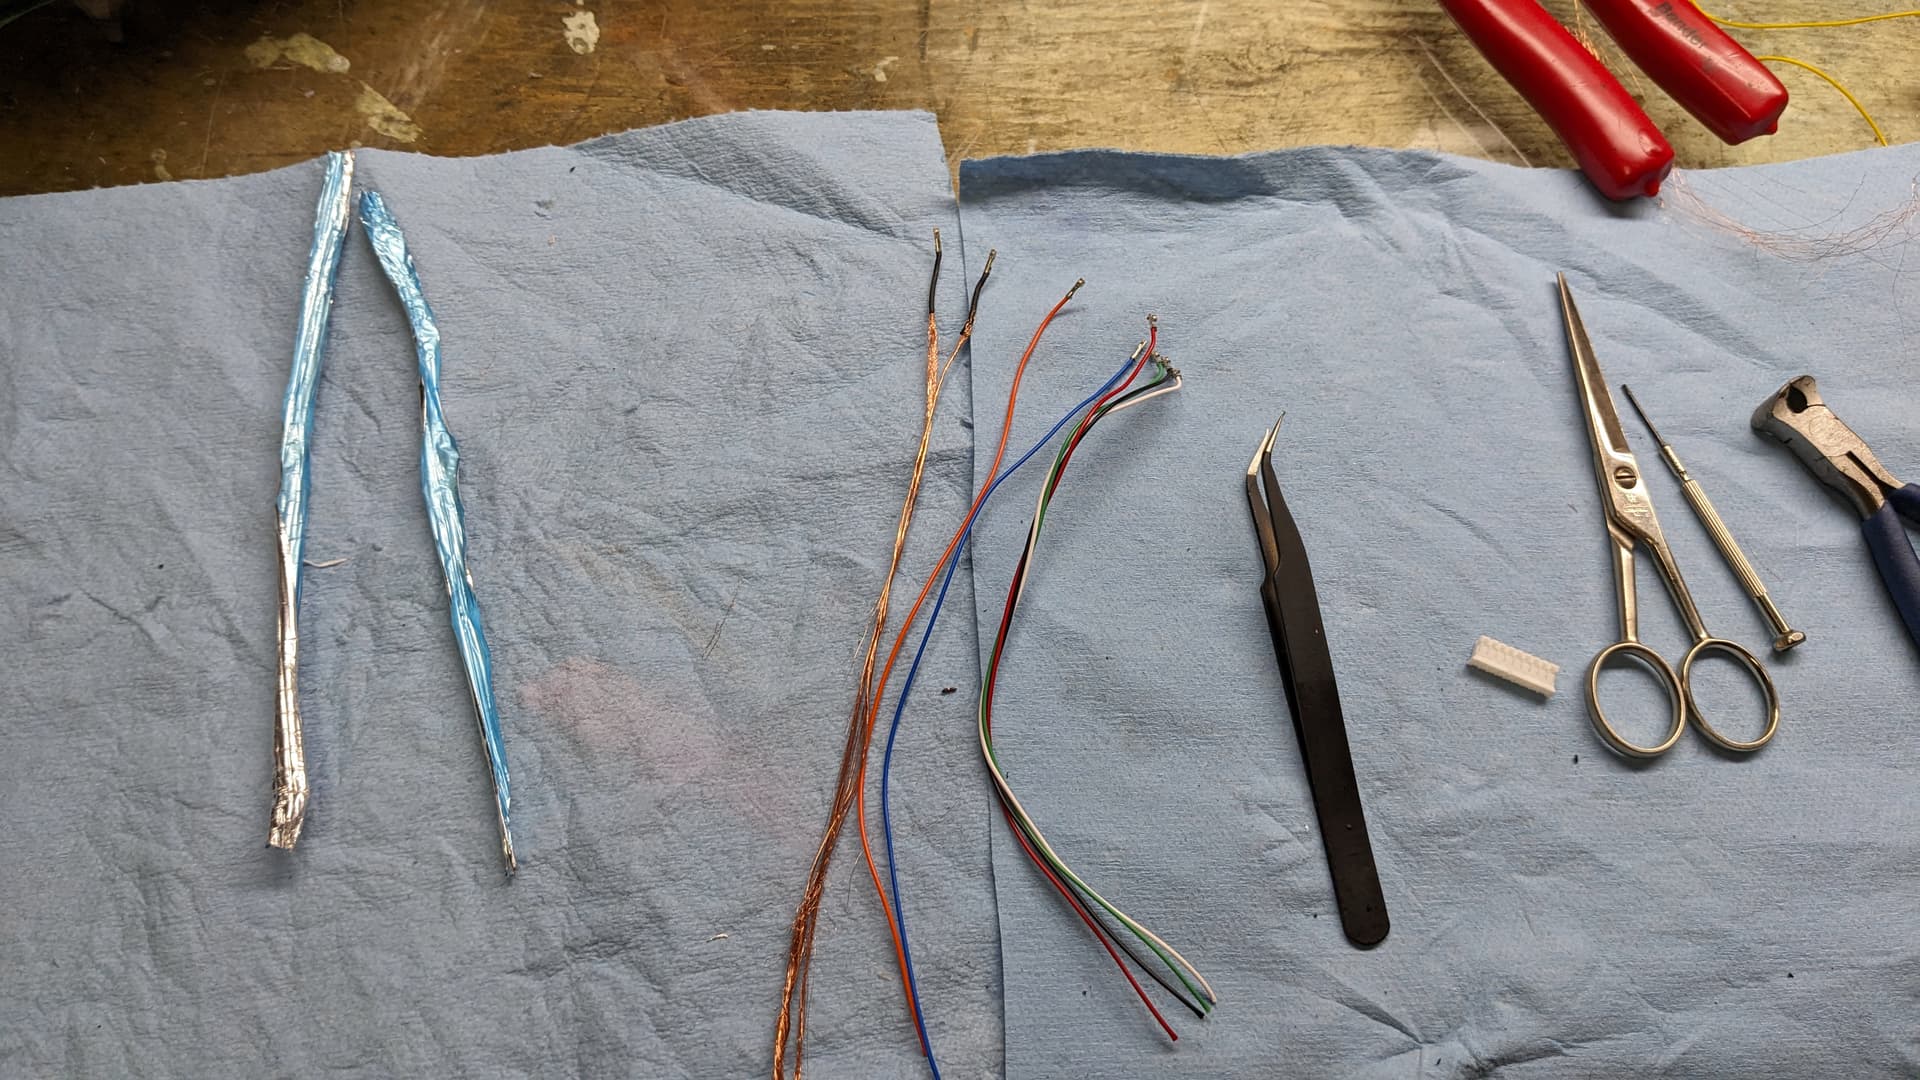


With that, and after a use of Zadig, the adpater is well dientified and works beautifully!
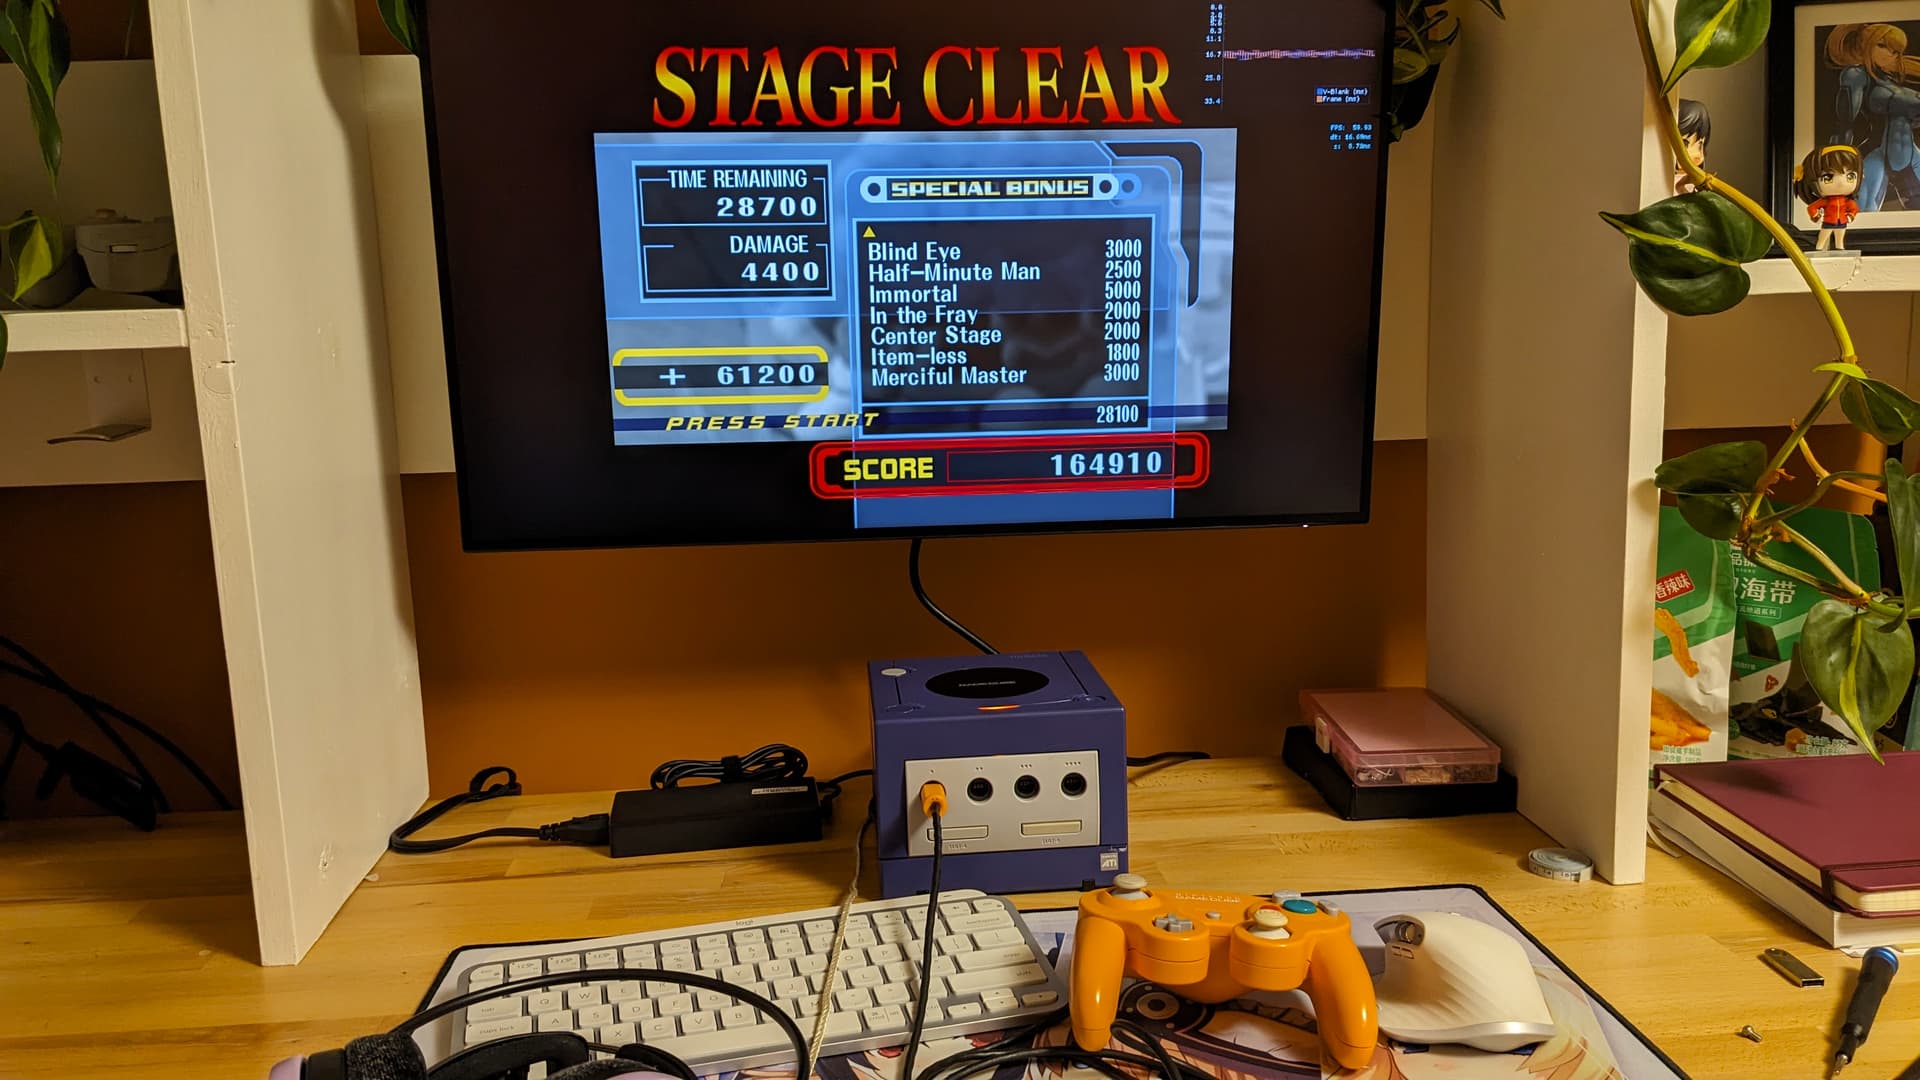
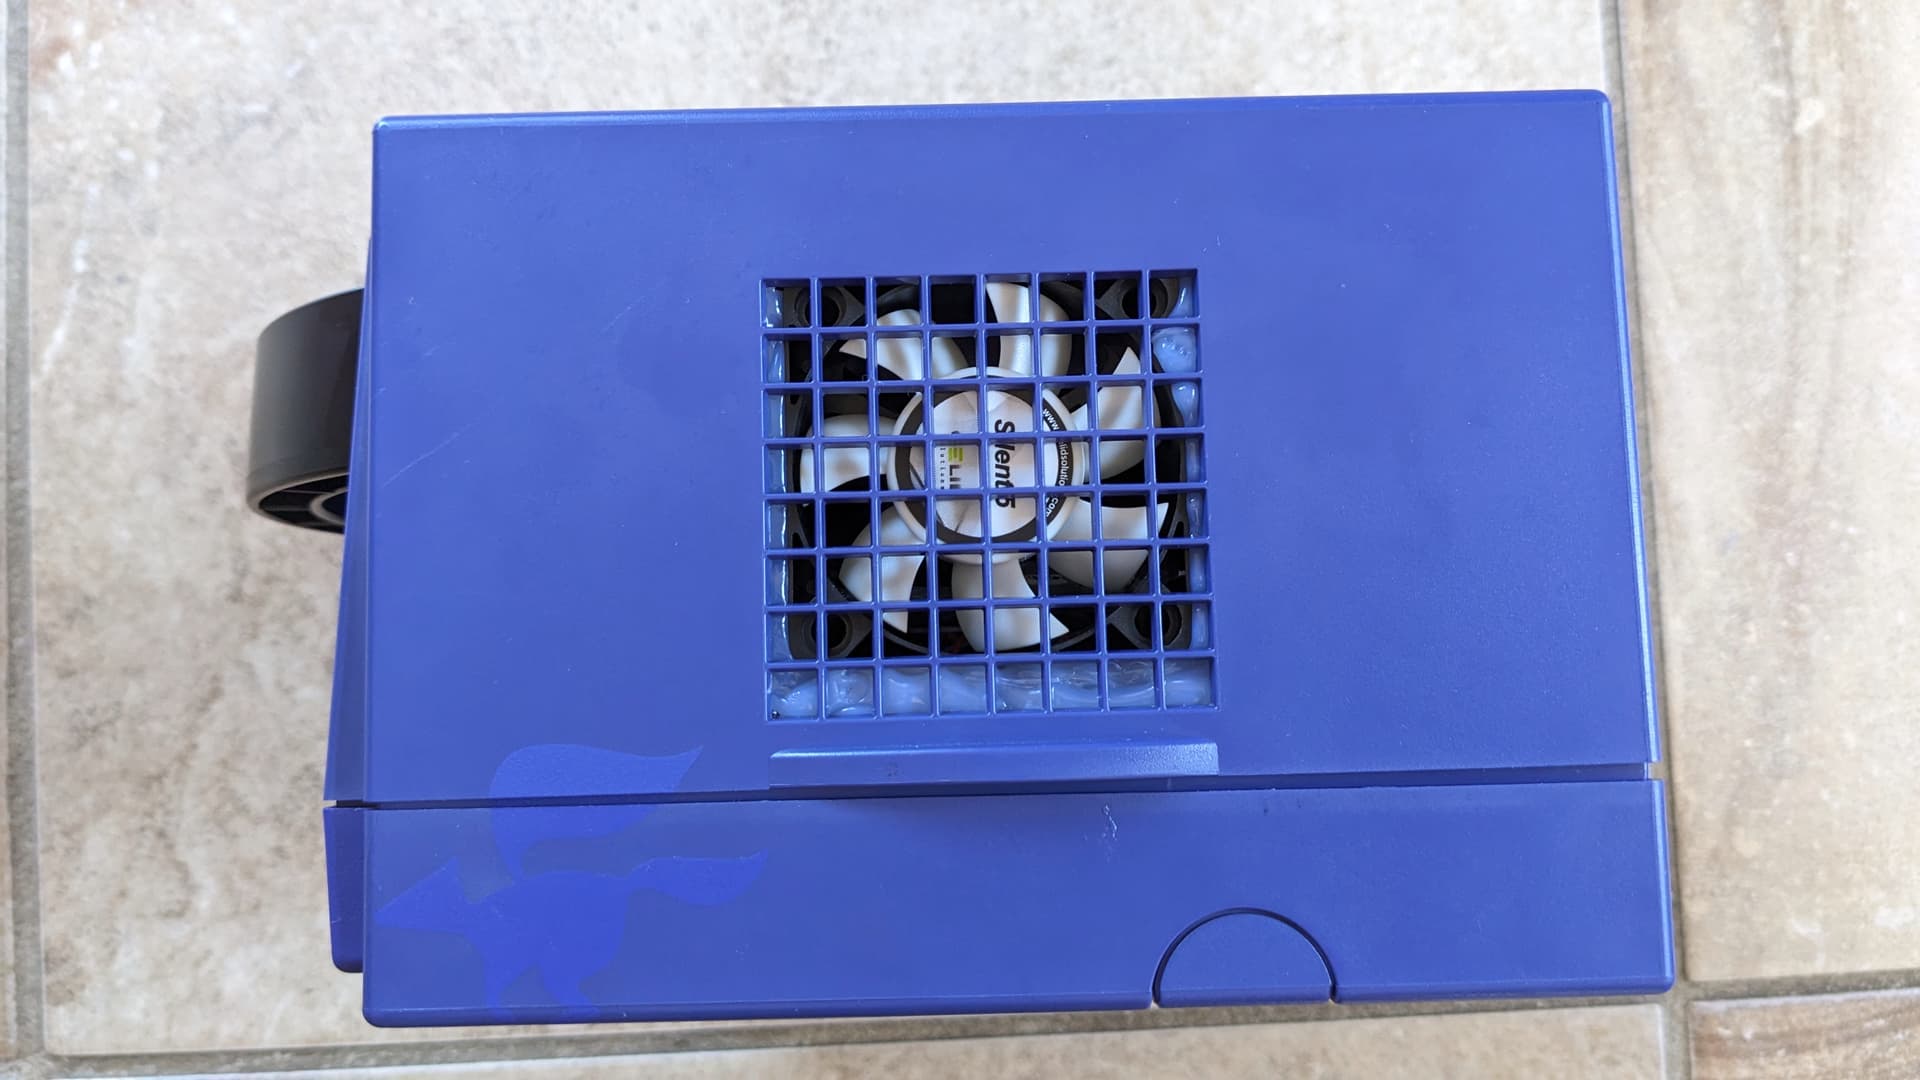
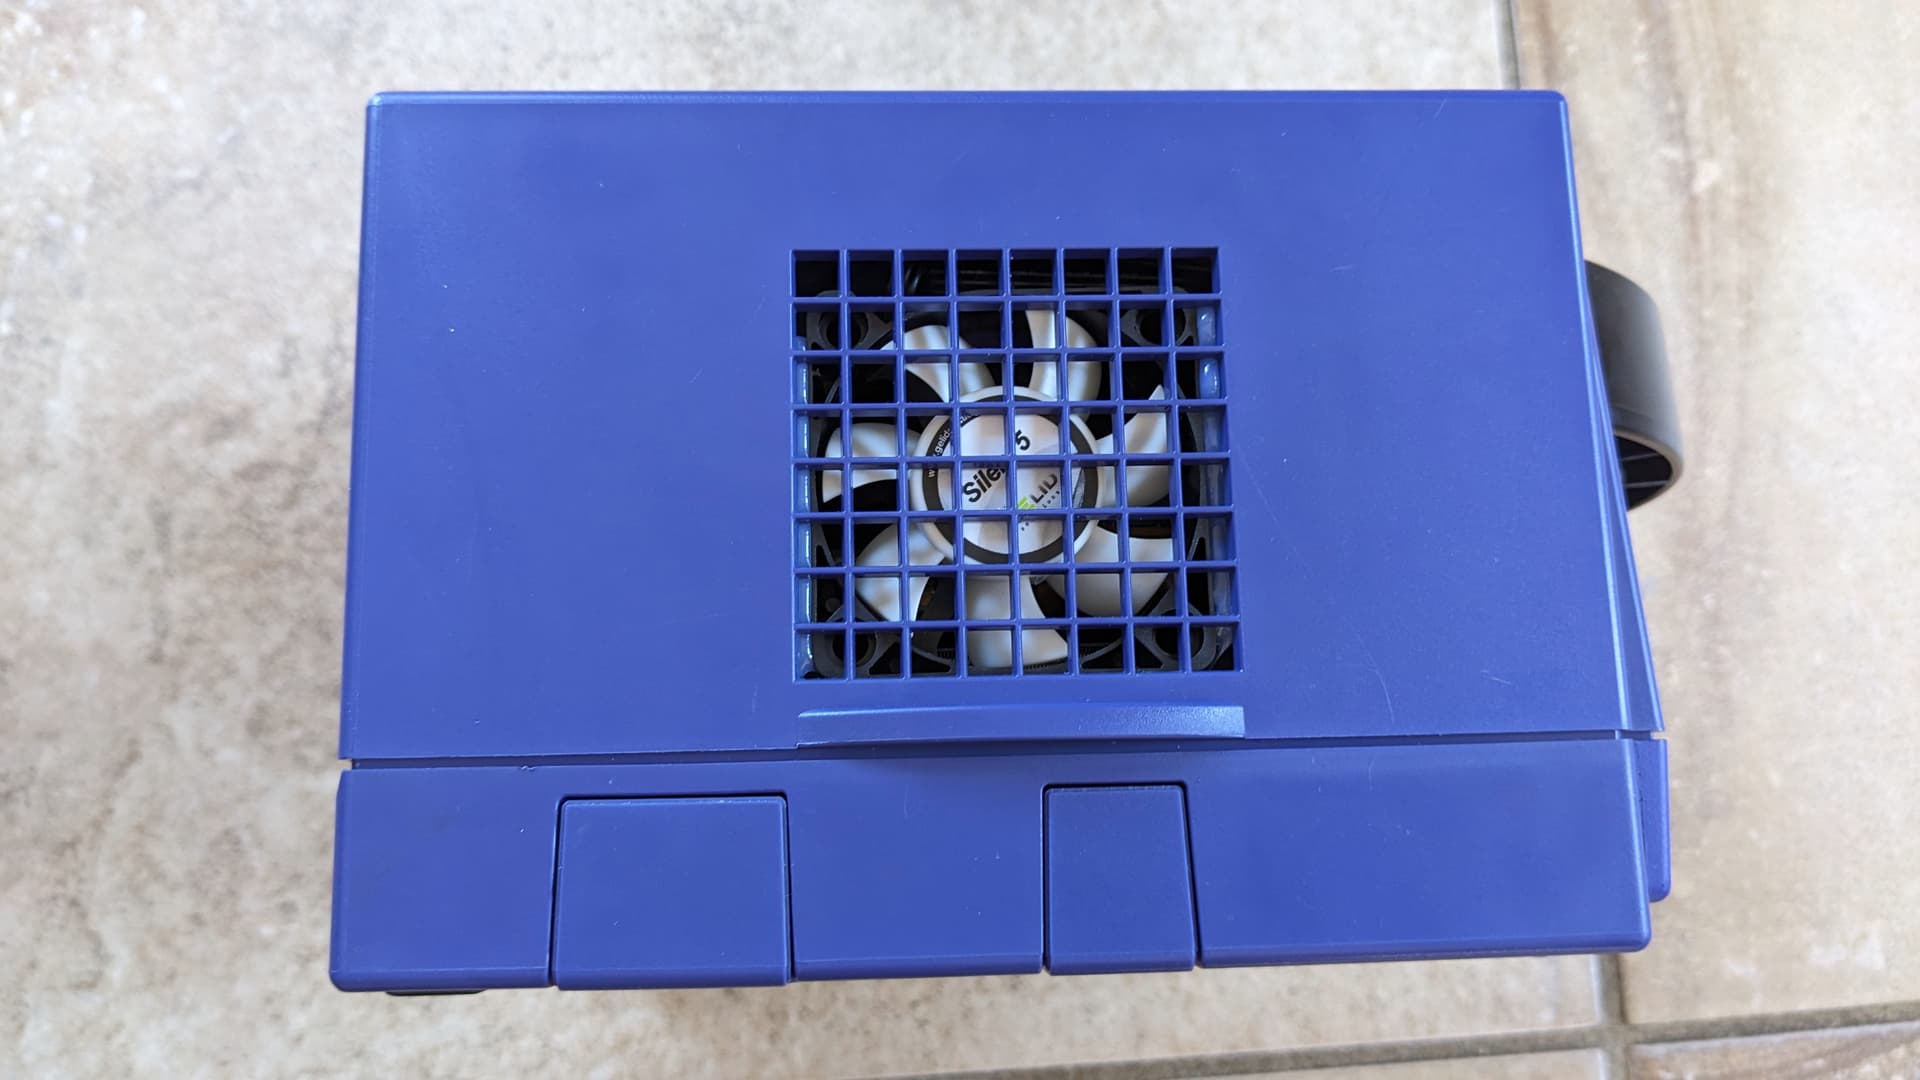
I did change in the UEFI the fan curve with the “Quiet” setting instead of the “Performance”. It’s not a quiet build, but at least it’s not too noisy. And changing the fan curve had barely an impact on performance. In Time Spy, there was a decrease of only 60ish points.

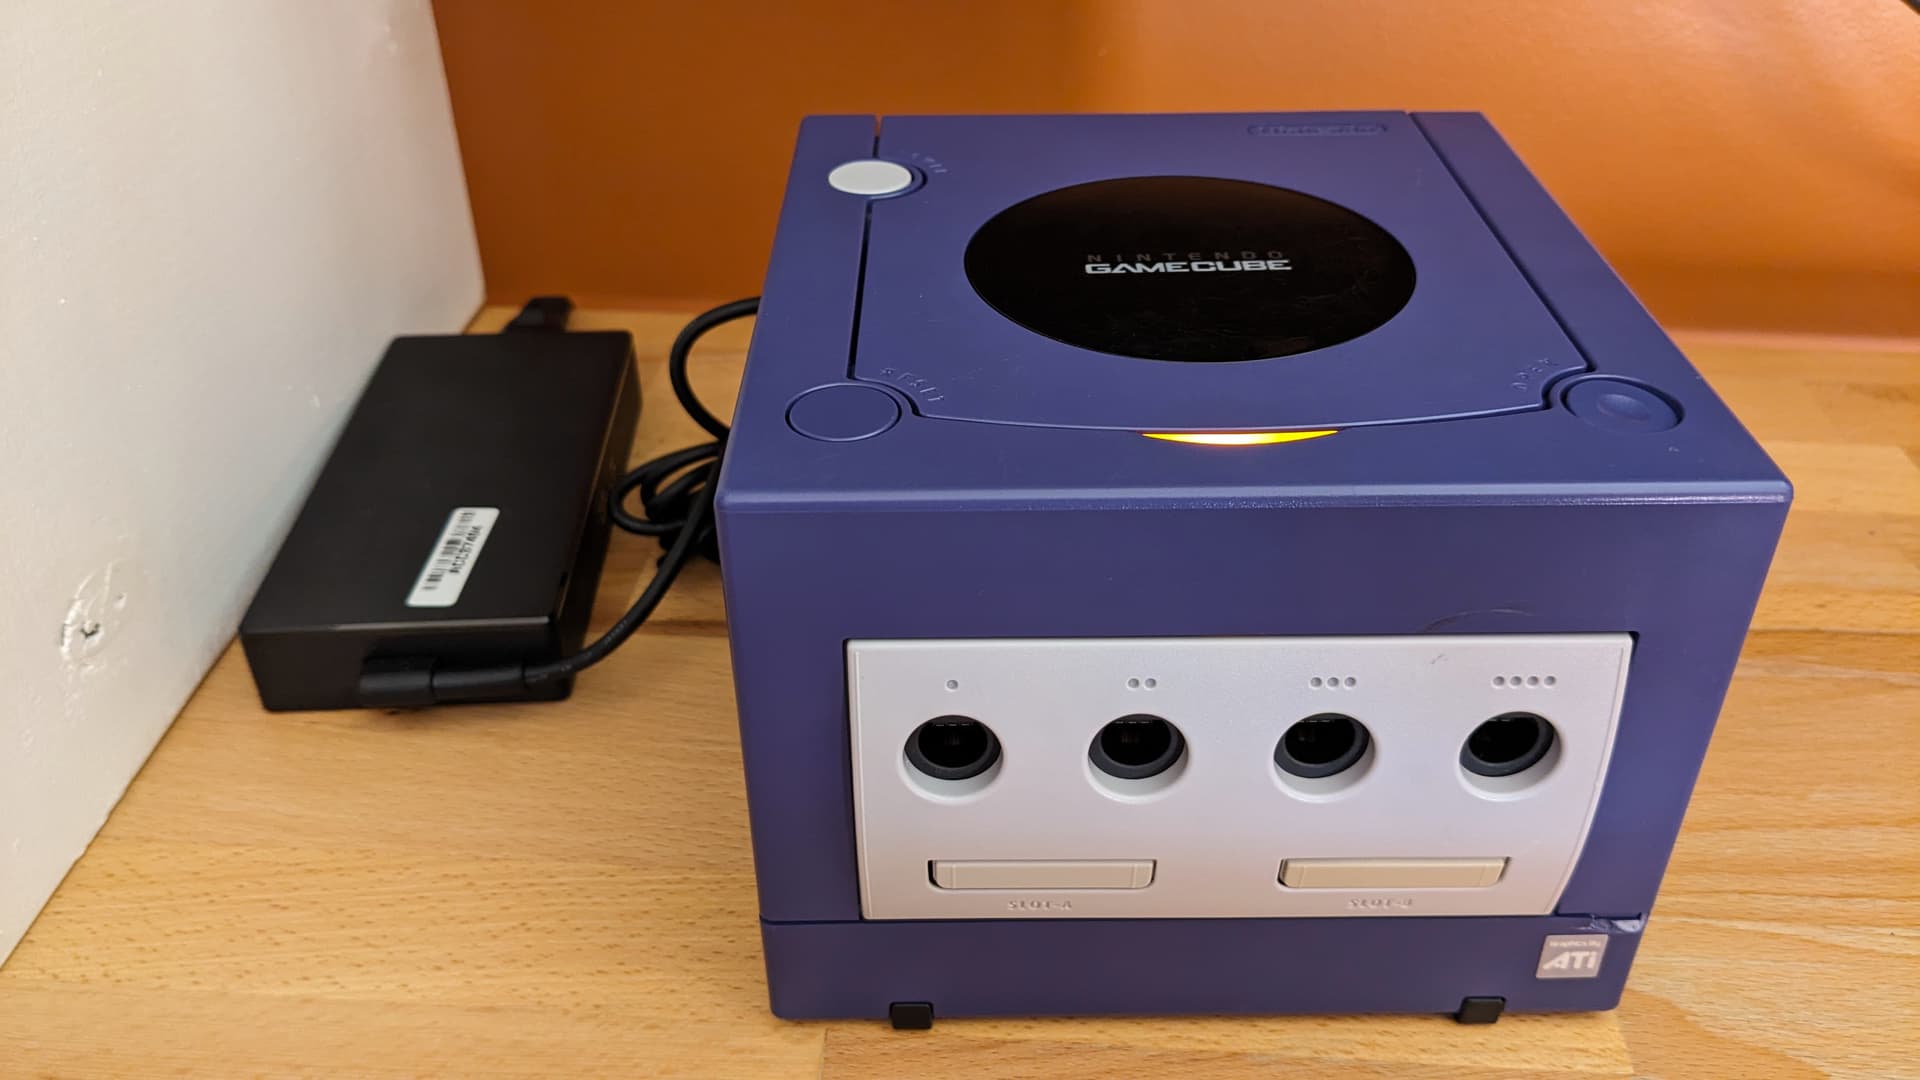
With that, the build is finished, so here are the pretty picks of the build.


9 Likes
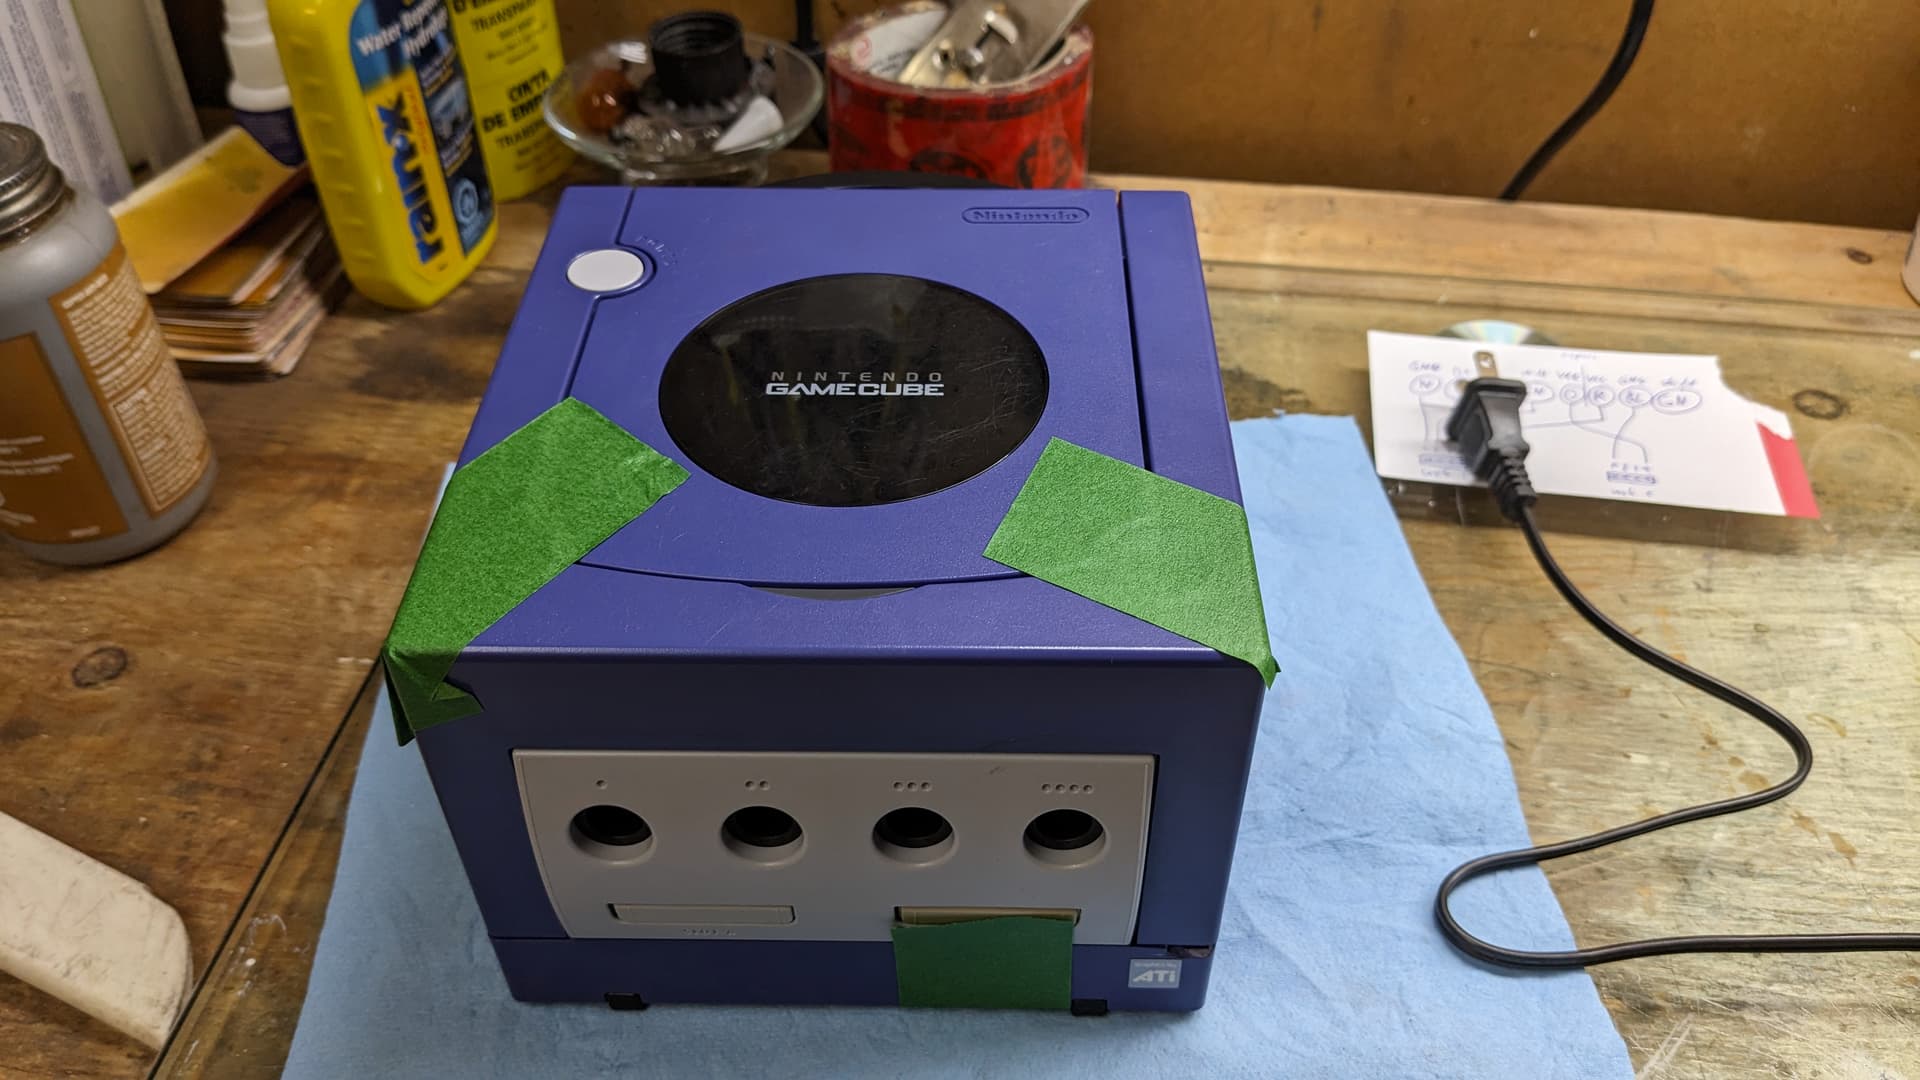
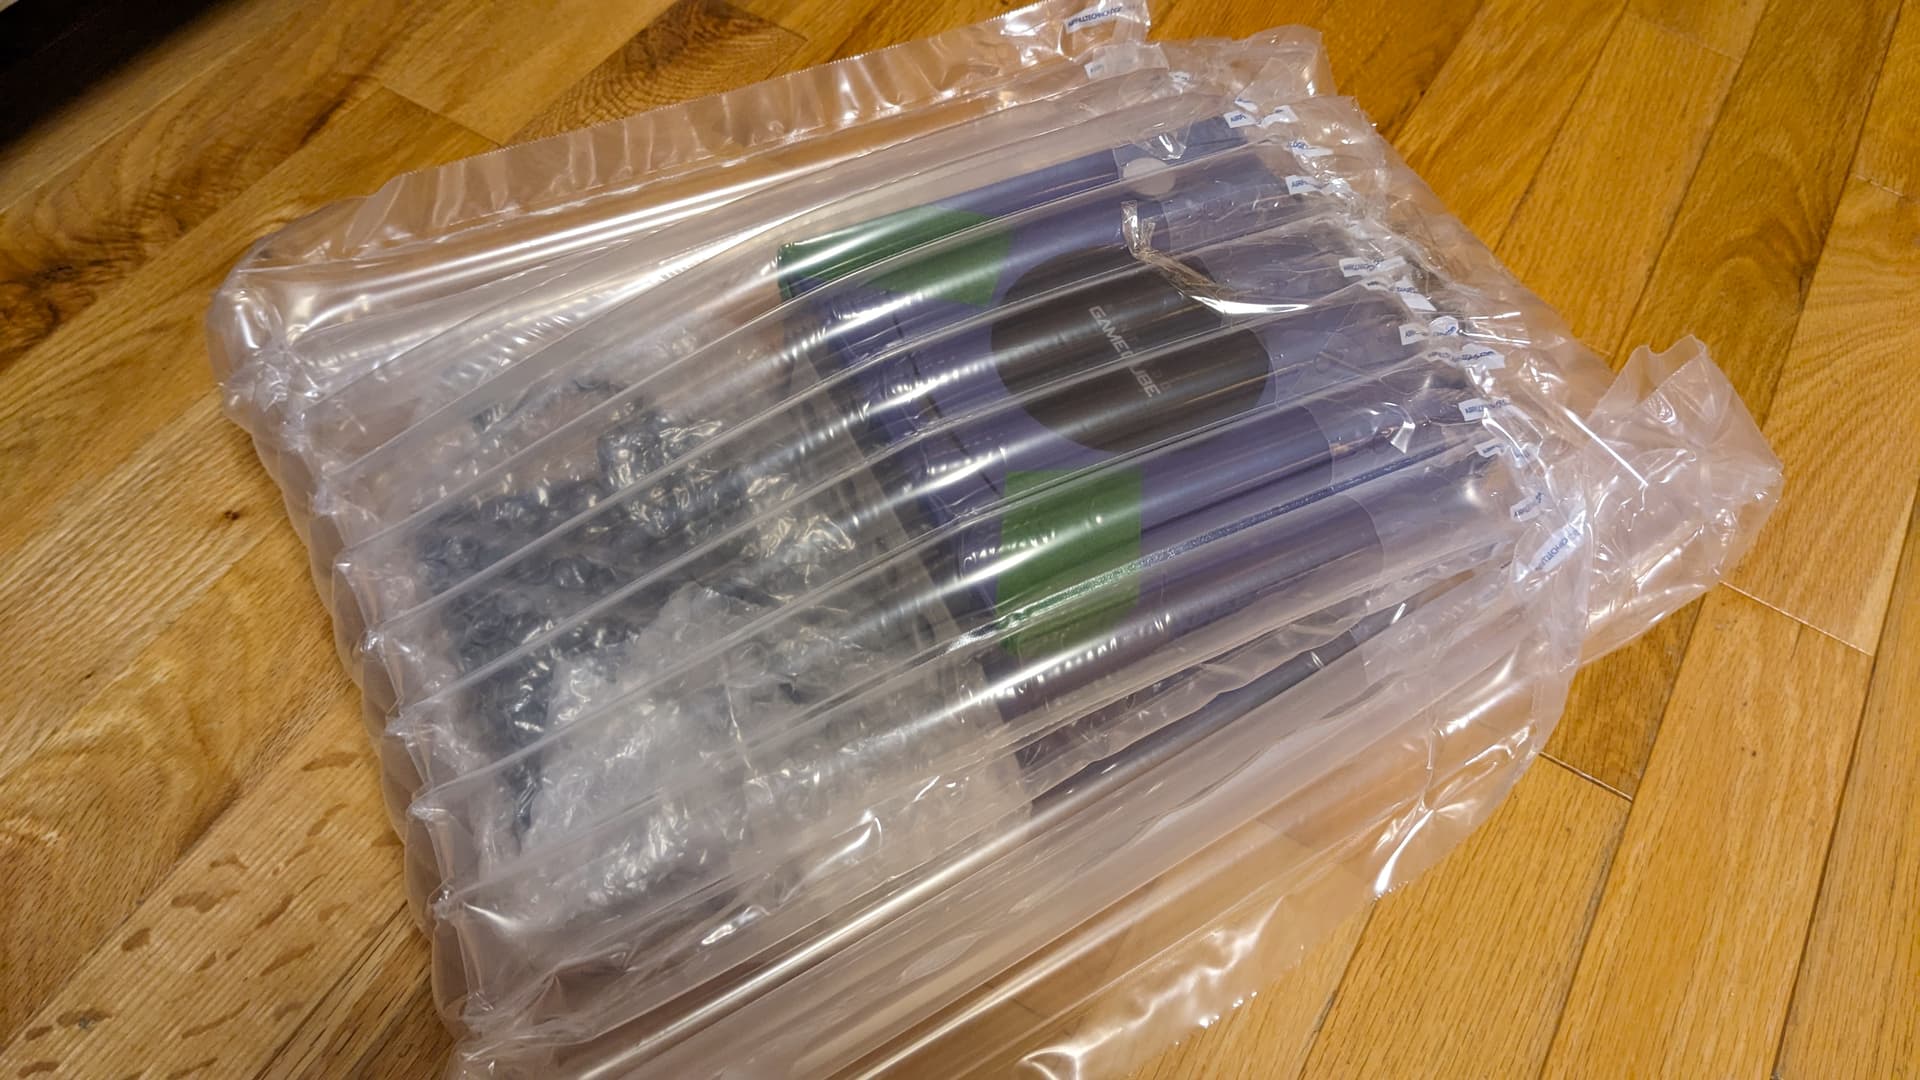
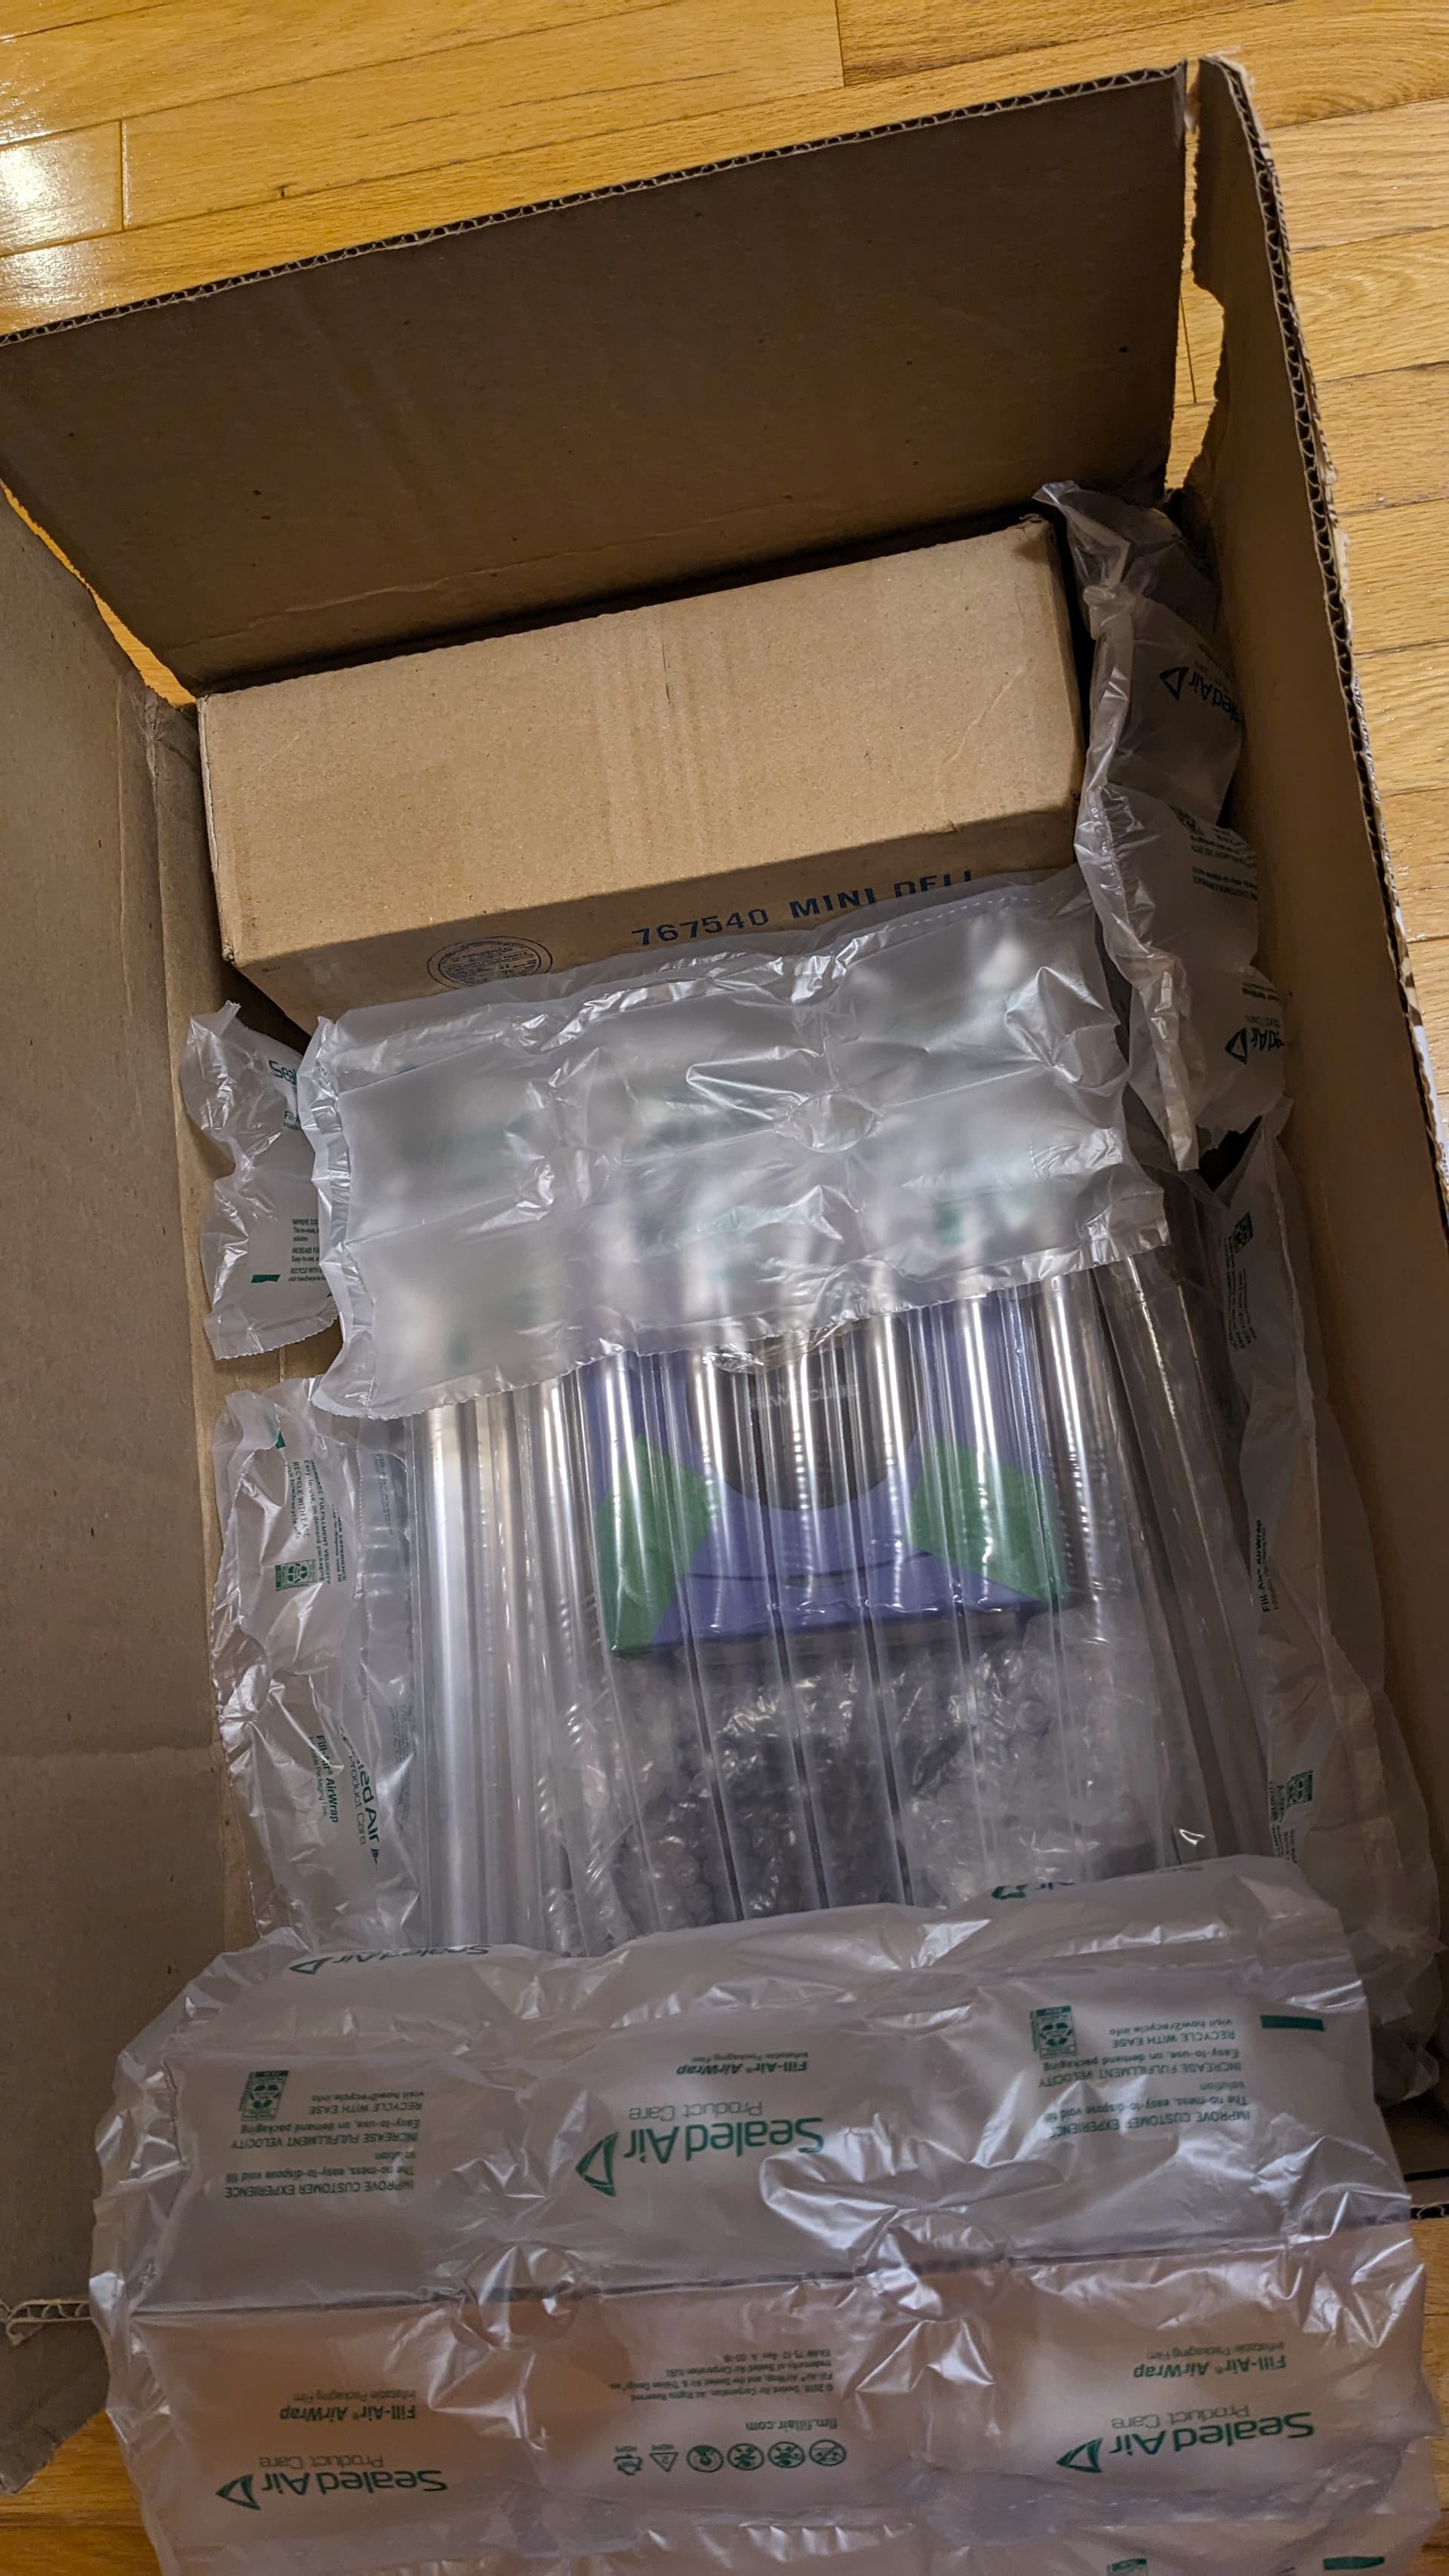
And now prepping up the build for shipping. I did add hot glue to the connectors and wires accessible from the top cover to ensure those would not be disconnected during shipping. I think the Gamecube will be well protected.


11 Likes
Somewhere, Steve from GamersNexus shudders
3 Likes