[Build log] ユニ : A RX 6400 inside a InWin Chopin?

Hey hey, it’s me again with another small build :grin:. And tradition oblige, this build must also bears the name of another character in the Neptunia franchise (even if I have not played the game in years). As it will be a small blackish build, it fits the petite nature of ユニ (Uni). :grin:

So my brother is mainly using his PC to browse, along with SolidWorks modeling. His current pc is quite old by now, being the first PC I build for my mom. It as an Haswell i7 along a GTX 760, 1TB SSD and unknown amount of ram. The GPU is becoming a limiting factor as sometime his SolidWorks project chugs (I think it’s mainly because of the meager 2GB of VRAM), and he wants a smaller PC, albeit with a limited budget (max 1000$ CAD).

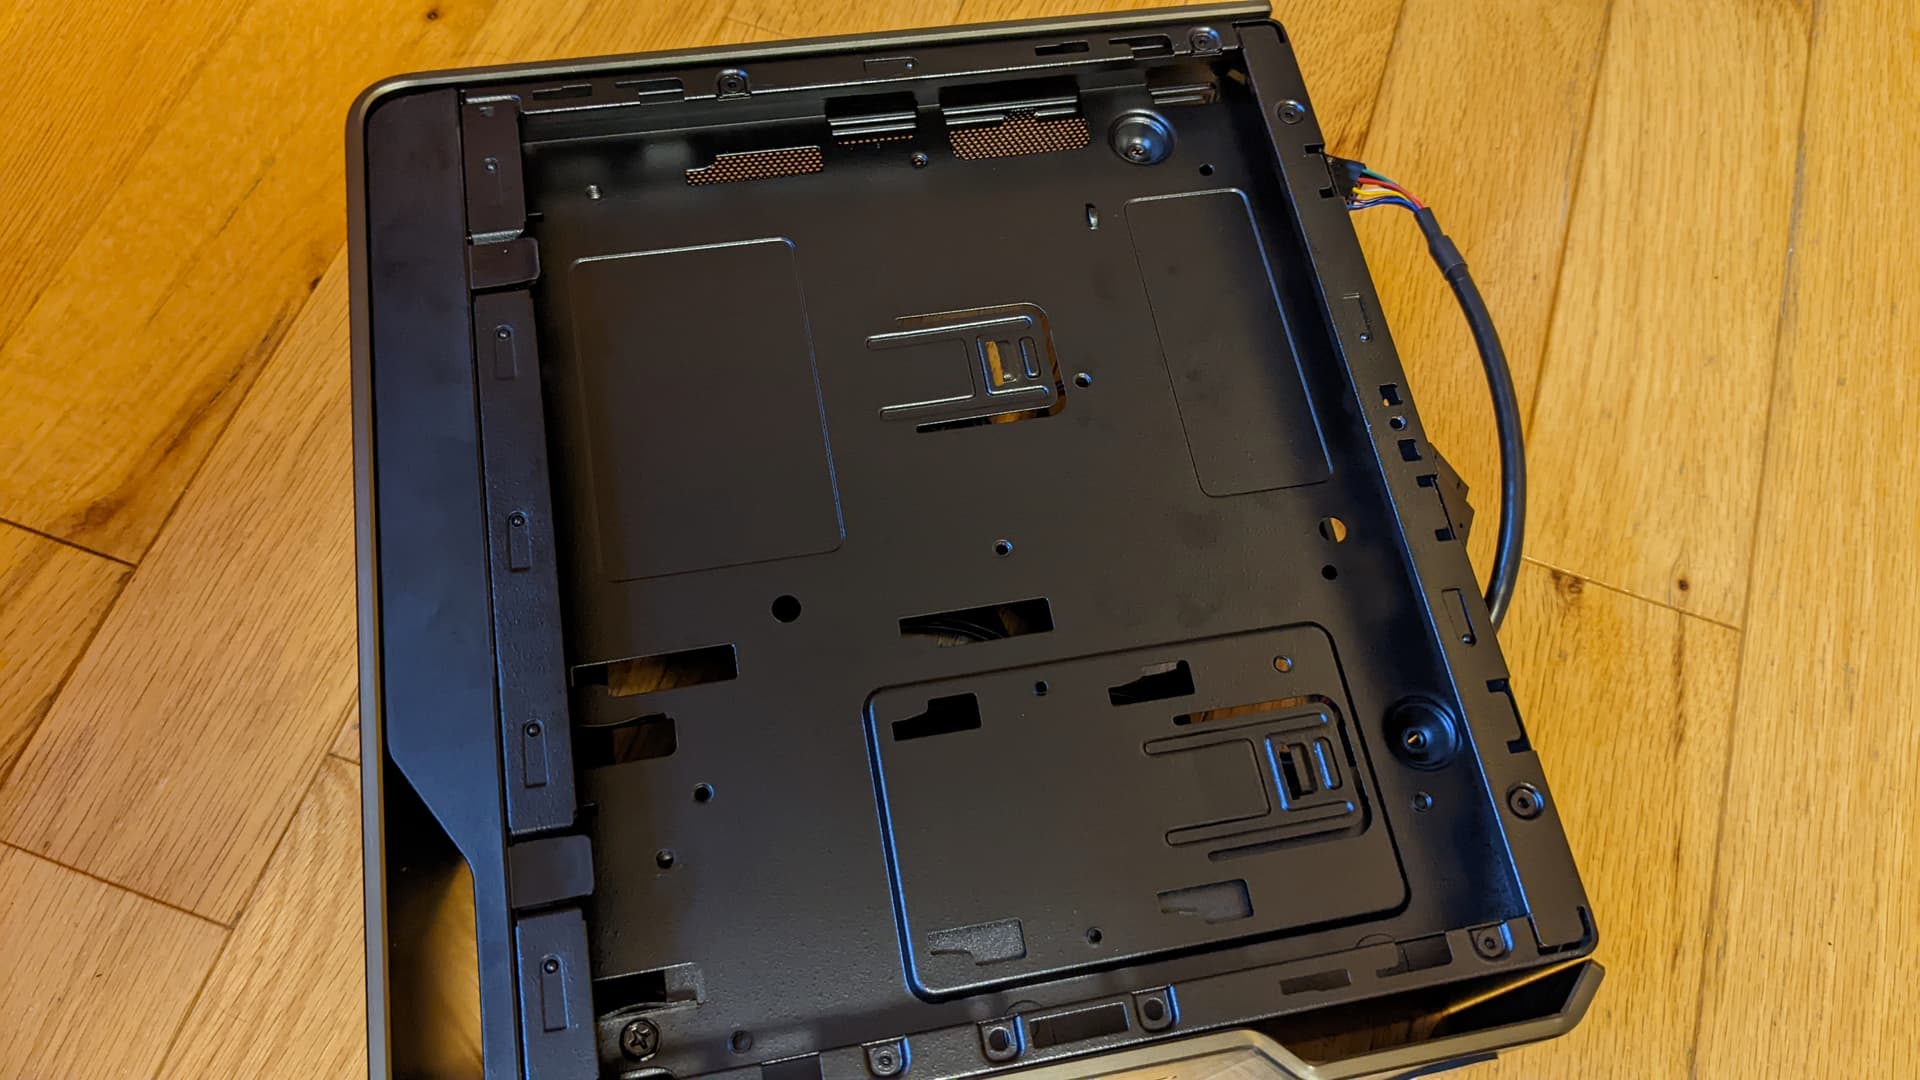
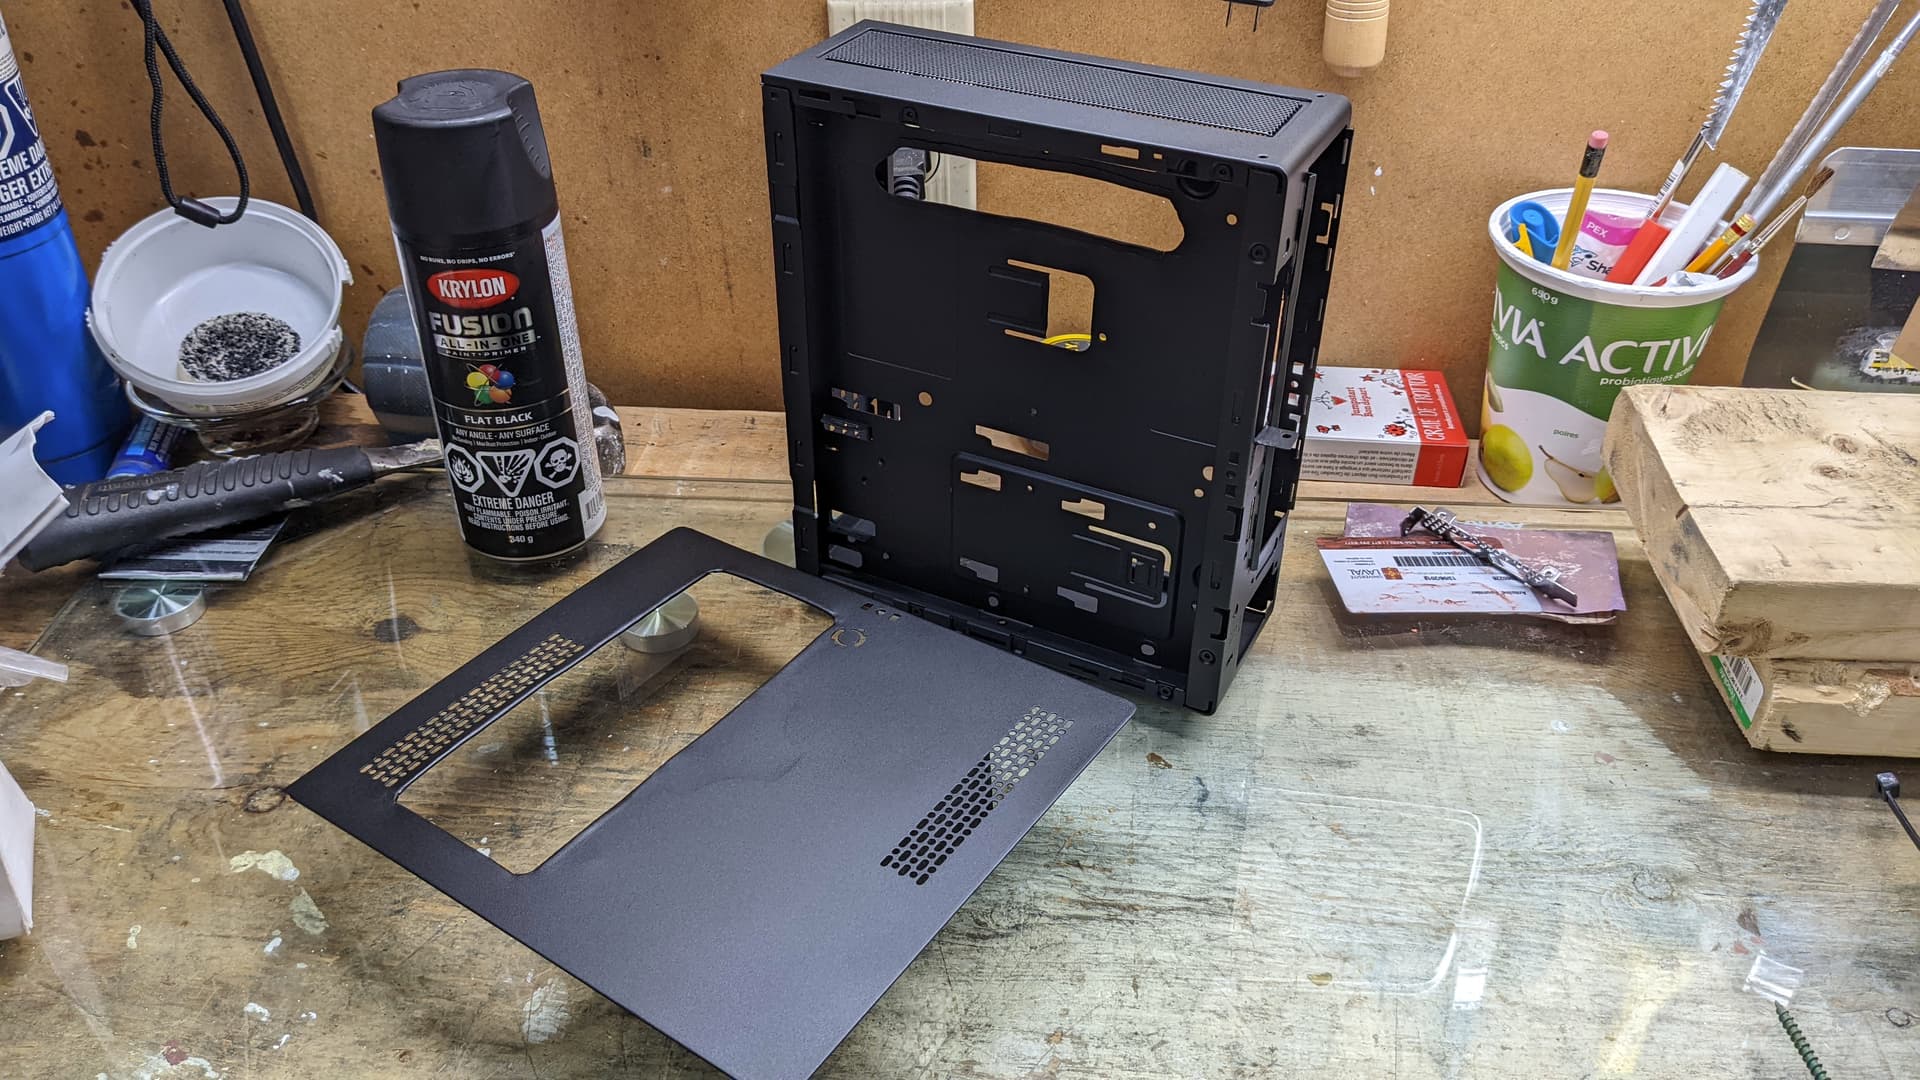
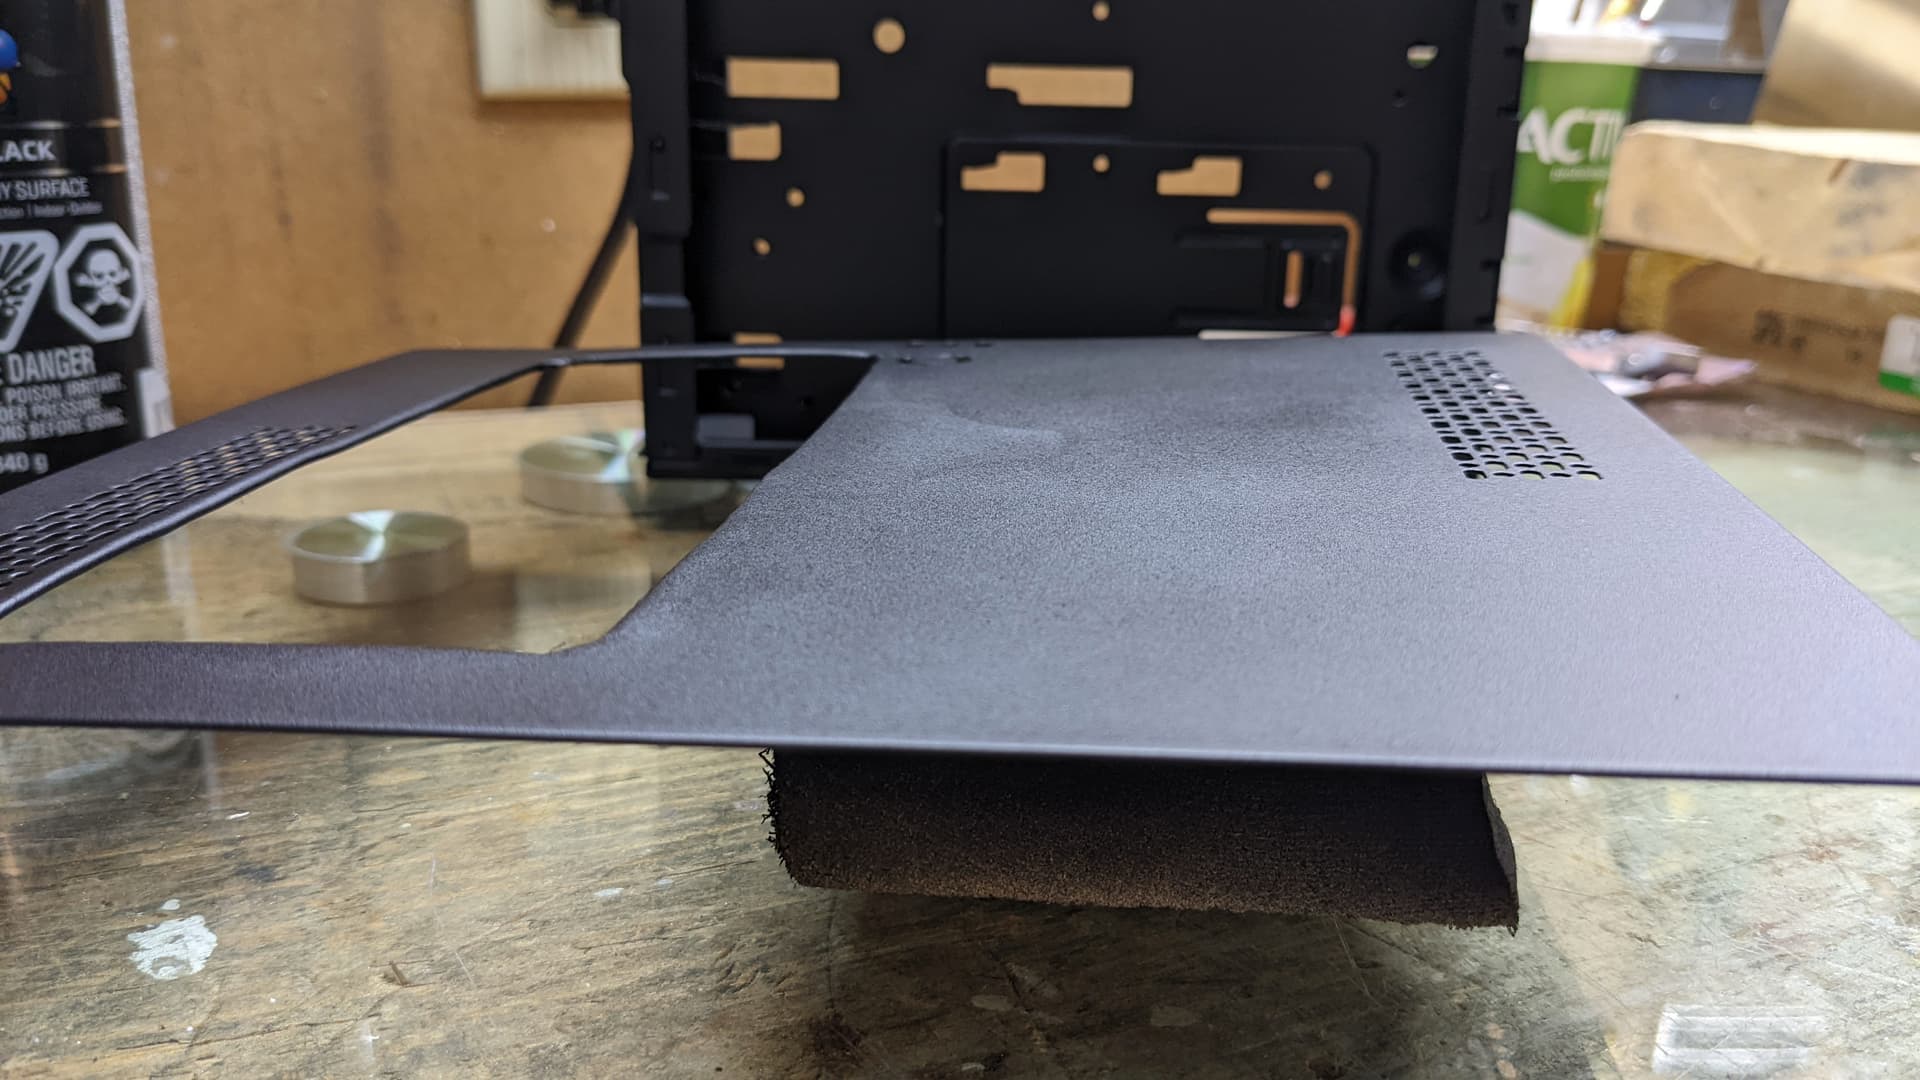
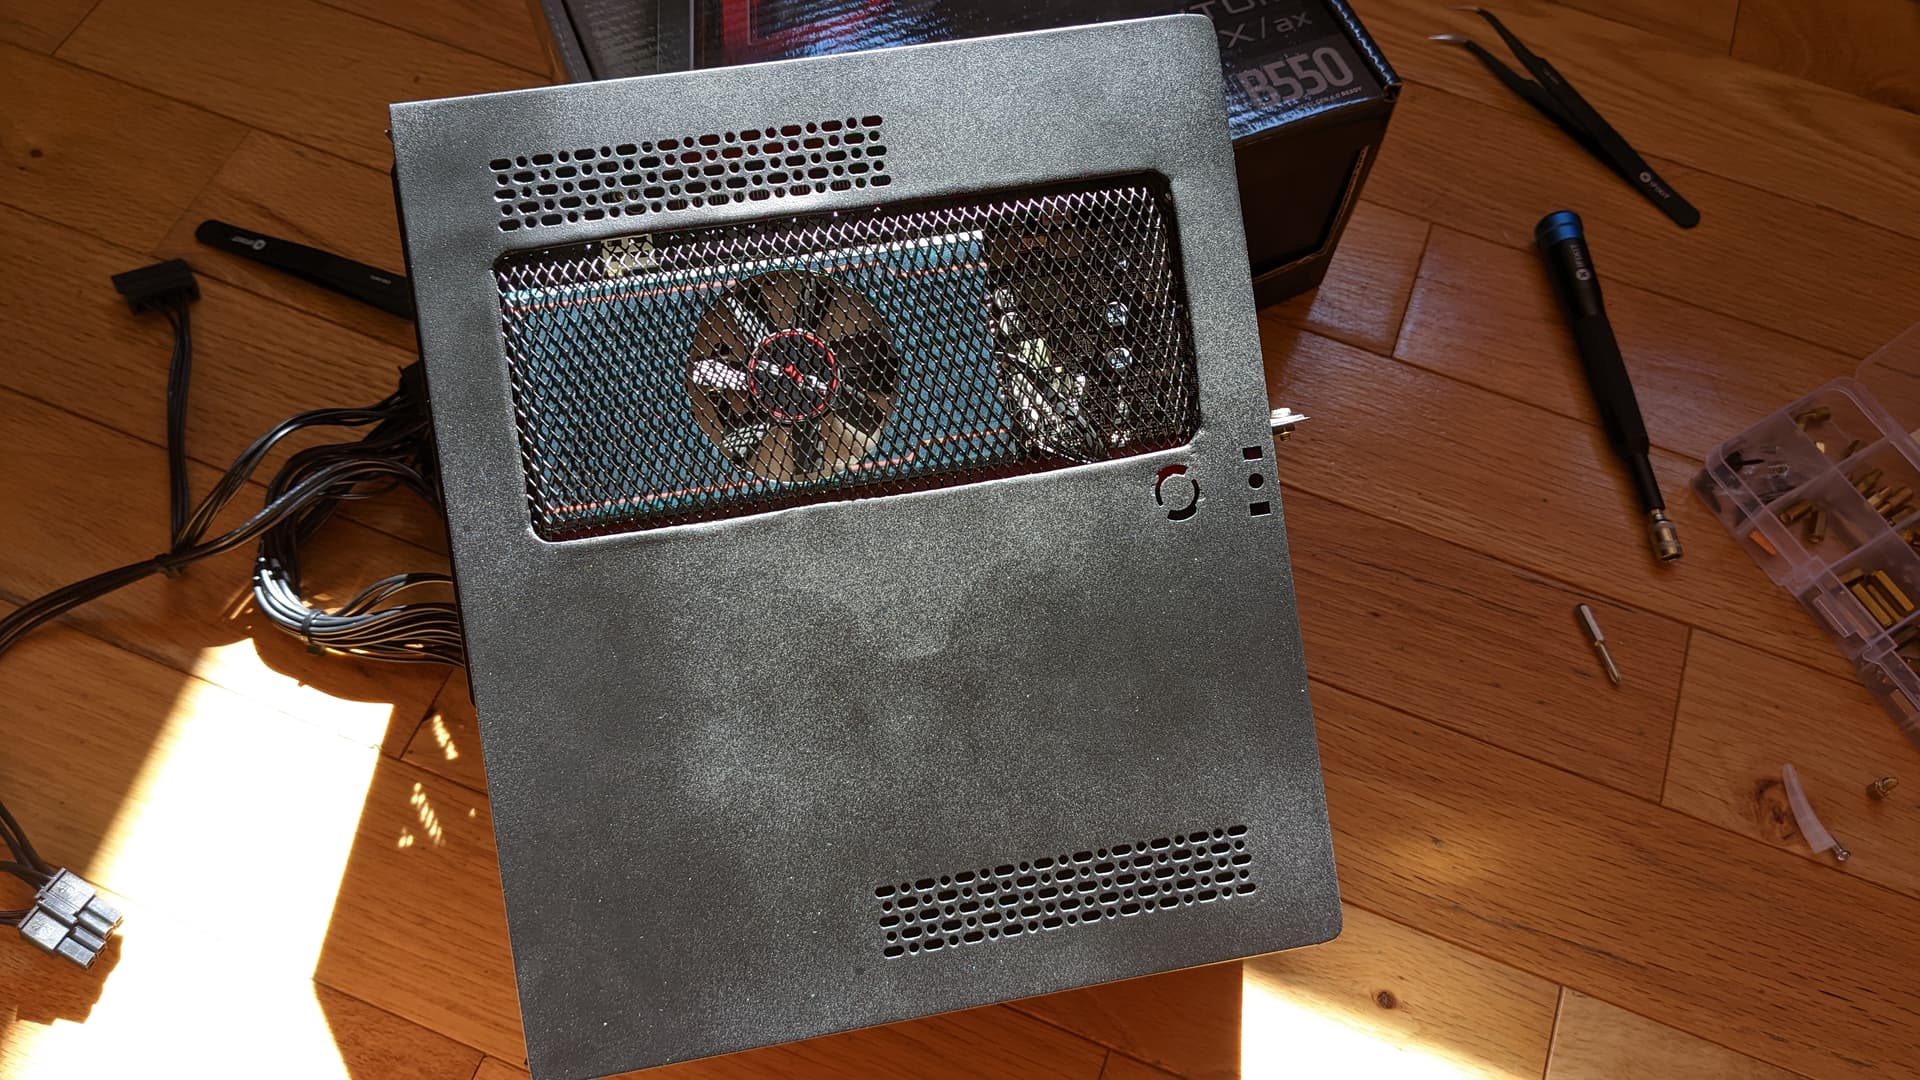
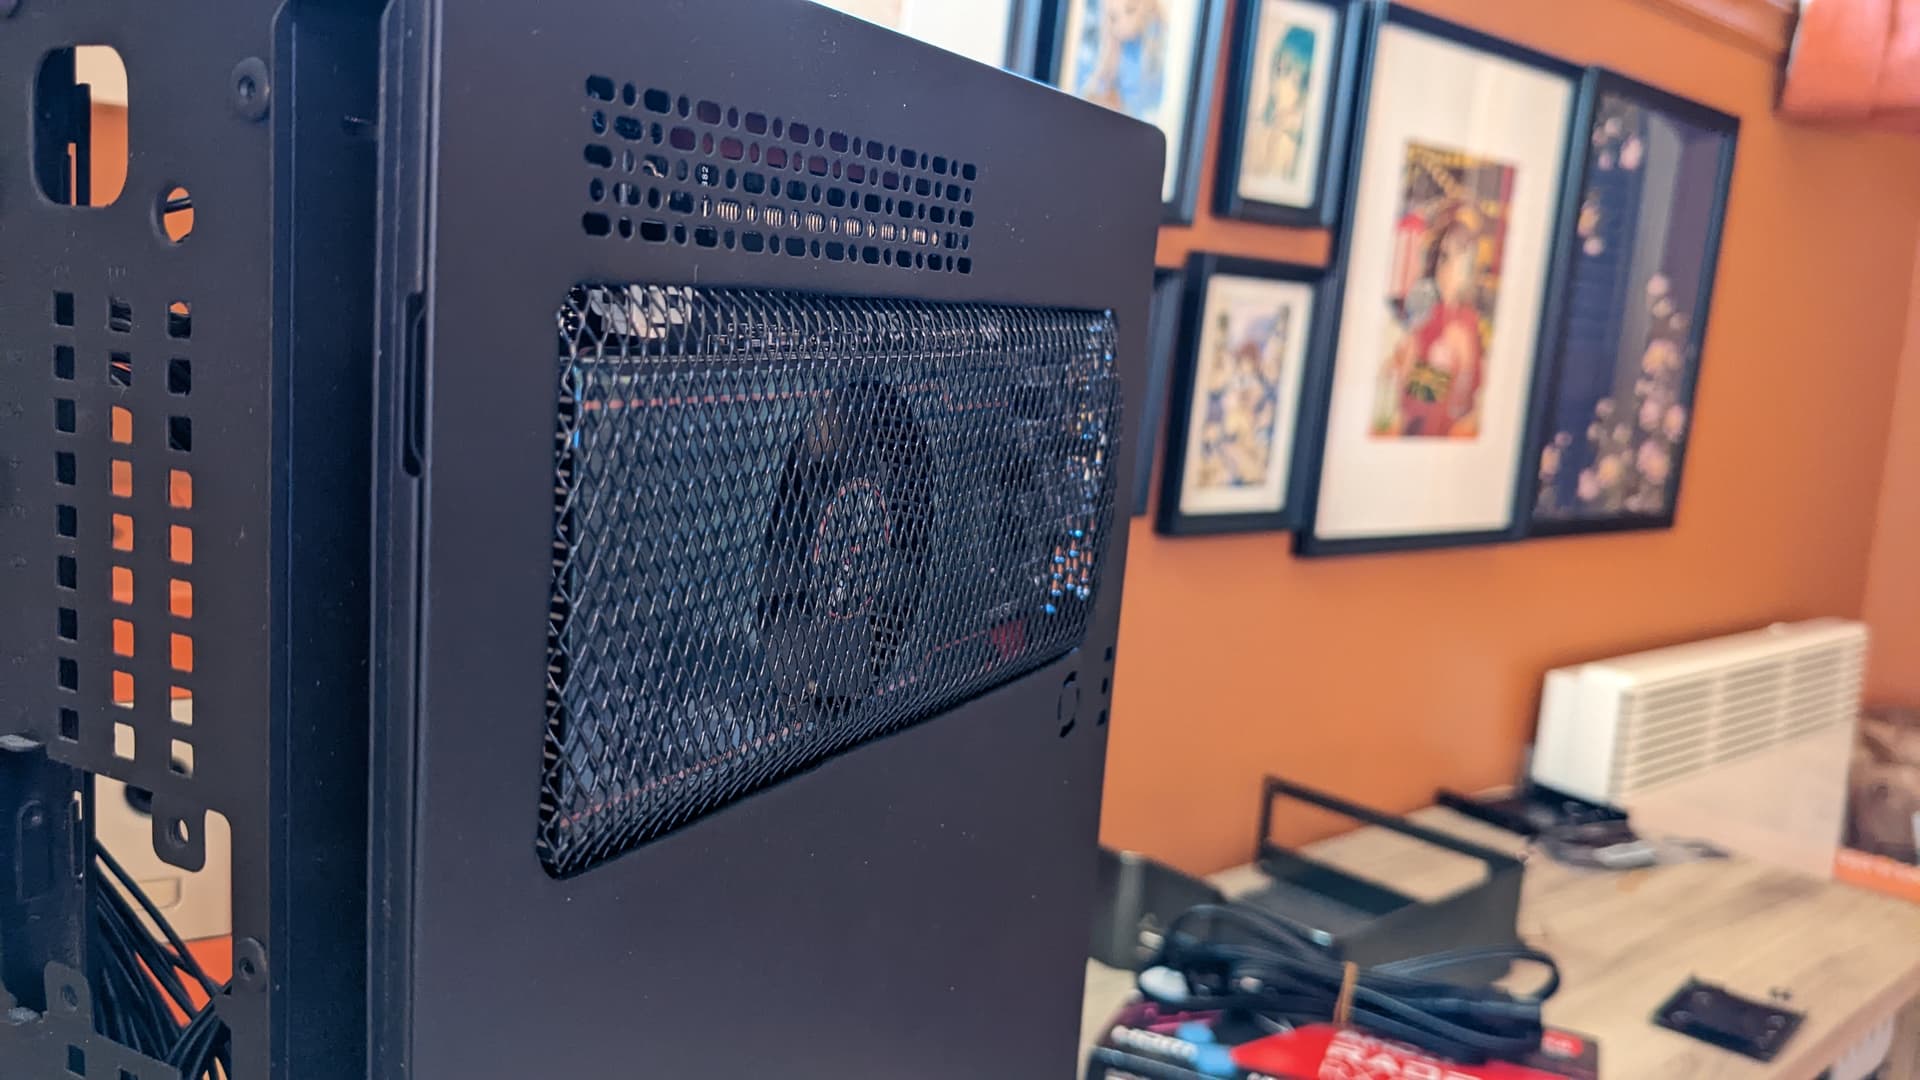
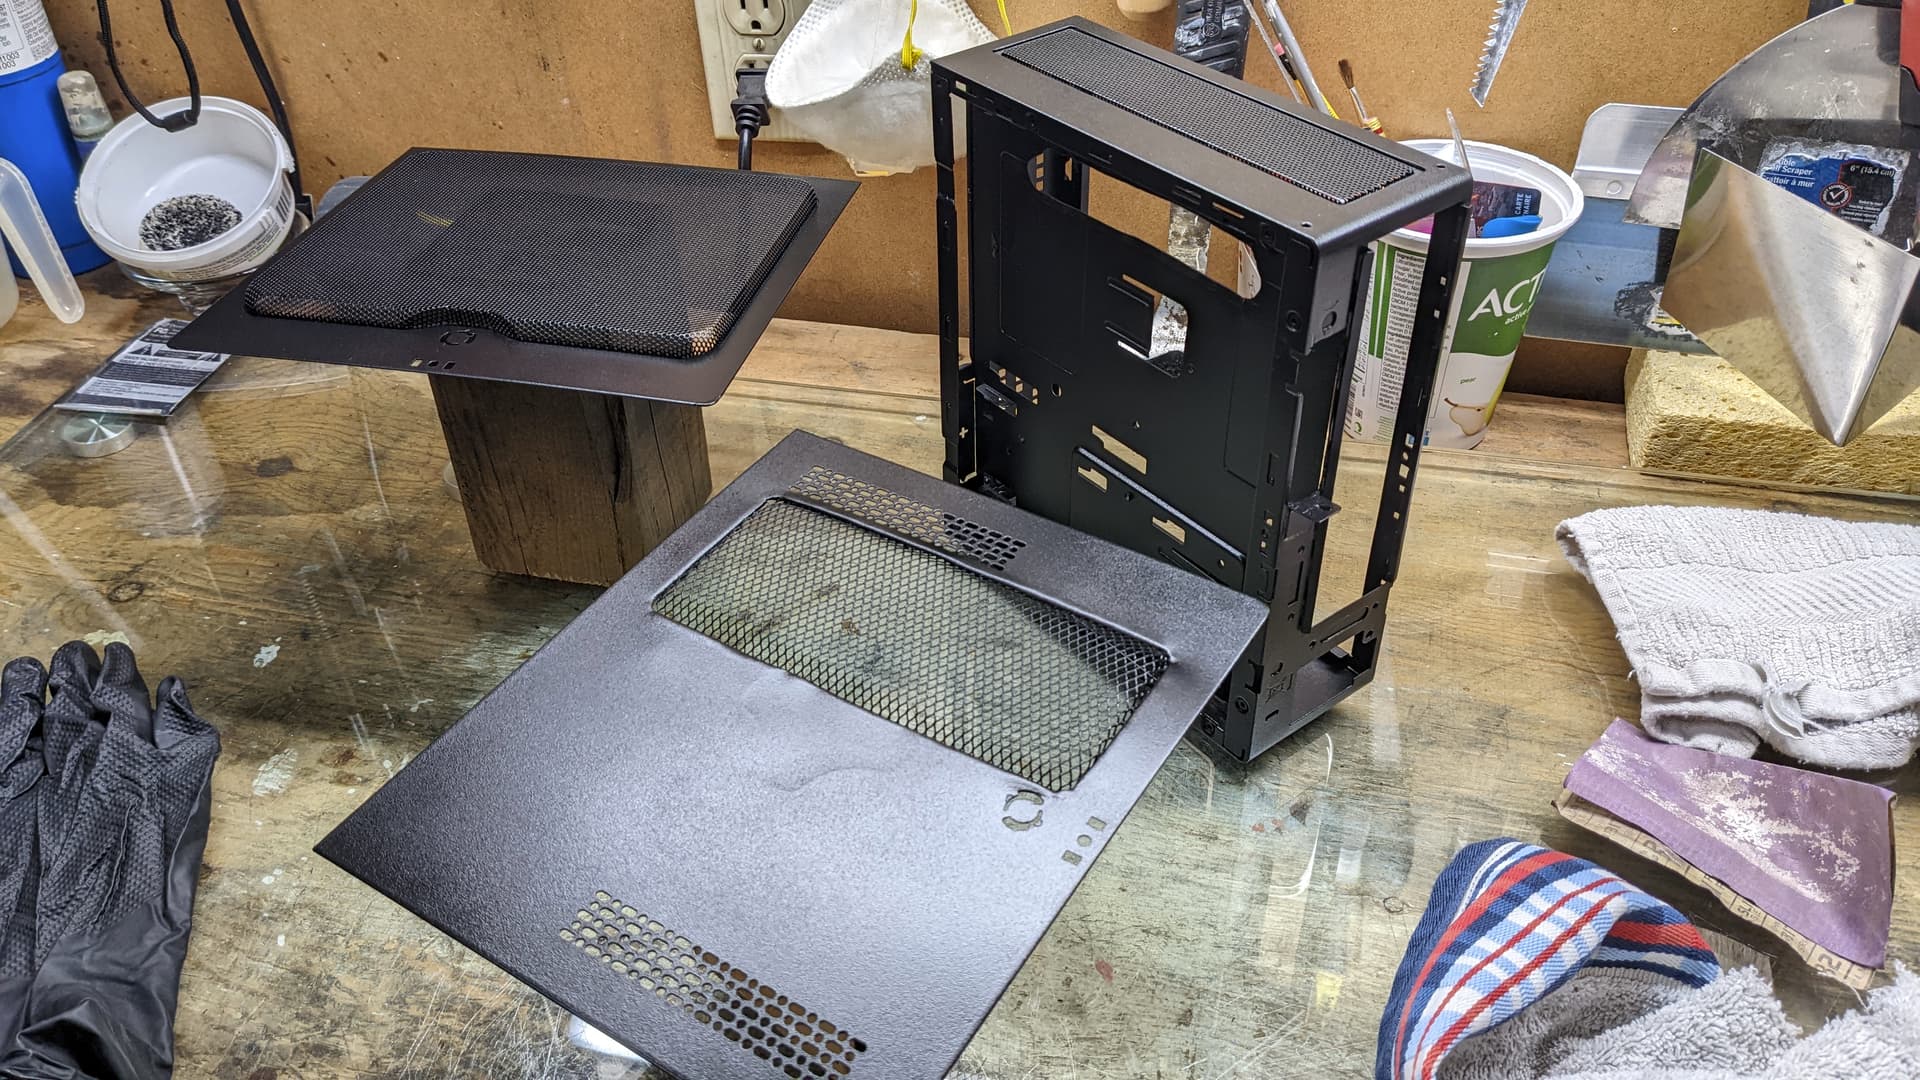
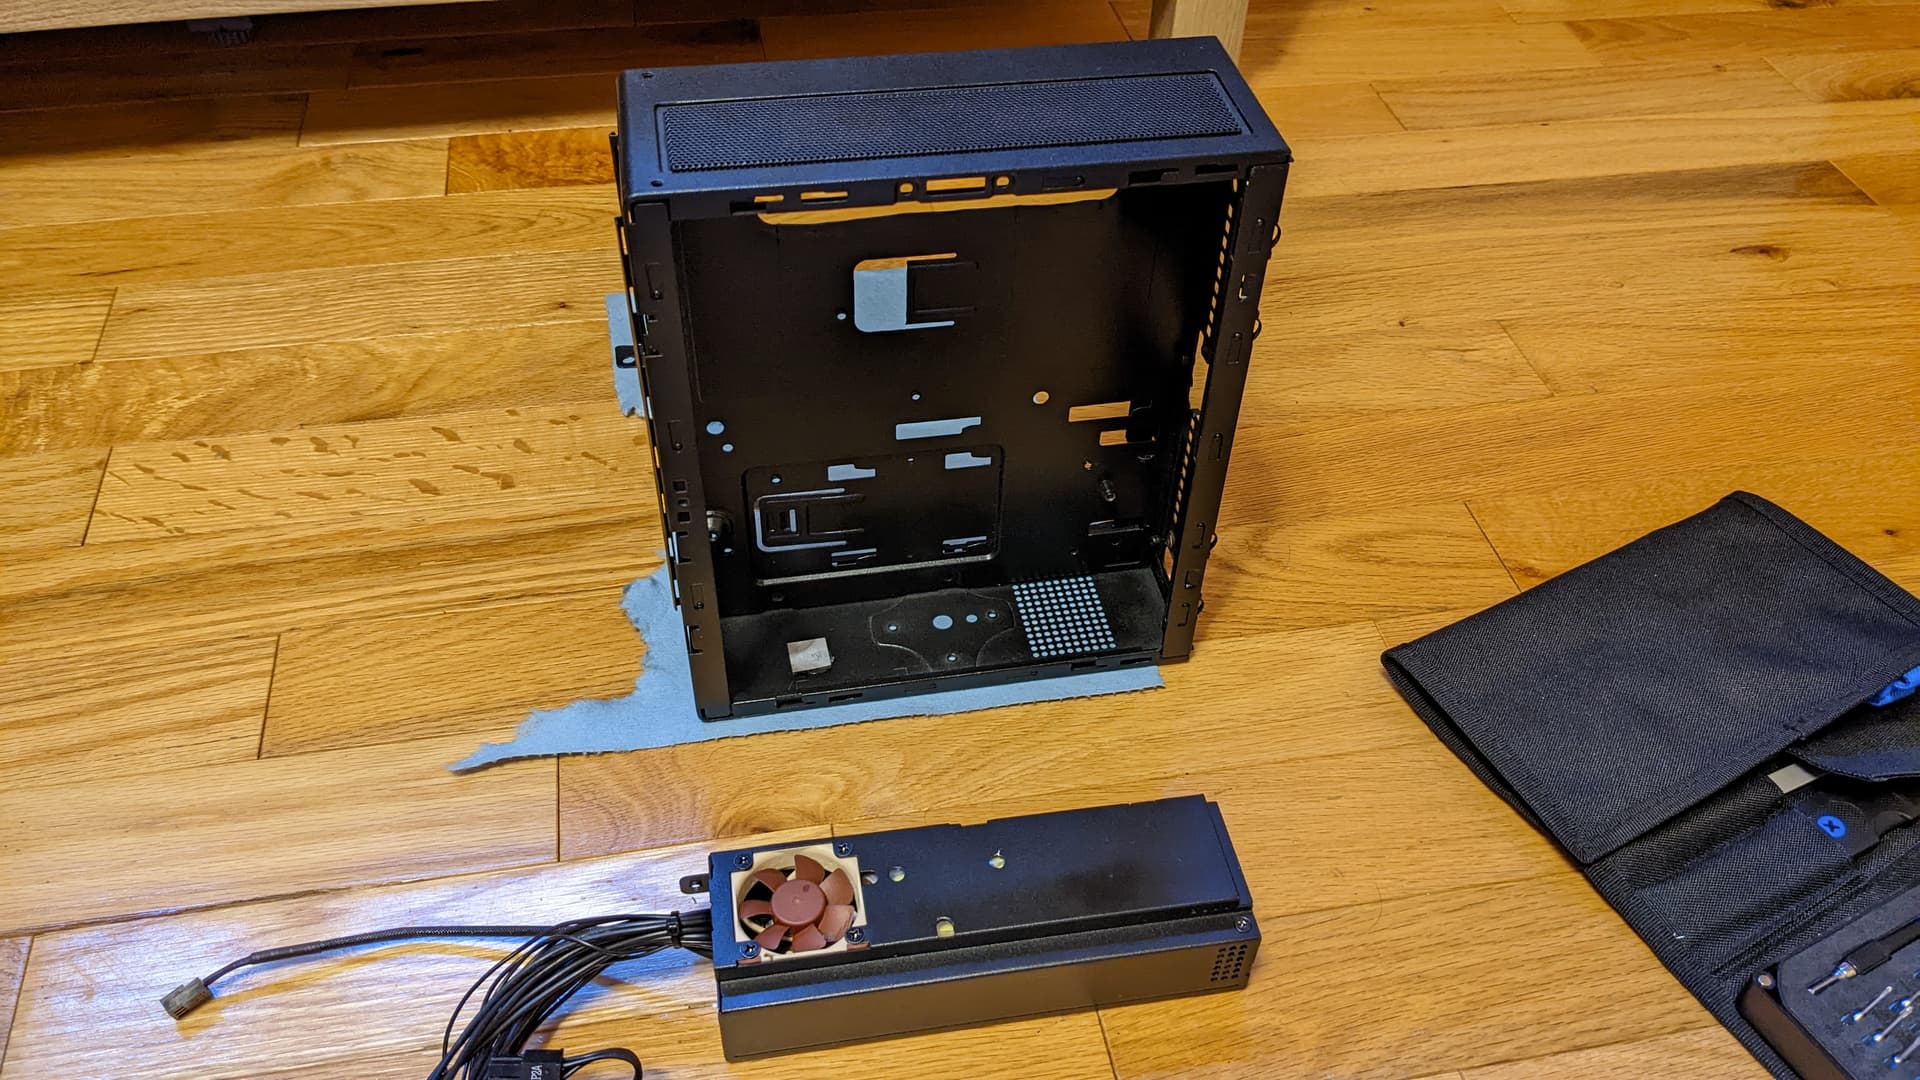
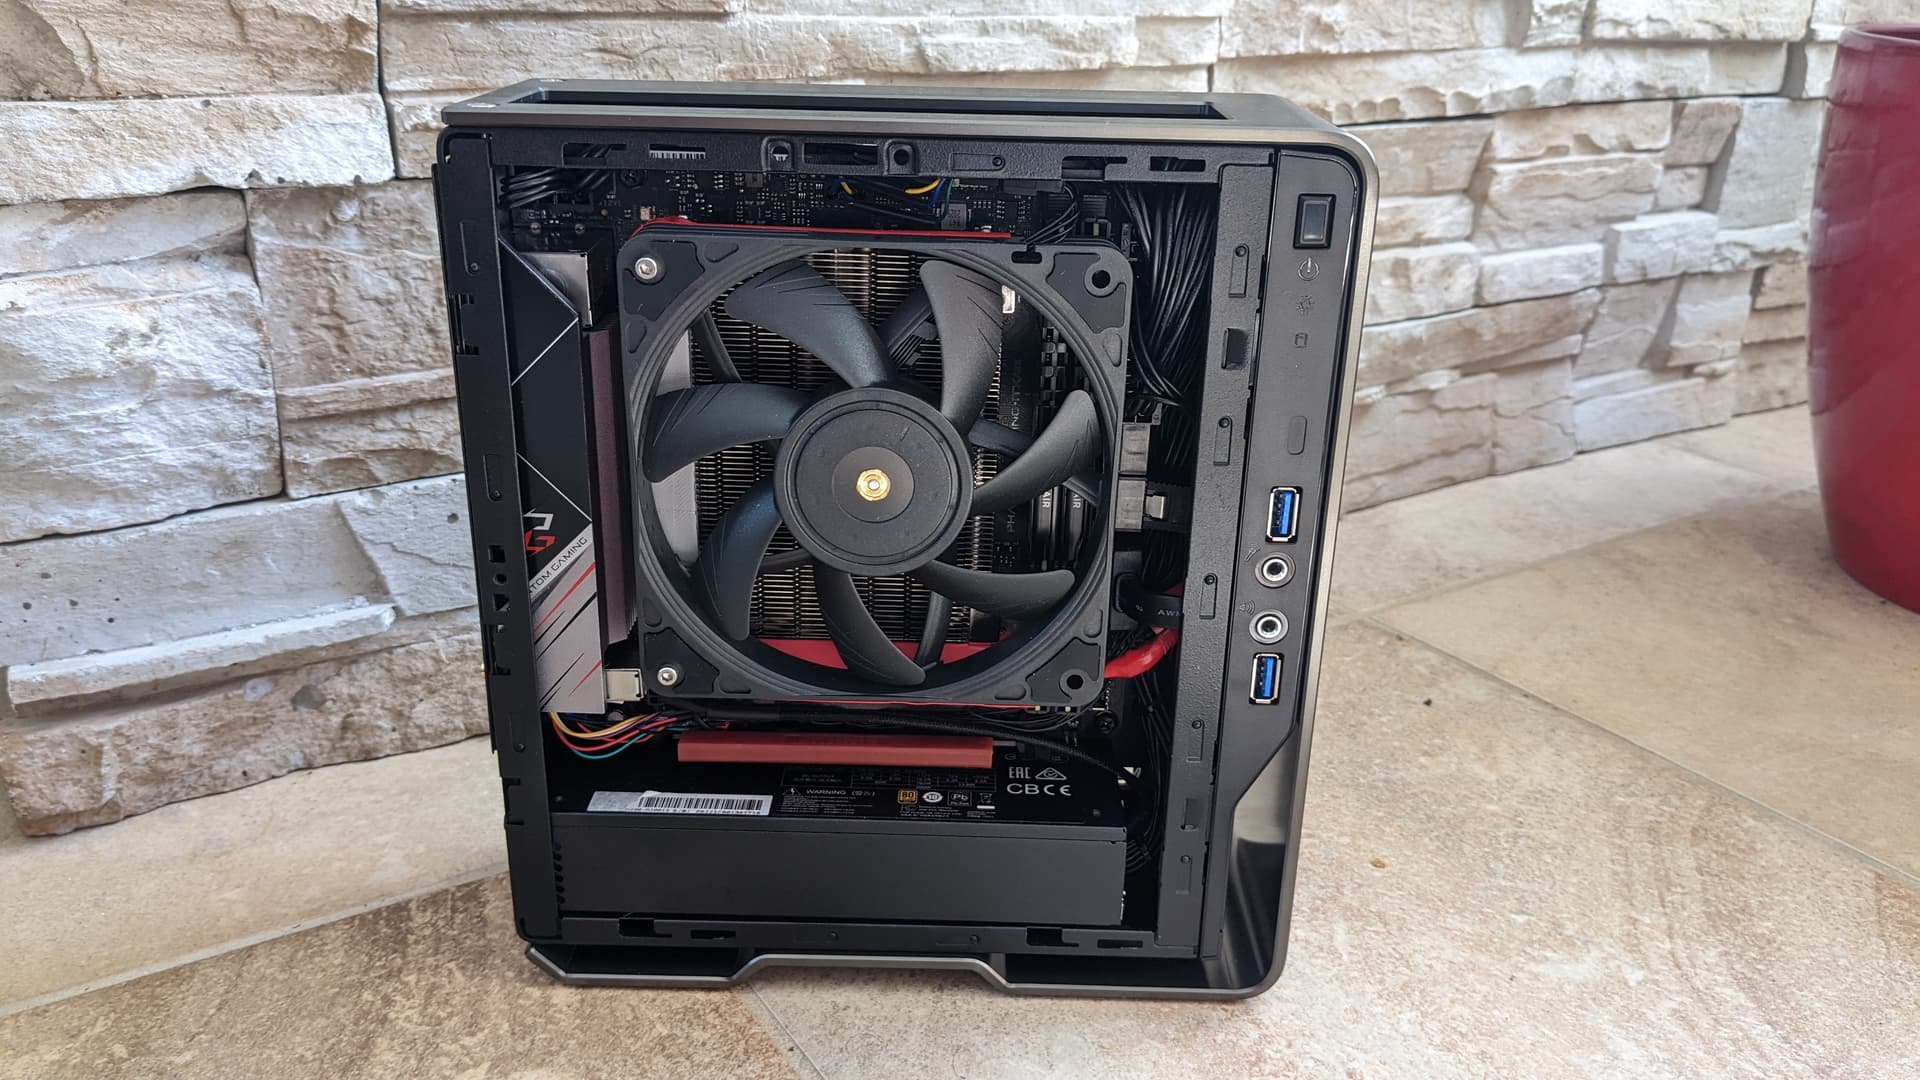
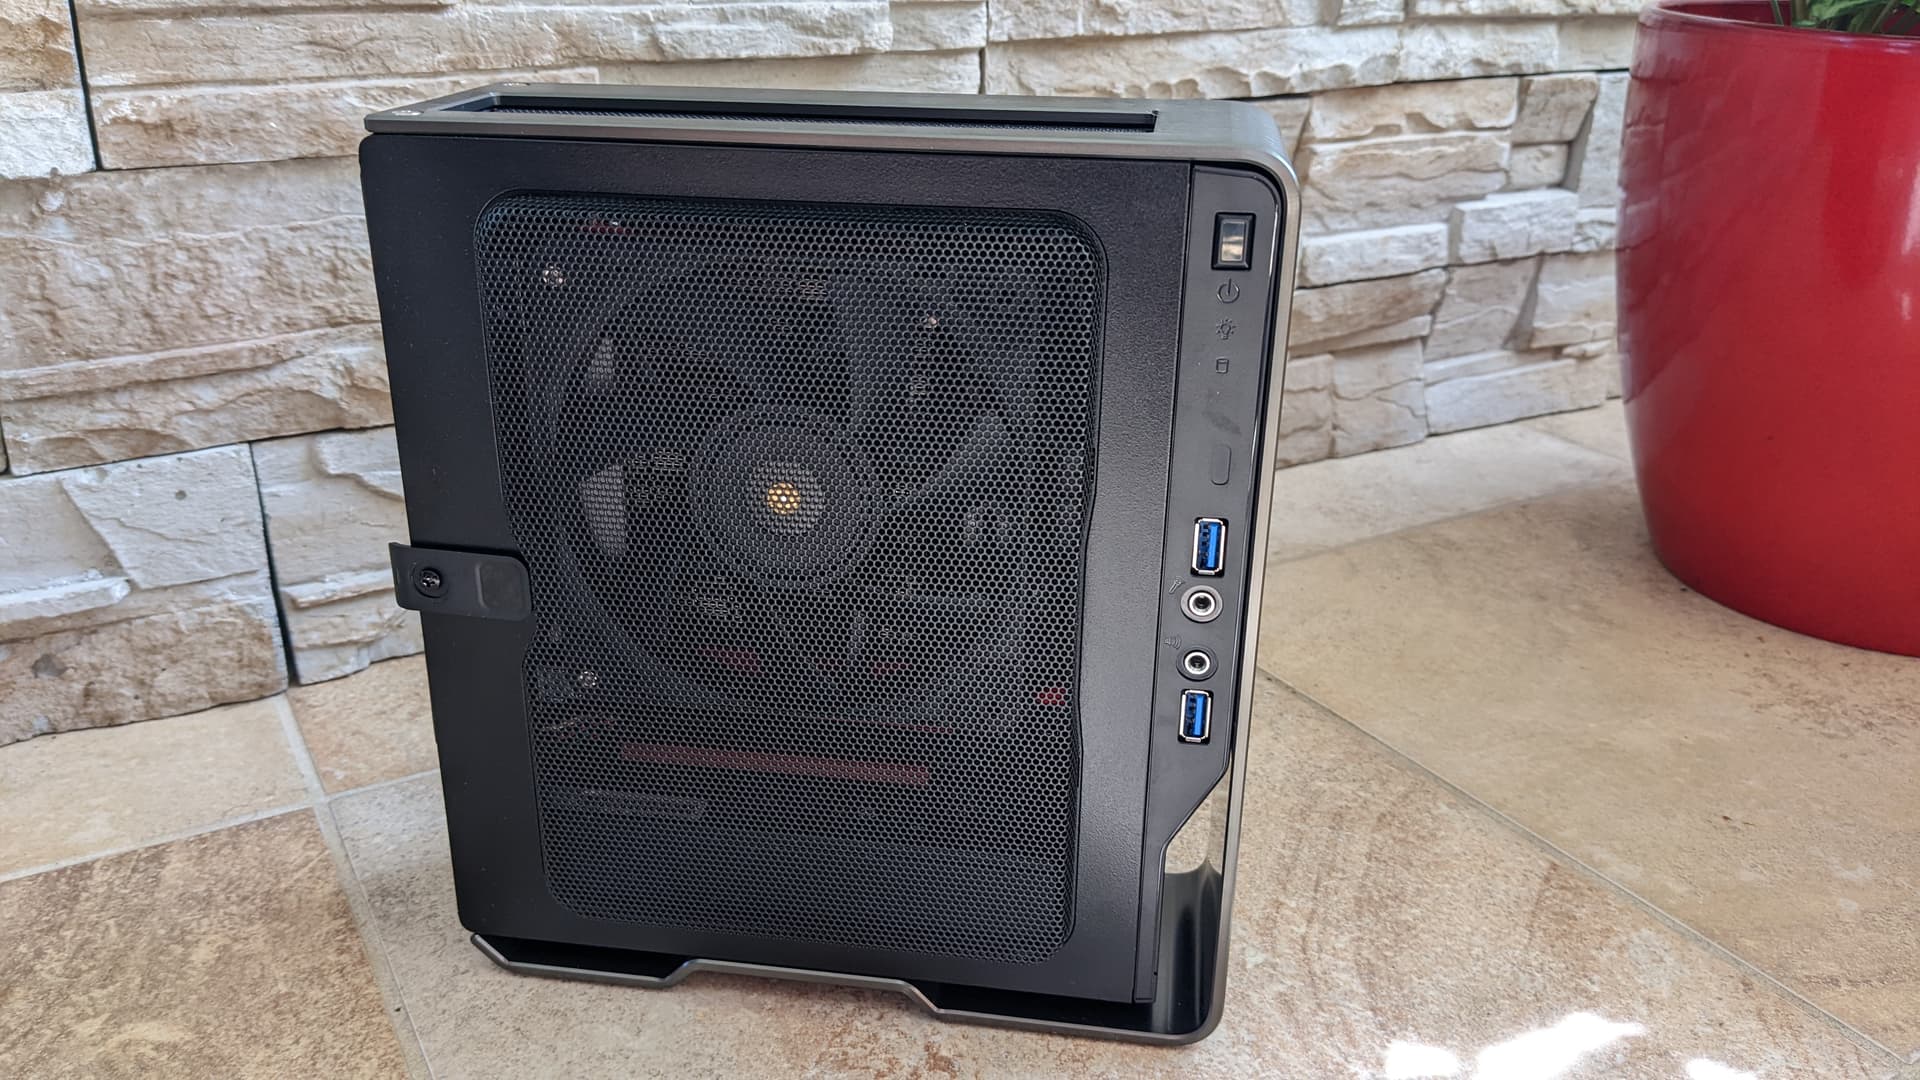
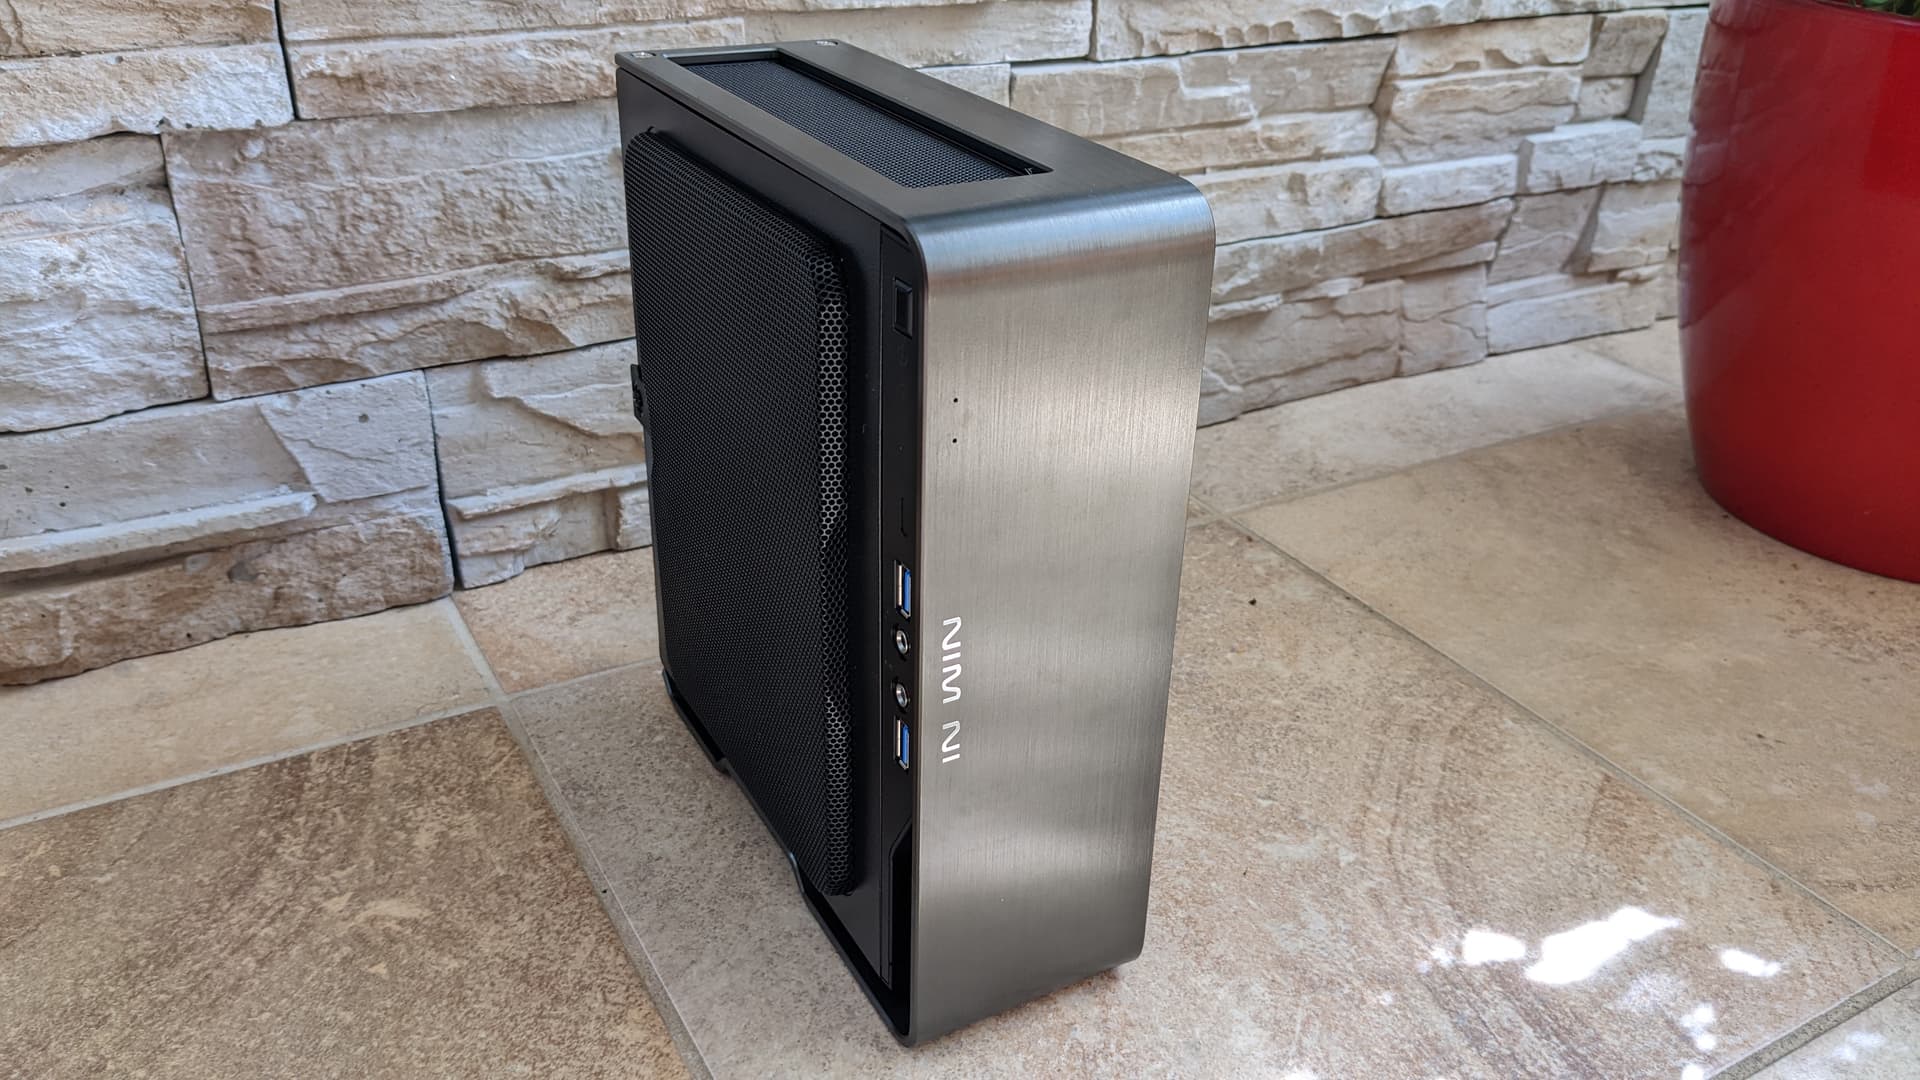
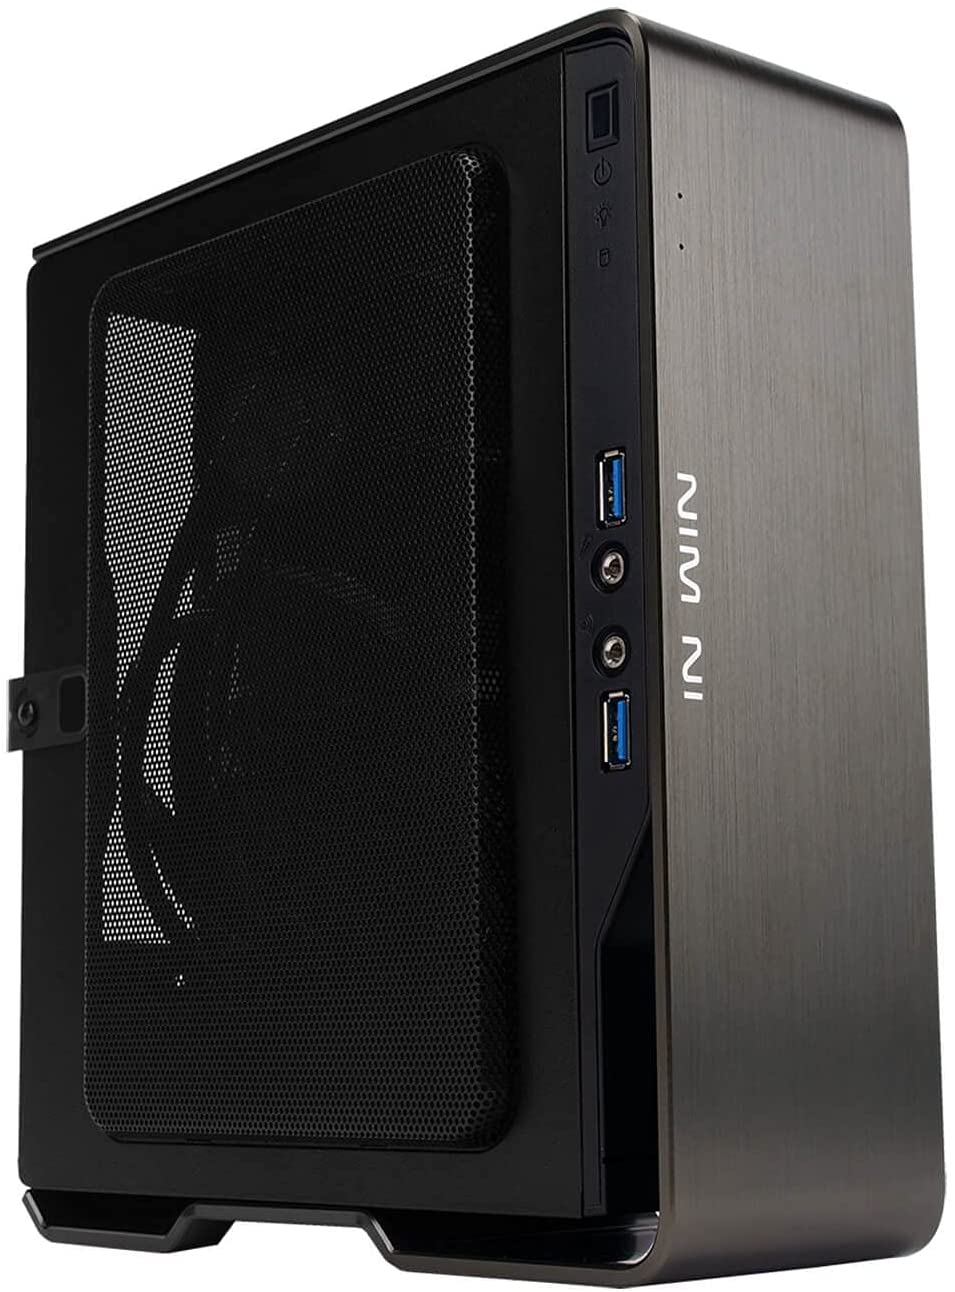
Hence my crazy ideas come in play nicely. I always wanted to do a build inside an InWin Chopin so it’s now the time to do so! The case is quite small, stylish, and has an included power supply which helps keep the cost low. And there is a Pro variant with a 200W PSU, so power is less of a worry. But the integrated graphics inside a Ryzen APU is a downgrade from a 760, and do not solve the VRAM issue. And normally you cannot fit a GPU inside this case.

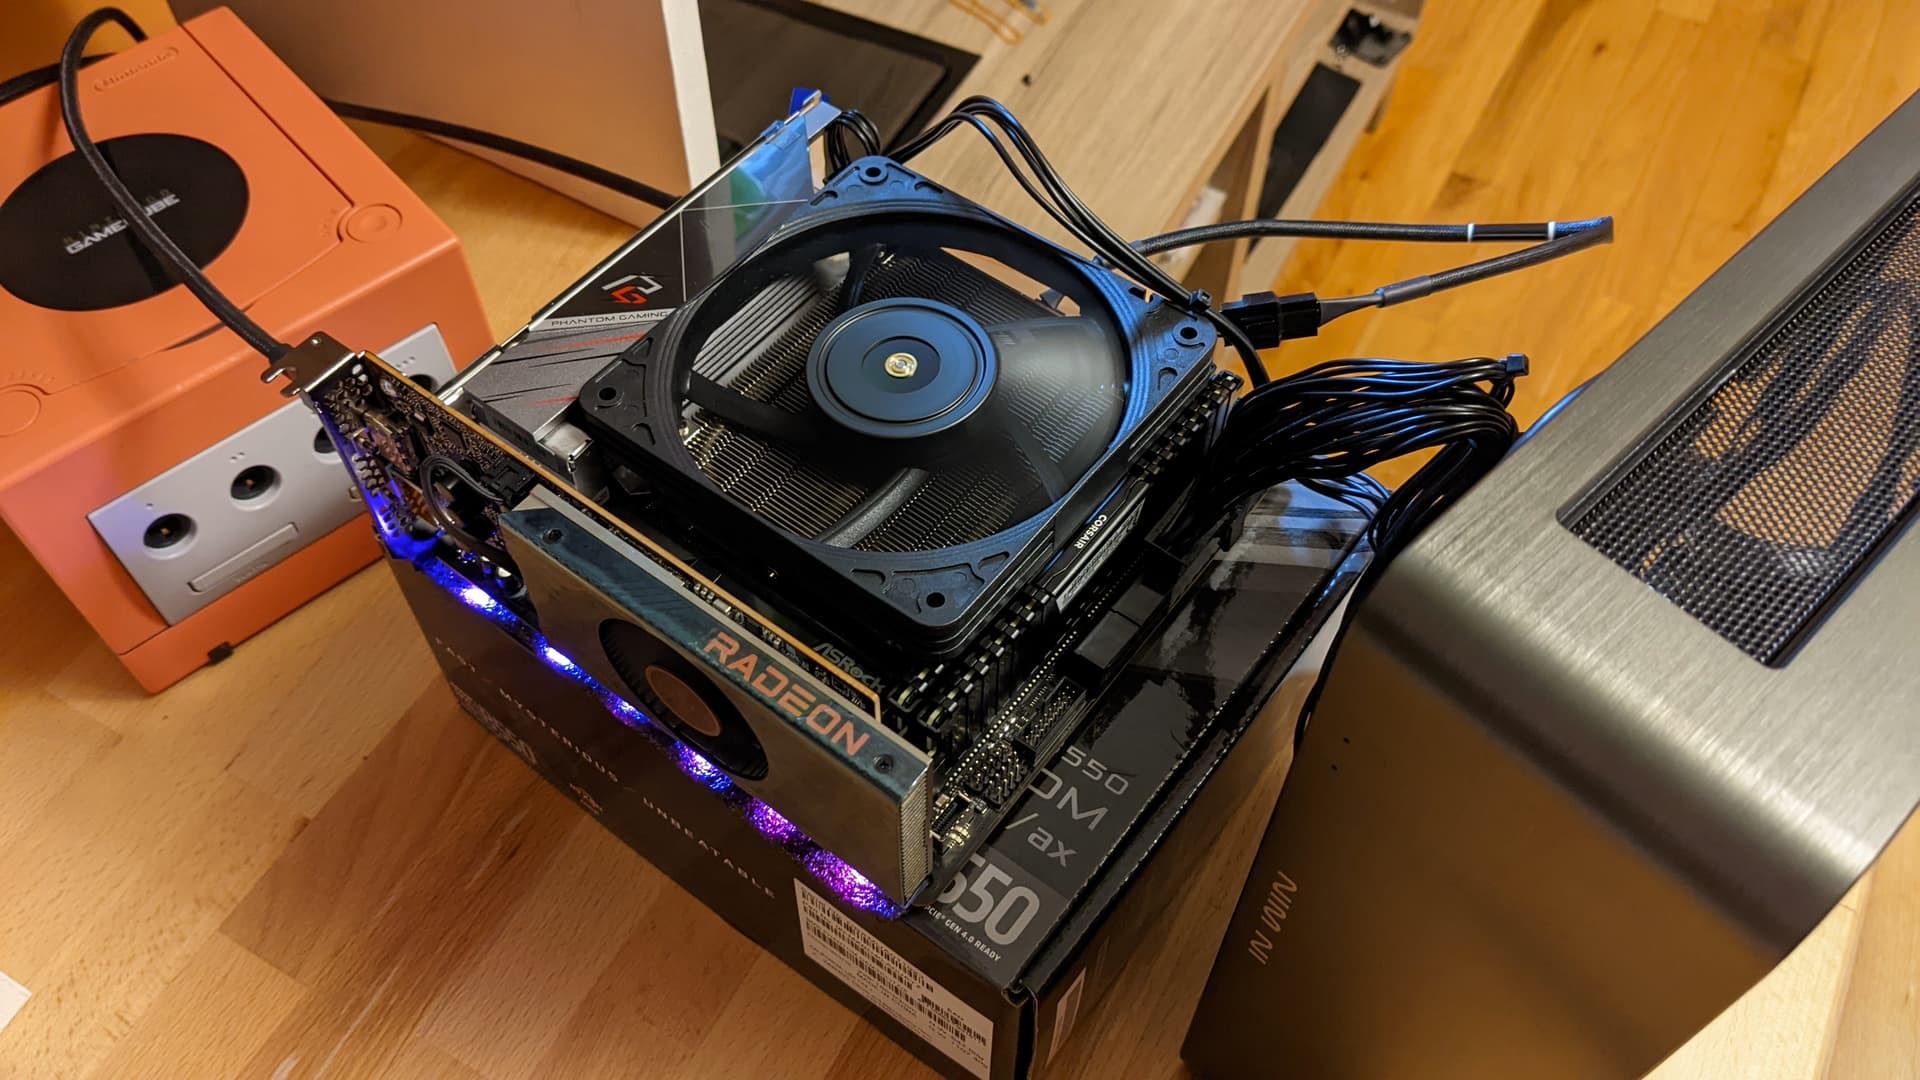
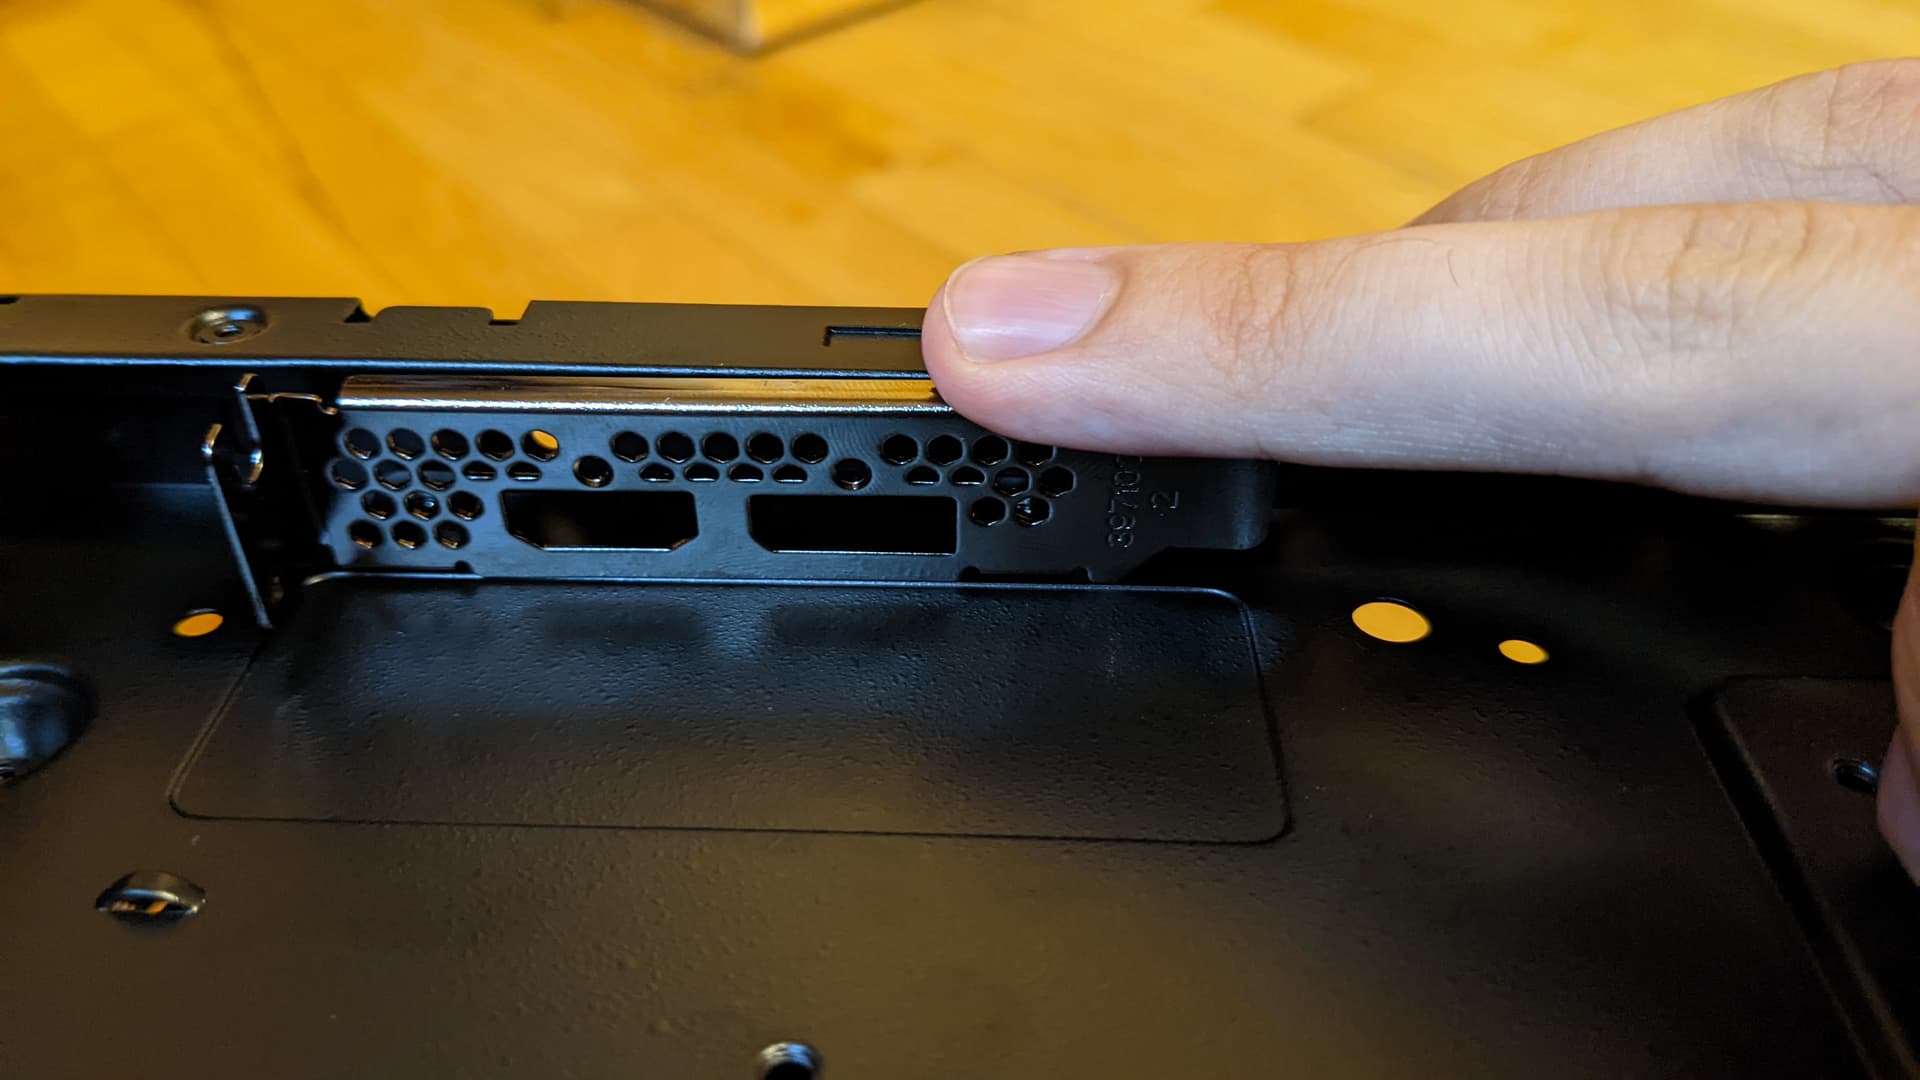
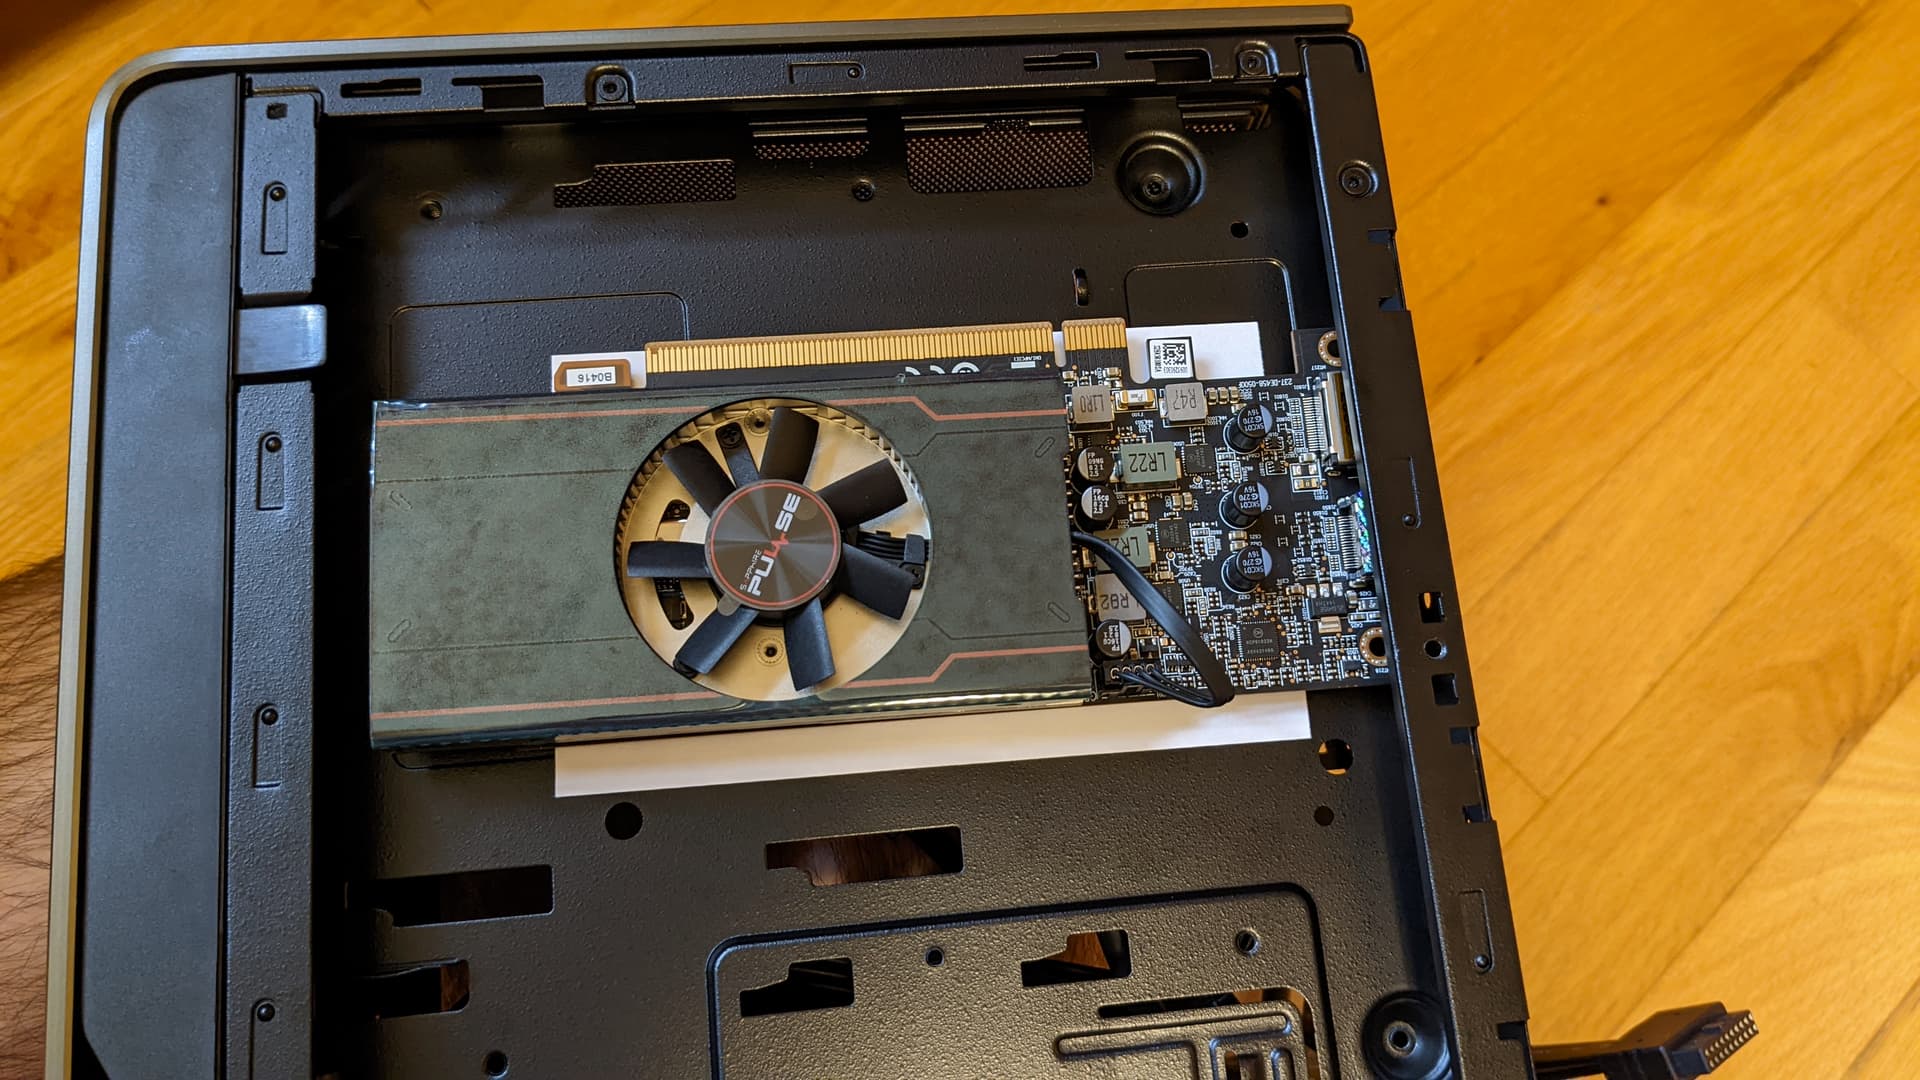
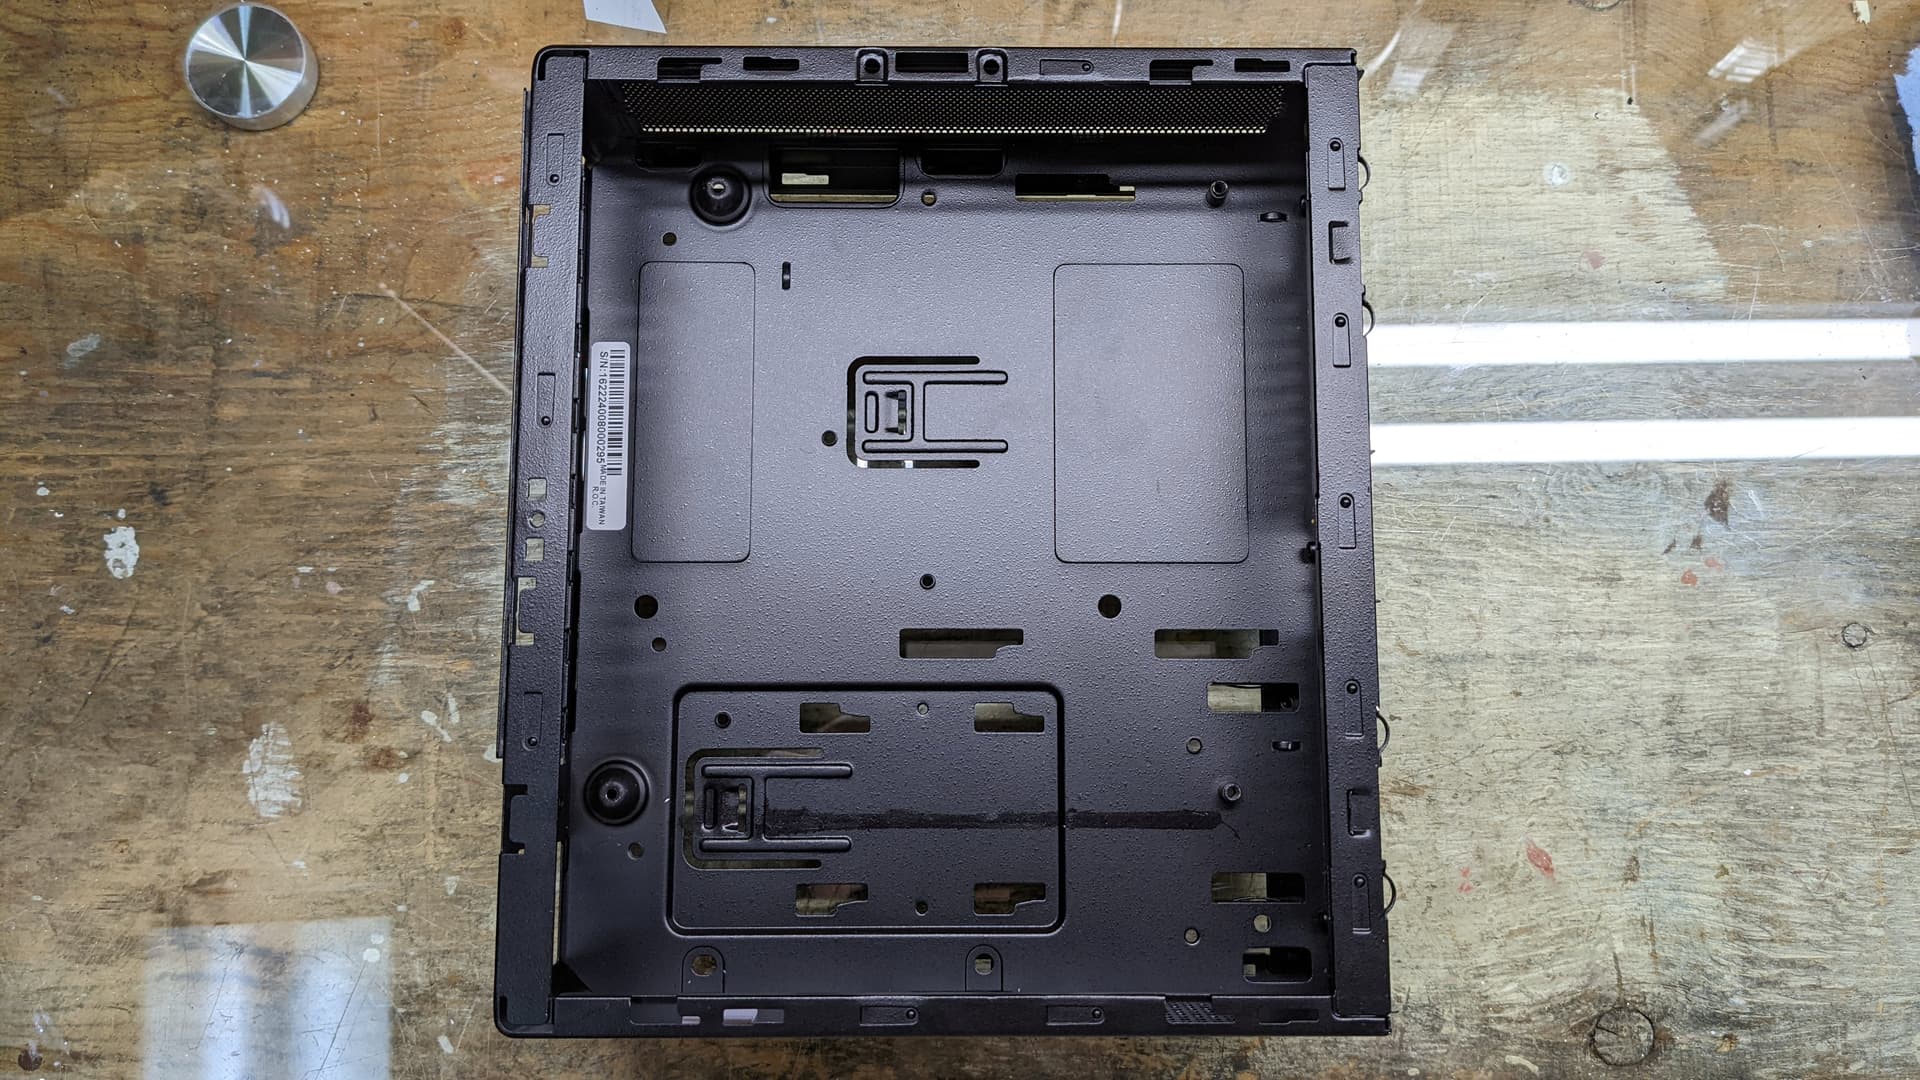
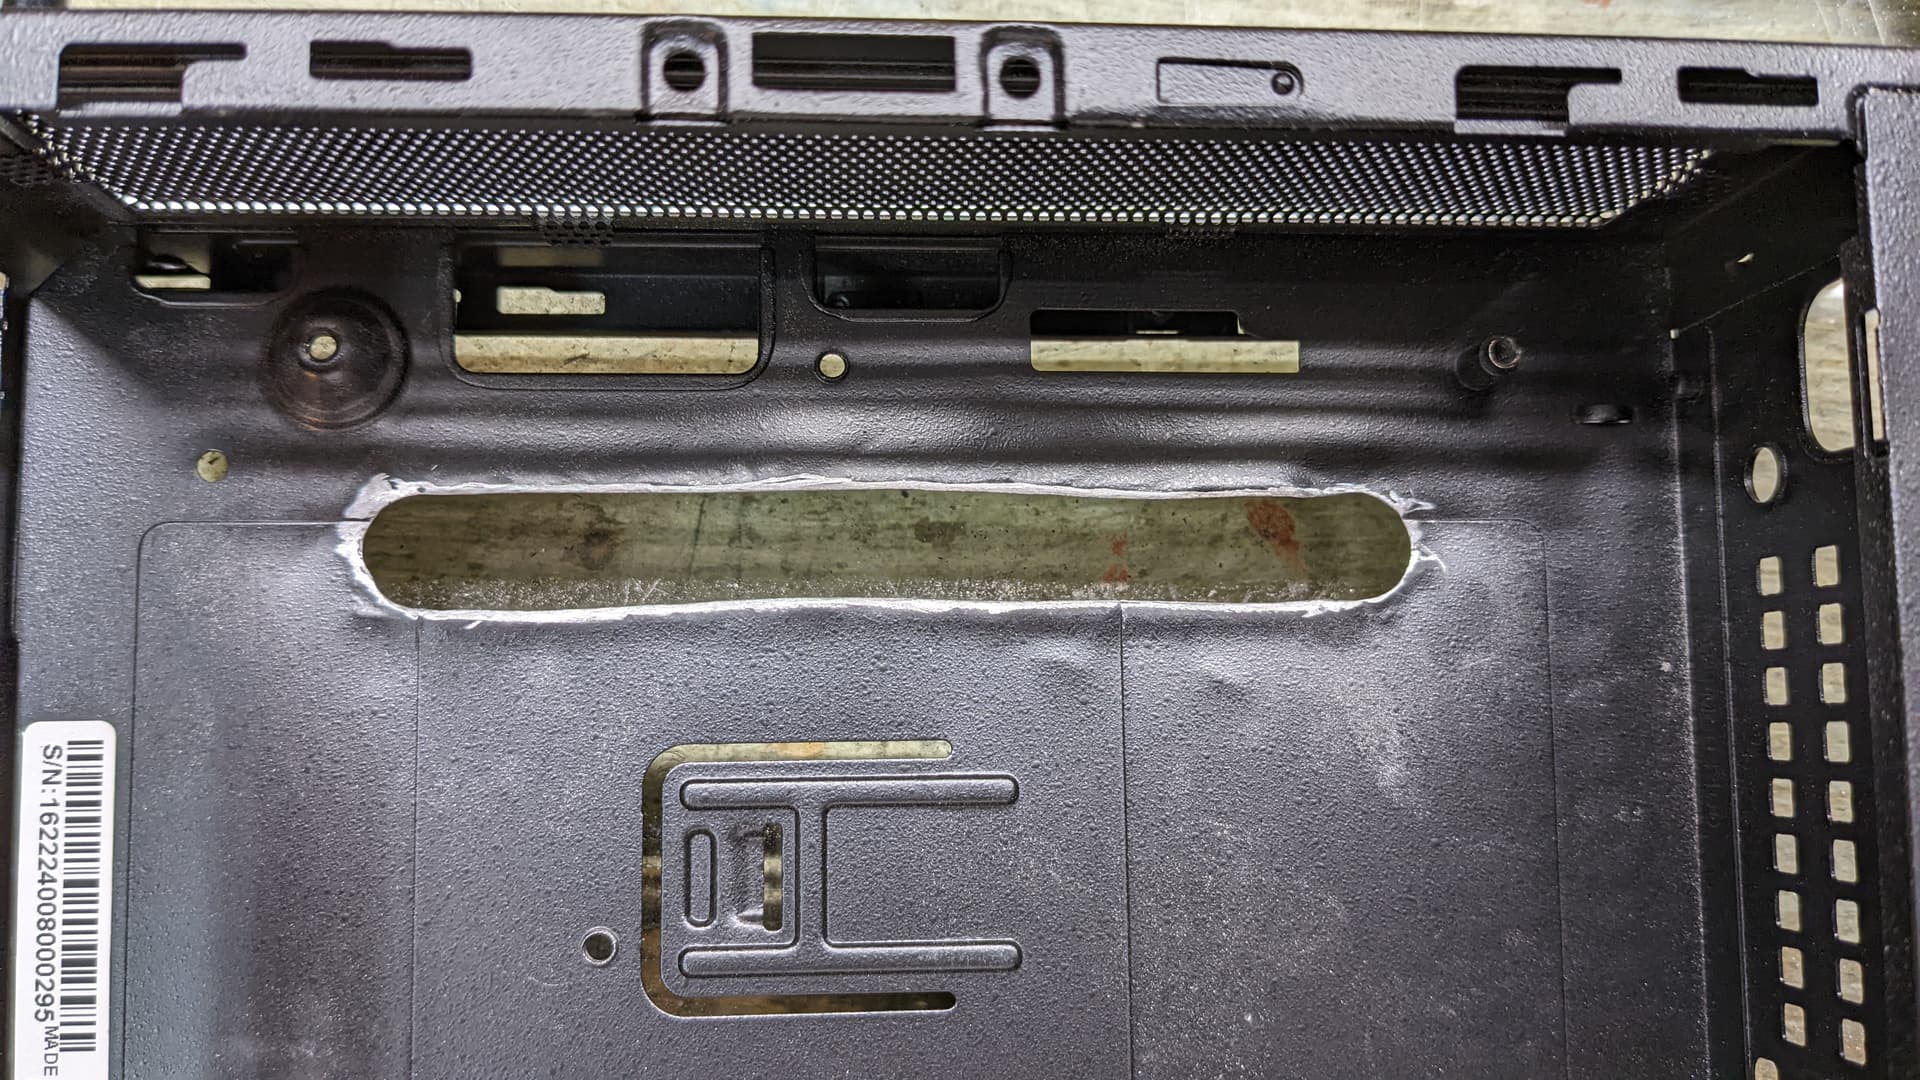
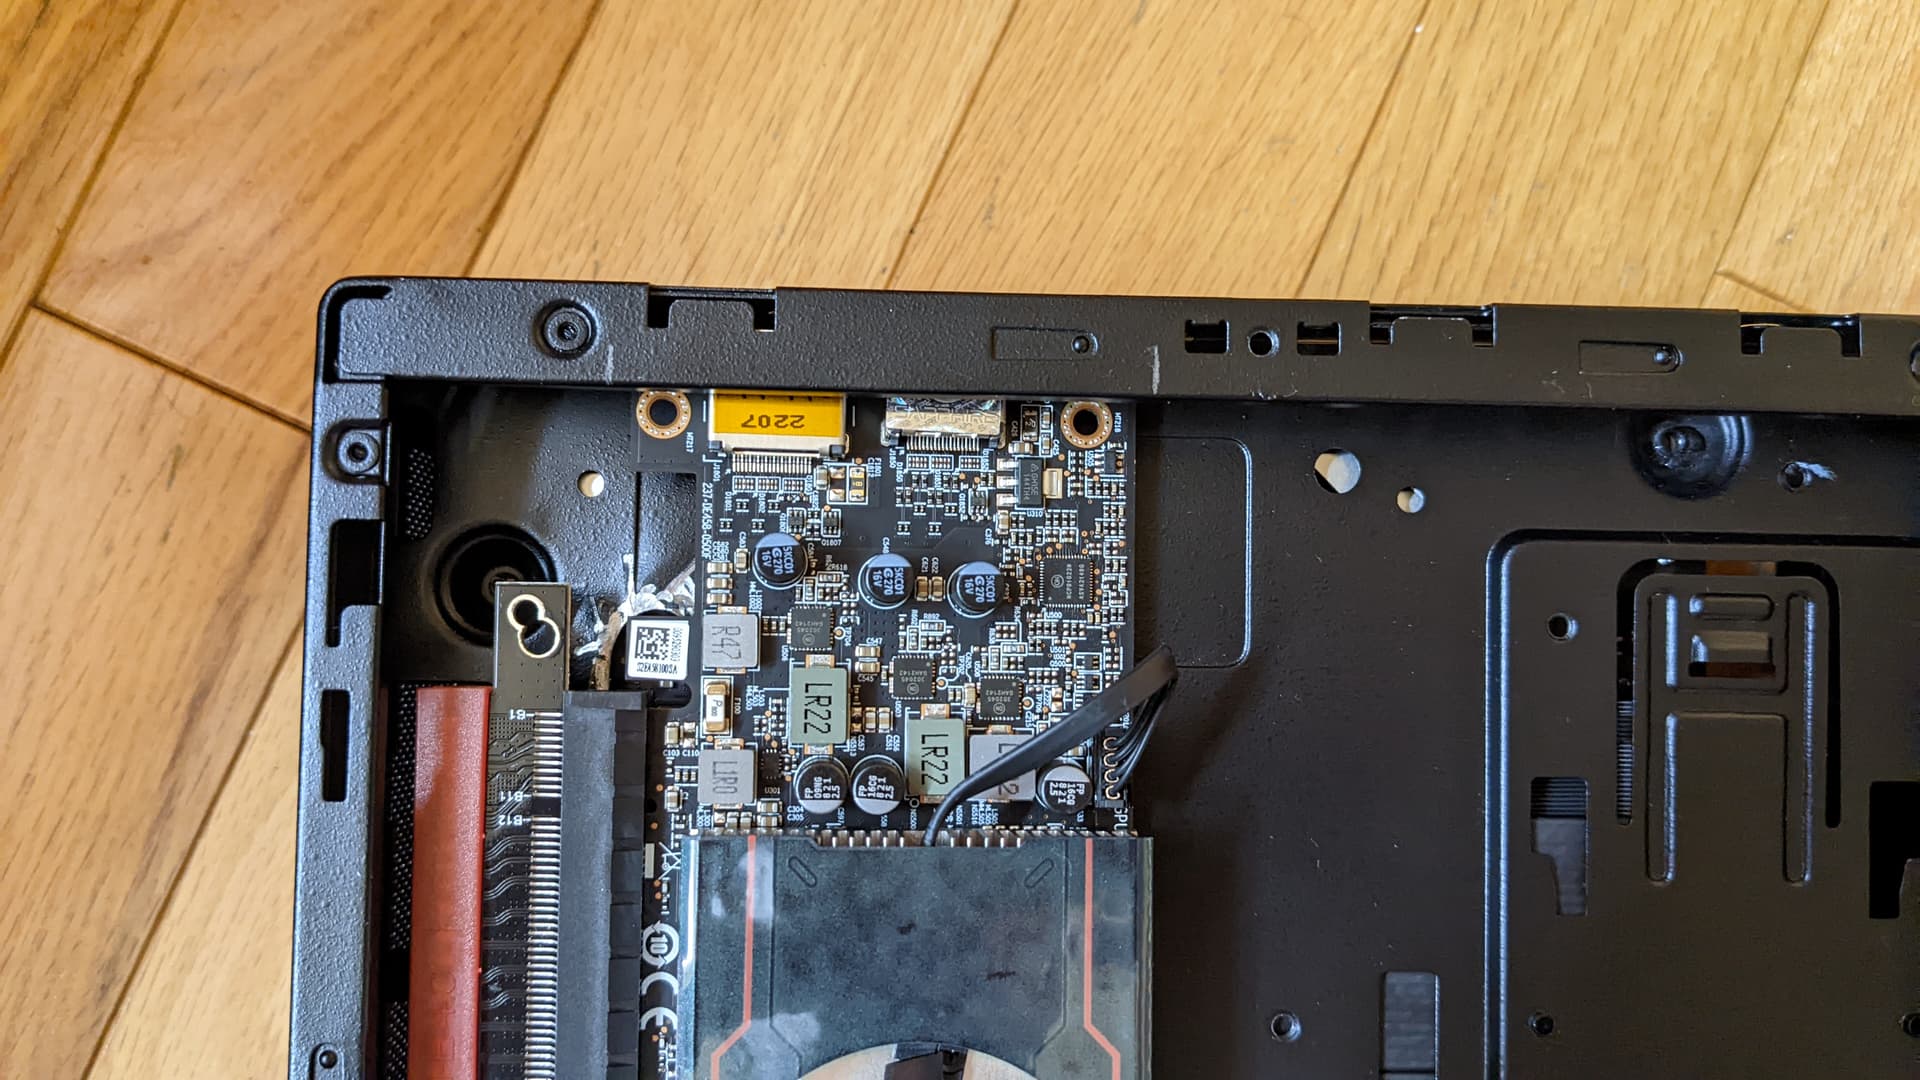
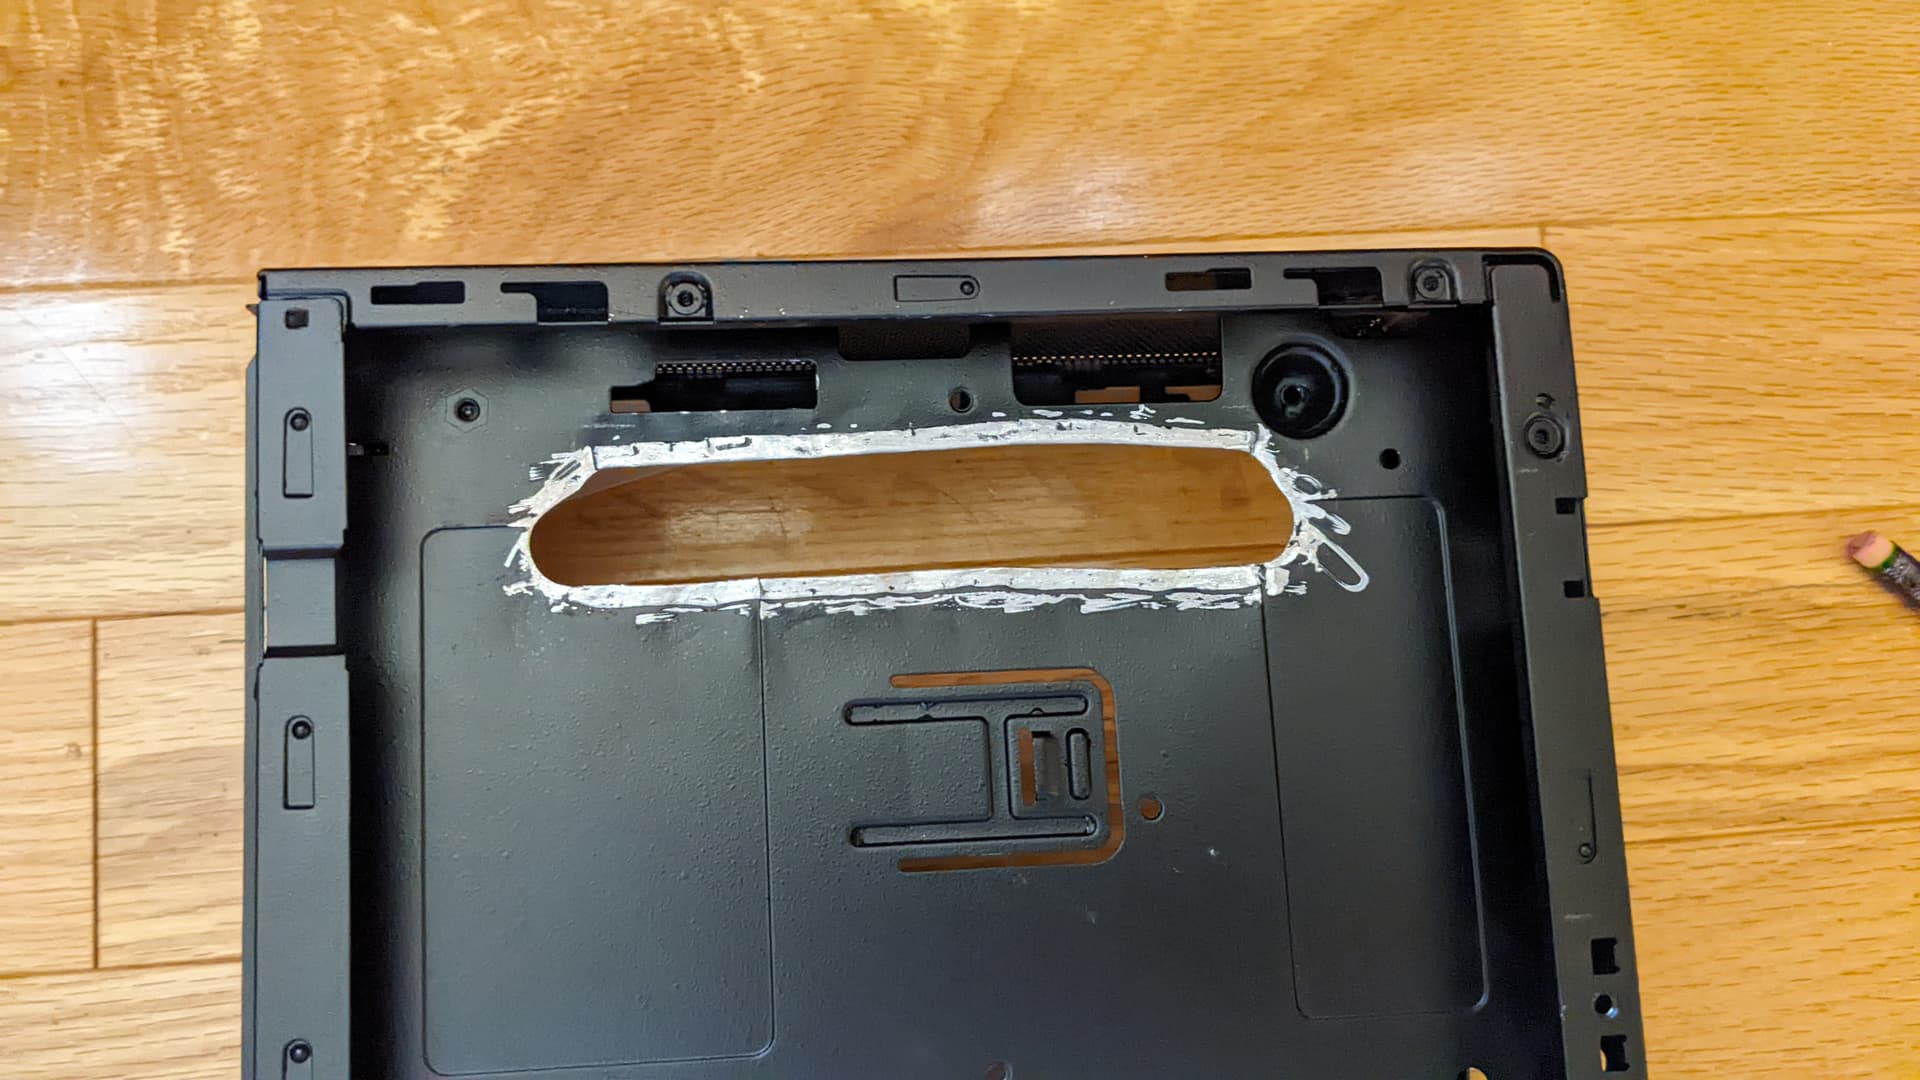
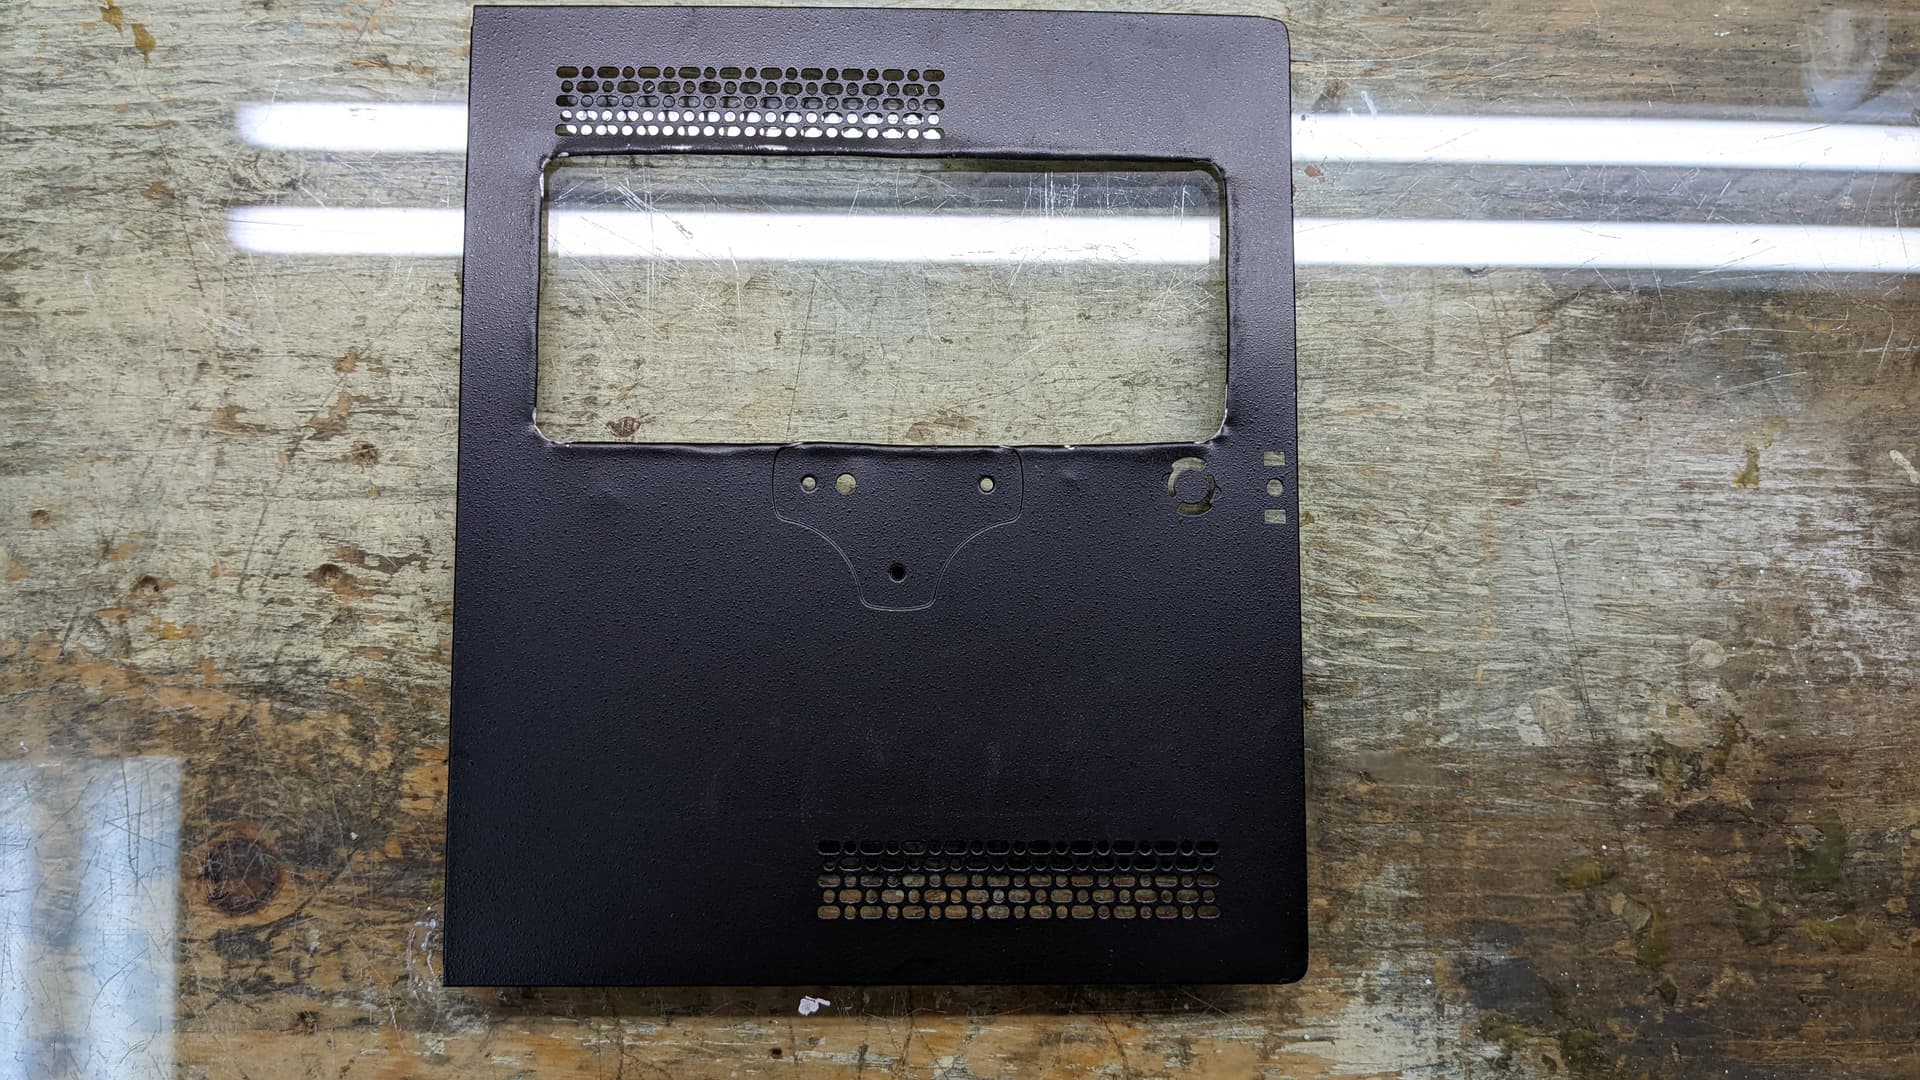
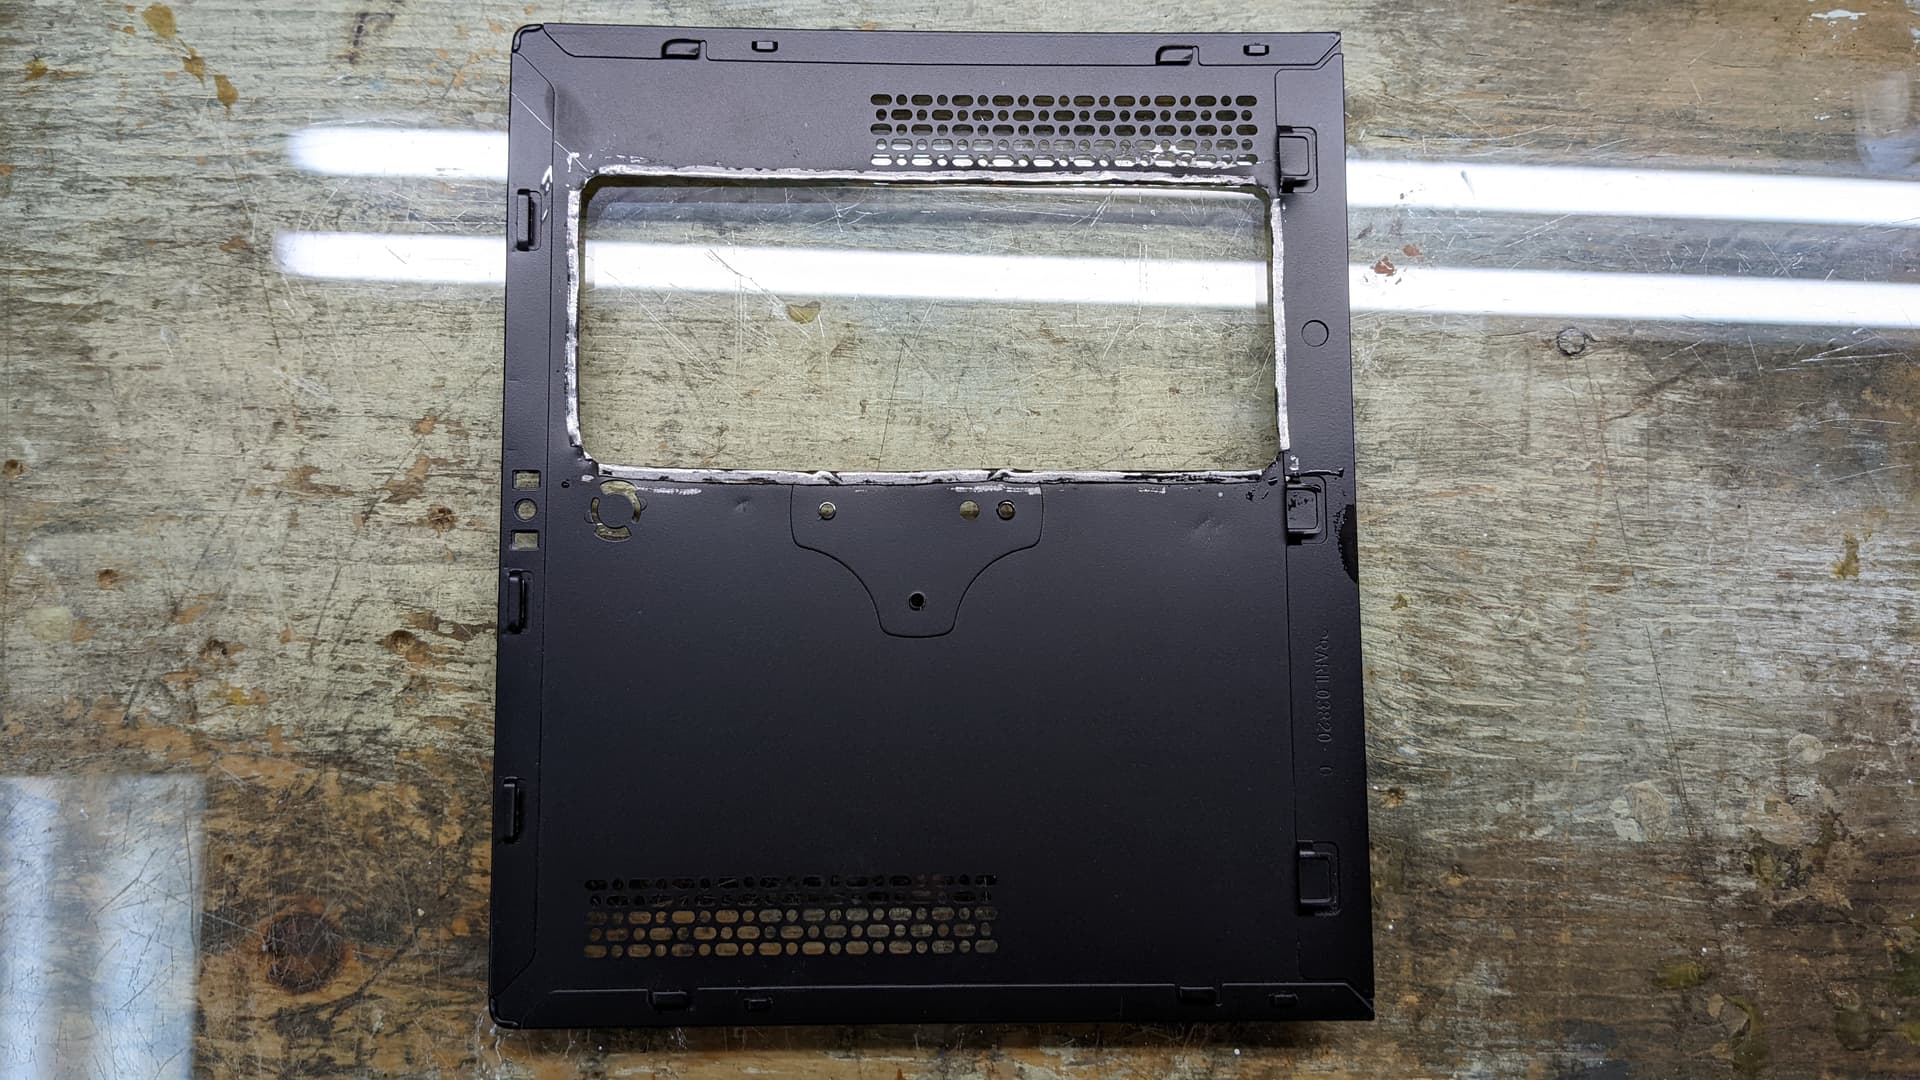
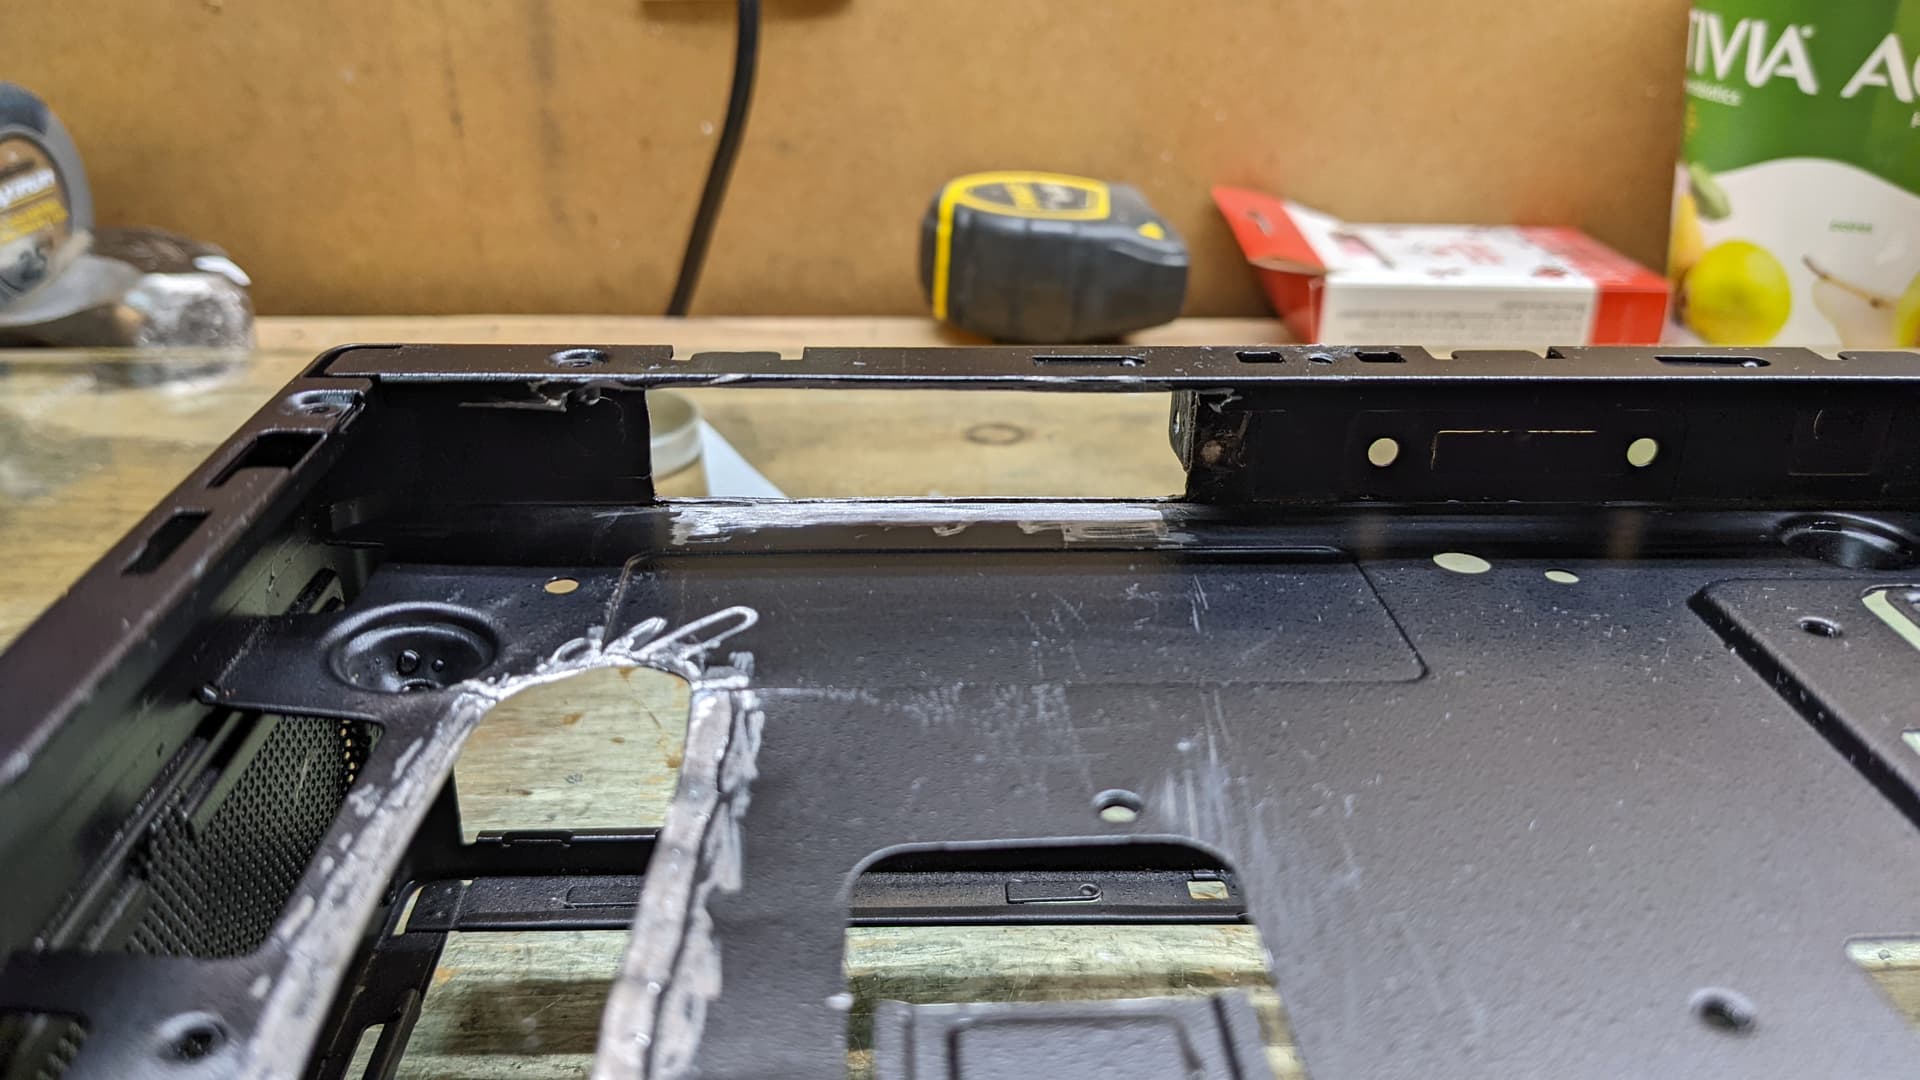
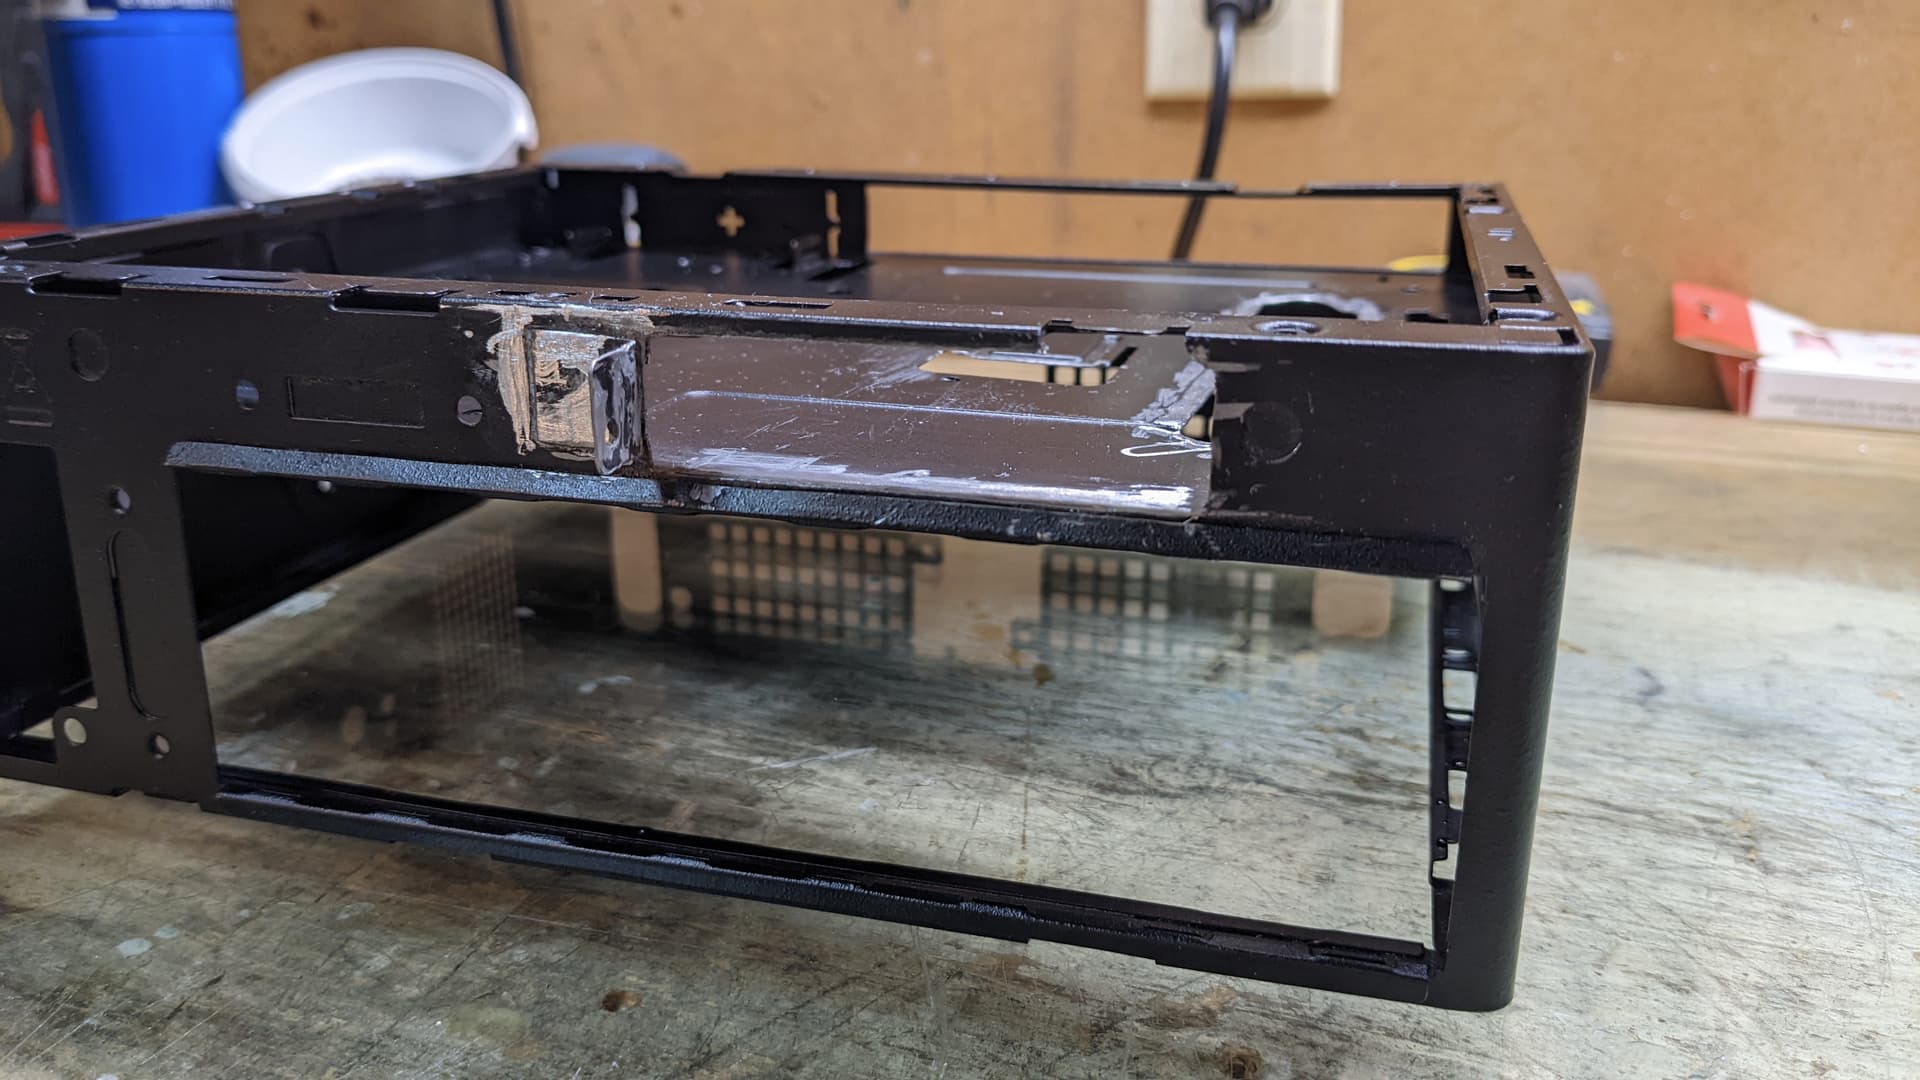
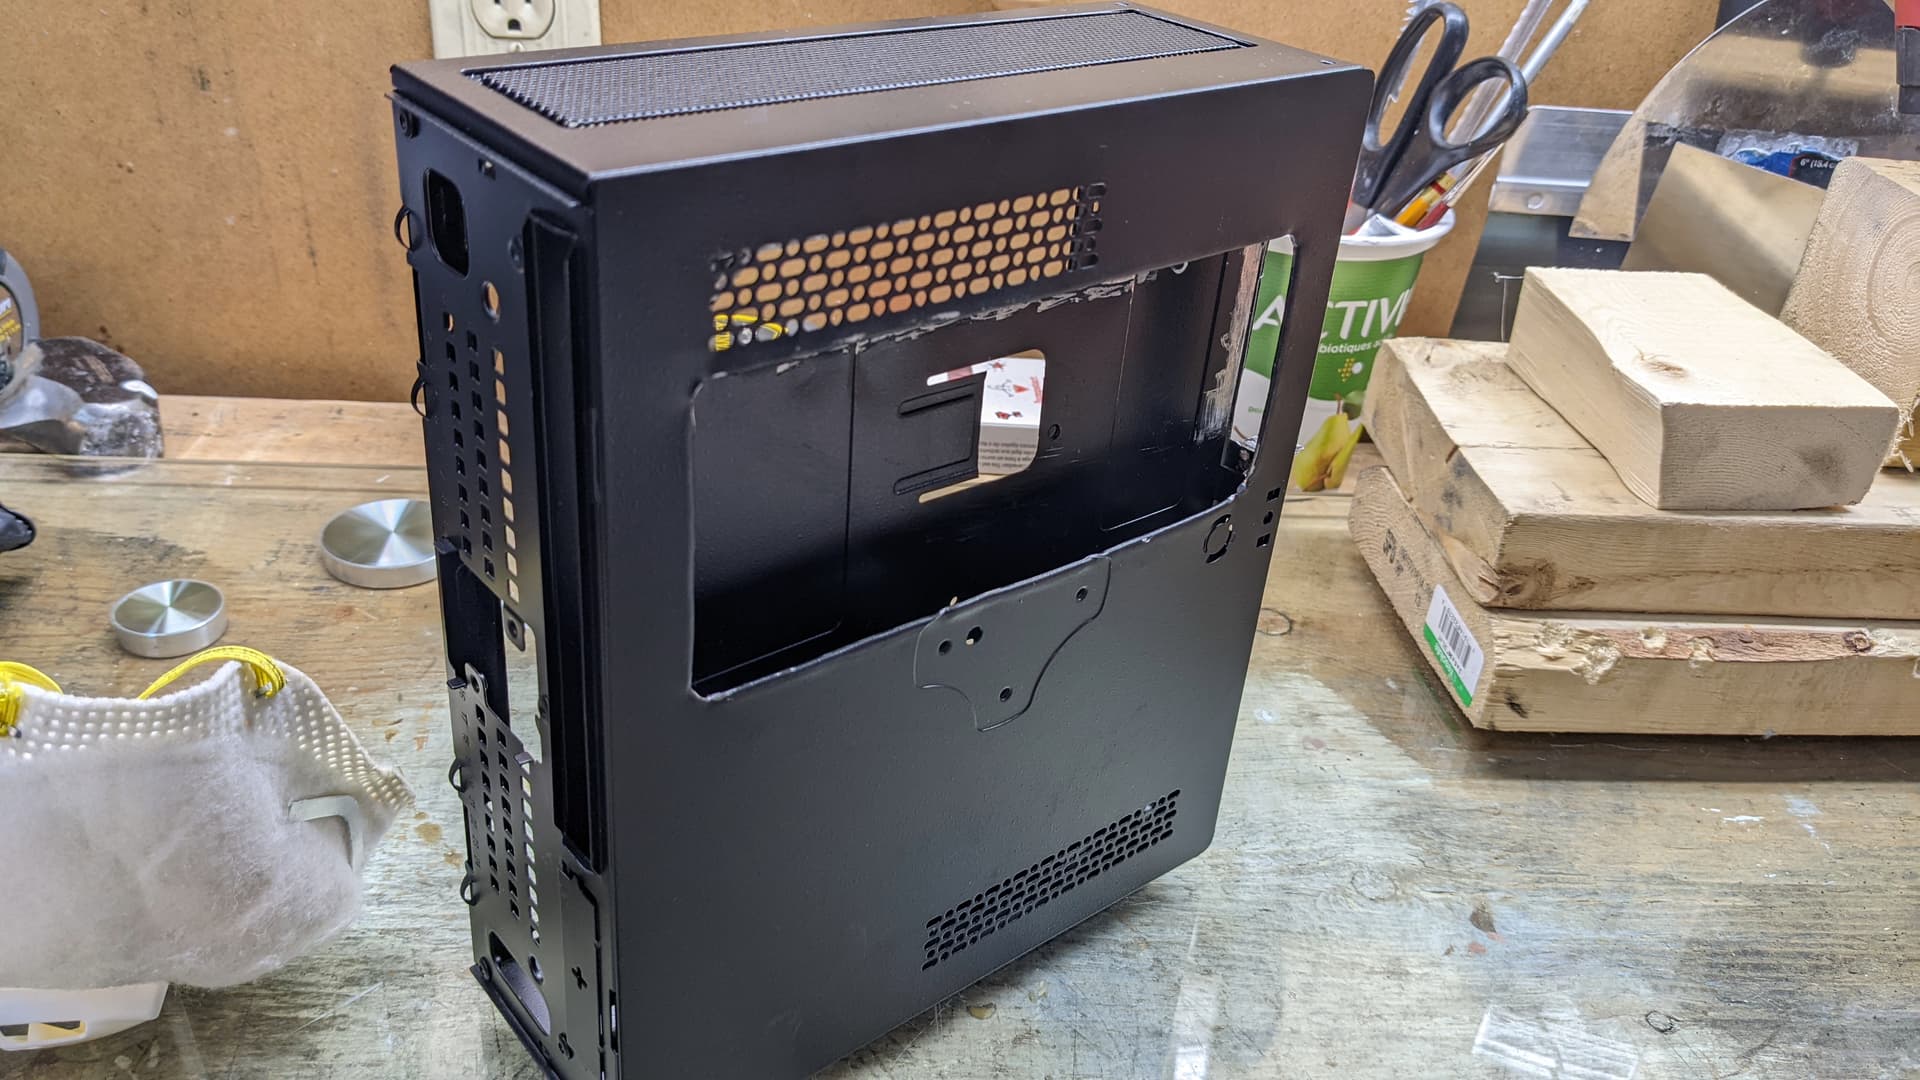
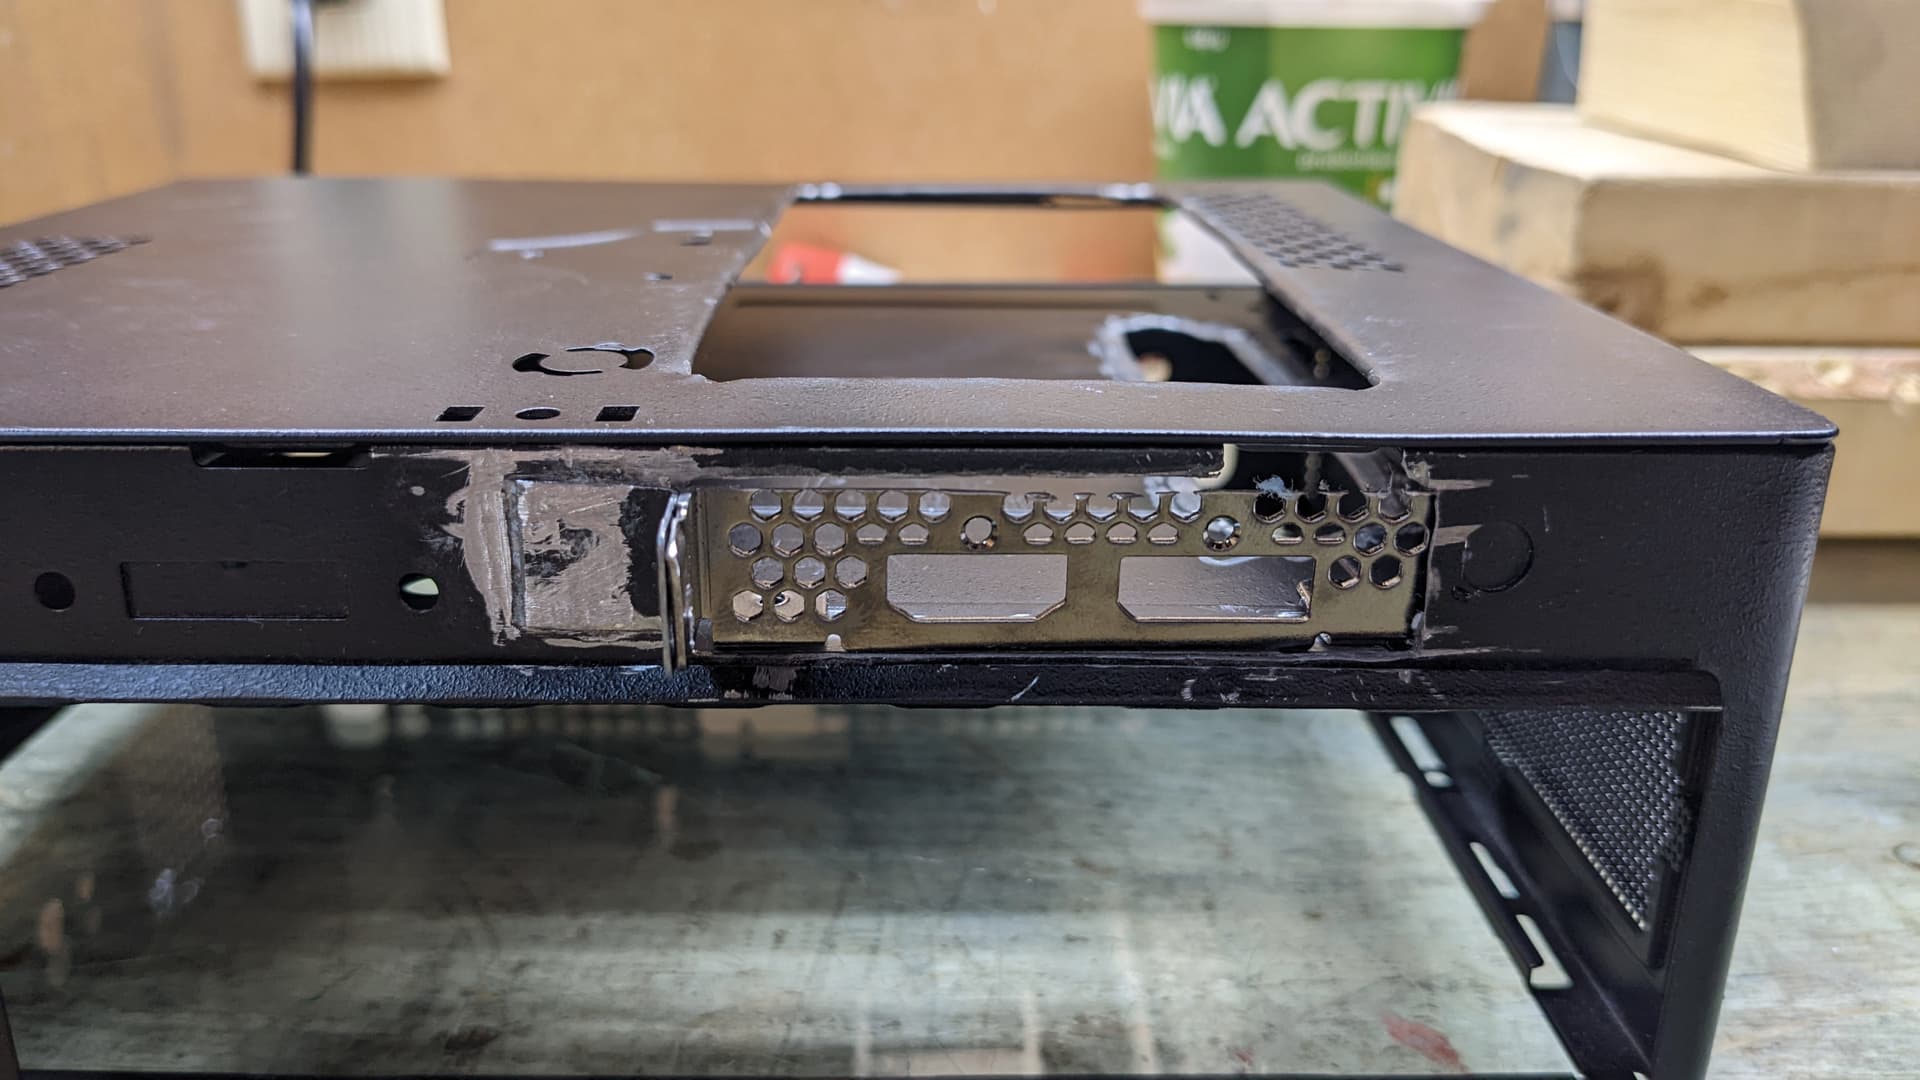
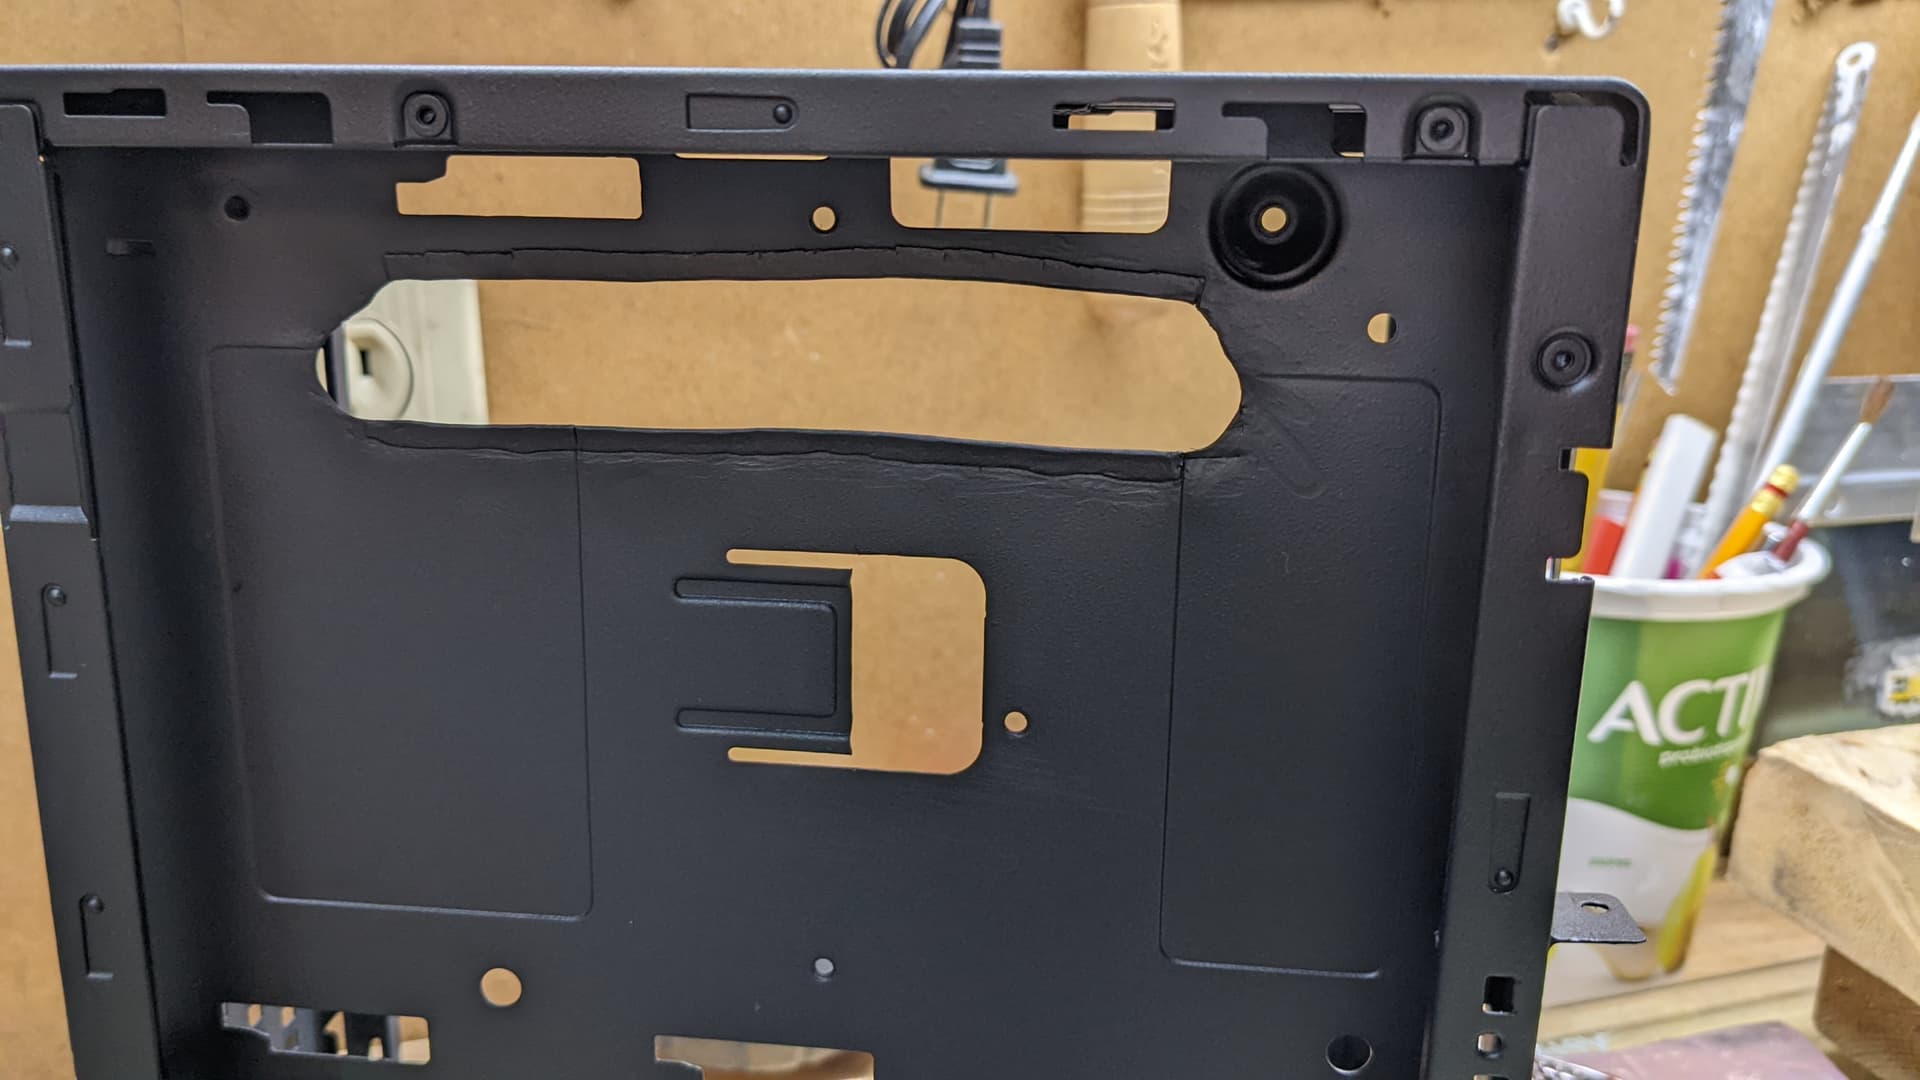
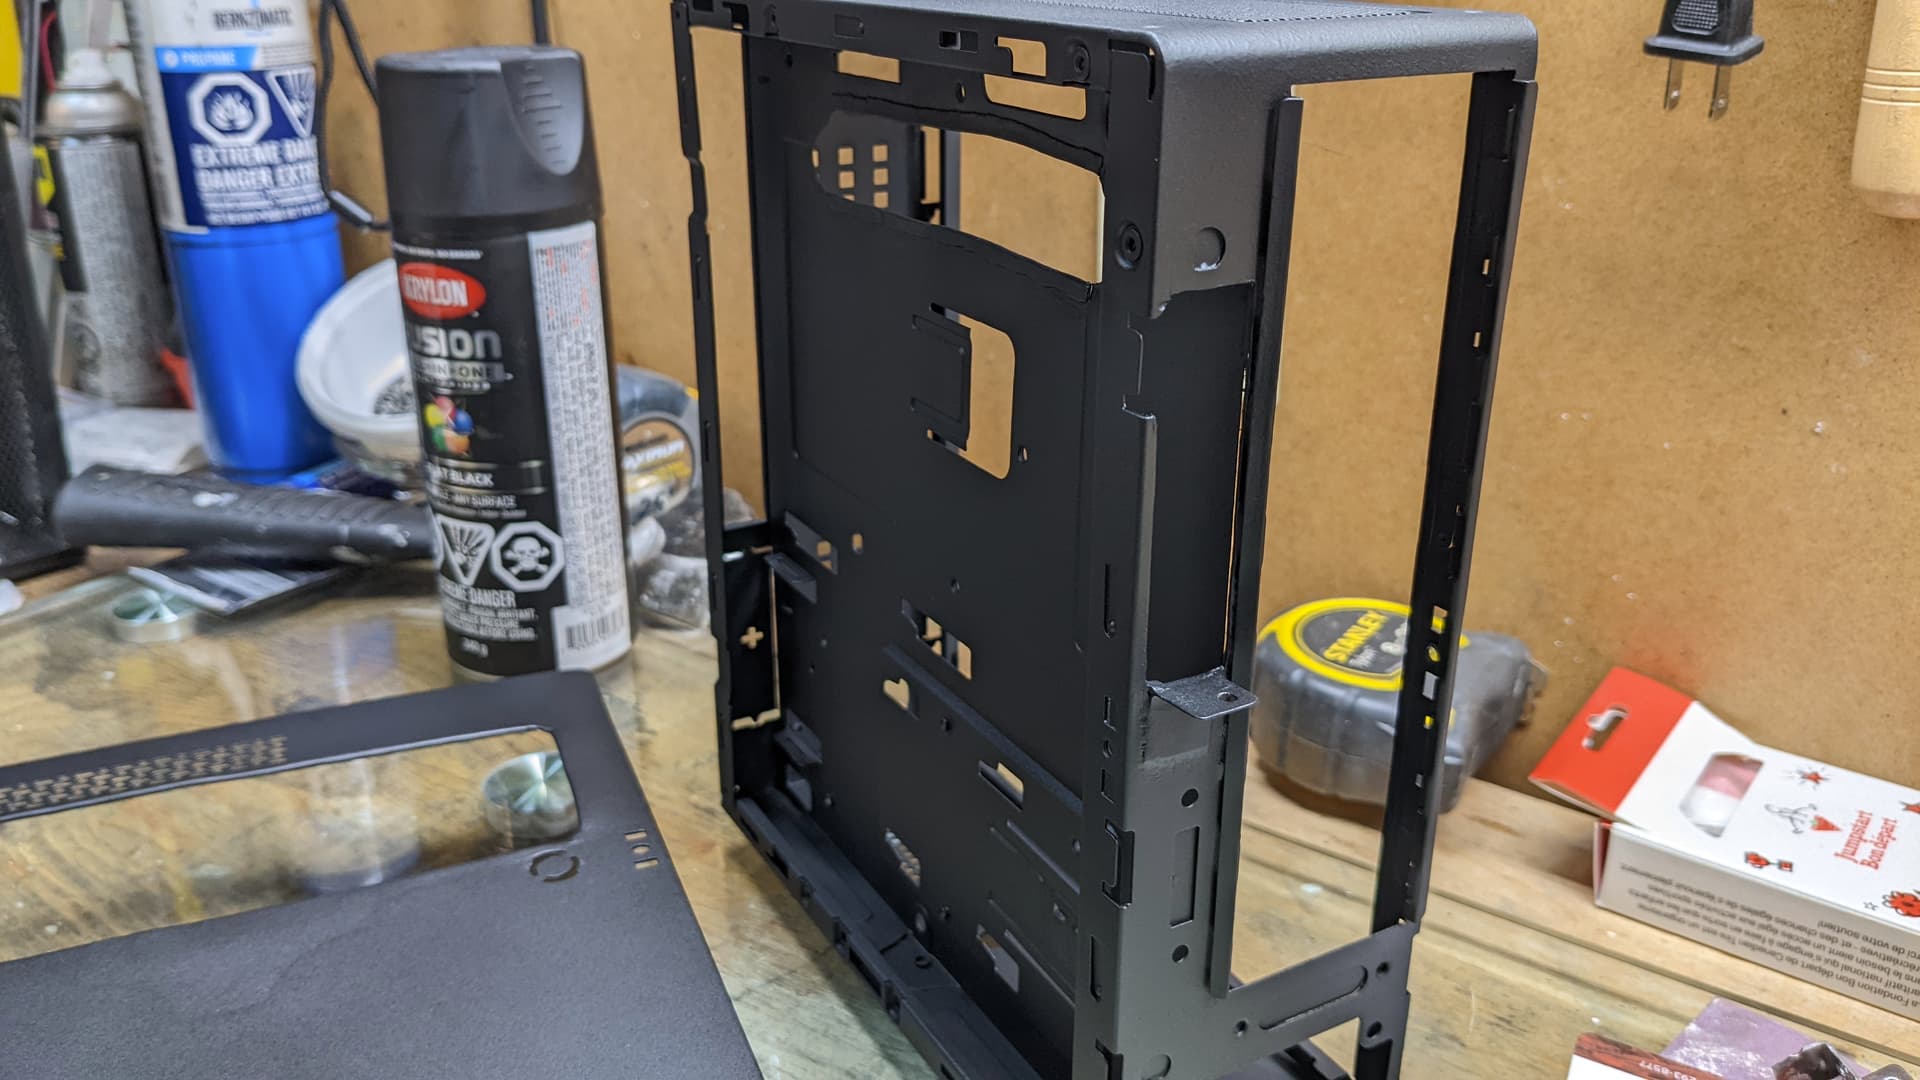
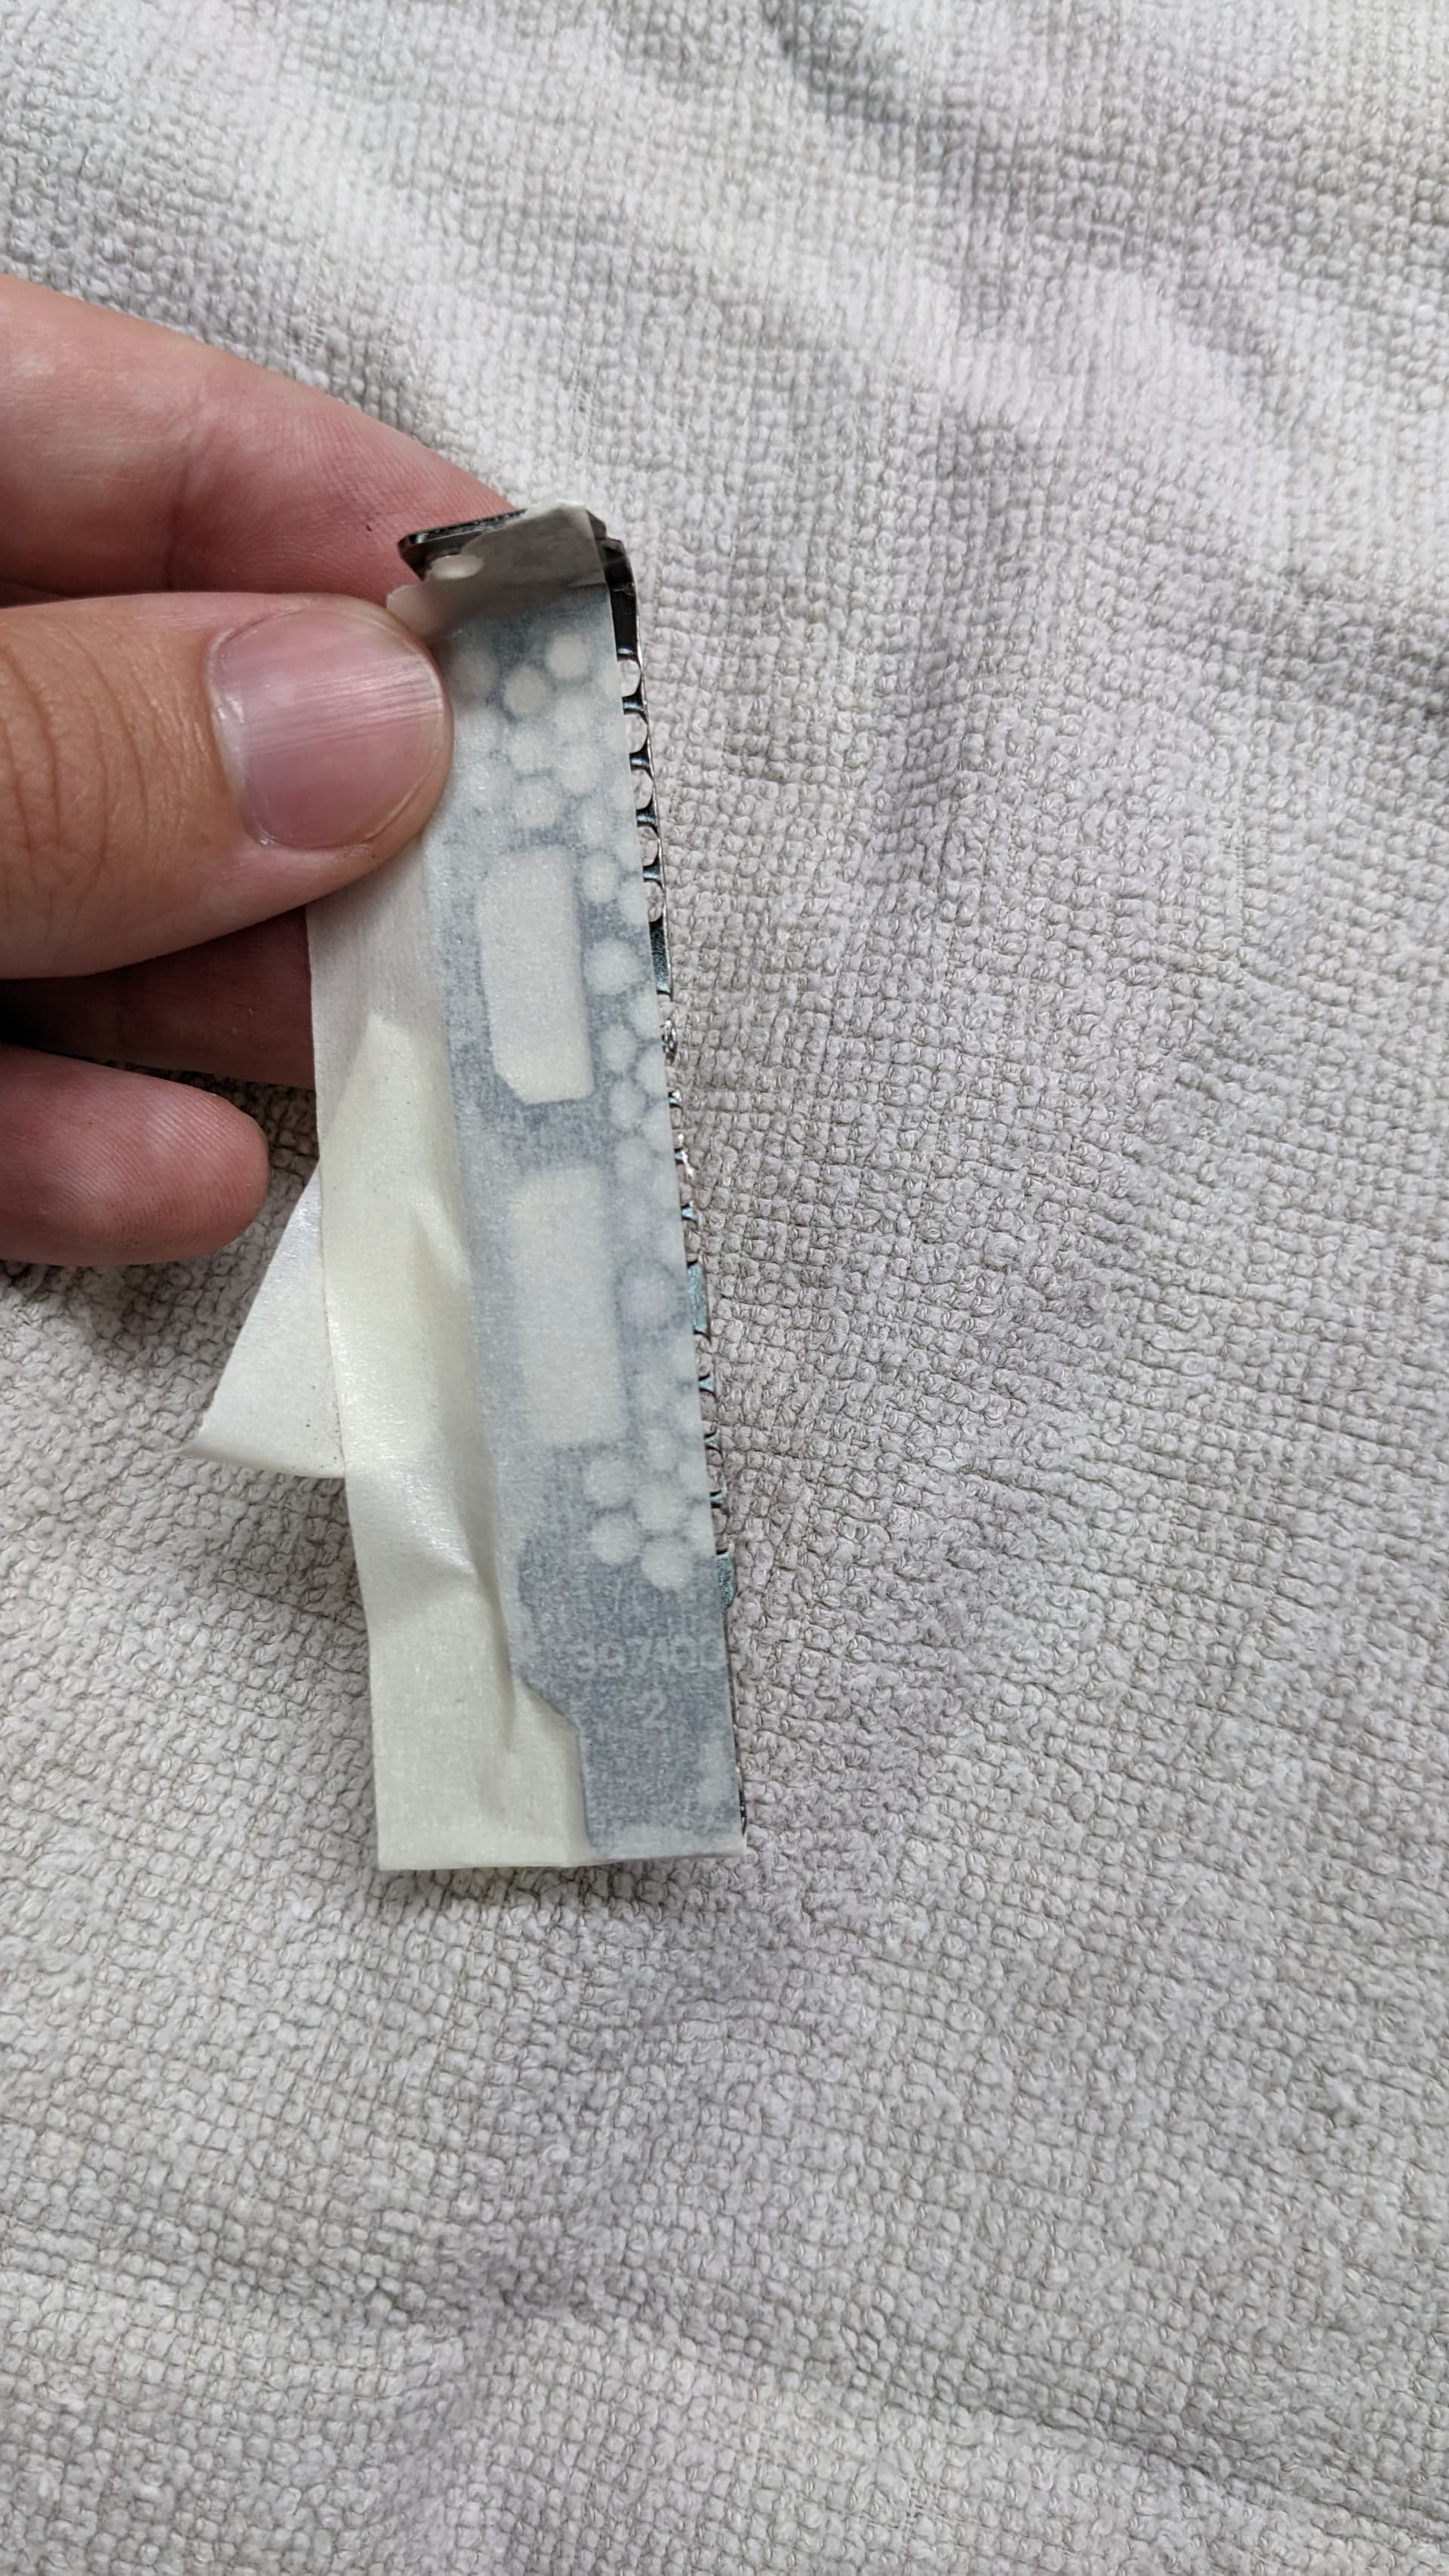
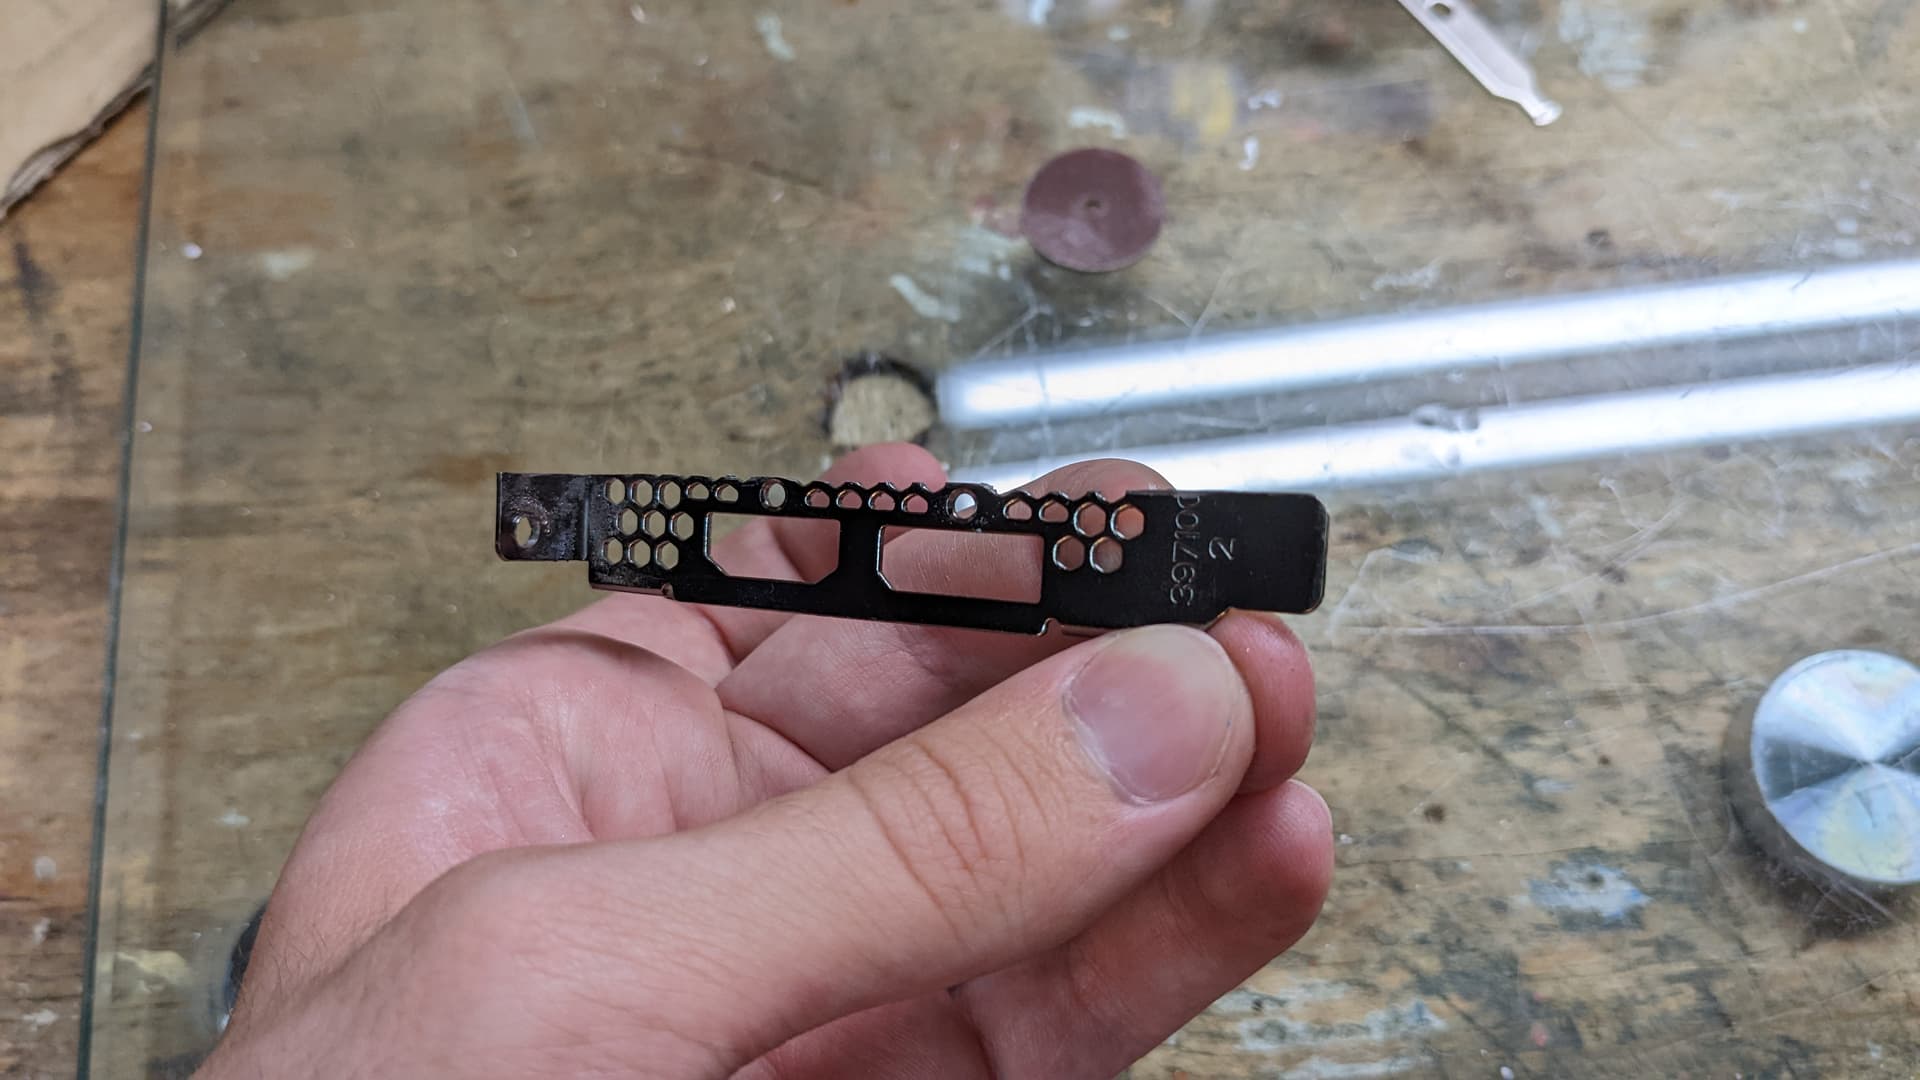
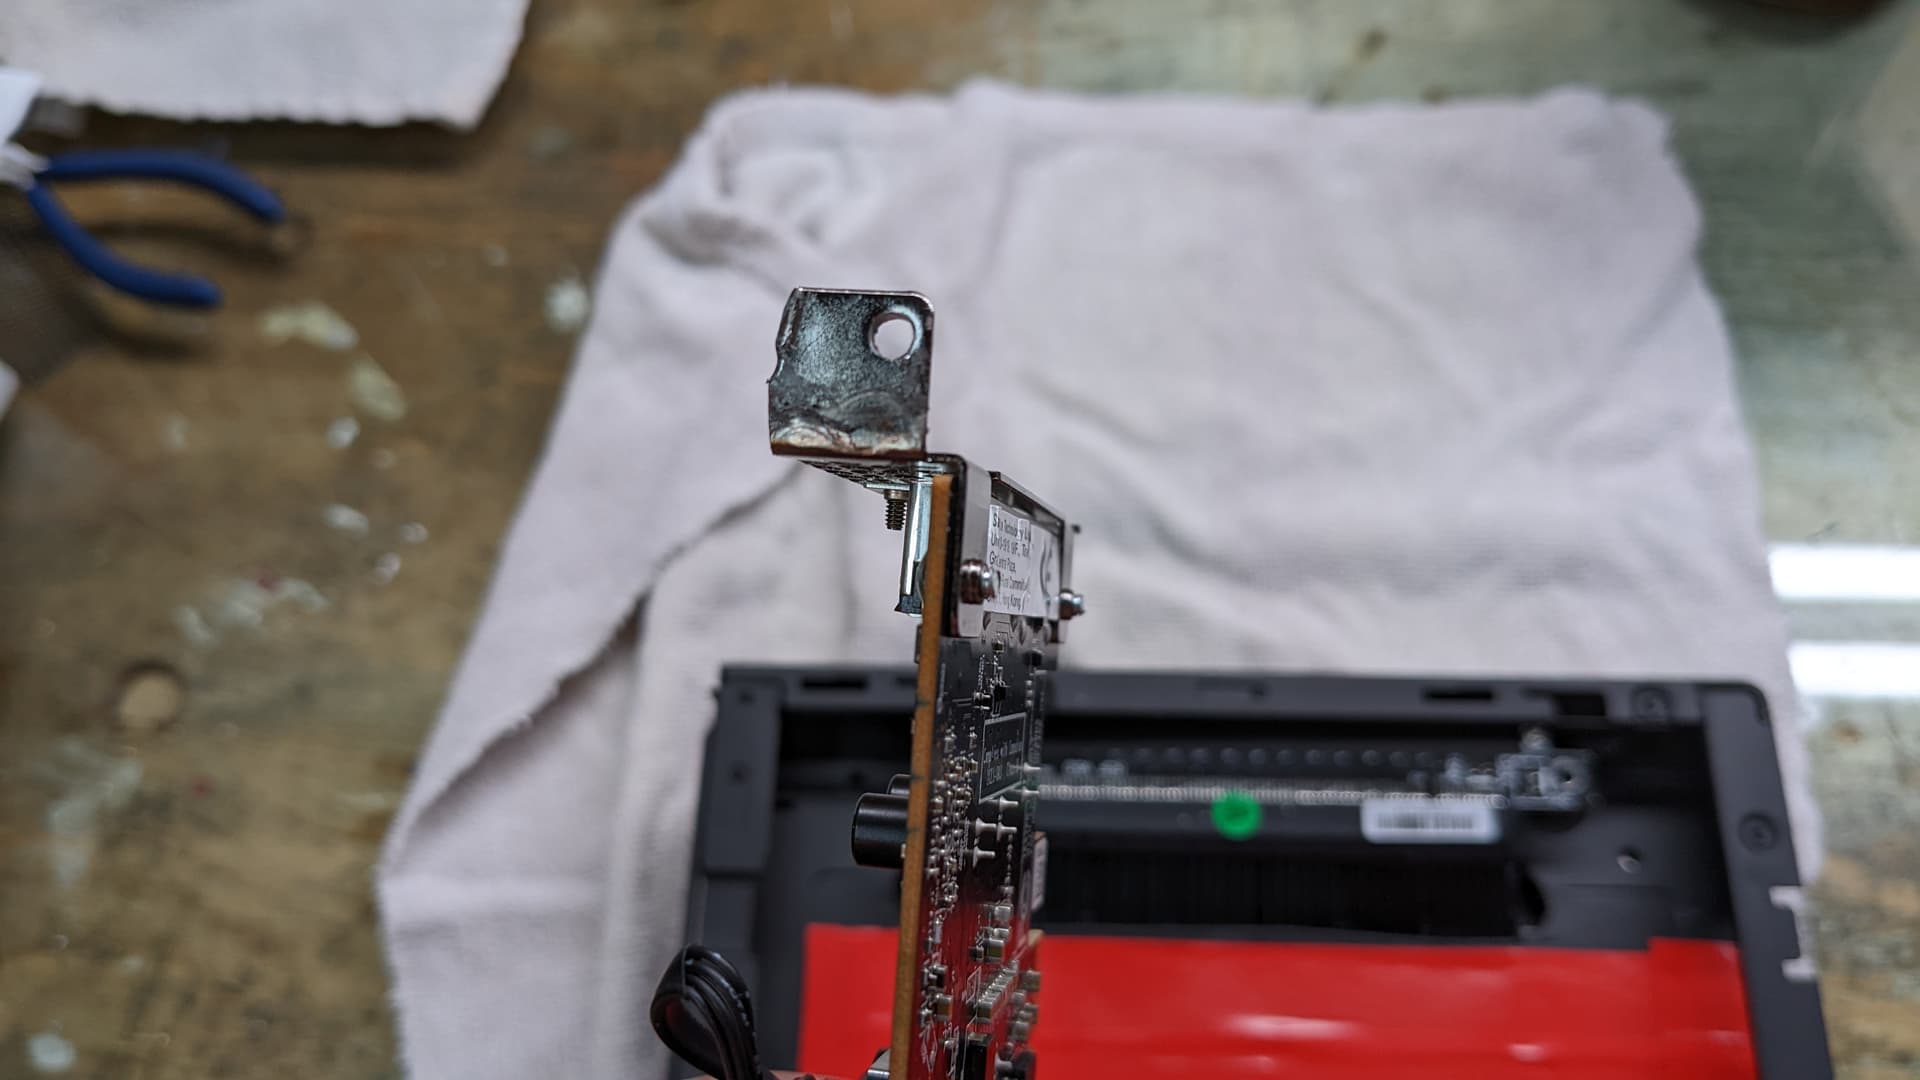
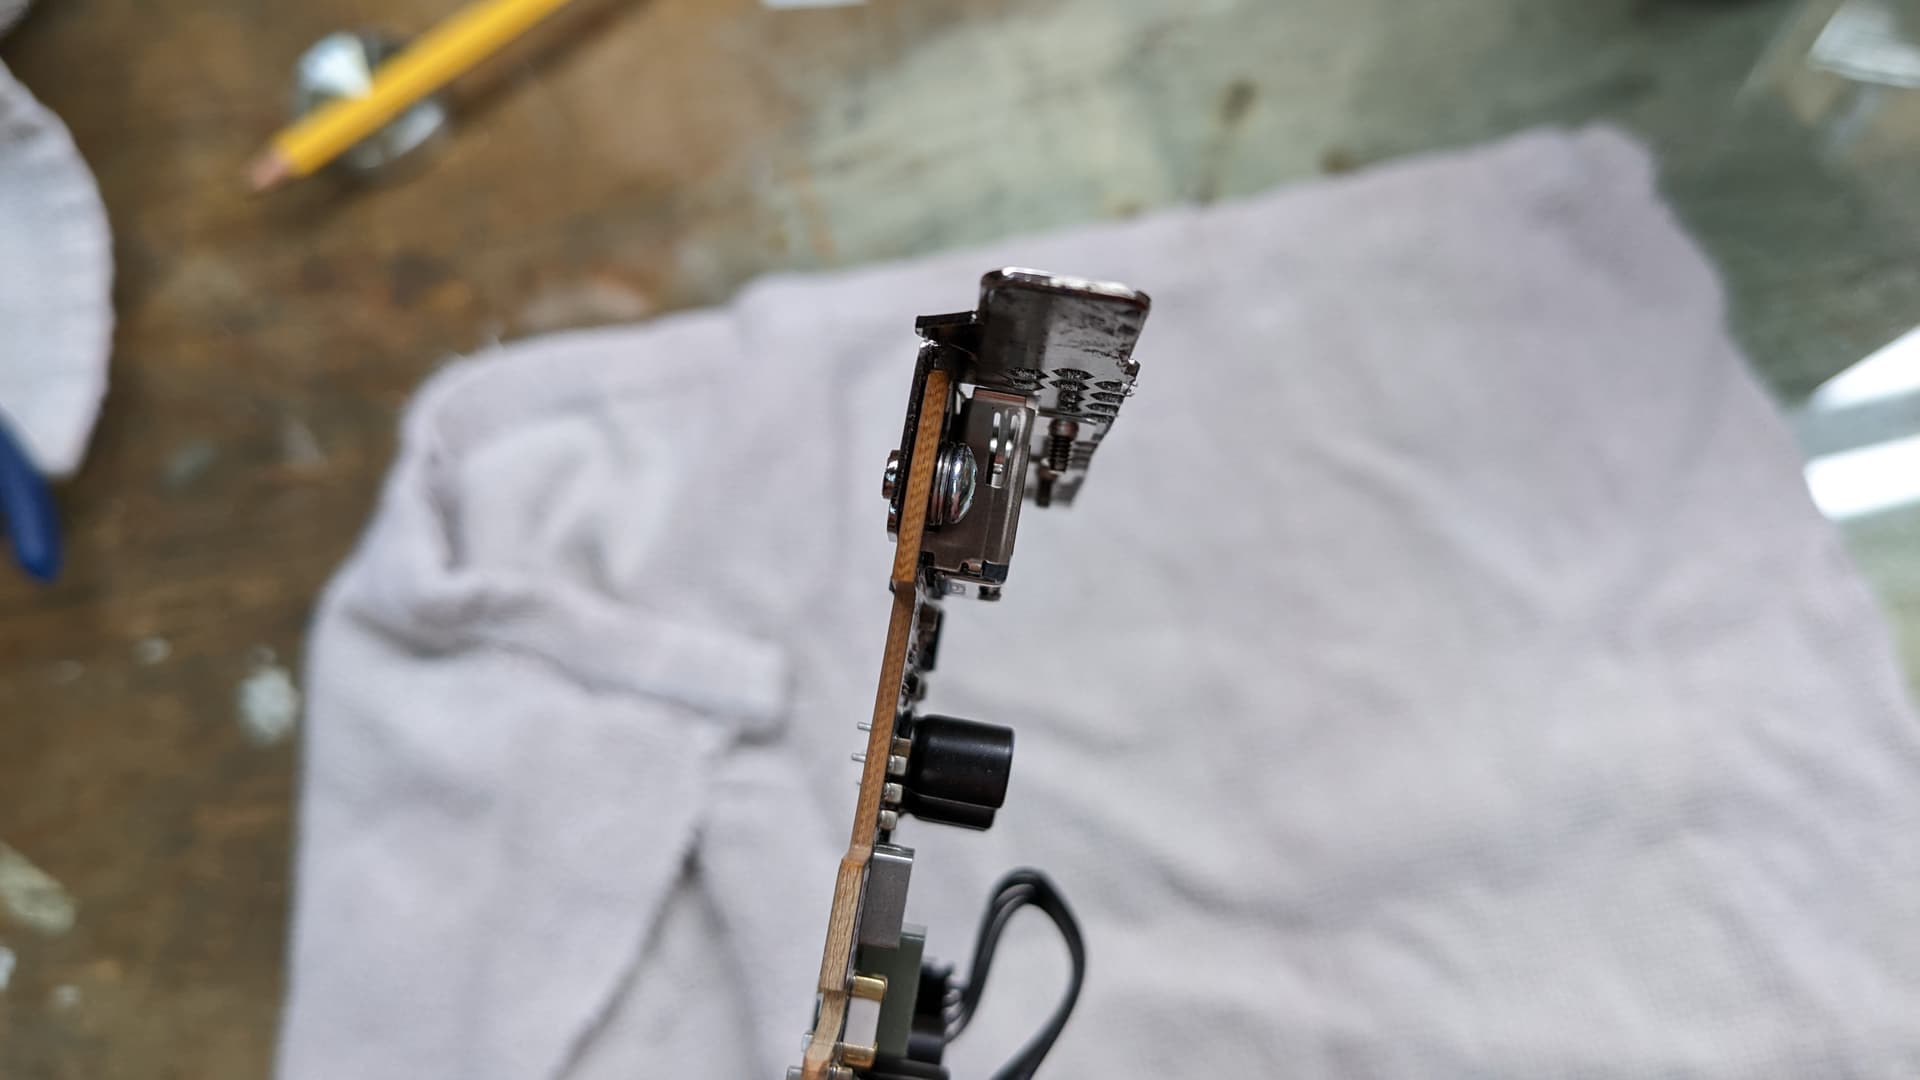
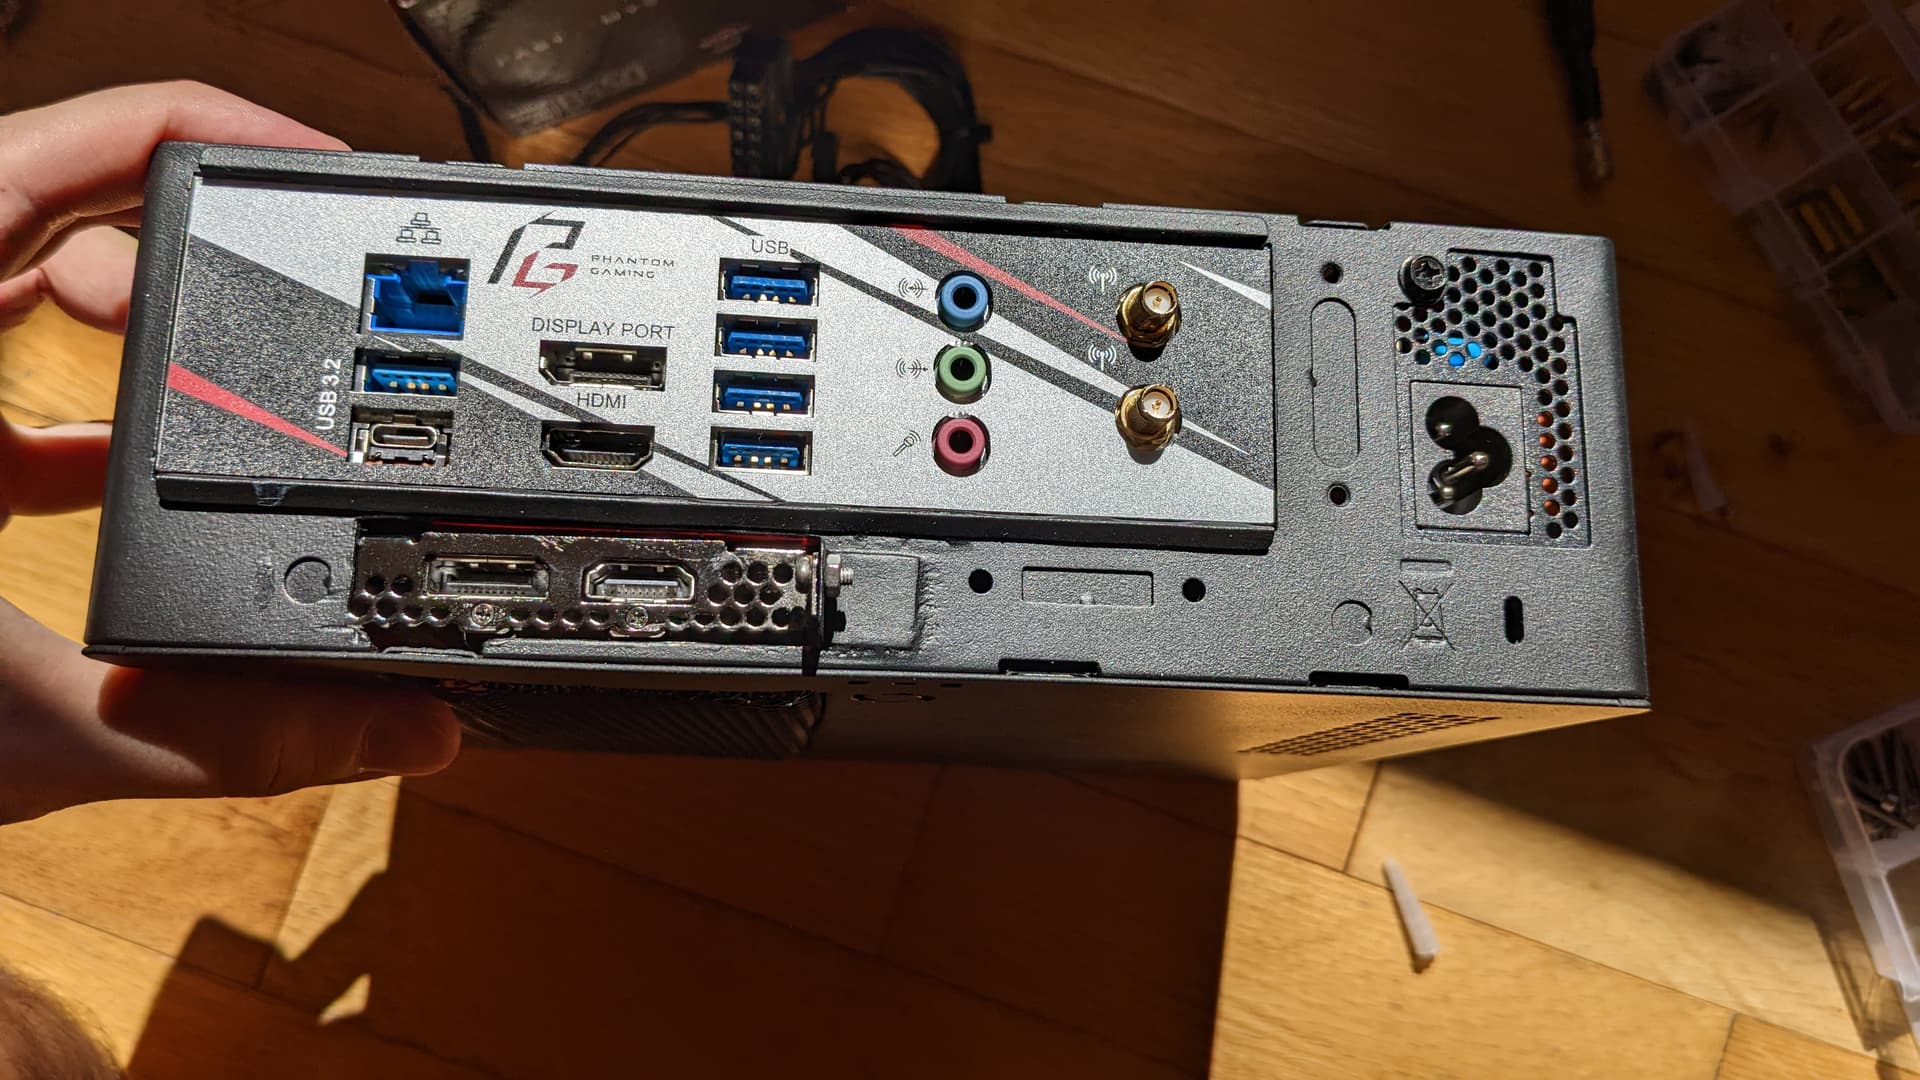
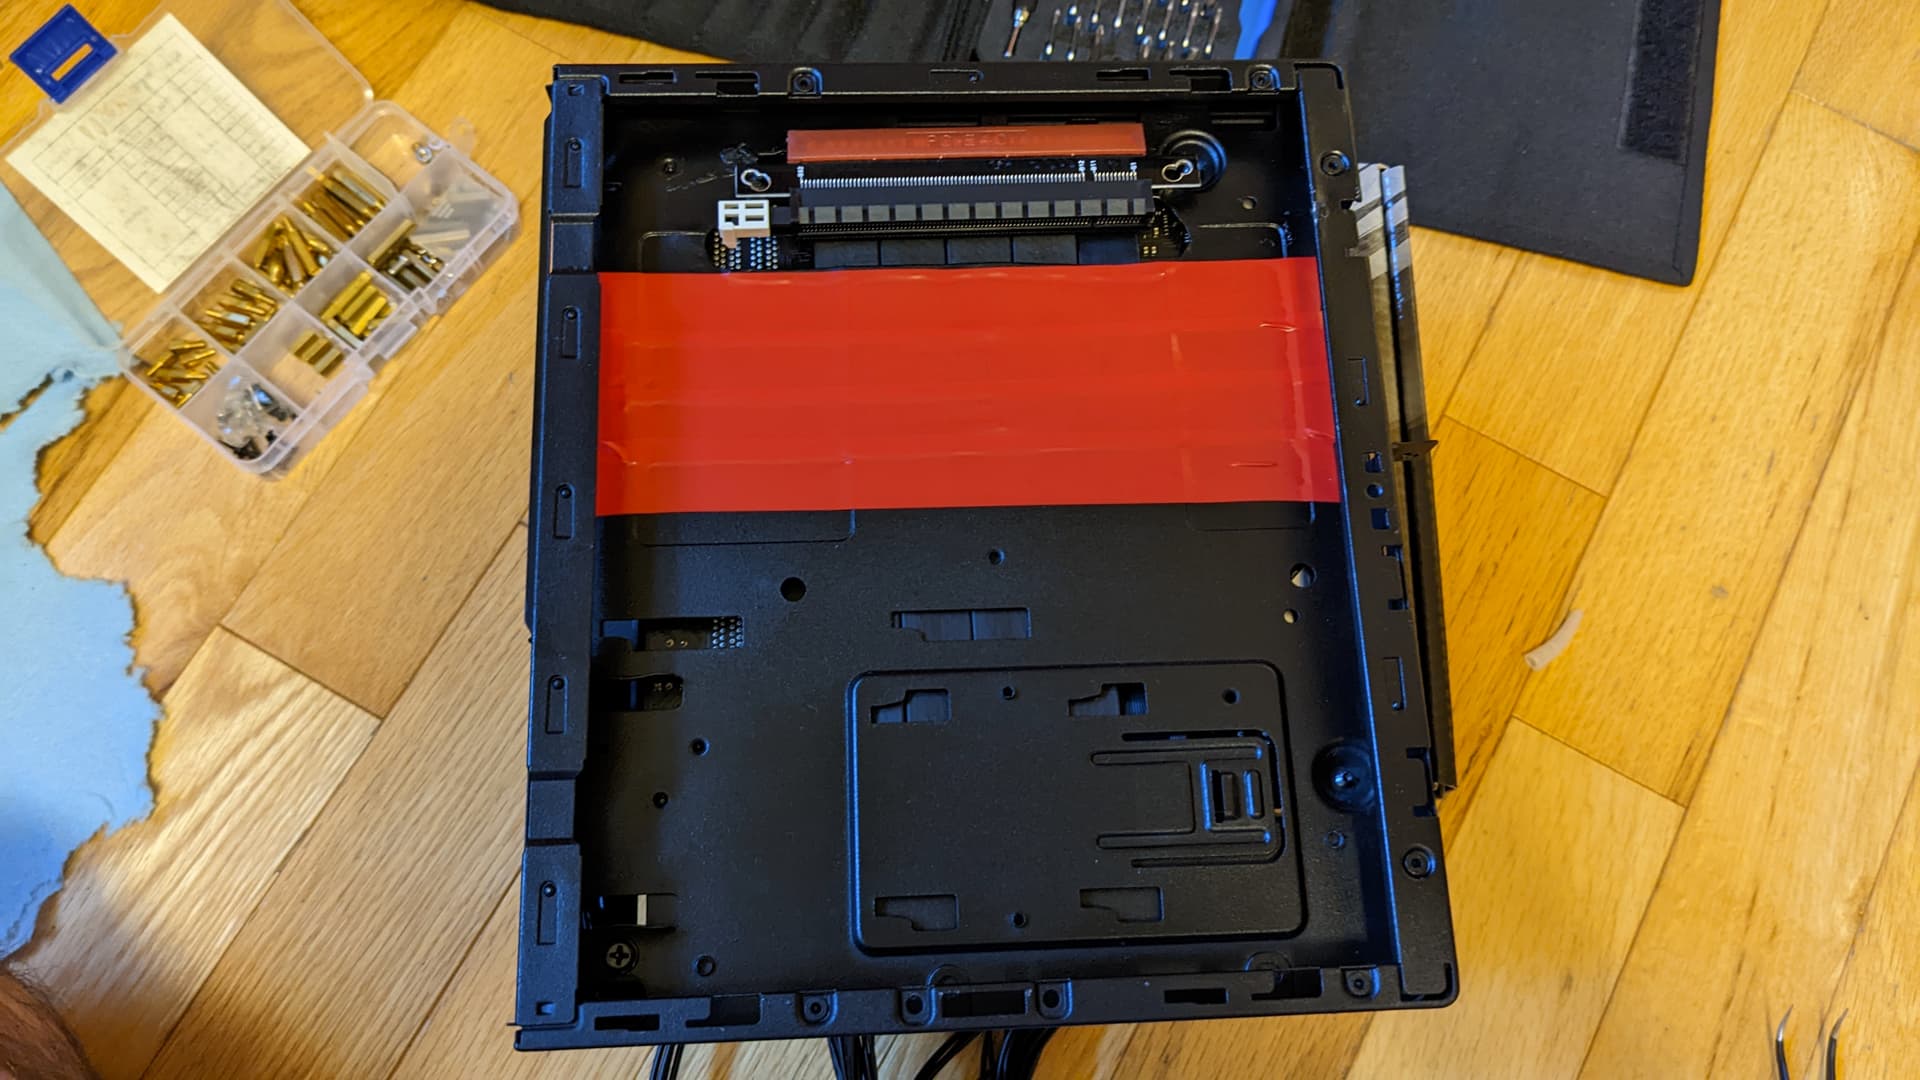
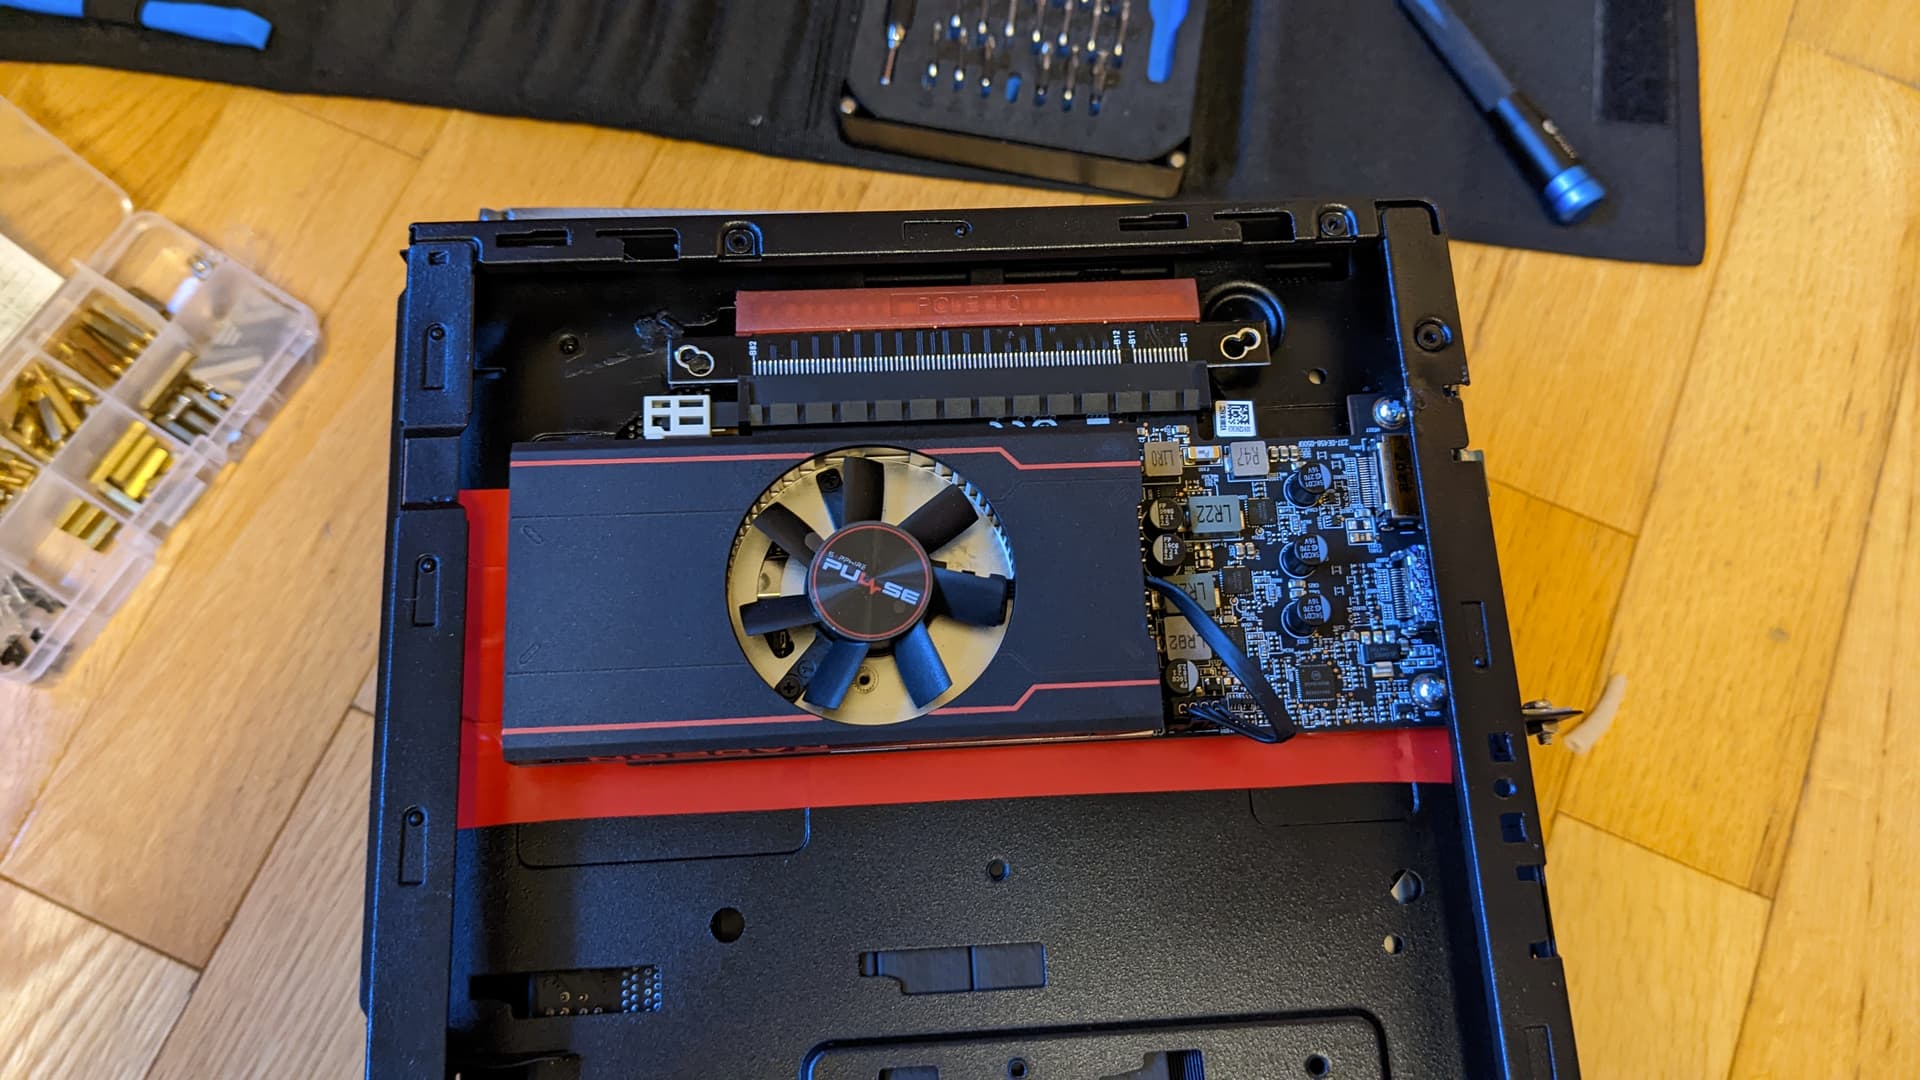
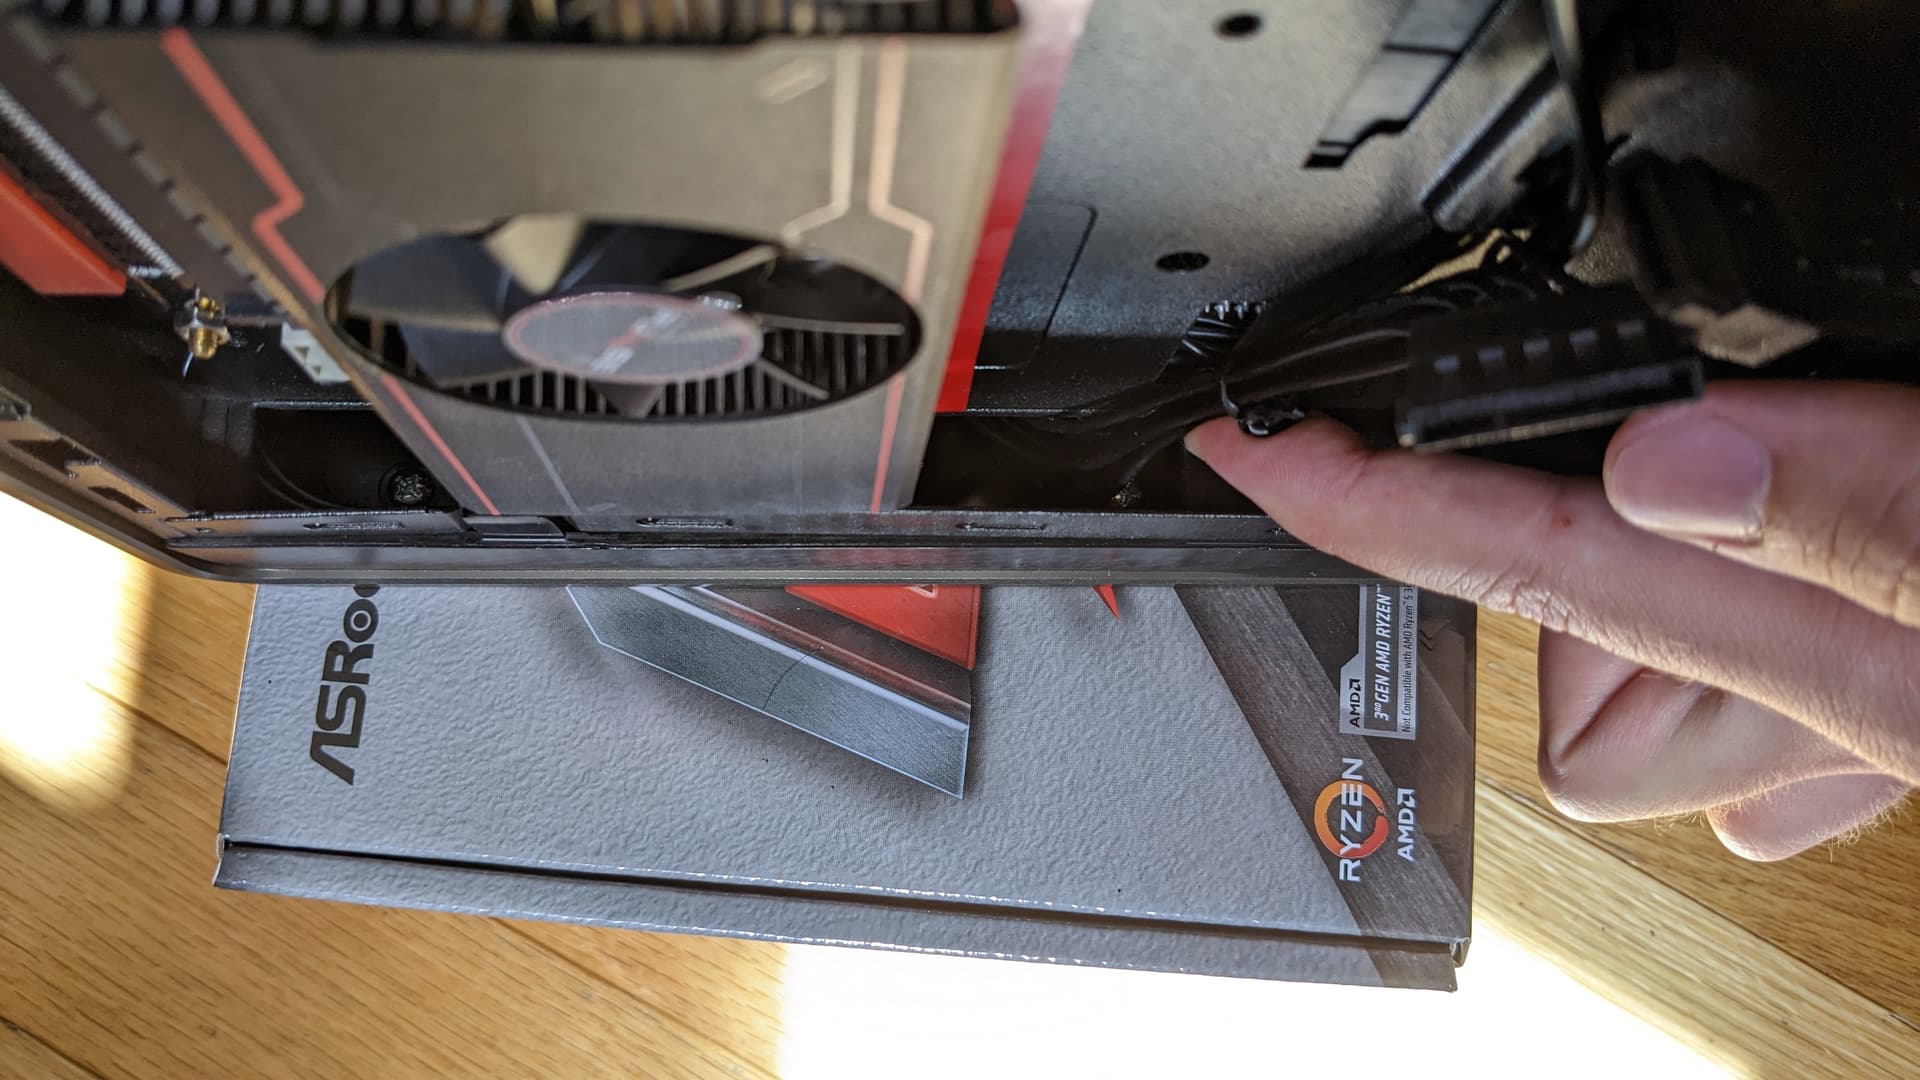
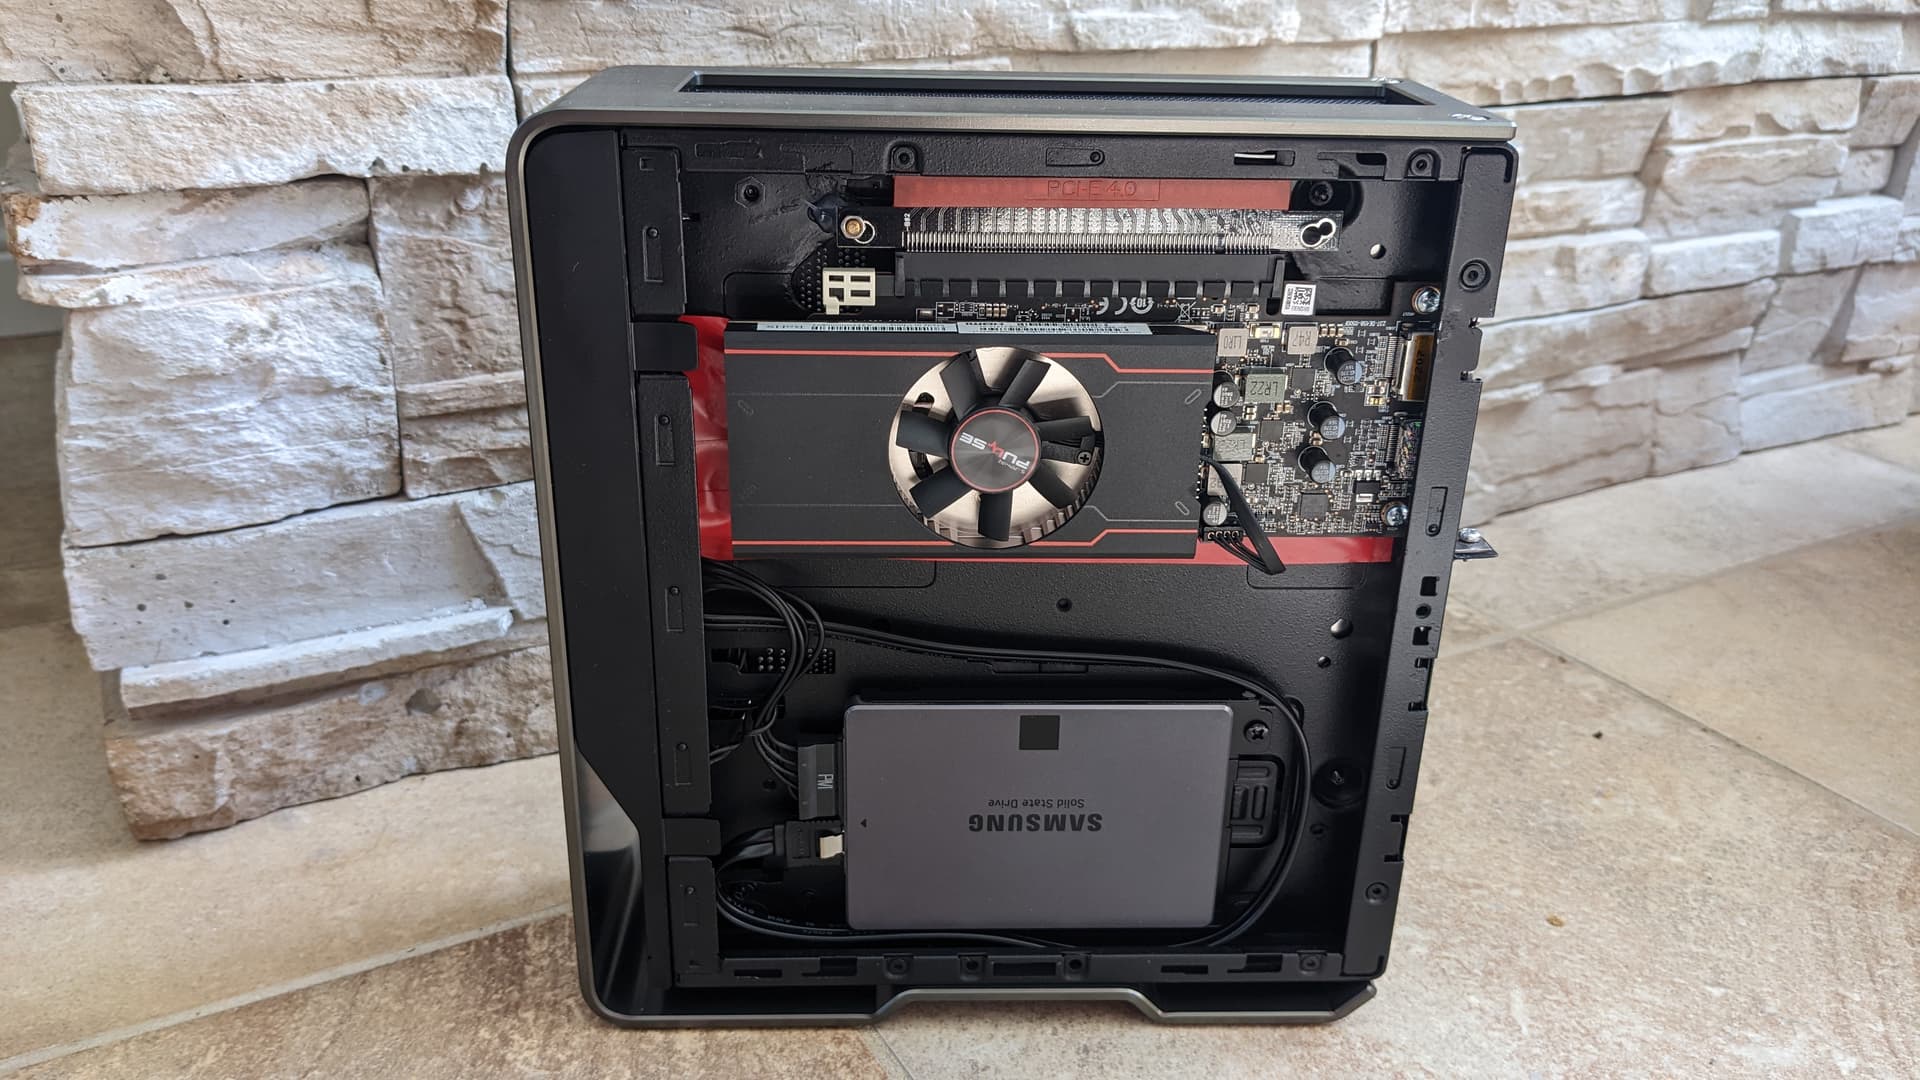
You can do like a popular Chopin GPU mod, Pluto, and remove the PSU to fit a low profile GPU, and use something like an HDPlex a external power brick to power everything, but it adds cost to a project that needs to be as cheap as possible. Here comes the RX 6400. Albeit all the critics about the the card, it’s a low profile, single slot, with 4 GB of VRAM, and is power sipping card that is readily available at “cheap” price (looking at you expensive LP GTX 1650…). It’s a perfect fit. A reddit user already did use a RX 6400 to put it behind the motherboard, so the idea is to do the same the same, albeit in a nicer way.

I wanted to buy some used components to bring cost down, but used stuff are not that much cheaper than new, so I will pretty much go everything new, except for the PCI-E 4 riser cable for which I found one that would the bill for cheap-ish (but that would not take a month to arrive). Also, if his SSD (a 850 Pro if I recall correctly) is still in good health, I might reused it to bring the cost of the build down.

Here’s the part list I plan to use:

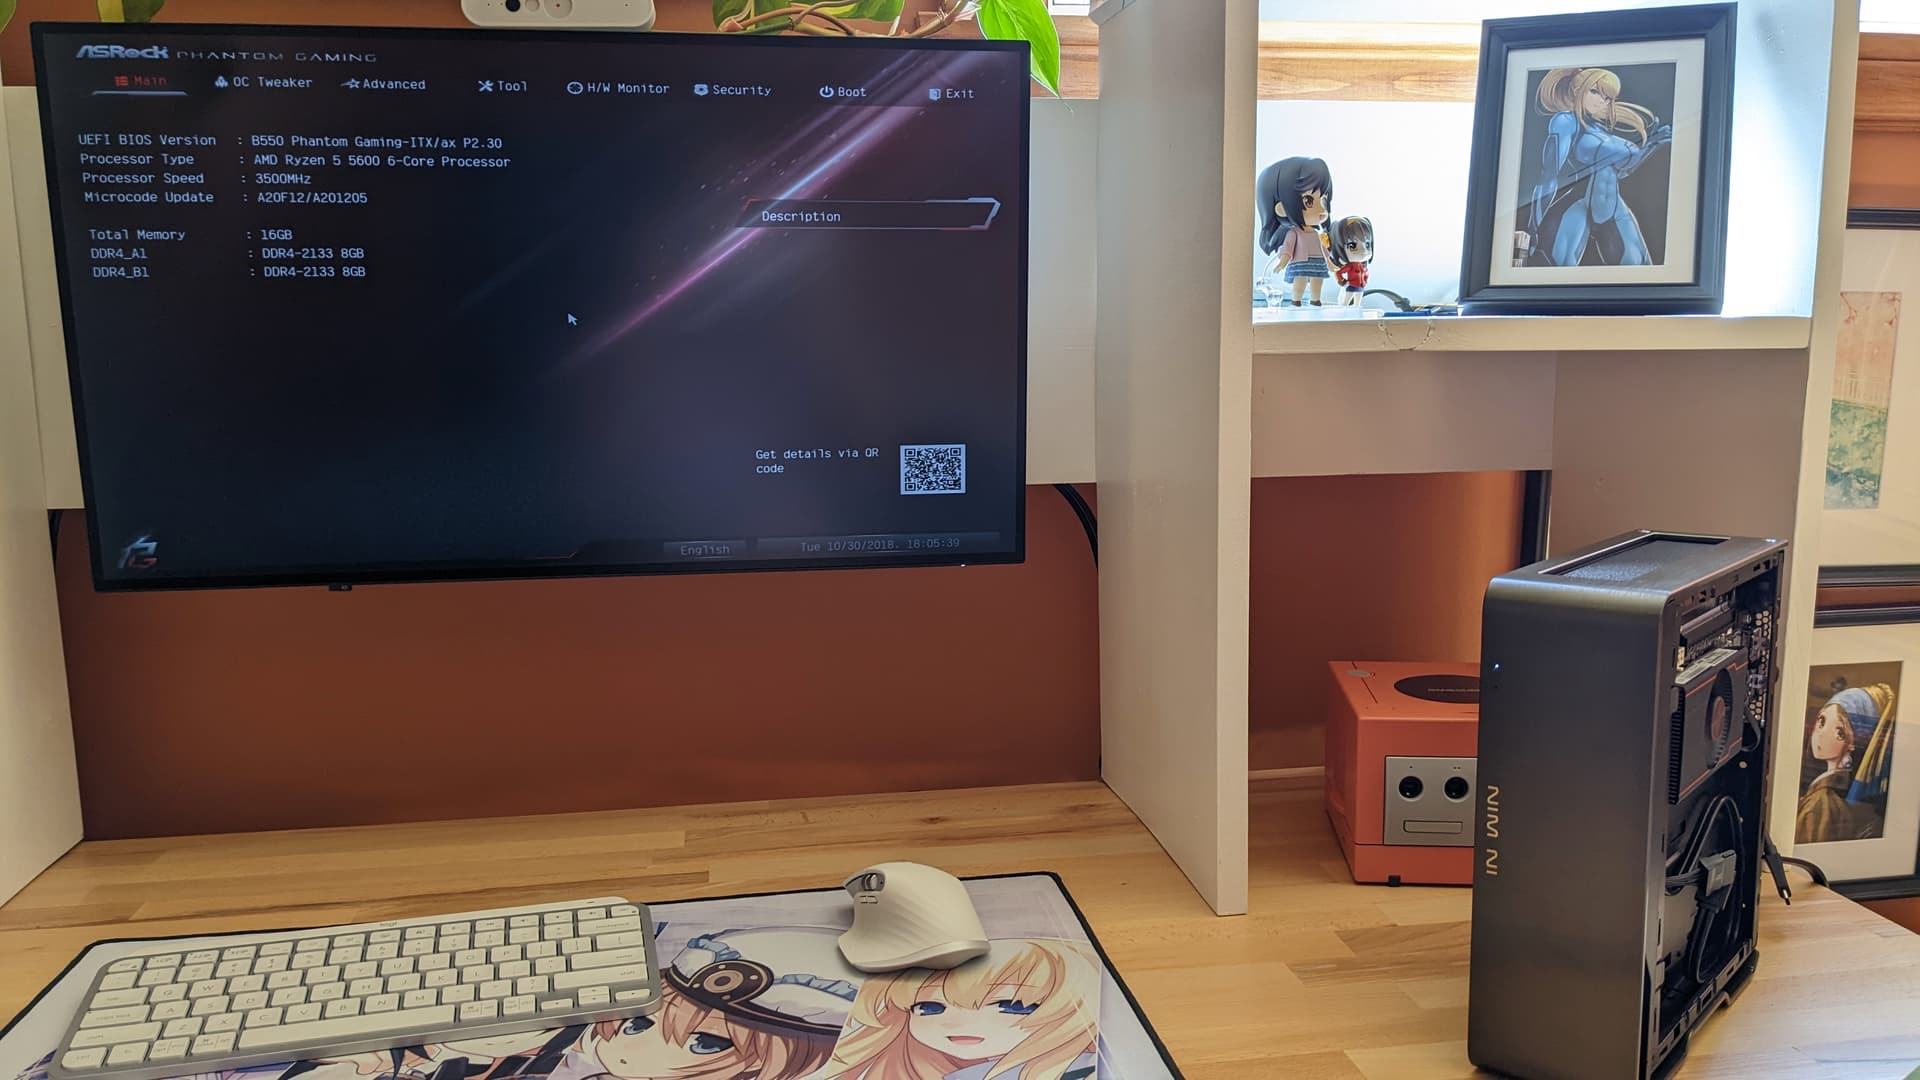
CPU: AMD Ryzen 5 5600G (Cheapest of the 5600s, so why not)
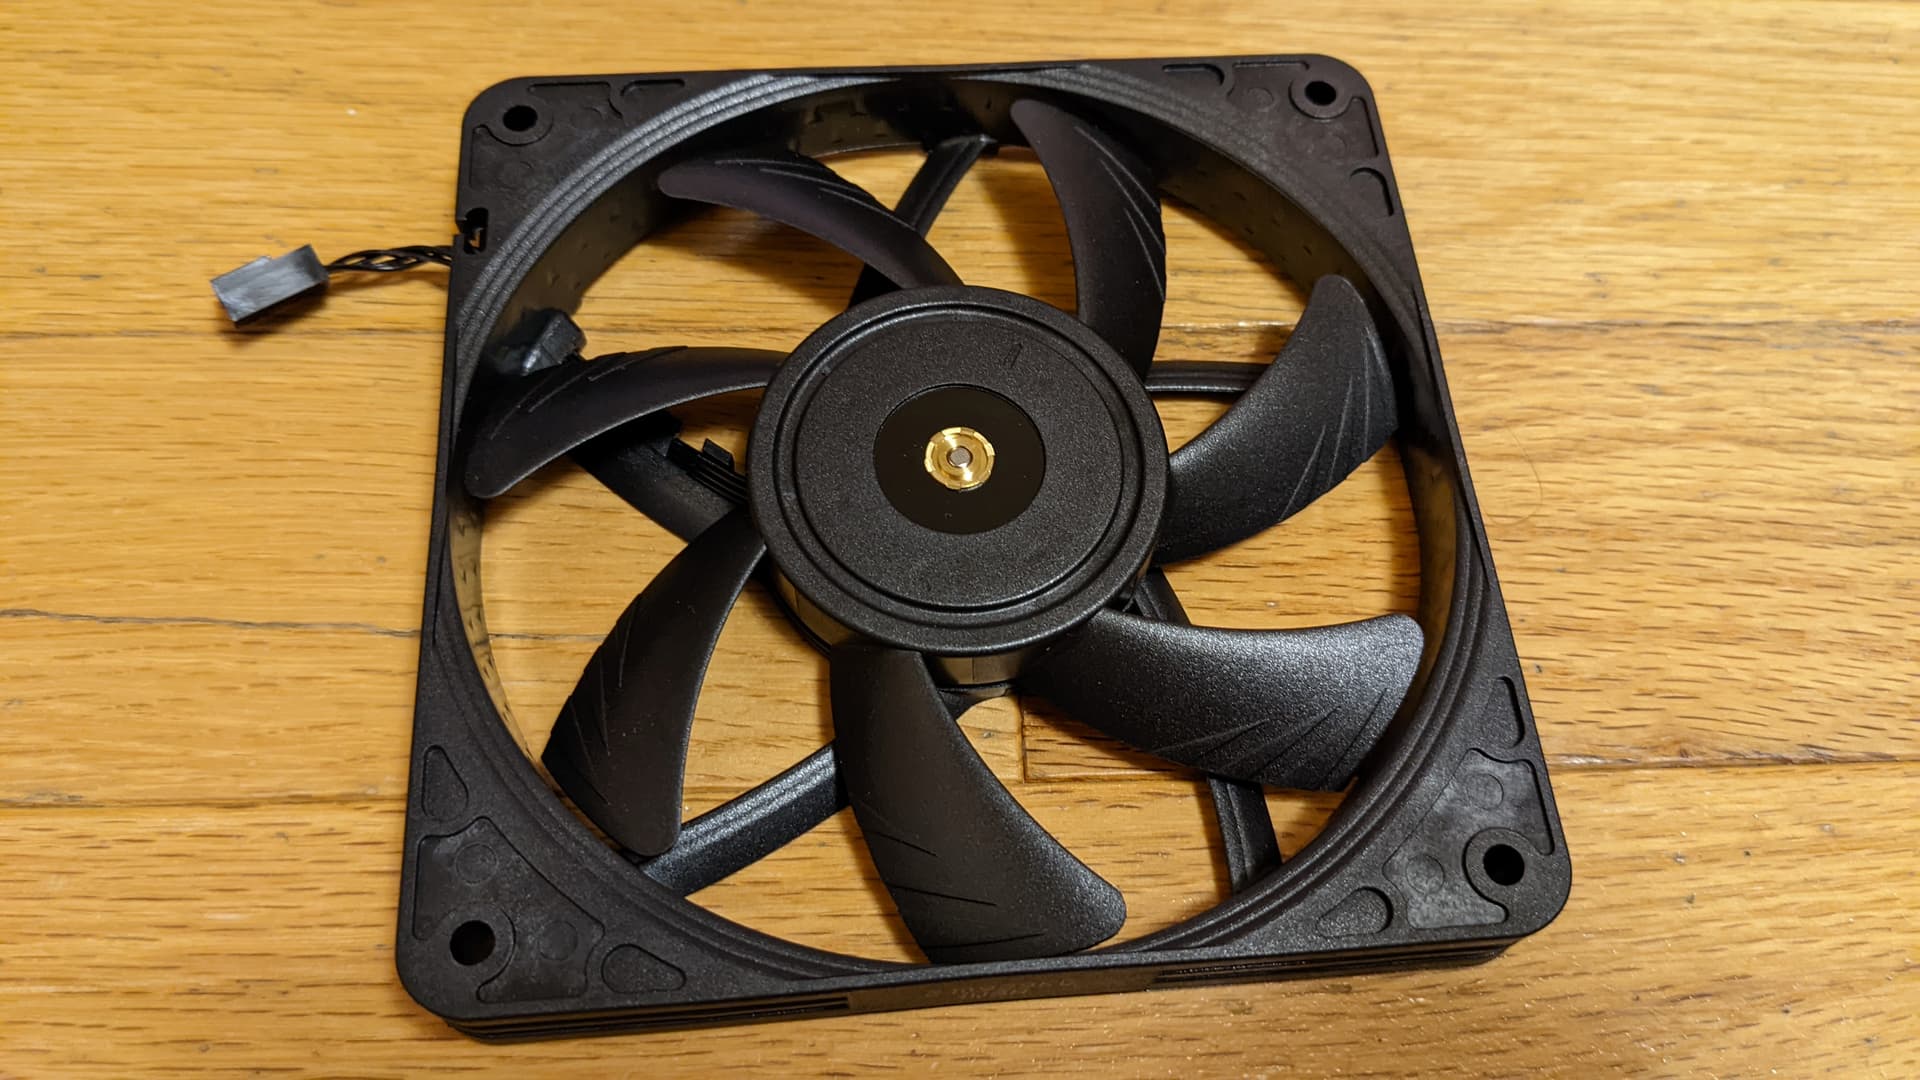
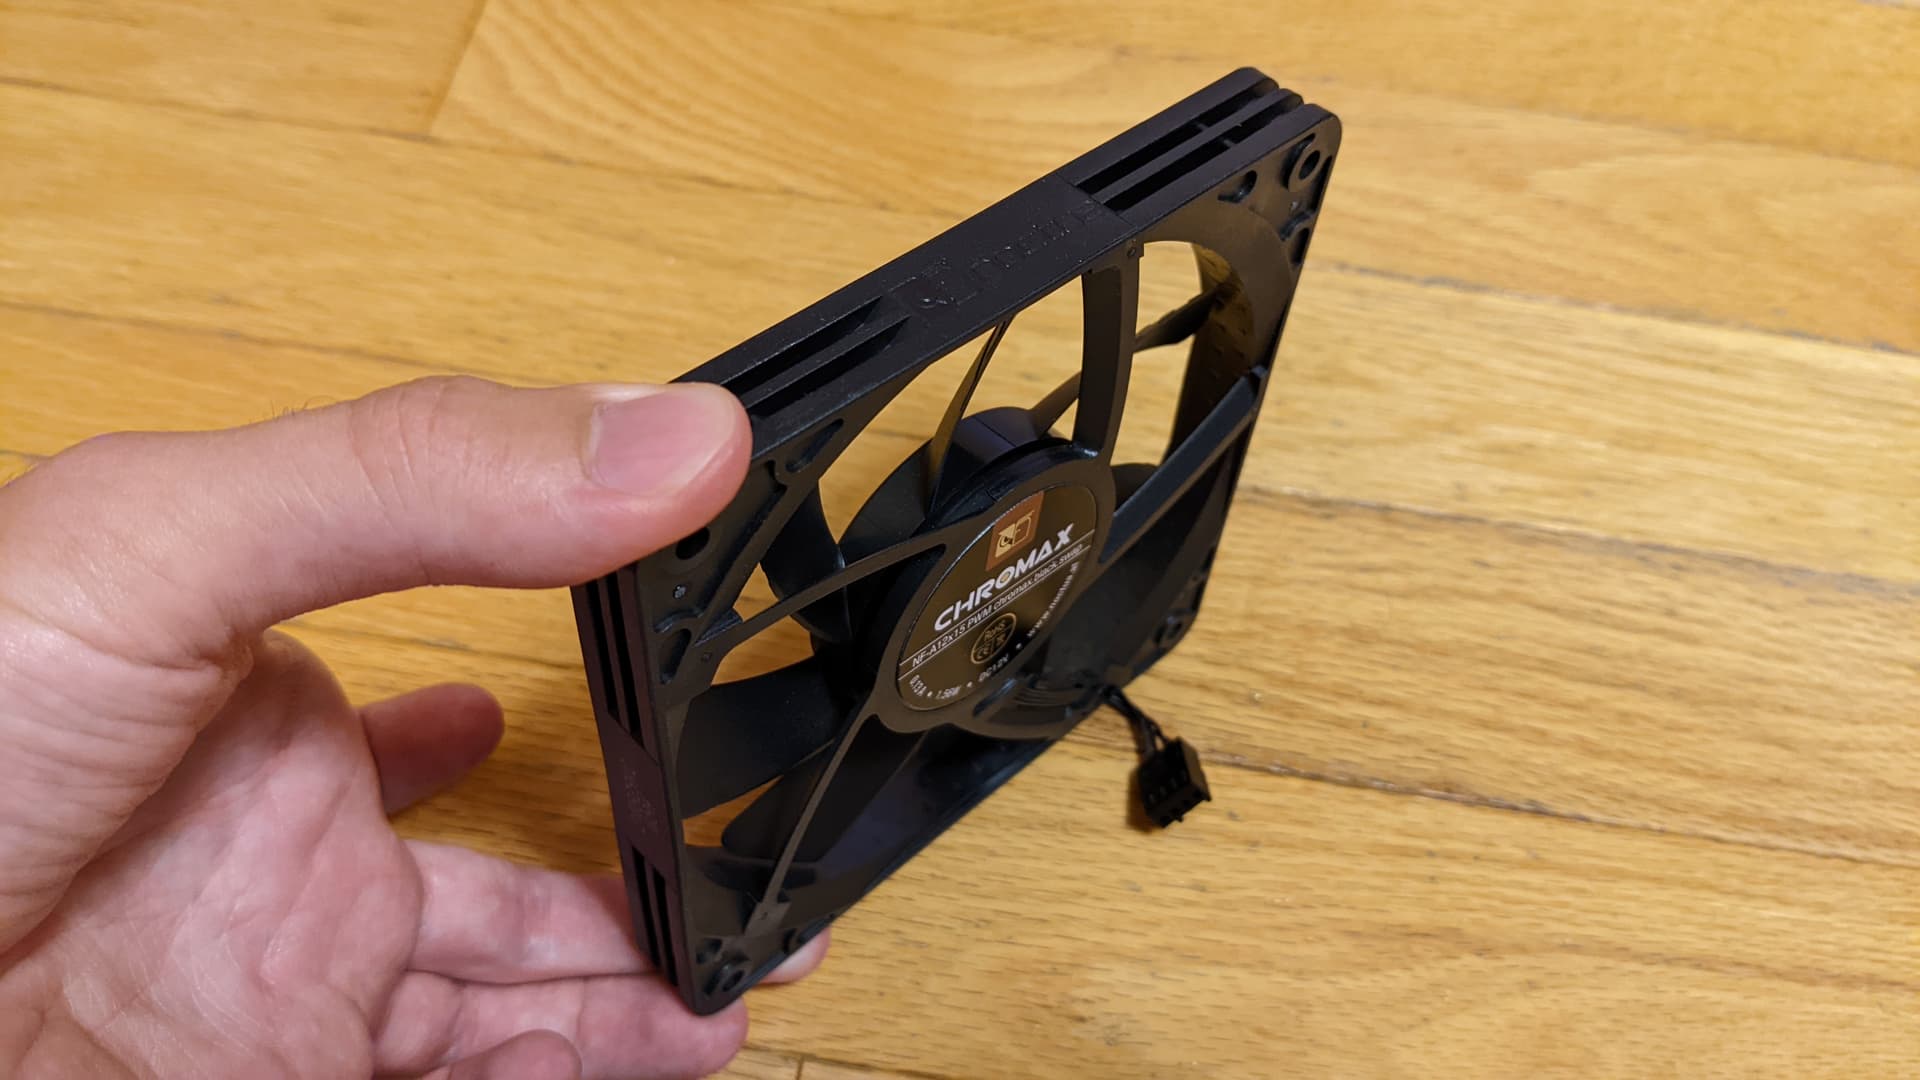
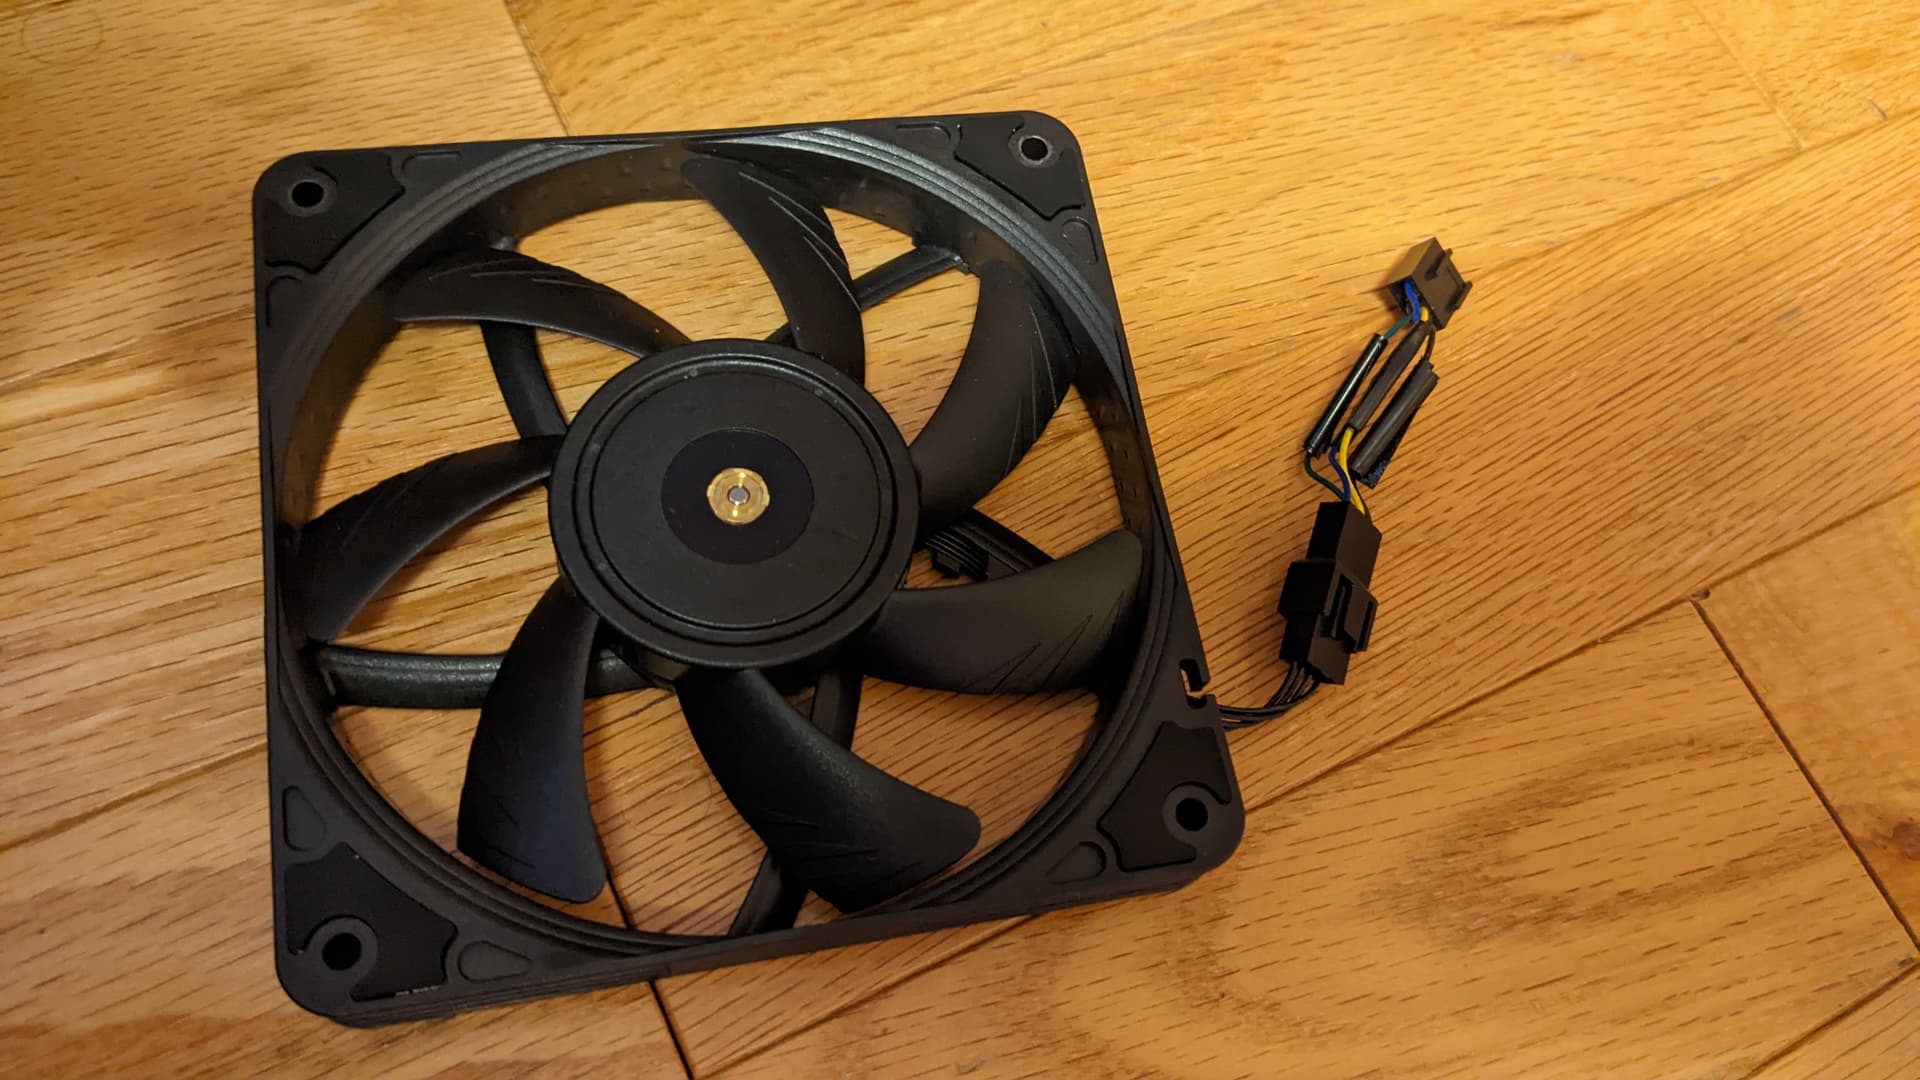
CPU Cooler: Noctua NH-L9a-AM4 (Have one lying around without a fan, will look into putting a 120 fan to cool it)
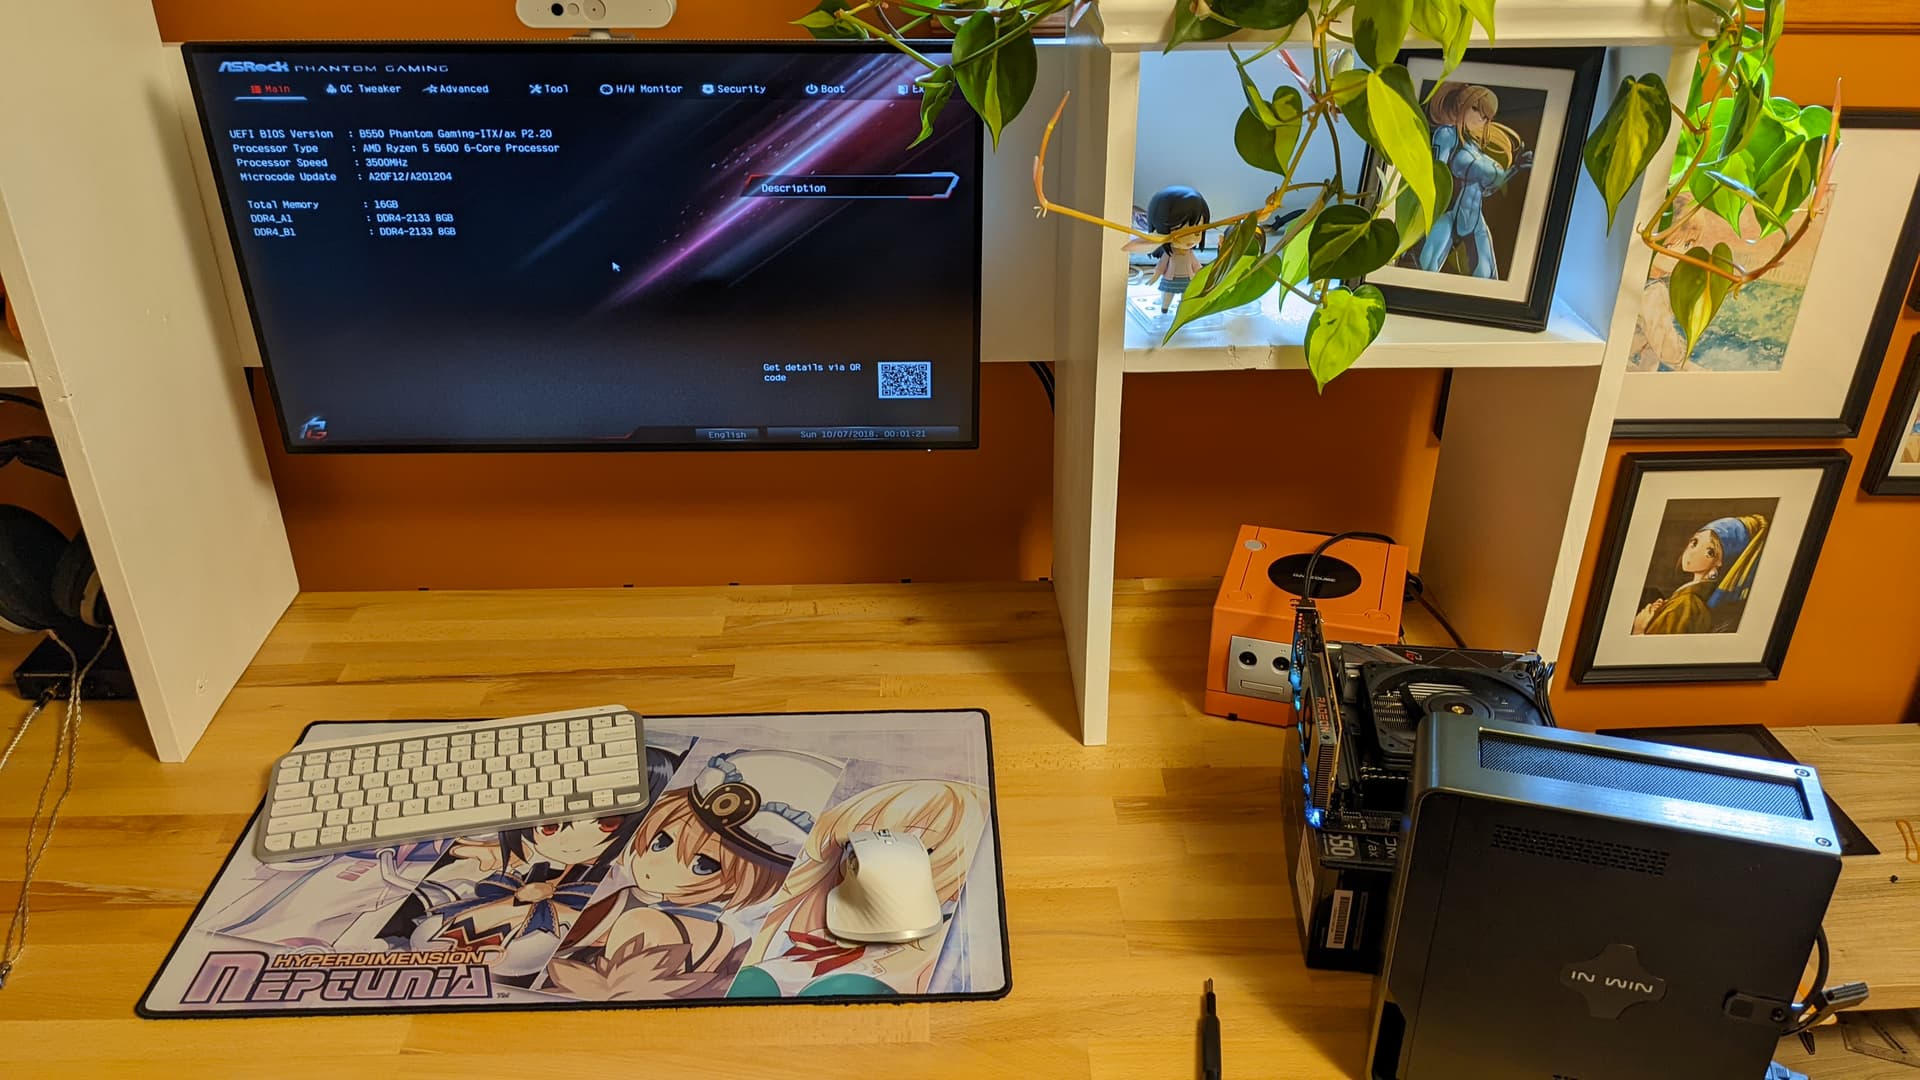
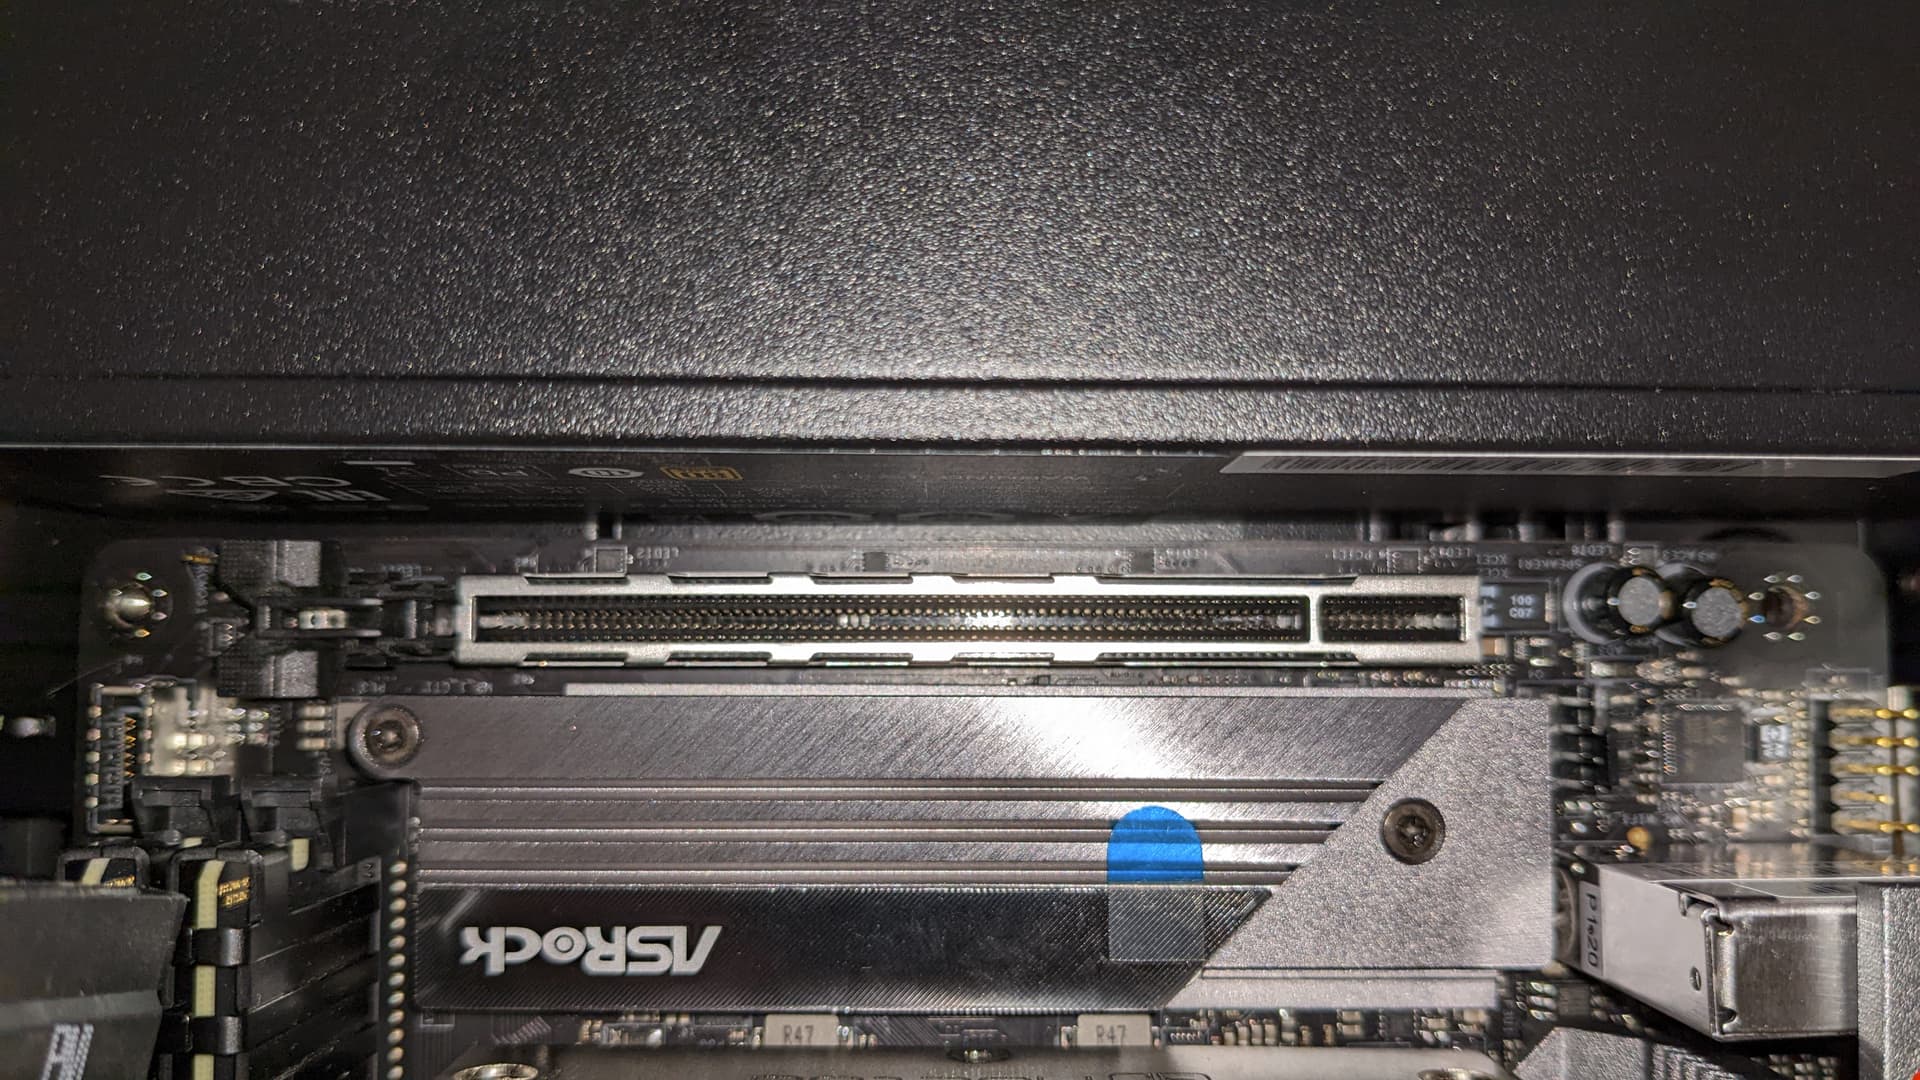
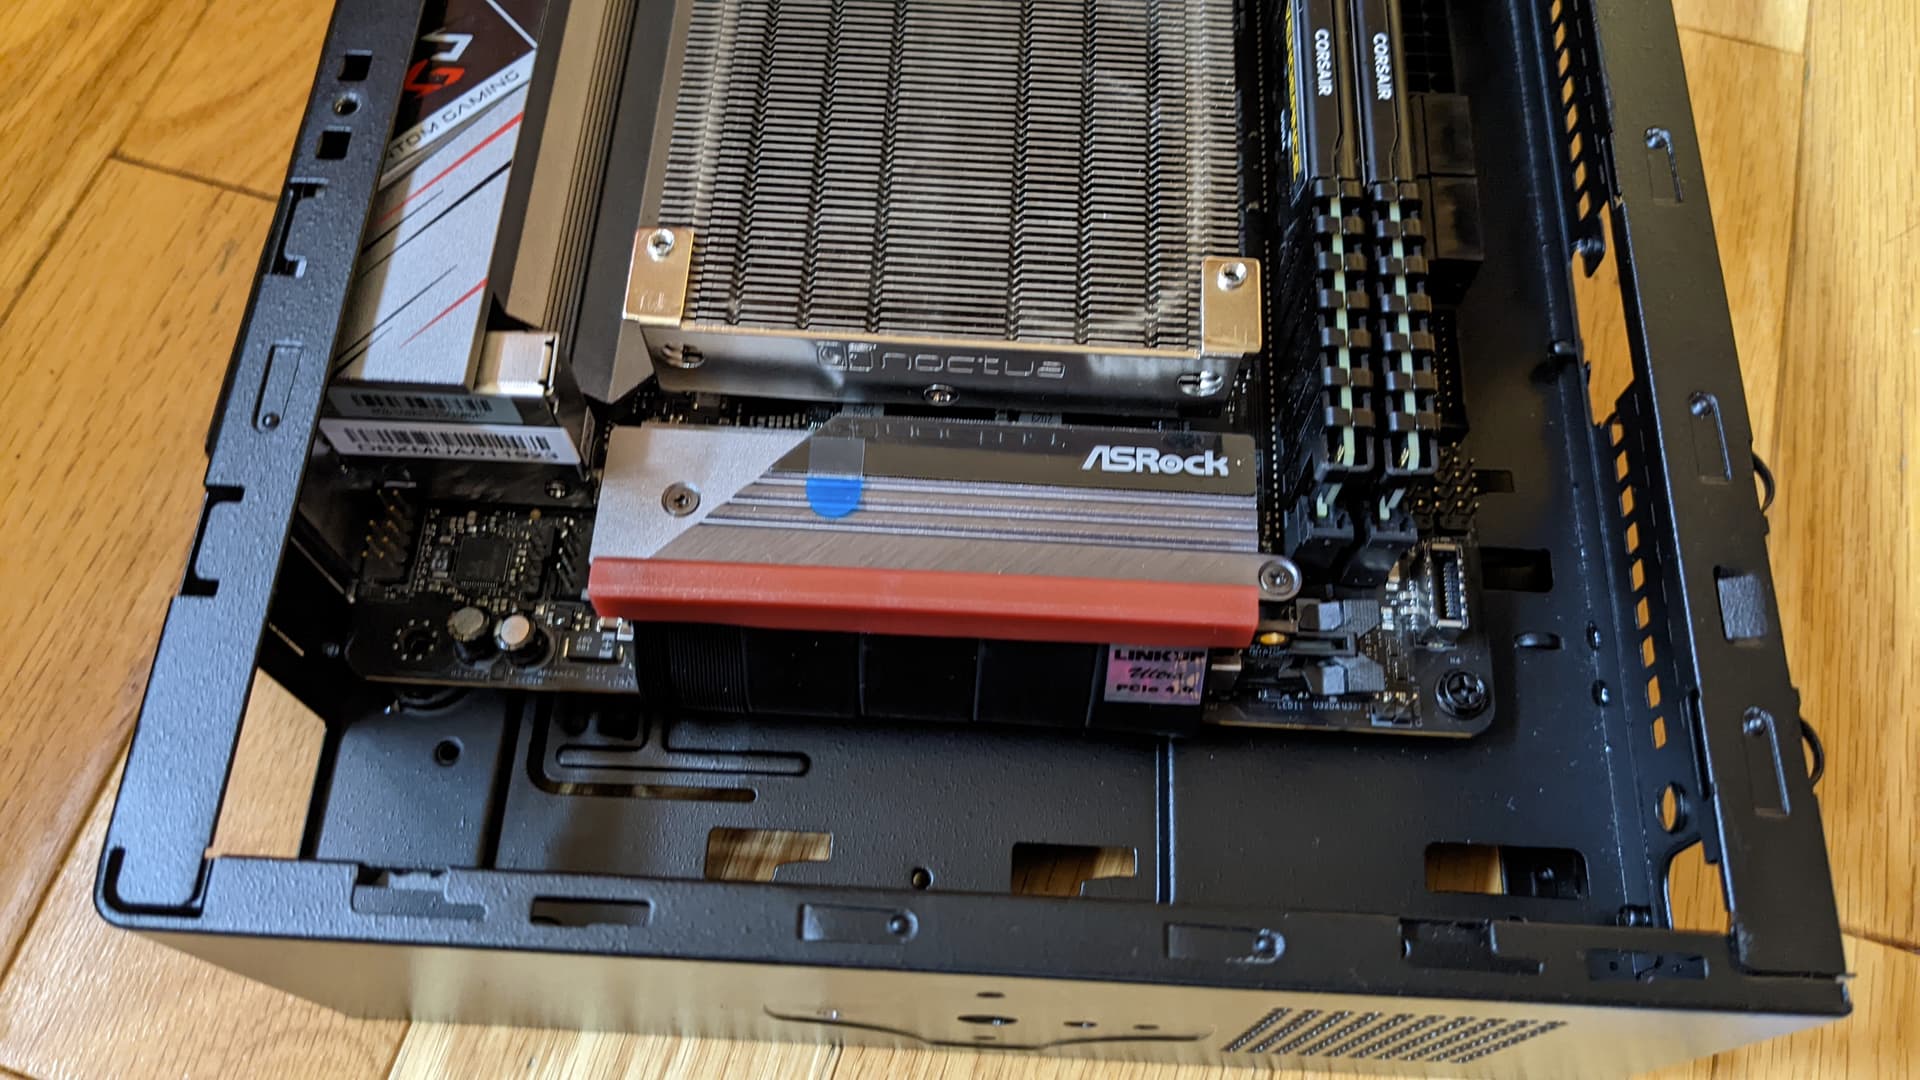
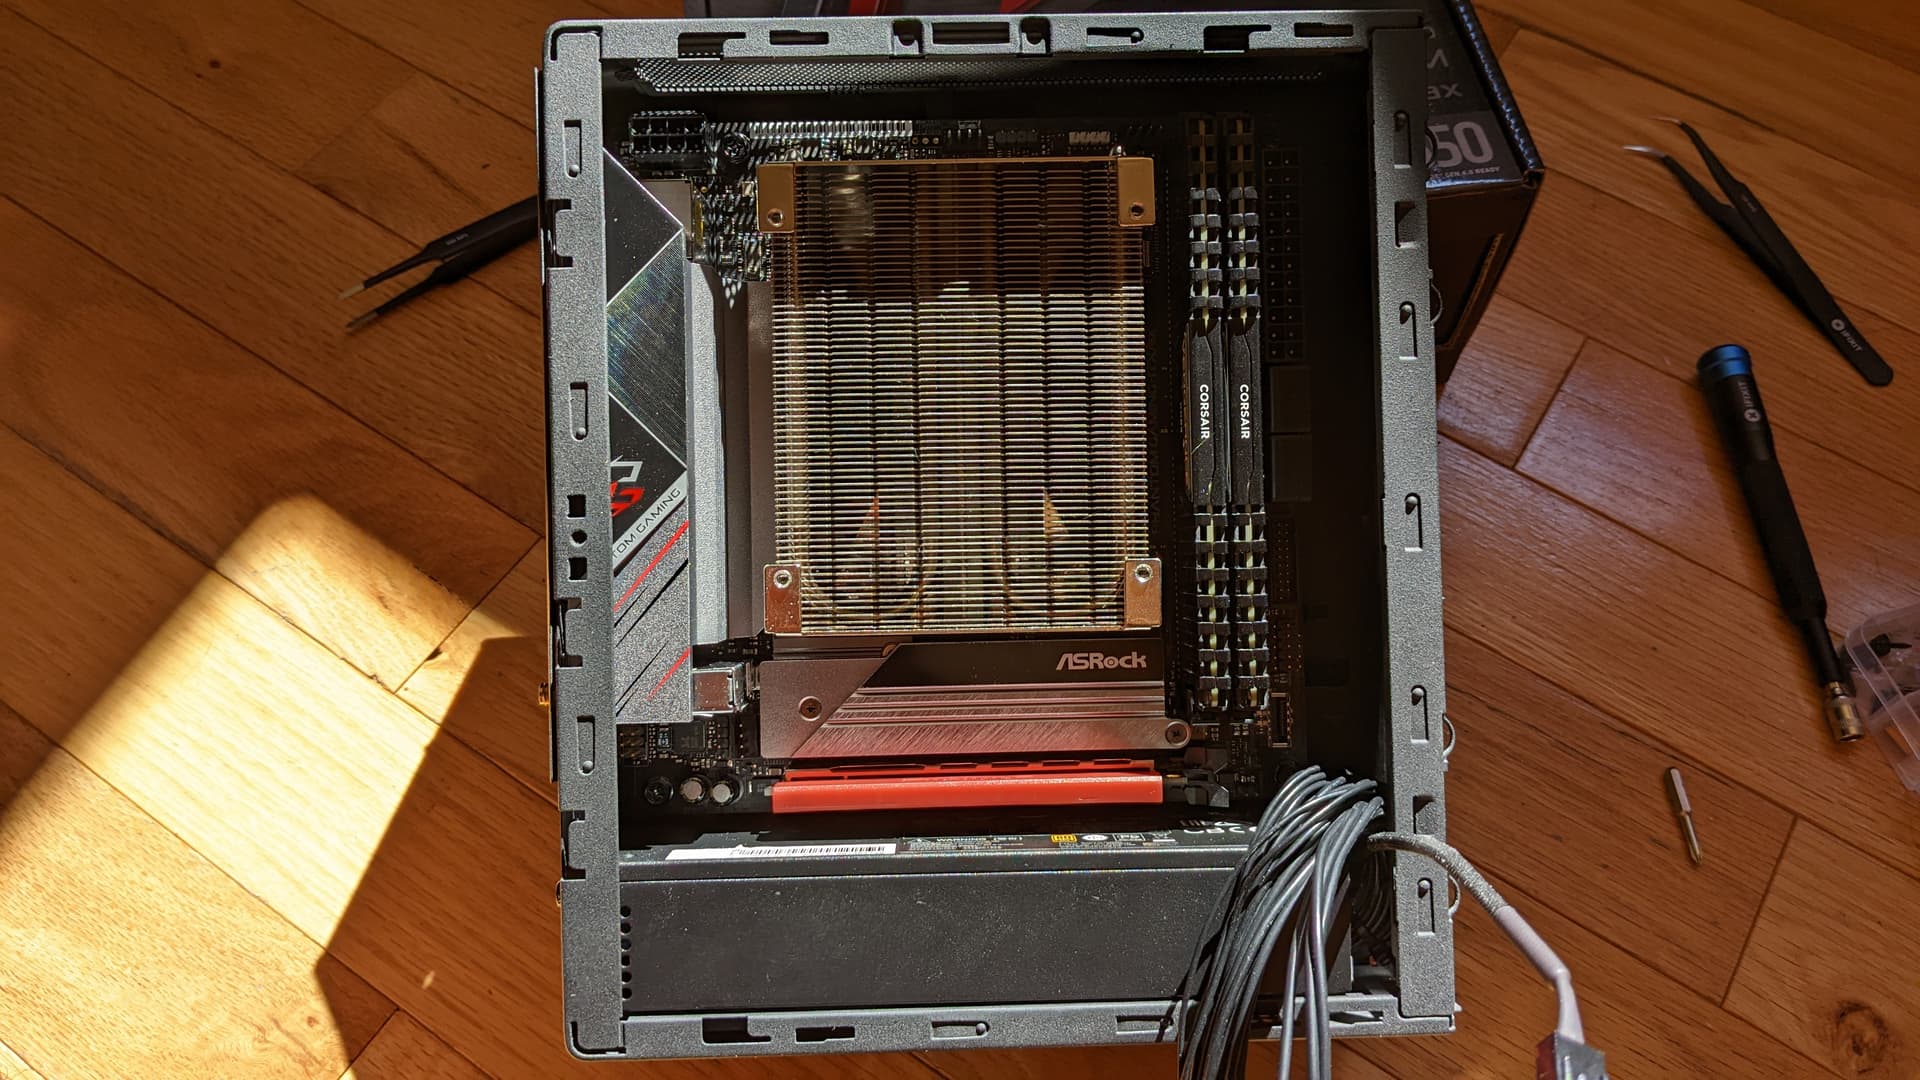
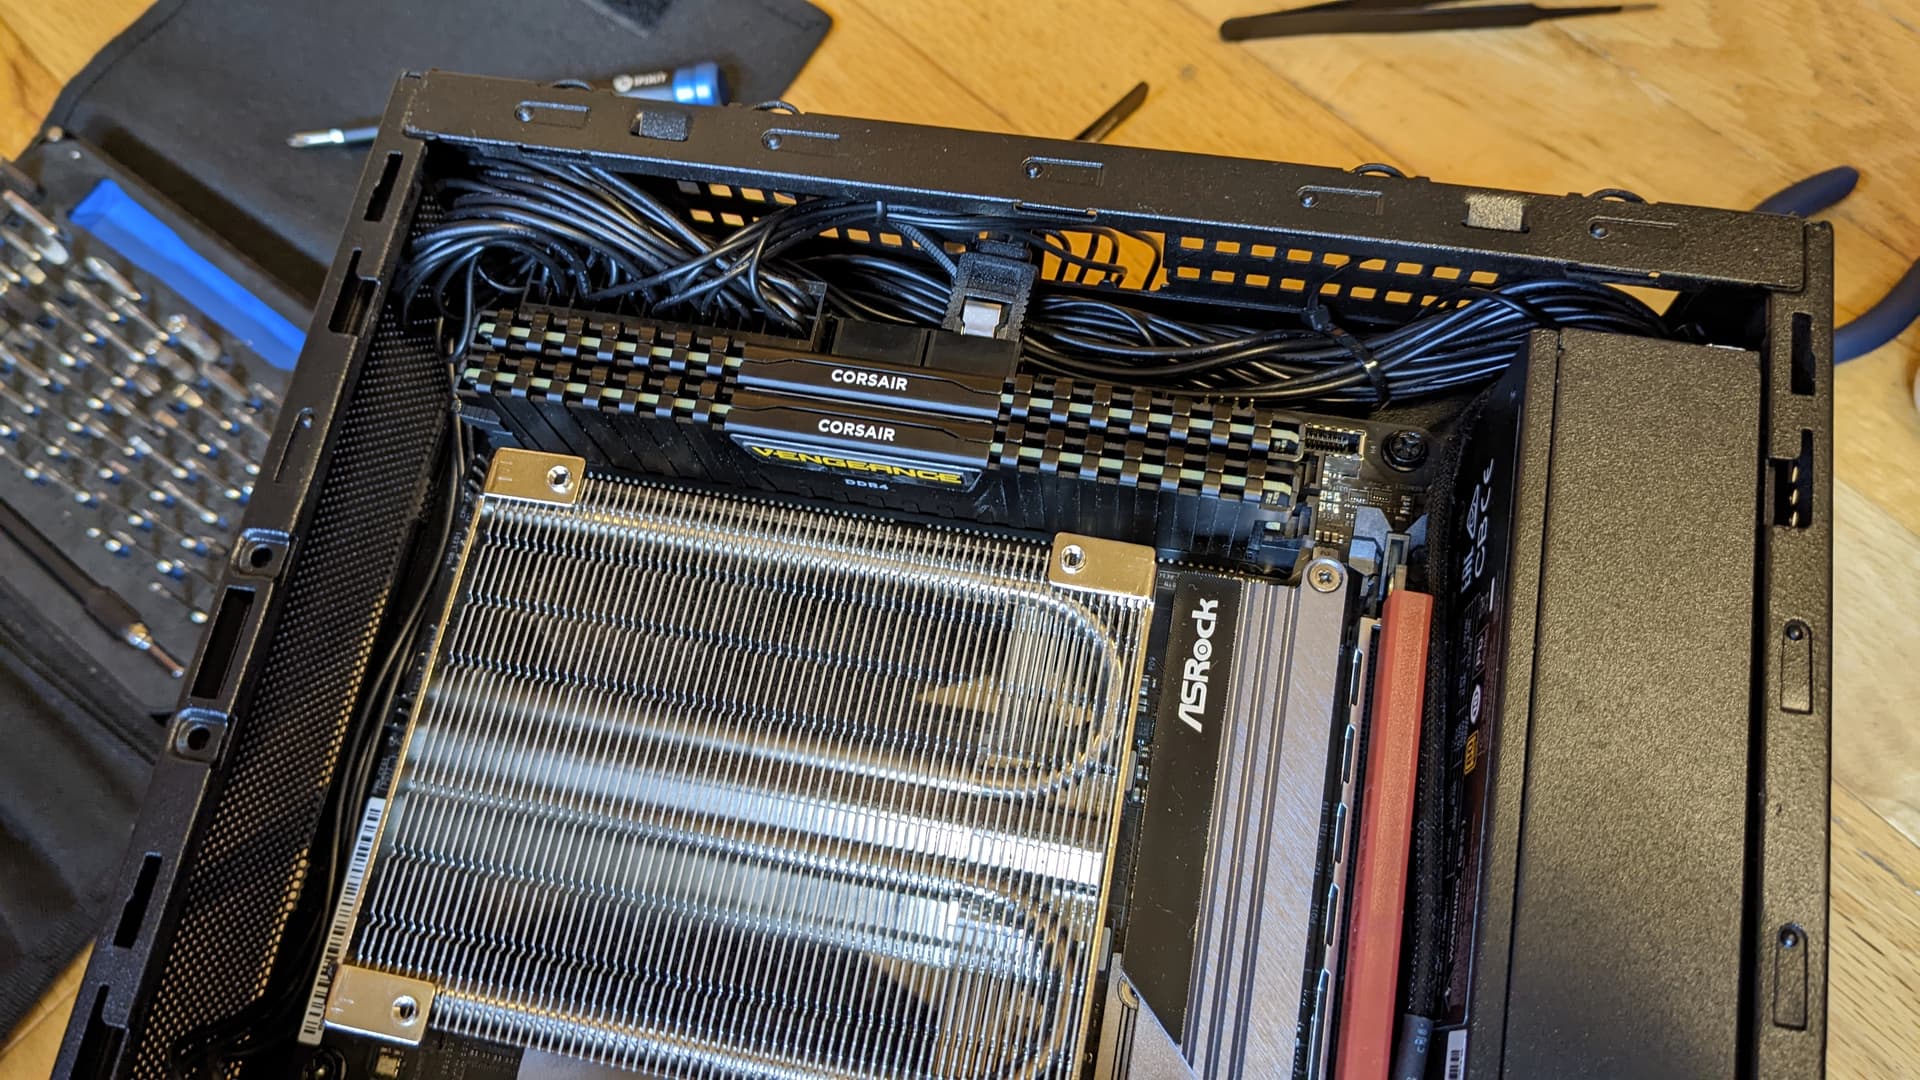
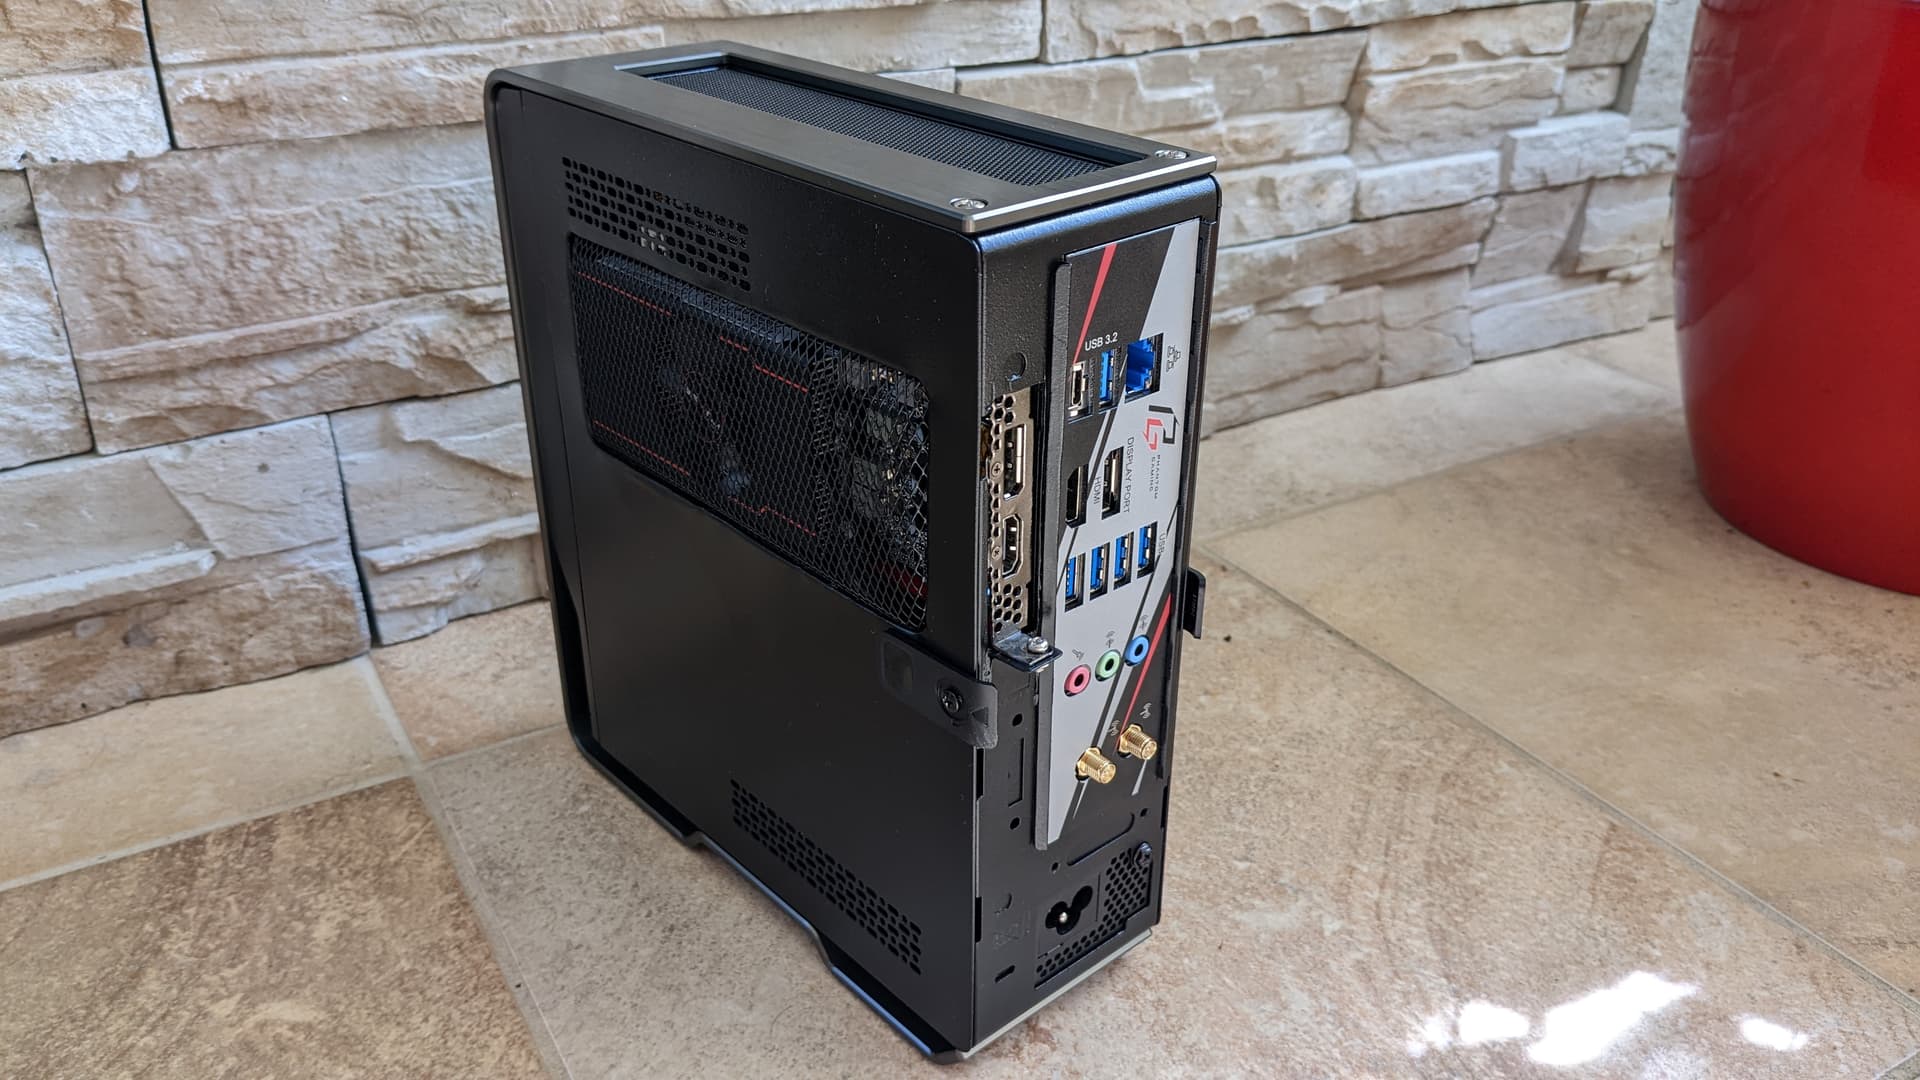
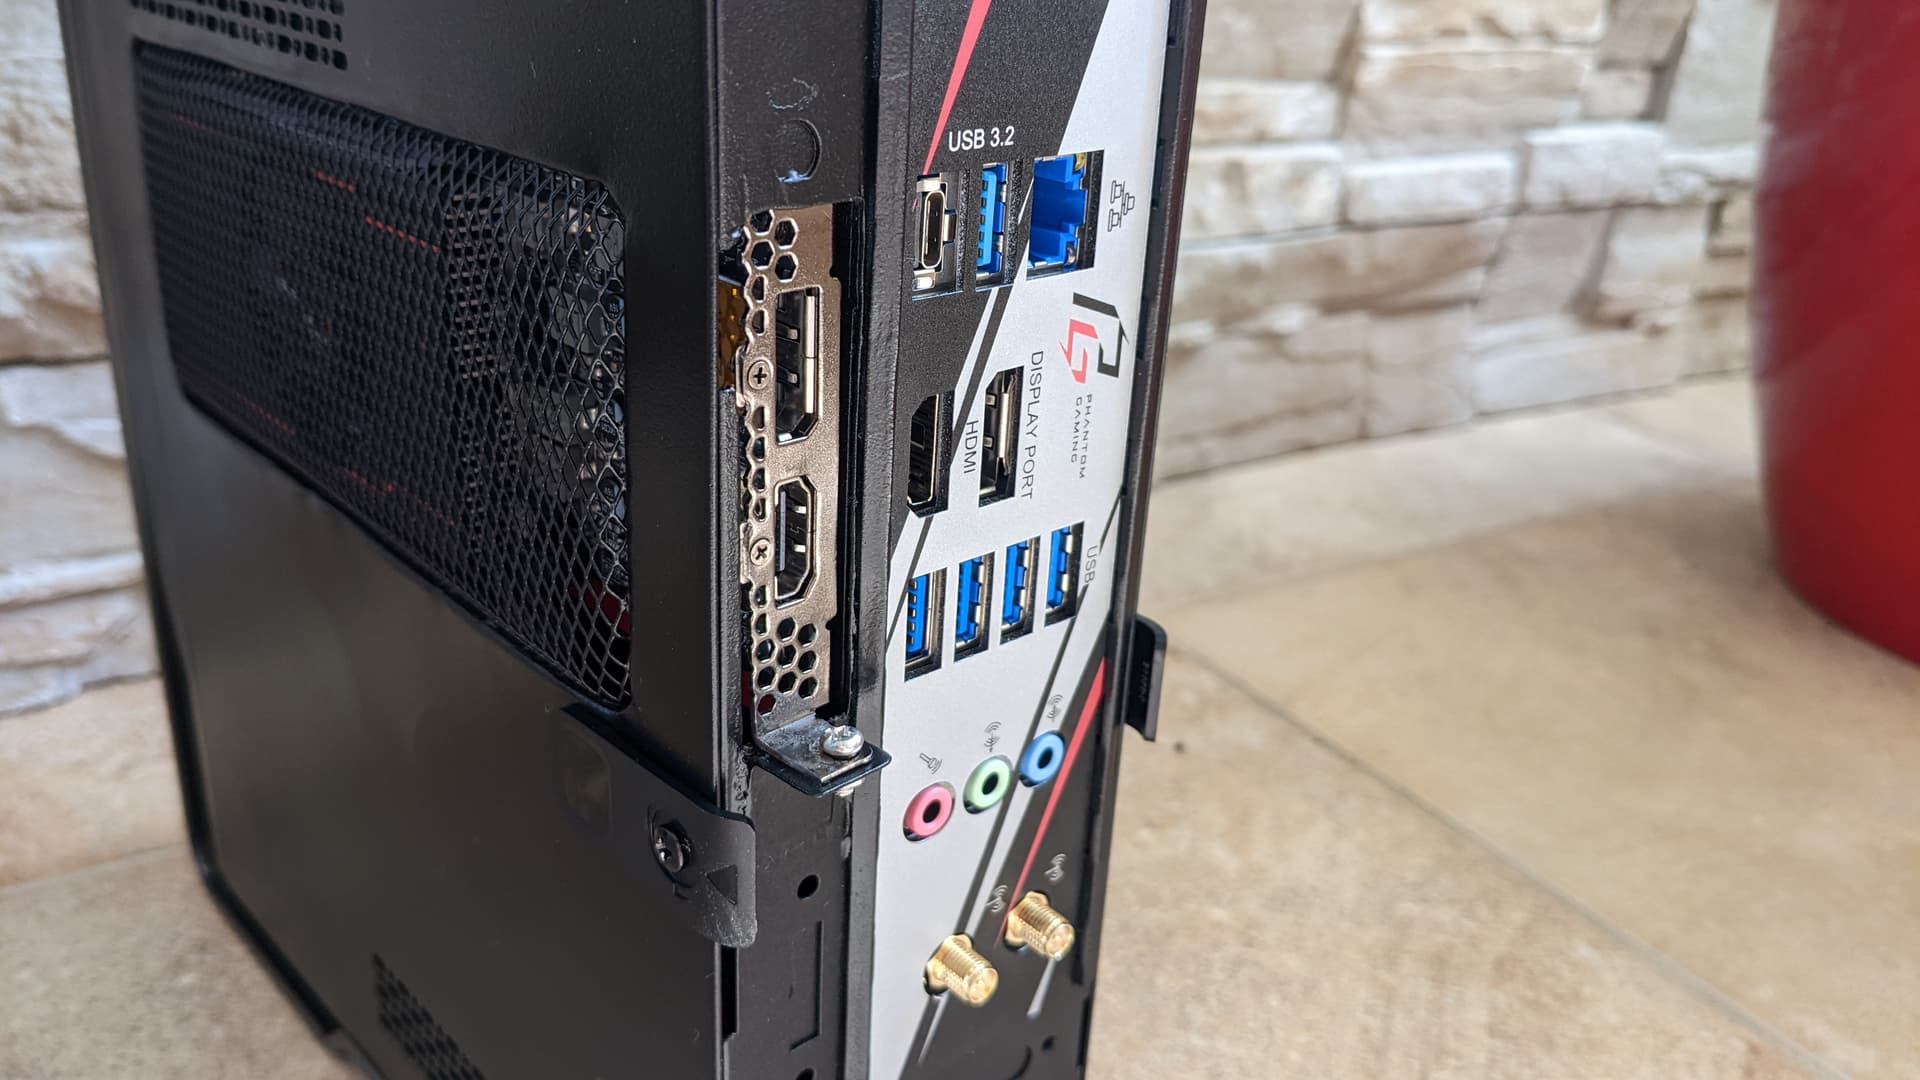
Motherboard: ASRock B550 Phantom Gaming-ITX/ax Mini ITX
Memory: Corsair Vengeance LPX 16 GB (2 x 8 GB) DDR4-3200 CL16 Memory
Storage: Samsung 970 EVO Plus 1 TB NVME (Might not buy it)
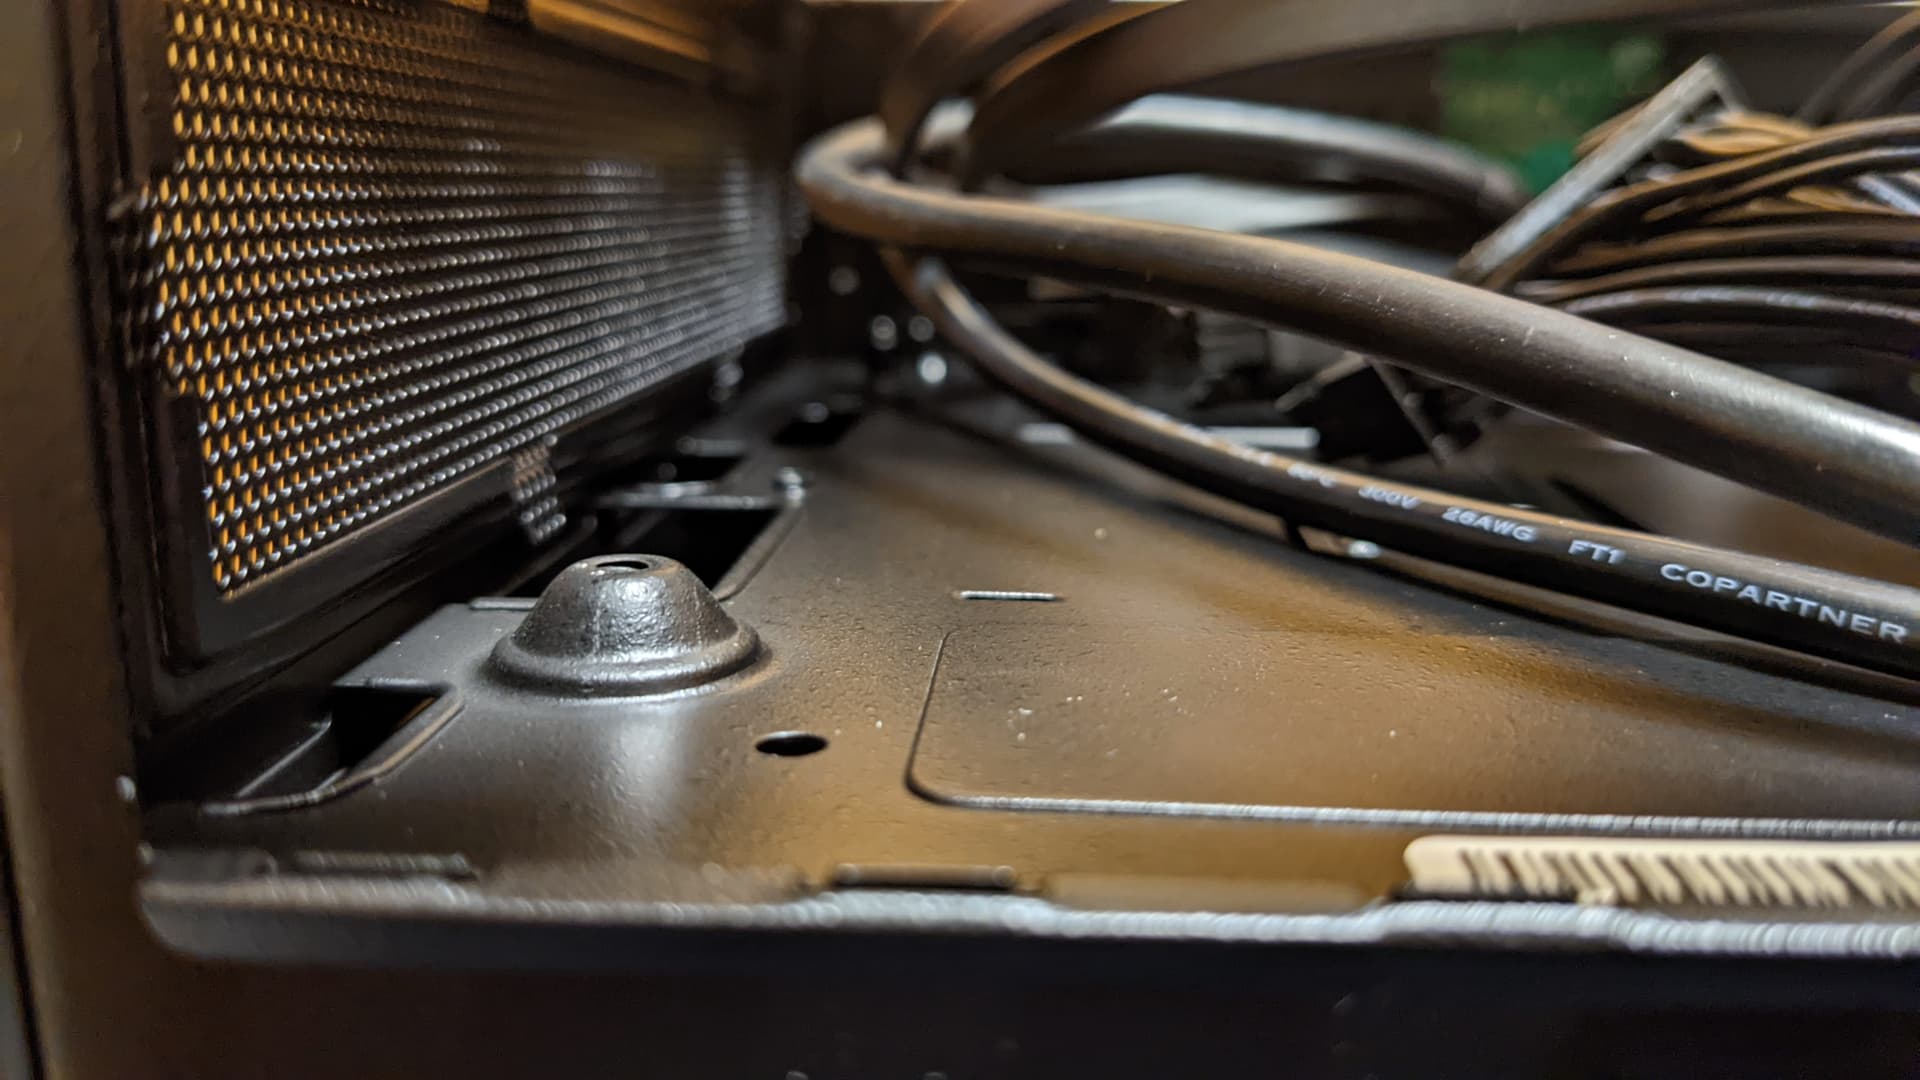
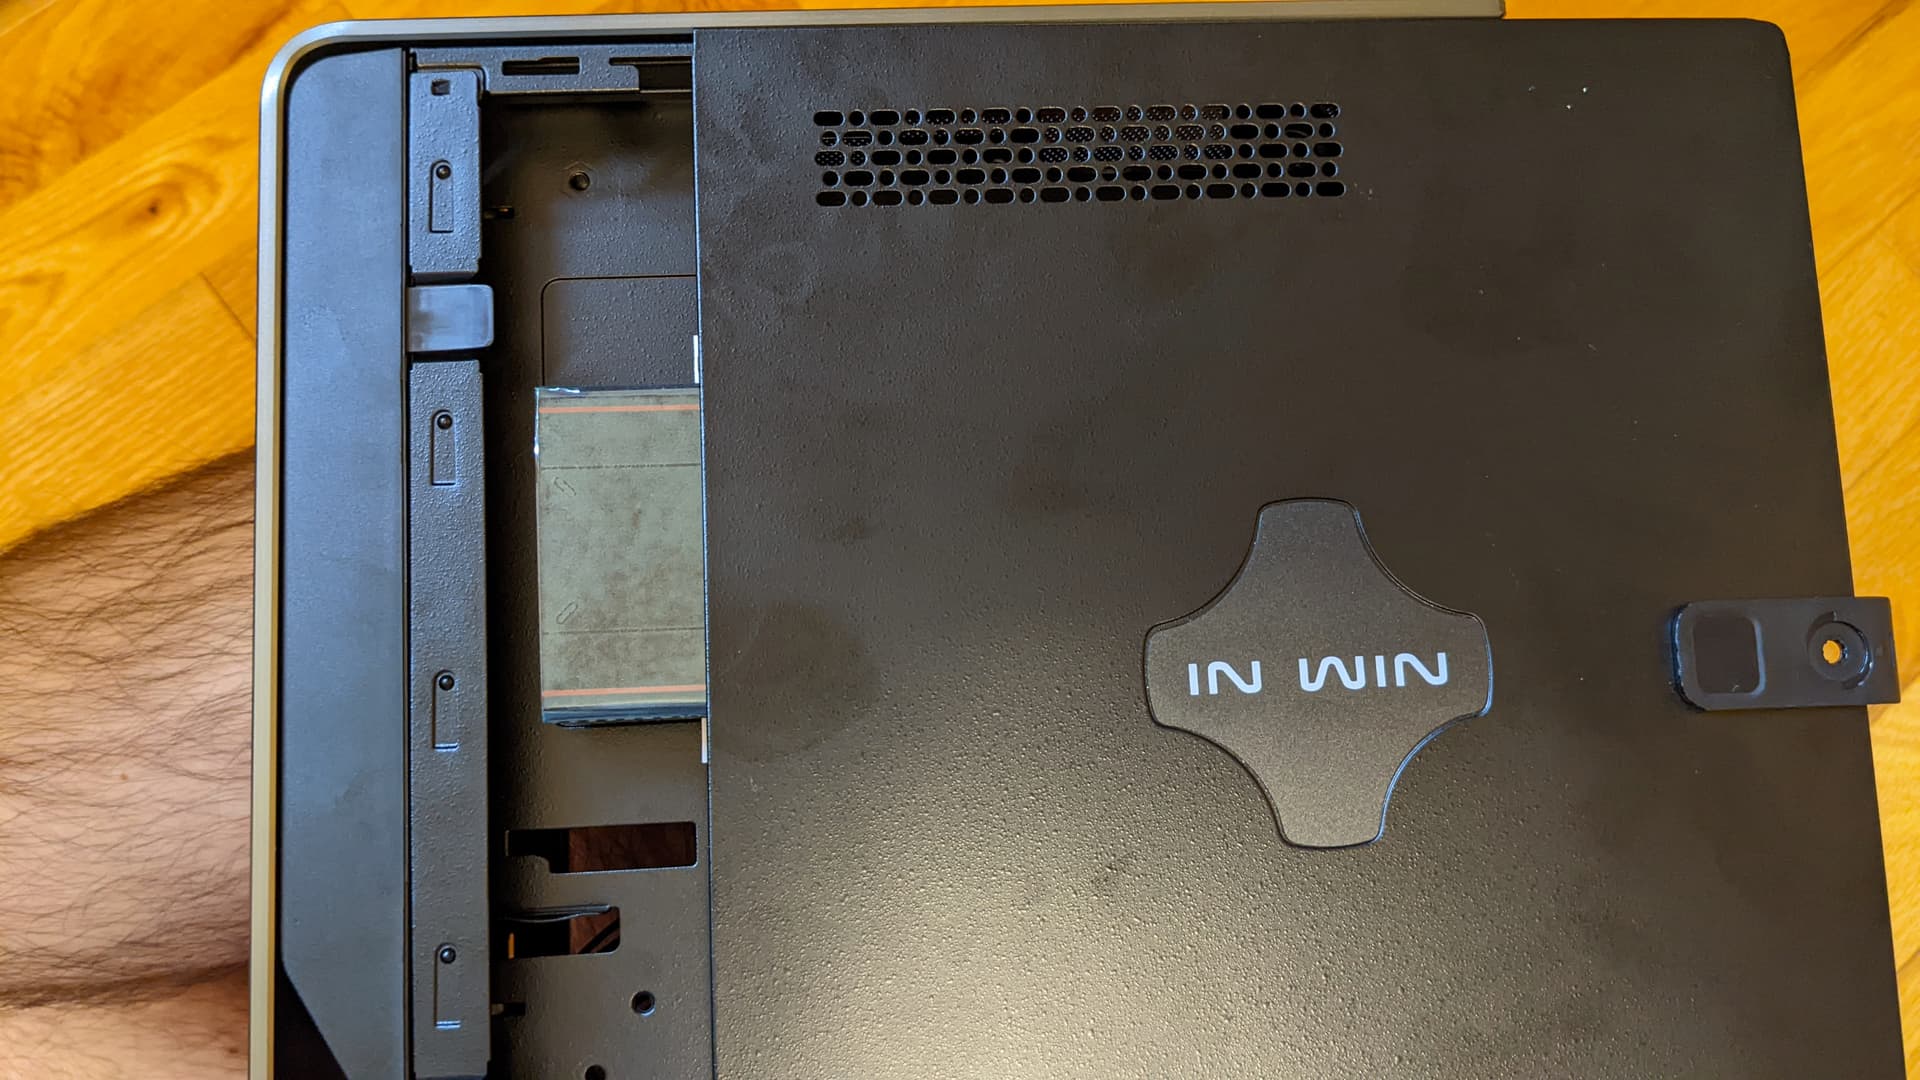
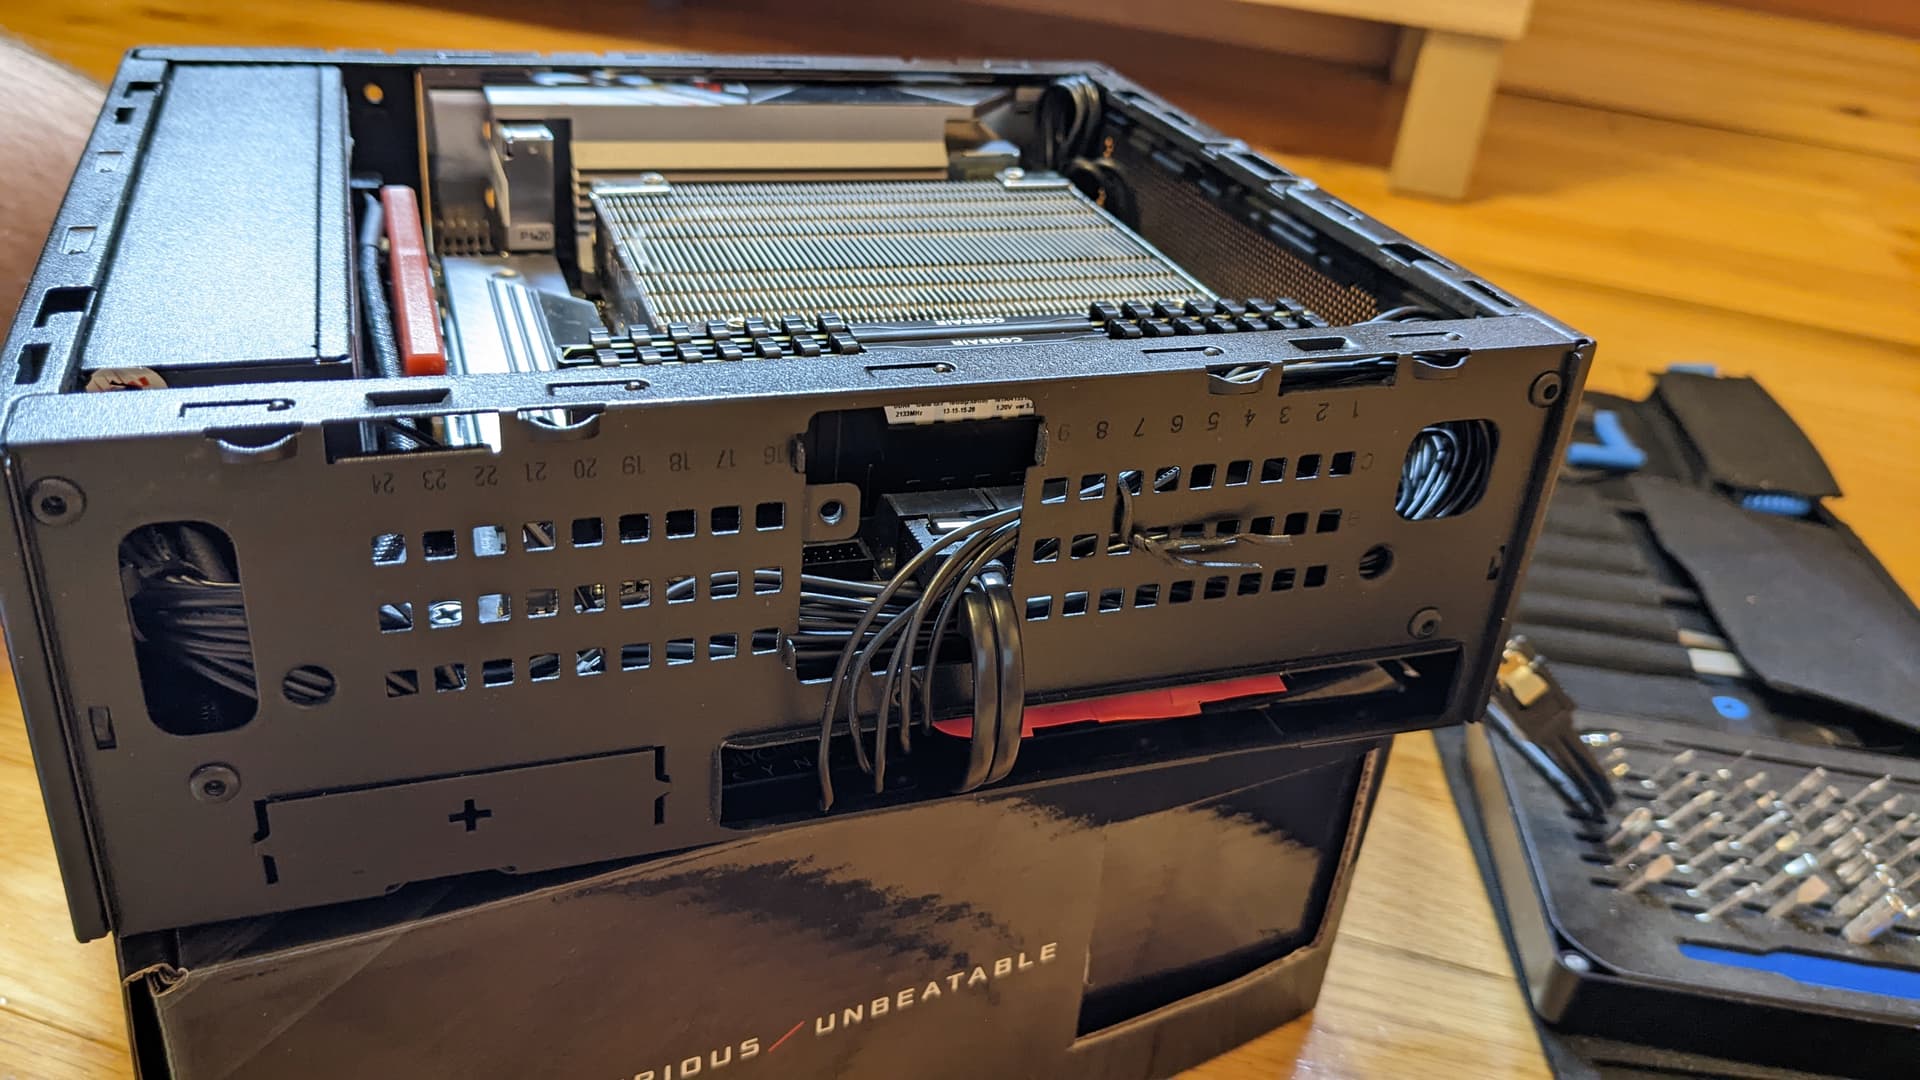
Case: In Win Chopin Pro
Case Fan: Noctua A4x10 PWM

I will update on the project. I intend to do it quickly. I will not wait for Ryzen 7000 because anyway the goal is to have a cheap build. A Ryzen 5000 is already quite an upgrade from a Haswell.

(Note: From that build I will recover a EVGA Hadron Air, the first case in which I build a PC for my mom. This case will be reused when my mom will upgrade her PC in the future. Thing might be interesting with that one as I’m not reusing the included power supply (which is like almost 10 years old now))

4 Likes

I put the LP-SS XFX RX6400 into a Dell Precision SFF and it does well enough for 1080p/30fps/med-low, but despite the efficiency keep in mind you are going to need direct airflow for anything over 20W sustained and an excessive amount of air for the full 40W. With decent airflow mine still runs in the 80s like its a laptop chip, but the fan isn’t too loud unless you cut off airflow completely.

Also if I had to choose again I would probably go with the Sapphire version as the cut down cover looks like it would provide better cooling than the full-length one on the XFX. Latter wins the aesthetics, though both should perform the same.

1 Like

The critics hate the 6400 and 6500 because they lack built-in encoding hardware, but if you are using an AMD APU or any Intel non-F chips, you should be fine. In all honesty, unless your cooler cannot be mounted on LGA 1700, I would have gone with an i5 12400, because Intel QuickSync is usually supported in a lot more workloads.

I have a Powercolor RX 6400, but I’m using it on a threadripper as a display output. Still waiting for new RAM to arrive, hopefully it will work this time.

1 Like

Ok that’s good to know. I already planned to have large mesh on the back side of the case in front of the GPU so it could draw in fresh air, but I will maybe look to add maybe a laptop fan just to add more airflow. Or maybe make the mesh bulge like on the CPU side and put a 40mm Noctua.

Ryzen do perform better than Intel in Solidworks according to Pudget System. Also it’s cheaper overall and AMD is the default option for my builds now. :grin:

2 Likes

Just a little update on the part selection, as I ordered everything last weekend:

  • I was able to find a cheap A520, but discovered that chipset does not support PCIe 4.0. As the RX 4000 do have a significant drop in performance in 3.0 as it runs only 4 lanes, I kept the B550 option and went for the cheapest available (with a mail-in rebate…). That board is now back-ordered, I bought it at the right time. :sweat_smile:
  • Also related to PCIe I changed the 5600G for a 5600, as the former does not support PCIe 4.0
  • The 840 EVO is still healthy, despite discovering TRIM was not enabled on my brother’s computer. And I will try to convince him to update from Windows 8 up to 11.
  • Damn computer components are expensive, at least I got 16Gb DDR4 3600Mhz used at 50$. There’s that :sweat_smile:

That project will be a fun little mod.

2 Likes

According to my very well research (i.e. just reading an article on techpowerup), the PCIe scaling is not that far off on either the RX 6600 XT, which I bought, nor on the RX 6400, which I also bought. The 6600 xt has x8 4.0 lanes, while the 6400 has x4 lanes. And I’m going to use them on a threadripper 1950x. Which obviously don’t have PCIe lanes.

In all honesty, I’m more worried about what I am going to run on top and if I want my host system to be a desktop or not. As in, I’ll have one Windows VM, but I don’t know if I will just run a display server on the host itself, or if I’m going to make a VM and pass the 6400 to a Linux VM. But I may end up doing that, just because I may want to mess with the system and just use a snapshot at the host level to go back in time.

1 Like

I have this case and I like it a lot. You might want to look at these!

Good luck with your build!

I went off with this article which underlines a 14% loss over PCIe 3. Obviously the results are gaming specific, and I don’t the impact on SolidWorks, but prefer to ensure the most performance as the pc will probably stick around for a long time. Also my brother was looking at maybe getting Elden Ring, so gaming oerformance will be better covered.

Ya I know Picopsu. If the budget was not an issue, I would love to go for RTX A2000. I would have needed to remove the PSU to fit the card so I would have went with a PicoPSU in that case. But I would have gotten a HDPlex because sound 12V power bricks are not that common.

You might want to bump up to 3600mhz as the GPU will use system memory if it exceeds it’s vram, also CPU will get a ram/fabric/L3 cache boost
Each stick dual rank if possible

1 Like

Received pretty much every parts, except the riser cable, so I was able to at least begin to lay out how I would do the mod.

Testing everything, it boots and everything works. Luckily, the BIOS version on the mobo was recent enough to accept a 5000s CPU, so I could update the bios to the last version. Downside, the ram does not have the clocks the guy said it had. A bummer, but I cannot complain too much for the price. I will try to manually overclock the ram.


The InWin Chopin is much tighter than I expected. Just putting the mobo was quite a delicate thing to do. I was very happy that the mobo had an integrated IO shield. :sweat_smile:

Between the mobo and the PSU, there is barely like 2 mm of clearance. So the PCIe riser would need to be routed first and it will be squeezed between the two components.

I was thinking about making an opening right at the bottom to pass through to the back side, but seeing how propped up is the mobo, I will instead pass the riser cable behind the mobo and do an opening at the top instead.


This way it will help also for the GPU clearance, because with only a piece of paper, the GPU is already flush with the side. The PCIe slot is slightly too large. So it’s better to do not add height by passing a riser cable behind, even if I will do an opening in front of the GPU and put mesh in the same fashion as on the CPU side, which would help to gain some height clearance.


Looking forward to potentially cut some stuff tomorrow.

And for @E-Wasted, some pics of the Noctua fan


5 Likes

Received the PCIe riser and… it’s way too stiff. I’m afraid that I willl break it if I bend it too much. And 200m is too short for going behind the motherboard.

So I will just return it and finally I will get a dual reverse connector one, doing an opening at the bottom of the mobo as I initially planned, so there will be less bends to do. The PCIe riser do not add that much thickness behind the GPU.

3 Likes

It’s my first time doing metalwork and it proves itself to be more laborious and difficult than I anticipated. For a frame of reference, here’s the case before any mod.


I began by the cutout for the PCIe riser. I reverted back to my idea of doing the cutout at the top. Being a double reversed connectors PCIe riser, the riser is easier to handle. So the riser goes behing the mobo and just pop-up at the top to allow the GPU to be connected, allowing to free as much height as possible for the GPU. Nevertheless, the PCIe riser is quite squeezed by the mobo and is quite stuck when everything is mounted.

I did a first cutout, but I had to extend it on the top to offer some more play for the riser to be moved around. Also, I didn’t adequate tools while doing this stage, so I cut the opening with a wood chisel and a hammer (yes I know).


So afterward I just went buy a dremel bits set and it worked much better from that point. But dame metal can chew through a lot of bits even when operating them appropriately. I did the opening for the GPU, the result is nice enough. But I’m dreading know how I will mold the mesh that will go in the opening.


And I did the GPU slot. At the beginning I tried to just do holes for the DVI and HDMI ports, but I failed hard, so I went with the option of making a full GPU slot. However, the space available is 1-2mm too small for the single slot height, so I had to trim the GPU bracket, but I trimmed a little bit too much. I will need fix that to make it more aesthetically pleasing. I also crafted a simple bracket (?) to screw in the GPU. It is maintained in place with crazy glue lol.


I will paint it so everything will looks nicer. At least everywhere where the metalwork is rough is not visible, so at least I still have a visually pleasing case on hand.

8 Likes

Looking forward to the sanded and painted version.

2 Likes

There’s a very good reason why I try to avoid working with steel and instead use aluminum in my case projects. :smile:

Your project looks good so far, can’t wait to see more of this. :slight_smile:

2 Likes

I began the work on the paint. First, I was kinda annoyed by the depression left on the GPU side, as it would stay that way as the sticker will not be reused. And it struck me, I had putty on hand! So I filled the cavity to have a cleaner look. And did some finish touch too where the GPU bracket.

And up to now I did a first pass of the paint. Because the putty has a different texture than the metal, you still see the outline of the depression despite the fact it’s flat lol. But at least it looks good. Painted the mod looks way better.


I really like the finish of that matte black paint, and as the original black of the case does not match with the new black, I will paint also the CPU side panel.

Also, I ask my printer to print a mold for the metal mesh on the GPU side, so hopefully I will get a nice metal mesh that looks the same as on the CPU side.

Also I got another PCIe 4.0 riser, this one from ADT. It arrived way faster than anticipated. This one cost 40$, will the first one I was using cost 110$. So gonna returned the first one to lower the cost of the build lol. I also swapped the PSU fan, and this one will be connected directly to the mobo instead of internally in the PSU to control it and make the PSU be cooler by increasing the RPM. The Noctua is quiet anyway so I don’t hear a thing compared to the previous fan.

5 Likes

Next update will probably the last one when the clear coat will be done and everything will be assembled. It will be in a while as now the weather is hot and humid. I cannot just stay on the black paint as it has a rough texture and gets all the dust and lint.

I will surely do test with a ssd lying around and Windows 11 as my brother wants to stay on Windows 8 because of some apps. -_-

First, I will finally not use the cheaper PCIe riser I got. It’s 5mm longer than the other one, so nothing fits anymore because of that. And as the riser is squished behind the mobo, I have no play at all to try to accomodate that 5mm. So back to the original riser.

I got the 3D mold so I molded the metal mesh. However it’s not as bulbous as I wanted, I should have asked for more height. Also, I’m still trying to make it stay more securely.


Also, while test fitting everything, I realized the GPU bracket was still a little bit too tall finally, so I had to cut furthermore.


Also, the screws fixing the bracket to the GPU are too long and they interfer when placing the GPU, so I added two washers so the screws does not go further than the bracket.


Putting everything inside is a little bit of a challenge. I need to put the mobo with the riser first, but then unscrew slightly the mobo to have some play with the riser to be able to properly install the GPU on the other side. Anyway, everything fits and works when I installed them in the case. But the panel on the GPU side is REALLY tight to put on. And cable management will be a bitch though. :sweat_smile:


12 Likes

What an incredible build! I really fell for small form factors PCs (so much so that I’m daily driving an RVZ03 build) but this is way cooler!
The measuring and cutting, the body work on the case to fix blemishes. it’s a very nice finished product!

4 Likes

So this post is not the final update. My brother did not come today, so I don’t have the SSD and the fan adapter to finish the build. But I’m still doing an update as I did some stuff.

The clear coat was done during the week. It is a semi gloss and I do like the finish it gives, plus there is no more rough texture. So after two days of drying, the build can begin.


On the GPU side, I put electrical tape to be sure nothing come to short the GPU. The GPU fits nicely.


And cable management is challenging. I managed to decently stuff the power cables.


But the IO cable are so damn stiff and long, so I decided to shorten the cable for the power and for the front audio. Did not touch the USB 3.0 cable tough. The cable for power was shorten by 18 cm, and audio by 28 cm.


But a did a mistake, and I mistaken the USB 2.0 header for the HD audio header. And the HD audio header is at the other end of the board. :sweat_smile: So at the end I decided to lengthen the cable for the sake of completeness.

But at the end everything fits nicely (after a lot of work)

Putting back the outer shell was also a challenge, because 2 screws need to be screw in from the inside of the case, GPU case.

And I had a stressful moment because when I was testing if everything was still working, the PC was not booting. After clearing CMOS and resetting the RAM two times, it finally booted right away, to my great relief. I didn’t wanted to have to take everything out to troubleshoot. :sweat_smile:

Hopefully tomorrow I get the last stuff so I can complete the build.

6 Likes

So the fan adapter is there, and using the little cable I made for the Dreamcast.


So here’s the final build. Everything fits so tight it’s not even funny. :grimacing:


But there is still problem, there is absolutely no way to connect to the internet as there is no drivers on Windows 8.1 that either support Wifi 6 or the 2.5Gb NIC of the mobo. That’s what happens when you update an 8 years old PC and you cannot clean install :upside_down_face: So I’m updating it to Windows 10, and after 11, and will follow with performance. Hopefully its app still work. :sweat_smile:

7 Likes

@cityle You are a master craftsman, and this build is excellent. Good job. About Windows 8.1 not having any drivers, that is an easy fix. Have you tried contacting the manufacturer to see if they have drivers?

1 Like