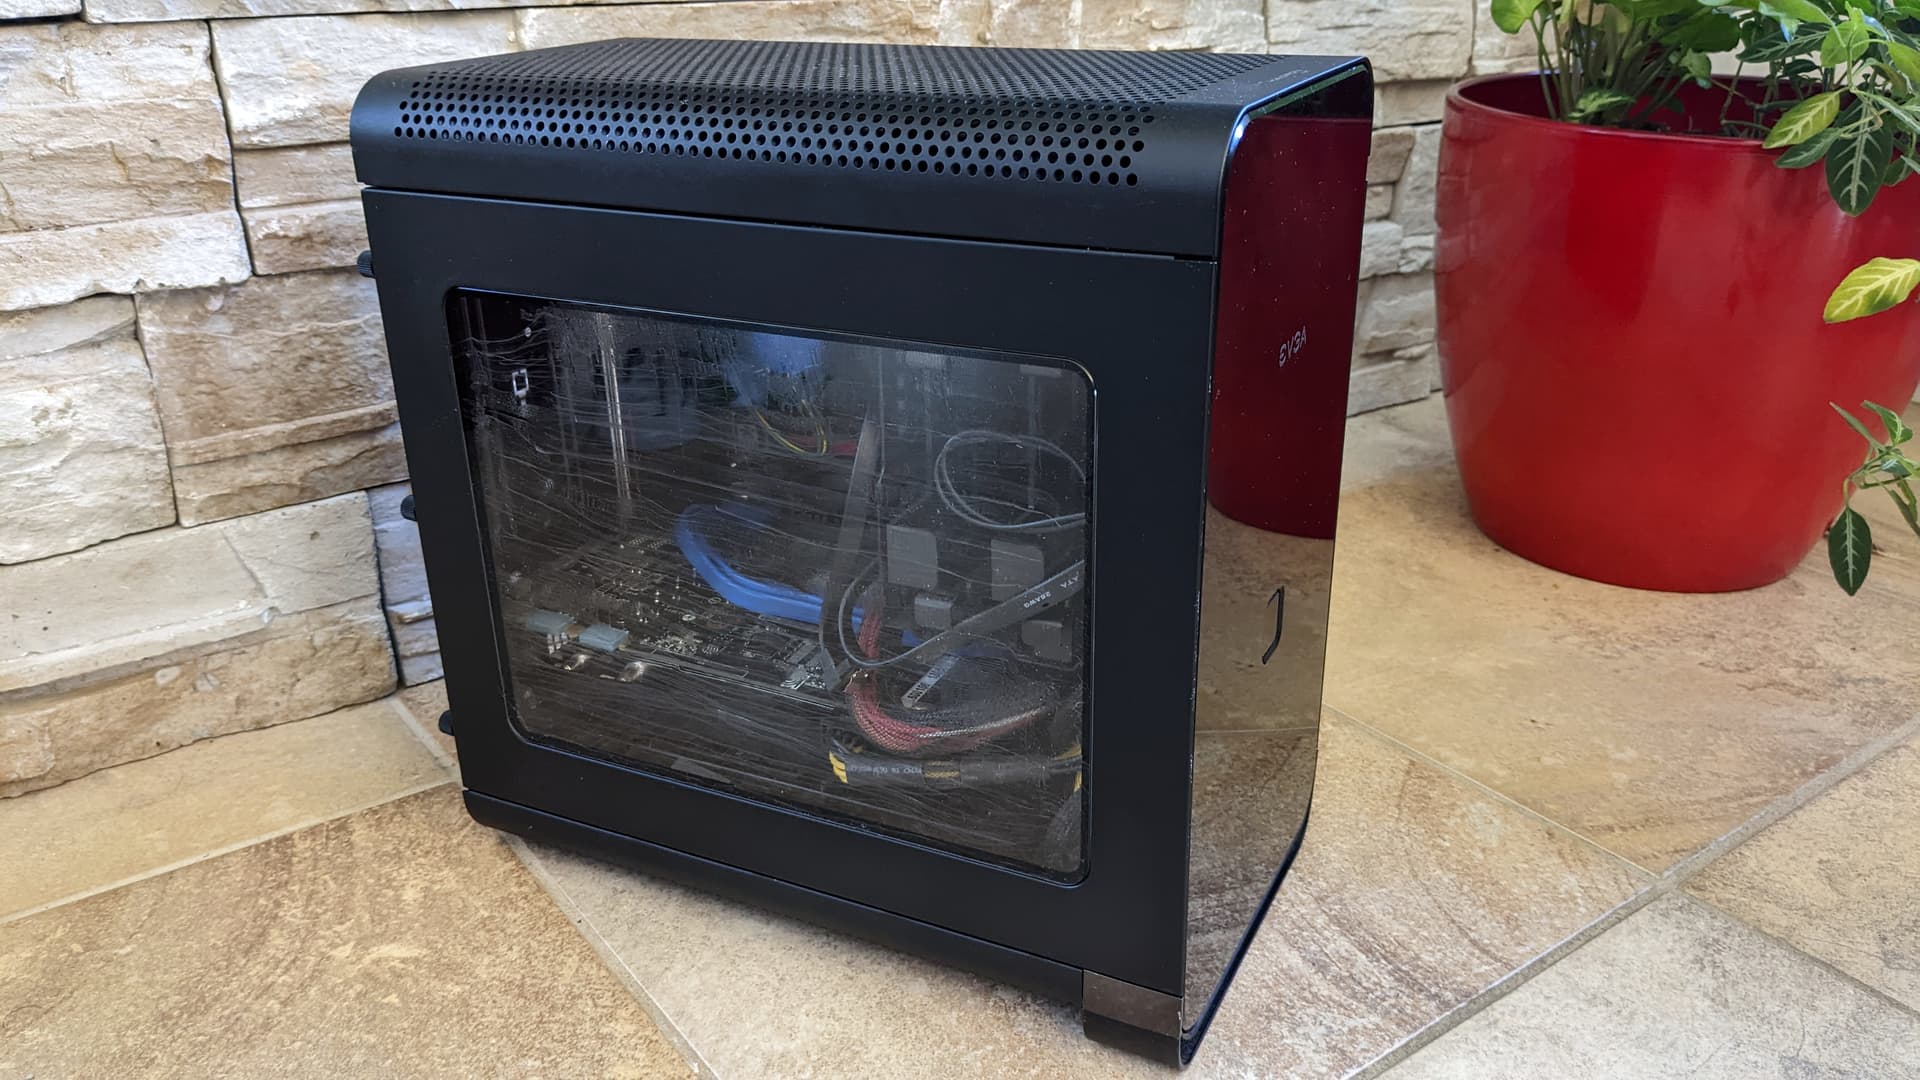
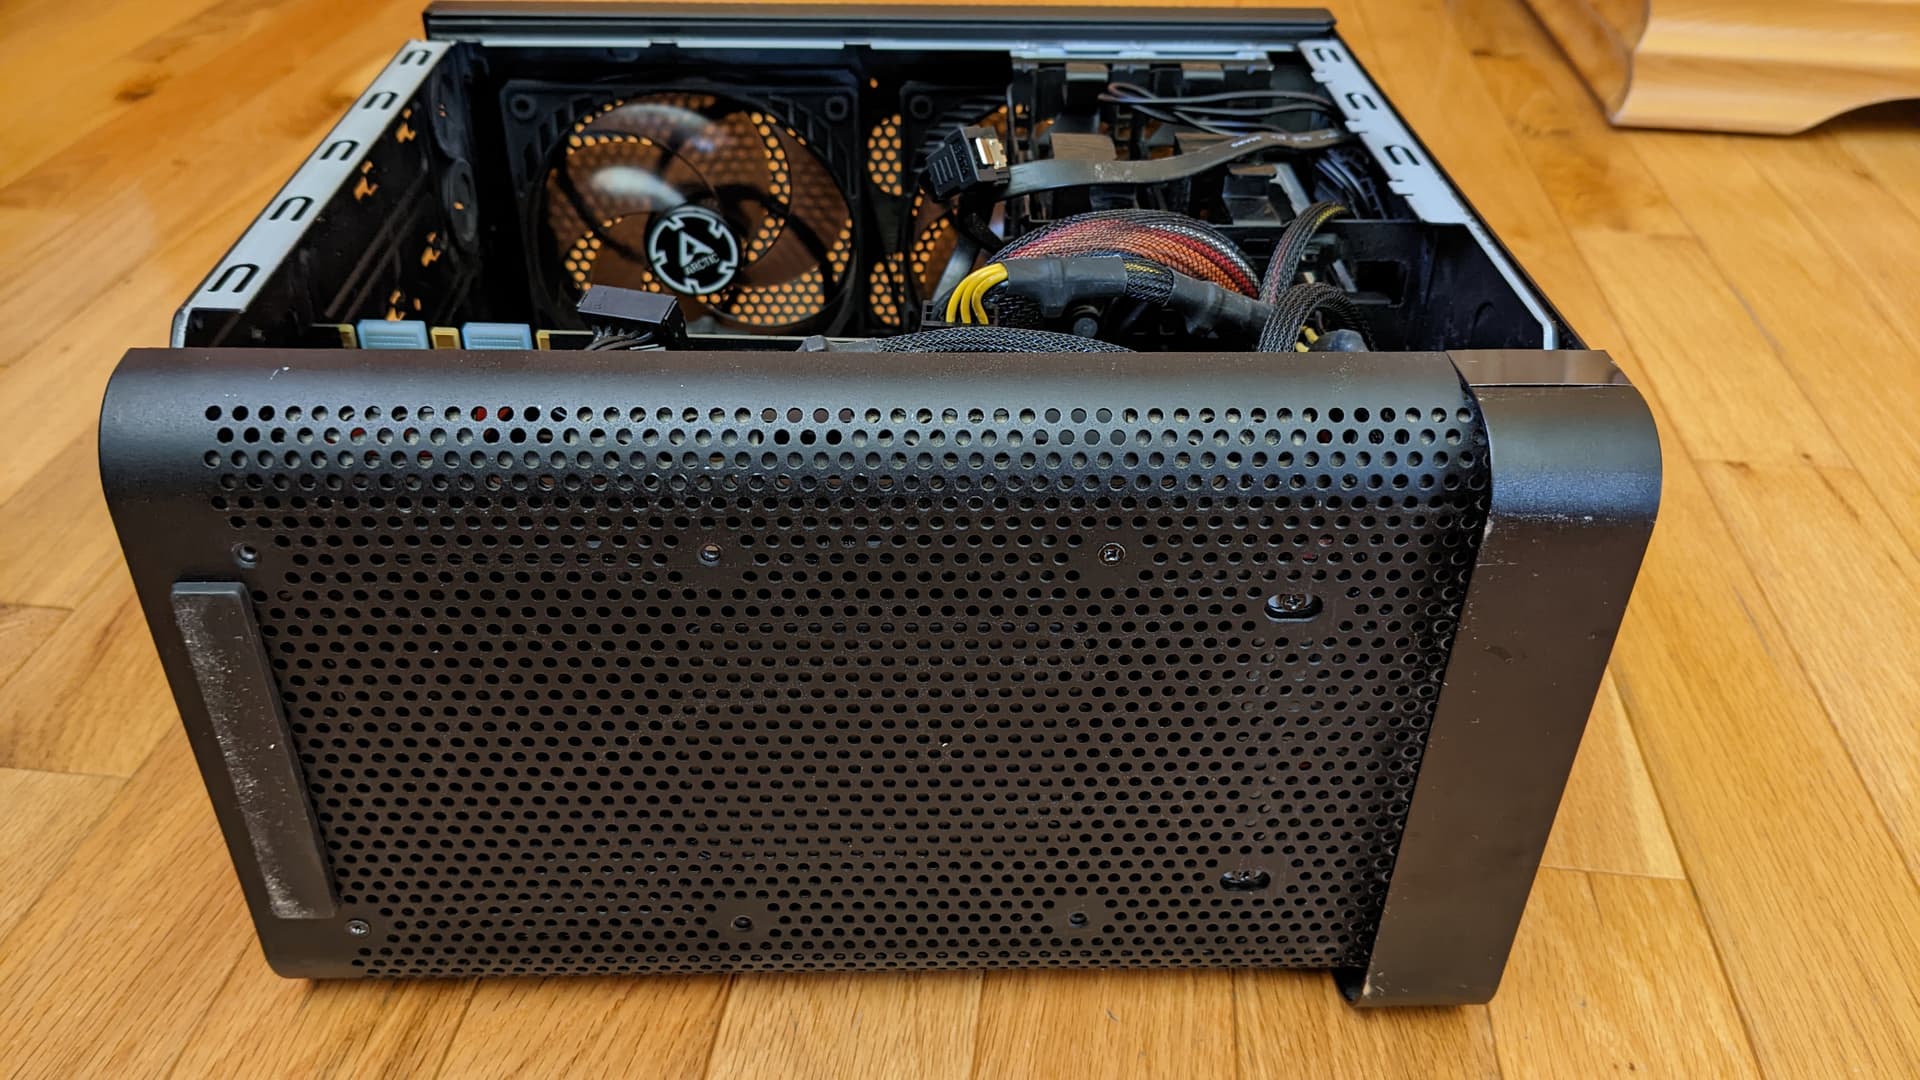
So you may have seen my recent petite build of ユニ (Uni). It was my first metal work, and the result was really satisfying. But something I was looking out while beginning this project was my old brother’s pc. More specifically the case. An EVGA Hadron Air. It was my first PC build, built for my mom, and I always like the look of it, even if back in the time it was kind of a pain to build in.
And my parents upgrade their PCs every three years, so normally this winter would be time for my mom’s PC upgrade. And I want to reuse that case for her next PC, but with some modification, the main of which would be to use a SFX PSU instead of the proprietary PSU with no removable cable (and 8 years old too). I’m beginning the build now though as it’s kind of difficult to paint during winter. This build will probably be home to the new Ryzen 7000s.
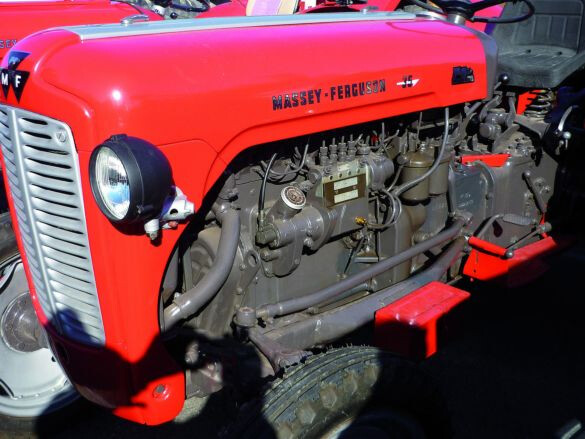
As tradition oblige, this build must also bears the name of another character in the Neptunia franchise. The build will be a red and black, so I thought first about Red, but I don’t care too much about her. So I’ve got better: Noire in her Black Knight form from the game 4 Goddesses Online. I love Noire in this form. The Wifi is already called Noire, so it’s important that it’s ノワール Black Knight in this case.
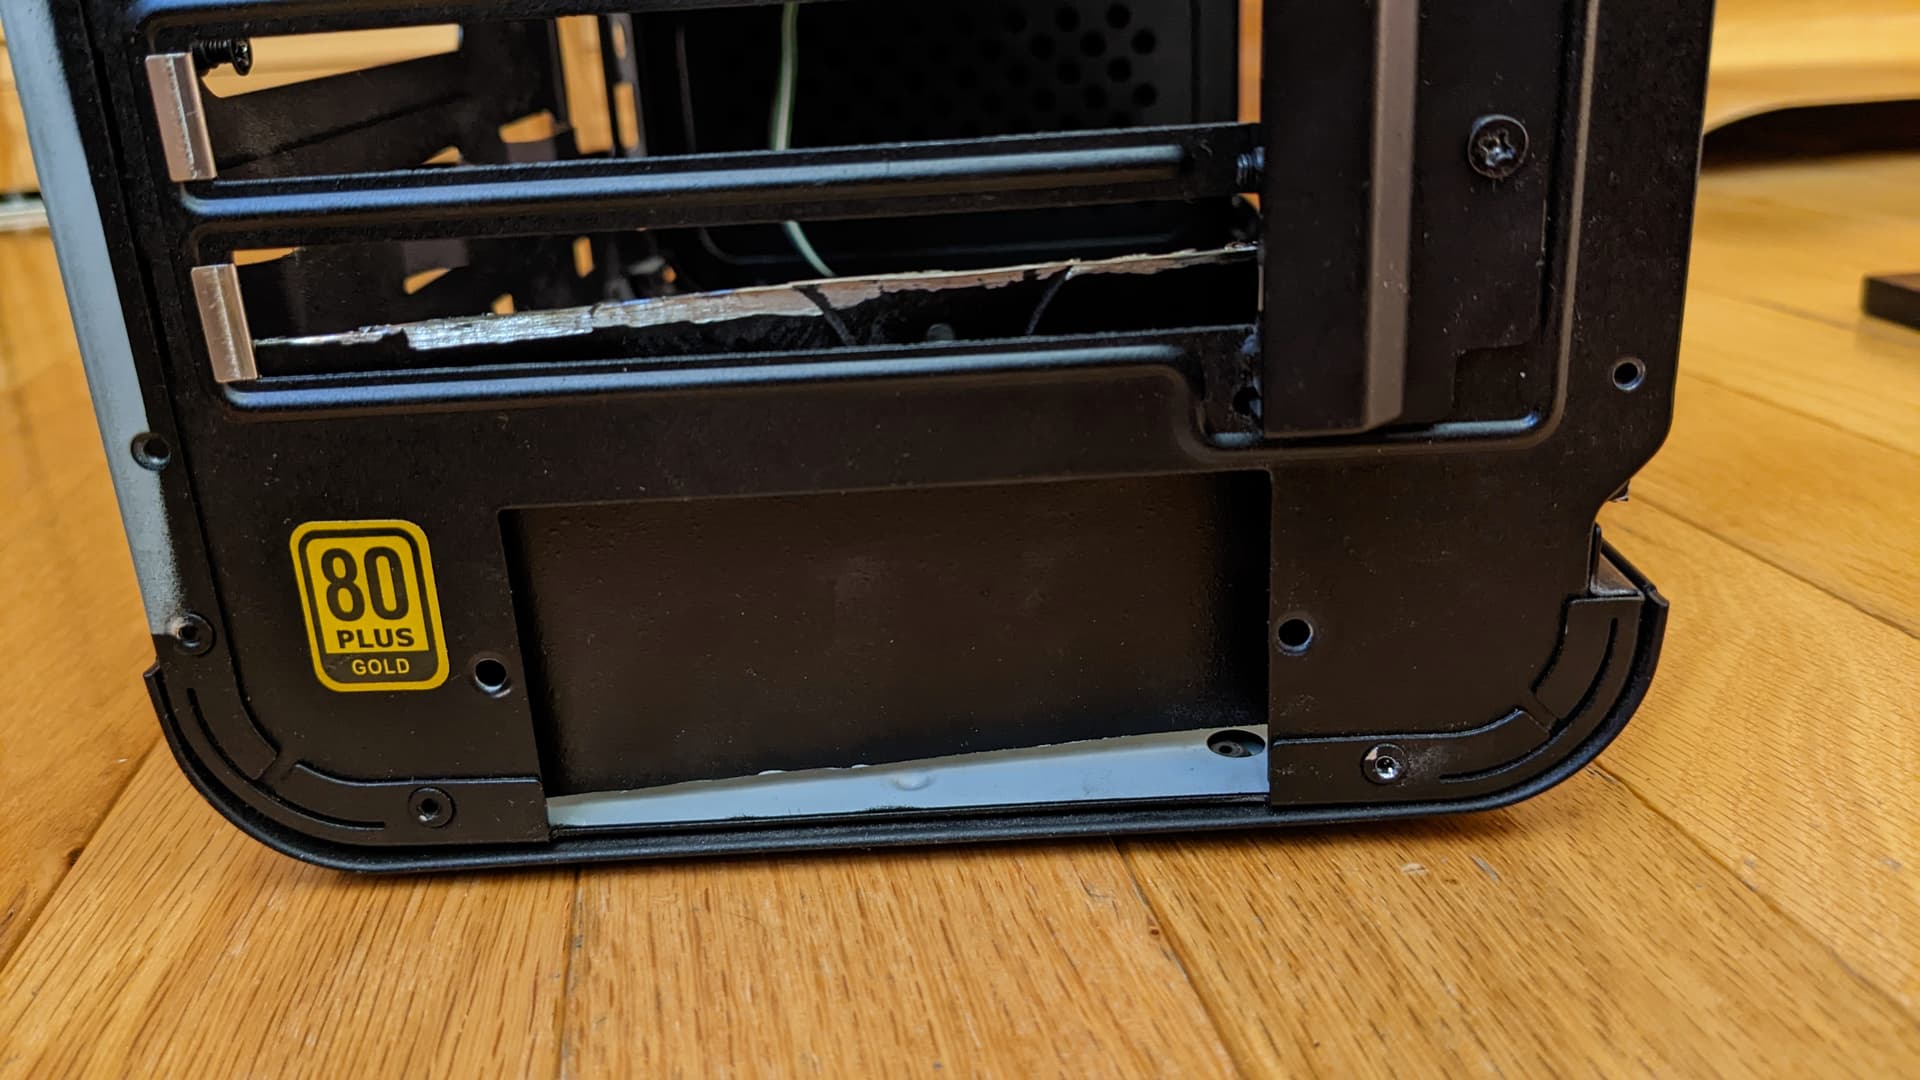
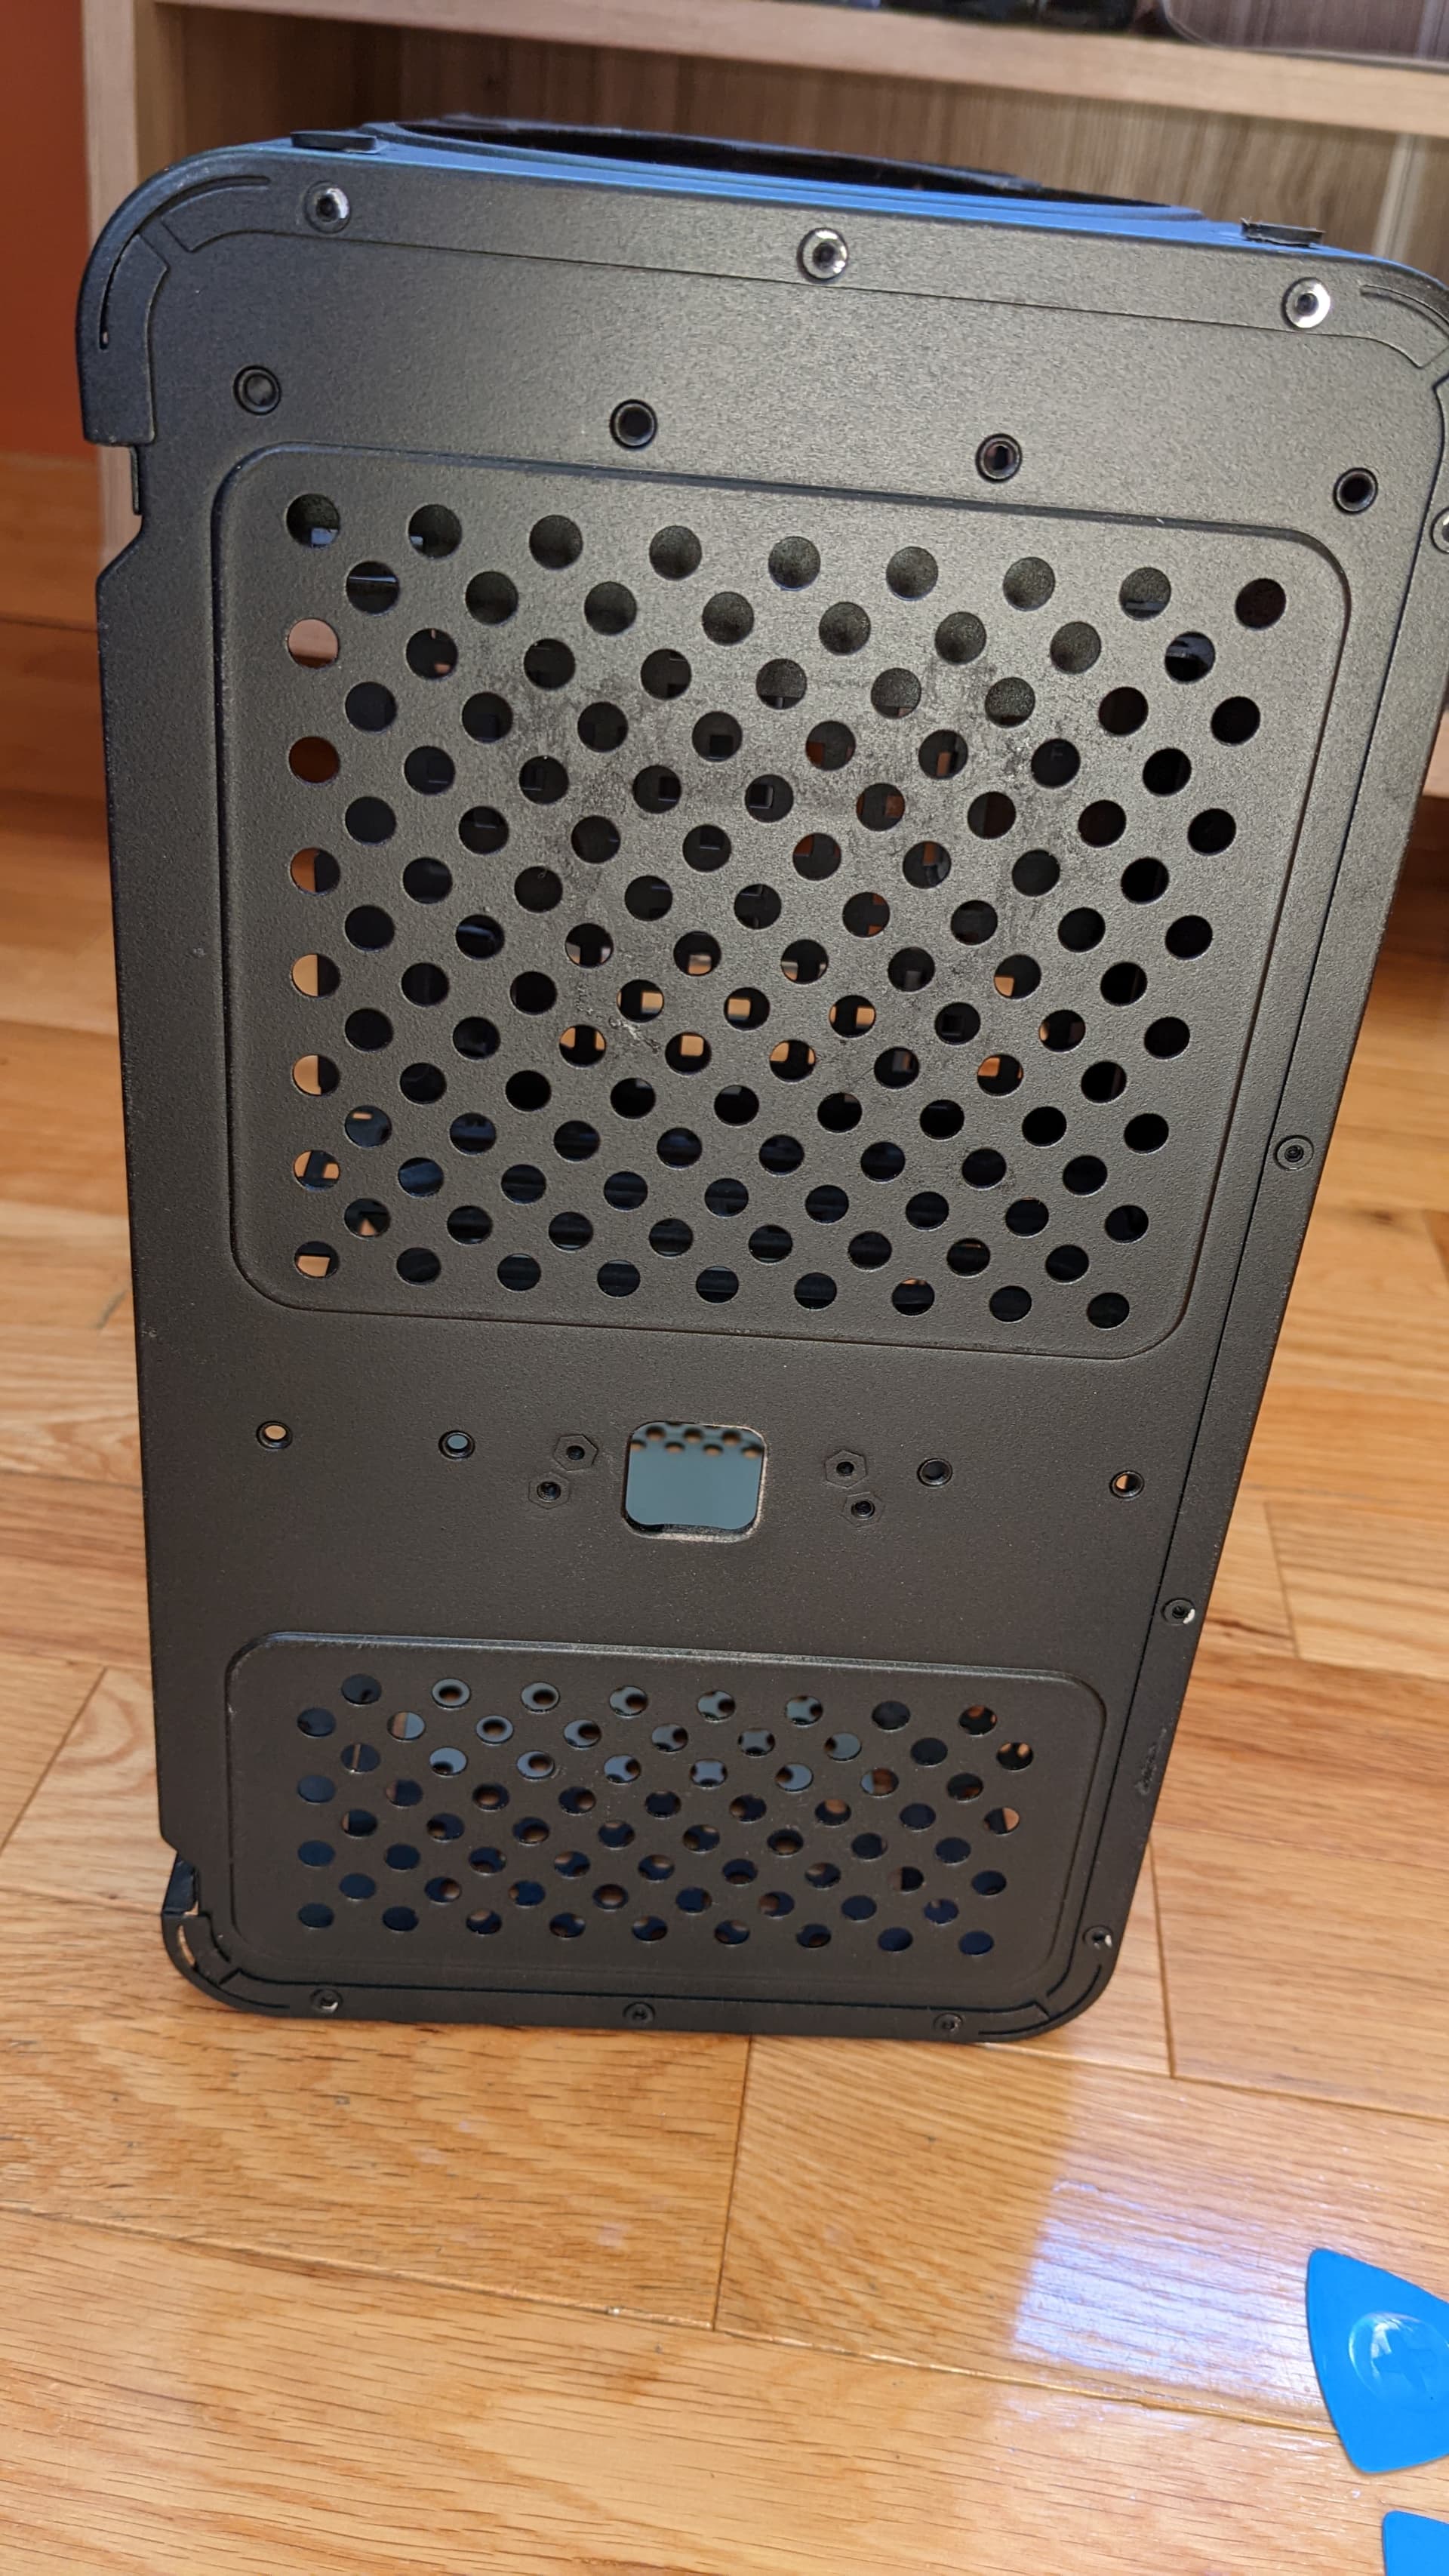
I already have plans of what to do. The opening at back will be cover with a metal piece which will support also the power cord extension that will connect to the PSU at the front.
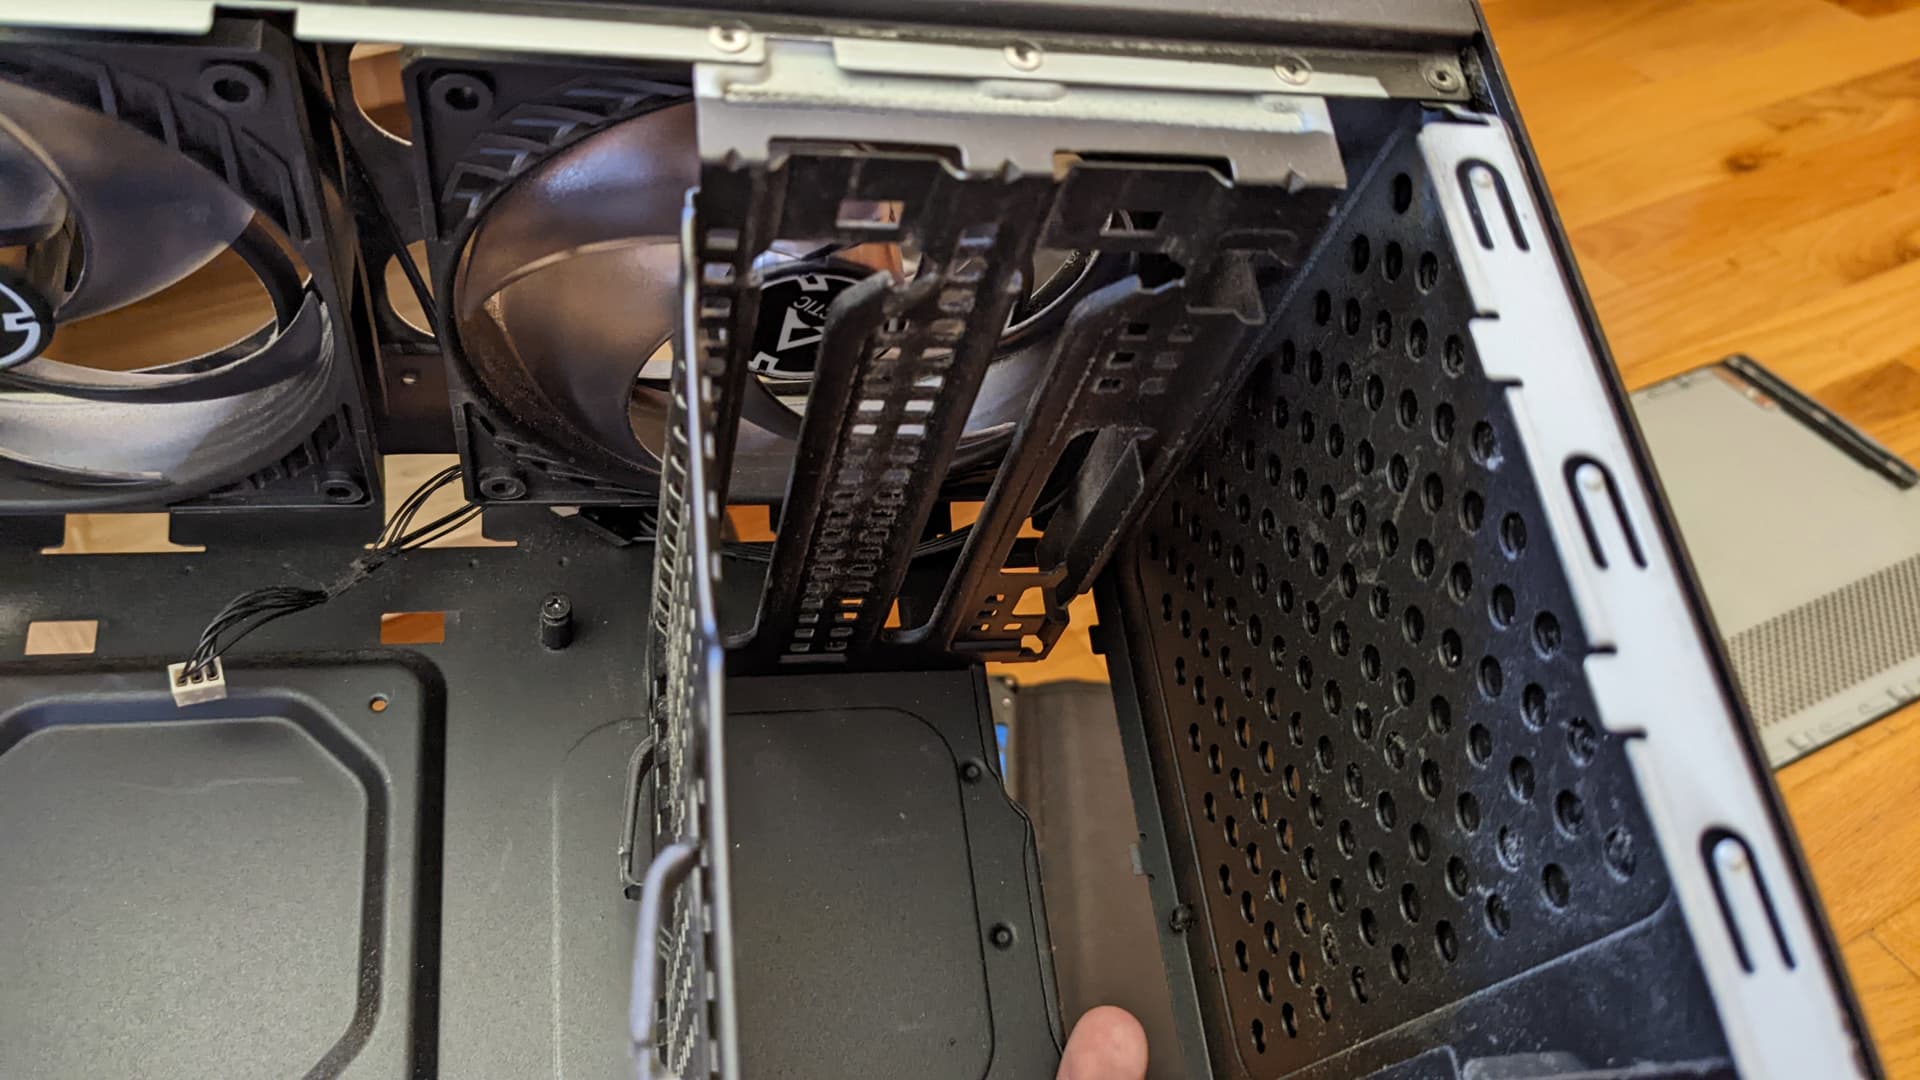
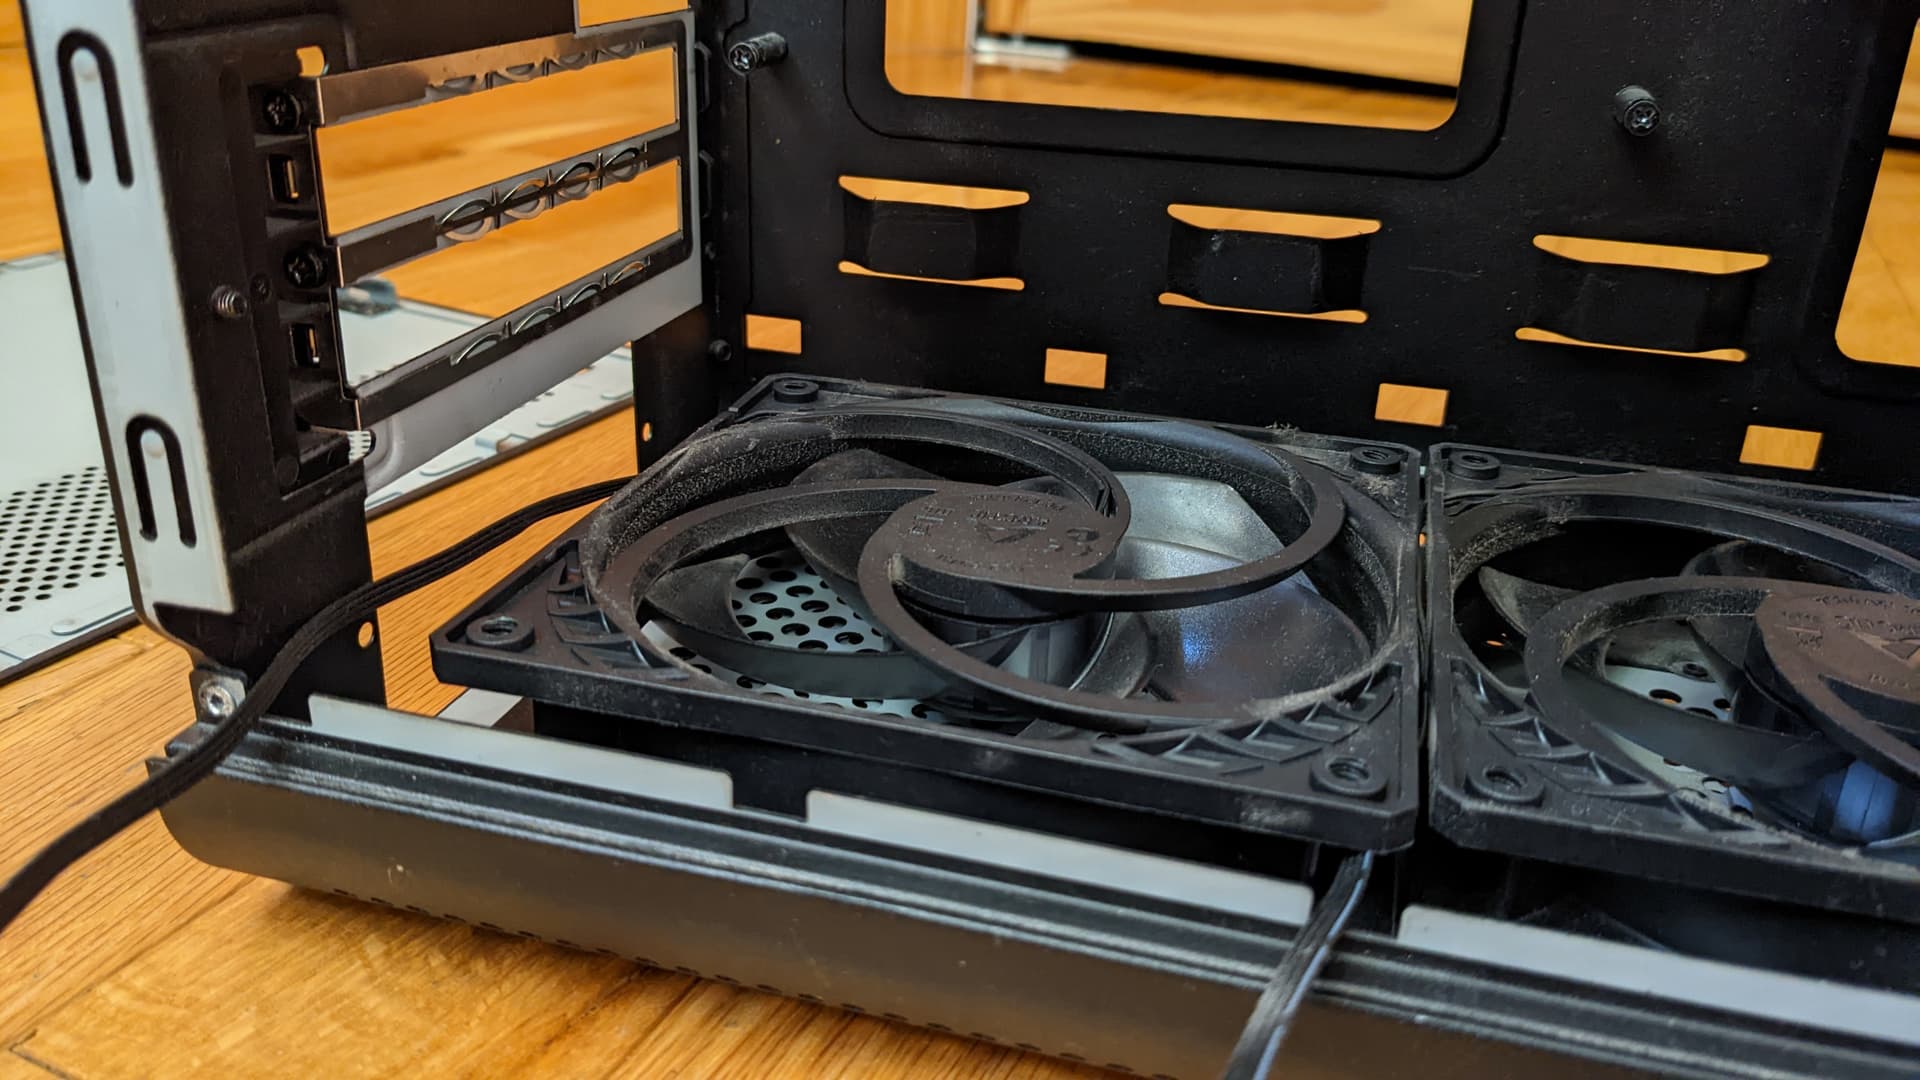
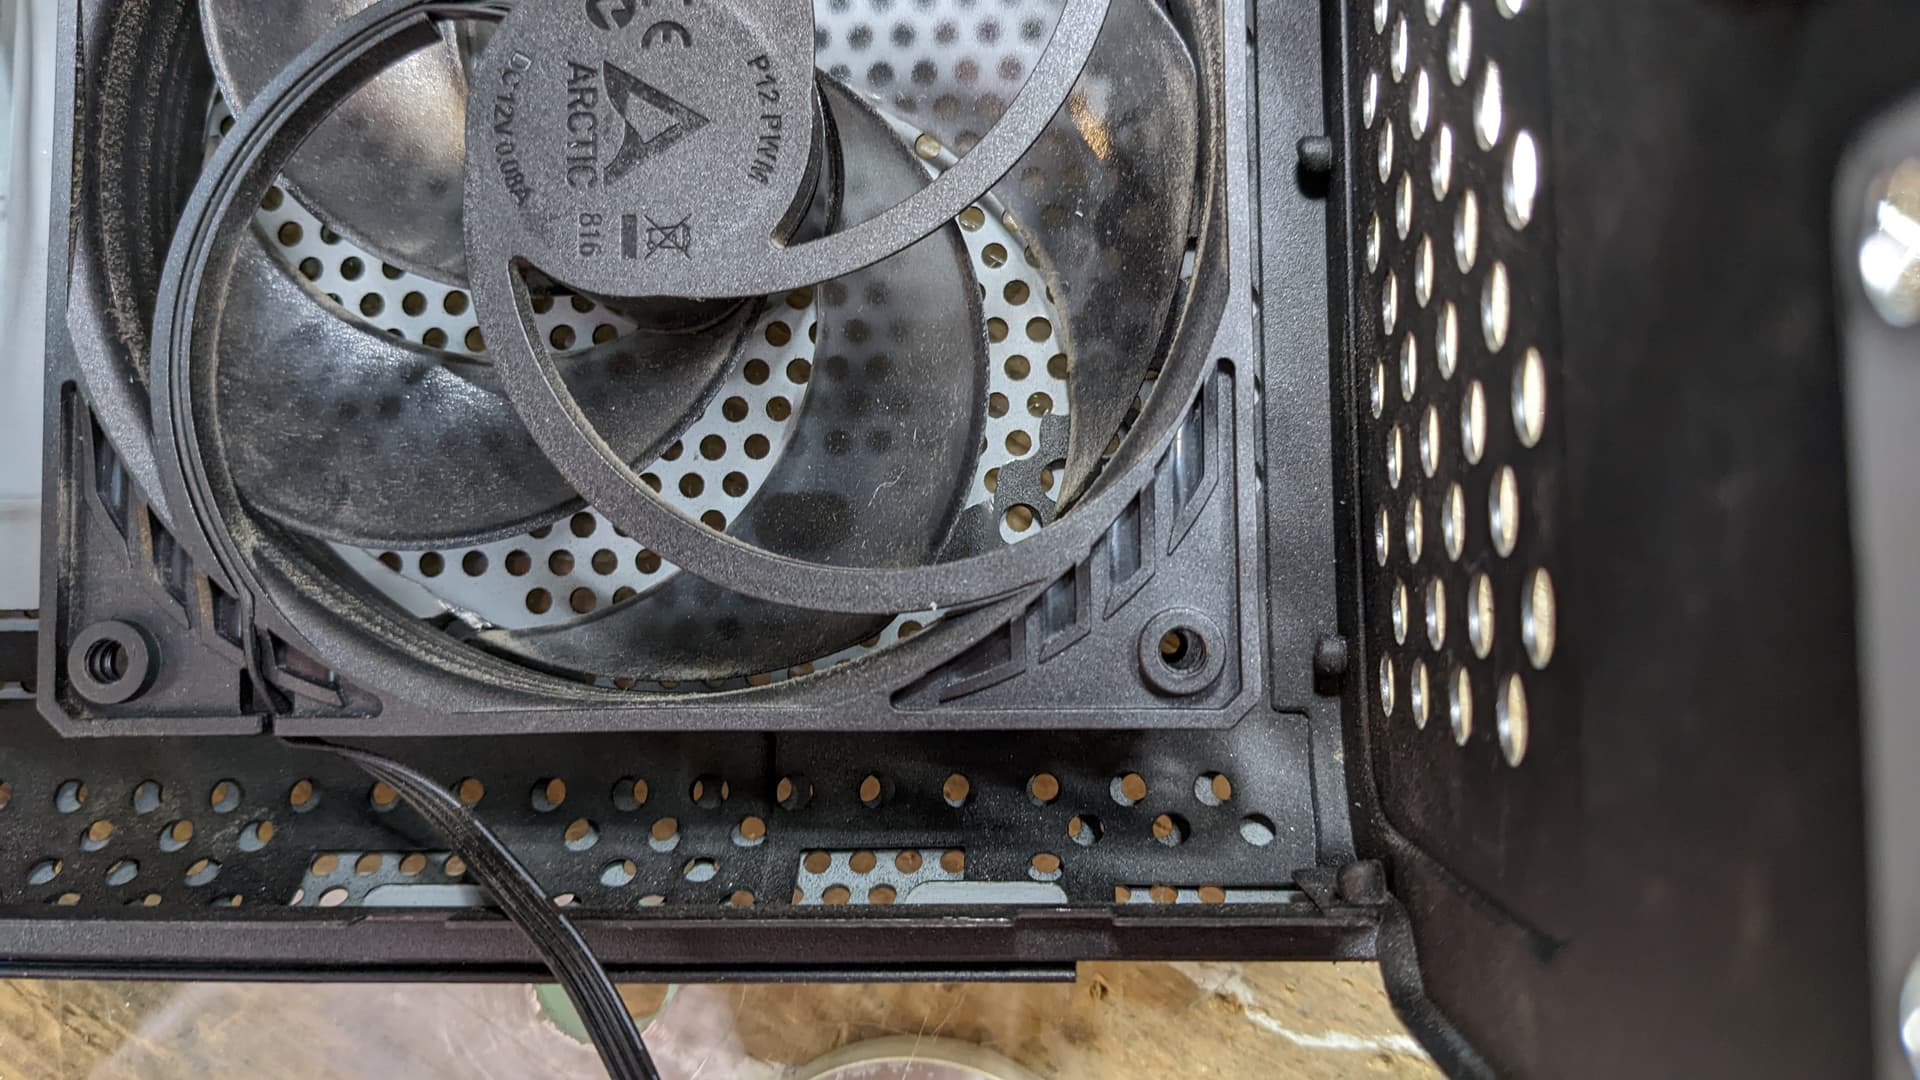
And with the space left at the bottom, I will mount Noctua fans. There is enough clearance with the GPU to have 25mm thick fans, and no need to have slim ones. So the two at the bottom will be intake, and at the top exhaust. And I will had thicker anti-slip pad to prop up a little bit the case for better air intake.
I intend to change the front IO to have a USB 3.2 header instead. The cage will be black, the front panel will remain as is, but I will paint all the outer panels red. I need to ask my mom which red she would prefer. The project will be a fun one.
@cityle is at it again with another great build. @Shadowbane and I seem not to stop talking about your last modification of a computer case. We are thinking of creating a computer case for the parts that survived Shadowbane shorting the power supply from the old build. Shadowbane and I will make the case from wood instead of metal. I know it will be more expensive than modifying a metal case, but there are features we want to include that aren’t available in a metal case. You have inspired us to at least try.
That’s great to hear, thank you. Wooden builds are somthing really interesting, but usually there us so much tools needed to get something good looking. I would be interested to seen what you come up with!
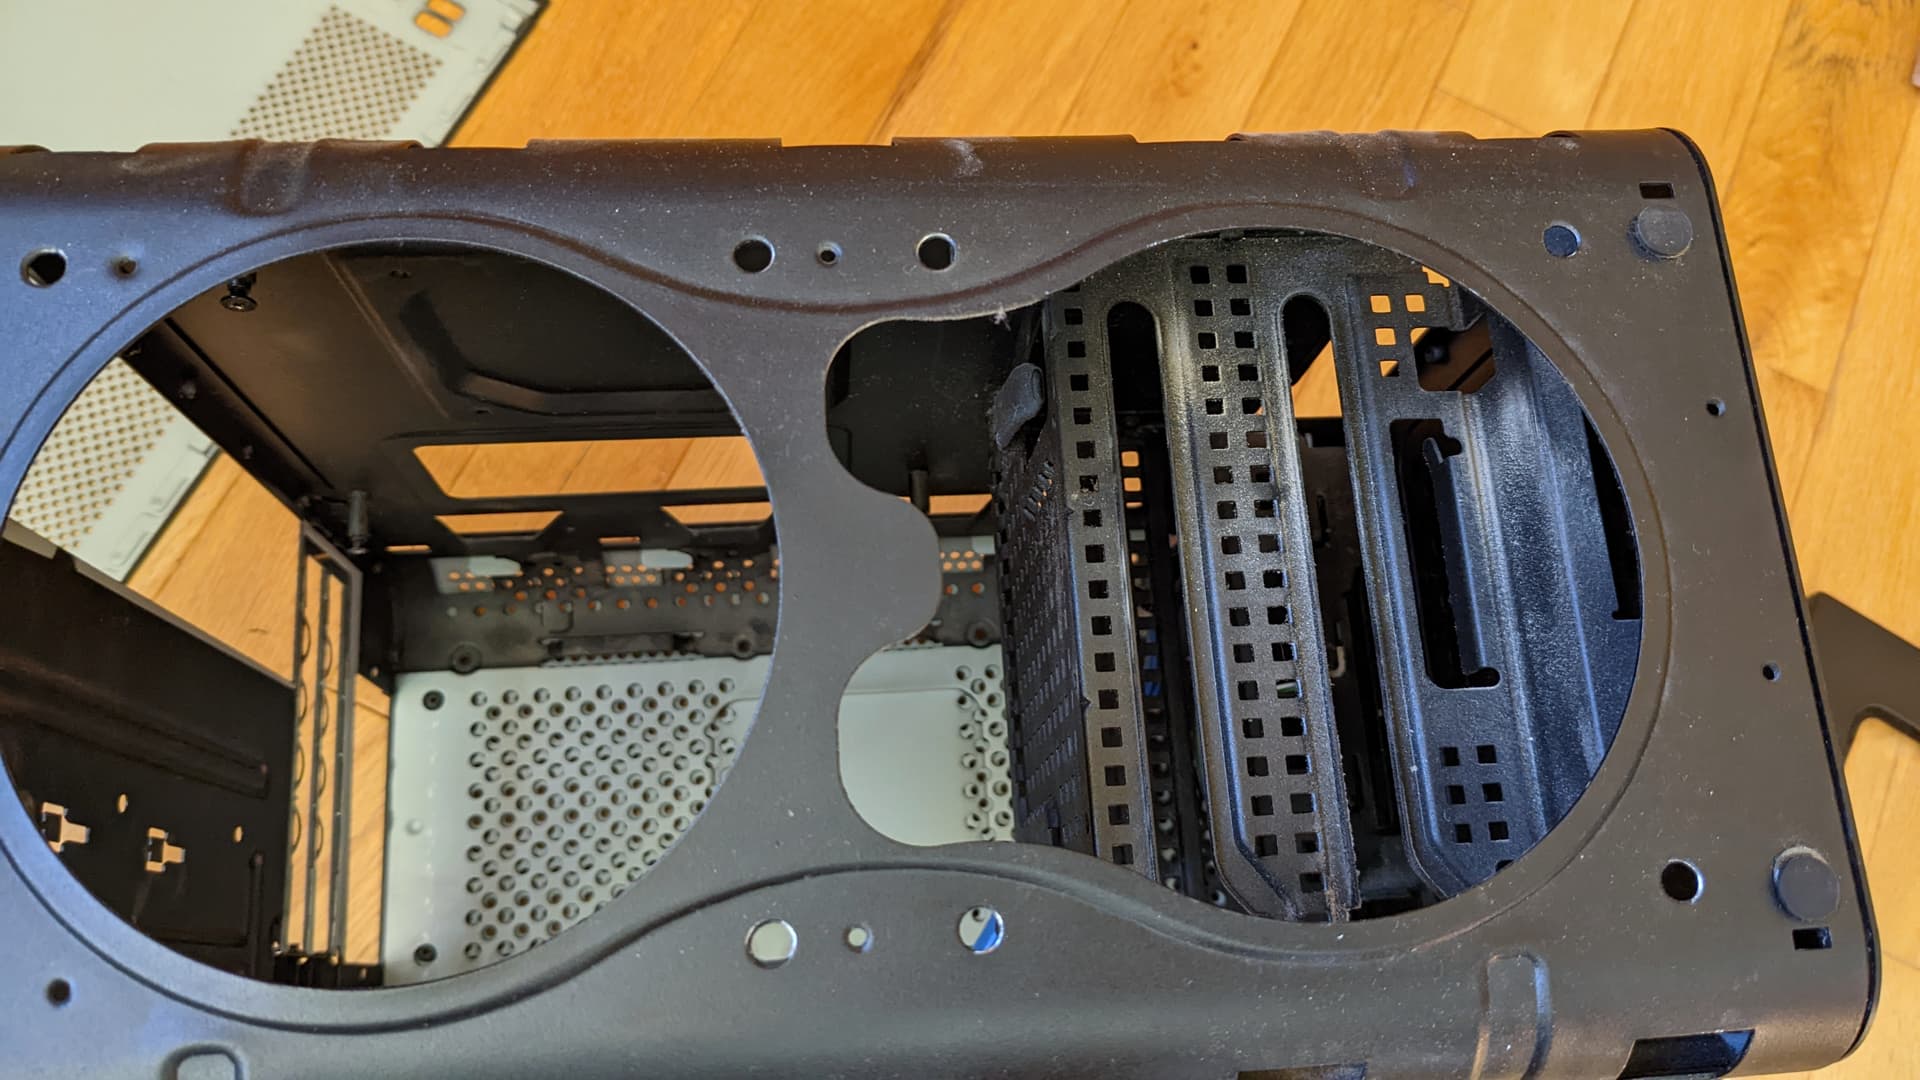
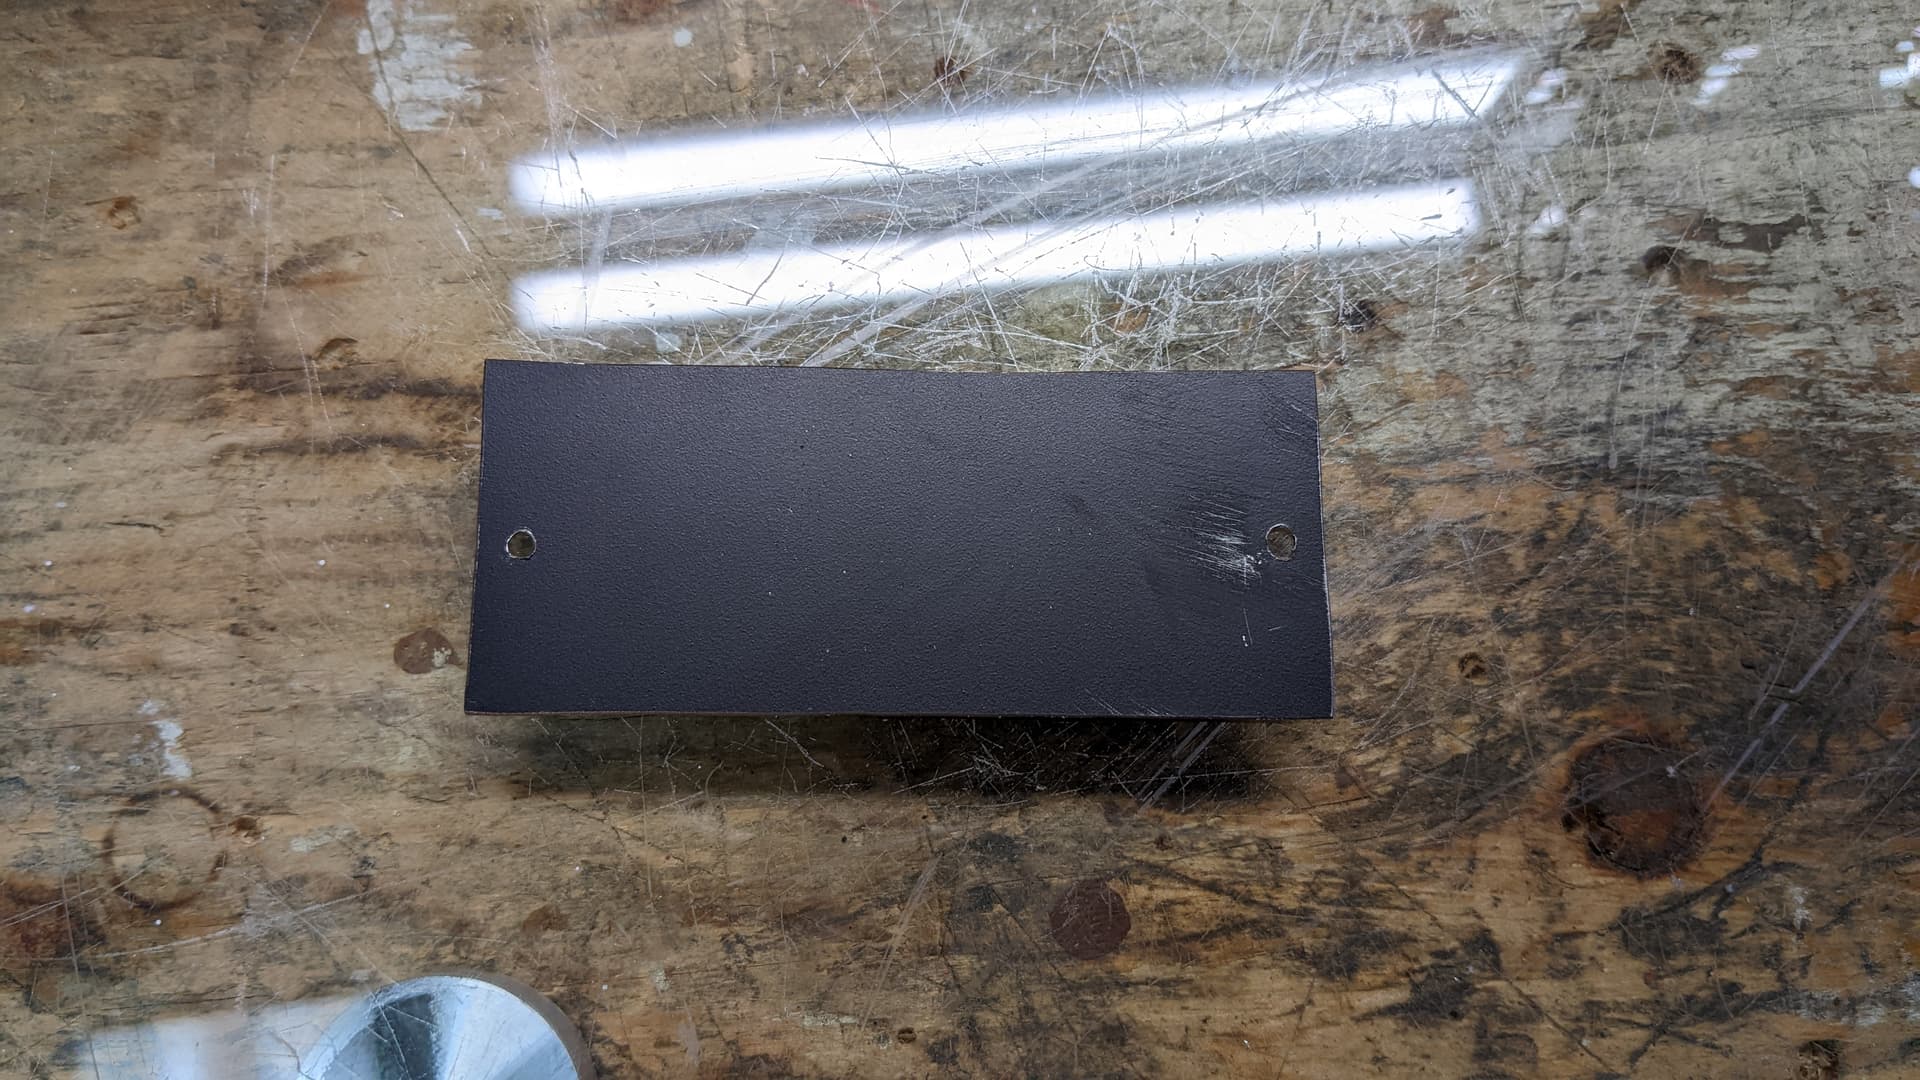
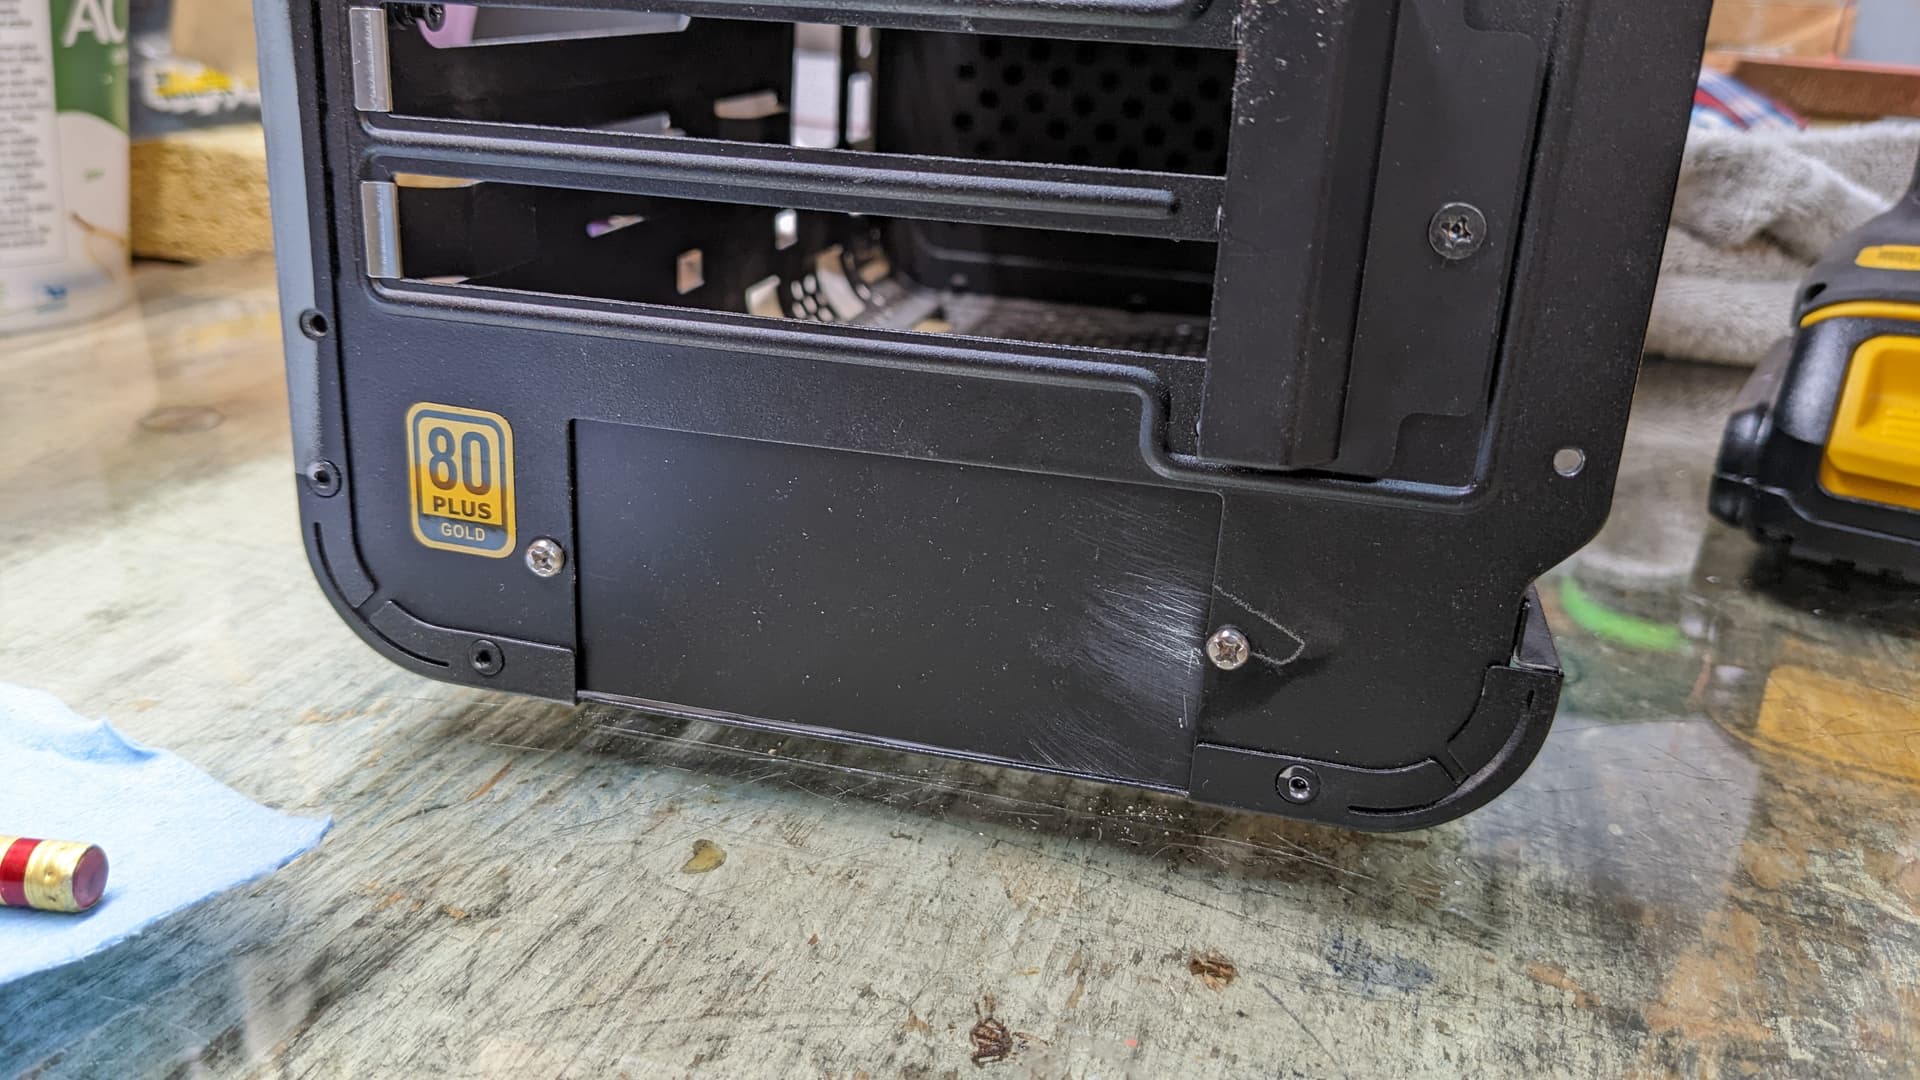
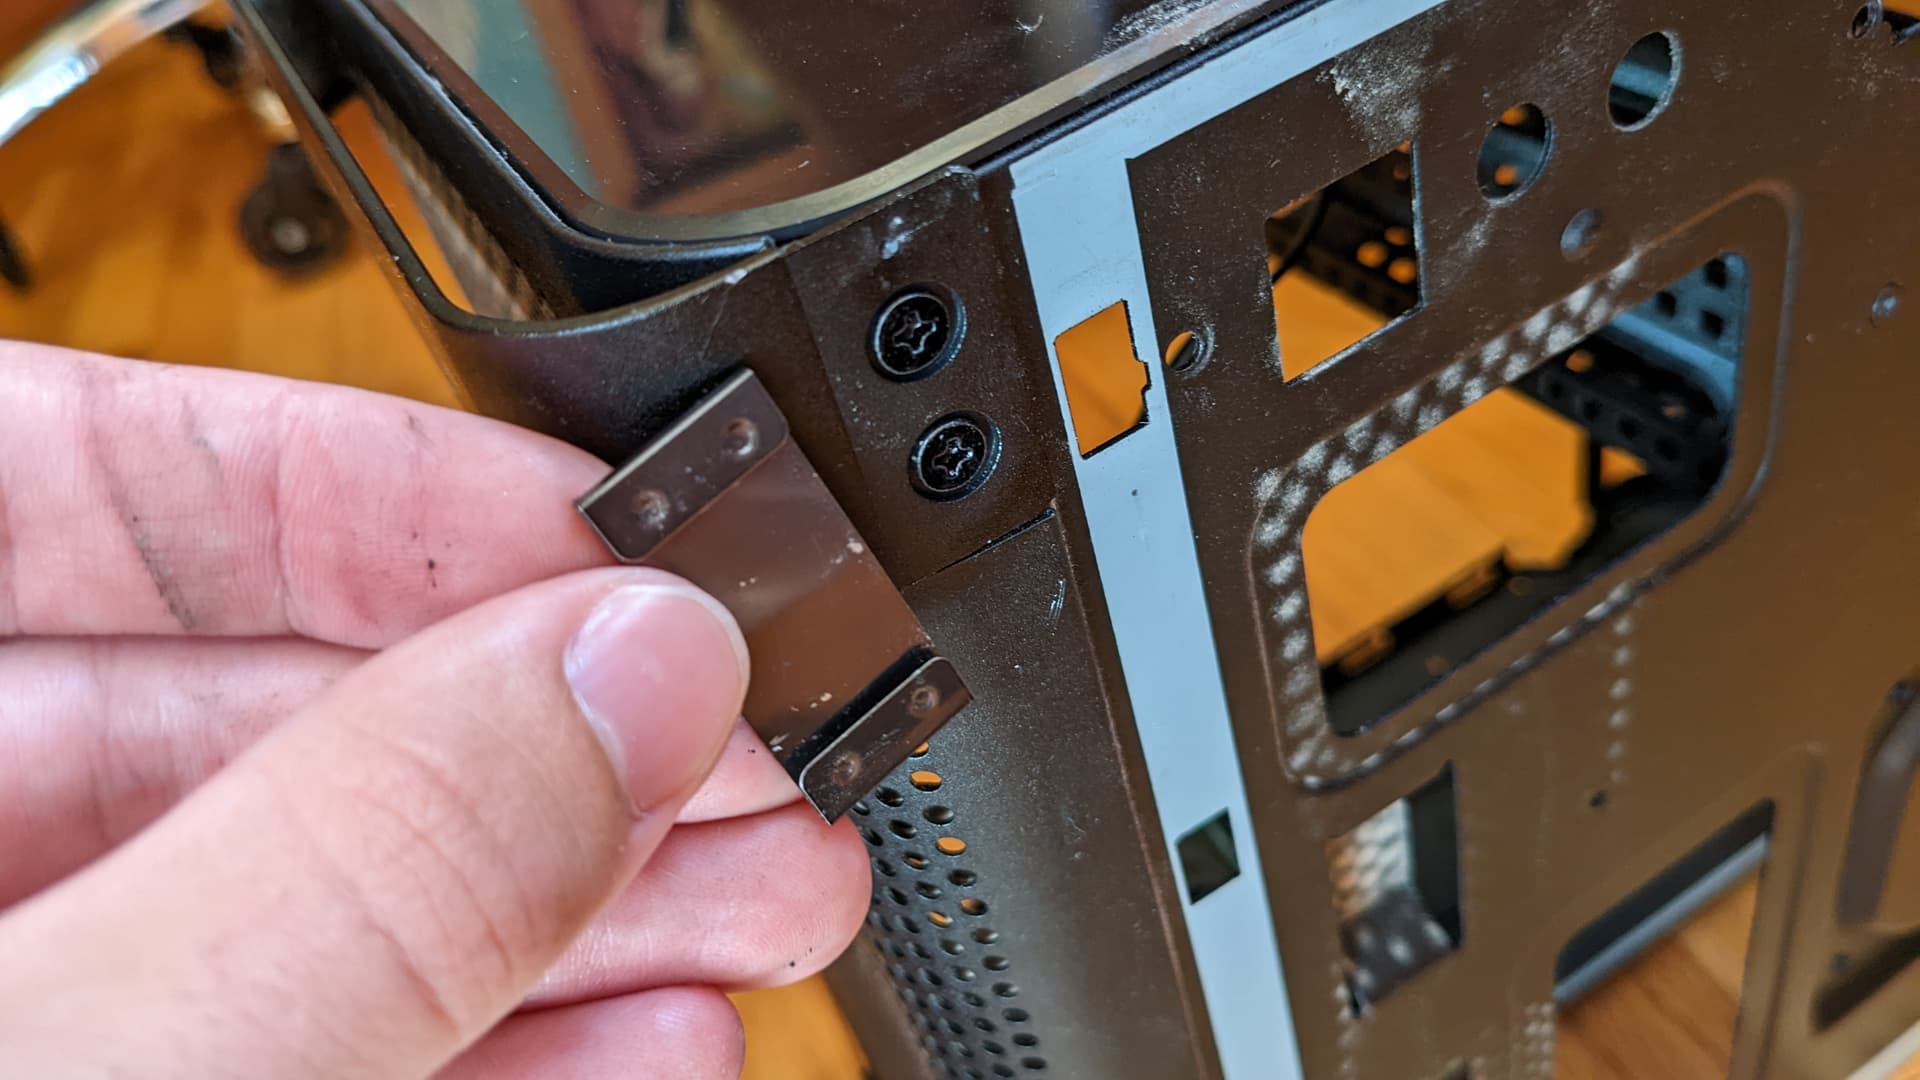
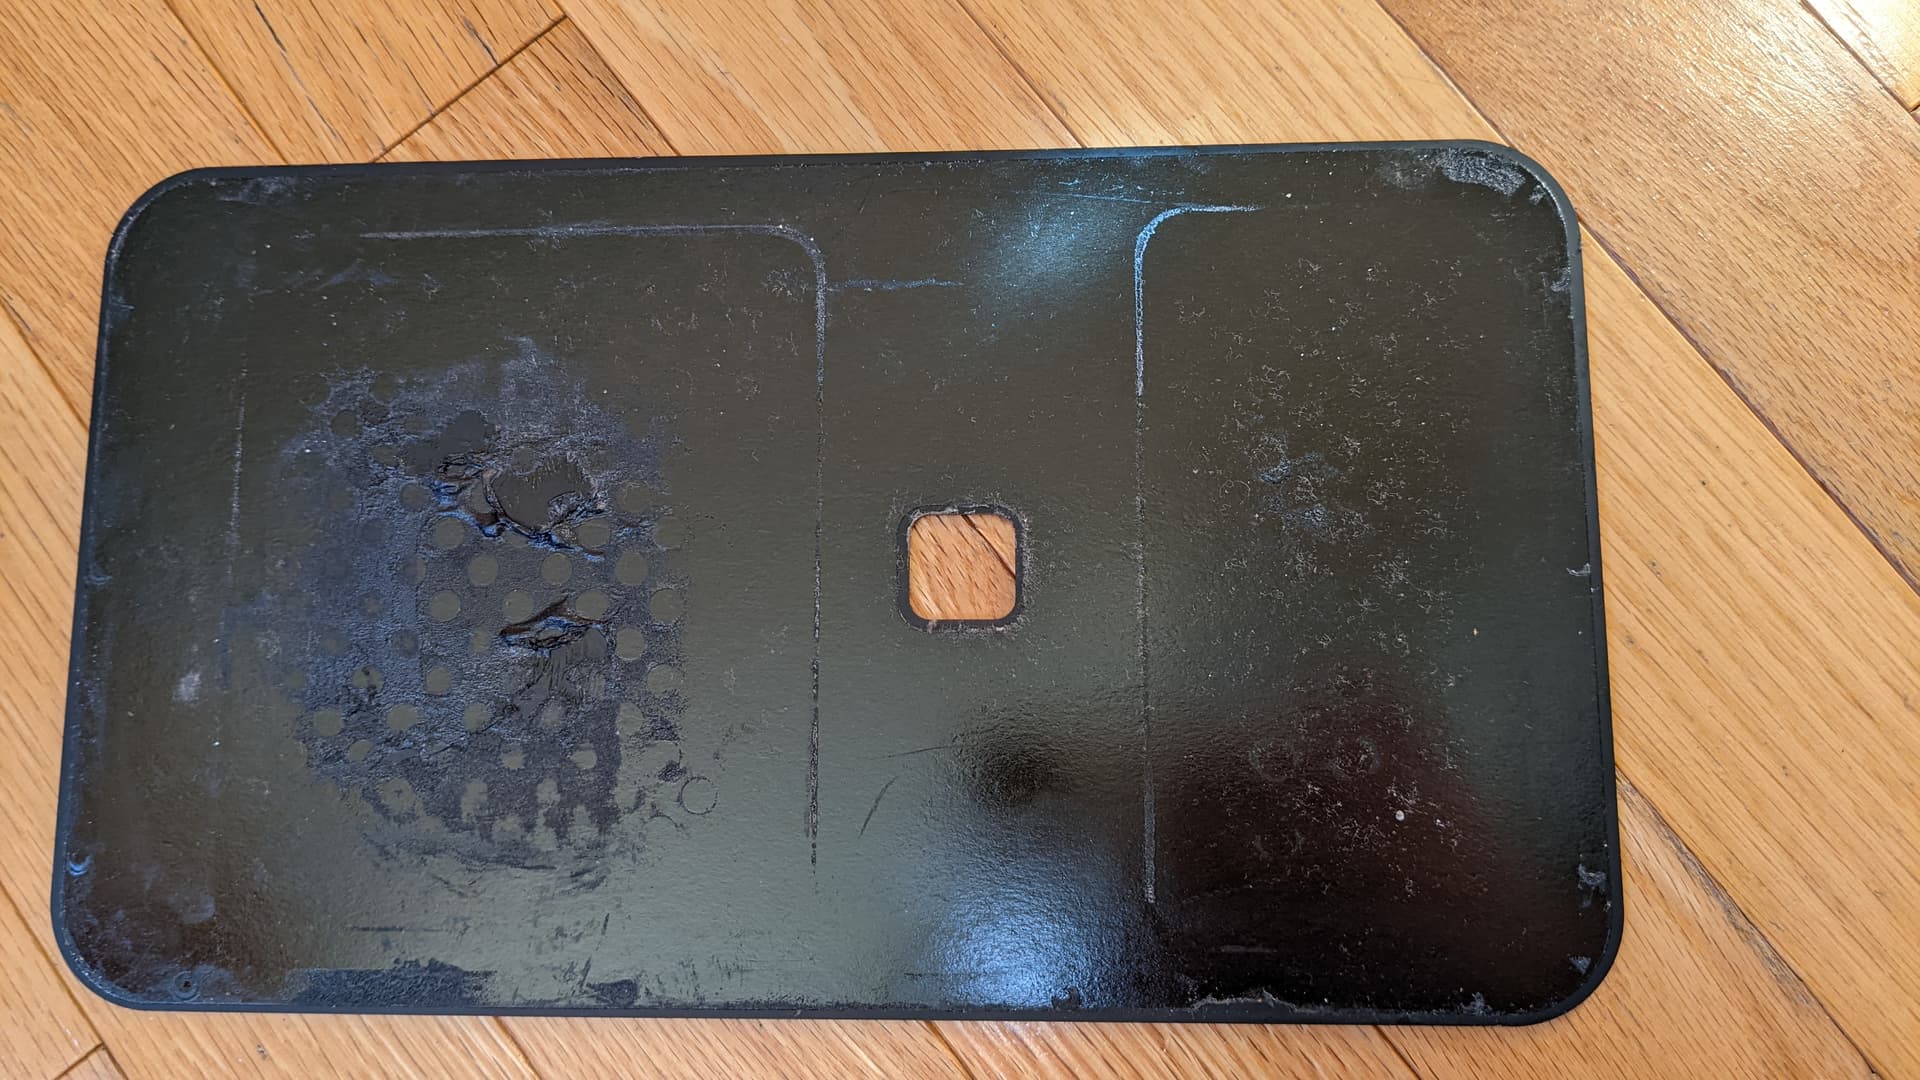
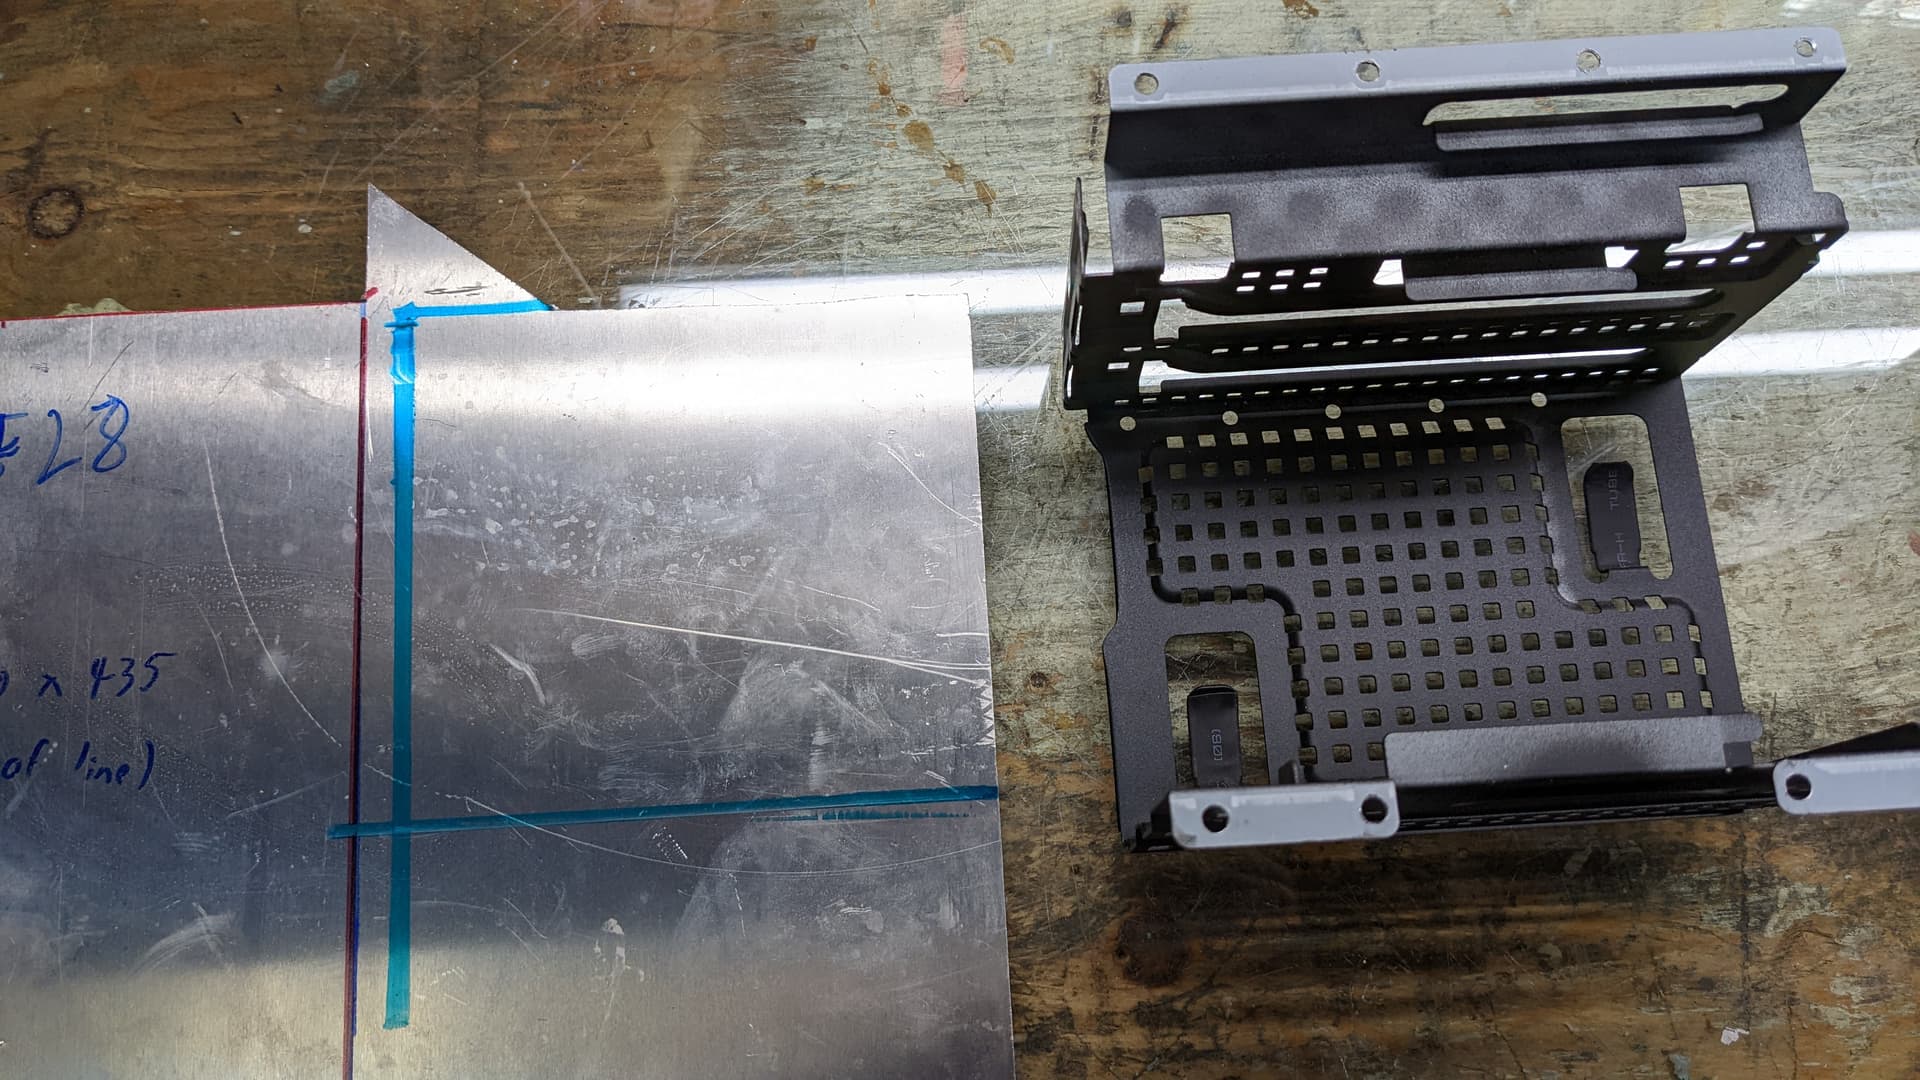
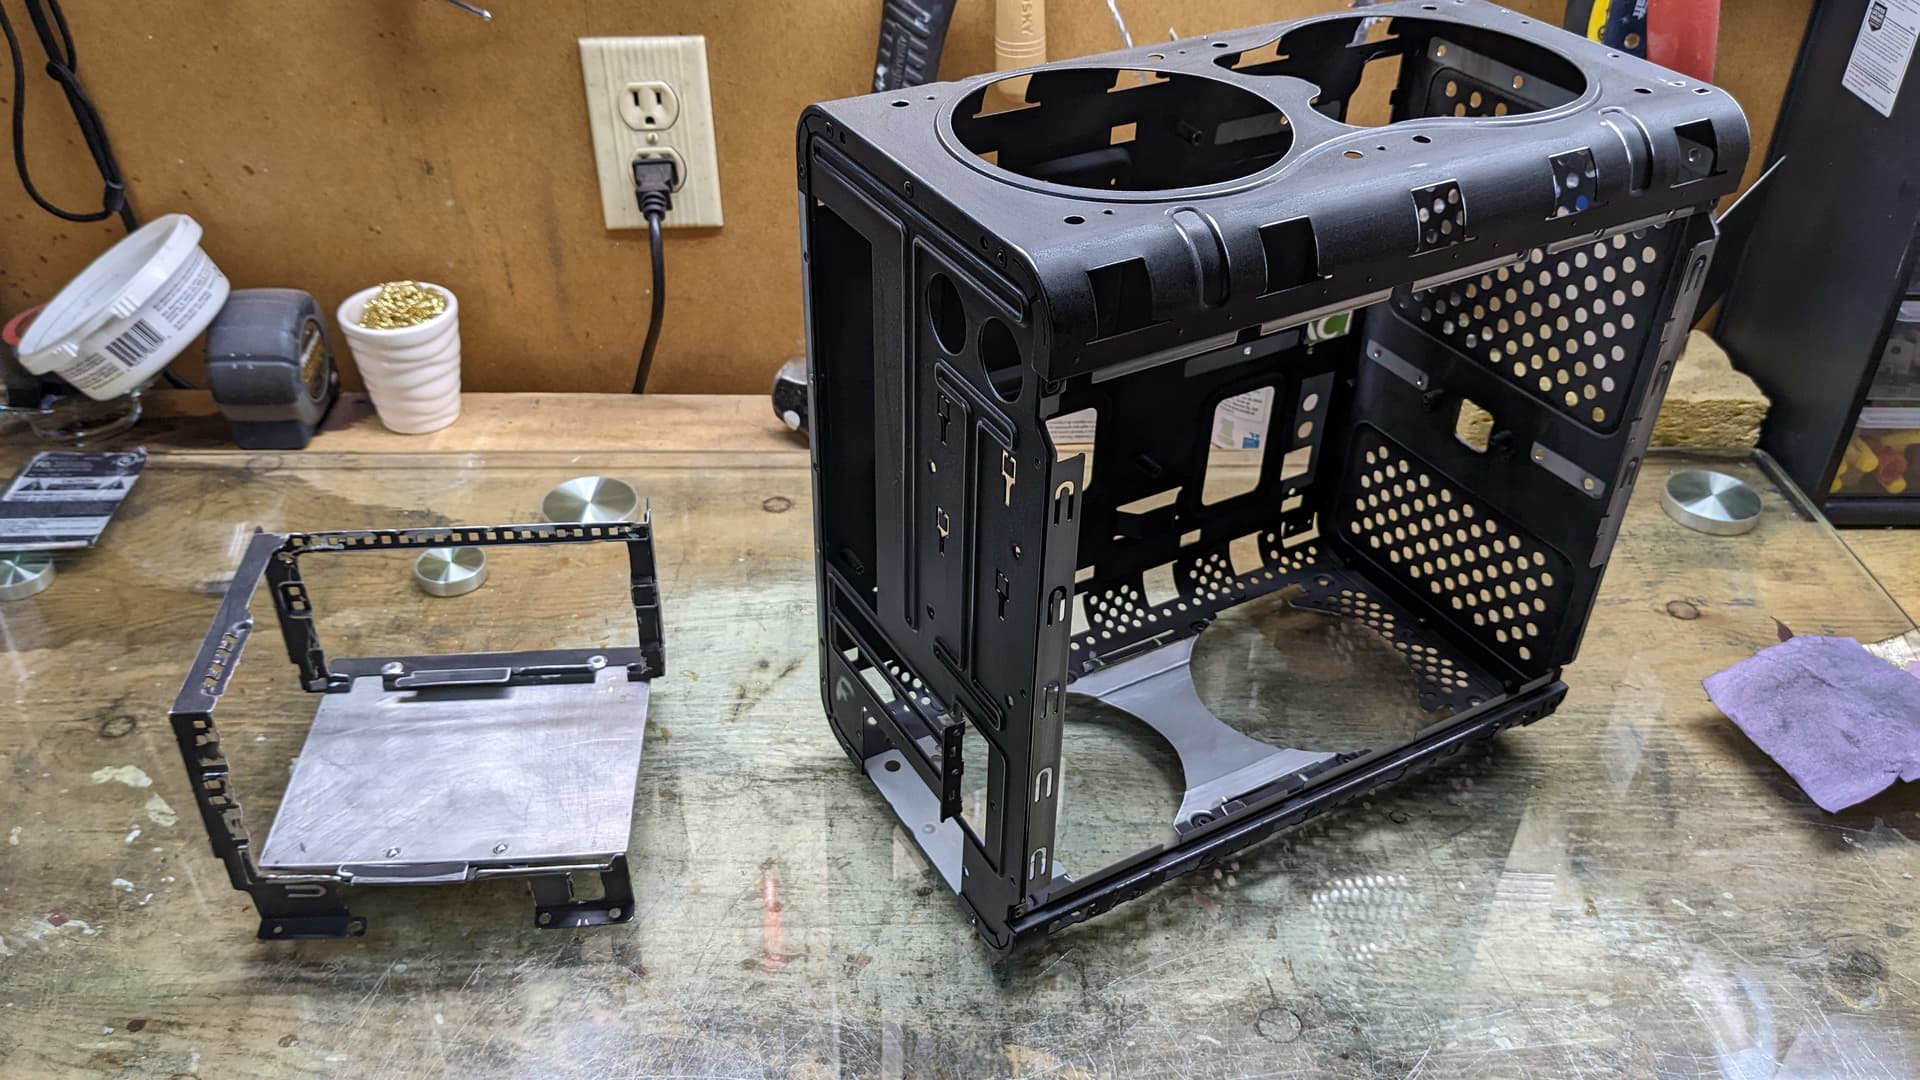
Last weekend I advanced on the project. First, from a metal plate leftover I had from Uni, I cut a cover plate to cover the space left by the proprietary PSU at the back. It is screwed in so it can be easily removed. And later I will cut an hole in it to passtrhough a power cord that will go connect to the PSU at the front and will be screwn in on the cover plate à la Dan A4 and other SFF cases.
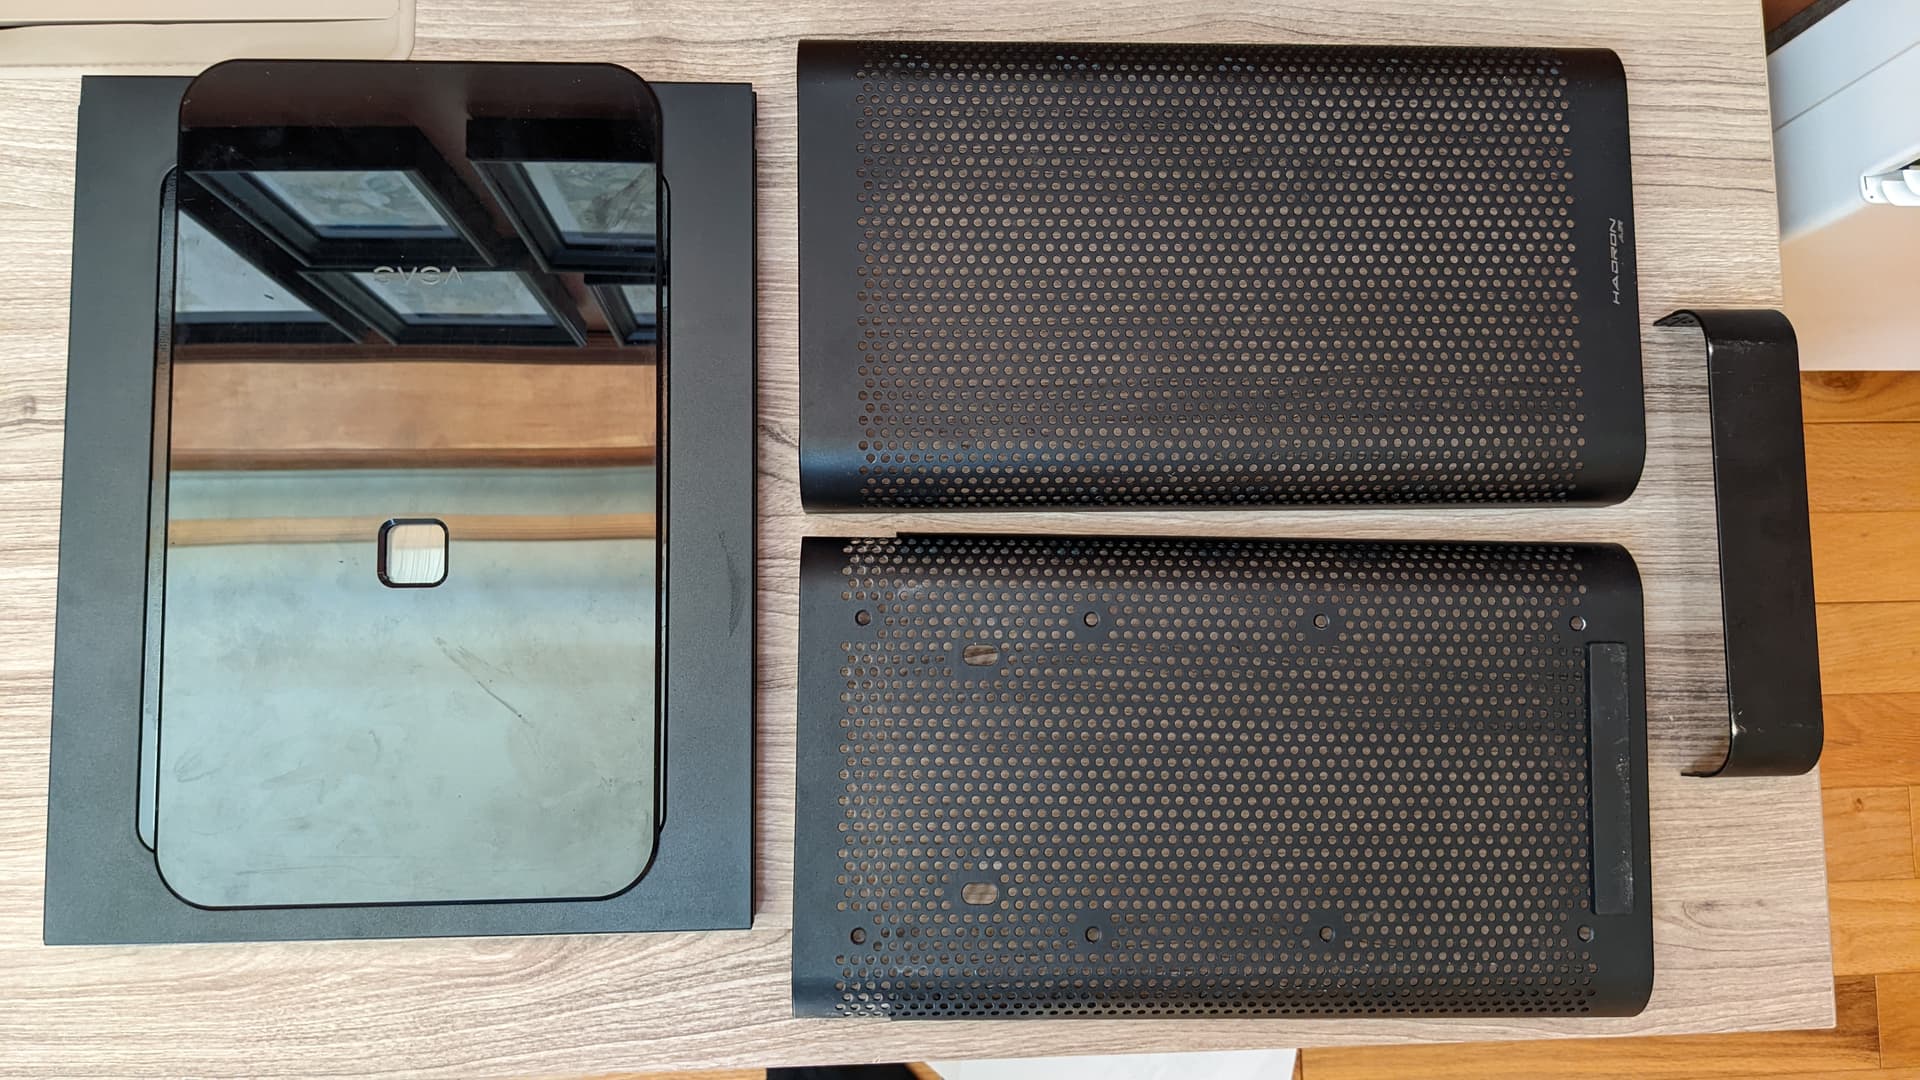
Also I removed all the outside panels of the case. For the bottom panel, you need to remove the front support first. It easy when you understand the glossy parts are like clips that you slide up to remove. Then you can unscrew the front leg, and then the bottom panel.
For the front panel, it’s all glued. So I worked my was first on the edge with plastic pick and a plastic card. The bottow portion get unglued pretty easily, but not the upper part. So I used heat at the end to be able to safely remove the front panel without damaging it.
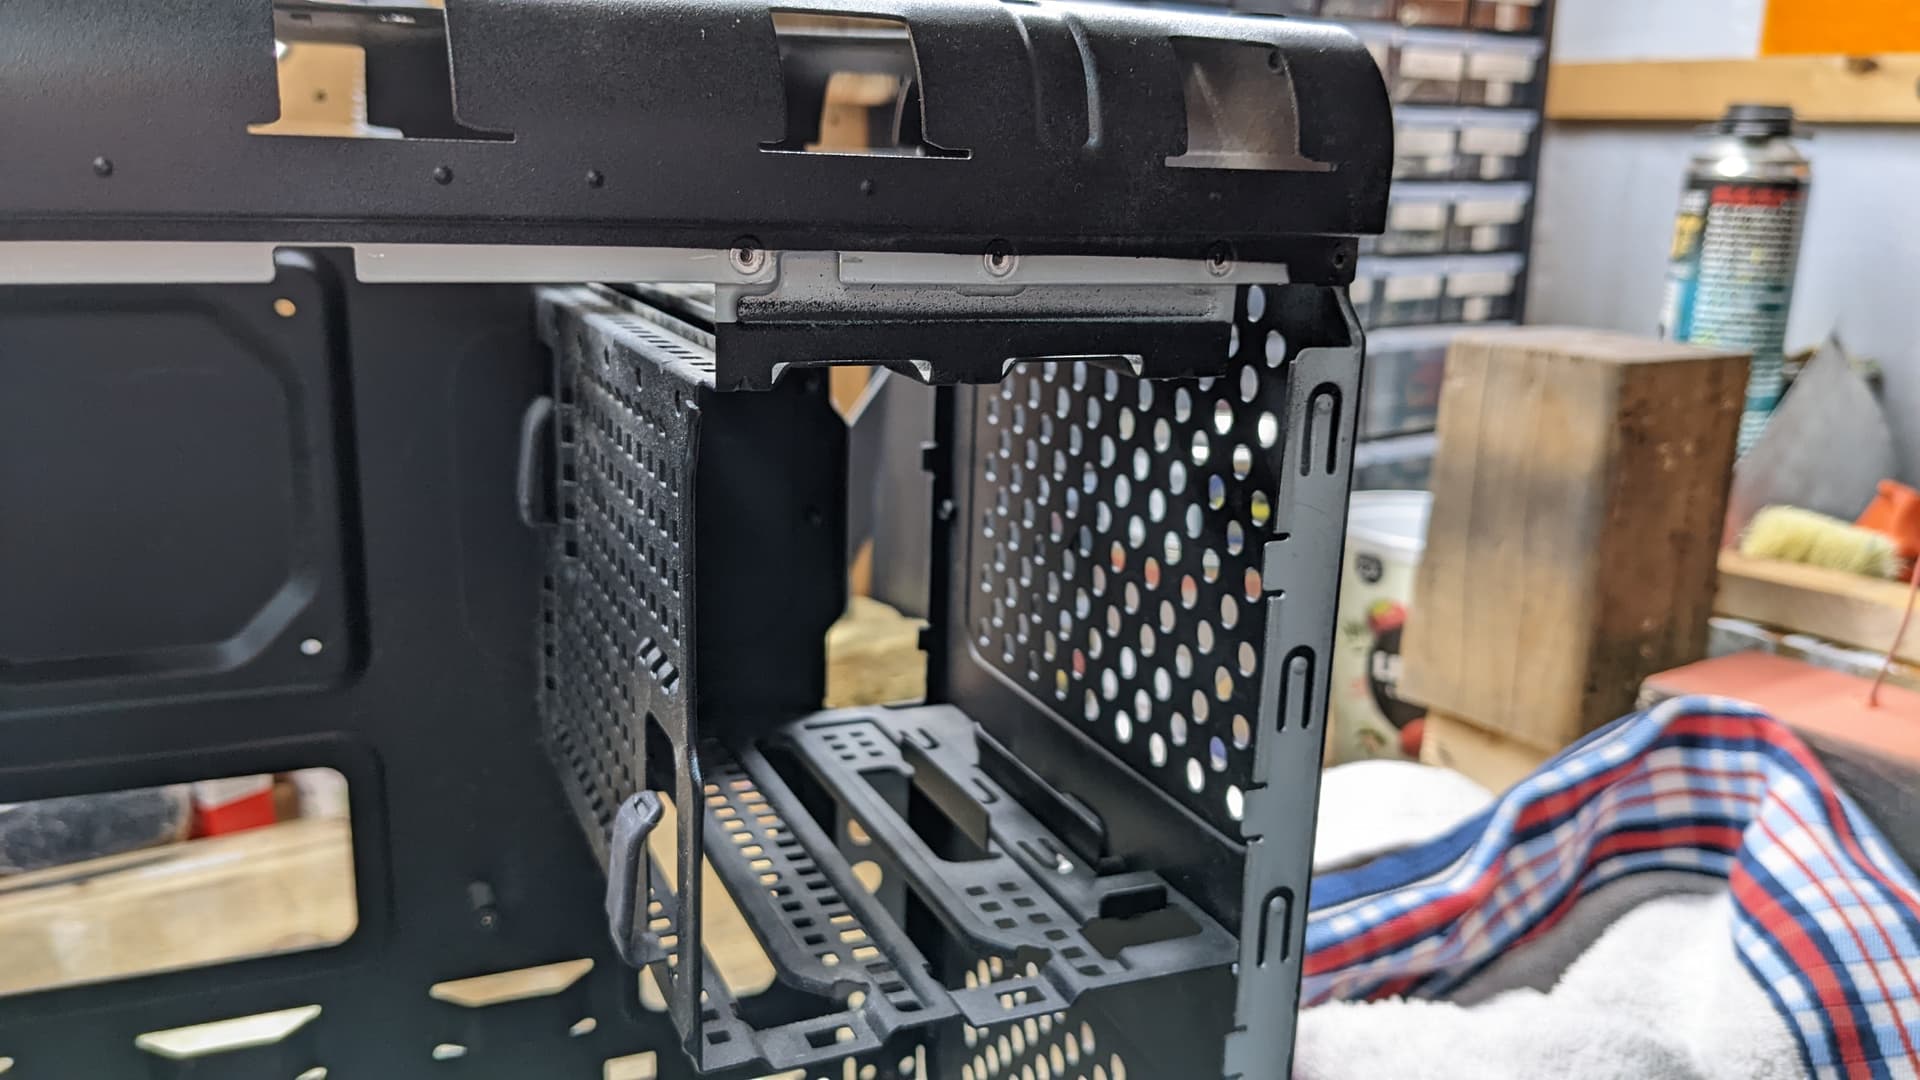
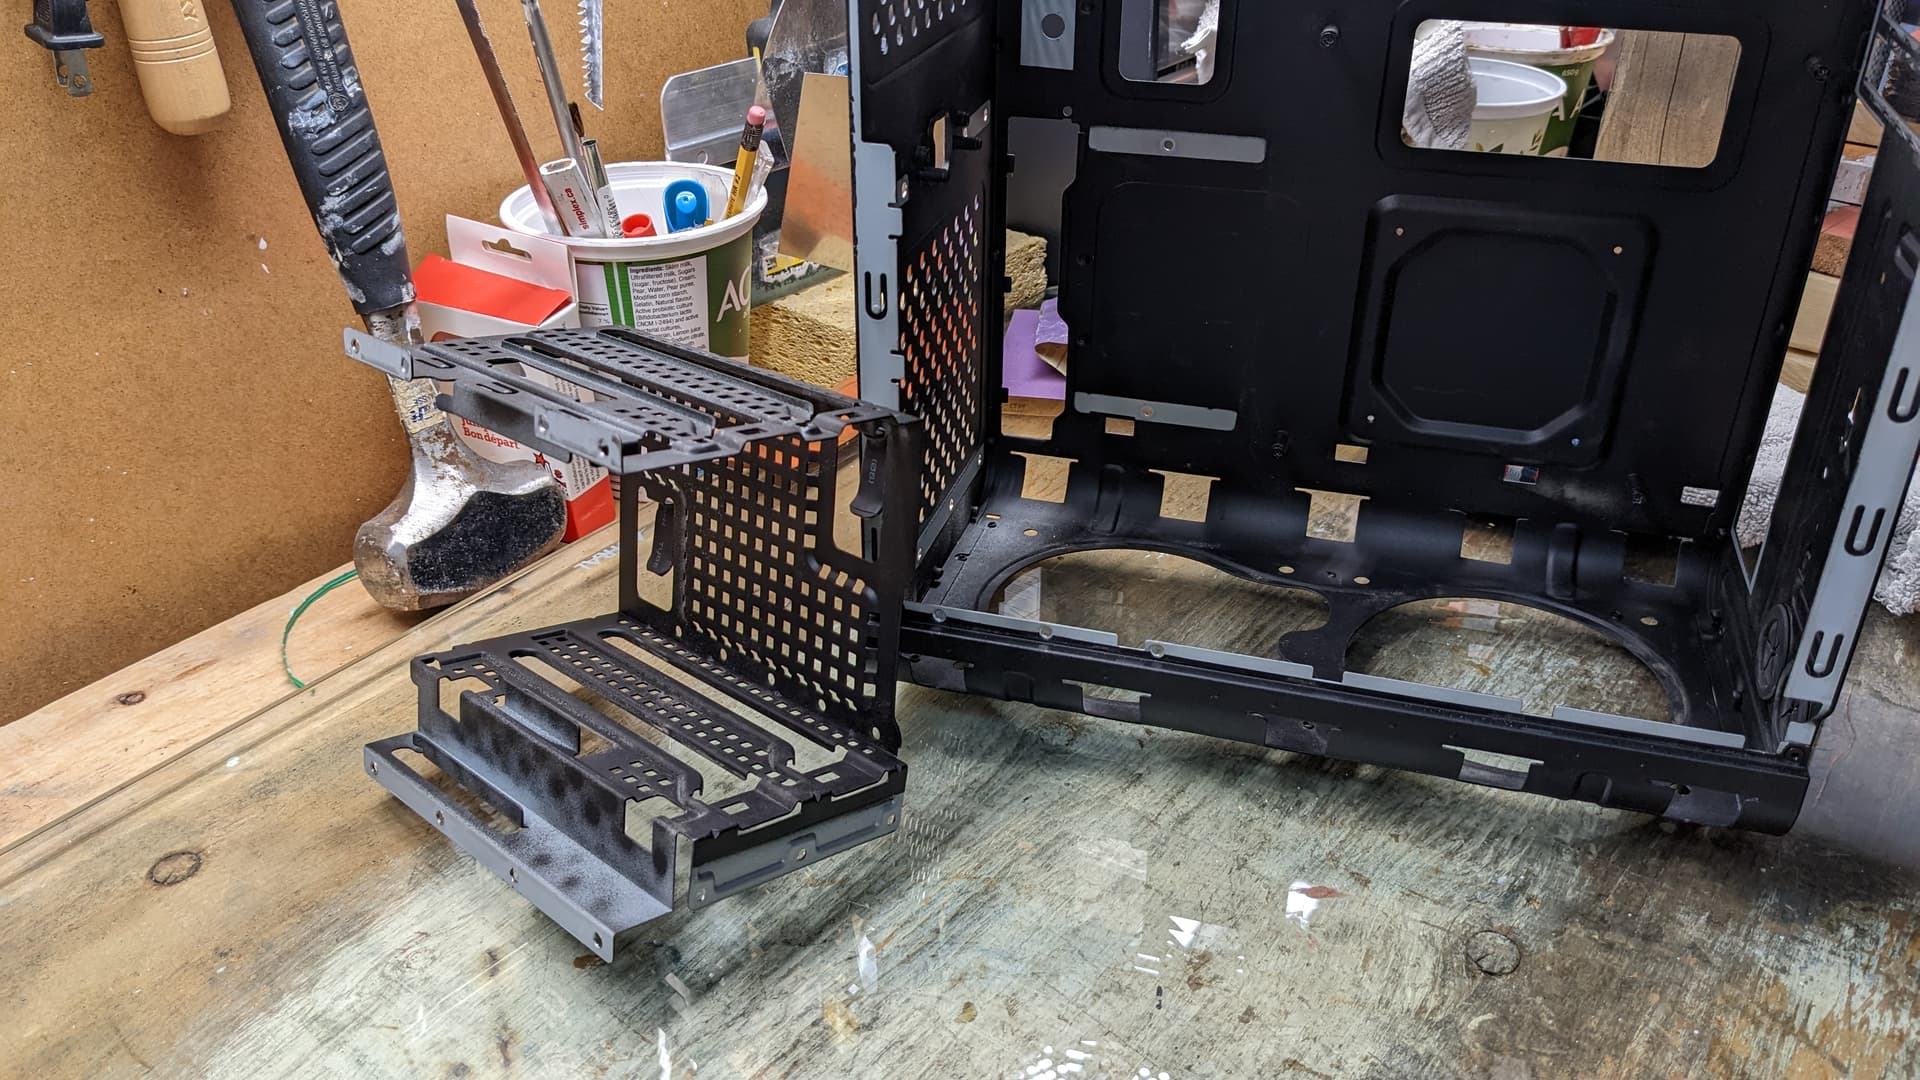
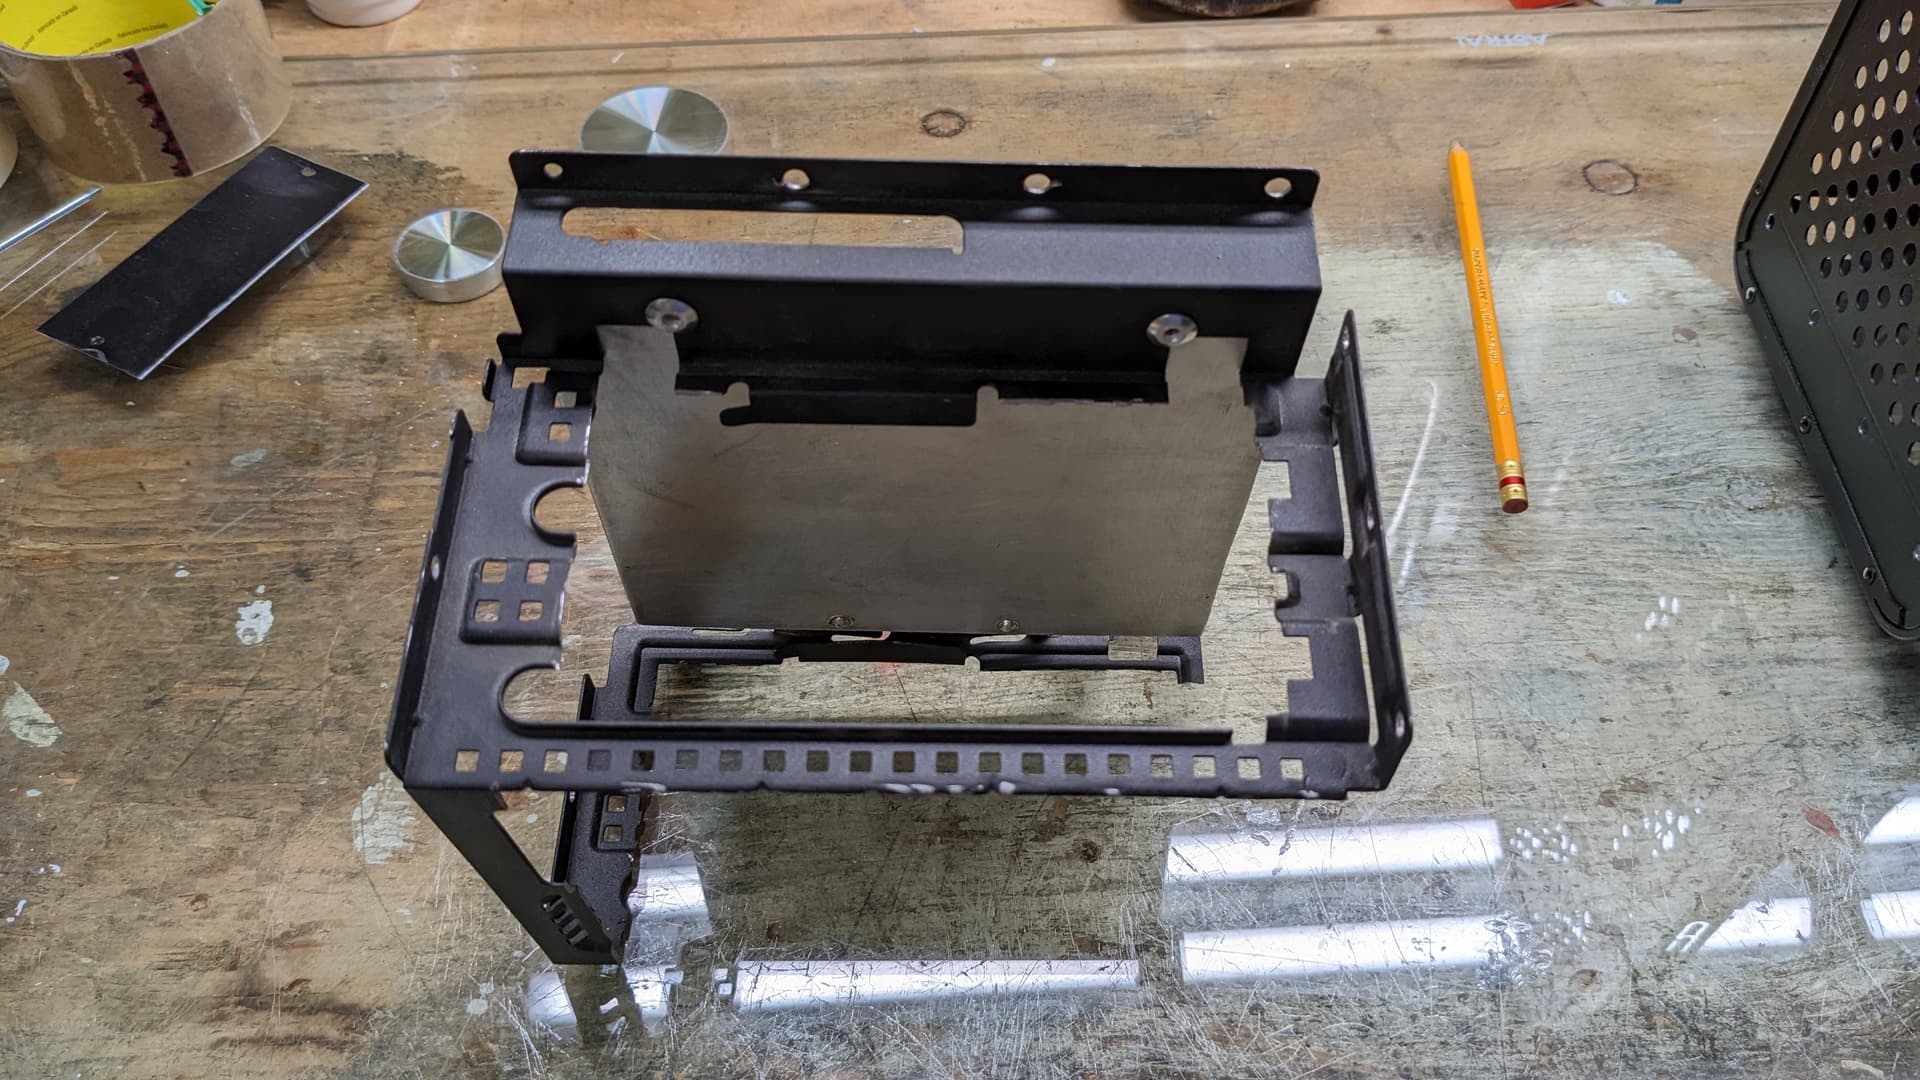
Then I proceeded to remove the drive cage by drilling all the rivets. I will use the cage as a base to make the PSU bracket, and I will screws insted a rivets to secure it afterward.
The black with red, would be a hard combo to beat.
Will the red be more accenting [custom pattern]? Or bulk case sections get red out?
I imagine interior gut components [or RGB], be expected to host some red, right?
idk if given any filter, by your mom, regarding what direction [hue of red]…
I still have not decided. I was thinking about the frame being painted black, and all the outer panels (except the front) will be painted red, so from the outside it will be pretty much all red. But I need to see what my mom likes best too, including the shade of red too. But I think maybe Cherry Red will be the more likely option.
And I just plan to have pretty much all black internal components with no rgb. I like the colourful outside and balcked out inside contrast. Plus with how the PC will sit on the desk, inside will not be seen much.
Also, if I convinced my mom, I would like to have something like a small white outline of Noire Black Knight painted on the case.
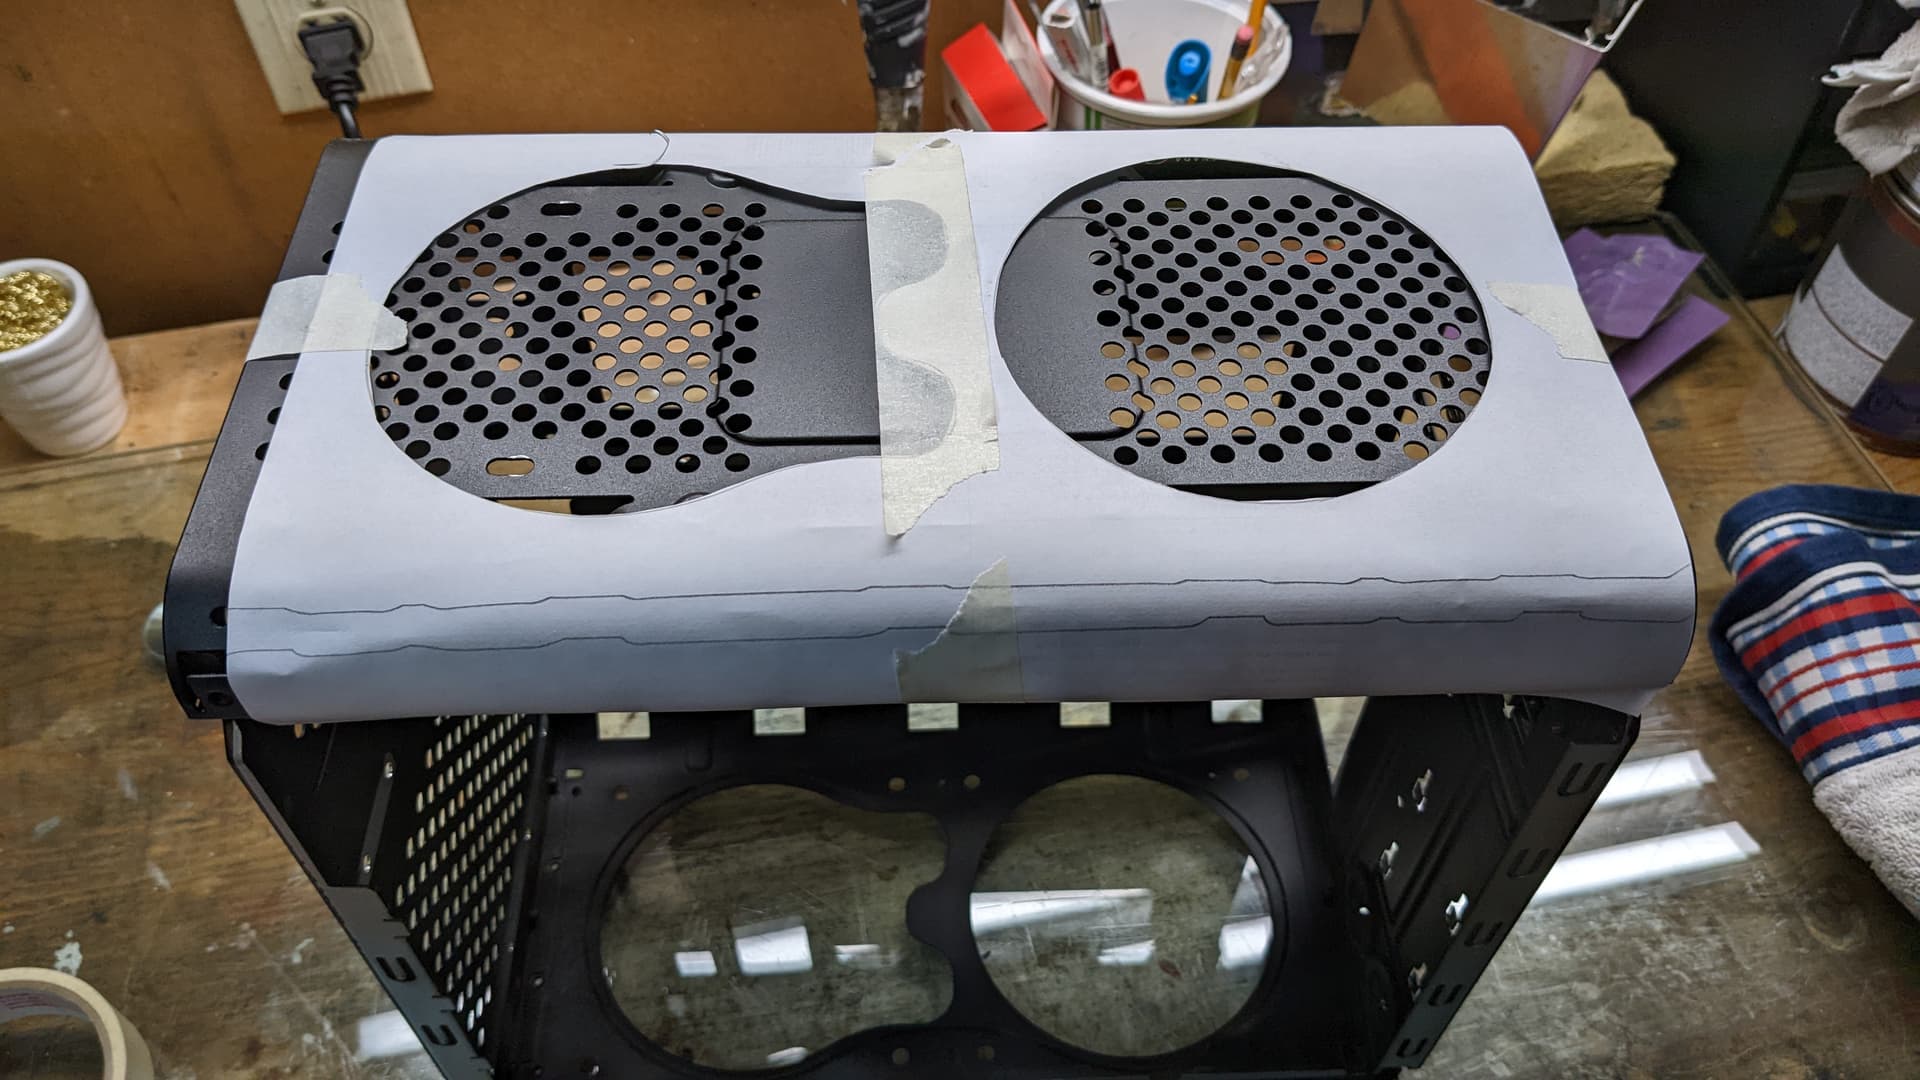
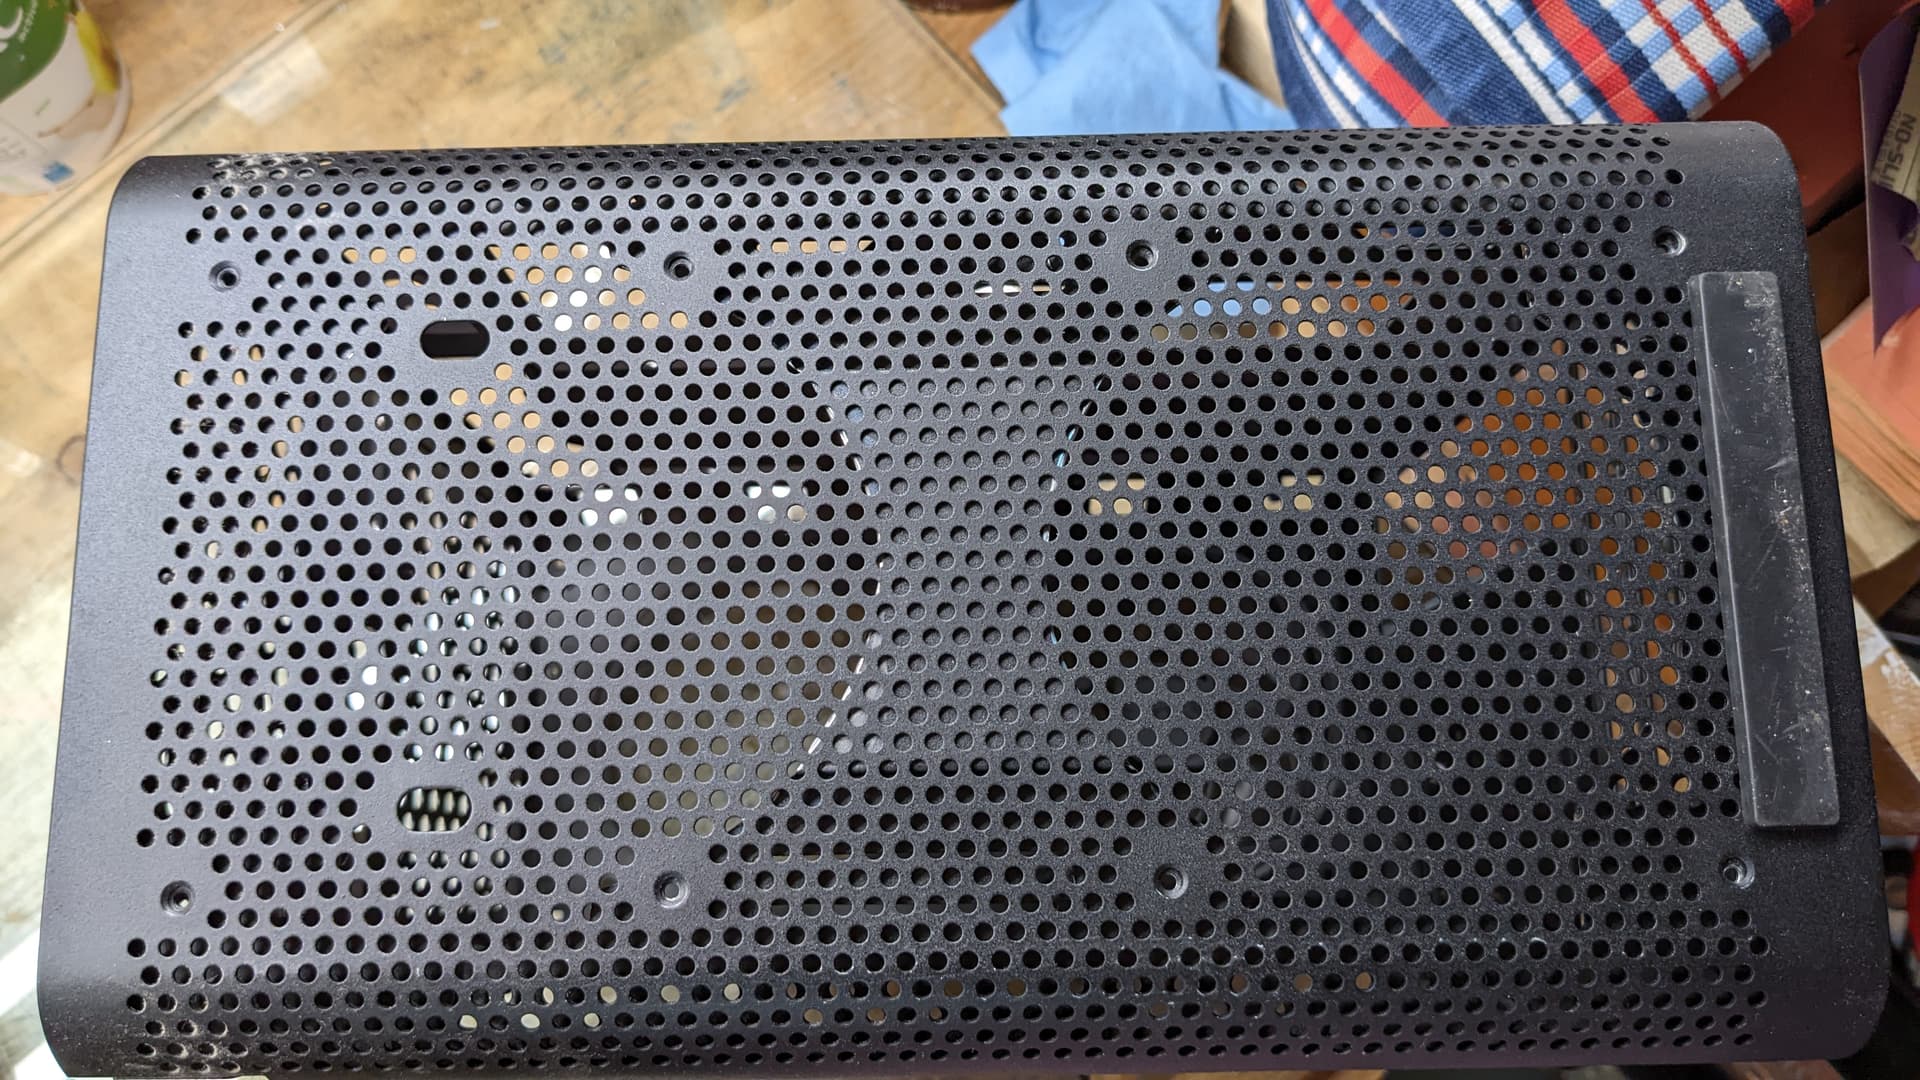
This weenend I progressed futhermore on the build. So I did openings for the fans at the bottom following the same pattern than at the top. This had for consequences to line up the outer holes to screw in the bottom panel. So I will enlarge those holes and use them to screw the fans.
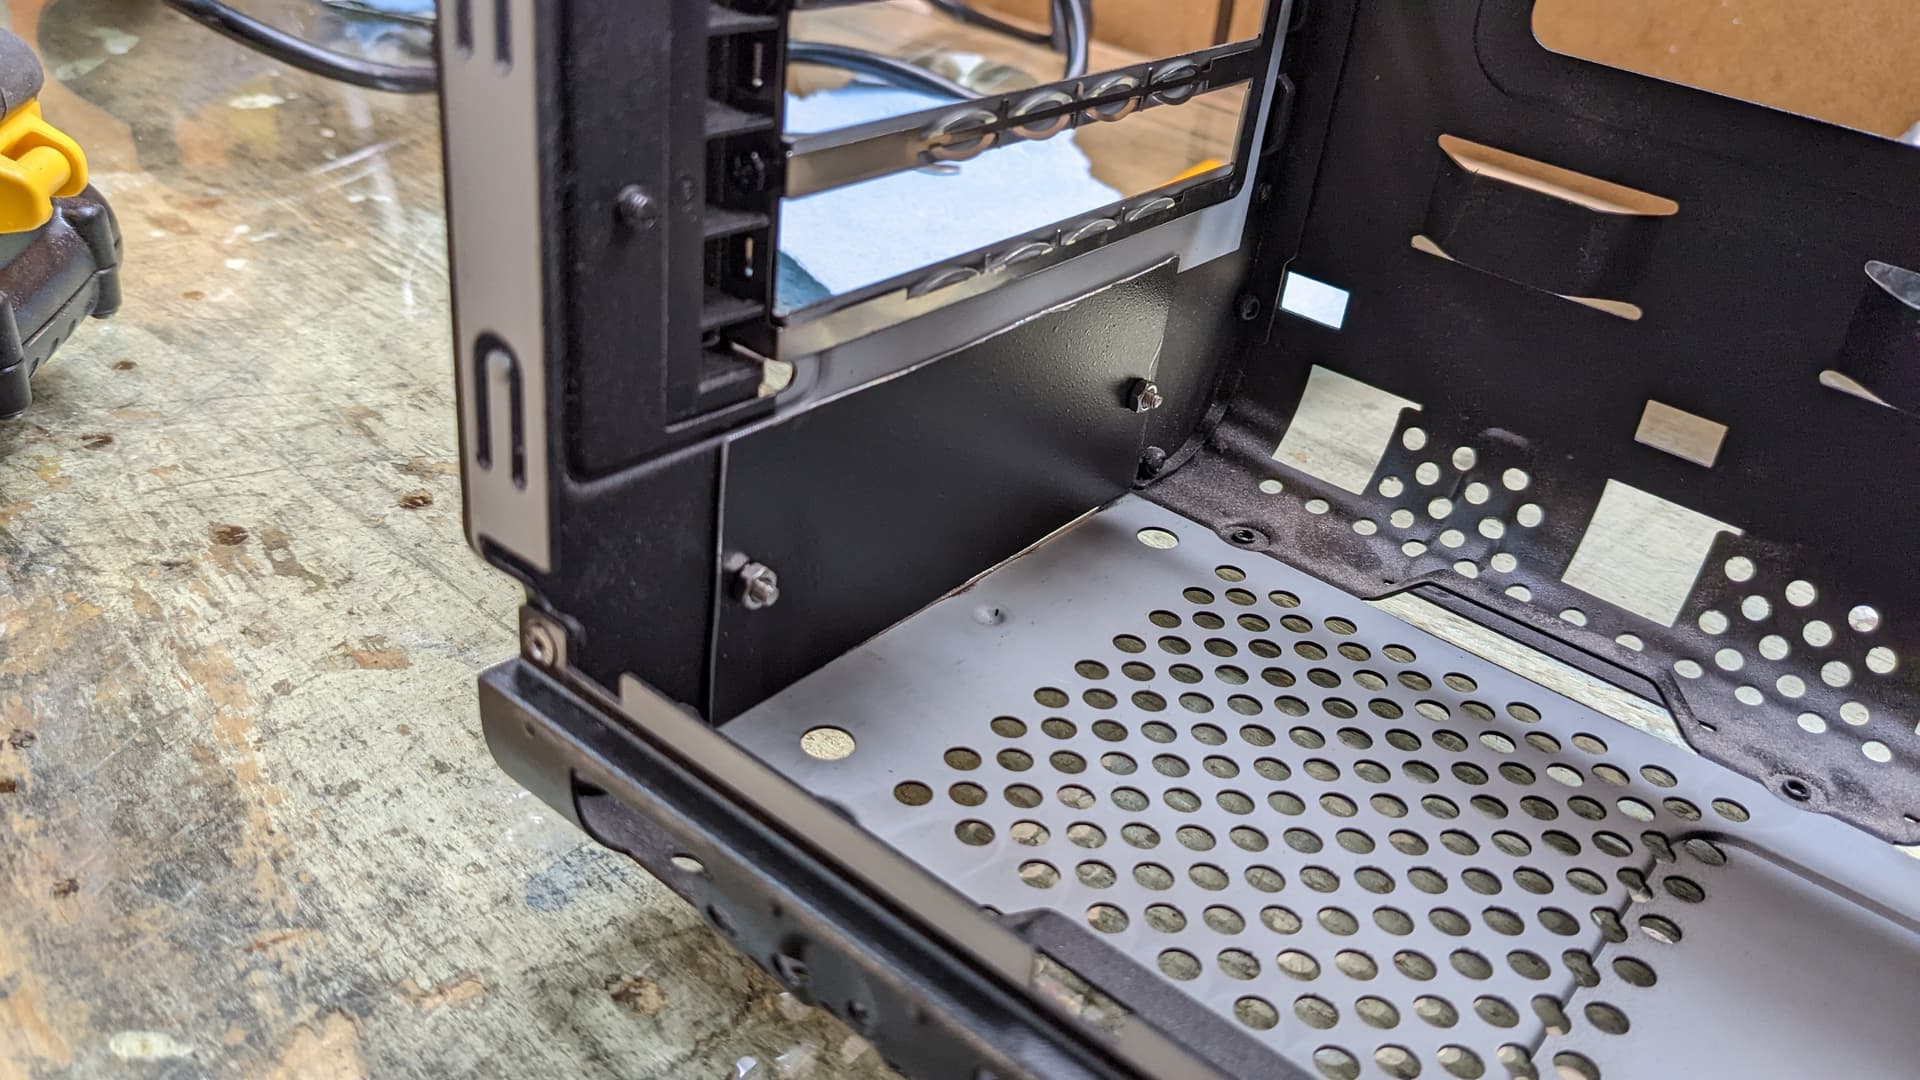
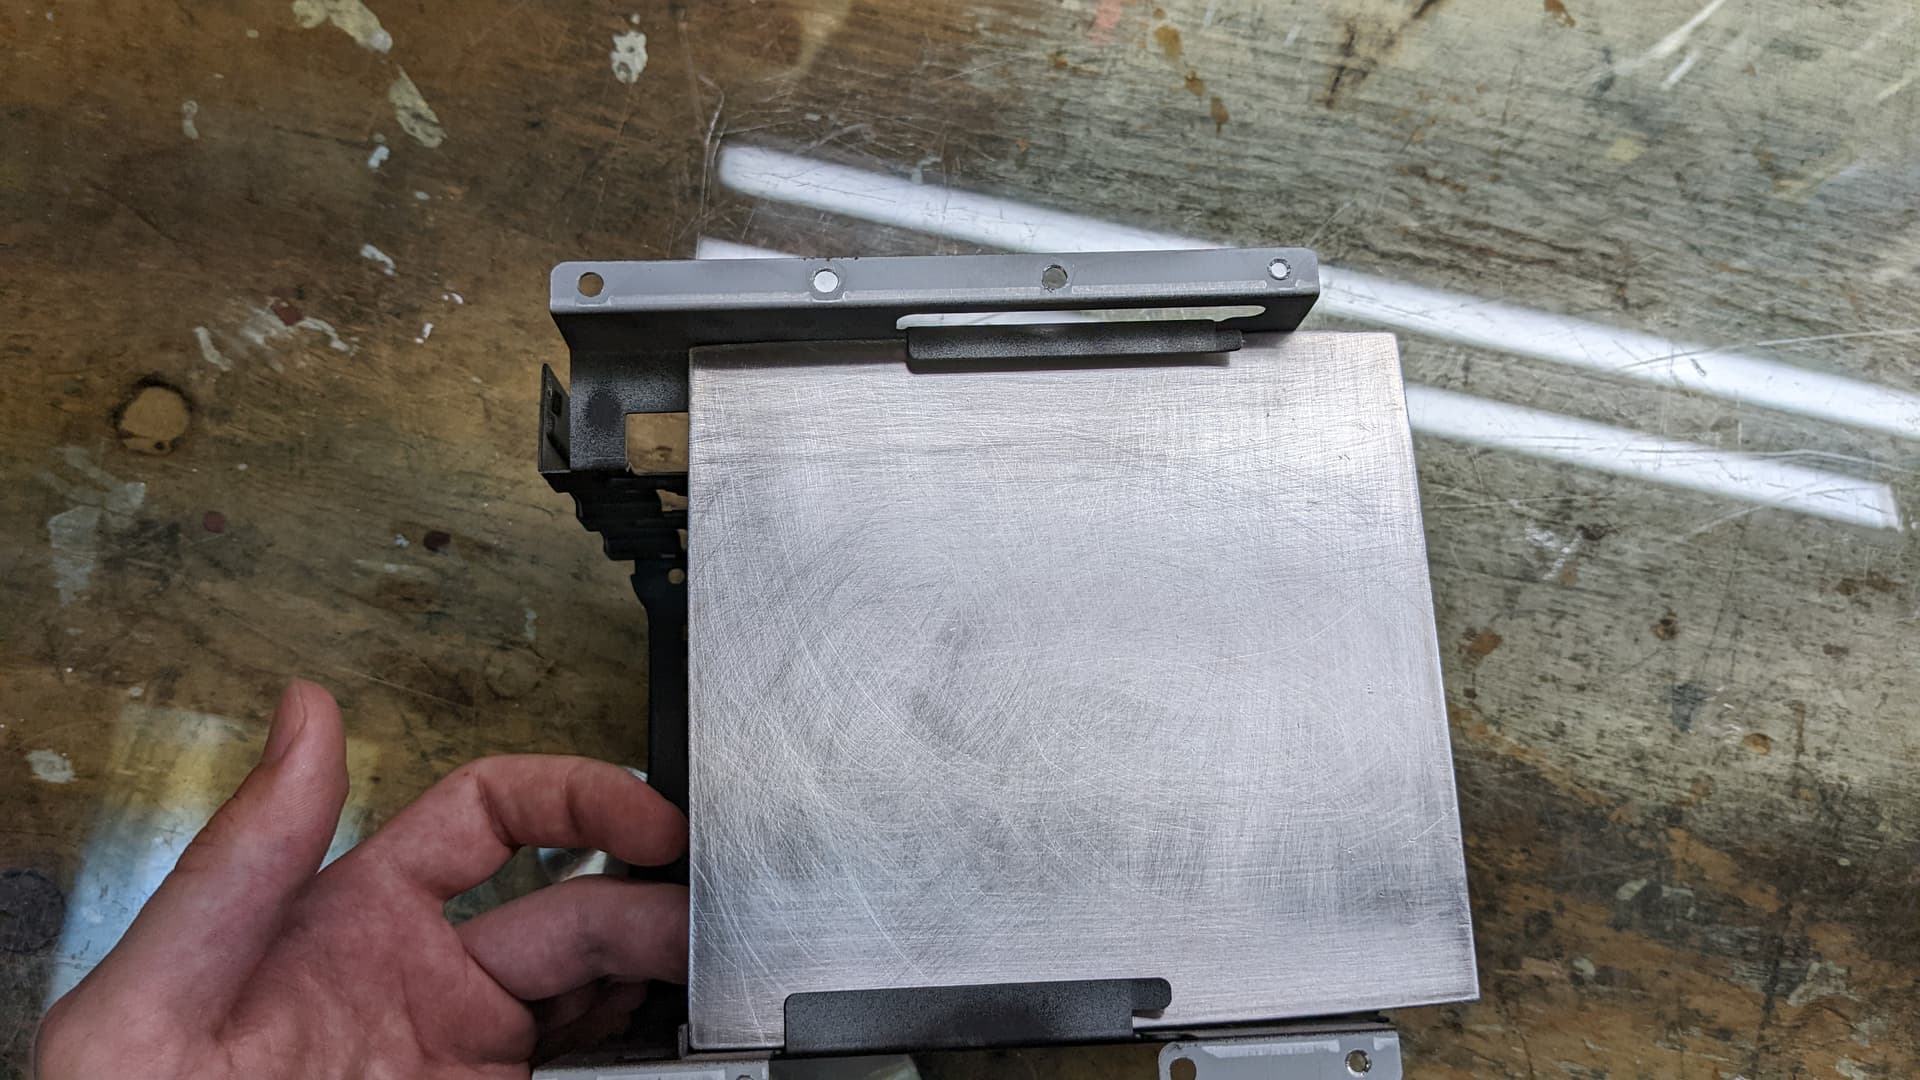
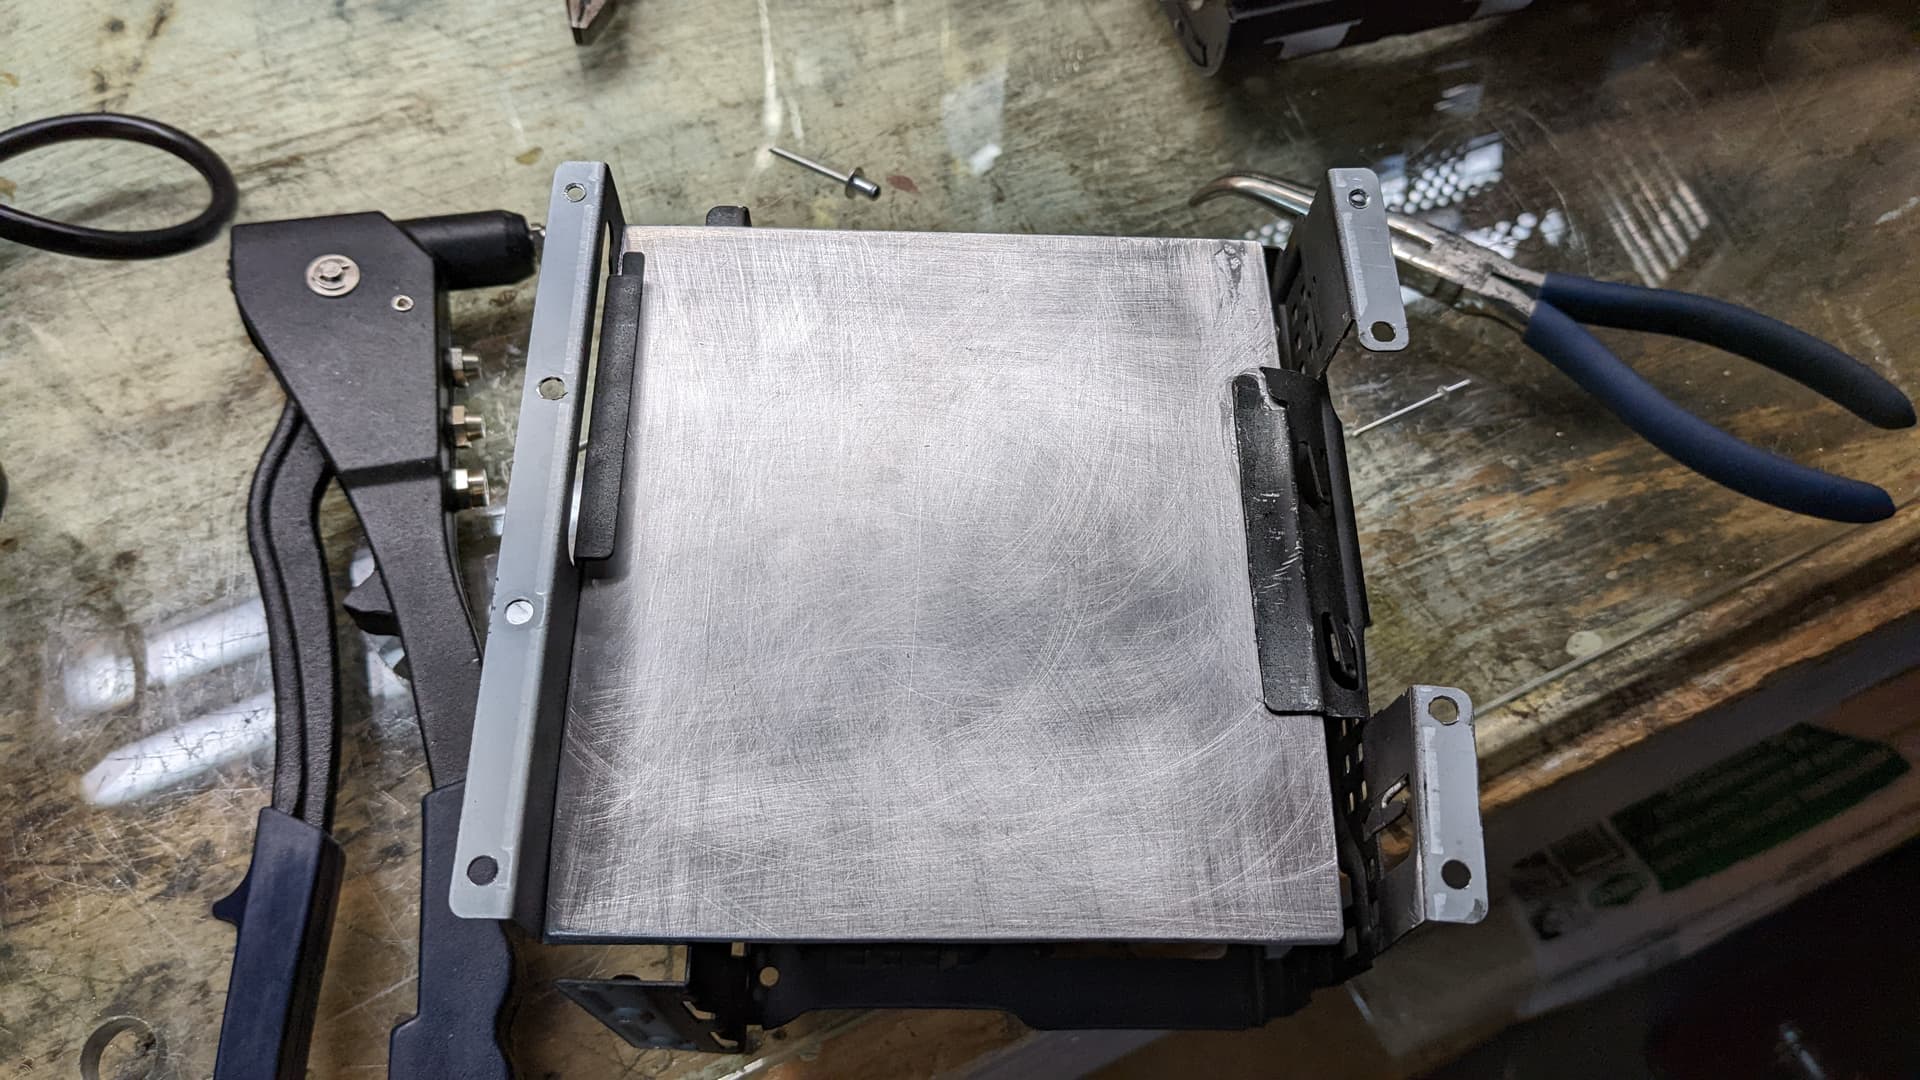
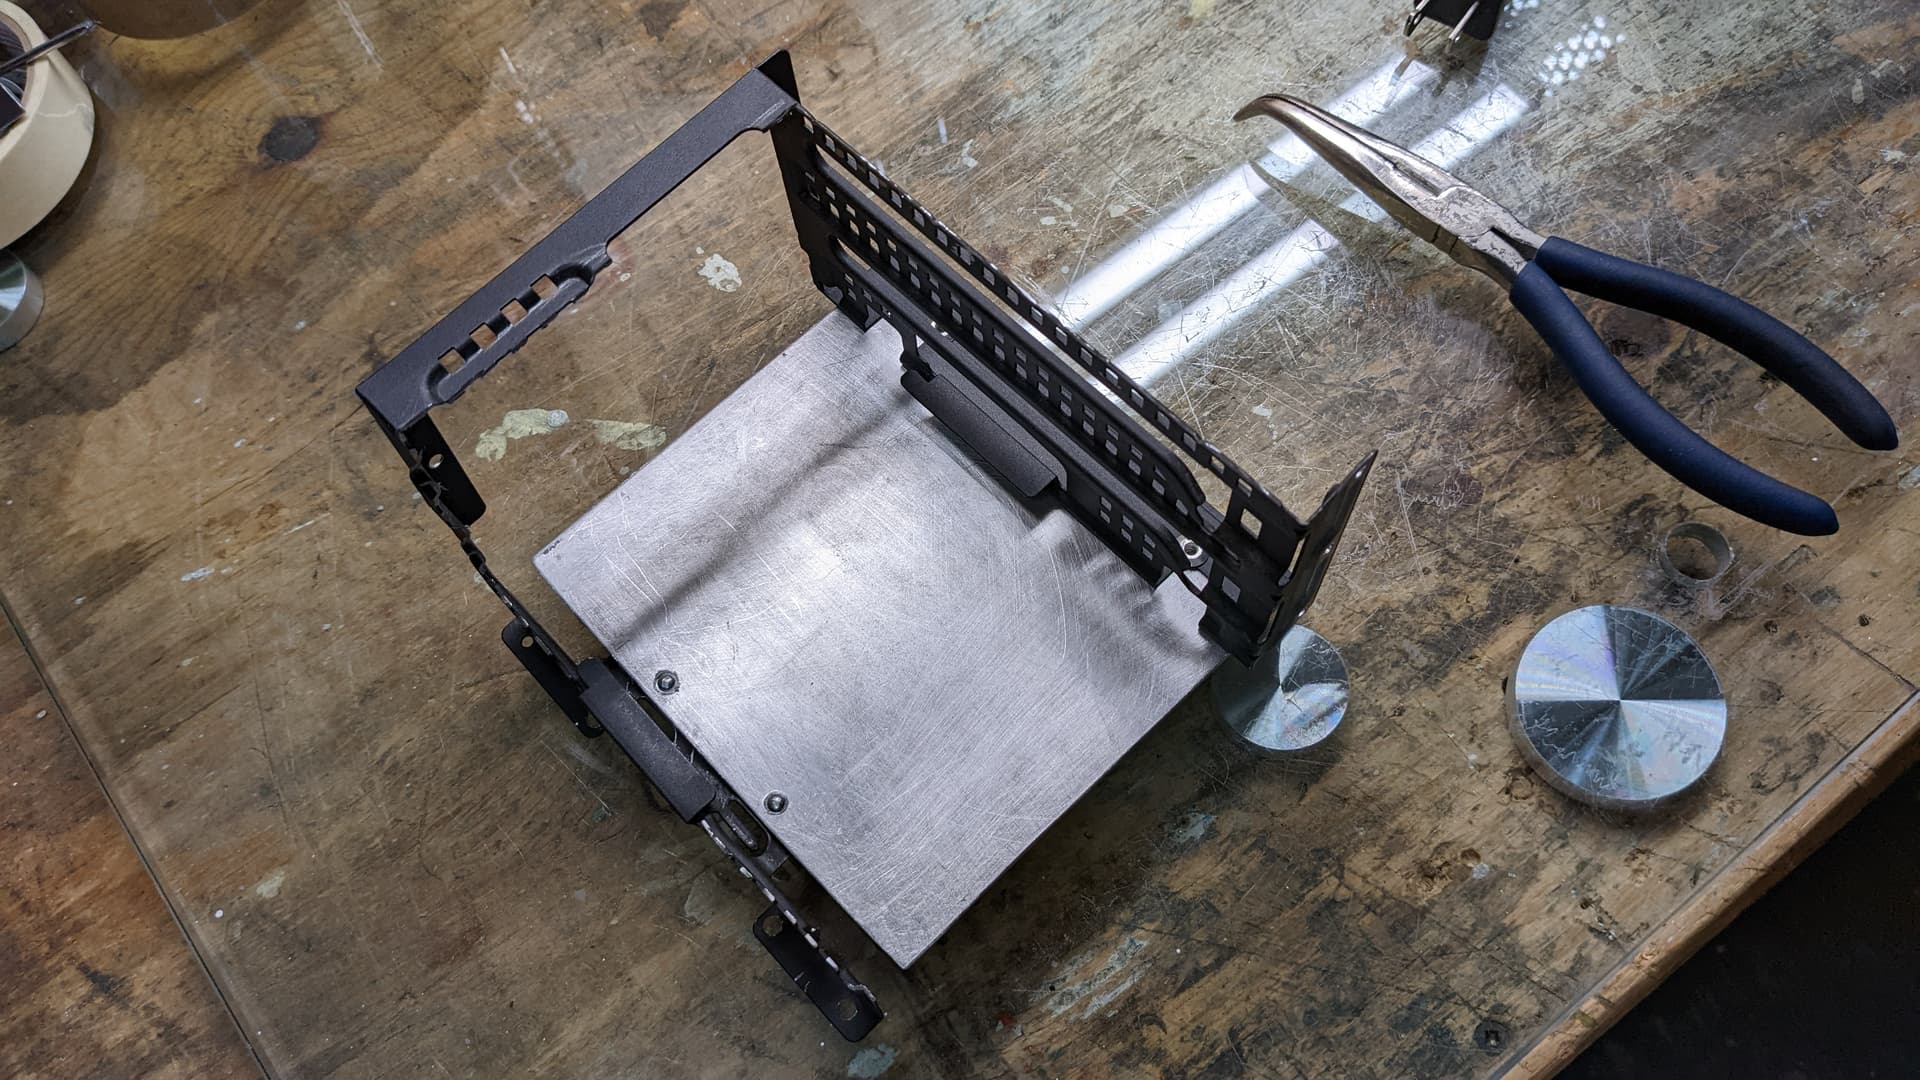
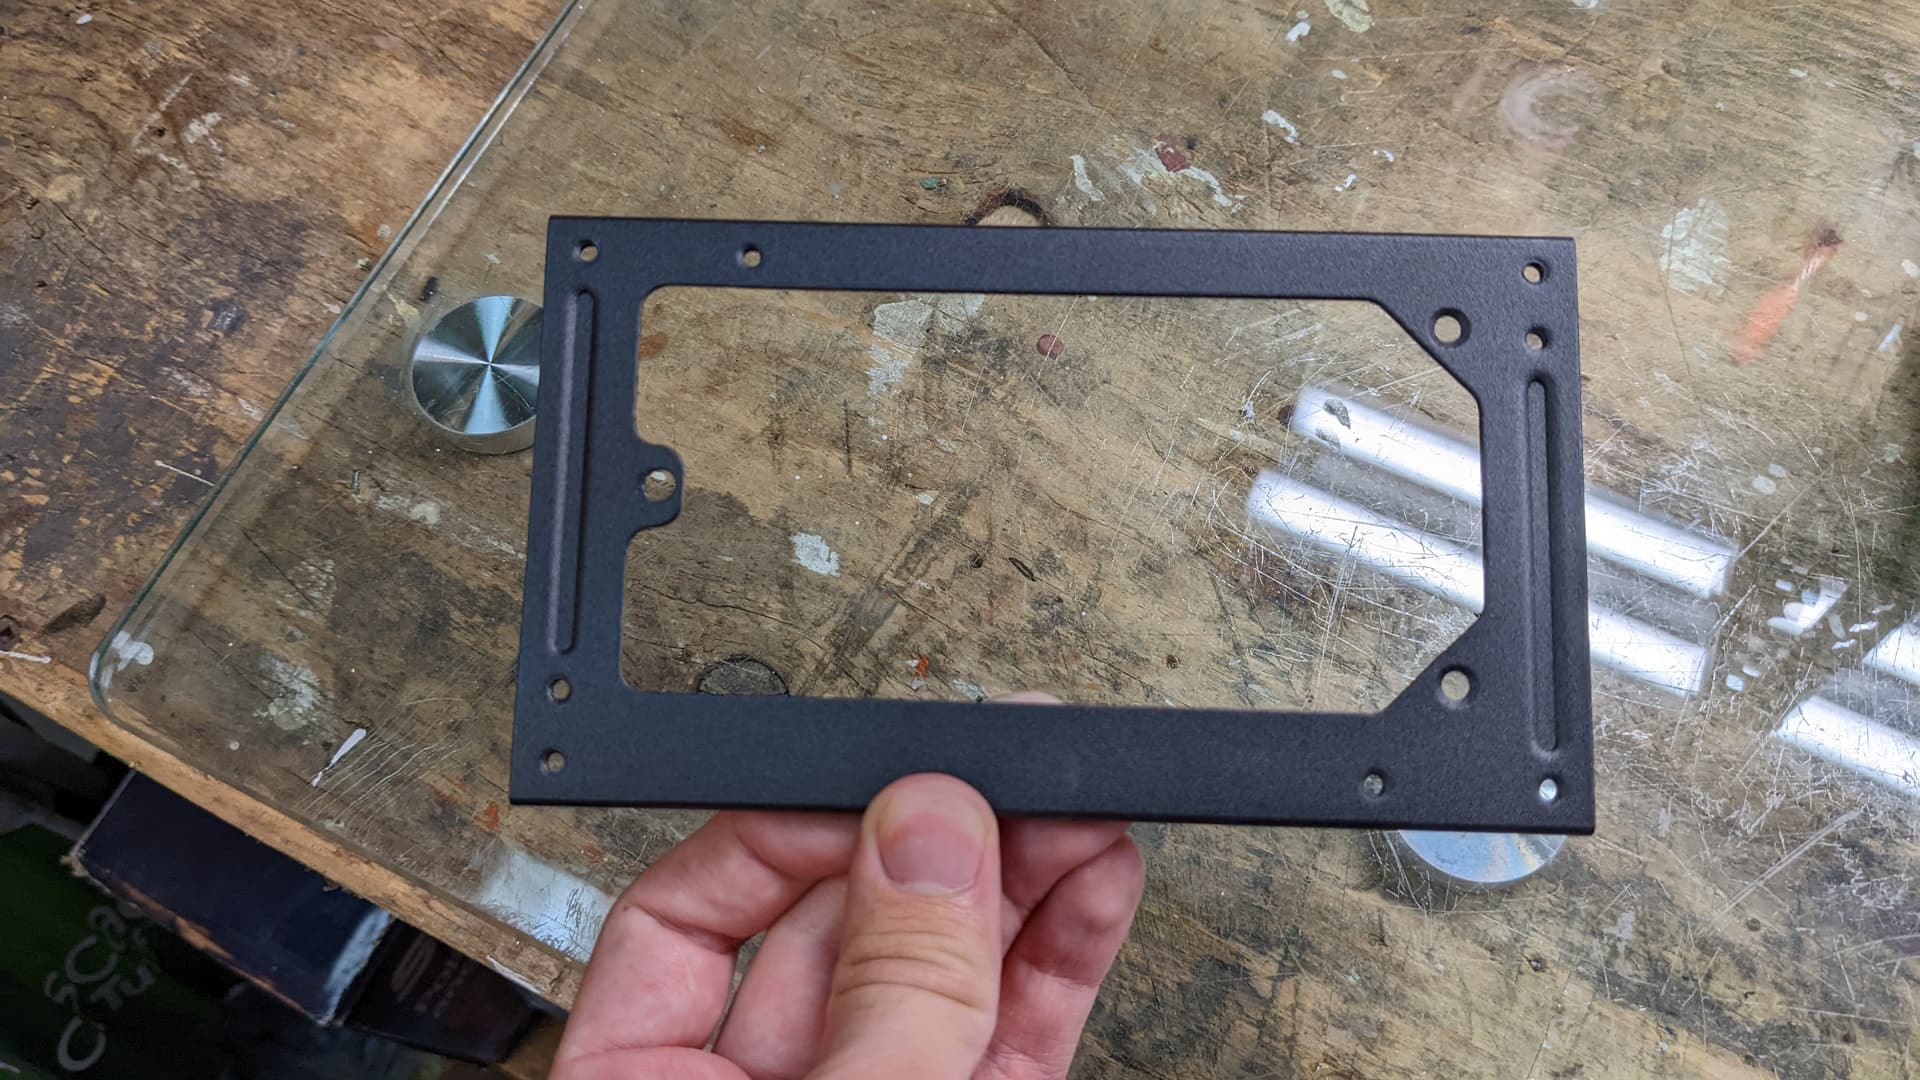
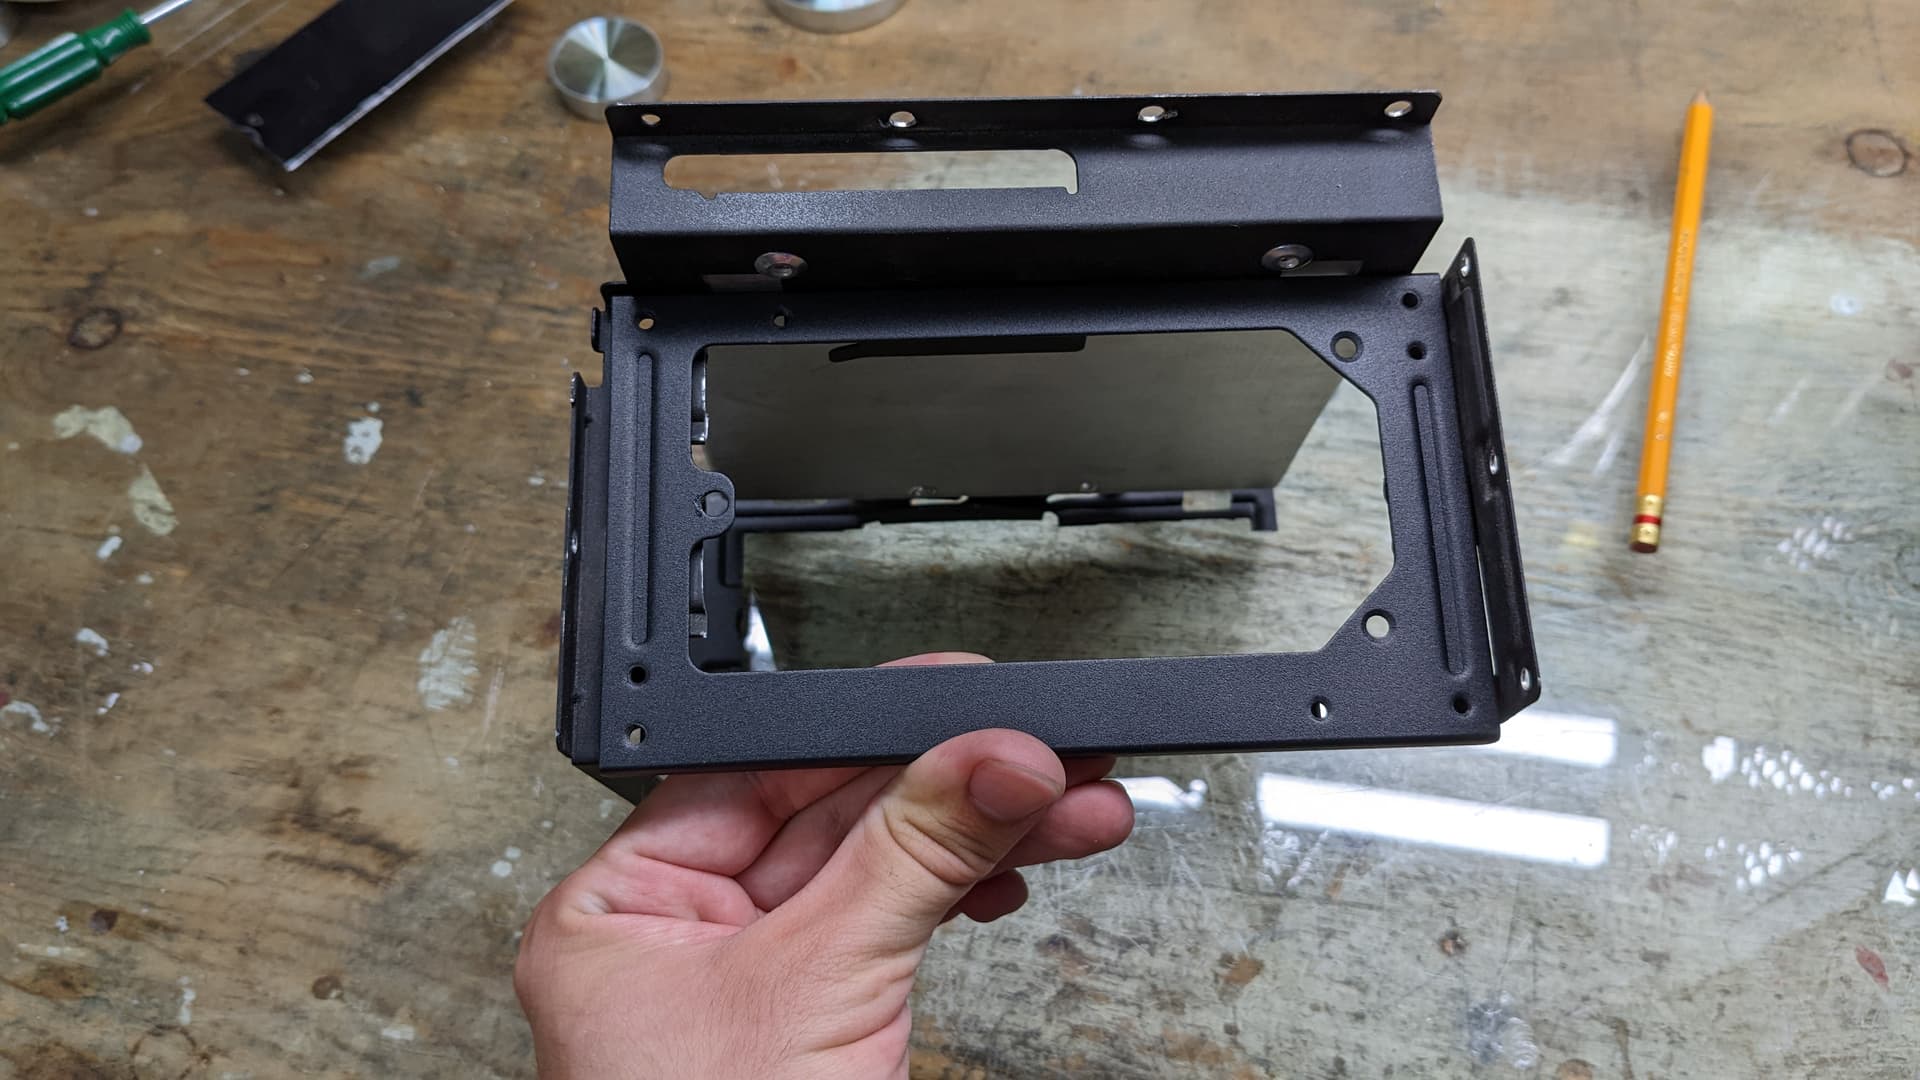
Also, I worked on modifying the drive cage to use it to support the PSU. I wanted to keep all the fixation point of the drive cage, will freeing up and making it less cumbersome in the case as it makes building in the case difficult. So I cut an alumium panel to provide a new backbone in order to remove most of the outer parts of the drive cage.
And then I cut on top where the PSU will be attached. To have it good looking , I will use the ATX bracket included with the SFX PSU. Iy happens to fits nicely the size, so I will just have to screw it in the “drive cage”, and will be used to screw in the PSU.
I still need to do a lot of sanding and adjustments. Also I know how I will paint the case. @GoldenAngel1997 comment made me think about doing a pattern, and finally I will try to wavy patterns of red mimicking Noire’s skirt. So the first layer will be black, and I will paint over it two times with red to mimick the skirt. Will be using cherry red.
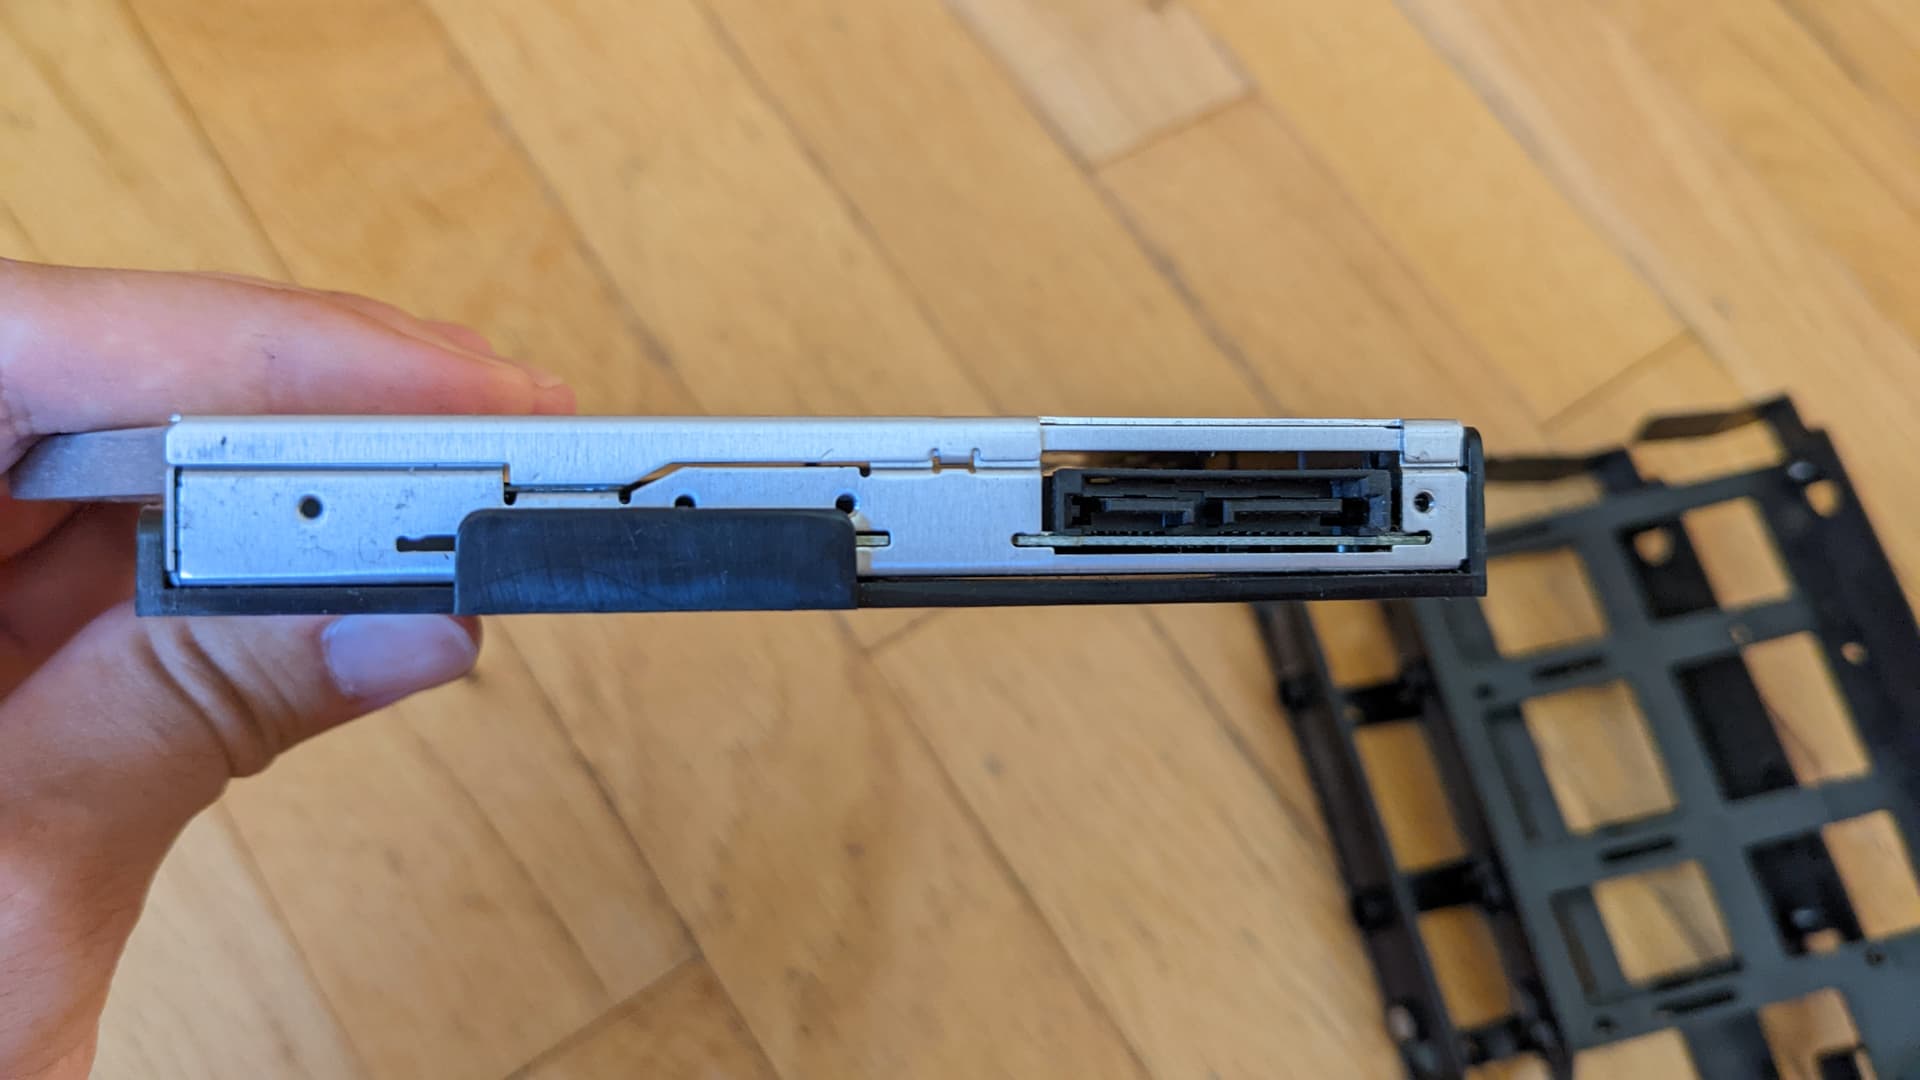
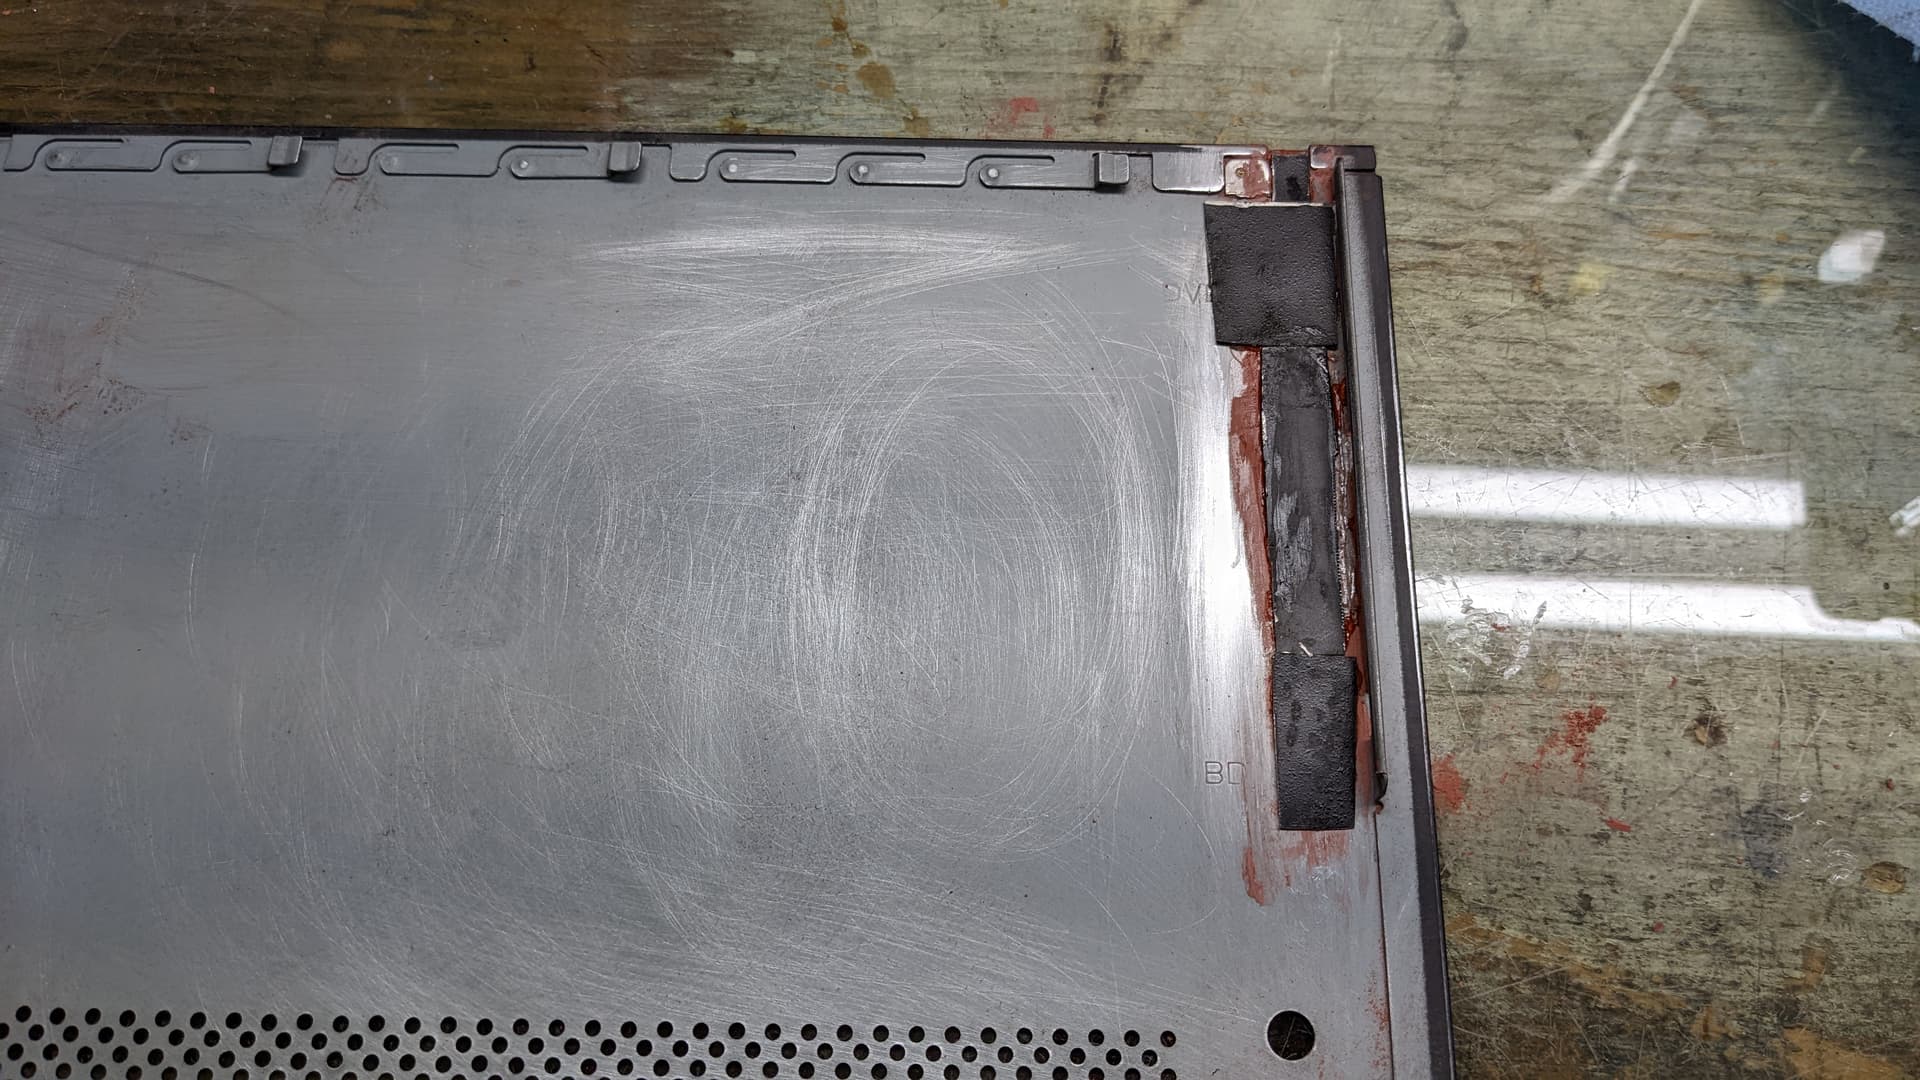
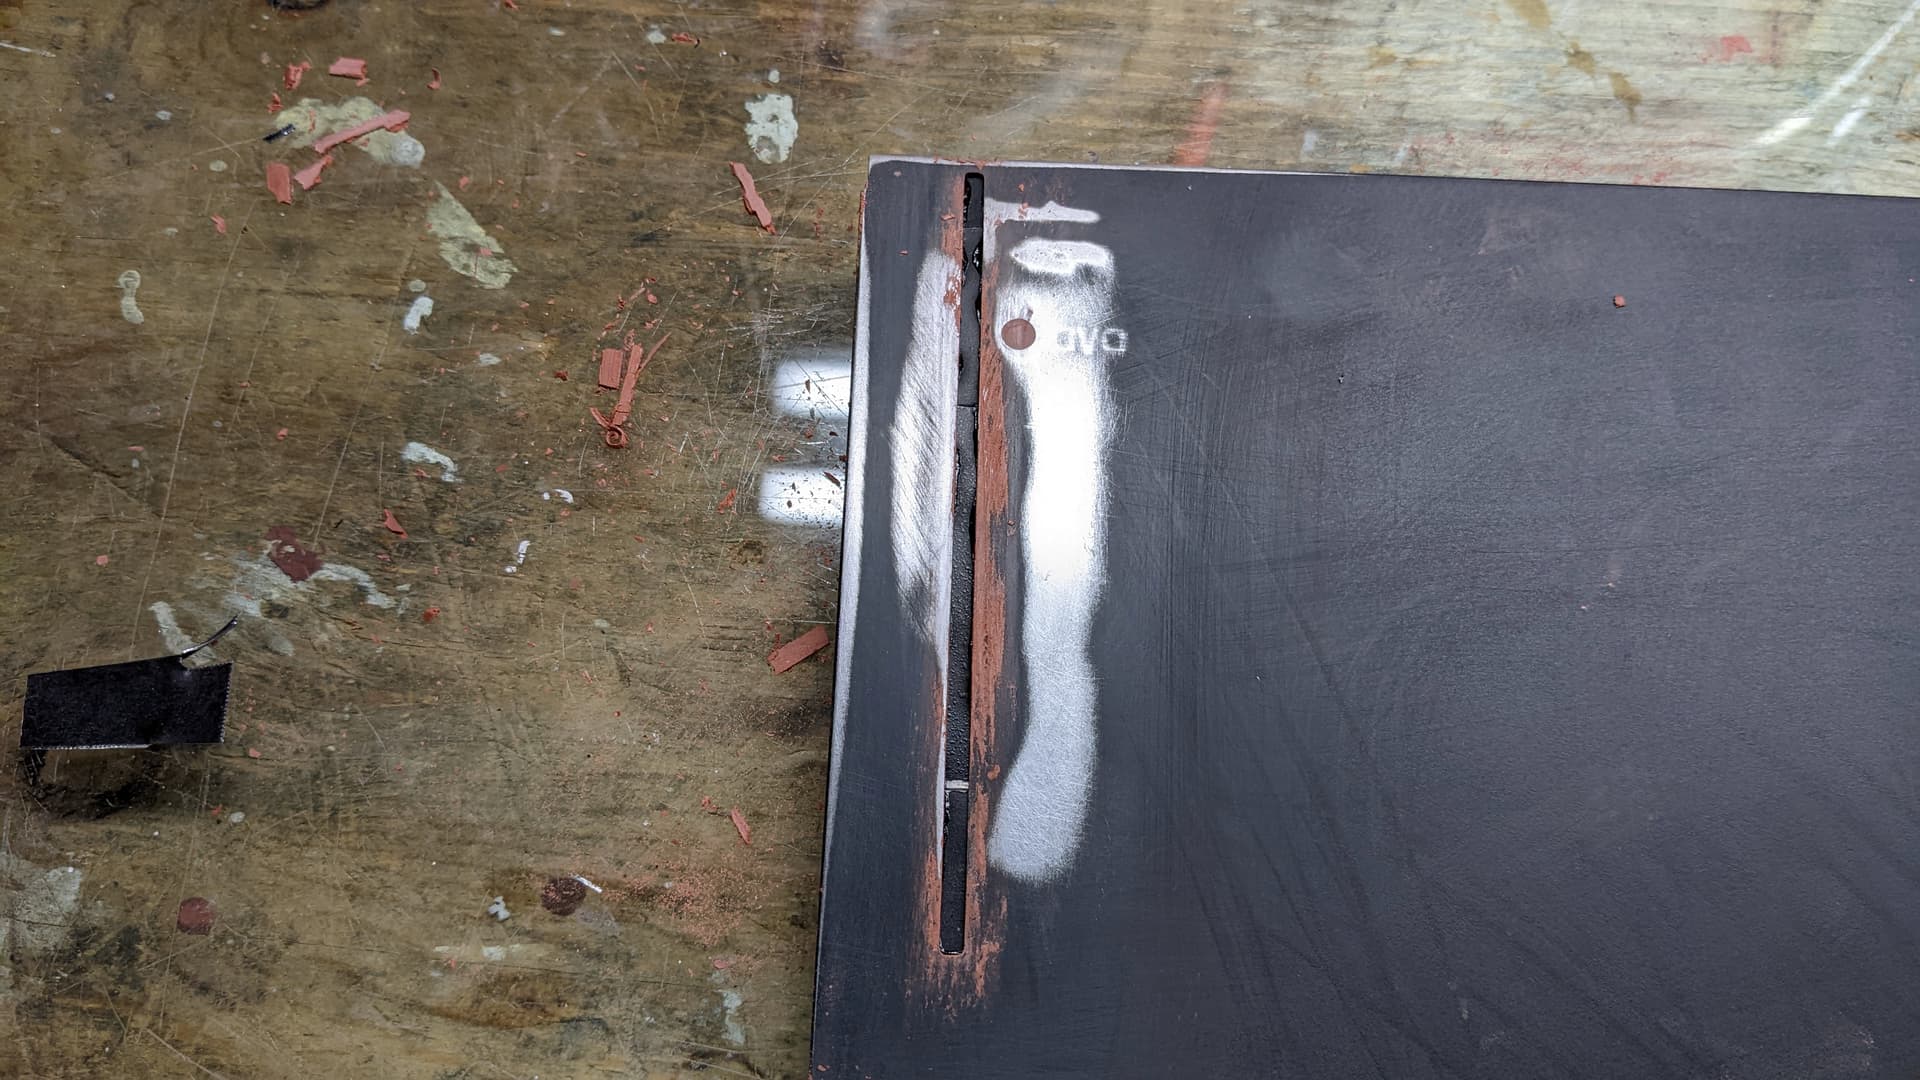
I did some touch up to the pieces. I covered the CD slot with metal pieces and cover it with putty. I finished adjusting the PSU mount and sanding the fan holes on the bottom.
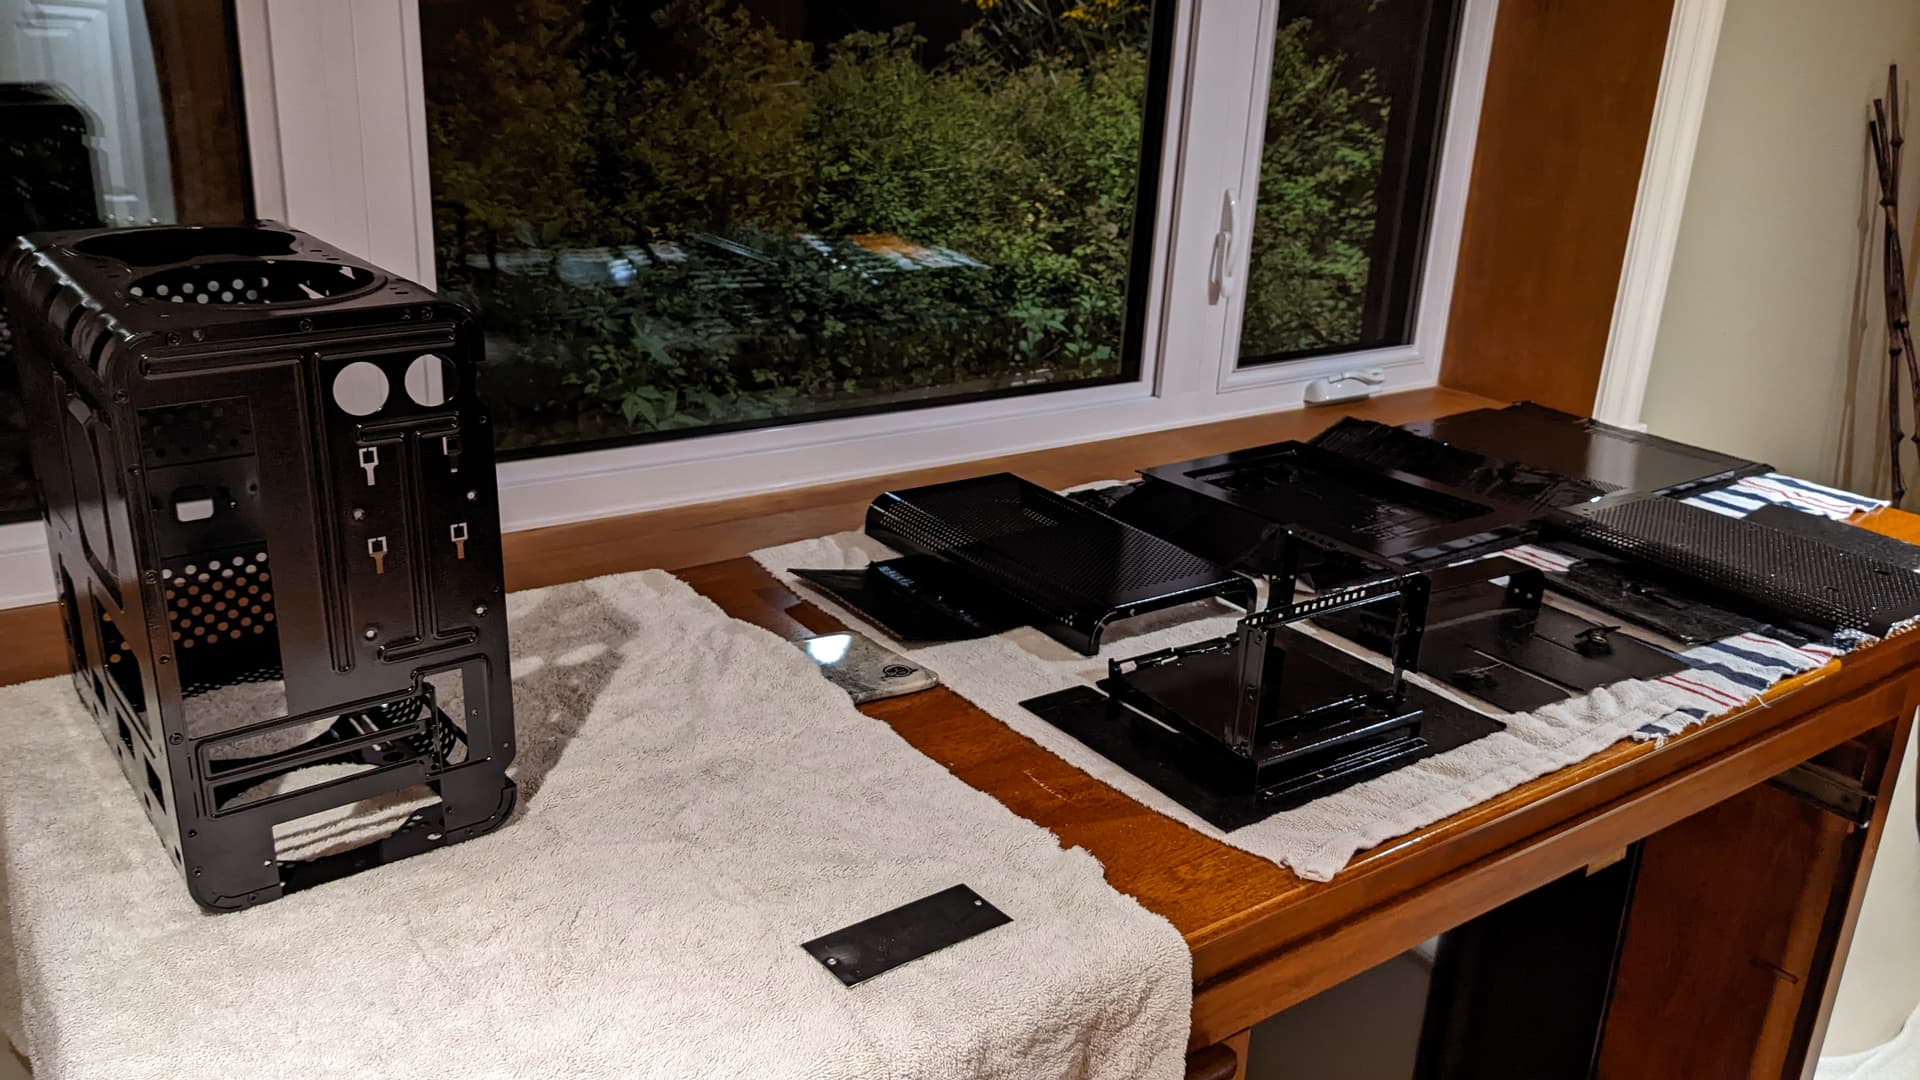
I sanded all the pieces and washed them in the bath to ready them up for painting. The I painted everything. So all the black base coat is done for now and the paint will set to rest until next Friday to let the paint become less sticky and gases off properly. Anyway I will not be able to paint earlier because it will be rainy.
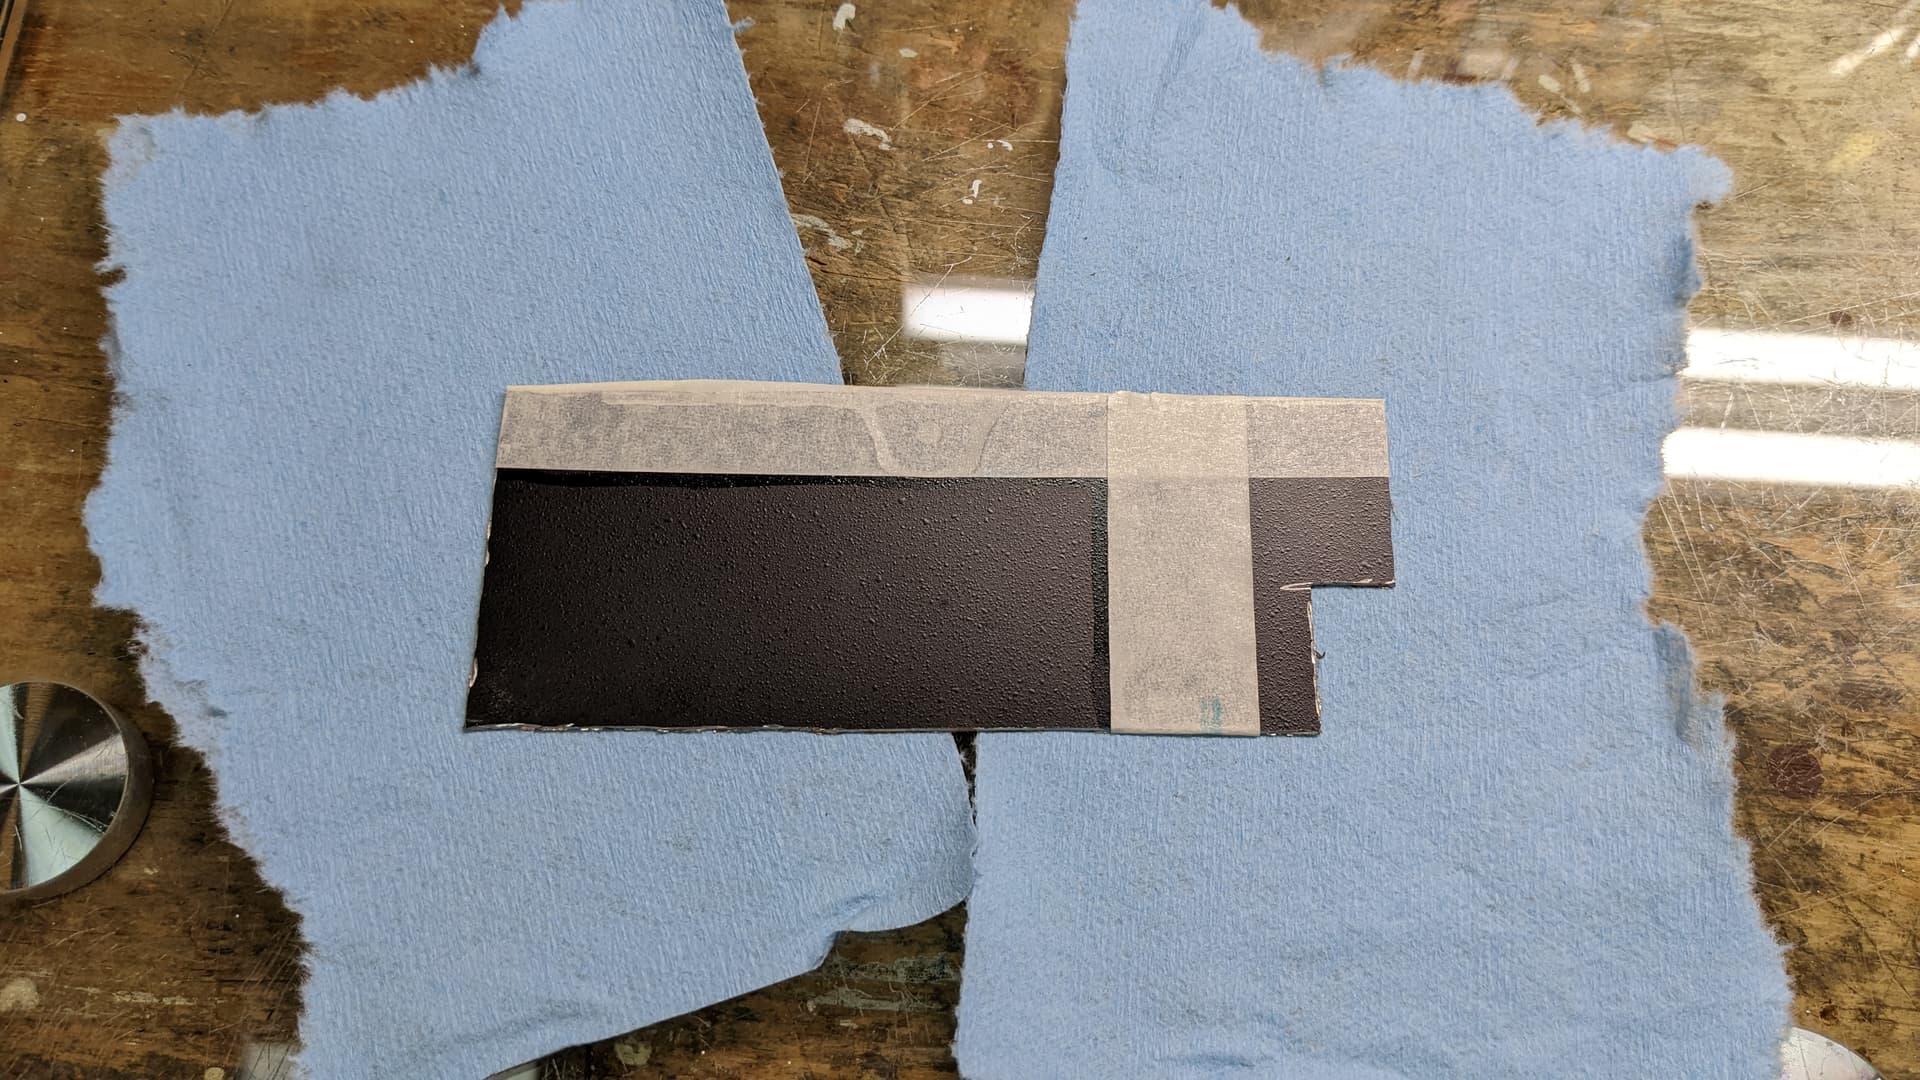
Also I did some paint test for the red on the black. The red covers way less the black than I thought it would. So for the first wave ribbon it would be just fully painted red over black, and the second one there would be pink applied as an undercoat and then red on top so the red pops up vibrant. Looks close to the skirt of Noire.