slic3r. I’m too cheap for the good stuff. My printer is also a bit of a pos but I’ve spent a lot of time improving it. Maybe I need to consider s3d.
Soon y’all. Soon. (8 failed prints more than 4 ho
urs in on ye olde MakerBot clone. I’d had enough. hopefully the prusia is awesome.

5 Likes
so @w.meri one thing… how do you route the motherboard power cables from the lower chamber to upper in this design? the front is a “front panel” so the cables have to route either on the left or right side of the mobo… but no room?
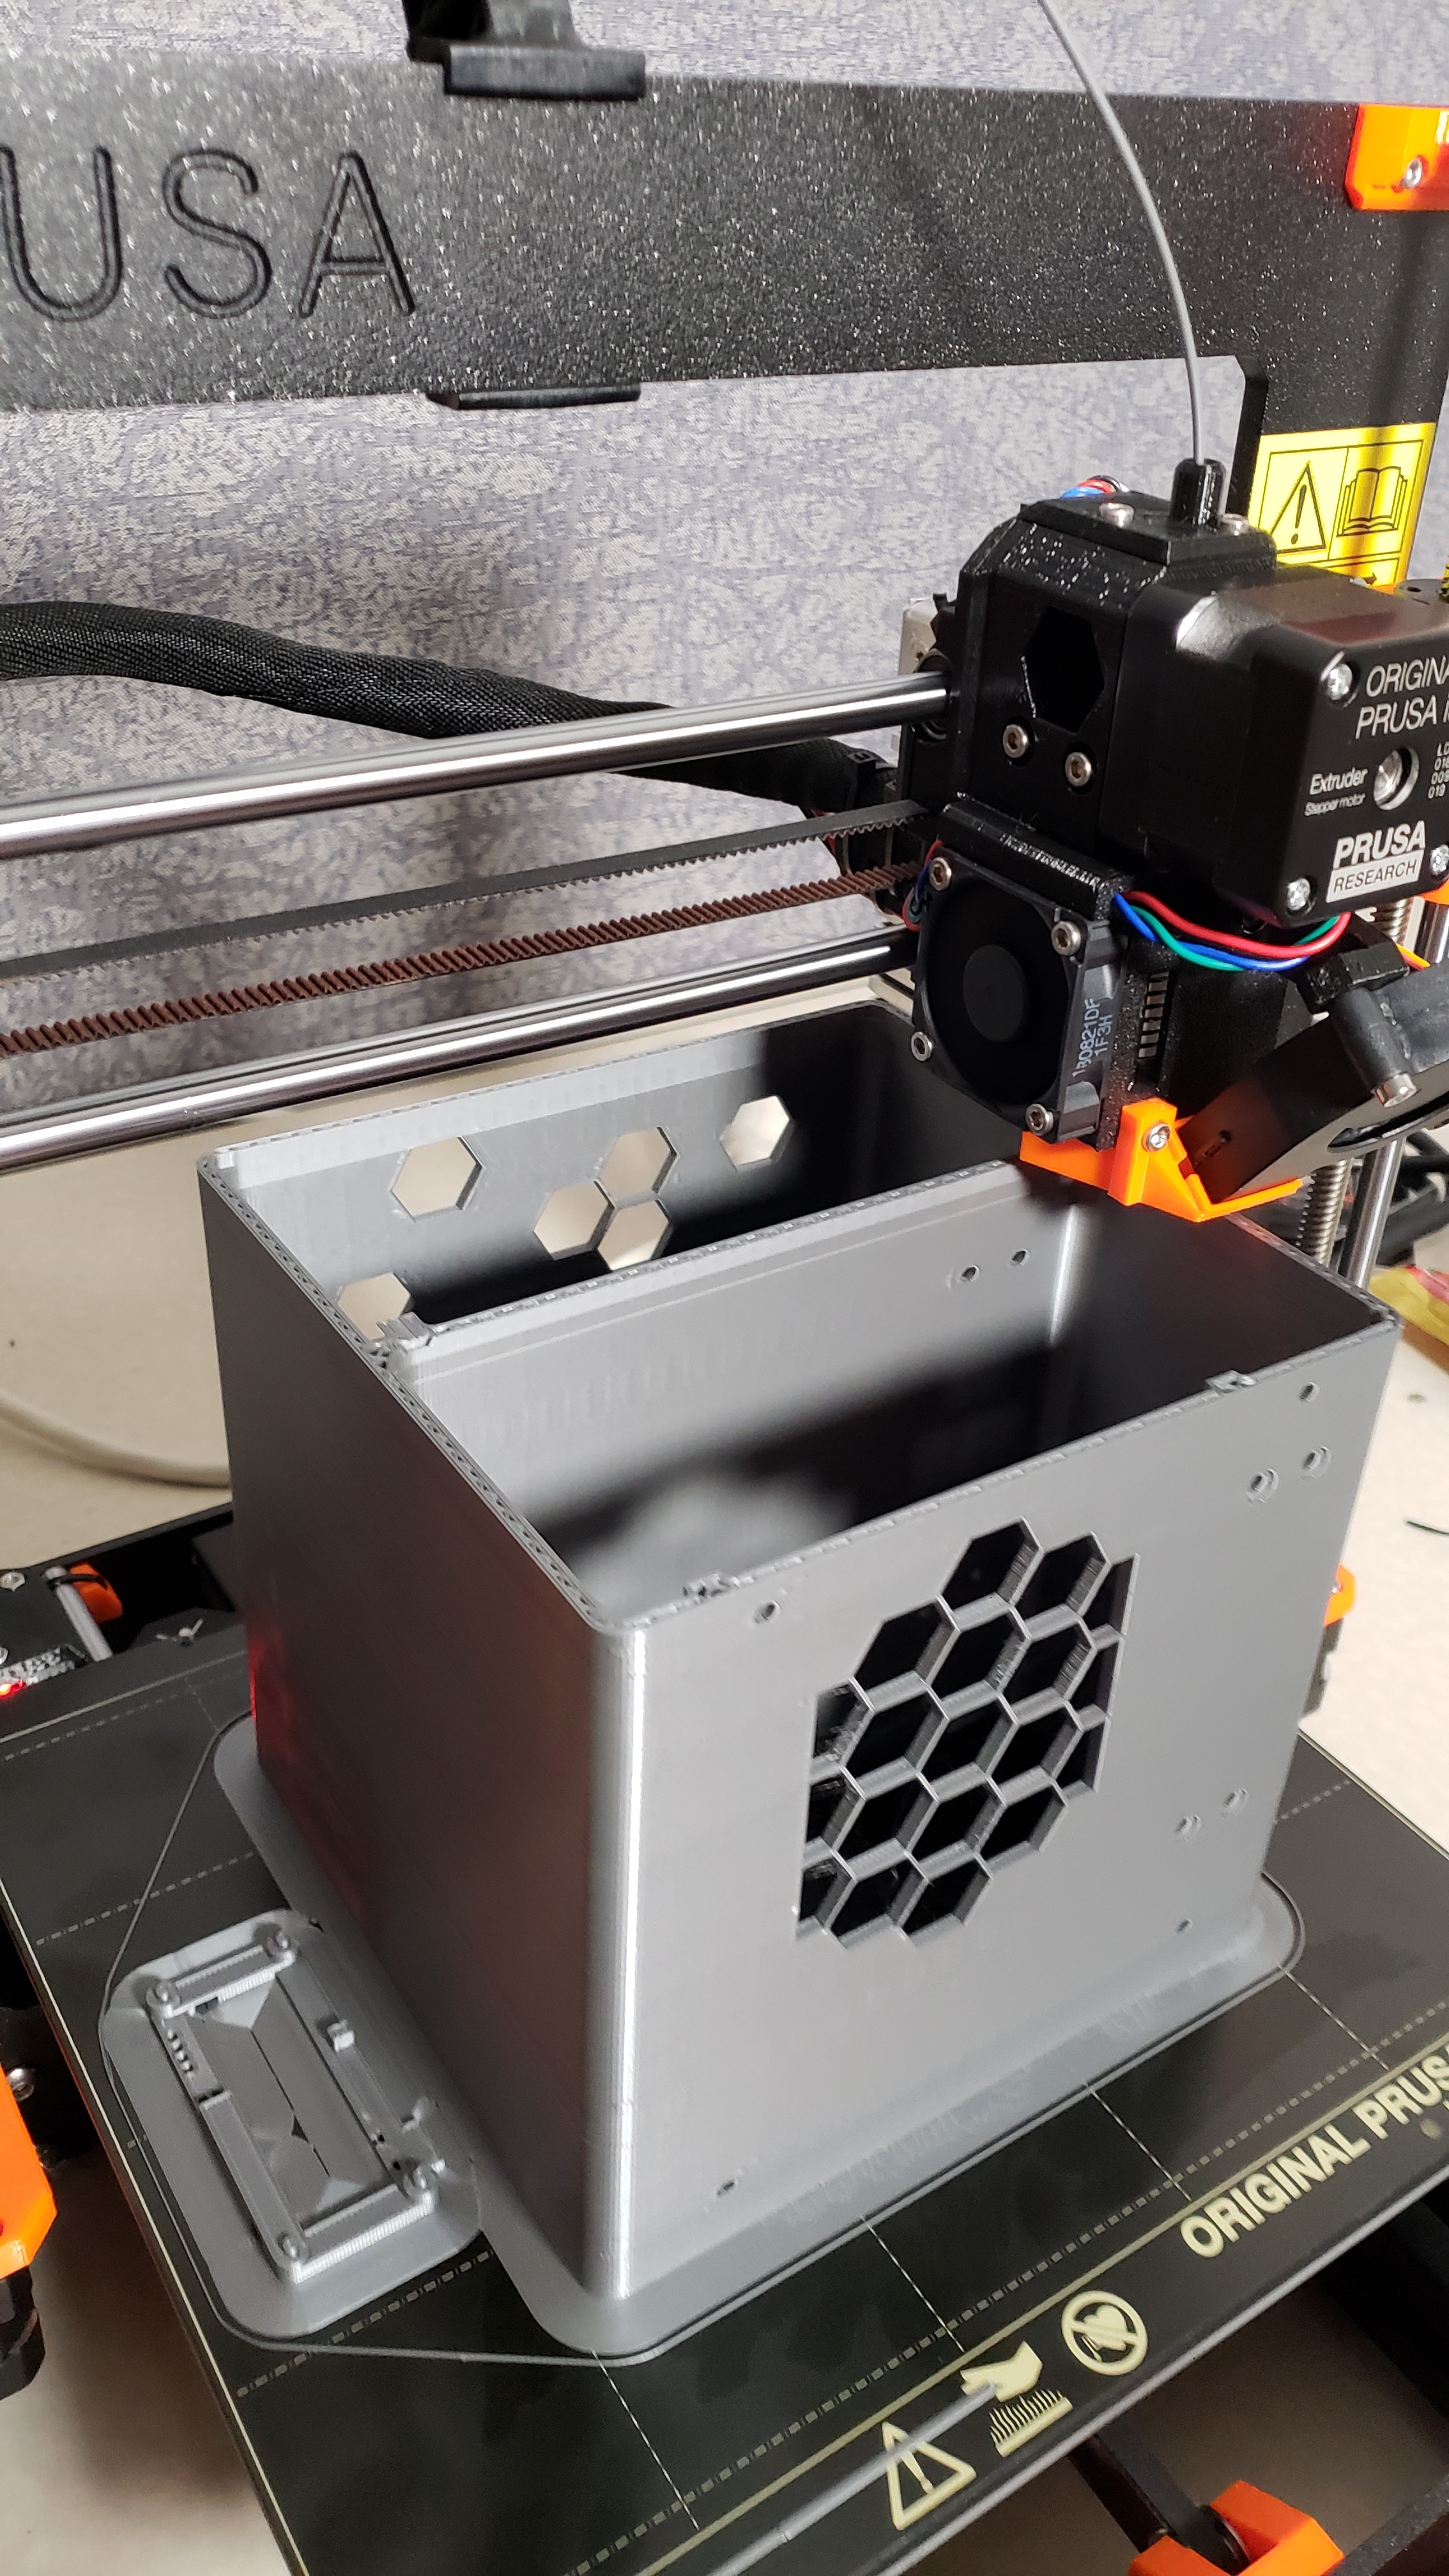
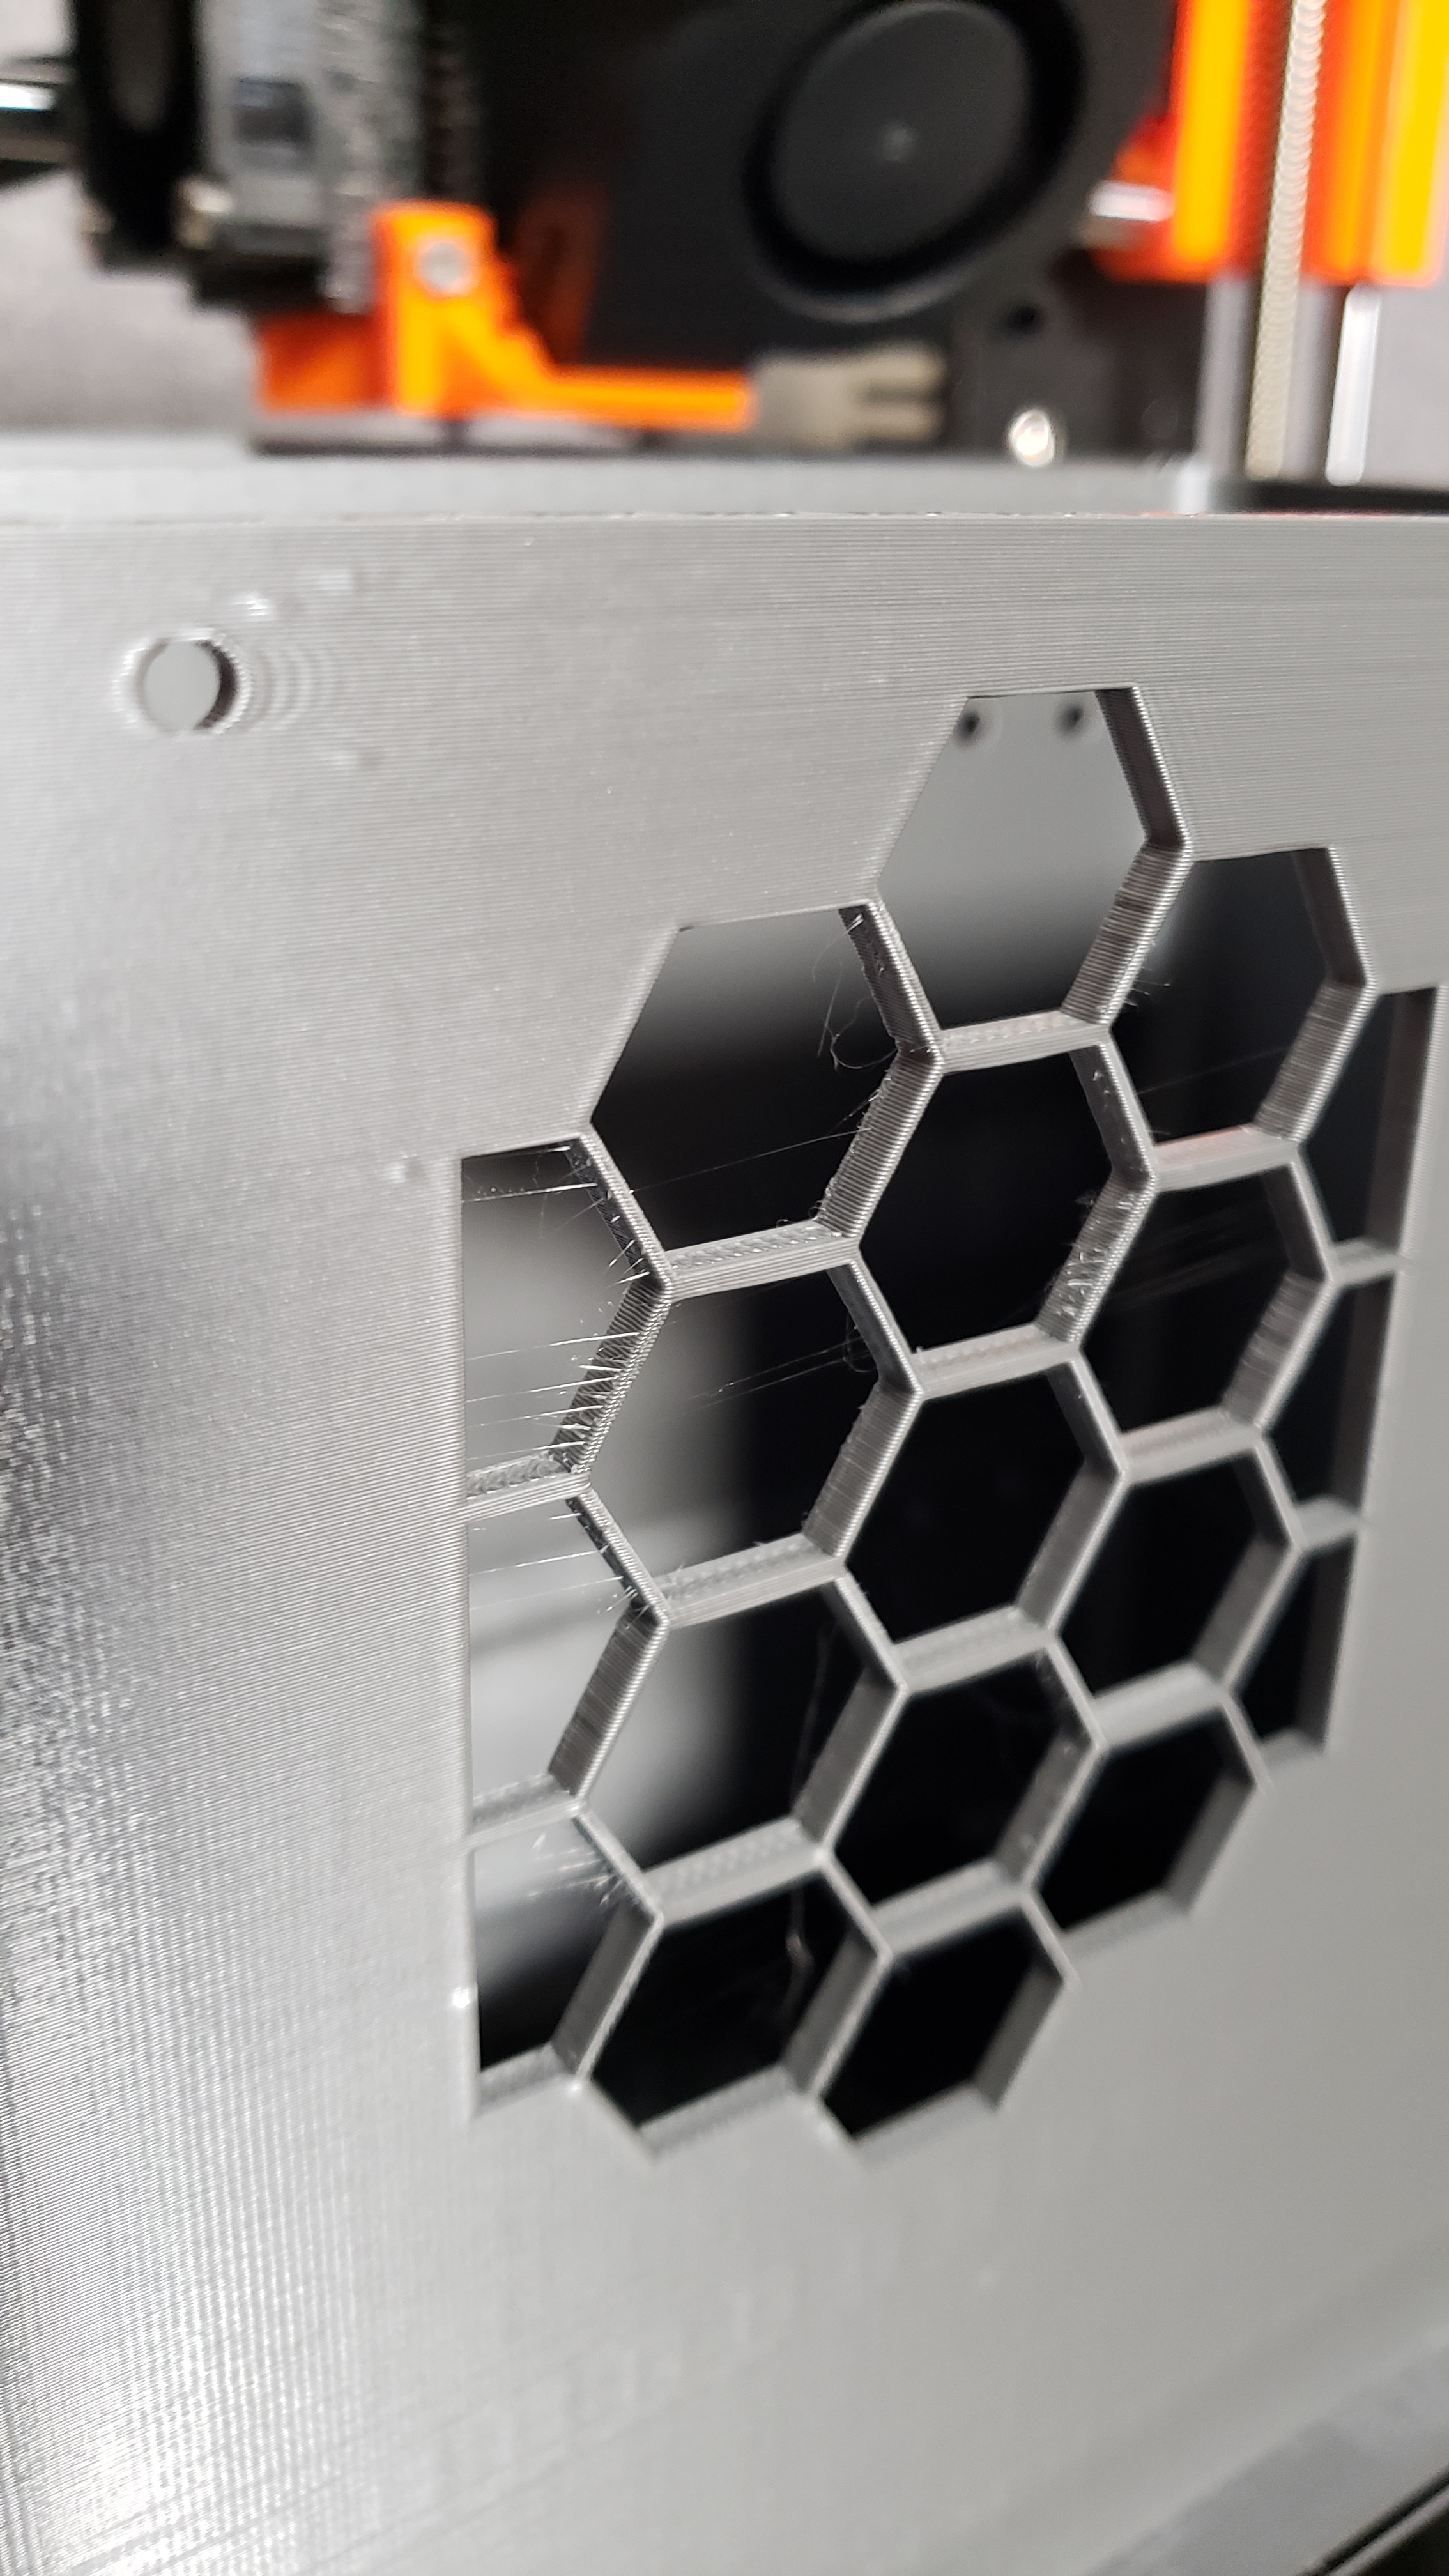
The hexagonal stuff is cool too but basically unpritable without supports, or horizontally. I suppose you could leave holes there, supports would fill it in, then print a hexagonal cover/door/etc separately. Not sure, need to think on it.
oo a mk3, very nice
It’s shocking how much better it is than my old maker bot clone even though all the plastic parts are 3d printed. I am also extremely impressed with the prusa filament. It’s hard to find a good filament for larger prints. I have taken to storing my unused spools in a sealable 5 gallon Lowe’s bucket but even then apparently some of my filament is crap. if it doesn’t come in a sealed bag it’ll draw moisture and fail large prtints. I thought more of that was to do with my old printer than the filiament but seems not to be so. Still the build area on the old printer is like half the mk3
2 Likes
I keep desiccant in my container
2 Likes
I think the idea was to route the cables around the motherboard in the front, between the motherboard and the front panel. At the time I was trying to make all parts of the case fit within a 150x150x150 cube so it would fit my printer, but it is a tight fit getting an STX motherboard and SFX power supply in that size constraint. The motherboard and case wall max that out as-is.
As for the hexes, the parts with “box” in the name should be easier to print since they have far fewer hexes. I probably should have rotated the hex so the points were front/rear rather than the flats for less bridging. The front and rear plates I figure would be best printed with the largest surface on the print bed for both finish and ease of printing.
The last time I frequently printed I had good luck with Verbatim filament. That was a couple years ago so I don’t know how they still stick up, but it printed nicely. Rigid ink was great on my Printrbot, but I don’t know where to get it in the USA anymore.
If I get a chance later this week I’ll try to find, or sacrifice a goat or something, if I have a backup of the case files and make some adjustments.
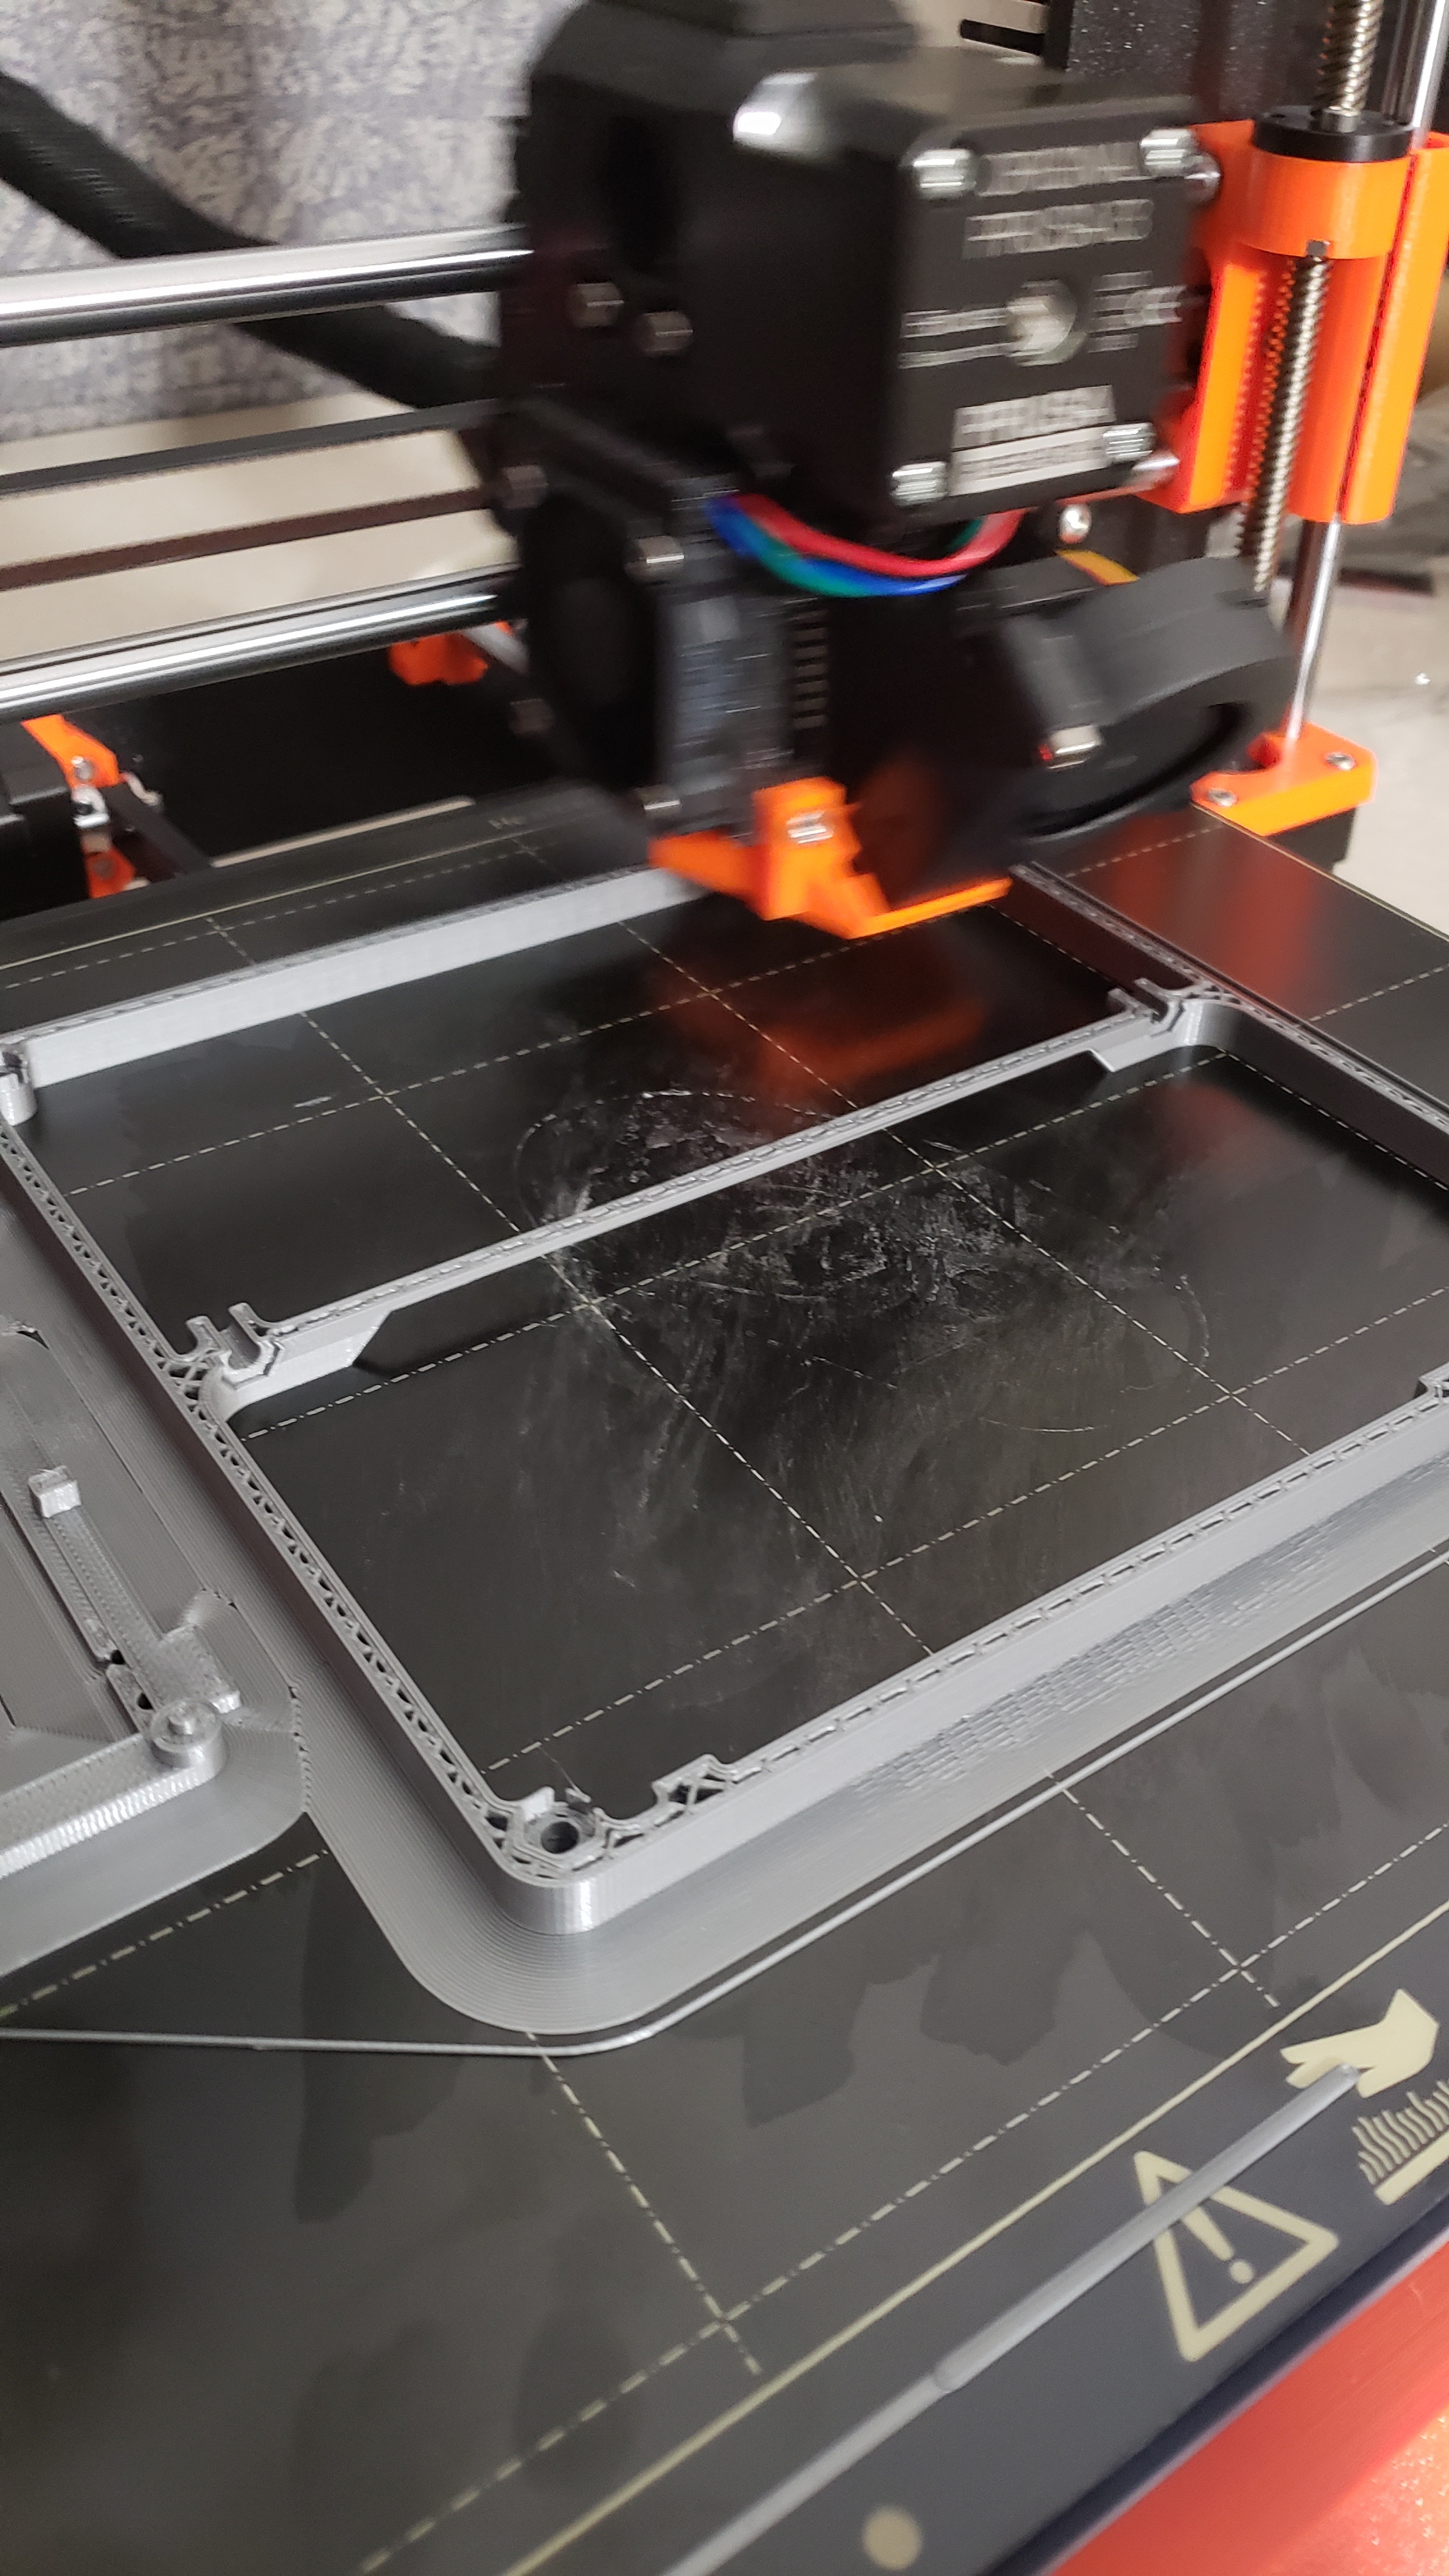
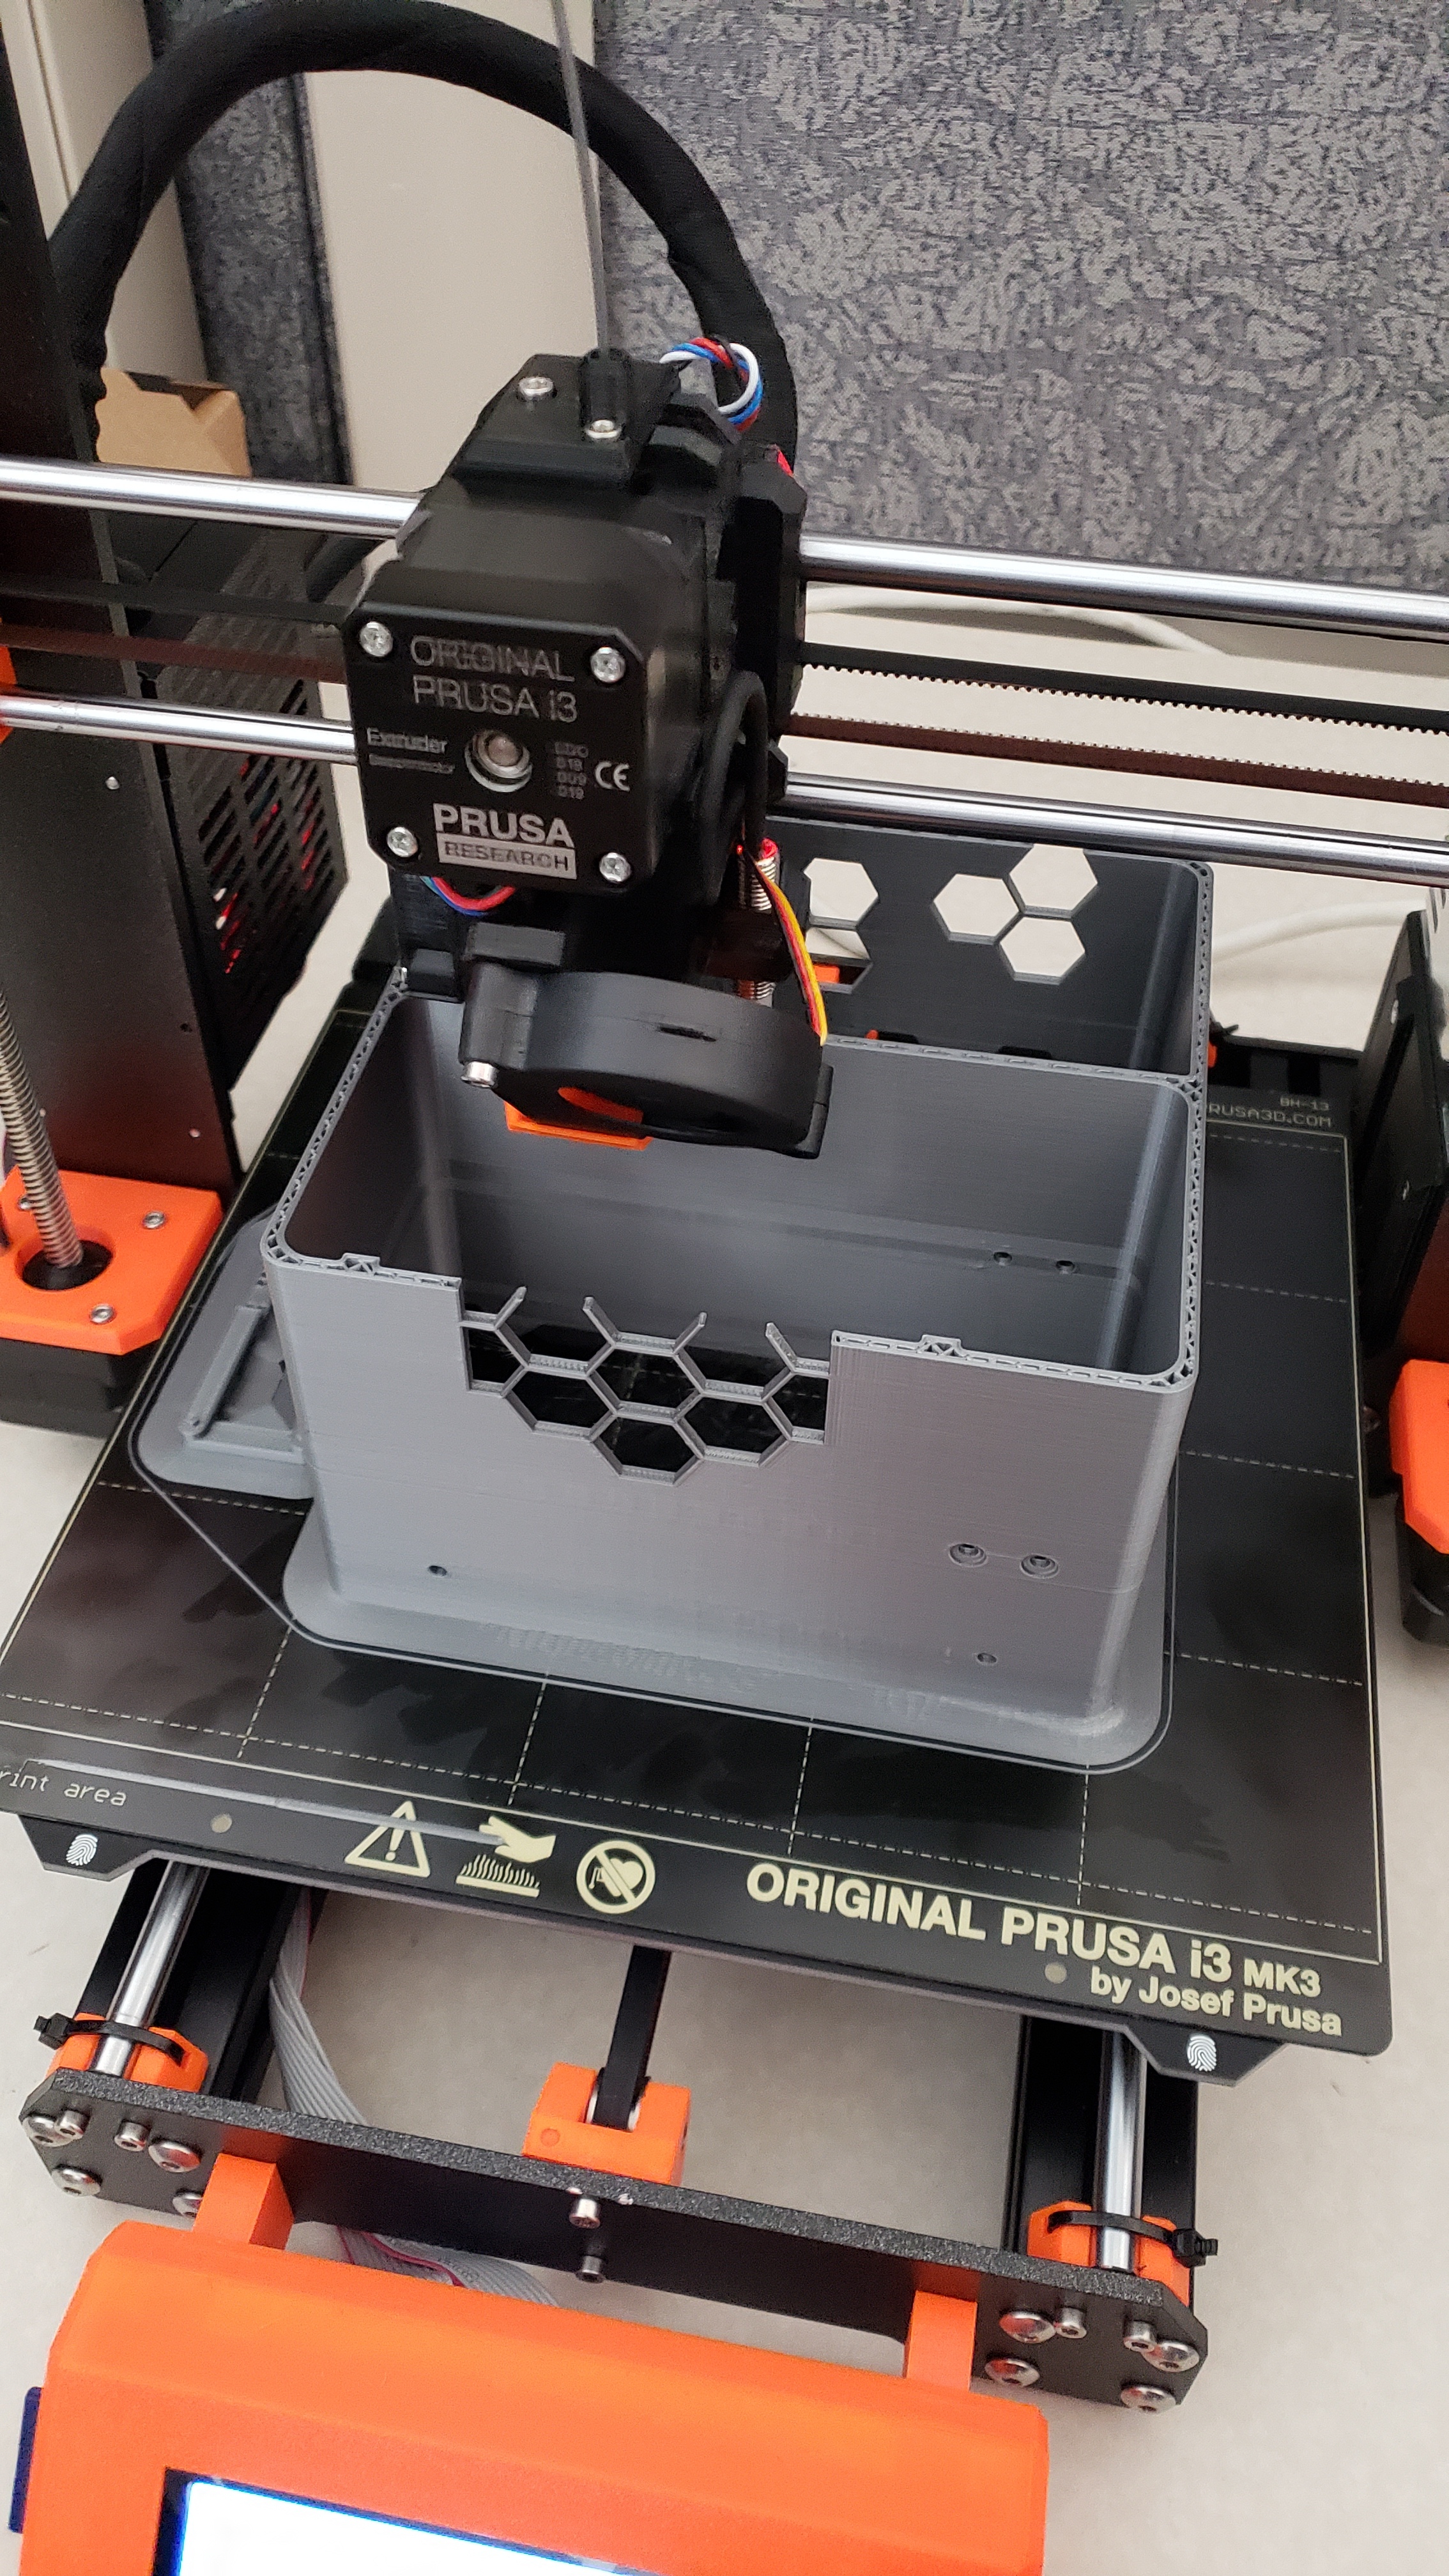
No worries I think I can make it work. Also this printer kicks ass. Don’t think the bridging will be a problem. See the photo? It bridged like 6 inches which seems nuts? Compared to my old printer anyway
I should know more tomorrow as it takes about 12 hours to print
2 Likes
Is that after fine tuning the printer, or is that “out of the box” settings?
That print looks great compared to my Printrbot, and I spent hours dialing that printer in.
About 30 mins dialing it in. +/-
2 Likes
looks at my old chinese kit prusa knockoff
looks at dat bridge

I dont think there is any amount of dialing in settings I could do to get that kind of result.
4 Likes
Prusa really hits way above their weight class for the price. I’ve had a Mk 2 model and am a very satisfied customer. I’m now blown away by all the new features on the Mk 3. I wish there was an easy direct upgrade path but the closest is the mk 2.5 model. There’s so many improvements on the Mk3 it would cost about the same as buying a new printer to replace all the parts necessary for such an upgrade.
Prusa is really pushing the innovations in the 3D printing space.
2 Likes
I am tempted by the multimaterial upgrade, $300, but filament absorbs water fast so you’d have to do a LOT of printing for it to make sense. It also has a feature where it can auto feed filament pieces from each of the inputs, which is pretty darn nice. Prusa seems to be the makerbot we all wanted.
1 Like
Off topic but what slicer are you using for this guy?
the prusa ez-mode slicer (lulz) literally just d/l from their website. The advanced one is cura, I think, but I haven’t tried it. I still use replicatorG on my old makerbot which… probably is not even necessary. haha.
also going to add the rpizerow to this sucker because why not? with octoprint. Wonder if I can hook both 3d printers up to the same octoprint… hmm… lol
Youll have to run multiple instances of octoprint but its doable.
Edit:
If you only want to use one printer at a time you could just run one instance and connect to which ever one you want to use.
So it’s nearly done and no issues. Color me shocked.
My old printer could not make it through a 24 hour print without some issue.
3 Likes
We have a dozen or so professional machines at work and I’m curious how they’d fare…
1 Like