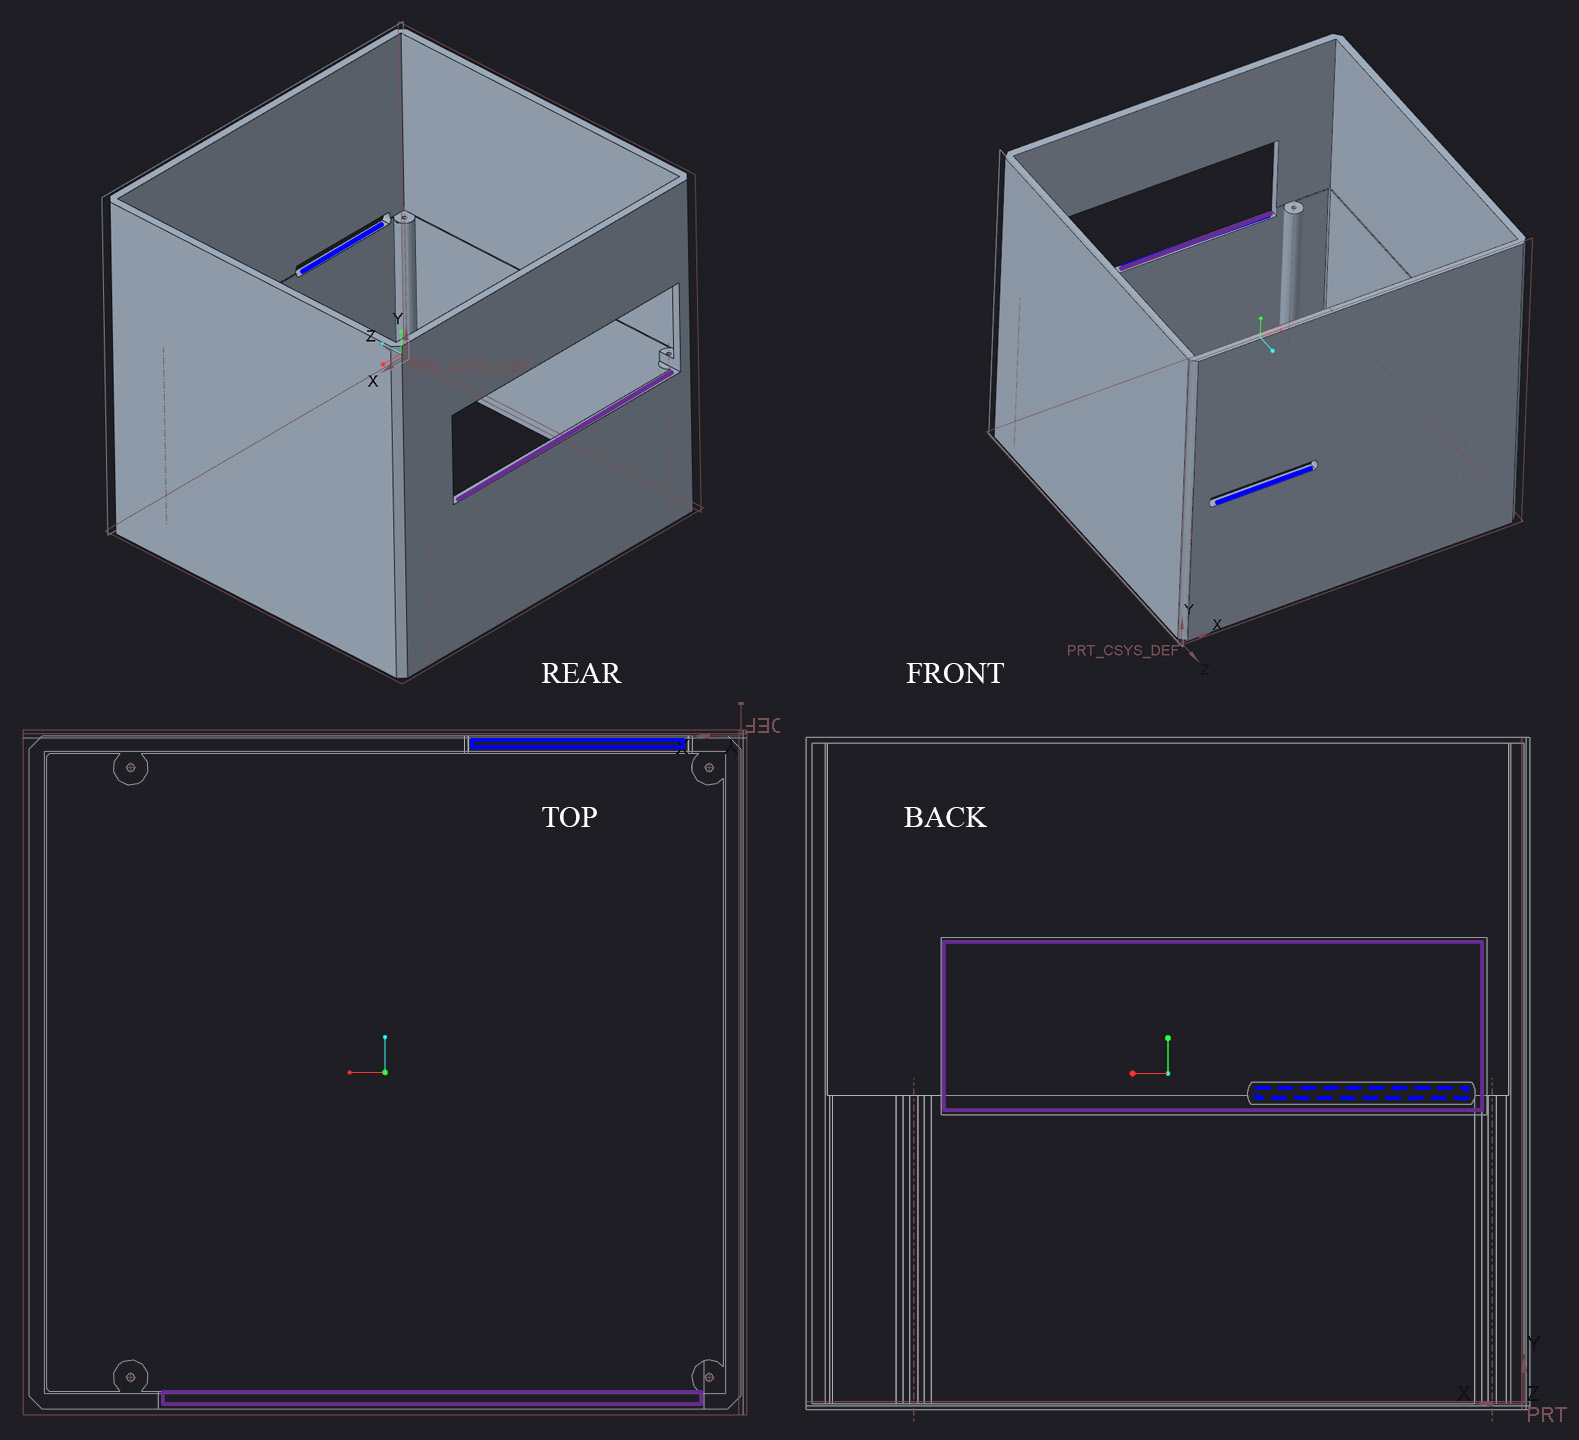
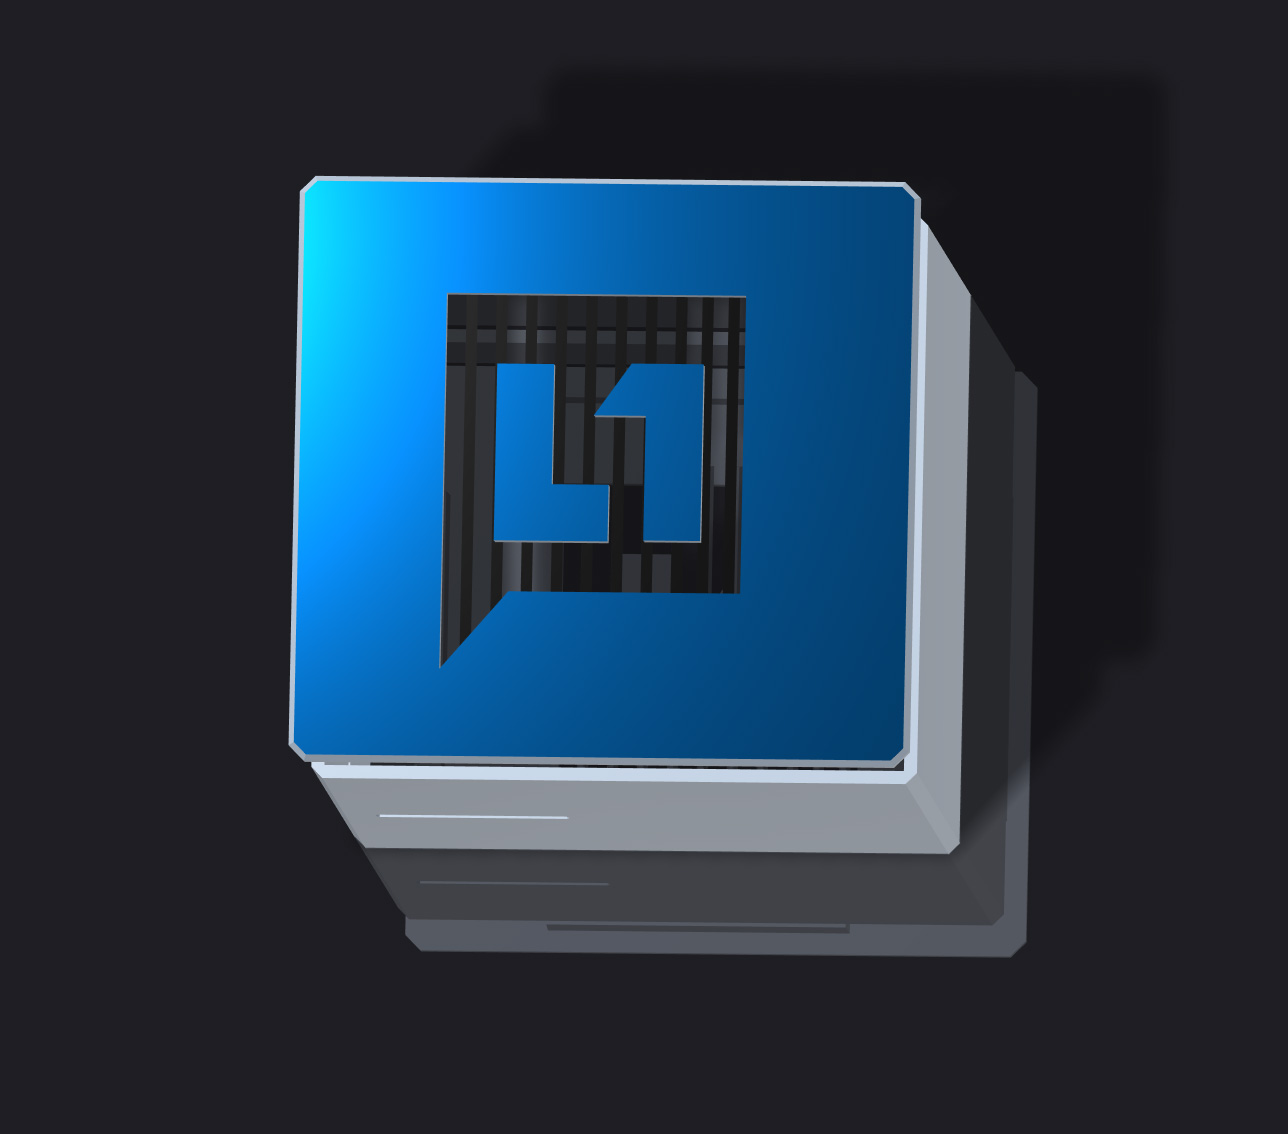
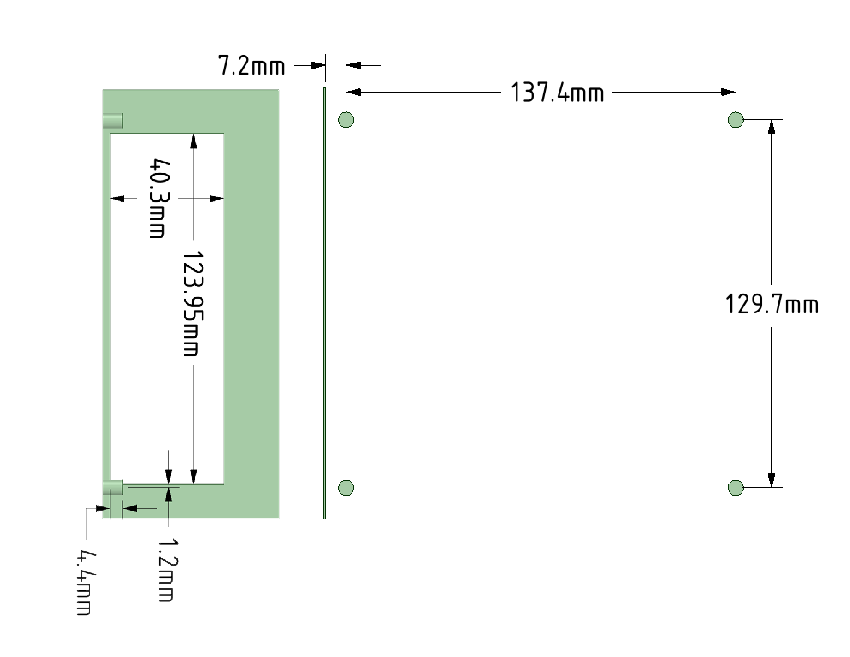
There is also a front panel cutout at the front of the motherboard also. So the case is ideally about the same depth as the motherboard. Case can be wider or taller tho
I am looking for a new project to do and would be happy to help!
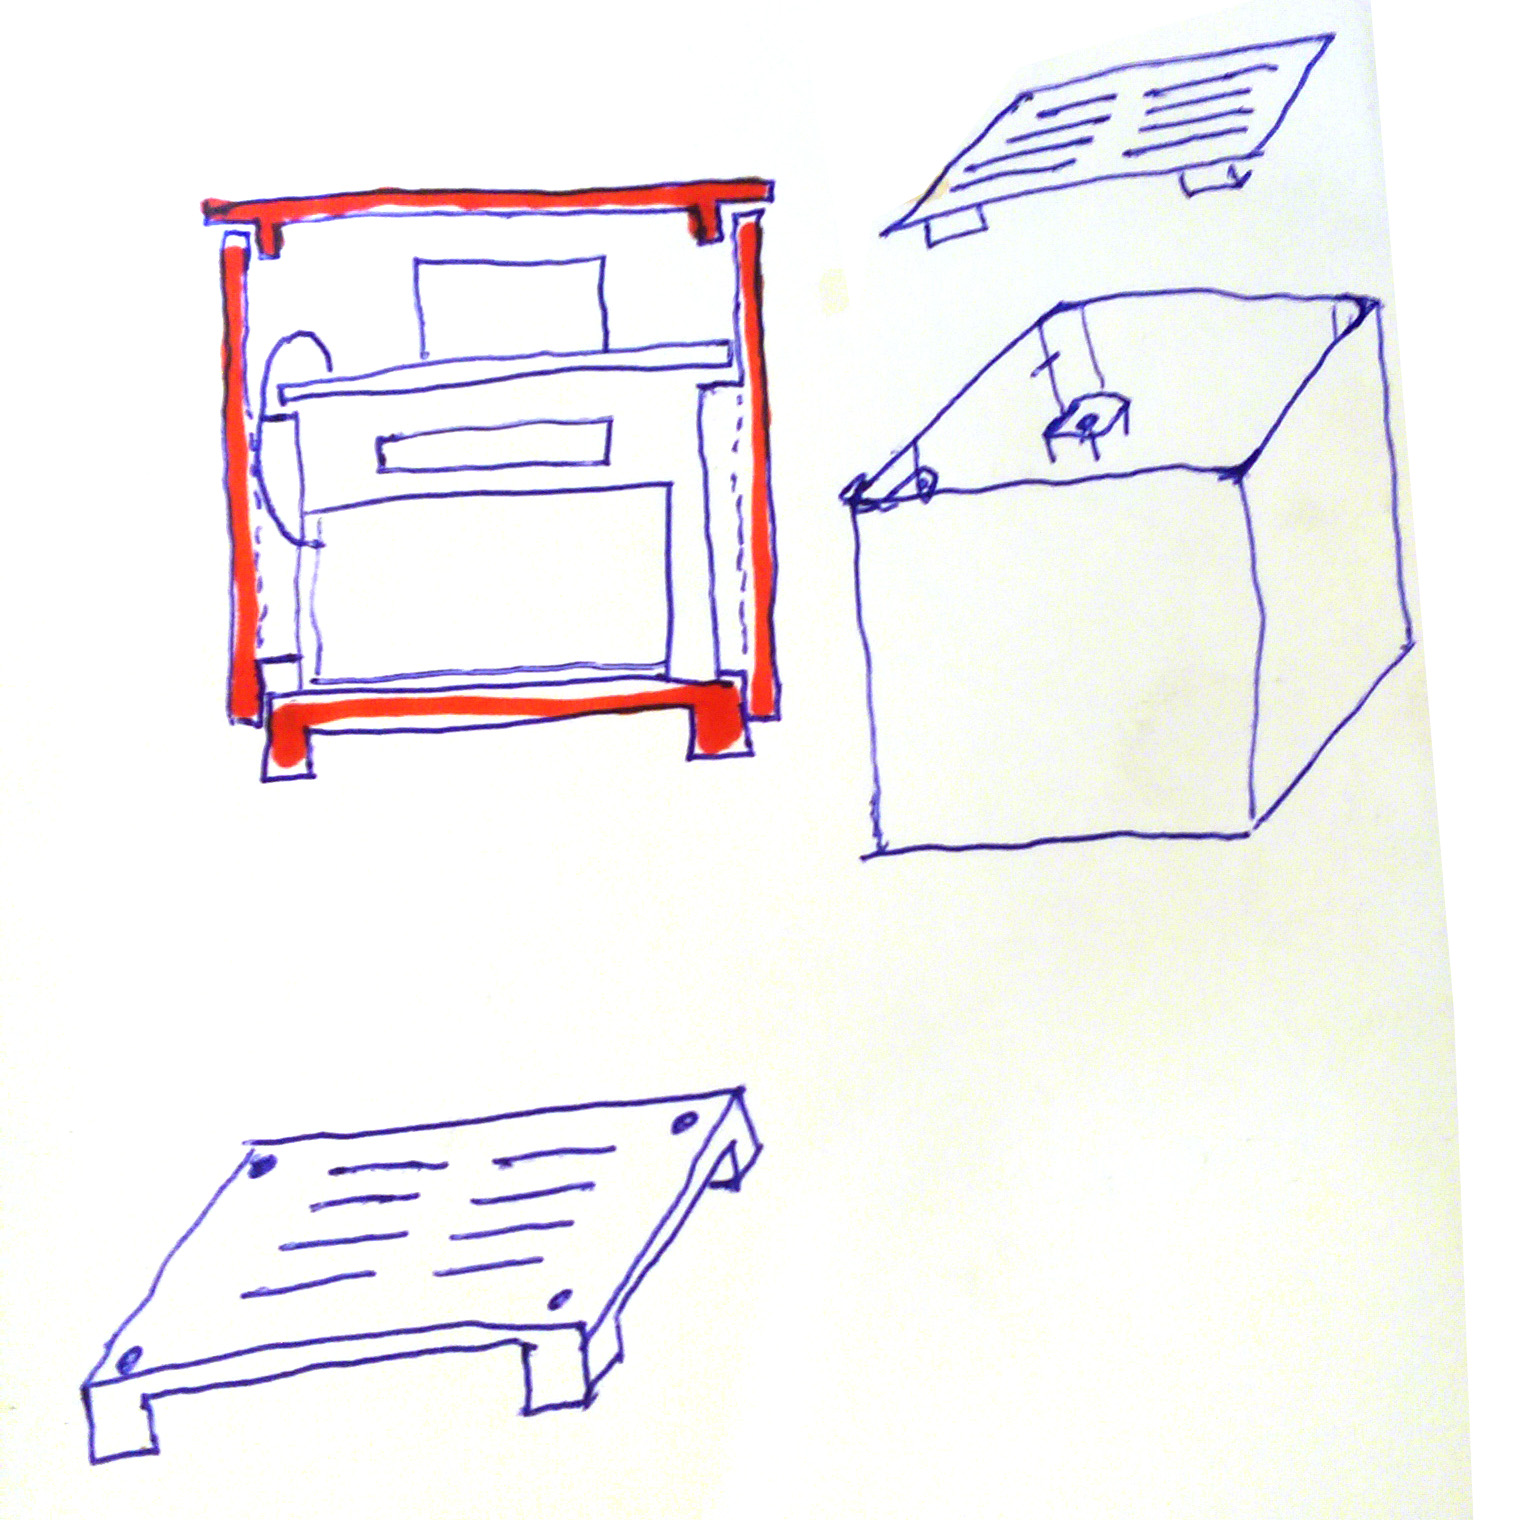
I will try to get the size right and crank out a few design concepts before diving deep into details. I will try a few directions, a traditional box, something innovative, what I might like and something everyone is bound to hate /jk.
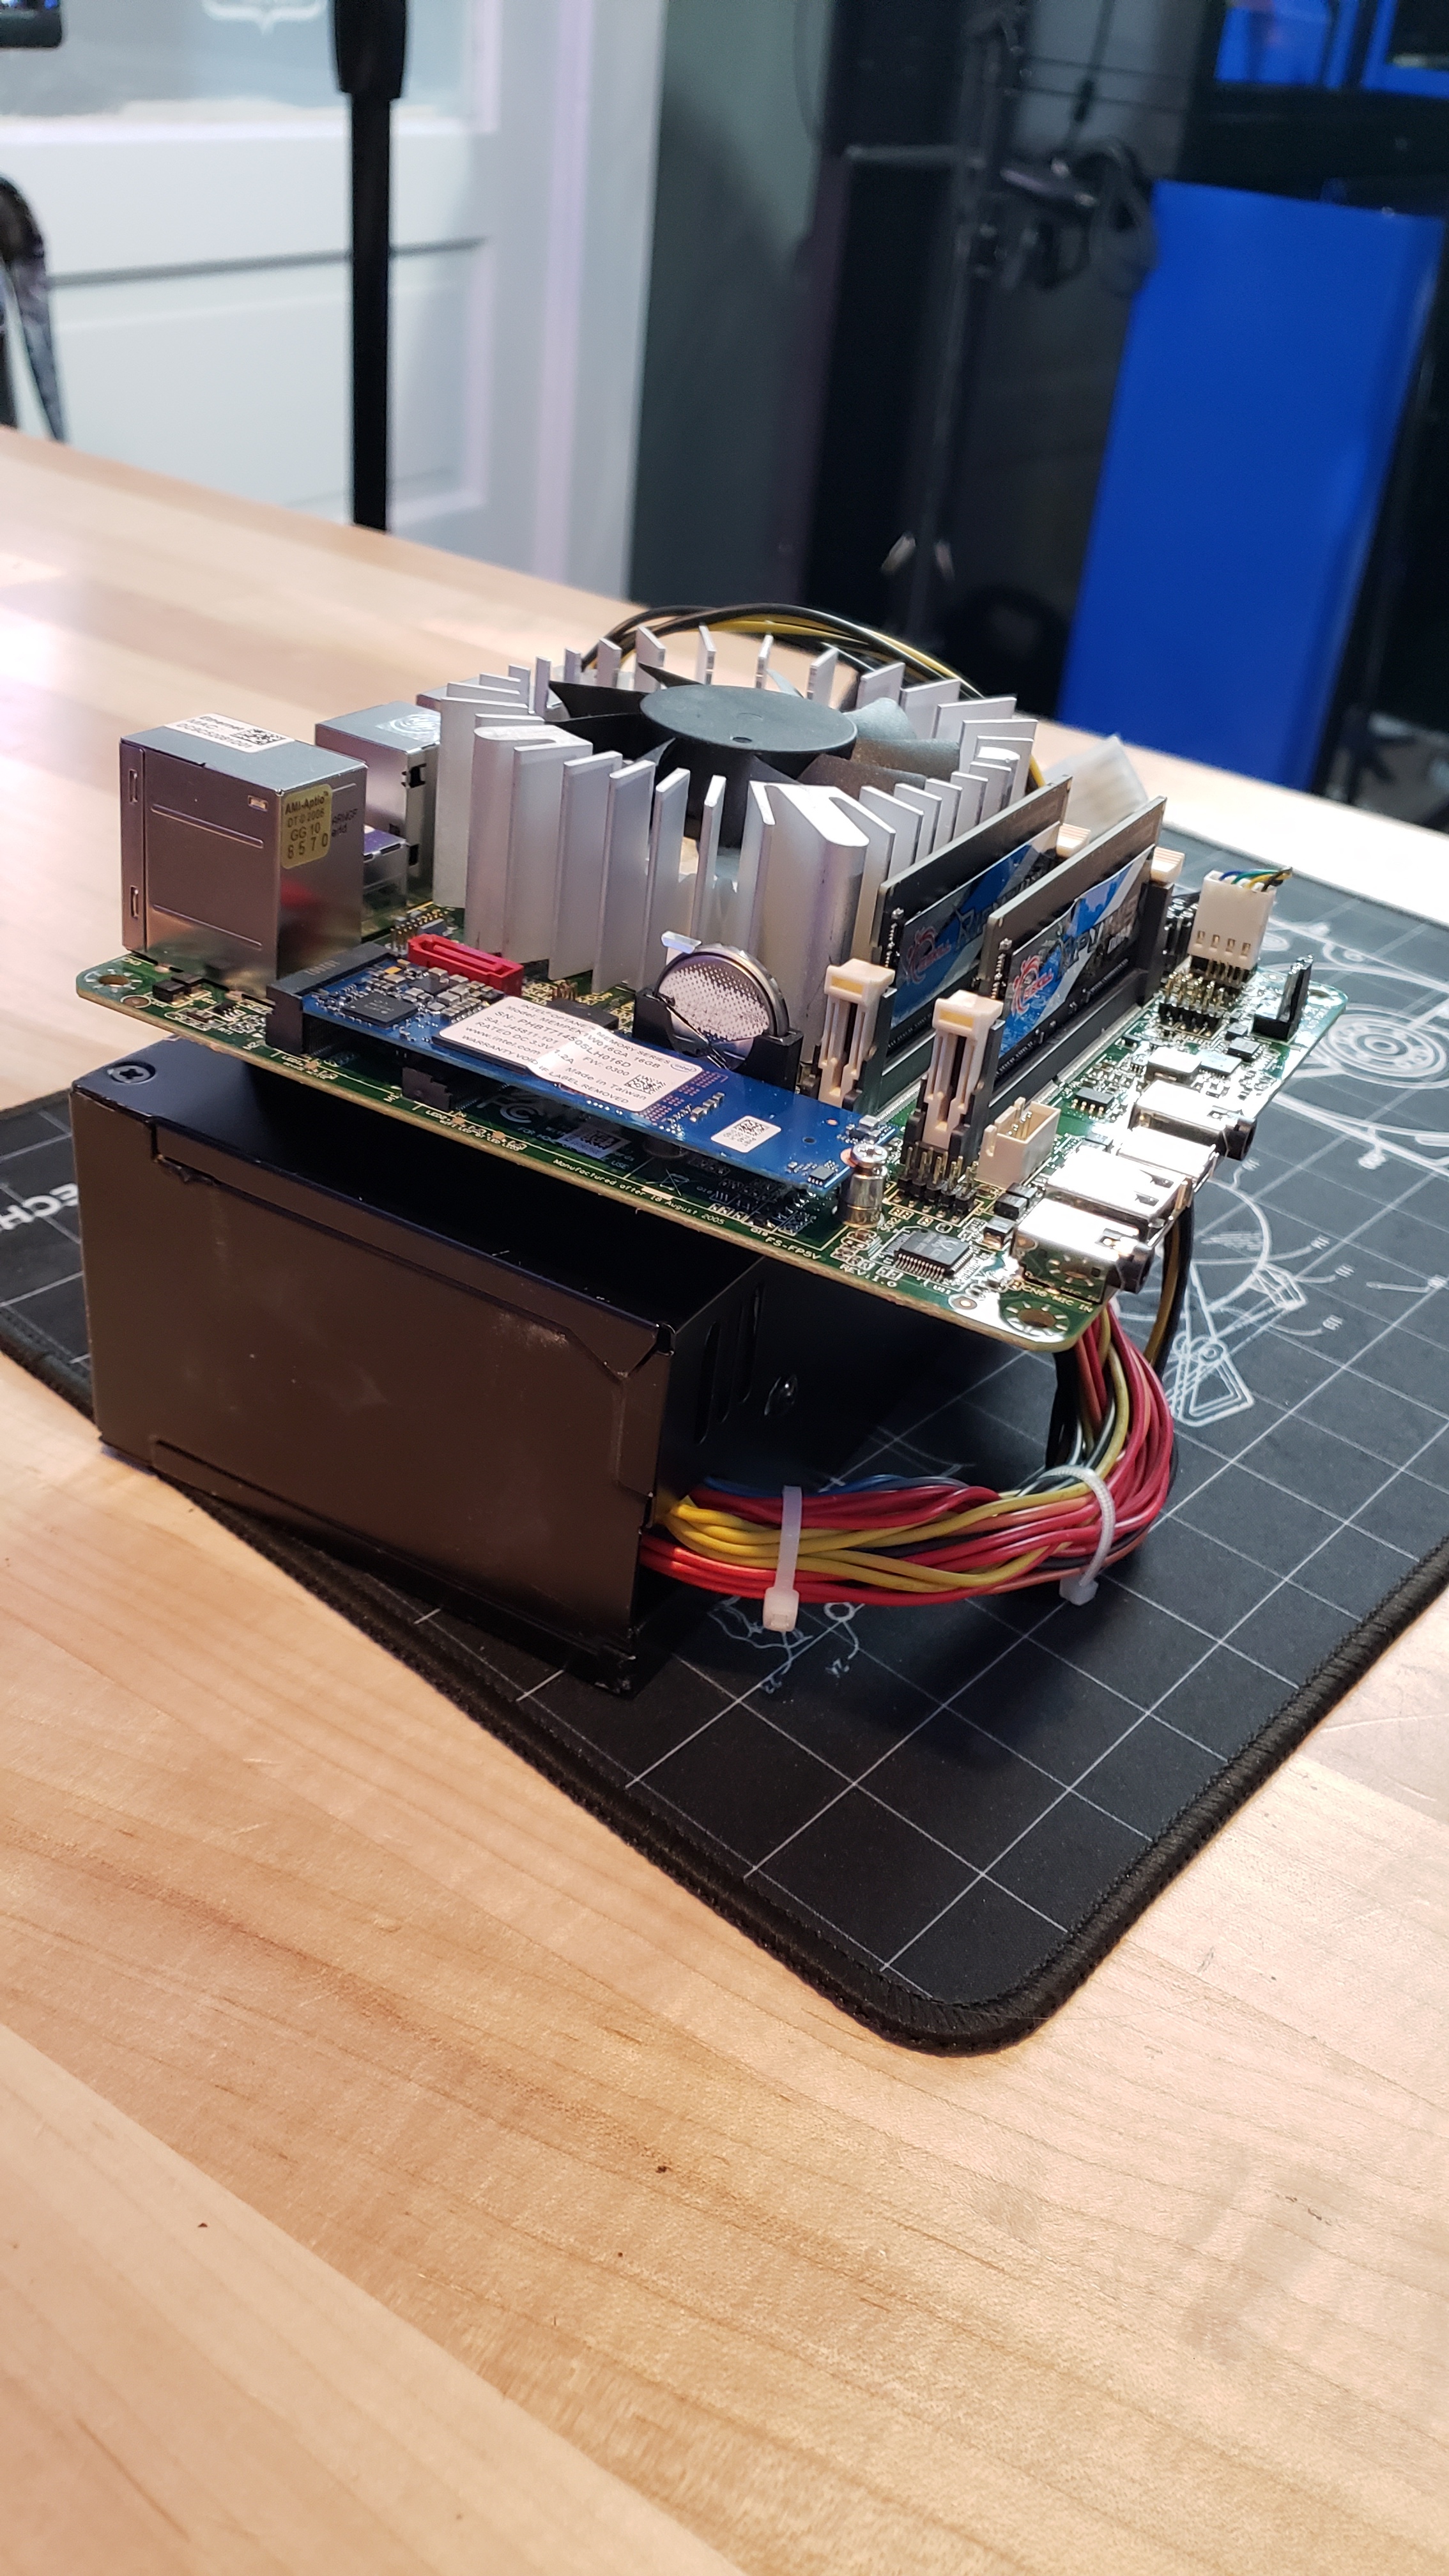
The height is a guess based on the photos. How much room does the CPU heatsink need? How big is the PSU?
The front panel connectors slot is a guess based on the photos. It would be nice to get that part to be a tight fit to the motherboard.
Airflow from the PSU, wiring, assembly. Right now there is a gap on one side of the motherboard for wires. It’s a tight fit and will be hard to assemble. Do I need to provide more room? Does the PSU need a side air vent? Is a fan required? Right now I am counting on blow-by past the motherboard wires and convection to provide airflow.
edit:
Assembly would be to take your working stack of components and slide it in through the top of the tube.
Screw the MB to the case.
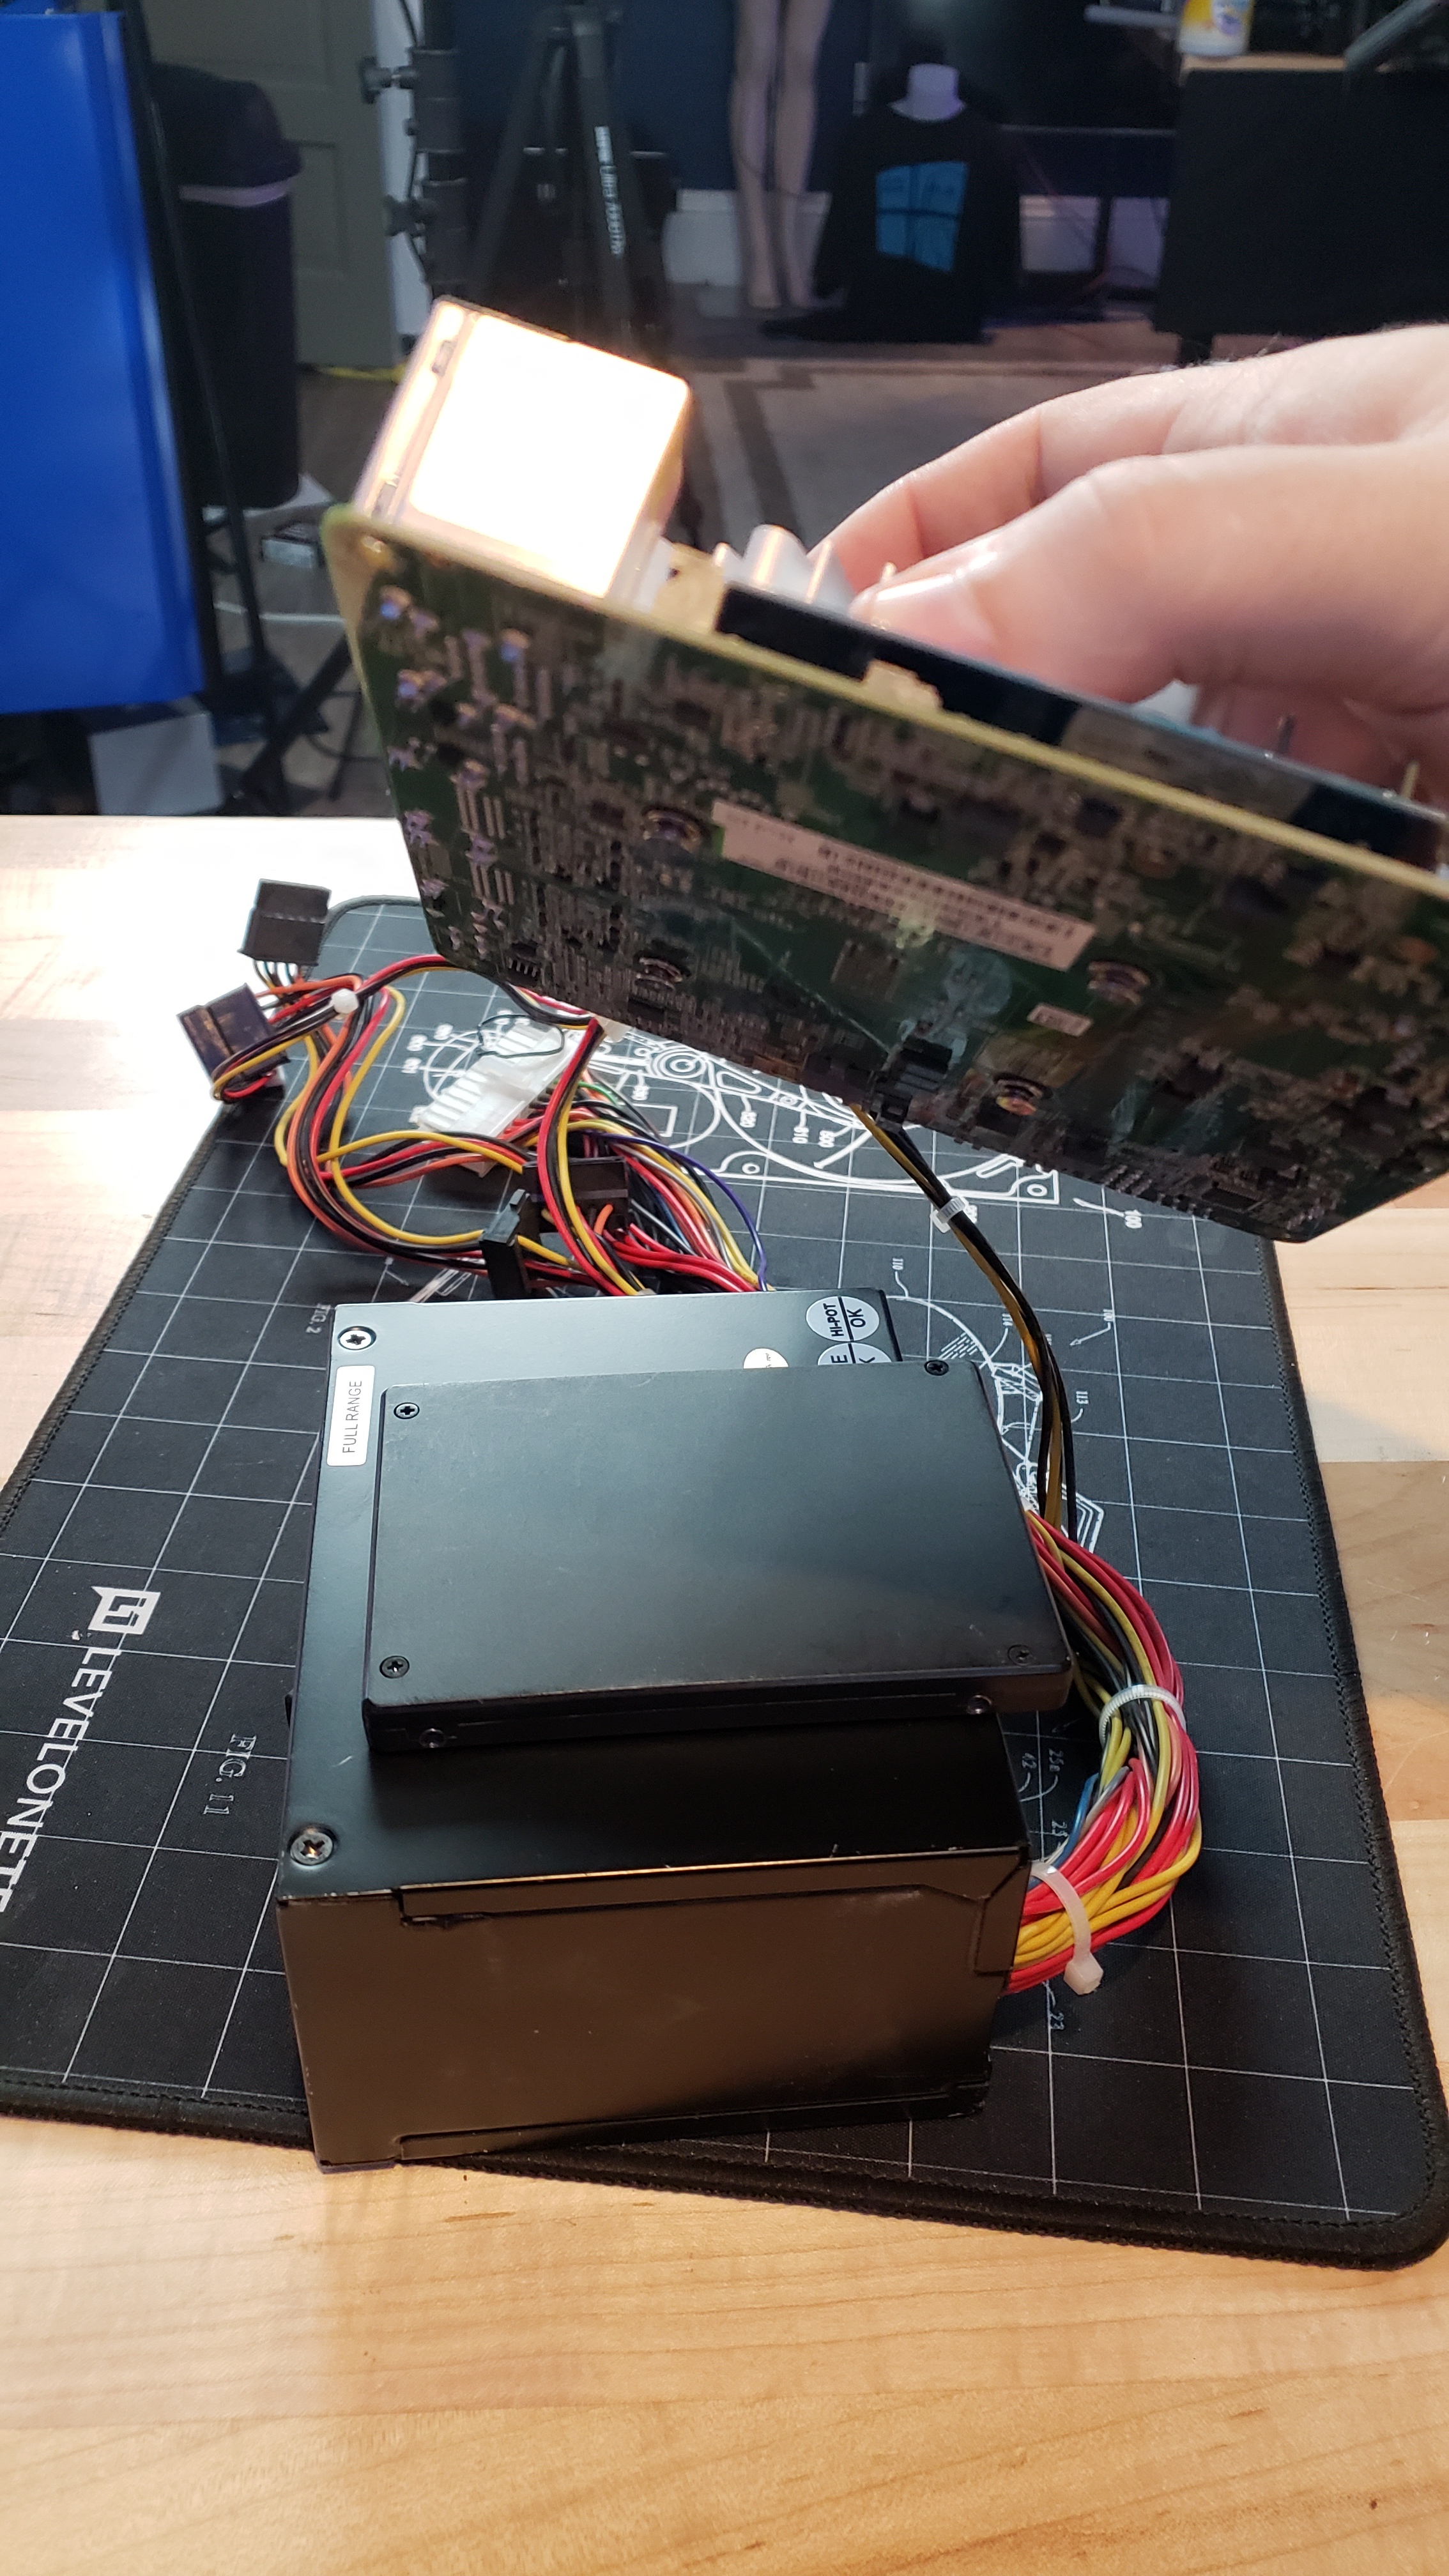
Use double stick foam tape to stick the 2.5" drive to the PSU.
The base plate will need to be drilled to fit the PSU mounting holes and power cord.
The lid was designed to wedge into the tube. I figure shimming it with some double stick Scotch tape should hold it down.
Revision 3 - Added rounds and draft tapers for airflow, strength and ease of assembly.
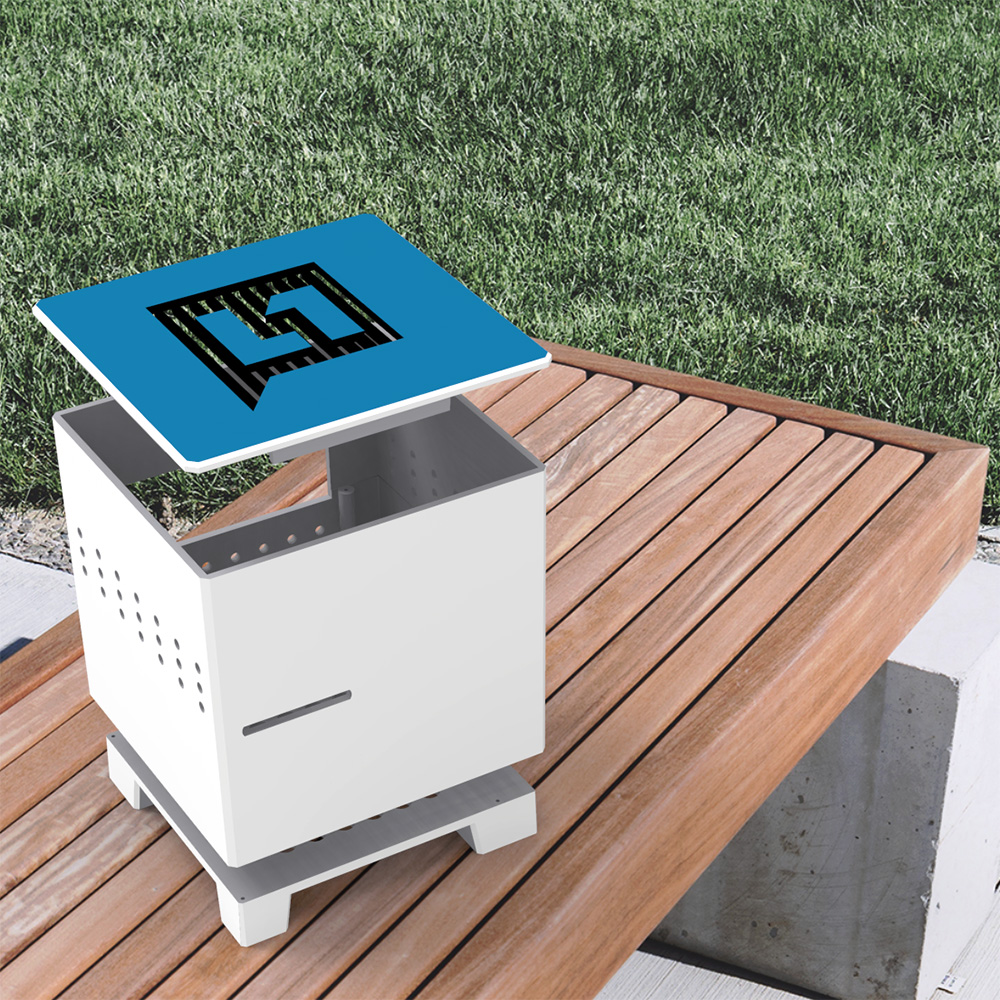
the psu has a fan on bottom and exhausts out the back. the mobo has a fan header so if the top of the mobo is close to the top of the case that will bring air in to the case probably just needs holes on the side or something? a tiny little bit of extra room on the edge of the mobo where the 12v power is would be handy for sure
it would be hilarious to gut a g4 cube and put this in there with an emulator even lulz
I was reluctant to drill vent holes all over MY beautiful design, but you are the client.
If the TechsTube started to thermal throttle I could hear you complaining.
The height of the CPU cooler is the same as a ddr4 notebook SoDimm. Figure about another 1cm for clearance?
The cutout for stx is about the same height of everything too. I sandwitched the 2.5" drove between psu and Mobo because i wasn’t sure where else to put it.
This looks like it could work. Maybe even a bit taller than others needs to be
If you wanted to rotate the whole thing 90 degrees so the front panel is on top but psu and stx rear io is on the bottom like the g4 cube I can bend some clear lexan like the g4 cube so it sits about 3 inches off the desk. That’s mega lulz.
I have a 92mm noctua fan I could add as an intake behind the l1 logon if that means the l1 logo is on the front now? Lololololol
3D printing might be a tiny bit less efficient as using a laser cutter. The LZ7 is completely made using laser cut acrylic. Flat sheets of acrylic with different slots to support the sheets makes more sense for modularity.
As you know, things like this require a bit of fiddling and cutting to fit on your part.
Is there a way to do a low volume 3D print with 1/2 the infill just to size things up for revisions and then do a hi-rez final print after I fix the CAD?
Even when using 3D printed prototypes at work, nothing ever fits on the first try.
BTW:
I had arthroscopic carpal tunnel surgery a week ago, so I didn’t get too crazy with details like I usually do. I am still taking it easy, these activities are fine as long as I don’t over do it. The surgery went amazingly well! This is just my first idea to build from.
I hope for a case review after its finished! @wendell@Positron if you make a production line or for files for purchase. would be willing to buy this or the files!
Yeah I have an original maker bot clone. I might pick up a new 3d printer that’s less crap but this one will probably print it ok. Can you export something suitable for replicatorg? Lol… I haven’t updated the software in… Some time.