I have no idea why she freaks out with those noises and its been worse as she ages.
A neighbor two houses down had a smoke alarm low battery chirp and we had to close all windows and doors. It was super faint with the door open and she was shaking and looking for hiding spots.
Ok that note, anyone now of an audio setup i can use on the TV to cut off any sound at that range? I basically avoid gun tuber channels now.
Yeah I have a lot of audio visual receiver (AVR) homework to do. Crossing my fingers a decently priced AVR that had some Gucci equalizer feature to cut out specific frequencies.
@PhaseLockedLoop bumped into something on Amazon better than the super cheep shark fin antennas that are supposed to replace OEM FM/AM antennas-
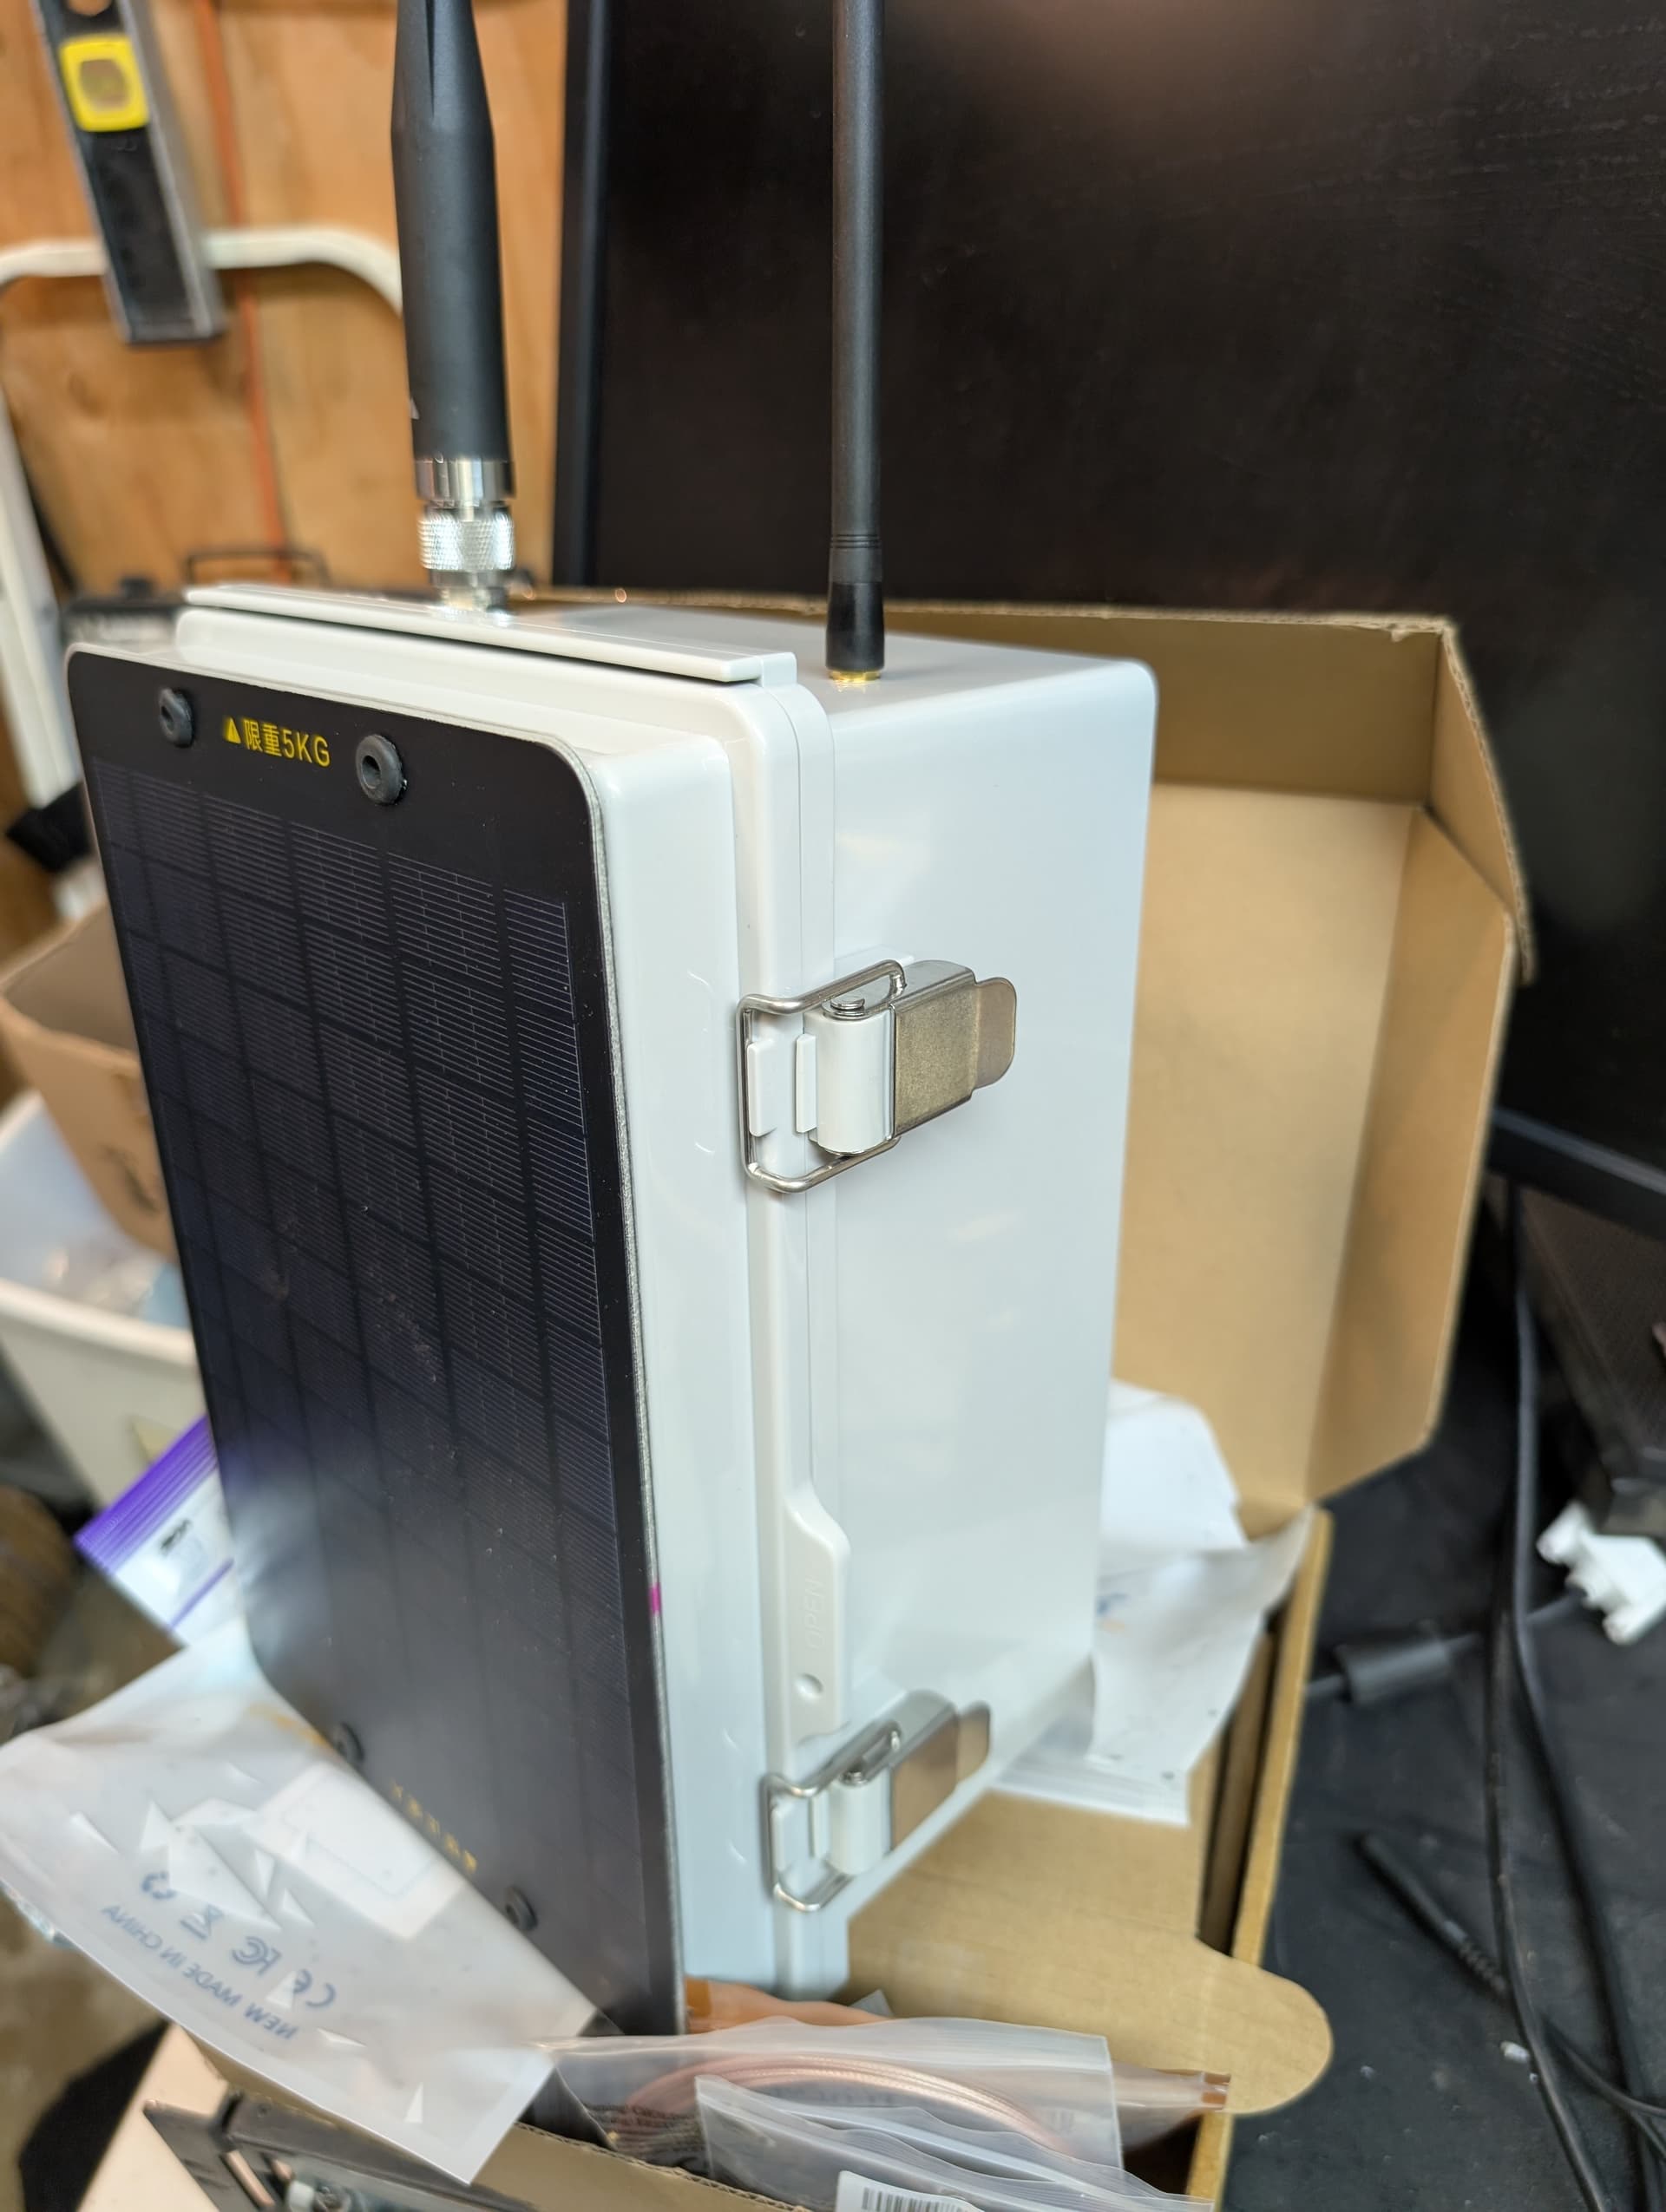
These cheesy shark fin warning lights that are solar powered.
For $23 I get a magnetically attached shark fin shell with solar panel? Not bad to then try hacking it up, remove the light stuff, put a regulator in for the panel and a RAK kit that has small PCB type antennas (915 and BT).
Wishing BLE mesh was a thing (an well sorted out turn-key thing)
Was sniffing around for such a thing because @PhaseLockedLoop I’m likely making my roof-mast mounted meshcore a repeater and therefore would have to run a meshcore client in the house for actual bluetooth connection with the app. Not a big deal except I would then have limited range within the house. The roof mast client solution was awesome, because of angle of attack (roof, ceiling) I had BT coverage everywhere.
So if mesh isn’t a sorted thing, I guess I can do a client build with a big fat wifi antenna to get the most out of that BLE signal.
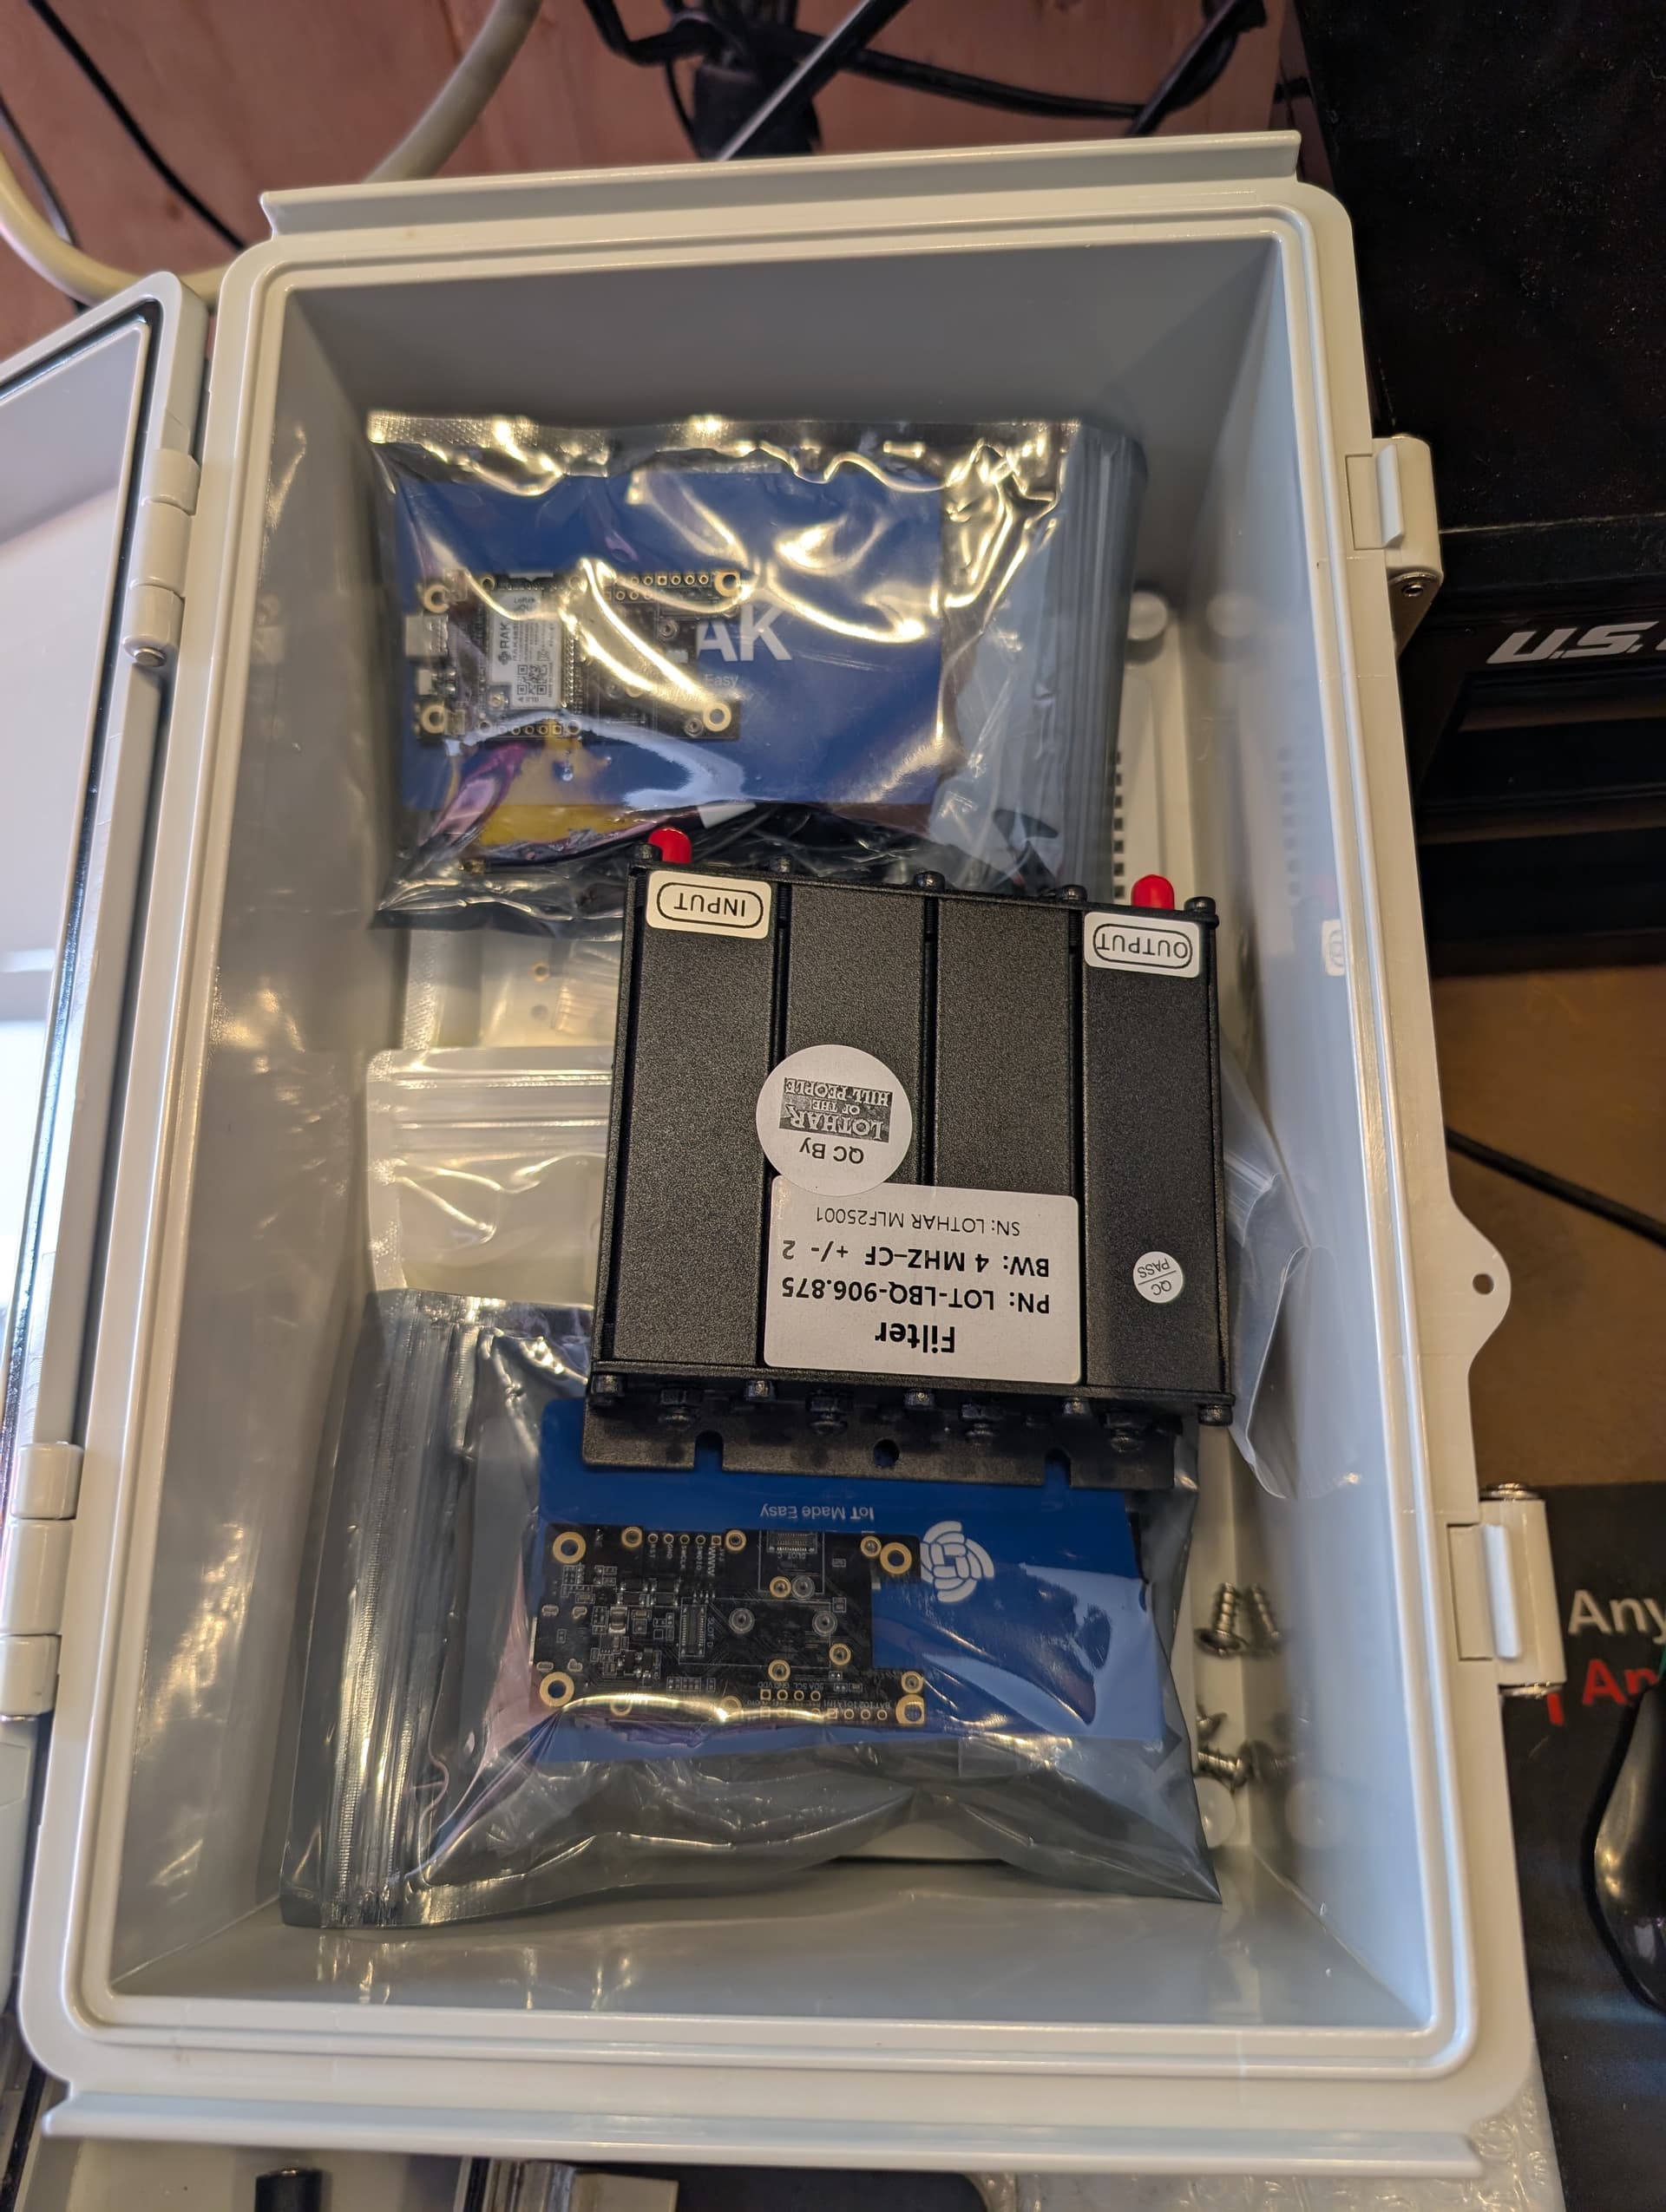
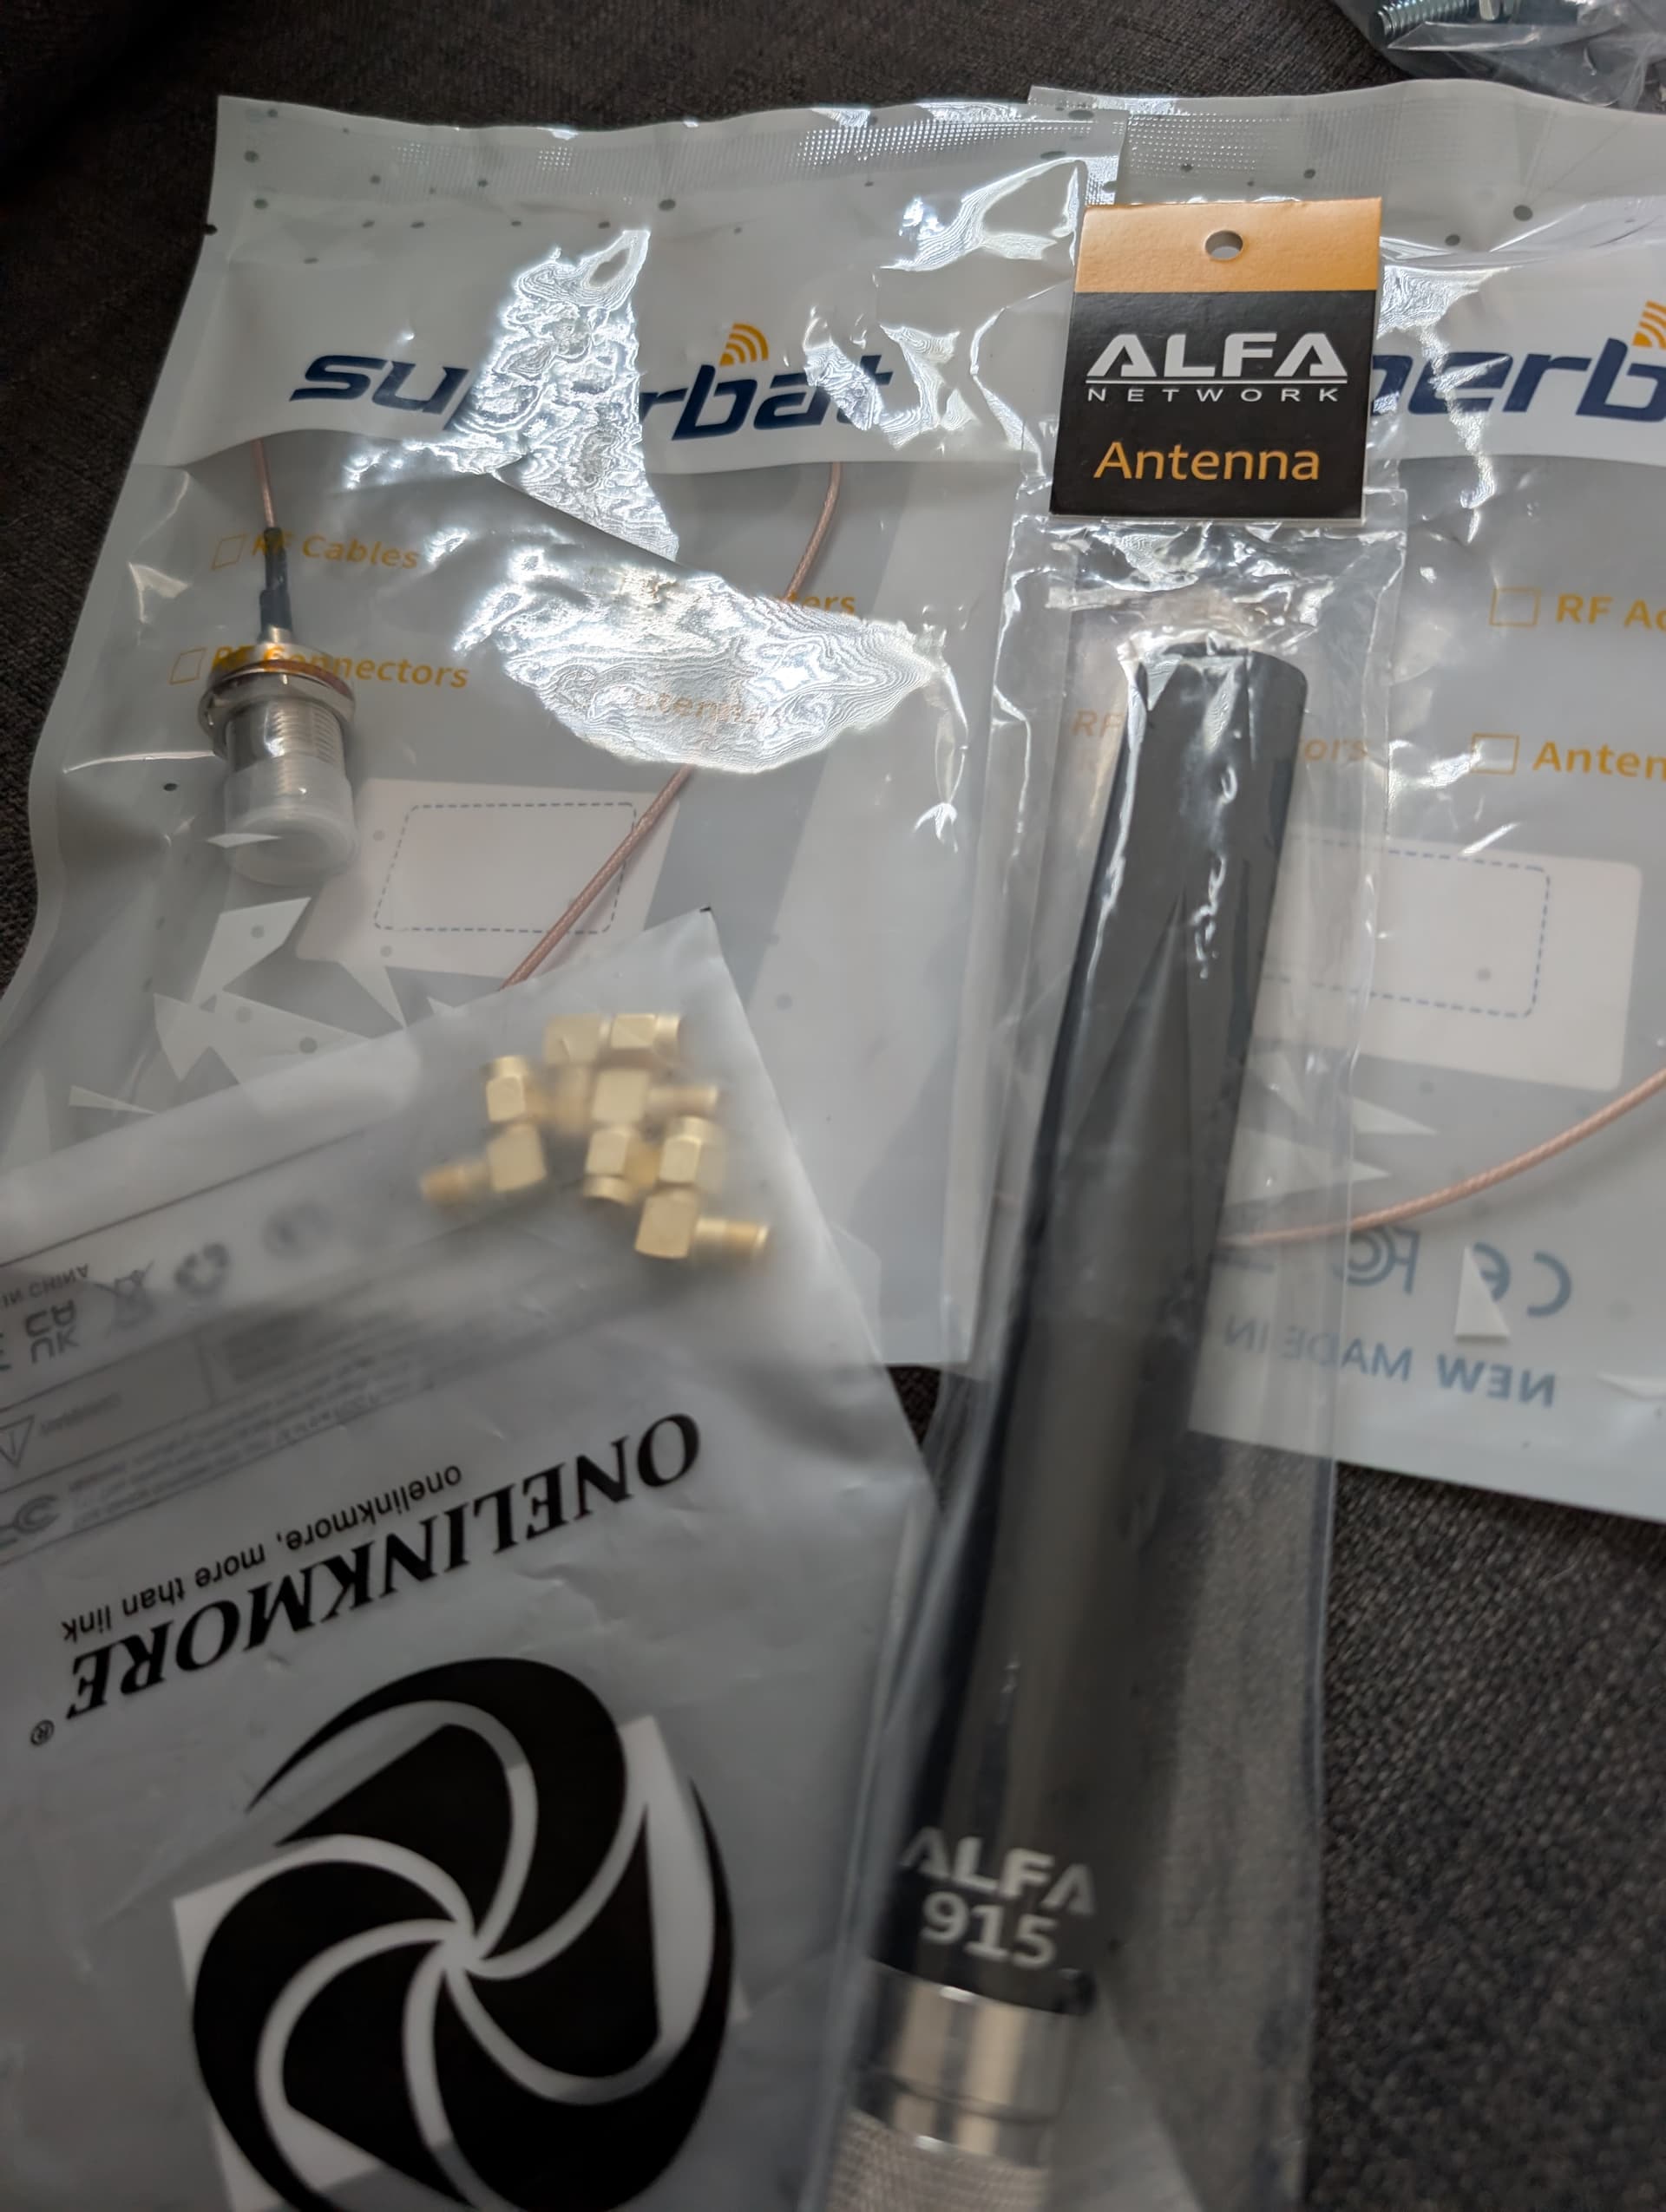
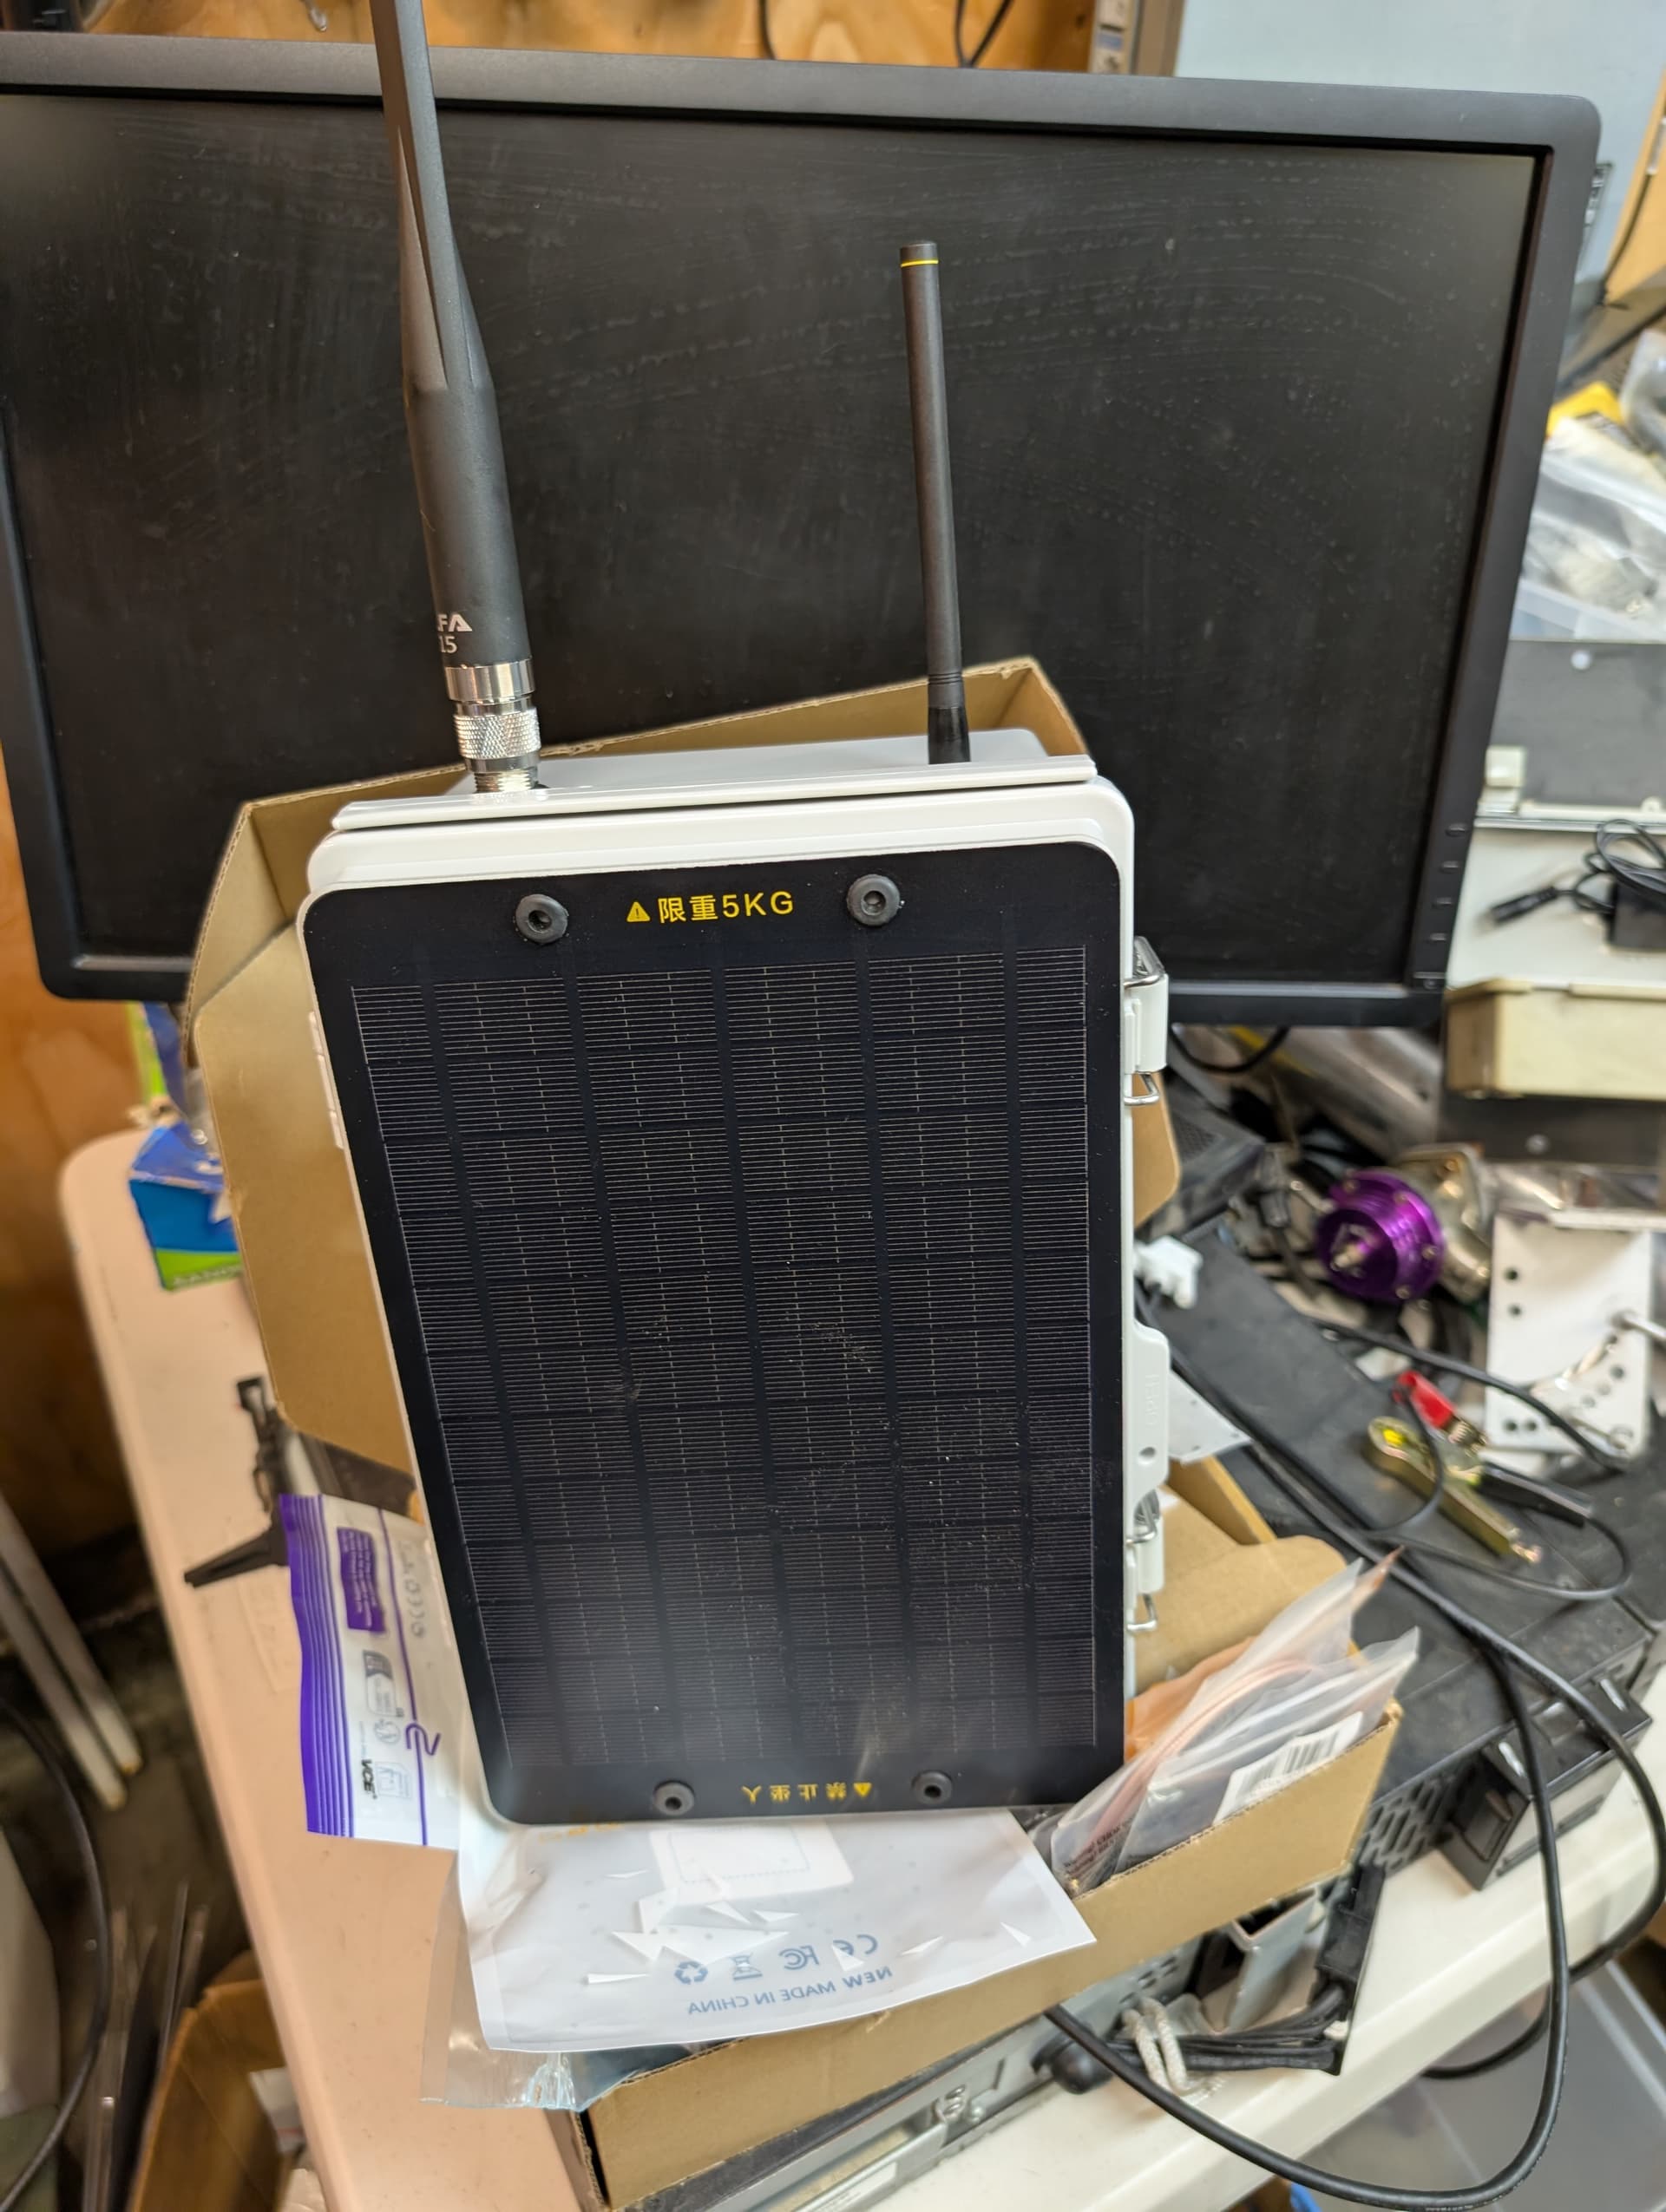
@PhaseLockedLoop i keep changing layout, antennas etc so always waiting in parts but I’m nearing assembly of the “two mesh one cup” build.
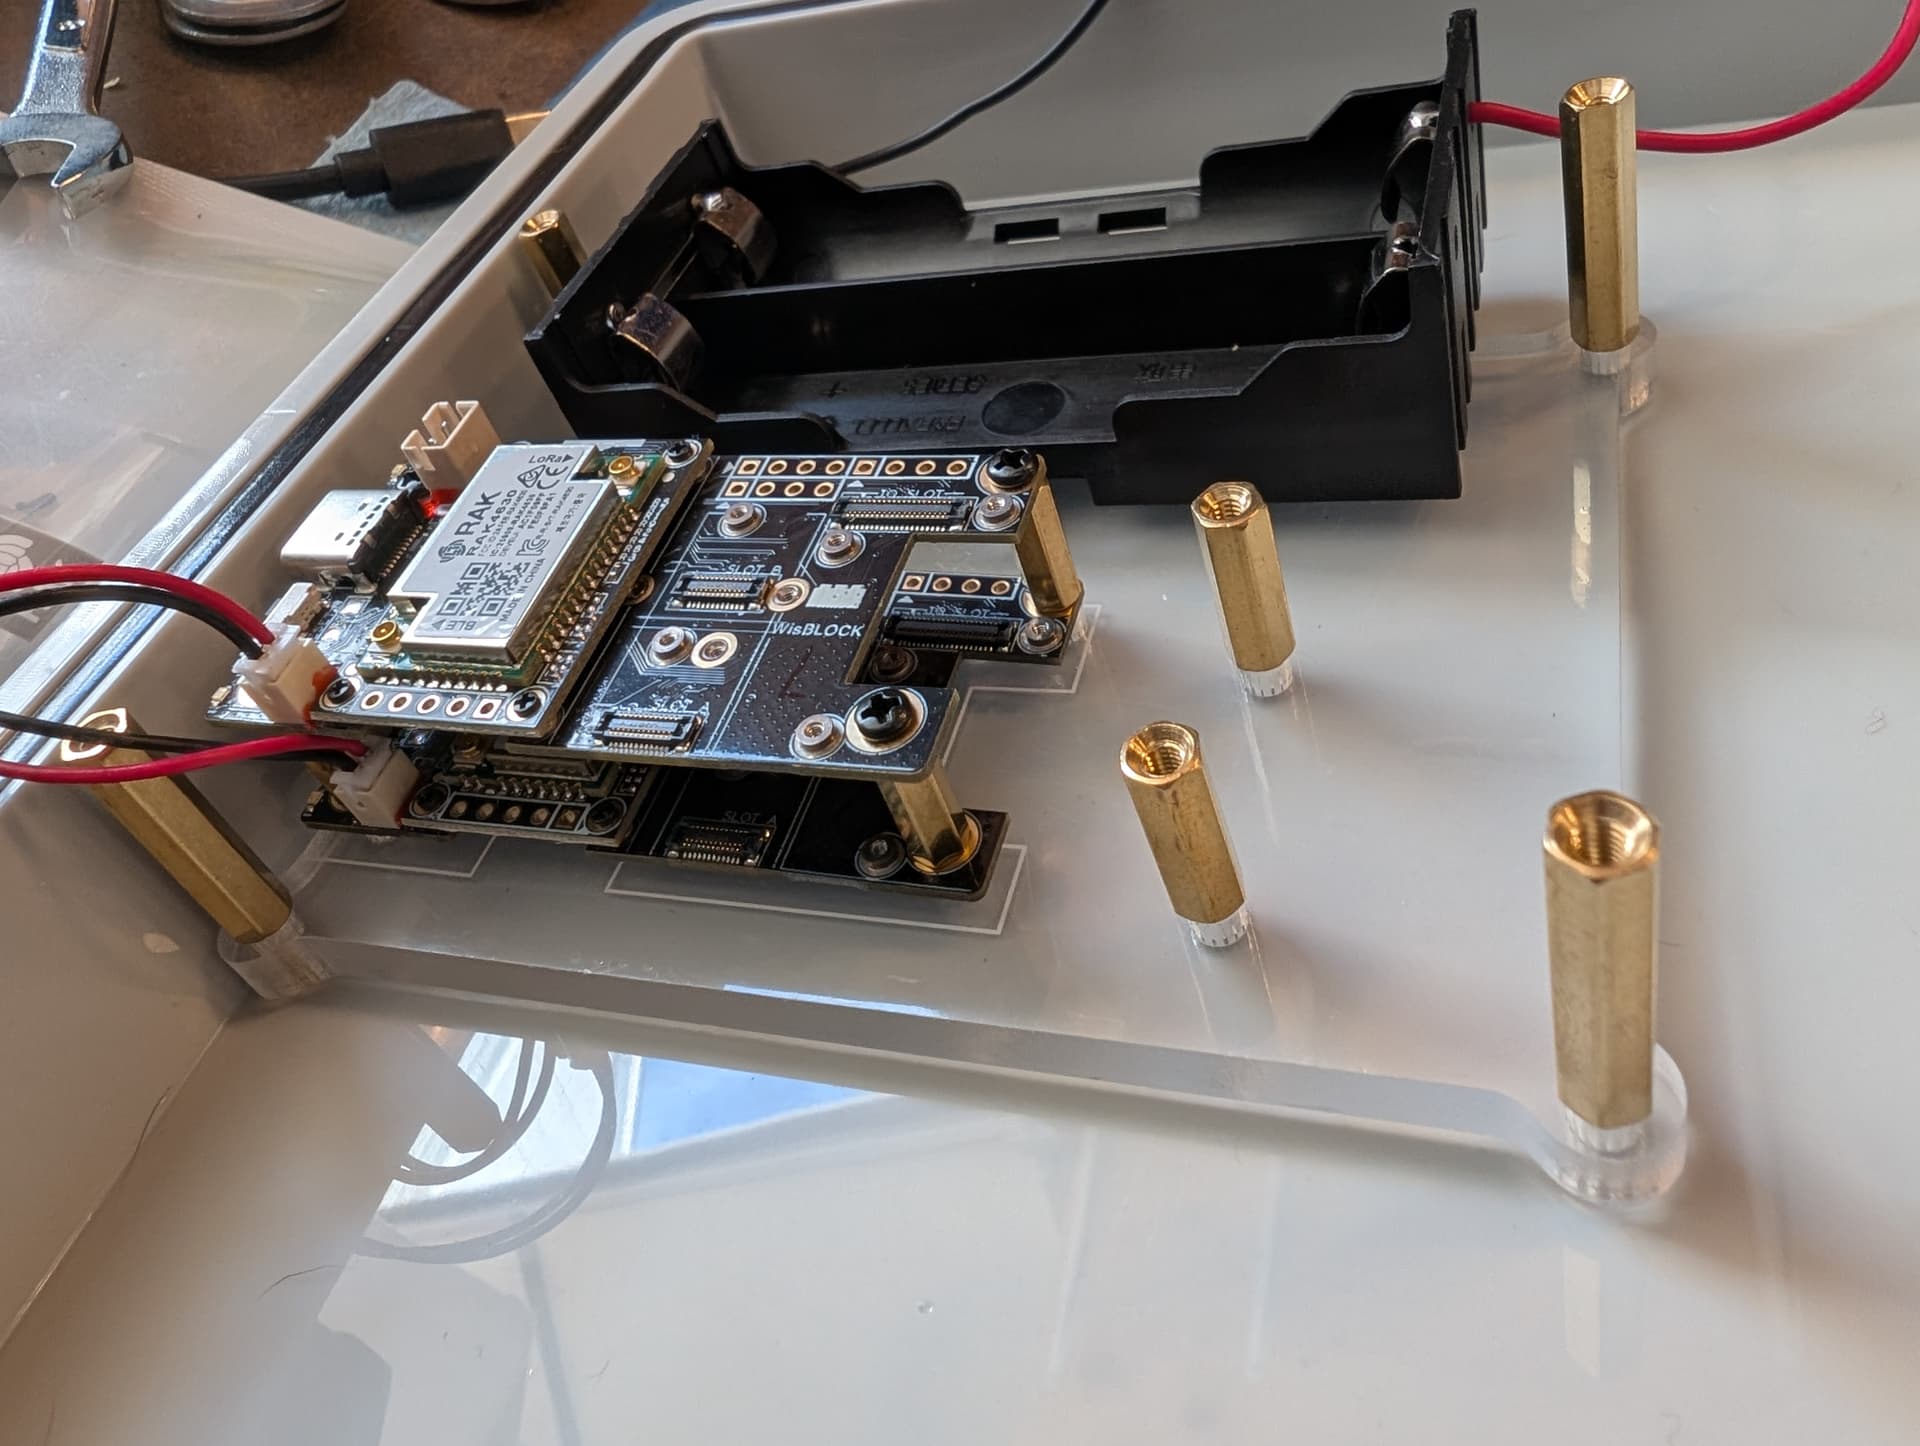
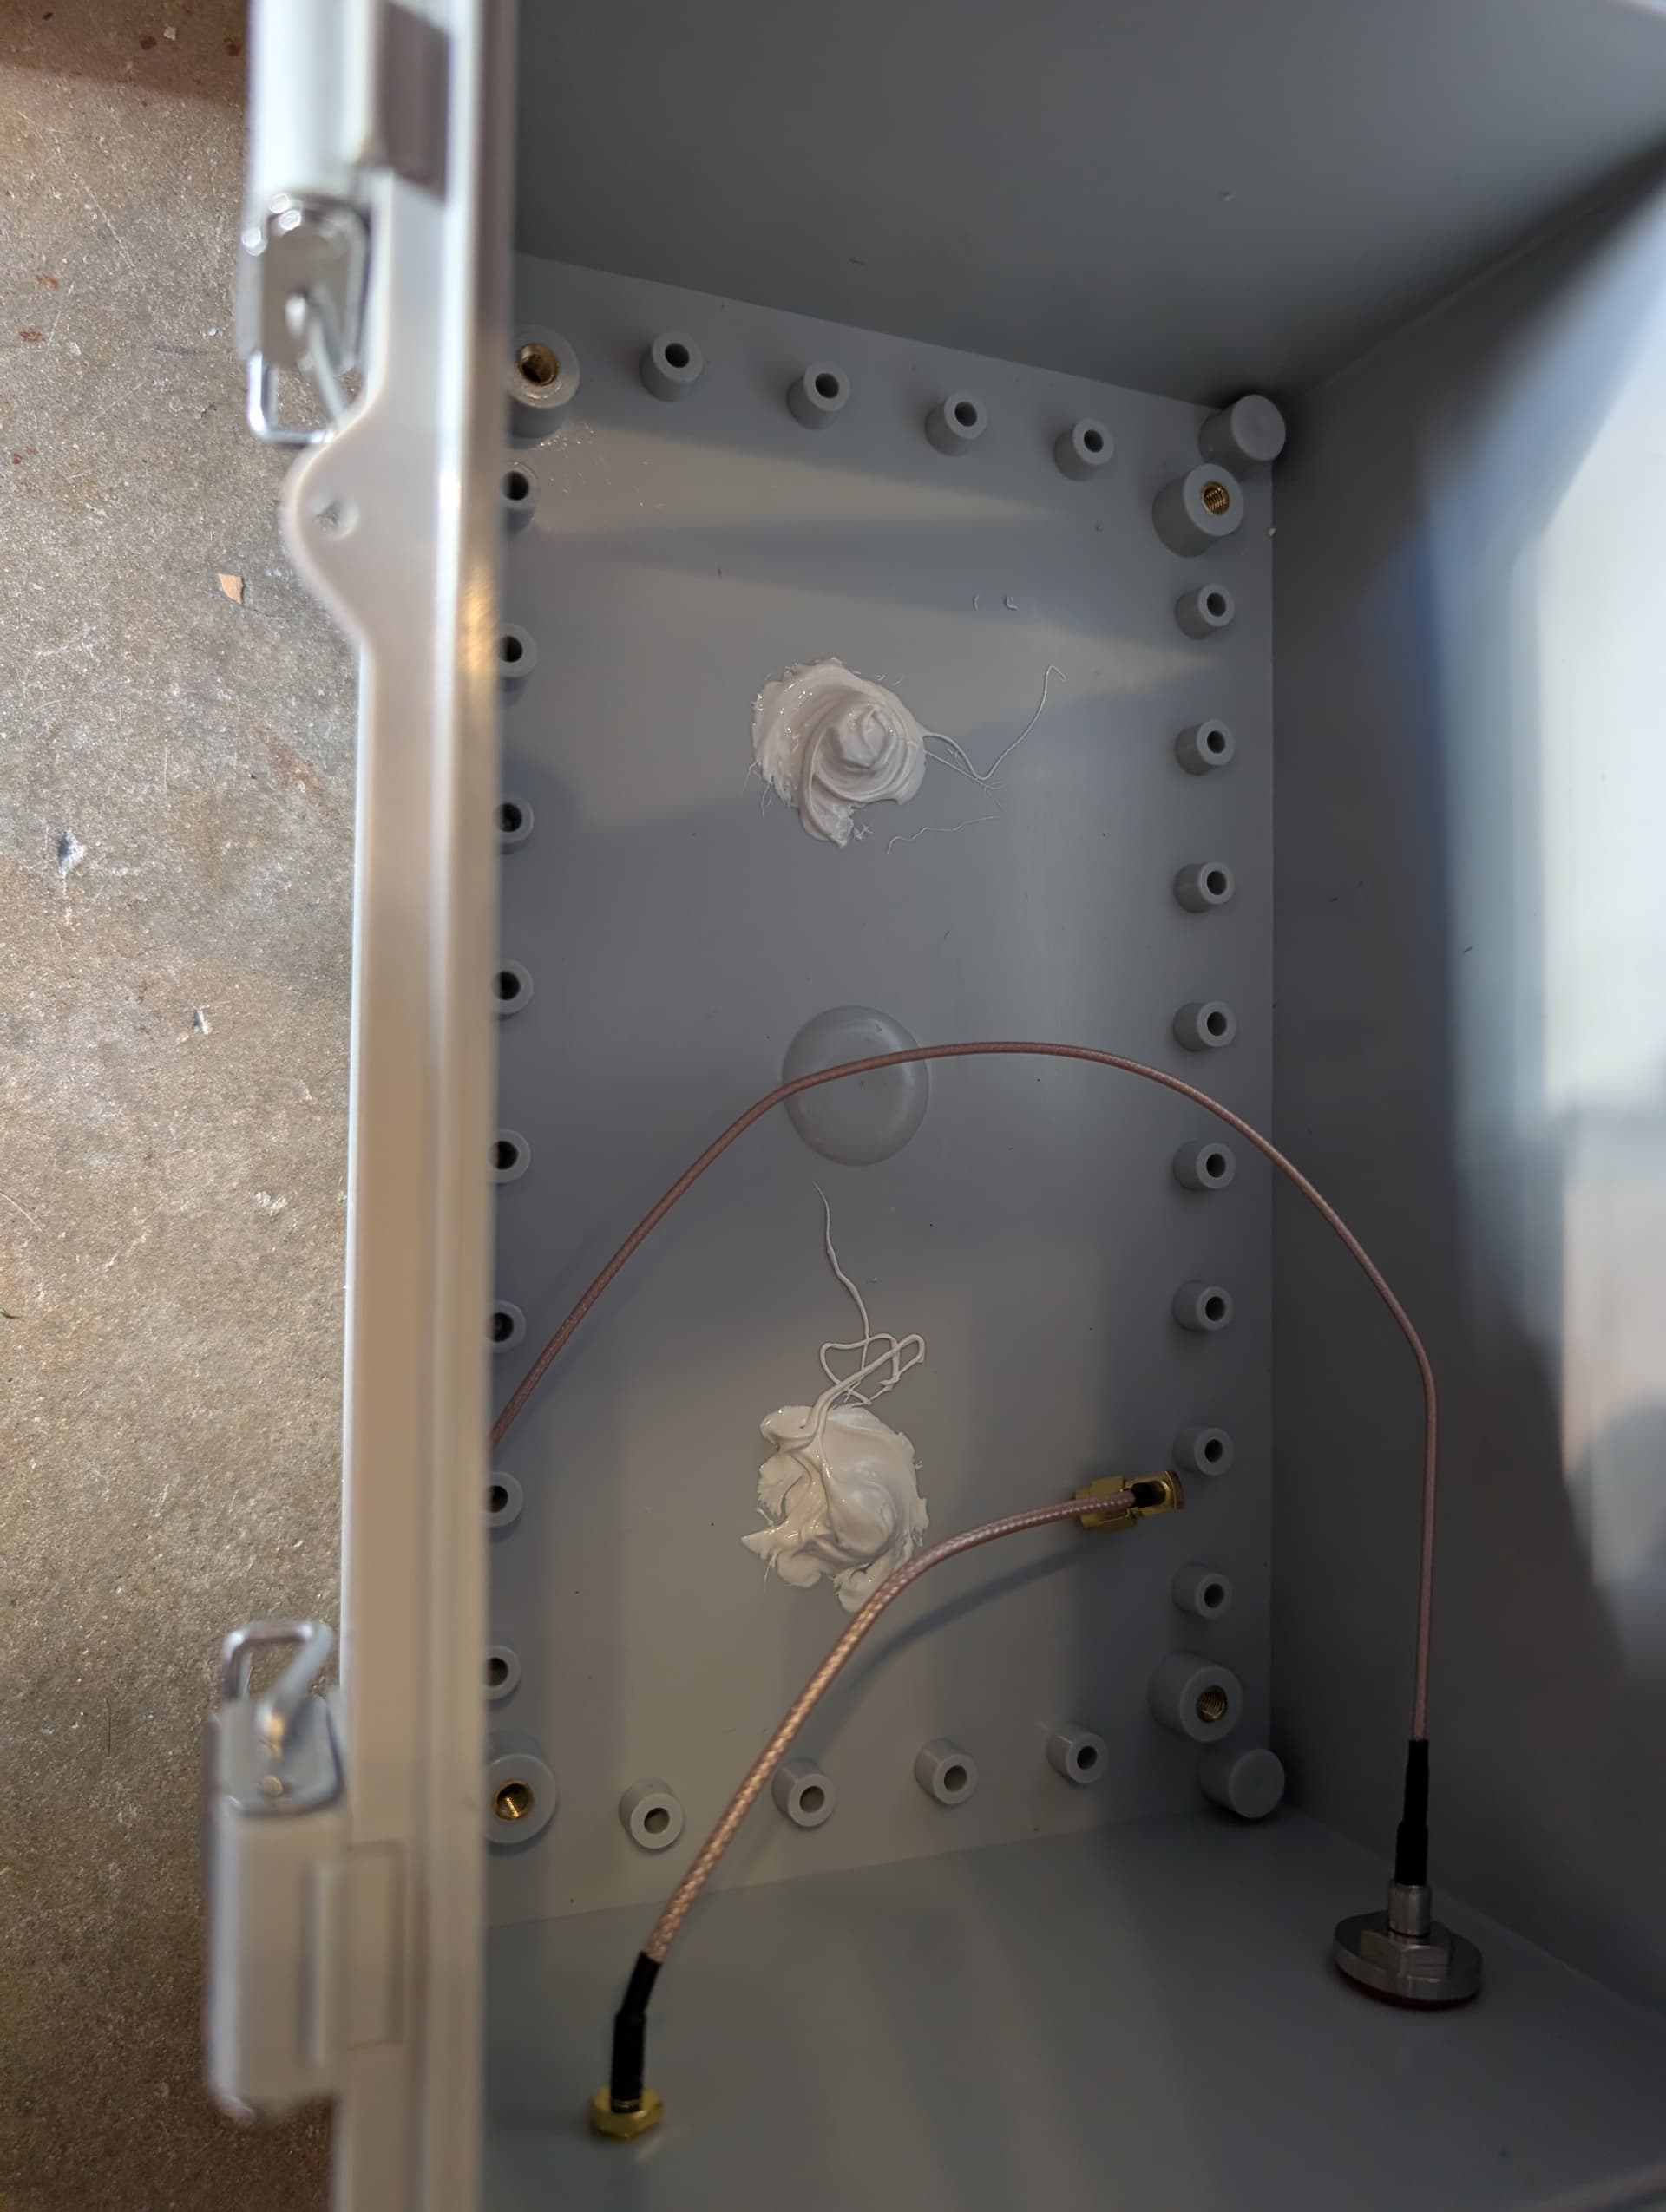
Decided to double stack the two rak4631s as I didn’t have room to put two of the mounting kits side by side. Will likely regret this and should have just double stacked them in their own plexi mount kits and use Velcro to stack them. Upgraded the included single battery tray to a dual. Bottom flashed to latest meshtastic, top to latest meshcore.
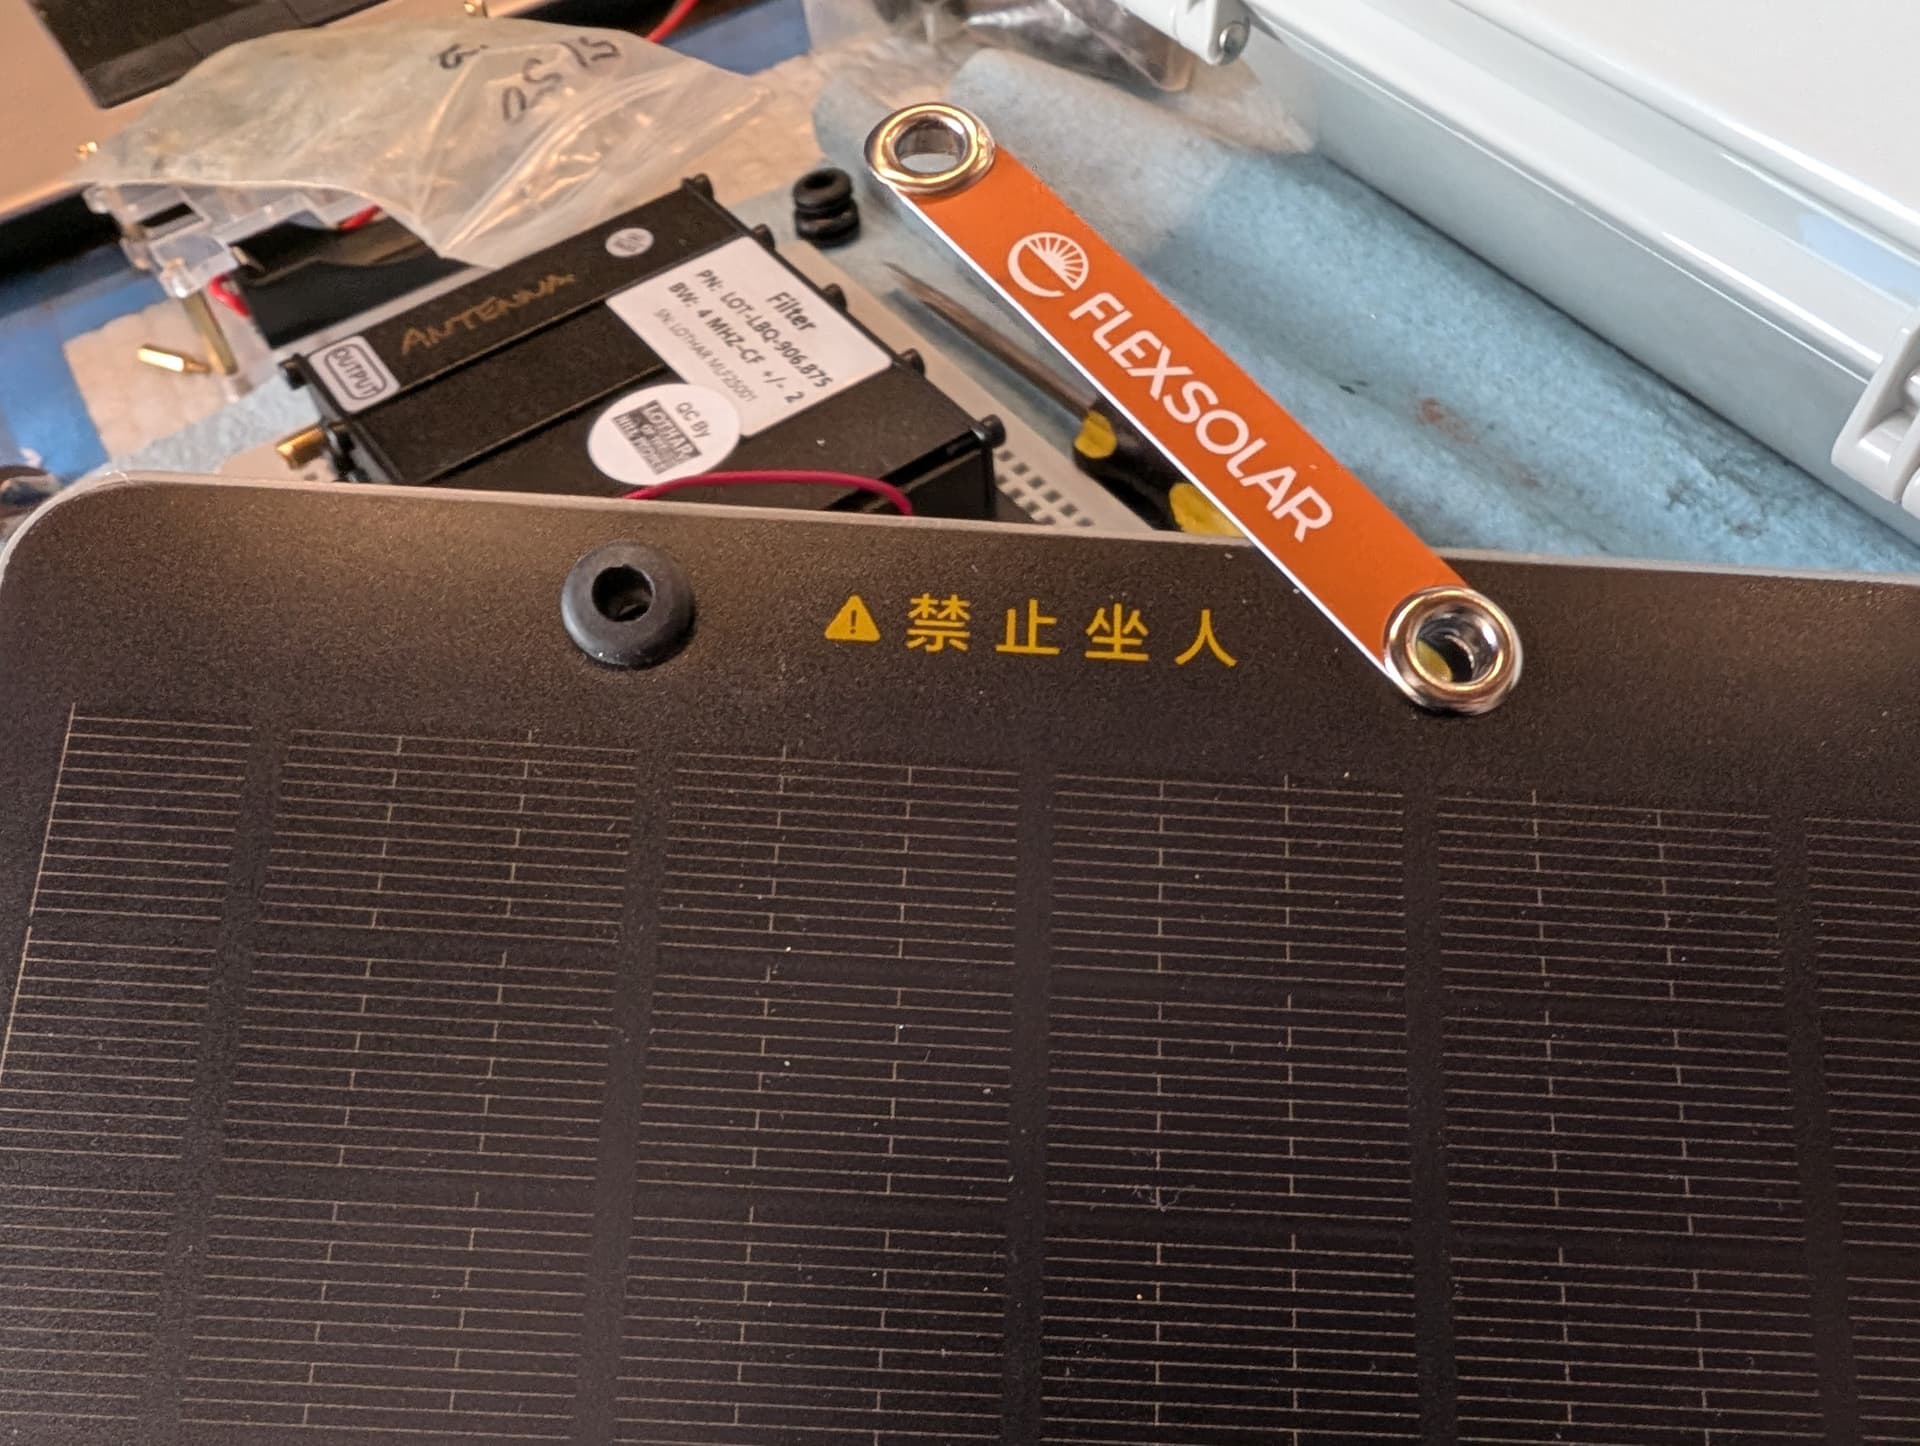
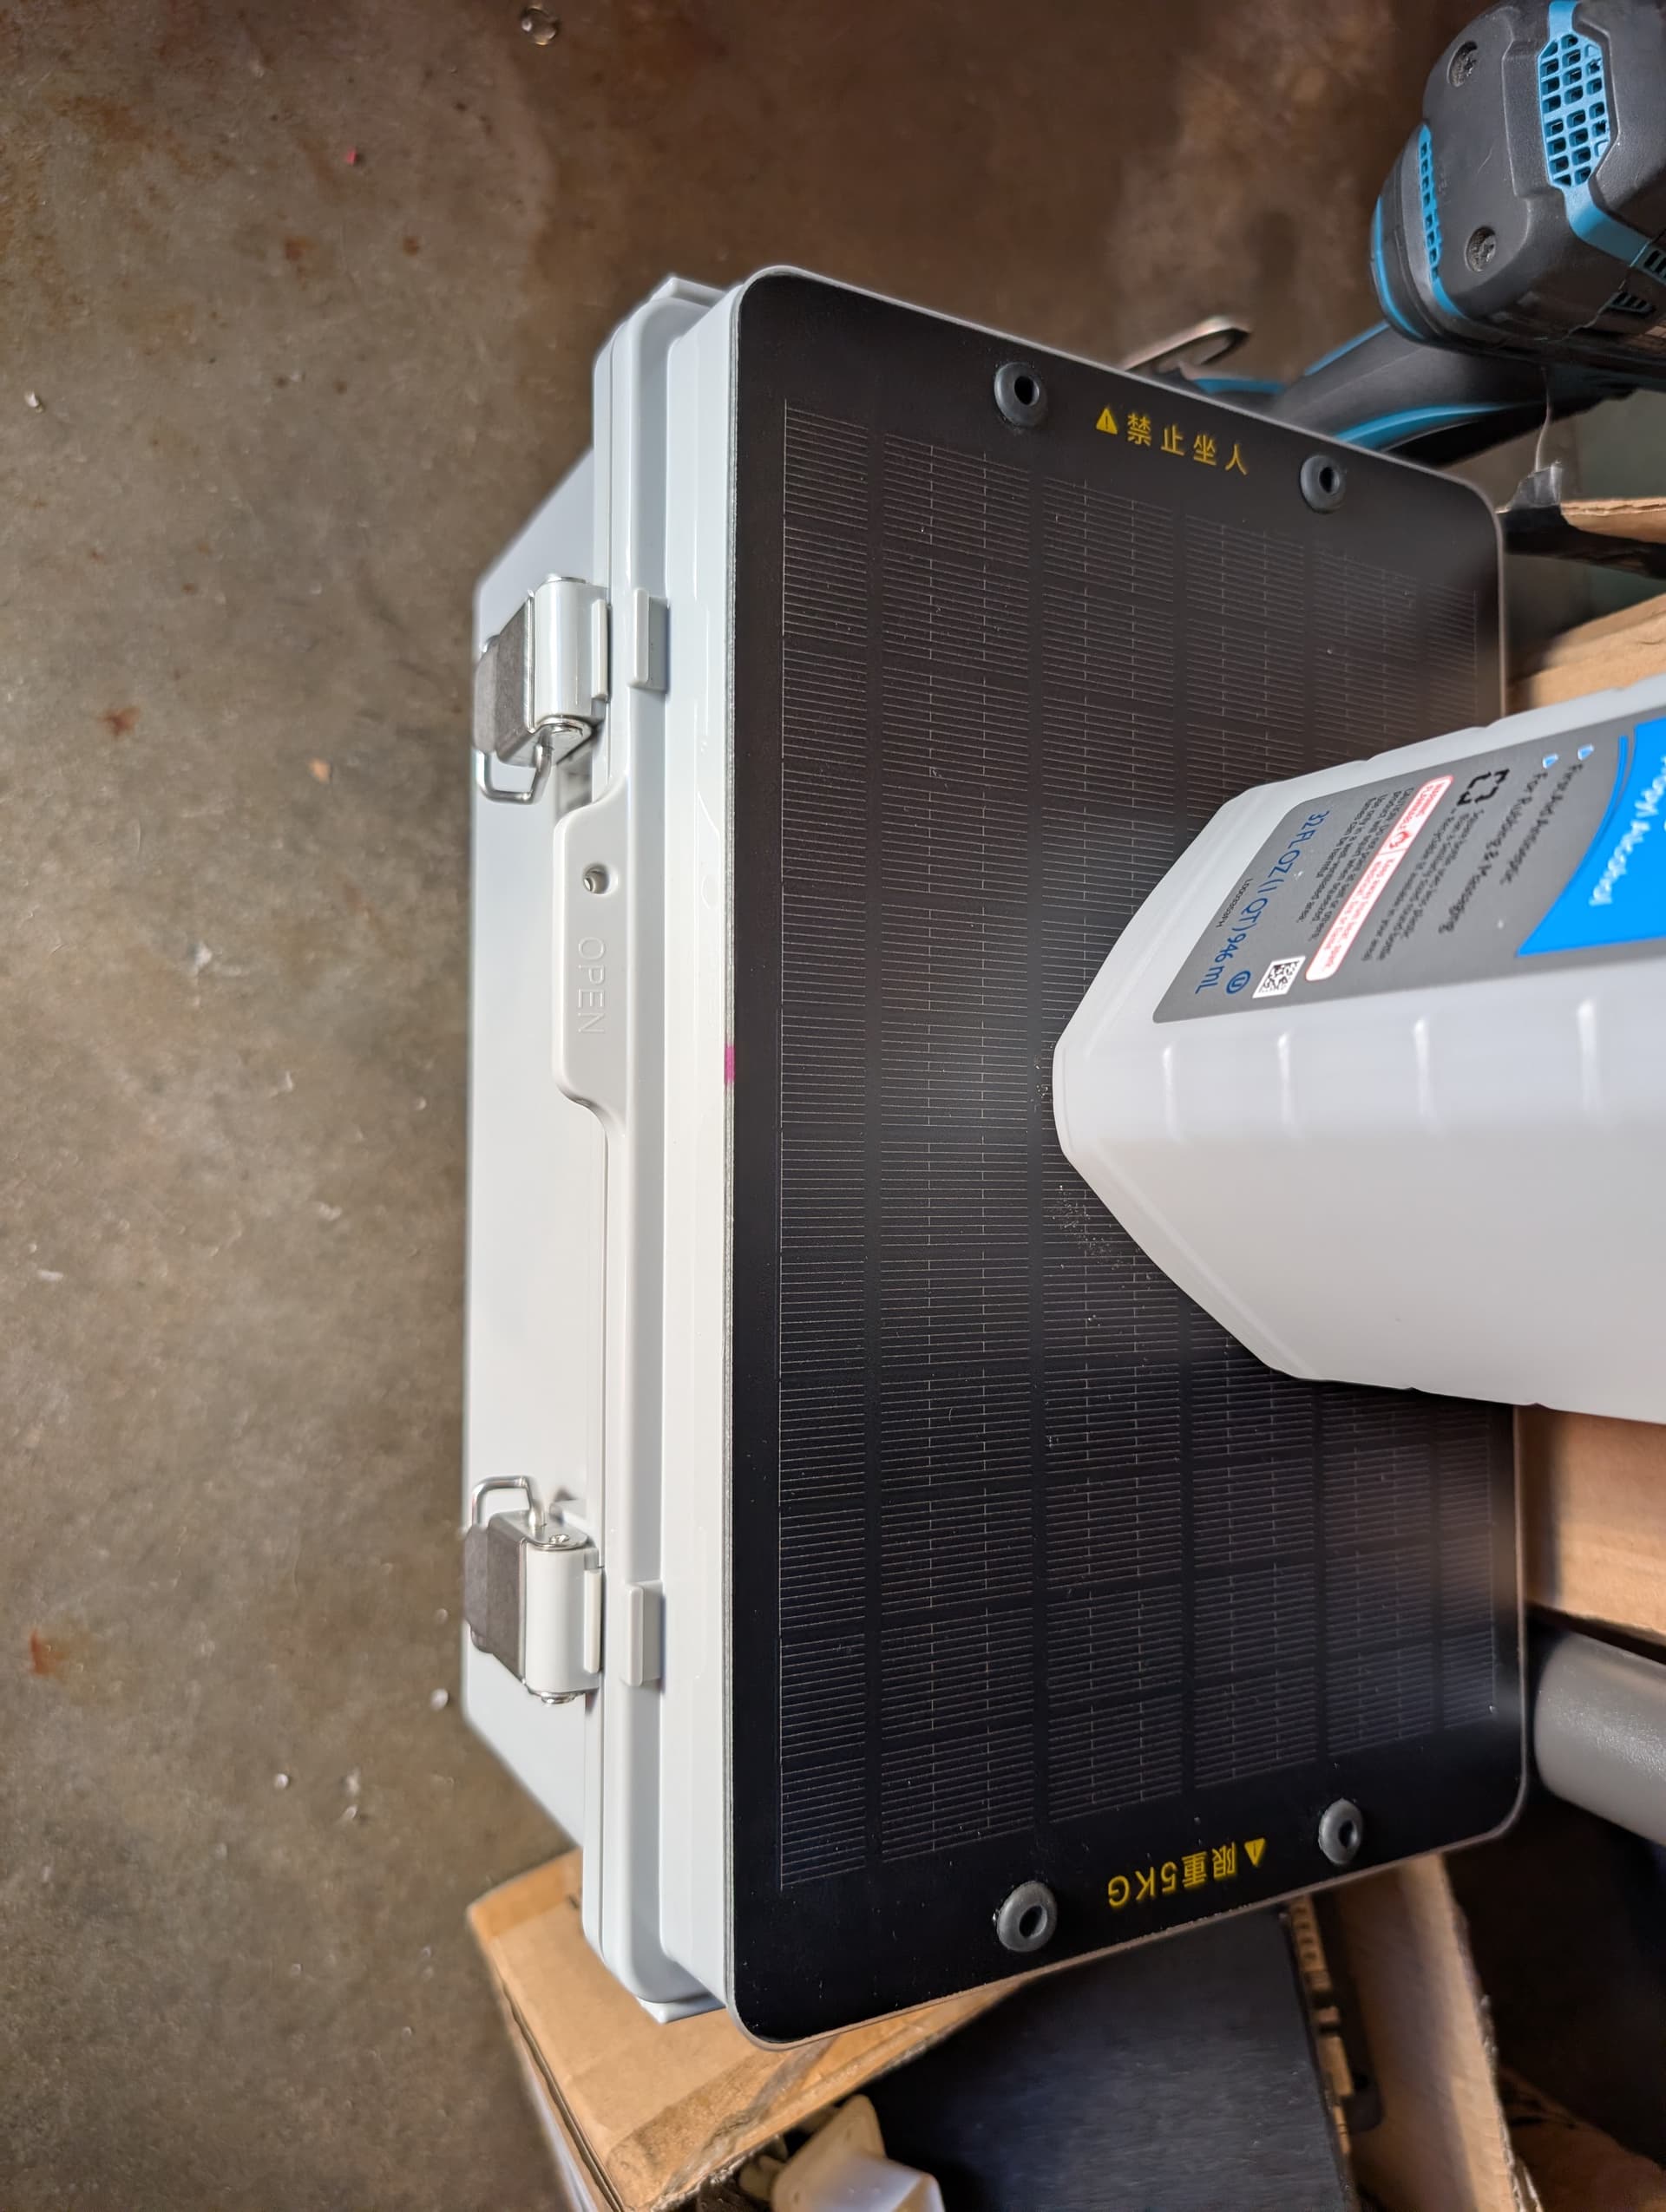
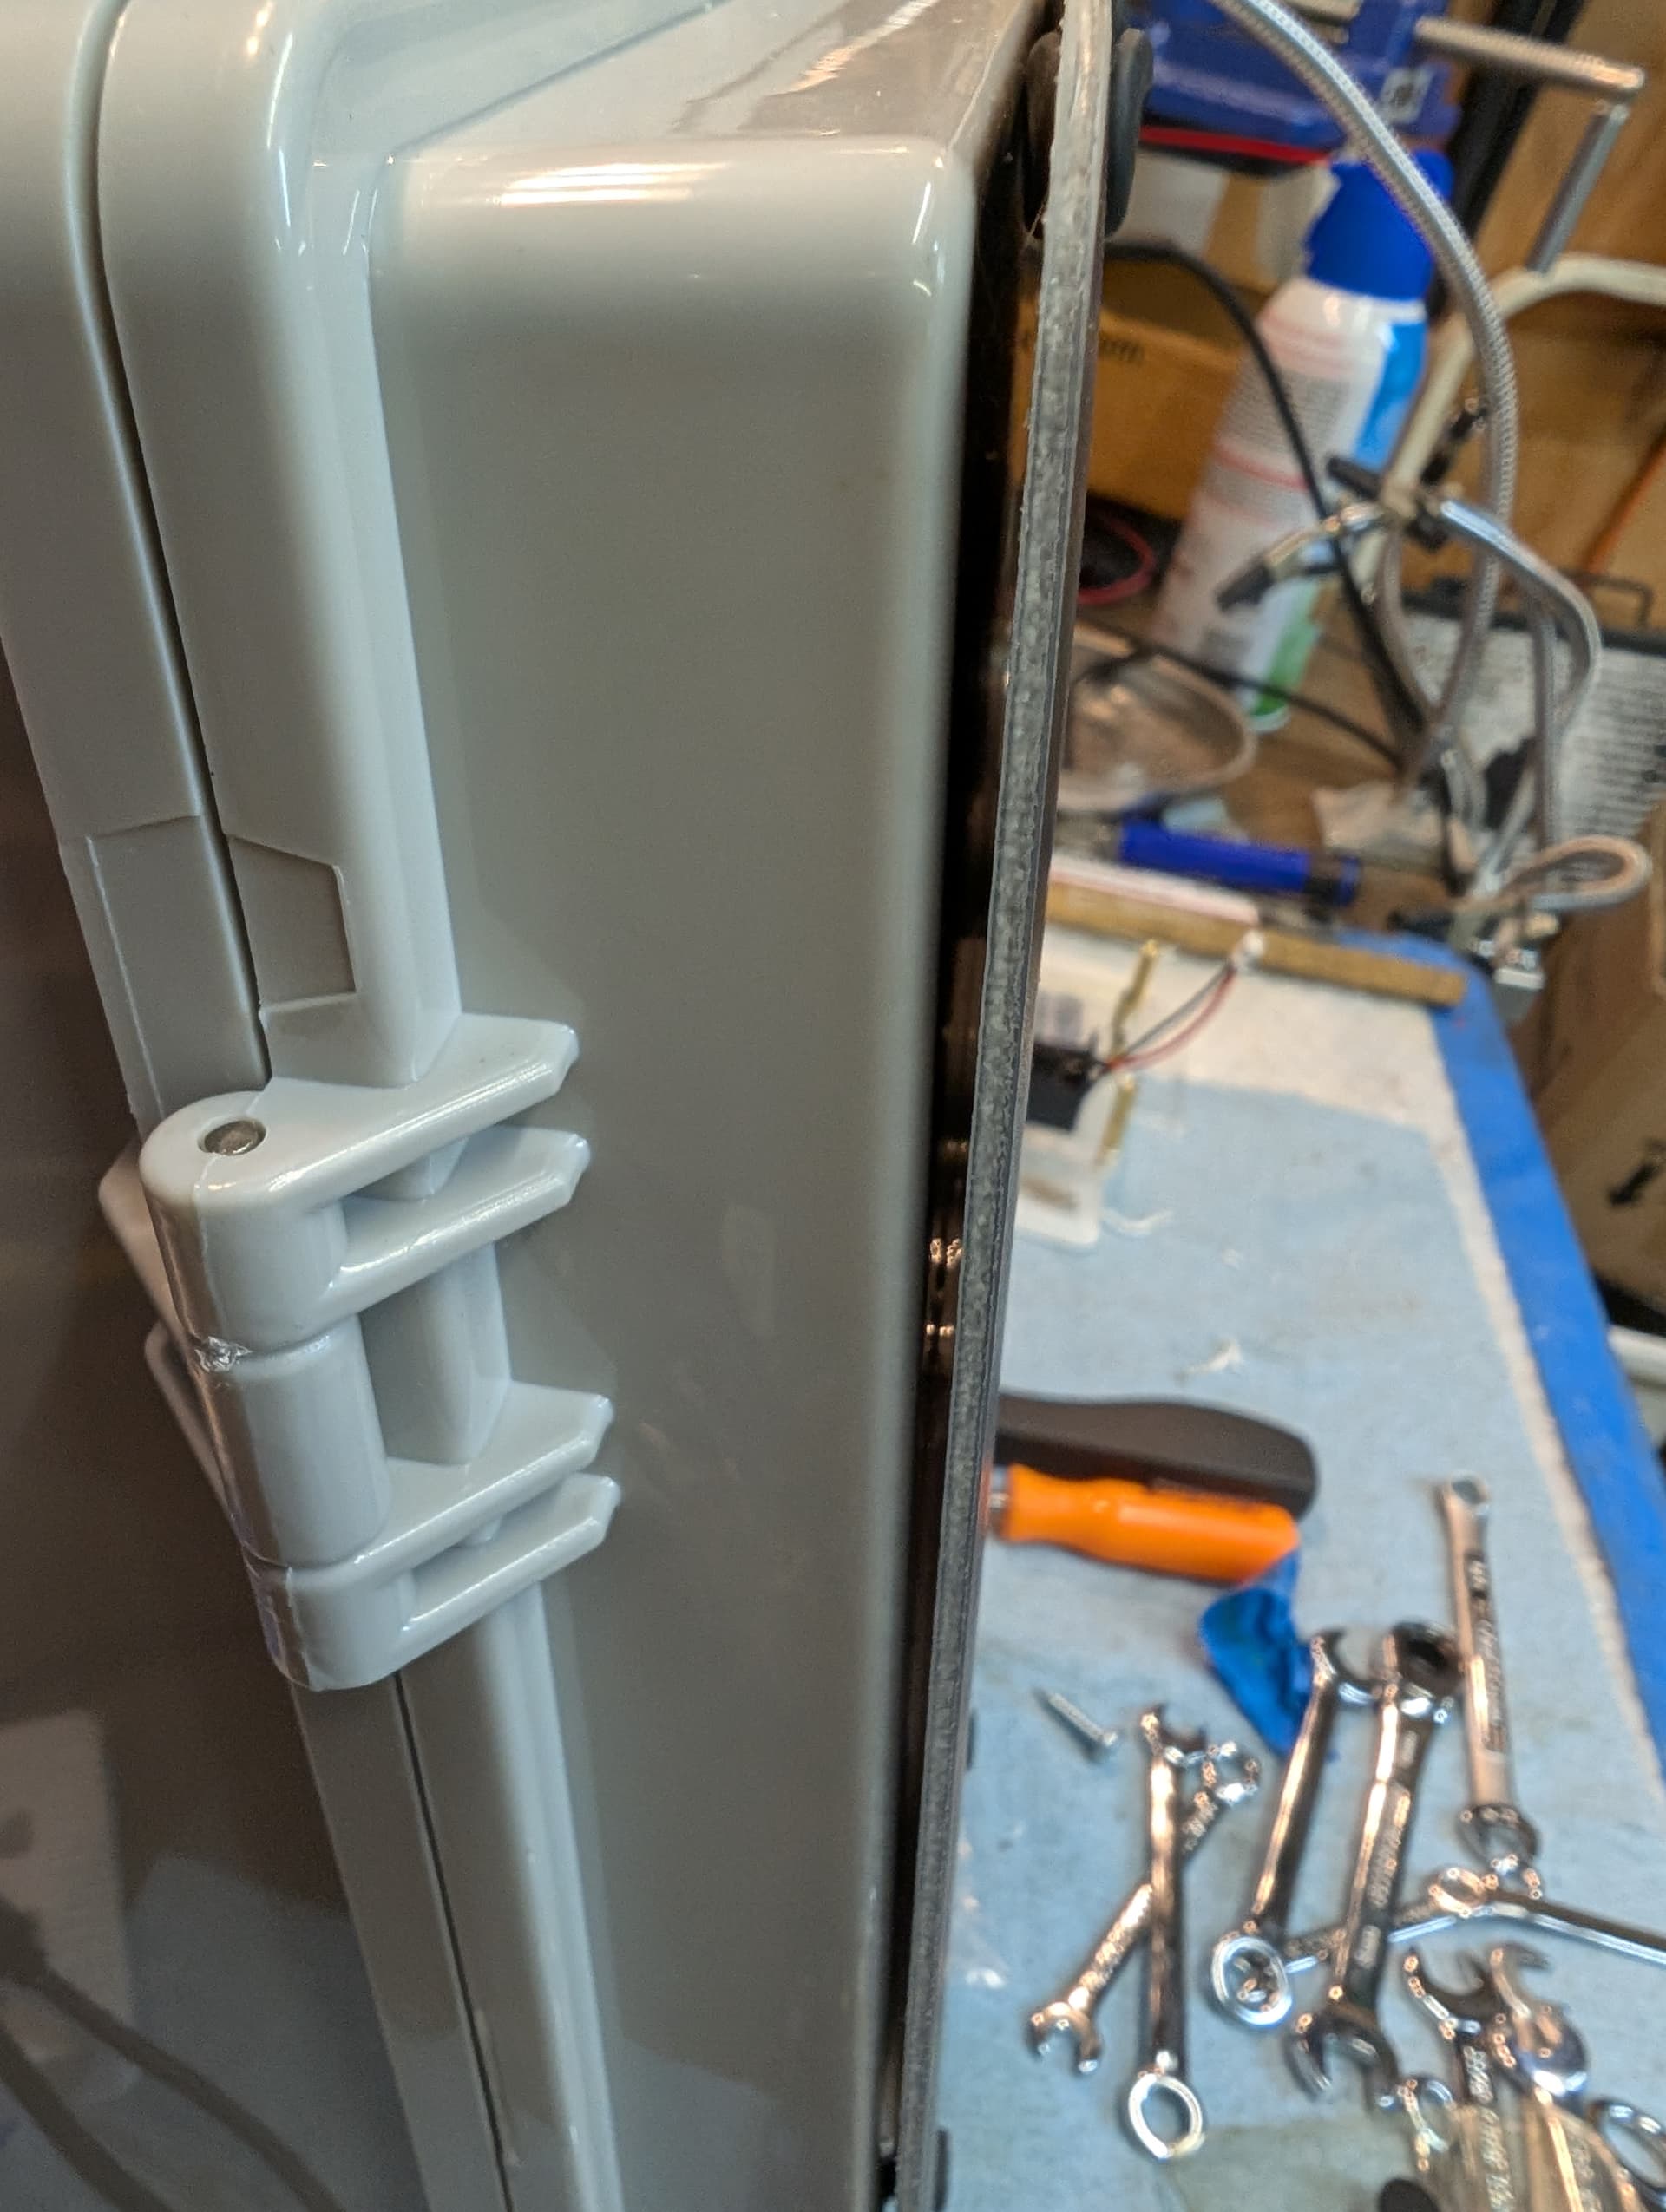
Solar panels have this cheesy labels on them so popped them off then added grommets to be tiny spacers between the panel and utility box in hopes the panel acts like a solar shield and that little air pocket and flow insulates the internals in the ute box.
One mppt should charge both batteries. Ideally you should just have one mppt… one battery pack… then go to the boards. Why not get an adafruit bq board
Meshtastic rak4631 is up and running, test is good.
Meshcore repeater setup i just cant get working or im being way too impatient with advert being received by my client. But i think its the firmware because the board won’t even power with the battery input, only over USB it does and im able to configure it over USB. Had me sh$tting bricks i borked something on the board but now that i flashed meshcore client its up on battery input and good comms to my other client.
Id call it a day and put it on the roof as-is but i really feel a meshcore repeater up there would greatly increase my reliability with some local contacts i have.
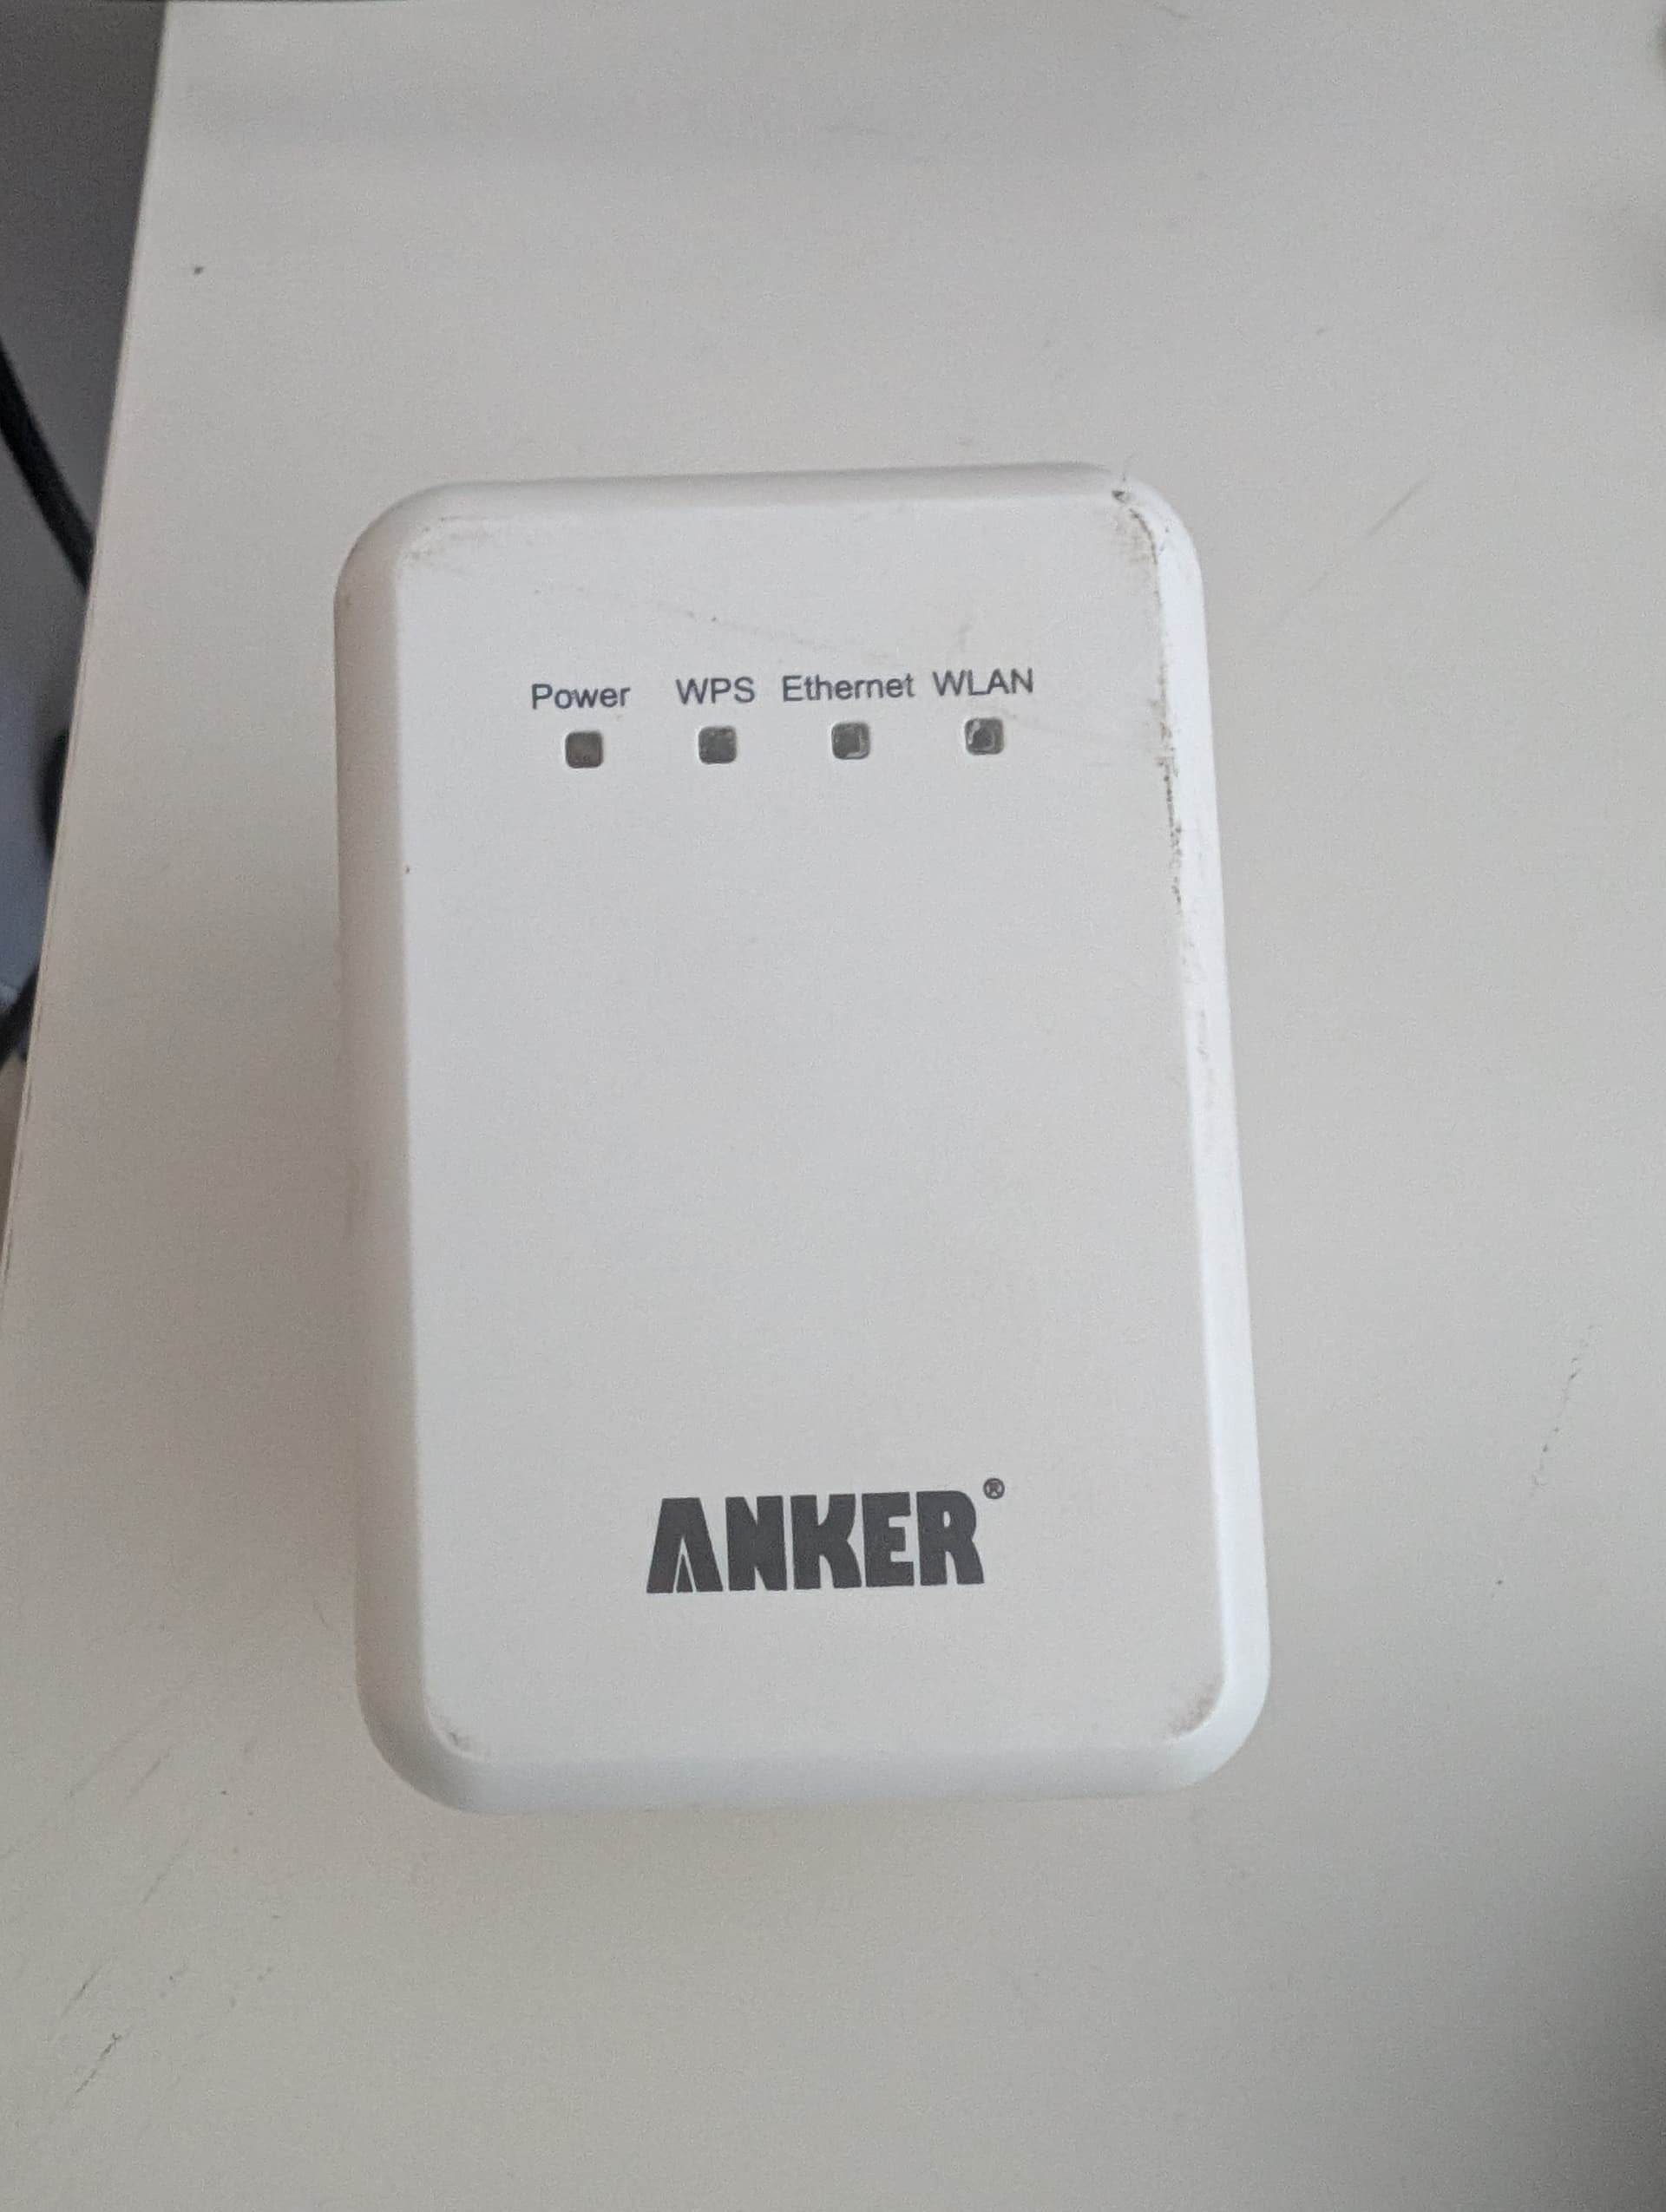
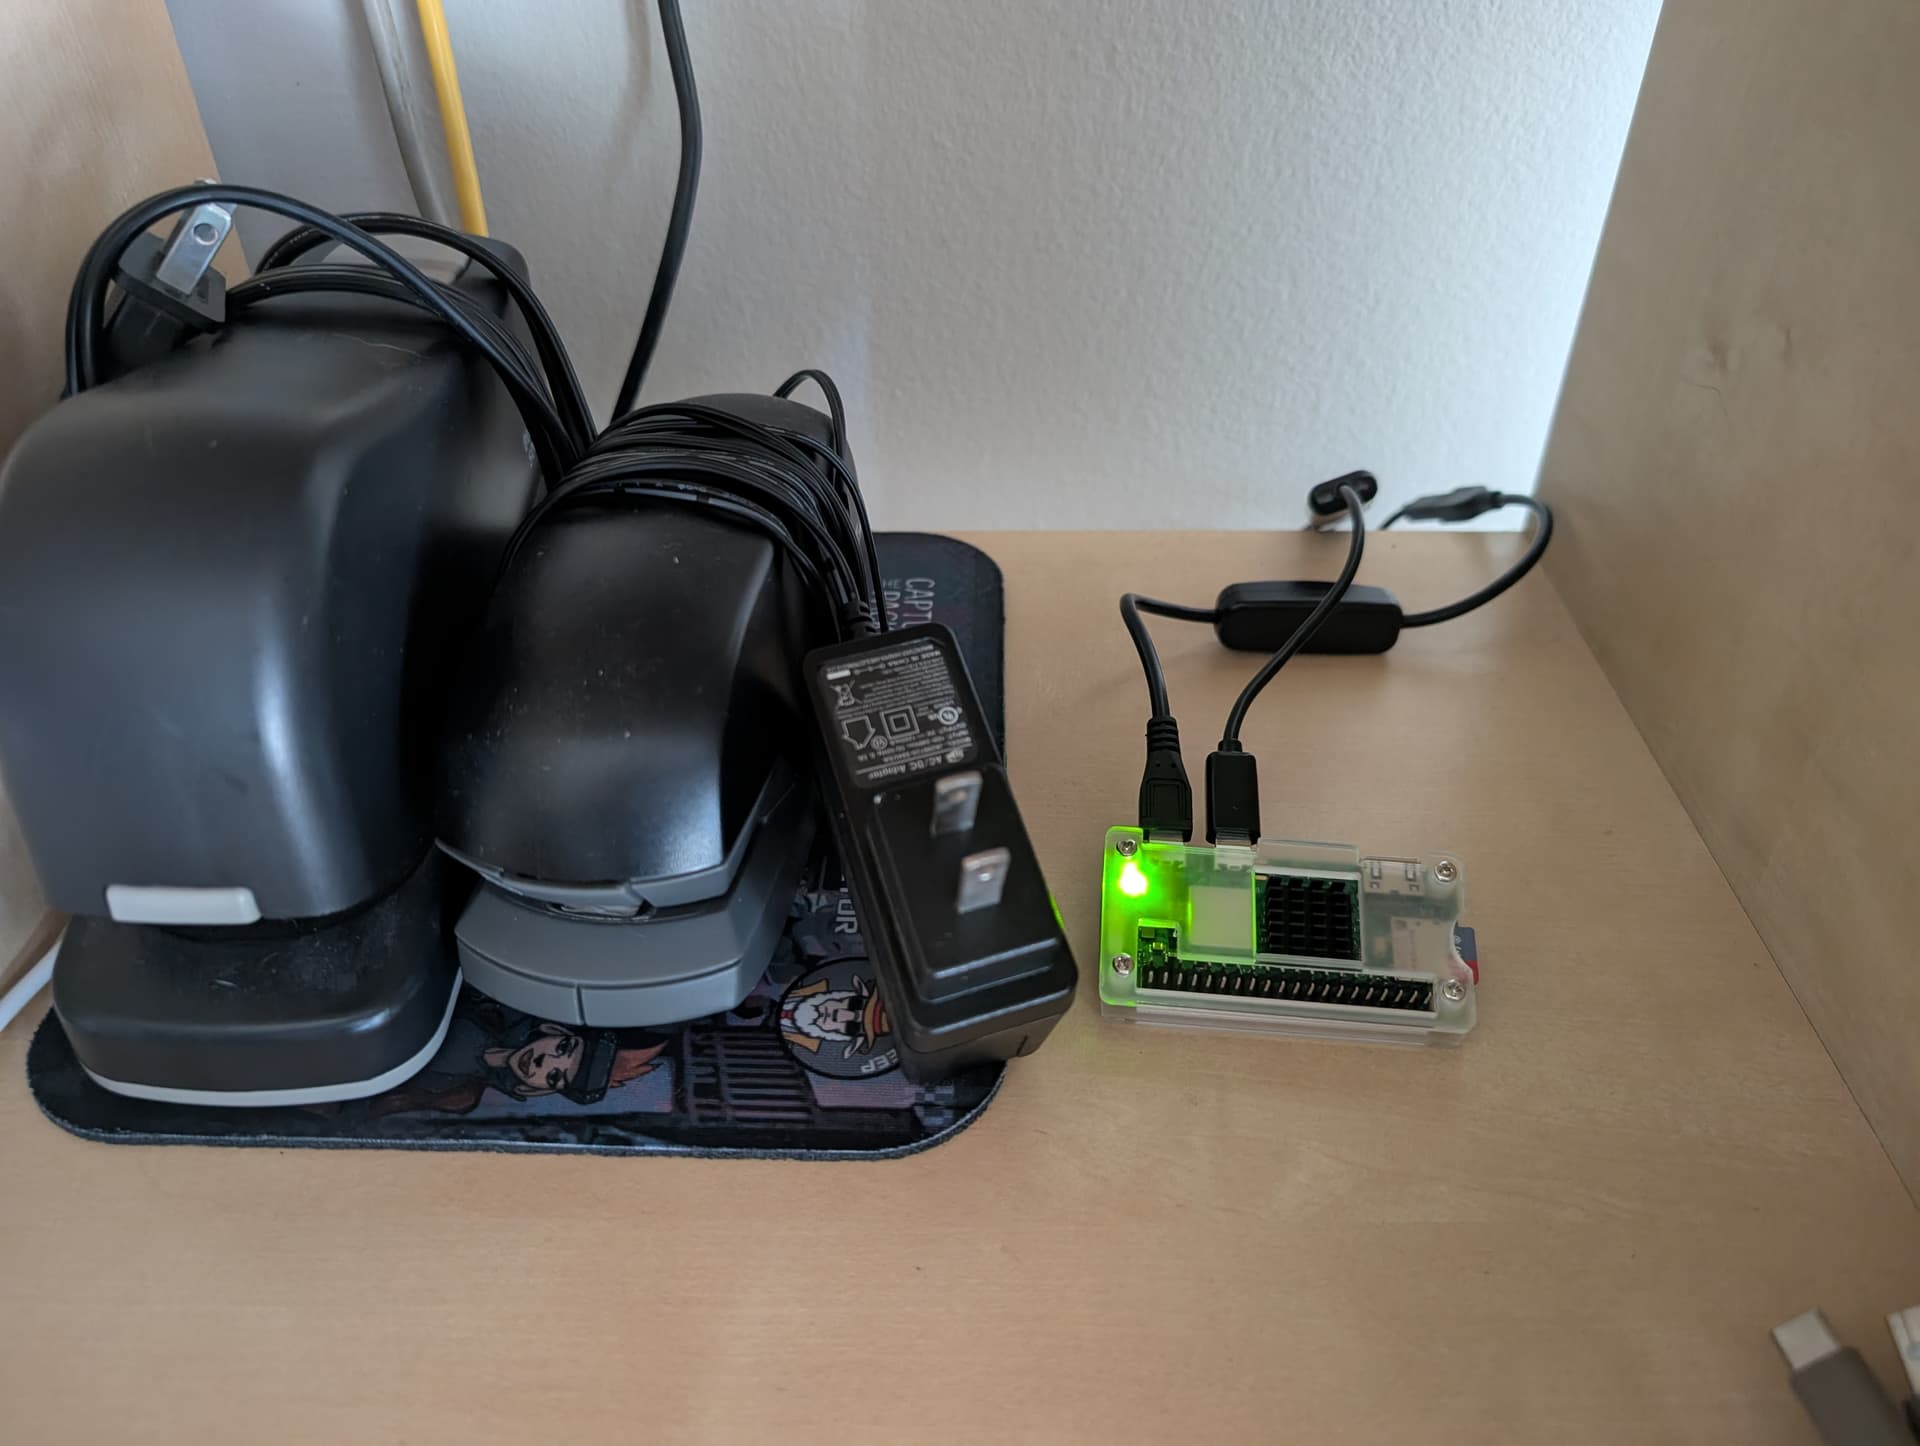
So I have this ancient Anker wifi repeater/bridge thing that I had to find some obscure forum post hosting it’s user manual in order to look into how to make it host a printer on my network.
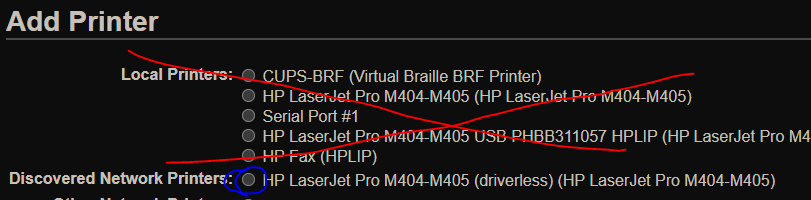
Only exception, the printer does have an ethernet port (just in a room with no jacks) so when you get to the CUPS screen adding the printer, it doesn’t flow like the guide and vid does (USB only printer). With the printer’s USB plugged into the Pi it still presented as a network printer and I needed to use the network bullet to add it (circled in blue)
Successful print from my Windows PC, TBD if the added printer stays working after reboots, hibernates etc. Will boot up the nix box eventually and see how that works, and test from the phone as well.
Might have to throw more hardware in yet again… Seems RAK4631s flashed with meshcore only work when powered over usb.
Im debating if repeater is important enough to me vs just running the client up on the rooftop…
Looking at this for the step up from 18650s to usb-c 5v.
I brought both T-Echos with me (one meshtastic and one meshcore) driving around town and yeah, meshcore was about 80% delivery rate of what I sent from different locations, meshtastic was 0%- I got nothing over meshtastic.