Sæglópur - Power Mac G5 case mod project

Project Sæglópur

Eyyy here we go

So I’m on vacation few weeks and have access to a work shop, so why not start doing something creative?

I got myself empty Apple Power Mag G5 case about a year ago, with the plan to convert the case for regular ATX standard and use this with regular PC hardware. I’ve wanted to mod G5 case for a long time but after seeing the Hack pro project in Linus Tech Tips channel I decided to finally give this thing a try.

Project name is reference to a song by Sigur Rós. Song was featured on Aquaman soundtrack. :+1:

I have some preliminary goals for this project and some basic ideas, but I haven’t made any comprehensive plan from start to finish. That’s ok tough, I like to figure out problems as I move forward. :slight_smile:

Goals:

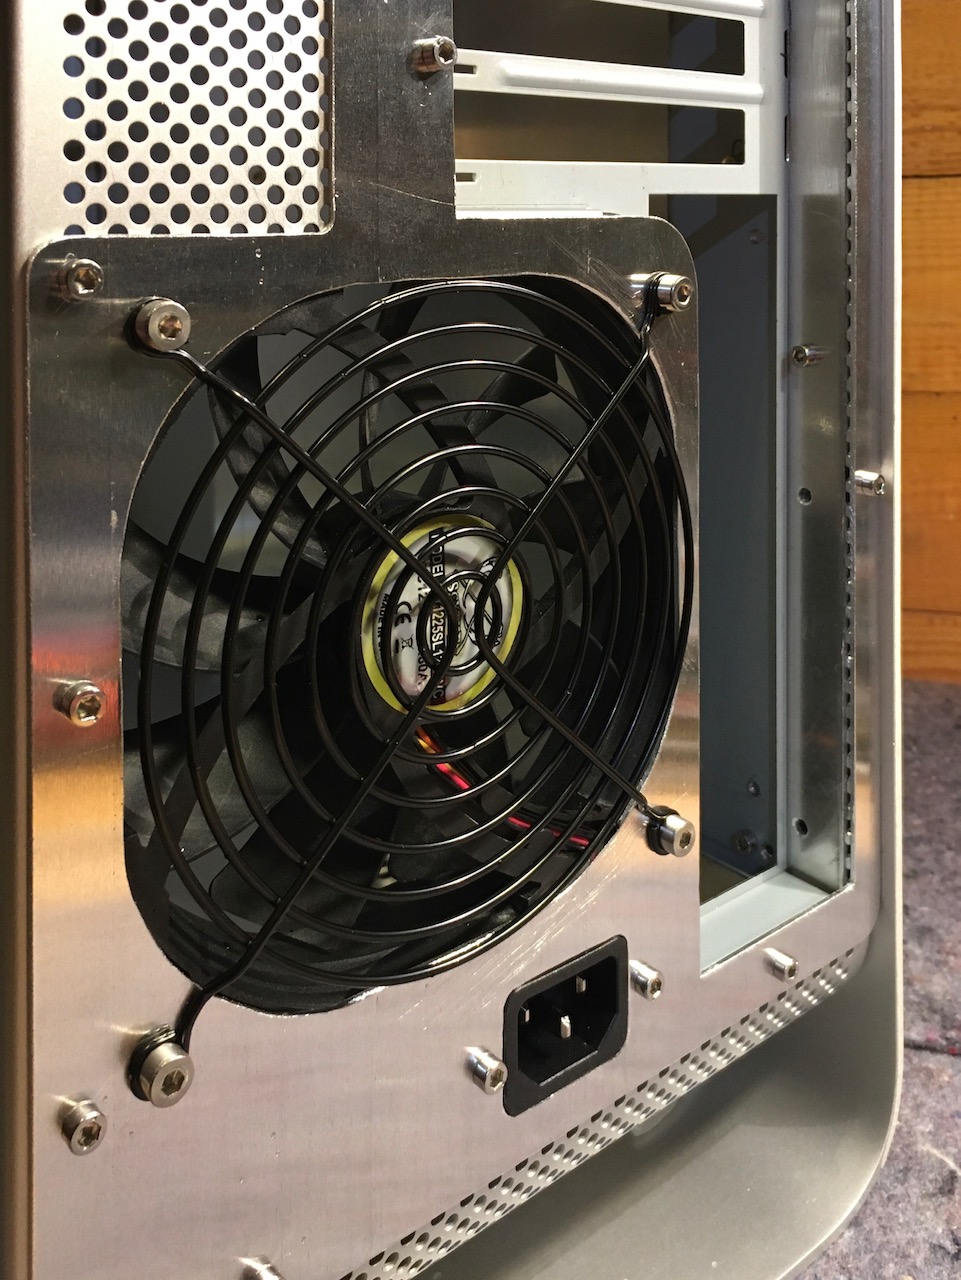
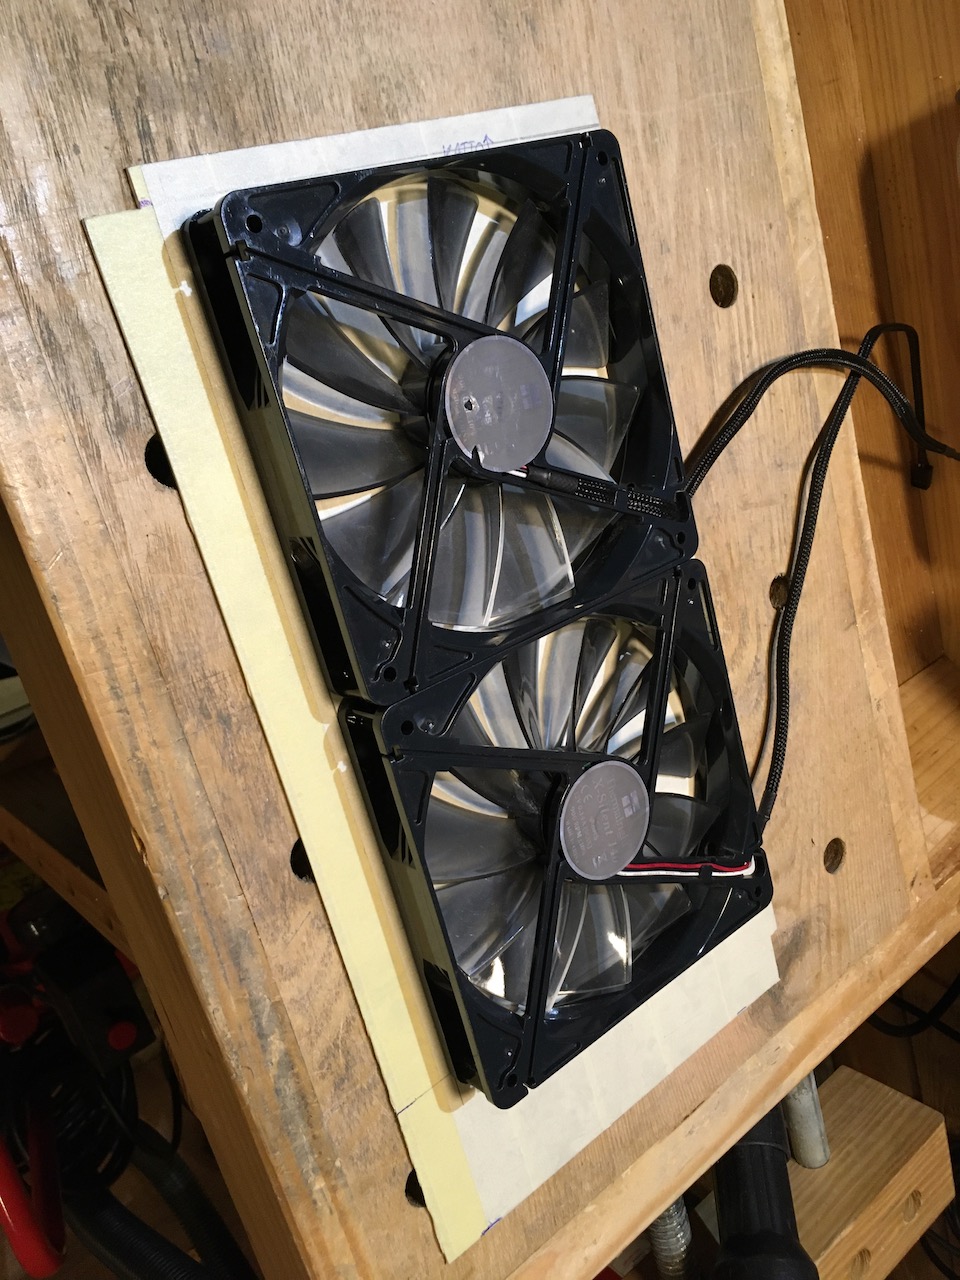
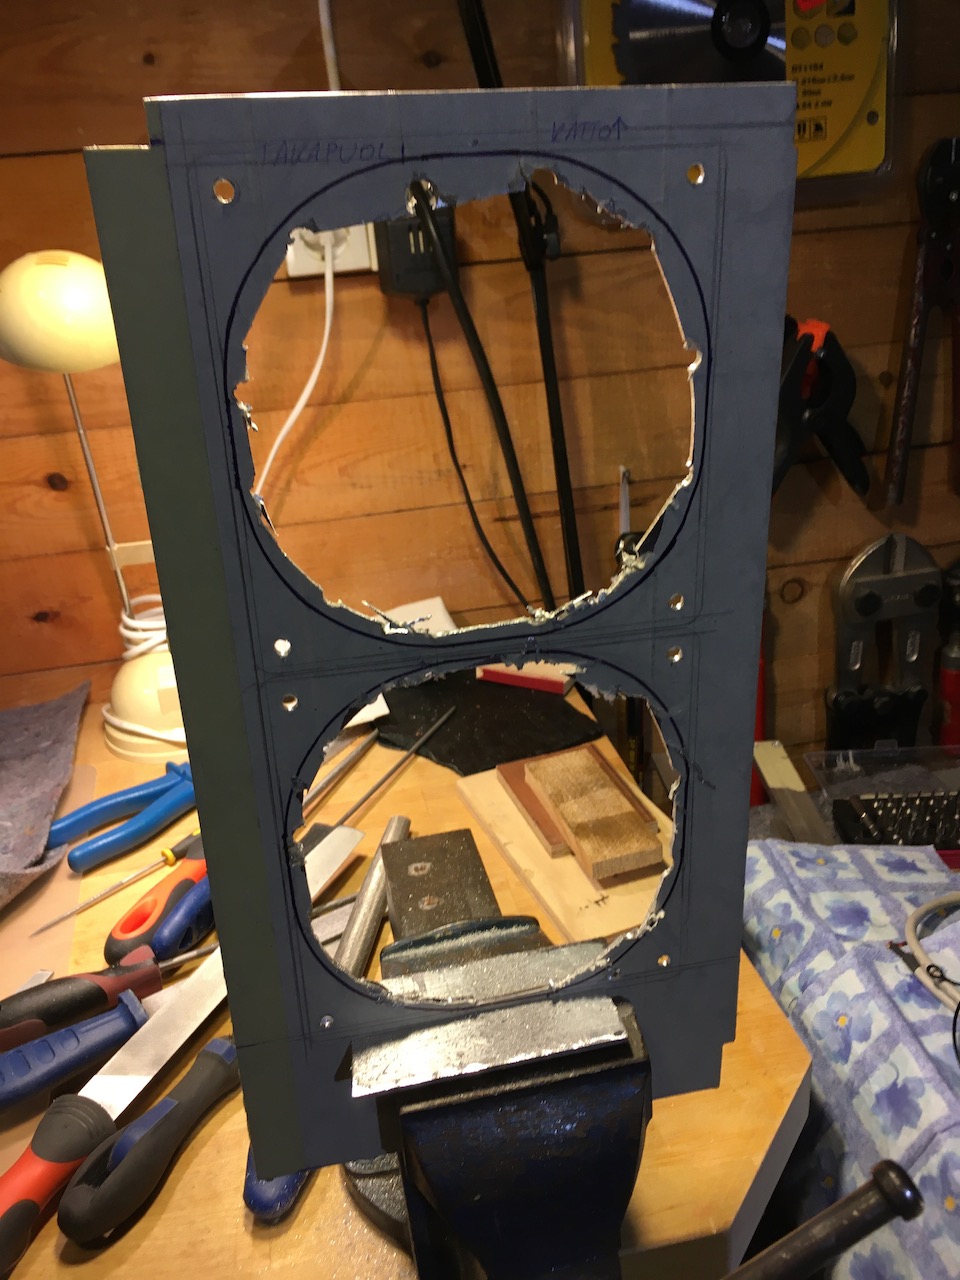
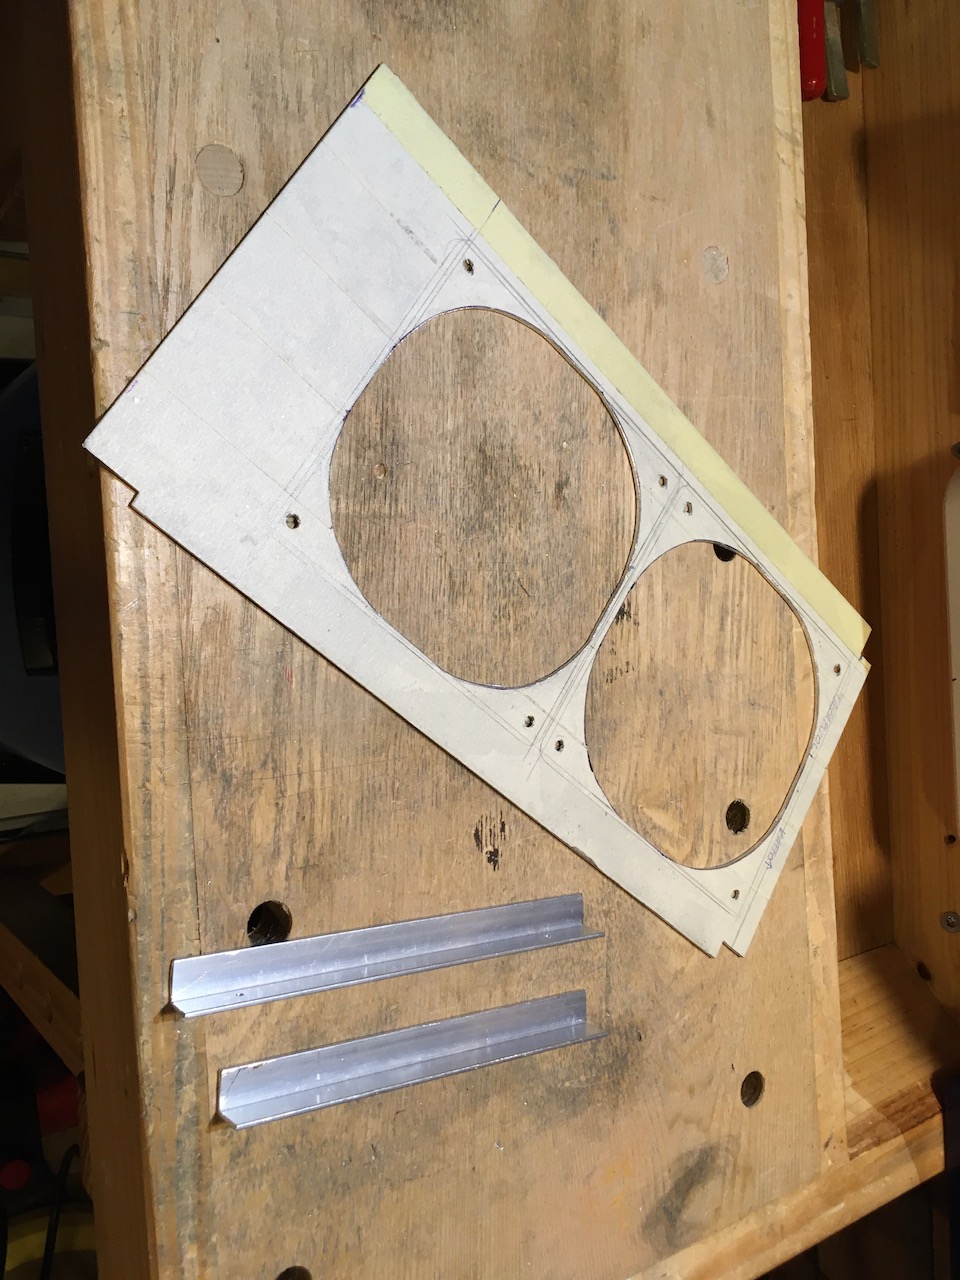
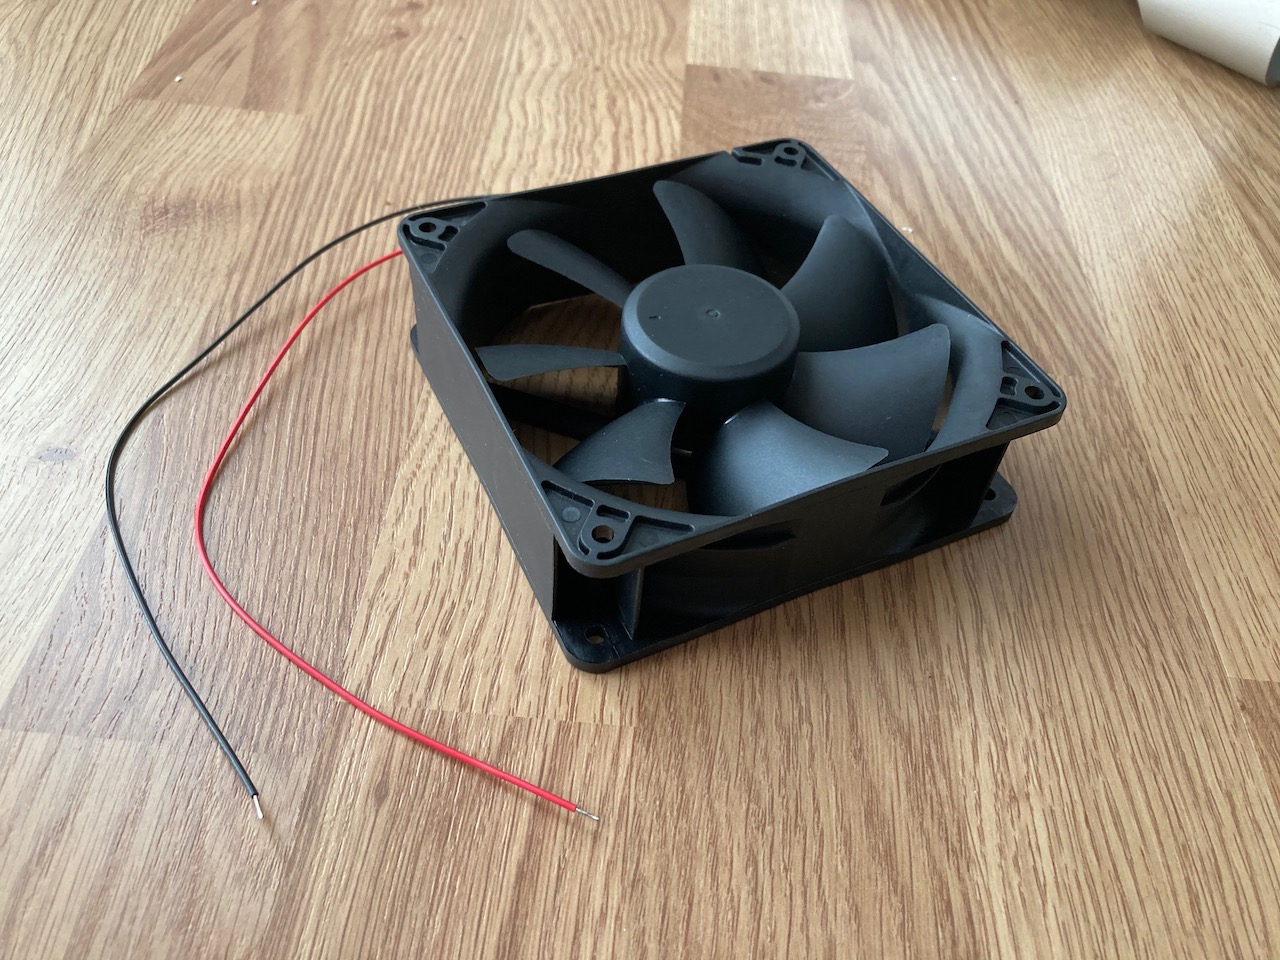
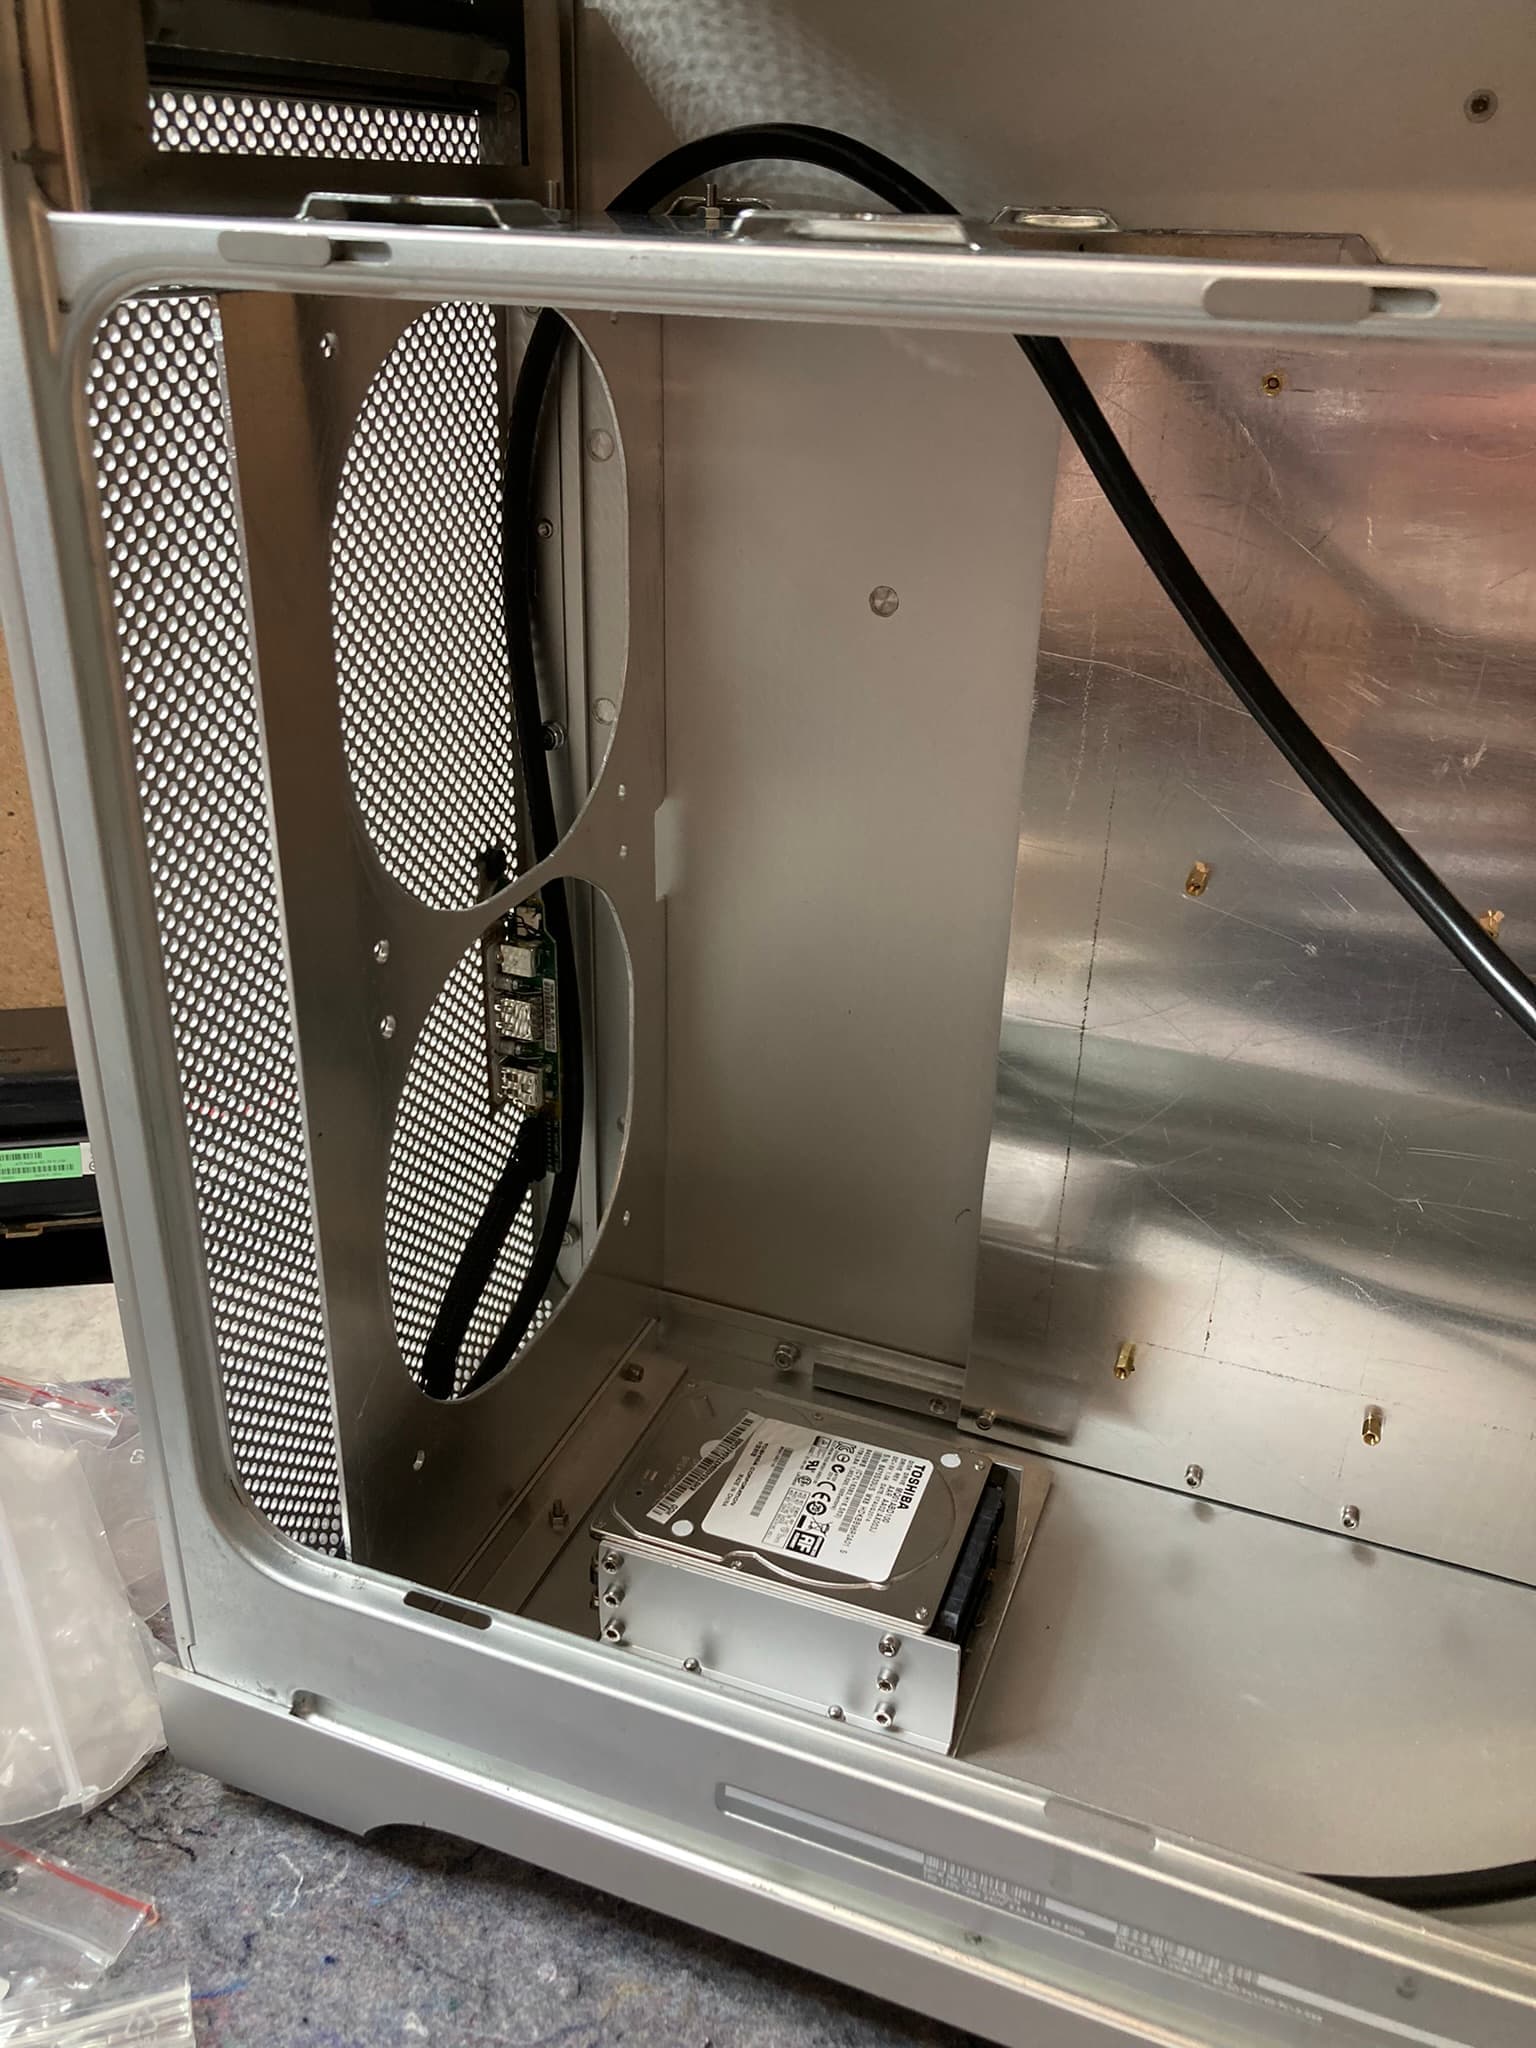
  • 2x 140mm fans at the front of the case, and one 120mm exhaust fan at the back.
  • Dust filters for the front fans. I don’t want to damage or cut case too much so the dust filters should be accessible by removing the side panel.
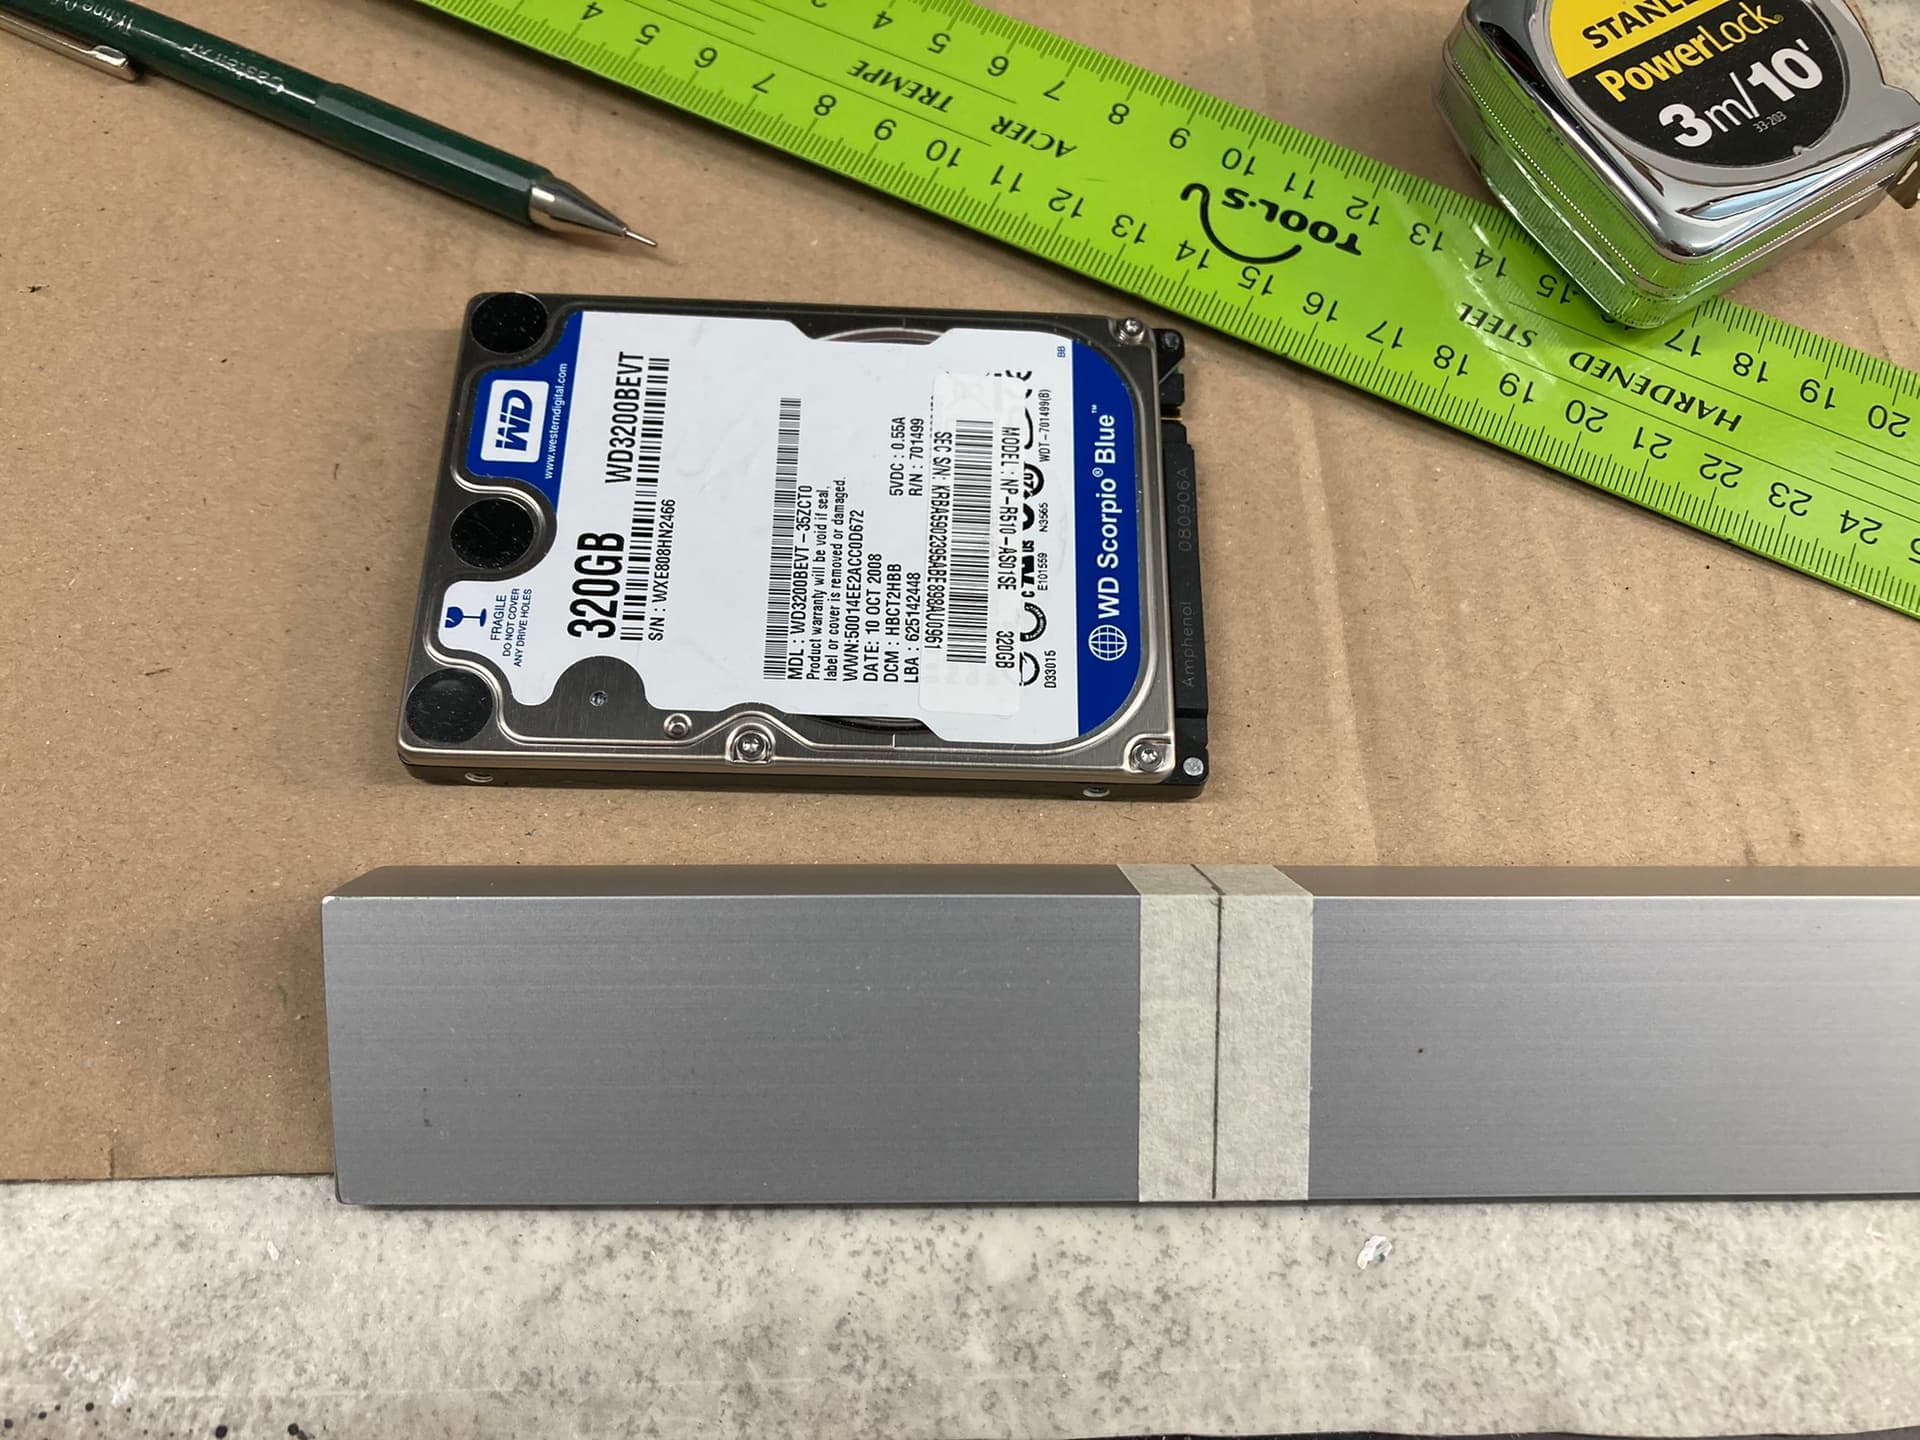
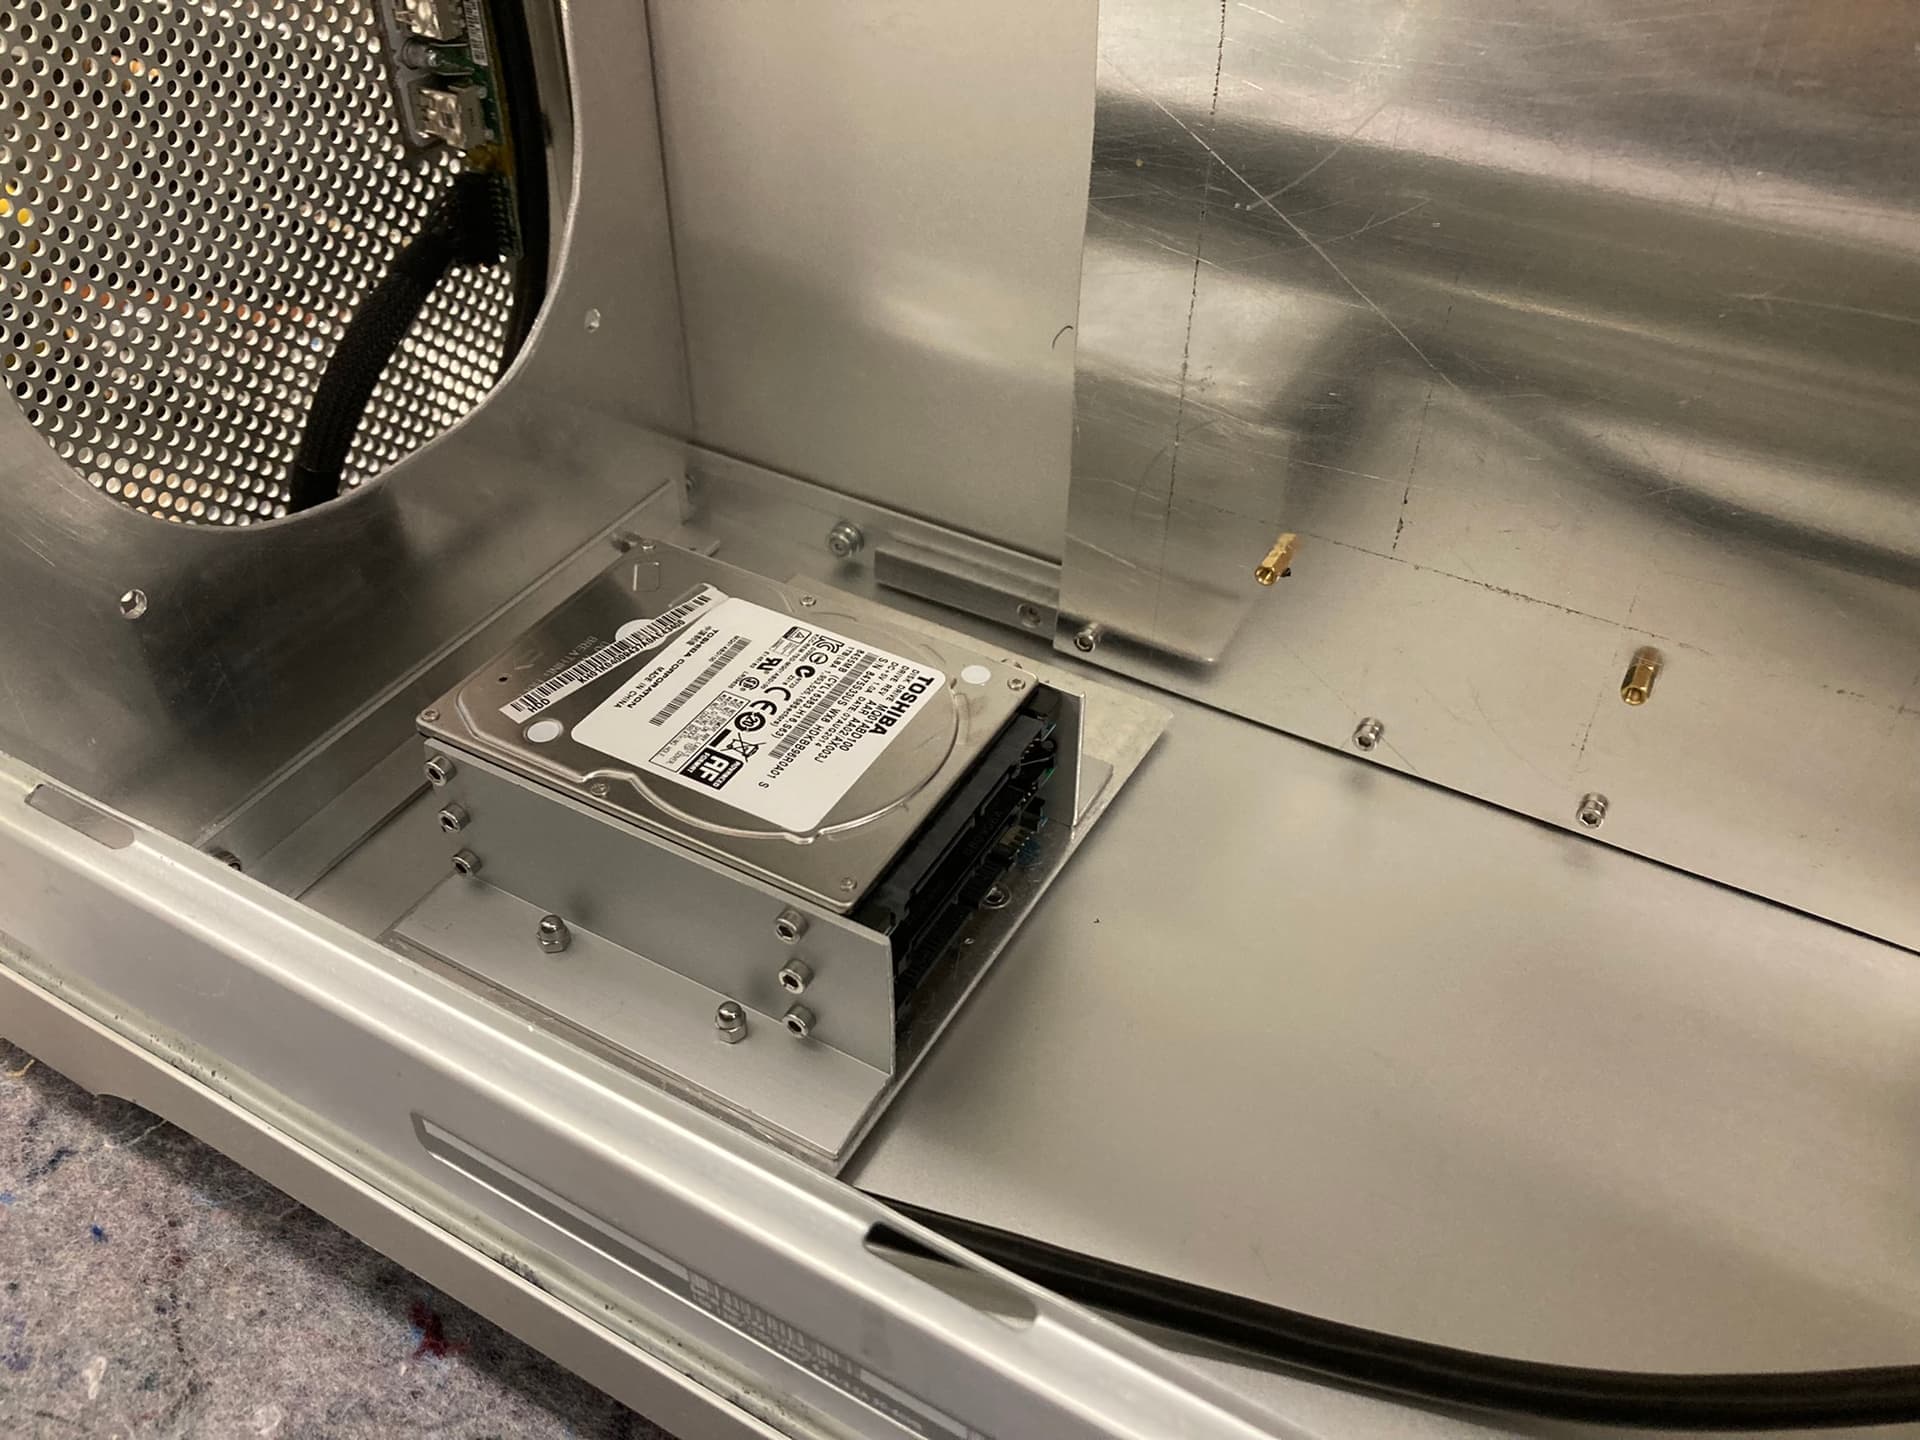
  • Place for 2-4 regular 2.5 SSD drives. I know we are living the M.2 NVME era but I’d still like to have some options for extra storage space if needed.
  • Have space for big CPU air cooler, something like Noctua NH-D15. I have no idea what hardware is going into this thing. I know I don’t have money for the hottest and coolest Threadrippers, Xeons and Nvidia Quadro or RTX 3090 cards, but I still want to make sure that I could in theory throw anything I want in here.
  • Try to retain the Appleish discreet aesthetic. So no flashy RGB leds or extravagant paint job. If I’m painting this it’s going to be maybe dark gray, black, or something like that.
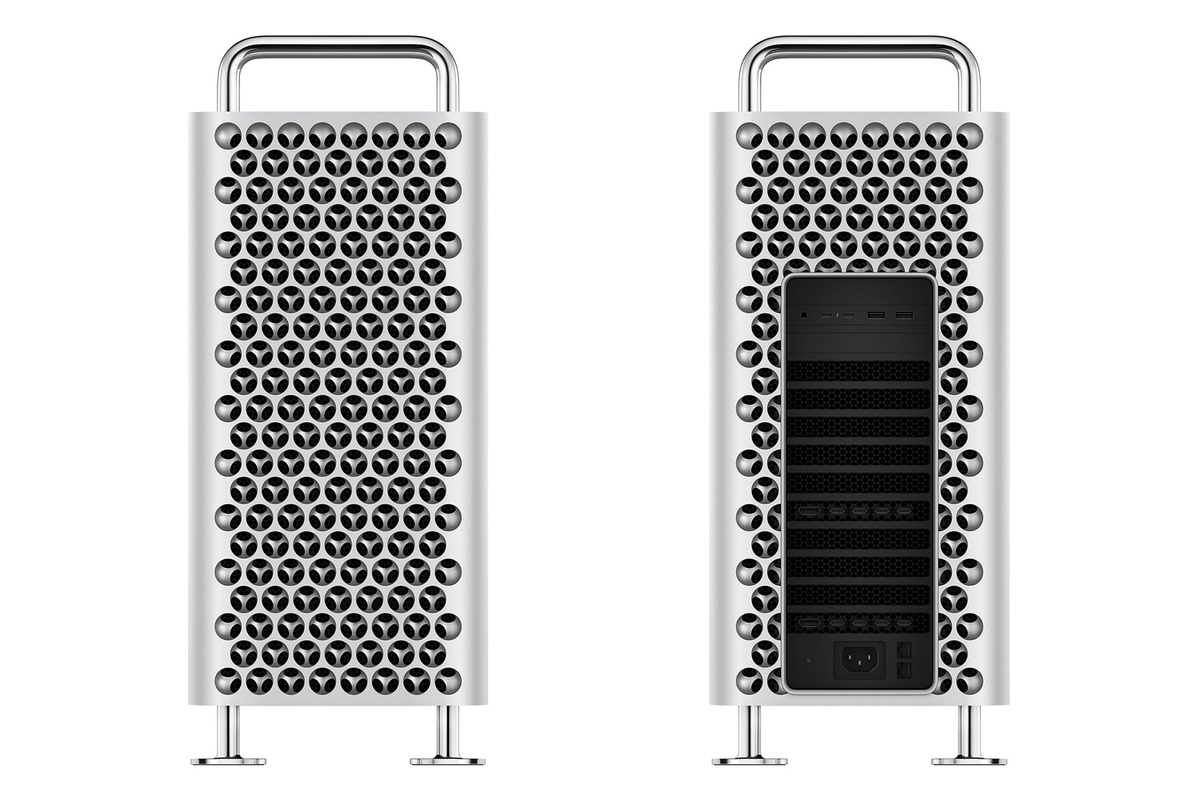
  • Try to keep that “over engineered” look also inside the case. I like how both G5 Power Macs and original Mac Pros looked when opening the side panel, so I’ll try to do something similar with my project as well. I don’t have access to fancy workshop where I could CNC everything, so let’s see what I manage to come up.
  • If possible, I also try to give bit more industrial look to this, so for example on the inside I don’t try to hide screws etc., but I will try to avoid any visible screws on the out side.
  • Use the same colour theme as in 2020 Mac Pro, where the case is silver outside, but painted black/dark inside. So goal is to have at least part of the case dark inside.

All of the above goals are of course subject to change, since after all I don’t have that comprehensive plan for this.

Oh and disclaimers before we start

DISCLAIMER: Always use protective gear when using power tools. If you don’t know how to use some tool, consult manual or ask advice from professional.

DISCLAIMER: I’m not professional carpenter, welder, machinist, or anything like that. I’m just a dude who’s interested about case building and crafts in general. So please take everything what I say with a grain of salt.

DISCLAIMER: I will not take responsibility for any destroyed or damaged hardware, tools, other monetary losses, or possible physical injuries caused to individuals.

Oh yeah, and English is not my native language so I most likely end up using some weird names here.


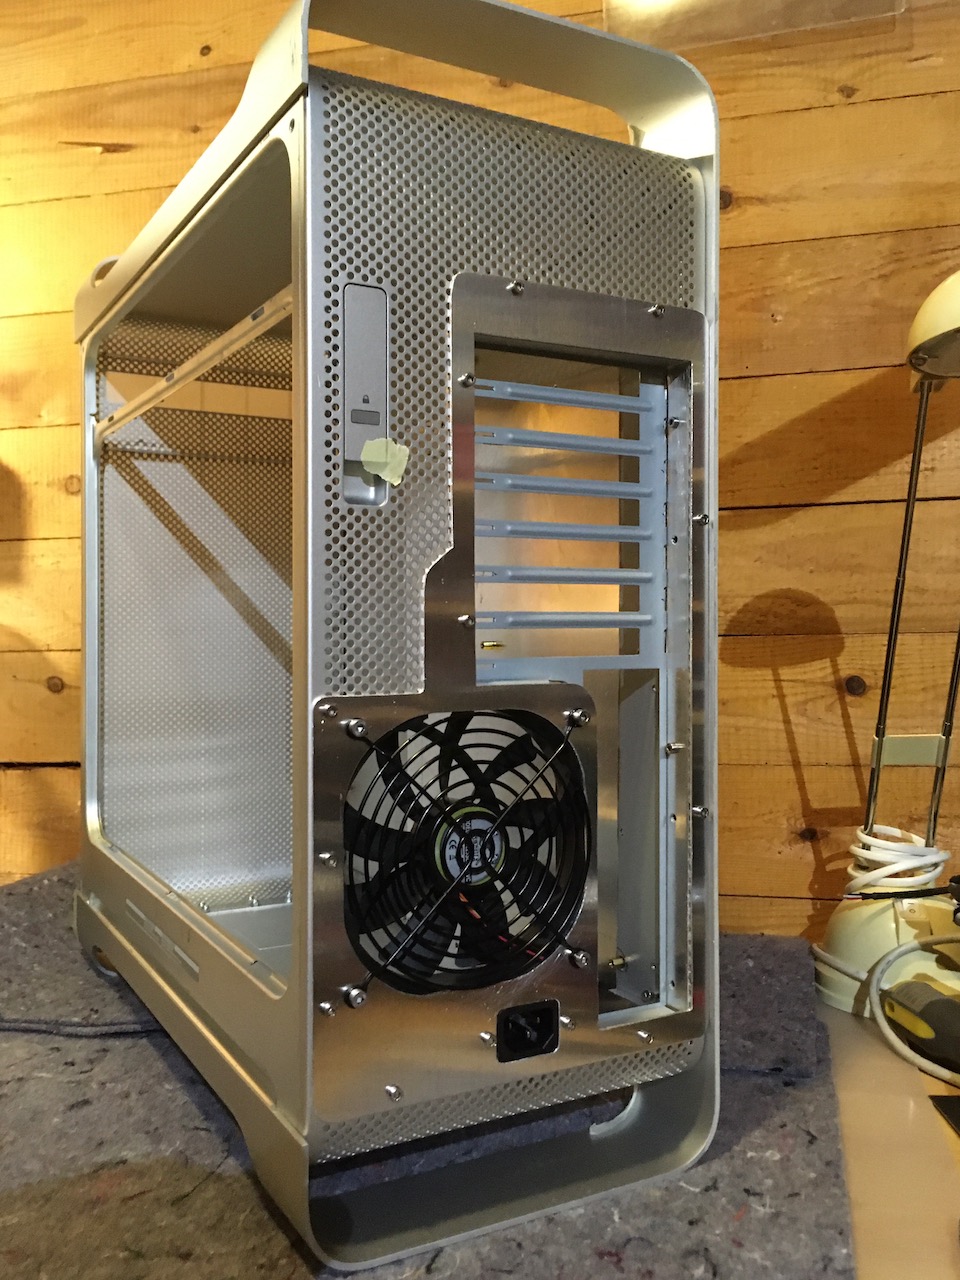
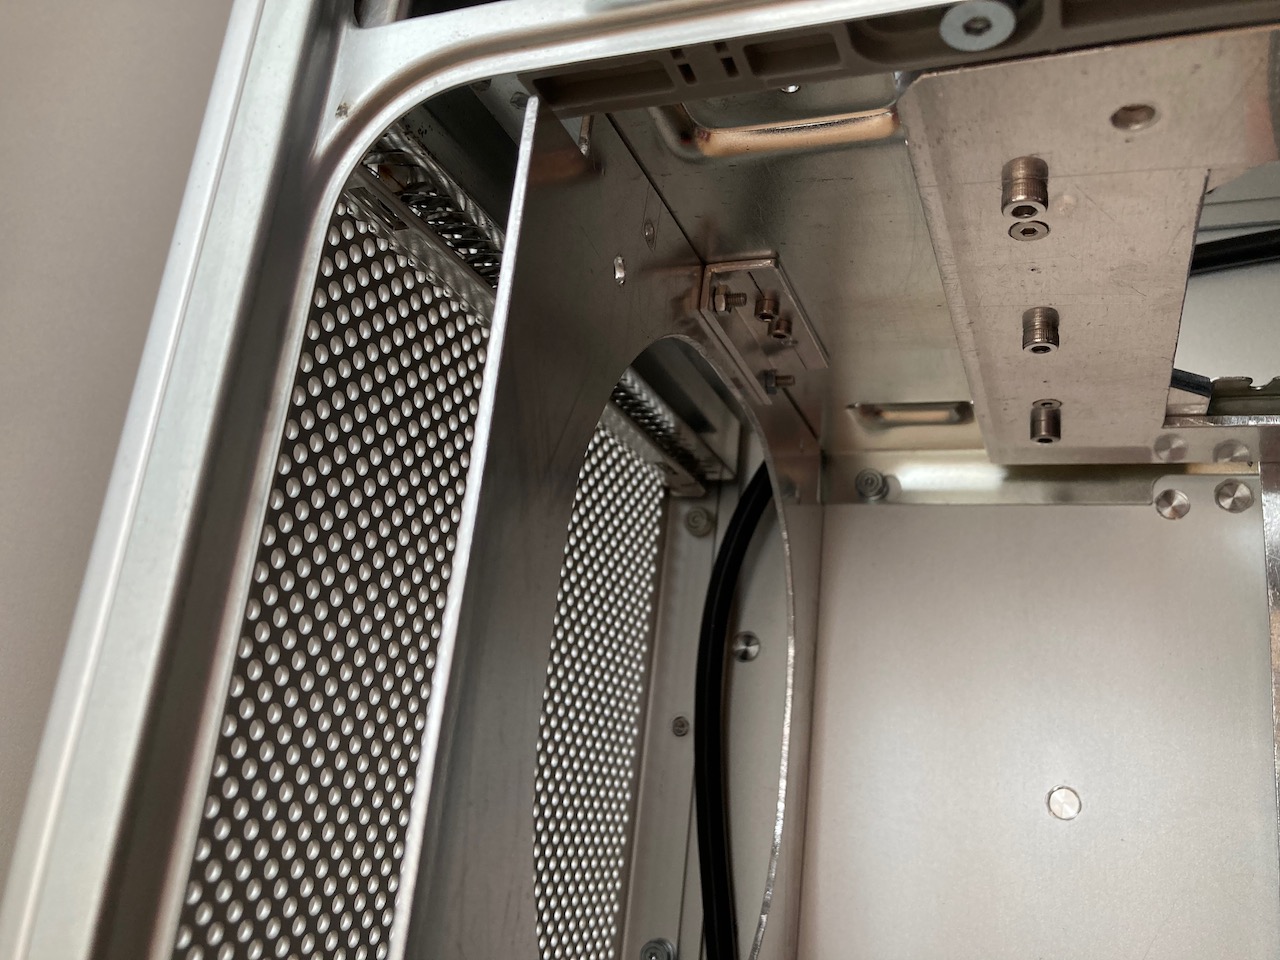
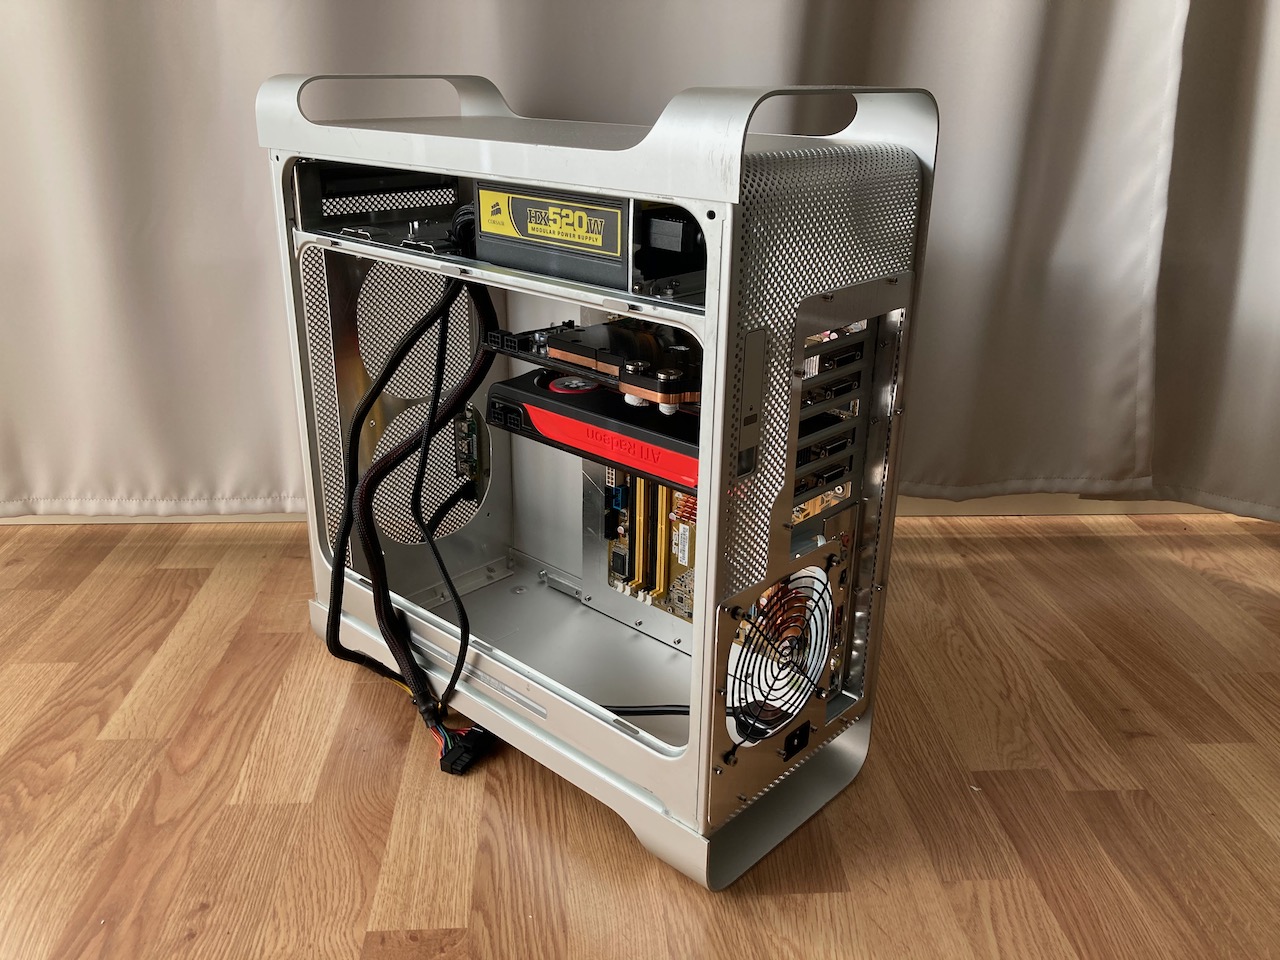
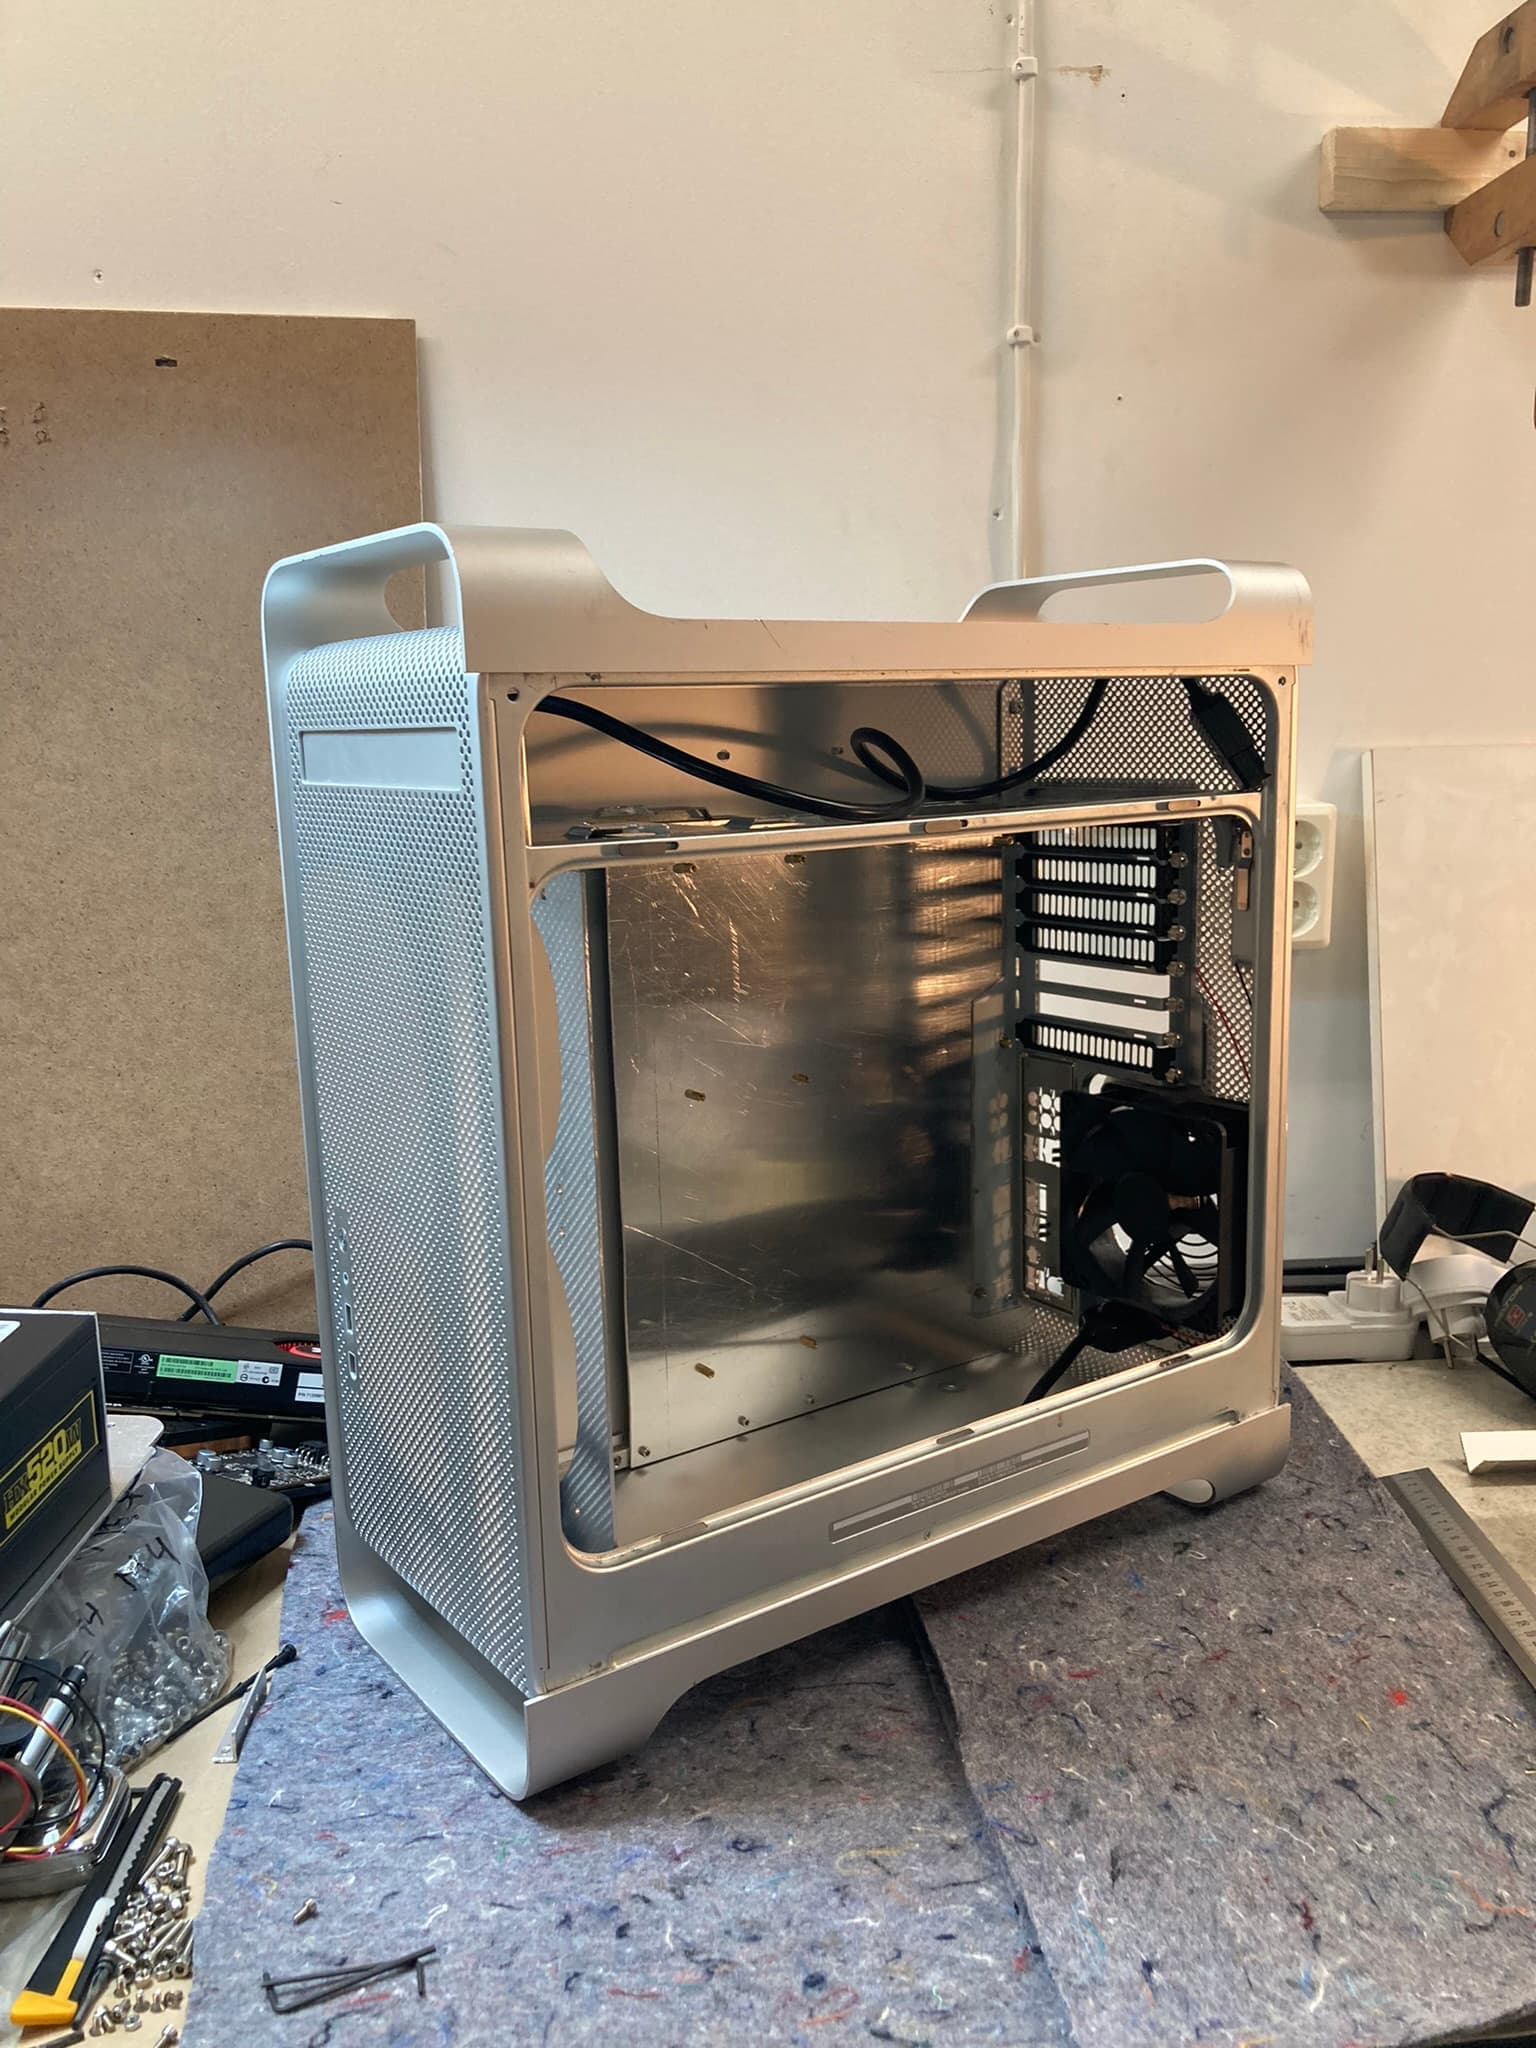
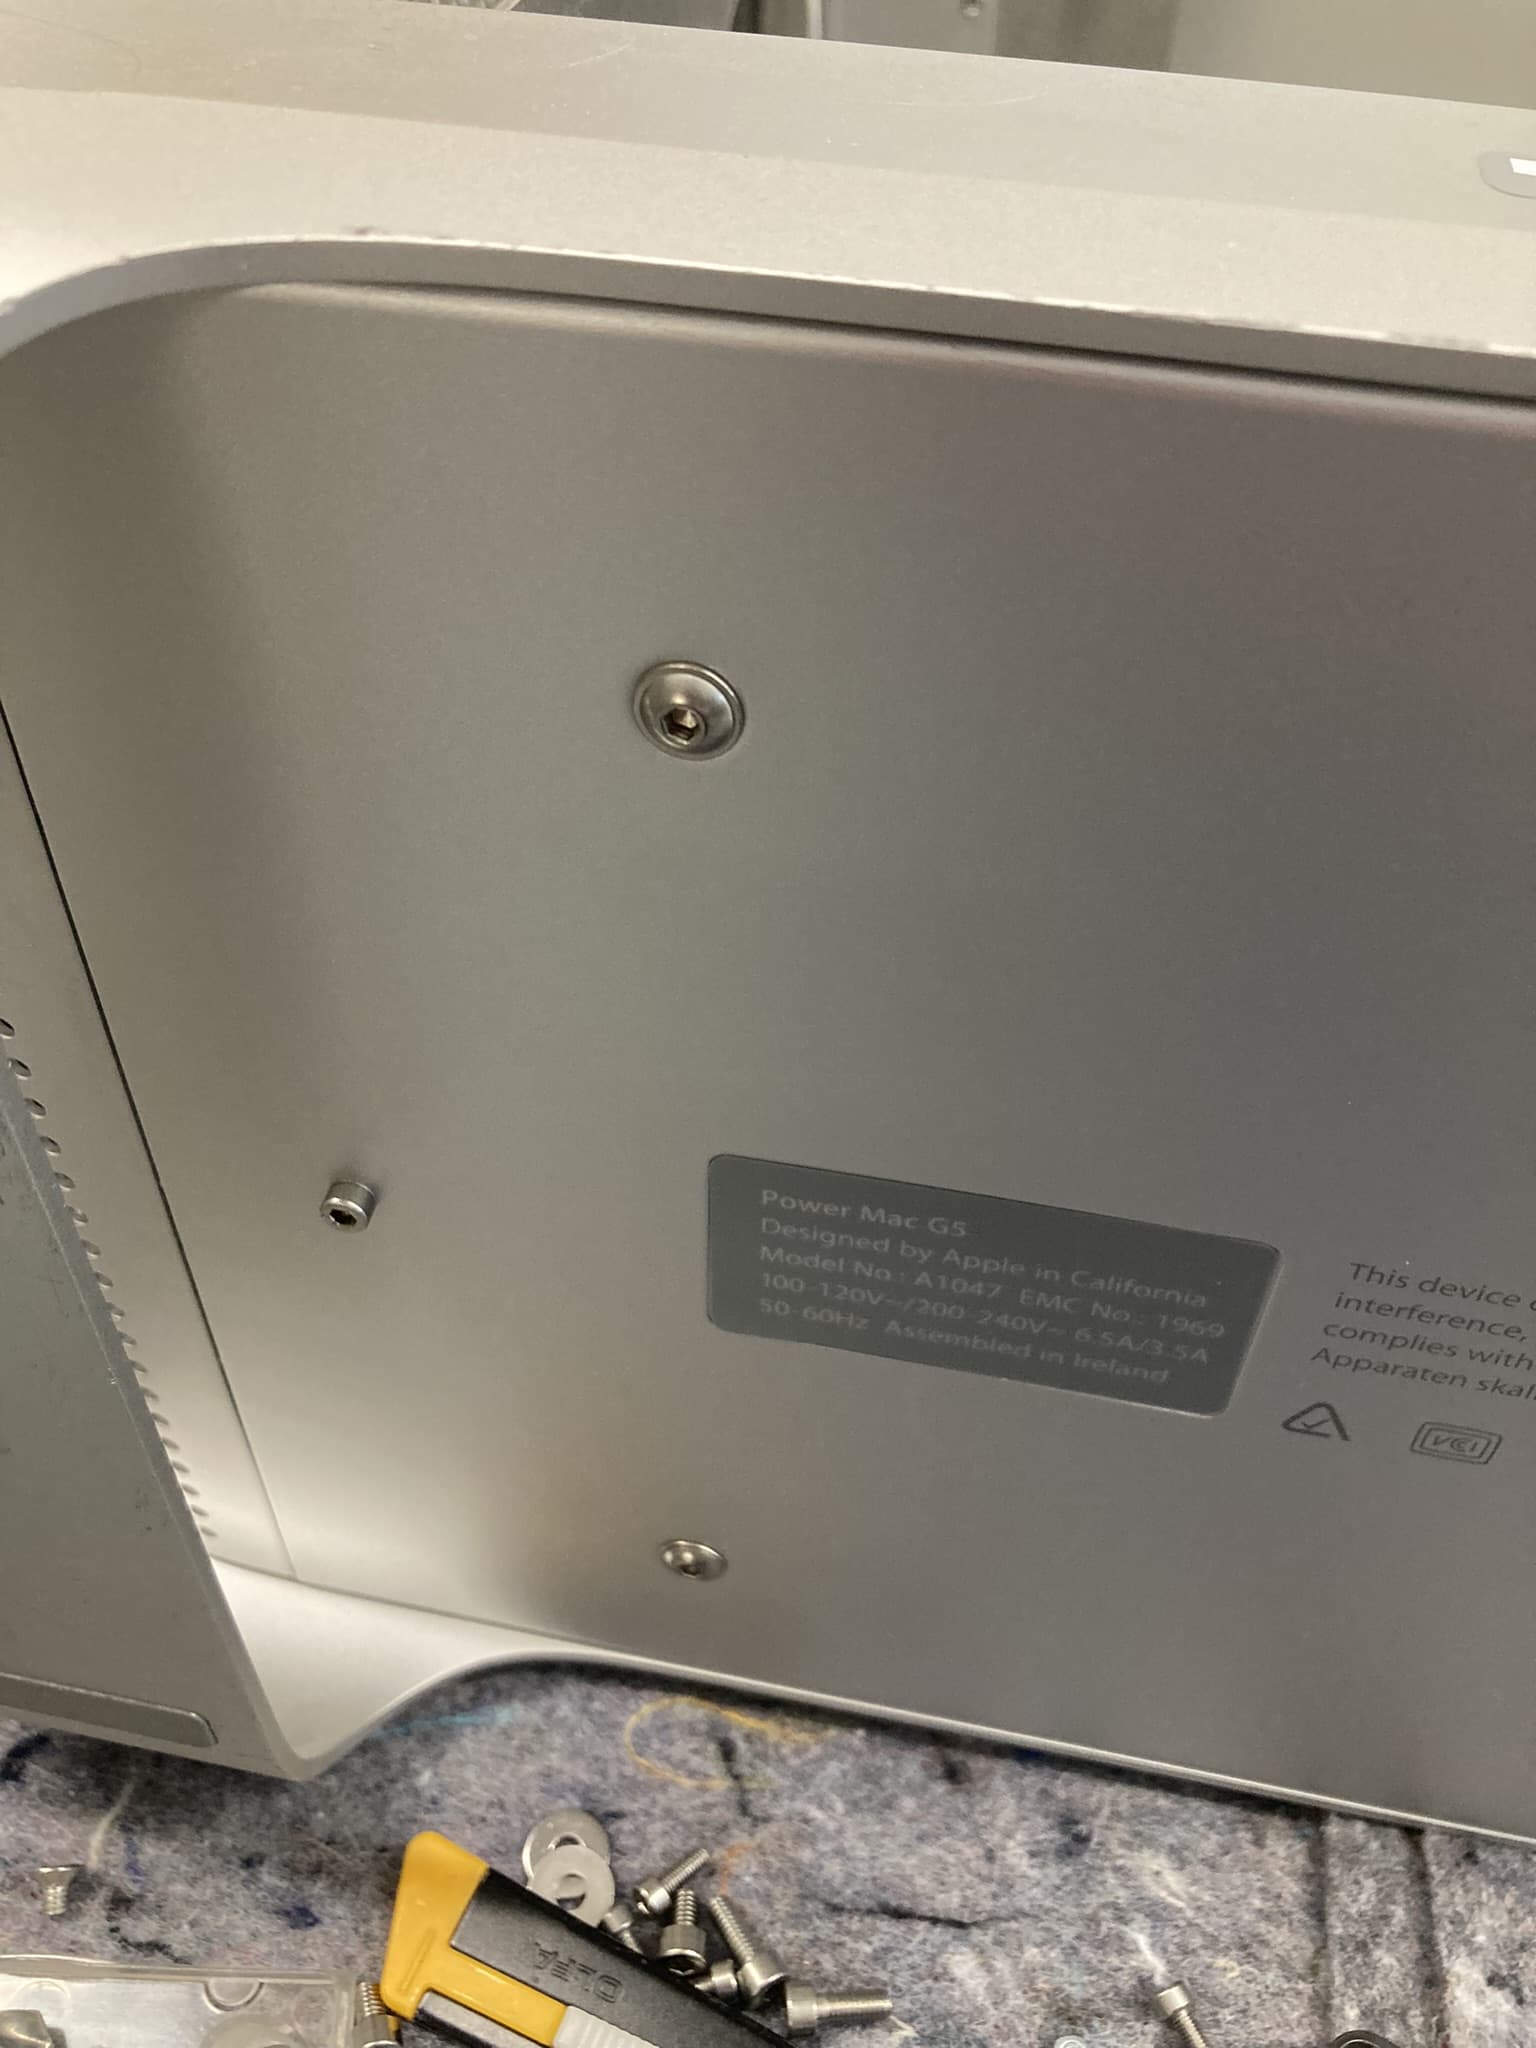
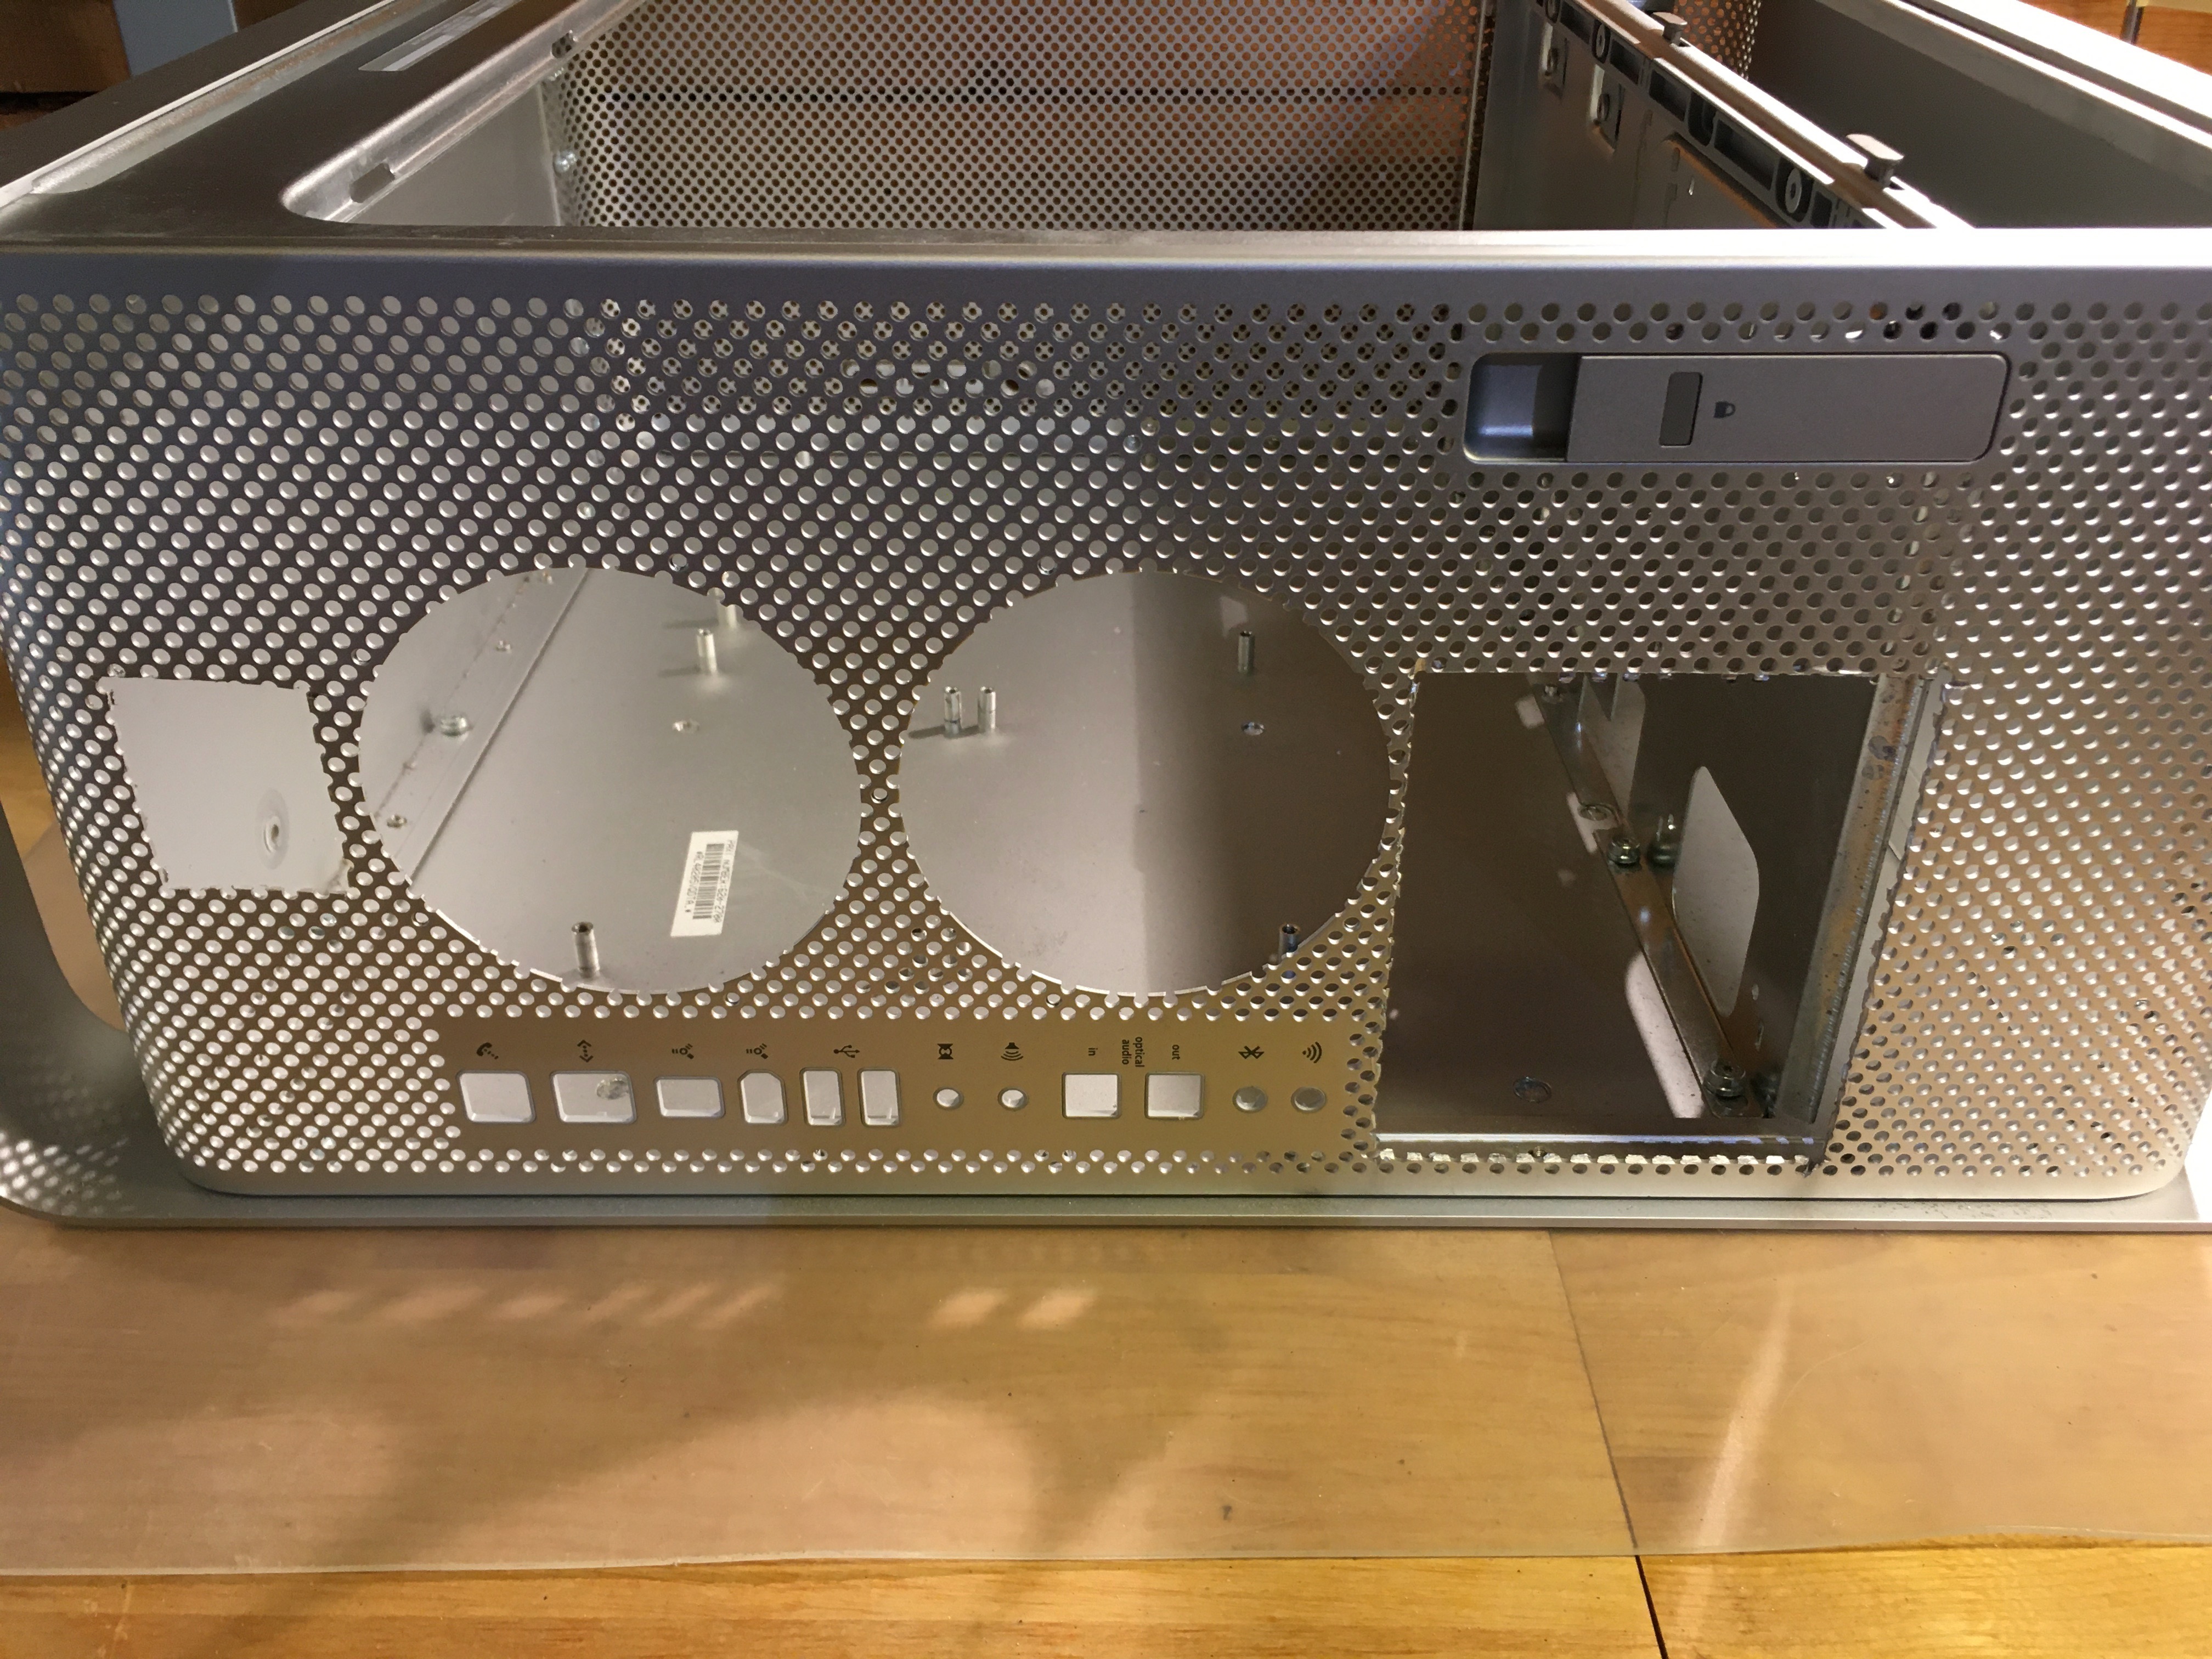
This is the starting point:

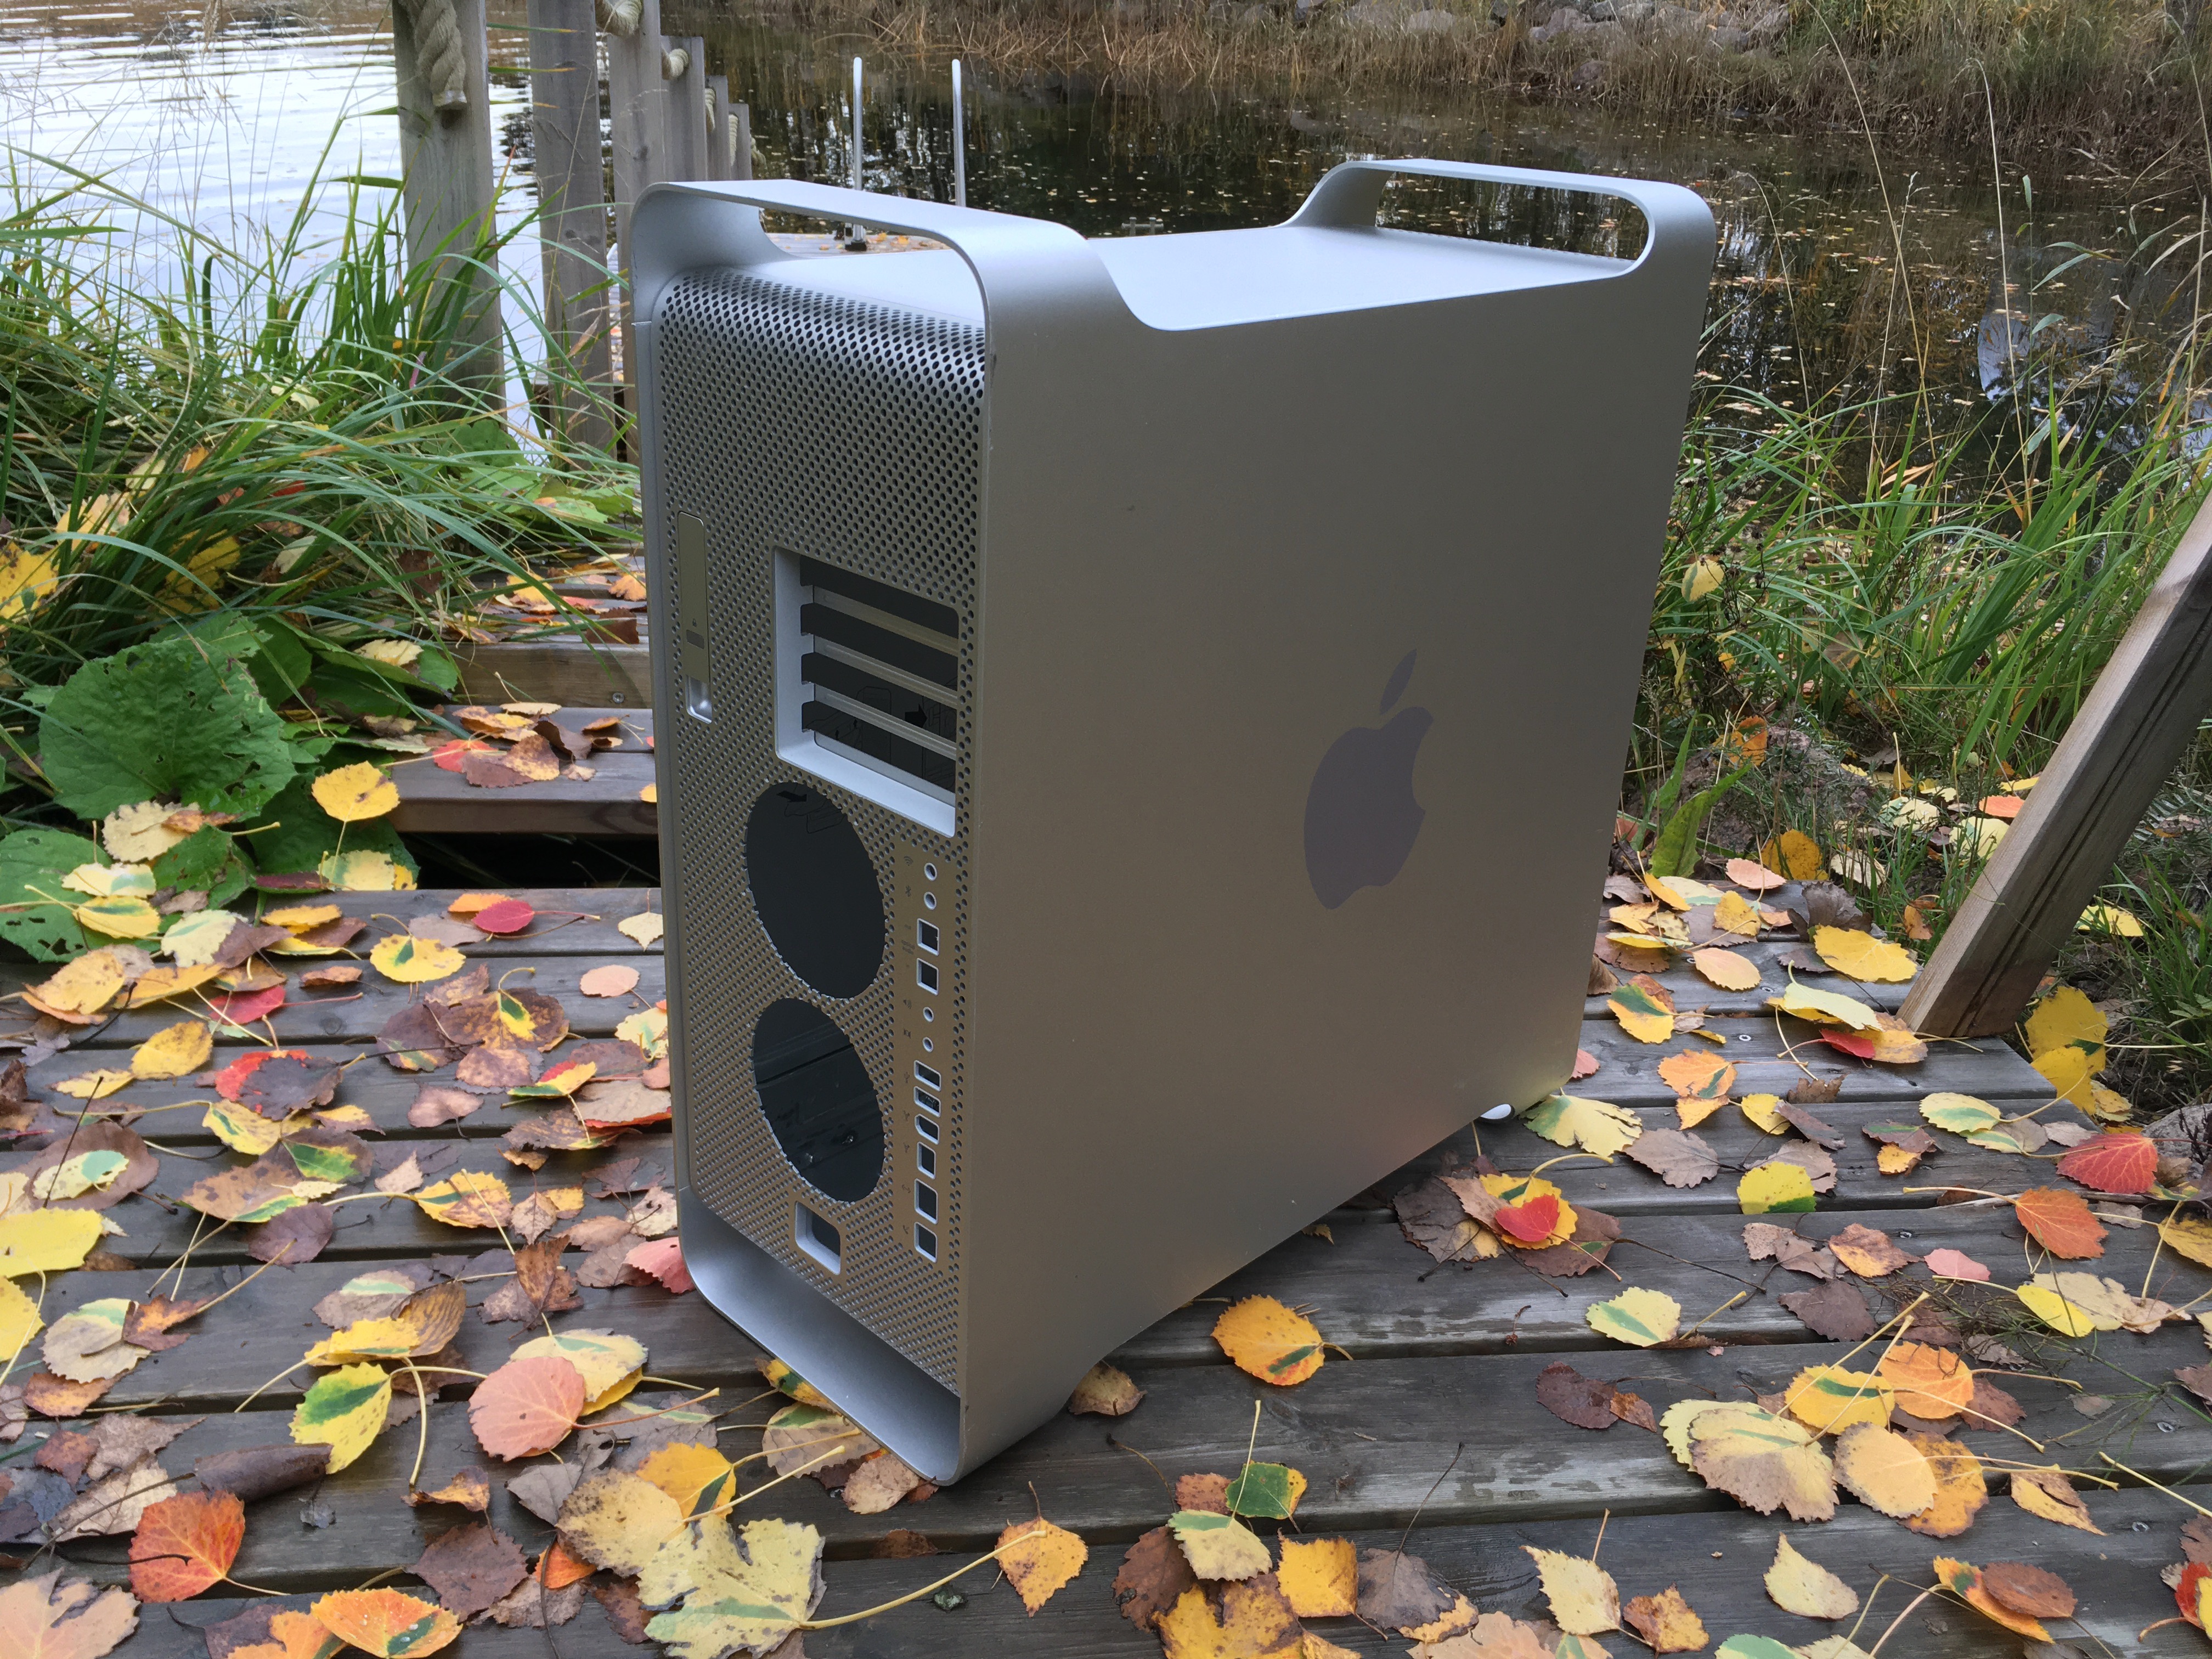
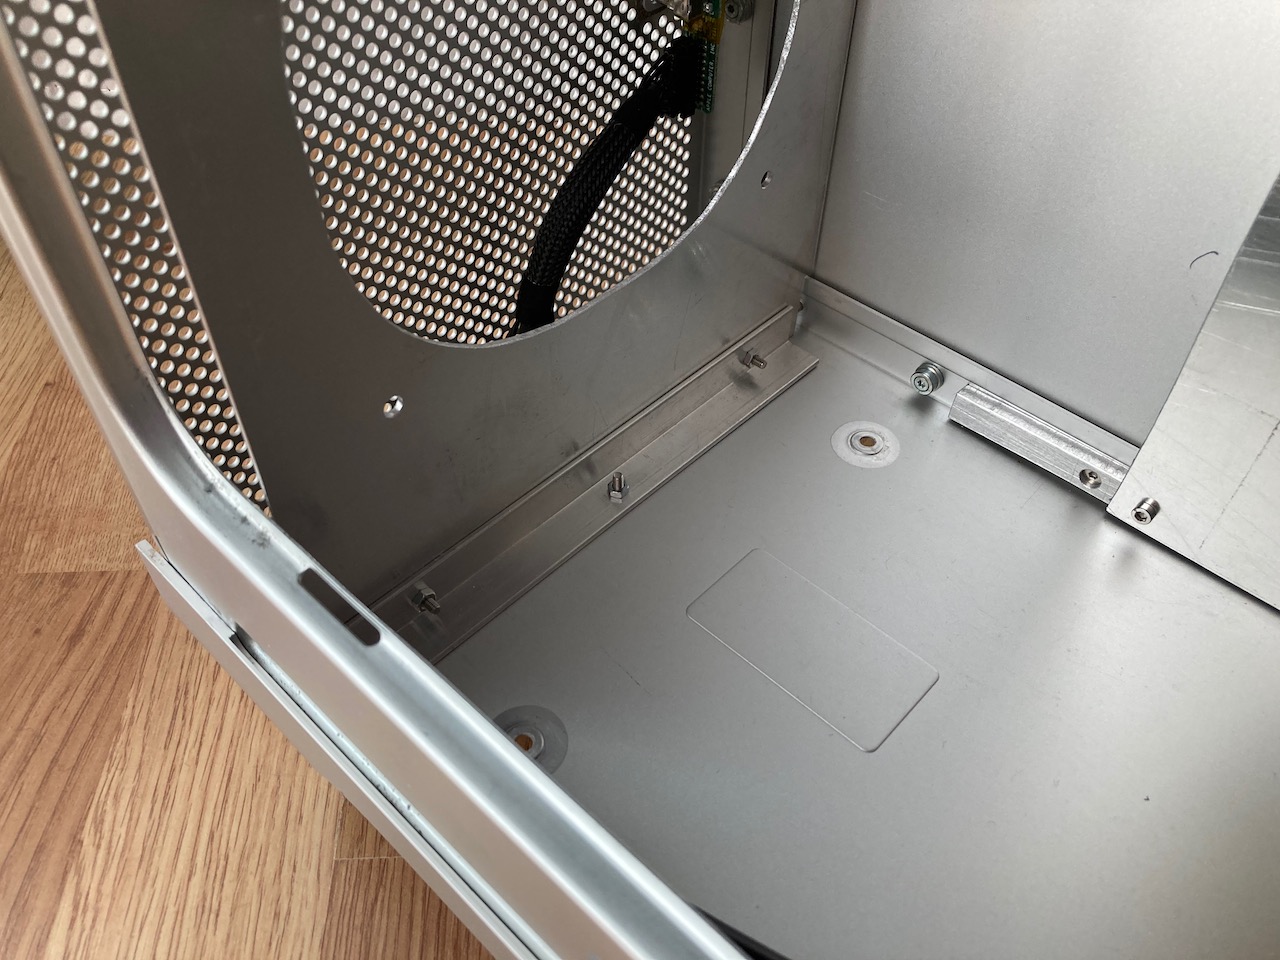
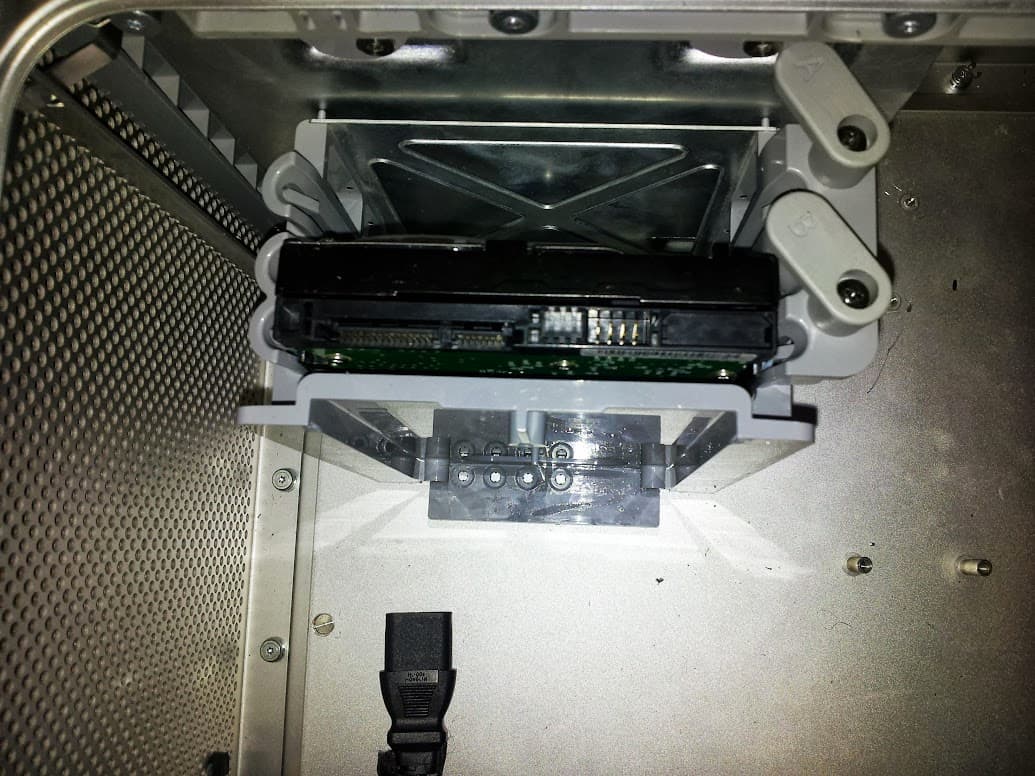
When I got the case all hardware was already removed, the fan shrouds at the back were in place, but while cleaning the case I removed them. I also have the original HDD bay for the case, so I’ll see if I can reuse it.

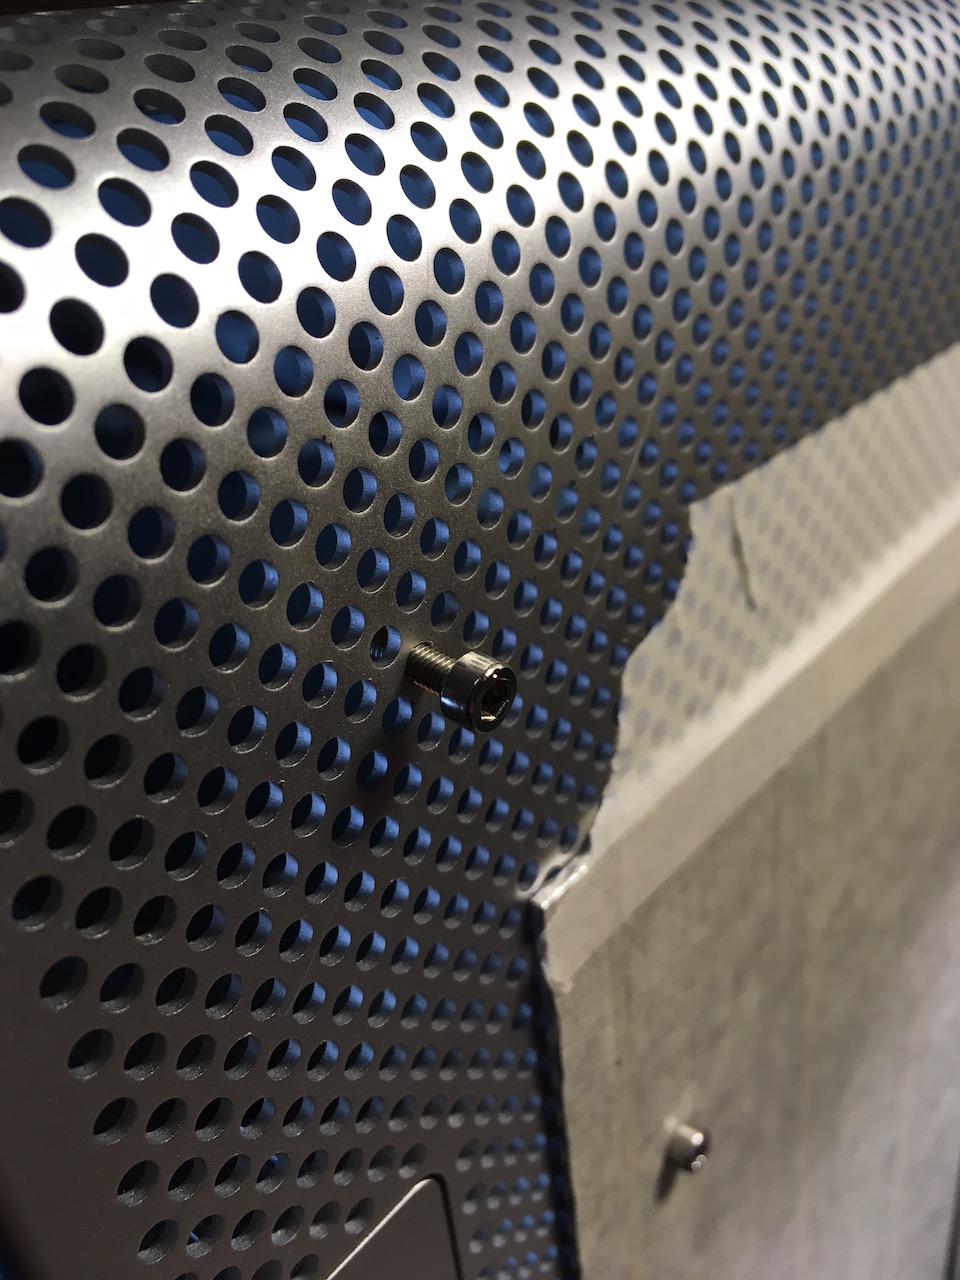
There’s no big dents, but surface does have a lot of deep scratches all over the case.

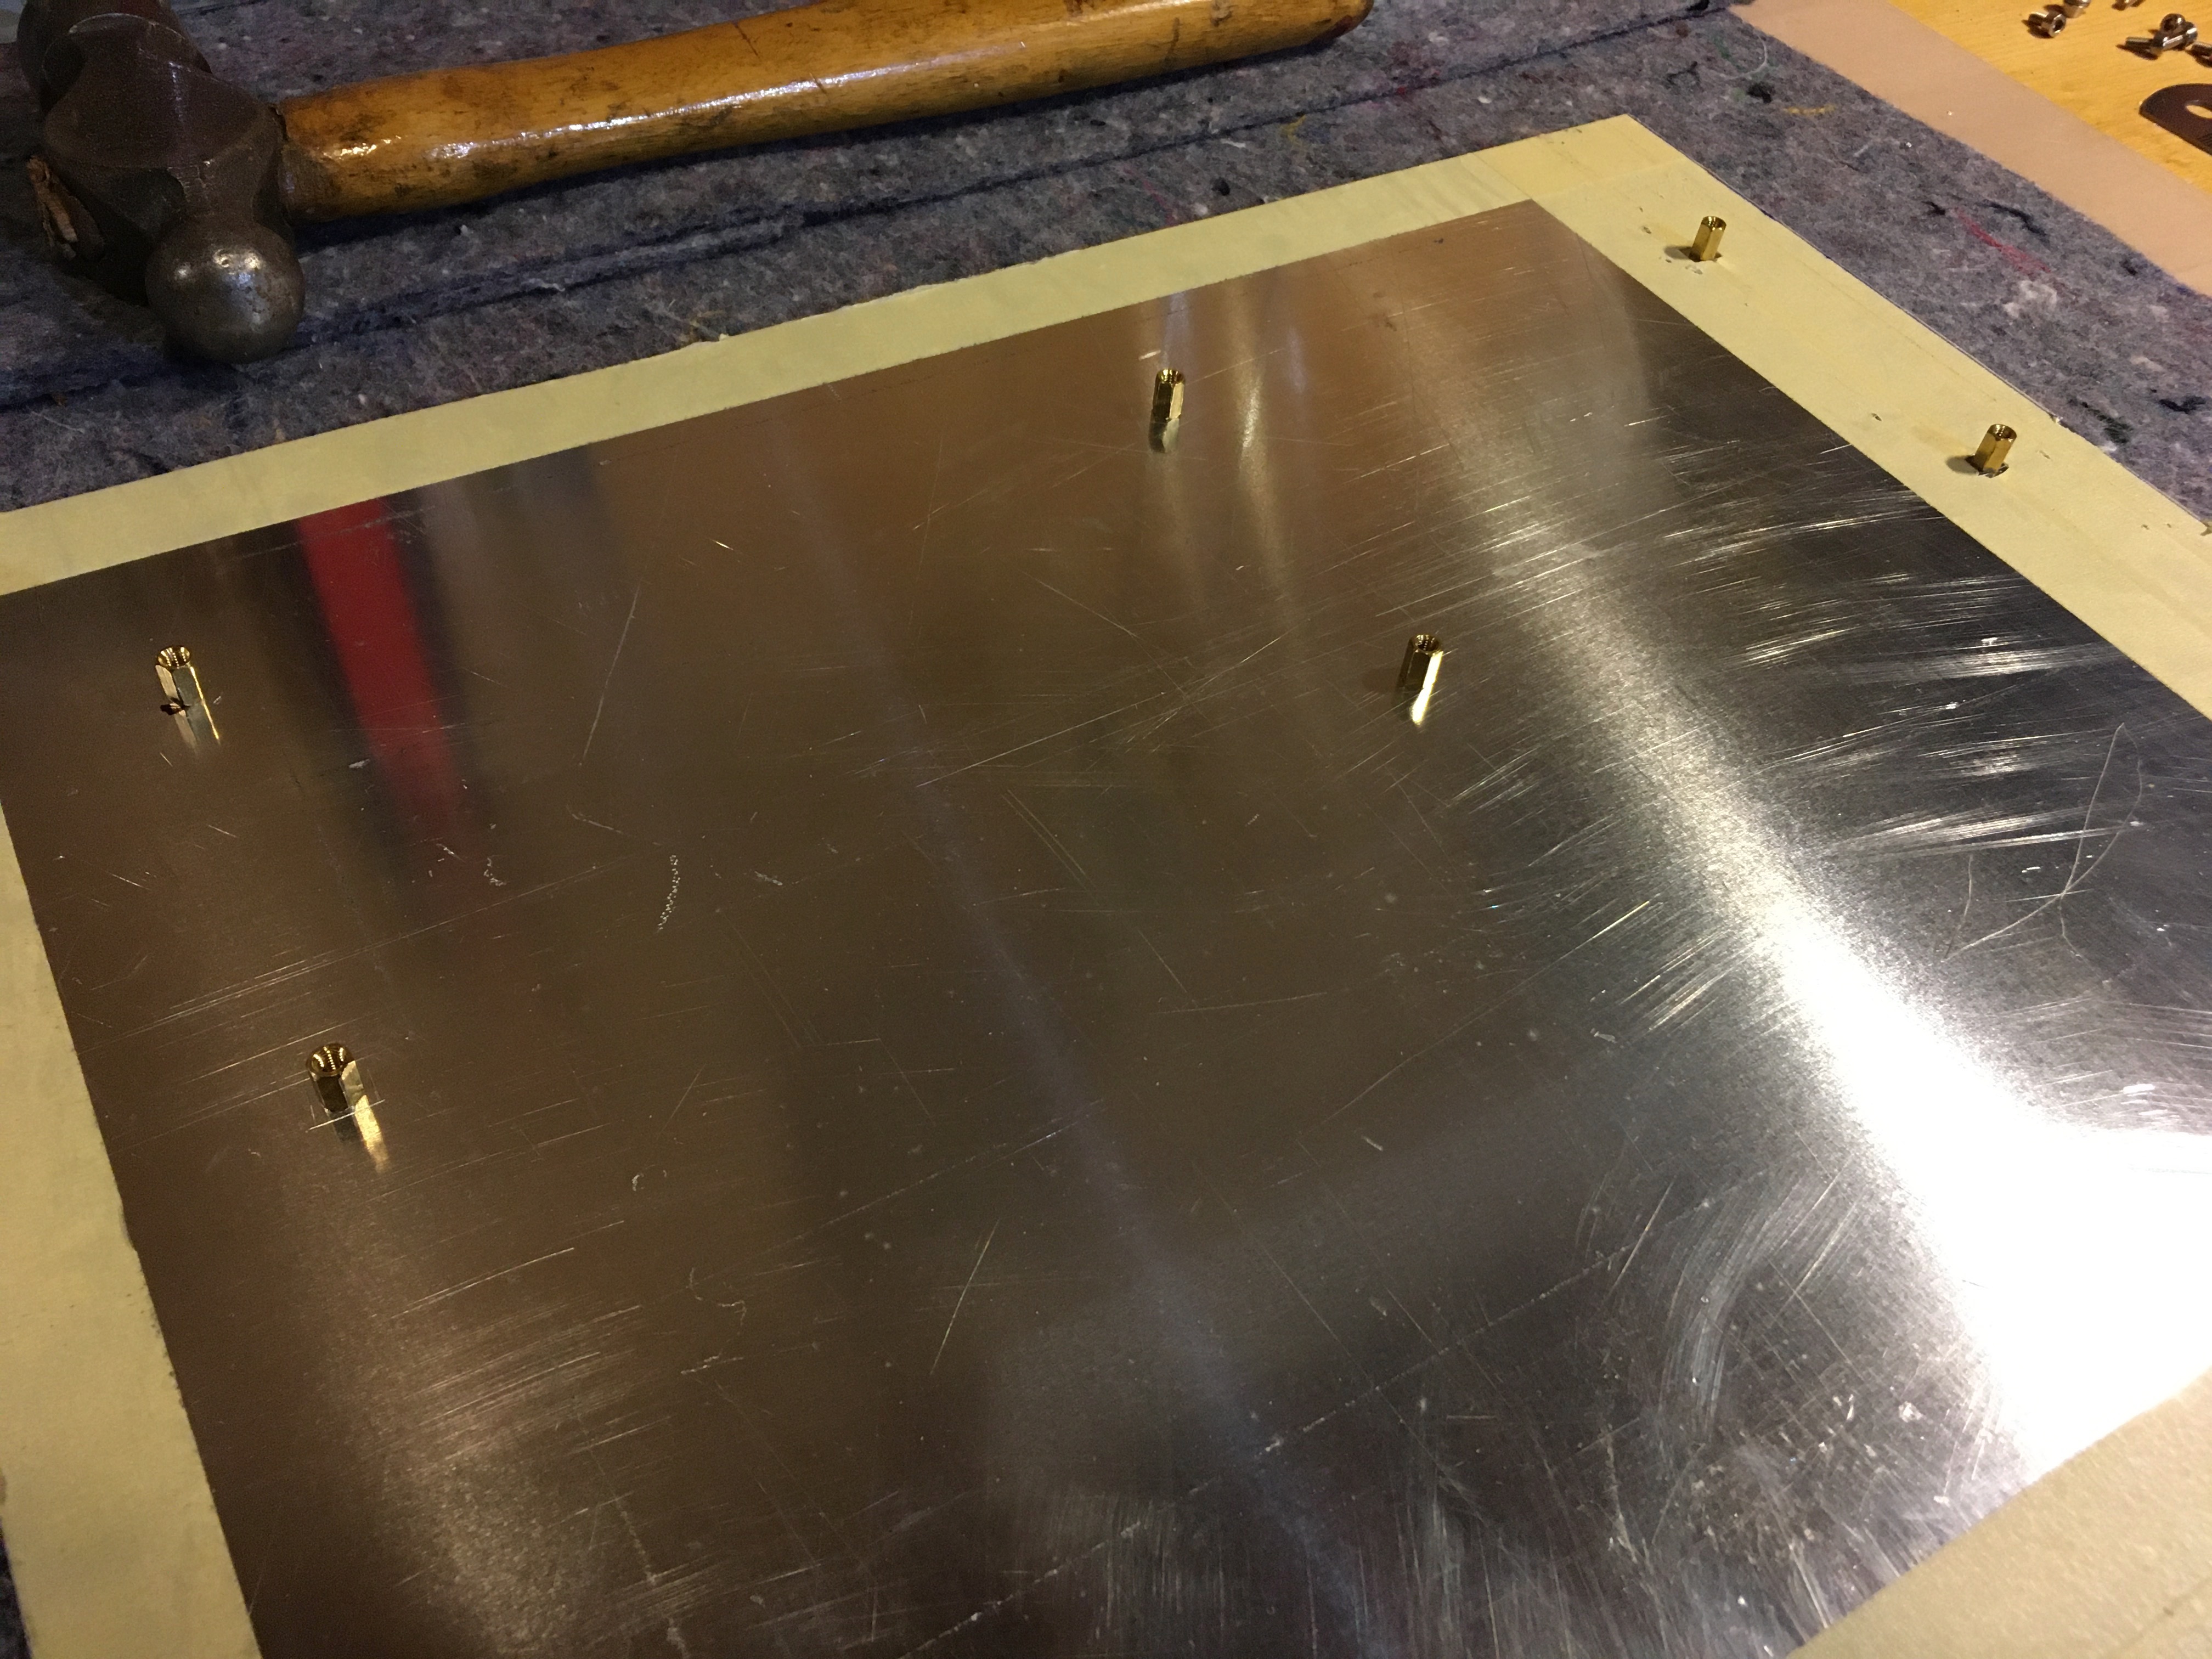
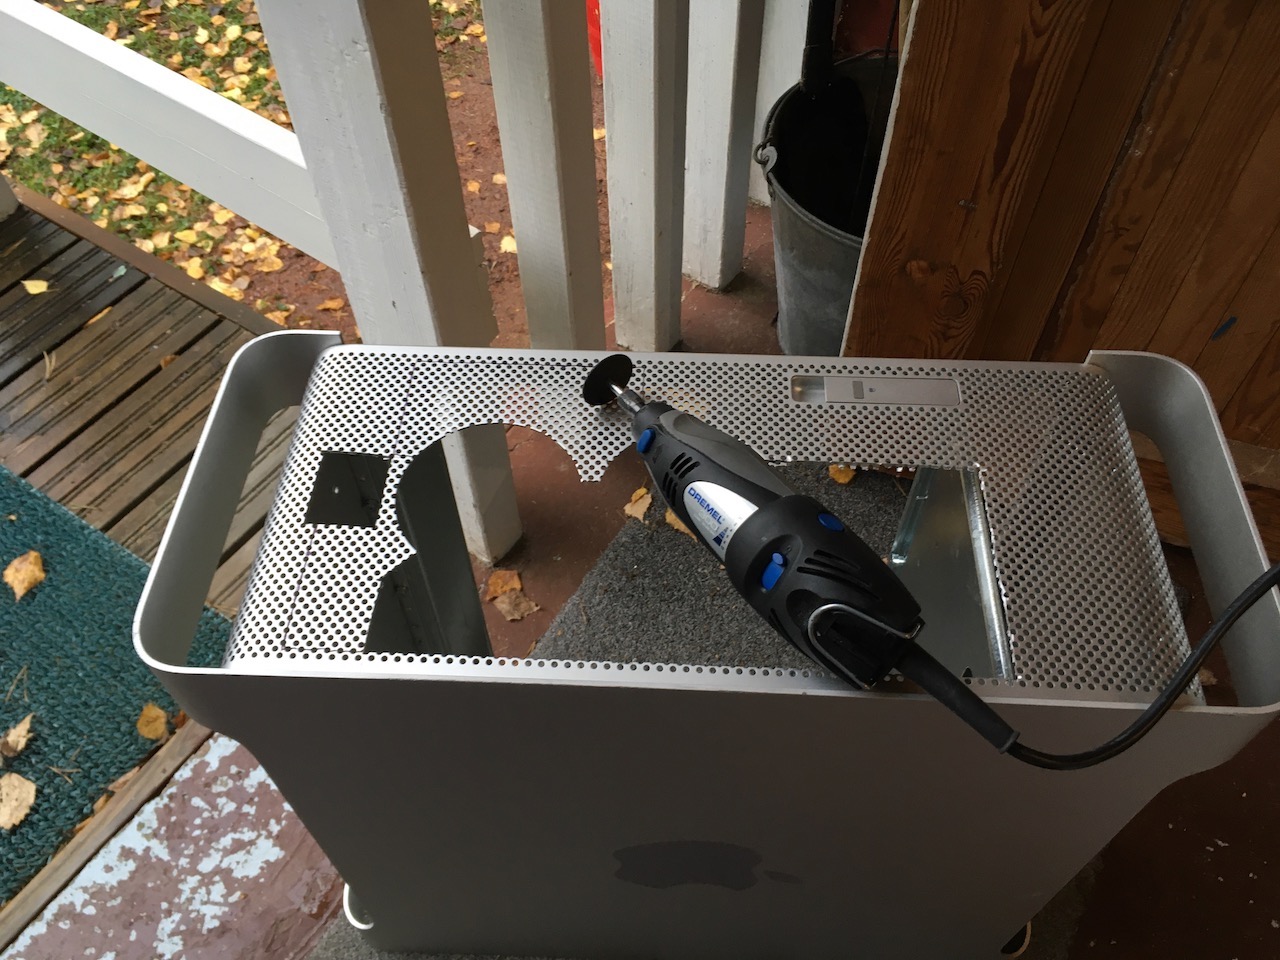
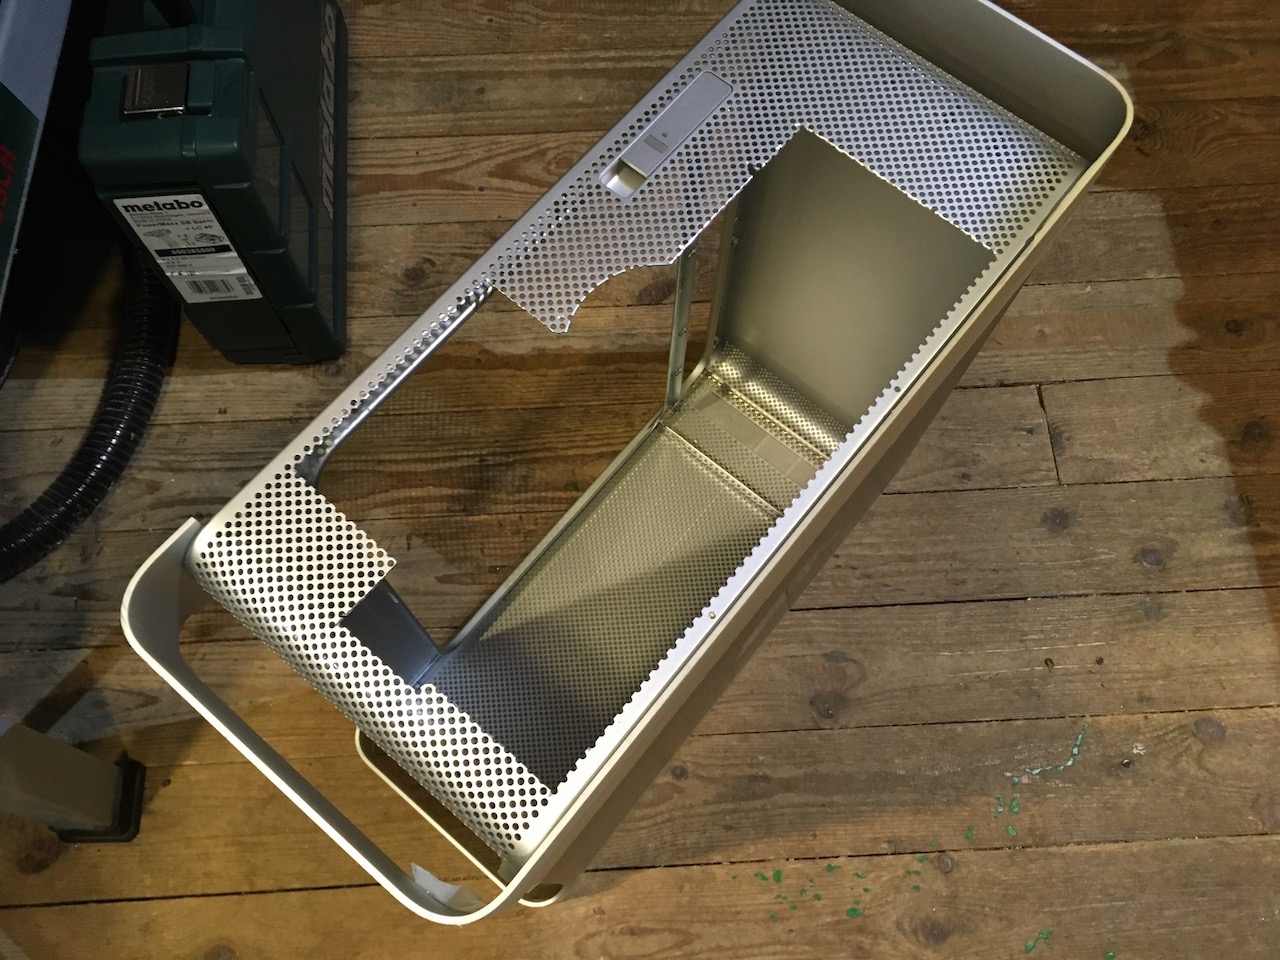
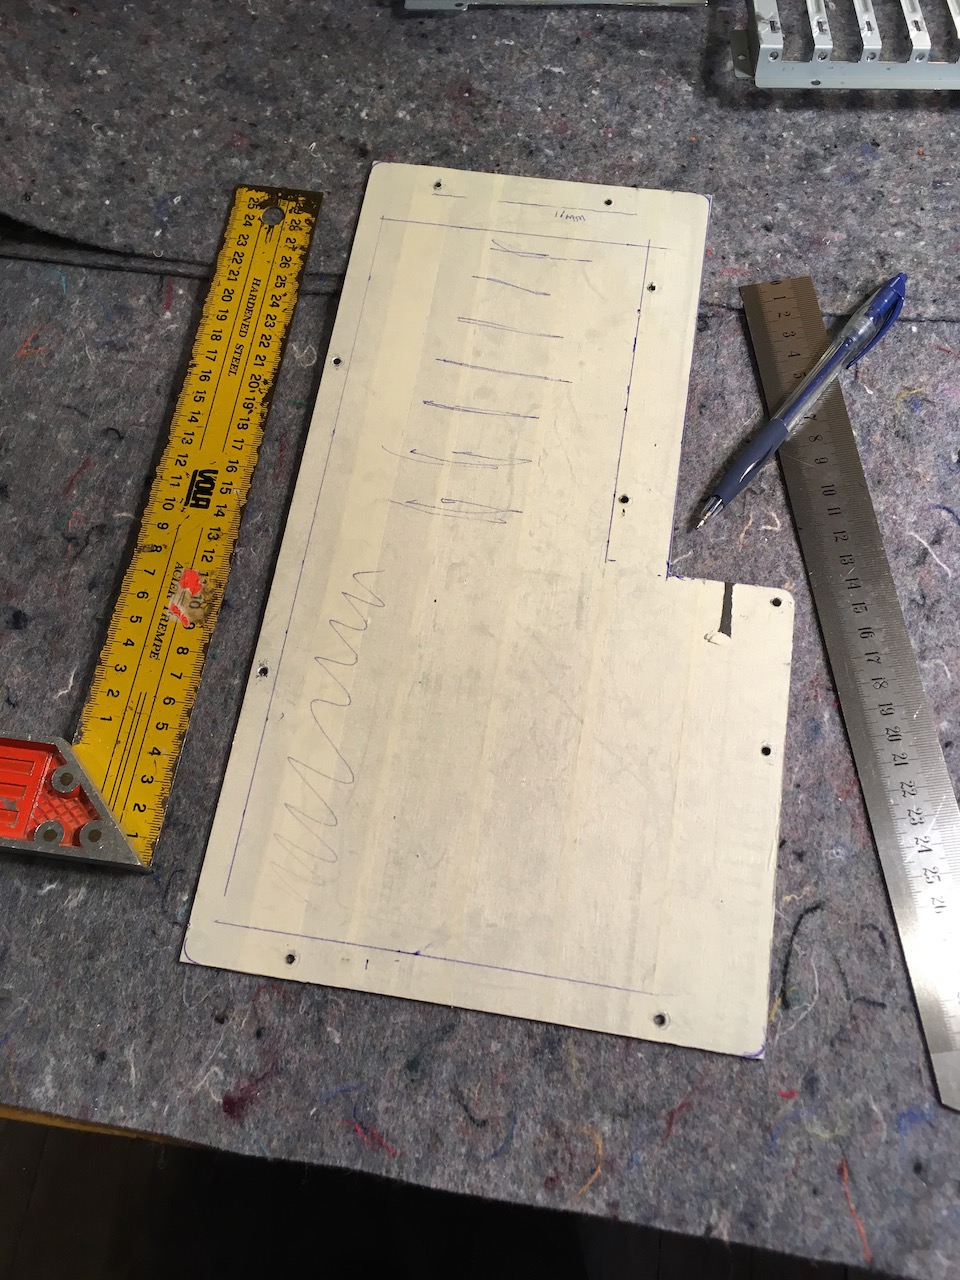
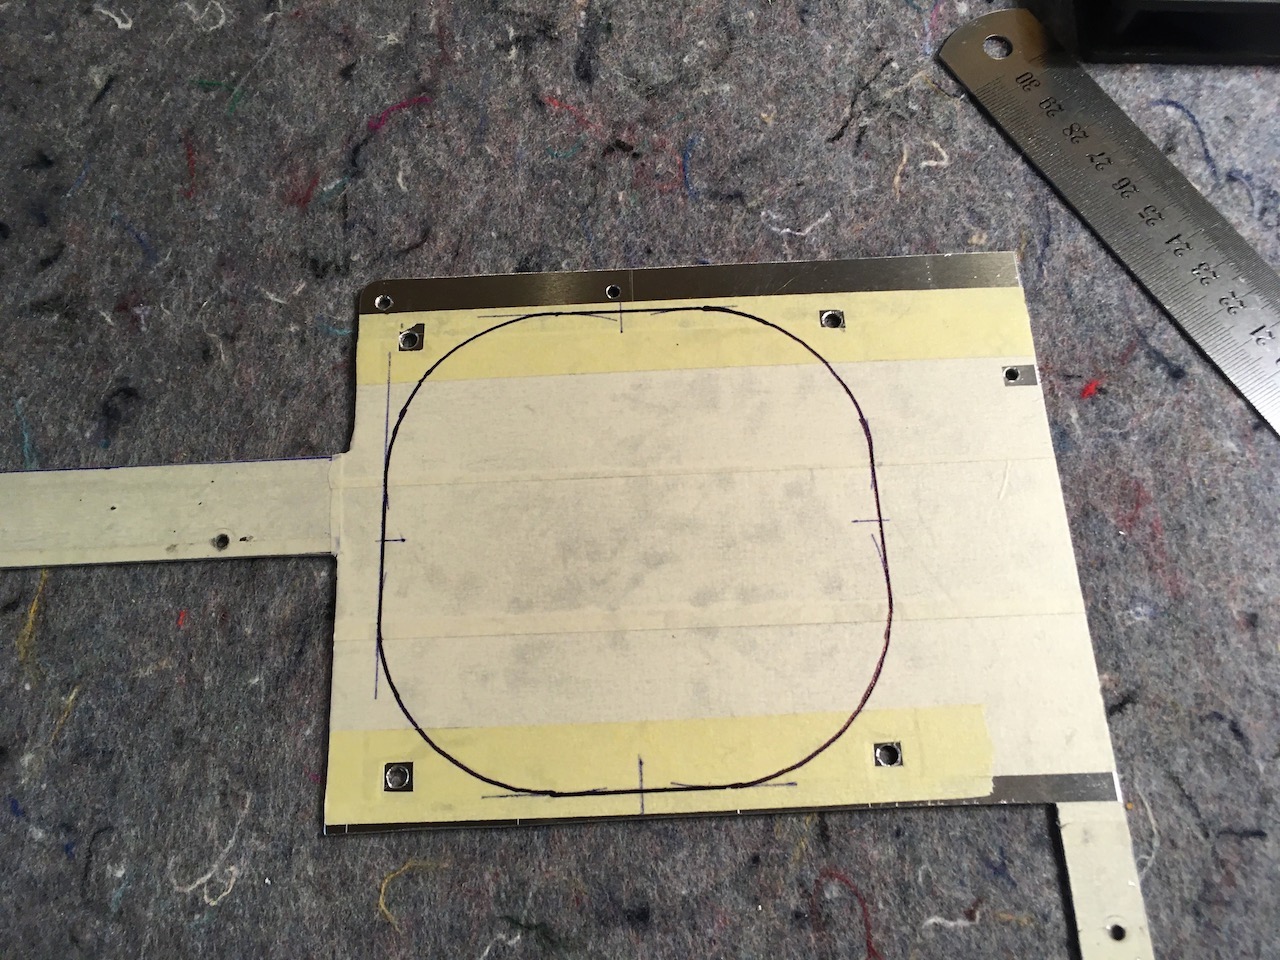
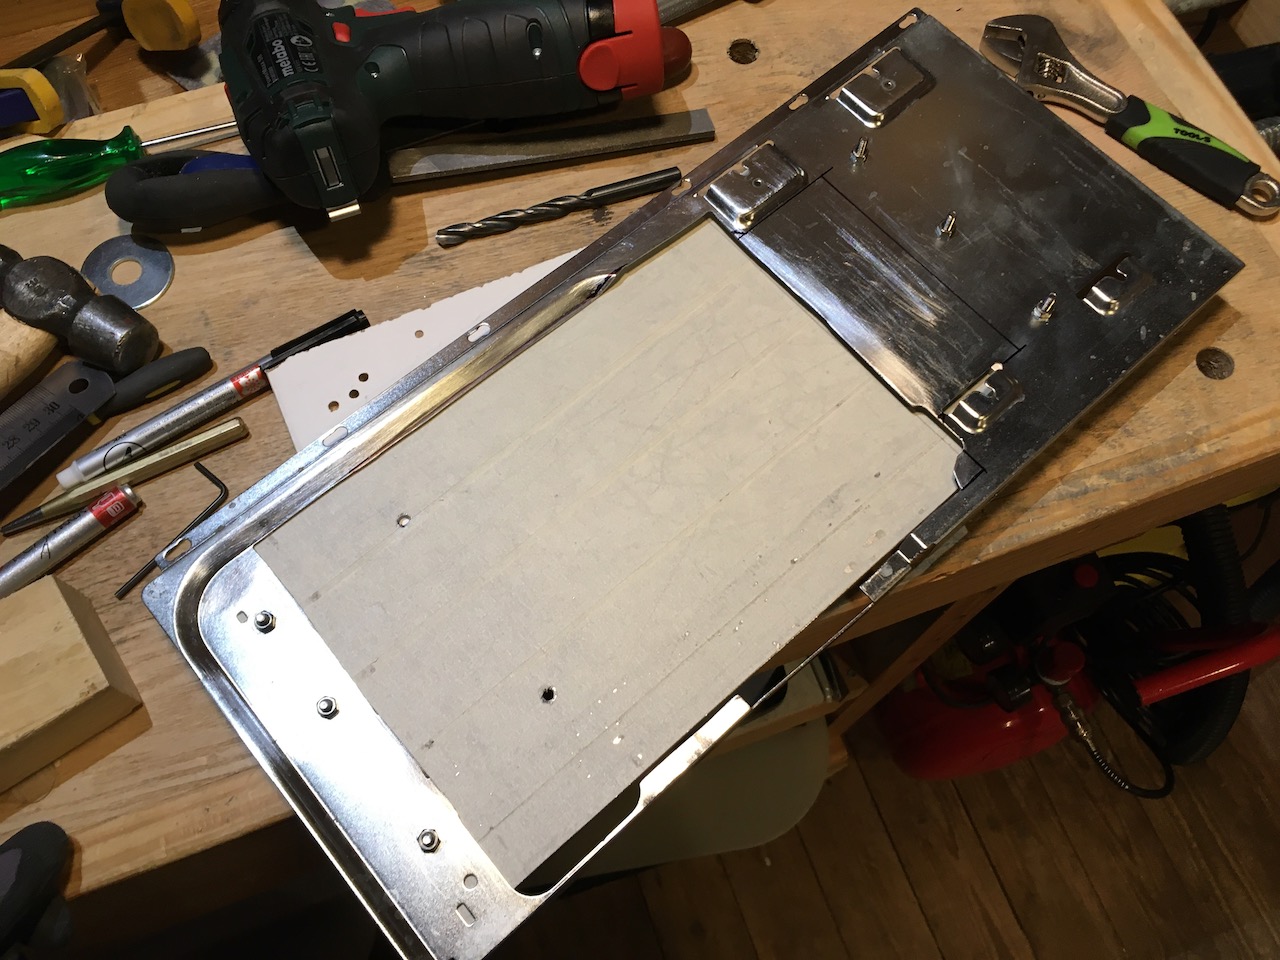
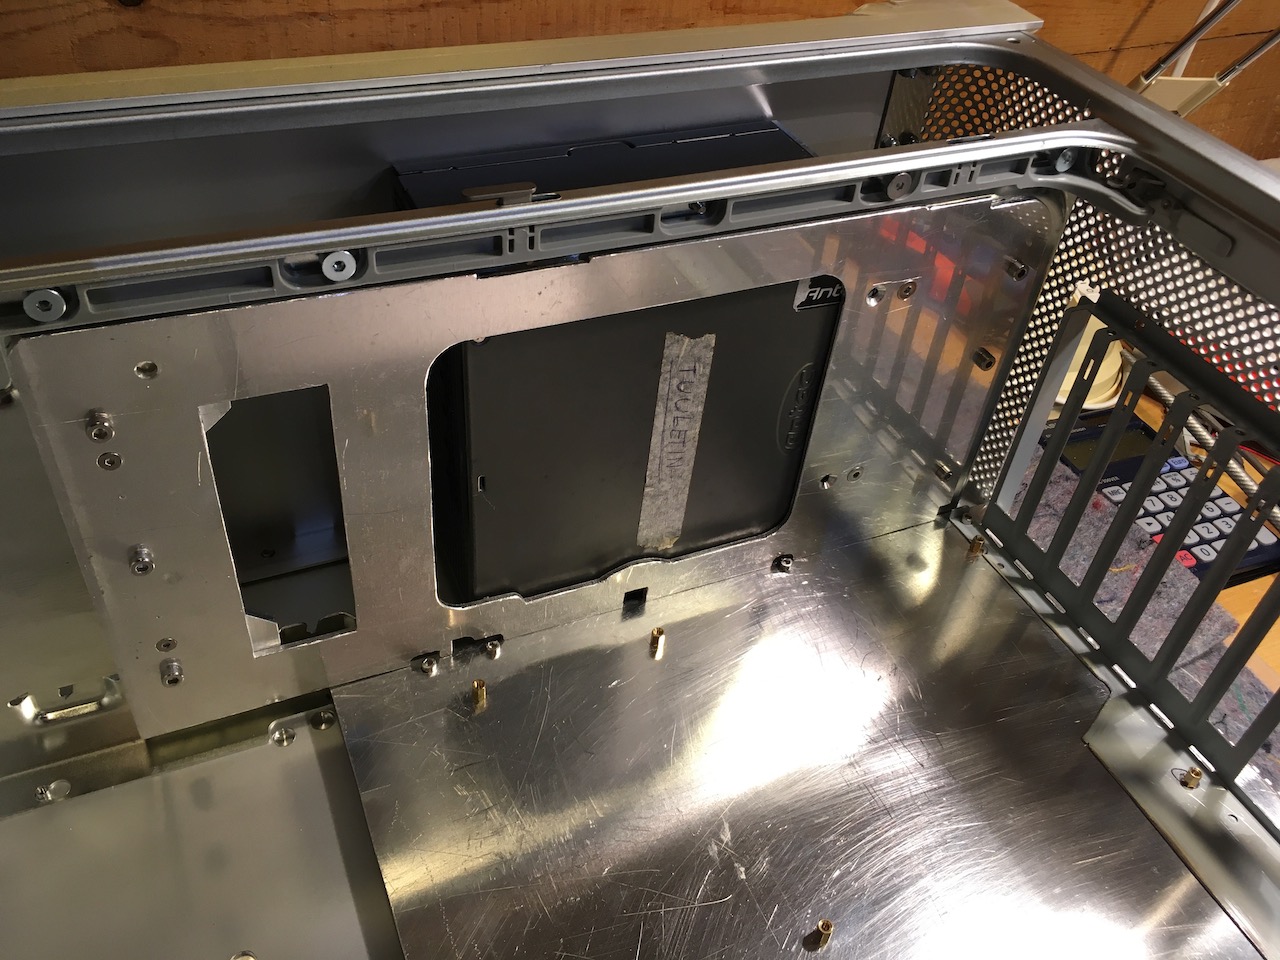
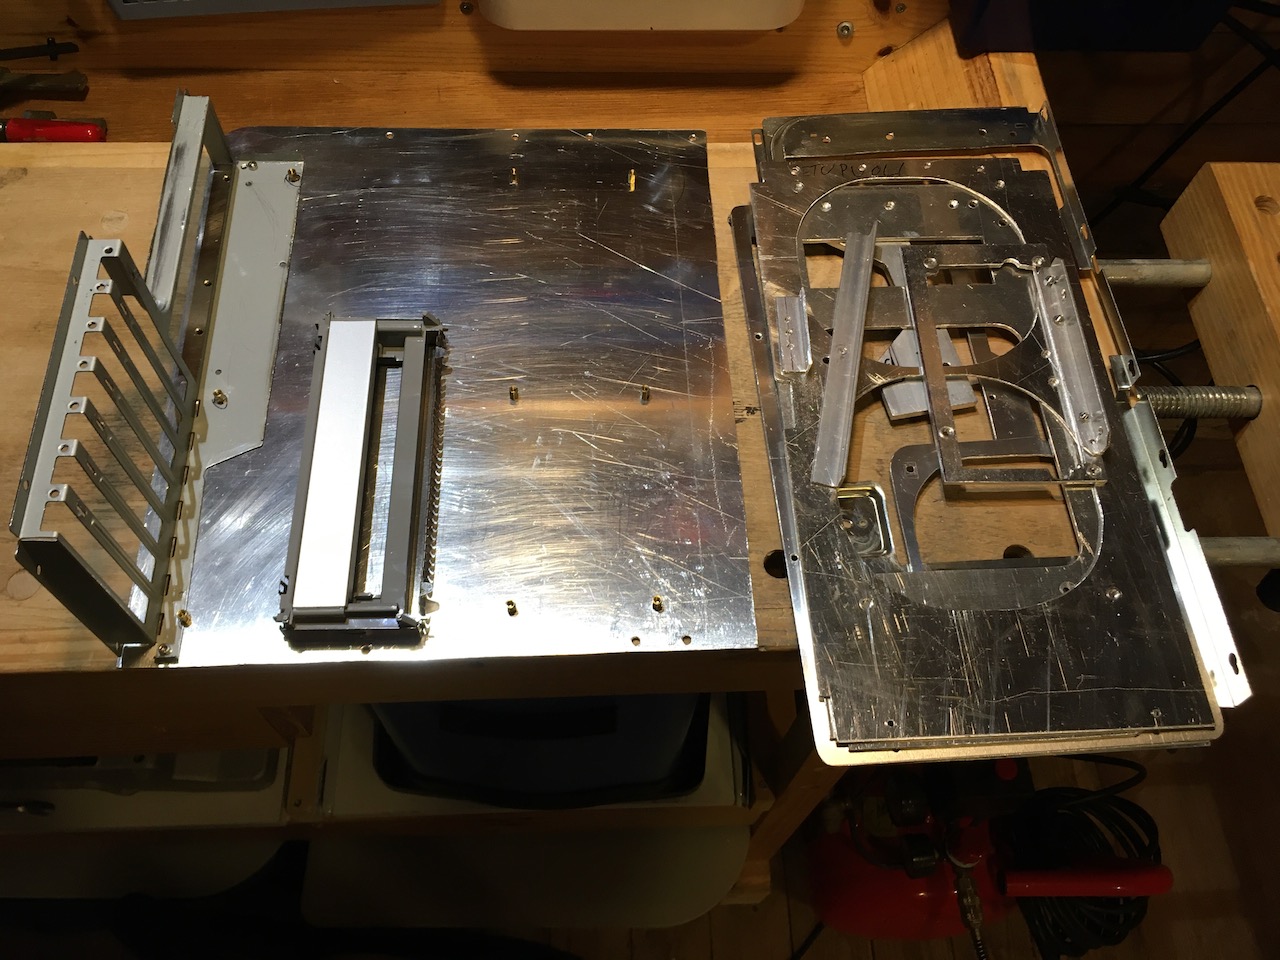
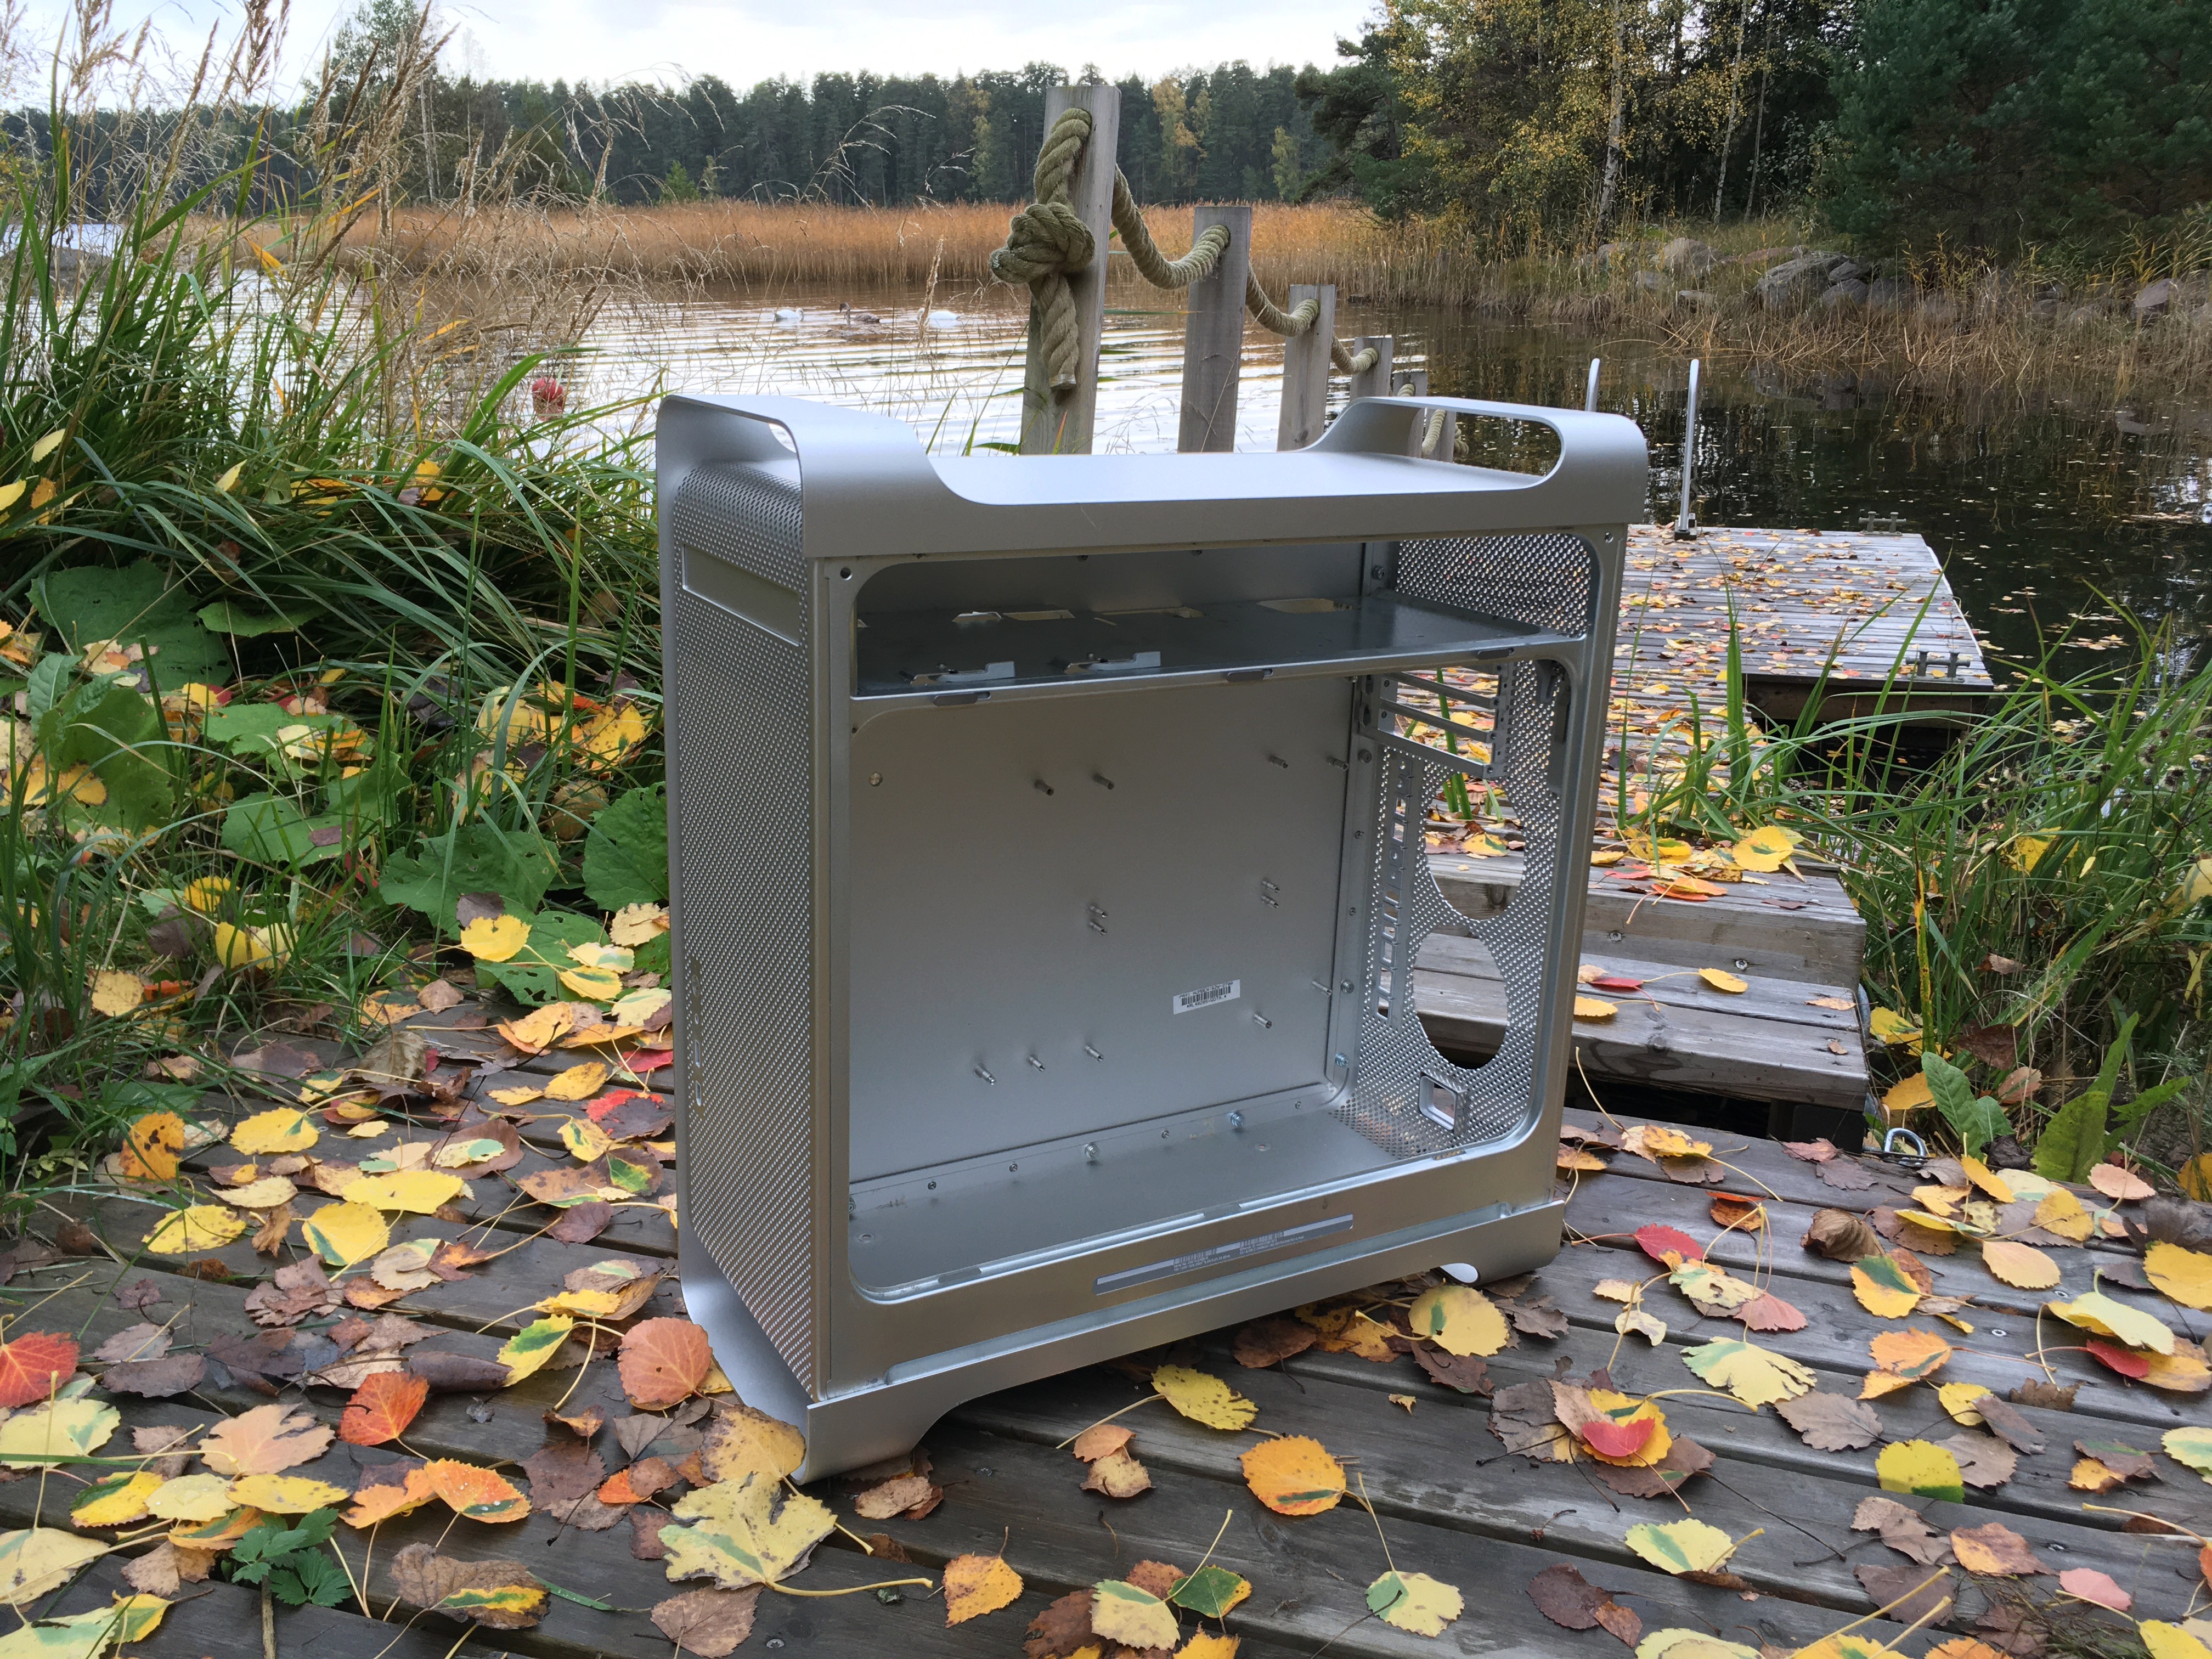
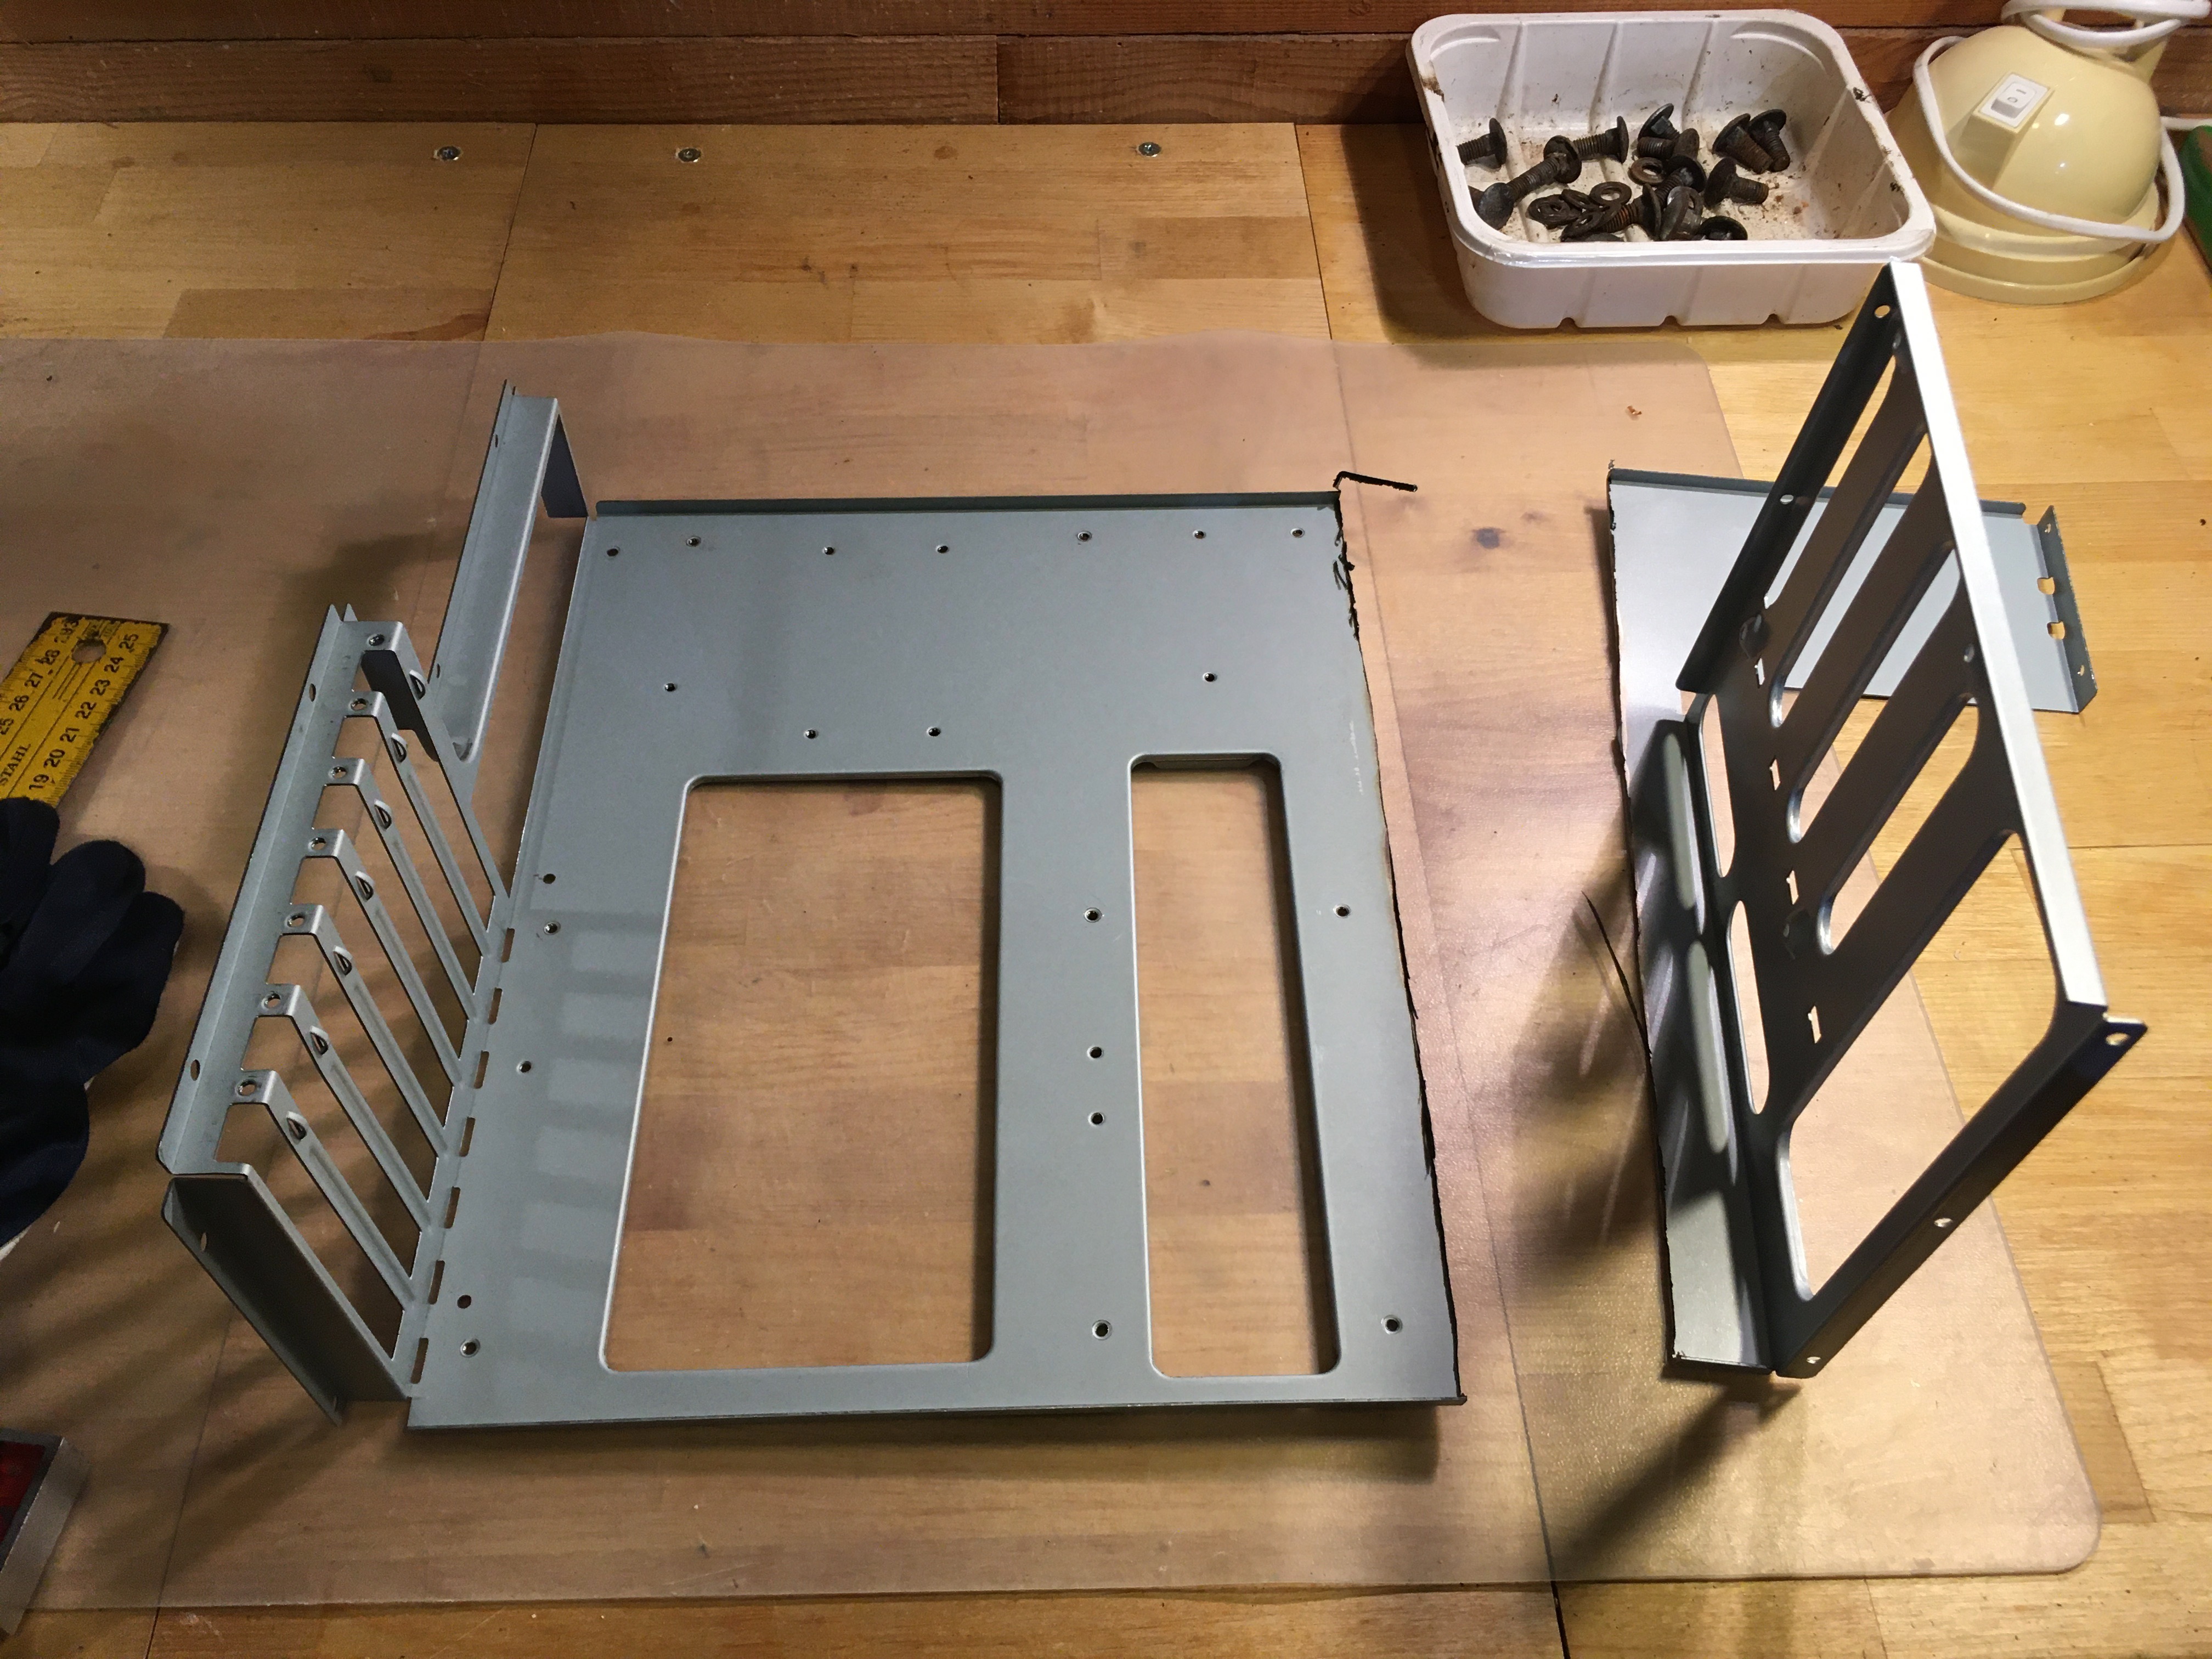
Started modding the case with removing the expansion slots and power plug slot.

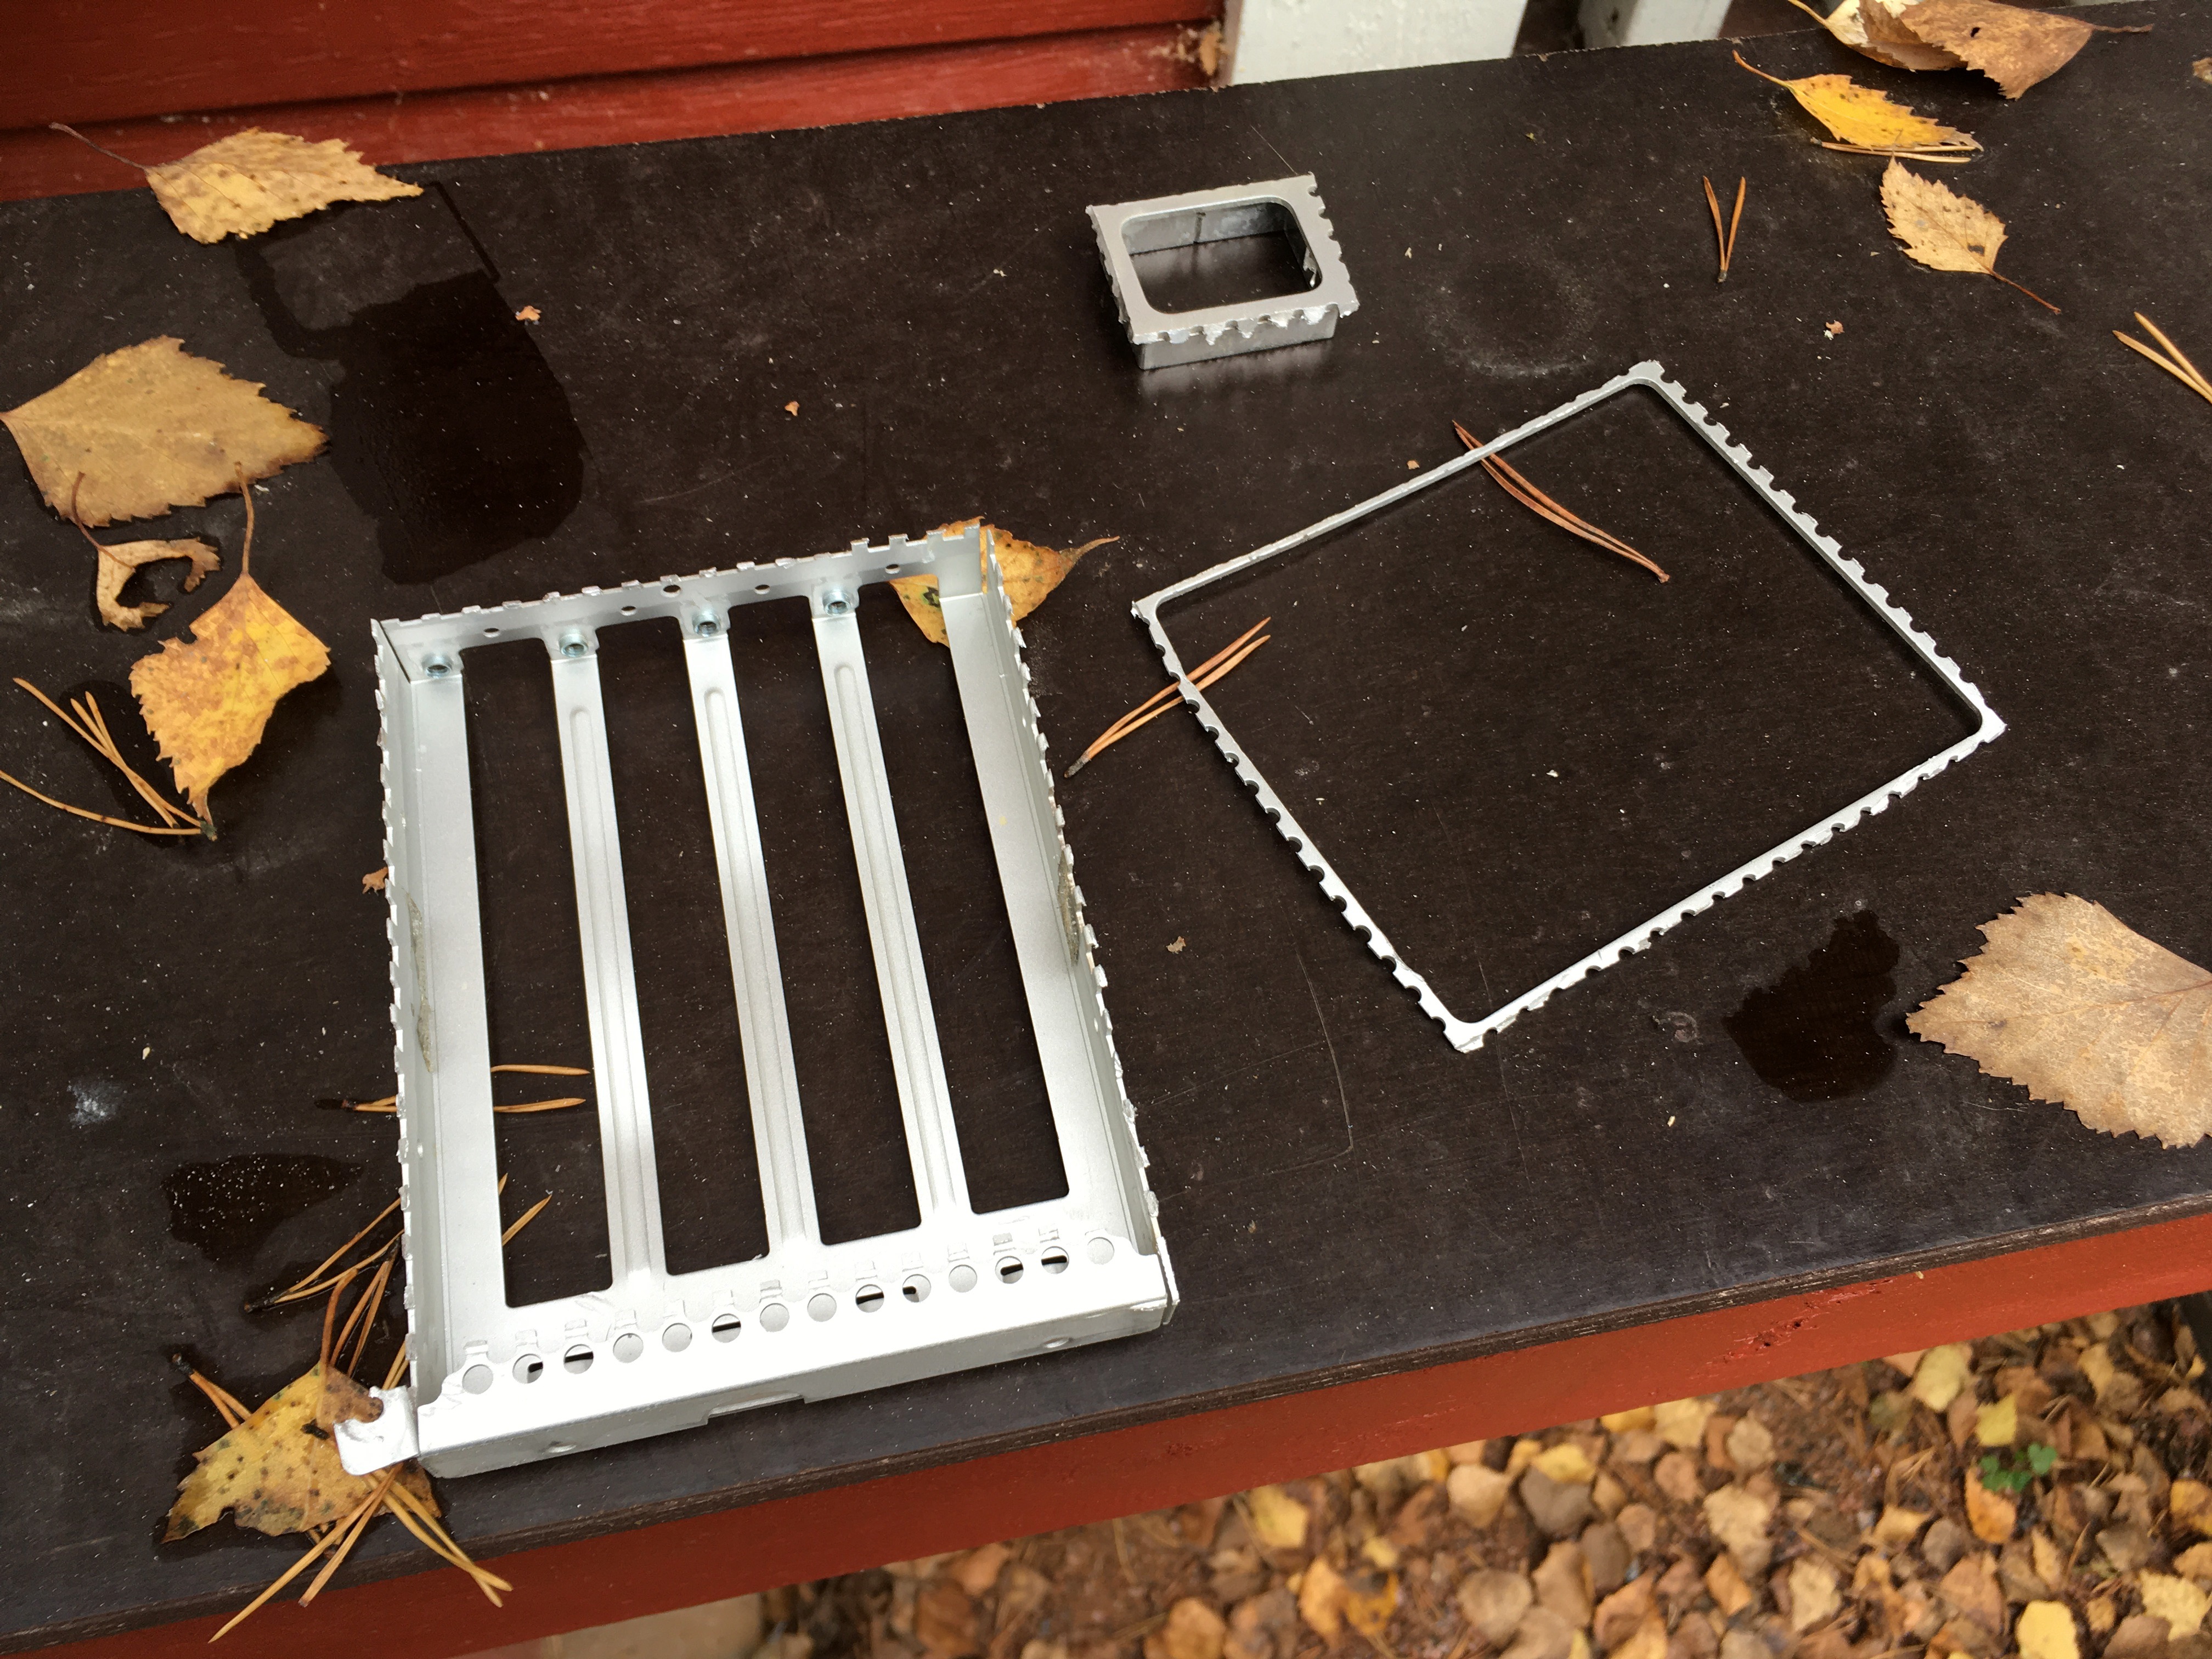
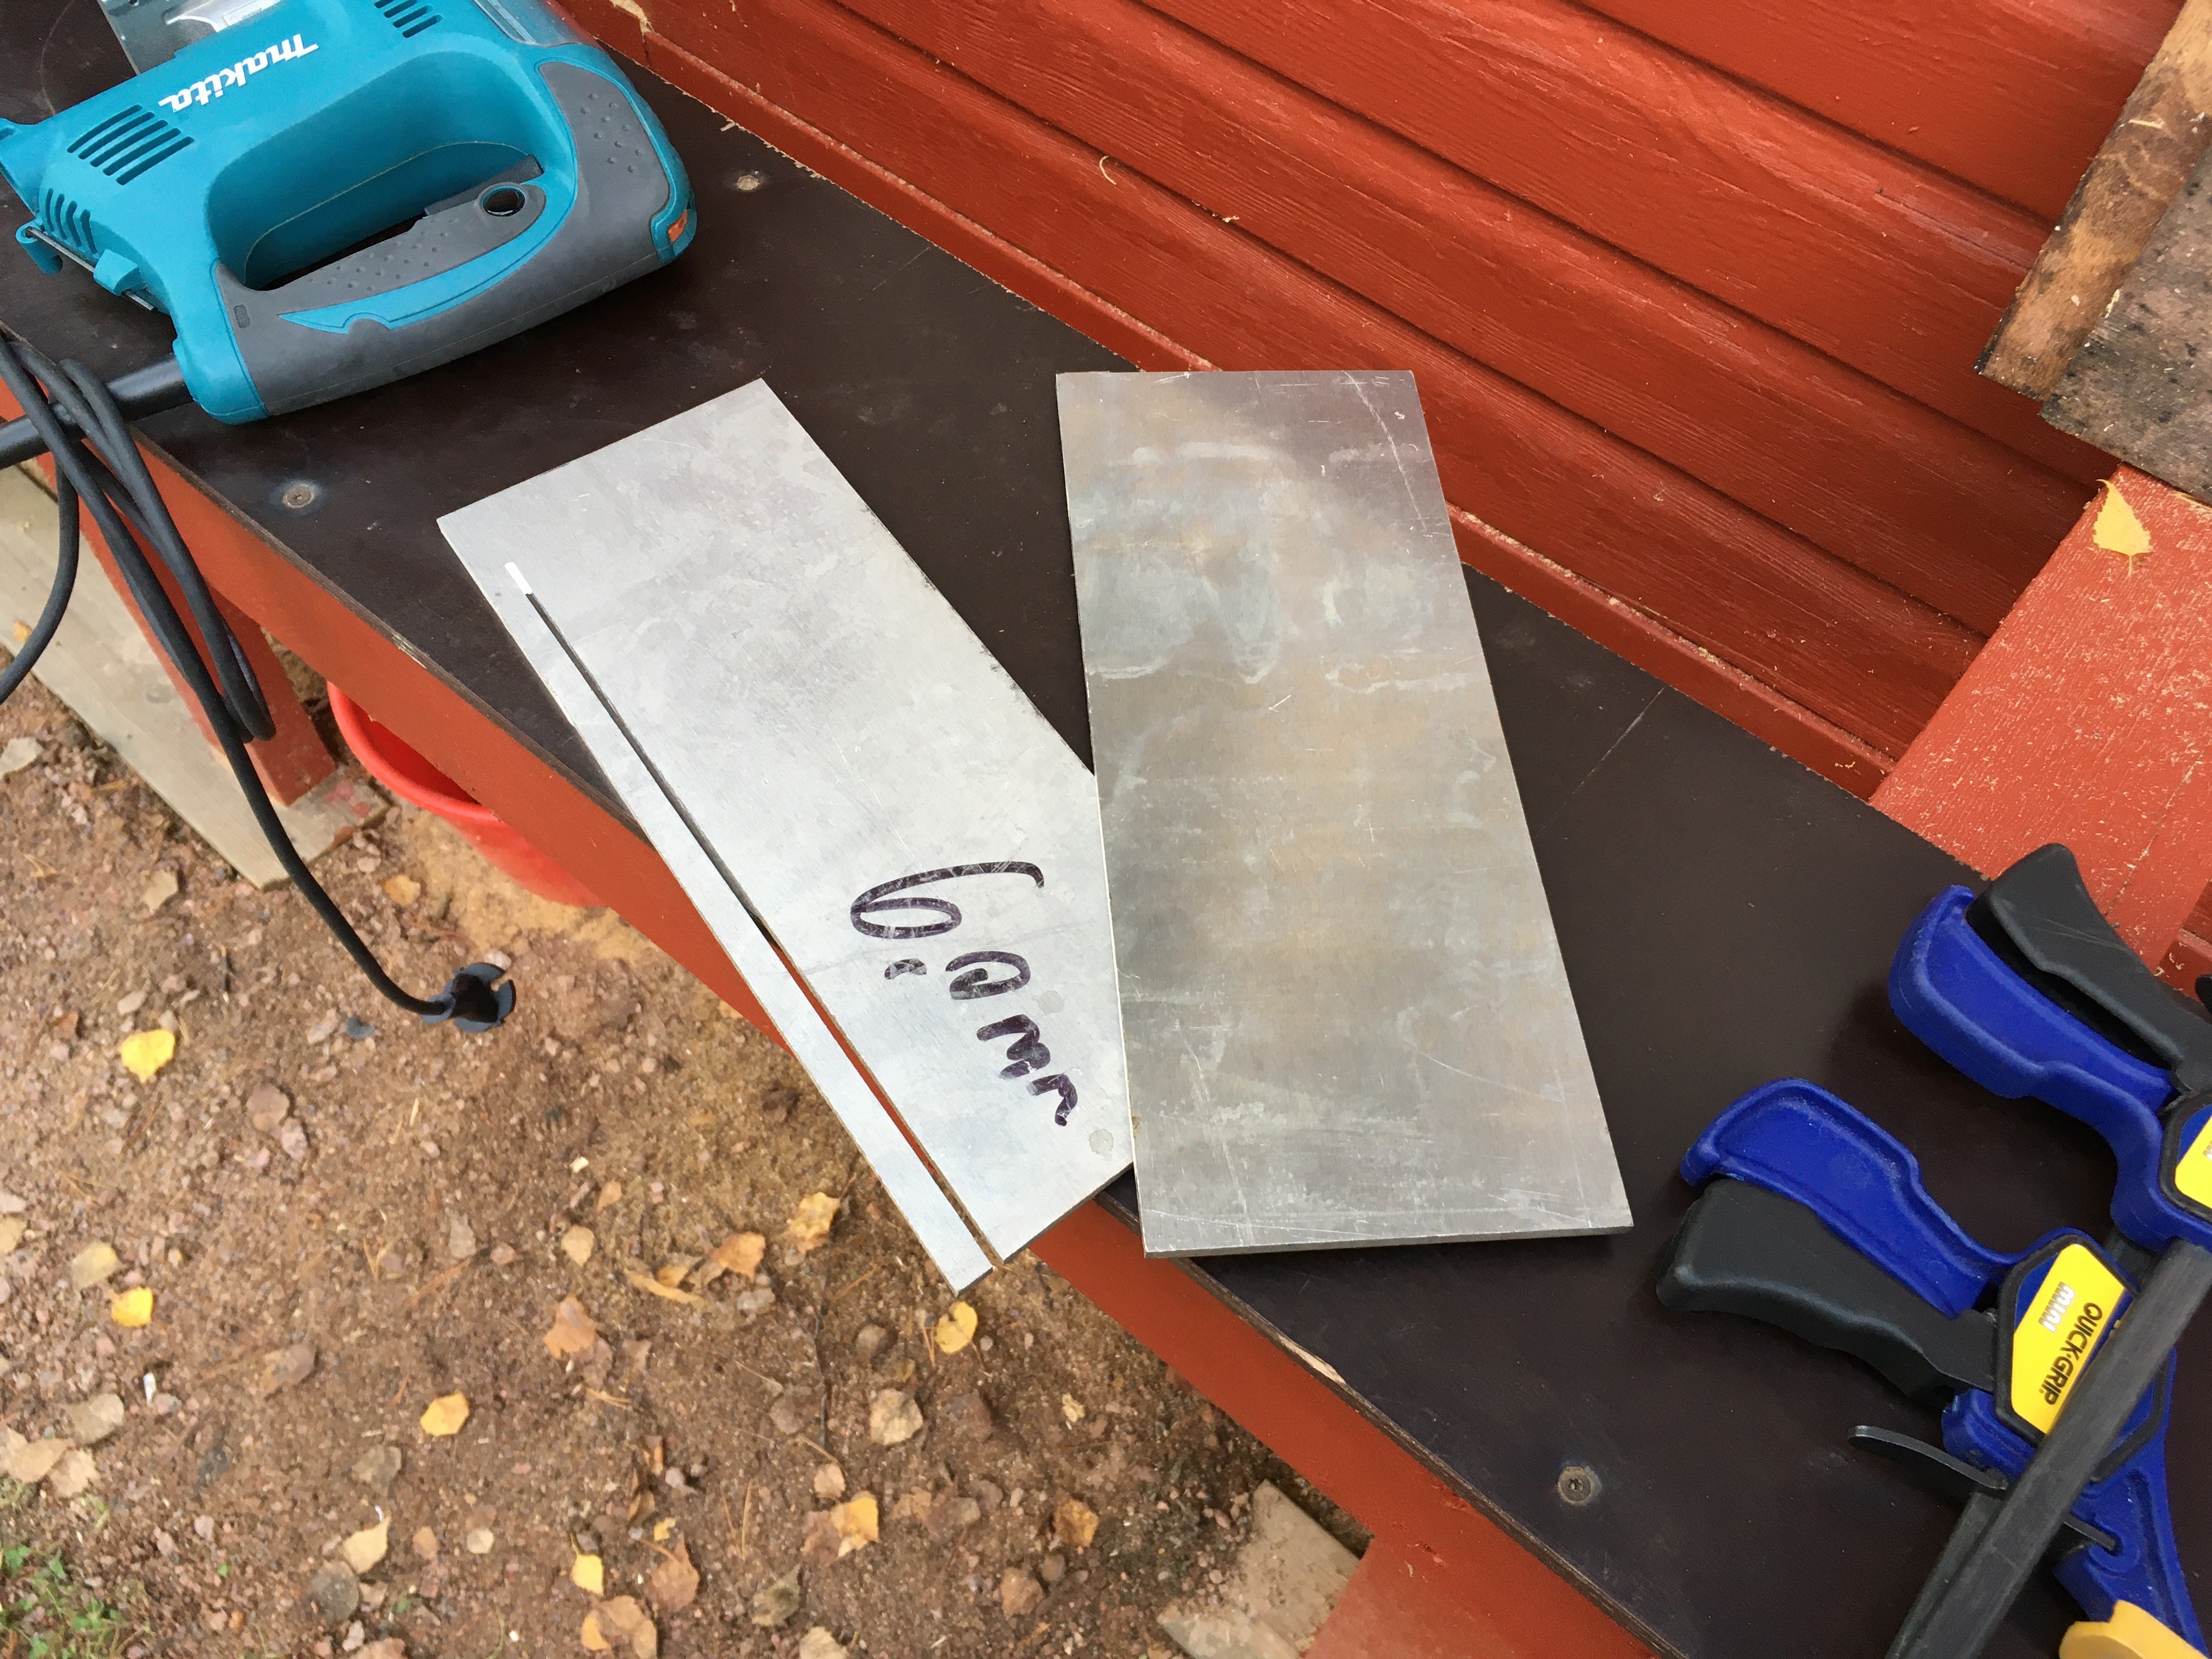
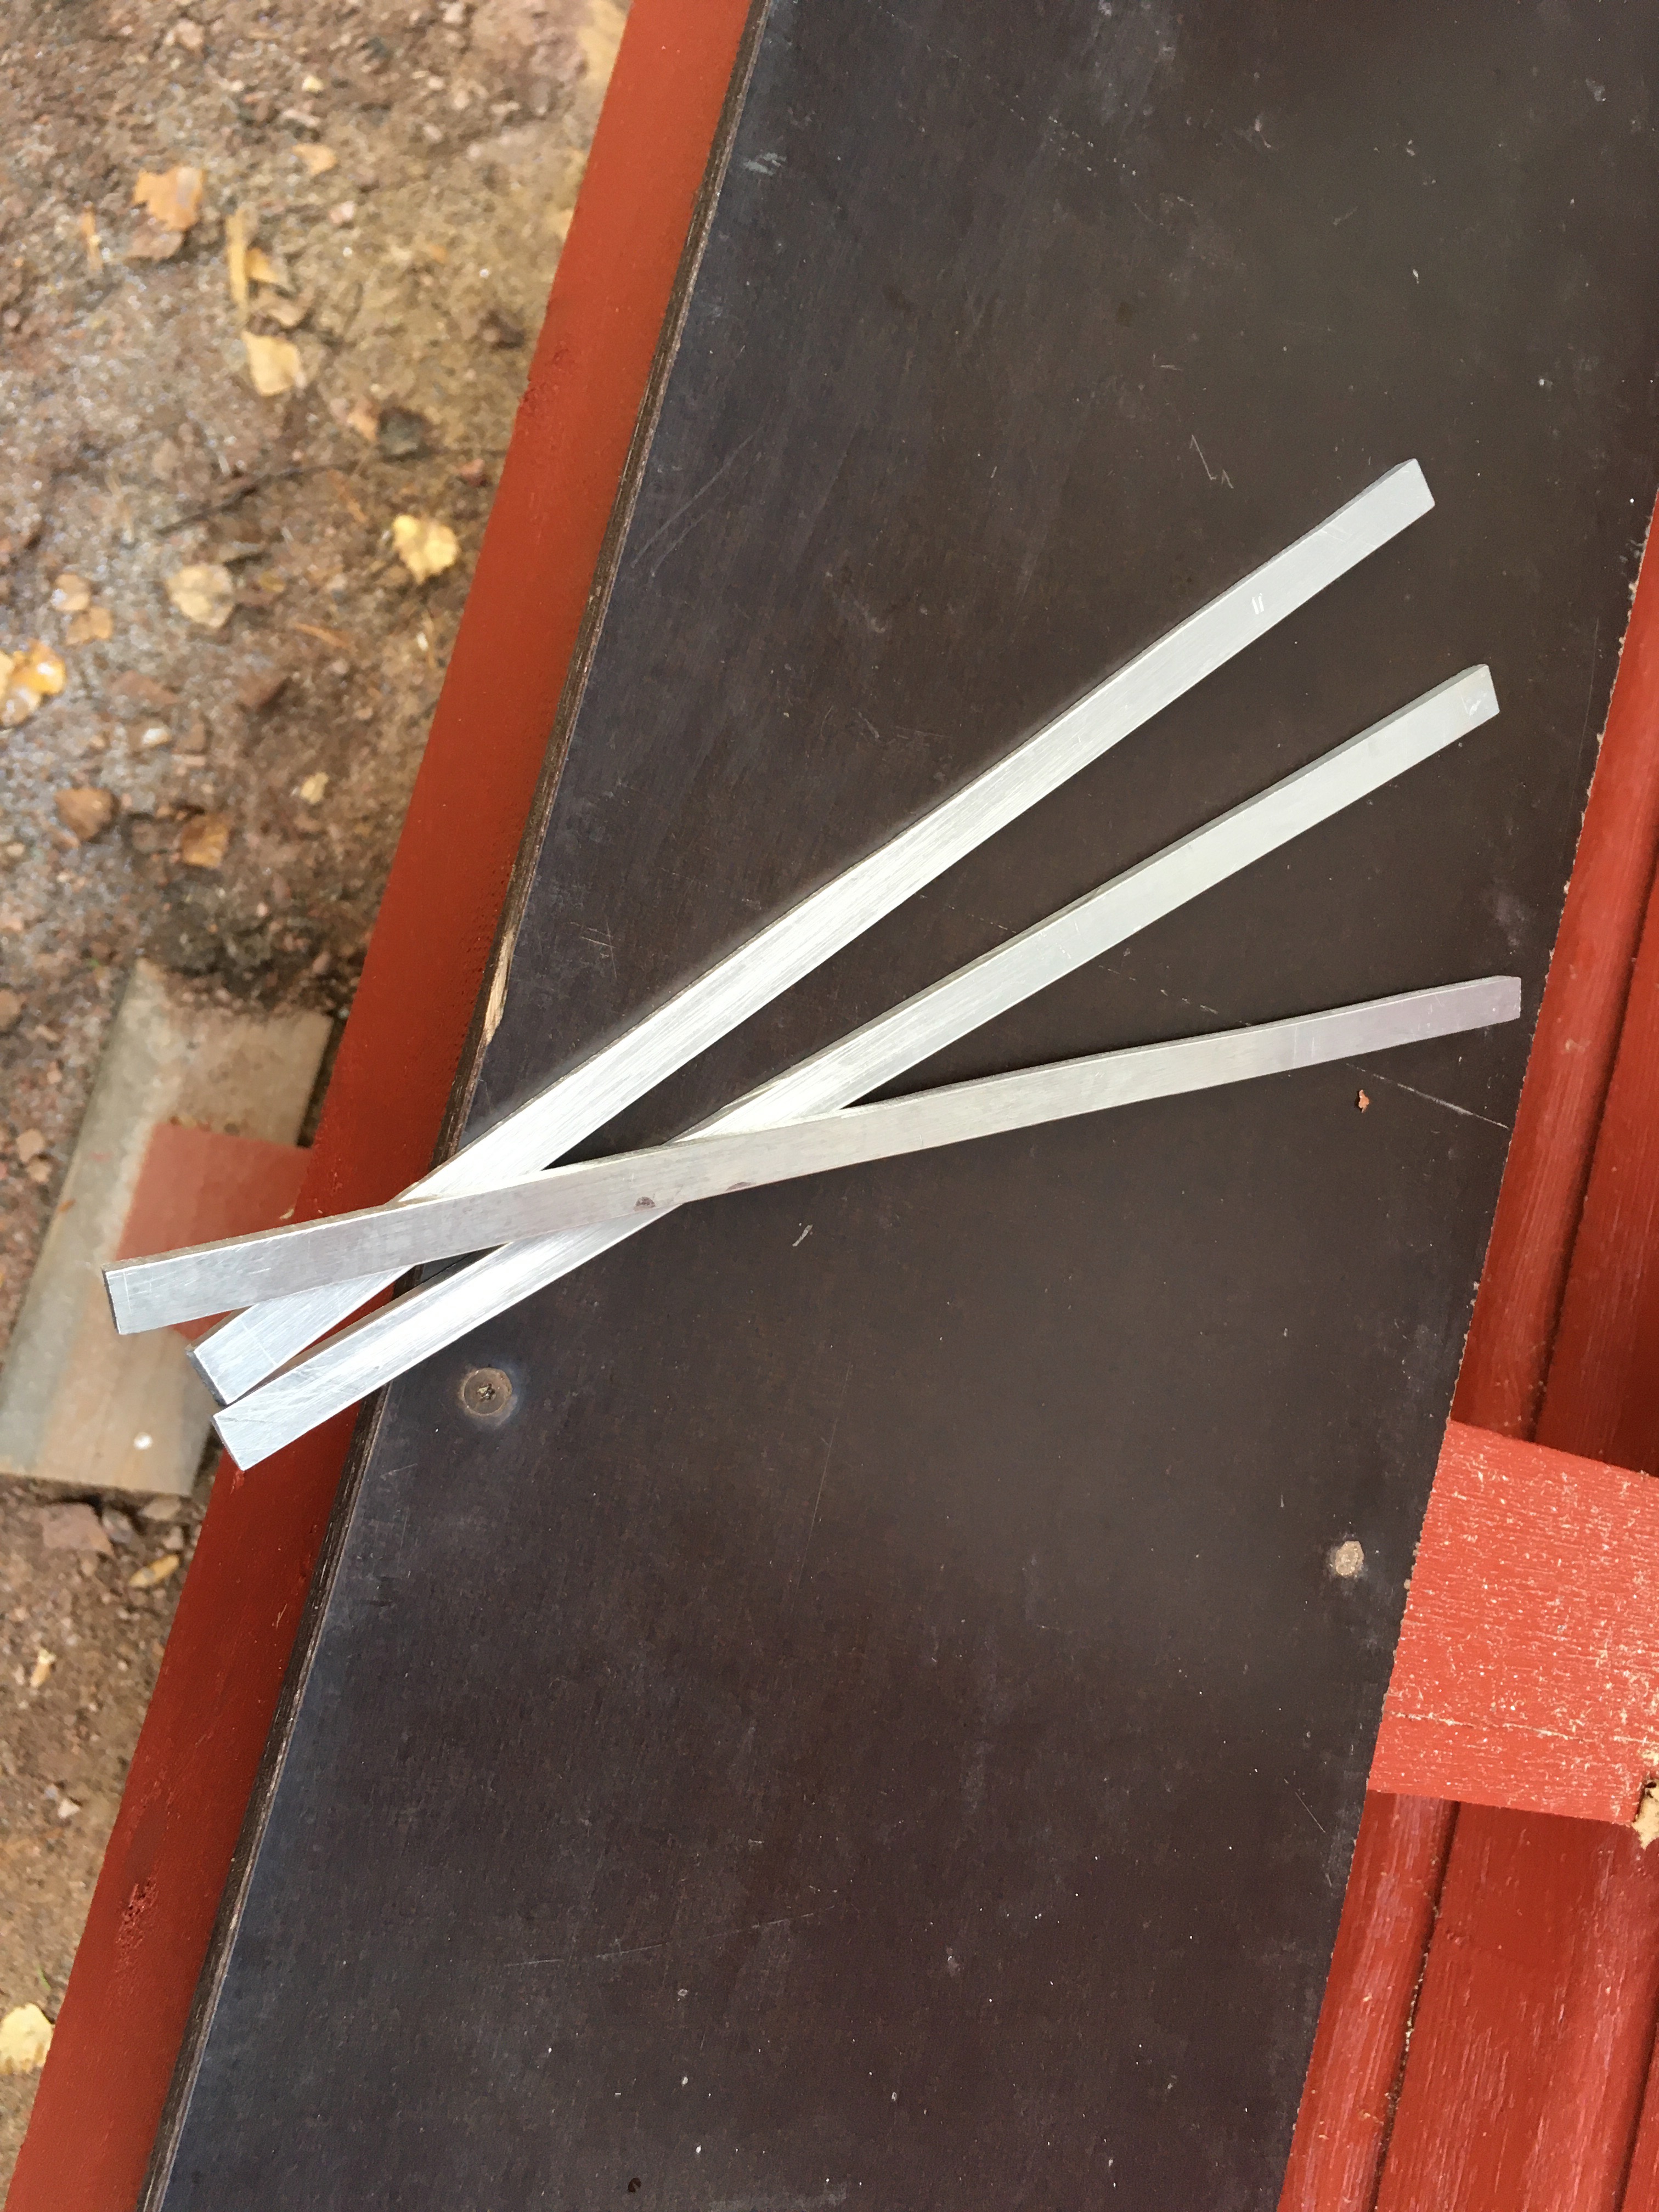
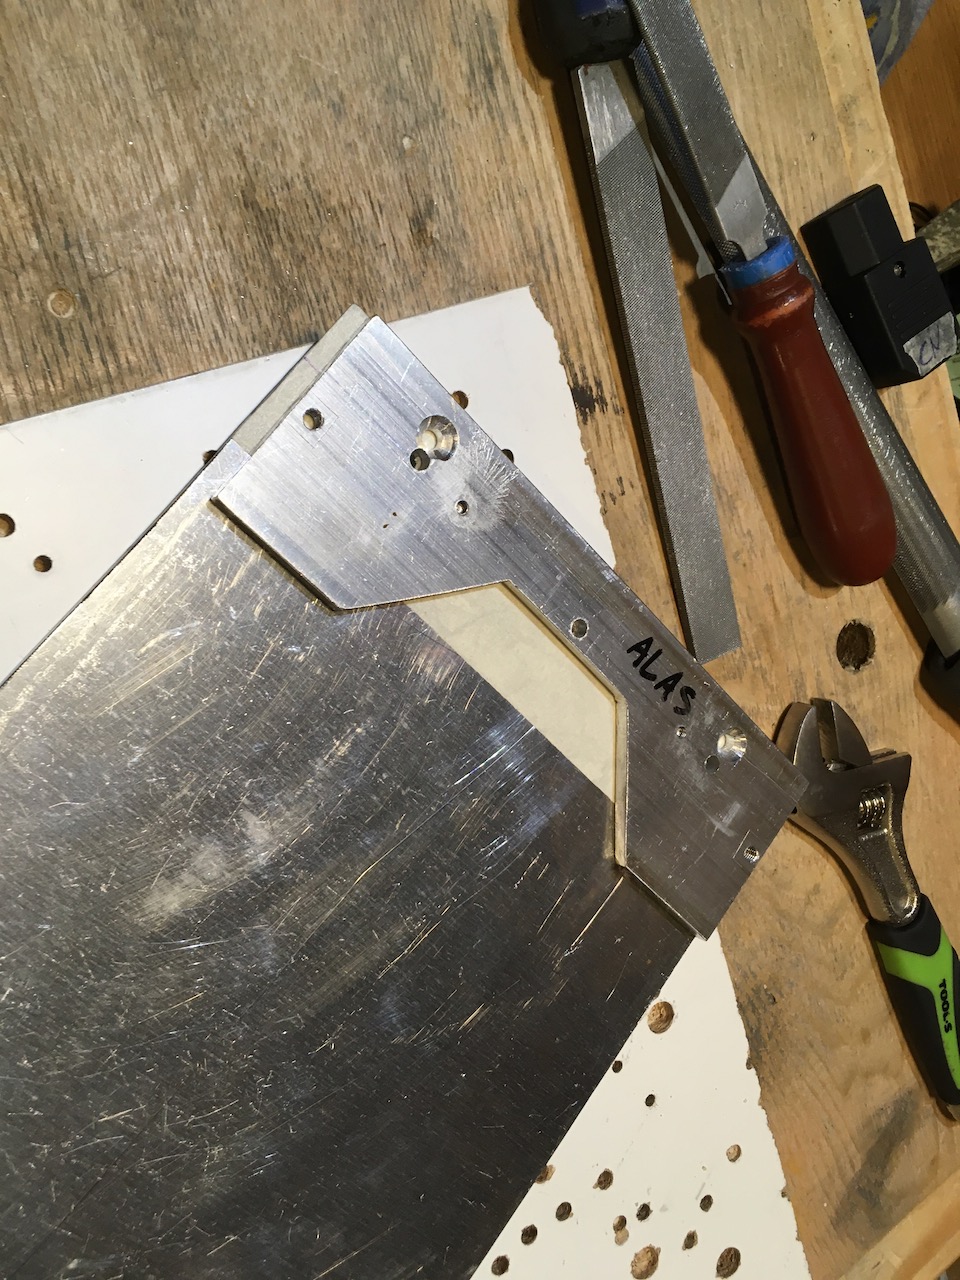
I didn’t want to try my luck at making PCI expansion slots myself, so I sourced this old Antec case for 7€. Not bad considering I’m only going to use the expansion slots from it.

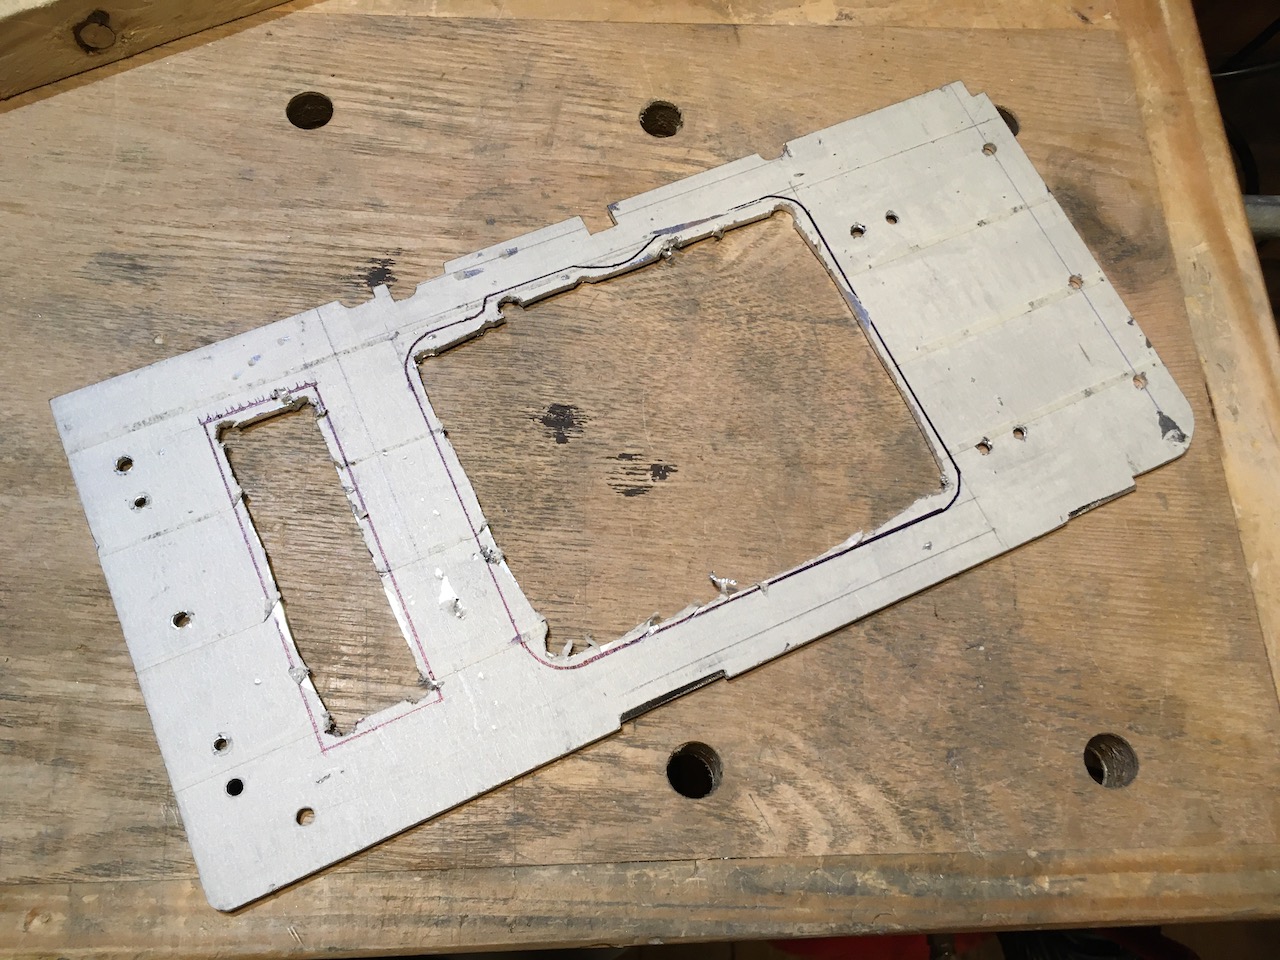
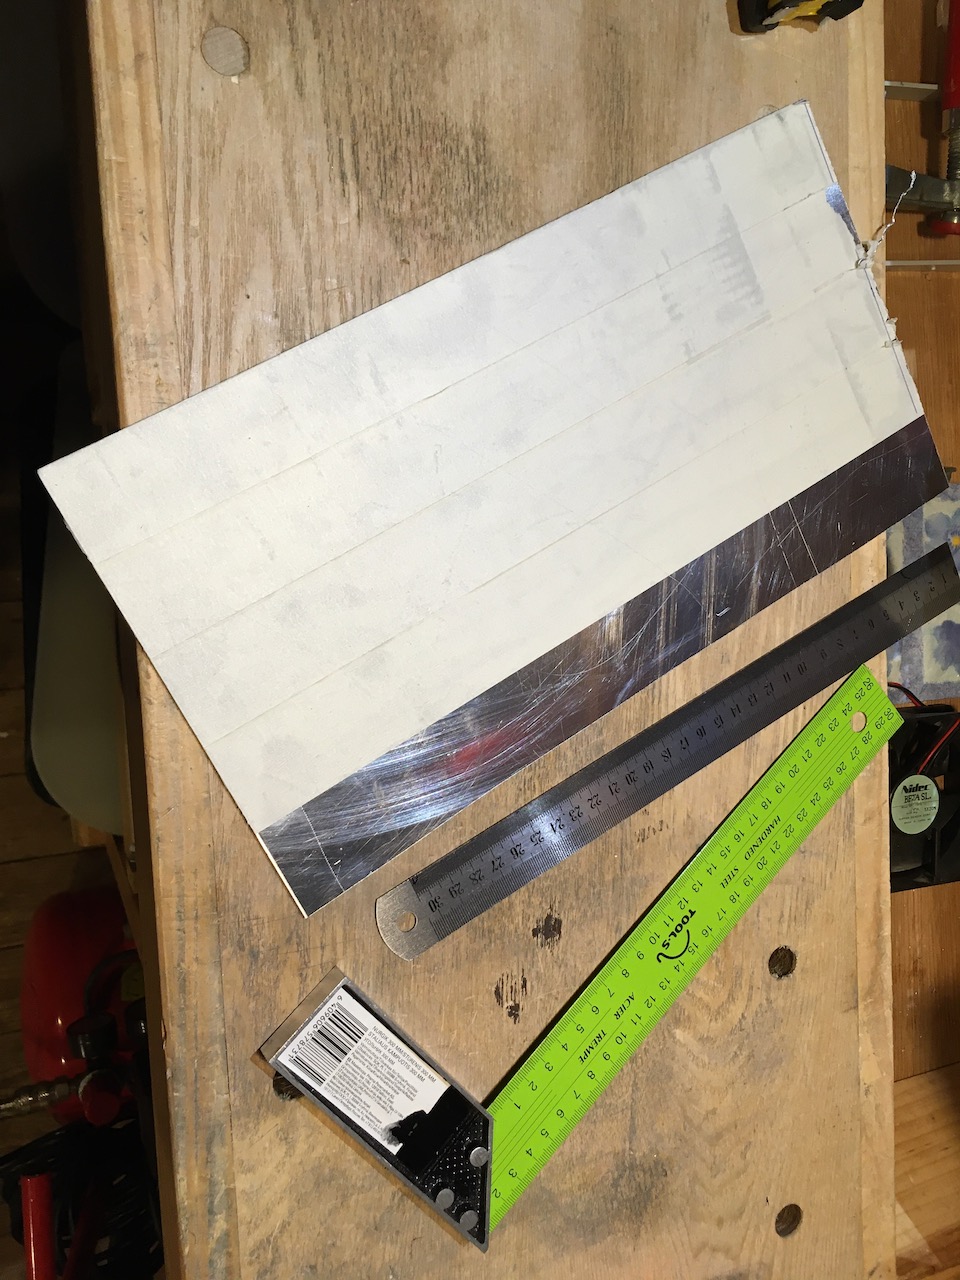
Case taken apart. Bit of a bummer the motherboard tray and PCI slots are made from single piece of steel sheet, but oh well, I should be able to use this.

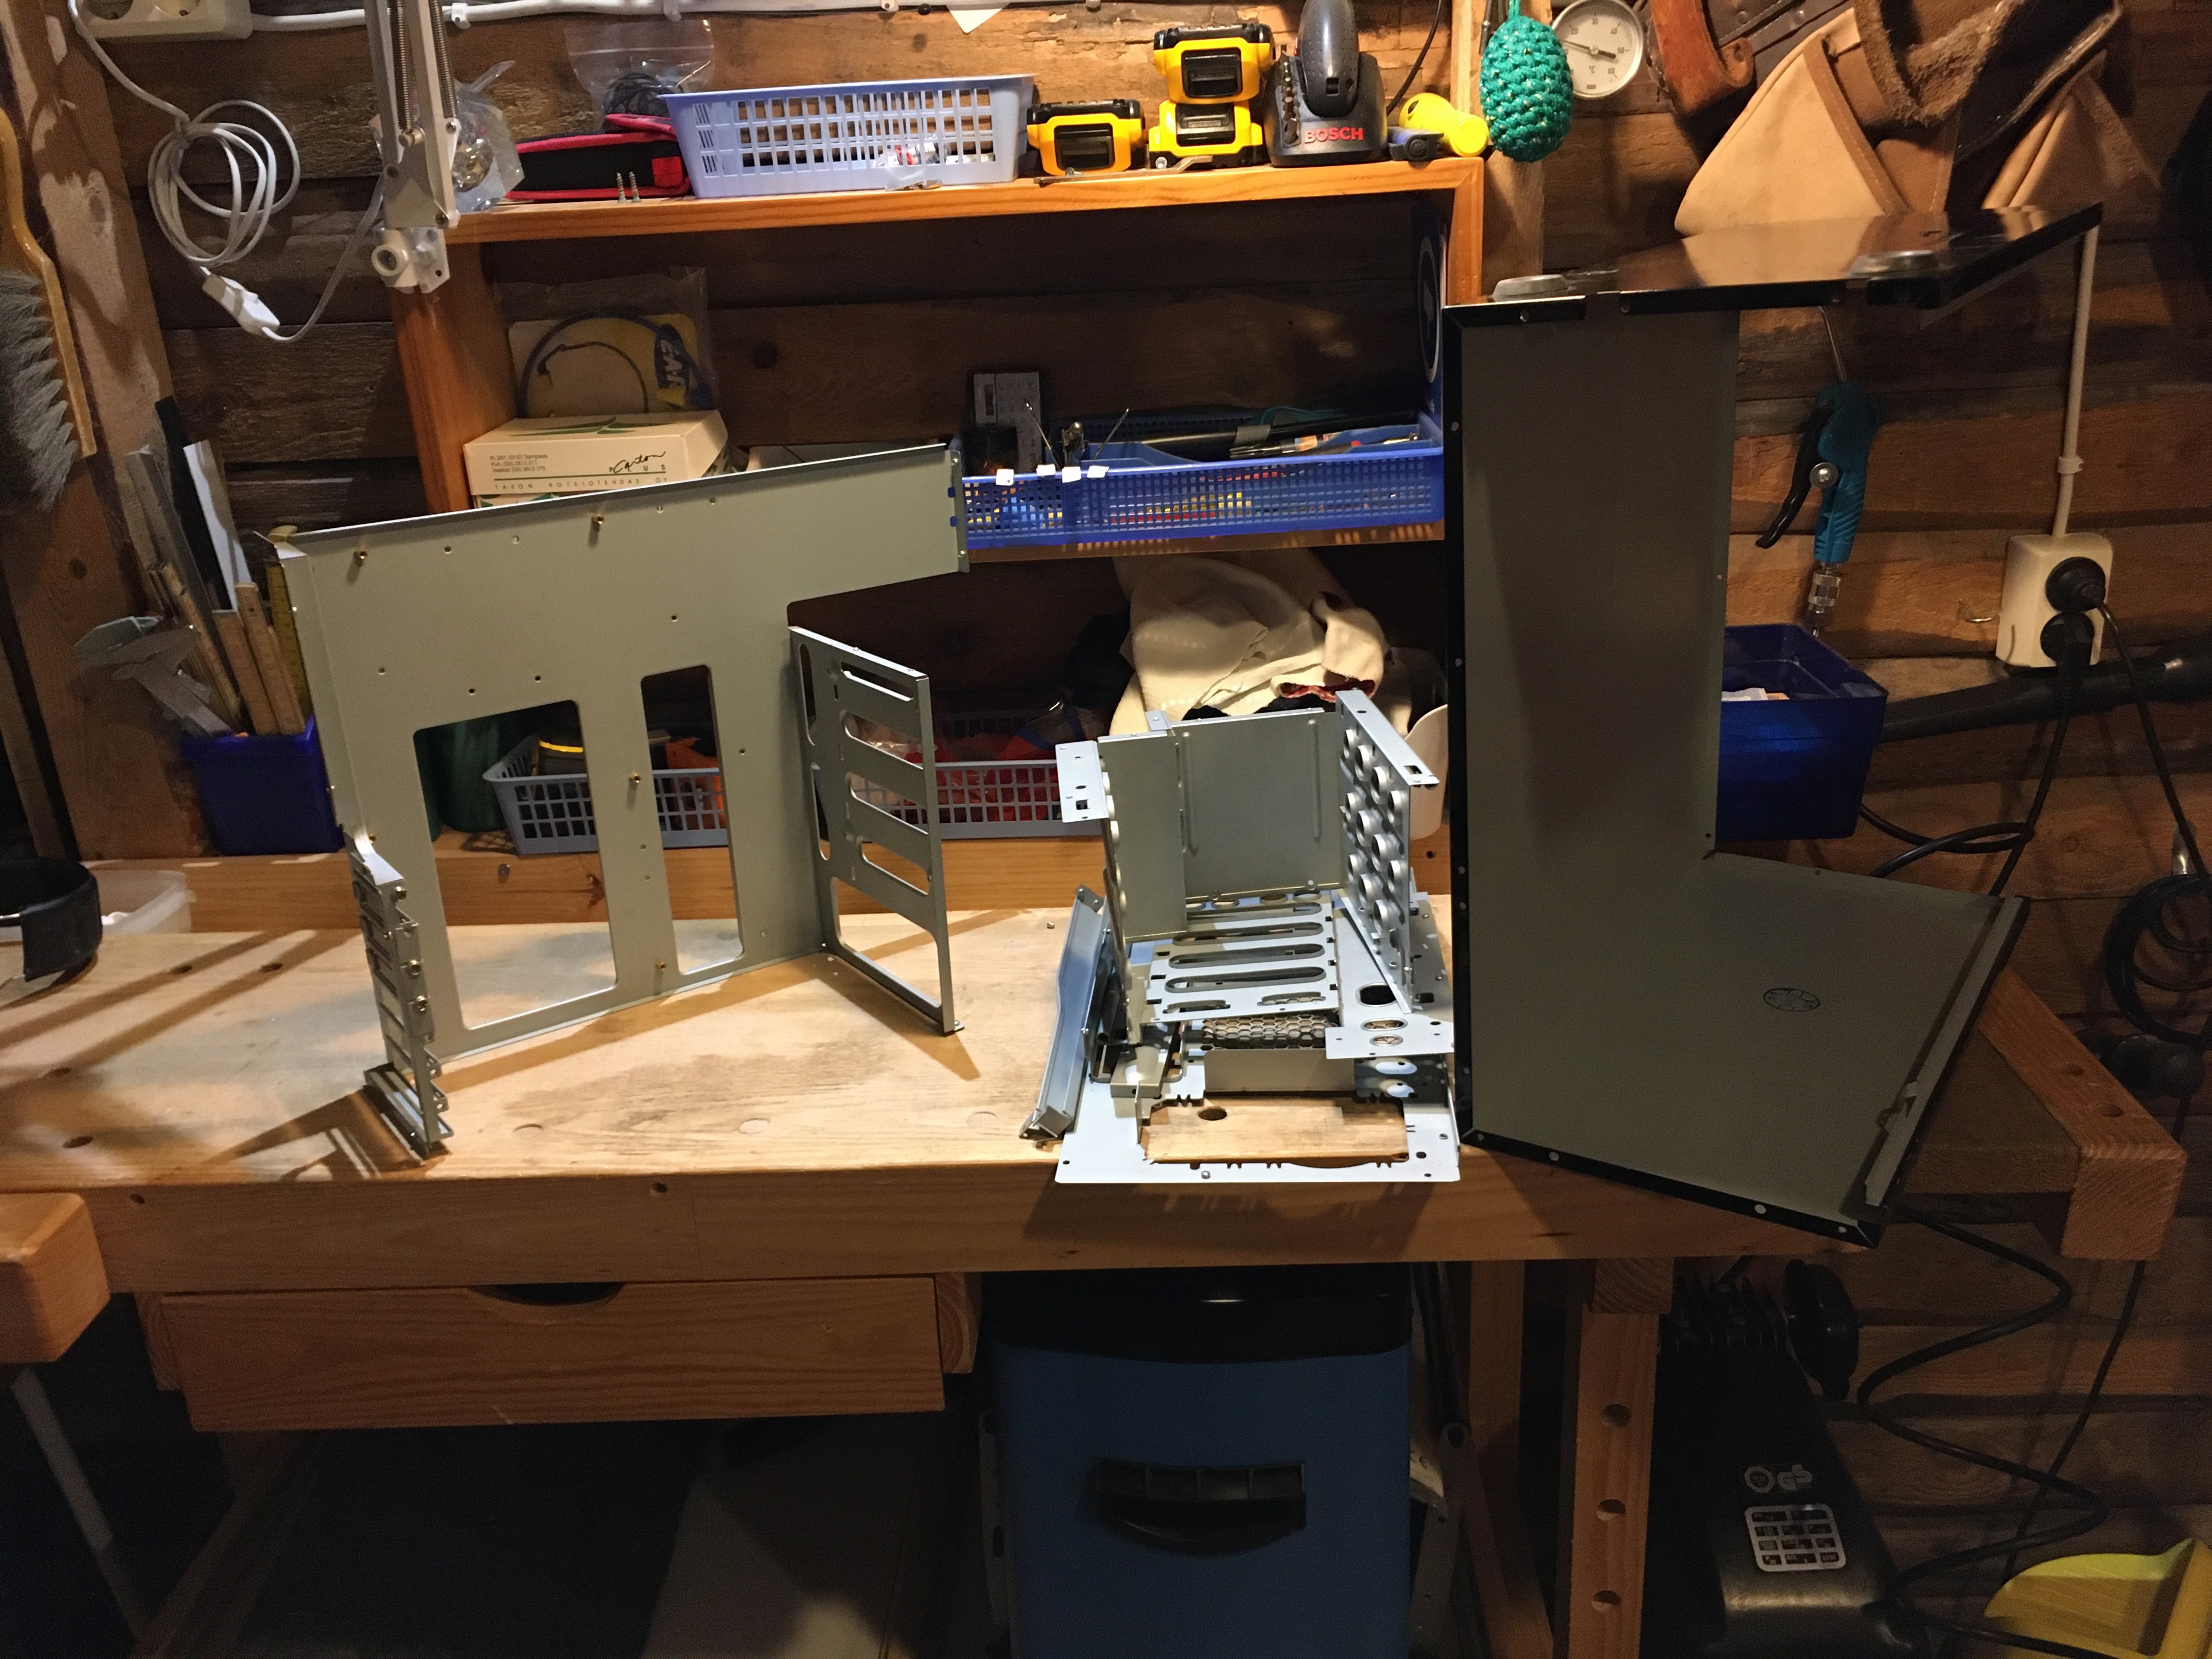
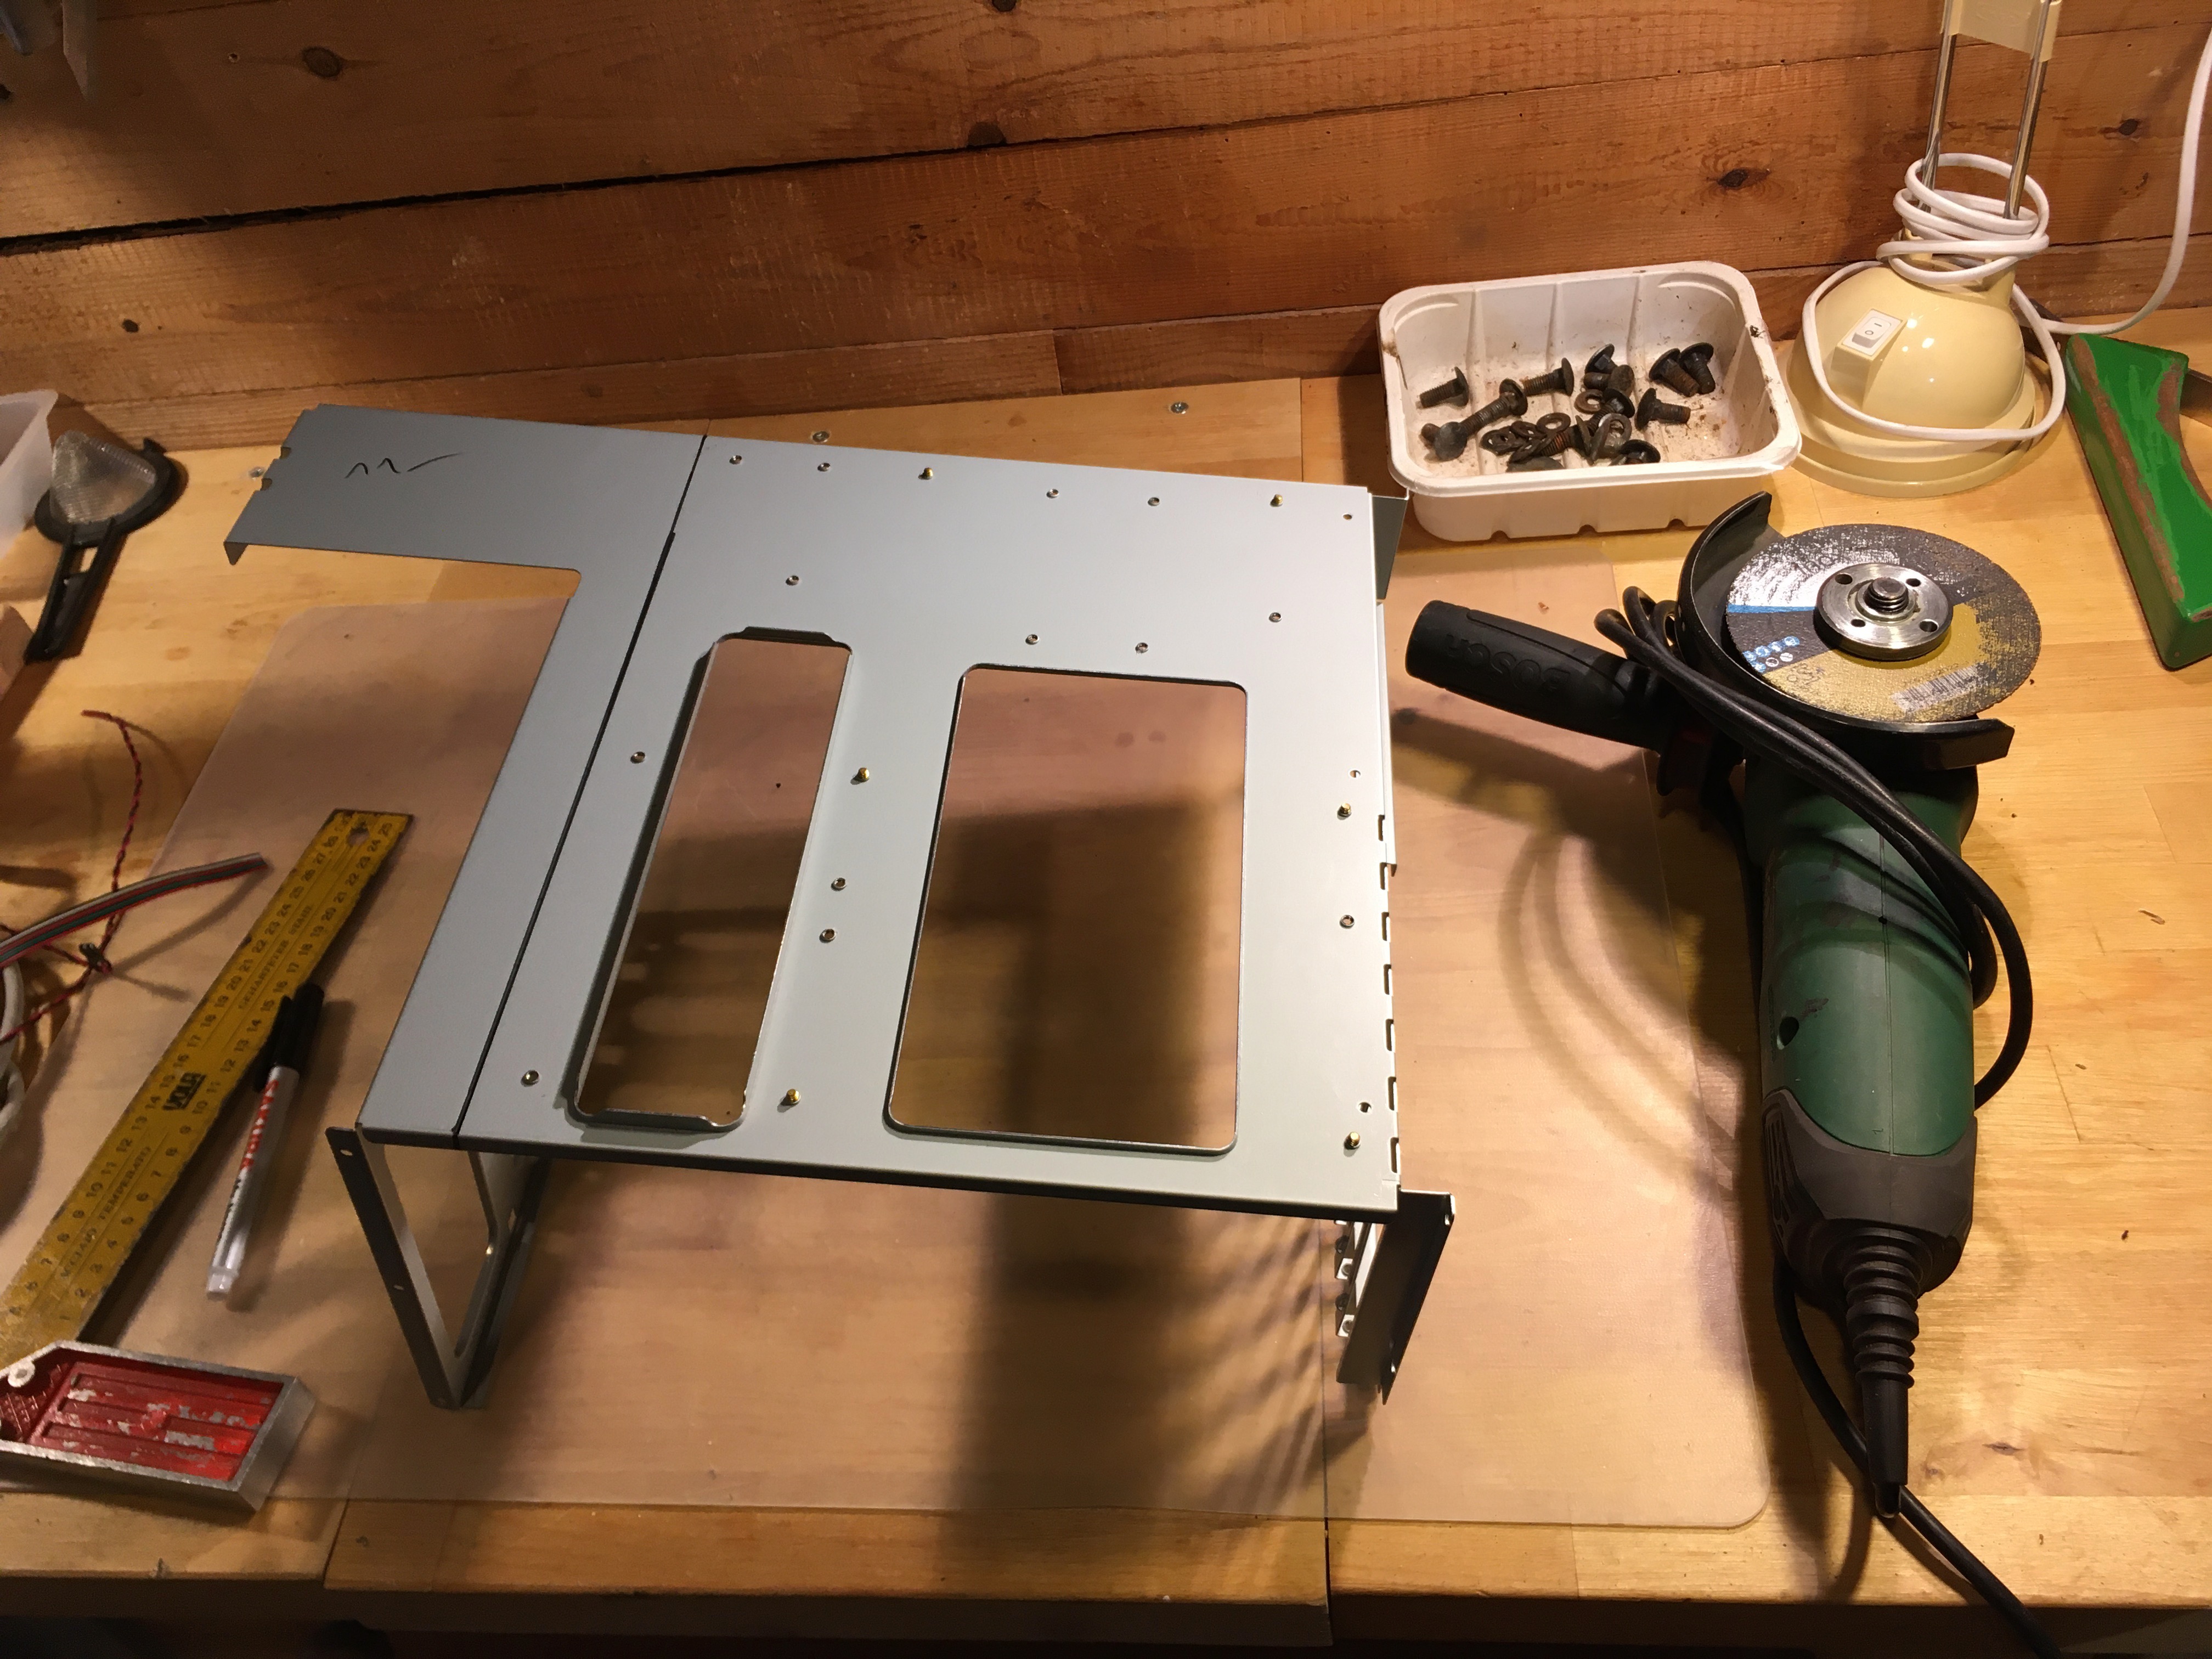
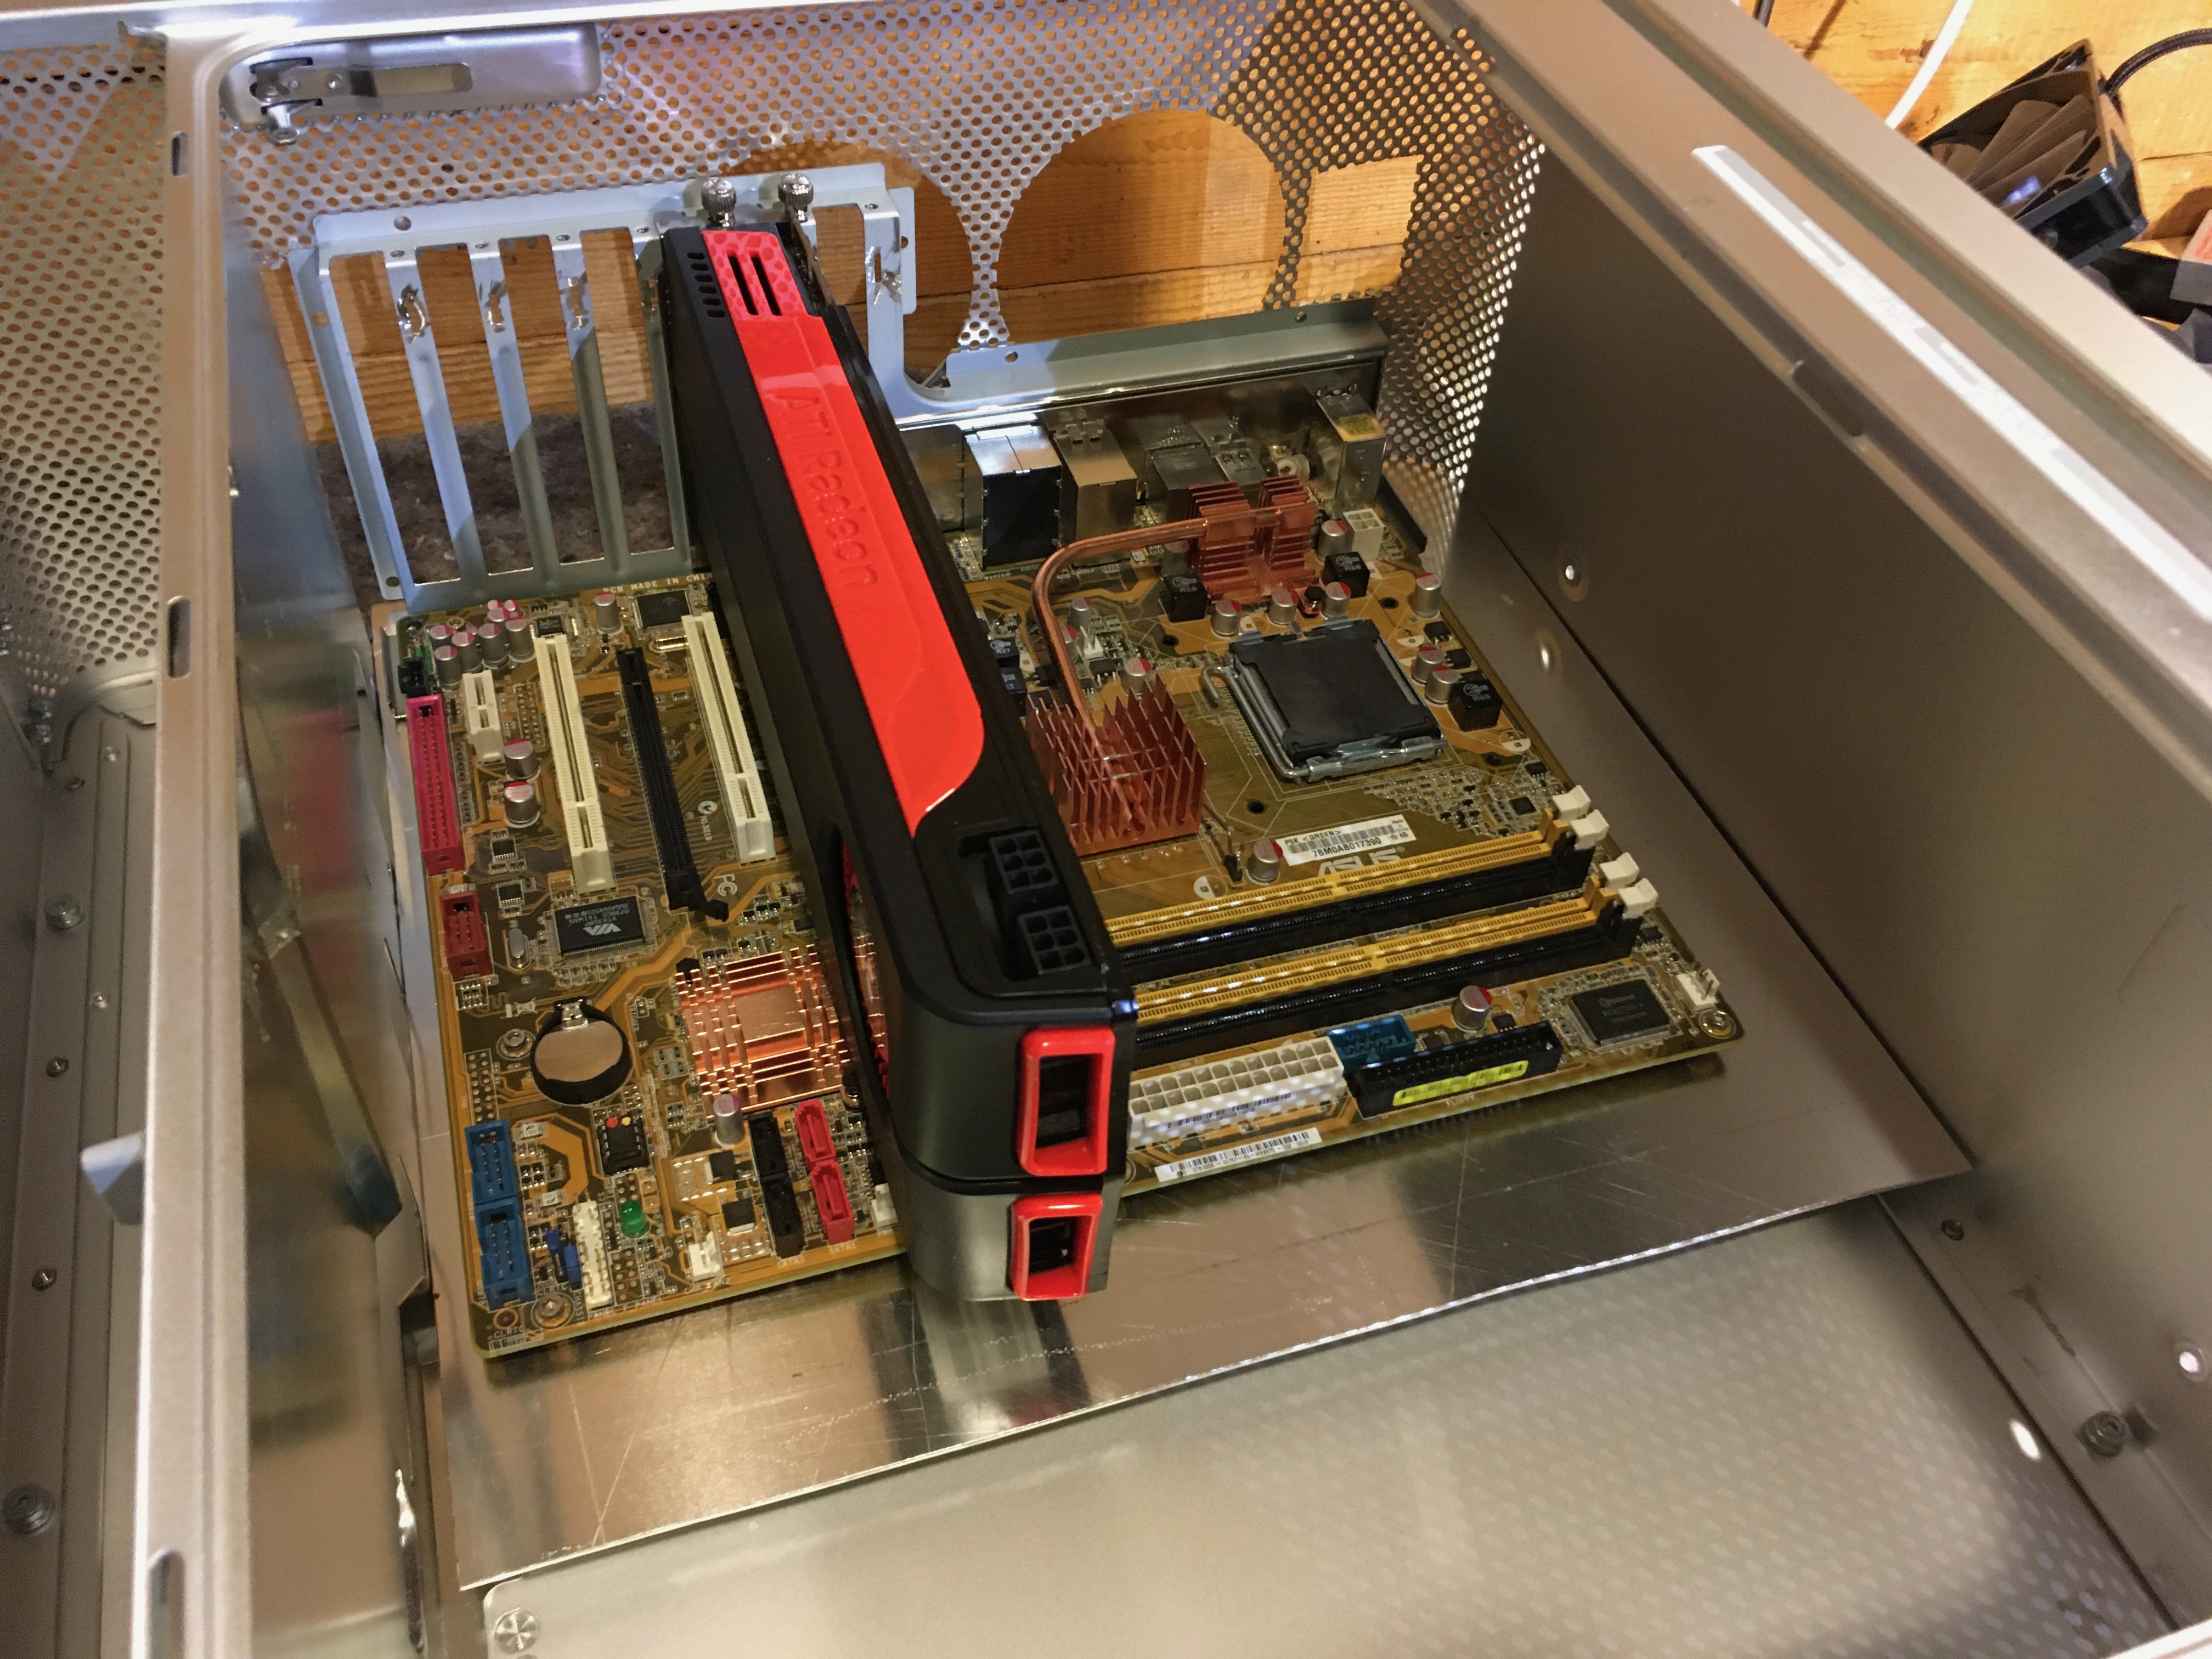
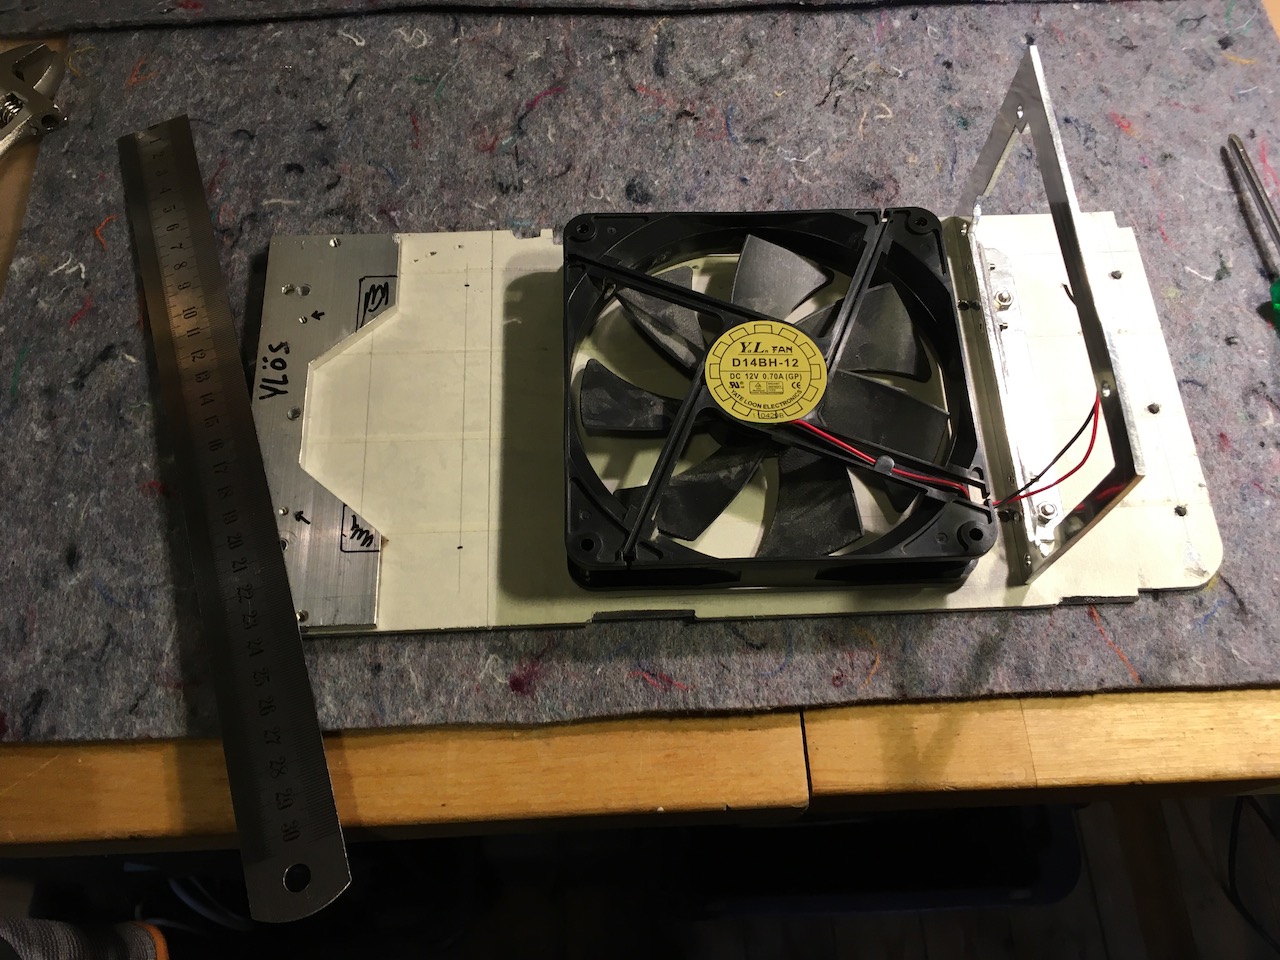
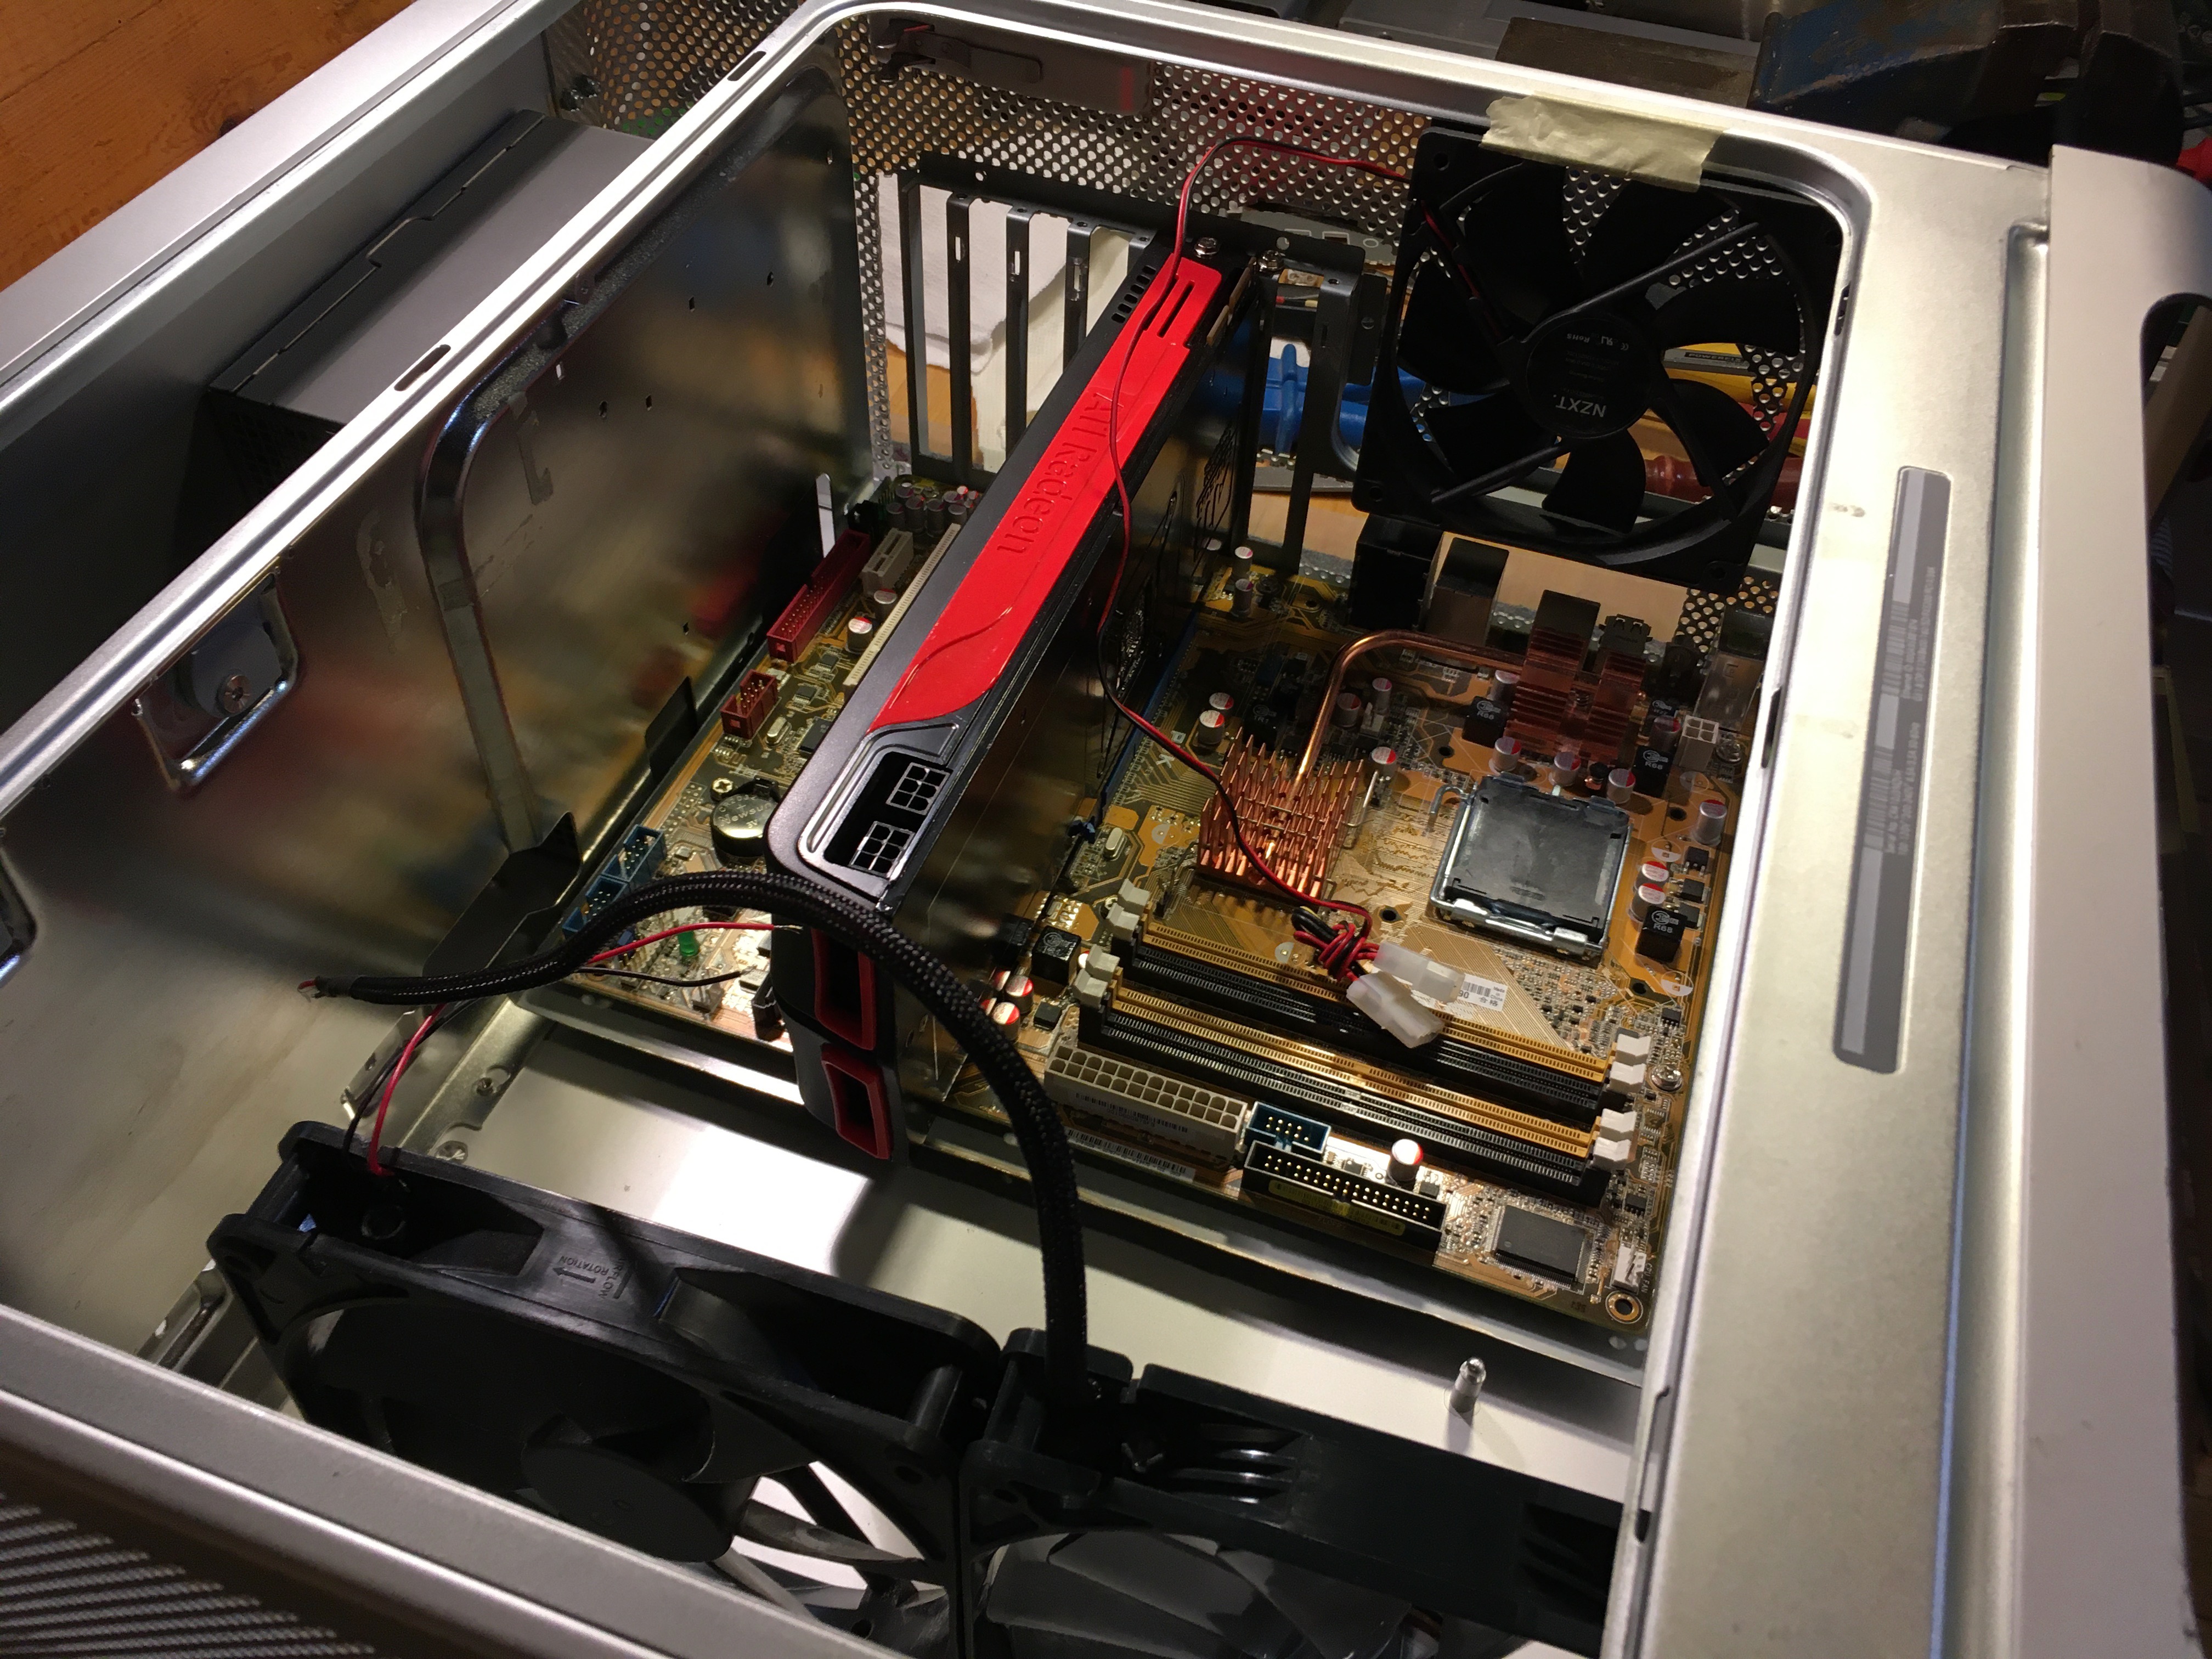
I left the motherboard tray attached to the back slots for now, for testing. I was first thinking if I use the original motherboard tray but ehh, I think I can make something nicer myself. Plus I was thinking of having bigger motherboard tray anyway, but let’s not get ahead of ourselves. :slight_smile:

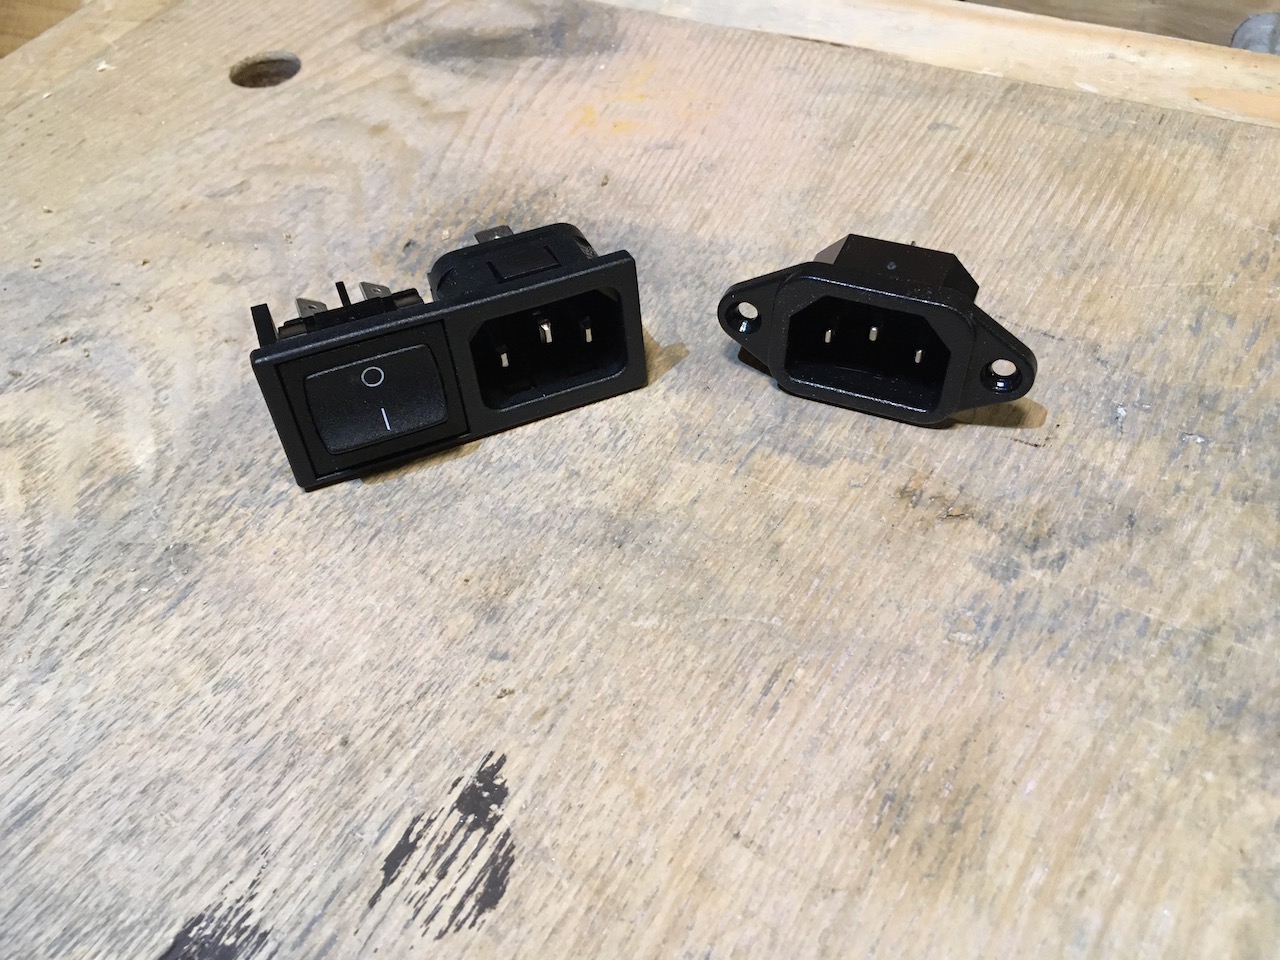
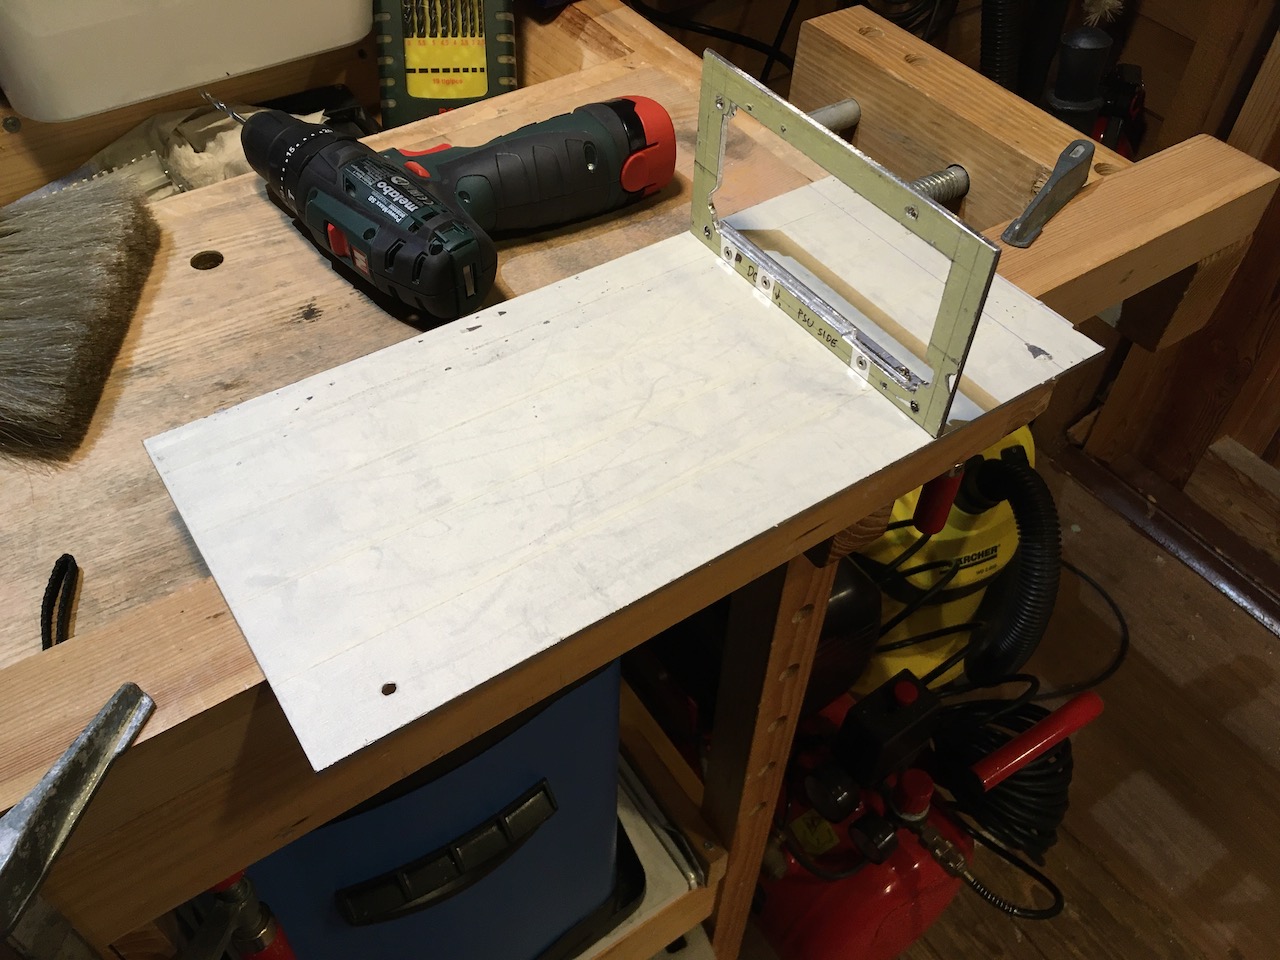
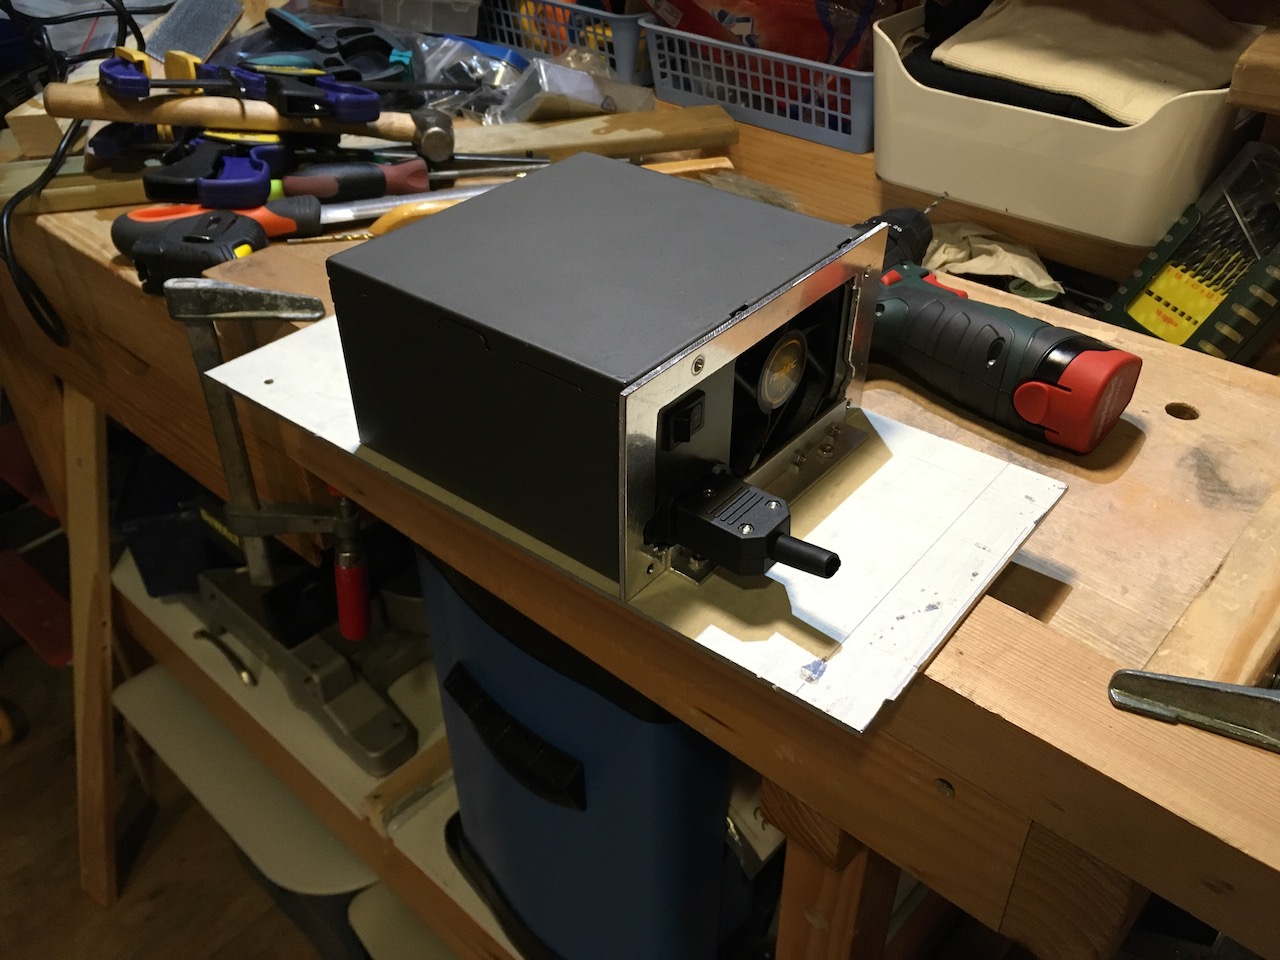
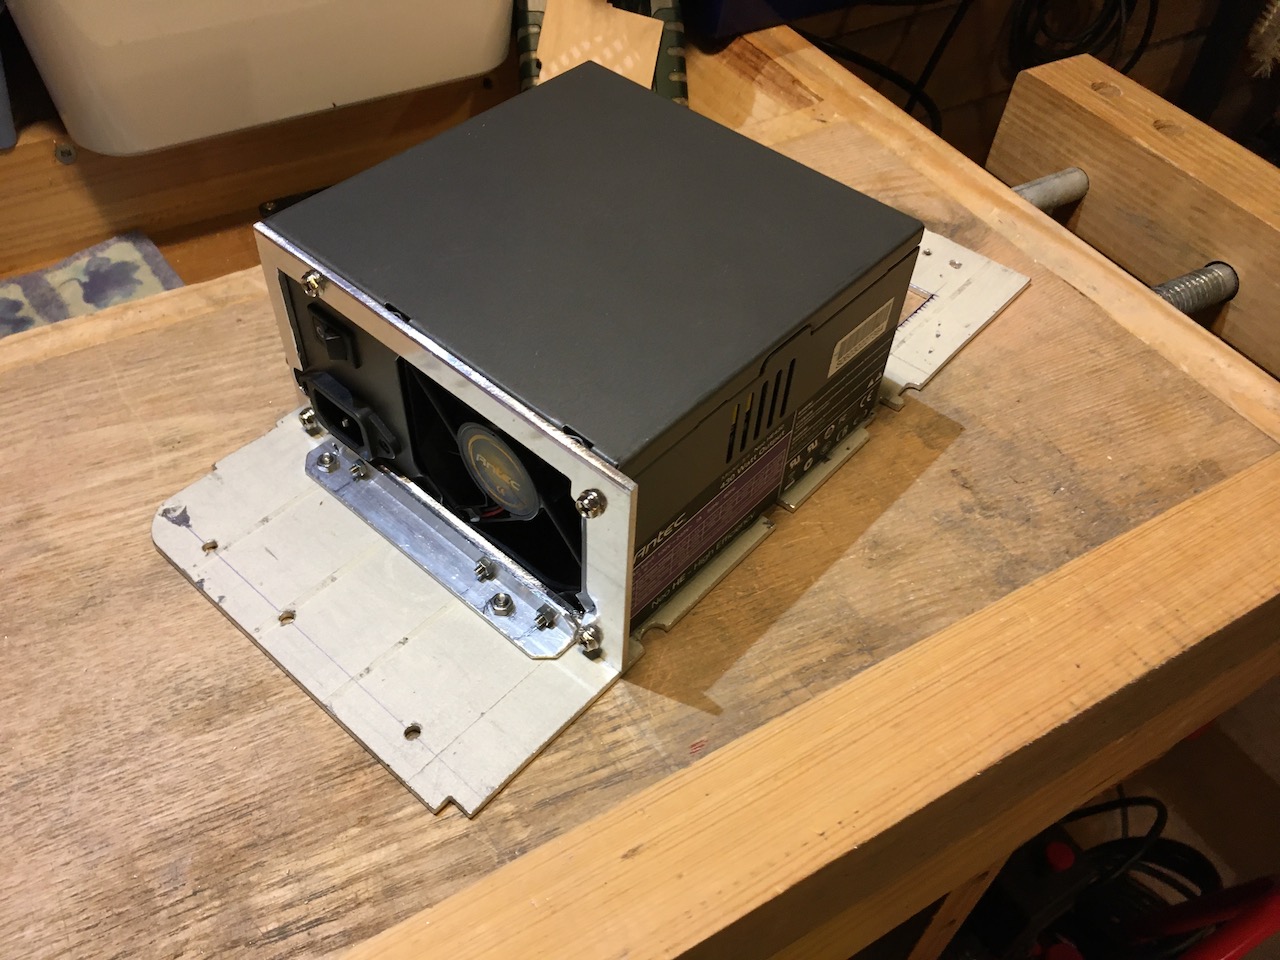
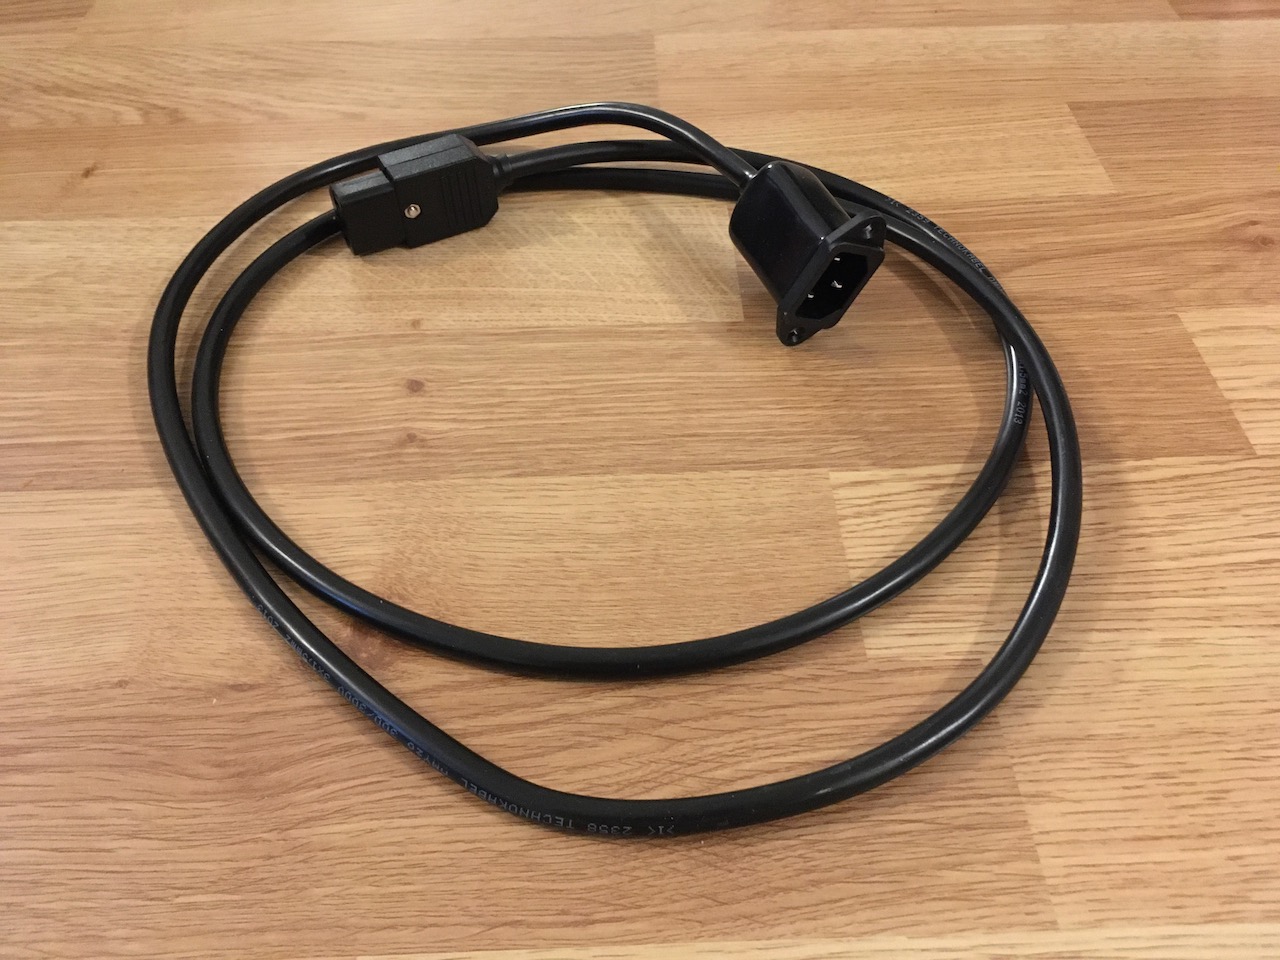
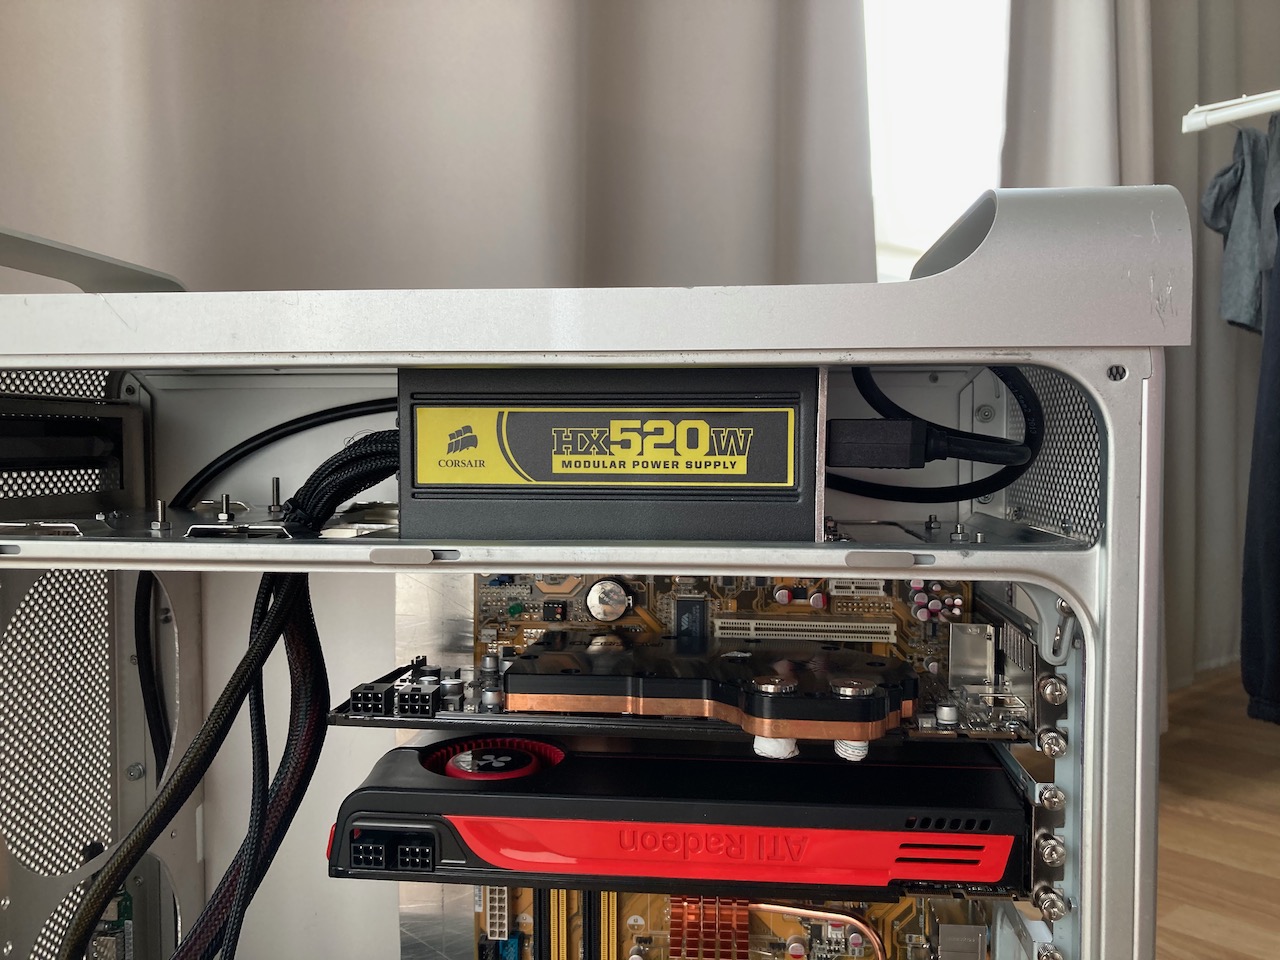
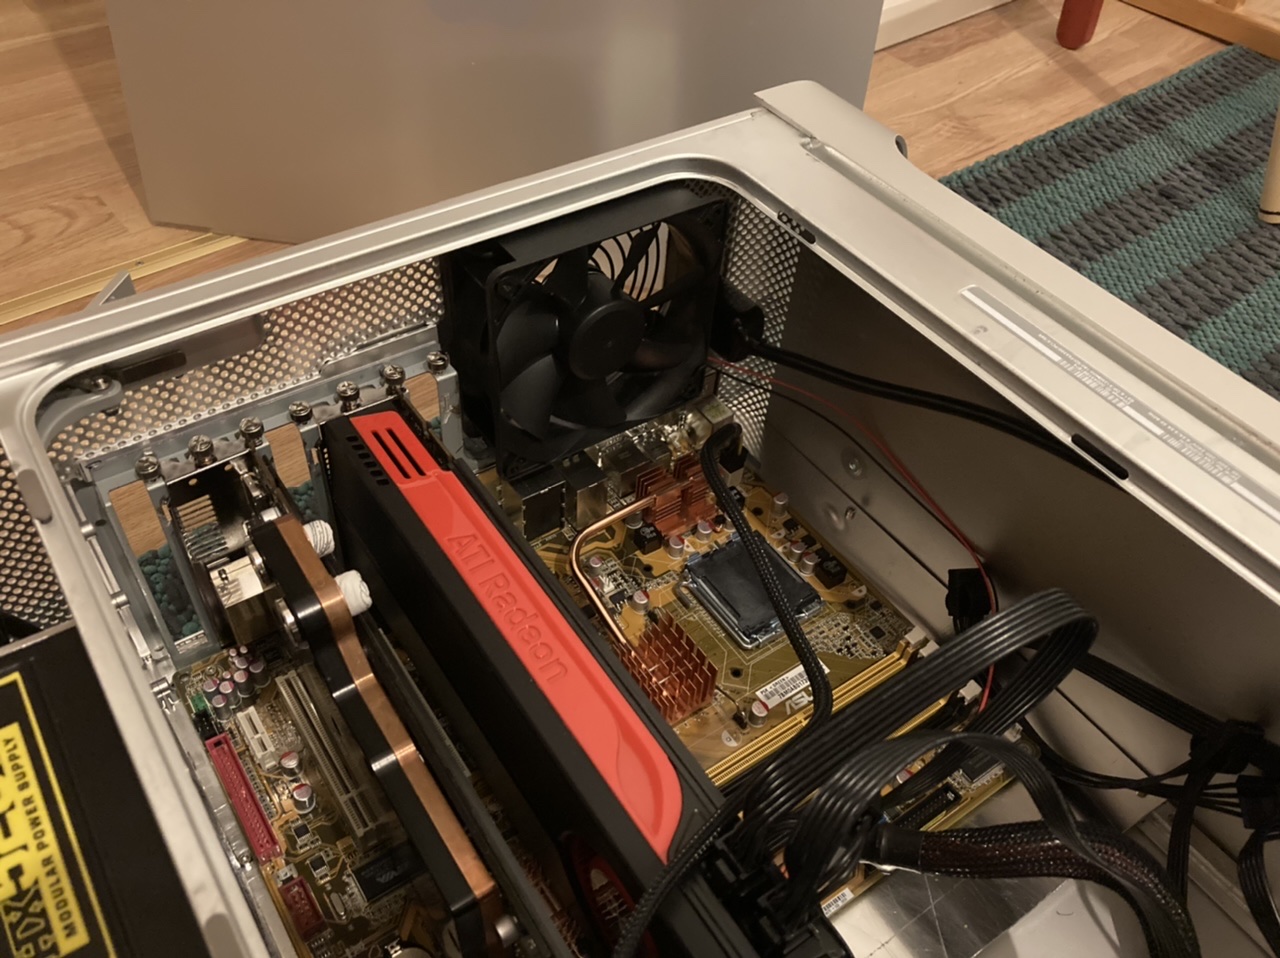
Test fitting the hardware with old motherboard tray. Plan was to use the original Mac Pro hardware layout with this and put PSU at the top of the case. Because of the curvature of the case I can’t push both the motherboard + PCI I/O and PSU right at the back of the case, so for the PSU I have to make extension cable and route the power 3 pin power socket to some where else. Most likely place is under the 120mm fan at the back of the case.

Oh and fun fact before I go, I just realized this is my first proper case mod where I’m modding actual case. My two previous projects were both built from scratch. :smile:

17 Likes

Aight some updates. I started working with the motherboard tray, and my first plan was to make one full piece that would go inside the case from top to bottom. Idea was that I would cut big enough hole to the metal divider plate, and then attach both motherboard and PSU to the same plate. It was nice weather outside so why not enjoy it?

However there was small problem with full size motherboard tray…

…aww shite I can’t fit a sheet that big inside the case. So plan B, let’s make smaller motherboard tray and let’s leave it up to future Even to worry about how to mount the PSU to the case. I have a feeling future Even won’t be happy about this :thinking:

Since G5 case has rounded corners and I wanted to extend the motherboard tray to reach the bottom of the case, a completely square motherboard tray wouldn’t fit in there. So at first I was just thinking of cutting the corner off, but hey, that would be to simple. So instead I tried if I could get the corner of the tray to match the curvature of the case.

I found some huge washers that looked like they had the right diameter, so after some file work this was the end result.

Couldn’t find any good reaction picture that would describe the satisfaction when I tried to fit that tray in place. More or less a perfect fit :ok_hand:

Then it was time to get motherboard standoffs in place. This is the third case where I’m making the motherboard tray from scratch and I still wasn’t able to align all of the standoffs perfectly. They match the mounting holes in the motherboard but you again have to wiggle the mobo a little to get all the screws in place.

I also had to cut some clearance for the PCI cards.

Well bigger motherboard tray didn’t work out, but I’ll let you be the judge if this is nicer or not. :slight_smile:

PCI / IO shield thingy is not attached to the tray, yet. I’ll get to it later.

Btw the motherboard tray is most likely going to be painted in some dark gray colour. I was thinking of trying to get the same color idea like the new 2020 Mac Pro has, where the case is silver, but all the back I/O and case internally is dark. I’ll update this to project goals list. This is what I mean:

I probably won’t paint the whole case dark inside, but at least part of it. Anyway, next job is to mount the motherboard tray to the case. Updates coming in a day or two. :slight_smile:

9 Likes

Got motherboard tray mounted to the case. At first plan was to use original motherboard mounting points that were still in place in the case. How ever, they are 13mm tall, meaning the motherboard would sit quite high in the case and this in turn would make it difficult to mount tall CPU coolers. Also there would have been really tight spot for the 120mm fan in the back of the case if I was to use the original mounting points. Oh, and we also need to factor in the 7mm motherboard standoffs where the motherboard is attached, meaning it would over 20mm of “wasted space”.

I haven’t actually measured how much space I would have left with if I mounted the motherboard to original mounting points, but what ever, I decided to do something else. First I had to pull the original mounting points out.

I started making new brackets out from 6mm thick alu.

I tried to make one 30cm long bracket, but getting all the screw holes aligned perfectly was way too difficult. So instead I just made few shorter ones.

That aluminium “lip” is roughly 2mm thick, so combining that with the 6mm bracket the motherboard tray will now sit about 8mm off from the case’s side.

And here you can see the new brackets attached. It was then just a matter of drilling holes to the motherboard tray and mounting brackets and taping 3mm screw threads to the brackets. Note that the steel divider plate on the left is only 1mm thick, so I had to put small washers under the 6mm brackets to match the 8mm total height on the right side.

And now the motherboard tray is mounted to the case :partying_face:

I’ll start working with the back of the case next.

9 Likes

Got the back plate finally done. Took a lot longer than I expected. I should probably learn to use CAD software and get some of the parts laser cut instead of doing everything by myself. :thinking:

I started by cutting big enough hole, so that I can fit the 120mm fan to the back of the case as well.

Test fit. This was the moment when I realized I didn’t have to cut off the original hole for the PSU power socket. Well done what’s done, I did something else here. :slight_smile:

If someone else wants to do something similar here’s what I realized. Original mesh holes in Power Mac case are just the right size for M3 screws. I don’t know if metric screw threads are common in America, but there might be UTS threads also that should fit these holes. :thinking:

Anyway, I’m trying to avoid drilling any extra holes to the case, and instead using the original mesh holes as much as possible when attaching the back plate to the case.

Hole for the general I/O done.

I ended up re-drawing the outline for the fan few times, not completely happy about this one either but it will do.

Here’s where I decided to put the C14 PSU power socket. The original place where the power socket used to be seemed to be the best choice.

But just to make sure I won’t make things too easy for me I decided to mount the PSU plug to the pack panel from the inside. You’ll see what I mean later. This way when I’m painting the back panel black the power socket won’t stand out too much. Sort of how if looks in new 2020 Power Mac. :slight_smile:

I had few different C14 sockets to choose from. I first thought that separate power switch would be more “heavy duty”, but eventually it felt bit unnecessary. So I used regular C14 socket here.

And here’s the socket and fan hole ready.

And money shot from the entire back plate. I did trim some excess off from the back plate to make sure I’m exposing as much original case mesh as possible.

Next up is the PSU mount. :electric_plug:

Questions and comments are always appreciated. :slight_smile:

16 Likes

Millimeters.

Looking really good though.

3 Likes

Alright, my vacation is over. I stopped updating this work log and instead focused on getting as much done with the limited time I had.

Here’s how I solved the PSU mounting problem. My dad gave me an idea of making separate tray or “sled” for the PSU, that can be pulled out entirely from the case. This was much simpler solution than what I had in mind. Idea is to have some surface where the PSU can rest on. Dad also suggested I could use some spare hinges he had lying around to make using the PSU tray even easier, but unfortunately I didn’t have enough space to cut big enough hole for the PSU so this idea had to be scrapped. I just attached the tray with nuts and bolts.

After I got the PSU tray done I realized other than bolts and nuts every piece of aluminium I used were recycled scraps from my past case projects. :smile:

For example this piece I used as a base for the tray is the old prototype front panel from my previous case project. Just need to trim off some excess material.

I also made small mounting shroud for the PSU. Since the PSU will rest on the tray, I could have used just some simple L-profile, drilled holes that I can attach the PSU using the bottom row mounting screws and call it a day, but I wanted something little more robust.

I did trim off some excess material from the PSU shroud later, but for now I just wanted to see if the thing fit’s into the G5 case.

I also had to make some adjustments to make sure the side panel locking mechanism has enough space to move.

And then it was time to drill holes and attach the PSU tray to the original divider plate.

I didn’t have clear idea how big hole I had to cut to the divider plate, so I cut several pieces until I was finally able to fit both the PSU and PSU cables through the plate.

There’s also small roughly 5mm height difference in between front and back of the divider plate, so I had to make some spacer to make up for that. Ended up using one of my failed attempts at making case feet to my previous project, hence the shape and unnecessary screw holes in the spacer. This piece won’t be visible once the PSU tray is installed so meh, didn’t really care how good or bad the spacer looks. :smile:

And here you can see the final hole in the original G5 divider plate.

Then the last thing to do was to cut holes to the PSU tray. One hole for the PSU cooling fan, and another hole where I will route the PCI-e, SATA and other power cables. I used old 140mm fan to eyeball where the PSU cooling fan might be.

Fan hole is bit oddly shaped because I wanted to leave some material to the tray, to make sure this thing can support the weight of the PSU. Those weird notches on the left side of the tray are for the screws and motherboard stand offs. Without them I can’t slide the PSU tray to it’s place.

I also cleaned the PSU mounting shroud. I don’t like using L-profile attaching things because it looks bit ugly imo, but right now I didn’t care that much.

Front hole is for the power cables. That tape on the PSU says “fan” in Finnish. I don’t have dead PSU that has bottom exhaust fan so to make sure I remember which side the fan is on modern PSUs I had to mark it some how. :smile:

Here you can see better why I had to make those odd notches to the side of the tray.

One last cut to the original divider plate. I cut little bit off from the corner to make sure I can fit the power cord here. I’ll show later how the power cord will be routed from the back of the case to the PSU.

Oh and those original stand offs were removed later.

That’s it. I’ll update the front fan mounting bracket and internal power cord next once I find some extra time to sort out pictures.

8 Likes

Looks awesome, man!
Tracking

1 Like

So, front fan bracket. I’ve seen people do all sorts of creative fan mounting contraptions using rubber strings and what ever to their G5 cases, but I decided to go the old fashioned route, and made the bracket out of 2mm alu sheet.

After cutting and filling some corner pieces off I got the sheet to right place. I basically mounted the bracket as close to the front of the case as possible, just against some of the screws that are holding the case shell together.

I wanted to put the fans close to the front panel so that I have as much room inside the case as possible. I probably won’t be putting RTX 3090 in there but hey, better safe than sorry. :smile:

While I don’t like to attach pieces together with L-profile, I was in a bit of a rush to get this done before I had to leave back home. So, L-profile it is. These pieces are again some old failed parts from previous projects.

And here’s the bracket ready.

The bracket is attached with one screw at the bottom of the case and… three screws at the top. Don’t ask why I drilled three holes to the divider plate, it was something like 1am in the morning…

In my defense I was left unsupervised

Picture is taken upside down, this is the original G5 divider plate that has the PSU tray already attached.

I also cut small notch where I will eventually route wires for front USB port and power button.

All the big and small pieces that I either made or modified for this project thus far.

Here’s the power cable that I made with my dad. We actually have to redo the cable. There’s some small problems with it, and the biggest of them is the actual cable is PVC coated and quite stiff, meaning it’s bit tricky to route and cable manage in side the case. I’ll try to find some nicer 3x1,5mm cable for this. I know 0,75mm cable would be enough but I’m paranoid and want to be sure

Here’s bit better pictures about how the fan bracket is mounted to the case.

And I did take some better pictures with some test parts. I’ll see if I can find the stock cooler for that other Radeon card, I got both cards from a friend of mine who was getting rid of some old parts he had gathering dust. Good for test fit parts in case projects. :slight_smile:

Oh yeah and here’s something that I’ll try: I bought this 38mm thicc 24V industrial fan that I was planing to use as exhaust fan at the back of the case. Operating voltage is 10-28V so it should work if I strap this to the 12V line coming from the PSU. IDK I’m probably alone with this but I like these thicker fans, looks heavy duty. :slight_smile:
Sadly there’s almost none available in PC cooling market. Scythe used to make them back in the day.

Alright, that’s it for now. I’ve ordered some Fractal Design fans to go to the front of the case, but I might replace them eventually with some Noctuas. I don’t know, we’ll see.

I still have to make dust filter for the front fans and some kind of mounting contraption for 2.5 SSD’s, since I don’t know how new hardware I will throw into this thing. M.2 drives don’t need anything extra but again, we’ll see what hardware I’m able to dig up. I might also just buy something new.

I’m also planing to make some sort of shroud or plate to cover and hide the PSU compartment, and I’d also like to hide the CPU cooler and motherboard with some shroud, bit like with the original G5 hardware. But all this is just extras that I might or might not get done.

Hopefully I can take couple weeks of vacation in January-February and continue this then. :slight_smile:

12 Likes

Looking good there!

I have one in my solder fume extractor. Is made by “Sunon”, 12V (runs hard pulling ~10-ish Watts), 120x120x38mm

1 Like

Mine is made by Sunon as well. I picked the 24V version since this thing is supposed to scream at 48dba or something at full speed, so I’m hoping the sound level would be tolerable when running this on 12 volts. But yea if the fan is still too loud I might ditch the idea of using this. :smiley:

Found this PDF, the model of my fan is MEC0382V1-000J-A99

1 Like

Mine is a MEC0381V1-000U-A99

1 Like

I know there’s lots of fan manufacturers like EBM-Papst, Adda, Yate Loon and Delta Electronics but I wasn’t able to find them from any online stores. Or well I did find EBM fans but that store was over pricing them, not going to pay almost 40€ for industrial fan if I can get Noctua under 30 :smile:

1 Like

I expected this mod to look pretty ugly, BUT DAMN, you used metal sheets, smooth edges, and precise measurements to make it look REALLY GOOD! So far it looks fantastic!

Do you plan to add a “brushed aluminum” look to it, to match the original case design?

2 Likes

Thanks! :slight_smile:

The mod Linus Tech Tips made looks great too, tough I want to preserve the original look.

For the back panel shroud, yeah I’m going to try. I think I should be able to sand it to match the original case. All the parts inside will be painted with some dark color.

3 Likes

Alright, finally I have some new stuff to update. Had access to a work shop last week and finished sata drive holder for this case.

Here’s the 2.5 SSD holder. There’s several places where I could put 3-4 regular sata ssd drives, like between the CD drive hatch and PSU.

I eventually decided to put the sata drives at the bottom of the case, but I can of course make another drive holder that goes at the top of the case, between the PSU and CD drive hatch. Or lid. Shutter?

There’s two ways how the drives can be mounted

sata drive holder is mounted to the case using original screw holes. I think the original PSU was mounted to the case with these screws.

The smaller screw is used to attach the fan bracket.

6 Likes

Man this looks great mate! Good job so far on your work. Love it!

2 Likes

@Even747 I just found out about your project today. I think it is coming along quite adequately. My favorite part was the custum solution for mounting your SSD drives. You sir are an artist’s

2 Likes

@Even747

pic hiding to not distract from ur build

this was my “up cycled” idea in 2012 with some rubber cement and screws

this is just a idea

3 Likes

Great lookin case! That PSU mounting bracket is super well-done BTW. I recently had a go at both a G5 and Mac Pro case mod but gave up after I realized the limitations of using mATX (I wanted to keep the cases as stock-looking as possible). I decided that it wasn’t for me and just bought a Fractal torrent that I am probably still going to mod lol.

1 Like

I think this is the highest compliment one could receive. Thank you very much! :slight_smile:

When I got the case most of the stuff inside was already gone. There was only some fans still in place but now that you mention it, I can’t remember if the case still had the HDD holder or not. I have to go rummaging my storage unit in the basement, I did save all the parts that were in the case, minus the old gasket that’s in the side panel. It fell off when I was cleaning the case.

Thanks!

Laser hive used to sell conversion kits for old Apple cases, but they do alter the back of the case, little bit the same way as my own solution.