Even's DIY ‘n stuff blog

i3 is love, i3 is life. :smirk:

Running atm the Majaro i3 edition. Thinking of installing Arch at some point. @BookrV said ladies love Arch users and will gather around me, competing for my attention if I start using it. :thinking:

5 Likes

I was just about to say Manjaro. Lol

3 Likes

Nice color scheme.

@BookrV is a fucking liar btw :wink: Only thing that gathers around you when you use Arch is sweaty Arch users telling you you’re doing it wrong.

1 Like

I’ll man up and install FreeBSD. Then I can feel the power of the universe channeling inside me.

/s

Ironically I can’t get KDE to work on FreeBSD, have to get back to that project soon. :smile:

Thanks, .Xresources bellow if you want em

.Xresources

!Font, scrollbar and default window size declarations

URxvt.font:xft:Monospace:pixelsize=15:antialias=true
URxvt.boldfont:xft:Monospace-Bold:pixelsize=15:antialias=true

URxvt.scrollBar: false
URxvt.geometry: 90x30

!Background opacity. This also defines background color.
urxvt*depth: 32
urxvt*background: rgba:1000/1000/1000/E600


!Disables the insanely annoying Ctrl+Shift shortcut that enters ISO14755 mode
URxvt.iso14755:         False

!EXTENSIONS:
URxvt.perl-ext-common: selection-to-clipboard,pasta
URxvt.keysym.Control-Shift-V:     perl:pasta:paste


! special
*.foreground:   #d0d0d0
*.background:  #0d0c0c
*.cursorColor:  #d0d0d0

! black
*.color0:       #0f0e0e
*.color8:       #808080

! red
*.color1:       #ff0099
*.color9:       #ff0099

! green
*.color2:       #b61566
*.color10:      #b61566

! yellow
*.color3:       #fb66bf
*.color11:      #fb66bf

! blue
*.color4:       #0683a1
*.color12:      #0683a1

! magenta
*.color5:       #7e079c
*.color13:      #7e079c

! cyan
*.color6:       #e207f2
*.color14:      #e207f2

! white
*.color7:       #ffffff
*.color15:      #ffffff
1 Like

OpenBSD

1 Like

Hmm, I totally forgot to update some stuff here. Let’s fix that now.

My old desk used to have drawers where I could keep some small stuff I liked to have in arms reach. My new desk doesn’t have drawers (might make drawers later), so I used to hold some basic things like pens, usb drives, fabulously colored flash light and whatnot in small plastic…container? I guess that’s the right word.

That container was some old worn out lunchbox that I repurposed, but I never really liked it. So why not make new one out of wood? Goal was to make the box using only clue in assembly, no nails or screws. So being true to myself I went on and totally over engineered the hole thing. Sensible option would have been to just miter cut the sides and glue the bottom sheet of plywood to the frame, but instead I tried to attach the bottom piece slightly differently, hence the “over engineered” statement. :smile:

I can’t remember where I saw this technique to cut small slot to each side piece and sandwich all together in one glue up, but it felt interesting enough to try.

Oh and the slot was cut using the table saw. I didn’t have router when making this. I split the costs with dad747 and now we have a router in the workshop. :slight_smile:

Slot for the bottom piece is bit too big, the piece it self is about 4mm thick, while the slot is about 5mm. That wasn’t a problem since I put glue also in to the slot, so the bottom isn’t moving in its slot at all.

Then it was just matter of using enough clamps to hold the whole thing together while the glue was drying up.

And the final product, next to the old plastic container.

Idk, wood just looks always nicer than smooth plastic surface. :slight_smile:

I didn’t use any finishing method with the box so it’s just natural wood surface now. Might do something later.

I might make a new box later, the wood that I used for the sides is 15mm thick and, well, bit too thick for this purpose.

8 Likes

blows of some dust away from abandoned blog

Aight, cleaned my first self made case today with some dishwashing soap. Case has been in storage for about 6 years now and the amount of dust it had collected was legendary. And it smelled like storage :nauseated_face:

I planing to reuse this and give it new life as htpc, for now. I need to check if I have to get new psu and ssd for this

7 Likes

Cable monster vs no cable monster.

Wish I knew what was my reasoning on buying non modular psu for a case project where I tried to build small case without too much of wasted space.

Anyway, original 850w psu is making this really high pitched coil whine sound, and I’m not interested at hearing it while trying to watch movies. Luckily I found my old 520w psu I originally bought for my old core 2 duo rig. Fan in it is audible but I’ll see if I can tolerate it. If not I’ll throw some money at my local pc hardware store.

Ordered new ssd for this, but for now I’m just testing things with old laptop hdd.

And ignore that power switch dangling like that. You didn’t see anything.

9 Likes

So the old Corsair psu was warm even after the htpc was offline for few days. It might be that computer is just sipping enough power when switched off that it is enough to warm the PSU (that has not the fan running). Or it might be some of the internal components are just one step away of dying. What ever the case was, I thought it might be good idea to get new power supply for this.

Before anybody points out, yes, Gold rated 650w Seasonic power supply is absolutely overkill for this, but the reason why I picked this one was simple. I wanted to get a PSU with semi passive cooling, and this unit was one of the only ones that I was able to find in stock. All others had availability dates few weeks in the future. And me being inpatient guy waiting was not a option. :smile:

I might recycle this PSU to my future NAS build later on. Or get new one, who knows. :upside_down_face:

Oh yeah, I got 250gig SSD too. Now I can barely even see the Elementary OS logo when this thing boots. :ok_hand:

PSU and SSD in place. SSD isn’t attached in any way, I might put some double sided tape under it later but meh, it’s fine like that for now.

One thing to mention about this new PSU: It comes with PSU tester! Or rather, this is more clean way to start the PSU without computer. I wouldn’t mind if other brands would send these with the PSU’s too.

And htpc setup ready. For now.

6 Likes

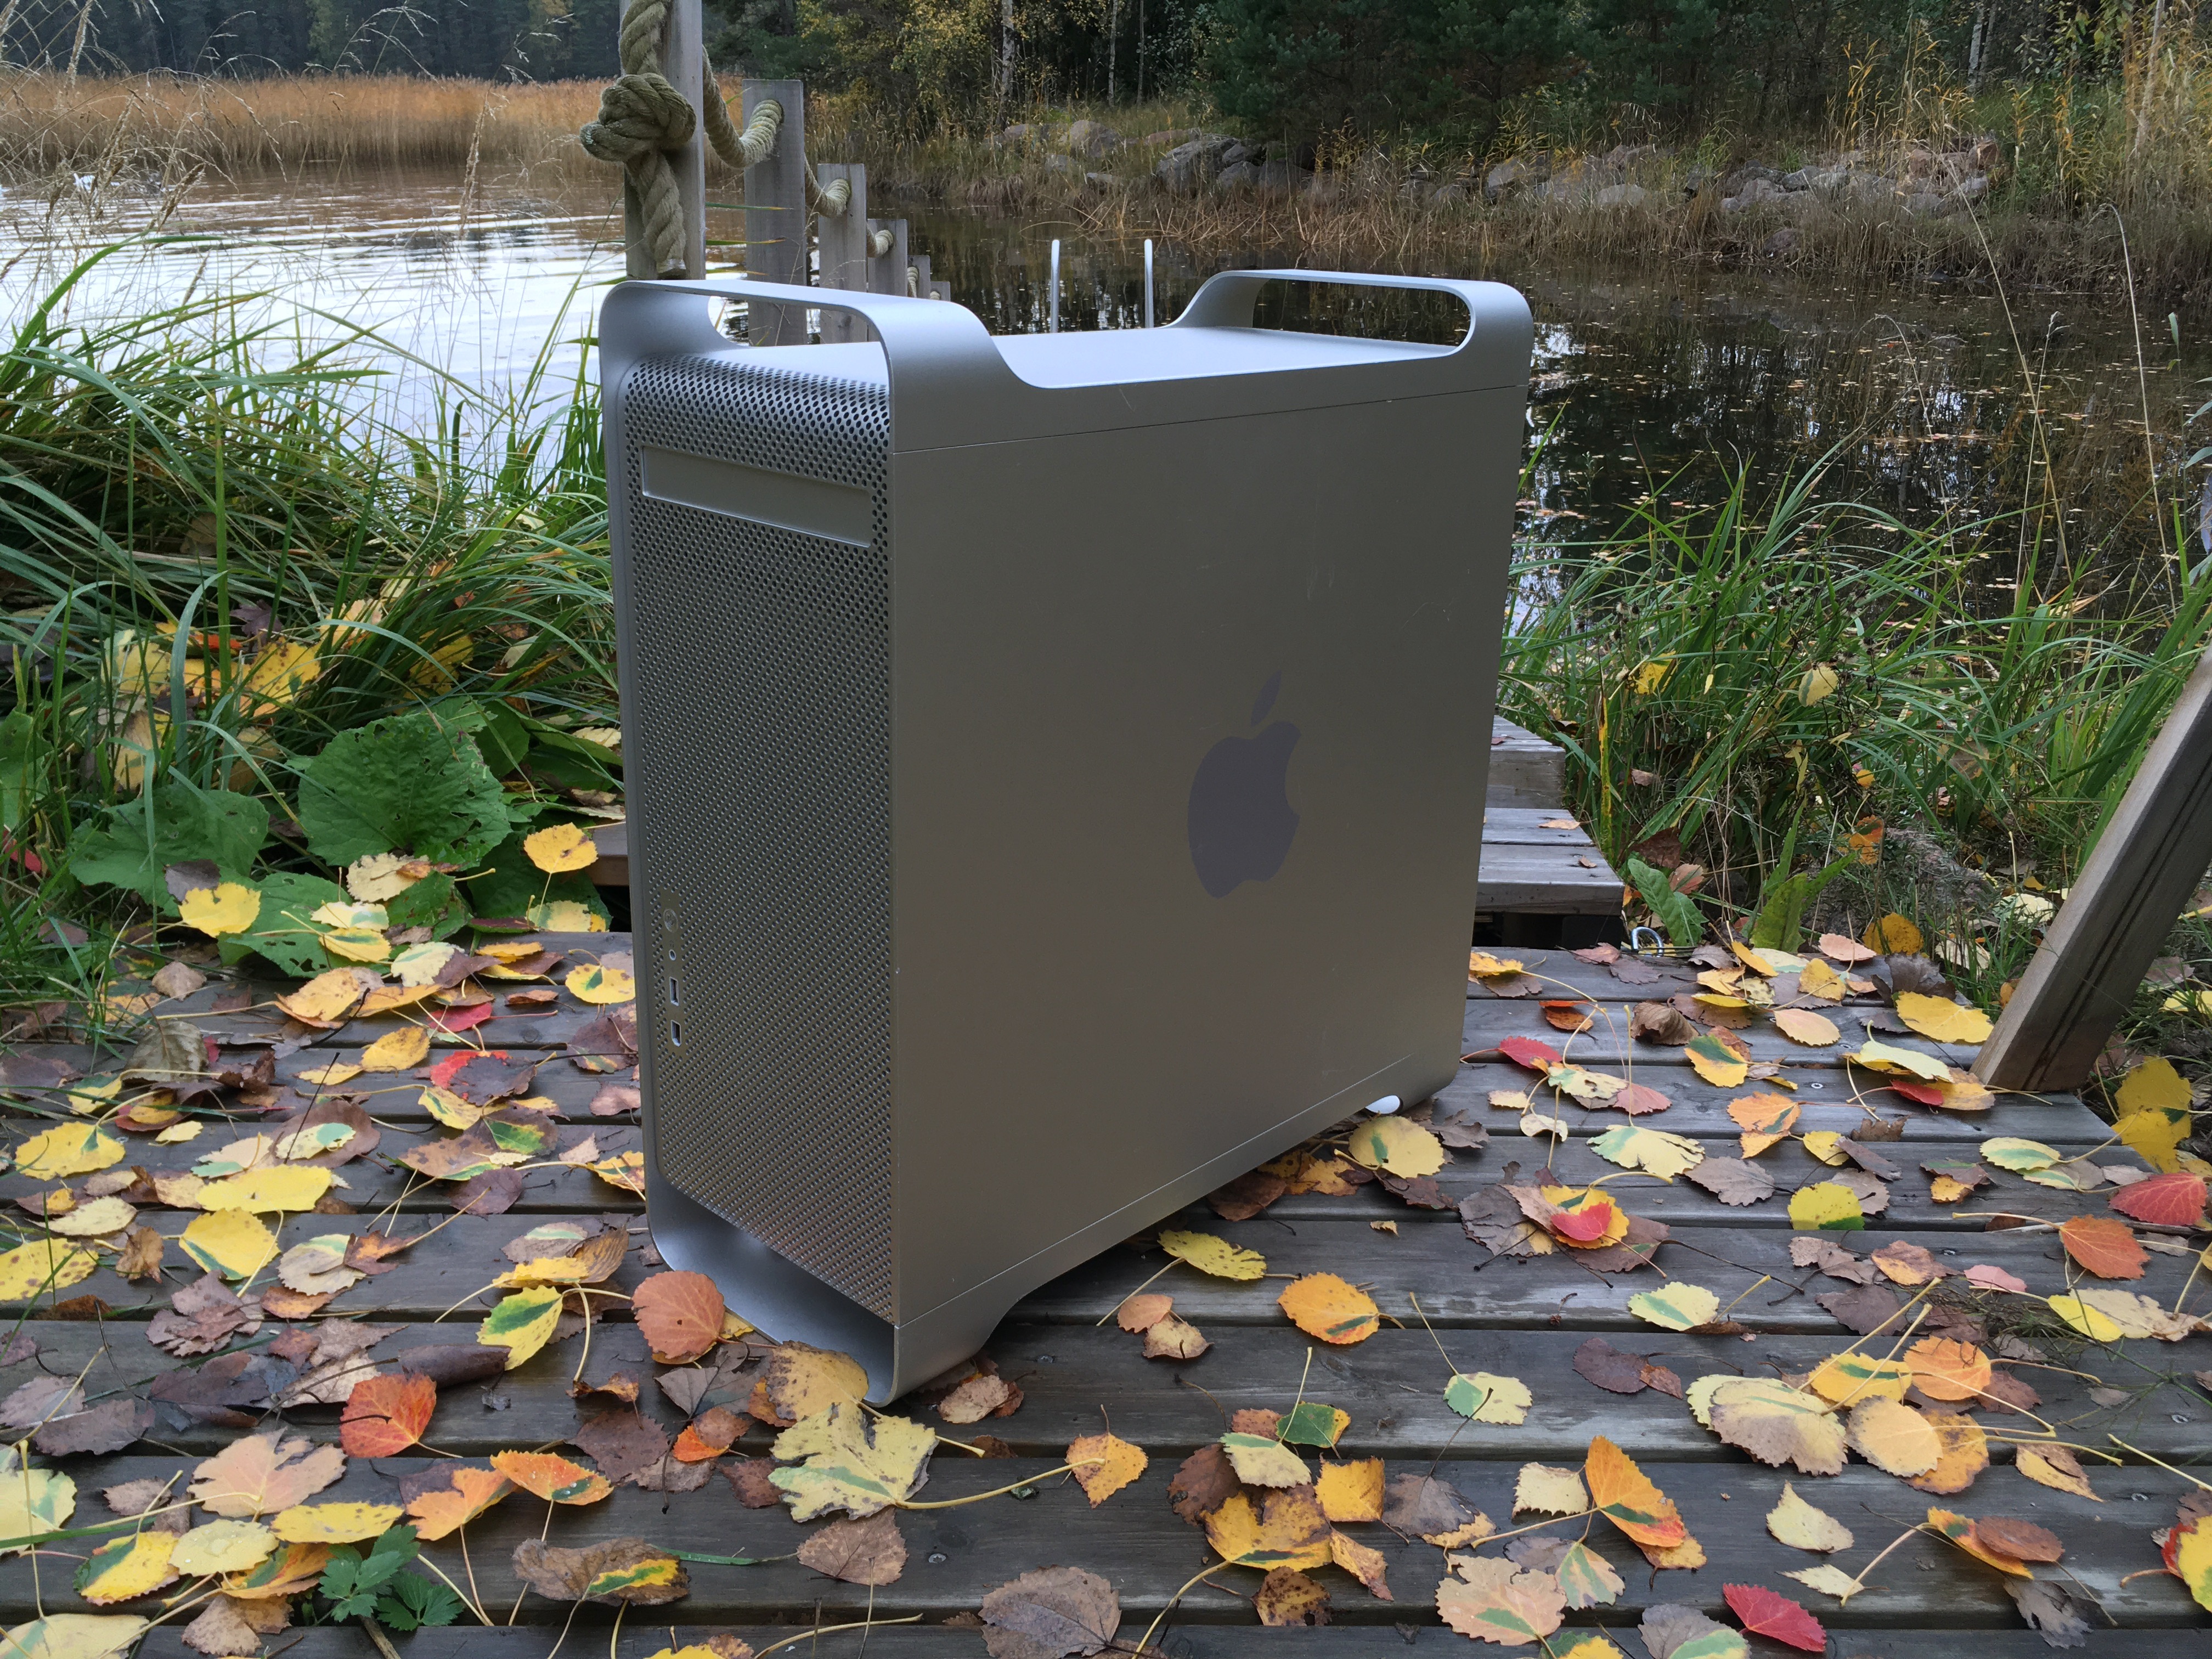
Anyone following my blog: I finally started working with the Apple G5 case. Project log here: Sæglópur - Power Mac G5 case mod project

7 Likes

Well since this blog is about stuff that I find interesting I might as well share some linux related things here too.

While I was testing Alacritty terminal today I noticed some odd behavior with ranger, which is a terminal file manger.

While I prefer to use GUI file managers like Thunar, imo the image preview in ranger is something you can’t get in GUI managers. Well while I was playing with ranger in both urxvt and alacritty I noticed that the image preview breaks if I manipulate window sizes in awesomewm, or move focus out of the said window, etc.
I’ve had these small problems with image preview before but never got around fixing them, I always thought this is caused by the terminal emulator.

Well today while searching solution for the problem I noticed some user had changed the default w3mimage renderer to Überzug. After installing it I only needed to add these lines to rangers rc.conf file:

set preview_images true
set preview_images_method ueberzug

first line was already in my rc.conf, just needed to add the second one.

Now the image preview is working well both in ranger and alacritty.

tl:dr try to use Überzug if you have problems rendering images in terminal.

Link to Überzug repository:

1 Like

I got myself two old IBM Model M keyboards. They are bit different generation, other has detachable cable while other one (the one with blue IBM badge) has fixed cable. They were in overall good condition, though they needed some proper cleaning. Here’s what I did.

Biggest problems were dust, stains, and general dirt that had accumulated over the years. PS/2 cables were also really dirty, and both keyboards had this strong smell, like the one that you notice in old warehouses and attics.

Both boards were in ok condition, but since these are used and I don’t know when was the last time these were cleaned I thought a proper and thorough cleanup was needed.

First I washed the key caps using normal dish wash soap.

I used regular dish wash soap to clean the outer plastic shell of the keyboard as well, and it was really effective against the smell I tried to get rid off.

However the smell didn’t completely come off when I tried to scrub the black key switch assembly on both boards, so I tried vinegar. I’ve used vinegar before to remove murky smell from my current apartment (previous tenant was a smoker) and it worked really well. I simply poured some vinegar to small bowl and let it sit close to keyboard parts a few days. And yea, I did this in my bathroom. :smile:

The annoying smell is still present on the cables, otherwise the vinegar trick worked really well here. I might try to use the vinegar to scrub the cables, but eh, that can wait for a better day, the smell isn’t nearly as bad now. And despite my best efforts cables still look quite dirty, probably something that’s only fixable with new cables.

Here’s cleaned keyboards without key caps.

And here one of the boards on my desk. Today I learned that some motherboard manufactures apparently aren’t complying to old PS/2 connector standard that closely anymore, causing problems with older keyboards. At least that’s the only explanation I found, since neither of the Model M’s are working on my current Ryzen desktop that has MSI motherboard. When I tested these using my old workstation (Intel 2500k + Asus mobo), both keyboards worked fine when connected to PS/2 connector. And yes PS/2 does not support hot swap, I did shut down the computer first before connecting the keyboard to PS/2 connector.

Well PS/2 to USB adapter is on it’s way so hopefully that will solve the problem. :crossed_fingers:

7 Likes

I’ve wanted to revamp my home network a little, so to get things started I got myself new x86 based firewall/router. Here’s my initial thoughts about the platform after using it for few days.

I haven’t done any major stress testing so take my opinion as “filthy casuals point-of-view” :grinning_face_with_smiling_eyes:

Router is based on PCEngines APU2 platform, more specifically I have APU4D4 board. If someone is interested this is the exact package I got, plus I also got the bios flash module and SATA cable if I ever want to put regular 2.5 Sata SSD into this thing.

CPU is AMD Embedded G series GX-412TC quad core 1GHz cpu with AES-NI support. When I was looking for possible router hardware one criteria was to have AES-NI support available, not that I need it, but afaik pfSense is planing to drop support for non AES-NI CPUs in the future, if they haven’t done it already. So aes-ni was more of a future proofing the system, rather than me wanting to play with cryptography etc.

System also has 4 gigs of ram with ECC support (ram soldered, not possible to upgrade later), and 4 Intel i211AT nics. Intel network interfaces was another requirement for the hardware. While something from Realtek might work, BSD based systems like pfSense and Opnsense are bit picky about nics, and the safest route is to go with Intel.

Other notable things about this platform is it has coreboot right out from the factory, the system is purpose built for this purpose, and this thing can boot from various different storage options (SATA, SD card, mSATA and USB). Bad stuff is the only output you can get from the board is via serial port, there’s no video outputs.

Anyway, PICTURES!

I decided to get more reliable mSATA SSD instead of using SD card as boot media. SSD is only 16GB but since this is going to be quite basic firewall I don’t think I will need much more.

Empty miniPCI slots next to SSD are for wireless cards. I don’t plan to add WIFI for this because I want to be able to throw this thing under the boiler if I feel like it and not having to worry about poor WIFI performance. I will get separate WIFI access point, more about that later.

Here’s the board upside down. You can see the CPU in top right corner. The piece of aluminium next to the motherboard is the heat spreader that comes on top of the CPU.

Here’s the heat spreader on top of the CPU. There’s thermal pad on both sides of the heat spreader. The CPU is cooled passively by using the aluminum case itself as heat sink. The heat spreader is sandwiched between the motherboard and the case.

Wall mount is optional but I put the bracket on already since my plan is to mount this thing under my table at some point.

Aaand pfSense up and running! :slight_smile:


So, what’s my first impressions?

I must say this is really neat and well made solution if someone wants to have small x86 based router and don’t want to go the Aliexpress route.

Currently I have only one grievance I’m not entirely happy, and that’s the CPU cooling. In normal use the CPU temps are around 60 °C, but when I put Steam to download a game without any bandwidth limitations CPU peaked around 73 °C. CPU usage was about 20%. Granted it’s really warm in my apartment right now, so I’ll have to do some extra testing later, but I don’t imagine the temps are going down much more from this with current cooling system. I don’t really care if CPU peaks at 70-75 °C, but what troubles me is when that happens the case is almost too hot to touch. Right under the CPU the case gets really hot.

Right now I have few bolts attached to wall mount brackets to lift the router off the table, to allow more air flow under it, since the CPU is located underside the router. I also have small table fan blowing air at the router, just testing out how much difference it would make. Currently I managed to drop the CPU temp down to 52 °C, but since there’s no cooling fins or anything I don’t think that active cooling is going to do much more here. We need to have more cooling surface.

BUT, who says we have to be satisfied with default cooling? :grinning_face_with_smiling_eyes:

What’s good is PCengines provides useful information about their products on their website, for example in here they are giving quite good description of what requirements there is for third party cases and what kind of thermal pads should be used. So I might try to jerryrig some alternative cooling solution for this. I will share my results here if I ever get around trying my luck.


And now my WIFI plans an problems.

My initial idea was to repurpose my old TP-Link Archer C7 as wireless access point. Instead of using the factory firmware I’ve flashed the unit with OpenWRT 19.07.7.

However, all OpenWRT AP tutorials and guides I’ve followed have either resulted me having no WIFI, no Internet over WIFI, or simply locking me out from the entire router. Thankfully the reset button let’s me to roll back to default config.

My plan right now is to ditch the idea of using old router as WIFI access point, and instead get some entry level Ubiquiti access point like Ubiquiti UniFi UAP-AC-LITE or LR. If someone has any good tutorial “for dummies” on how to configure OpenWRT to work as basic WIFI access point I’m all ears for learning purposes, but for simplicity I’m going to stick with Ubiquiti for now.

5 Likes

I am your expert for OpenWRT. I was born in it. Melded by it. You have merely adopted it and I am here to help.

Set your gateway to your router IP, and set the OpenWRT AP’s interface IP to a static one within your router’s IP range (like 192.168.1.2 if your router is at 192.168.1.1) also Make sure that dnsmasq, firewall, and odhcpd are all set to disabled in system → startup. Then go to Network → DHCP and DNS → make sure ‘Authoritative’ is checked, hit save and apply. Then reboot the AP.

You can even tag and untag each Ethernet port with different vlans for multiple WiFi networks.

If you need more help I can link you to the wiki pages

Thanks, I followed this tutorial that had about the same steps as your guide.

That resulted me not being able to log into the openwrt router anymore (yes I double checked I used right IP).

I’m still curious to see if I can turn that thing into AP, but for now I’m going to leave it as a back up solution if my pfsense firewall gives up.


Got Ubiquiti access point in the mail yesterday, let’s see if this thing gives me the desired result.

1 Like

Ubiquiti basically gave me exactly what I wanted with one button installer. I currently need to have just one wifi network for the few wireless devices that I own.

2 Likes

So I got myself another working G5 Power Mac. Earlier is original 2003 model, but the one I have here now is the Late 2005 model with dual core 2.0GHz CPU, or so the spec sticker claims. There’s 4 sticks of ram in there but I didn’t look what capacity they are. They don’t seem to be the same brand, so previous owners most likely upgraded the ram at some point.

I stated to take the thing apart so that I could get some of the dust out of there. I want to try and get everything out and cleaned at some point, but for now I just removed some of the fans and GPU.

As you can see, I didn’t manage to get this thing properly cleaned, but it’s bit cleaner now, and front fans don’t have thick dust layer on them anymore. :grinning_face_with_smiling_eyes:

G5 didn’t have hard drive installed, so I put one of my extra sata SSD drives in there. Don’t really care about speed right now, I just want to get this thing running.

Everything reassembled.

So next thing is to figure out how to get Void Linux or FreeBSD installed. If I’m correct I should be able to create bootable USB drive, but that probably has to have Apple Partition Map on it?

Anyway, I’ll keep googling.

Oh, and reason why I don’t want to install old version of OSX to this is I want to try and test how this thing could do as a daily computer. You know, just to see how obsolete this is for that purpose.

4 Likes

Idk if it just me but I hate it when stuff has fixed cables, especially if it wouldn’t be a big effort for the manufacturer to add extra power socket to the product.

Well my Marshall practice amp has non-detachable power cable, let’s fix it.

I have few extra C14 sockets from my Apple G5 case mod project. I started by measuring the size of the C14 socket.

I was first planning to put the socket as close to the right edge of the amp as possible, but decided to move it little closer to the middle. Just if you are wondering why I have multiple markings for the hole.

It probably doesn’t matter if the original hole for the cable is plugged or not, but I found some foam that seemed to do the job.

Done. Much better now.

6 Likes

Well, had some extra time during Christmas holidays and my old pedal board had some issues. So let’s make a new one. Old pedal board was put together maybe in an hour, without too much planning. This time I wanted to make a pedal board that would be bit bigger, and easier to move around if I want to take it to guitar lesson, band practice, etc.

Here’s a picture of my old pedal board

So my plan was to make pedal board that can fit into this type of tool case. These have removable dividers inside that I can just simply pull out.

Plywood would probably be better option, but I had some glulam board that I bought for previous project, so I ended using it instead.

I put extra piece of wood to the top edge of the board. This was simply to have more material where to drill, since the board was little too thin to mount the adjustable legs (shown later).

After that I painted the whole thing. Didn’t want to get creative with colours so I used cheapest matte black spray paint I found from the store. And yes, paint job is horrendously uneven. That’s also the plan since now I don’t need to worry about the paintjob getting scratches etc.

Plus I think the uneven paintjob looks kinda nice.

This was the reason why the top edge of the board needs to be thicker. I was debating which type of threaded inserts I should use for the adjustable legs. I ended up with the left one, since it was just easier to get into place.

I accidentally used slightly too large drill bit, so the thread insert didn’t sit tight in the drilled hole. I used some regular wood glue to keep the insert in place. If it fails I can try epoxy glue or something similar.

I also put some rubber thingy’s that are meant to be mounted under the cabinets under the board (no idea what these are called in English). I did this to prevent the board from scratching the floor and also to keep the board from sliding away when stomping on pedals. Without the rubber feet the board would just slide around on smooth floor surfaces.

Last thing to do was to cover the top side with Velcro. I also found some left over cabinet handles from my dad’s spare parts bin so I put one to the top edge of the pedal board. Just to make carrying this thing little easier.

After I got the top surface of the pedal board covered in Velcro I put my pedals back on and, well damn this actually looks much better than I initially expected. :smiley:

Height difference with and without those adjustable cabinet feet.


And to continue the music themed DIY stuff, I also sanded the neck of my electric guitar smooth. It used to have this glossy finish, but I didn’t like it. It made sliding my hand up and down the neck more difficult than it needed to be.

I simply used some 800, 1500 and 2000 grit sanding paper to sand the glossy finish to matte. I finished this by rubbing the neck with kitchen scrubbing sponge.

It’s not perfect, and professional luthier would have done better job, but I’m fine with the result.

And let’s finish the guitar maintenance with fresh set of strings.

6 Likes

Very nice work Even!!!

1 Like