General Overview:
So you want an open source smart home eehhh?
@SgtAwesomesauce and I began this concept at the beginning of this year. The concept was simple. Make a AI assistant similar to alexa and google home but integrate it into everything. Its been a bit long winded in the past few months and I think thats primarily my own fault. I have been processing a lot of stuff in my personal life. However projects are amazing for keeping busy and doing something fun and hopefully learning something along the way! We hope this project gives some more technical / creator interaction here. In light of recent forum feedback we hope this spurs some inspiration of other projects and reinvigorates seeing the maker community talk about their ideas. We are open to them and welcome them
We call it: RPAI
Hardware Concept Base:
- Raspberry Pi 4 4 GB
- All 3D Printed geometry for the sake of being open source
- MyCroft (since it integrates with home assistant)
- Home Assistant
- Aeotec Z-Stick Gen 5 (open zwave compatibility)
- conbee II (Zigbee aka
IEEE 802.15.4) - Jabra 410 (for mycroft)
- Noctua 80mm Fan 5V
- Armor heatsink for adequate RPI4 cooling (particularly if you want to OC it)
- Keystones for each IO so its a well designed and good looking package
- Wireless (hopefully on RPI4)
Software Concept:
We want this to be as open source as possible. Every skill we add and every thing we want to program into the capability of the device. We wanted a tailor-made agile image for mycroft so the pycroft image worked for us as a base. Hopefully as the concept grows we expand this vision. I want one little smart package to do everything. Usually you run into the jack of all trades master of none situation but we will see how this goes. We will be providing an image with MyCroft and Home Assistant onboard.
Hardware and Connectivity Choices
Author: PhaseLockedLoop
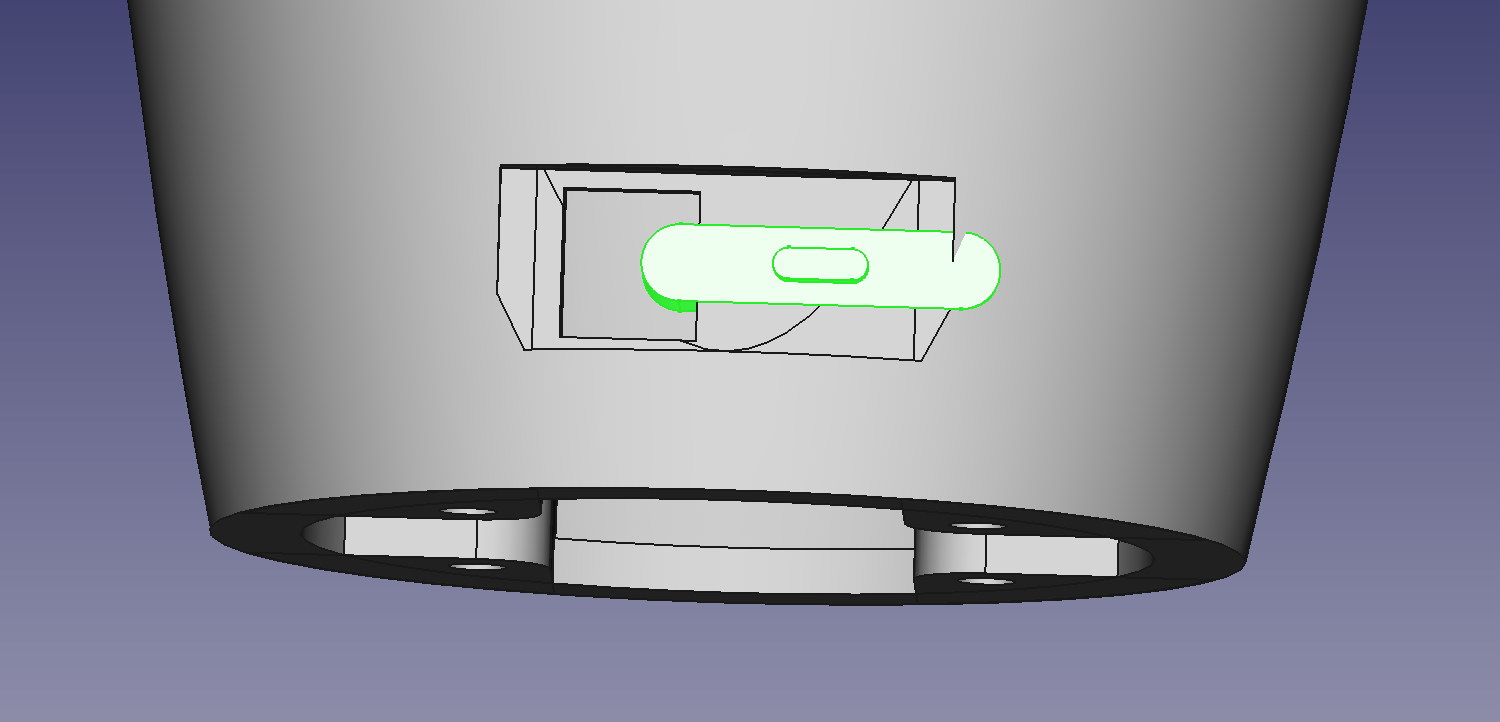
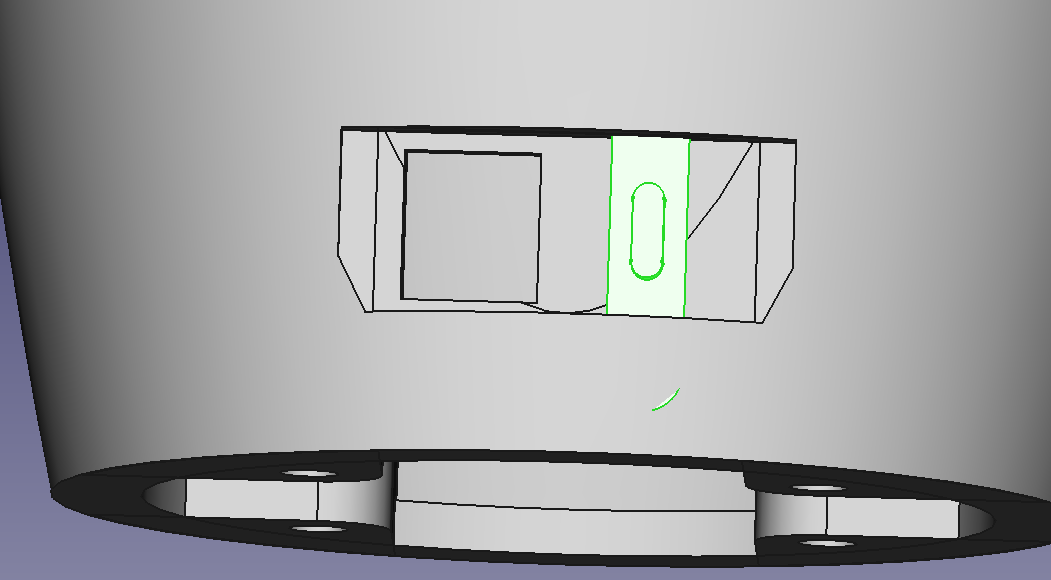
Keystones
So much to sarges frustration on the CAD I elected to keep Ethernet and have a keystone on the back. I think we could restore the Bonneville raceway if we ground him up a bit /s . Anyhow the reasoning behind this is if something fail Ethernet is now near fool-proof and a good back up or option to have in case someone did not want to use wireless. The frustration here has been finding all the necessary CAD specs to include it.
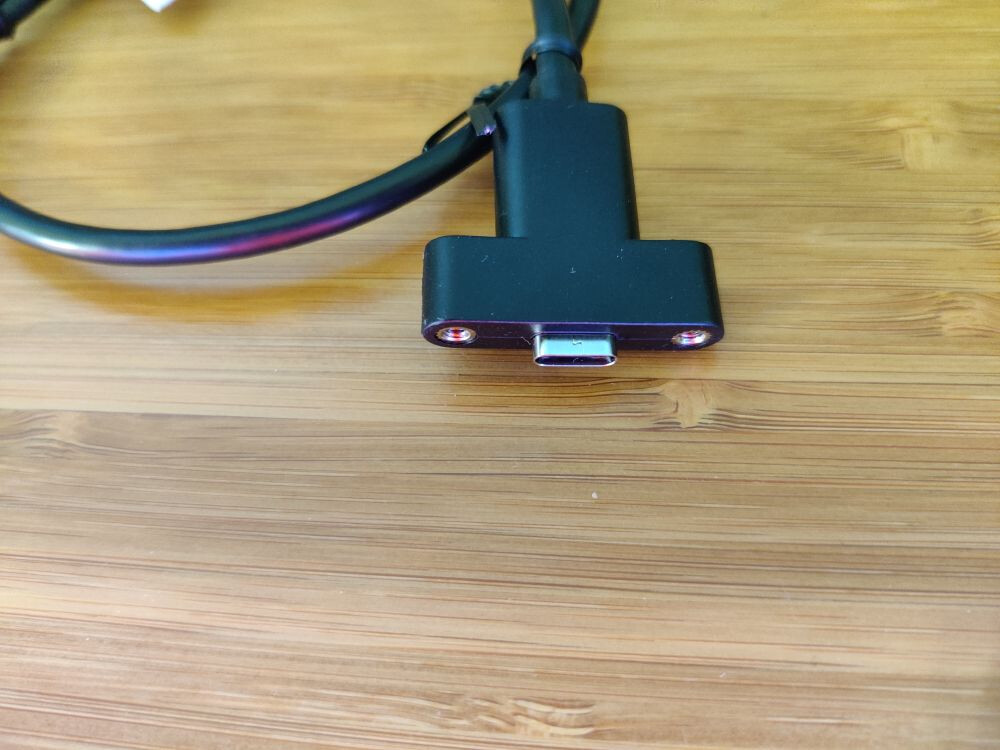
USB C Keystone- Any external connectivity we both wanted clean so this is our attempt to do so.
Wireless Connectivity
Obviously built in wireless will be utilized in an effort to preserve USB ports for other extensibility.
IEEE 802.15.4 - Obviously being an open source project how could we omit smart hub capabilities on ZigBEE. After much research the best controller for this is the ConbeeII
Open Zwave was also something we wished to implement http://www.openzwave.com/ . The software is not nearly as polished so we chose the best and most open hardware we could find for it. After that research we found that the aeotec z-stick series 5.
**Software bug on the AeoTec driver seems to limit it to USB 3.0 ports only
Ill expand more on this as my testing continues ~ PLL
Cooling
PLL chose a large heavy full coverage black aluminum heatsink. This thing is an absolute beast. Geekworm makes it. Mine had some issues. I dont think sarge had the same situation so see my testing log below. Also I dont think he was onboard with the heaksink until I forced his hand… Big LOL
Issue:
The clearances were incorrect and resulted in no thermal contact. I had to buy different tape because it did not seat well. My feeler gauges put the space between at 0.78 mm so the existing tape they provided did not work as it did not make contact with the chip. So I bought some Thermal Conductive Silicone Pads sized up at 1.35mm thick. This worked better and now functions and cools well. See testing log
Testing Log:
Software used: GitHub - ssvb/cpuburn-arm: A collection of cpuburn programs tuned for different ARM hardware
I ran the A53 version for about 2 hrs to test this at stock. The SoC temperature, monitored by Linux was about 58-59C heatsoaked while the ambient room temperature was 17C (Yes I adore the cold).
Me being me you know I would never stay there. LETS OVERCLOCK IT! Free performance right!? lol
This is where the heatsink shines. The RPI4 is known for serious heat issues. With the SoC overclocked at 2.05 gHz and over-volted at 1.054 V, and the GPU overclocked at 650 mHz the CPUburn 2 hour test stabilized at 78-80C but never throttled below 2.0 gHz. The ambient temperature this time was again 18C during the test. Thus this heatsink can handle just about what the max reliable end of the OC range is. So have fun
Audio
Jabra 410 was chosen because it is a phenomenal teleconference device and would be convenient to CAD around since its B spline is easy to make. It also contains a large good quality mic array and a solid speaker. This made it a no brainer to use since we wouldnt have to use any seperate hardware connections. It is true that it is not completely open source but for the functionality we needed we were able to get it to work. See sarges section below.
Frame materials:
PLA+ - Easy to a make and use. Cheap to prototype. Might go ABS or PETG if sarge and I get our printers capable of that material.
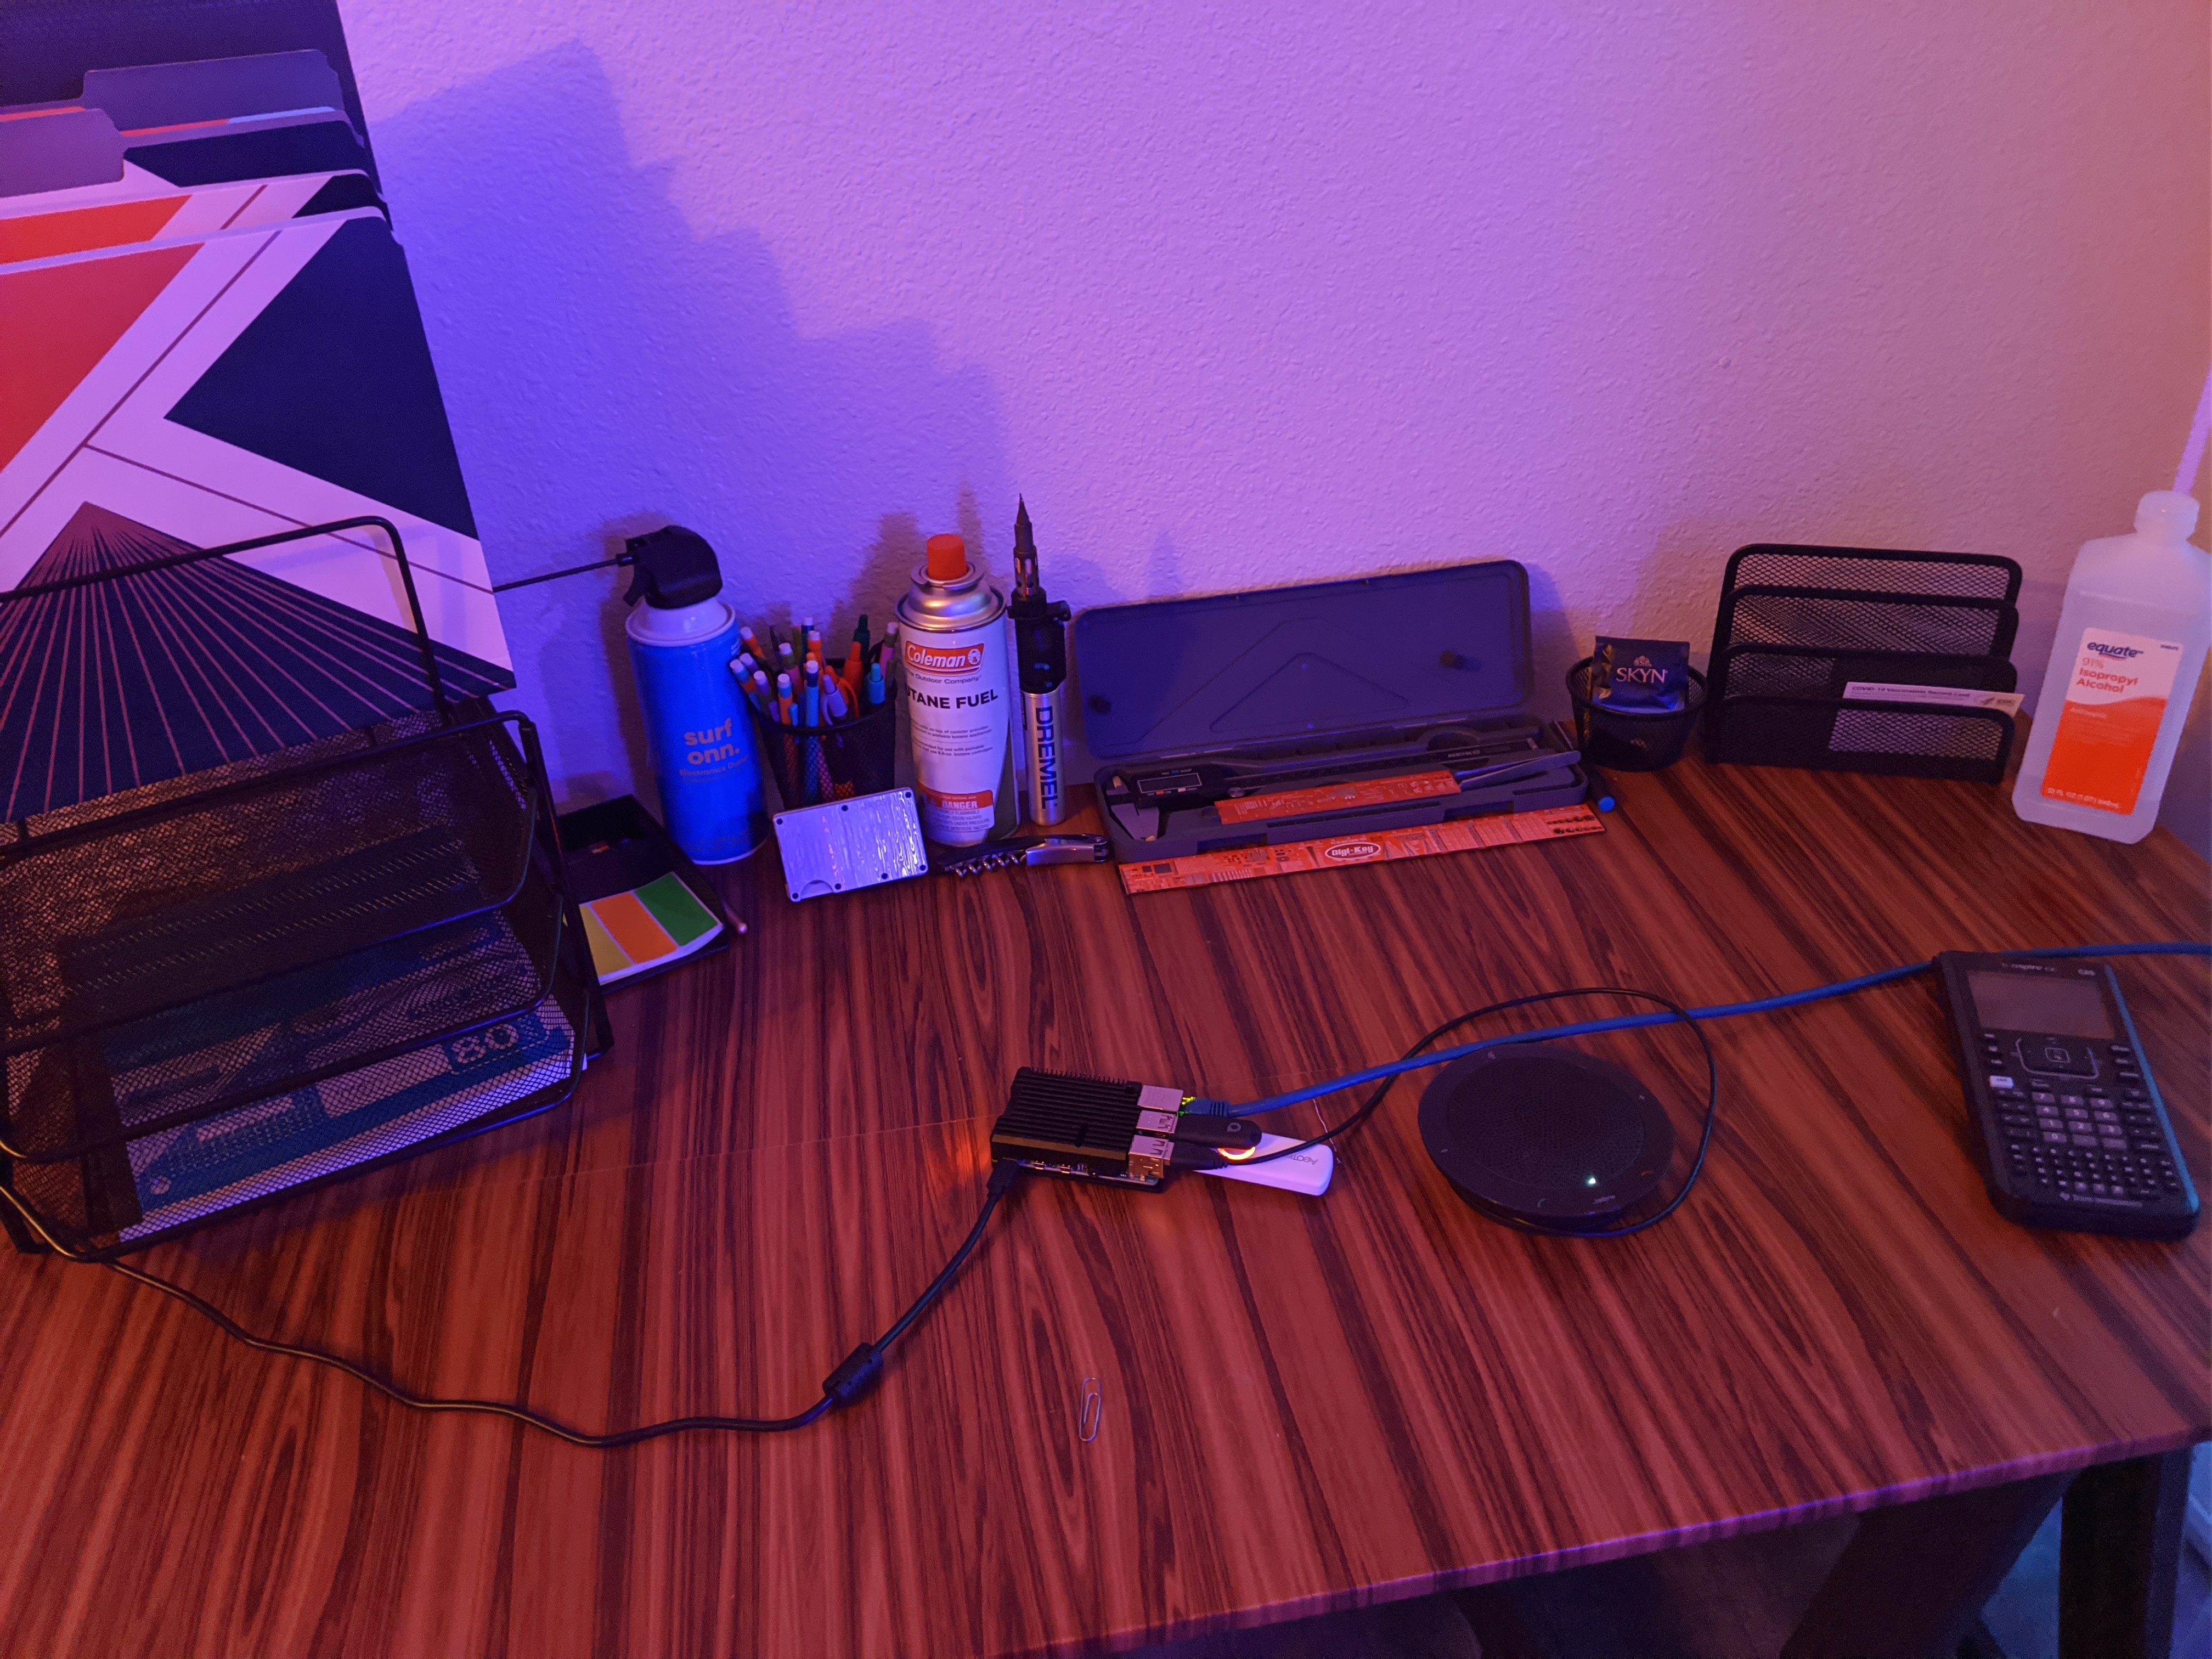
Hardware on the Protoype Table
Changes to base mycroft image and Software work
Author: SgtAwesomesauce
Why home assistant?
Getting the jabra to work
These are needed to override all jabra controls that dont work in the debian based image right now. So far the changes we have made to make the Jabra 410 work are
in /etc/pulse/default.pa:
Comment out:
load-module module-suspend-on-idle then run the following commands as pi and reboot:
 mycroft-config set play_wav_cmdline "paplay %1"
mycroft-config set play_mp3_cmdline "mpg123 %1"
PLL has noted some buggy audio and solutions are being investigated.
Home Assistant
Reason:
Install:
sudo apt-get install python3 python3-dev python3-venv python3-pip libffi-dev libssl-dev
sudo useradd -rm homeassistant -G dialout,gpio,i2c
sudo mkdir /srv/homeassistant
sudo chown homeassistant:homeassistant /srv/homeassistant
sudo -u homeassistant -H -s
python3 -m venv /srv/homeassistant
source /srv/homeassistant/bin/activate
python3 -m pip install wheel
pip3 install homeassistant
hass
sudo nvim /etc/systemd/system/[email protected]
[Unit]
Description=Home Assistant
After=network-online.target

[Service]
Type=simple
User=%i
ExecStart=/srv/homeassistant/bin/hass -c "/home/%i/.homeassistant"

[Install]
WantedBy=multi-user.target