RPAI: The Raspberry Pi 4 powered all-in-one Home AI Voice Assistant

I’ve never heard the cuss word for a woman’s fun place dropped so many times coherently its glorious

That’s okay I might need a new table after trying yo get openzwave working. Apparently some of project isn’t actively maintained (primarily google devs are the maintainers). Fortunately in true GOOGLE fashion its extremely well commented and documented.

That was so dumb. I was very salt. Multiple days in On shape and he gets in freecad drunk. I went for a walk :joy: needed some air.

@HaaStyleCat just start with something. Most skills are attained by trying stuff and failing or succeeding


Note to self … CAD developers cause alcoholism

2 Likes

How long till we can find out what beans are?

Uhh I can work on a skill for that.

sorry, was a bad joke from earlier in Mycroft development

1 Like

Alright, update post.

First thing’s first, why no updates? Well, two reasons. First, I started a new job 3 weeks ago. I’m trying to focus on getting up to speed on that, and most of the time I was previously devoting to this is now focused on the job. Second, my printer was down since it needed either new belts or tensioners. So I opted to get tensioners and that solved the print quality concerns I had.

So, now that I’m settled into my job and have belt tensioners installed on the printer, it’s back to prototyping!

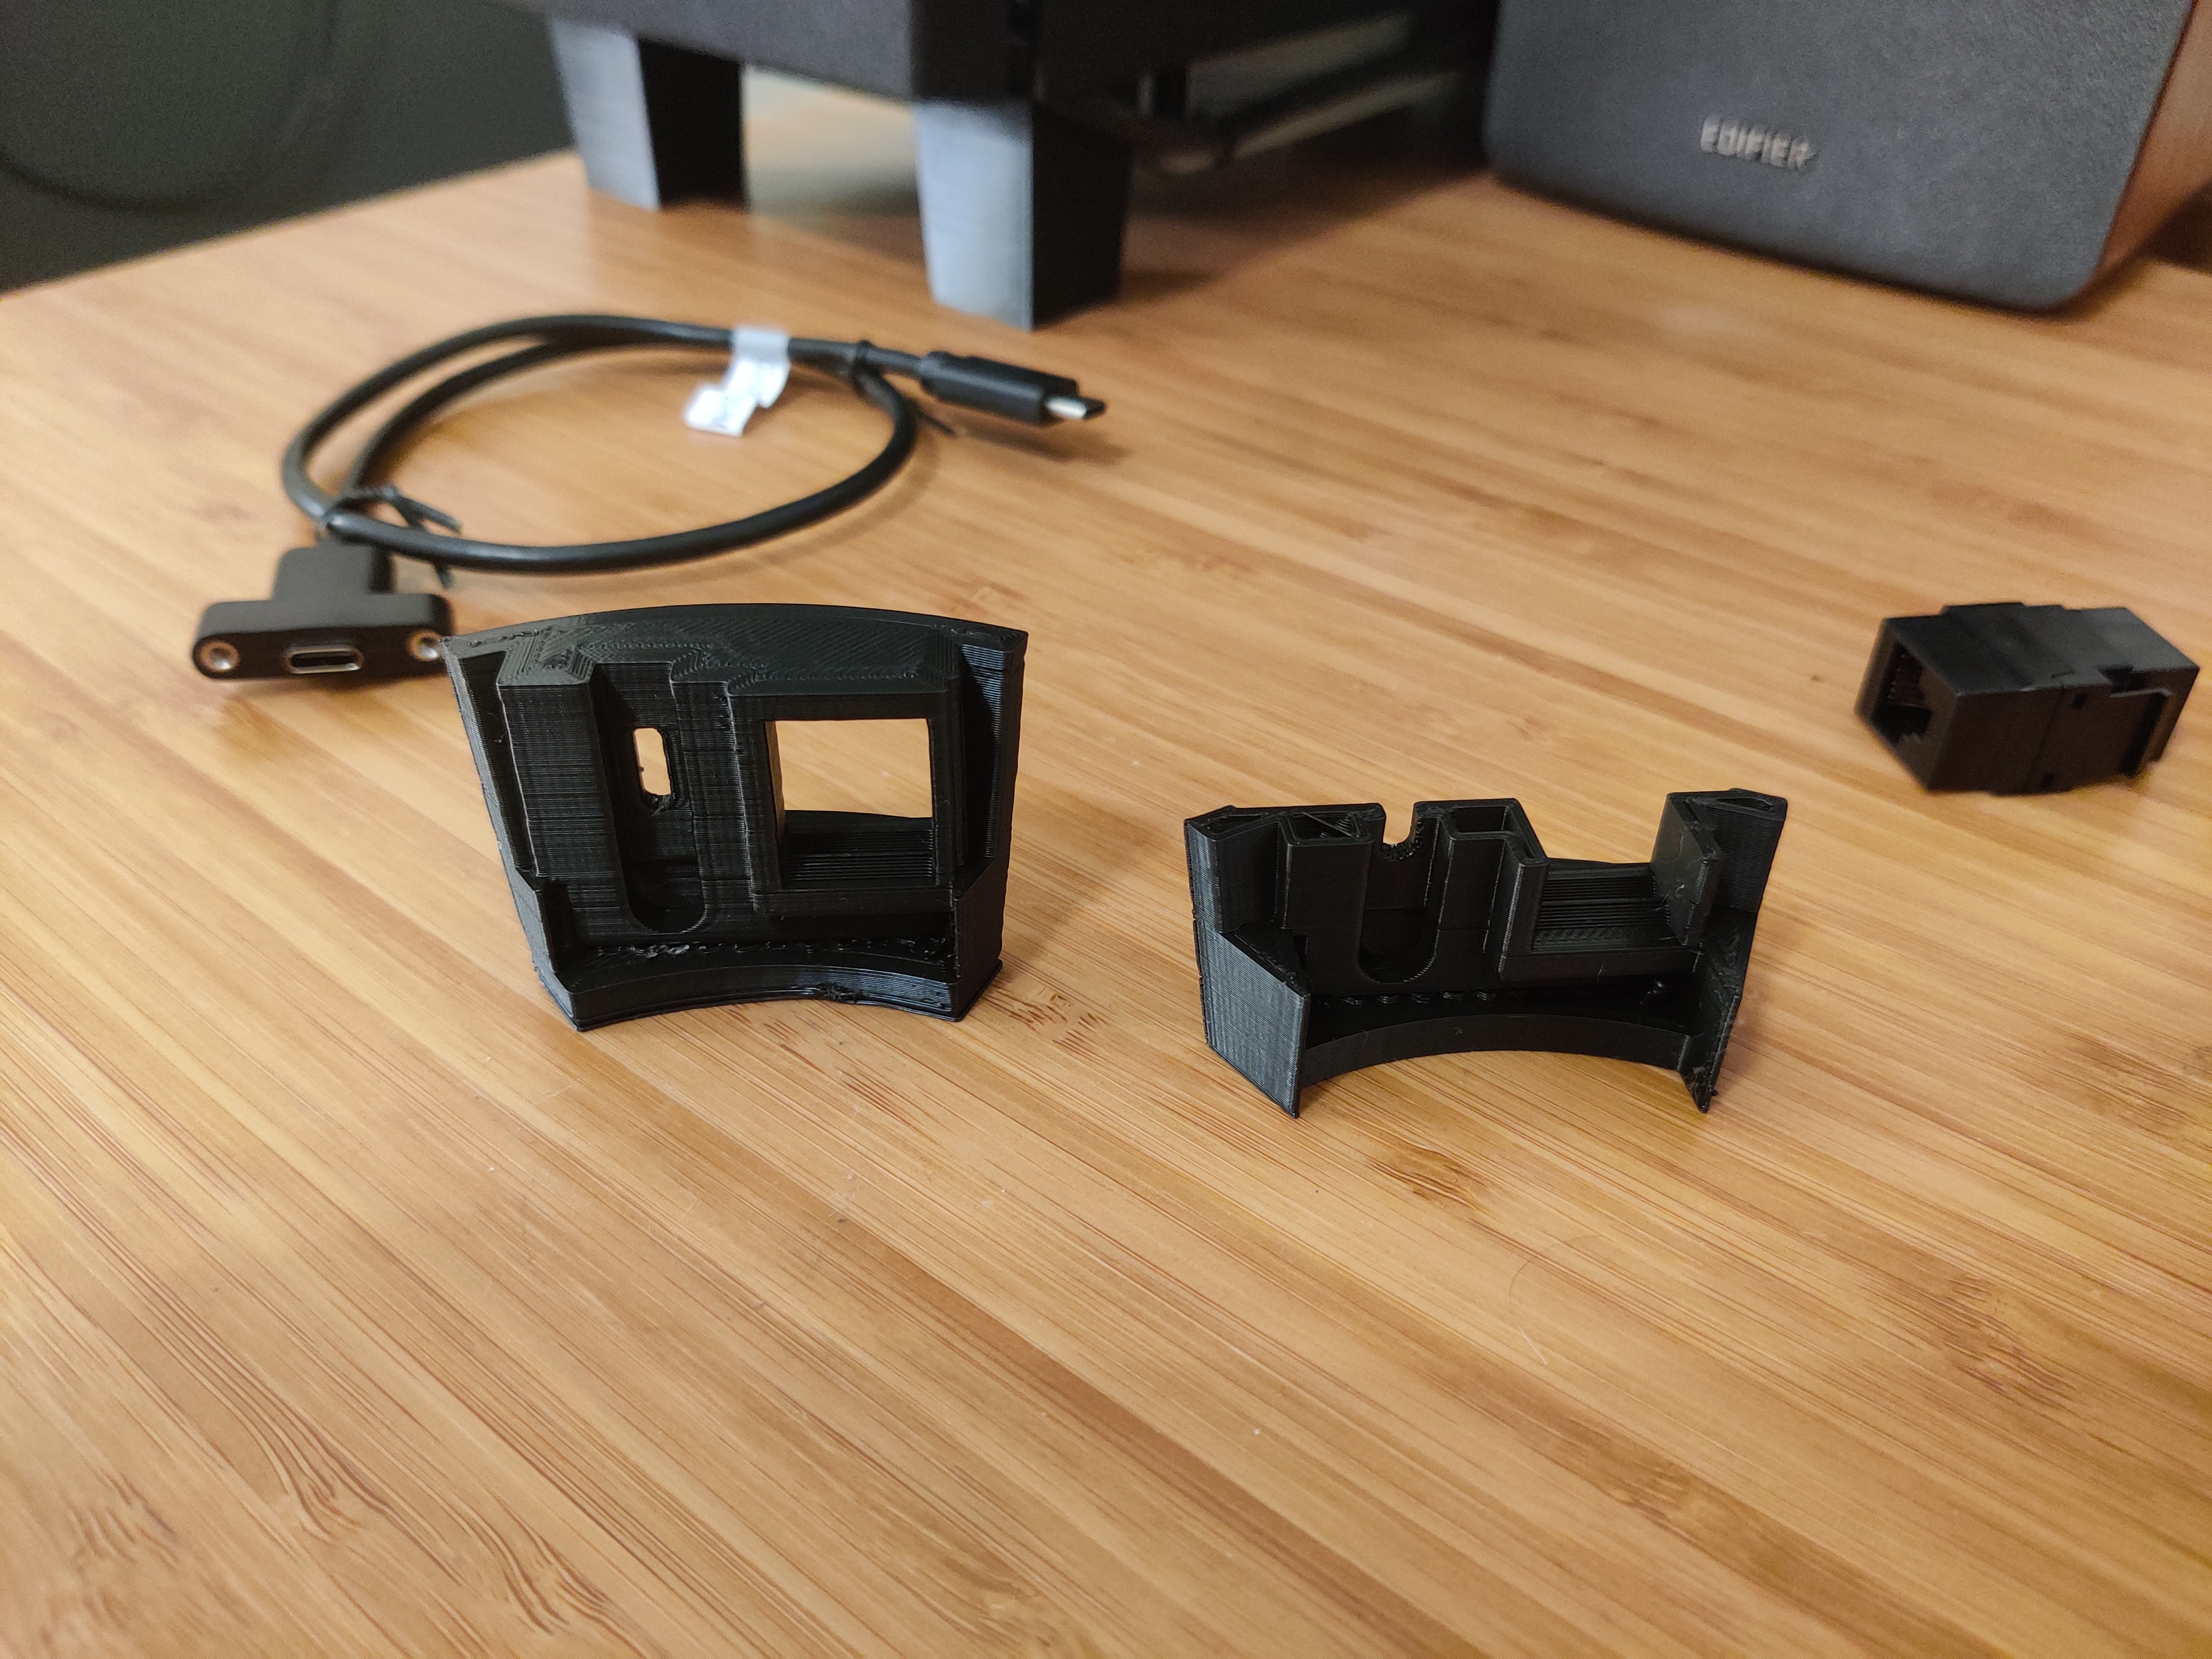
I think I’ve got nearly everything sorted the way I like it for the main design, the only thing that remains is to get the IO panel sorted out just right. To that end, I made two test prints today. I’ve noticed that my printer is having issues with tree supports, so I think I’ll be sticking with traditional support for the final prints. (only needed for the IO panel)

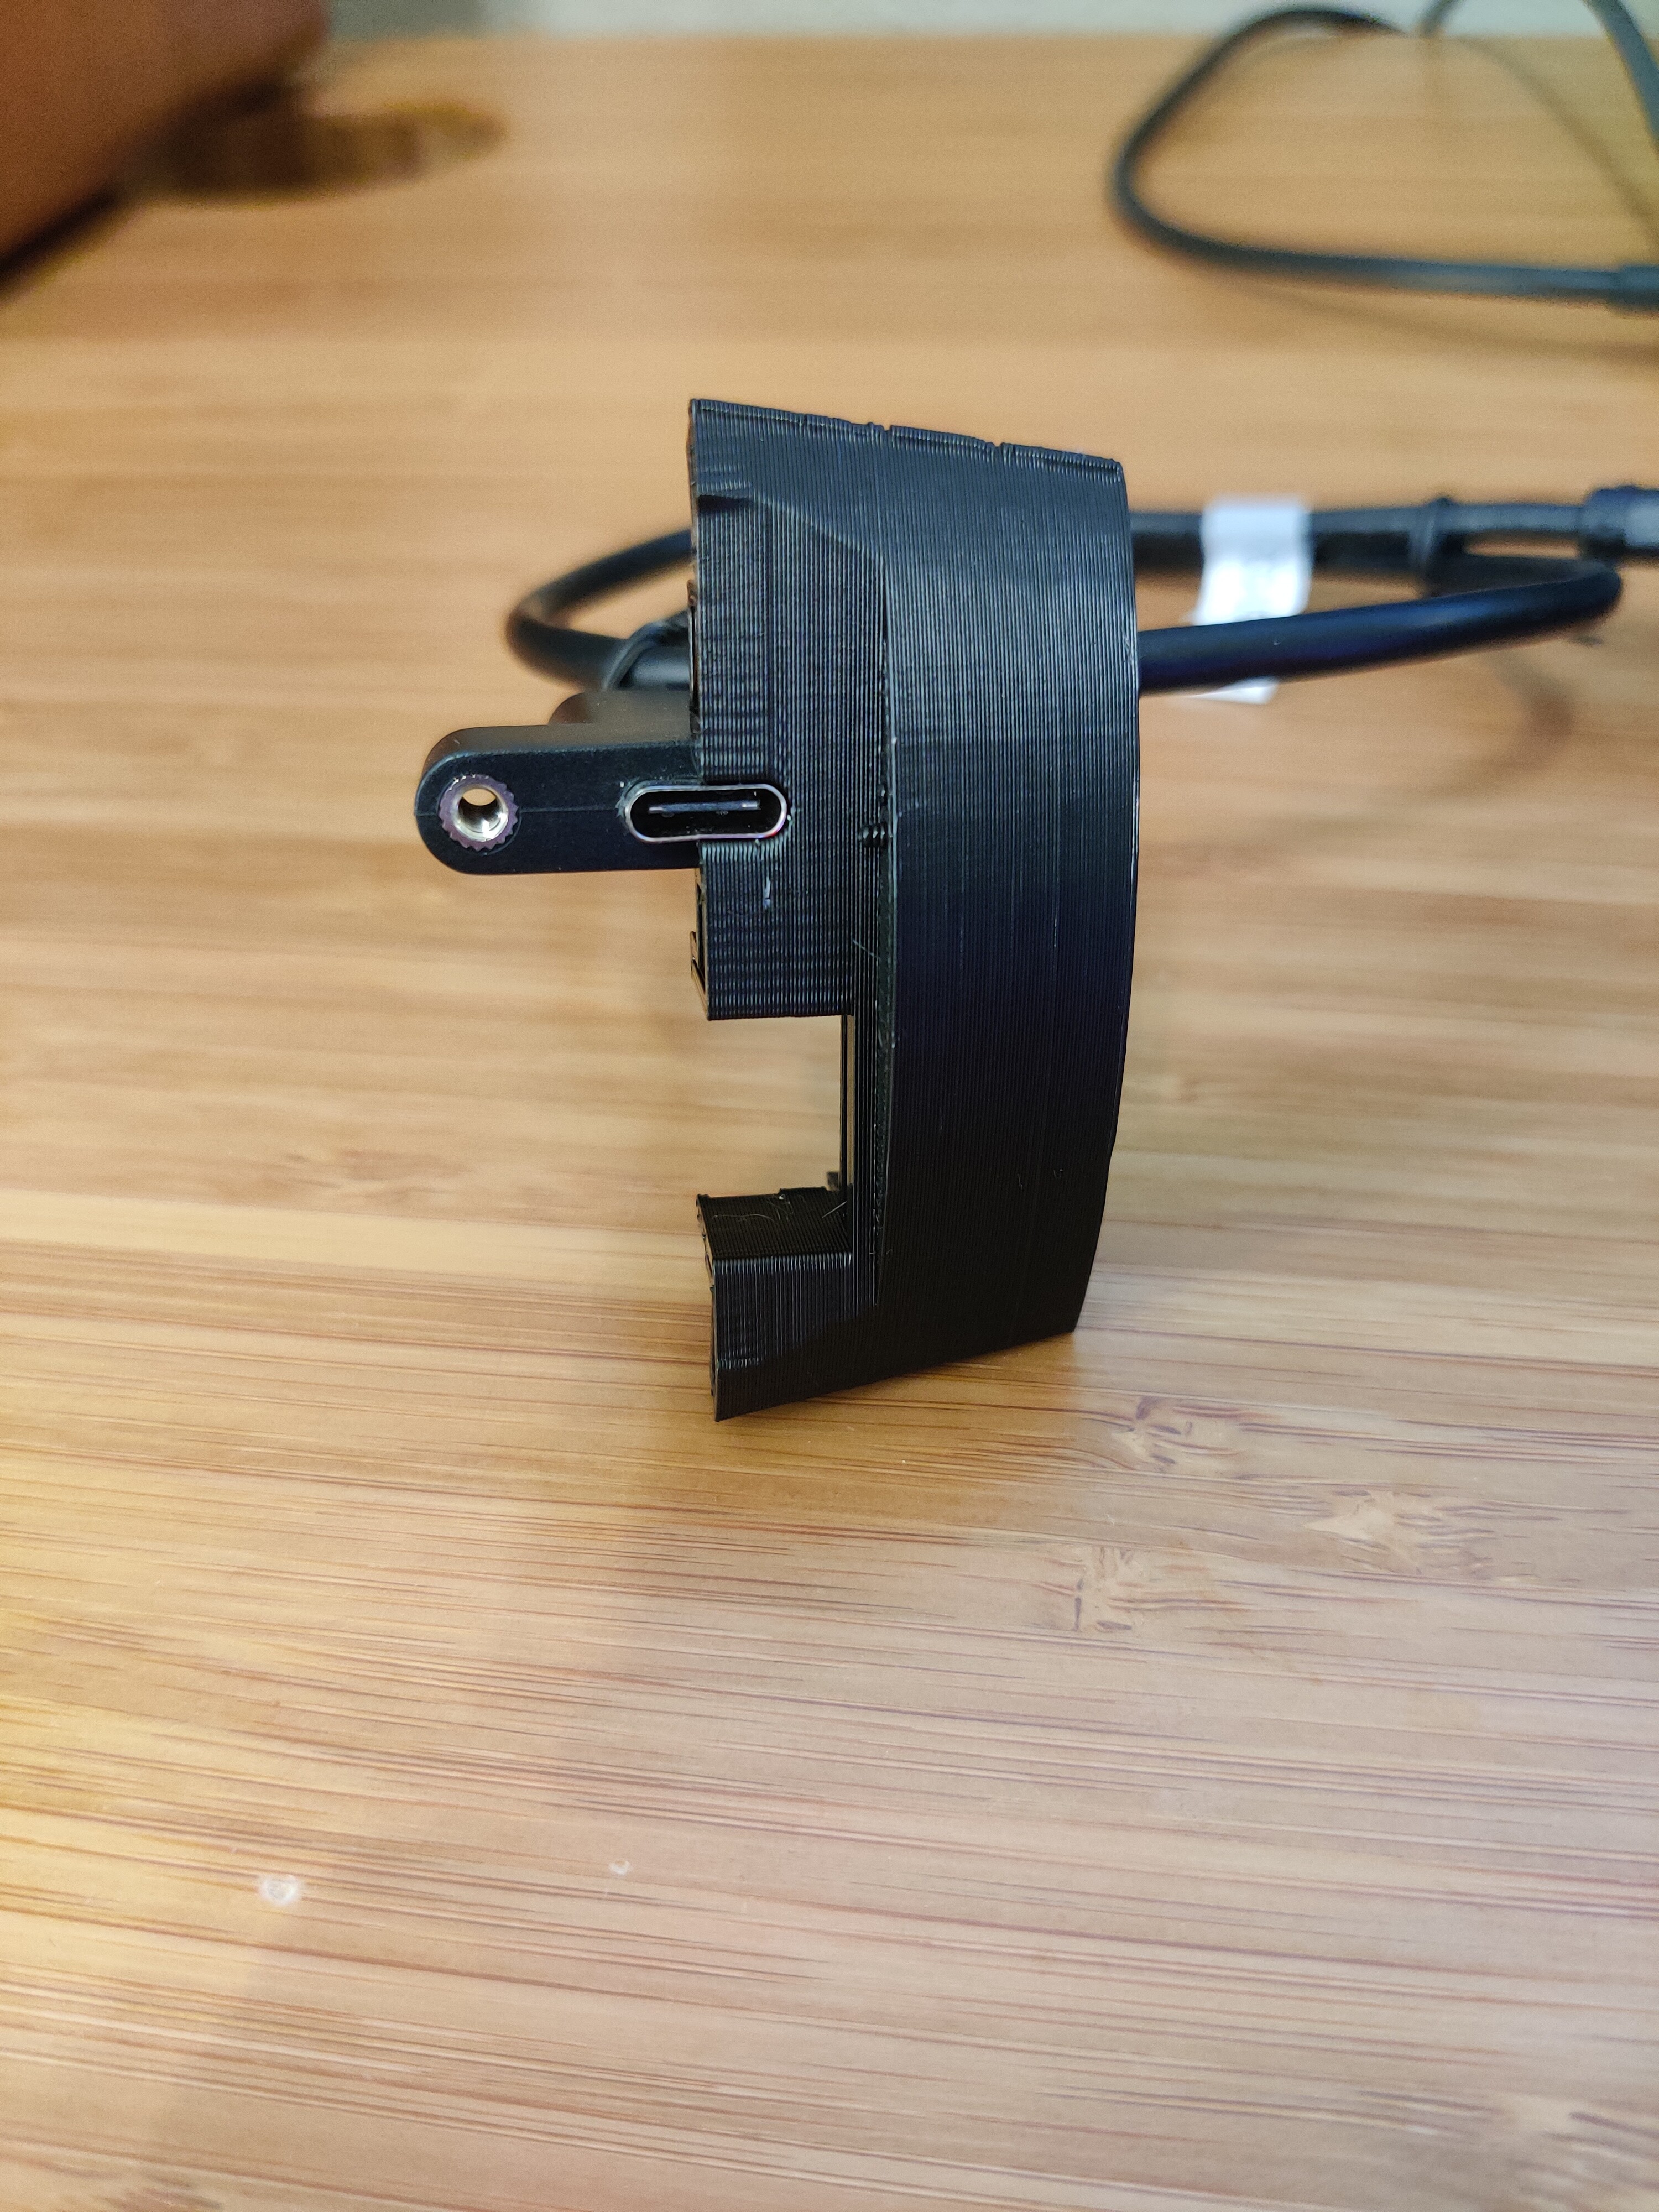
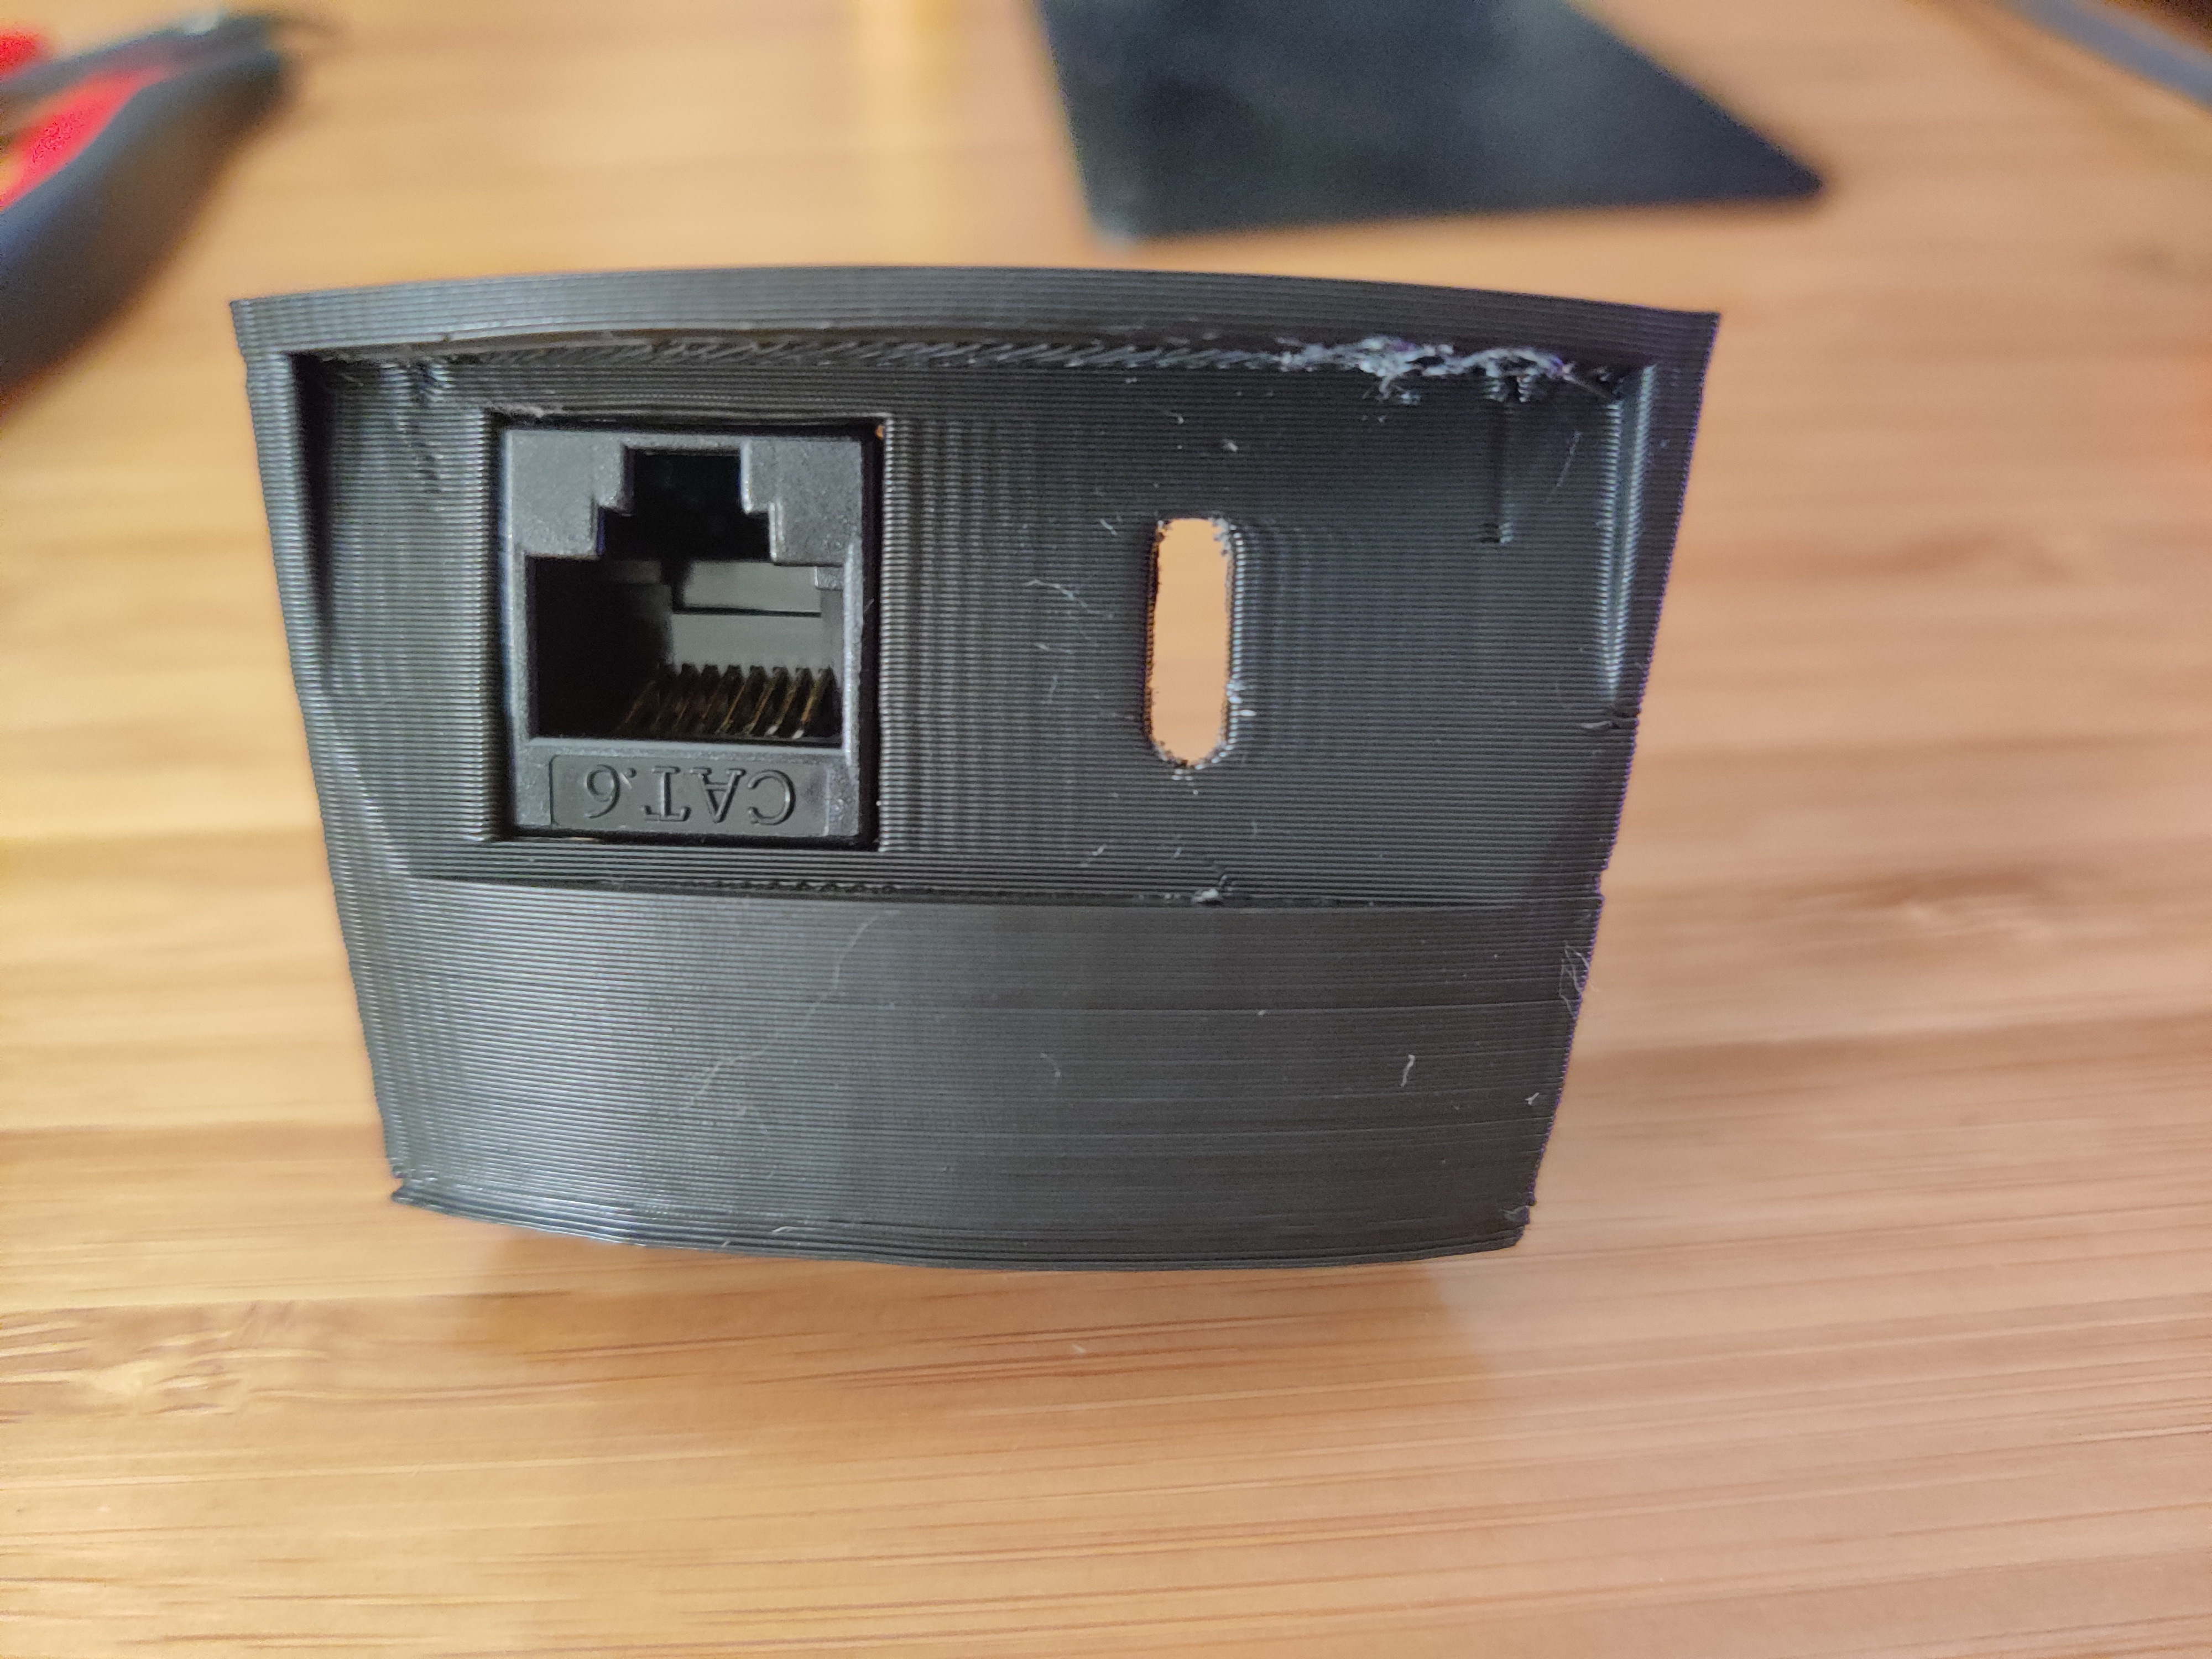
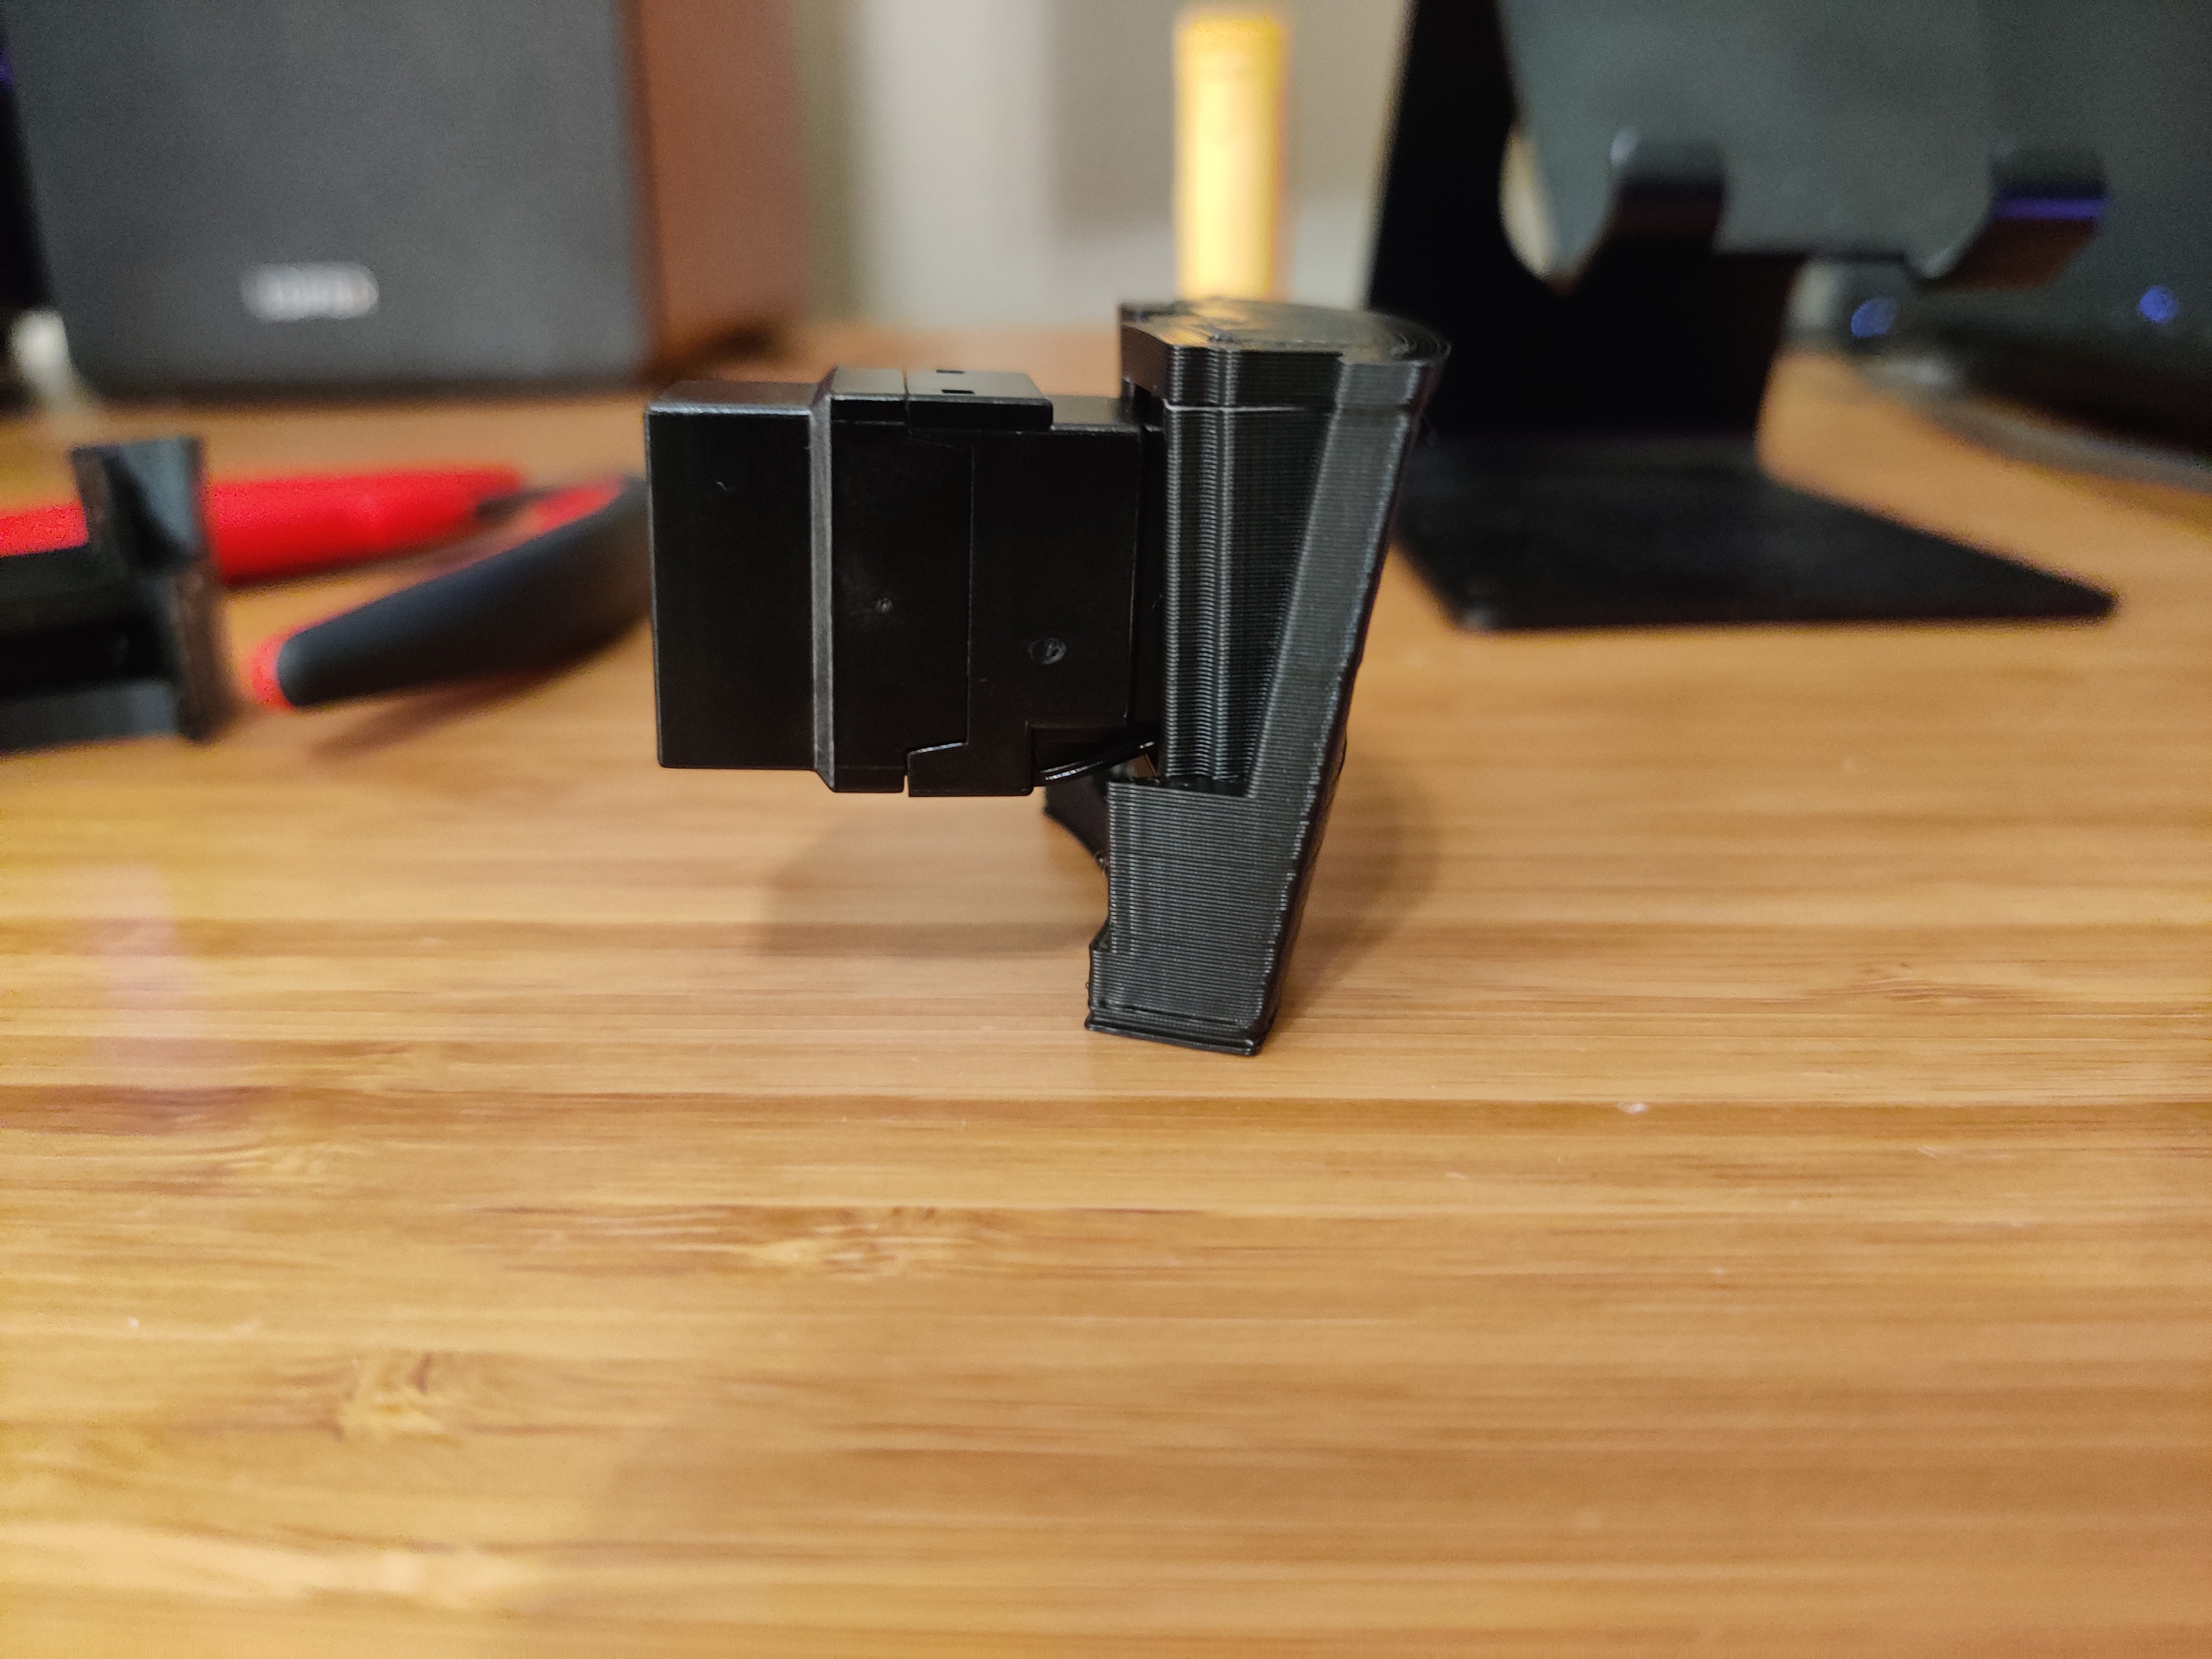
First print was a partial success. The USB port fit in properly, but the print failed before the Keystone jack was finished. So, the second print went through much better. The Keystone jack sort-of fit, but it wasn’t really as sturdy as I’d like it to be, so I made some changes to the design. I gave the bottom clip an additional 1.5mm of clearance and angled the excess runout space a bit so that installation will be easier. I’m trying to be mindful of the fact that we’re going to be installing these parts from the inside of a fairly small printed part. :grimacing:

I’ve got one more print to do, but I don’t think it will be finished tonight. In fact, I might just wait until tomorrow to start it, considering it’s nearly midnight and I don’t want to hear it all night.

The new Keystone jack punch looks like this:

image

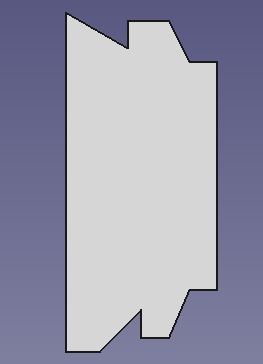
I’m really not sure what is the proper specifications for this thing, since I couldn’t find any online. If anyone has dimensions or a blueprint and can share, that would be amazing! If not, I’ll share my sketches and pad dimensions as soon as I get this finalized.

Moreover, the USB cutout design is complete and is printing to my satisfaction, so I’m really only stuck on what I knew would be the most difficult part, the network port.

4 Likes

@SgtAwesomesauce I’m not ignoring your work I think its awesome

Just slammed this week consistent overtime this week 2 to 4 hrs each day. This weekend I’ll start talking about how imma build the wireless additions.

Just need time to get through this week. Funding pushed through so we are jam packed with engineering requests

1 Like

no worries, I’m just trying to get the CAD over the line so I can go back to polishing off the software.

3 Likes

Amazing work guys. Perfection cant be rushed AND work etc always comes first… unless you’re like me and home bound and retired… ug… lol

But honestly really great work gentlemen (I use the term loosely…lol). Look forward to creating my own at some point still. Looking into 3d printing but wife may lose it if I buy a printer… I would really like too though. I think I could make some pretty cool custom reservoir’s possibly. Look forward to seeing this project progress.

4 Likes

The first time you print a doorstop, you’ll be back in her good graces. :wink:

4 Likes

I just wonder if I could print a coolant reservoir… like with PETG material. I can tap the threads… I wonder if I could “Bake” it to make it more clear without melting it… just random thoughts. I may do some more google-fu on that.

1 Like

I looked into it. It’s doable, but I think you’d have to melt the fittings into the print.

Annealing prints is doable but not really worth it.

3 Likes

I guess I dont need it clear long as it fits in the place I design it too. Thats more important. I could print a open hole then have a “window” I can glue/epoxy a window into to check coolant levels. Print a back plate and the main body and then combine the two peices to have access to the inside.

@SgtAwesomesauce What software did you use for designing the 3d prints? Is it proprietary software or can anyone use it? I wonder because I have an Idea I want to play with in 3d space… Well LOTS of ideas actually…

5 Likes

So I design in two stages. First stage is cad, second stage is the slicer. You need the slicer to convert a cad model into a set of gcode commands that can be sent to the printer.

For a slicer, I use cura. Some people prefer slic3r or prusaslicer, but I’m perfectly happy with cura and it has all the features I need, while being visually appealing as well. The slicer you use doesn’t really matter in the long run.

For cad software, I use freecad. Learning curve requires a jetpack, but once you’re past the first few hours of “what the fuck? How the fuck? Why the fuck?” It’s all gravy.

1 Like

Sarge pretty much nailed it.

FreeCAD isn’t easy to learn, but it’s pretty much the least shit free (as in speech) 3D CAD program.

There’s also OpenSCAD, but that’s basically meant only for programmers. You also can’t actively manipulate objects in 3D space, only through code.

3 Likes

Might want to increase hours to days? lol

1 Like

Update:

Zigbee bulb arrived DOA. This is what I get for trying to be cheap and going with CHYNA stuff… Returning today. I was really hoping to nail in some software.

Does anyone around have some good quality brand name zigbee devices/bulbs they can recommend

Also a Zwave device?

The reason I ask is because I dont want to break the bank and I dont necessarily want sarge having to buy it either (as in something that is required on both sides of the project)

Also has anyone had any luck interfacing these with say home assistant? or knows of a guide? They would be an effective in place way for me to test home assistant out

1 Like

Awesome guys, I really appreciate it. I’m out of love to share or I’d share it. I’ll come back to it.

Two things.

First; I fully endorse this product and / or service.

Second; I want to fab one of these. Can I join the cool kids club?

3 Likes

I was going to design a… never mind… lol I’ll make you all wait till I get my jet pack off at the plateau and share the design… he he he

1 Like

Have you tried “Kasa” items. I use their switches with Alexa now…mobile so can’t see if they are zigbee or zwave…