Hey guys I know I haven’t posted in a while but it’s been summertime and I have been enjoying vacation. I’ve been on vacation for 2 months now but it’s back to the churn time.
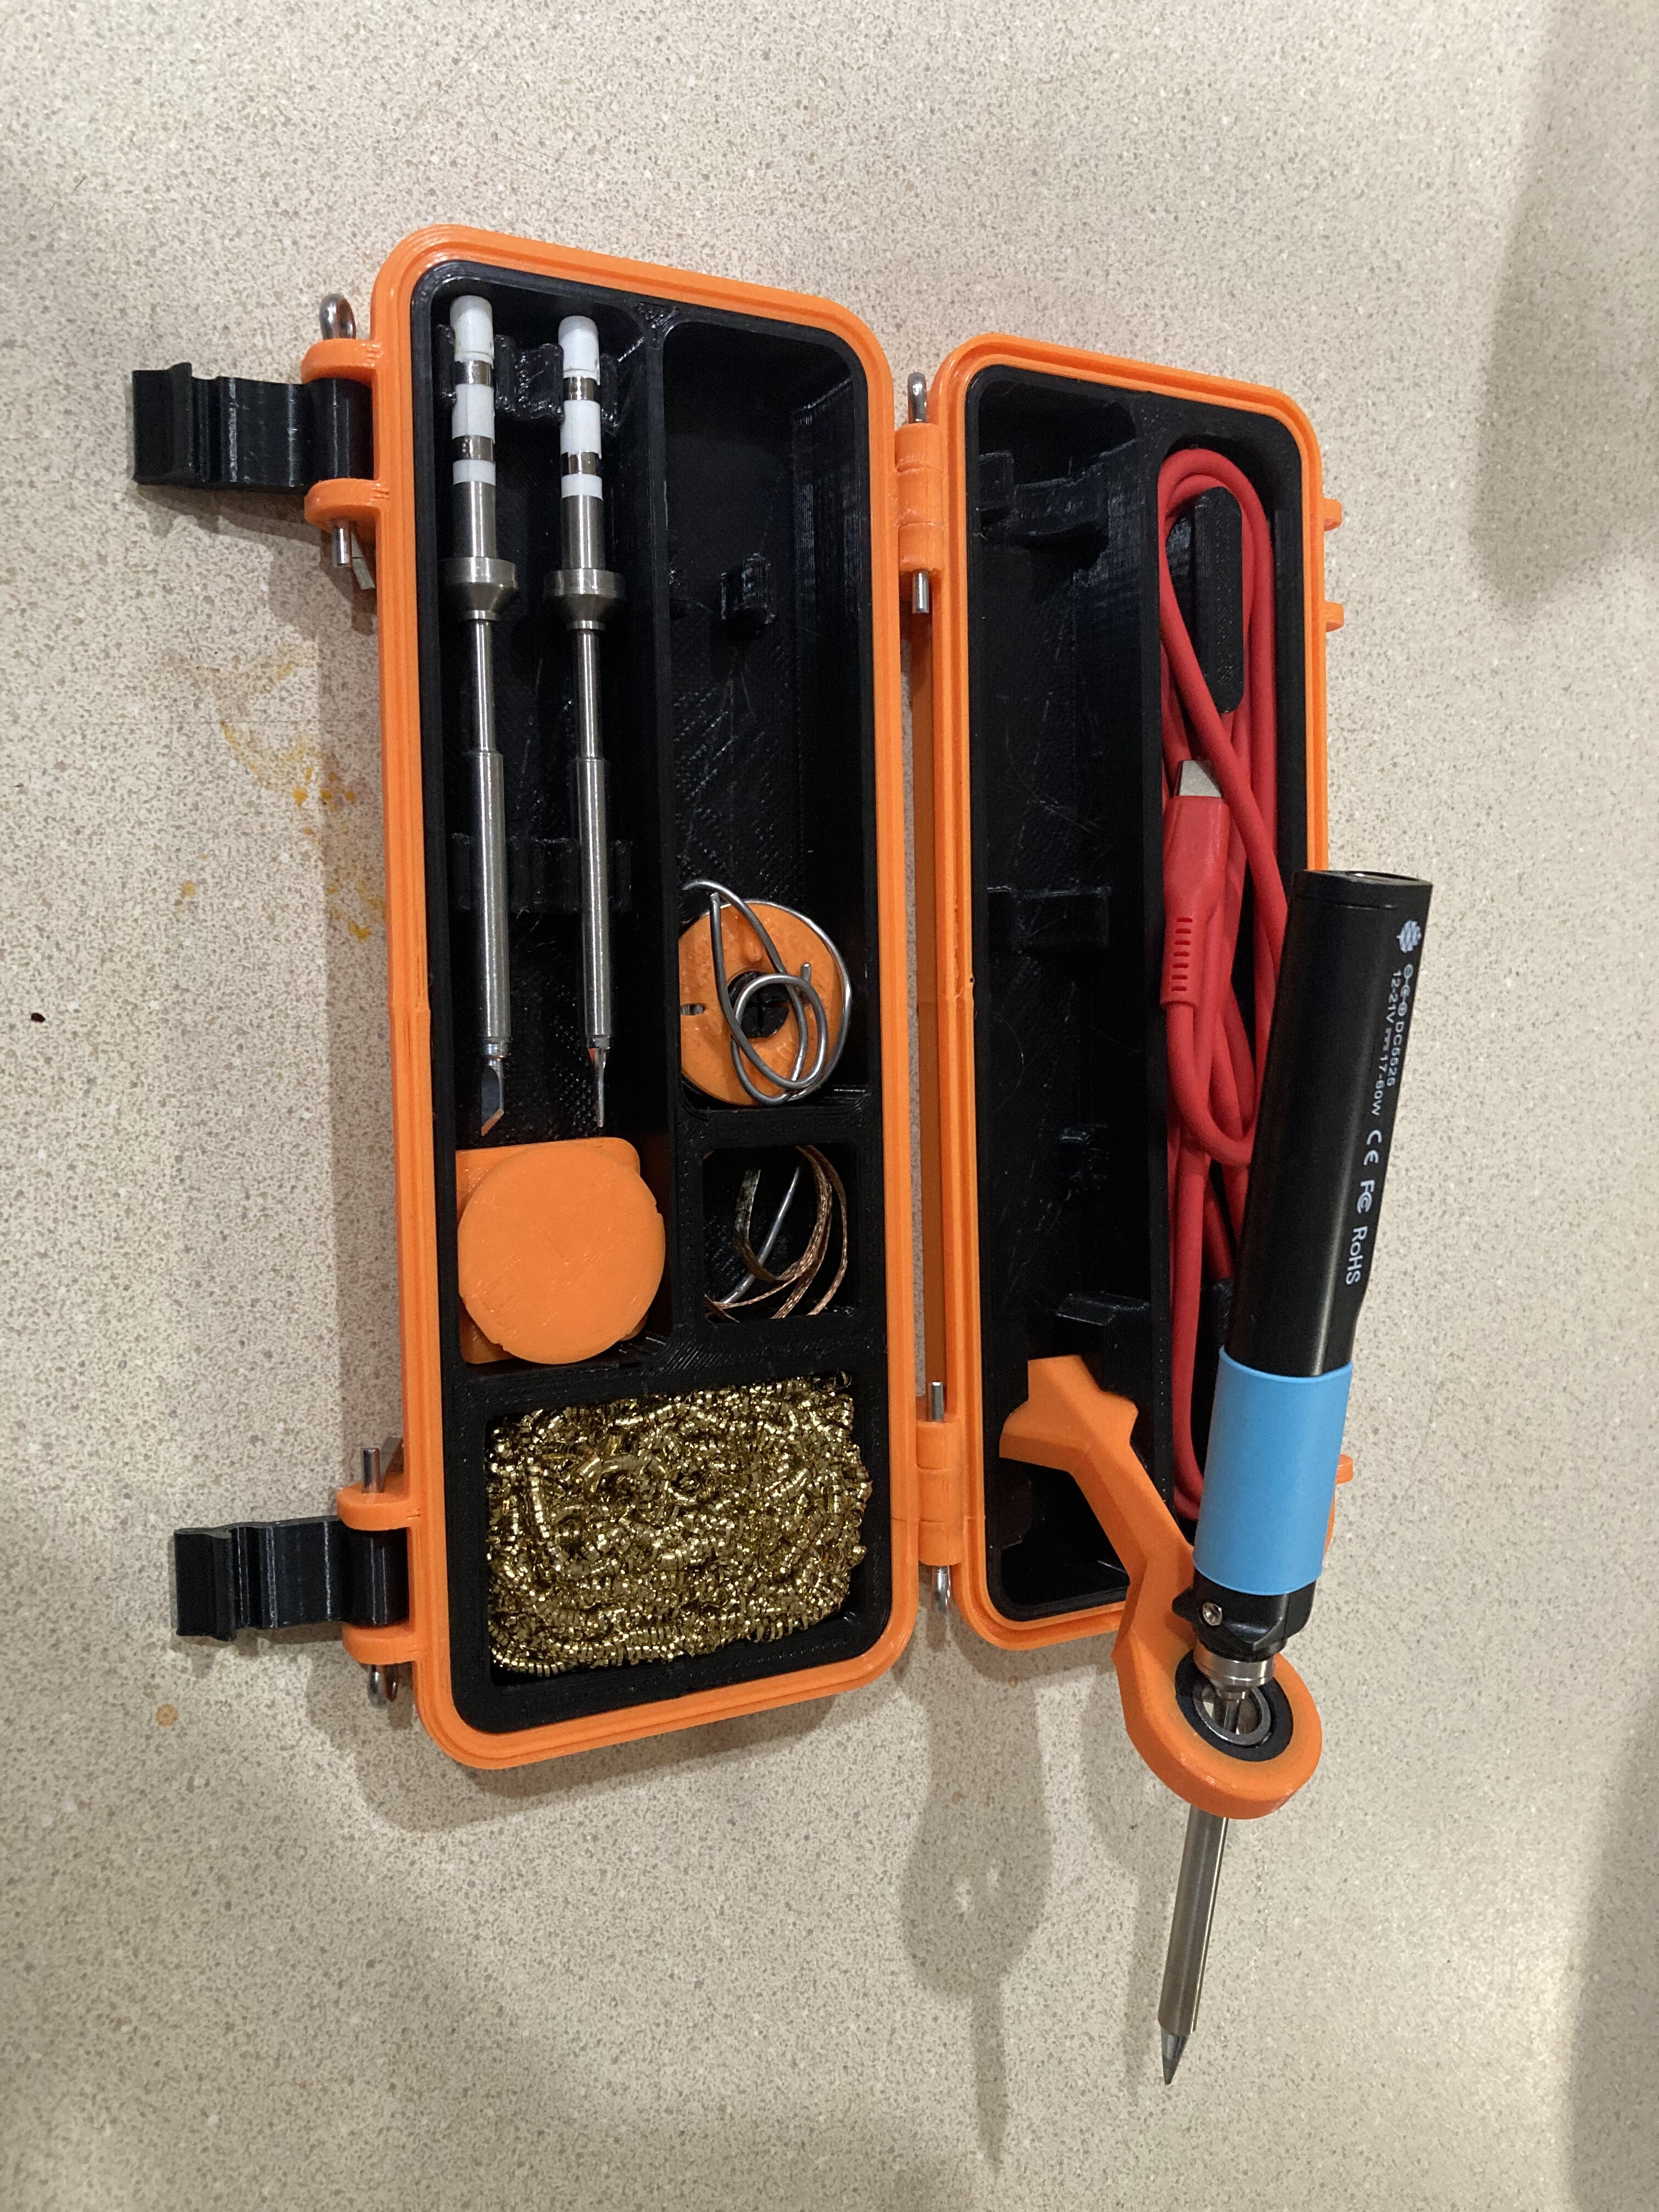
Now we know that @Wendell has done a review on the Pinecil. This little soldering iron actually turned out to be quite useful with all of its tips which I definitely do recommend you buy. It is a great little tool and it has a good set of accessories that I definitely recommend you purchase.
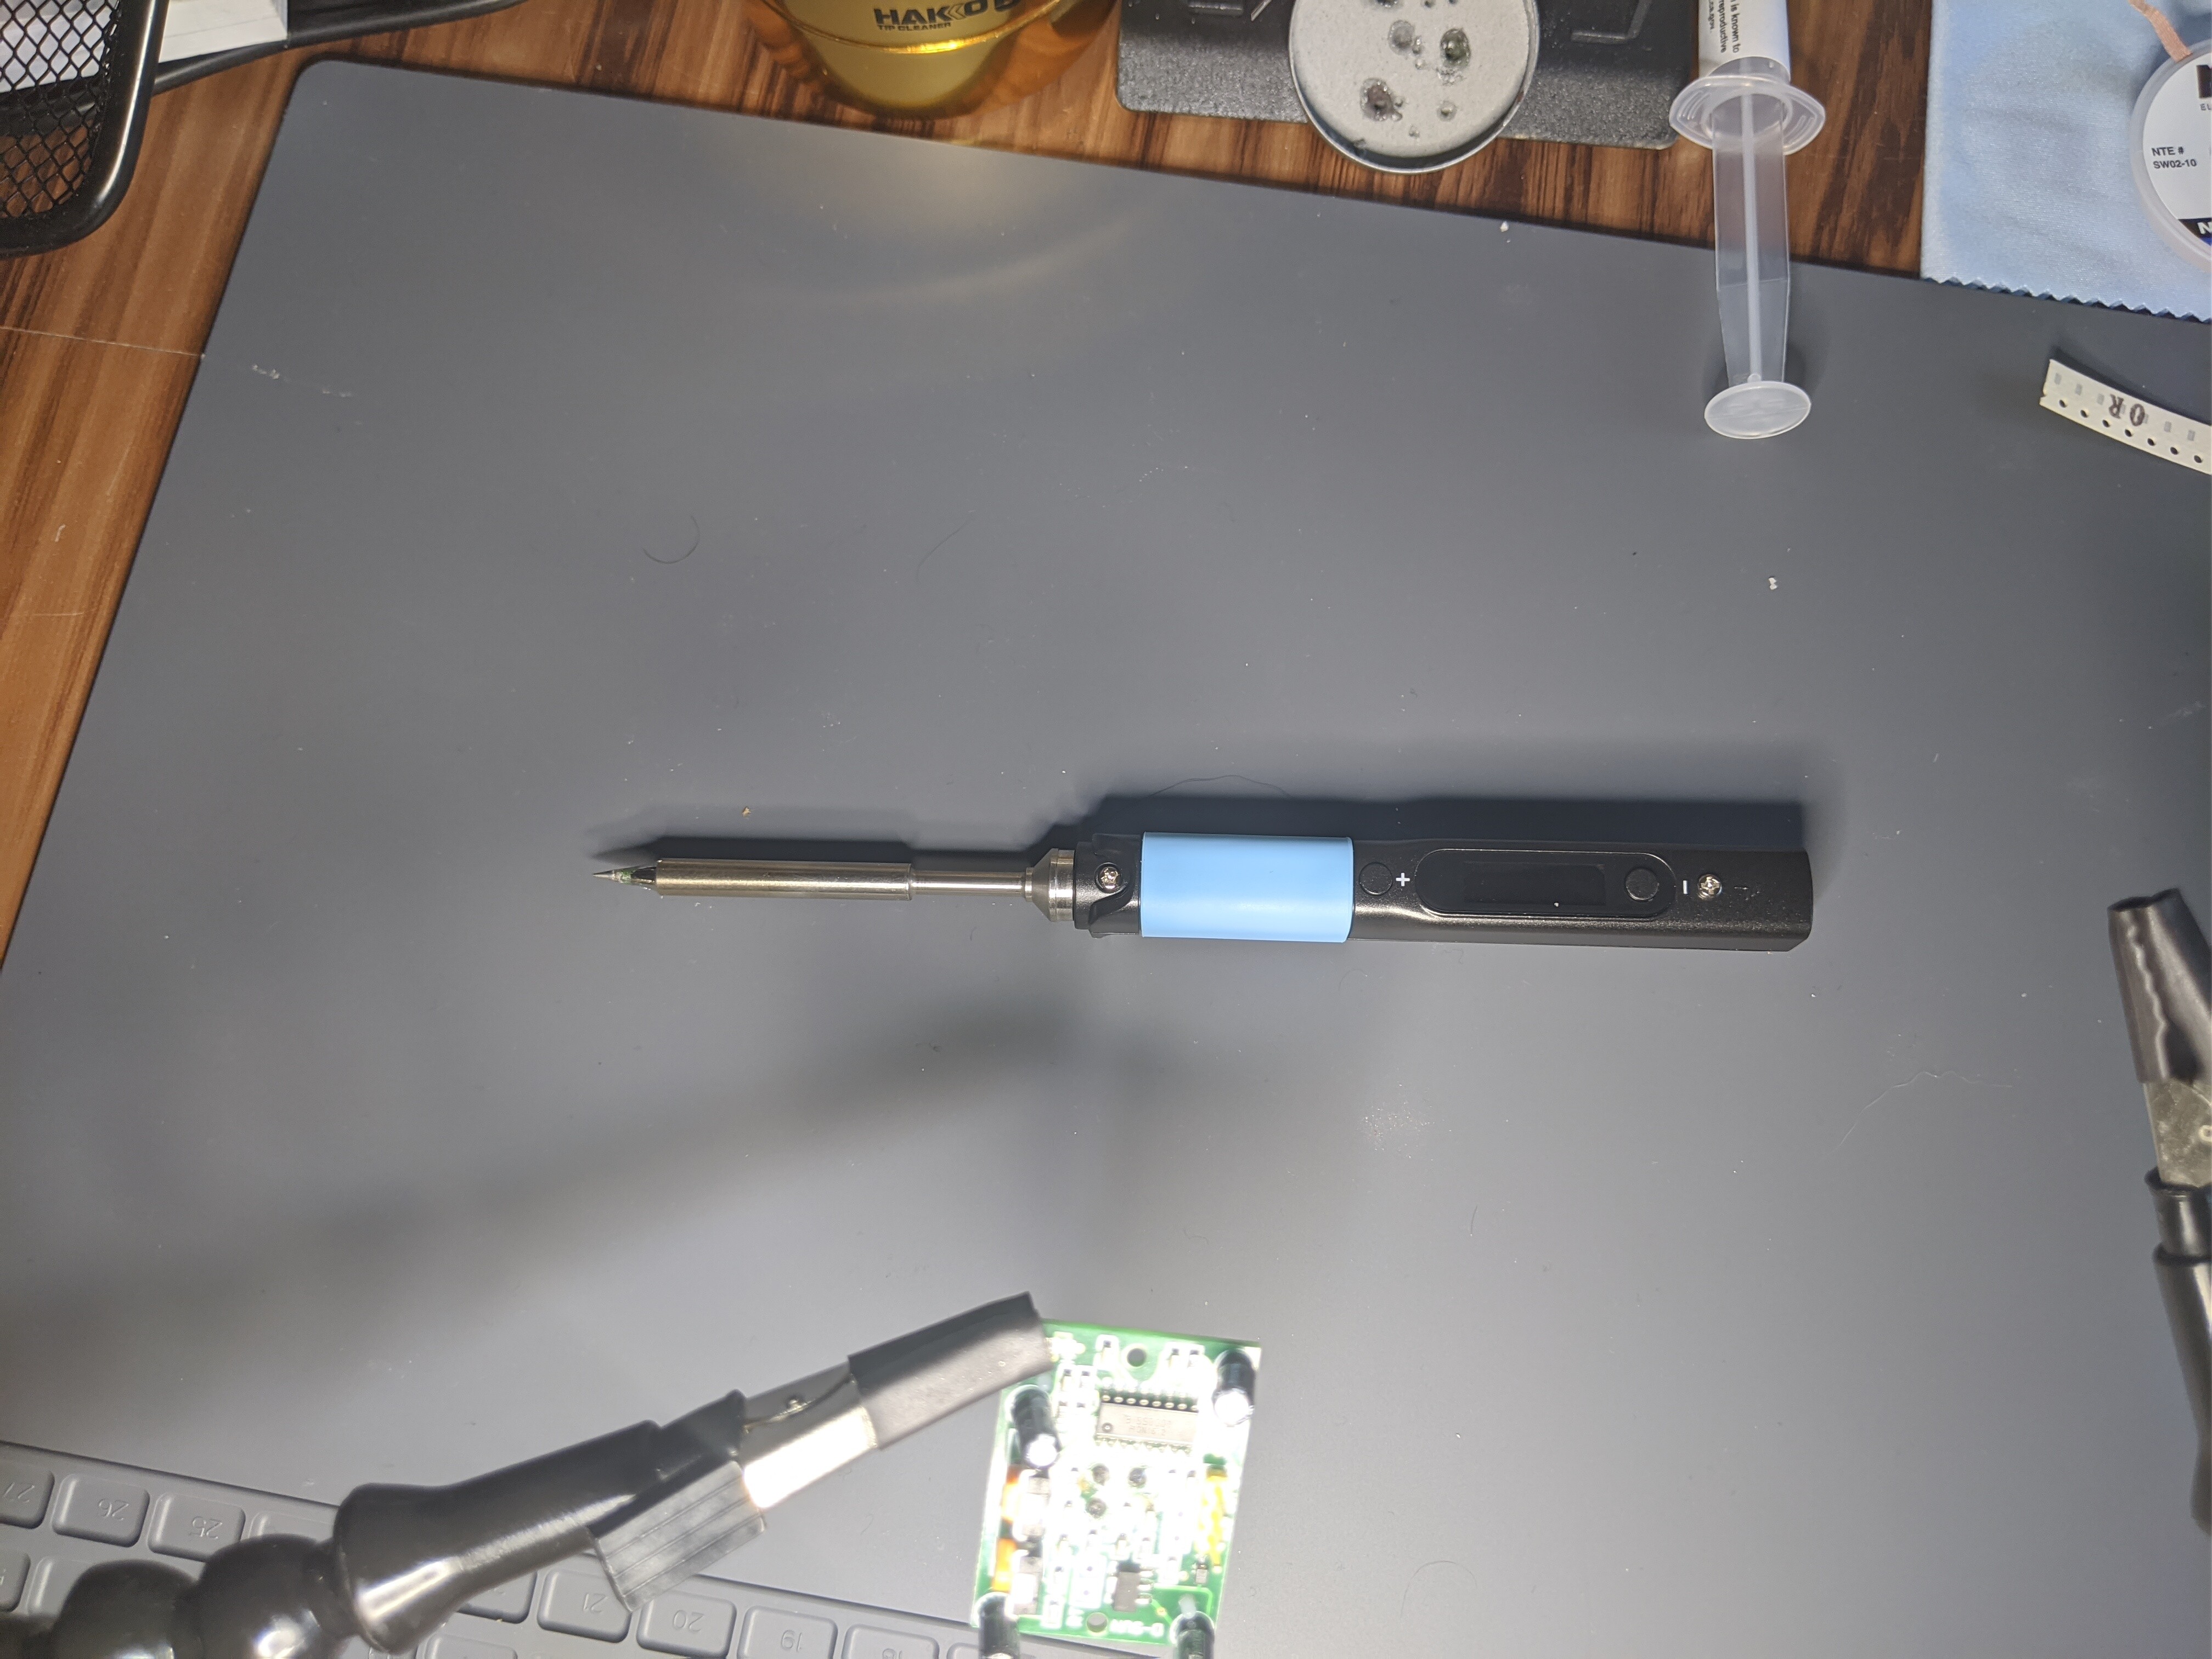
It’s quite small I have very big hands and thus it is a little bit of a struggle for me to use it but for the average person I would say that it won’t be an issue. I do wish it was larger let me make that very clear. Some of us are endowed with larger body parts. We would like if some things would fit that. (For those in the audience with a certain track mind. Cut it out… I can hear you now).
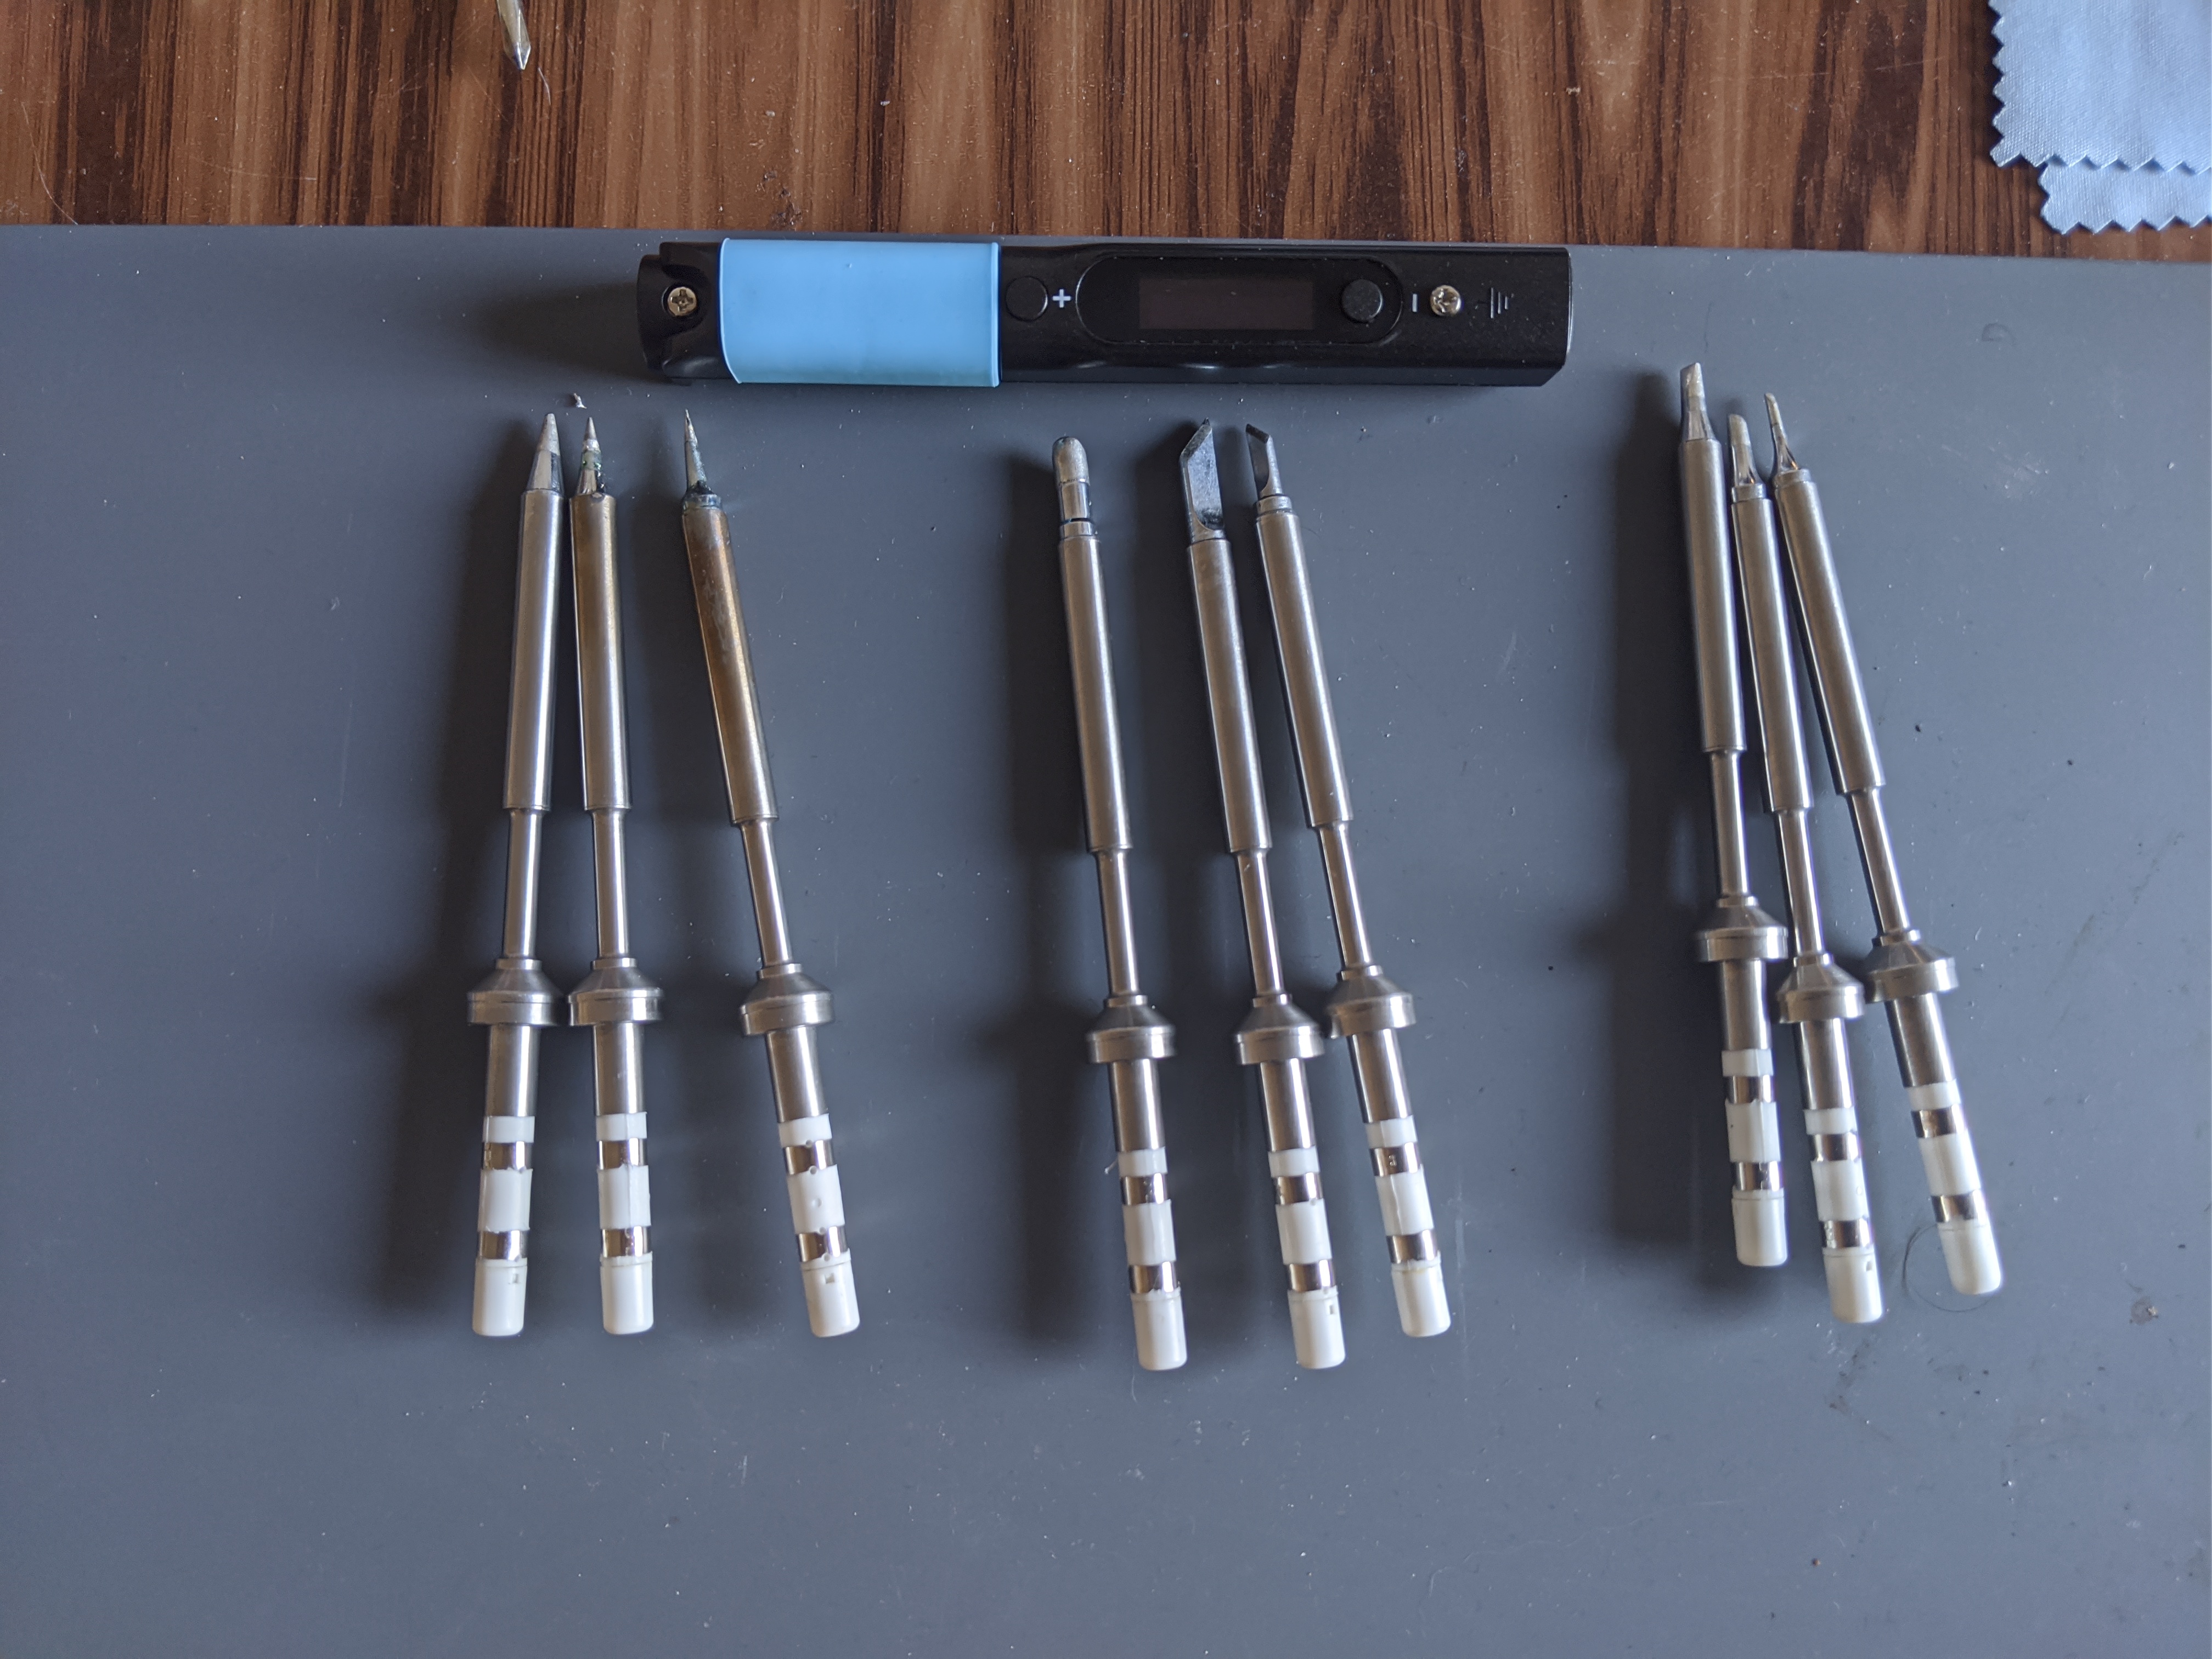
Lots of great tips in terms of the expansions of the different tips that you can place on this tool. The one thing that I would definitely say that is not good about the tips, is how they fit into the actual iron. While they’re firmly in place it does feel a little loose. I think there’s room for improvement here but I also understand it is not an expensive device. They look to be about the same size and dimension as a TS100 tip.
The tips are pretty nice and they honestly seem pretty well built. A couple things that I really noticed about this device that sets it apart from other cheap devices. The temperature control and convenience of the on-board control mechanisms is amazing. It’s what makes me overlook some of the minor issues that I had with the device. For example if I place the soldering iron down instead of staying hot; which has multiple issues one of them is it’s a waste of energy and it’s harder on the heater element… ; It will actually cool itself down to a standby temperature which I believe is 110° C. This has a lot of benefits. One of the best benefits to it is that it does reduce the overall oxidation of your tip and hardware attached to the iron. For anybody who solders on the regular they know that this is a constant battle.
There are so many controls packed in to this little risc 5-powered device I really did not have enough time to explore them all but each of them is a purpose built function it’s not so much just there for show.
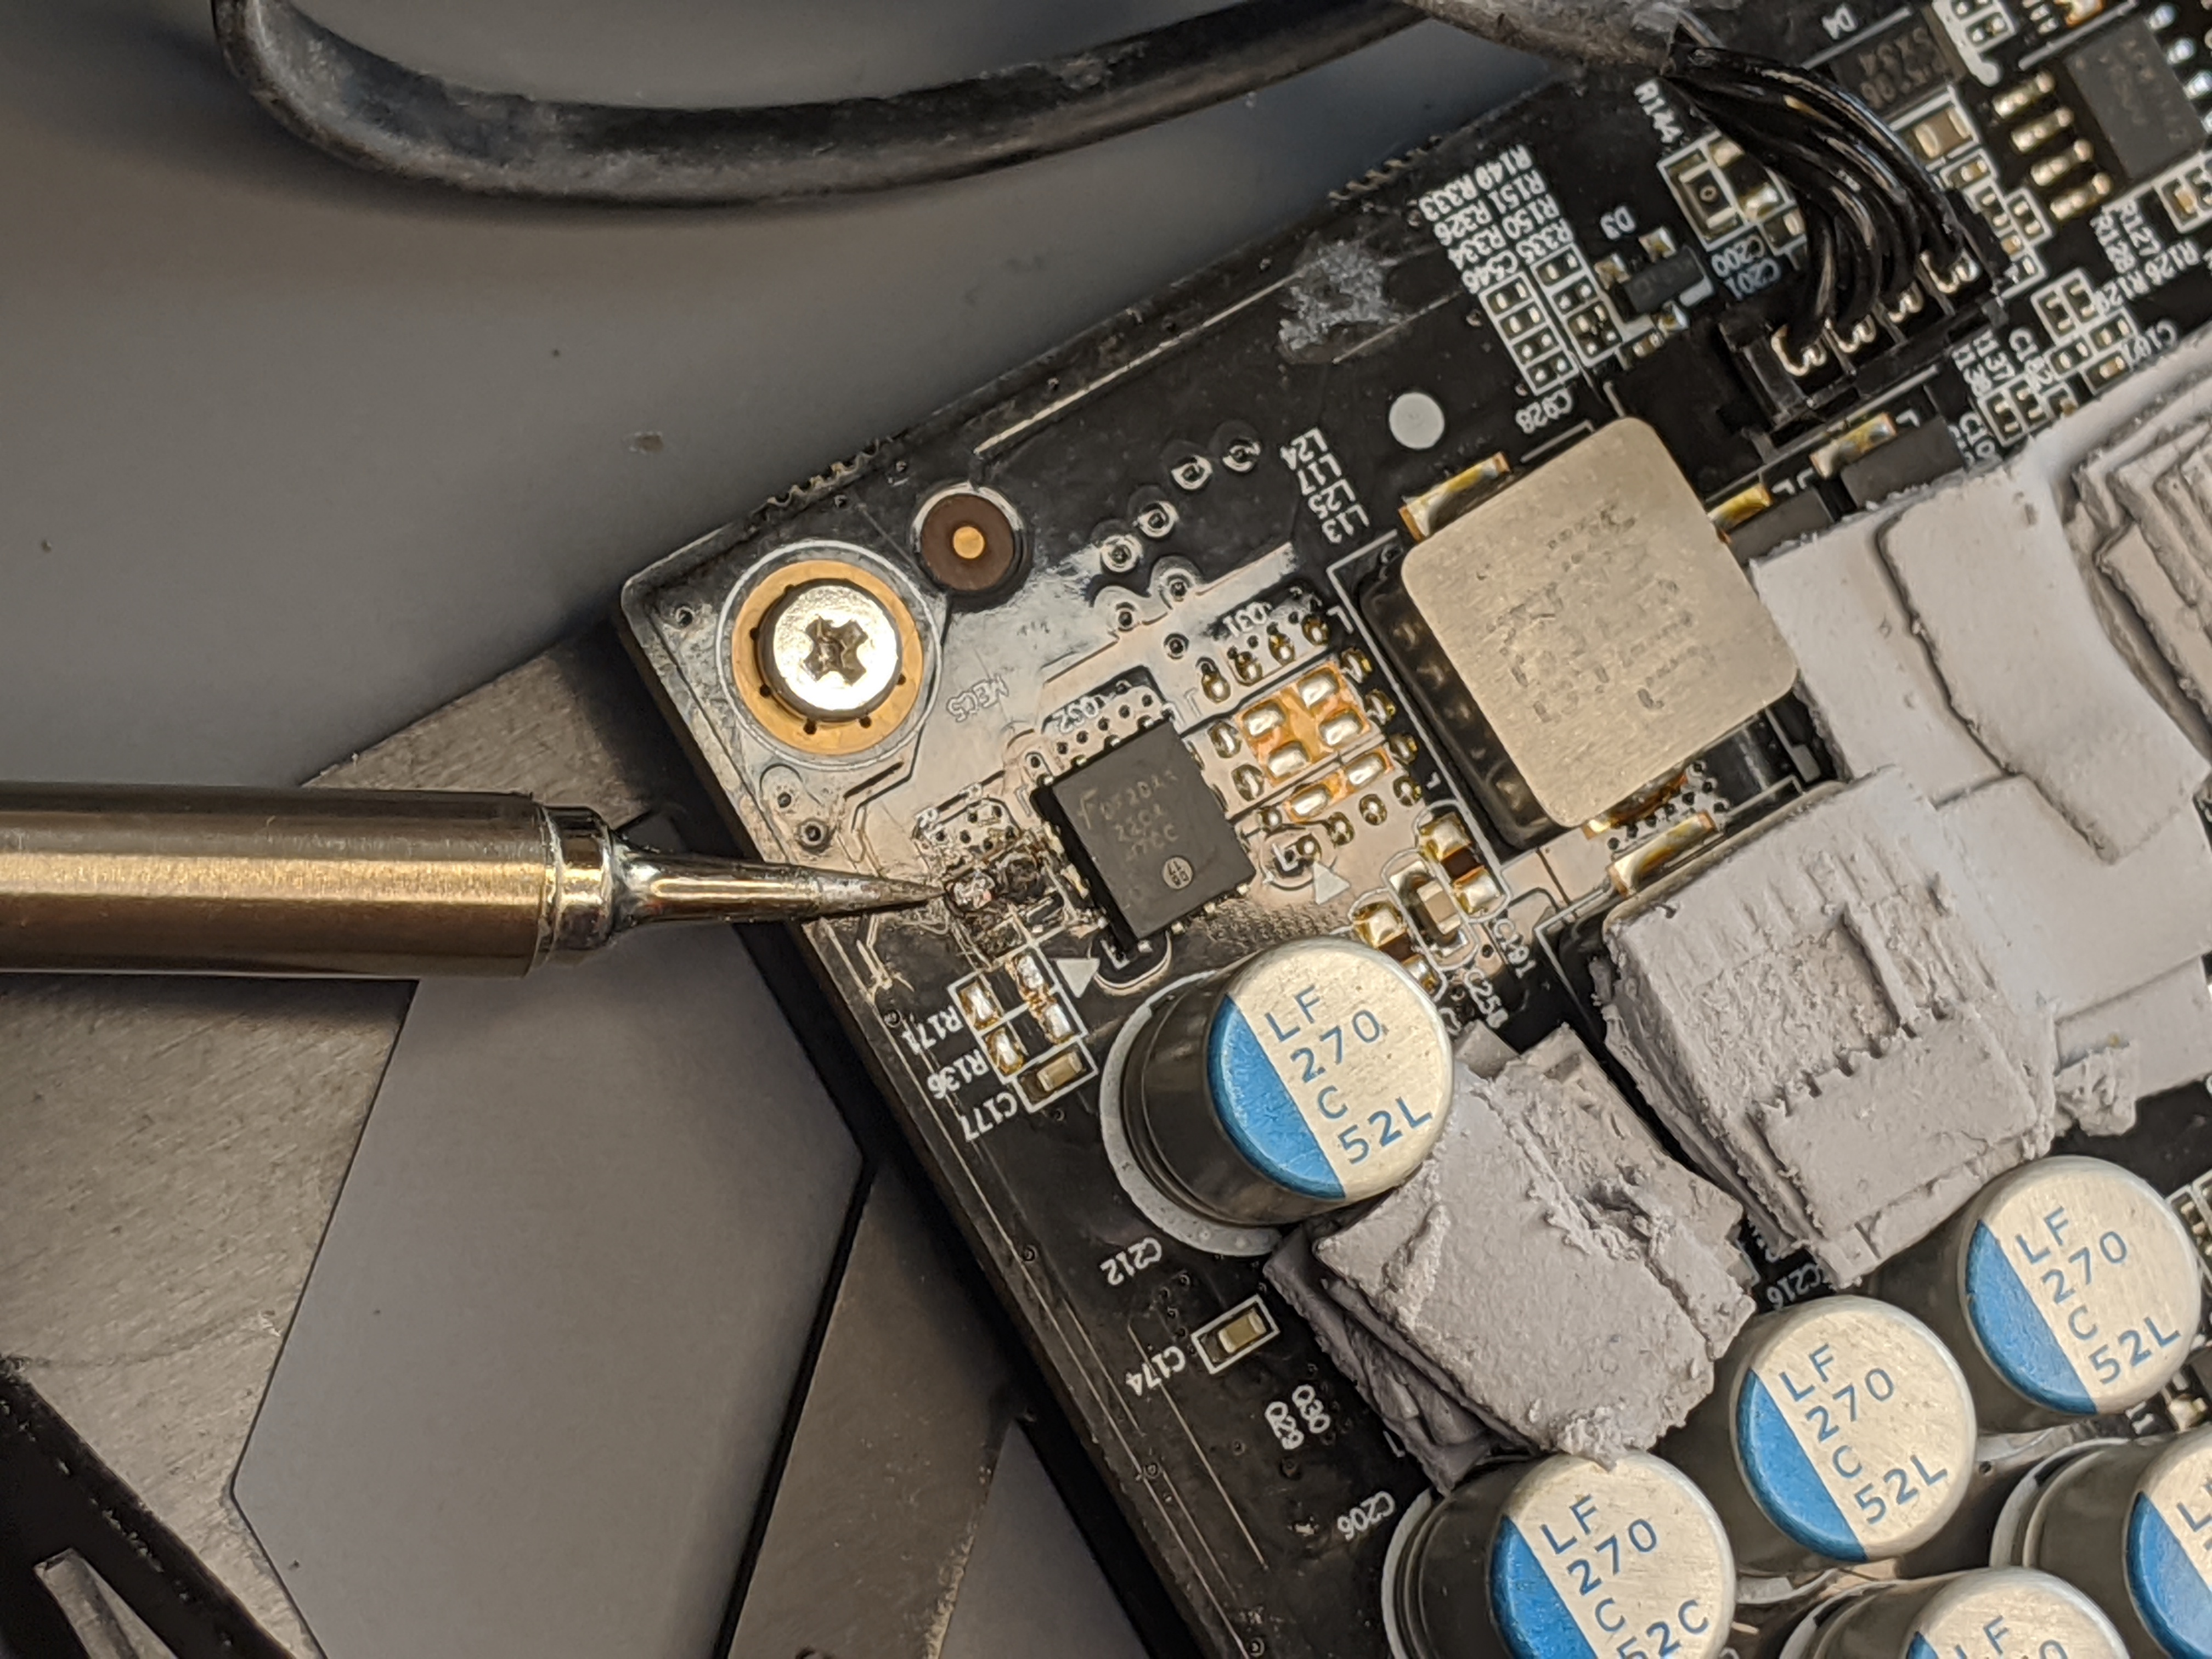
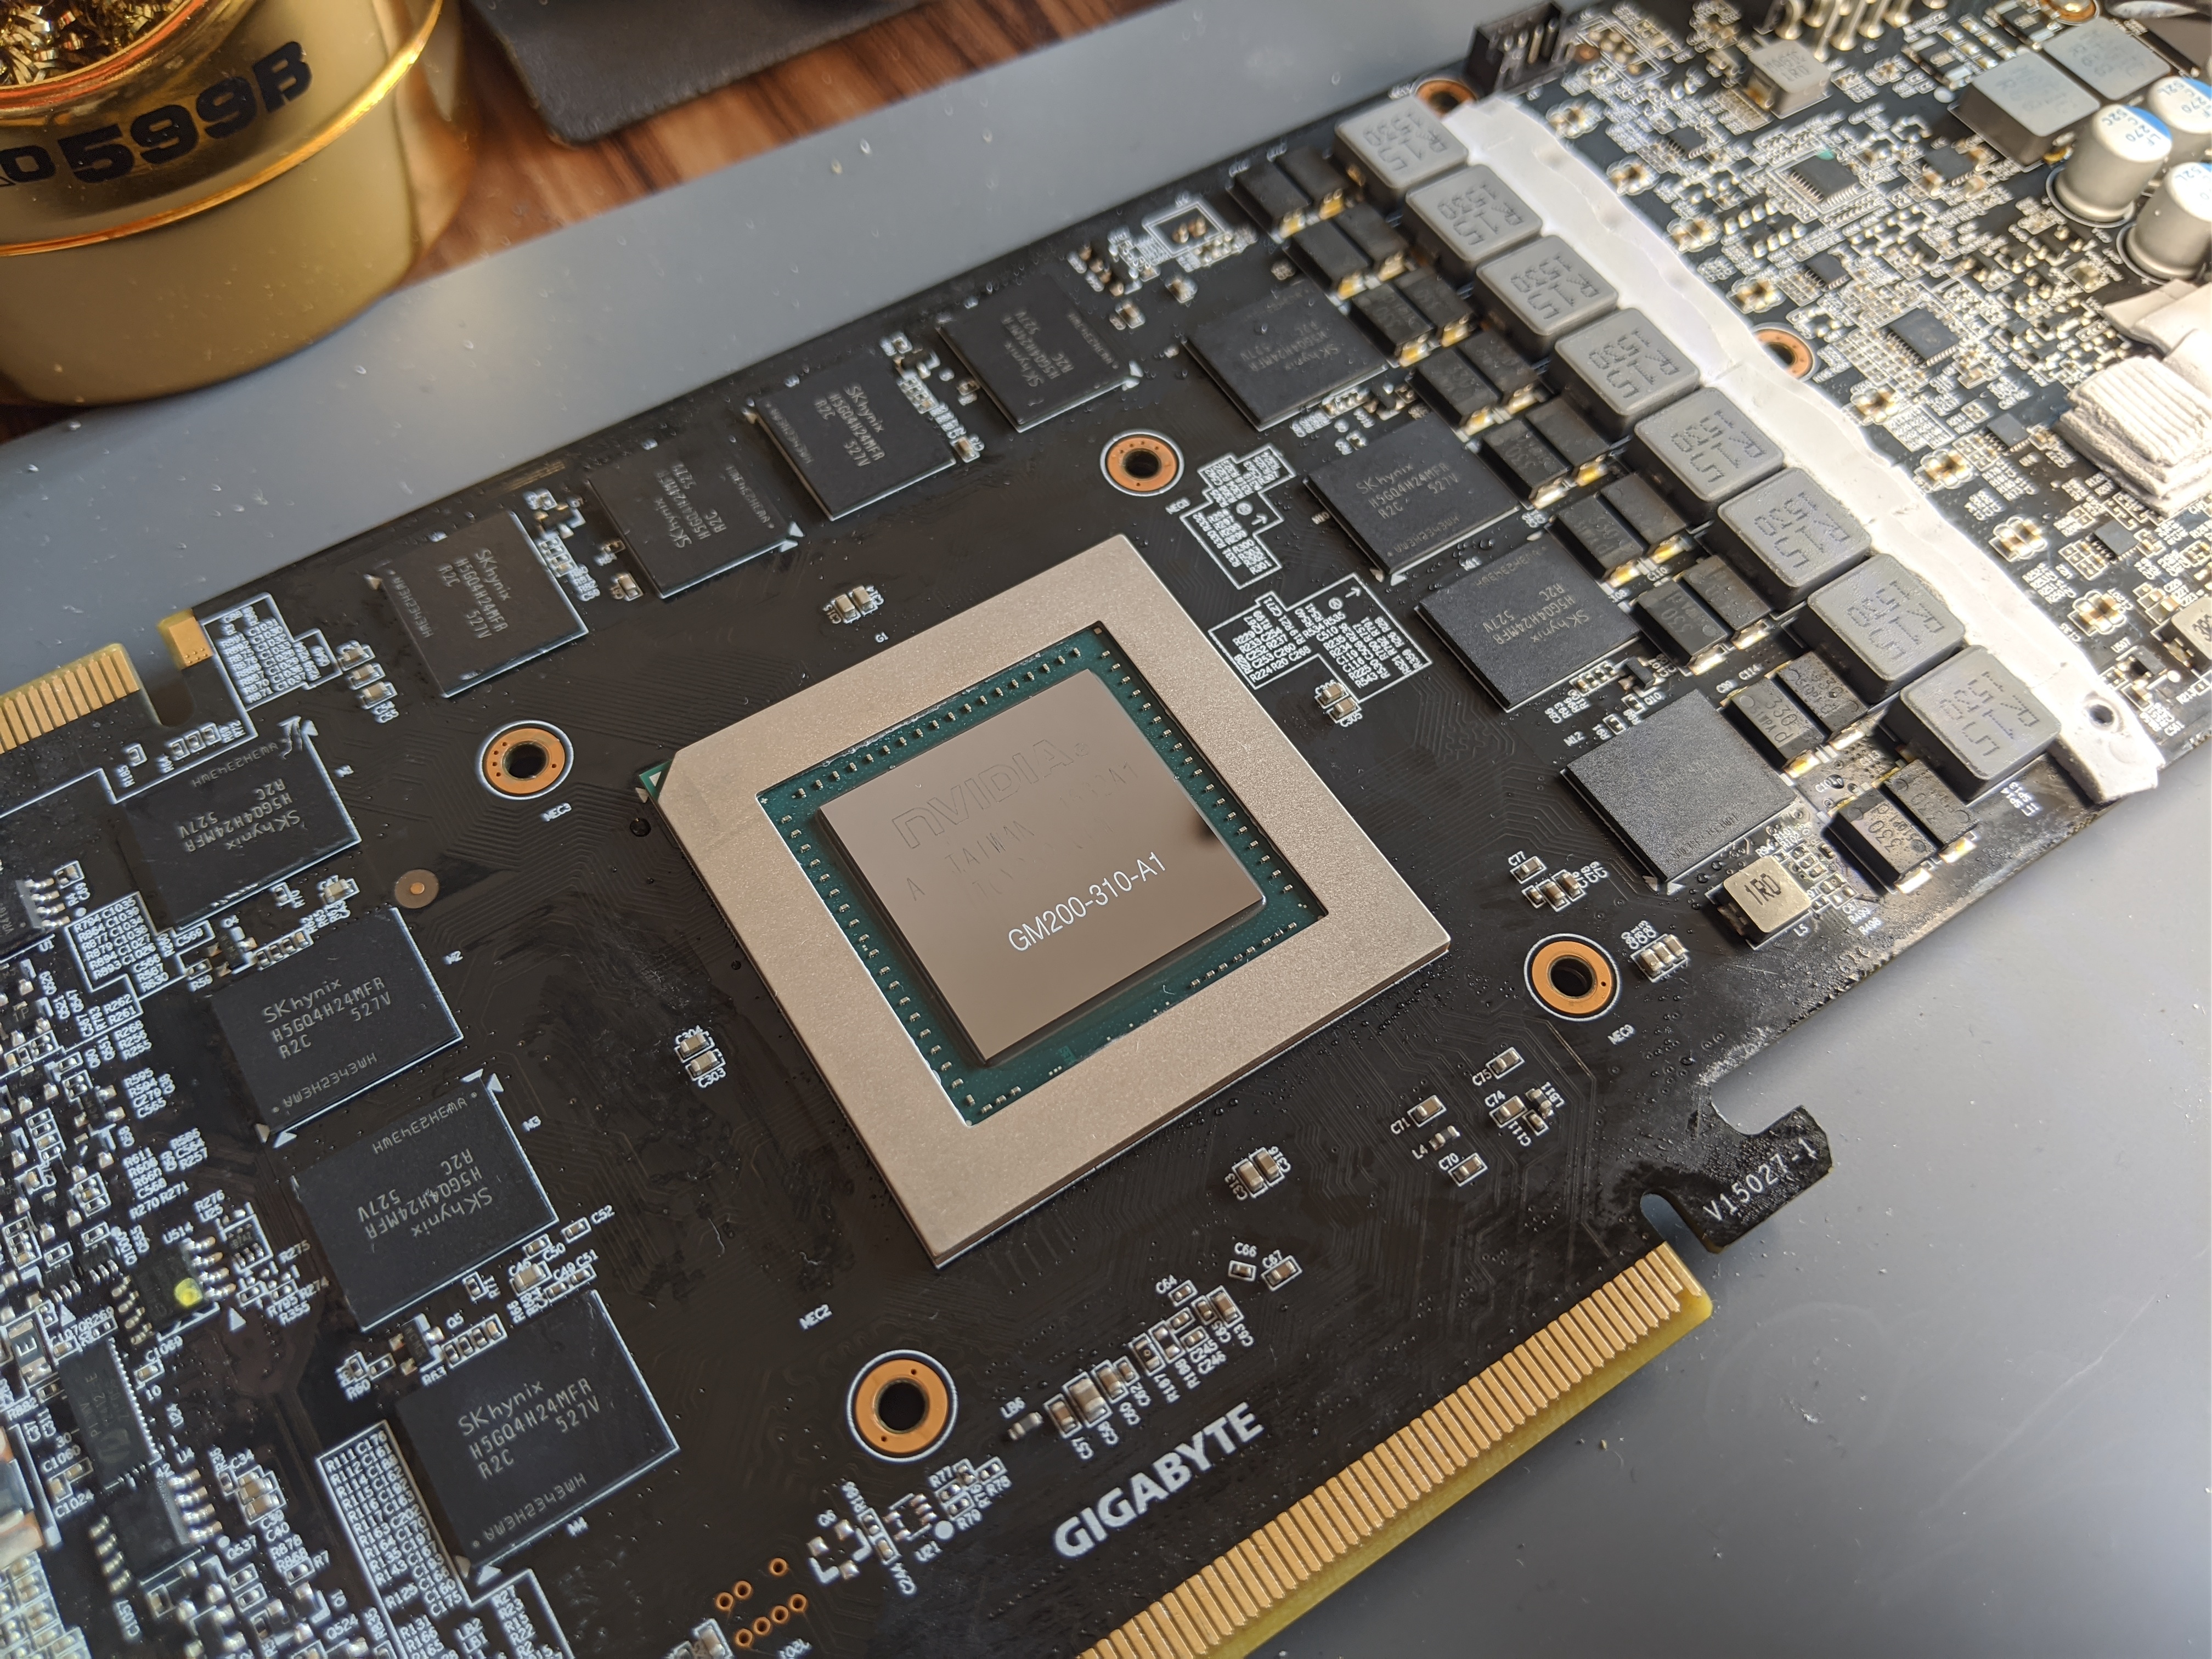
To do a good first test of something I would regularly not do actually is it happens to be… I usually tend to work on RF components or devices I characterize things so when it comes to me soldering a bunch of components I really need a hot air rework station and to really take advantage of the modern way of using solder paste. However in the occasion that I need an iron we’re going to test that out and that test is on my GTX 980 Ti. It has some modifications as you can notice on the card there are 12 gigabytes of VRAM chips. The reason for this was that I had access to a BGA oven back in college and I soldered on the additional identical memory chips That the Titan version of the card had. And it just so happened that gigabyte making a beefcake card like this windforce card shared the same parts in common with its Titan counterpart so it was a simple bios flash. In any case this caused a major issue which was that I eventually blew one of my memory phases because I didn’t think about lowering the power and not overclocking the memory as much given the additional strain to the power delivery.
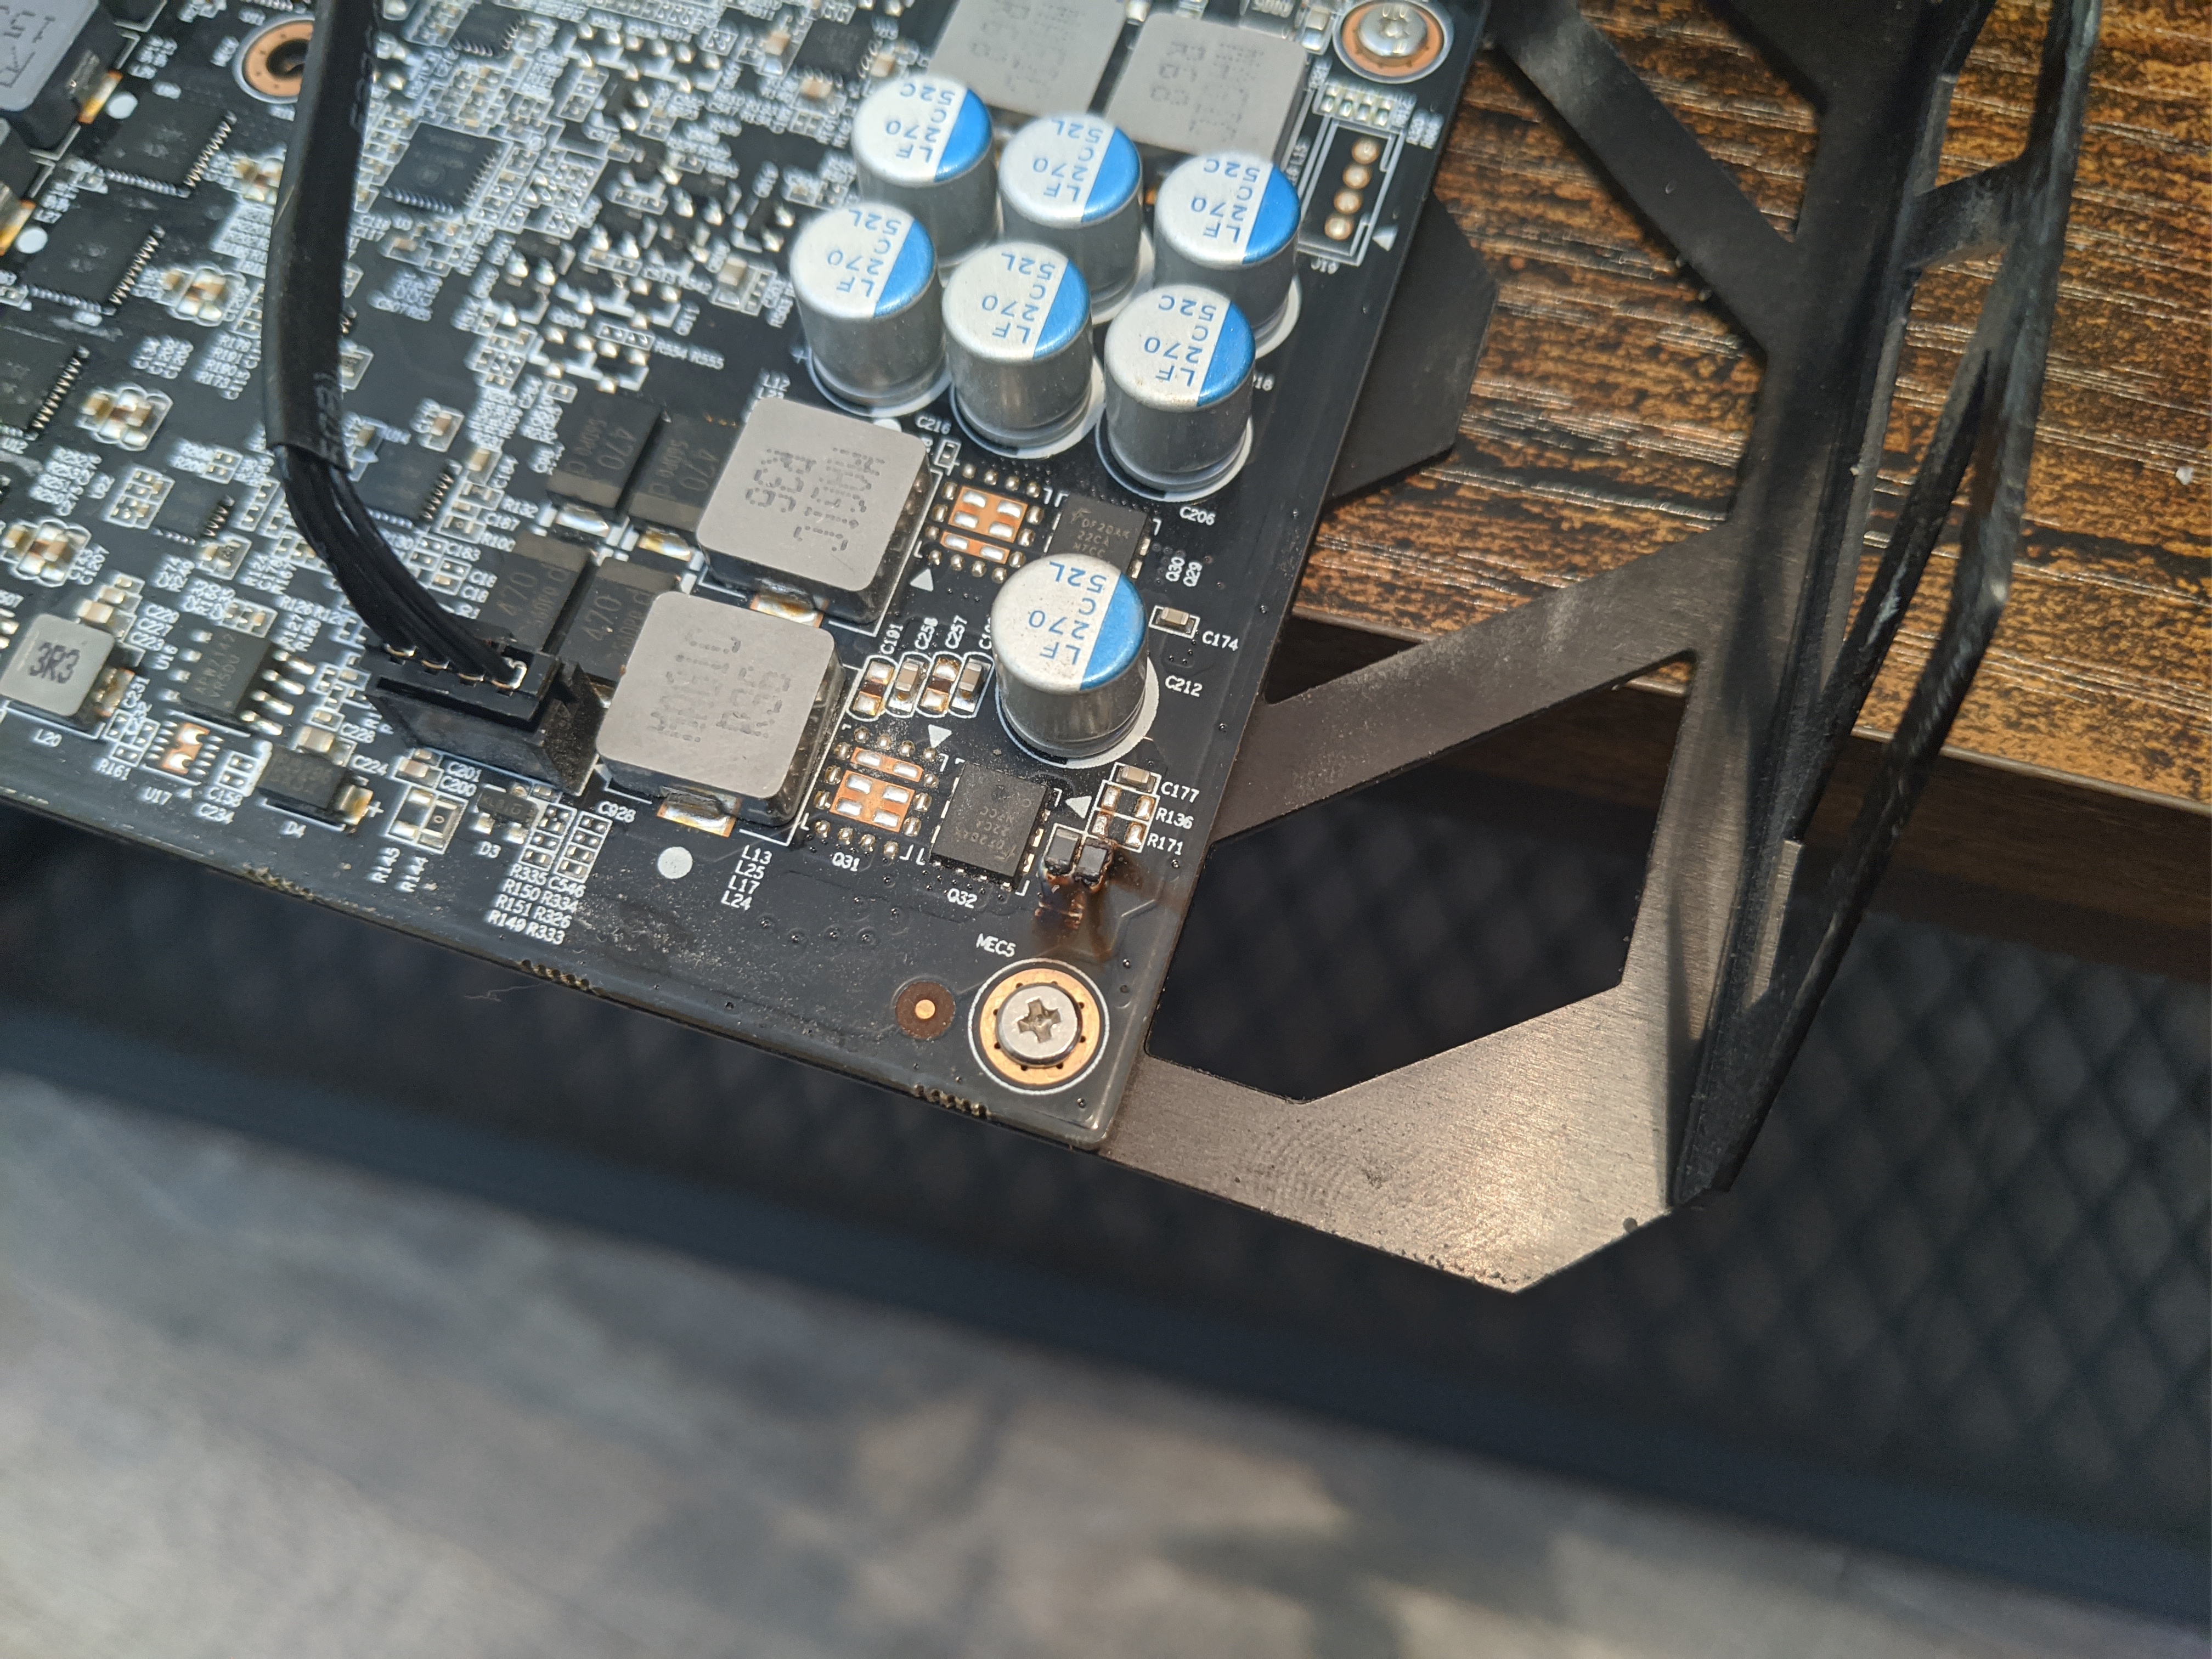
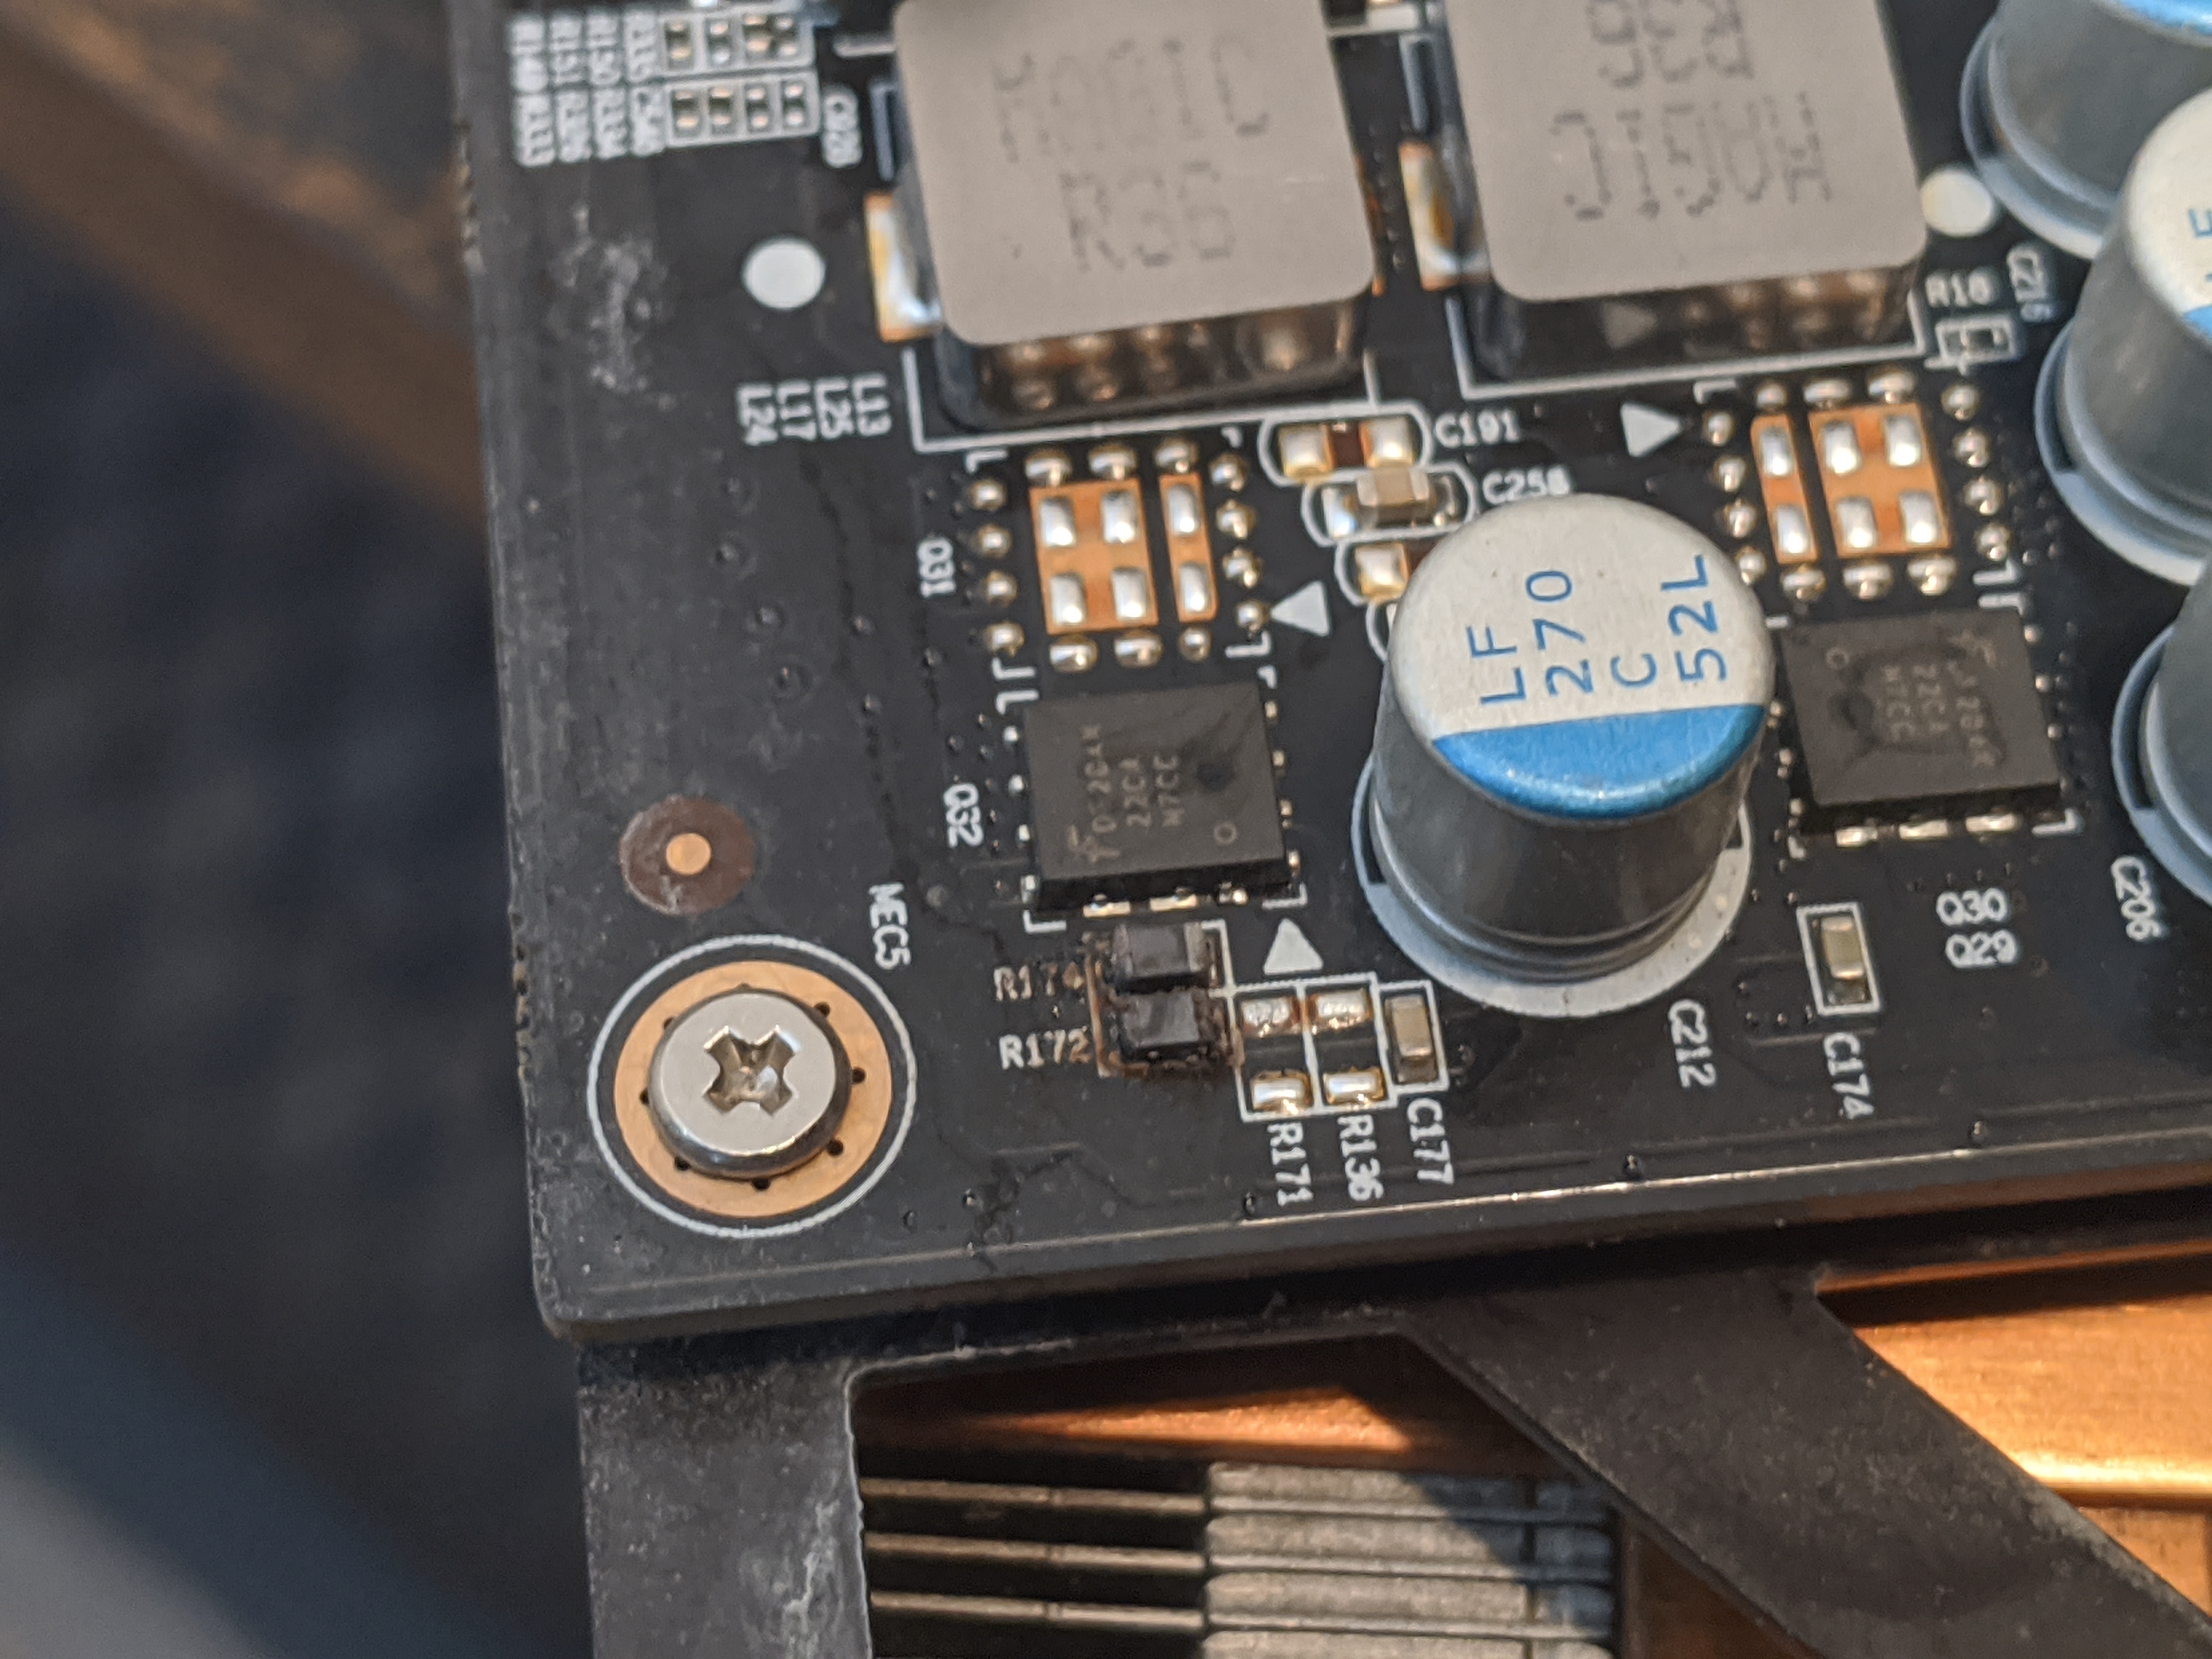
As we can see some major damage was incurred when things burned off. R172 and r174 burn top as a part of a poor man’s fuse system for when the power is overdrawn on one of the phases. This happened to be on phase number two which would be the phase that picked up the slack for the additional memory. We can also see that the phase controller definitely took a little bit of heat before everything popped. Fun times let’s fix it. In this GPU market there’s no way in the hell I am ever buying a GPU at this price It’s not happening. Period Said done.
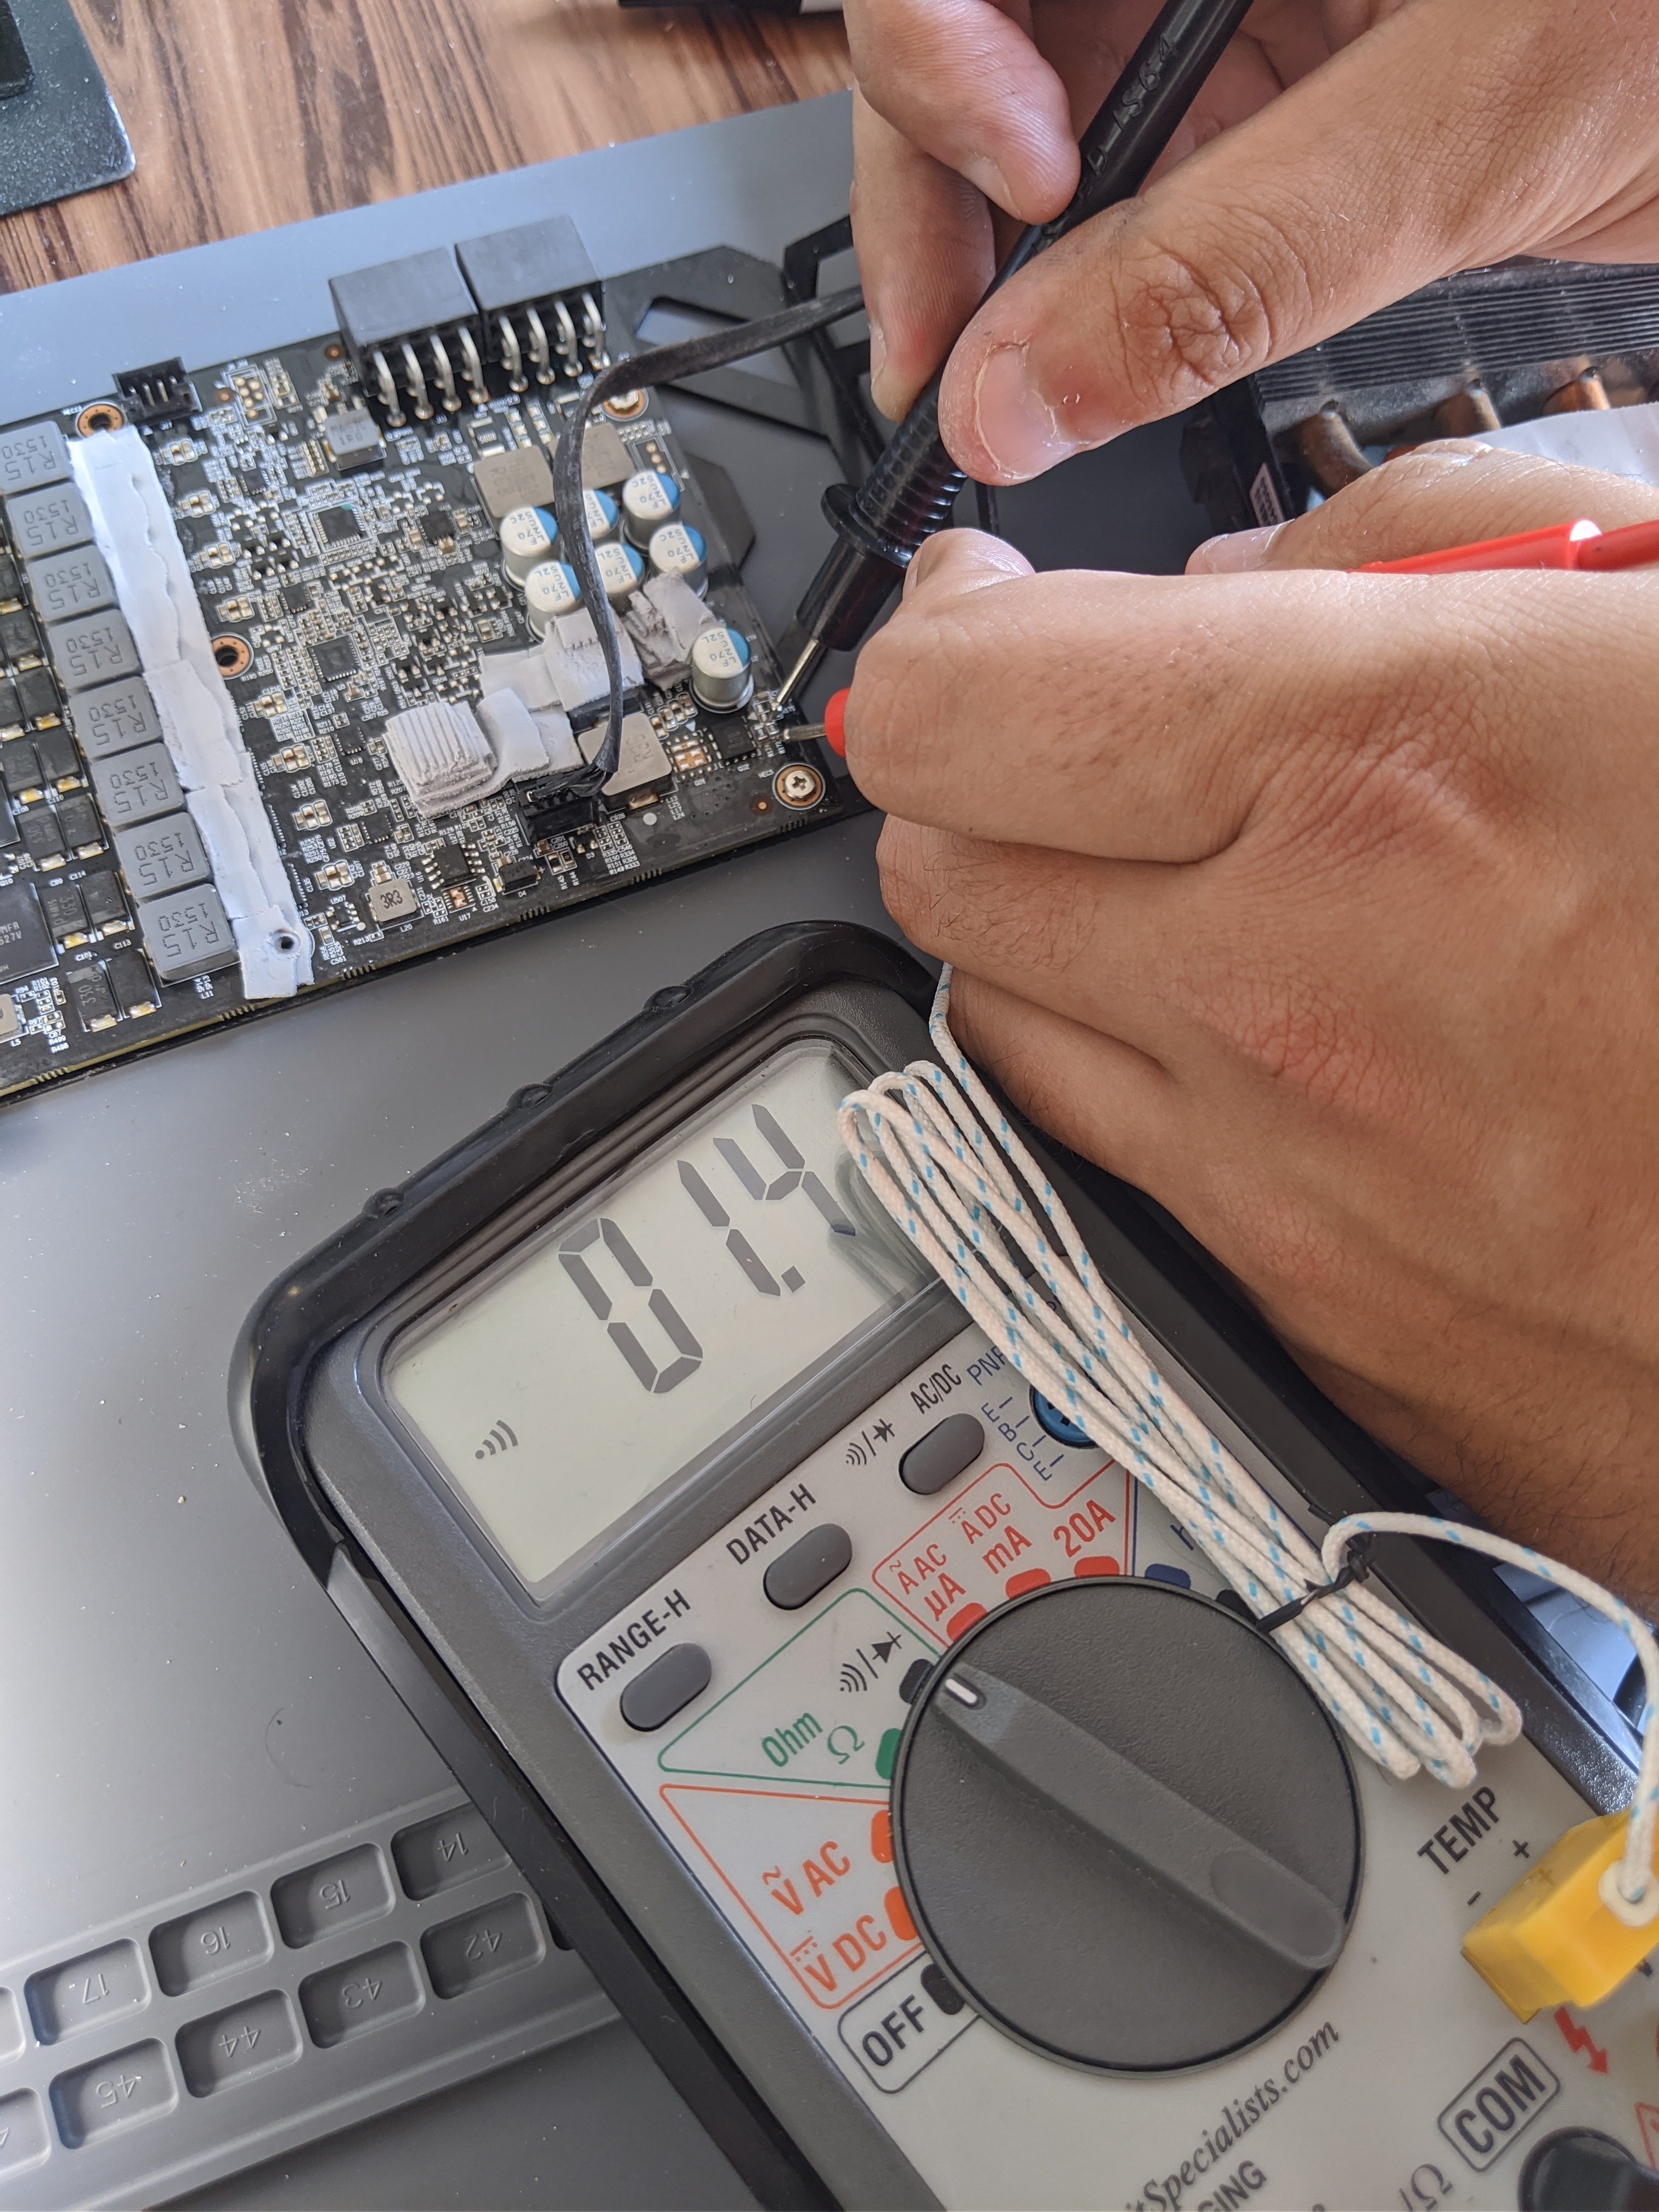
Some of you are probably wondering how I figured out what these parts were and what they were used for it’s a simple manner of using a multimeter and back tracing across the board to various components. Since most things are transistor-based if the transistor is not on the resistance is going to be infinite therefore you’re not going to have any connectivity It just so happens that these connected directly to the power controller for the phase operation controller. That is how I figured out what they were. Back tracing takes time.
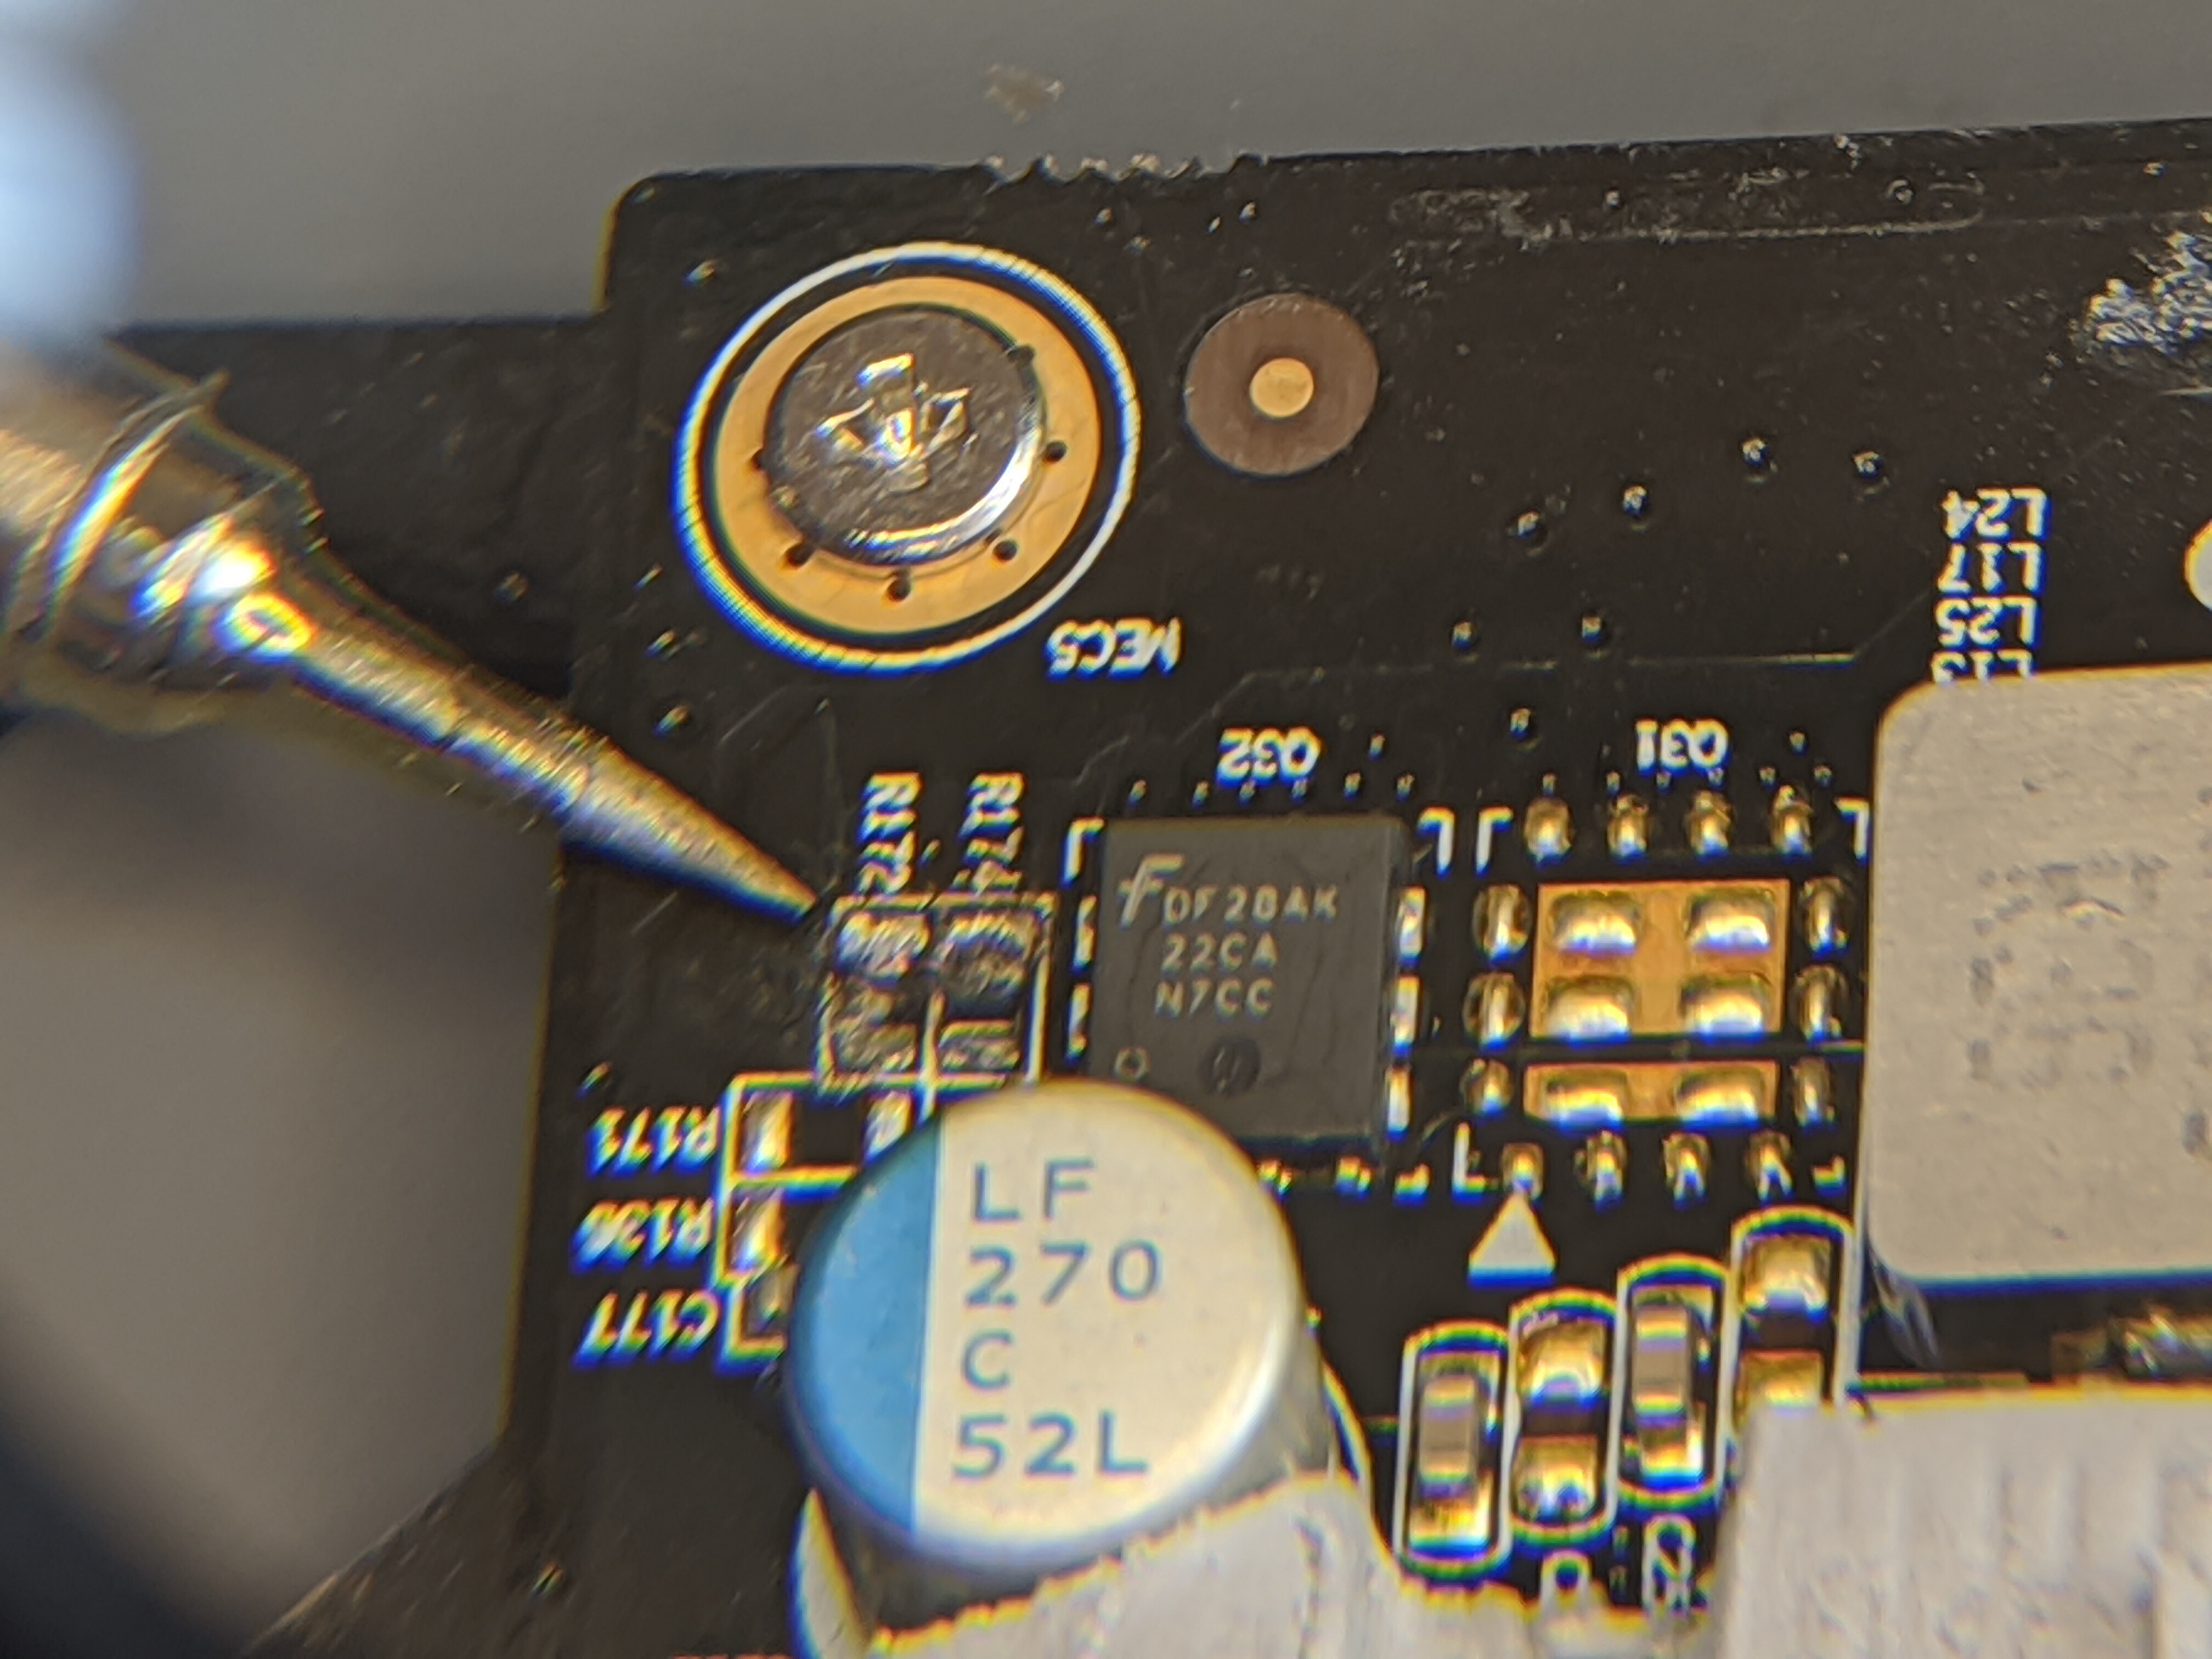
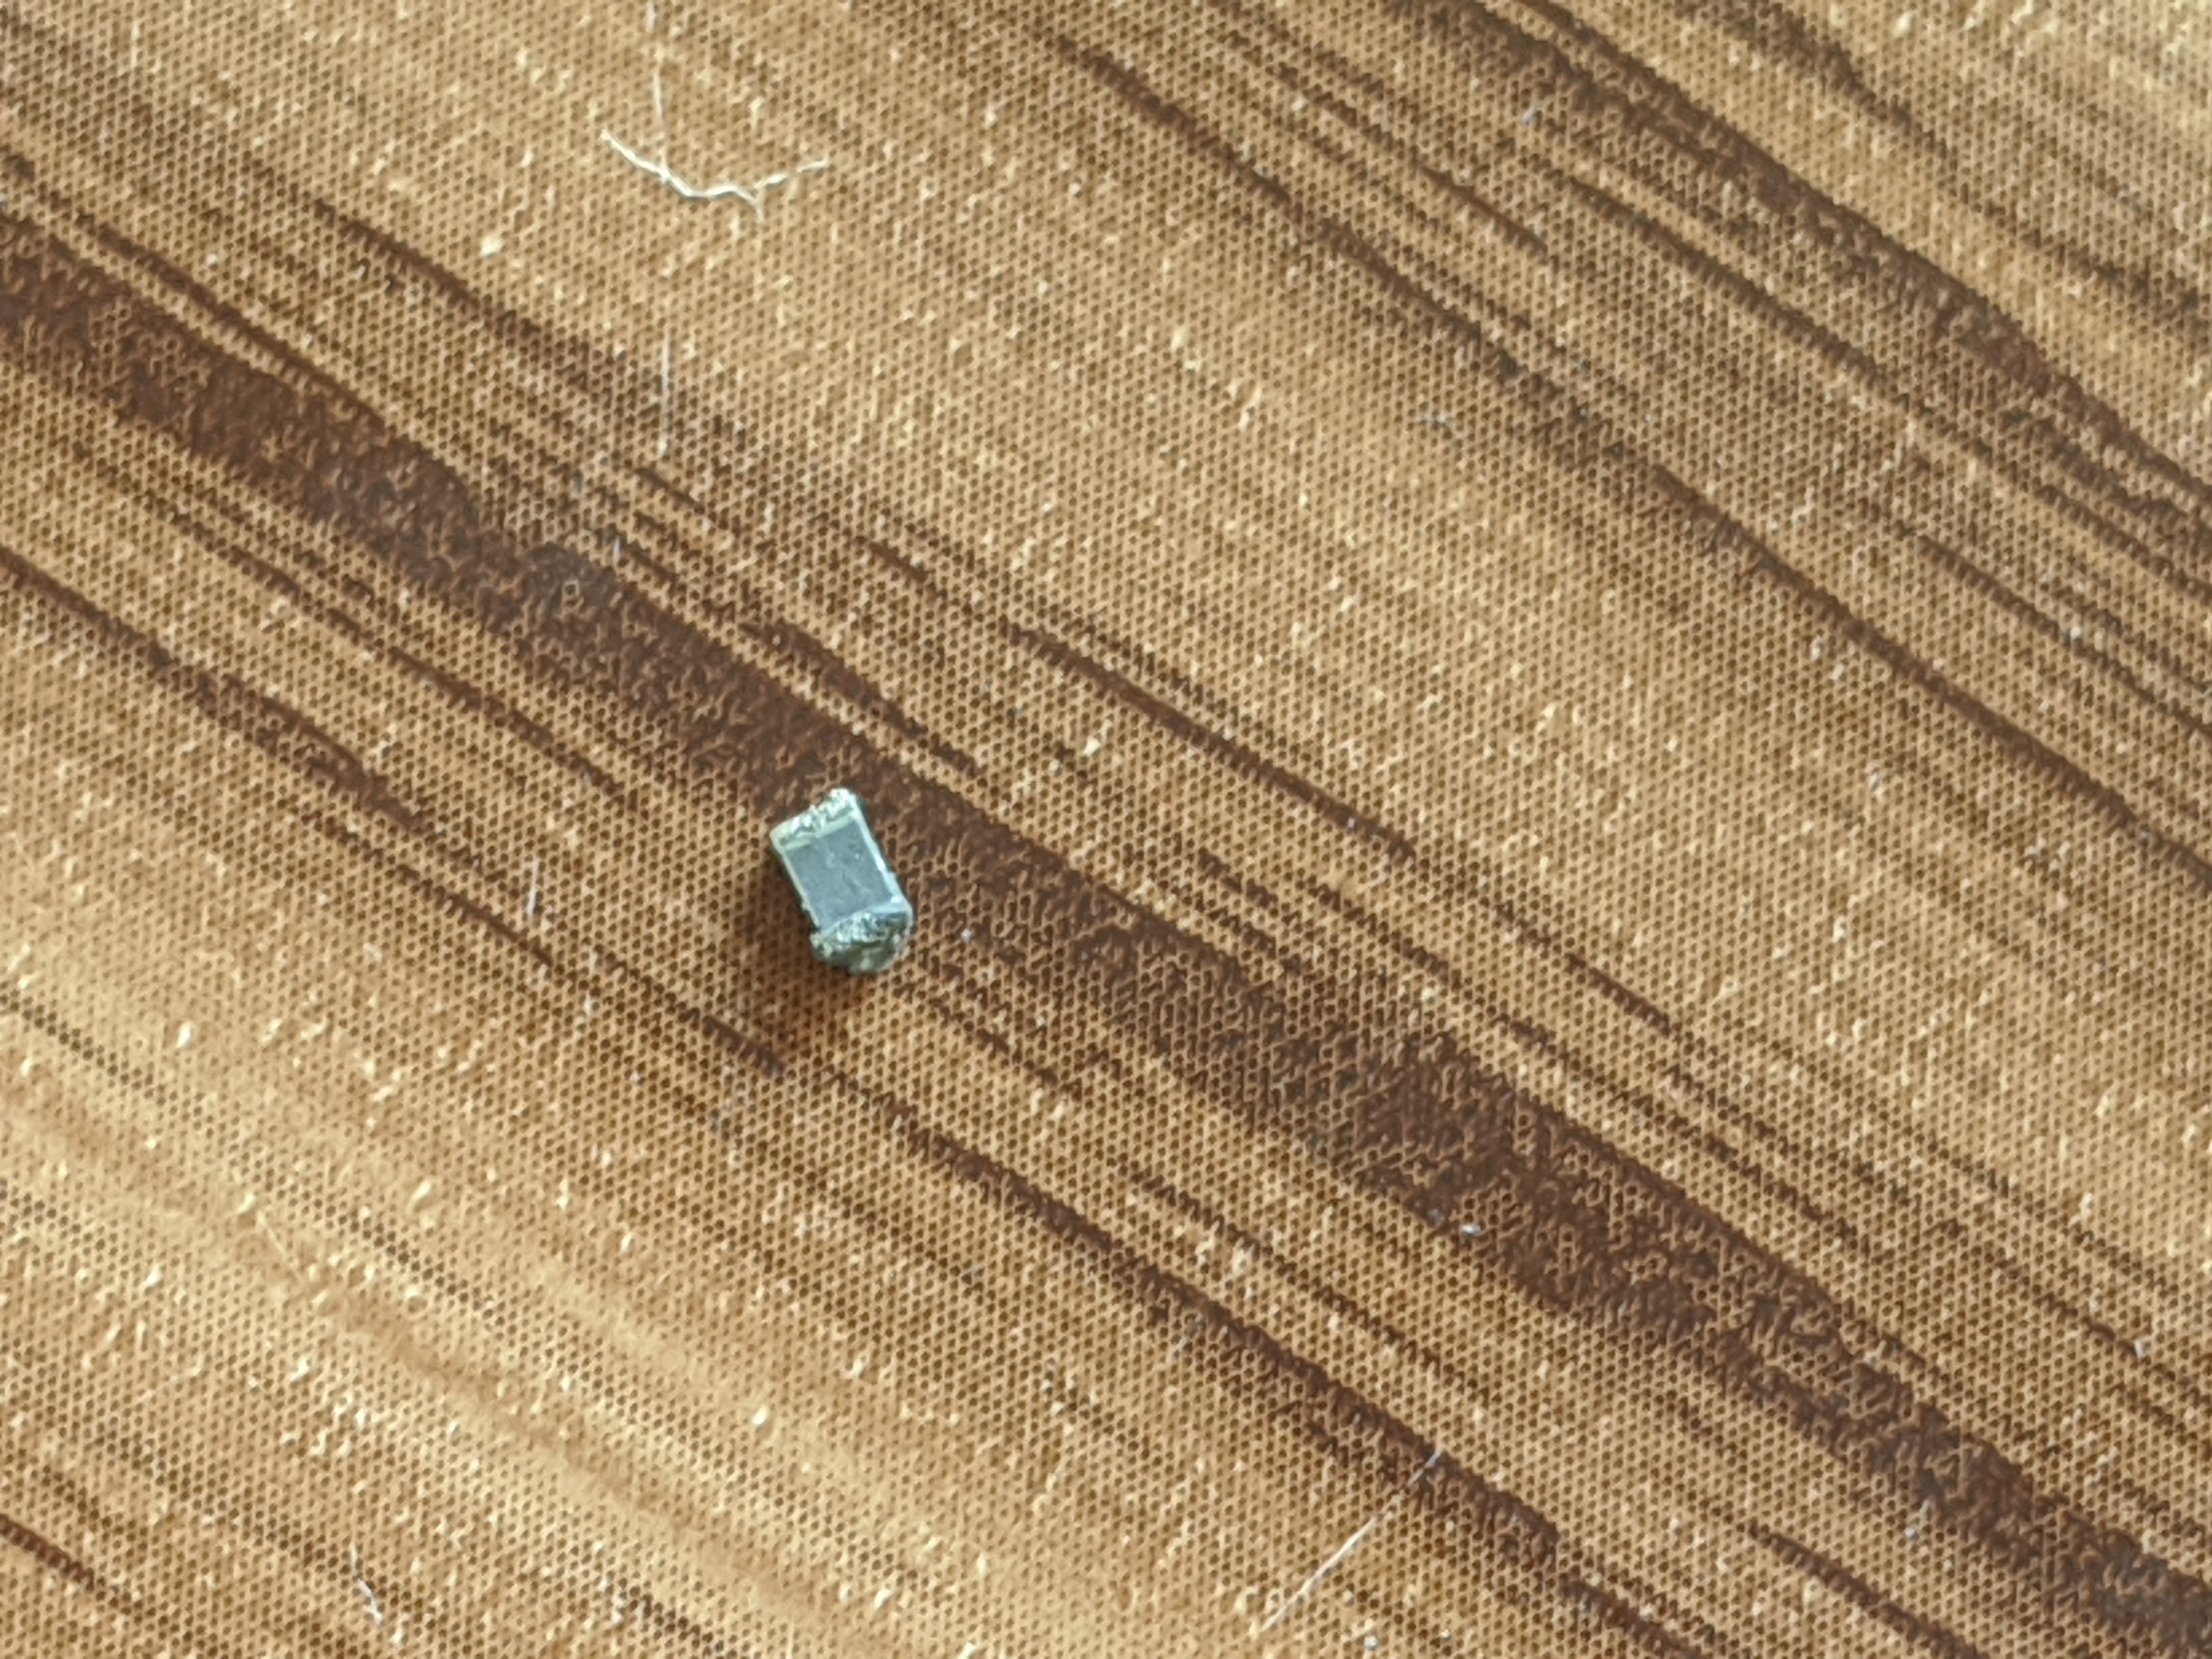
Upon removal and inspection it looks like the pads were sort of intact but there was enough contact there to allow me to contact this traces without The need to repad or expose a trace or any of those problems.
So my method for the fix today is pretty simple we are going to try to match the resistance which I found to be 1.6 ohms. We can see that these are clearly 0805s. So it’s time to replace them

After assessing which component I needed to put on the board it was a fairly simple matter of using a little solder paste placing the components on top after using a little alcoholic no clean flux… And going ahead and touching the tips of the soldering iron to the ends the components and it flowed freely
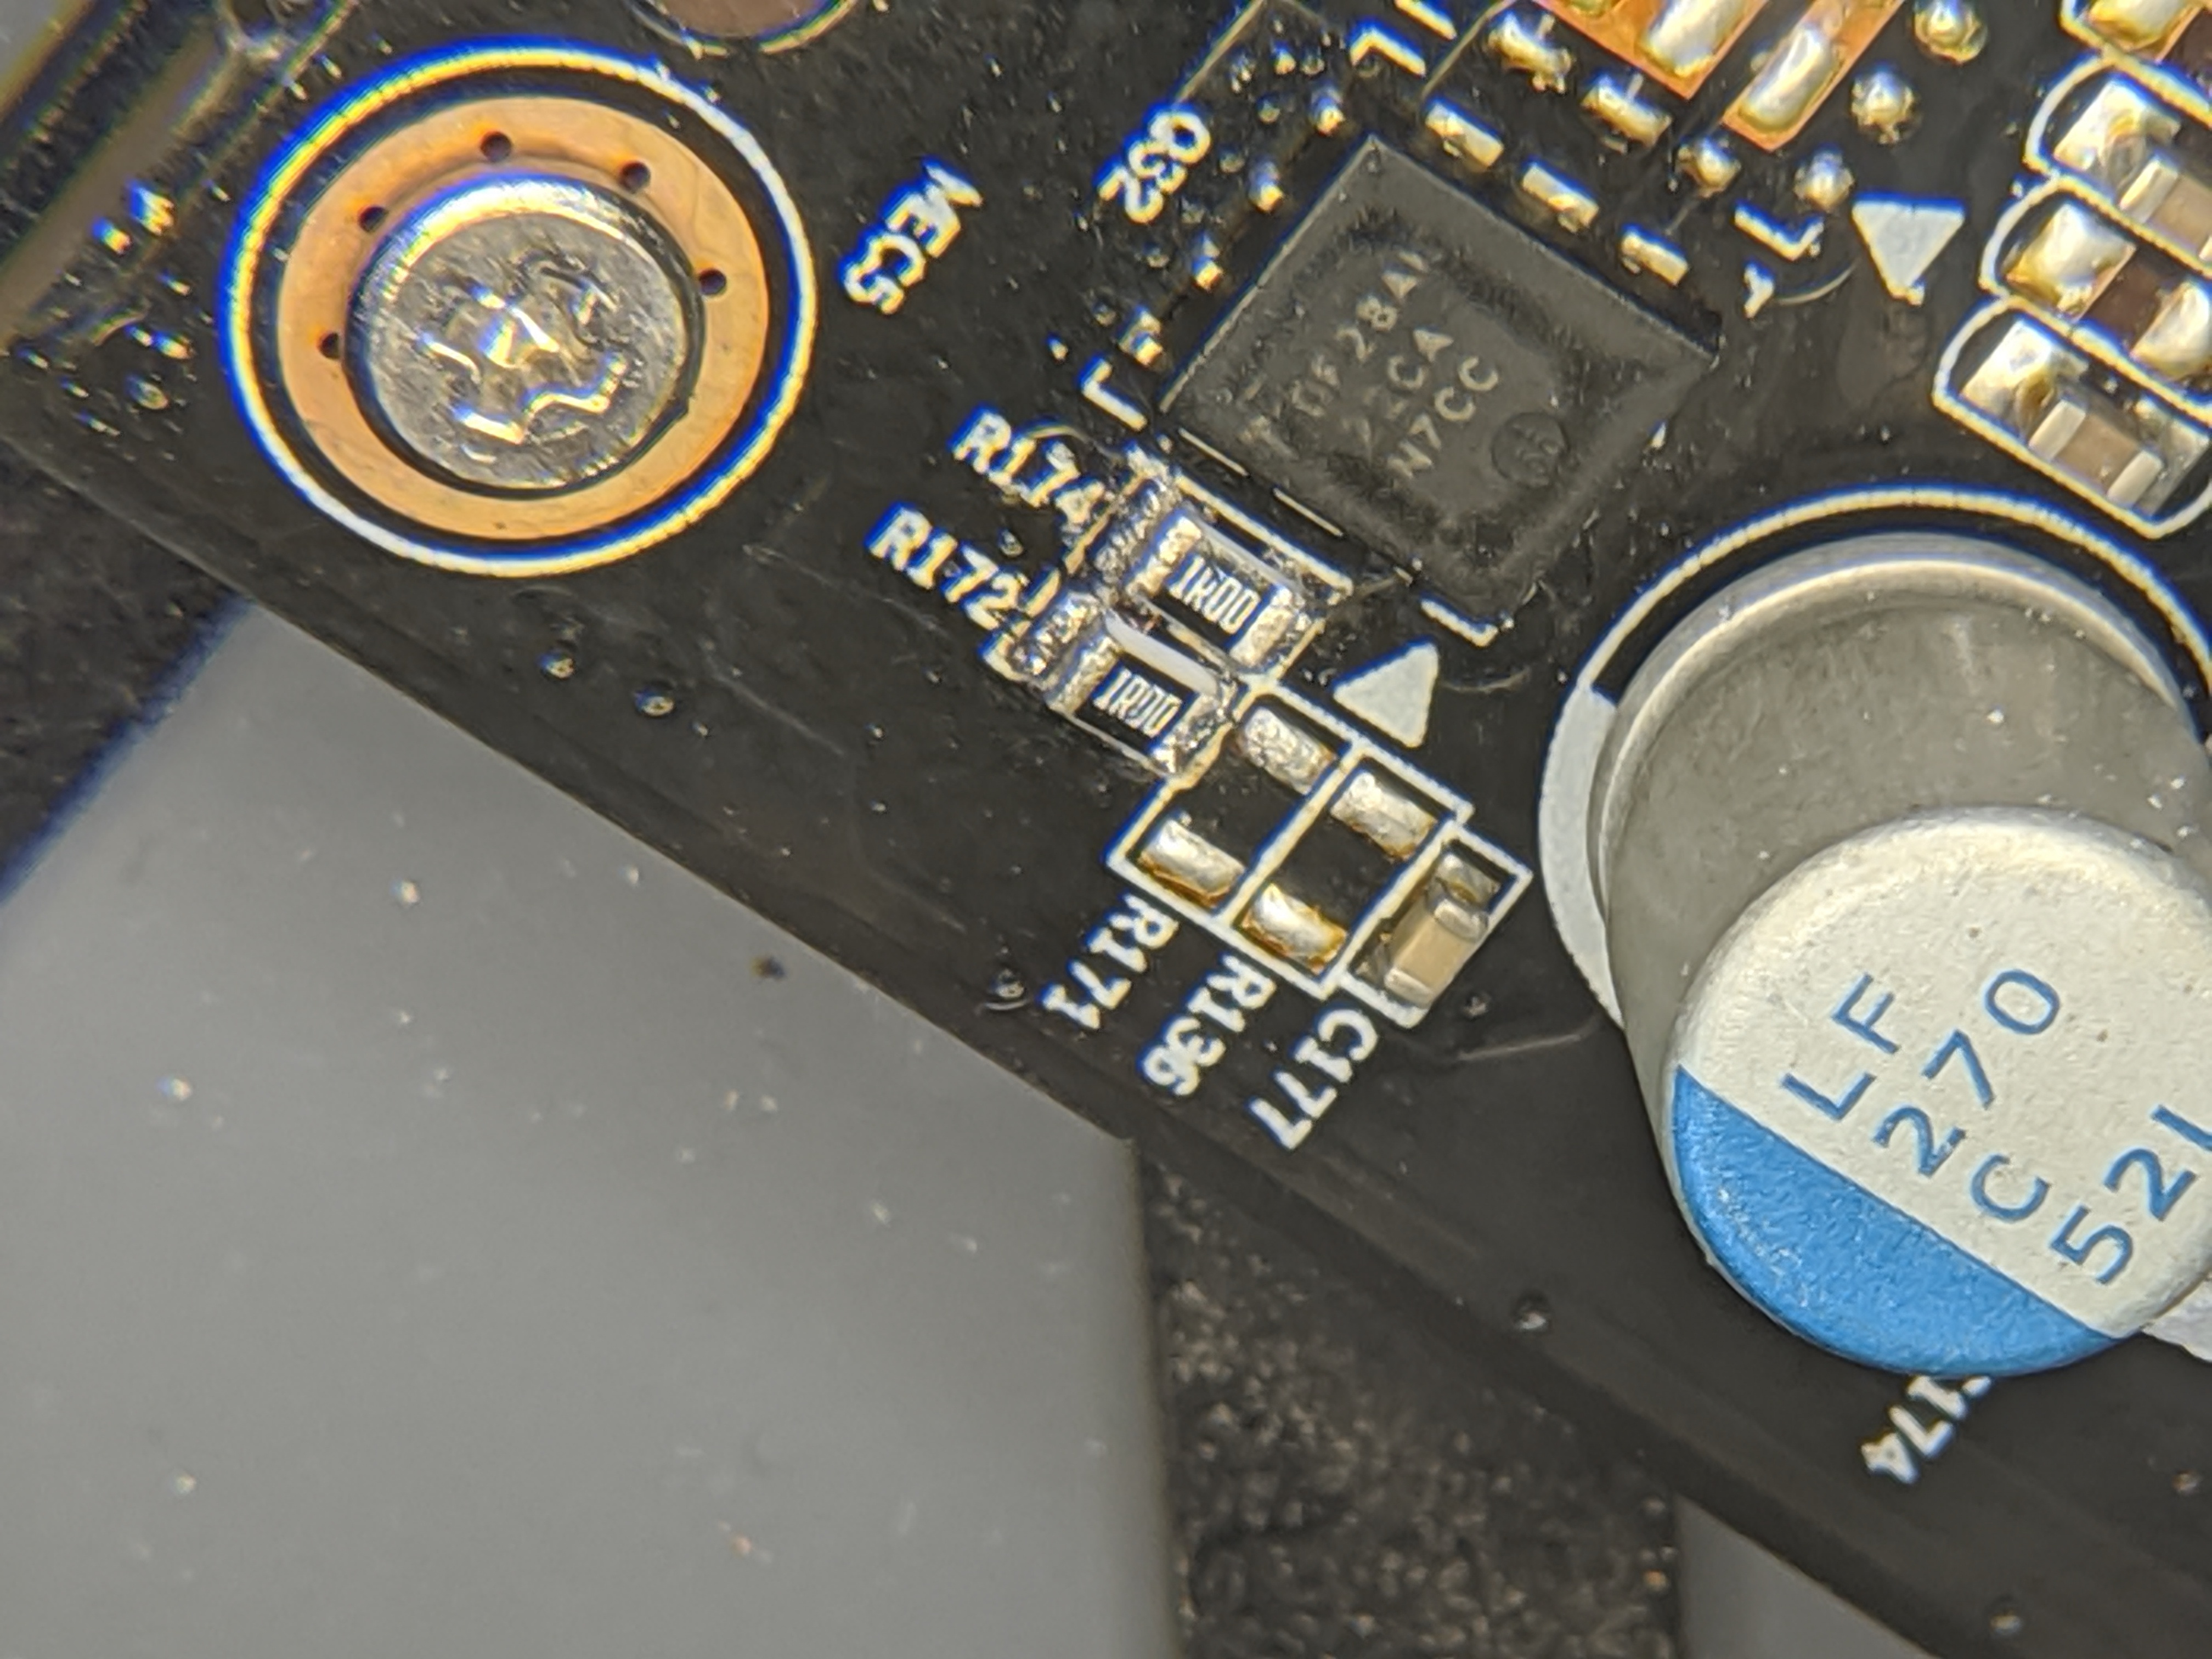
After verifying there were no bridges and no continuity issues and that the resistance was reading properly I was pretty confident to put the graphics card back together
After reflashing the Titan BIOS back on and some minor tweaks to make sure that the card had the proper voltage modifications in order to avoid such a situation occurring in the future I went ahead and stress tested the video card. It passed all those and it’s been playing games flawlessly since and it will likely continue to do so as it is a beefcake card that just still has not managed to go obsolete for me. Just goes to show what a well-built video card from NVIDIA can do  . I wish the competition was as long-lasting to say at least.
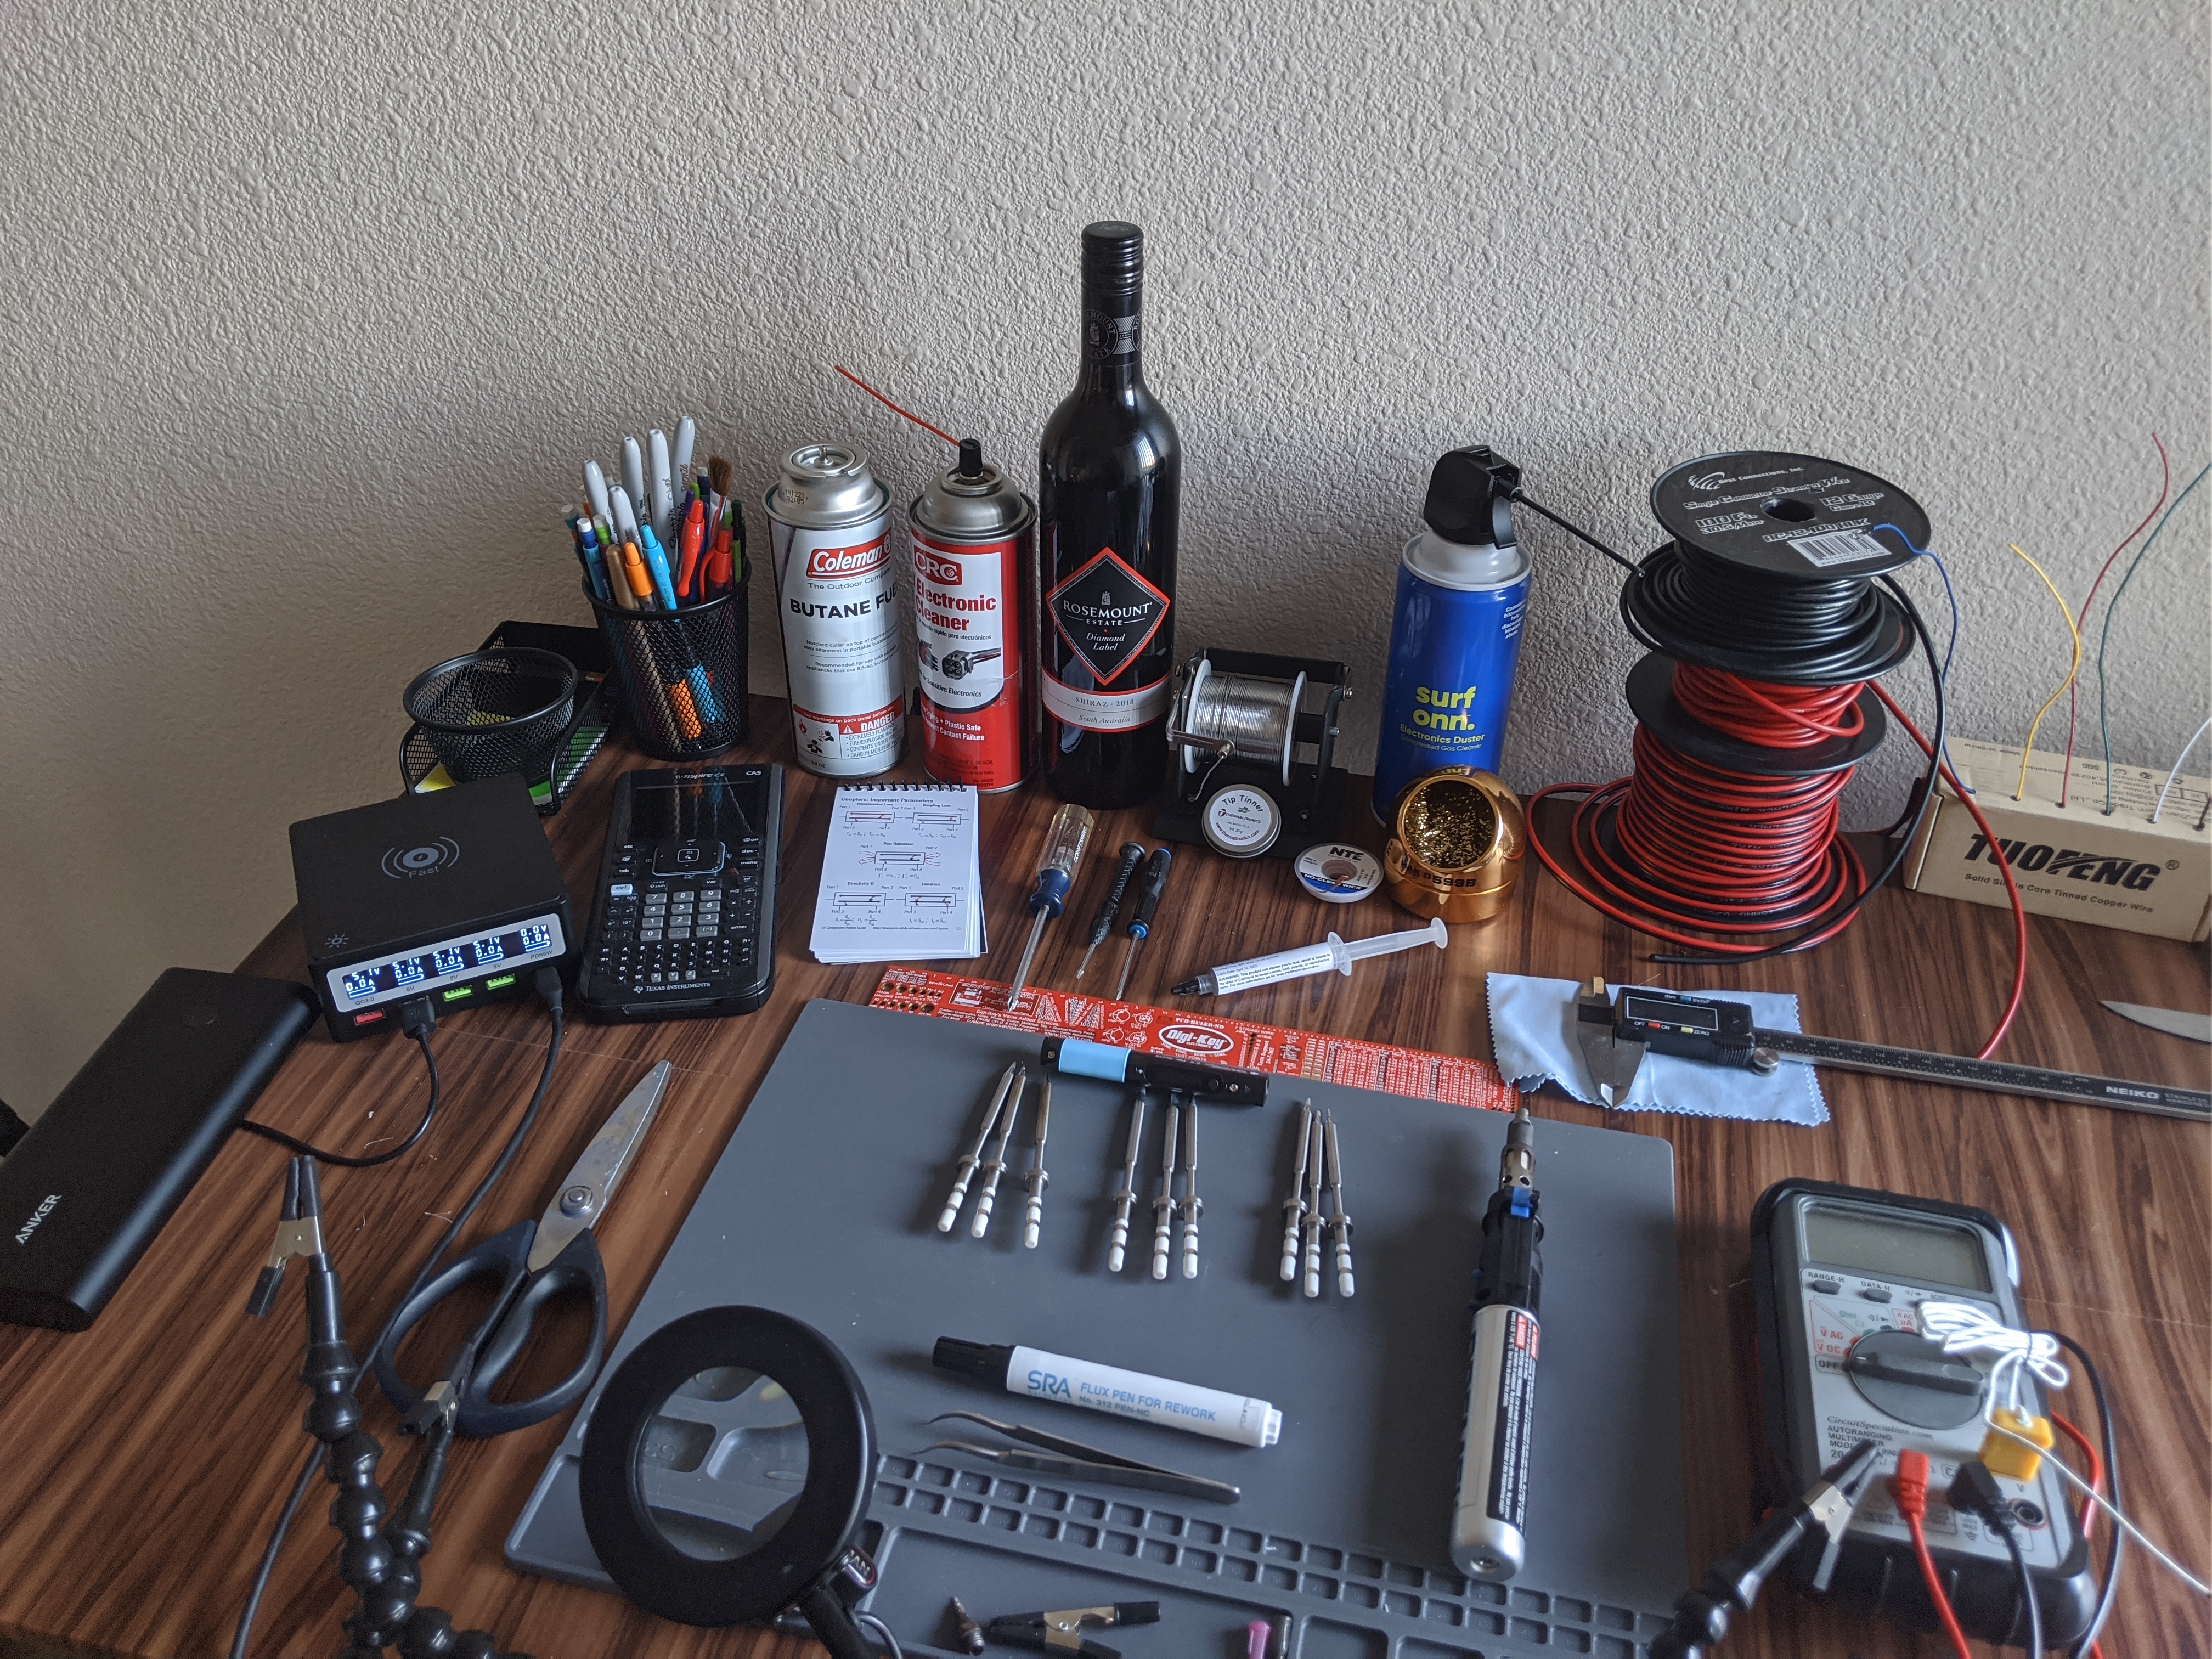
In any case it turned out to be an easy solder job. I don’t have much on the solder home lab part of my setup And honestly if you have skill the basics will do as you can see below
Additionally it should be noted that this iron is powered by USB power delivery over USB-C. It’s very convenient given that any power delivery power pack that’s capable of delivering 45 watts or more will very much power the soldering iron for the majority of jobs. In my case it was powered by none other than the pine power.
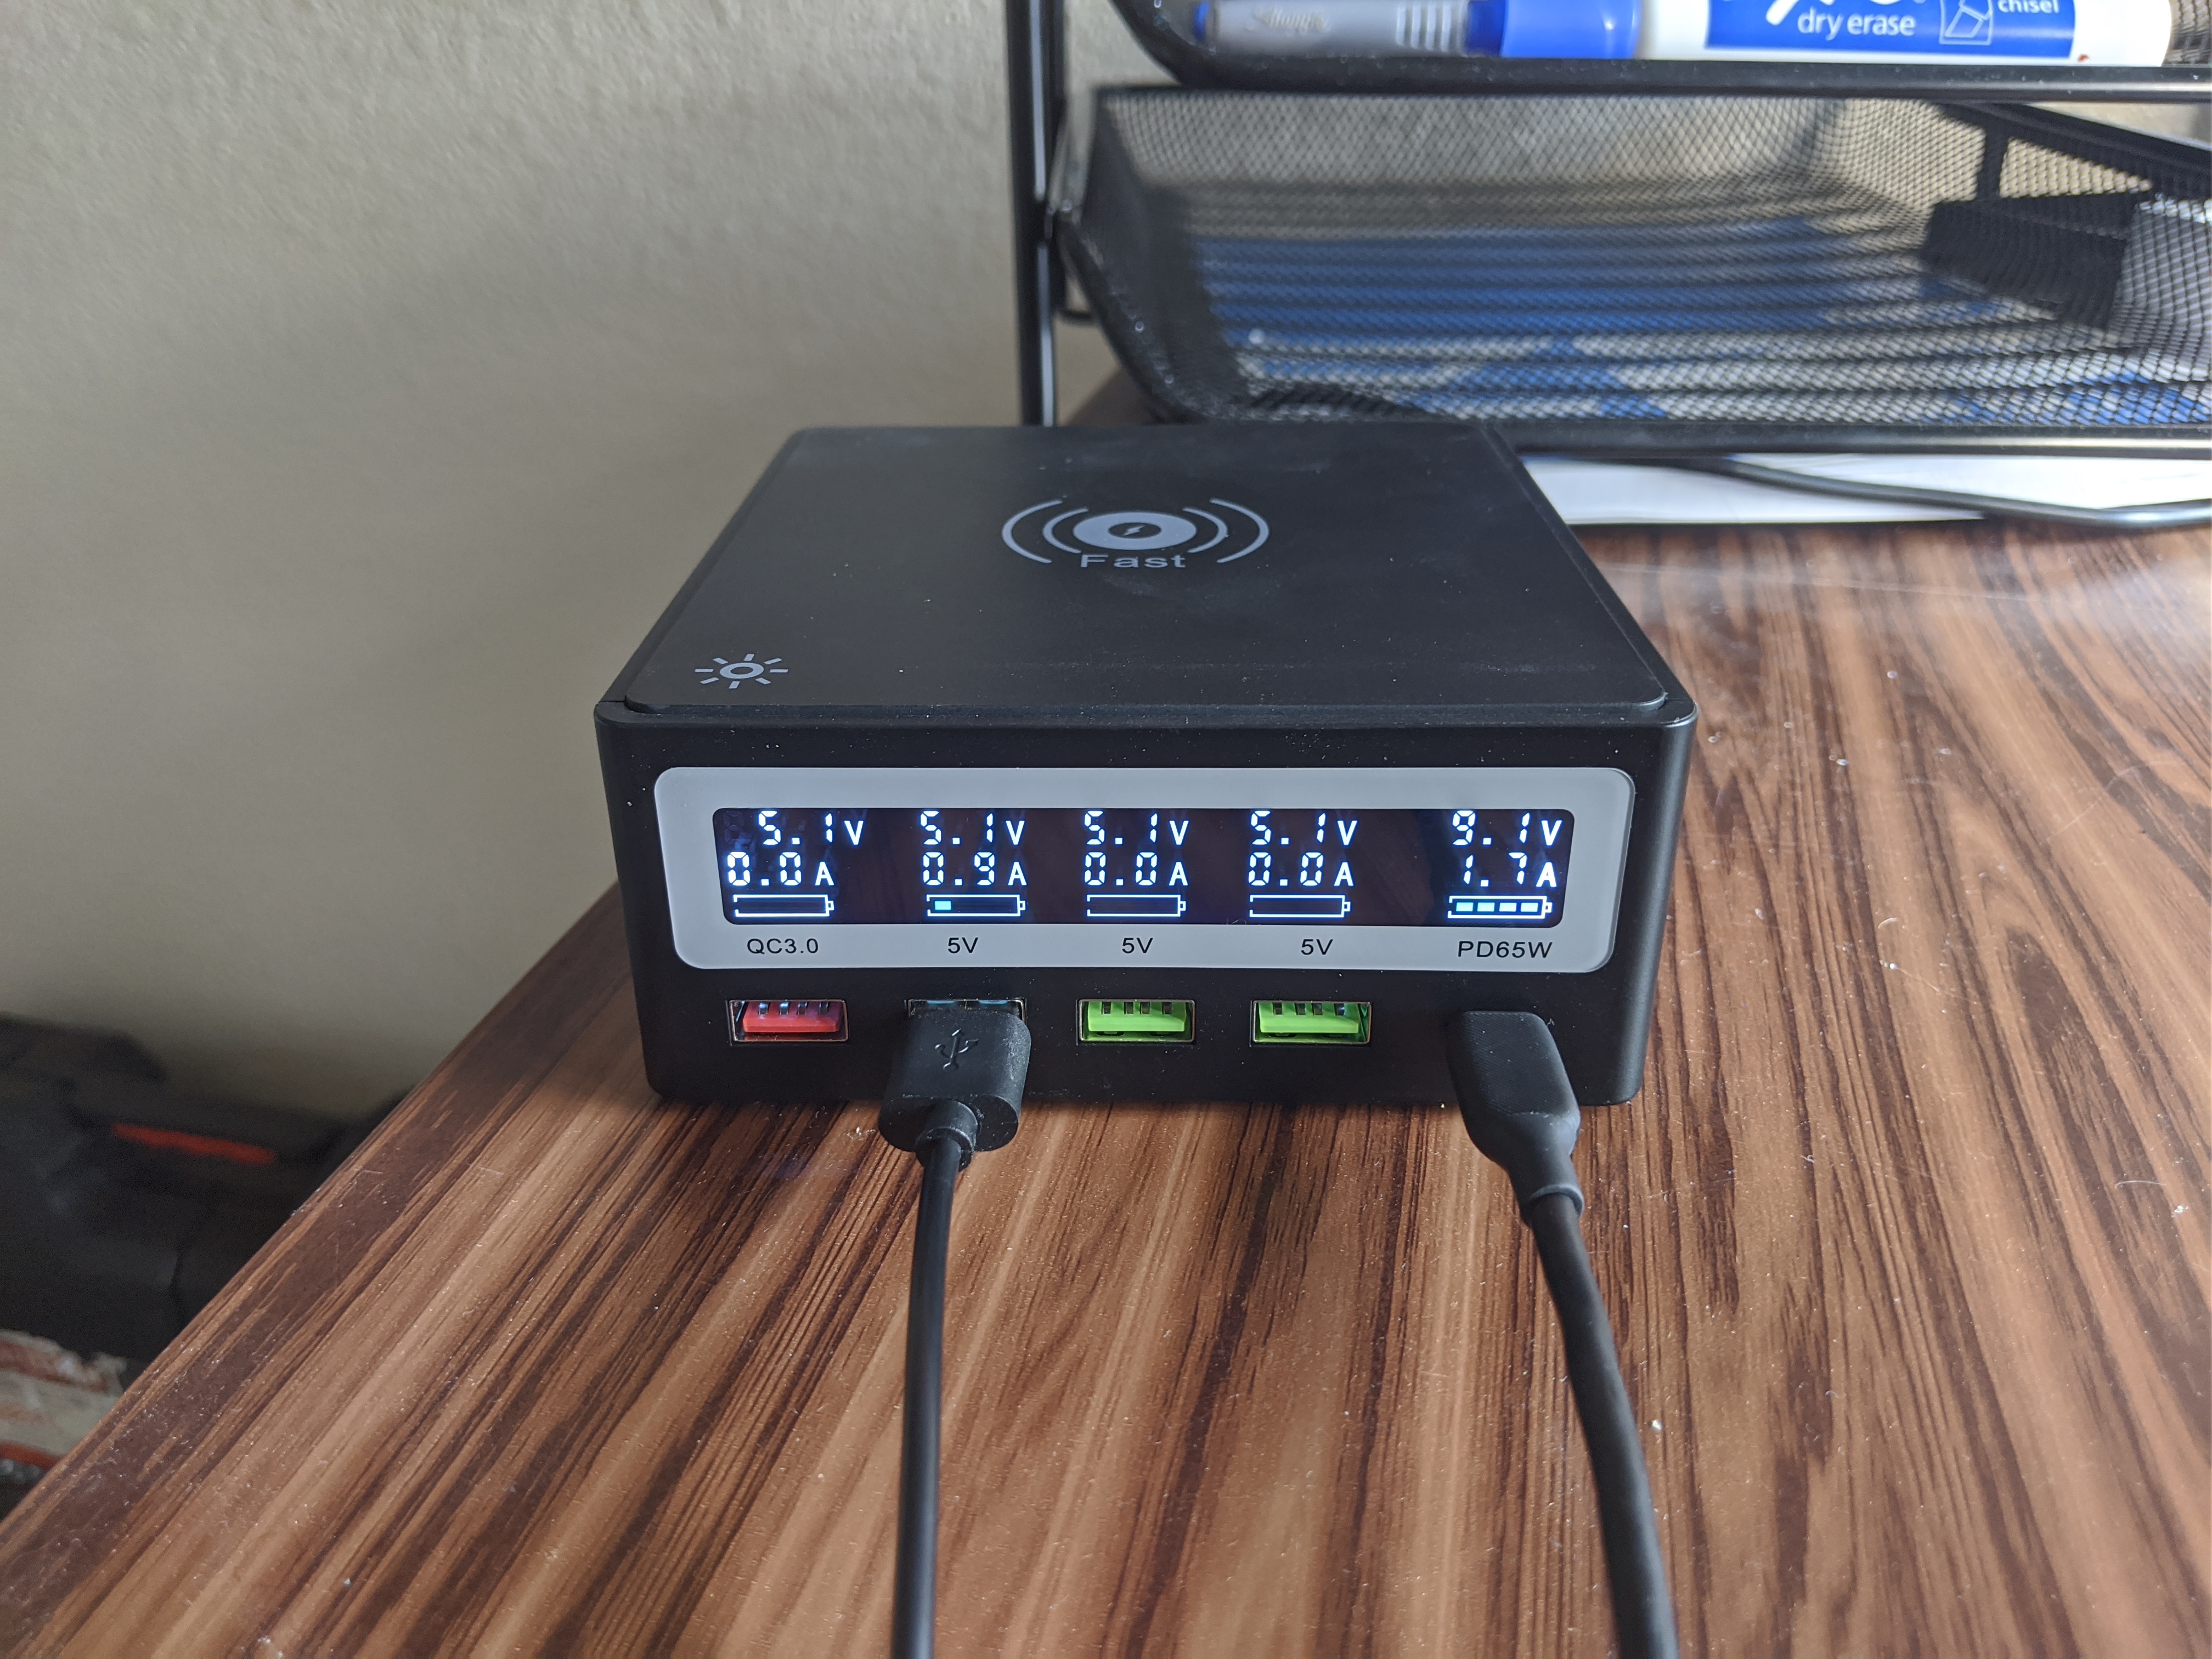
All in all good little device. He associated power supply is incredibly nice as you have a variety of outputs all very capable outputs with a power delivery of 65 watts on the USB PD port as well as Qualcomm quick charge 3.0. additionally you have a full speed quick wireless charging pad on top.
That’s pretty much my review but never underestimate quality materials in the use of your job.
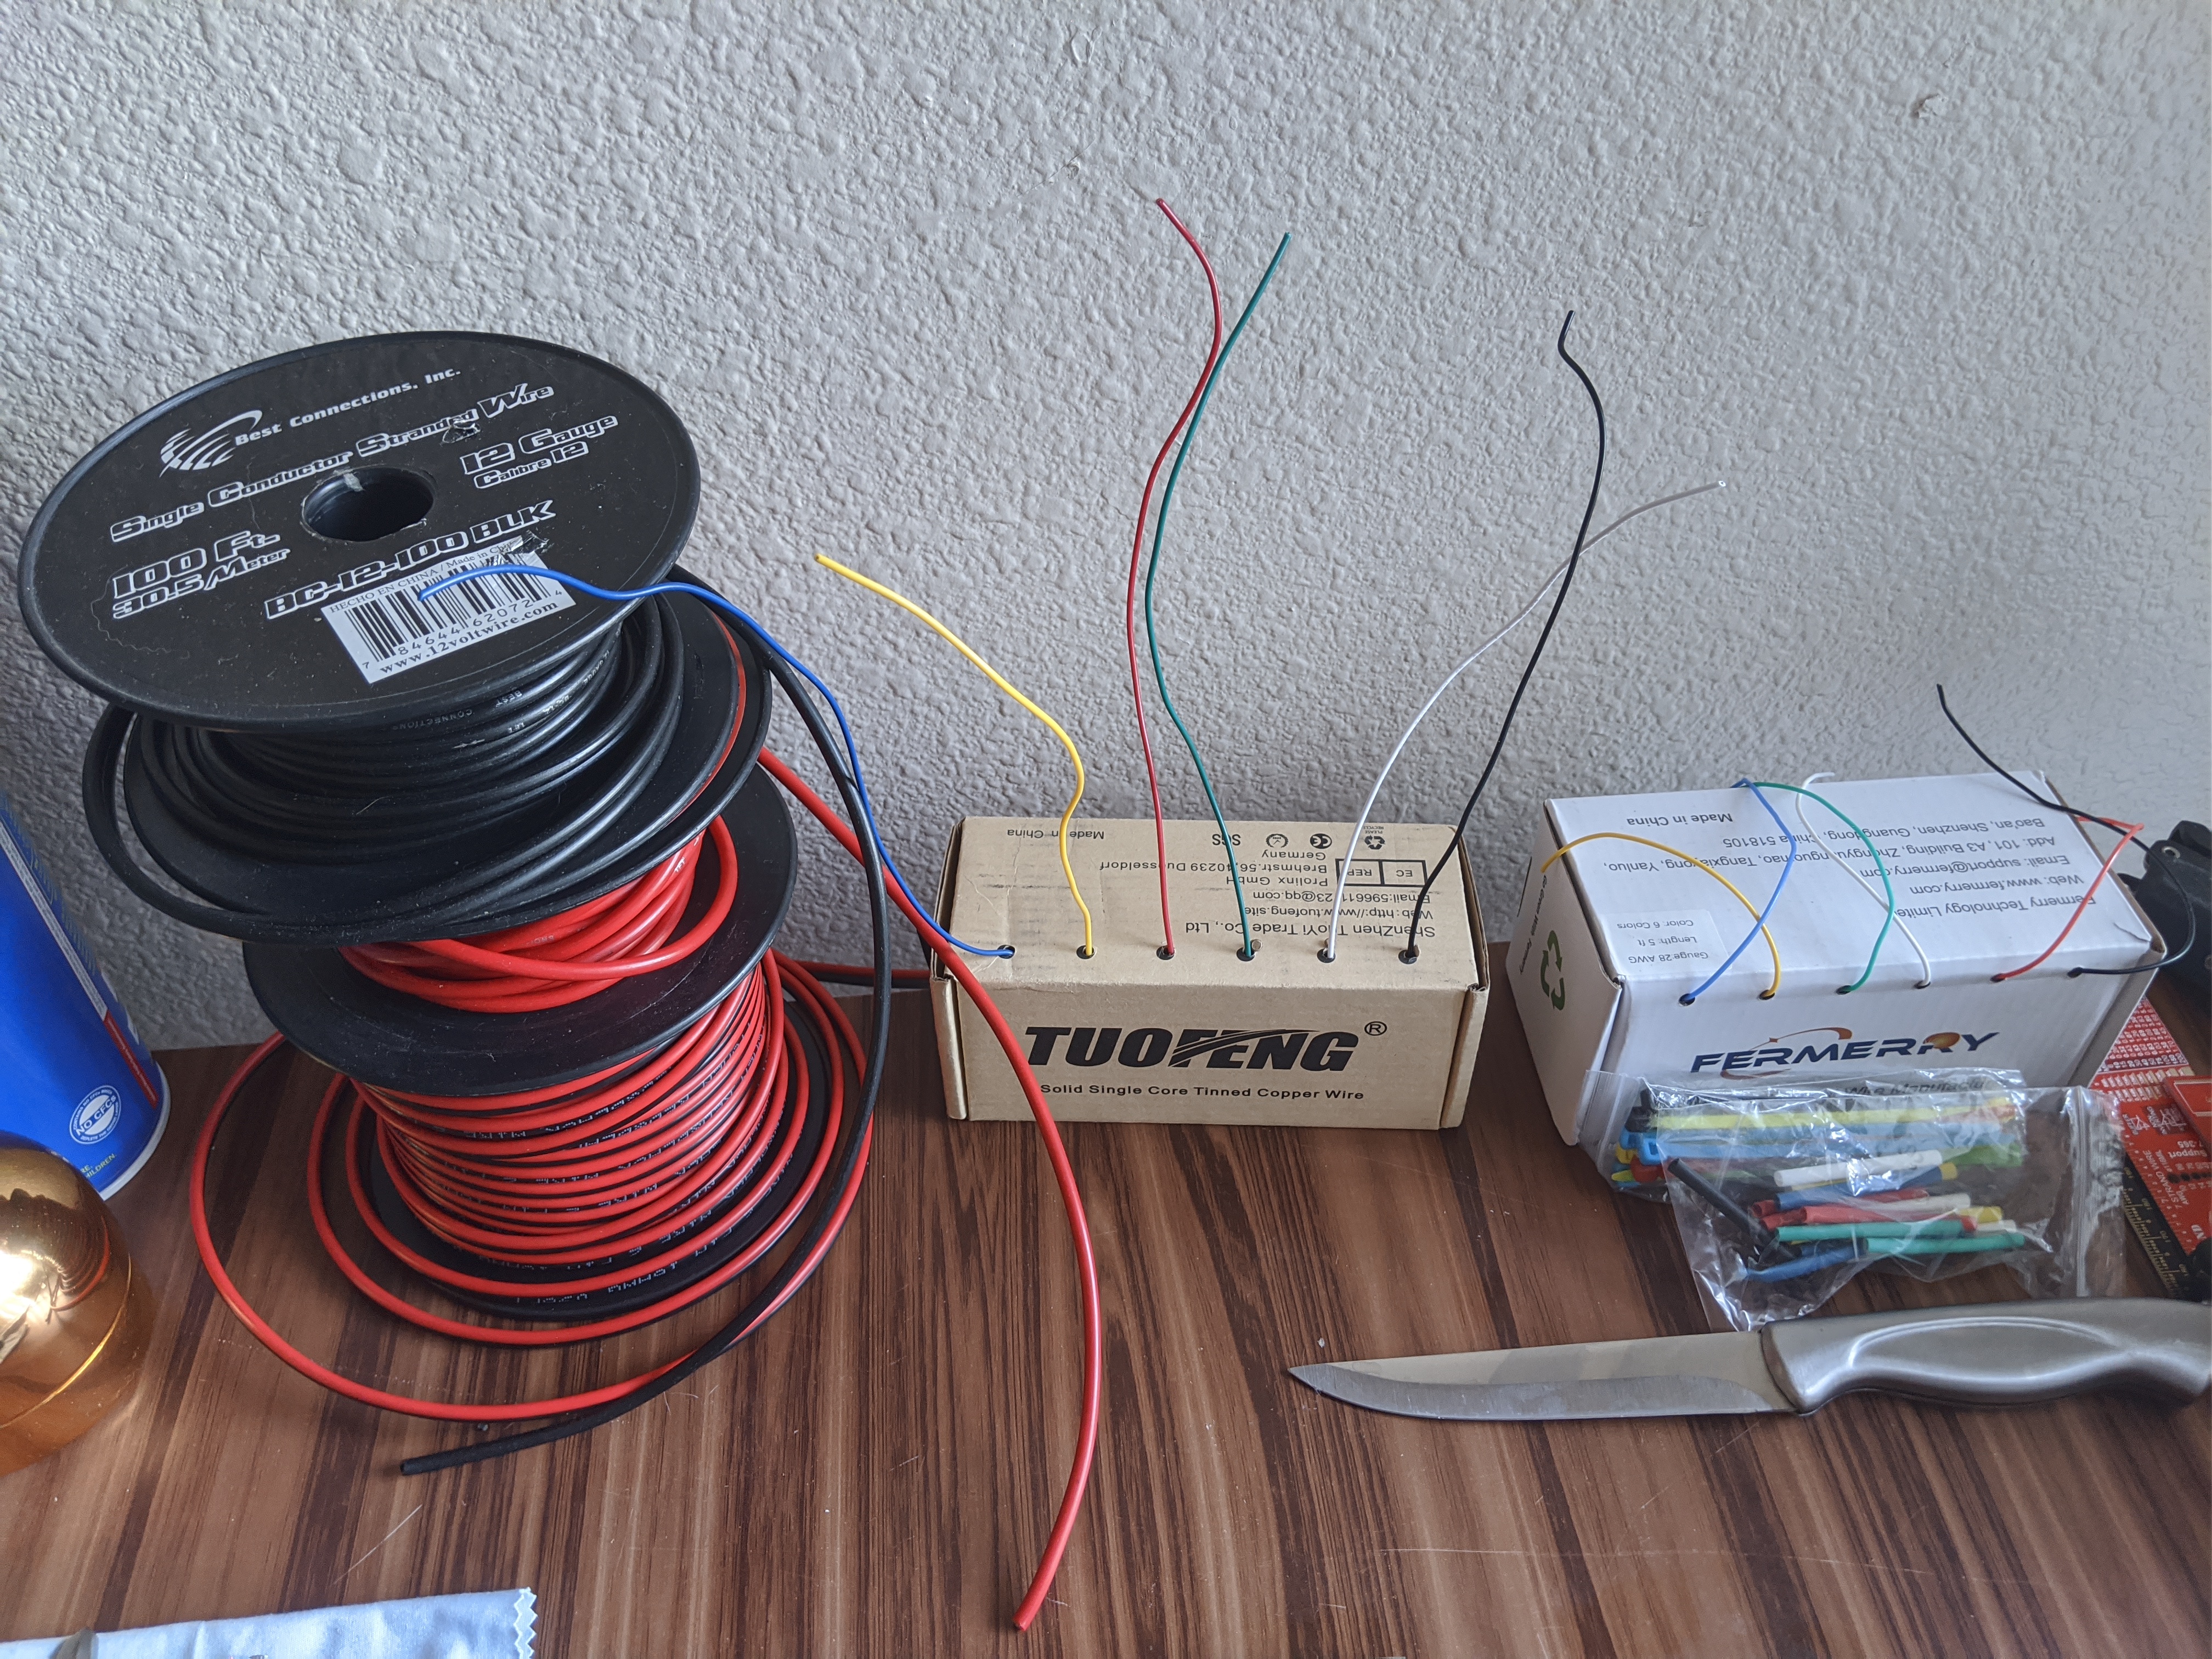
I use exceptionally high quality solder and solder paste. It has a no clean rosin core. If you guys want to know any of the links to the materials or where I found them feel free to let me know below. Also always keep some lower gauge wire around in case you have to repair a trace that always sucks but there are times where you might need it and it might save your butt when it comes to a mistake you make on the board 
What are you guys doing with your pinecil? Sound off in the thread


 .
.