Background
This guide is written for someone that has only just heard of Open Assistant, and is going in completely blind. You want to to be able to just run a local model, or at least try to run a local model, but are not quite sure the details of this particular project.
You may have cloned the git repo and found the default testing model is GPT2 and a re looking for something more powerful?
A lot of folks have seen the hype around open assistant, became very excited, downloaded everything, run it, and found that the default configuration is only GPT2. Not to worry! I will show you how to get the 12 billion parameter model up and going while we wait for an open 30+ billion parameter model to be built or made available.
At the hugging face link below you will find the 12 billion parameter model I am talking about, under Open Assistant’s datasets on HF. But you will need a working CUDA/Docker installation (this guide has some hints about that as well).
If you cannot run the nvidia cuda hello-world programs you’re likely to run into other issues.
I have only tested this guide on RTX A6000 sent to me by an anonymous benefactor.
Thank you anonymous benfactor. <3
Links:
The 30 billion parameter llama model they’re talking about xoring on the HF repo – that model is Non-Free. While we wait for licensing issues to be sorted out
Due to license-issues around llama-based models, we are working furiously to bring these to you in the form of XORed files.
… the 12 billion parameter model can do for now to get everything up and running:
From Zero to Running the 12 billion parameter model
First make sure that everything with docker AND docker’s connection to your GPU is working. Next you’ll want to clone the Open Assistant github project, and follow their documentation to run docker compose to get the gp2 model up and going.
I made some changes from there to get the 12 billion parameter running:
Here’s the diff of everything I changed:
diff --git a/docker-compose.yaml b/docker-compose.yaml
index ec69cc0f..cc5e25cb 100644
--- a/docker-compose.yaml
+++ b/docker-compose.yaml
@@ -217,6 +217,7 @@ services:
context: .
target: dev
image: oasst-inference-server:dev
+
environment:
PORT: 8000
REDIS_HOST: inference-redis
@@ -246,15 +247,23 @@ services:
image: oasst-inference-worker:dev
environment:
API_KEY: "0000"
- MODEL_CONFIG_NAME: distilgpt2
+ #MODEL_CONFIG_NAME: distilgpt2
+ MODEL_CONFIG_NAME: custom
BACKEND_URL: "ws://inference-server:8000"
PARALLELISM: 2
volumes:
- "./oasst-shared:/opt/inference/lib/oasst-shared"
- "./inference/worker:/opt/inference/worker"
+ profiles: ["inference"]
+ privileged: true
deploy:
replicas: 1
- profiles: ["inference"]
+ resources:
+ reservations:
+ devices:
+ - driver: nvidia
+ count: 1
+ capabilities: [gpu]
inference-safety:
build:
diff --git a/docker/inference/Dockerfile.worker-full b/docker/inference/Dockerfile.worker-full
index f7908611..1c2ac599 100644
--- a/docker/inference/Dockerfile.worker-full
+++ b/docker/inference/Dockerfile.worker-full
@@ -22,7 +22,8 @@ RUN /opt/miniconda/envs/worker/bin/pip install -r requirements.txt
COPY ./${APP_RELATIVE_PATH}/*.py .
COPY ./${APP_RELATIVE_PATH}/worker_full_main.sh /entrypoint.sh
-ENV MODEL_CONFIG_NAME="distilgpt2"
+ENV MODEL_CONFIG_NAME="oasst1"
+#ENV MODEL_CONFIG_NAME="distilgpt2"
ENV NUM_SHARDS="1"
# These are upper bounds for the inference server.
diff --git a/oasst-shared/oasst_shared/model_configs.py b/oasst-shared/oasst_shared/model_configs.py
index 12d7764f..e5200307 100644
--- a/oasst-shared/oasst_shared/model_configs.py
+++ b/oasst-shared/oasst_shared/model_configs.py
@@ -96,6 +96,11 @@ MODEL_CONFIGS = {
max_input_length=1024,
max_total_length=1792, # seeing OOMs on 2048 on an A100 80GB
),
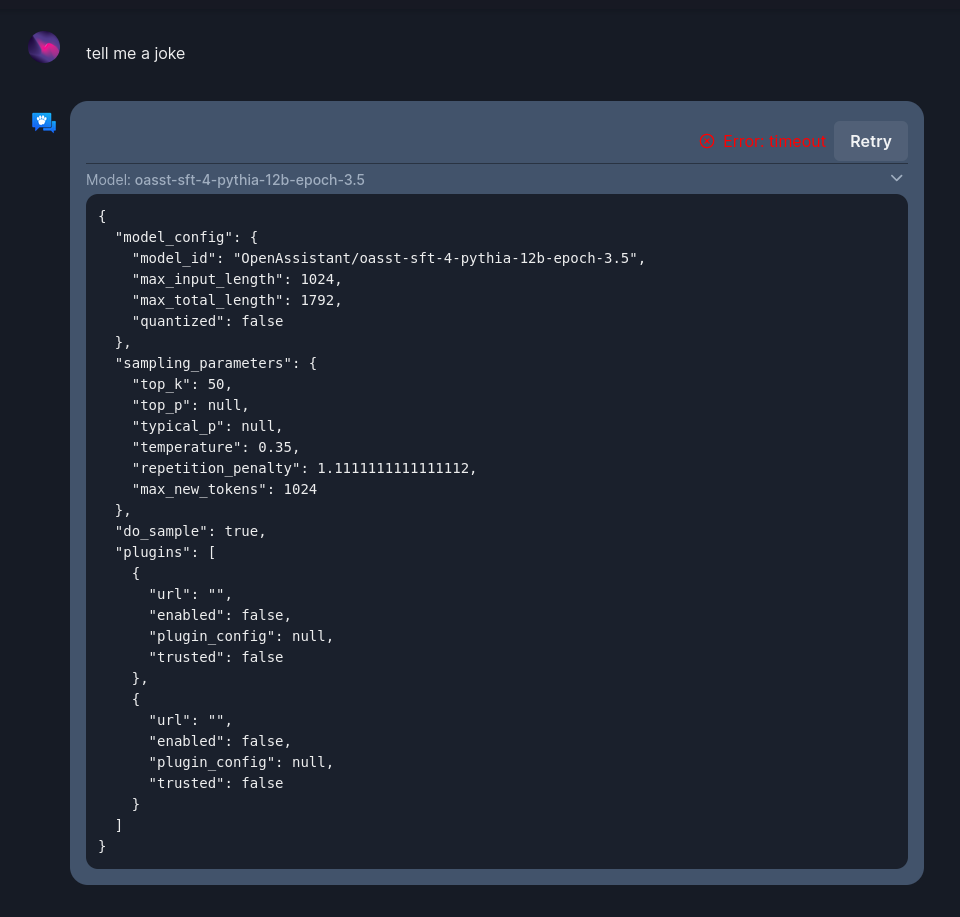
+ "custom": ModelConfig(
+ model_id="OpenAssistant/oasst-sft-4-pythia-12b-epoch-3.5",
+ max_input_length=1024,
+ max_total_length=1792, # seeing OOMs on 2048 on an A100 80GB
+ ),
"OA_SFT_Llama_30Bq_6": ModelConfig(
model_id="OpenAssistant/oasst-sft-6-llama-30b",
max_input_length=1024,
The prose walkthrough is to create a profile called custom in the docker compose, then add it to /oasst-shared/oasst_shared/model_configs.py
which, curiously, didn’t seem to include the 12 billion parameter model.
from there
docker compose --privileged --profile frontend-dev --profile ci --profile inference up --build --attach-dependencies
seemed to work properly. Privileged was a quick and dirty way to give docker access to the GPUs as I am on pop-os and ubuntu 22.04LTS users shouldn’t need this step; this is just an artifact of having to jump through a couple extra steps for nvidia cuda being sort of not exactly the same setup between Pop and Ubuntu (Pop is usually more usable/sane, tbh).
This is probably something I’ll correct in a future version of this how-to.
An easy way to know if your docker is setup NOT to need special permissions to access your GPUs is to run nvidias cuda test.
docker run --privileged --rm --runtime=nvidia --gpus all nvidia/cuda:11.6.2-base-ubuntu20.04 nvidia-smi

Tue Apr 18 15:22:46 2023
+-----------------------------------------------------------------------------+
| NVIDIA-SMI 525.60.11    Driver Version: 525.60.11    CUDA Version: 12.0     |
|-------------------------------+----------------------+----------------------+
| GPU  Name        Persistence-M| Bus-Id        Disp.A | Volatile Uncorr. ECC |
| Fan  Temp  Perf  Pwr:Usage/Cap|         Memory-Usage | GPU-Util  Compute M. |
|                               |                      |               MIG M. |
|===============================+======================+======================|
|   0  NVIDIA RTX A6000    Off  | 00000000:01:00.0 Off |                  Off |
| 33%   62C    P2    85W / 300W |  29170MiB / 49140MiB |      0%      Default |
|                               |                      |                  N/A |
+-------------------------------+----------------------+----------------------+
|   1  NVIDIA RTX A6000    Off  | 00000000:41:00.0 Off |                  Off |
| 35%   64C    P2    88W / 300W |  27310MiB / 49140MiB |      0%      Default |
|                               |                      |                  N/A |
+-------------------------------+----------------------+----------------------+

+-----------------------------------------------------------------------------+
| Processes:                                                                  |
|  GPU   GI   CI        PID   Type   Process name                  GPU Memory |
|        ID   ID                                                   Usage      |
|=============================================================================|
+-----------------------------------------------------------------------------+
if the docker command above works WITHOUT the privileged command then you won’t need it for your docker compose definitions either.
Up and Running
Note this really is unnecessary and you can play with this model in their chat (and better for future training anyway). It R(eally Is running locally though which is mind blowing!! ![]()
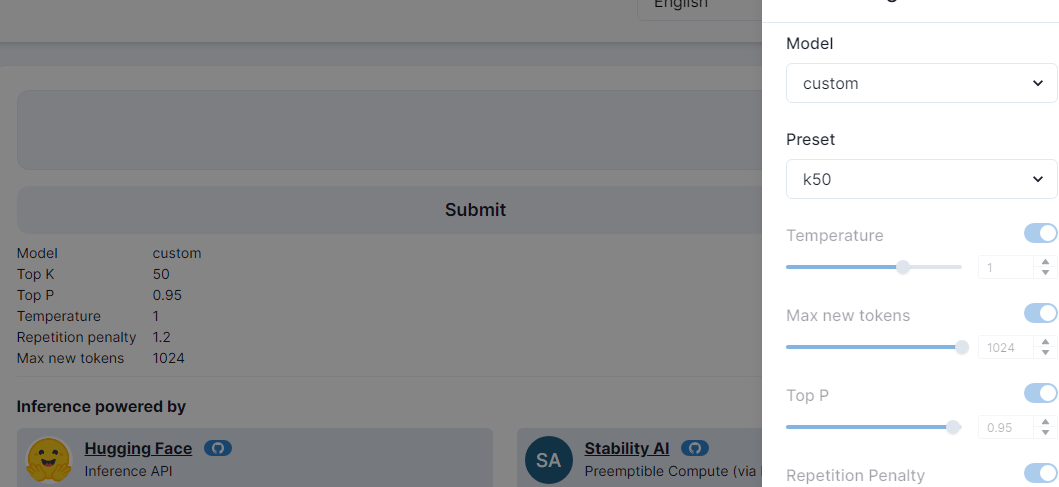
Once you’re up and running you will have to go to http://localhost:3000 and “login as debug user.” In chat choose the ‘custom’ model you defined earlier:
Once you have the model up and running it is a lot of fun:
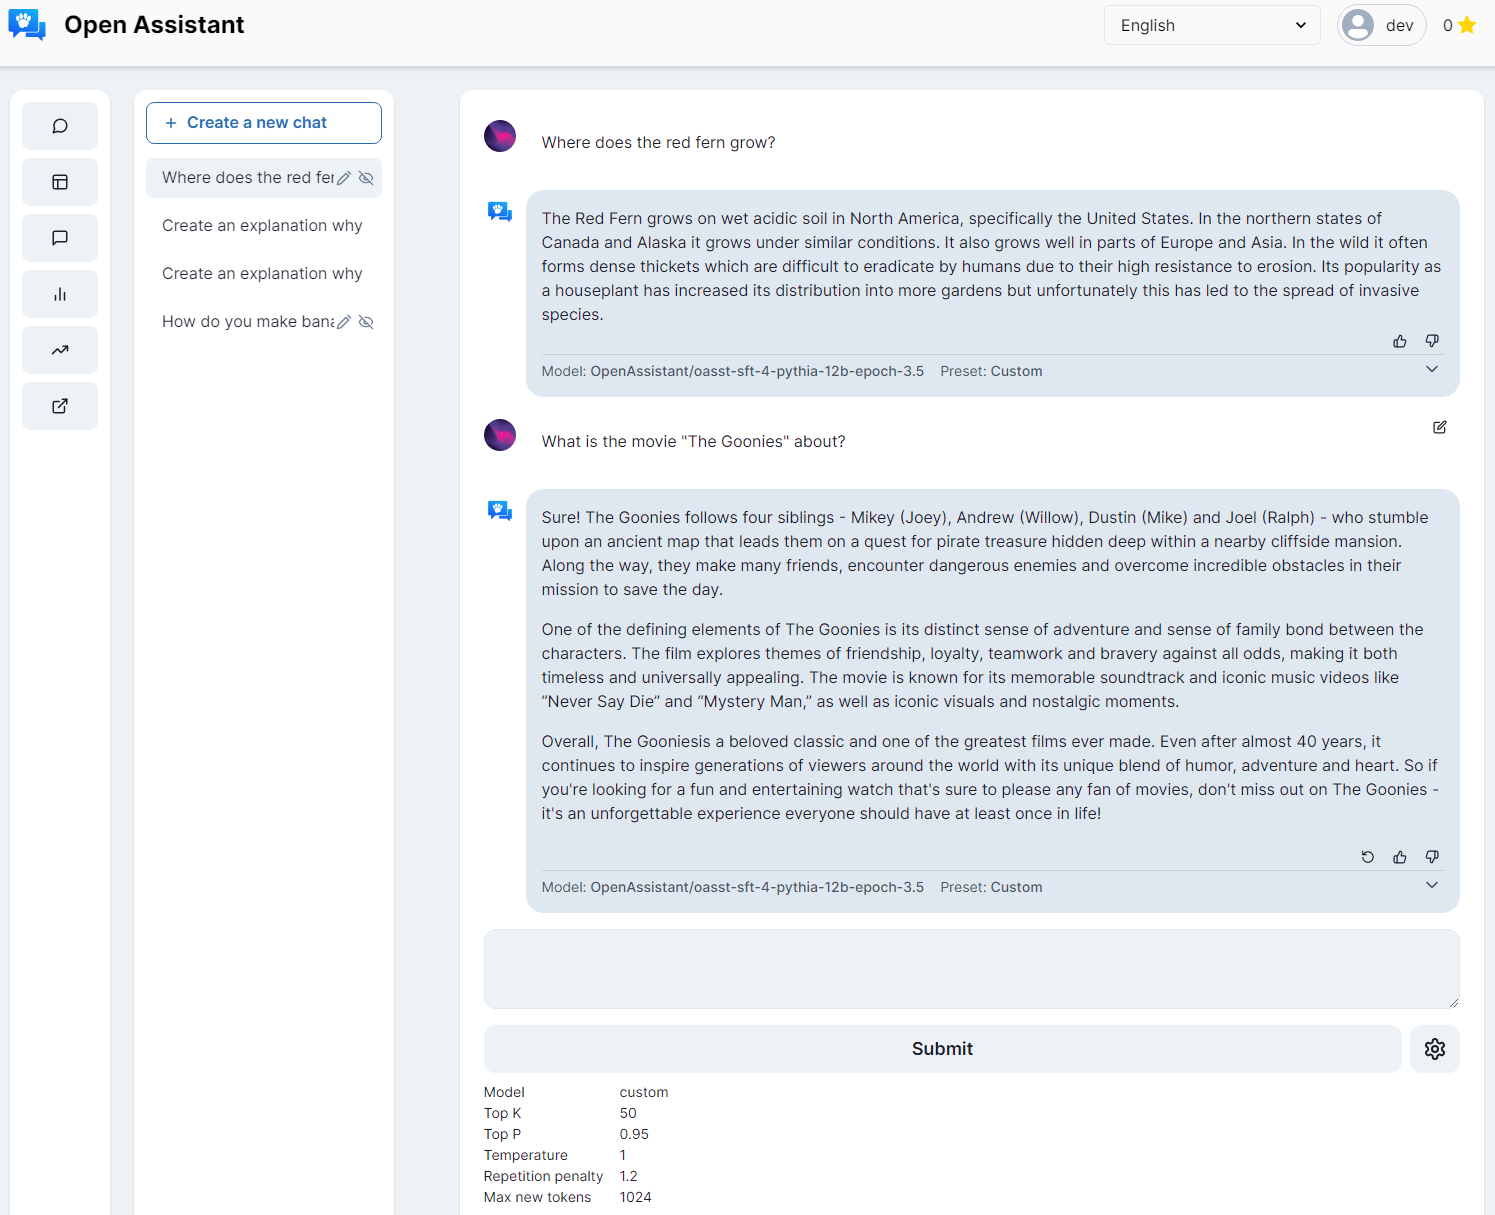
Happy hacking! More prose later…