Nextcloud
Following on
This guide is a follow on from my email server guide here. If you don’t want the email server component then this guide can be used as instructions to build a Nextcloud server once you have completed sections 1 to 3 and 5 to 7 of the orginal document.
However I am going to write this as if you have built an email server as per the orginal guide.
Preperation
Storage
Where are you going to store your files? This is of great importance and should be thought about before you go further. Is it going to be on the local storage or a second drive? is it going to be a NAS or even an AWS S3 bucket mounted to the server?
Whatever you decide get it setup now. Also give thought to how much space you think you will need and plan accordingly. I will cover the subject of backups in a further post.
SAN certificate
Because we are using planetexpress.net as our mx record and will be using nextcloud.planetexpress.net for our website we need either a wildcard ssl certificate or SAN certificate.
I have the example for a SAN certificate here as I have two seperate and different email domains on my server so this suited my requirements.
A wildcard certificate may well make more sense for you.
Open a terminal and enter the following command changing the domain names as needed.
openssl req -new -newkey rsa:4096 -nodes -keyout planetexpress.key -out planetexpress.csr -reqexts SAN -config <(cat /etc/ssl/openssl.cnf <(printf “[SAN]\nsubjectAltName=DNS:planetexpress.net,DNS:nextcloud.planetexpress.net”))
Once you have answered the questions in the terminal you should have a csr and key file. Following part VII in the orginal guide the differences will be as follows. Enter both domain names in the initial window at https://www.sslforfree.com
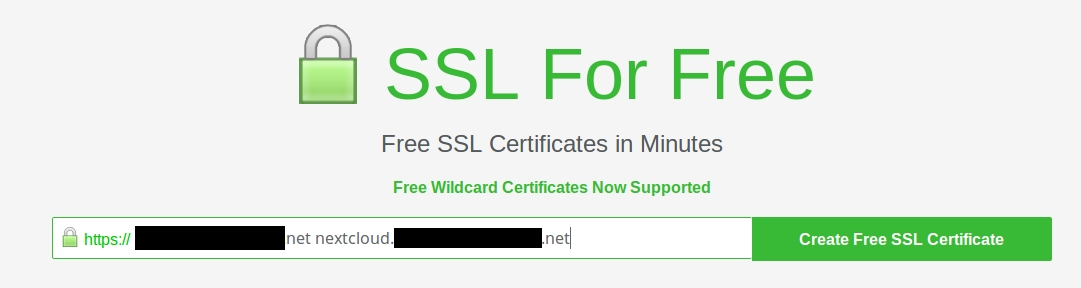
And having to enter both TXT records into your domain DNS configuration.

Once that is done the rest of part VII in the orginal guide should be the same.
iptables and port forwarding
If you followed the orginal guide all the ports we need in the iptables will be open.
If not follow the iptables section in part III using the ports for the following
SSH
HTTP
HTTPS
SQL
And now would be the time to allow port forwarding through your router as per part V of the original guide for HTTPS on port 443
Database creation
We are going to create the nextcloud database and database user ahead of time as I discovered to my cost that this cannot be generated through the initial setup wizard as in the past.
Open an SSH connection to your server and enter the following commands.
sudo mysql -u root -p
create database nextcloud;
grant all privileges on nextcloud. TO ‘nextclouduser’@‘localhost’ IDENTIFIED BY ‘dbuserpassword’;*
FLUSH PRIVILEGES;
exit
Apache install
Now we need to install Apache and PHP with the following commands.
sudo apt-get install apache2 libapache2-mod-php7.0
sudo apt-get install php7.0-gd php7.0-json php7.0-mysql php7.0-curl php7.0-mbstring
sudo apt-get install php7.0-intl php7.0-mcrypt php-imagick php7.0-xml php7.0-zip
Nextcloud install
Now we download and upack the nextcloud software. You should check if their is a newer release of nextcloud and change the commands as needed.
cd /var/www/html
sudo wget https://download.nextcloud.com/server/releases/nextcloud-13.0.1.tar.bz2
sudo tar -xjf nextcloud-13.0.1.tar.bz2
Now we create the apache nextcloud configuration file.
cd /etc/apache2/sites-available
sudo nano nextcloud.conf
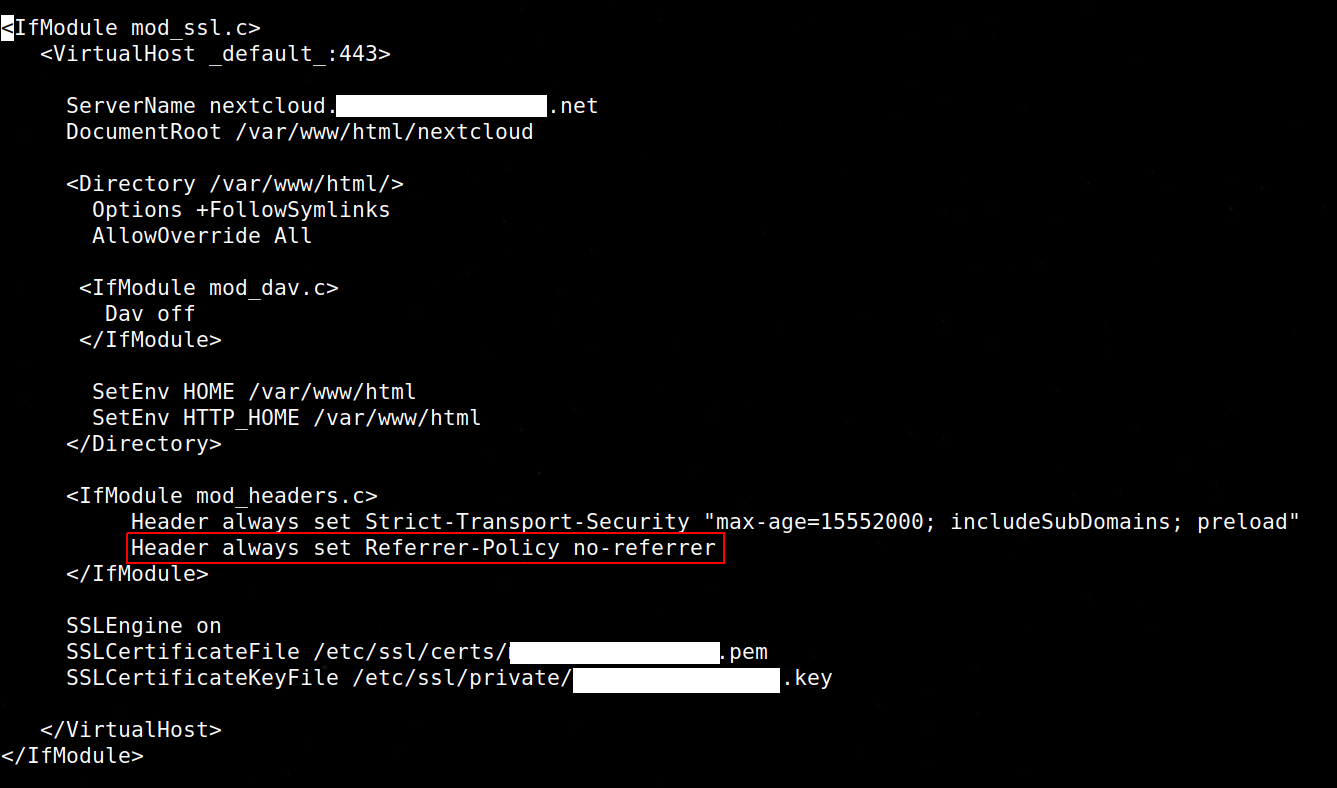
And paste in the following.
<IfModule mod_ssl.c>
   <VirtualHost _default_:443>

     ServerName nextcloud.planetexpress.net
     DocumentRoot /var/www/html/nextcloud

     <Directory /var/www/html/>
       Options +FollowSymlinks
       AllowOverride All

      <IfModule mod_dav.c>
        Dav off
      </IfModule>

       SetEnv HOME /var/www/html
       SetEnv HTTP_HOME /var/www/html
     </Directory>

     <IfModule mod_headers.c>
          Header always set Strict-Transport-Security "max-age=15552000; includeSubDomains; preload"
     </IfModule>

     SSLEngine on
     SSLCertificateFile /etc/ssl/certs/planetexpress.pem
     SSLCertificateKeyFile /etc/ssl/private/planetexpress.key

   </VirtualHost>
</IfModule>
Notice that the certificate paths and file names are the same as for the email server.
We now create a softlink for the configuration file.
sudo ln -s /etc/apache2/sites-available/nextcloud.conf /etc/apache2/sites-enabled/nextcloud.conf
and install the following modules for Apache
sudo a2enmod rewrite
sudo a2enmod headers
sudo a2enmod env
sudo a2enmod dir
sudo a2enmod mime
sudo a2enmod ssl
My storage for the nextcloud install is not locally on the server but on a FreeNAS via an NFS mount point.
Therefore this command will probaly be different for you. It creates a directory using the Apache user www-data which we set
sudo -u www-data mkdir /mnt/FreeNAS/nextcloud
sudo chown -R www-data:www-data /var/www/html/nextcloud/
sudo chmod -R 750 /var/www/html/nextcloud/
Server tuning
Now before we login for the first time we can do some server tuning as it will only nag us later otherwise.
sudo nano /etc/php/7.0/apache2/php.ini
Now find all the following lines in the file. Uncomment them and change the values as shown.
opcache.enable=1

opcache.enable_cli=1

opcache.interned_strings_buffer=8

opcache.max_accelerated_files=10000

opcache.memory_consumption=128

opcache.save_comments=1

opcache.revalidate_freq=1
Exit and save the file.
Enter the following commands.
sudo apt-get install php-apcu
sudo nano /var/www/html/nextcloud/config/config.php
Add the following line into the file one up from the bottom so it is above the closing bracket.
'memcache.local' => '\OC\Memcache\APCu',
Exit and save the file.
Finally we need to add a cron job as www-data
Enter the following commands.
sudo su
su -s /bin/bash www-data
crontab -e
Enter the following at the bottom of the file.
*/15 * * * * php -f /var/www/html/nextcloud/cron.php
Exit and save the file
And now restart Apache with the following command.
service apache2 restart
All done
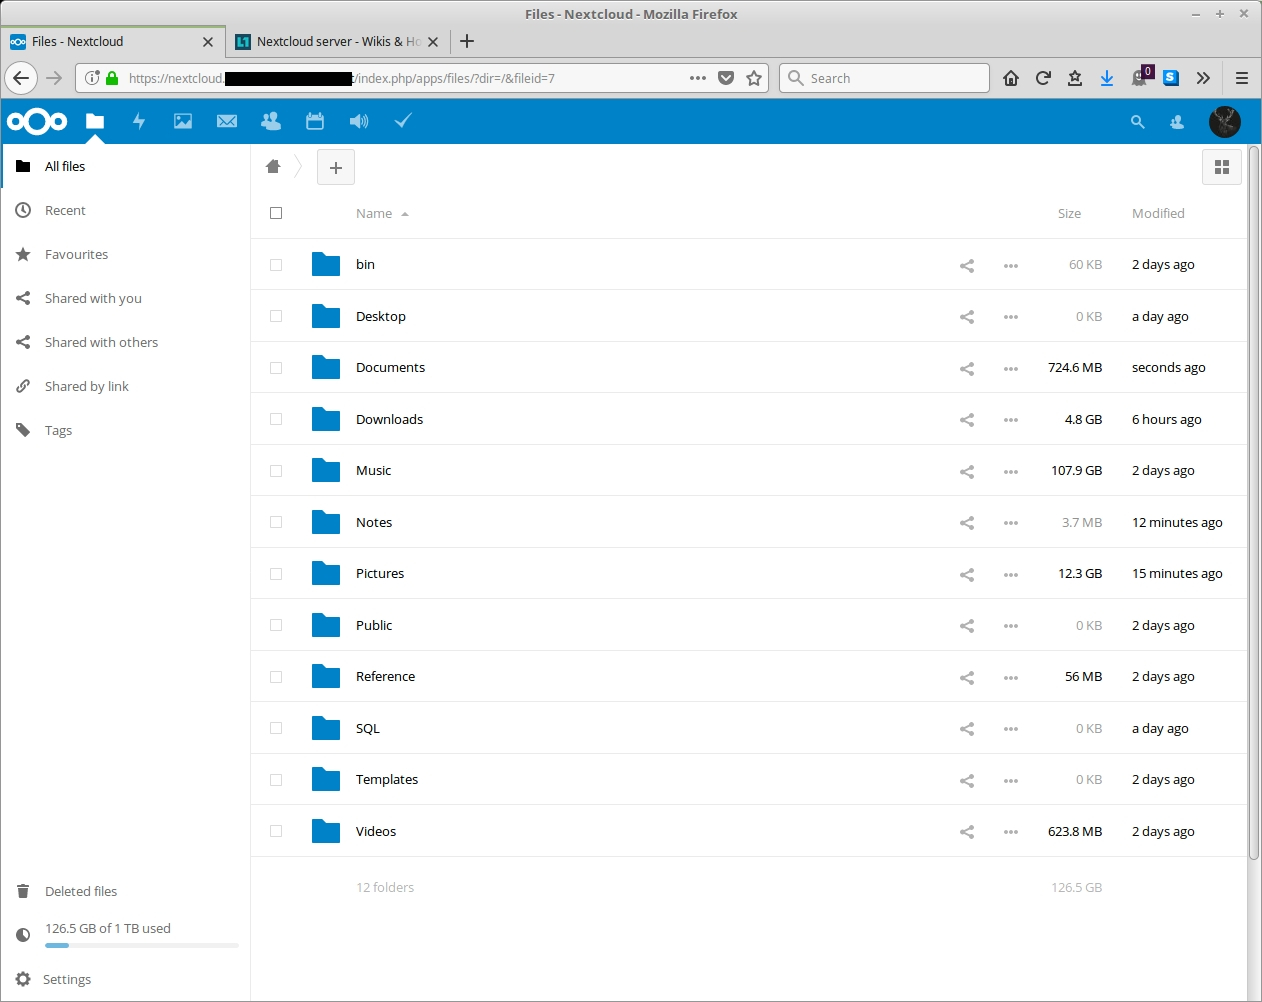
If all is well you should be able to go to https://nextcloud.planetexpress.net and be presented with an initial login page.
It asks for a user name and password for the first user who will be the nextcloud administrator and the following
Data folder location: /mnt/FreeNAS/nextcloud/data (in my case)
Database user: nextclouduser
Database user password:
Datsbase name: nextcloud
Datbase location: localhost
Community discussion at: Nextcloud server - Talk Page