Since it’s a quicker project than my new server I’ll probably do this first just because or something.
The Antec P50 was a short lived cube chassi with two heat zones, mATX, full size power supply, 15.25, 33.5, 2*2.5, 300mm graphic card, and some stupid flaws. Like the hard drive cage blocking the cut out to reach the back of the motherboard. I’m thinking of making a few easy mods to make it a bit more functual, if not for me for the next owner. Aaaand I get to procrastinate my actual project.
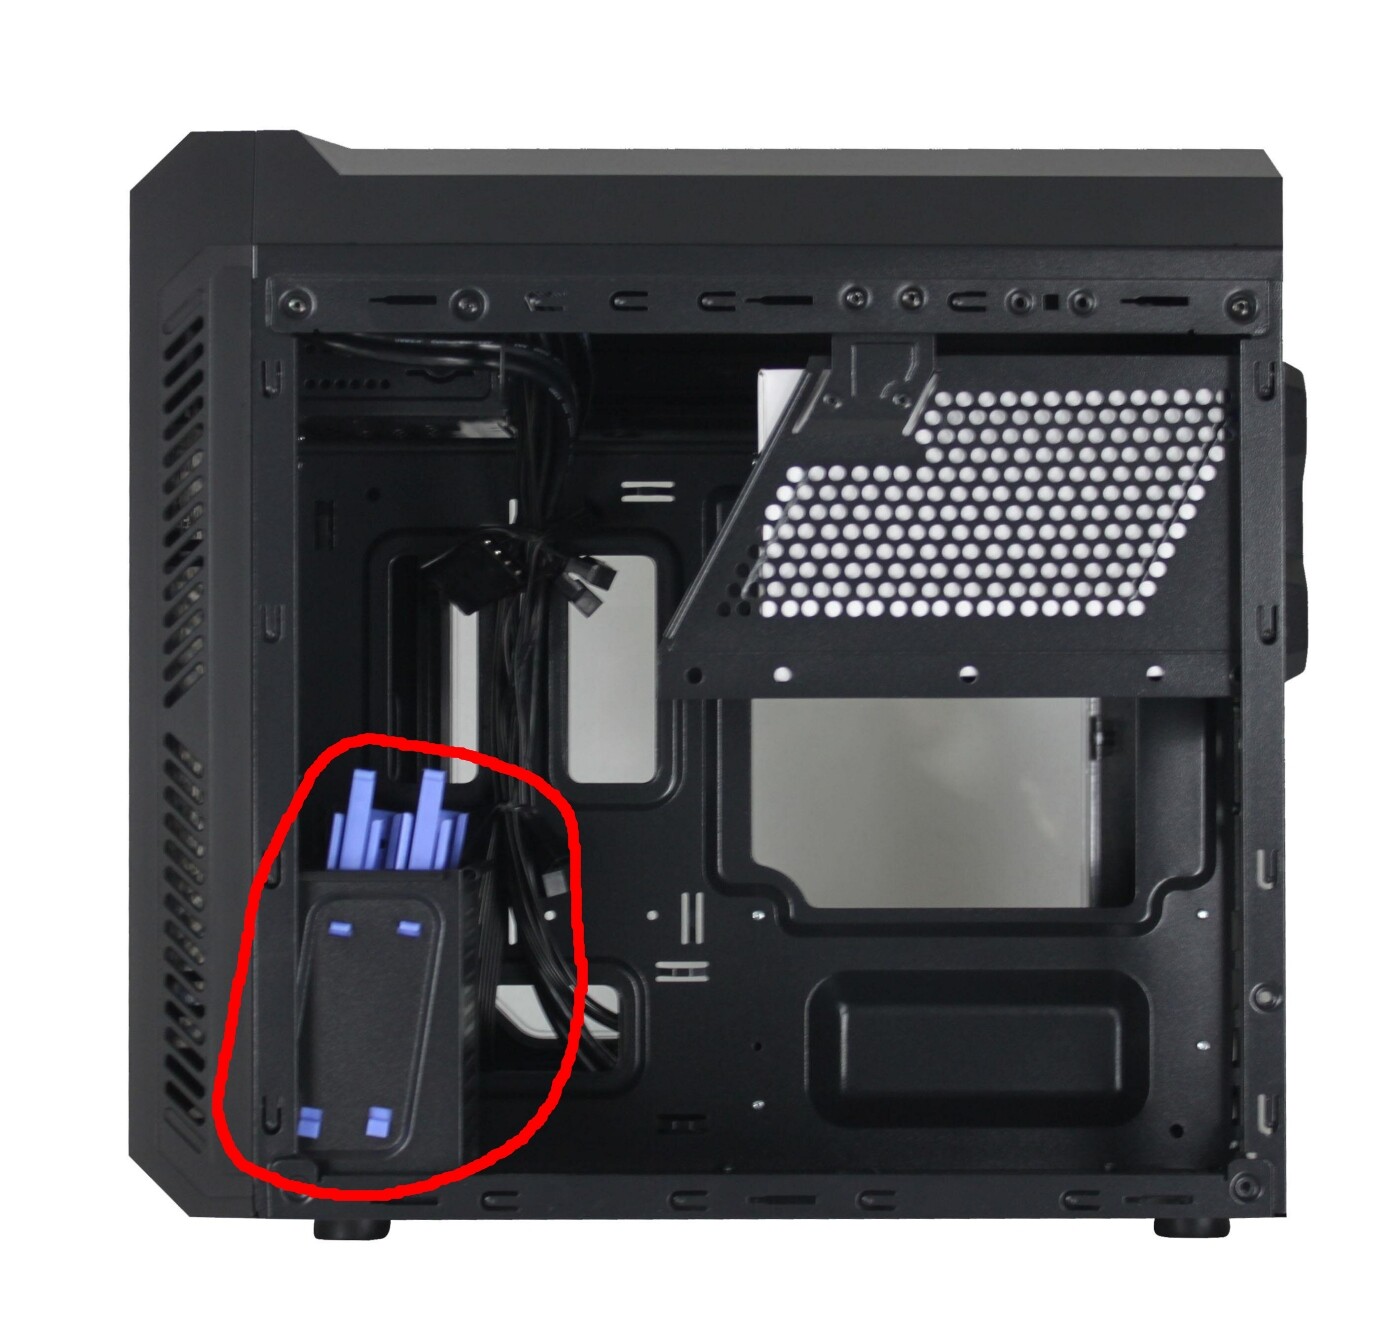
First I’ll remove this 2*2.5 cage. It’s nice, but I prioritise the front. Could probably put it at the bottom but not sure.
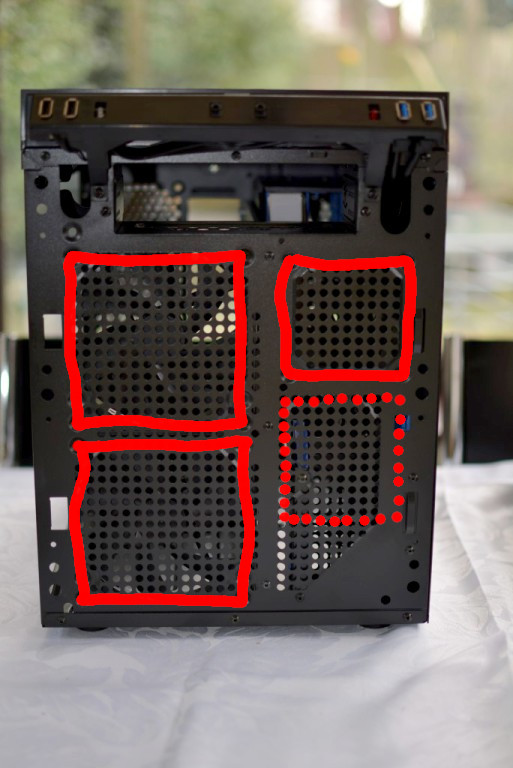
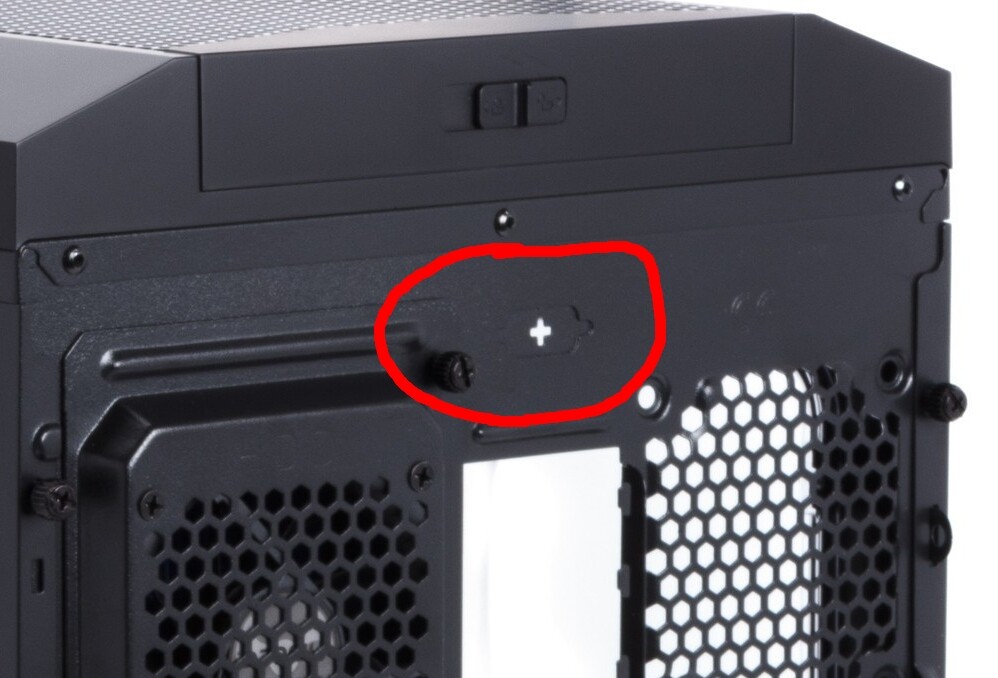
Can’t find a good picture of the front but the left heat zone for the motherboard has 2120mm fans in the front and 280mm in the back. The right with hard drives and power supply has 180mm in the front and 180mm at the hard drive cake. The power supply draws air through a went on the side. I’m gonna drill holes for another 80mm fan in the front on the right side. (Shown with dotted lines.)
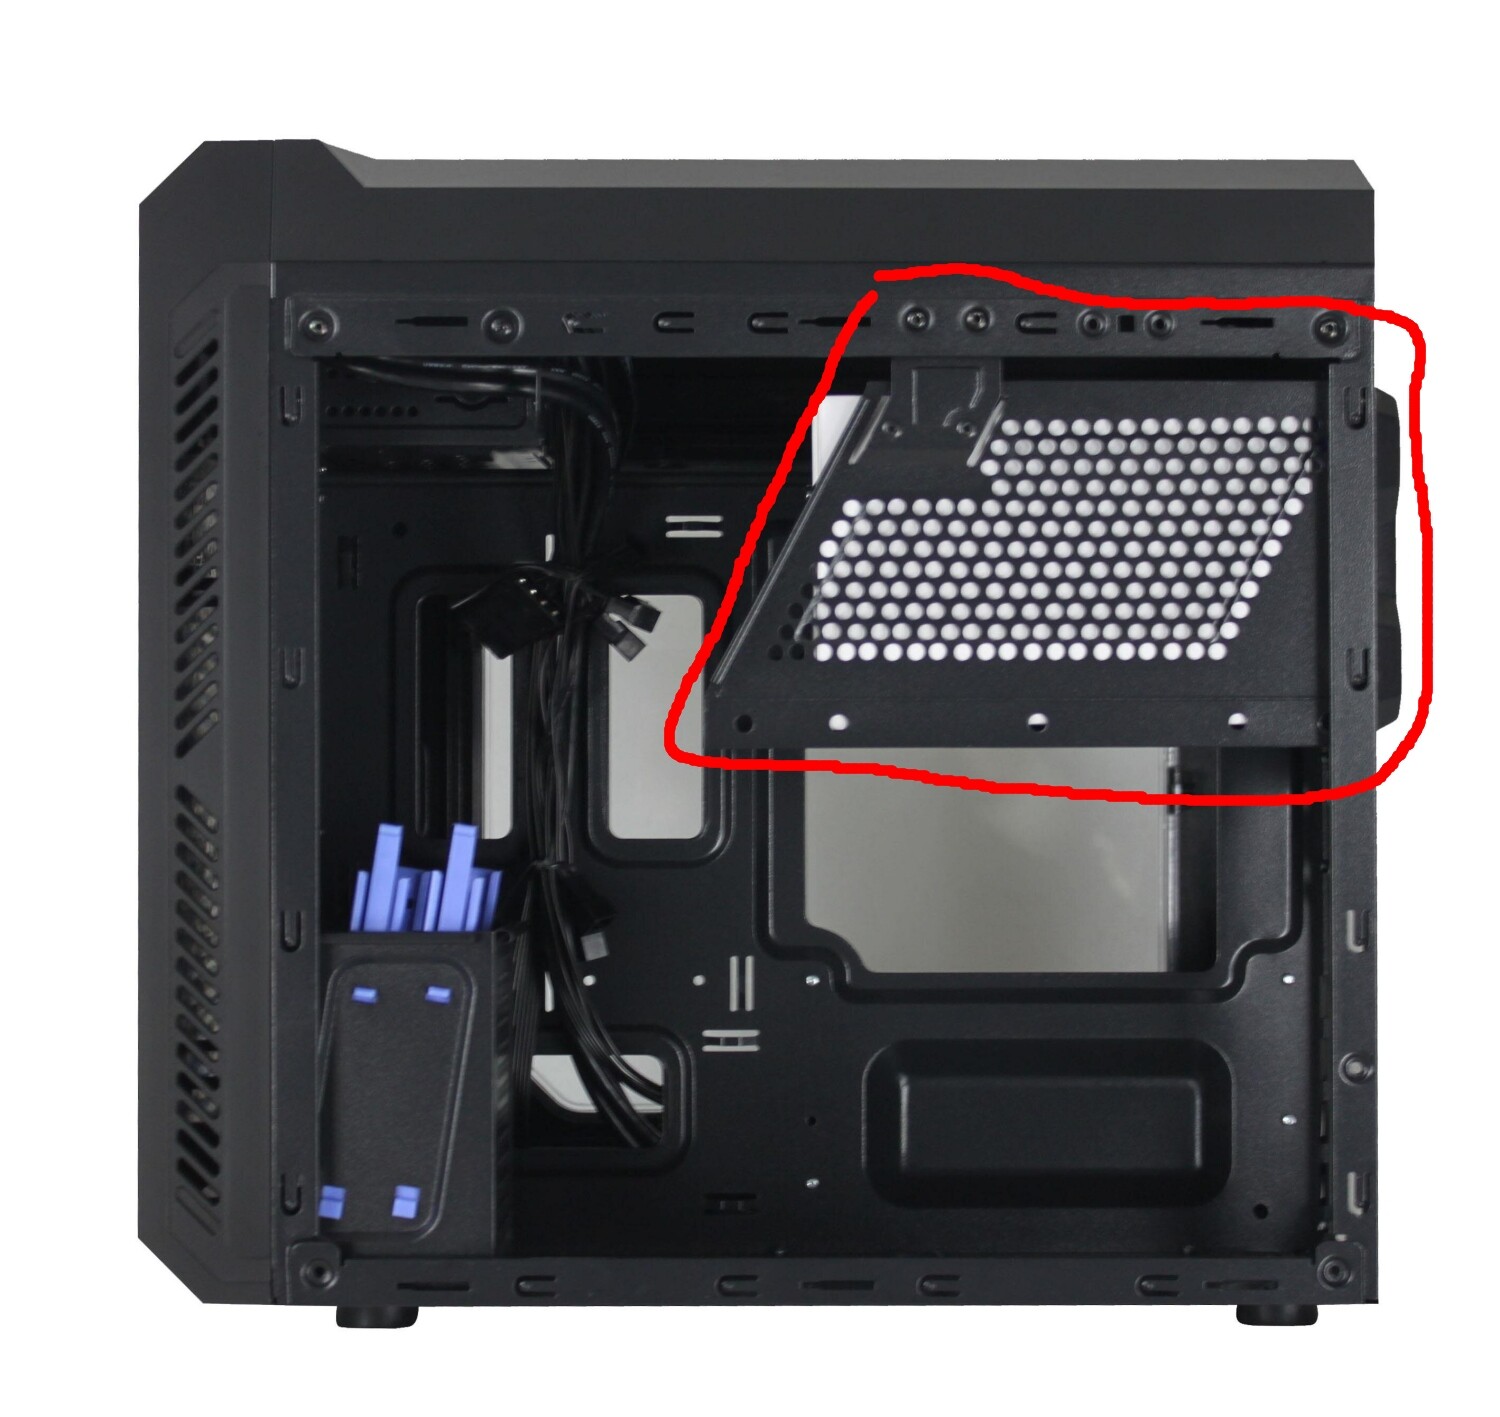
Then I might remove the rivets for the hard drive cage (3*3.5) and replace them with screws so you can remove it and access the back of the motherboard. I wonder if this was the plan some time but they changed it along the way.
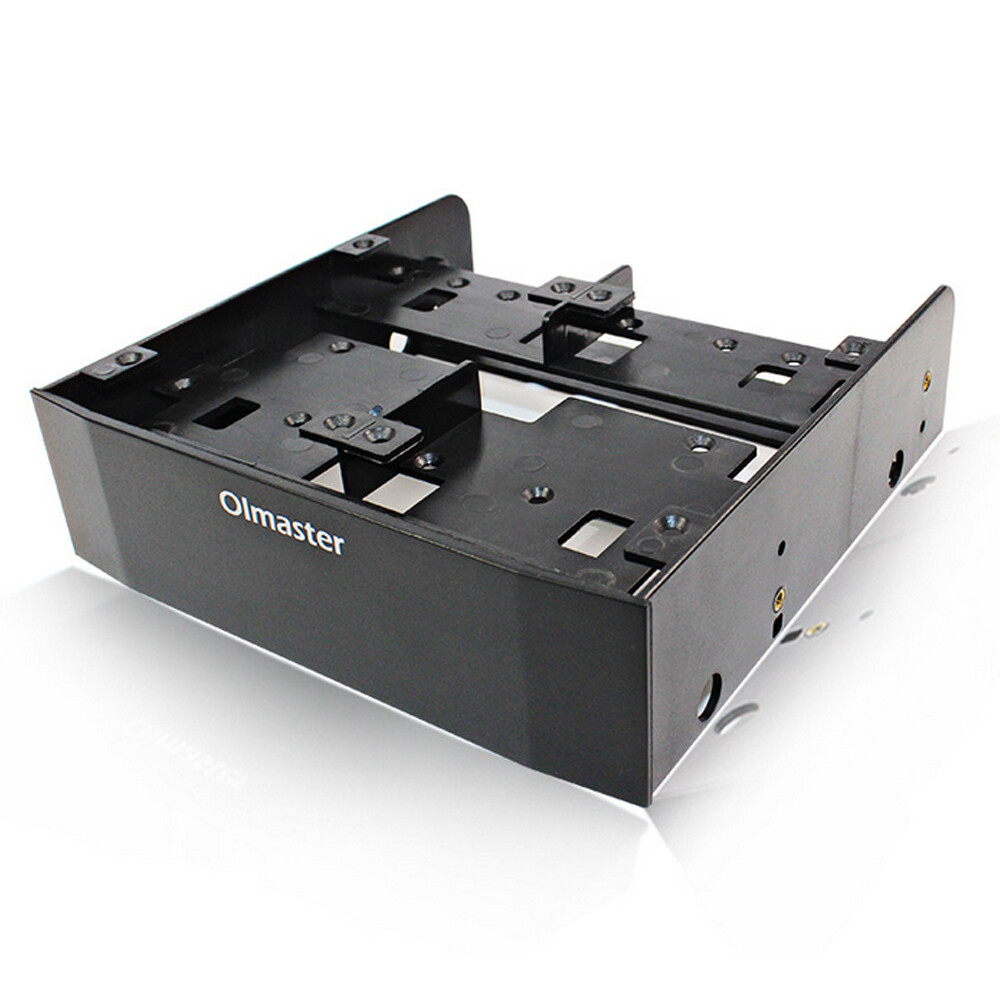
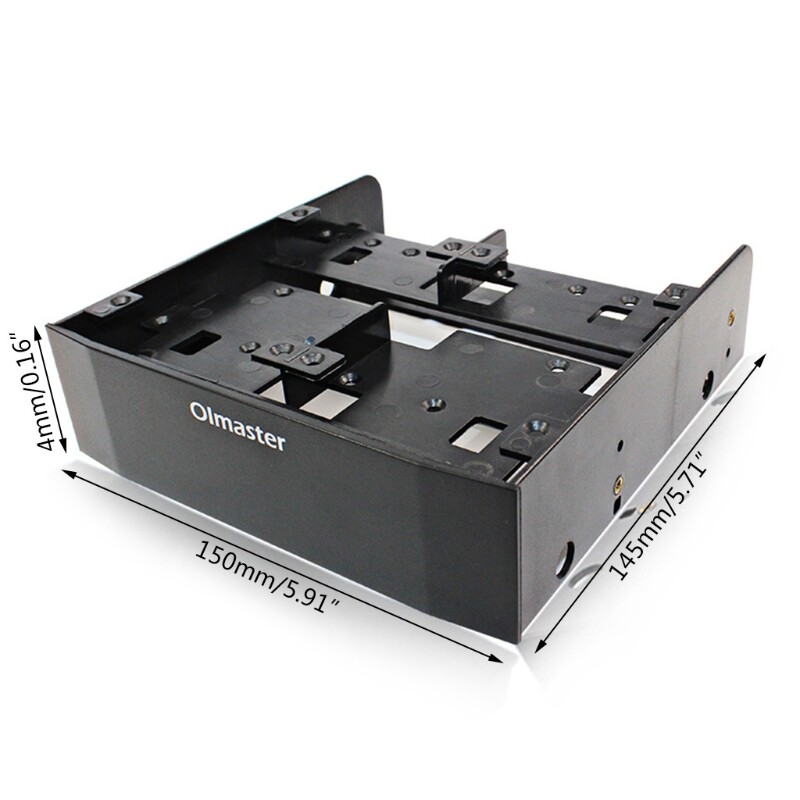
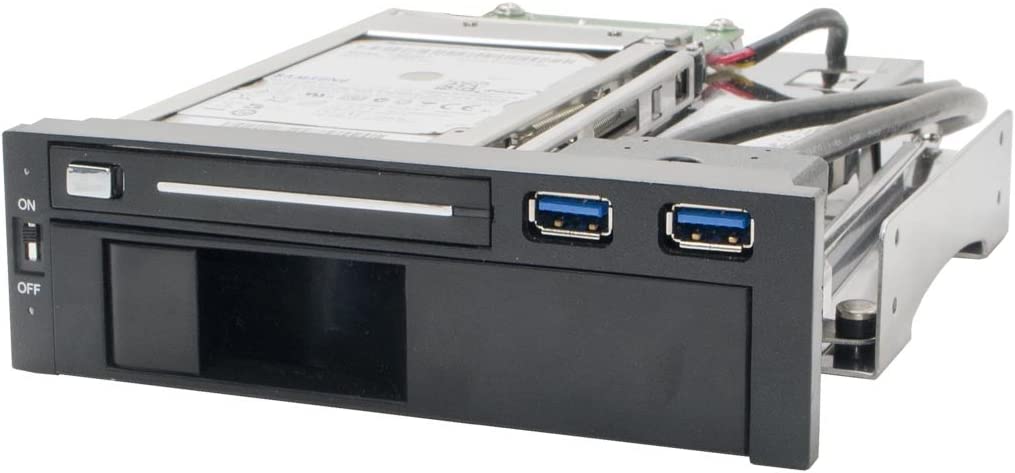
There’s an external 5.25" in the front but since I haven’t used cds or dvd in maaaaaaaany years I’m thinking of putting and adapter like this there. (62.5 or 22.5 + 1* 3.5). It’s kind of snazzy and you can do 2ssd for the os, 2ssd for cache or something like that. The possibilities are endless.
I was about to suggest drilling a few holes on the front panel. Until I reached the end and saw the top panel has lots of holes!
In terms of air flow improvement, I would assert all your related modifications hardly improve the situation if not making it even worse. lol
I suggest keep the existing fans as-is. And add a 120mm intake fan at the top-front position. I dare to say this little addition will make a day & night difference in terms of proper air-flow.
Ah, yes. Clever. I have this thing I have to follow “the rules”. I have to put ssds in a drive bay, and I have to use both fan intakes if there’s more than one on the same side.
Everyone seems to have his own crazy rules/ideas. I guess that’s the fun part of MOD’ing. I’ve always thought about removing SATA SSD casing, packing the PCBs together with brass spacers, and sticking it to inside of PC case. Much more compact, saving space and easier to cool. Though better to wait for warranty to expire first.
The fan at the top-back will be counter-productive if there is no radiator underneath. Leaving it as-is is fine I believe. Or slightly better efficiency I think… if you seal off that half of the top panel.
Air flow improvement perhaps is one of the most interesting parts in case MOD’ing in my opinion.
That’s lots of 2.5 space. Very nice if you could use it for a genuine purpose.
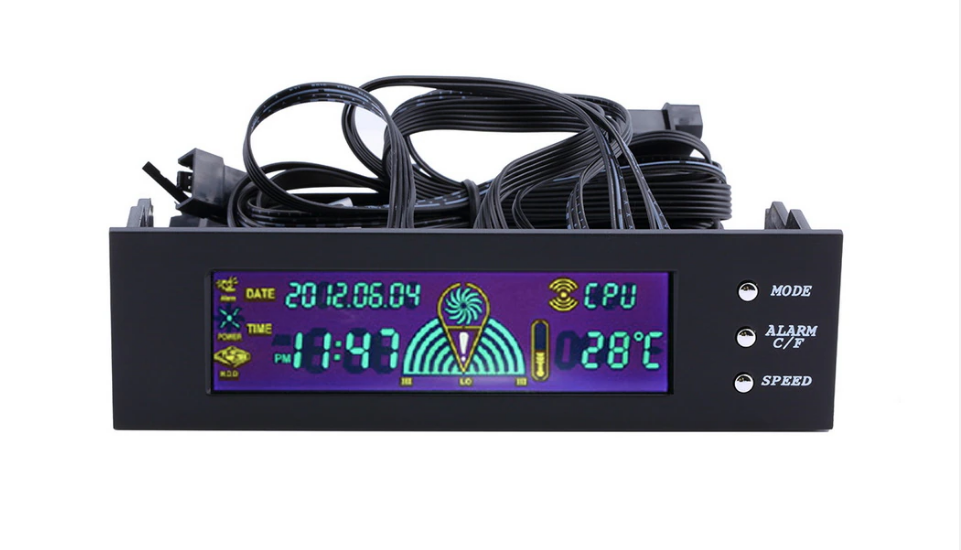
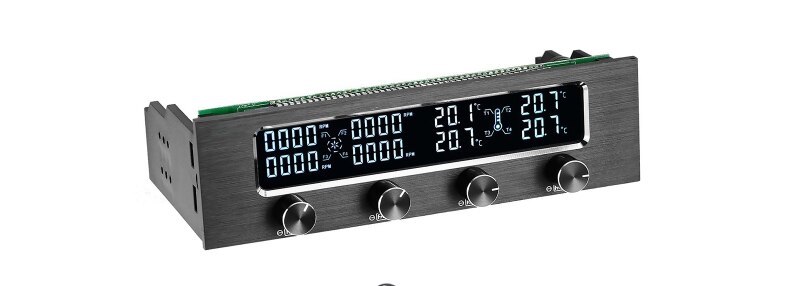
5.25 inch bay is very flexible. I’m sure you could find many other uses. One way is to install a LCD panel there as a system monitor for temperatures, fan speeds, etc. There seem to be ready-made commercial solutions such as:
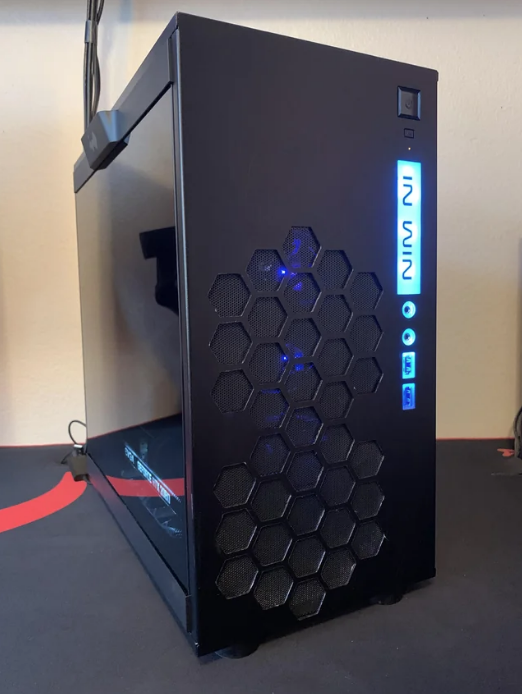
I have this InWin 301. One of the best m-ATX cases IMO. So talking about a dream MOD project of mine (i.e. I want to but likely won’t spent time doing it anytime soon).
I want to open some air holes in area 1. This is to enhance air flow for hot, future gen hot CPUs and GPUs. I have no inclination on the design of the air holes yet but they must bend in nicely with the original design of the case. The best MOD of similar kind that I’ve seen online is a guy who did hexagon mesh with a CNC machine. I think the area of holes doesn’t need to be this big. While I don’t know what my design will be, I’m pretty sure it won’t be two big holes that look like the front of a speaker…
Next, I want to open a hole the size of DB9 serial port at area 2. The purpose is to supply DC power from the internal PSU to external peripherals. Though the need of this MOD may diminish everyday when powered USB-C ports will be ubiquitous in future.
Finally, the “IN WIN” logo to be replaced by a retro-style dot matrix display with backlight at area 3. As-is the area serves zero purpose to end users. A dot matrix display (with custom programmable open-source software) gives a purpose to this wasted area, and useful & functional for running a headless box.
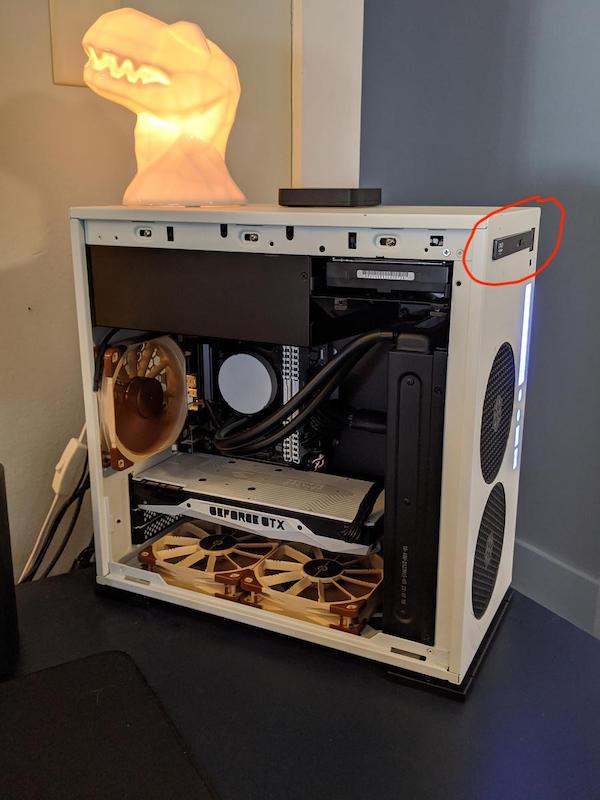
I’ve got the 303 and wanted to do something similar. Mostly just cut out the entire “1” area to fit a 280mm rad and maybe some external fans.
Even though I have access to a CNC it’d be kind of tricky to completely disassemble the case to be able to put the front panel into a vice. I wasn’t too sure about the rigidity of the material either. Then again I’m thinking of a CNC mill, might be better suited to a CNC router. Still gonna be tricky though.
Currently considering trading it to a friend of mine for his Fractal Pop case because I want the 5.25" bay for a CD drive to rip old PS2 games. He also wanted a case with a glass side panel but we got him the solid metal one.
I got it for cheap enough ($50 CAD) so if this urge comes back I might be able to snag another one.
For more complicated shapes such as hexagonal as I mentioned previously, then CNC is more convenient. You have to disassemble the case by removing rivets (and reassemble it by using rivets). It has a very professional look, and blend in with the original design. Picture from Internet:
My InWin 301 is built like a TANK. It uses 1mm steel sheet just like in the good old 1980s. InWin is the rare specie still doing so in consumer/gamer space. I believe 303 is similar if not slightly thinner…perhaps 0.8mm or 0.9mm which are still better than most other cases such as from NZXT, Fractal Design & etc. So structurally I won’t worry even with a few big holes.
These days CD drive seems for occasional use only. IMO, it doesn’t deserve a dedicate space inside the case. Converting your existing CD drive to an external one connected through USB make more sense. And works equally well.
If you want some MOD idea to be built-in, take the below 301 from one member of PCpartpicker.com as example:
I recall a guy on Reddit using a slot CD drive instead at the same place. Not sure if he posted a picture, I couldn’t find it now anyway. Slot loading is more functional and cleaner as well. Similar MOD could be done for 303 though might not be at the same spot.