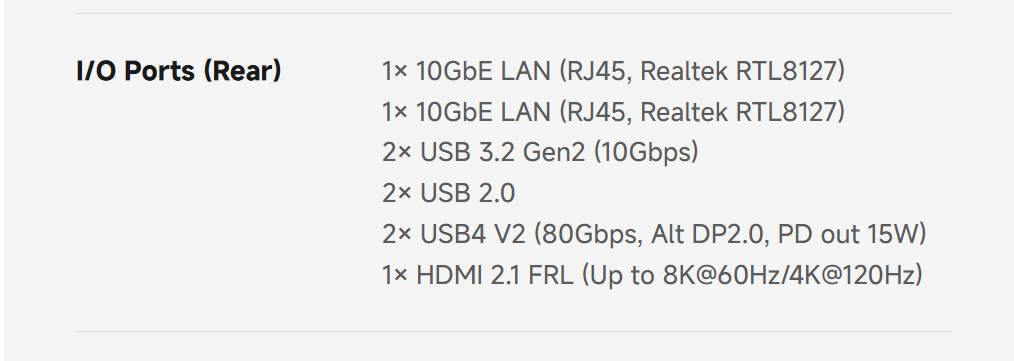
This should work for about any Strix Halo platform, but I did this on the minisforum MS S1 MAX MINISFORUM MS-S1 MAX AI Workstation | AMD Ryzen AI Max+ 395 CPU, 126 TOPS NPU & 2U Rack Support for AI Clusters
Update January 2026:
https://rocm.docs.amd.com/en/7.10.0-preview/rocm-for-ai/pytorch-comfyui.html
AMD has updated ROCm and their docs for this – nightlies no longer required!
The rest that follows is provided for context:
AMD is leaning into AI on Windows, and making it easier for developers to get up and running. So I wanted to test that – on windows natively. No WSL!
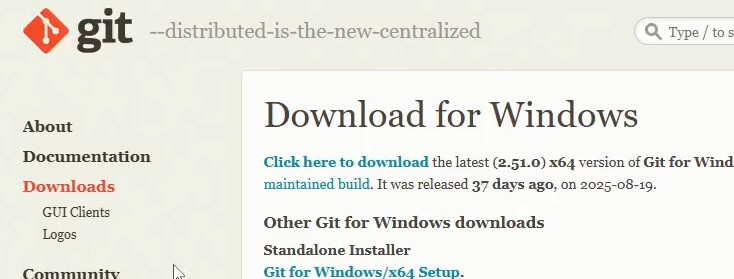
Start by downloading git for windows:
Next I like UV for managing Python projects on windows. It’s a replacement for pip and virtualenv. I am not quite ready to use it to replace python tooling everywhere but on windows it is pretty nice.
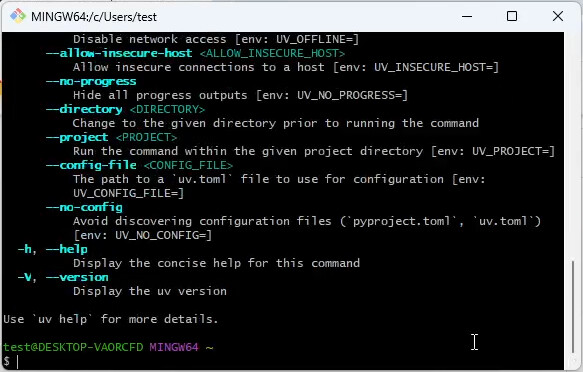
I ran gitbash and then uv to verify it was there/working:
From there we can clone the ComfyUI git repository:
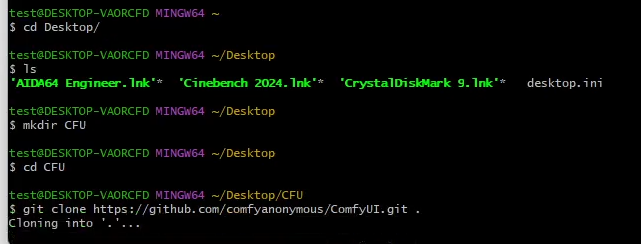
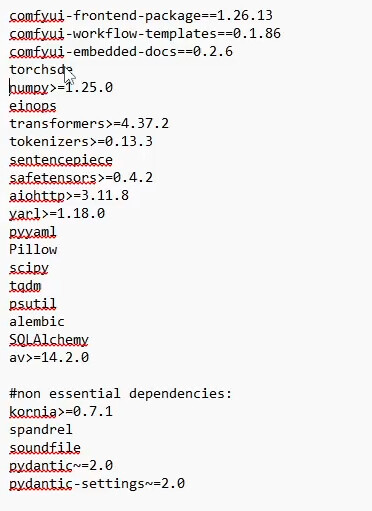
Once the git clone has finished, use notepad to open requirements.txt
we need to remove torchvision and torchaudio because installing the non ROCm version now will lead to problems when we get the AMD optimized/specific versions needed for this Ryzen AI Max 395+ platform.
delete ``torch torchvisionandtorchaudio``` (we will manually install them in a moment)
from here we can run uv venv .venv --python 3.12
![]()

then source .venv/Scripts/activate to activate the virtual environment.
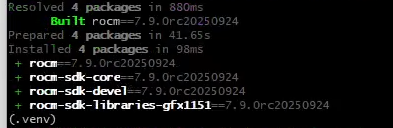
Now we want the gfx1151 nightlies

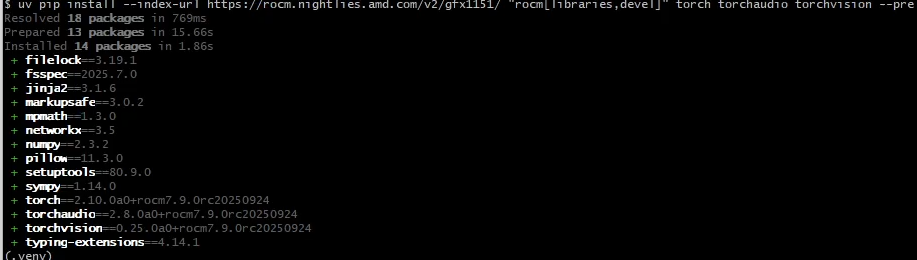
uv pip install --prerelease=allow --index-url https://rocm.nightlies.amd.com/v2/gfx1151/ "rocm[libraries,devel] torch torchaudio torchvision
…there are those dependencies we got rid of earlier! Except they’re coming from AMD.
now we can just do a uv pip install to get the rest of what we need for ComfyUI
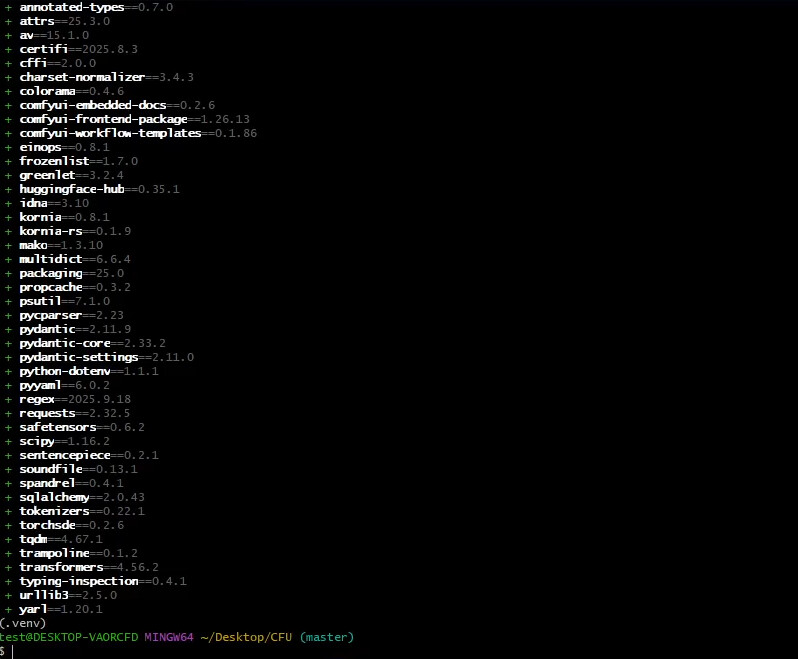
next we need the actual UI part.
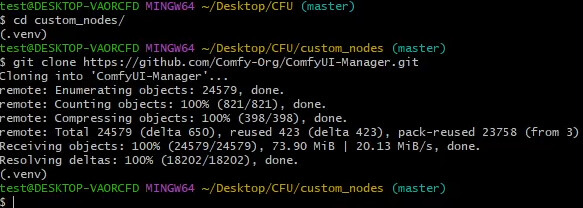
mkdir custom_nodes && cd custom_nodes
then
git clone https://github.com/Comfy-Org/ComfyUI-Manager.git
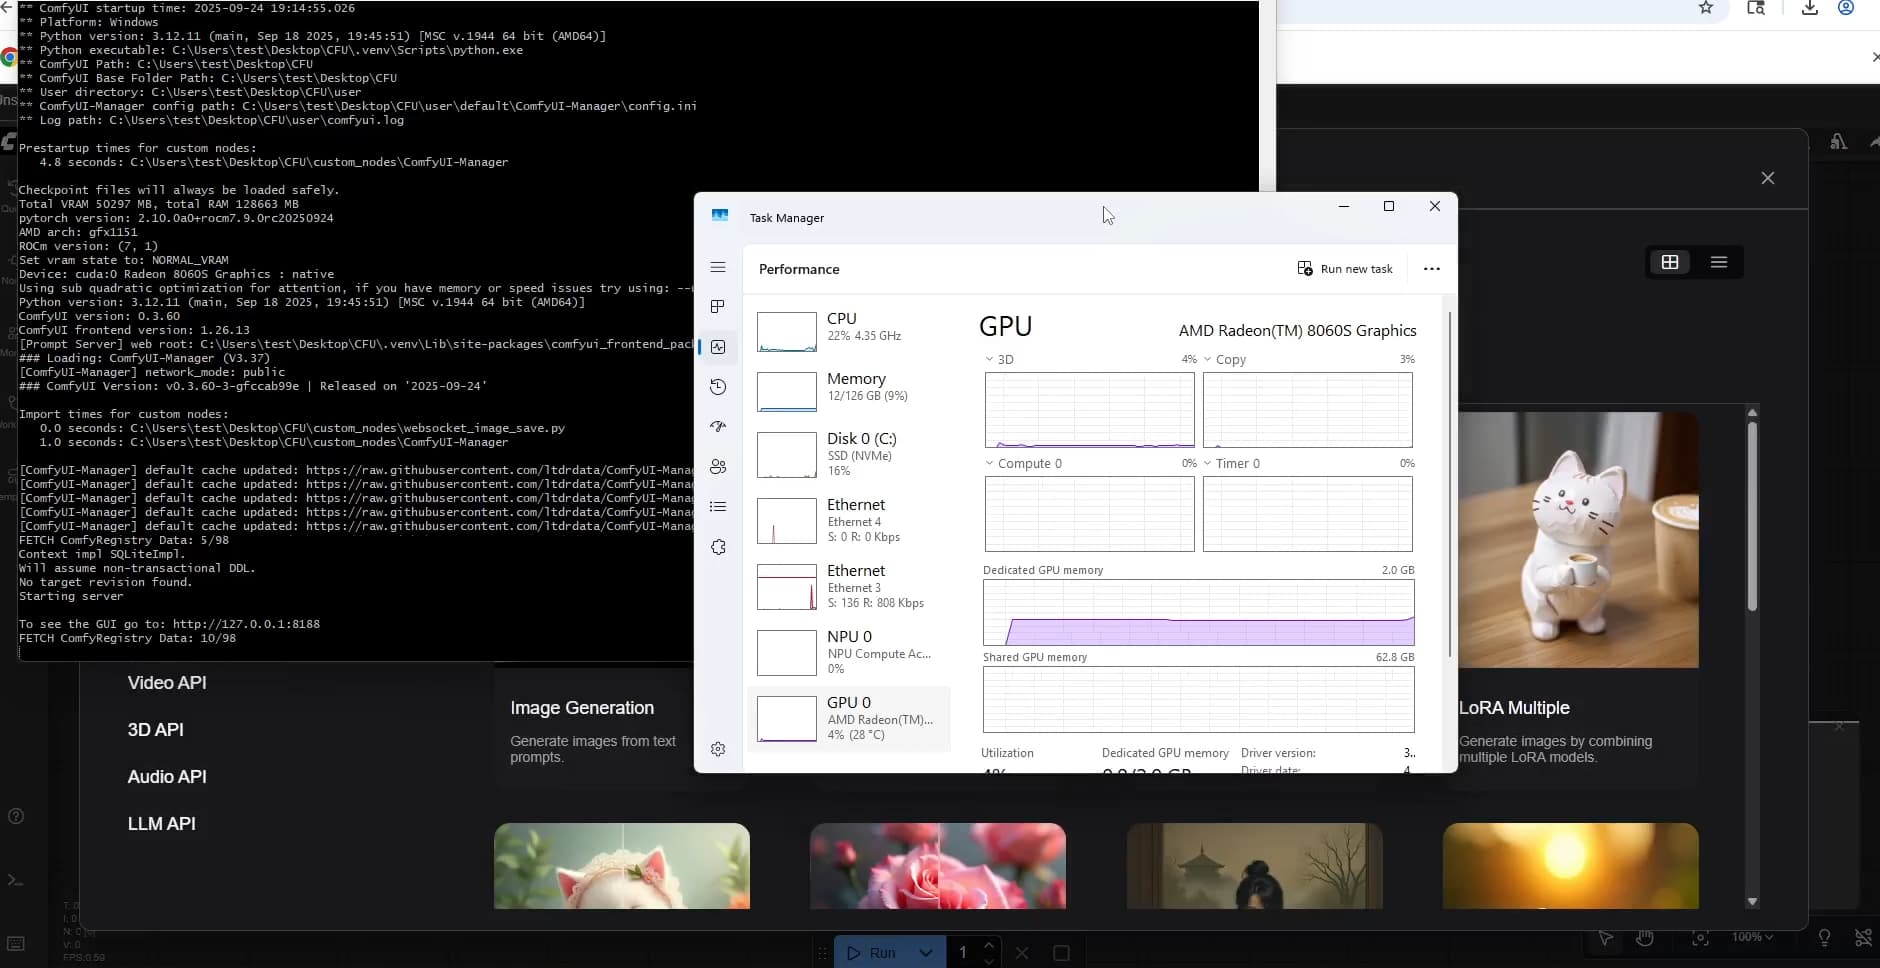
then just do uv run main.py from within the CFU folder made earlier.
![]()
Now the site should come up on http://127.0.0.1:8188 after a few minutes!