Maze`s Electronics Corner

That’s a bummer.

Yeah needs to reach 0 or close to and needs to do up to 24 volts @ 5 amps.

I am working on some car stuff with Arduinos and Raspberry Pis and some of the solenoids are pretty hungry on the power delivery.

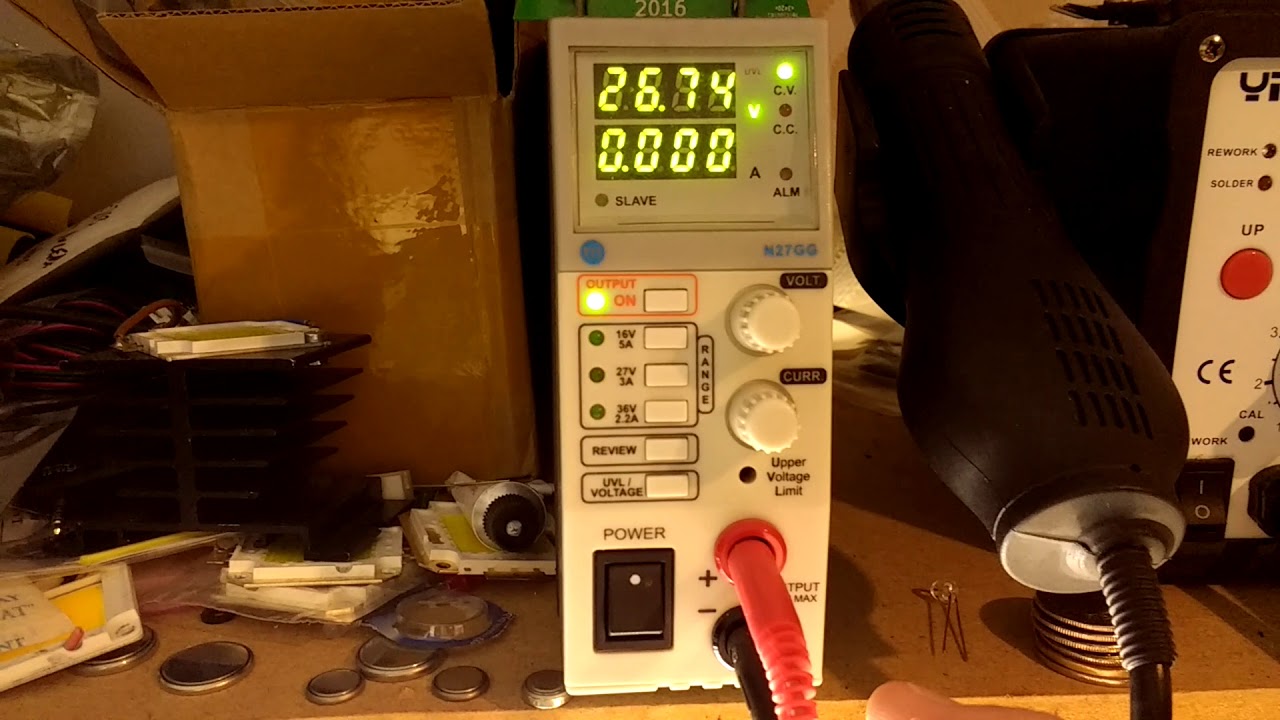
I have been looking at the Korad KA3005

That should not be a problem with “better” supplys.

150W is a considerable ammount of power. The Rigol DP700 does look good. Should neither catch fire nor kill you^^

Edit: Do your research before buying any power supply.

Yeah, I have been on the fence for a while. I had been looking at the Rigol, but the price was a little to steep for what I needed.

Going by Dave’s recommendations and reviews on the EEVBlog, the Korad was the next best thing. I saw where he blew it up and then they sent out a replacement board after they got the AU voltage wrong (they sent 220 but AU uses 240 usually). I have looked at other reviews of other sub 200 USD power supplies and unfortunately, any other good ones like Tenma, do not work on USA 110/120 grid (I don’t want to run it with a transformer because I could just build my own power supply at that point).

If this electronic hobby turns into a legit side business, I will definitely spring for the Rigol in the future.

Edits for Grammar. I will get gud at this phone typing business one day

1 Like

Got mine when they first came out, they were $400, amazon has them at 350 now.
I’ve only used it for some serial diagnostic and decoding so far.

Hmm.

Trying to justify the practicality of using one. When I get to repairing the analog synths, I know that it could be useful, otherwise, I cannot figure out why I would need this now. But I want one.

Did you manage to desolder them? or did you end up trying to disassemble them and cut them off the board, to finally desolder the remains of the leads?

Desoldered. No solder pads harmed, nothing splintered or cut off.

I modded my lamp a while ago so I could control it from my phone/computers. The micro controller is a nodemcu but the main chip is an esp8266. It connects to my WiFi then to my MQTT server. I use Node-RED as a sorta middle man as you can make a nice web gui that’s easy to manage and update.

So all I have to do to change the lamps state is going to the local webpage and flip the virtual switch. Then Node-RED publishes the MQTT request it goes through the MQTT server and to the lamp as its subscribed.

This is a pretty horrid explanation. Unfortunately I’m not quite familiar with all the correct terminology..

3 Likes

That is pretty cool. How much did that cost in parts?

I was thinking about doing this for my wife wit ha couple of Chineses 1USD Arduinos and a couple of ZigBees. She wants a smart house but we are still renting right now. I figured that I could meet her halfway and just put the technology into the devices. Then when we move, the smart hours is halfway done.

So I hacked a cheap 12v led light. If the power supply is reasonable you can use the existing one. In my case I have dozens lying around so used one with 1A instead of 500mA.
I’m in Aus so the light in kangaroo coin it was around $20.
If you didn’t notice I actually 3d printed that cone shaped top since there was no space to fit the electronics but I am sure that if you did some looking around especially if you were in a bigger country with more option you could find something that works straight out of the box.

The electronics itself were well under $5 USD so long as you’re willing to wait a while as it all comes from china.

You’ll also need a server to run MQTT and NodeRED if that’s what you’d like to use. A raspberry PI would work fine. They’re around $35USD

https://www.aliexpress.com/item/ESP8266-CH340G-CH340-G-NodeMcu-V3-Lua-Wireless-WIFI-Module-Connector-Development-Board-Based-ESP-12E/32800966224.html?ws_ab_test=searchweb0_0,searchweb201602_4_10152_10151_10065_10344_10130_10068_10342_10547_10343_10340_10548_10341_10696_10084_10083_10618_10307_10131_10132_10133_10313_10059_10534_100031_10103_10624_10623_443_10622_10621_10620-10622,searchweb201603_25,ppcSwitch_5&algo_expid=55da1fbe-7d0c-4b84-87cd-3f05b080ffd2-0&algo_pvid=55da1fbe-7d0c-4b84-87cd-3f05b080ffd2&priceBeautifyAB=0

https://www.aliexpress.com/item/Free-Shipping-1PCS-5V-low-level-trigger-One-1-Channel-Relay-Module-interface-Board-Shield-For/32480128984.html?ws_ab_test=searchweb0_0,searchweb201602_4_10152_10151_10065_10344_10130_10068_10342_10547_10343_10340_10548_10341_10696_10084_10083_10618_10307_10131_10132_10133_10313_10059_10534_100031_10103_10624_10623_443_10622_10621_10620,searchweb201603_25,ppcSwitch_5&algo_expid=1673ed77-0309-47fe-b966-8f5b5d762c02-4&algo_pvid=1673ed77-0309-47fe-b966-8f5b5d762c02&priceBeautifyAB=0

https://www.aliexpress.com/item/RC-Airplane-Module-Mini-360-DC-Buck-Converter-Step-Down-Module-4-75V-23V-to-1V/32836074457.html?ws_ab_test=searchweb0_0,searchweb201602_4_10152_10151_10065_10344_10130_10068_10342_10547_10343_10340_10548_10341_10696_10084_10083_10618_10307_10131_10132_10133_10313_10059_10534_100031_10103_10624_10623_443_10622_10621_10620,searchweb201603_25,ppcSwitch_5&algo_expid=d7f03614-8d16-4d38-8e01-f9f72ade7cc0-3&algo_pvid=d7f03614-8d16-4d38-8e01-f9f72ade7cc0&priceBeautifyAB=0

2 Likes

Repair project: Nintendo 3DS

Has been a while since I got something to work on or made any meaningful progress.
And then a friend had an incident and now has a broken Nintento 3DS. Took it apart and made slow progress. The replacement screen he got either had a bad connector cable to begin with or, worse option, I broke it during installation.

Pics will follow soon™

Repair: Nintendo New 3DS XL

This was a pain and a half, and it is only half way done… FML
Here the more or less complete story:
A friend of mine had an incident that broke the upper screen in his 3DS. So we met at uni, I had some tools with me and set to work. Took the back cover off, removed the cables and the upper display. Then hit a roadblock as I did not have enough tools with me. Back home, I got to work again:

Back cover on the over screen removed:

Camera and speaker assembly removed, then I rook out the screen.

As the top and bottom half need to be seperated, I started removing the electronics in the lower section.

Motherboard and right side controll board removed:

Detail of the right-hand hinge. The cables for the upper stuff are routed through a steel ring. It is only possible to get the cables through here by taking the whole thing apart…


…on the left-side hinge. There is a pin in here that has to be pushed over in order to seperate the halfes.

In order to protect undamaged parts, I stripped the thing down to the bones.

And then I set to work on the hinges… for a solid 2 hours and with help of my dad, I got to this:


Turns out, the steel pin is reinforcement of a larger plastic pin. With a bent steel wire and some considerable force I got that fucker moved seperating the halfs.

With that done, I went to put back components in order to not loose them.

Only a few large components left.

Everything either put back in place or in a zip lock bag. Awaiting arival of replacement screen…
5 Likes

When does reviving your thread count as a necro?
Problem is: getting the display is cheap, it coming here: 60 days (ships are slow or the distance is long, dunno).

Dead 8600GT: Something something no worky worky…

Reviving the 8600GT
The better late-than-never update

Everything at the ready:

New capacitors installed:

Detail shot:

Arctic MX-4 for scale:

Cooler ready to be installed again:

Cooler installed:


Now for the all important question: Does it work again?
No idea.
Will try later.

6 Likes

9 Month revival! WHOOO!

Enough celebration, back to topic:
While renovating, some ABB 11.5V, 25A (=300VA) lighting transformer got retired after a little over 26 years in existance (made in February 1993).
It is an absolute unit weighing in at 5.3kg (= 11.5 pounds).

The plan:

  1. Figure out what functions I want (it provides AC, so DC would be nice and a minor 5V DC rail @1.5A would also be nice)
  2. Plan and design a case for this beast and its new friendly neighbourhood components
  3. Aquire parts and build the thing!
3 Likes

The first step is complete. I want 11.5V AC, 11.5V DC and 5V DC (1.2A “only”) and having a known good ground plug is also nice to have arround.

Components to pull this off are special. handling 25A without making a shit stain on the table is surprisingly costly.
For example, a 6A 125V banana socket costs 71ct. A 35A 60V one on the other hand costs 3.55€.
The bridge rectifier to handle 25A is rather cheap (1.25€), but requires a heatsink…
Then there are various capacitors, a voltage regulator, a small bridge rectifier, switches that can handle 25A (5€ a pop), signal lamps to show where the oompf is on, heatsinks, lab cables and clamps to hook the beast to something.
And I decided an analogue amp meter similar to this one could help:

Can you use relays instead of switches. Scavenge from auto?

I could do that. Question is what good would it do?
I would still need switches to power the relays and the relays themself would also draw current subtracting from the available total.

I’m not an electrician, in fact I have a love hate relationship. My suggestion was more to do with funding. If you can pick up relays for cents on the dollar then cheap switches are feasible. If the current draw is too much then the idea doesn’t work.

1 Like