Either you use protoboard (array holes in a PCB, requires soldering) some have copper rings arround the holes, others have strippes of copper

or you use breadboard (array of connected pins, no soldering).

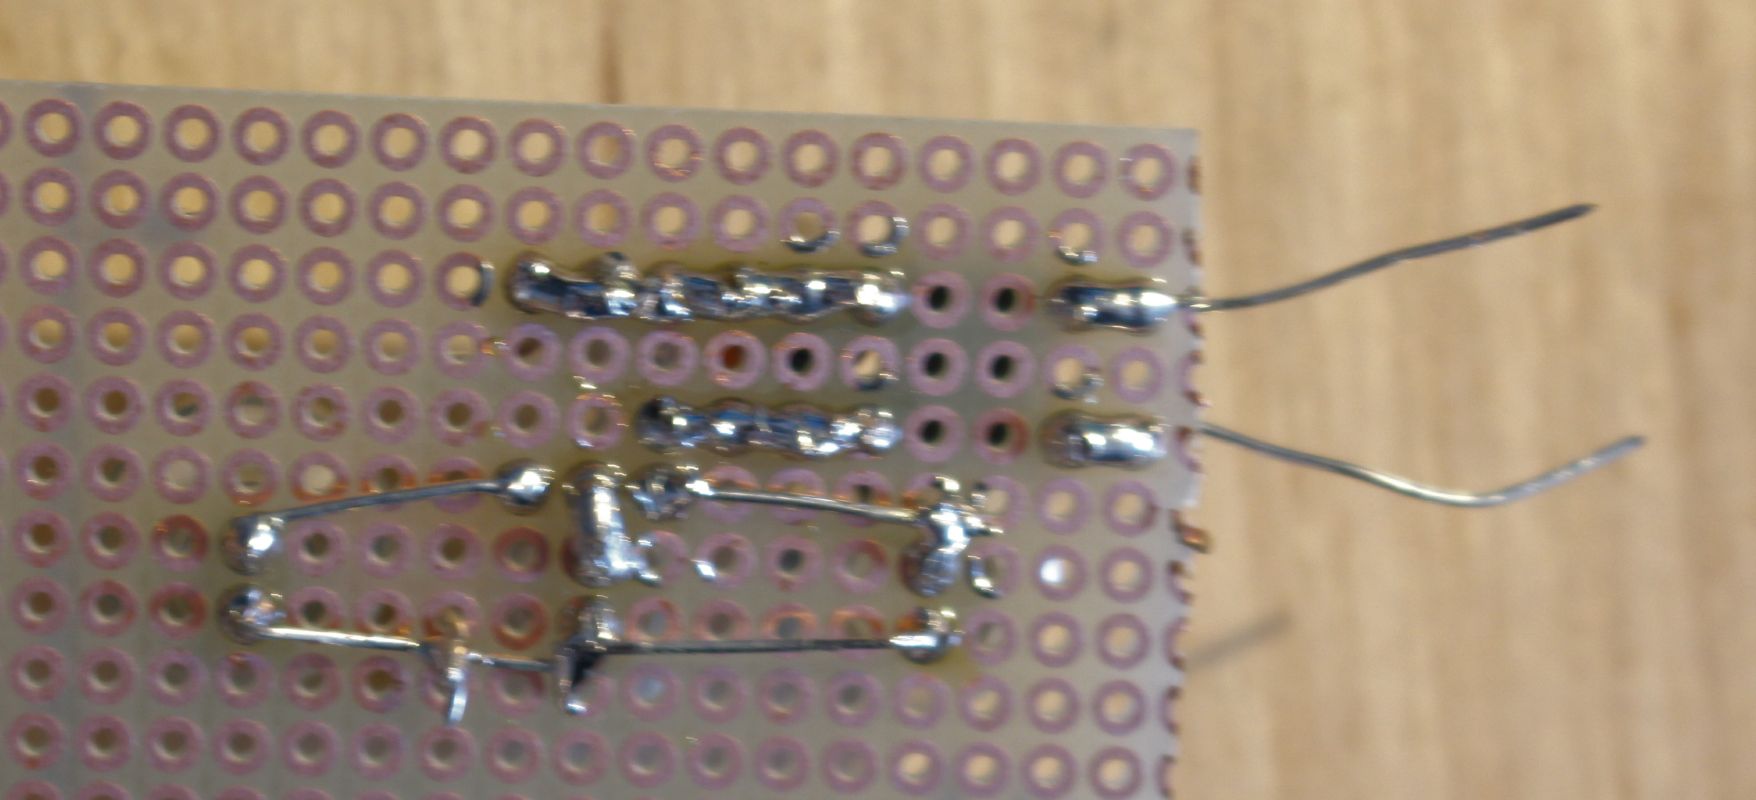
The stuff in the video is protoboard. Would not recommend the technique of solder galore. Instead use thin solid wire
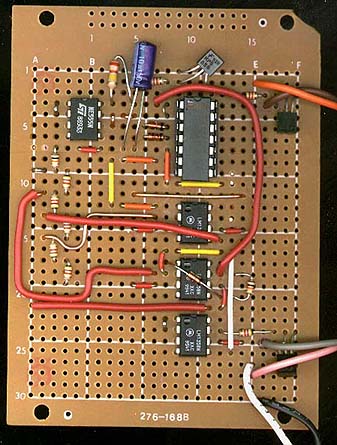
Or use insulated wire and make it look nice like this:
I would prefer to use a protoboard but I have a bread board as well I will probably try first.
Know any good videos on how to solder the wire to the component. Is the wire suppose to go in the same hole as another component or are some of the holes connected to each other?
No idea if there are good videos on the subject. Would just put “how to solder protoboard” into some search field on the internet.
Important rule: One leg per hole
There must be some connectivity that is in the board I was unaware of.
Okay, got you.
For pins next to each other, solder the holes together. The blob should cover both pins forming a connection.
For longer distances, use wire and solder it to the hole next to the thing you want to connect to, then form an overlapping solderblob
I like that idea, I tried soldering wires once in the same hole and what a disaster that was lol.
1 Like
I need to keep reading up on the whole engineering process and I have to juggle my online courses, COOP, and another project and this but I think in a couple weeks or a week I can hopefully start ordering the micro controller. I already have a bunch of random parts like resistors and capacitors.
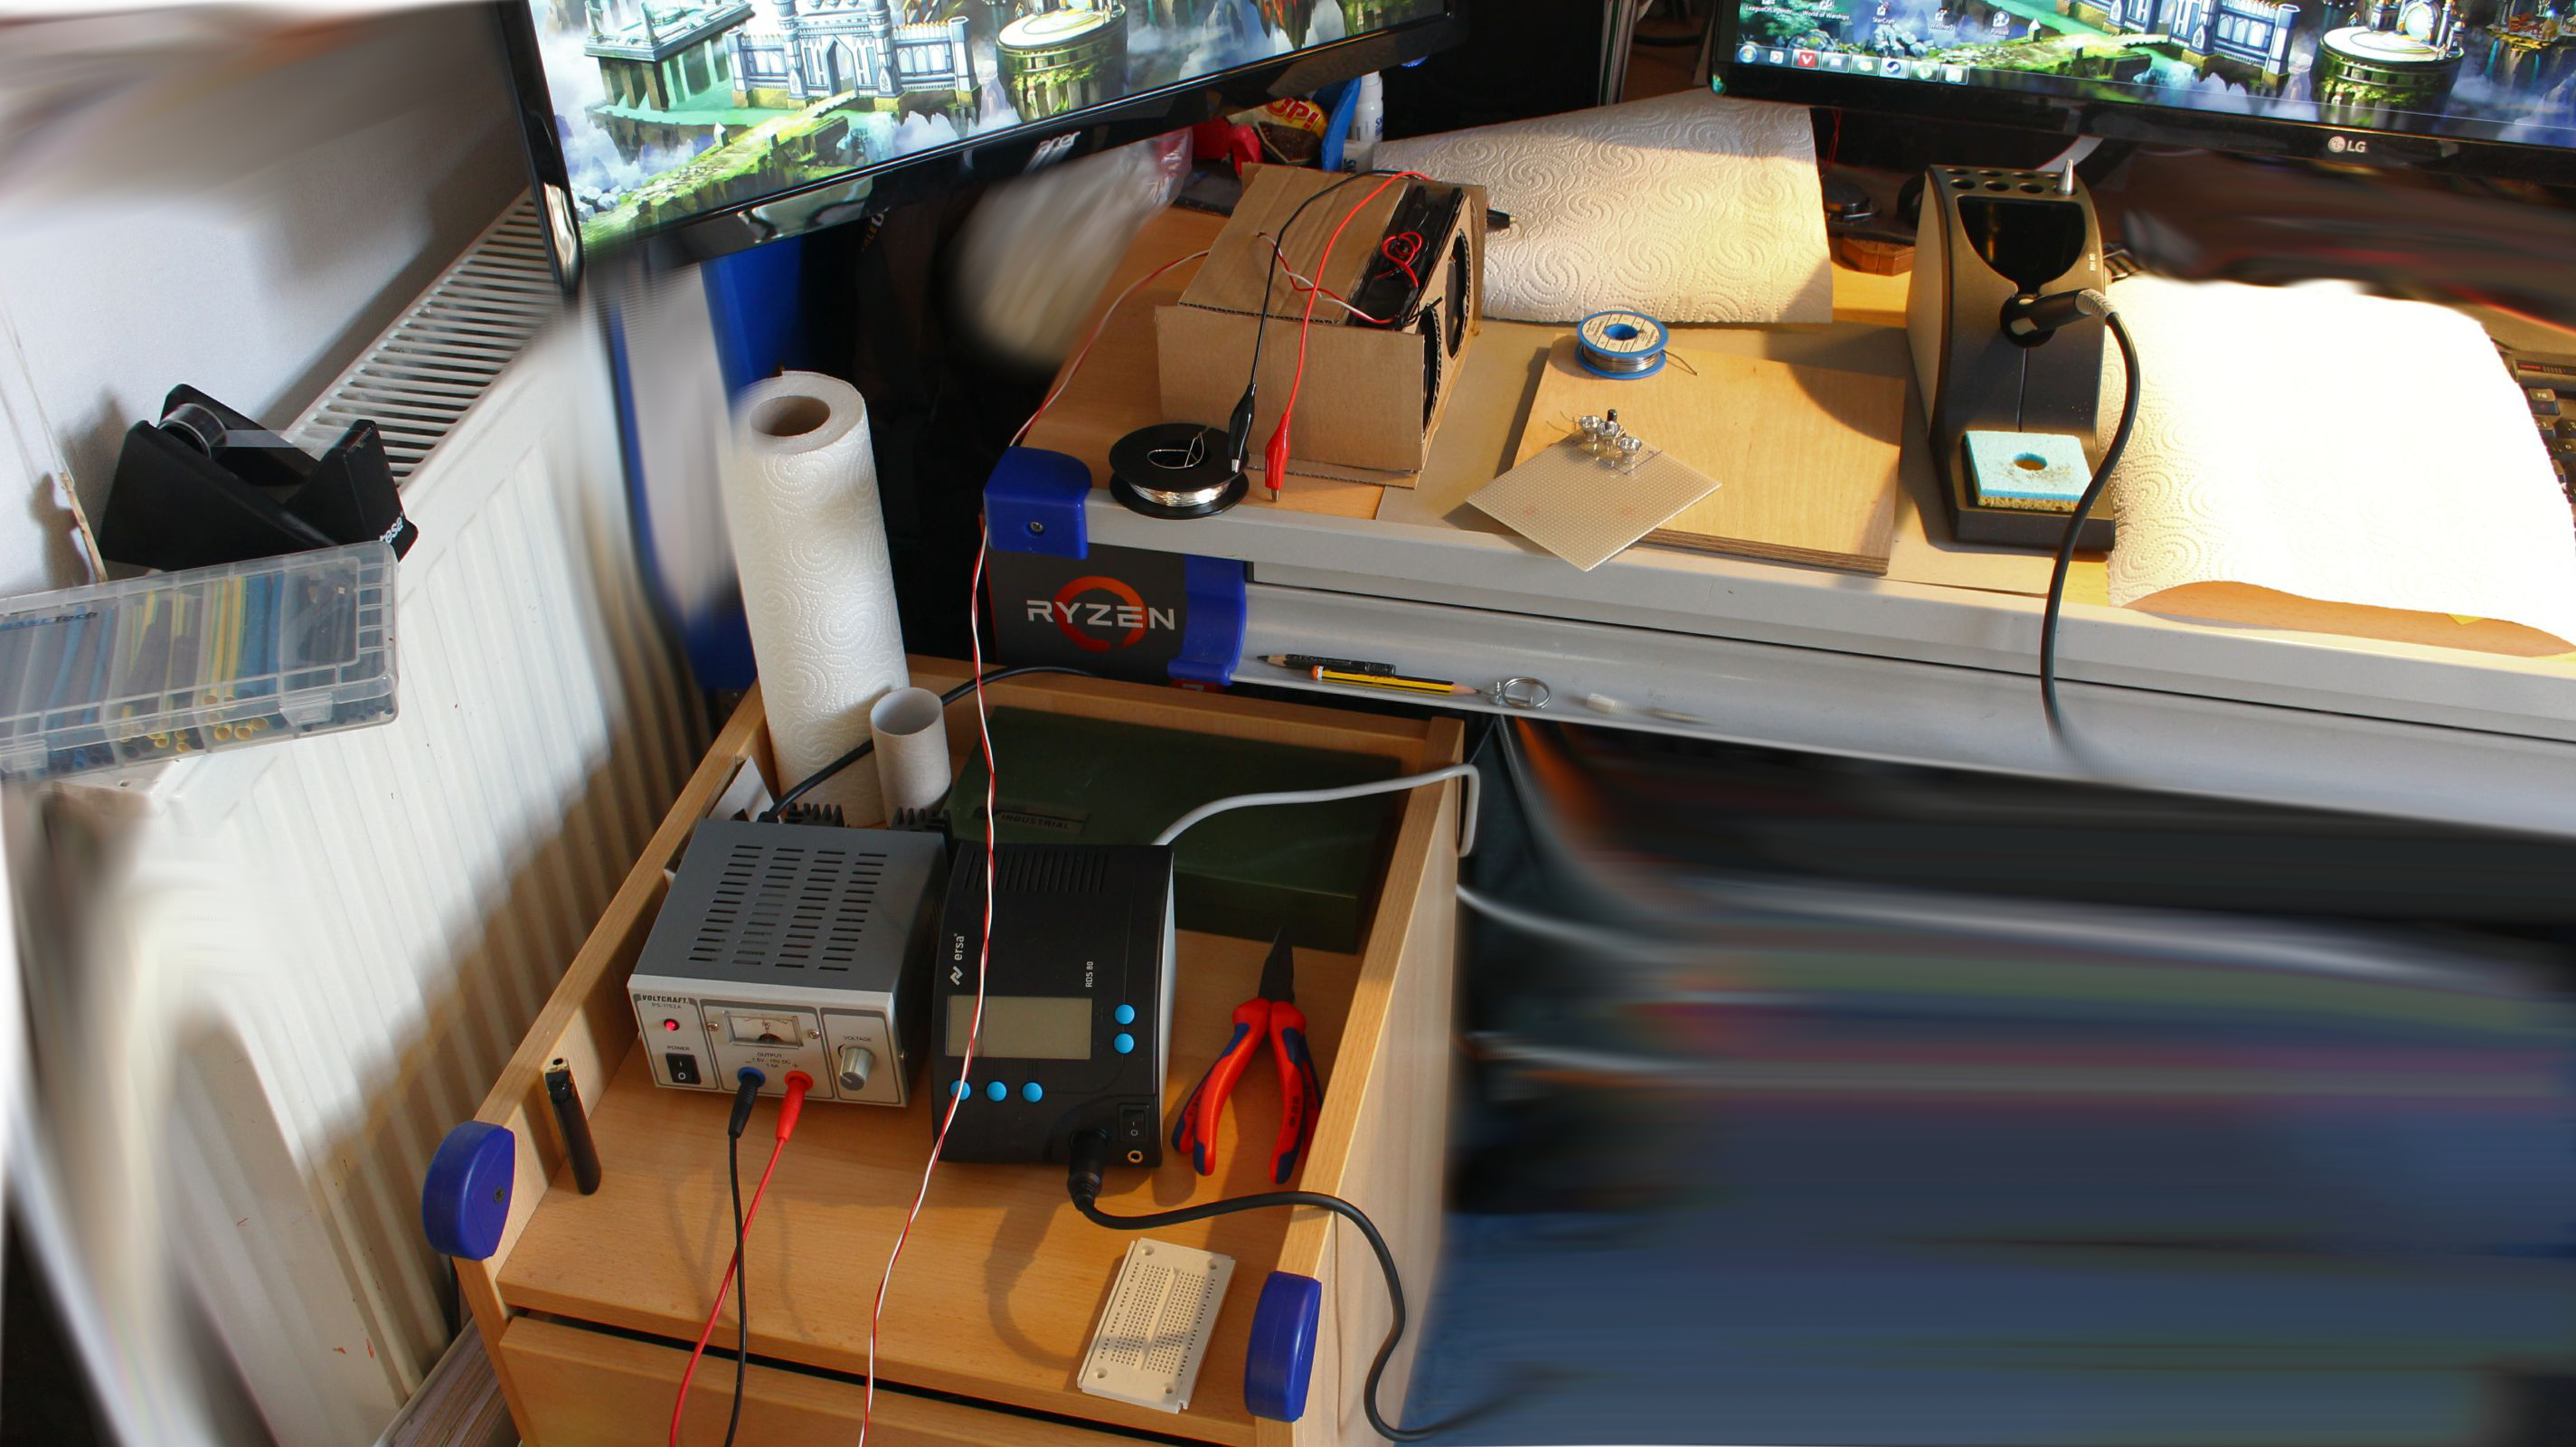
As posted here, I got myself a new soldering station.
It arrived today and got some use:
The blurr is to keep some privacy
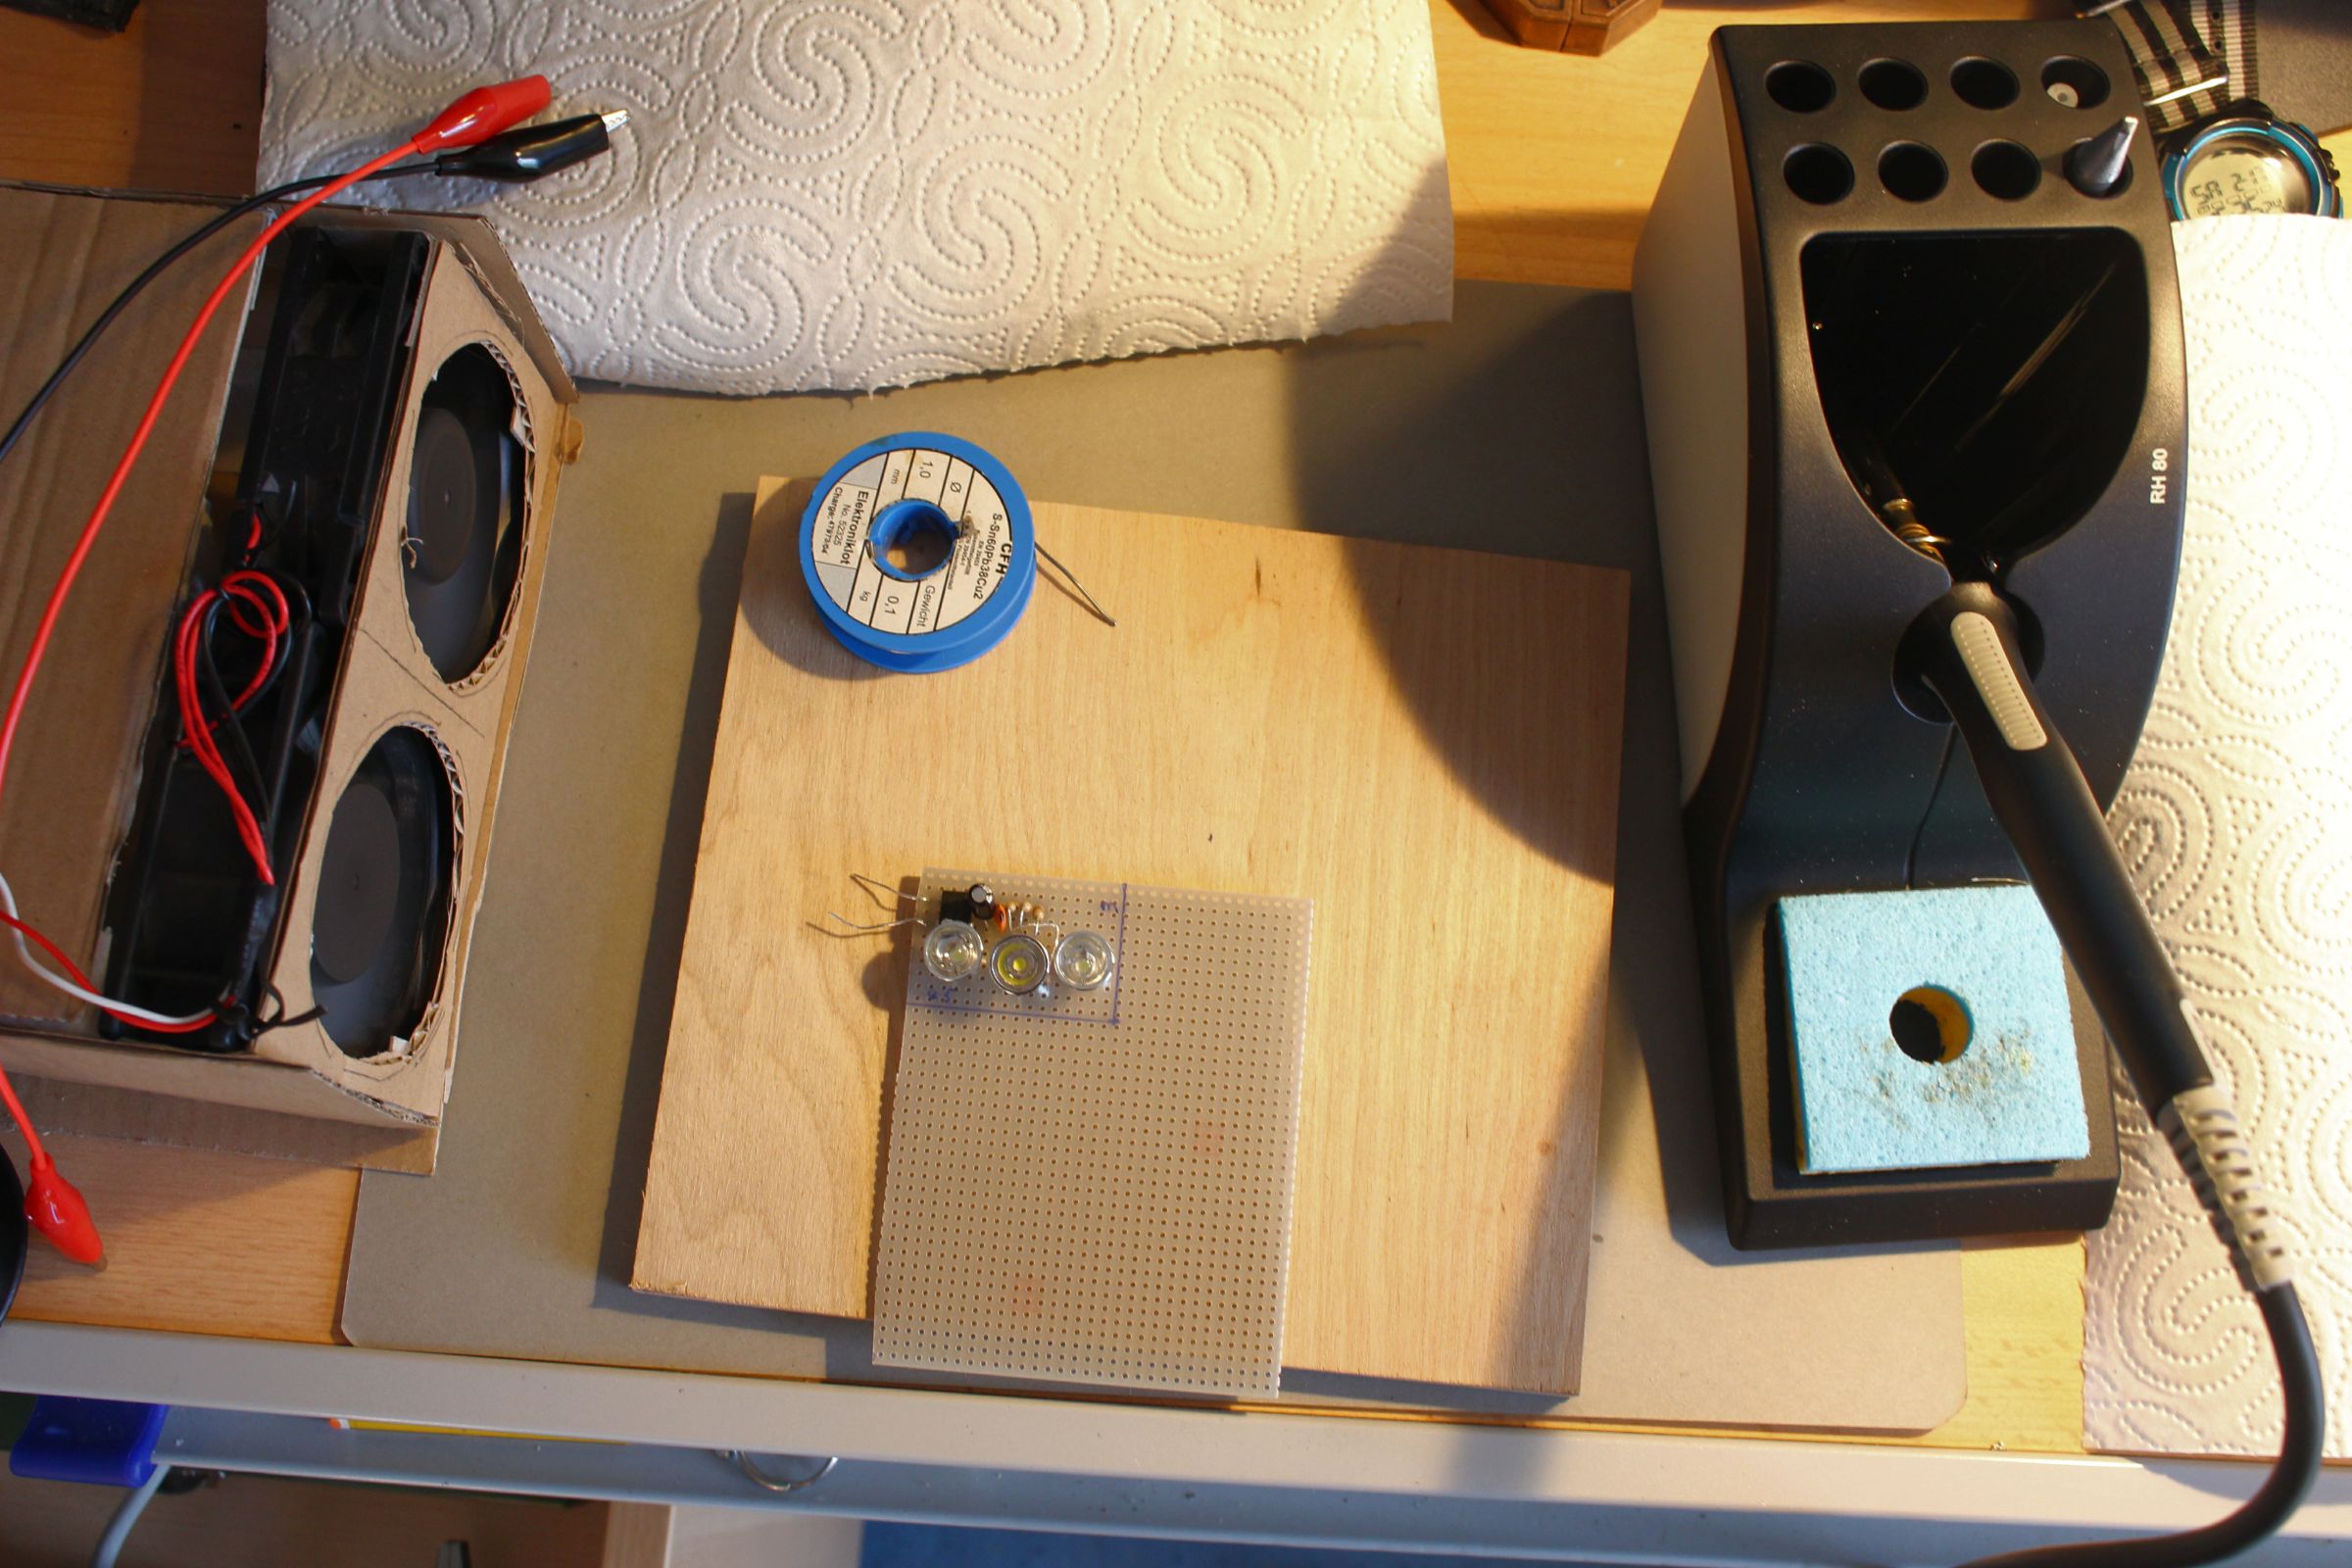
To the left, we see my DIY fume extractor. While it is not the quietest thing, it moves a lot of air and gets the job done. The soldering station is awesome! Less than 40 seconds to 350°C. Was a breeze soldering the protoboard.
2 Likes
off topic;
That’s cool how you blurred the background. I still see a chip bag tho…lol
1 Like
I can assure you, there are none in the picture.
1 Like
Some android & usb microscope hooked to arm would be really cool addition to your tinkering setup
too much latency. I have a magnifying glass with stand somewhere 
Ok, I have just experience from these, and it wont take long before motorics work with that thing
Sometimes I play piano by looking midi press curves which is kinda fucked up
Reviving an old dead 8600GT [Part 2]
It has taken me quite some time and I am still not there. But finally, after 3 hours, I removed the capacitors!
2 Likes
Your thread gave me the itch to mess with electronics again. Pulled all of my stuff out of the basement. Been there for a couple years after I remodeled the office.
1 Like
Nice scope you got there.
Ditto ^
how much did that set you back? What do you use it for?
I just bought a Hakko 888D so that I can play with the good stuff and not look like I was soldering with a Radioshack crayon.
I am in the market for a bench power supply. Preferably linear and not a switch mode. I deal with digital stuff but I would like to play with analog as well. (I want to start repairing old Roland analog tech).
I am slowly building my work bench area finally after 10 years.
I have a Voltcraft PS-1152 A. The only downside is the 1.5V beeing the lowest voltage.