Background
This might look like a desktop computer but make no mistake – it is a server.
This beast has 128 cores, 256 threads, 256 gb of memory and it was built to do DevOps and Kernel Compiles as fast as anything commercially available.
We tested many, many different configurations and many different CPUs and this was the fastest build available at under $30k.
What surprised me the most was that CPUs with an architecture advantage (more recently released Intel Ice Lake Xeons) and CPUs with a significant clock speed advantage (Epyc 75F3 @ 4.0ghz) both lost out to the unrequited might of the 7763s.
Less surprising was that moving from one to two sockets was good for a near-liner doubling of performance while doubling cores in a socket was only bumped things up another 50% or so.
Hardware Inventory
- AMD Epyc 7763 x 2 (thanks AMD!!)
- 16 * 32gb SK Hynix Registered ECC 3200Mhz Ram
- Fractal Torrent Case (high server-ish airflow)
- FSP Group Twins Pro 900w PSU (note 1 – thanks FSP Group)
- Kioxia U.2 3.84tb SSDs (thanks Kioxia!!)
- Gigabyte MZ72-HB0-00 Motherboard (thanks Gigabyte!)
Configuration Notes
In the motherboard IPMI I set the fan policy to 100% always. Even at 100% these fans are not unreasonably loud.
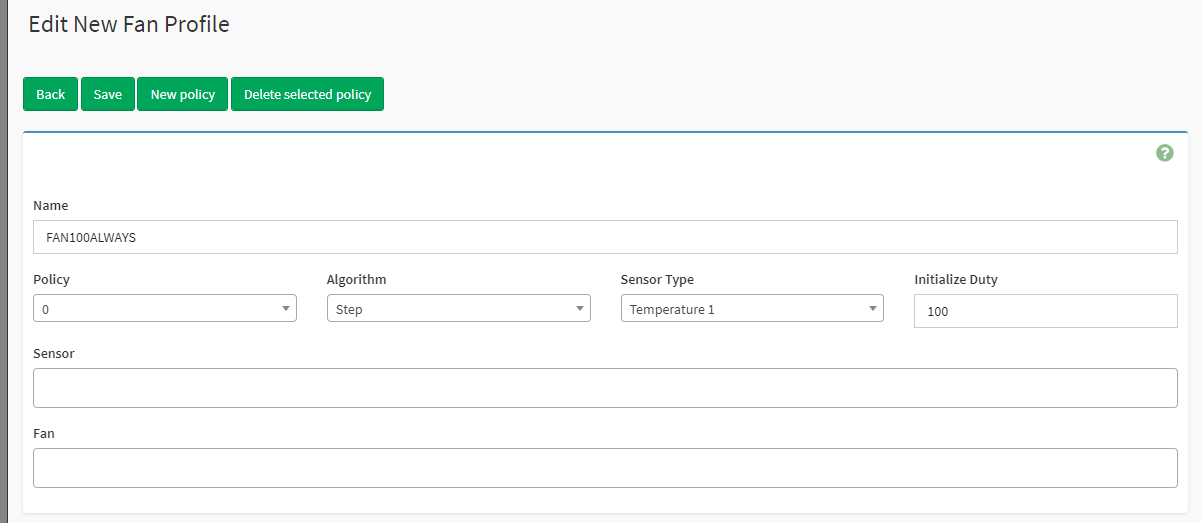
Then it is necessary to start that fan profile and set it to the default:

The reason for this is that the CPUs are perfectly in-line – not staggered. That means the exhaust of one CPU is feeding another CPU (which is less than ideal). It does make a surprising difference in temperature deltas from one socket to the next.
The board shipped with 12.53 version IPMI firmware while the latest/only on the GB website was 12.58.
I would recommend you do the BMC/IPMI update with the system OFF.

Here is how I updated from 12.53 to 12.58. First, I downloaded the ASPeed 2500 IPMI update from the Gigabyte Website.

I used image.bin from that archive and checked the “preserve” config checkbox (up to you if that makes sense. Sometimes if your version is “very ancient” compared to what you are flashing it makes sense not to preserve the config).
It’ll upload the image and ask you to confirm by “proceed to flash”
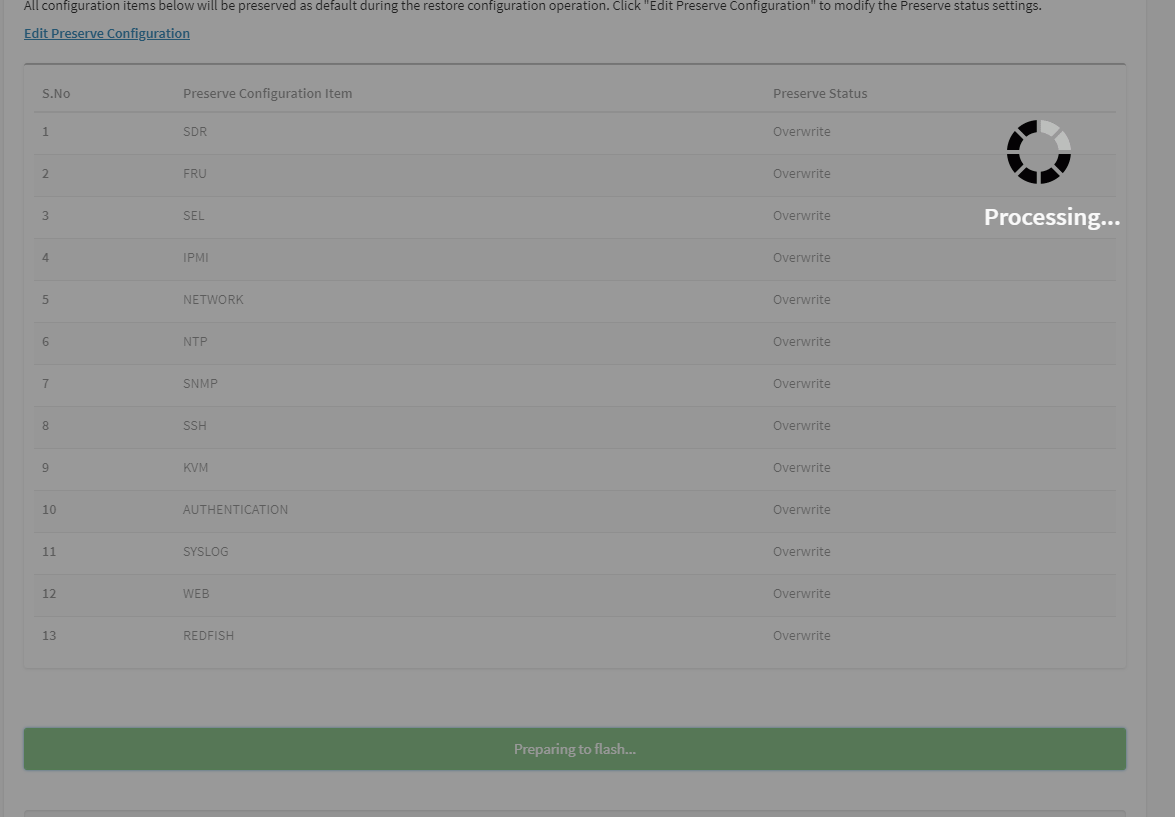
And if you click that you’ll get a popup to confirm one more time, followed by the “Processing…” overlay.
Behind this overlay you’ll see:

followed by:
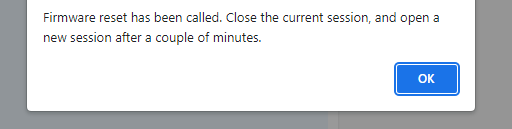
close and re-open your browser after ~ 5 minutes. It is possible to watch the IPMI LED blink on the motherboard as that is an indicator as to whether the IPMI has booted, is booting, or is offline.
Be sure to go back to firmware information to confirm it updated! If it didn’t, it is possible to flash it from inside linux. This is the recommended way if you want to flash the BMC while the system is on/booted.
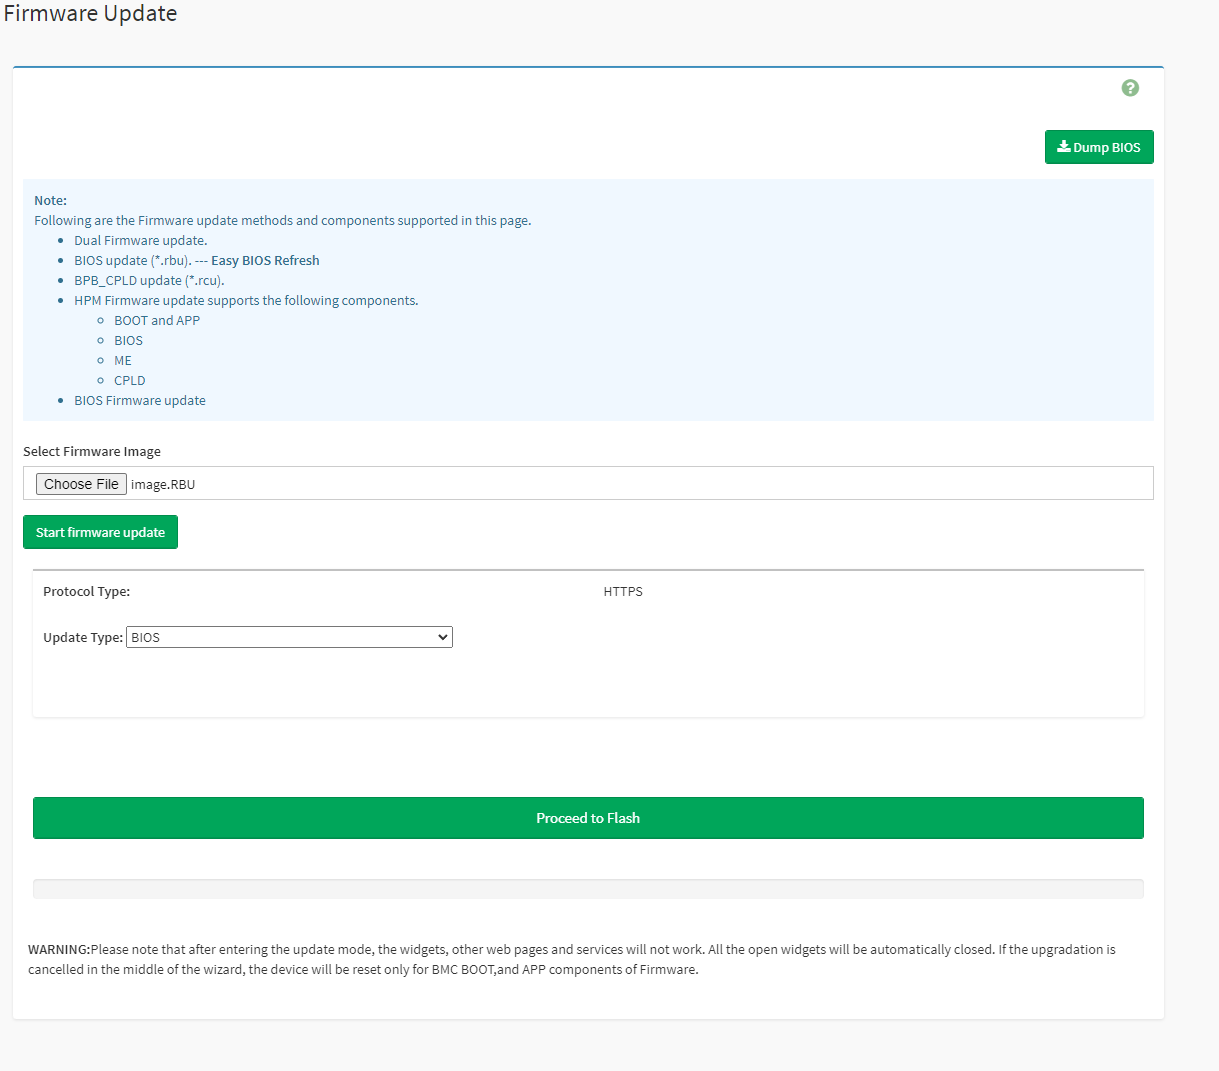
Updating the Bios
The bios update is essentially the same procedure, except use the RBU from the bios download:
As a best-practice I would shut down and pull power to the machine after applying these kinds of updates. The BMC is “always on” after all – these updates are usually best with a “cold” reboot of everything.
Setting the TDP
These puppies can do +40w per socket. Unleash them. 
This is what’s necessary to change in bios. This is a fully supported by AMD and Gigsbyte config.
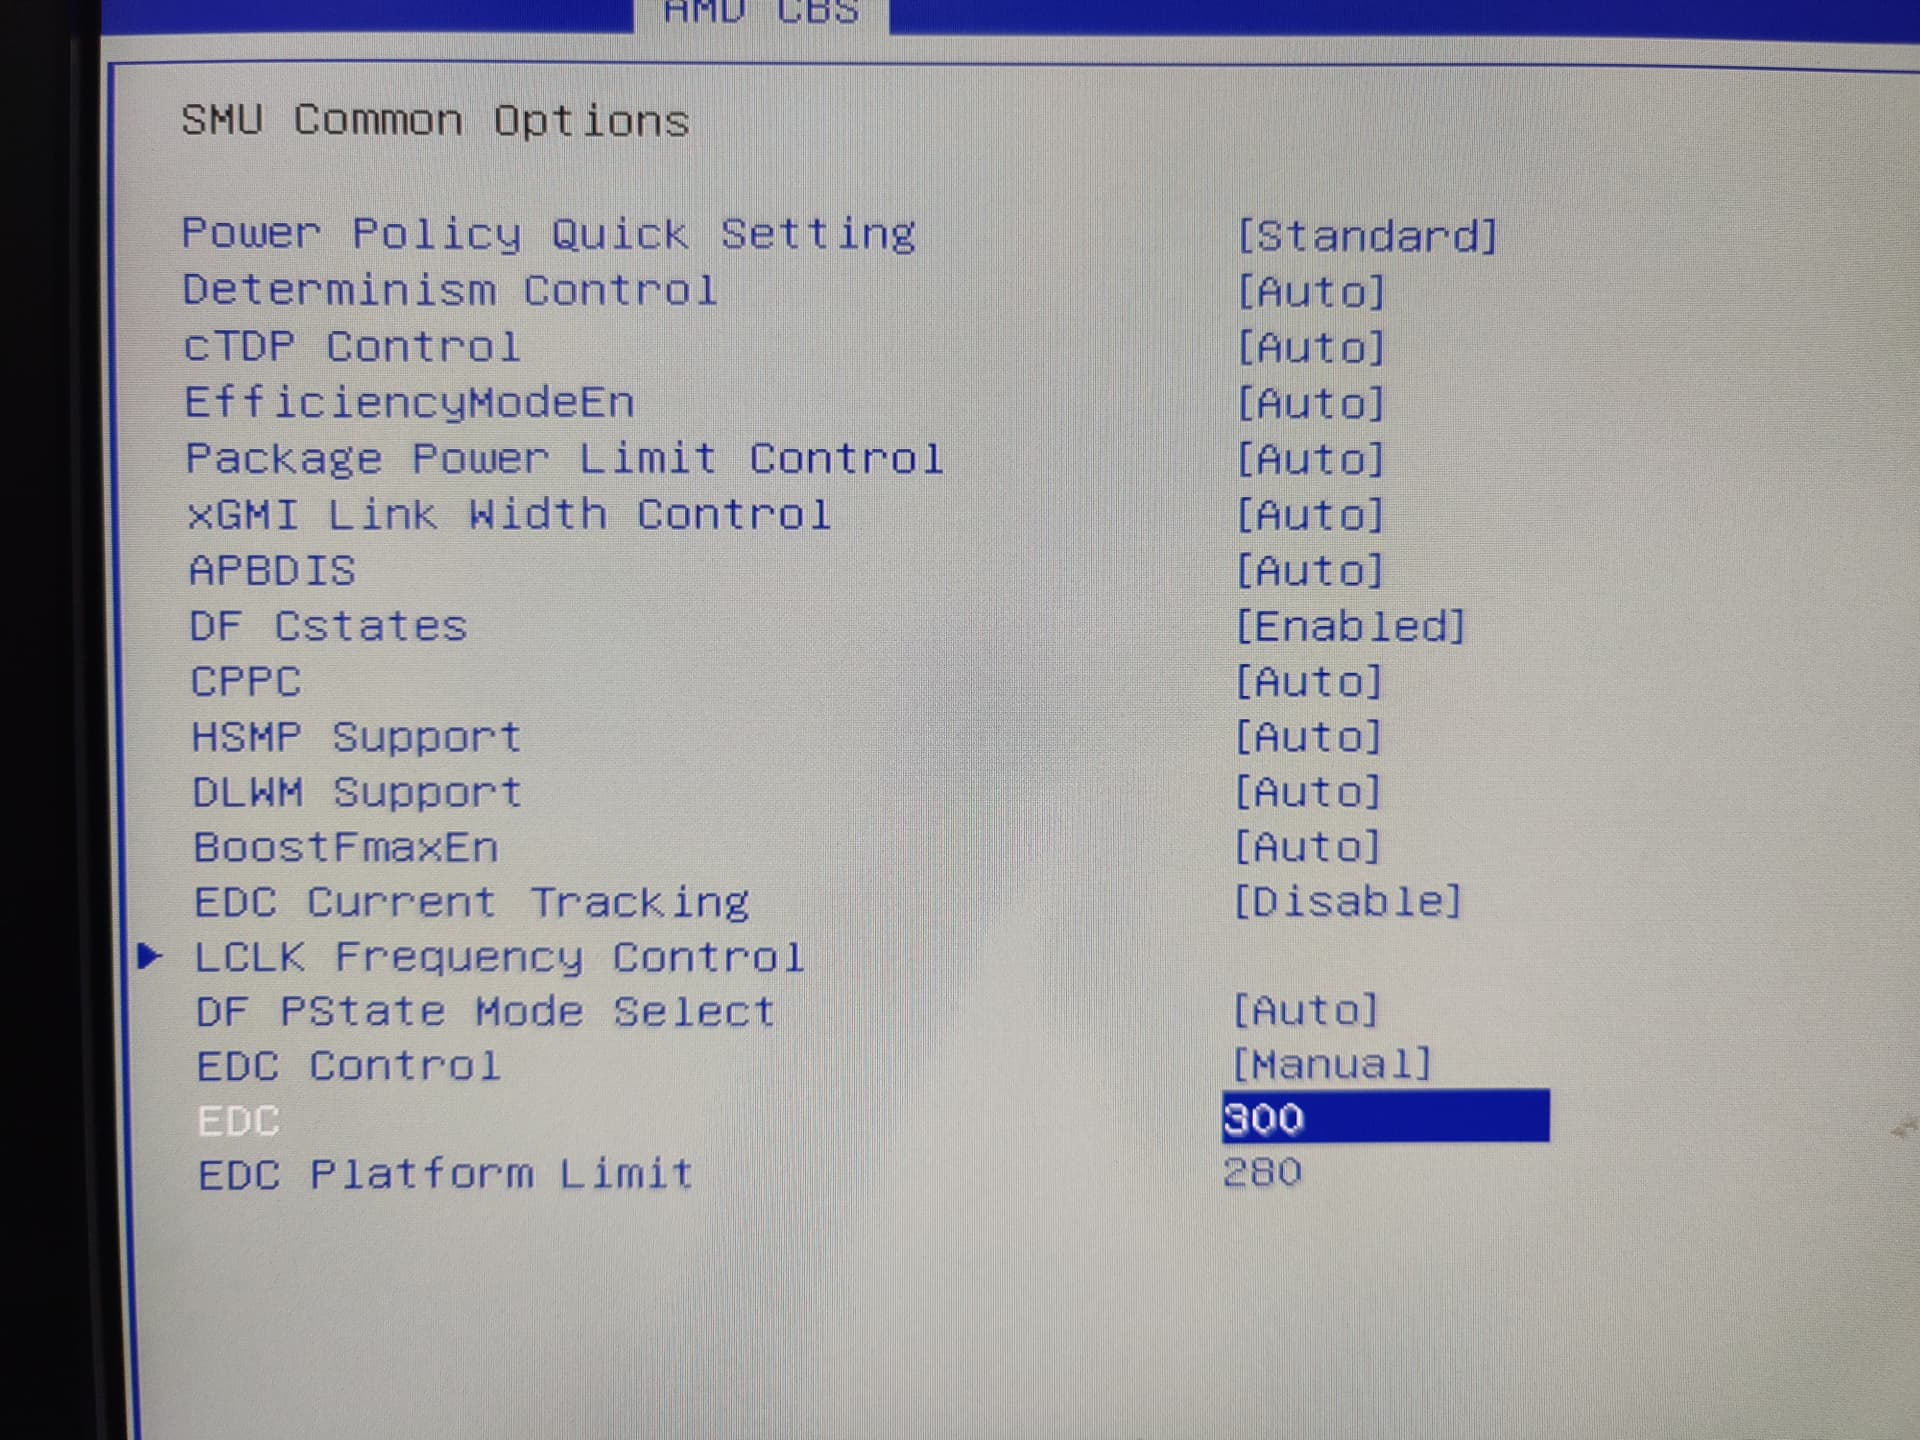
In the EDC menu set 300 amps / 280w