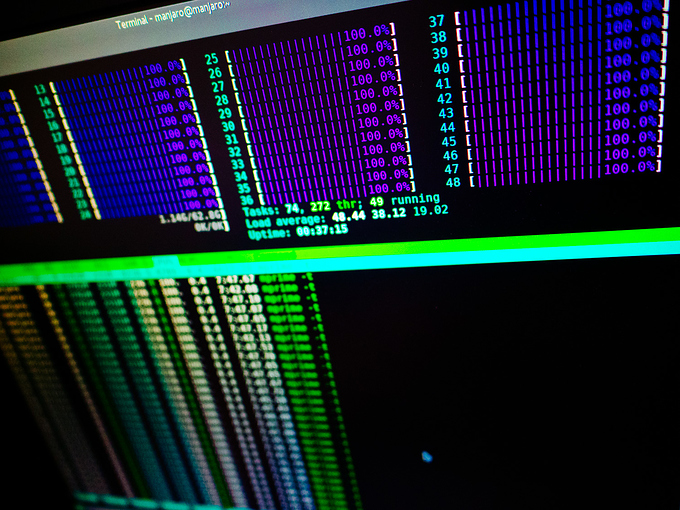
I’ve been playing with the idea to put my systems, UPS, networking stuff, some audio stuff and whatever else I come up with into a rack. My apartment isn’t too tiny but stacking all that stuff away into one tall thing is still gonna help. I plan to have four [edit: nope, five] separate systems in the rack:
- a PFSense router with integrated DSL-modem
- [edit: a low power personal services server]
- a low power [edit: -ish 10Gbit] ZFS NAS
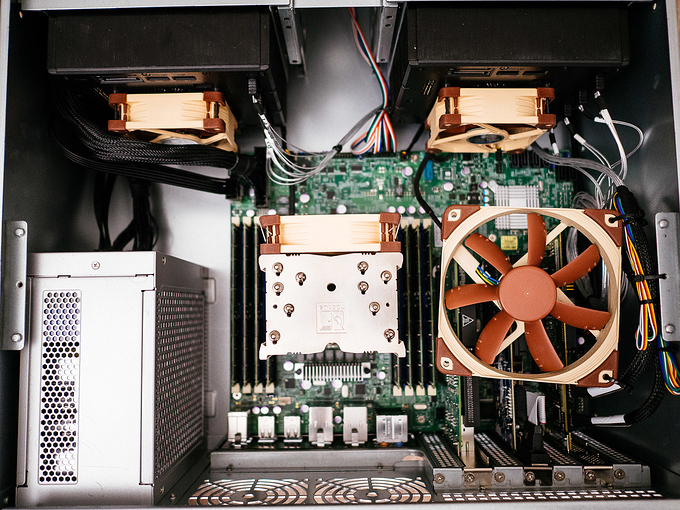
- a dual Xeon high performance [edit: vm and] processing rig
- and my Ryzen 7 workstation / gaming rig
Yay, here goes nothin’! 
Act I - The Gatekeeper II
PFsense Router
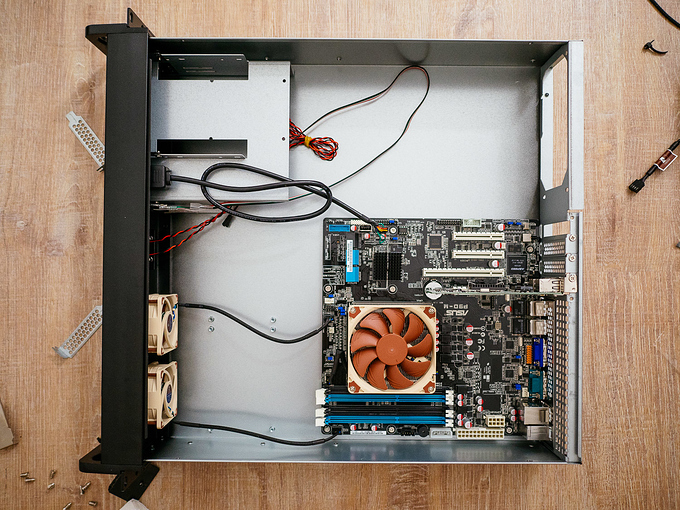
I will get more specific with parts and stuff over time but for now I’ll just leave this first shot of my new (actually downscaled) router. And now I’m gonna be offline for a while because I have to rip apart my Gatekeeper.
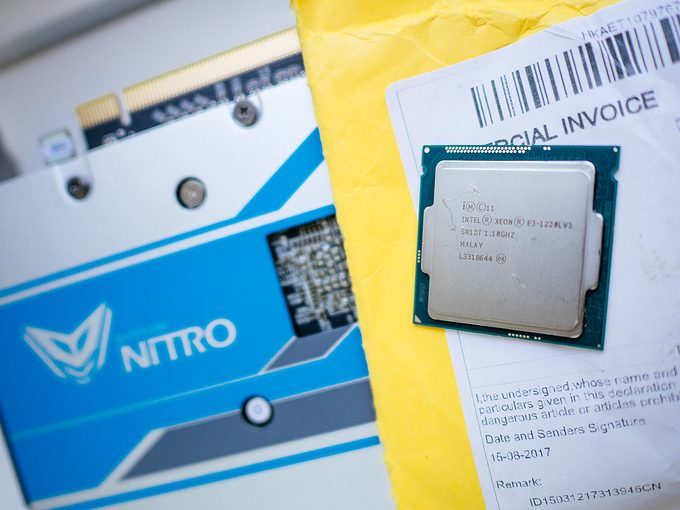
OK, I made some changes to my plan for this one. The idea was to use a Pentium G3260T for now and upgrade the machine to a chip with AES-NI (a Xeon in my case because ECC) later. But I found some E3-1220L v3 from China on ebay. Perfect CPU for this kind of machine actually. 2c/4t, 1.5GHz max, 13W TDP, AES-NI and ECC support for 35,- bucks. Only problem: It’s gonna take a bit until it gets here.
I wanted to use my SFX PSU but the cables are way to short. So I have to deal with that somehow, probably going with a full size one now.
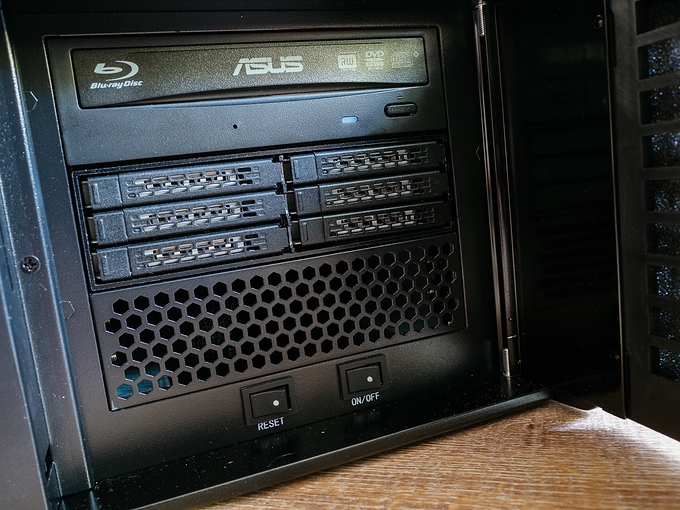
I also put in a hotswap bay to be able to experiment without much hassle. I know I could run it all from USB-stick. I don’t care, I use my SSD.
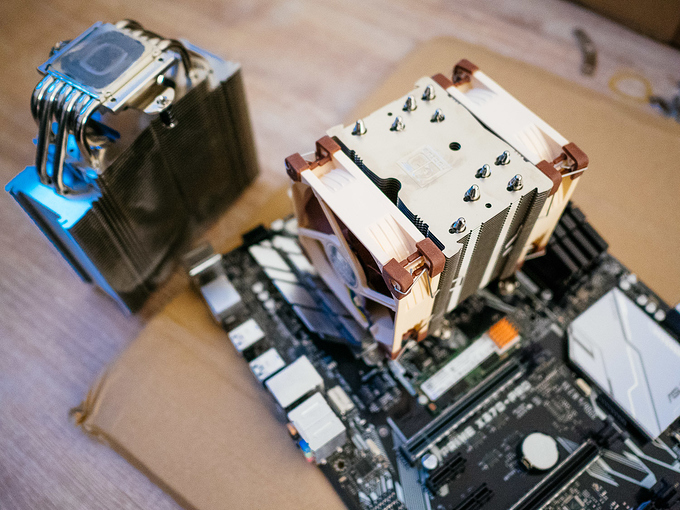
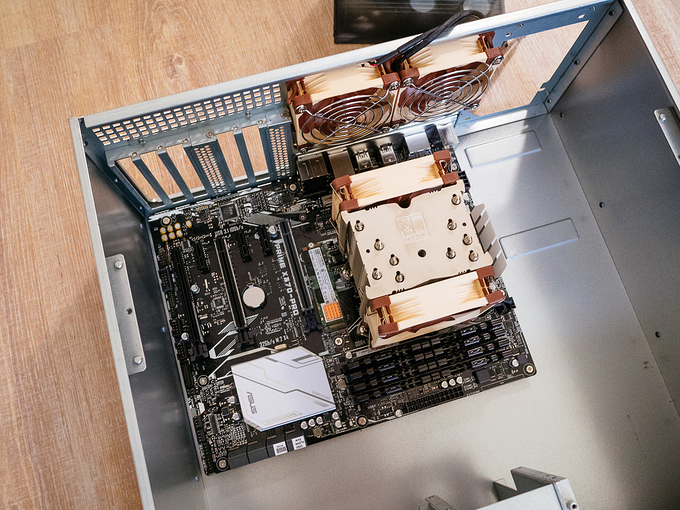
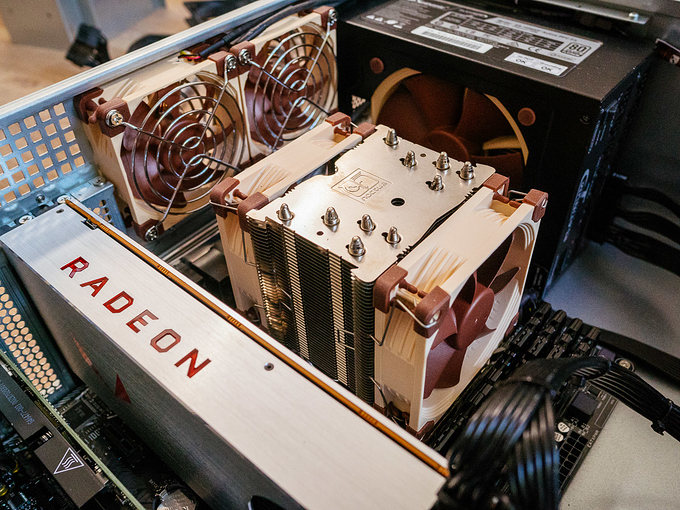
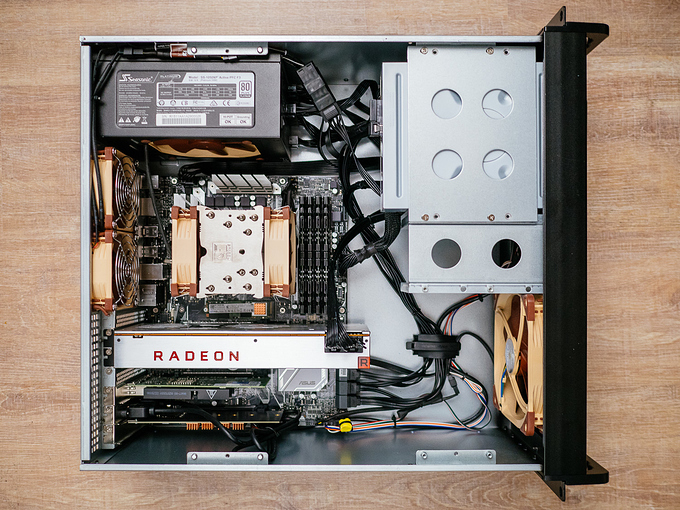
I am still waiting for the low power Xeons so I went and gutted my Ryzen first. I knew I would have to switch my cooler because the NH-U14S simply won’t fit into any 4U case. I am trying to compensate the lack of cooling surface and smaller fan with a second one on the NH-U9S. Will see how that goes.
Xeons showed up today, seems to work so far. Then I was surprised by finding some more DDR3 ECC memory in a drawer. Turns out it was the stuff my Mac Pro came with in 2009. So the router is probably just going to run 4GB (EDIT: nope, 6GB, found the last stick) instead of 8. Gonna build the thing later today. I found out that the standoffs in my 2U case are slightly short, so I’ll get some plastic washers and hope my screws are long enough.
And I also got me a deal on the 580 Nitro+ SE for my mac pro, it’s final card.
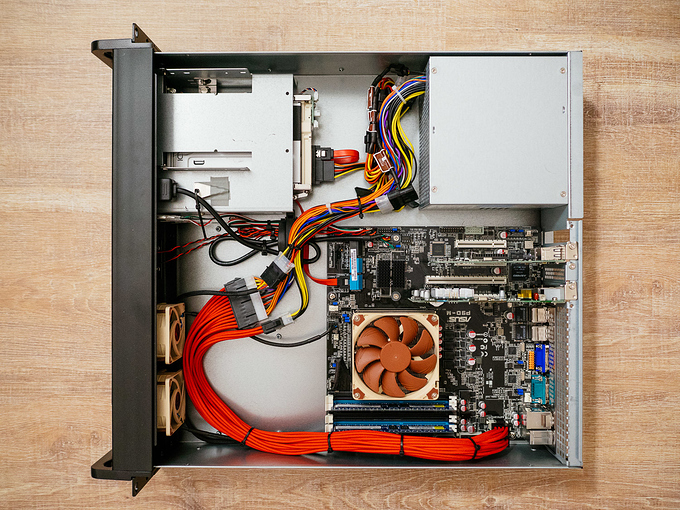
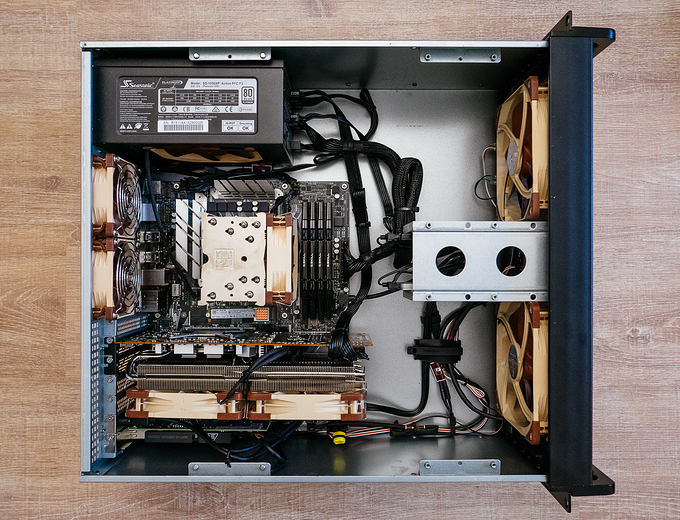
Progress! The router is assembled and now only needs software and configuration.
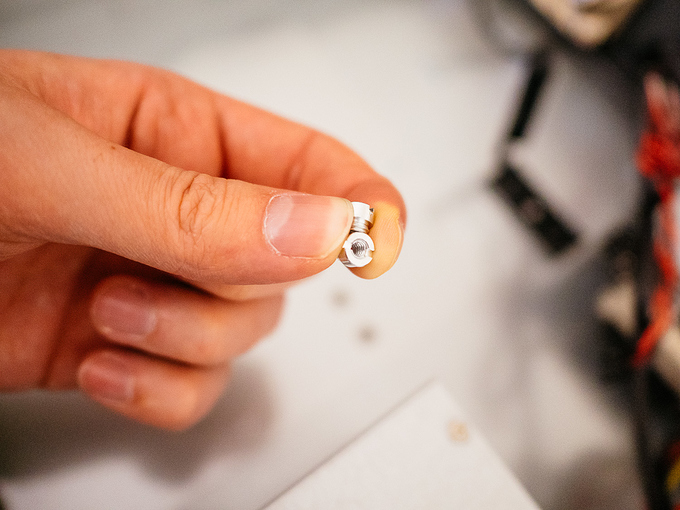
I used some plastic M4 nuts to raise the motherboard a bit from these short standoffs. Luckily I had some longer screws lying around, just enough actually. I also modded the new Seasonic PSU and replaced it’s 80mm fan with a Noctua ULN. It runs now with two low noise adapters from a Molex (fuck you, Molex) adapter. The 60mm front fans and the CPU fan are PWM and the system is almost inaudible from more than 30cm away, even in a perfectly silent room.
So far the machine has the modem and an Intel dual Gbit NIC cards and I want to add a second dual NIC later. Also I put one of the case keys in there. I know me, I lose stuff…
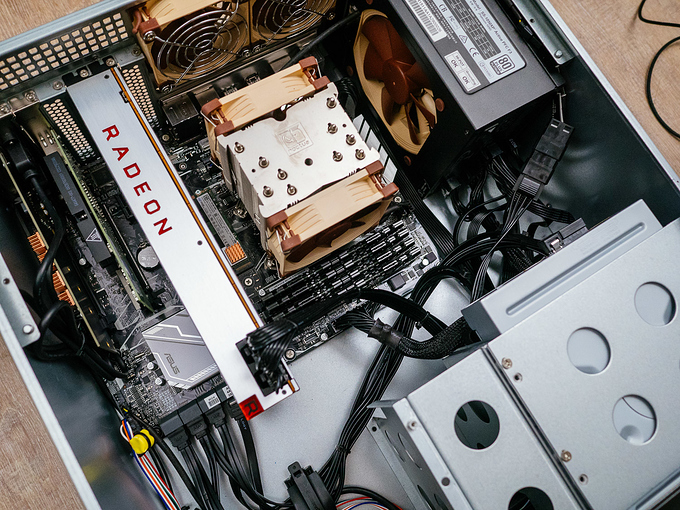
It’s not fancy and the cables look a bit like a mess but so far I’m happy.
I installed PFSense and the system is now up and running for a while without any problems.
Done. Next!
Act II - The Right Hand of Doom
Ryzen Gaming Rig
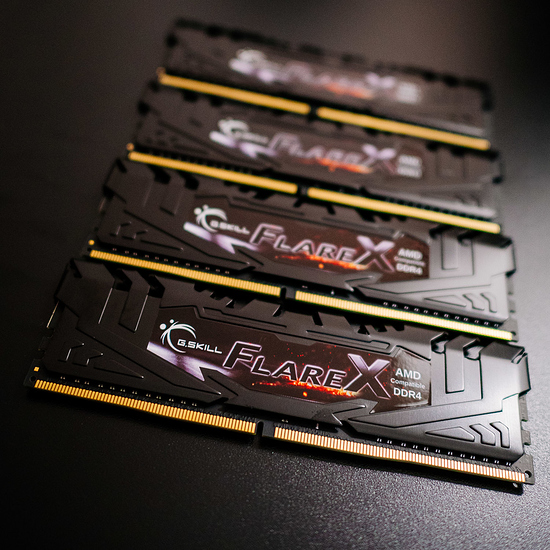
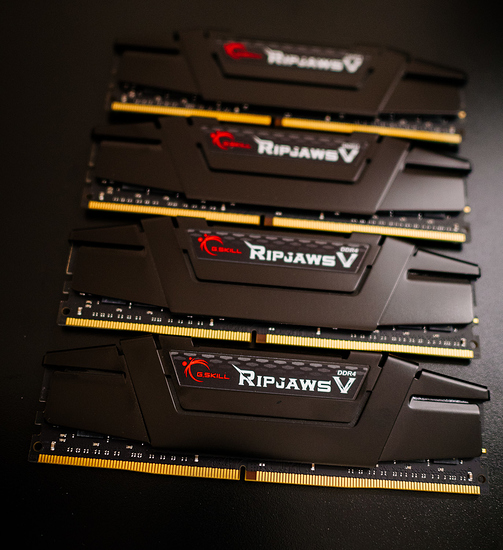
After switching the NH-U14S for the U9S (see Chapter I), I also switched out the memory. I found a deal on FlareX 3200 and was interested in how well it would run compared to my Ripjaws V.
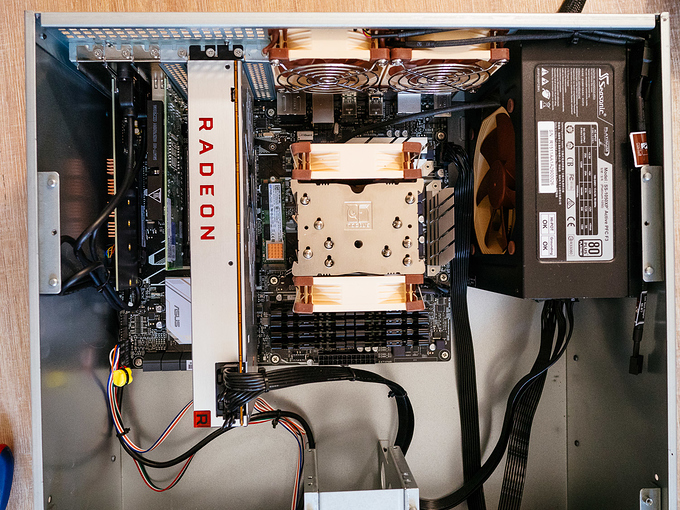
I fitted the system into the case and was surprised how much room there was between the motherboard and the case. I was thinking about routing all the cables behind the motherboard but it would be a nightmare to change anything afterwards. So I went the more practical way.
I dropped in the PSU, connected a few cables and also installed the PCIe cards. Before moving further I wanted to do a basic check. So I hooked the machine up with a display, fired it up and got a post. Very very easy going so far.
Next up was front panel stuff, two USB3 ports in a slot cover, some fan cables and looking at my drives. I knew I did not want to starve the GPU so drives went into the right side bays. Good thing I only used two bays, that way I had a bit of room below to stuff excess cables into.
Finally I connected SATA and power to everything.
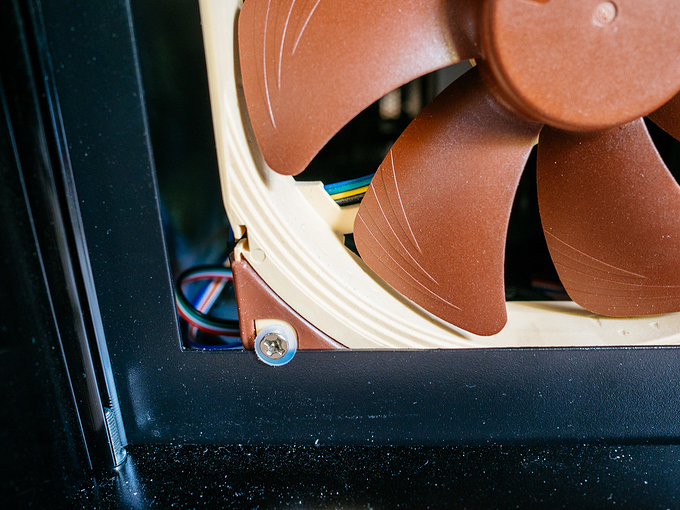
Last up was air intake. The left bays were completely empty and I had the feeling a 140mm fan would have to fit pretty good.
Well … I was right. The cutout is perfect, I only needed a few washers and was able to screw the NF-A14 directly to the front of the case.
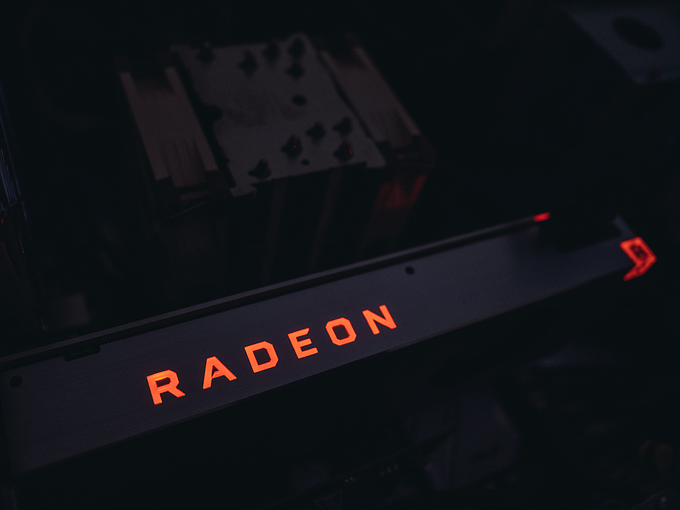
And there it was, without any hickups or problems of any kind I moved my Ryzen gaming rig into a rack case. I set the BIOS switch on the GPU to secondary to reduce heat and noise and installed Manjaro XFCE. I knew the GPU would not be fully operational but I looked up the phoronix walkthrough to fix that. It already looked cool though. 
Last thing was to check performance and that is where I ran into issues. I bought the FlareX to get the maximum possible performance memory wise. Well regardless of voltage on the RAM and SOC, timings, CPU OC, two or four sticks… whatever I tried, nothing would result in stable 3200MHz. And I already had 2933MHz running before. So I packed the FlareX back up and returned it. At least now I know I already have the maximum performance possible with my Ripjaws.
My 3.8GHz OC on the CPU was still absolutely stable but I dialed it back to stock for now to keep noise down.
Now I just need a new name for the machine. 
Hold on, things have happened.
First of all I had to switch CPU because my 1700 was one of the early ones suffering from the segmentation fault bug. But I don’t like waiting for a replacement, so I got a1600X. Currently it makes the most sense price / performance wise and with two cores less I should be able to get away with higher clocks while still running relatively quiet.
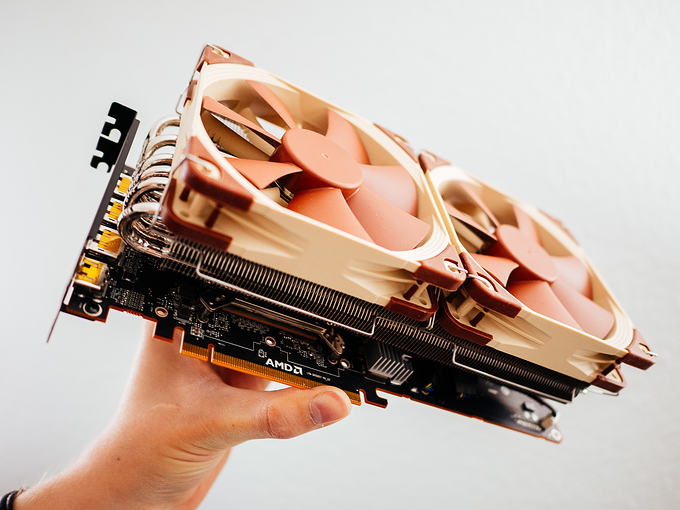
Next up was the GPU. It was pretty and all but … in the end I got rid of the blower style fan on the Vega64 card and replaced it with a Raijintek Morpheus II and two Noctua NF-F12. What a beast of a cooler! The card is now four slots fat, so I had to remove the PCIe SSD and move the 10GB NIC down to the last slot.
I also had to remove all the drives, well drive-bays.
With those bays and the optical out the way, I was able to practically double the air intake. And because the GPU is now dumping all the heat inside the case, I guess this is absolutely necessary. The remaining two 2.5" SSDs (240GB Intel 730 for scratch and Sandisk whatever 960GB for games) are stuck to the case using rubbery 3M double sided sticky stuff and zip-ties.
Last small mod was to add a USB-C 3.1 gen.2 front port to the rig. I saw a Lian-Li thingy on one of Paul’s videos lately and since I knew that my board does have the connector, I just had to get one.
And finally I named it after Hellboy’s Right Hand of Doom, simply because it is always up for a fight, always up for fun, it has the power and in spirit it is very, very red. 
Act III - The Collector
ZFS NAS
I did own a synology box a while back, a DS1815+ to be exact. But since those Intel Atom disaster news came out I just ripped out my seven 3TB NAS drives and sold the box as fast as possible. Enough with prebuilt low power crap.
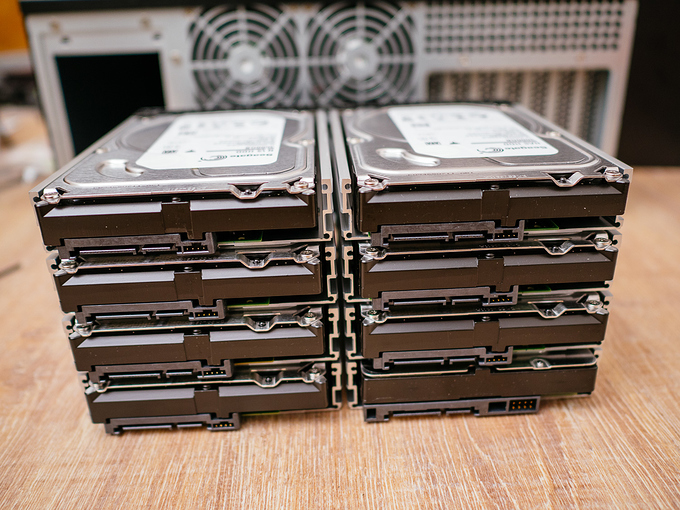
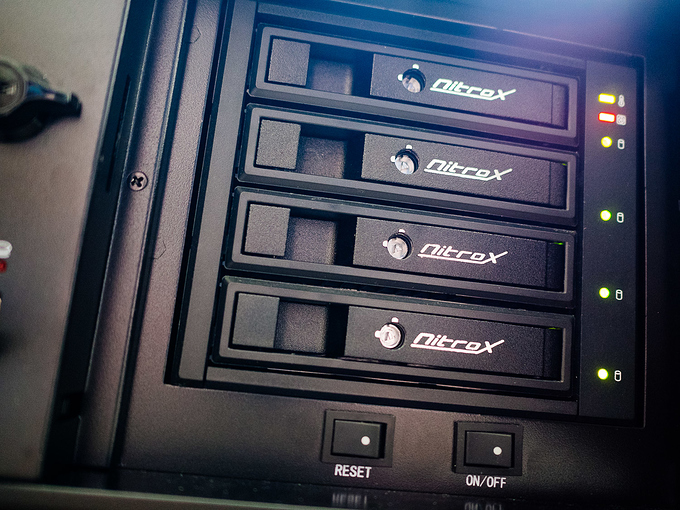
OK, I already had my drives and I knew I did not want to go crazy with the number of drives. This whole rack is supposed to be set up in my “livingroom”. The old NAS was running eight bays and for a moment I thought about going bigger but it just didn’t make sense to me. My LSI controller is the one for eight drives and I wanted the ZFS stuff to use only that controller. So I got two 4x hot-swap bays to fit into my two 3x 5.25" drive cages and screwed the seven seagates and my lonely WDred into the trays.
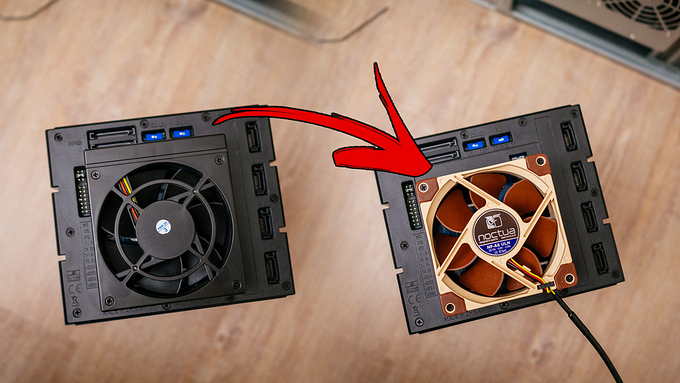
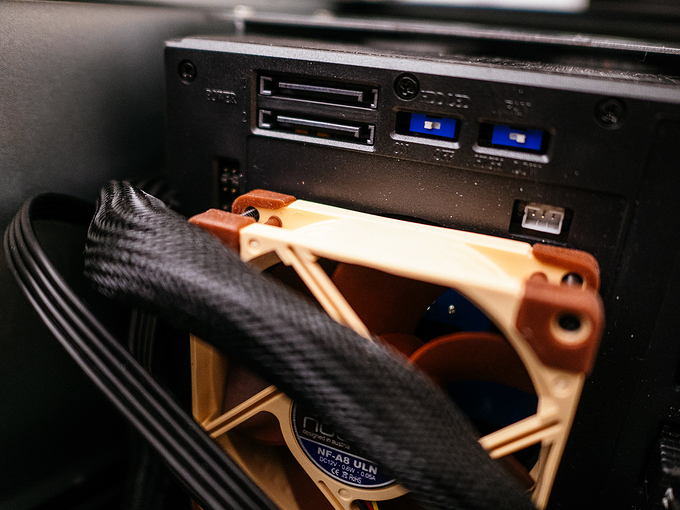
Next thing to do: swapping the fans for Noctuas, of course. That went super easy and while the stock fans where slim ones I managed to reuse the original screws.
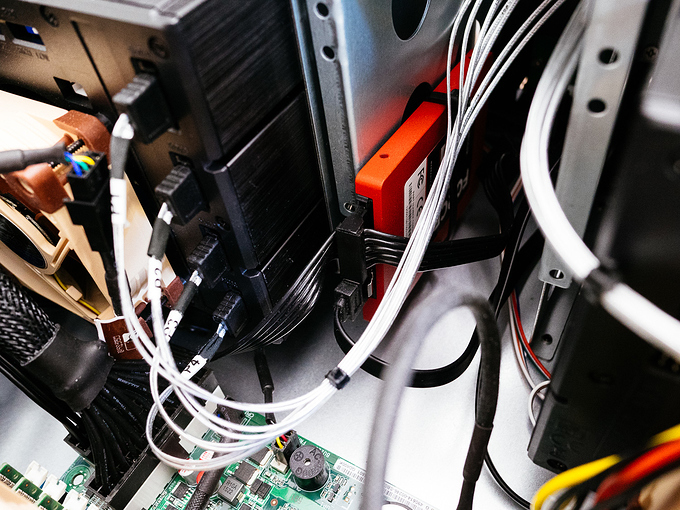
Then I spotted how tight together those SATA power plugs are…
With my 90° angled PSU SATA plugs, no chance.
ffffFFFFFFFFF!!!
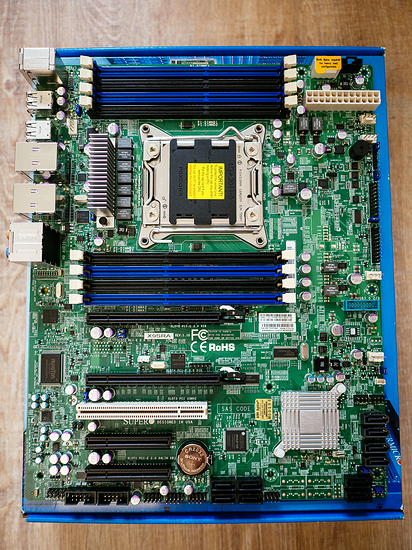
For my new platform I wanted something reliable, fast and kind of forward looking. Basically I wanted something older, ZFS and tons of RAM. And that is exactly what I got. For the board I went with a supermicro because they seem to be the standard when it comes to server stuff.
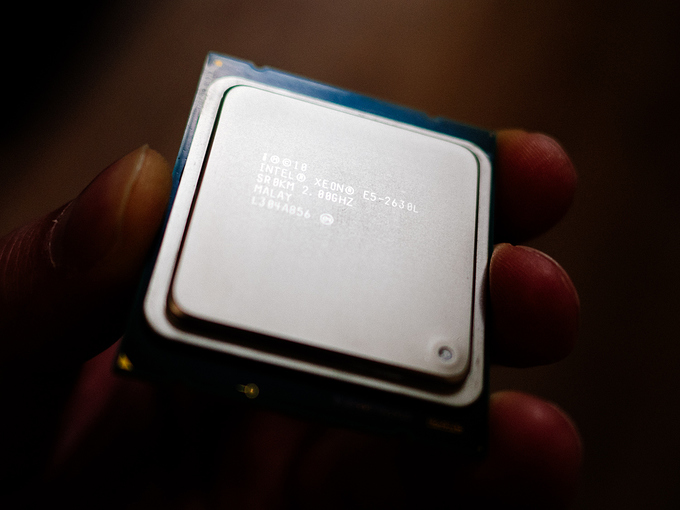
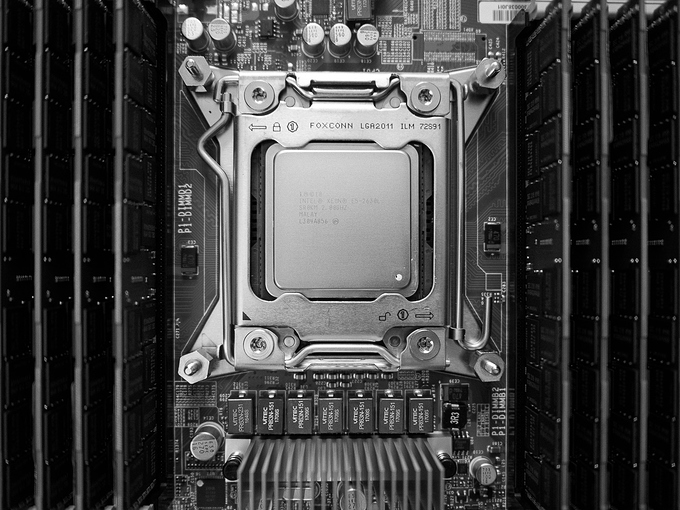
CPU wise I was looking for a cheap -ish, lower power -ish solution. Of course that becomes a relative term pretty quick when you want a chip that can also handle shitloads of memory. The E5 2630L fit the bill and was less than 60 bucks with tax and shipping.
To define shitloads of memory: 128GB of regECC DDR3 1333 in eight dimms. The reason for that is ZFS and the fact that 12TB drives already exist. Spinning rust will die and at some point I will upgrade those drives. I wanted enough memory for even the highest capacity (well NAS-) drives currently available, just in case.
I stuffed the board with all of that, set it up on a cardboard box, hit the button, got a post and moved the whole thing into the case.
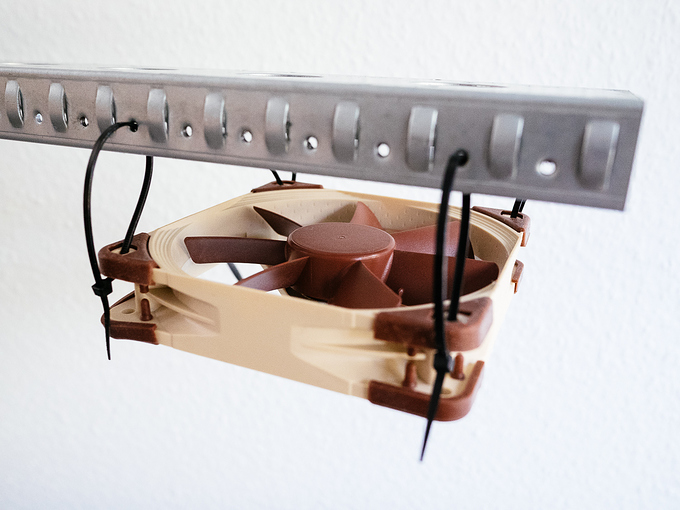
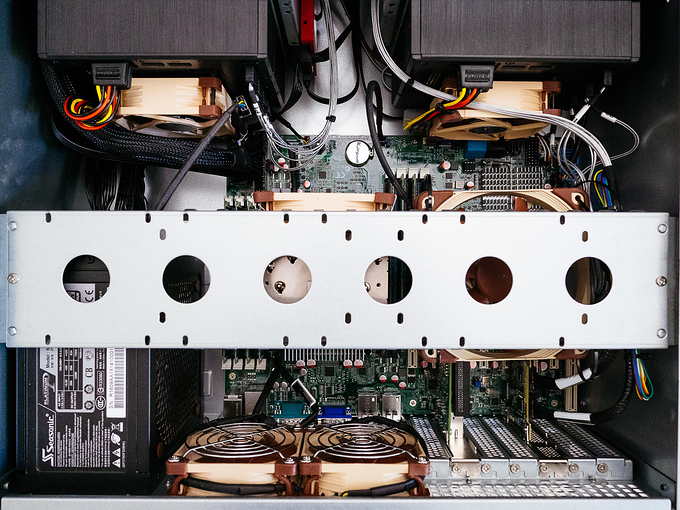
I connected the 80mm fans from the hot-swap bays to the board as well as a 120mm airflower that was intended to keep the air moving around the PCIe cards.
… aaaaaand there was a problem. Regardless of which setting (of the three) I used on the board, the fans always started to slow down at some point. When they went under 700rpm, a failsafe triggered and fanspeed jumped to 100%, then it started to drop again and that never stopped repeating. Super annoying and I didn’t want to use a fan controller on a NAS, that seemed stupid to me.
While I was checking the settings for that problem I come across another weirdness: The board was telling me that my CPU was at 70+°C when in the BIOS. I am running the same cooler on my Ryzen5 1600X (95W TDP) and I was running those exact two coolers on dual E5 2670s (115W TDP) in the past. It makes no sense that a 60W chip would run 20-30°C hotter than those. I checked contact, paste, reseated the CPU… nothing changed. I tried the chip on my Asus dual socket monster board, less than 40°C.
Well … shit!
At that point I was done with the board, everything out again. The supermicro … turned out wasn’t that super. So I went to what I know and like, Asus. I found a board with basically the same layout and around the same price. It also had a VGA something onboard, so I didn’t need a GPU.
The PSU was still on the way (the one pictured is just for testing), I needed some adapters for the stupid close SATA power ports and now a motherboard change on top of all that. …
I did at least a test how I could get the PCIe fan in the right place. … yay … or somethin’
And then waiting…

After that I didn’t take a lot of pictures because I just wanted to get this system done. But there wasn’t a whole lot more to cover really. I installed the new board, switched the PSU, added my oldest SSD as system drive for FreeNAS using the same 3M/zip-tie mounting method I did on my Ryzen build, I wired up the drive bays using the molex (FUCK YOU, MOLEX!) to SATA adapters, … basically I just had to put it together at that point.
And it all worked. No weird temp readings, no fans going nuts, onboard VGA works fine…
This is boring, why are you still reading this?
Oh, the red LED on the front of the drive bays is for the fan because the noctuas are board controlled now.
And that is it, really. I installed FreeNAS 11 and so far nothing went boom.
The collector is now doing it’s job. 
