Just want to say that this is a fantastic open minded thread and I really appreciate seeing others explore options outside the norm here.
I’ve been testing with LVM Integrity RAID which somewhat simplifies the manual Device Mapper work.
I included some additional detail in this thread:
In my testing the write penalty has been a bit less favorable in both 7k sata HDD and NVMe integrity mirrors.
In 7k SATA HDD testing (R1 mirror of 2 drives) I would see a 90% decrease in write performance but only about 15% decrease in read performance.
In NVMe testing (R1 mirror of 2 drives) I would see a 73% decrease in write performance and about 18% decrease in read performance
7K drives are Seagate EXOS (ST10000NM0146)
NVMe are WD SN850
Physical disk and Integrity mirror block sizes aligned at 4k. Details on setup here:
I’ve been testing primarily in Rocky 9 and Alma 9.
Additional findings - I’ve been hard pressed to get to a reasonable workflow for LVM Integrity RAID plus writecache. Helpful thread with awesome LVM devs here:
One dev even published a testing rpm for a custom LVM2 build that allows integrity RAID with caching
I’m not sure how this will fair with regular system updates but definitely something to test more
I’ve also been testing with Stratis layered above LVM Integrity RAID
simple read Caching setup with incredible performance
but still no write caching so writes remain in the toilet on HDD based arrays
There is a way to test write cache performance but it doesn’t persist a reboot yet. More here:
When Stratis matures to the point of having write caching and some turnkey snapshot and replication automations that is the direction I plan to go.
but at this point it does not yet offer built in raid capability (has to be layered over LVM or MDADM RAID)
and has no provisions for integrity checksums (again must be layered)
Hey, thanks for joining in. Hmmm… I’ve been leaning towards doing an integrity/mdraid1 setup on a new fedora machine (since I have some nvme drives that don’t support T10-PI) but your report of a 70-90% write performance hit has me worried and wanting to try this on real hardware fairly soon (and before I actually start moving real files onto the mirror). I’ll do so when I get a chance and will report back.
If you stick with SSD for your LVM / DM-integrity raid and then layer Stratis on top I think you will be more than happy with the performance. Whatever secret sauce Stratis has going is phenomenal for SSD performance.
BcacheFS is likely to deliver sooner than Stratis on all their goals lol. But I would definitely add Stratis that to the testing mix. Most of us are living on a lot of read IO and not that much write anyway.
On many of the major distributions, there is a default cron job or timer to regularly perform resync. On Ubuntu, for example, it is handled by mdcheck_start.timer; on Debian, it is /etc/cron.d/mdadm; and on Centos, it is /etc/cron.d/raid-check.
I only noticed because the virtual machines were behaving strangely. Particular applications would become sluggish or outright freeze, persisting between reboots of the virtual machine and the entire system.
The data in /home directory was fine and all the virtual machine images were fine too. But yeah… time to swap in a fresh drive and put that one in the triage bin. And I think it’s about time to put T10 to good use in my daily driver systems.
@LiKenun interesting, was this silent coruption on disk or corruption in the signal during a write? was there anything in dmesg? I’m wondering how to do a “scrub” on a T10 disk, basically.
I should have updated this sooner, but since I passed my WiFi device into my guest, my host has no internet connection. The modem is sufficiently far away that I don’t yet have a cable to connect it via Ethernet.
In a nutshell: The sector was technically corrupt, but it wasn’t the data. I dug a lot deeper after seeing the problem again. /boot/grub/grubenv was the problem. While Linux is able to ensure that checksums for each sector are generated, it’s not true of the GRUB environment which simply writes the data part of the sector. Thus, the log entries about data corruption would always appear right around reading that file because the checksum would never check out.
That means I still don’t really know if the hardware is checking that the write payloads have been received correctly. Perhaps it does, but only when a capable OS requests it to be so. That means I’ll be waiting a while for a real write corruption to trigger the T10 integrity checks.
How I found out:
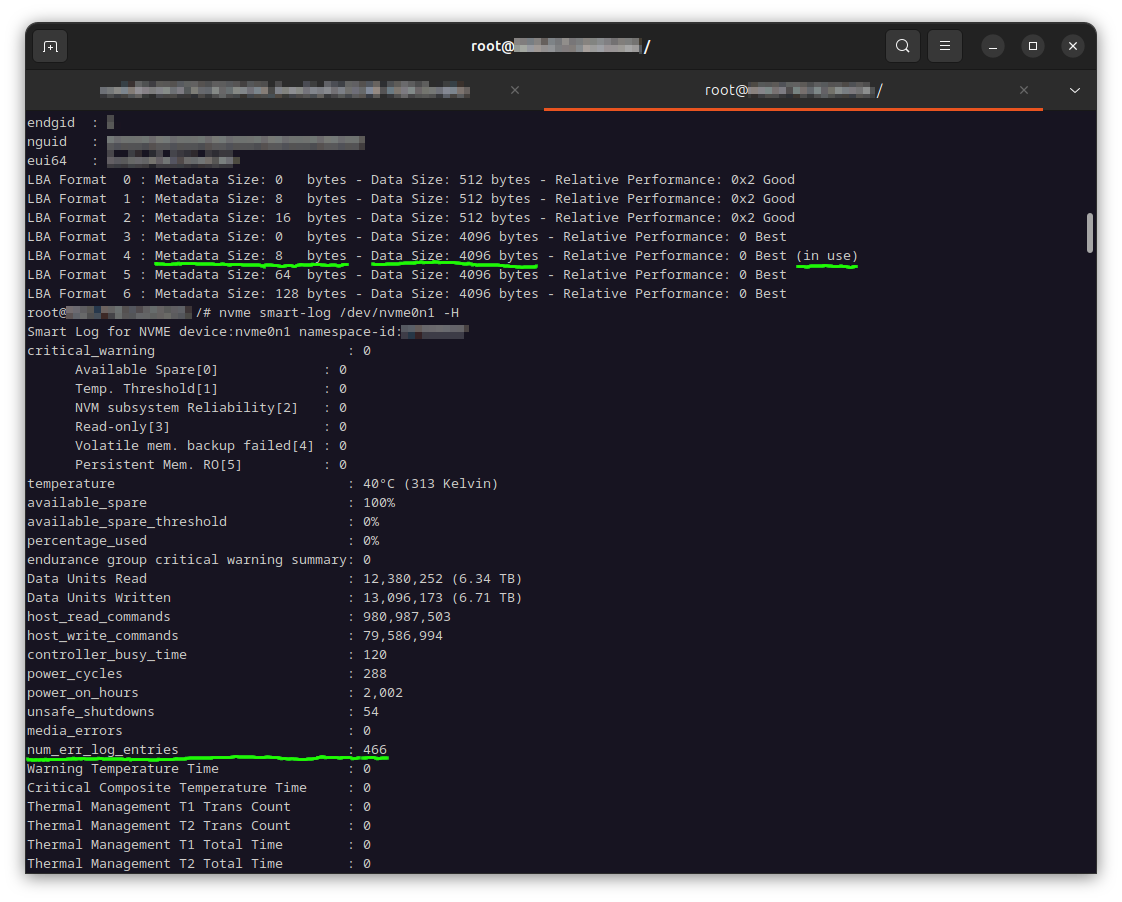
entries=$(nvme smart-log /dev/nvme0n1 | grep --color=never -oP '^num_err_log_entries\s*:\s\K[[:digit:]]+$'); while [ $entries -gt 0 ]; do nvme error-log /dev/nvme0n1 -e $entries | grep --color=never -oP '^lba\s*:\s\K0x[[:xdigit:]]+$'; : $((entries--)); done | sort | uniq gave me the unique LBAs (in hexadecimal format) which encountered the checksum error.
nvme read /dev/nvme0n1 -s 0xb7e700 -r 0xb7e700 -c 0 -z 4096 -p 15 | od -t x1 performed a read with verification. (The LBA given to -s and -r must match as the checksum guards the sector number which is written into the metadata. -c is the count of sectors to read minus 1; -c 1 would read a count of 2 sectors. -z is the length of the data portion of the extended sector. -p is the protection information mode as a sum of four bit flags. Removing the -r and -p options would read out the data without verification.)
find / \( -path /dev -prune -o -path /proc -prune -o -path /run -prune -o -path /sys -prune \) -o -type f -exec cat "{}" + > /dev/null was my sanity check to see which file tripped the read verification.
This was not entirely reproducible, and definitely another issue unrelated to storage. The sluggish application was fixed by setting a flag (which I don’t remember unsetting before). Not sure if the underlying QCOW2 becoming fragmented has anything to do with the residual degraded guest performance. That’s a rabbit hole I’ll jump into another time…
Got it. Thanks for posting your investigation process, it’s clever. An interesting saga, this has been. You probably thought of this but you could perhaps format your nvme device with two namespaces, use one for efi, leaving that formatted without T10-PI, and a second for linux, that uses T10-PI
Gonna have to put /boot on a physically separate device. Between the Optane P4800X and P5800X, the former supports OPAL but only 1 namespace, and the latter supports 128 namespaces but no OPAL. Can’t have it all…
I’ve been exploring either replacing the md mirror on my main workstation with btrfs or zfs, or adding dm-integrity to it. I do a lot of zfs work so that’s the obvious choice, but I’ve had some bad experiences with zfs root, which is why I usually use a simple md mirror (and lvm) for root.
Anyway, my primary concern with dm-integrity is write amplification, i.e. writing x+8 bytes to flash for every x bytes of data, so I’ve been exploring if I could format an NVMe or SAS SSD to 520 or 4,104 byte sectors and alleviate the write amplification issue. That lead me here, to a much more interesting solution.
Fortunately I have a PM1725a handy that supports multiple namespaces and T10-PI and x+8 LBA formats, so I’m going to attempt to replicate all y’all’s amazing work to figure out the optimal configuration before pulling the trigger on a 9500-8i or something and some DC-class NVMe or SAS SSDs to replace my 2TB SATA SSDs. Thanks for the head start! I still need to figure out the best way to measure write amplification…
# nvme id-ctrl -H /dev/nvme1n1
<snip>
nn        : 32
<snip>
# nvme id-ns -H /dev/nvme1n1
<snip>
mc      : 0x3
  [1:1] : 0x1   Metadata Pointer Supported
  [0:0] : 0x1   Metadata as Part of Extended Data LBA Supported

dpc     : 0x1f
  [4:4] : 0x1   Protection Information Transferred as Last 8 Bytes of Metadata Supported
  [3:3] : 0x1   Protection Information Transferred as First 8 Bytes of Metadata Supported
  [2:2] : 0x1   Protection Information Type 3 Supported
  [1:1] : 0x1   Protection Information Type 2 Supported
  [0:0] : 0x1   Protection Information Type 1 Supported

dps     : 0
  [3:3] : 0     Protection Information is Transferred as Last 8 Bytes of Metadata
  [2:0] : 0     Protection Information Disabled
<snip>
LBA Format  0 : Metadata Size: 0   bytes - Data Size: 512 bytes - Relative Performance: 0x1 Better
LBA Format  1 : Metadata Size: 8   bytes - Data Size: 512 bytes - Relative Performance: 0x3 Degraded
LBA Format  2 : Metadata Size: 0   bytes - Data Size: 4096 bytes - Relative Performance: 0 Best (in use)
LBA Format  3 : Metadata Size: 8   bytes - Data Size: 4096 bytes - Relative Performance: 0x2 Good
Of the people who’ve spoken up, LiKenun is the one who is experienced with doing this on real hardware. I’ve tried it on a SAS HDD (there’s a link somewhere in this thread to a different thread in which I discuss that) and I think it’s working, but SAS DIF and T10-PI for NVMe are different. Good luck and please share any results or instructions that you figure out!