Catsay plays with Xeon Phi

With AMD Epyc scaling to 64cores per socket and intel hot and very bothered on AMD’s heels, the prices for some formerly very expensive and rare enterprise gear has been plummeting.

And much to my excitement this means I recentlyhave gotten my paws on one very blue and very heavy piece of Intel computing history.

What was slated to be Intel larrabee, instead Released in late 2012 came to be intels scientific compute focused Intel Many Integrated Core or MIC Architecture.

Knights Corner

Also generally known as Xeon Phi, or specifically, this Xeon Phi 5110P I now have in my possession. I bought it from an ebay seller for a mere 80USD inclusive shipping. Not more than 6 months ago they still sold new for thousands and second hand for hundereds. I’m also told this card was part of a super computer - but I’m doubtful, though the seller did have approximately 100 of these cards.

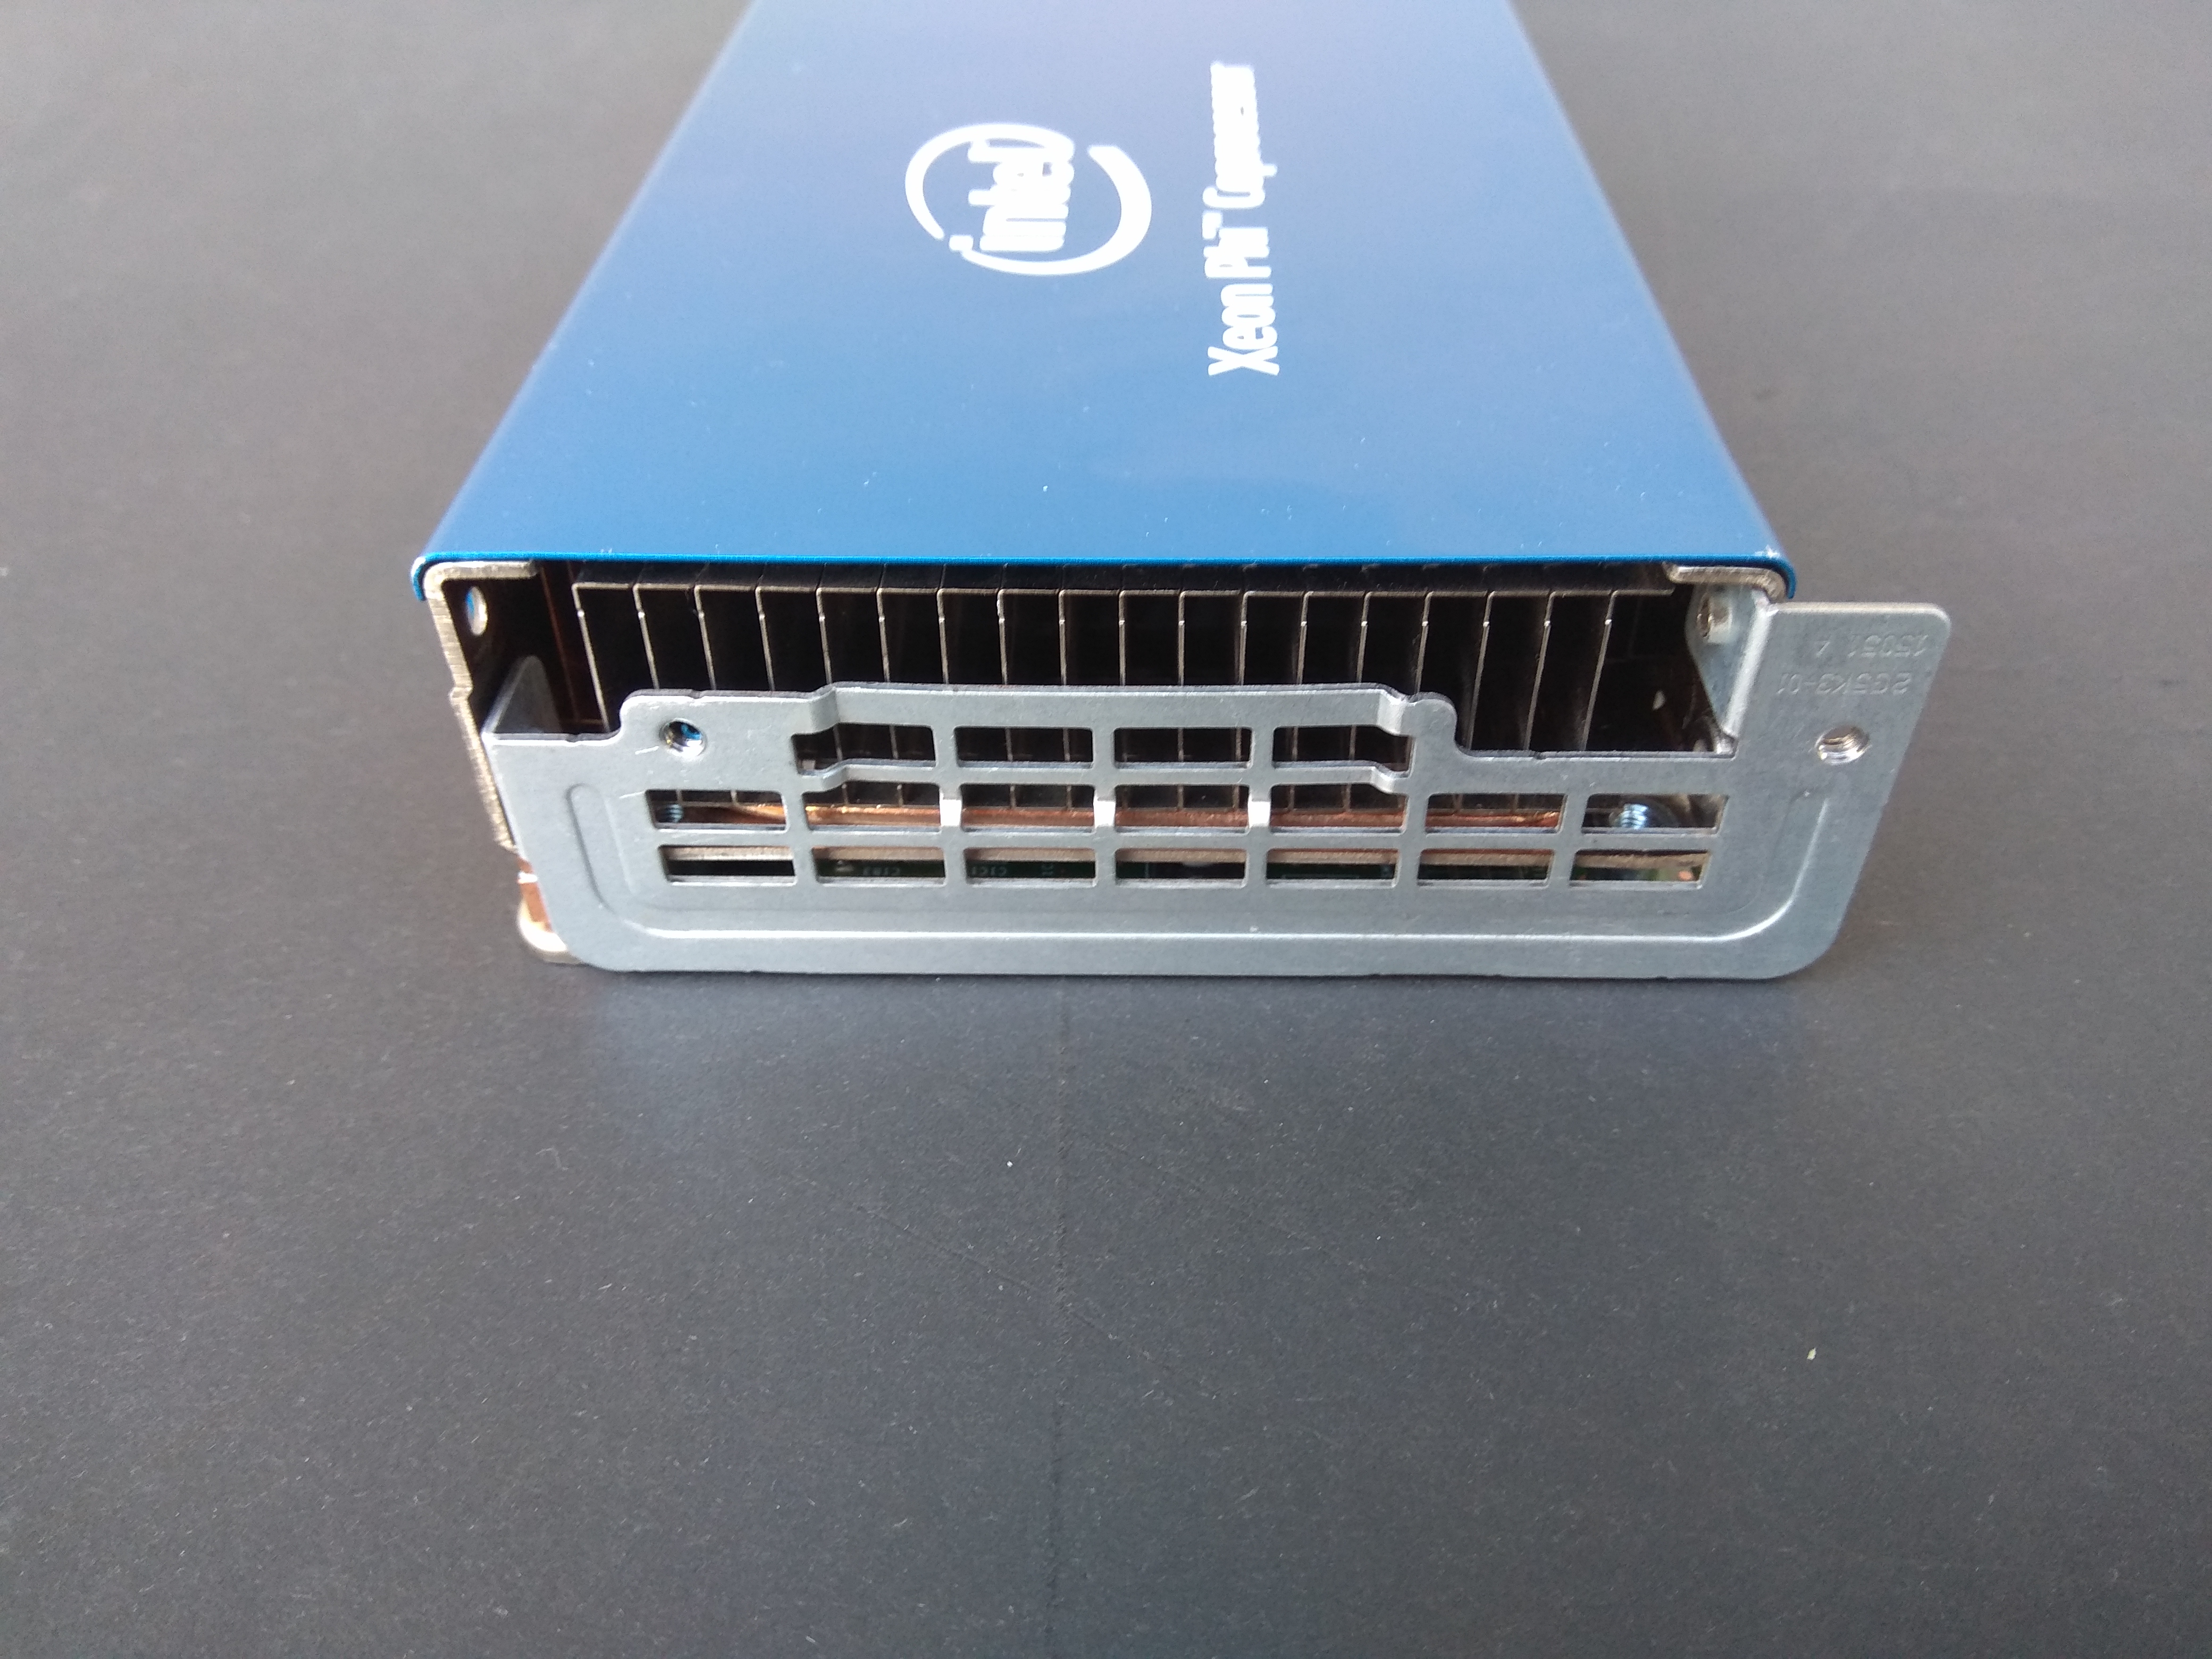
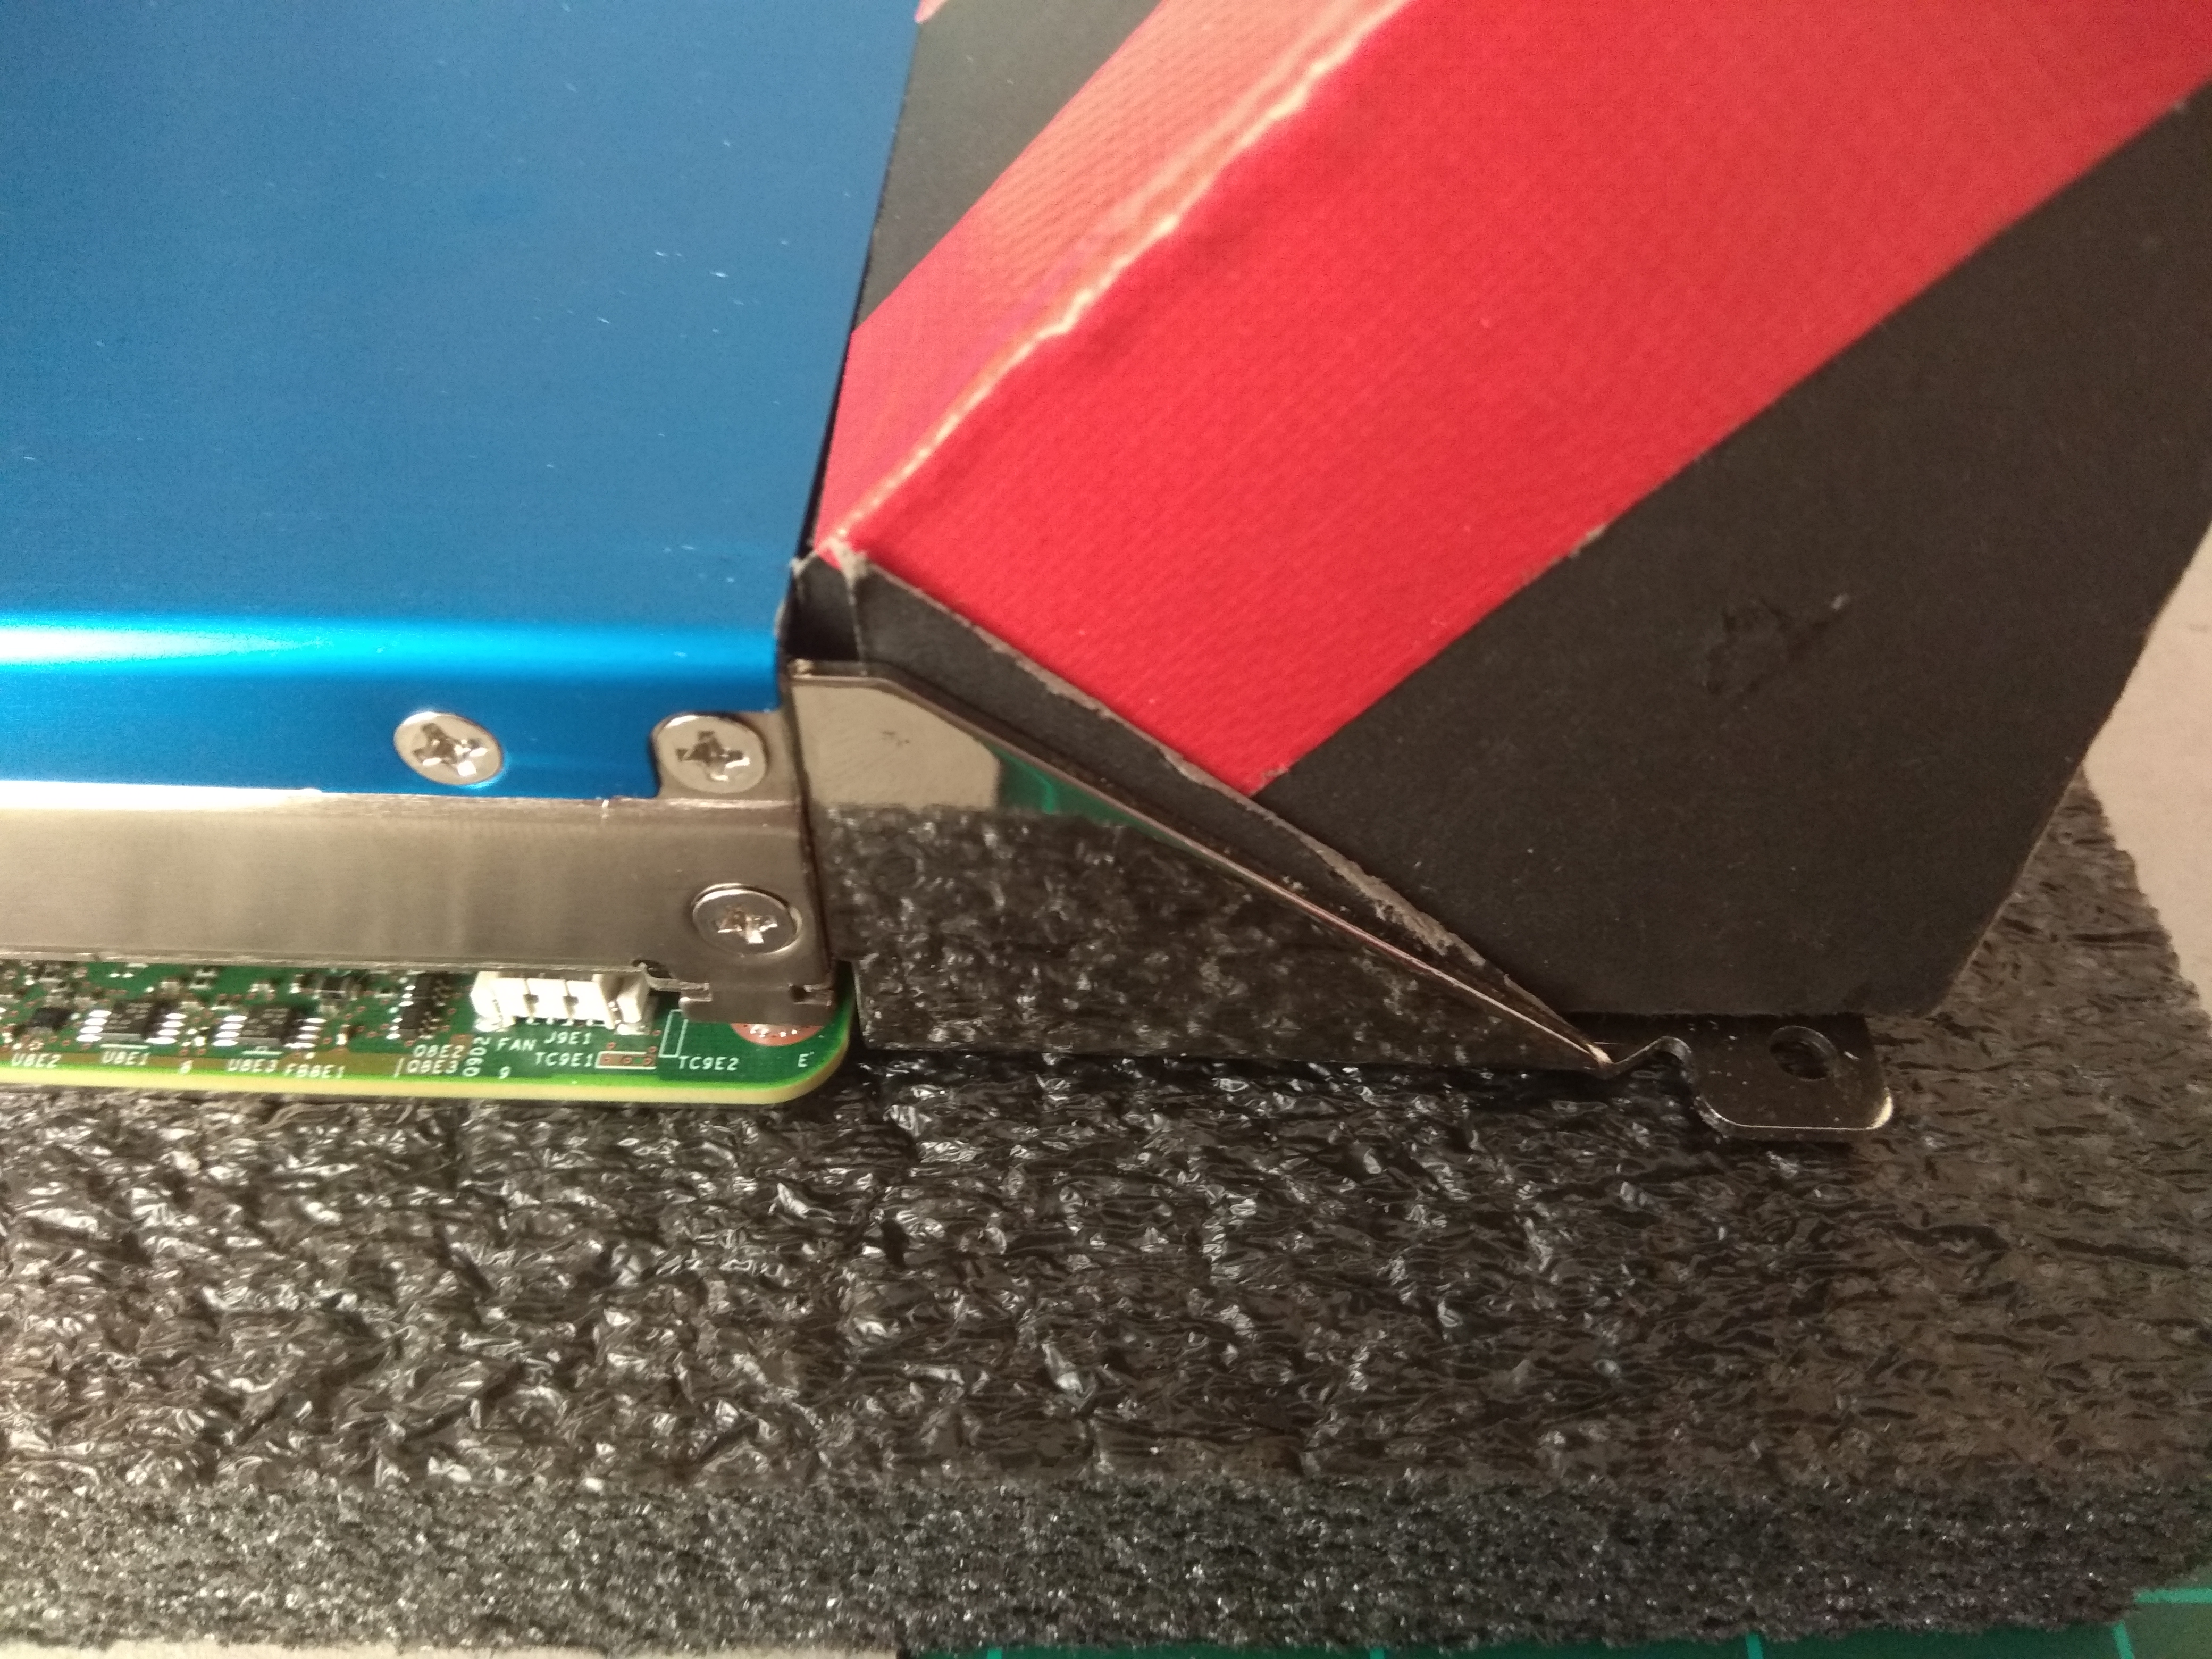
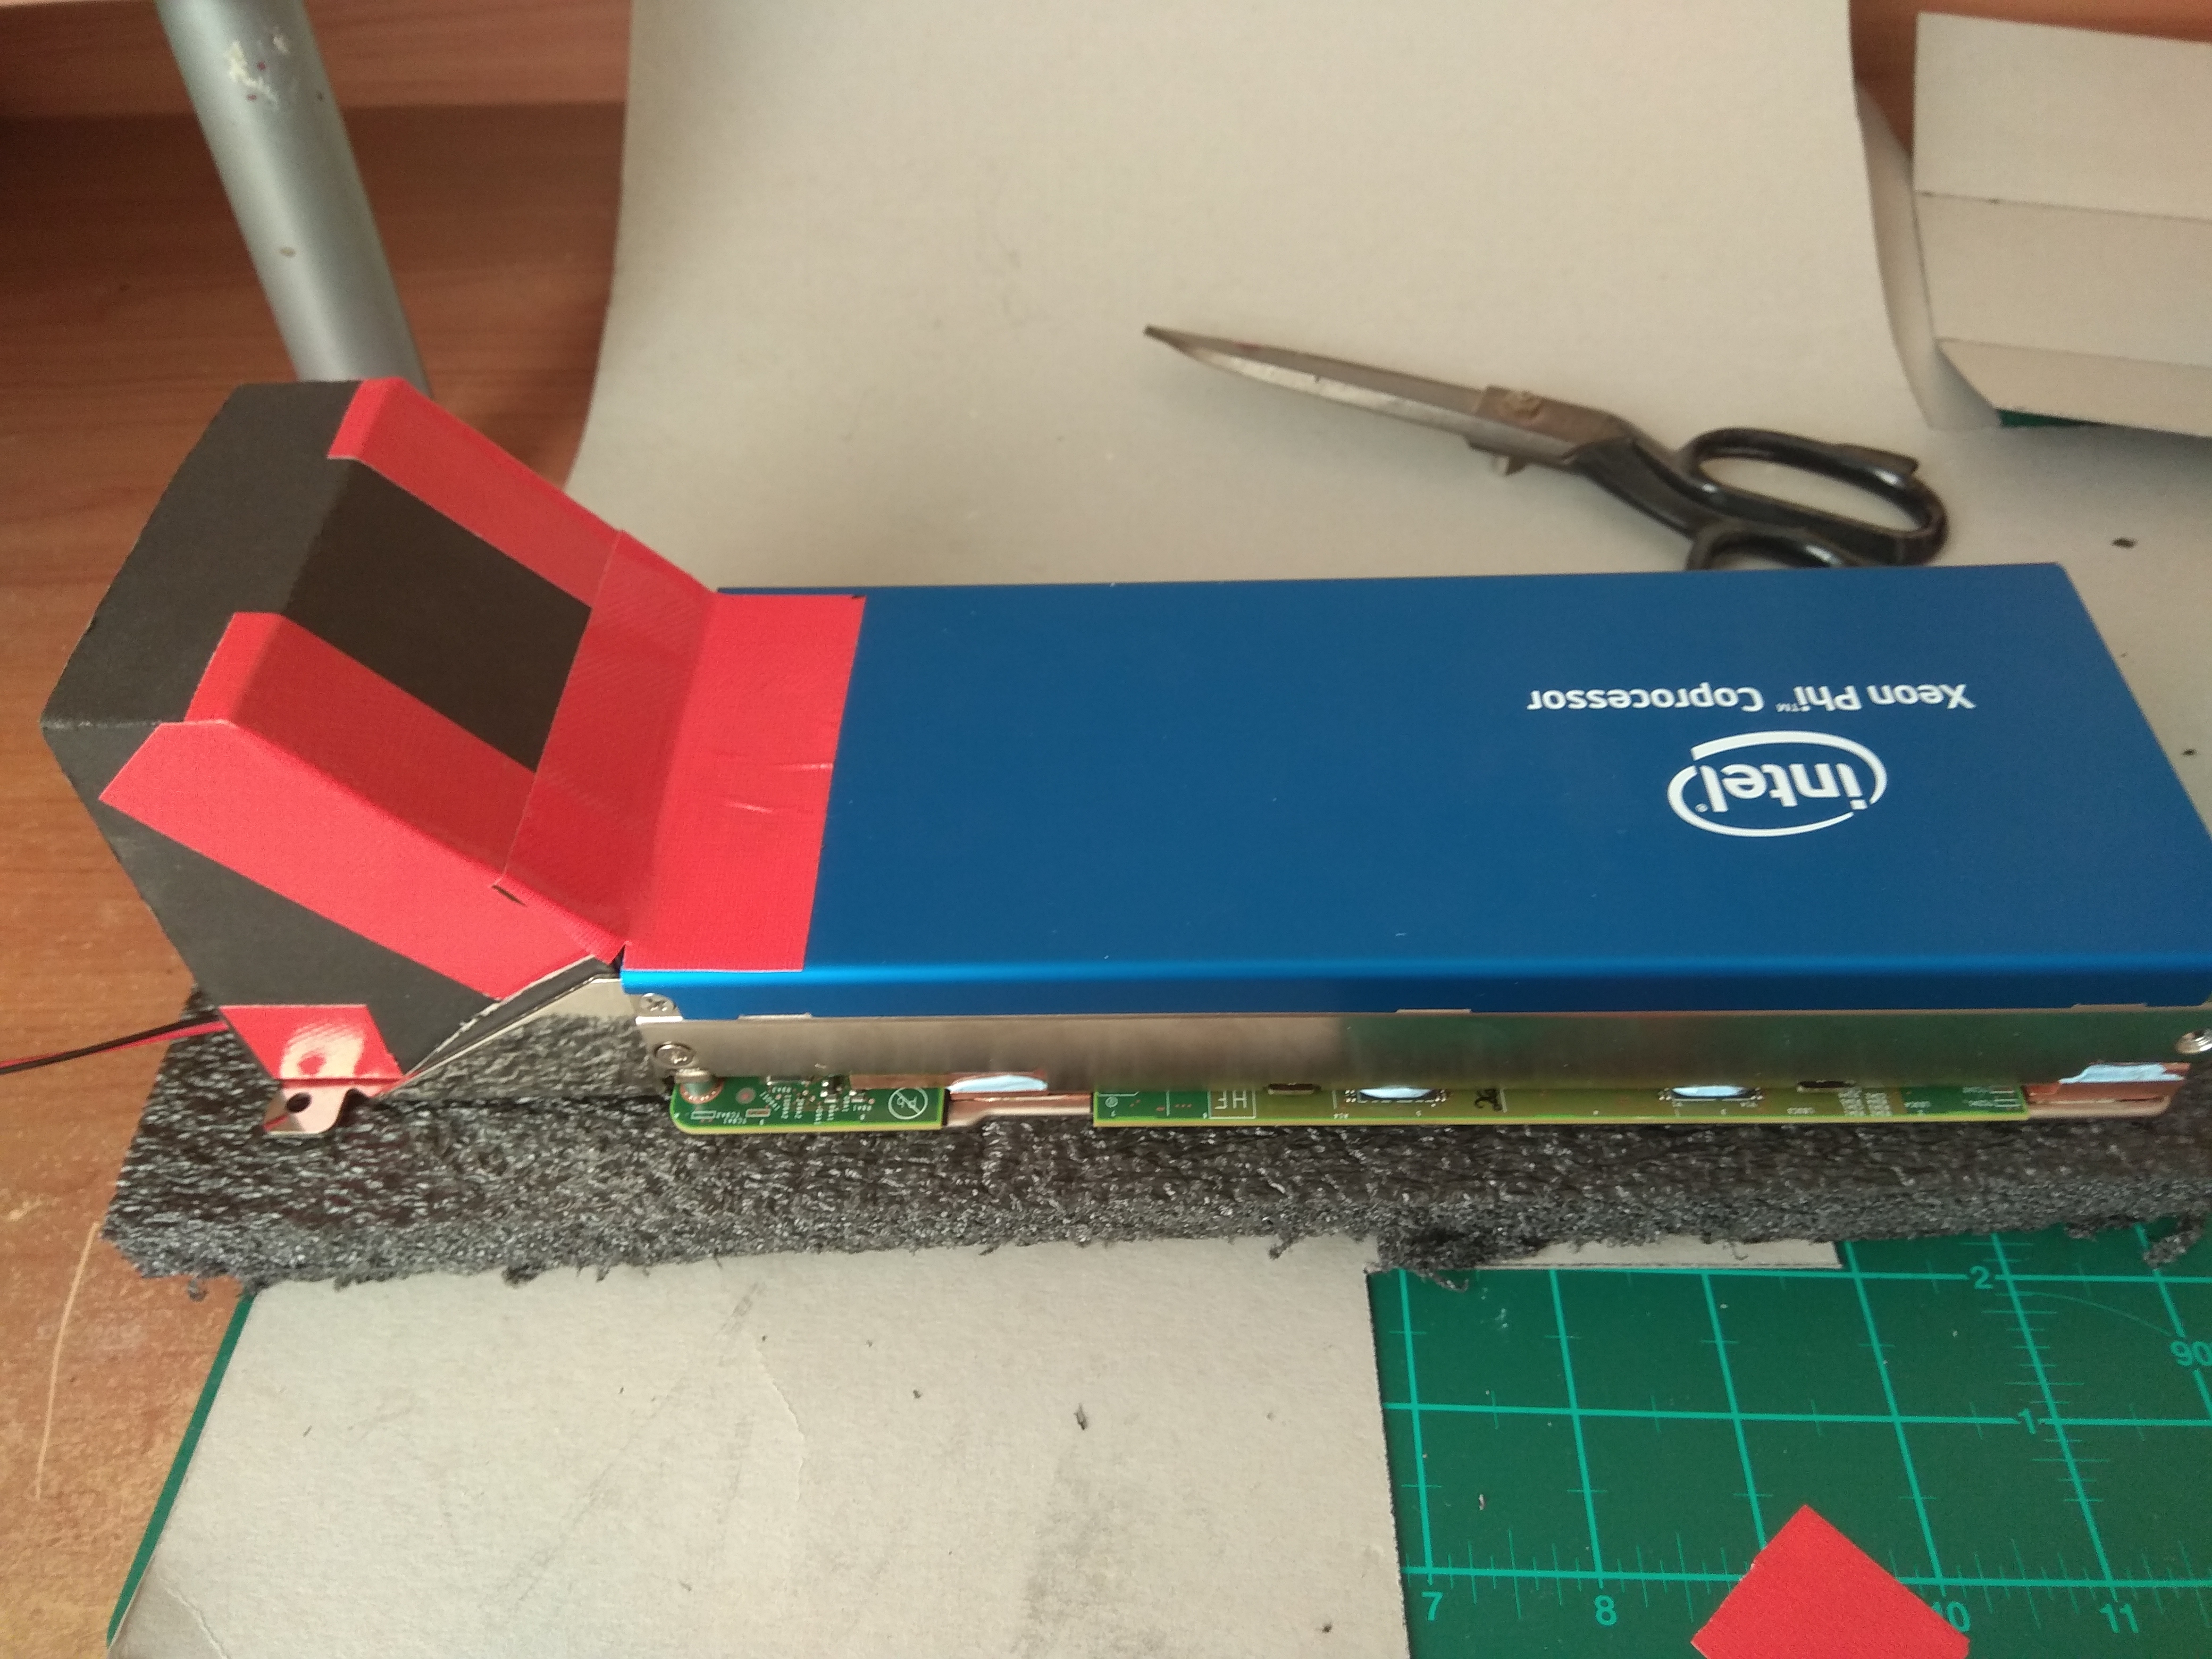
That Intel Blue Shroud

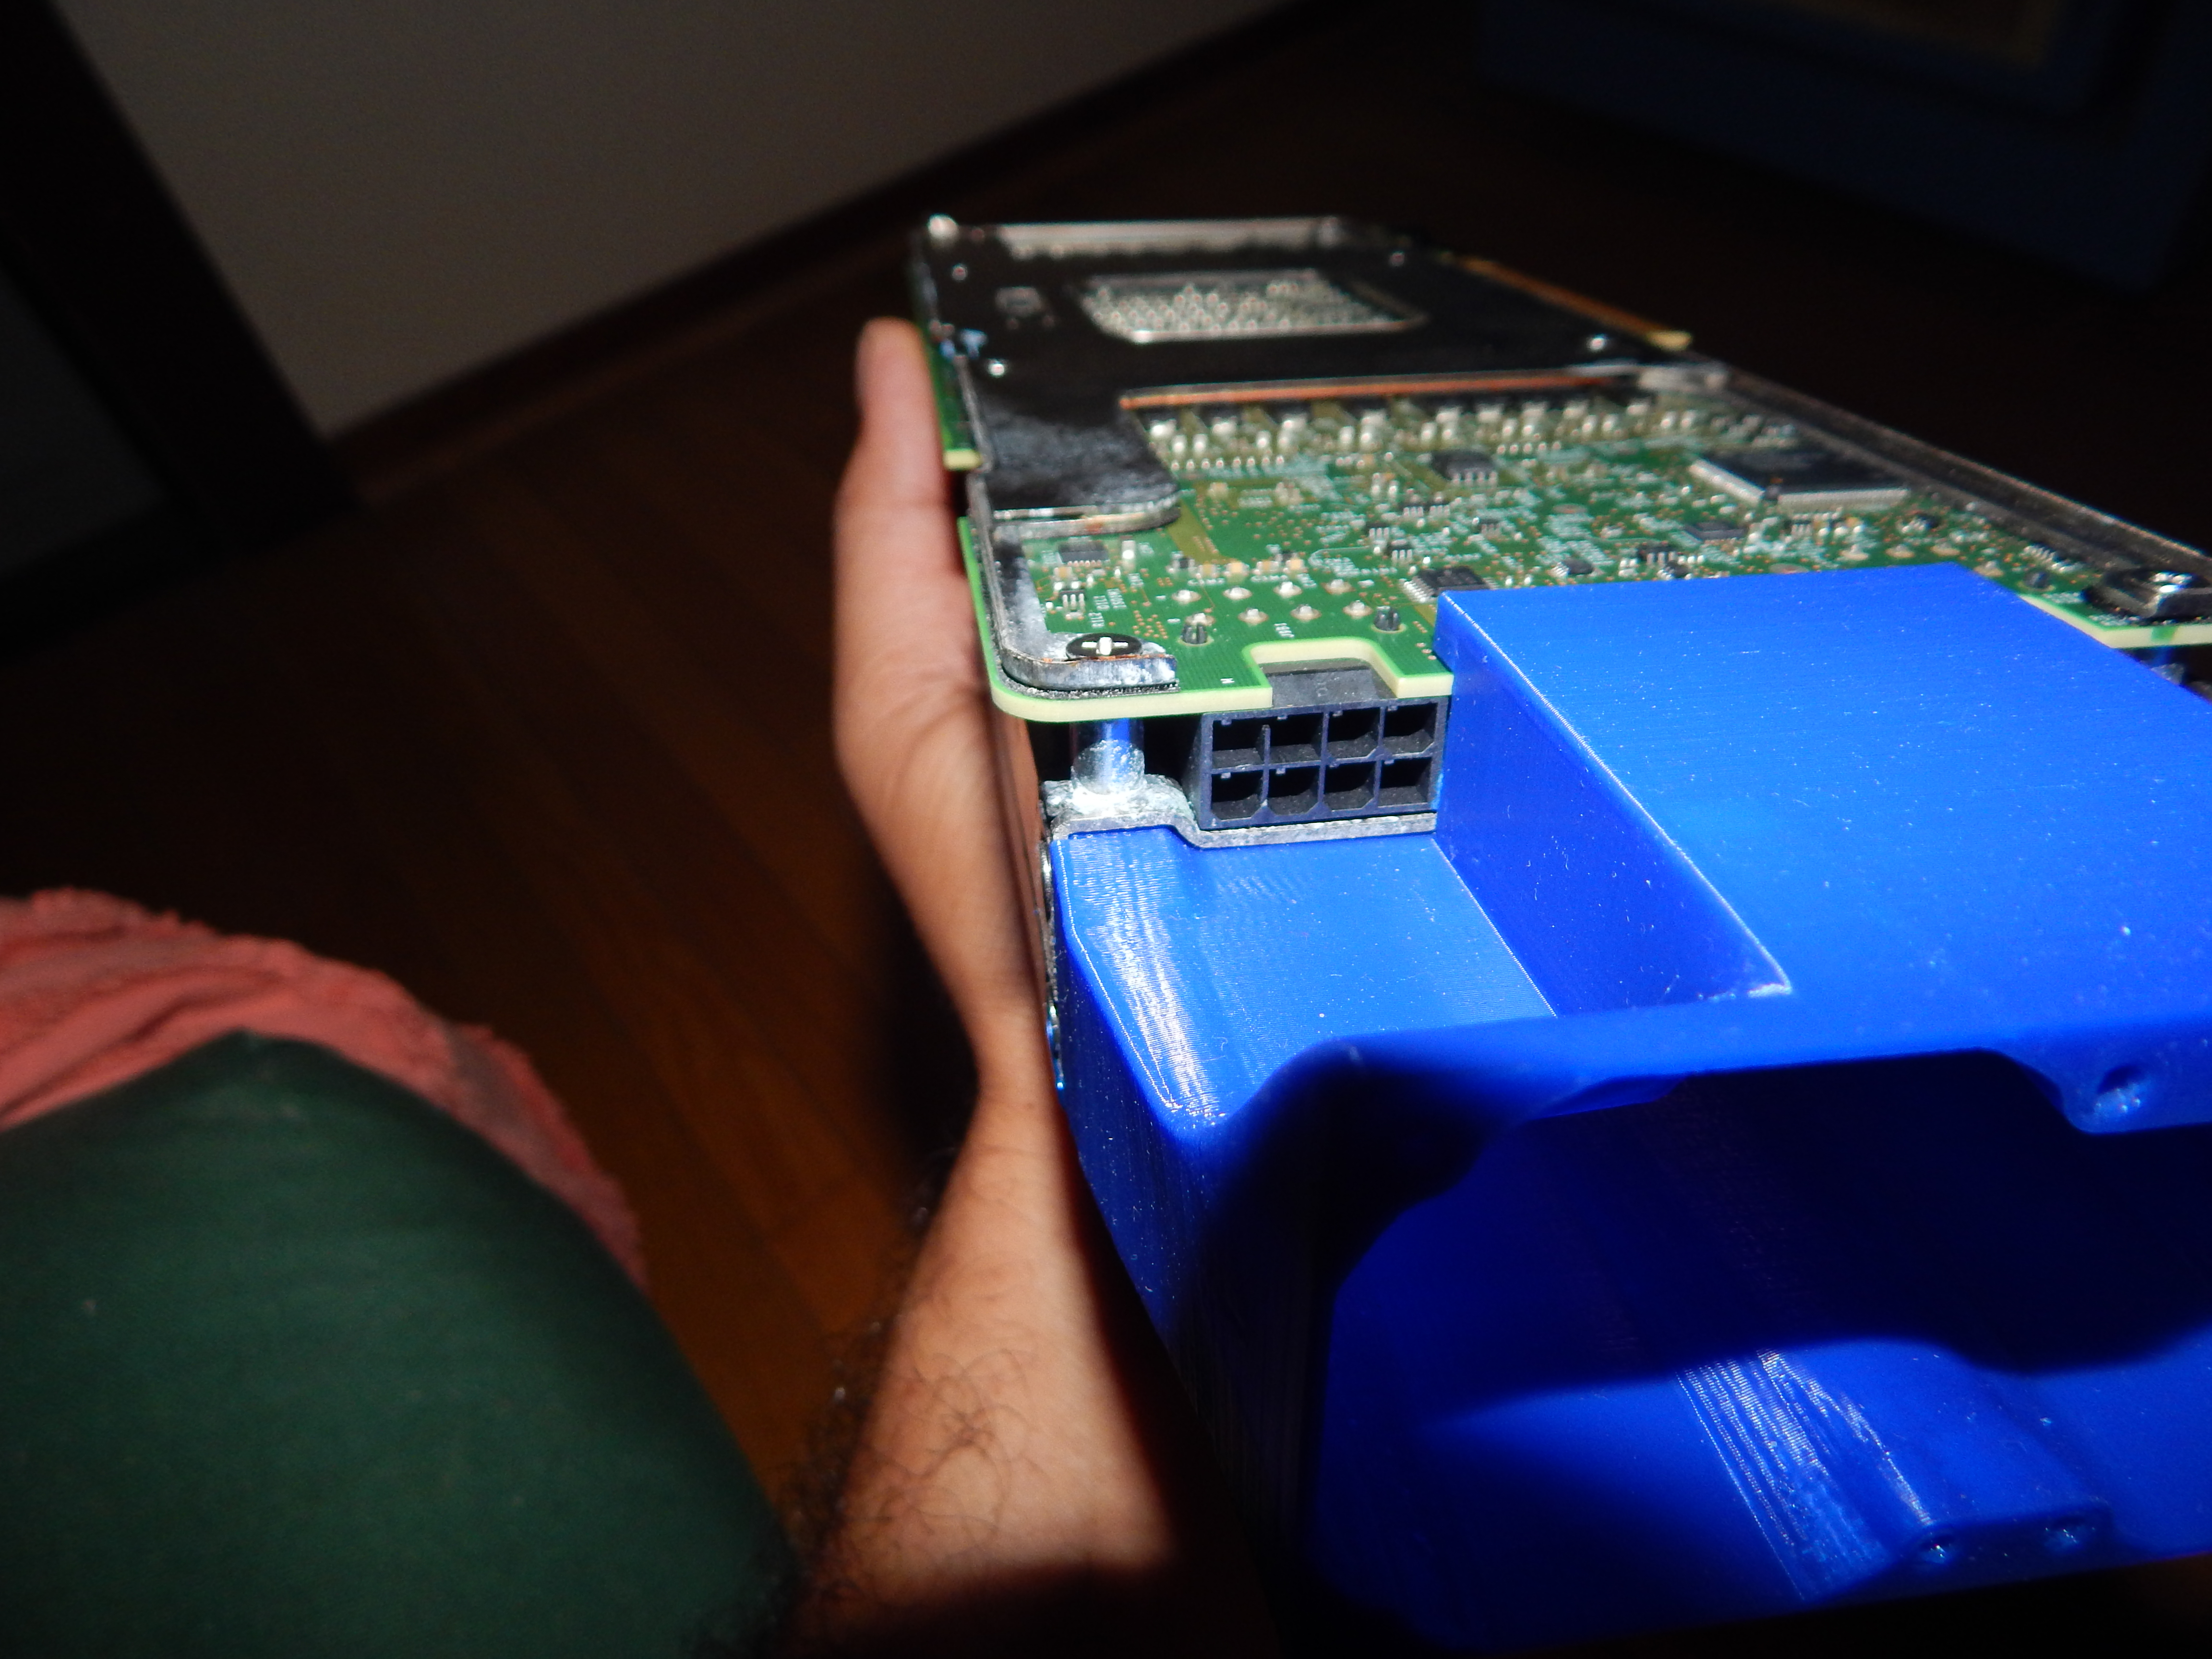
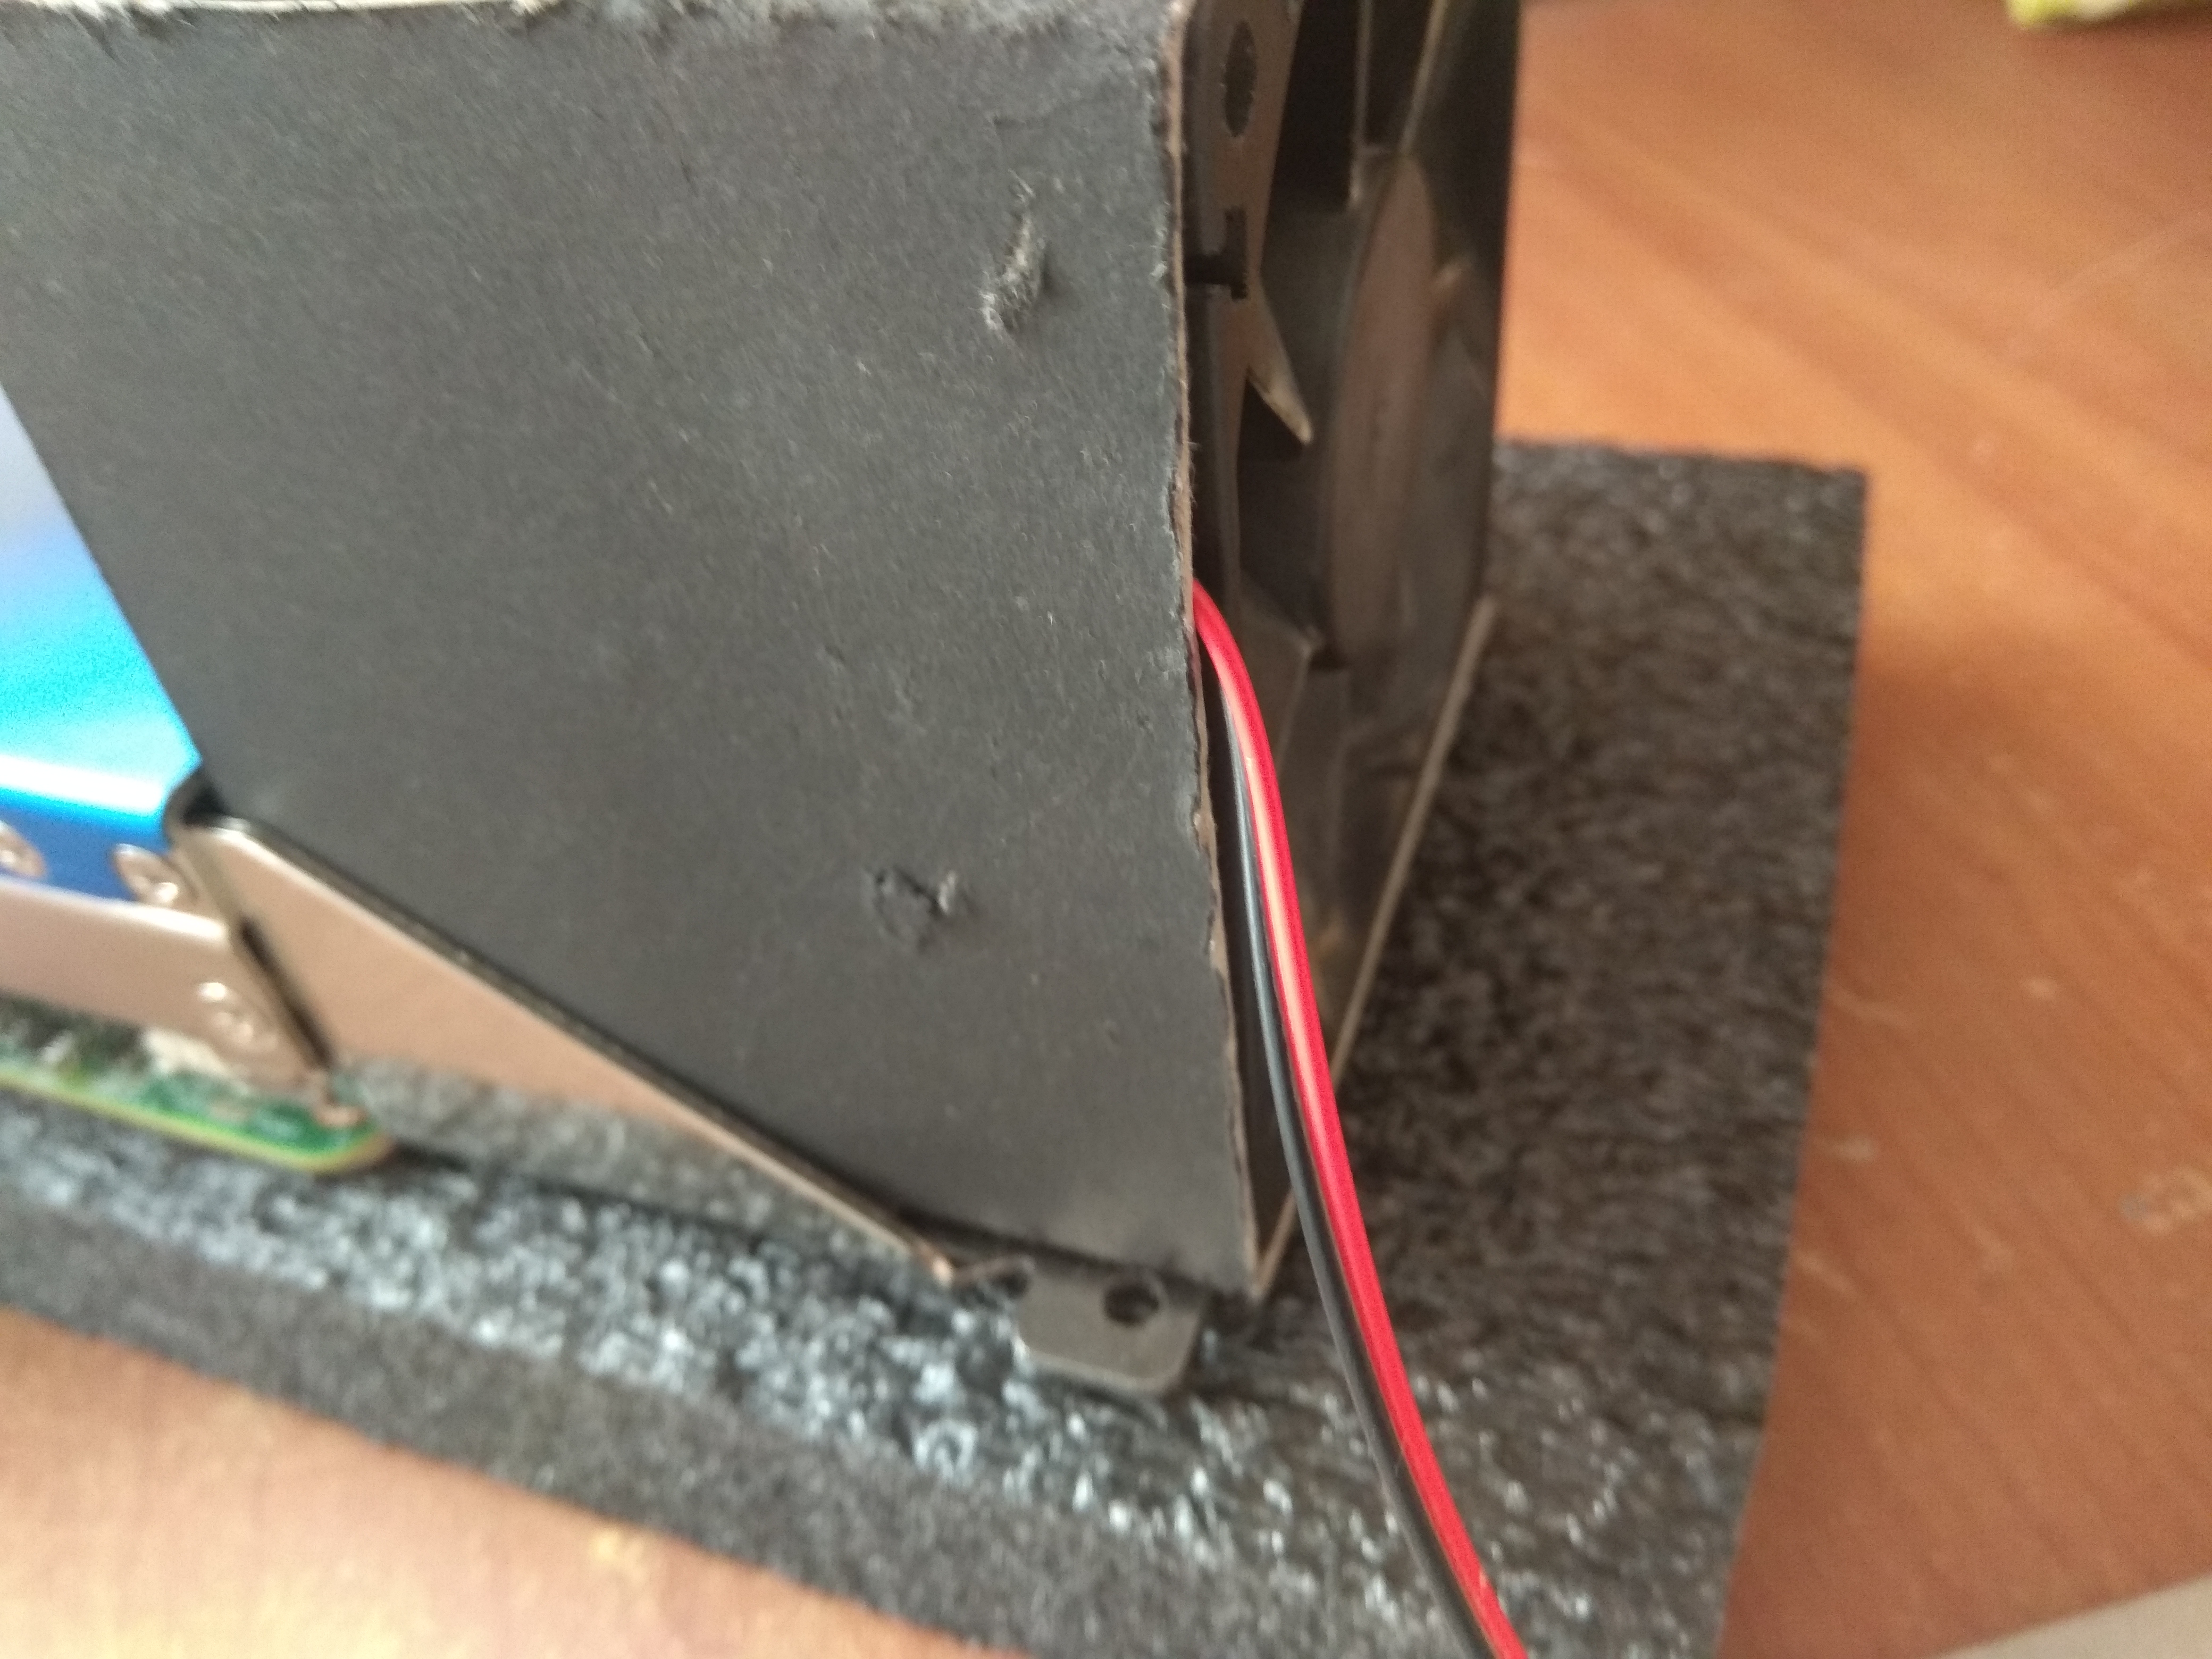
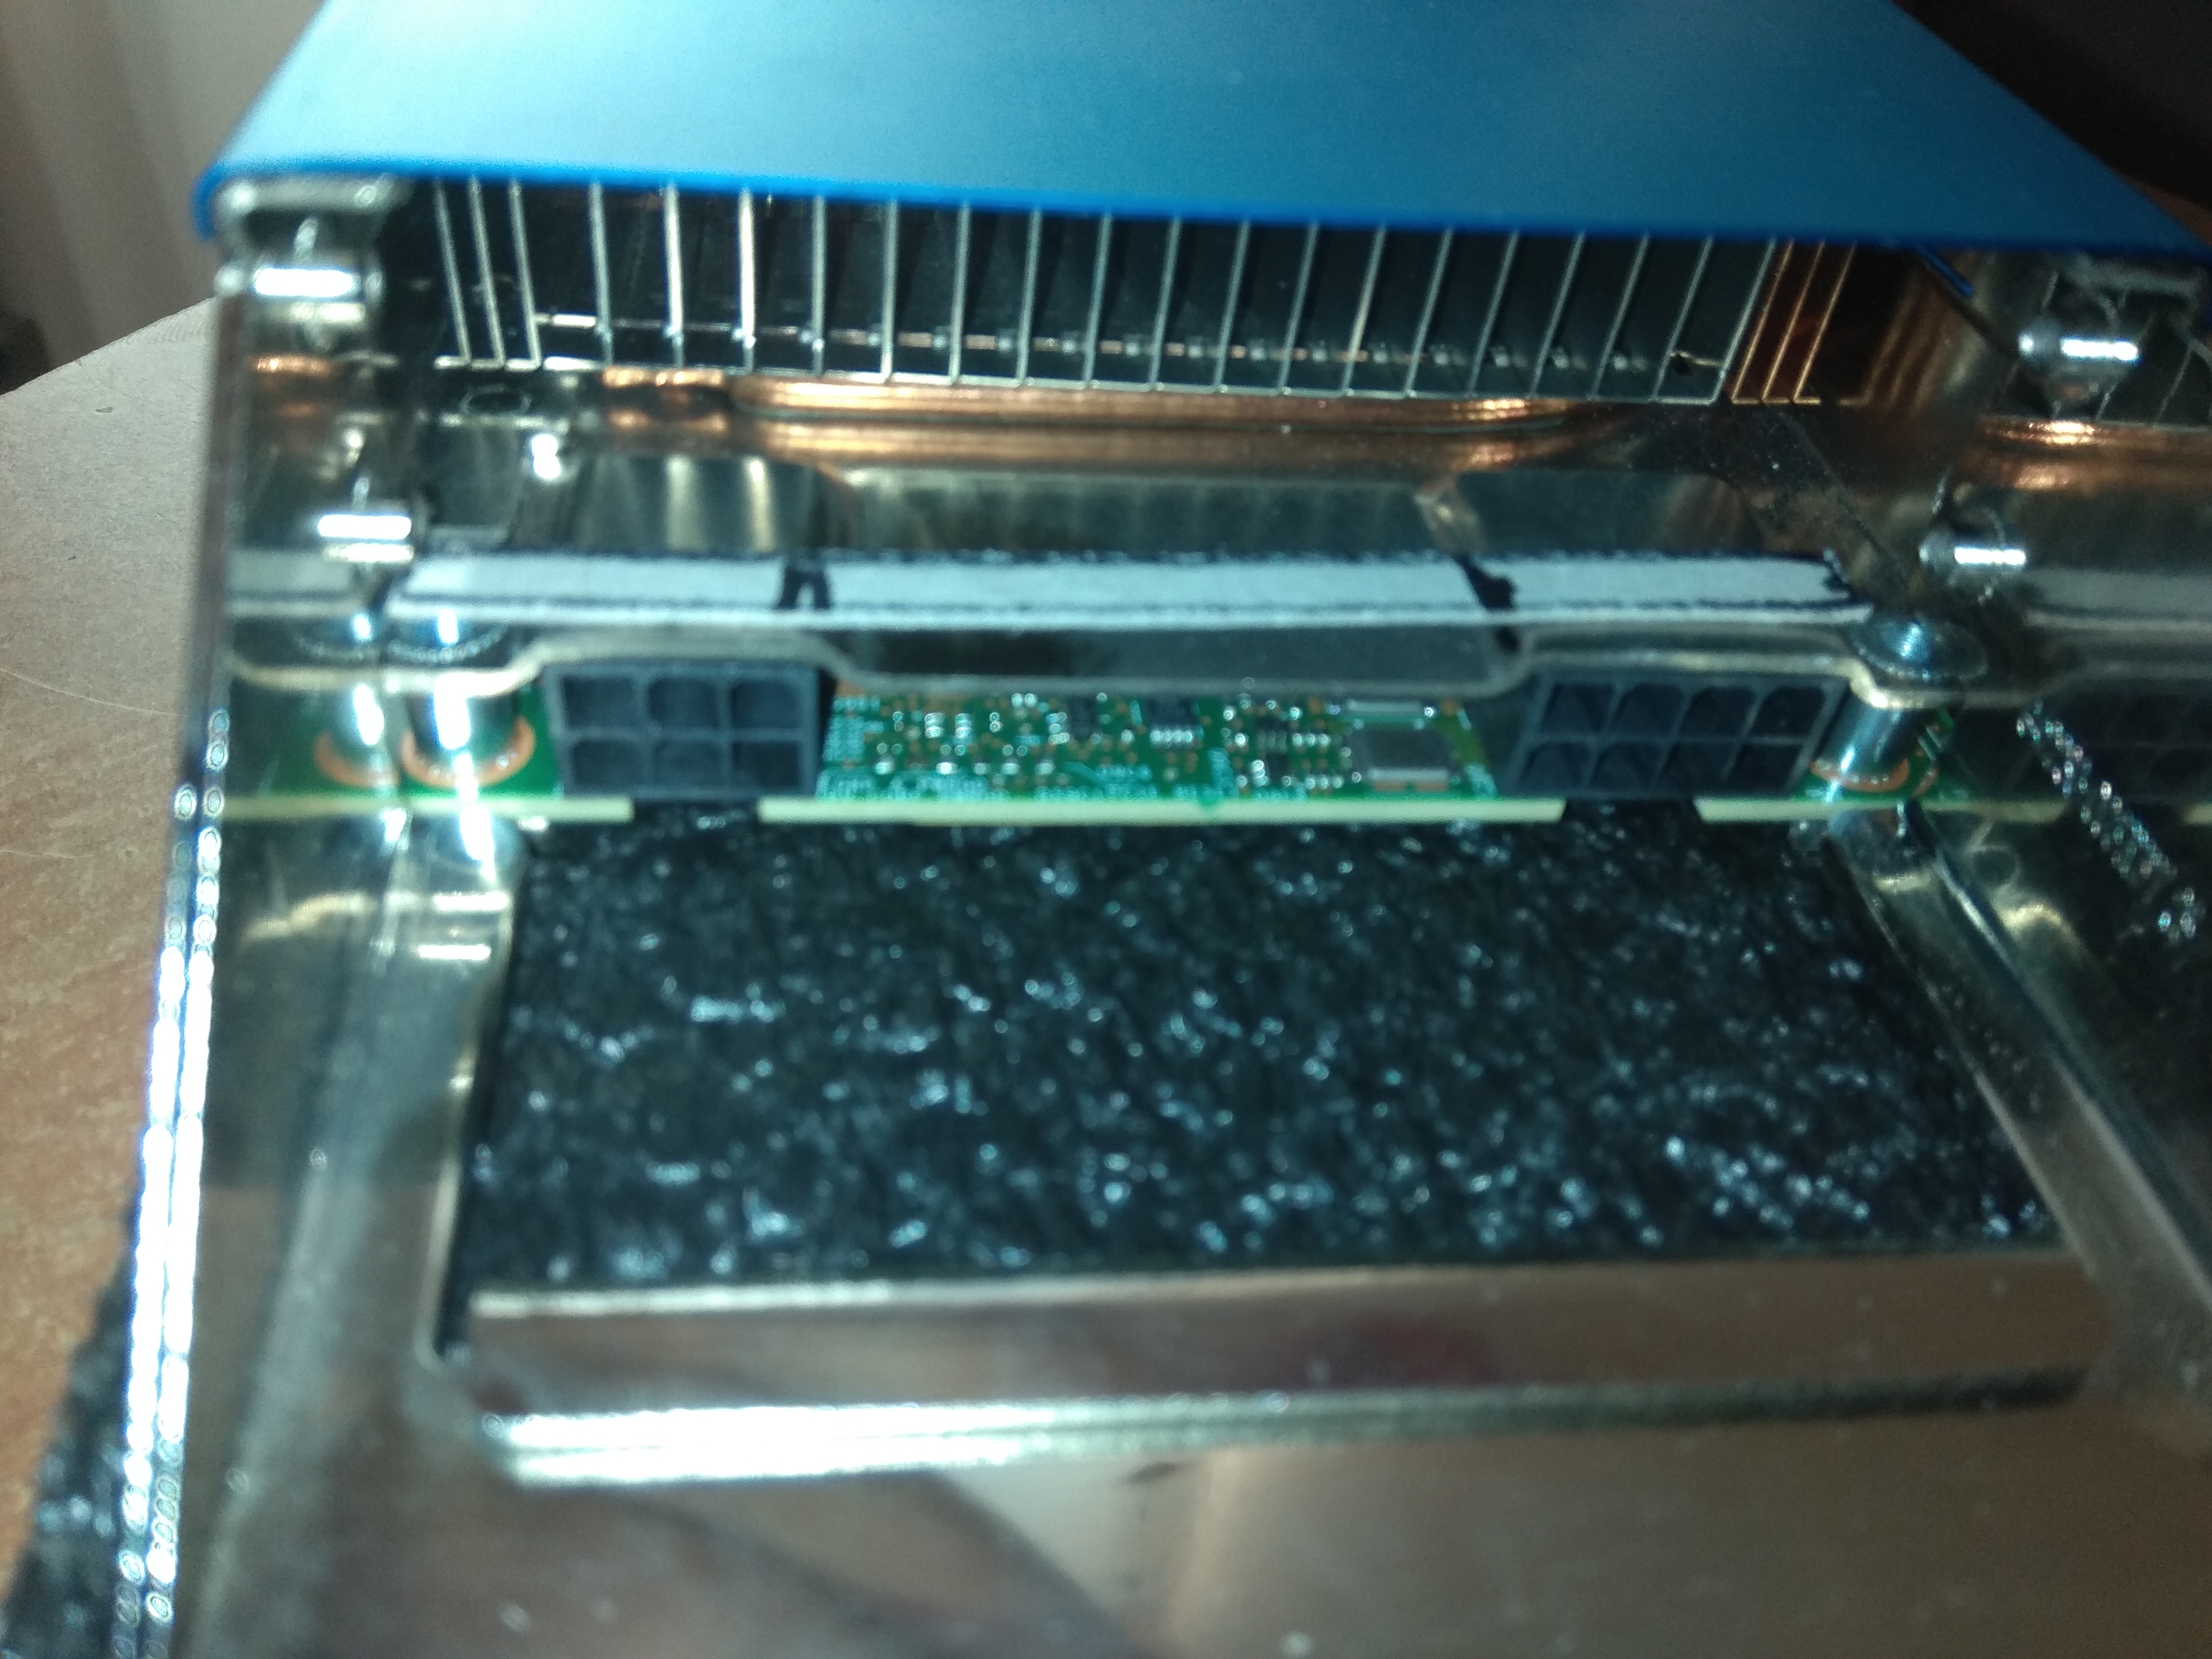
Rear air intake and PCI-e power connectors.

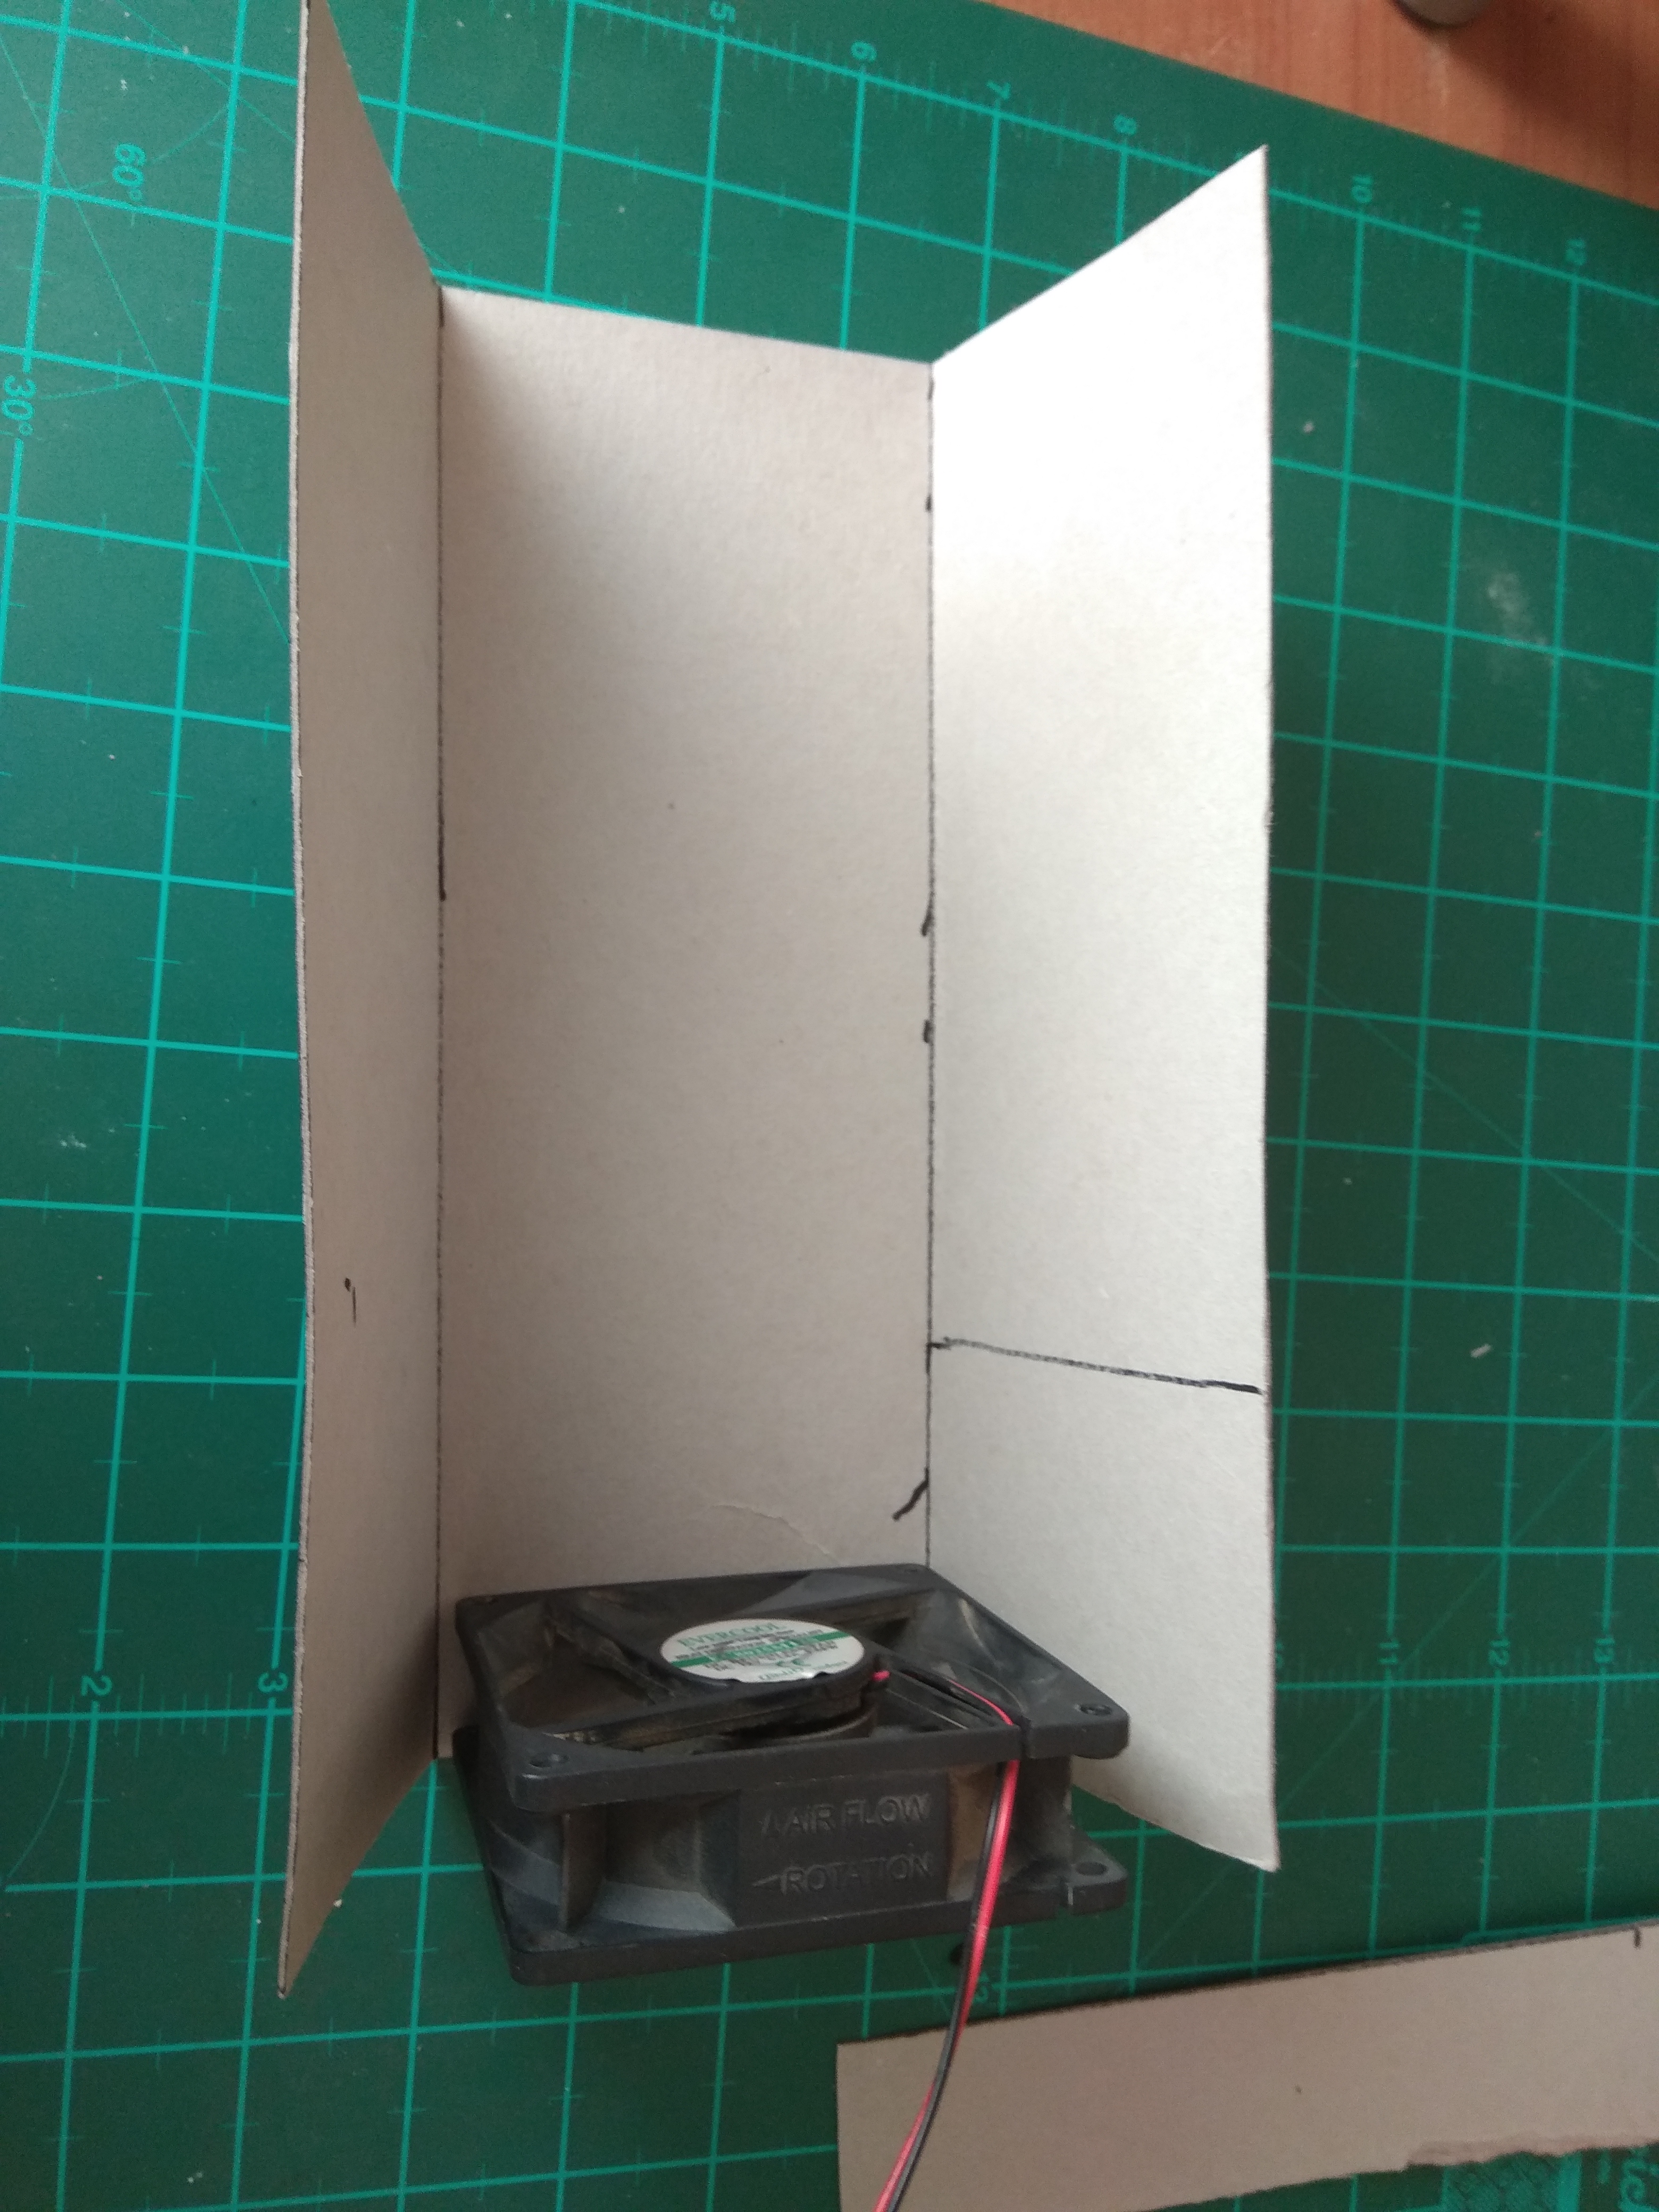
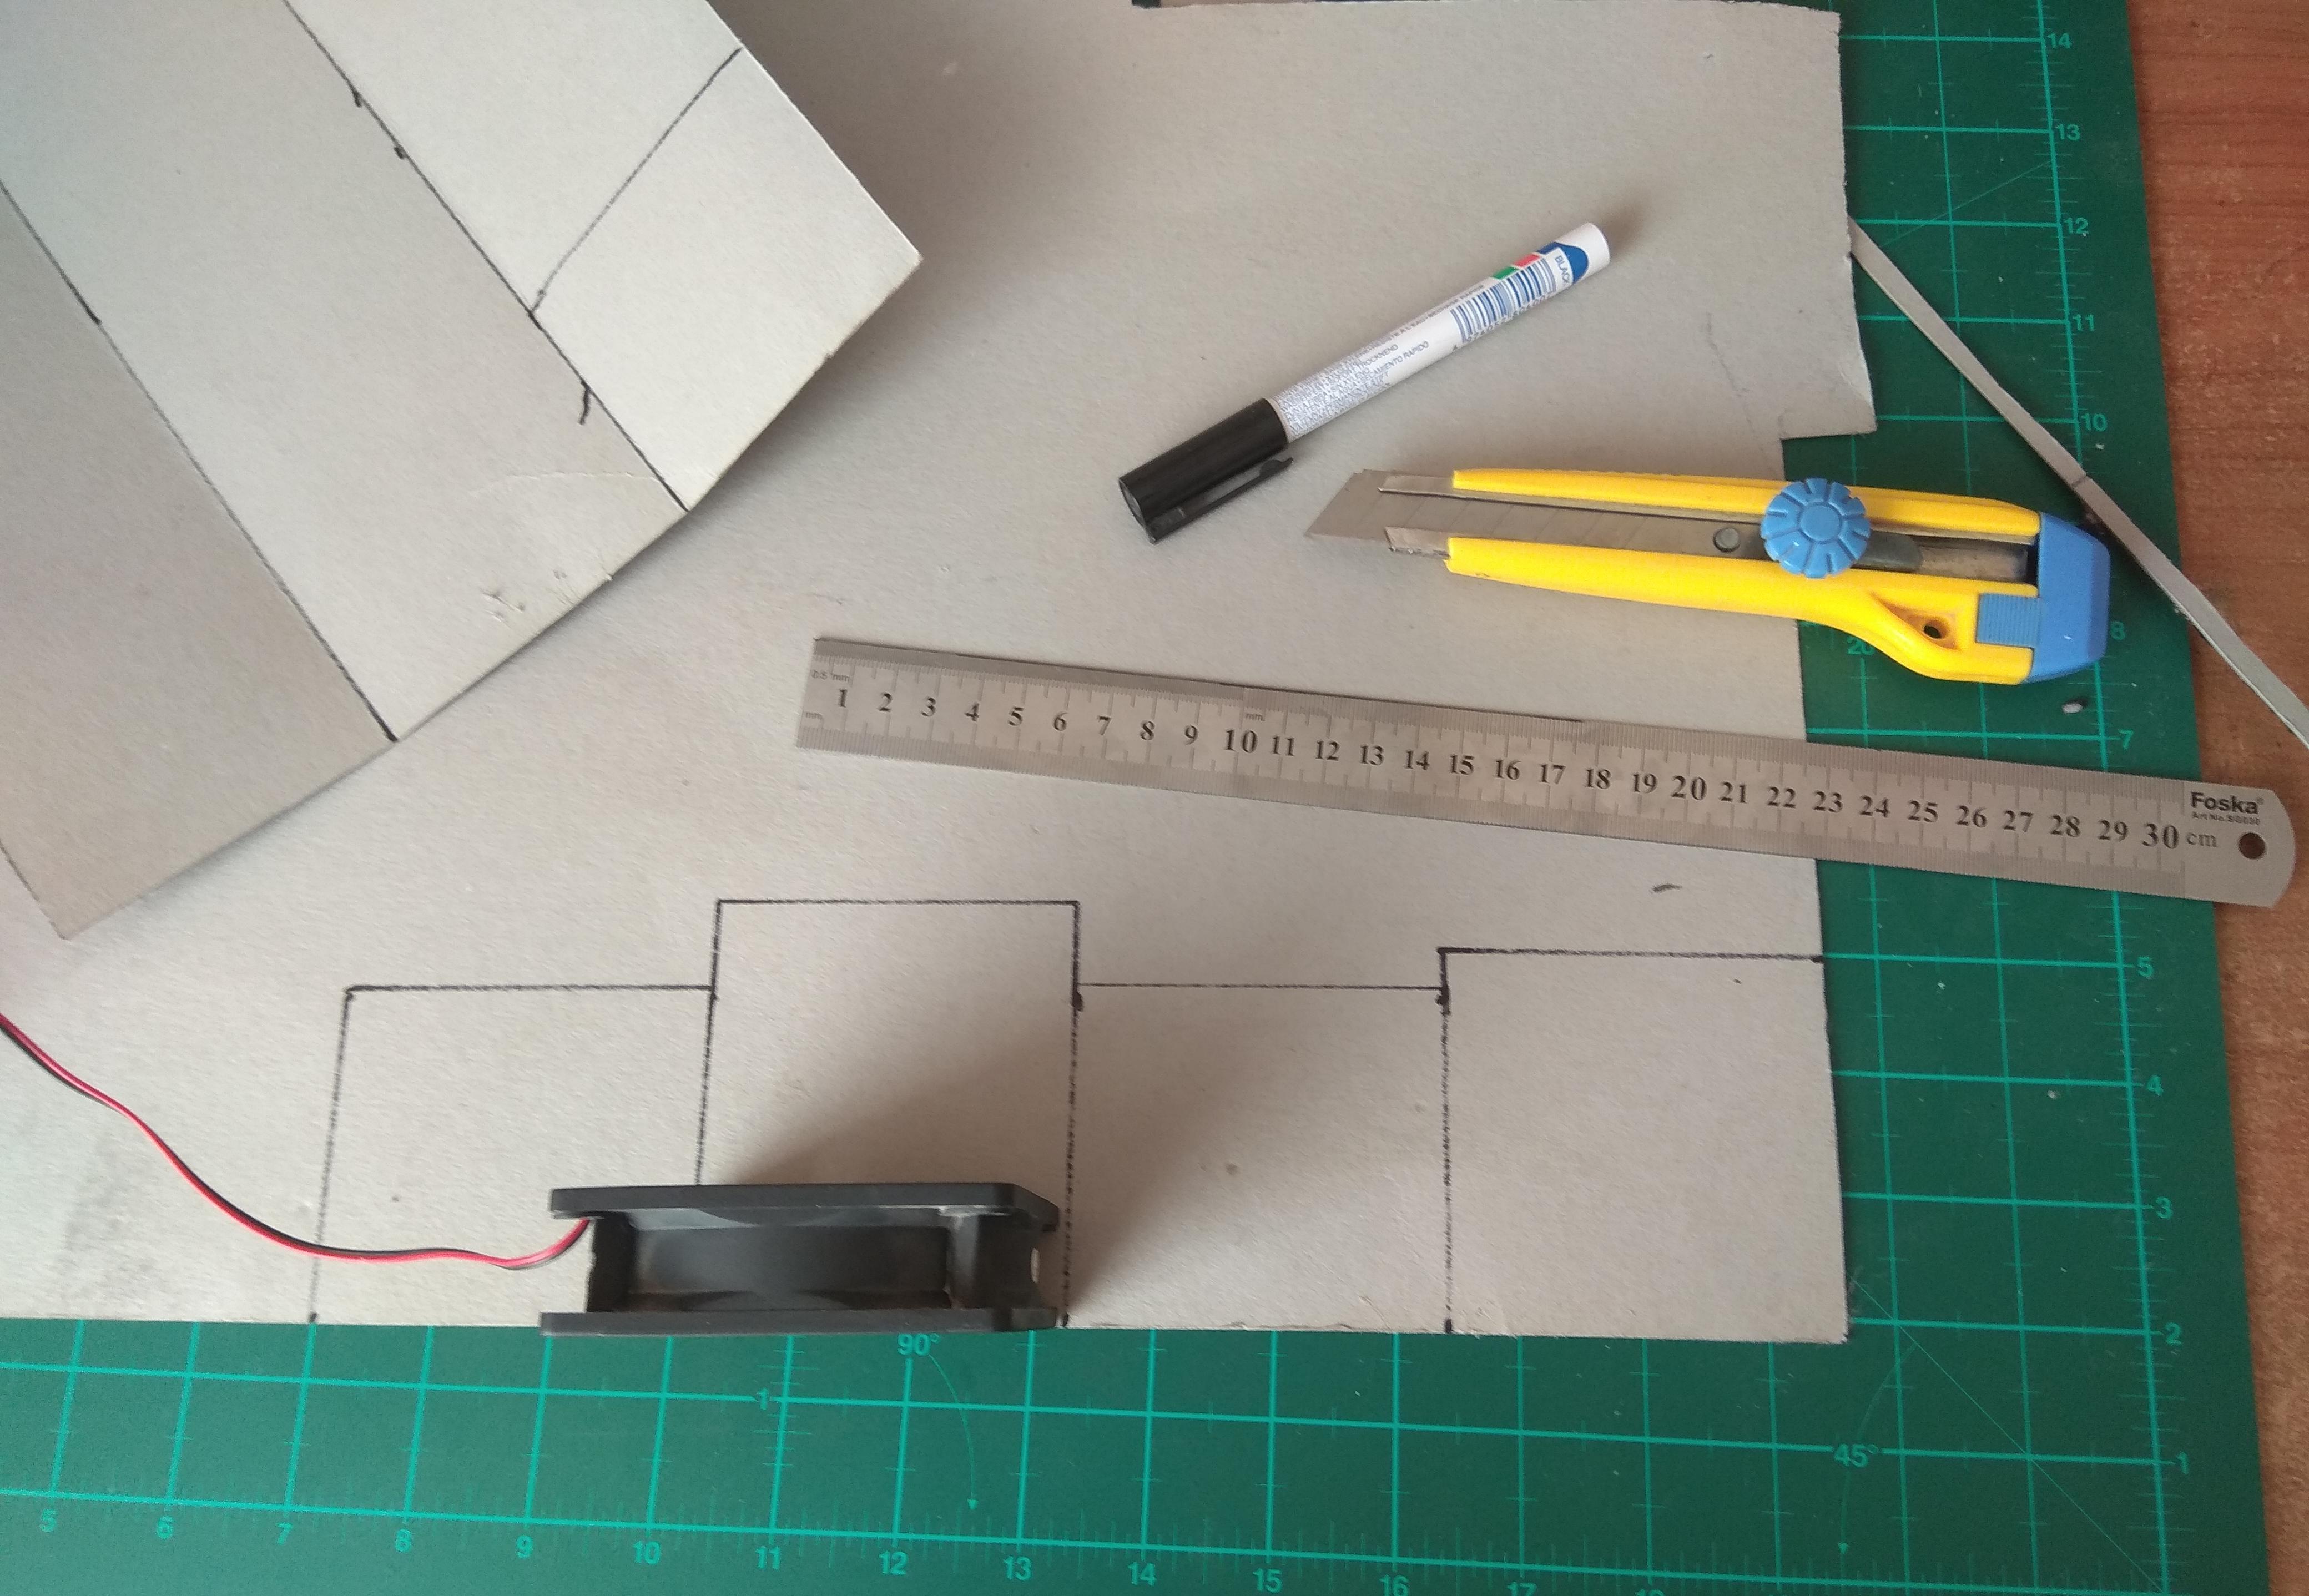
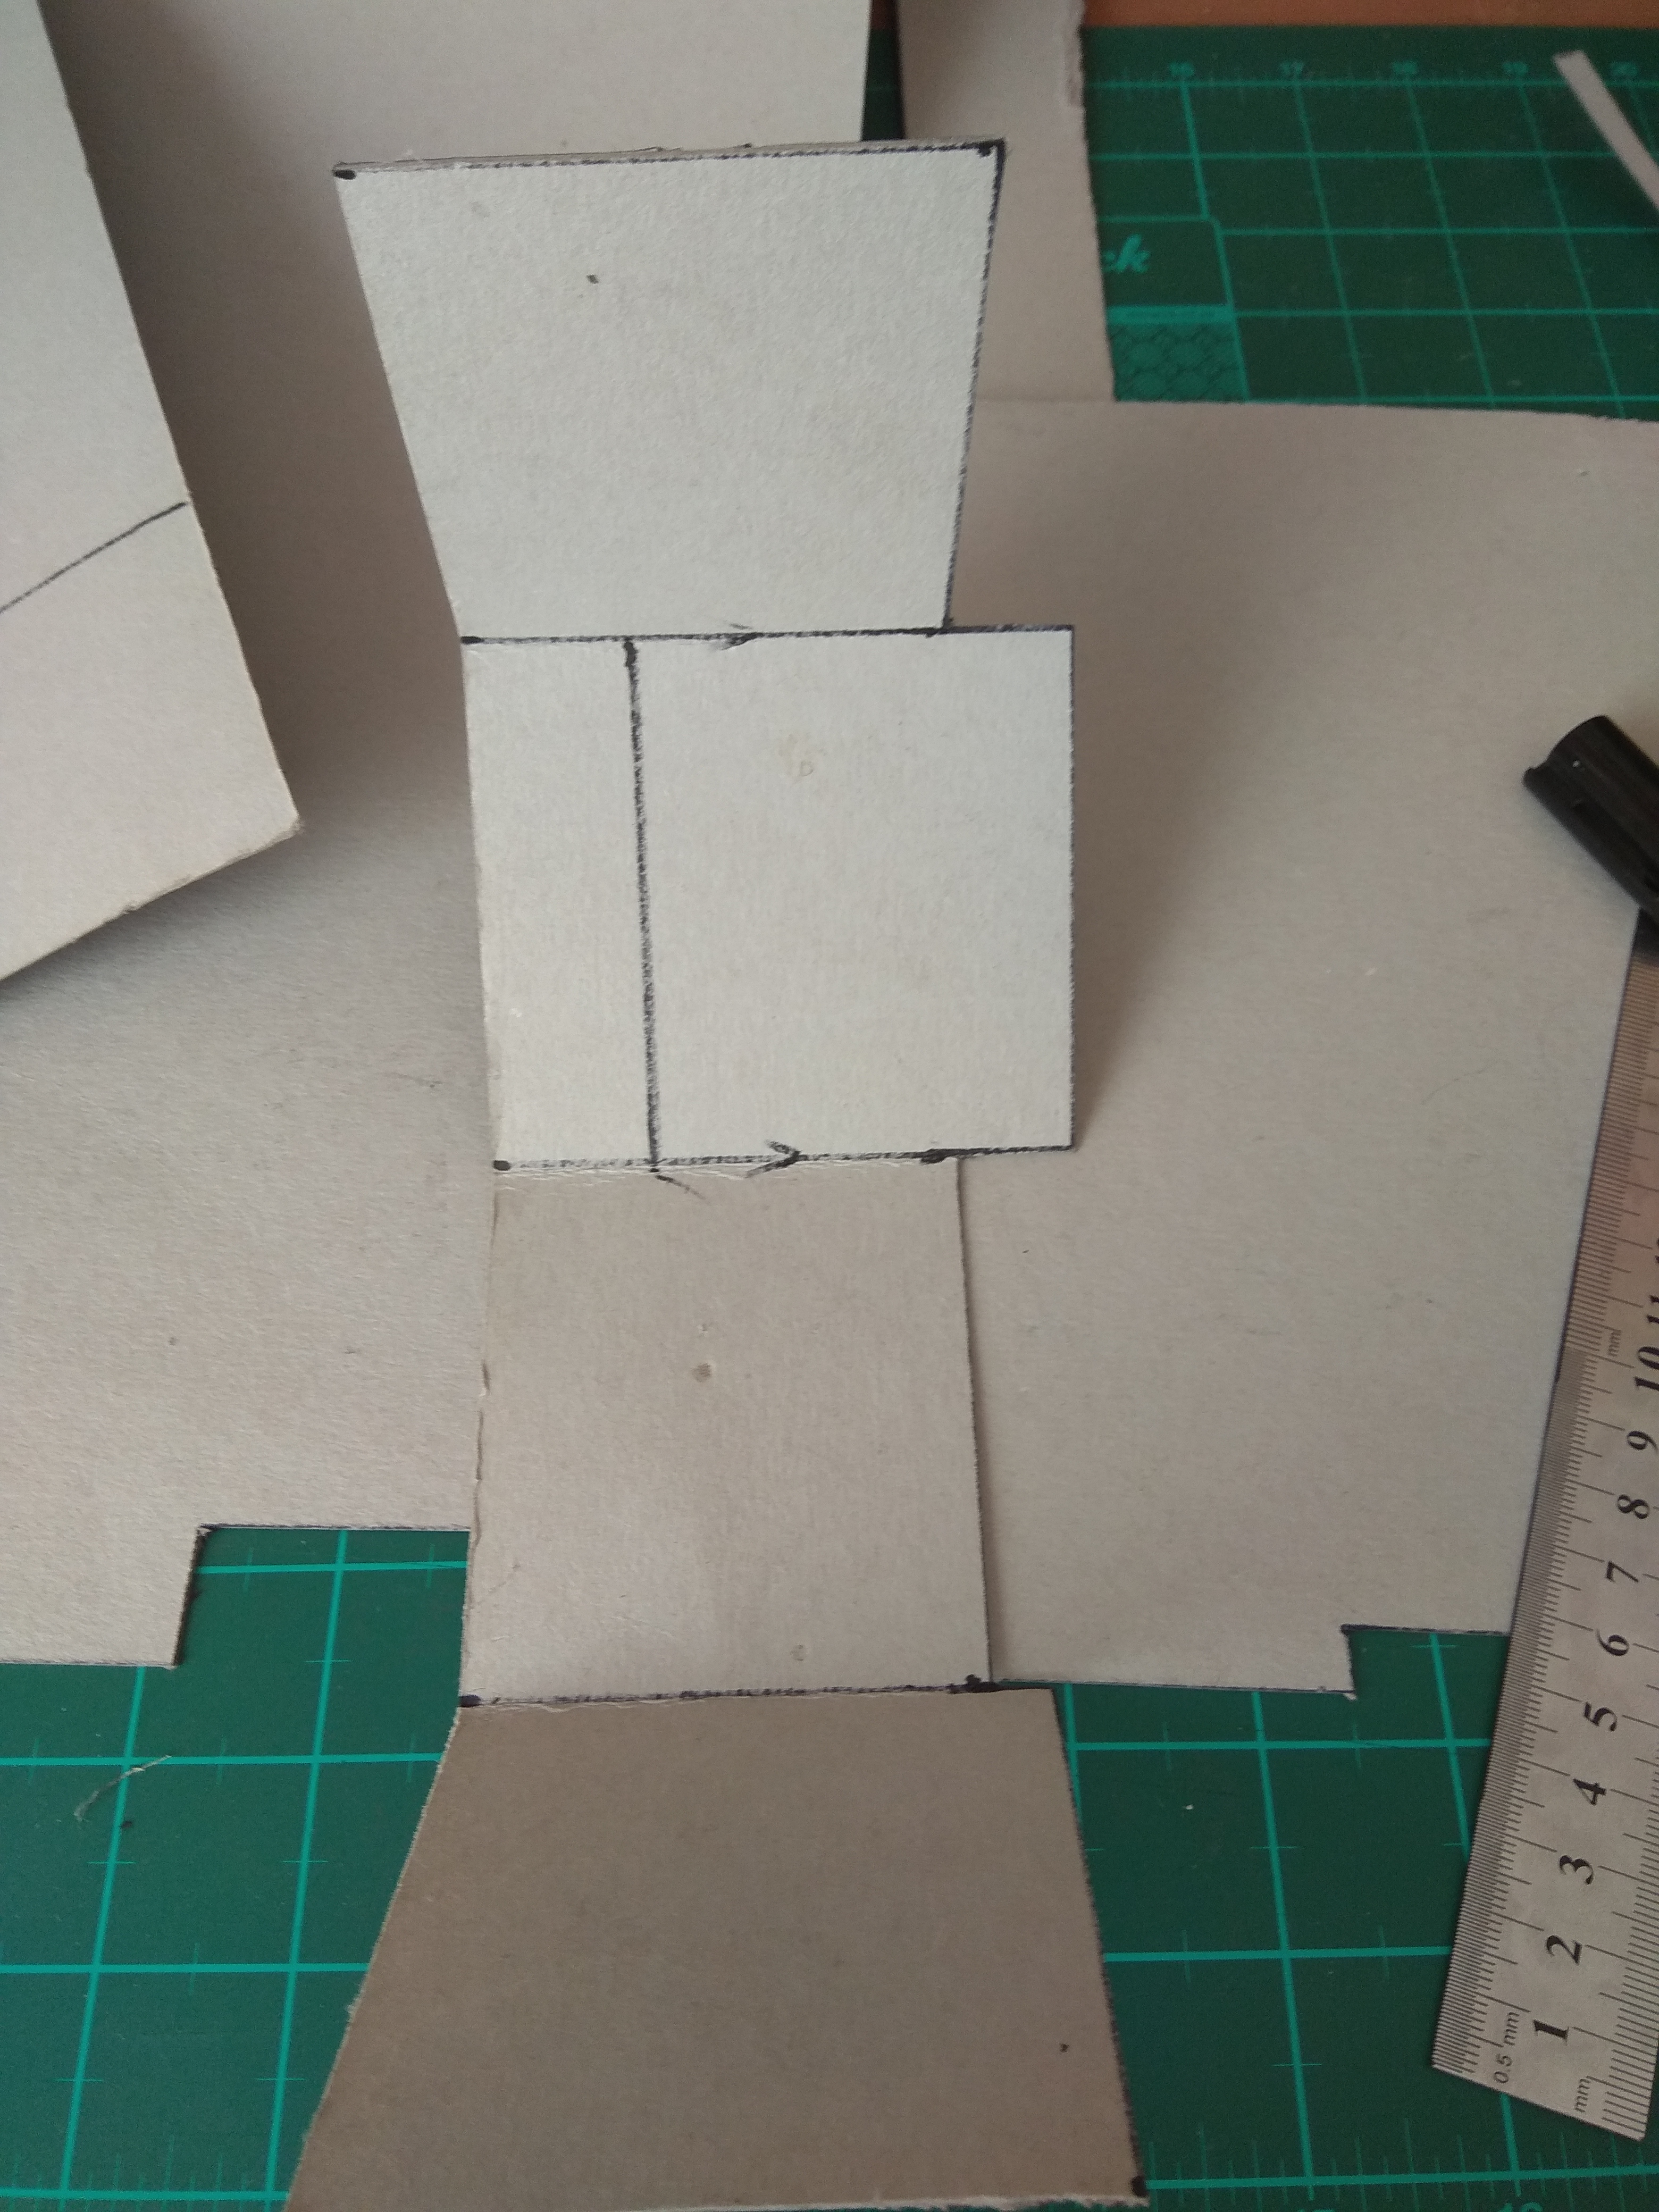
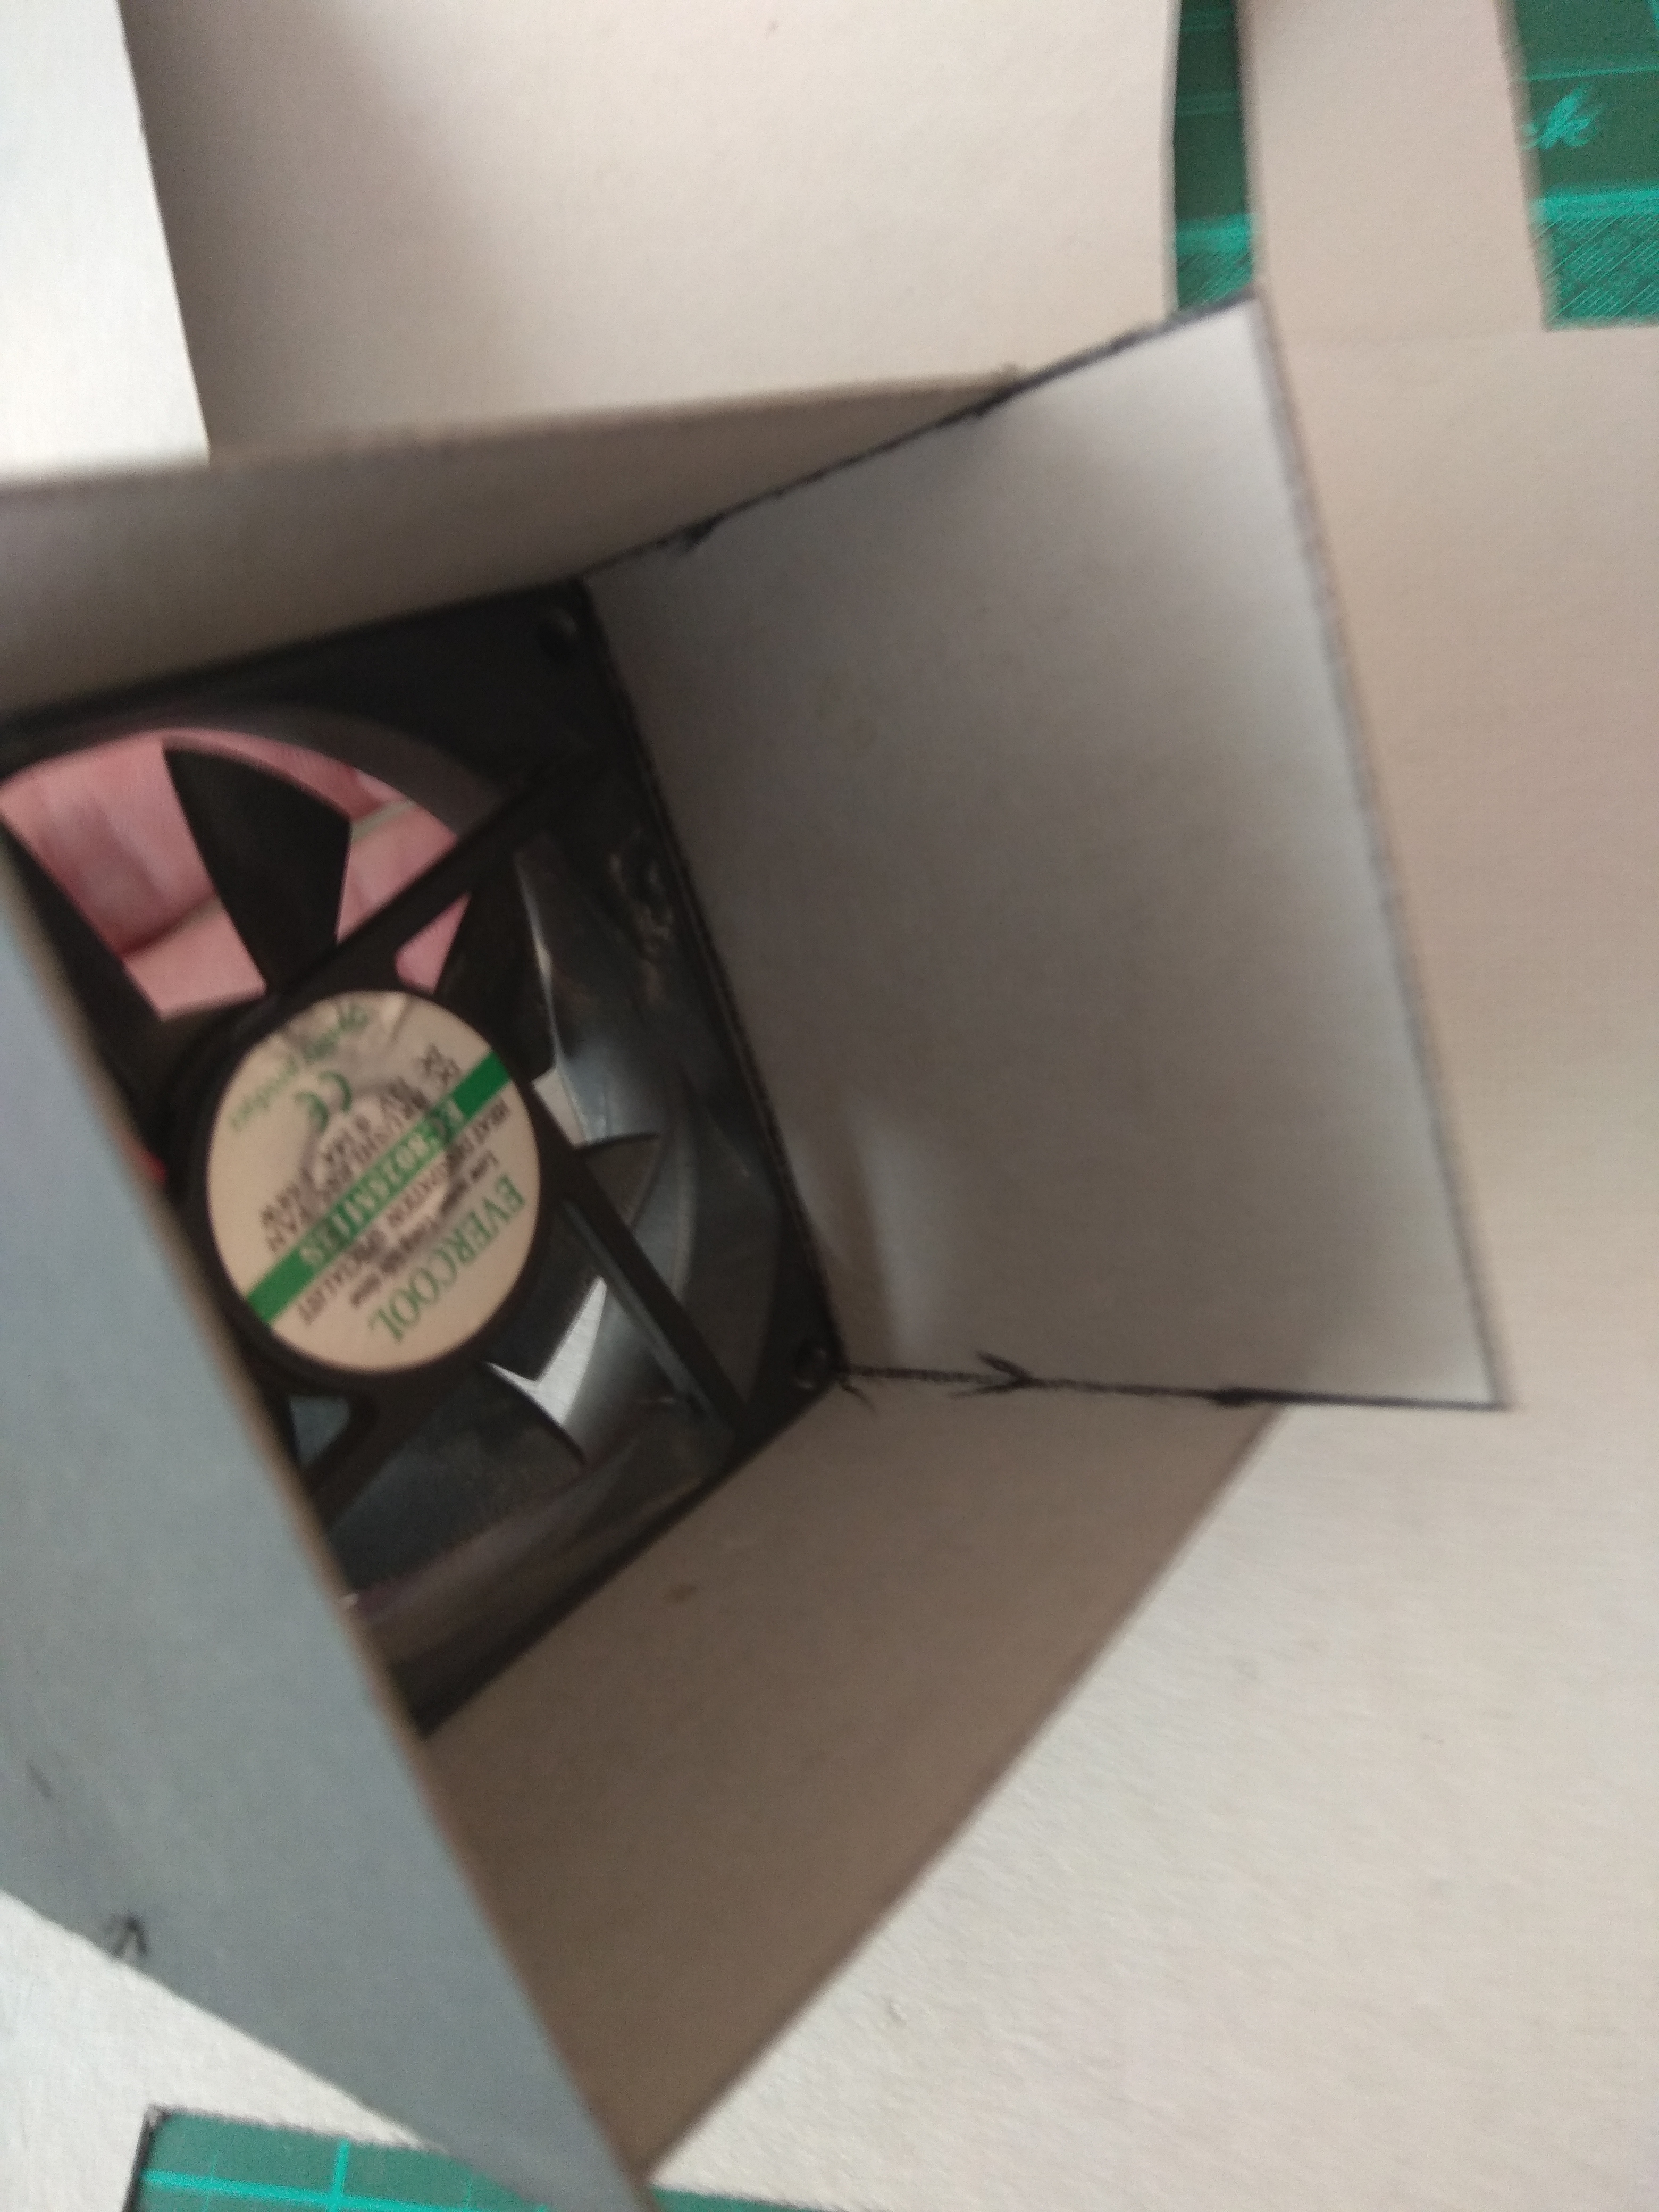
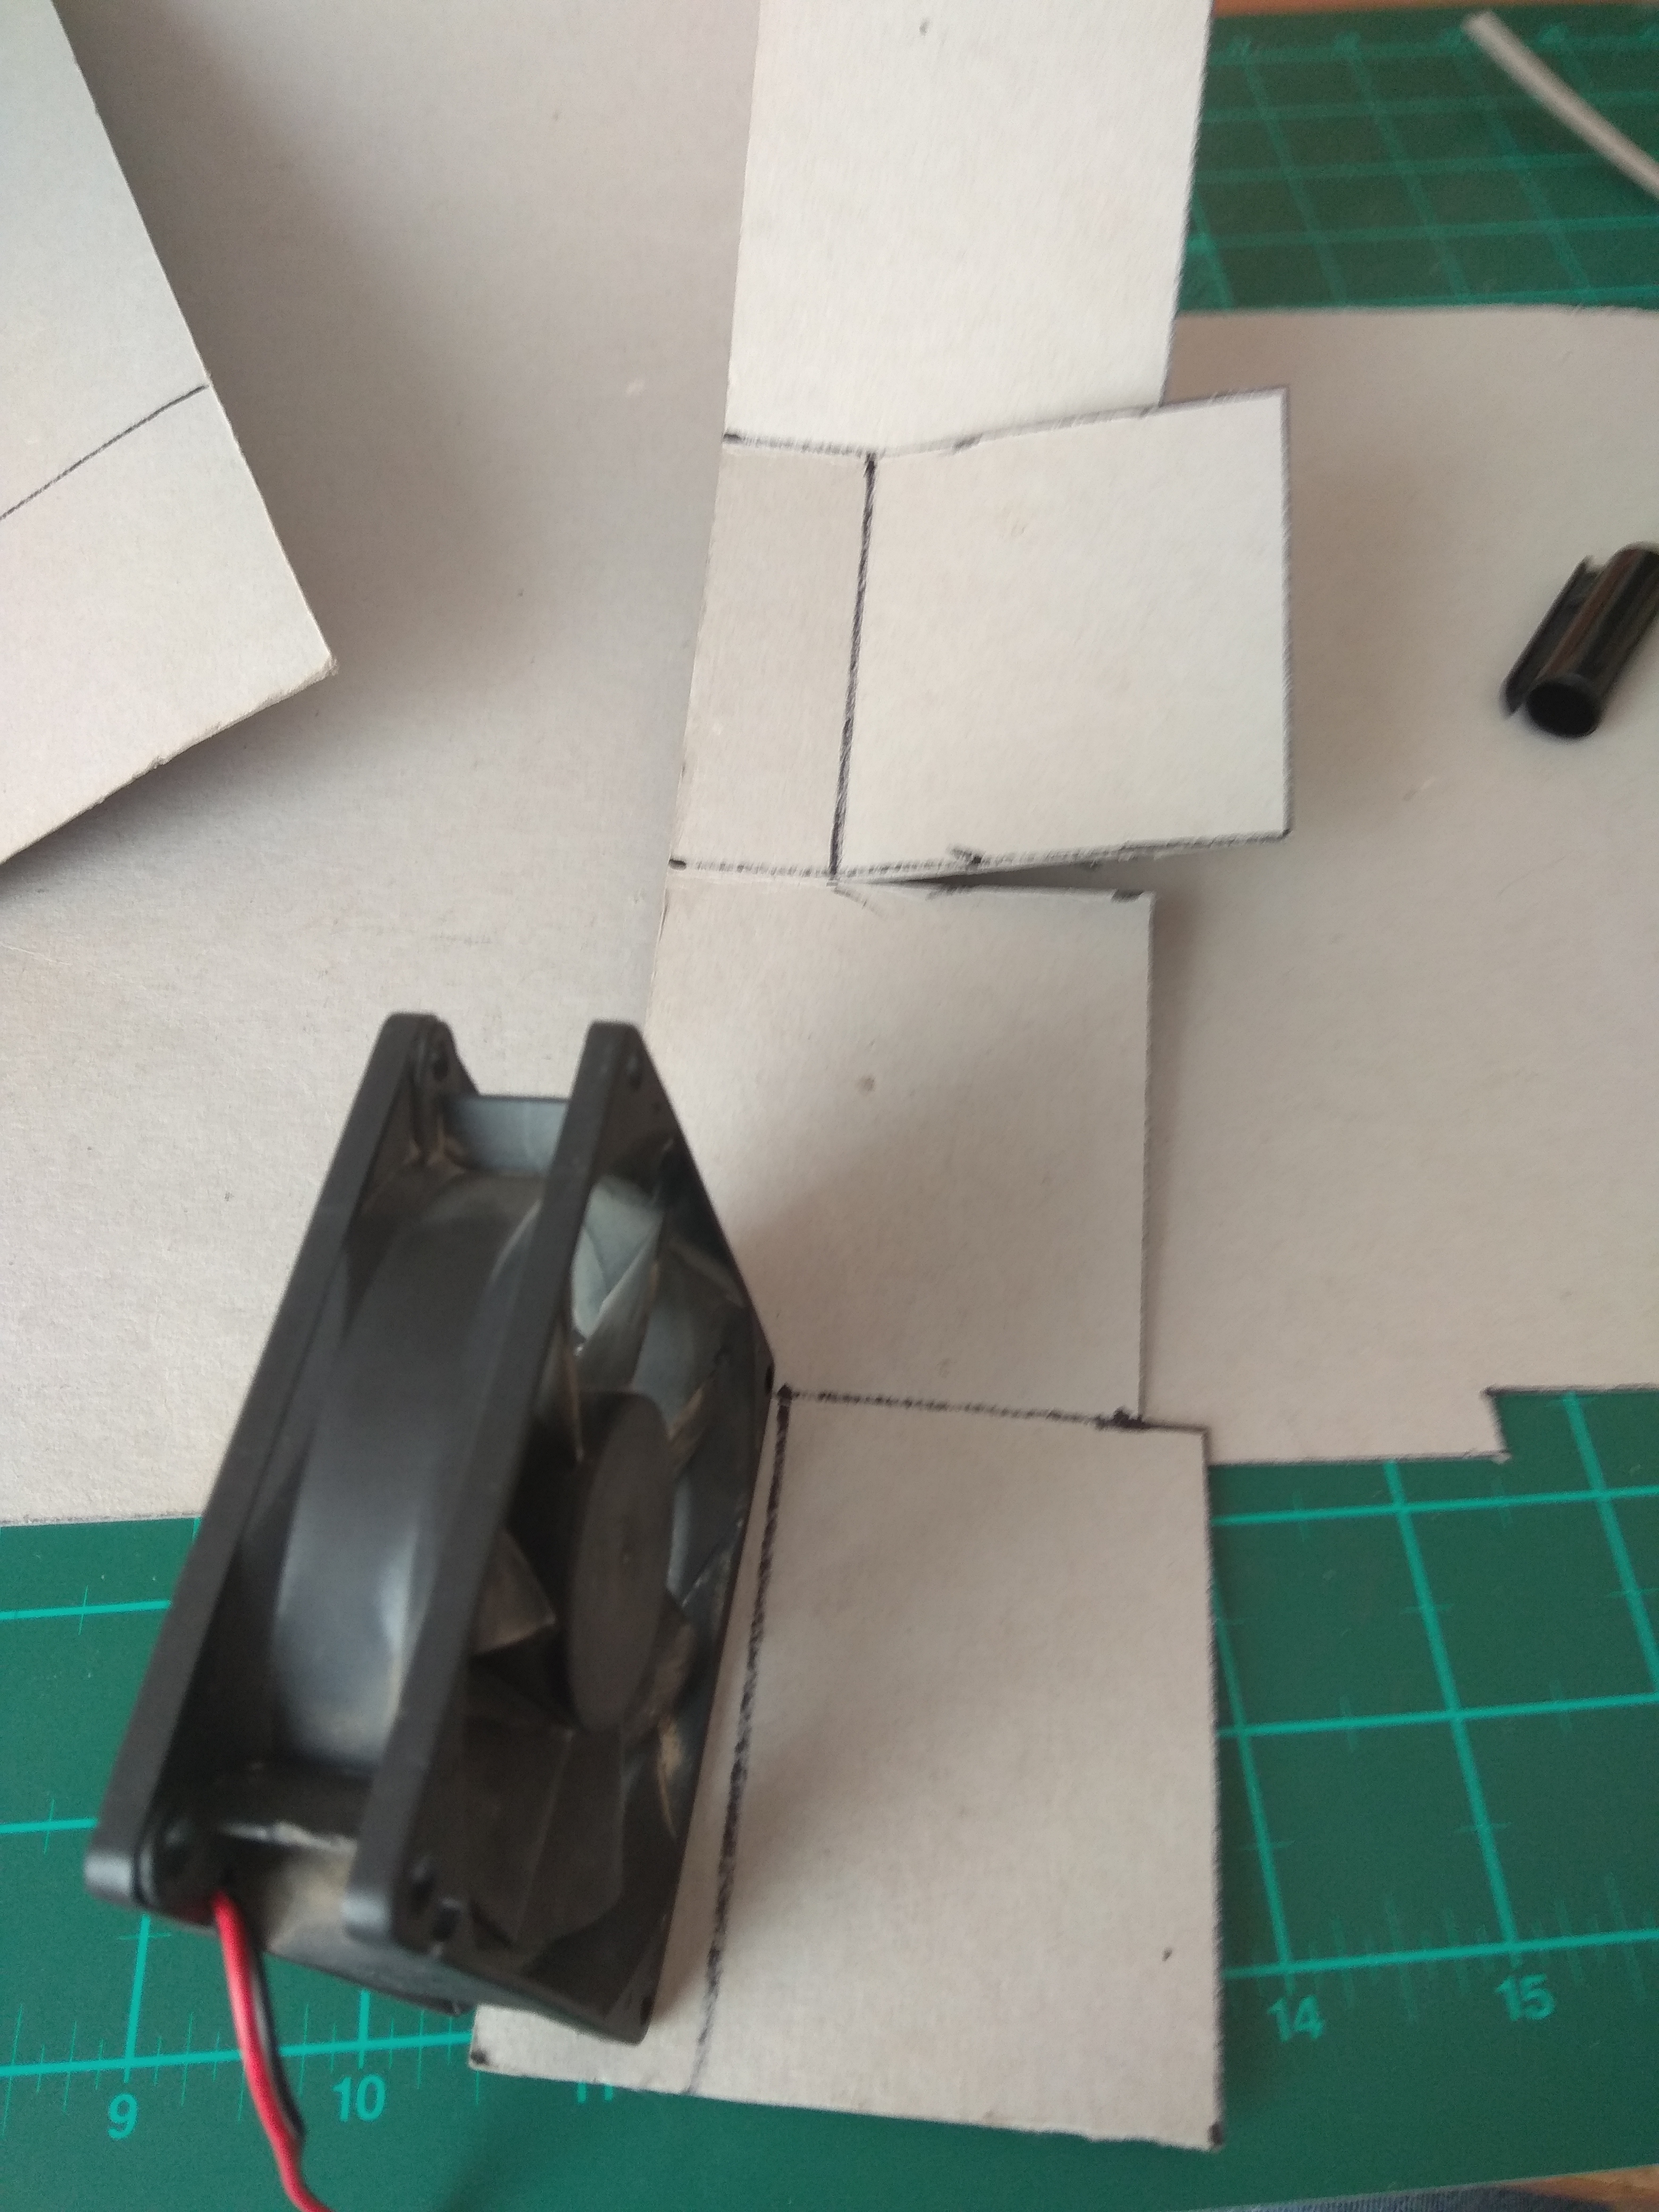
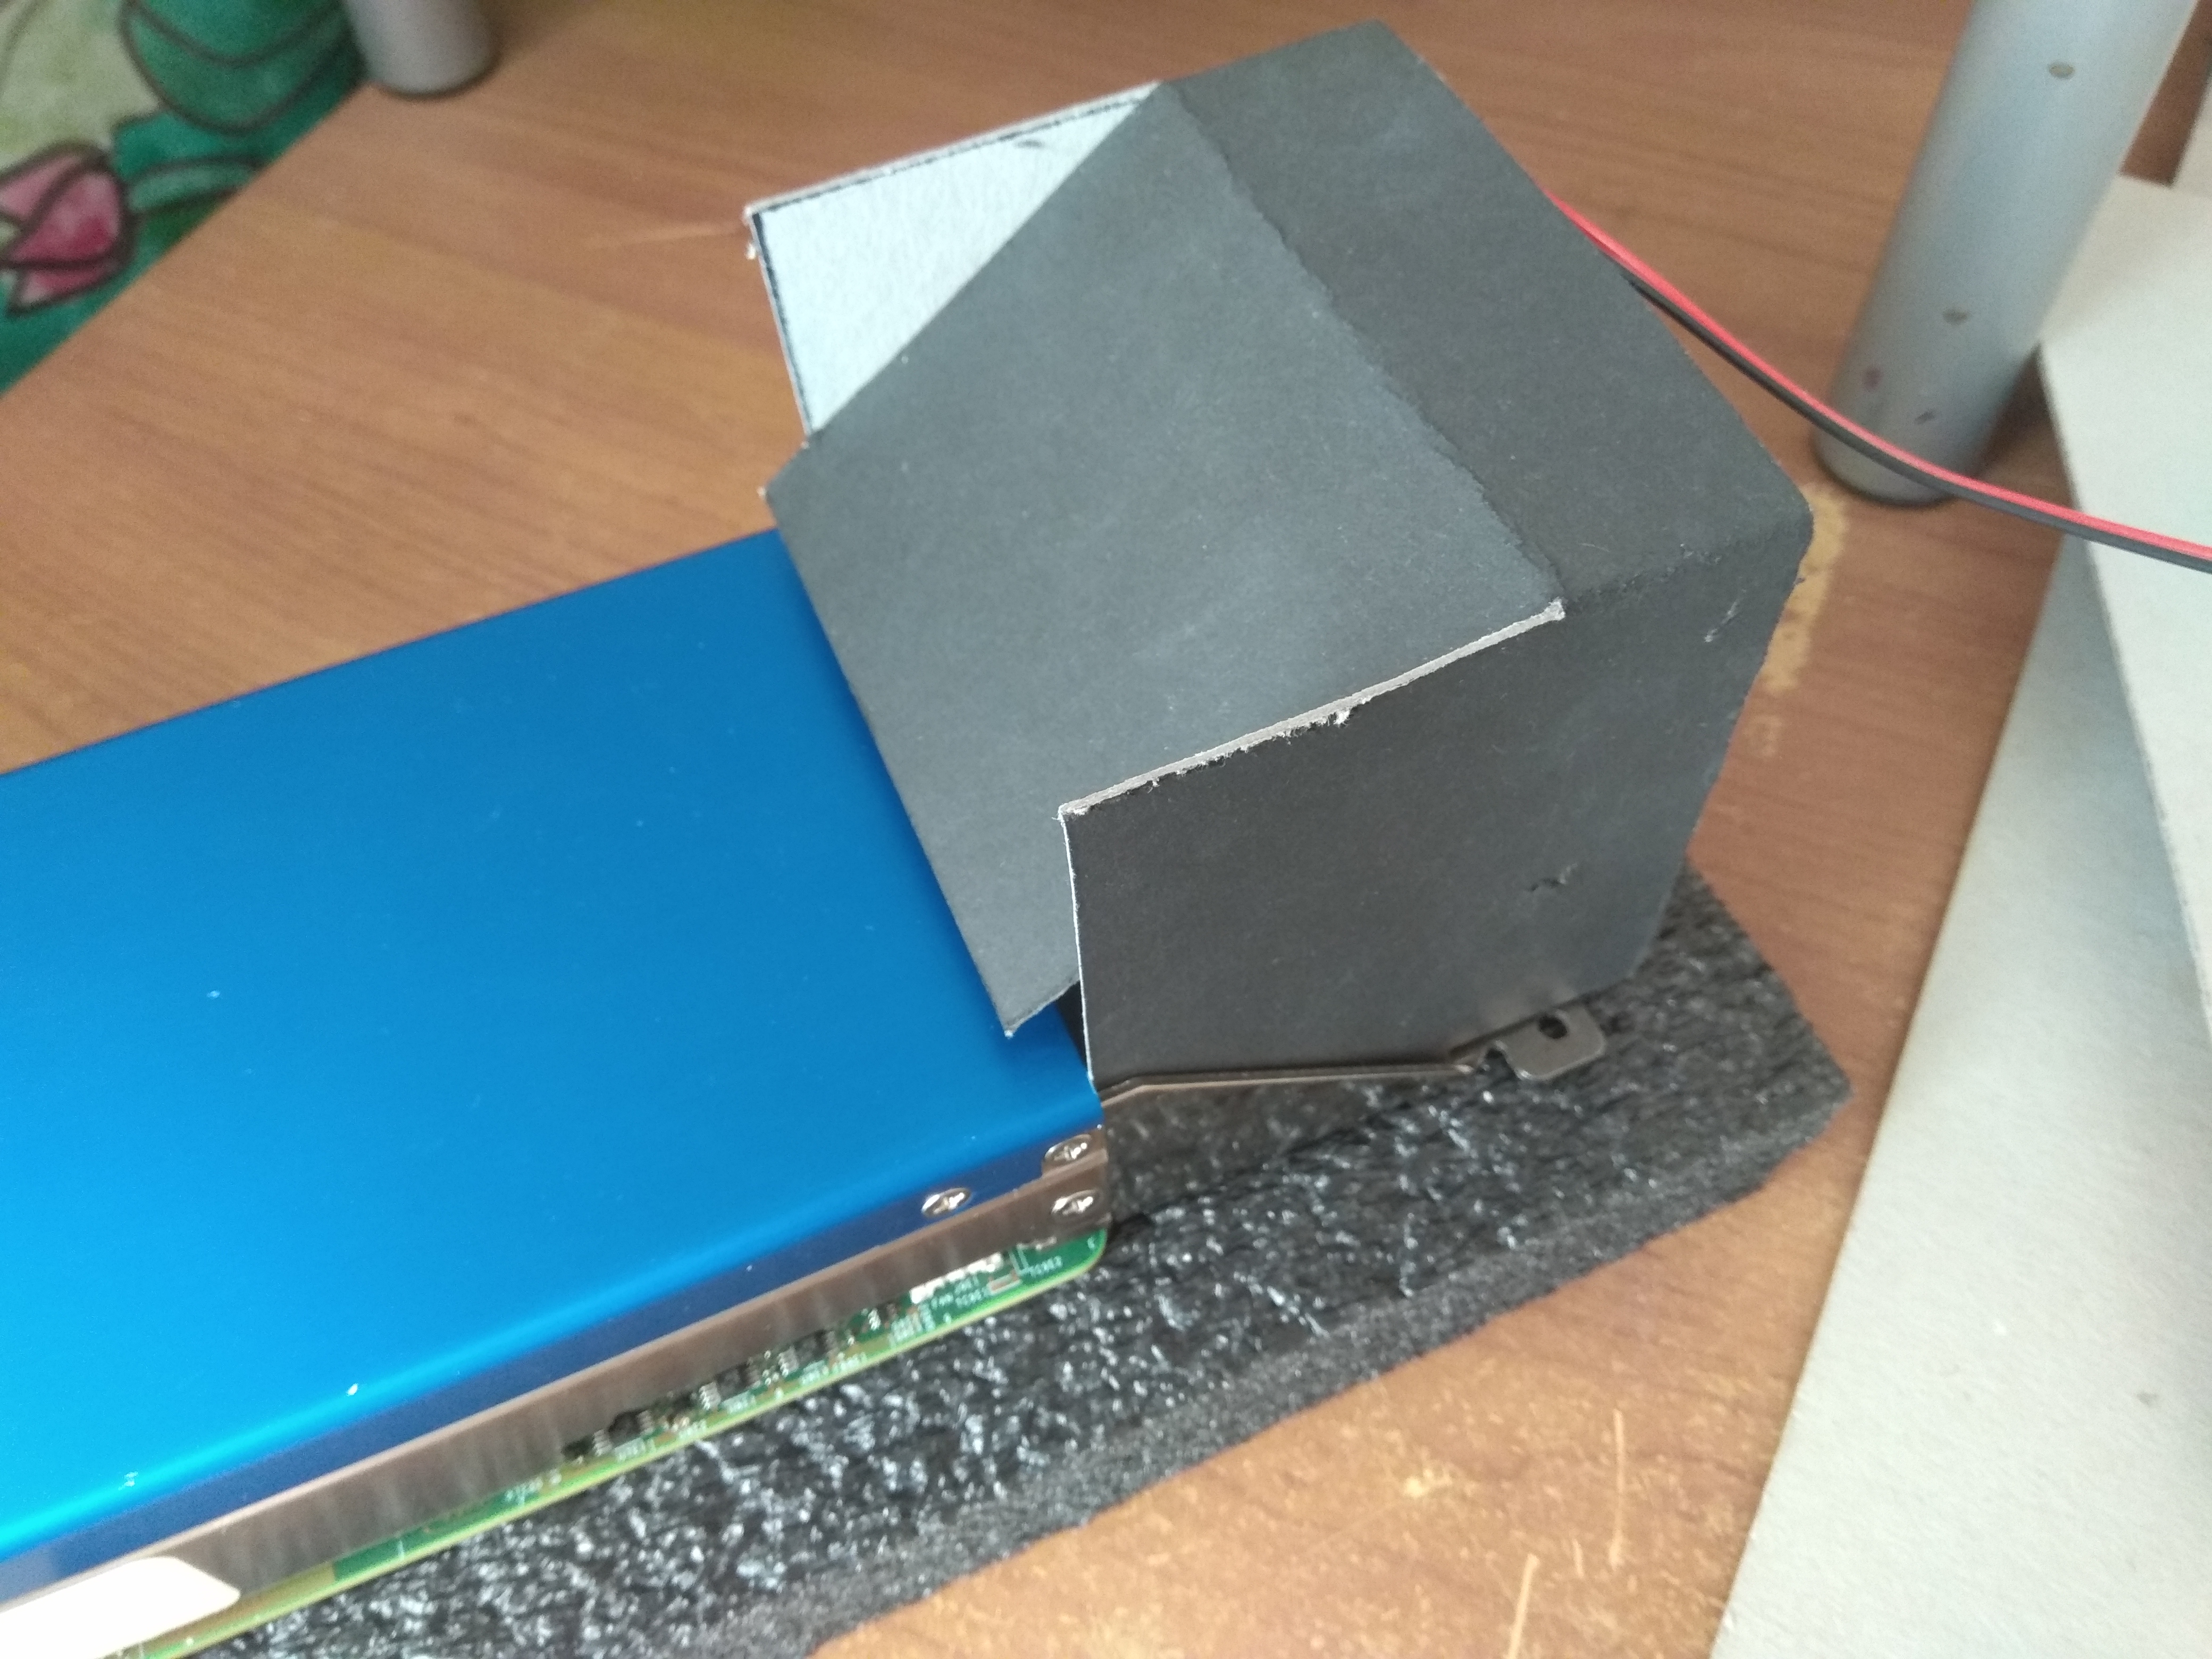
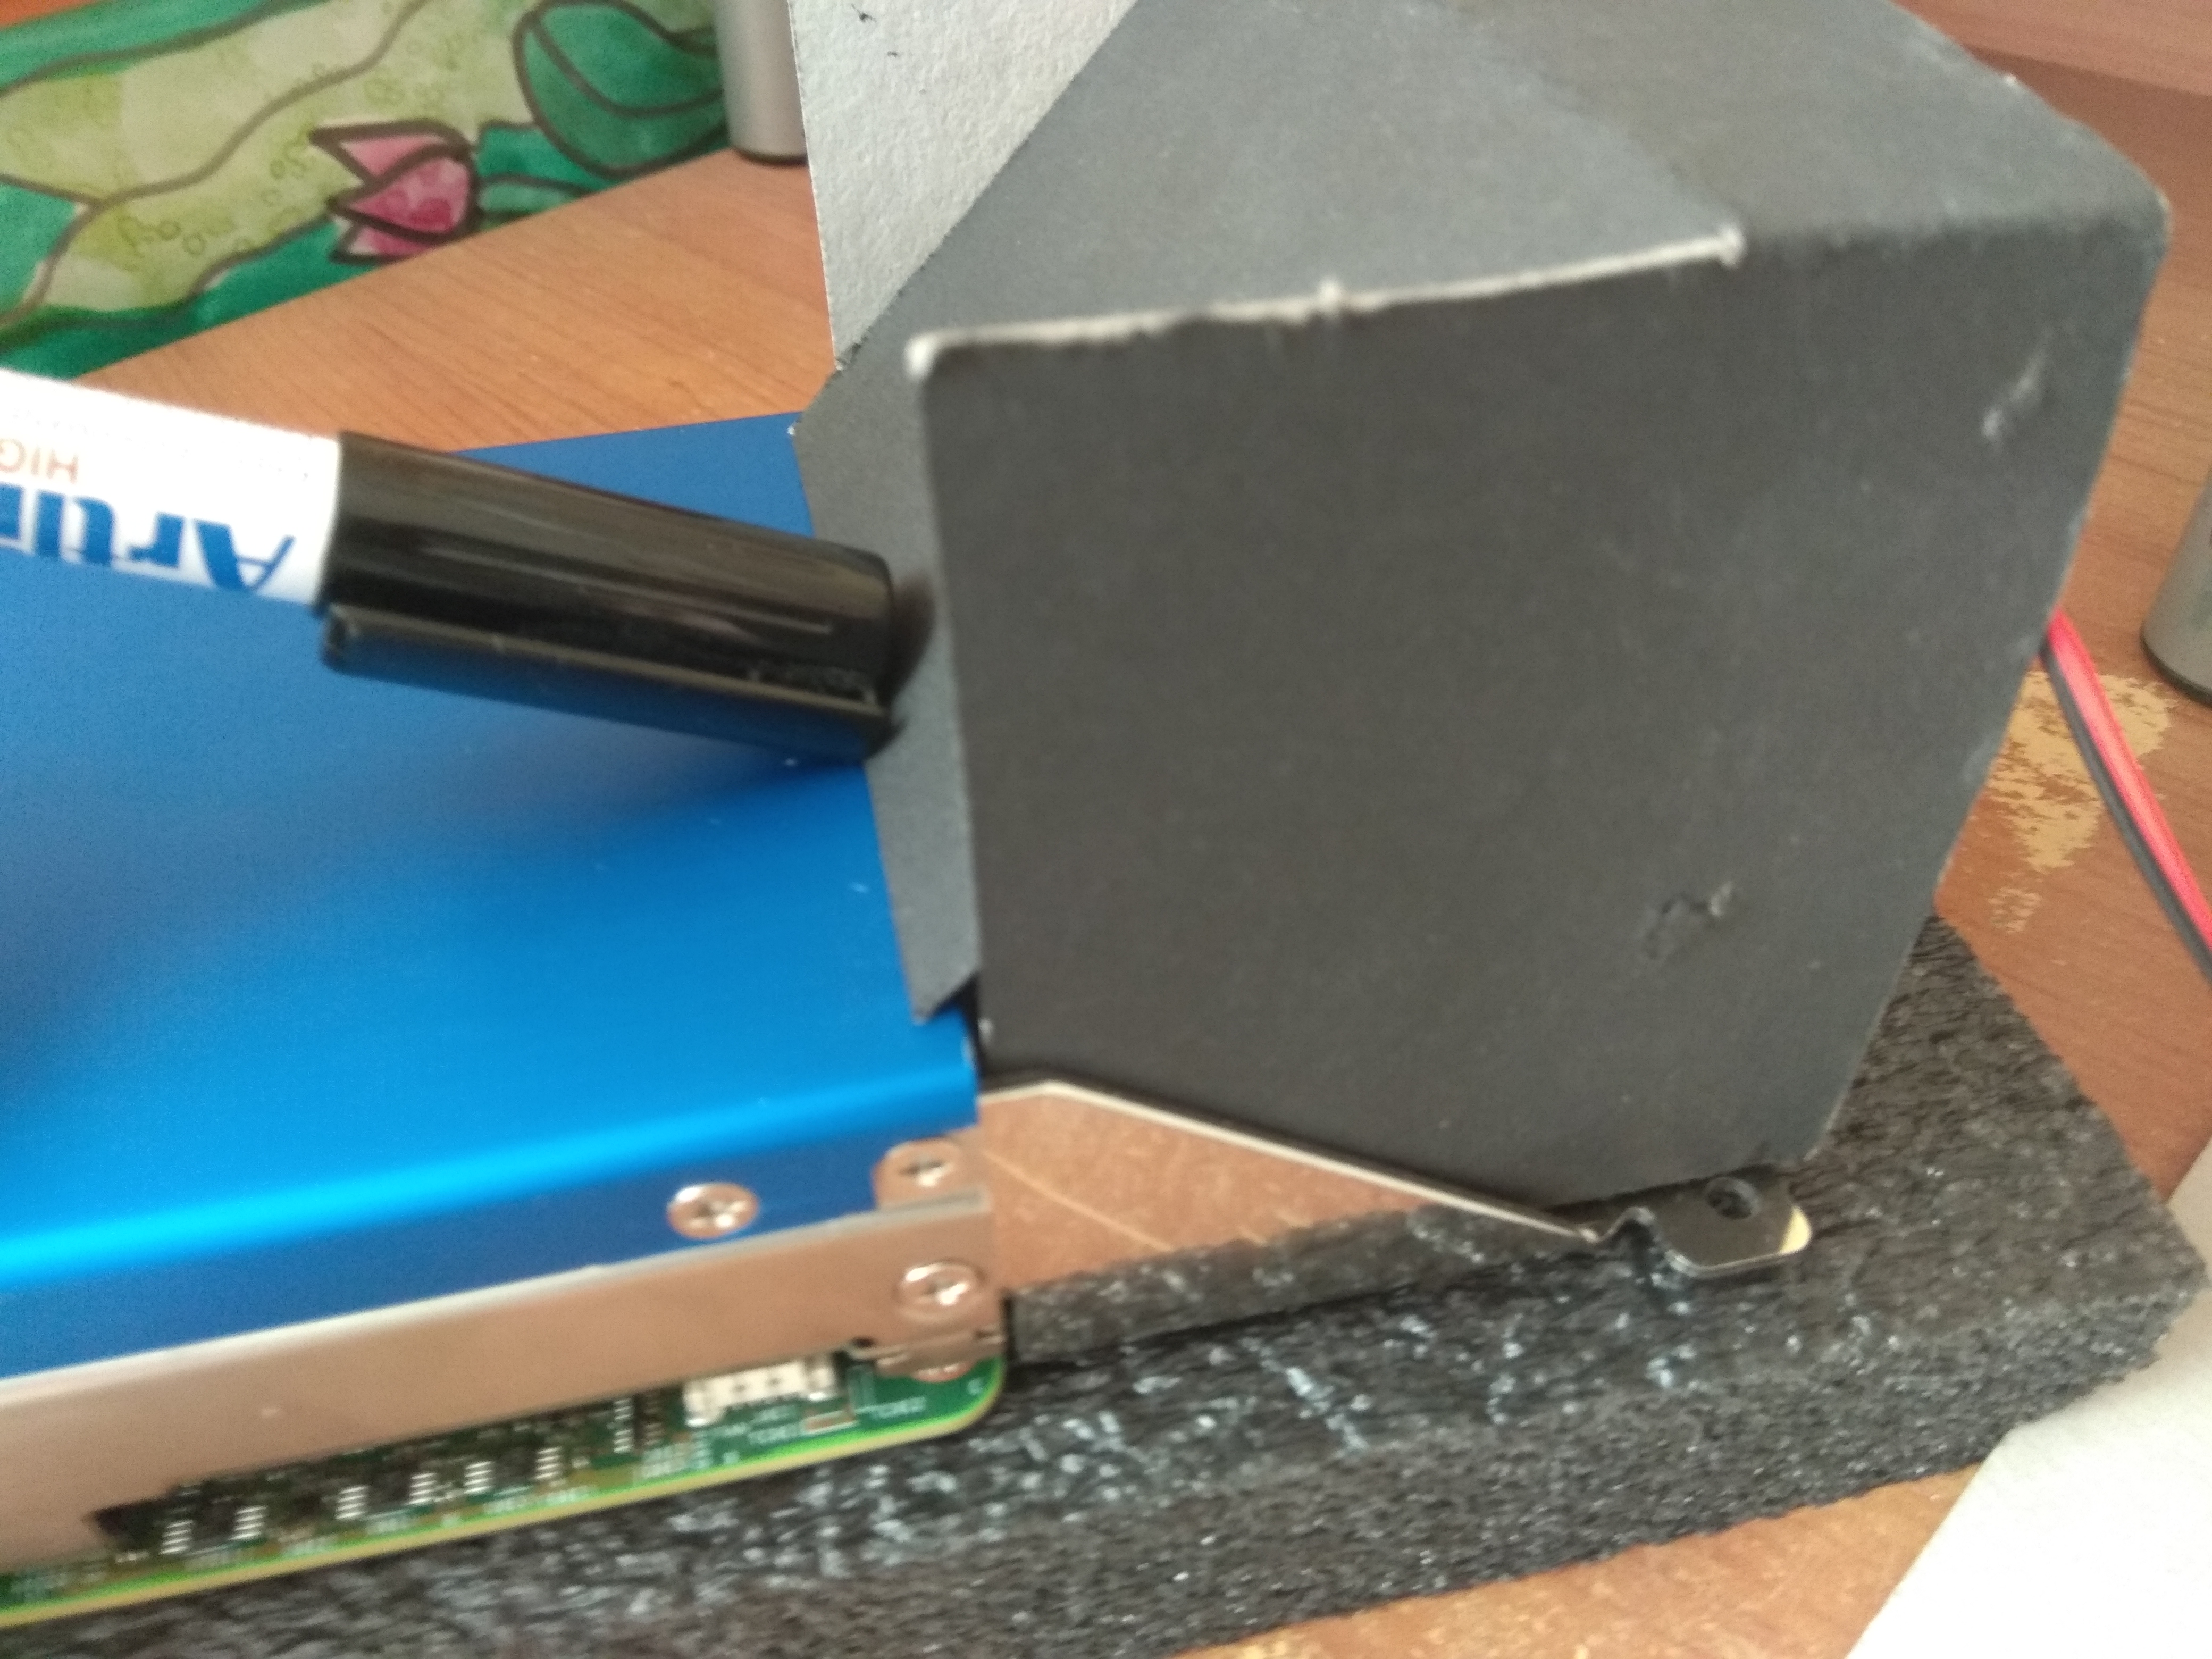
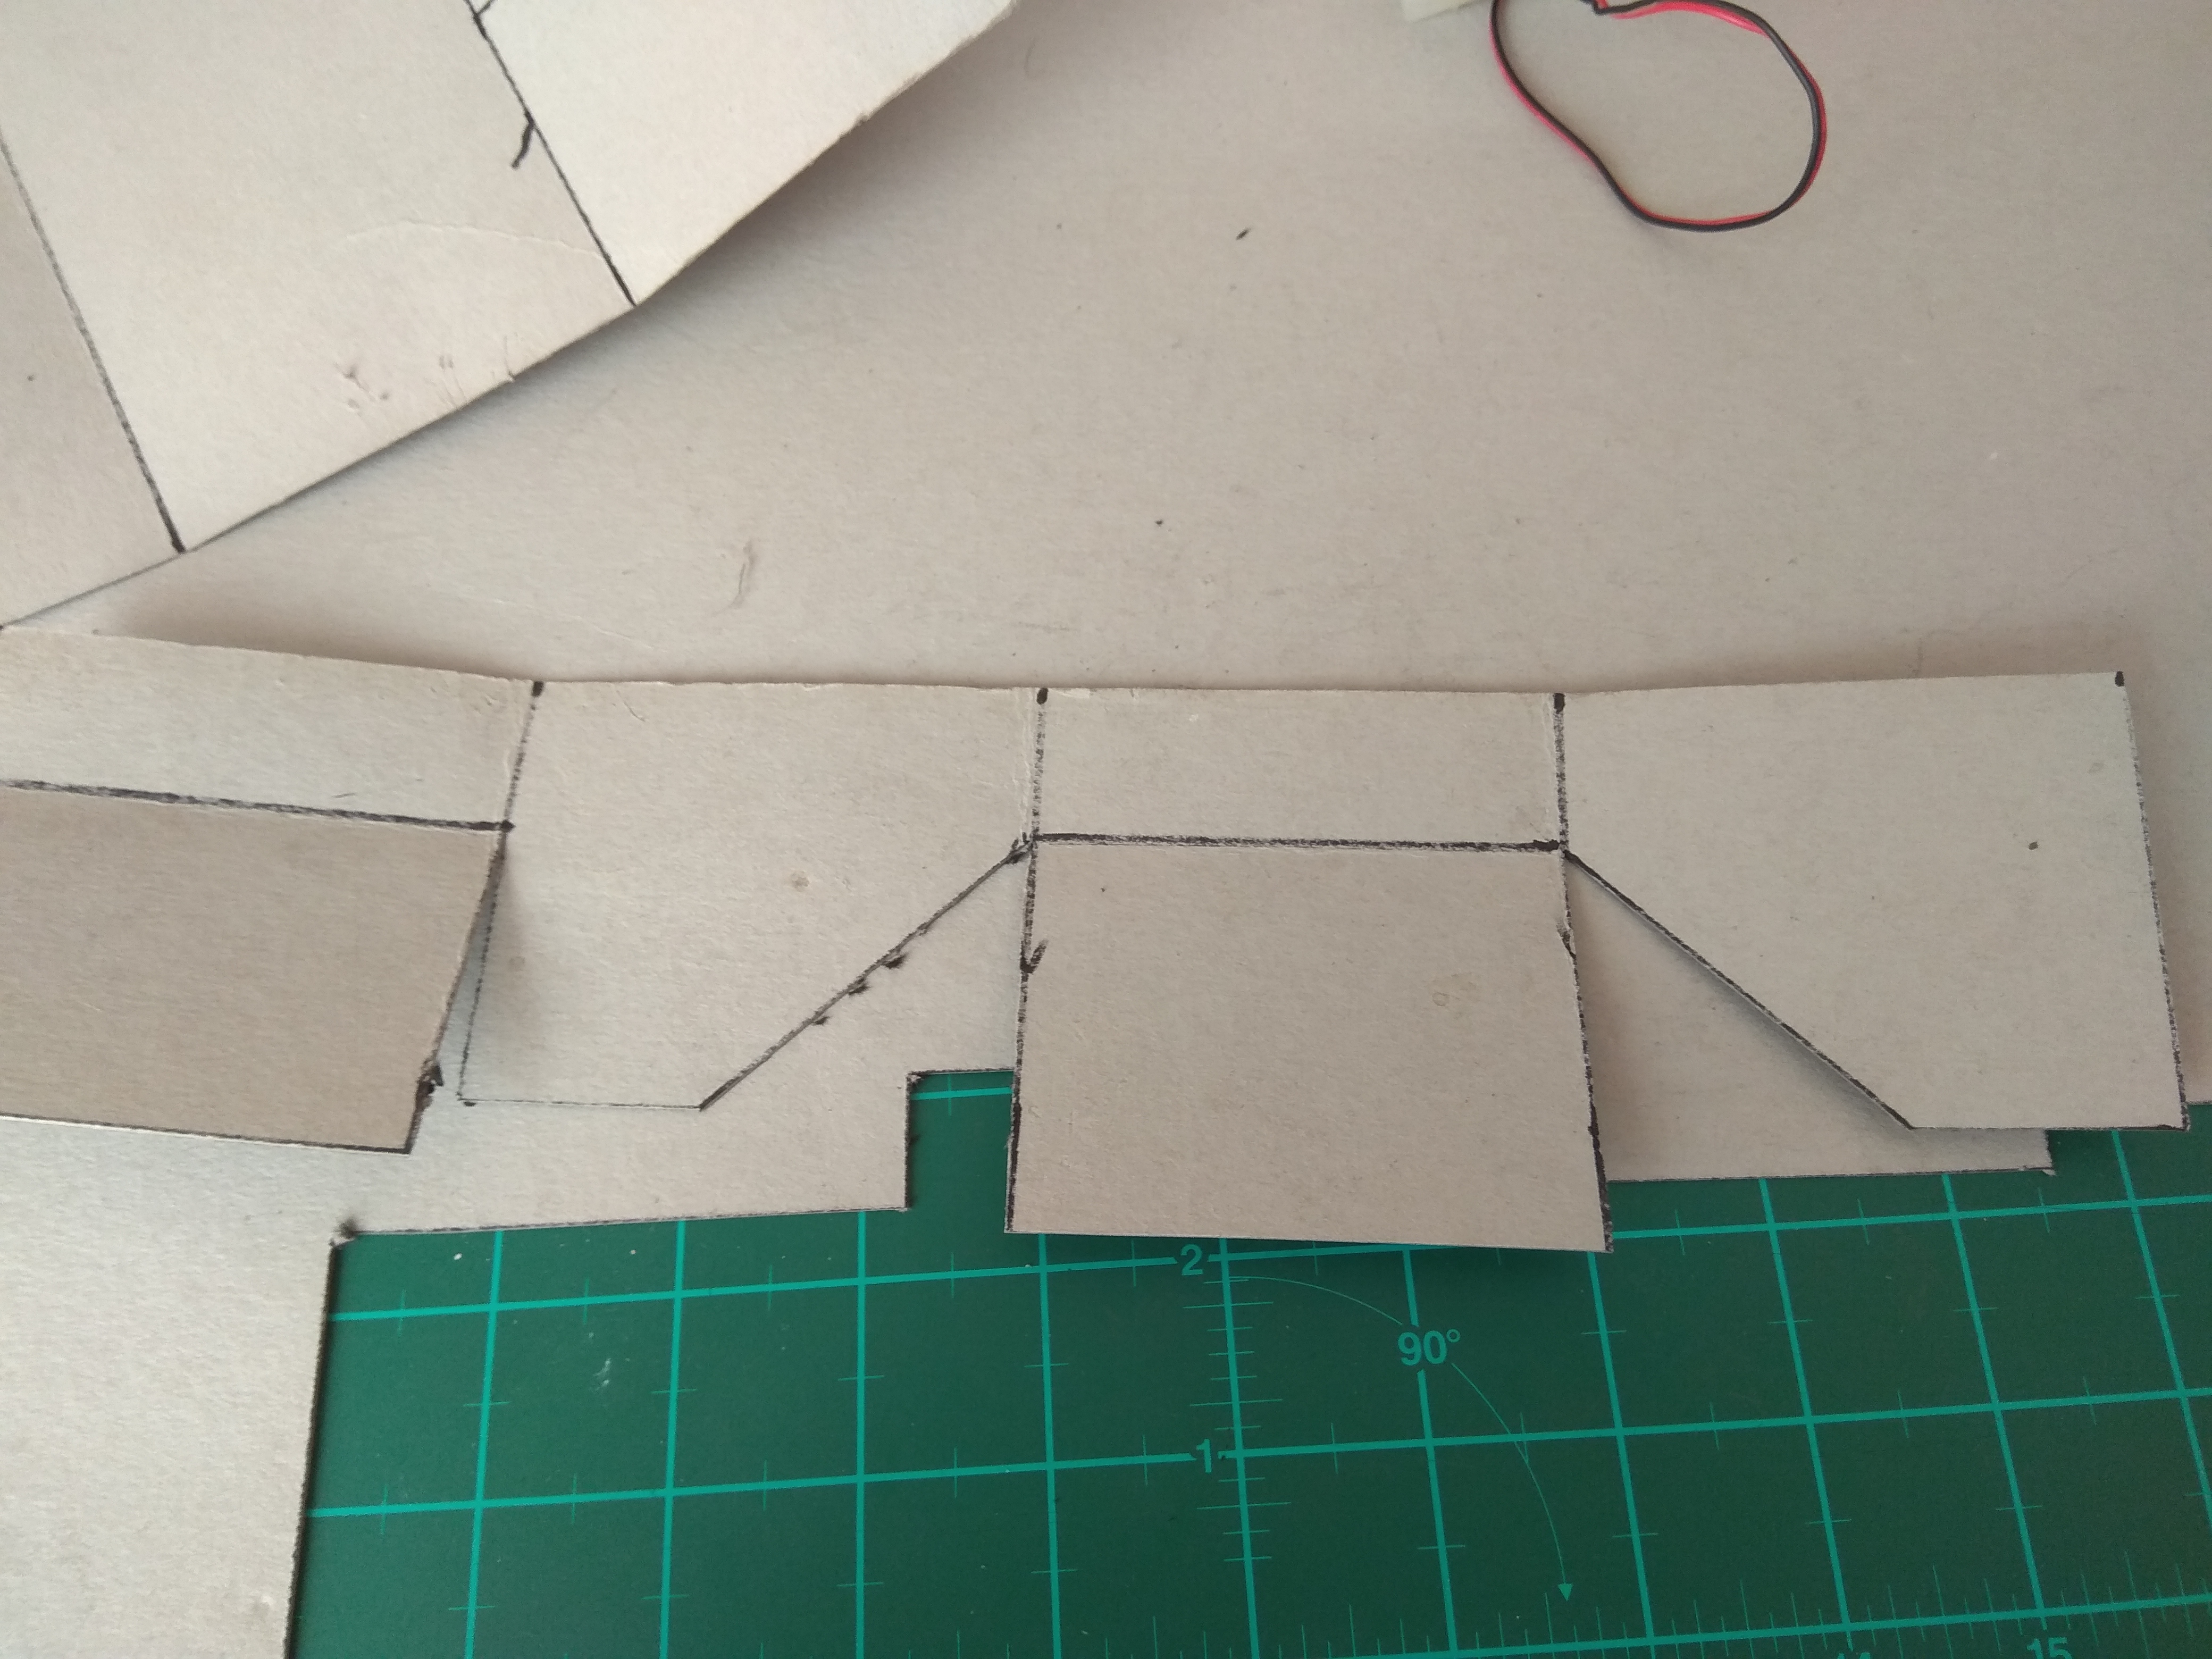
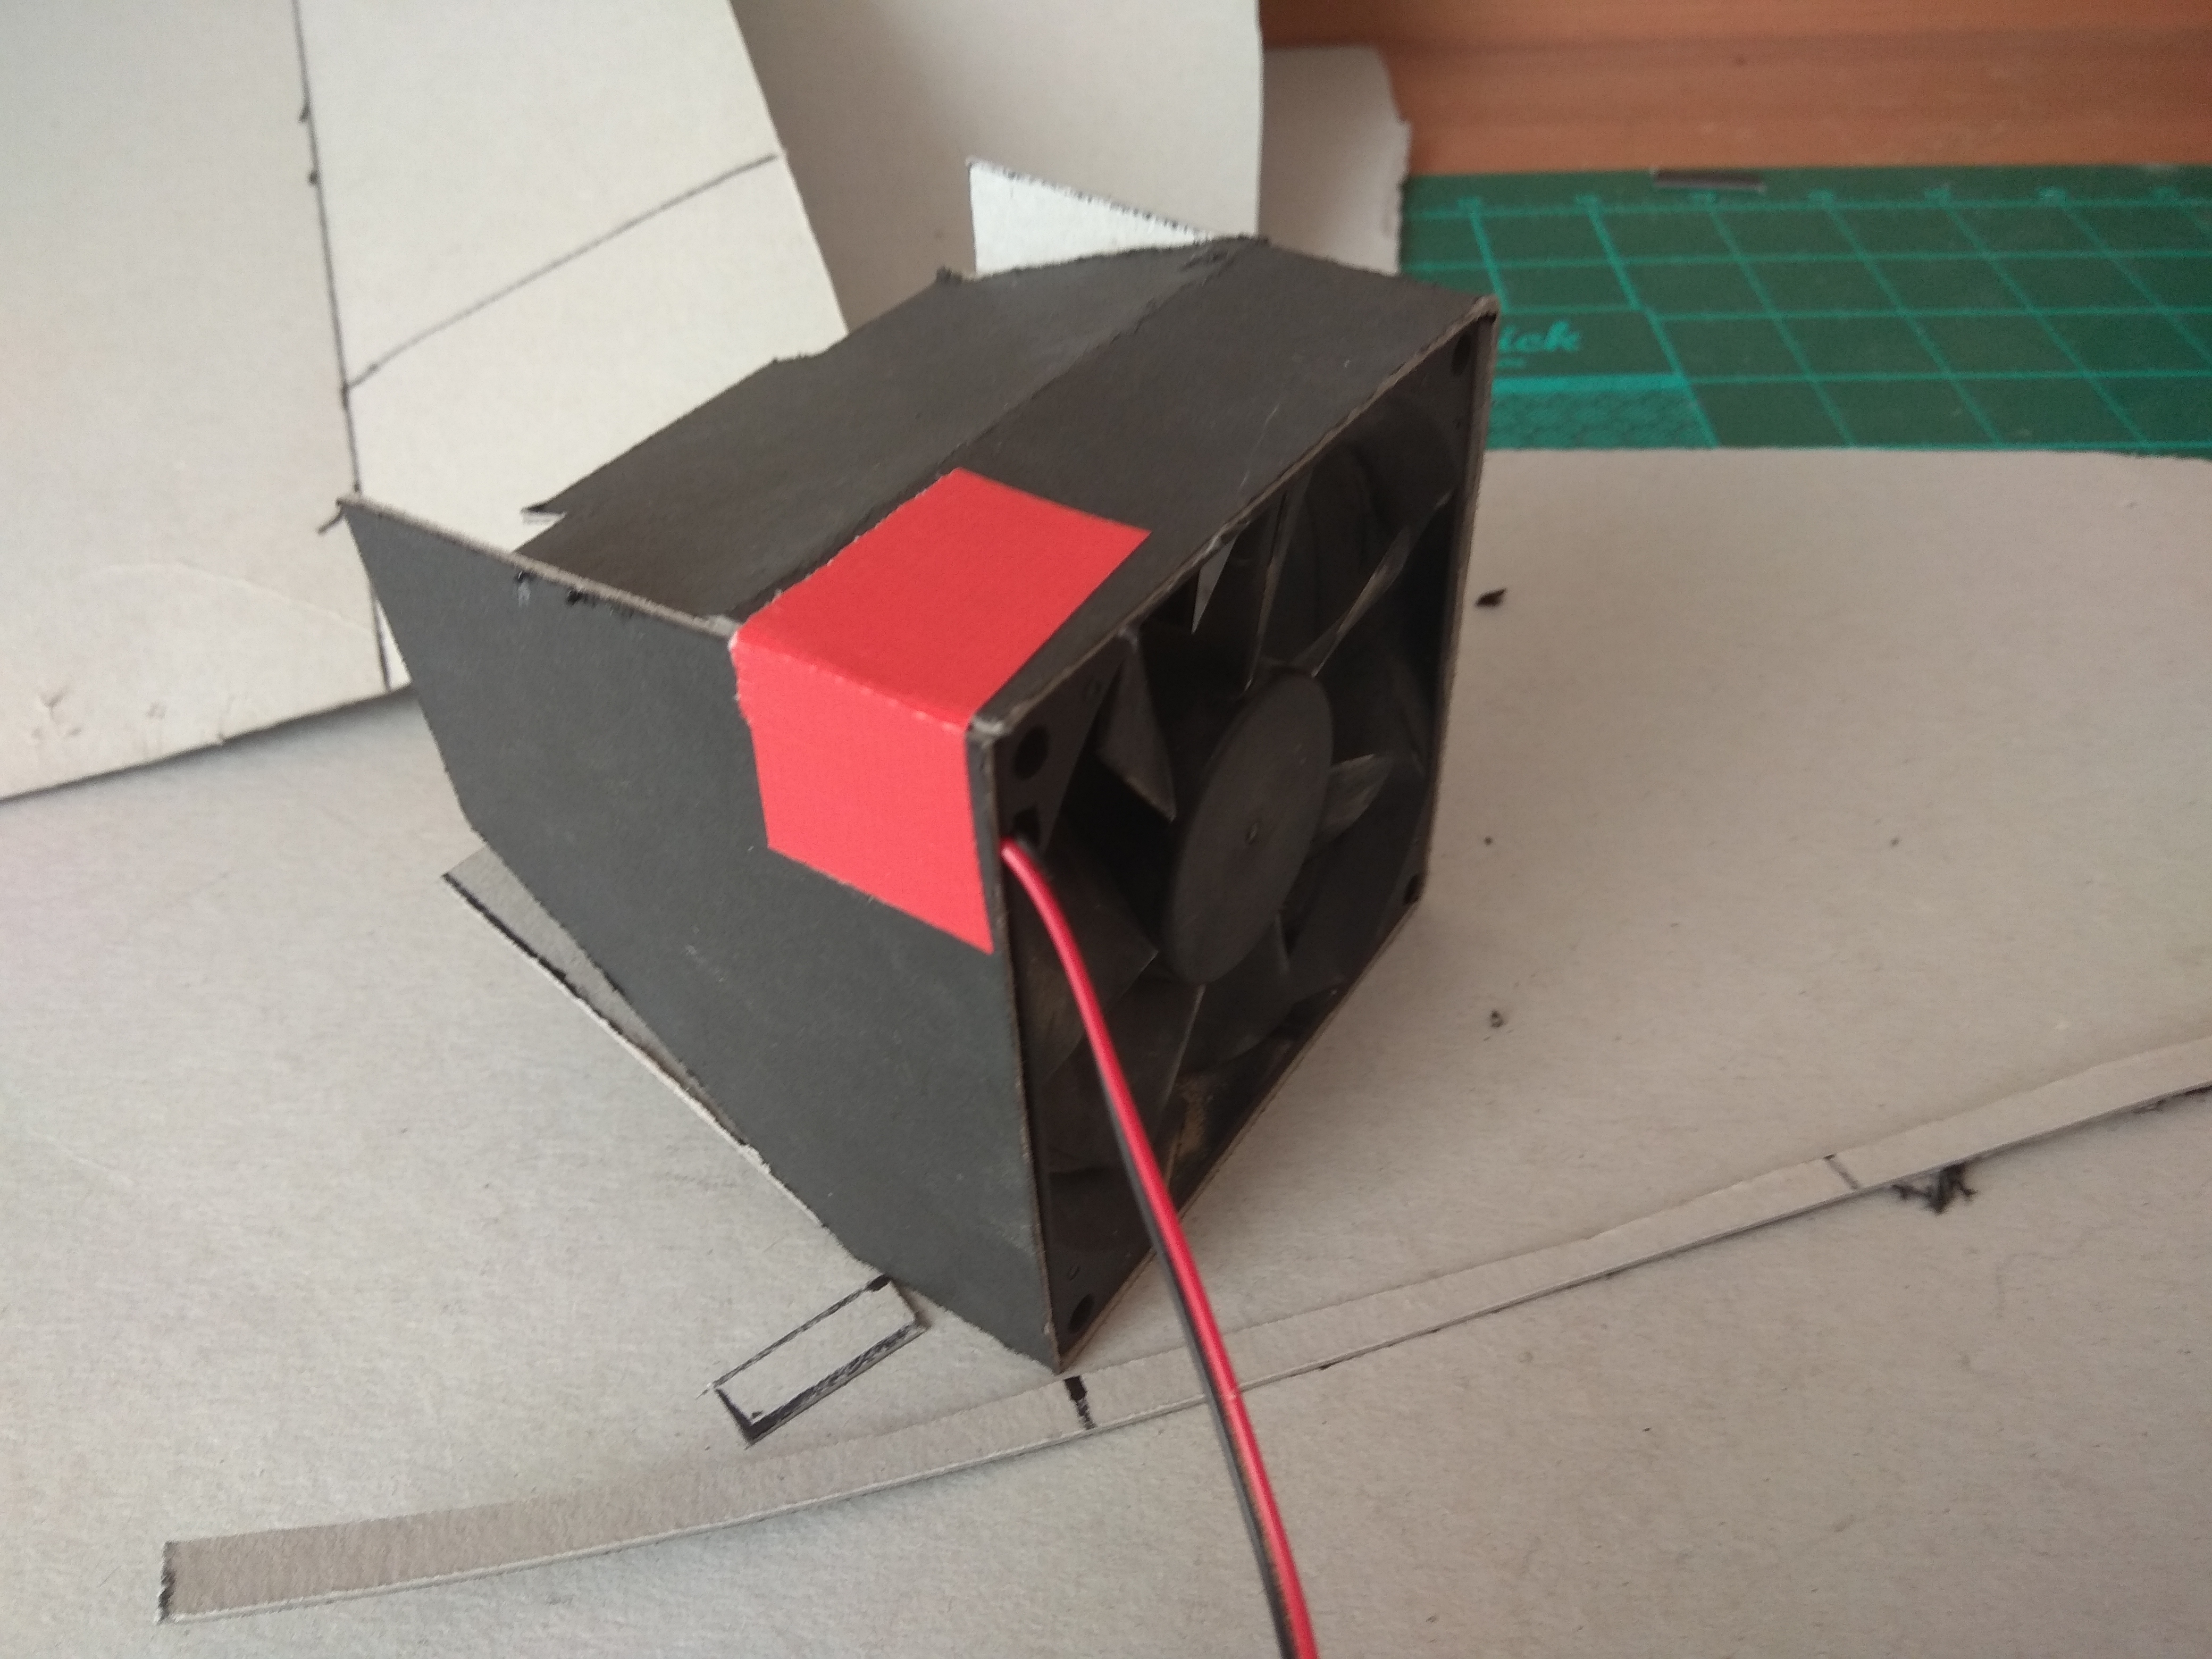
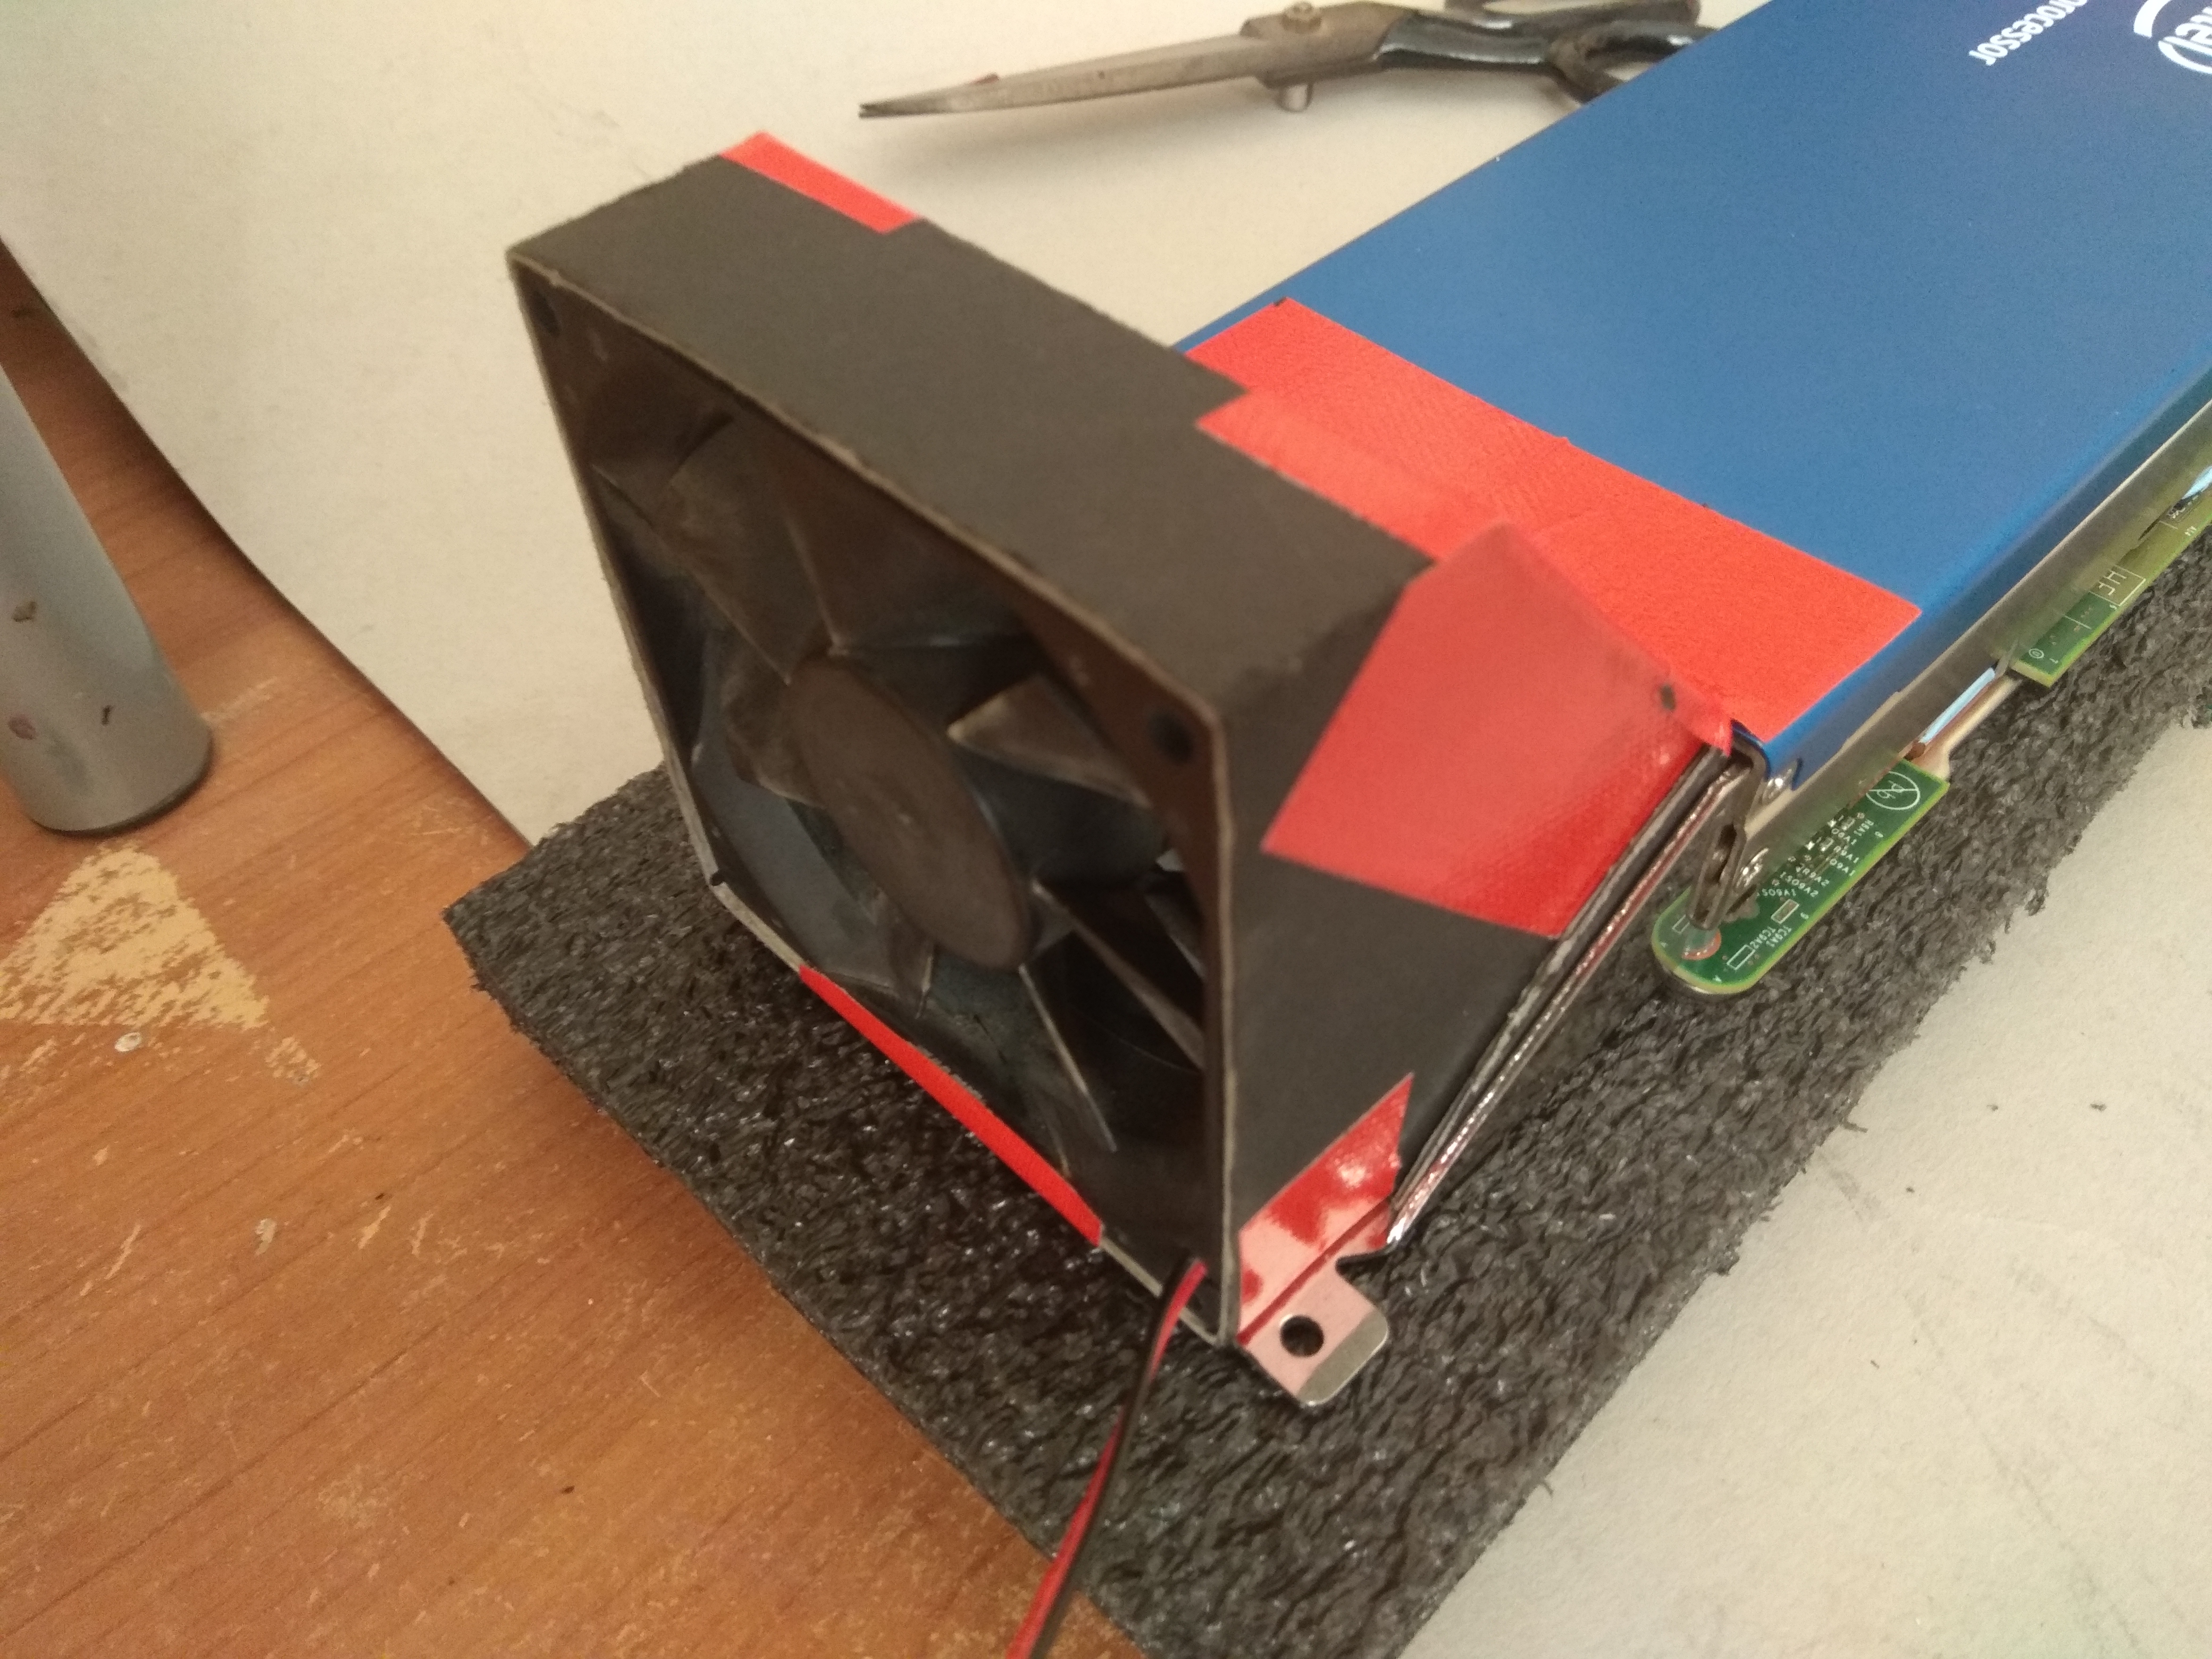
We’ll be making a bracket to fit our own blower fan on here.

Faceplate.

Not the usual ATX Case faceplate. (We’ll make our own)

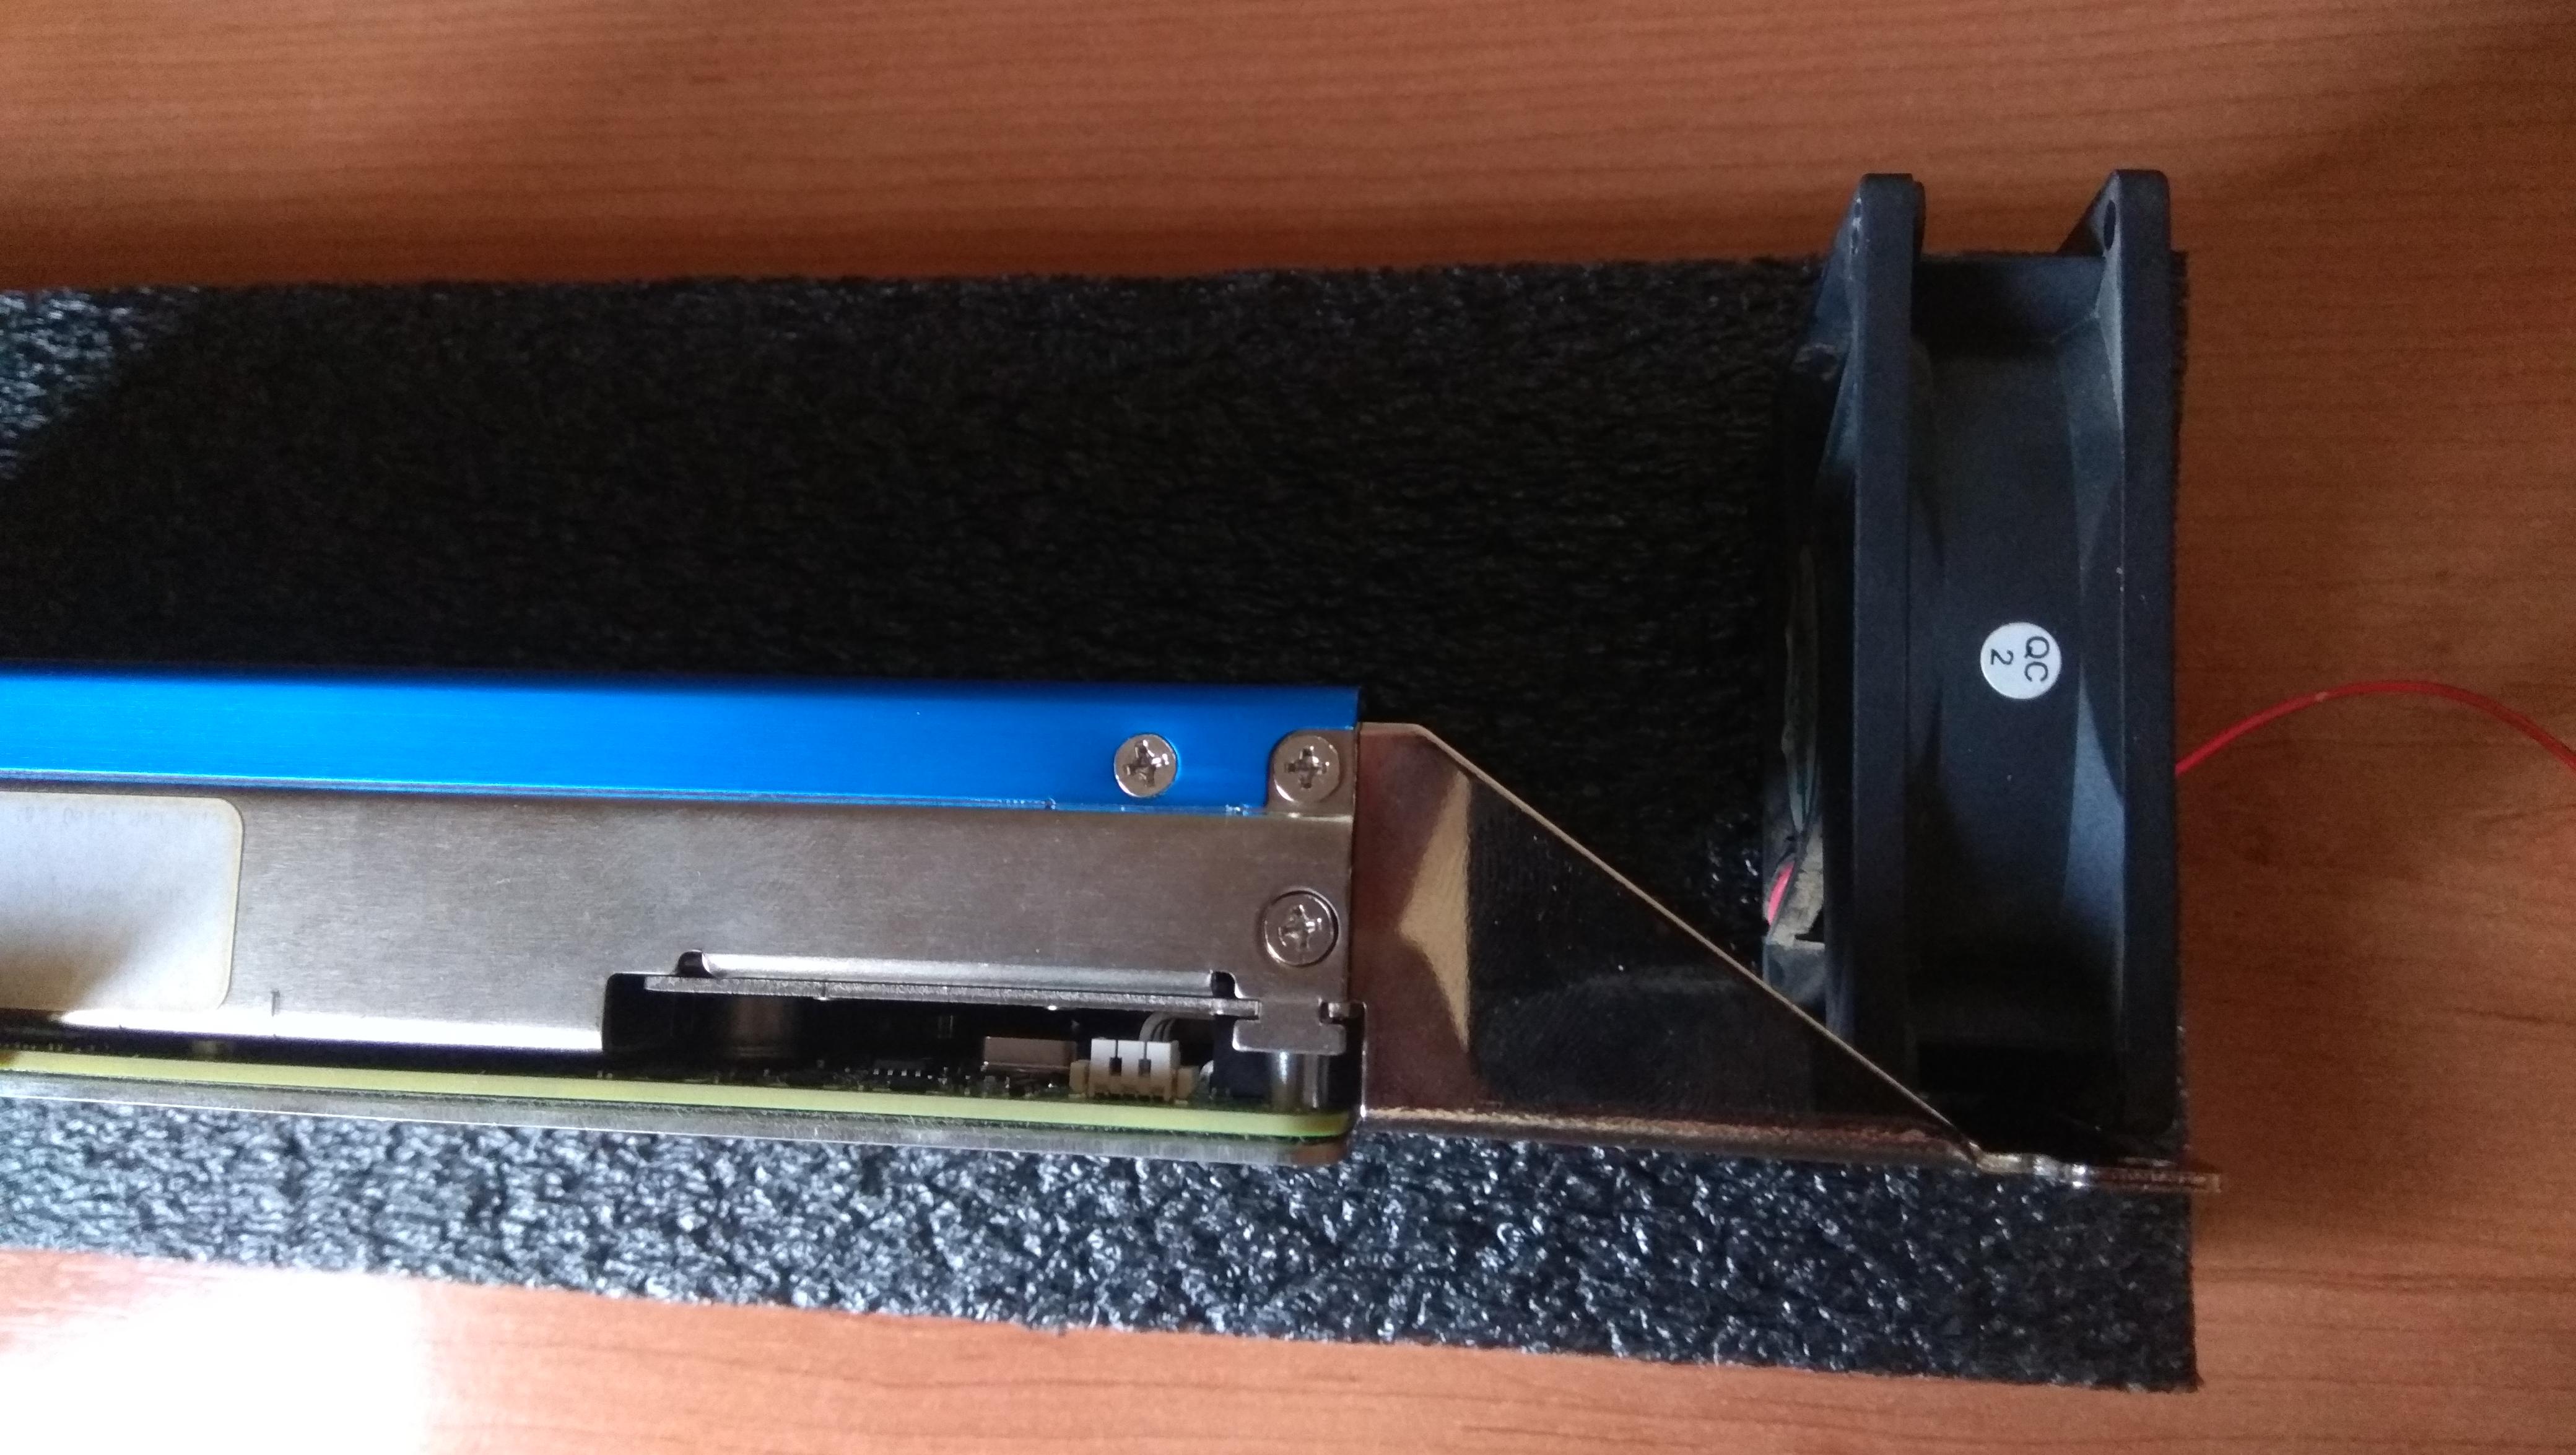
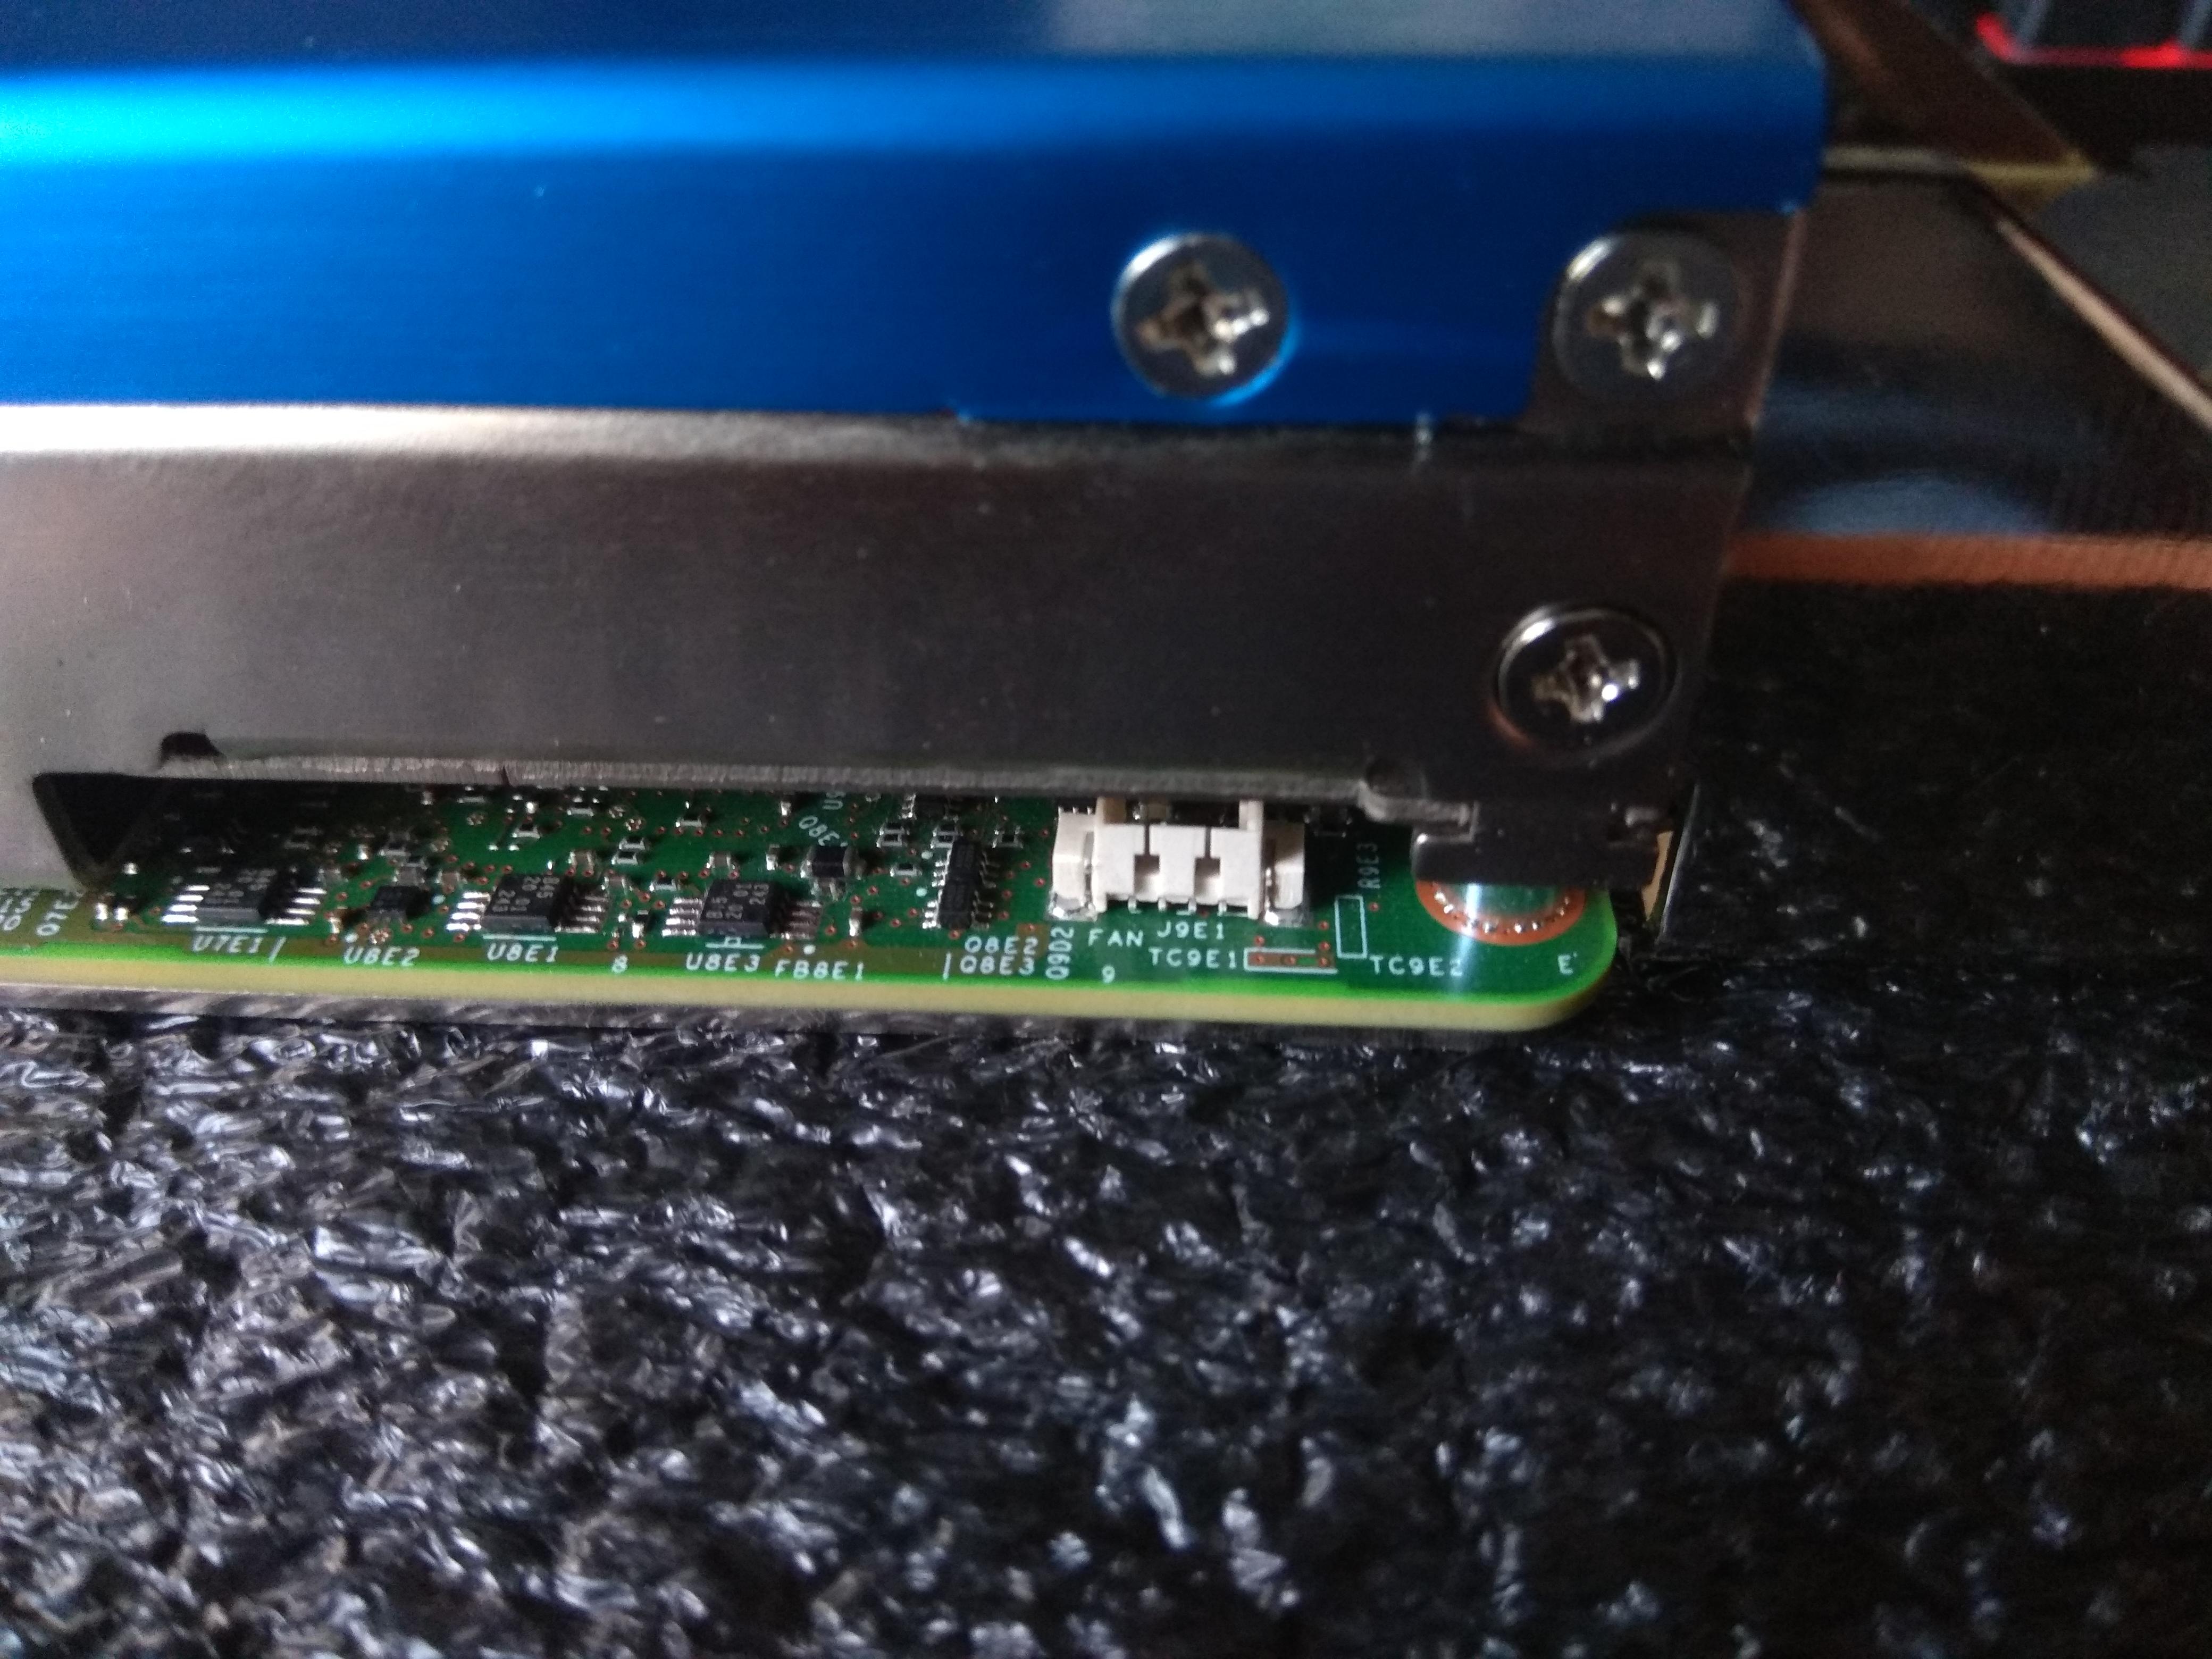
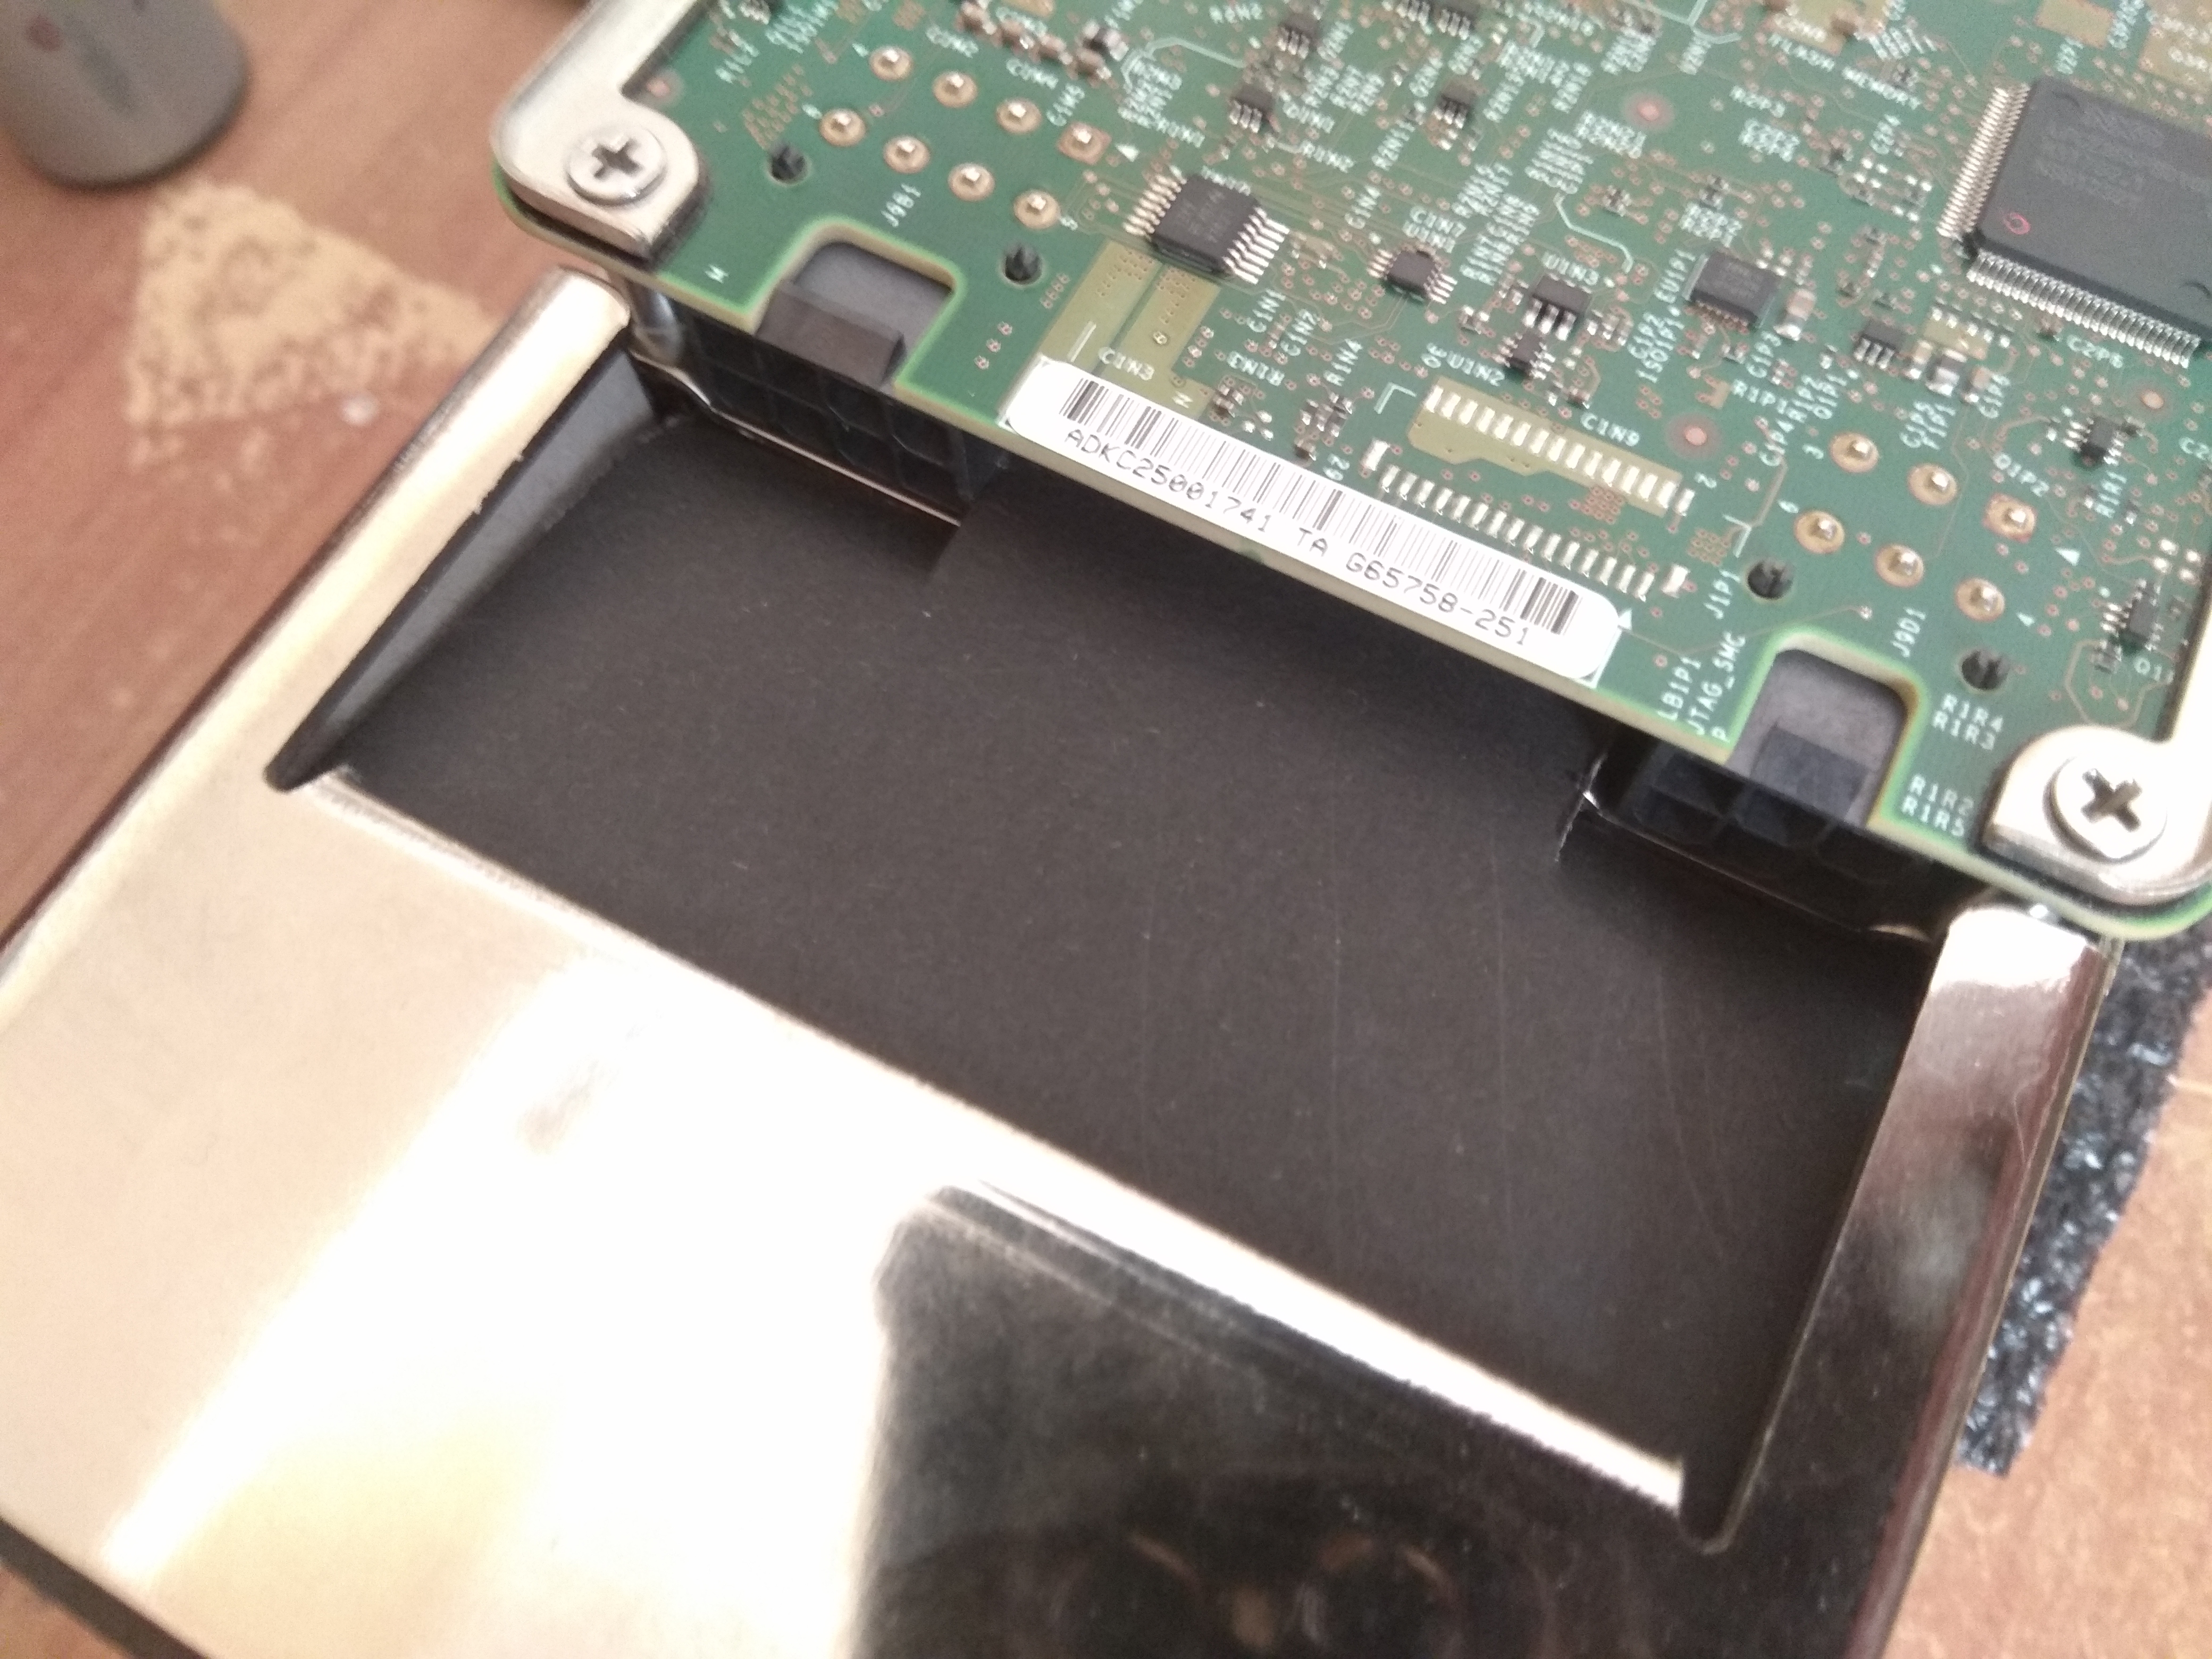
PCI-E 16x 2.0 slot side with some details.

Label printed on thermal paper is barely legible.

Back of the Card with Bracket

What it would look like underneath

if I had the guts to take it apart

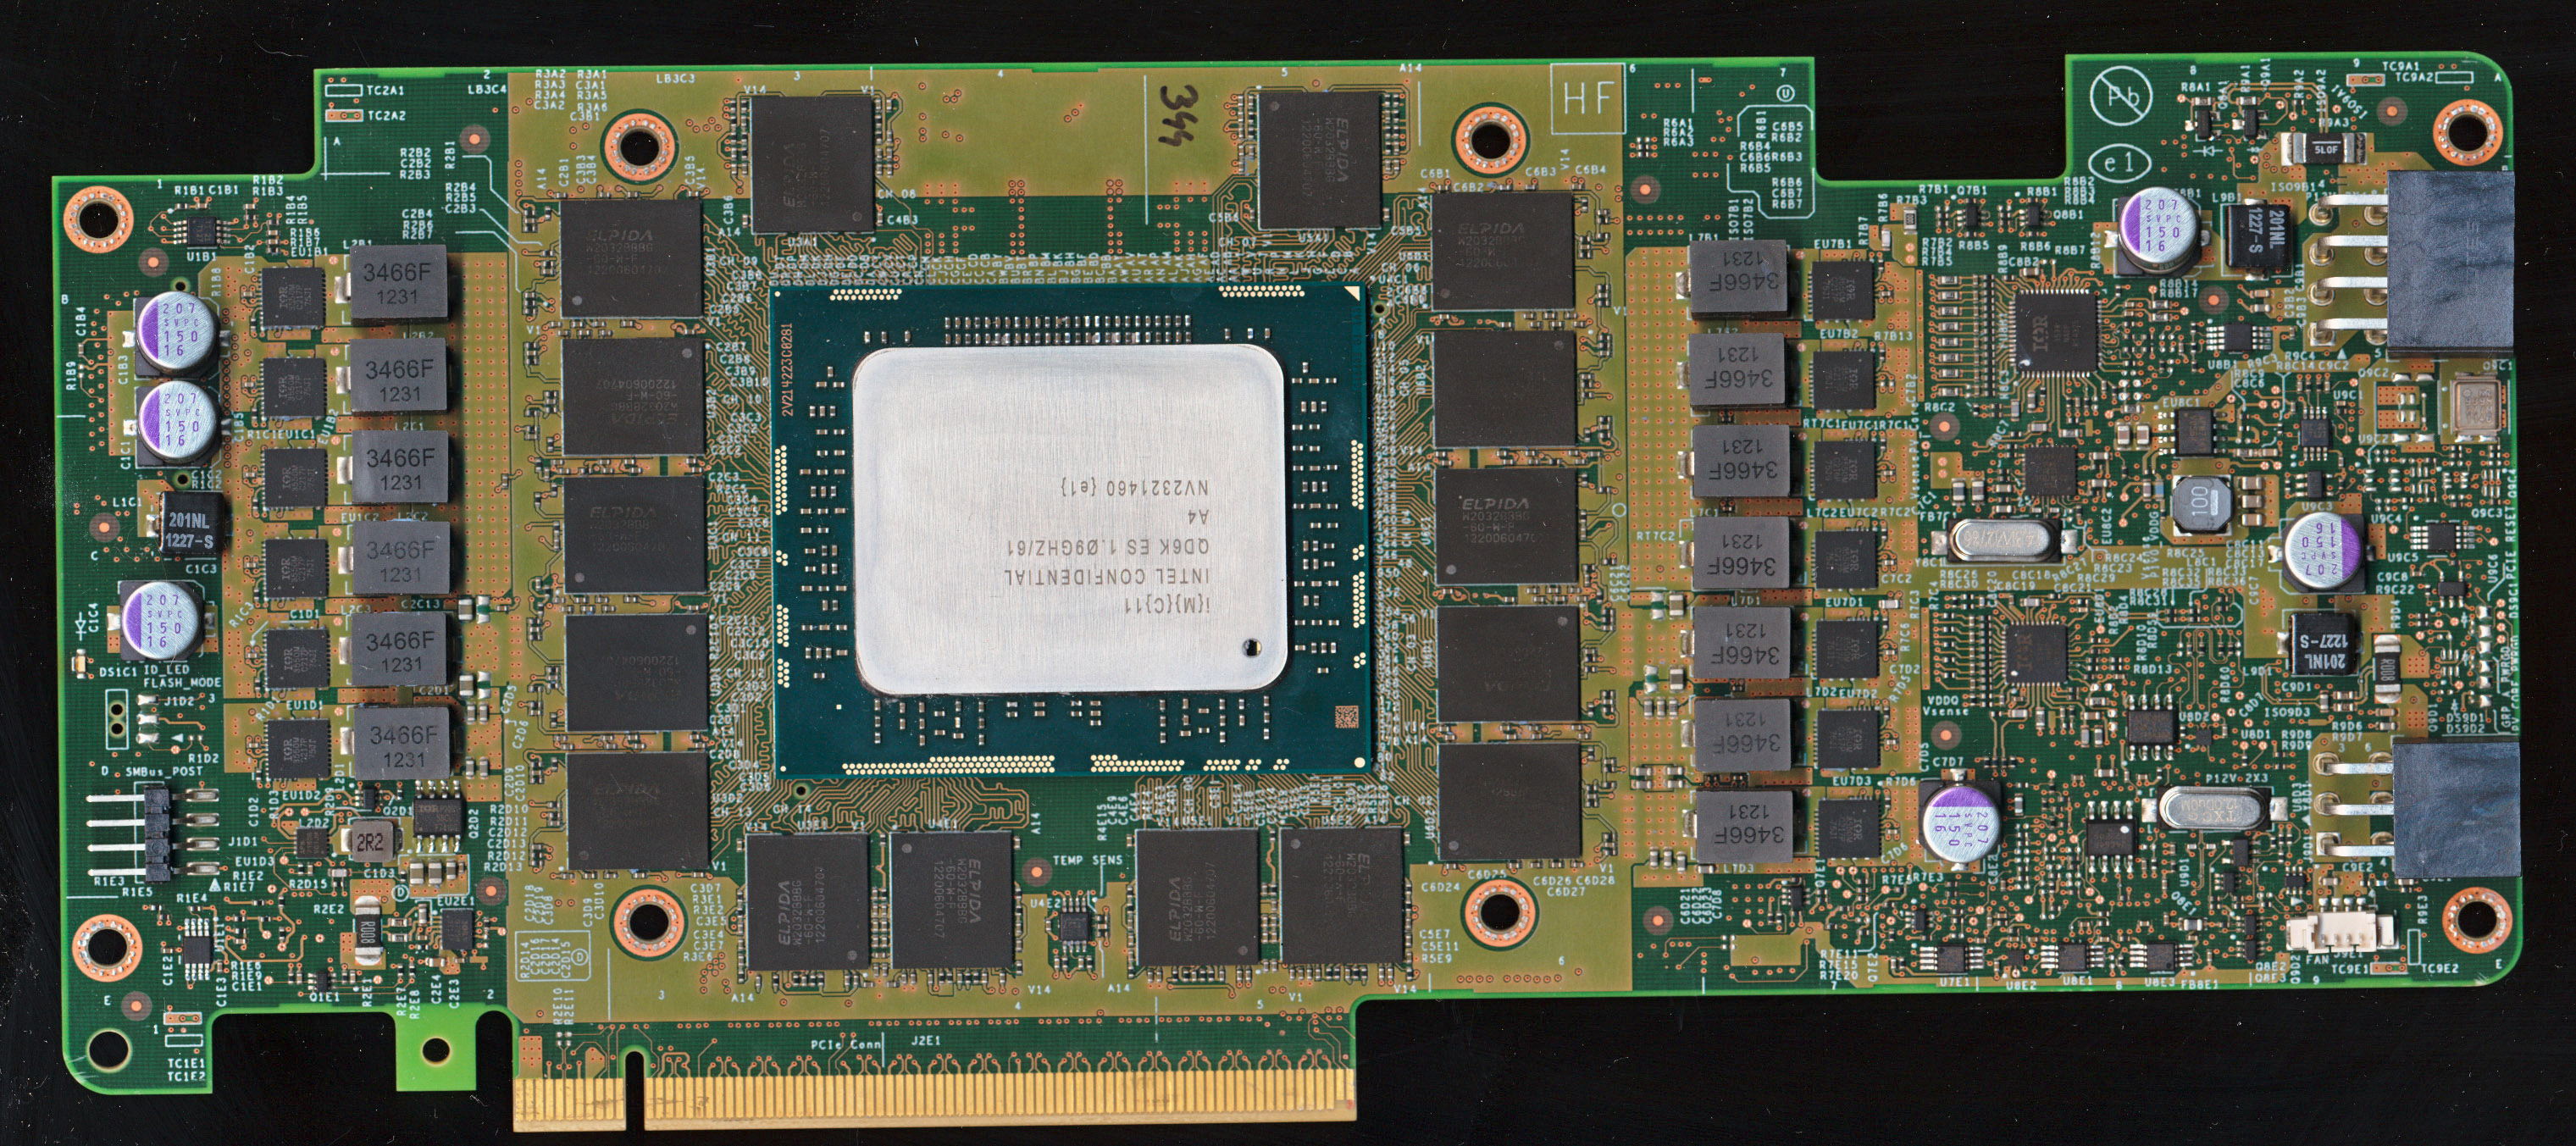
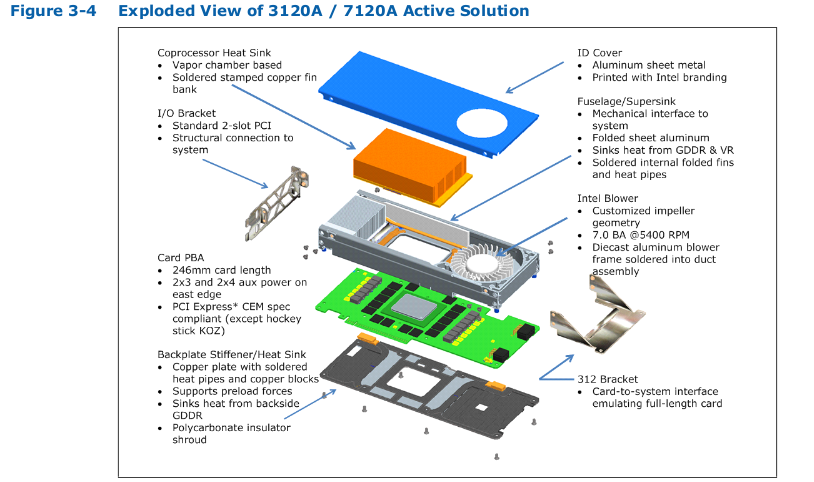
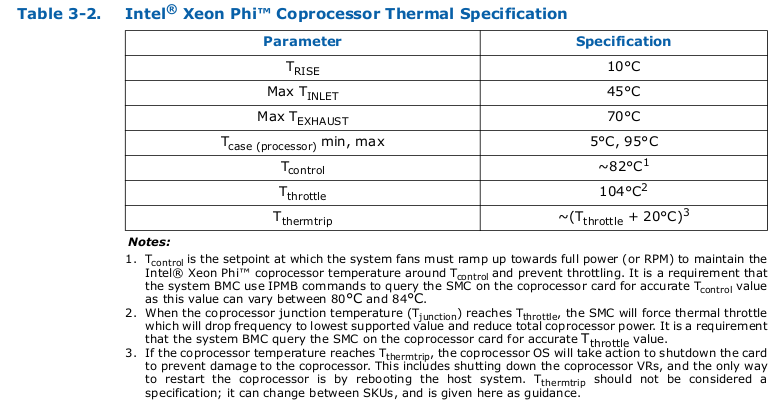
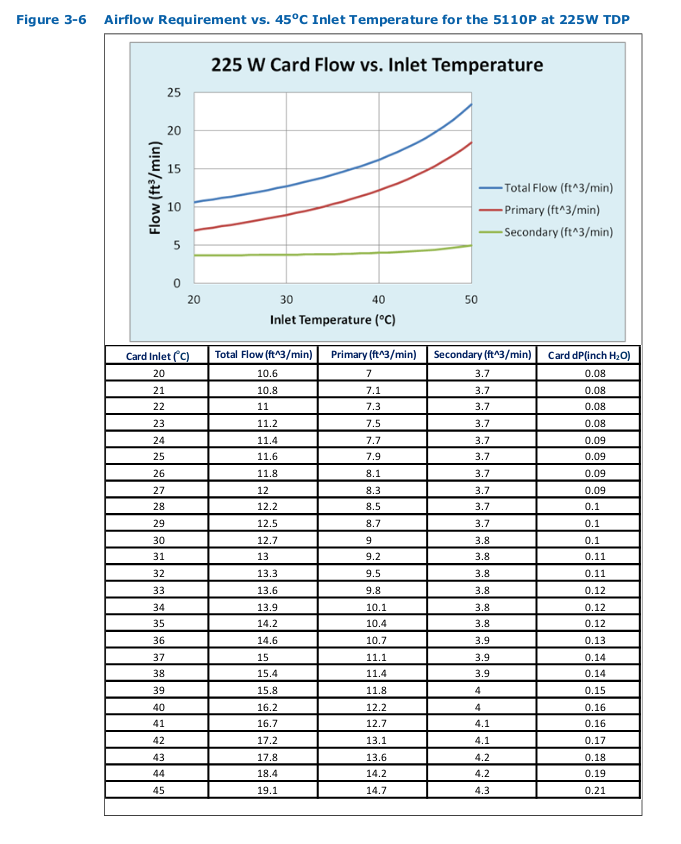
Now unfortunately as you can tell this particular model I have here ends with a P (for passive) and does not come with a fan. And at 60 P54C based Cores with 4 way SMT, 512bit AVX( an early predecessor thereof) with 8GB of GDDR5 memory it all comes in at a beefy 225W TDP.

Not something to be running without active cooling.

So coming up this weekend, I will be creating my own cooling duct for this card as we adventure through getting it installed and running some code :smile_cat:

Attached are some datasheets for those (like me) who like that sort of thing.


And the mother of all Xeon phi playlists

Stay tuned for more :smiley_cat:

12 Likes

Just with virtualization focused GPUs, these things are very interesting.
I wonder if they could be made to be useful for gaming in some way…
The fan situation could be “fixed” by duct taping 1U server fans to the intake side.


Tried my best to get the thermal paper readable.

"Enhance"

2 Likes

I can get you a better shot tomorrow morning when I’ve got some good light.

2 Likes

I’d chuckle if a Phi could be used as a beefcake PhysX card.

1 Like

Man, I literally just bought one earlier today, hoping I can mess around with the Intel Python offloading library and get some cool results

the card does look amazing. Looks really powerful and understated,

All enterprise cards look amazing.
Xilinx Alveo U250

1 Like

yeah, but it’s not even a propper GPU or whatever, it’s like a co-processow for like non graphics stuff, isn’t it? and just seems particularly solid

1 Like

wow, that looks amazing, in comparison by the way

It’s a coprocessor that runs it’s own version of uLinux (microlinux) which is loaded into memory on the card by the host computer operating system. It also offers direct memory access over PCI-e and as well as an internal host-phi IP network over PCI-e for the commands, code deployment and console access etc. You can SSH into it even :wink:

Lots more Phun to come.

6 Likes

So it’s really a compute device, it does look interesting.

I seem to recall that Linus did something with one of these last year ?

1 Like

Few years ago I saw someone put a Windows 10 or Windows Server 2016 on one of those. Or maybe it was another gen model of this type of hardware. But the Windows saw those cores as regular cores. Let’s see if I can find it.


This is the only link I found. Its for Intel Xeon Phi x200 though and its in a PC form factor rather than PCIE. I can’t remember if I saw someone boot windows on PCIE or a Phi motherboard.
1 Like

That would be awsome to see!

1 Like

I picked up a Phi card last summer. Why? I don’t know. It was $75. It is beyond my skill level to experiment with it randomly. But I will be watching this thread. If anybody can figure something useful to do with it, I am a very good monkey that can copy instructions!

3 Likes

For my Phi card, I also got a 3d printed duct that hooks up to 2x 40mm fans. It has spots for the power plugs to still be plugged in. I picked it up on ebay.

4 Likes

DIY Cooling

So I’ve taken a look at the airflow specification for this card.

As well as the TDP specification foir even the highest tier 300W range parts.

And I gotta say looking at the CFM readings/input temperature, a single ducted 80mm fan rated between 25-32cfm should do the job nicely while also not being too loud.

Time to get cardboard, tape and scissors. :scissors:

3 Likes

The plan

There is even an unused fan header on the card, as the 5110A and 5110P share the same PCB.

I don’t know what you can pull out of that still, it’s pretty far gone that paper. Even tried the circular polarizer filter.

Took those with my HS50EXR and a 500D closeup lens.

1 Like

Xeon PaperPhy

Start with any piece of cardboard

Draw some lines on it 80mm apart, cut it out and fold it around your chosen fan… Realize you’ve screwed it up and actually need 4 sides.

Start again

This time measure first and make sure you have 4 sides.
Each 8 cm wide, right to left: bottom (8cm tall), left side (7cm tall), top (9cm tall), right side(7cm tall).

Cut it out

Realize you should have used a pencil with a narrow tip for more accurate lines, but carry on anyway.

Wrap it around the fan

and appreciate our potato duct

Mark the fan width and cut out the top and bottom flaps

Test fit our cardboard abomination

The flap is too long and flappy

Realize the fan has a cutout to feed the cable through

In the previous step, mark the angle of the top flap on the side and cut it

Of course I forgot to photograph this

Make our bottom flap slot

Use whatever cut off 80mm scrap as a marker

Cut out two corners from the bottom flap

You’ll see where this is going

Apply duct tape for it’s actual use

Color matching optional

Test fit again

Cut deeper along the two corners of the bottom flap, slip the long middle under the heatsink inside, and the two corners above the power connectors

Cut corners

Use corners as potato wedges

Double up potato wedges as necessary

Realize you’ve skipped the step where you tape up the sides

I’m sure you can figure it out. Liberally apply duct tape.
yes the fan is dusty, it’s dusty here

Appreciate the Xeon Phi 5110P(aper)

and Duct Tape Edition

13 Likes

Post of the month material right here!

4 Likes