Casemod Project: "Strobe" - Building new case from scratch

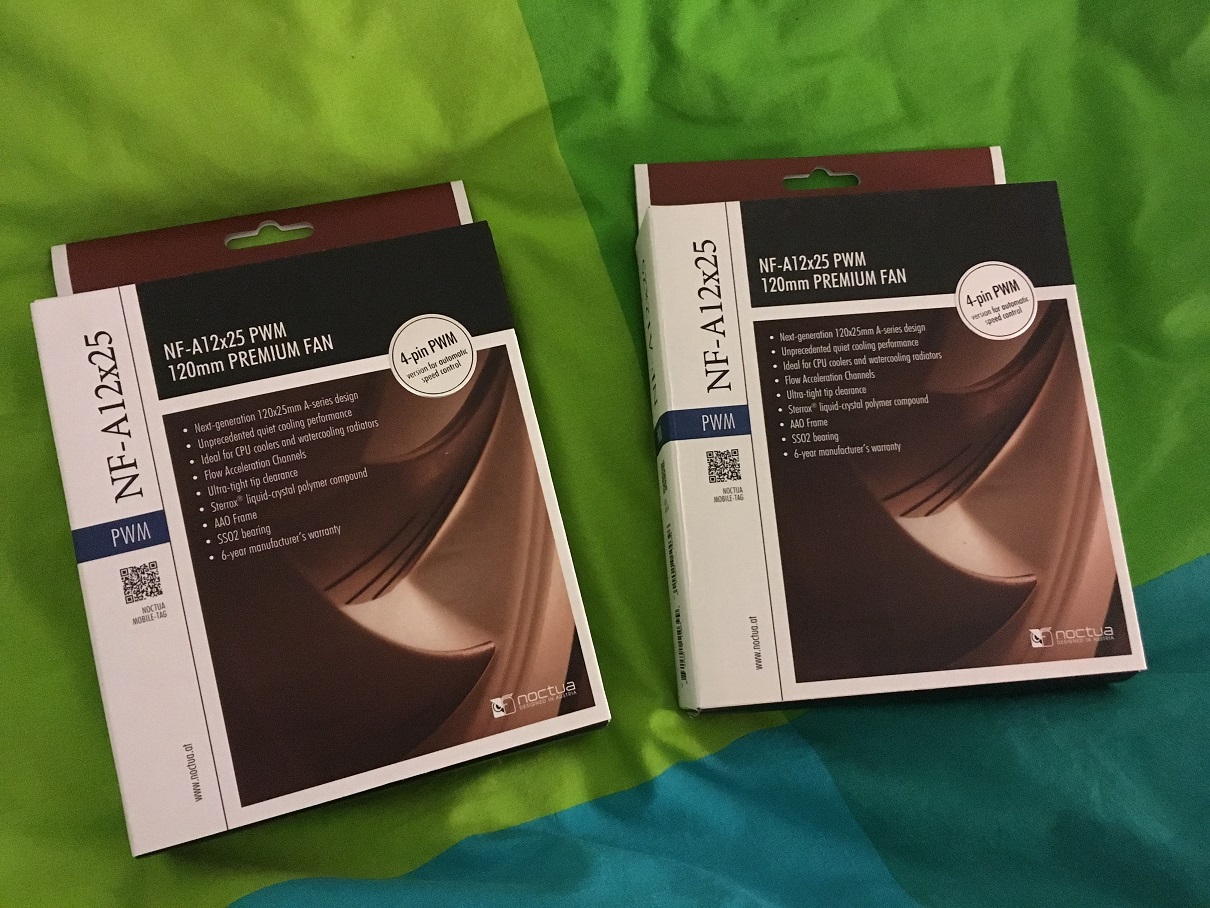
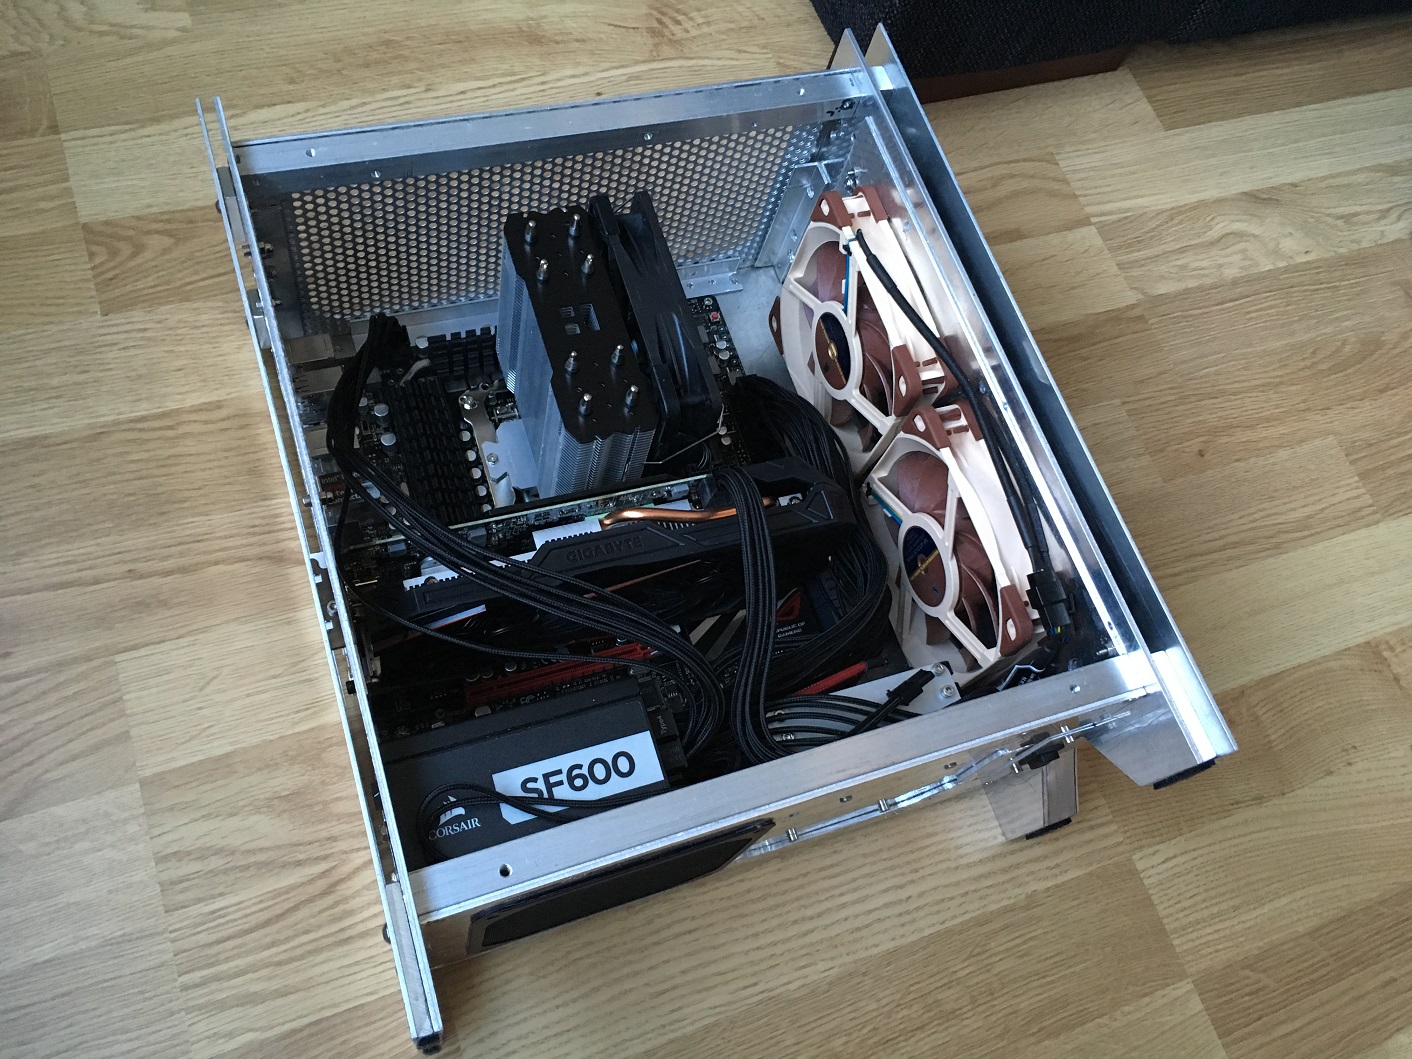
Update time! I blew some money and ordered some new fans. Two Noctuas are going at the front of the case to push the air inside of the case.

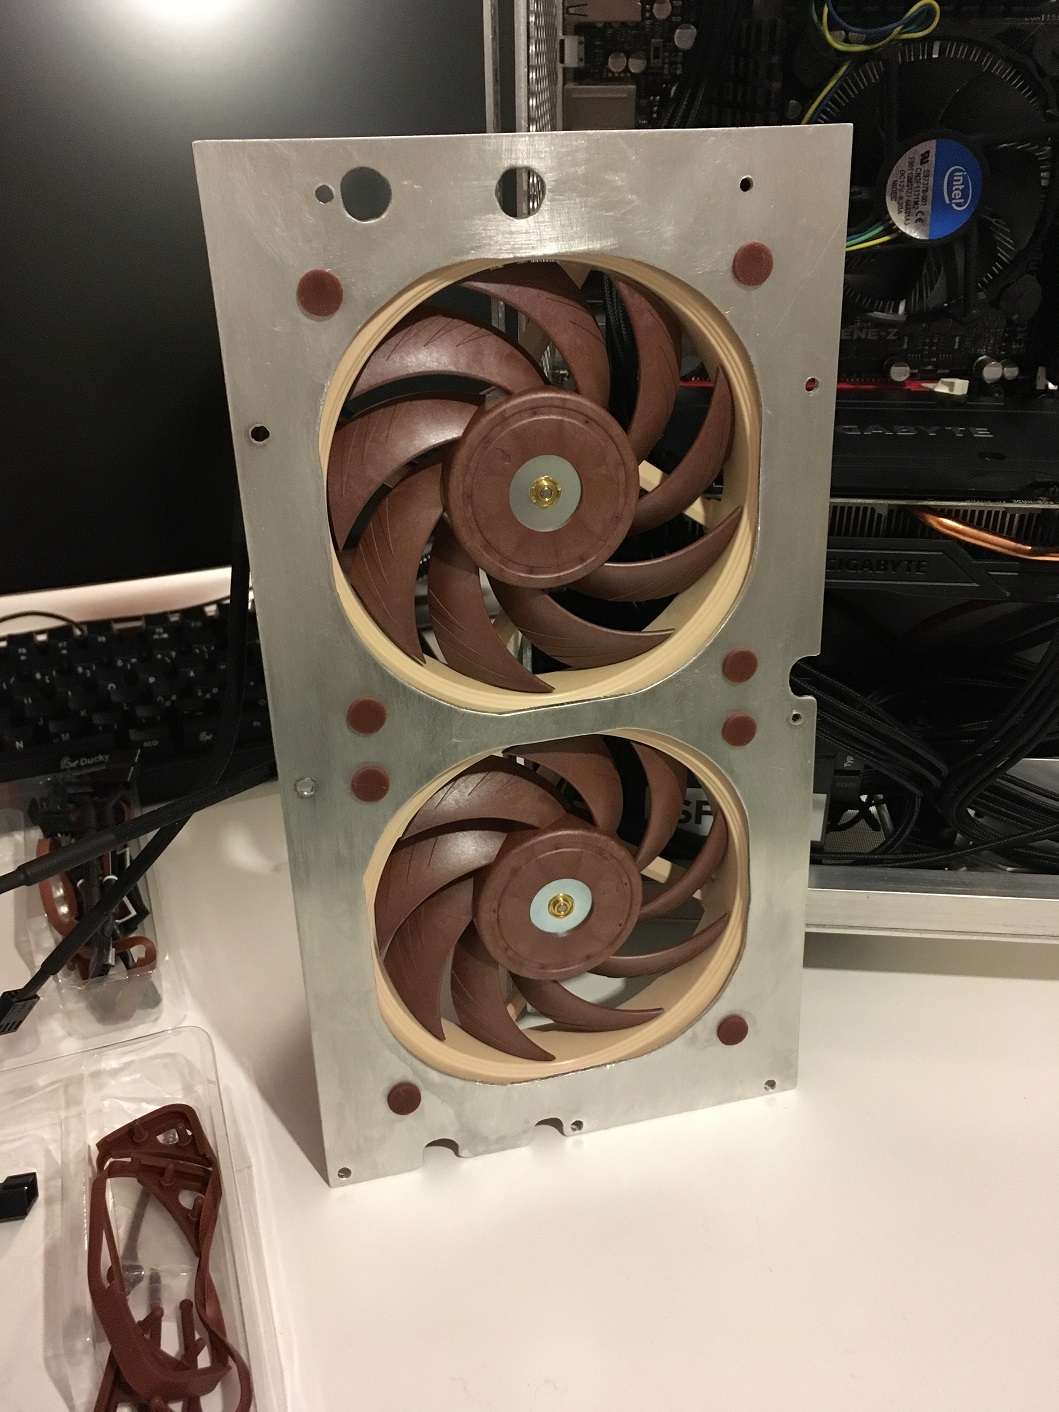
Here they are mounted to the fan shroud.
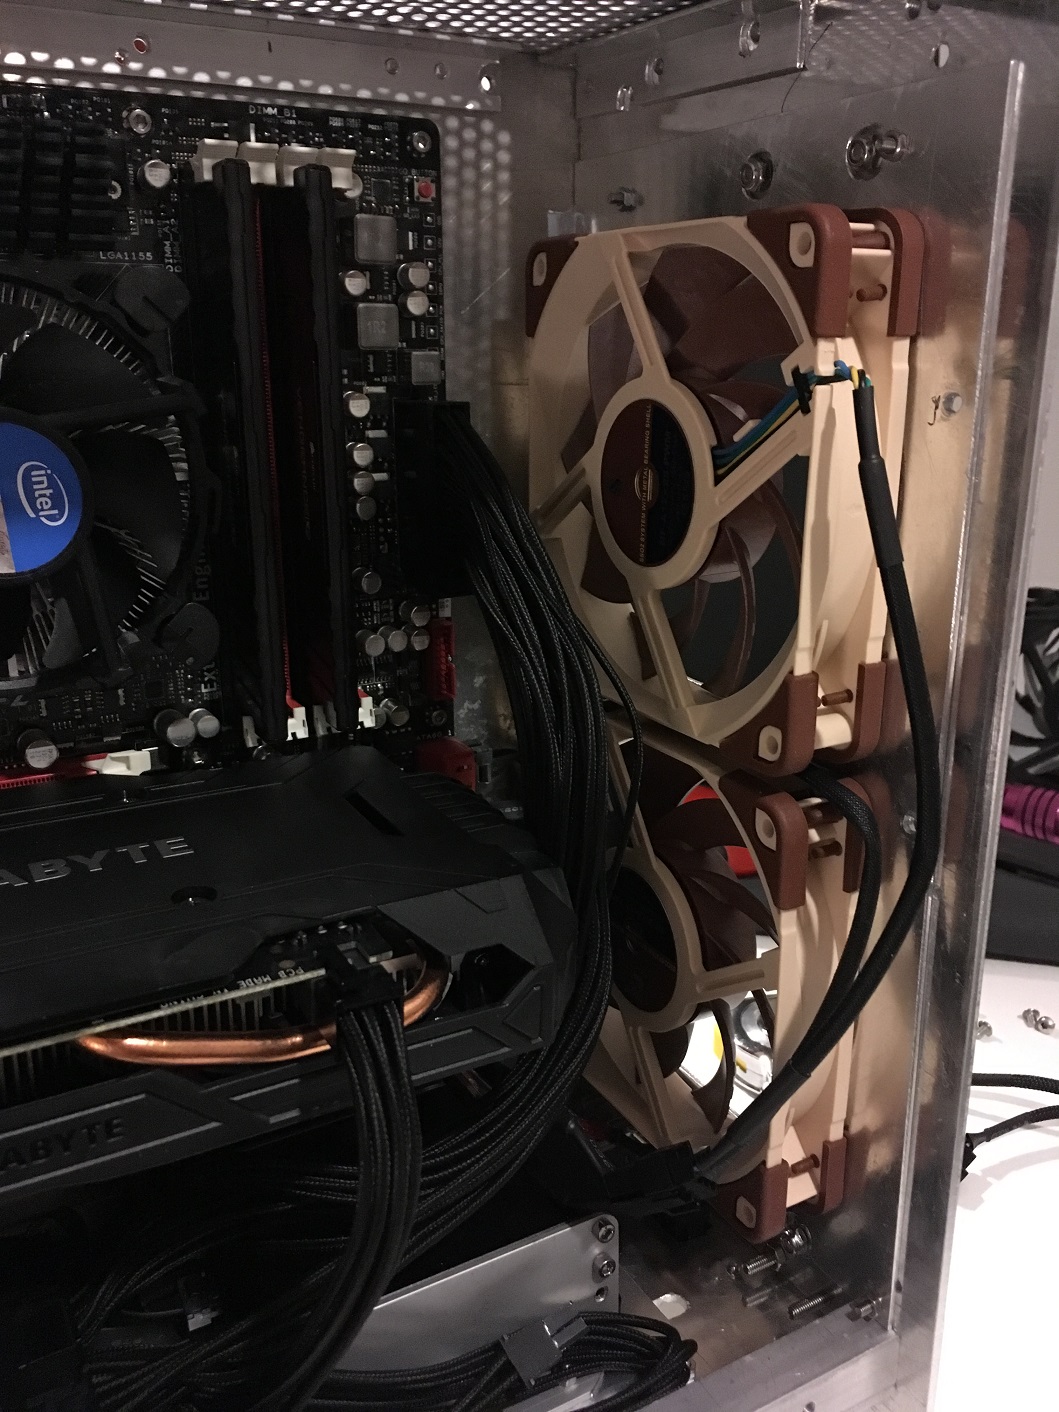
And inside the case

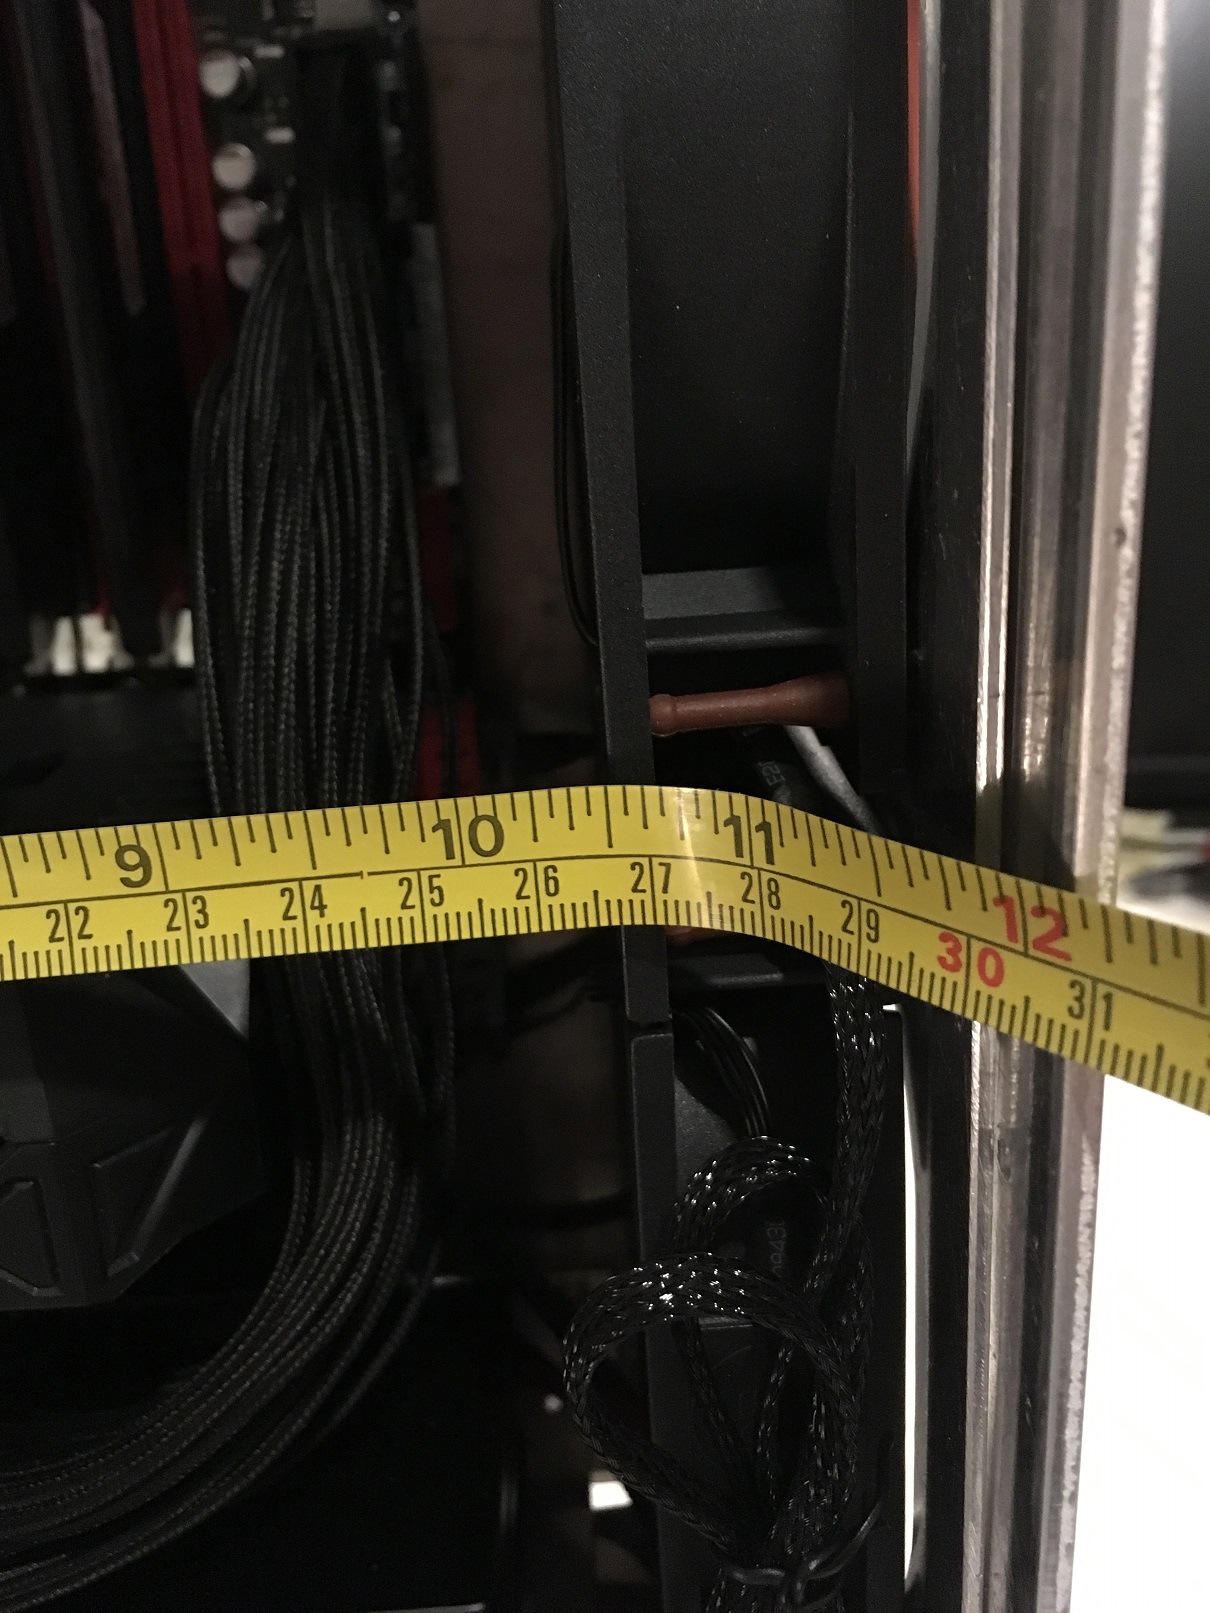
I also took measurement for future reference, if/when I upgrade the GPU. I could theoretically fit slightly longer card if I use slim 120mm case fan, but IDK, I rather try to find short GPU. Current 1060 is going strong so I don’t have any reason to upgrade this yet.

I also bought new cooler for the CPU, which caused some problems for me. More on that below.

I decided to go with Thermalright True Spirit cooler. Specs say it’s height is only 141mm while still using 120mm fan. If my measurements are correct it should fit inside the case. WELL GUESS WHAT, MY MEASUREMENTS WERE OFF BY ONE FUCKING MILLIMETER!! RREEEEE!

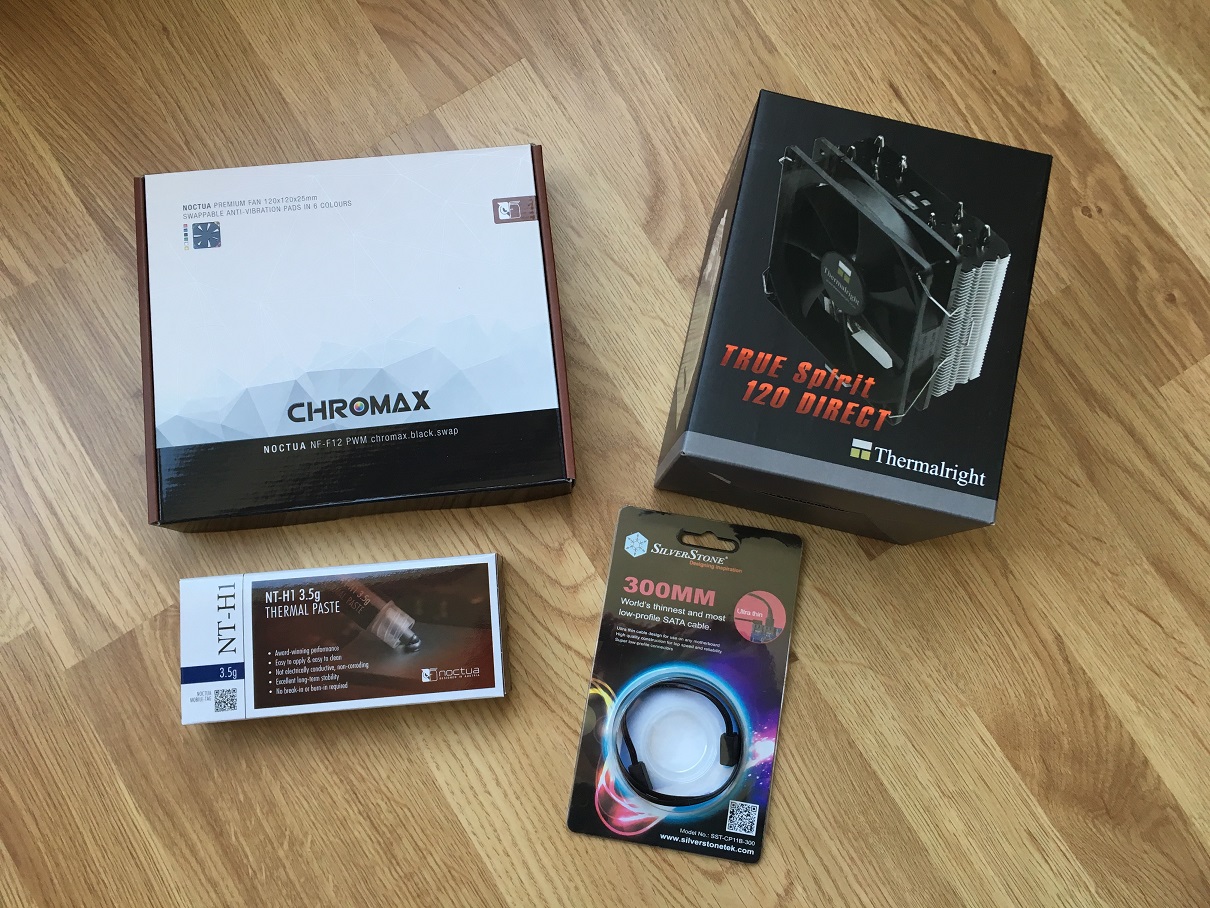
Oh and I got new Noctua fan for the cooler. Didn’t even try the stock fan that came with the cooler.

Cooler also supports AM4, so it does not matter if I end up using Intel or AMD platform when I upgrade, I should still be able to use this cooler. I would love to use Scythe Fuma cooler, but its height is 149mm, and I don’t think I’m clever enough to make room for that. :smiley:

I could also use tower cooler that has 92mm fan, but meh, I rather use 120mm coolers since they are quieter.

New cooler and Schythe Mugen 3:

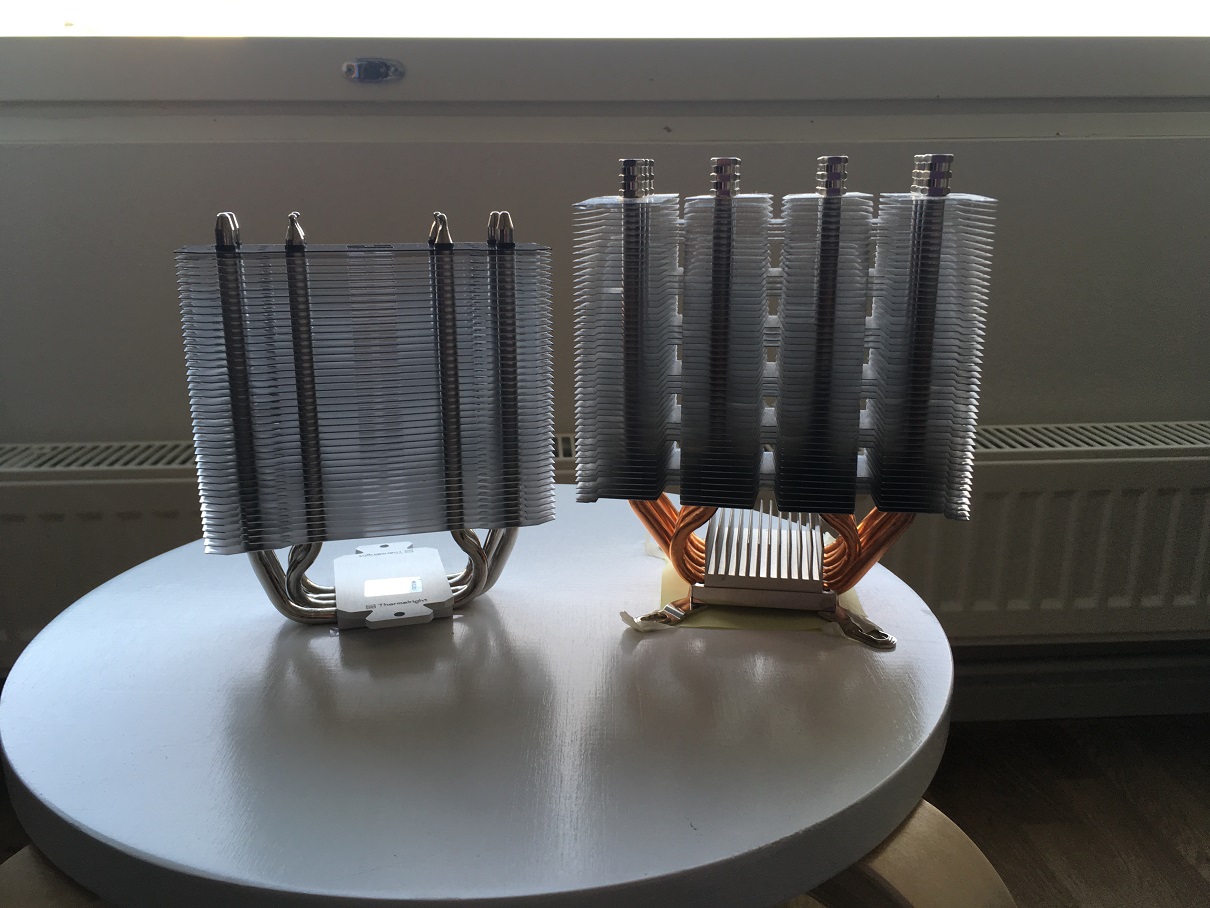
True spirit costs only 35€, and it kind of shows. Then again I’m not going to overclock my CPU so this should be able to keep everything cool.

Here’s short video where you can see the hardware layout and untidy cable management better.

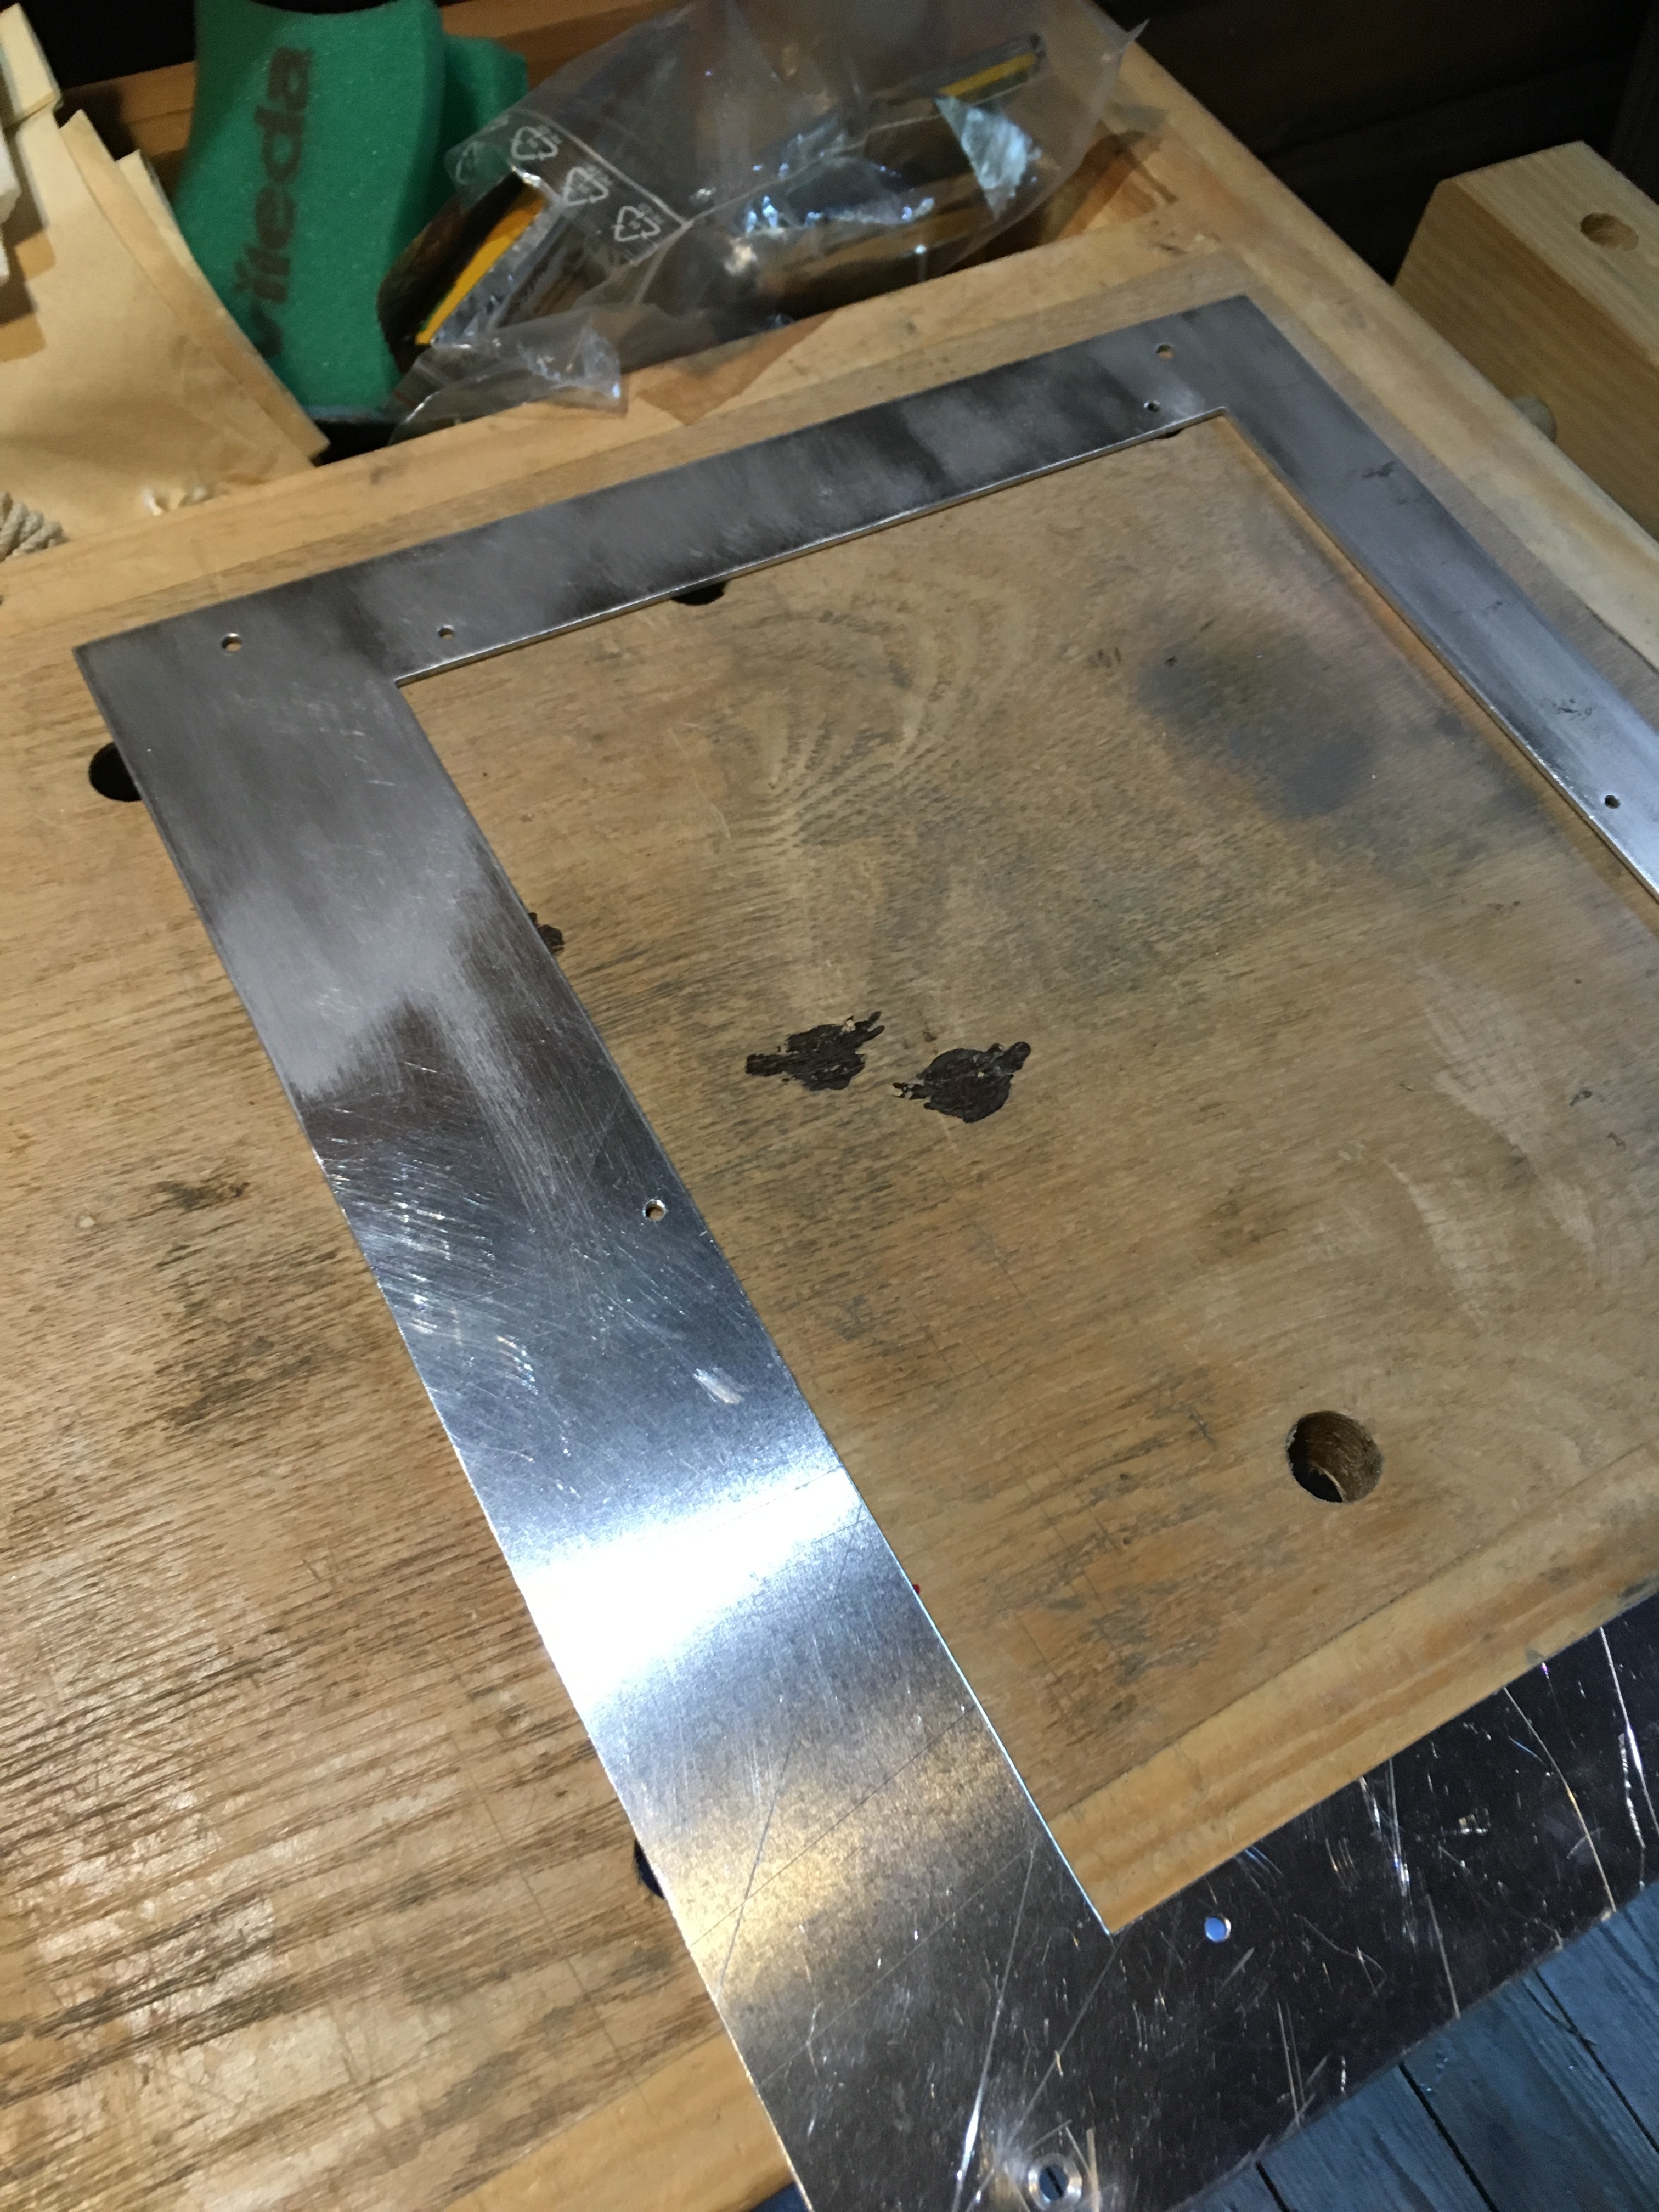
And since you already saw the spoiler, new cooler was 1mm too high, so I had to put some washers between the case and the side panel. Since the side panel is made out of 2mm thick aluminium sheet, I stared thinking if I could add little more space under the side panel by cutting a hole to it, and then adding new extra plate on top of the hole? This would create 2mm extra space for the cooler.

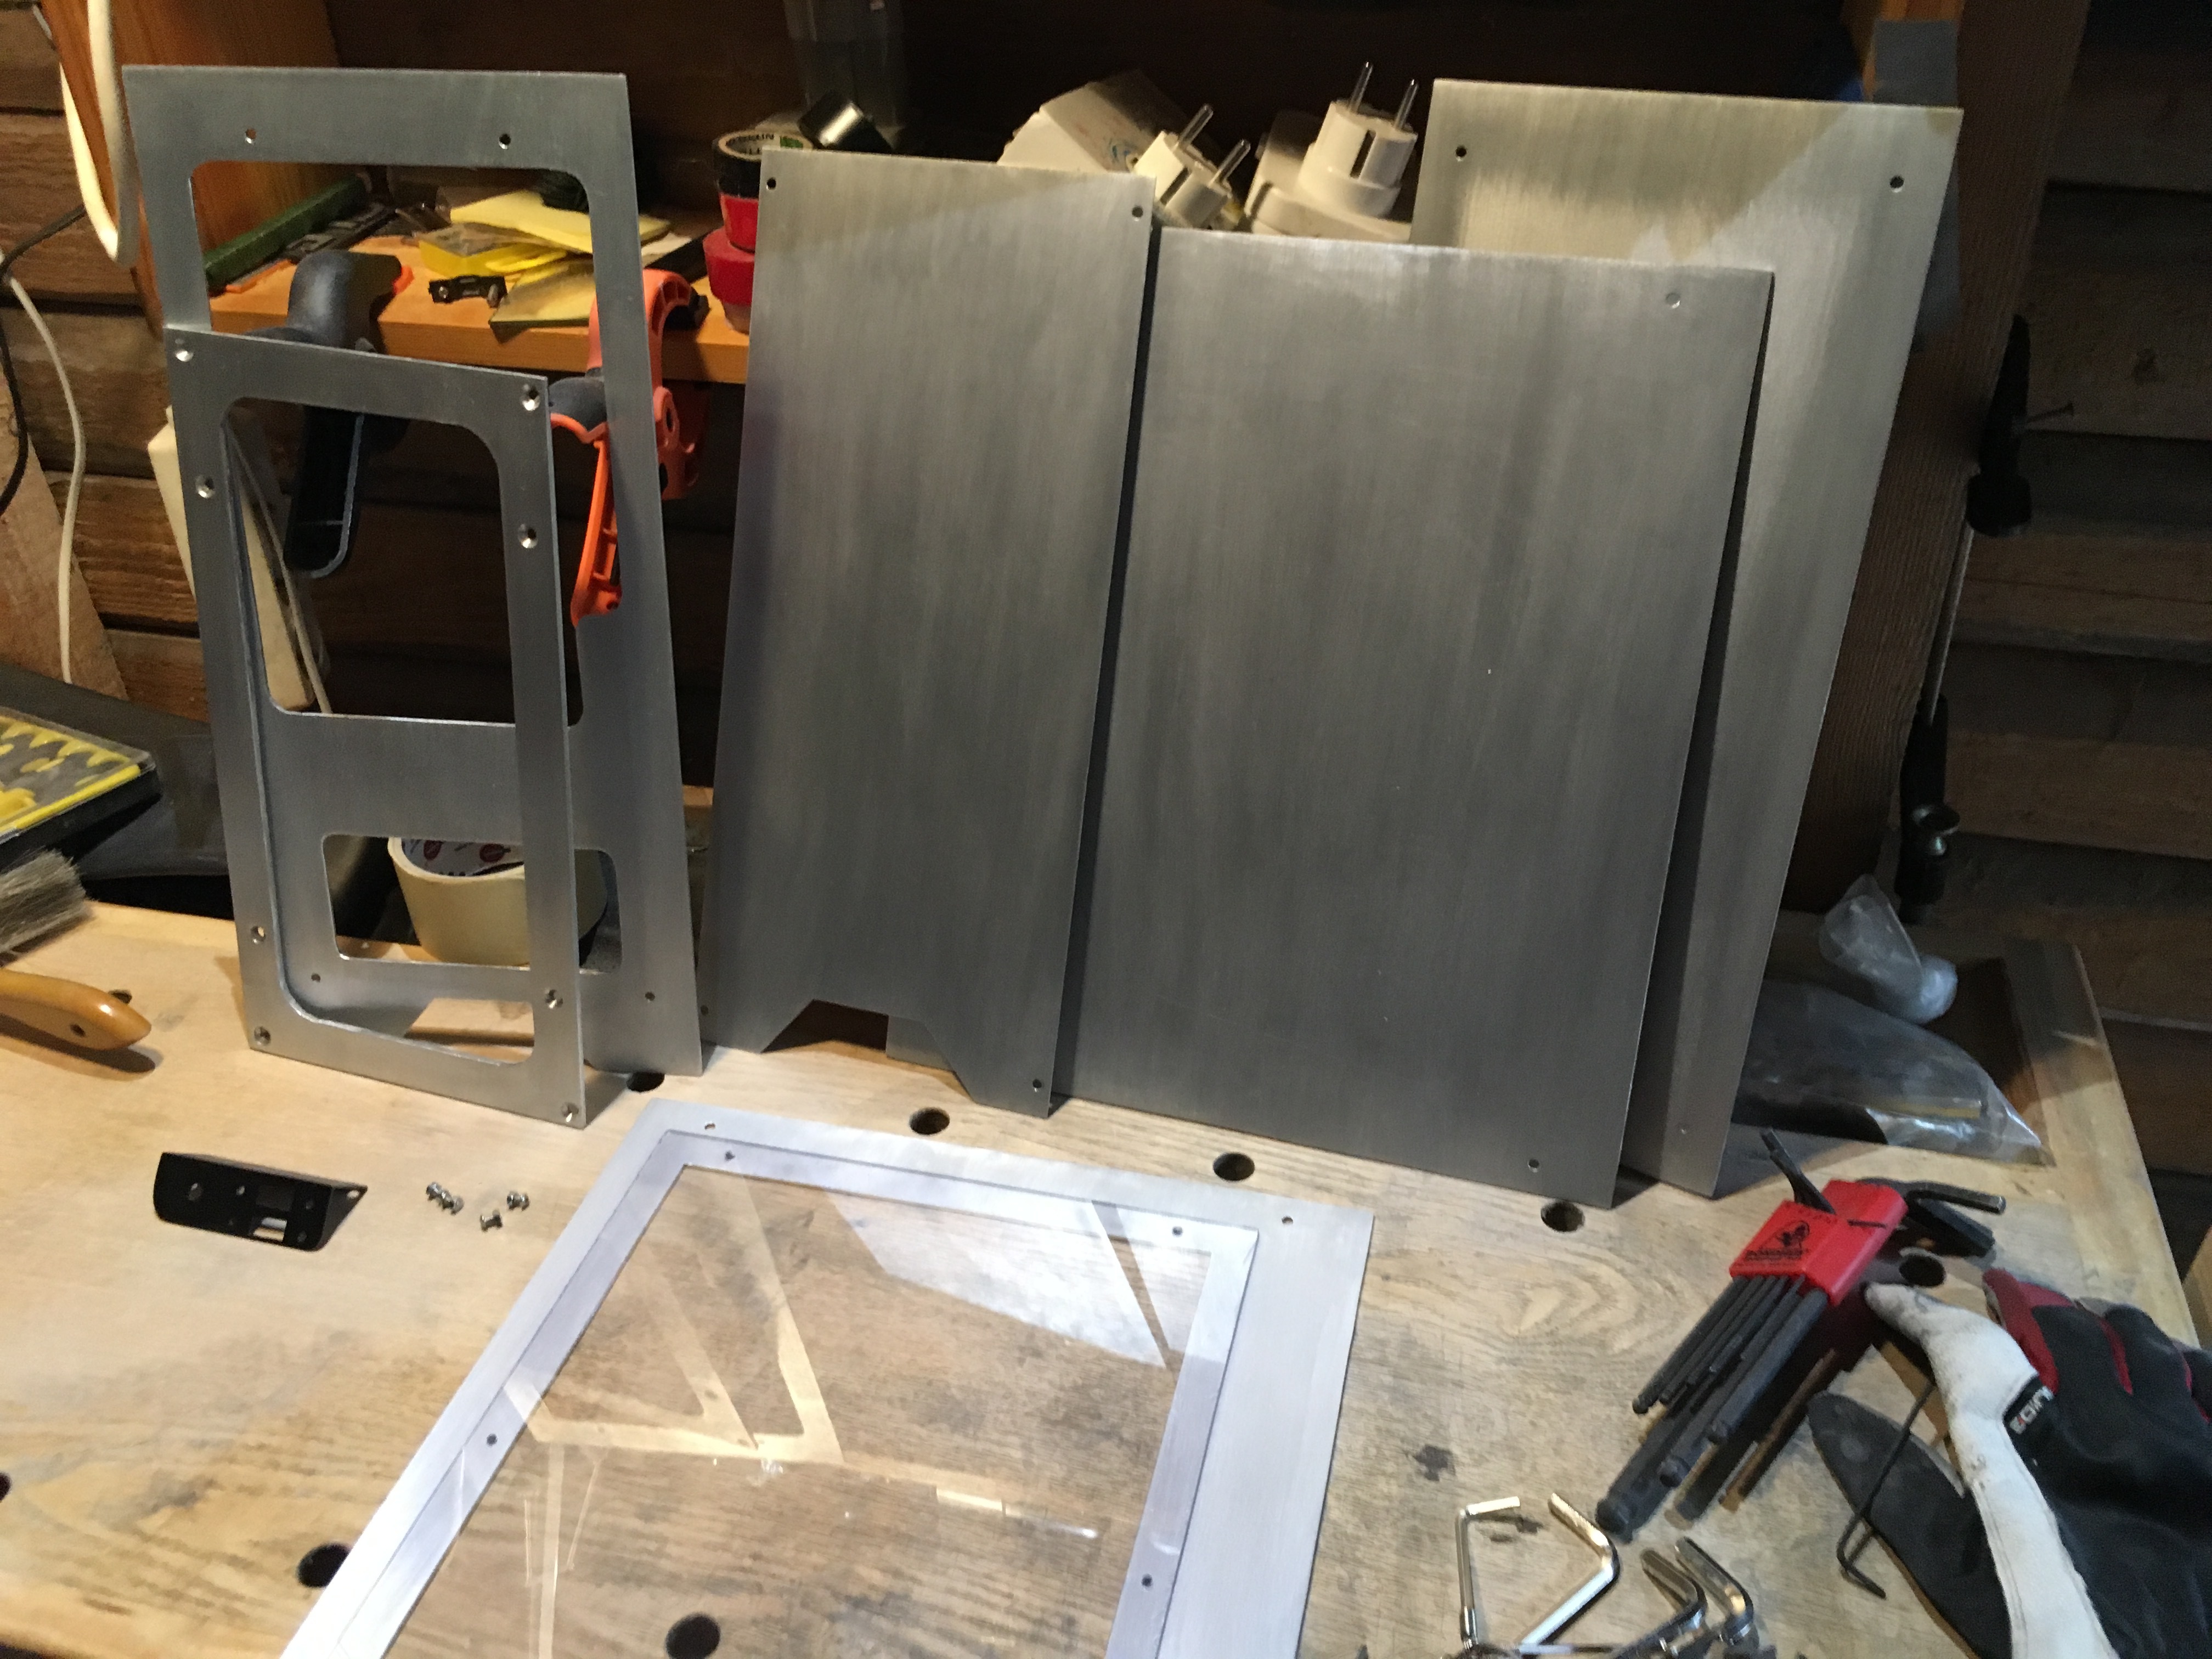
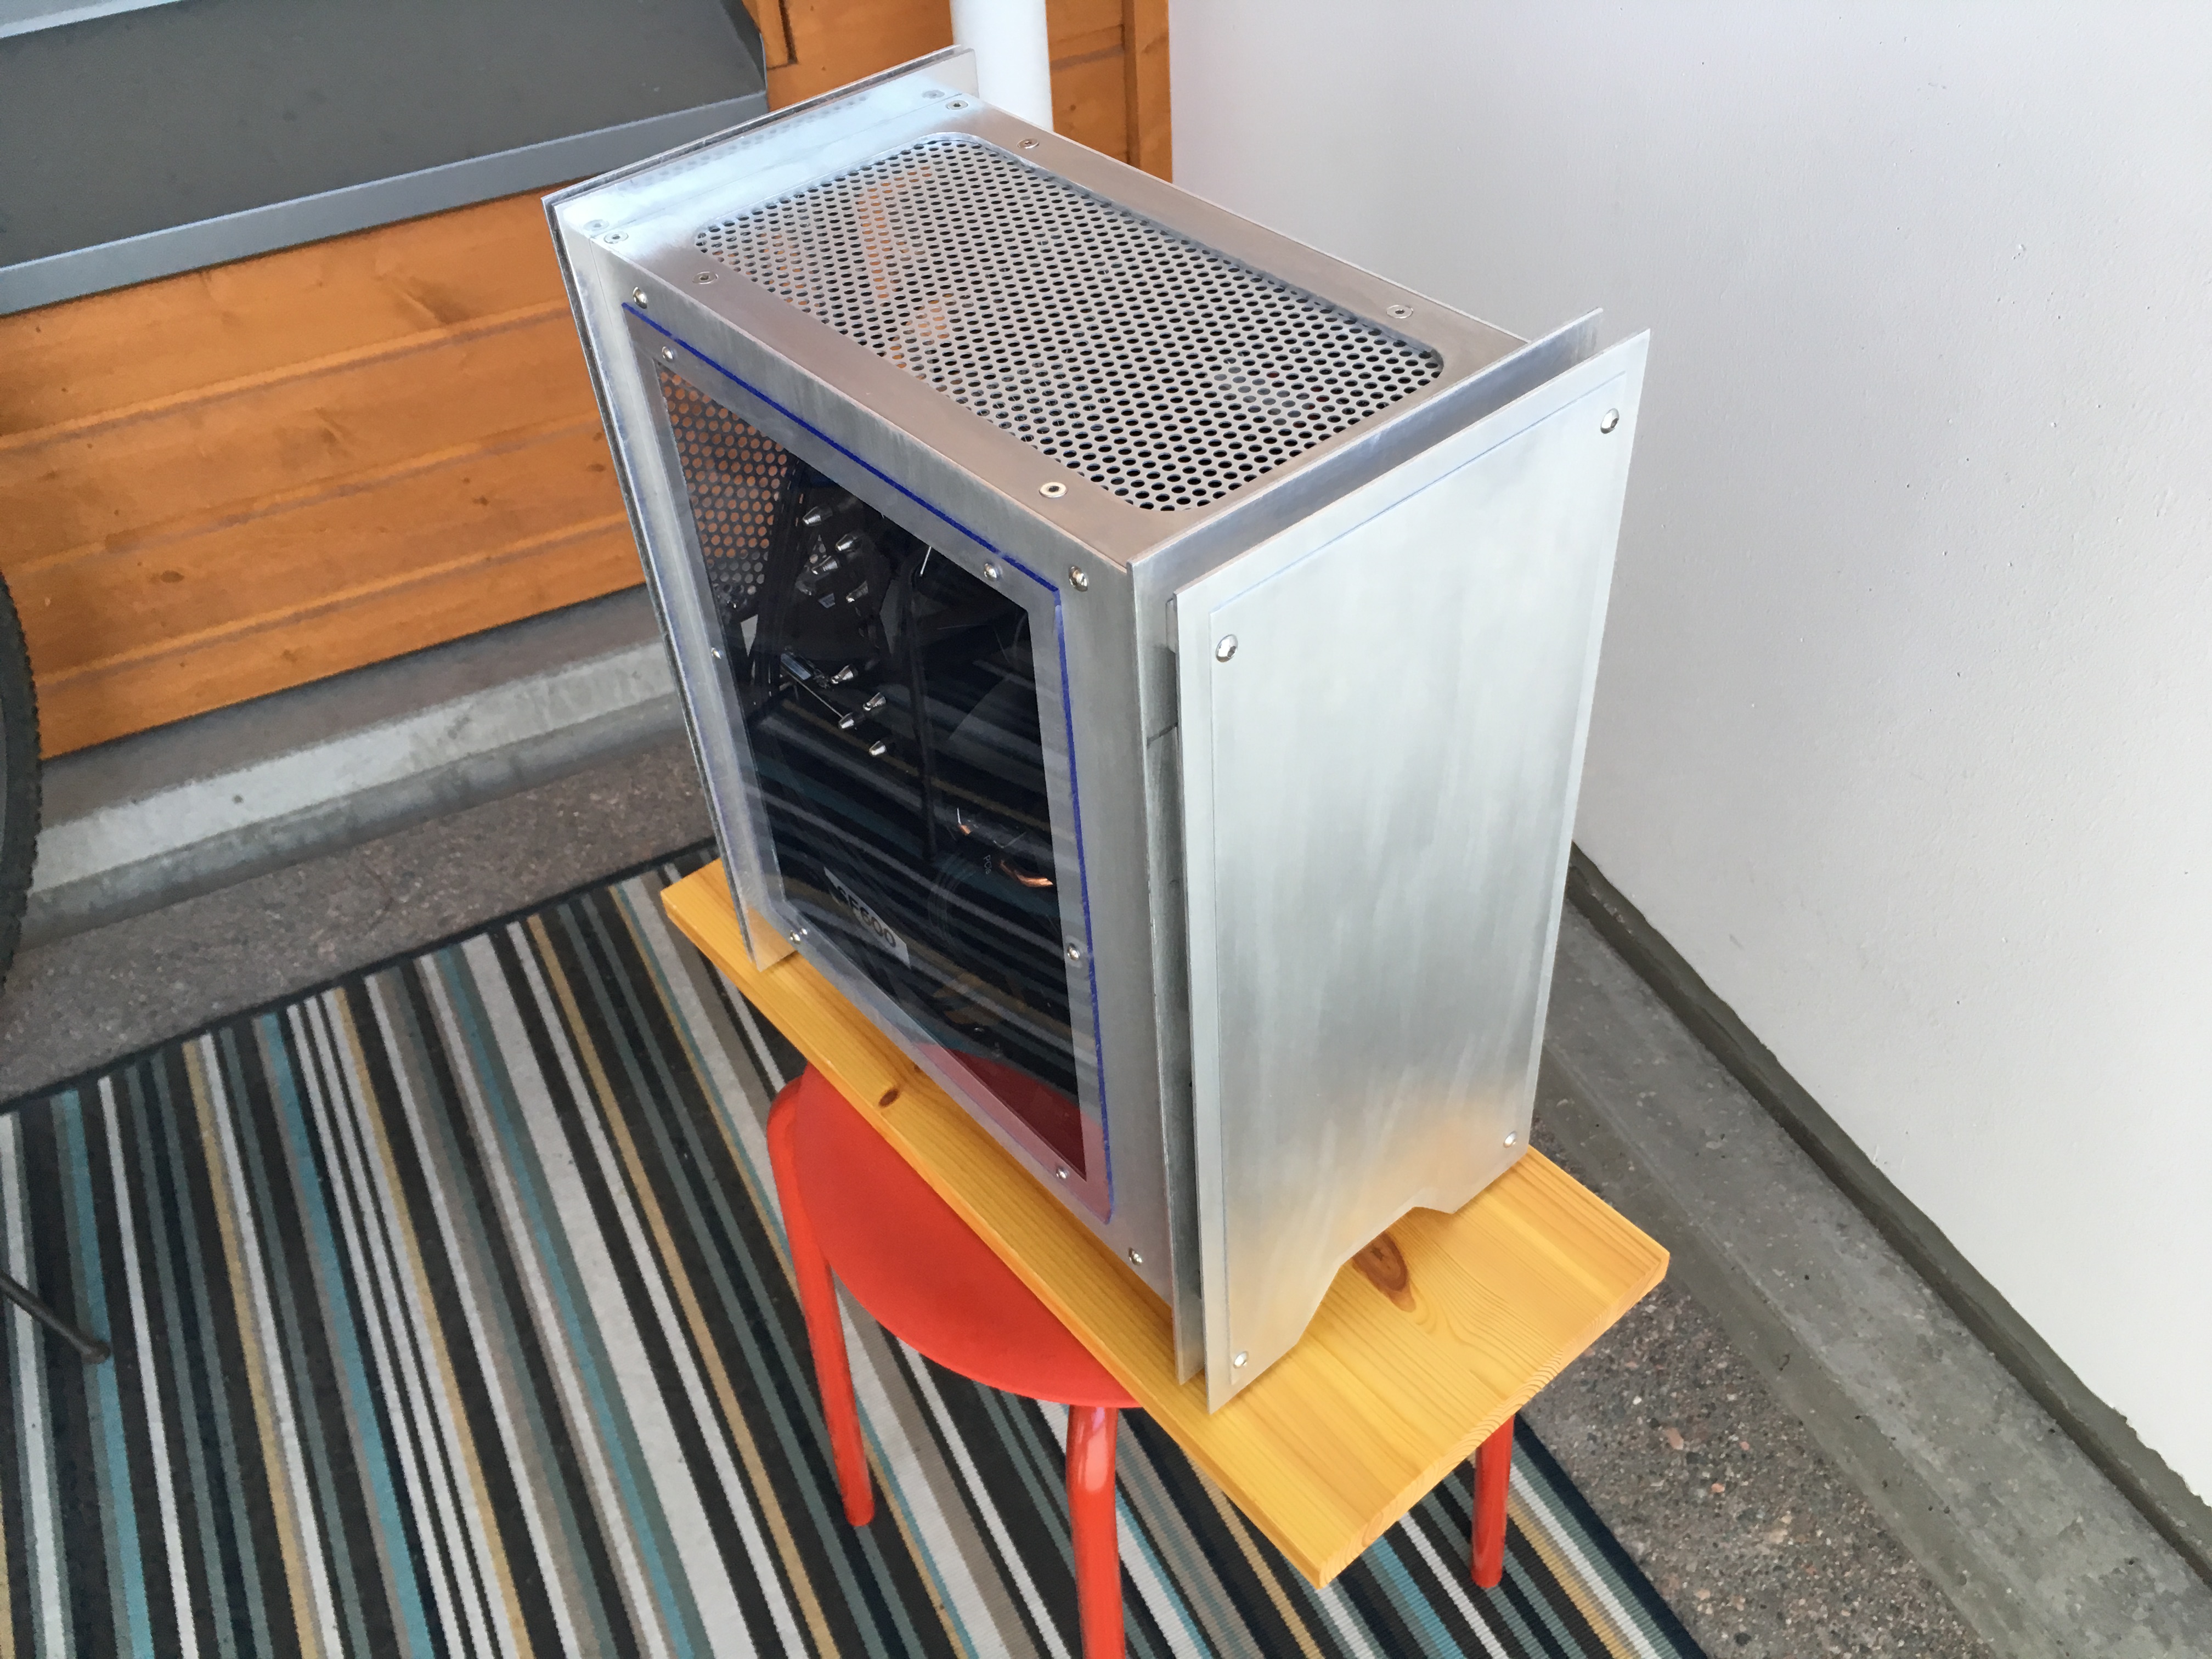
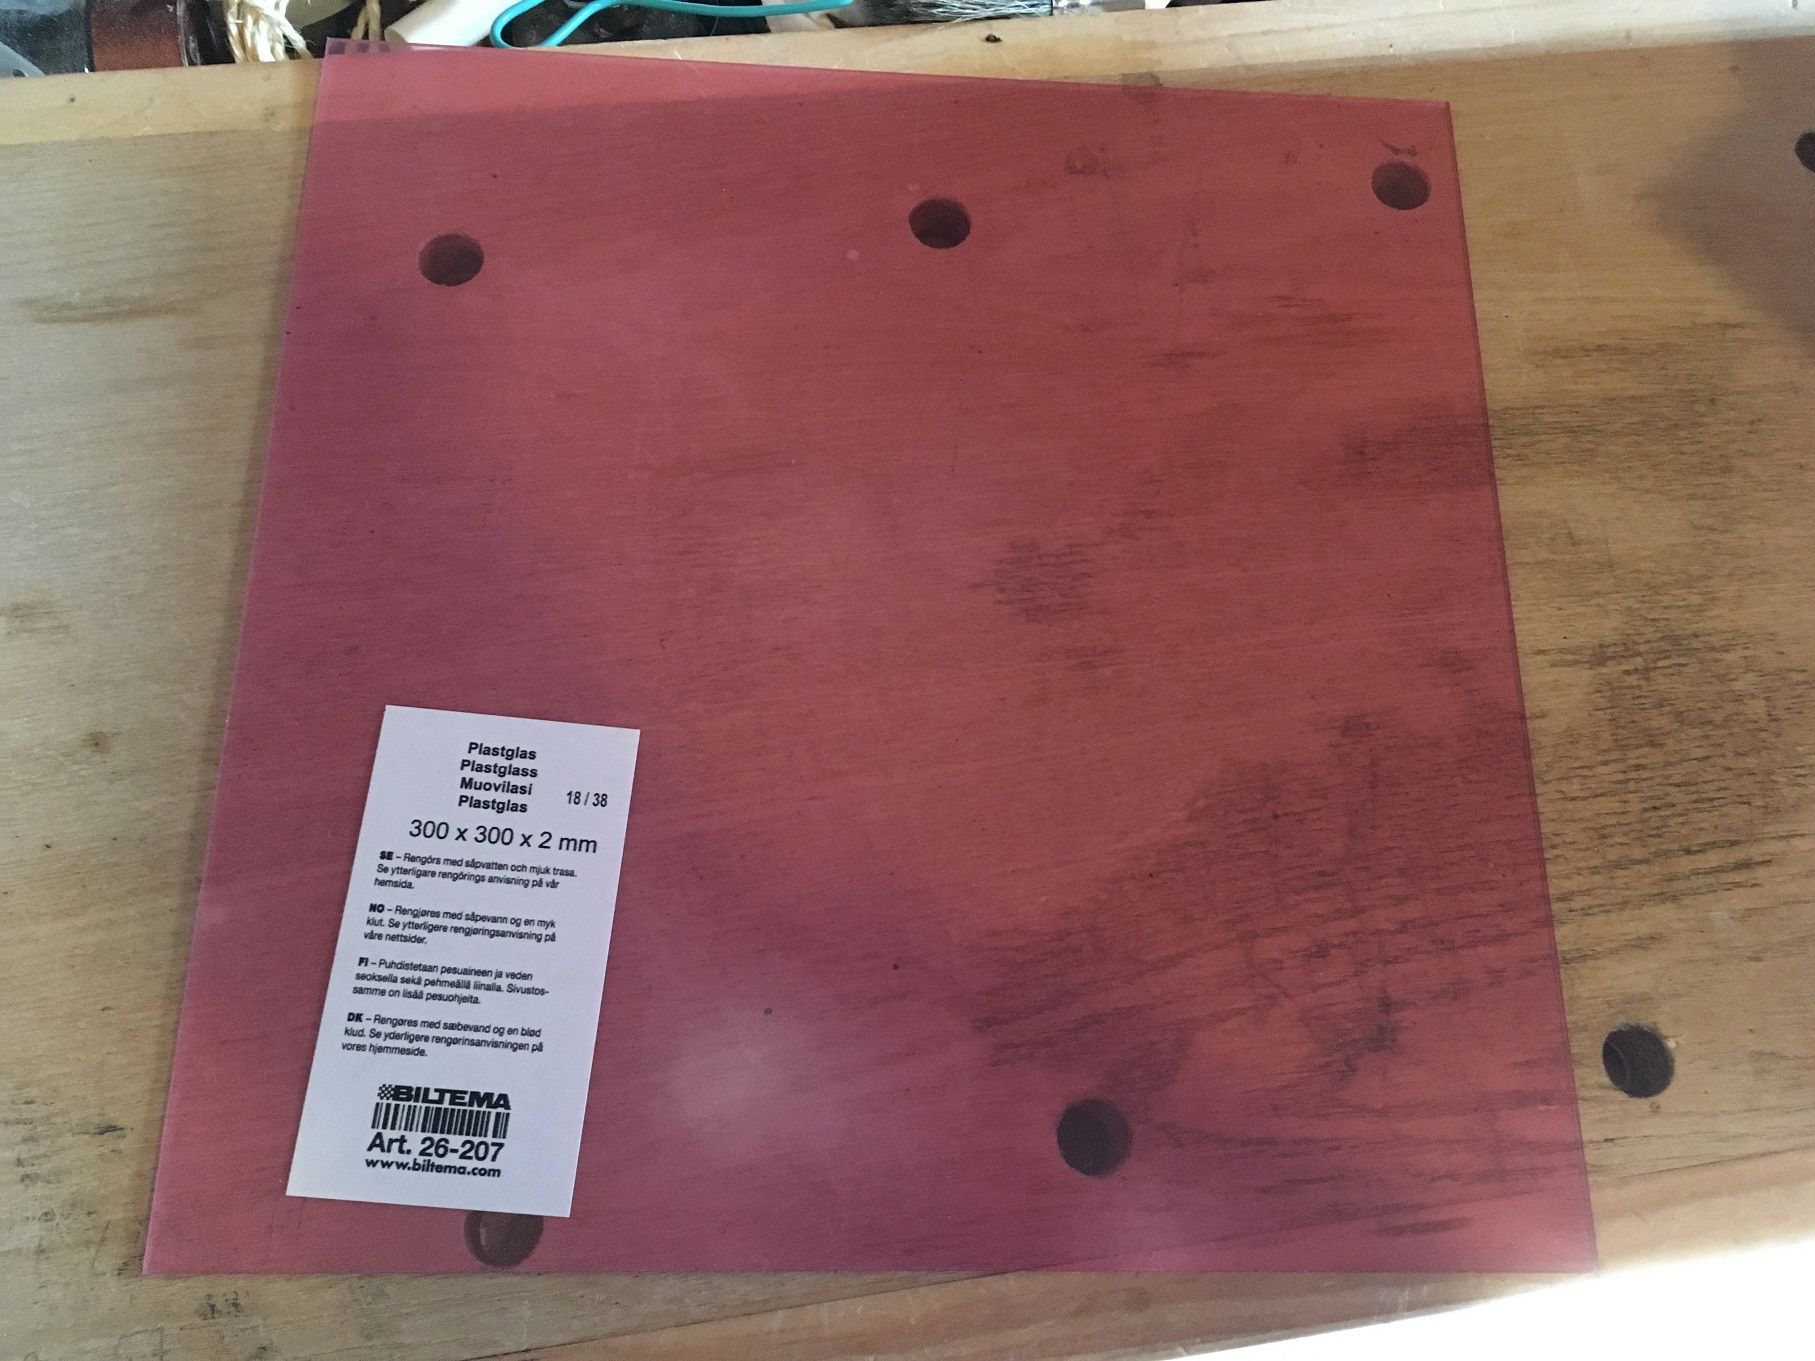
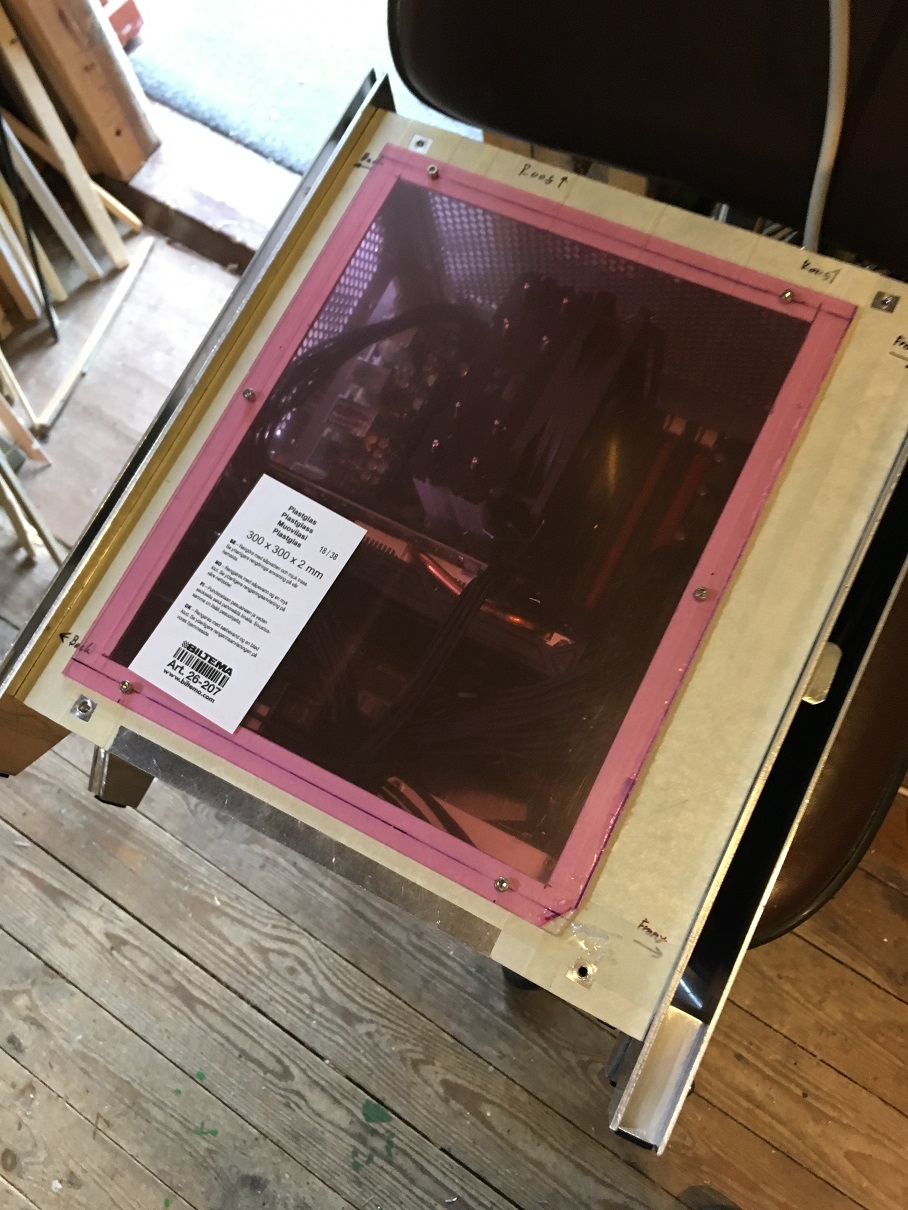
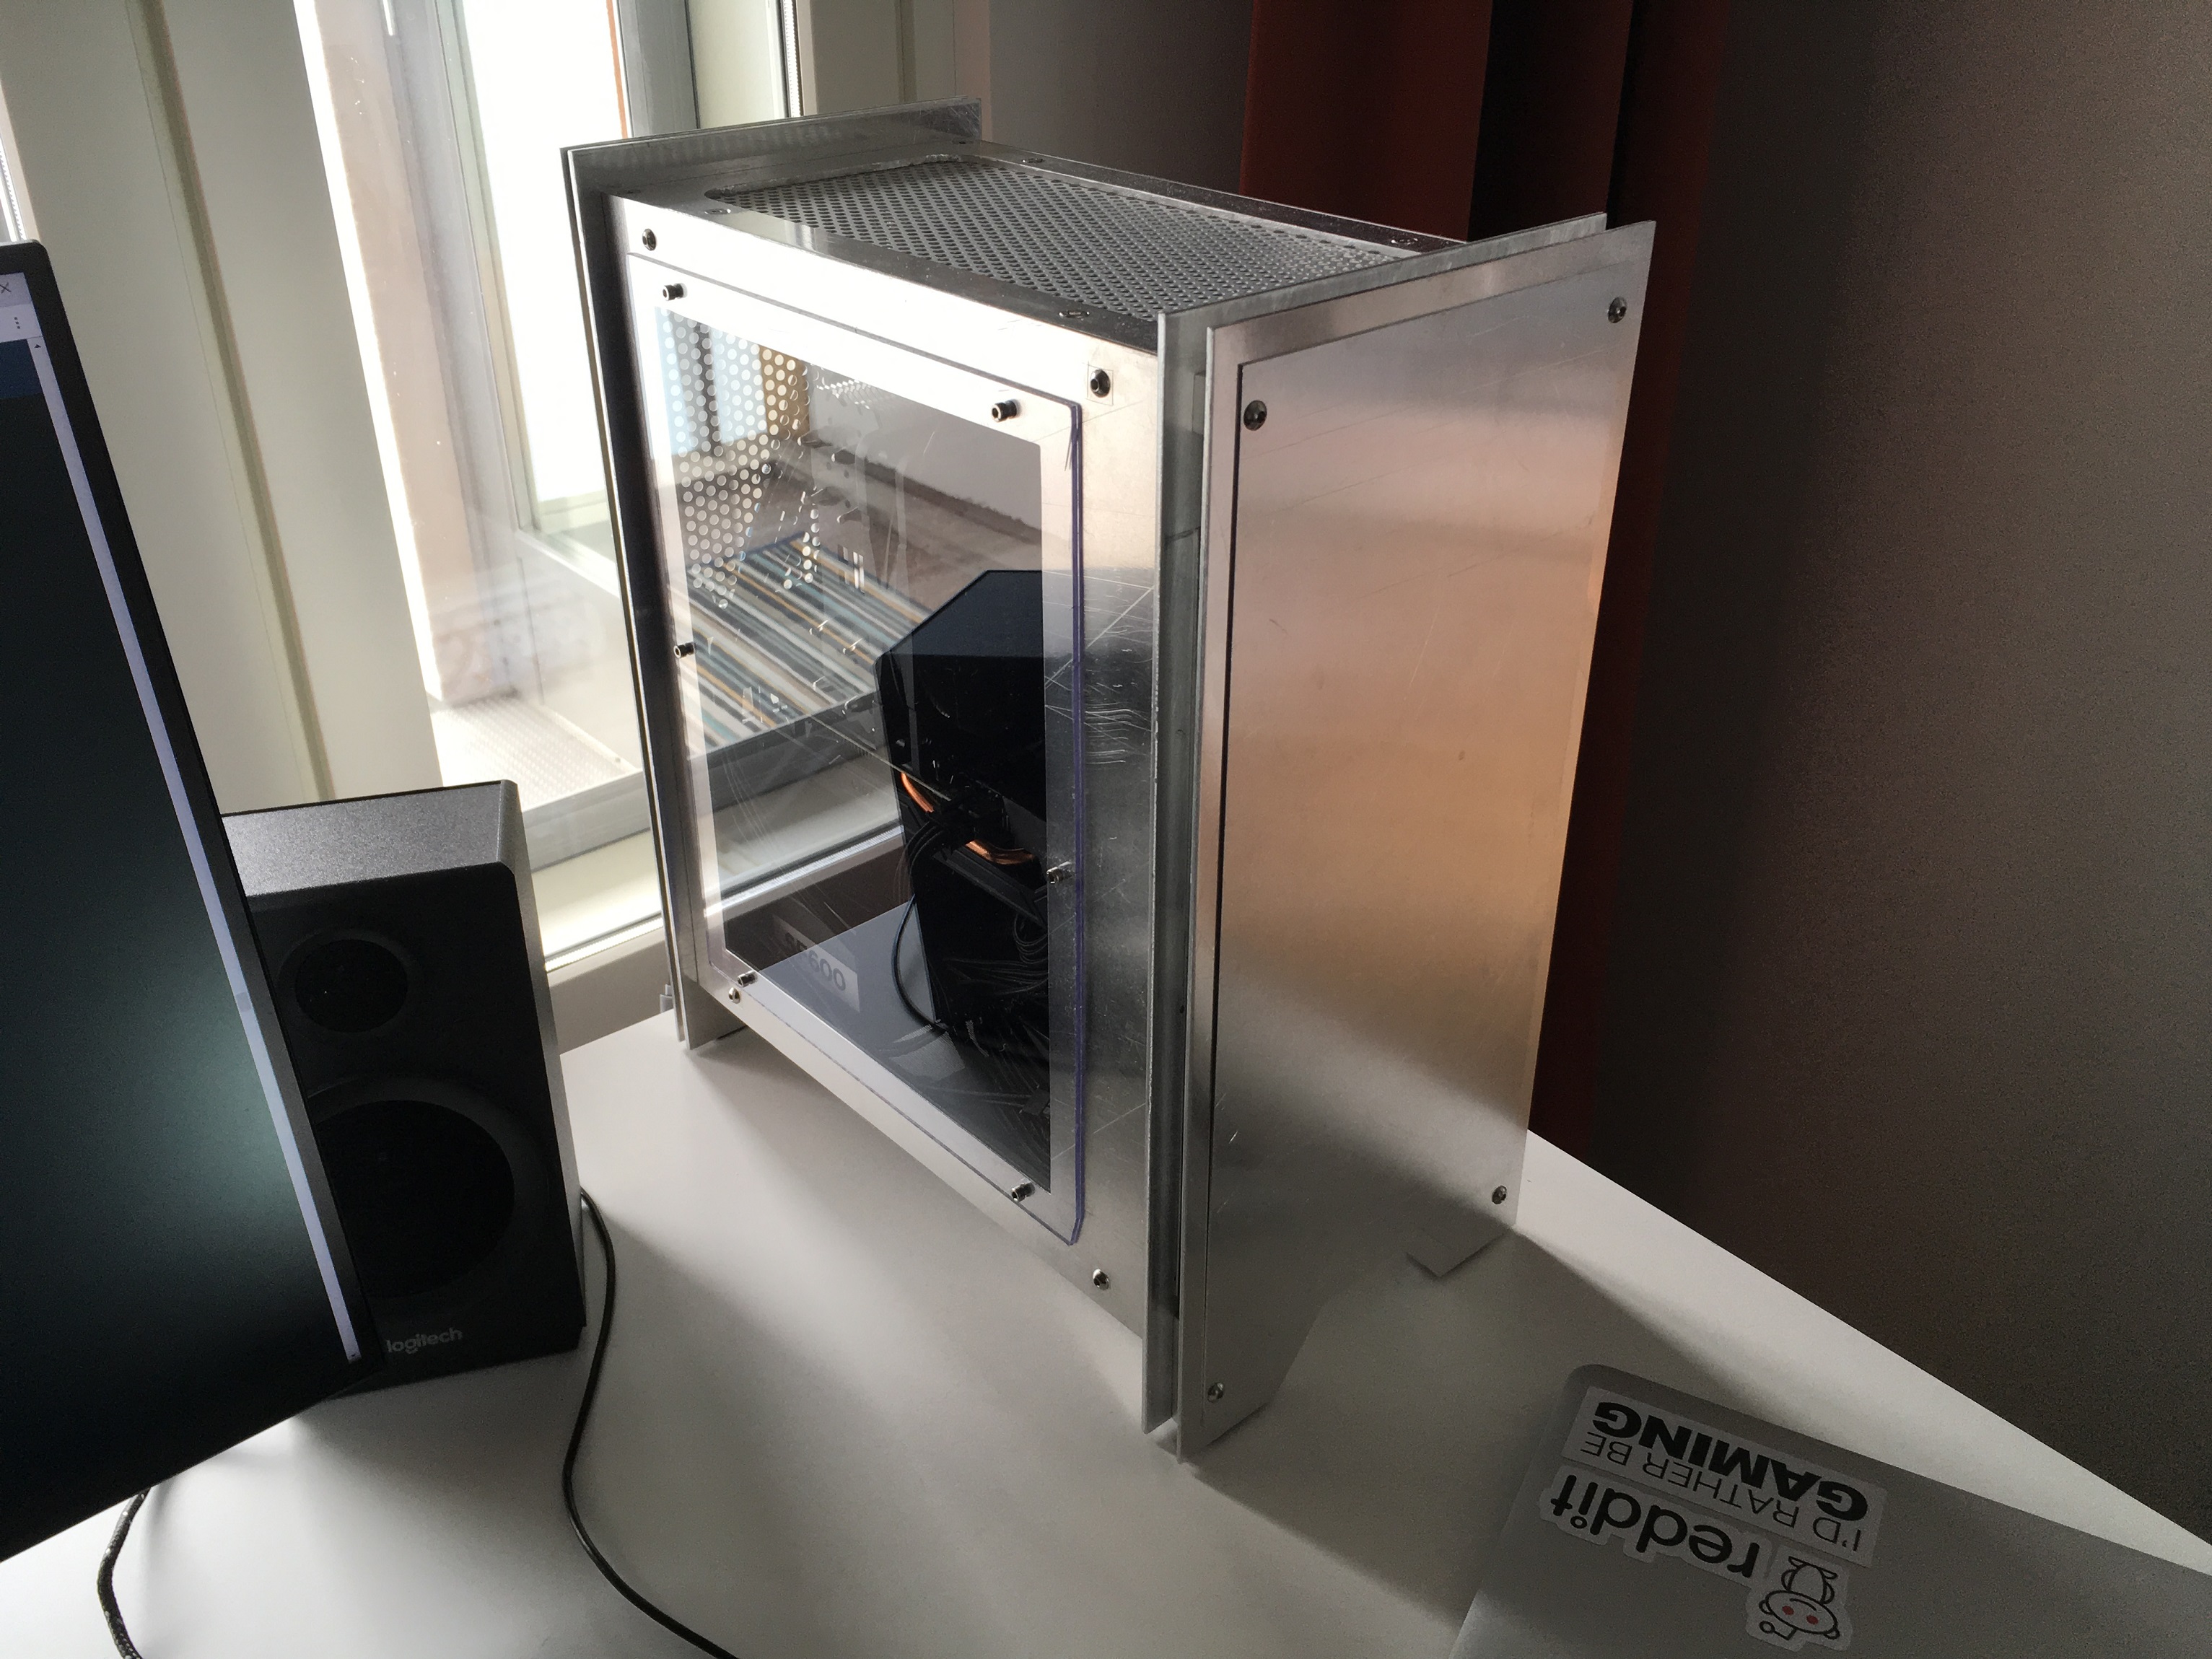
While I was buying some stuff from the hardware store, I found this: 300x300mm and 2mm thick polycarbonate sheet for 5€. I thought this was perfect for my case and I could use this to make a side window. I’ve never been big fan of side windows in cases, but I thought I’d give it a try anyway. I can always make new plate out of aluminium if get bored at having the side window in the case.

Oh and the sheet is clear, not red. Sheet just has some protective film over it.
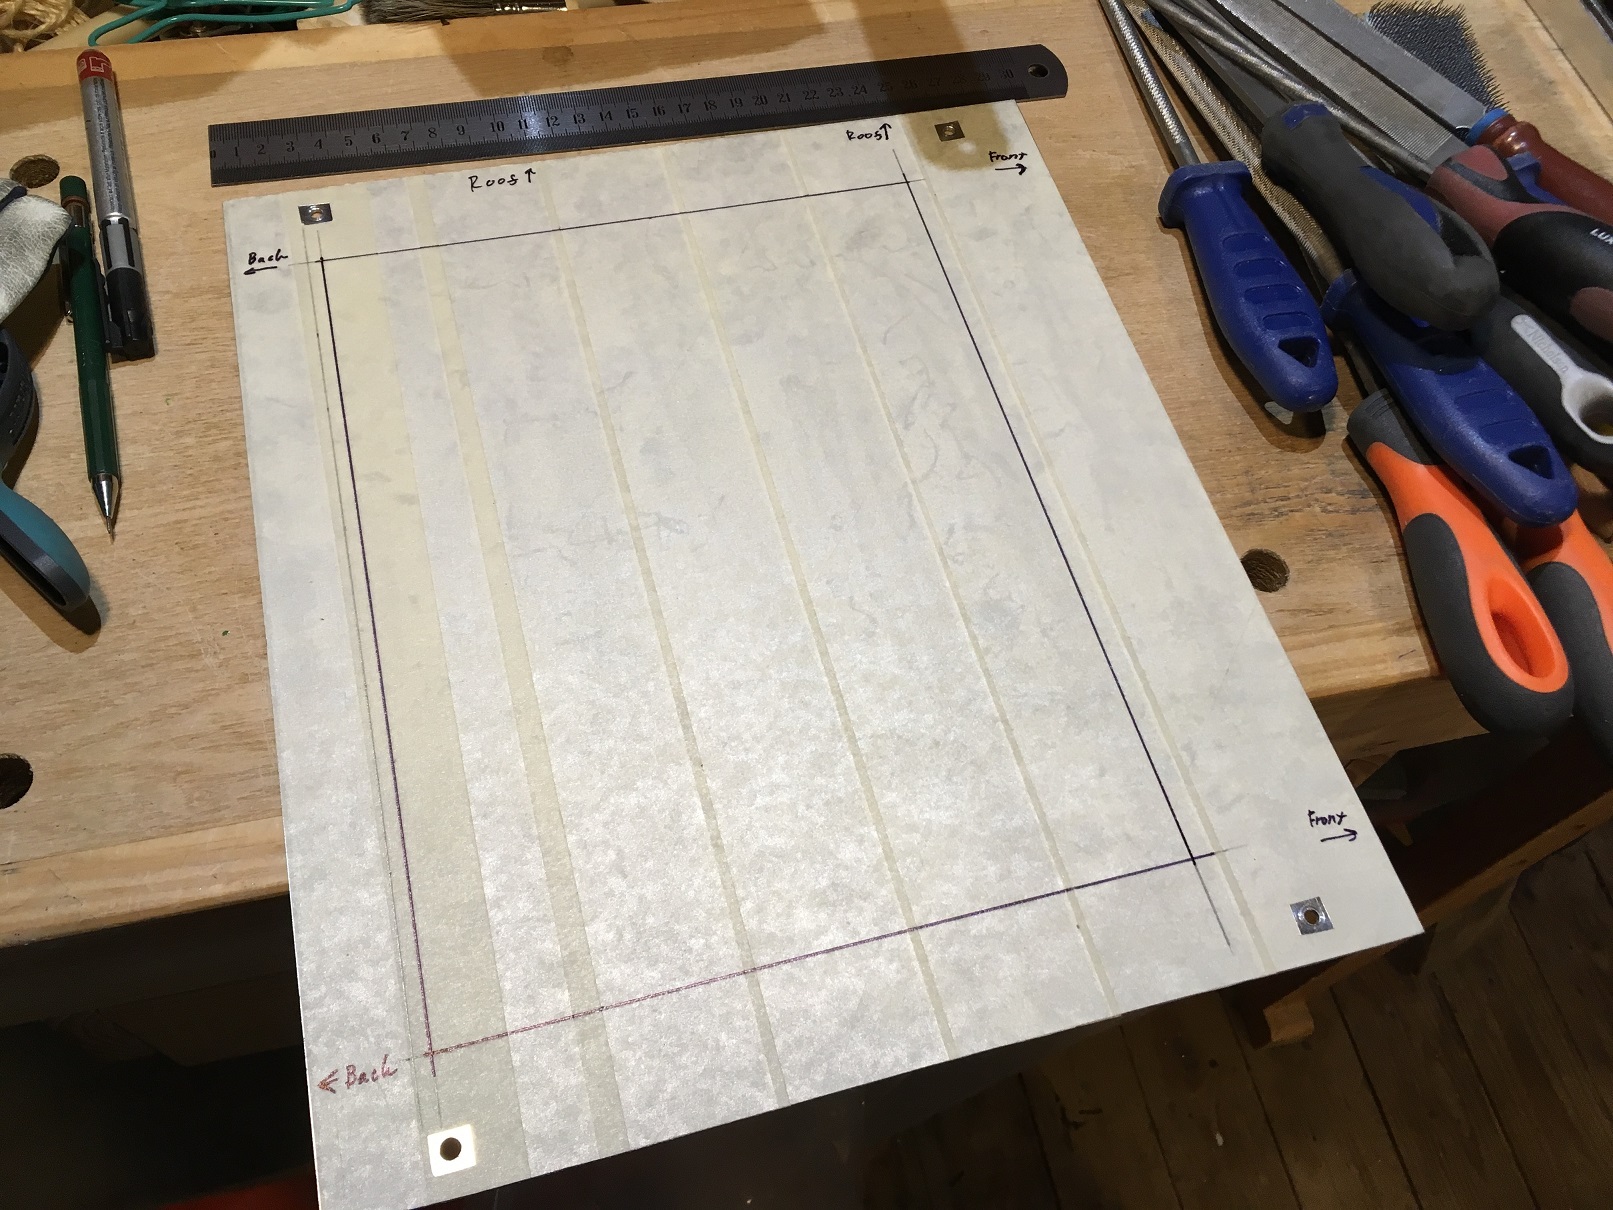
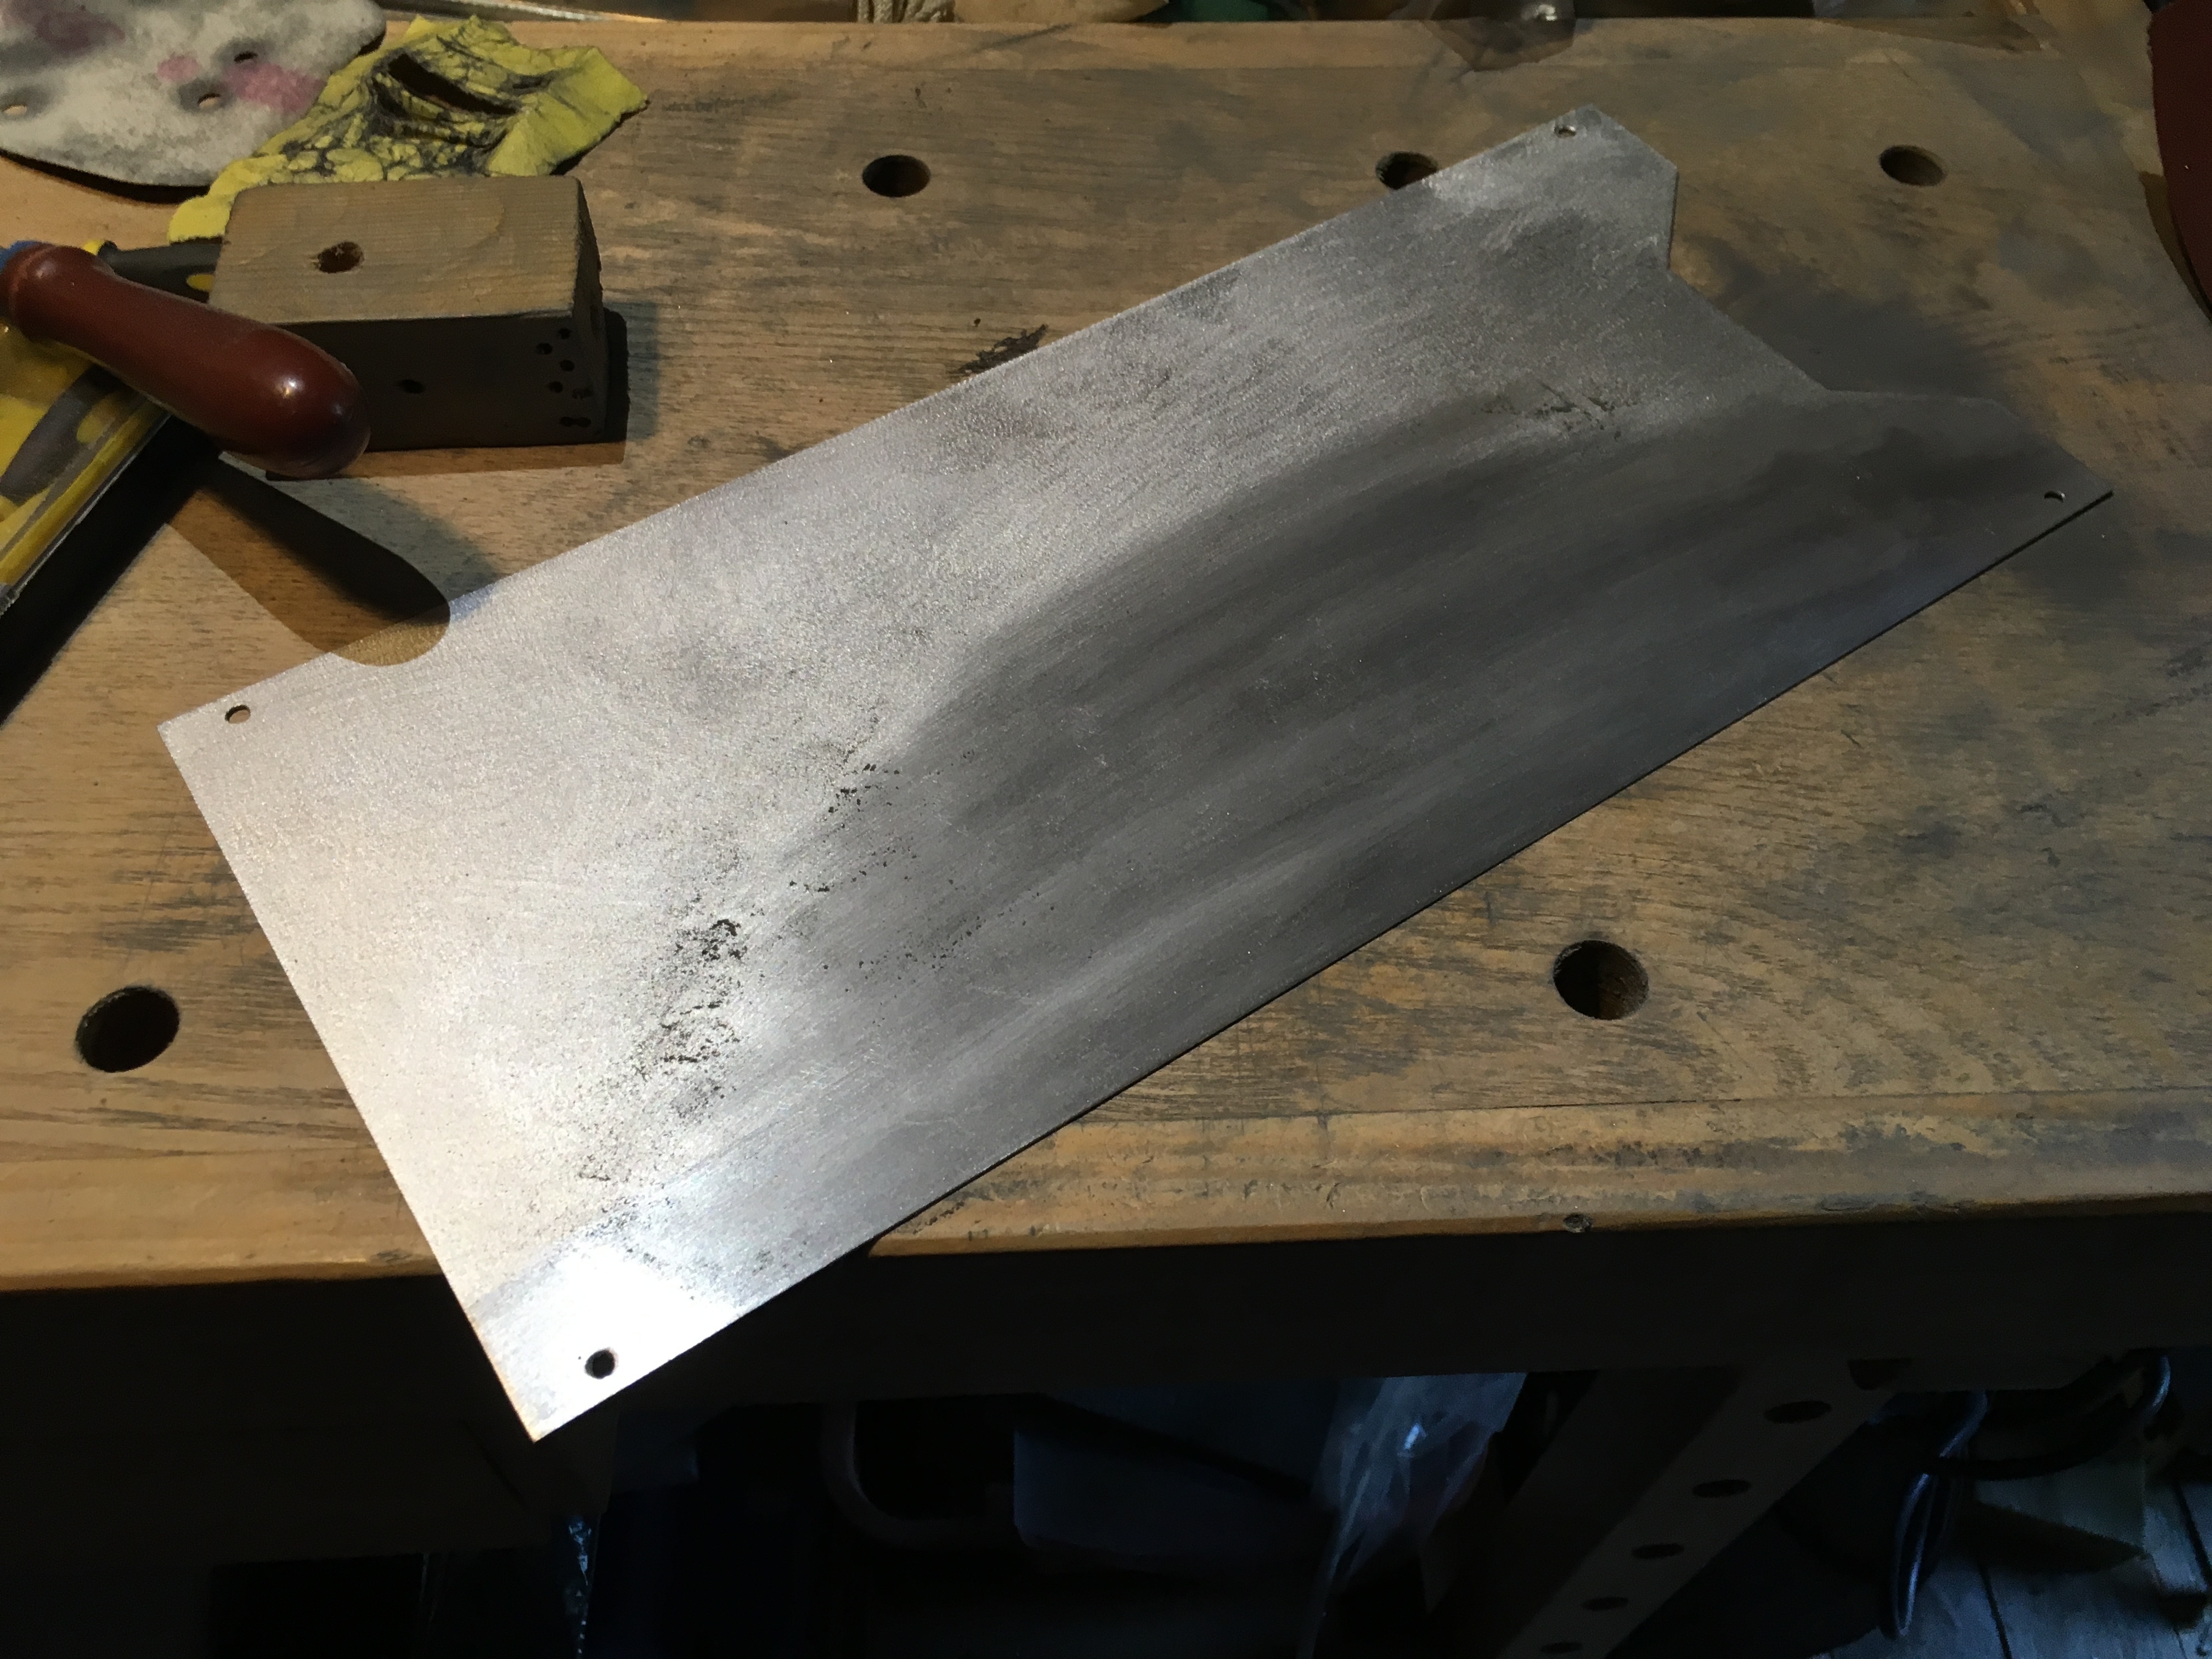
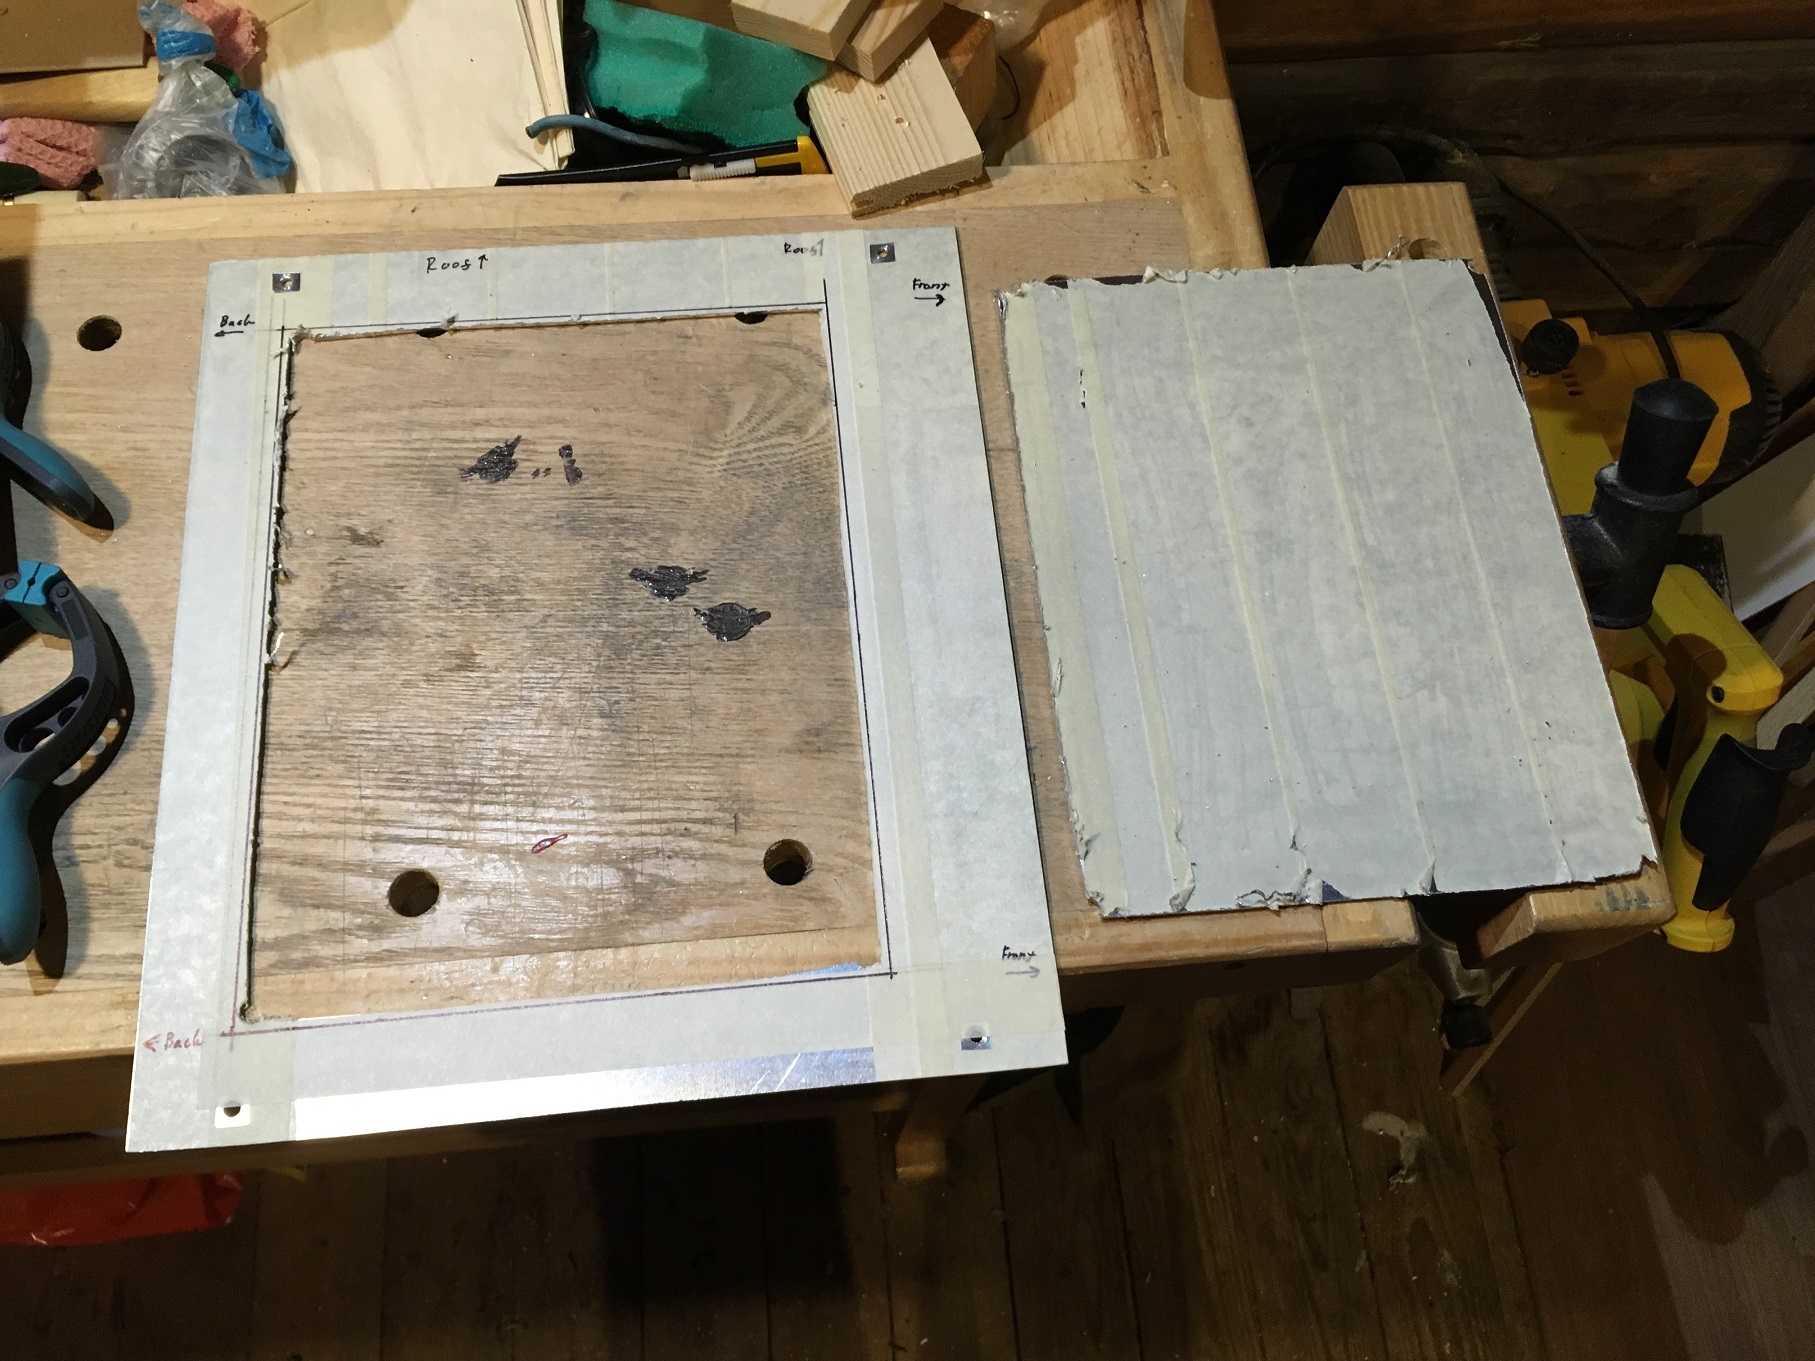
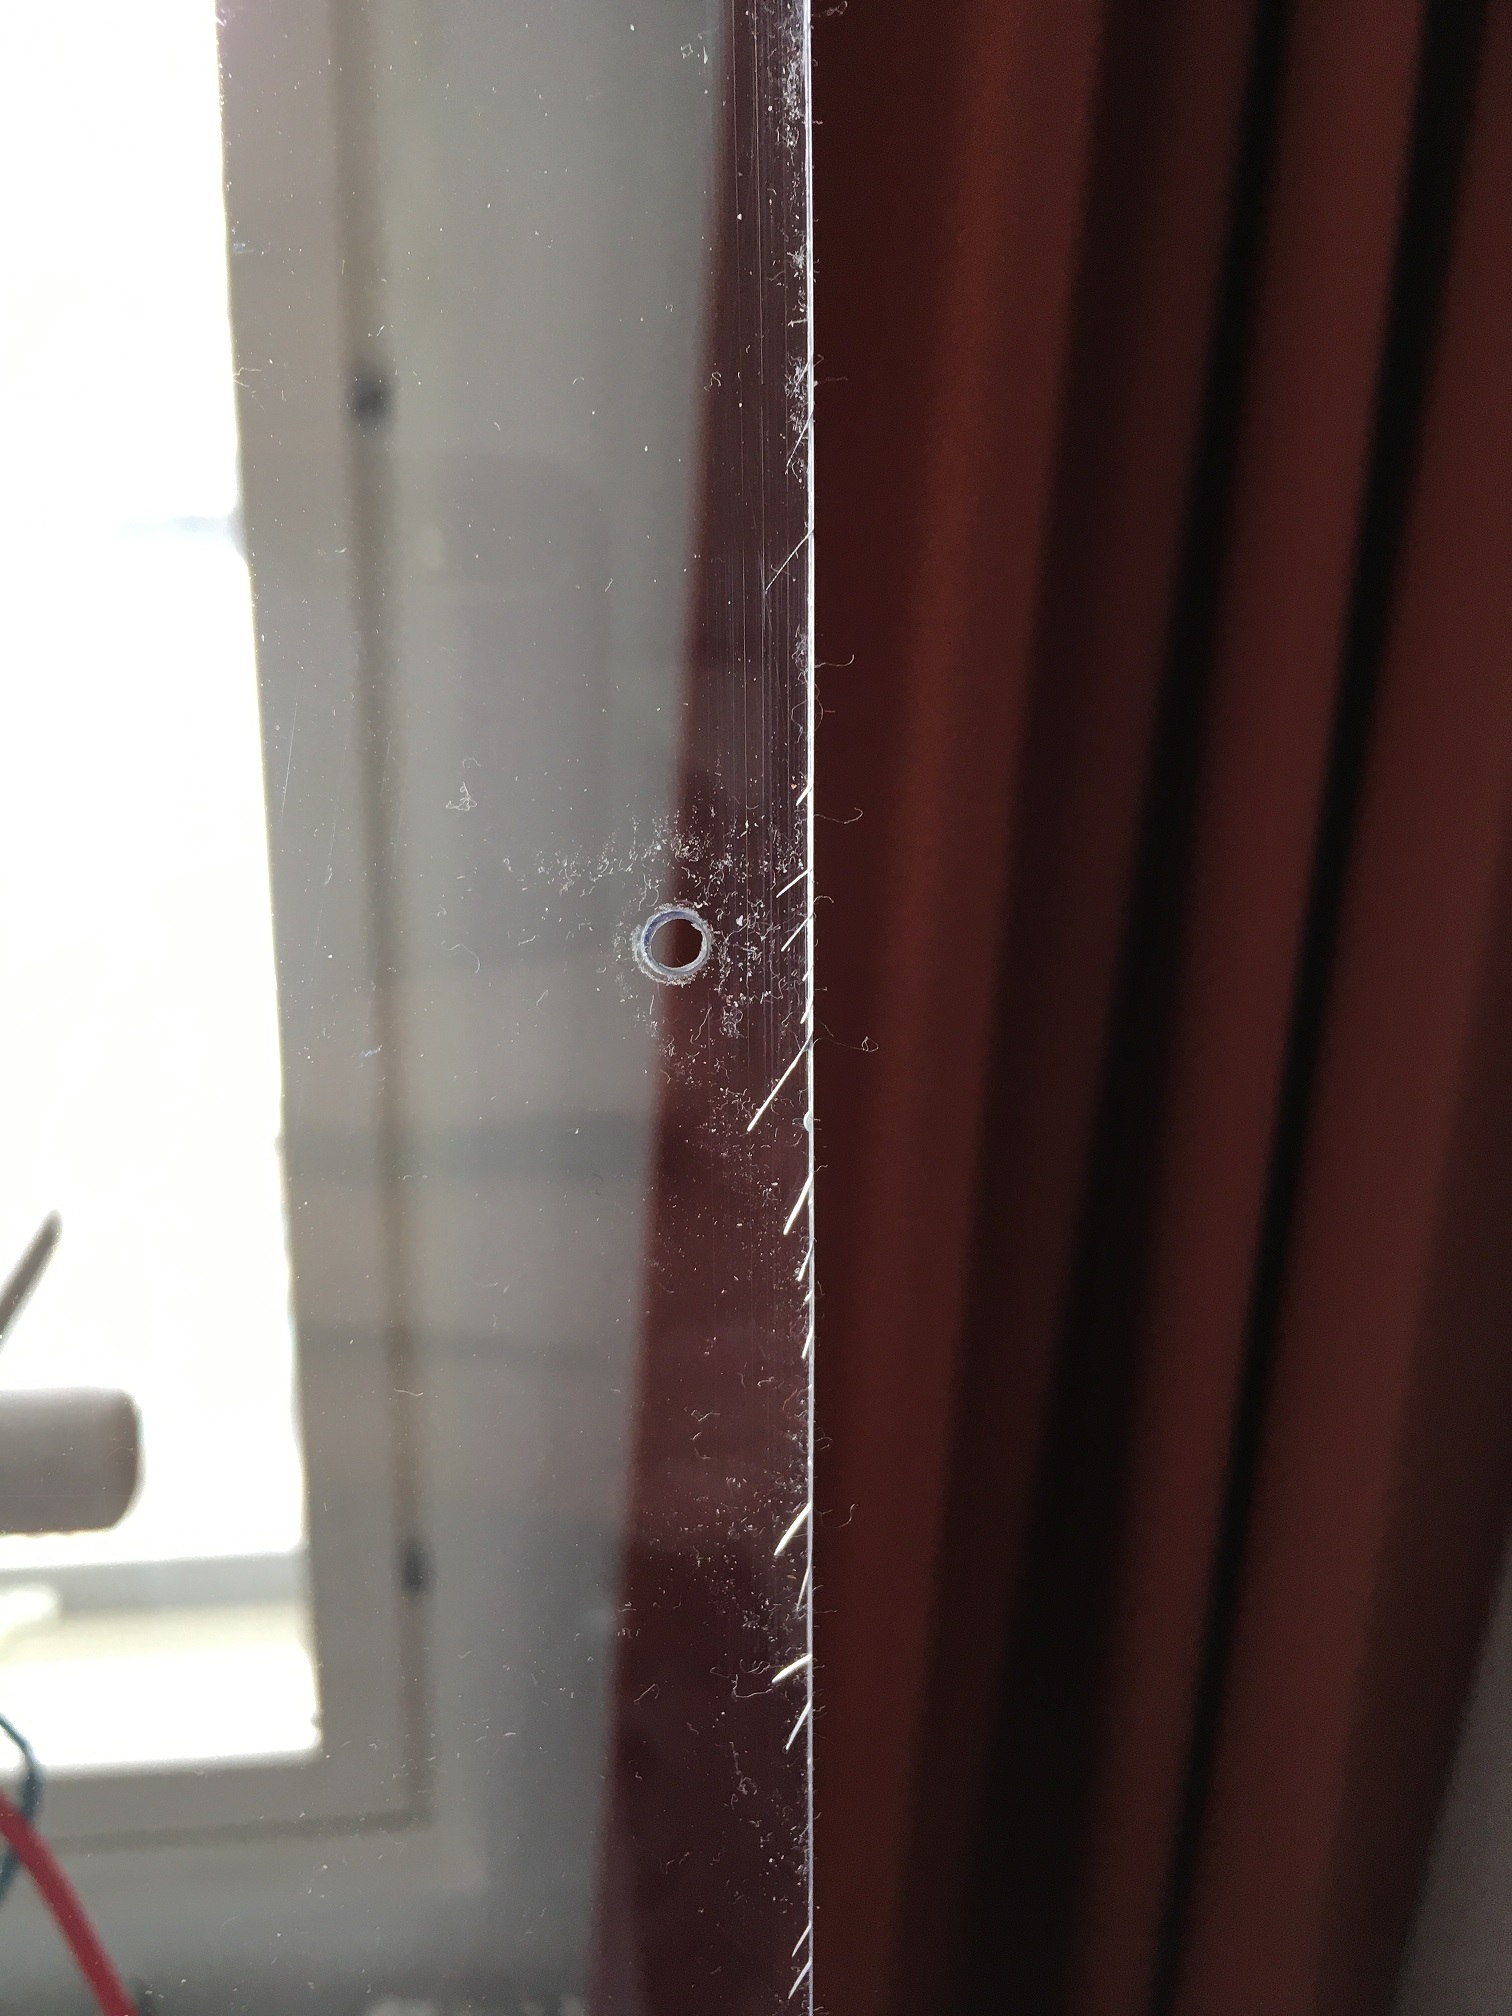
Hole cut

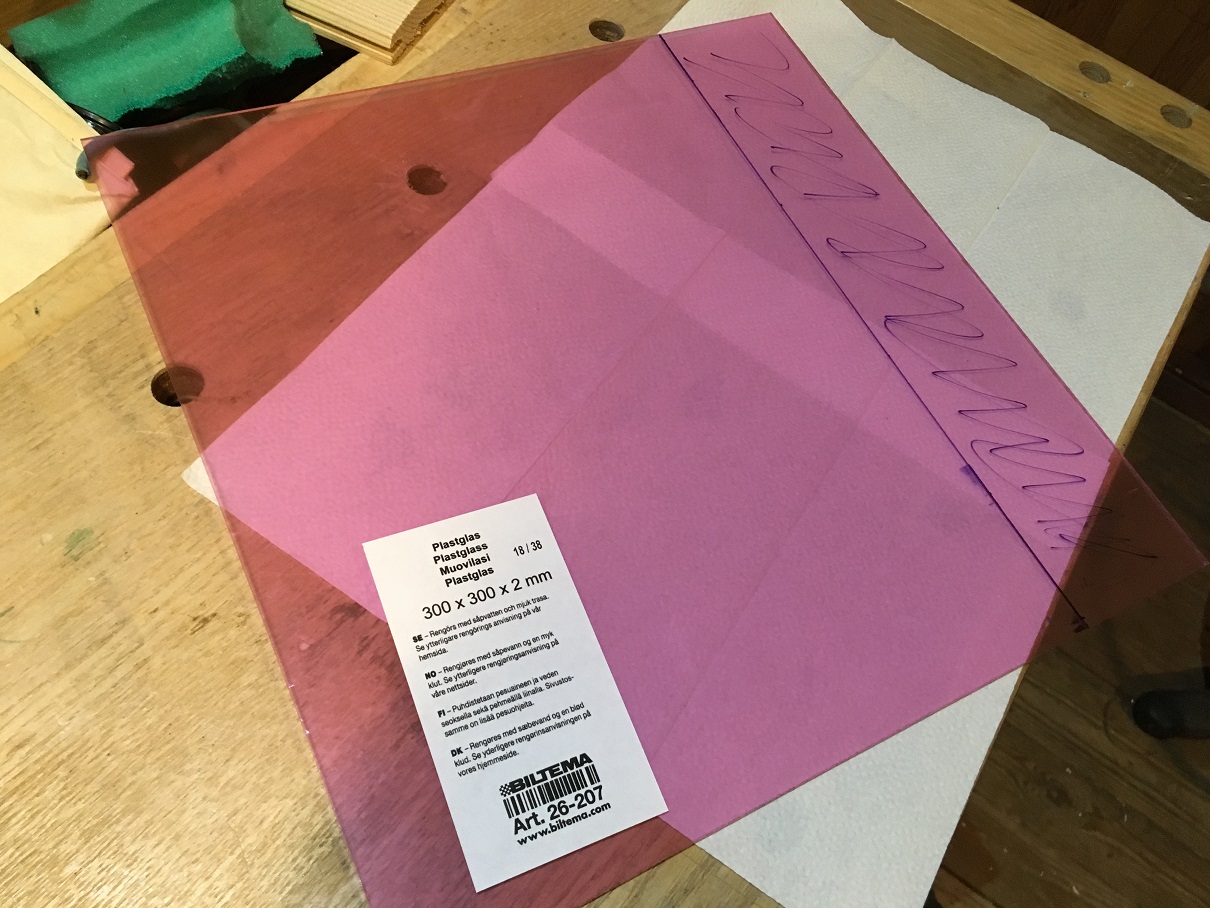
Since polycarb sheet was 300mm by 300mm, I only needed to cut little bit off from one side of the sheet.

And fastened to the case.

Since I didn’t have any idea how to cut polycarbonate, I used normal jig saw that I use when cutting aluminium. This wasn’t the best method since it left some small cracks to the side. Good thing is they are not that easy to notice, but I’m still going to redo the part again later. I could even try to find some tinted polycarb sheet. :stuck_out_tongue:

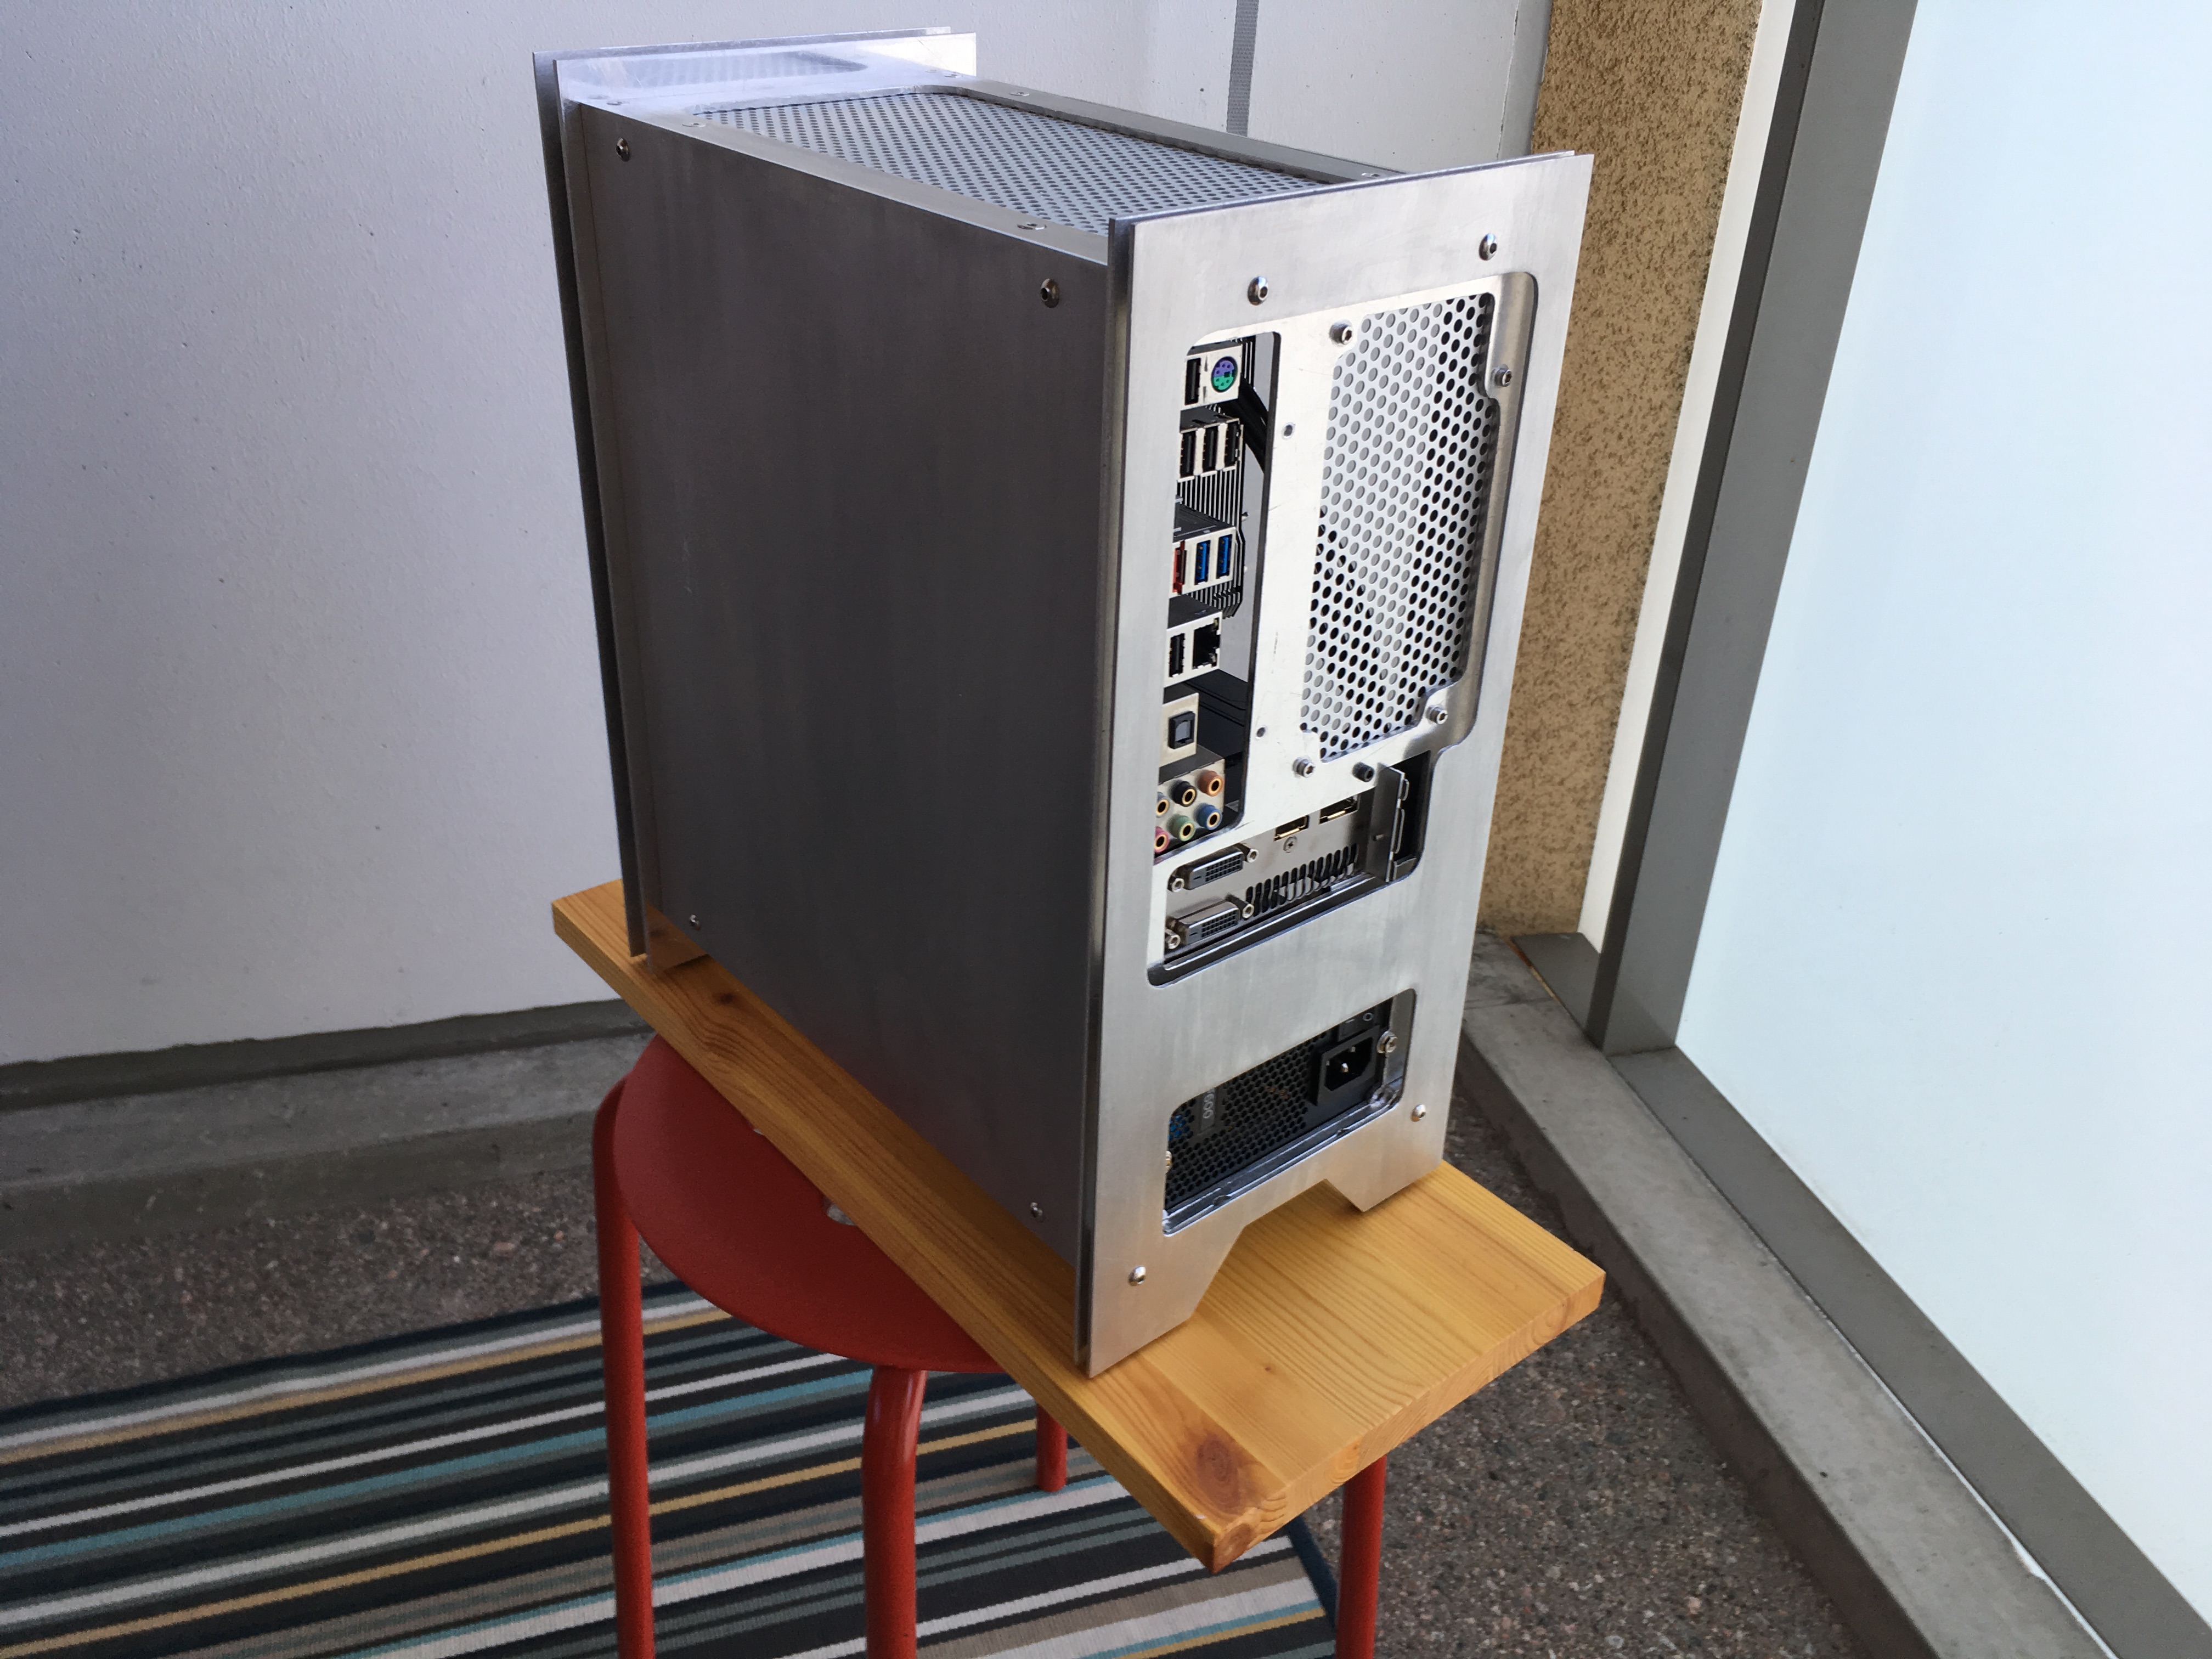
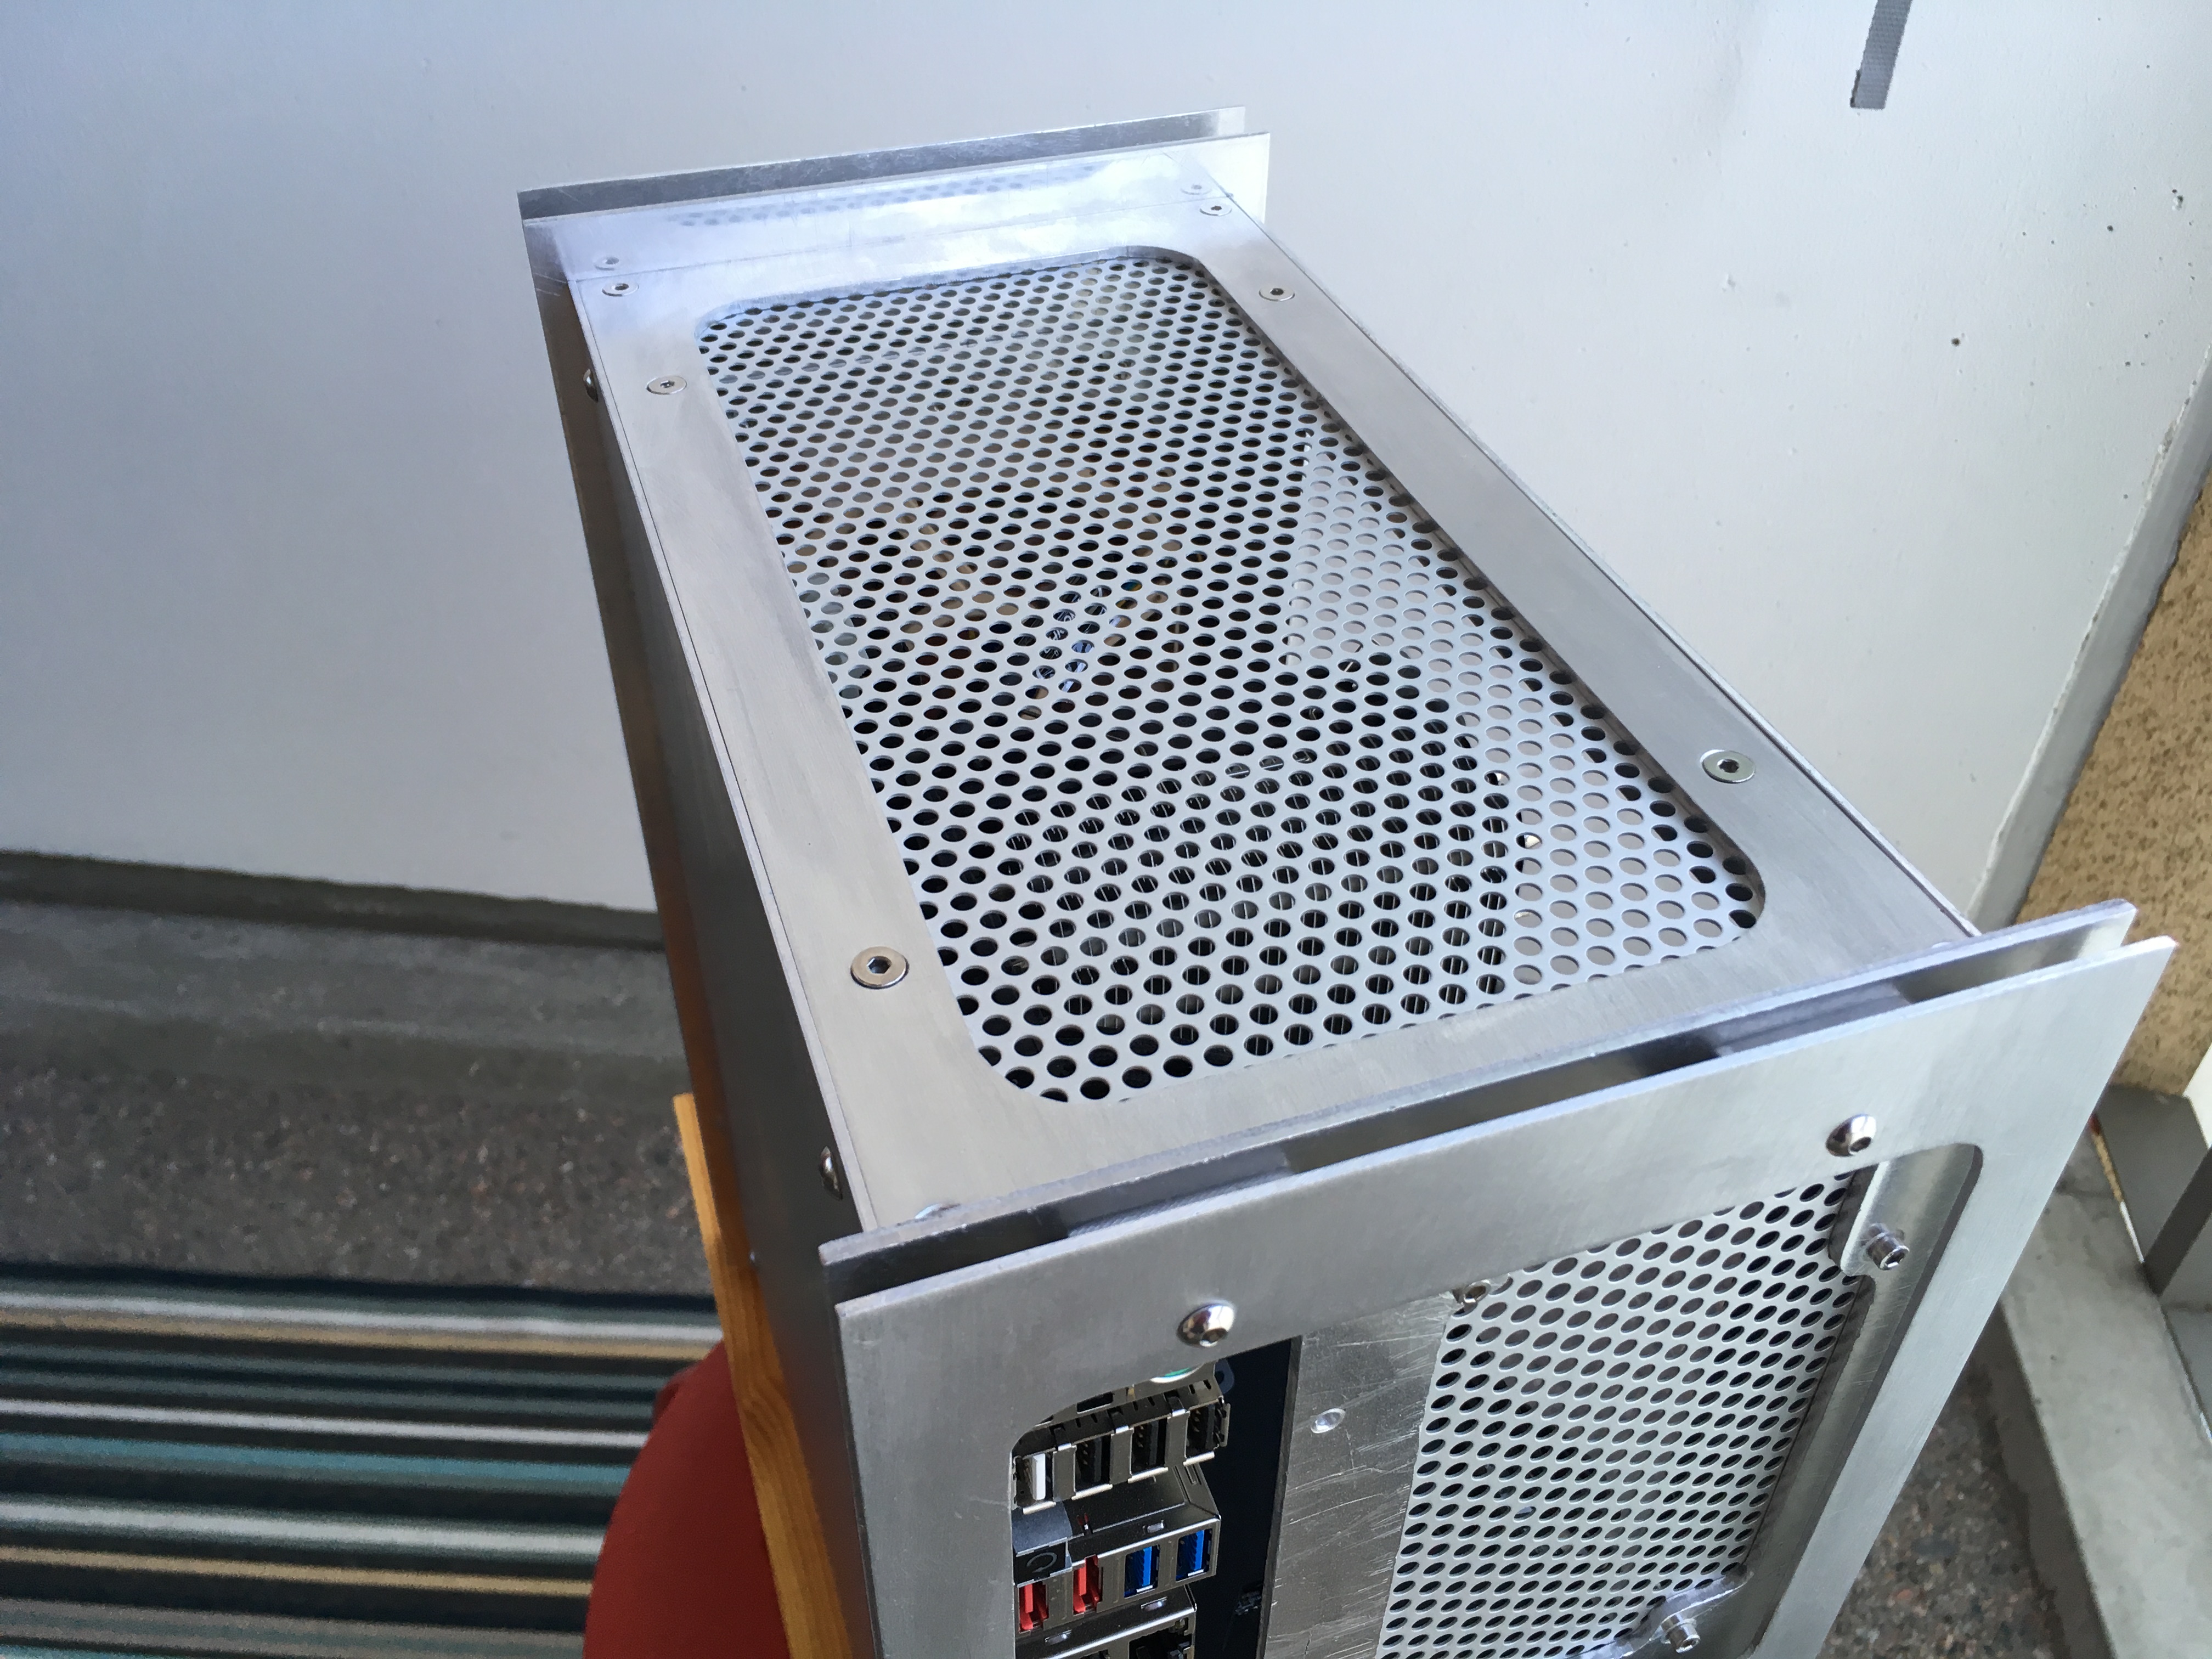
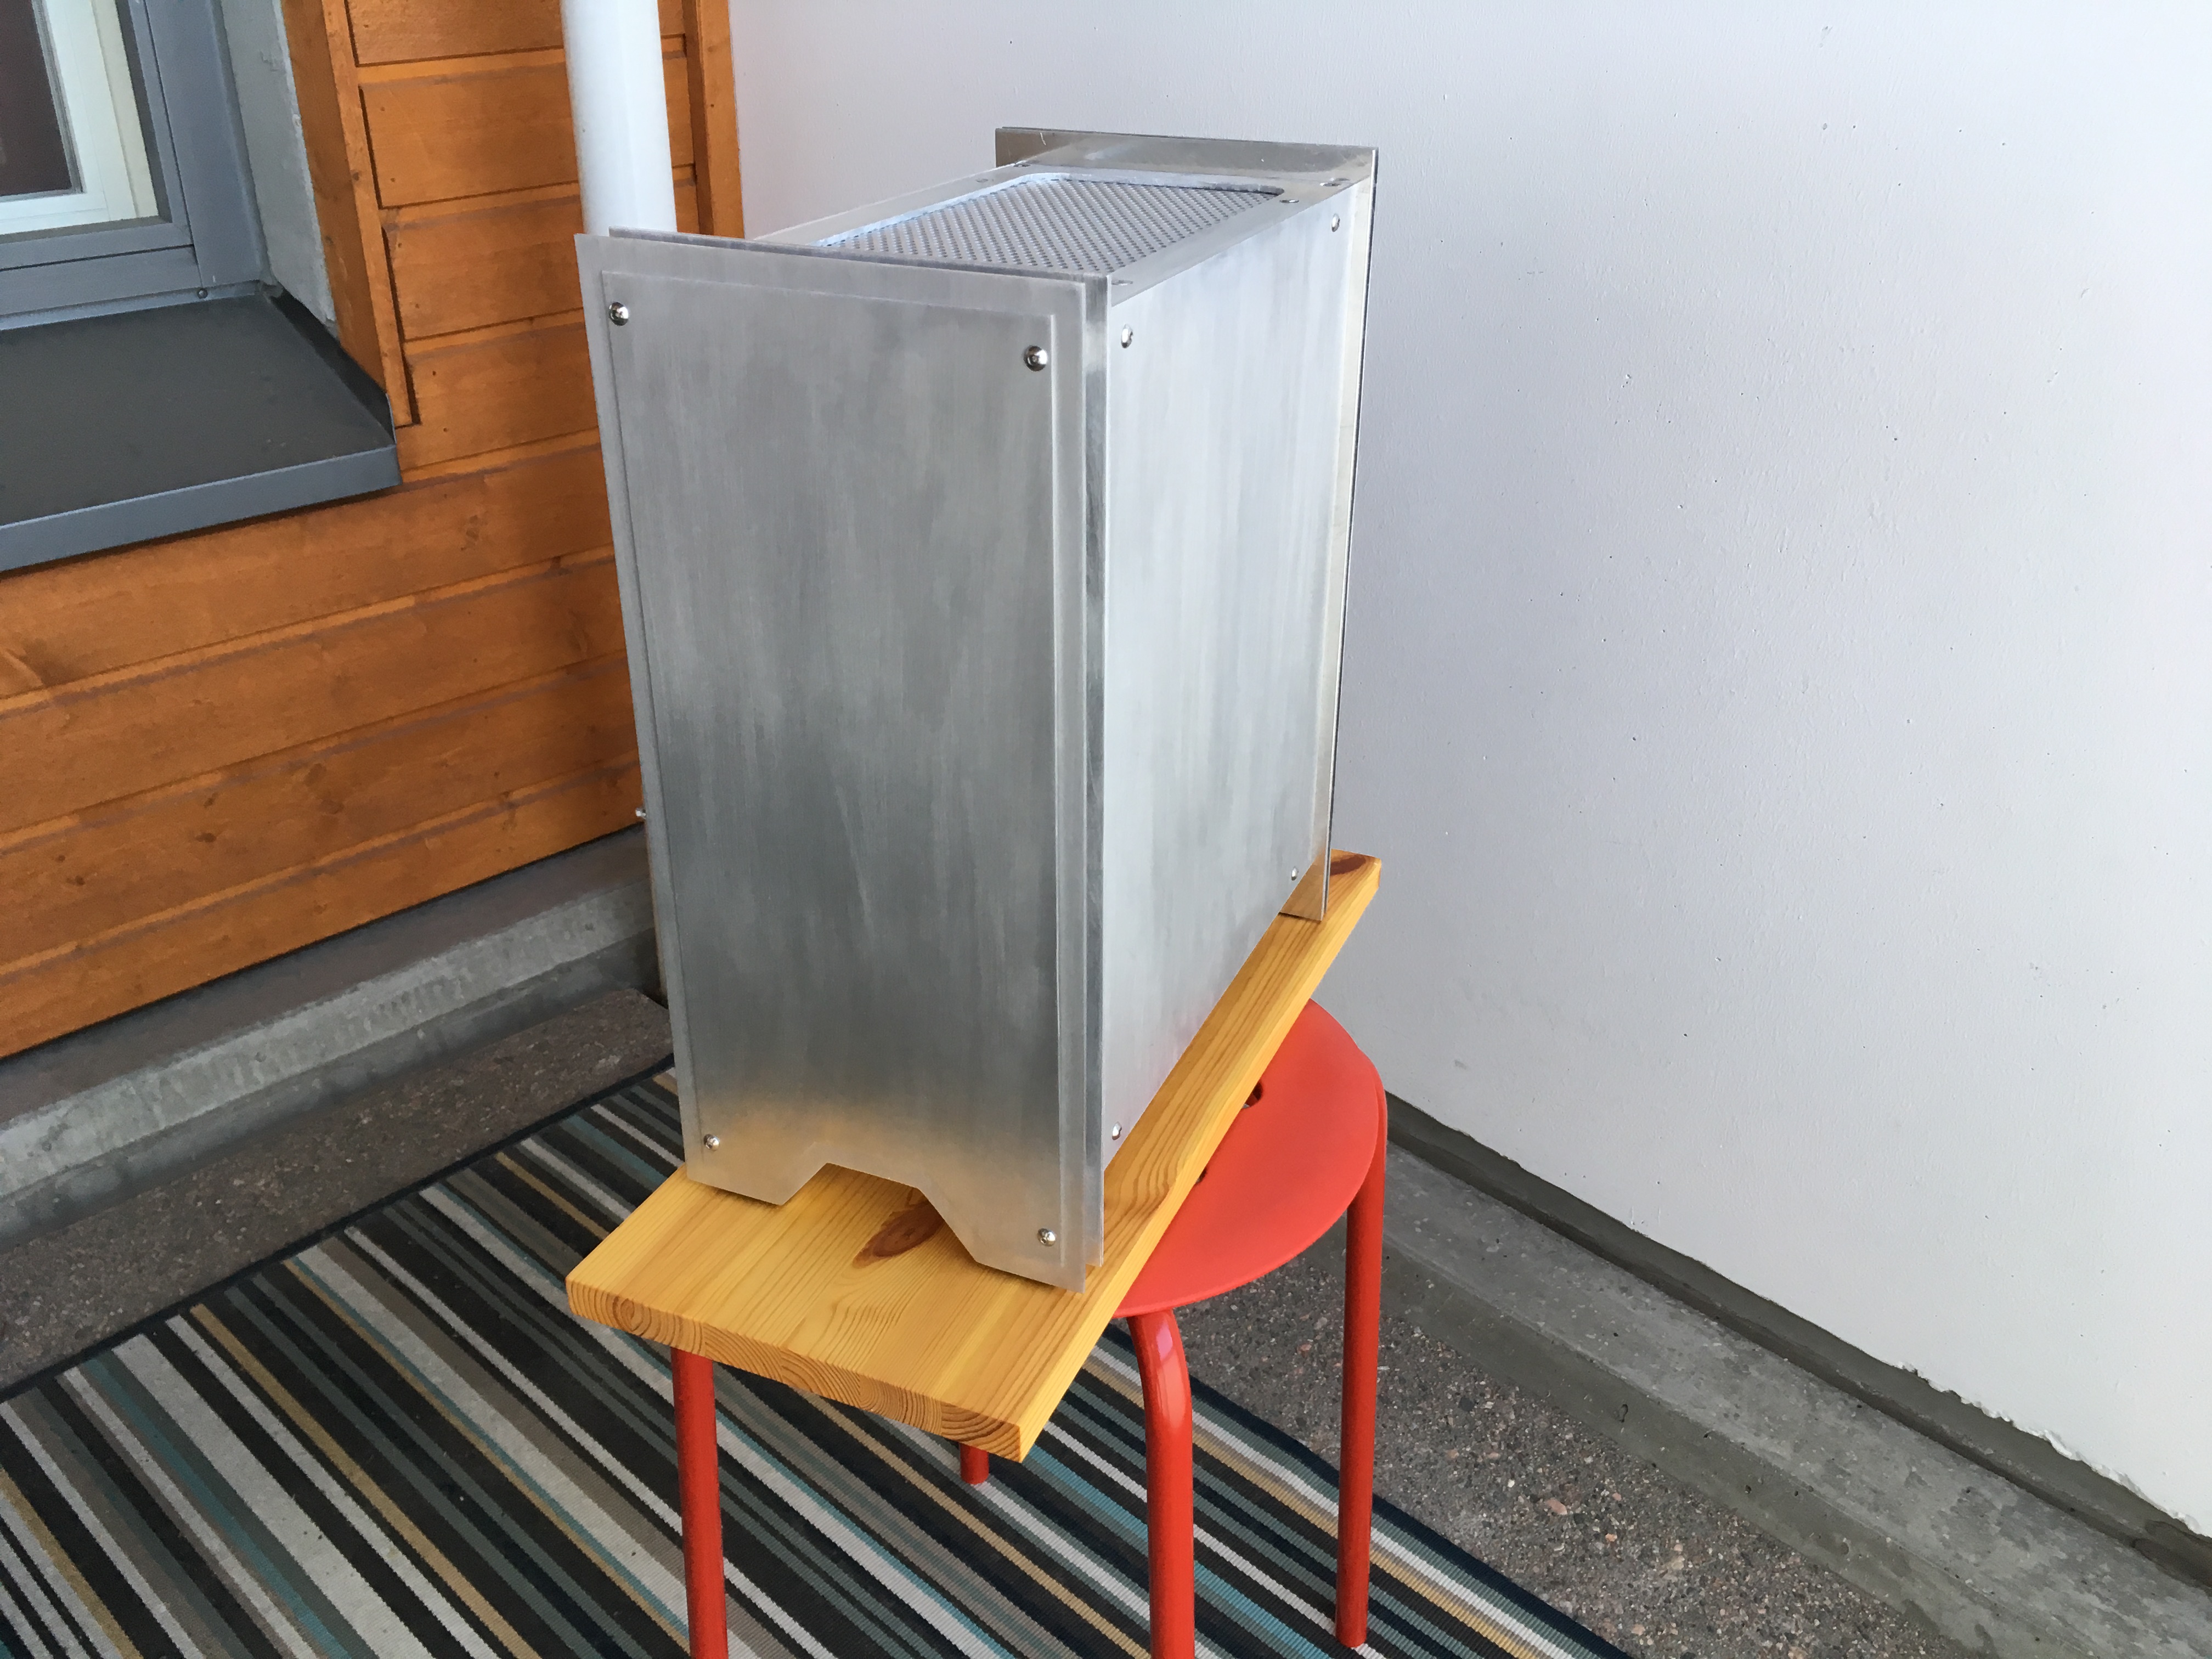
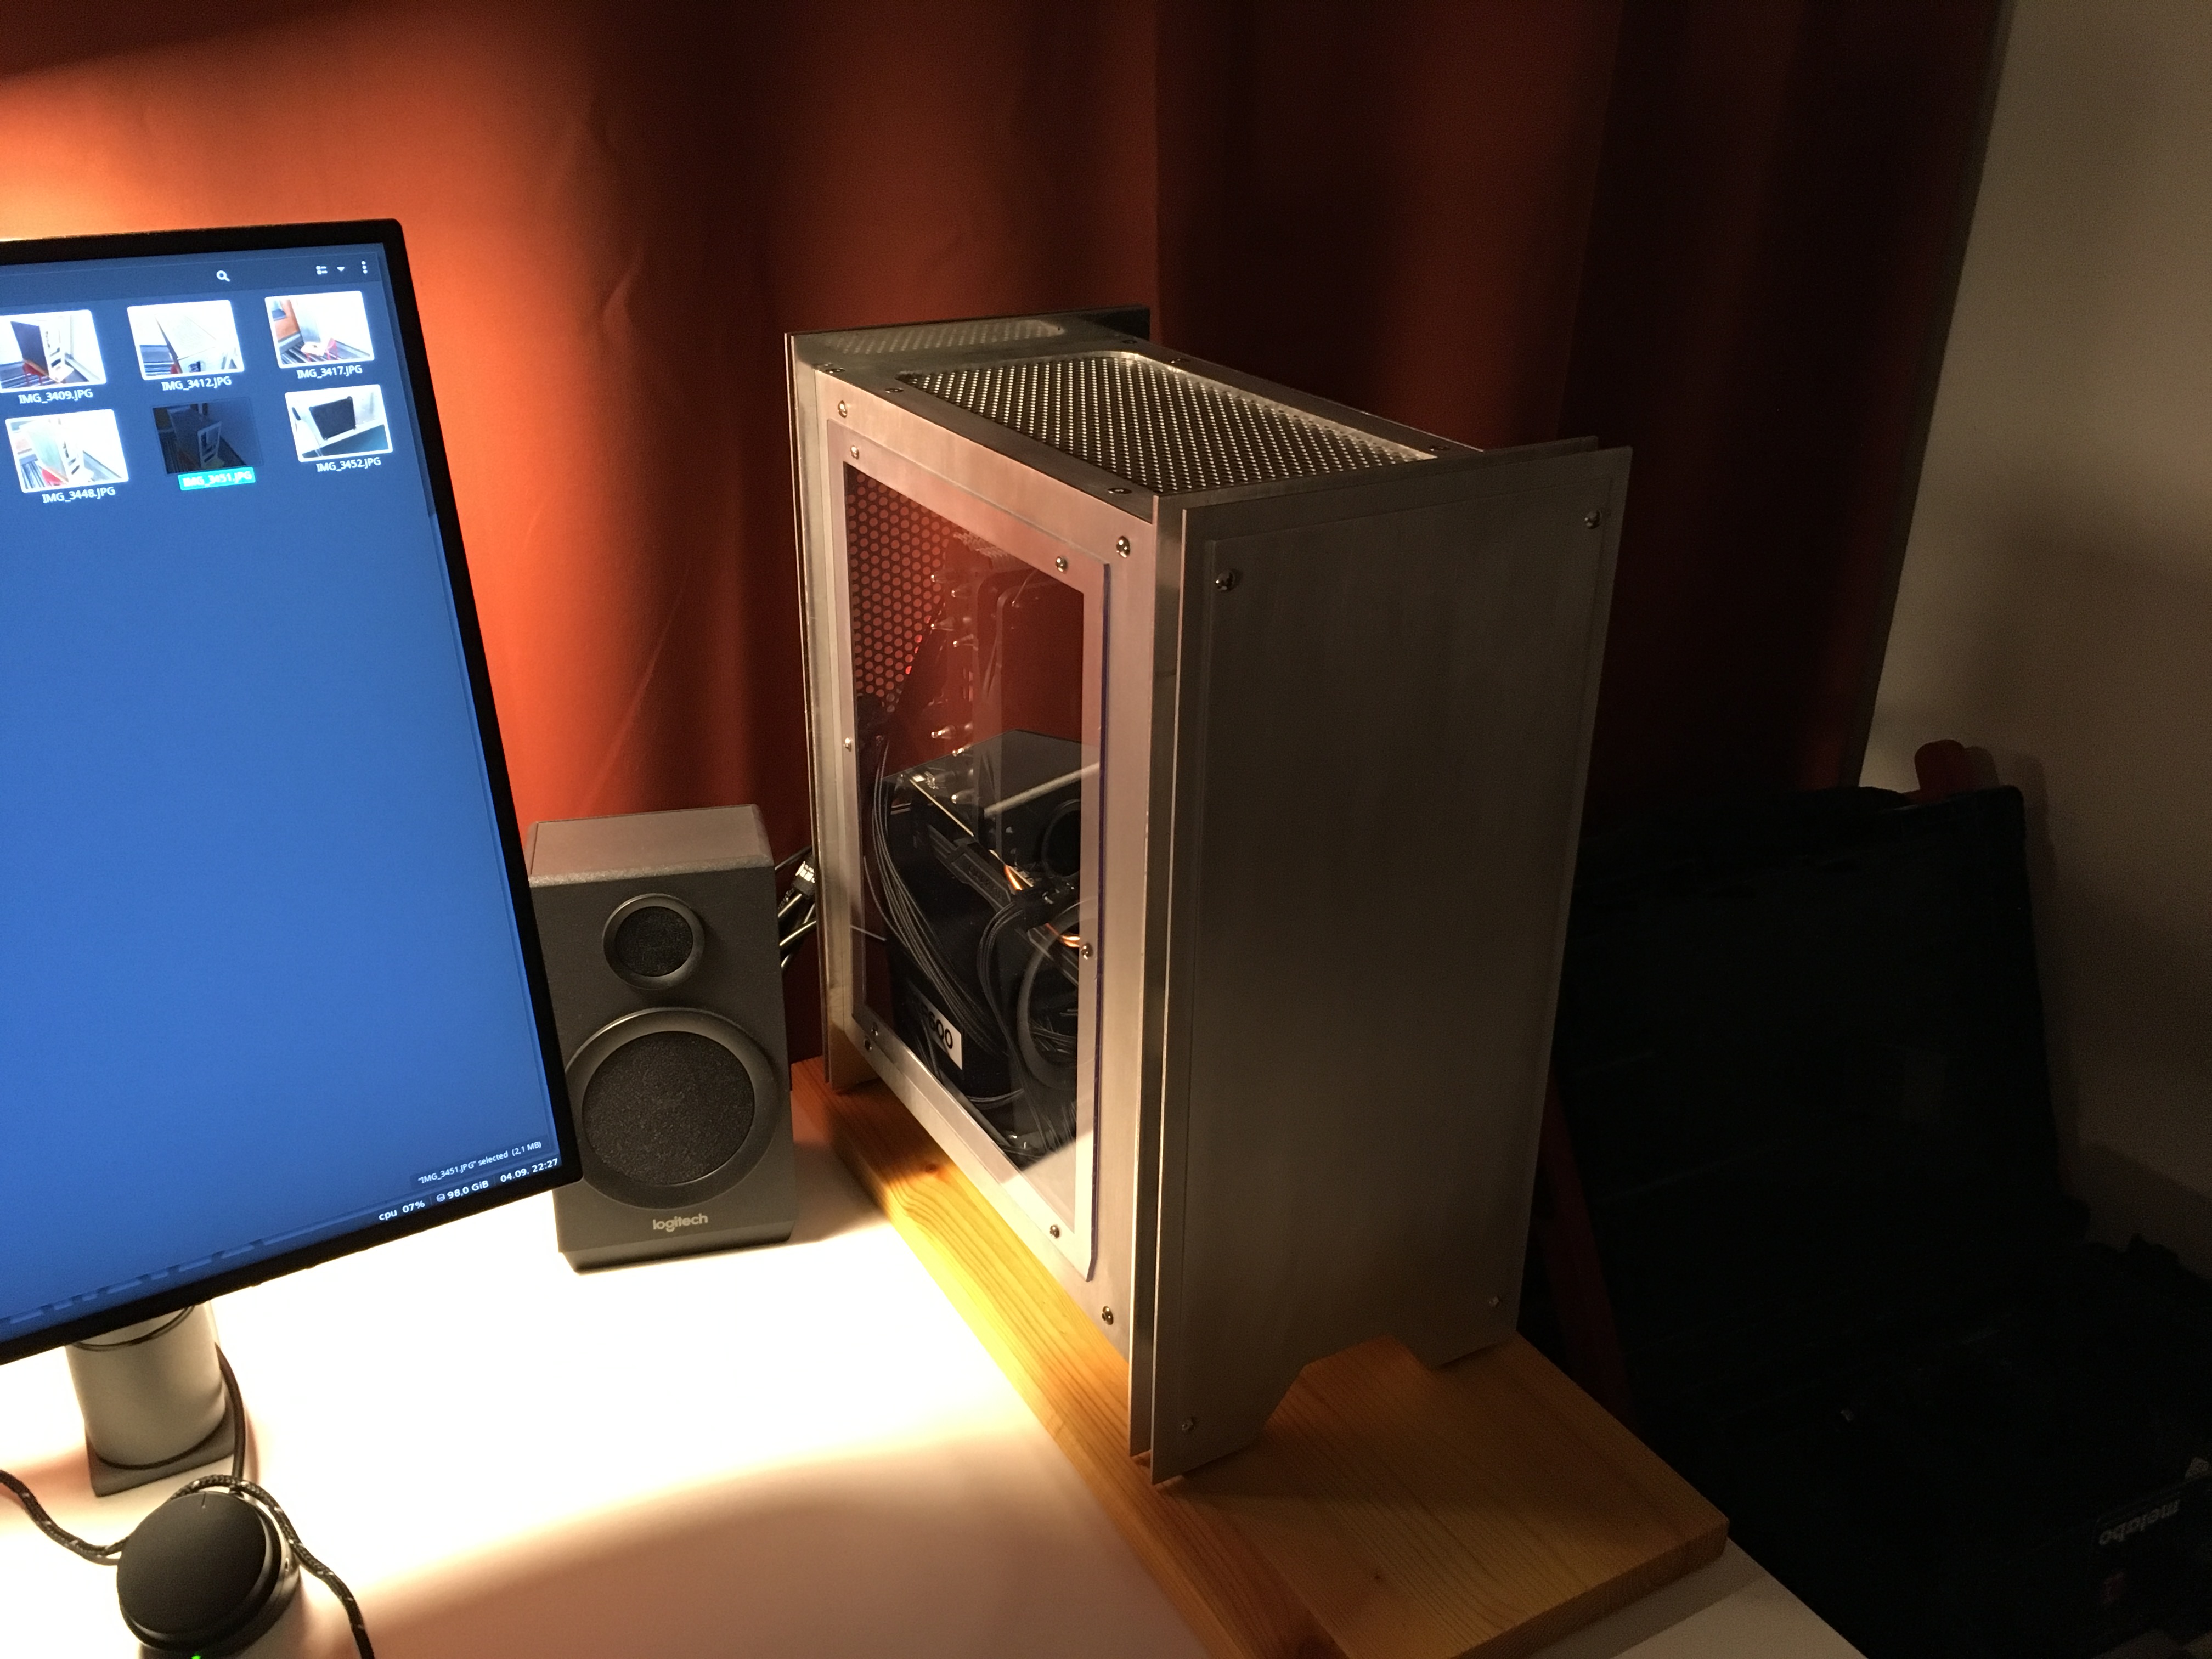
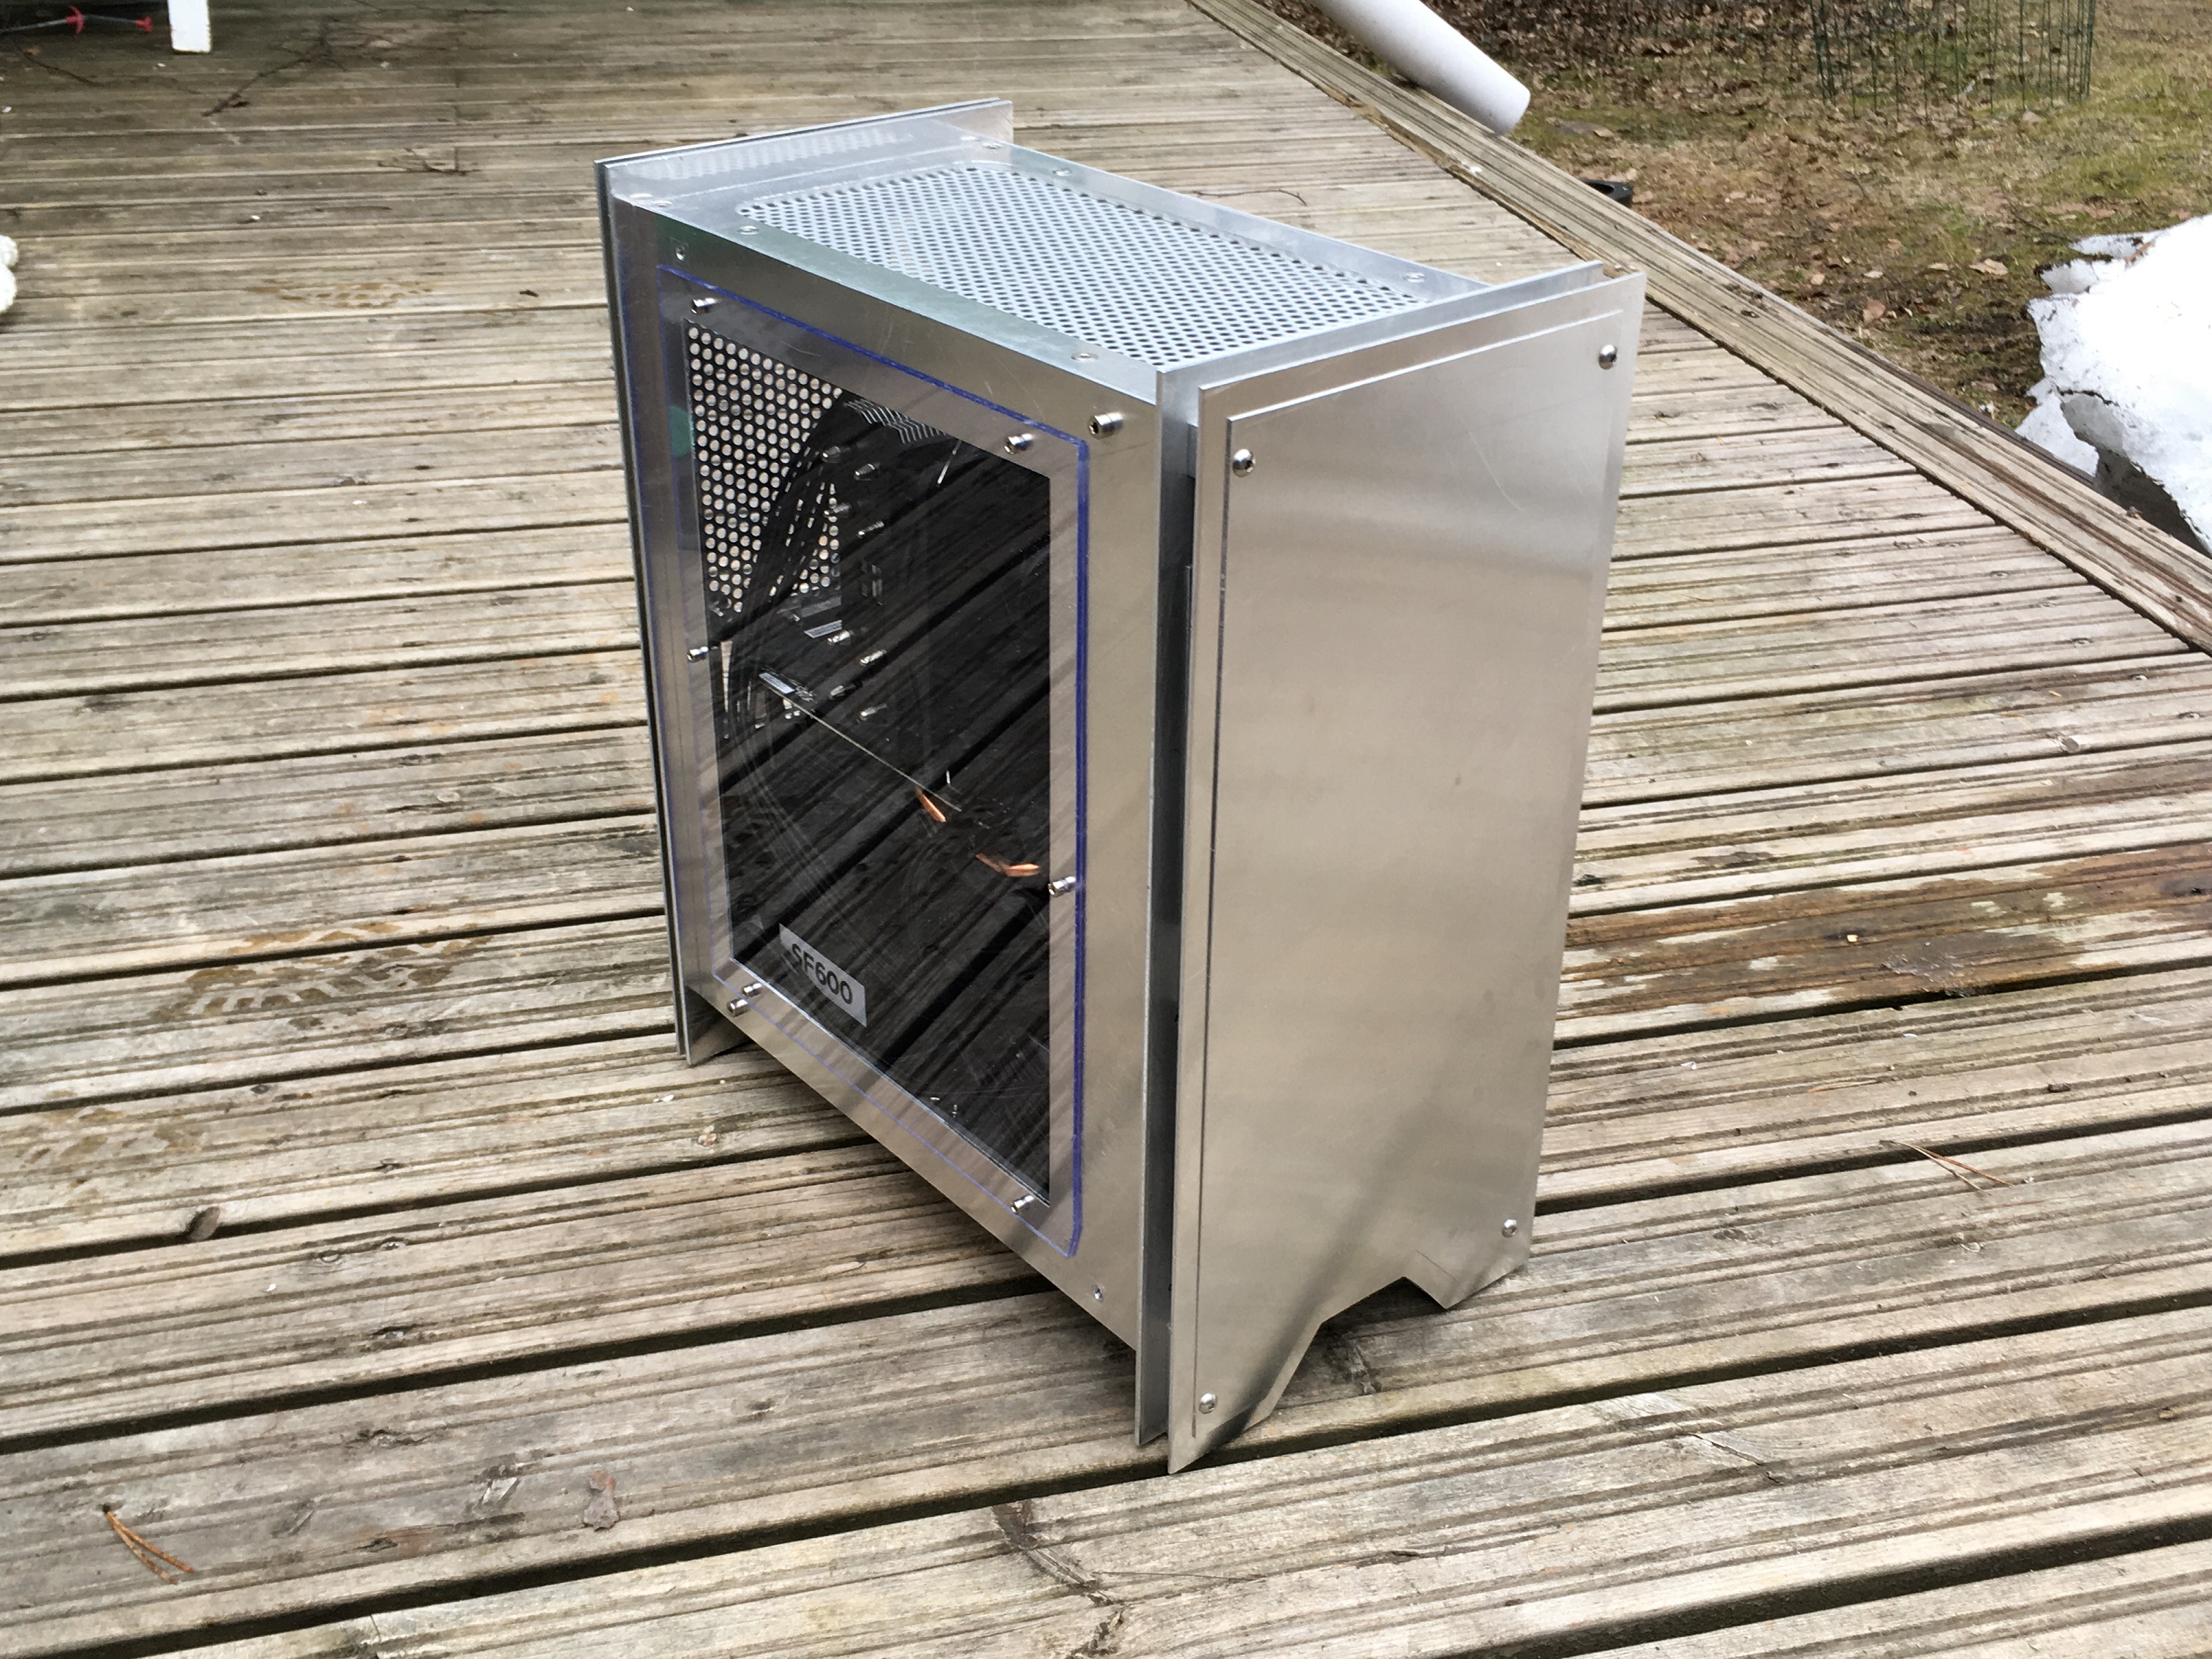
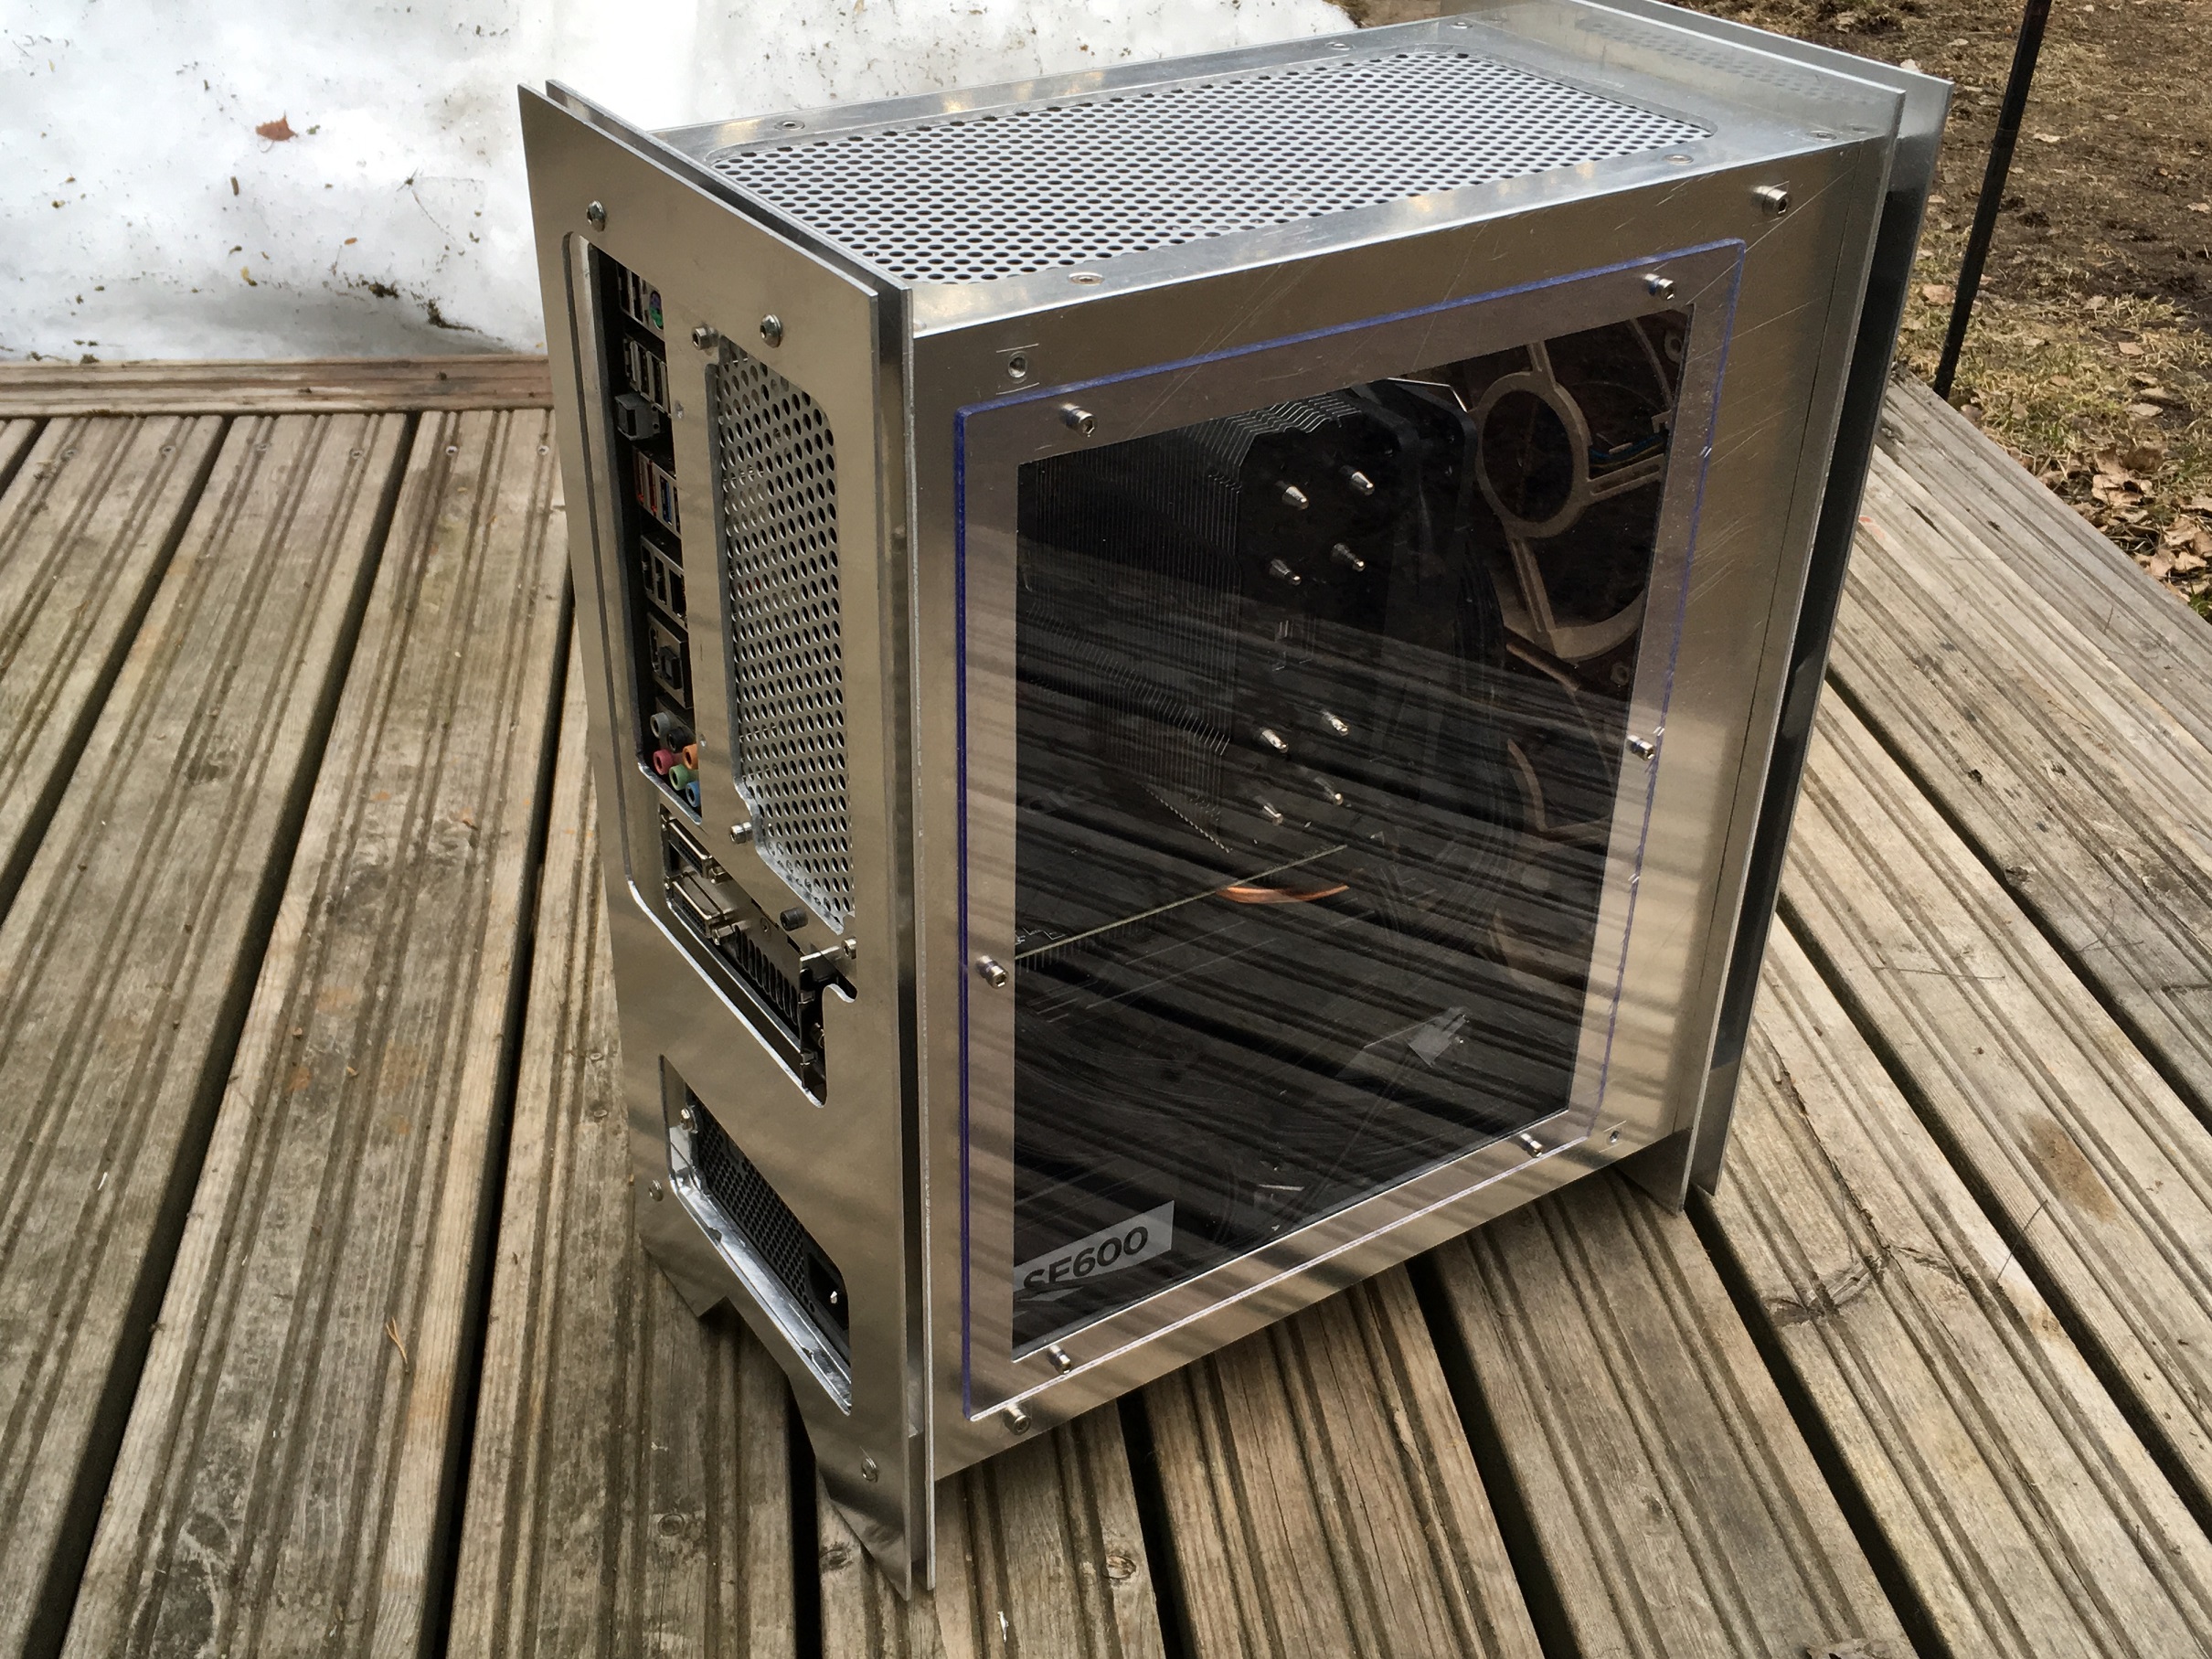
Finally some money shots for the case. There are some small things like redoing the window still left to do, plus I have to finish the case surface somehow. So case is not finished yet, but pretty close! :slight_smile:

I will update this work log when I have something new to show to you. Until then, stay beautiful. :wink:

Oh and friendly warning to mods/admins: I have no idea when I will have next chance to work on this, could take more than 6 months (hopefully not), so I might have to resurrect this thread later. Some crazy stuff going on right now.

13 Likes

It’s so shiney

1 Like

Shine bright like a diamond! :gem:

Window will remain shiny, but aluminum will have matte finish. :slight_smile:

1 Like

Via what method are you going to make it matte?

1 Like

Either use some matte paint, or semi gloss could actually work too. Semi gloss finish should be quite close to what the panels are right now. Other option is to sand everything and have a similar surface like this:
image

If I remember right, I sanded that case with following grits: 200, 350, 500 and 650 or something.

Edit: found my old post from another site where I posted pics about that case. Grits were 120, 240, 360 and finally 600

3 Likes

I prefer a satin finish. matte usually just looks too washed out imo, lifeless if you will.

1 Like

Satin could actually work too. I agree that matte is usually quite plain.

If I end up just sanding the side panels I could go up to 1000 grit and use some polishing wax to finish it off. Have to do some research on this. :thinking:

1 Like

You could use some micro-mesh, but that results in an automotive type gloss finish with how smooth that gets.

1 Like

My dad has some micro-mesh leftovers, could try those. I’ve previously used wet sanding paper and that has worked out well in the past.

I could play with different sanding grits, try to use polishing wax to them and see what results I get. I have a feeling even if I sand the panels with 600 grit and use polishing wax that could give some kind of glossy finish.

Looks very nice!

Only thing I would maybe do is put either the polycarb on the inside or put aluminium strips on it (= sandwich the poly between alu and alu instead of alu and screw).

2 Likes

Thanks! :slight_smile:

I would prefer this, but then I can’t fit the CPU cooler inside anymore, which was the very reason I made the window. :smiley:

I was thinking of doing this, but decided against it since I felt it was unnecessary in my opinion. Polycarb does not crack that easily, so I’m not that worried screws damaging the polycarb sheet or anything. I agree though it would look bit cleaner to have some sort of shroud on top of the polycarbonate widow.

I did consider putting some aluminum strips under the polycarb sheet. That would give me more room inside the case and I might be able to put little taller CPU cooler inside, like that Scythe Fuma I mentioned.

1 Like

Looking at the pictures, I am super confident you can make everything work.

2 Likes

Finnish engineering, they can press things and they can drill things and they can cut things and they can file things.

2 Likes

I’m not. :smile:
I only post the shiz that does work. Everything else, well…

And that’s about it. :smiley:

5 Likes

Alright, updates!
finally

First the filter for the PSU. Since the SFX psu will draw air at the bottom of the case, I thought it would be wise to have some sort of dust filter. I tried to attach the filter with double sided tape, but it wasn’t strong enough and filter just kept falling down. I honestly didn’t have enough time or energy to make any fancy attachments for it, so I solved the problem the ghetto way: MASKING TAPE!

If I want to clean the filter I can either use vacuum cleaner to remove most of the dust (filter made out of metal, prob aluminum), or I can open the side panel and blow dust of from the inside. And it’s only masking tape so I can always peel it off, clean the filter and attach it back with new tape pieces.

I pondered if I should paint this thing, or just sand it. I decided to just sand the case. Tired to get brushed look but not sure how I succeeded. You can be the judge.

I experimented with few different methods. I ended up using regular sanding papers to sand the panels. First 120 grit to remove the scratches, and after that 180 grit to make surface bit smoother.

Got tired of sanding by hand, so I cheated a little and used sanding mouse :smile:

I didn’t have 180 grit sand paper sheets for the sanding mouse, so I instead used mouse to remove the scratches with 120 grit paper, and then used regular 180 grit sanding paper to clean up.

To make the surface grain look even, I only moved the sanding paper vertically on the surface. Bellow you can see the difference with the pattern the sanding mouse left behind and how the panel looks after sanding vertically by hand. Upper grain is from the mouse.

Finished pieces and side window attached reattached to side panel.

Money shots coming up next.


Also obligatory shilling: In case some one is interested I made DIY blog thread for all the small things I don’t care to make separate threads for, but still feel like sharing them :slight_smile:

Even747's DIY blog

7 Likes

Coming together nicely!

2 Likes

Talk about taking it to the next level :slight_smile:

Completely approve

2 Likes

I guess this could be shown to apple so they could see what could have been done instead of the cheesegrater

amazing! great job!

2 Likes

And here’s pictures of the final product. There’s still some small things I might add to this case, like expand the expansion slots to accommodate more expansion cards. Currently I can only mount 2 slot GPU if the PCI-e slot is just next to the I/O, like most mother boards do.

Currently I don’t need any extra expansion cards, but if I do, I will bust out the jig saw again.

But like I said, all the possible things I might or might not do to this case are something I do if I have to. I started building this in 2011 so maybe I should put some effort and start planning new projects? :smile: :thinking:

I will post notifications to my blog thread when I start new projects.

anyway time to stfu and post some pictures!

And final shot in it’s natural habitat: In my dim light man cave.
That piece of wood was for testing how natural wood table top would look like (another future project), and I just ended up leaving it under the case. I have similar wood tray under my server case, it just has some caster wheels under it. Makes moving the server much easier. :slight_smile:

If someone want’s pictures from some thing in particular just ask and I shall post em here.

Thanks to everyone for spectating, constructive criticism and supportive comments!

Until next time, I’m out.

cue the exit music
drops tools

9 Likes

not even having a strobe light in it

not even playing deadmau5 - strobe with it

WtNnrFX

3 Likes