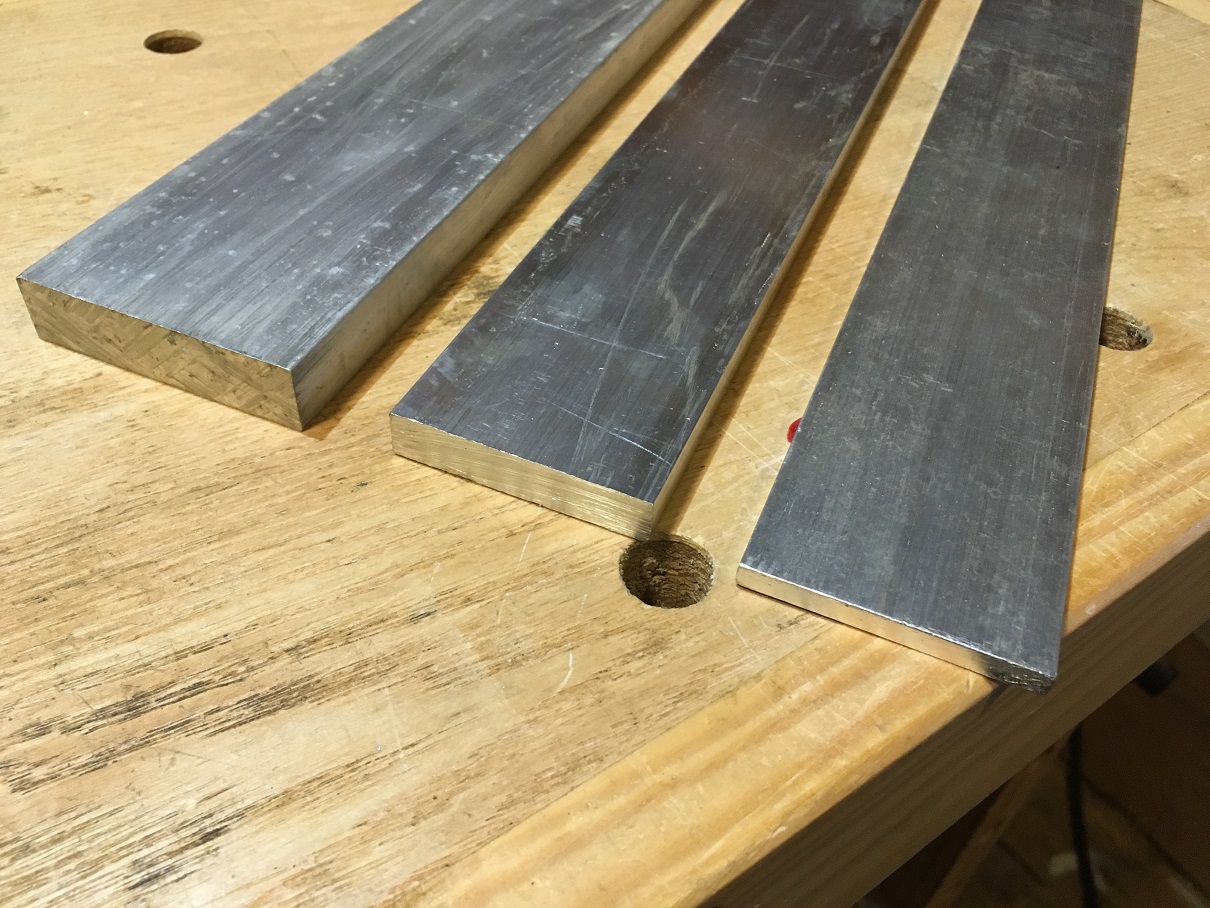
Alright, now pictures about the new spacers going in front of the case. Original spacers are made out of 5mm aluminium. Since the case fans will now draw air in from the front of the case, I had to make the gap between the front frame and front plate bigger, to allow better airflow. My initial plan was to double the gap from 5mm to 10mm. However, I found a piece of 15mm x 60mm aluminium rod from my messy exemplary organised material storage. I also had some trial and error left over pieces of 15x15mm aluminium rod, so I ended up increasing the air gap from 5mm to 15mm. Those 15x15mm alu pieces are from when I was making the new braces to replace some of the joints made out of L-profile. Mistakes were made while making threads to them, but now they will have new purpose. 
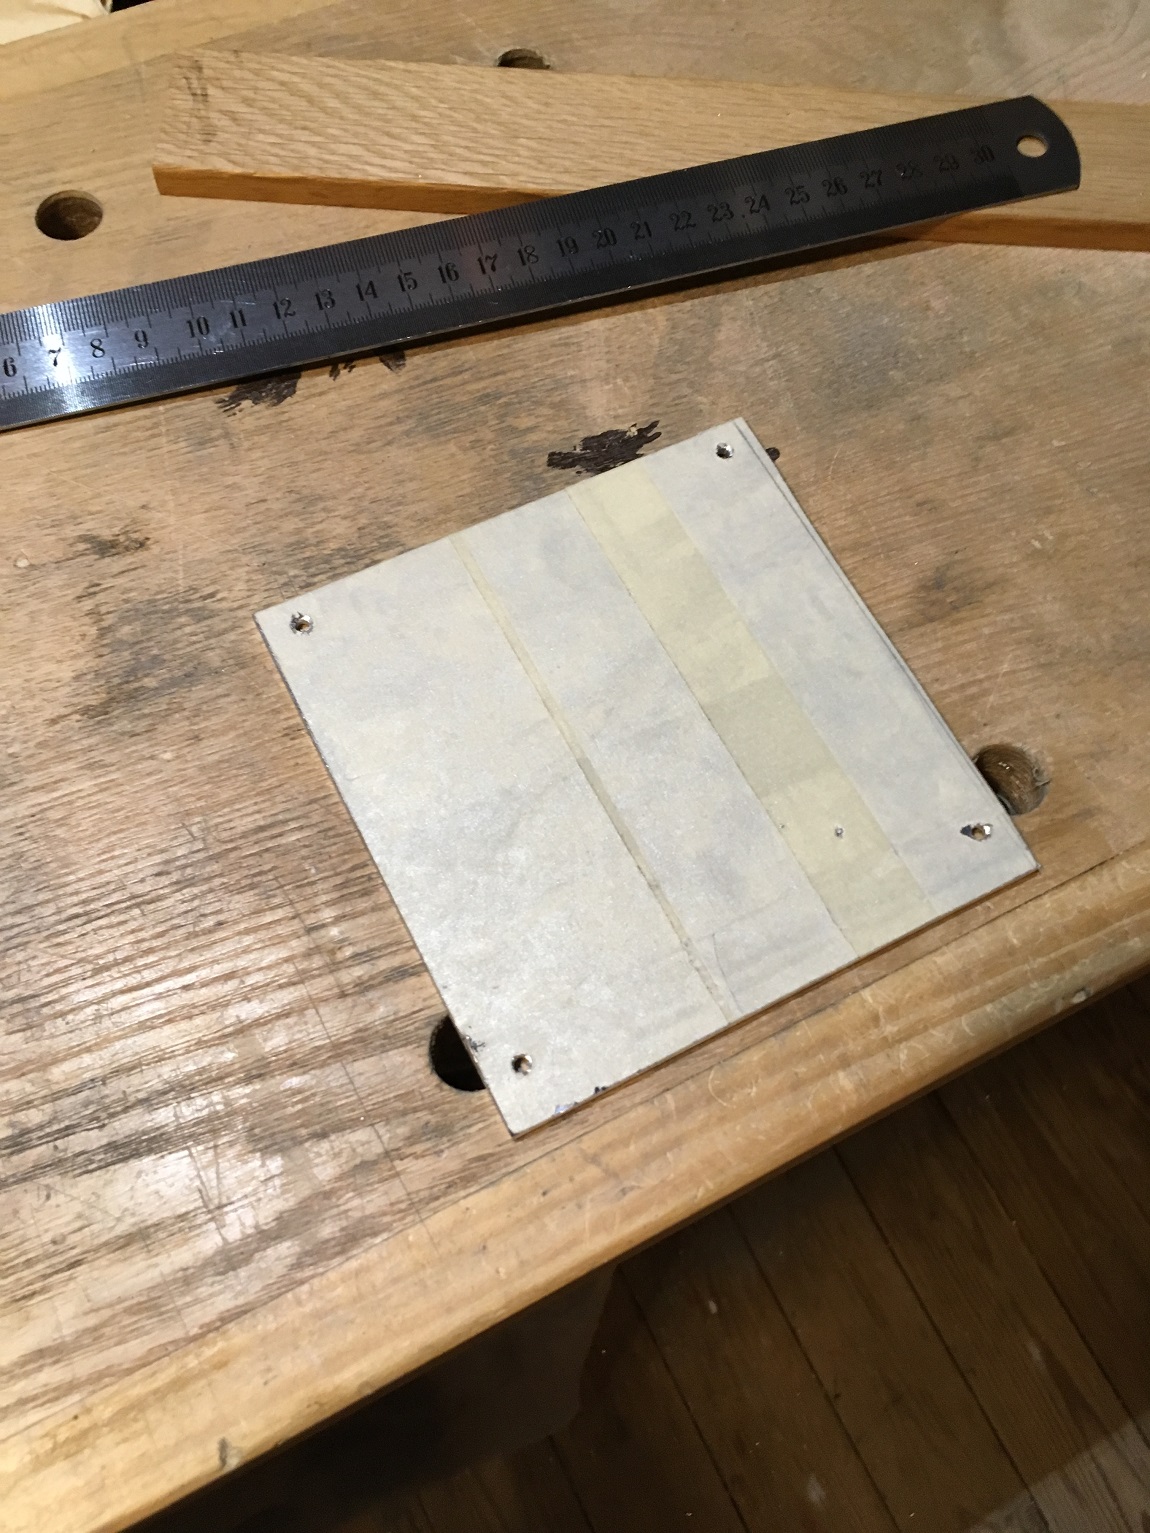
In picture bellow there is 5, 10 and 15 alu rods side by side.
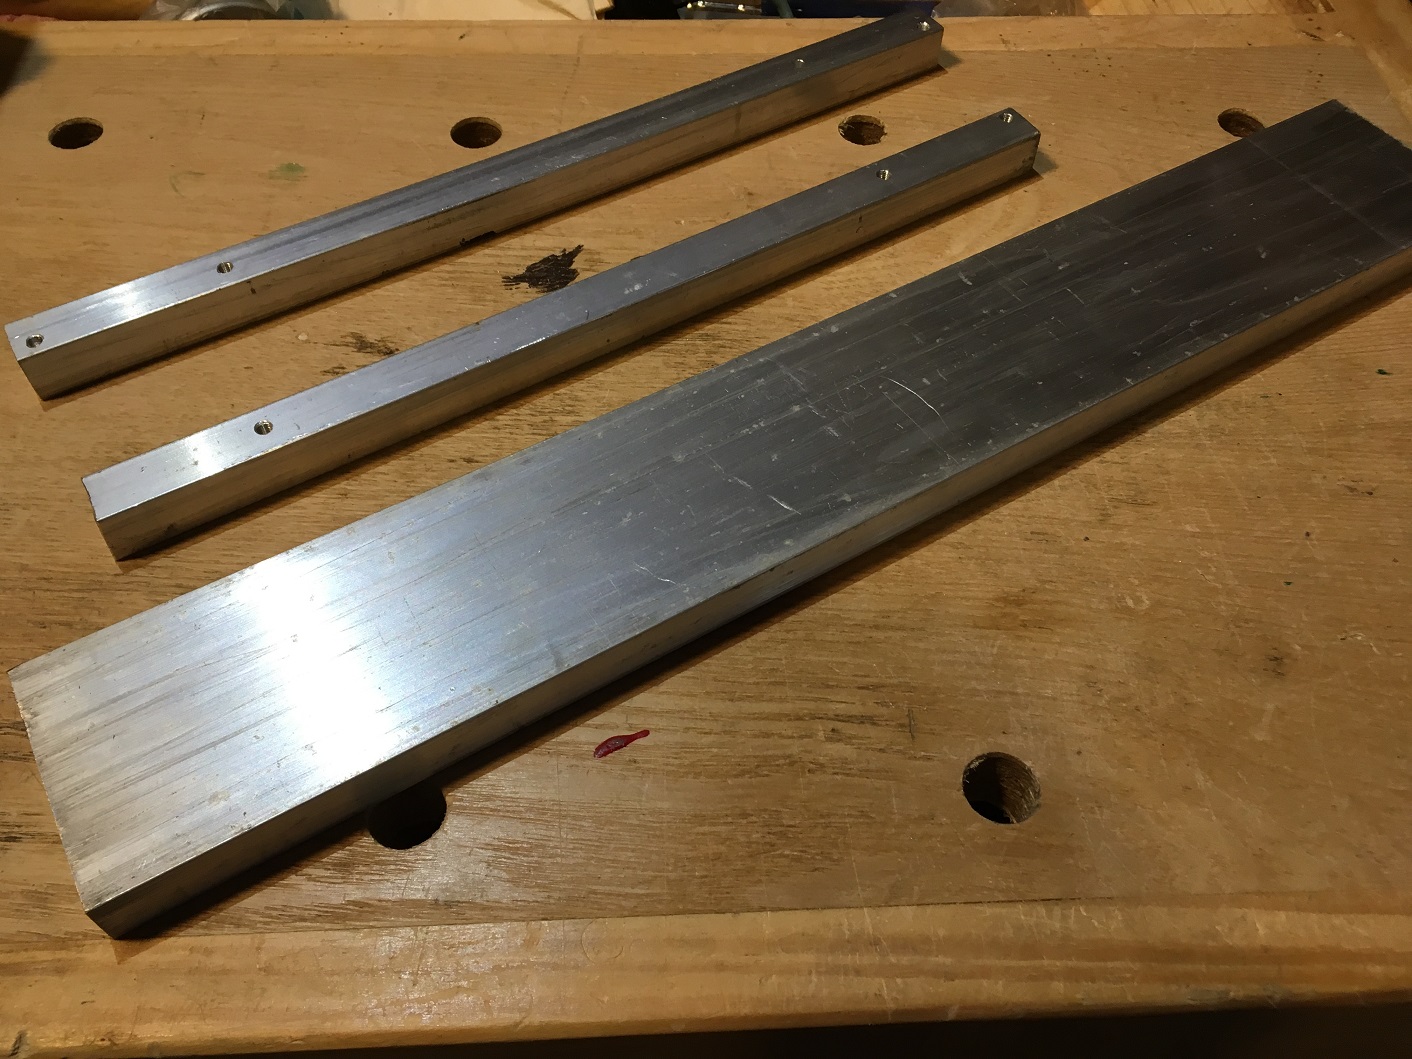
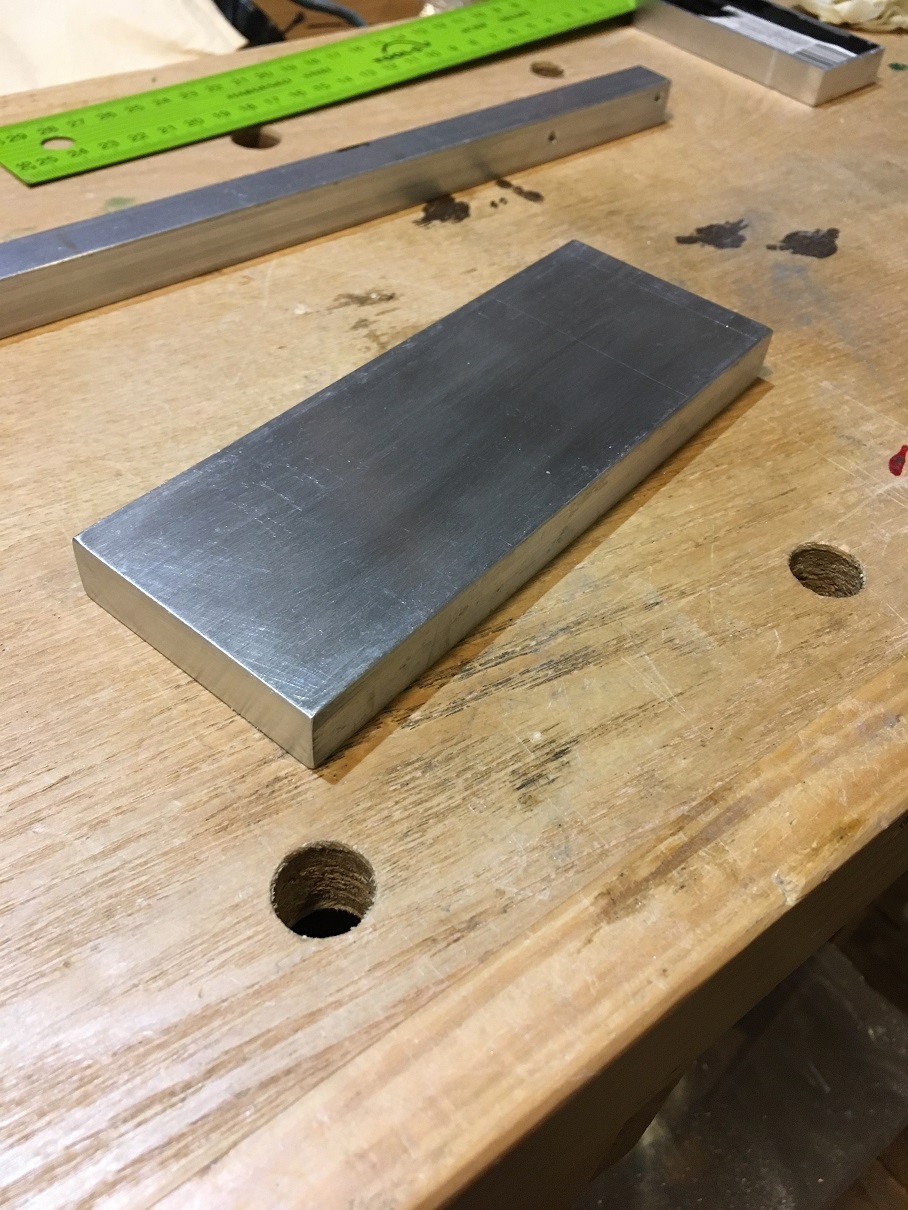
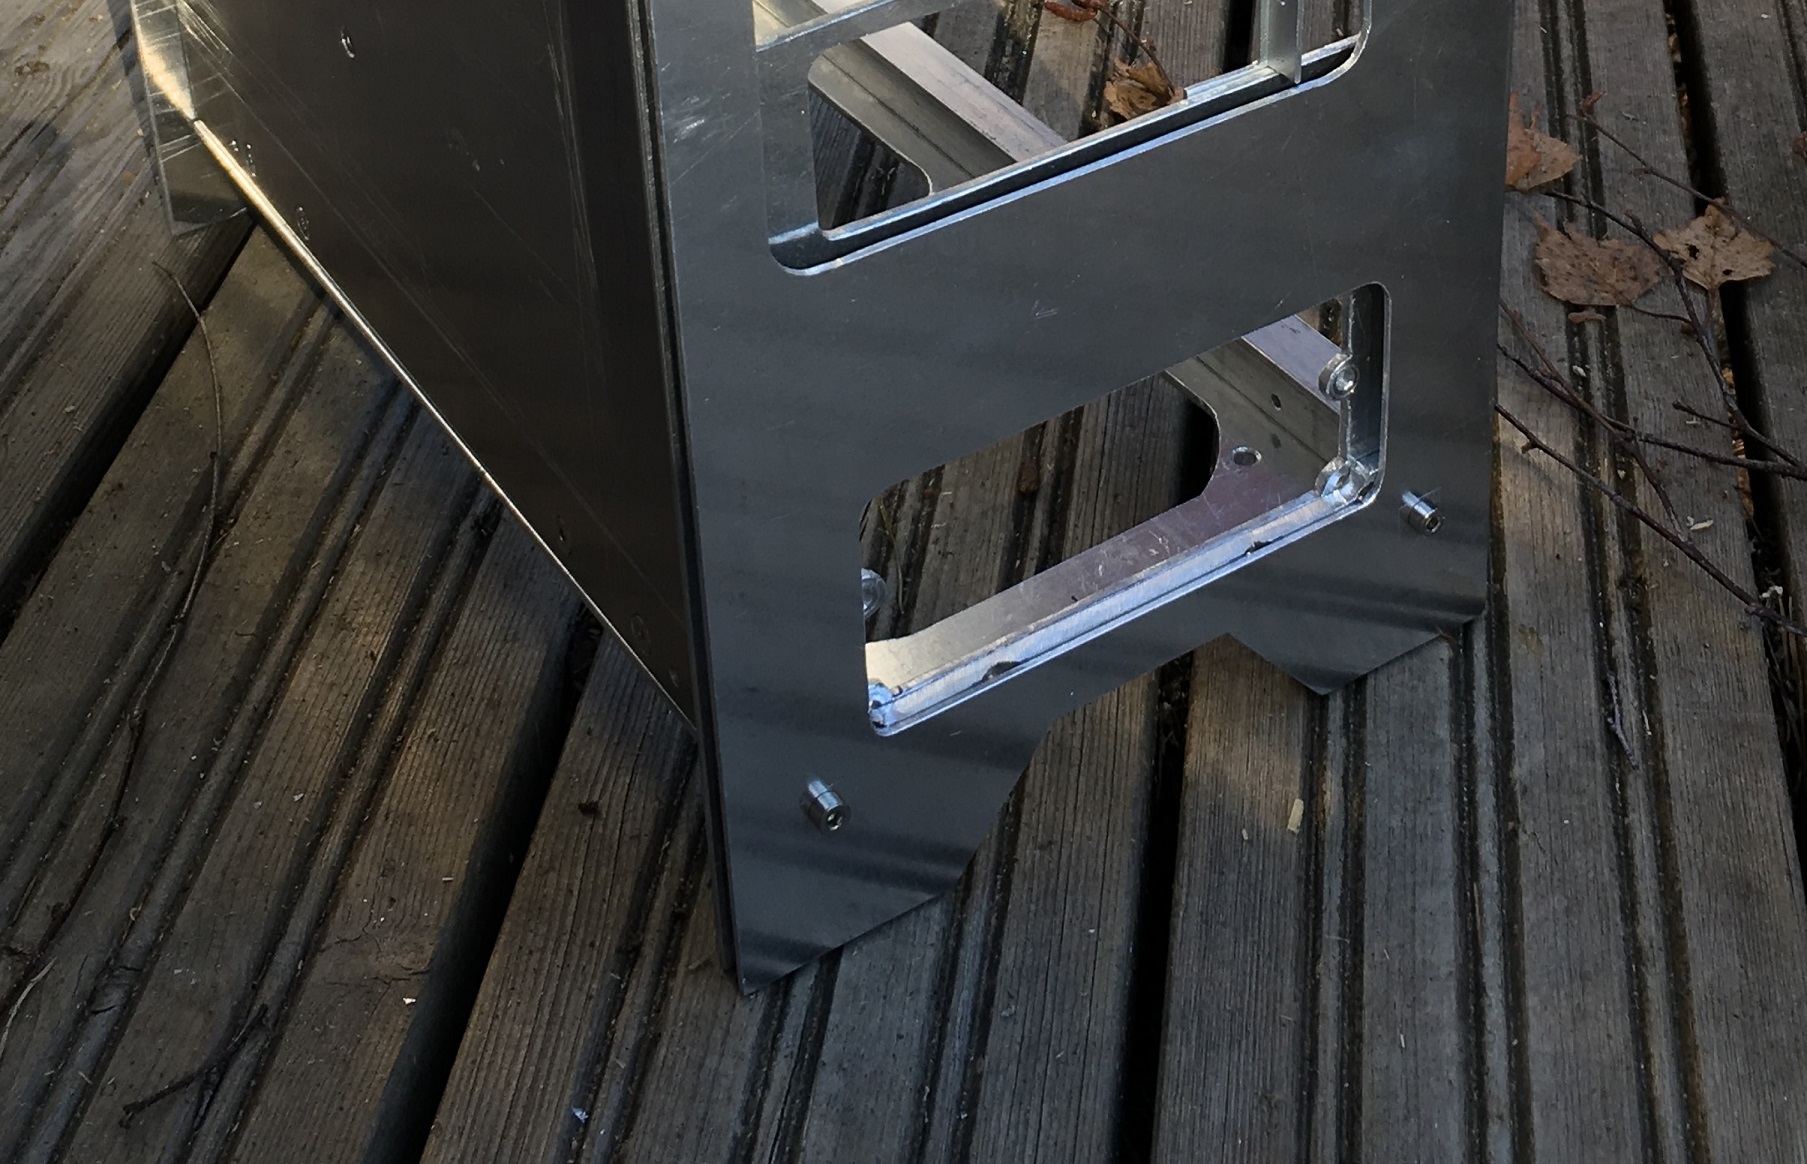
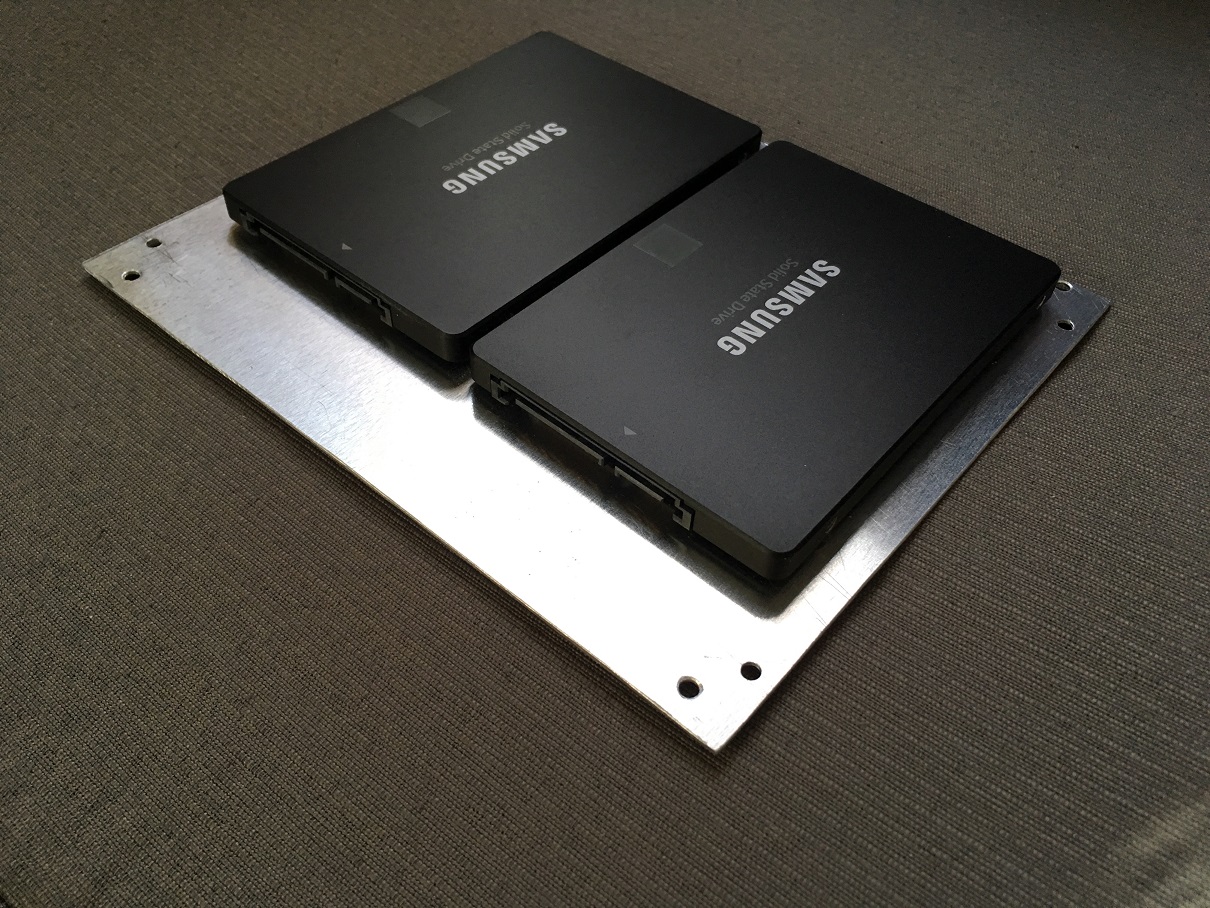
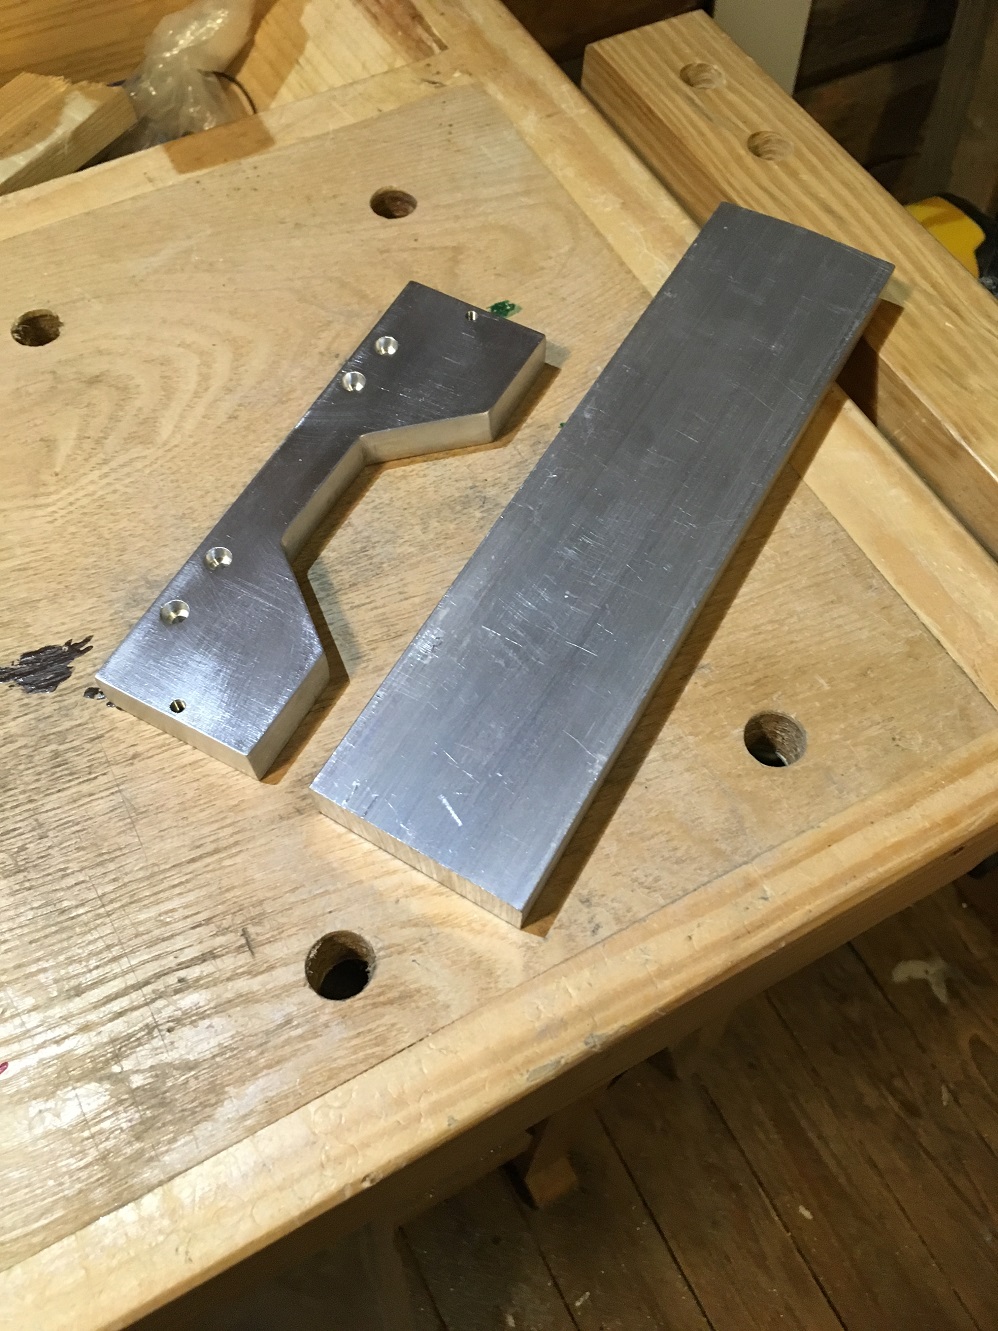
Old spacers next to new ones.
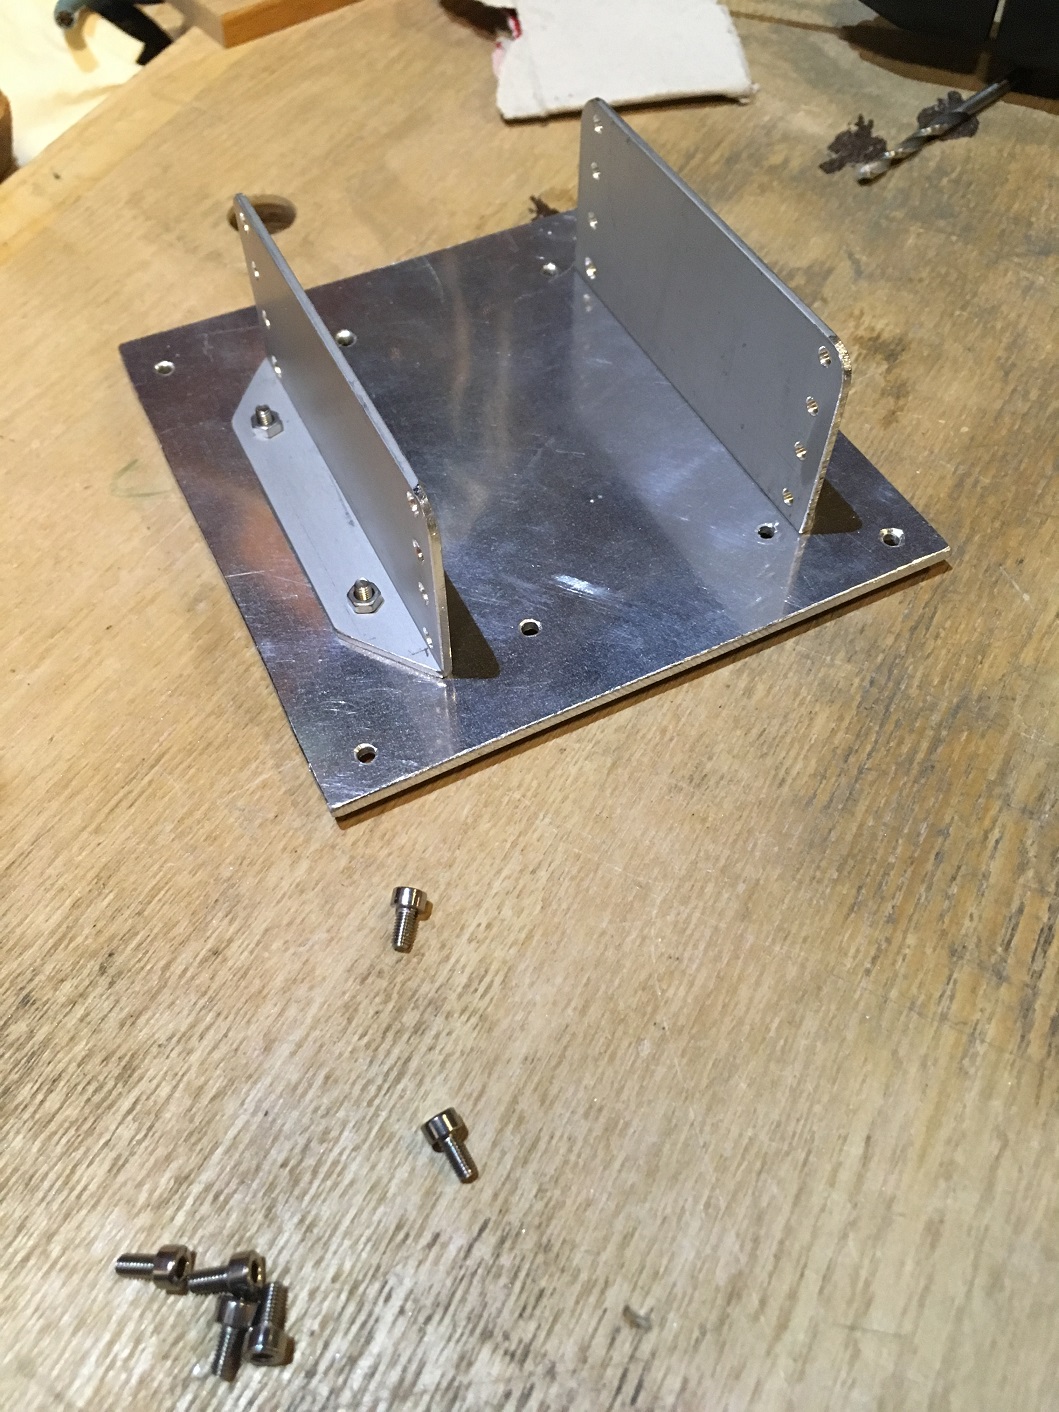
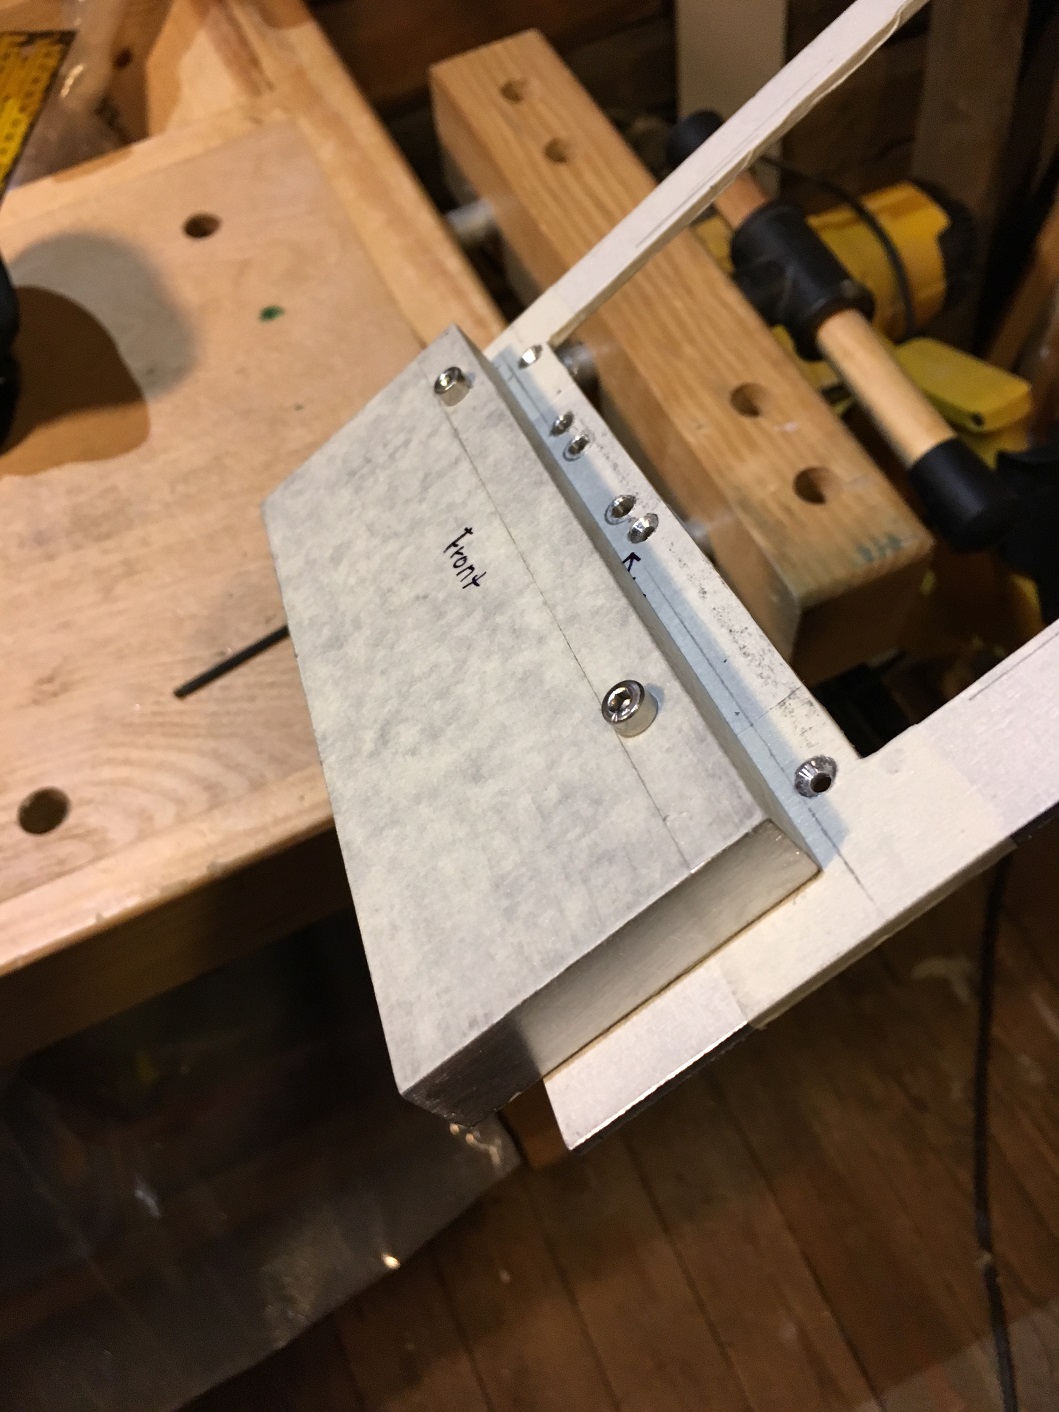
Chunk of alu attached to the front frame.
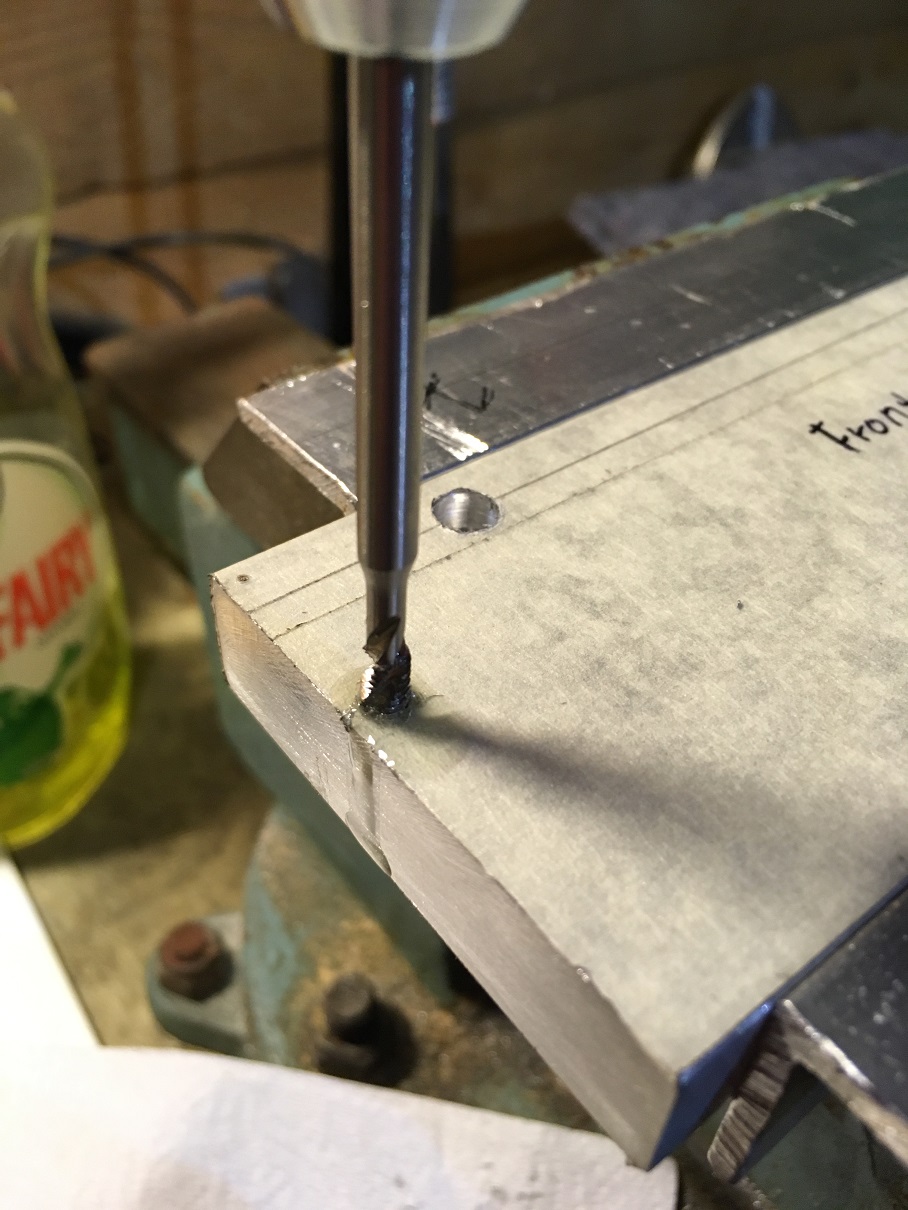
Tapping some threads. Previously I never used any lubricant while tapping the threads, but my dad suggested that I could try regular dish washing soap. It worked much better than I could have ever anticipated! I was careless while applying the soap, so for a while the whole piece smelt lemon fresh. 
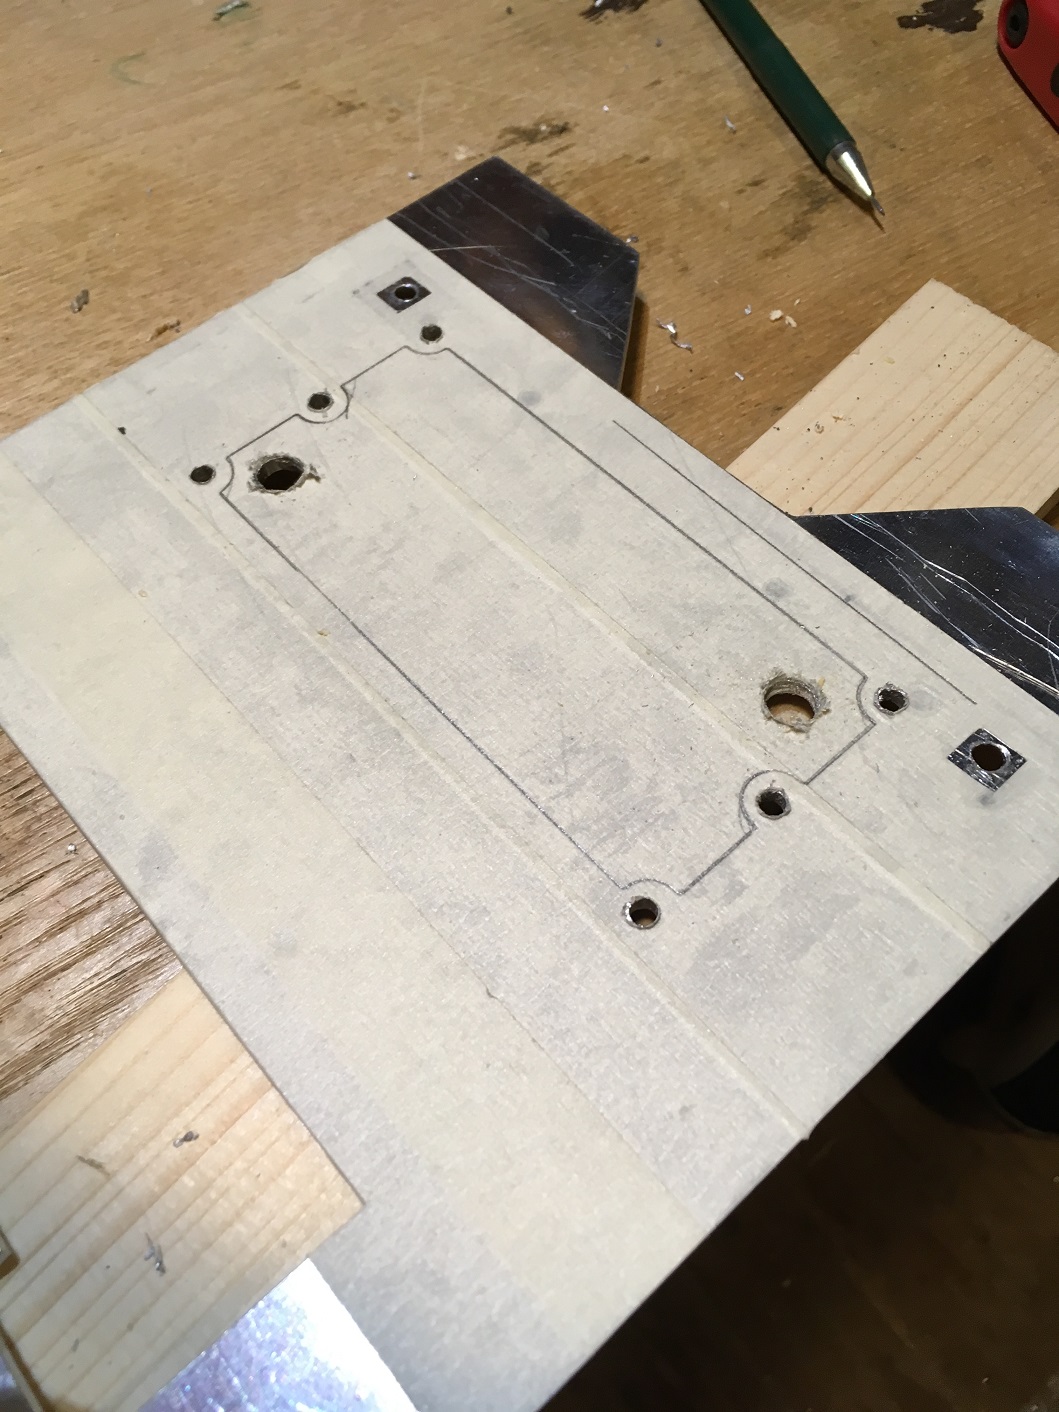
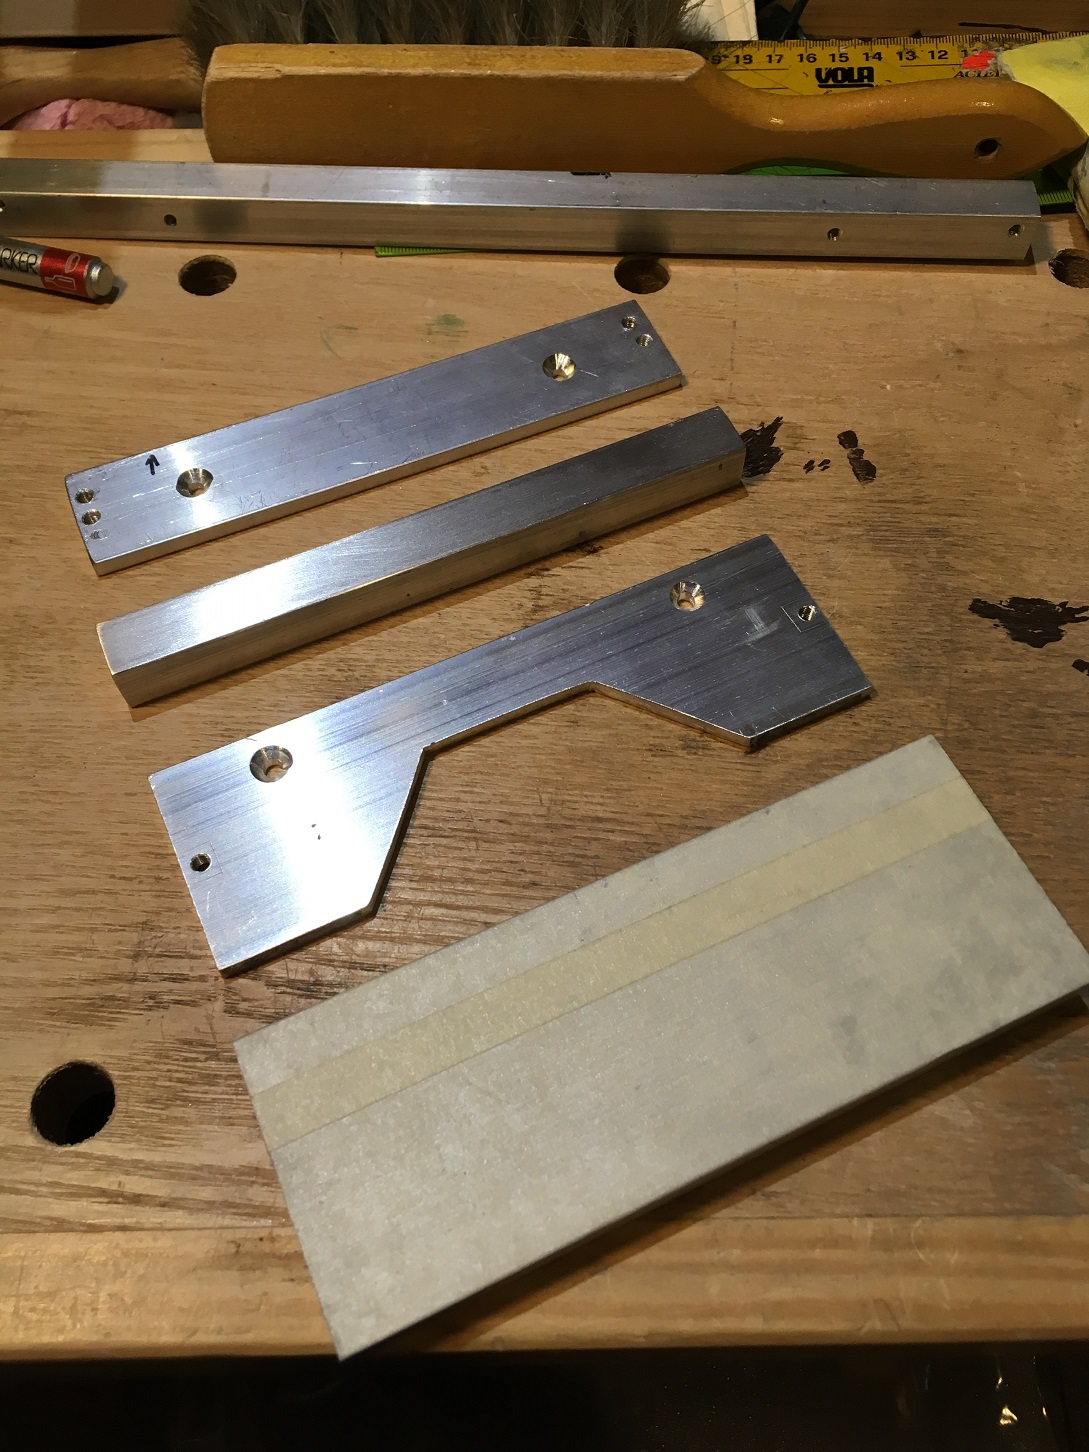
Since I didn’t have long enough countersink screws, I had to get creative. I had regular socket head screws with long enough threads, so I decided to try and countersink those socket head screws. It actually worked out really well. To countersunk M4 socket head screws I first drilled the 4mm hole for the bolt, and after that used 7mm drill bit and drilled maybe 5-6mm deep to the 4mm hole. Here’s the results

For the top spacer I used little bit shorter screws, so I had to sink them deeper.
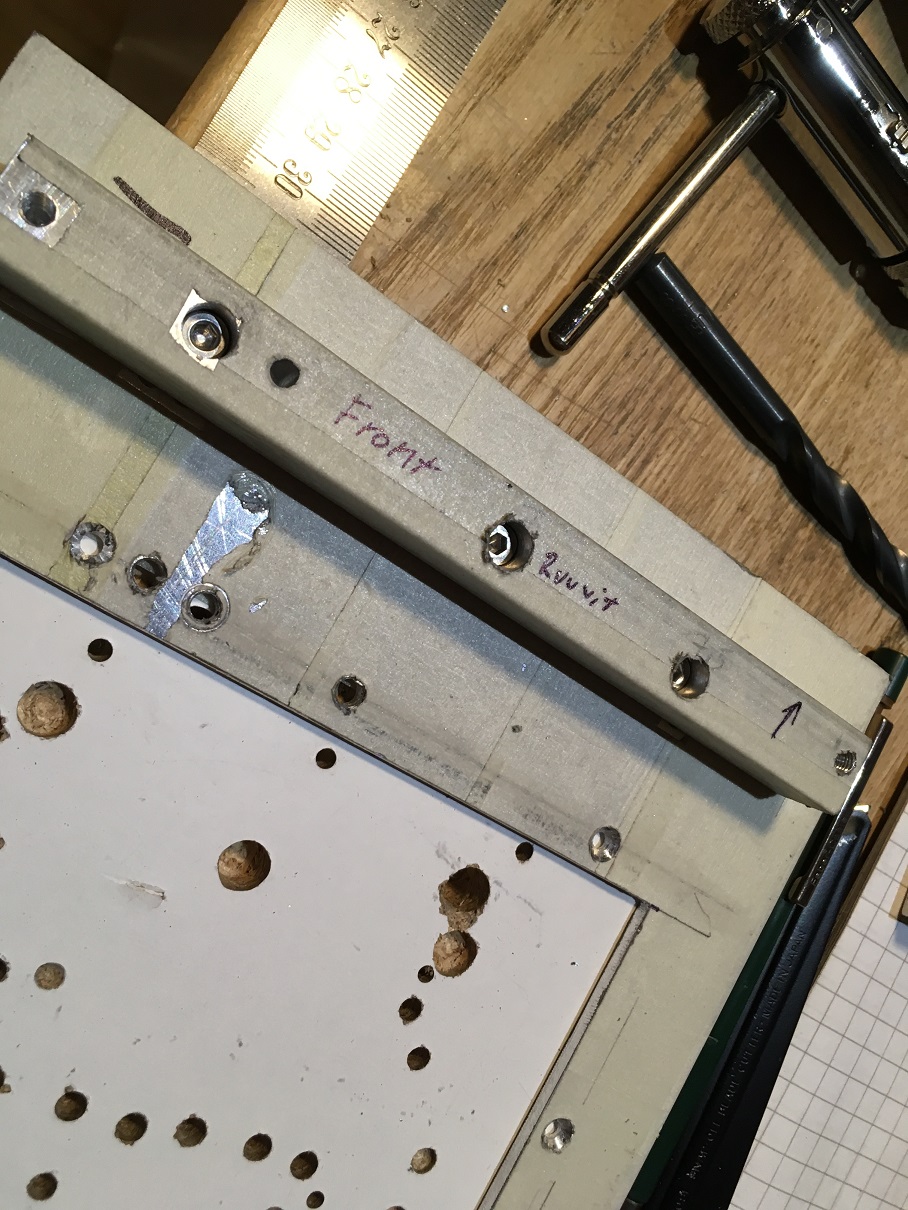
Testing if the screw holes align with the front plate.
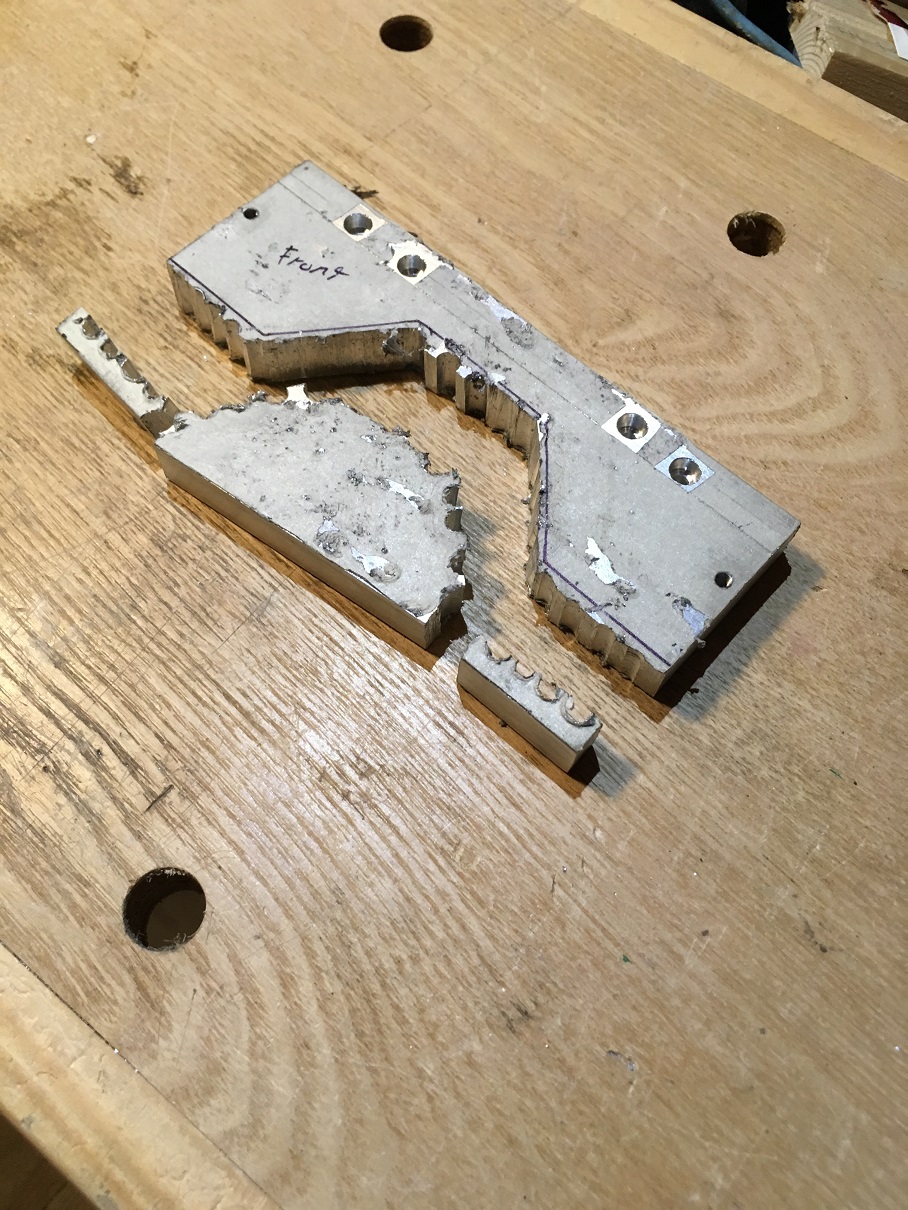
And now for the exhausting part. I had to cut and file away big chunks of material from the bottom spacer, so that it would fit to the case. First I drilled some holes to make the job easier.


And the pieces are off!
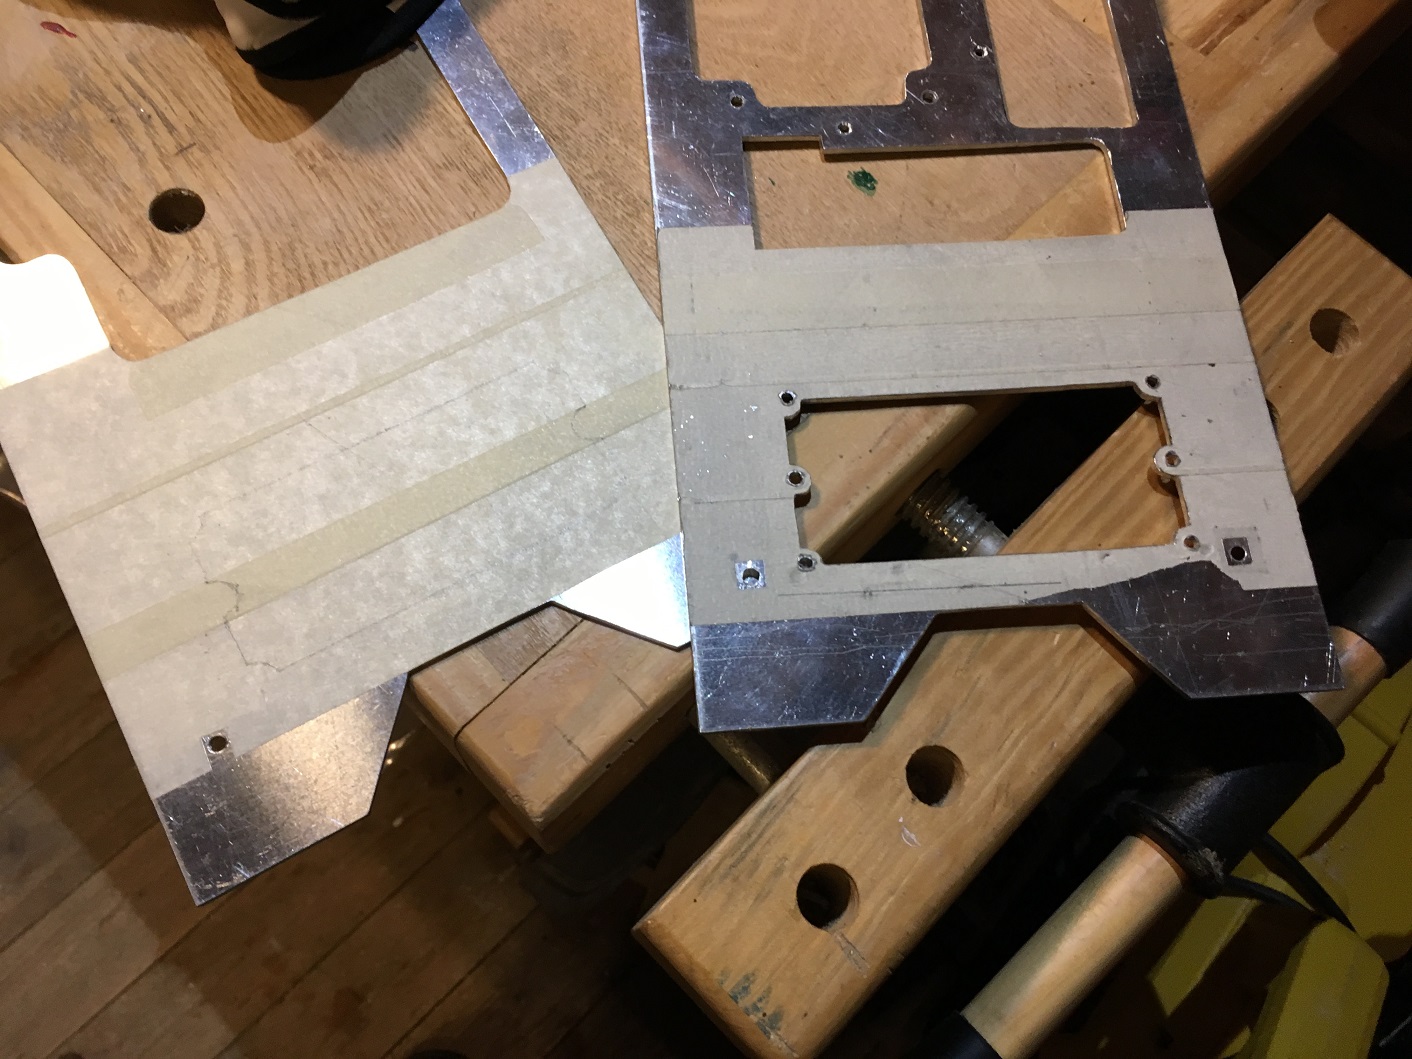
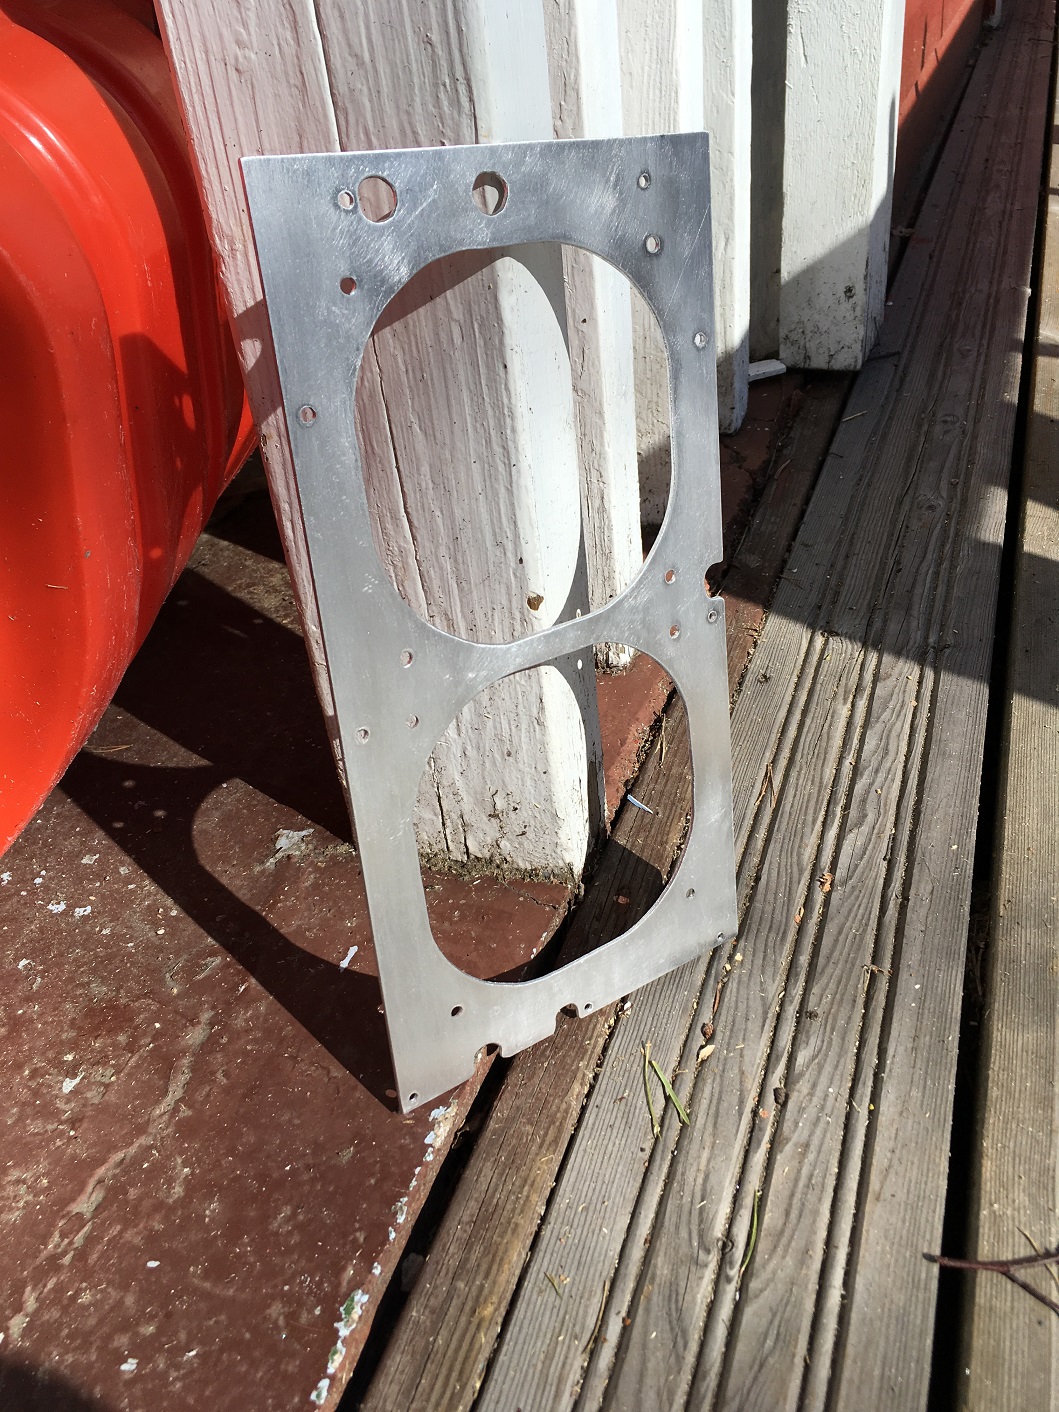
After that it was time for the tedious file work. I managed to get the lower spacer done, and it turned out great! I also drilled two extra screw holes to make sure the bottom spacer is secured well enough to the front frame.
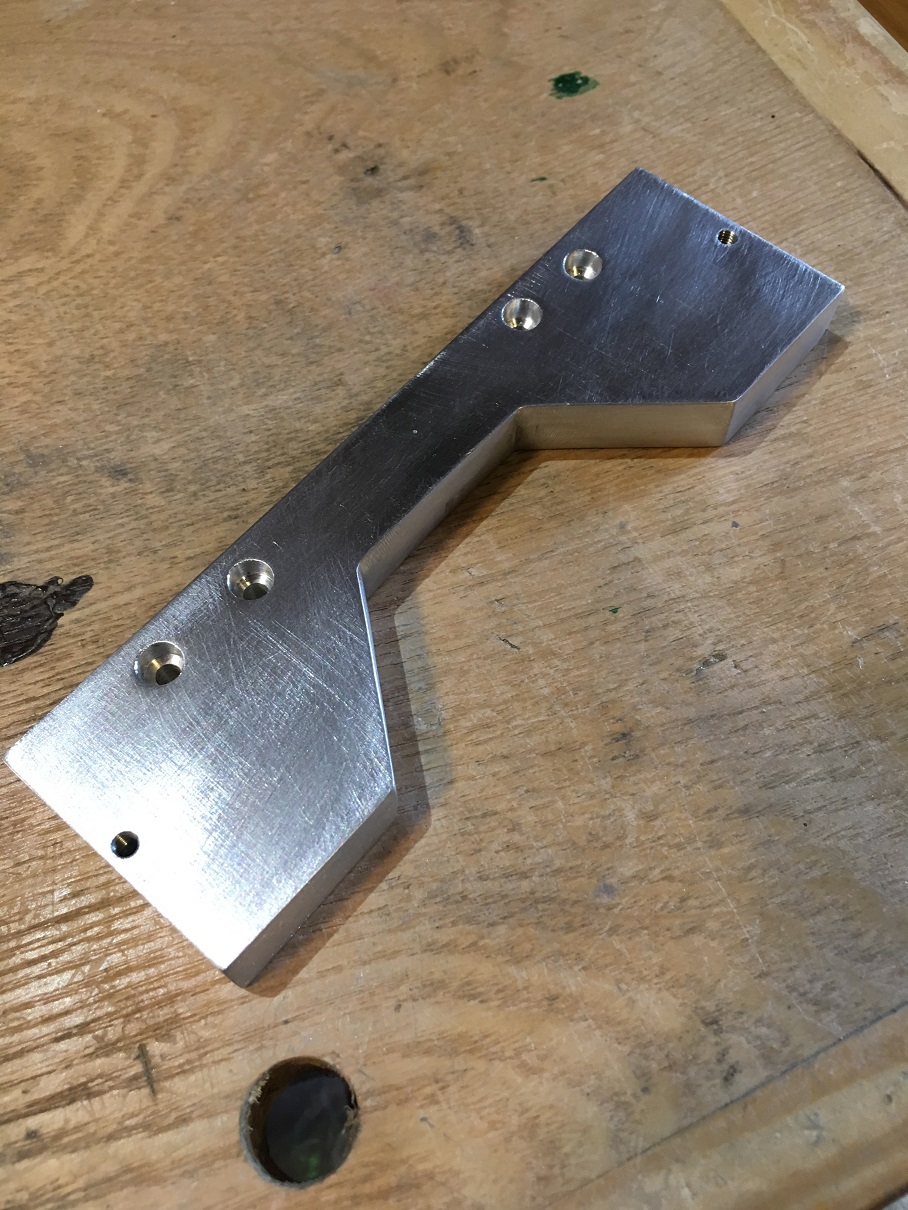
Before and after shot.
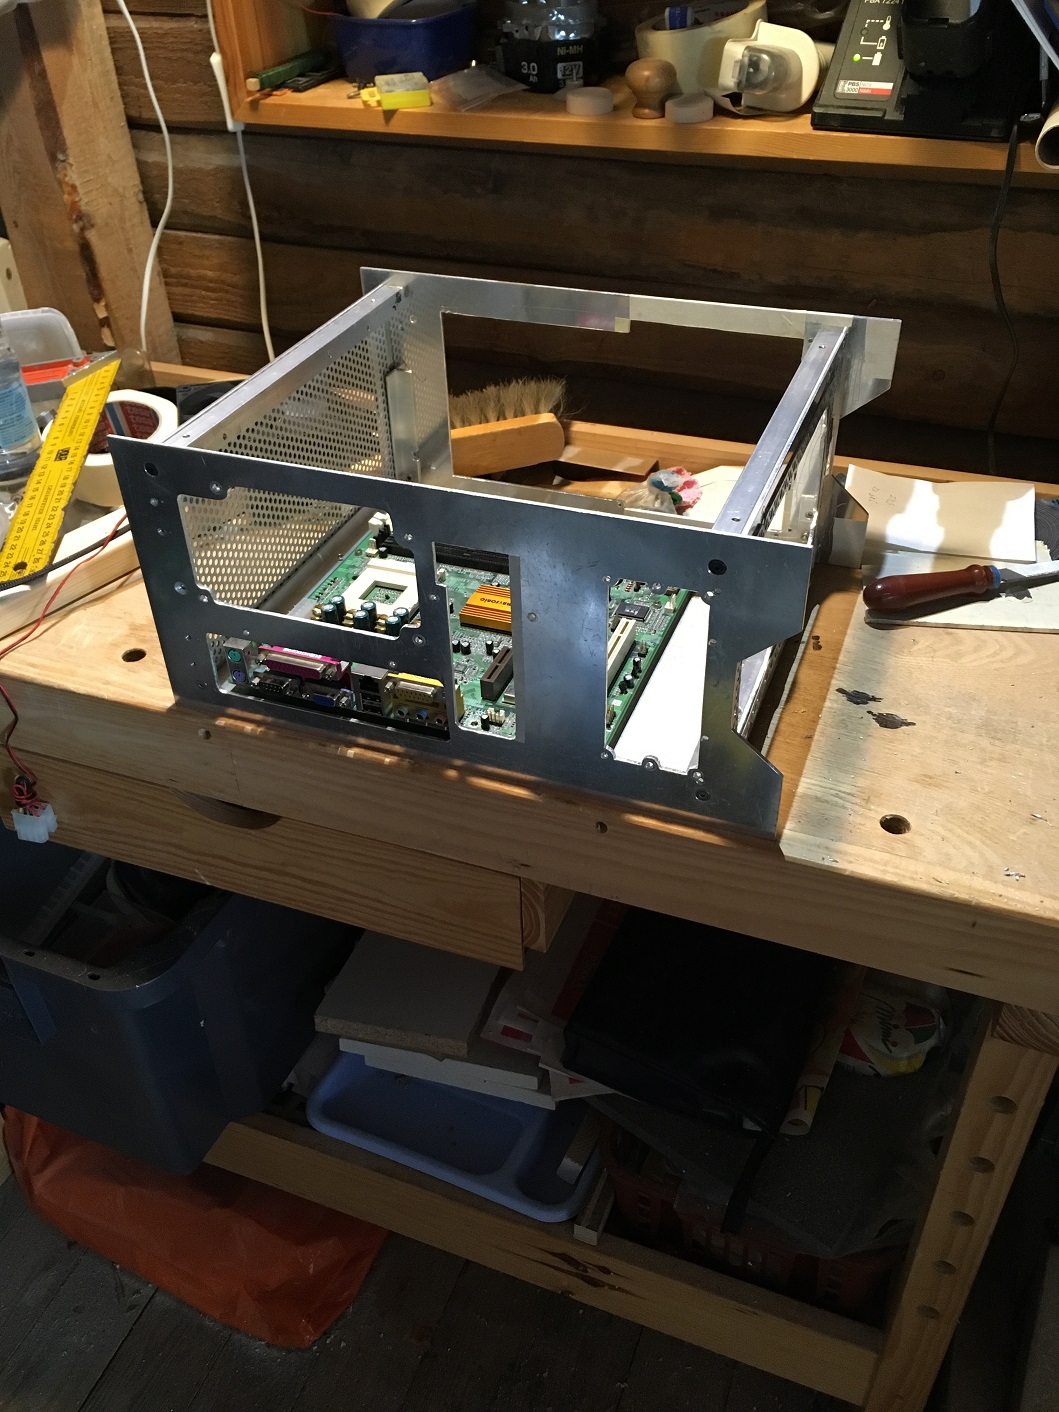
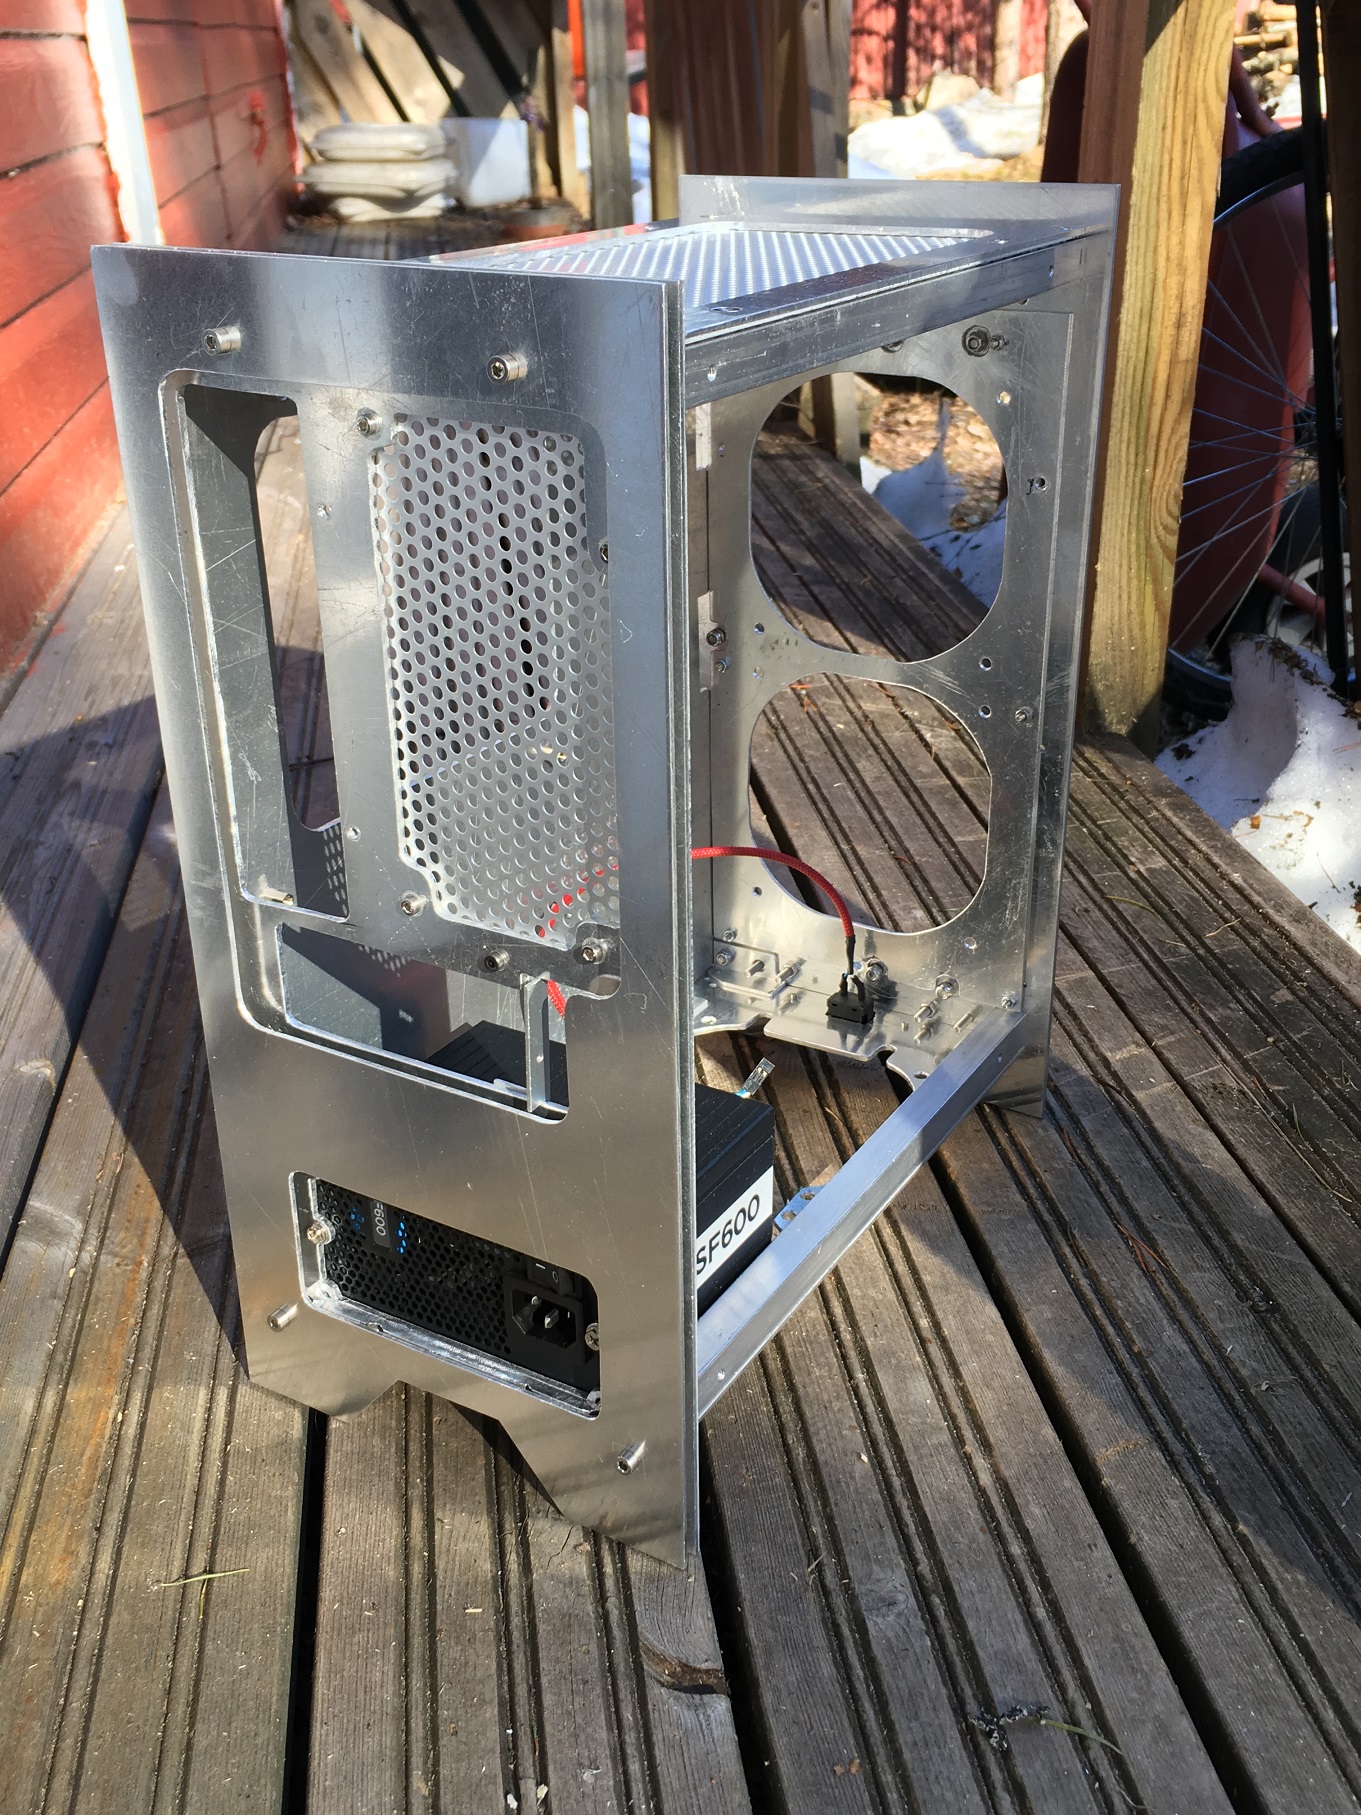
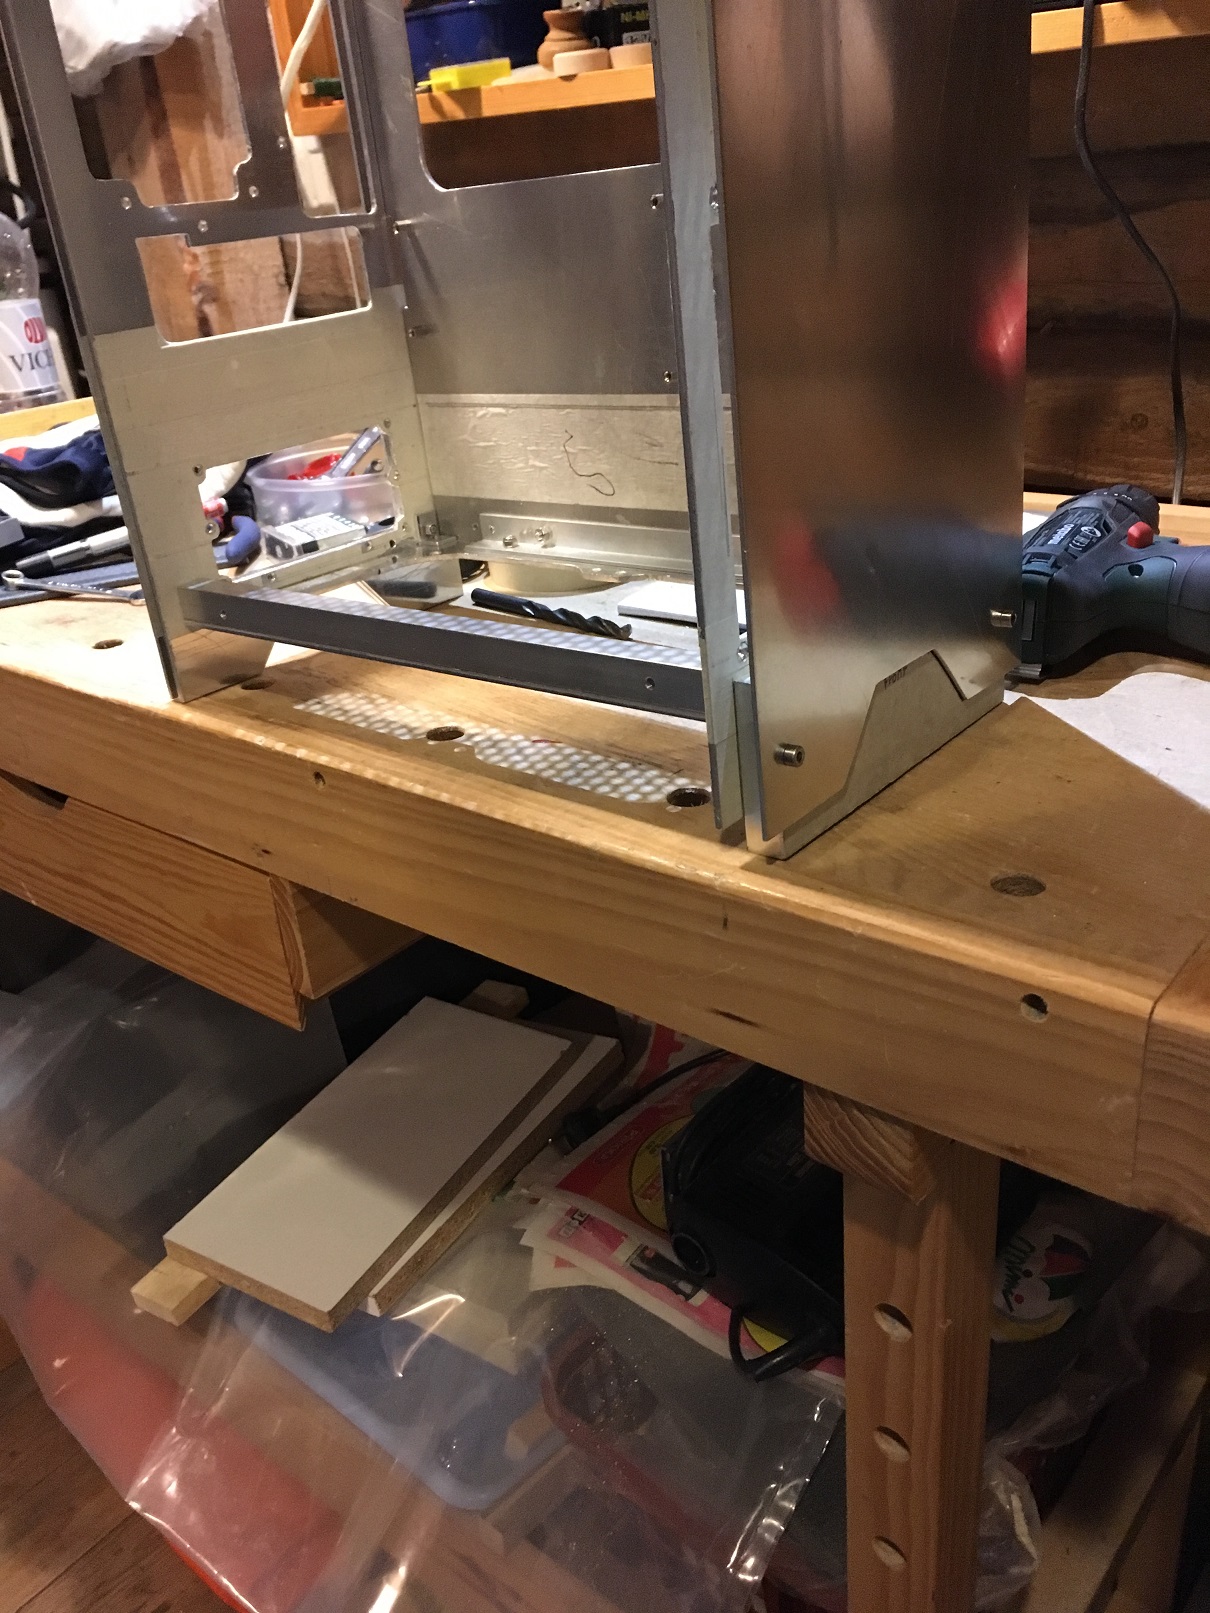
And finally how the spacers look when attached to the front frame. I tested out if I could sand the case using regular sanding paper, hence why the surface of the front frame and fan bracket look like that.
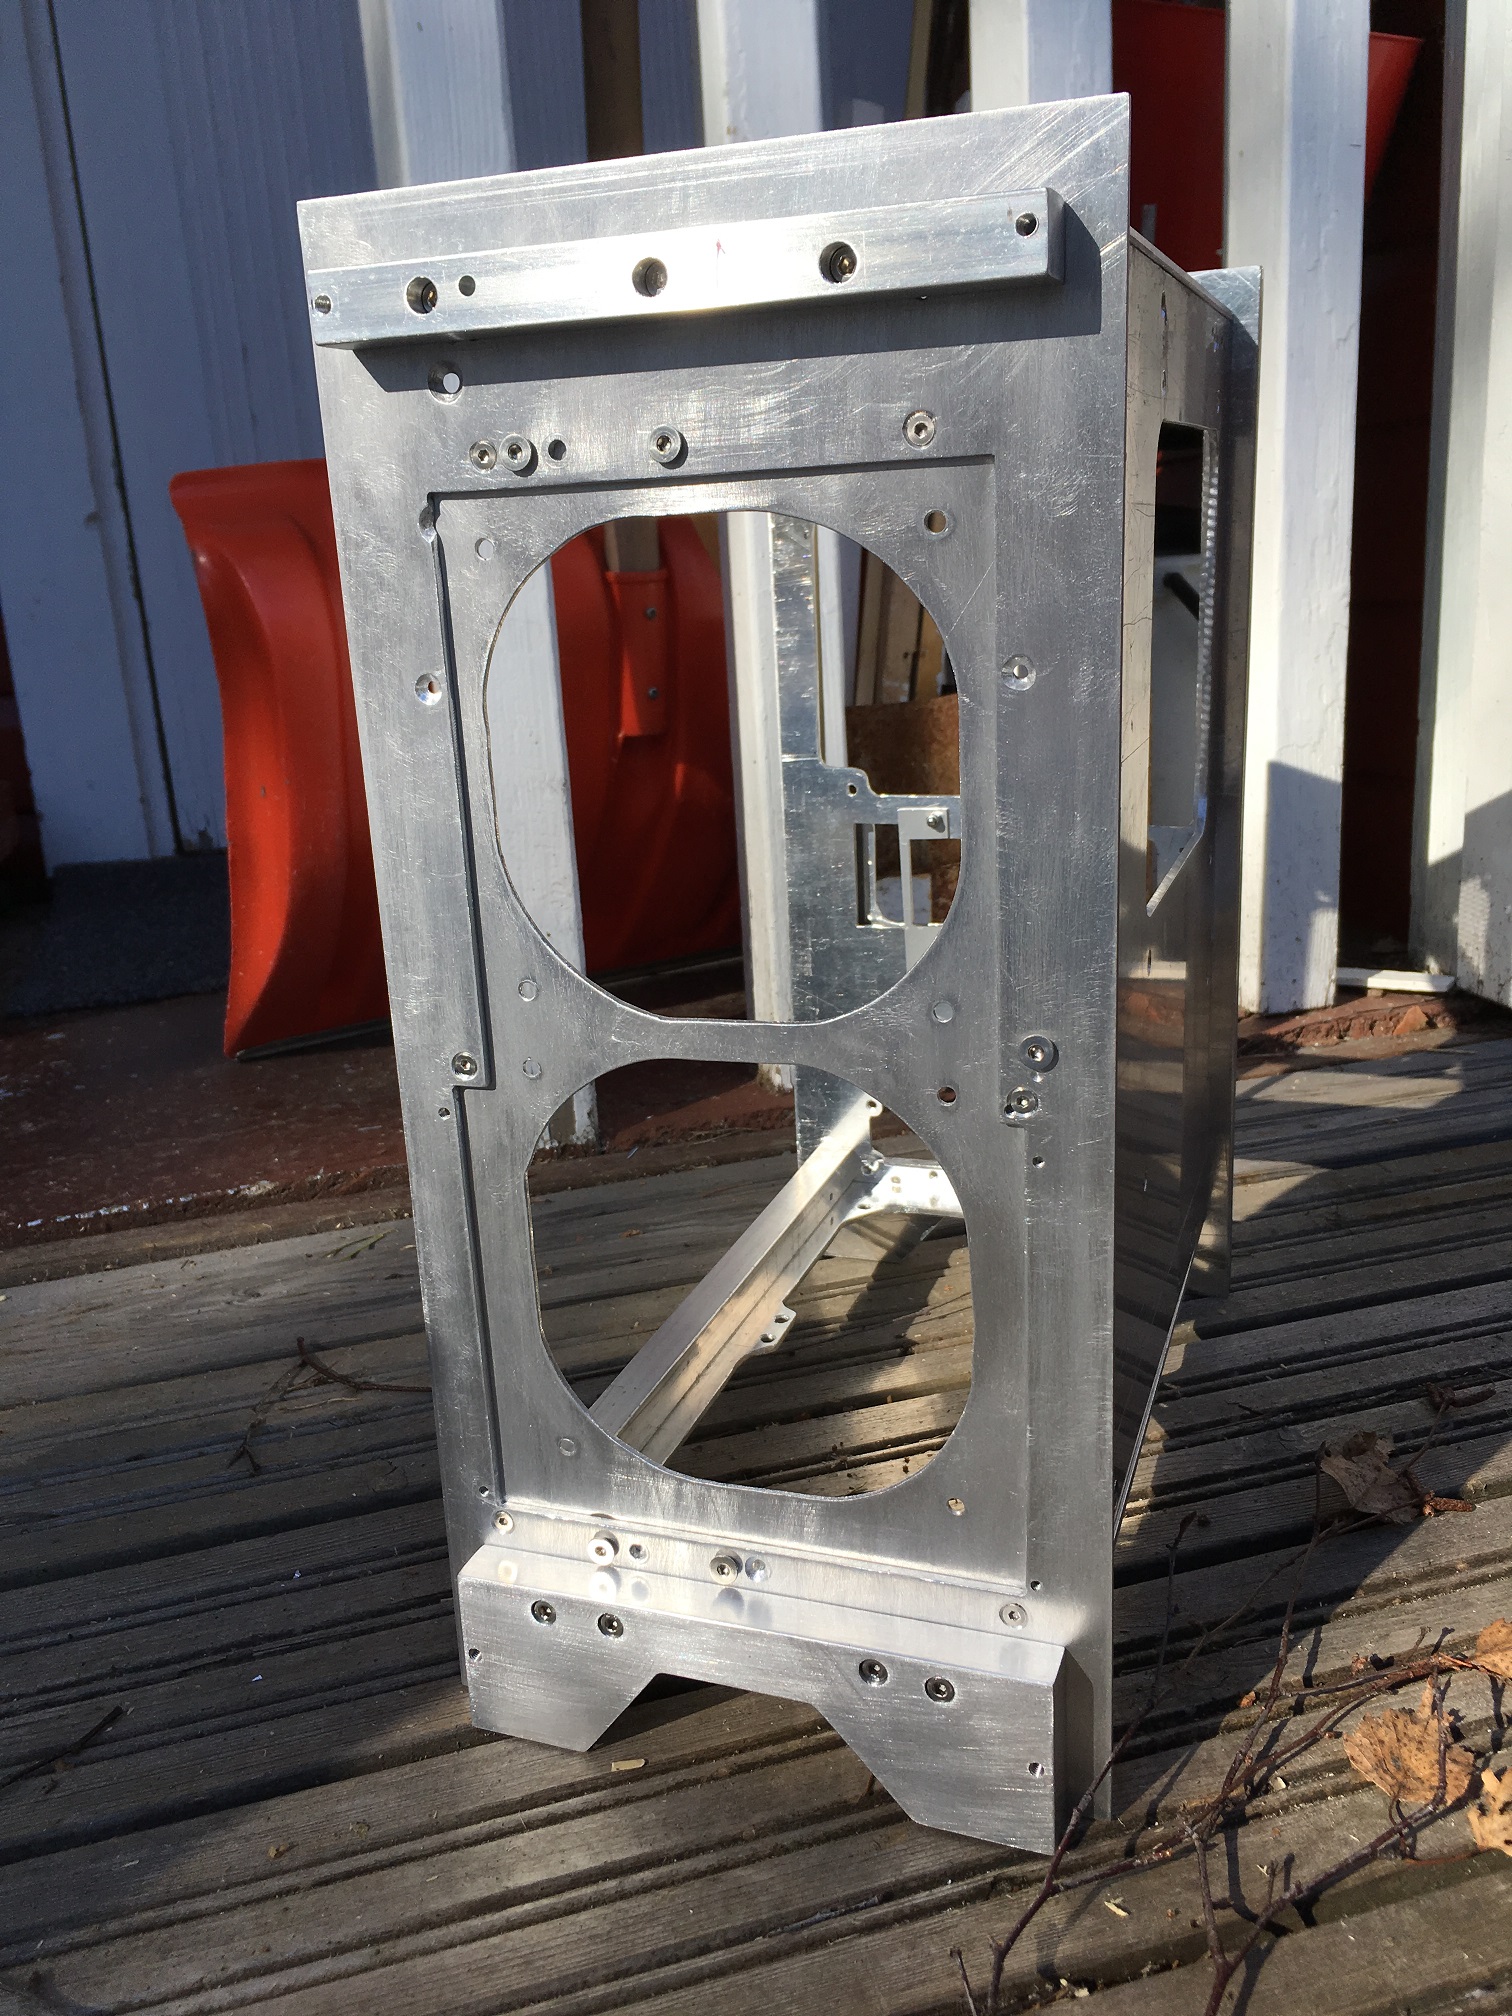
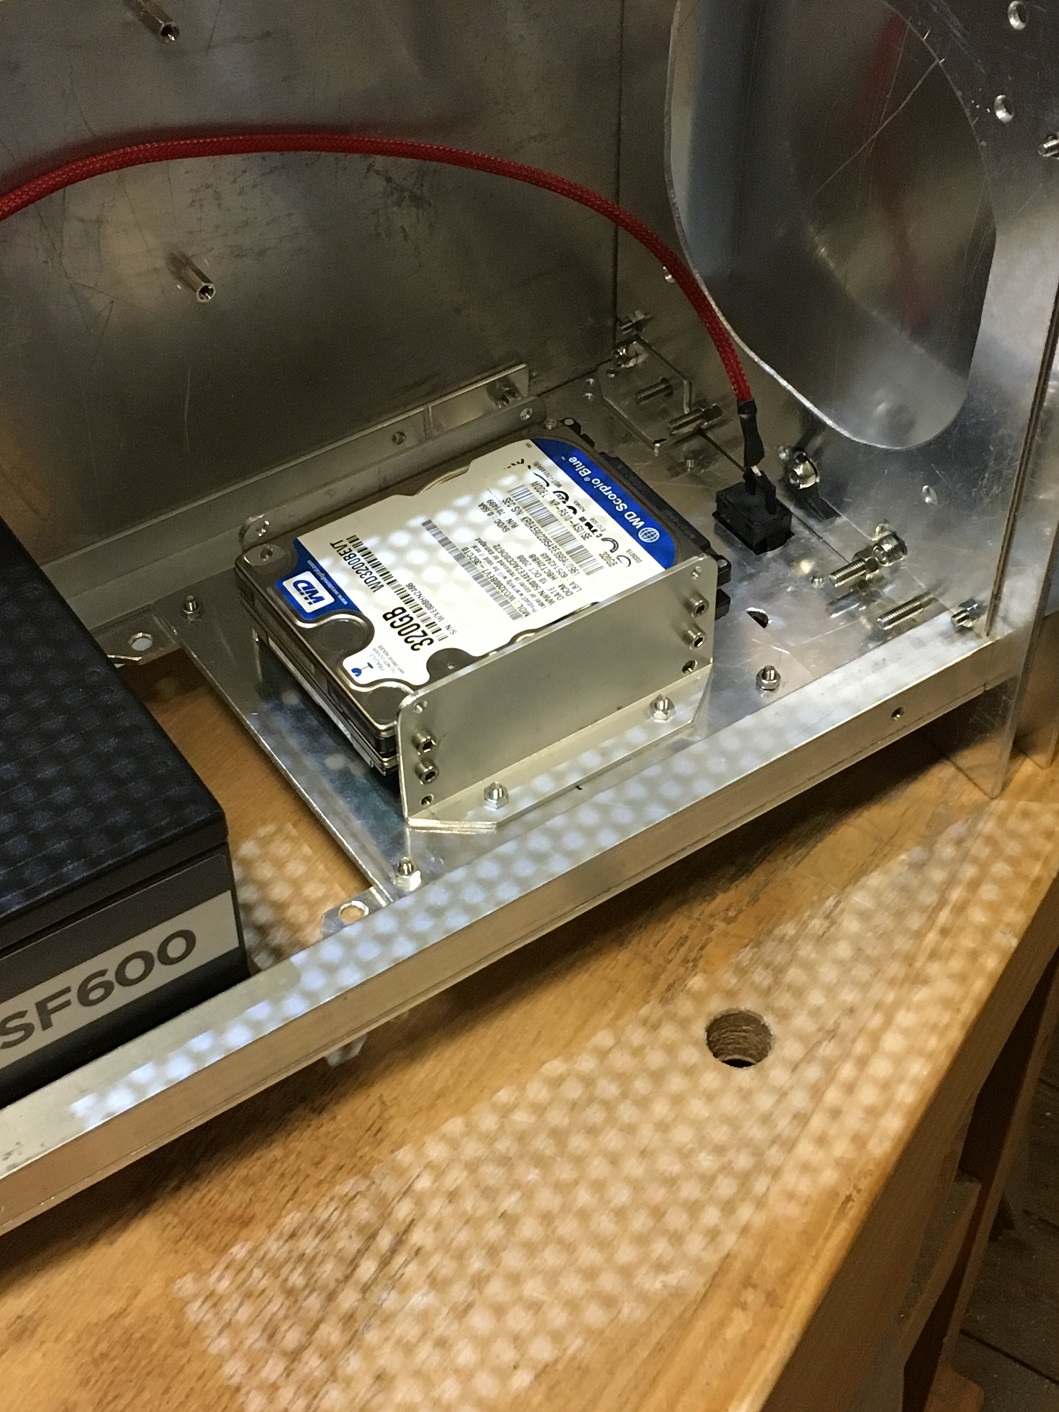
Here is also better picture of how the fan bracket turned out. Forgot to post this picture earlier.
More later