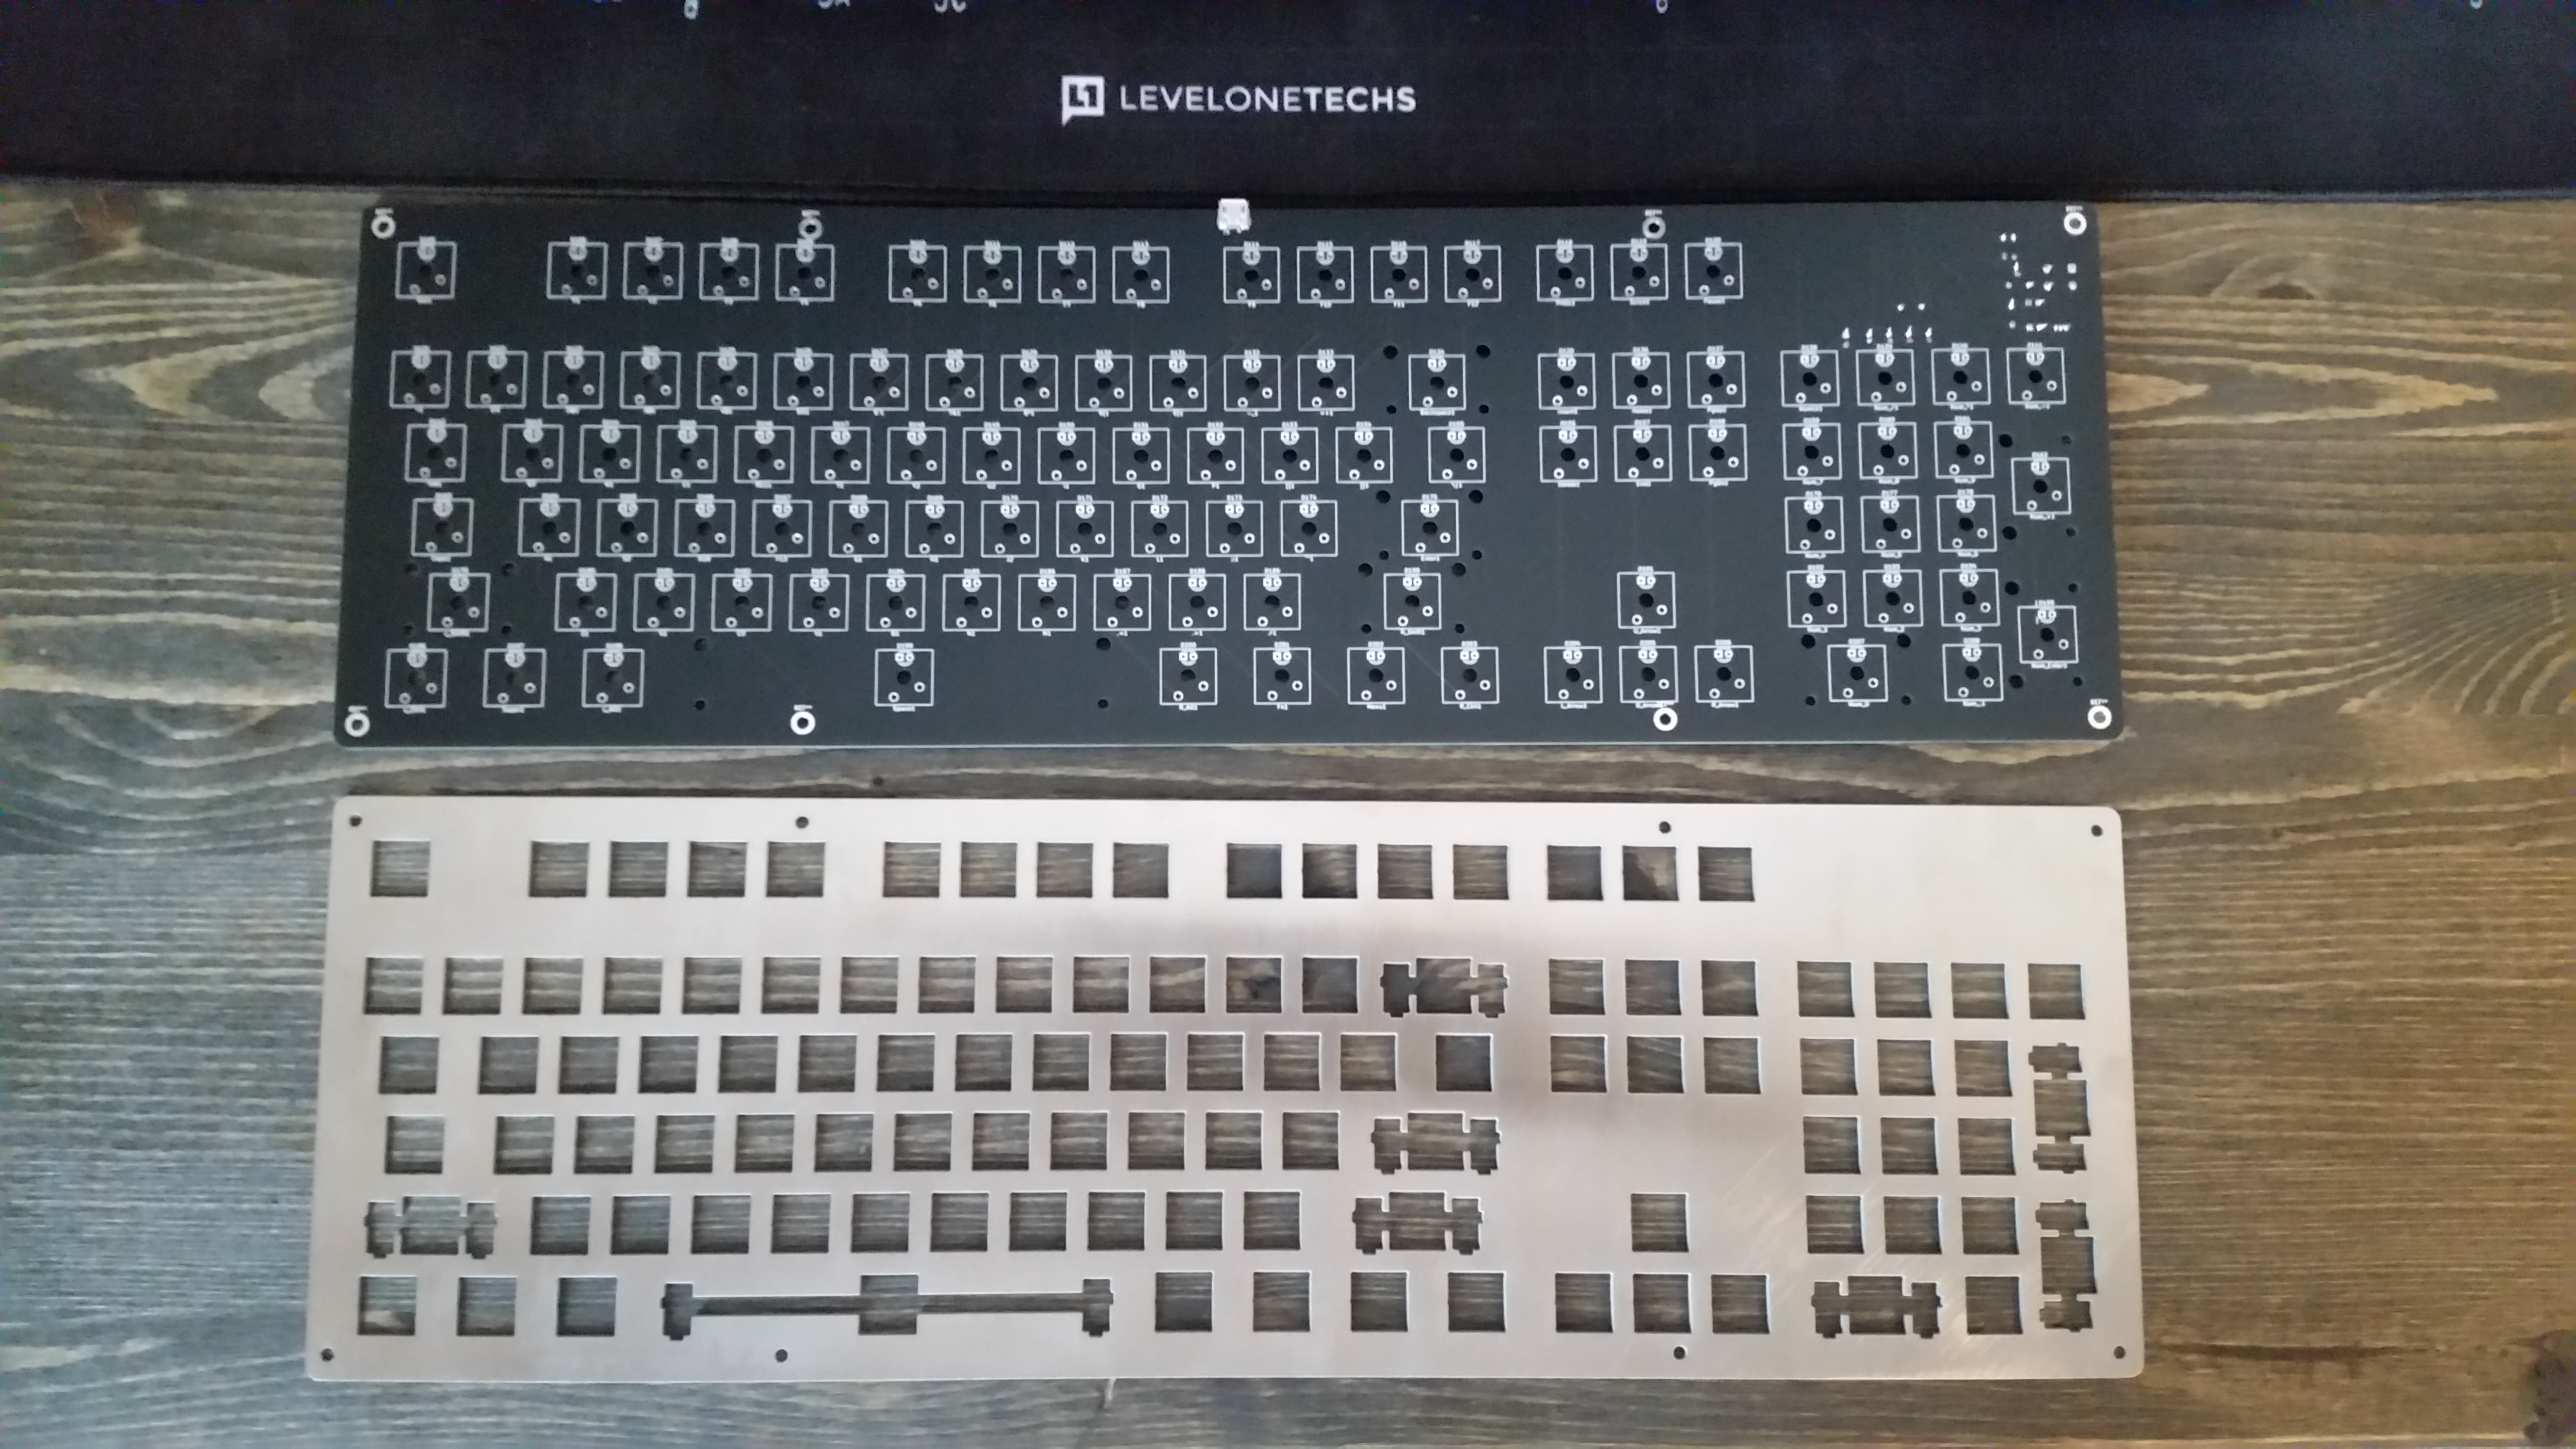
How is everyone? After my previous keyboard project (78 key 6.6 inch USB keyboard), I’ve decided to challenge myself further and build a full size keyboard to replace my daily driver. I plan to include features such as NKRO, backlighting, and a fancy stainless steel keyplate that I ordered from Big Blue Saw a waterjet cutting service.
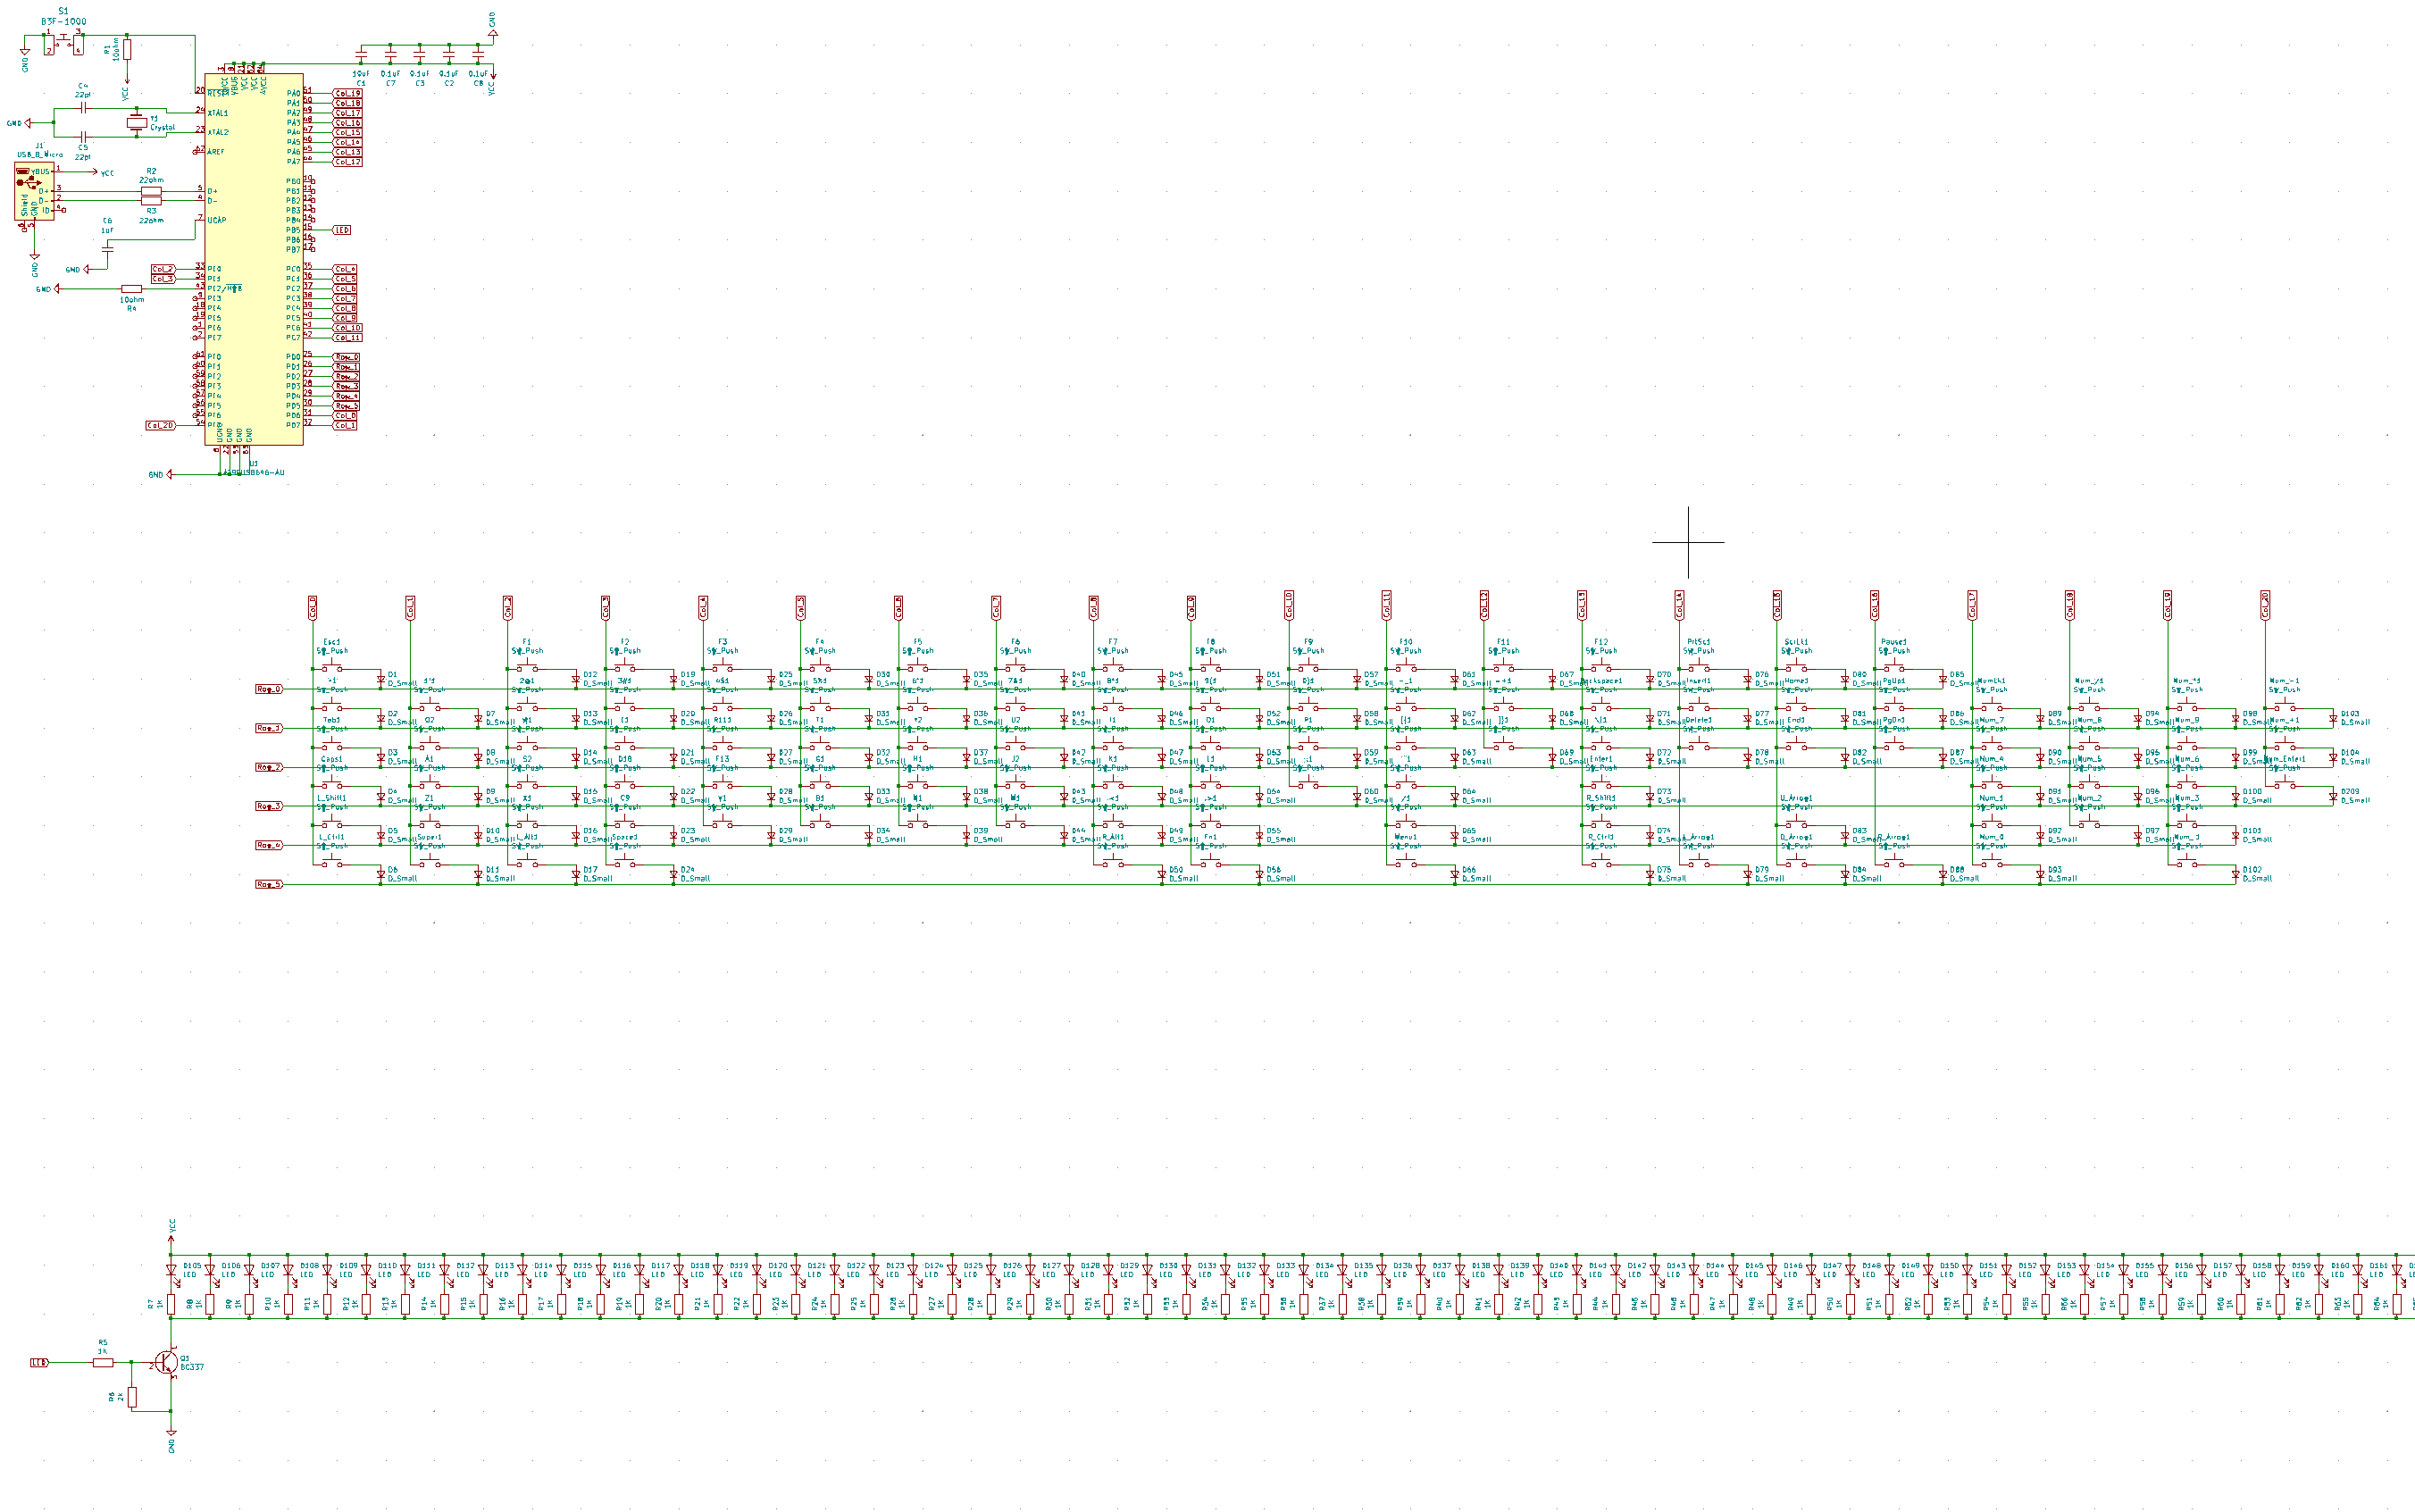
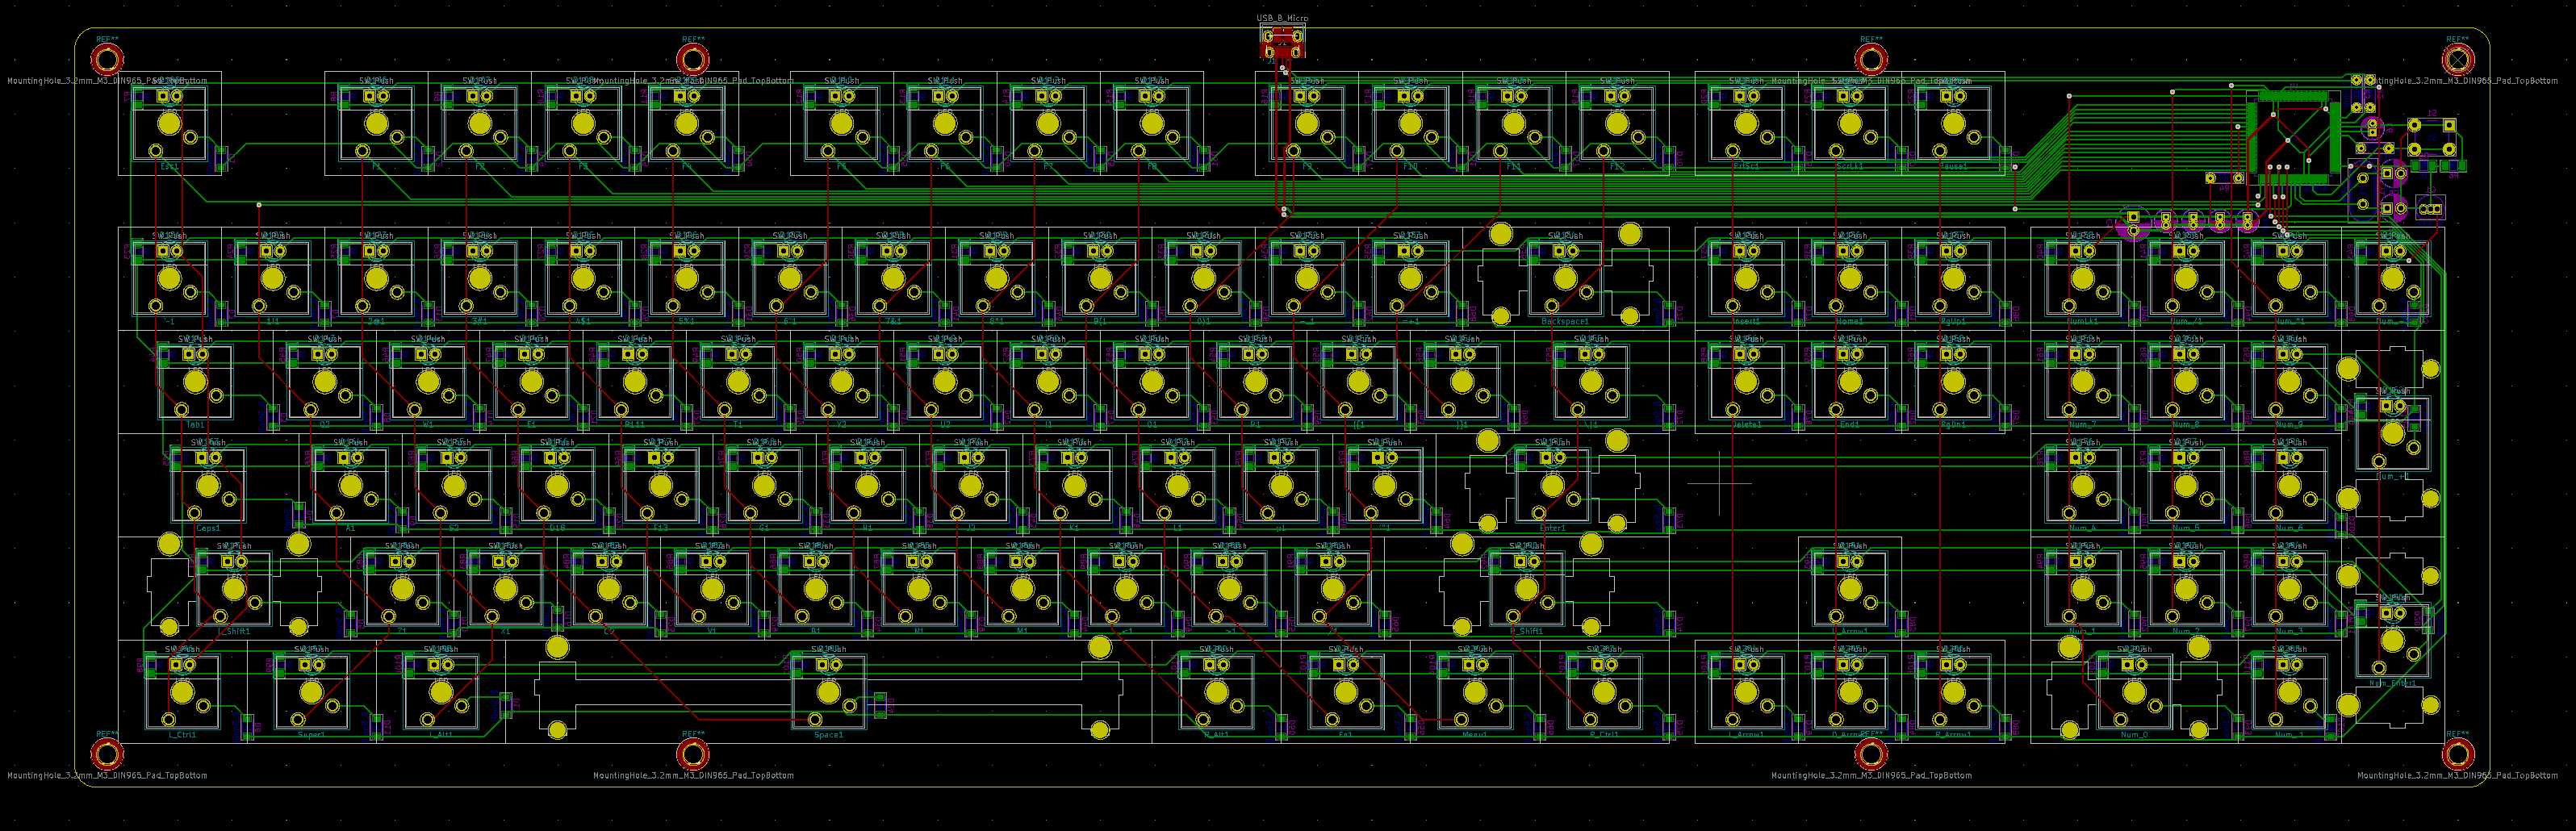
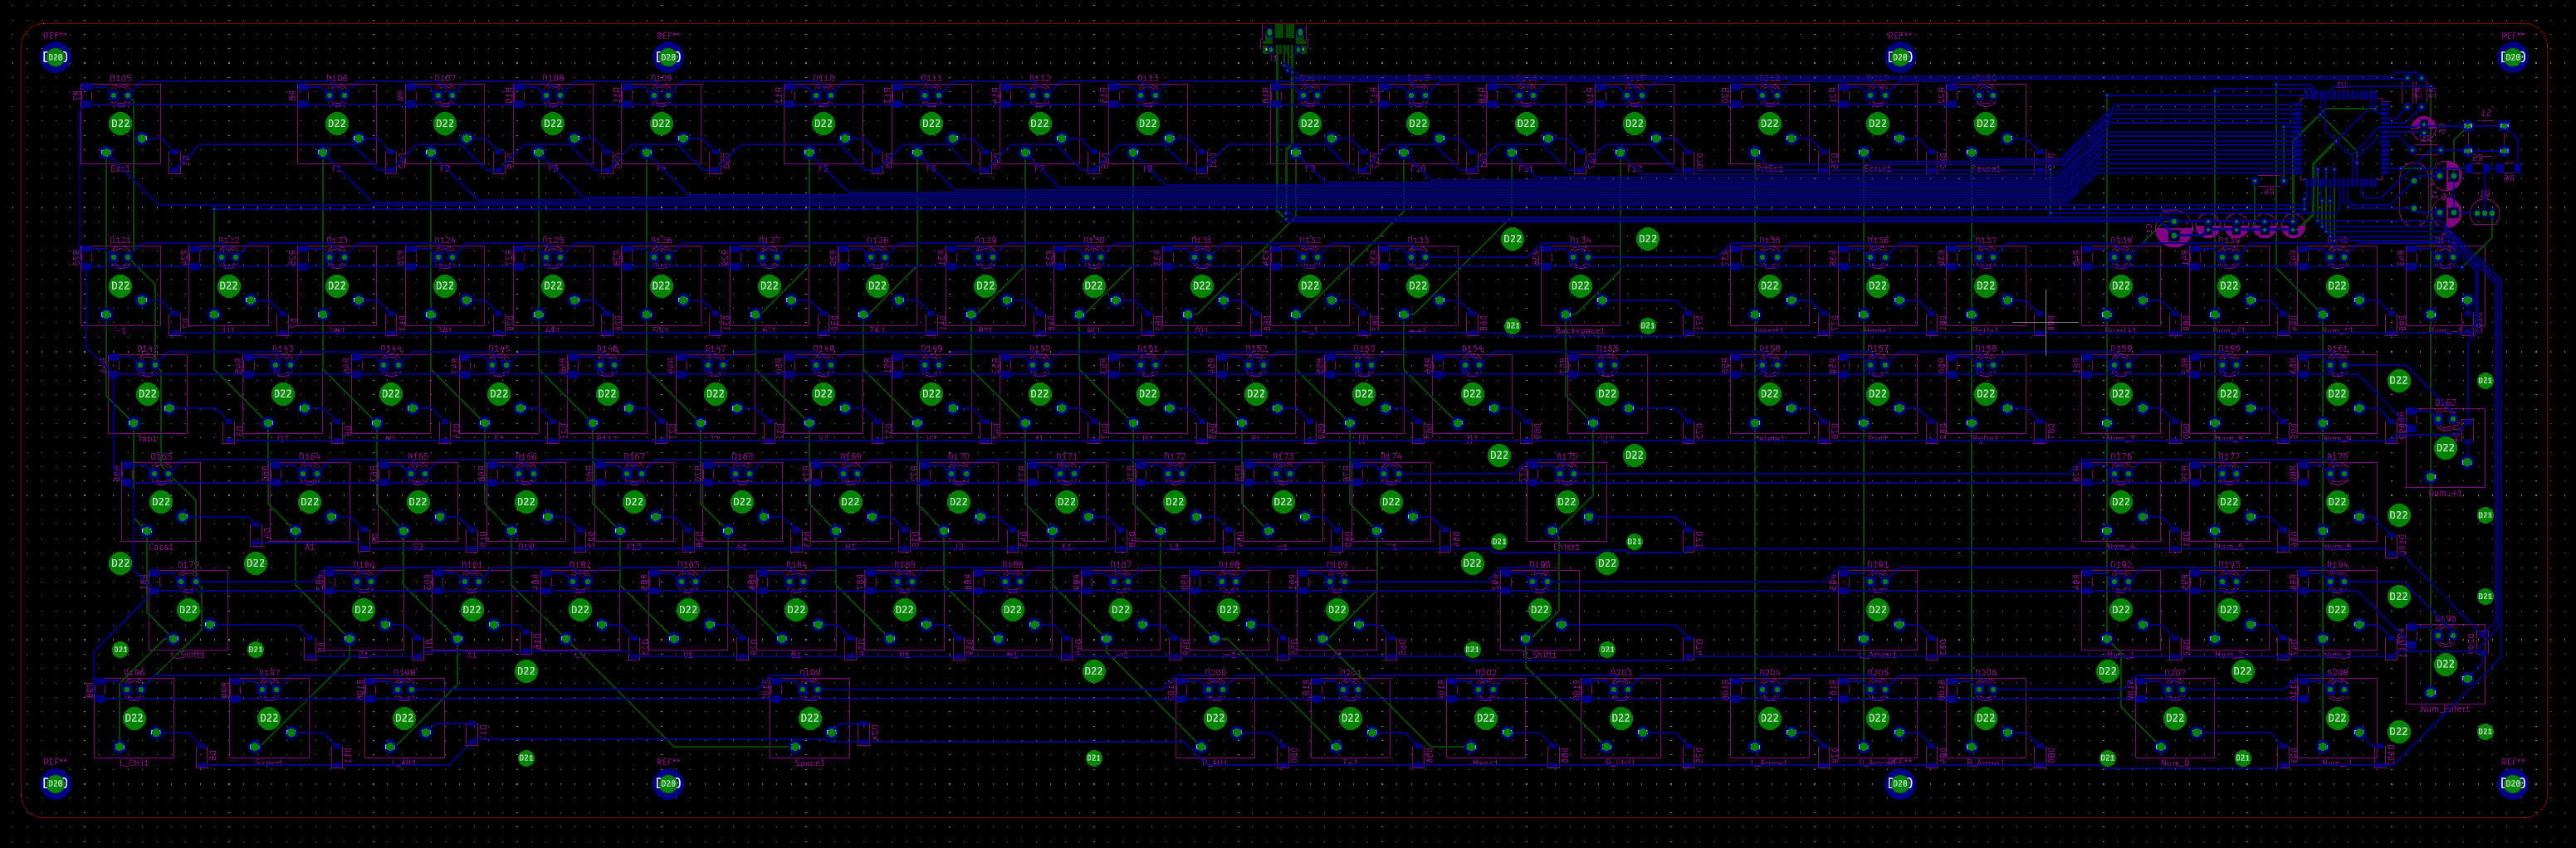
To start with I created a schematic for my new circuit.
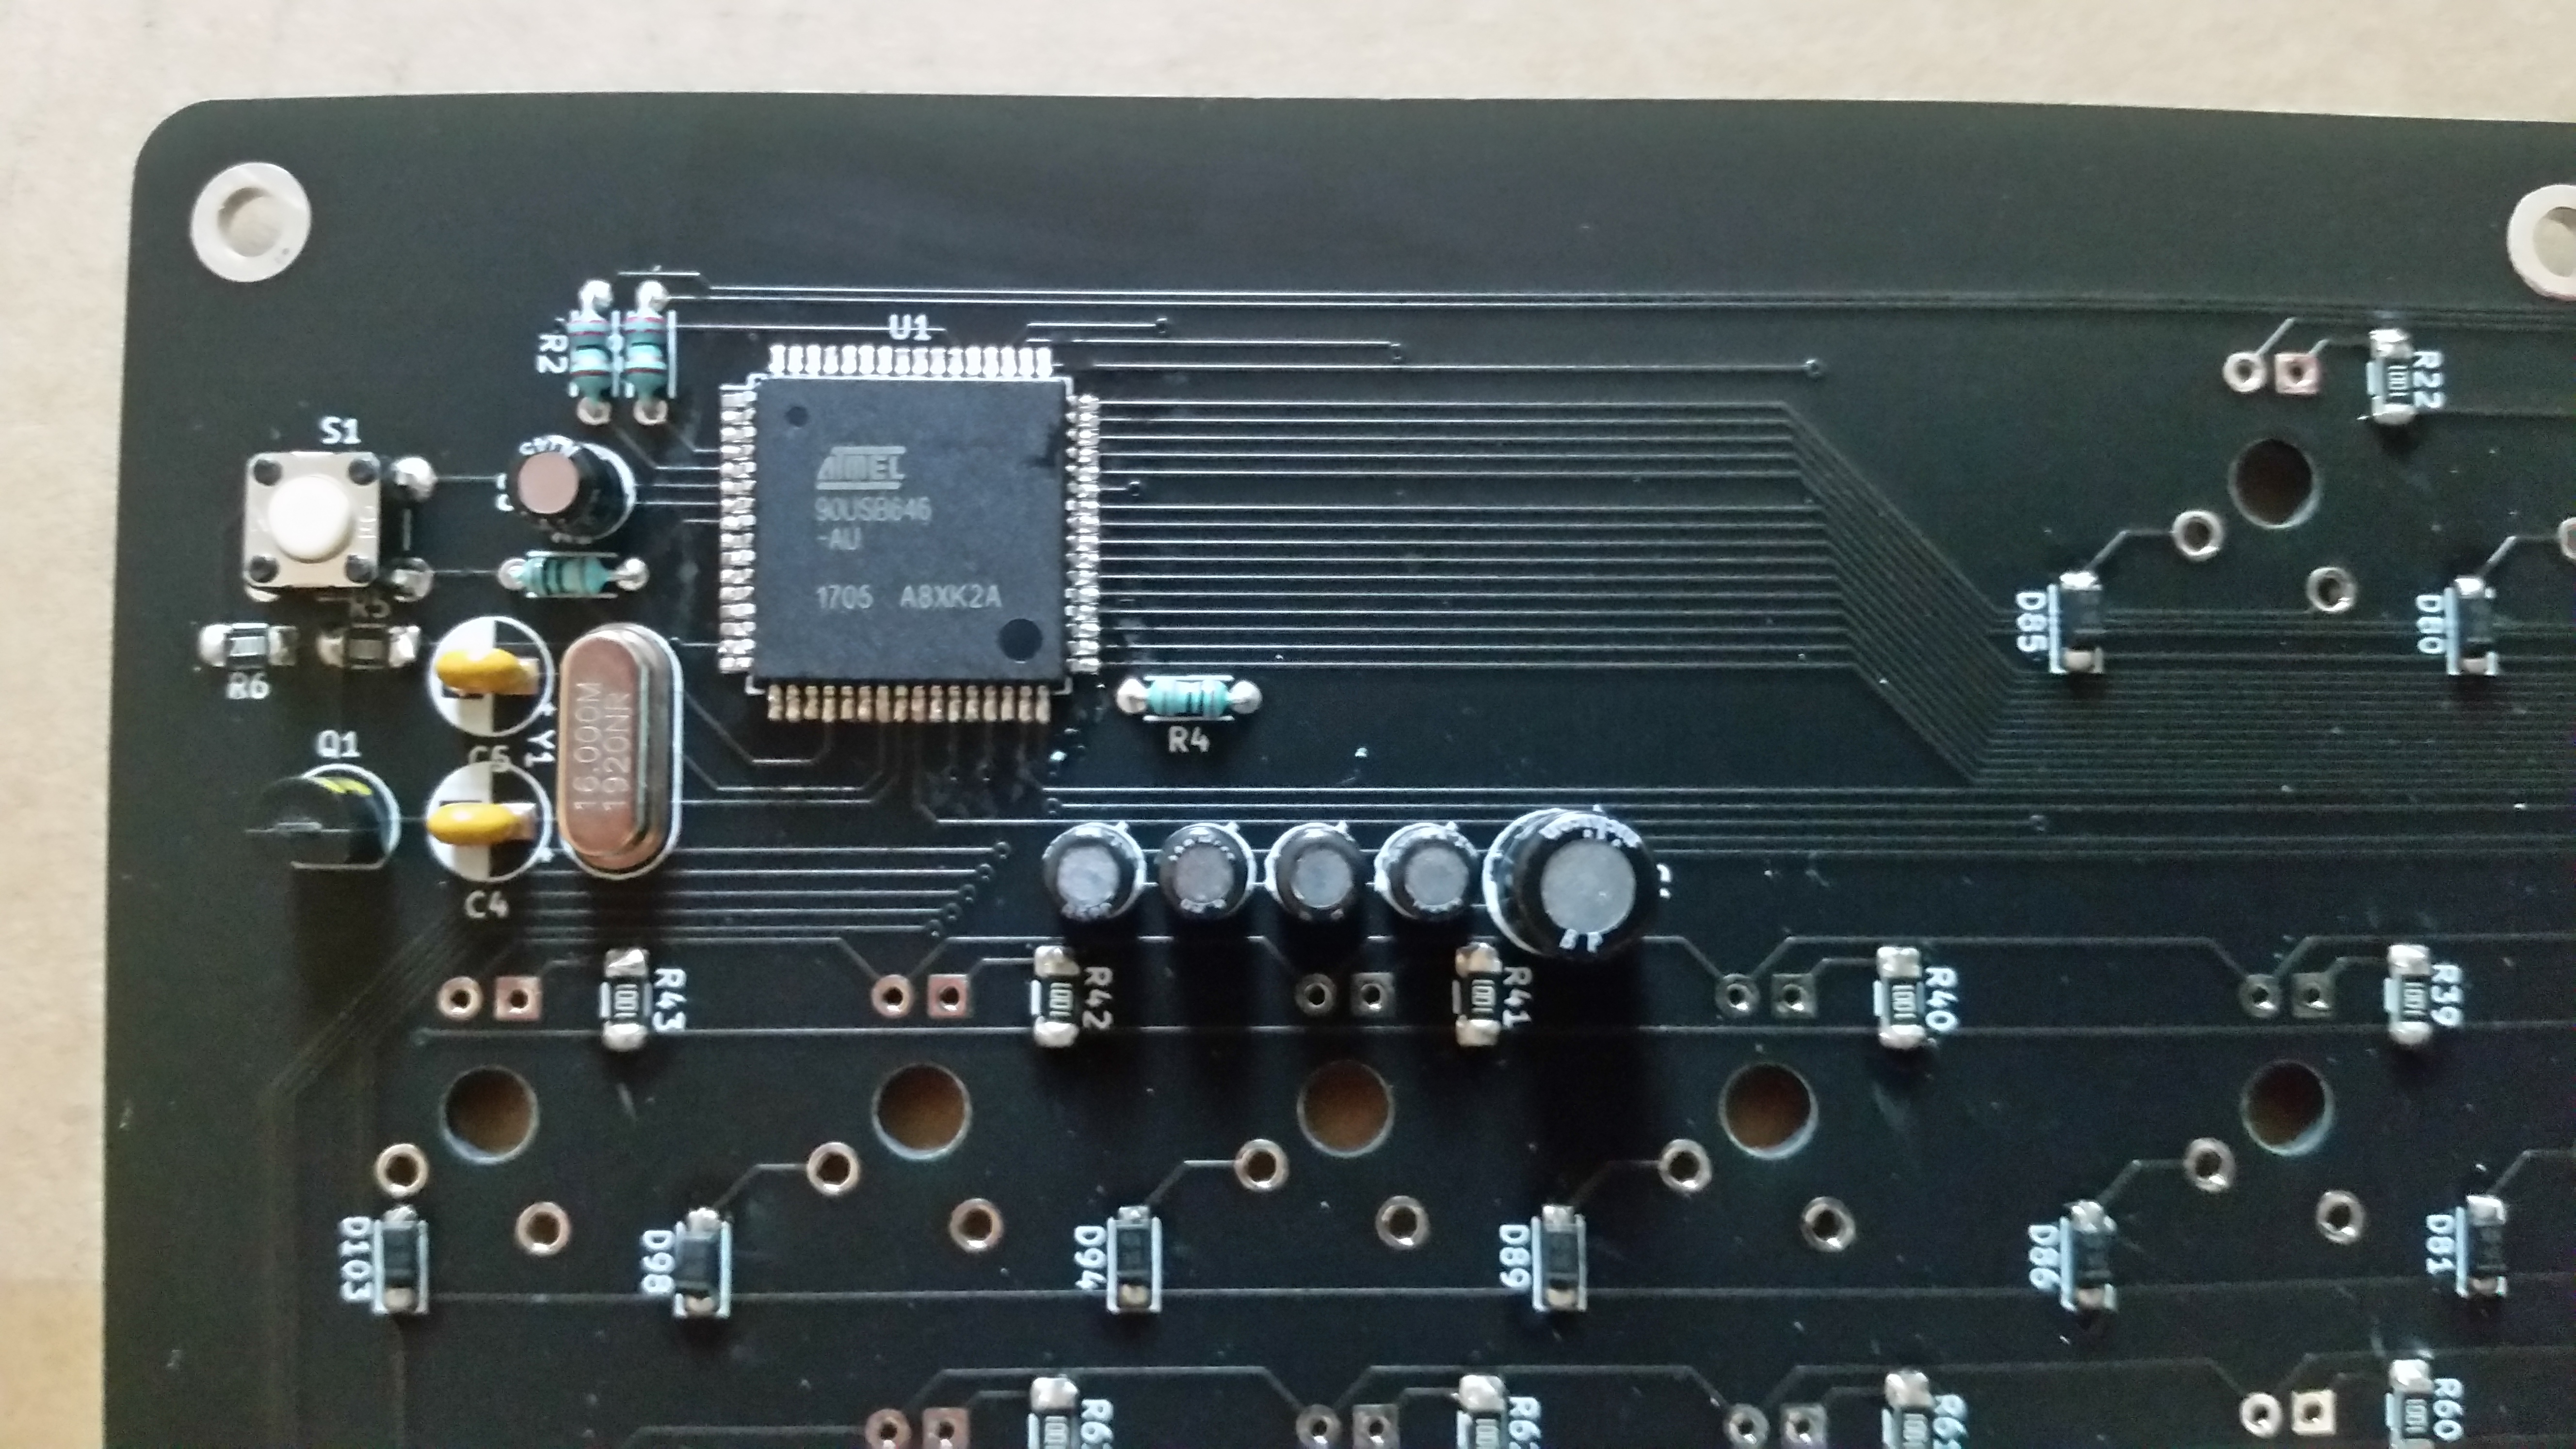
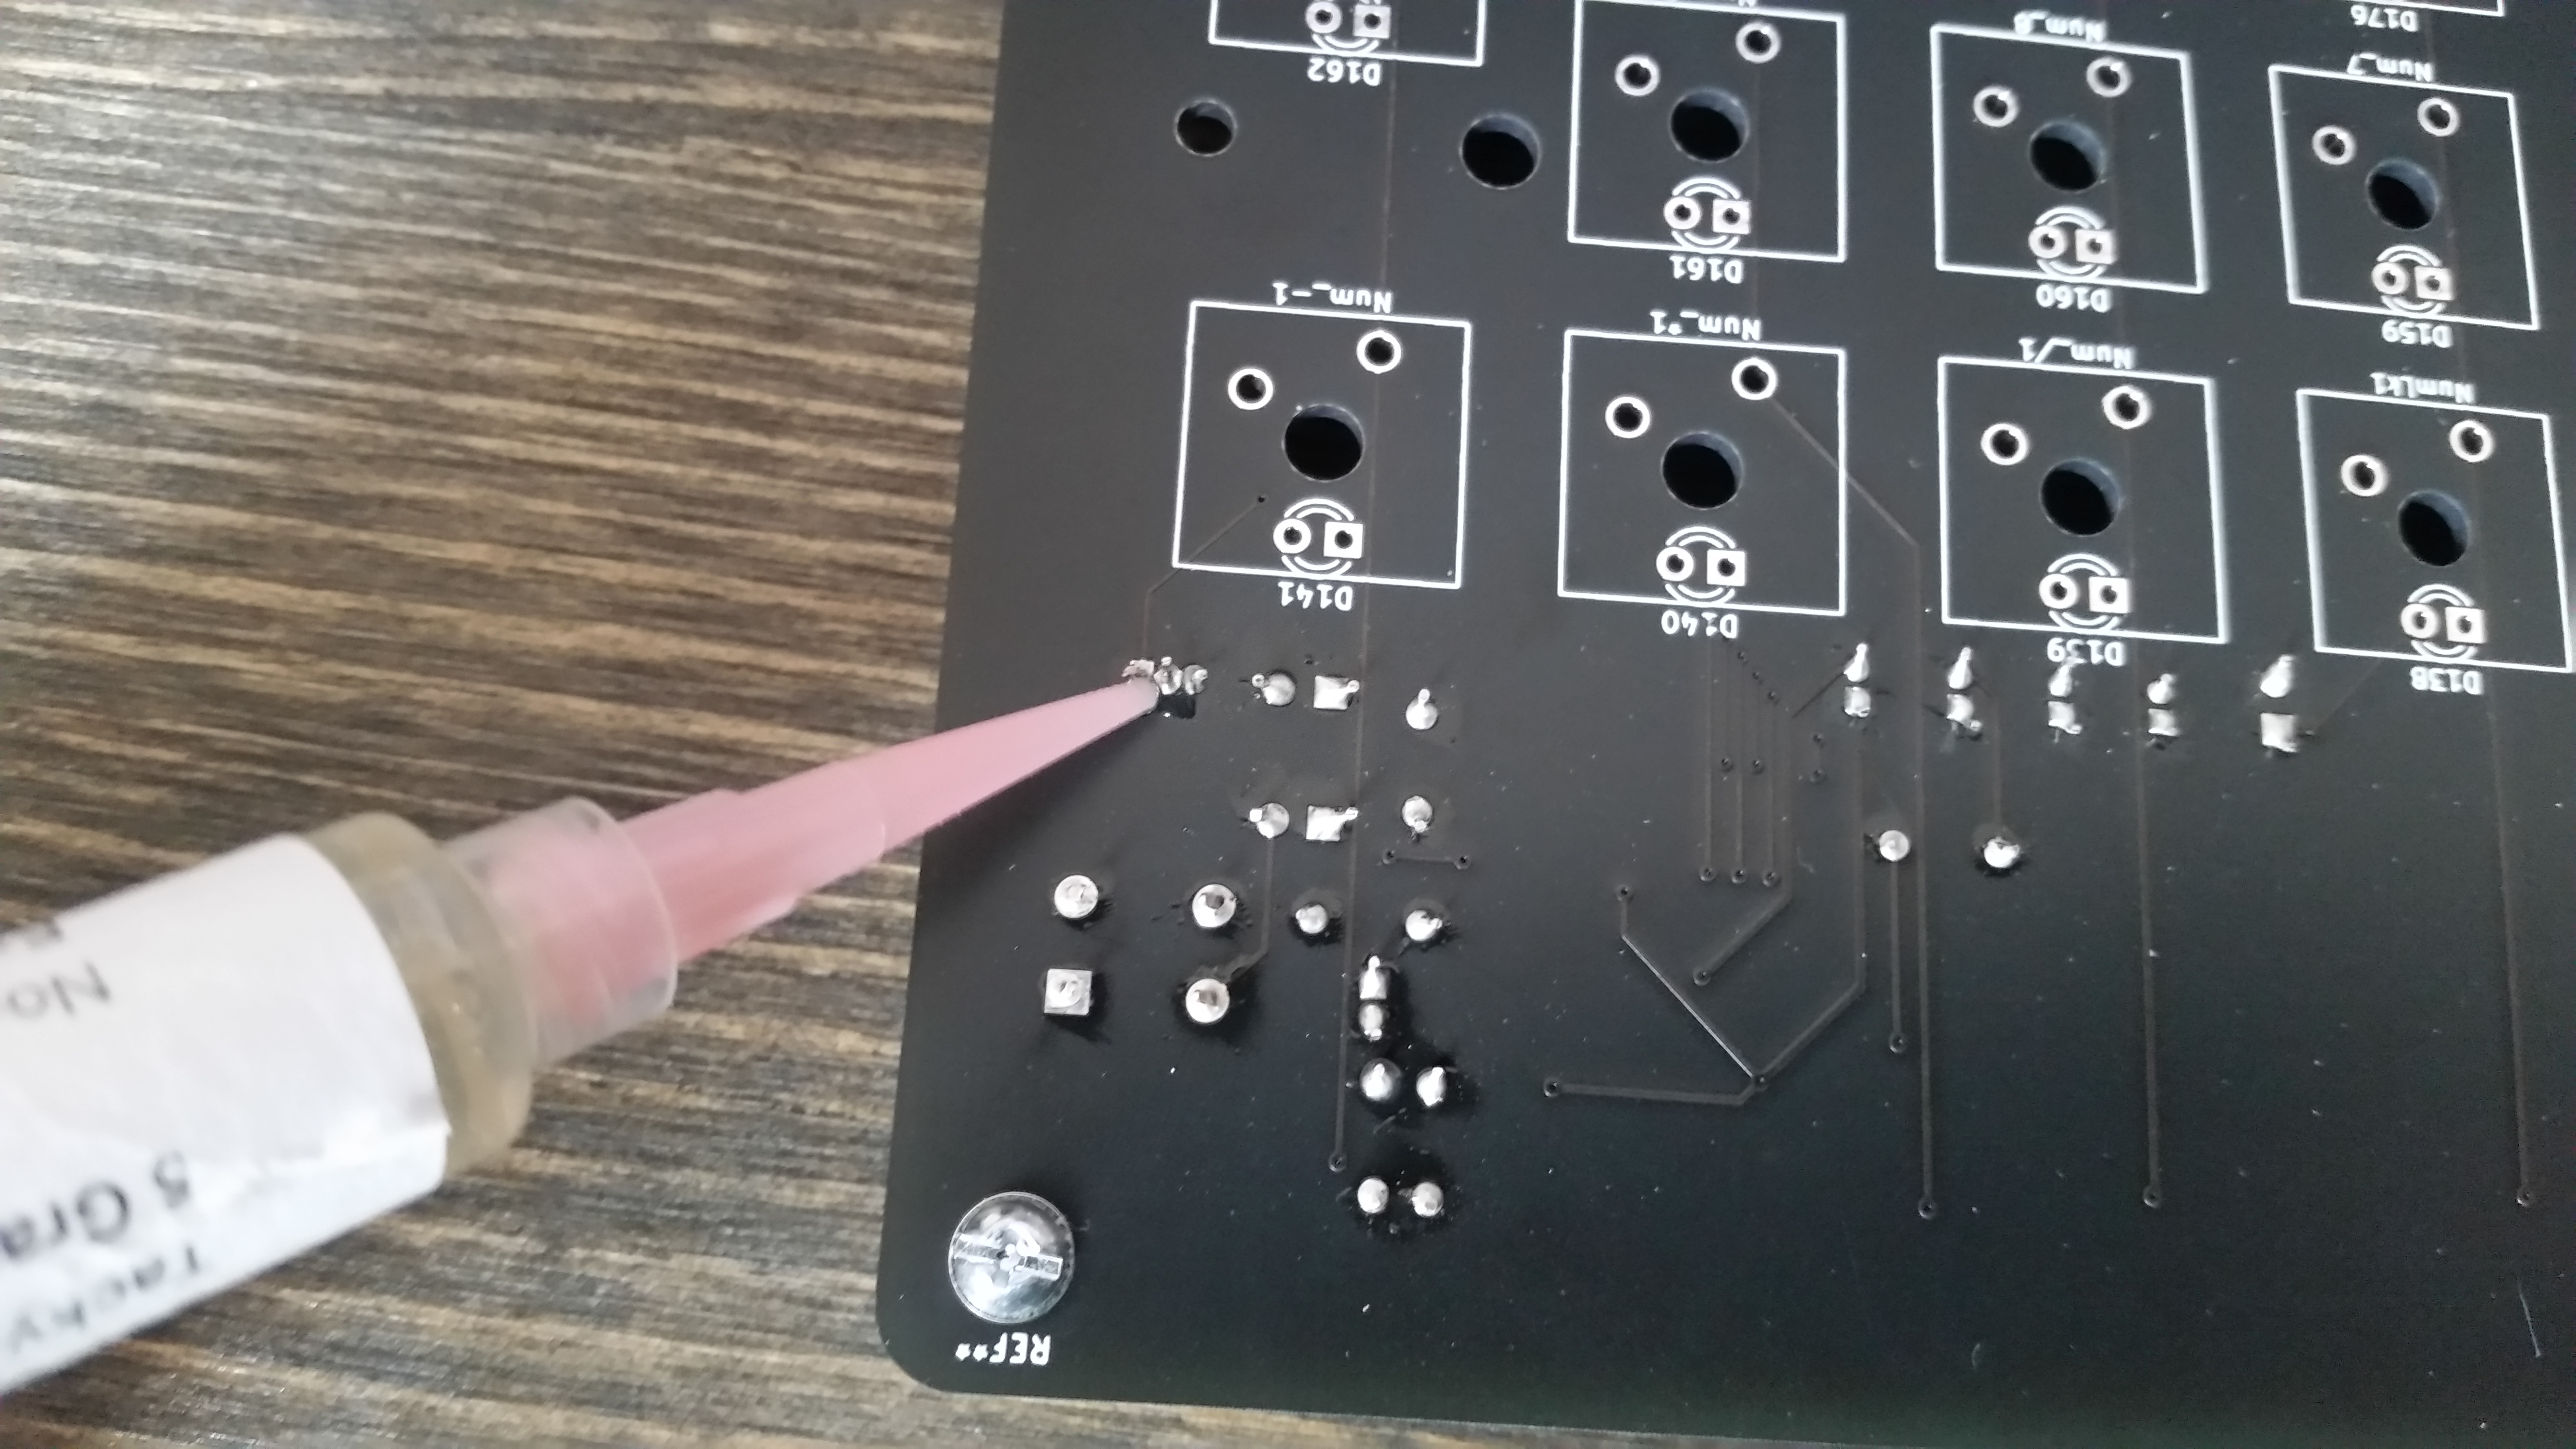
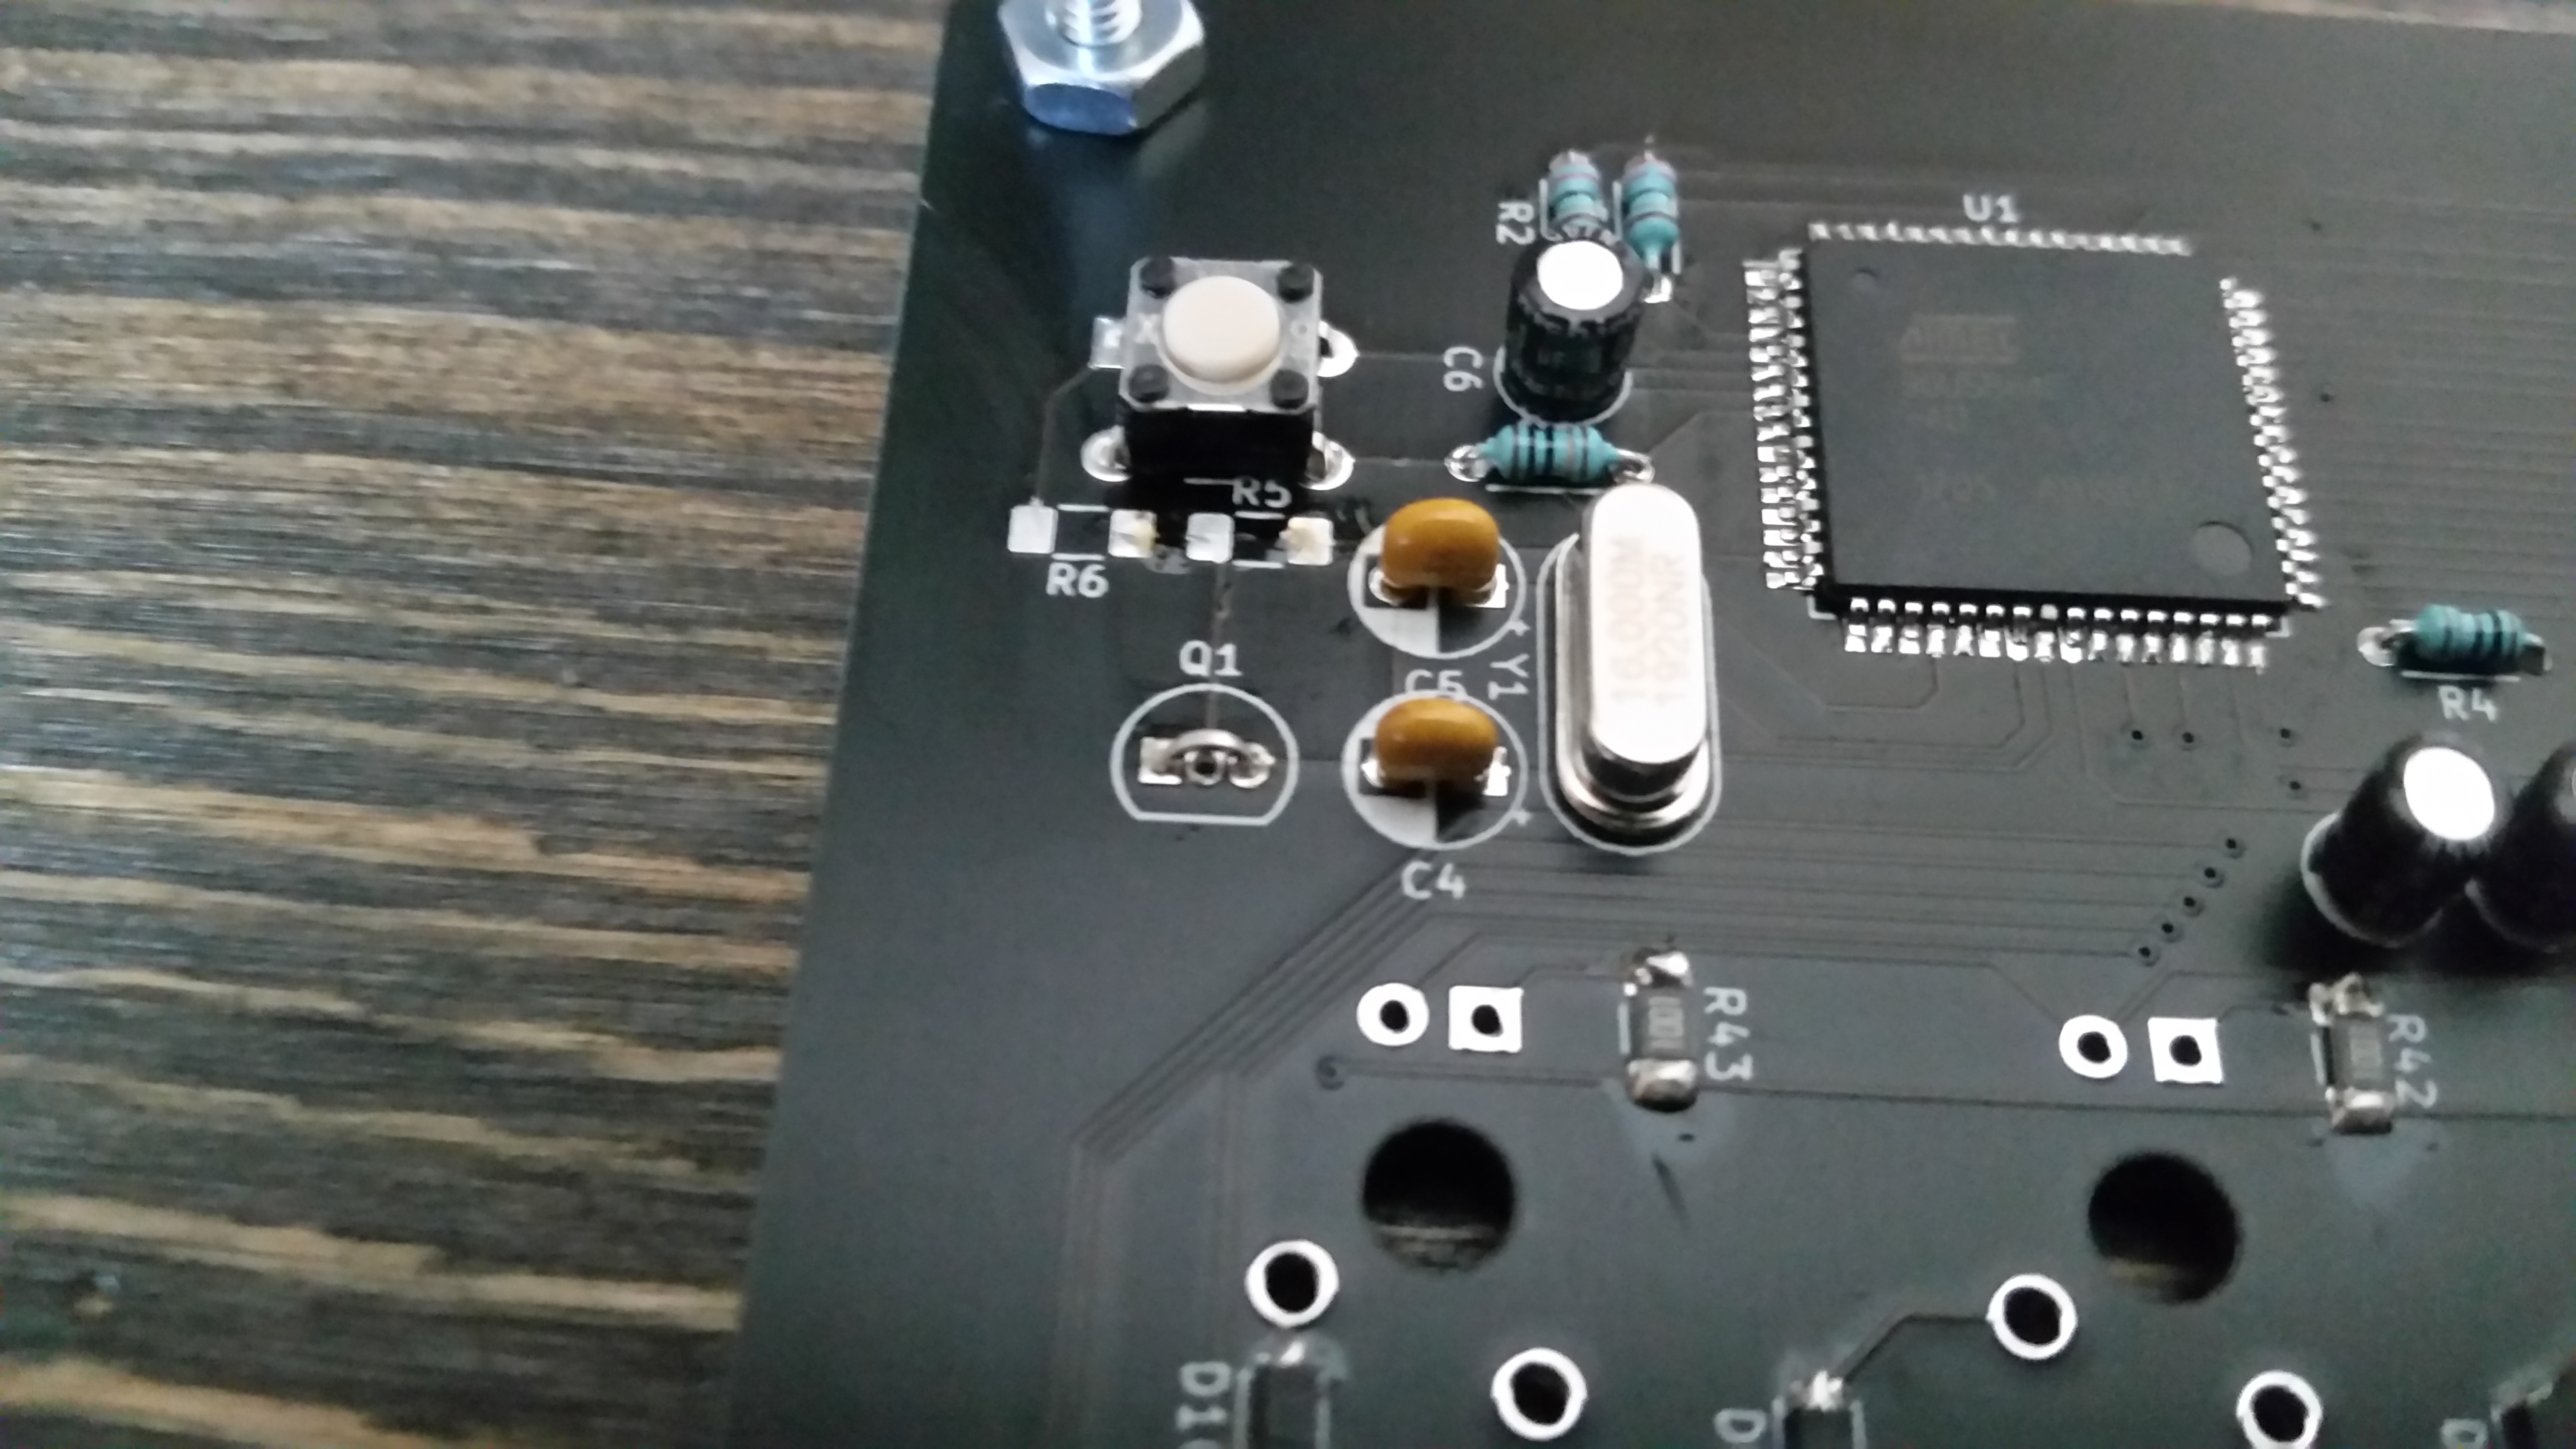
Once I received the PCBs and the necessary components I proceeded to solder them together. I will be using the AT90USB646 microcontroller. Nothing like having 48 GPIO pins at your disposal.
I will now finish creating the custom firmware using QMK. The backlight will be controlled by one pwm pin and a transistor with the emitter to ground. The LEDs will not run at full brightness since I didn’t bother to interleave the backlighting but should be fine at under 2 milliamps per LED being paired with 1K resistors.
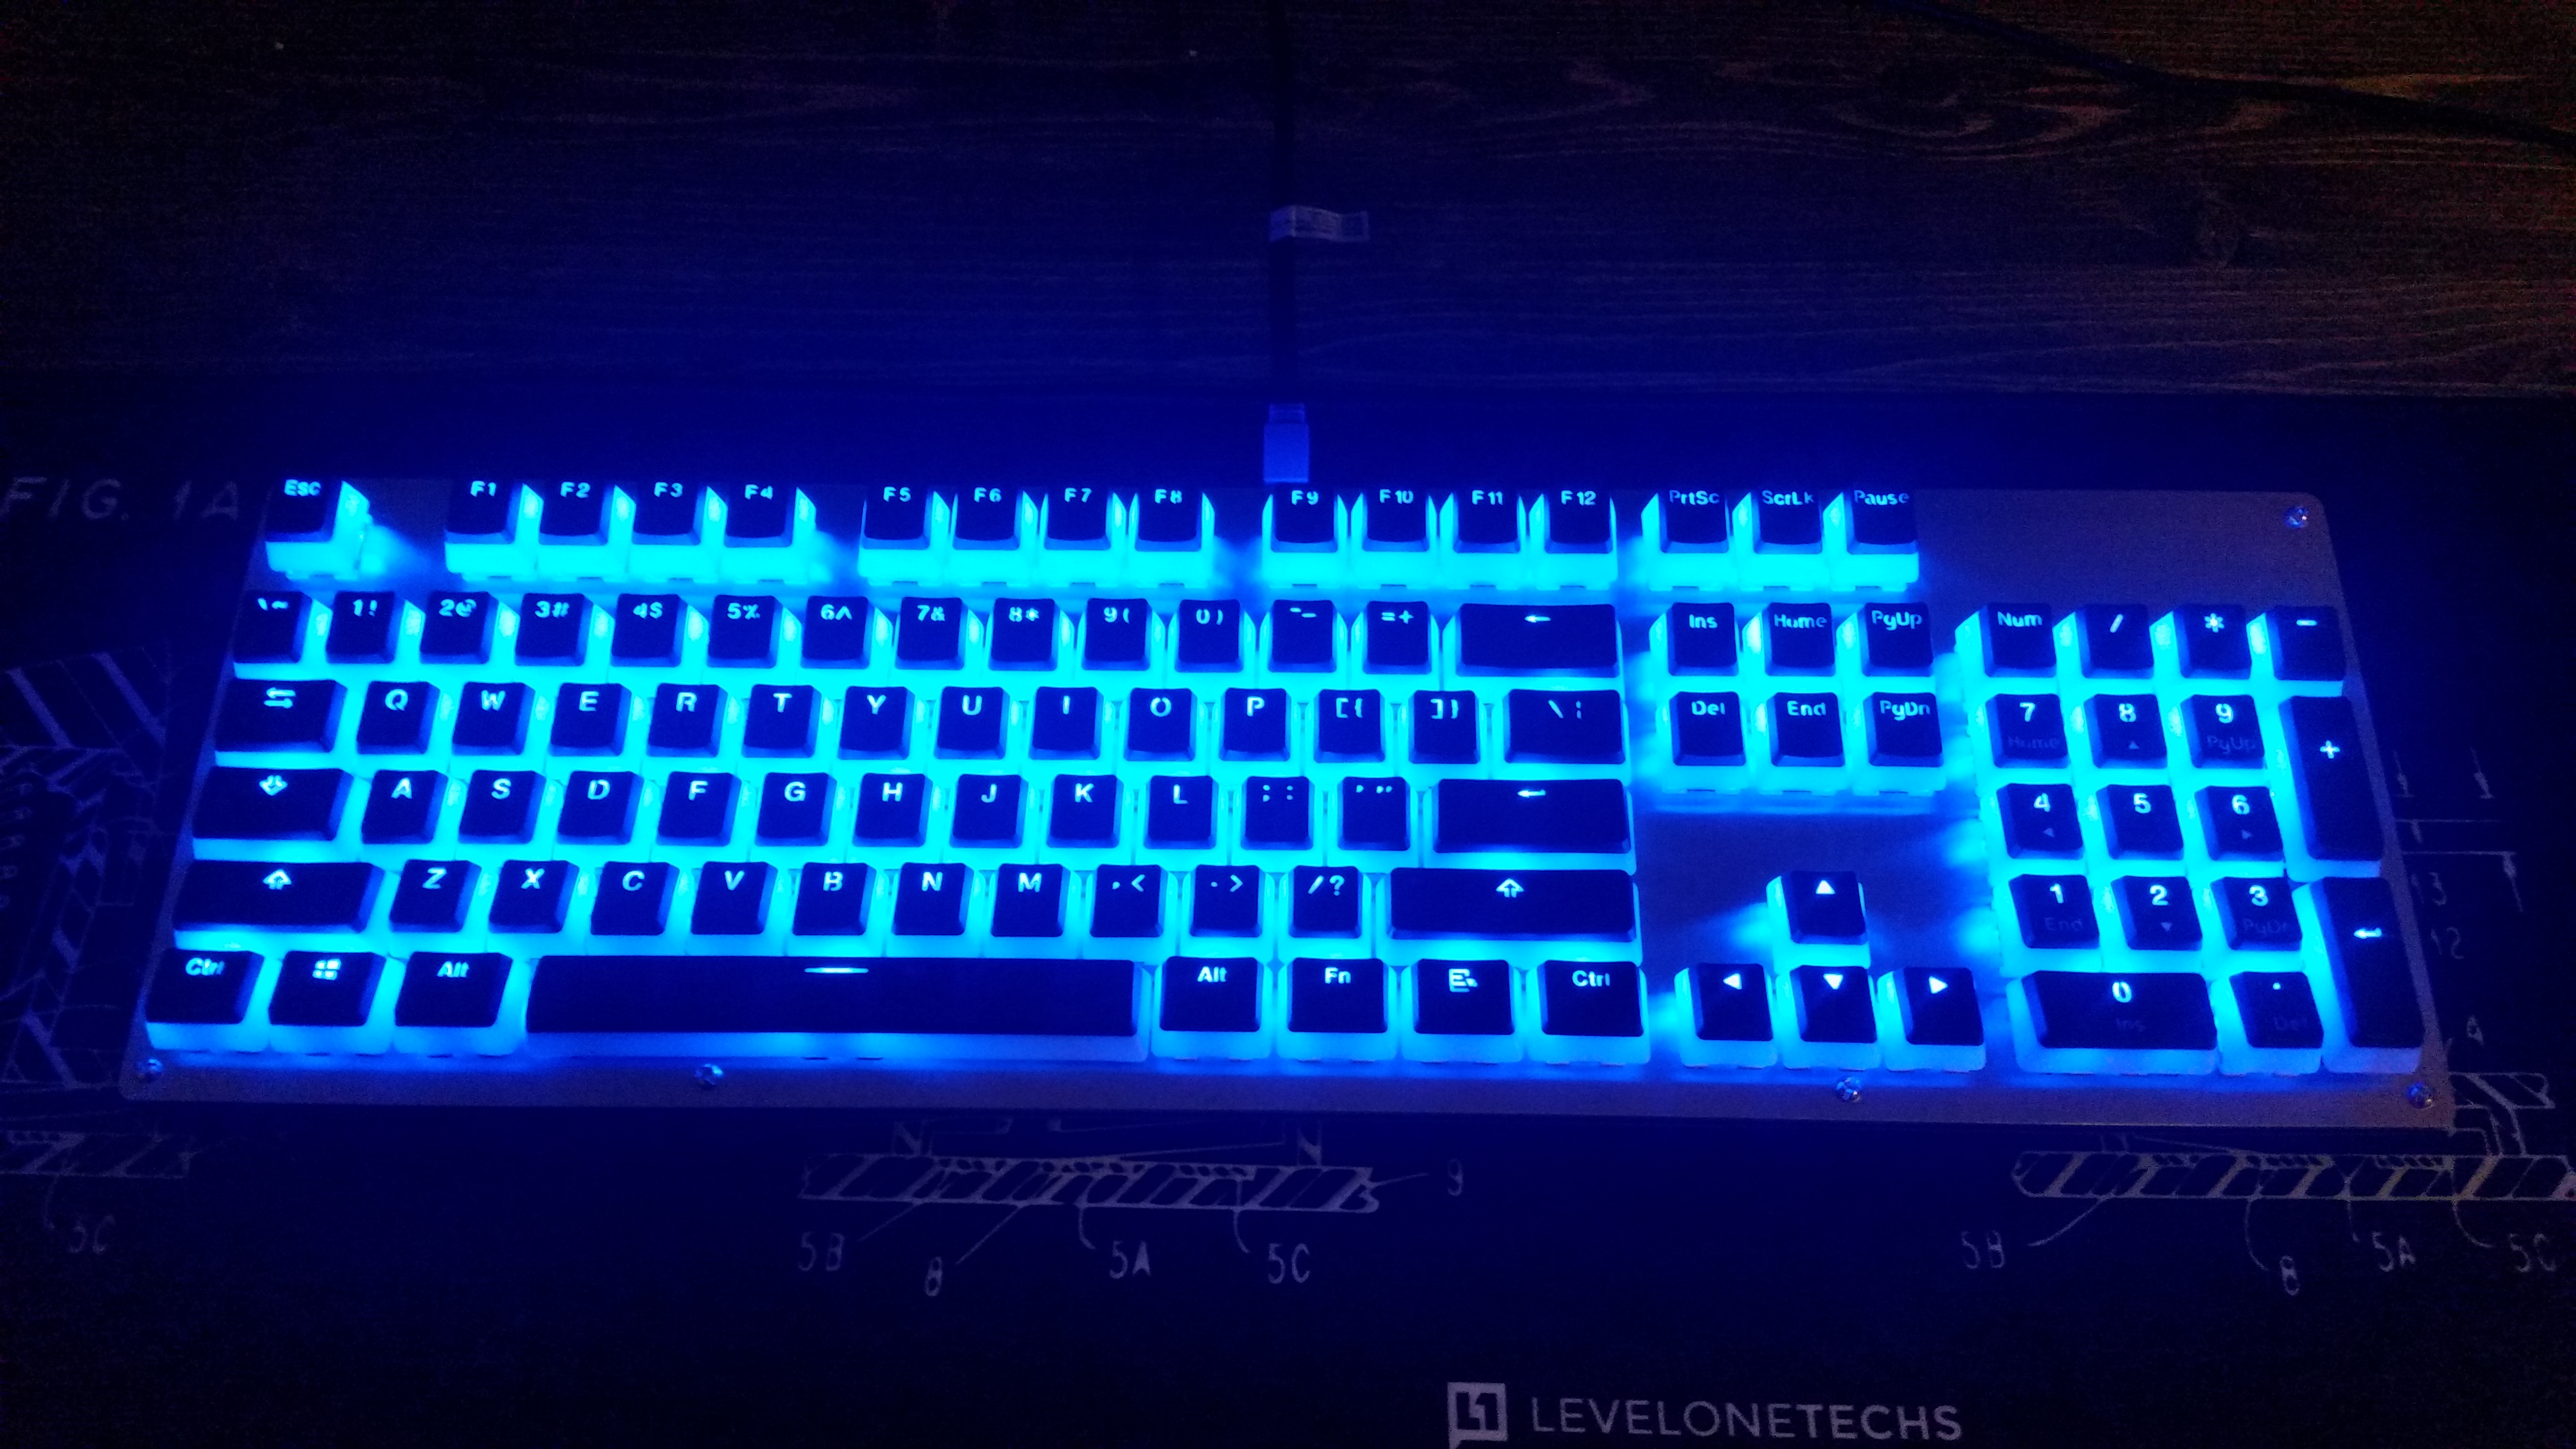
Here is how the project has been progressing. I’m creating this post with the new keyboard by the way. I ran into a few road blocks during the build. There was a flaw in my circiut design for the backlight. Transistors have a high voltage side and a low voltage side. My design was backwards so there was not enough forward voltage for the LEDs to light up. As a compromise I removed the transistor and added a bridge to bypass the microcontroller. Unfortunately this means the backlight will not be adjustable though it will still work.
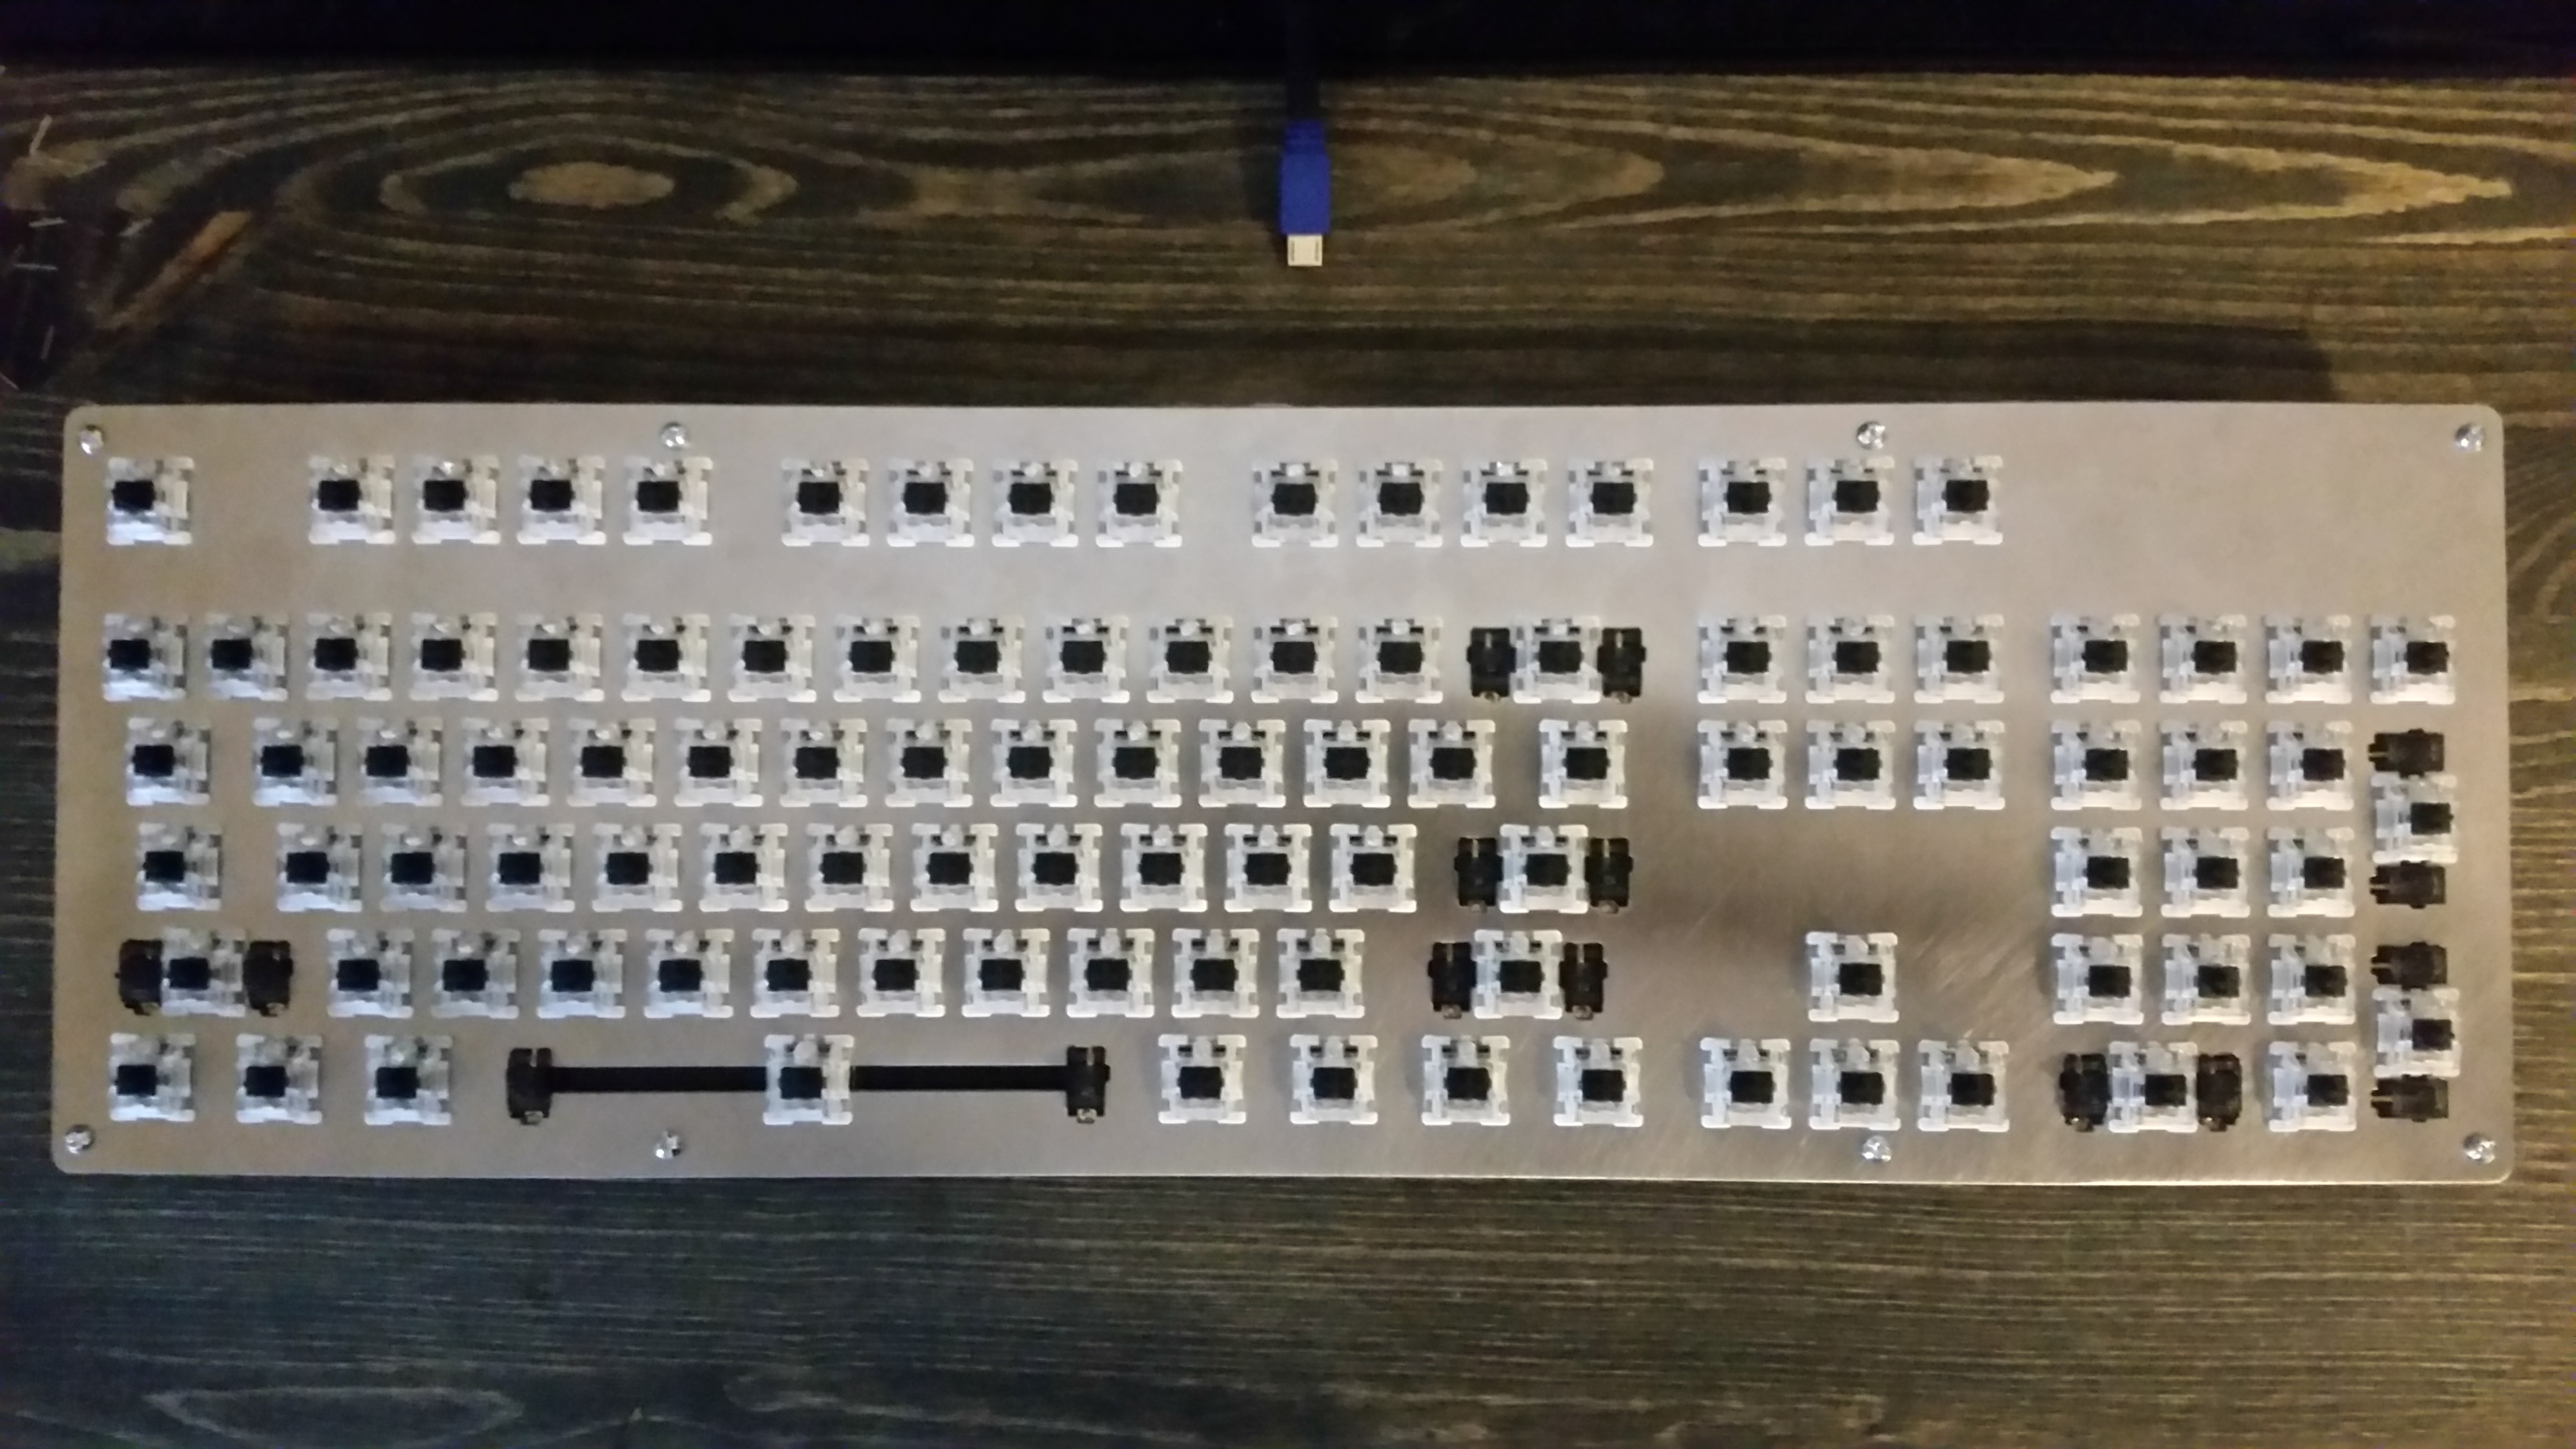
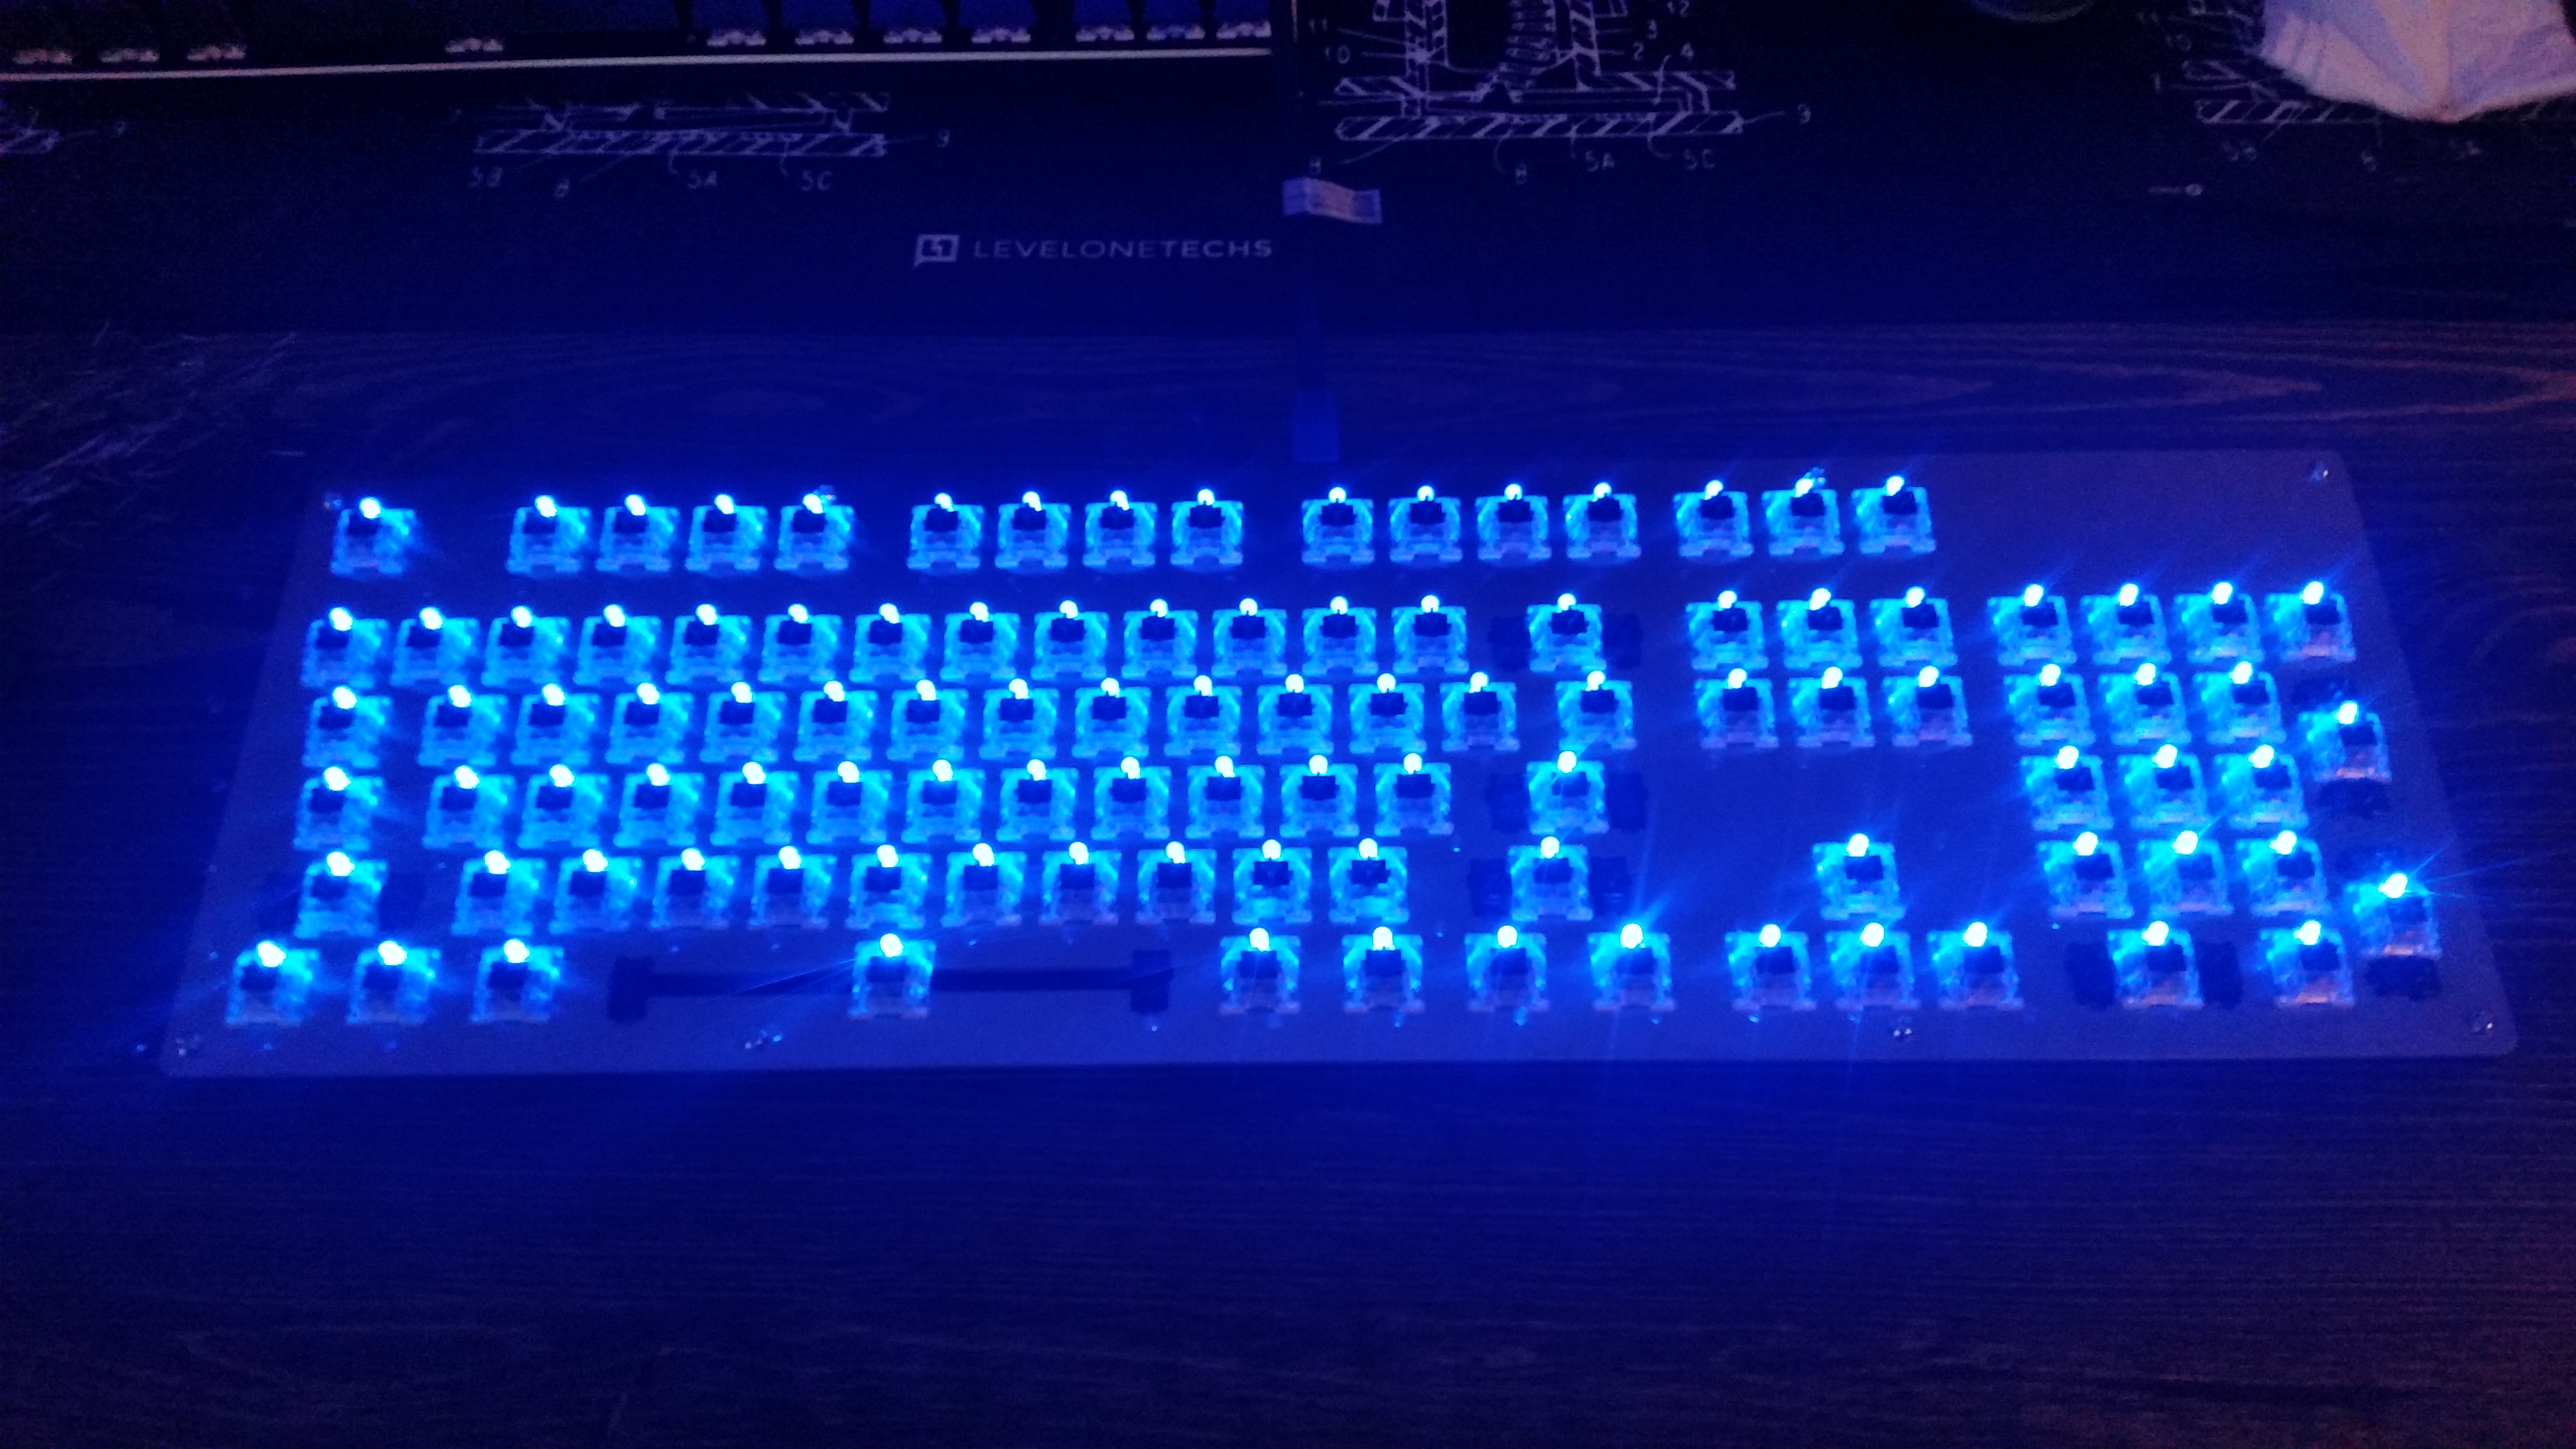
Next I flashed the custom QMK firmware. I had to make a few adjustments and re-flash since not all the keys were registering as the right input. Before assembling the plate and switches I tested all the key inputs with a jumper cable. Once everything was working, I proceeded to place all the switches in the steel keyplate and sandwich the plate and PCB together. This took two attempts since the first time a couple of pins bent rather than going into the PCB.
Then I soldered all the switches into place. I decided to go with Gateron blacks for this project. Finally I added all the LEDs. I recommend testing them before soldering. One LED was a dud and had to be replaced.
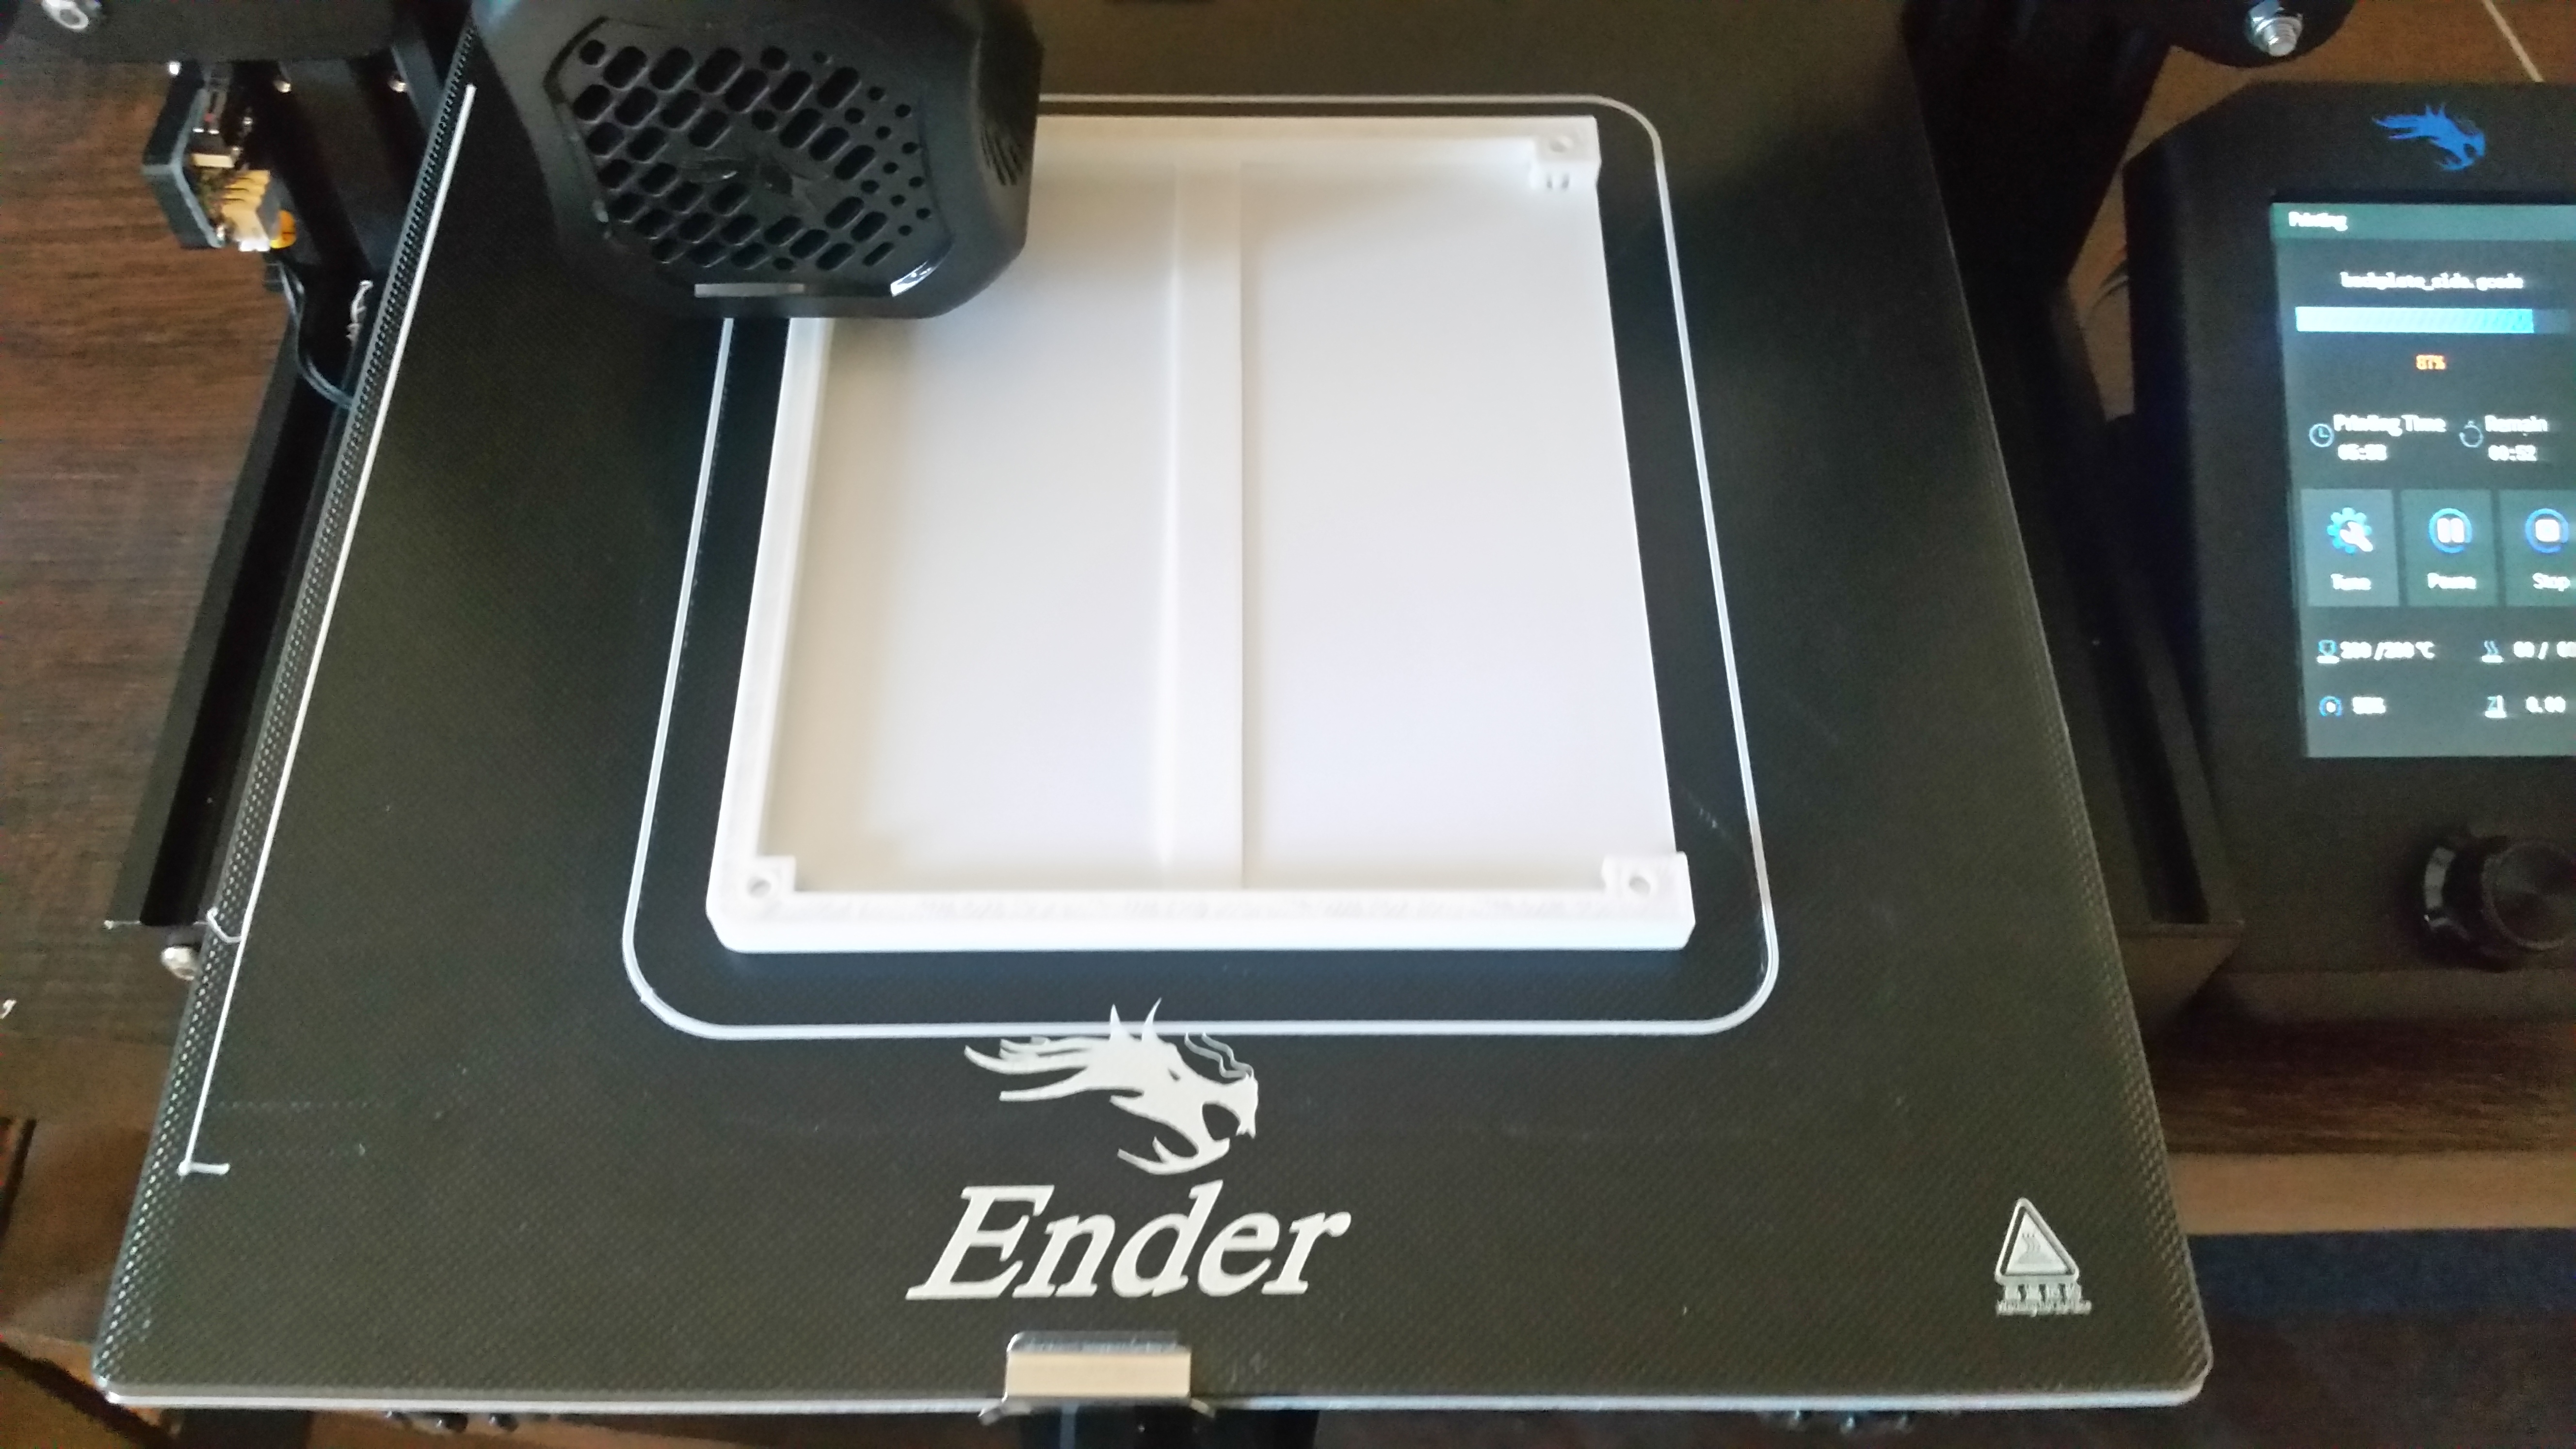
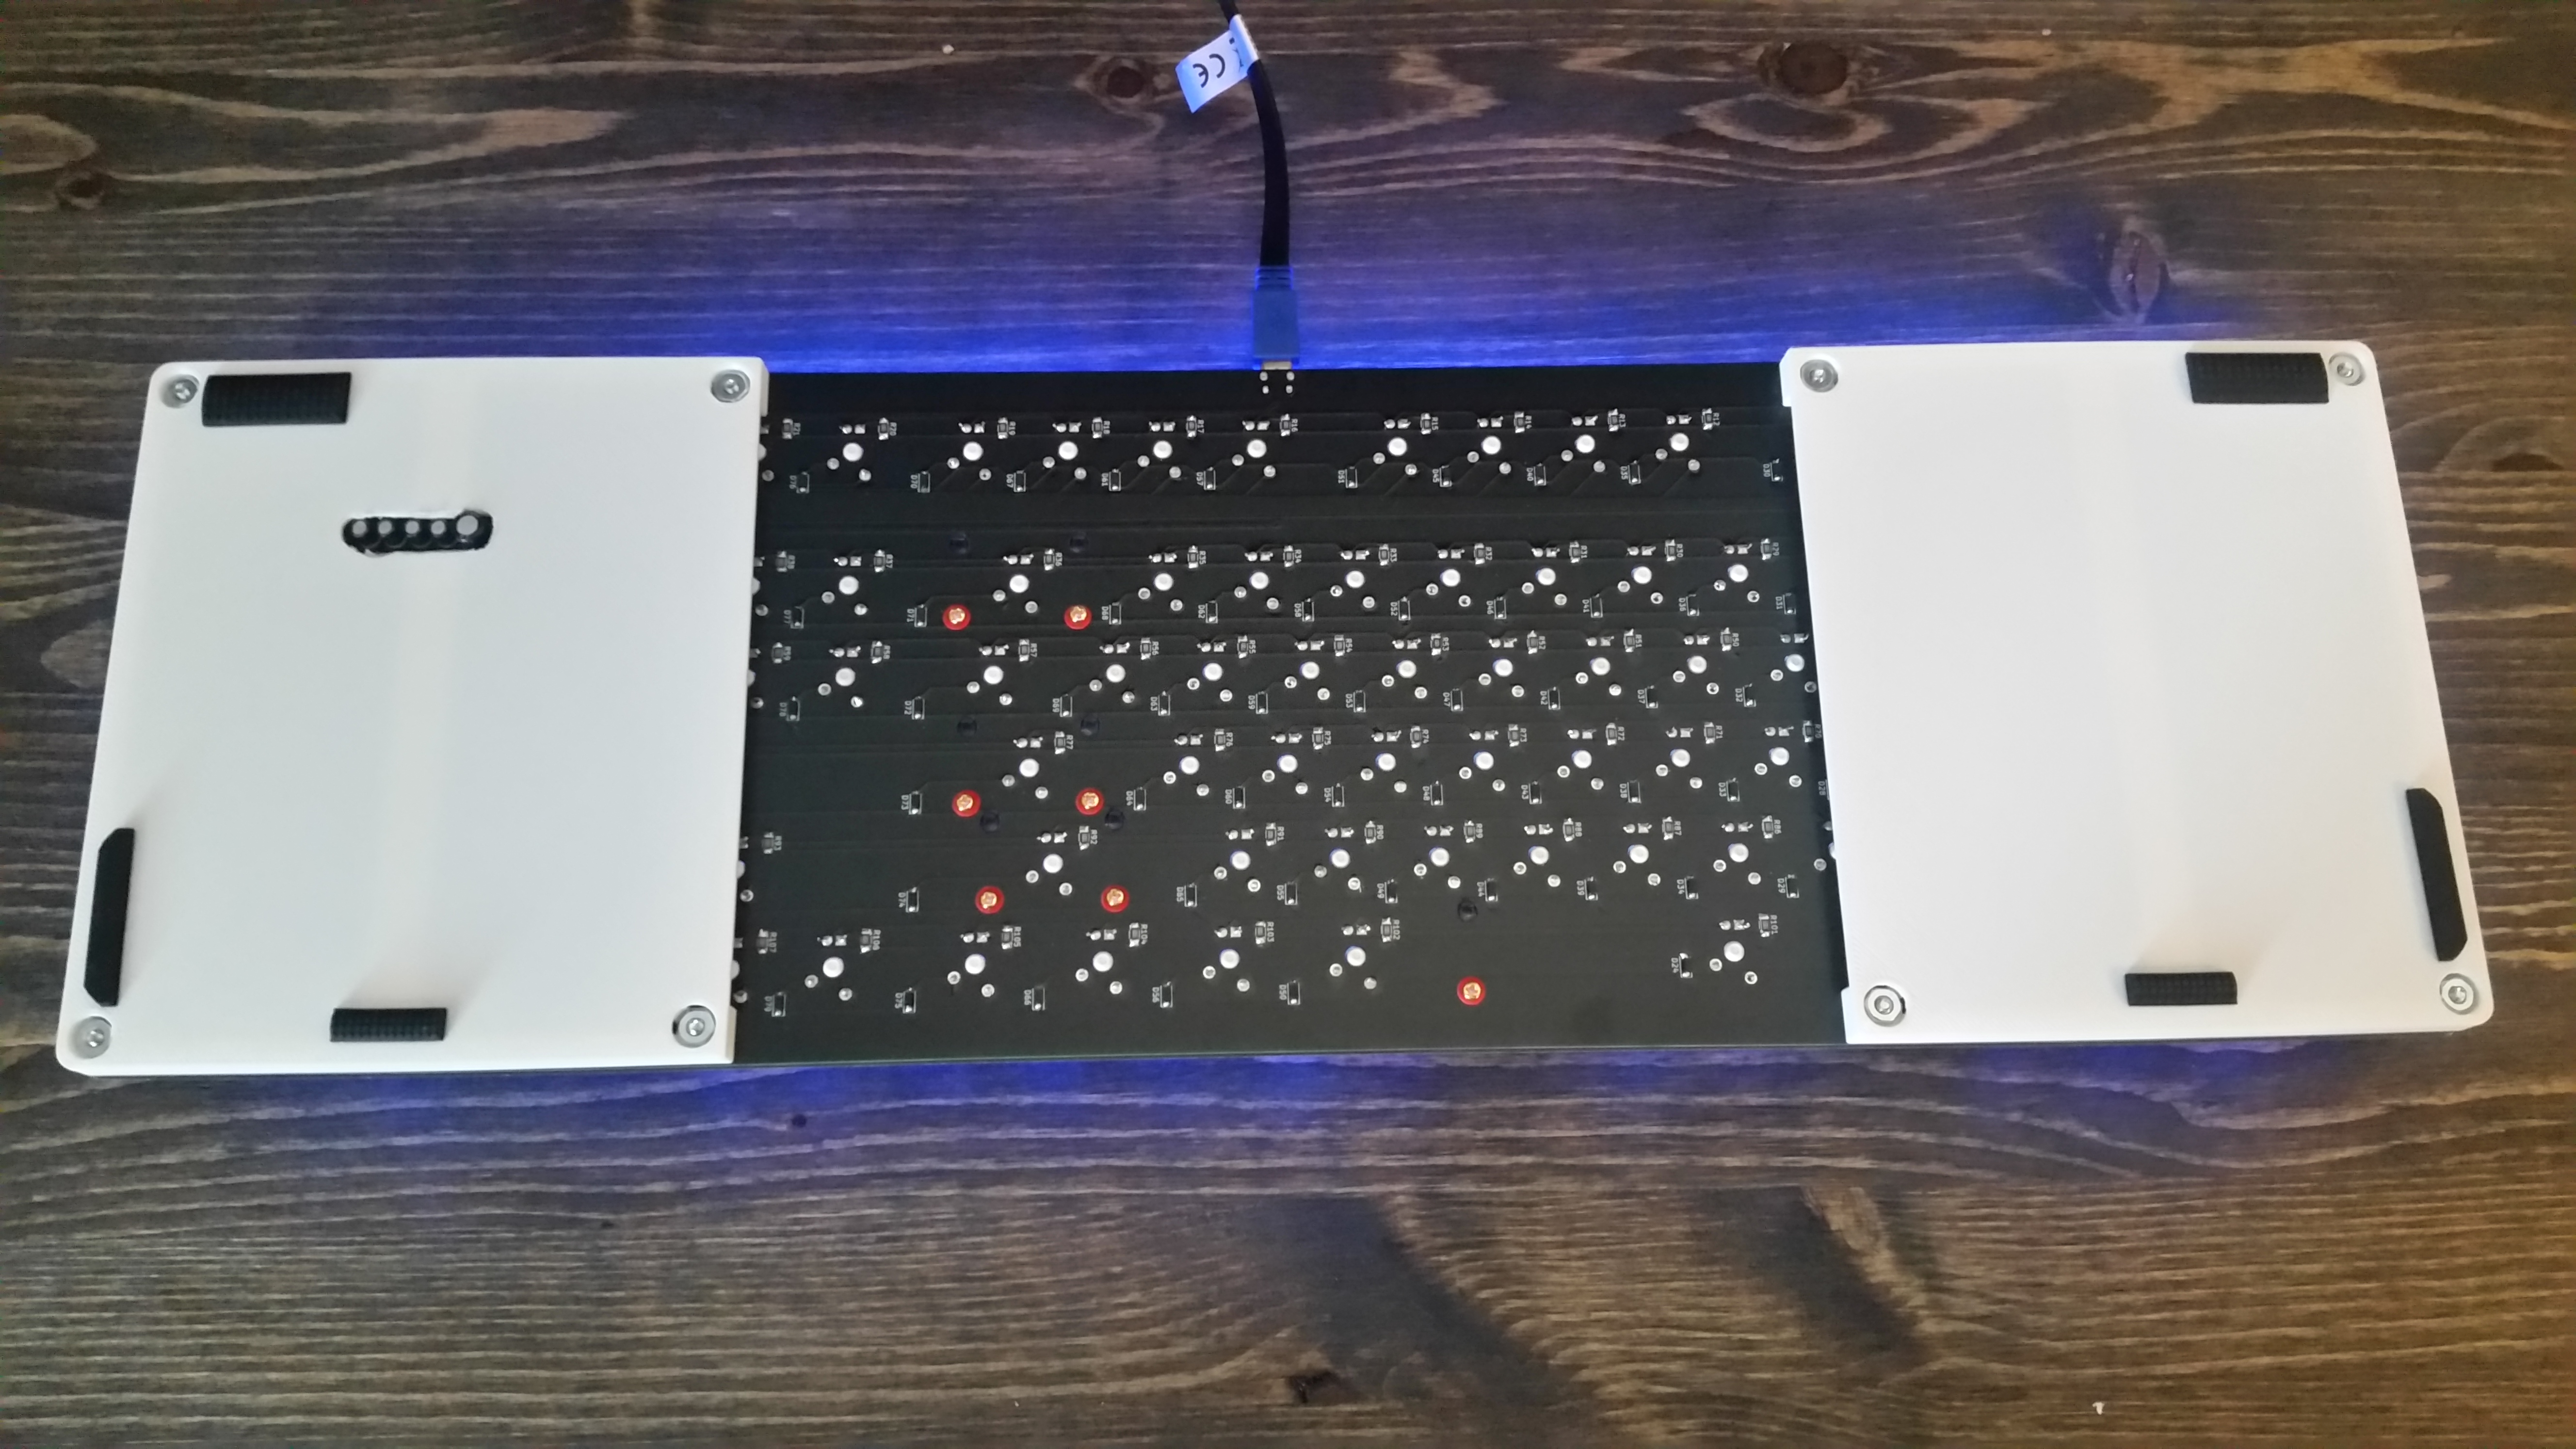
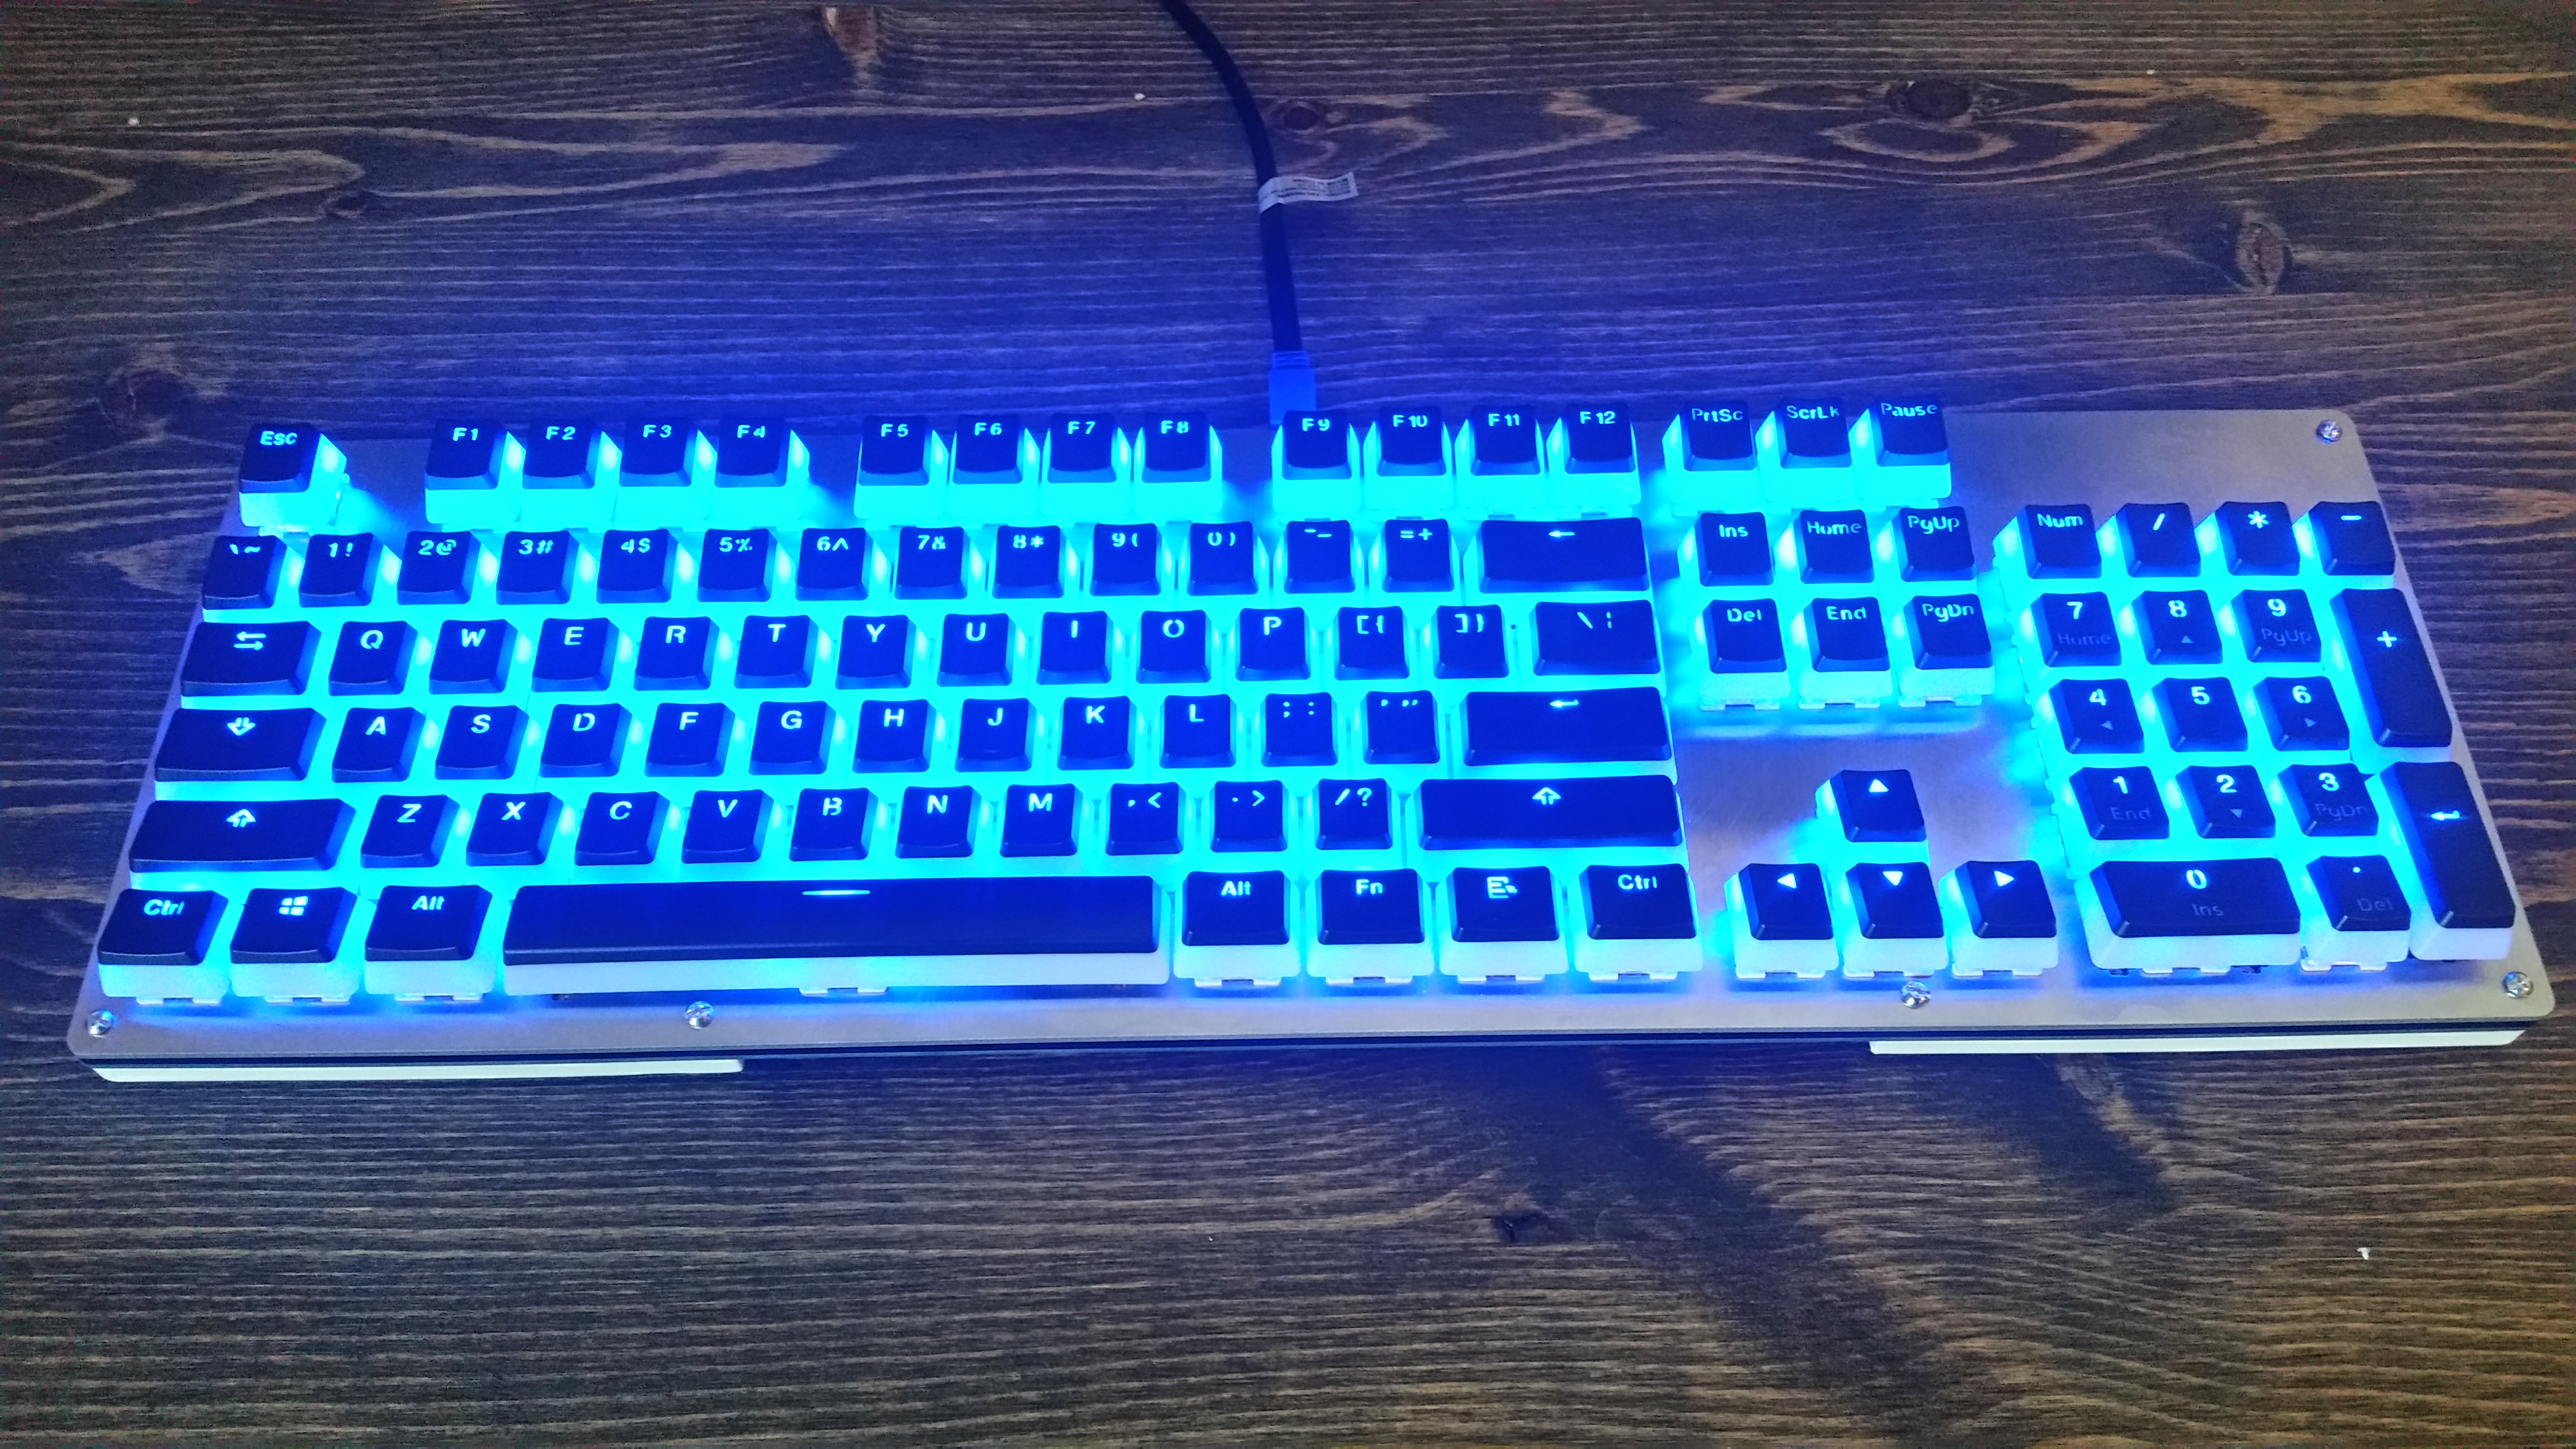
Despite the setbacks the keyboard looks and feels great. It’s too bad the backlight controller does not work. I could dim it a bit by replacing 104 resistors on the back. Think I’ll just call it good though. Next I may 3D print a backplate for protection, though it’s perfectly usable as is.
I finished printing the sides of the backplate and added some pads. There will be a center piece as well though this will be my last update on this blog.