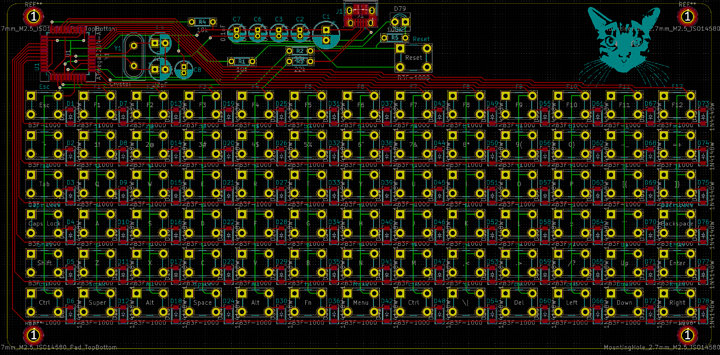
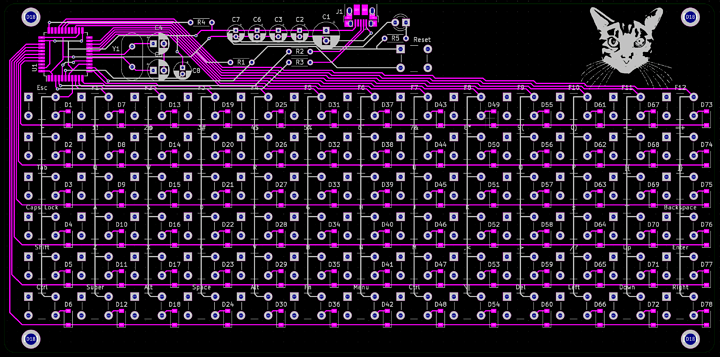
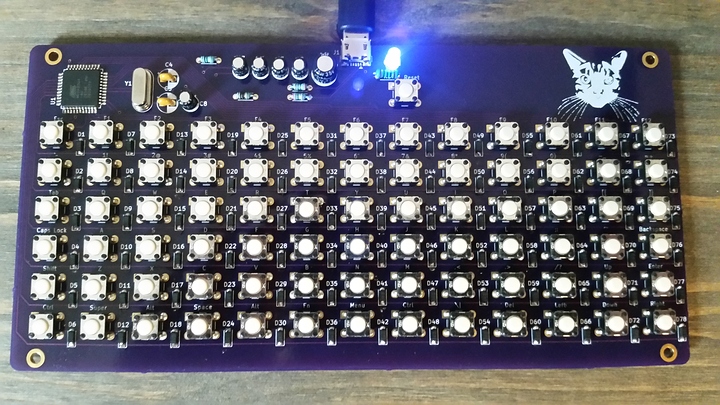
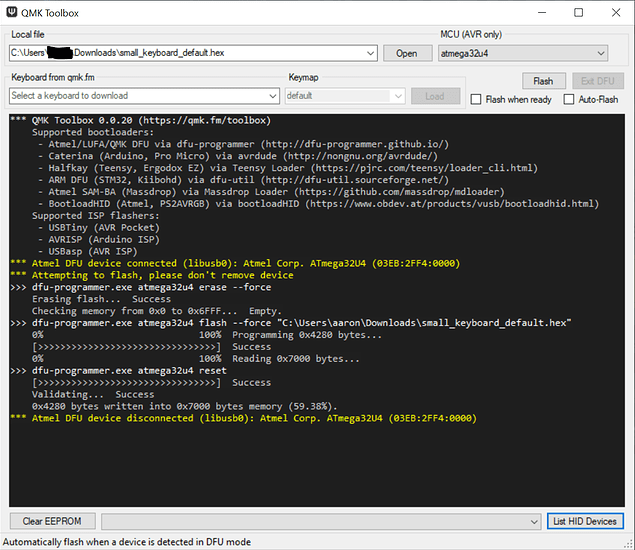
For the custom QMK firmware I cloned the official git repository and created a new layout using the following shell script. I believe the script used to be called new_project.sh and took arguments. Now all you do is run it and fill in the prompts.
git clone https://github.com/qmk/qmk_firmware.git
./util/new_keyboard.sh
Keyboard Name: test_keyboard
Keyboard Type [avr]: avr
Your Name: name
After the new keyboard was generated I navigated to keyboards/test_keyboard. Inside the config.h file I modified the following fields to map the firmware to my MCU pin configuration.
/* key matrix size */
#define MATRIX_ROWS 6
#define MATRIX_COLS 13
#define MATRIX_ROW_PINS { F0, F1, F4, F5, F6, F7 }
#define MATRIX_COL_PINS { B0, B1, B2, B3, B7, D0, D1, D2, D3, D4, B4, B5, B6 }
/* COL2ROW, ROW2COL */
#define DIODE_DIRECTION COL2ROW
It’s important that I use the correct COL and ROW direction since the traces will be passing through diodes. Inside of rules.mk I verified that the correct MCU and BOOTLOADER were set and enabled NKRO_ENABLED.
# MCU name
MCU = atmega32u4
# Bootloader selection
BOOTLOADER = atmel-dfu
# Build Options
# change yes to no to disable
#
BOOTMAGIC_ENABLE = lite # Virtual DIP switch configuration
MOUSEKEY_ENABLE = yes # Mouse keys
EXTRAKEY_ENABLE = yes # Audio control and System control
CONSOLE_ENABLE = no # Console for debug
COMMAND_ENABLE = no # Commands for debug and configuration
# Do not enable SLEEP_LED_ENABLE. it uses the same timer as BACKLIGHT_ENABLE
SLEEP_LED_ENABLE = no # Breathing sleep LED during USB suspend
# if this doesn’t work, see here: https://github.com/tmk/tmk_keyboard/wiki/FAQ#nkro-doesnt-work
NKRO_ENABLE = yes # USB Nkey Rollover
BACKLIGHT_ENABLE = no # Enable keyboard backlight functionality
RGBLIGHT_ENABLE = no # Enable keyboard RGB underglow
BLUETOOTH_ENABLE = no # Enable Bluetooth
AUDIO_ENABLE = no # Audio output
Inside of test_keyboard.h I defined the key matrix.
#define LAYOUT(
k00, k01, k02, k03, k04, k05, k06, k07, k08, k09, k10, k11, k12
k13, k14, k15, k16, k17, k18, k19, k20, k21, k22, k23, k24, k25
k26, k27, k28, k29, k30, k31, k32, k33, k34, k35, k36, k37, k38
k39, k40, k41, k42, k43, k44, k45, k46, k47, k48, k49, k50, k51
k52, k53, k54, k55, k56, k57, k58, k59, k60, k61, k62, k63, k64
k65, k66, k67, k68, k69, k70, k71, k72, k73, k74, k75, k76, k77
) {
{ k00, k01, k02, k03, k04, k05, k06, k07, k08, k09, k10, k11, k12 },
{ k13, k14, k15, k16, k17, k18, k19, k20, k21, k22, k23, k24, k25 },
{ k26, k27, k28, k29, k30, k31, k32, k33, k34, k35, k36, k37, k38 },
{ k39, k40, k41, k42, k43, k44, k45, k46, k47, k48, k49, k50, k51 },
{ k52, k53, k54, k55, k56, k57, k58, k59, k60, k61, k62, k63, k64 },
{ k65, k66, k67, k68, k69, k70, k71, k72, k73, k74, k75, k76, k77 },
}
Last I assigned all the keycodes under keymaps/default/keymap.c
const uint16_t PROGMEM keymaps[][MATRIX_ROWS][MATRIX_COLS] = {
/* Base */
[_BASE] = LAYOUT(
KC_ESC, KC_F1, KC_F2, KC_F3, KC_F4, KC_F5, KC_F6, KC_F7, KC_F8, KC_F9, KC_F10, KC_F11, KC_F12,
KC_GRV, KC_1, KC_2, KC_3, KC_4, KC_5, KC_6, KC_7, KC_8, KC_9, KC_0, KC_MINS, KC_EQL,
KC_TAB, KC_Q, KC_W, KC_E, KC_R, KC_T, KC_Y, KC_U, KC_I, KC_O, KC_P, KC_LBRC, KC_RBRC,
KC_CAPS, KC_A, KC_S, KC_D, KC_F, KC_G, KC_H, KC_J, KC_K, KC_L, KC_SCLN, KC_QUOT, KC_BSPC,
KC_LSFT, KC_Z, KC_X, KC_C, KC_V, KC_B, KC_N, KC_M, KC_COMM, KC_DOT, KC_SLSH, KC_UP, KC_ENT,
KC_LCTL, KC_LGUI, KC_LALT, KC_SPC, KC_RALT, MO(_FN), KC_MENU, KC_RCTL, KC_BSLS, KC_DEL, KC_LEFT, KC_DOWN, KC_RIGHT
),
[_FN] = LAYOUT(
KC_PWR, KC_AUDIO_MUTE, KC_MEDIA_PLAY_PAUSE, KC_F3, KC_F4, KC_F5, KC_F6, KC_F7, KC_F8, KC_F9, KC_F10, KC_F11, KC_BRIGHTNESS_UP,
KC_GRV, KC_1, KC_2, KC_3, KC_4, KC_5, KC_6, KC_7, KC_8, KC_9, KC_0, KC_MINS, KC_BRIGHTNESS_DOWN,
KC_TAB, KC_Q, KC_W, KC_E, KC_R, KC_T, KC_Y, KC_U, KC_I, KC_O, KC_PSCREEN, KC_SCROLLOCK, KC_PAUSE,
KC_CAPS, KC_A, KC_S, KC_D, KC_F, KC_G, KC_H, KC_J, KC_K, KC_L, KC_INSERT, KC_HOME, KC_PGUP,
KC_LSFT, KC_Z, KC_X, KC_C, KC_V, KC_B, KC_N, KC_M, KC_COMM, KC_RSFT, KC_END, KC_AUDIO_VOL_UP, KC_PGDOWN,
KC_LCTL, KC_LGUI, KC_LALT, KC_SPC, KC_RALT, KC_TRANSPARENT, KC_MENU, KC_RCTL, KC_BSLS, KC_DEL, KC_MEDIA_PREV_TRACK, KC_AUDIO_VOL_DOWN, KC_MEDIA_NEXT_TRACK
)
};
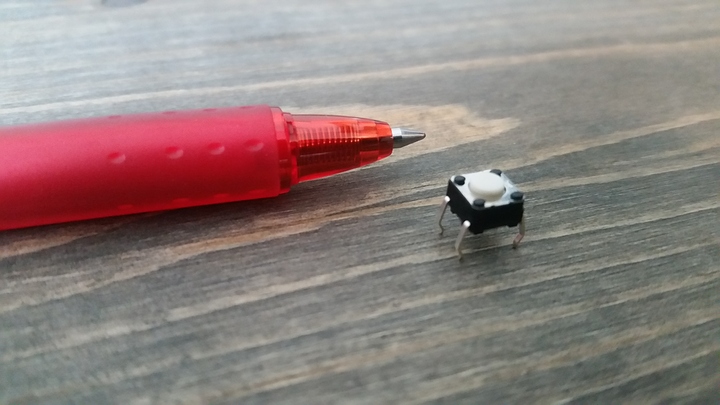
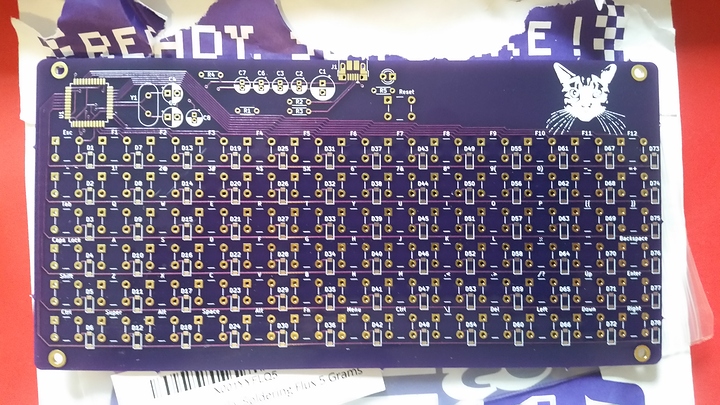
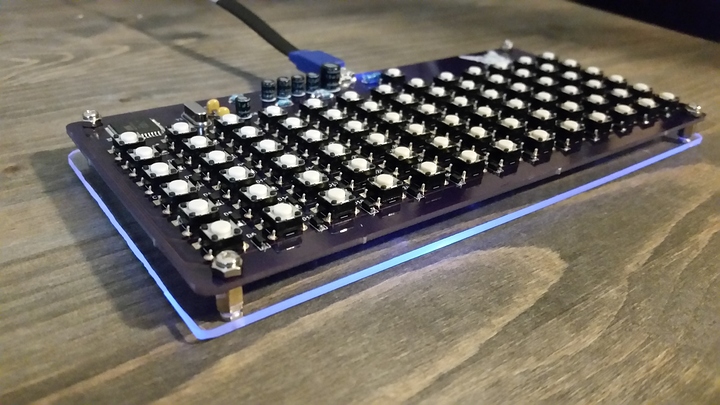
The placement of everything is subject to change though I think it’s fine for now. So far the only parts I received in the mail are these omron switches. I knew they were 6mm though they look much smaller in person.

