Hello everyone! I’ve been meaning to build something like this for ages, but only now I’ve had the chance to find parts I deem worth of the job and had the money to do so.
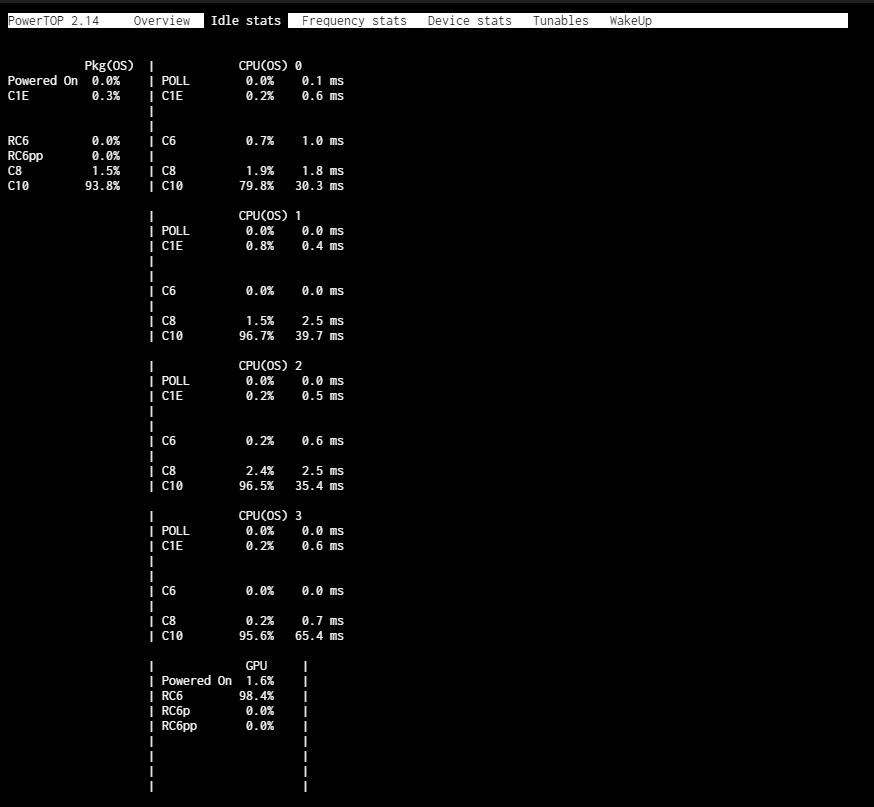
Since this NAS is gonna live in my very small apartment it needs to be quiet and sip power as much as possible. So going off of these two assumptions my search begun!
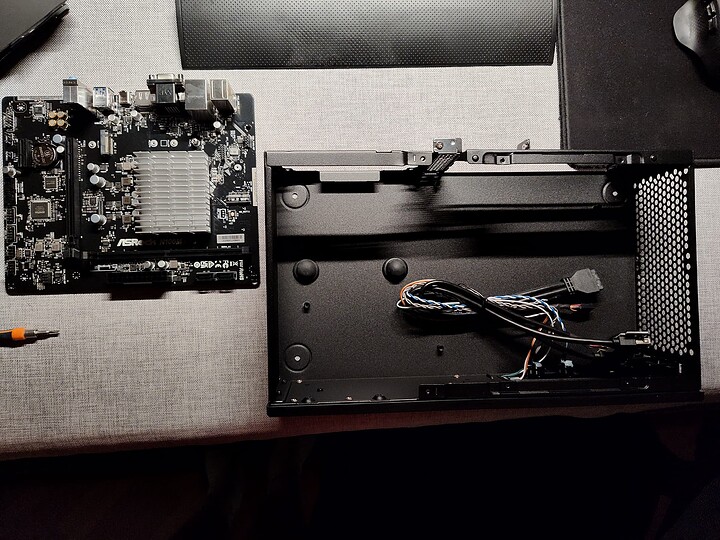
What I had to find first was a good motherboard + CPU combo that would give me good performance per watts for a NAS application, with some containers sprinkled on for good measure. The AsRock N100 series fit the bill, but I couldn’t use the DC version else I would’ve had no “clean” way to power more than two drives. And also there was no expansion beyond the single PCIe slot on it, which it can be limiting in the future when I’m gonna add a 2.5Gbit LAN (unless I adapted the wifi slot to a LAN connection). So I went for the mATX version, cool. Paired it with a stick of Crucial 32GB 3200MHz to give ZFS and my services some breathing room.
The second piece to this is a power efficient PSU that’s efficient especially when the system is idling, because a NAS spends most of it’s time idling. Pico PSUs immediately came to mind. But I went back and forth with the idea of getting an 80 Plus Platinum unit or a Corsair RM550x 2021, which is the holy grail of low load power efficiency in an ATX format. But I ended up not going that route to not increase the size of the machine too much and because I couldn’t find a Corsair RM550x 2021 anywhere!
My end choice is a MiniBox TX-160 with their 4 pin 192W external brick. Added to it a second molex + SATA power connector to avoid having to power all the drives off of one connector on the PSU.
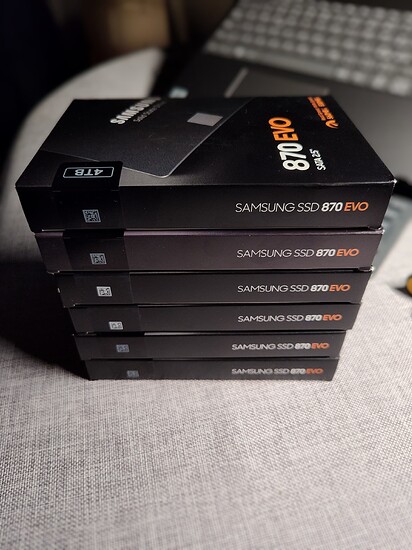
Than storage: SATA SSDs where the only possible choice for a combination of low power consumption and noise. I only had to wait black friday deals on Amazon to buy the Samsung 870 Evo 4TB I’ve been eyeing for a while. Amazon decided to not list them for a while and brought them out heavly discounted during those days. They should use around 600mA each, as reported by reviews, so it’s not gonna max out the 8A on the 5V the PSU is capable of.
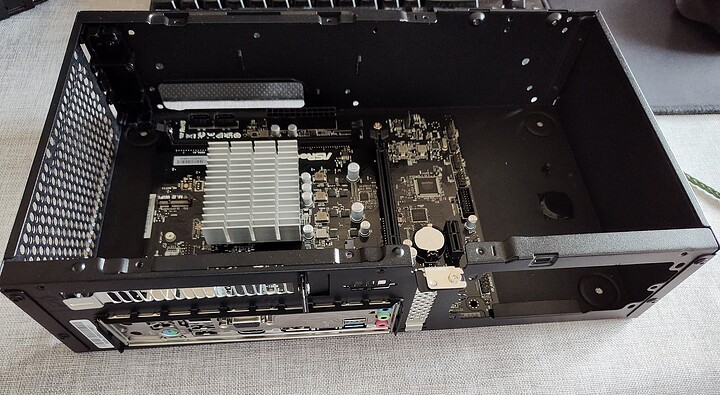
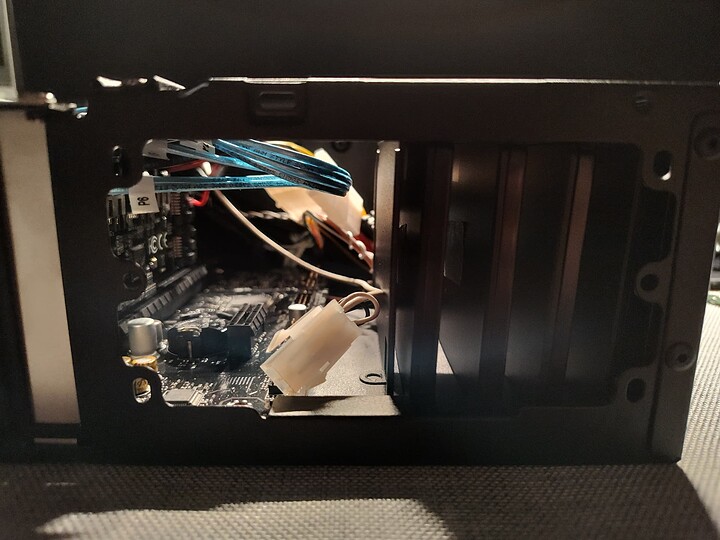
Case was another big point of contention for me. I wanted something that’s similar in liters to a pre built NAS. I decided to gamble on a Silverstone SST-ML05B eyeballing the space inside and hoping the motherboard was gonna fit. Since I wasn’t gonna use an SFX PSU I wasn’t too concerned about it and when I’m gonna add a 2.5Gbit LAN I will make a provision for it in the blank space left by the unpopulated PSU slot.
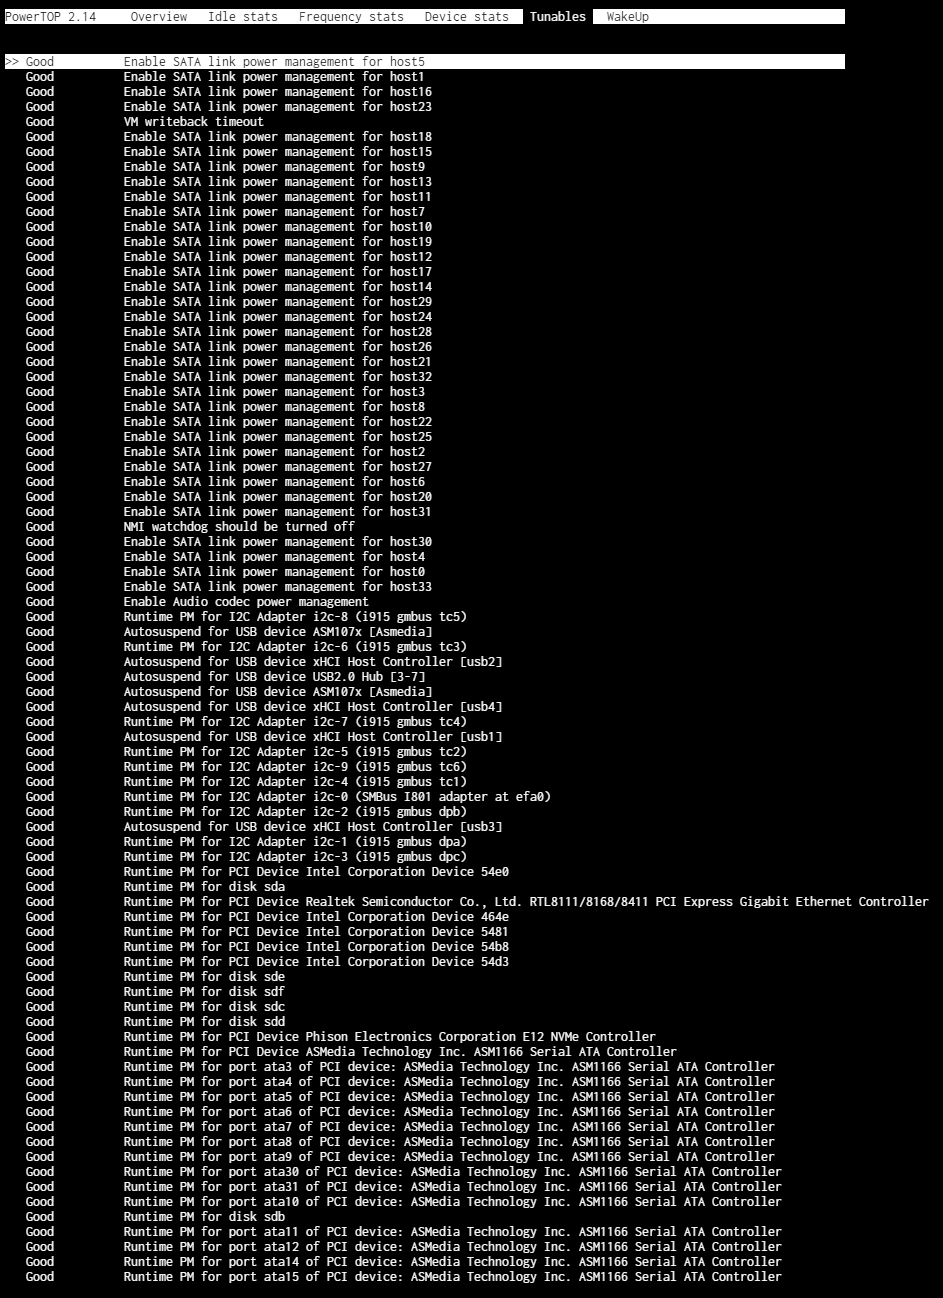
The last piece to make sure this system wasn’t gonna chug trough watts at idle was choosing the proper SATA controller to hook all the drives to. I scoured all the Unraid forums and watched lots of videos to find out that all the JM58x controllers found on cheap adapters have terrible firmware implementations and do not support ASPM. So I decided to go for the ASM1166 that’s confirmed to support proper ASPM. BUT it has to have an updated firmware to do so. So I went for a Silverstone card that offers the updated firmware, the ECS06.
With all the basis covered I had to cover the miscellaneous so I bought a couple 80mm Noctua Redux fans that are super quiet even at full load and should be enough to move a decent amout of air inside that tiny case, molex to 2xSATA splitters to power the 4 drives that the PSU couldn’t power (I had bought Silverstone adapters but where too bulky and stiff I sent them back), reuse a Sabrent Rocket 3.0 512GB as a boot drive and bought low profile Cabledeconn 6 SATA data cables.
Now let’s start with the build:
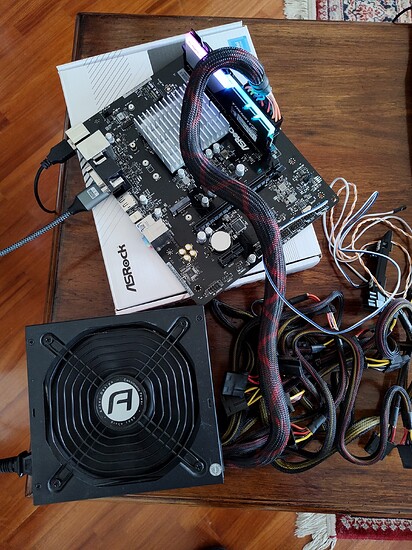
First times checking how the board fits and how much space I can work with.
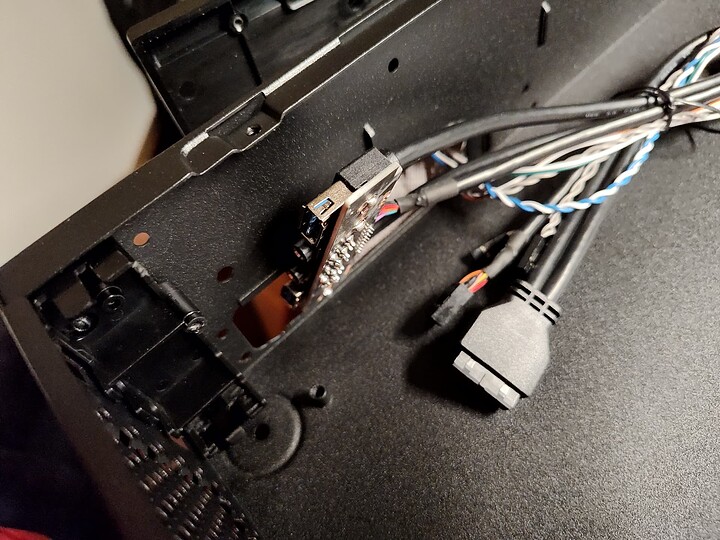
Decided to forgo the front panel connector to save some space and hassle. I’m not ever gonna use it so it’s now still wrapped up in the case box.
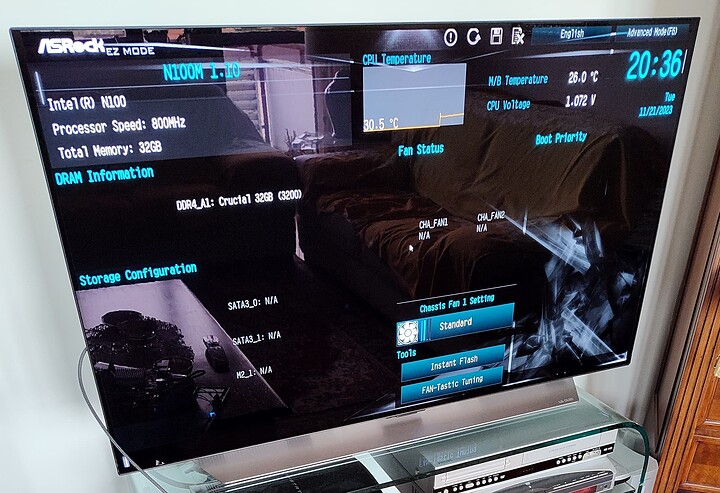
First couple of test boot outside the case were successfull! The system takes the 32GB of single DDR4 RAM with no issues and loads the JEDEC 3200MHz CL22.
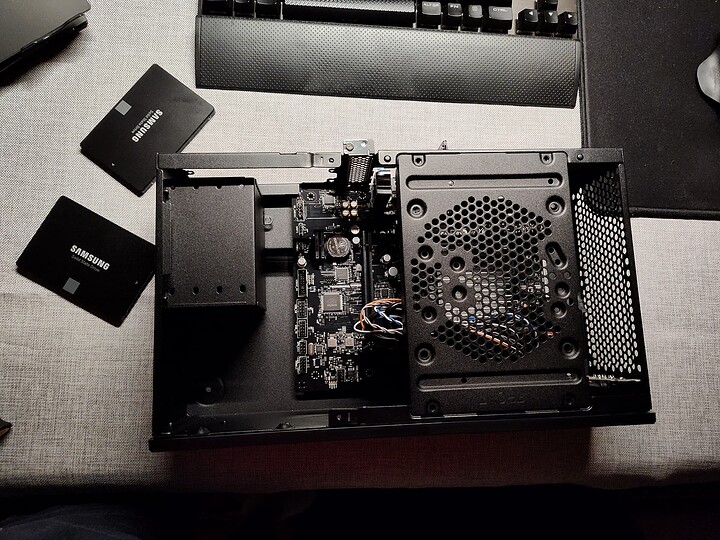
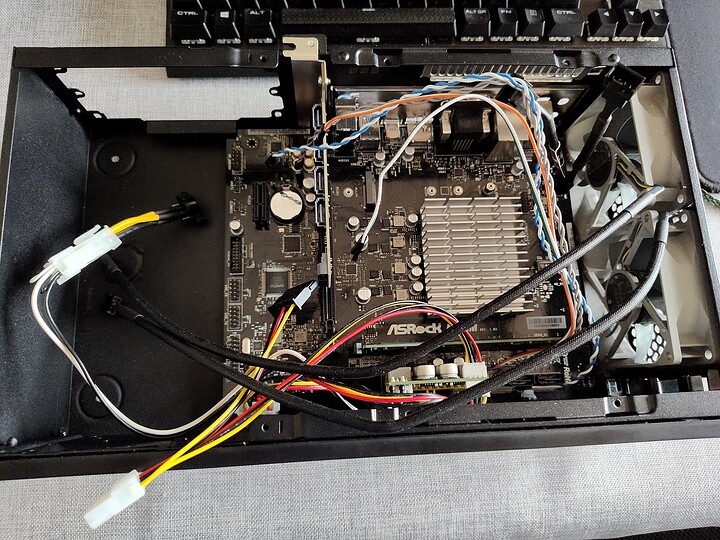
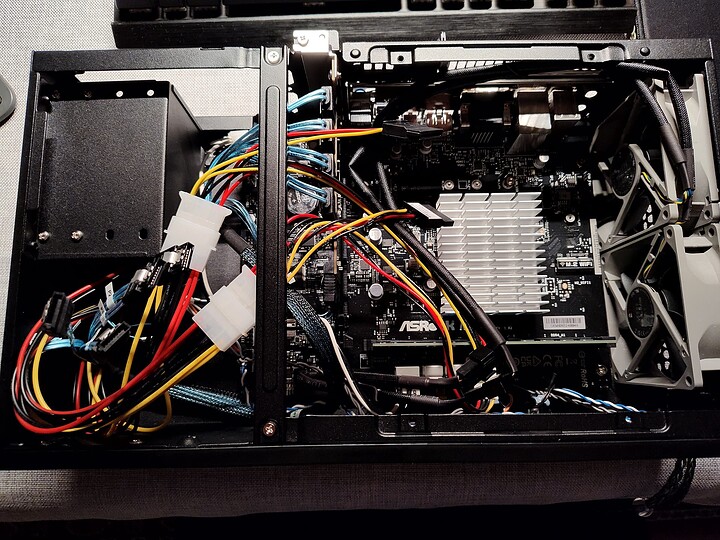
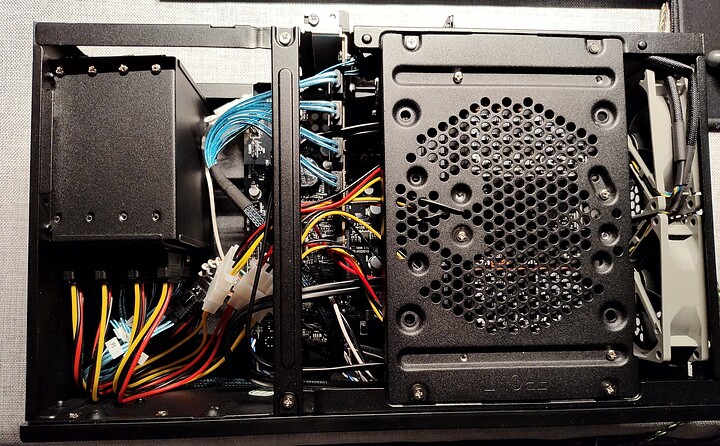
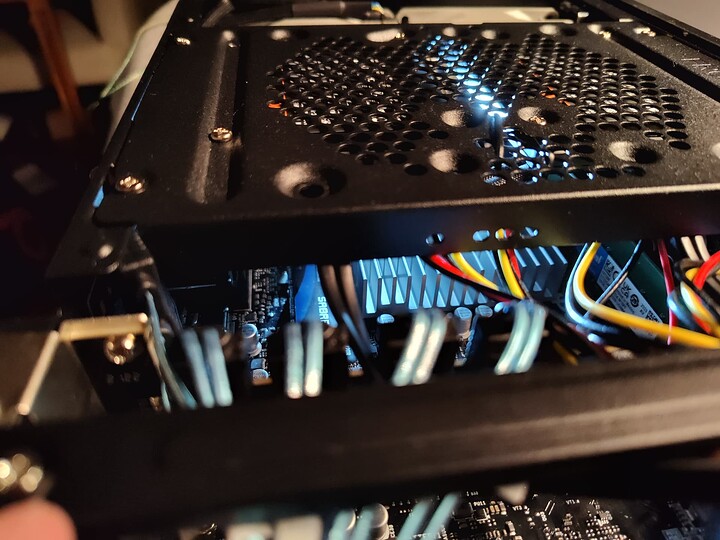
More cable management testing and figuring out where all the cables should go and how I should mount everything inside the case. I had tried to route cables in many ways to try and find the best paths and how they would realistically fit inside the case. Power and reset cables are routed under the motherboard. That made me figure out that the molex to SATA splitters messed up my idea to shove all the drives on the left side of the case. So I ended up mounting them to a bracket that can hold a couple of them and hooked them up to the motherboard. This also ensured that theoretically I’ll get the full performance of the array since the controller is PCIe 3.0 x2 and tops up to 2GB/s (4 drives) and the two SATA ports on board support 1GB/s. Math wise, it cheks out.
Basking in the opulence of 24TB of flash storage. It may not be much for some, but it’s A LOT for me!
Final runs are decided. This was just a couple drives on that bracket and one in the drive cage on the left (which came with the case but wasn’t meant to be there. I rotated it and it snuggly fit there. A piece of double sided tape keeps it firmly in place now).
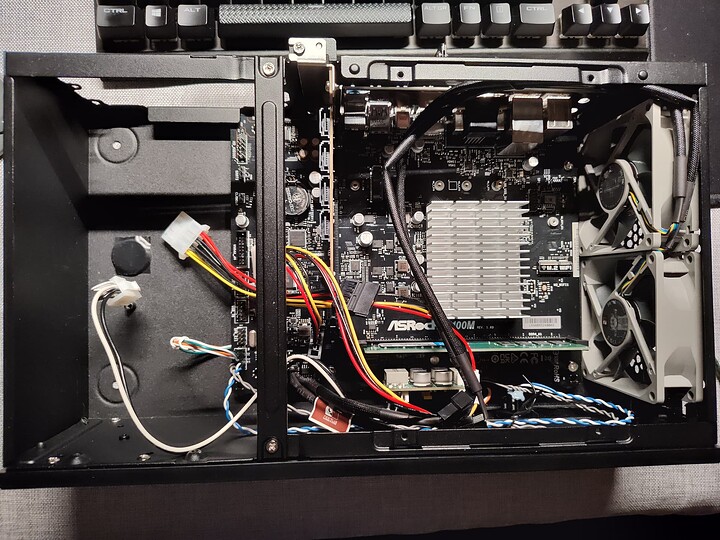
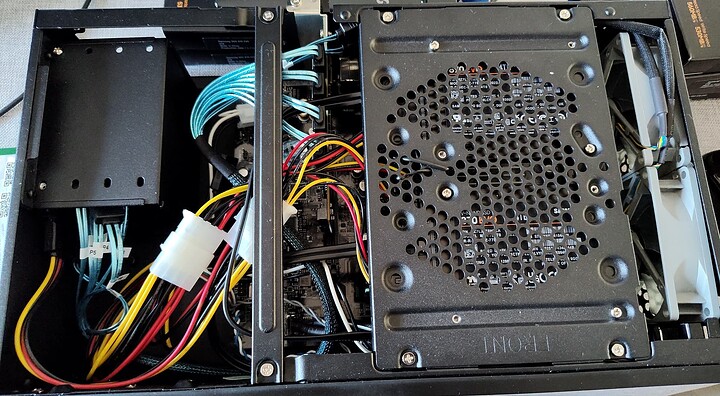
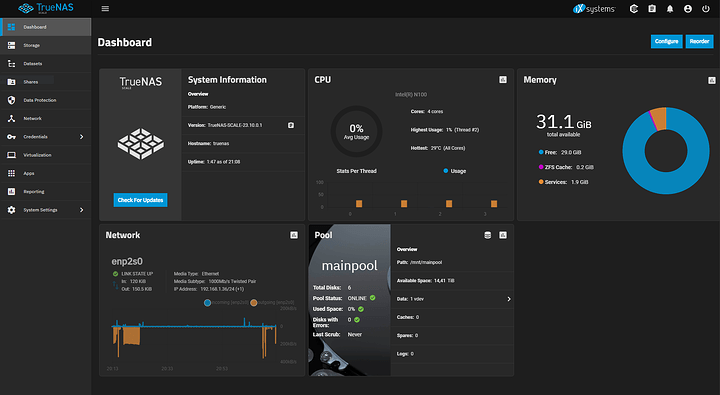
Final build has been assembled, this is how it’s gonna (hopefully) boot and will get TrueNAS Scale installed on it.
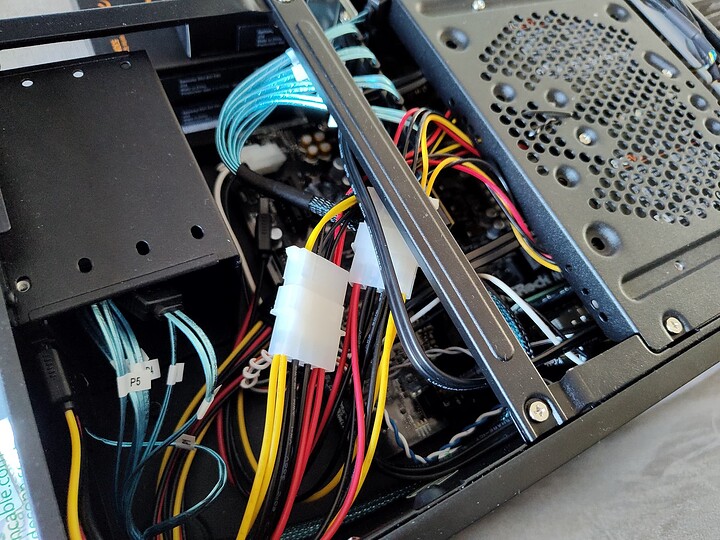
Everything is in it’s place, cables are all out the way and seems like it’s gonna work.
I’m gonna eventually go for a couple upgrades:
- 3D printed SSD cage that fits better and closes the SFX PSU gap.
- home made “back plane” to hopefully get rid of all the splitters and cables running around to power the drives.
Will document the software installation further in the thread. Thanks for following through and reading through this! This wouldn’t have been possible without the contribution of the community that always came to my help answering all my questions in a knowledgeable way.
