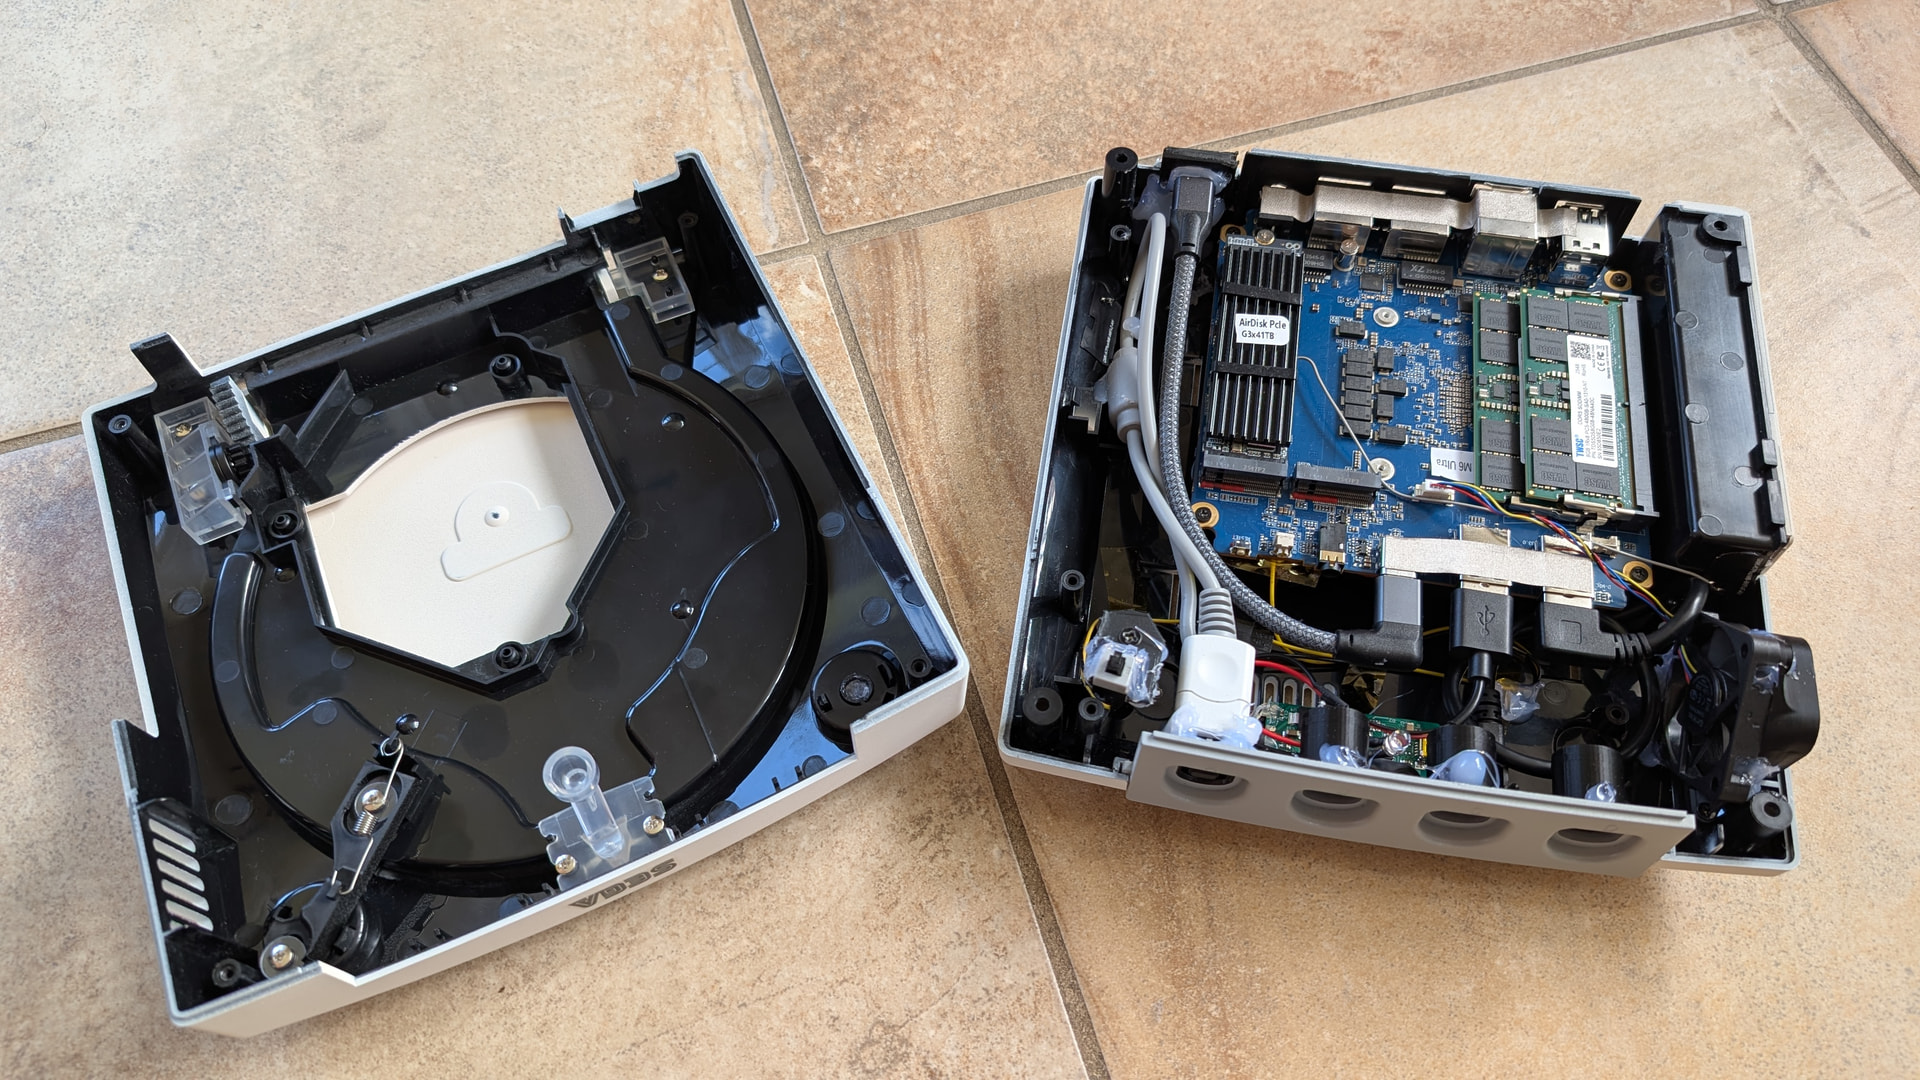
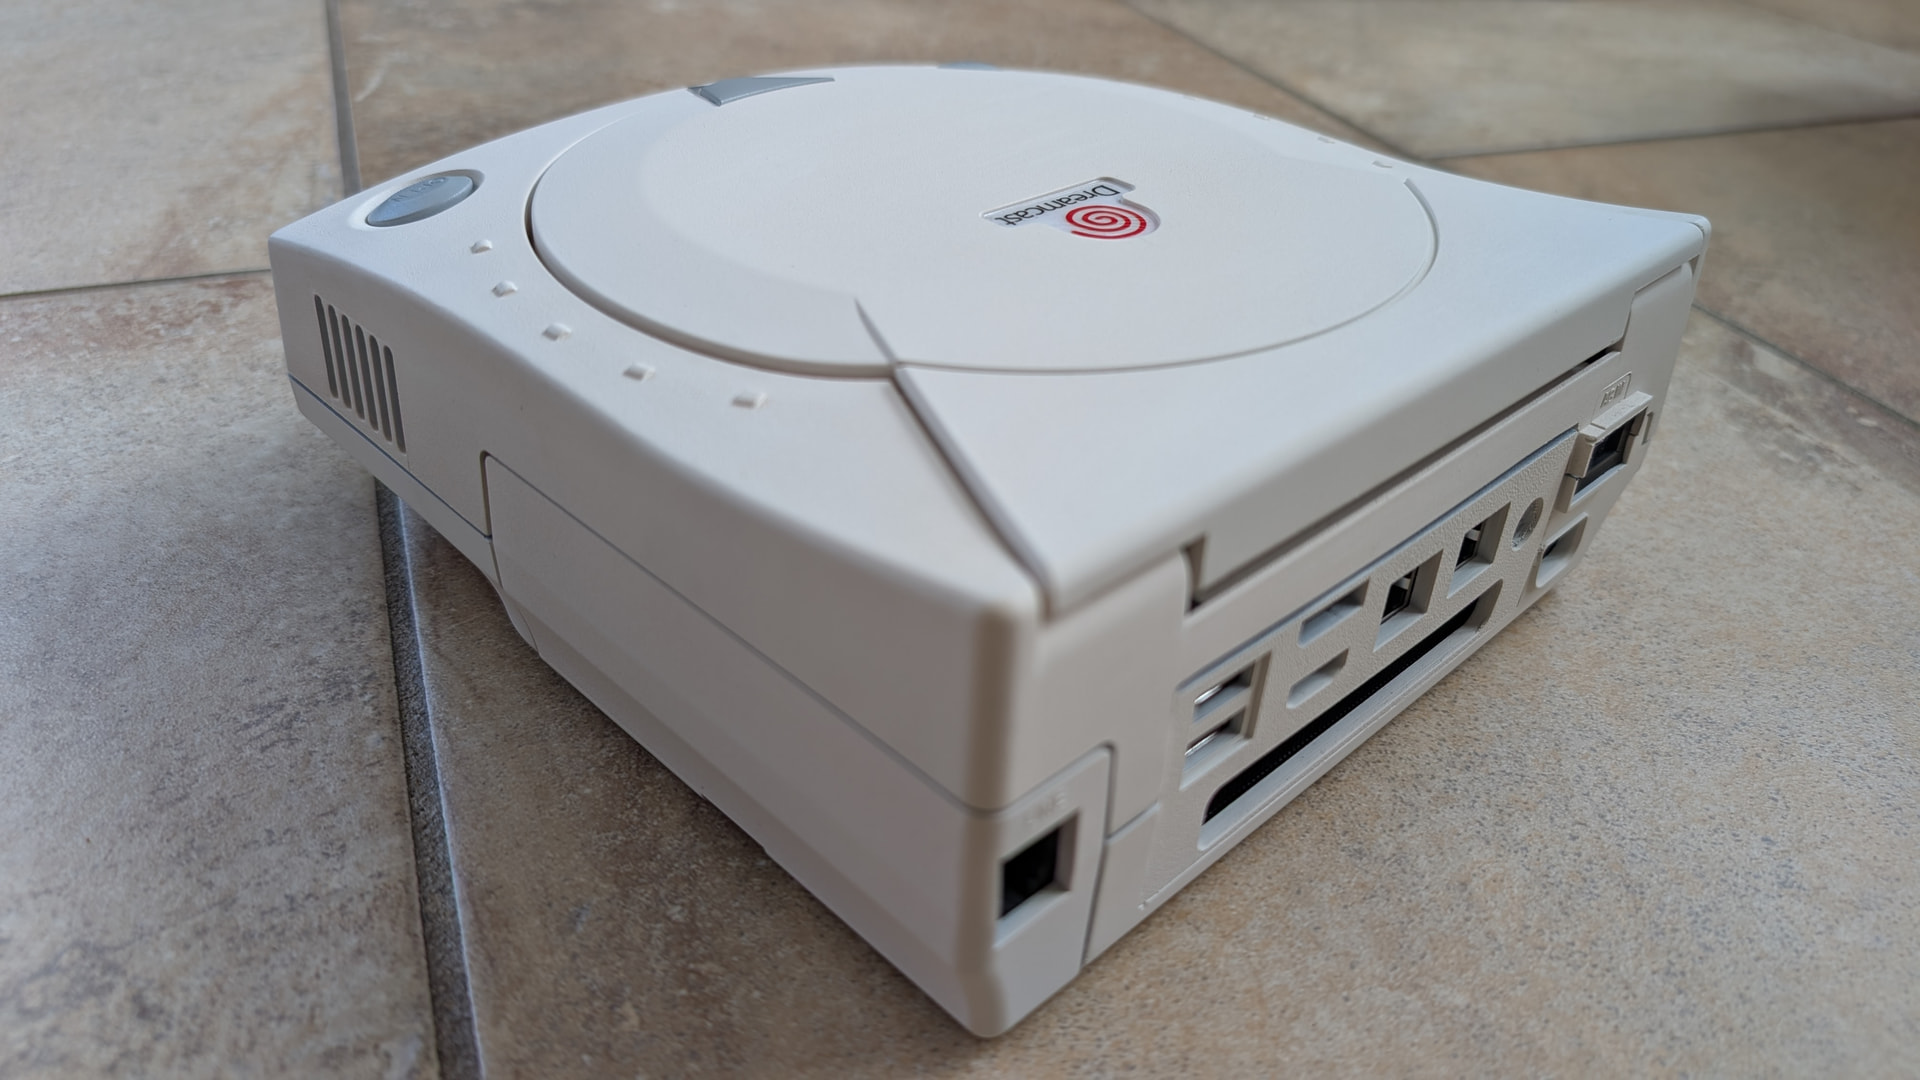
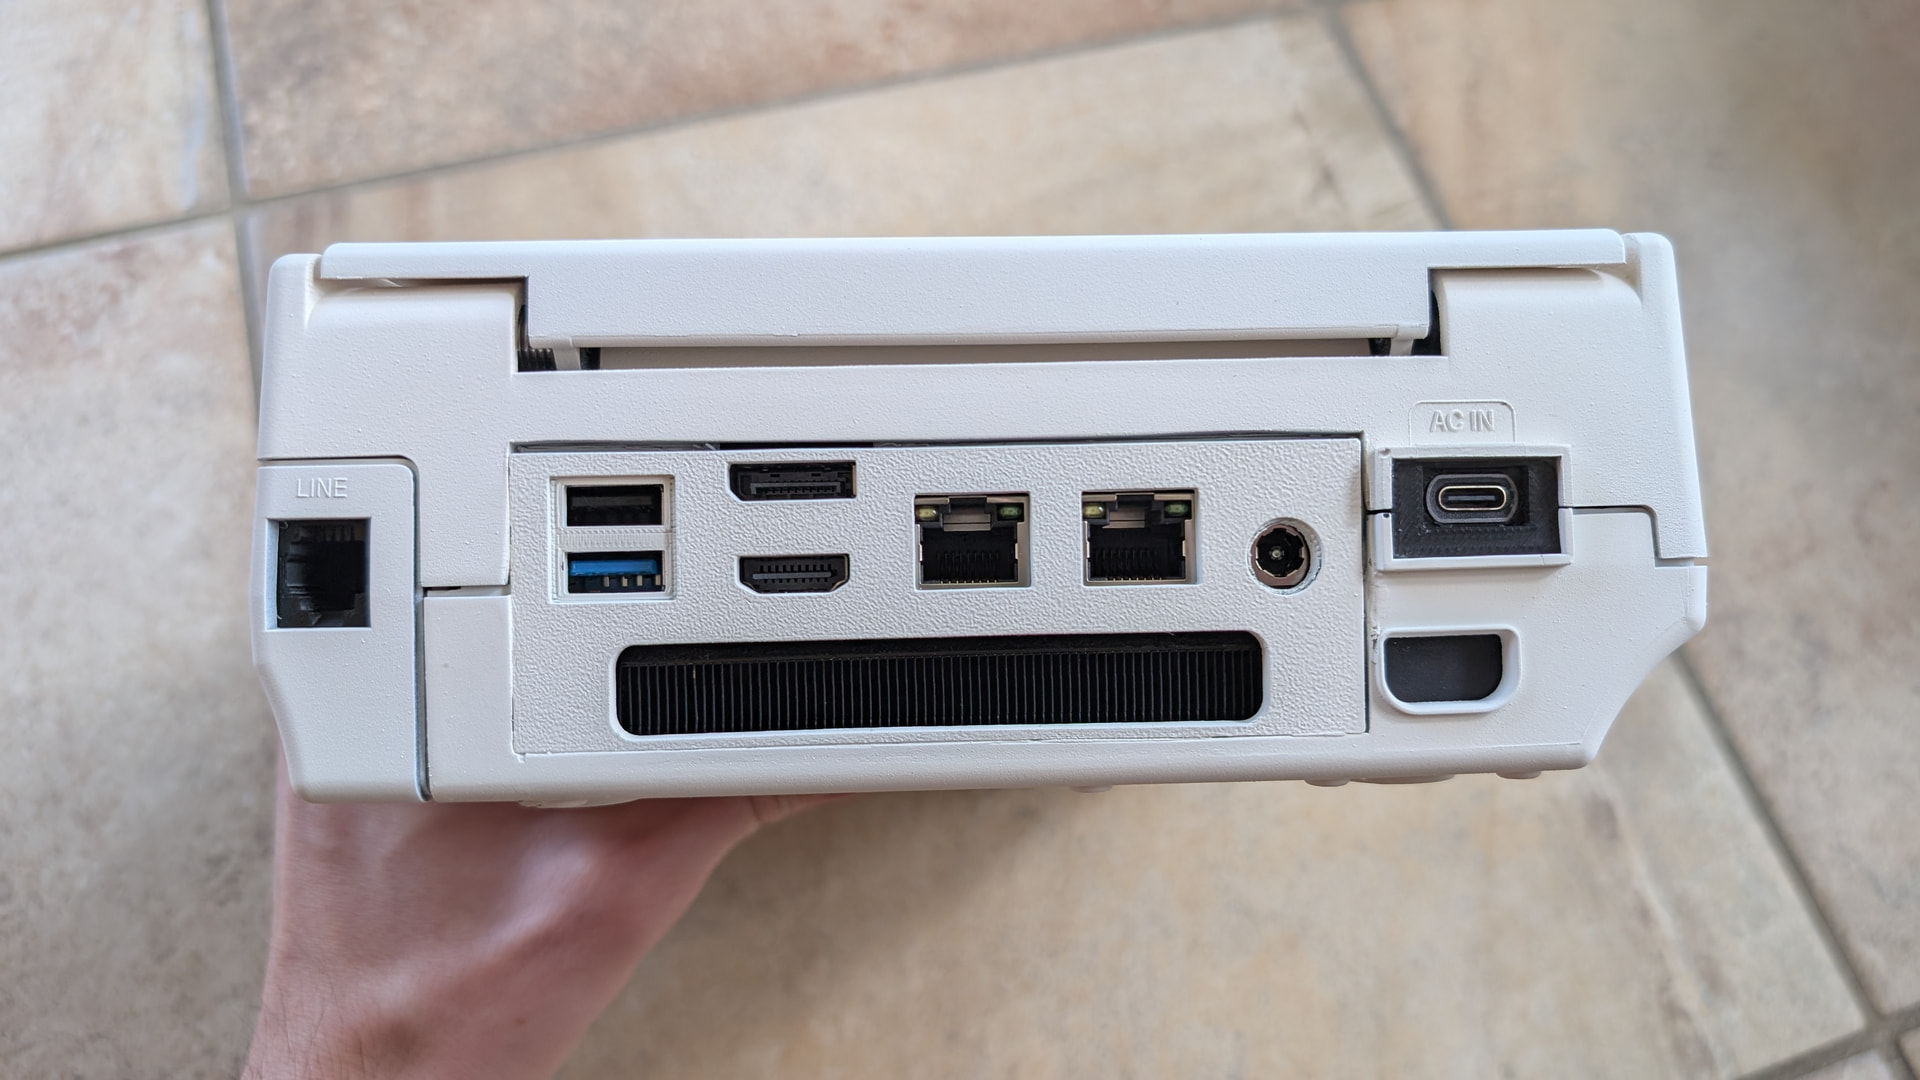
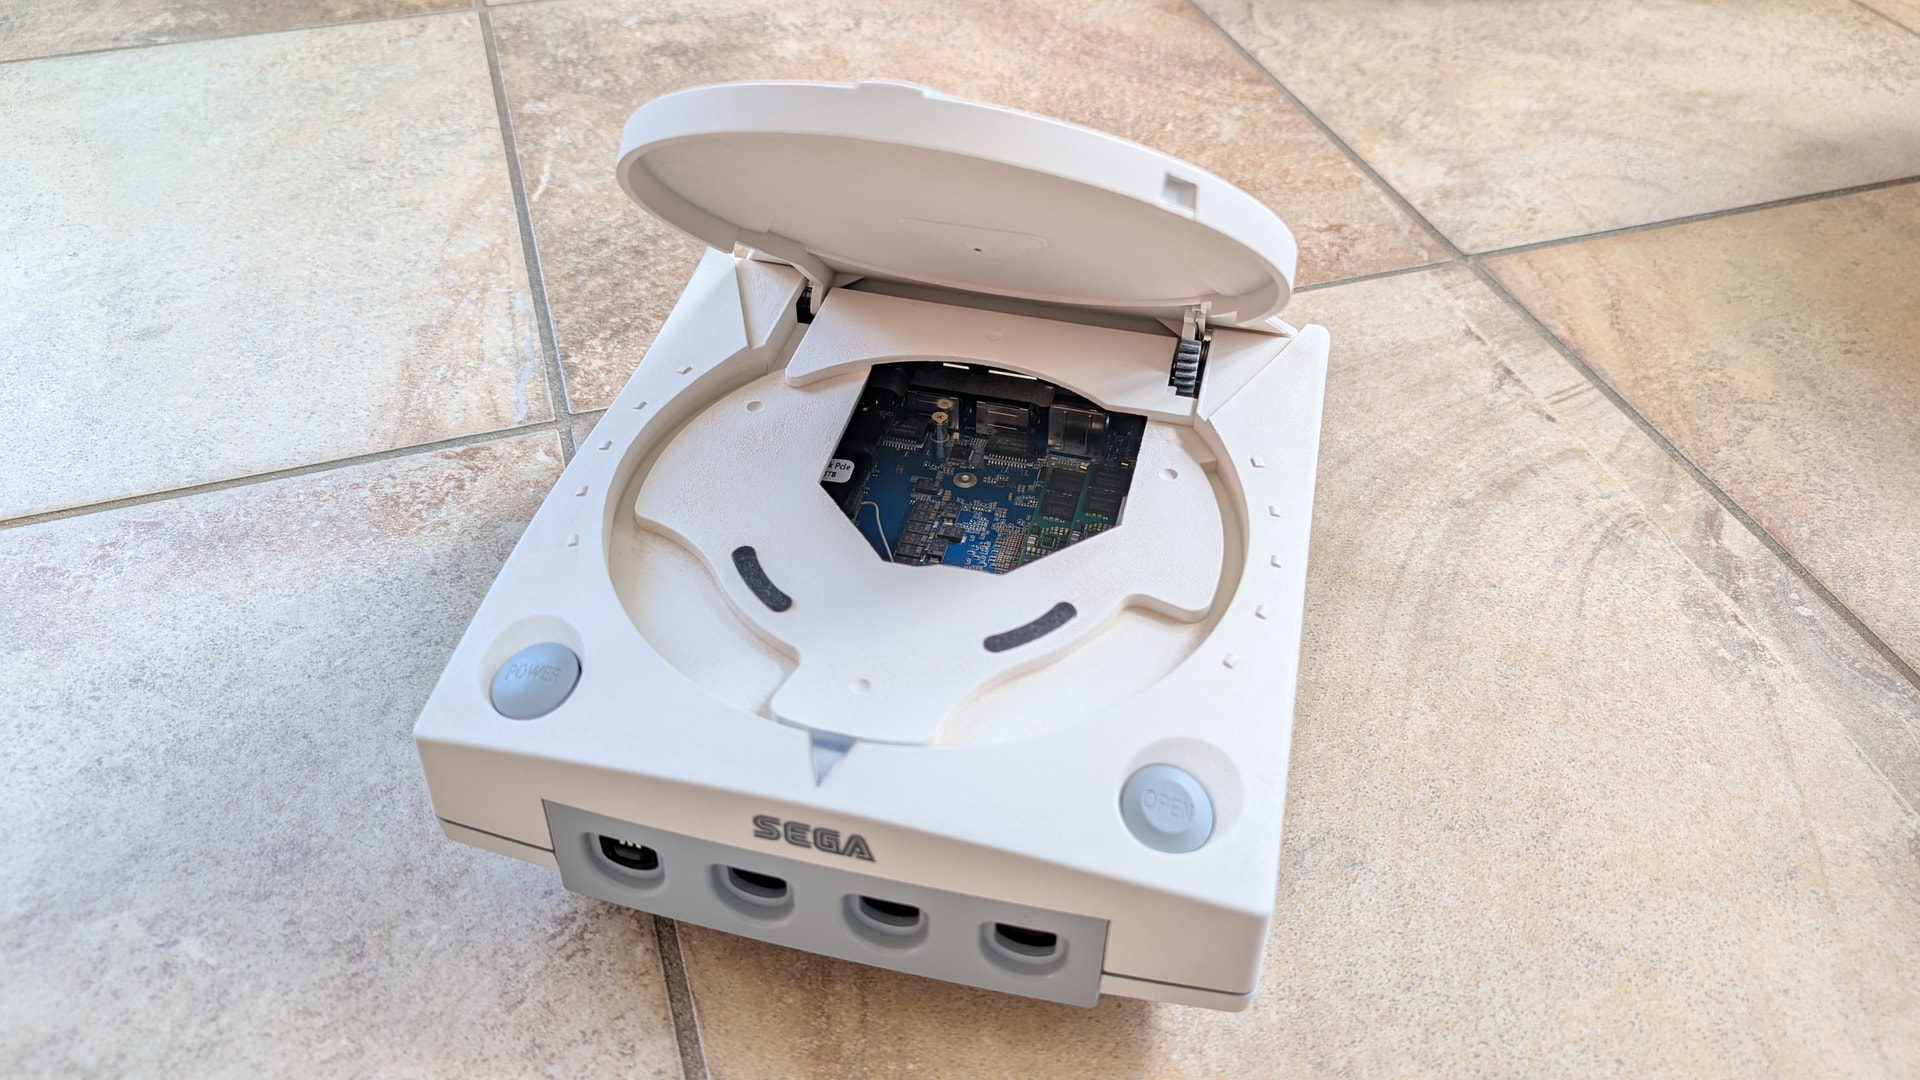
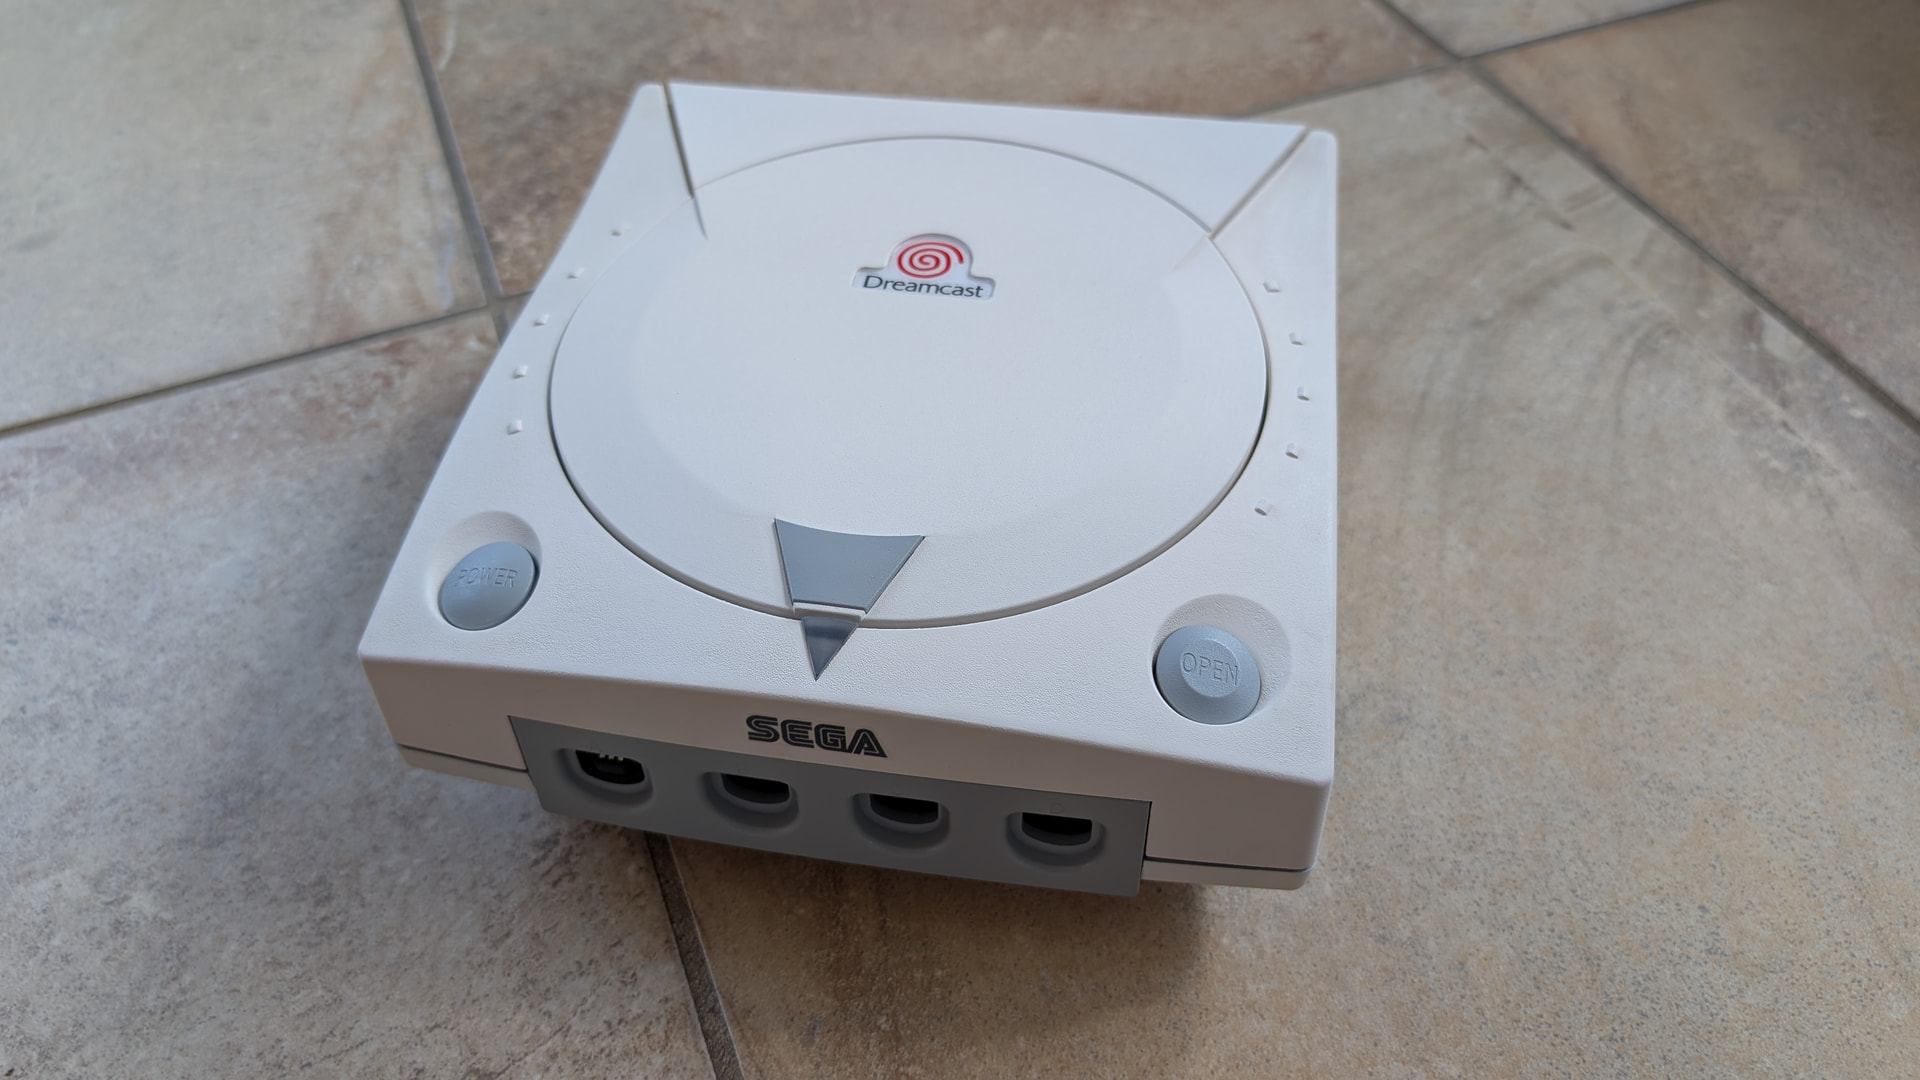
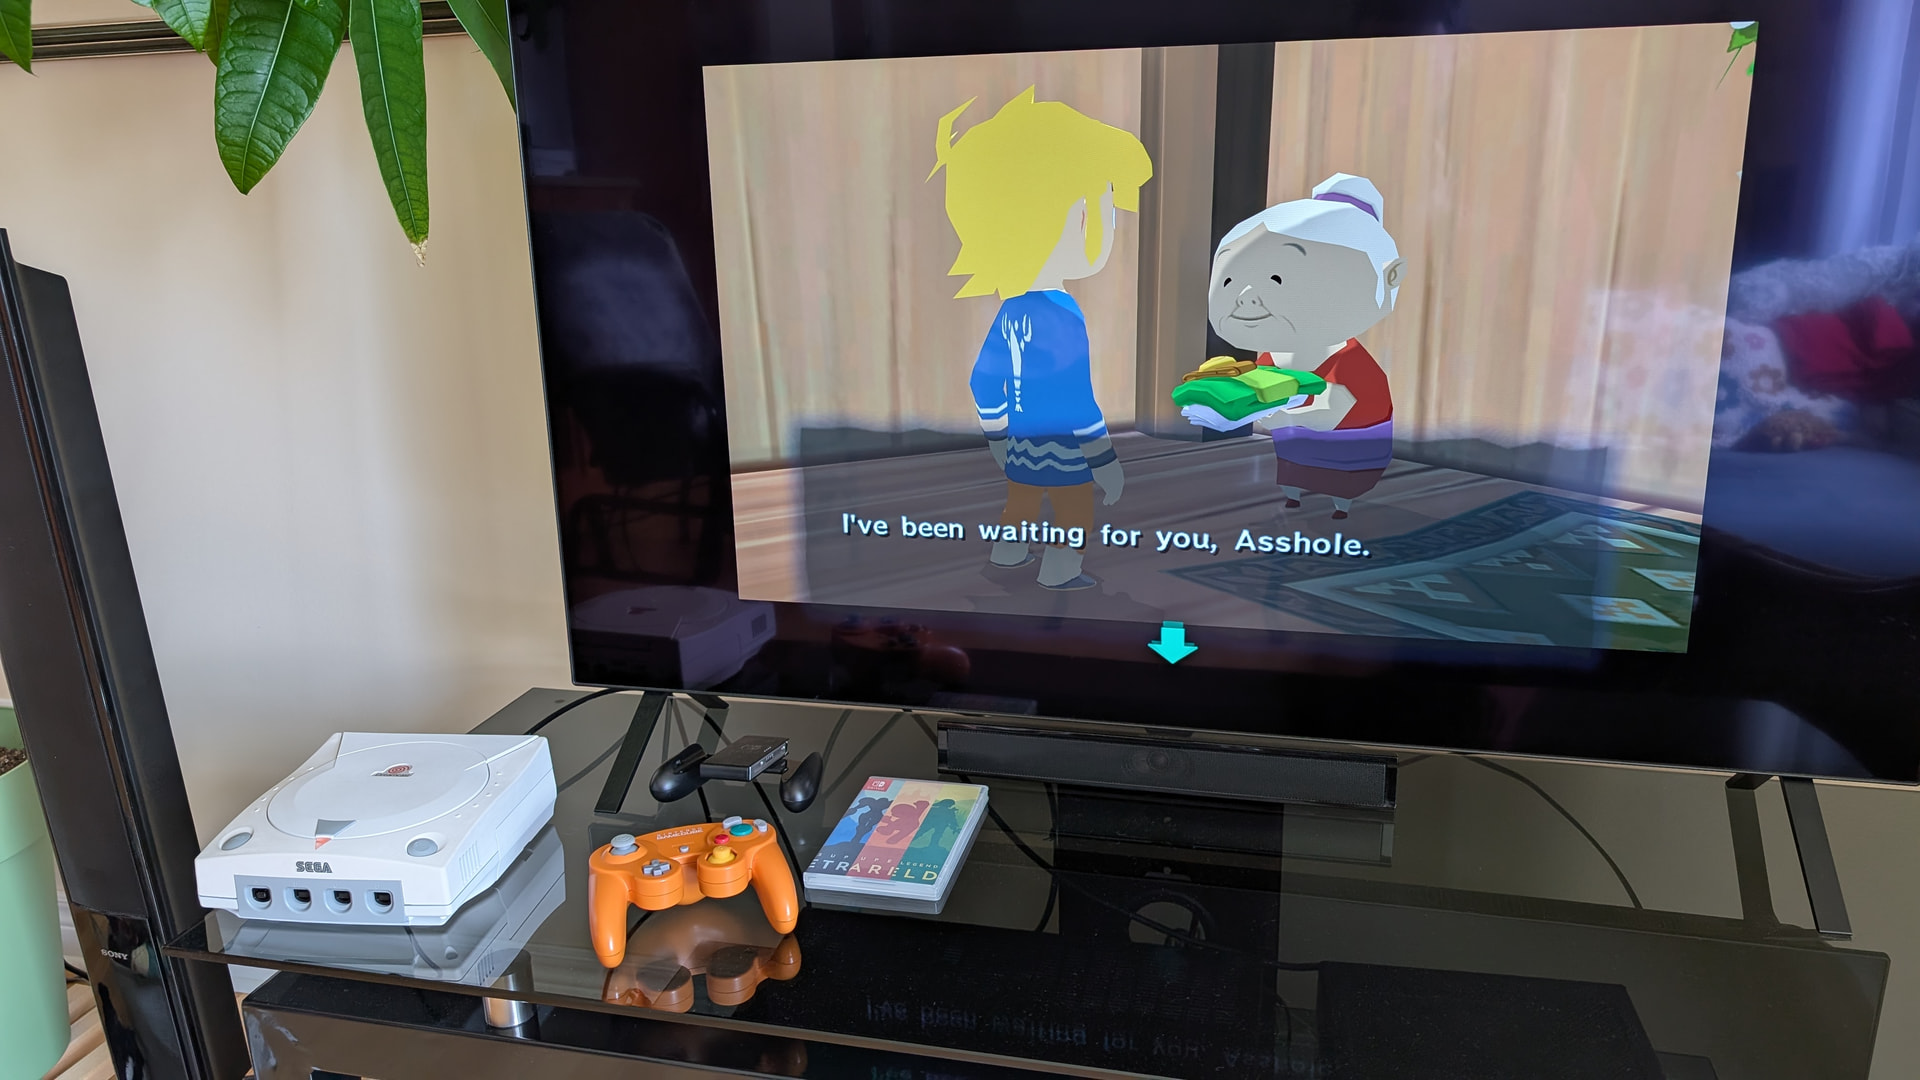
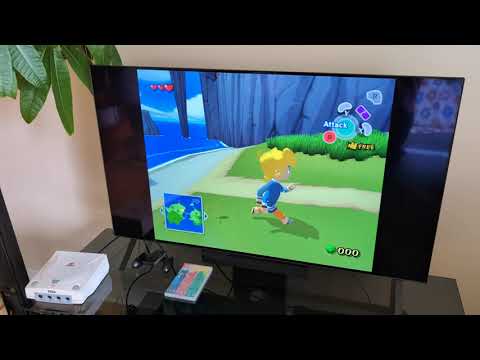
So I recently came back from Japan after one year of living there, and right when I come back I got a request for a commission build. So here we are, my first commission for a Dreamcast PC.
Now I hope this one will be the most uneventful and quickest build I will do. I’m unemployed right now at the moment anyway, so I can spend more time on it for the time being.
I was afraid that in the current context brought by the AI bubble and other events that this build would be quite expensive. But apparently, if you do with 2-3 years old miniPCs, they are surprisingly affordable even when they come with DDR5 soddims and SSDs. I guess thank you Chinese manufacturers to have too much stocks sitting around in Amazon warehouses so they are not affected by current prices.
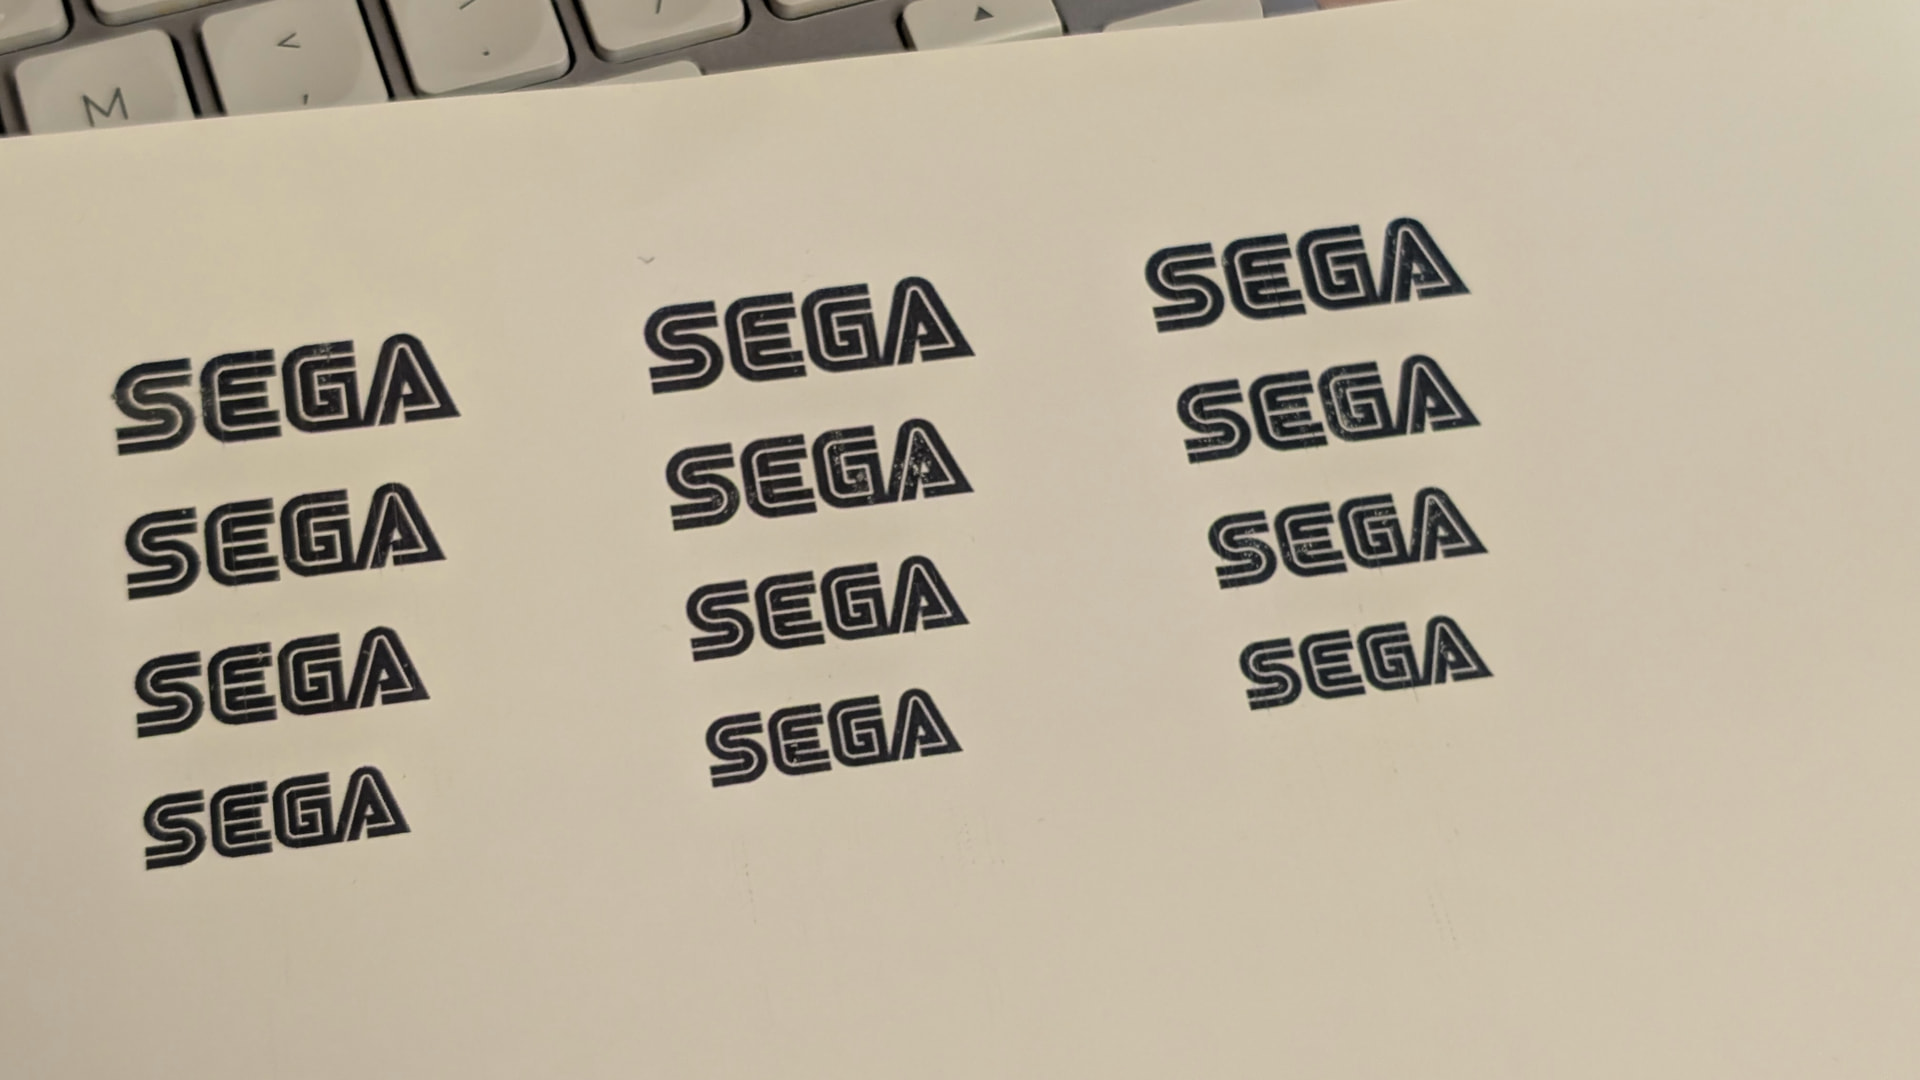
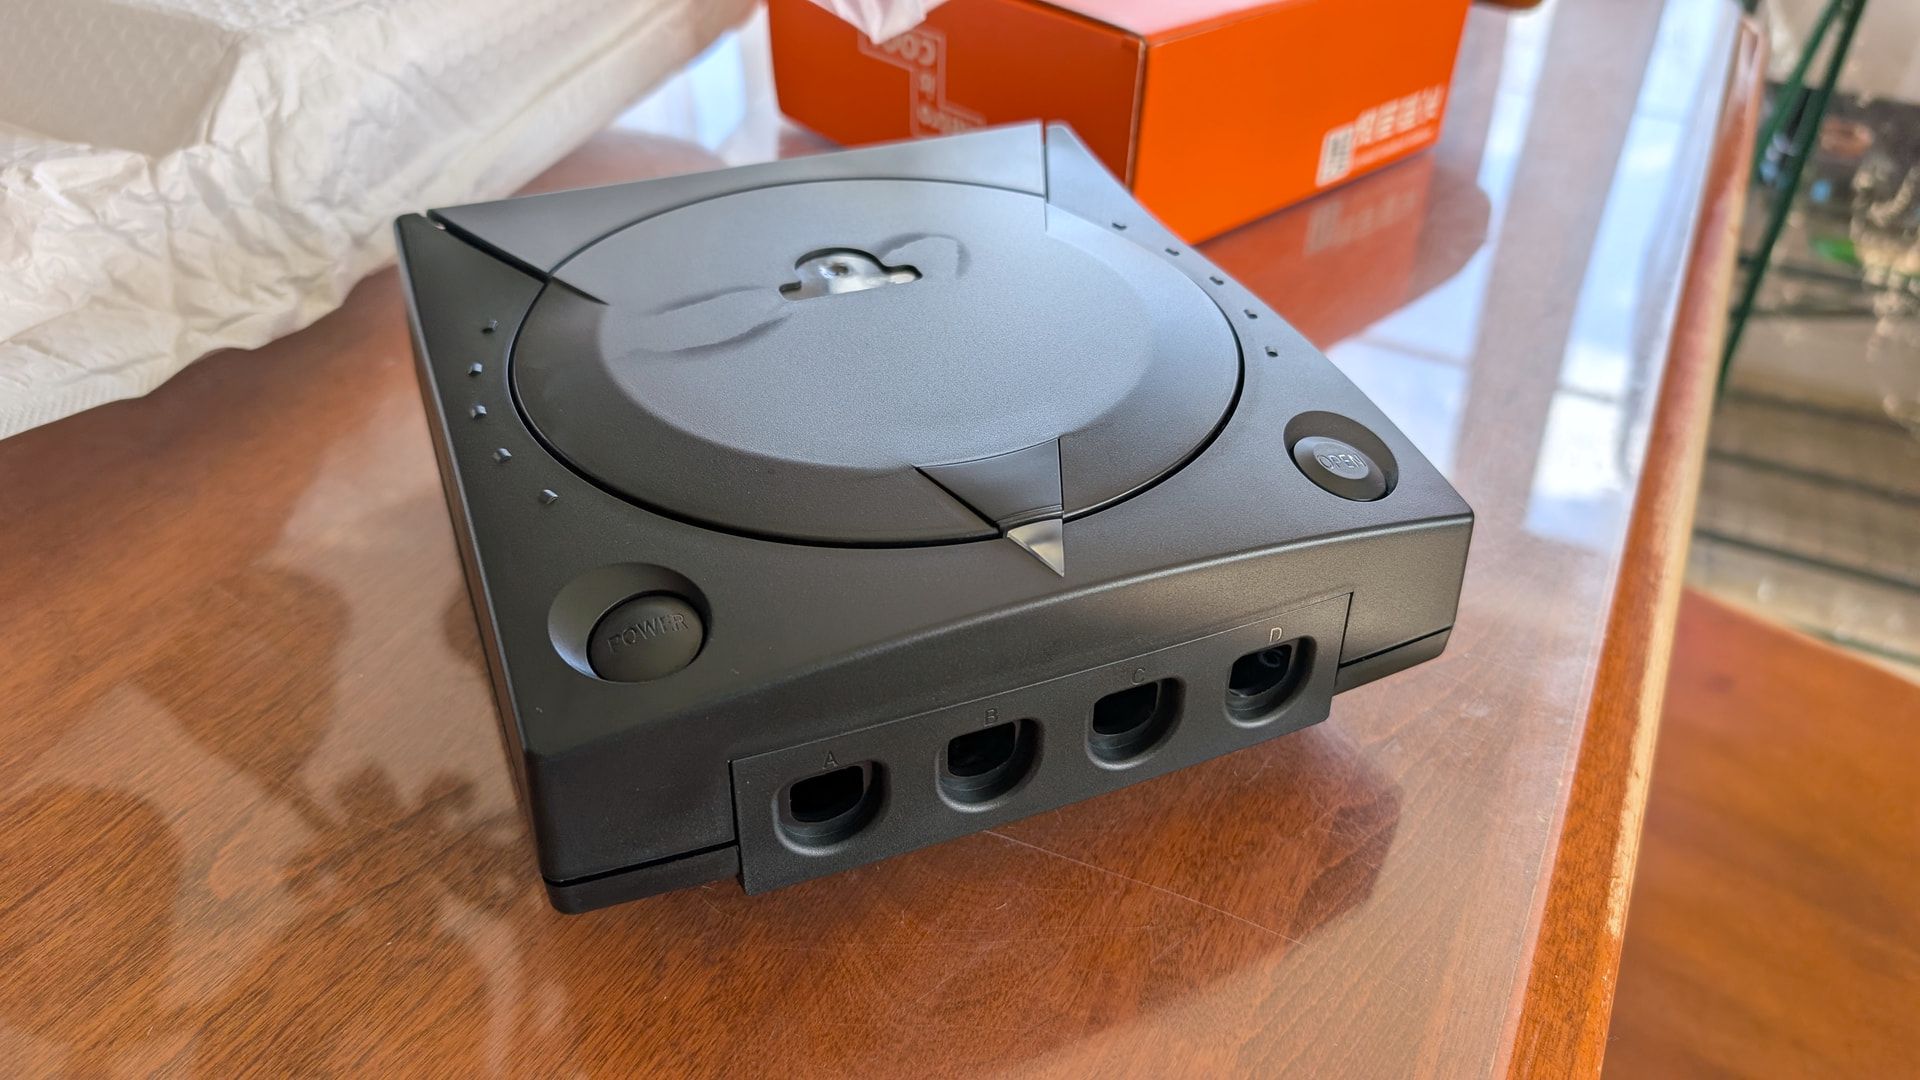
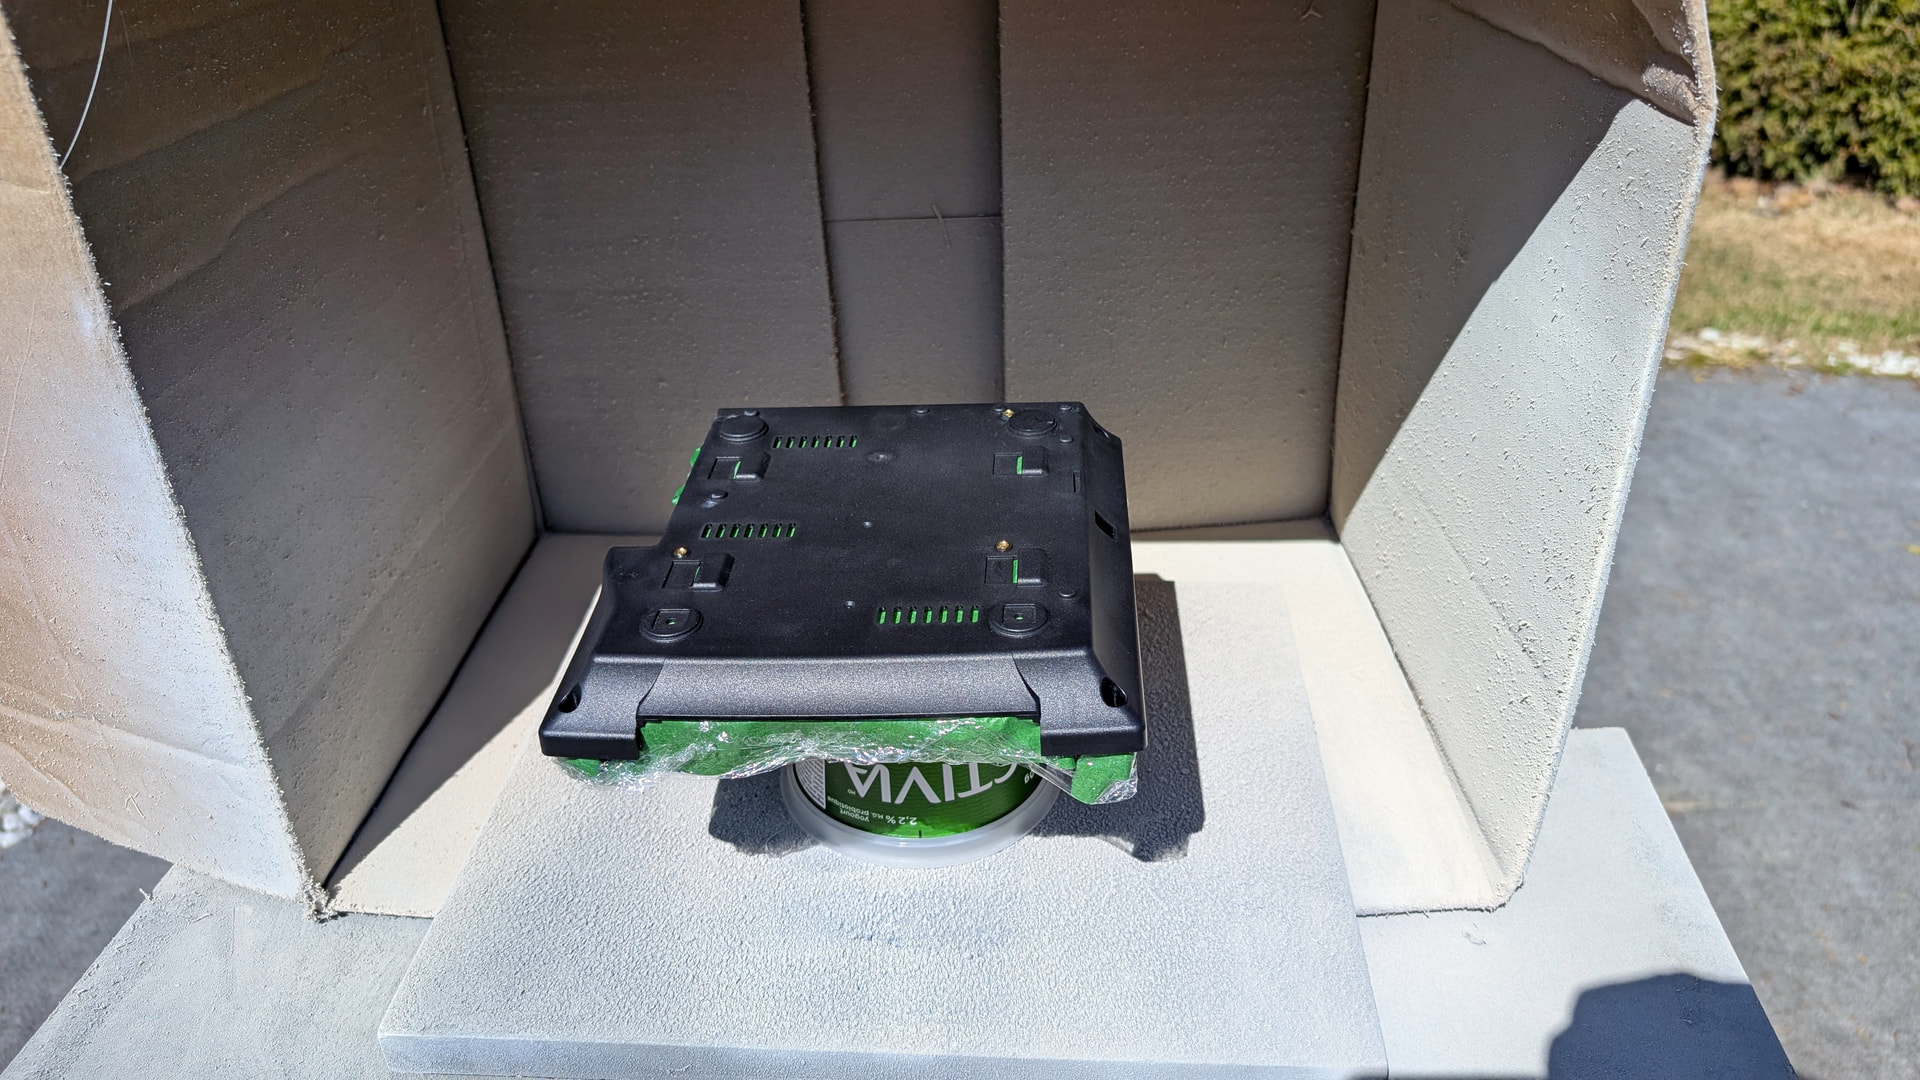
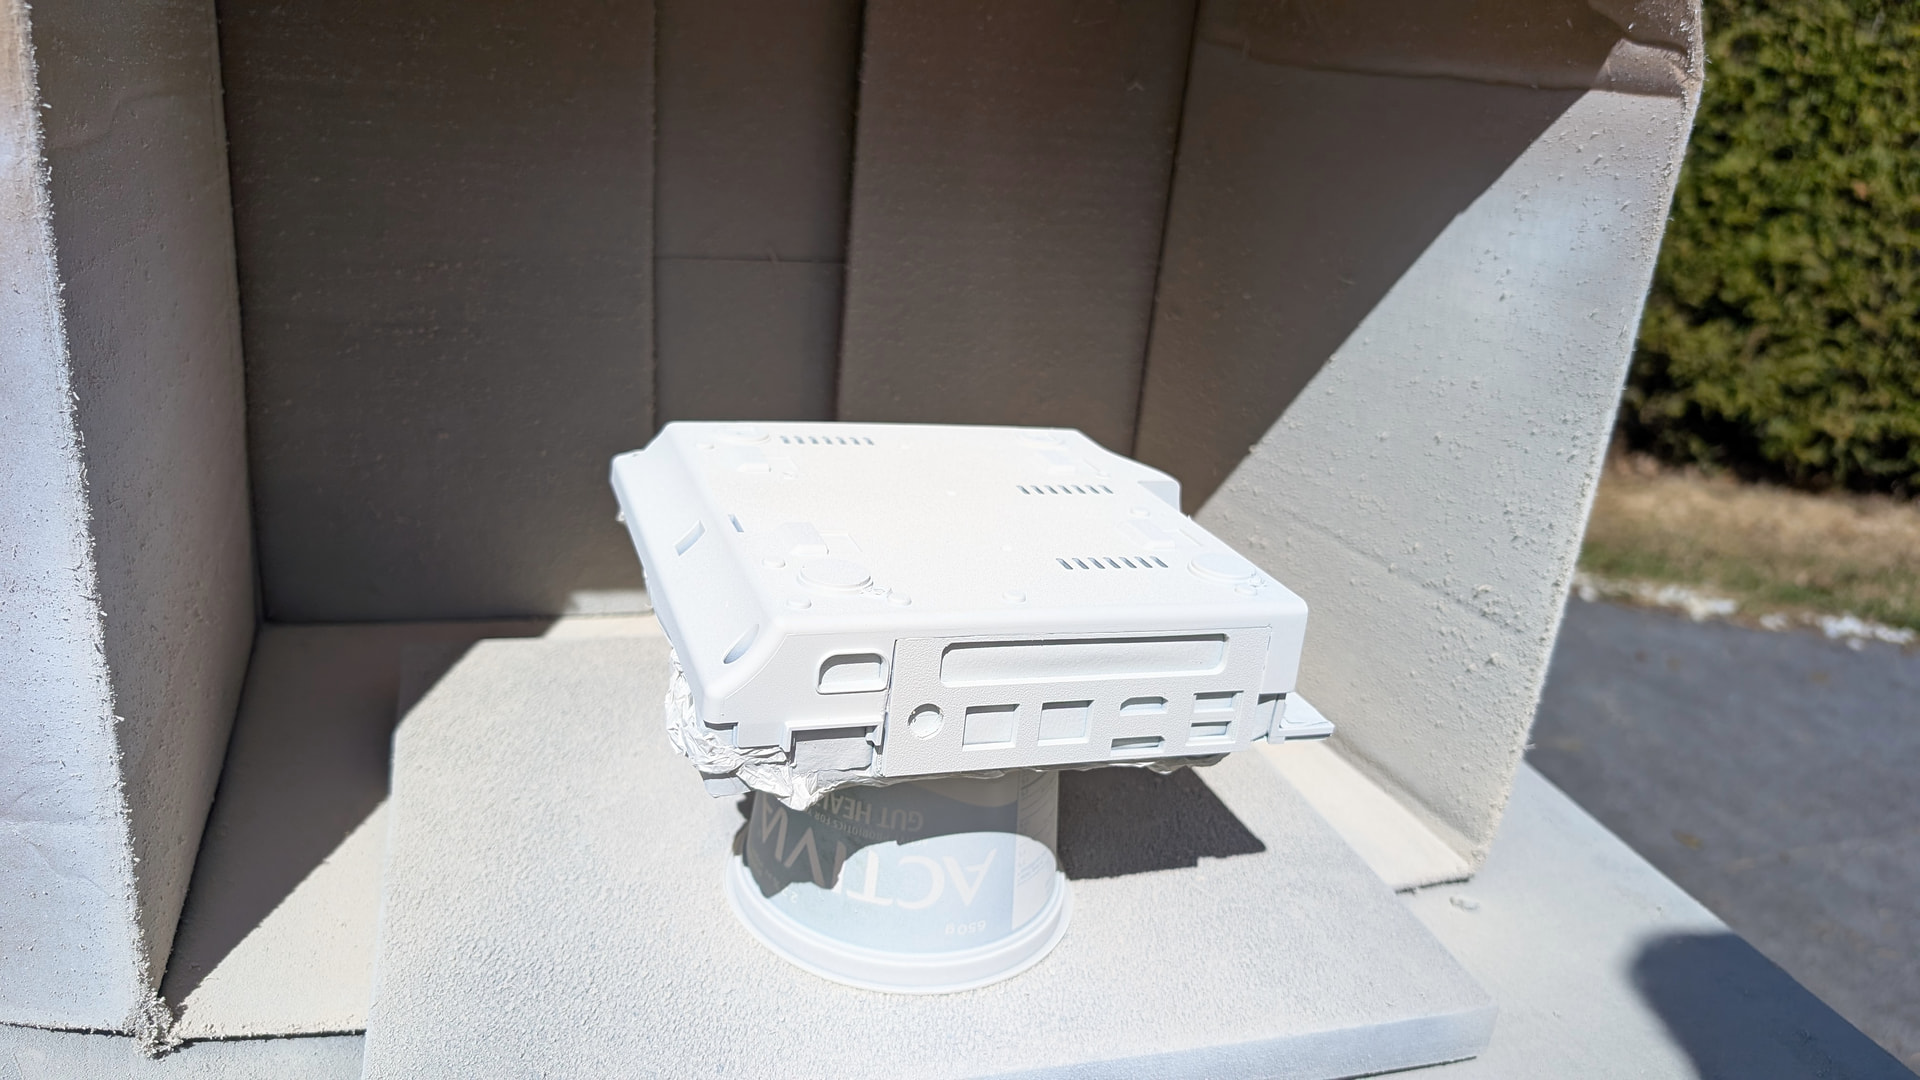
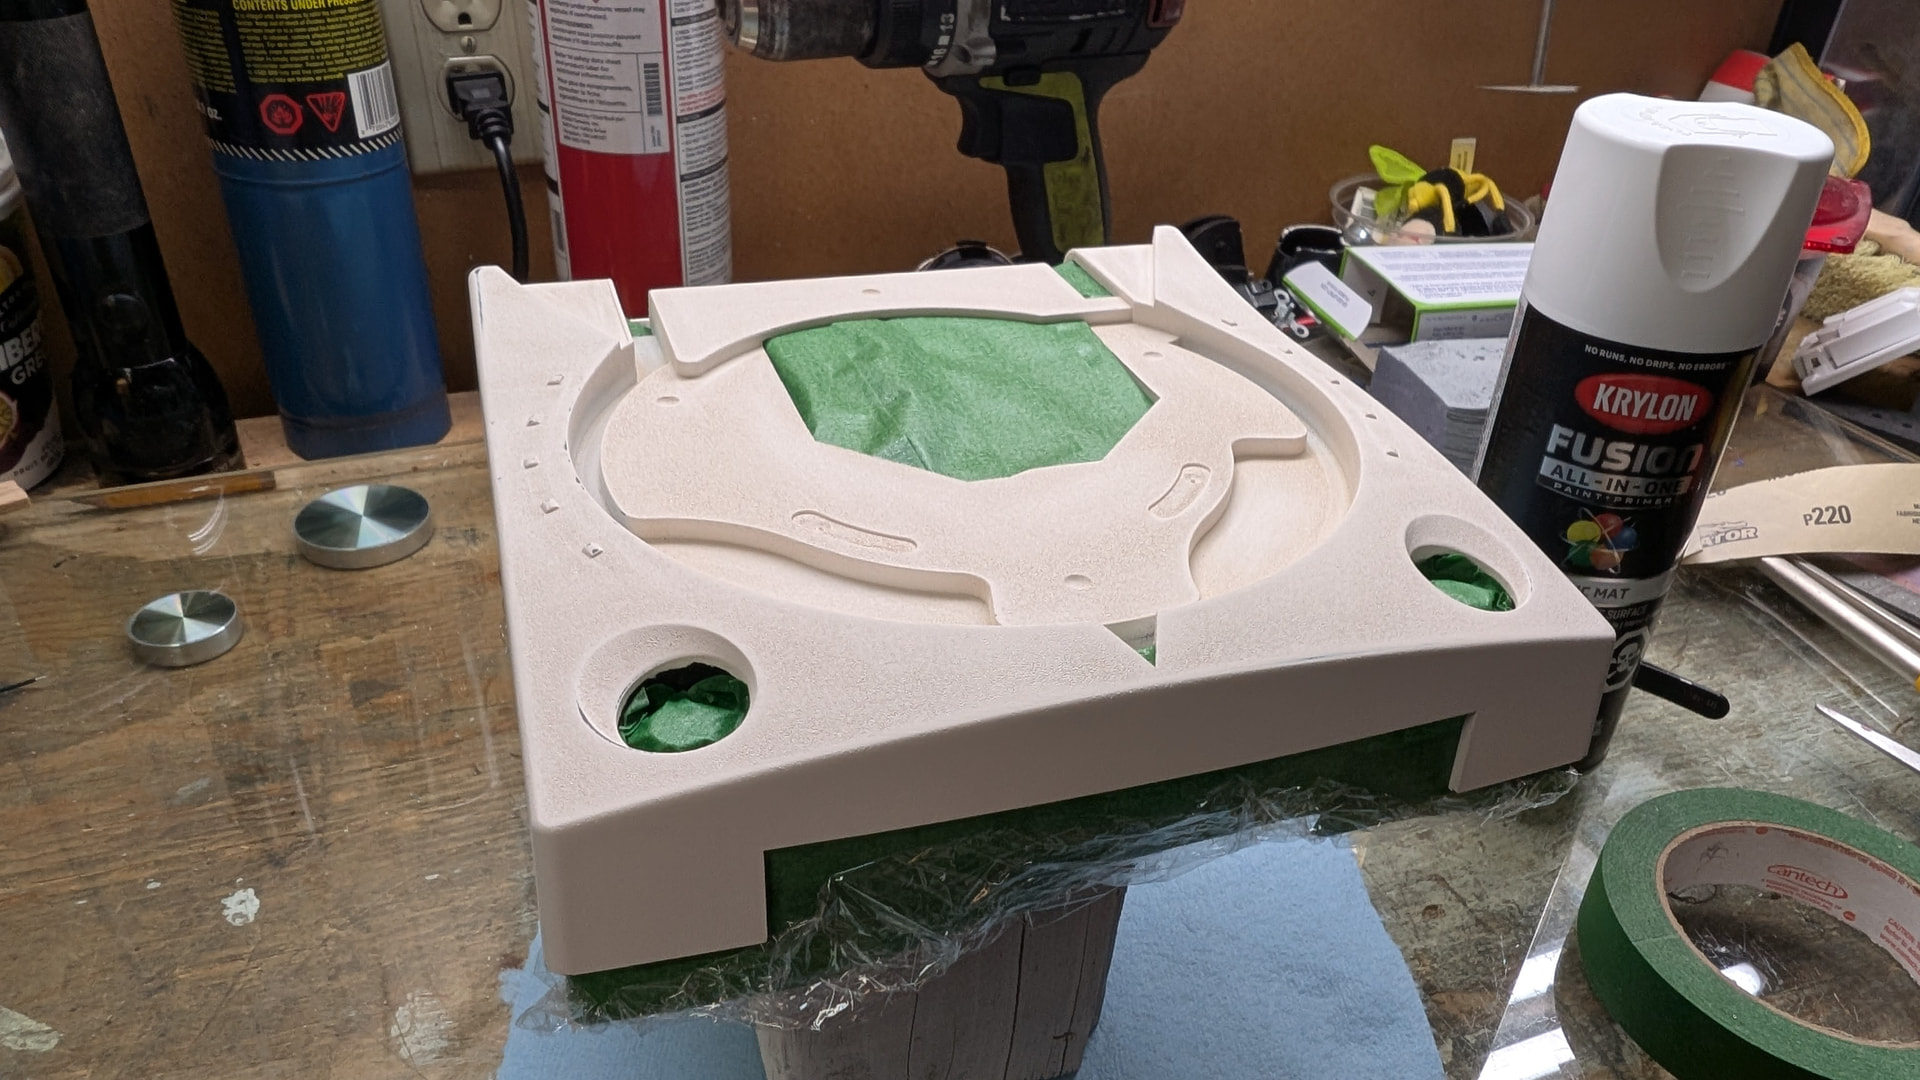
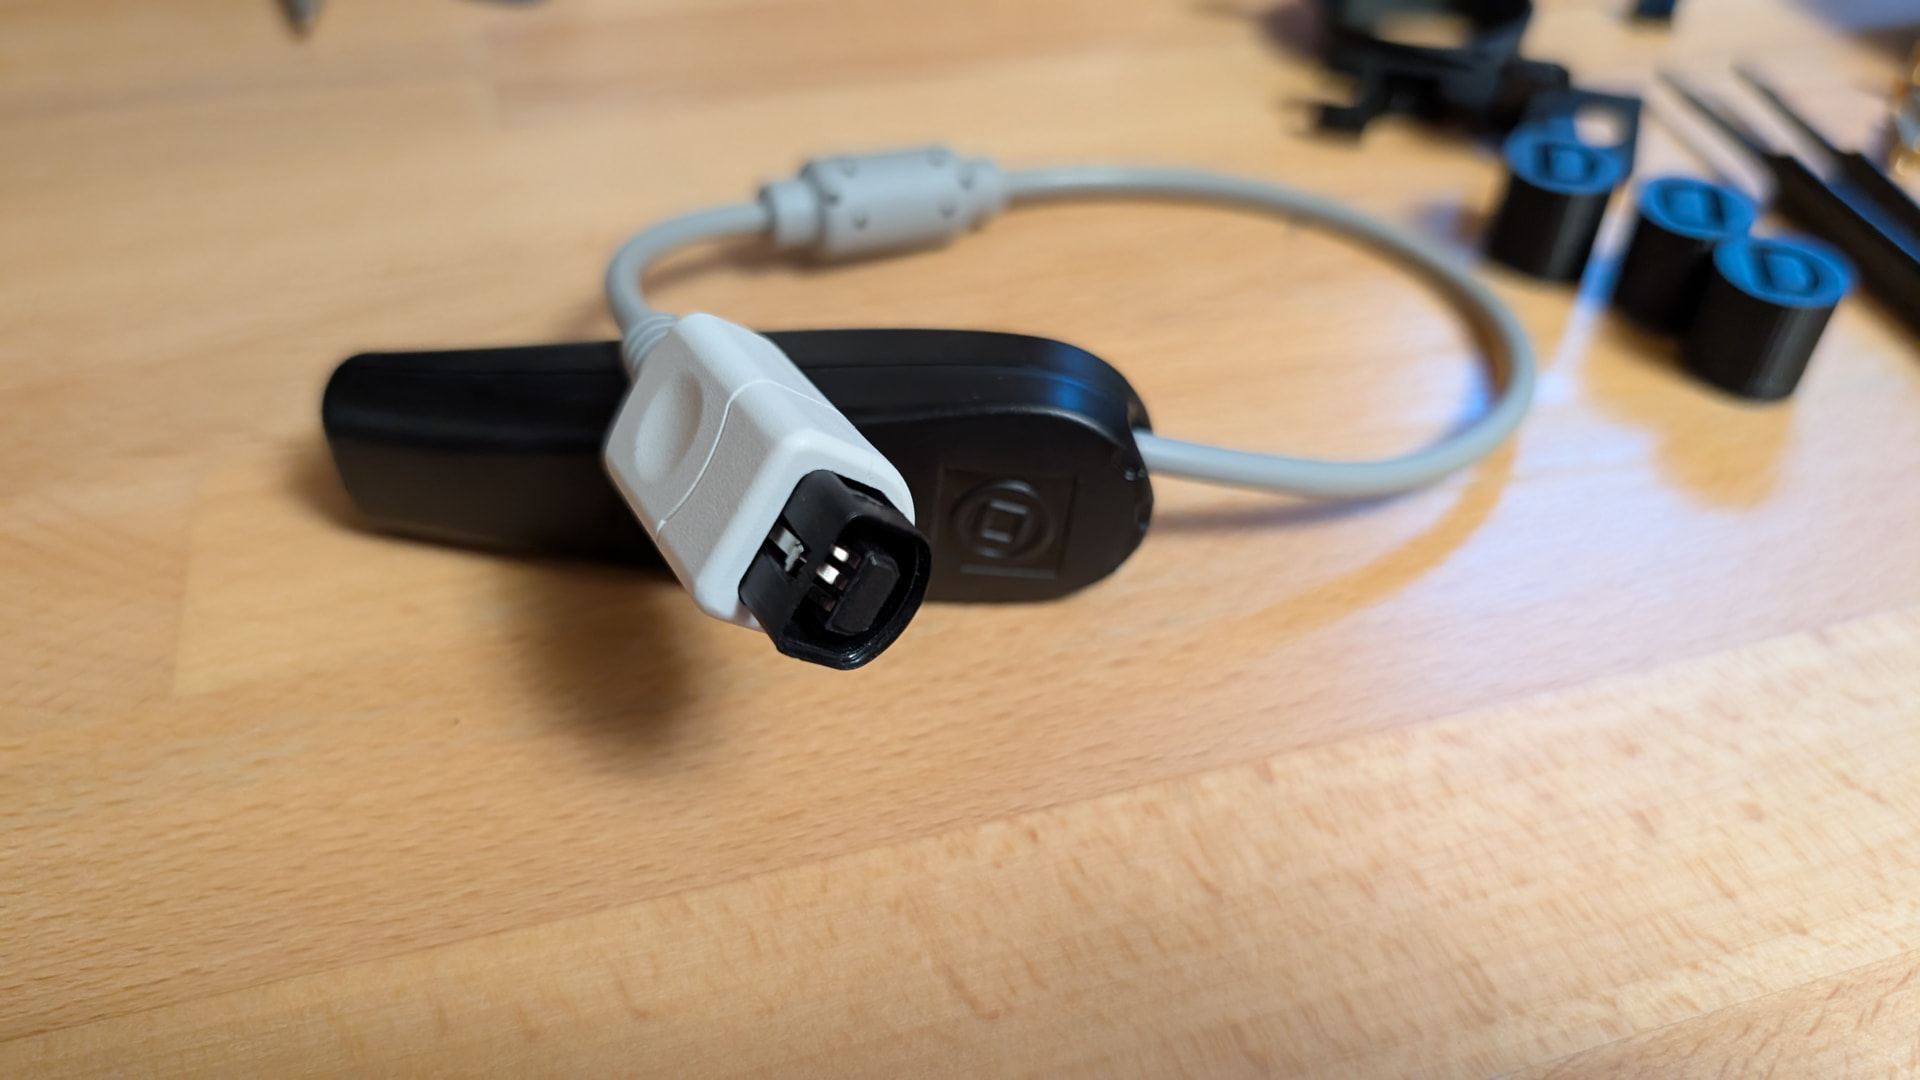
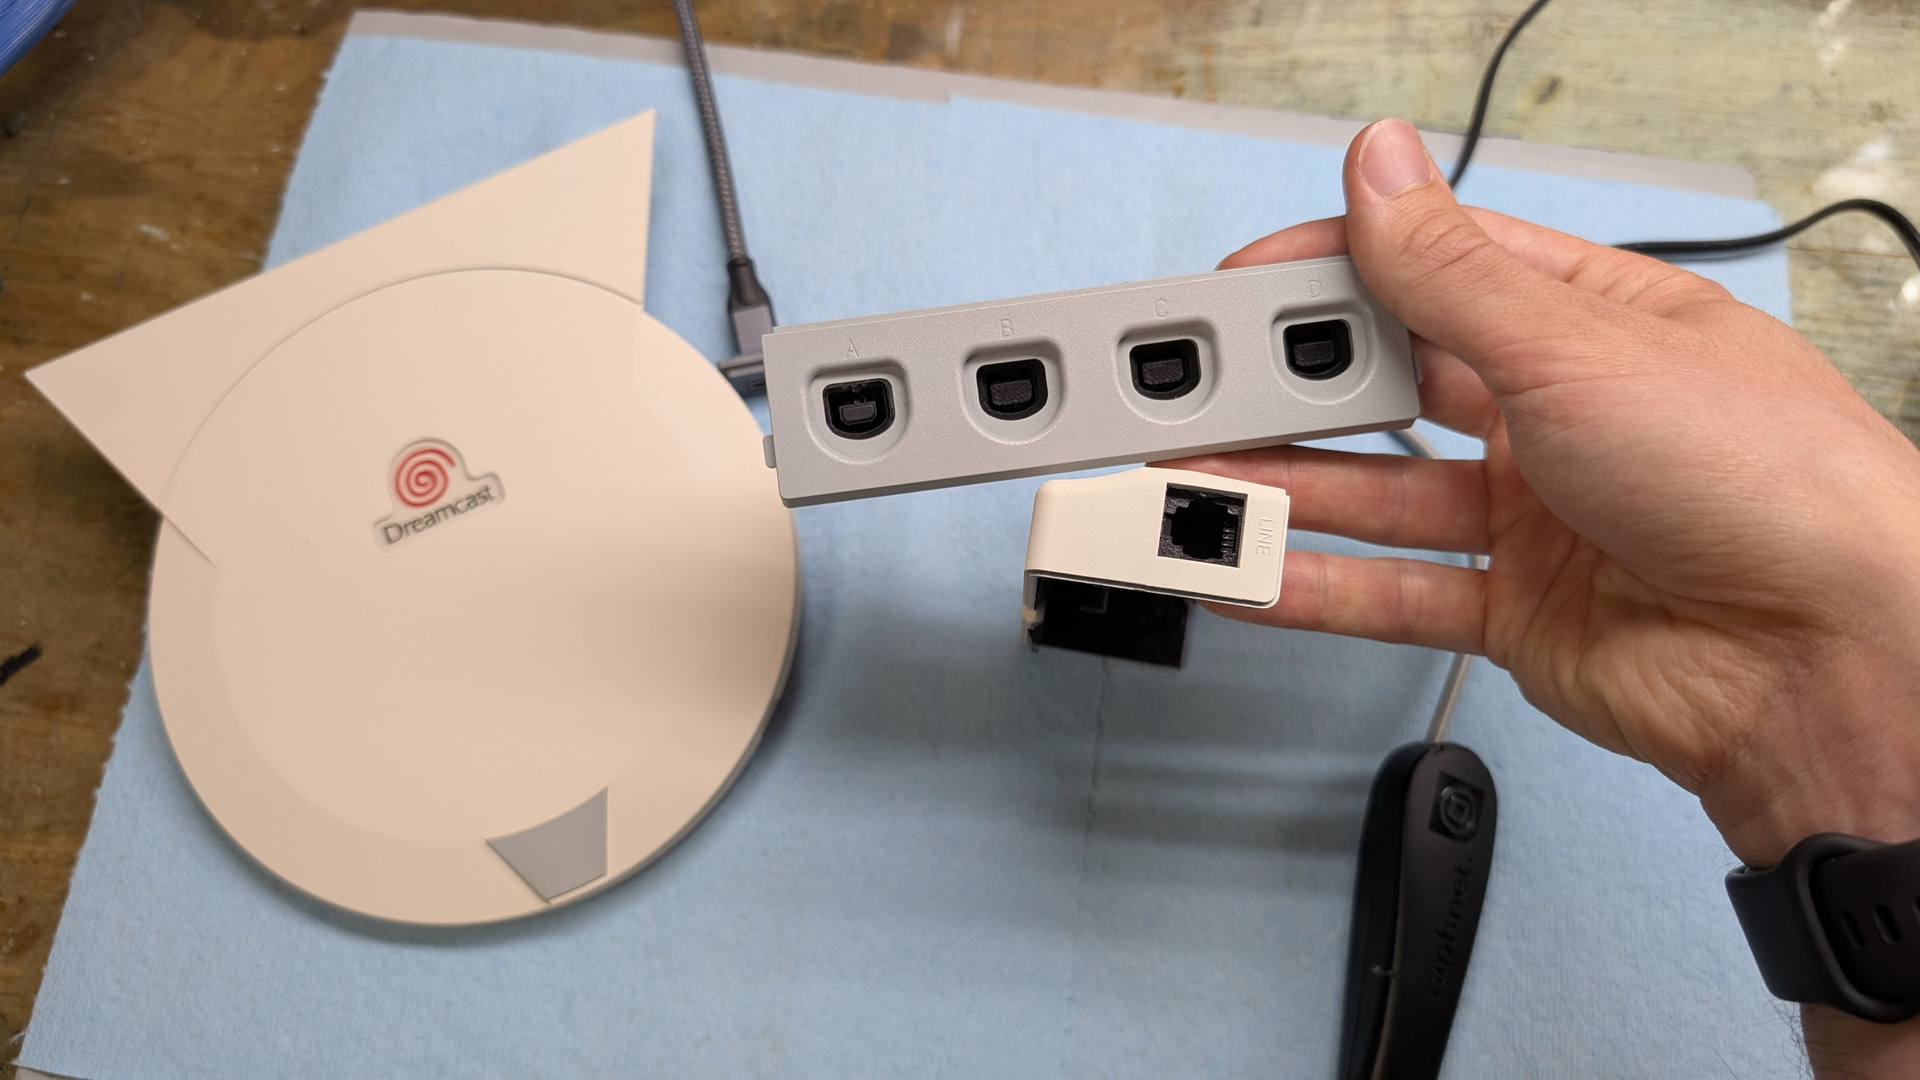
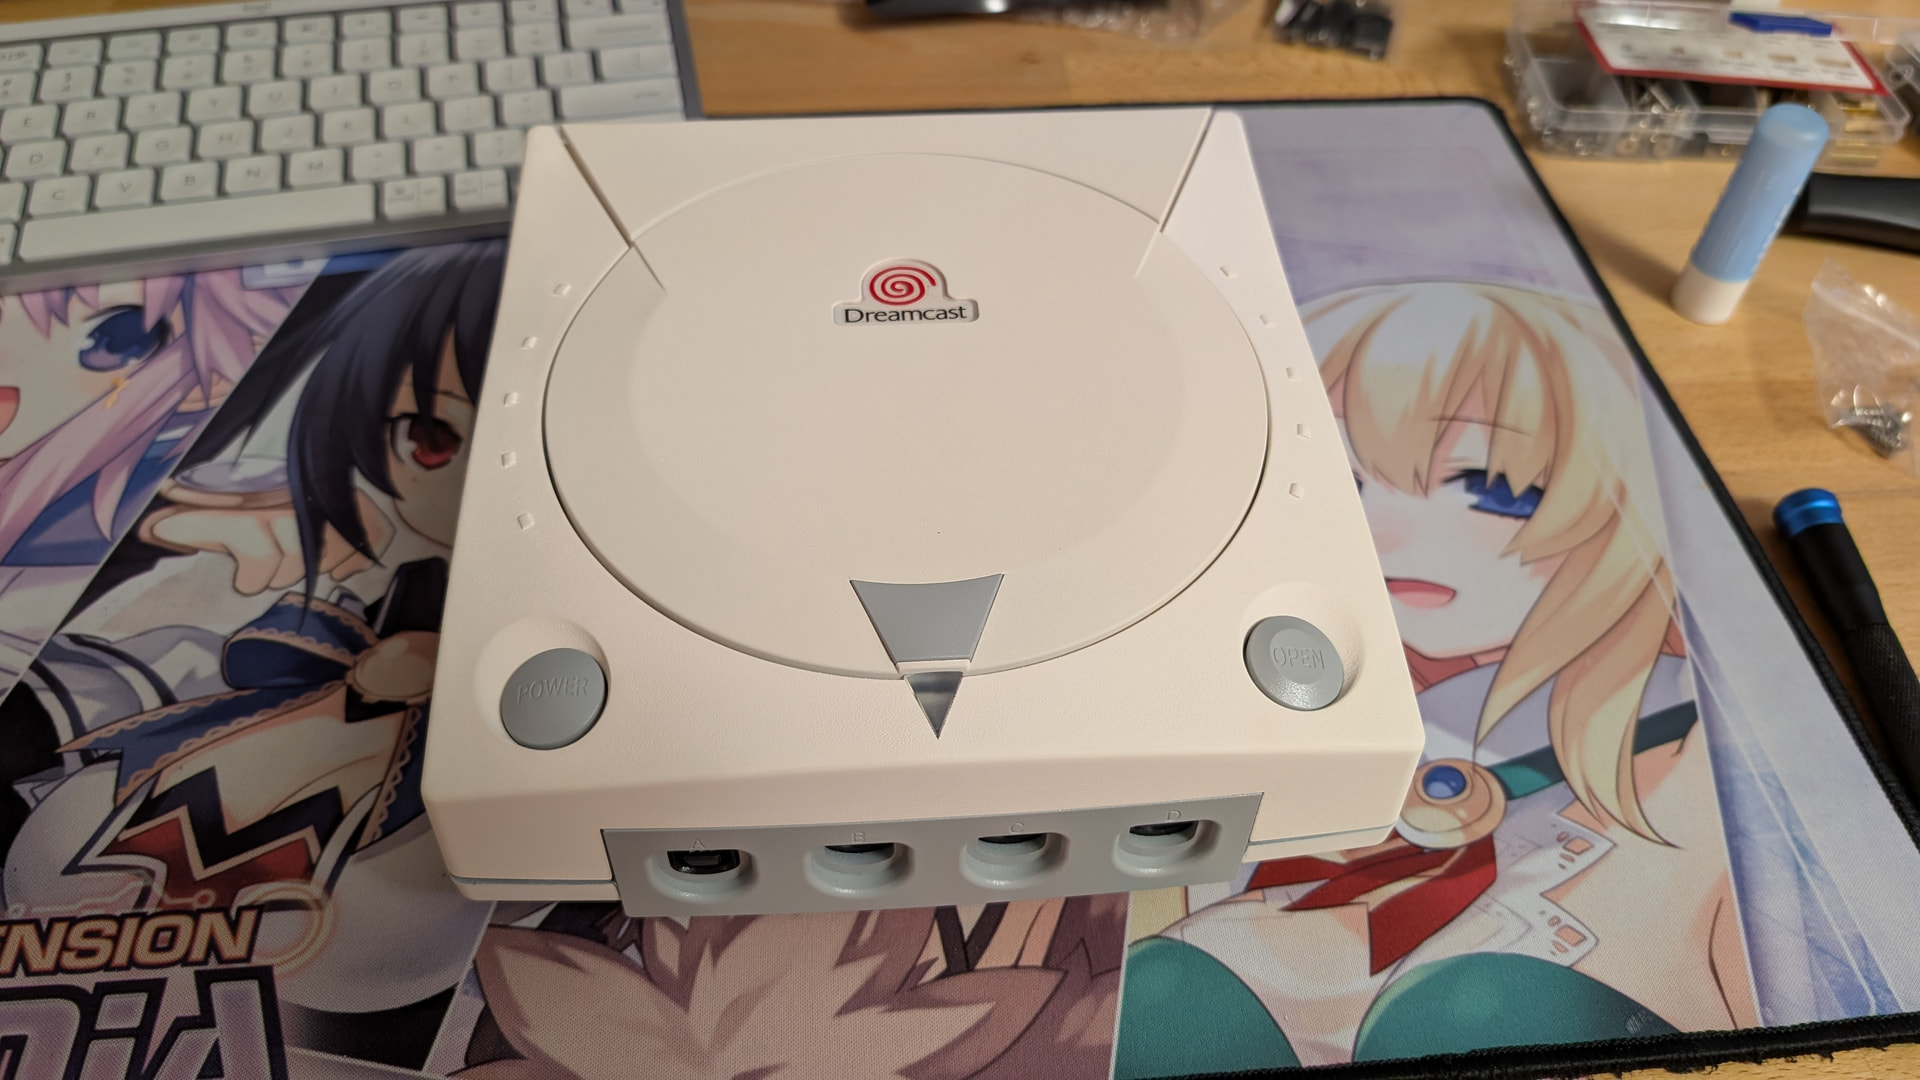
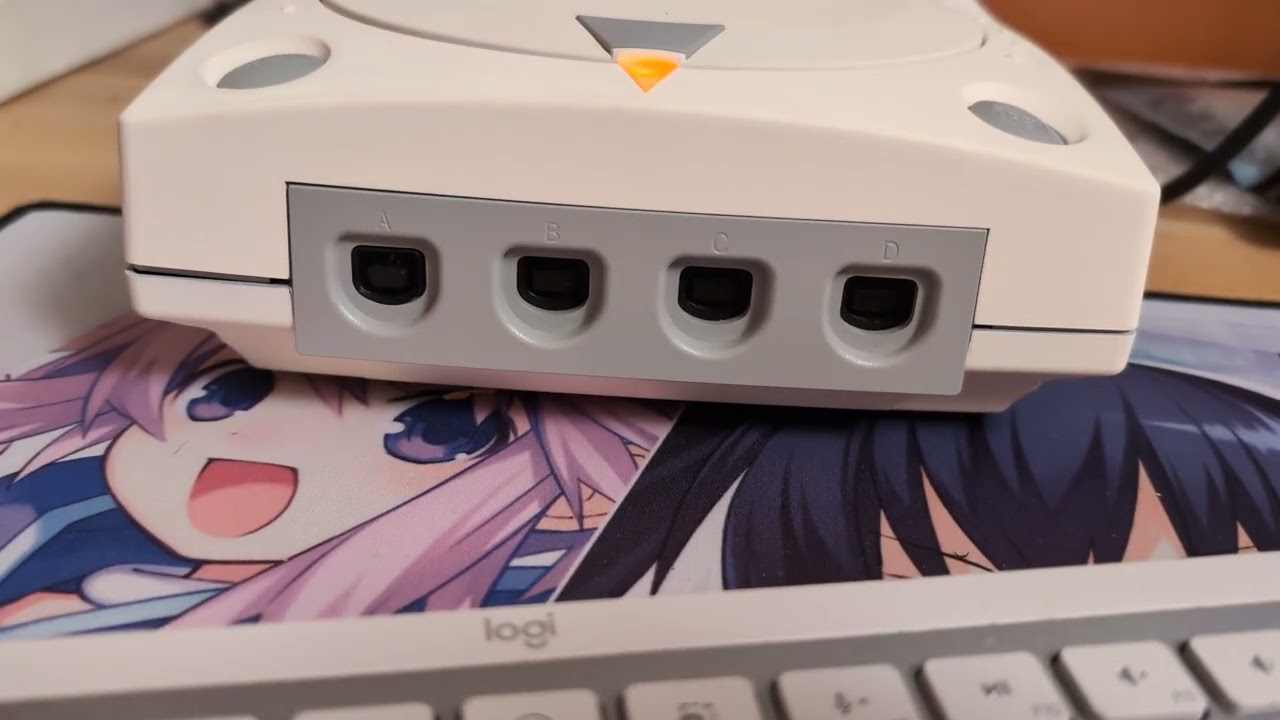
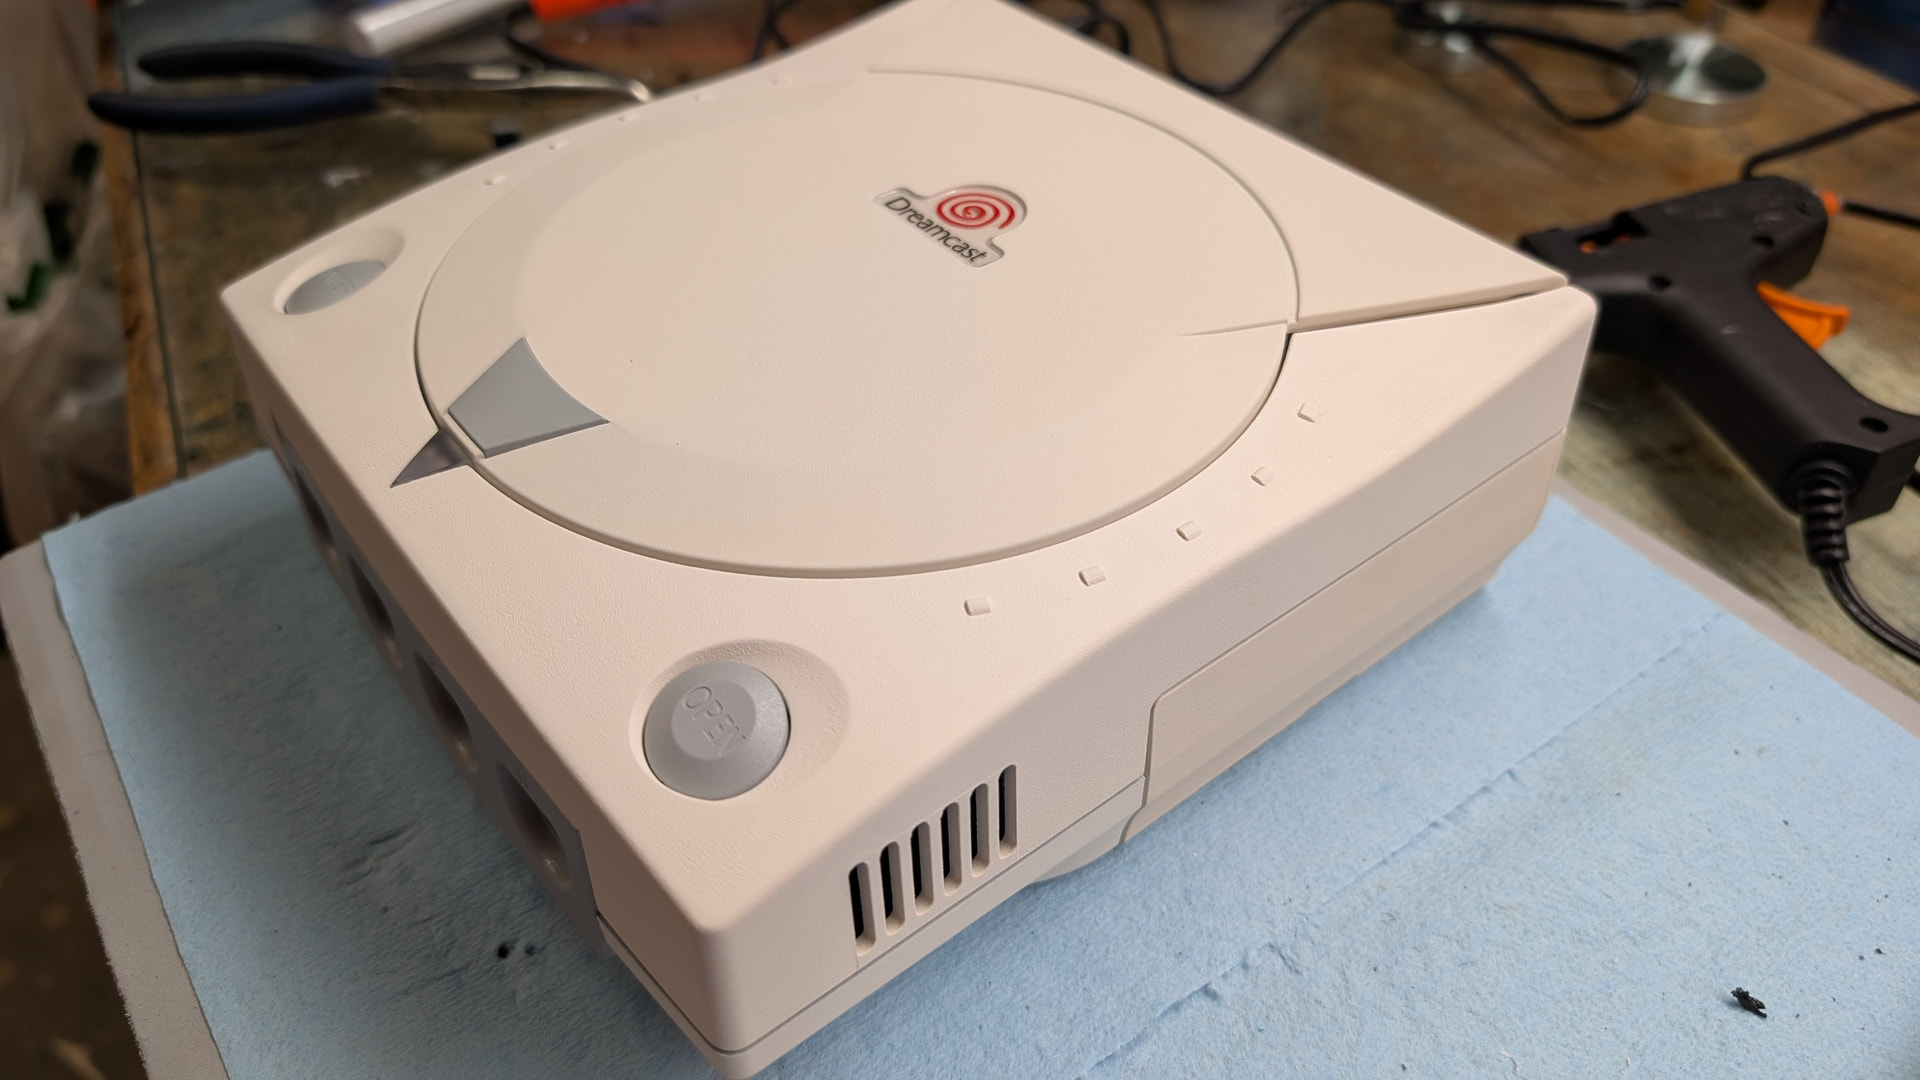
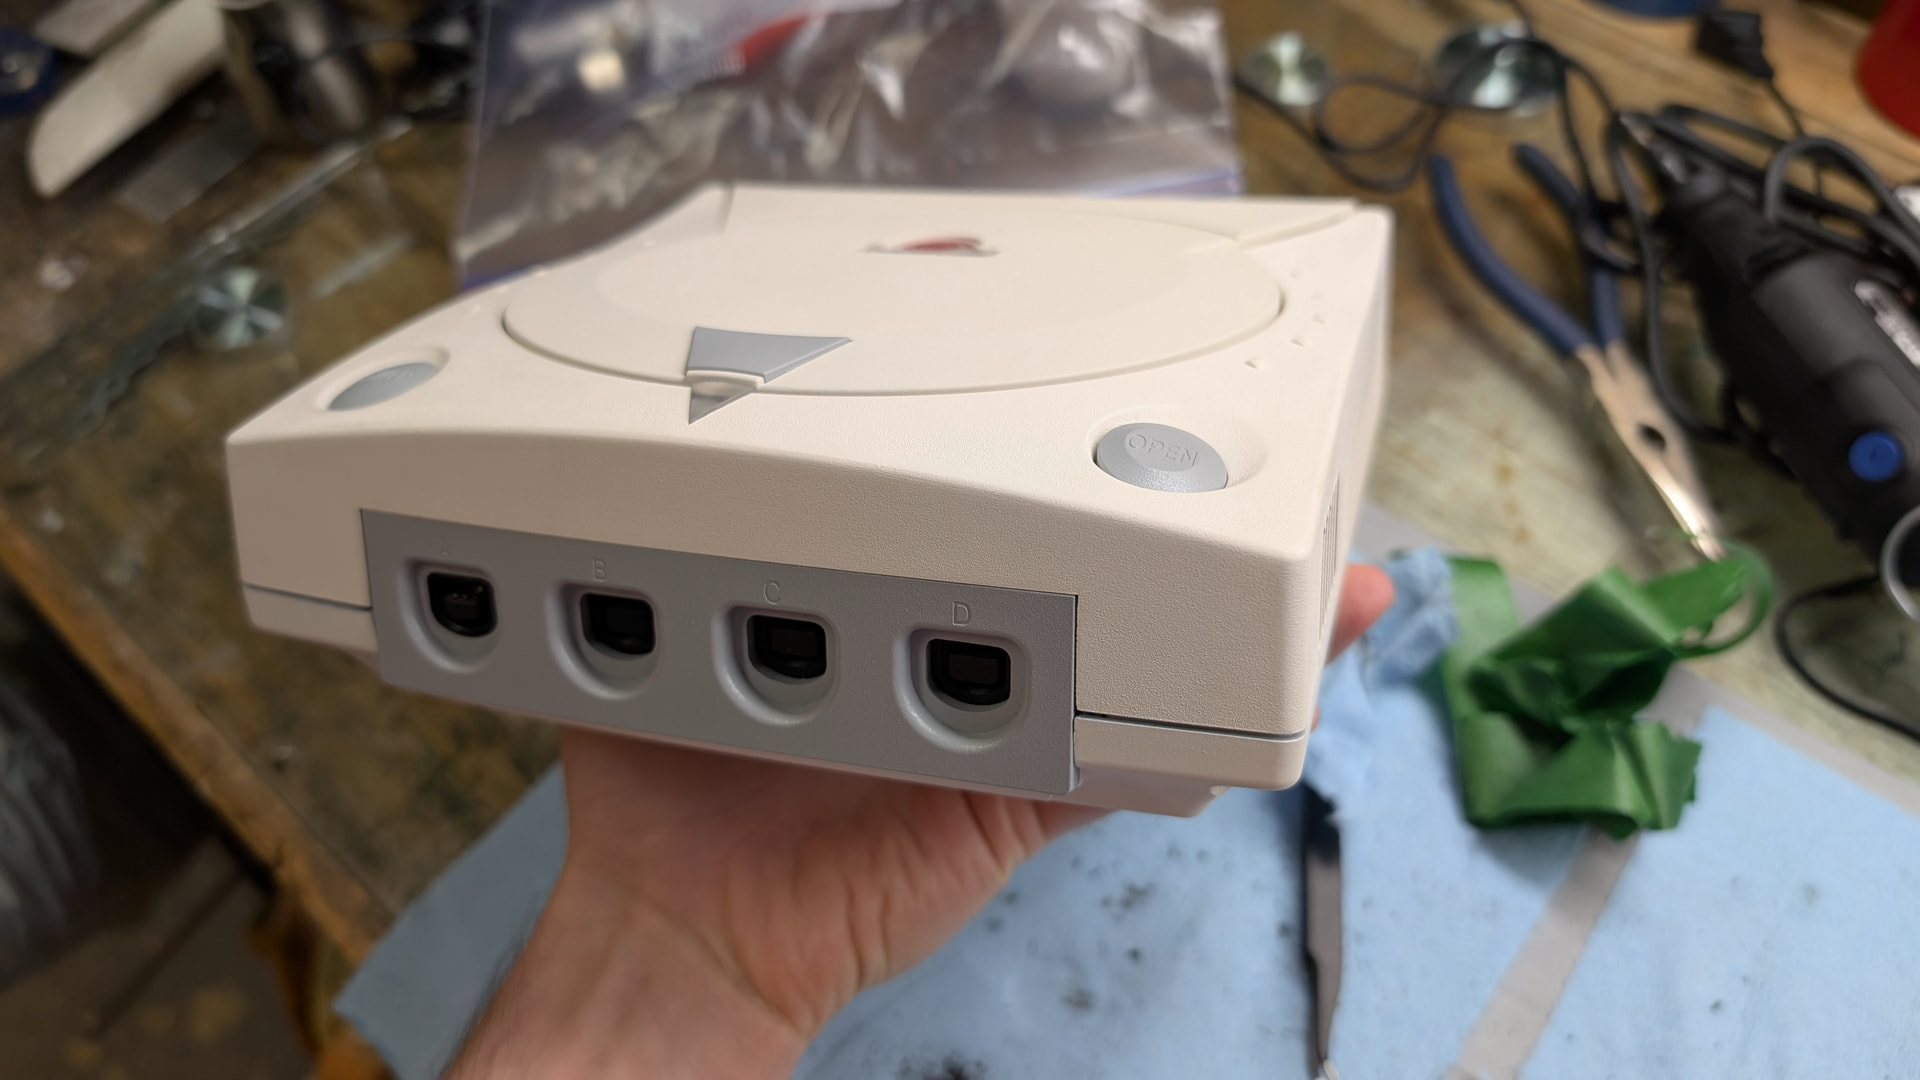
This build will use an aftermarket Dreamcast shell that I will paint to get close to the original colours of the Dreamcast (will use Krylon Fusion Matte Glacier Gray instead of white this time). Also I remembered I still have those transparent printable decal sheets, so will add the SEGA logo on the front. Also a first, this built will include a Dreamcast controller adapter. I have no controller to be able to test it, but interesting nonetheless.
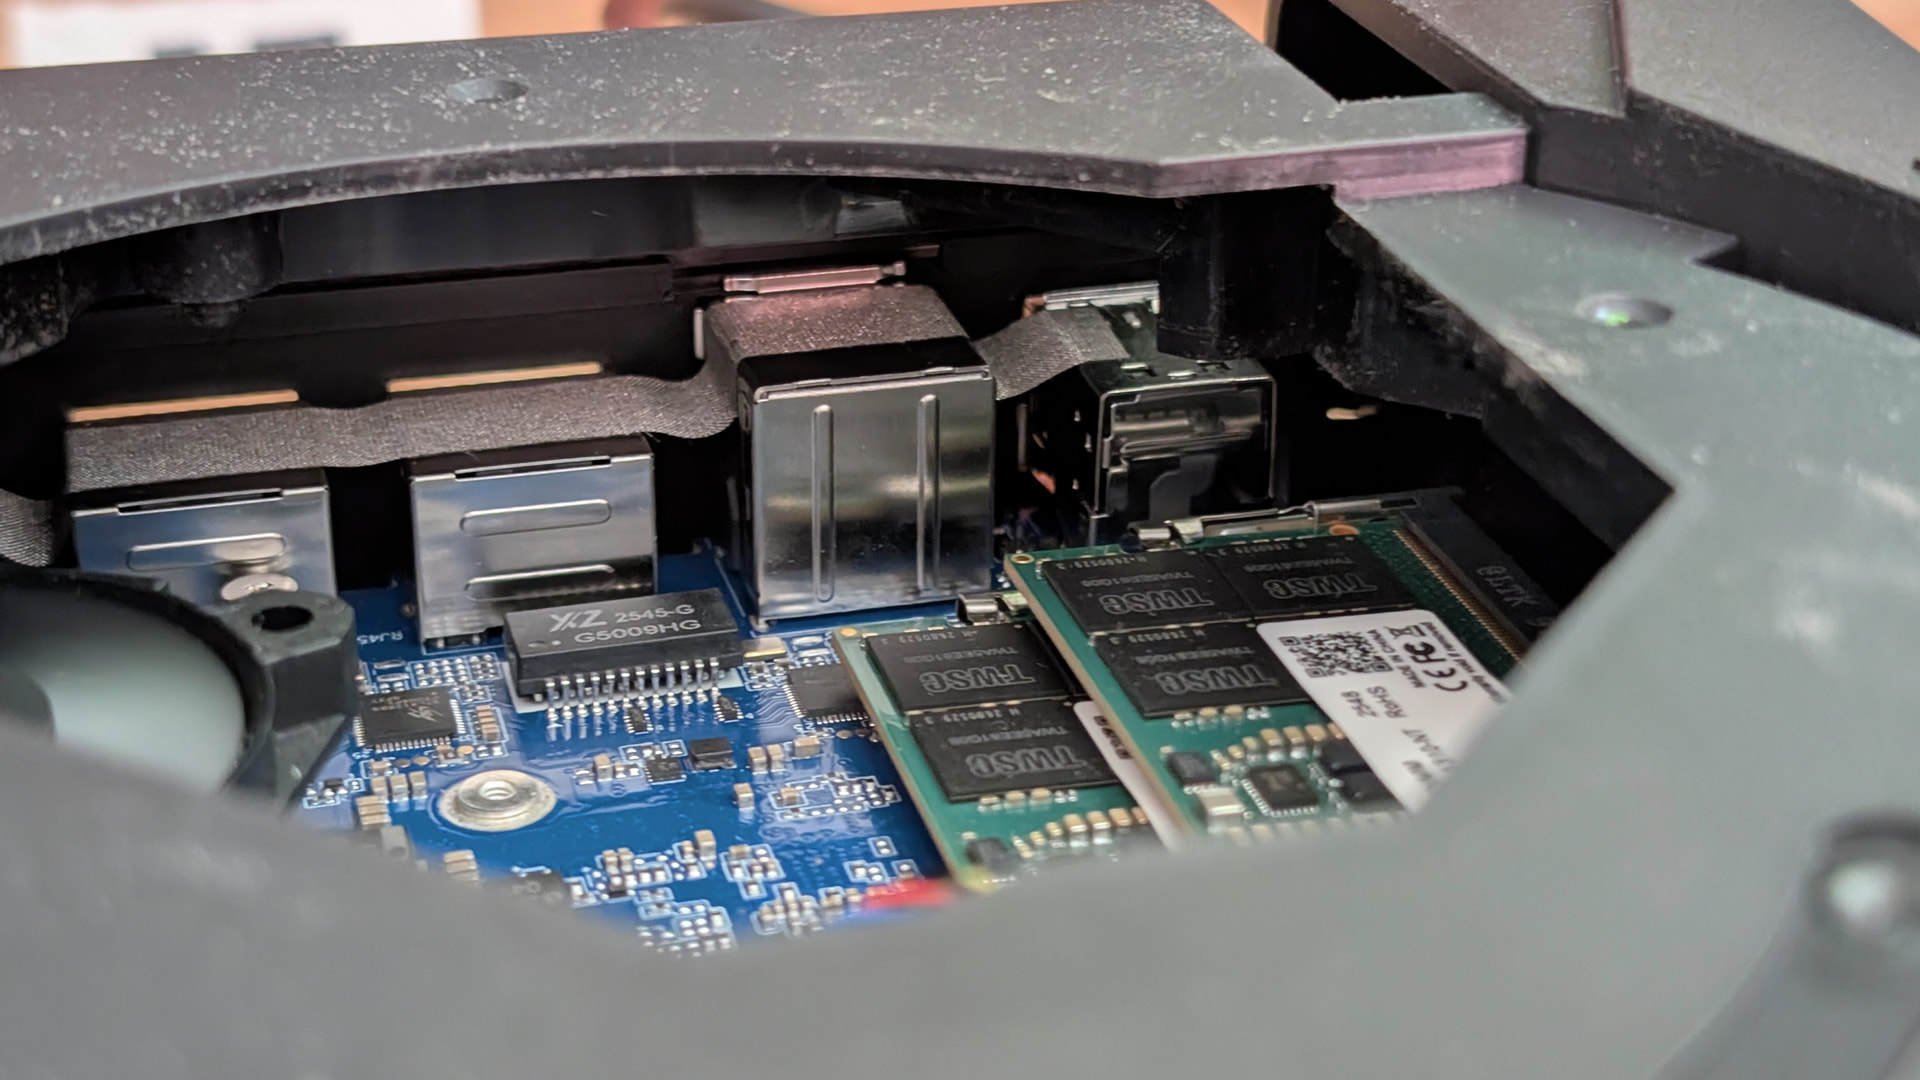
Otherwise, going with a GMKtec M6 Ultra:
Ryzen 7640HS (w/ Radeon 760M)
16GB DDR5 ram
1TB SSD
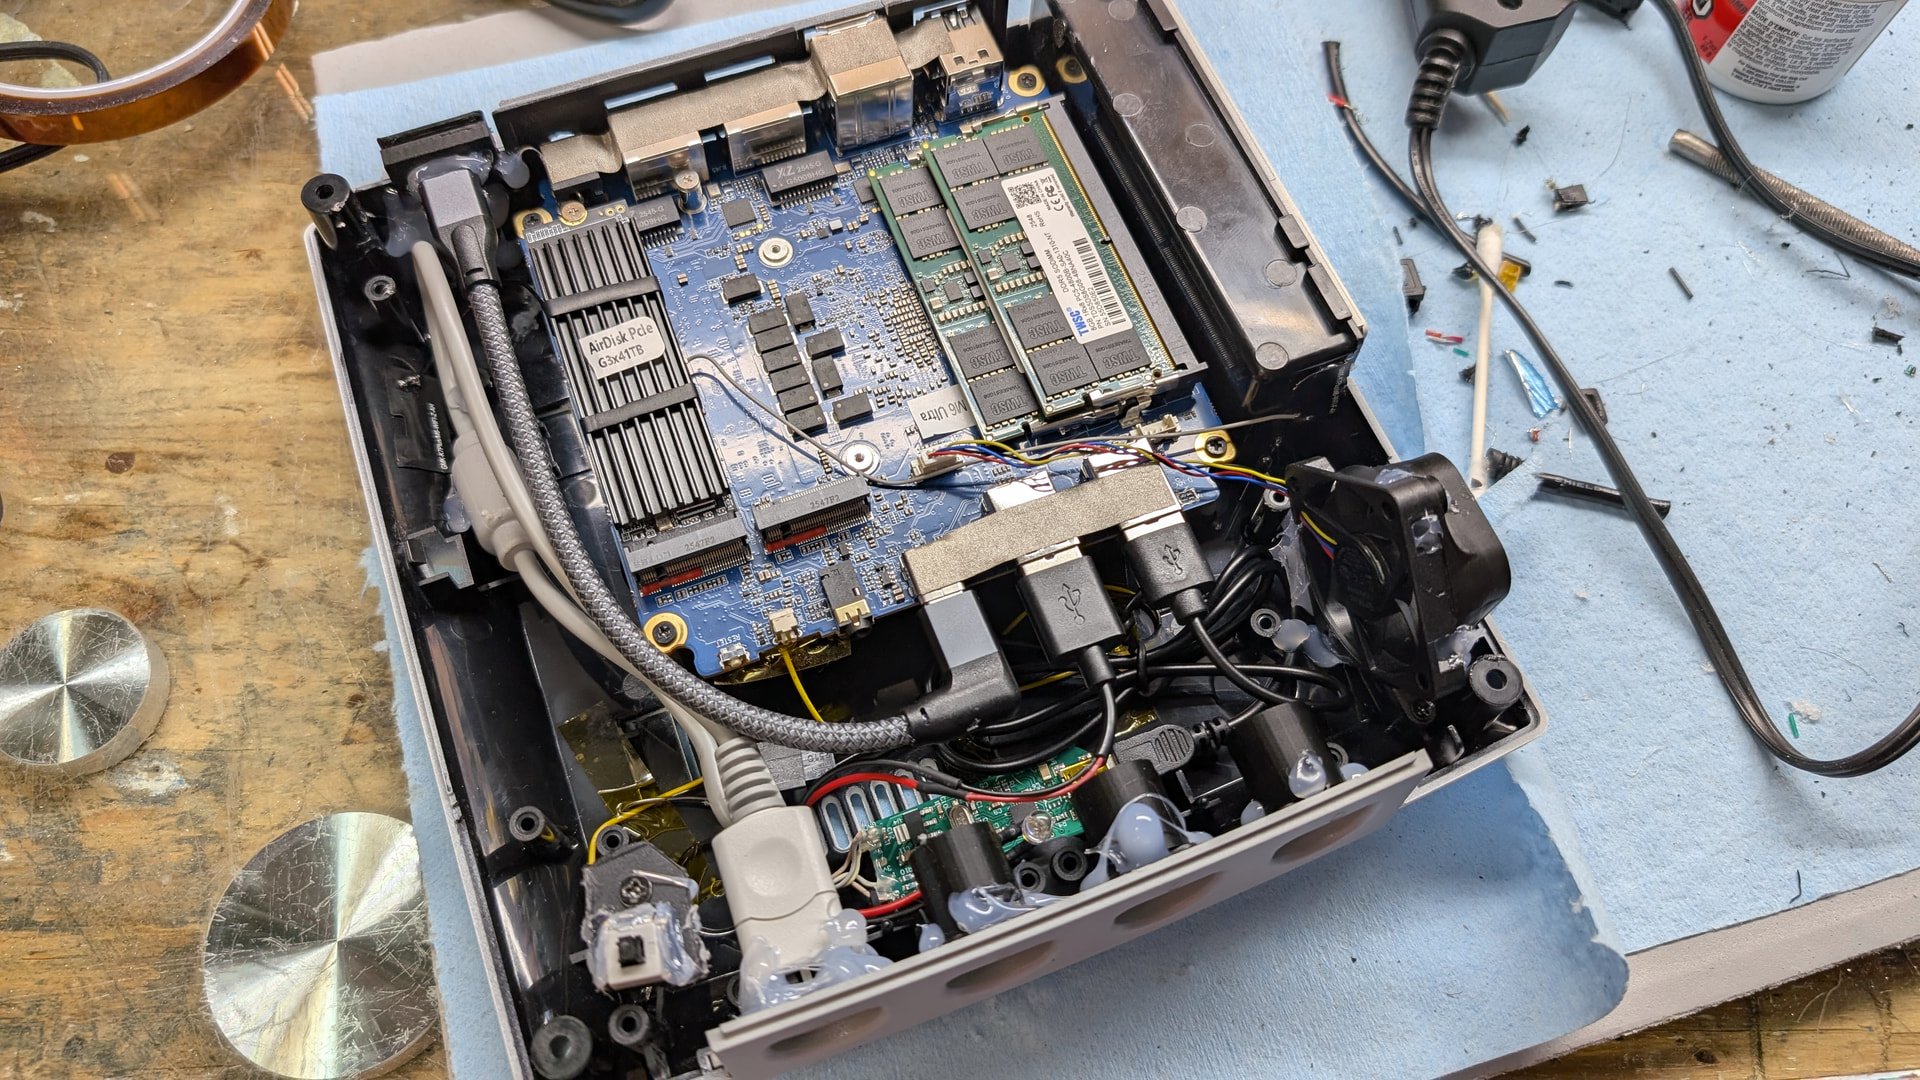
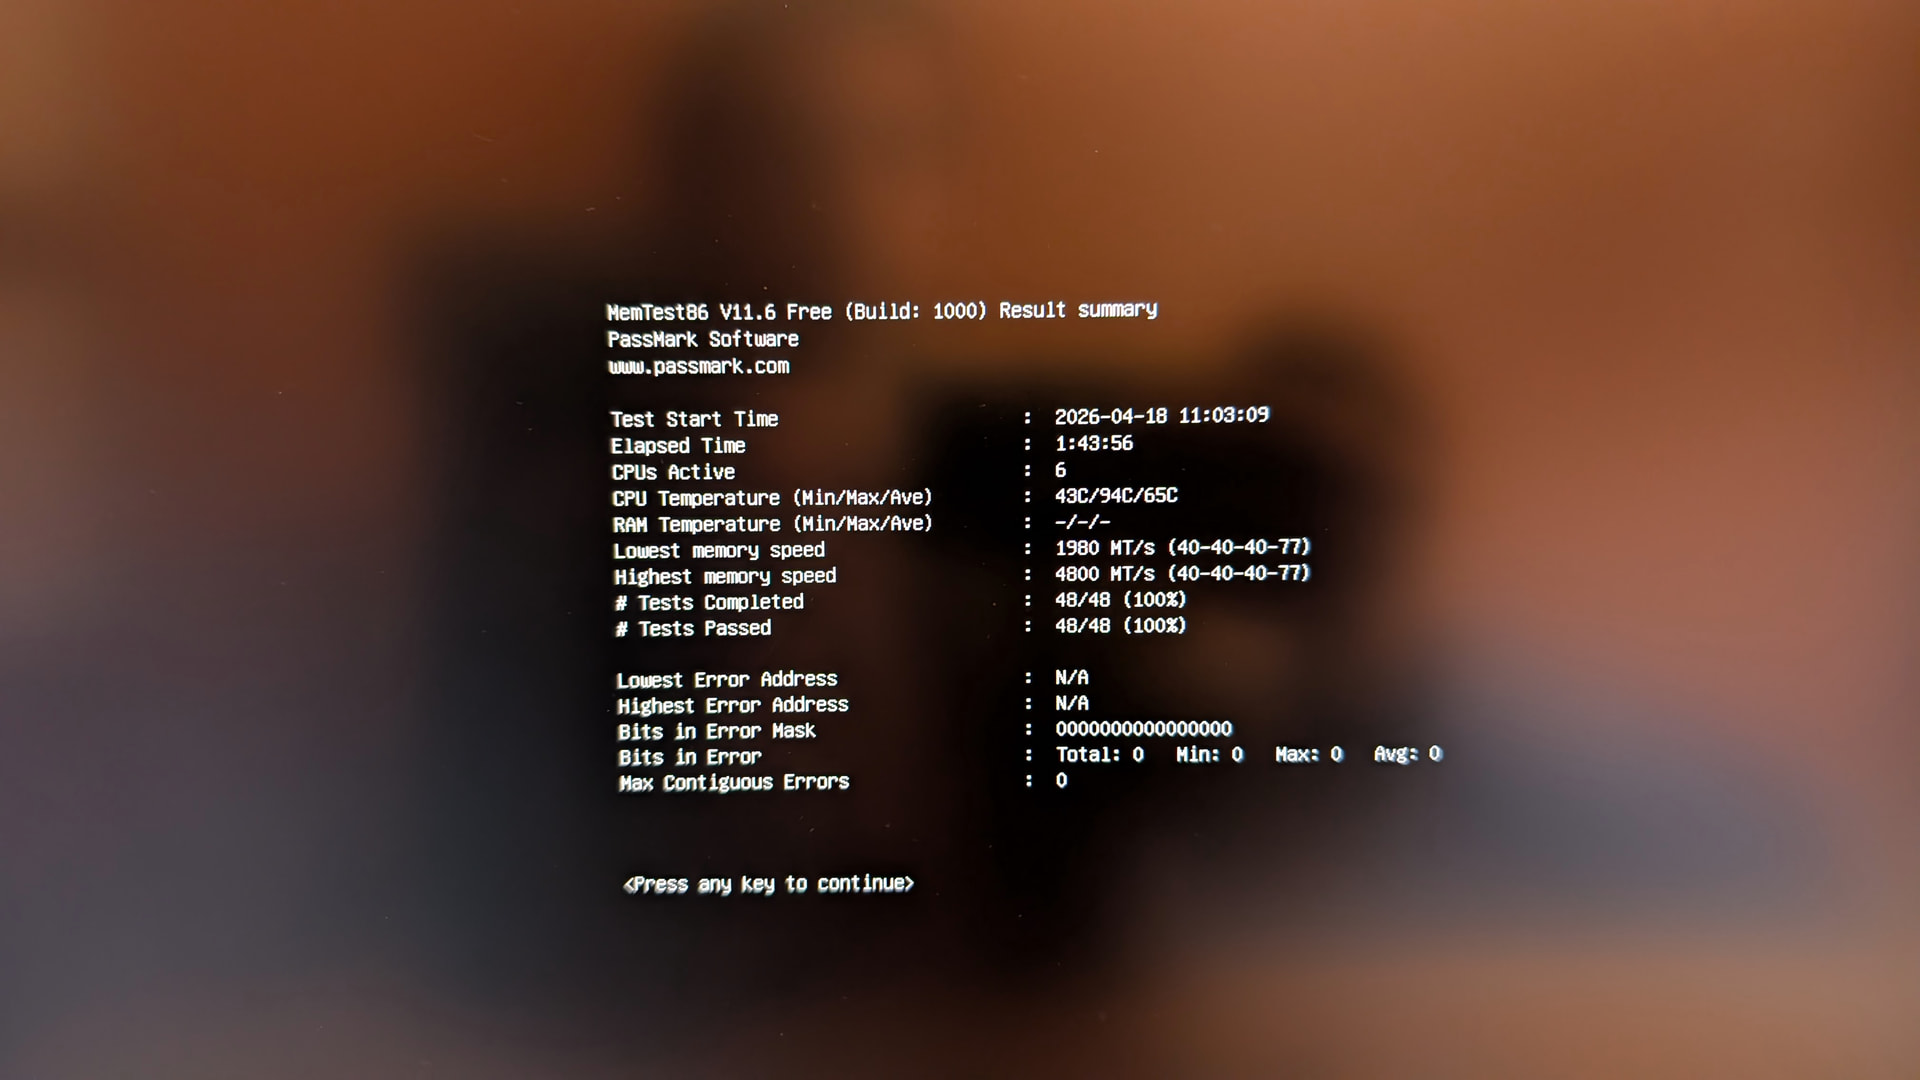
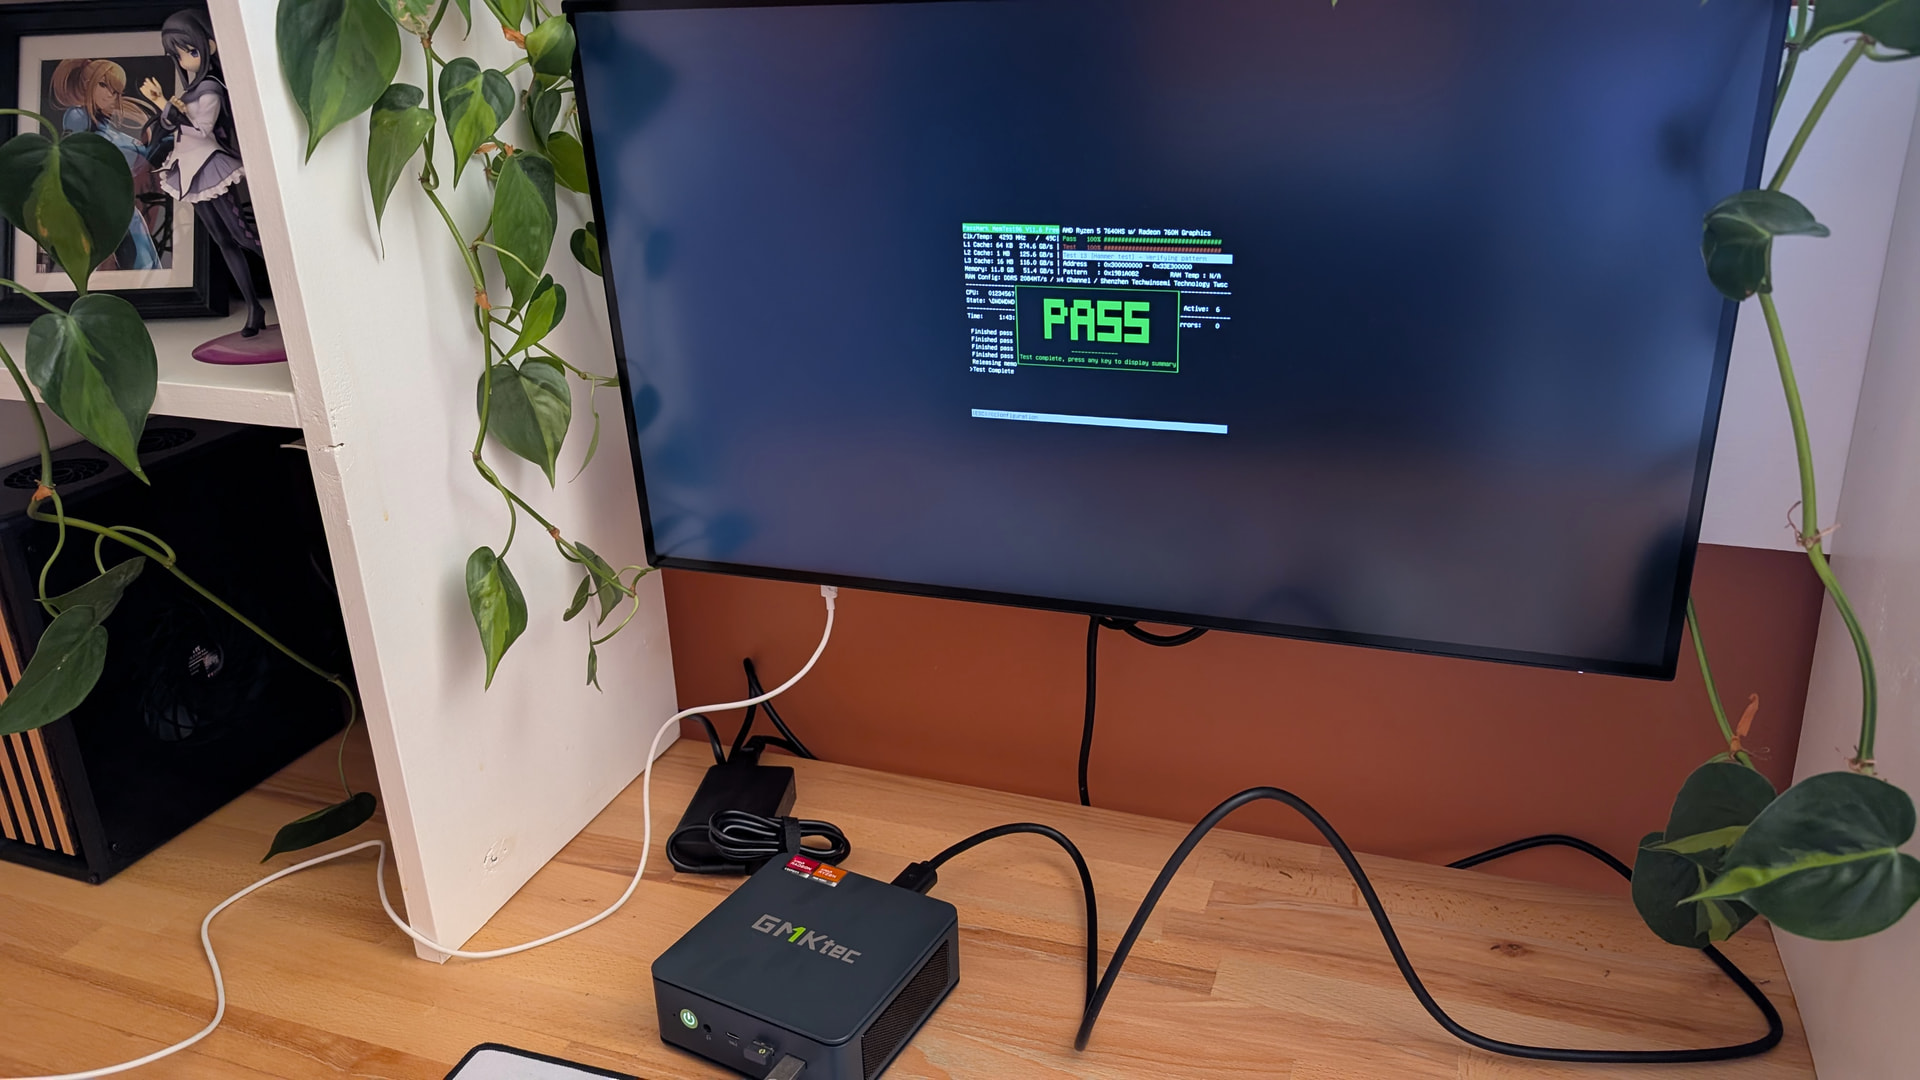
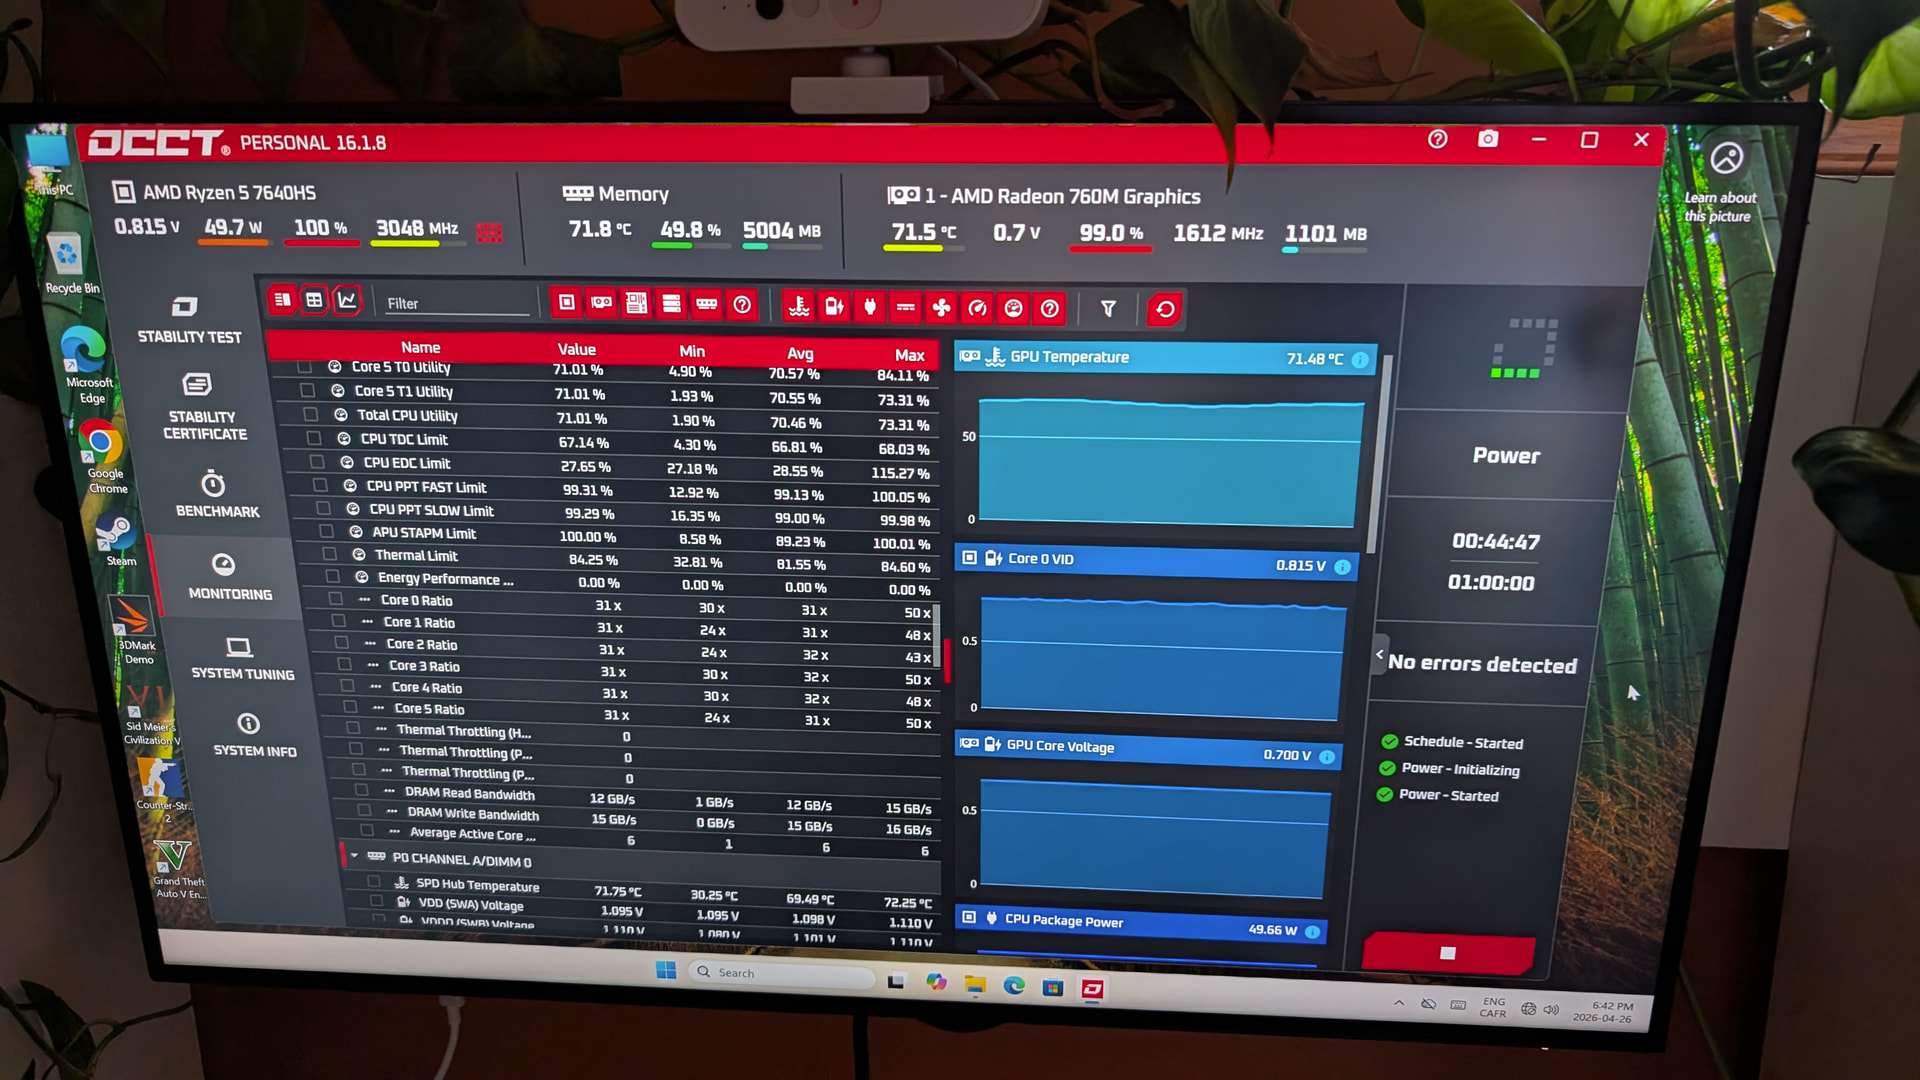
So I’ve been stress testing the miniPC since 3-4 days to test for stability. Memtest, Furmark, Prime95, OCCT, no problem seem to show up, everything is good. So that’s a good sign. Will not fail on me like the Minisforums of this world lol.
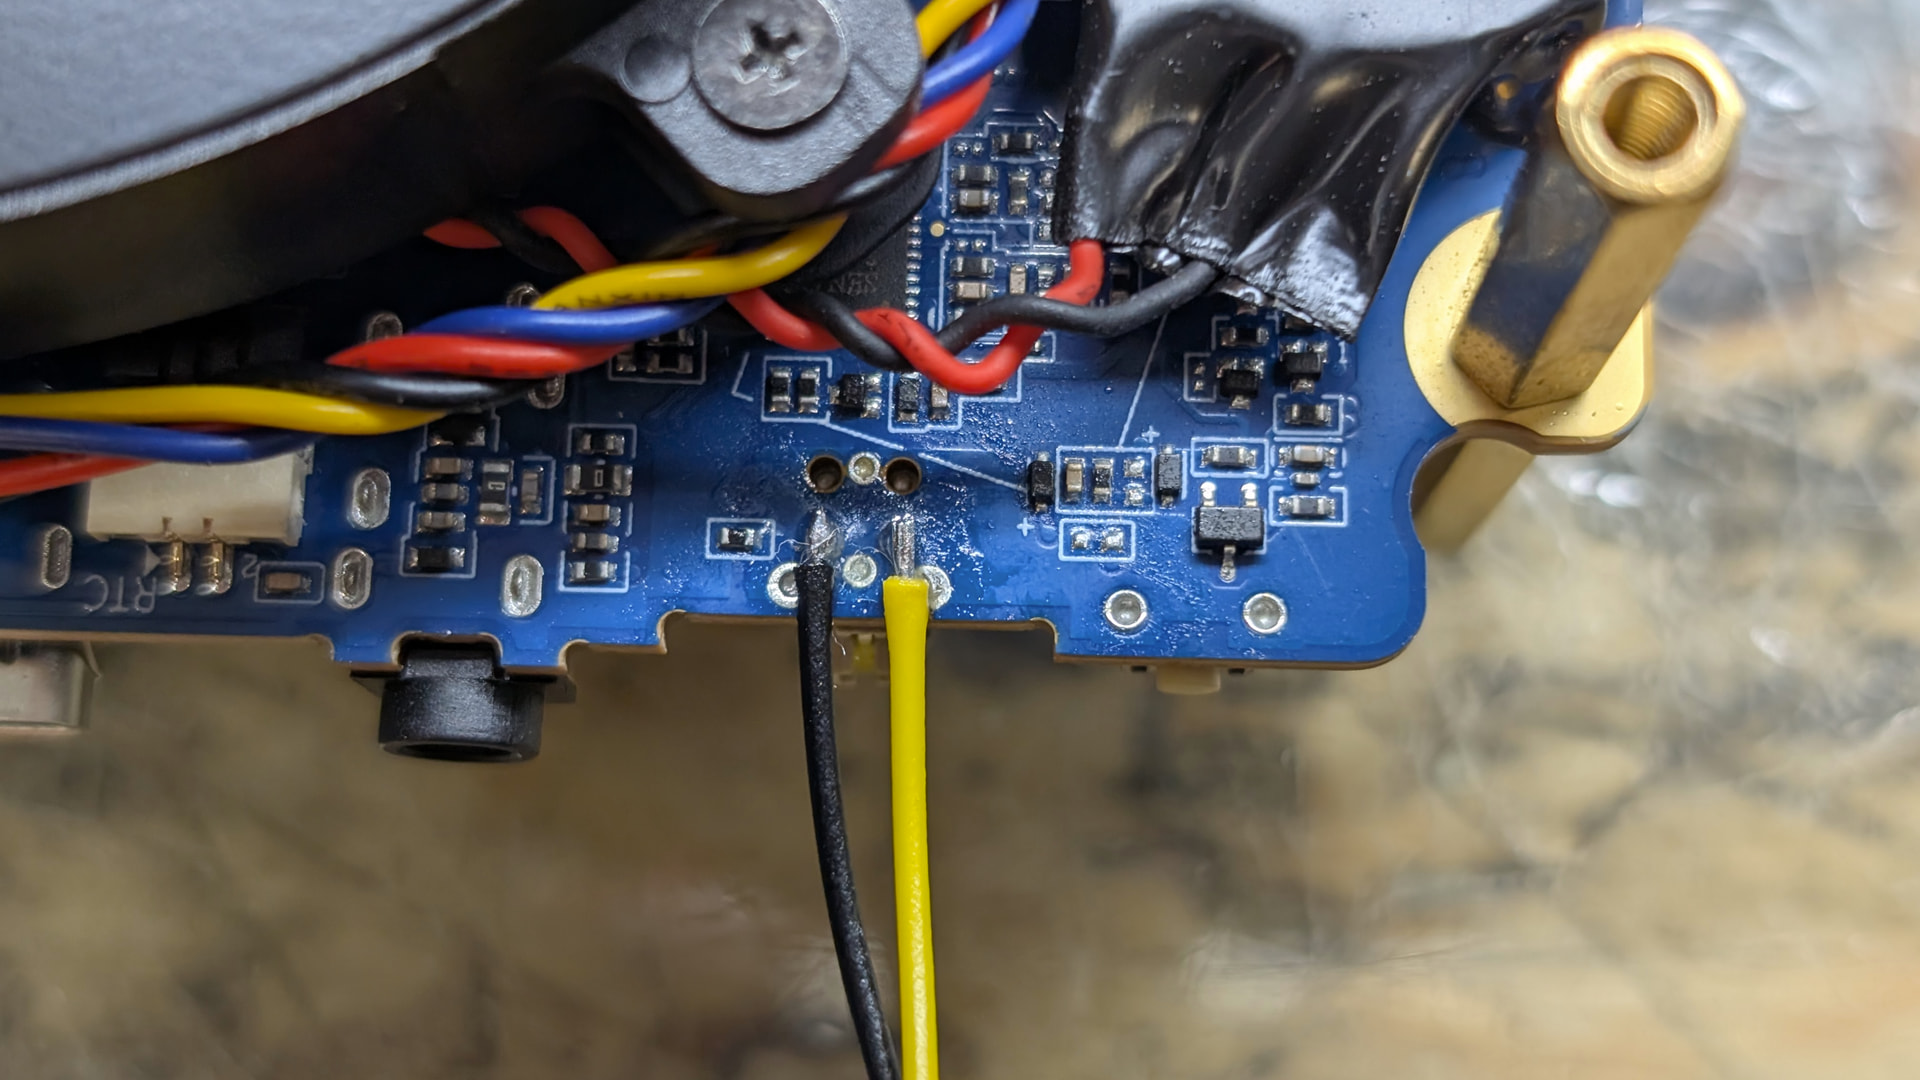
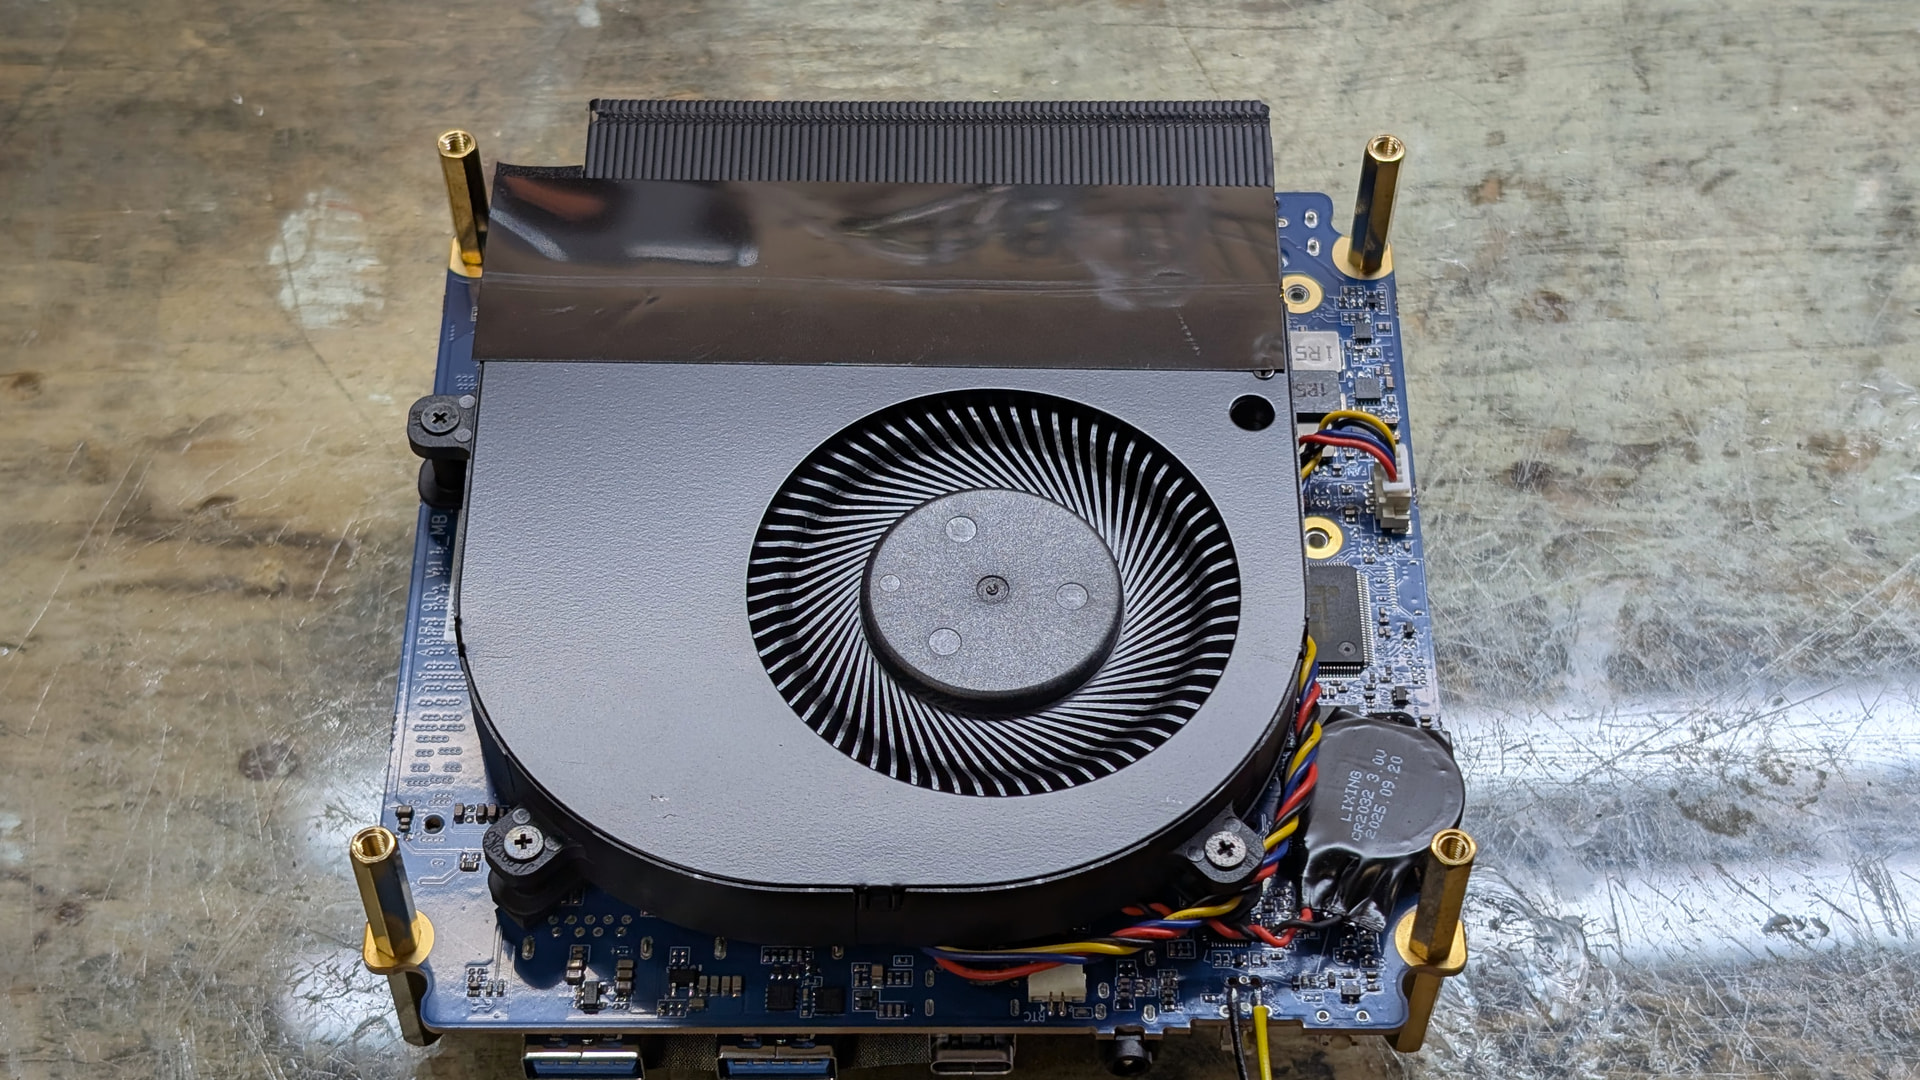
So with that cleared, today I soldered the leads for the external power button. After doing it, the PC stills runs good, and I’m stress testing again to make sure there would be nothing wrong.
Otherwise I just received the Dreamcast shell today. All seems good aside the spring for the cover that seems a bit weak, but anyway will not be open often. Receiving allowed me confirm some last measures for 3D printing
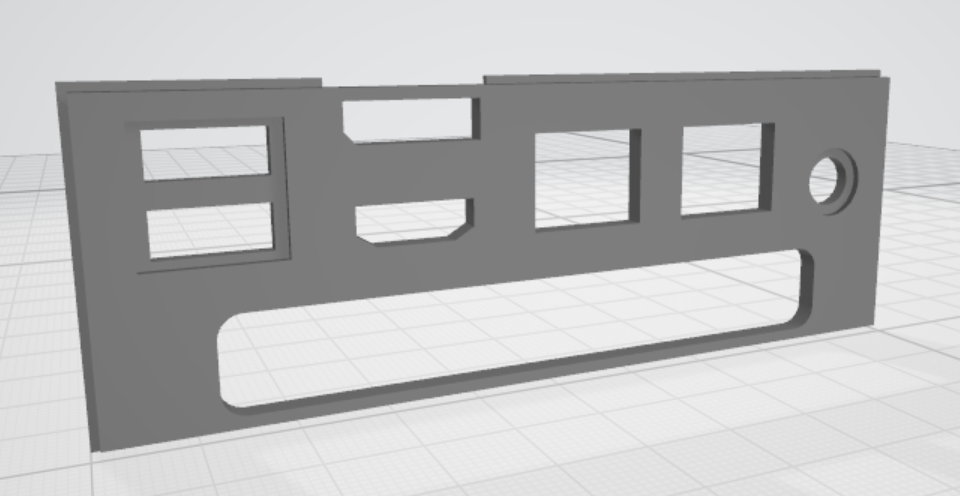
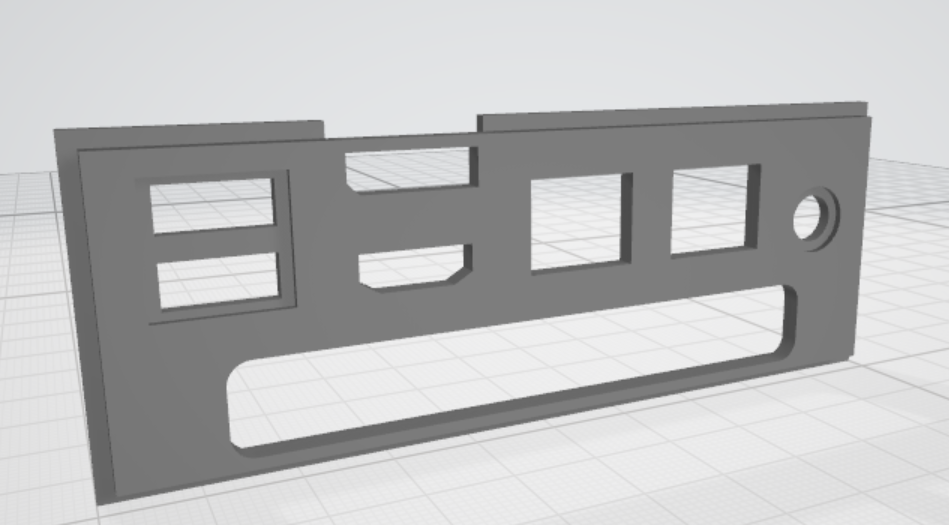
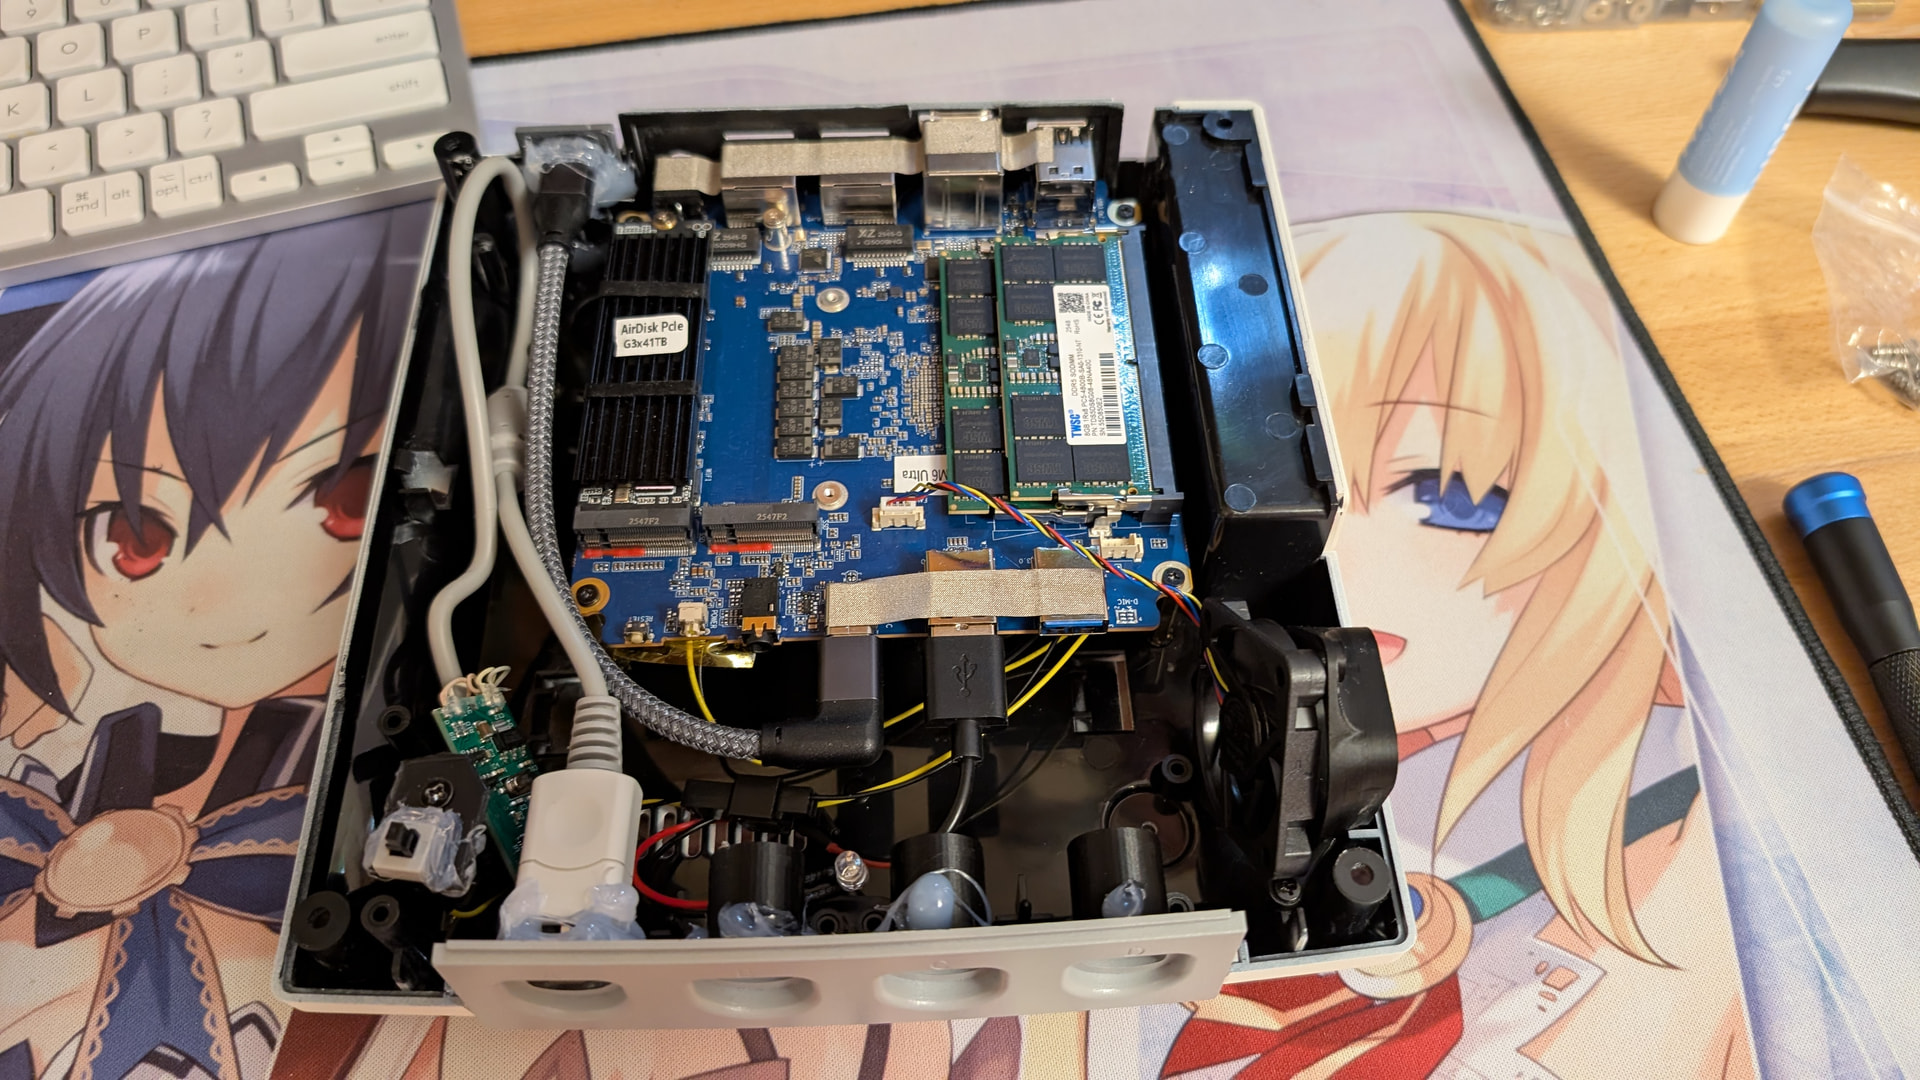
Because this time around, I’m doing a lot of 3D print pieces. Surprisingly, the GMKTec M6 Ultra seems to have a small modding scene around it, because I was able to find a 3D model of the shell online
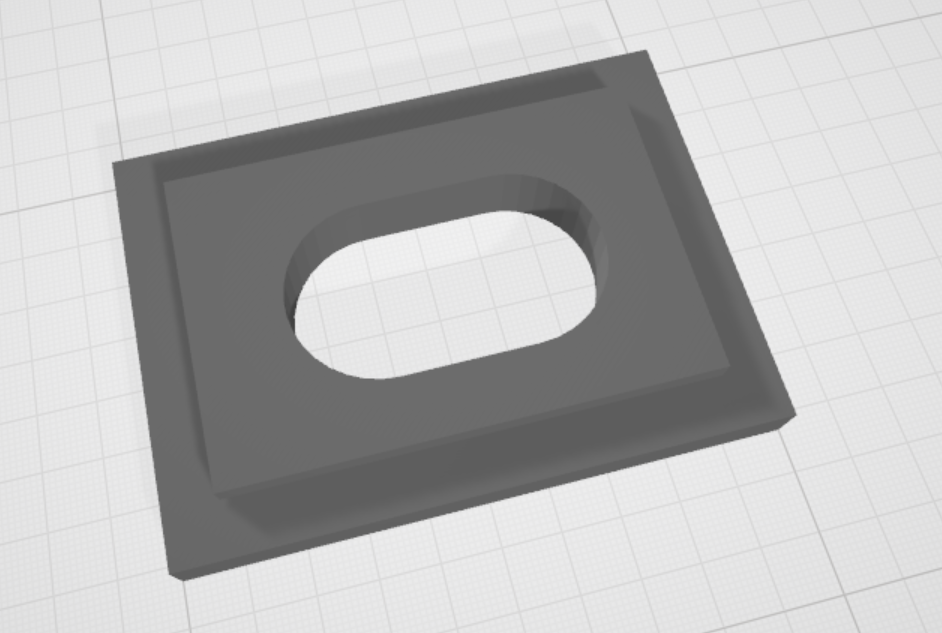
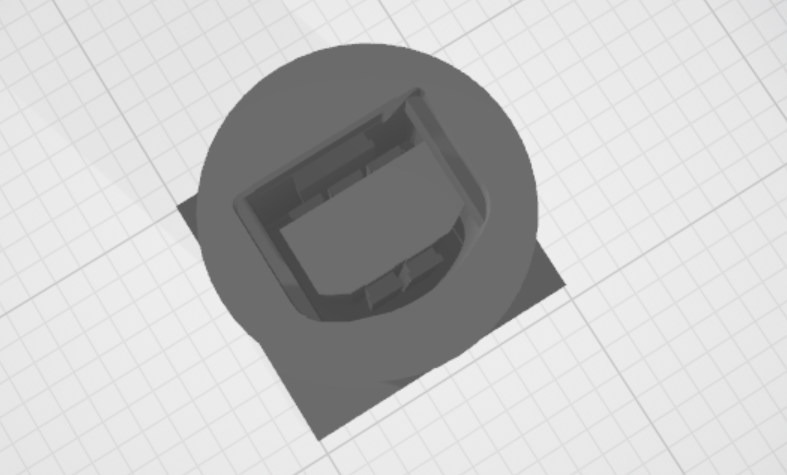
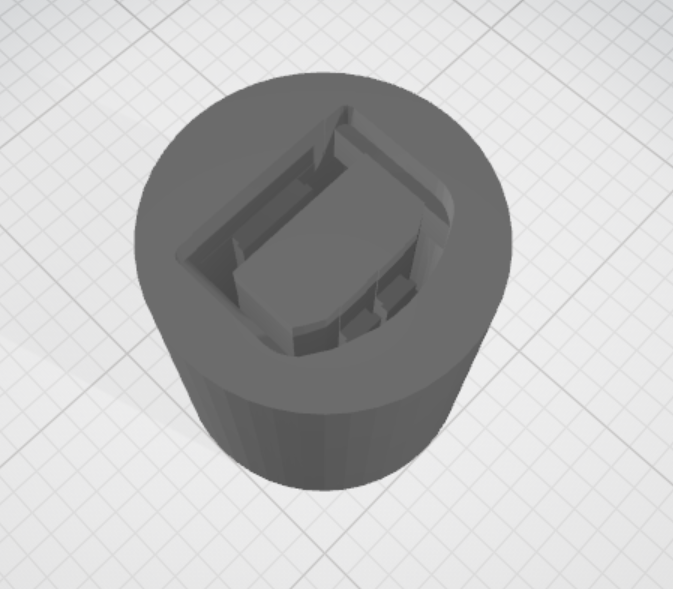
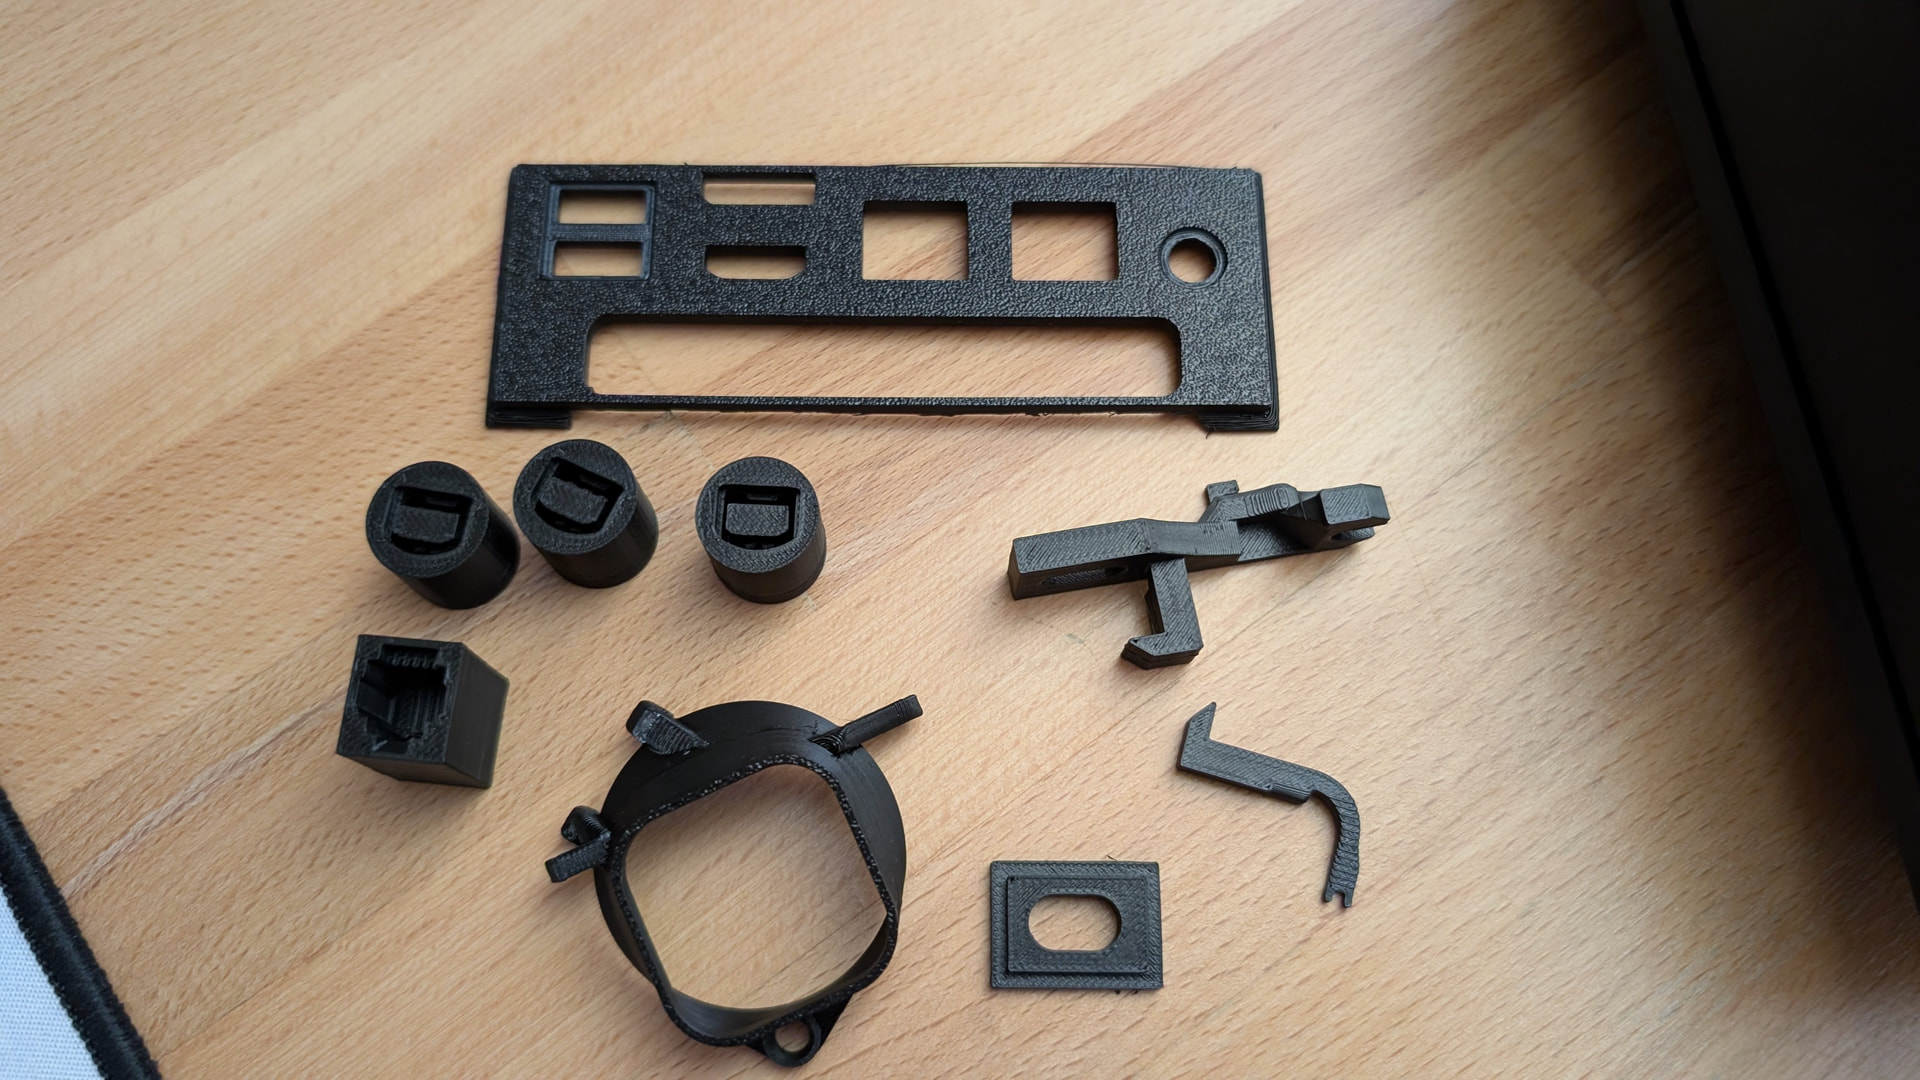
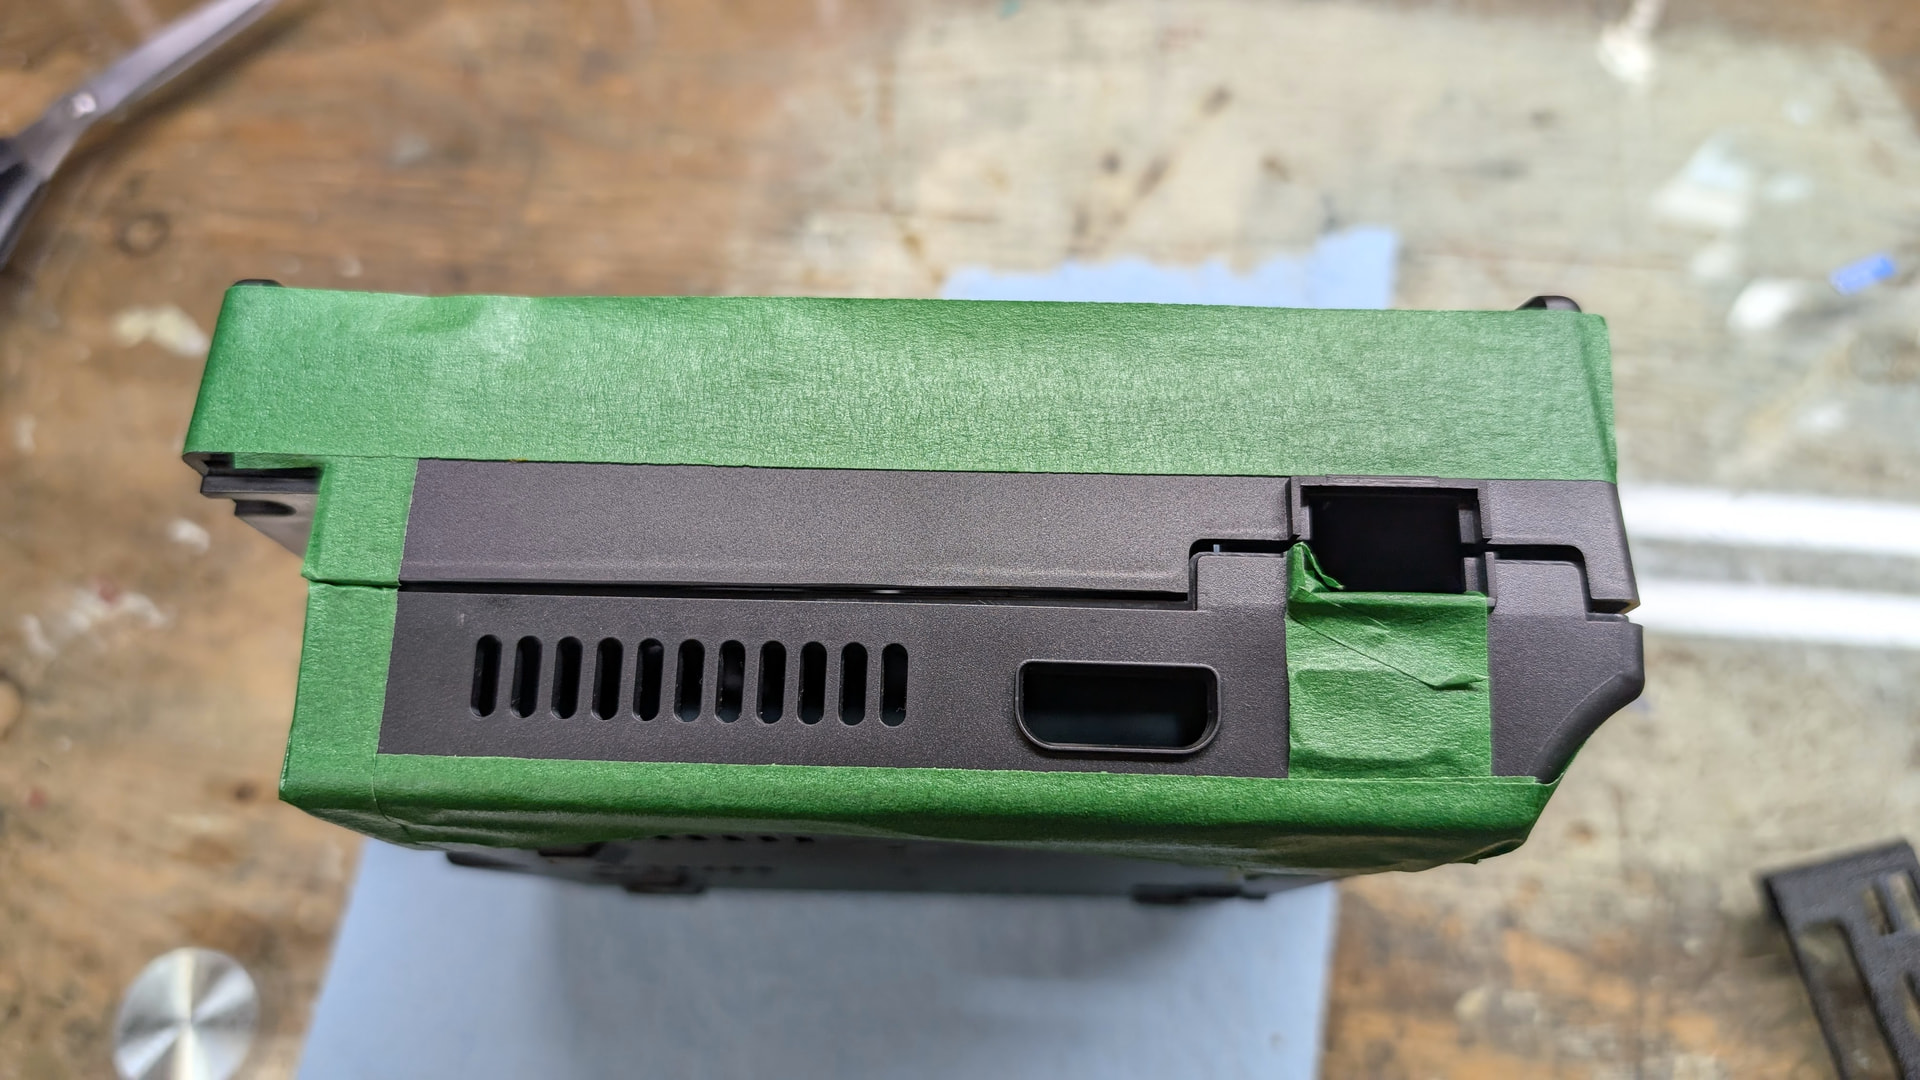
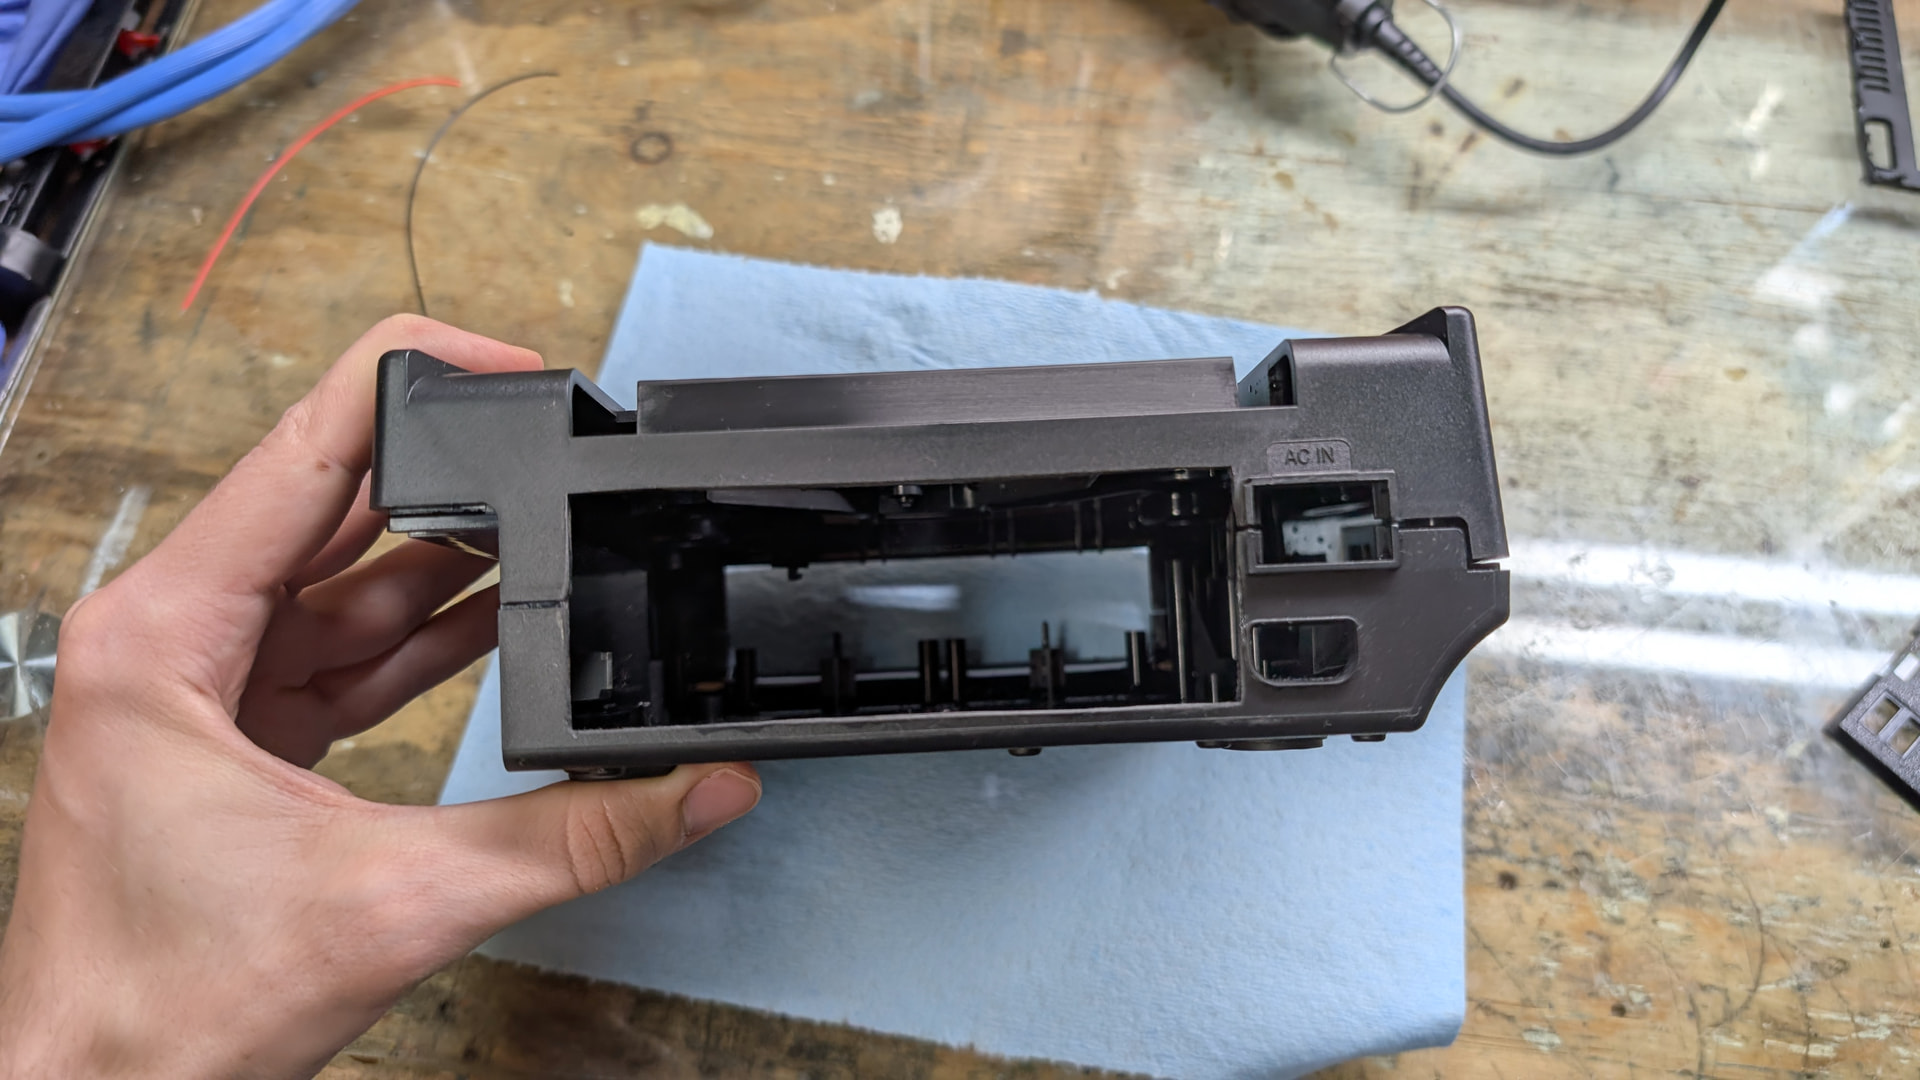
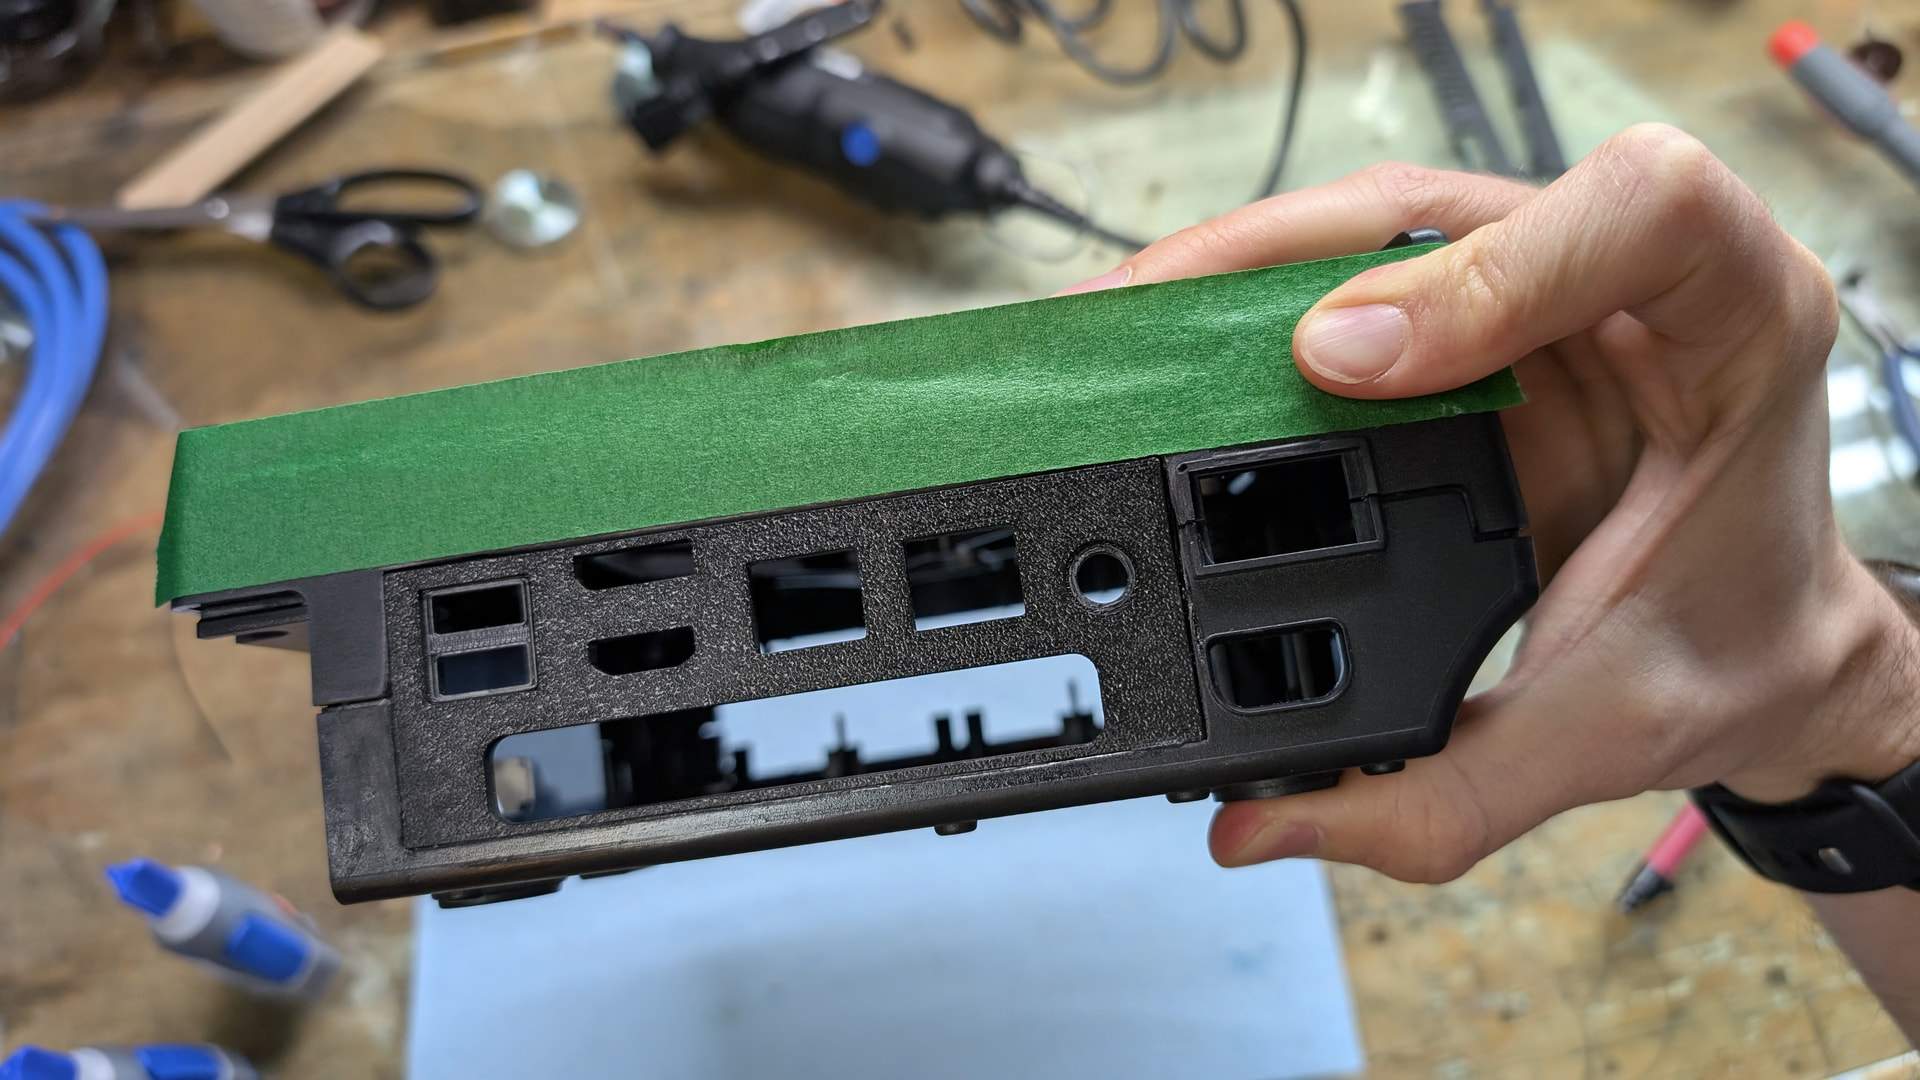
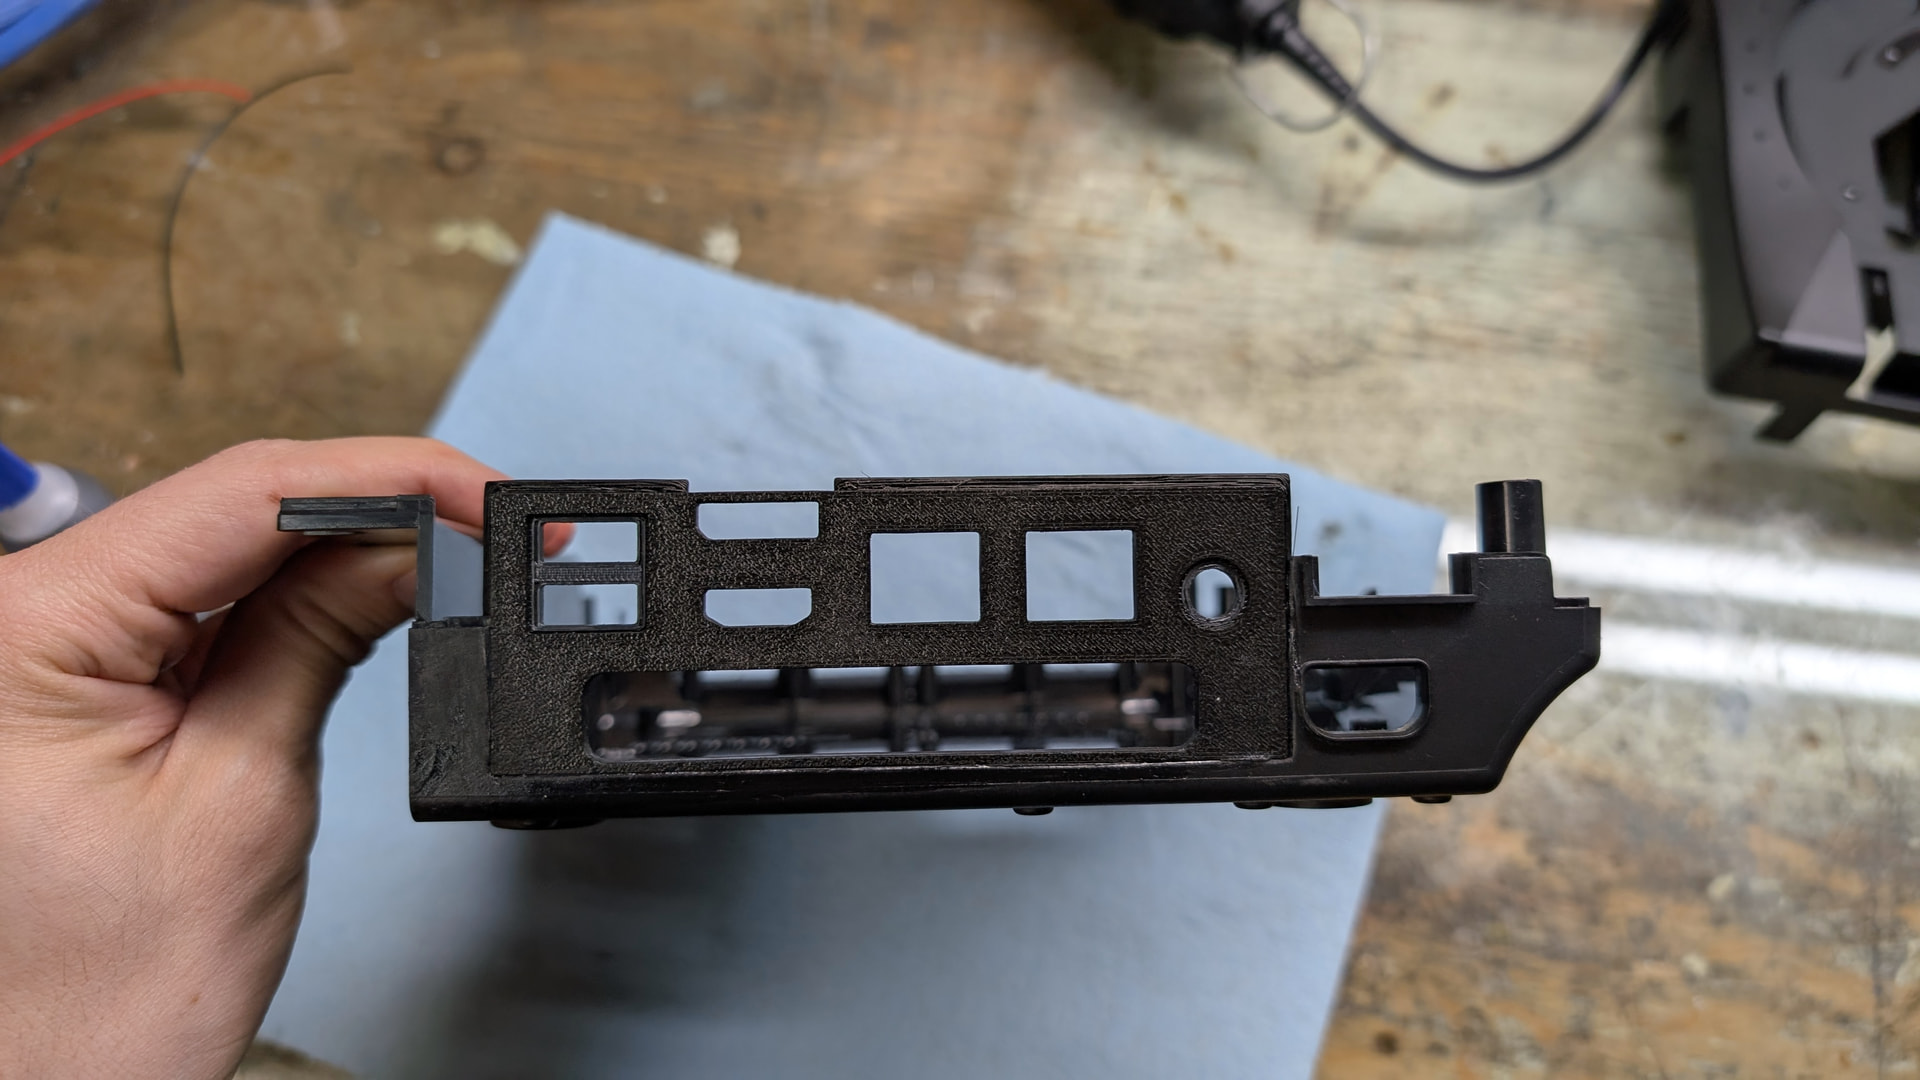
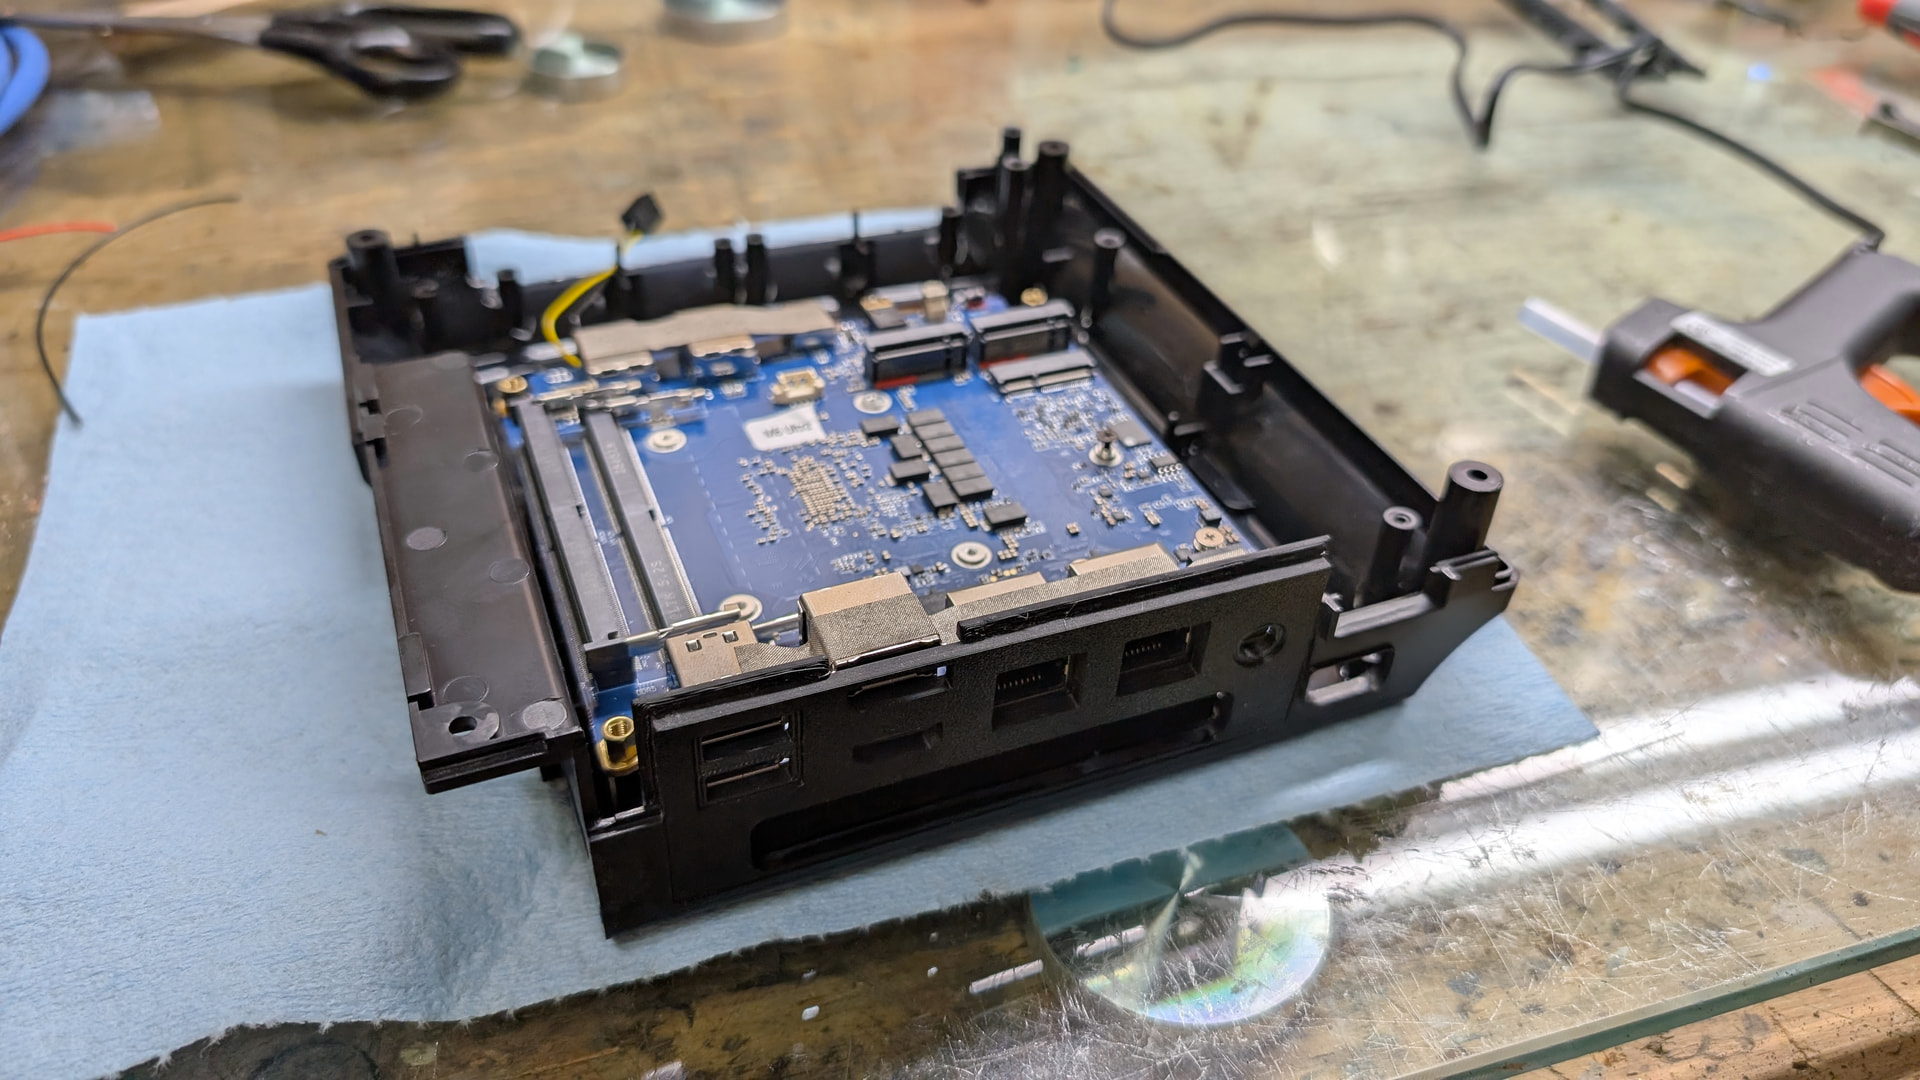
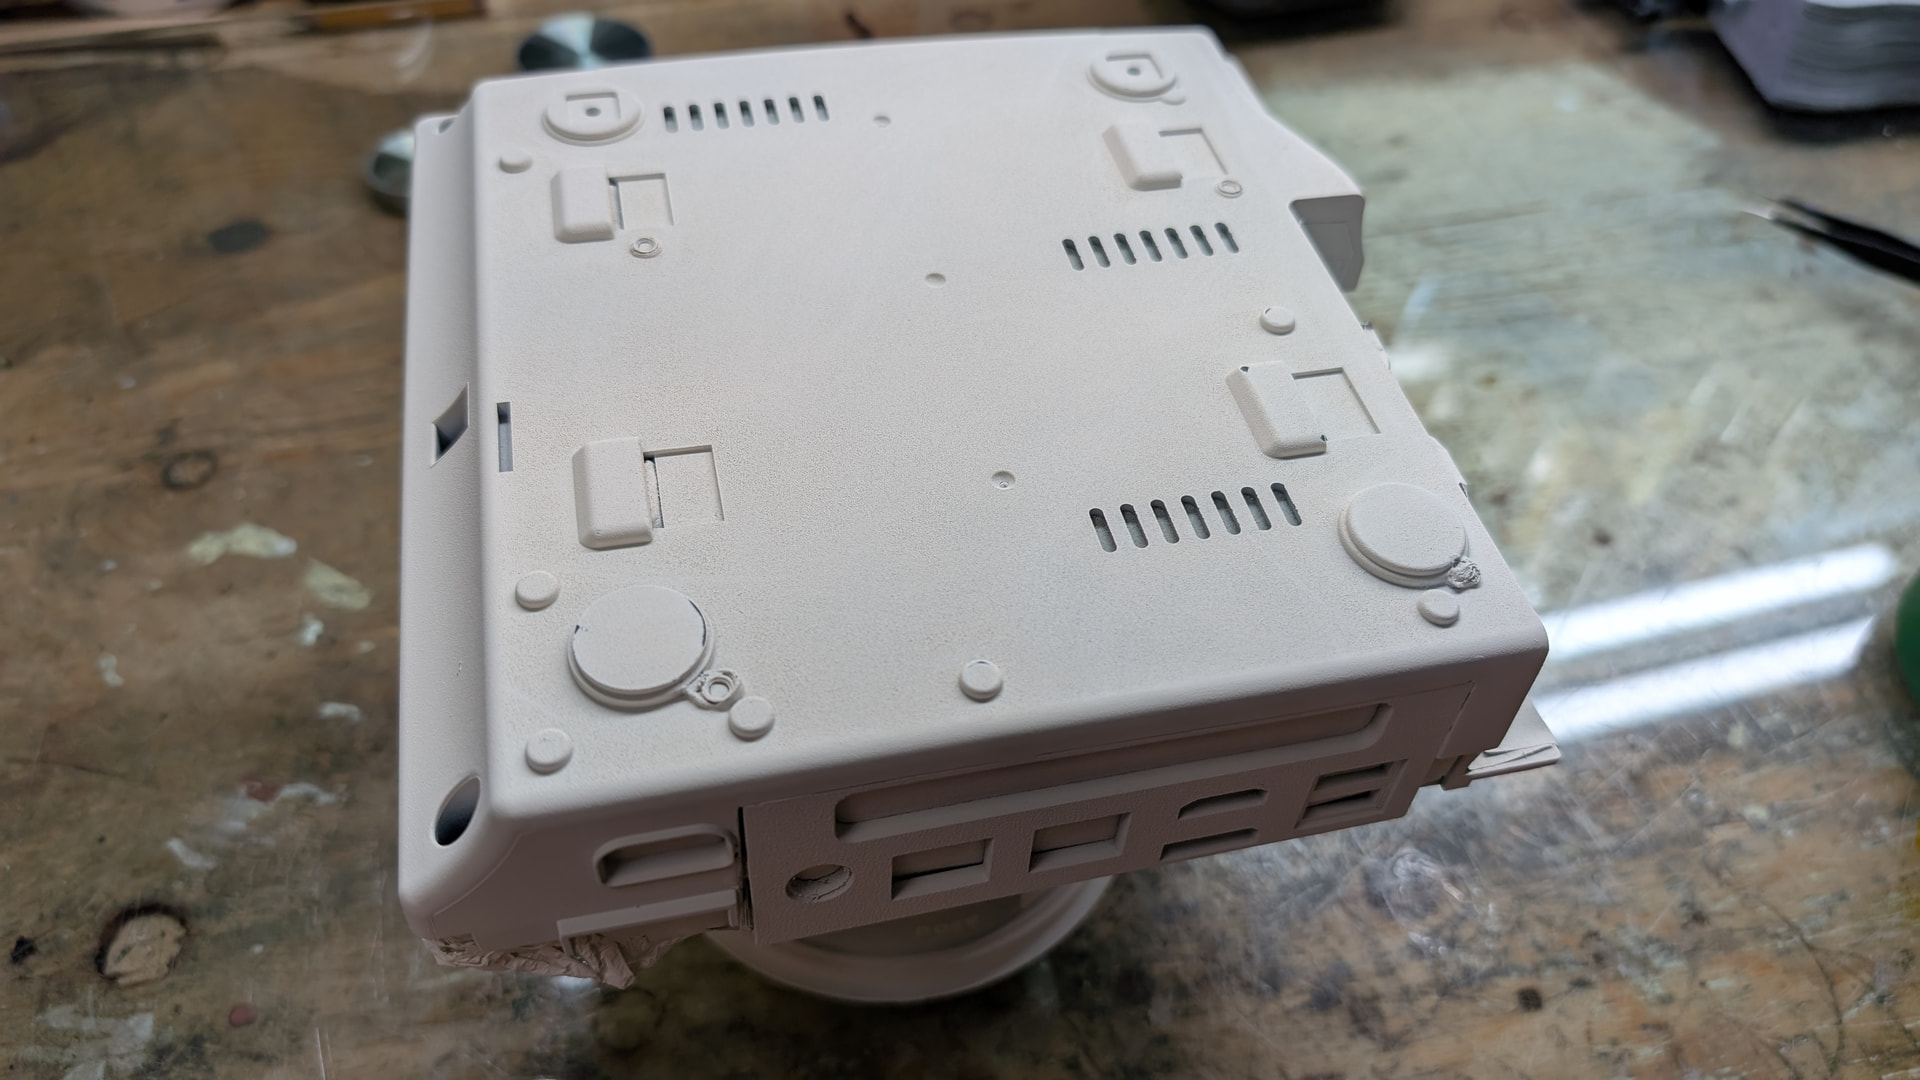
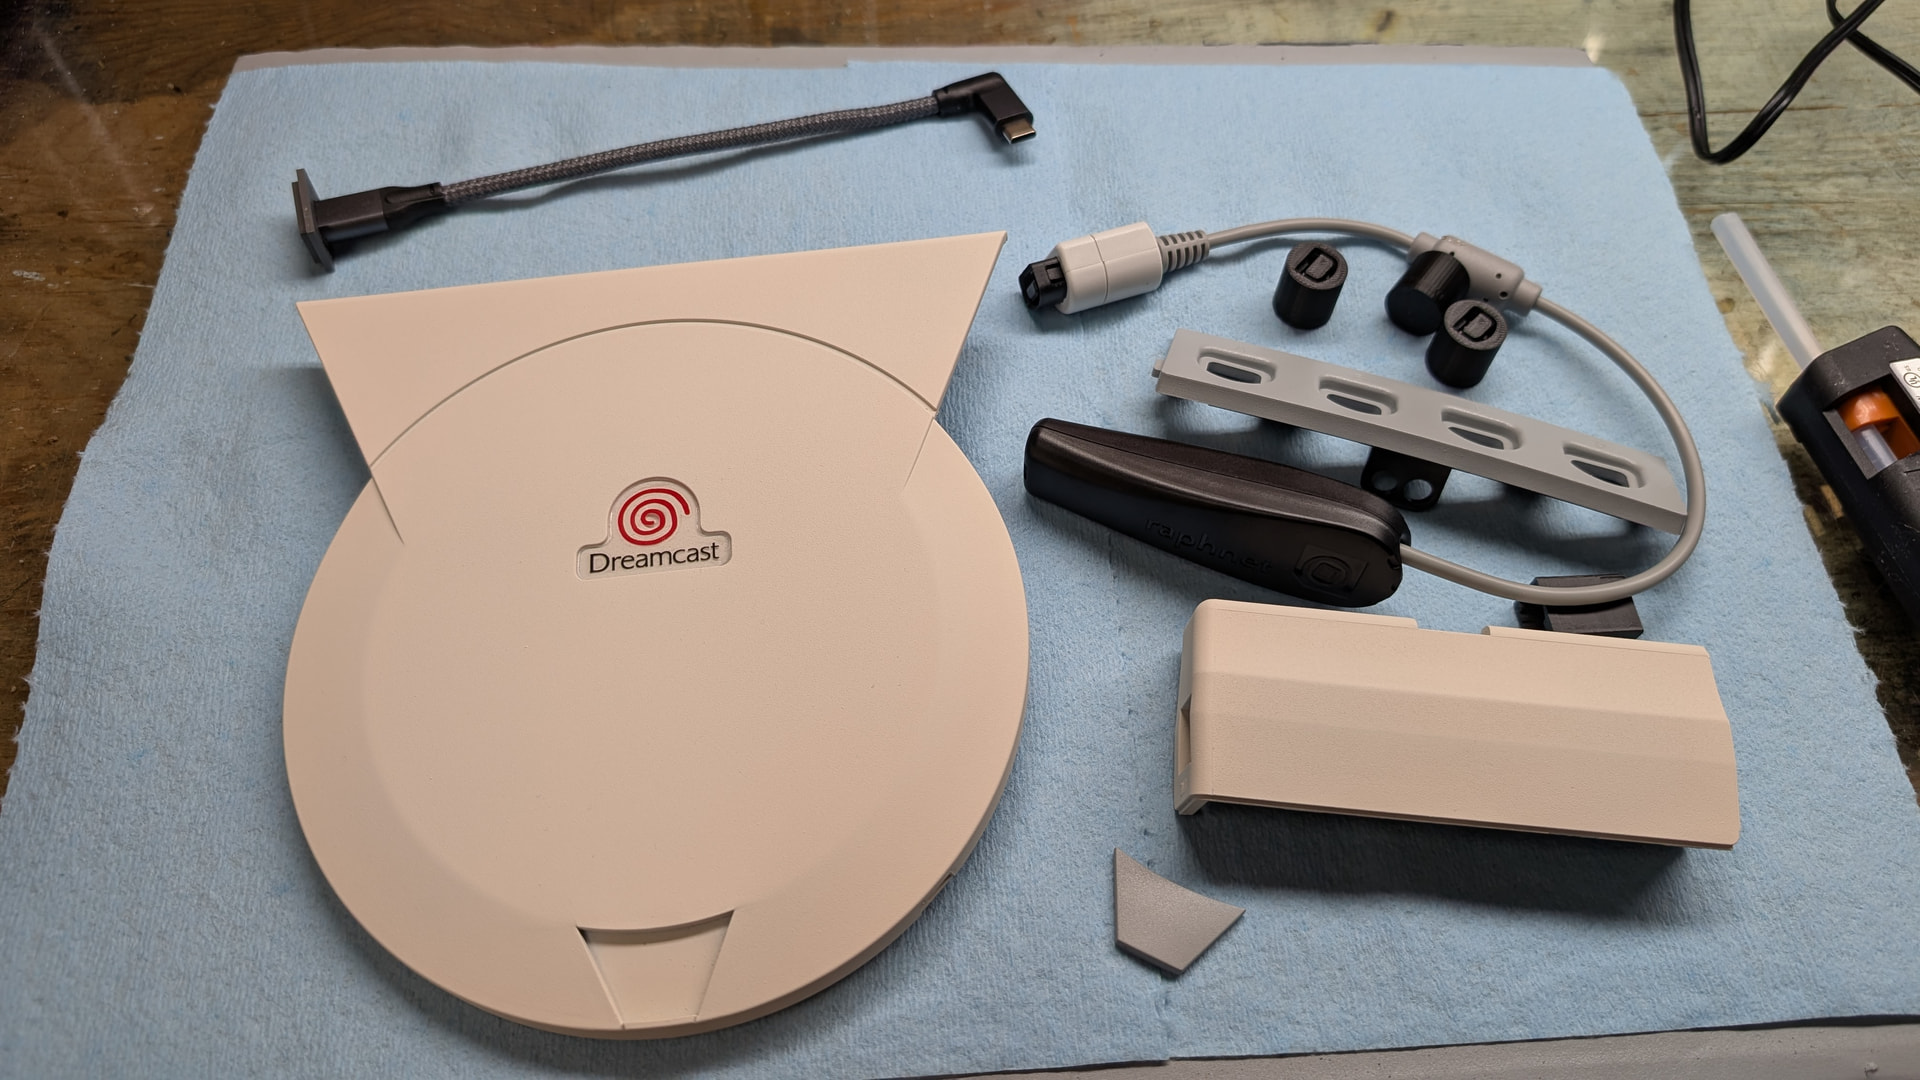
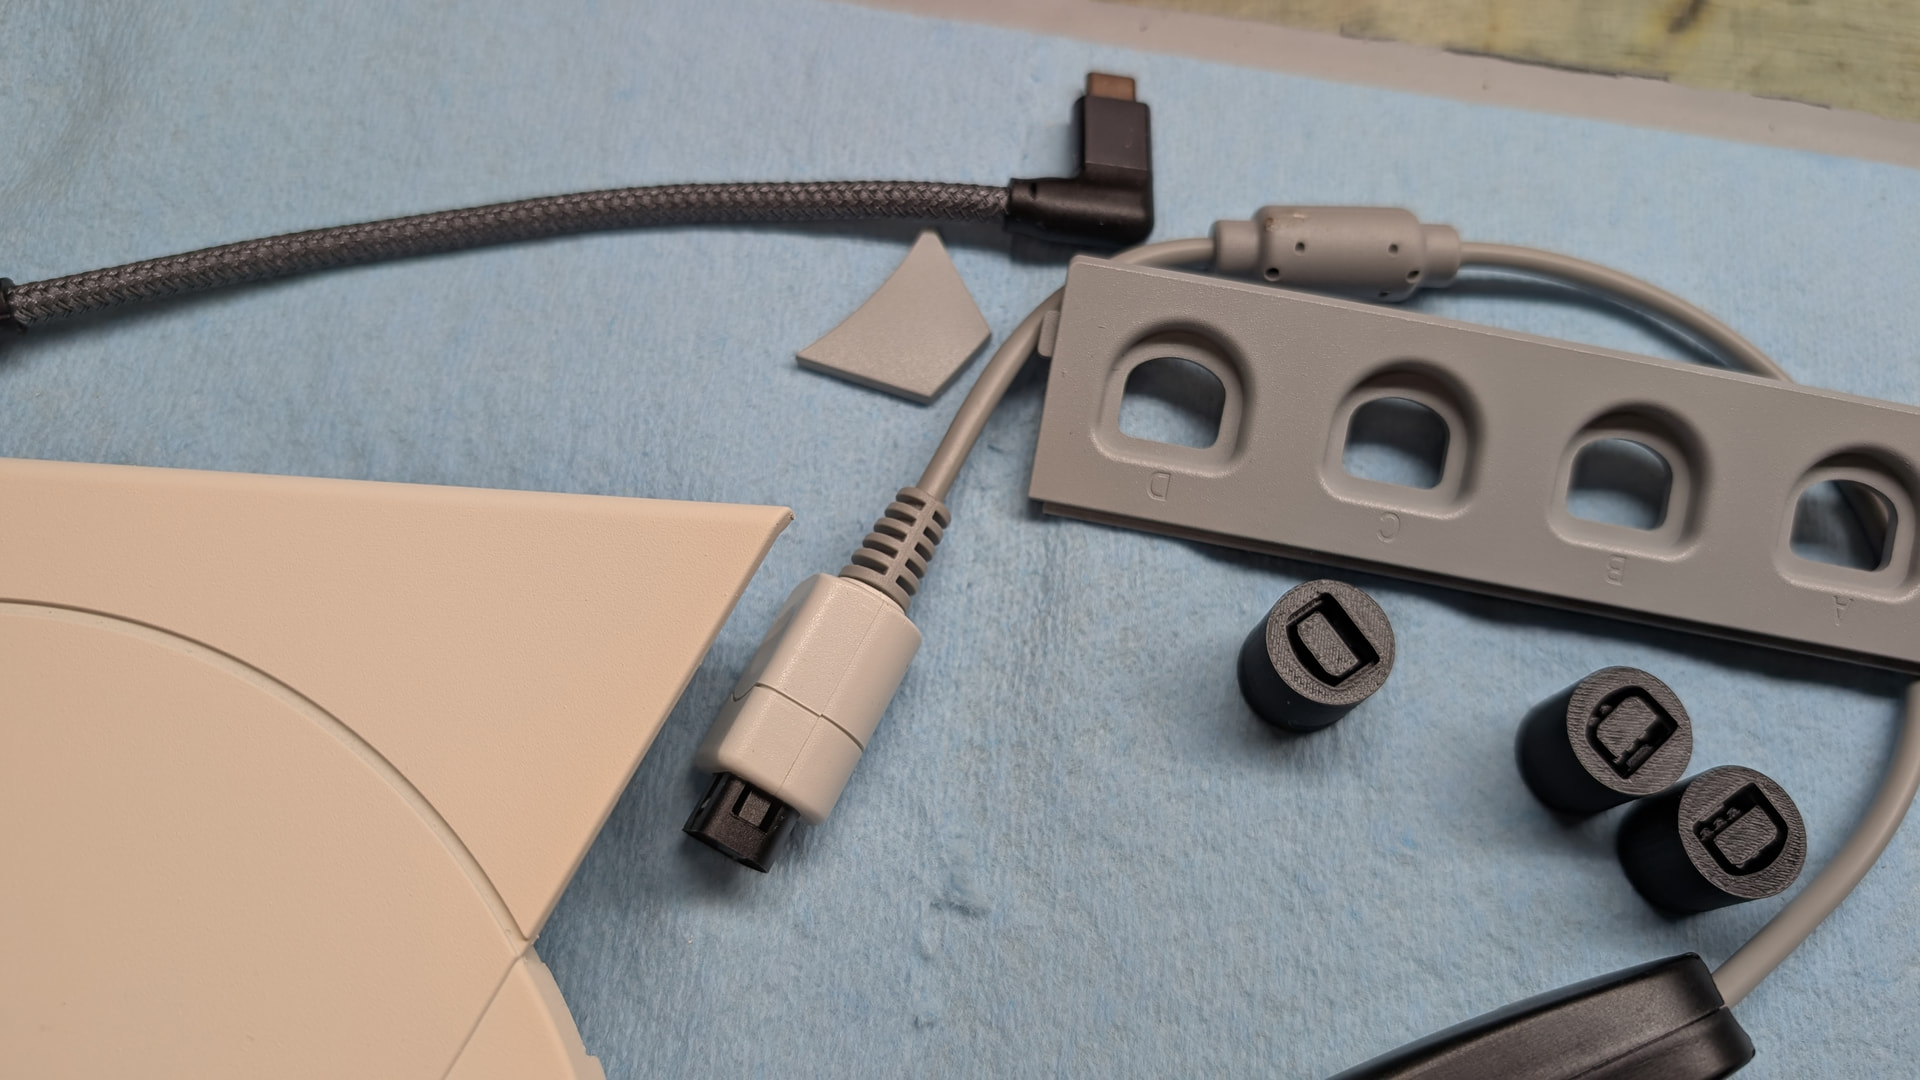
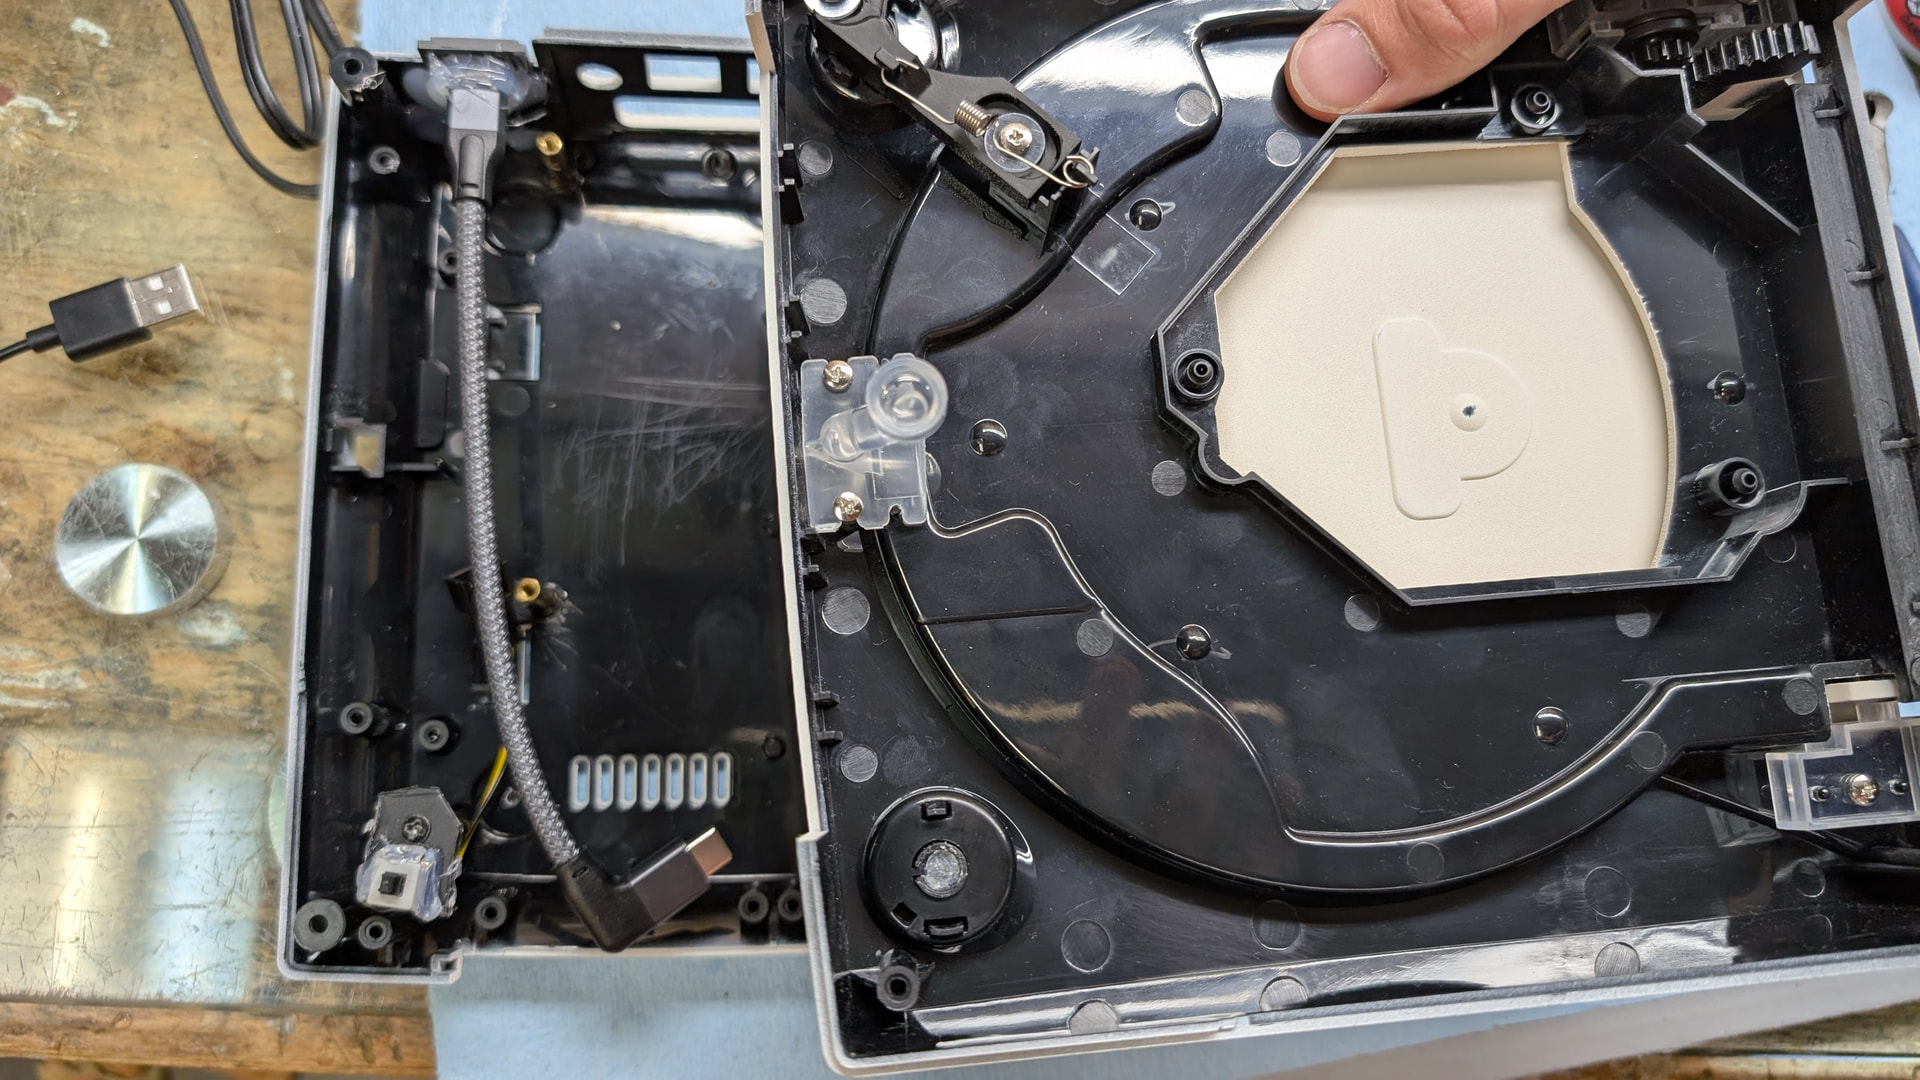
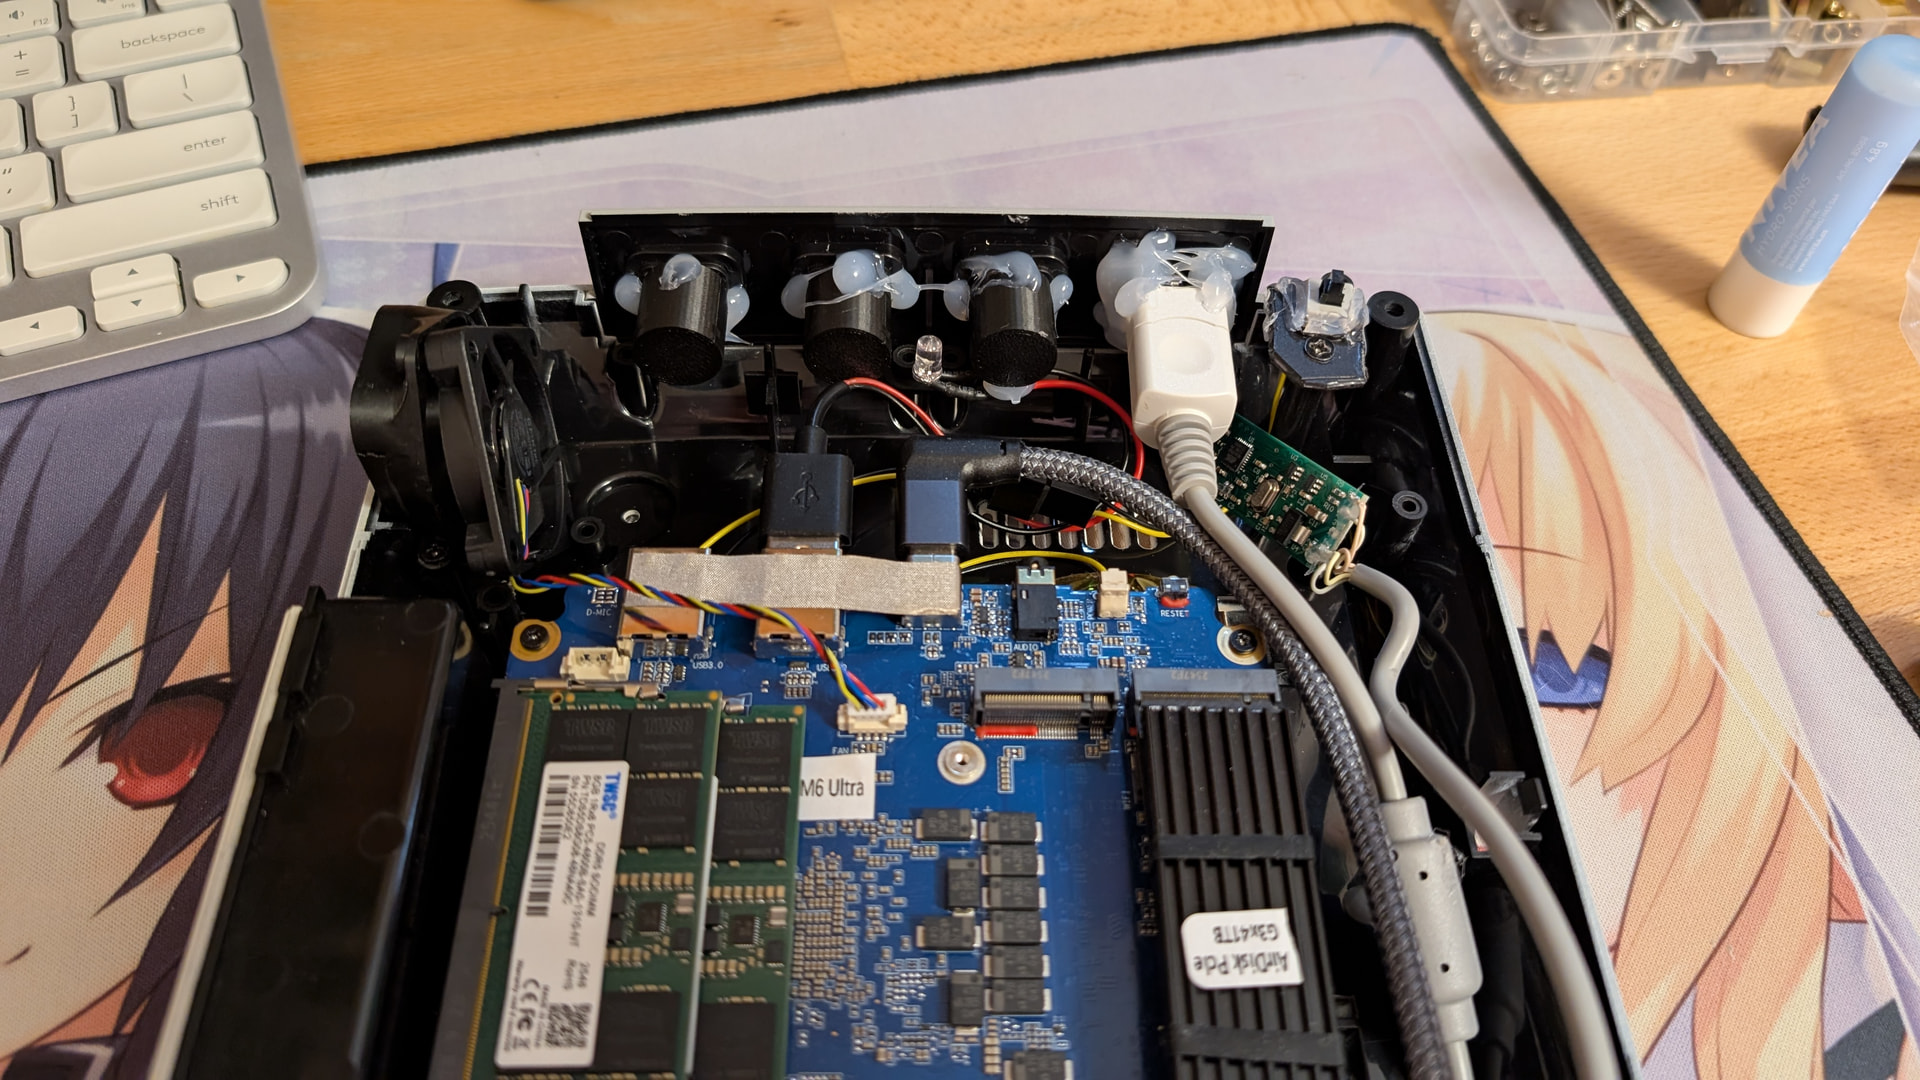
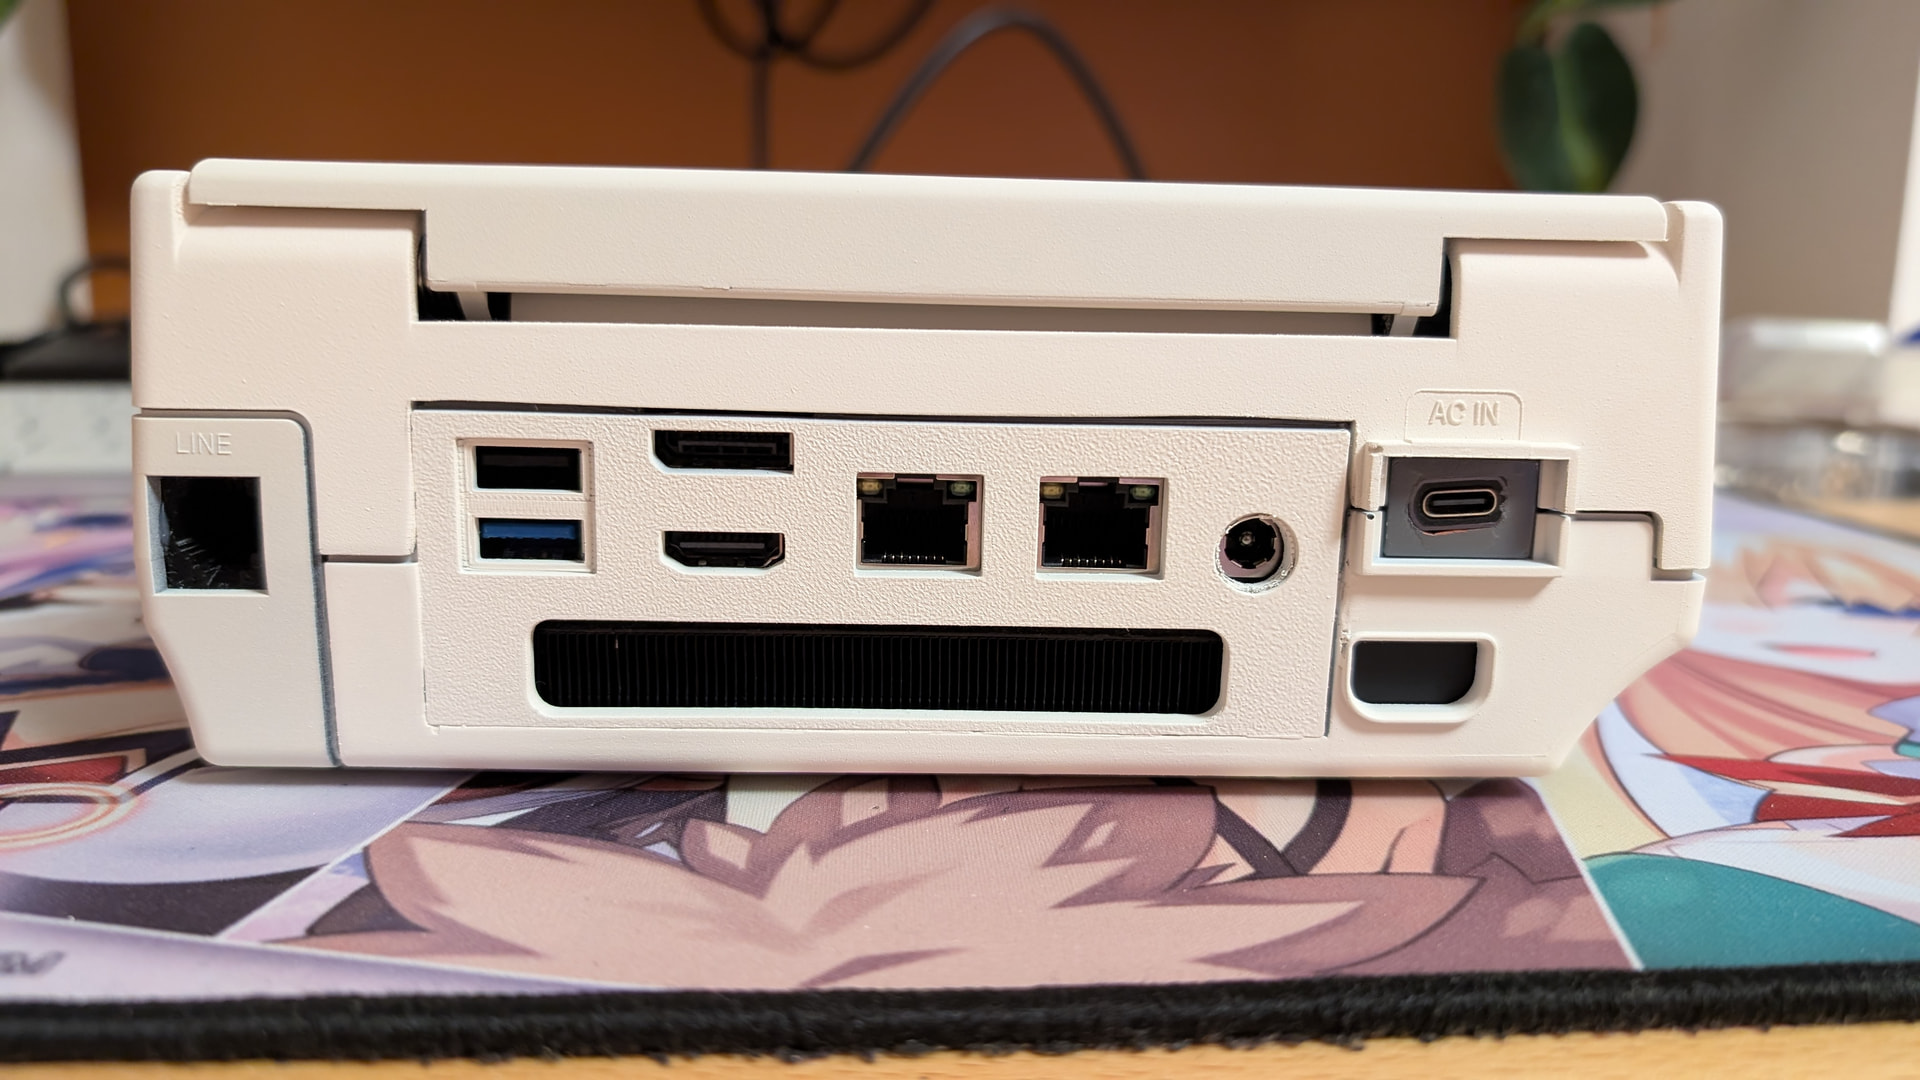
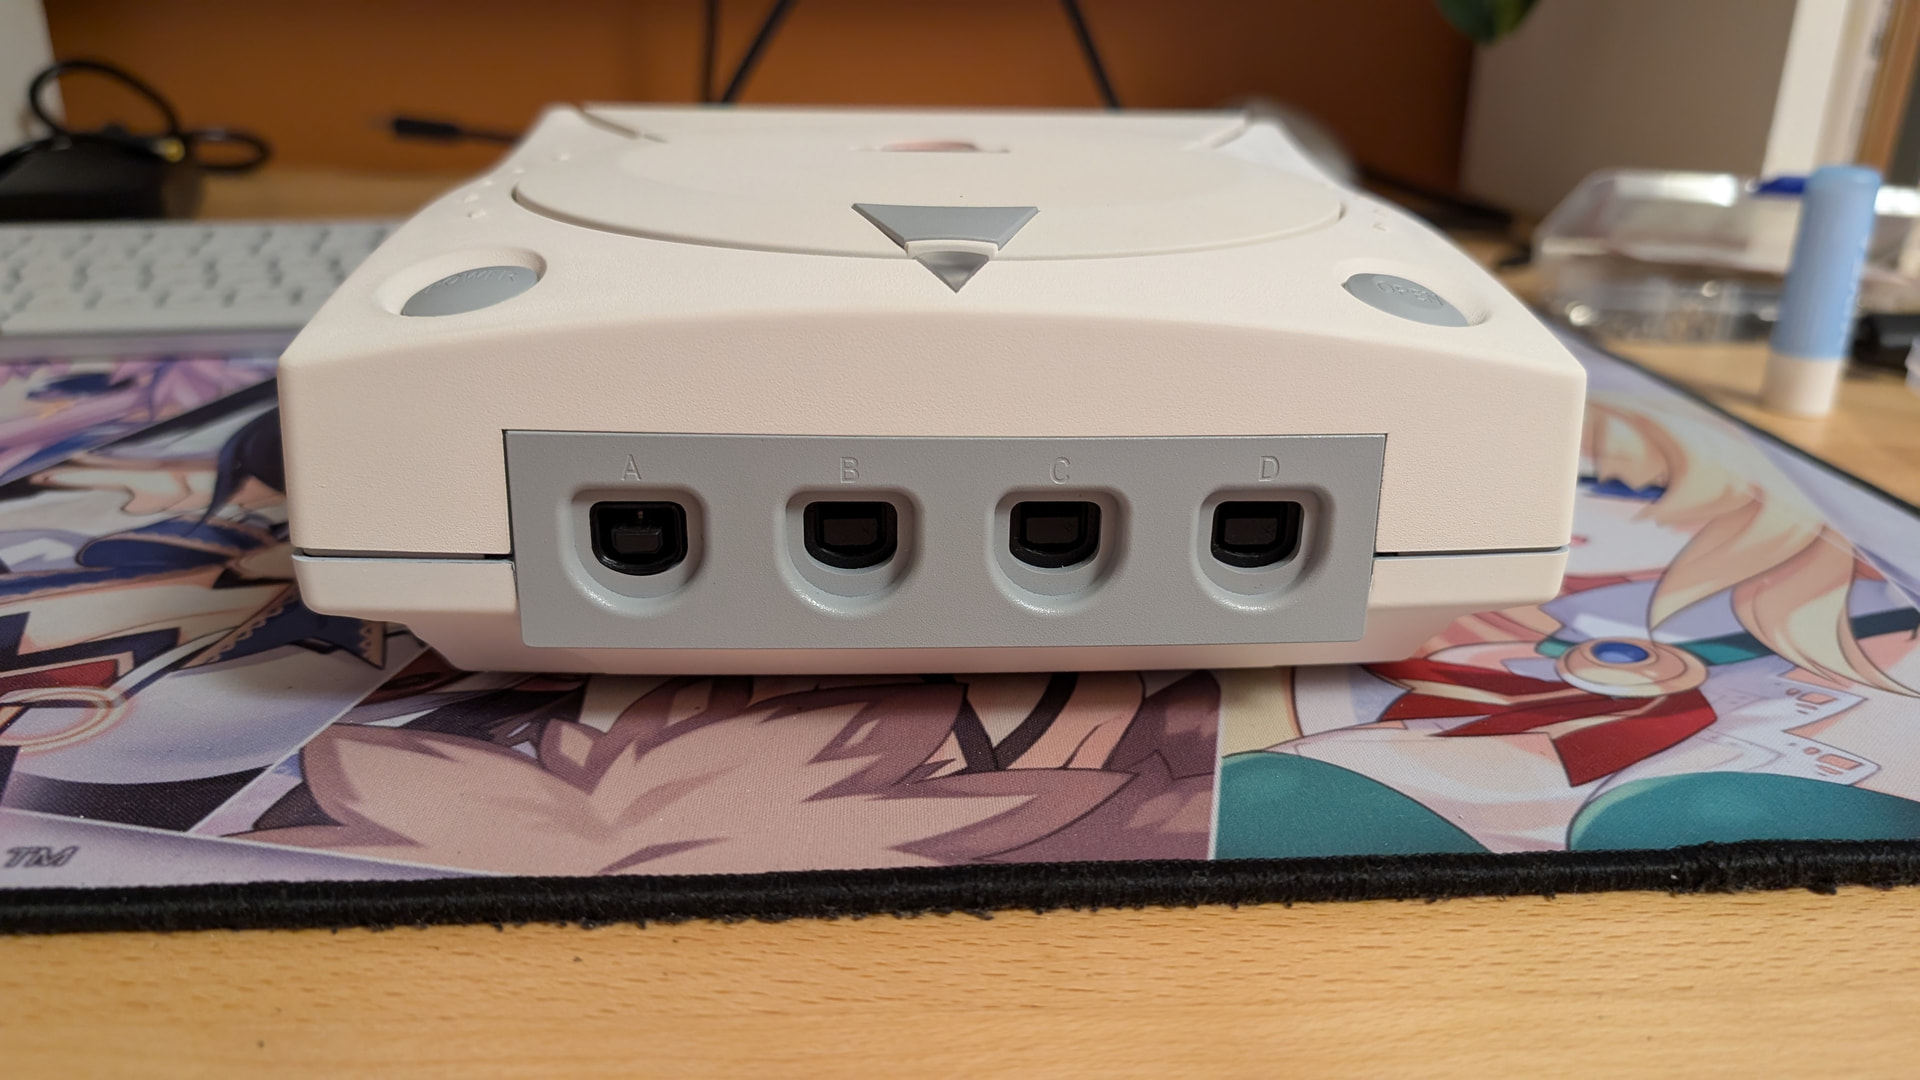
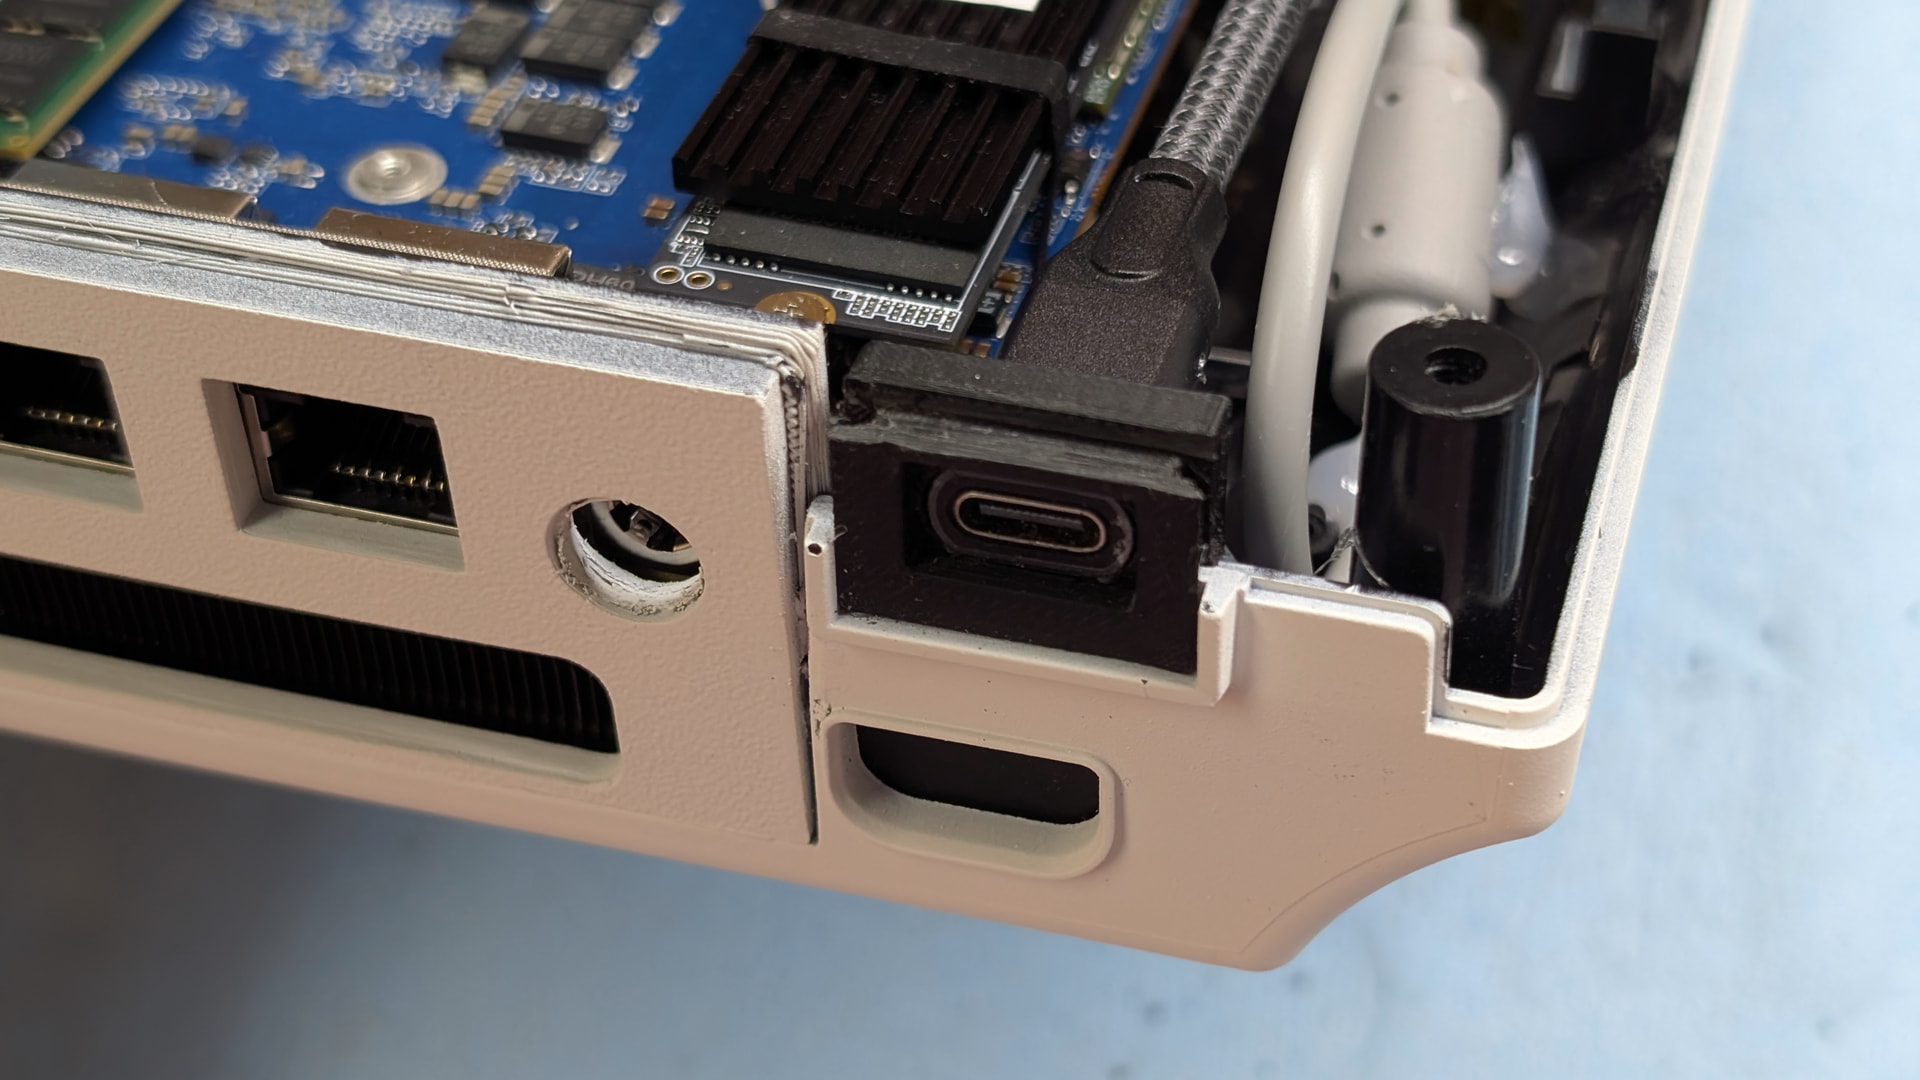
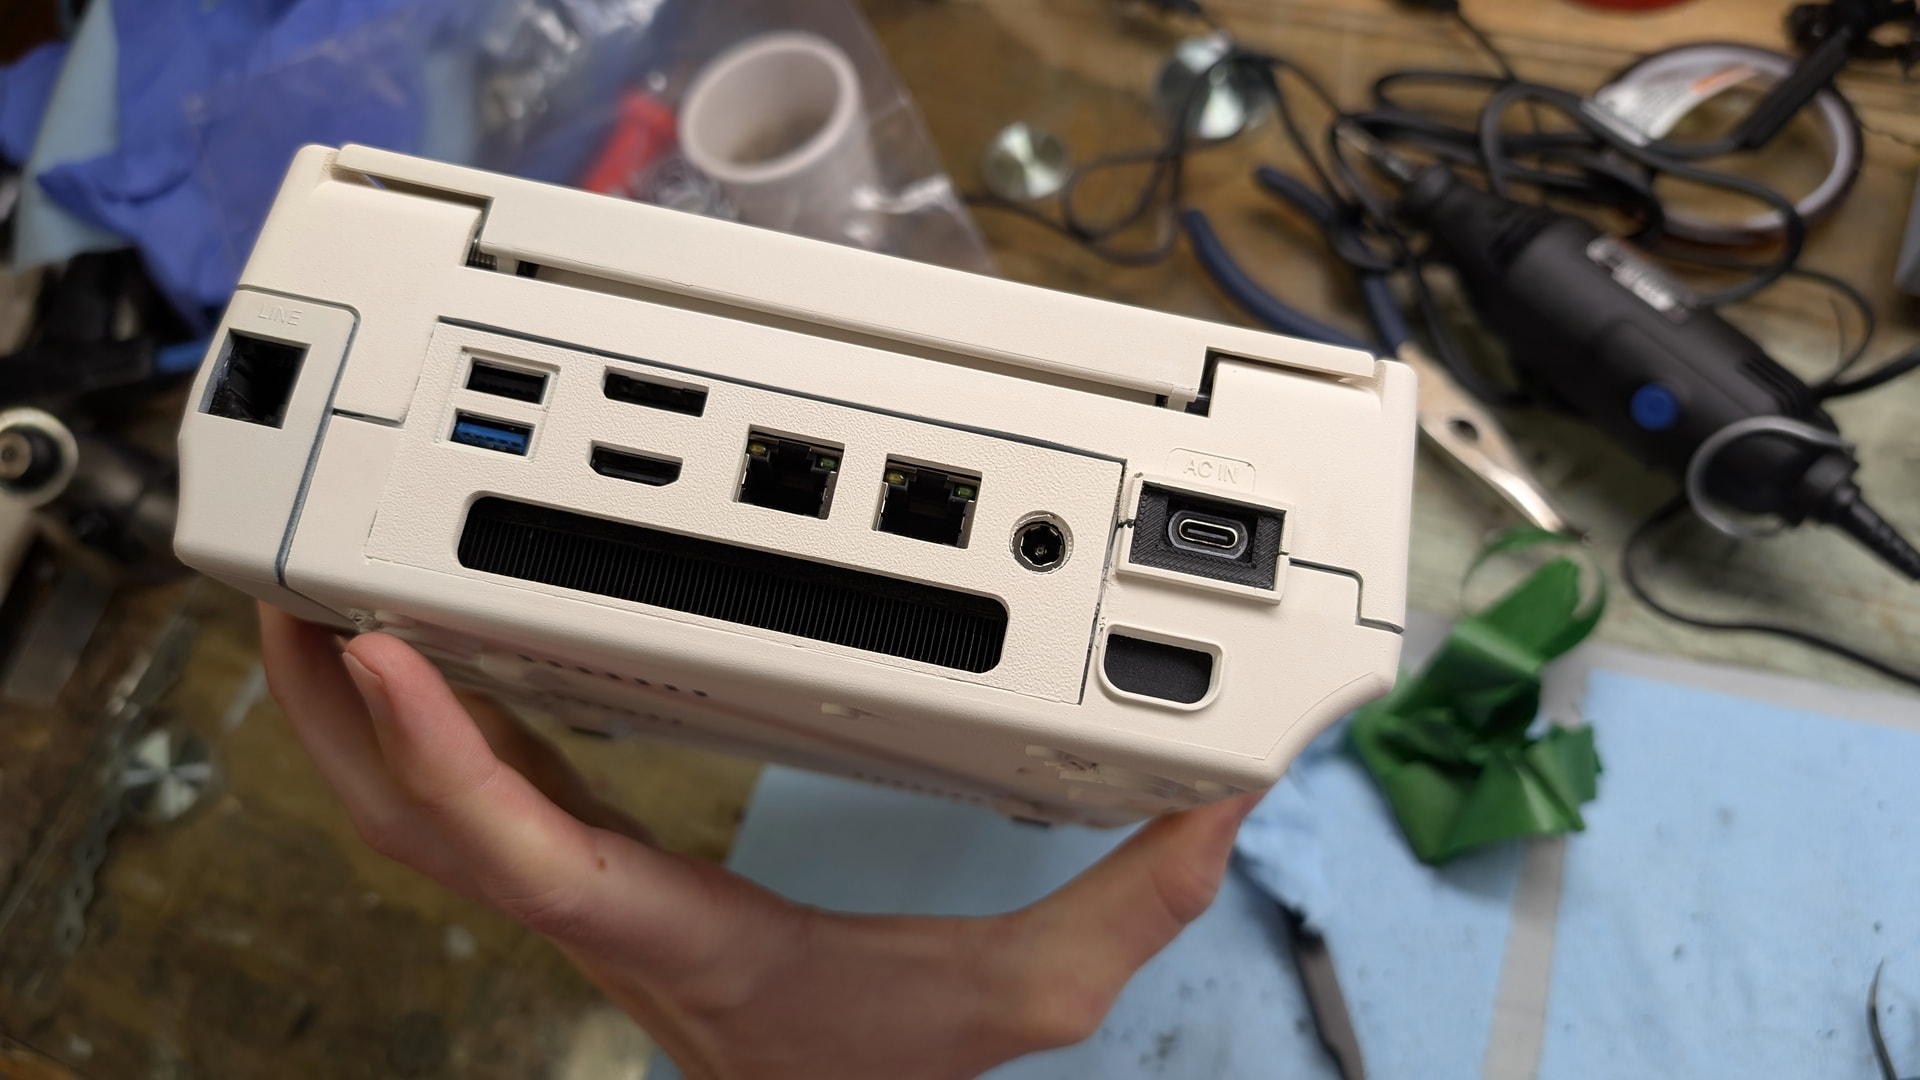
So I used that model to back a back IO. Less cutting to do, I will be just cutting the rectangle shape, and then just glue it in place to make it look nicer and more professional. Alongside, I made a Dreamcast port model from a Dreamcast controller plug model. There will be one Dreamcast controller adpater in this build, and I will use the port model I made to cover the other ports. That way I will maintain the visual of a genuine Dreamcast. I even have a RJ11 print I will do for the look, and use the AC IN port on the back to reroute the front USB C port.
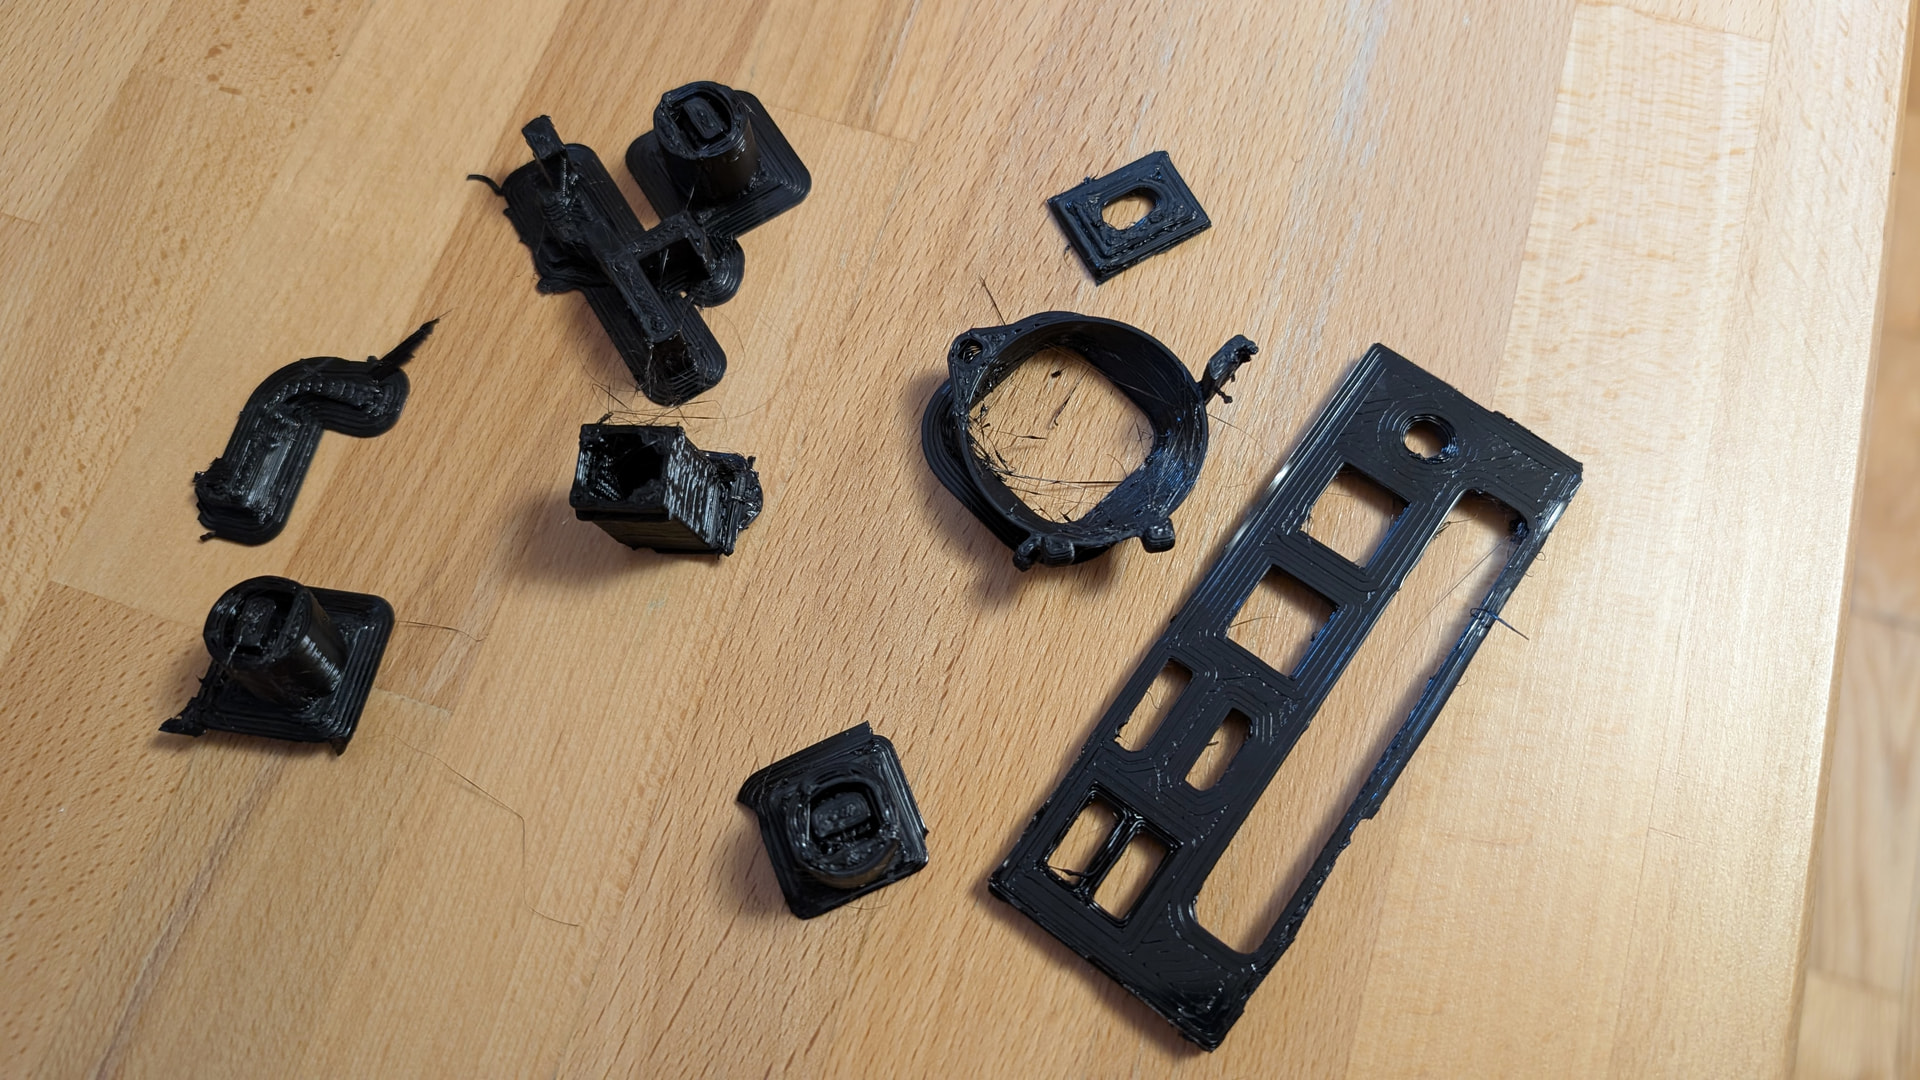
Made nice progress on the project. First I printed the pieces on my brother’s 3D printer that was lying around in the house. The print was bad quality, in part because the plastic got humid, but it helped me to test fit stuff a little bit.
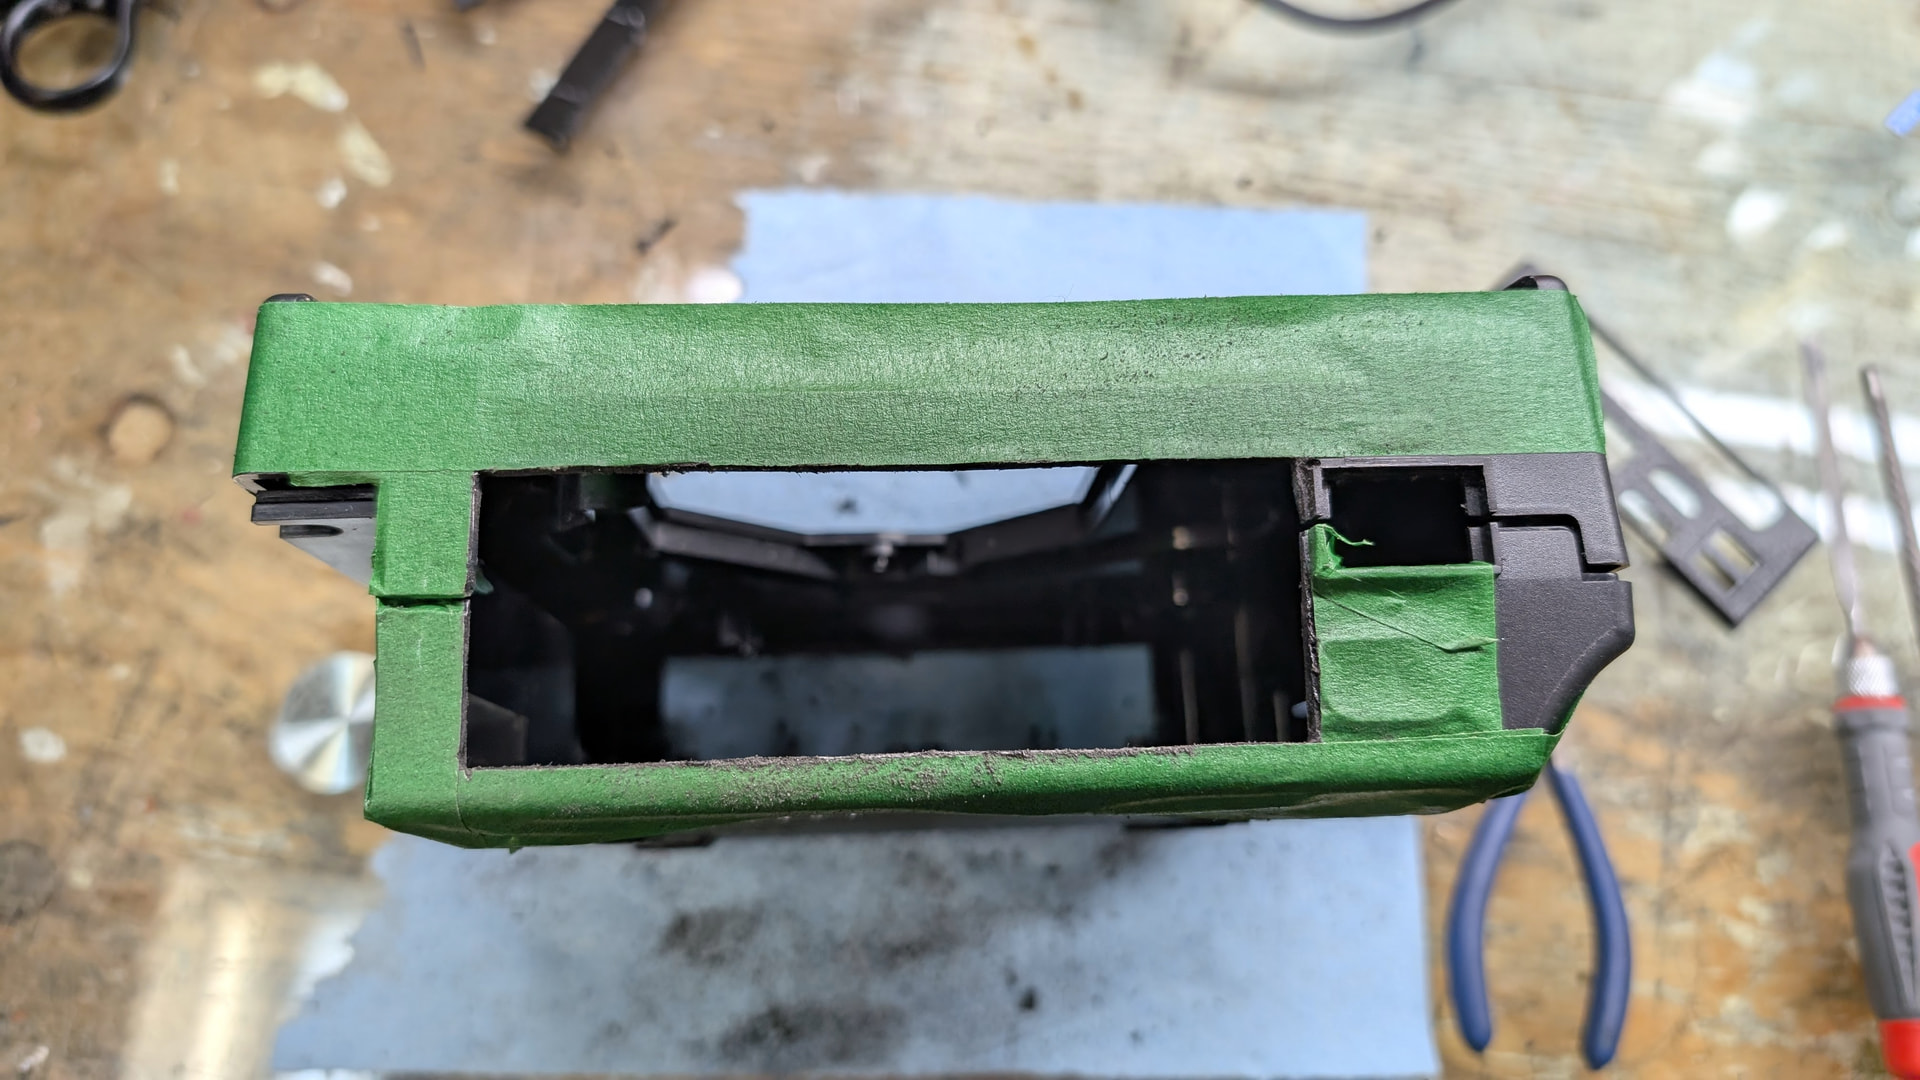
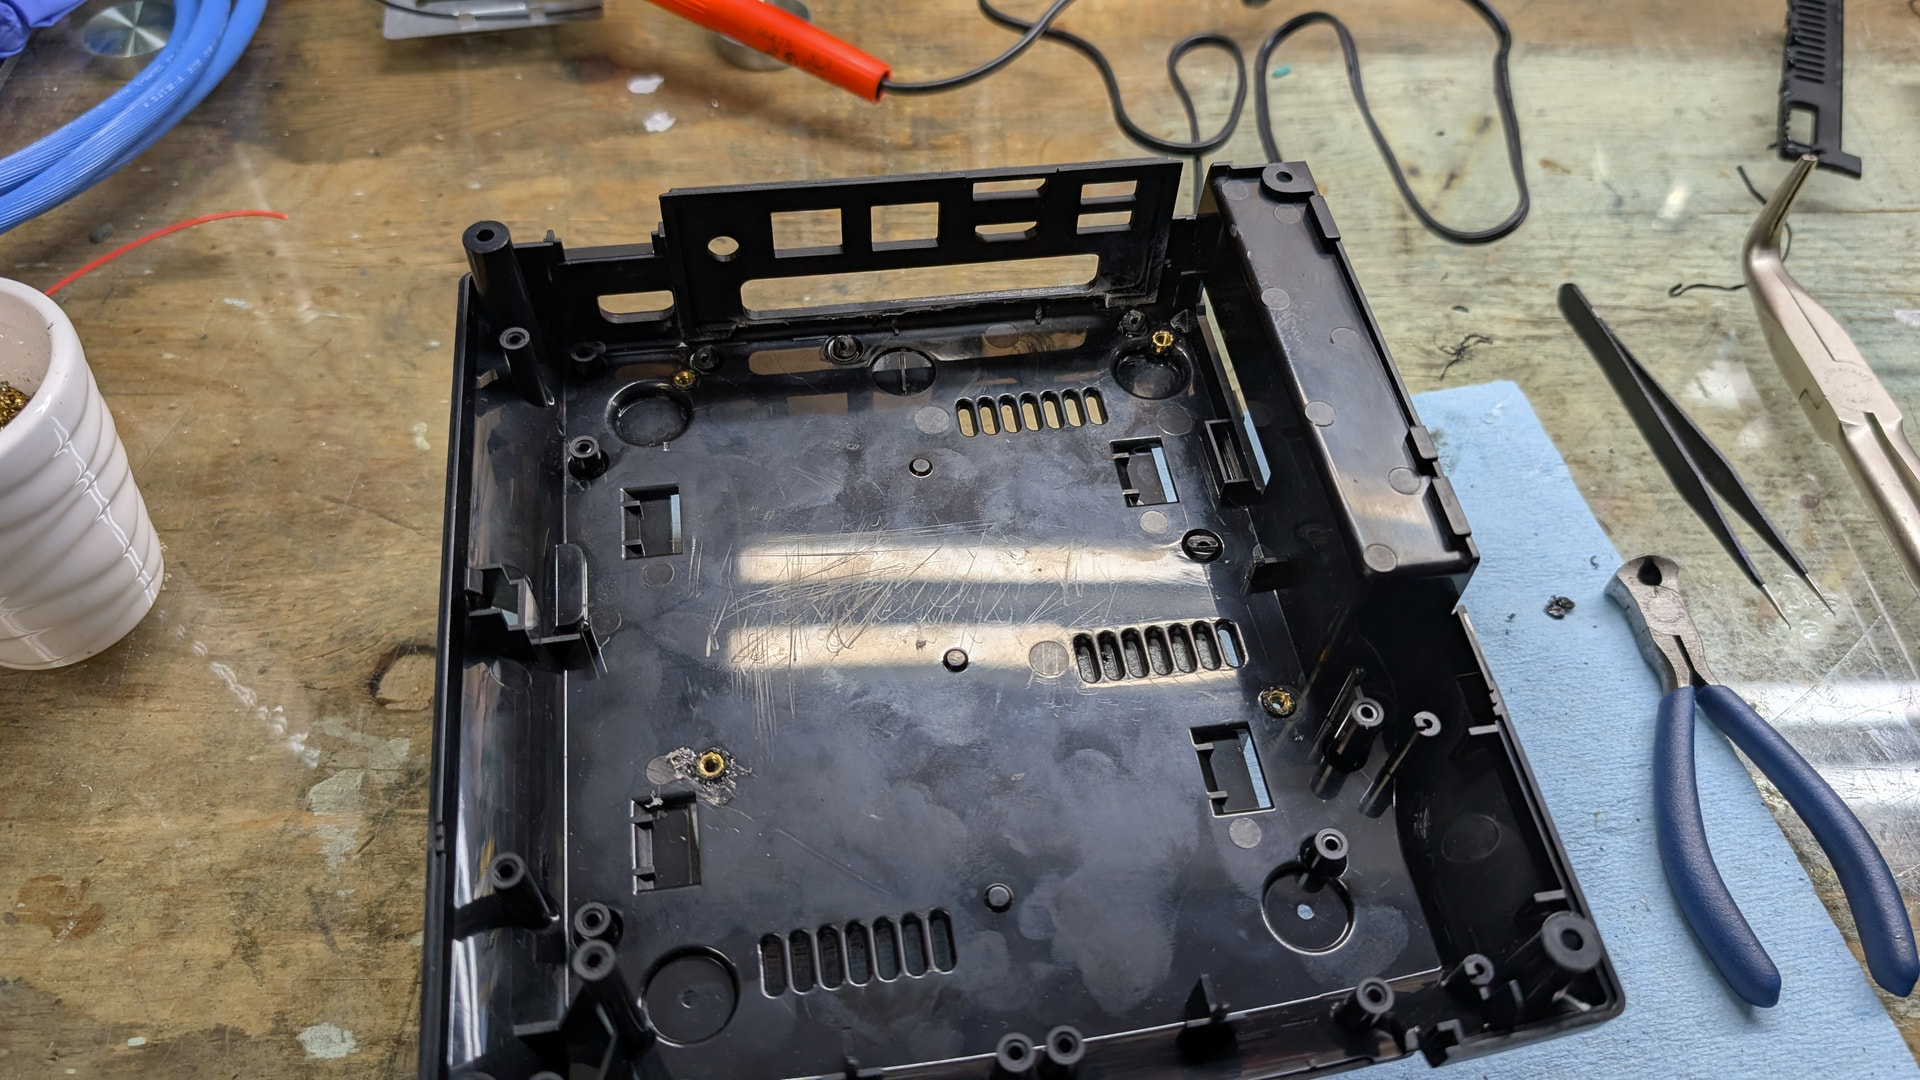
And I was able to finally found my dremel that was lost. For unknown reason’s it was at my sister’s house, don’t know why. But anyway could finally go forth and cut the space for the IO panel
And omy it looks so clean. I love the result. It’s almost as if it was supposed to be like that out of the factory. Clearly I’m doing more 3D printing for my next commissions (hopefully next one is a Gamecube one so I can just print the whole back IO piece, no even need to cut.)
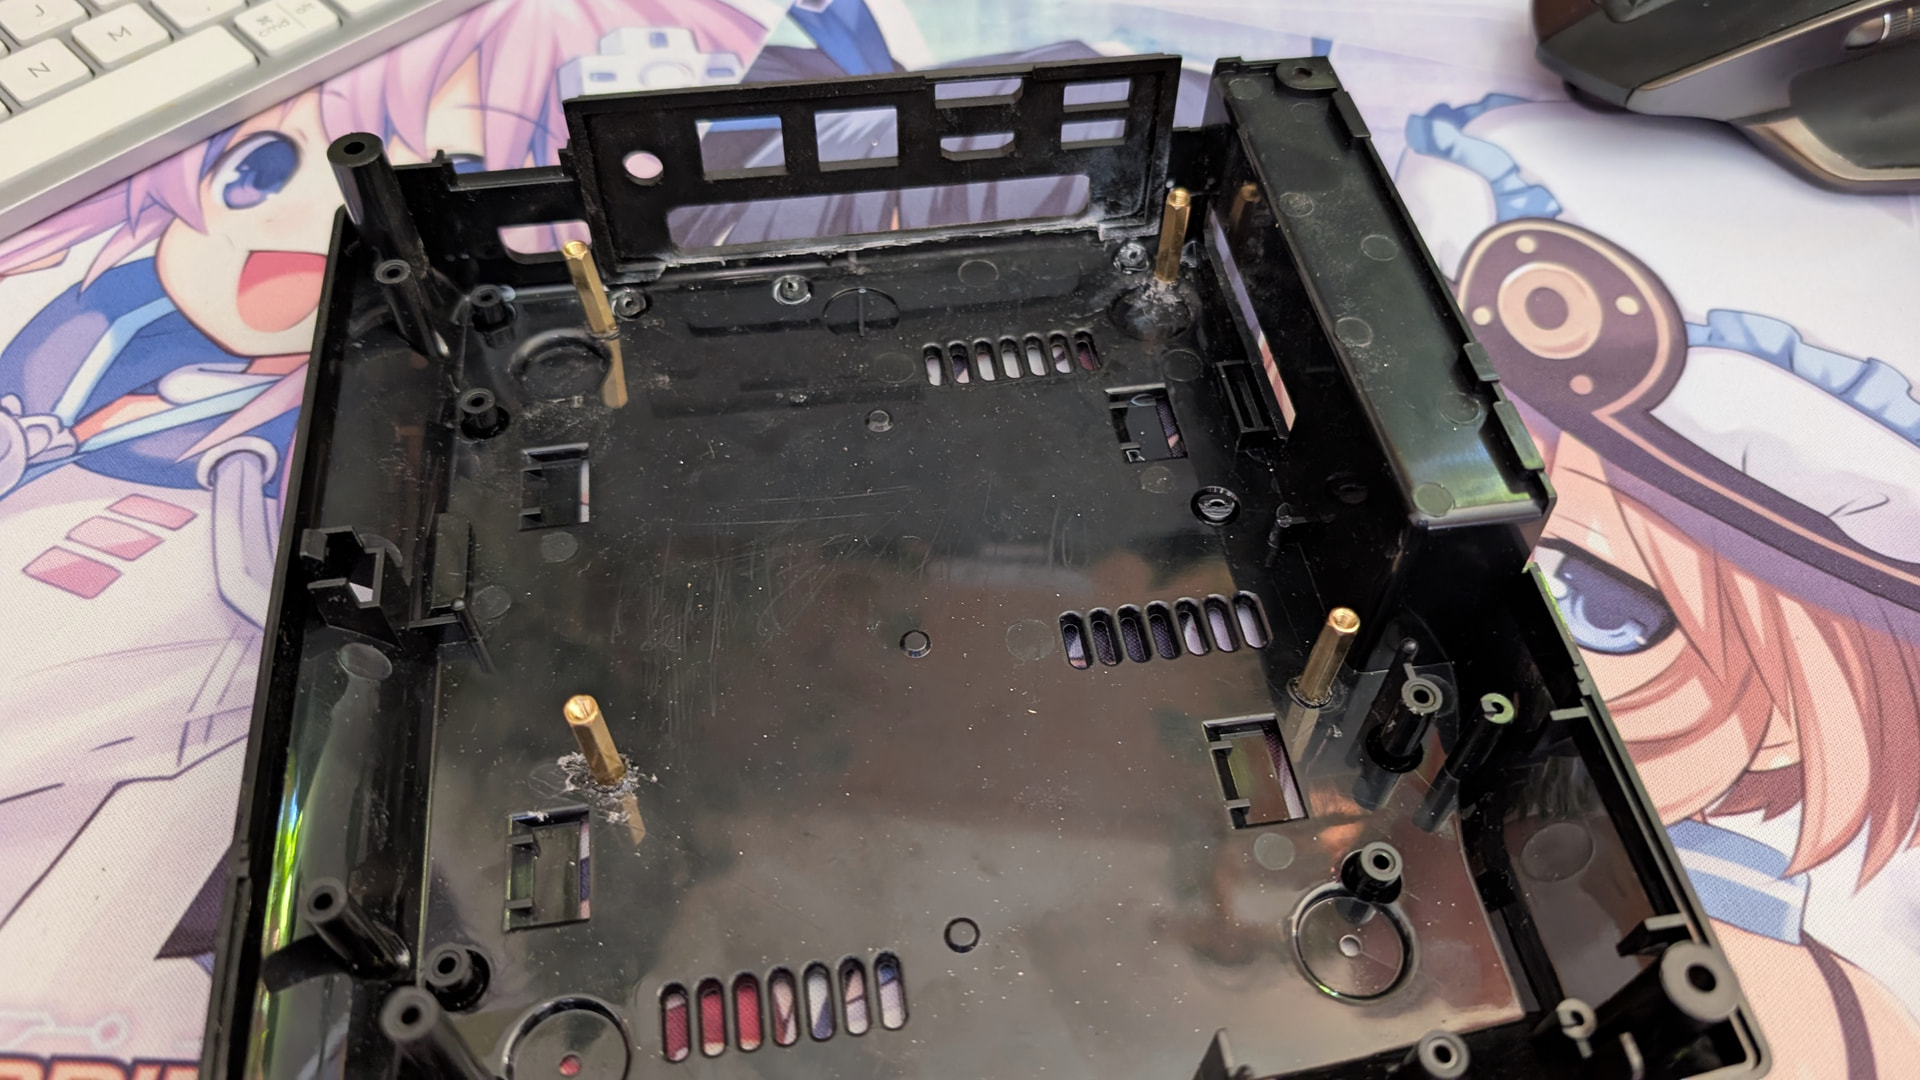
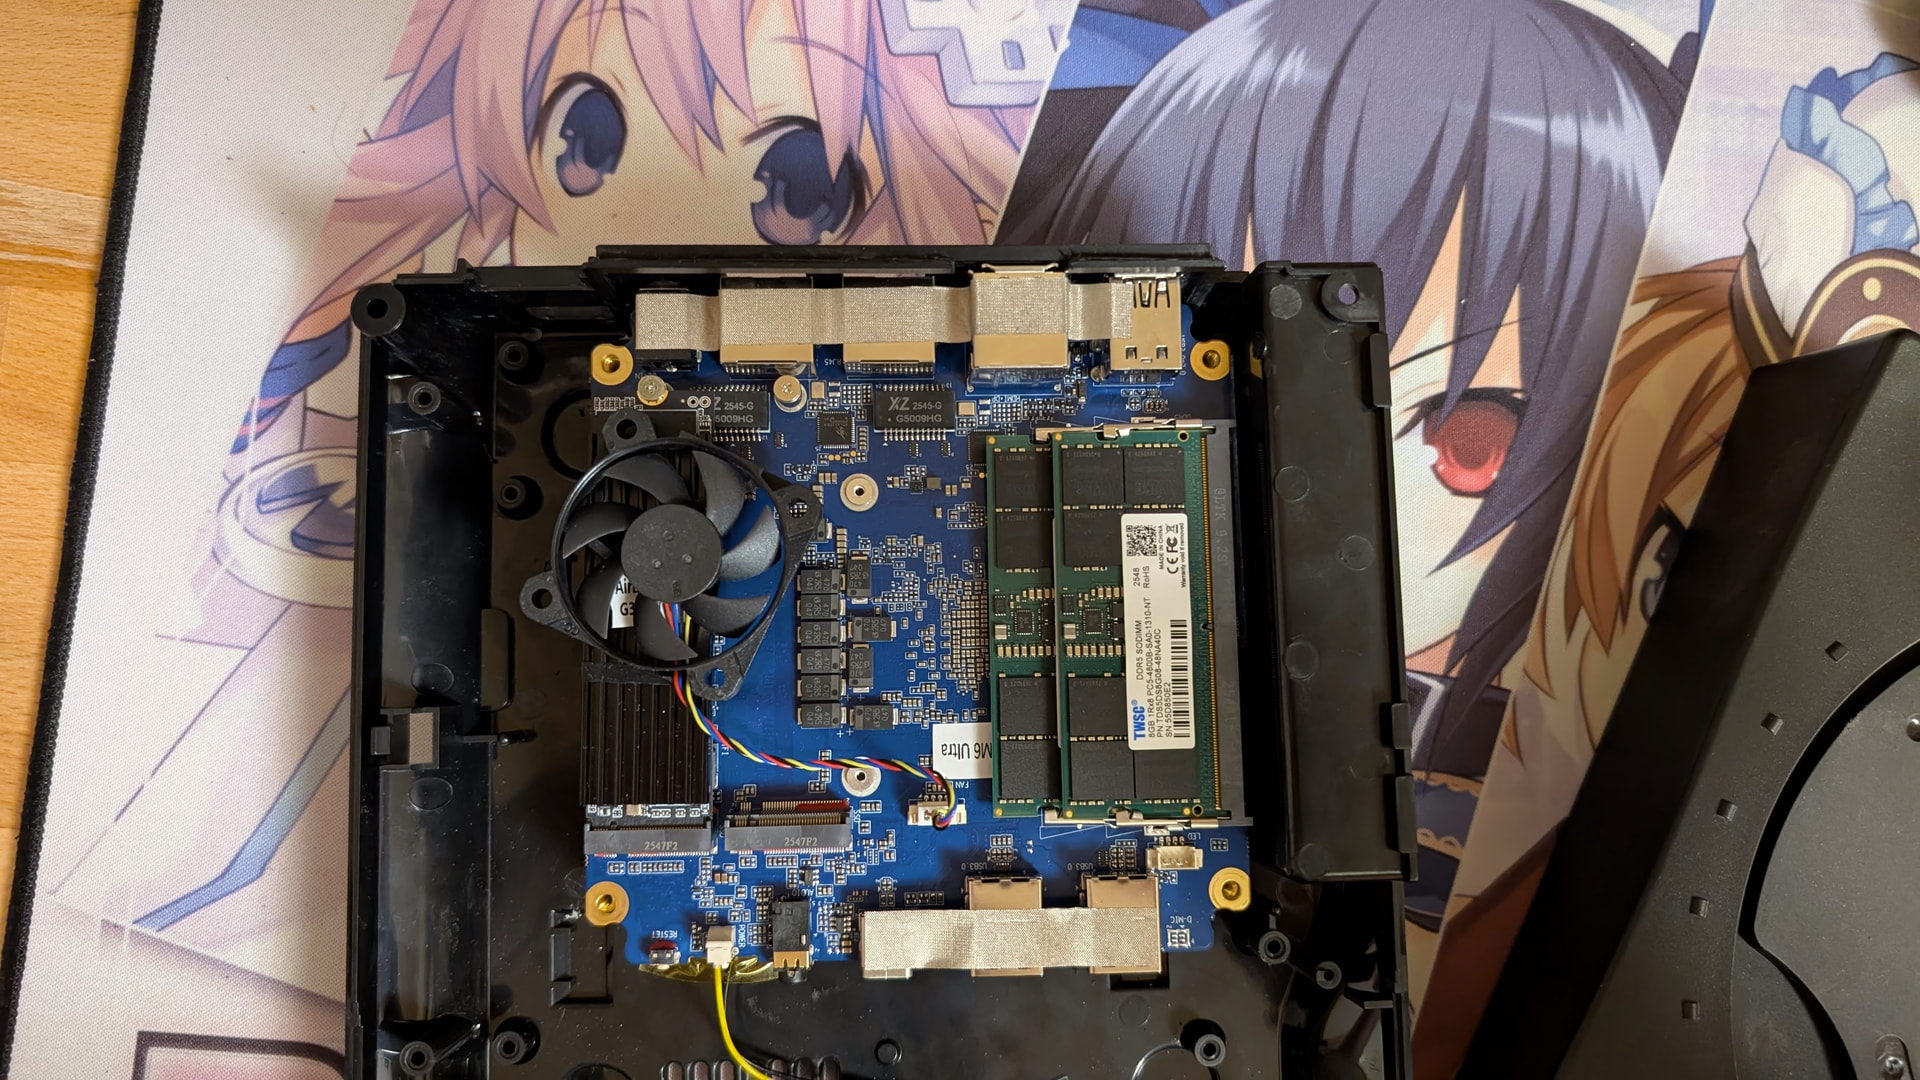
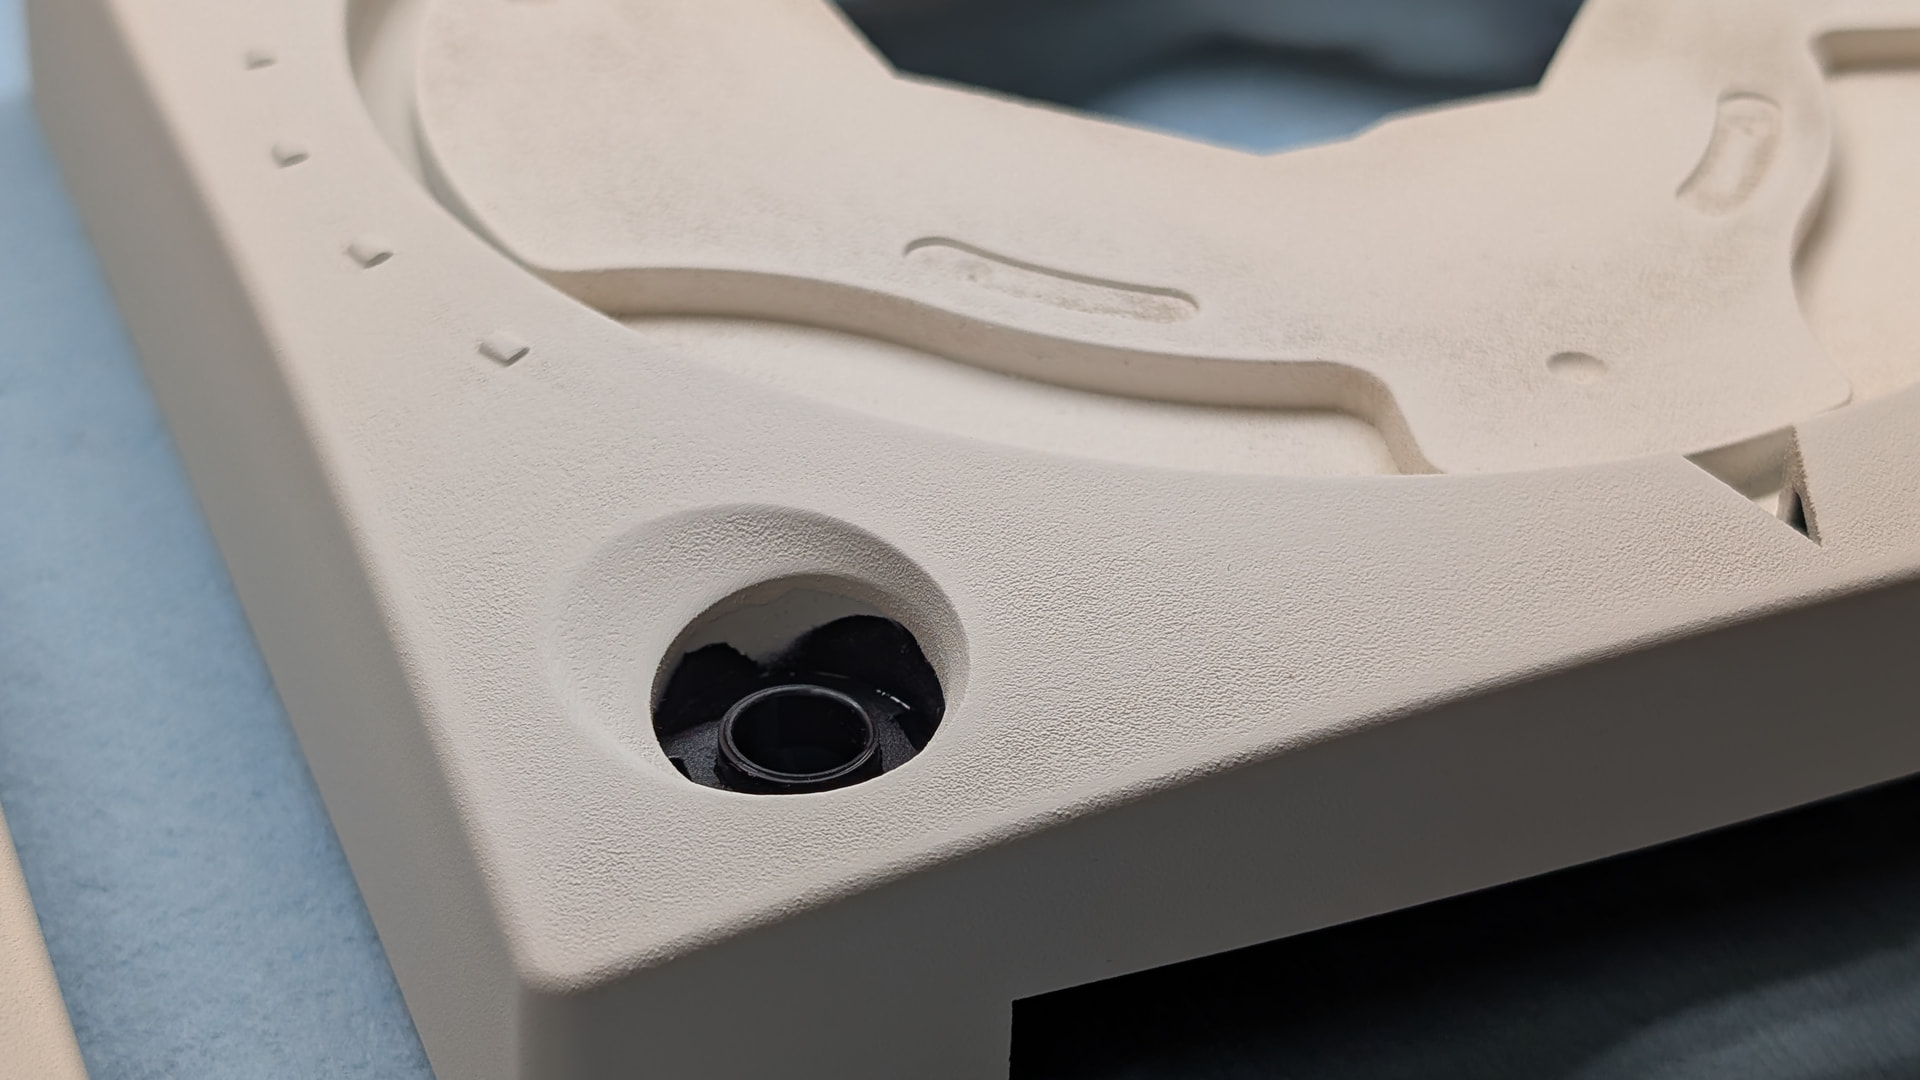
This time around I’m using heat insert to tie the mini PC to the shell. Drove them down in the shell, but the front ones were misaligned, so I had to readjust them.
As an owner of the SegaSports black Dreamcast, I’m glad someone still cares about this precursor to xbox. I even traded my 16-bit labeled genisis out but I’m keeping the dreamcast and 3DO forever. Mini-PC’s are versitile modding platforms it seems.
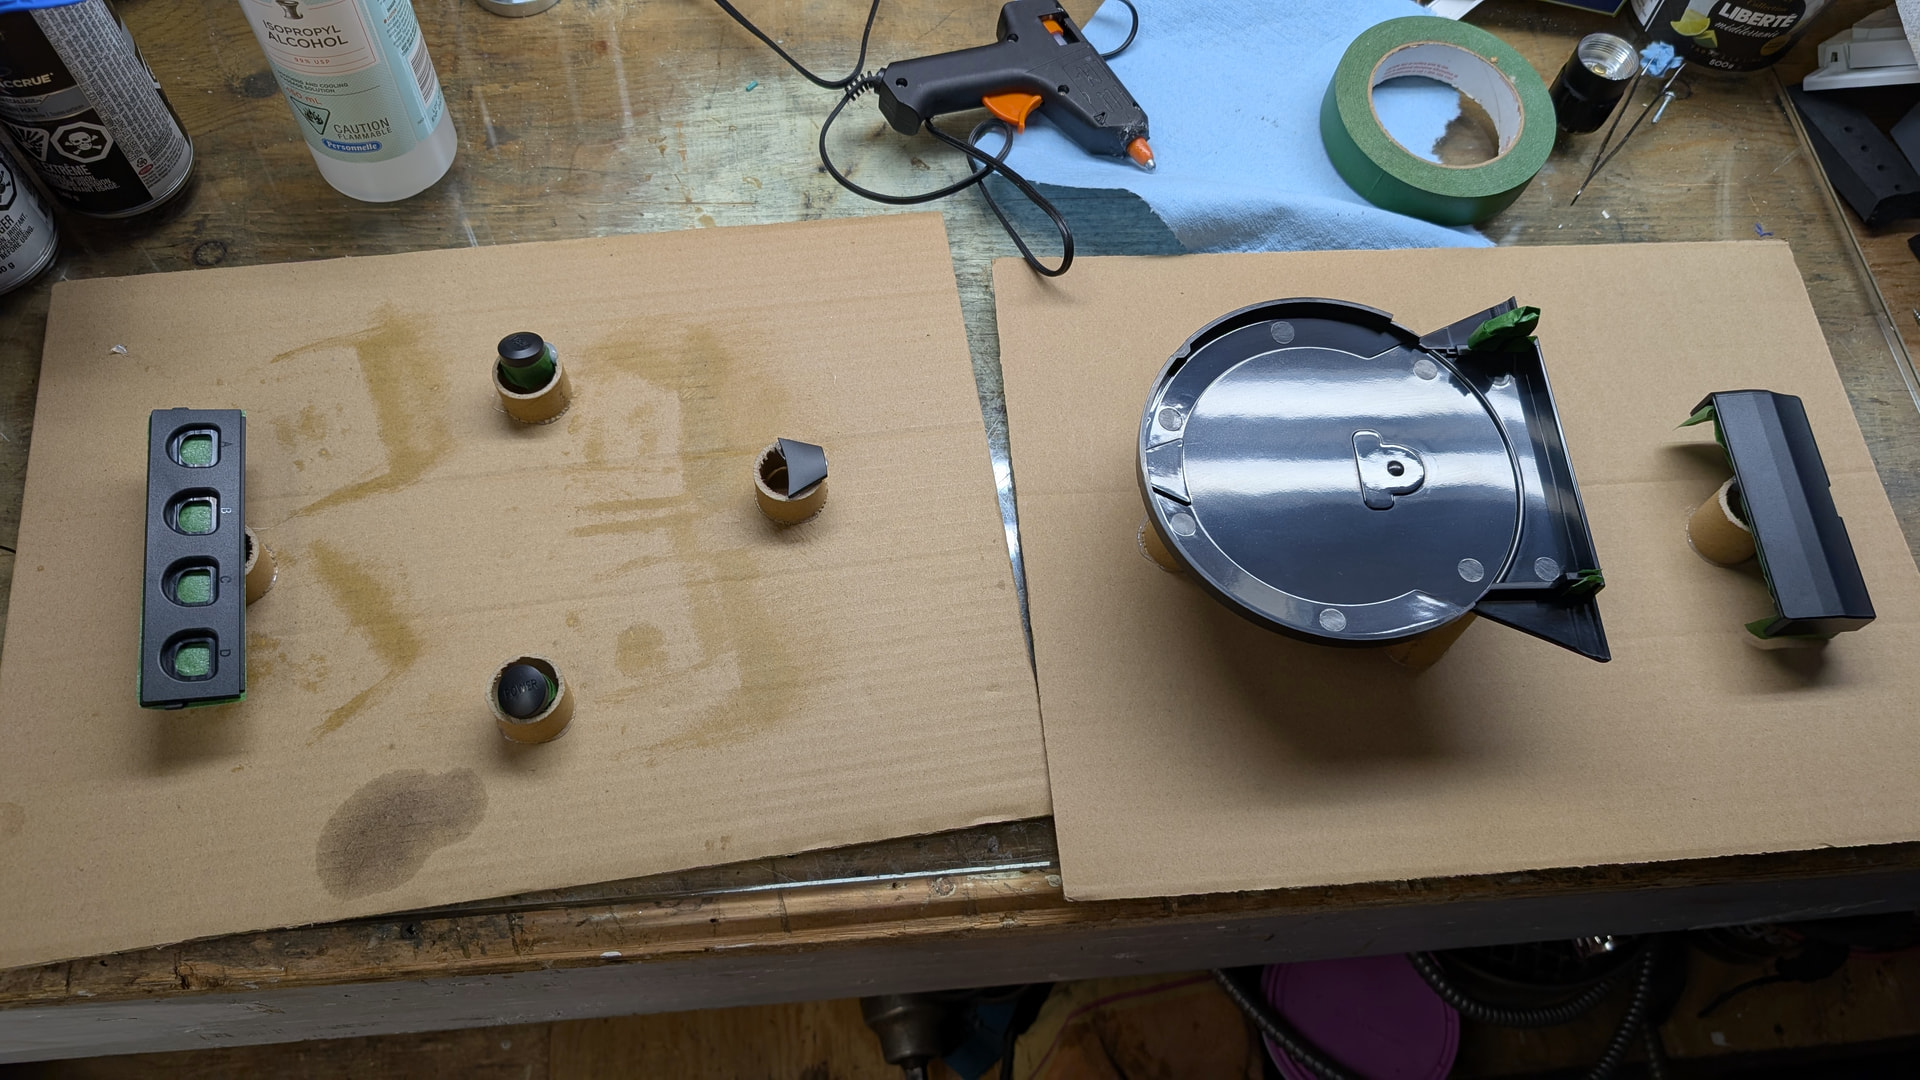
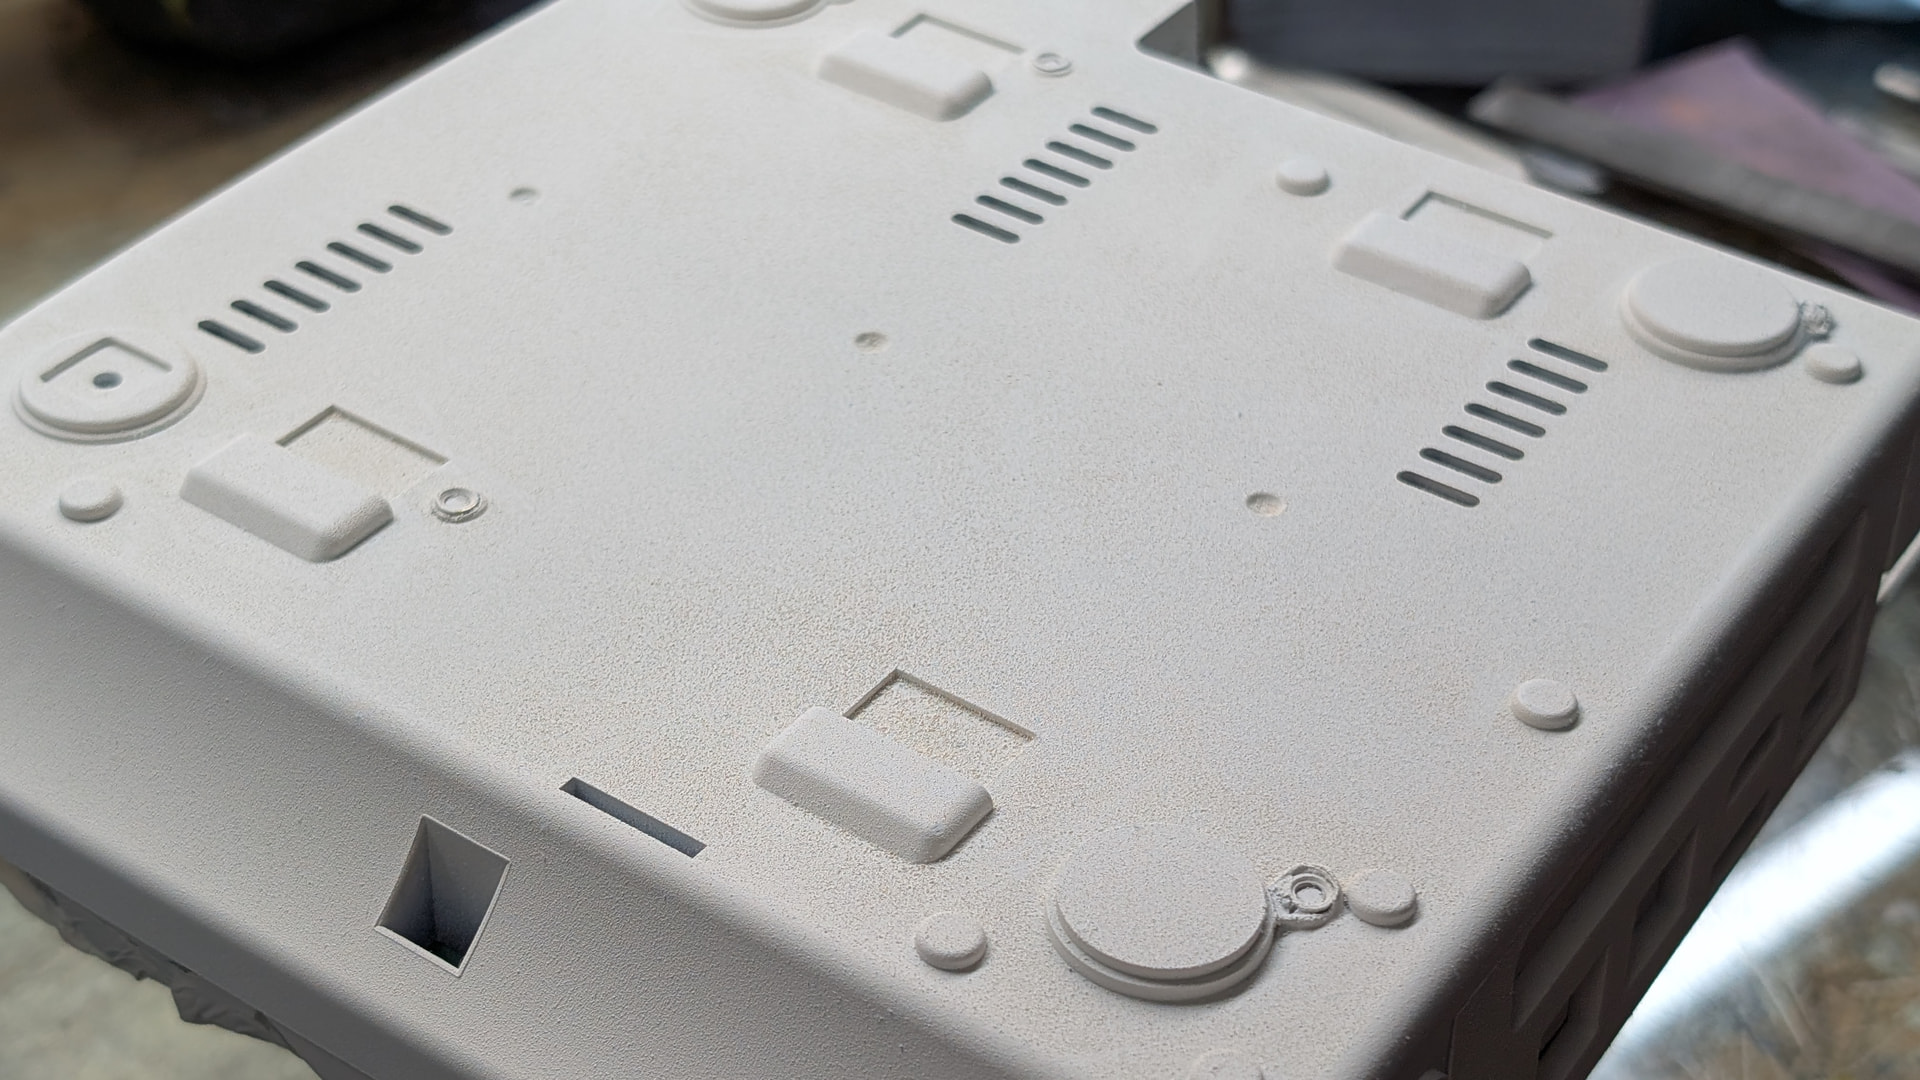
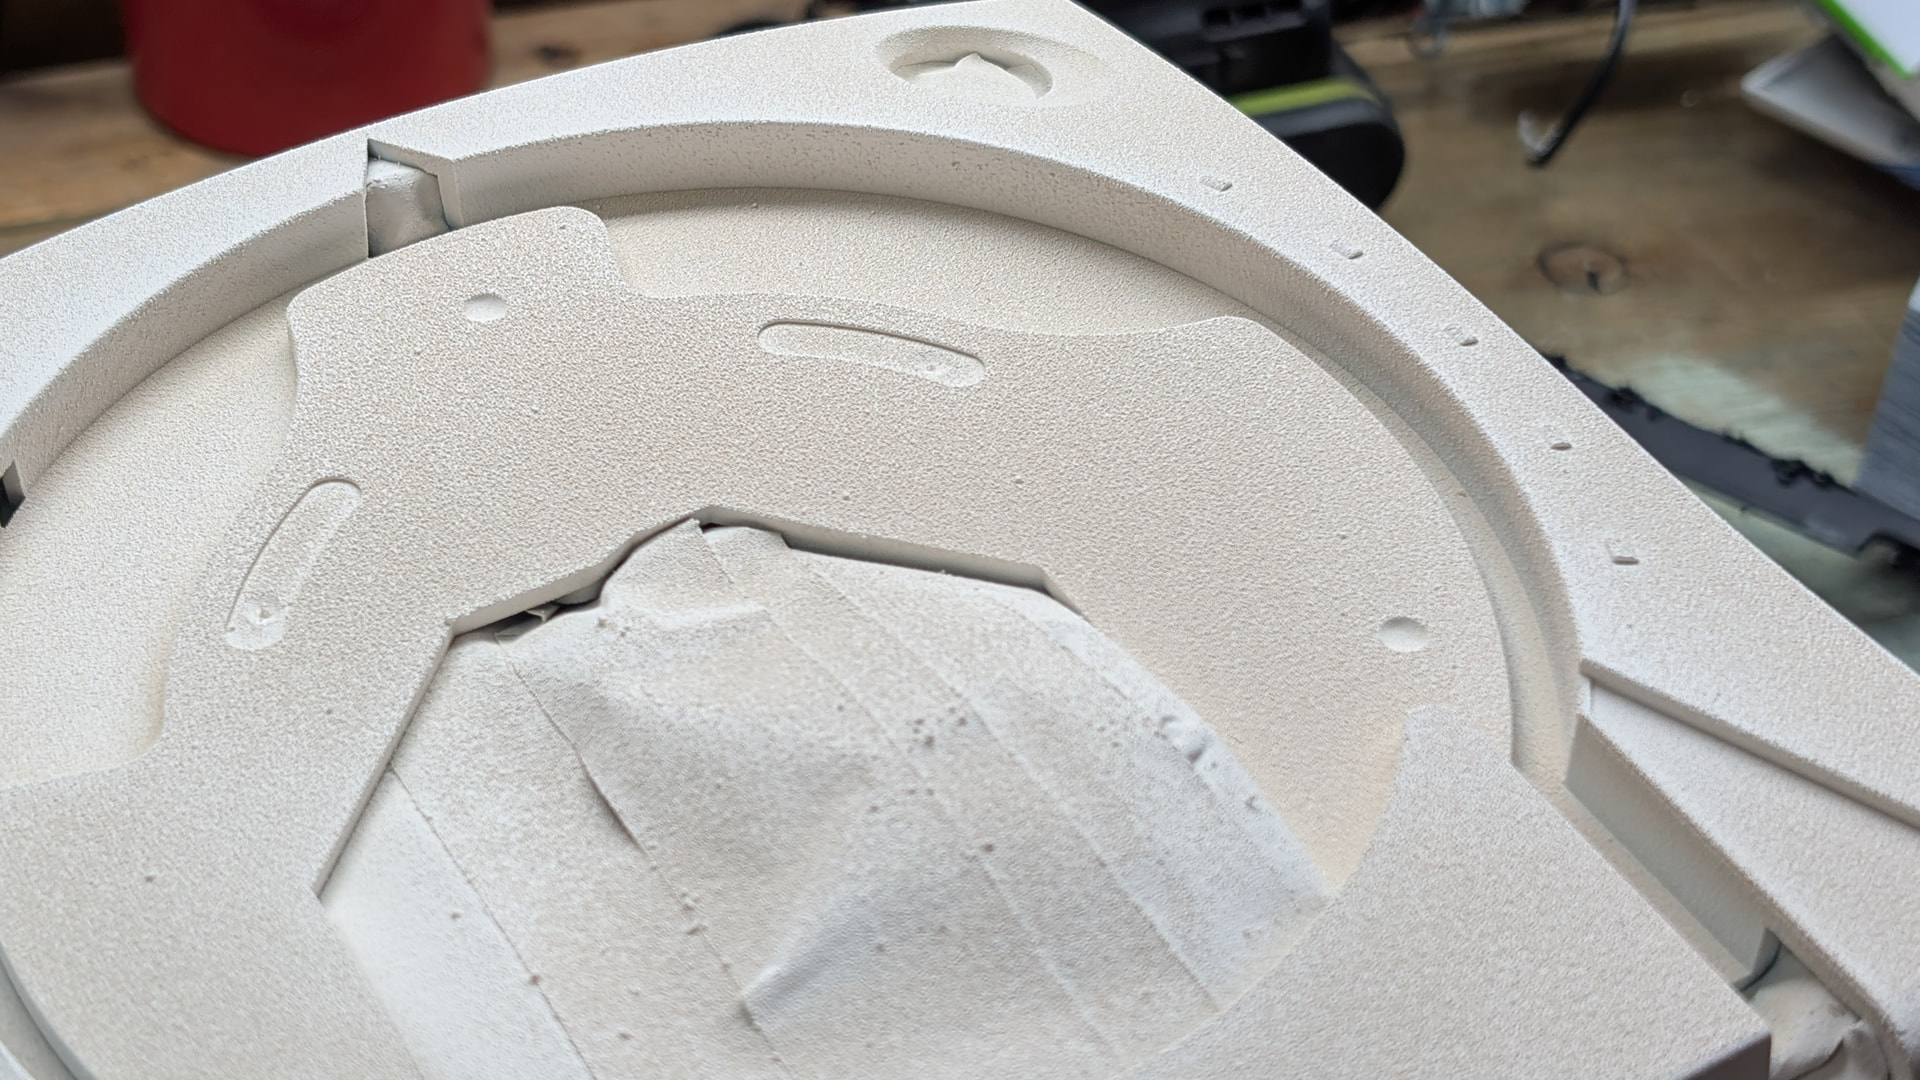
So the paint of the big parts had kind of a very rough hard texture after it dried. I was expecting it to go away easy when I would touch the dry paint to give off a better finish, but apparently I was mistaken. So I had to sand down the visible parts of that problematic texture and repaint over to have a better finish.
I also received the Dreamcast controller adapter, so the key piece of the build is there. Just noticed that it uses mini USB of all USB possible. Gonna find a sacrificial mini USB cable to cut it because the provided on will be way too long.
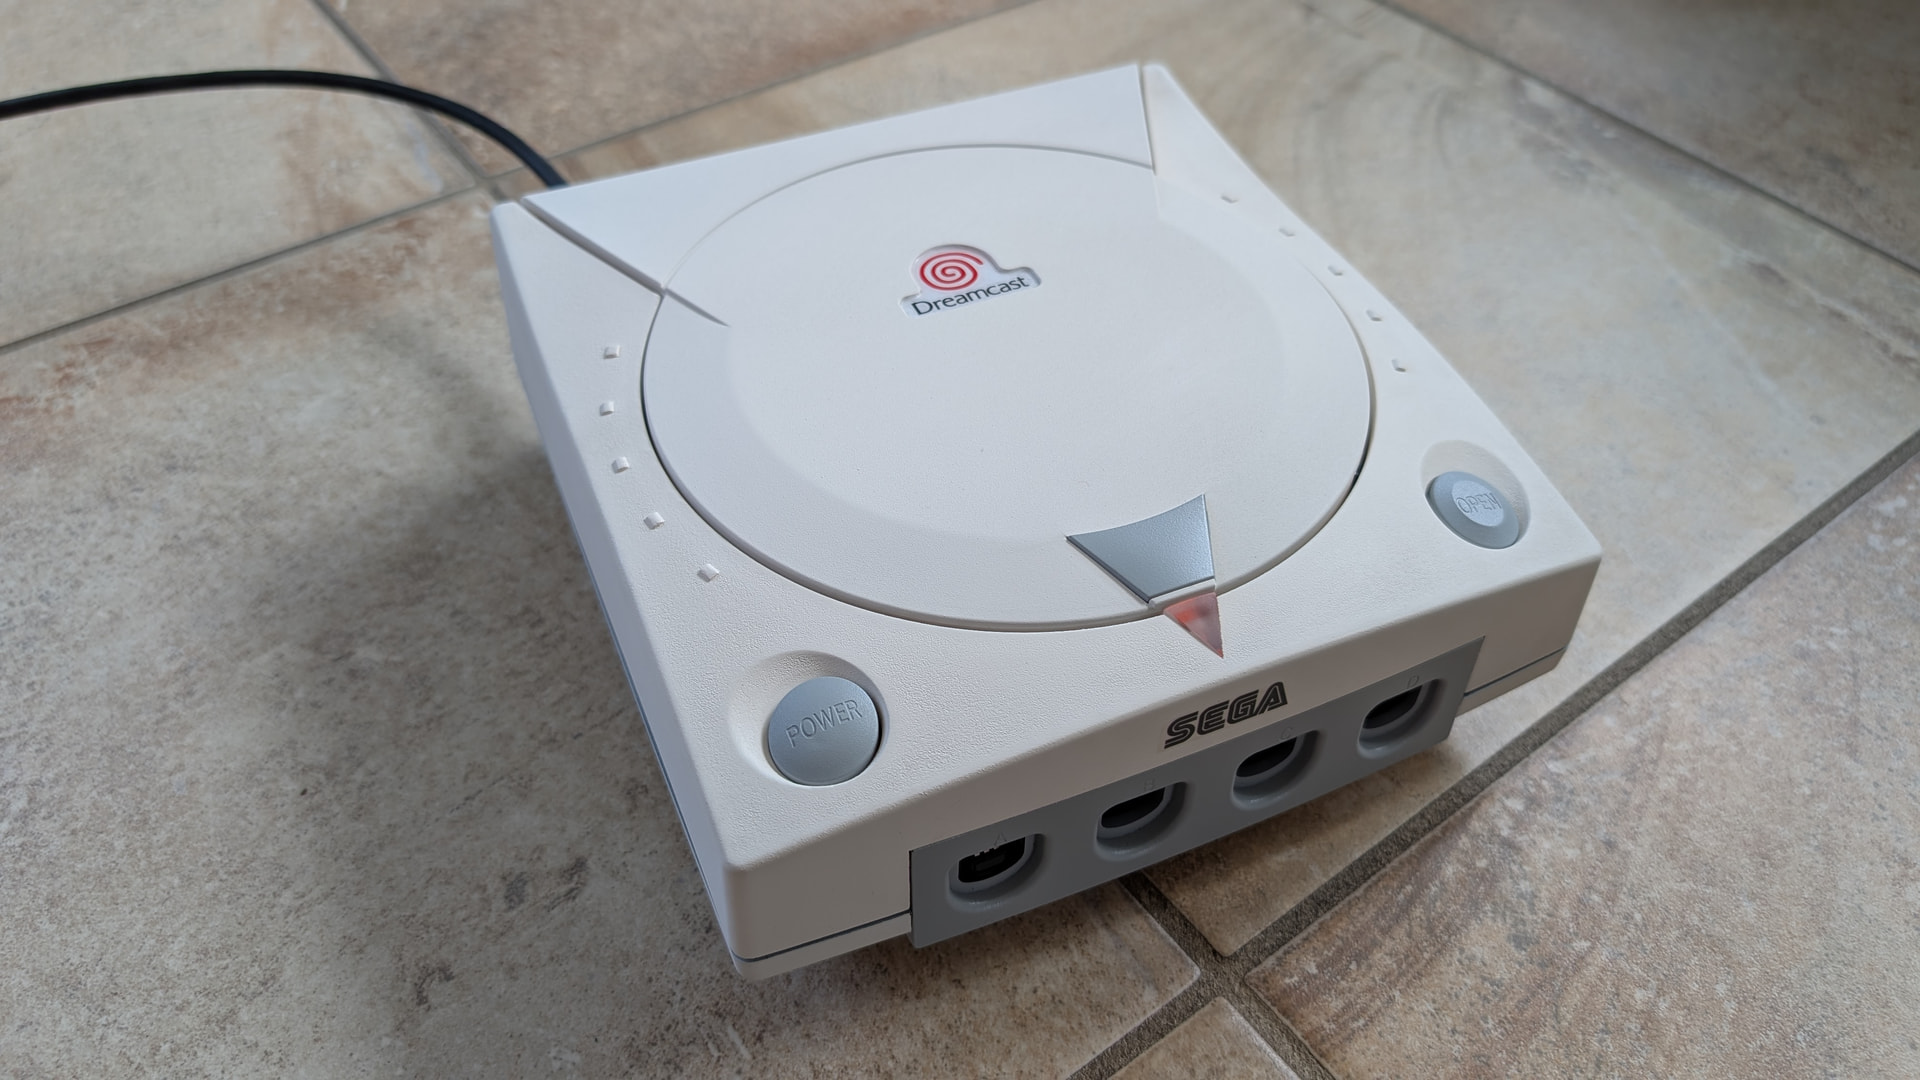
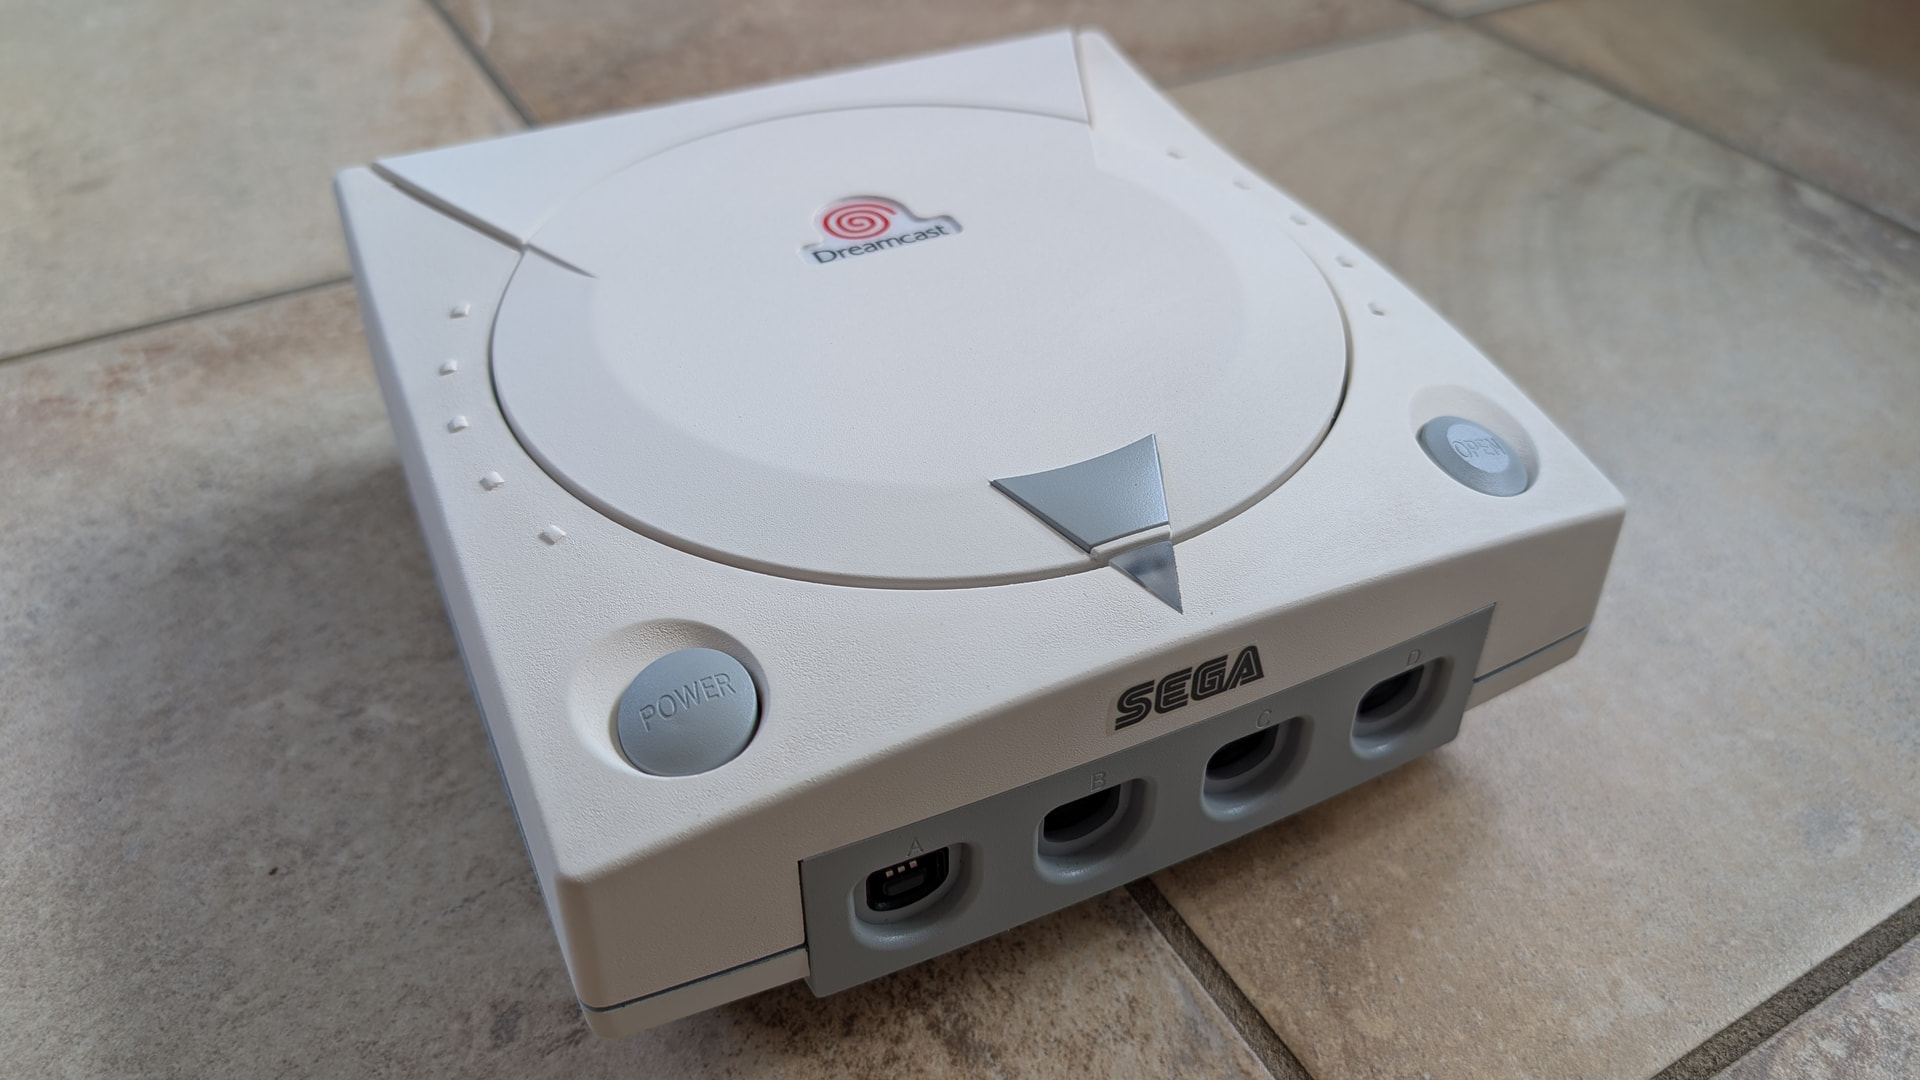
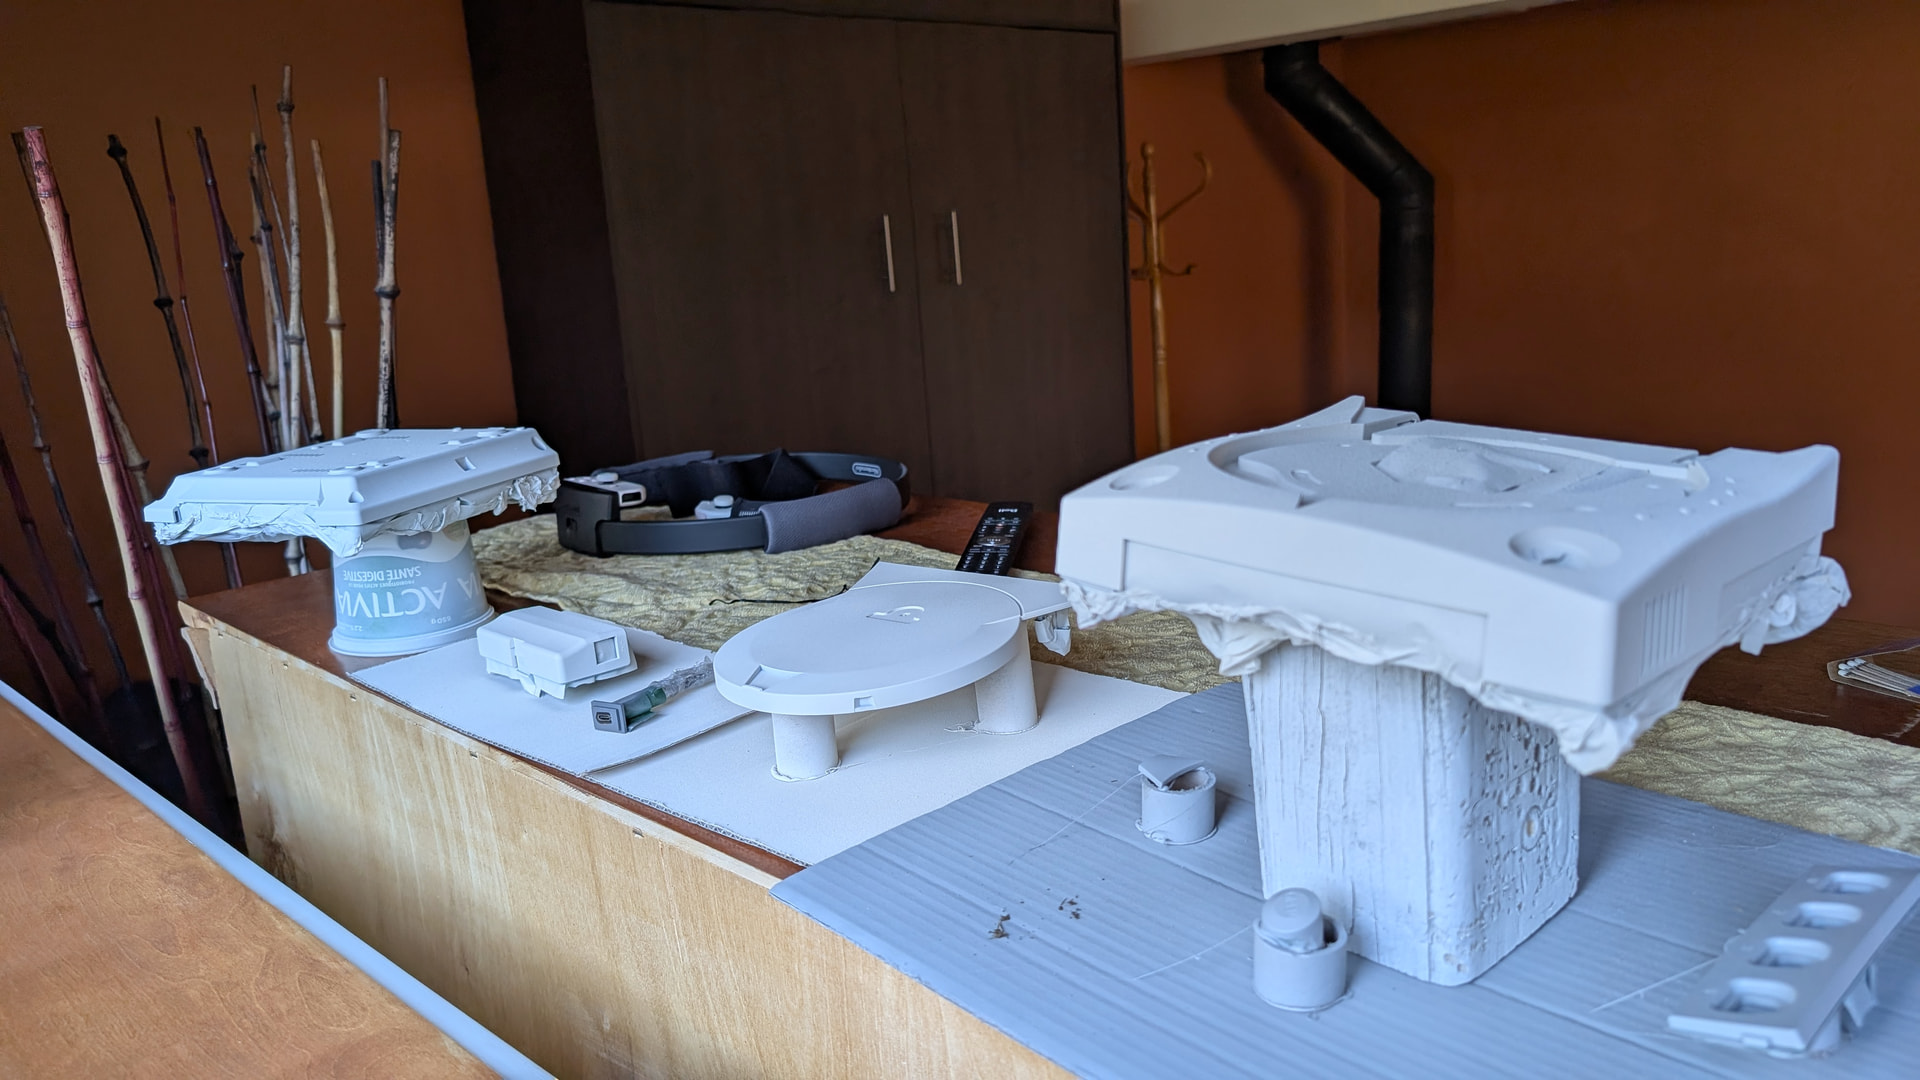
At least the smaller pieces were good. Btw, Krylon Glacier Grey Matte give a really nice finish, I love it, want to use more that colour. I glued my 3D printed decoration to them and it looks really good. The Dreamcast spirit is there.
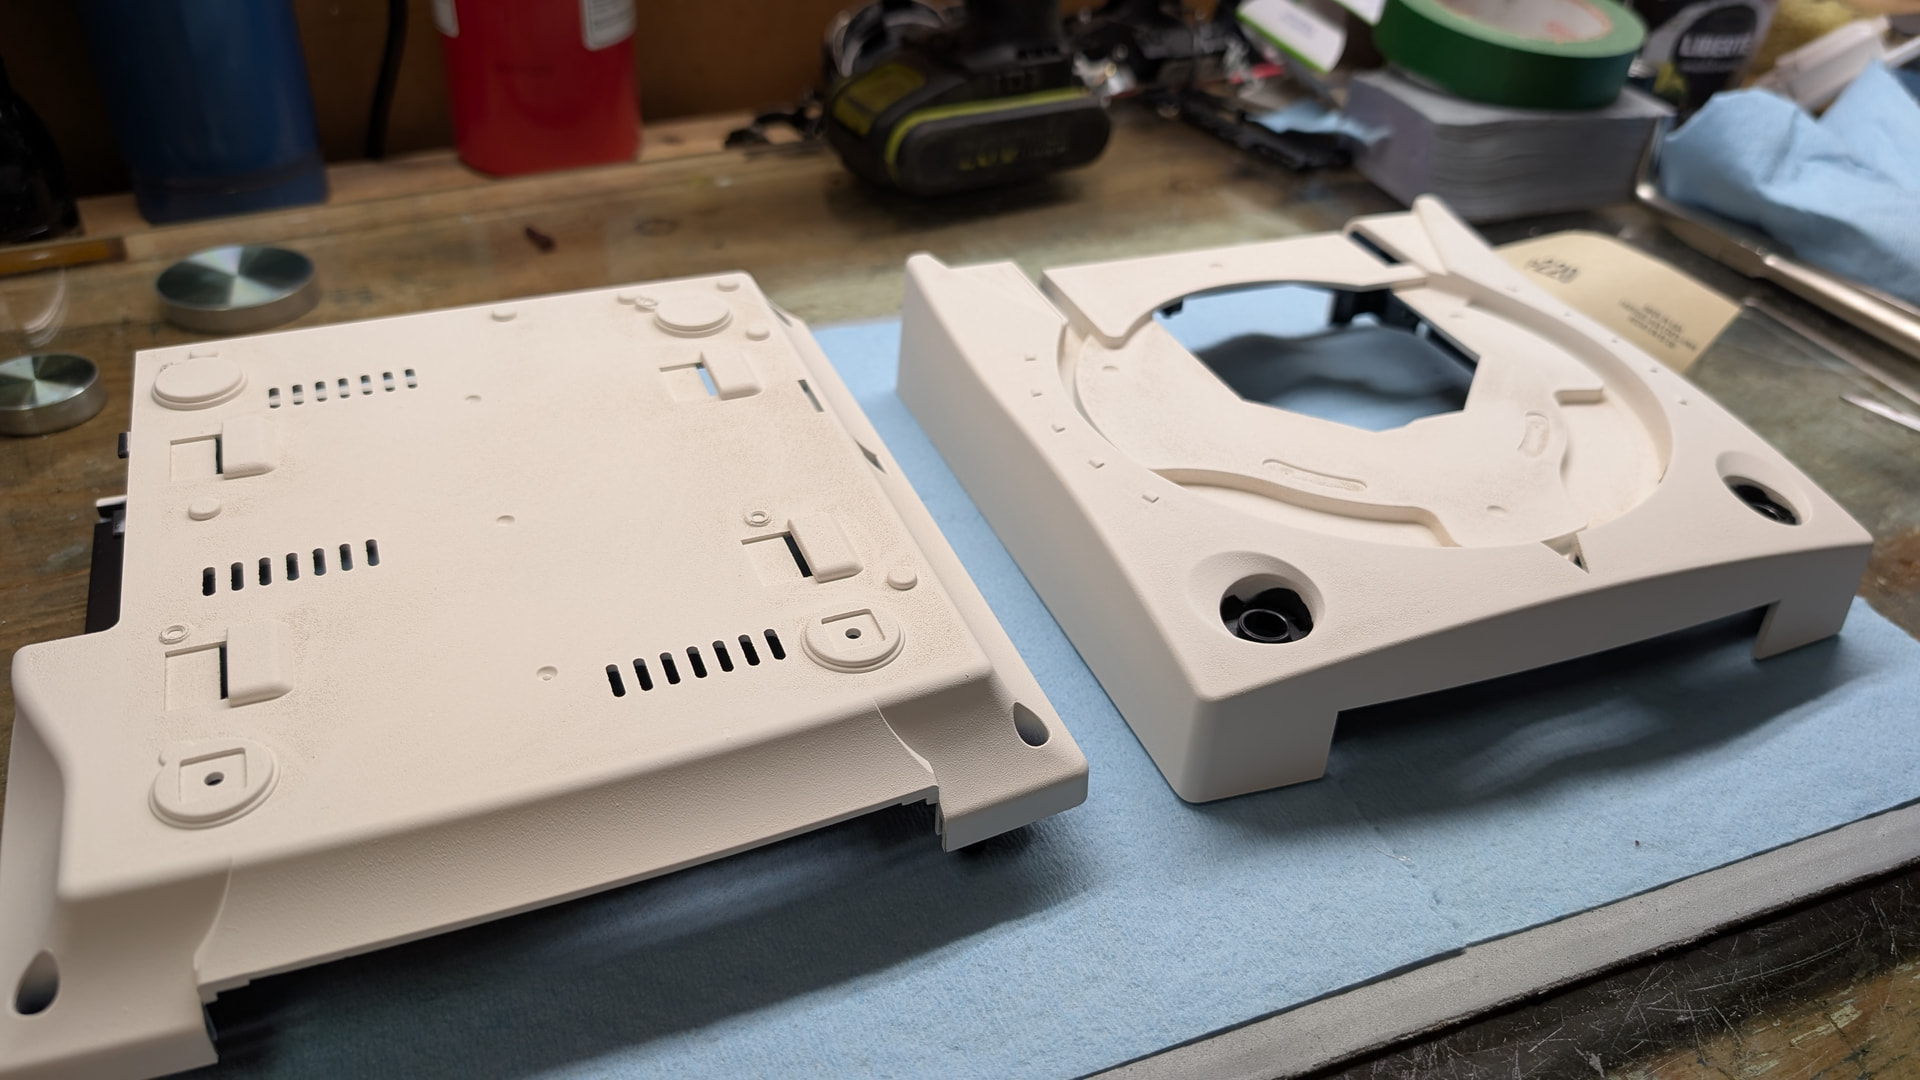
Btw I can finally see the true OG colours of the Dreamcast, and ya that was what I was expecting. A really really pale grey/white with a pale grey that is darker than the the pale greys I can find, but way paler than any darker greys I can find. So it’s really difficult to replicate.
Also, if put under bright light, you can notice there is like two shades of white in my pieces. I think the chemistry must have been a bit different between the two cans I used to paint.
The Dreamcast is almost finished, but I’m stuck waiting because of small details.
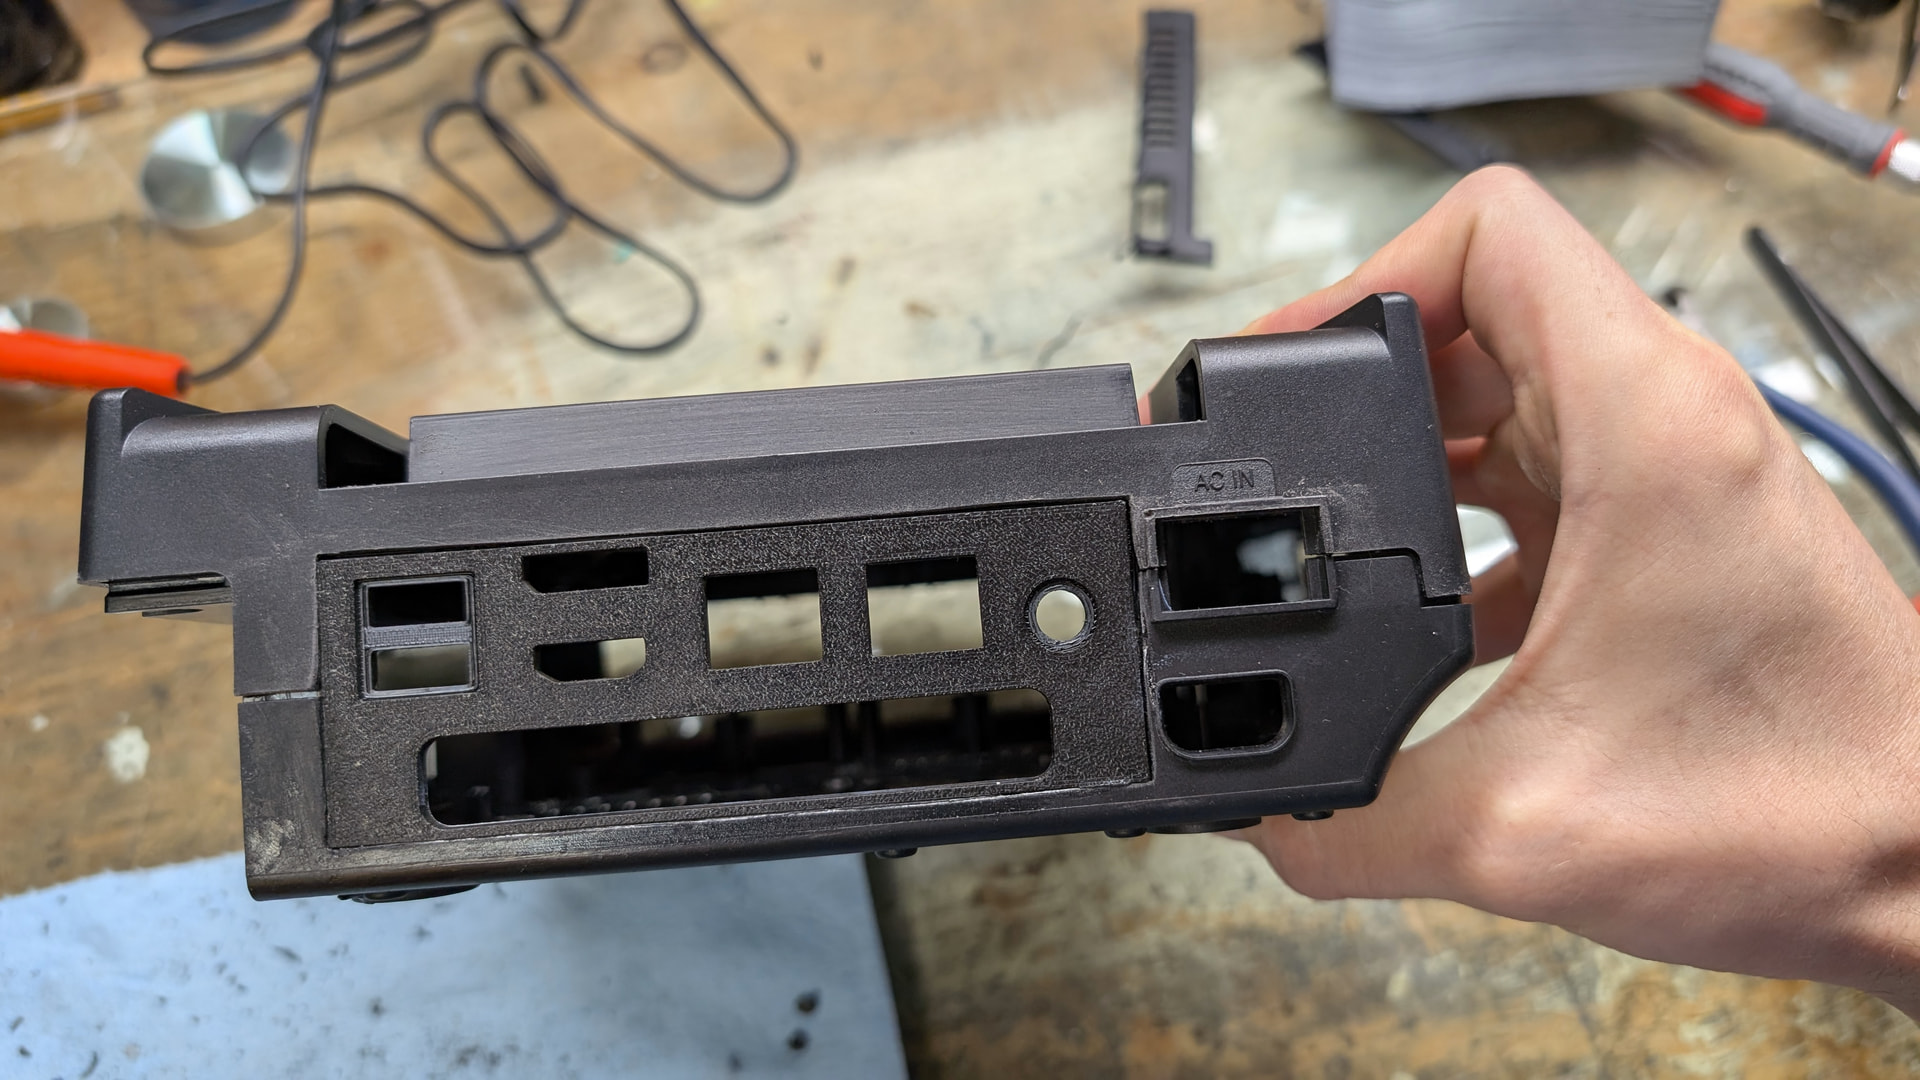
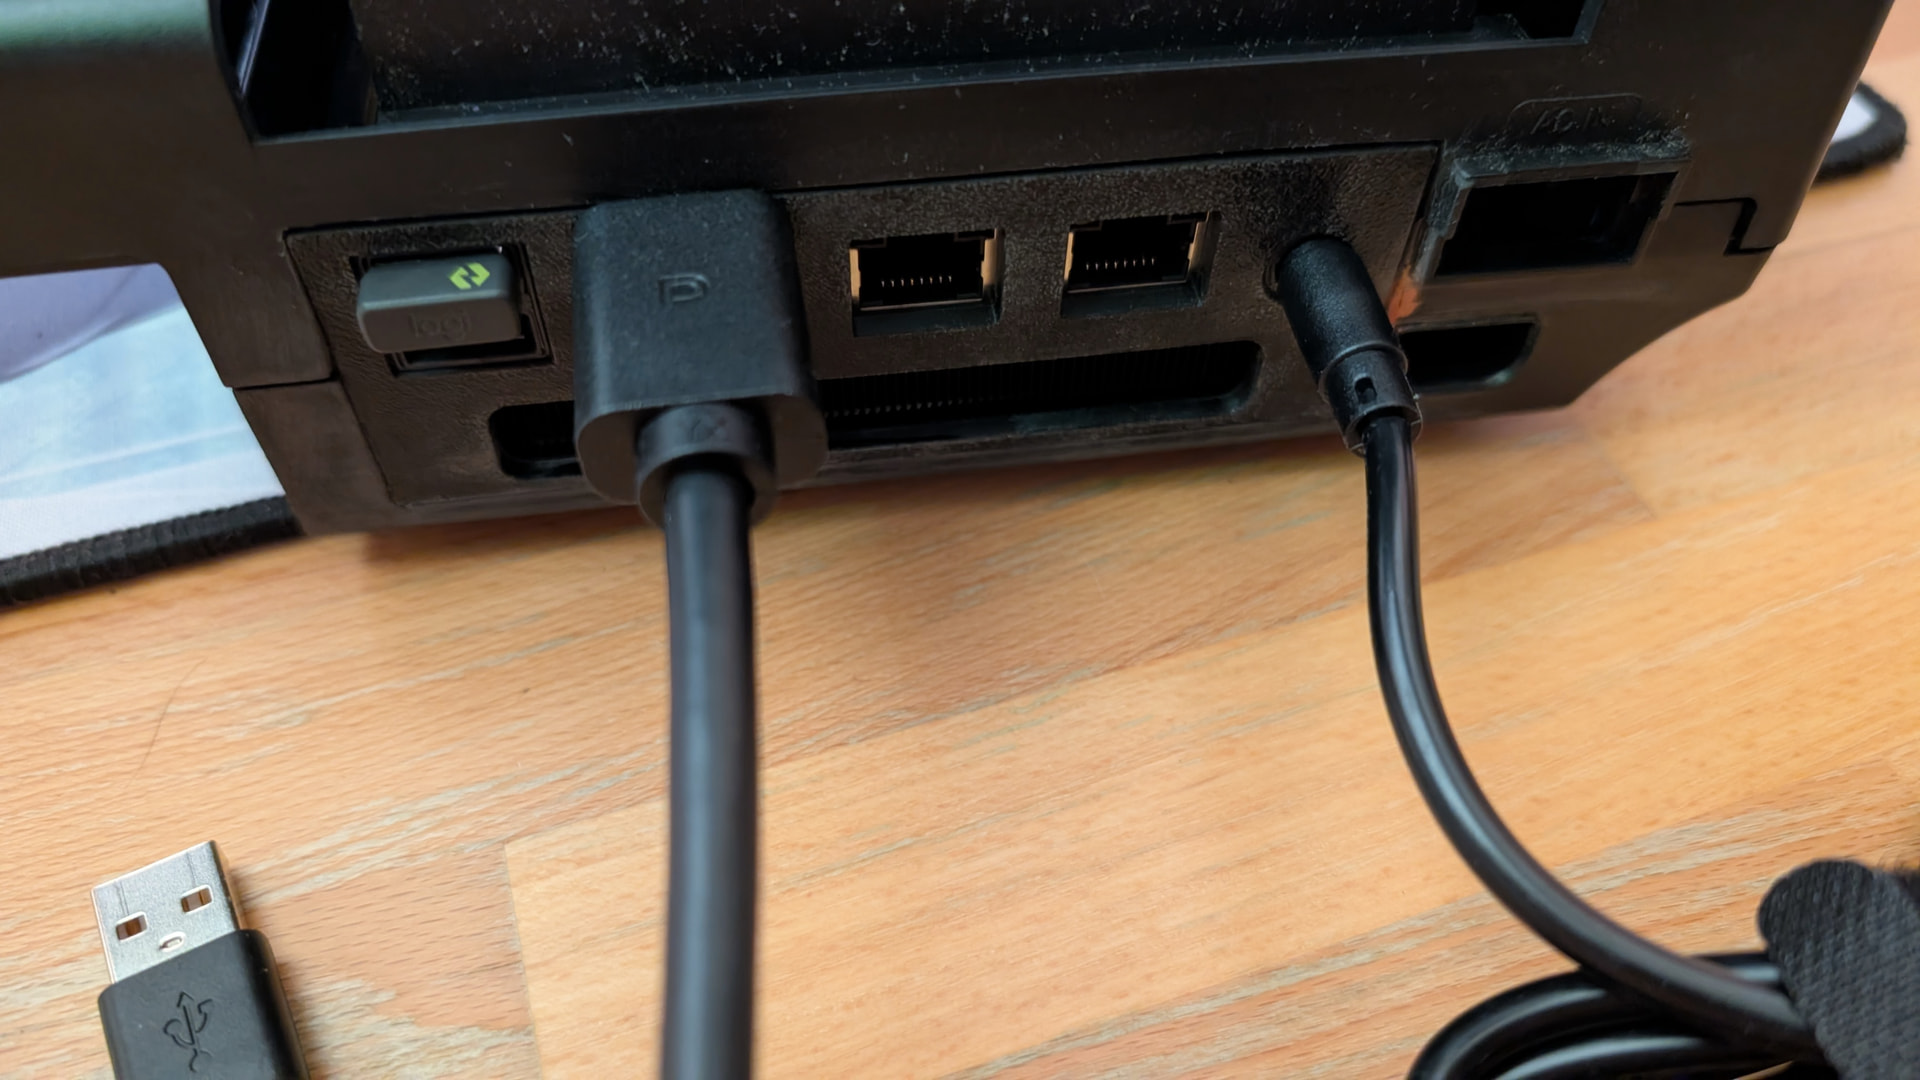
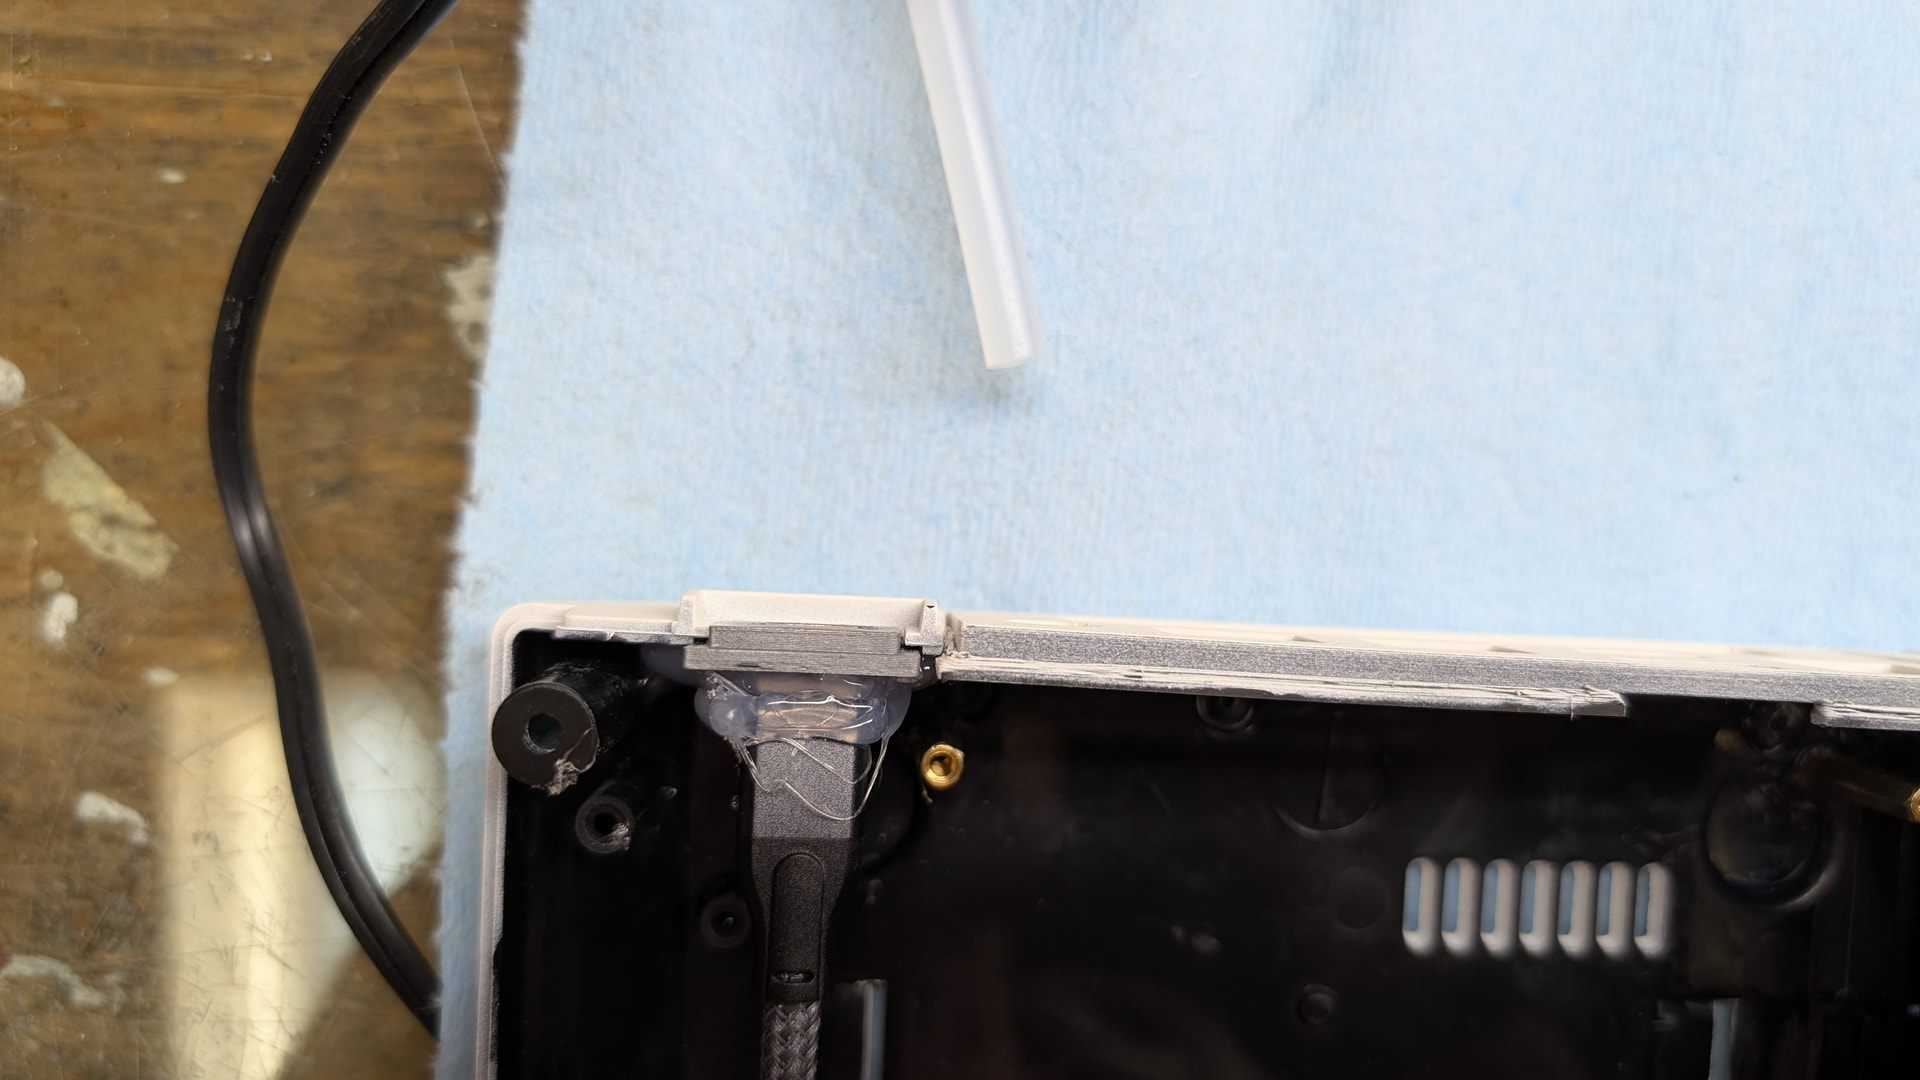
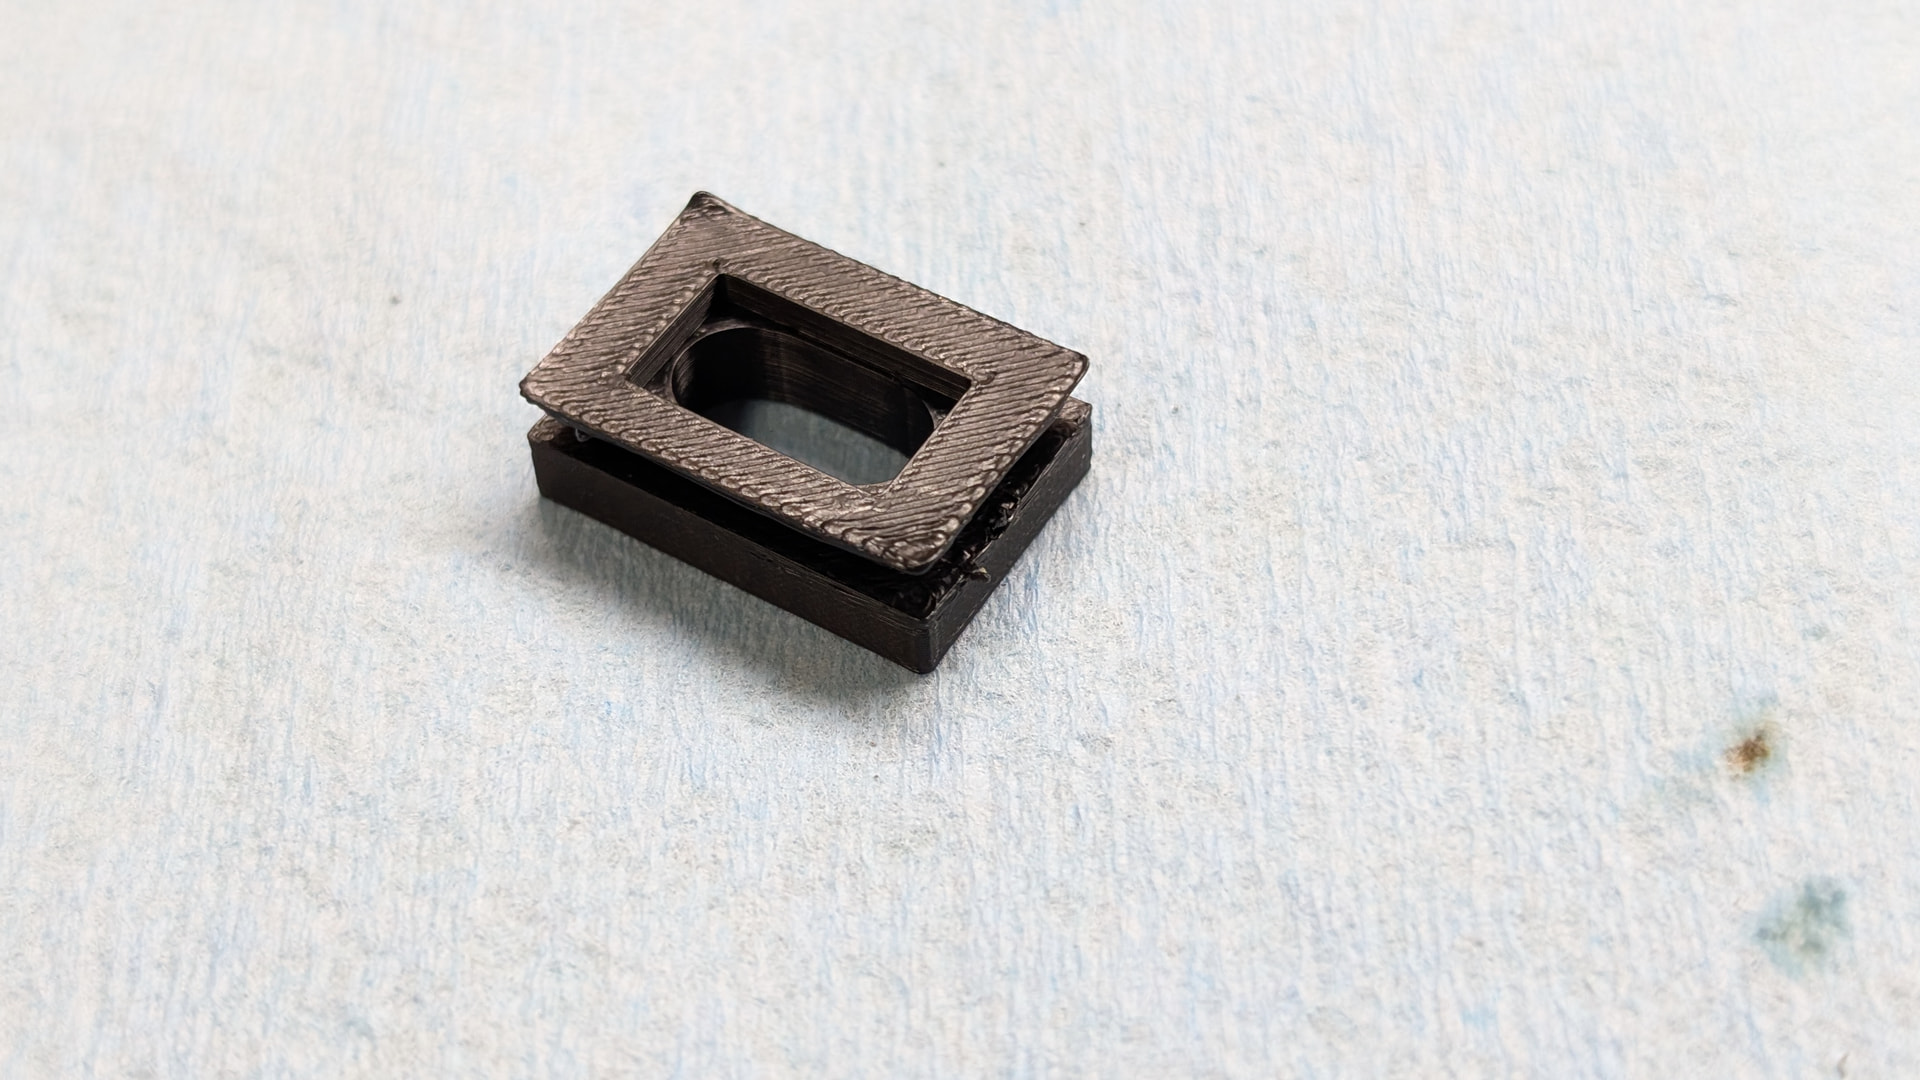
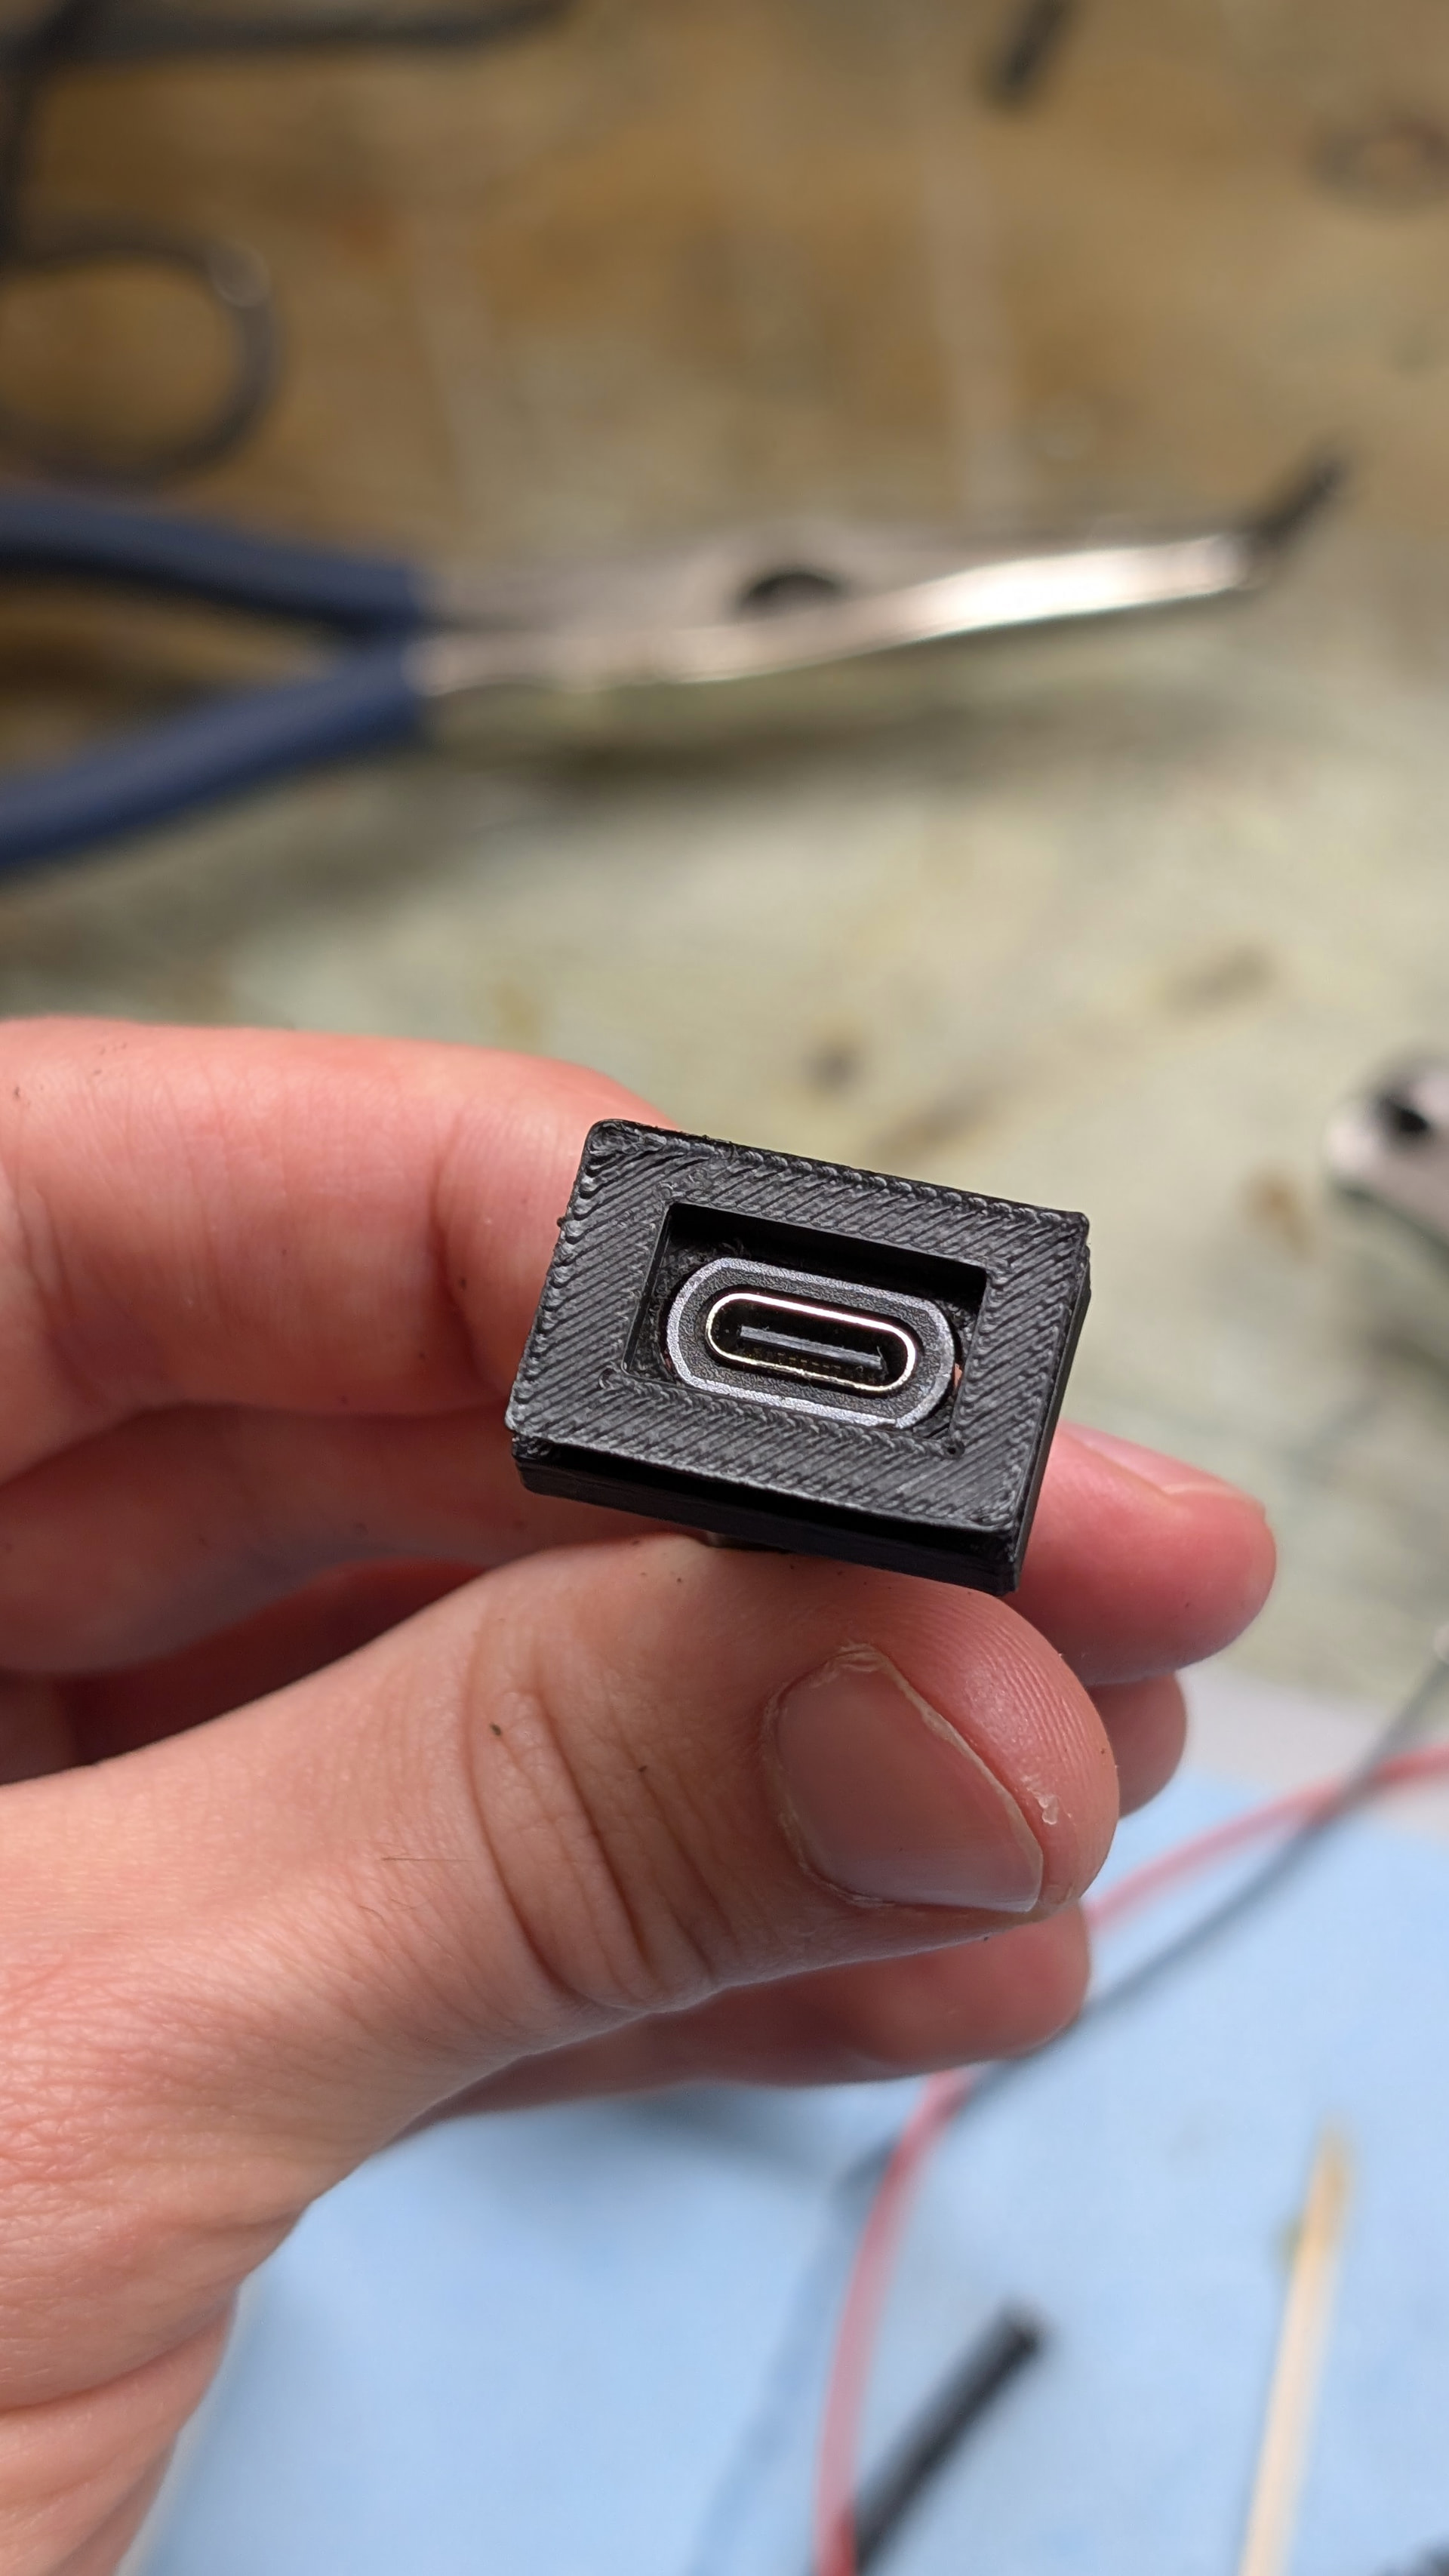
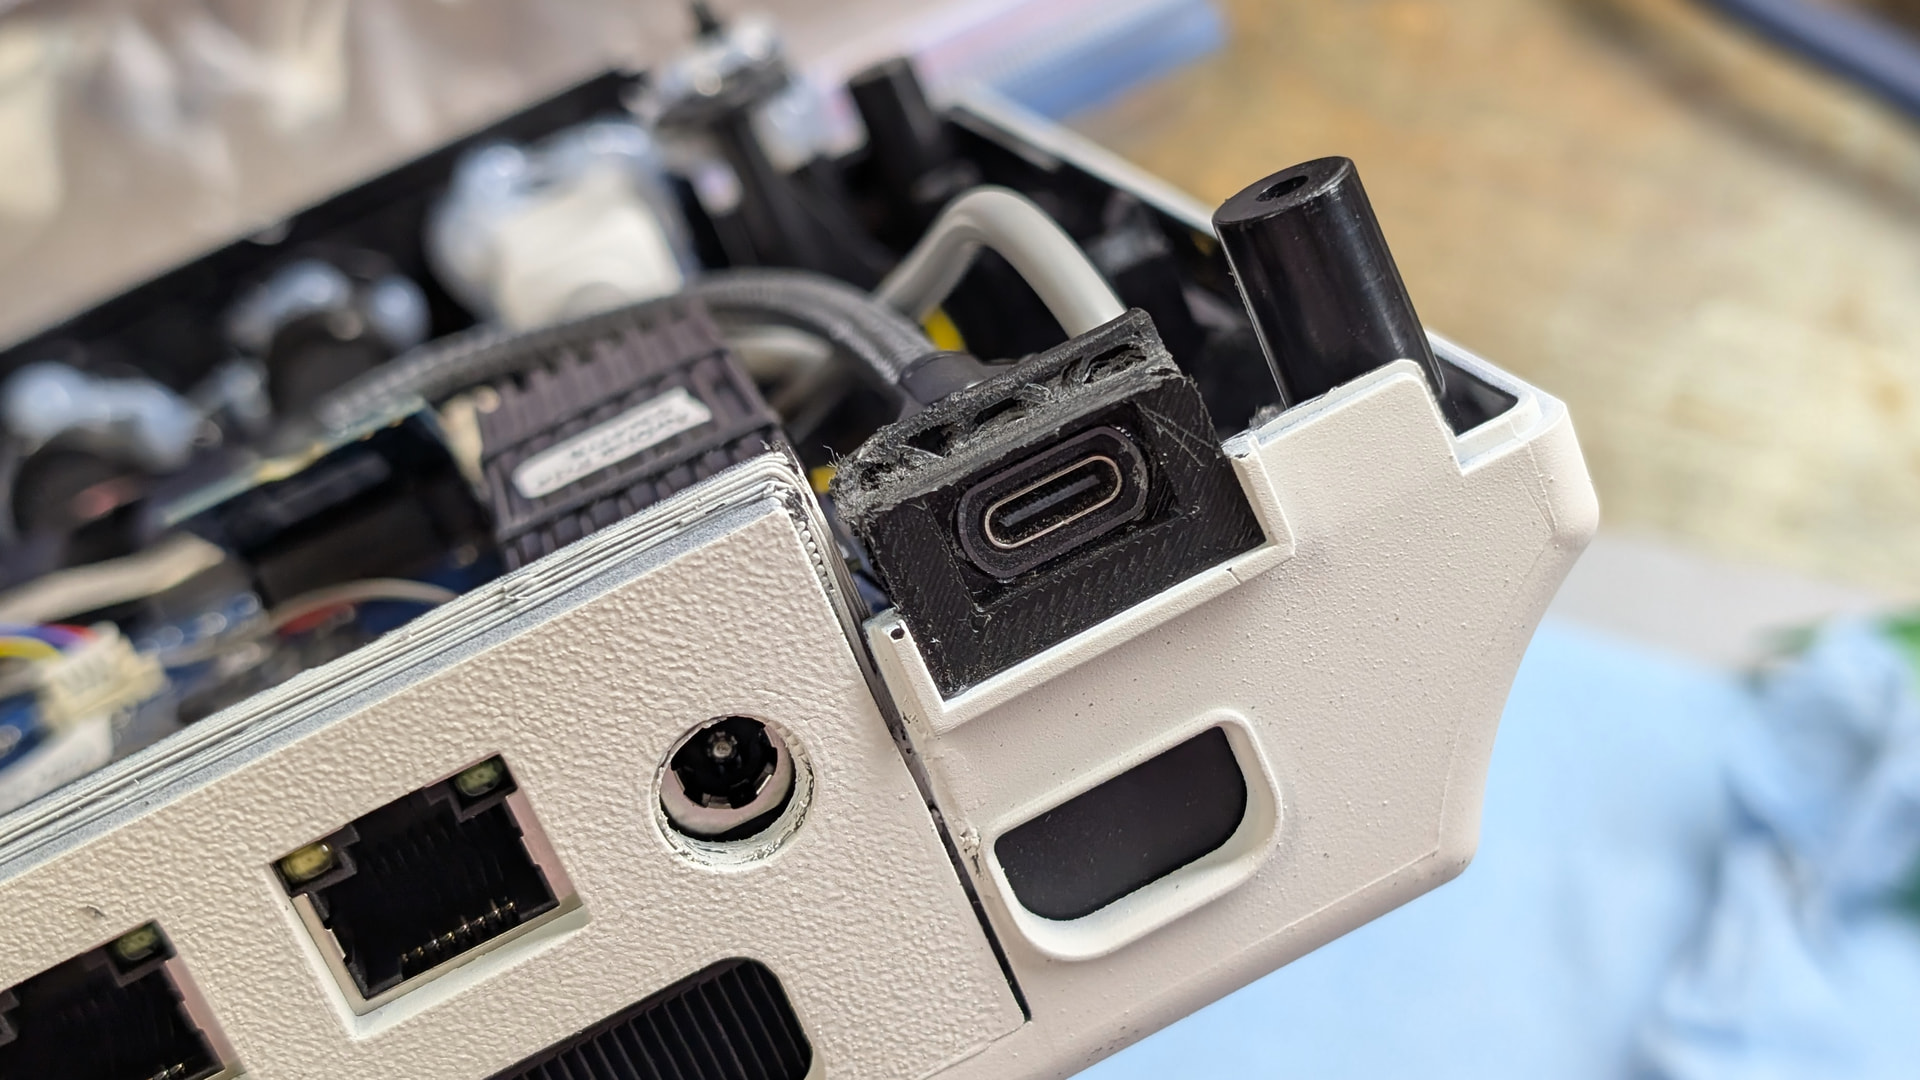
The new 3D printed for the usb C extension looks nice, with the usb C extender fitting so tightly. But apparently I overlooked stuff when designing it.
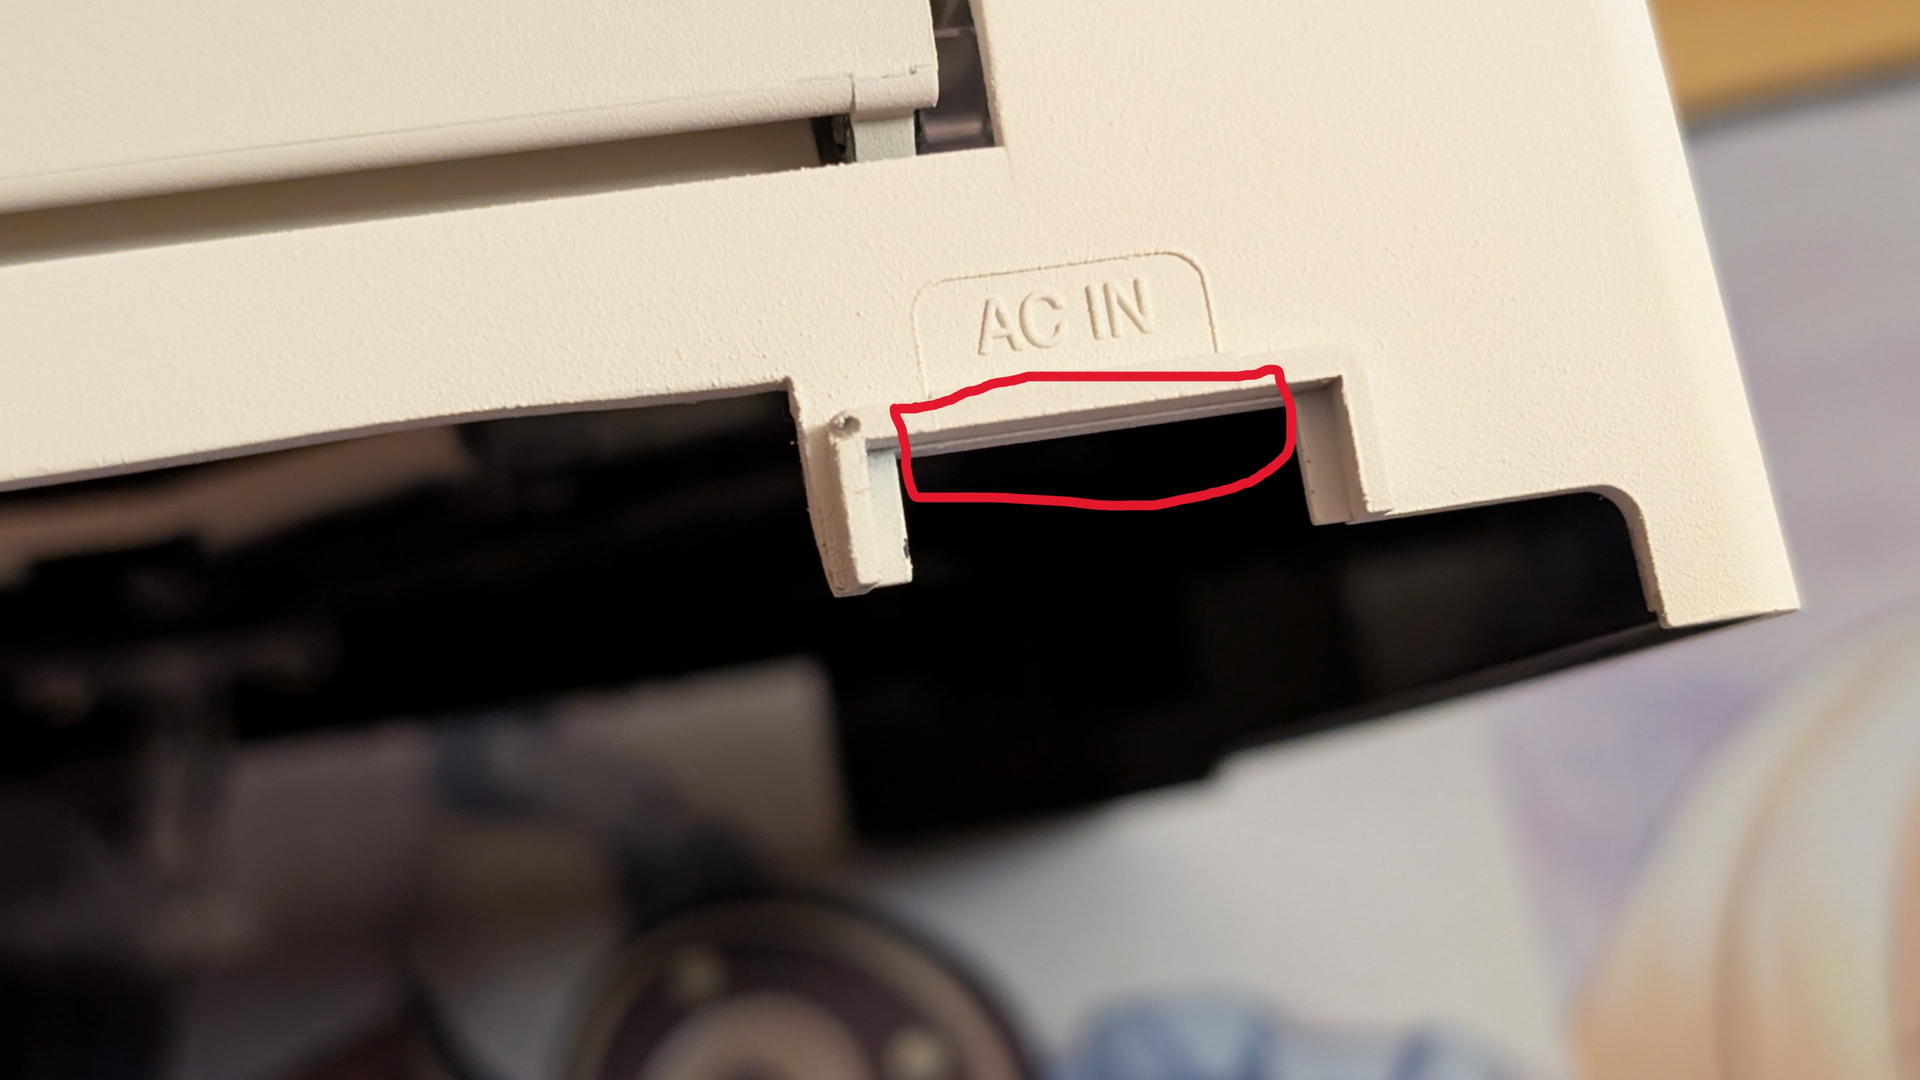
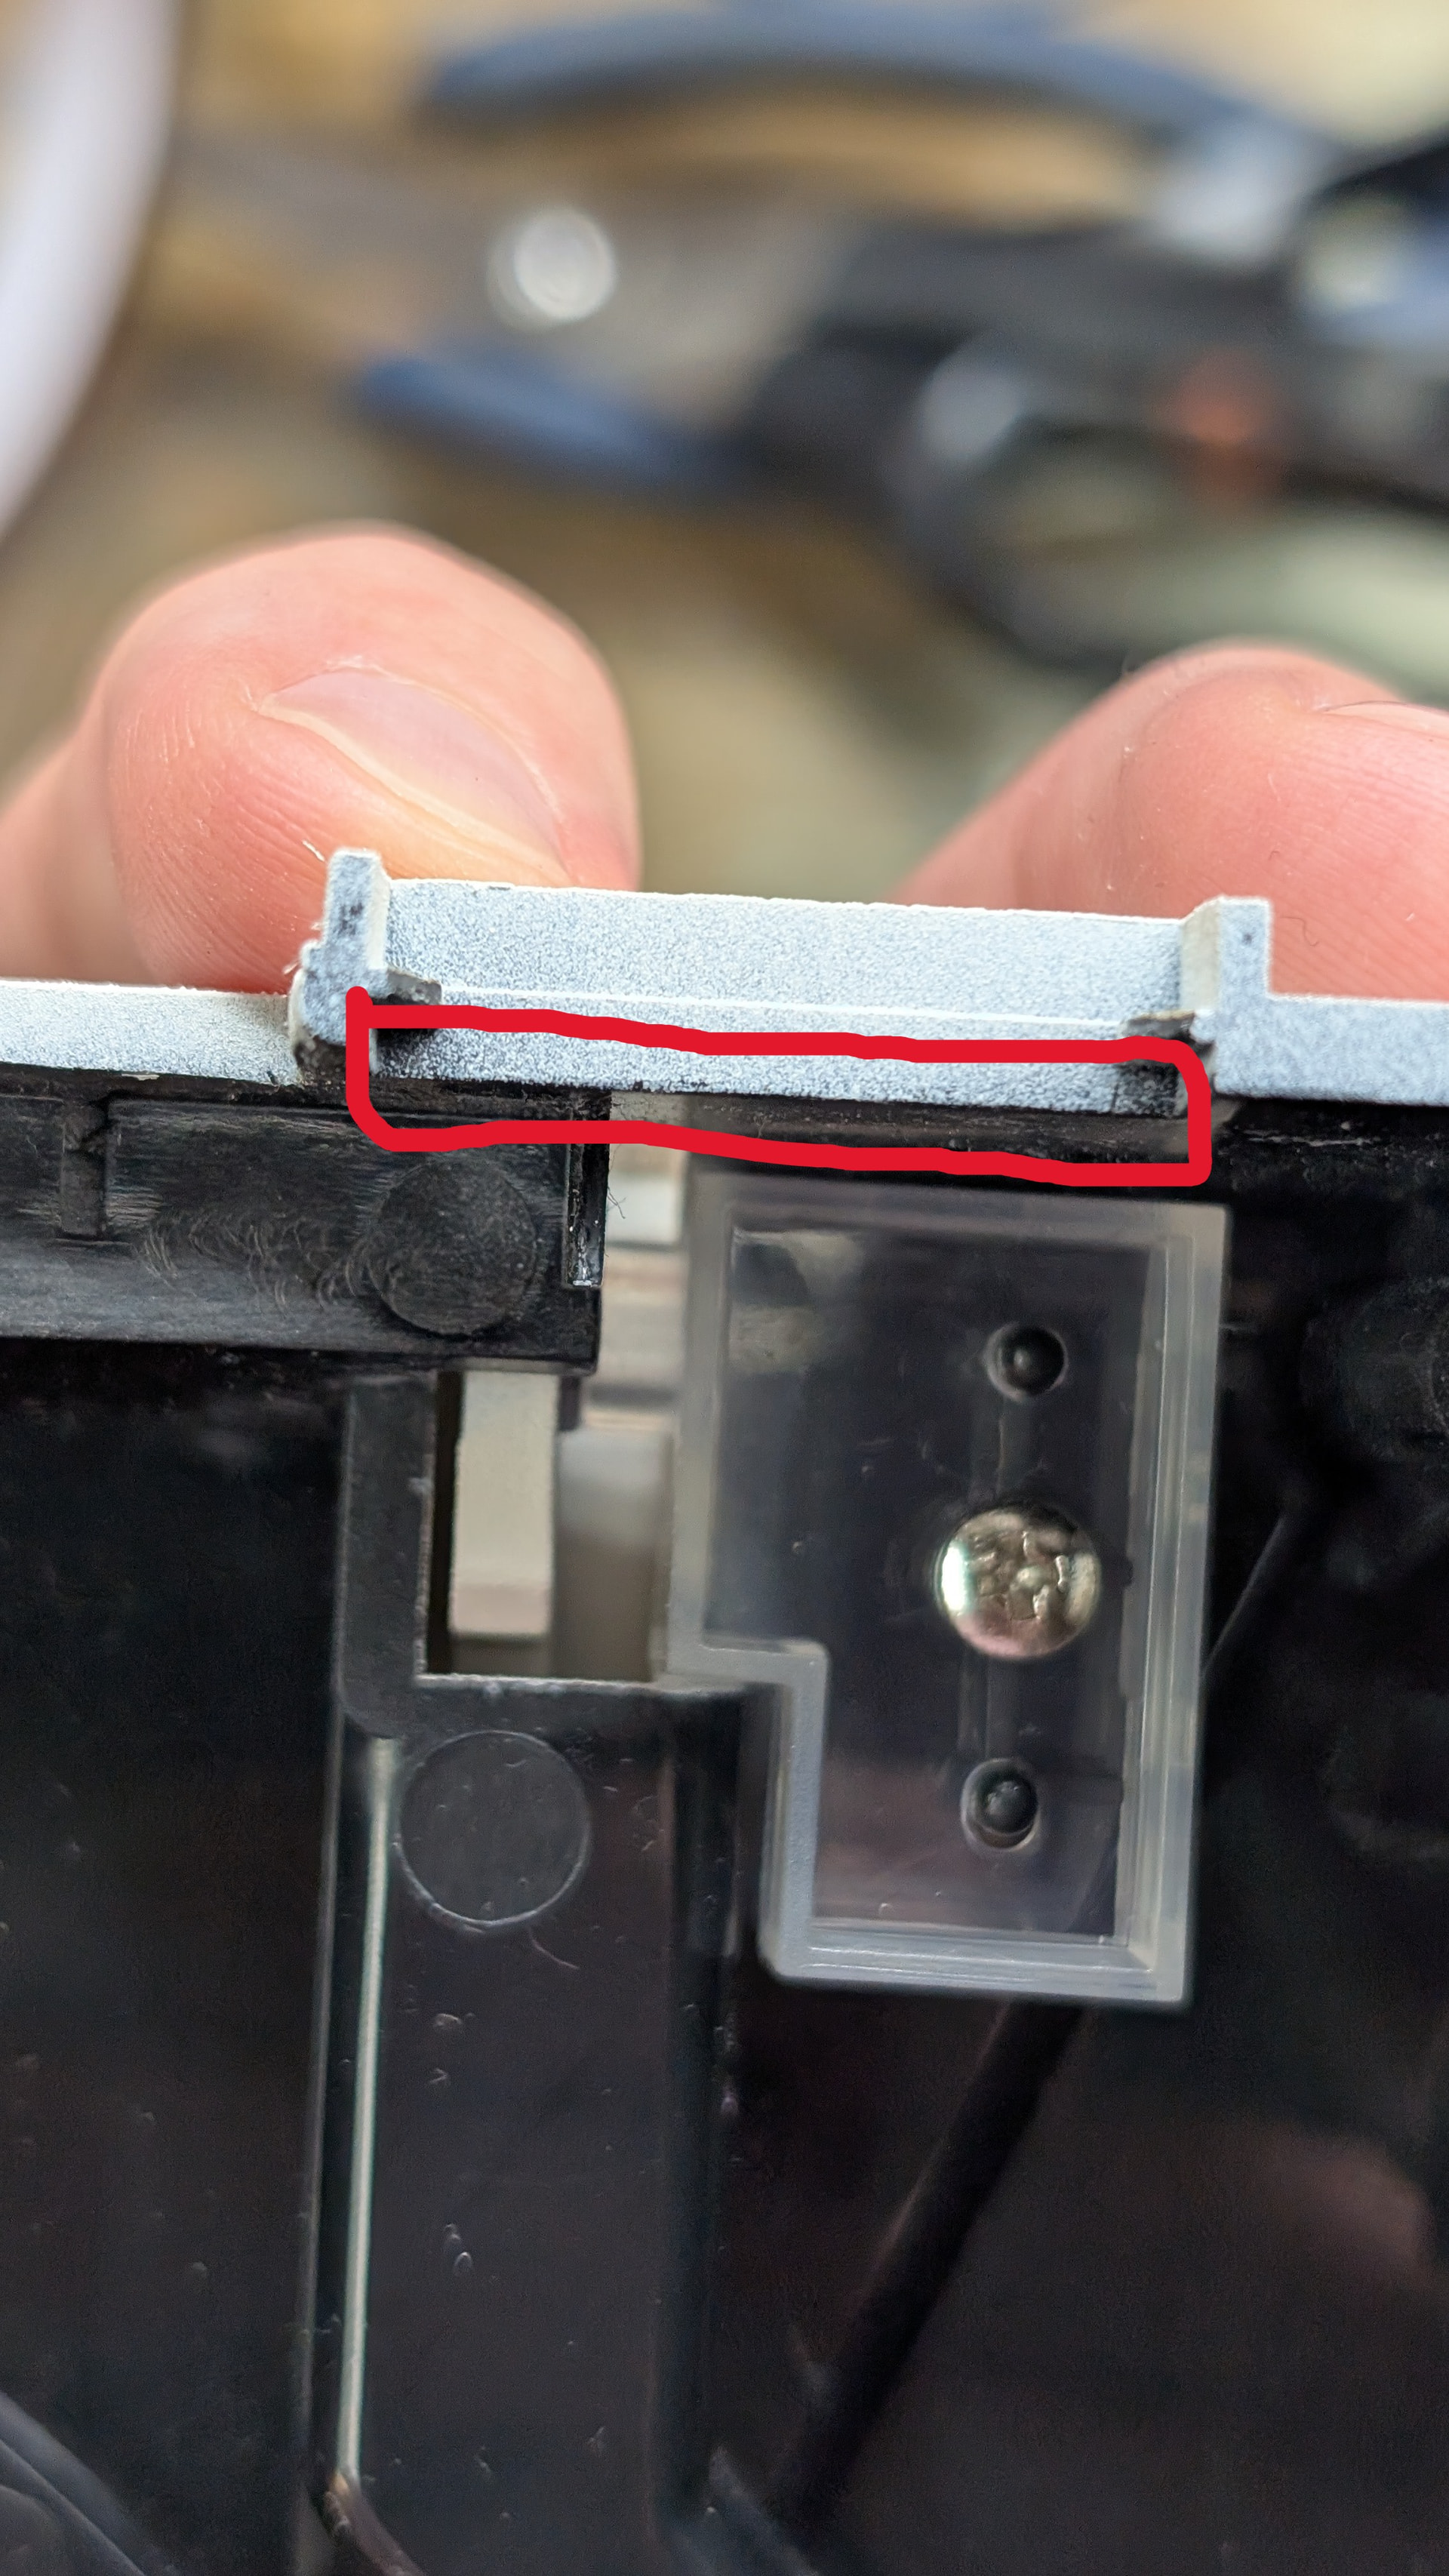
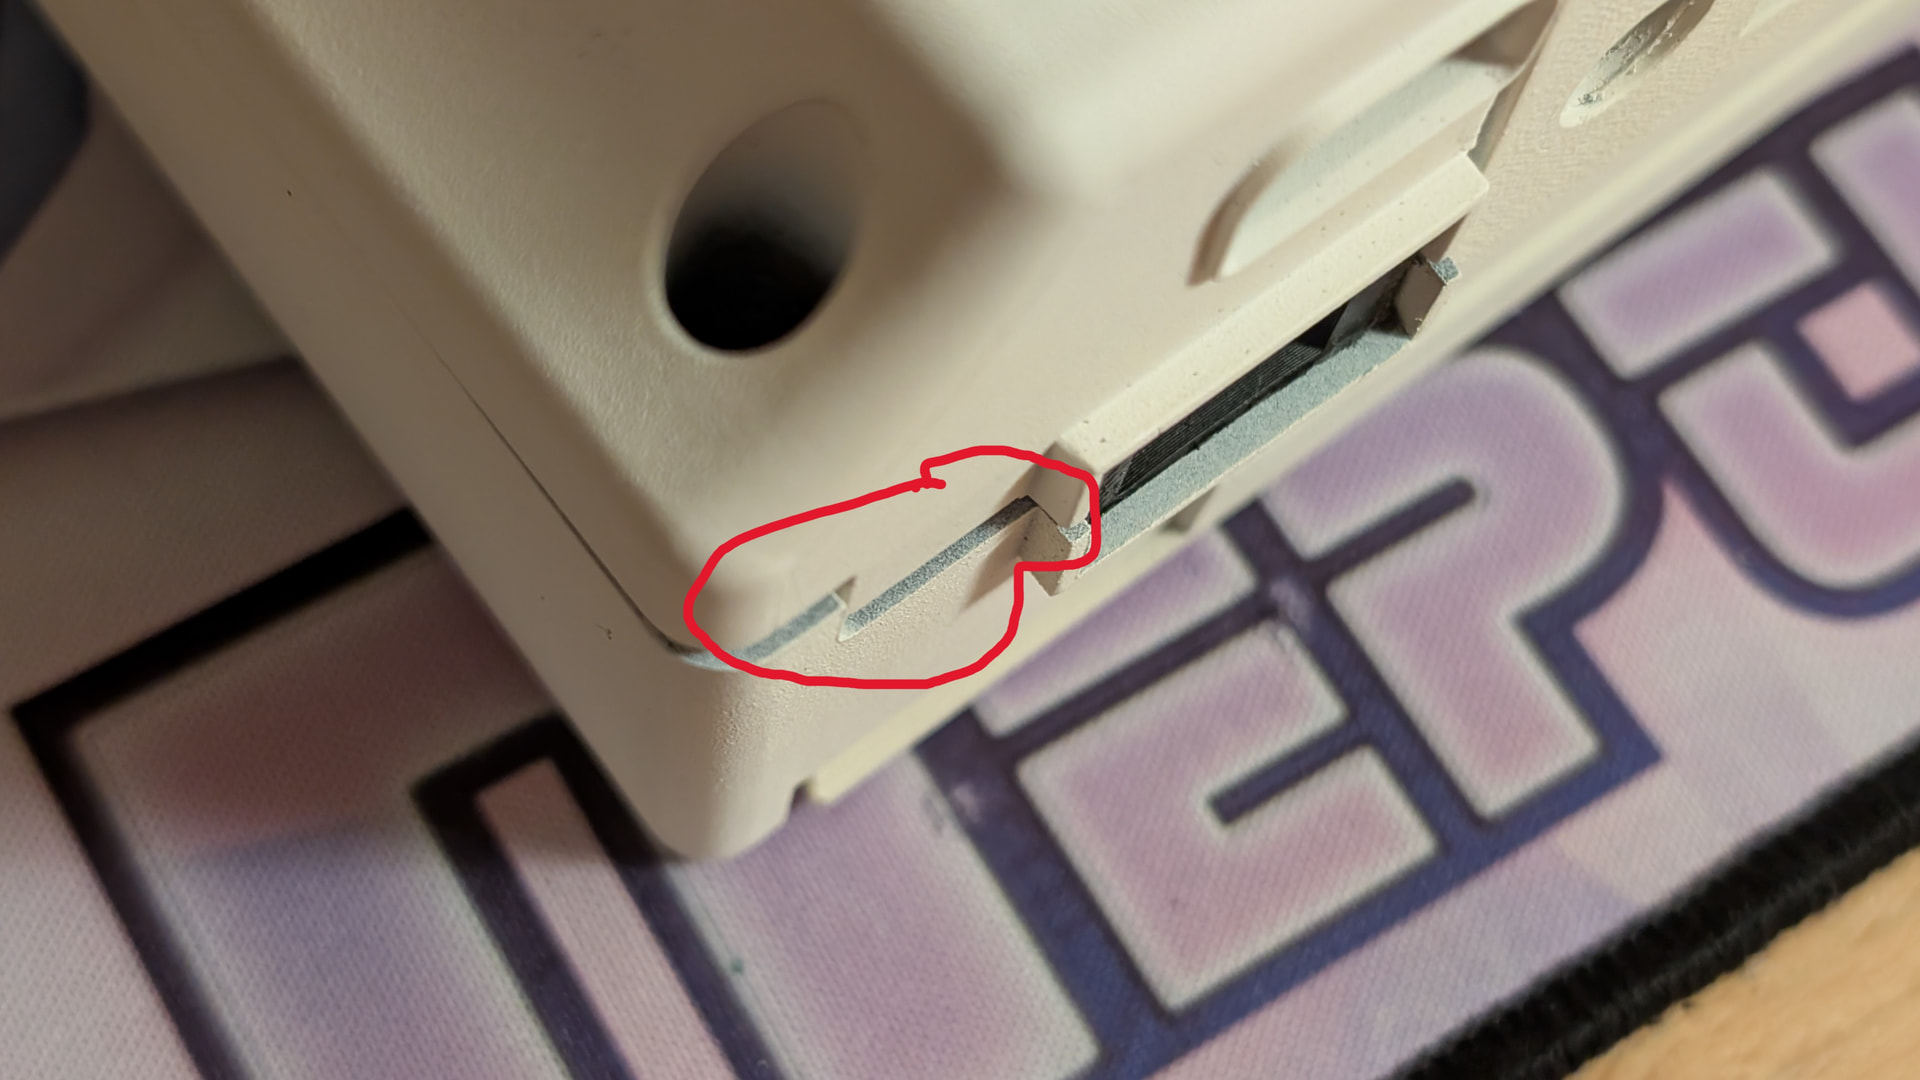
The shell would not close. Figured out that the upper part of that port opening do not have the lip the bottom portion has. I just designed the piece assuming it would be the same all the way around. So made some cuts and …
Sill not fitting. Then figured out it’s because as the upper piece has no lips, it means it also thicker, and my piece is again entering in conflict. So had to remove more material, a lot of material.
And now it fits. But the shell was still finicky to close. The aftermarket shell do have some tolerance issues, which mean that by conceiving the usb 3D printed that used the lips on both pieces, forced the shell to close in a way that goes it’s natural way of closing, as evidenced by the 1-2mm discrepancies in the back. But hey at least it works.
And I forgot that to do use the decal paper, I first need to spray it with a clear coat to seal the design. But lately the weather have not been good for painting, so need to wait.
The build is finished at last! I did gave at the end another layer paint to the pieces that were a bit off in tone. They still are a little bit off though lol. I don’t like painting white, so capricious. Still better though.
And also received a working small mini USB cable, and the adapter is detected, so hoora!


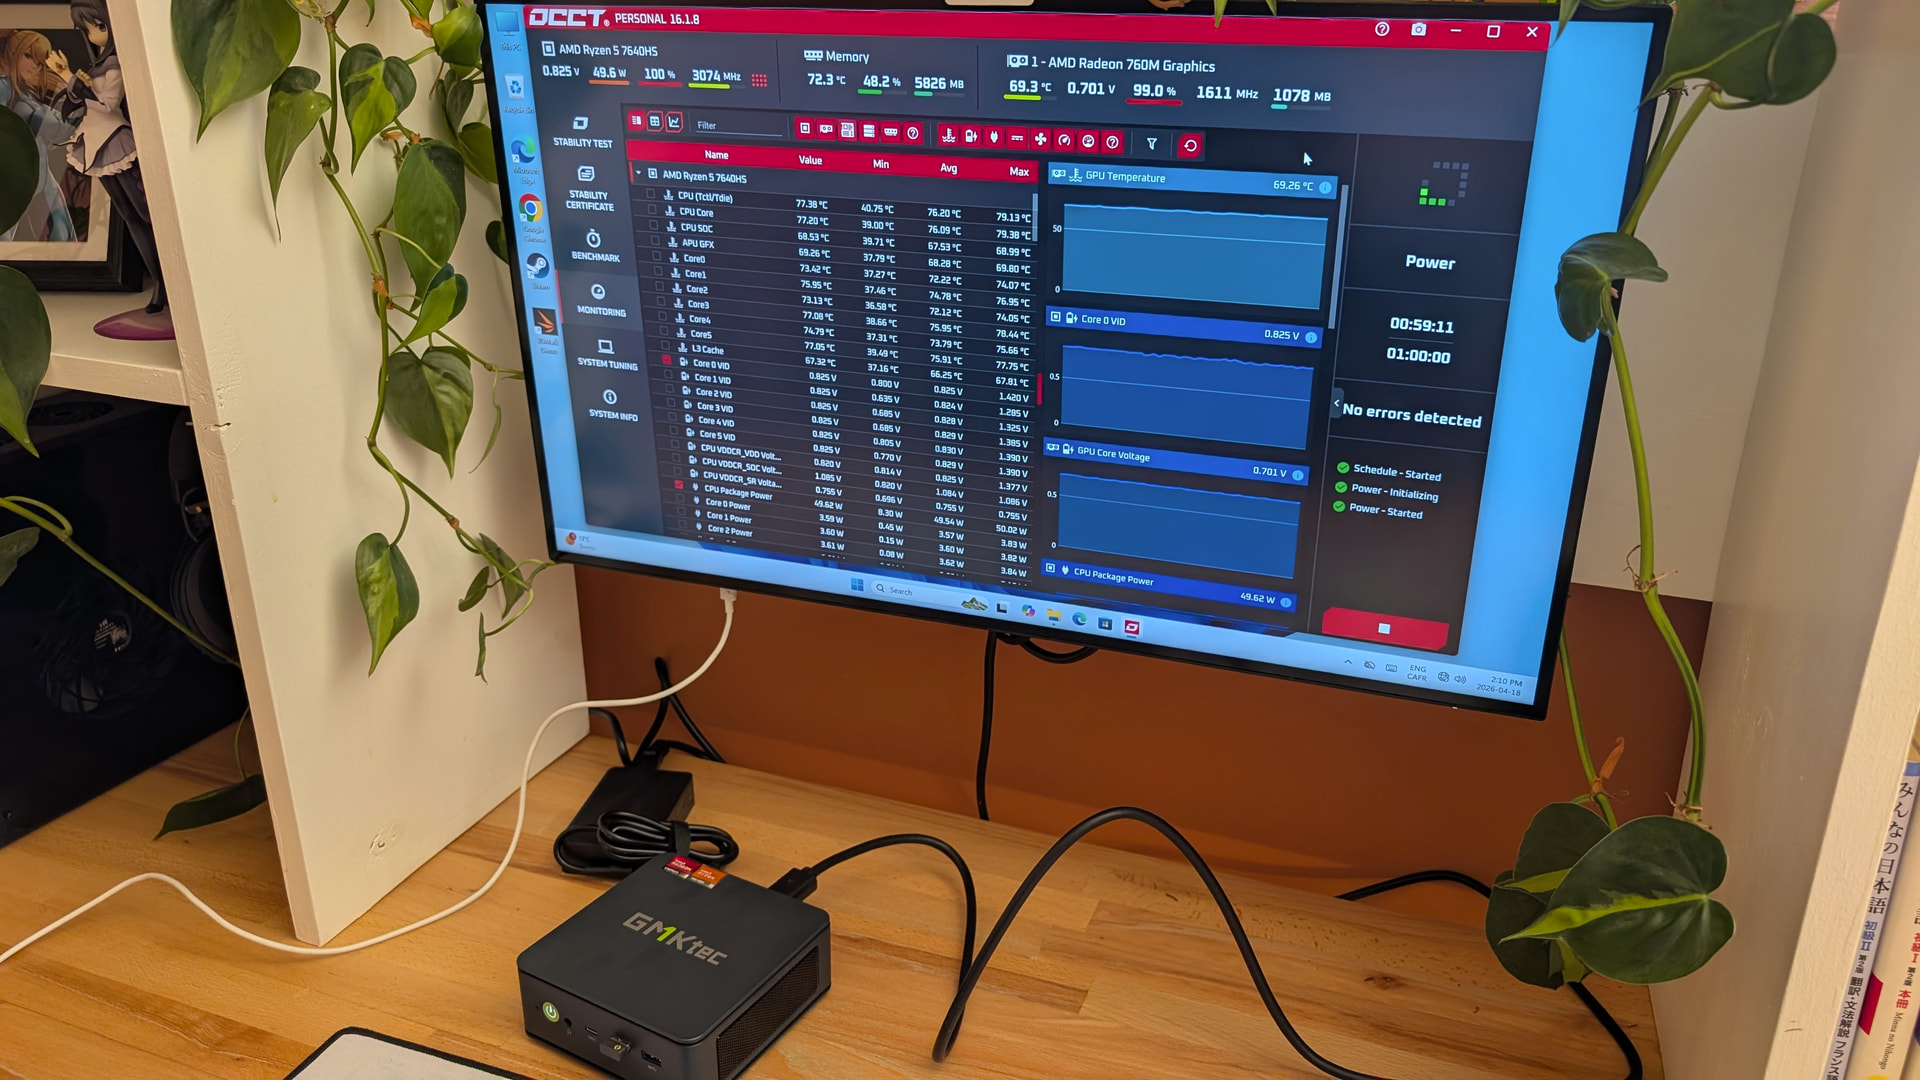




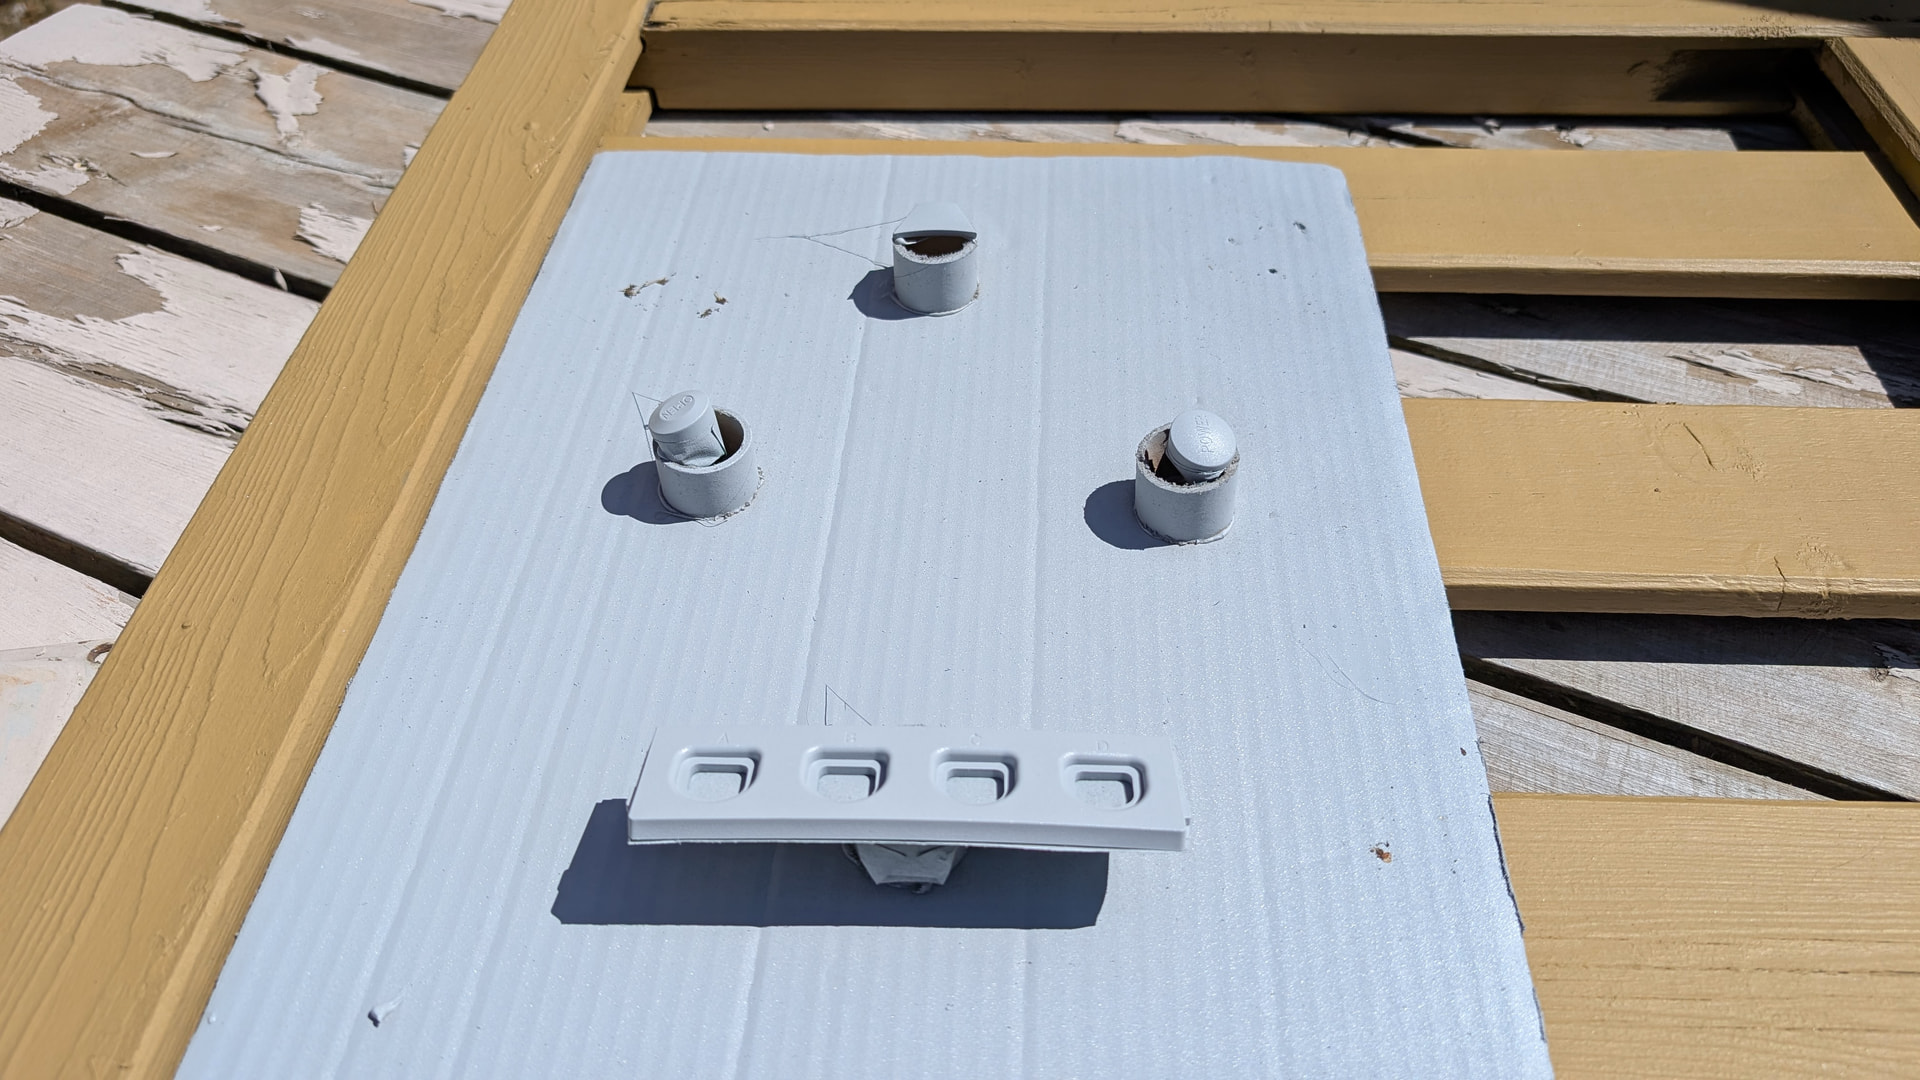
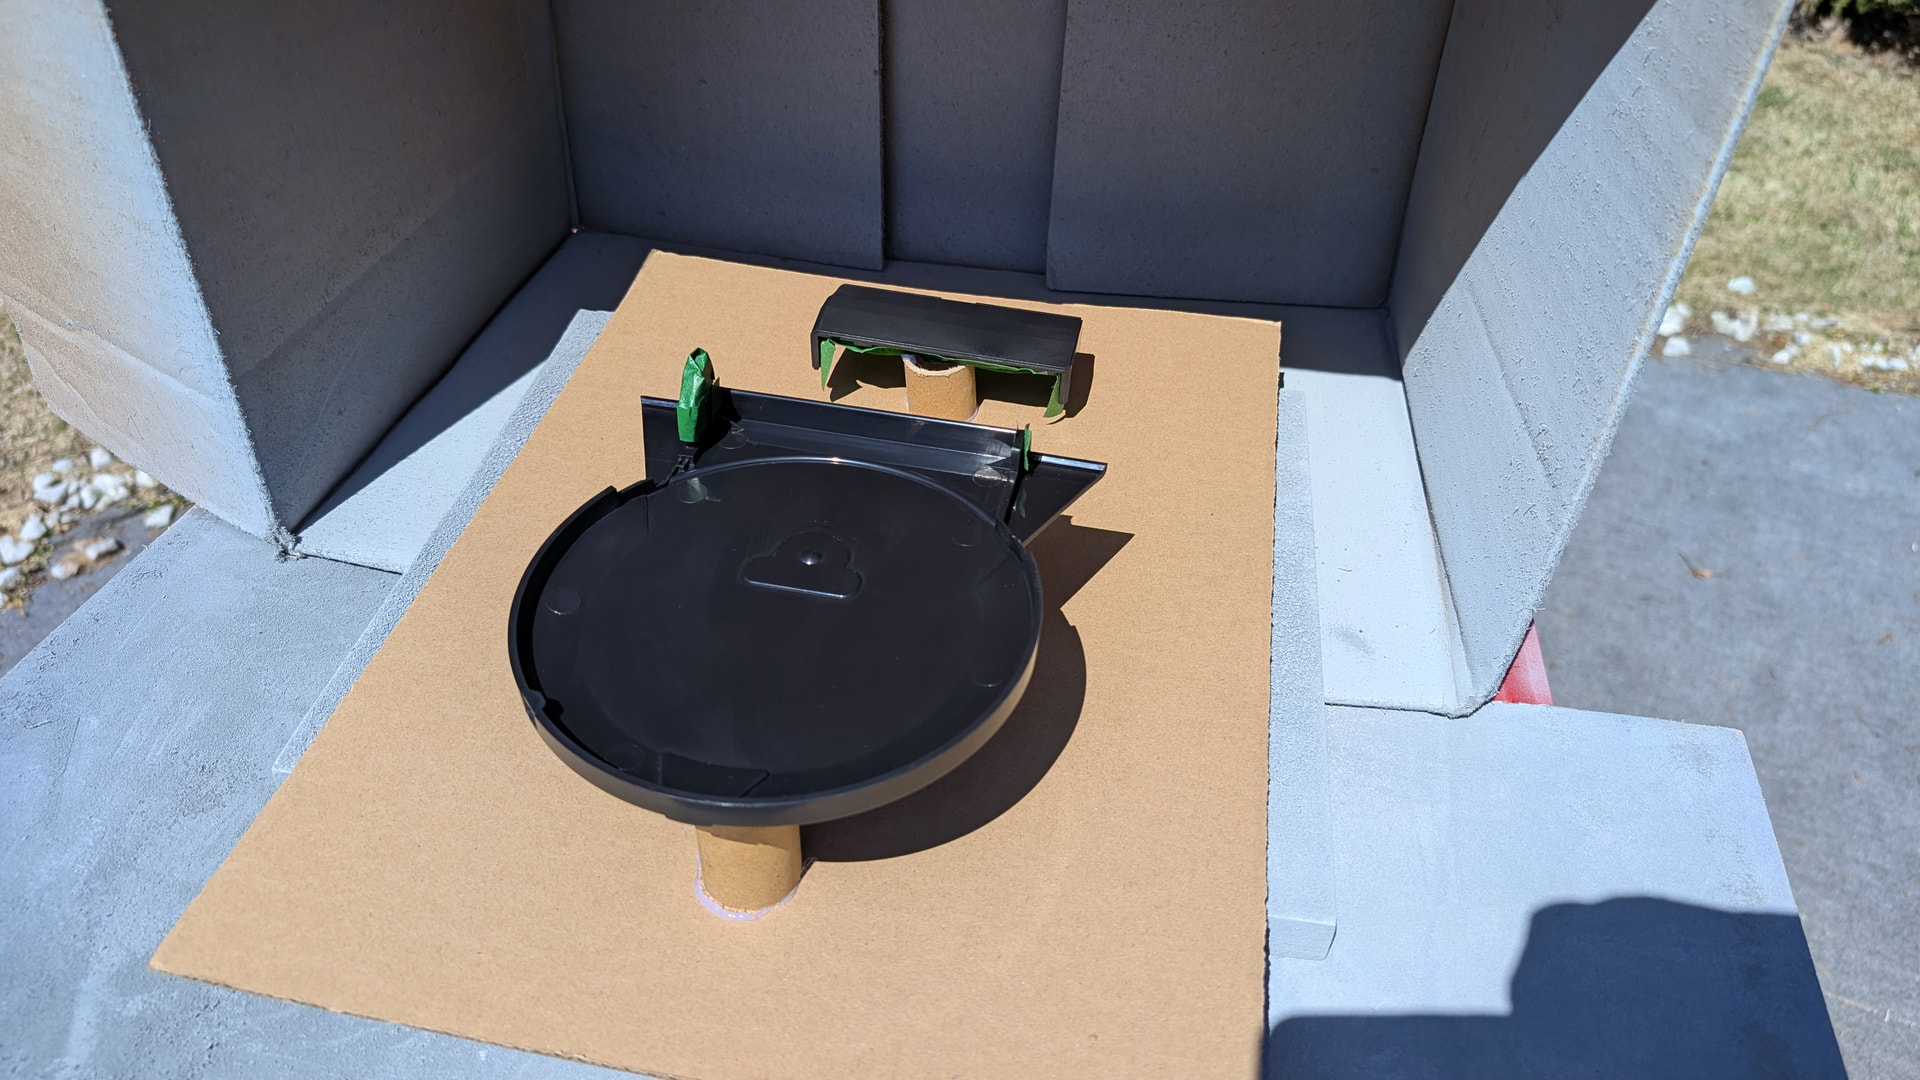





 so need to wait for a new one