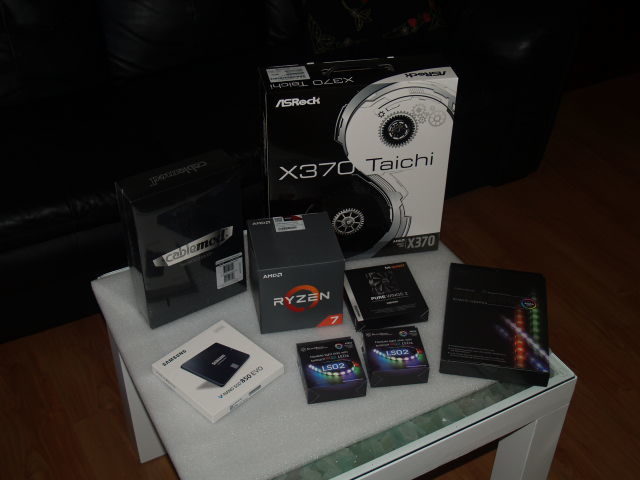
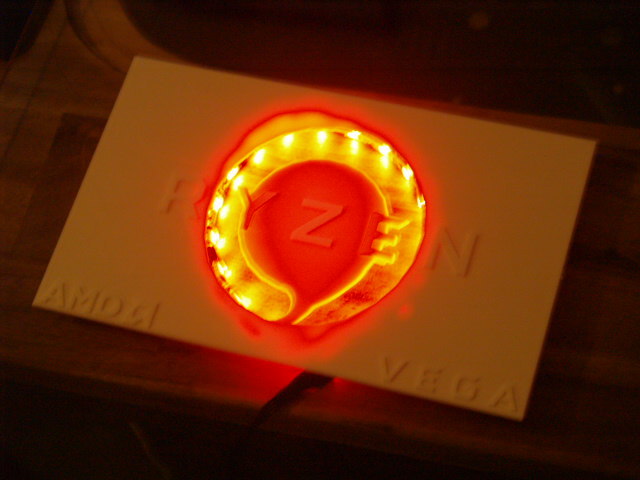
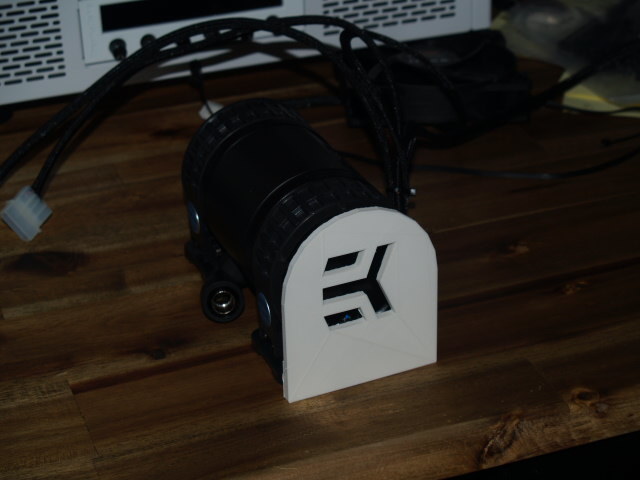
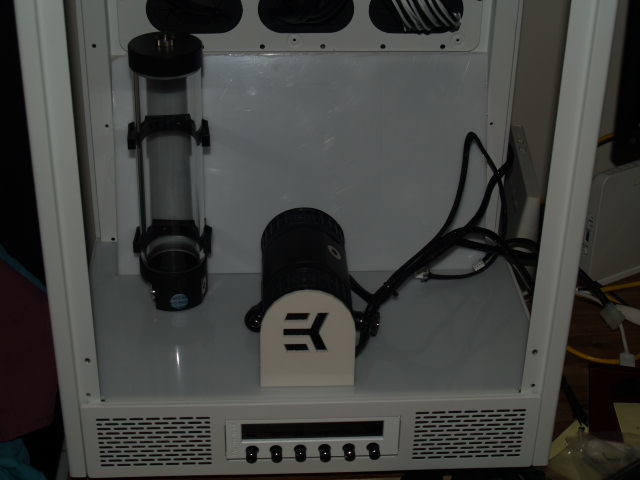
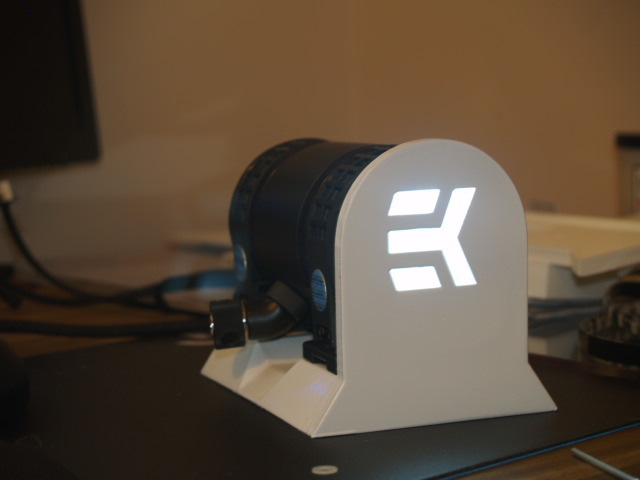
This is to cover the end of the pump to help hide wiring. I will likely be lighting it with a LED.
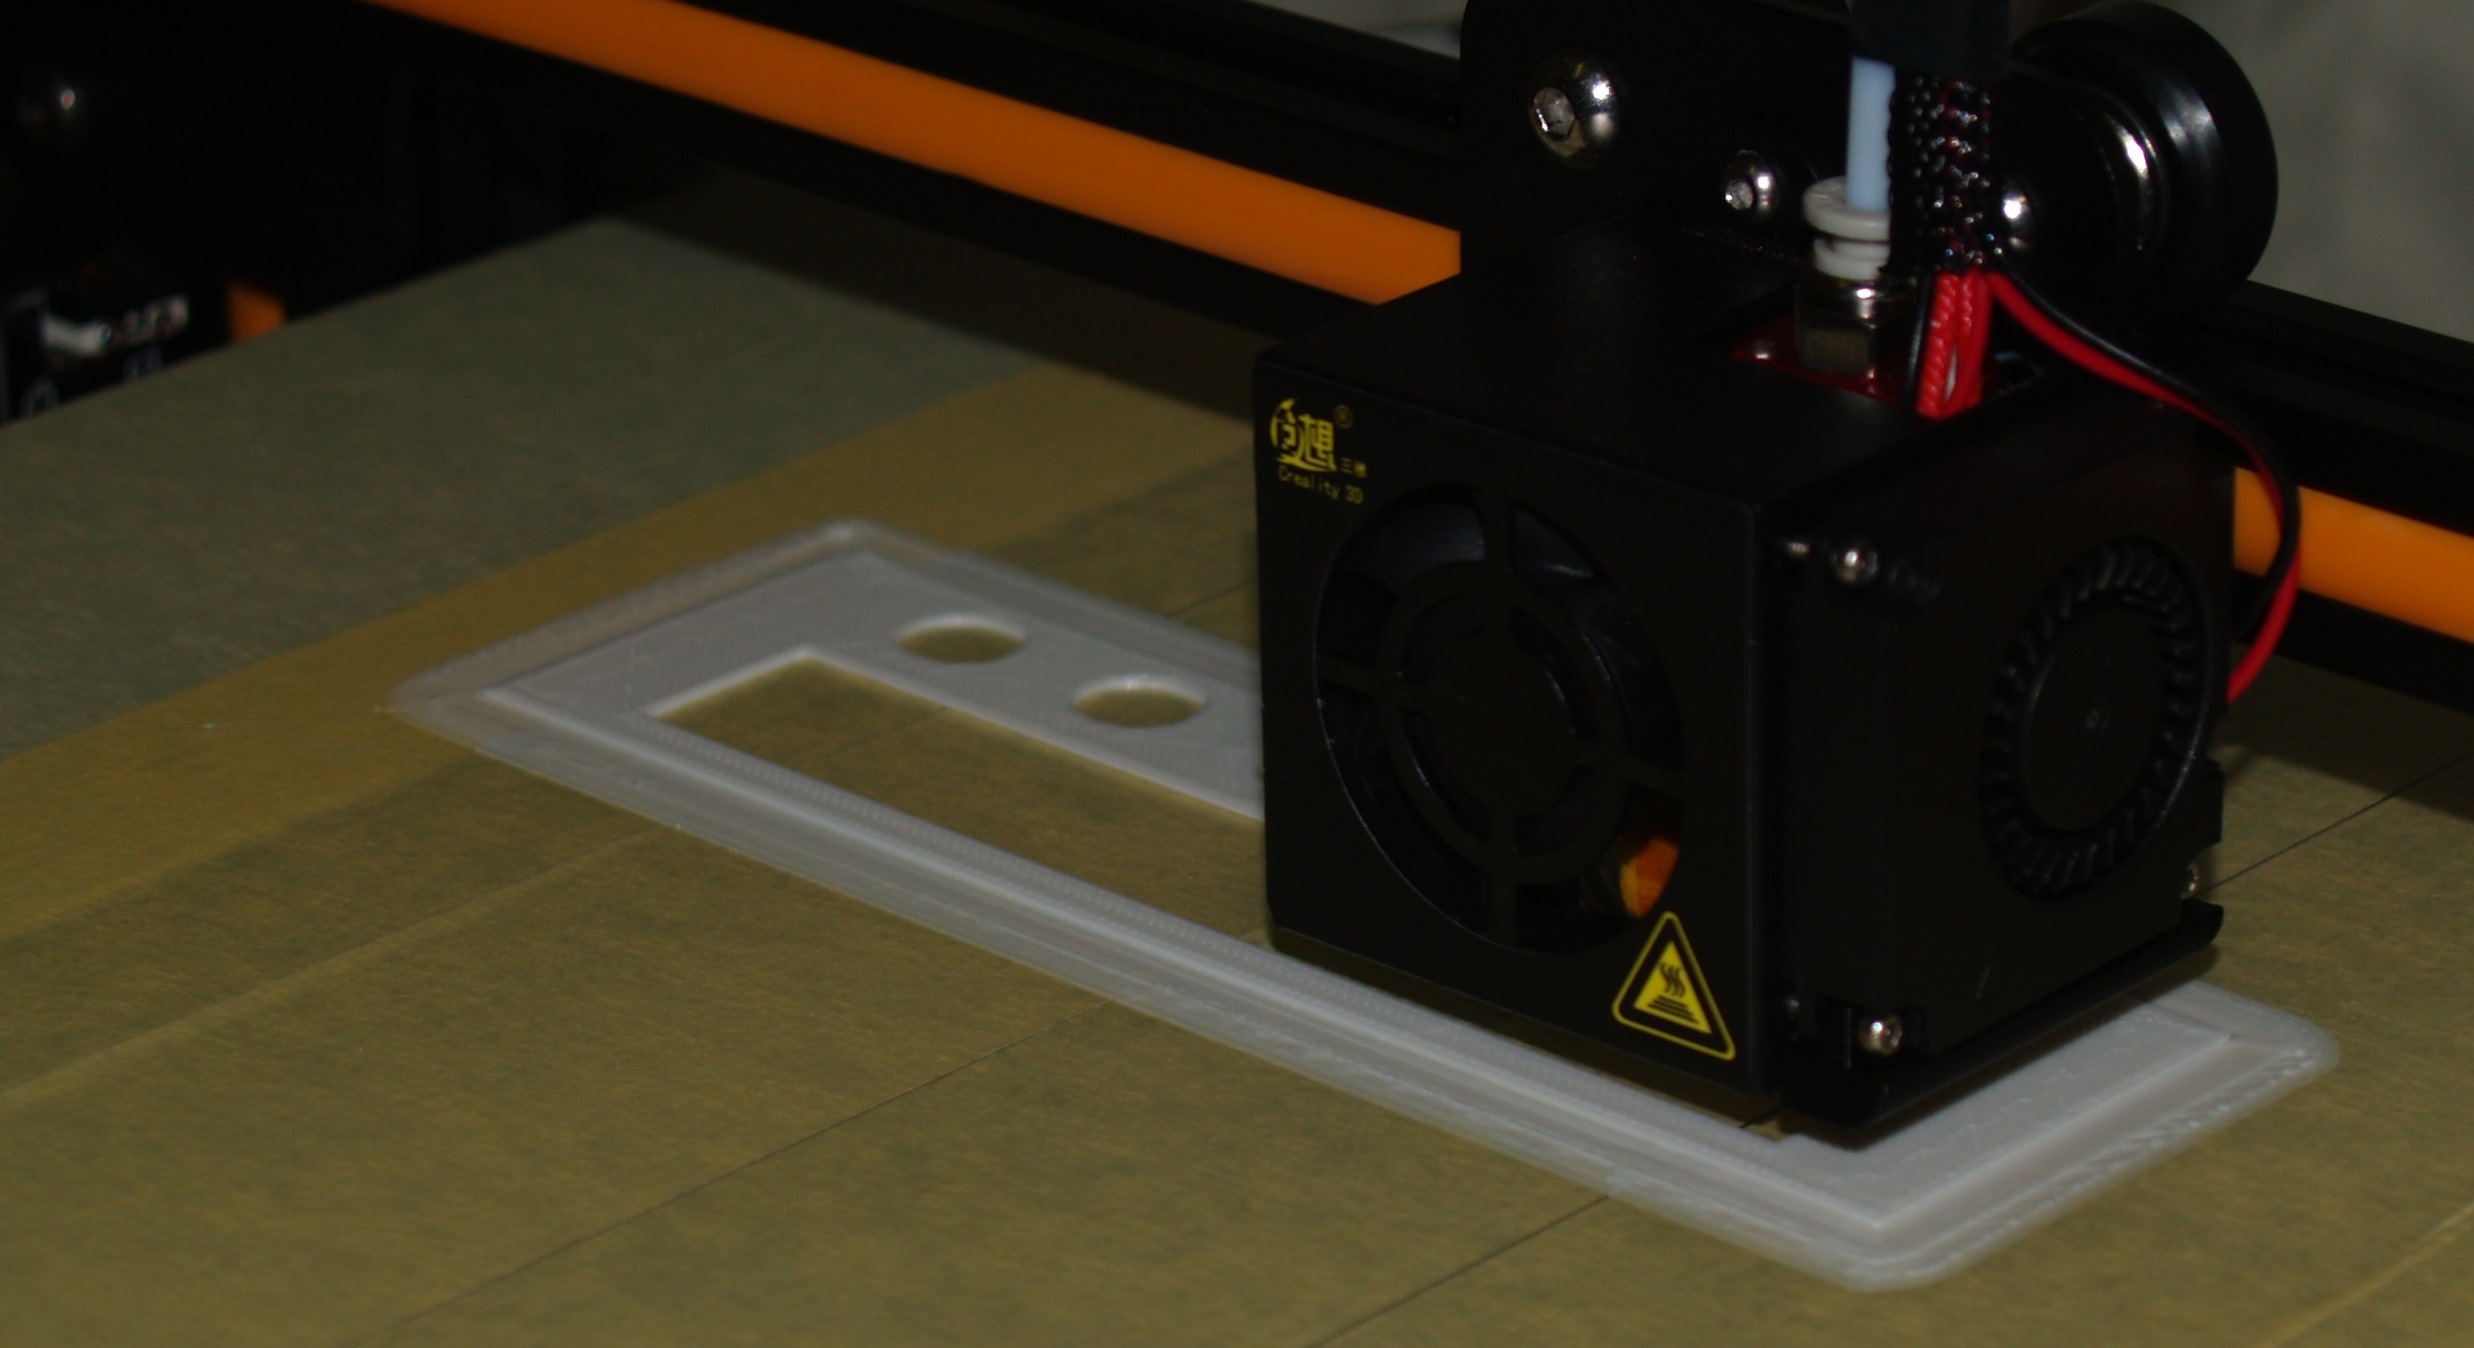
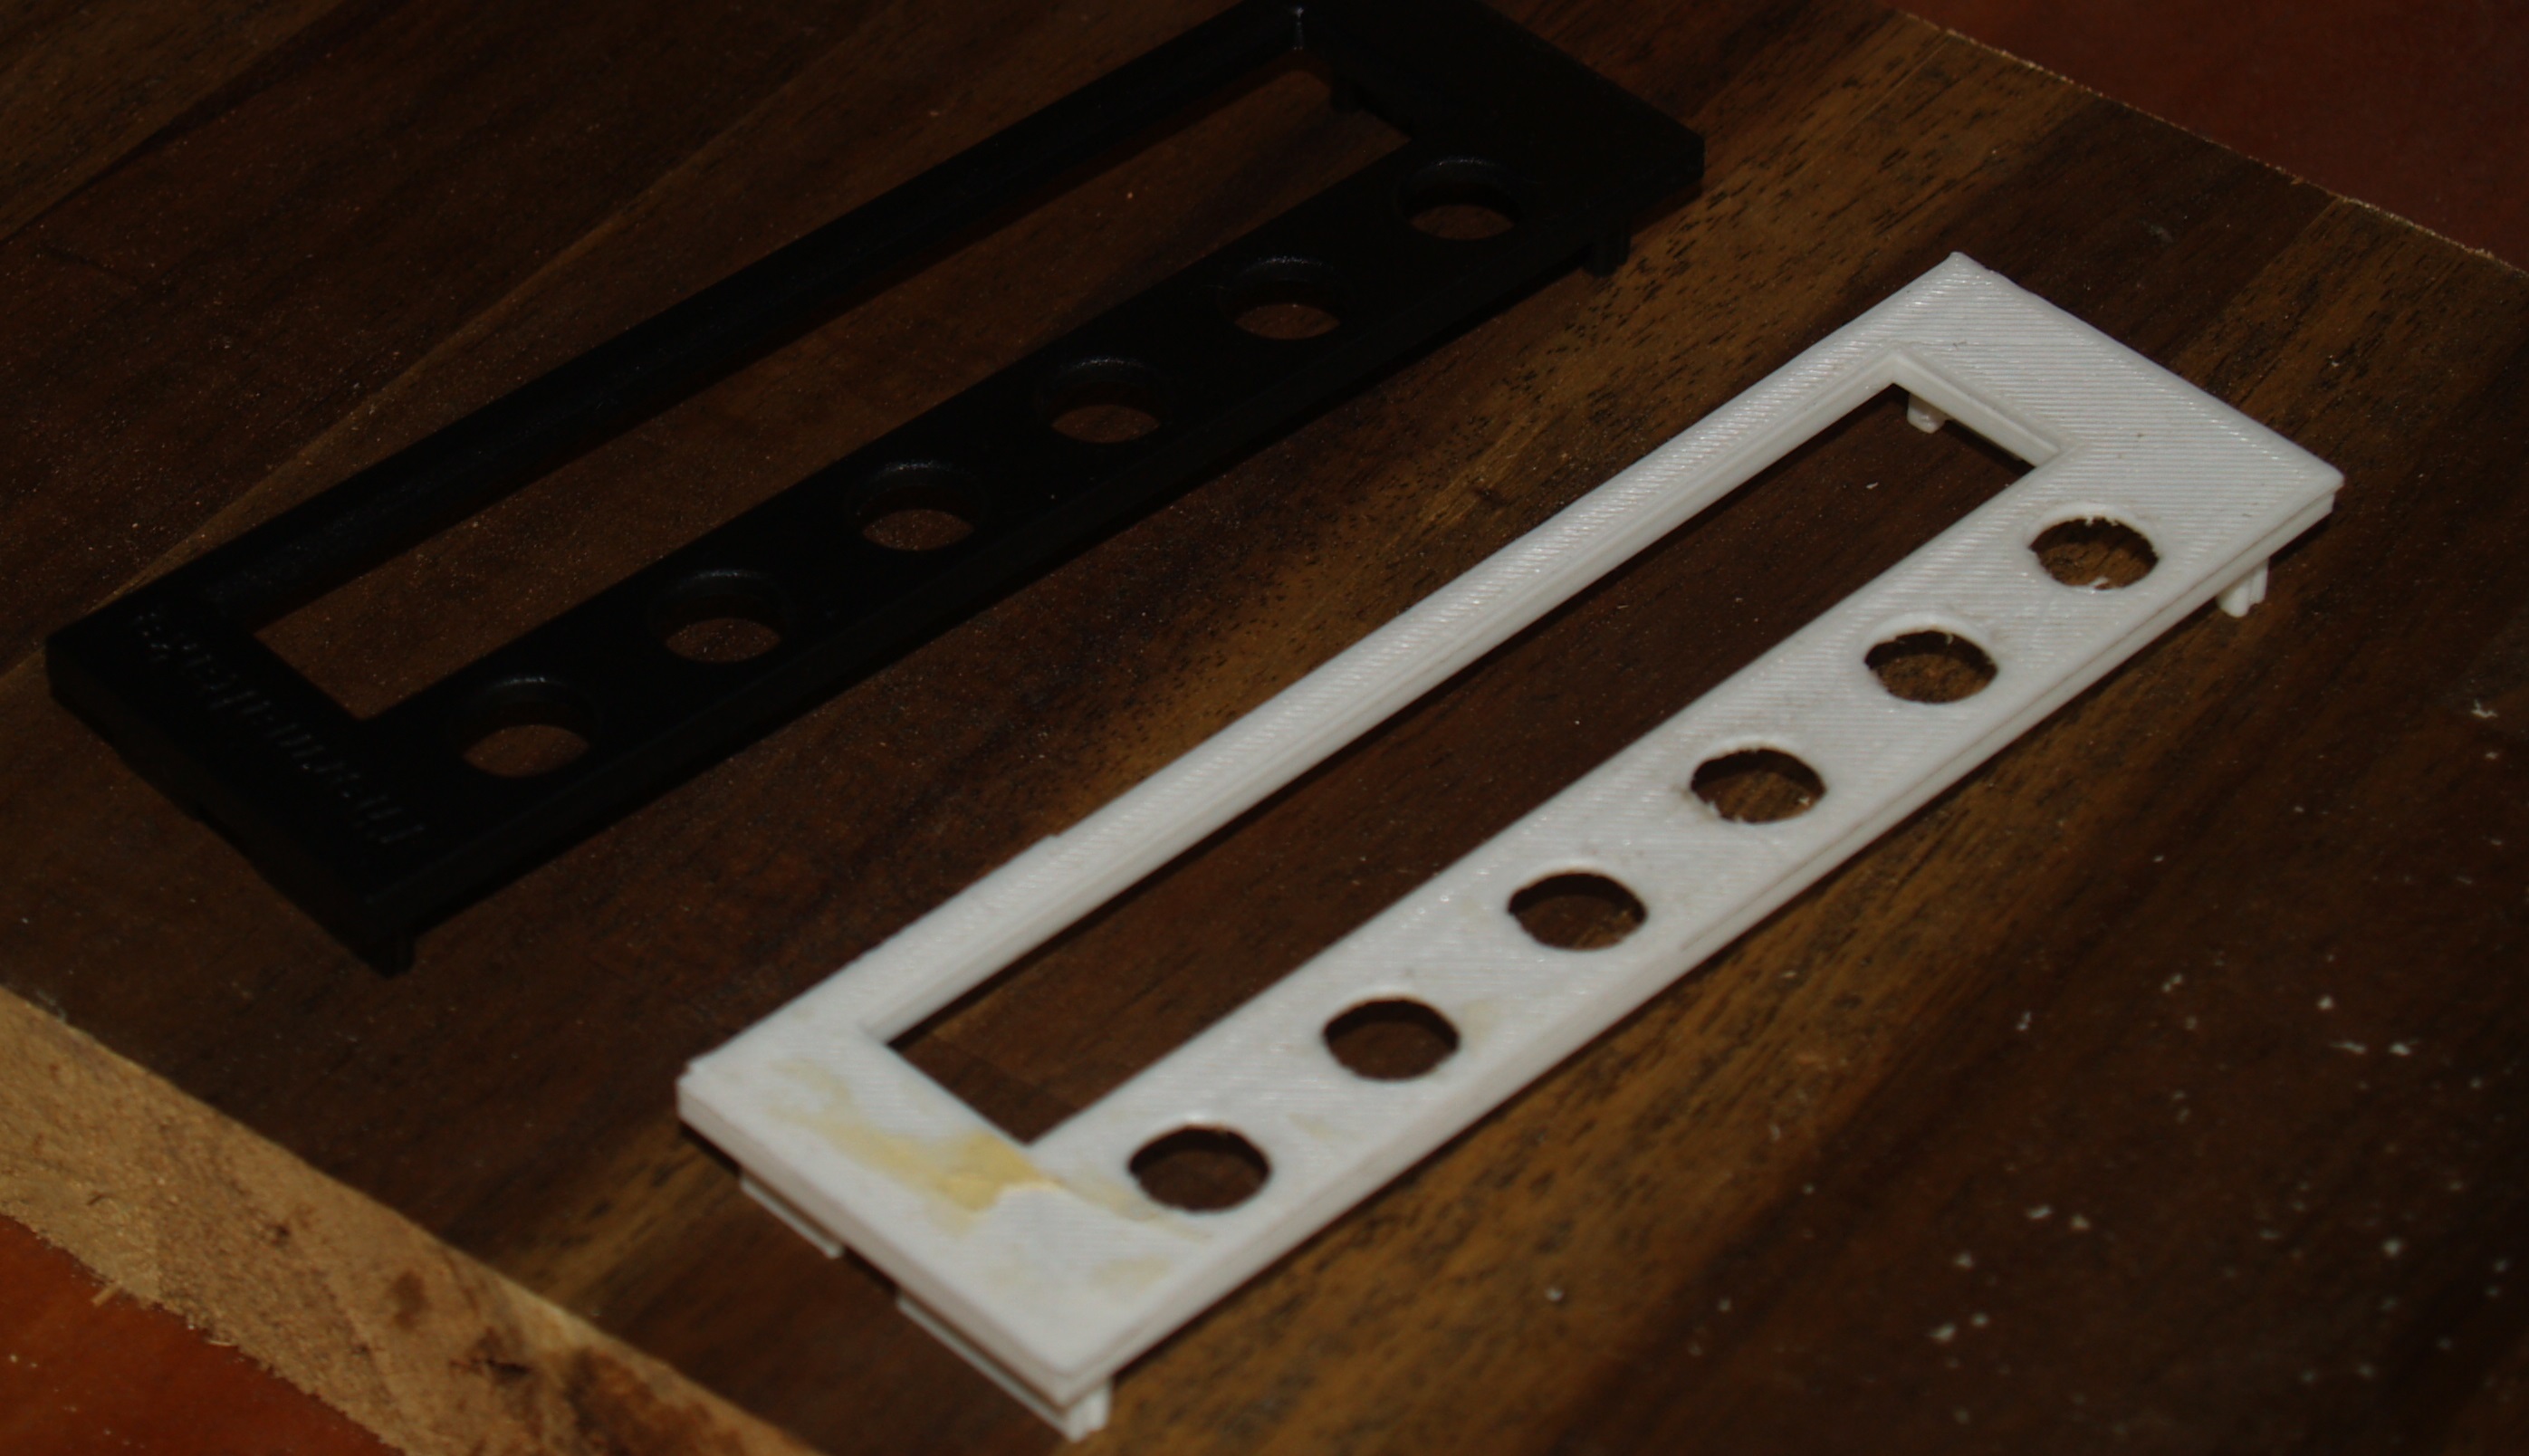
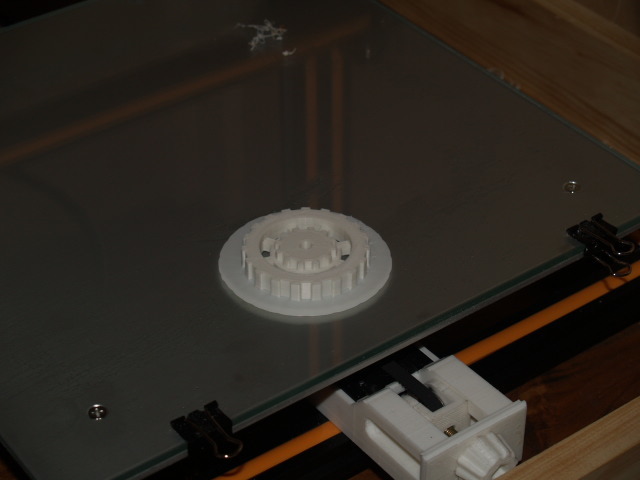
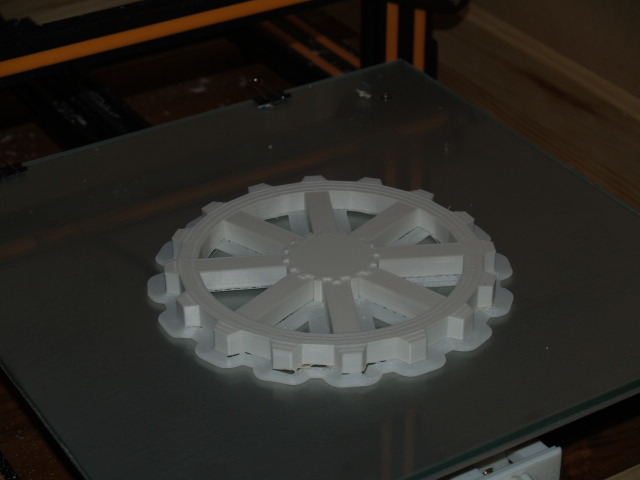
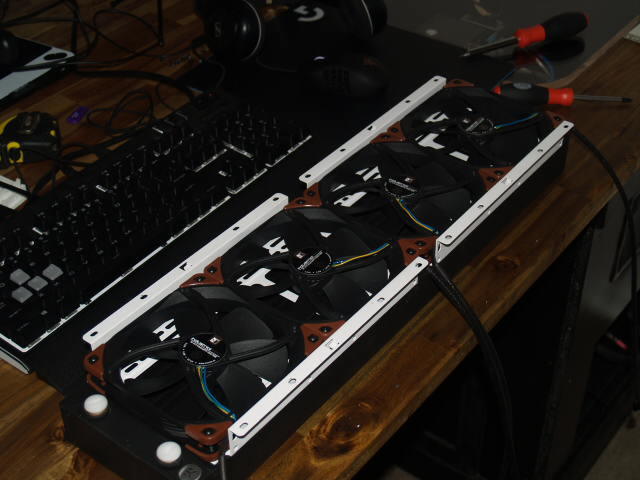
These are to cover a fan, keeping with the gear theme from the Taichi motherboard. Not sure how they will look in the build, may change them if I'm not happy with the result.
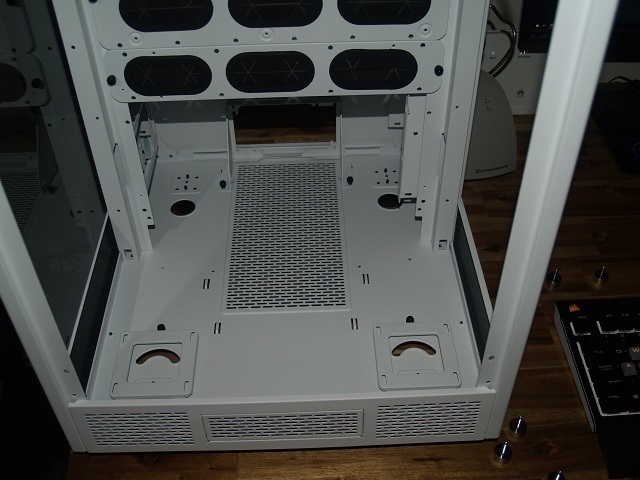
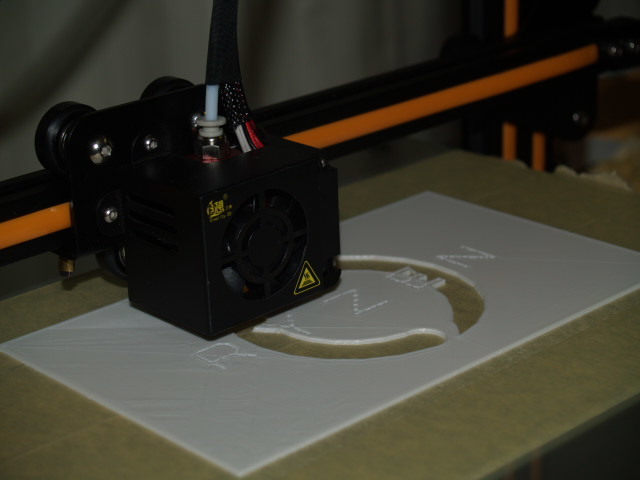
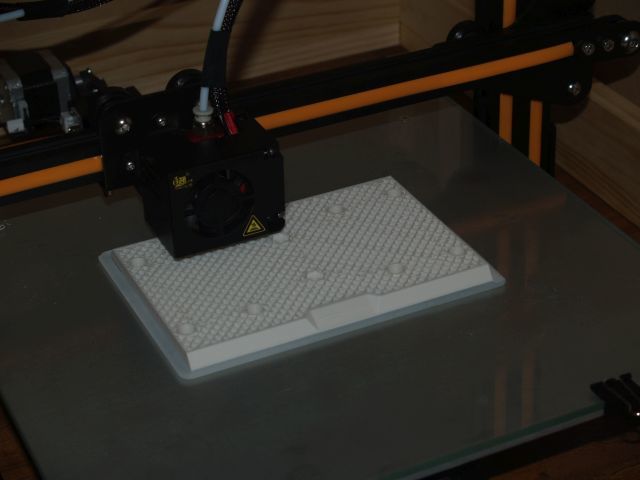
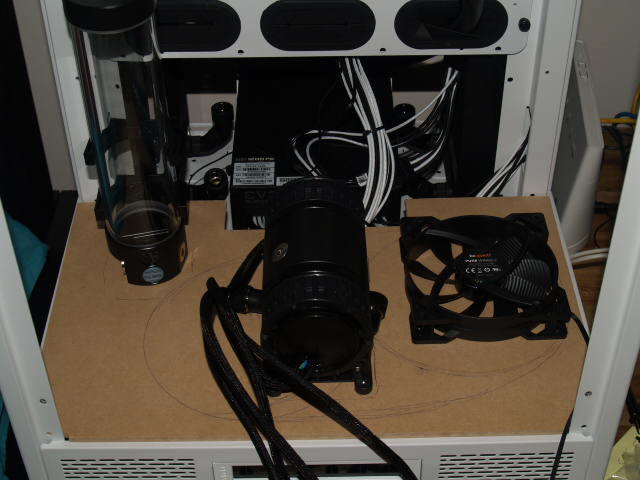
MDF template of the bottom plate to figure out positioning of components.
I too am building a White/Black theme, probably with a third color LED just for a subdued accent as my chassis unexpectedly came with a Blue LED Fan, which I will use as an overhead exhaust so only the illumination is visible. My budget is much lower than yours so I will probably add another 480 or 580 in Crossfire rather than spend more on Vega.
I too have purchased an EVGA P2, but you have a 1200 Watt? Don't you think that is overkill? I chose only 650W with the intent to Crossfire two GPUs.
480/580s in Crossfire will still be great, AMD posted a video on their youtube account about scaling recently which showed some promising results.
I have a P2 1200w in my 6700k/980ti sli build & it has been excellent. The Intel system uses up to 700w with everything maxed out & the new build has a fair bit more attached to it. In addition to the overclocked CPU/GPUs, I have a lot of fans, pumps & lighting going into this, so want to give myself plenty of headroom.
So sure, I could get away with a lower wattage PSU, but it's only an extra $100 for the 1200w vs the 850w. During everyday use, the 1200w in my intel system never even turns the fan on & is cold to the touch. To me, the silence alone is worth the extra cost.
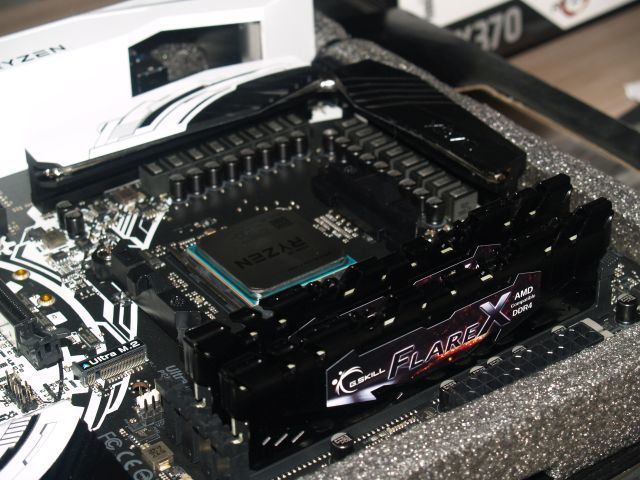
Thanks, due to the mounting position of the motherboard, the FlareX stickers are not visible. There is a sticker with serial numbers on the other side which you can see, but it is black & white, so just sort of blends into the background.
I was also looking closely at the Gigabyte boards, but the ASRock won me over in the end, performance was the most important part, but the colors matched up with the build perfectly as well.
Yes, but this is where the Intel/Nvidia parrots used to start crying out; " The Power Consumption!, Oh The Power Consumption! Rawwwk!" while wringing their hands.
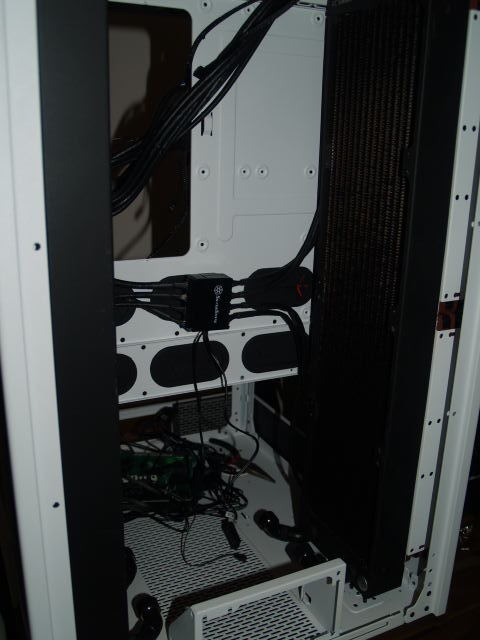
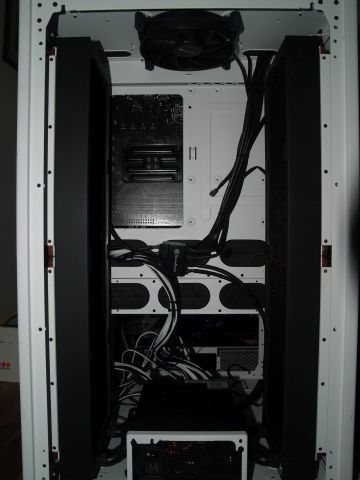
I like that fact the op deceived to go with EK Coolstream CE 560mm x 2 radiators, if I were to get into water cooling I would also use big radiators too. If you are going to go threw the hassle to water cooling a computer , go big or don't bother, at least that is my opinion. Was it very difficult to install those rad's into that case, or did you have to mod the case to get the rad's to fit? The reason I ask is I am in the market for a new case, and every case I looked at I would have to mode the case to get a rad that big to fit.
Some of the screws were a little tight, but this was a radiator/fan issue, an extra 1mm clearance would have been nice. The case was great.
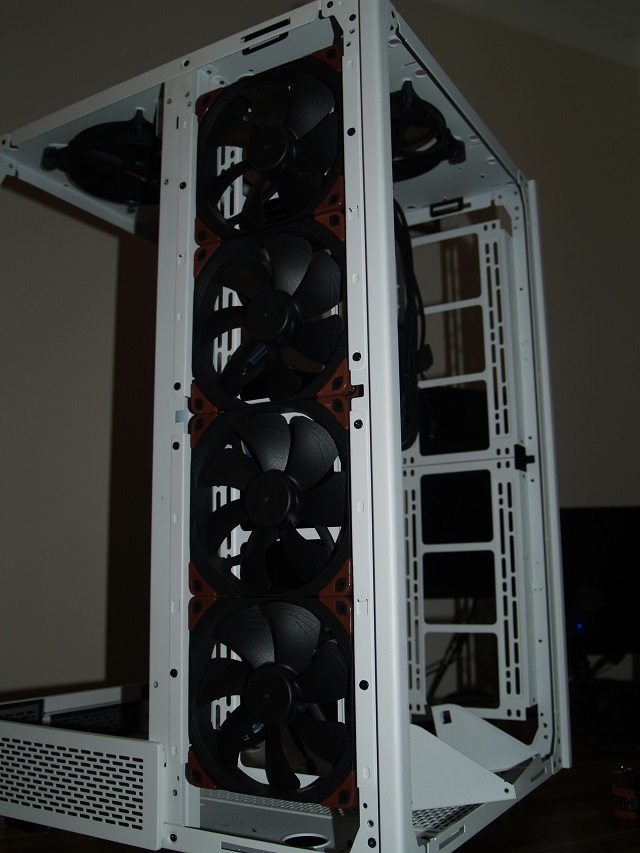
The radiator modules slot into place & are secured with 8 small screws, so you fit the rads to the brackets outside of the case, then they just drop in. Very nice system.
This case is massive, so may not be for everyone. I have plenty of room for it though. It is complete overkill on the cooling. I have a single 180 x 540mm in my other build, which is about the same capacity as a 140 x 560 & it is more than capable of keeping things cold.
Nice build. You deserve a badge! . . . and maybe a gold star or something too. I've always liked white themes. What are your plans once it is finished?
Thanks, I plan to run it alongside my Intel build using Synergy & either running 2 monitors, or splitting a widescreen monitor so I can use both systems seamlessly.
I want to get back into 3d modelling, but the downtime when something is rendering kinda sucks, so with this I'll be able to bounce from system to system to avoid that completely.
The build was more a case of something I wanted to do, rather than something I needed, but it will most definitely be utilised. If not by me directly, then by folding when I'm not using it.
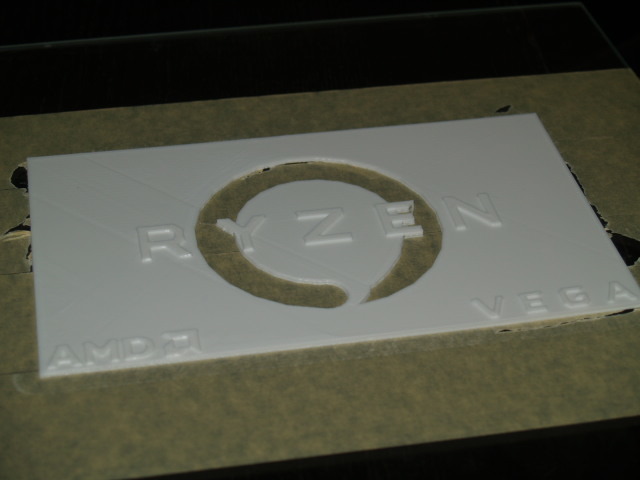
Welll, my painting skills are questionable, but it worked!
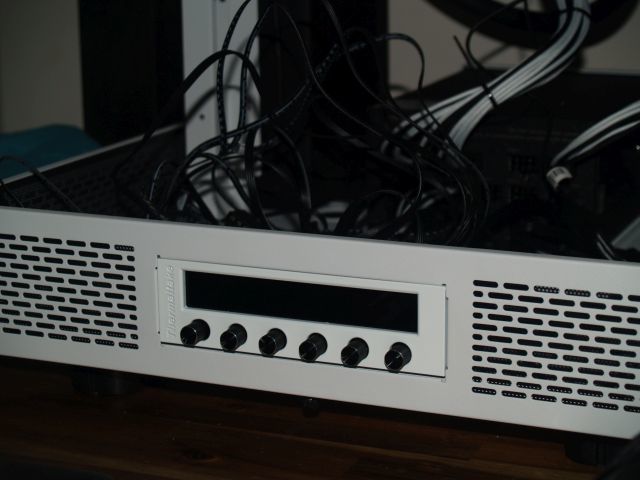
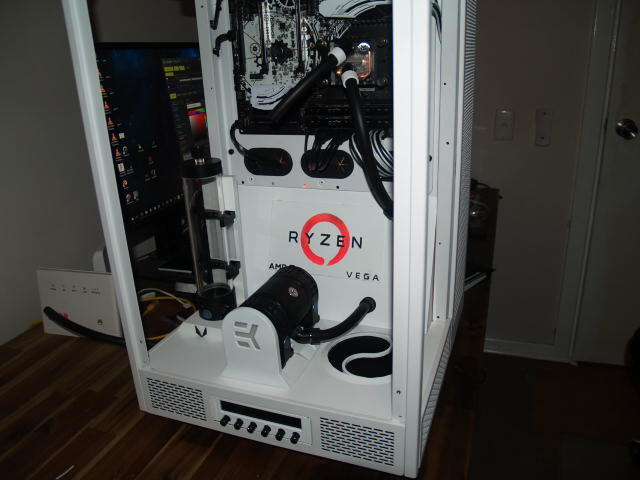
This will be positioned on the back 'wall' under the motherboard. I used a piece of sanded acrylic behind the cutout, it diffuses the light from the LEDs to give a nice even glow.
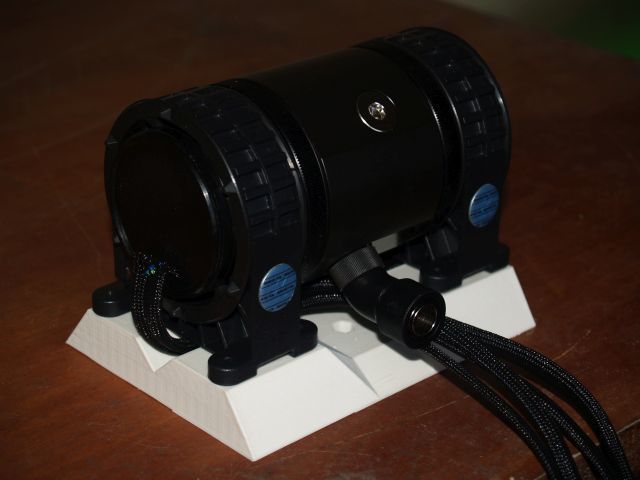
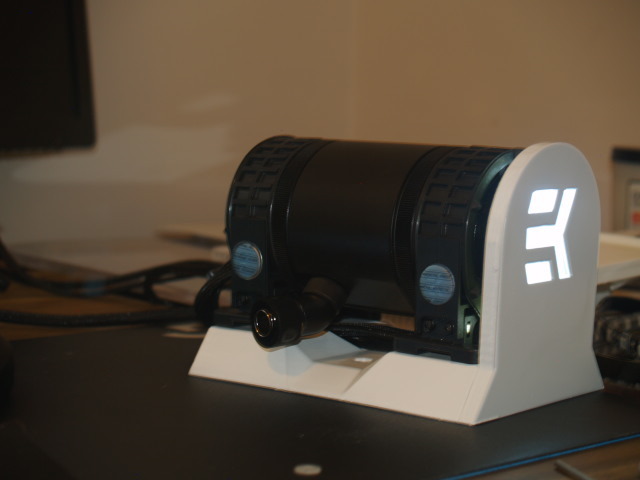
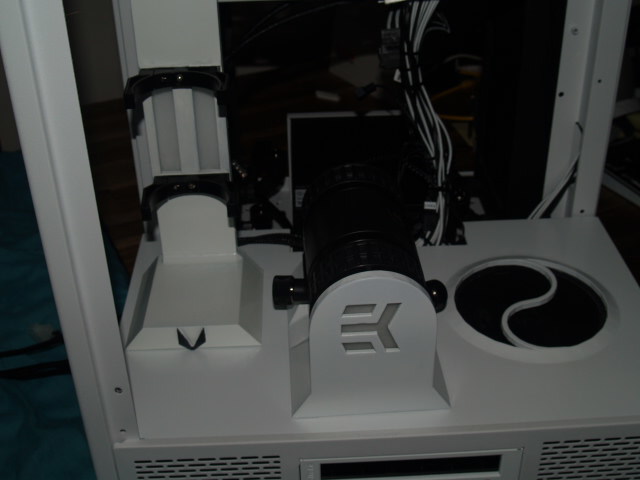
Completed the pump mount. I used the same method as the Ryzen plate, sanded acrylic with LEDs fitted to holes drilled into it. It does it's job of hiding the pump wiring well.
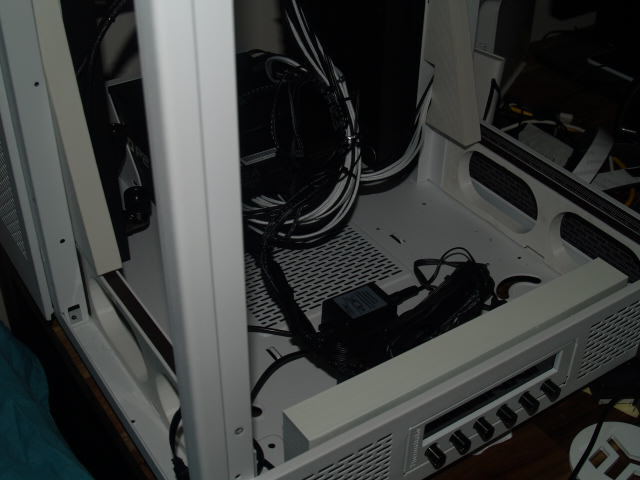
Finished up the brackets that the base will mount on. These are fitted using magnetic strips. It holds solid, but is simple to remove for maintenance.
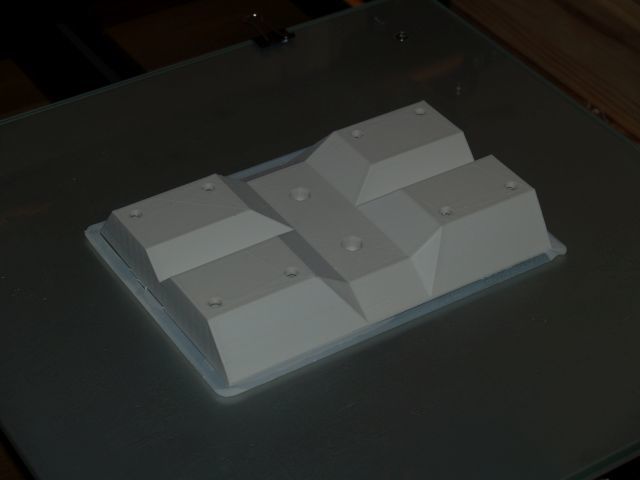
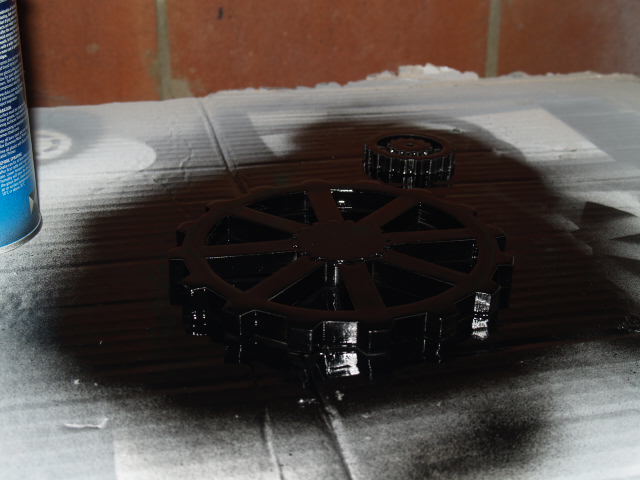
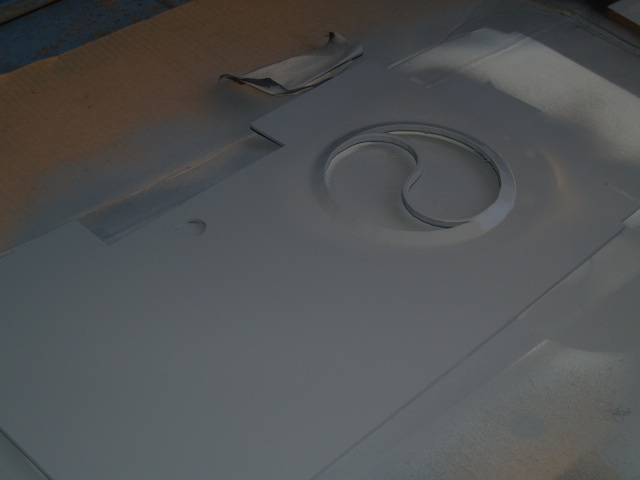
The base section in primer. The gears didn't work out. I modeled them after the ASRock art, but they don't look right together. Somebody needs to give those guys a basic rundown on how gears work. Pretty happy with how the alternative came out though. I have a filter coming for it this week, so once the paint dries, I'll be ready to put the base together.
That is a thing of beauty, I tried to do a similar black and white theme for my last gaming machine except due to frequent updates it quickly became a rainbow. Keen to see what GPU you go with
Thanks, I'm keen to see what GPU I go with as well..
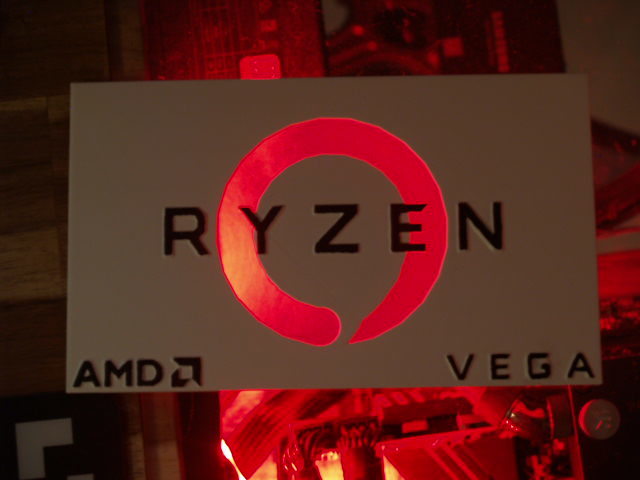
Whatever the top of the line Vega cards are, but they also need to have waterblocks available to suit them, so that may put a hold on the build for a while. I do have some business contacts that could make me up the waterblocks if I get desperate, but that would add a lot of unnecessary expense.