Ring & Nest cameras seem to be popular, but the lie with these products is that they are designed to make money from you endlessly. If the business model that Google or Amazon envision doesn’t work, your products will stop working.
This isn’t ethical computing, especially because of the privacy implications of 24/7 video in and around your house. Does Jeff Bezos decide how long to retain my footage? I can’t be sure anything I’ve flagged for deletion is actually deleted.
This is maybe the future the Free Software Foundation warned us about.
But it would be nice to be able to use modern surveillance to self-monitor our homes and belongings? You can do that – cost-effectively – and in a “Cloud Safe” way with modern hardware.
Our Cameras
Modern IP cameras – that is network cameras – are unlike anything you may have encountered before in the surveillance world. Forget everything you might know about CCTV. Modern IP cameras, like the Hikvision cameras in the video, contain powerful computational resources designed for motion detection, face recognition and more. This data does NOT need to even leave the device – almost all of these devices have on-board SD card recording.
The SD card recording space is limited, though, and it would be nice to centrally monitor footage from a network of cameras.
Cameras, containing a powerful computer, are maybe not the best things to give access to the internet though.
Enter Synology
The Synology has powerful software that can talk to a huge number of IP Cameras – not just Hikvision. Hikvision are not the least expensive cameras, and maybe they aren’t the best value, but they are (in my experience) the most reliable and mostly consistently high-quality.
I’m not comfortable with IP Cameras (or any device, really) being able to “phone home” and apply updates without my consent.
Synology has been very good about respecting user freedom and control; it is possible to setup remote camera access with the Synology while completely isolating the cameras from the internet.
The Surveillance Station software has a ton of cool features. But first, let’s do the setup.
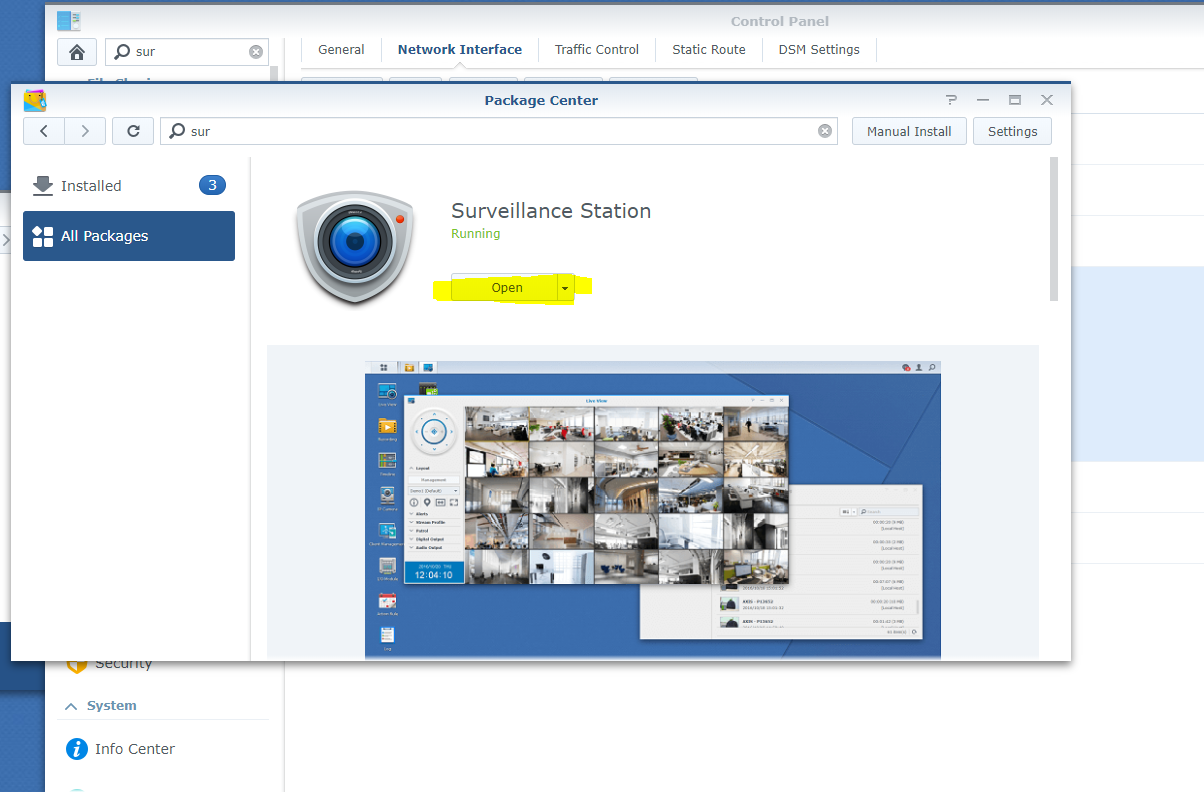
Install Surveillance Station
Open the package center, and install. Make sure your Synology OS is up to date first.
Networking 101
Out of the box, the cameras come configured for 192.168.1.64 – that is every camera defaults to that IP address.
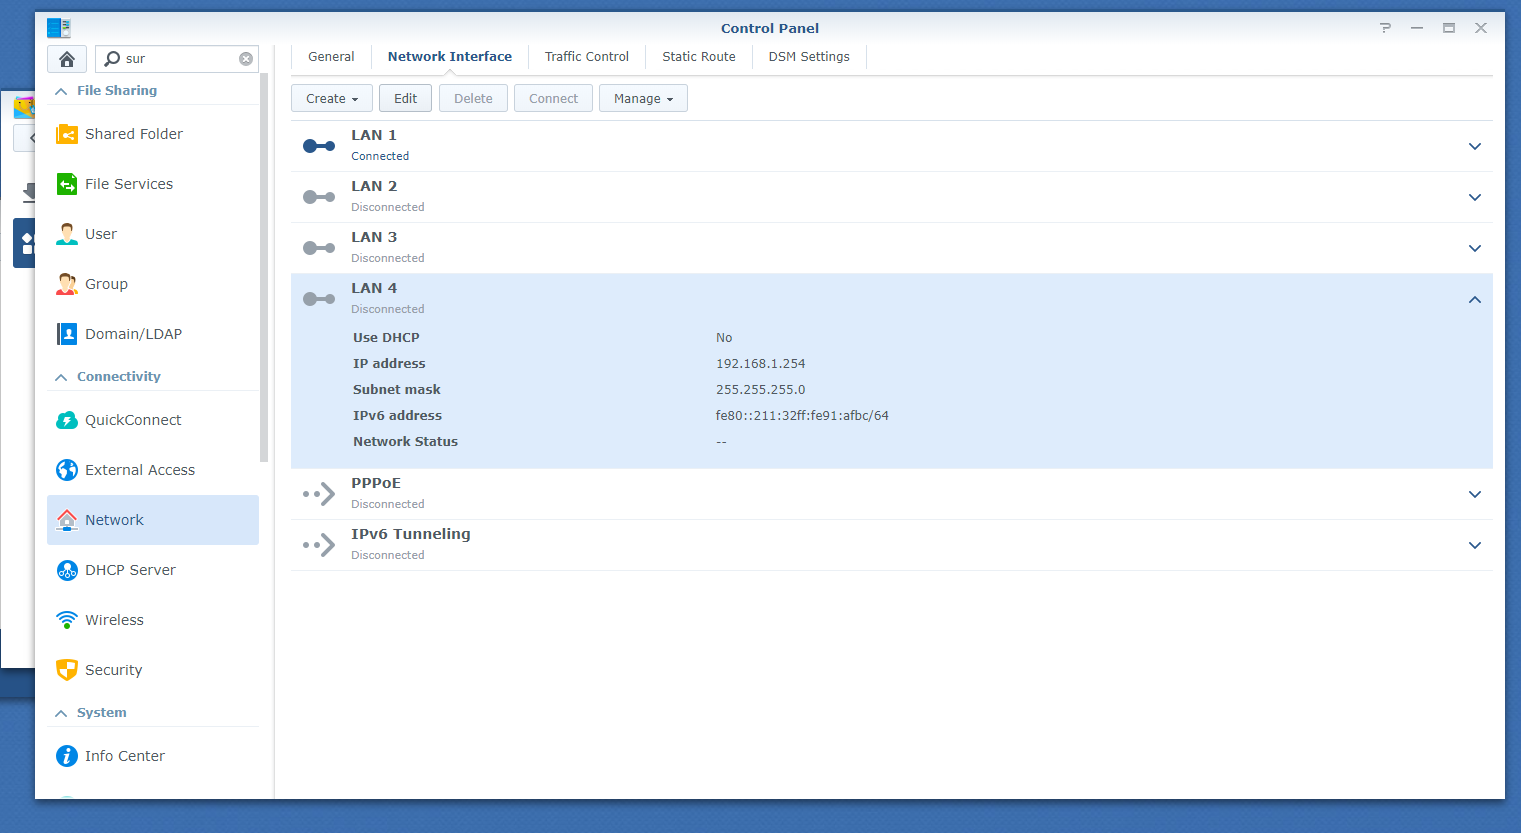
The Synology I’m using is the DS1618+ which has 4 built-in 1-gigabit ethernet interfaces. I have elected to use port 4 for the IP camera network.
Next, connect your Synology to the PoE switch in the video. Don’t worry, the PoE switch is smart enough not to try to power the Synology. If your PoE switch has a dedicated uplink port then use that.
It would help if you have a laptop to connect to the PoE switch as well. It is useful to use the laptop to access the web page interface of the camera so that you can set a password on the camera (highly recommended) and assign its IP addres.
I numbered my cameras: 192.168.1.1, 192.168.1.2, 192.168.1.3, and so on.
NOTE: If you are already using 192.168.1.xxx for your internal network DO NOT set the Synology port for 4 the same network. The Synology will not know whether to send packets for the 192.168.1.xx network through hte physical interface to your network or the physical interface to the cameras! Instead, pick another number like 192.168.25.254 … You will still have to set your laptop or another computer up at 192.168.1.250 (lets say) then log into the camera at 192.168.1.64 and change it to 192.168.25.1, 192.168.25.2, 192.168.25.3, etc which… once you change it… the camera won’t be accessible until you change your network back to 192.168.25.250 (or whatever) on your laptop.
If this is your first networking project – so sorry – it’s not as complicated as it seems and will be worth the effort to work through it.
Adding the first Camera
I have looked at the documentation for my IP cameras and see they come configured for a default IP of 192.168.1.64, so I have set the second nic on my computer with a static IP address of 192.168.1.50 and netmask of 255.255.255.0 .
The important thing to understand about that netmask is that it means that any devices plugged into the ethernet switch configured with an IP address with the first 3 numbers being 192.168.1.something and also a subnet mask of 255.255.255.0 can directly “see” one another on the network.
Plug in your camera, and see if you get link lights on the network. Once you do, give your camera a few minutes to boot up.
# ping 192.168.1.64
PING 192.168.1.1 (192.168.1.1) 56(84) bytes of data.
64 bytes from 192.168.1.64: icmp_seq=1 ttl=64 time=1.23 ms
64 bytes from 192.168.1.64: icmp_seq=2 ttl=64 time=1.07 ms
64 bytes from 192.168.1.64: icmp_seq=3 ttl=64 time=1.46 ms
64 bytes from 192.168.1.64: icmp_seq=4 ttl=64 time=0.966 ms
64 bytes from 192.168.1.64: icmp_seq=5 ttl=64 time=0.997 ms
Then try to load the camera in the web browser:
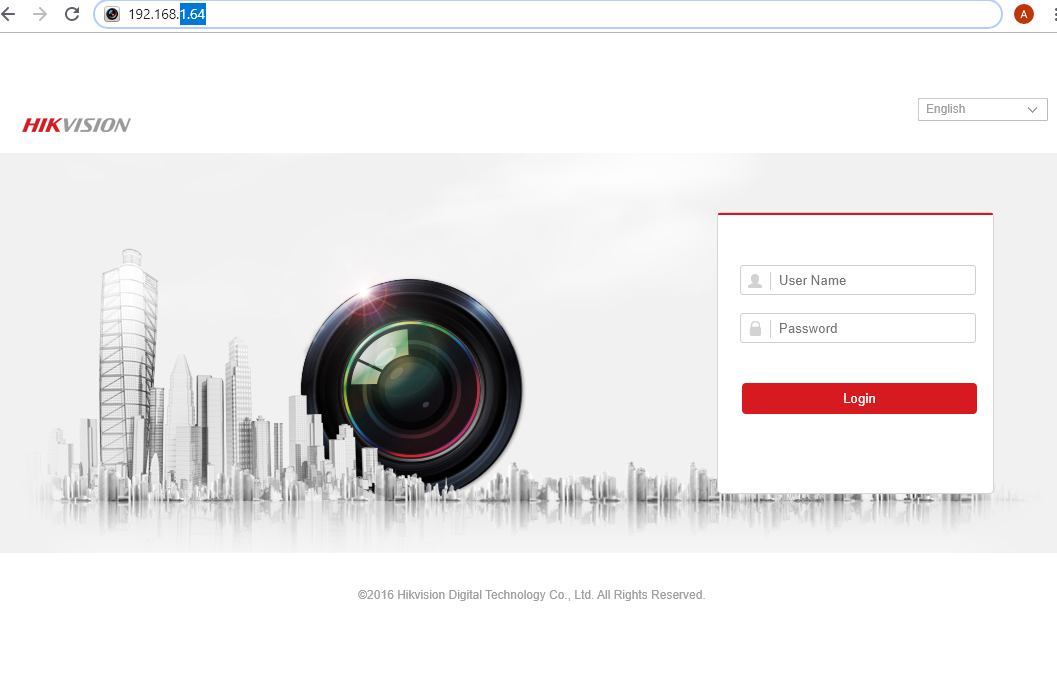
It should ask you to set a secure password. This is a good idea! Set it, and save the password. You can write it down – these cameras will not be internet accessible (directly) but it still pays to have good password hygene.
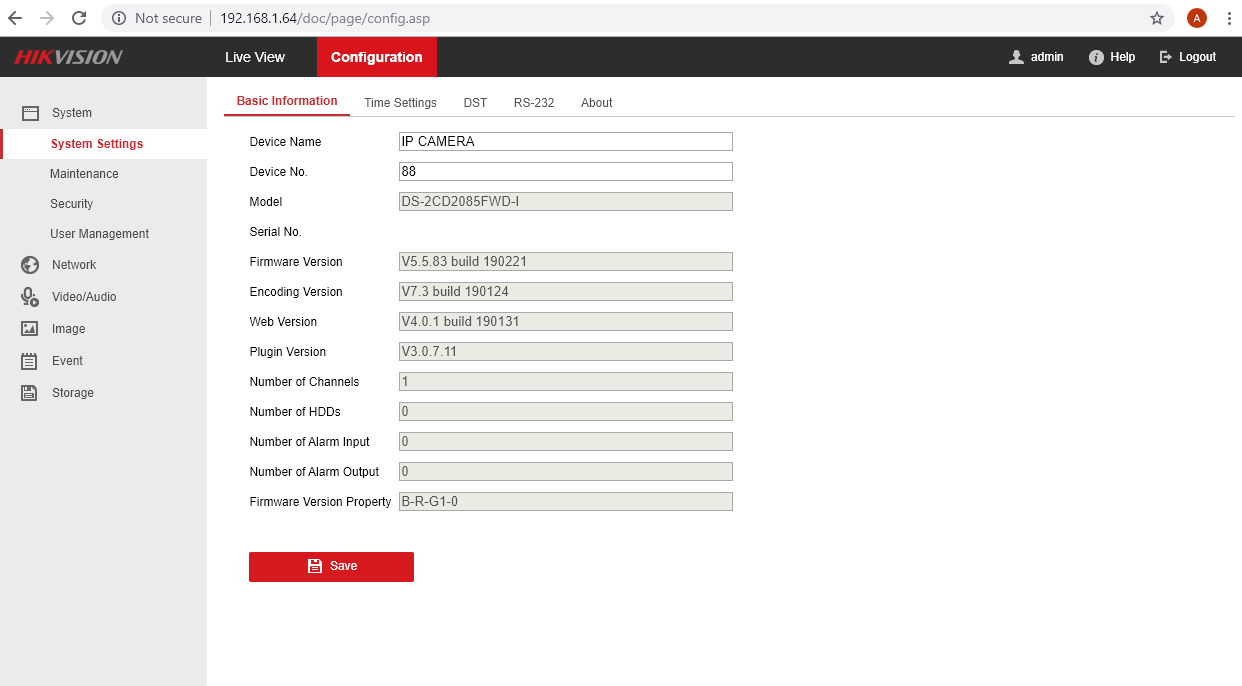
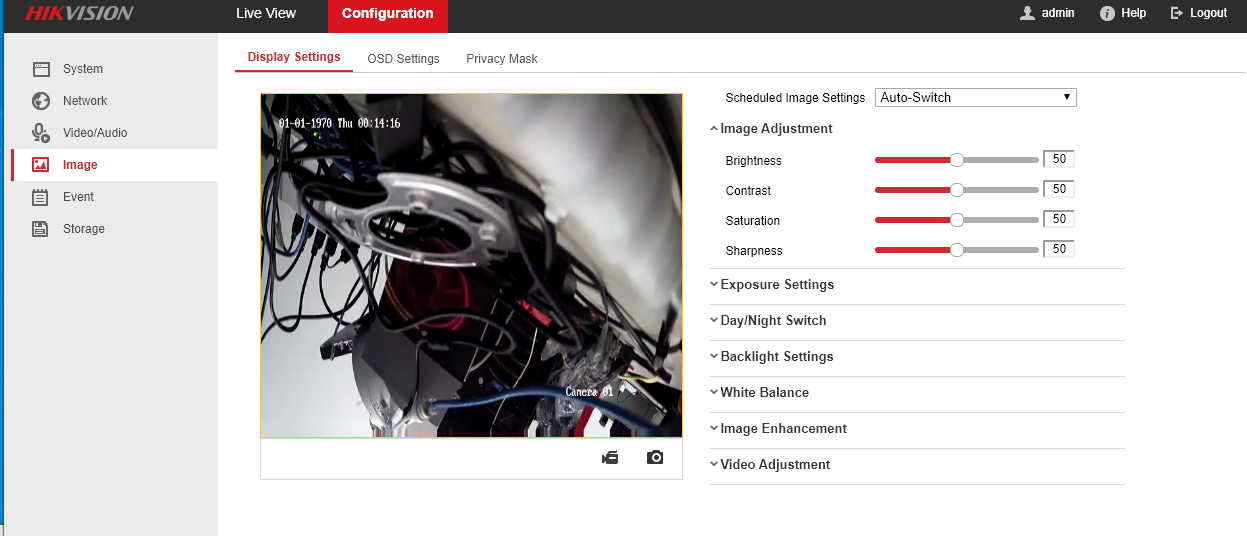
For these cameras, you can check the firmware version and download the latest version if your camera is out of date. If you’ve chosen another brand of camera – that is OK – they will all work very similar to this one.
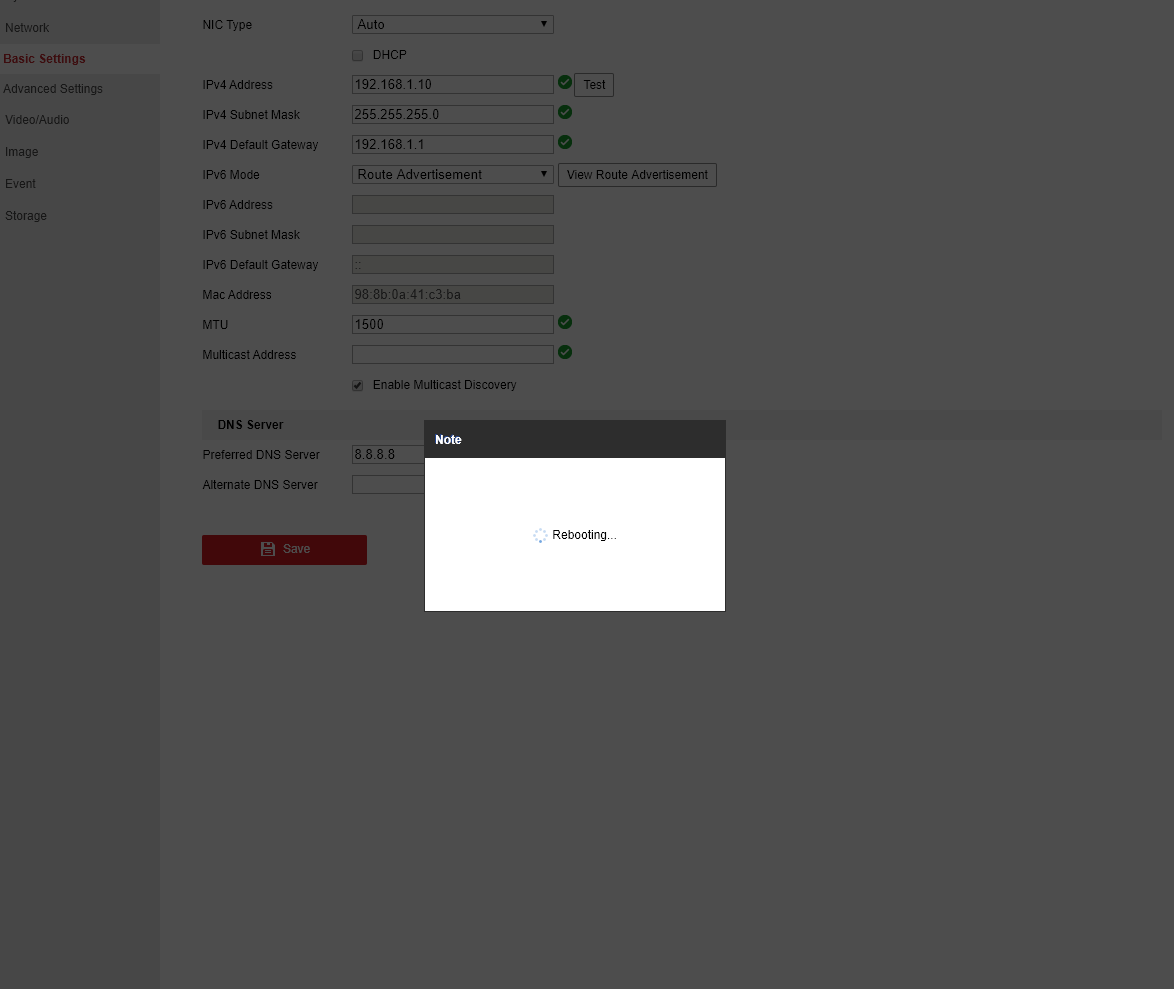
I am configuring this first camera as 192.168.1.10 – each camera should get a unique IP address. You can start with 10 and increment up. If you have a bunch of cameras, label it on the inside of where it is mounting.
I highly recommend getting your camera system setup “on the table” and the IP addresses set long before you install them. As each camera will have a home run of Cat6 cable (recommended for better RFI and lightning immunity). Leave it running “on the table” for a few days before mounting your cameras.
I highly recommend a PoE switch so that one cable will deliver data AND power to each camera. It is well-worth the expense in my opinion, and it makes it much easier for your cameras to run from an inexpensive battery backup in times of main power failure from your utility company.
Save, and your camera will reboot. Then try to load it in the browser again.
If everything is good, you’re ready to configure the camera in the Synology:
Load the surveillance station as in the video, navigate to IP camera and add the camera with the same IP address, username and password that you configured a moment ago:
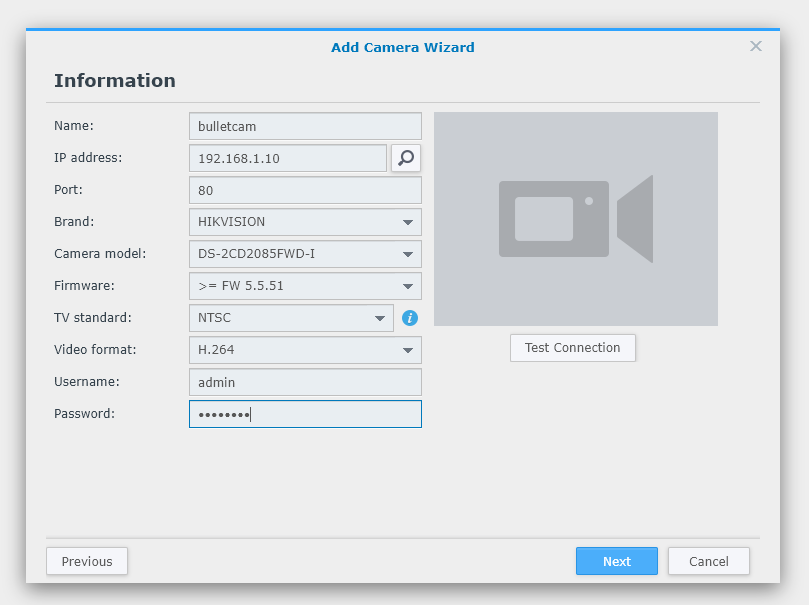
I also highly recommend changing the format to H.265 or H.265+ if your camera supports it. H.265 is better for the reasons I explained in the video, not the least of which is the files are much smaller with the same quality and fidelity.
[ Test Connection ] Should load a test image from your camera and give you a green check.
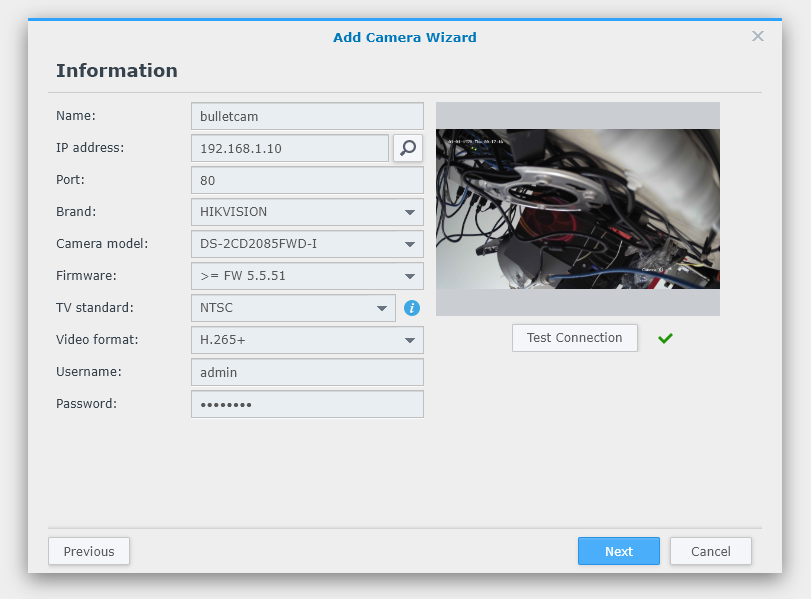
Everything looks good. If you don’t see a green check or get an error, double check your username/password. Try to go directly to the camera in your web browser and make sure that you are able to log in. Finally, make sure the firmware on the camera is fully up to date. If all else fails, you CAN pick a generic camera from the Synology software – many, many IP cameras follow the standards pretty well and will work anyway.
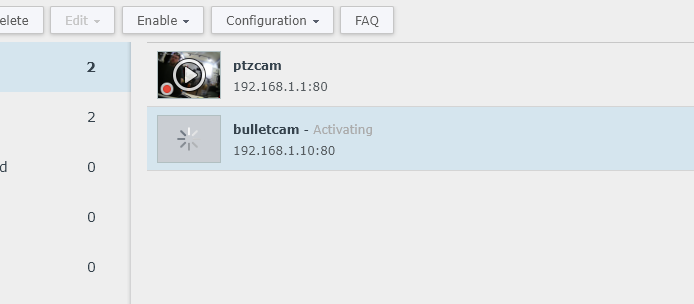
For “known” cameras (cameras known to Synology) it will configure optimal options in the Web GUI on the camera totally automatically. You’ll see “activating” such as this while the camera is being configured.
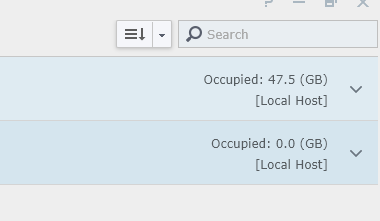
Within synology, it is also possible to set storage limits and motion activated recording. I currently have 47gb of storage used by the PTZ camera for about a week of recording:
In terms of motion or “event detection” it is a good idea to be sure the camera is doing the event detection:
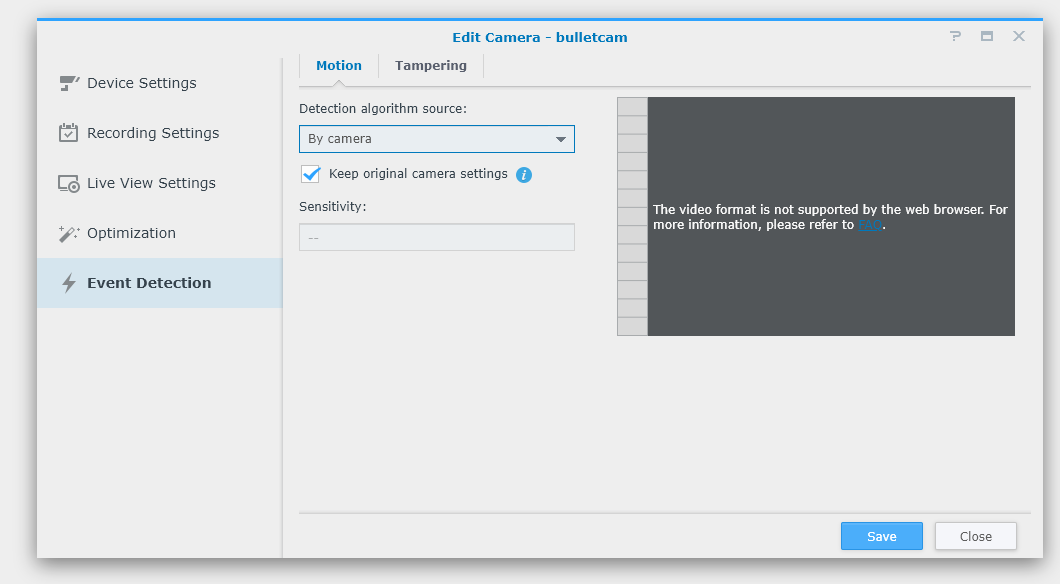
The synology software can detect motion, but it is not as efficient as the camera’s built-in algorithm. Some of these cameras can even be configured to trigger an event only when a face is recognized! This feature makes it very fast to scan through footage later looking for events. You don’t have to watch hours of footage where nothing has happened.
Another thing to double check is the quality. Remember the Ring? It’s 1080p.
These 8mp cameras top out at 3840x2160!
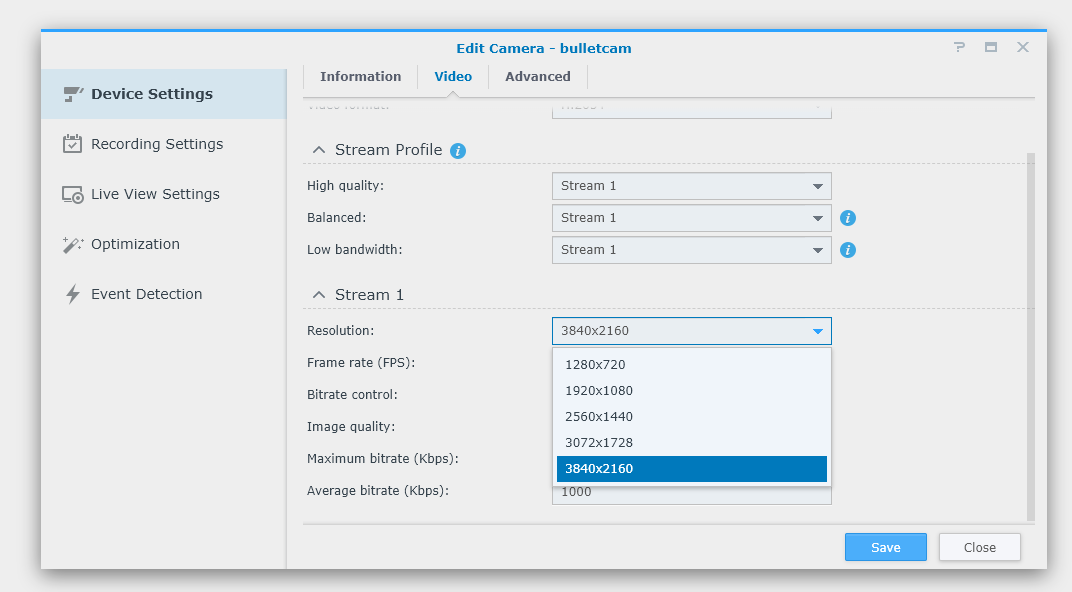
So the image clarity is much higher.
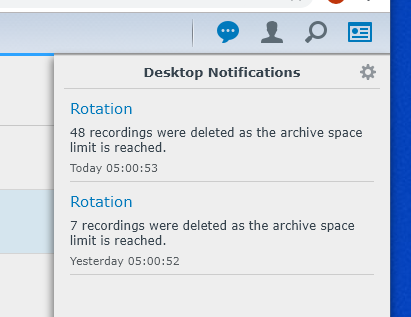
And, of course, a retention policy can be set so old recordings automatically expire.
The software is very well documented and very intuitive. I know of no open source alternative that is as feature-rich and well-put-together.
For your other cameras, repeat this procedure and be sure that the system works. I would let it run for a while to “burn it in” and make sure nothing fails fairly quickly.
That’s about all there is to it!
If you built one of these, or something similar, post some pictures for everyone else to see.