Off topic but what slicer are you using for this guy?
the prusa ez-mode slicer (lulz) literally just d/l from their website. The advanced one is cura, I think, but I haven’t tried it. I still use replicatorG on my old makerbot which… probably is not even necessary. haha.
also going to add the rpizerow to this sucker because why not? with octoprint. Wonder if I can hook both 3d printers up to the same octoprint… hmm… lol
Youll have to run multiple instances of octoprint but its doable.
Edit:
If you only want to use one printer at a time you could just run one instance and connect to which ever one you want to use.
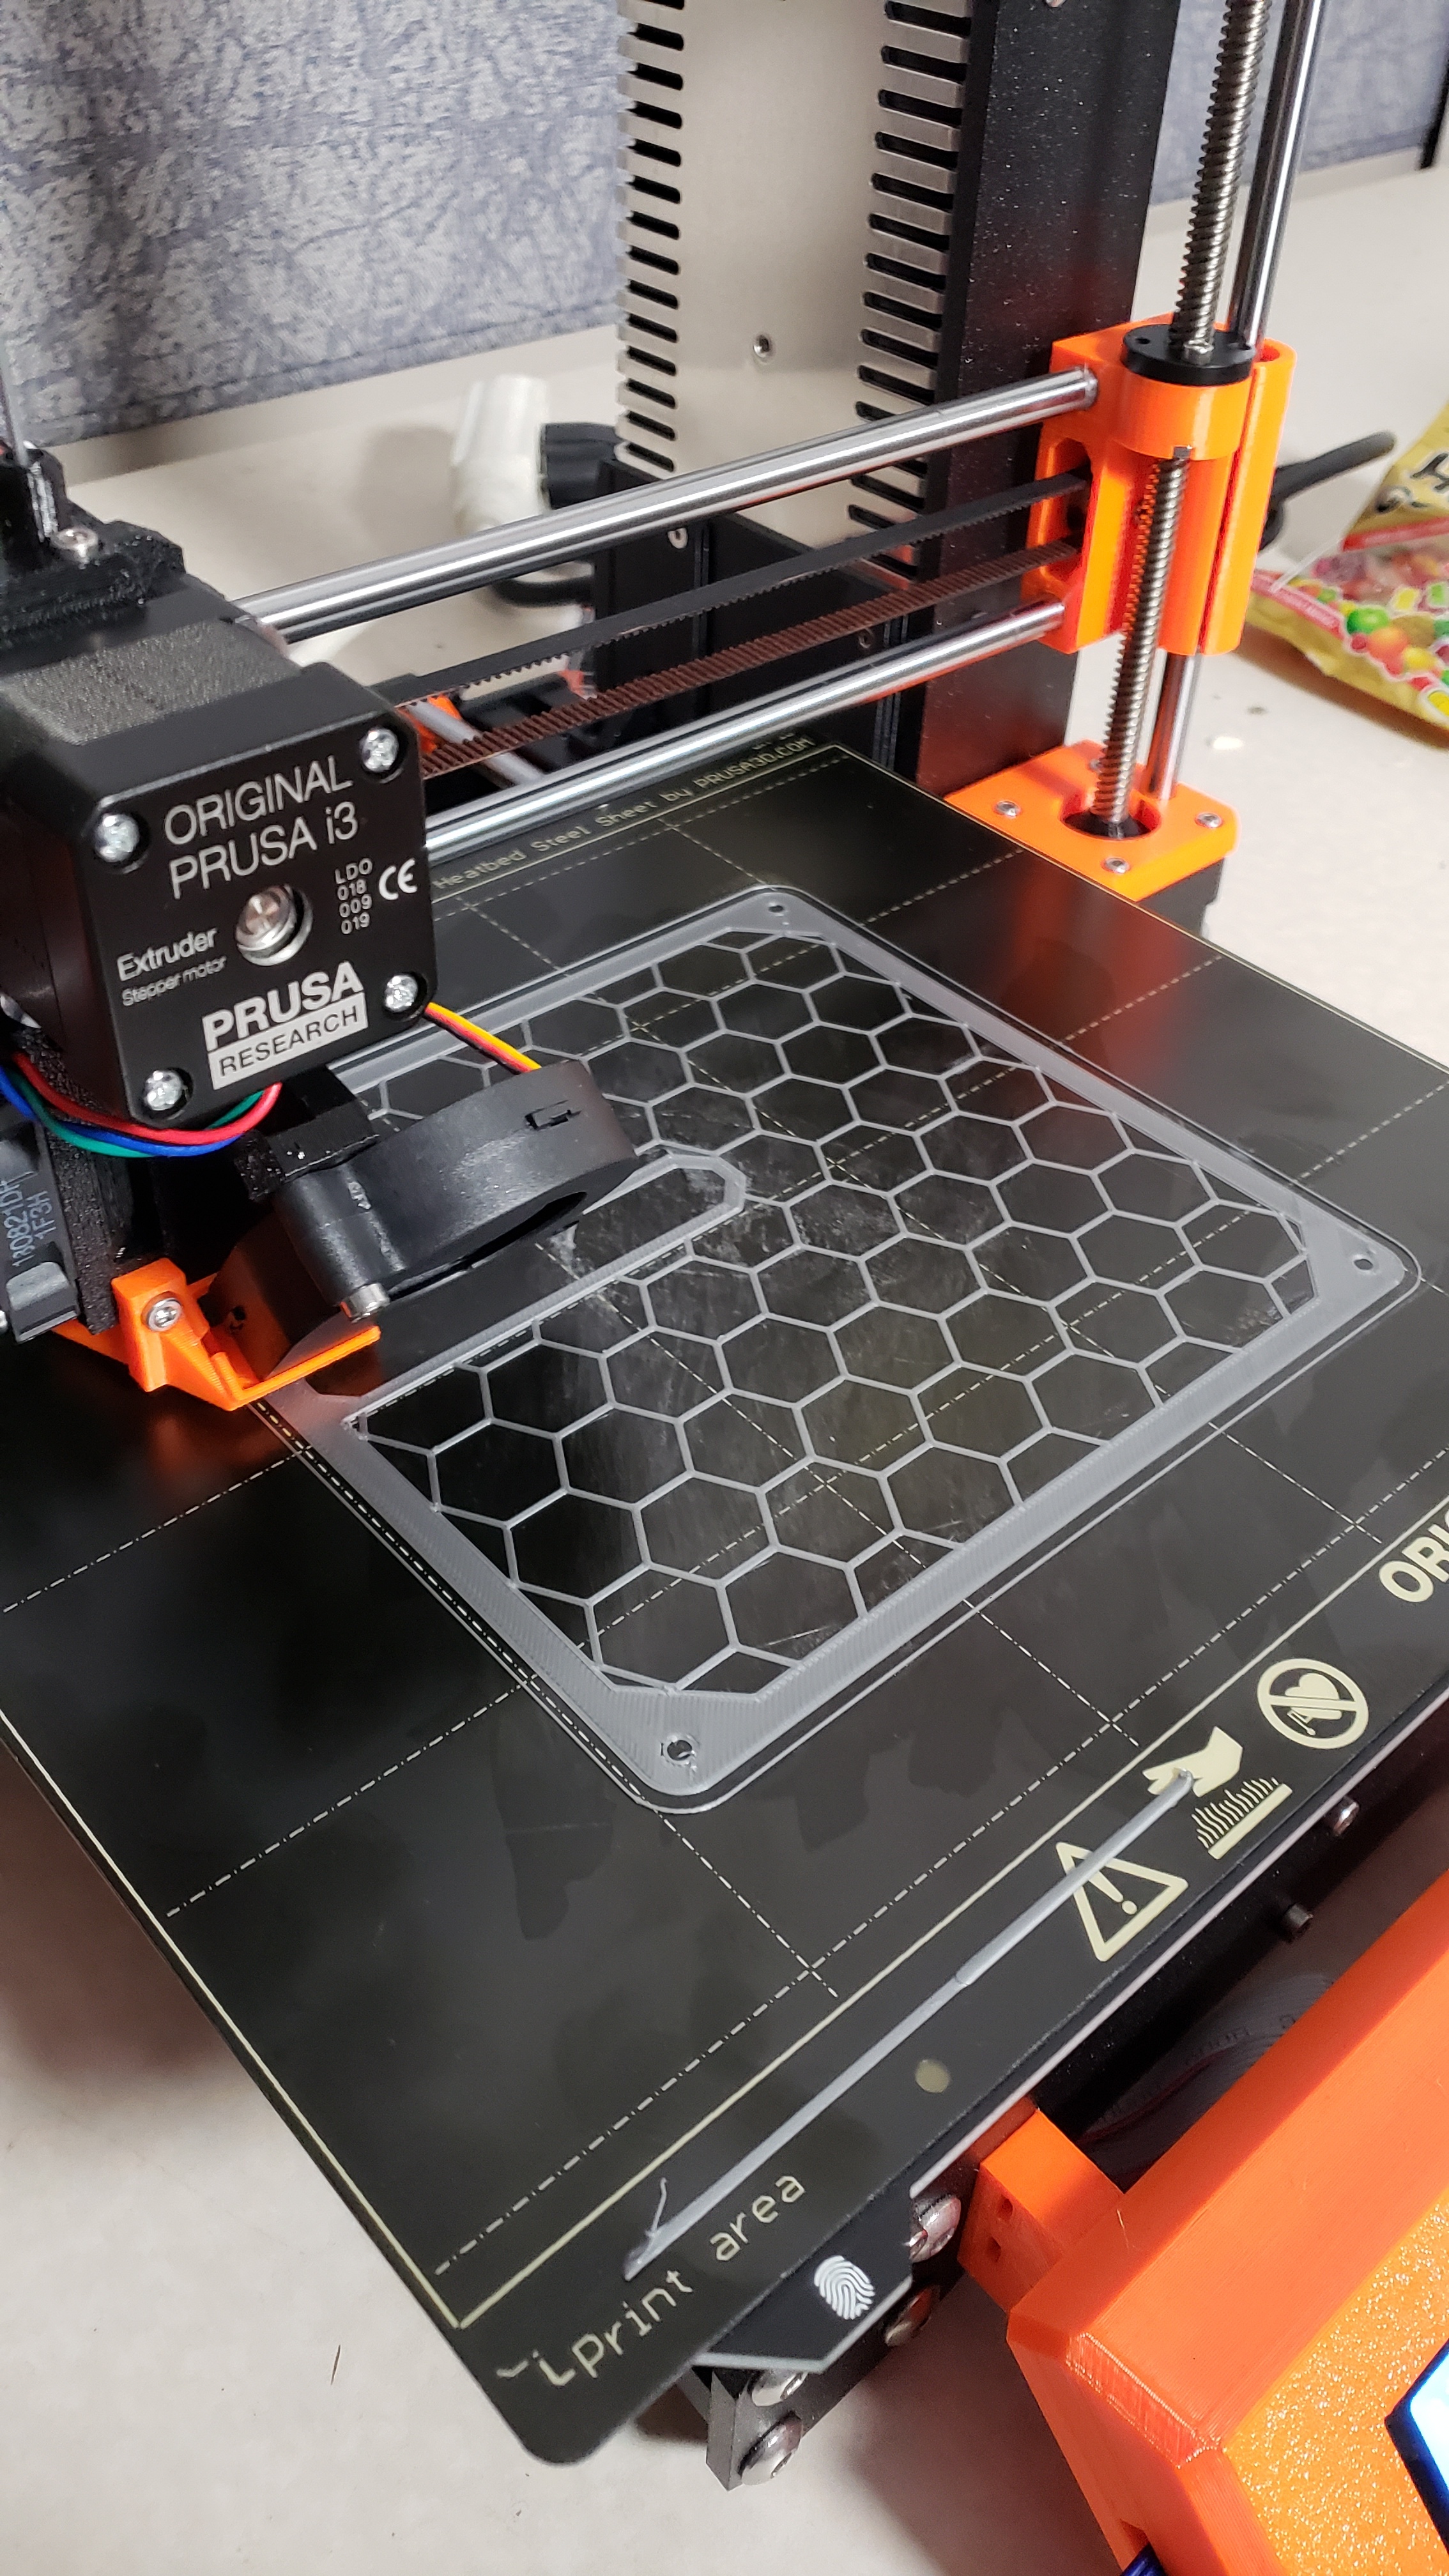
So it’s nearly done and no issues. Color me shocked.
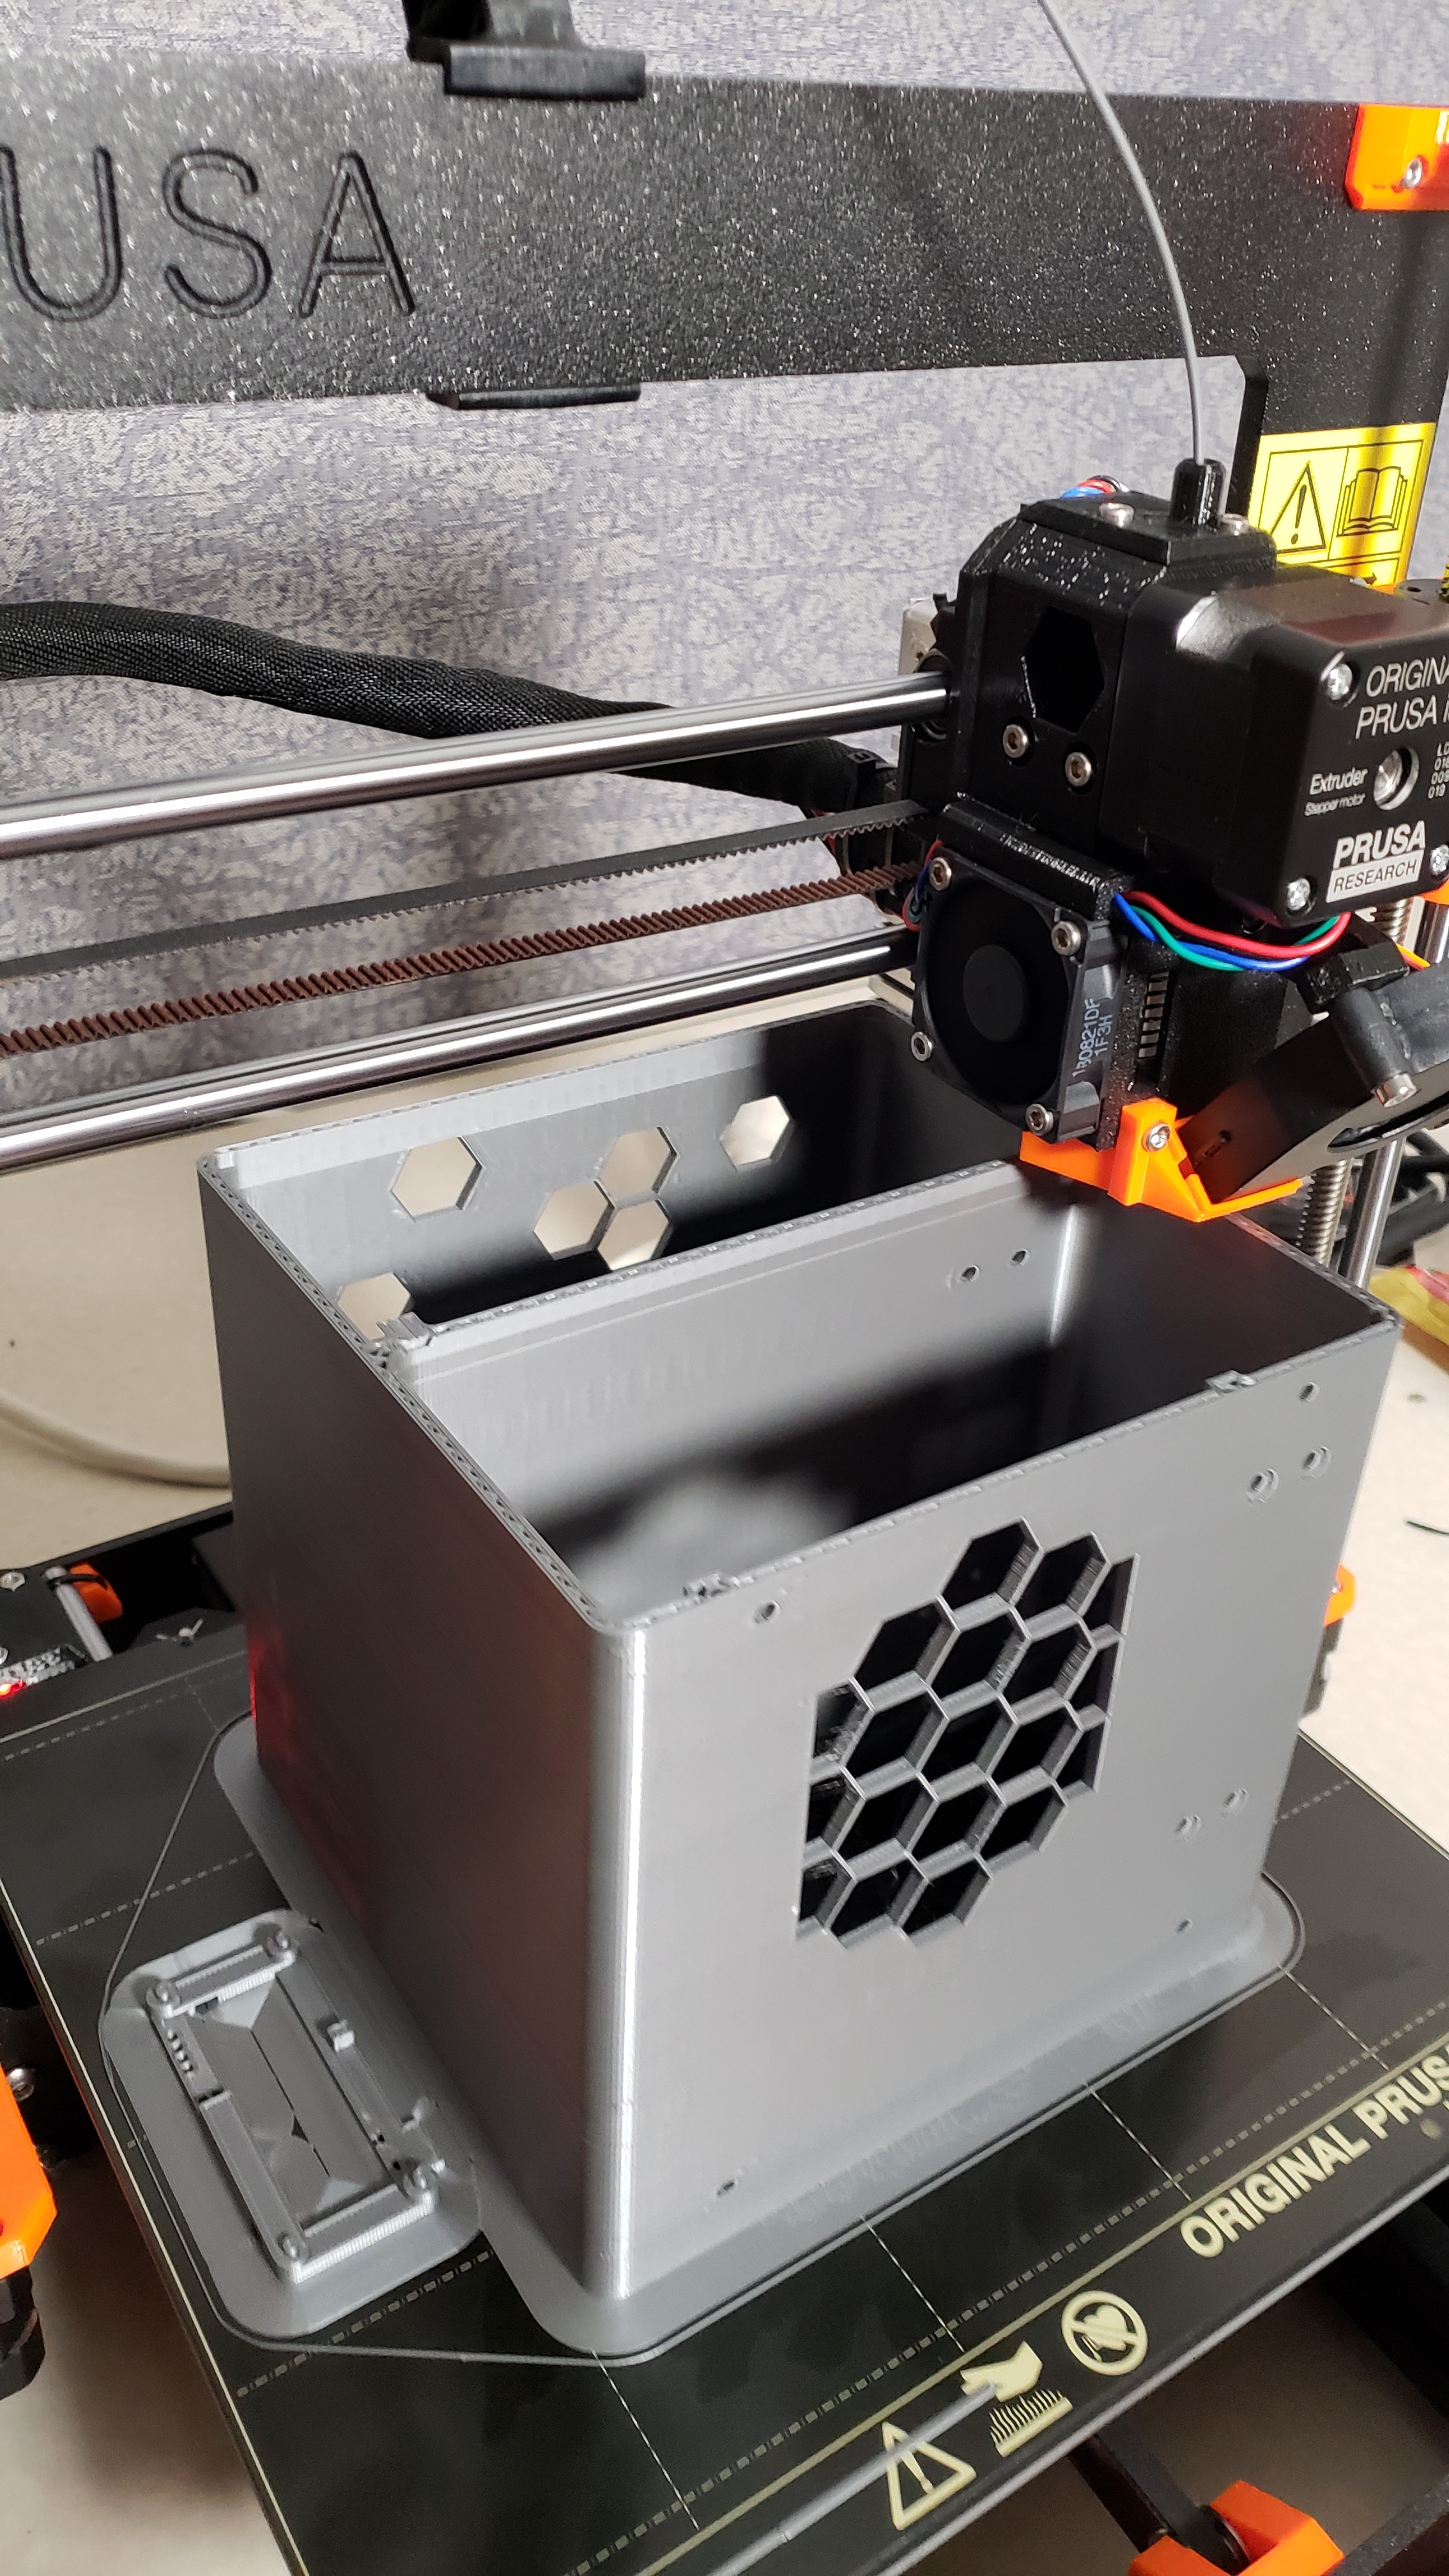
My old printer could not make it through a 24 hour print without some issue.
3 Likes
We have a dozen or so professional machines at work and I’m curious how they’d fare…
1 Like
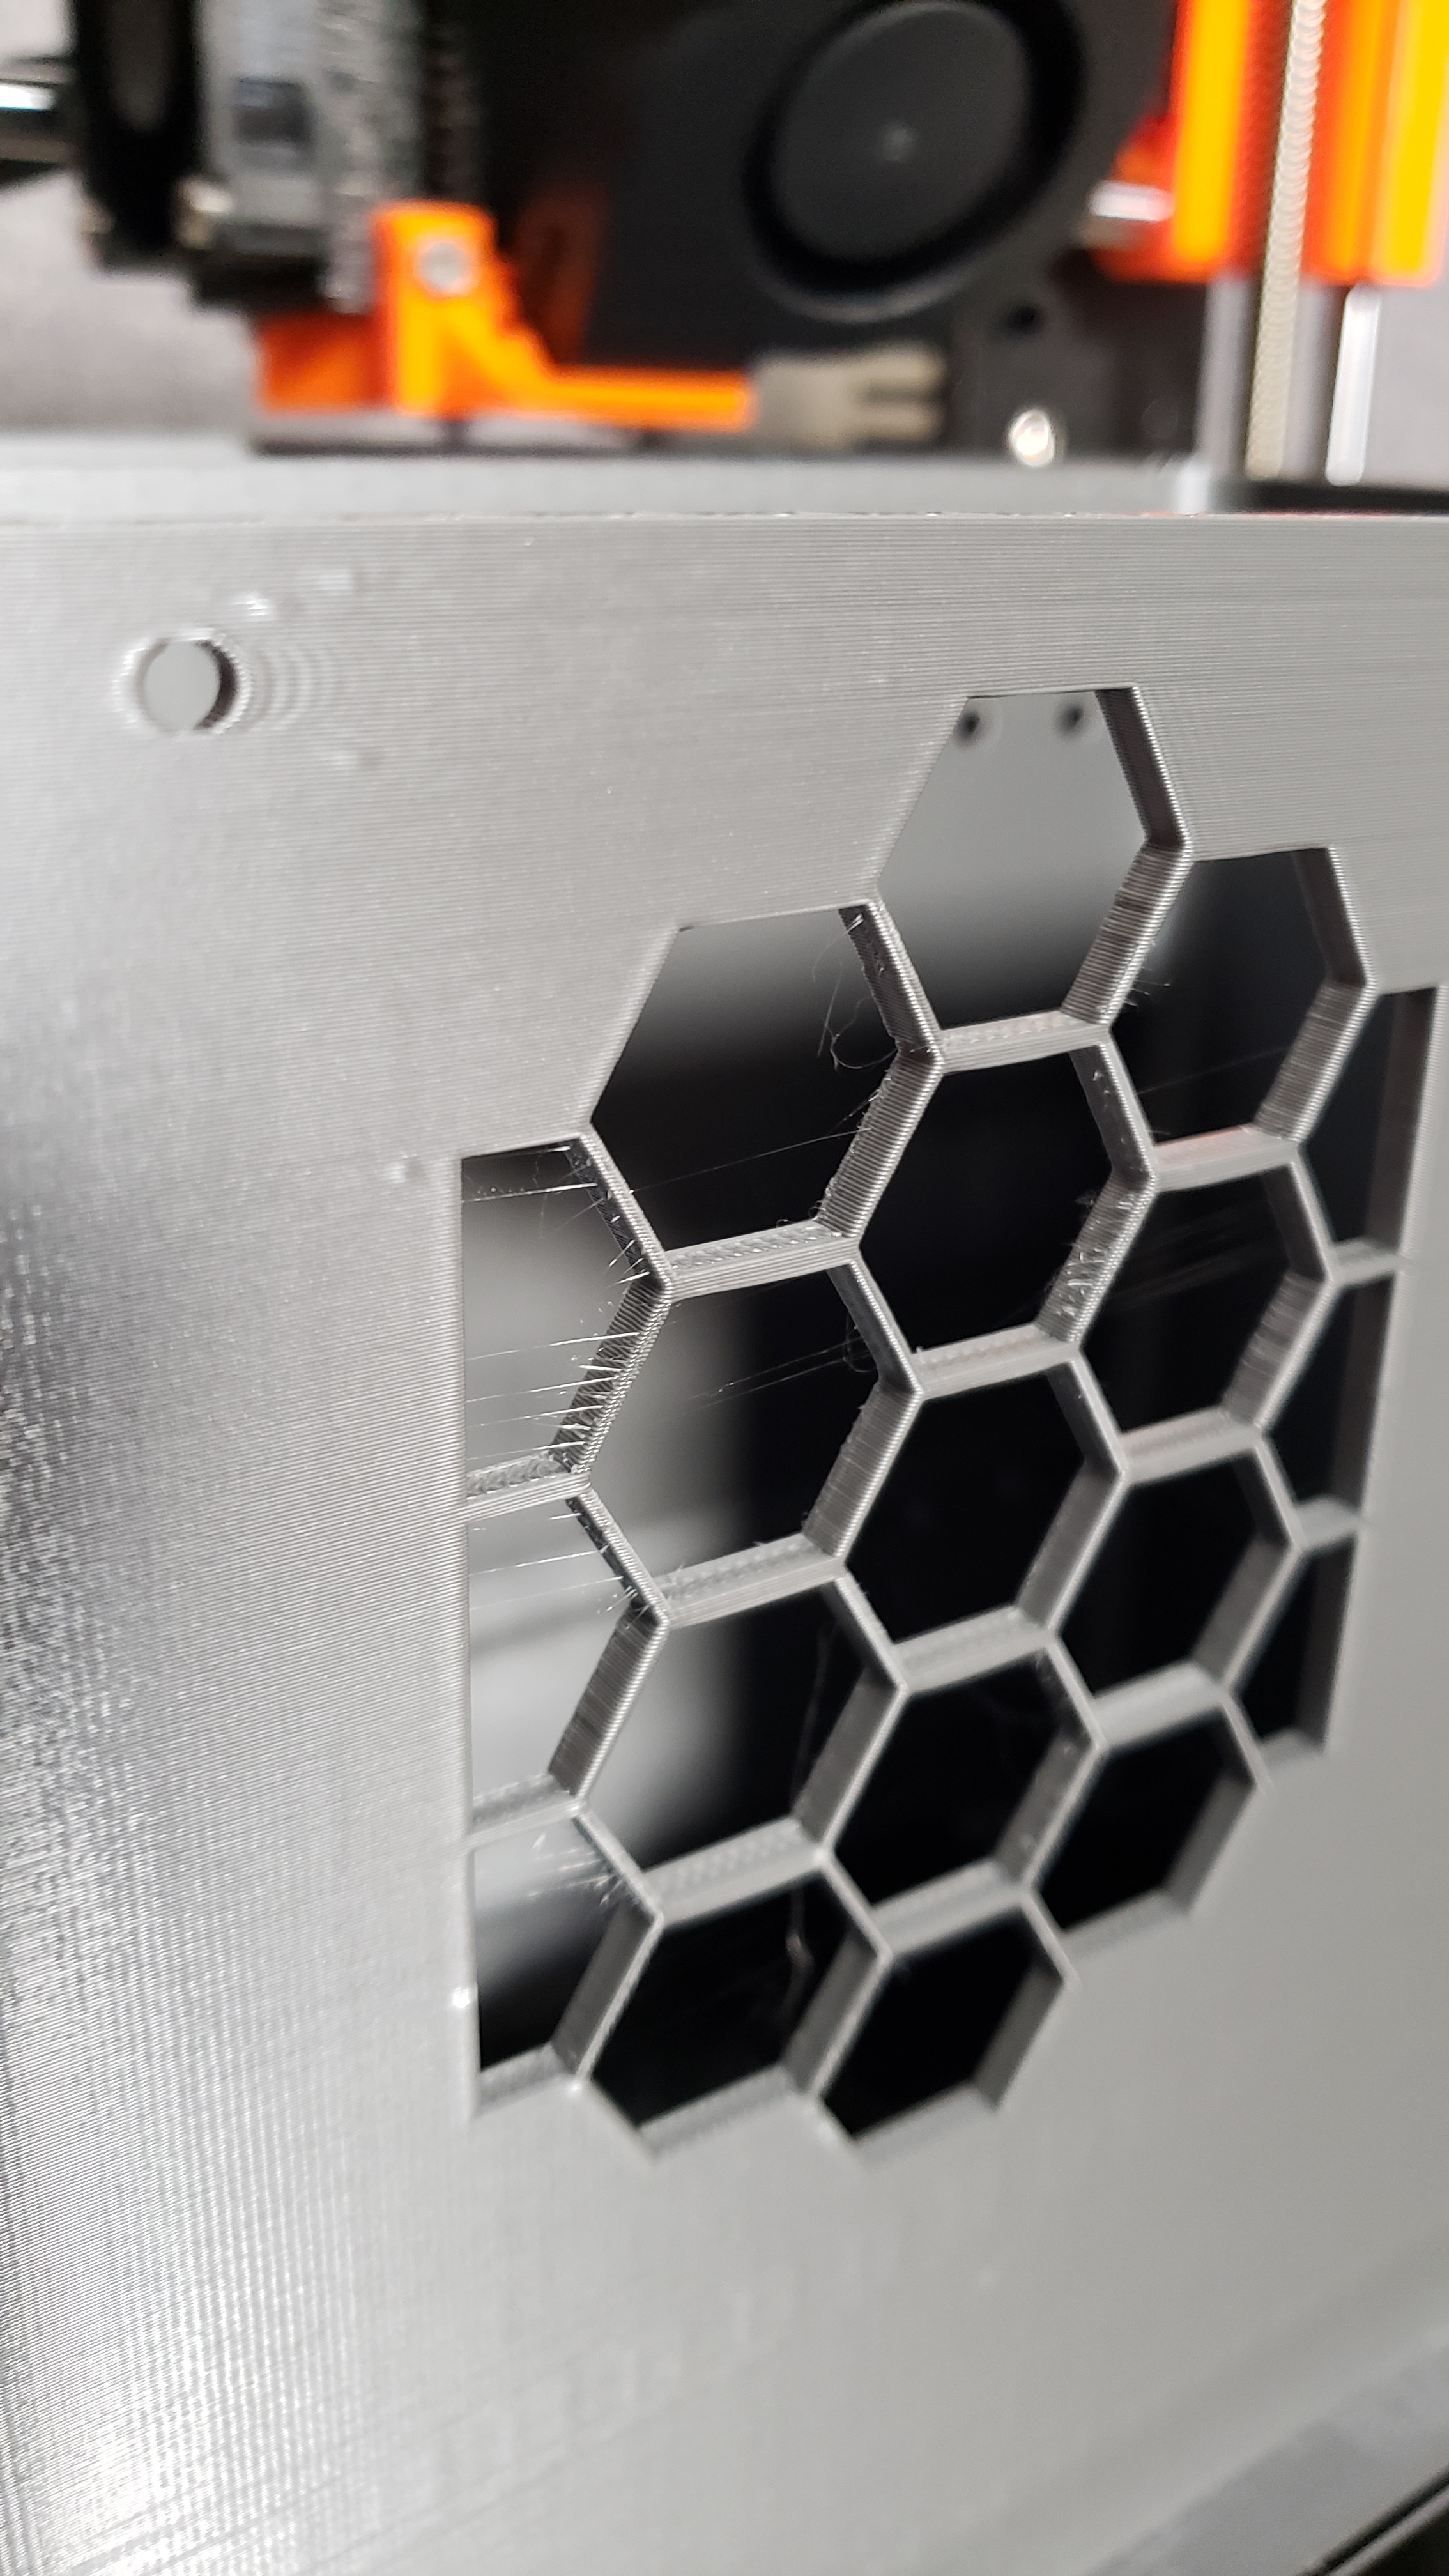
This case is going to be famous. Needs a few tweaks though.
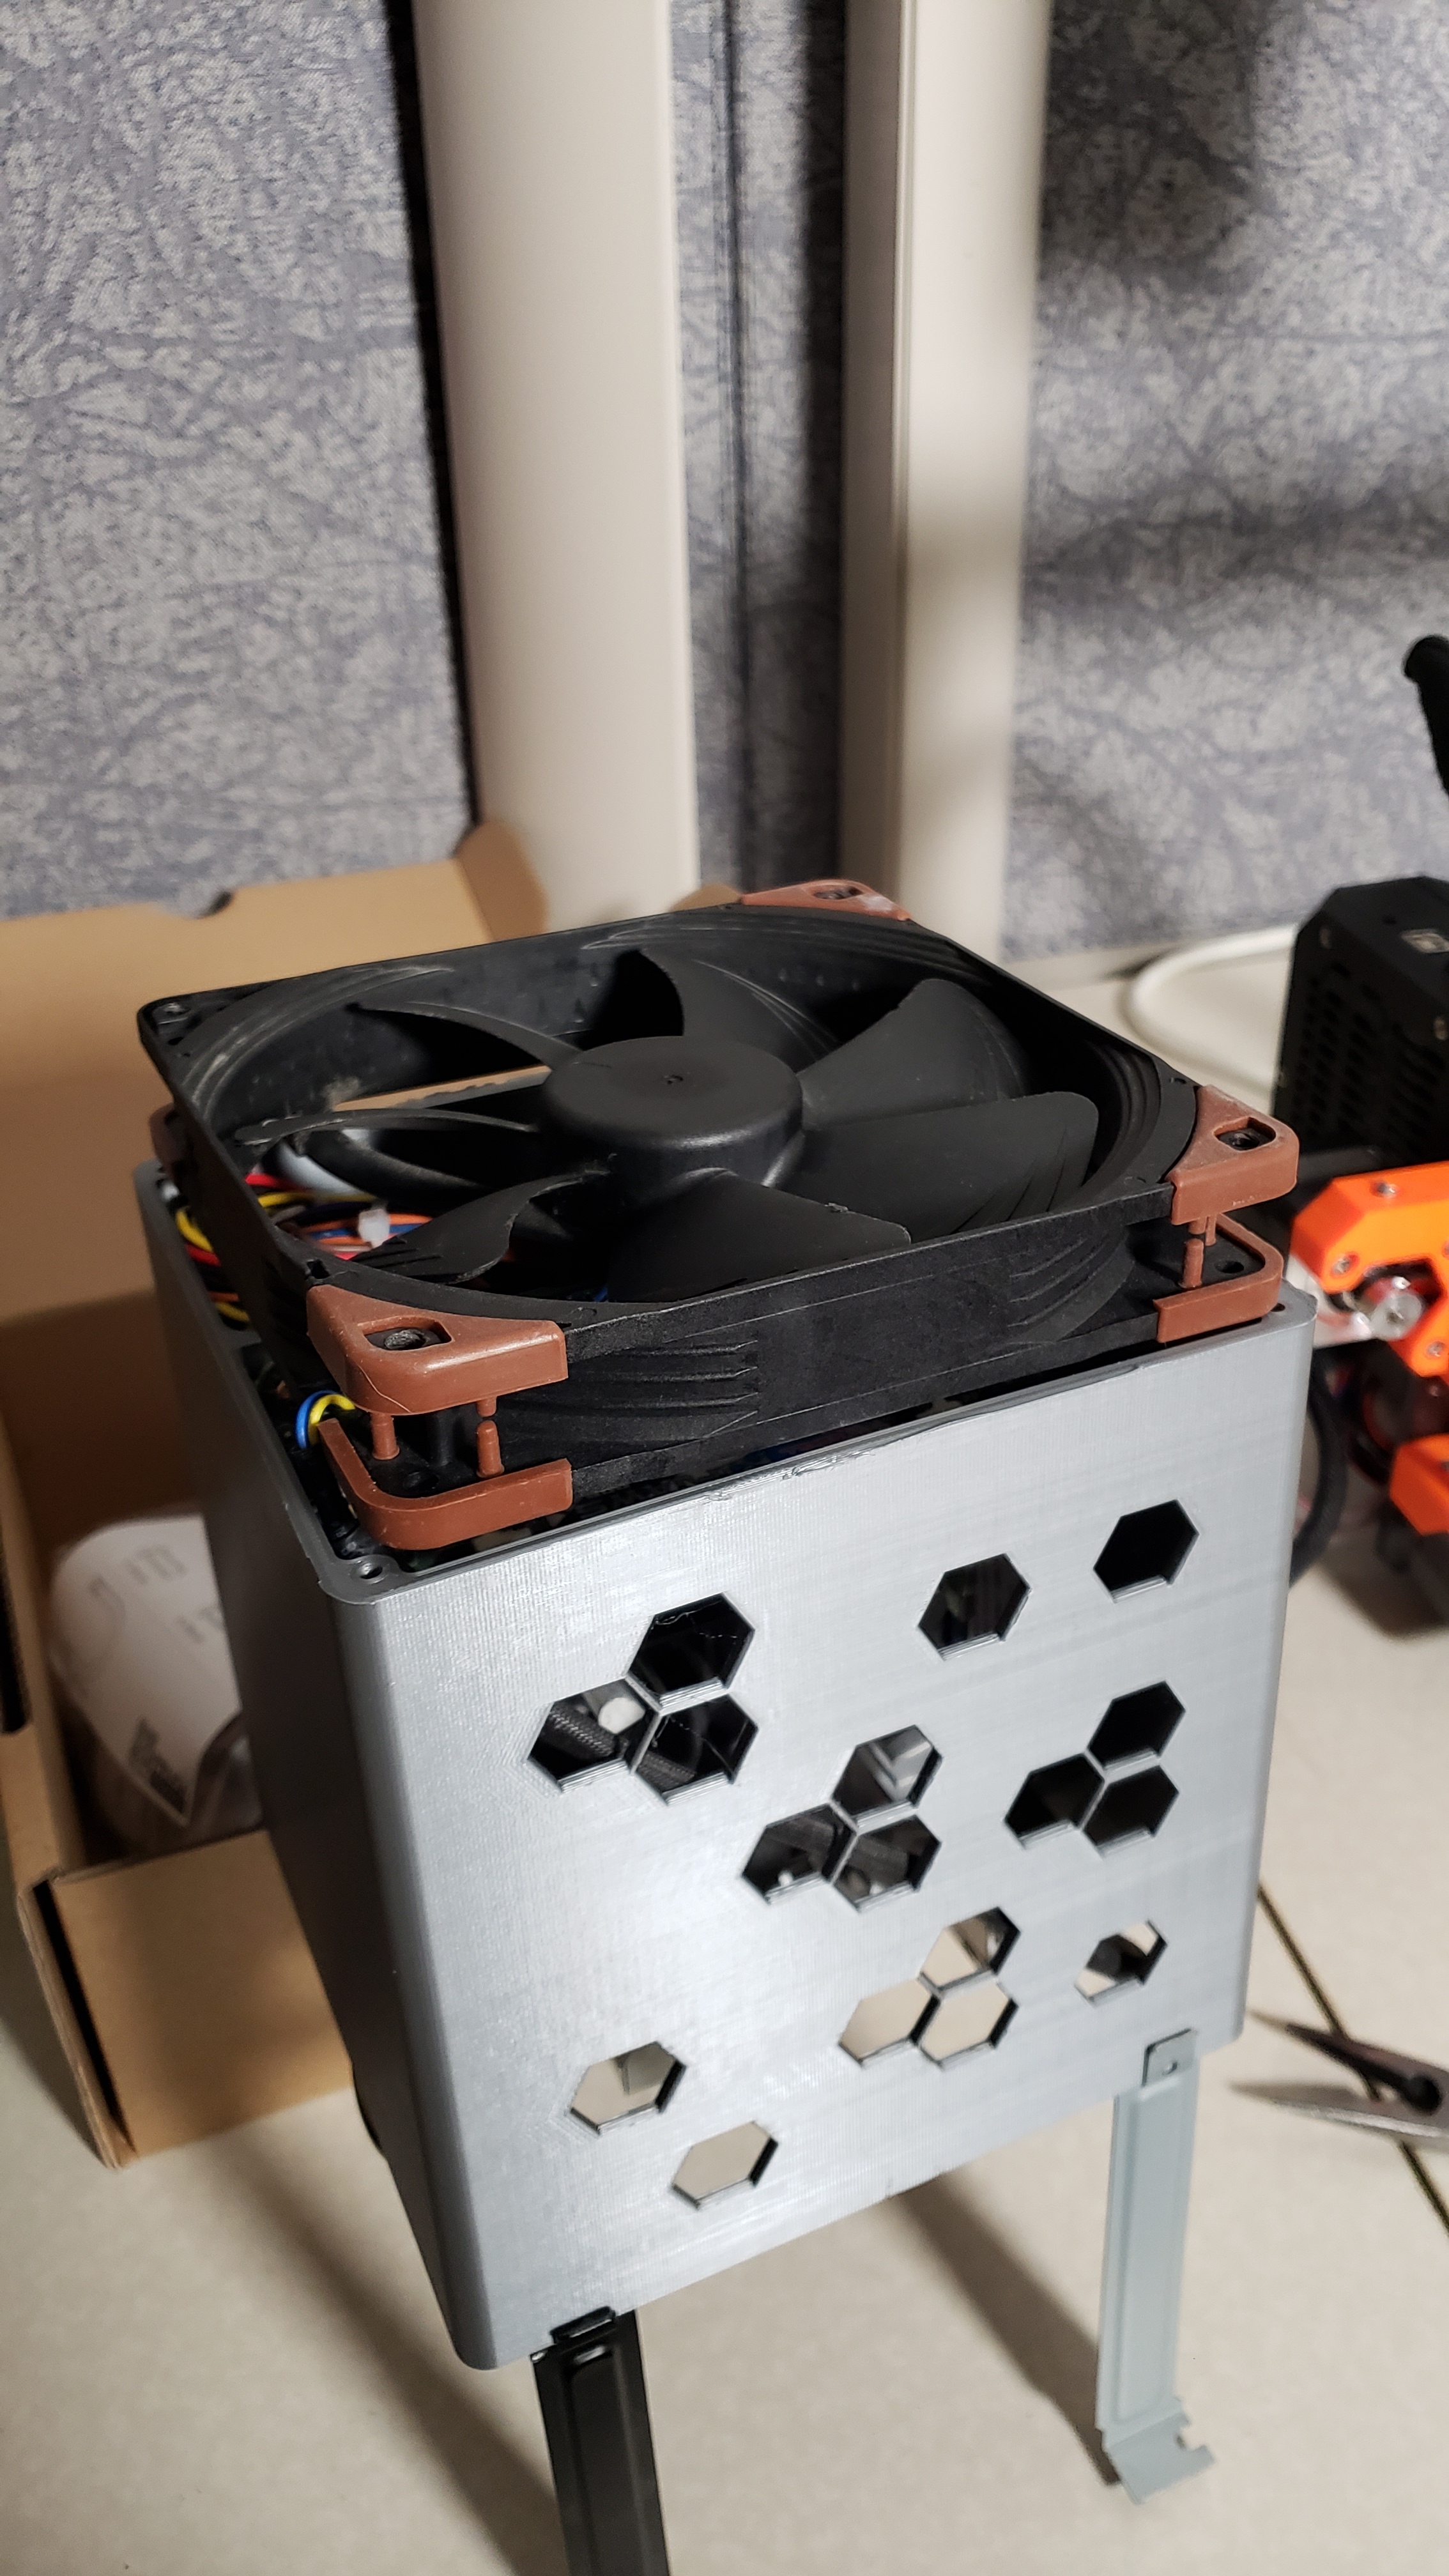
@w.meri you think you (or anyone reading) could do a version of the full hex front cover that is thick enough to hold a 140mm fan? Also that hinges open so I can get to the front panel connectors? I’m thinking about mounting the case Mac g4 cube style – cables down. So some tall feet pieces plus the fan door. Something that clips or scres onto the existing box as I don’t want to reprint the box lolol

Here’s the fan. But I’d want it to flip open or pop off easily to get at the front USB. 
This thread is so going in a video.
7 Likes
Hinges might not really be needed just some pins that go in the holes so it can pop on and off. It’s not really needed as this isn’t super hot tho.
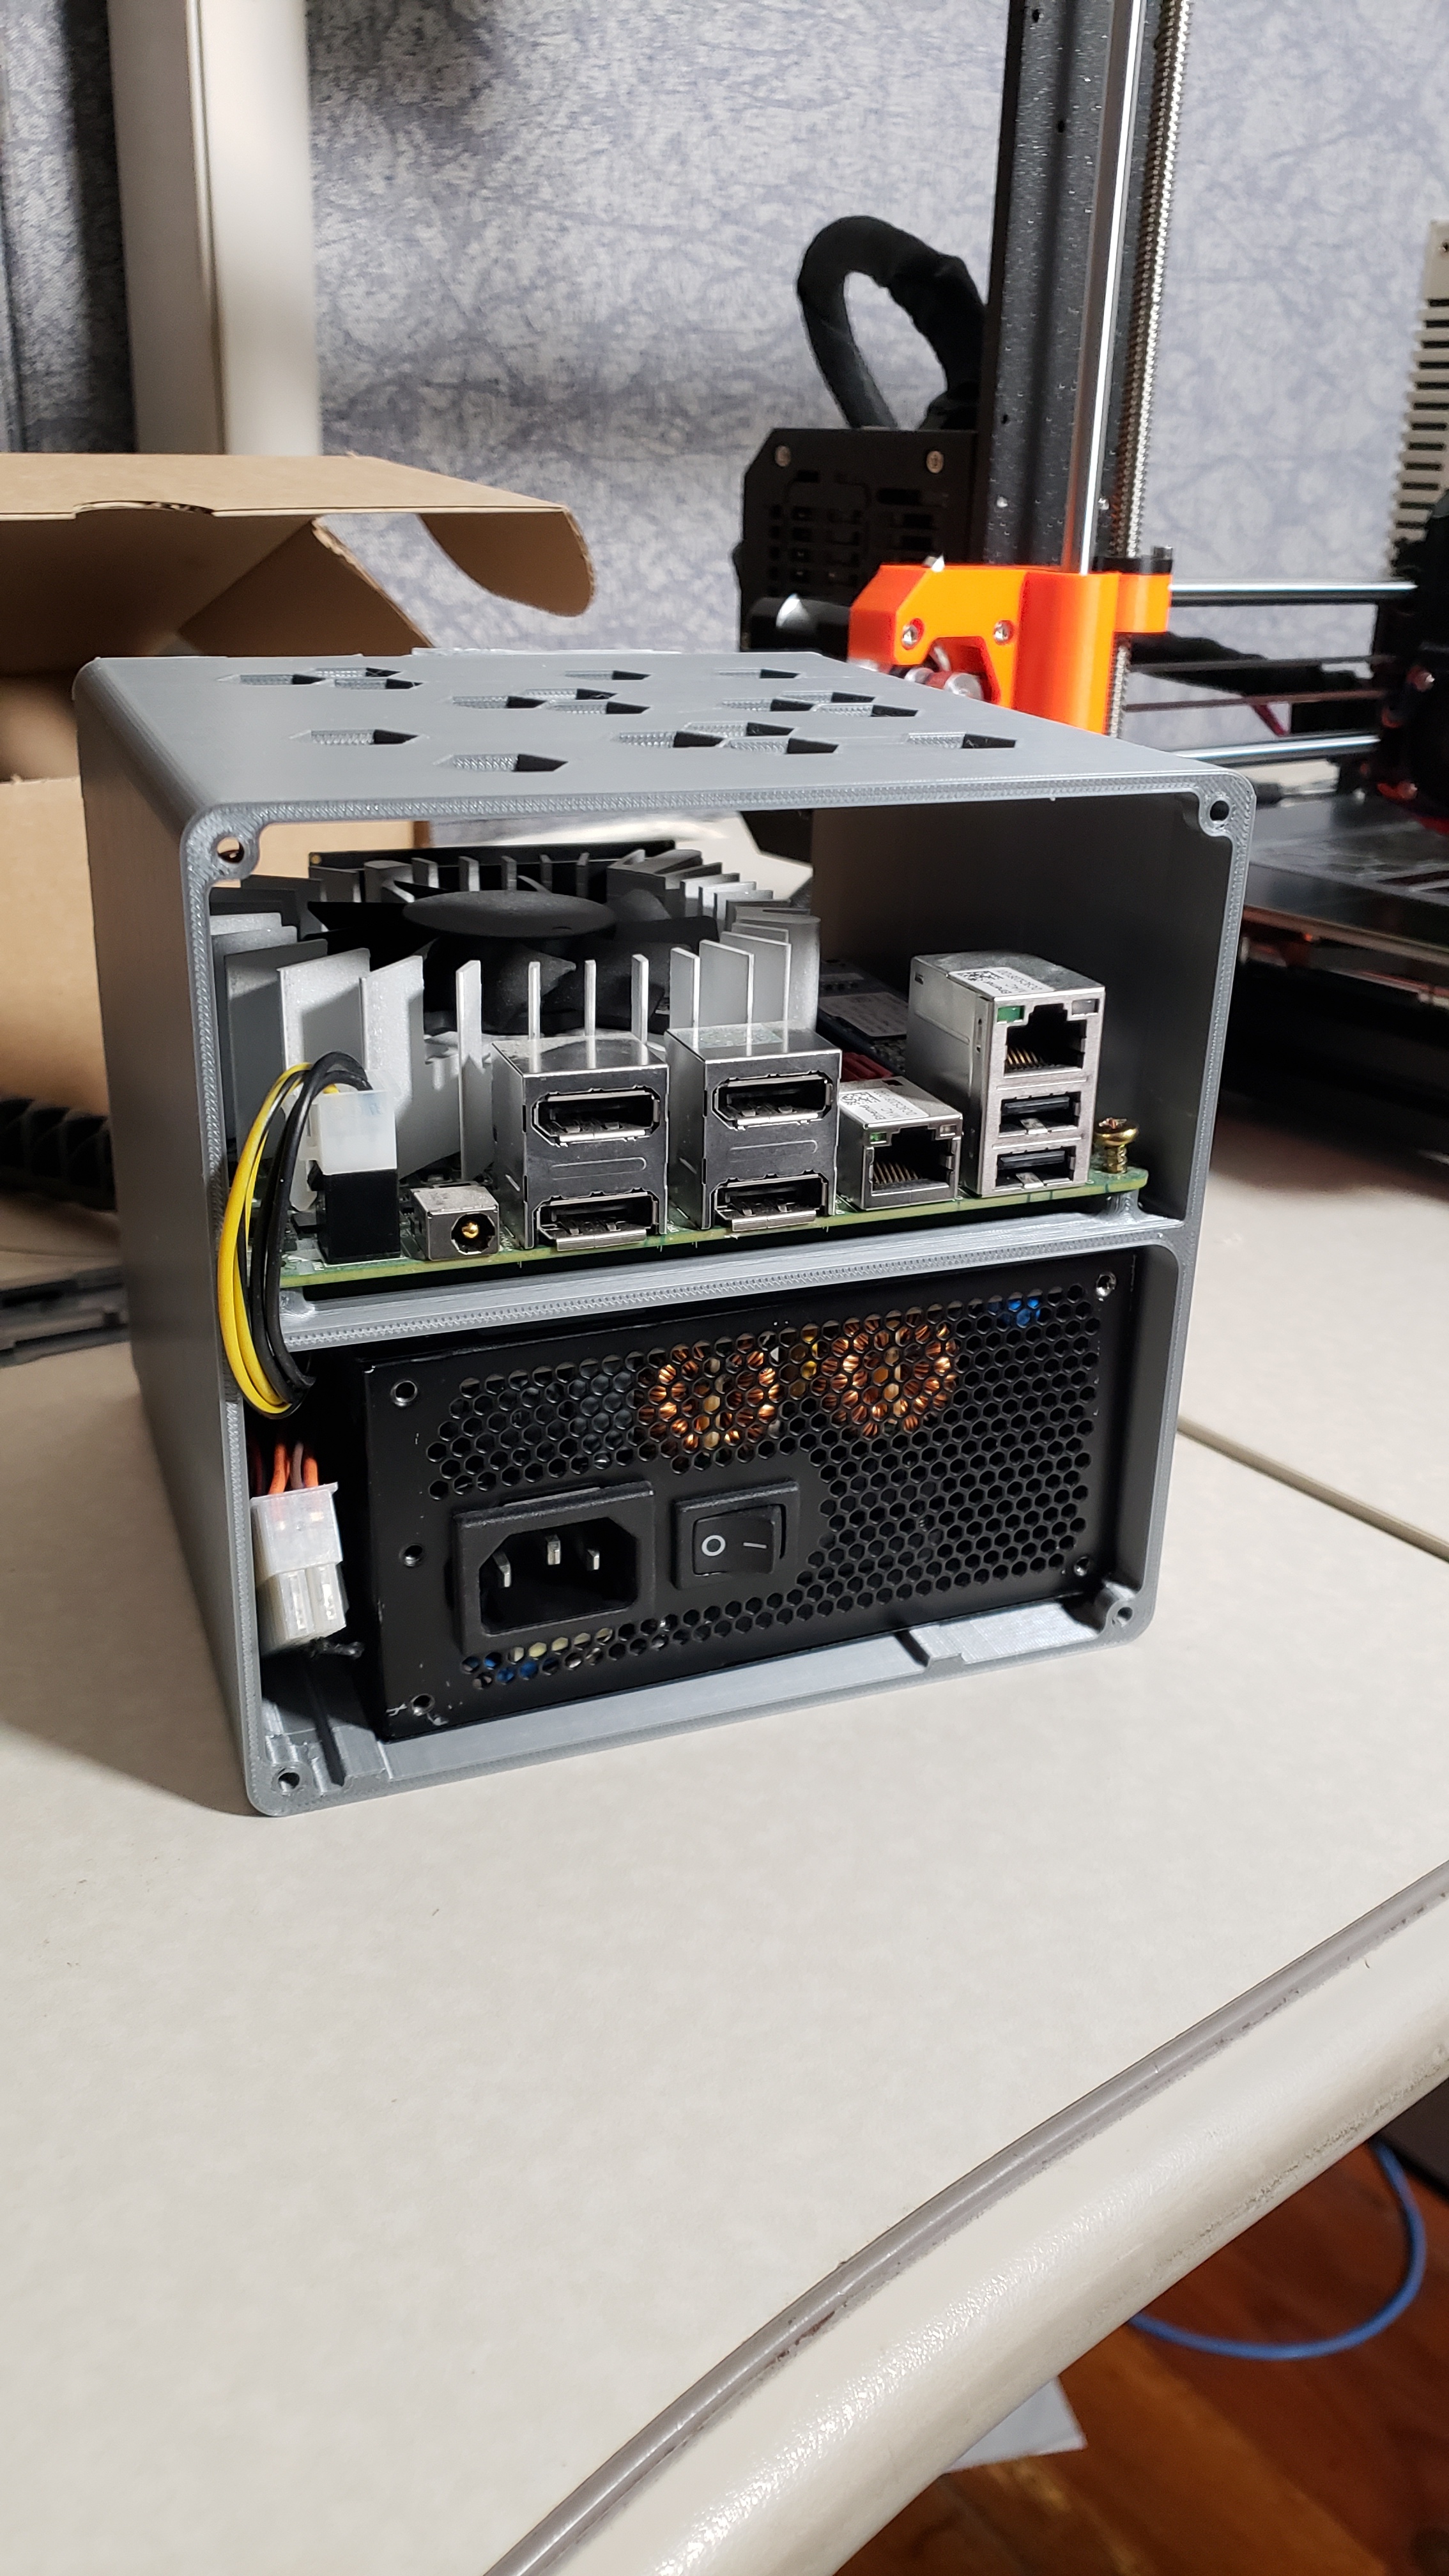
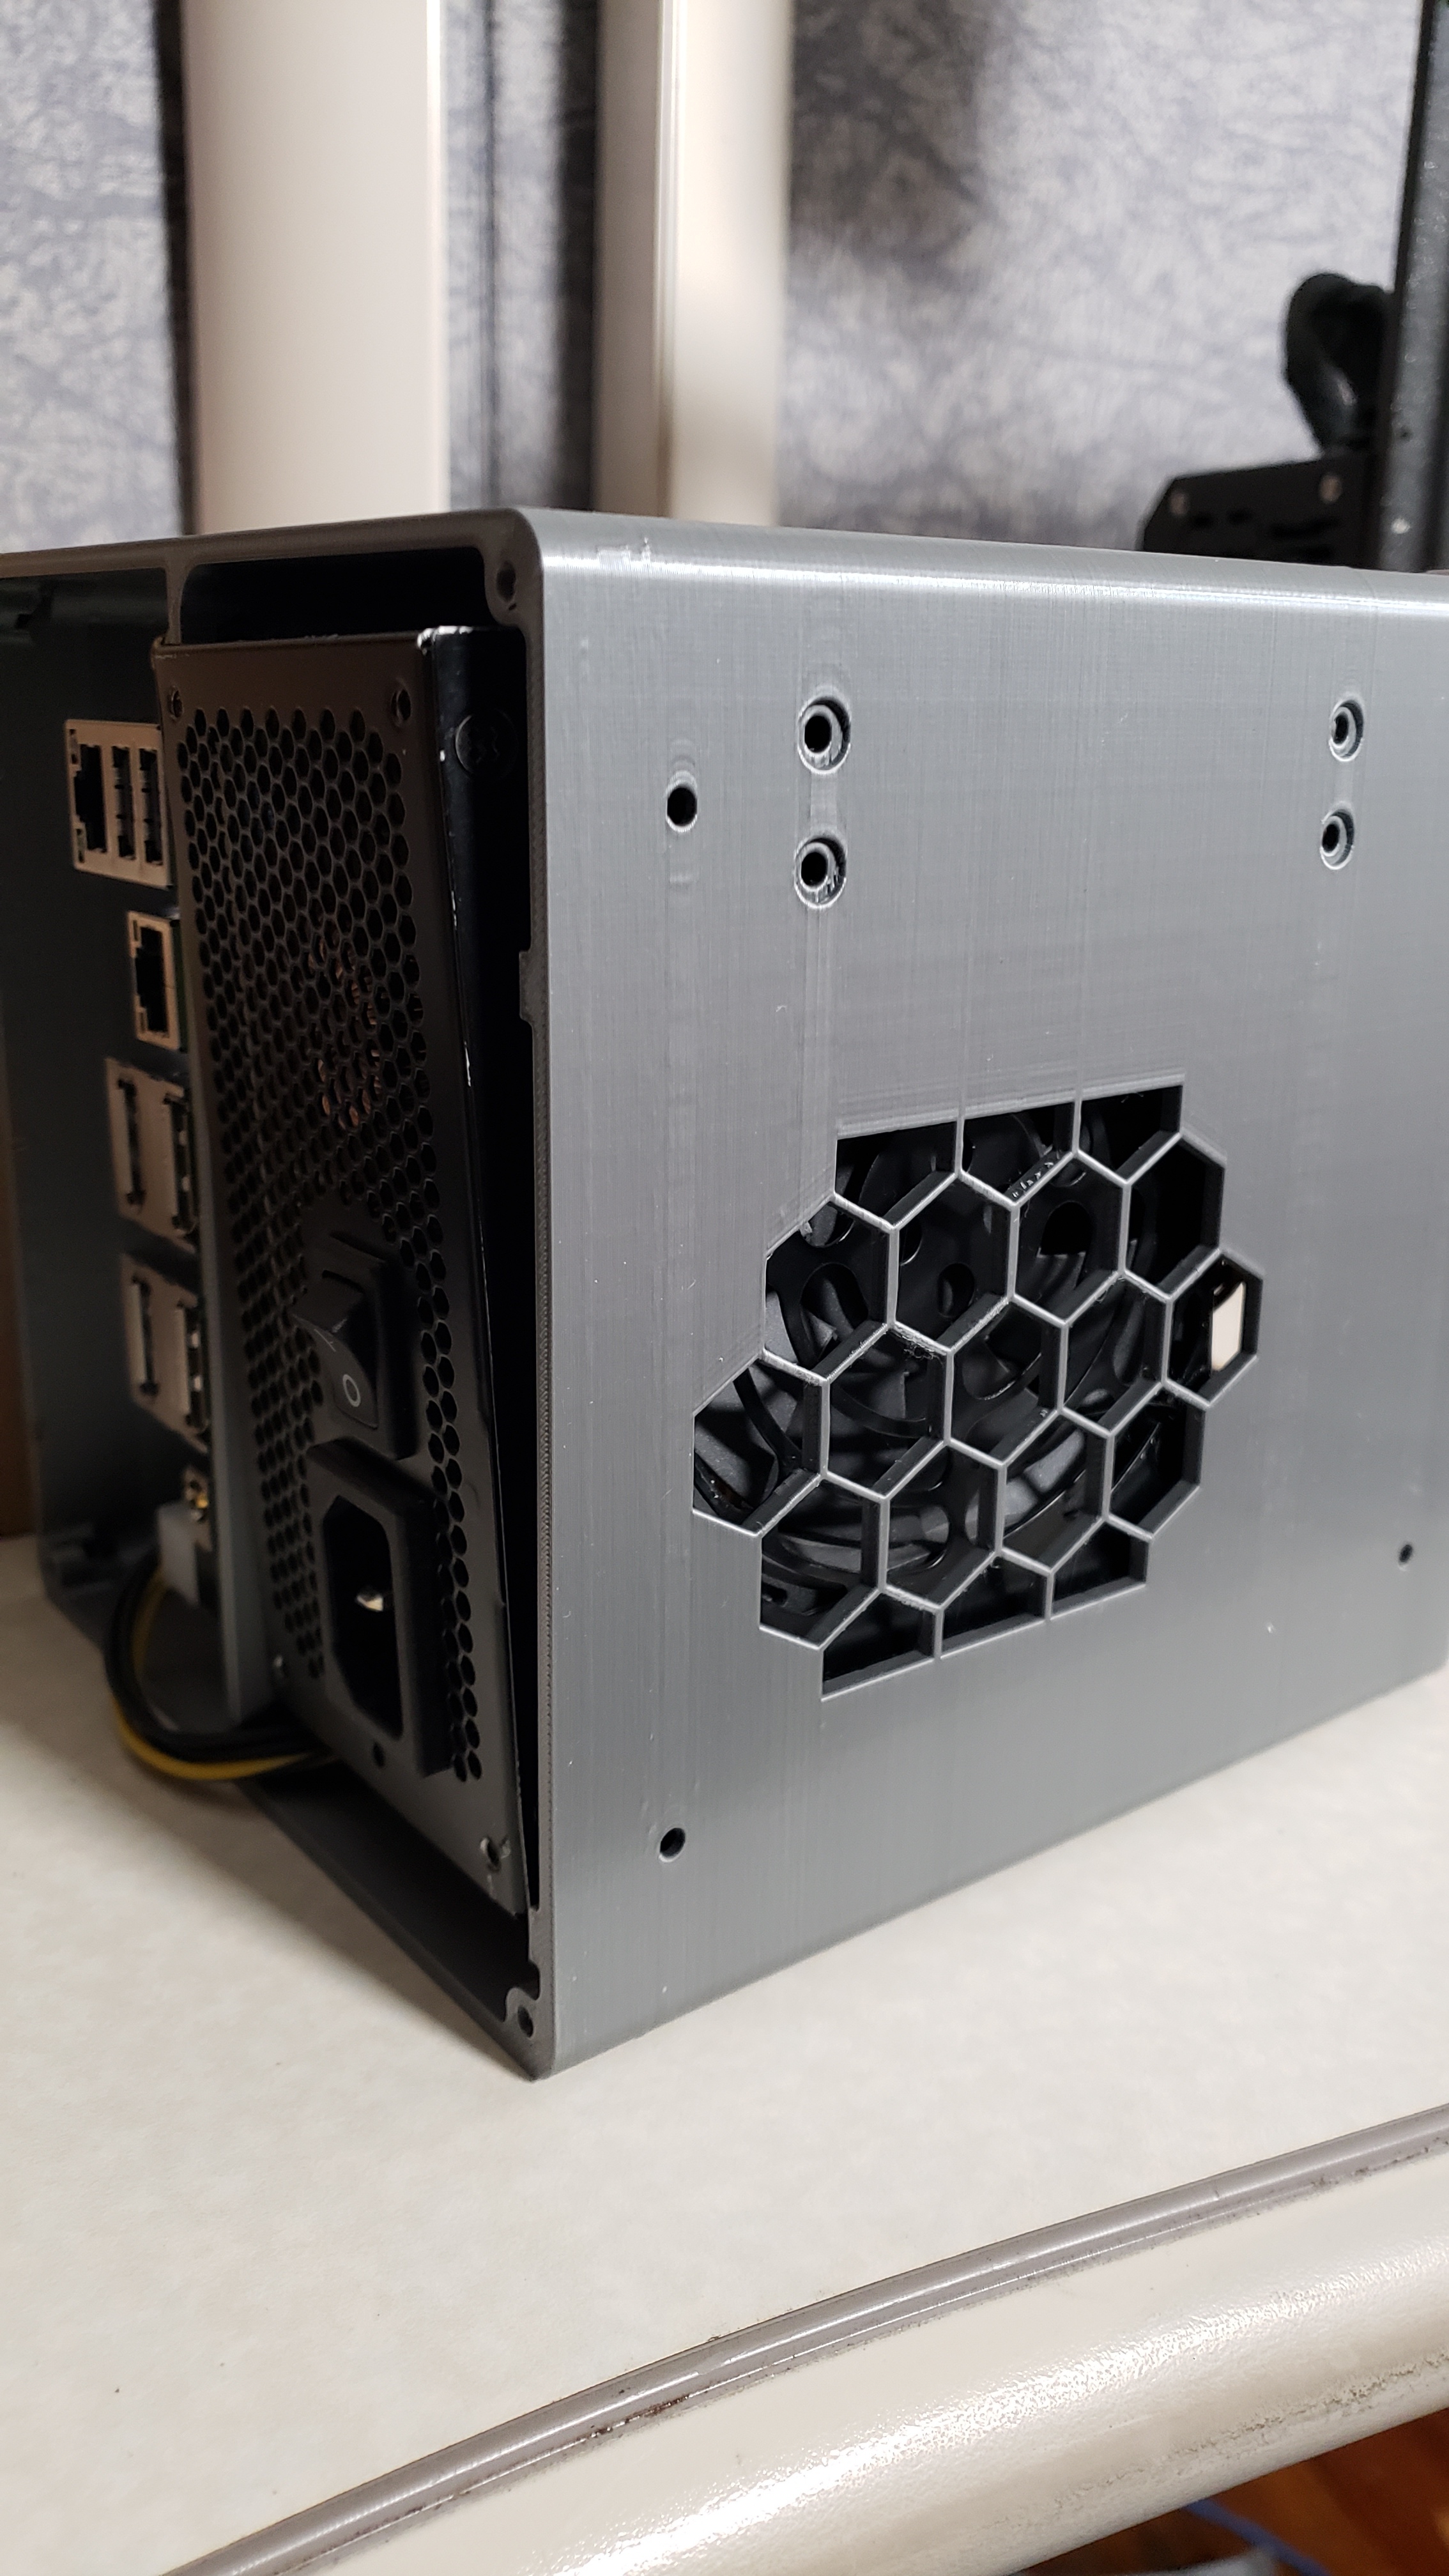
The power supply area came out weird, too, which is no big deal. In terms of fan alignment.
3 Likes
I had really serious problems with wet filament and this fixed it totally.
edit: This is not my design.
2 Likes
Bloody amazing. I’ll build one of these if I get the multimaterial feeder.
I’ll try making a new front panel for a fan later this week, if the fit isn’t too tight I wonder if a front panel attached with some tiny magnets would work…
Anyways, how wide is that power supply? I used the dimensions for an SFX power supply from Intel, but your’s looks wider. Luckily that one is an easy enough fix if it is wider.
Seems like the dimensions are right but the psu is rotated 90 degrees?
@w.meri I think what I need is a new front mesh where the I/o cutout is shifted up half a Cm and there is a cut out near the middle for a slot loading cdrom. Lololololol slot loading cdroms.
You know what I’m doing. Hahahahahah
No need for a new design or case. Just a new front.
I should be able to fit optane in here too.
I am using nylon standoffs to raise the Mobo a bit.
Muahahhahaah
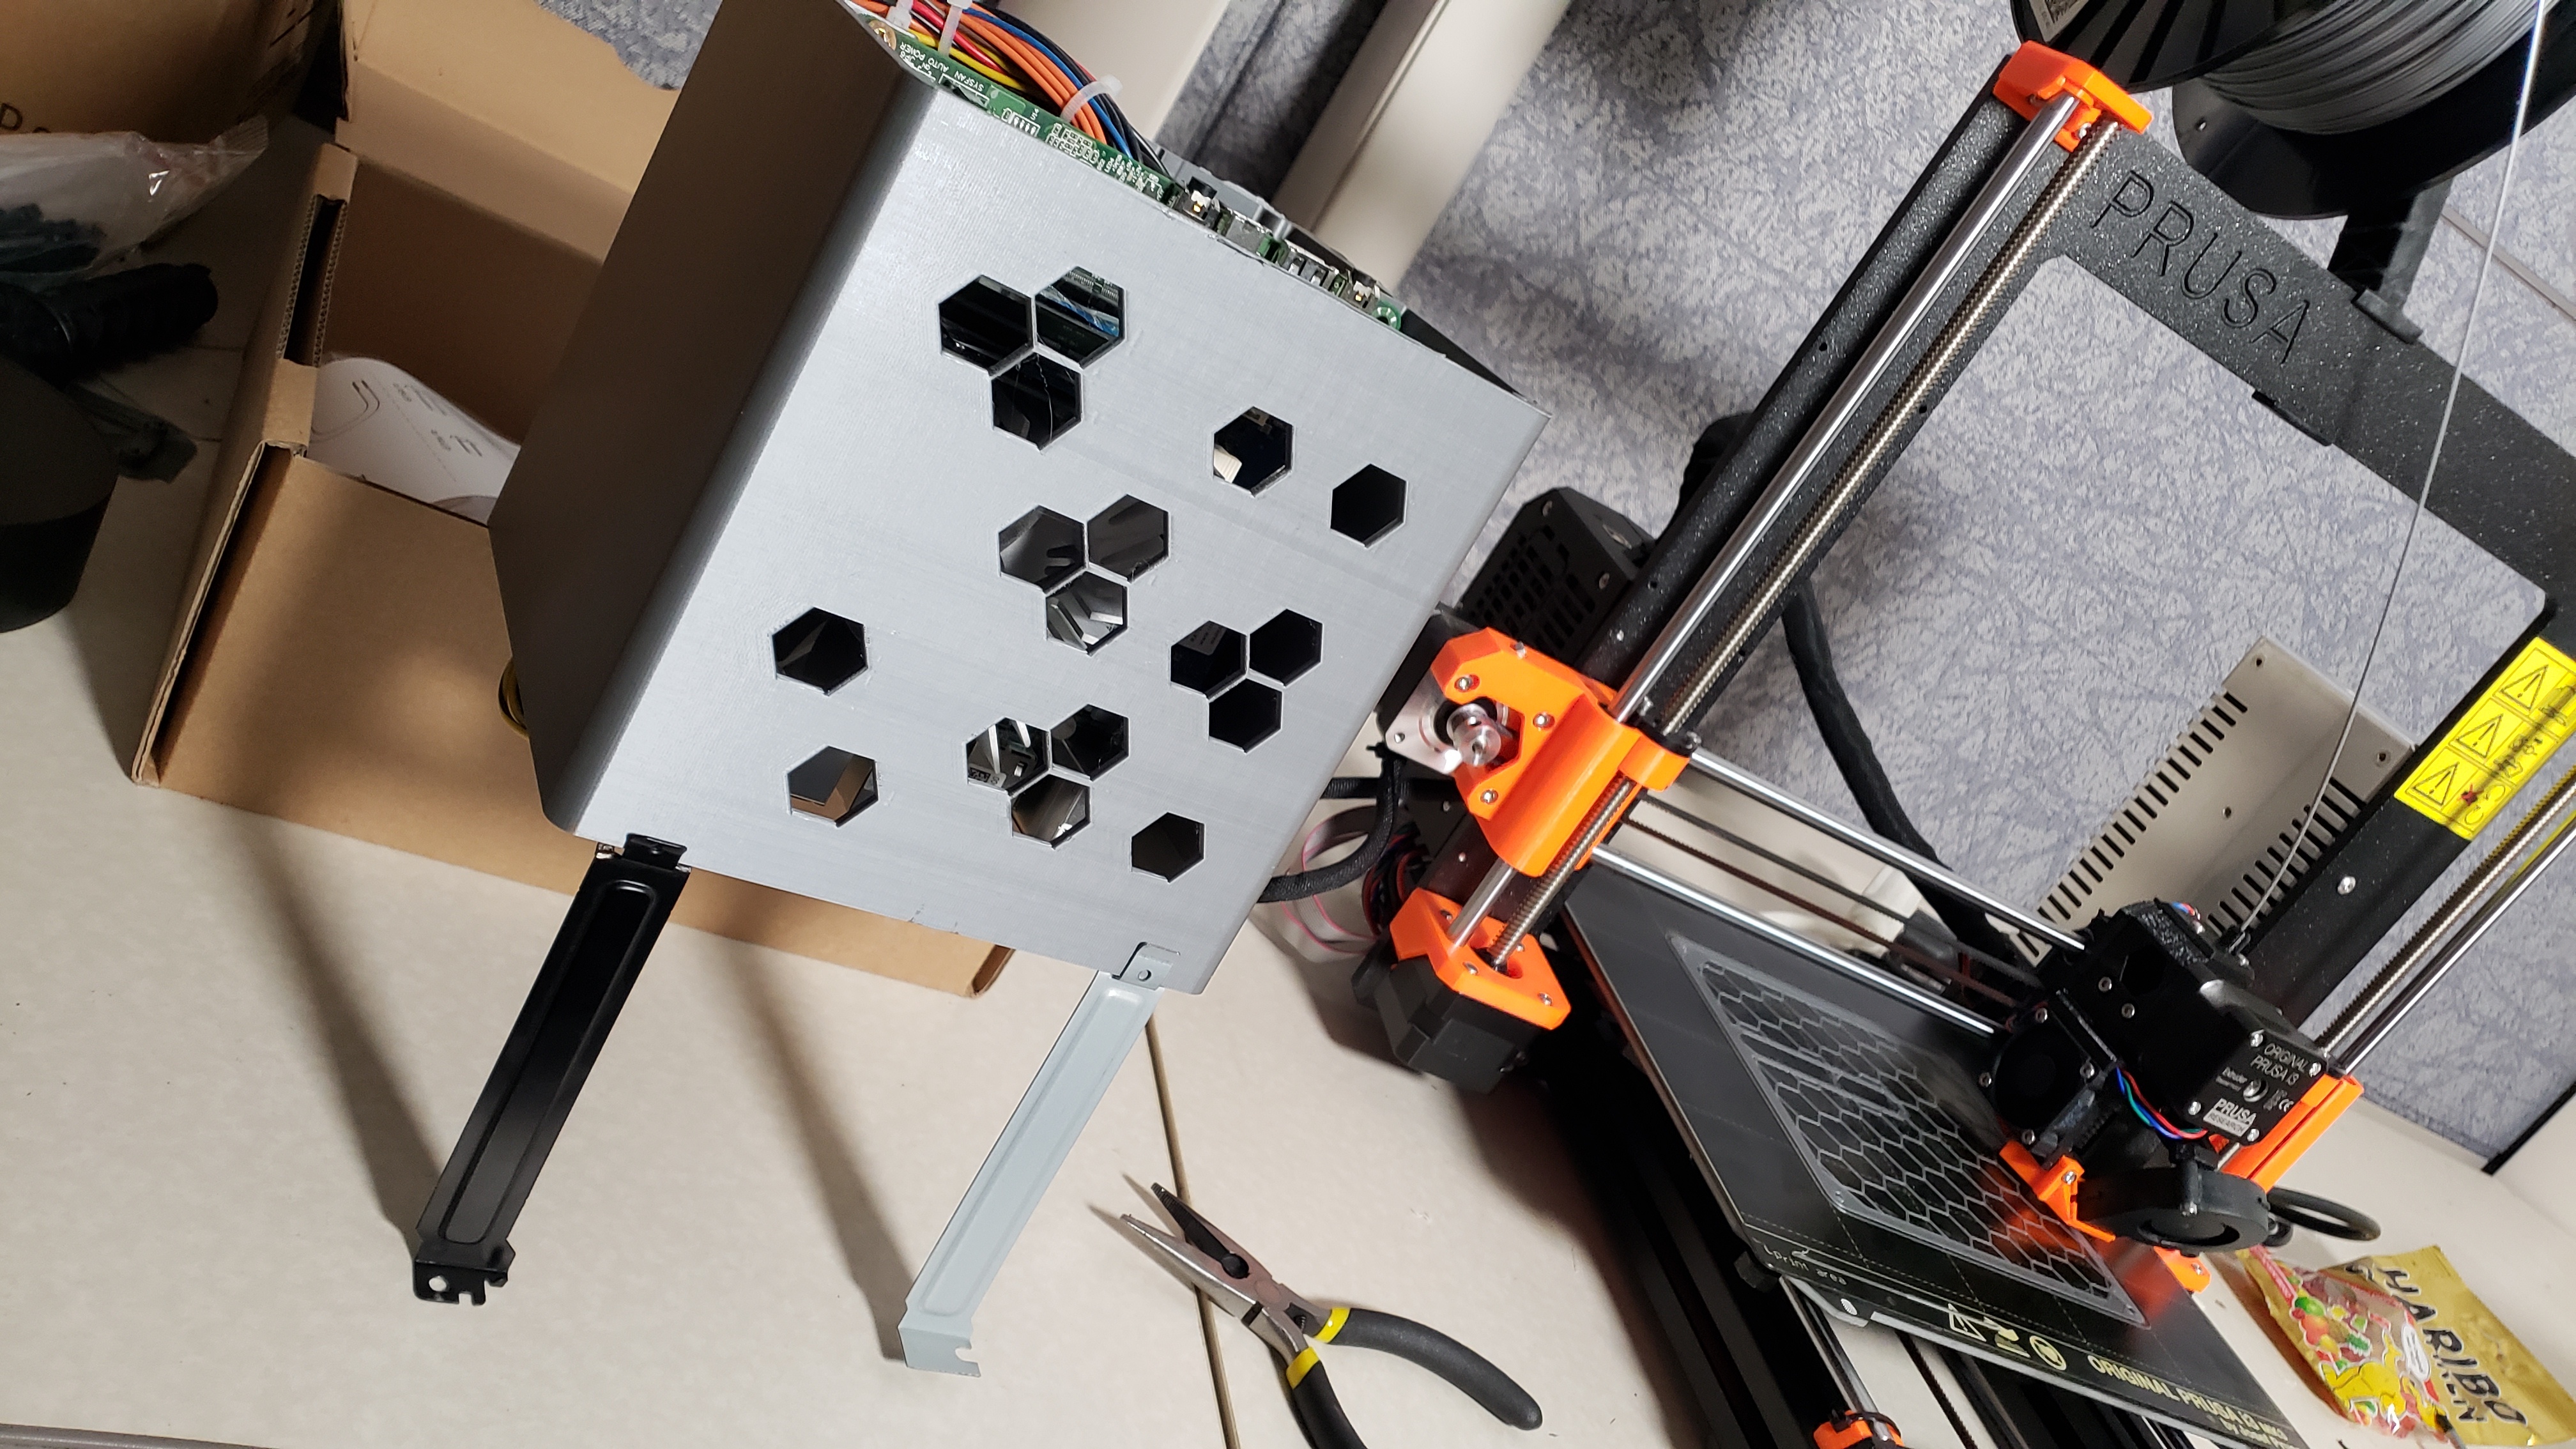
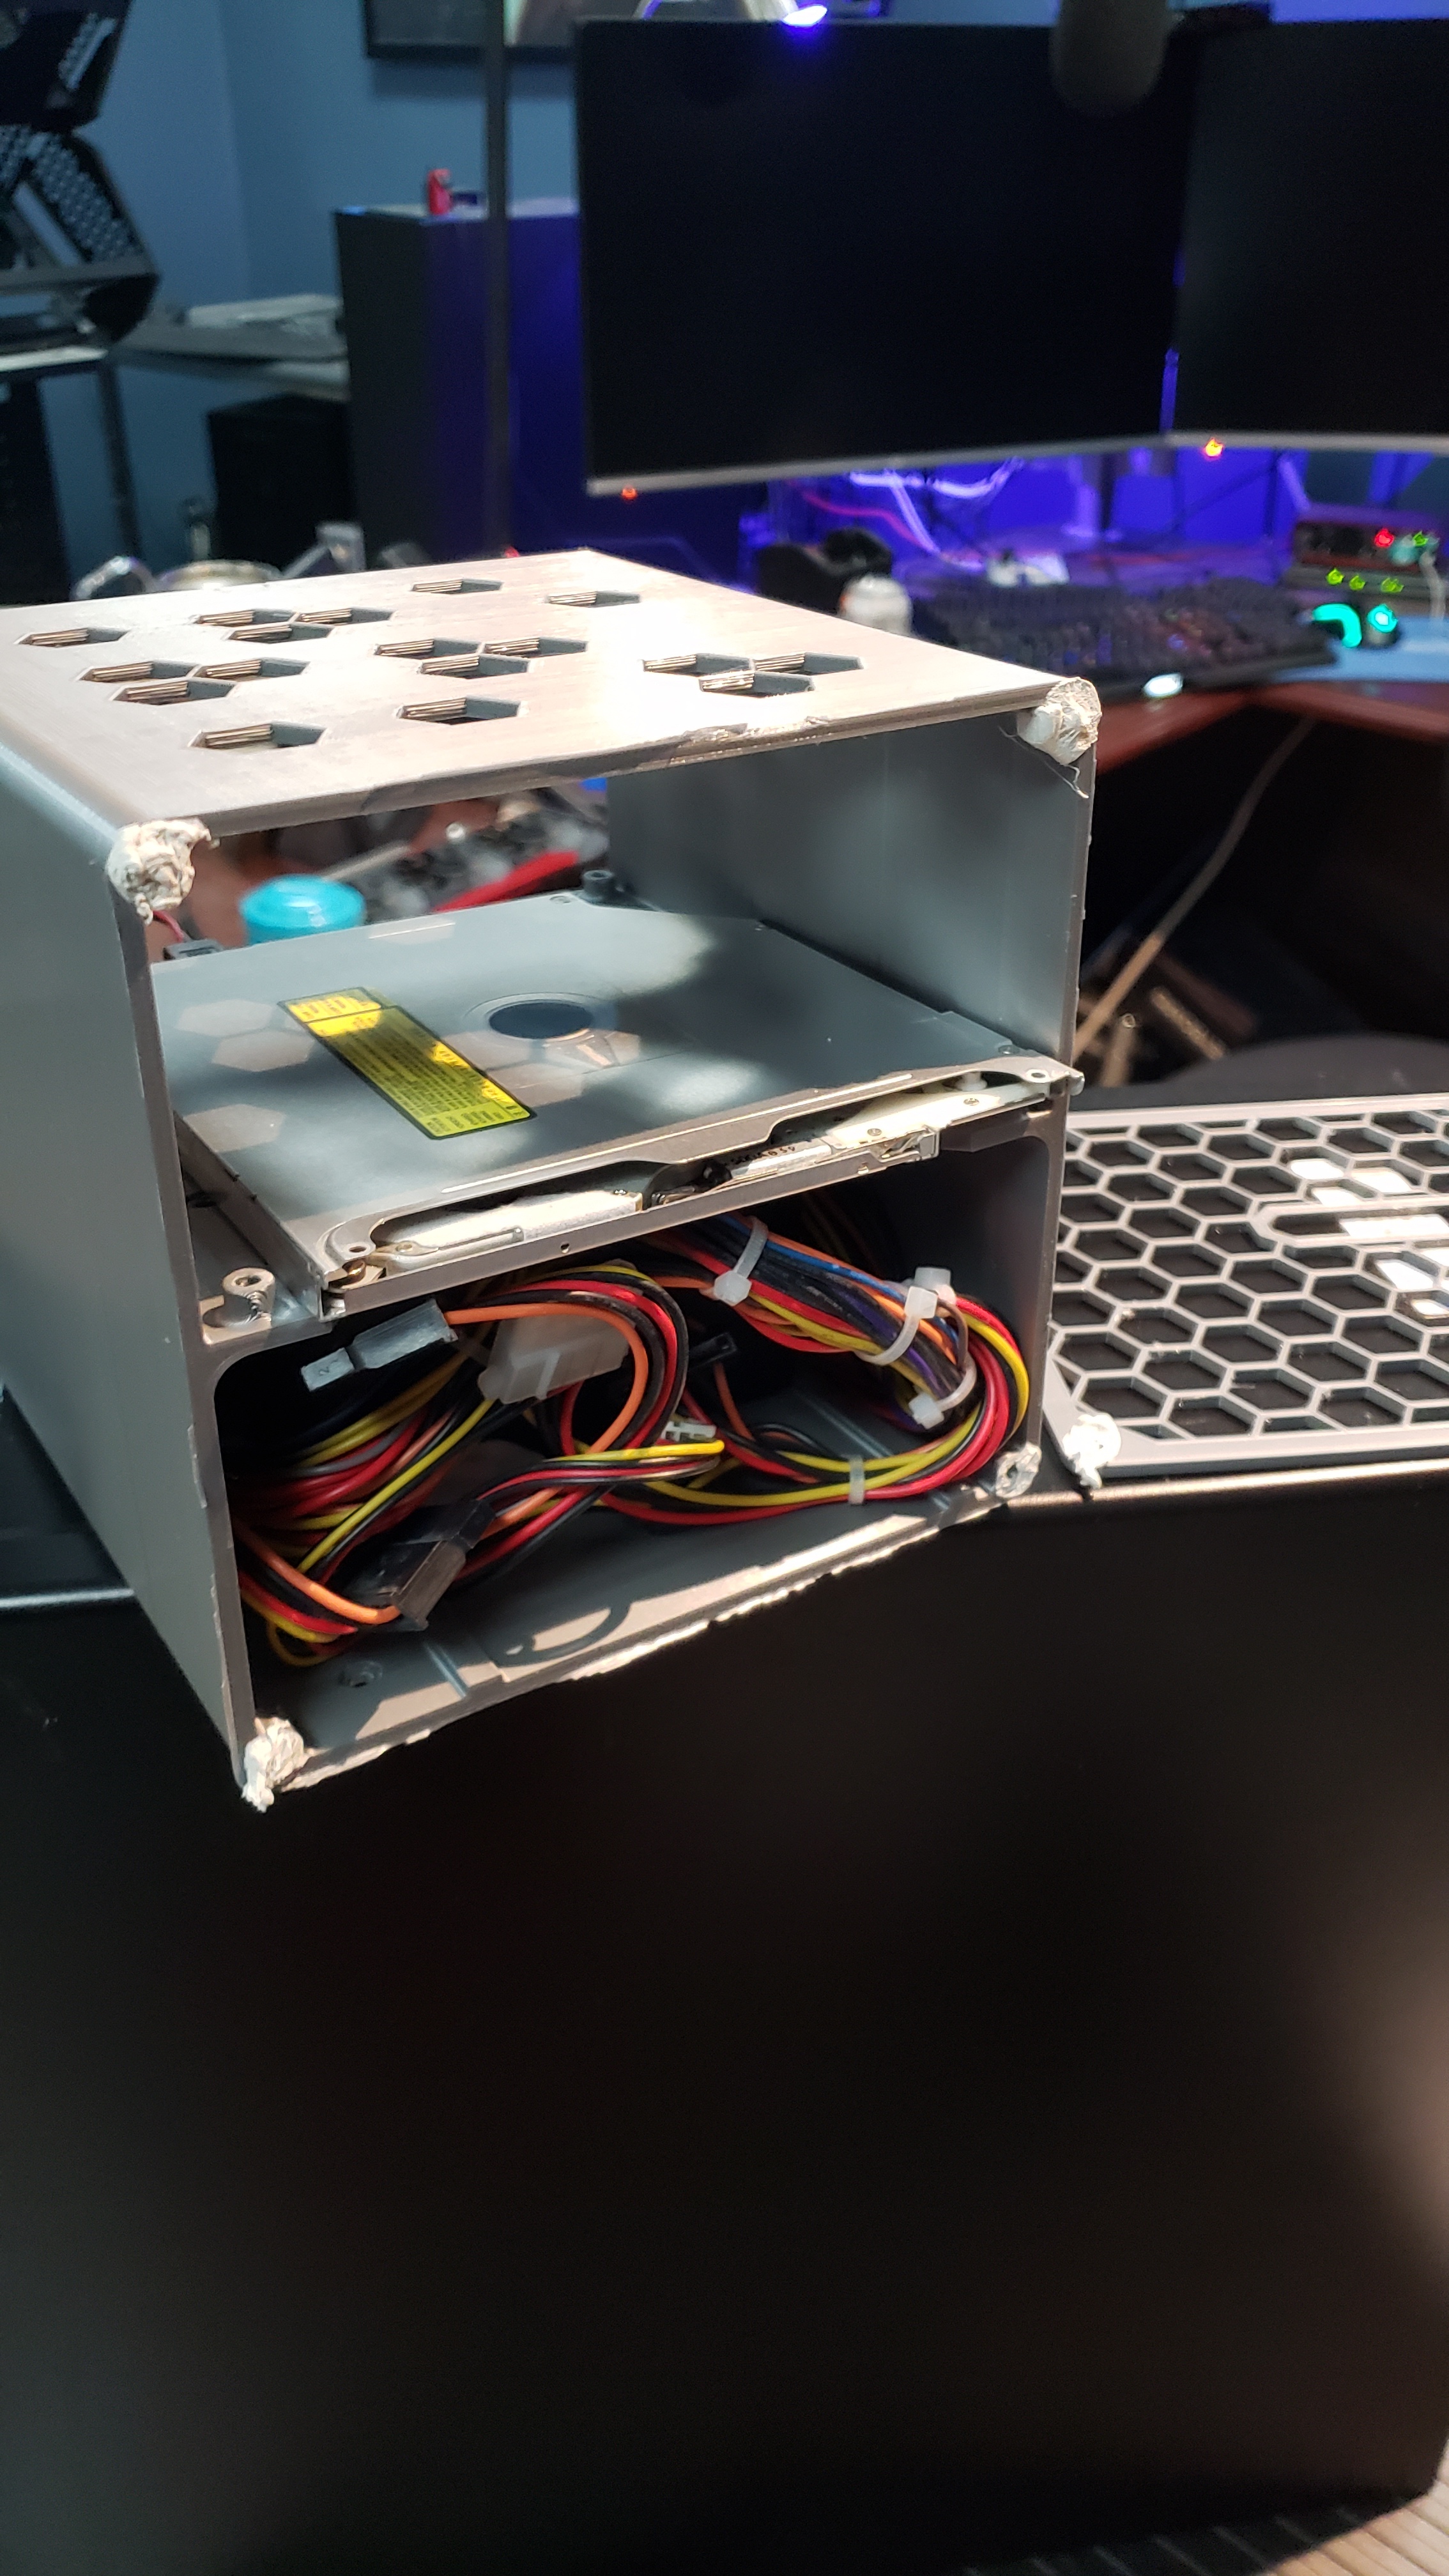
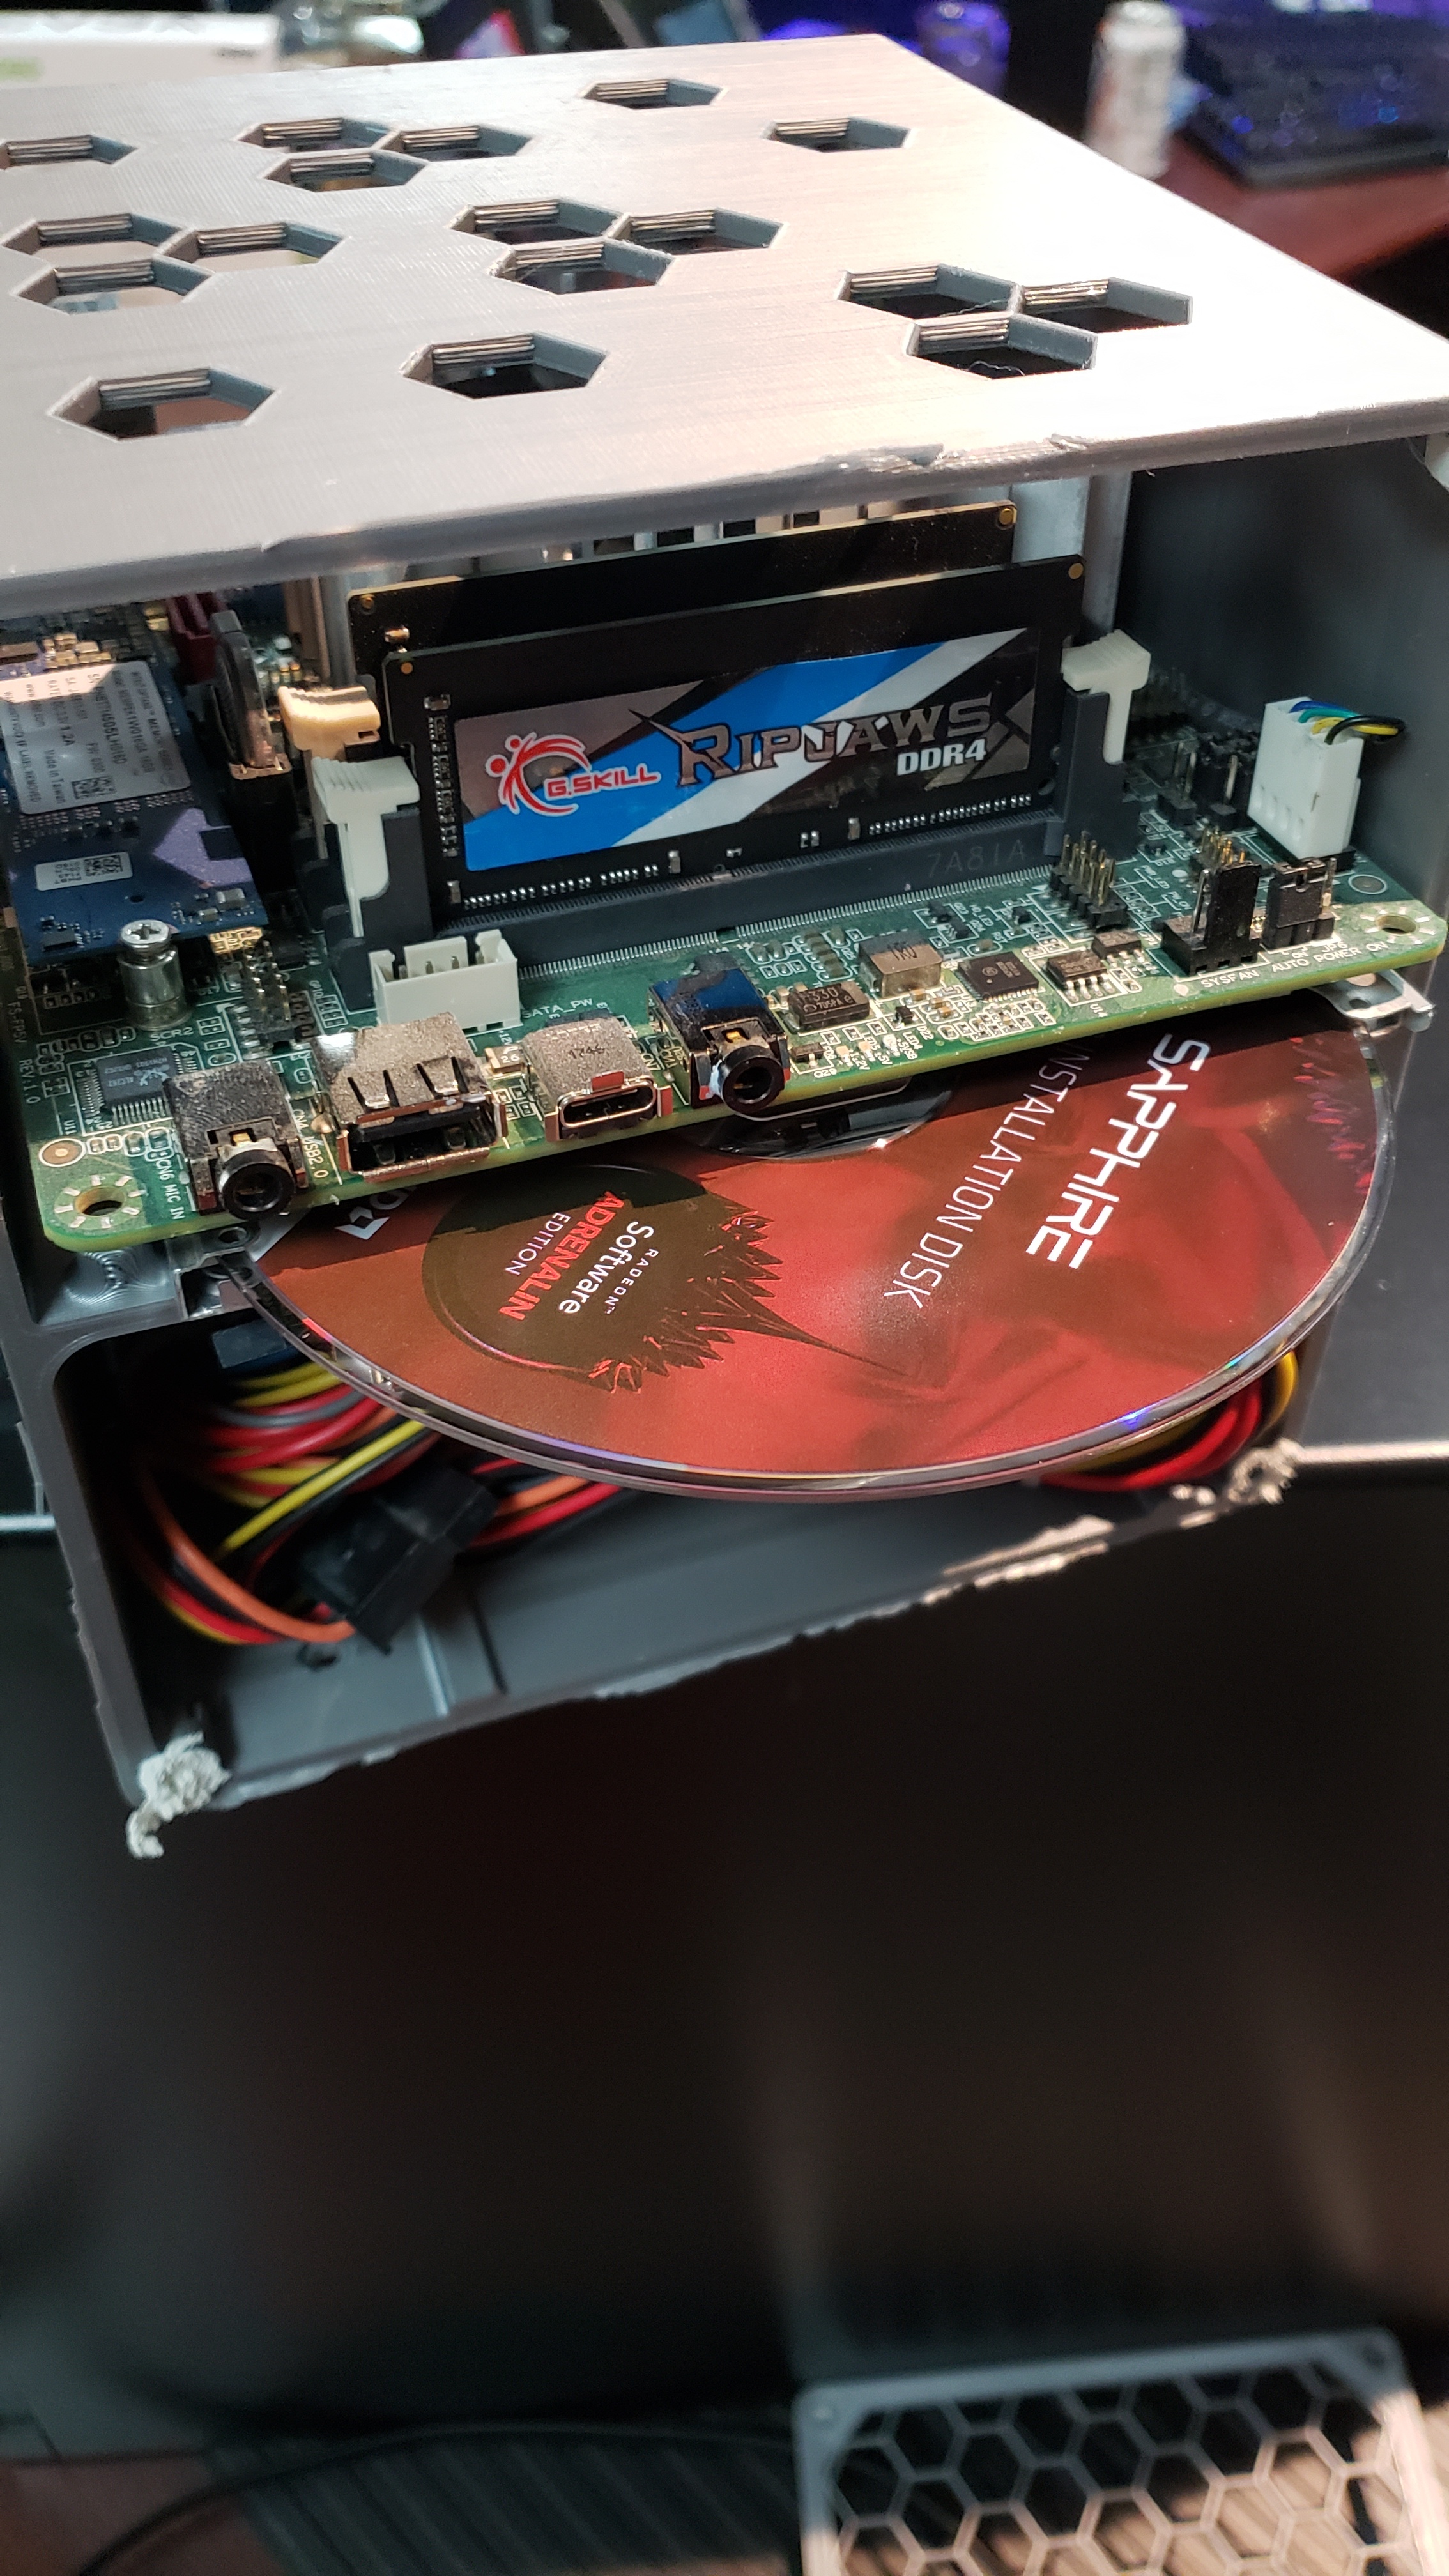
Here is what we are working with, visually

So Io cutout a bit lower, less tall and wider for a cdrom.
And existing io cut out shifted up a bit.
Lololololol
1 Like
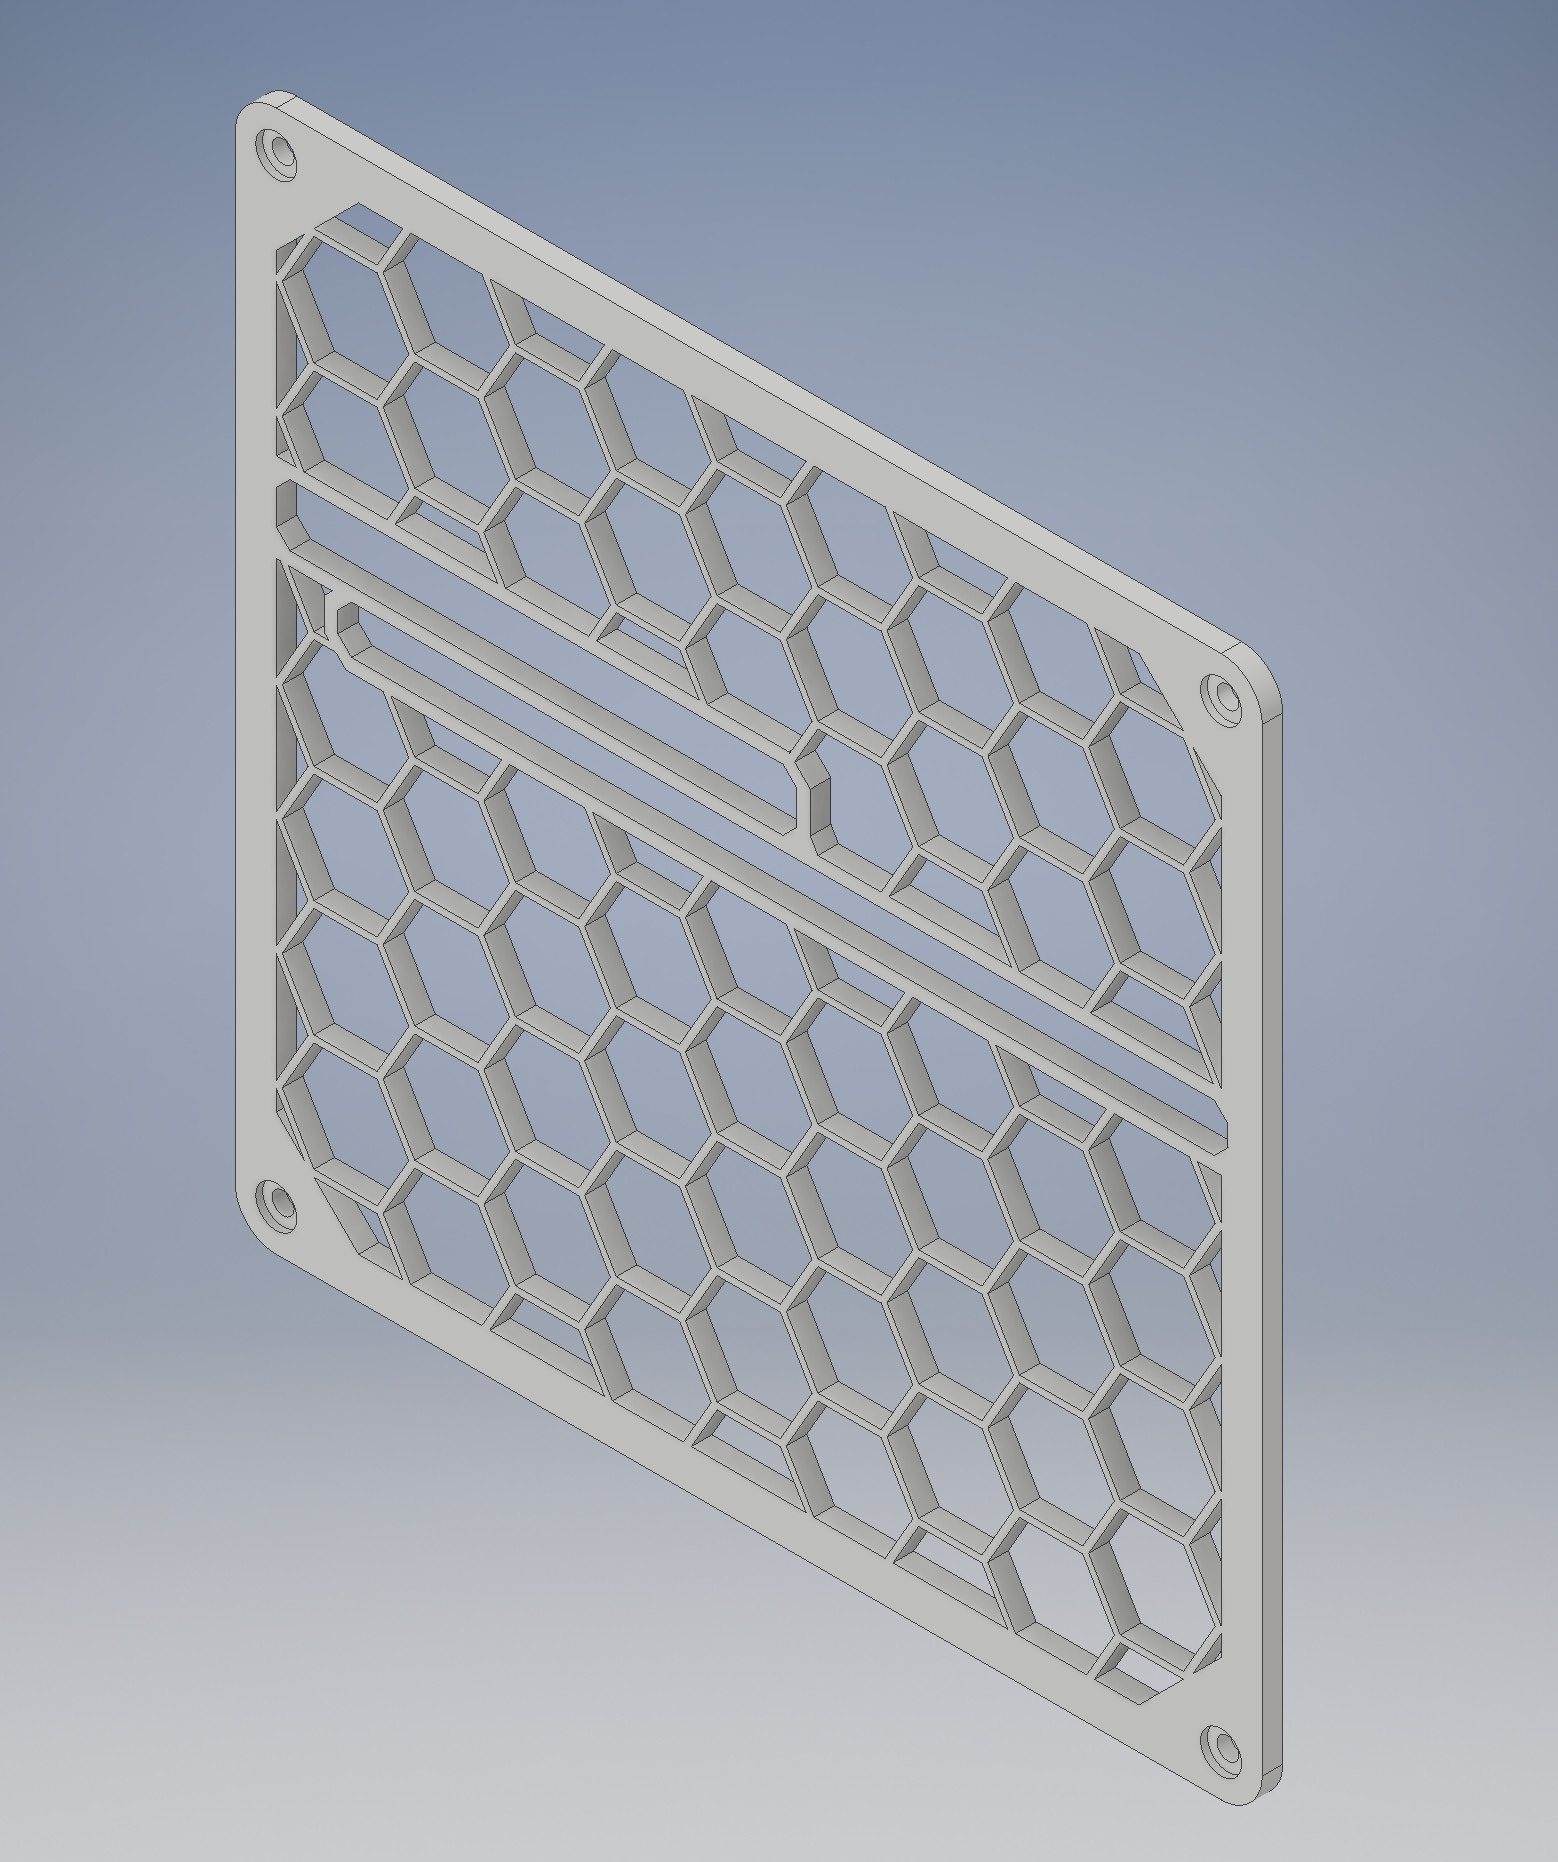
A very rough draft of a front panel with a spot for the slot load CD drive. Had to get some of the dimensions by using pixels of one of your photos. Hopefully it fits reasonably close on first try.

No idea why YouMagine isn’t doing the onebox thing ↓↓↓.
https://www.youmagine.com/designs/part4-cd-front-test
I plan on deleting those two standalone links once the dimensions are ironed out for the front panel and add the files to the main links so everything is in one place and easier to keep track of.
My next goal after the front panel is the rear panel and getting it tall enough sit vertically. It turns out there are at least five STX form factors and I think you have one of the 125mm wide ones. The feet/vertical mounting should be pretty easy though.
6 Likes
I cant smash that like button hard enough. lololololol this is going to be fun. I’m testing a picoPSU now.
edit: squee, its printing
1 Like

 Like a baws.
Need to make the cd cutout a hair wider. It’s barely not wide enough. So maybe 5mm both sides?
Lol
8 Likes
Yeah, I realized the slot was probably just a hair too narrow on my way into a meeting this morning. Then I got to go to work and spend the day thinking about a space narrower than my little finger  Turns out CDs are 120mm across, just like a case fan (next project = CD fan slot cover /s ).
I’ve made it 2mm wider on one side and 8mm on the other, I didn’t want to dig too deep into the outer “frame” of the panel. Everything else is unchanged.
The file with “r2” in the filename are the updated versions.
3 Likes
worked perfect.
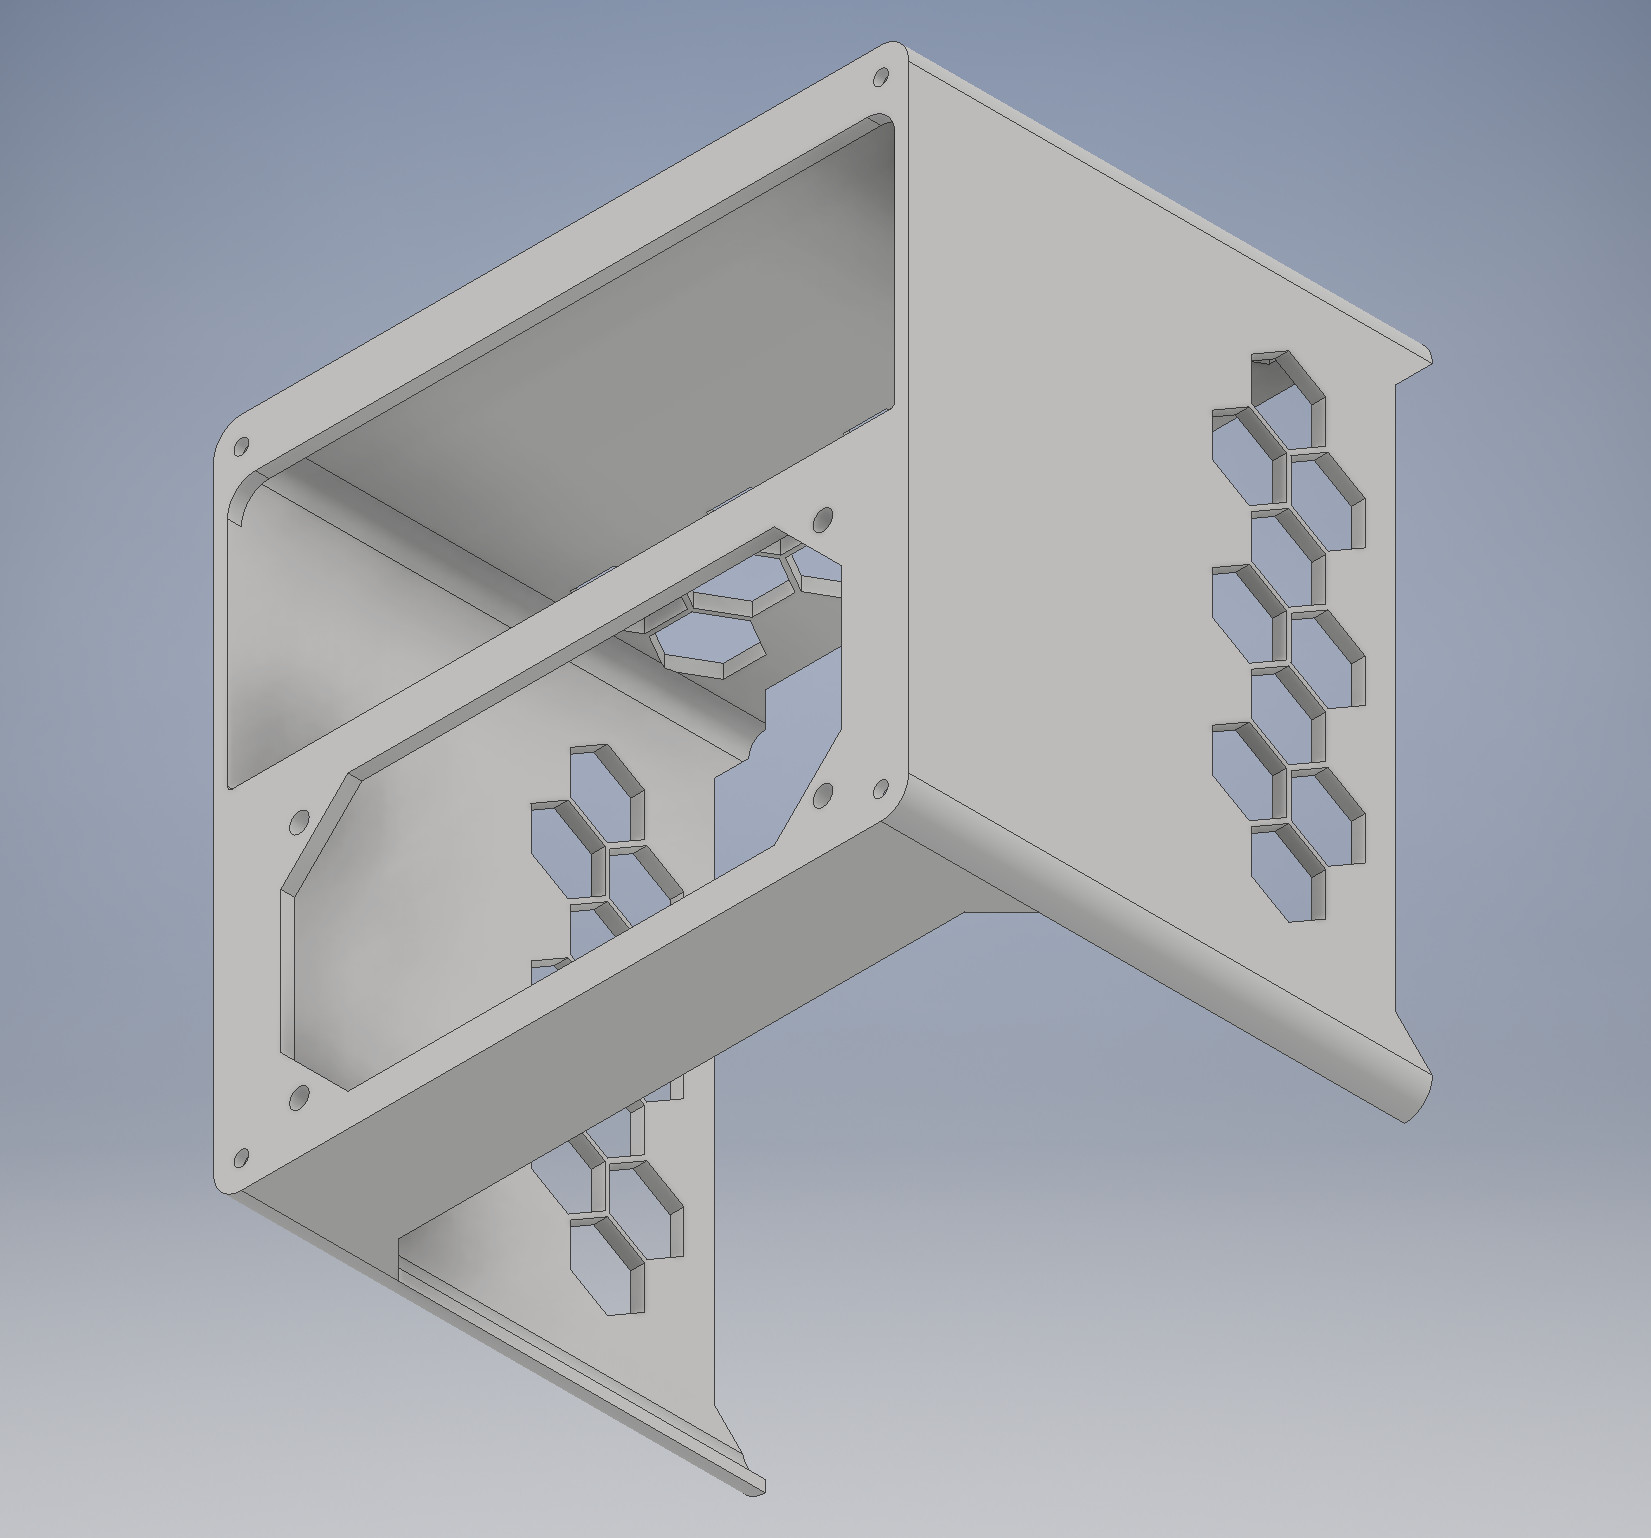
Now I just need a skirt of some type… it’s sitting on its back so maybe just a 3 sided skirt with more random hex cutouts to hide the cables, and done?
I might just use slot cover cutouts because that’s kind of hilarious, though
This might be another long print, it’s 113mm tall, or a smidgen shorter than a slot cover. I think with this it would bring the entire case to 150x145x266 (5.9x5.7x10.5) all put together
I also just found out that we can upload .zip files to the forum. That’s pretty neat. Here’s just the new base/skirt:
Part4Base.zip (56.4 KB)

Everything is back into the original links. “Base” is the part above and “Front CD” is the new face.
8 Likes