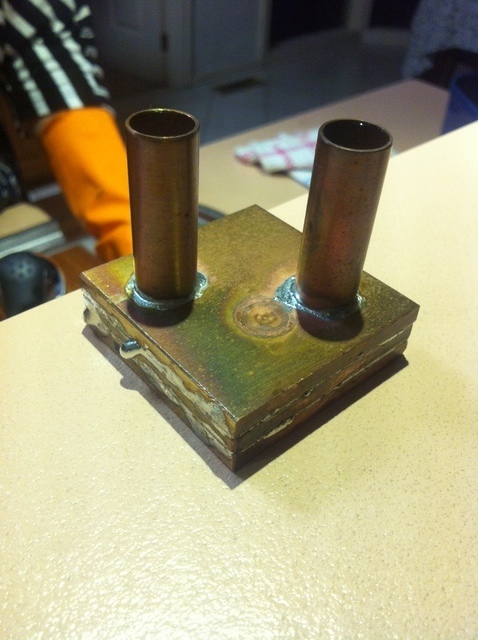
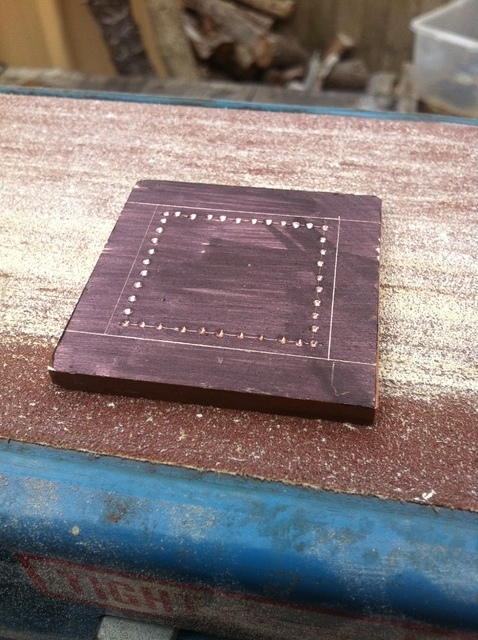
I have been interested in water cooling for some time, not really for any performance gain, I just like to make things. I have had some copper plate laying about in the shed for a very long time which I knew would come in handy at some point. So I cut up a few pieces, put them in the oven at 250C for half an hour, added some soft solder and voila, a little water block. I need to clean it up a little and I have another that I still need to weld which will be for the graphics card.
you know that waterblocks have fins inside just like regular heatsinks to disapate the heat to the water? http://www.techpowerup.com/img/07-08-28/sapphire_cpu_photo2.jpg
Yes I have seen photo's like this. The fins would certainly help with the dissipation of heat. If I have trouble with over heating I will cut grooves into the copper plate to increase the surface area exposed to the fluid. Thanks
well I see one thing and that is pressure. It looks like very little flow with that block. I do hope it works though always cool to see entirely custom stuff.
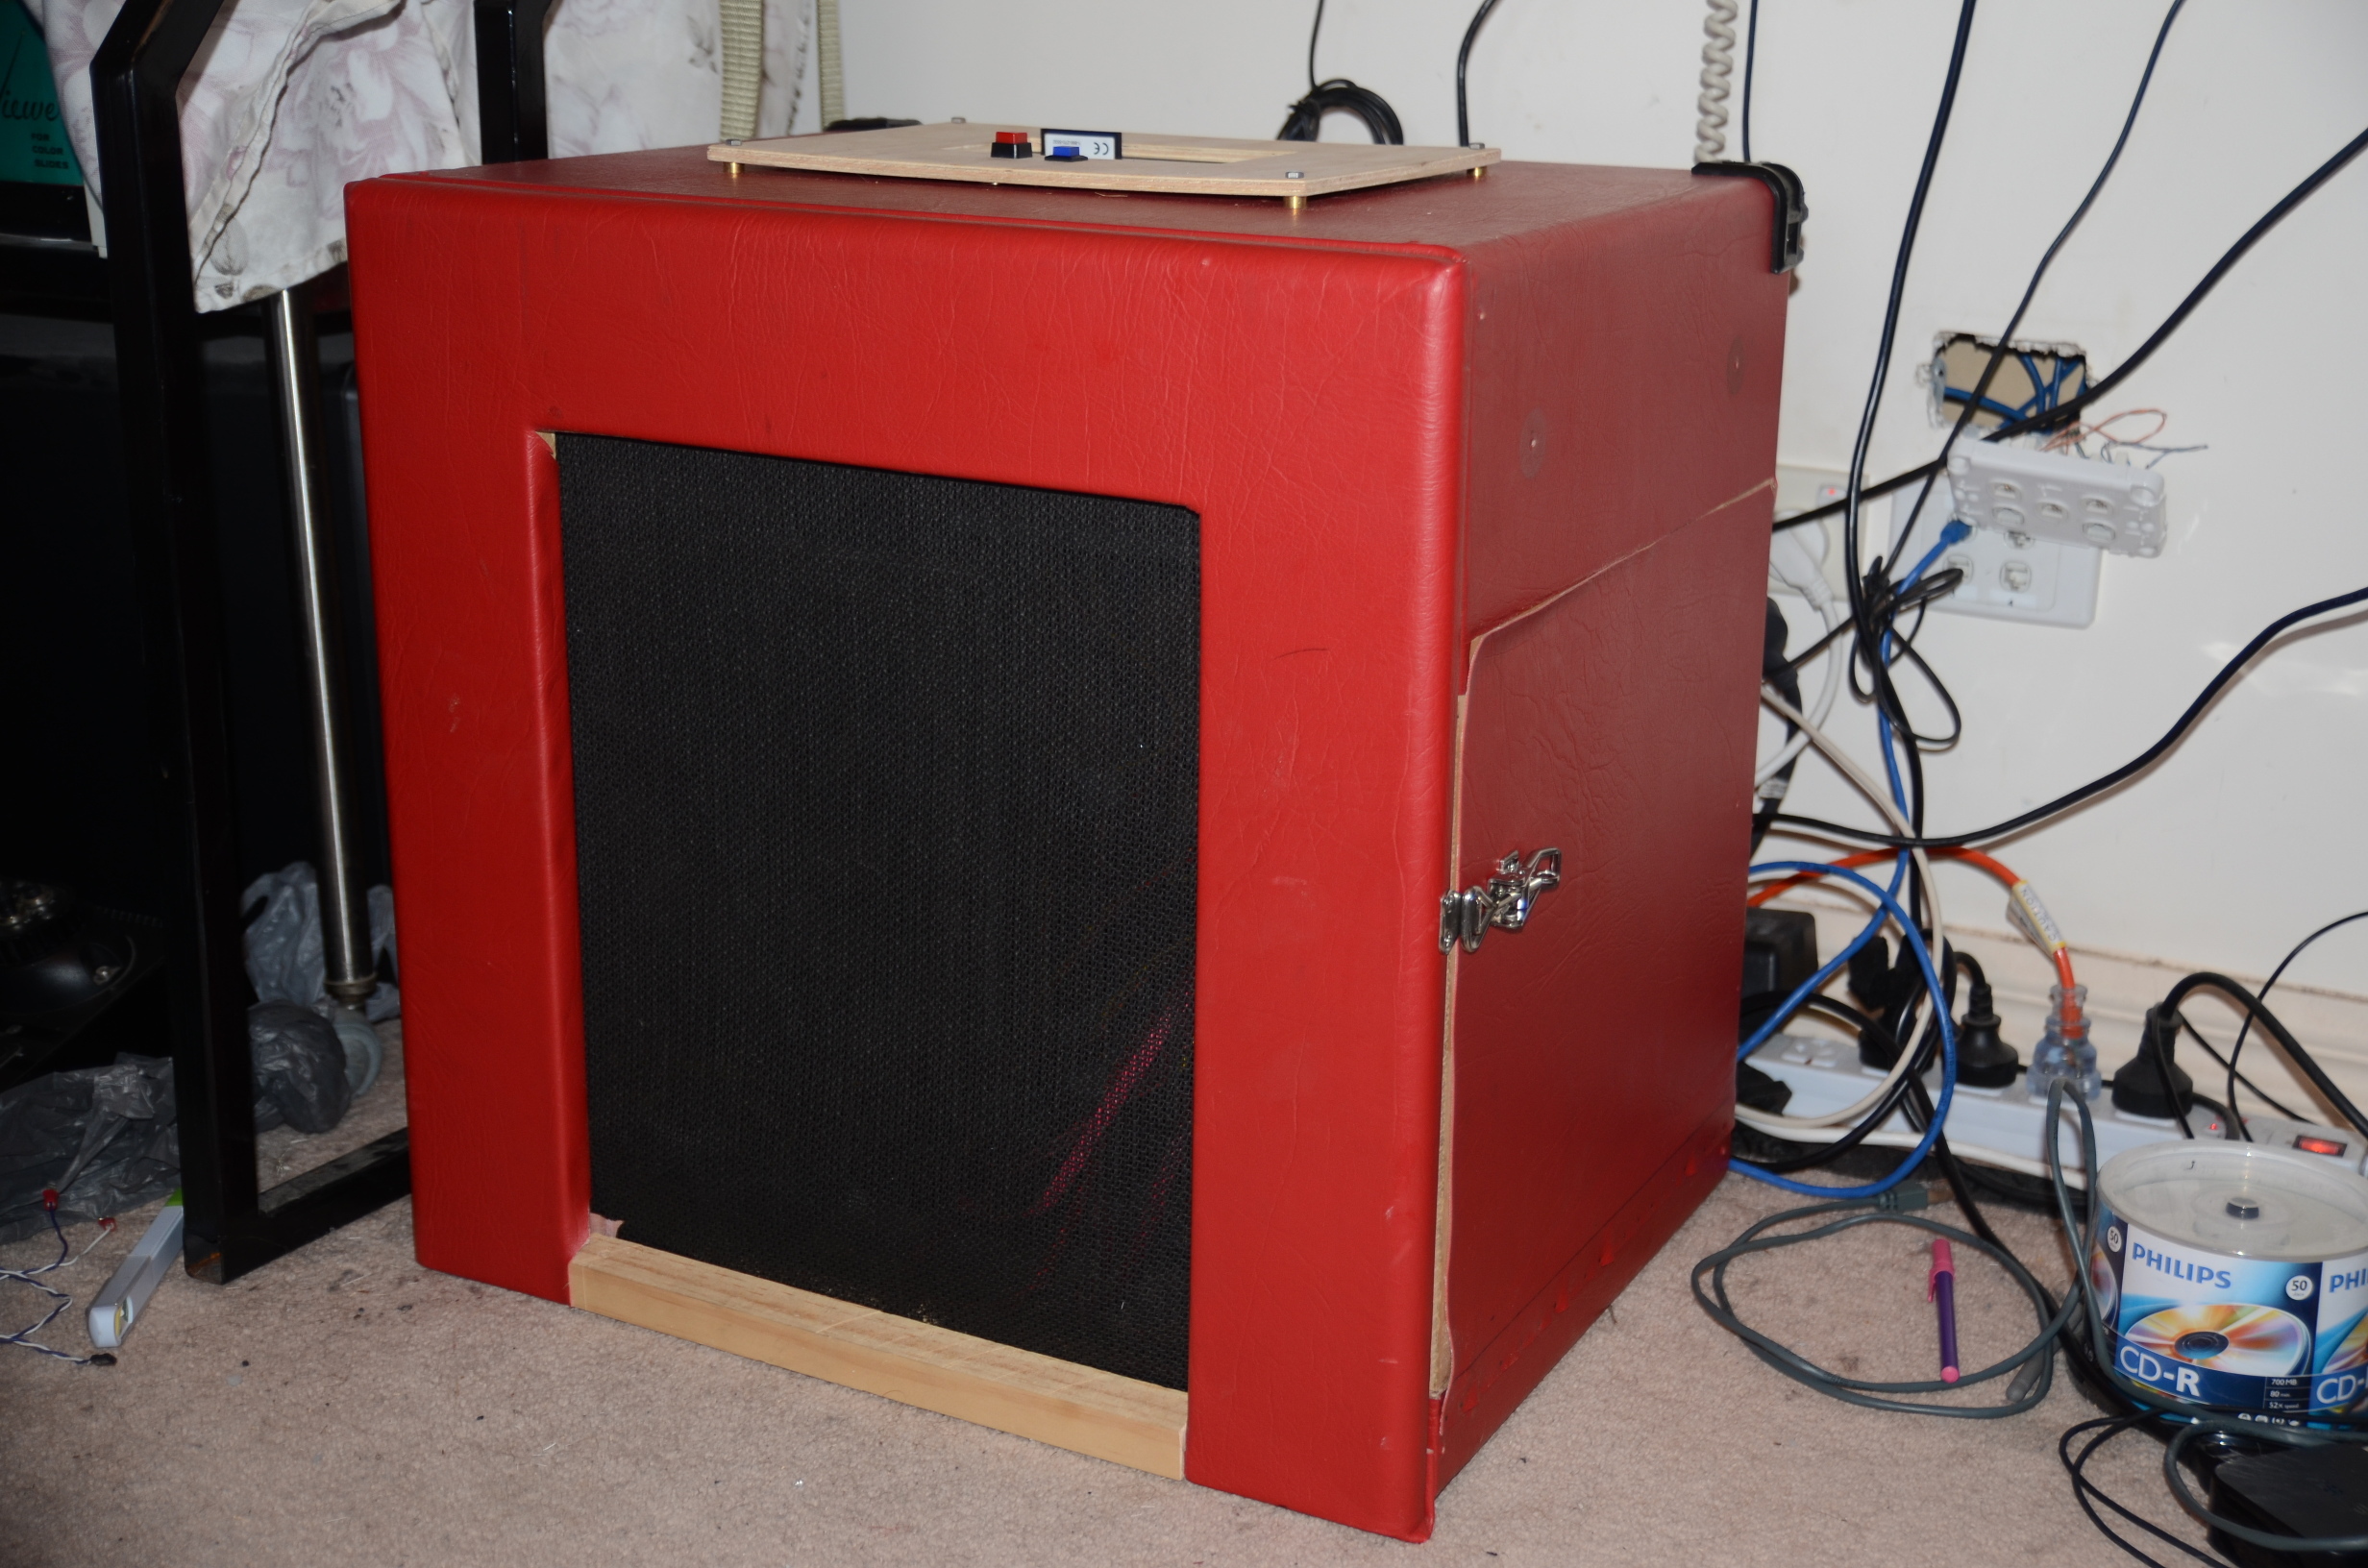
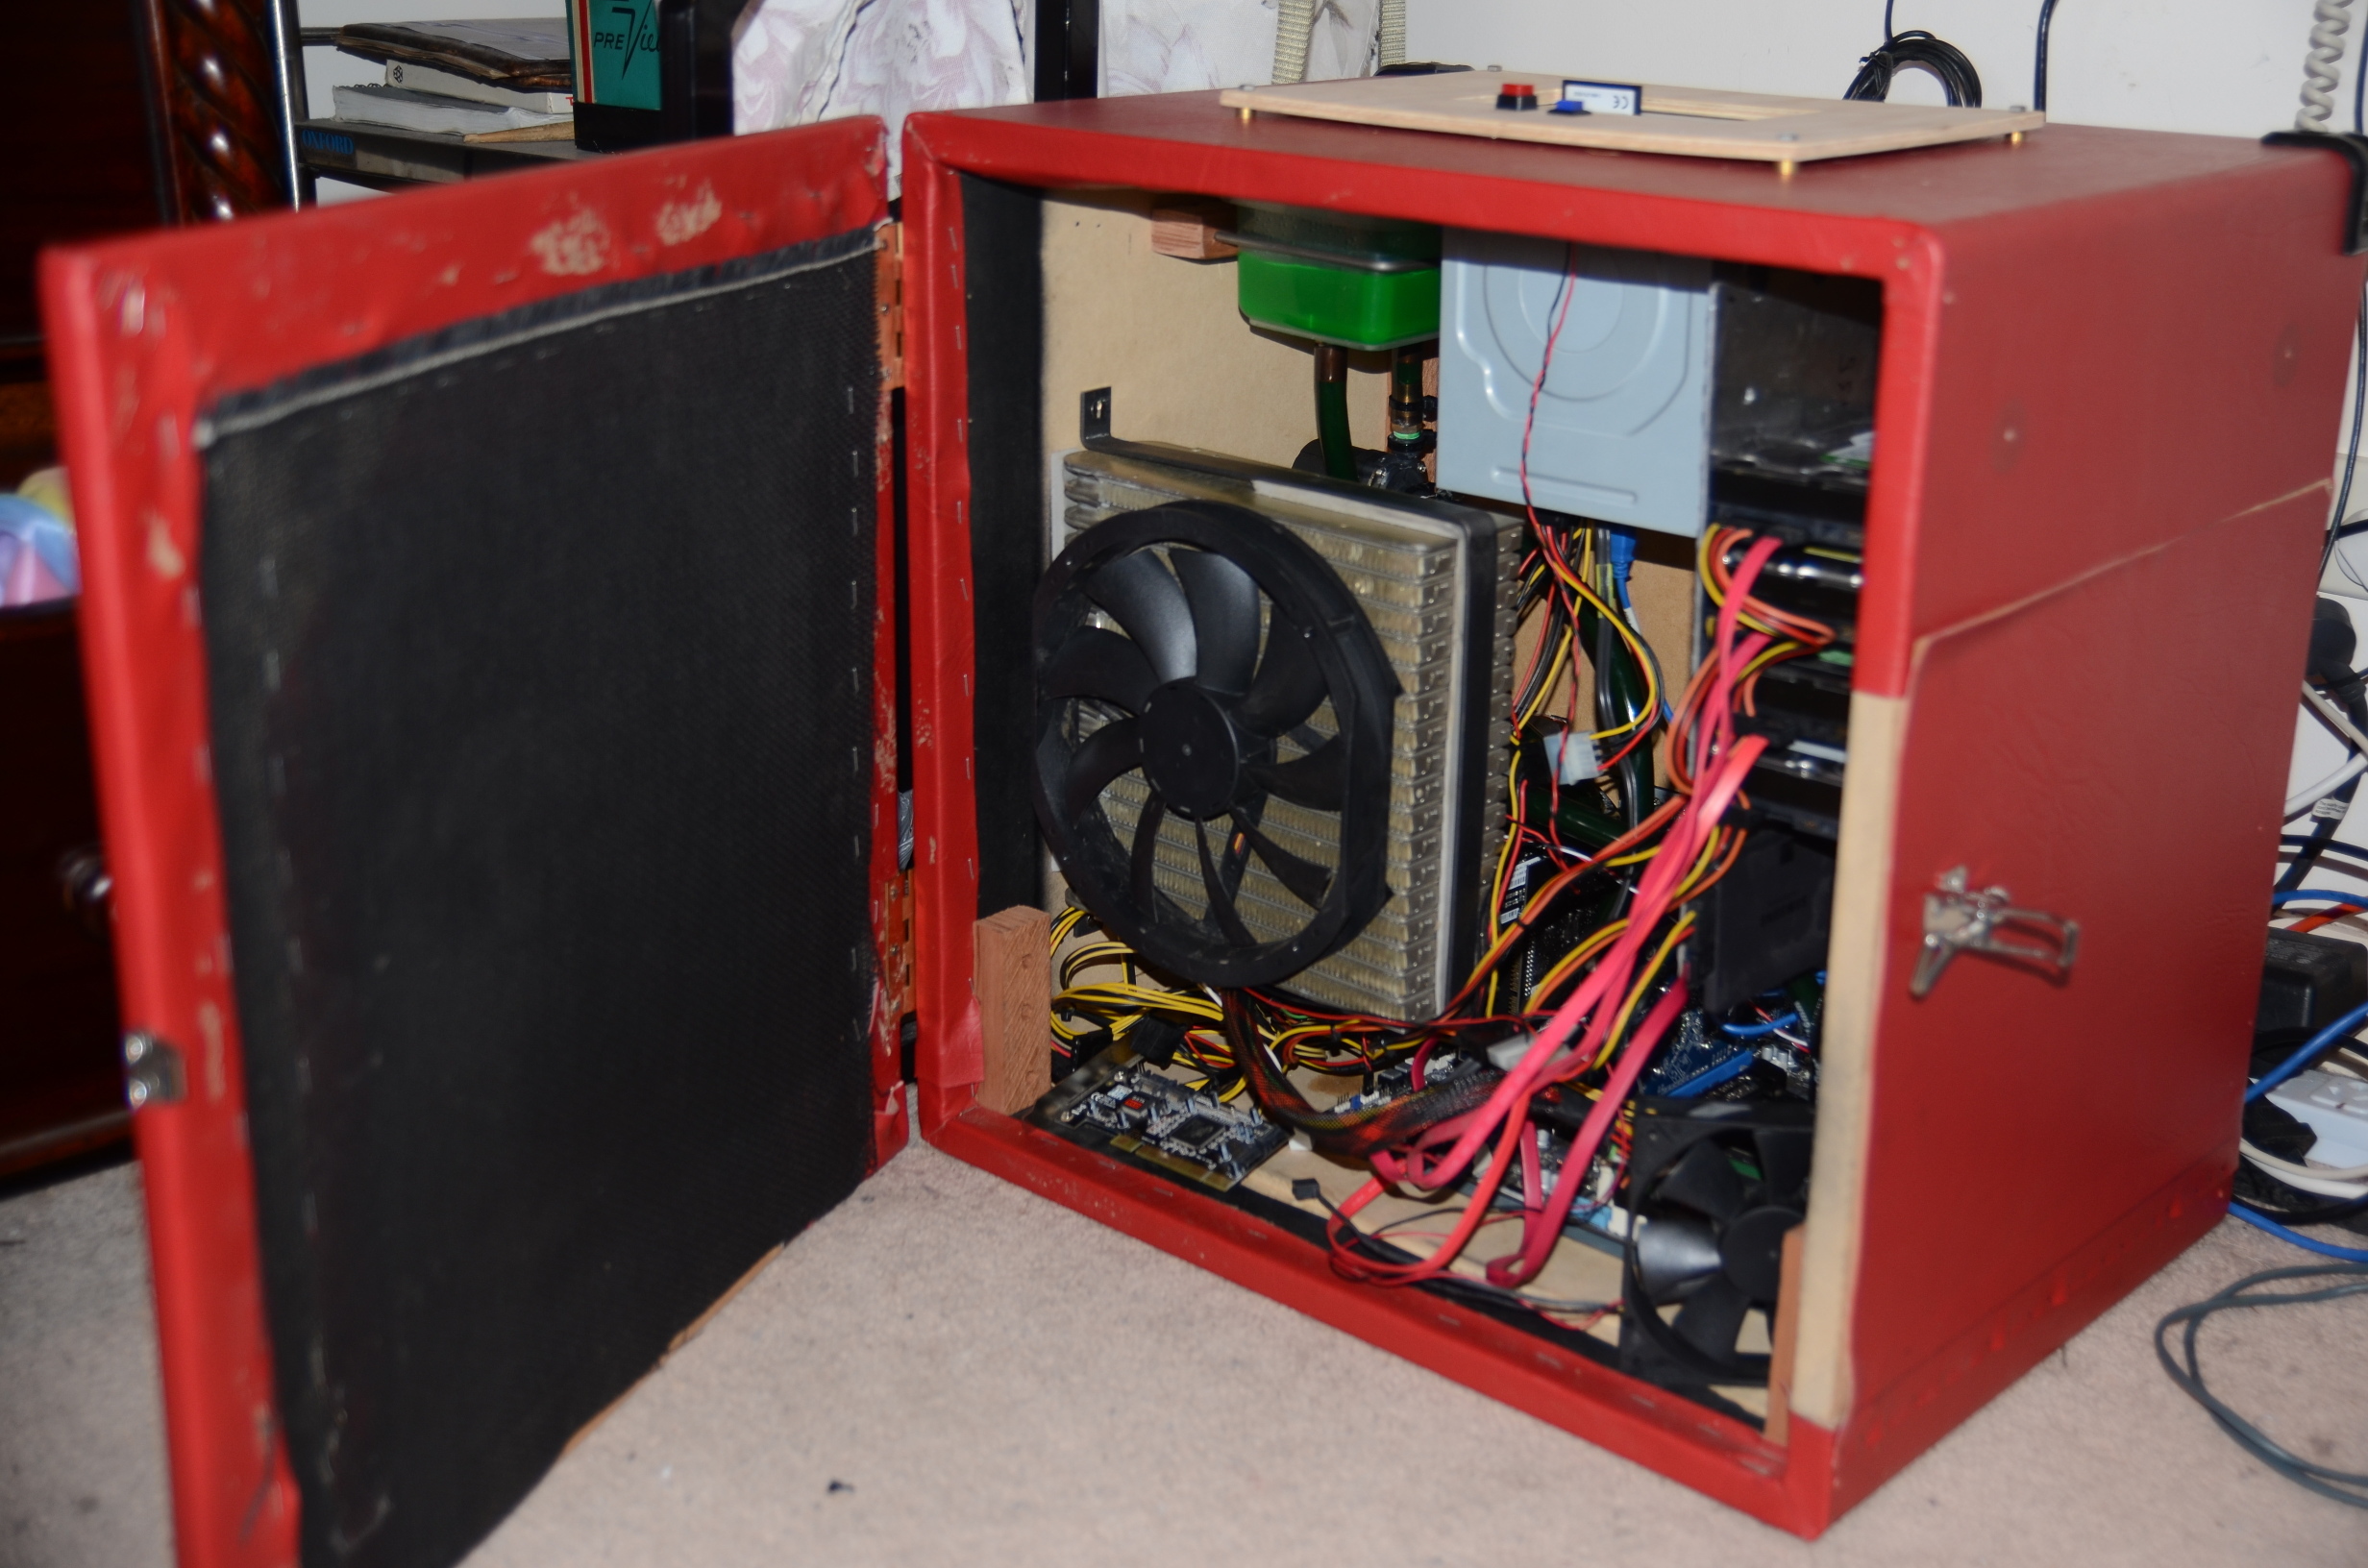
SO, after many hours in the shed I have a water cooled computer. There are a few rough edges but all is working well. You can see from the fist image that I left a small gap between the wonderful red vinyl and plywood. I had hoped hot air would be able exhaust through here, however the gap was not sufficient so I installed an exhaust fan on the rear of the case. The second image shows how the drives are mounted with o-rings and between aluminium plate, I got this idea from a build I saw on youtube some time ago. There is plenty of room inside the case for me to tinker about which was an important aspect for me when building it, I find myself forever changing things about.