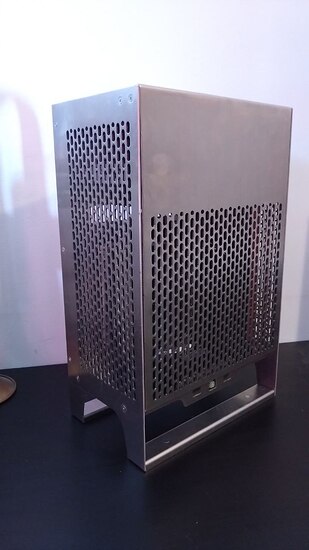
Vertical ITX case of my own design, fits full size gpu, 1x 3,5" hdd, 4x 2,5" hdd

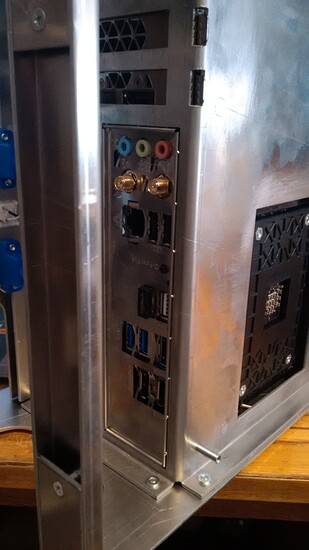
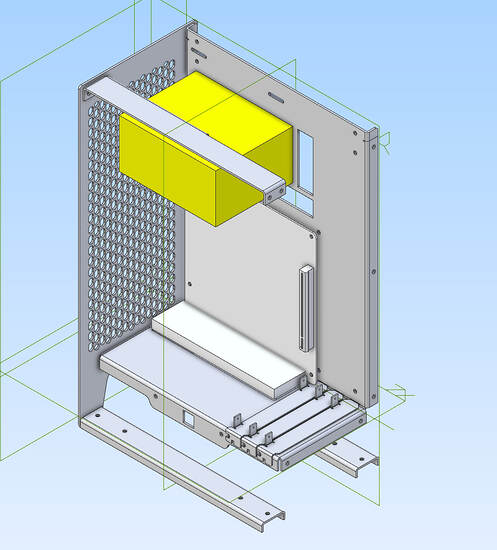
Hello, some time ago i posted here an idea for a watercooled ITX case. I think in some time i will continue that project, but in the meantime, i have decided to go with air cooling for my new pc (5700g and 3060ti for vfio setup) and i wanted to make it as compact as possible. In my opinion, saving space on your desk when it comes to depth and width is more important than height, So first design idea for this case is to put the longest part (the gpu) in a vertical orientation. This makes it necessary to access the motherboard ports from the bottom. Which is both a good thing and a bad thing - case needs to be a bit taller to allow for cables to bend under it, however it makes it so the case doesn’t really have a “rear” so to speak, so it will look and work just fine on left or right side of the desk, and even up against the wall. I also wanted to make the entire thing out of 2mm aluminium, for strength and lightness, as well as keep it as simple to manufacture and put together as possible. So no welding, everything is put together with just M3 screws, and in total, it’s just seven sheet metal parts. Here is the rough CAD sketch:


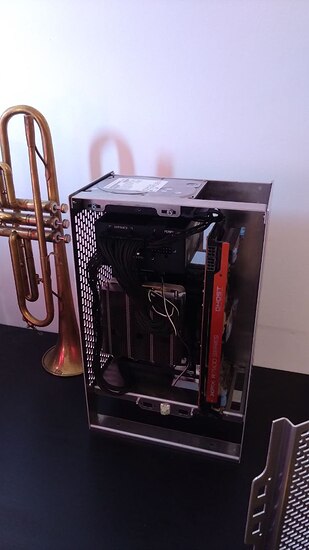
This is without the other side of the case and the cover on. The cover is single piece of sheet metal with four bends in it. Held on by four screws, easy to mount in few seconds. So far i haven’t yet made the rear cover, but the rear of the case behind the motherboard tray will be able to house four 2,5" devices. These will be directly mounted to the cover which will be just a flat panel also held on by four screws. Here is the prototype of the case which i’ve drawn, cut, bent and test fitted so far, with my trumpet for scale:

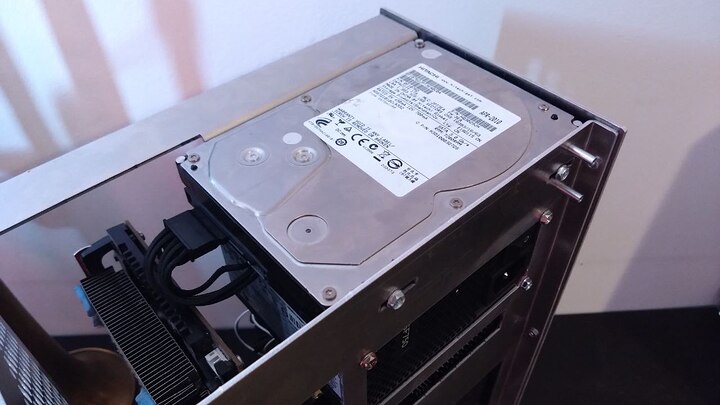
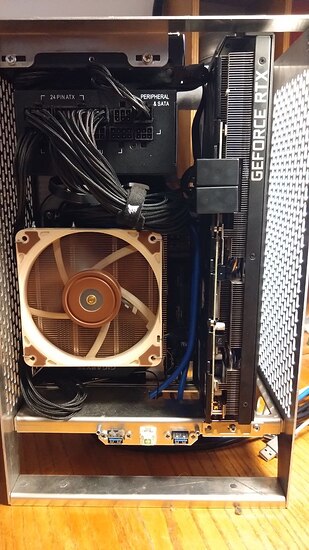
test fitted with a random gpu i had laying around, but it will support up to 300mm long gpus. There is just not a lot of width aviable, so a 180 degree pci-e power cable adapter will be necessary.

with cover on

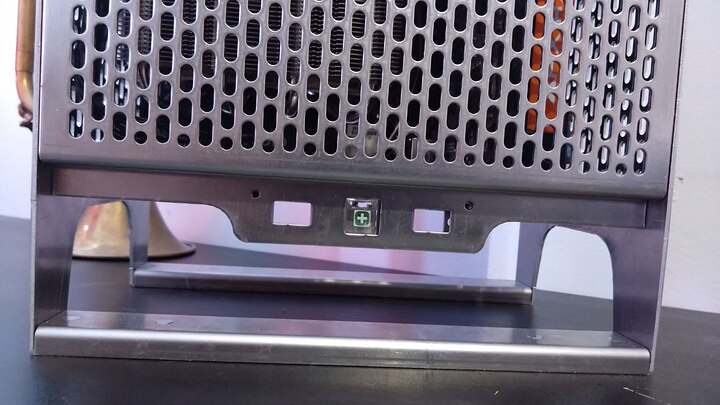
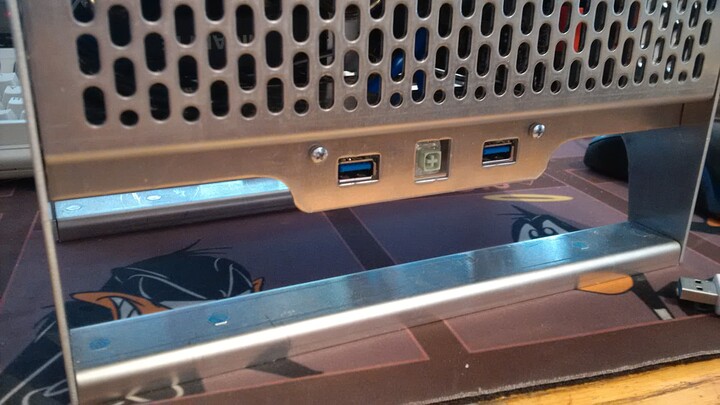
kalih box jade serving as power switch, also there will be two usb ports in the front, i’m thinking of a way to also mount headphone/mic jack there. I tried to make it look a bit “art deco” with the smaller/larger size arches on the front and the sides.

This part is very important as it both stiffens the sides of the case, holding them together at the front, and also i thought it could serve as a part of the hard drive mount at the same time.

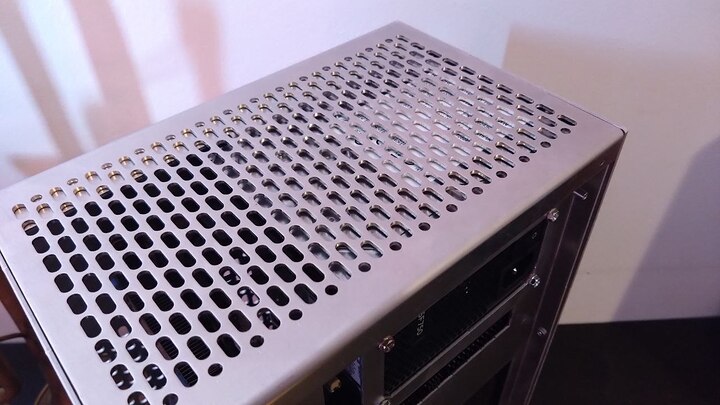
good ventillation there.

Rear of the case without the cover panel yet. It will be mounted to these four blind standoffs, also held with M3 screws, cables from additional hard drives can be threaded through the slot under the psu.

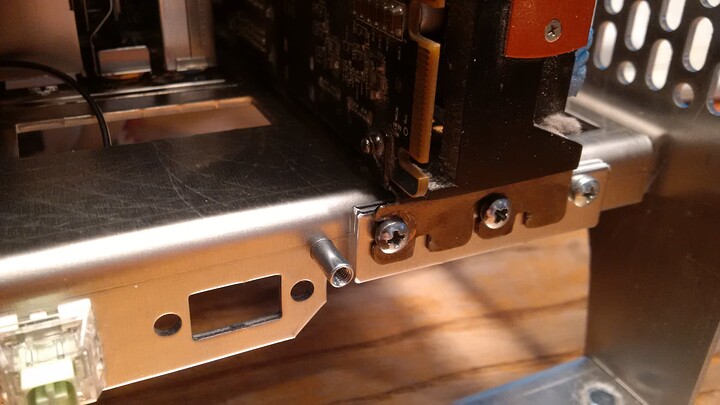
So far i’m surprised it almost completely fits together as i thought, there is a small issue though as there is a gap between the gpu’s bracket, and the tray, so for the first prototype i fixed it with those two 2mm spacers, but on the final version of course there will be a different kind of spacer with blind standoffs. The issue is that you cannot really tap a hole that is so close to the bend line in sheet metal, BEFORE bending it. I want to avoid having to tap it after the bending. So i think i will just add one more piece there, with standoffs that the screws holding the gpu will screw into - and then that piece will be screwed into that edge of the tray. This way these threads can be moved a bit lower, and no longer be tedious to manufacture.
Let me know of your thoughts :smiley: i might be making more of these things if there is interest for such a case, but i’m not sure about if even this idea is that great, for me it makes a lot of sense…
It’s also extremely light and rigid. I will post later when i remove all the hardware to weigh it.
Any suggestions are appreciated!
15 Likes

This looks extremely well done. I’ve seen a bunch of people 3D print their cases, but I did not really see someone build an entire case out of metal in the quality before. The mesh structure looks very clean and very uniform. Did you give the specs to a workshop who did this for you or did you have access to a workshop to do this yourself?

1 Like

Nevermind I had a look at your profile, so you did it yourself. In this case: great work!

1 Like

Thank you :slight_smile: , well the mesh was a bit of a problem. First i used 6.5x10mm slot tool to make the mesh. When you punch holes in the metal, same thing happens as if you were hammering on it - it flattens and expands outwards. So imagine what will happen if you do this to a rectangular piece like this, but leave alone it’s edges - it starts to warp from the middle. This was so bad that i had to stop the cutting half way. Then i replaced these slots with 4.8x10mm, which doesn’t seem like much narrower - but this helped a lot. It still warped of course a bit, but it only required a bit of rolling afterwards to straighten. You might think it would be better to laser cut it instead of punching - but laser cutting aluminium is hard - it requires A LOT more heat to be cut (compared to steel. same goes for welding, this is because aluminium has excellent heat conductivity), usually, that results in ugly burrs around the edges, which then you have to sand down. This is how the case looks untreated after the cutting mostly. This is one of advantages turret punches have over lasers :slight_smile:

4 Likes

I know we talked about it before but I wanted to bring this to everyone’s attention - originally I thought that this is inspired by the Mac G5 case, as it also has 2 legs to stand on. You said that you plan to have cables going down there - what is the use case exactly? I forgot to ask this. If you put this computer in a desk compartment for computers, why would there be cable running under the case?

1 Like

As i wrote, the i/o is on the bottom because i wanted to first and foremost keep the longest part (the gpu) vertical, to make the case have the smallest possible footprint. which is 24x15cm, i think a pretty good result taking into account how much hardware you can fit in it. I assumed 90% of people nowadays keep computers on their desks as i haven’t as well seen even many desks with dedicated compartments for pc’s.

1 Like

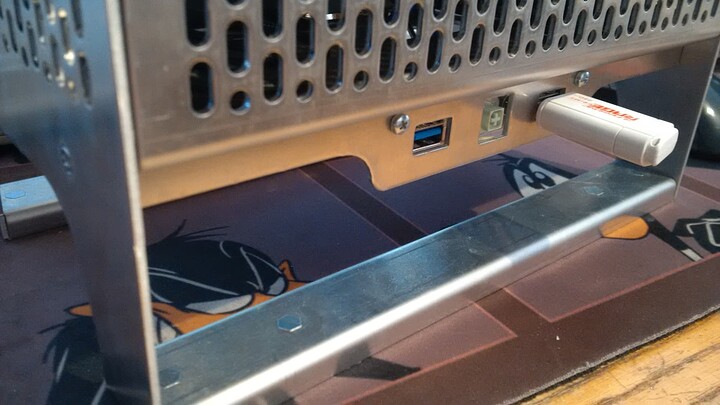
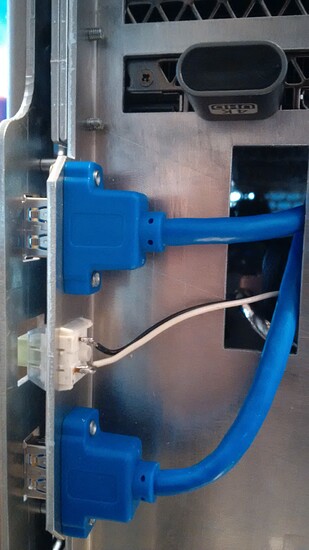
Update: just got my usb 3.0 ports in the mail, they fit mostly, i will have to adjust the cutouts a little to make them look tidier and also replace the screws with something more proper, they didn’t define the dimensions too specifically on the aliexpress page for those…


perfectly usable though how it is now

4 Likes


finally got the new gpu, and angle adapters, i’m glad that i have decided to make the case 10mm taller in the end because the card just about fits now perfectly! running my proprietary work CAD software now with looking glass on linux, couldn’t be happier with a new pc build :slight_smile:
Up next: building a more “final” prototype of the case, with few changes. possibly dust filters? slight changes in dimensions, etc. have to figure out a way to put headphone/mic jack on the front panel.

5 Likes

Seen it in action without the USB 3.x ports. This case is amazing! <3