
(how perfect can it be if it is windows? hey, at least it’s not mac!)
For this video I am using my Falcon Northwest Xeon-W workstation. As I said in the video, this machine is so nice that I feel like I’ve been putting together systems wrong for years. Their build quality is on a whole other level… The Xeon W cpu is a good fit for machine learning and CPU-based inferencing not just because it can accelerate machine learning toolkits like OpenVino but also because it has lots of PCIe connectivity for GPUs).
I am testing both an RTX 4090 and RTX 6000-based GPUs, and this guide assumes you’re going for CUDA. GPU-based machine learning often depends on having a lot of VRAM so the pool of possible GPUs for this application is surprisingly small.
AMD is catching up fast here, but there are additional nuances and quirks if you’re going for ROCm with PyTorch; I’ll try to cover that in a future guide.
No matter what kind of system you have, my hope is that you can take a lot of useful info away from this guide and that the community will share even more tips, tricks and optimizations that will help us all work more efficiently.
Here’s the thing
For this guide, I am assuming that you are computer literate and have some experience tinkering with Linux, the Windows Subsystem for Linux (WSL) and some general knowledge of developing software, Python, Machine learning, etc. You need not be an expert! And this is a forum where you can ask questions. My aim is for this version of the guide to be useful to students and other knowledge workers who have some experience under their belt, but are looking for “the perfect setup.” I am always looking to add knowledge here at Level1Techs so if you have anything to contribute please do!
For a little more context, be sure to watch the video as well.
Steps
You do have windows terminal right? It is bundled with Windows 11, but if not be sure to grab it.
We’re also going to use winget. I did a video on it in the distant past, but finally almost 98% of the time when I run winget on Windows 11 22H2 it works! If not, here’s what you need to update: App Store Program
winget is a new part of windows that allows one to request and install software to be installed by name from the command line. It is something that should have been a part of Windows since Windows 95; and this kind of thing has been a staple of Linux-based OSes since the late 1990s.
# IDE/programming stuff
winget install "Microsoft Visual Studio Code"
winget install git.git
winget install mobatek.mobaxterm


# Sensors, to monitor your machine
winget install hwinfo

# Quality of life
winget install Mozilla.Firefox # or  Mozilla.Firefox.DeveloperEdition if you prefer
winget install google.chrome
winget install valve.steam
winget install OBSProject.OBSStudio
winget install  CrystalDewWorld.CrystalDiskMark
winget install videolan.vlc

# sysinternals segue
winget install Microsoft.Sysinternals.ProcessExplorer

# Power Toys eases one's suffering, for sure
winget install "Microsoft PowerToys"

# Optional, if you want Python Programming
winget install JetBrains.PyCharm.Community

# Optional, tailscale to connect your machines together
winget install tailscale.tailscale
setting up WSL
Ideally, we only want to run WSL2. WSL version 1 is not fun in 2023; WSL2 is what you want.
wsl -l -v
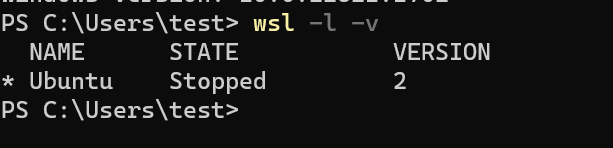
if the version isn’t 2, you can fix that with:
wsl --set-default-version 2
… but really you may want to check out a separate guide on getting WSL setup if this is totally new territory for you.
You should run
sudo apt update && sudo apt upgrade
to be sure your WSL is fully up to date.
add WSL to favorites
explorer.exe .
code .

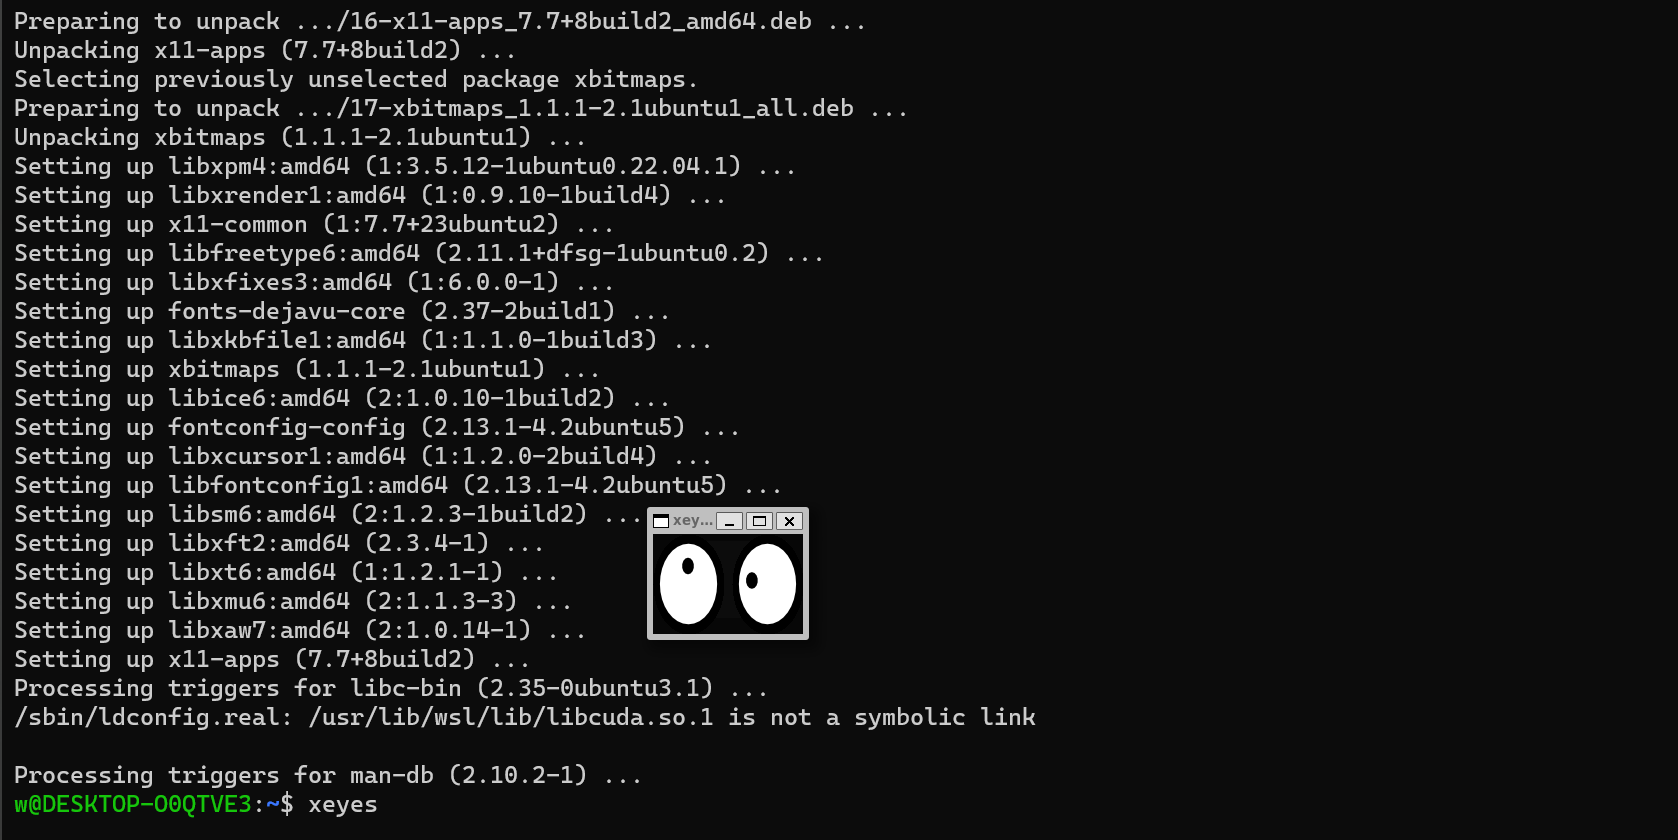
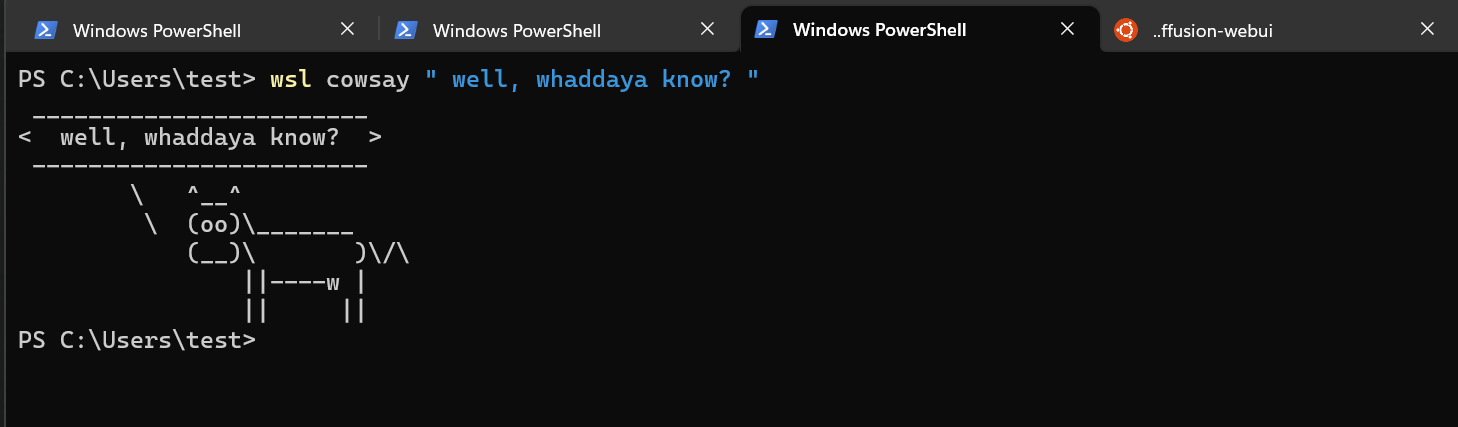
WSL2 can GUI, also
… there really isn’t much more setup needed.
sudo apt install x11-apps -y
tada:
for funzies, installing Edge for Linux (and Chrome or chromium) also works.
sudo apt install software-properties-common apt-transport-https wget
wget -q https://packages.microsoft.com/keys/microsoft.asc -O- | sudo apt-key add -
sudo add-apt-repository "deb [arch=amd64] https://packages.microsoft.com/repos/edge stable main"
There are also 3 versions of edge – beta, dev and stable. I usually opt for stable.
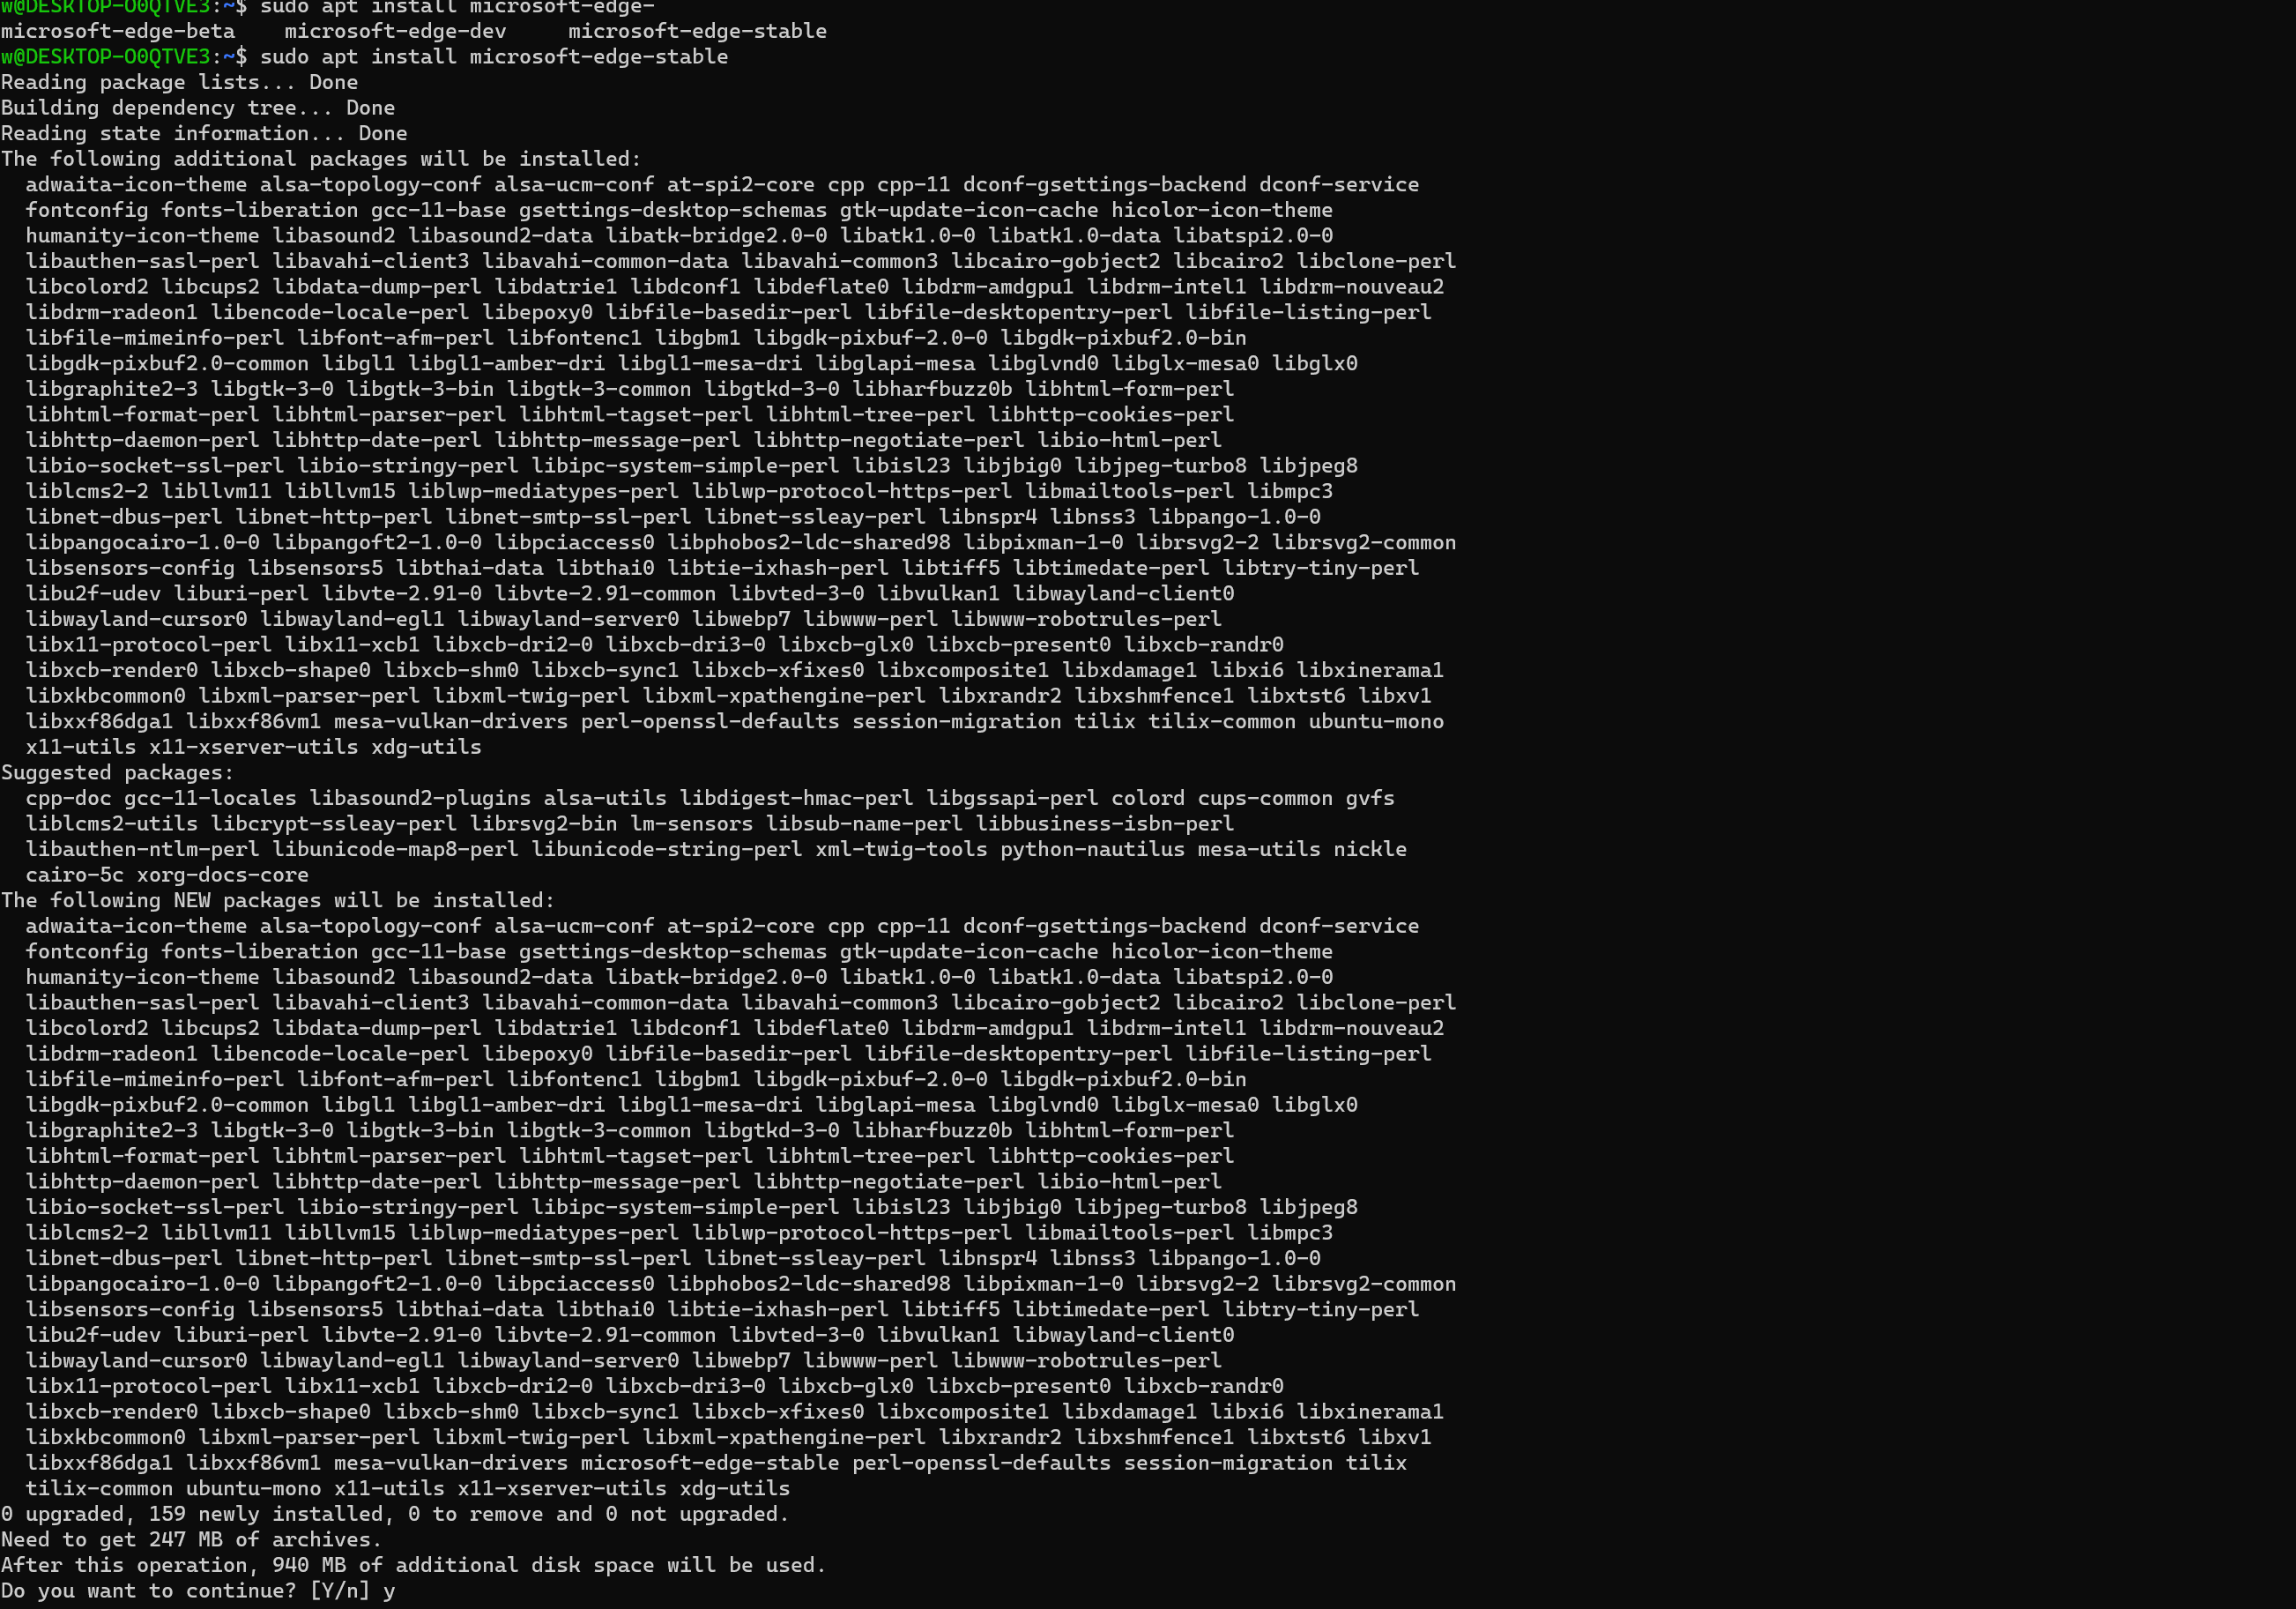
… it will install a lot of extra stuff.
slow tab complete in wsl?
edit /etc/wsl.conf and add
[interop]
appendWindowsPath = false
development environments
Depending on what you’re doing, it may also make sense to install Visual Studio. Not VSCode, but the full visual studio. The CUDA installer automatically adds extensions to Visual Studio that are helpful.
cuda
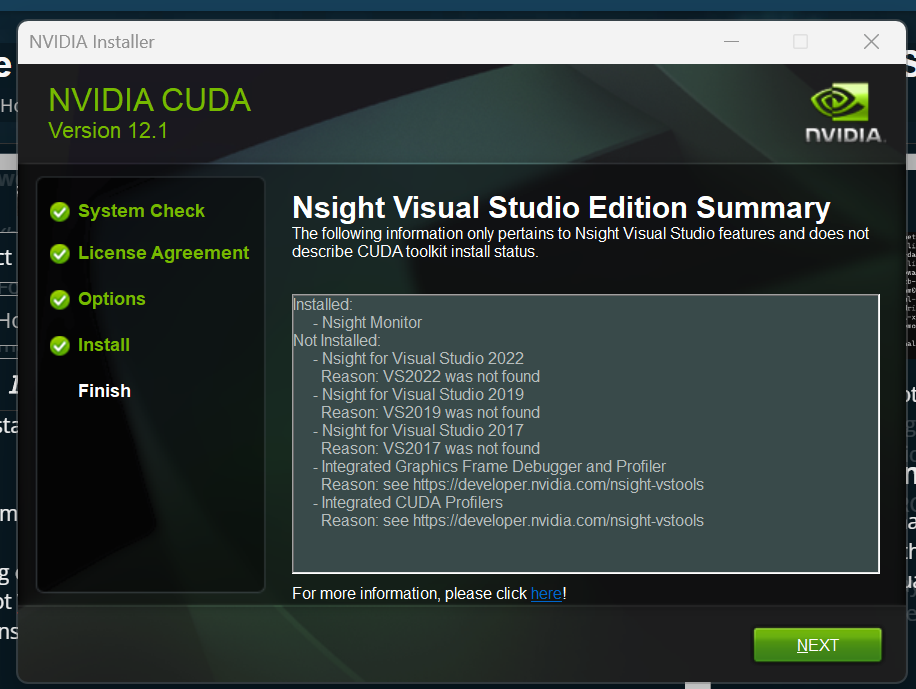
The NVidia docs for CUDA are very good. Surprisingly so; a lot of folks must be installing CUDA. ![]()
https://docs.nvidia.com/cuda/cuda-installation-guide-microsoft-windows/index.html
Using this as a reference, download and install CUDA on windows. If it doesn’t work on windows, it is not going to work on Linux since the WSL2 Linux interface passes through to the windows driver. Hopefully transparently, but this hasn’t always been the case historically.
Sidenote: You ideally want at least CUDA 12.1 for newer hardware and software. I was writing this guide and had all sorts of strange WSL2/Windows issues which seemed to be a confluence of not having Windows 11 22H2, the latest CUDA and a slightly older version of the Game Ready driver for the 3090Ti. (For the video, I tested the 3090Ti, 4090 and Quadro RTX 6000 GPUs).
Again, the nvidia docs are pretty good:
# note use the links above, dont copy paste this;
# this is just to give an idea of what I did
# and this is important -- do not install a cuda driver on
# wsl linux -- it is stubbed to the host libcuda.so[.1]
#
wget https://developer.download.nvidia.com/compute/cuda/repos/wsl-ubuntu/x86_64/cuda-wsl-ubuntu.pin
sudo mv cuda-wsl-ubuntu.pin /etc/apt/preferences.d/cuda-repository-pin-600
wget https://developer.download.nvidia.com/compute/cuda/12.1.1/local_installers/cuda-repo-wsl-ubuntu-12-1-local_12.1.1-1_amd64.deb
sudo dpkg -i cuda-repo-wsl-ubuntu-12-1-local_12.1.1-1_amd64.deb
sudo cp /var/cuda-repo-wsl-ubuntu-12-1-local/cuda-*-keyring.gpg /usr/share/keyrings/
sudo apt-get update
sudo apt-get -y install cuda
at this point it is a good idea to “reboot” the WSL instance:
wsl.exe -d Ubuntu --shutdown
from a windows terminal should do that for us. Then start up a new Ubuntu terminal and see if nvidia-smi works:
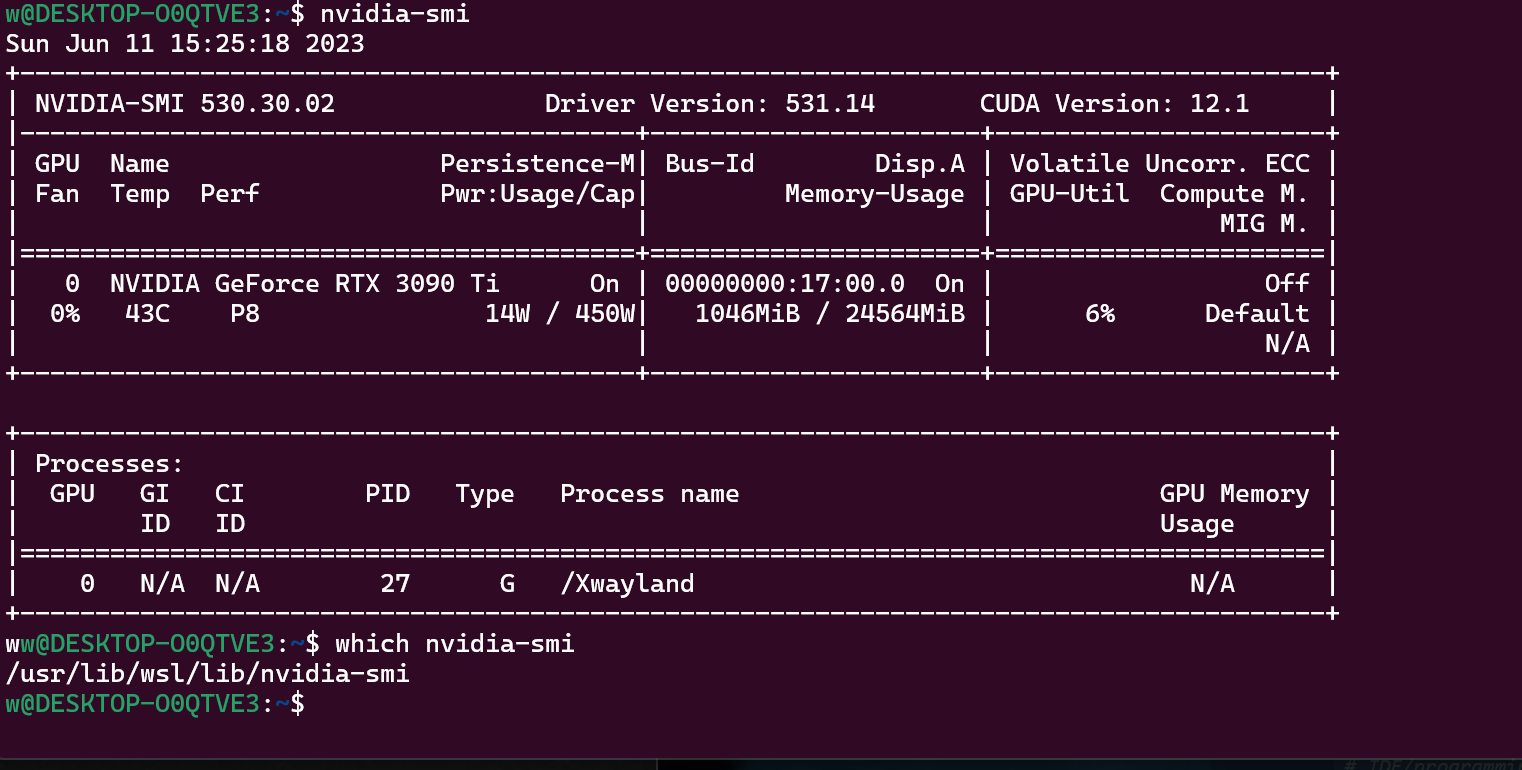
There is a lot of magic happening here. First the cuda and nvidia-smi packages “on ubuntu” are not real – that’s why the path to nvidia-smi is at /usr/lib/wsl . it is important to understand that this aspect of other guides on the internet are either wrong, or at least, not applicable in the context of WSL2. This is because cuda and nvidia-smi (even the libraries!) are thin wrappers around what’s available on the host. This system is a single GPU system and the single GPU is shared with processes running in the context of WSL2 as well as the host windows OS.
In the past this was doable but tricky to get right. We had some older guides here on the forum, but one really had to know a lot about how the system was put together to avoid problems.
Currently the biggest risk is accidentally installing a “native” package (meant for Linux running on bare metal hardware) vs the “stub” packages that nvidia has provided. In the past nvidia also hasn’t been the best about calling this out, but since thee are so many people using cuda this way (and with their newfound near limitless supply of money) smart people have been hired to make this clear in their documentation. Good job, folks! ![]()
zshell is best shell? Yeah, maybe
sudo apt-get install zsh
sh -c "$(curl -fsSL https://raw.githubusercontent.com/robbyrussell/oh-my-zsh/master/tools/install.sh)"
I really like this cheat sheet if you’re just getting started with ohmyzh.

More Software
PyCharm
The Community edition of PyCharm is worth a look if you’re going to develop Python code.
Docker
Microsoft has an excellent writeup on Docker and WSL. Really WSL doesn’t do much to help make docker easier to use on Windows
… but with compose being more or less built in to Docker it is possible to do a lot of handy development with Docker. See also our Automatic1111 docker-based Stable Diffusion guide, or if you’re into Web Development as well as machine learning, check out a project like this one:
Basically, it uses Docker to quickly spin up a development environment for Drupal, a complicated PHP-based CMS system and GatsbyJS, a static site generator. Data is fed from Drupal into GatsbyJS and a static website is then generated. This type of complex workflow is very speedy on this Falcon NW system.
Split personality workstation
I’d love it if everything were that simple, but the reality is a lot of subtle details sort of haunt you in this kind of setup. If you work with remote git repositories, for example, you are probably working a lot with ssh keys and git.
If you open a windows terminal and create an ssh key and configure git, all of this is stored on windows.
If you then open a terminal on the Linux side of things and check configuration in your home directory or even look for your ssh keys in the .ssh folder, you’'ll find it is empty.
This isn’t a new problem and there are a ton of other guides and how-tos out there for ways to approach this problem.
I especially like some of the [early warnings] (Do not change Linux files using Windows apps and tools - Windows Command Line) win WSL was new and shiny from Microsoft about not doing too much on the Windows side with Linux utilities. Some LOLs there for sure. Most of that still applies, though.
There is bad advice there, too, (at least in 2023) – advice like storing data only on the Windows side. I think DevDrive, which is a new feature coming to windows soon, is tantamount to an admission that this was wrong. Certainly for git repositories and actual dev work it is currently both faster and safer to do that work not at /mnt/c but inside the WSL container directly. (Sure, you can backup outside WSL since inside WSL can feel a bit ephimeral…)
git credentials across Windows & WSL
As for the SSH key problem, my preferred way of handing that is with an ssh agent. This makes it easier to use multiple sets of SSH keys that are protected by a pass phrase you enter when you login to the system.
Git Credential Manager is also worth a look and can manage a lot of the headache.
When you realize you can call windows binaries from Linux and Linux binaries from windows, a lot of the complication goes out the window.
# a tale of two filesystems
You can find your windows drive at /mnt/c but don’t be tempted to store projects there. When you run explorer.exe . from a linux terminal, you’ll notice the path it puts you in is a UNC network-like path. This is how you should think of moving files back-and-forth between Windows and Linux via WSL. Even relatively simple things like git can be problematic across this boundary because of permissions, extended file attributes and Windows Defender obsessively scanning everything in the background.
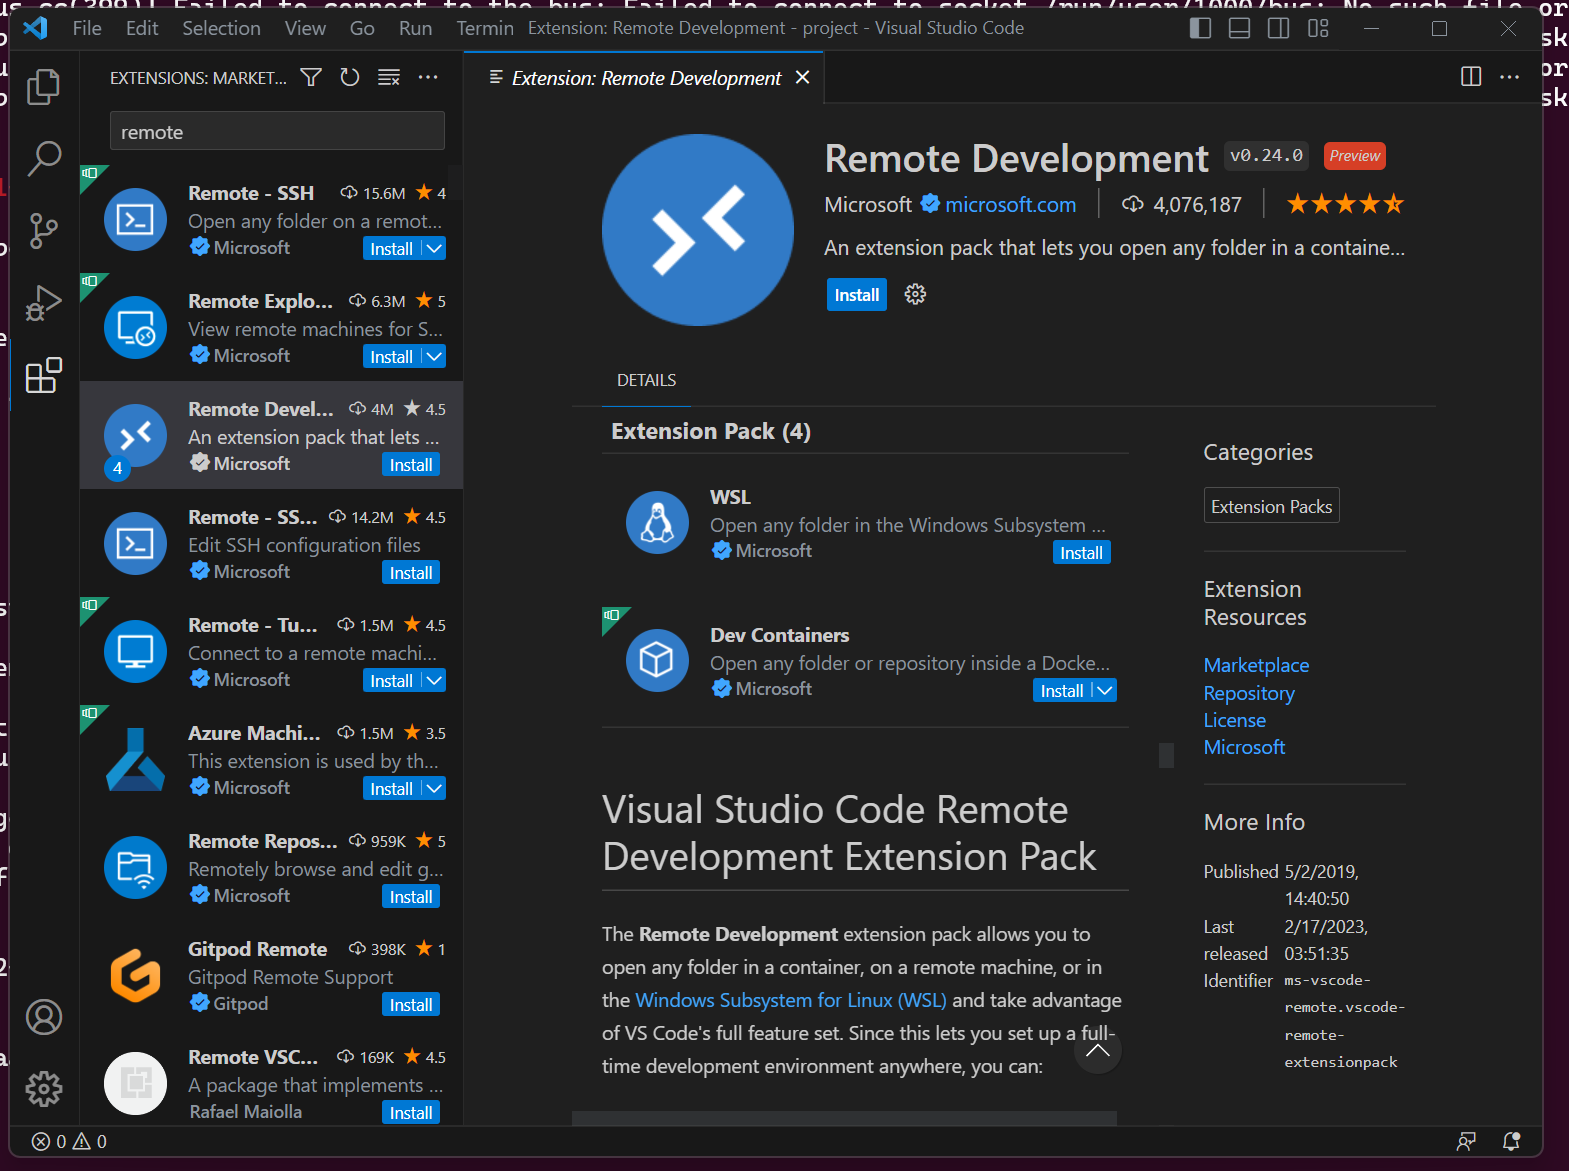
Visual Studio Code solves this problem with the VSRemote extension. A popup with this hint appears when you launche code on windows via WSL, and it is probably something most people should do.
stable diffusion
You don’t need WSL and VSCode or much of anything in this guide to run your own stable diffusion checkpoints. But it is useful to verify things are working.
We have another stand-alone guide on getting the automatic1111 SD web gui up and running – check that out – but with WSL2 you can run it with less steps.
make sure python 3.10 and conda is ready in WSL2:
wget https://repo.anaconda.com/archive/Anaconda3-2023.03-Linux-x86_64.sh
bash ./Anaconda3-2023.03-Linux-x86_64.sh
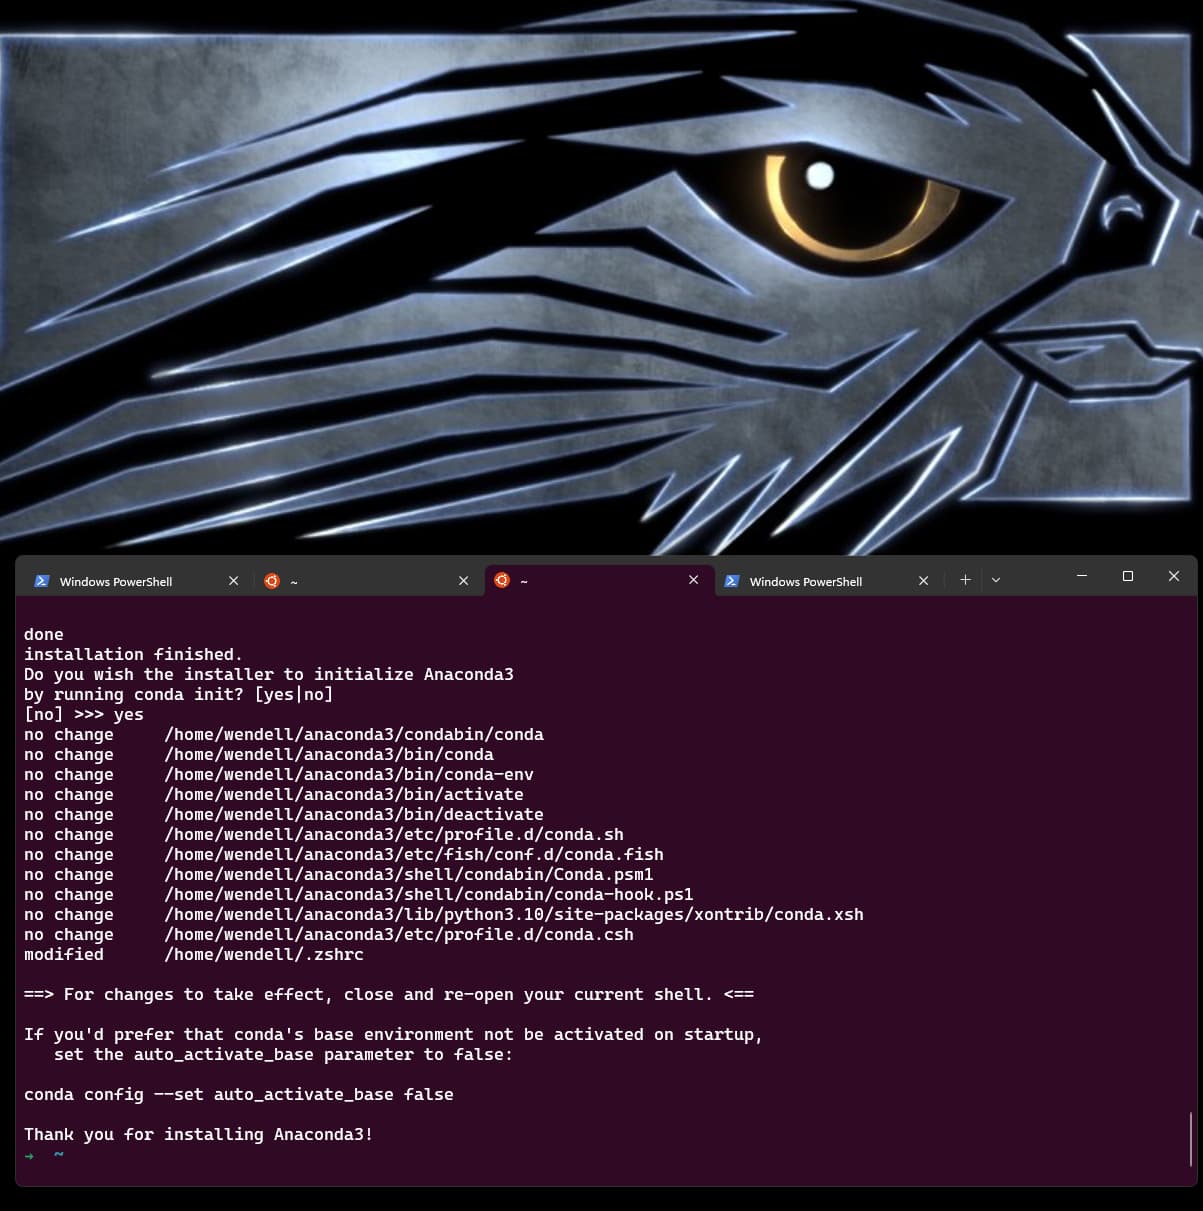
stable…? diffusion
Sure, with conda and python (and cuda) we can probably easily setup automatic1111 for a nice stable diffusion web gui… be sure to check out our old (now outdated) guide on stable diffusion.
git clone https://github.com/AUTOMATIC1111/stable-diffusion-webui.git

Cloning into 'stable-diffusion-webui'...
remote: Enumerating objects: 22696, done.
remote: Counting objects: 100% (45/45), done.
remote: Compressing objects: 100% (28/28), done.
remote: Total 22696 (delta 22), reused 33 (delta 17), pack-reused 22651
Receiving objects: 100% (22696/22696), 30.58 MiB | 54.27 MiB/s, done.
Resolving deltas: 100% (15825/15825), done.
➜  ~ cd stable-diffusion-webui
➜  stable-diffusion-webui git:(master) ls
CHANGELOG.md           extensions          modules                    script.js                    webui-user.sh
CODEOWNERS             extensions-builtin  package.json               scripts                      webui.bat
LICENSE.txt            html                pyproject.toml             style.css                    webui.py
README.md              javascript          requirements-test.txt      test                         webui.sh
configs                launch.py           requirements.txt           textual_inversion_templates
embeddings             localizations       requirements_versions.txt  webui-macos-env.sh
environment-wsl2.yaml  models              screenshot.png             webui-user.bat
➜  stable-diffusion-webui git:(master)
next run
conda config --add channels conda-forge
(did you get conda not found? You need to login to your shell again to activate conda installed a few steps earlier)
From here it’s a few steps to get all the depdendencies for stable diffusion…
conda env create -f environment-wsl2.yaml
conda activate automatic
next we’ll clone repos for the actual stable diffusion – up till now we’ve just been prepping for the web gui
mkdir repositories
git clone https://github.com/CompVis/stable-diffusion.git repositories/stable-diffusion
git clone https://github.com/CompVis/taming-transformers.git repositories/taming-transformers
git clone https://github.com/sczhou/CodeFormer.git repositories/CodeFormer
git clone https://github.com/salesforce/BLIP.git repositories/BLIP
Now we can use Python’s pop to get the deps for SD as well as automatic1111
# the dependencies.. dependencies.. haha..
pip install diffusers invisible-watermark --prefer-binary
pip install jinja2 filelock networkx typing-extensions sympy triton==2.0.0
pip install gfpgan clip

pip install -r repositories/CodeFormer/requirements.txt --prefer-binary
pip install git+https://github.com/crowsonkb/k-diffusion.git --prefer-binary
pip install git+https://github.com/TencentARC/GFPGAN.git --prefer-binary

# pytorch
pip install torch==2.0.0+cu118 torchvision==0.15.1+cu118 -f https://download.pytorch.org/whl/cu118/torch_stable.html requests numpy pillow lit cmake

# working directory is still stable diffusion webui
pip install -r requirements.txt --prefer-binary

# last step, somethings broken about numpy 1.25
pip install -U numpy==1.24 --prefer-binary
then test the gpu connection
python -c "import torch; print(torch.cuda.is_available())"
Time To Hug Our Face
Okay, so with CUDA = true we need a model to feed into stable diffusion web ui.
Download one, and copy it to stable-diffusion-webui/models/Stable-diffusion folder.
copy it to the right folder then run
python launch.py --xformers
then load http://localhost:7860 and give it a test. Should be something like this (you can see where I downloaded SD 1.5, copied it to the right folder, and then gave it a prompt)

at the end, you can see that your GPU is being used even via windows task manager:
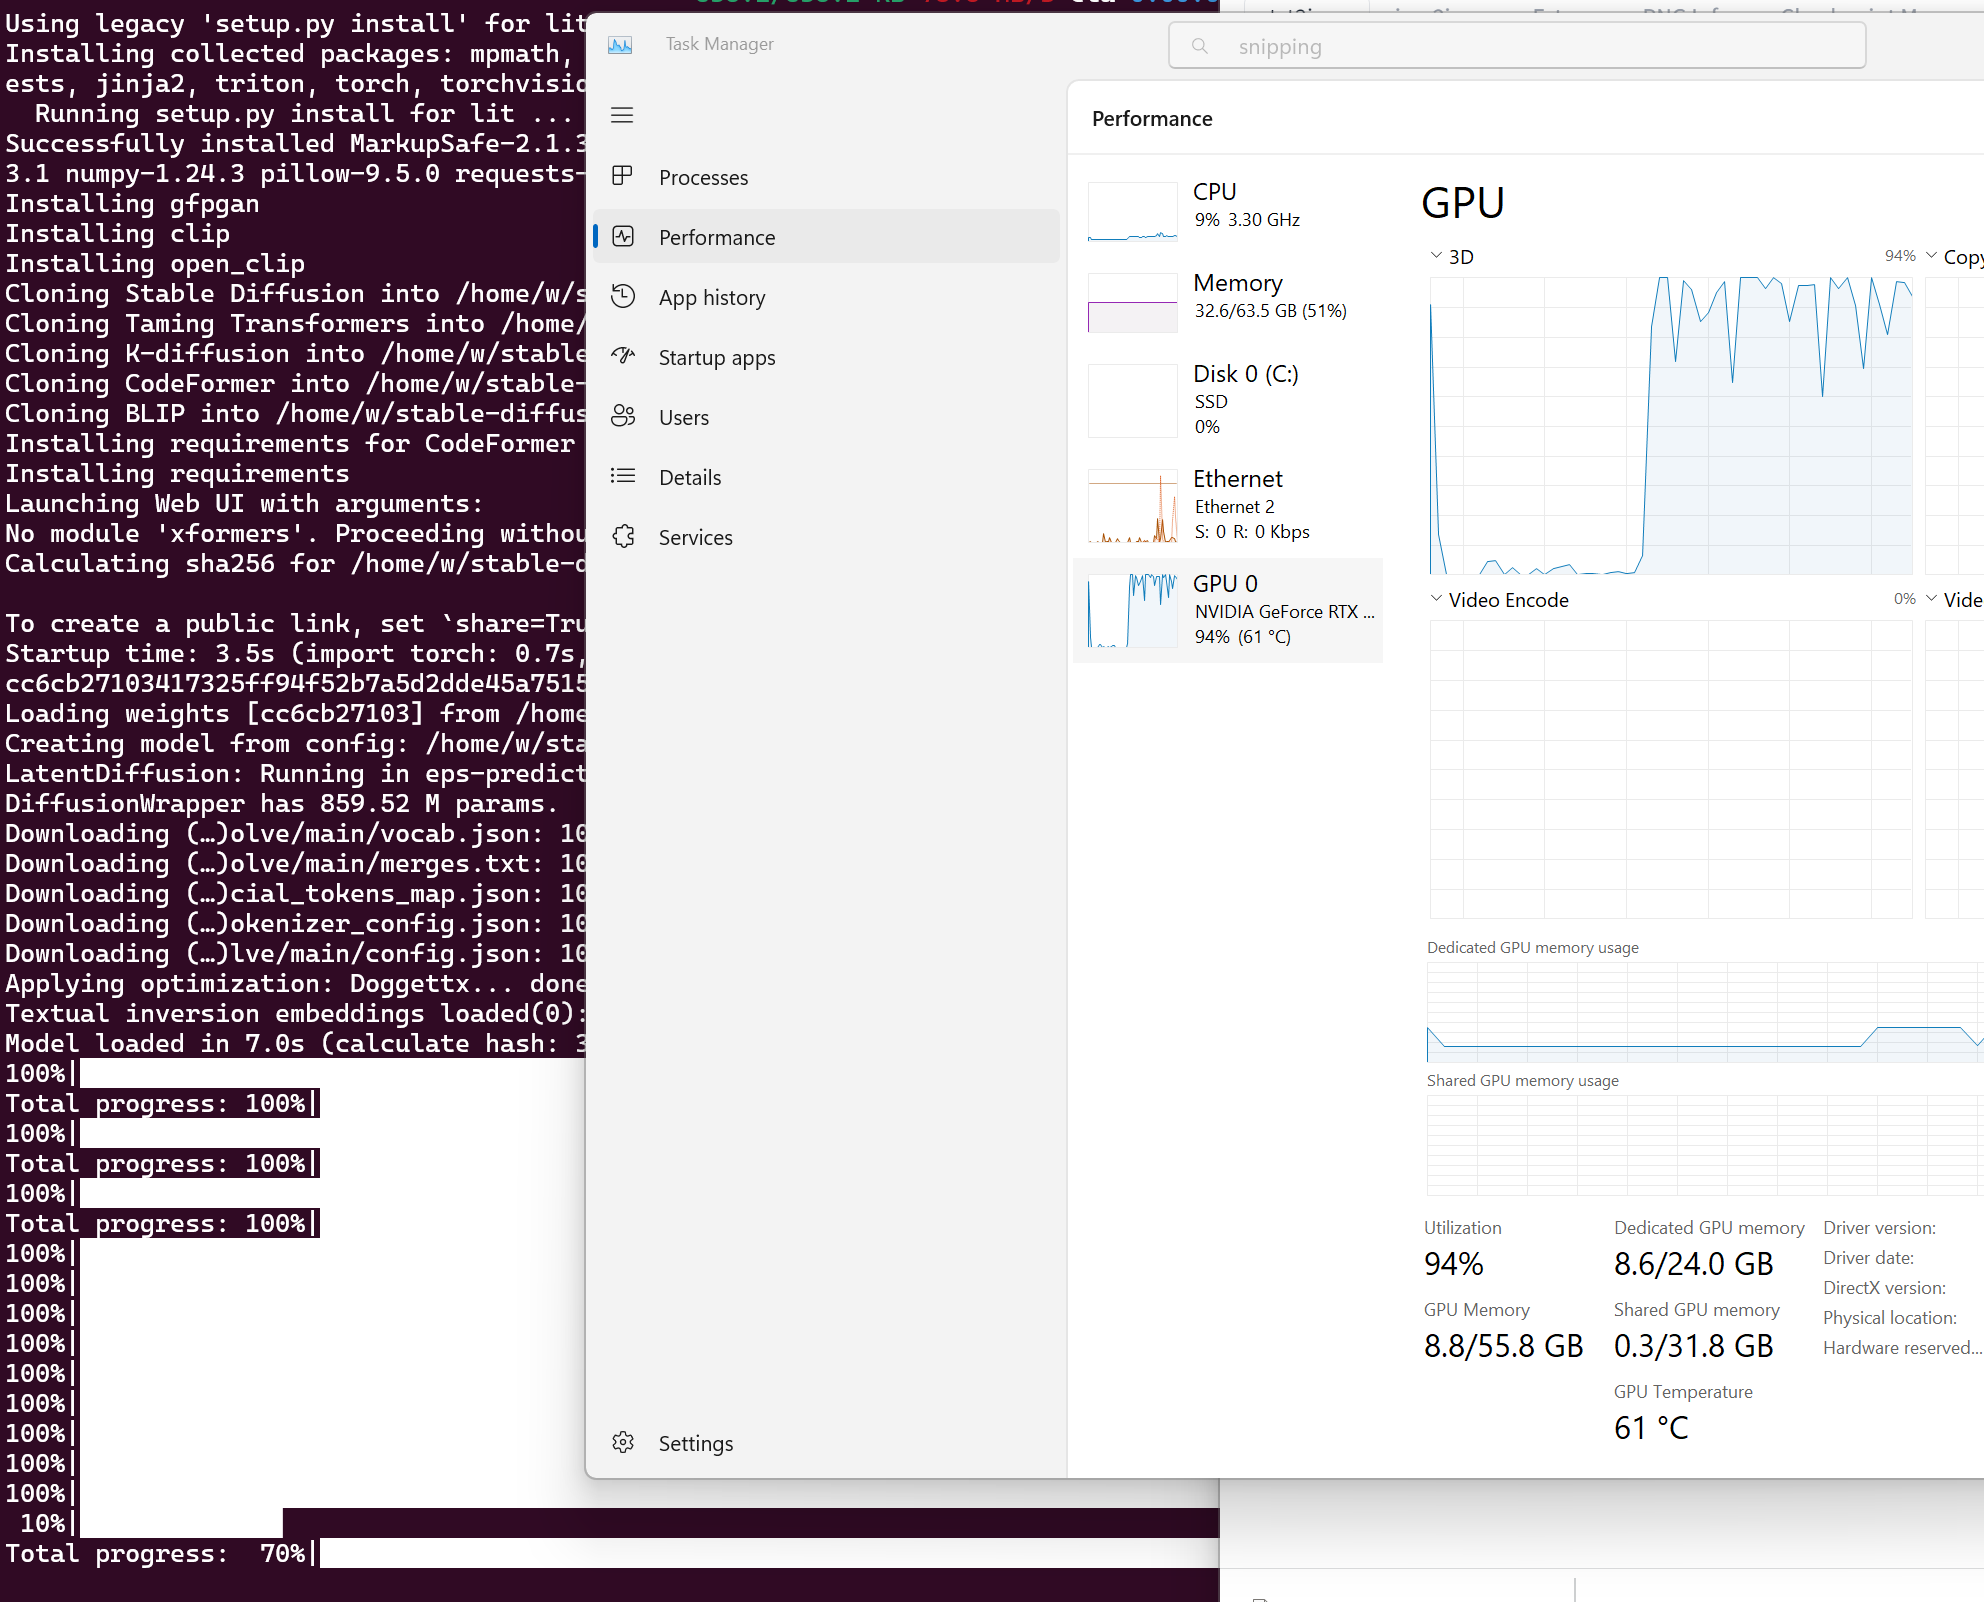
nvidia-smi will also show program utilization as well.
Other noteworthy things that can improve your dev experience
Jupyter Noteboks
https://jupyter.org/ Getting this running is pretty easy.
https://docs.jupyter.org/en/latest/
Think of them like interactive books of notes where it is possible for you to document something that generates data, or has data, but also build lightweight controls to allow someone to experiment with the data. For example, to get a better feel for how the Lorenz equations work:
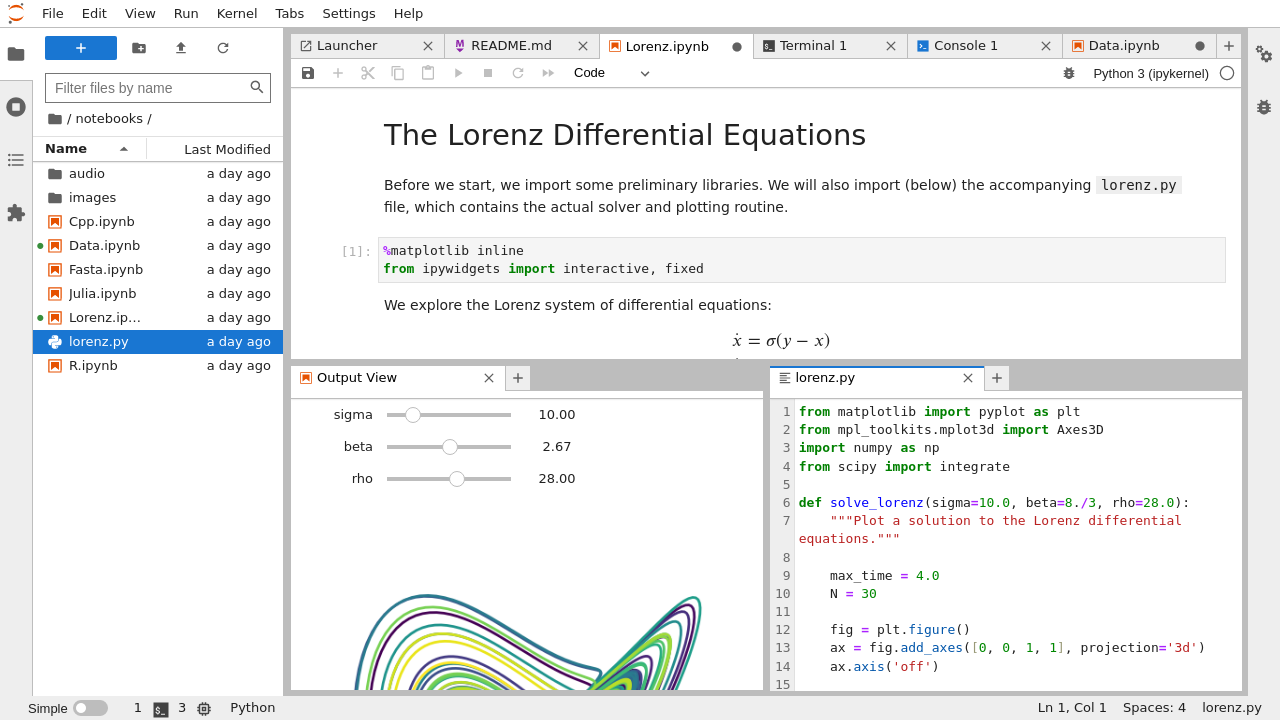
This can have a lot of applications in machine learning, and can make it easier for one to share their findings and work with colleagues while giving them an interface with low mental friction to ingest the parts of the work that matter.
tailscale
Tailscale is handy for connecting all your machines together on a private network, but in a way that I’m fairly happy with in terms of privacy and self-determination. There is also telltail for linking up clipboards of your various devices, mostly, again in a privacy-respecting self-deterministic kind of way.
vim keybindings for vscode
emacs keybindings for vscode
emacs orgmode for vscode
dev drive (…eventually)
DevDrive is something you should keep your eyes open for on windows. Windows is incredibly inefficient with it comes to common developer tasks. Doing a git checkout, for example, might generate a ton of very small files very quickly. Not only is windows filesystem incredibly ancient and badly designed, it also has to endure windows defender scanning all those files you’re creating. DevDrive will ditch NTFS in favor of the newer ReFS filesystem and it will also tell windows defender to defer scanning until the operation is complete, which saves a lot on overhead.
It’s going to speed up a lot of common developer tasks by 40% on the first pass… but at the time I recorded the video it was only in the dev version of windows 111. We might see it in Q1 of 2024. Maybe.
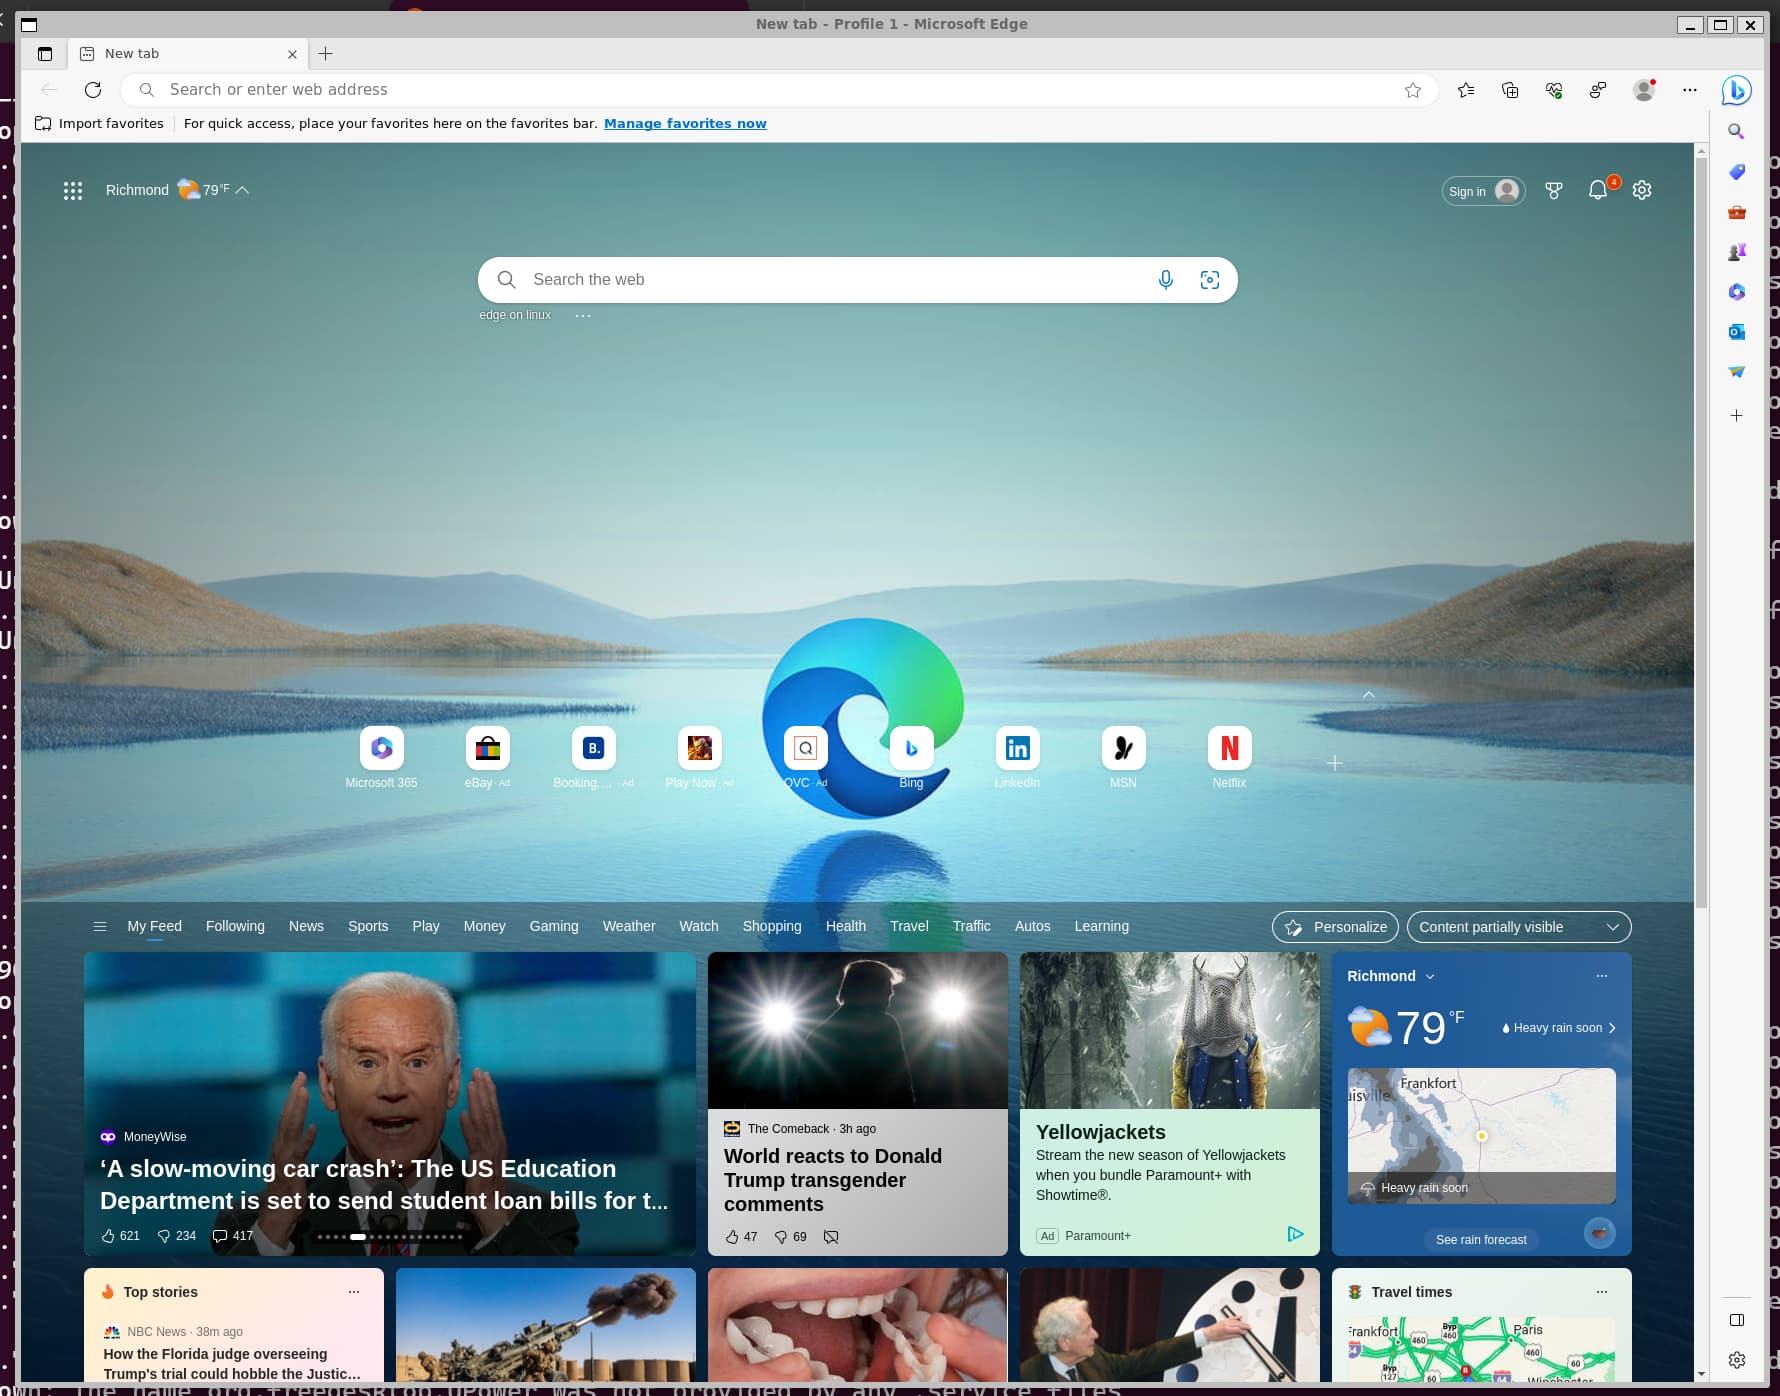
Edge, on Linux. the horror
