Hello Teksyndicate
here is the build log for my new case probject, this is a massive project and it will probably take me a good few months to finish this build, but as always i will try to keep this post as up to date as possible.
Here is some of the concept models i crudely made in sketchup.

another view from the front

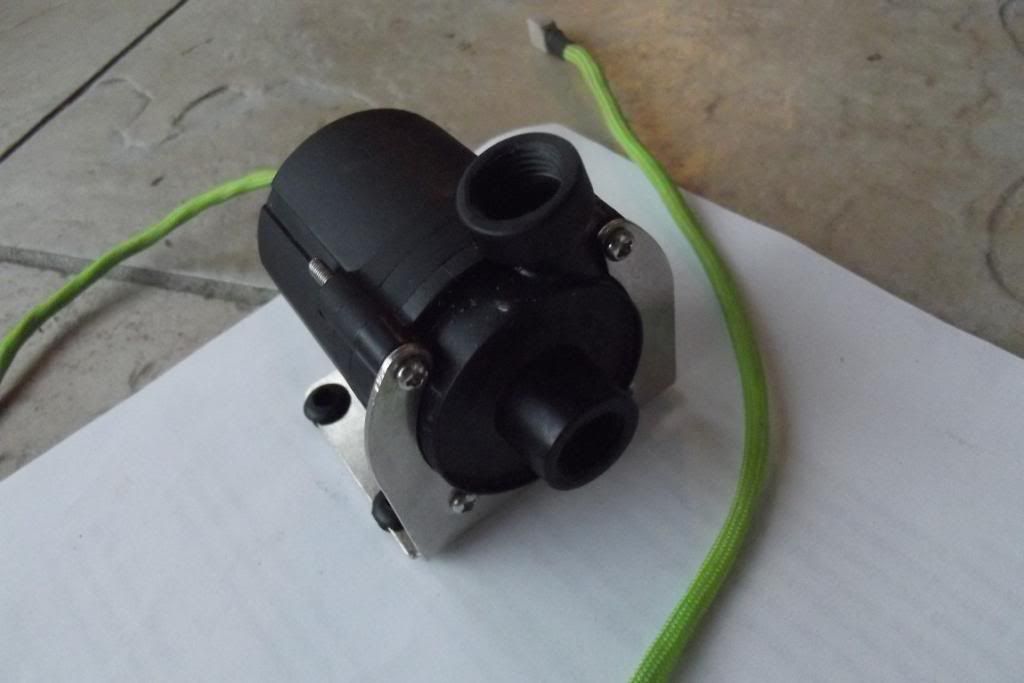
The theme for this one is to make it all from wood, a plywood frame for strength and rigidity then finish the outside with hardwood. for the hard wood i have purple heart wood (which is actually purple in real life without even being stained) and afromosia, which im going to make into an alternating layer laminate. This build is also going to be liquid cooled, but since cooling blocks are so ridiculously expensive im going to make my own on the milling machine.
Work begins:
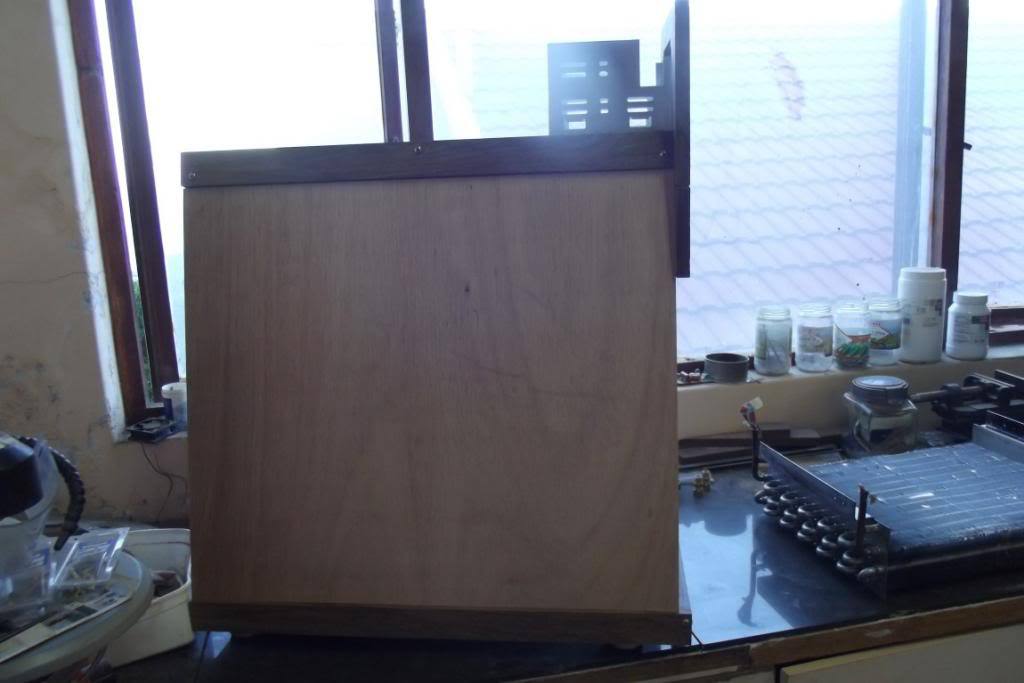
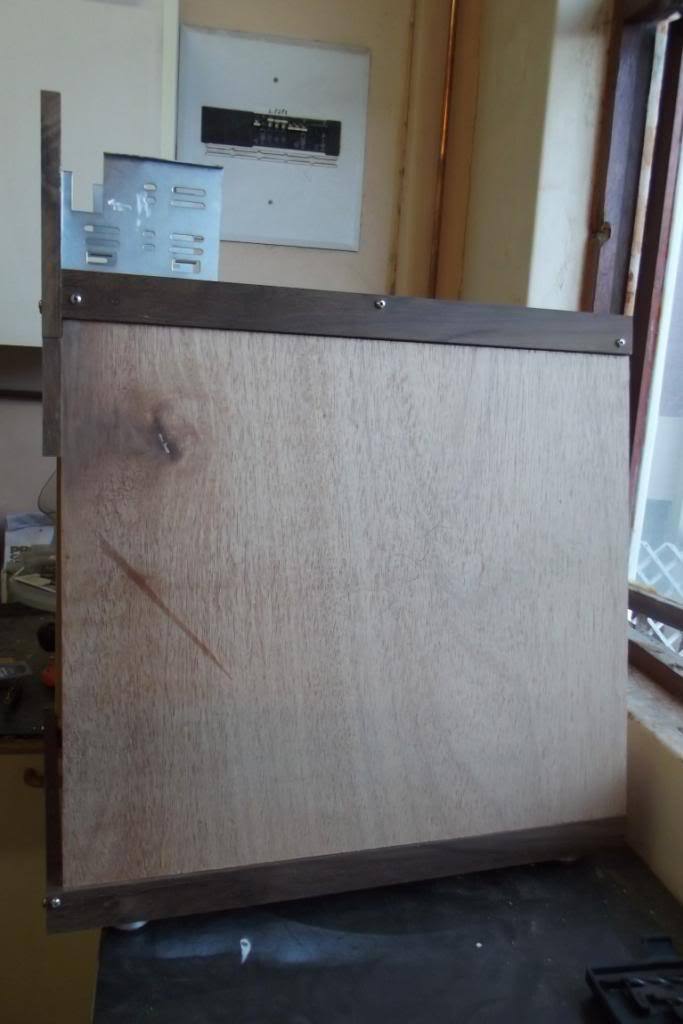
After almost a year of looking for various things, i have finally started the build. here is a first look at the frame with 2 hotswap bays i got from a server.
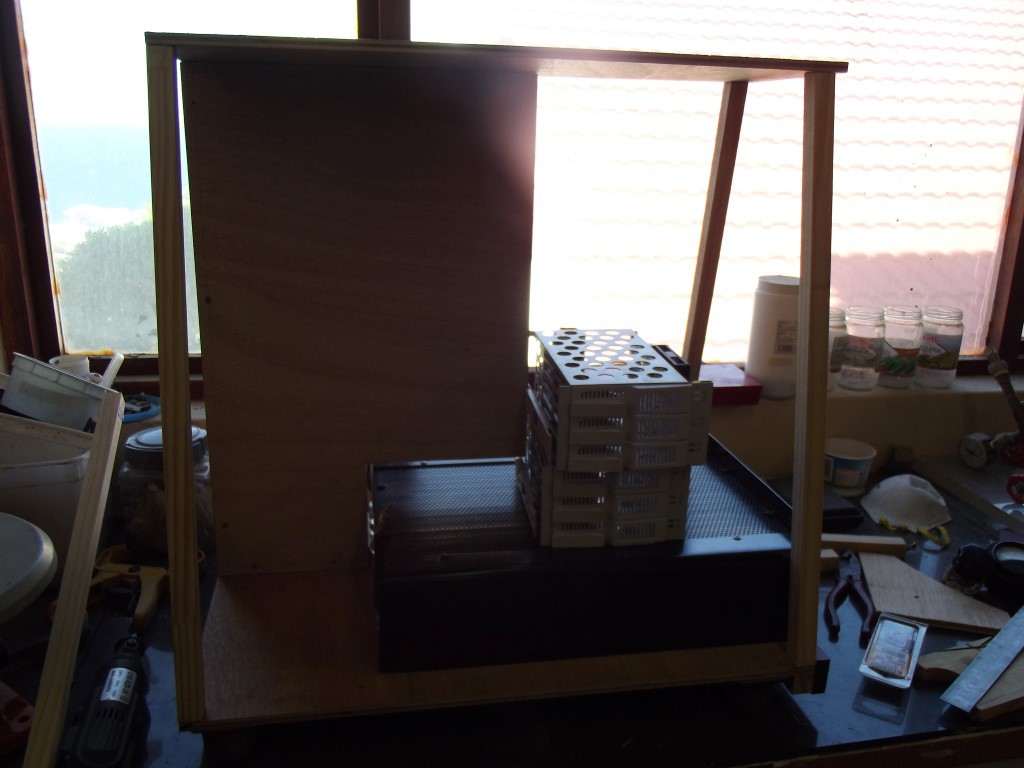
another view from the front

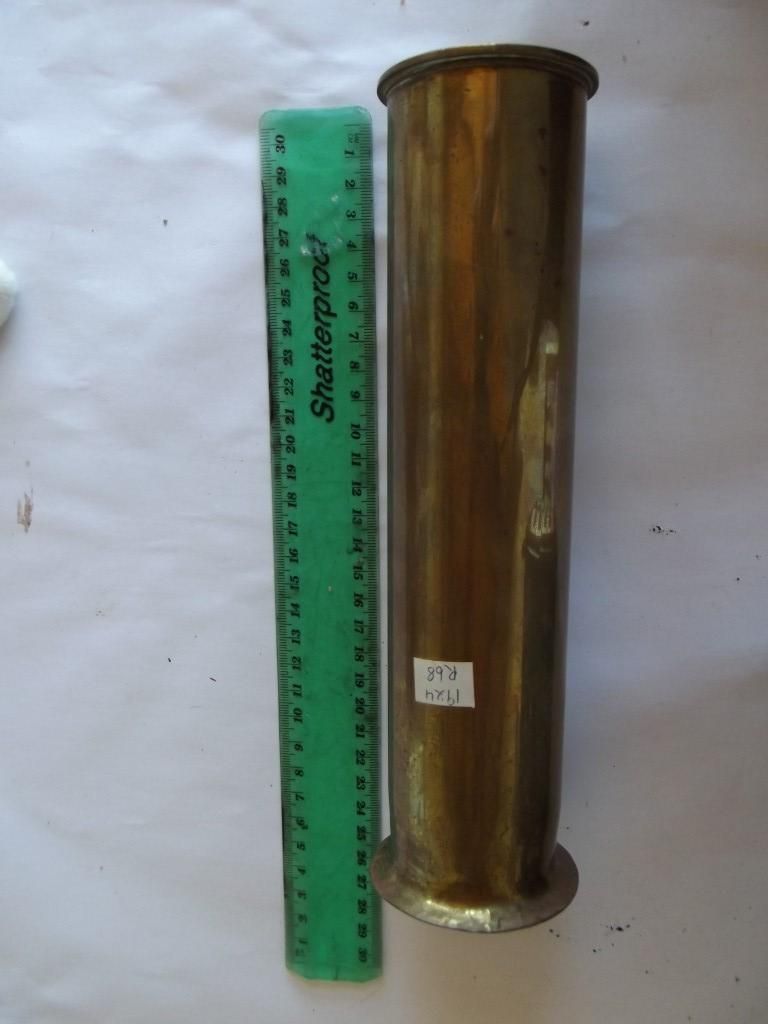
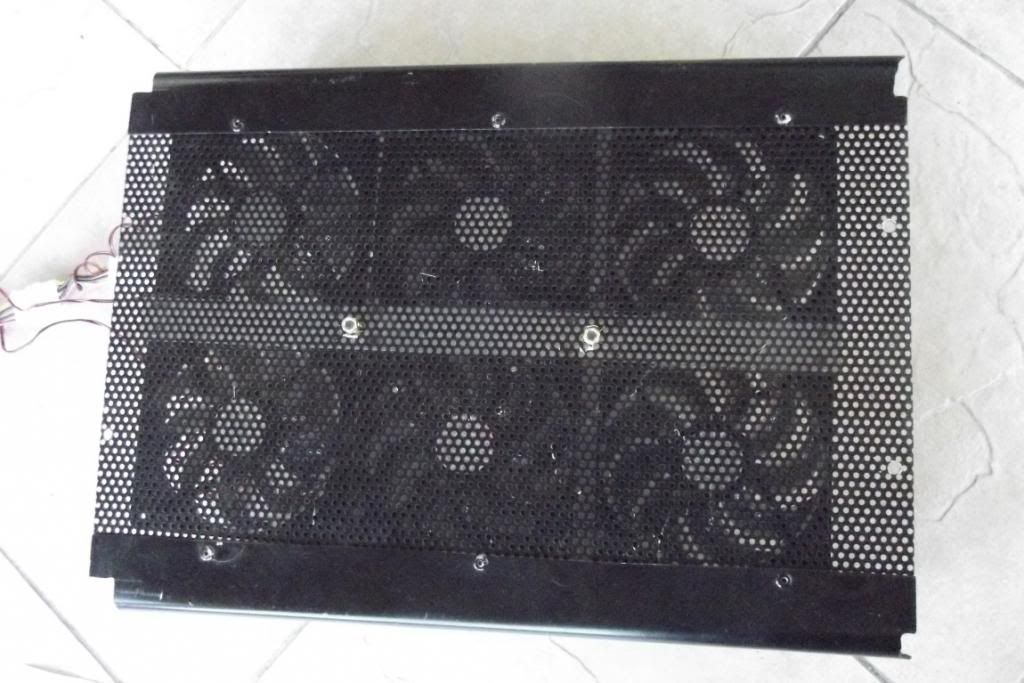
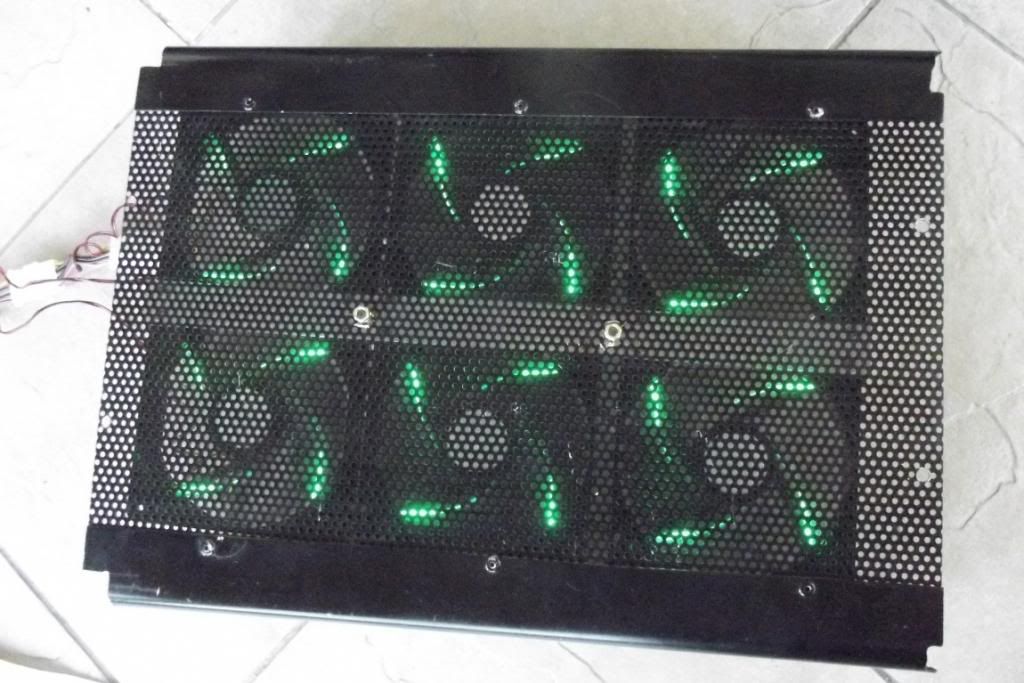
some details on the, the radiator at the bottom: it's from a beckman centrifuge from the 1970s, it pretty huge at 40cm long, 30cm wide and about 6cm high (without cover). im still in the process of fitting fan mounts to it so i can run 6 12cm coolermaster R4 fans inside it.
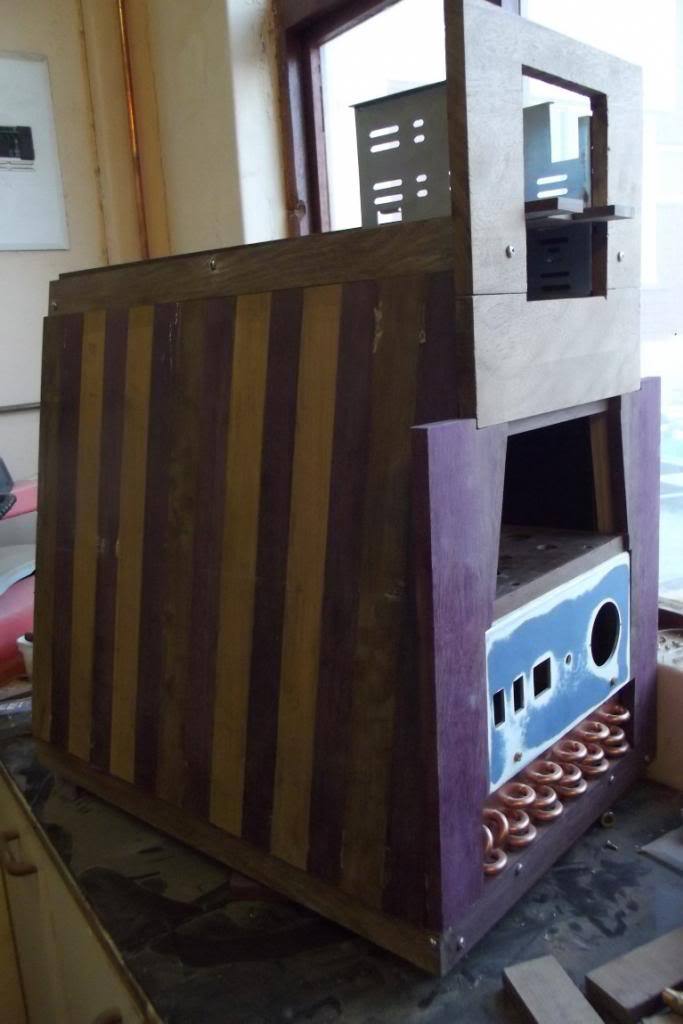
note the purple heart wood on the front, its actually purple untreated. haha, the only problem with it is that it turns brown over time with UV exposure, so it needs to be painted with a UV resistant varnish
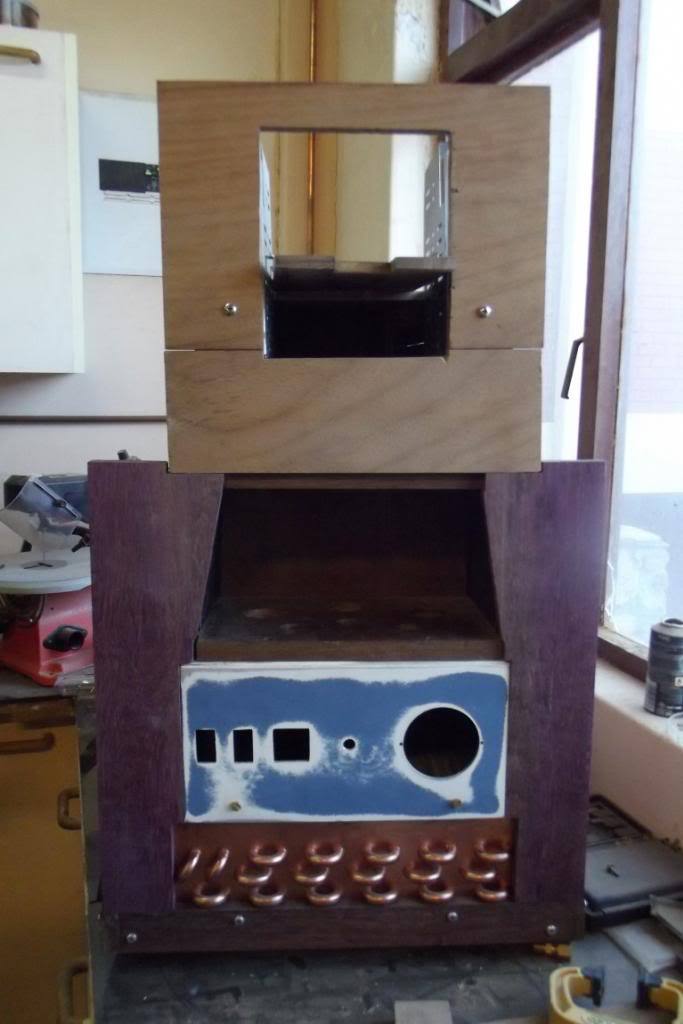
as for the hot swap bays they didnt look all the great so i repainted them to look slighly more steampunk
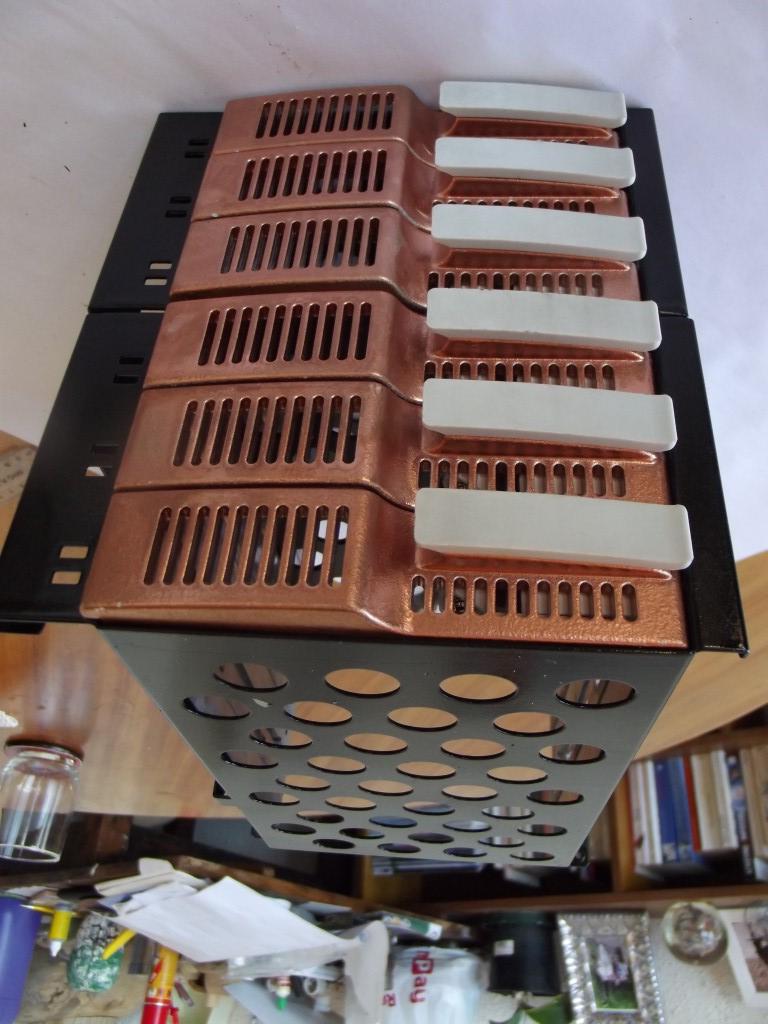
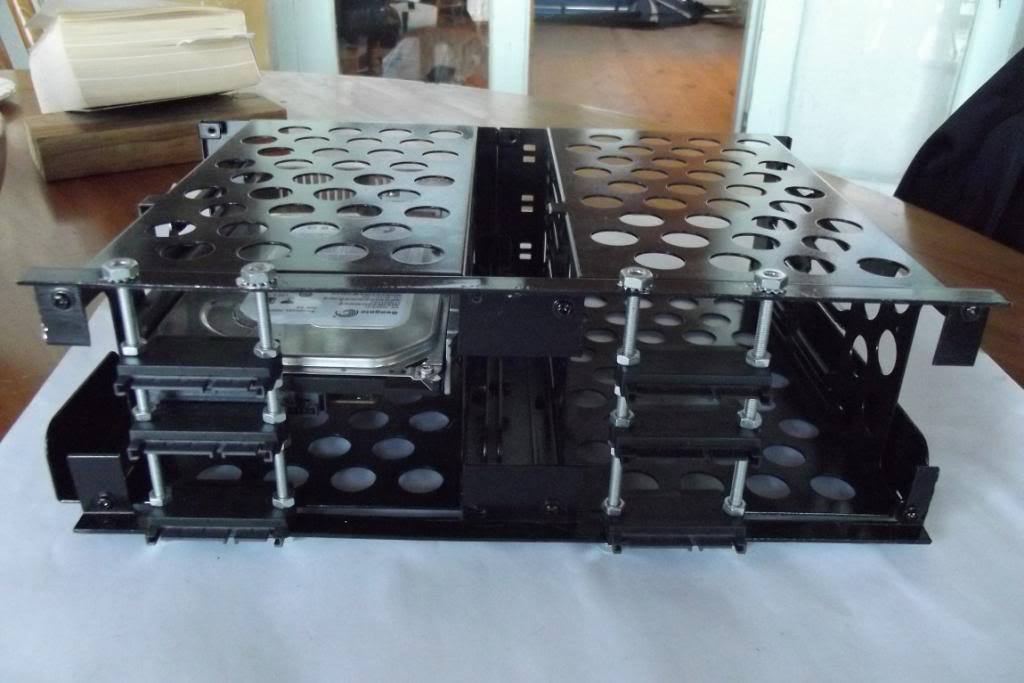
Since the original backplane for the hotswap bay was some SCSI thing, so i had to make a new one from scratch, here is a pic with HDD installed. the connectors are male to female SATA power and data, they go for about $2 each on Ebay. they also had to be drilled out to 4mm to fit the threaded bar. Hot swap complete, just needs to be installed
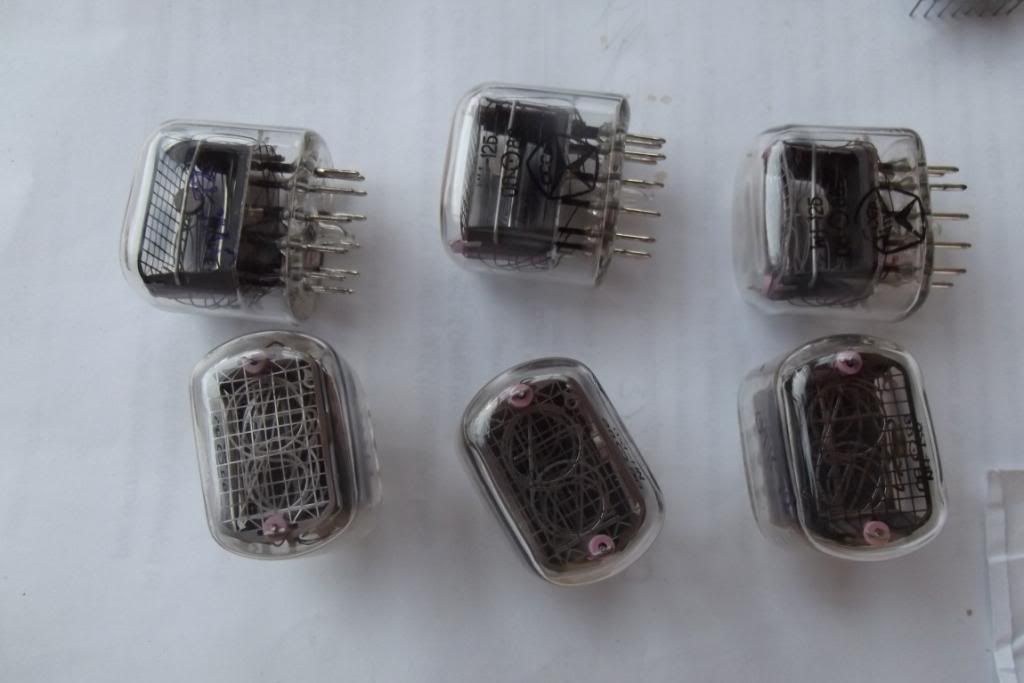
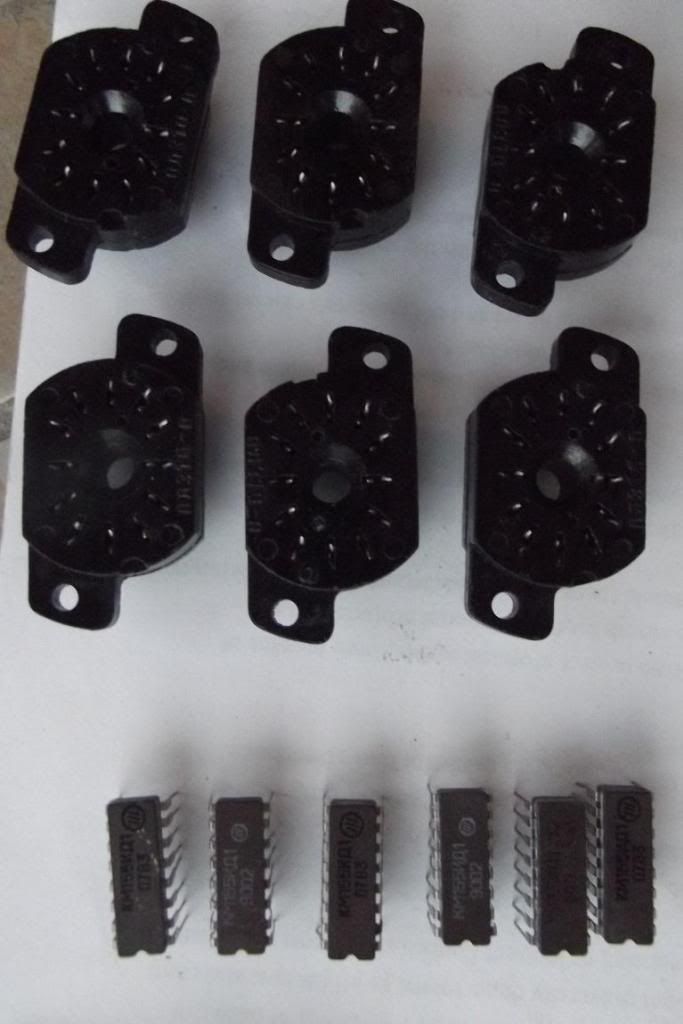
next i sorted out the tube display, this still needs a tonne of work so that it looks decent and fits properly, here are some pics.
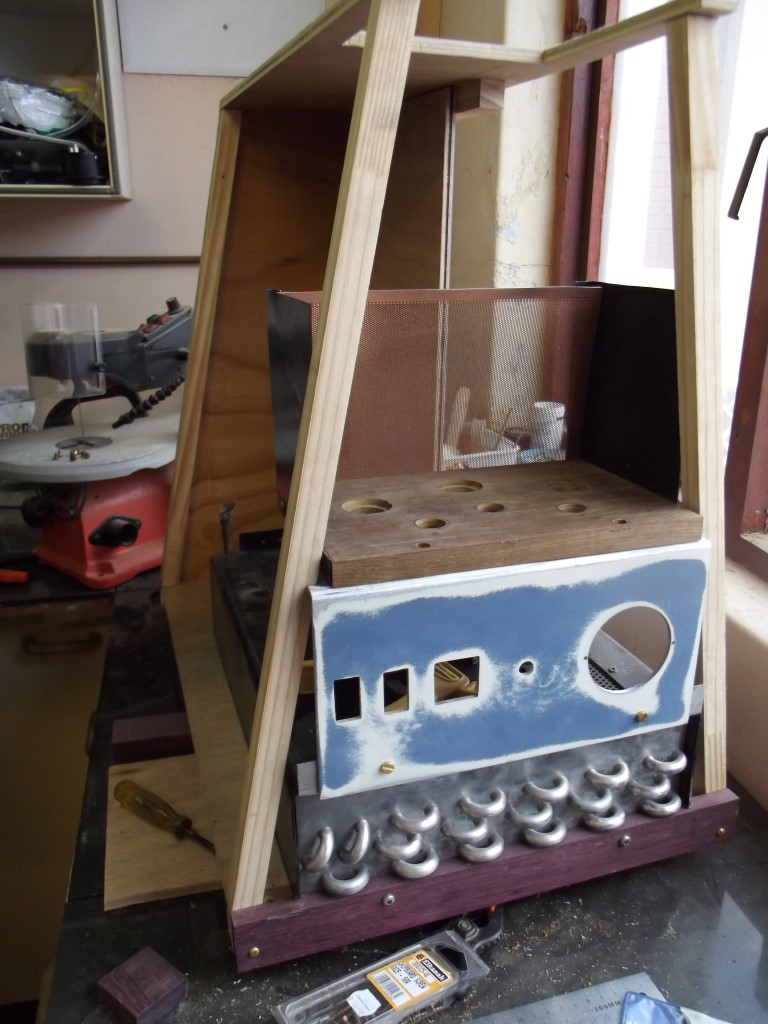
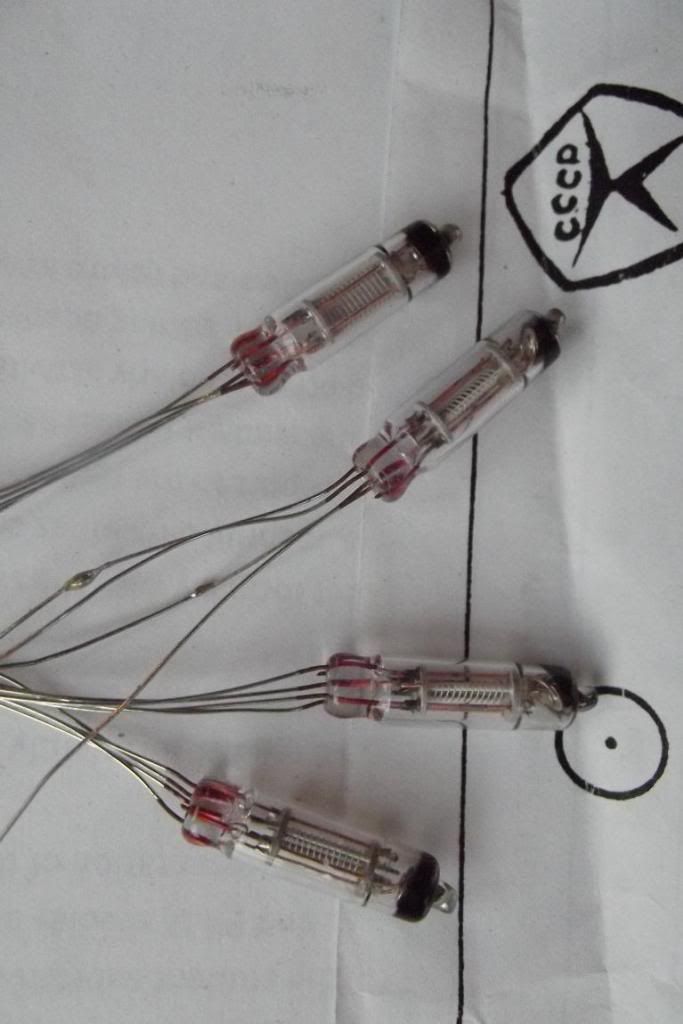
and with the valves fitted

The plan is to have the tubes light up using their 6.3V heating elements with a thermistor to prevent current inrush.
I have made the side pannels and the basic shape out line for the 5.25 inch bay, the profiles still need to be cut out and the edges neatened up.
Custom making hardwood planks for fittings from rough timber is no joke, it took me an entire day just to make 4 planks let alone fit them.
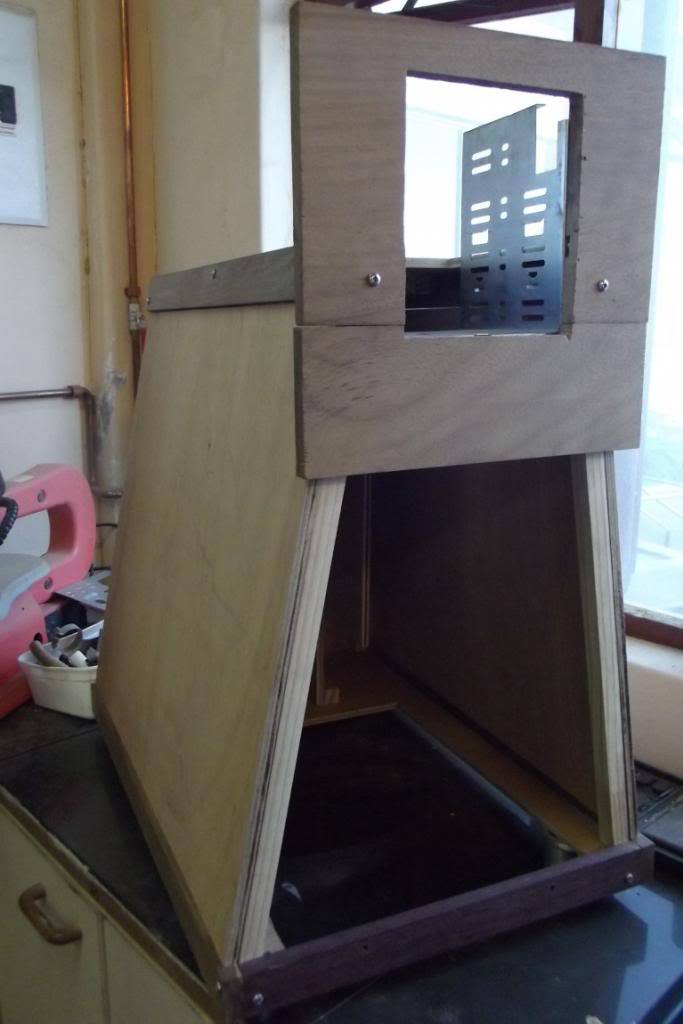
side view, the plywood on the sides still needs to be cladded with hardwood, but this is a very time consuming process, but hopefully i will have an update soon. 4 big aluminium feet that i salvage from some piece of equipment have been added to the base
I was going to use brass screws but they are just too soft and get chipped and tear easily, so i have opted for stainless steel instead so it will still look good, still soft but not as bad as brass.
With new sandpaper for the belt sander, the massive task or squaring up rough wood and cutting around 30 8mm strips could begin. this was a massive task. i have glued the strips on to the ply wood side panels, but there is still tonnes of work to do in terms on sanding them to the correct thickness, im still trying to find out what the best way is to do this.
I have also been working on some pieces to cover the holes at the front. im making them out of purple heart wood. it has been tricky to get them to fit nicely
I will try to answer any questions and reply to comments.
Work will stop for a few months as i need to write up my masters thesis and i will be out of town. but im hoping work will continue sooner rather than later.